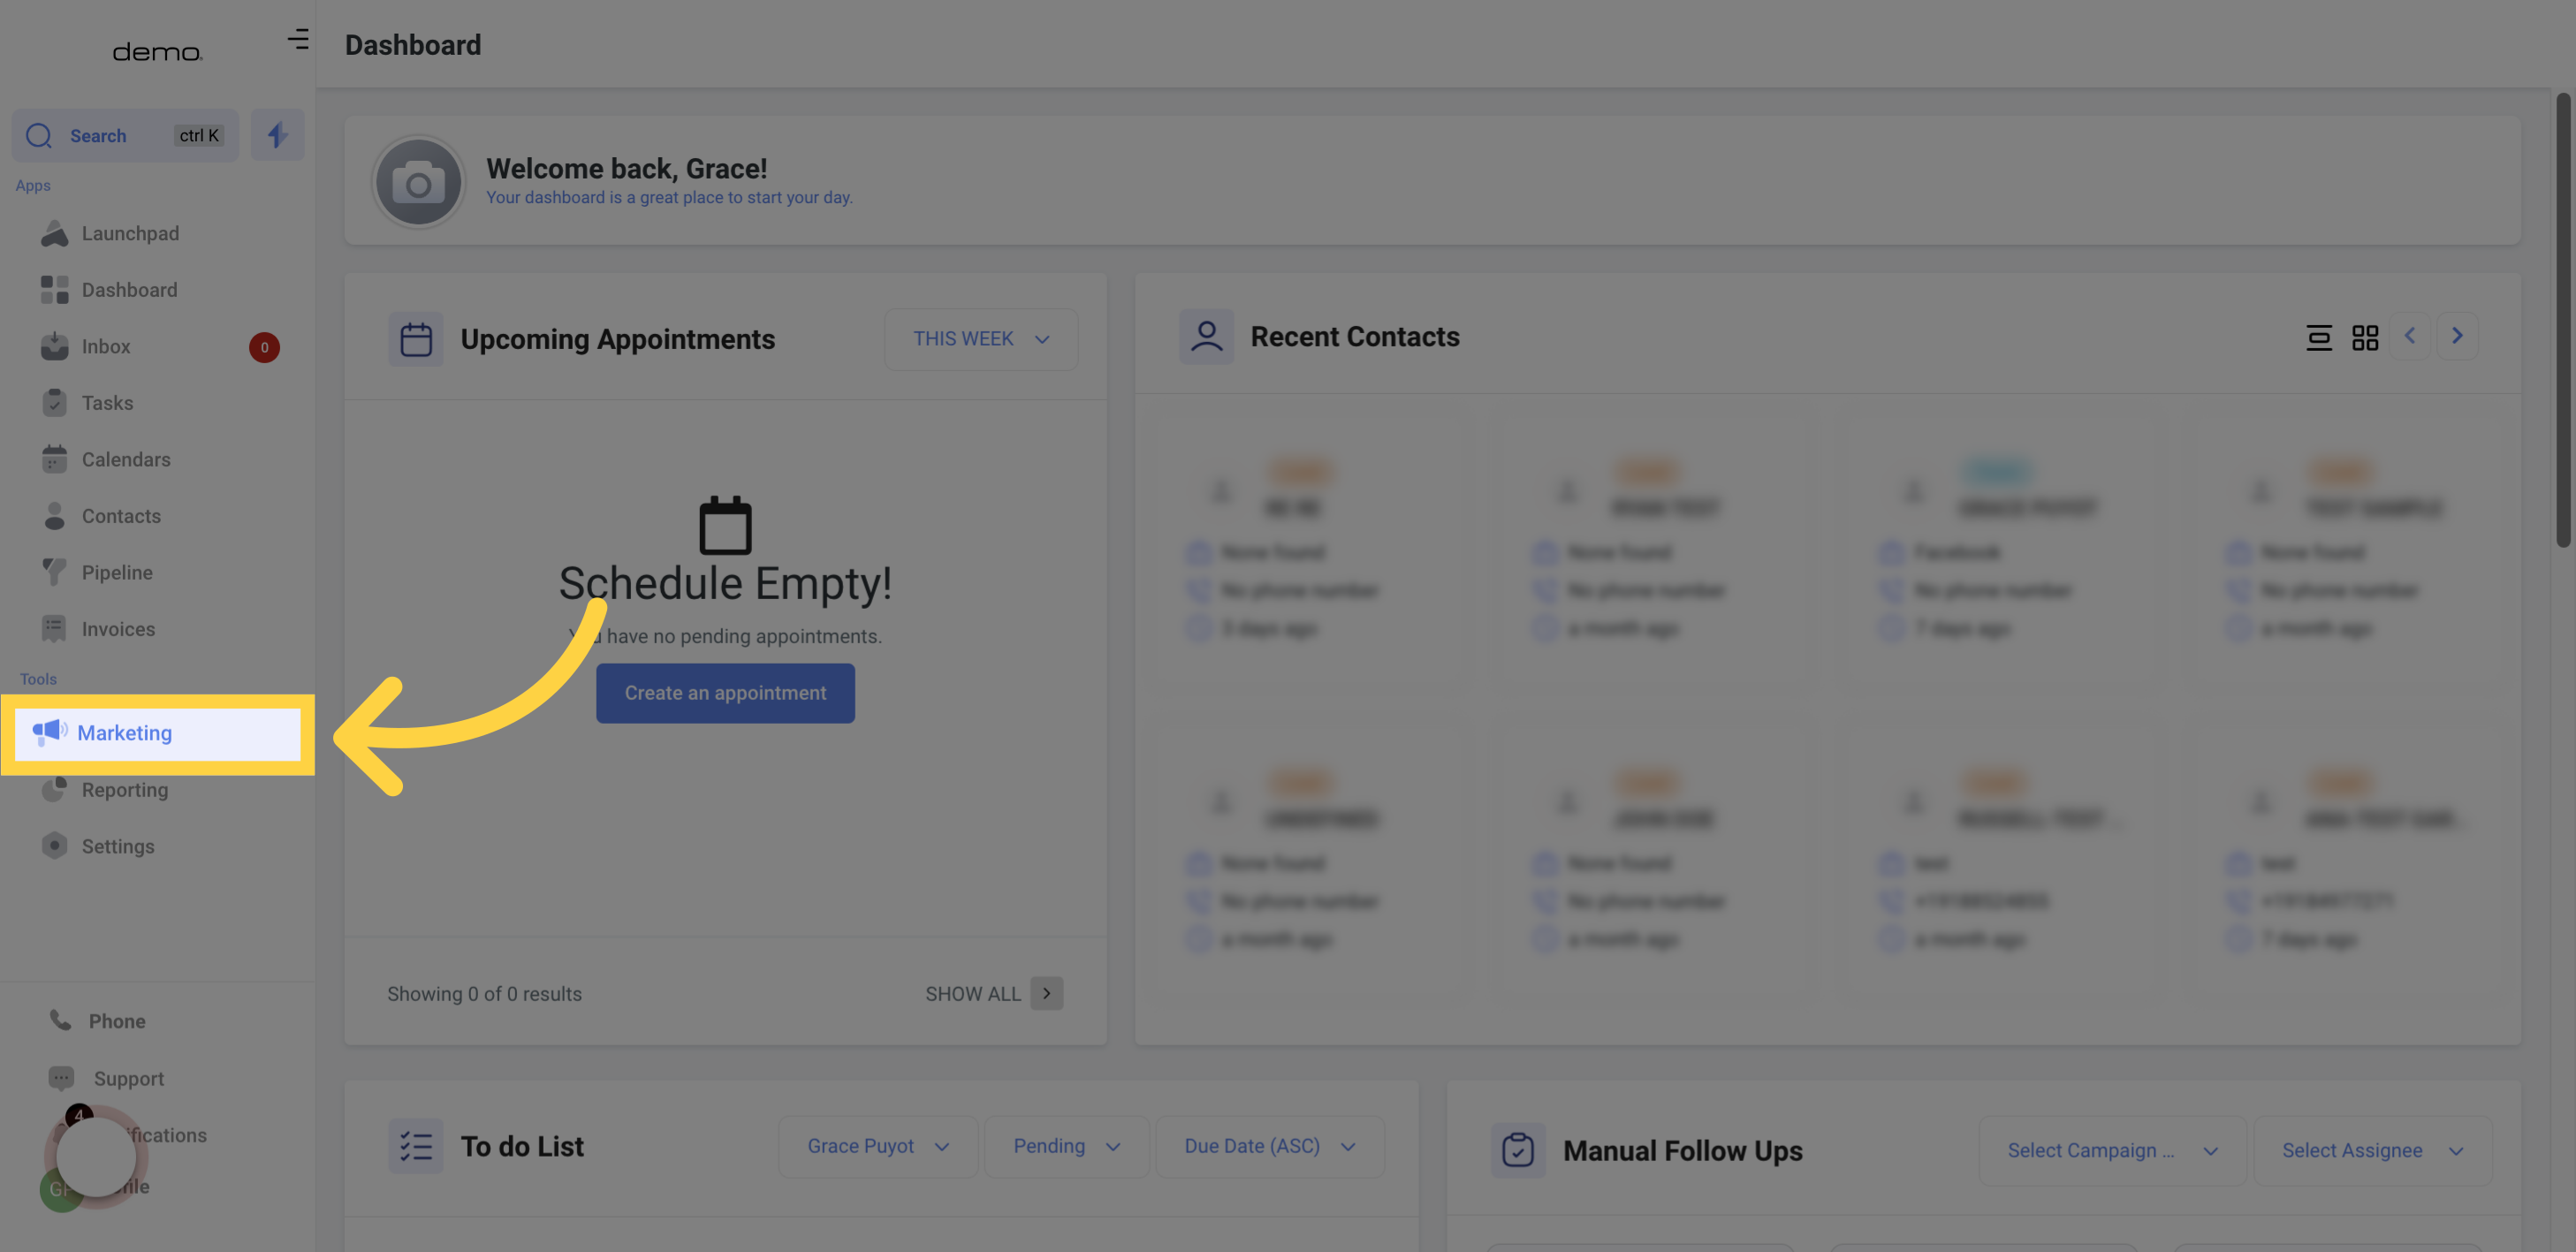
Navigate to the Marketing section
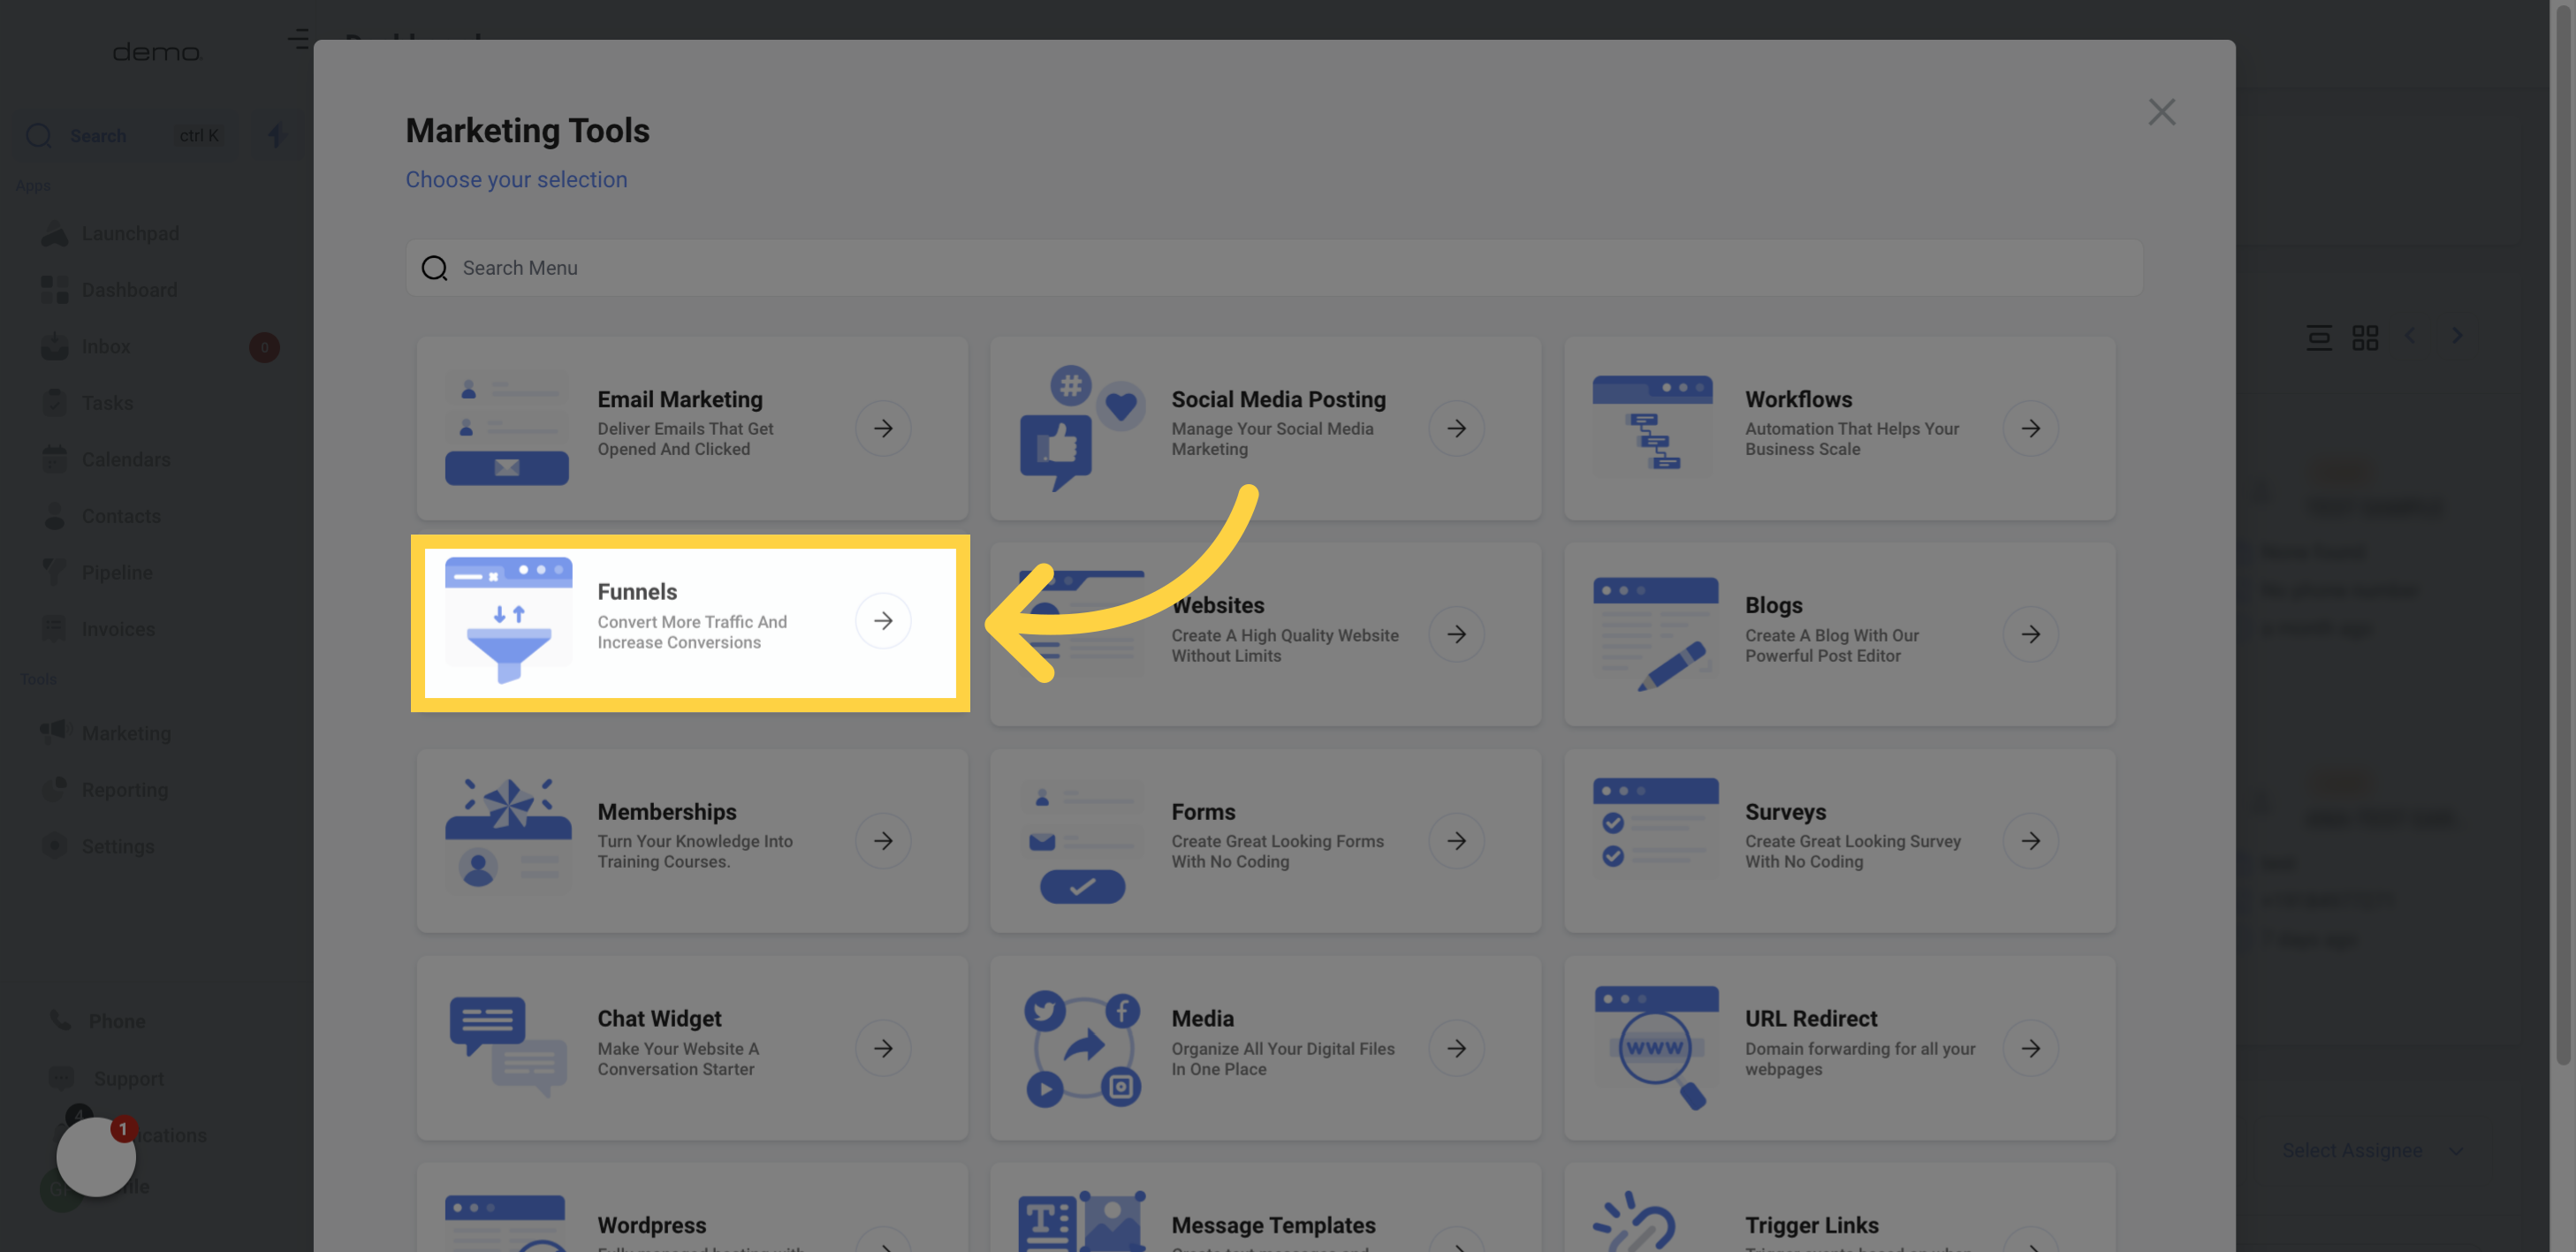
Click on the Funnels option.
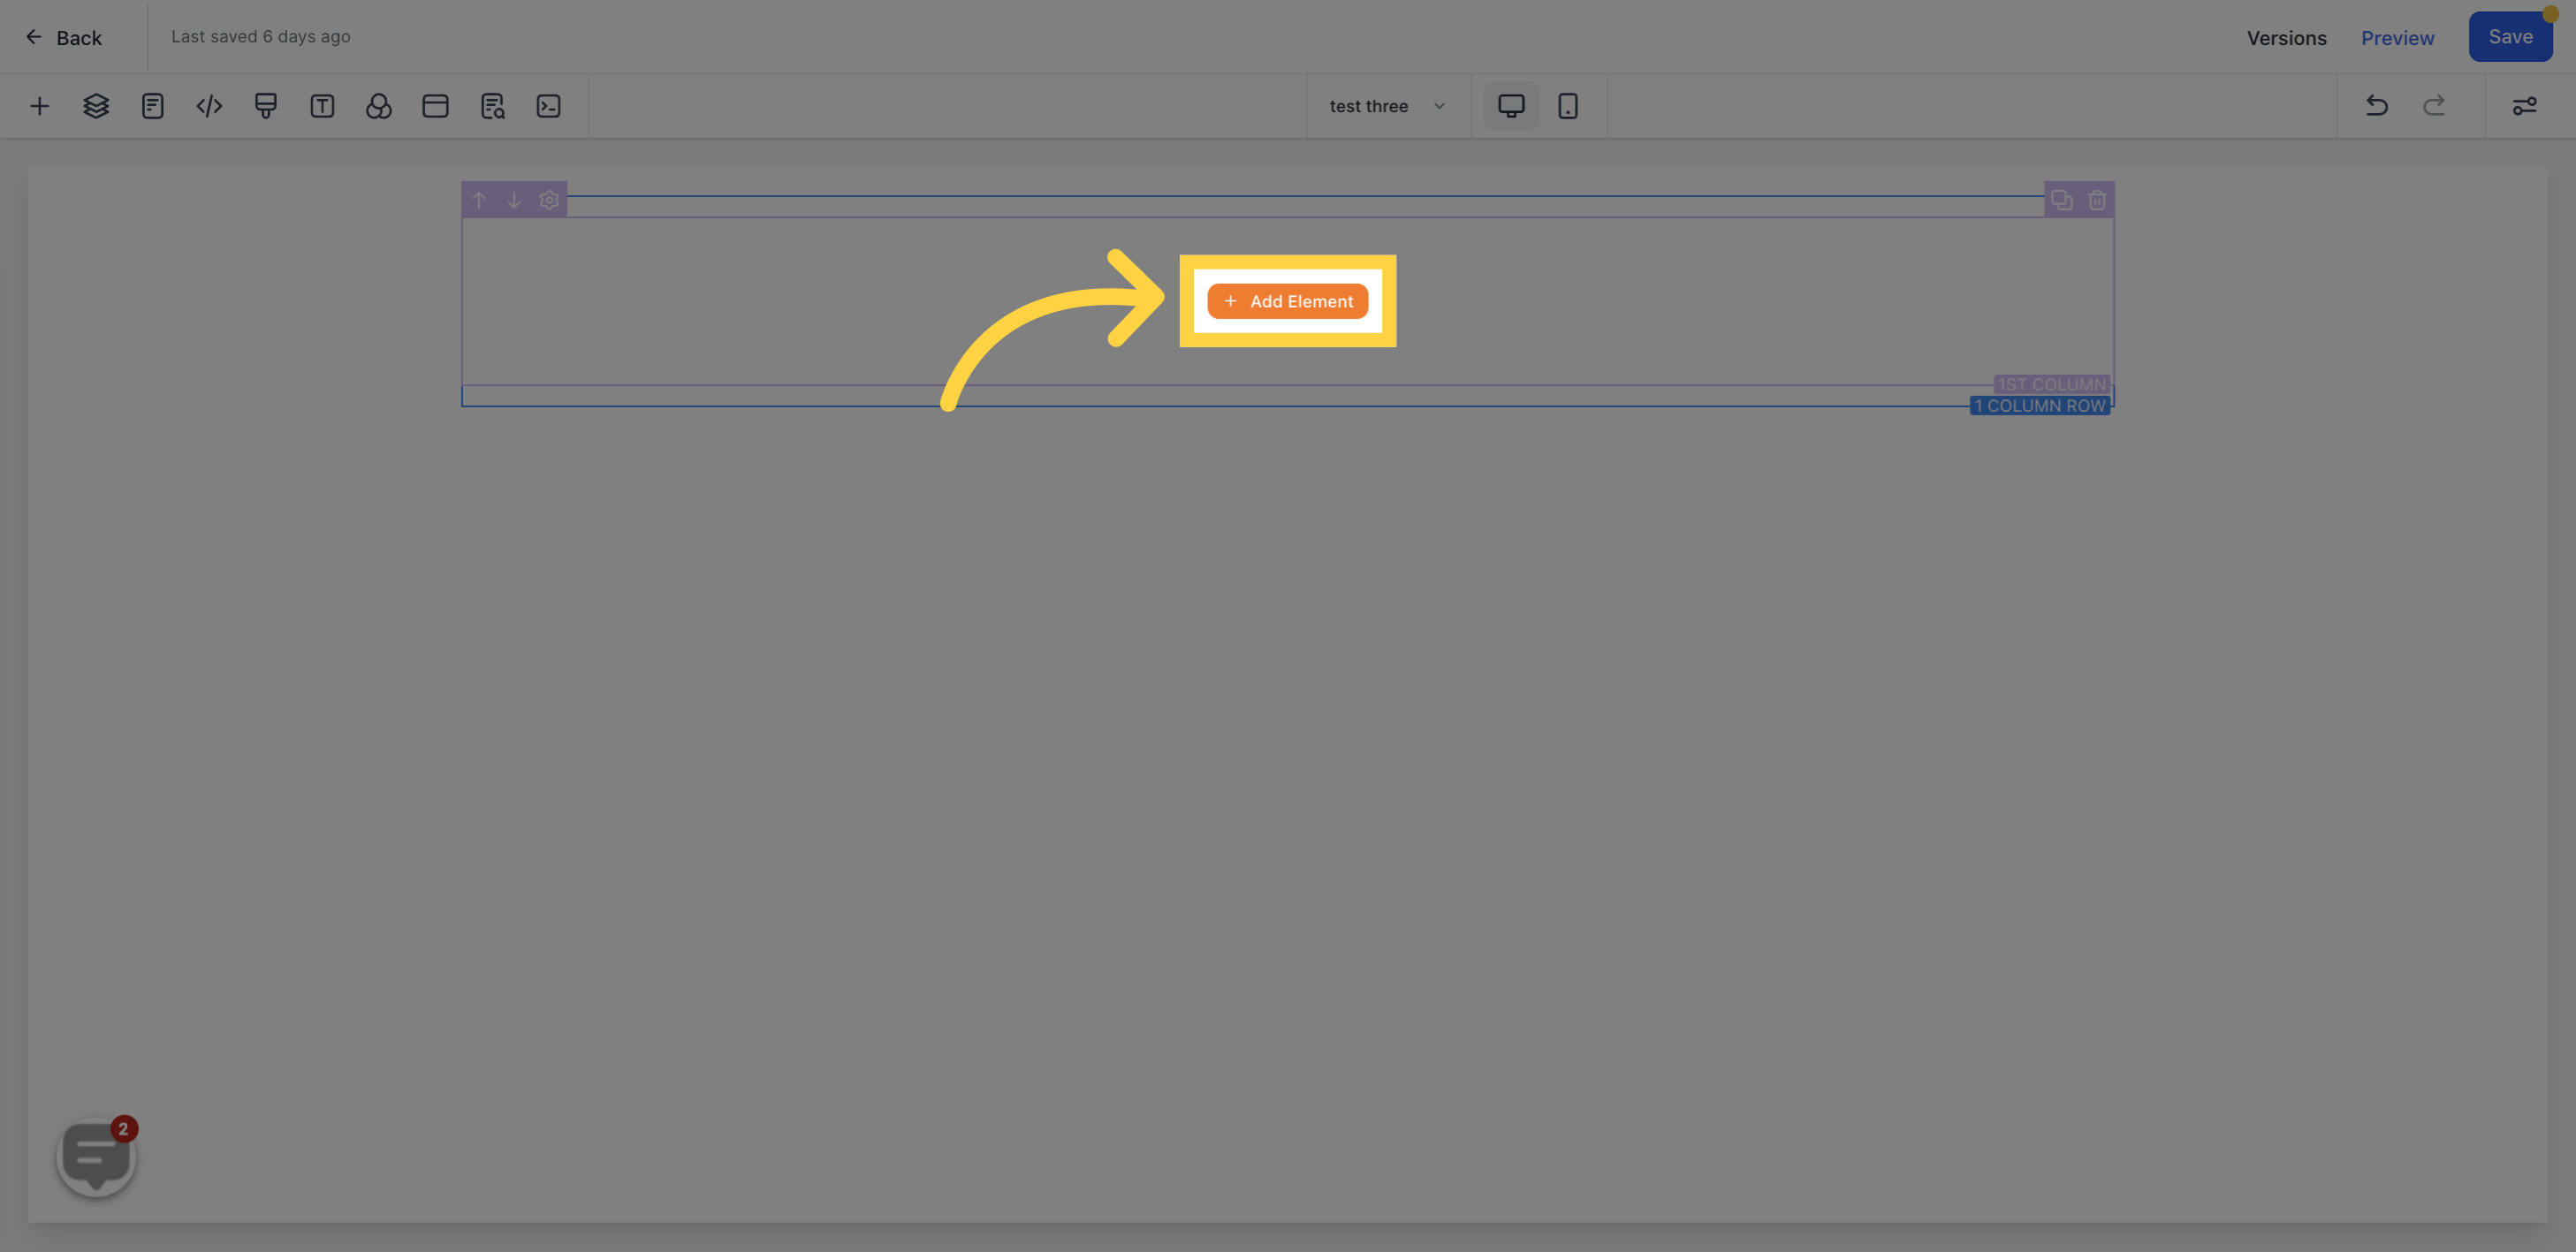
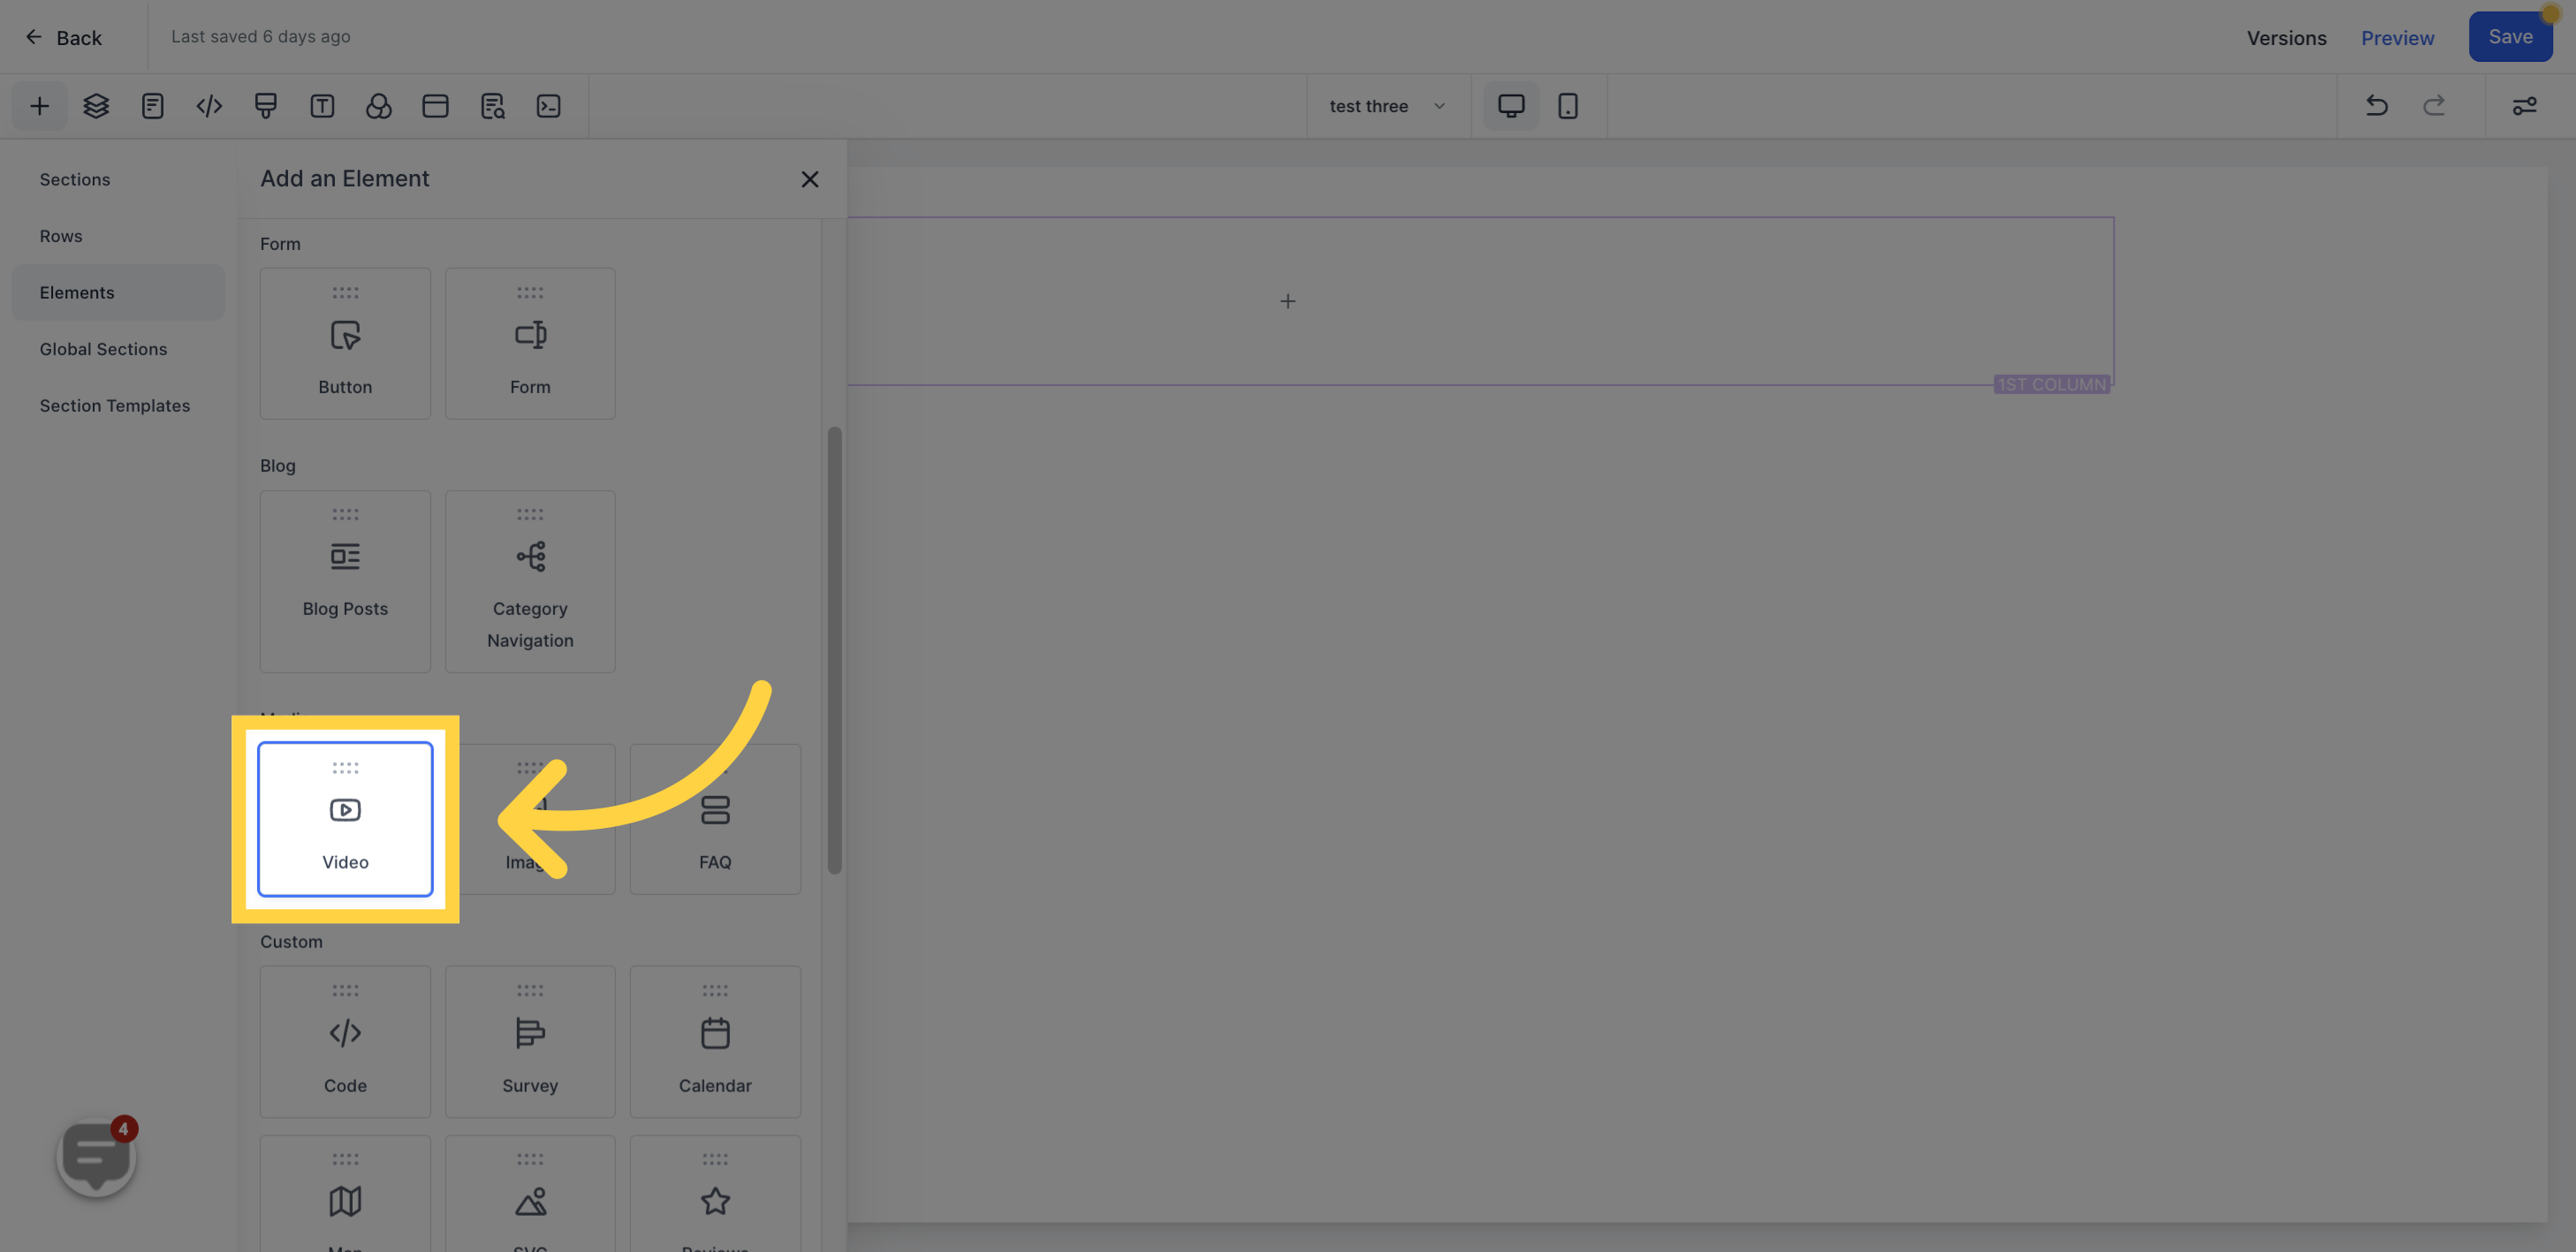
Select the "Add Element" option.
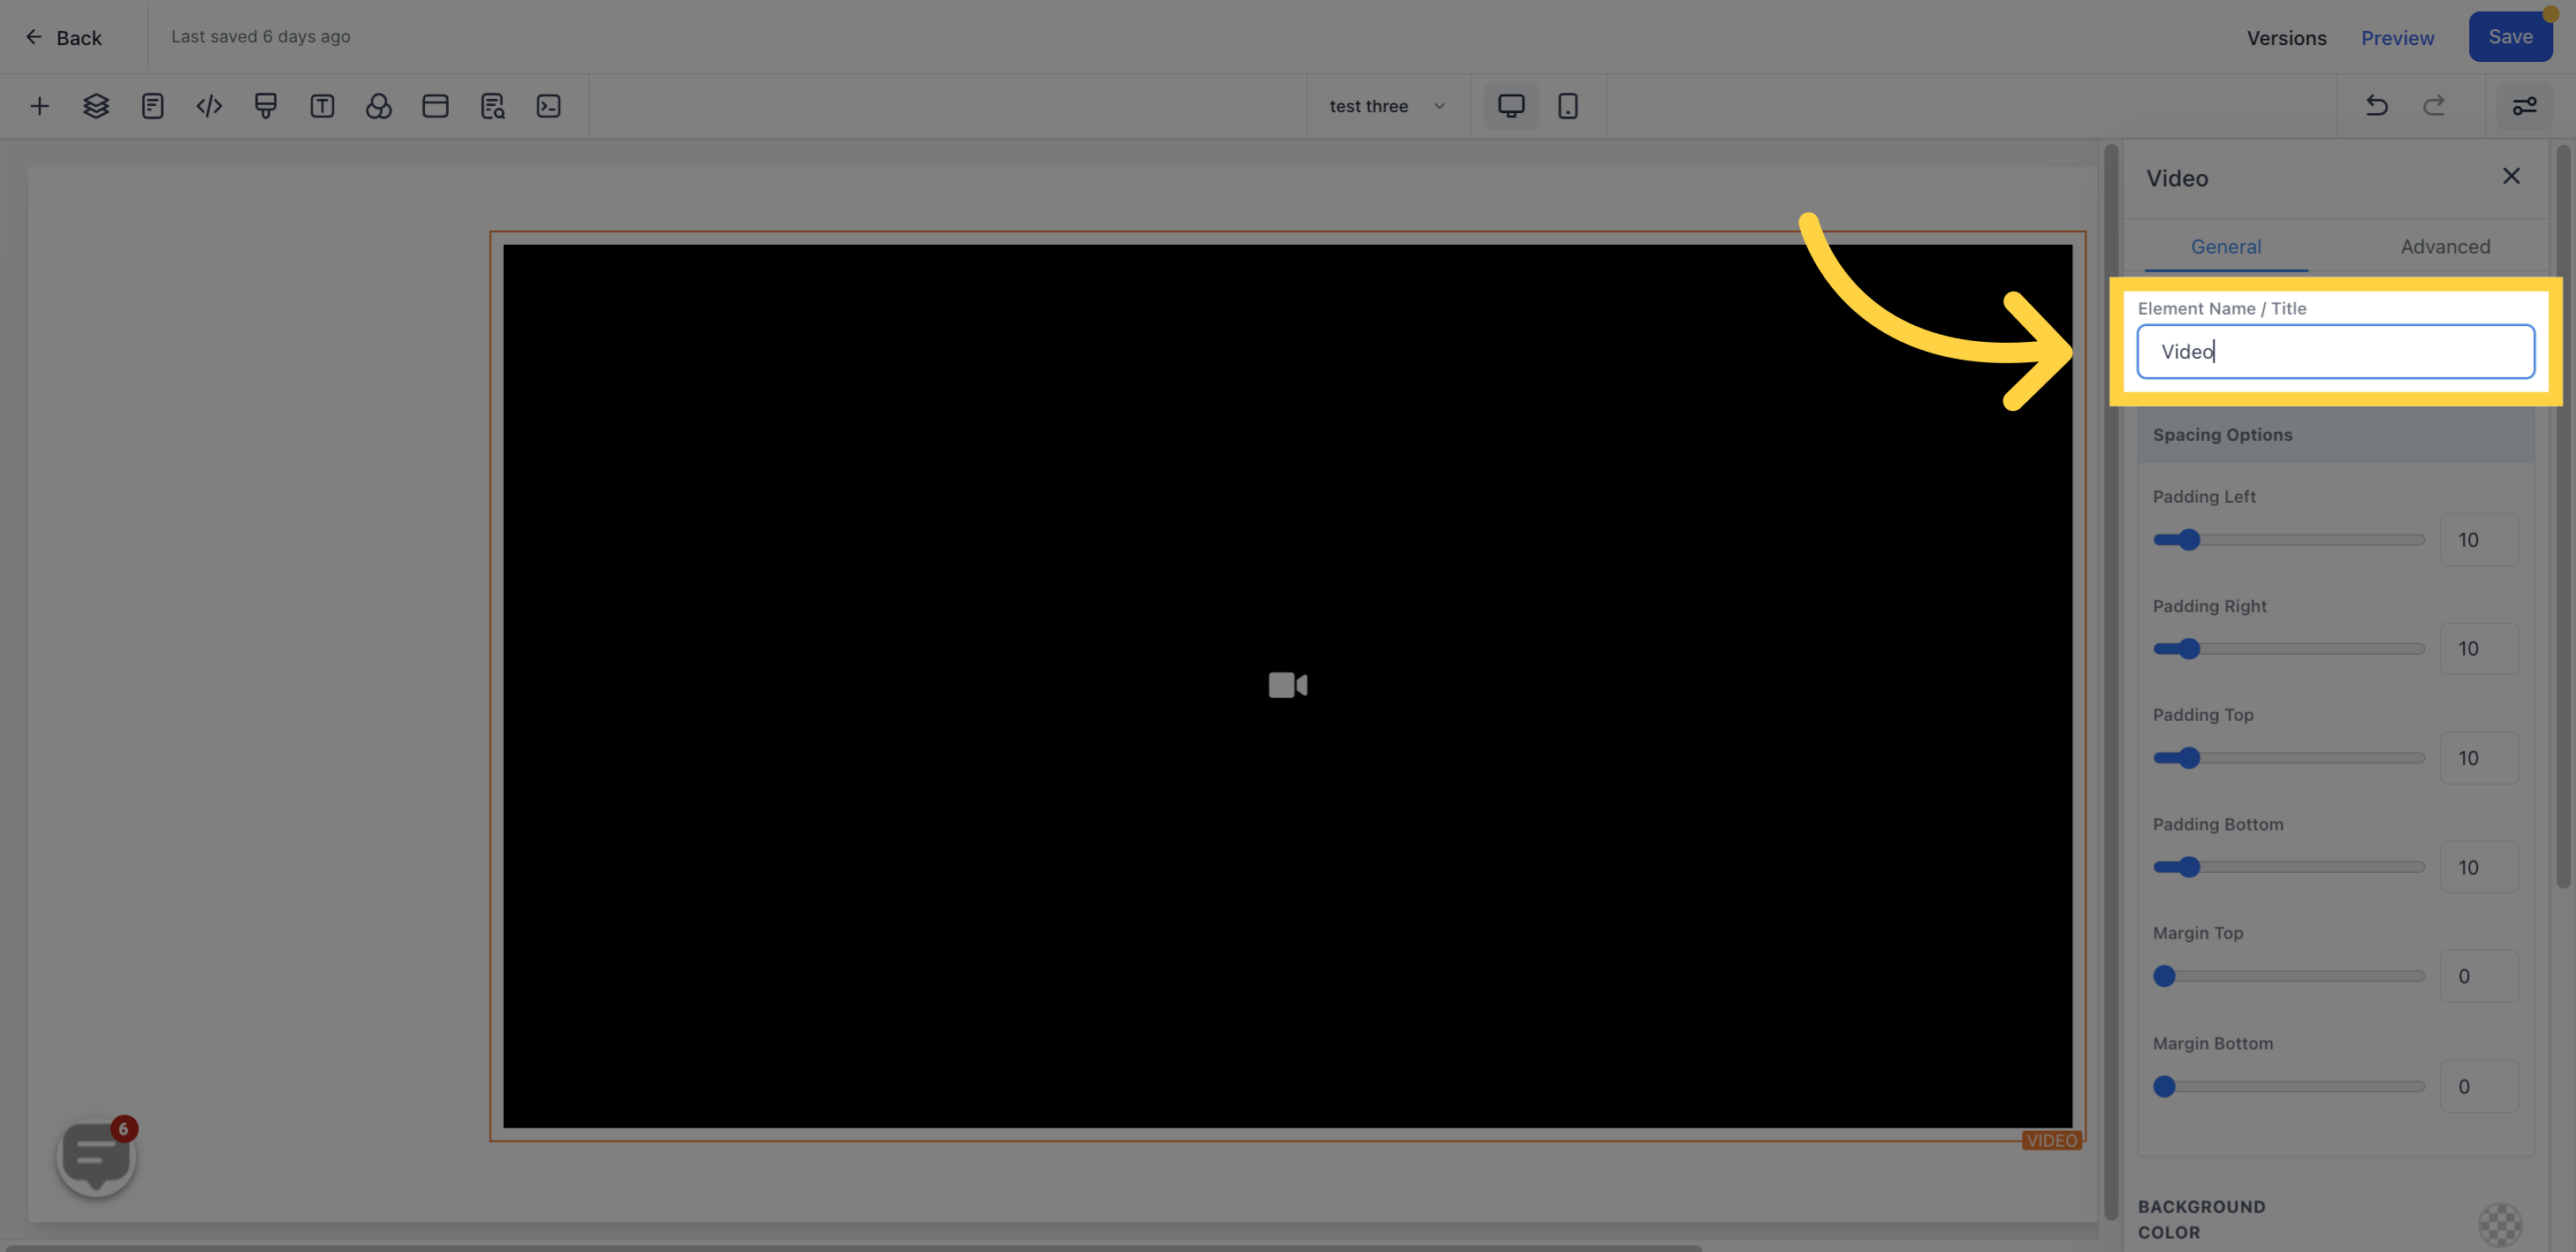
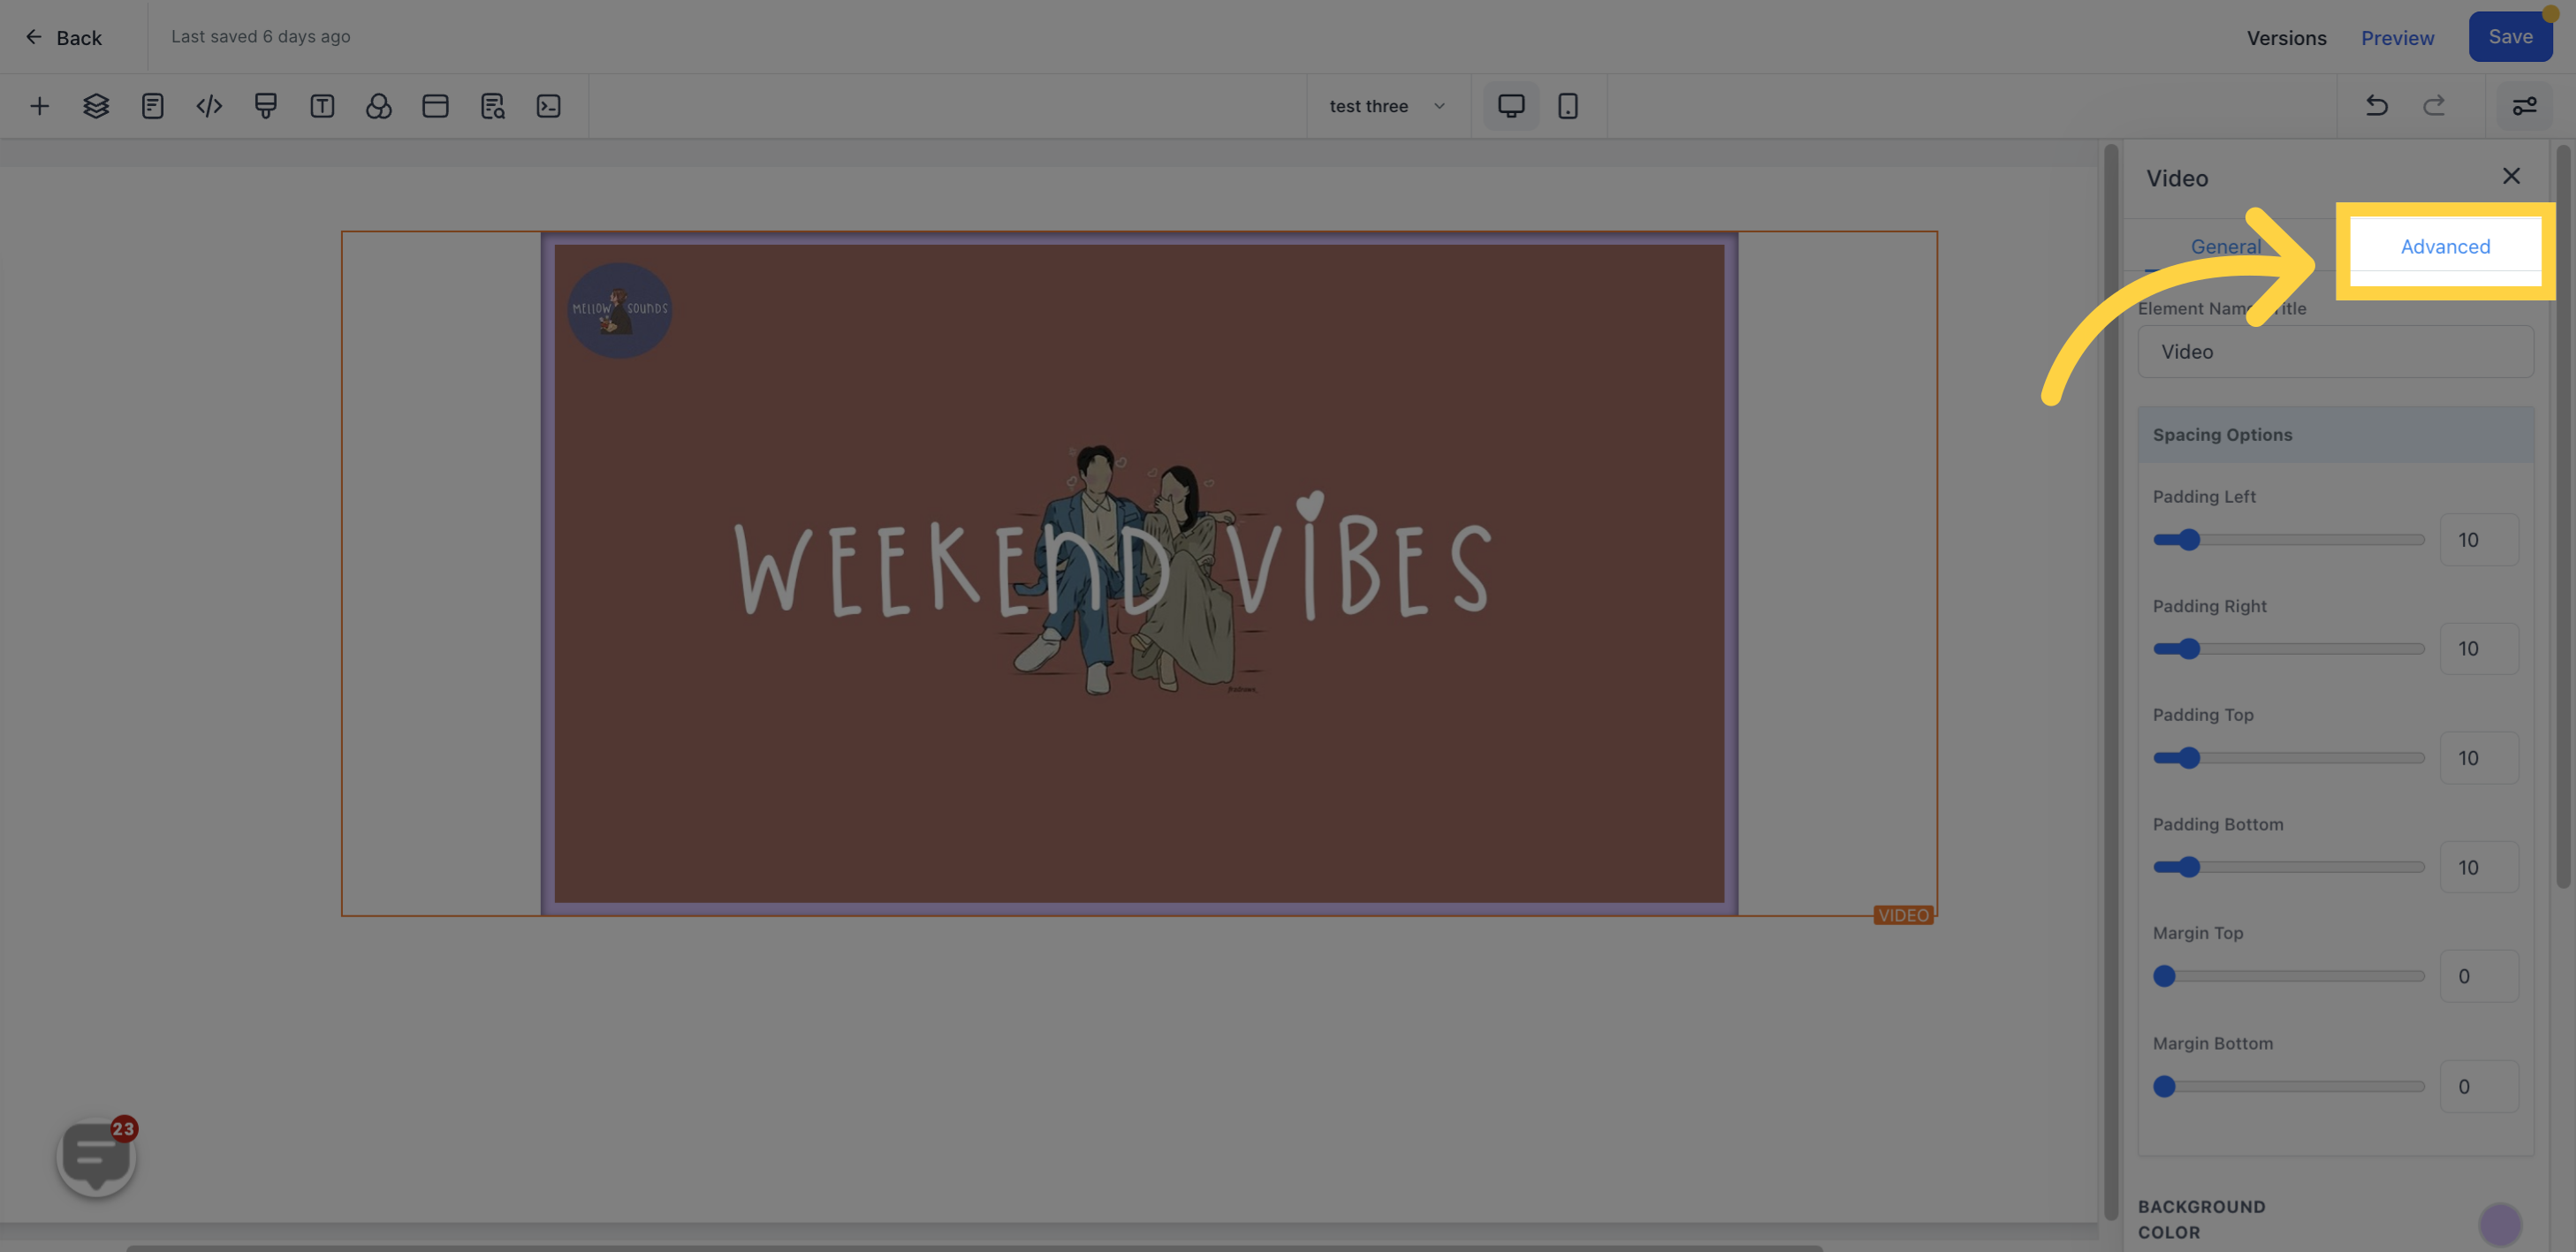
This shows the default name/title of the Edit option being worked on, which can be renamed.
Four toggle bars for moving content to the left, right, top, or bottom.
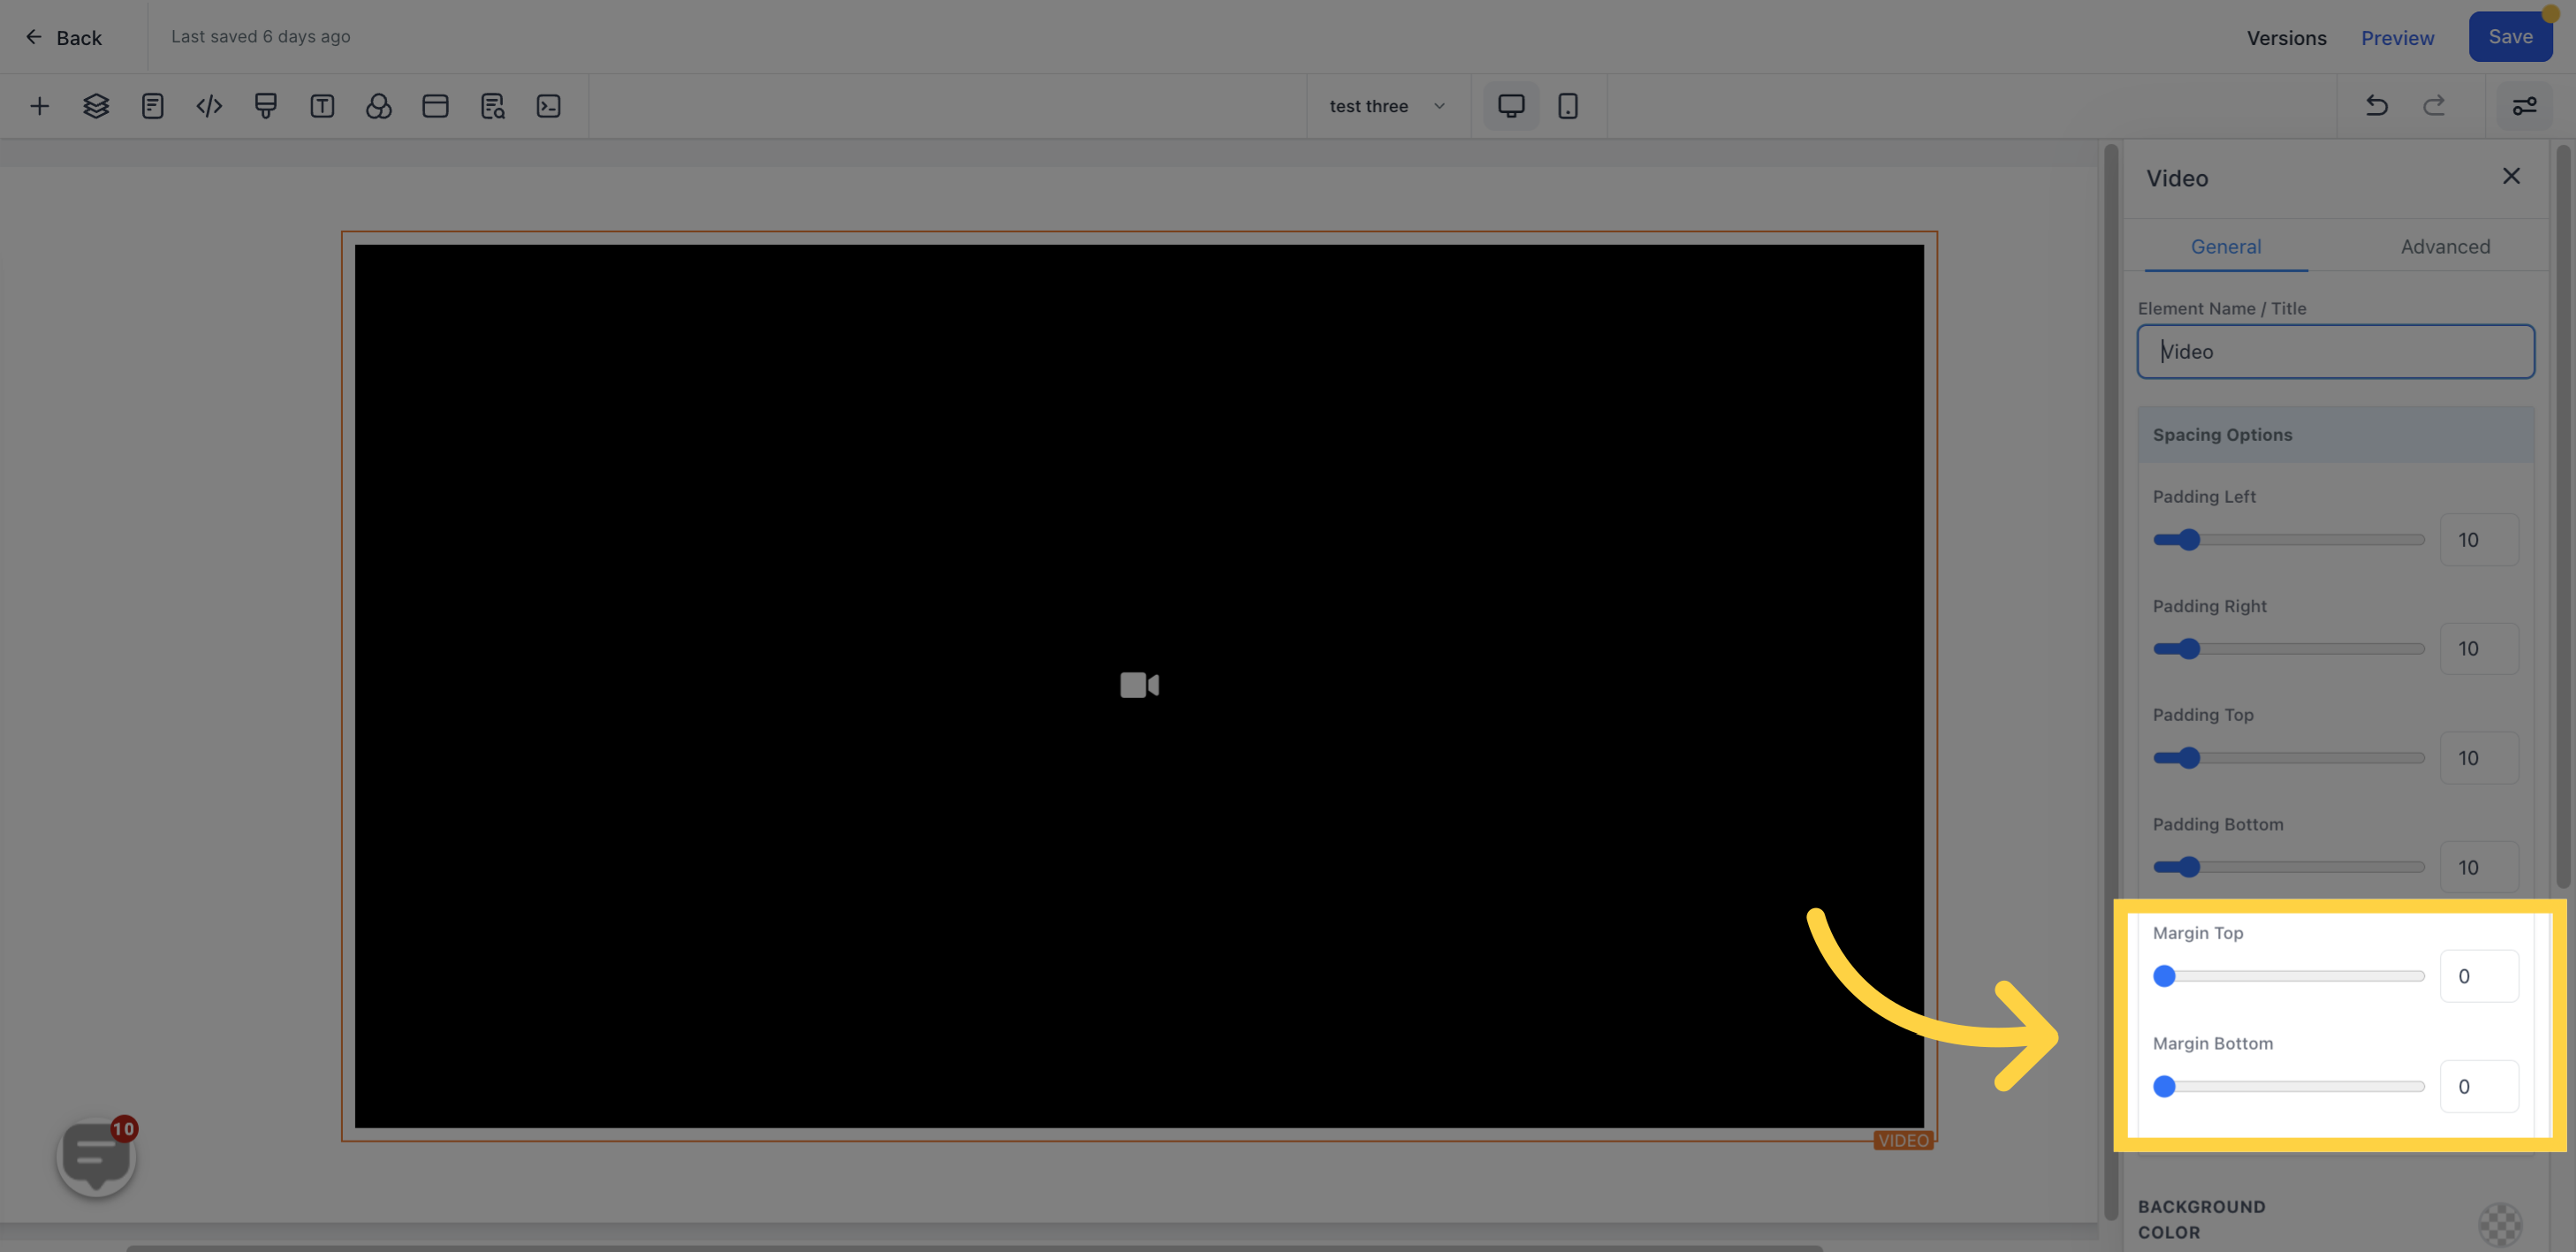
Bars for adjusting top or bottom margin of content.
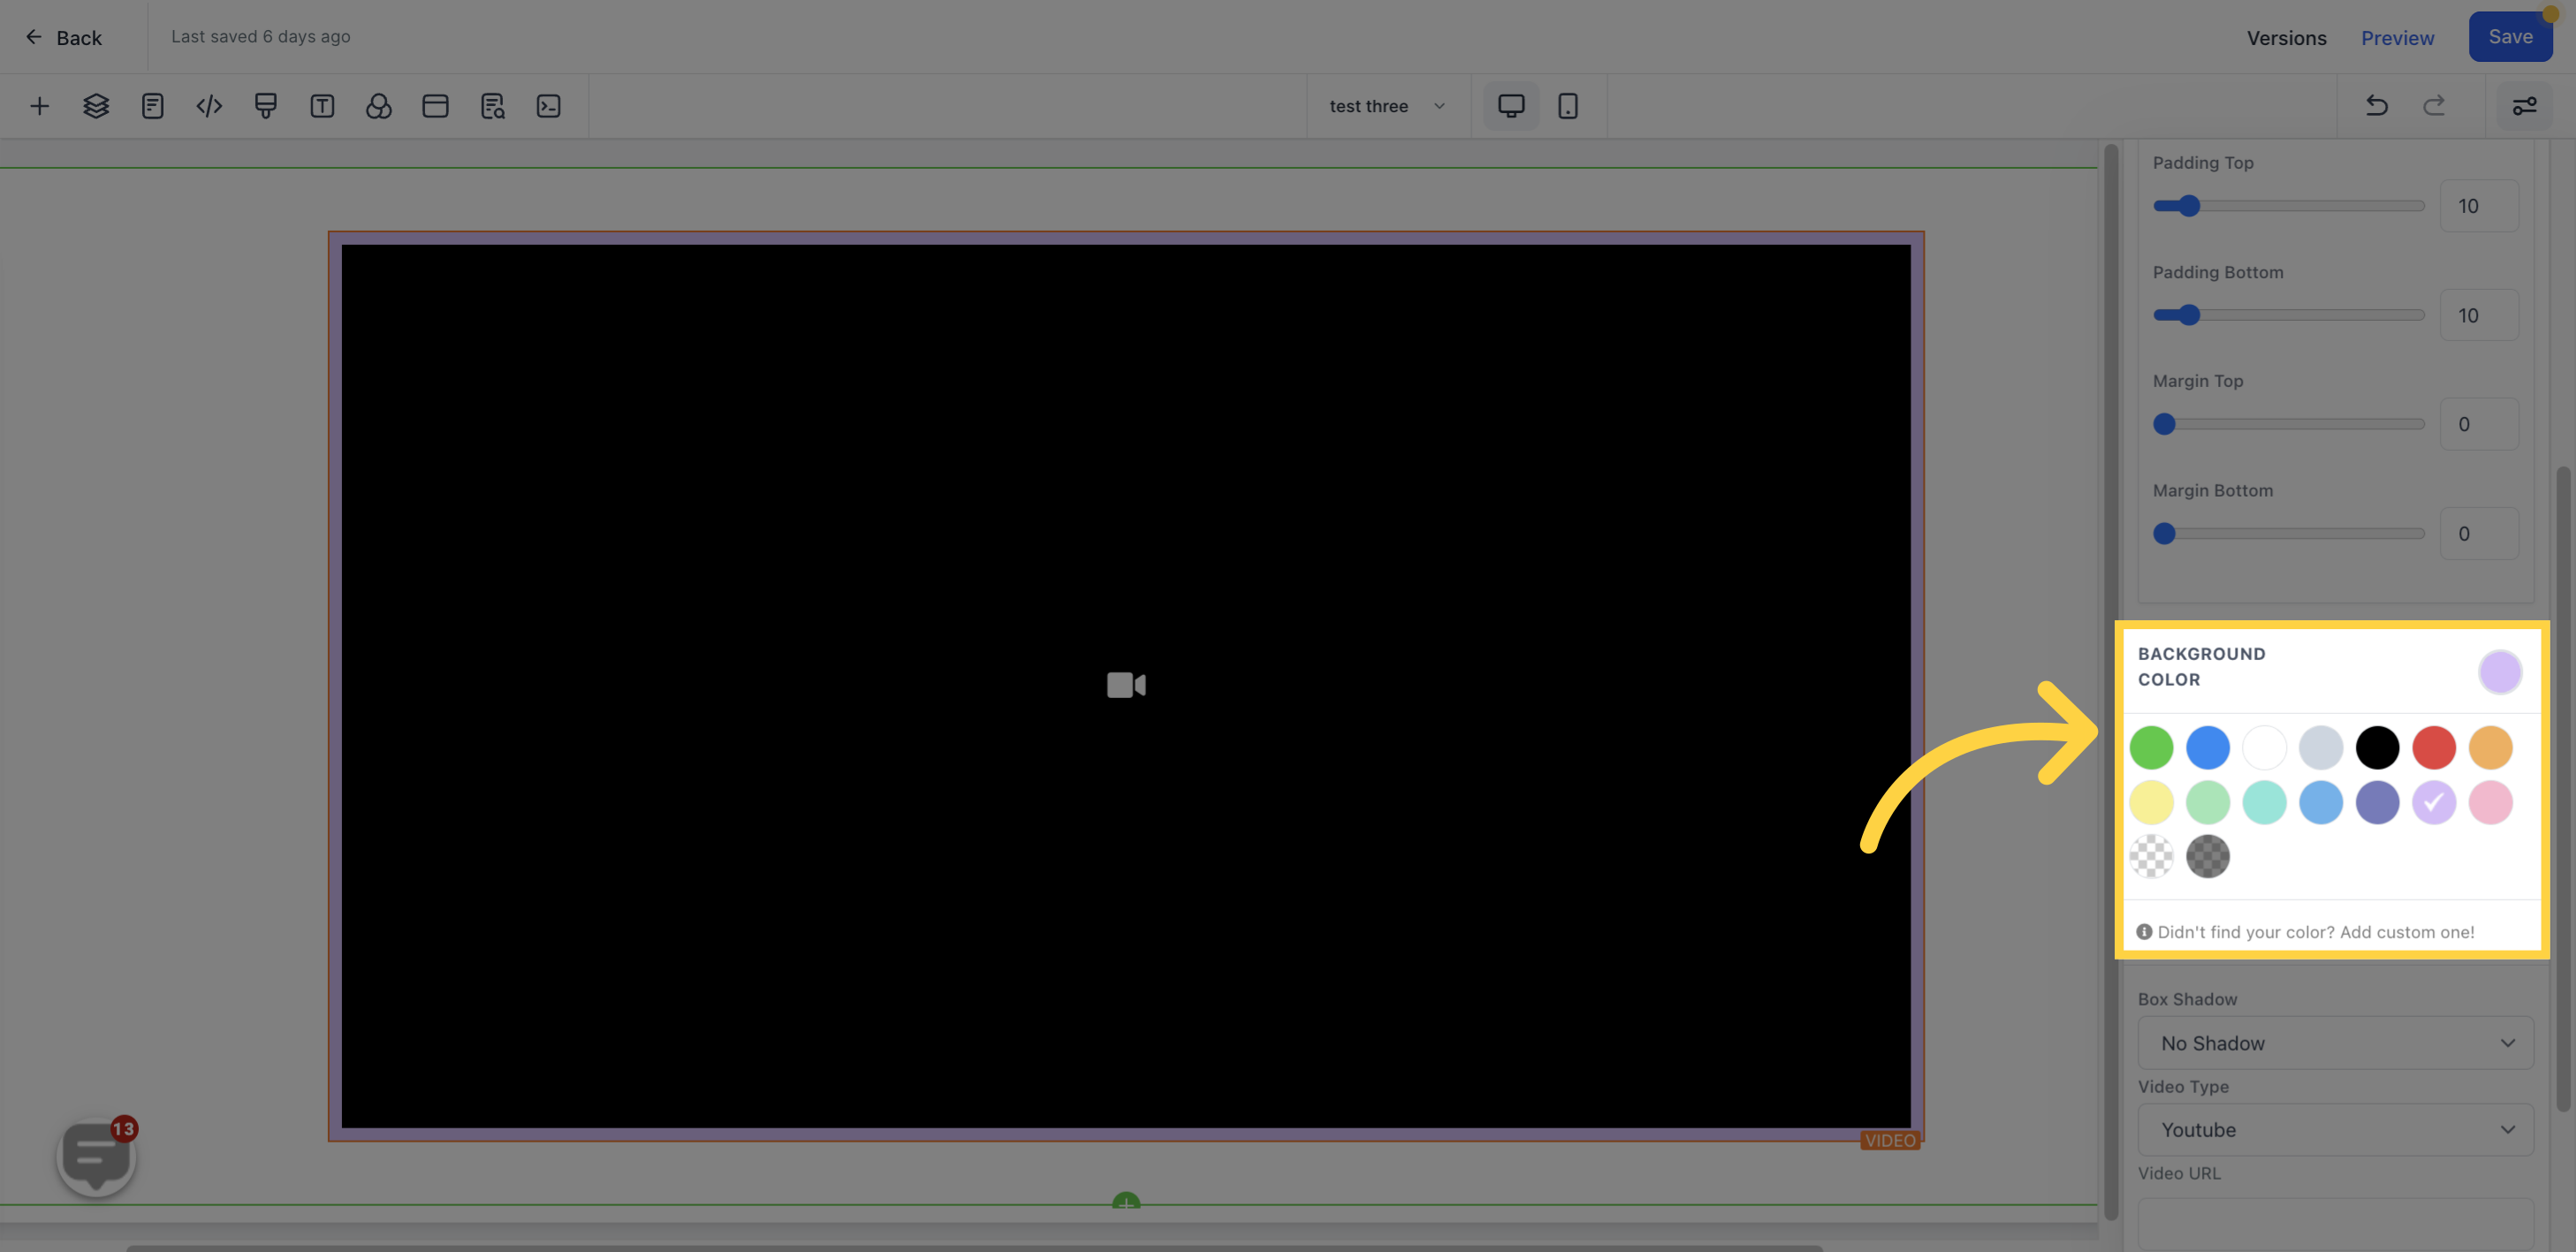
To change the background color of the video, click on the desired content.
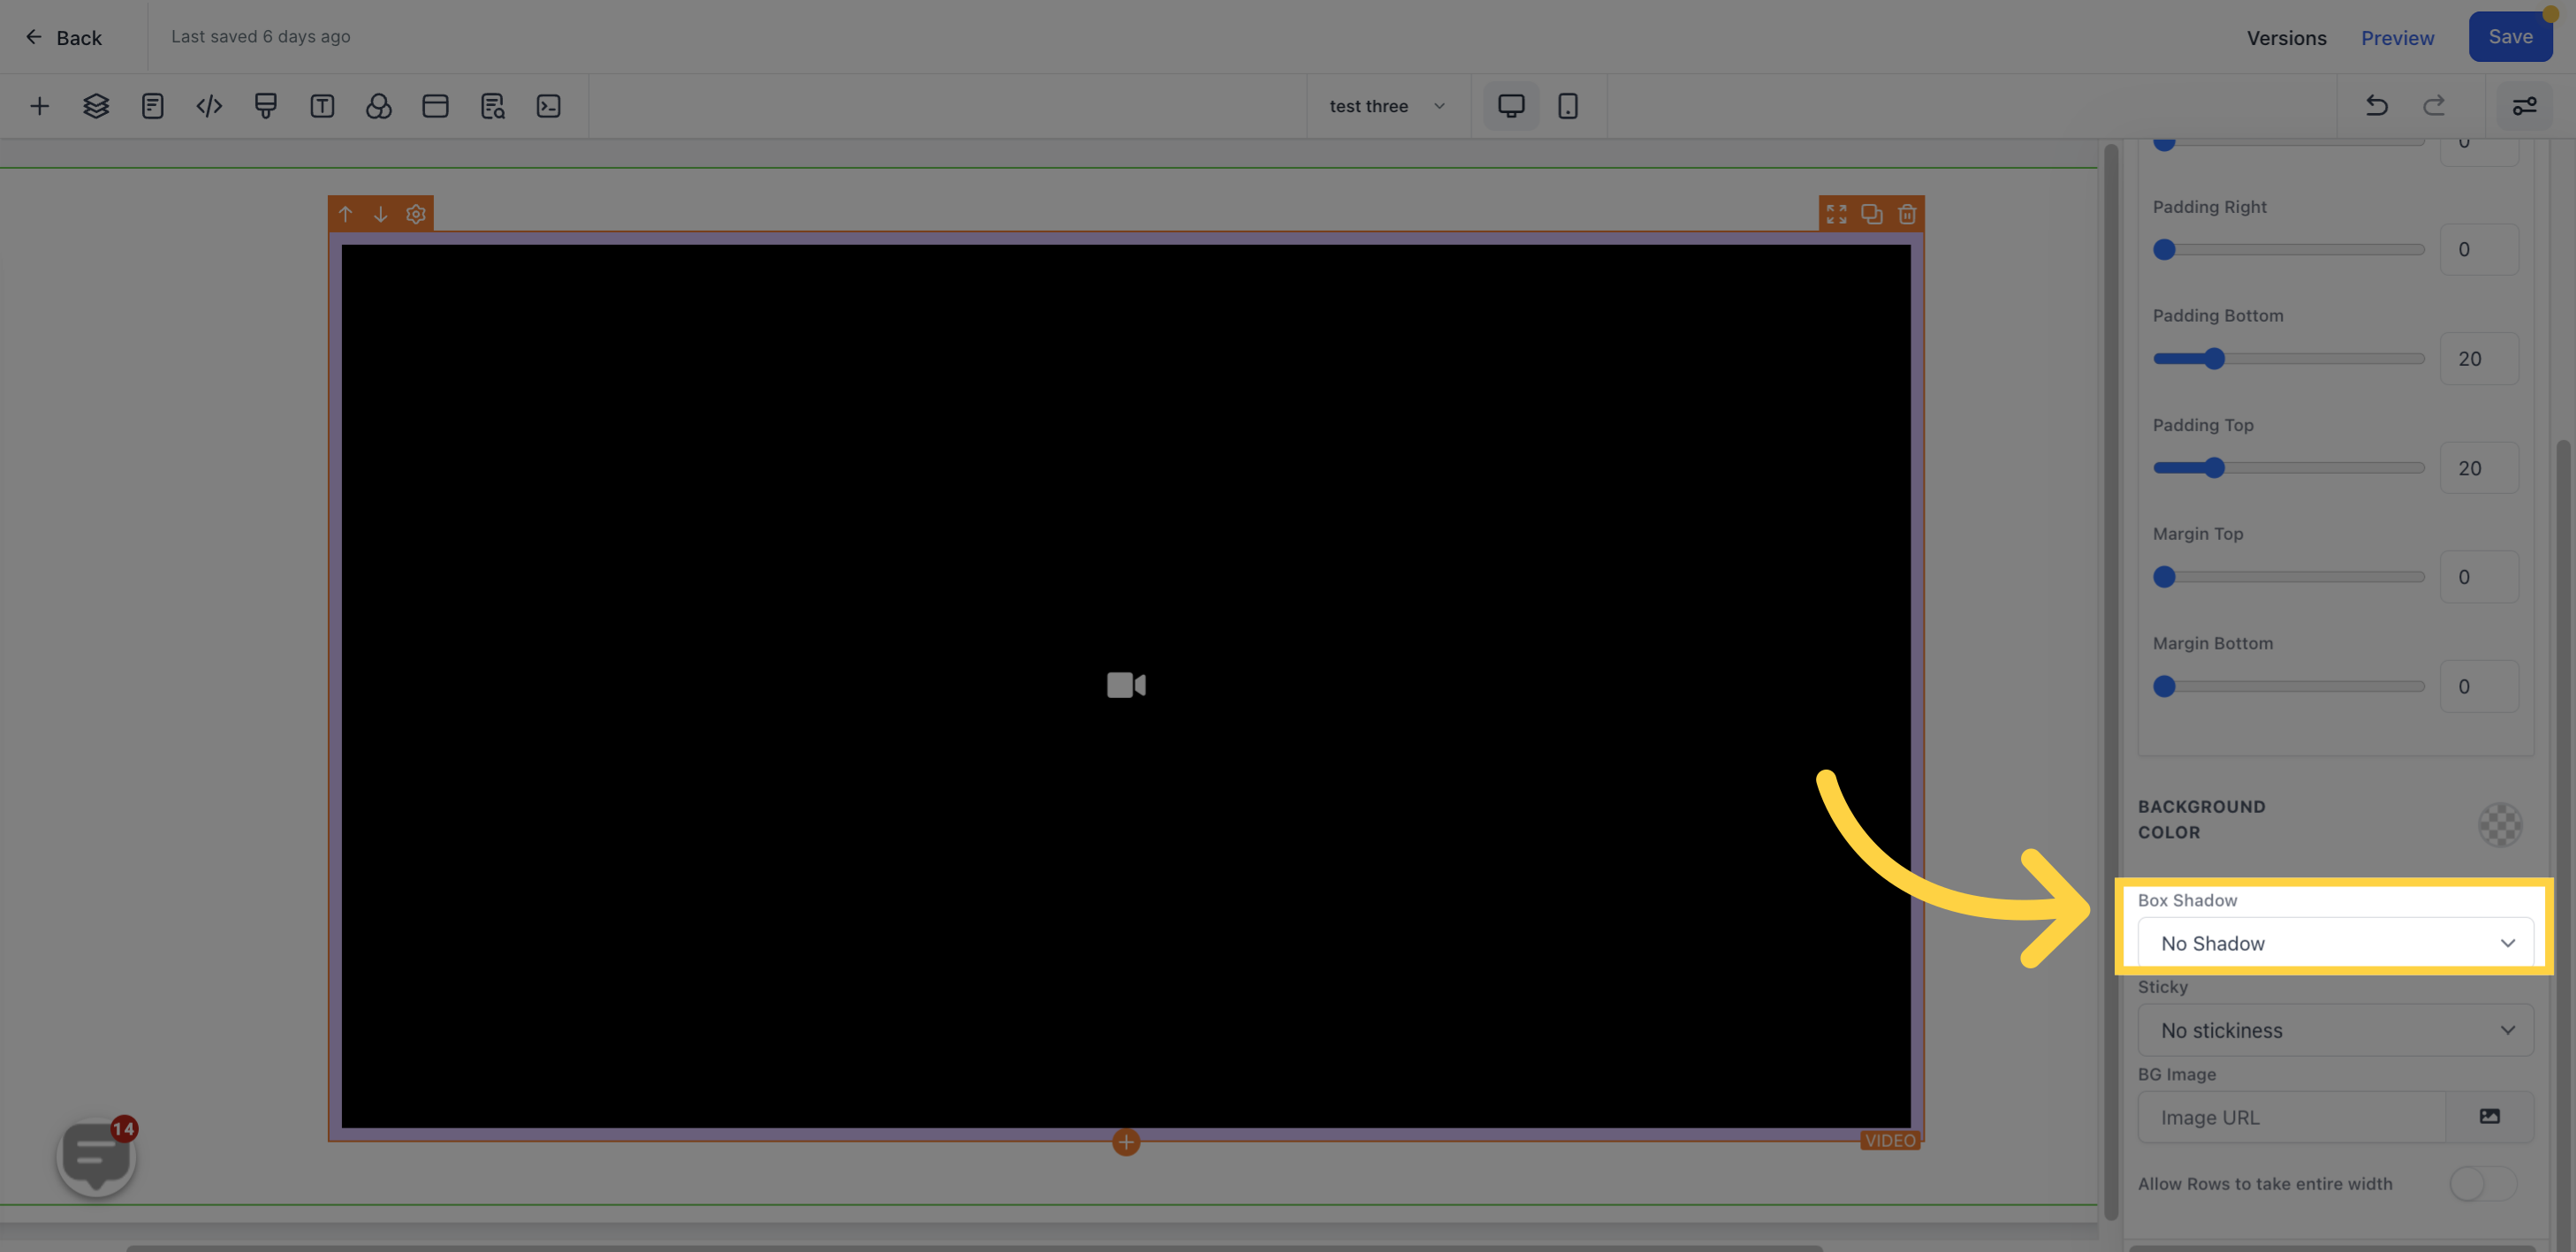
Add shadow to the box to make the border visible.
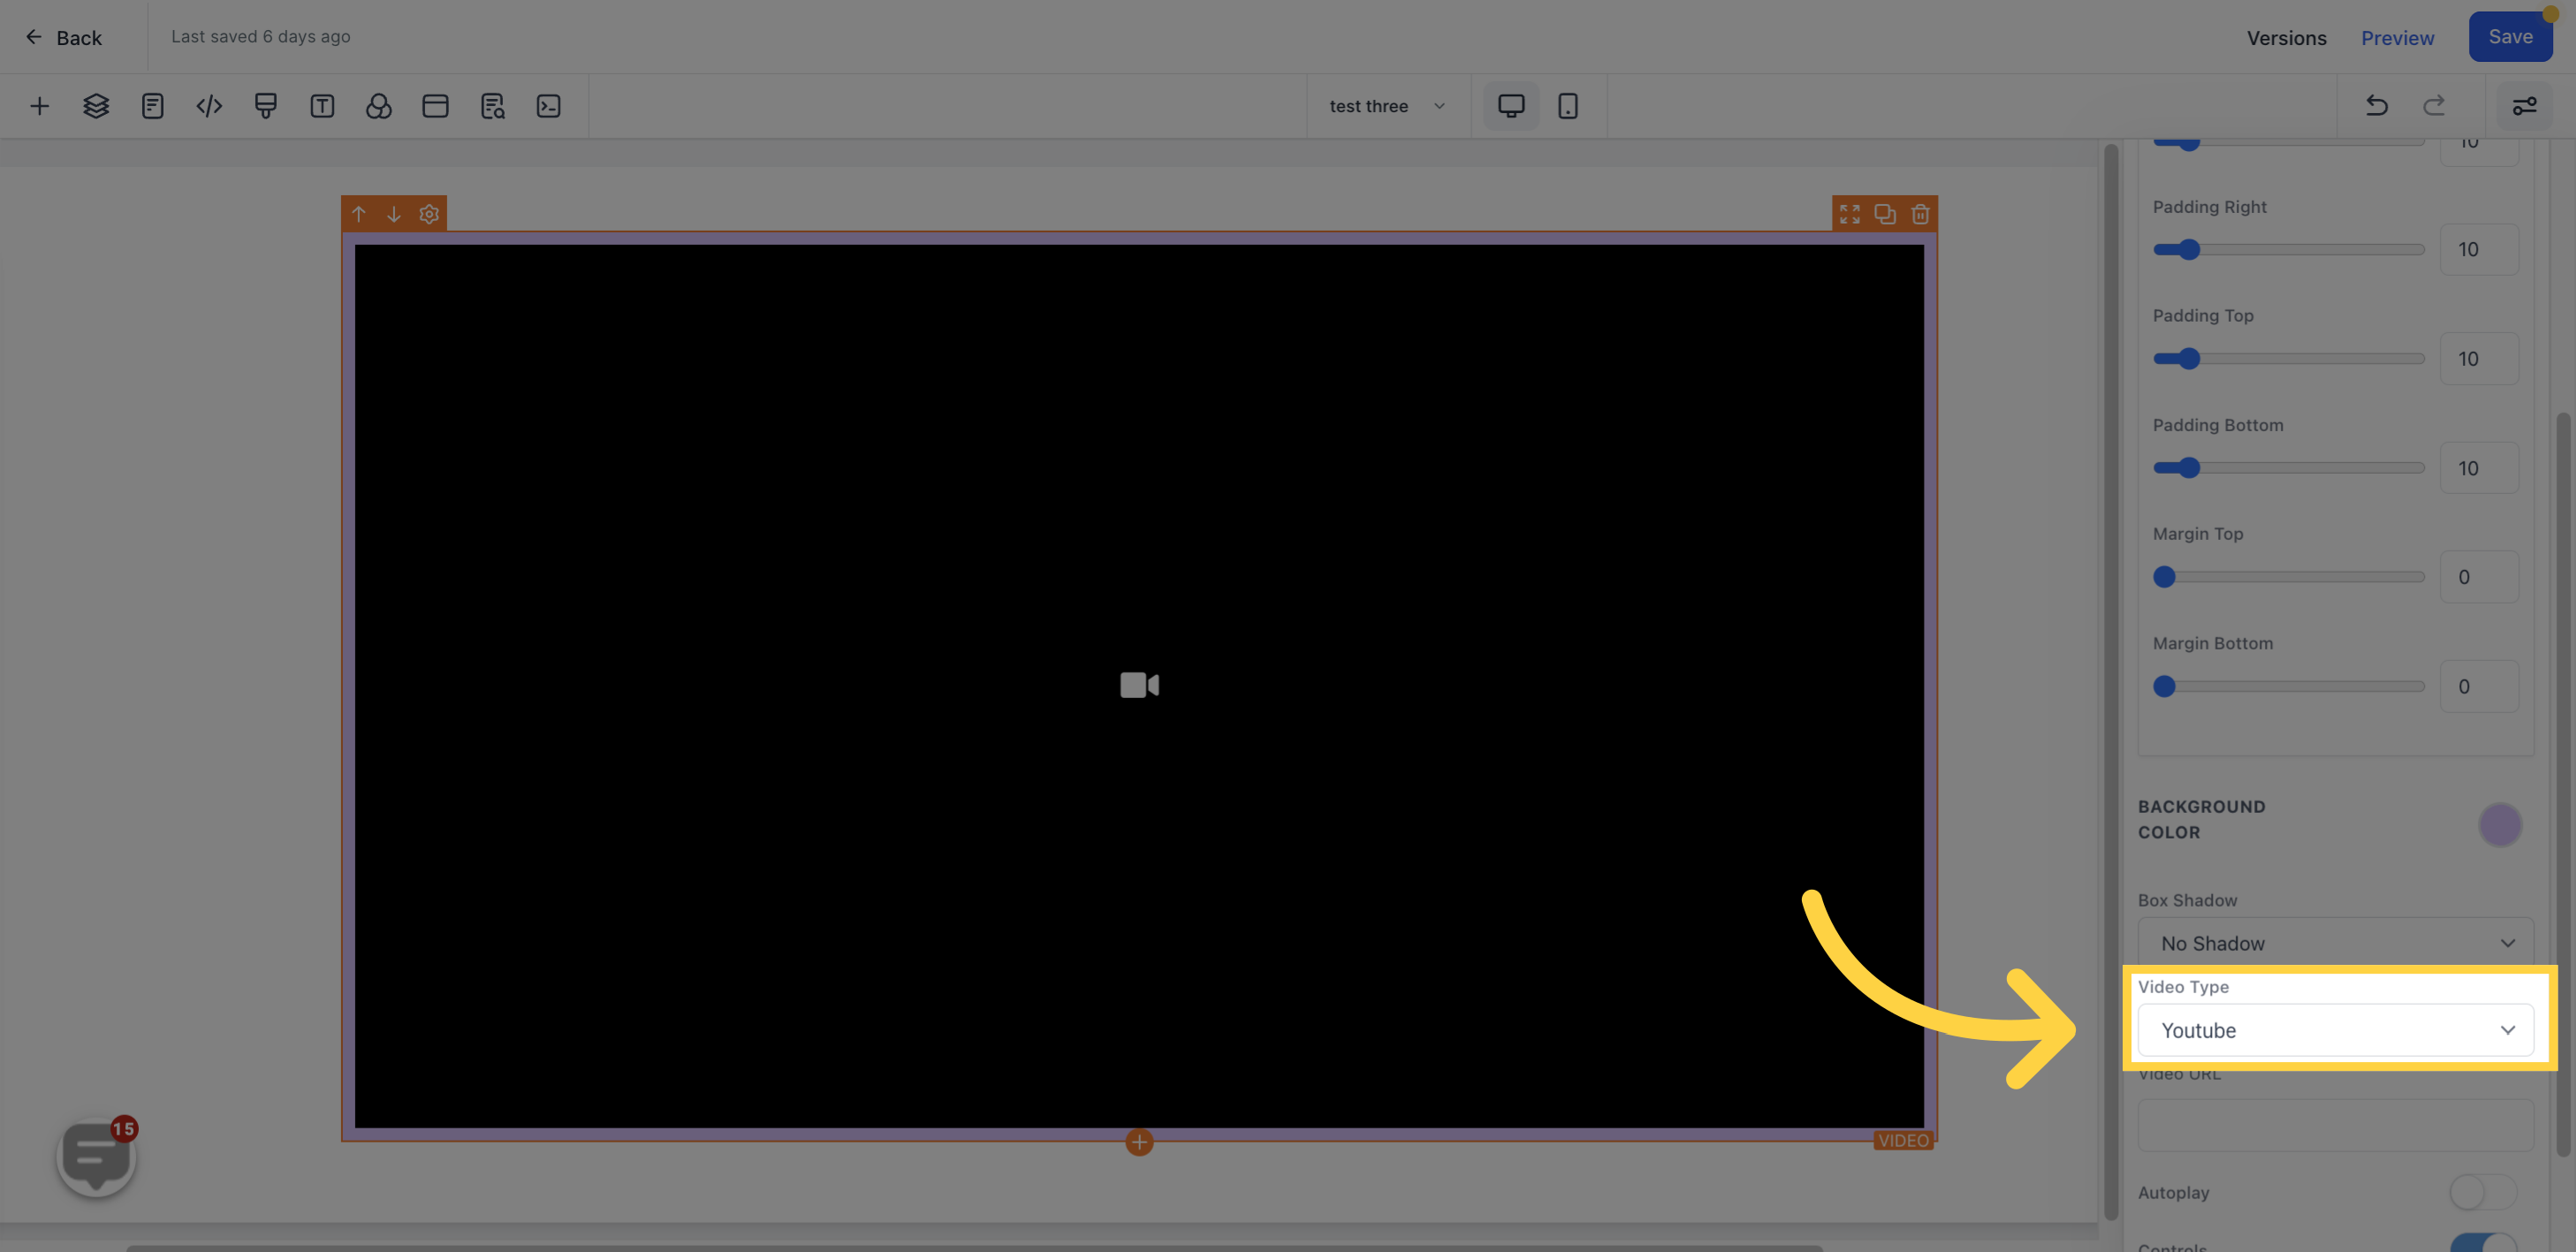
Choose the preferred video type from the available options.
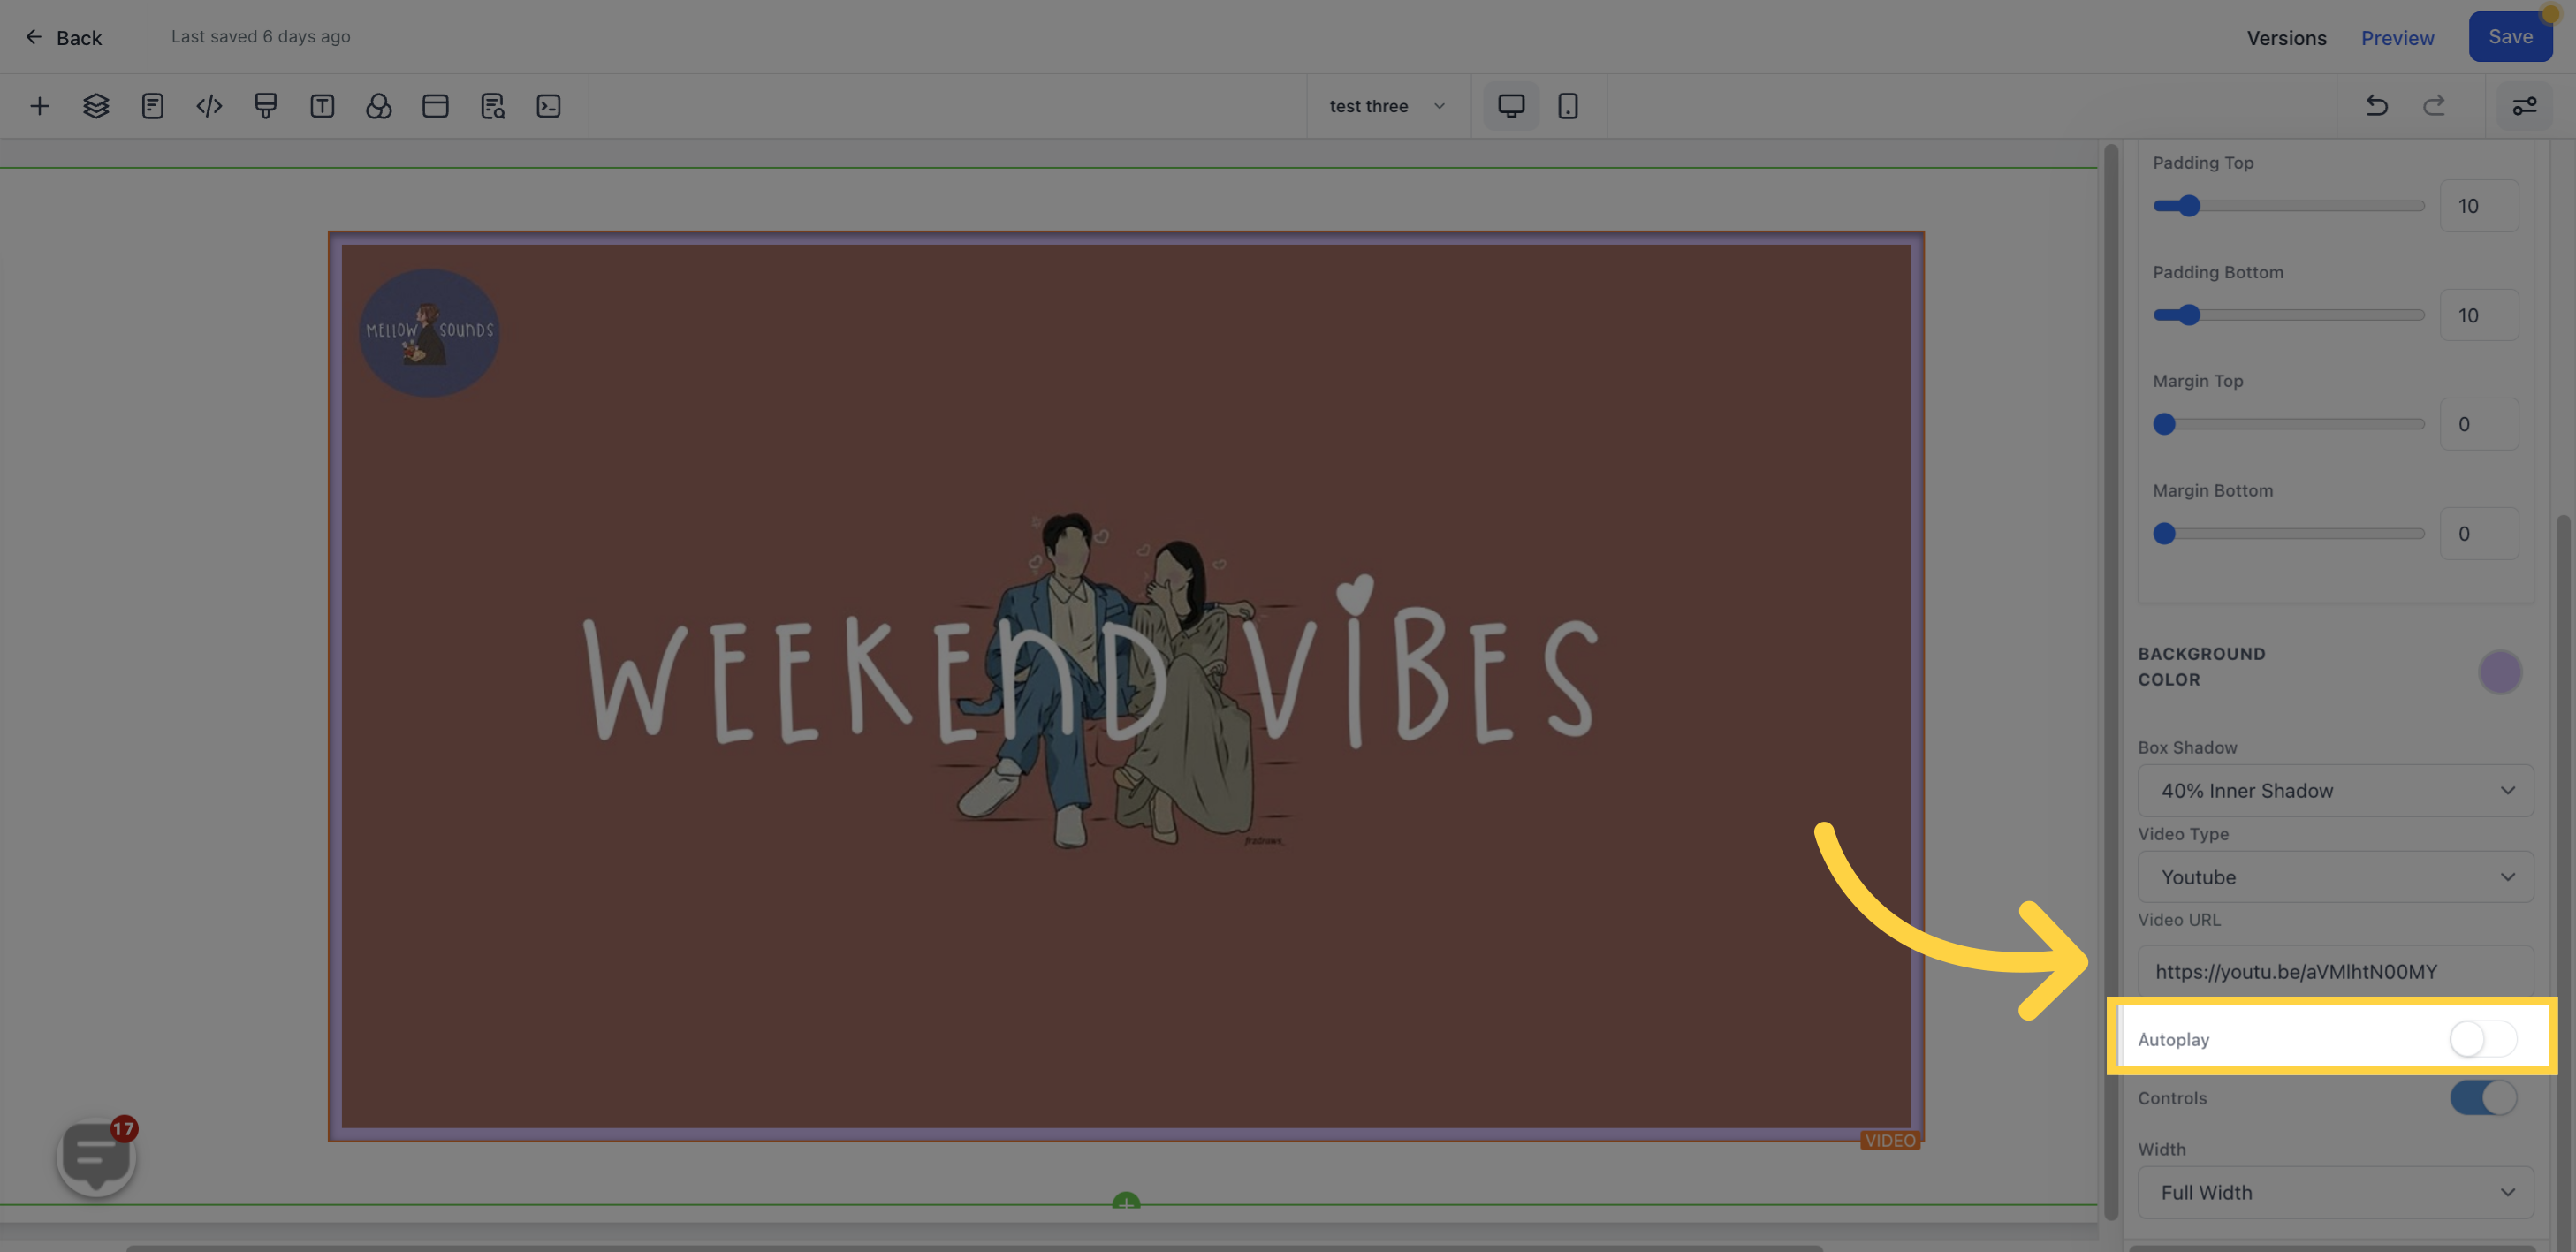
Input the video URL here to display it on the page.

Toggle to turn on the Auto-play option.
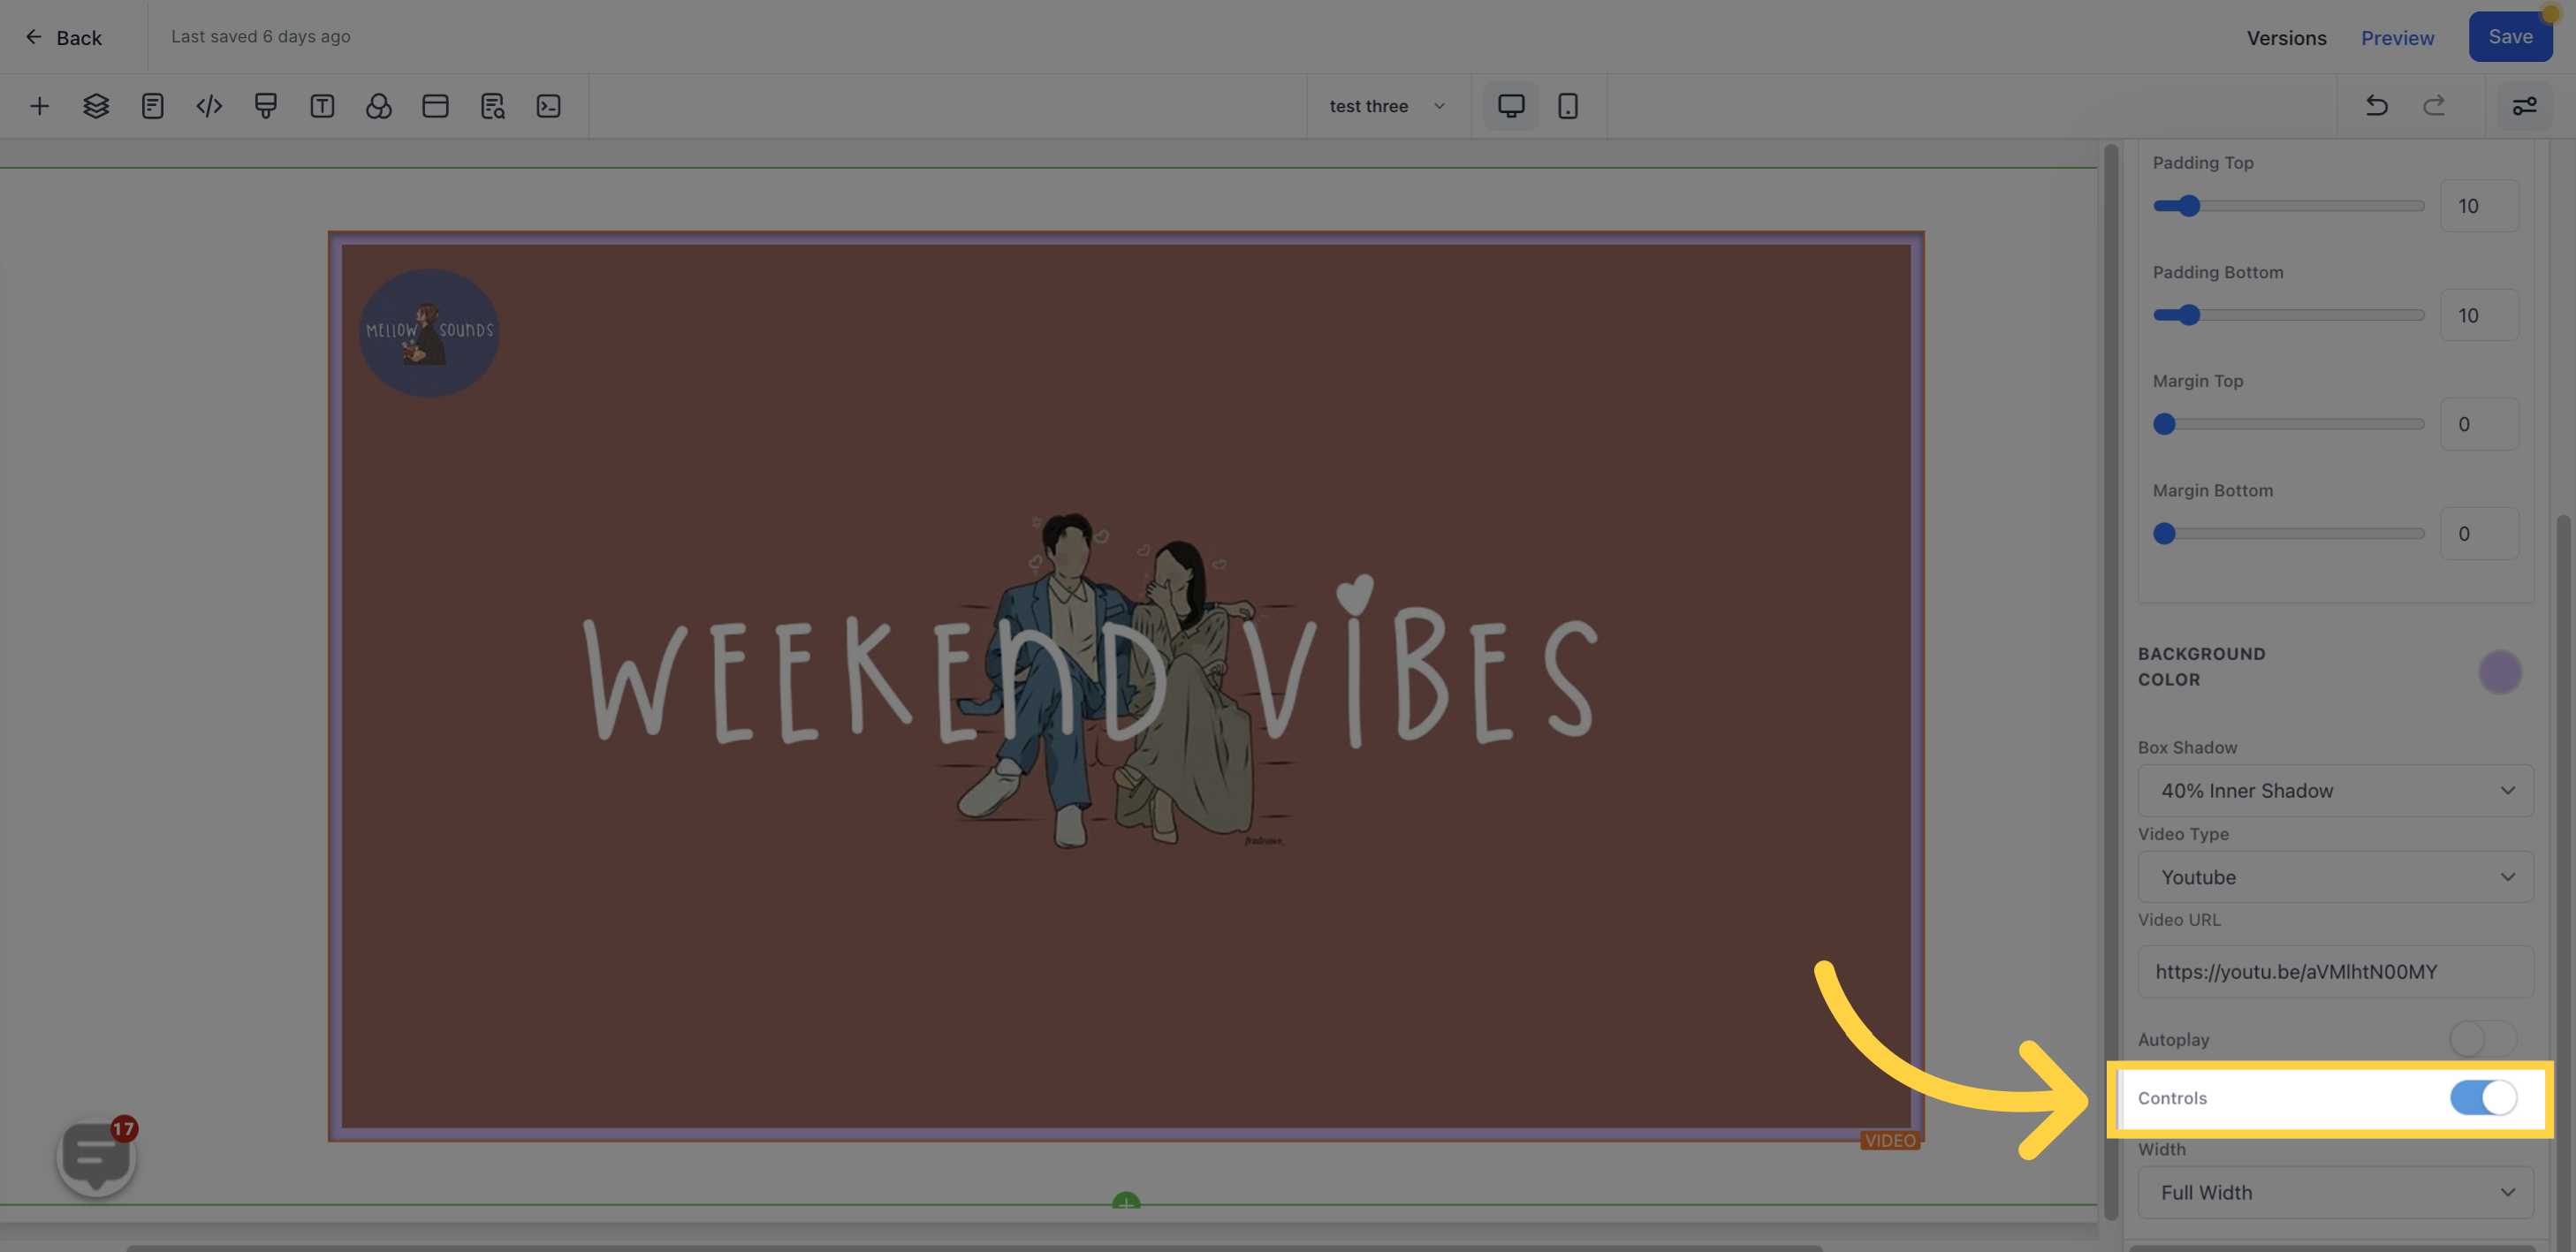
Toggle to have the video under parental control
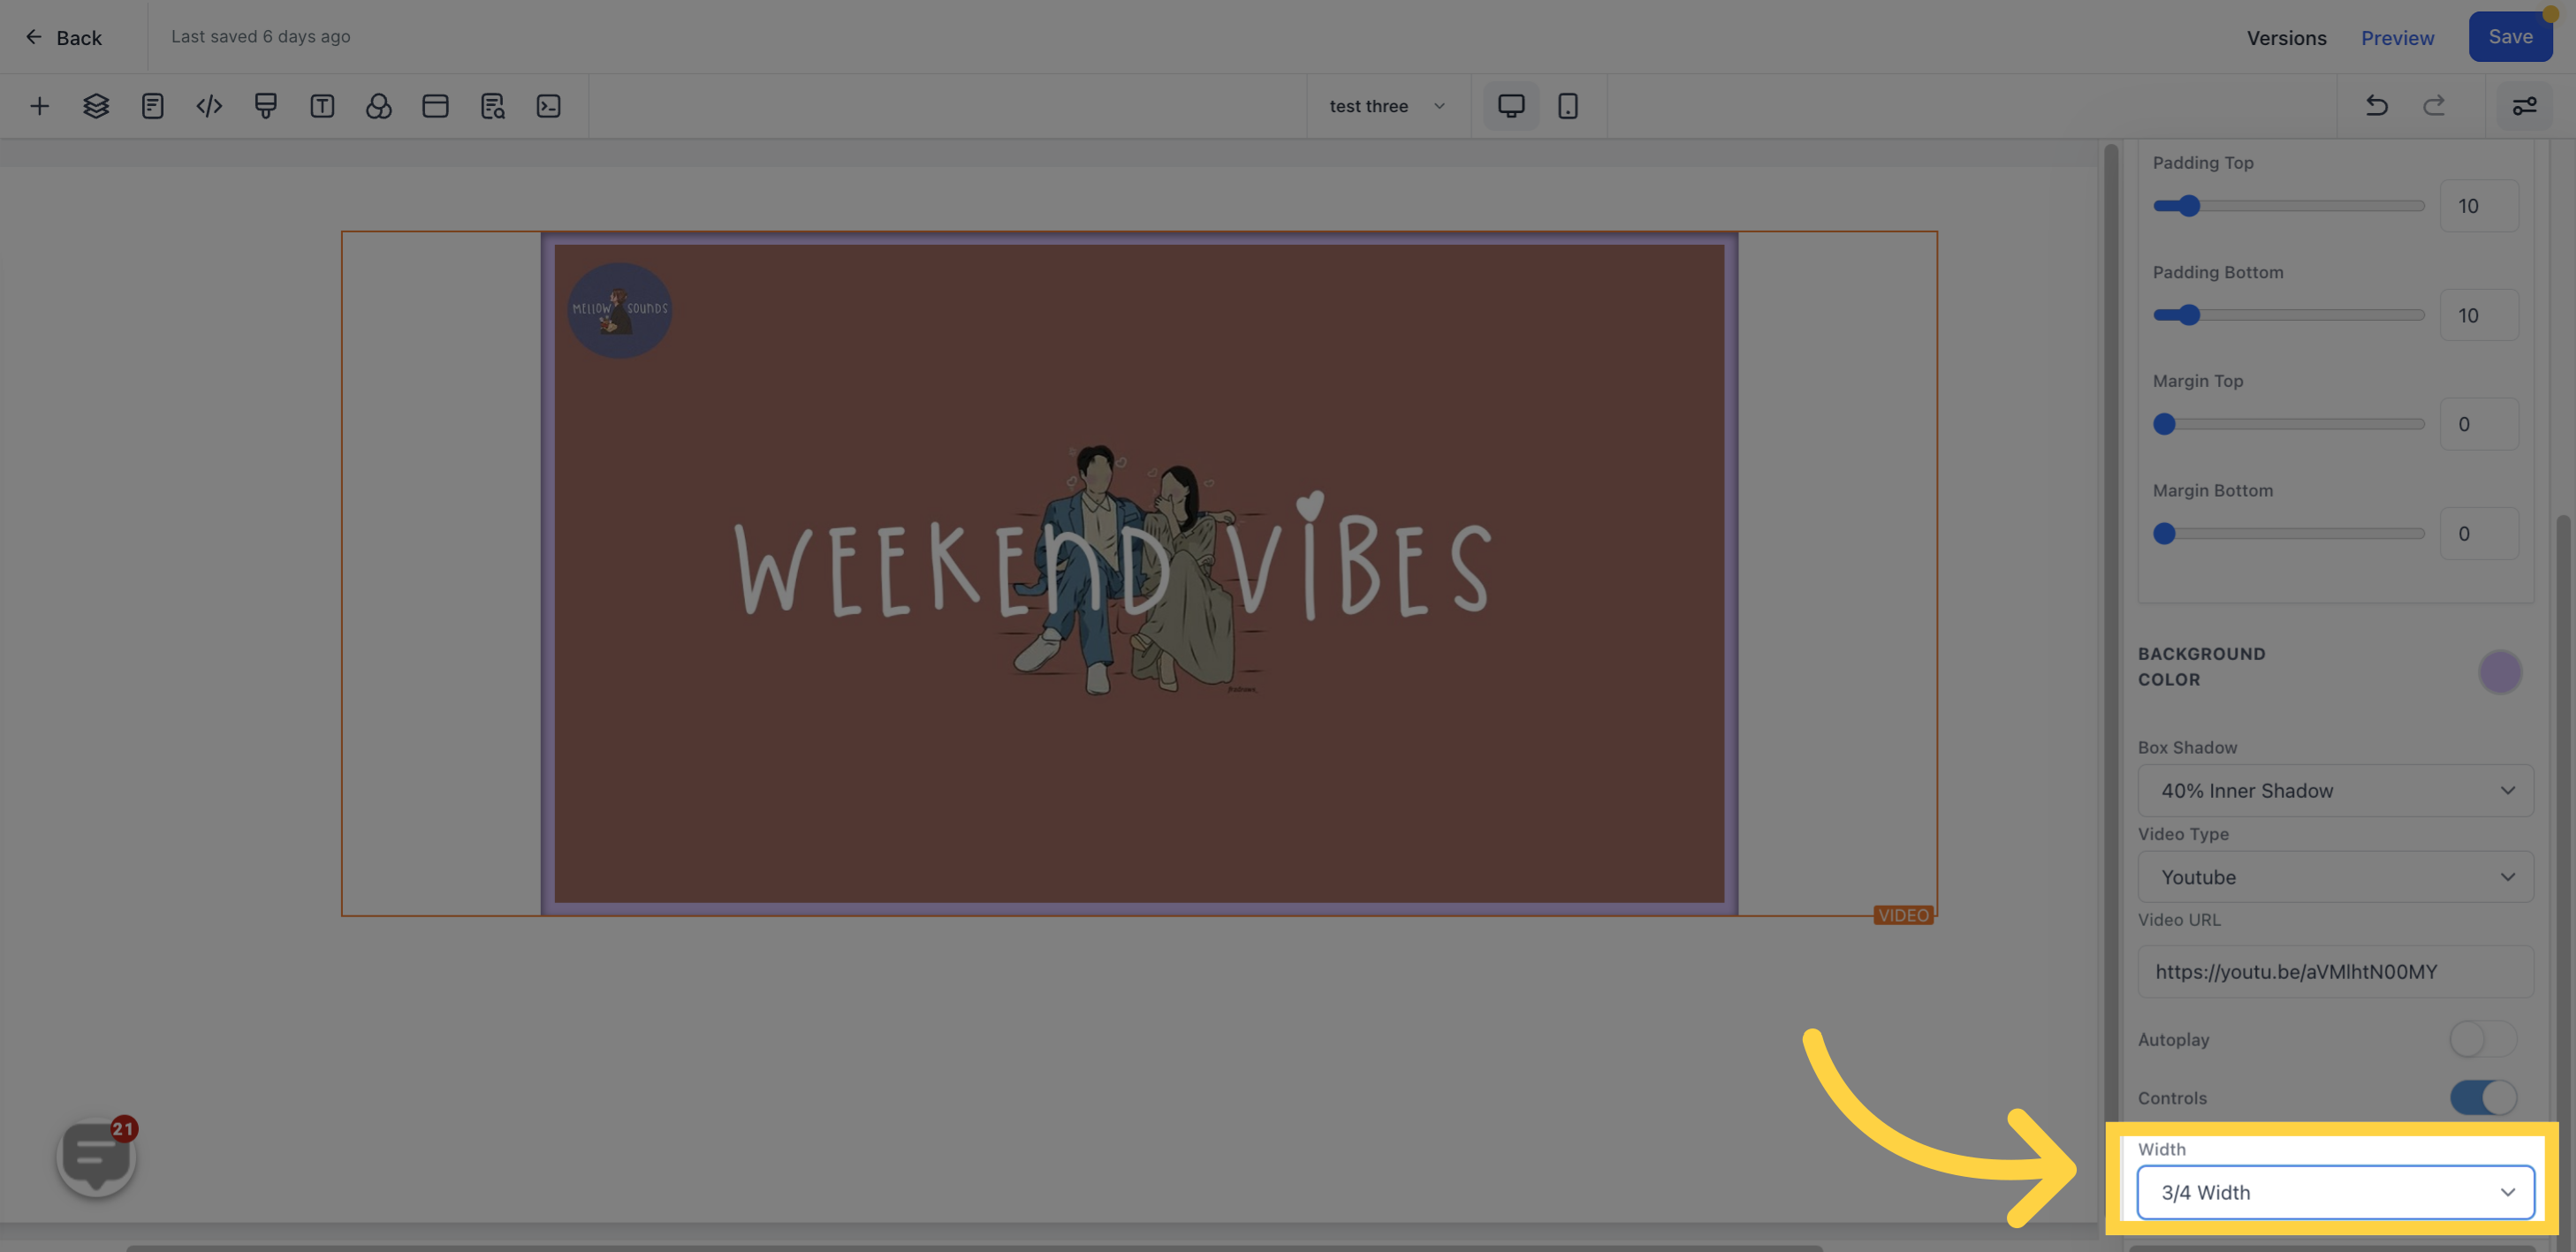
Adjust the size of the video to full width, 3/4 width, or half-width.
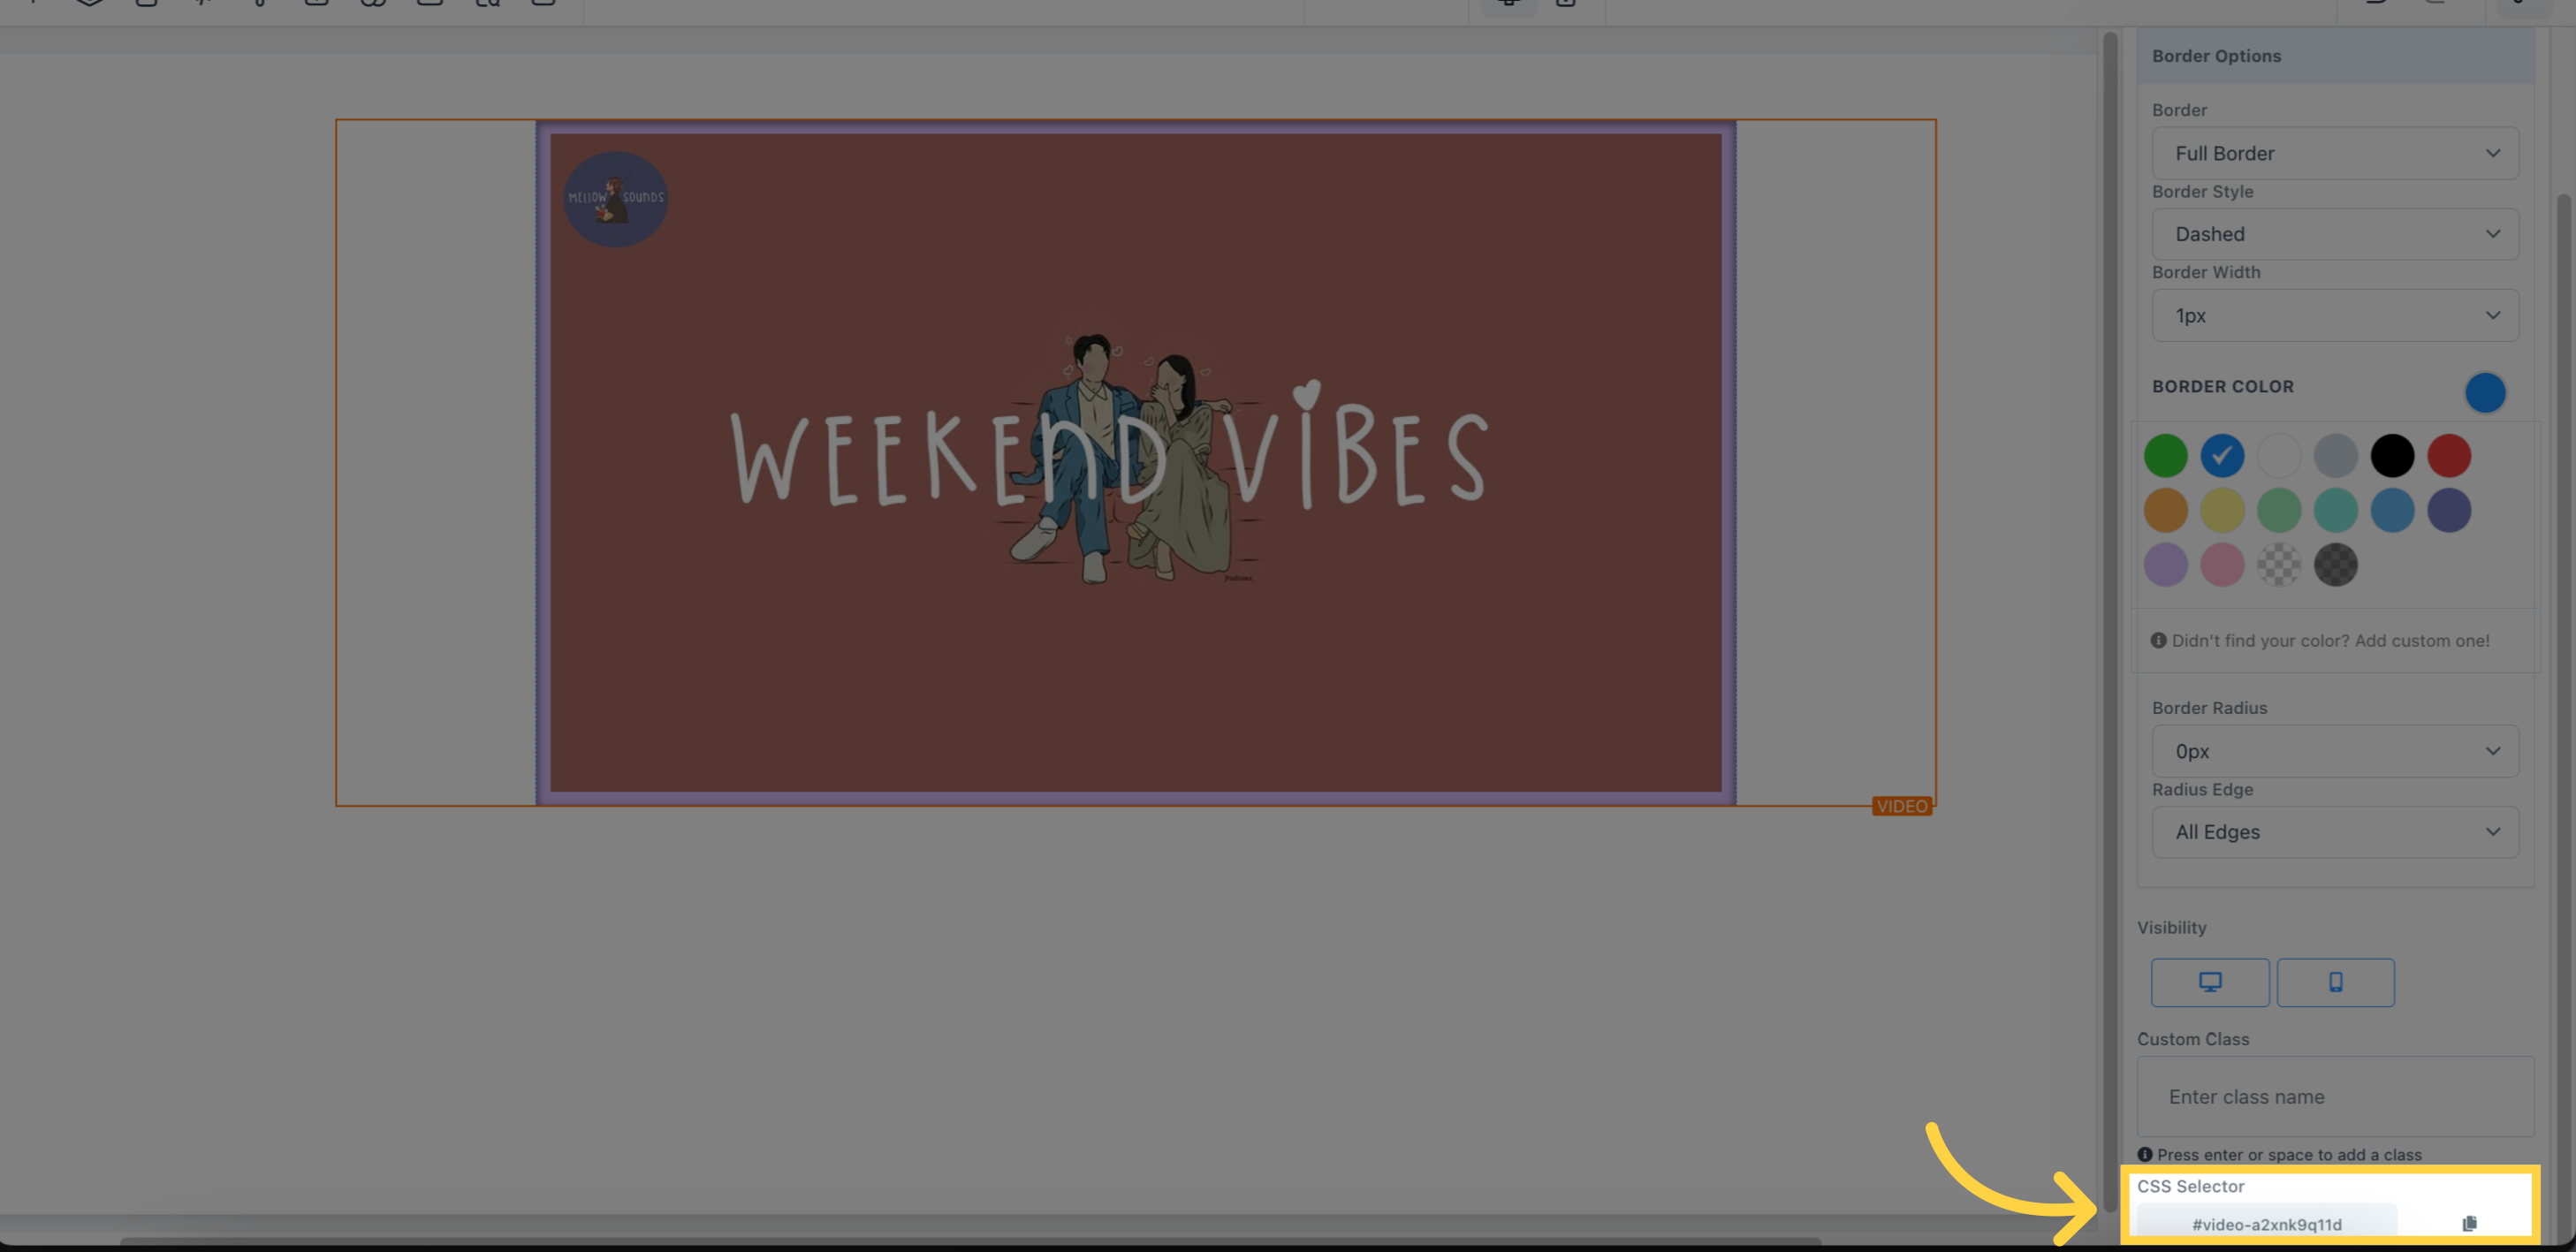
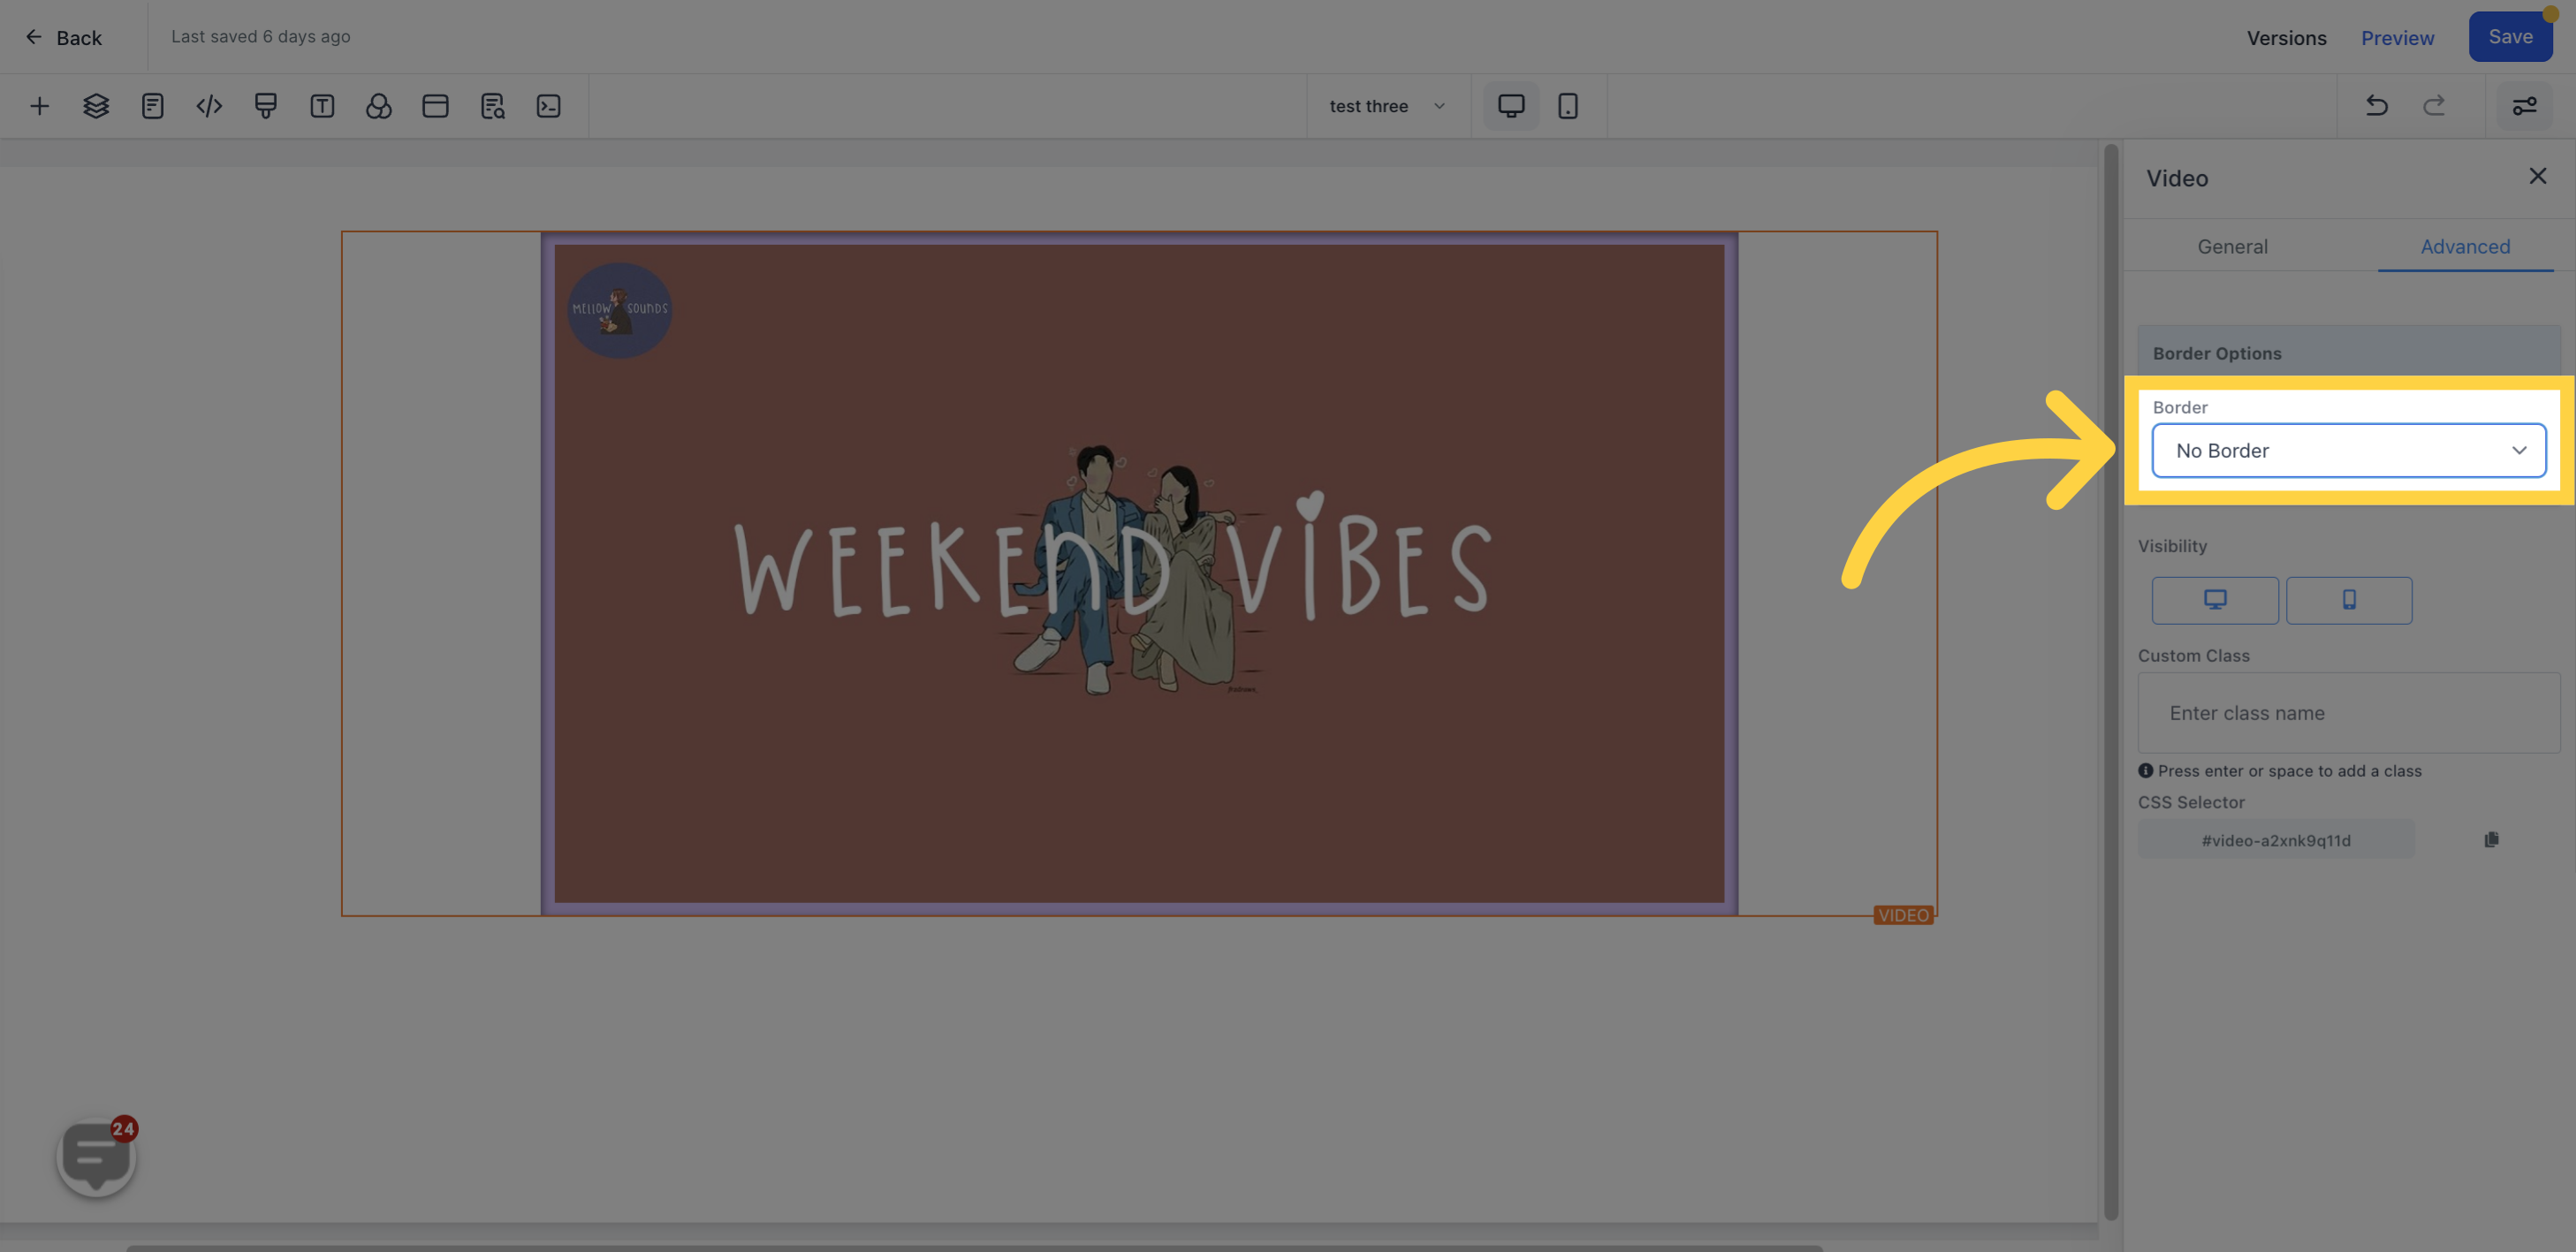
Decide what type of borderline is wanted.
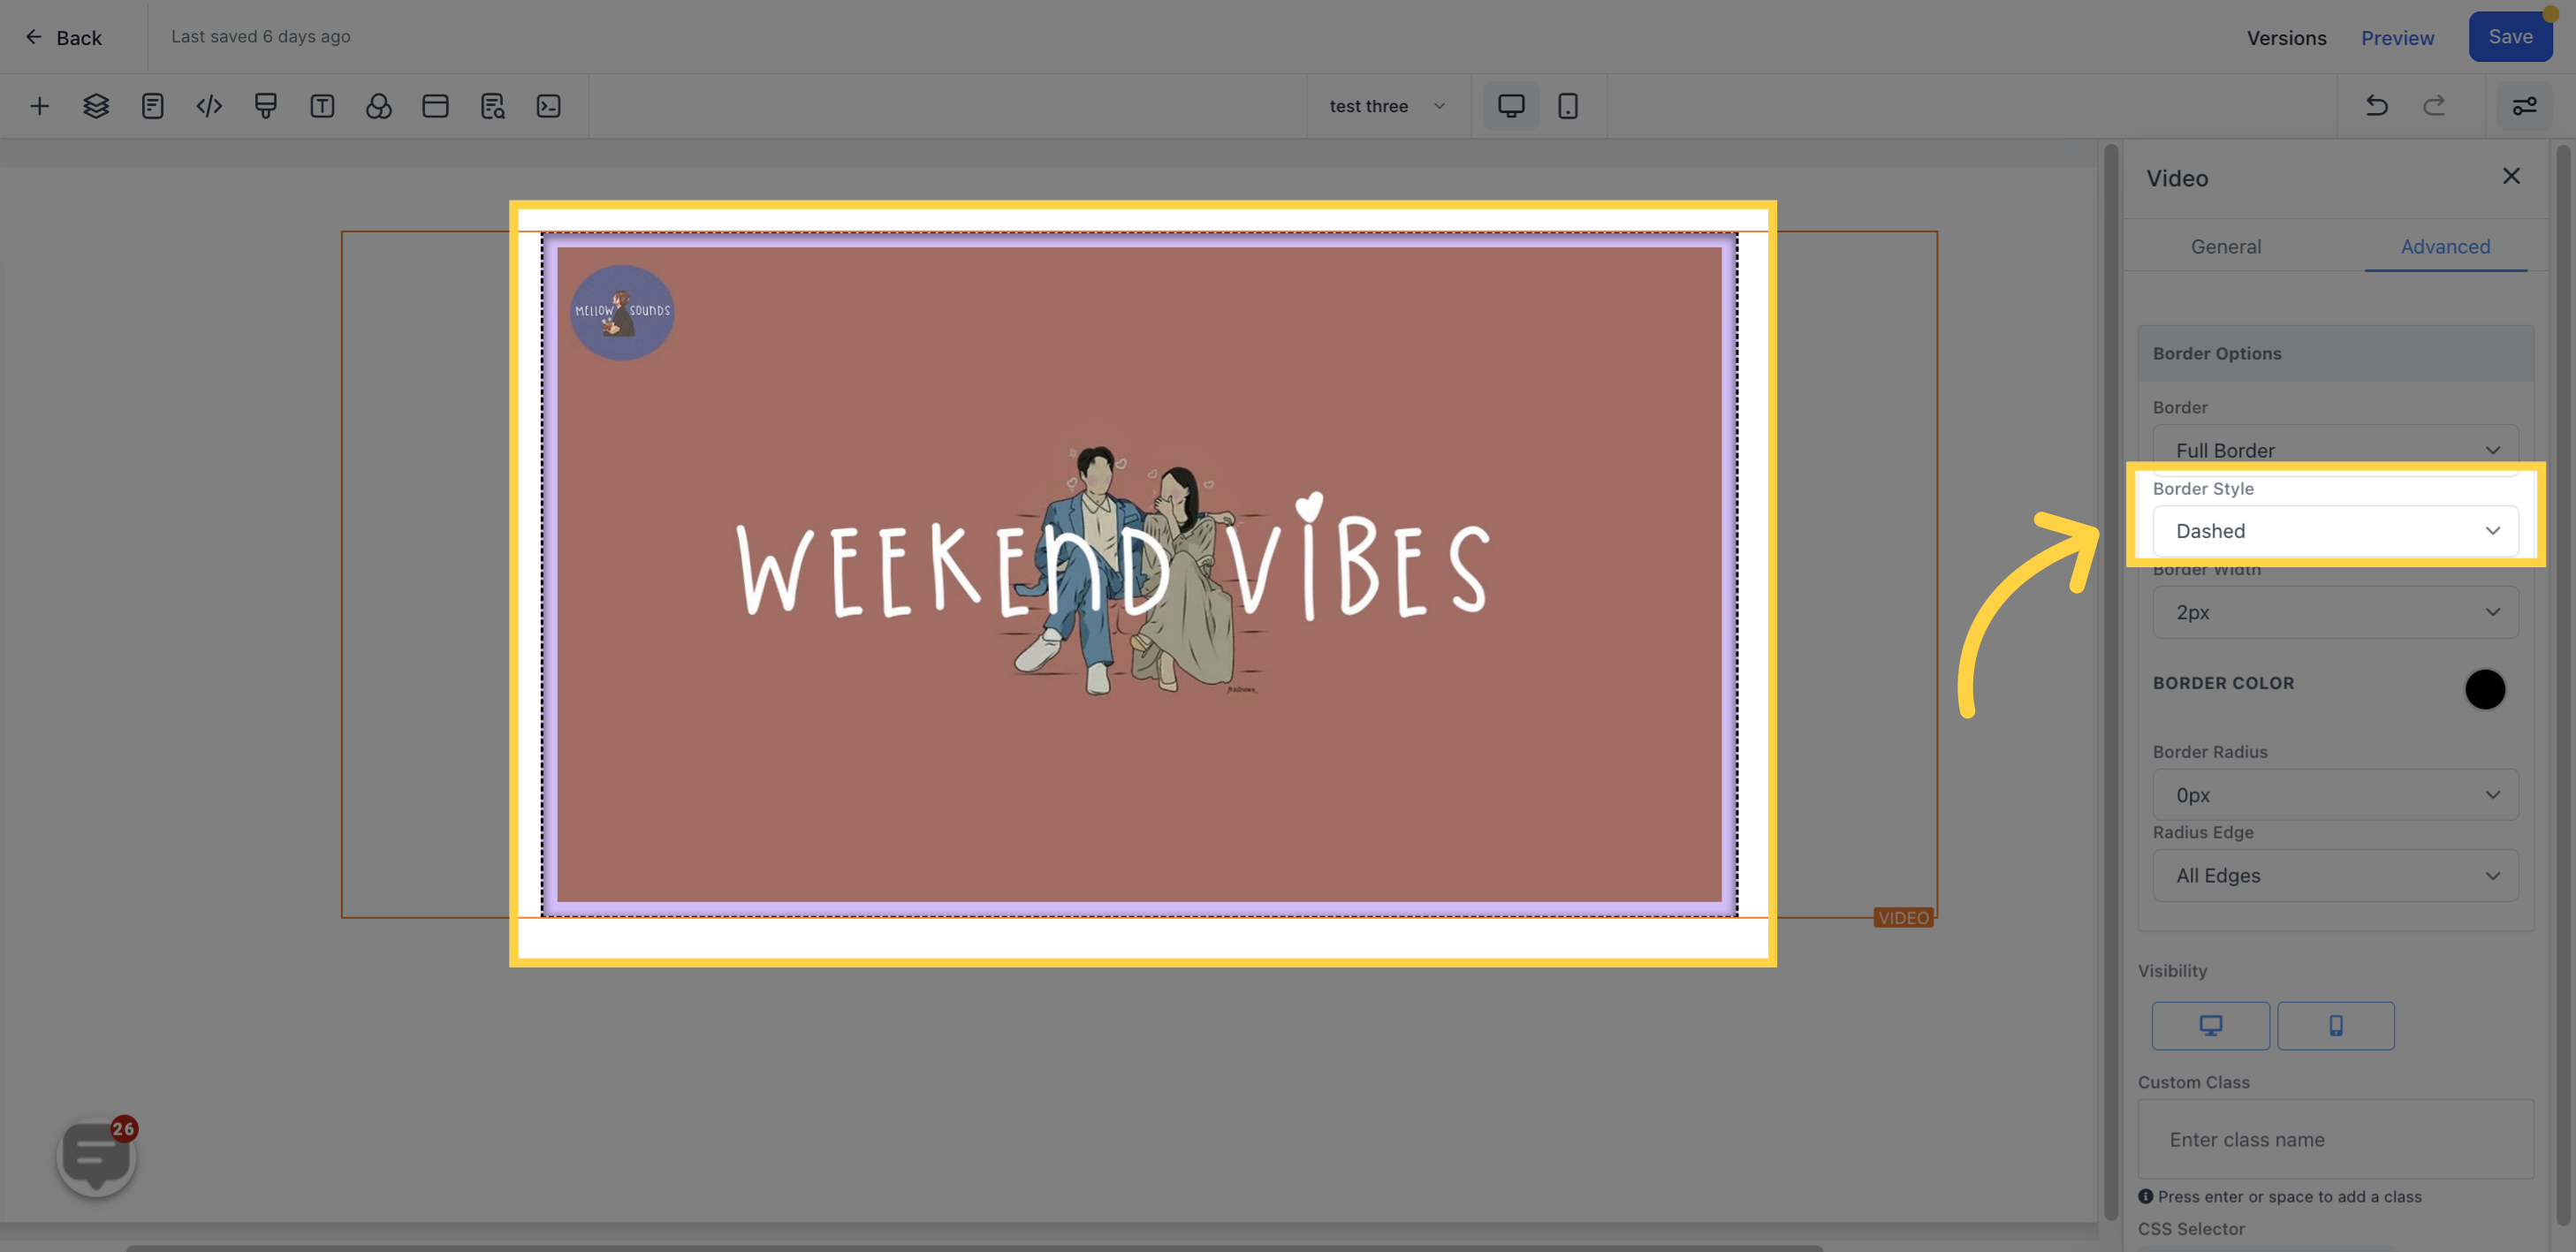
Select the type of borderline style desired.
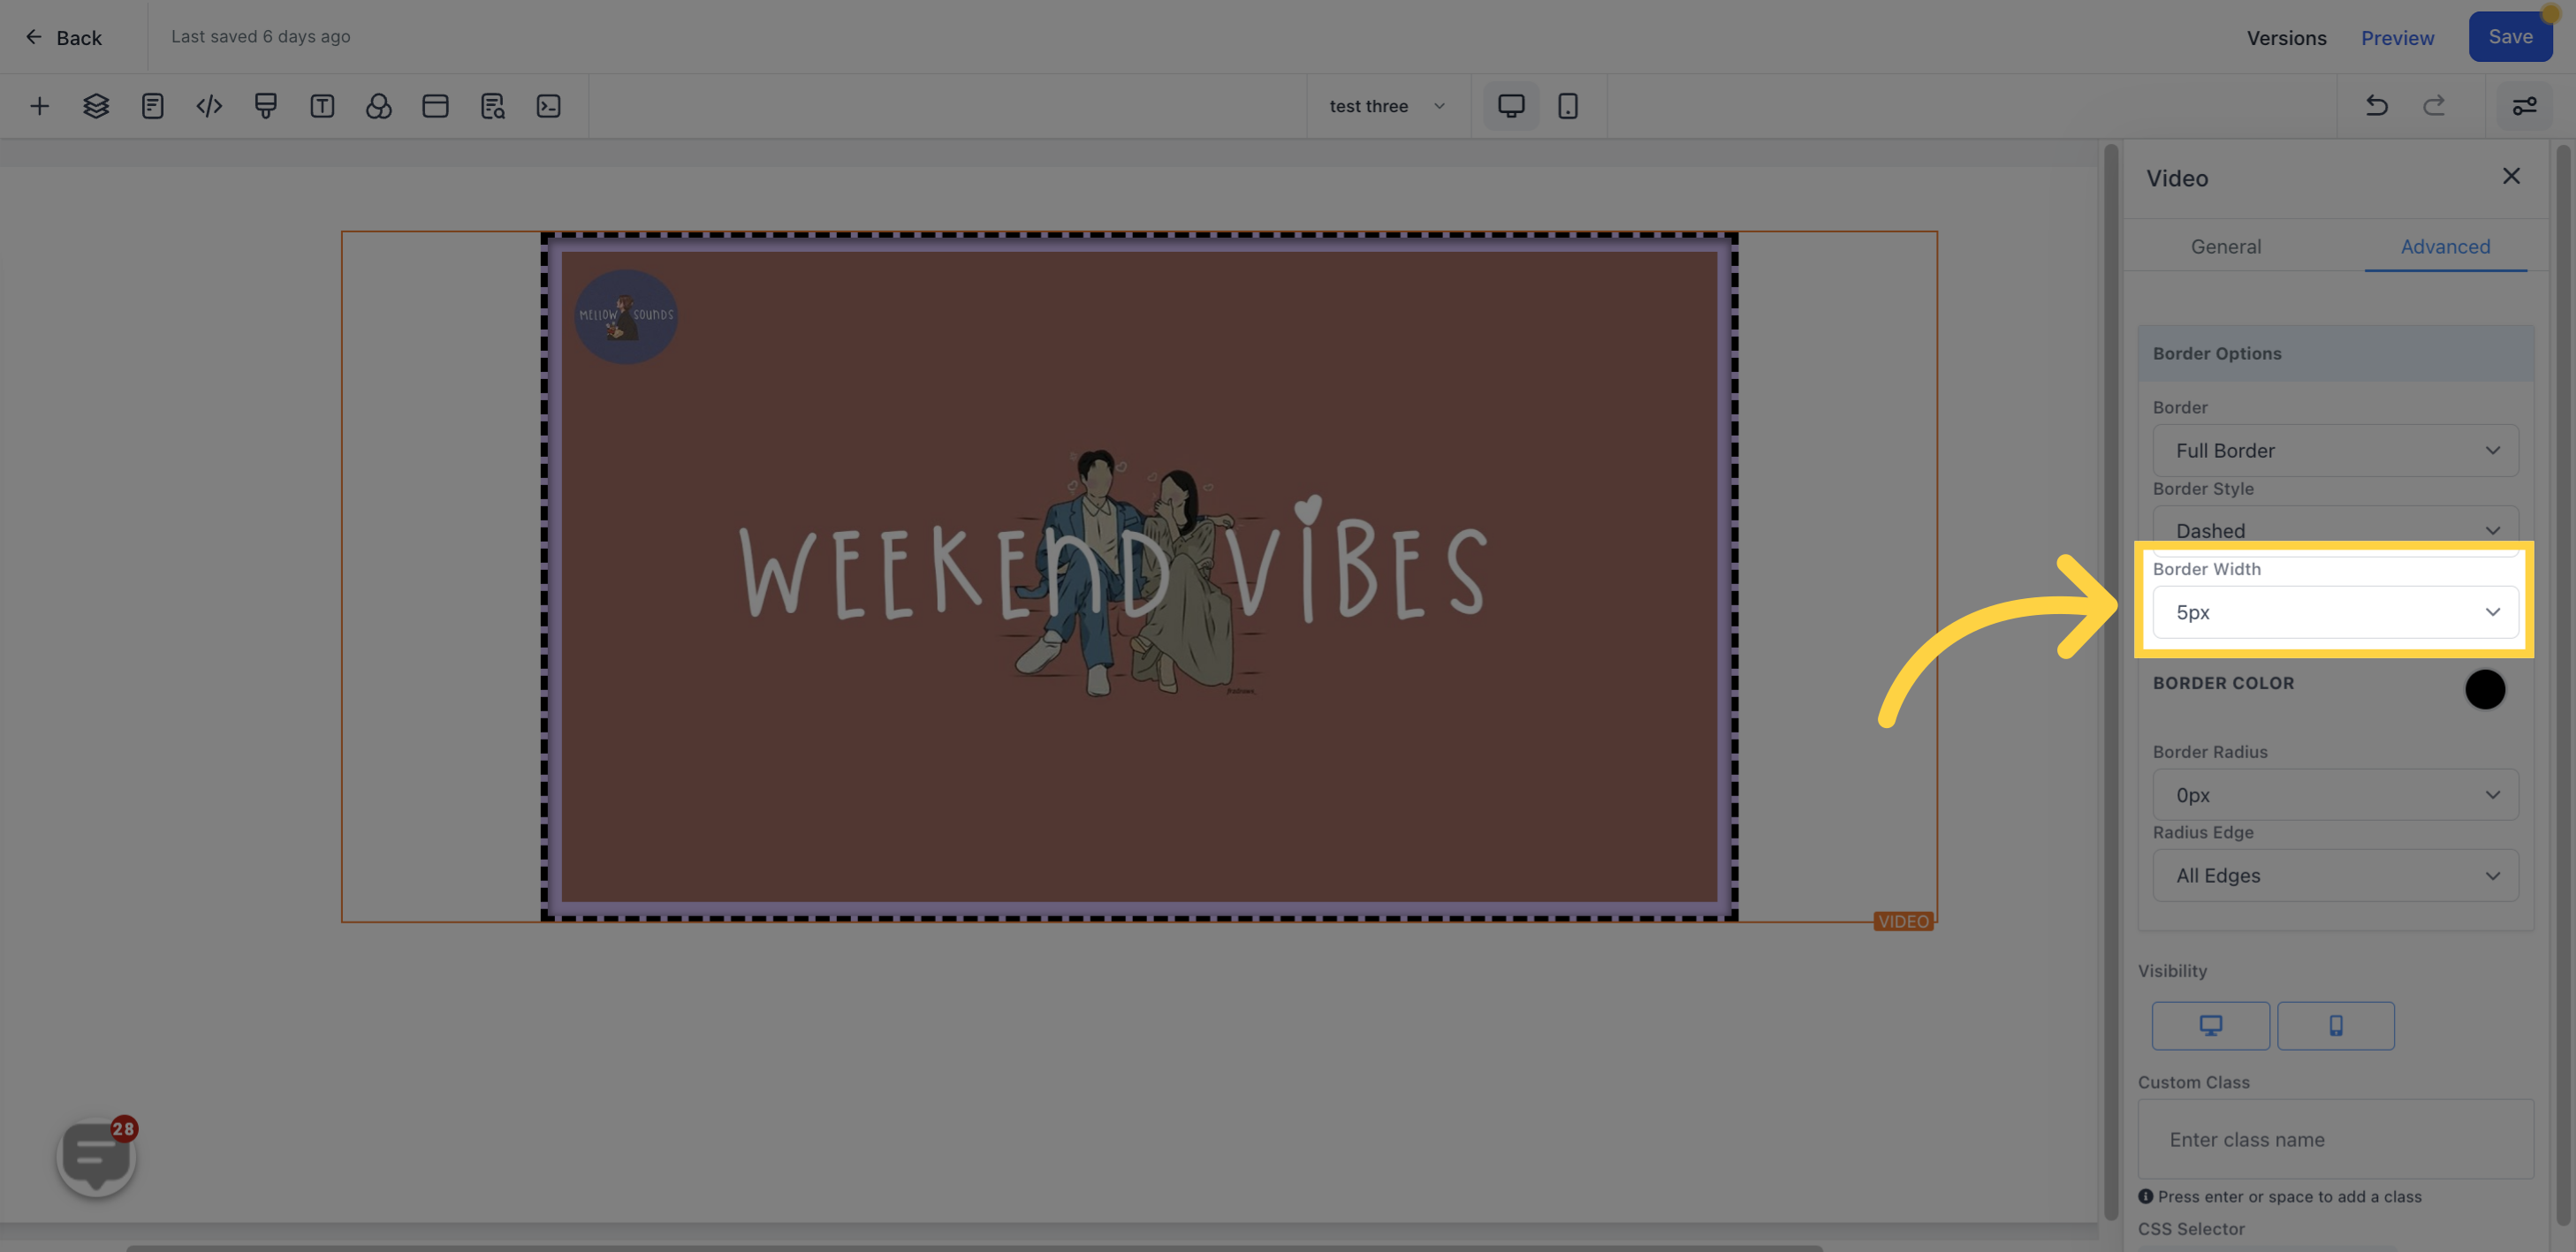
Choose how thick the borderline should be.
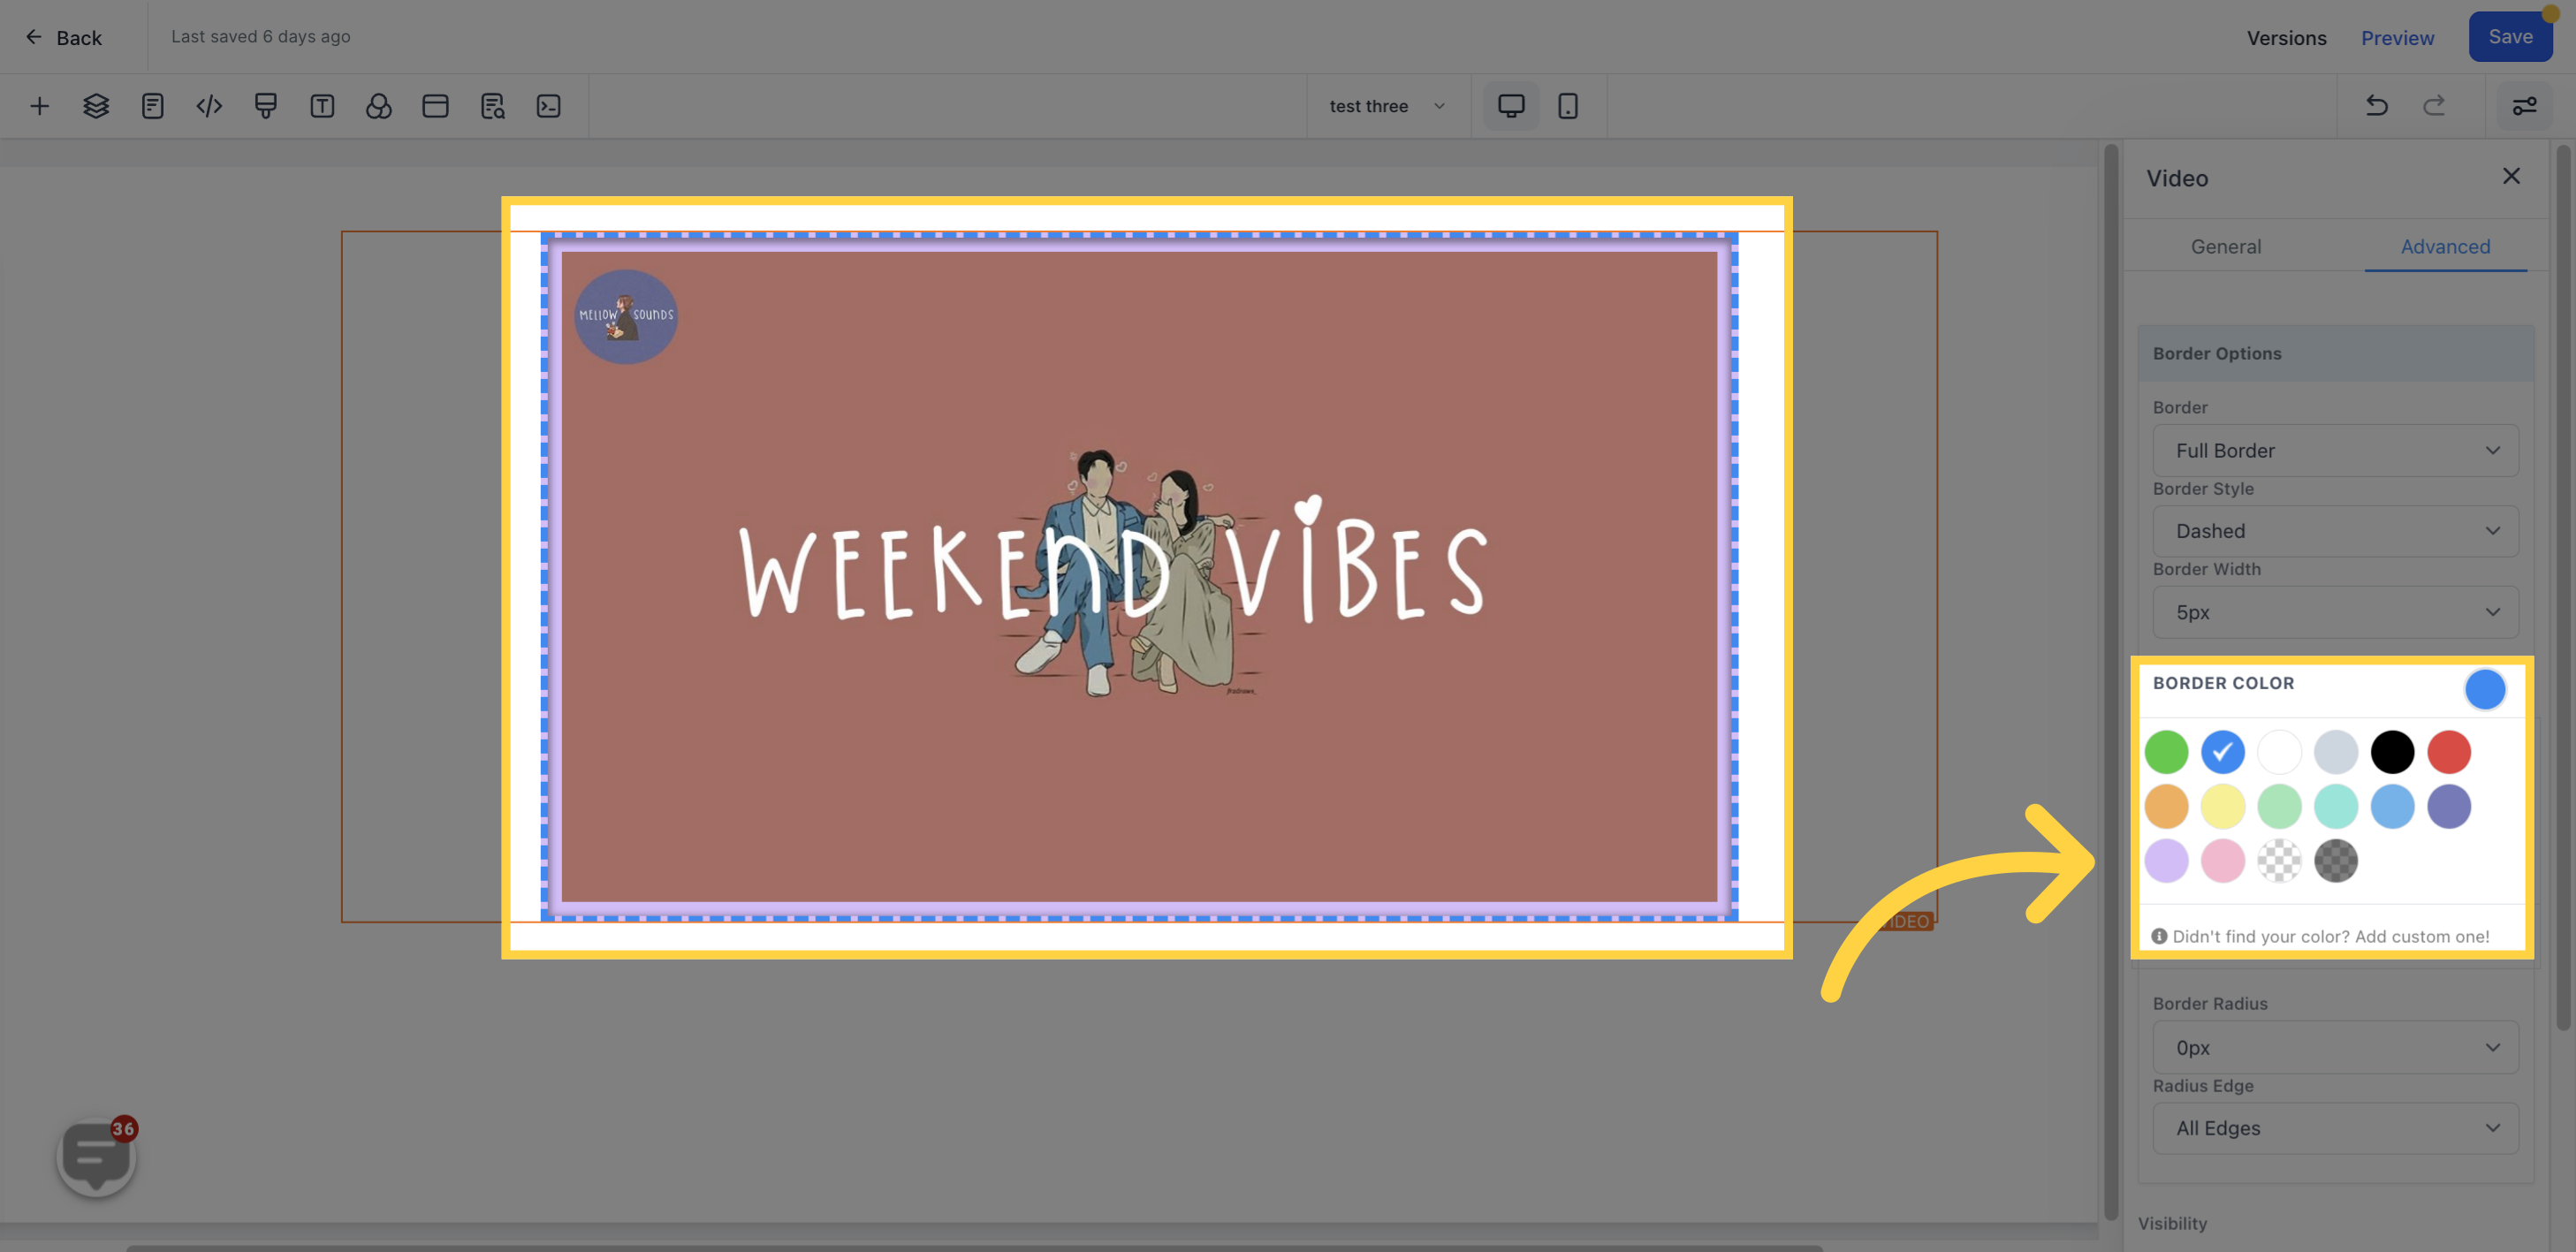
Select a color for the borderline.
Choose how curvy the edge of the borderline should be.

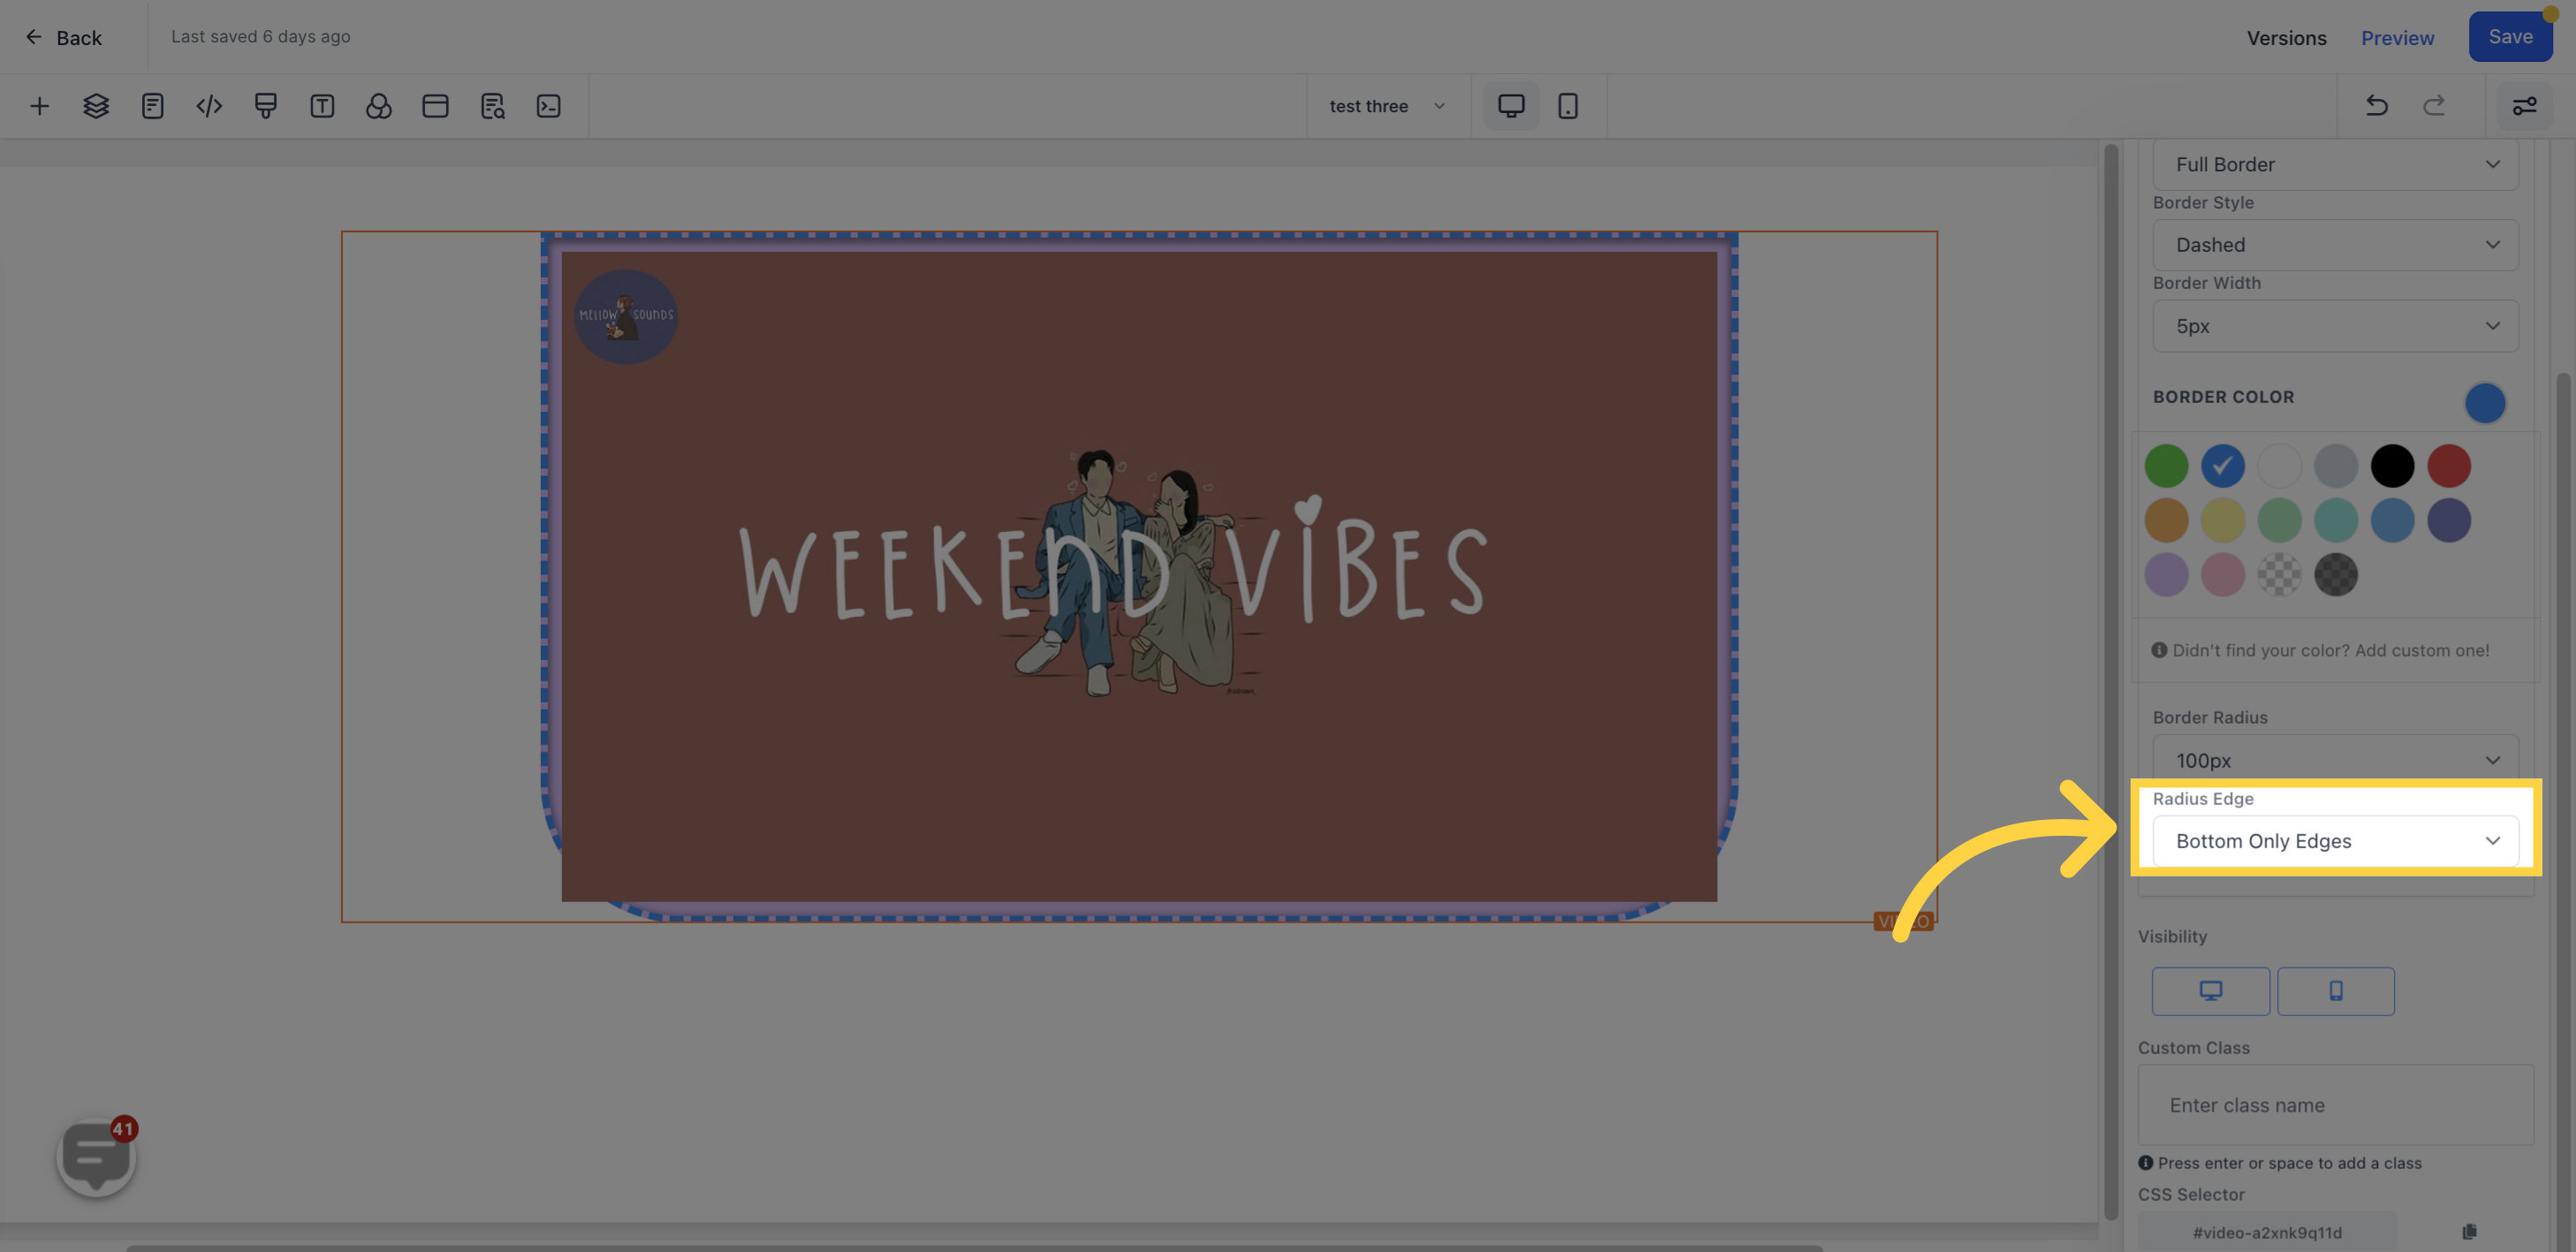
Select which side of the edge to adjust – all edges, top only, or bottom only.
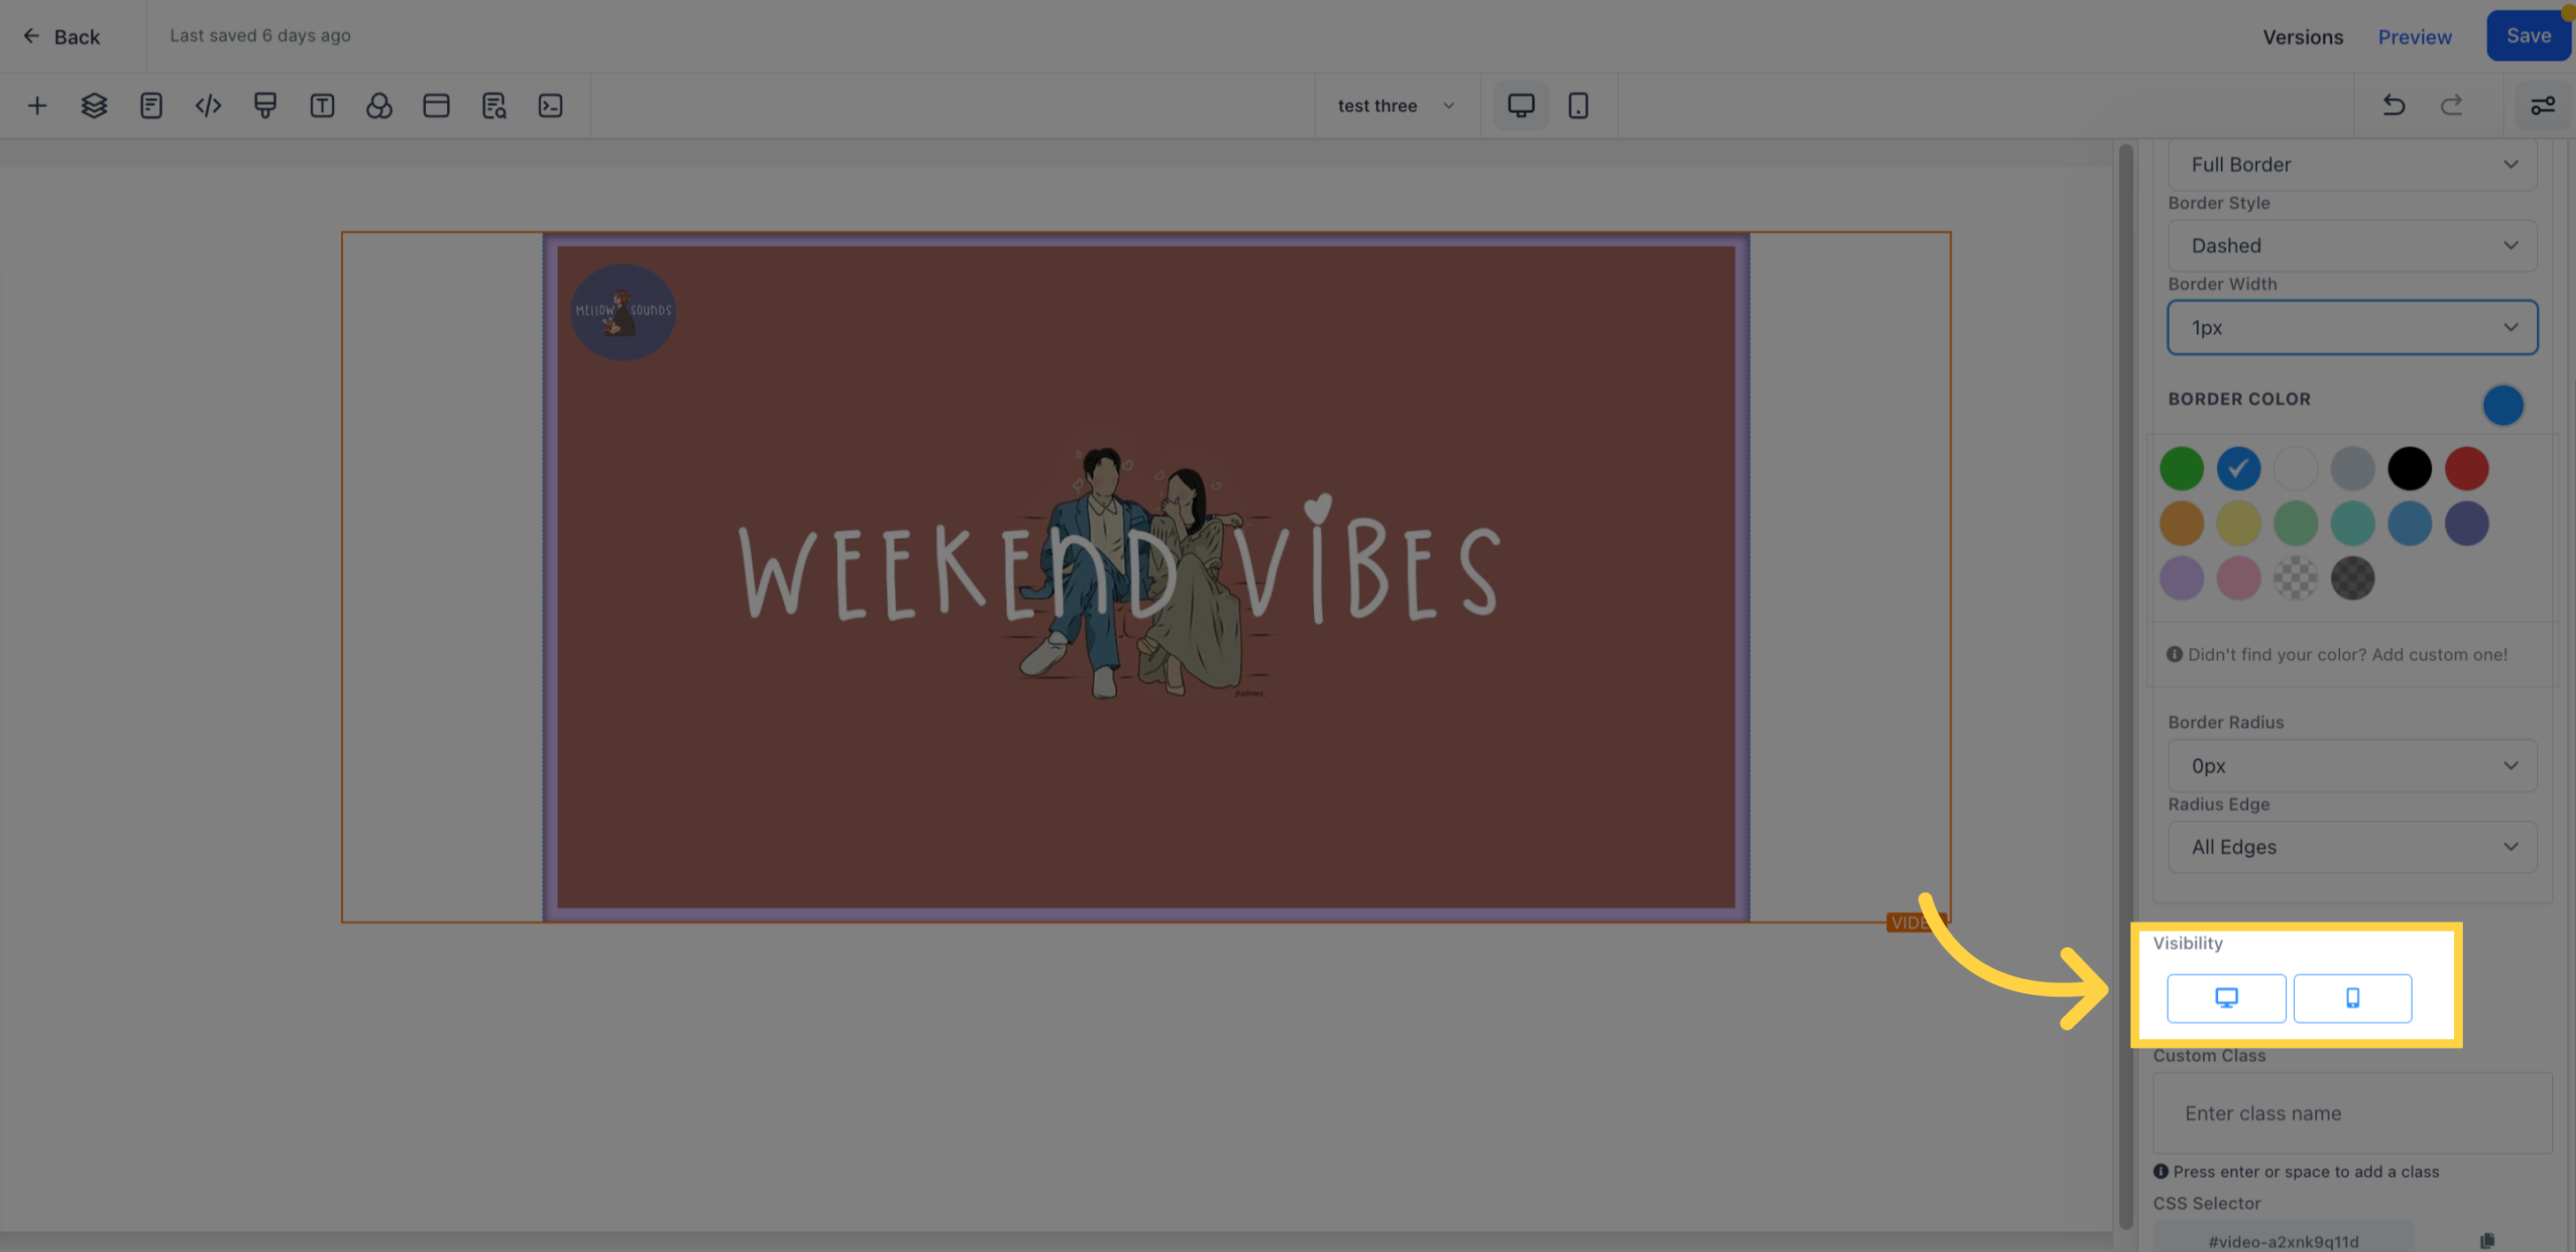
Decide if the Edit option should only be visible on mobile devices, desktops, or both.
Input a custom class here.

Click the "Copy" icon on the right side of the reference code to copy Custom CSS.