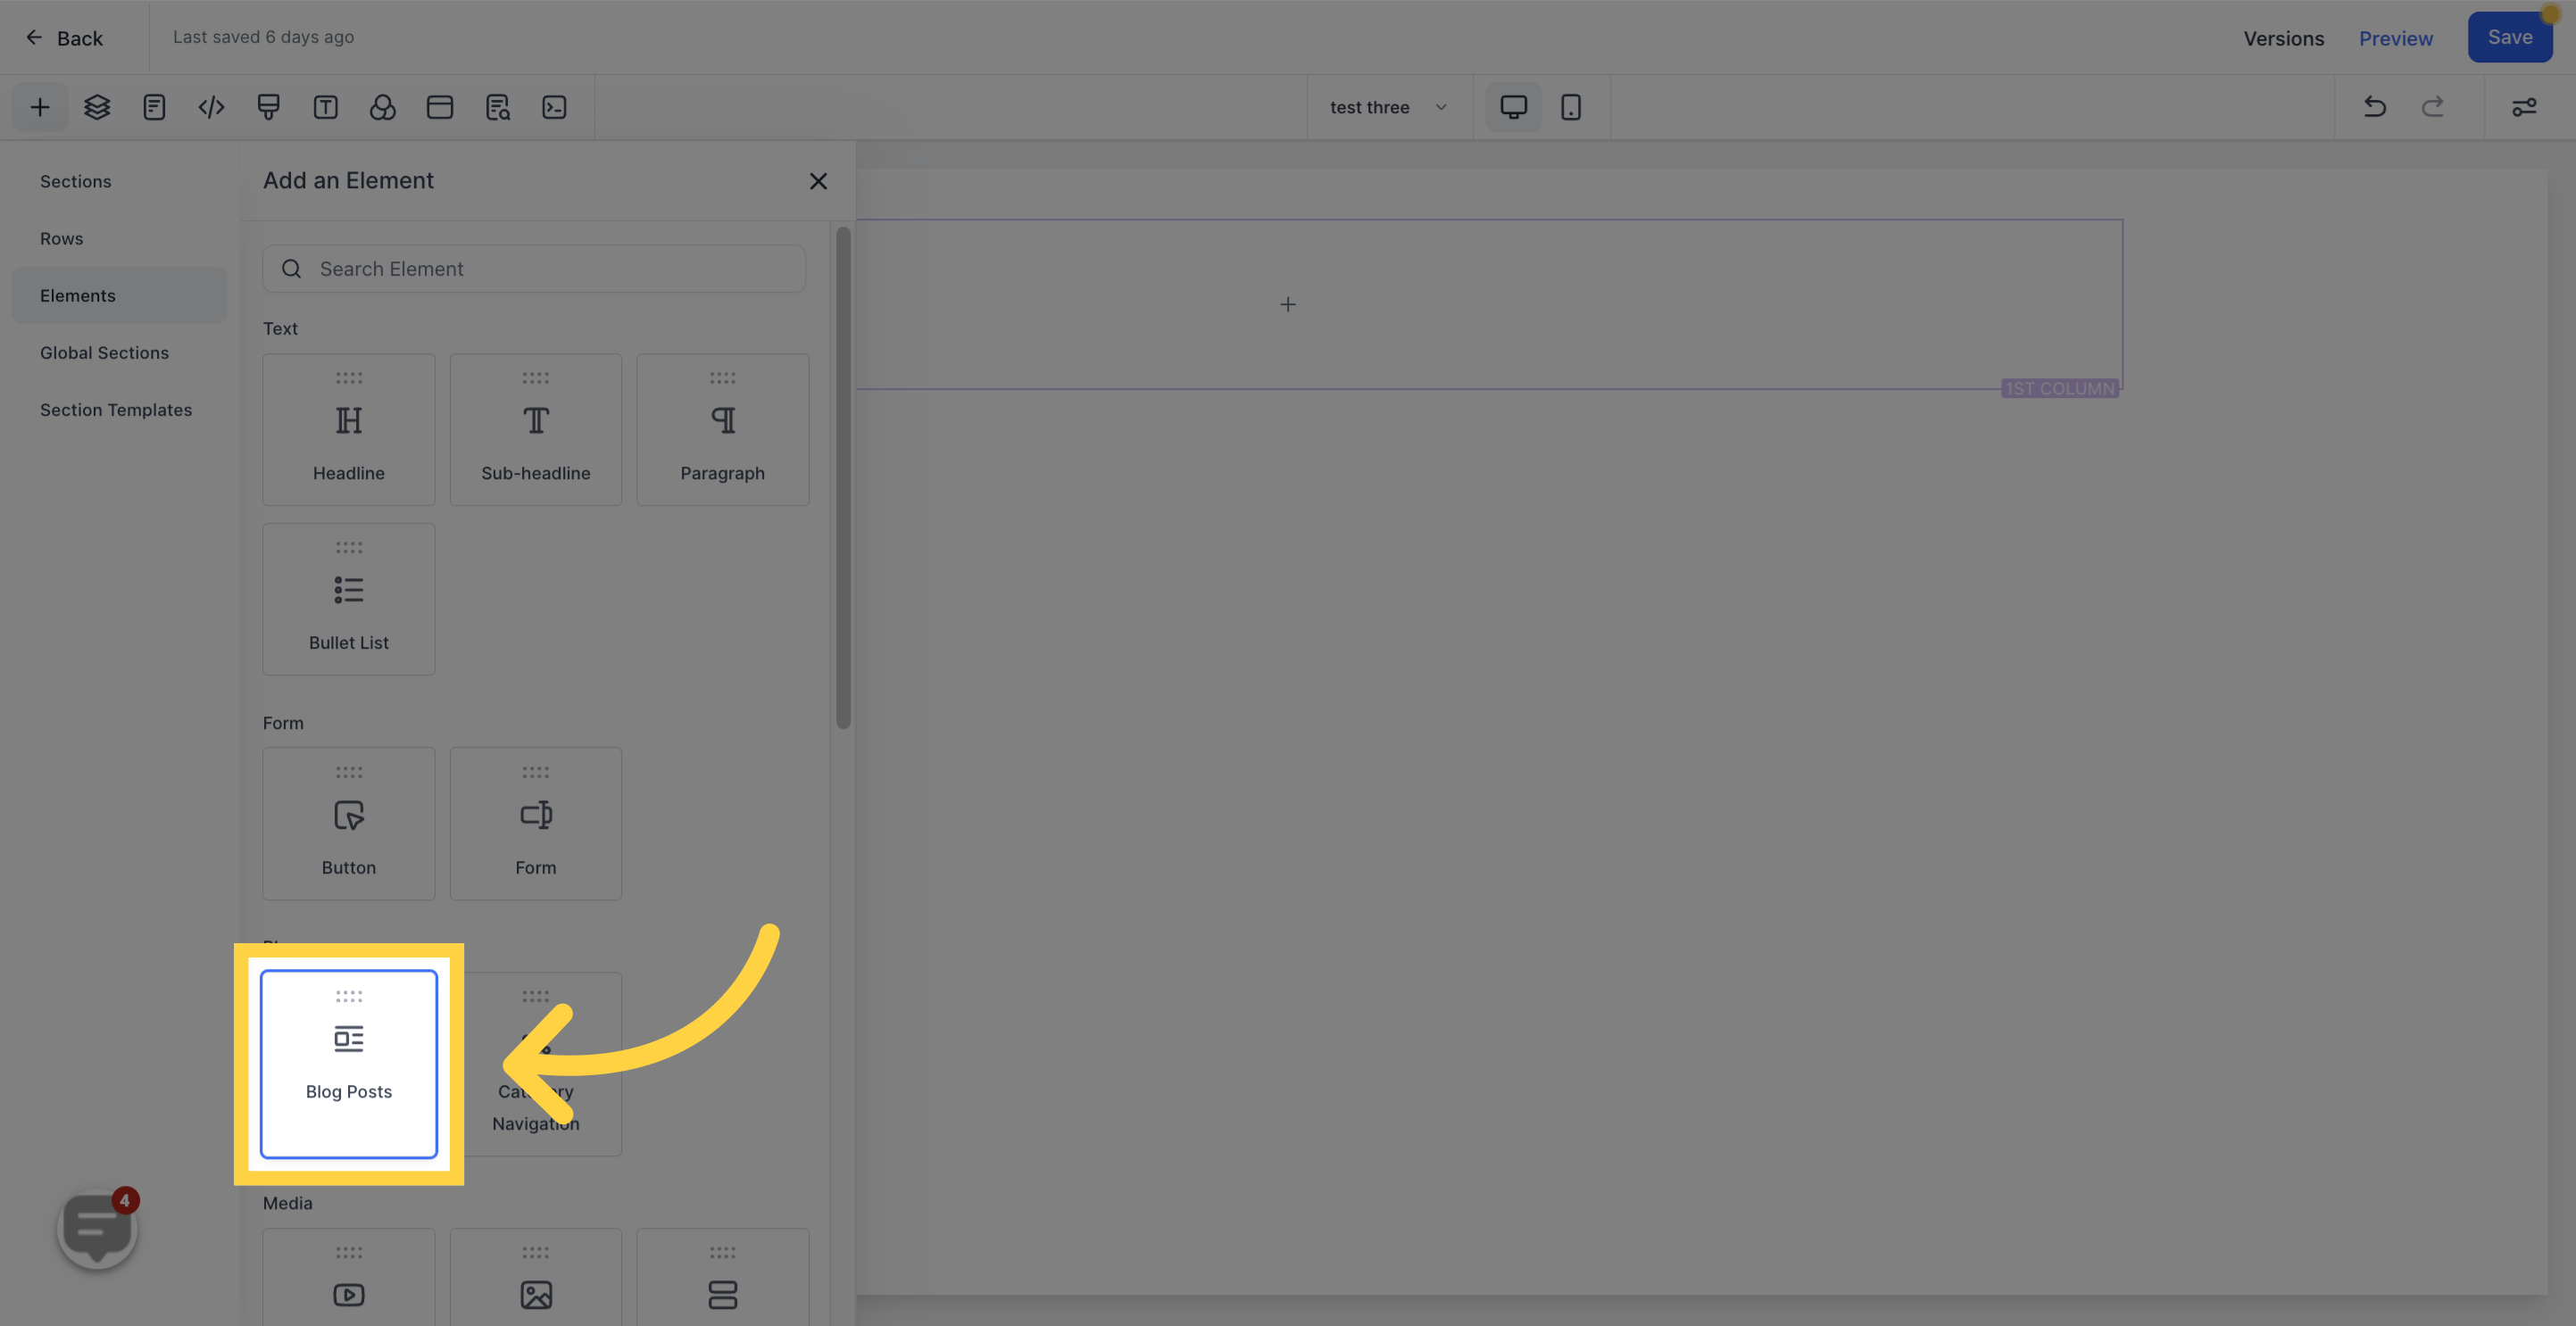
A blog section provides educational content on specific topics or queries related to your business. It is an opportunity for you to share long-form articles that your target audience may want to read or learn about.
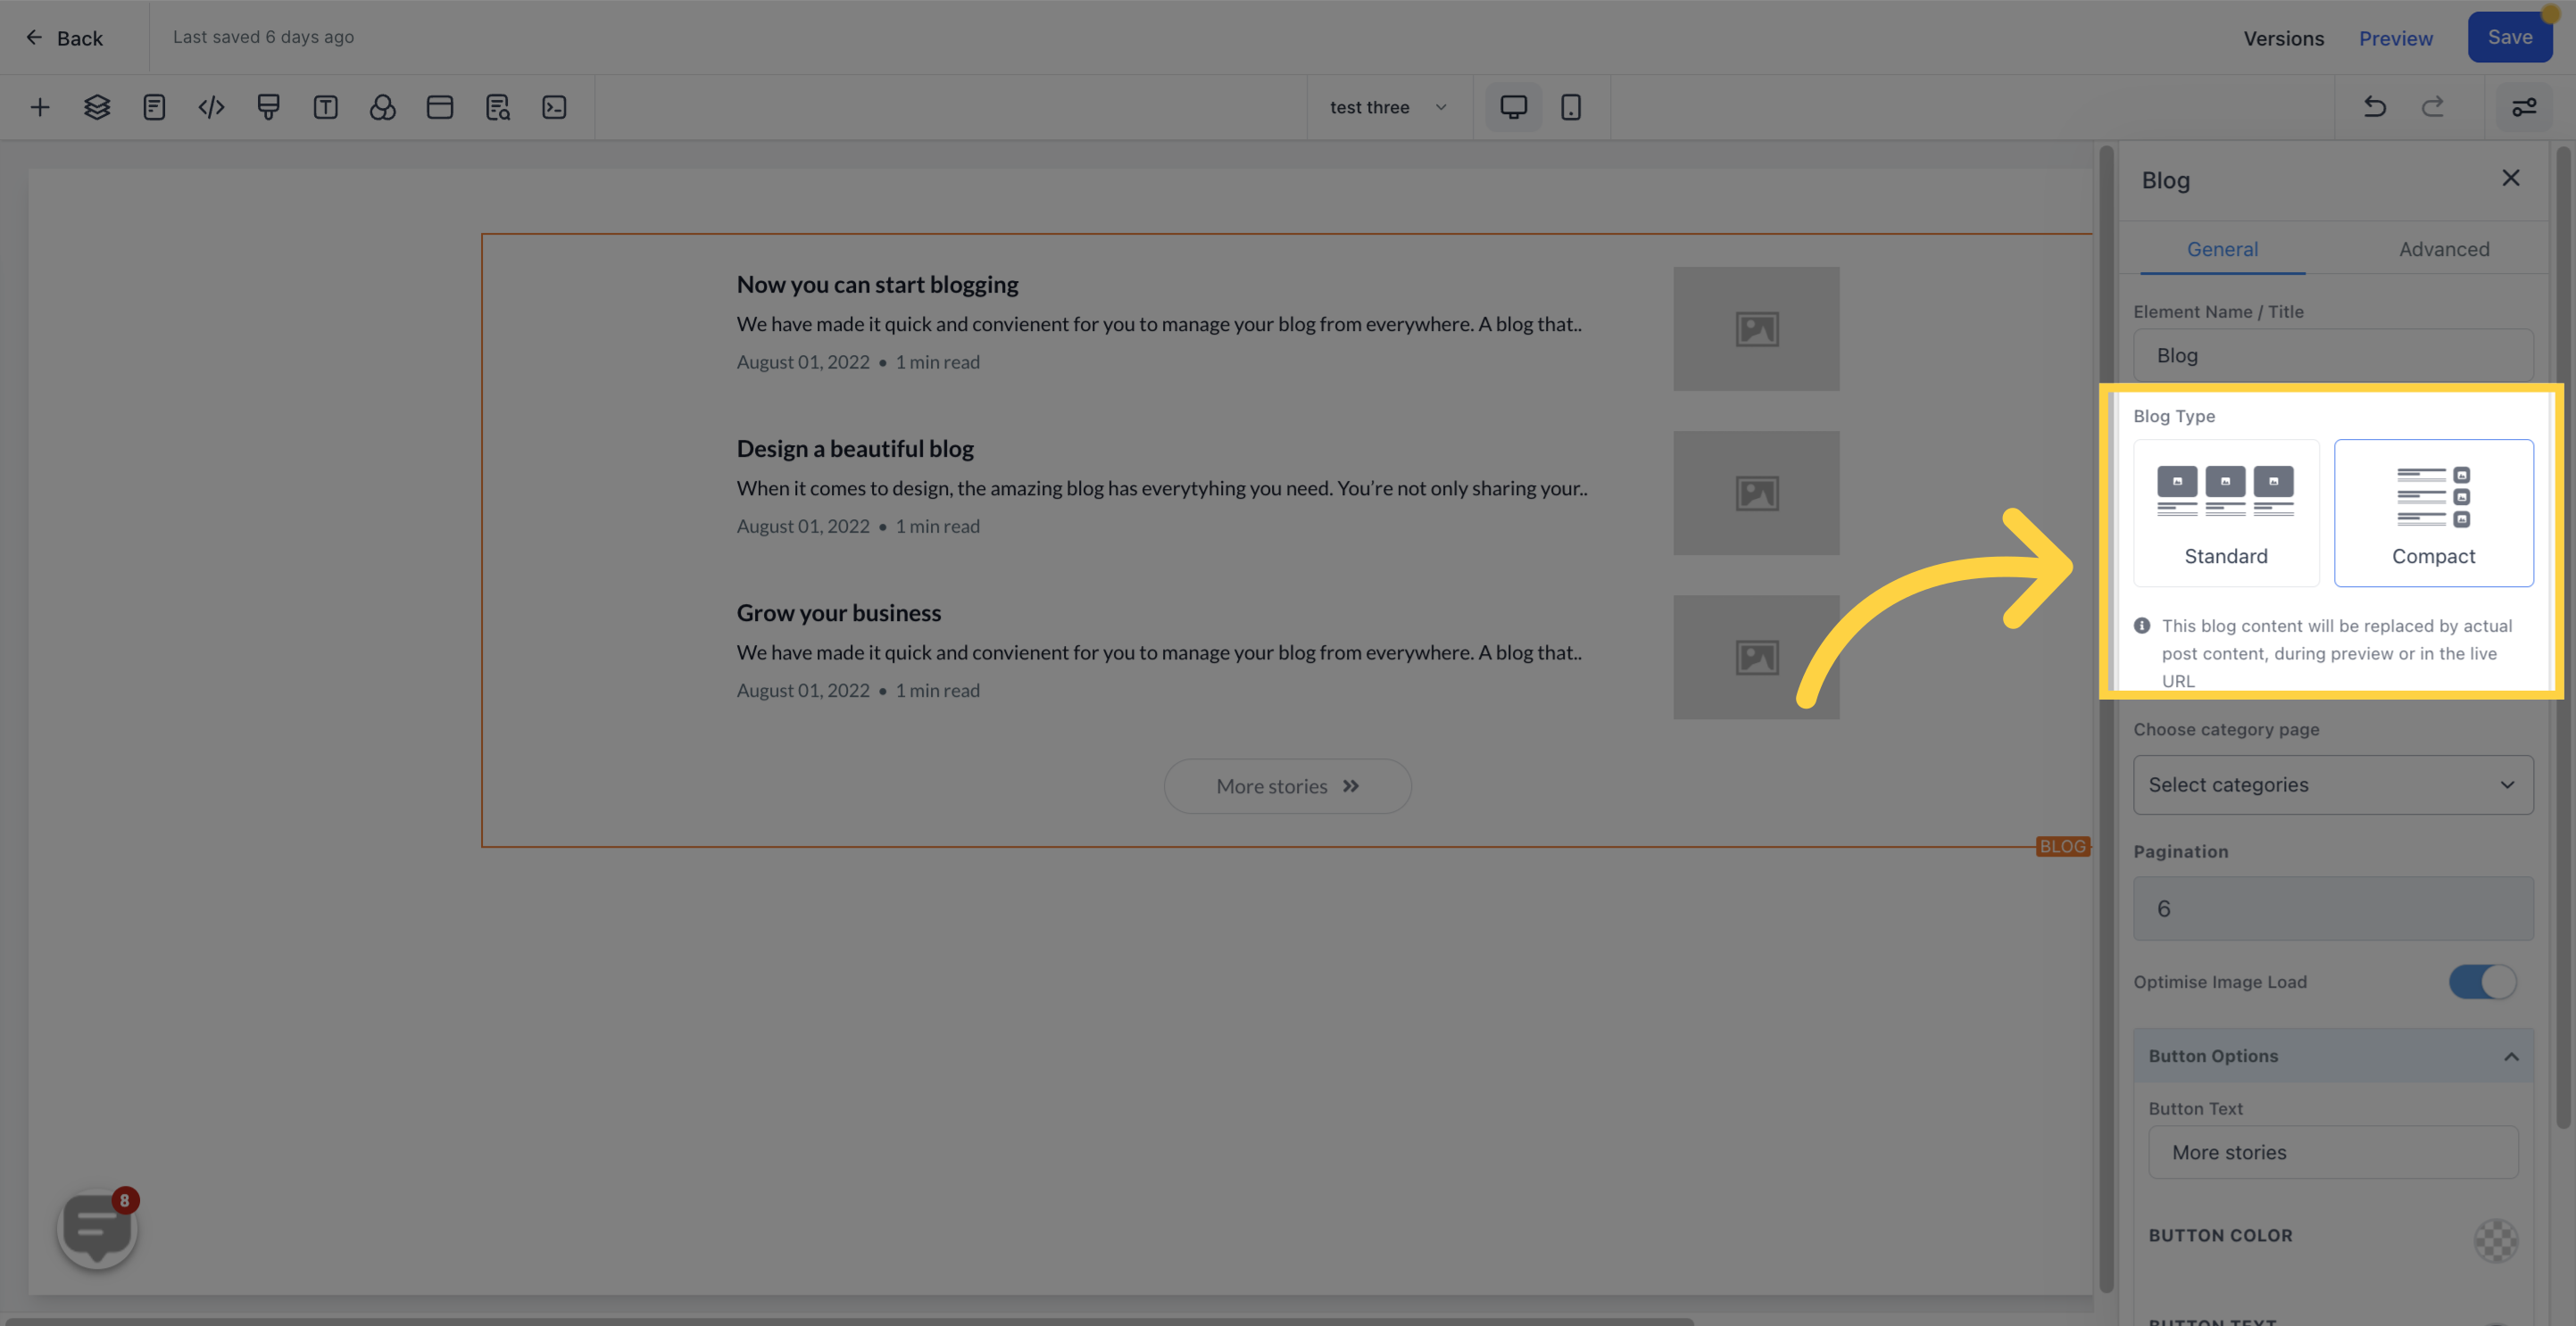
The default name/title of the edit option can be left as is or renamed.

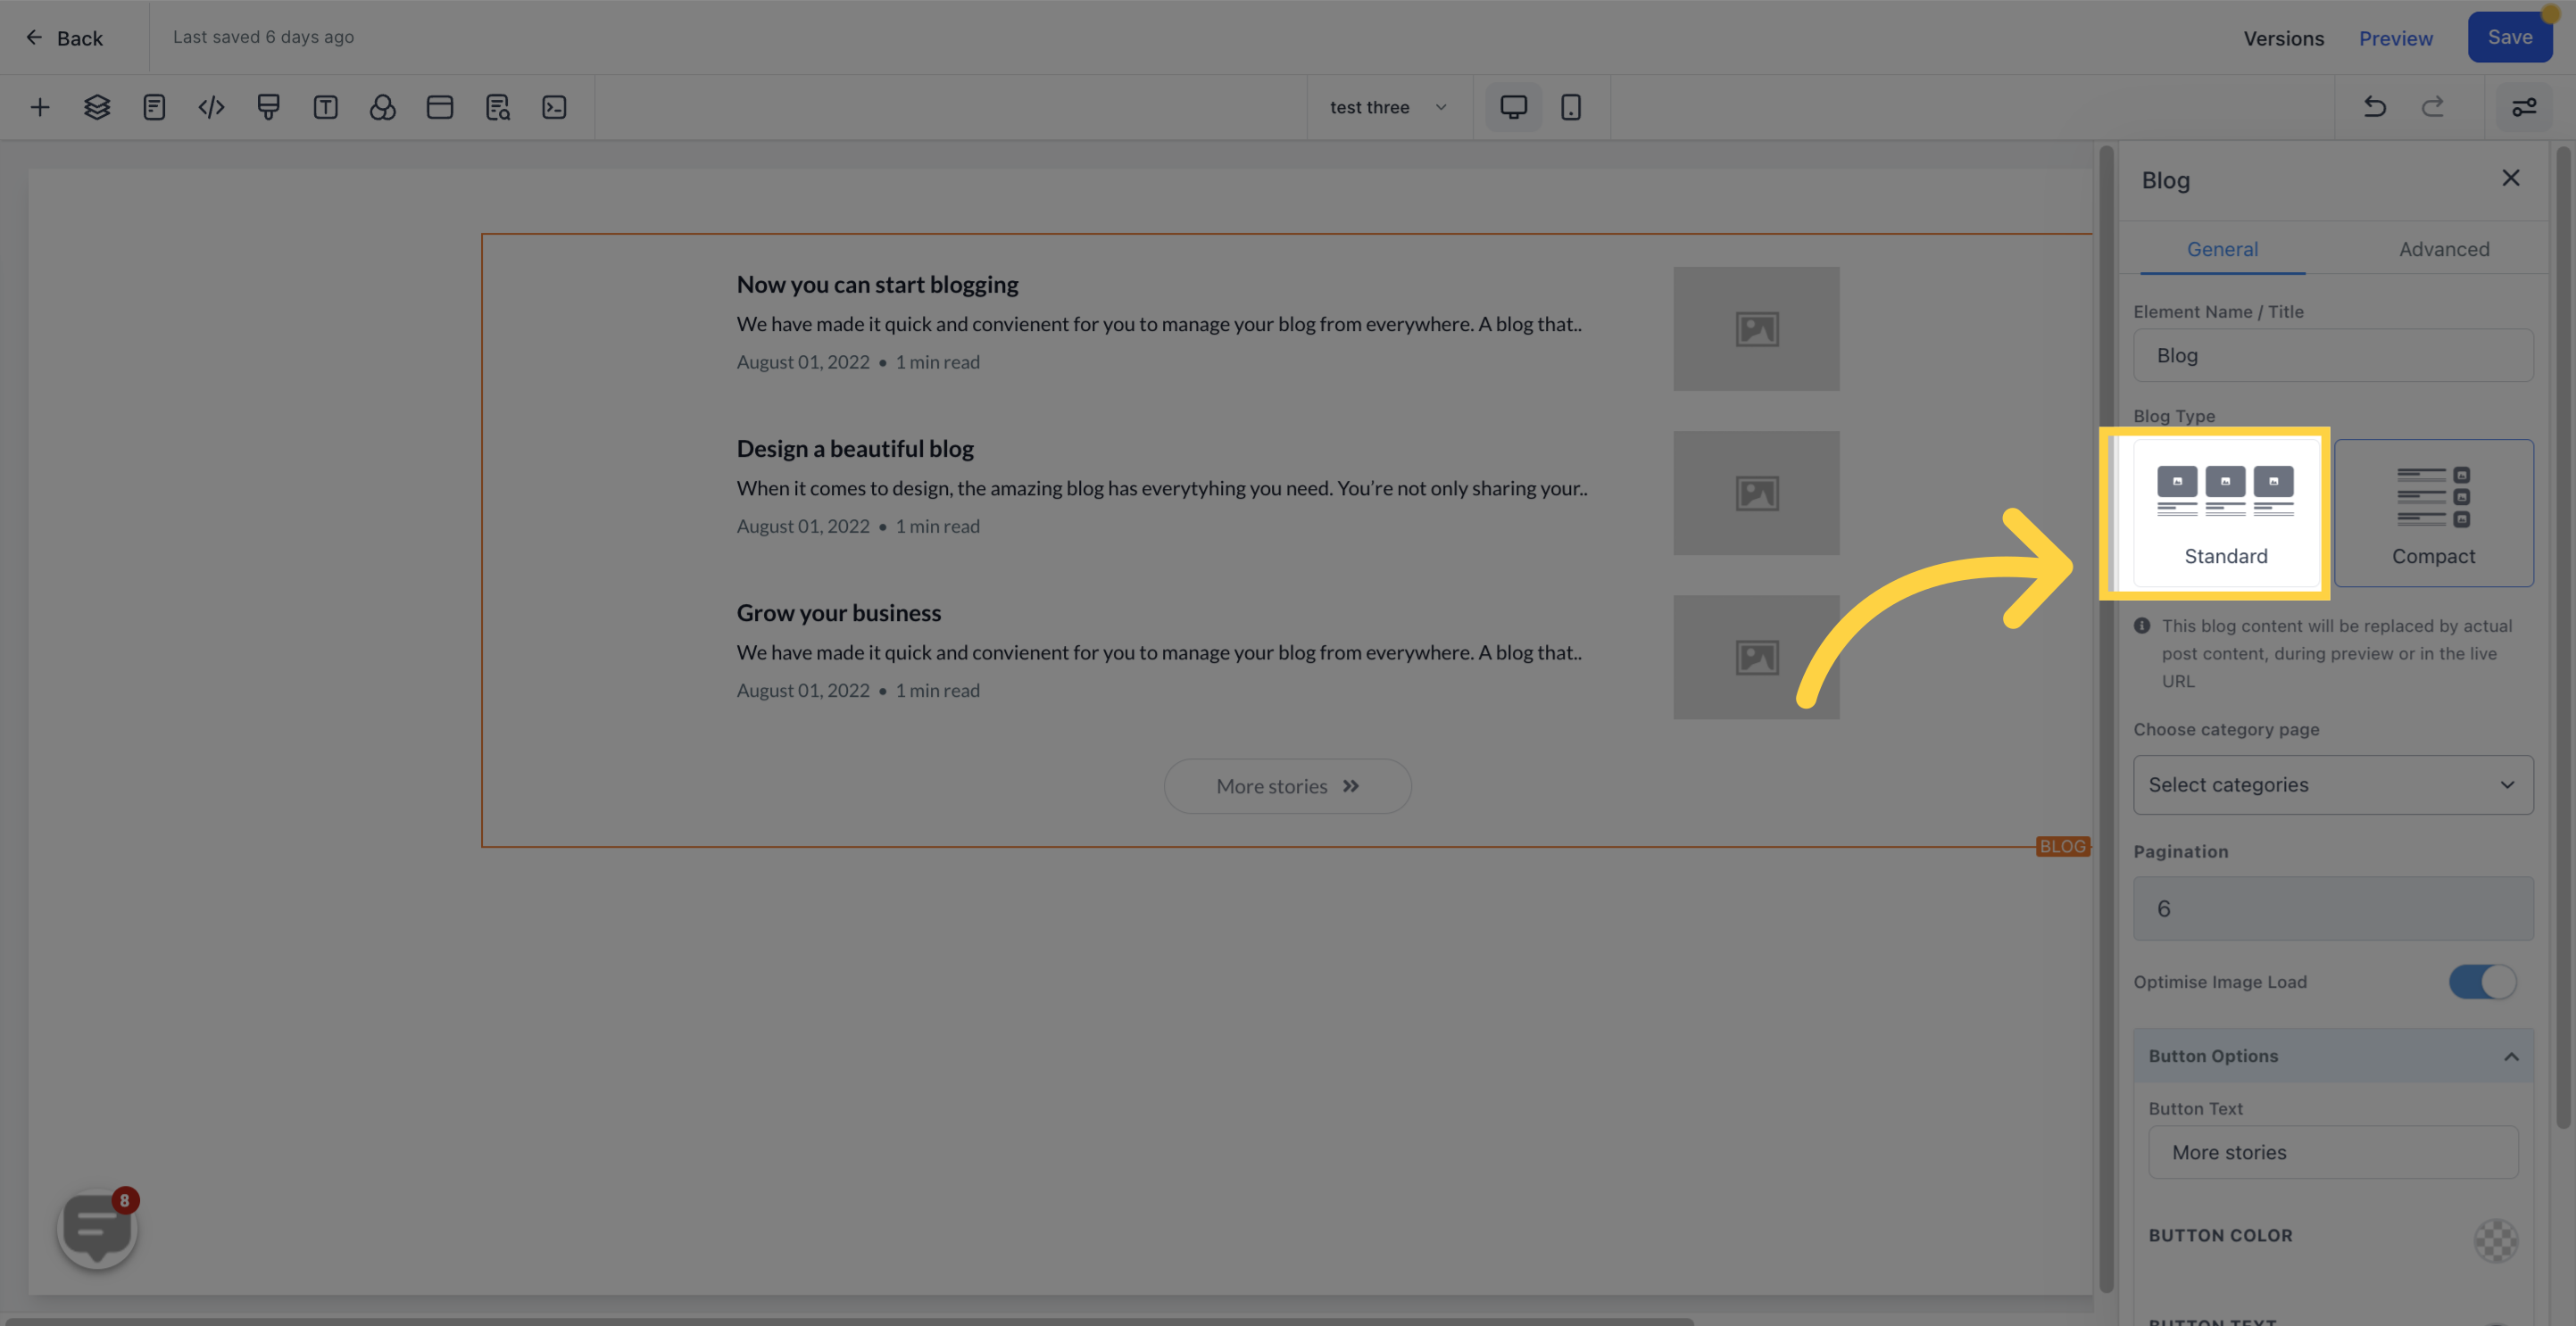
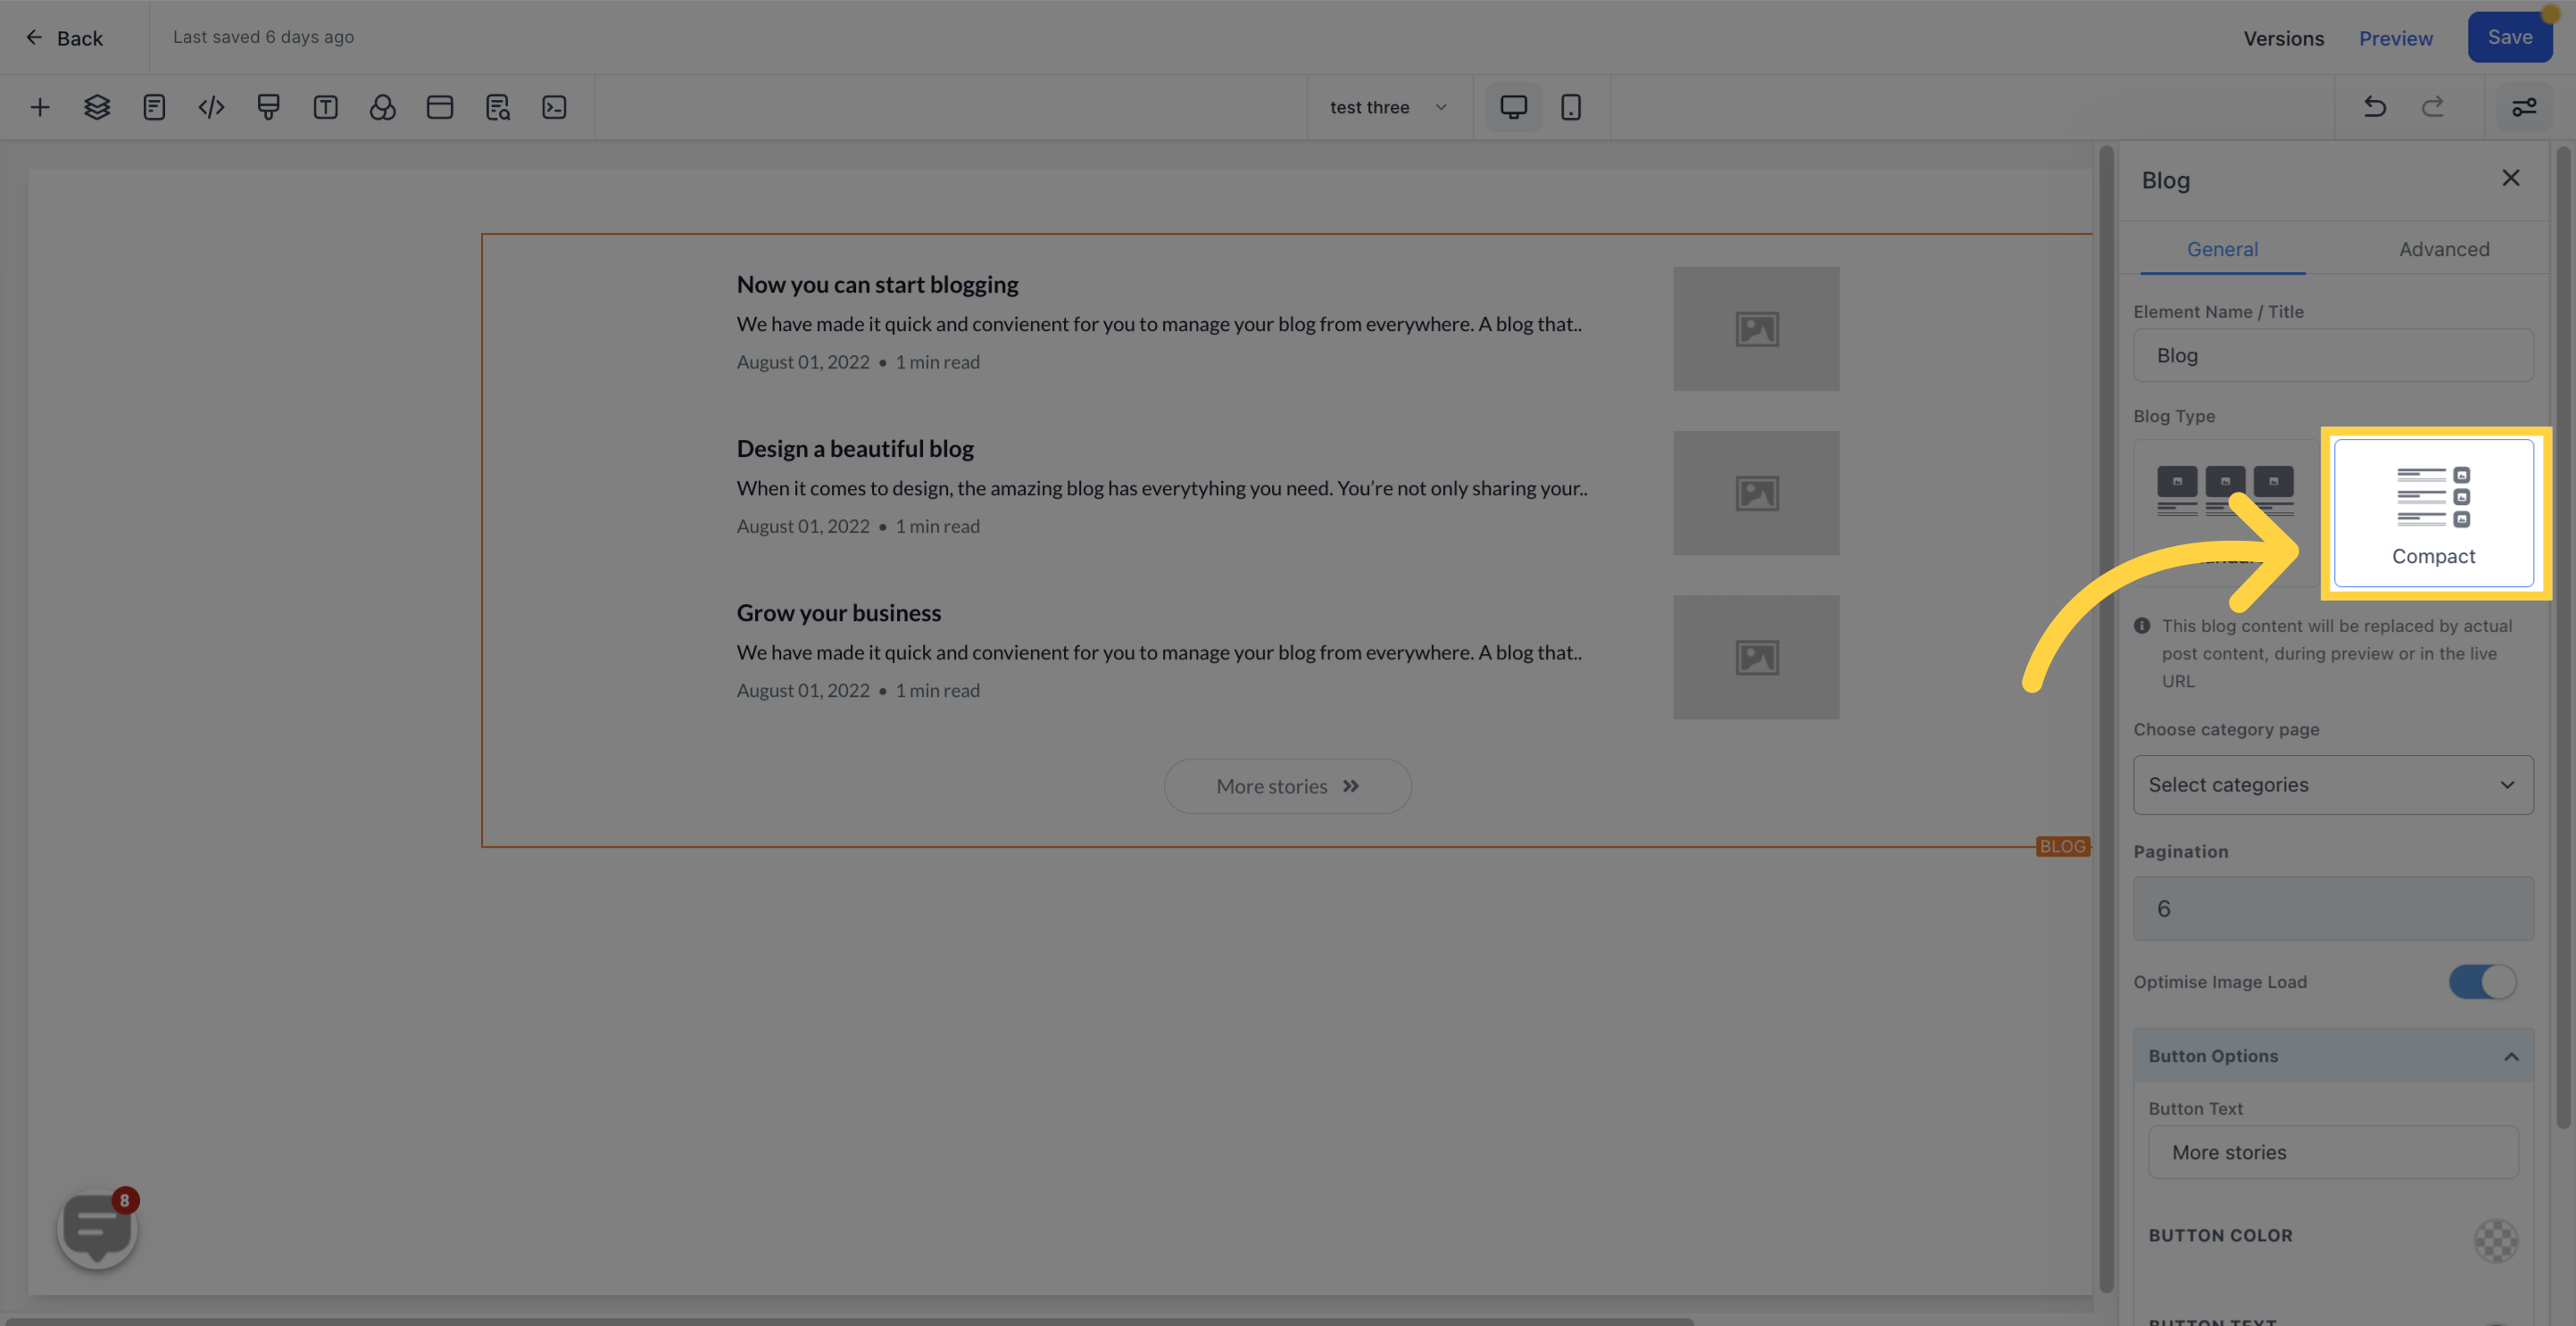
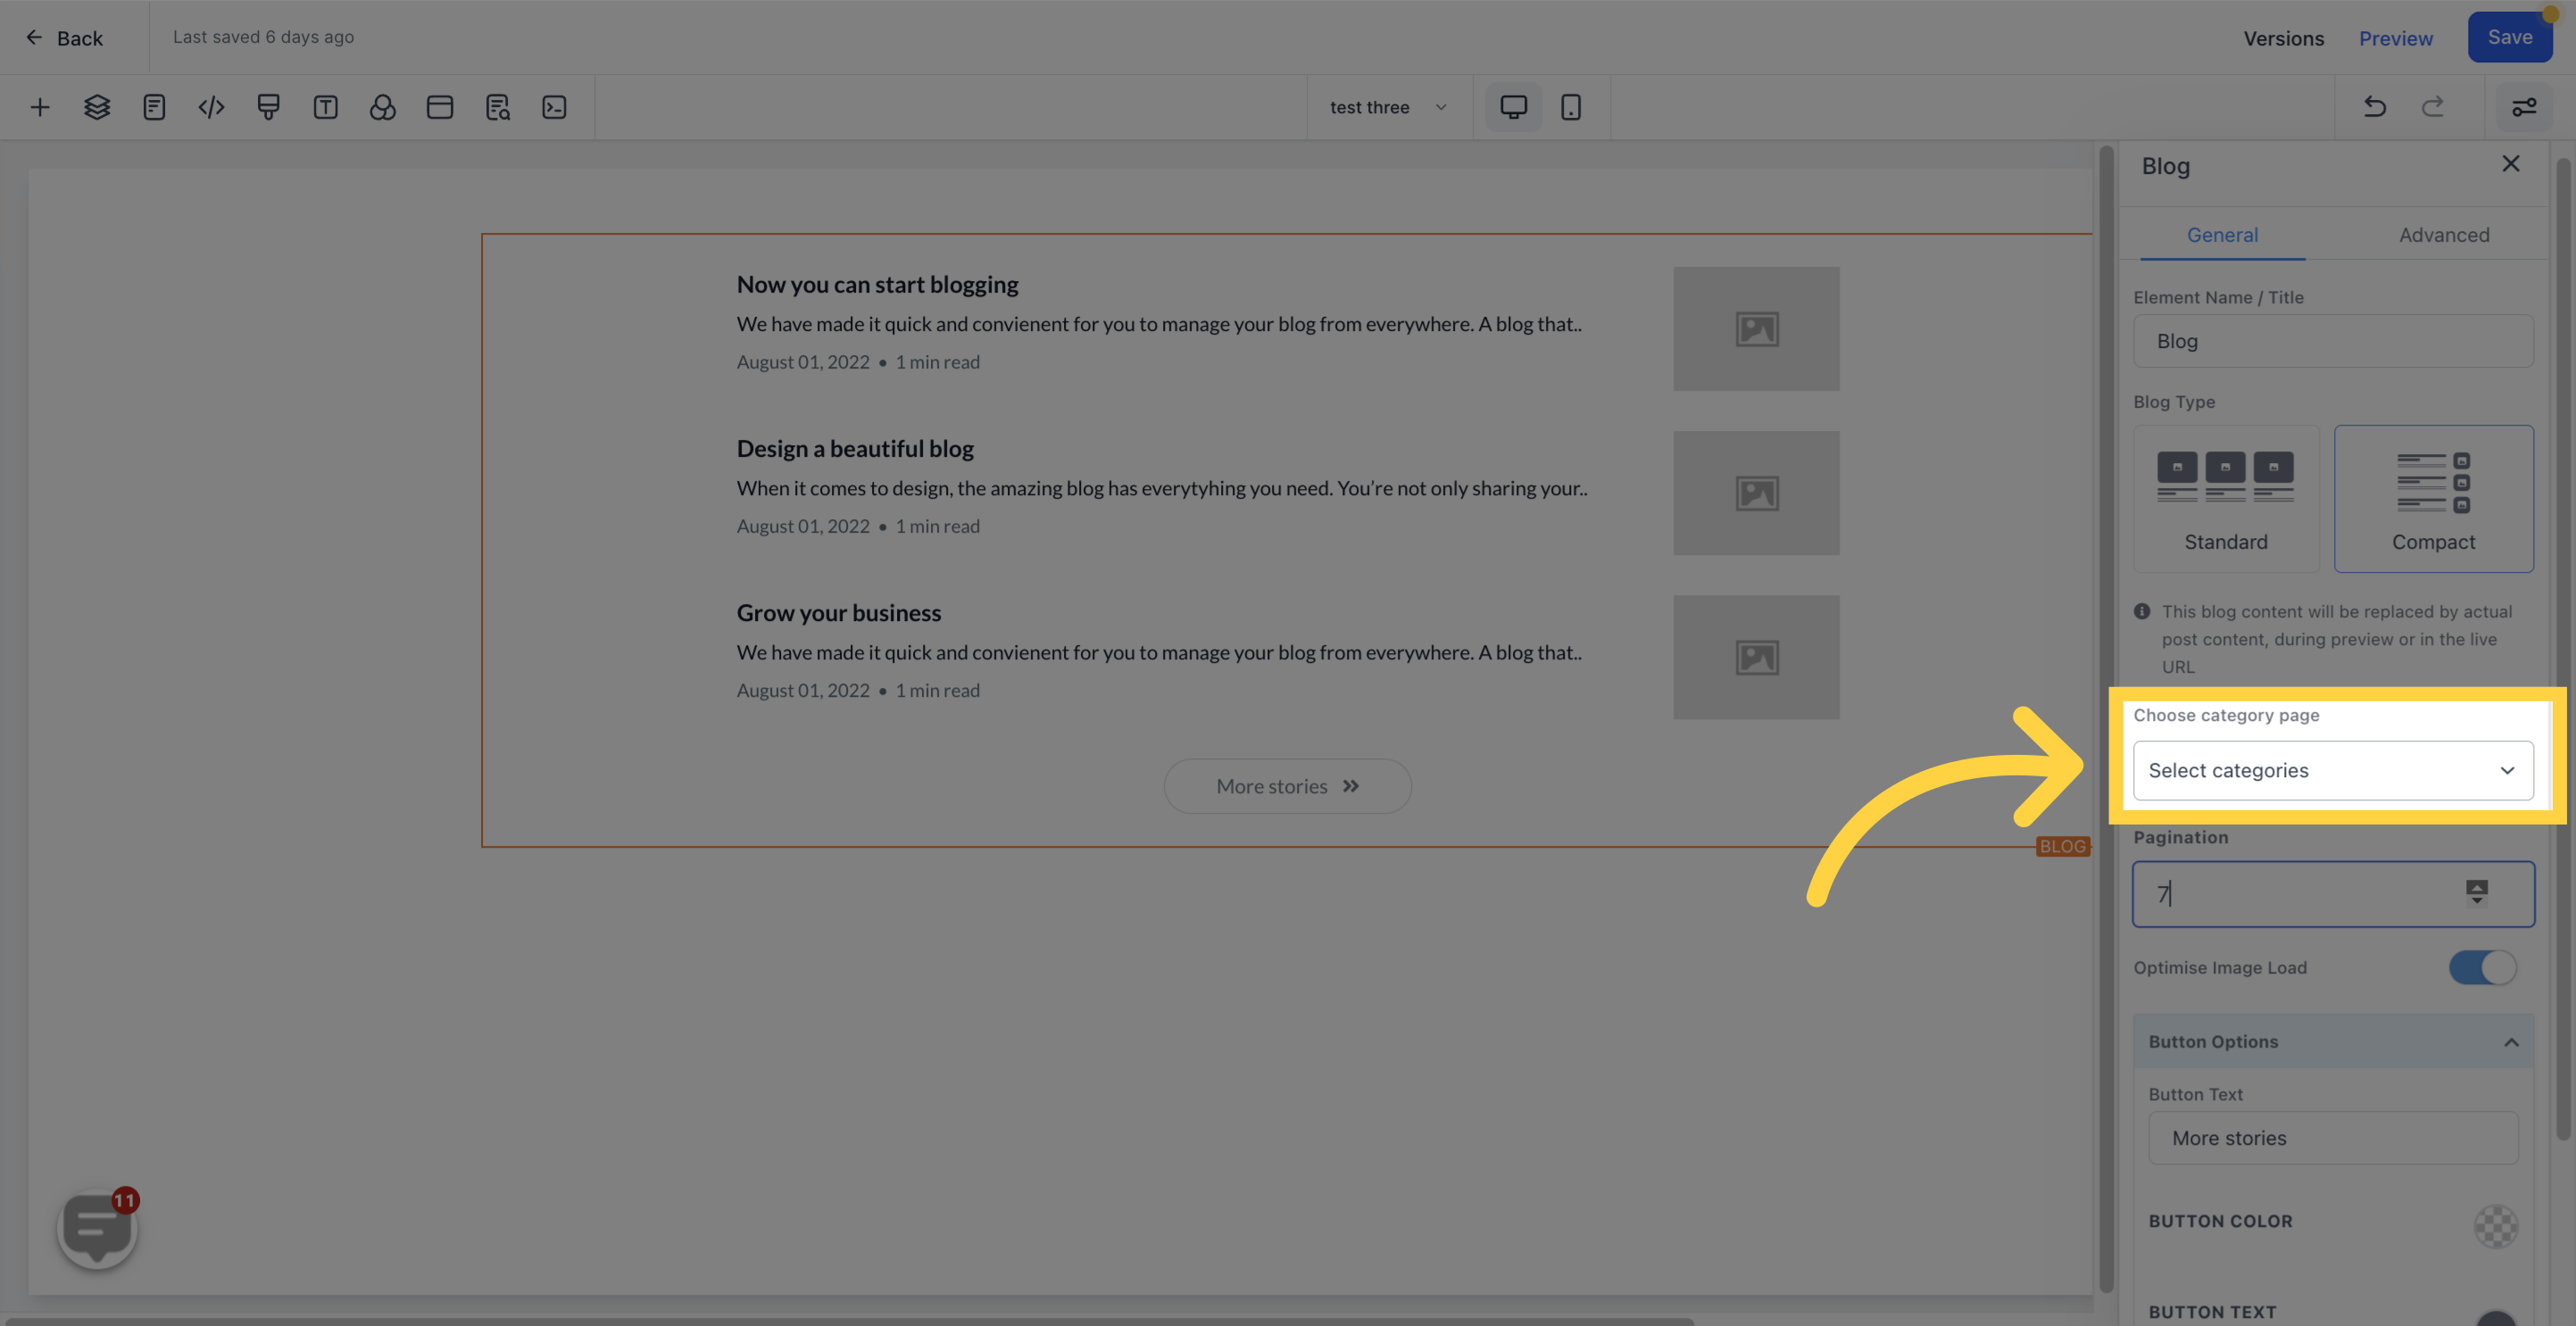
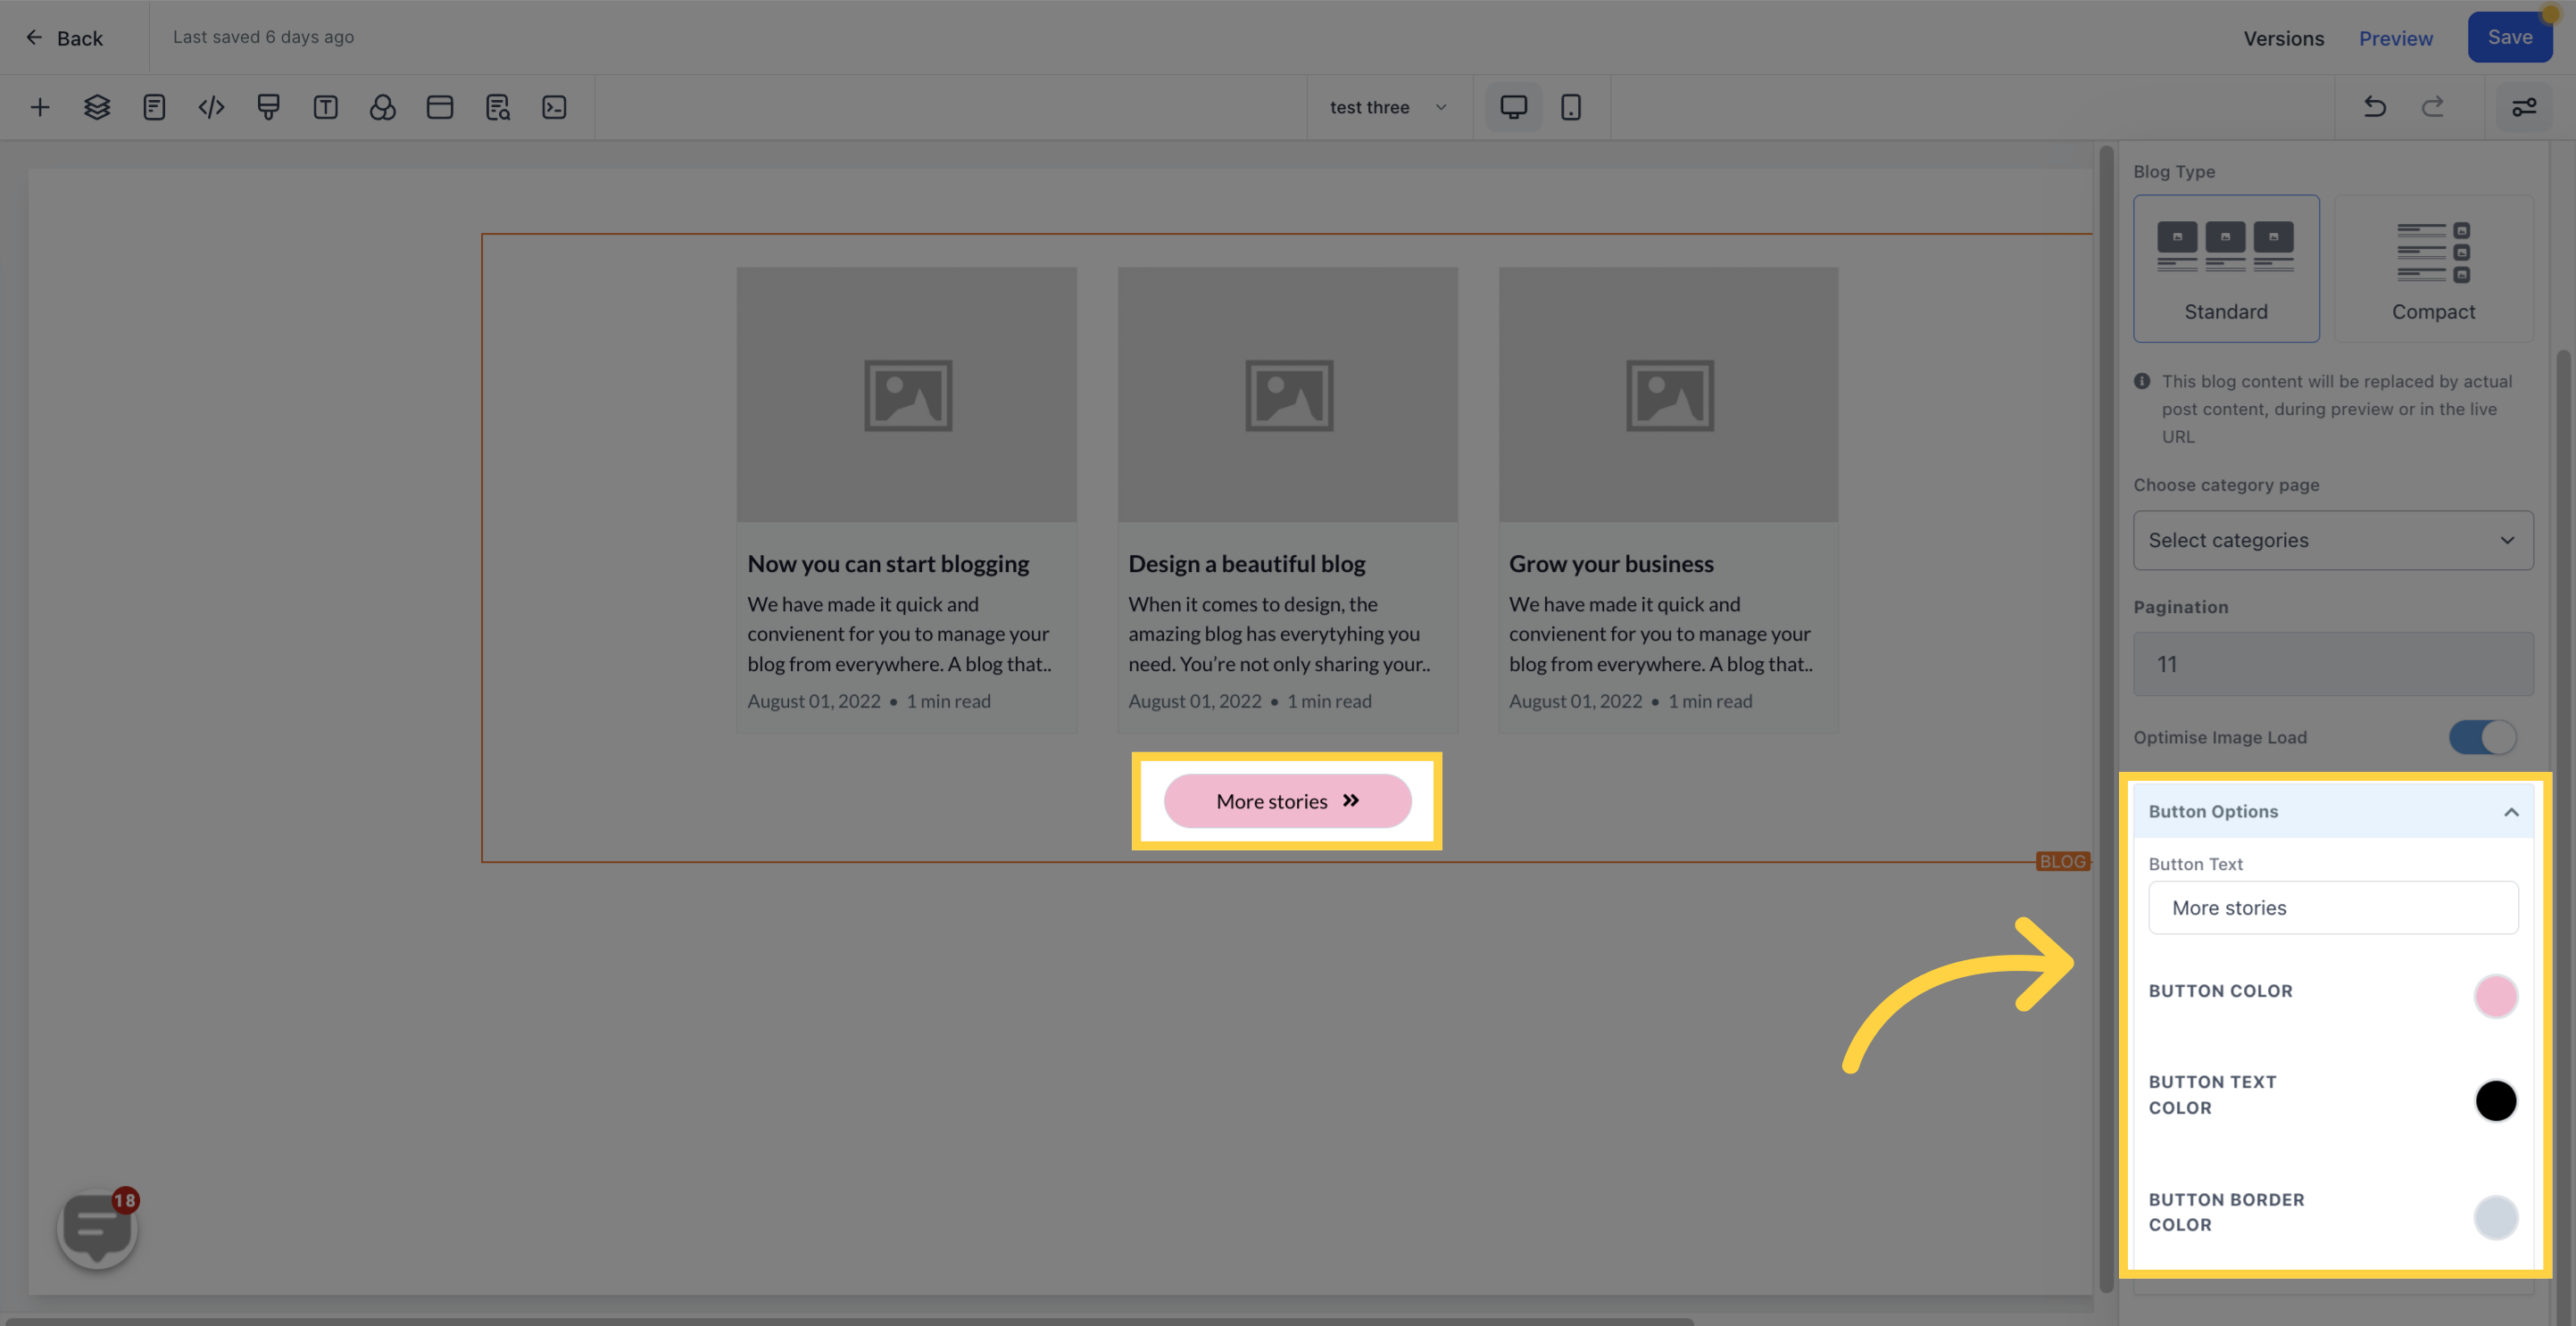
You can choose between two options- standard and compact. The standard type displays blogs in a grid view, whereas the compact type displays them in a list view.
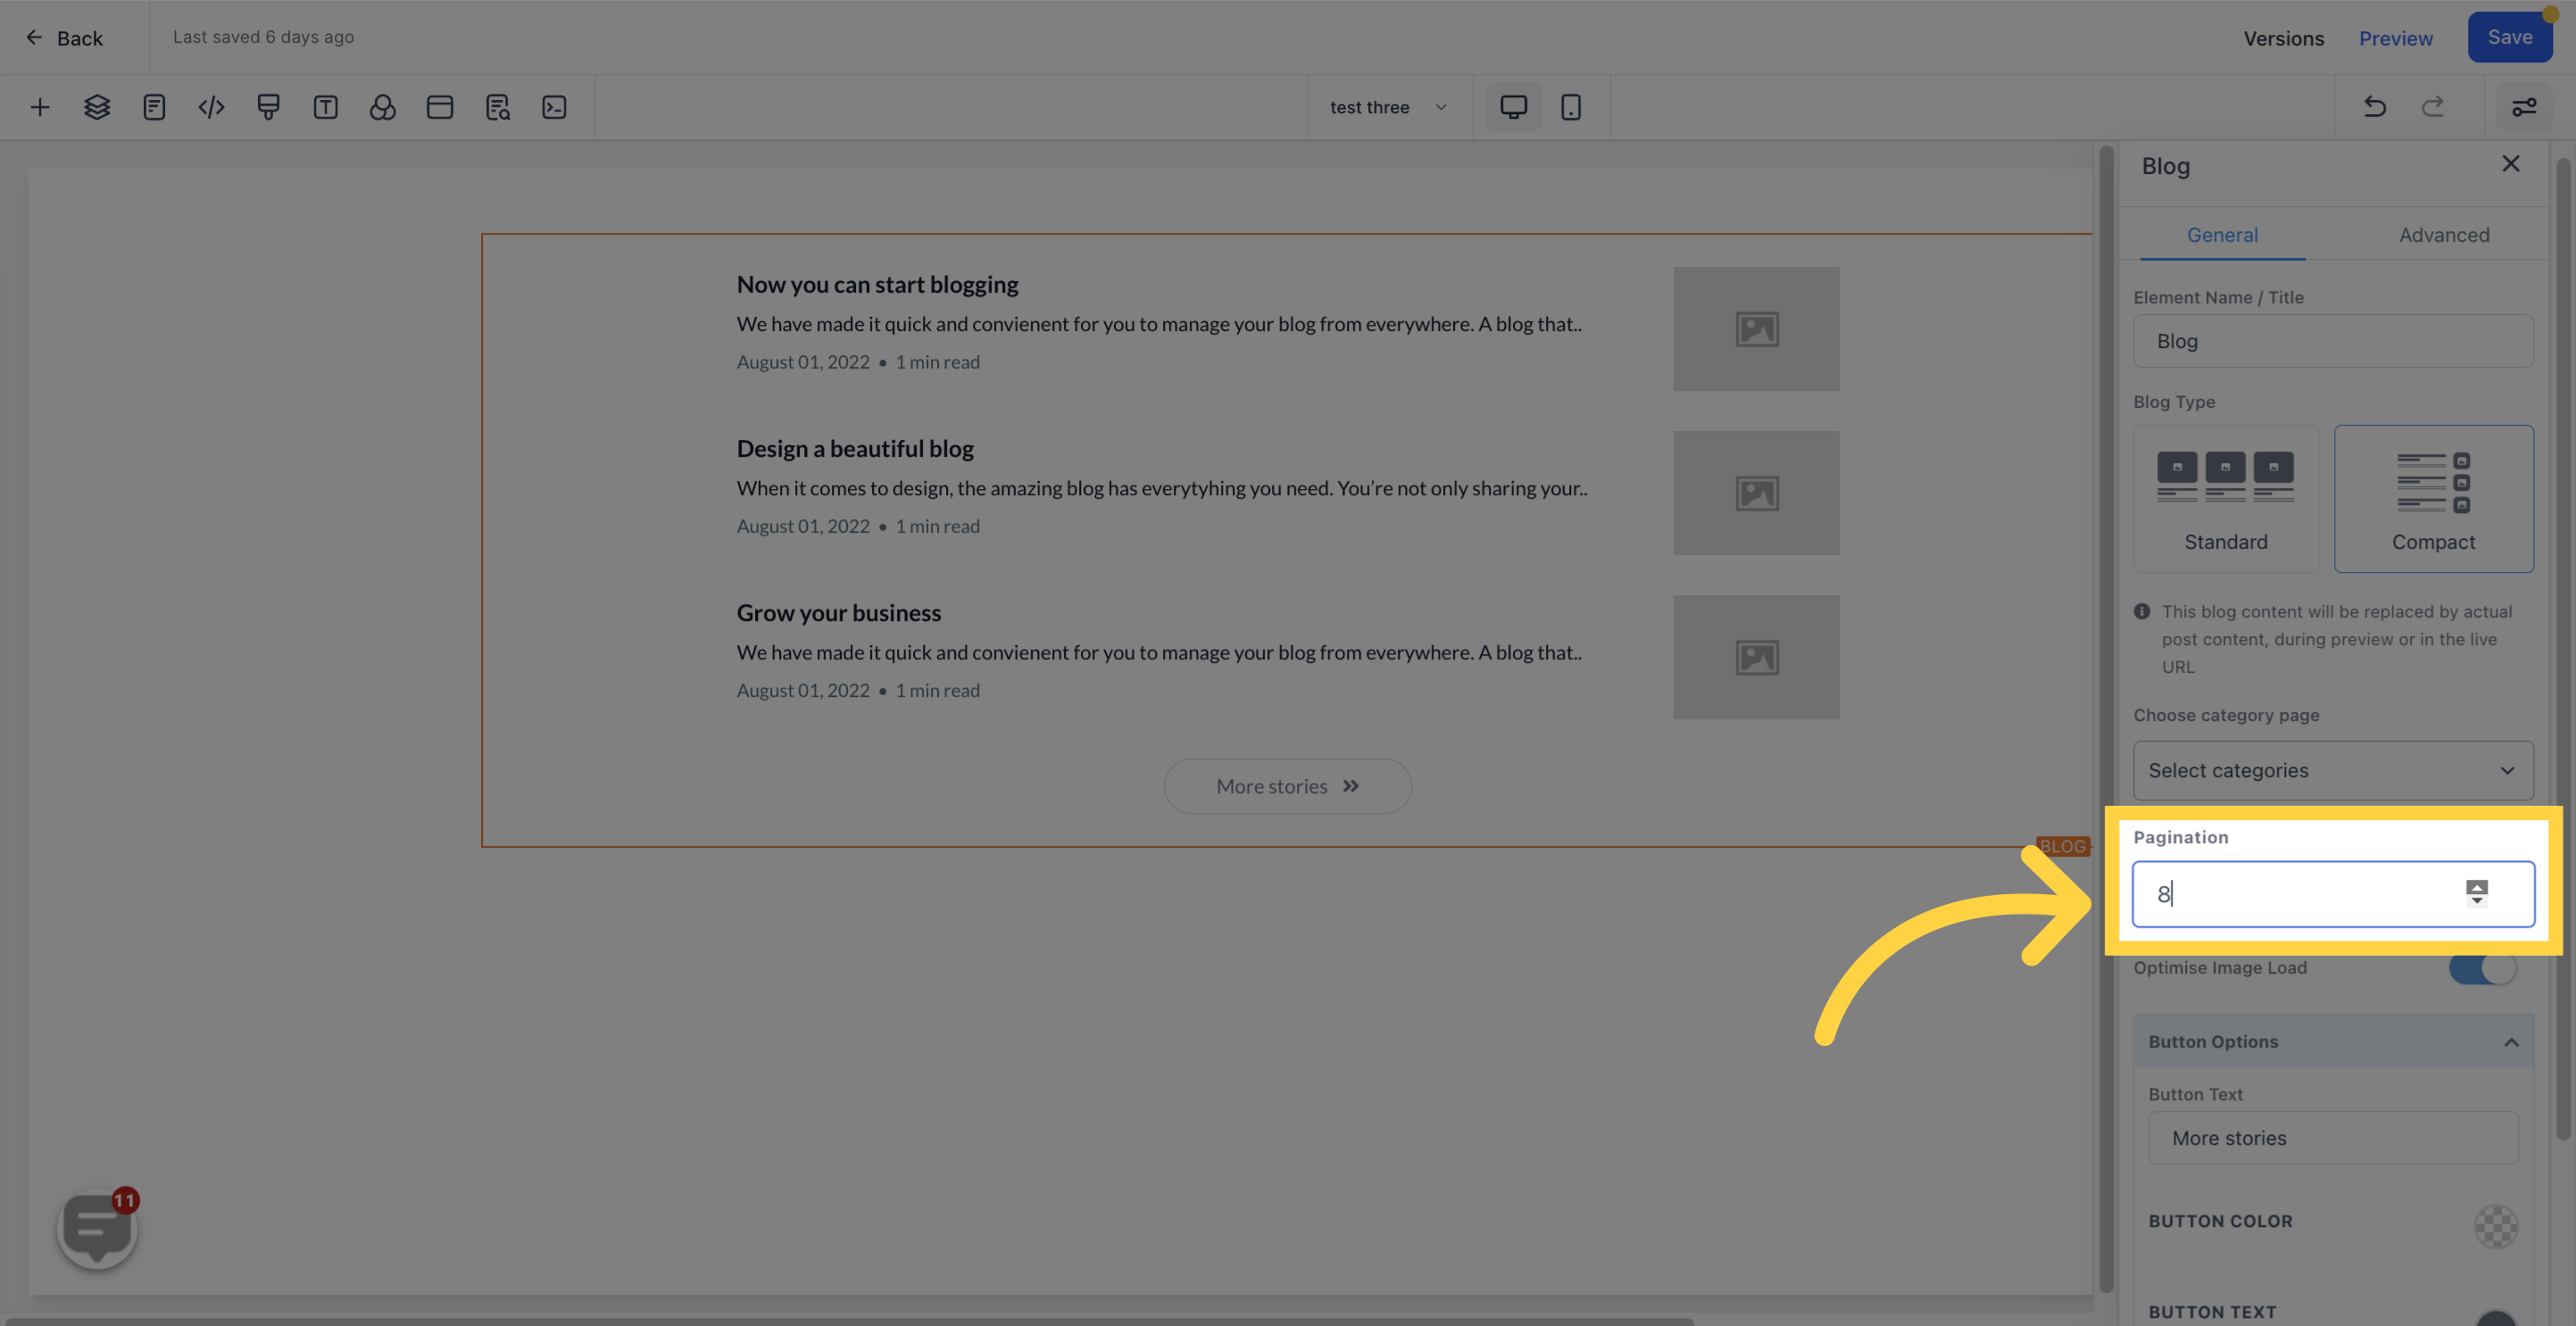
This setting allows you to determine the number of blog posts visible on the page. It is recommended to keep it at 6 or 9 blog posts.
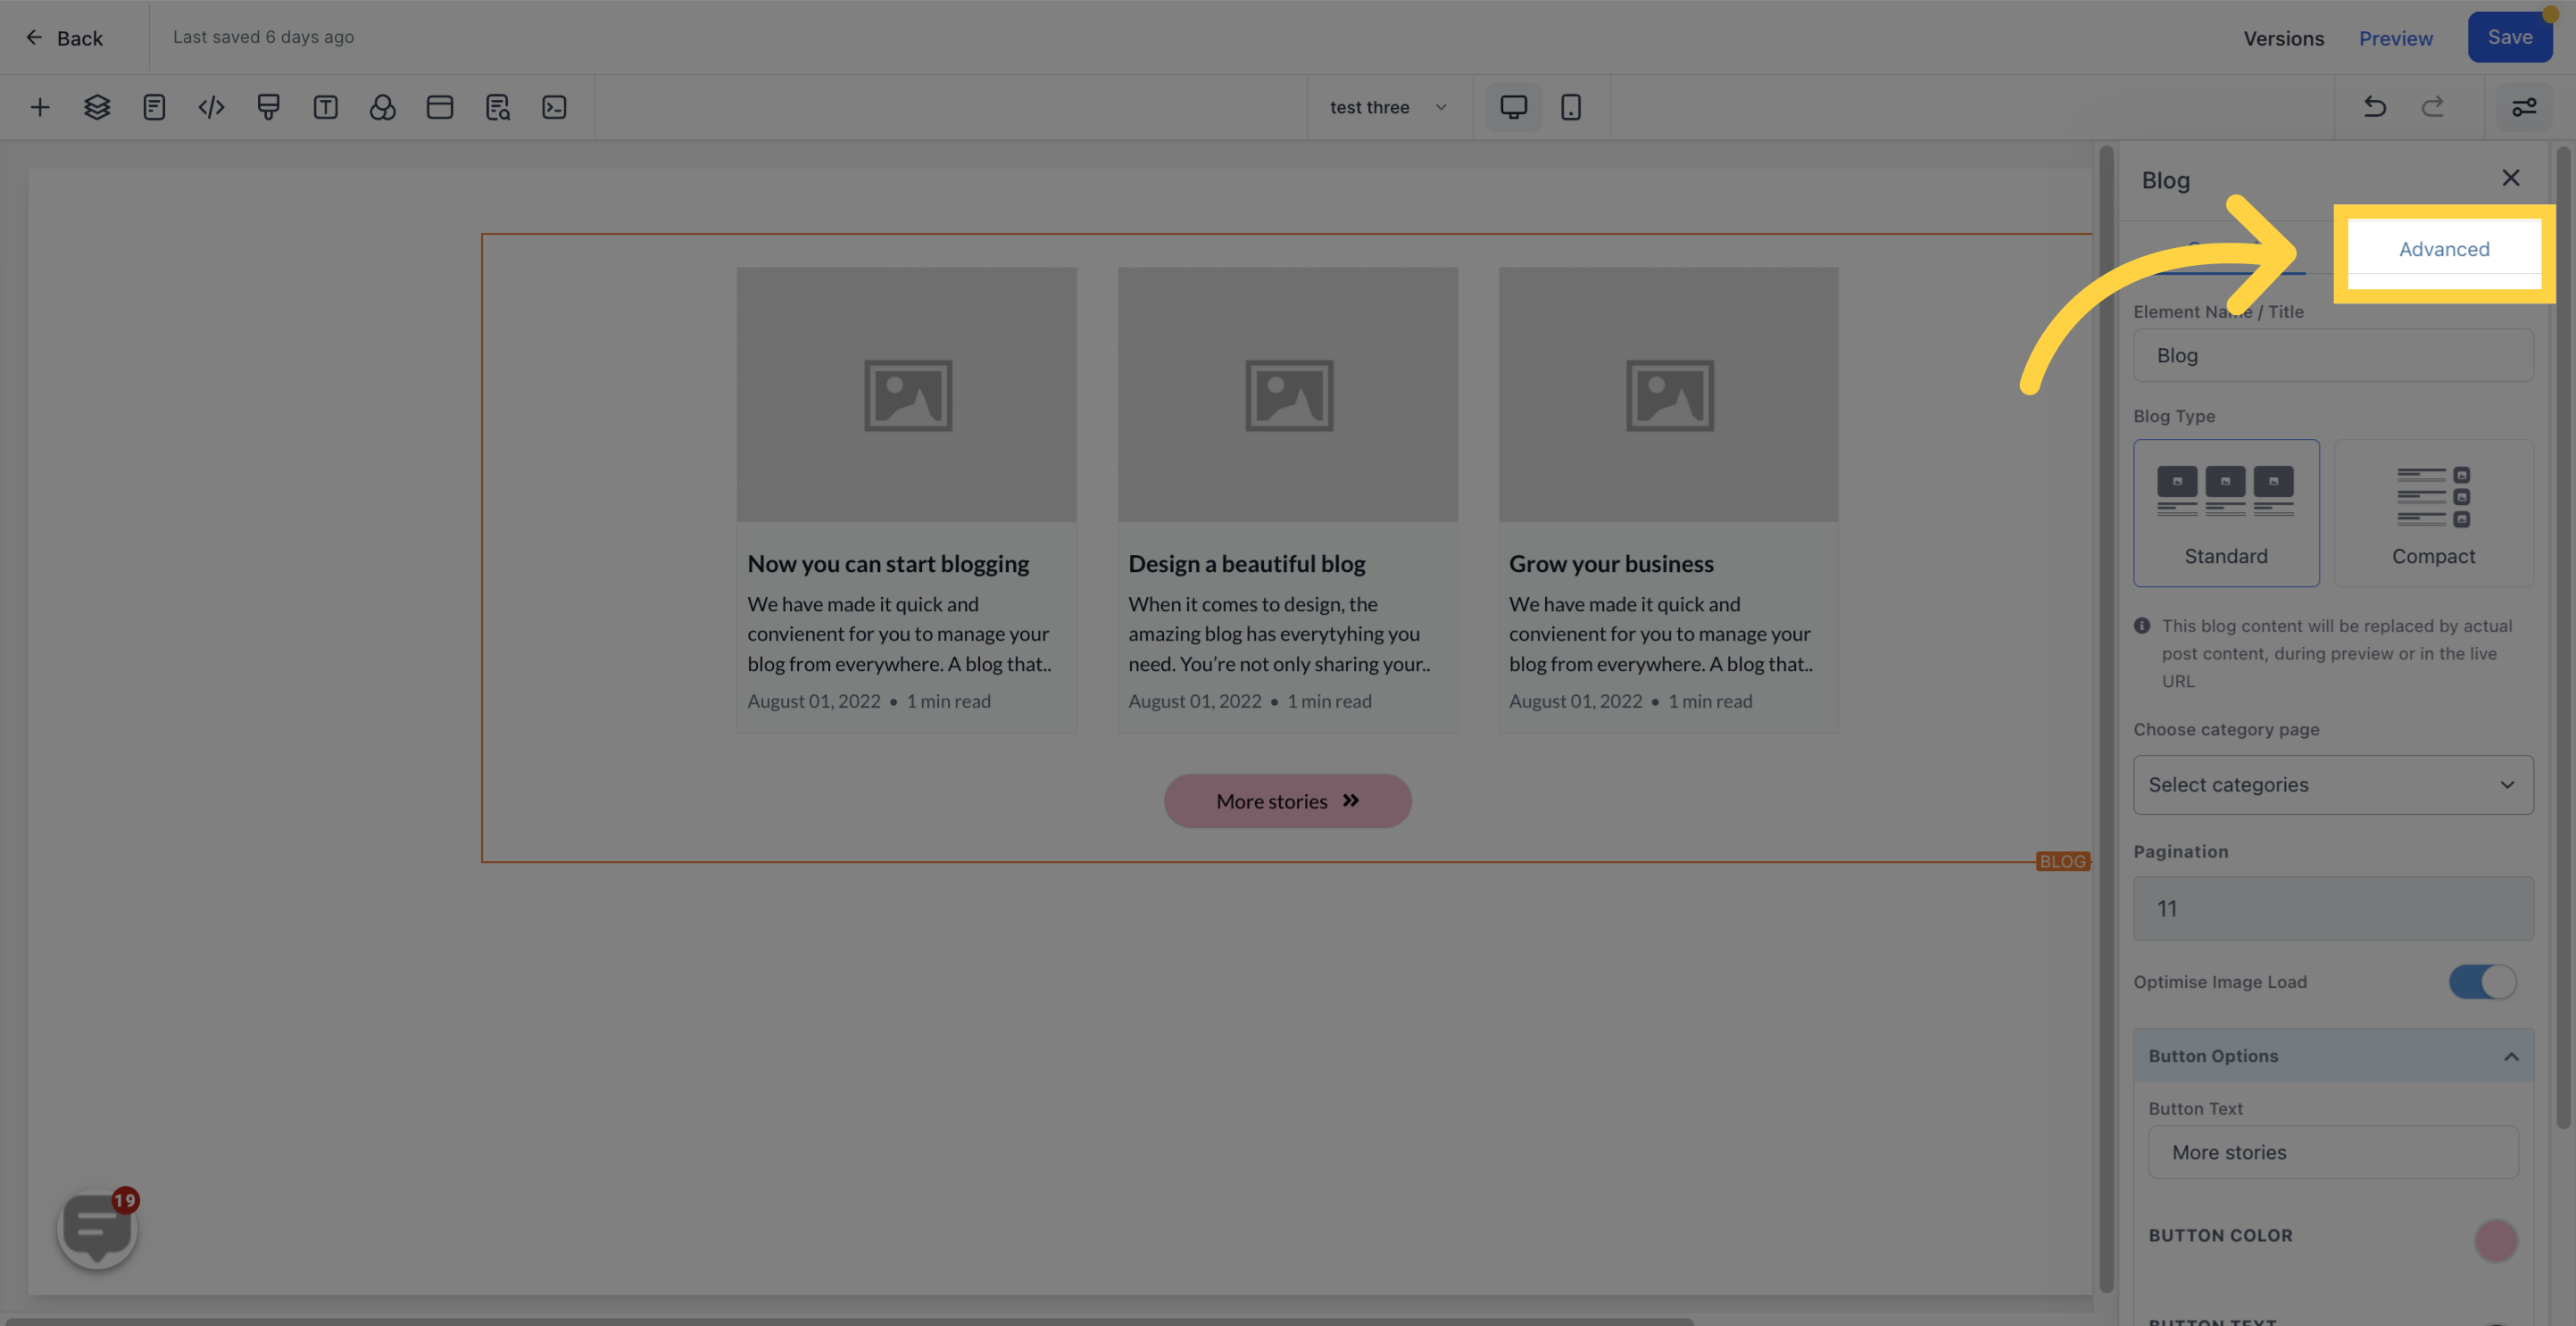
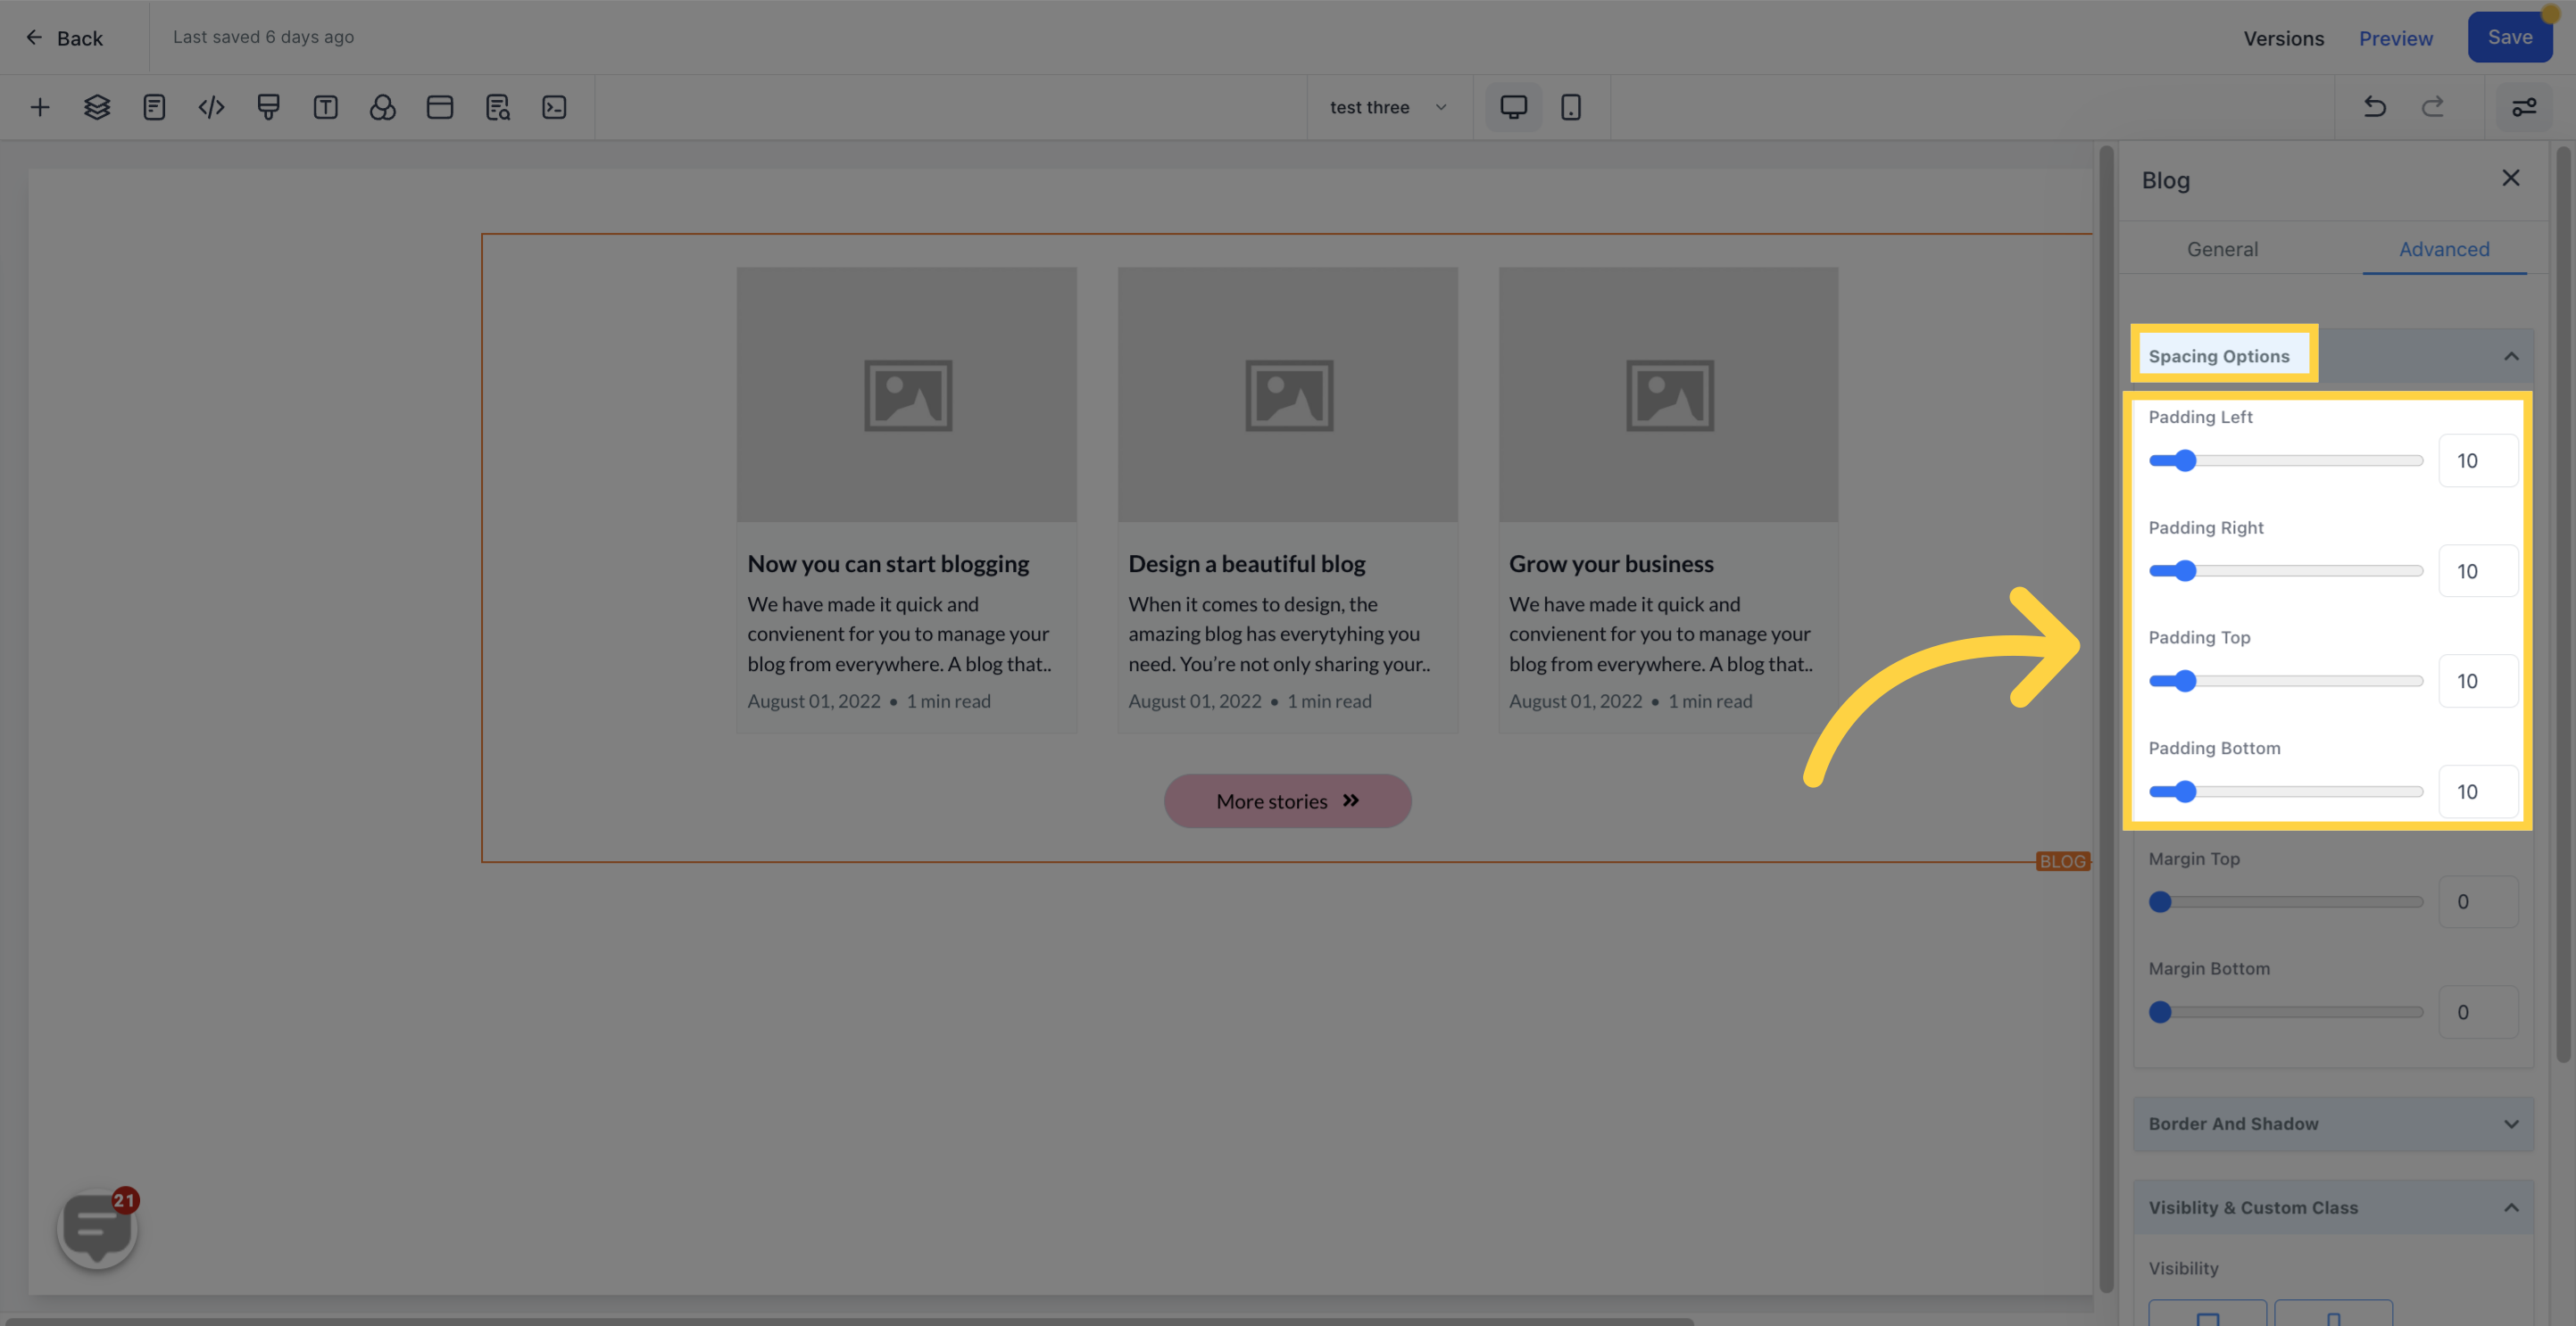
Padding Left, Right, Top, and Bottom: These toggle bars move content to the left, right, top, or bottom, depending on the bar clicked.
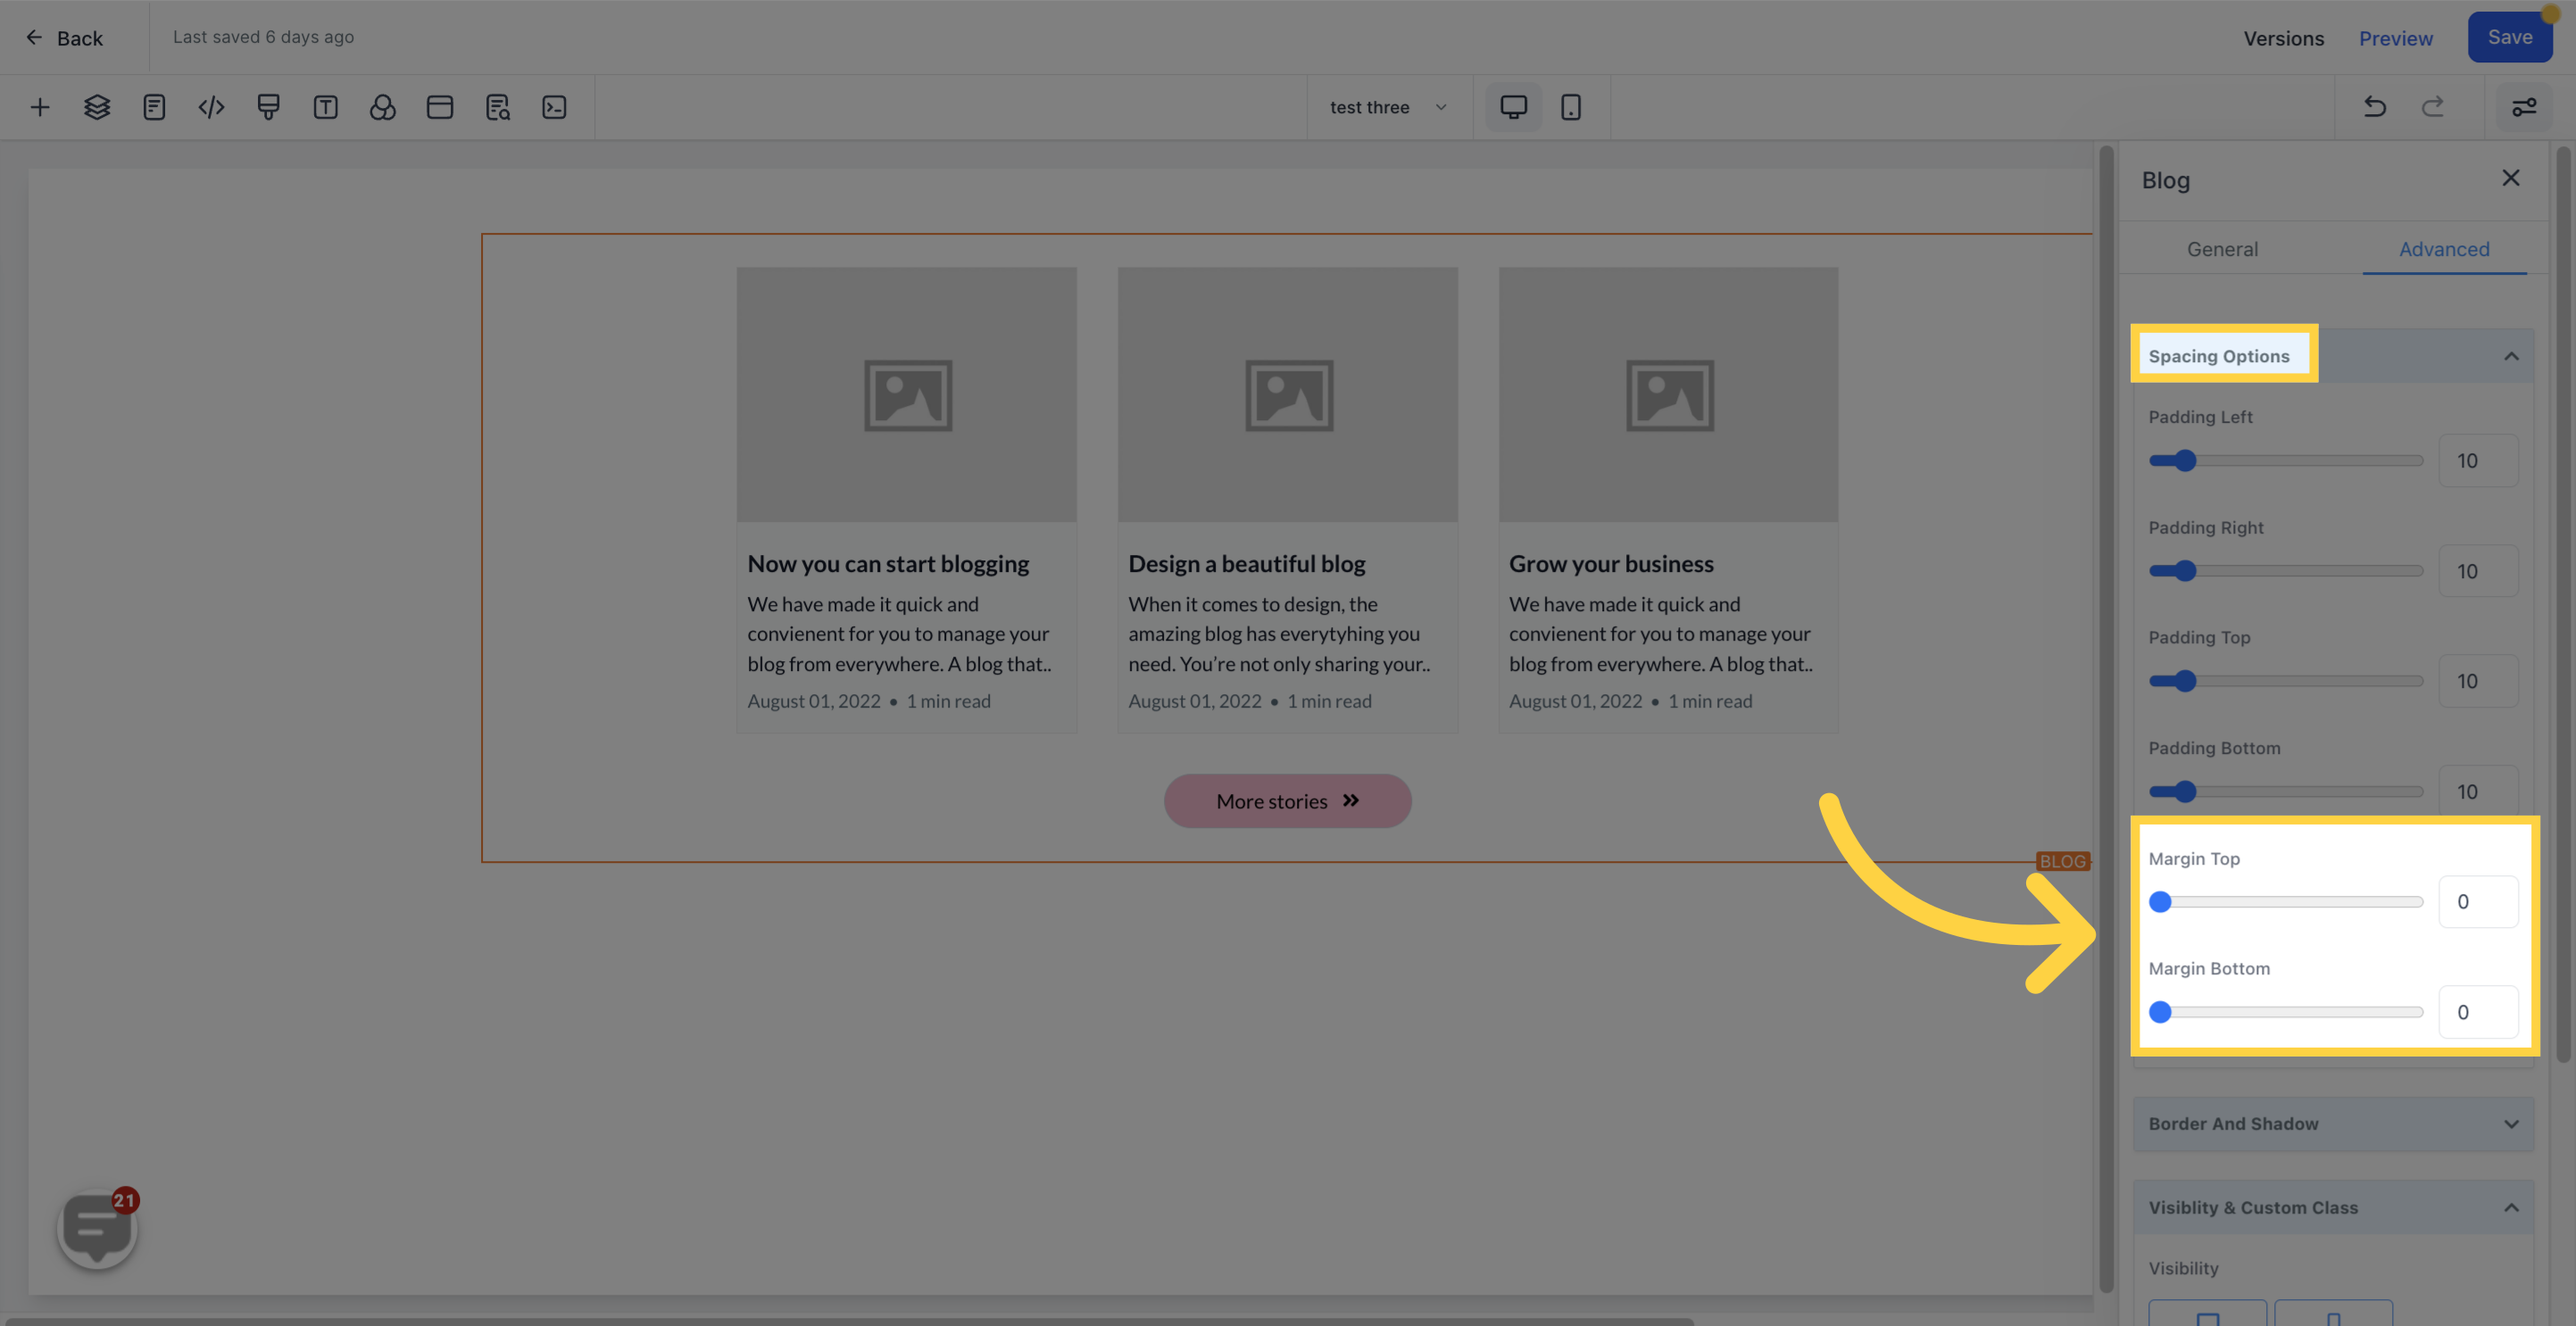
The top or bottom margin of content can be adjusted by toggling its bars
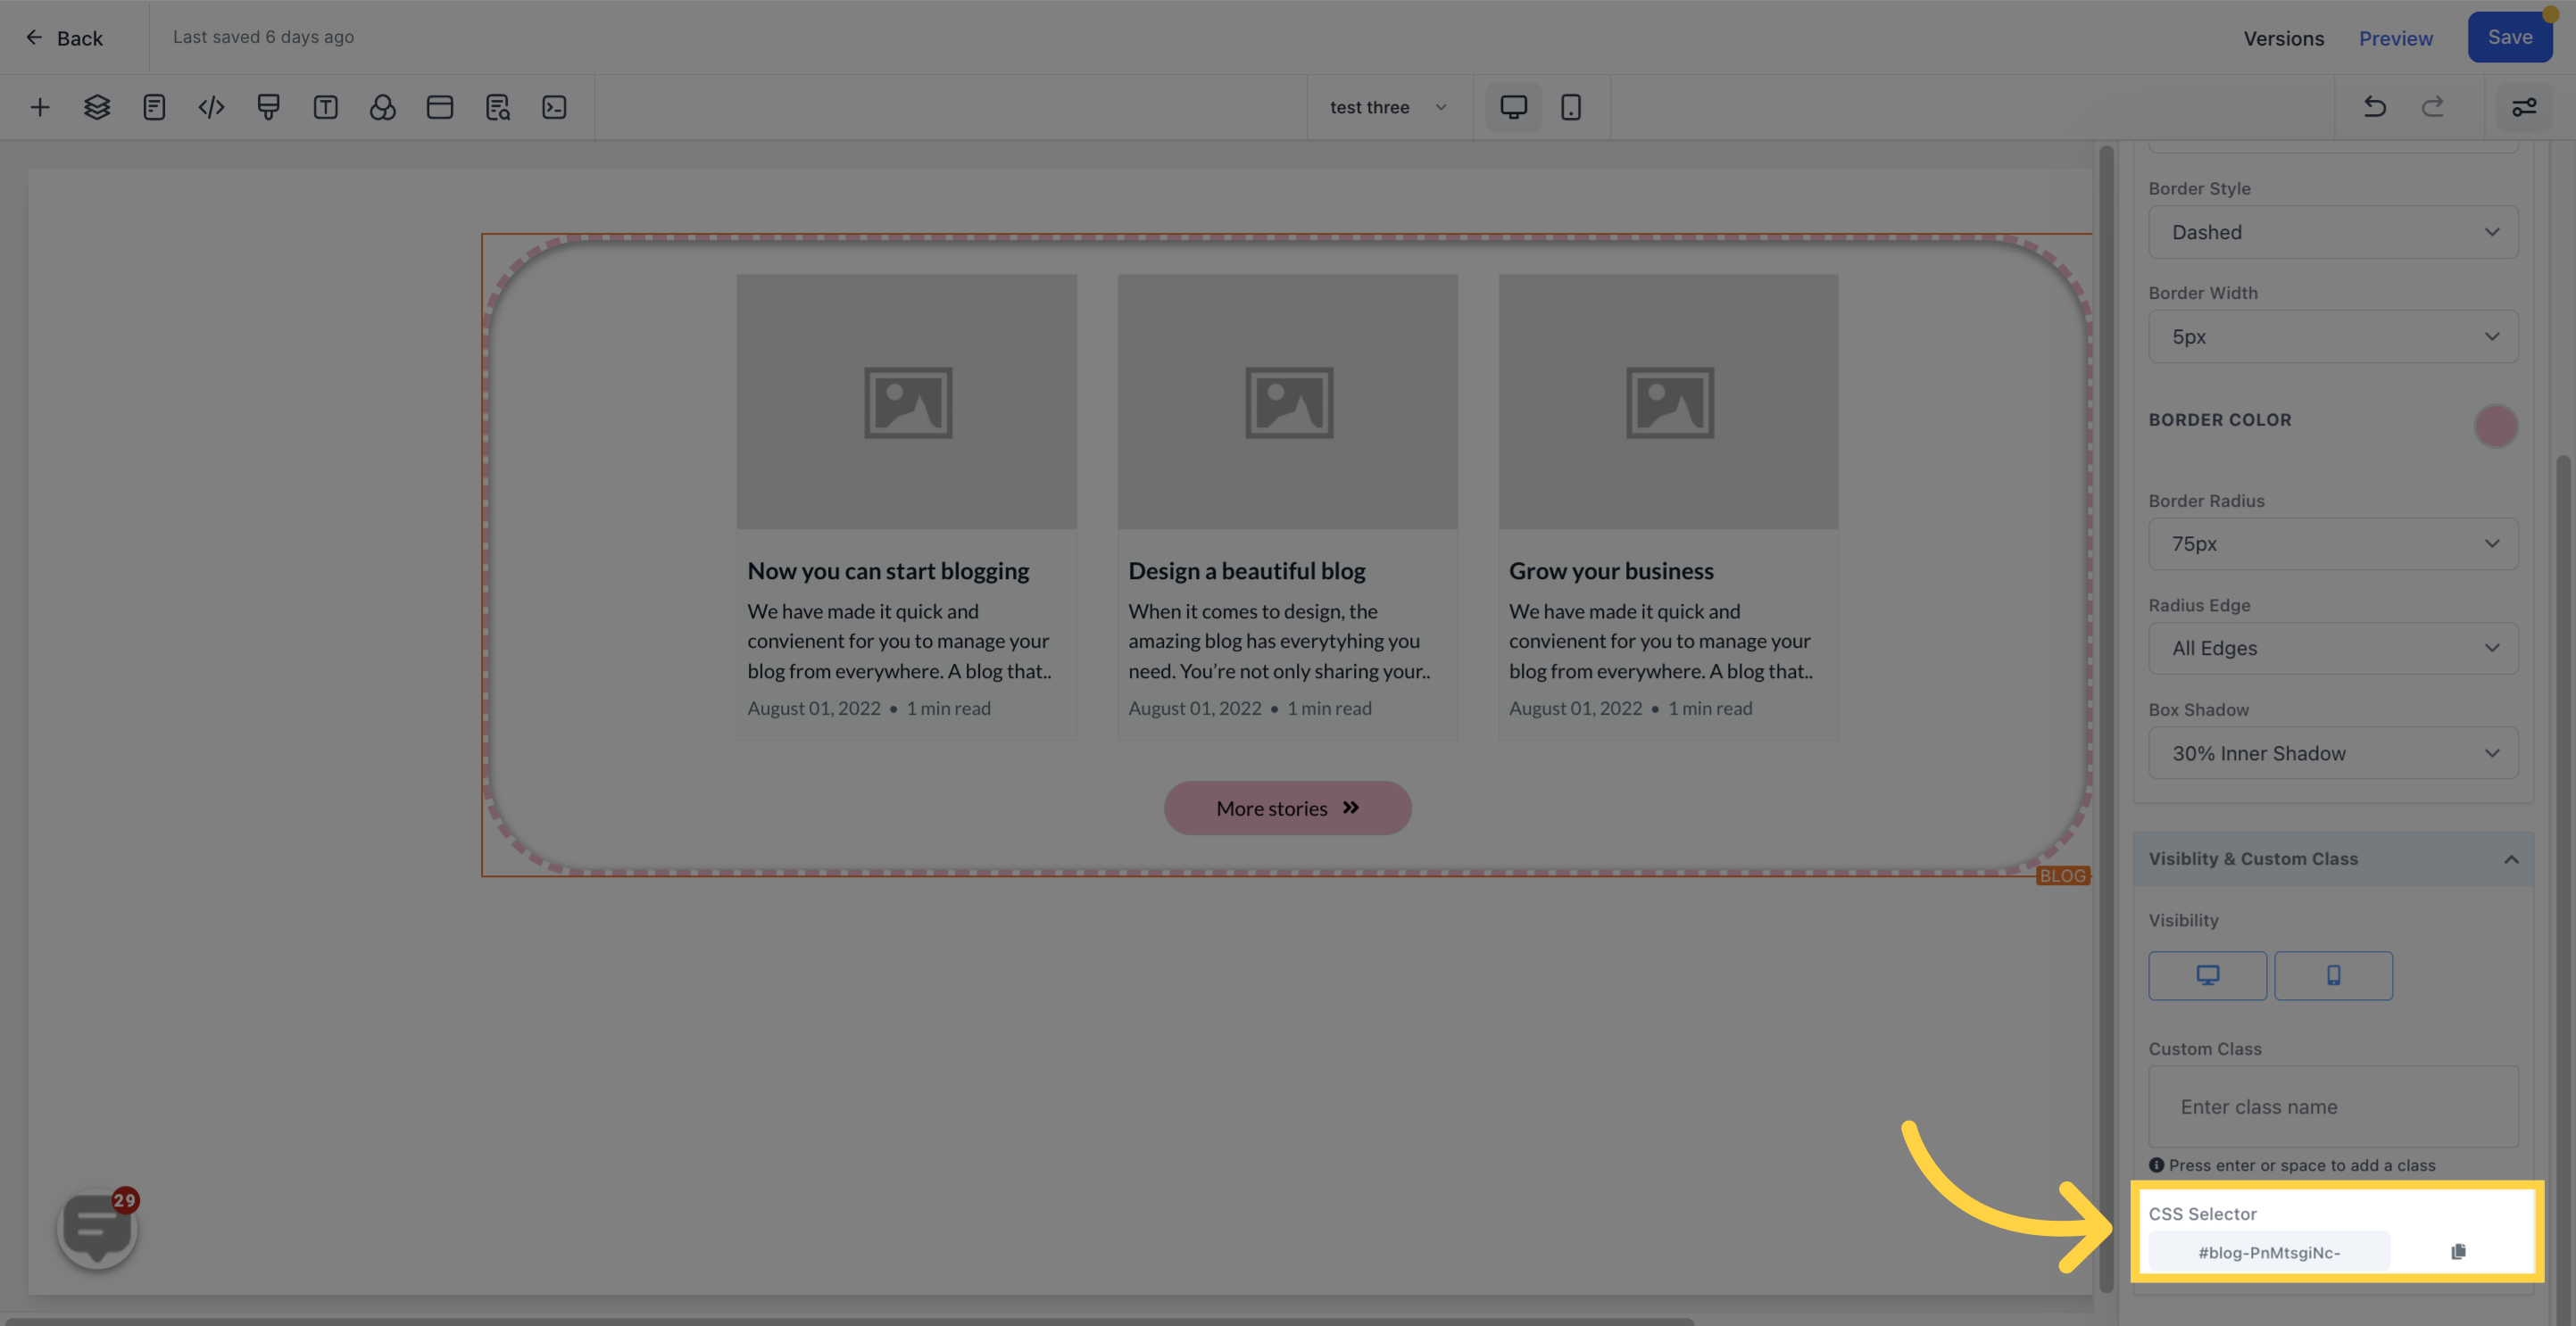
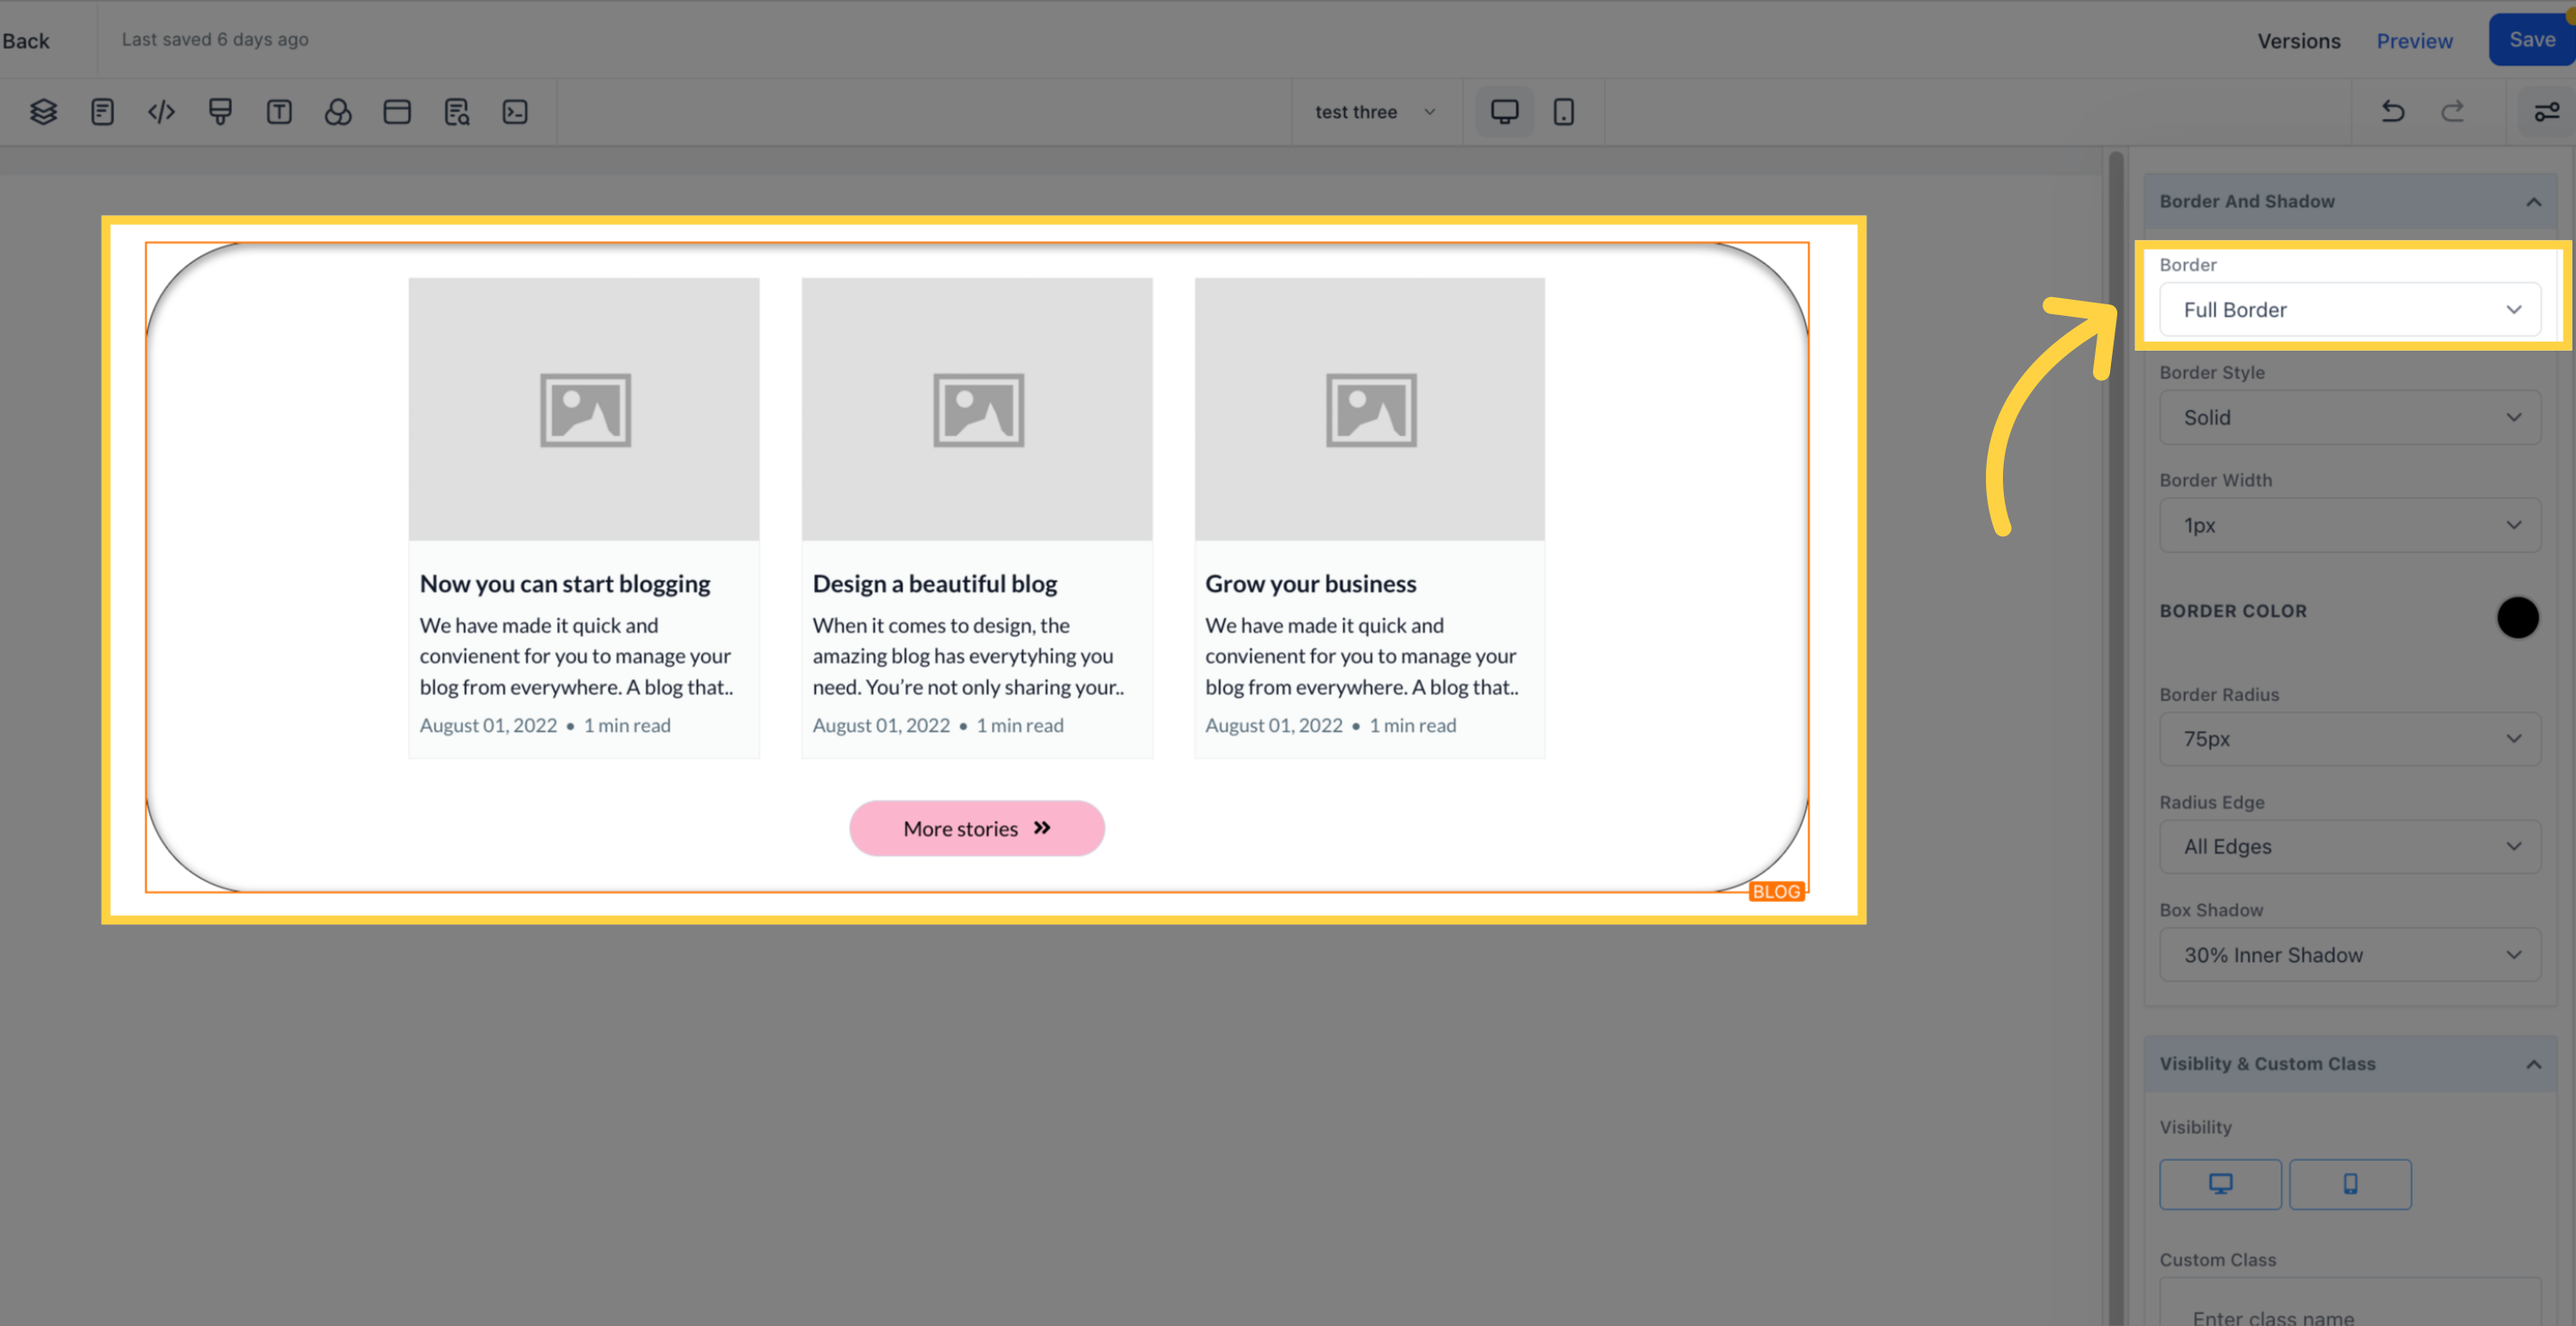
The border type can be selected, with border settings popping up once the type is chosen.
Three different border styles are available- solid, dashed, or dotted.
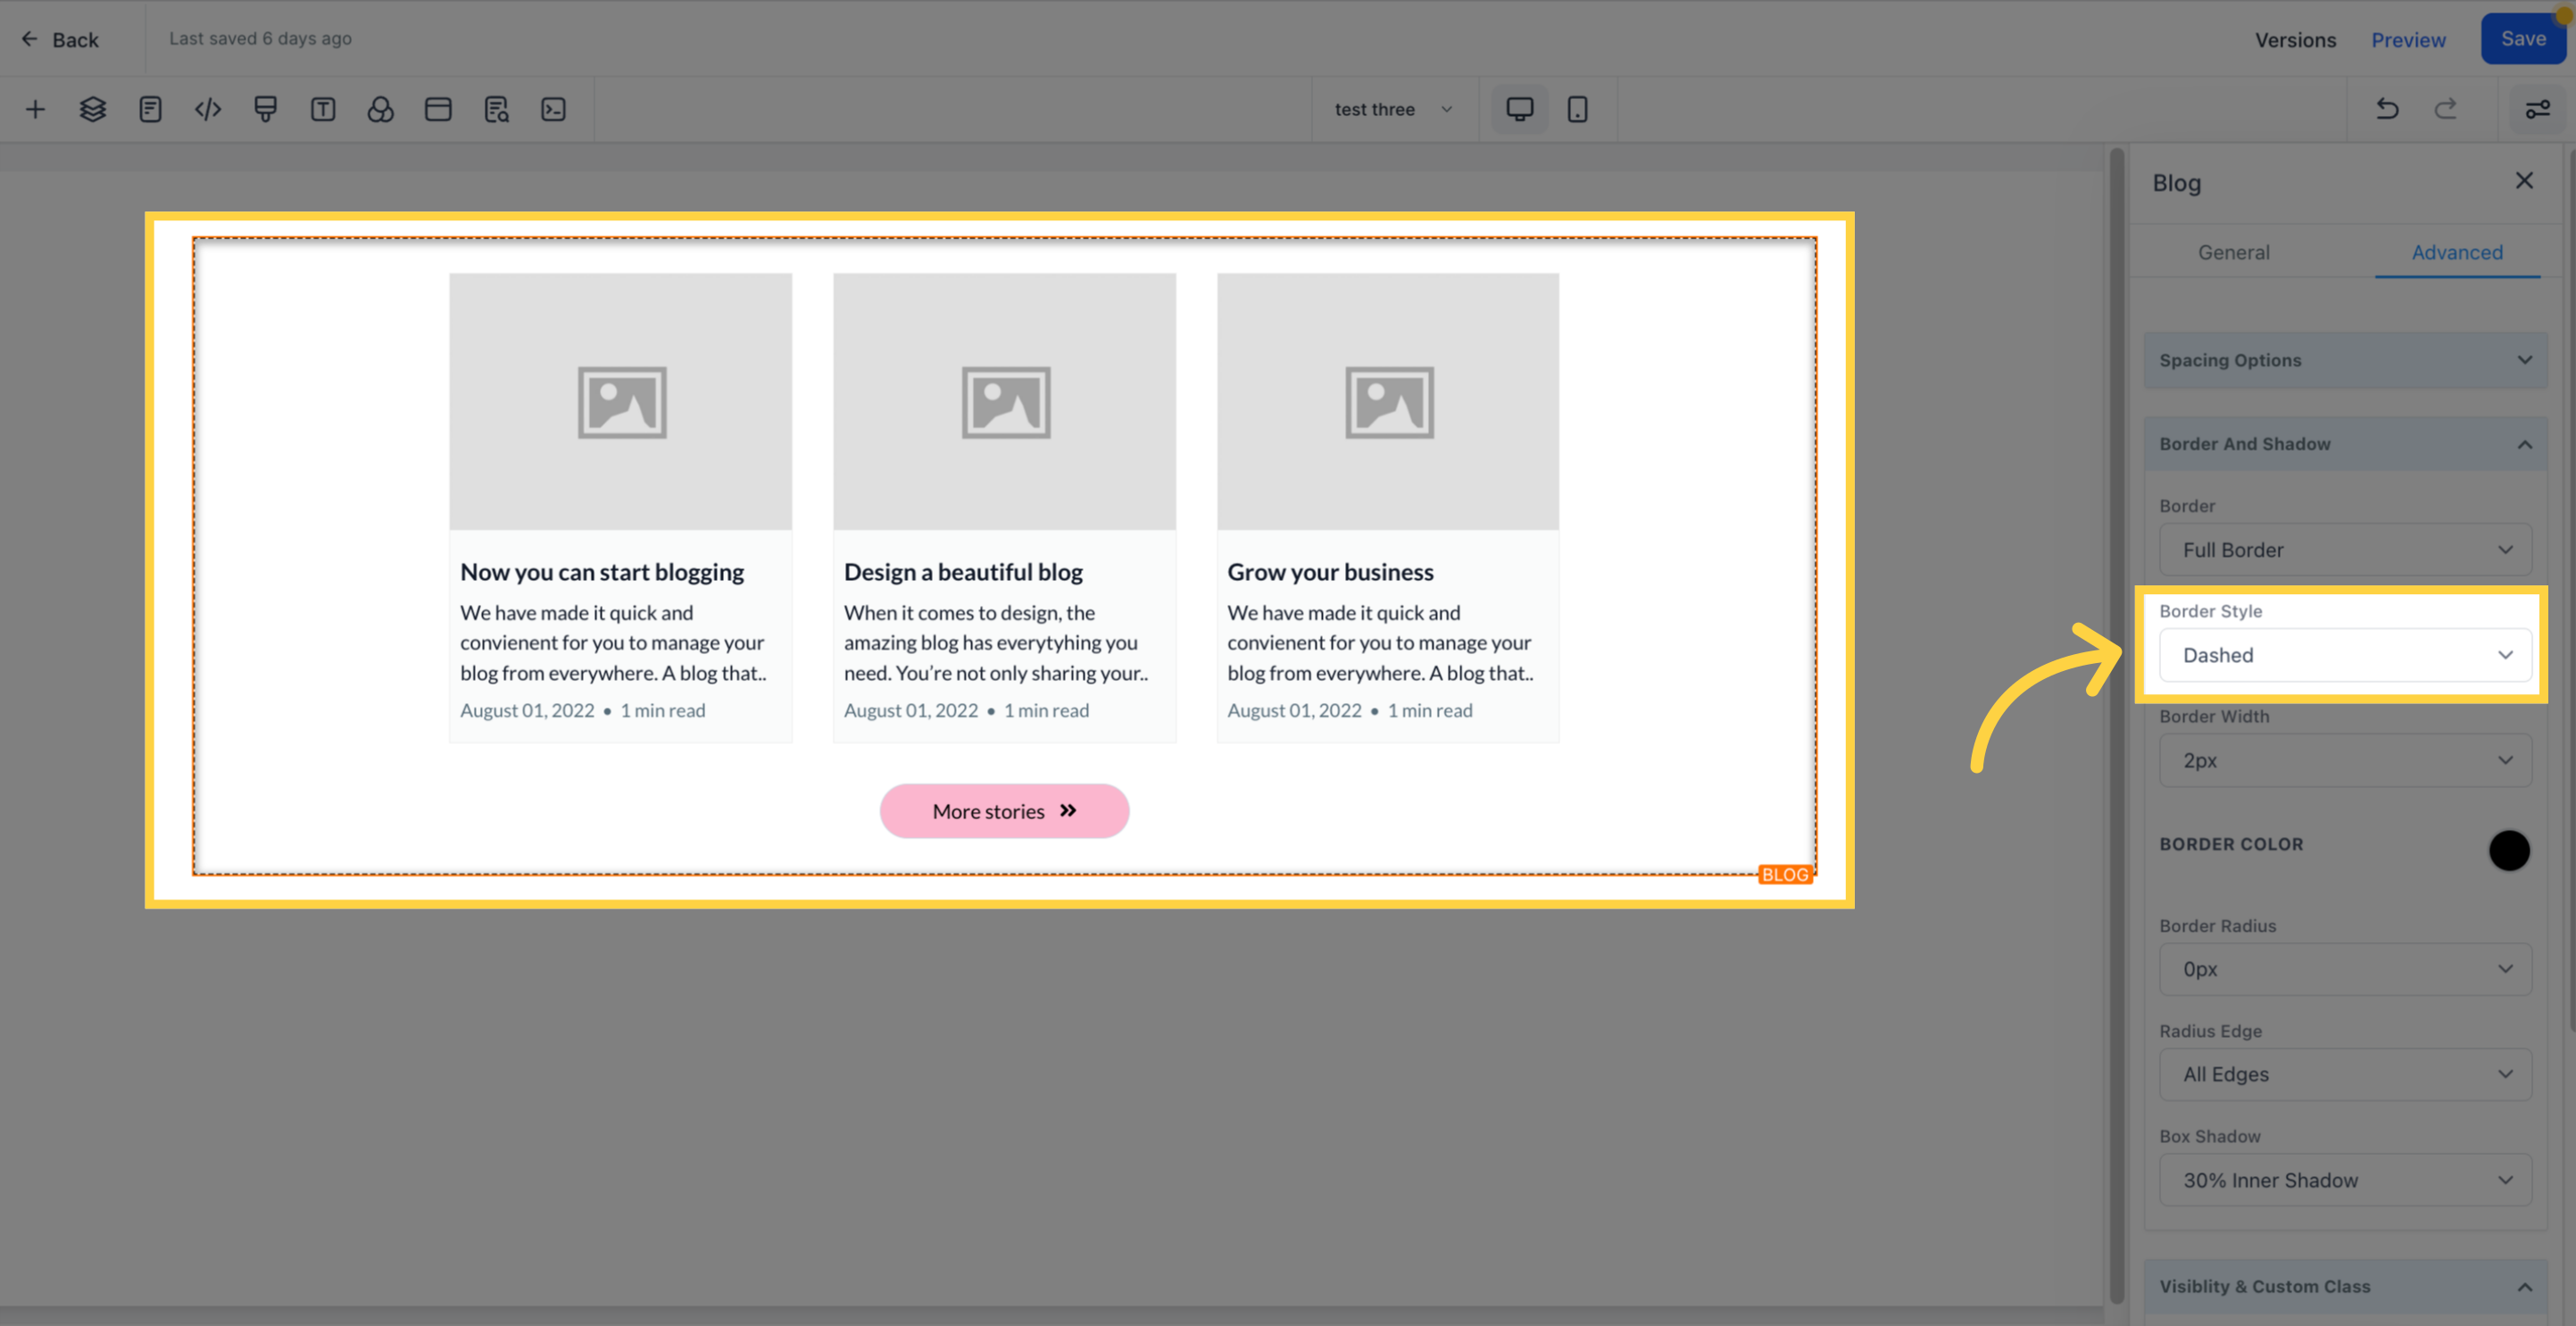
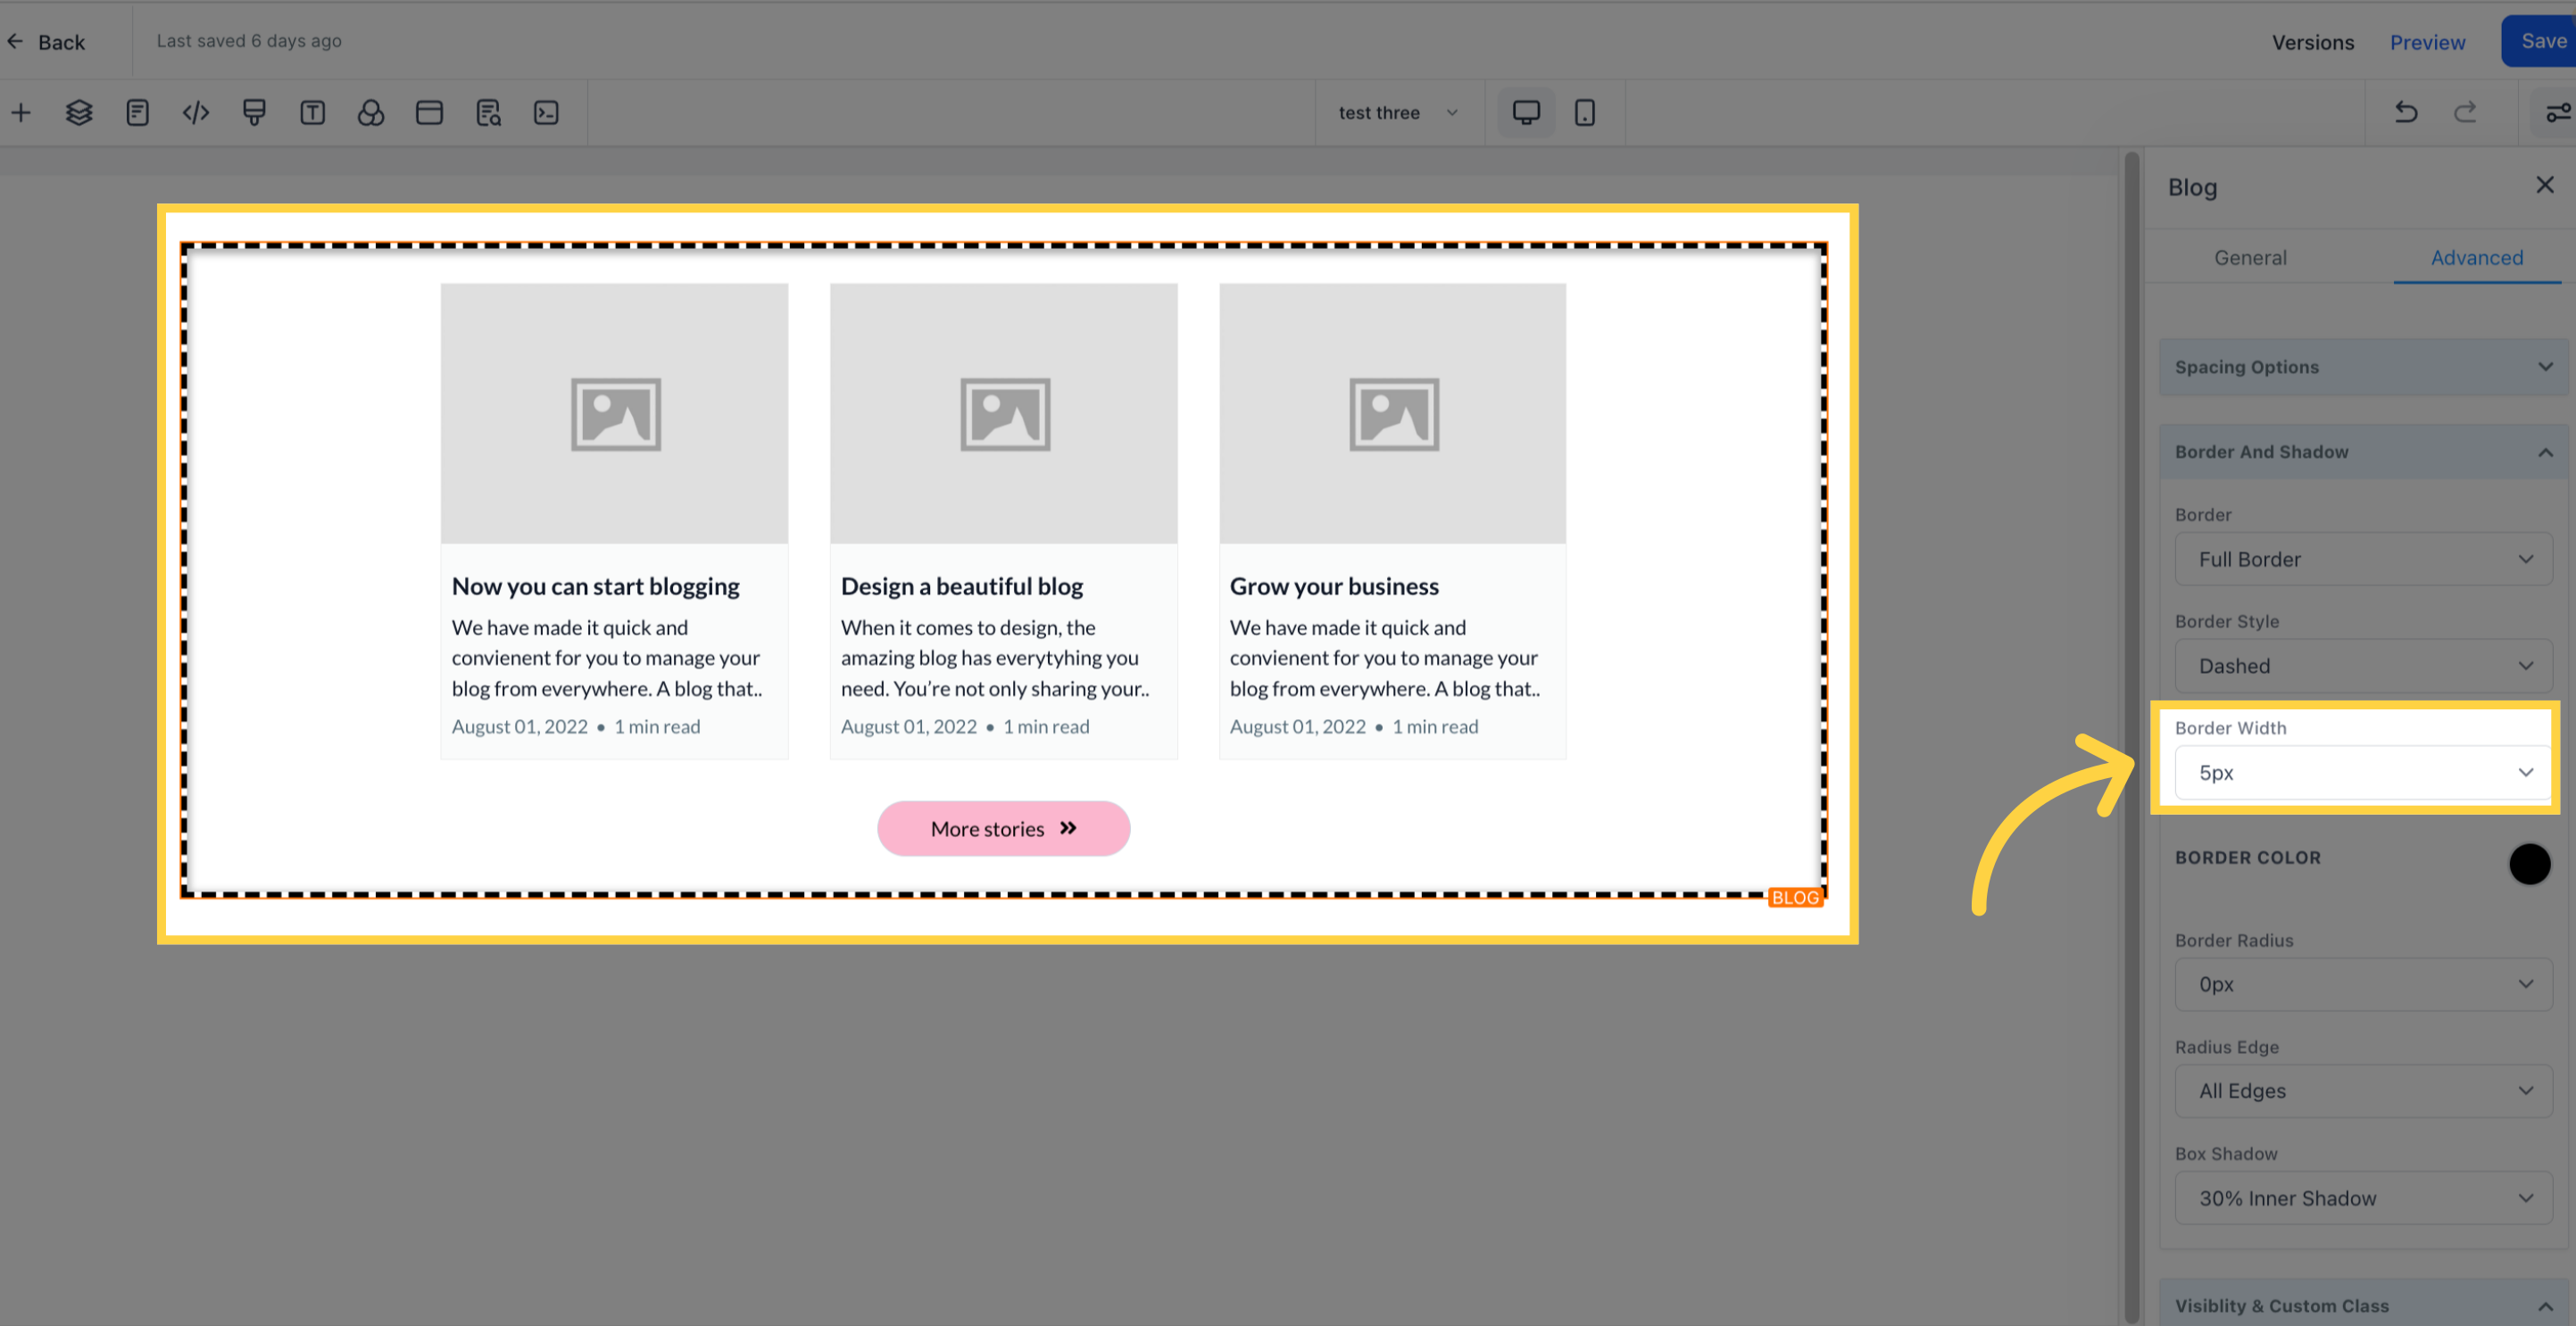
Increasing the border width will increase its thickness.
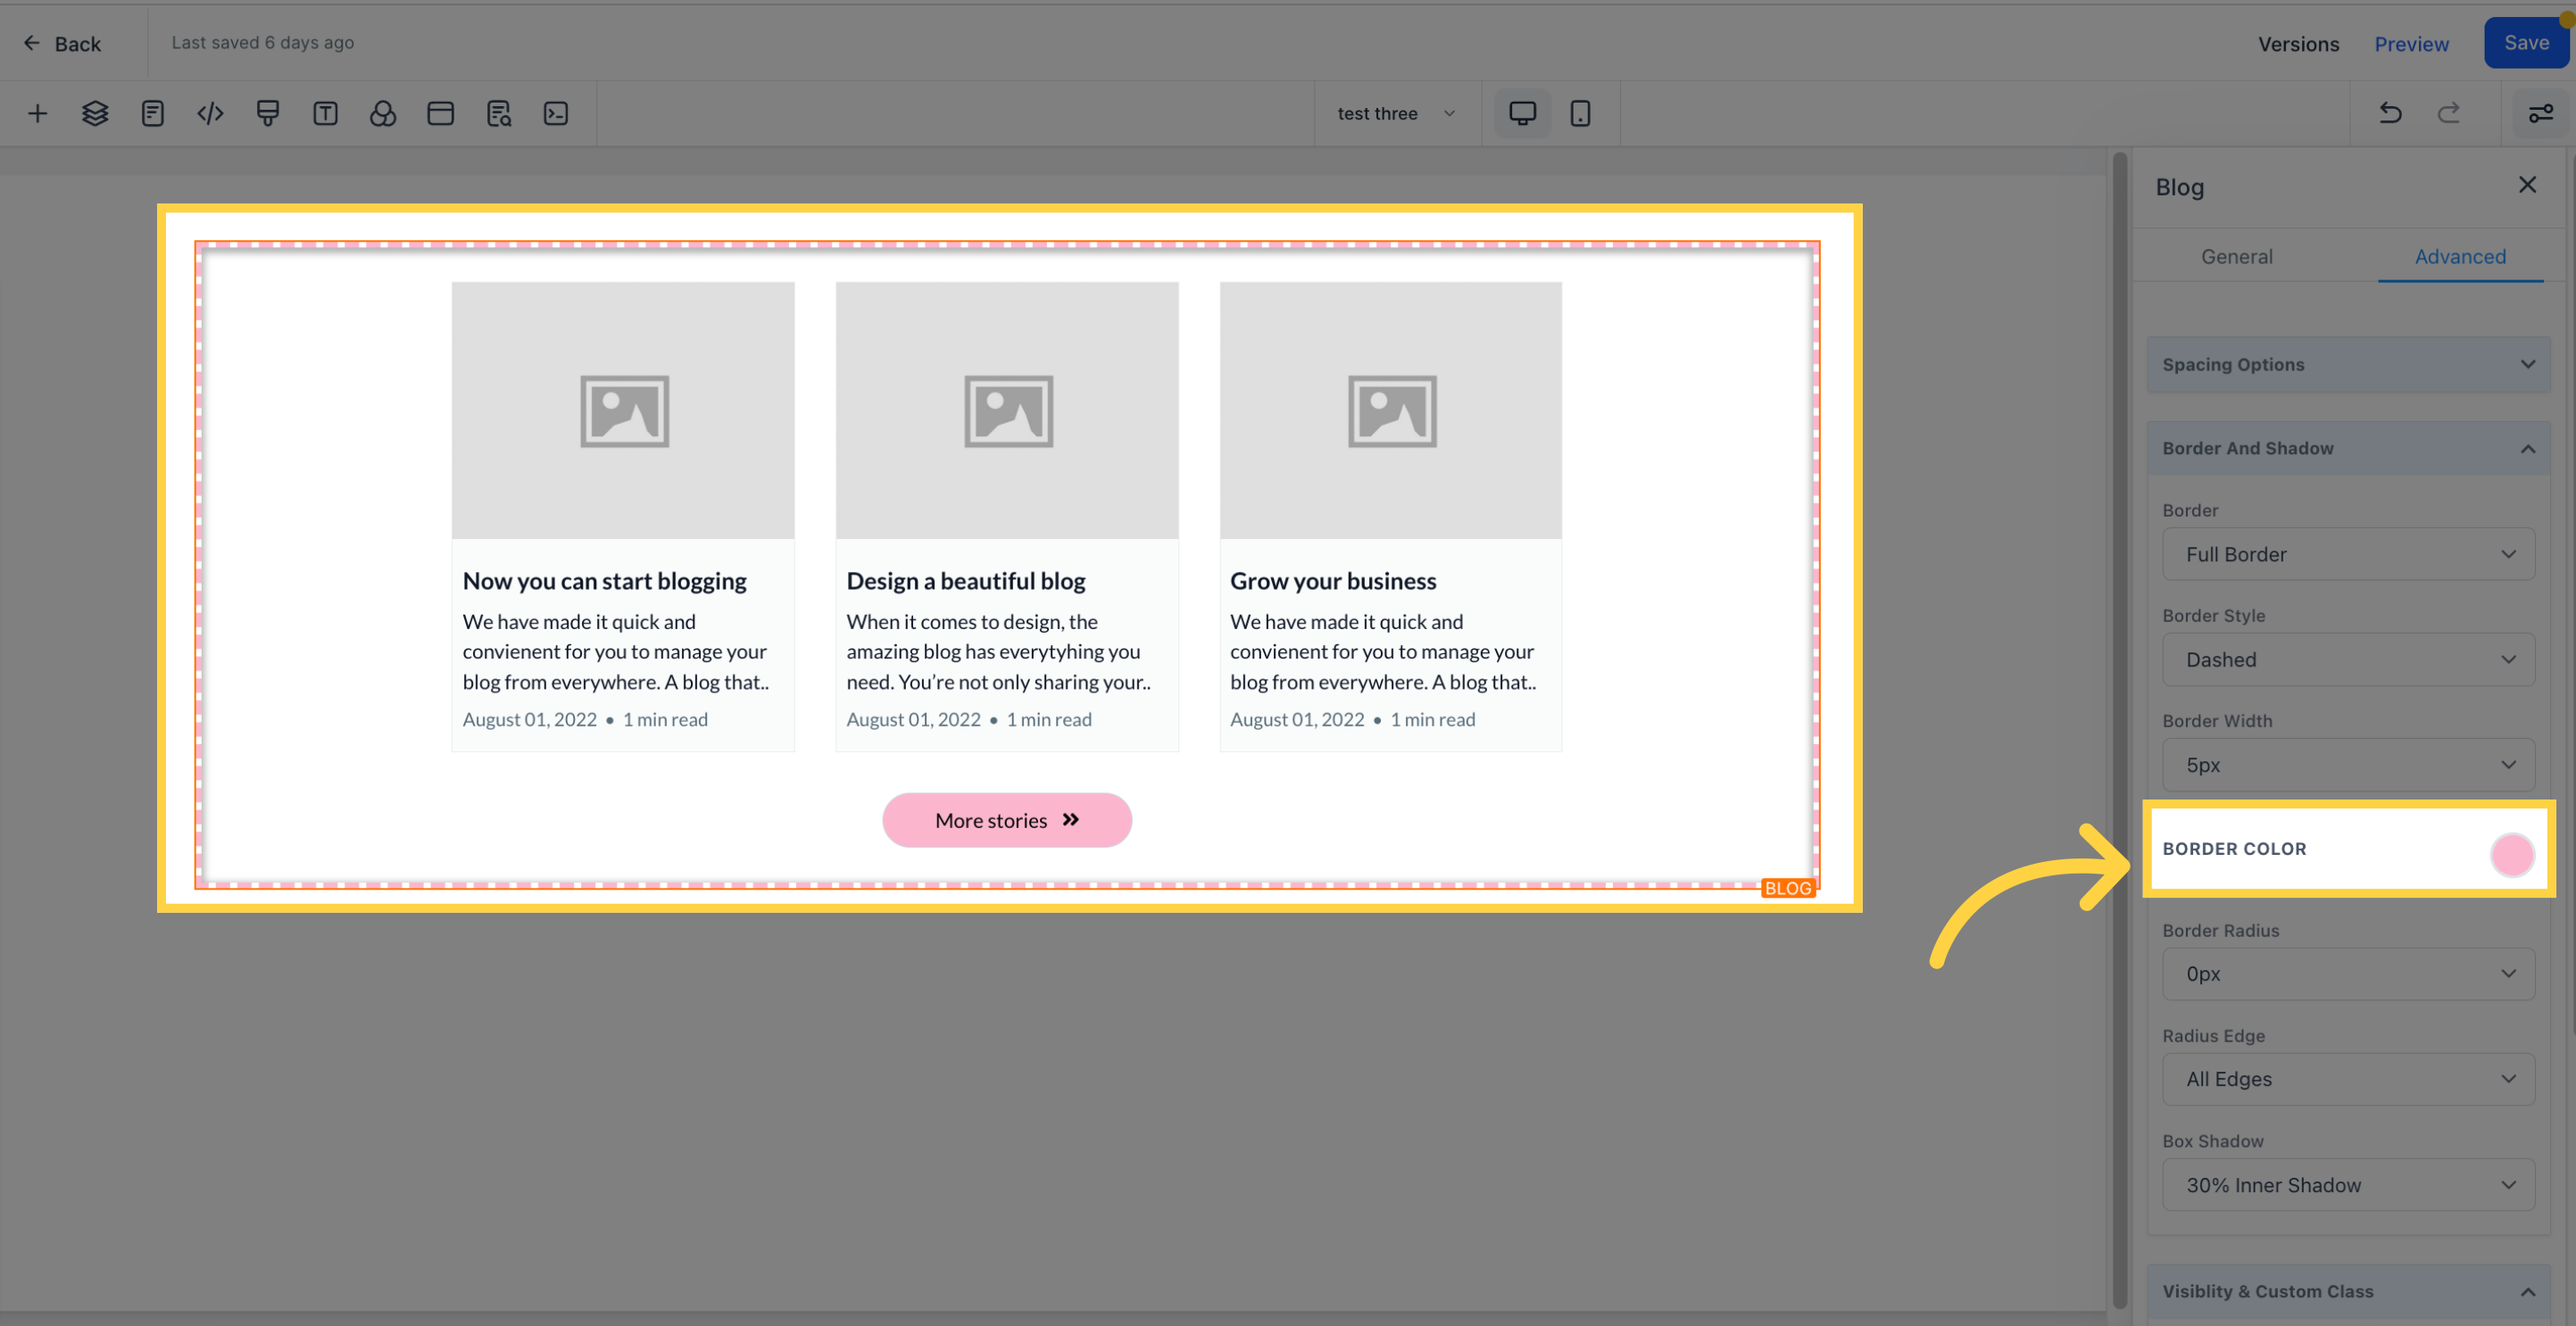
The border color can be changed by clicking on the color icon.
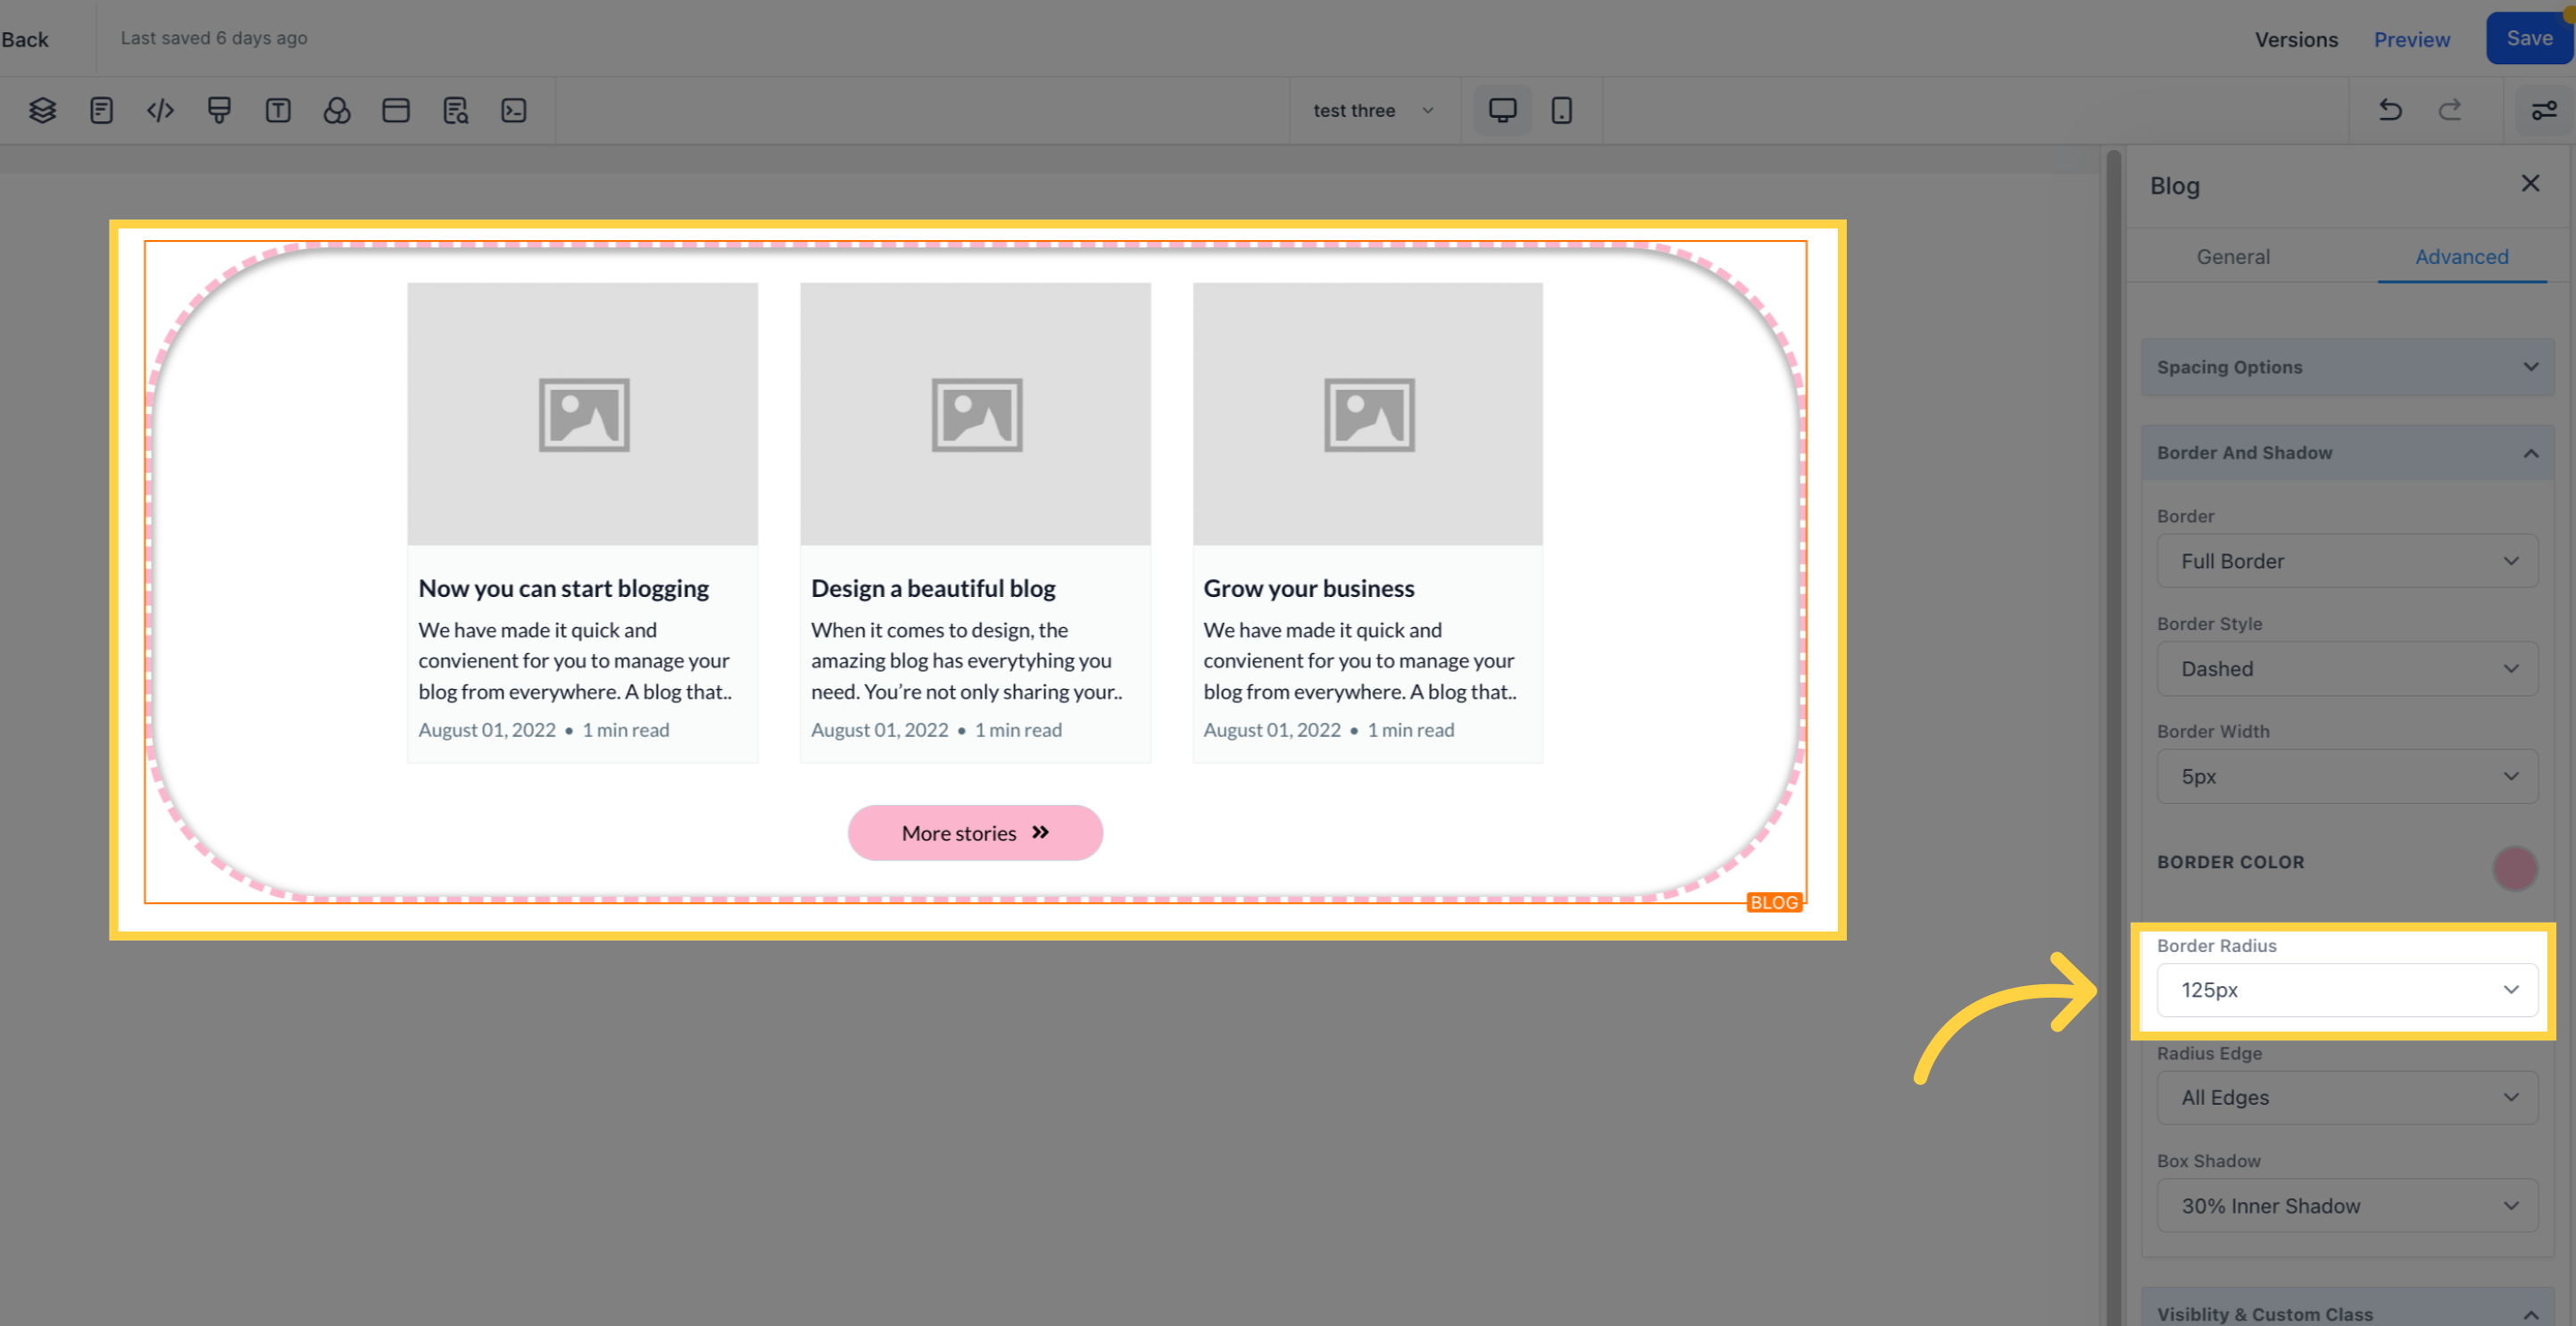
Adjusting the radius curves the border edges- the higher the number, the curvier the border.
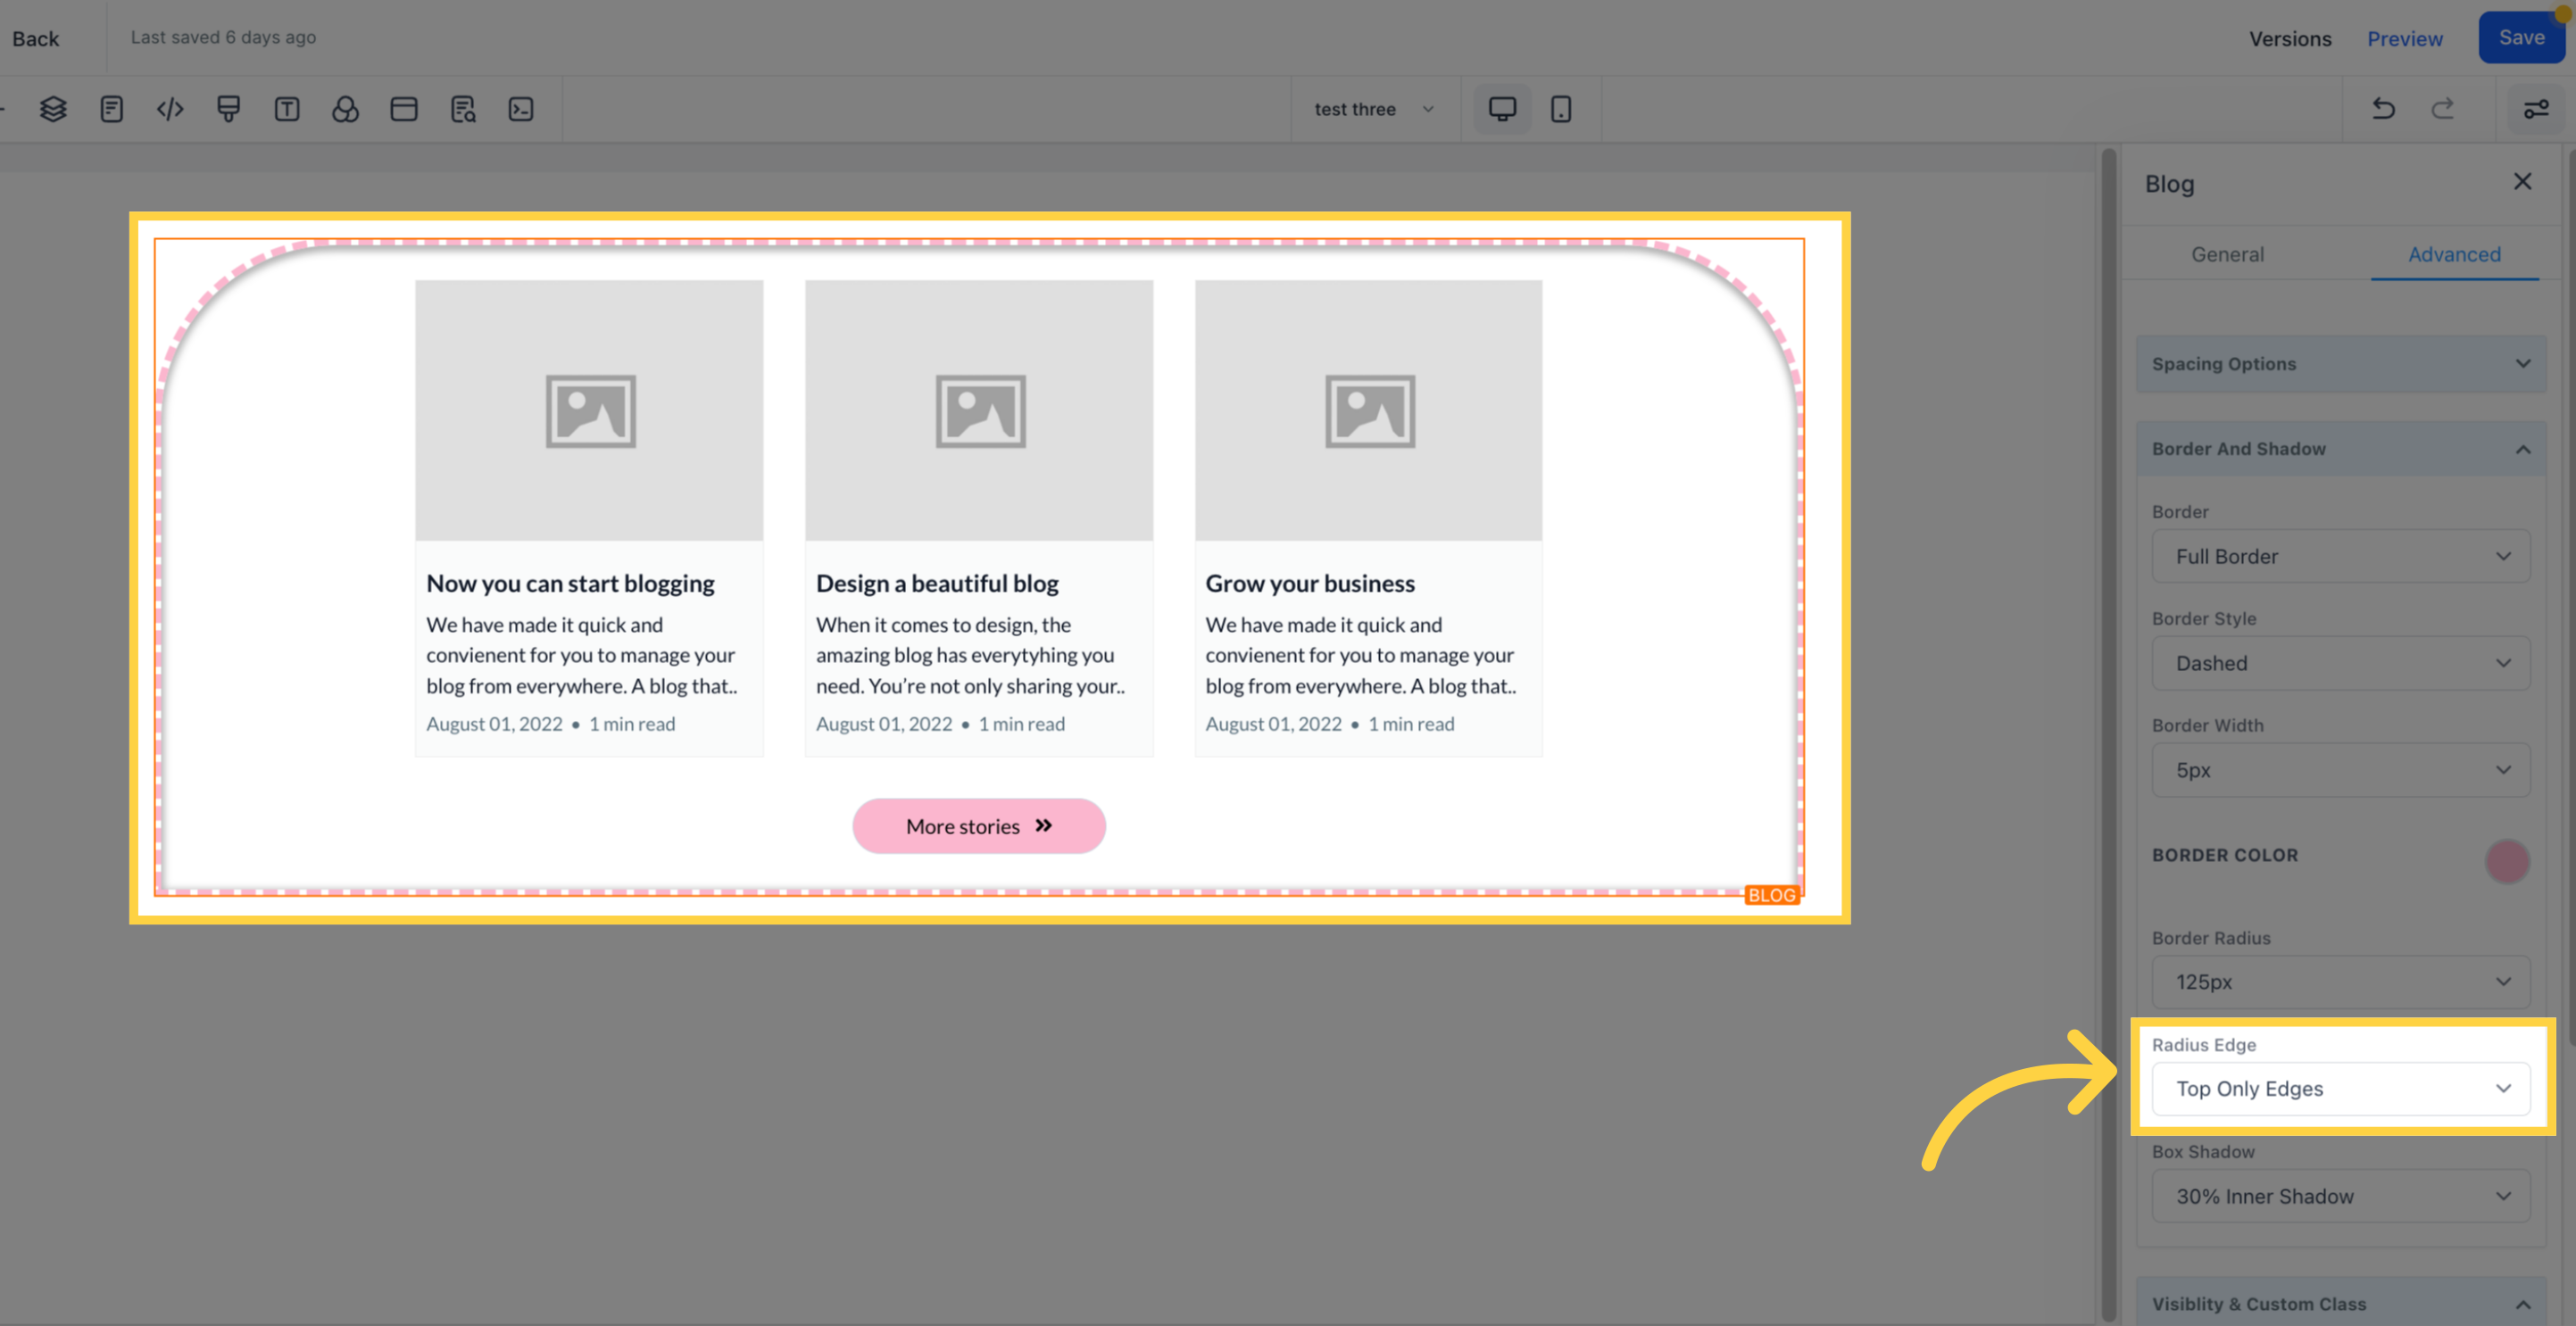
The corner of the border that is curved can be selected- all edges, top only, or bottom edge only.
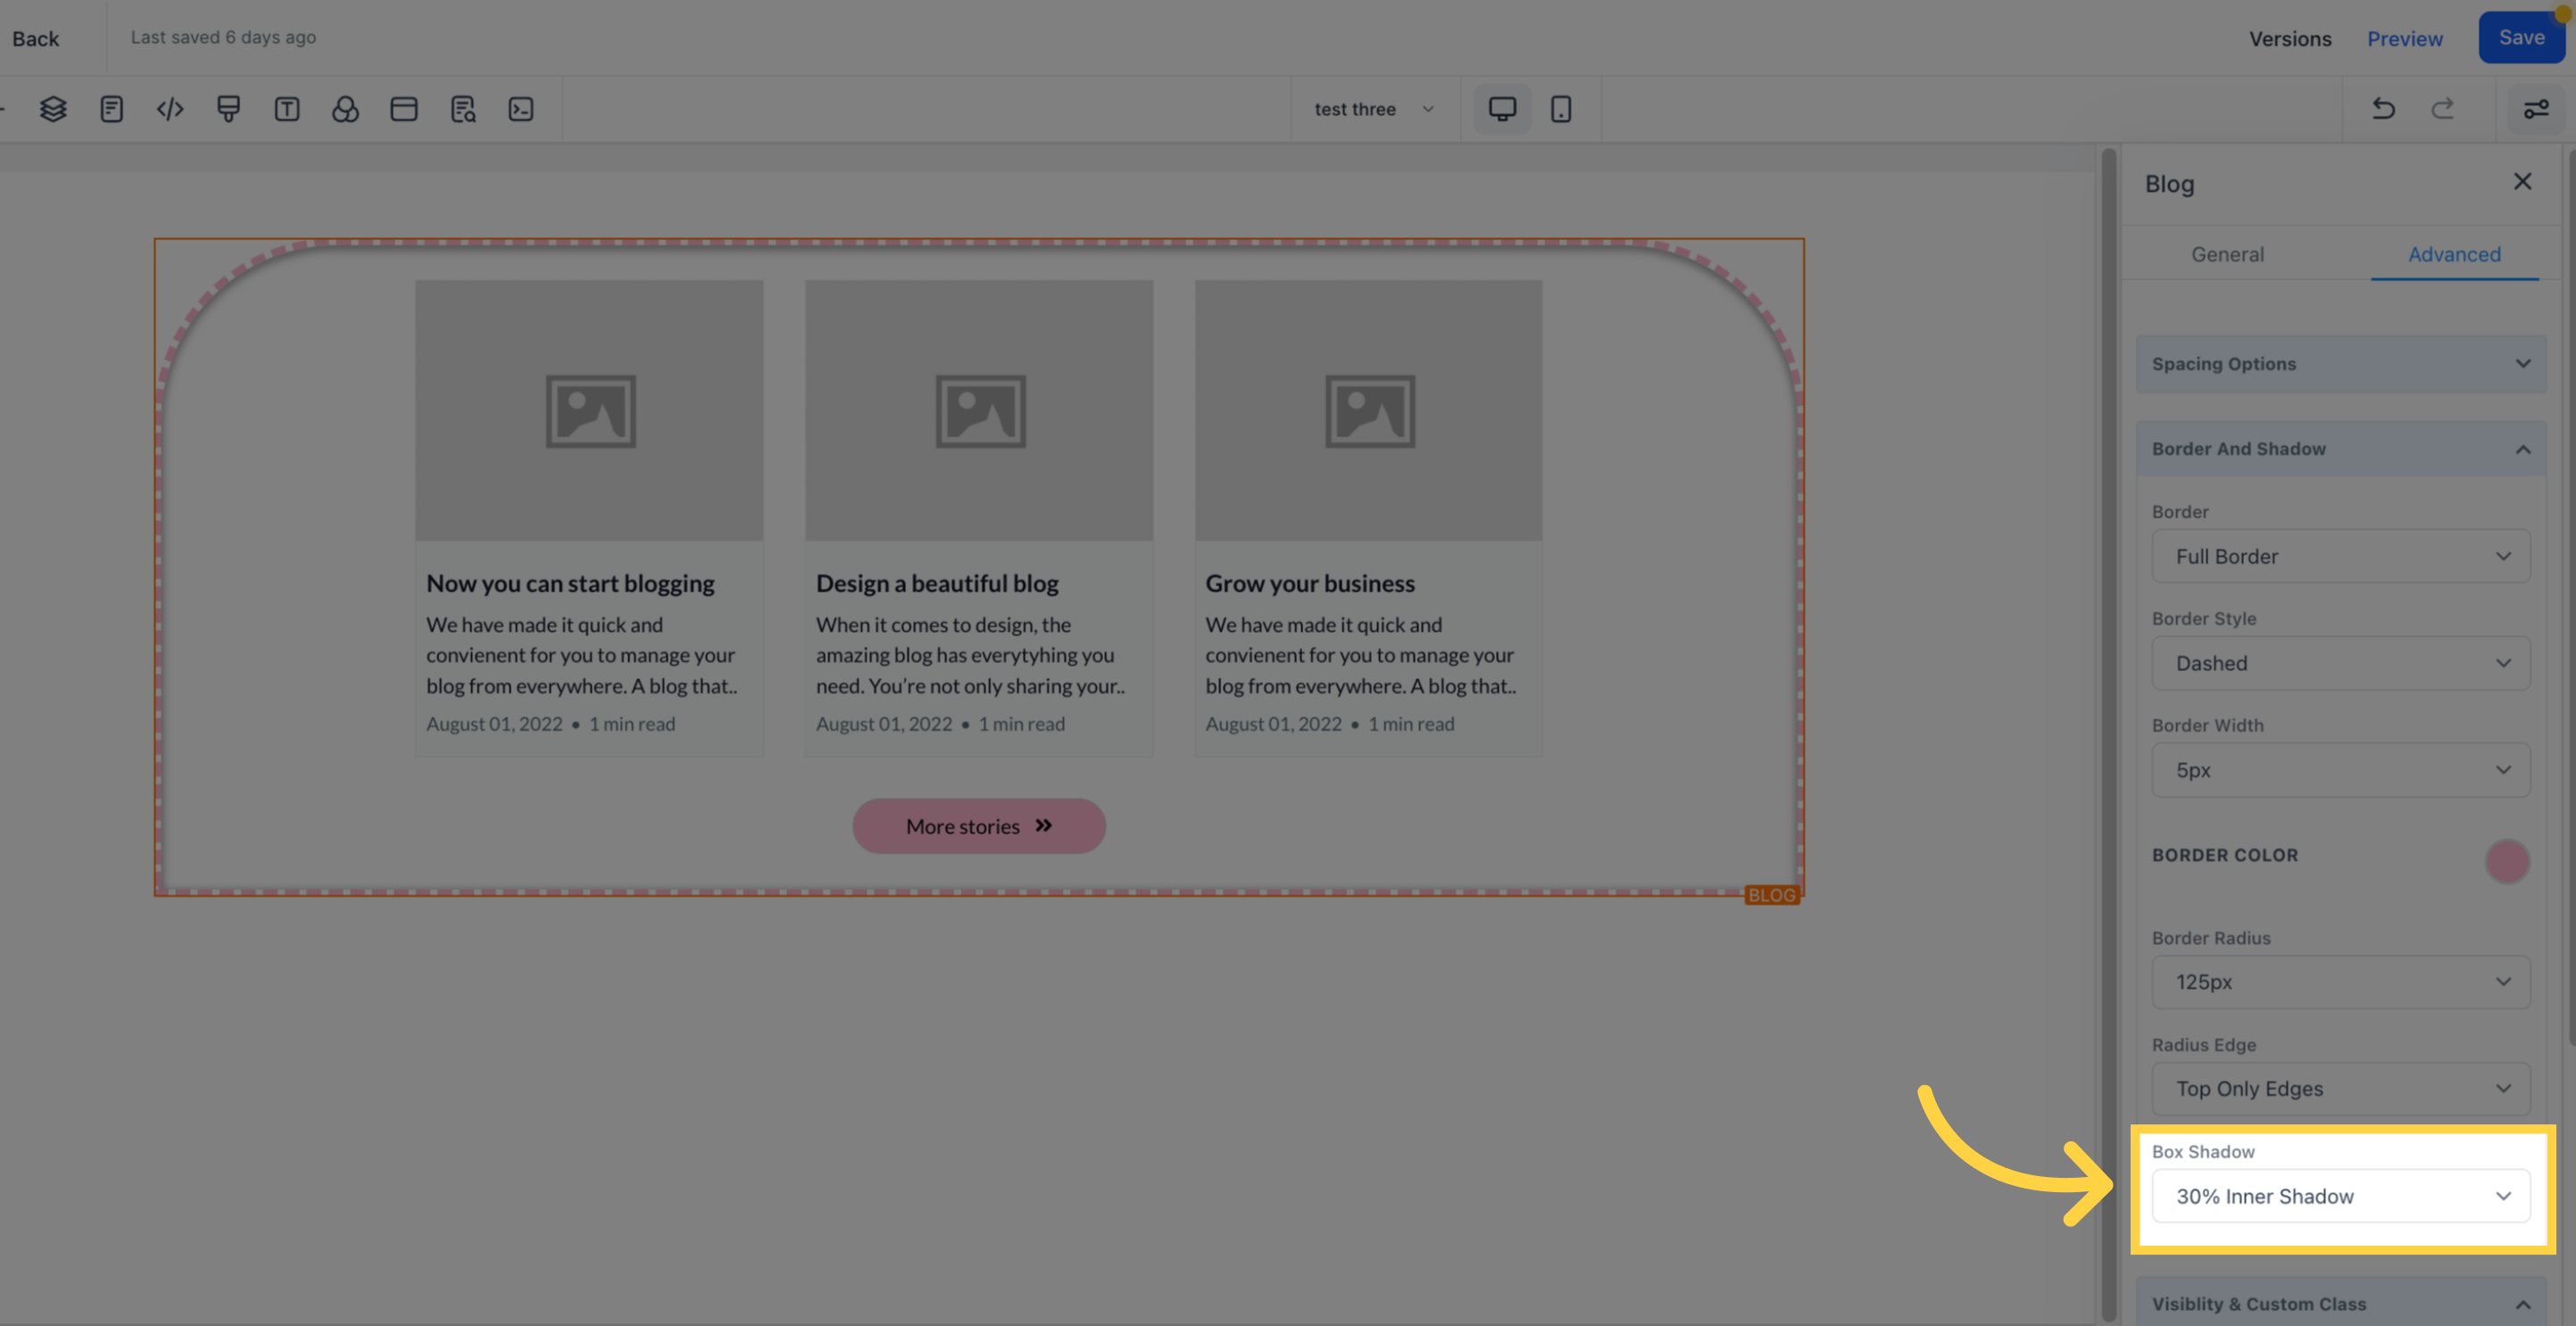
The strength or lightness of the shadow can be selected for the box.
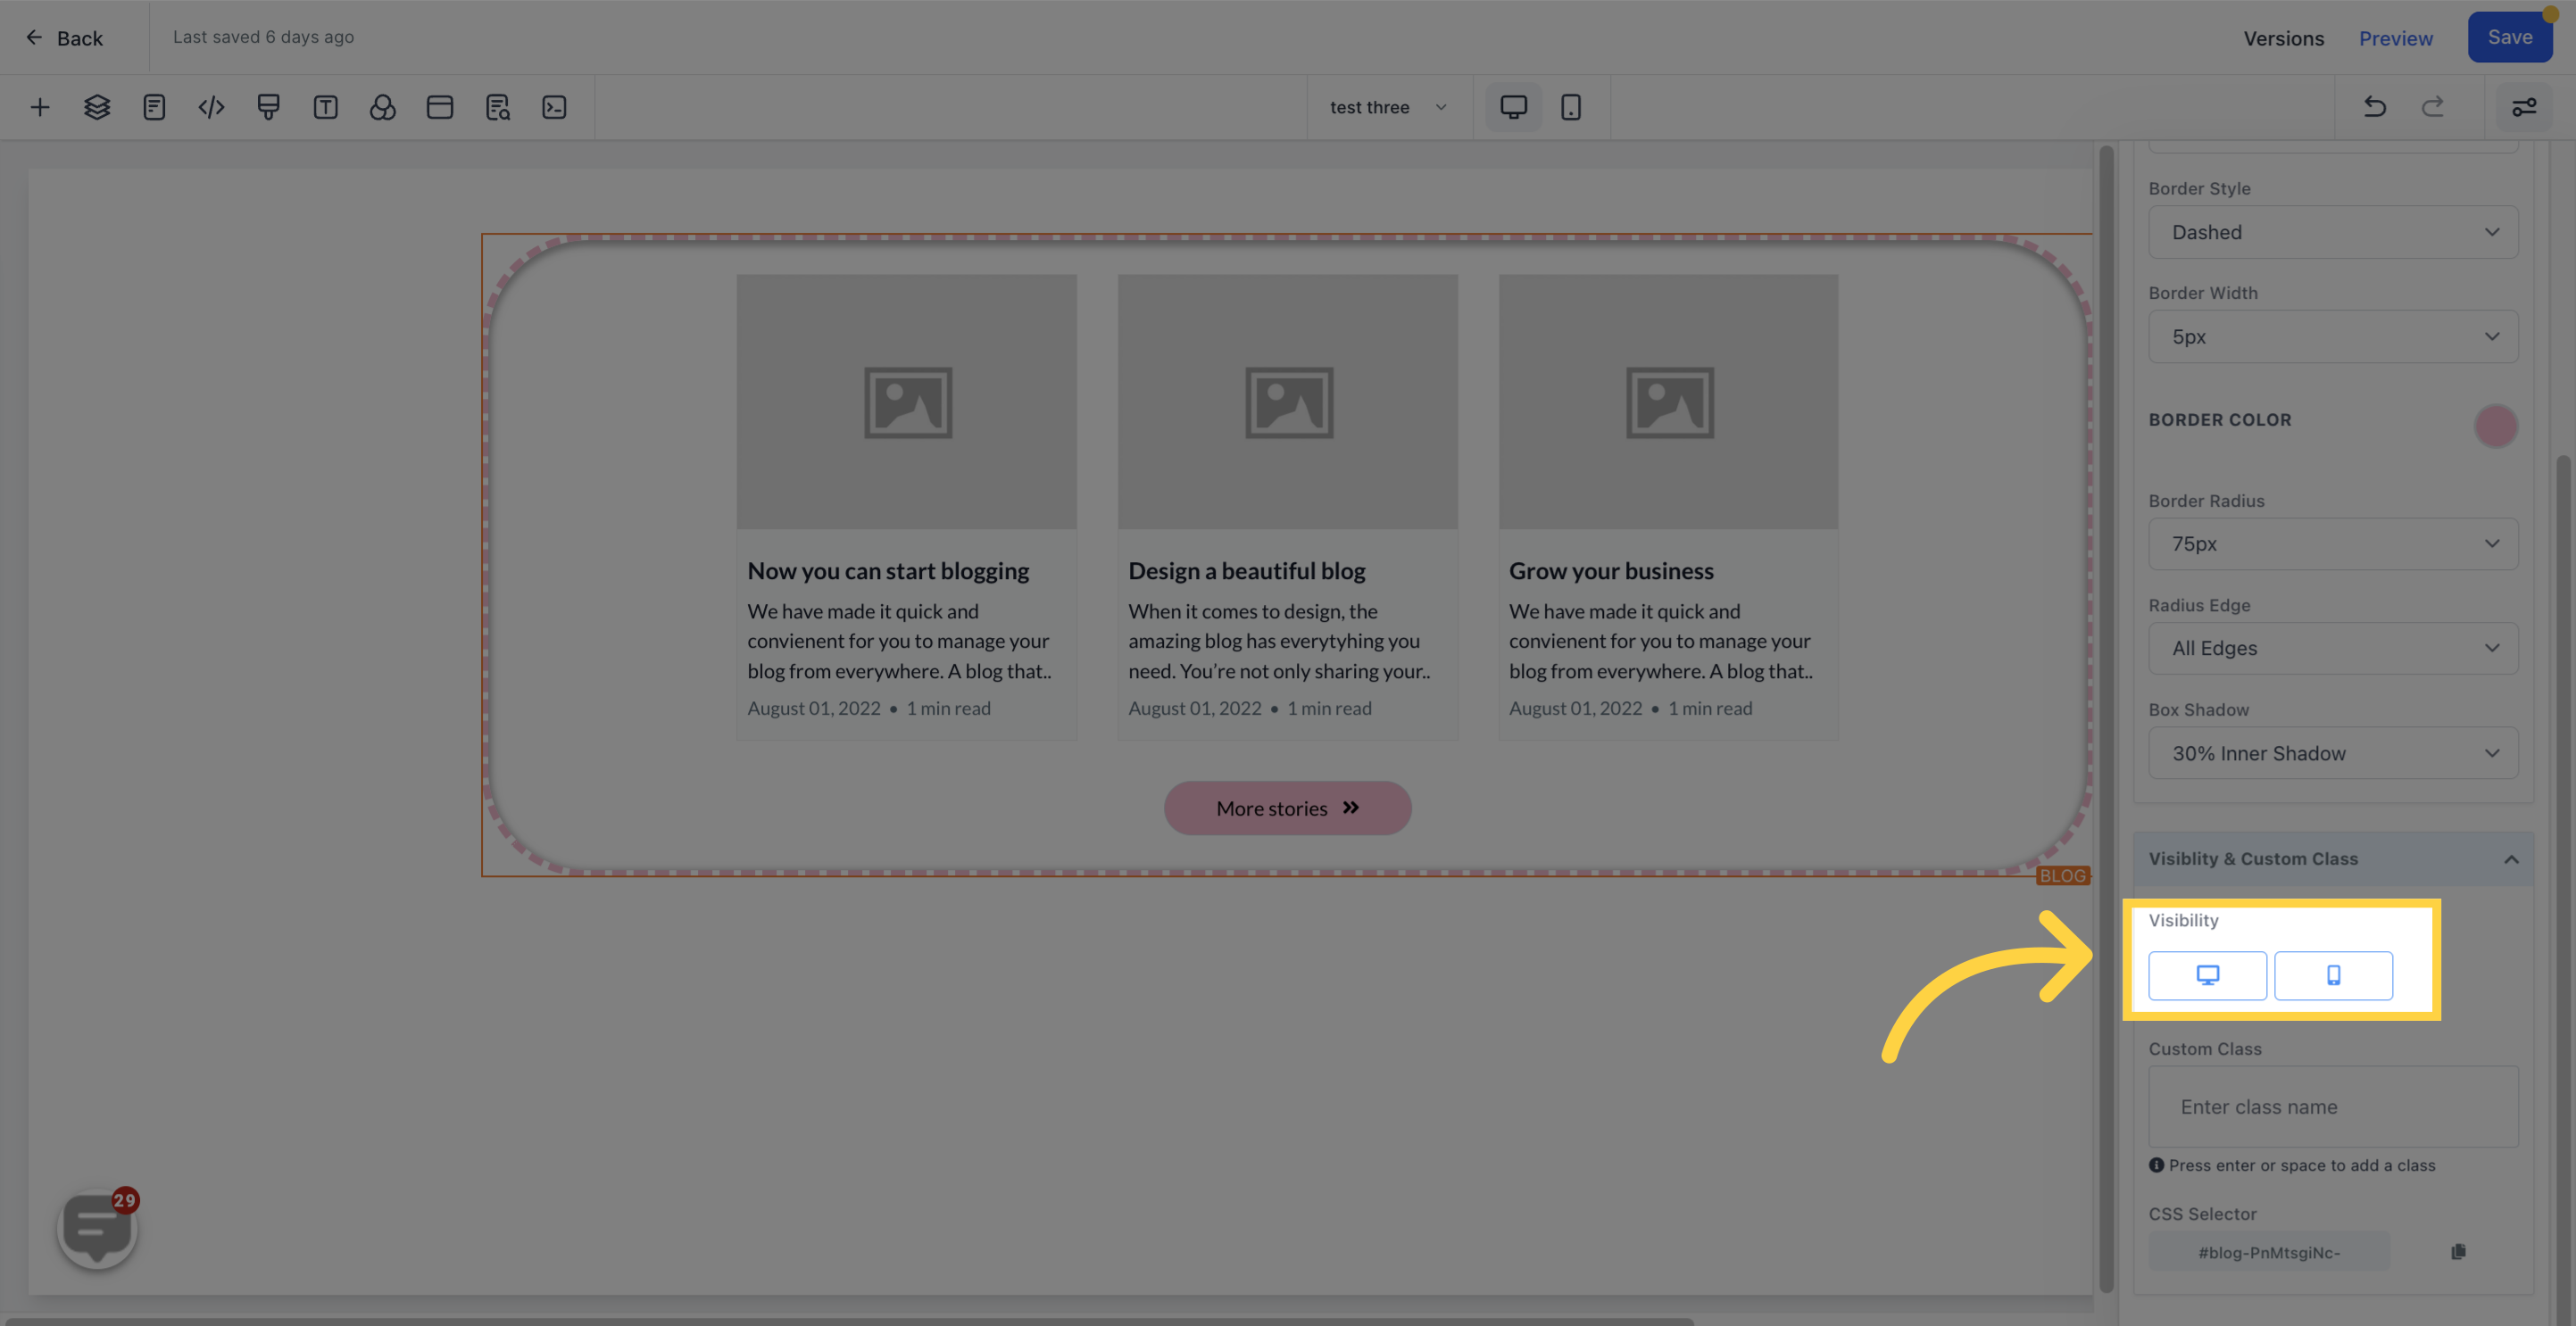
This particular edit option can be made visible on mobile devices, desktops, or both by highlighting the icon.
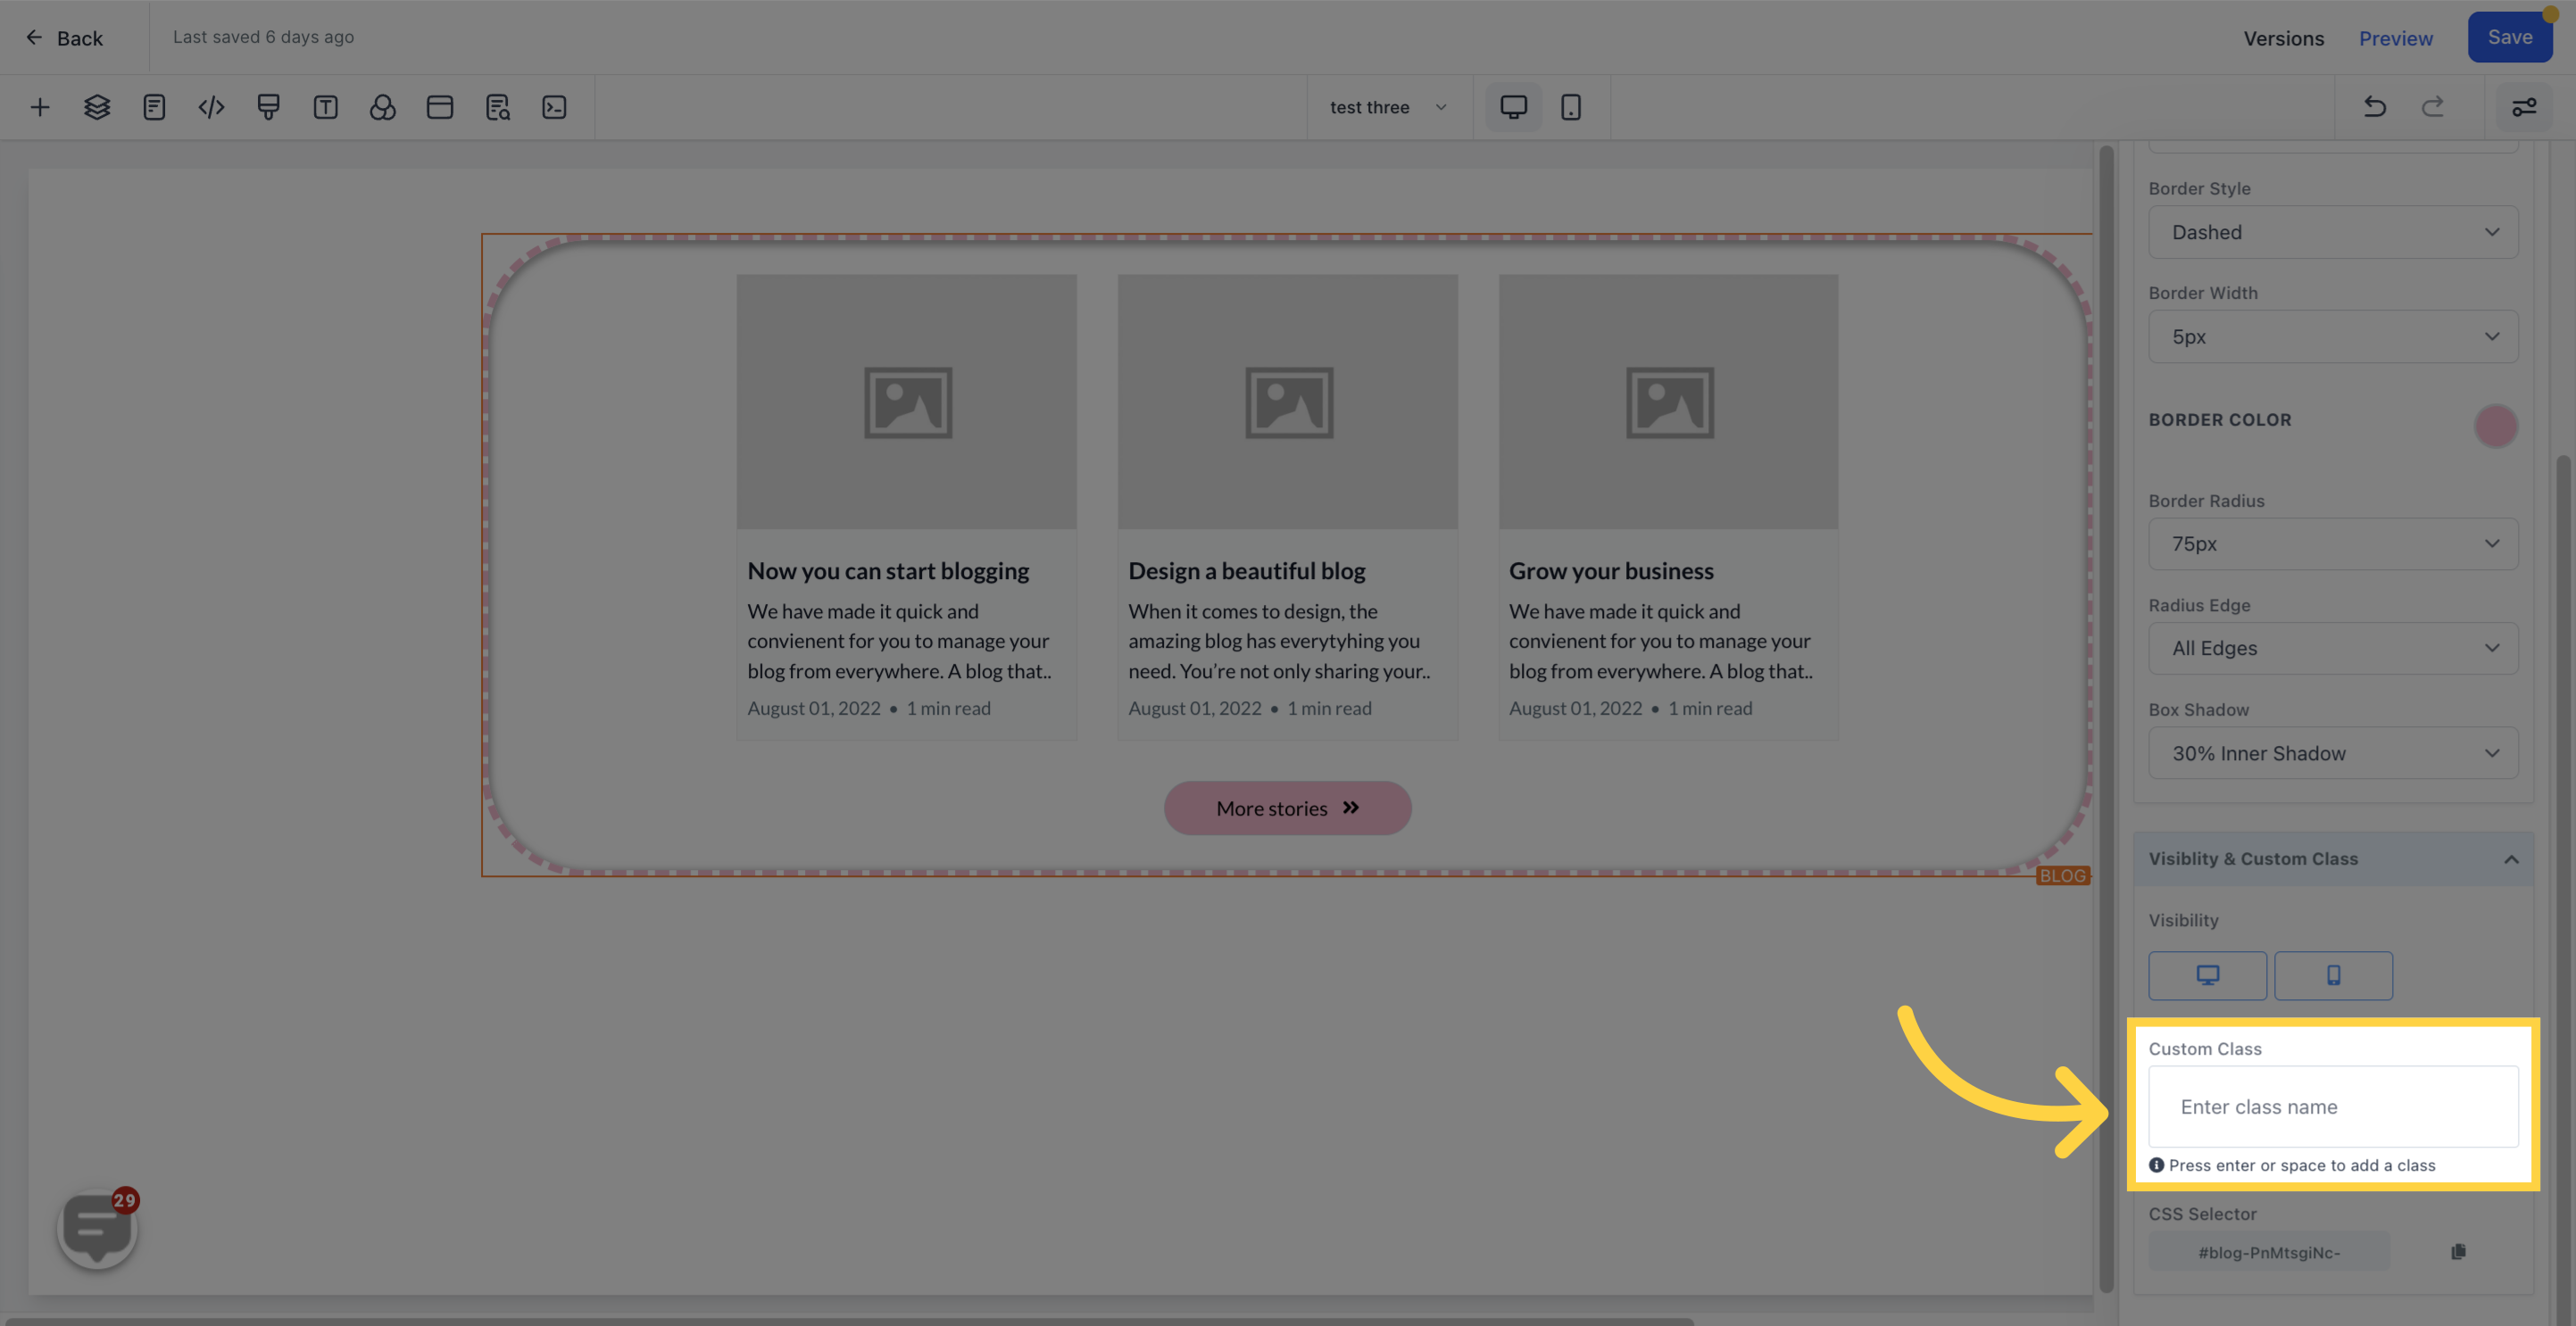
A custom class can be inputted here.
To copy the custom CSS, the "Copy"