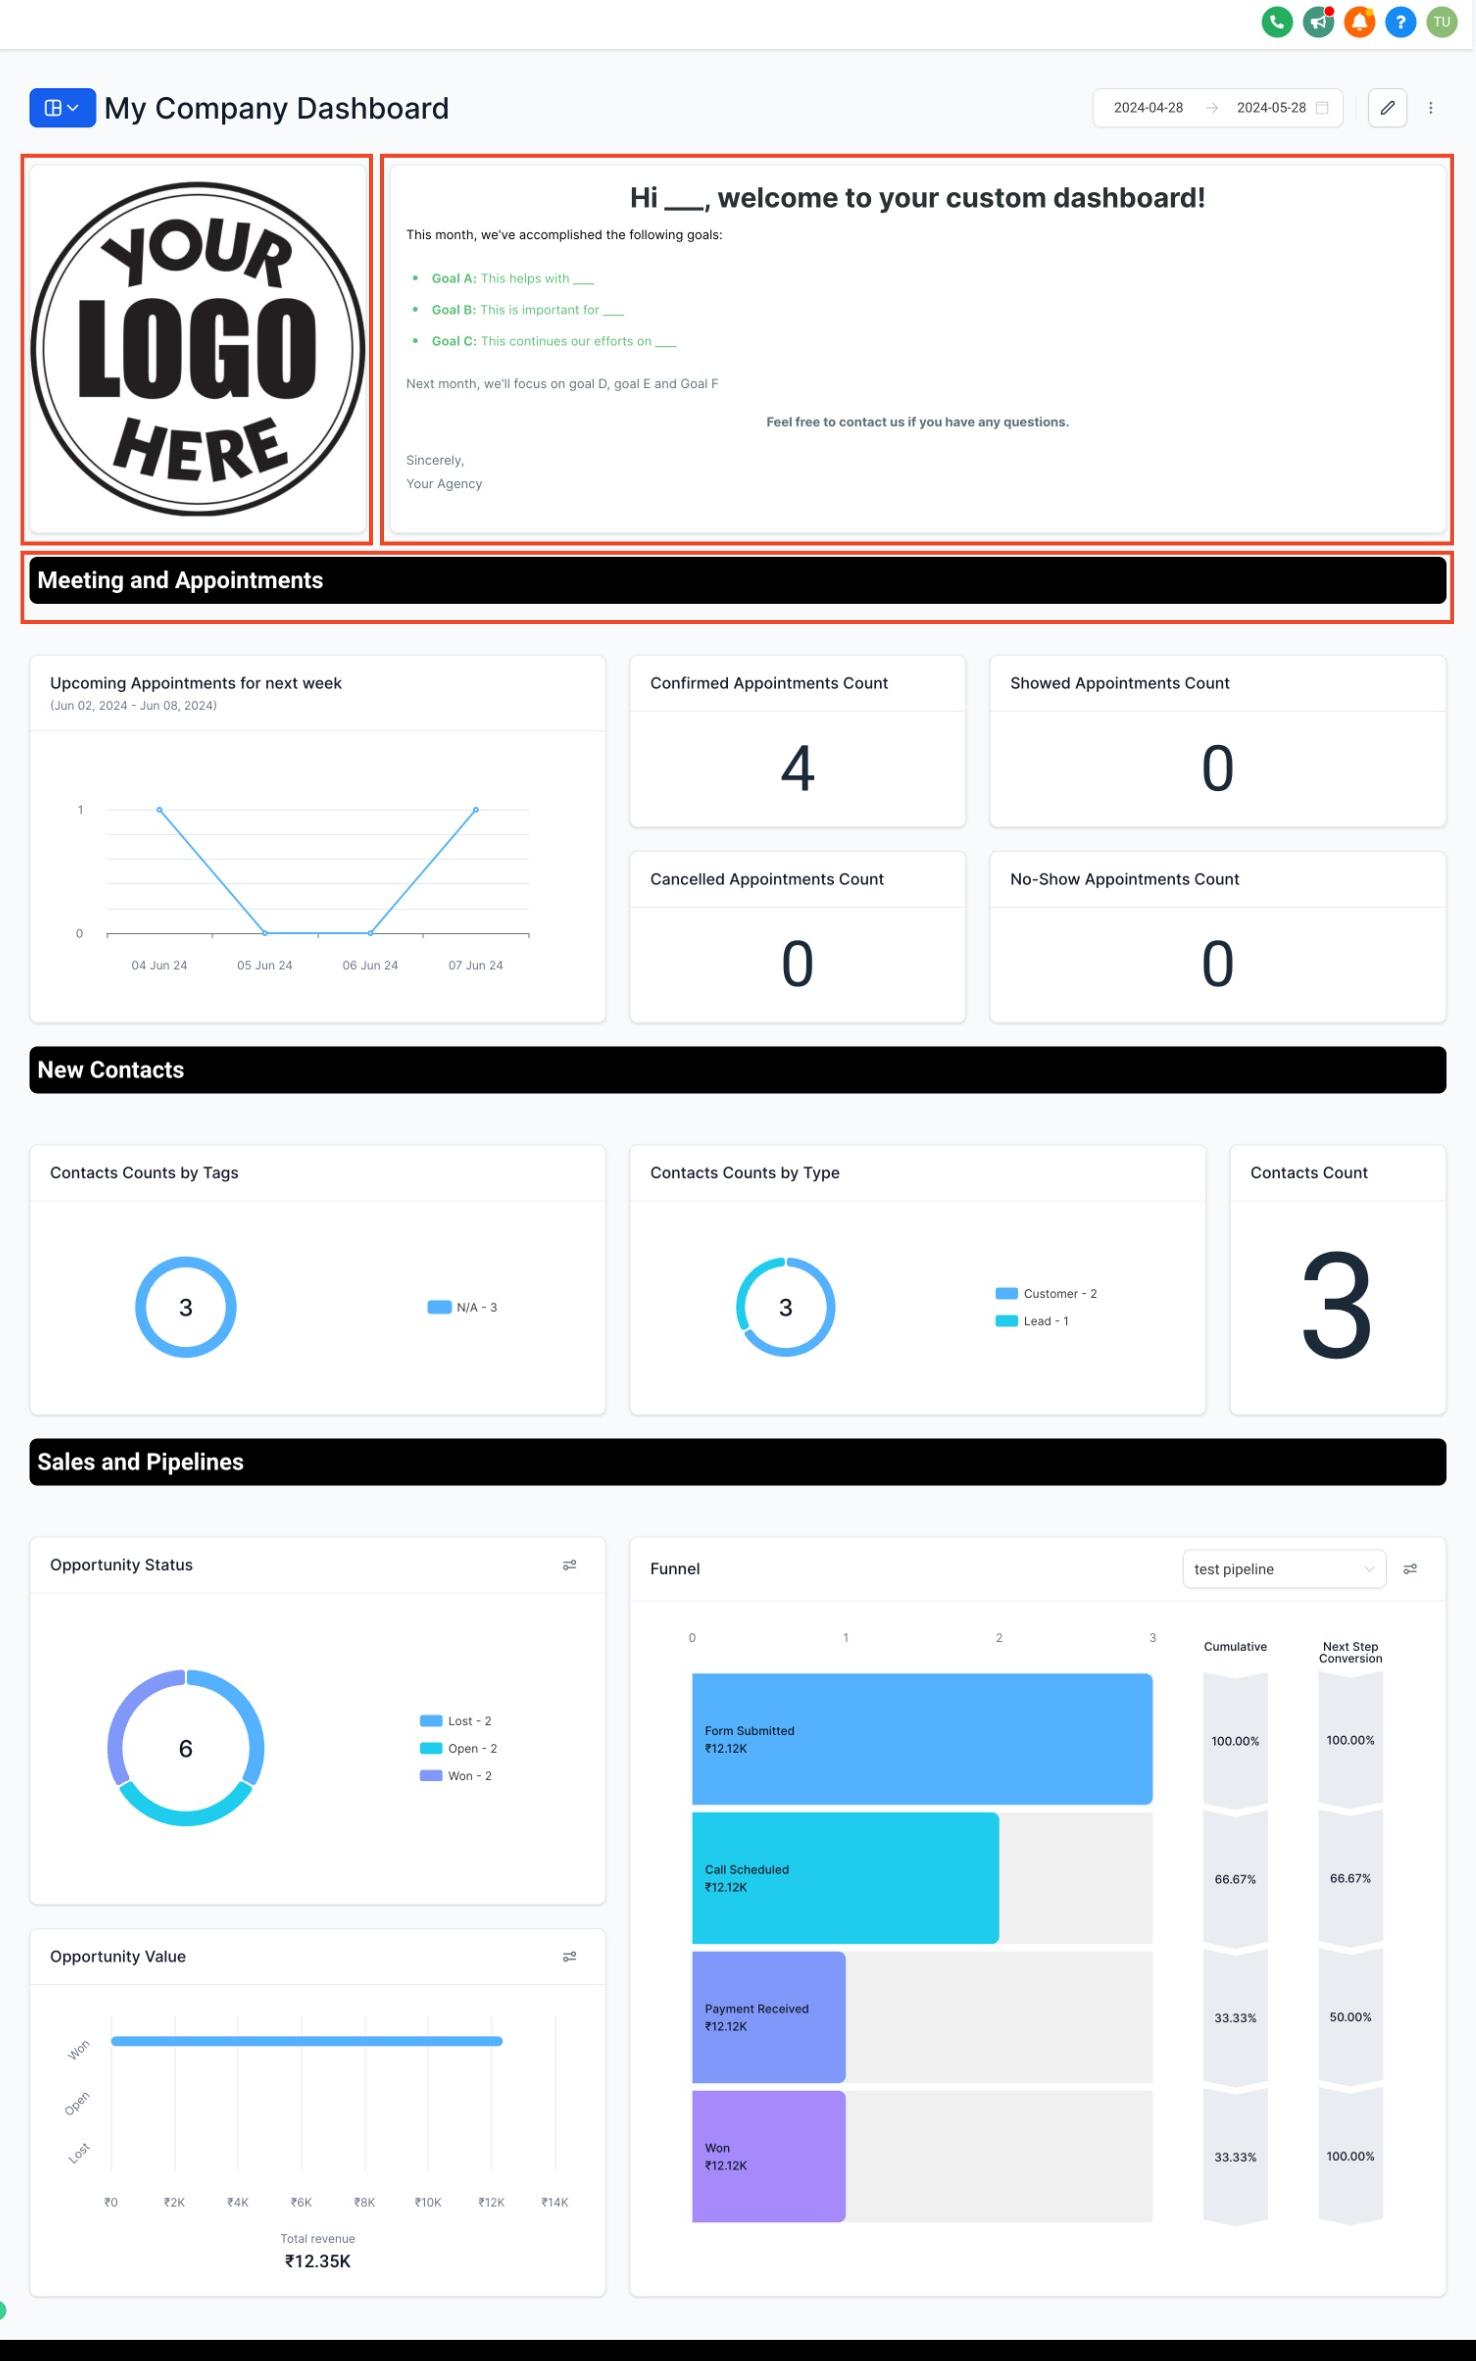
Your dashboard doesn't have to be a plain grid of charts. Aesthetix CRM lets you drop in three extra widget types, Titles, Text Boxes, and Images, so you can group related metrics into labeled sections, leave notes or instructions for your team, and add your practice's logo or other visuals. All three live in the same place: Dashboard > Edit Dashboard > Add Widget > Elements tab.
Interactive walkthrough
Interactive walkthrough
Interactive walkthrough
Title: Adds a heading you can drop above a group of widgets to create clearly labeled sections, for example separating "New Patient Leads" from "Consult to Treatment Revenue."
Text Box: Adds a block of free text you can use for instructions, reminders, or notes for whoever is reading the dashboard, such as how to interpret a widget or what to check before a shift starts.
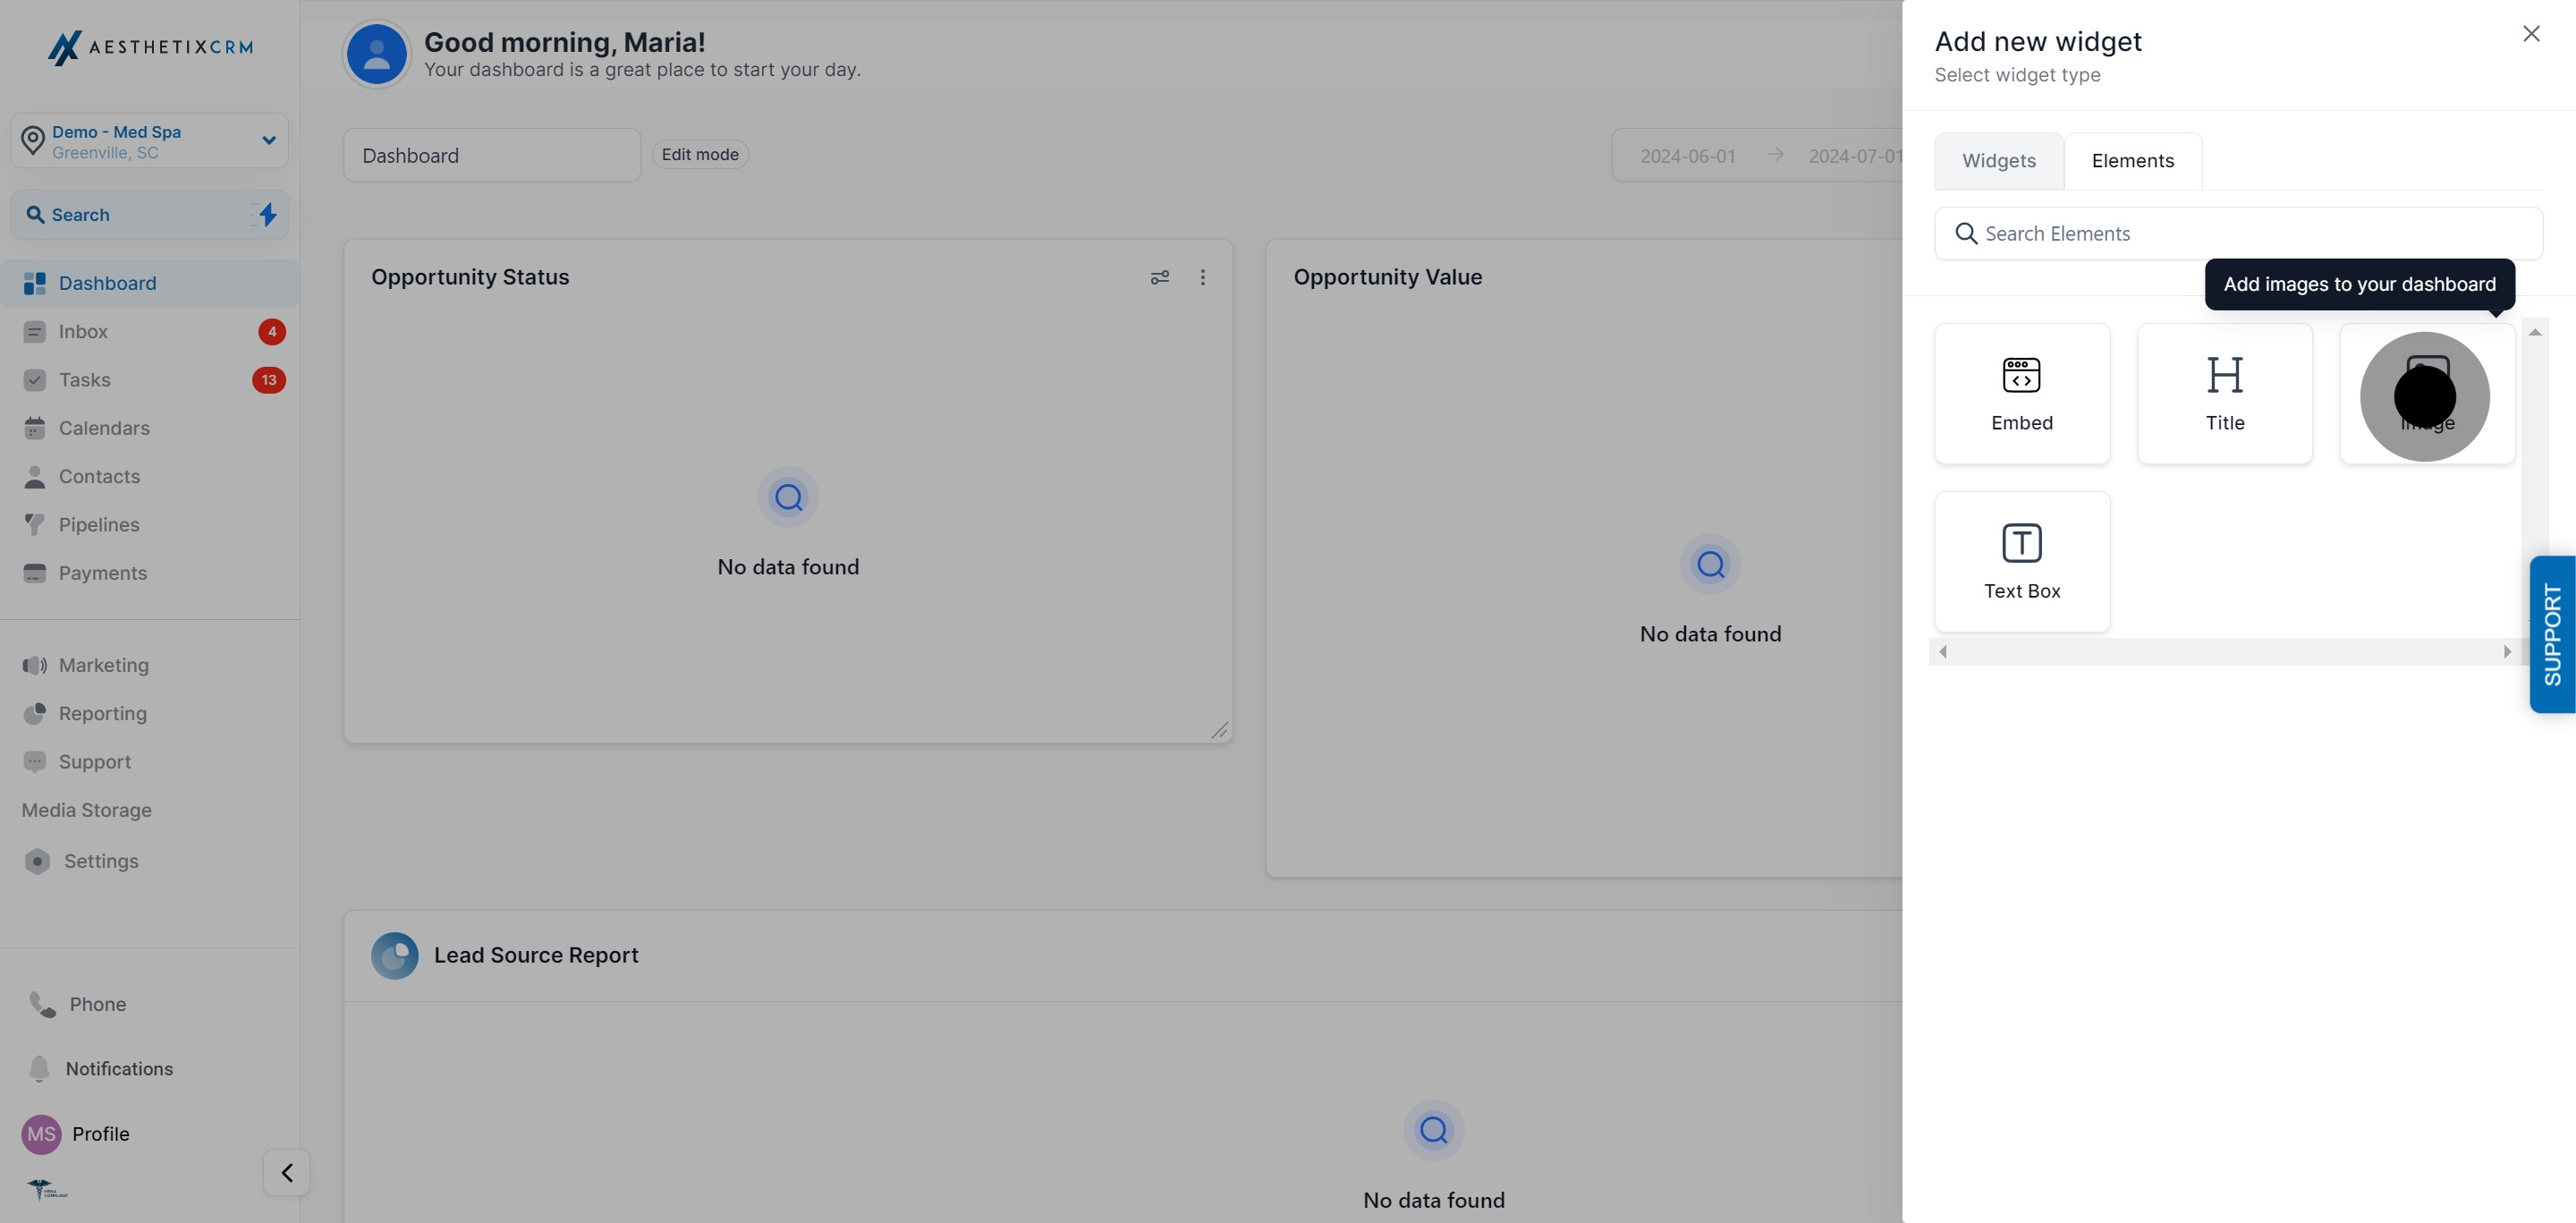
Image: Adds a picture, such as your practice logo, a treatment photo, or an infographic, to make the board feel branded and give extra visual context.
Used together, these elements turn a wall of numbers into an organized, on-brand report that's easier for your front desk and providers to scan at a glance.
Use a title to break your dashboard into labeled sections.
Open the dashboard you want to edit.
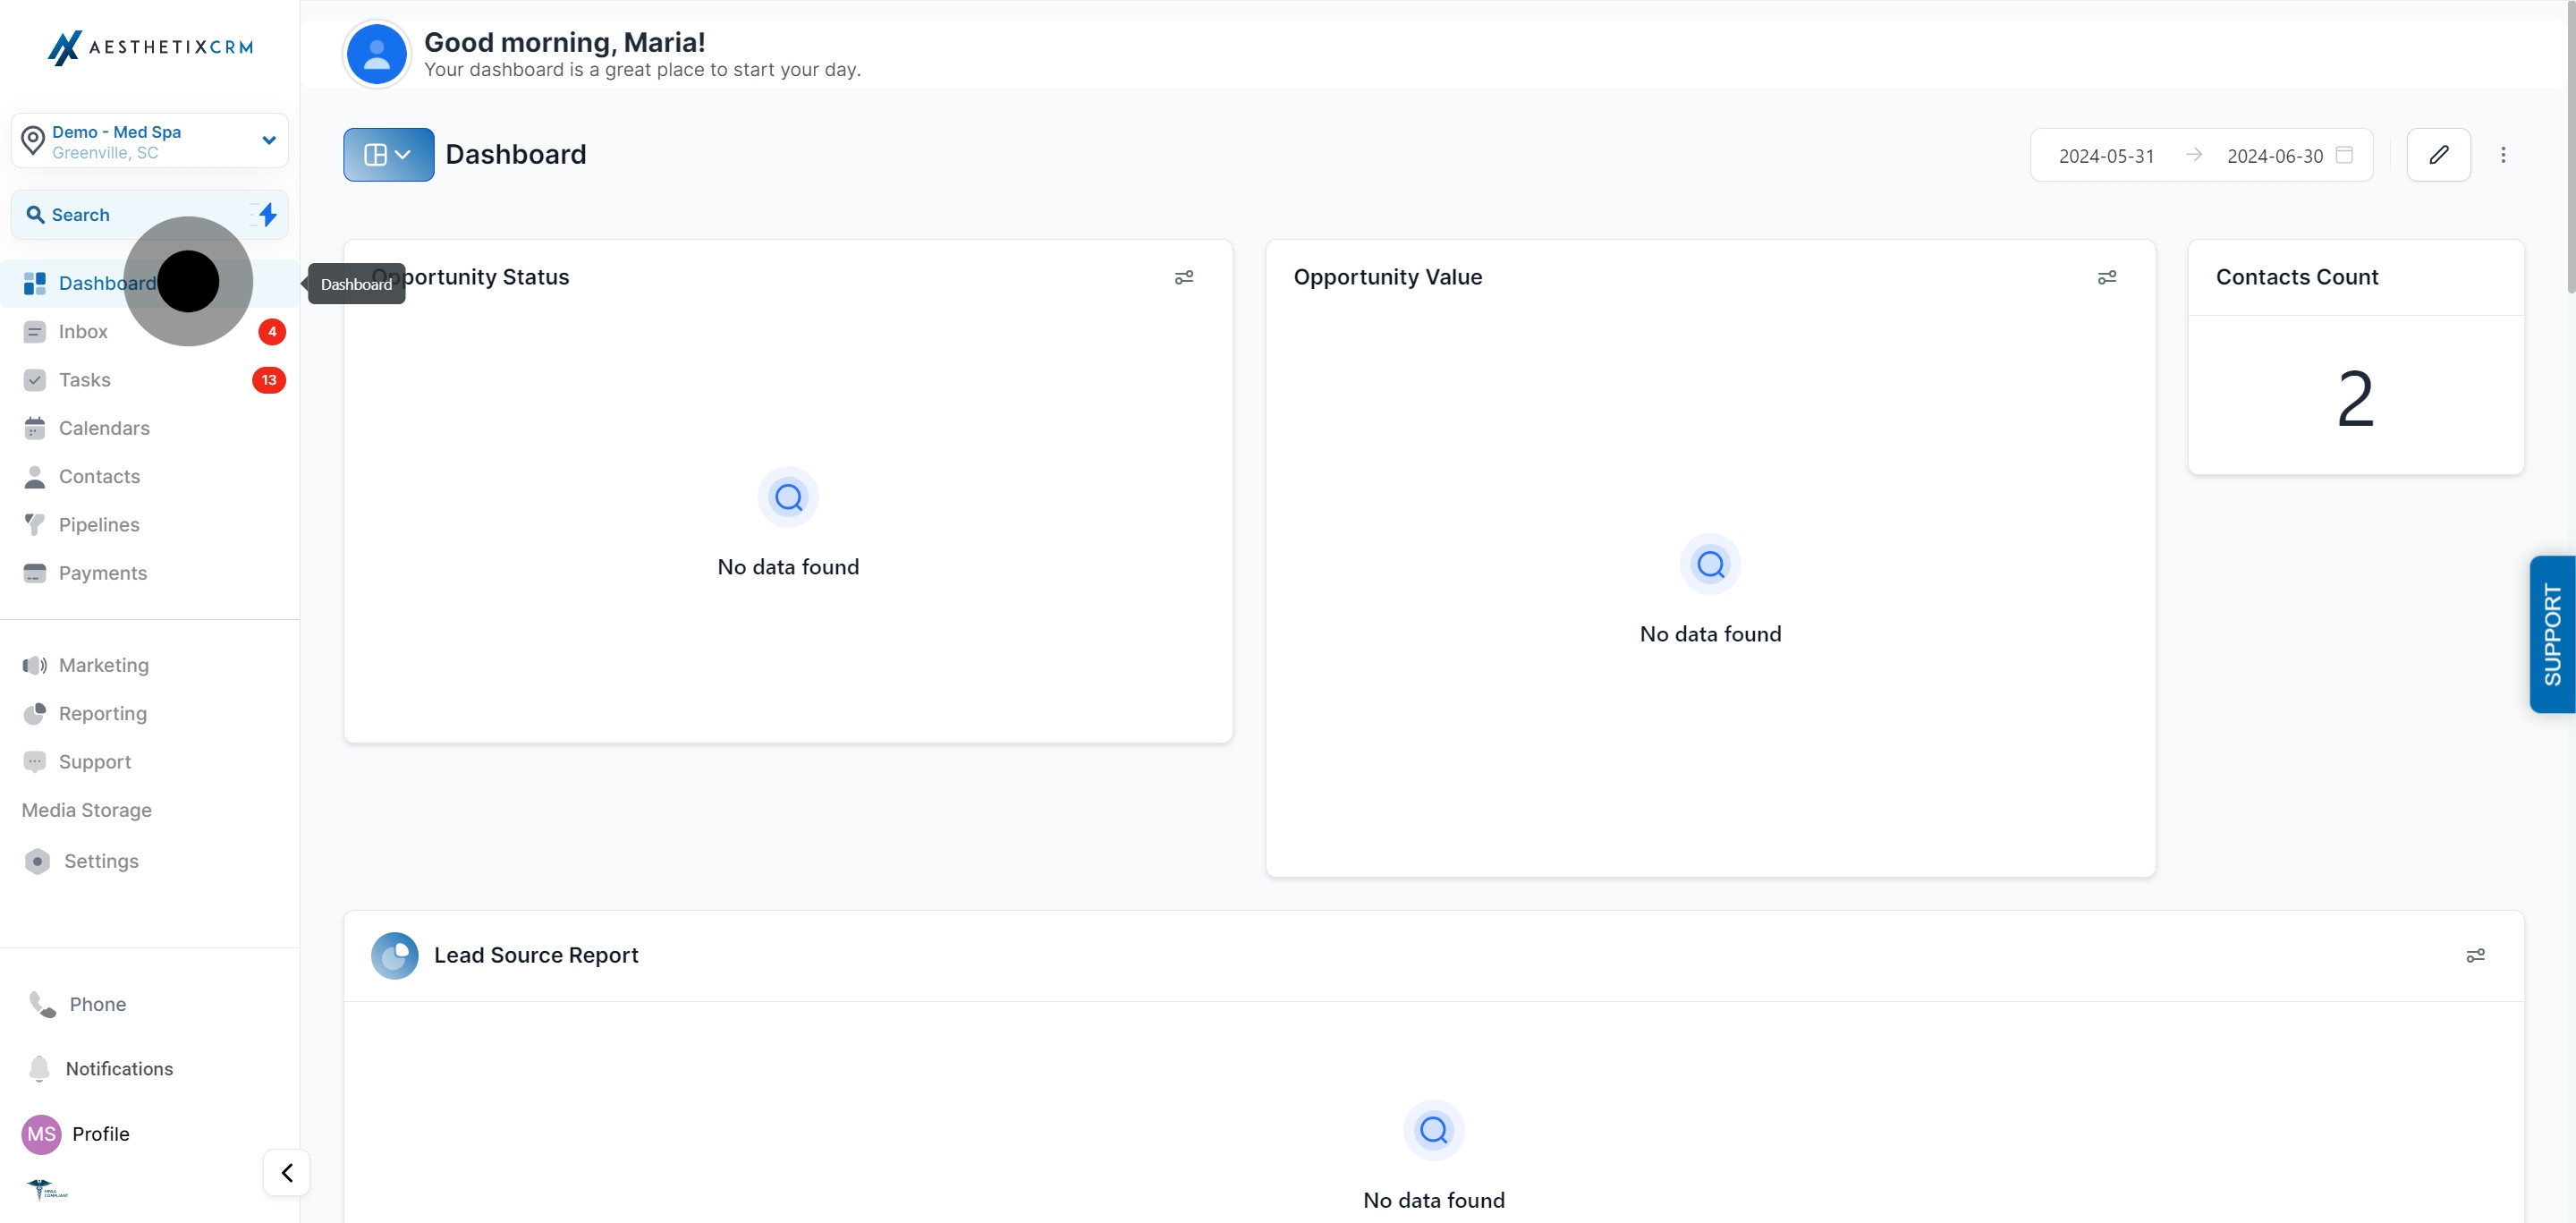
Click "Edit Dashboard."
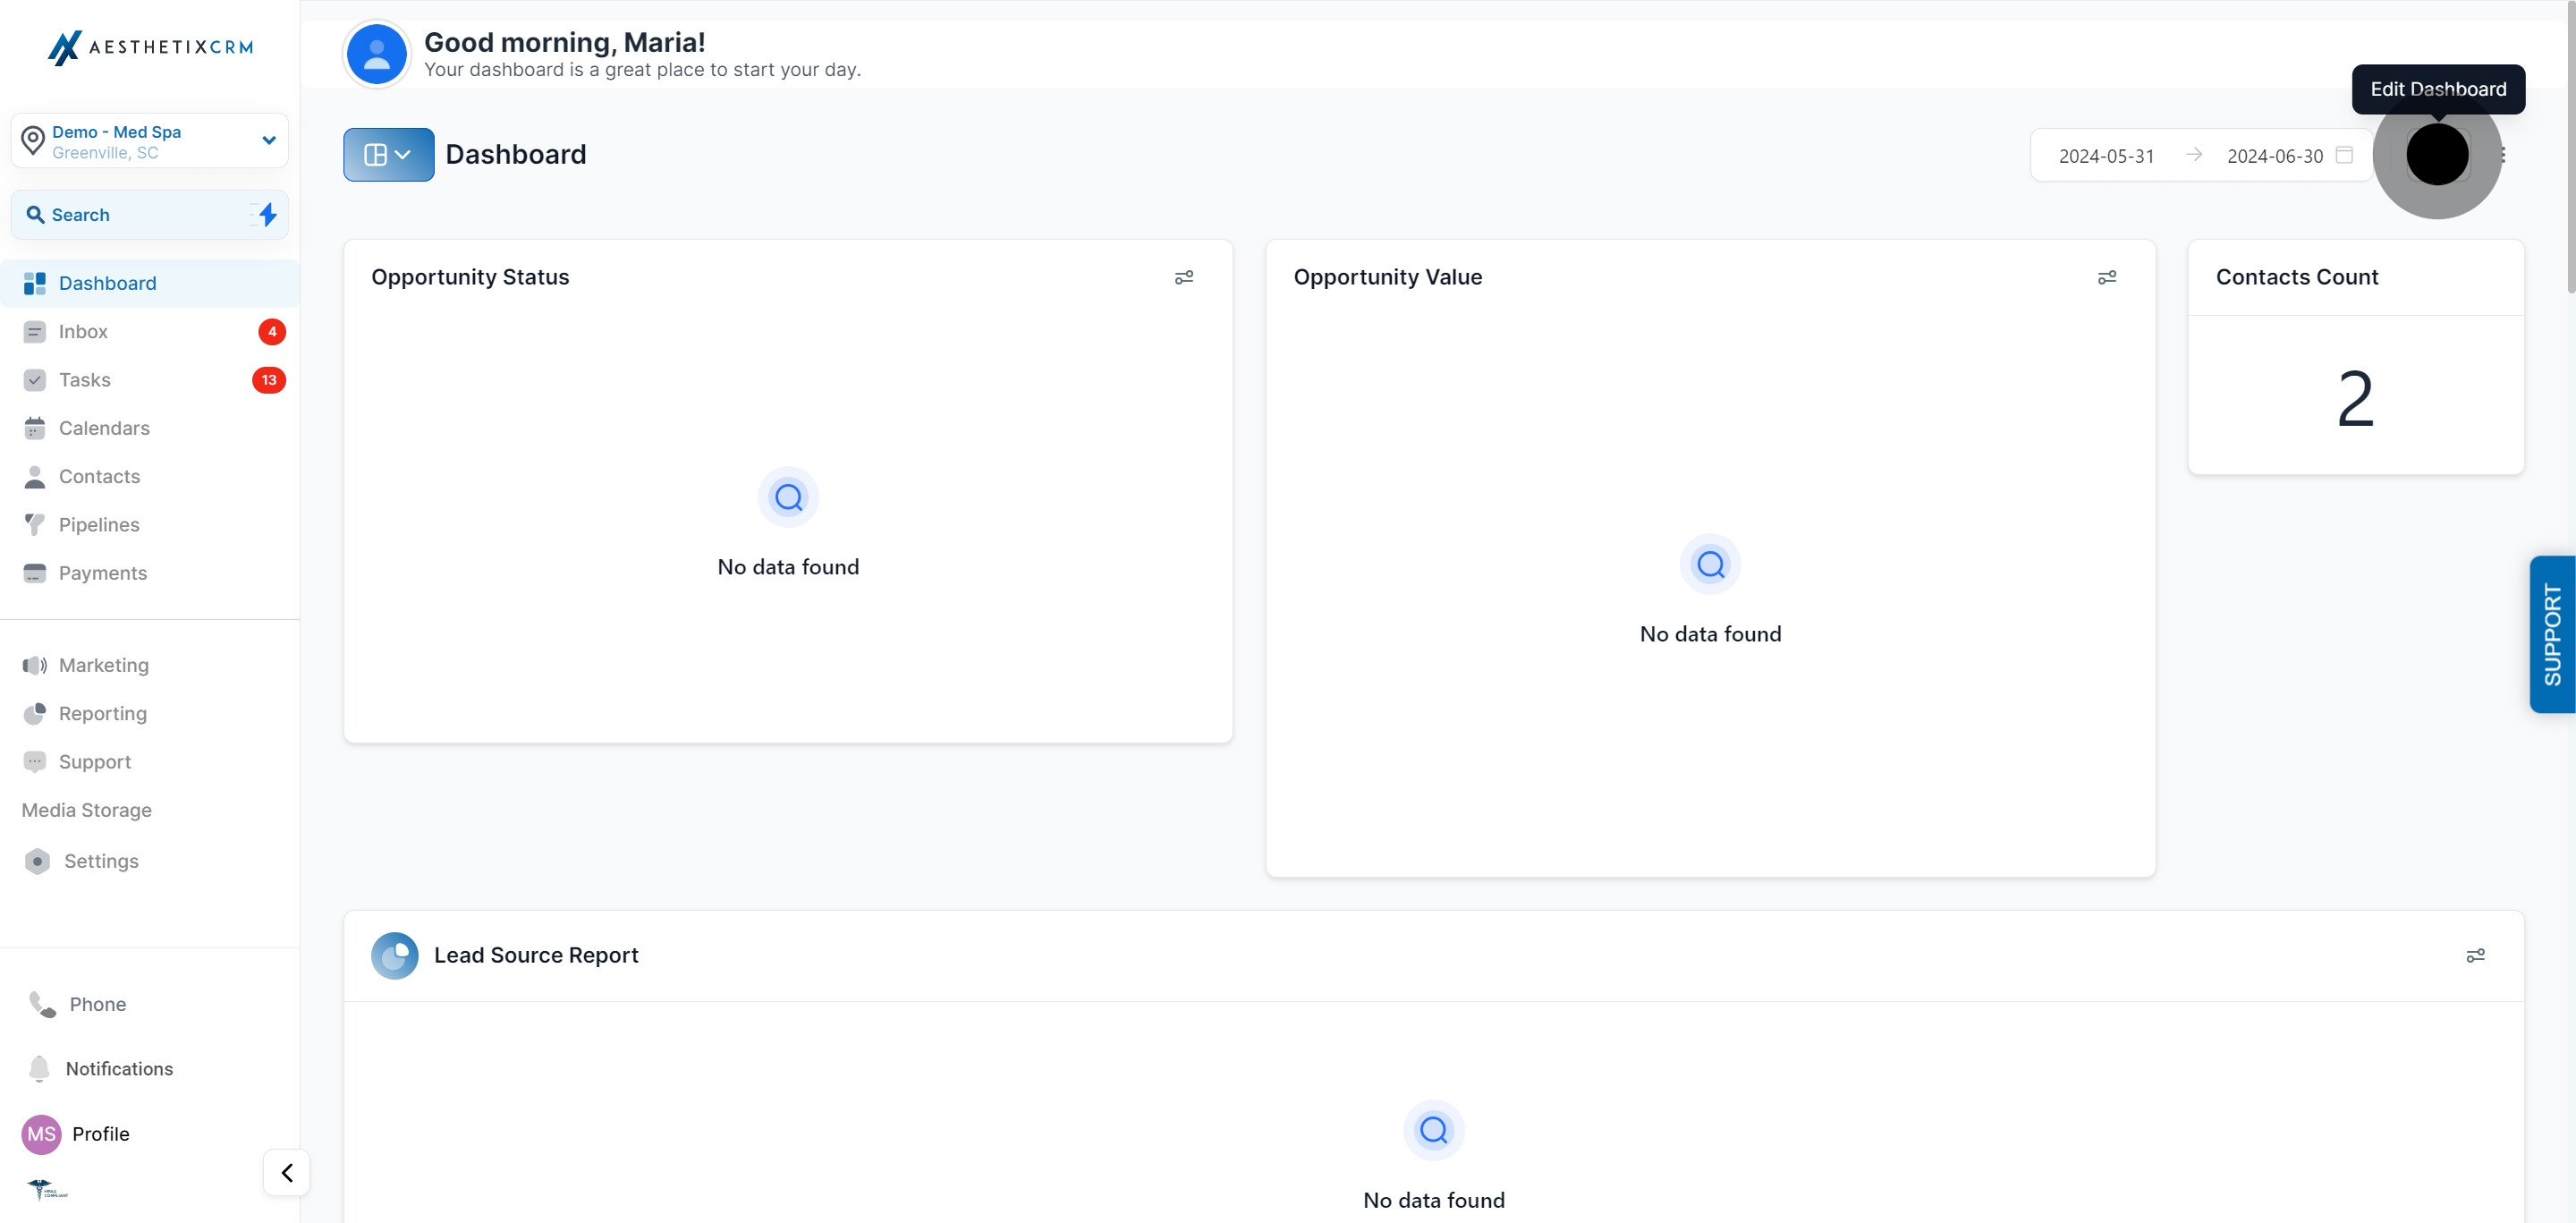
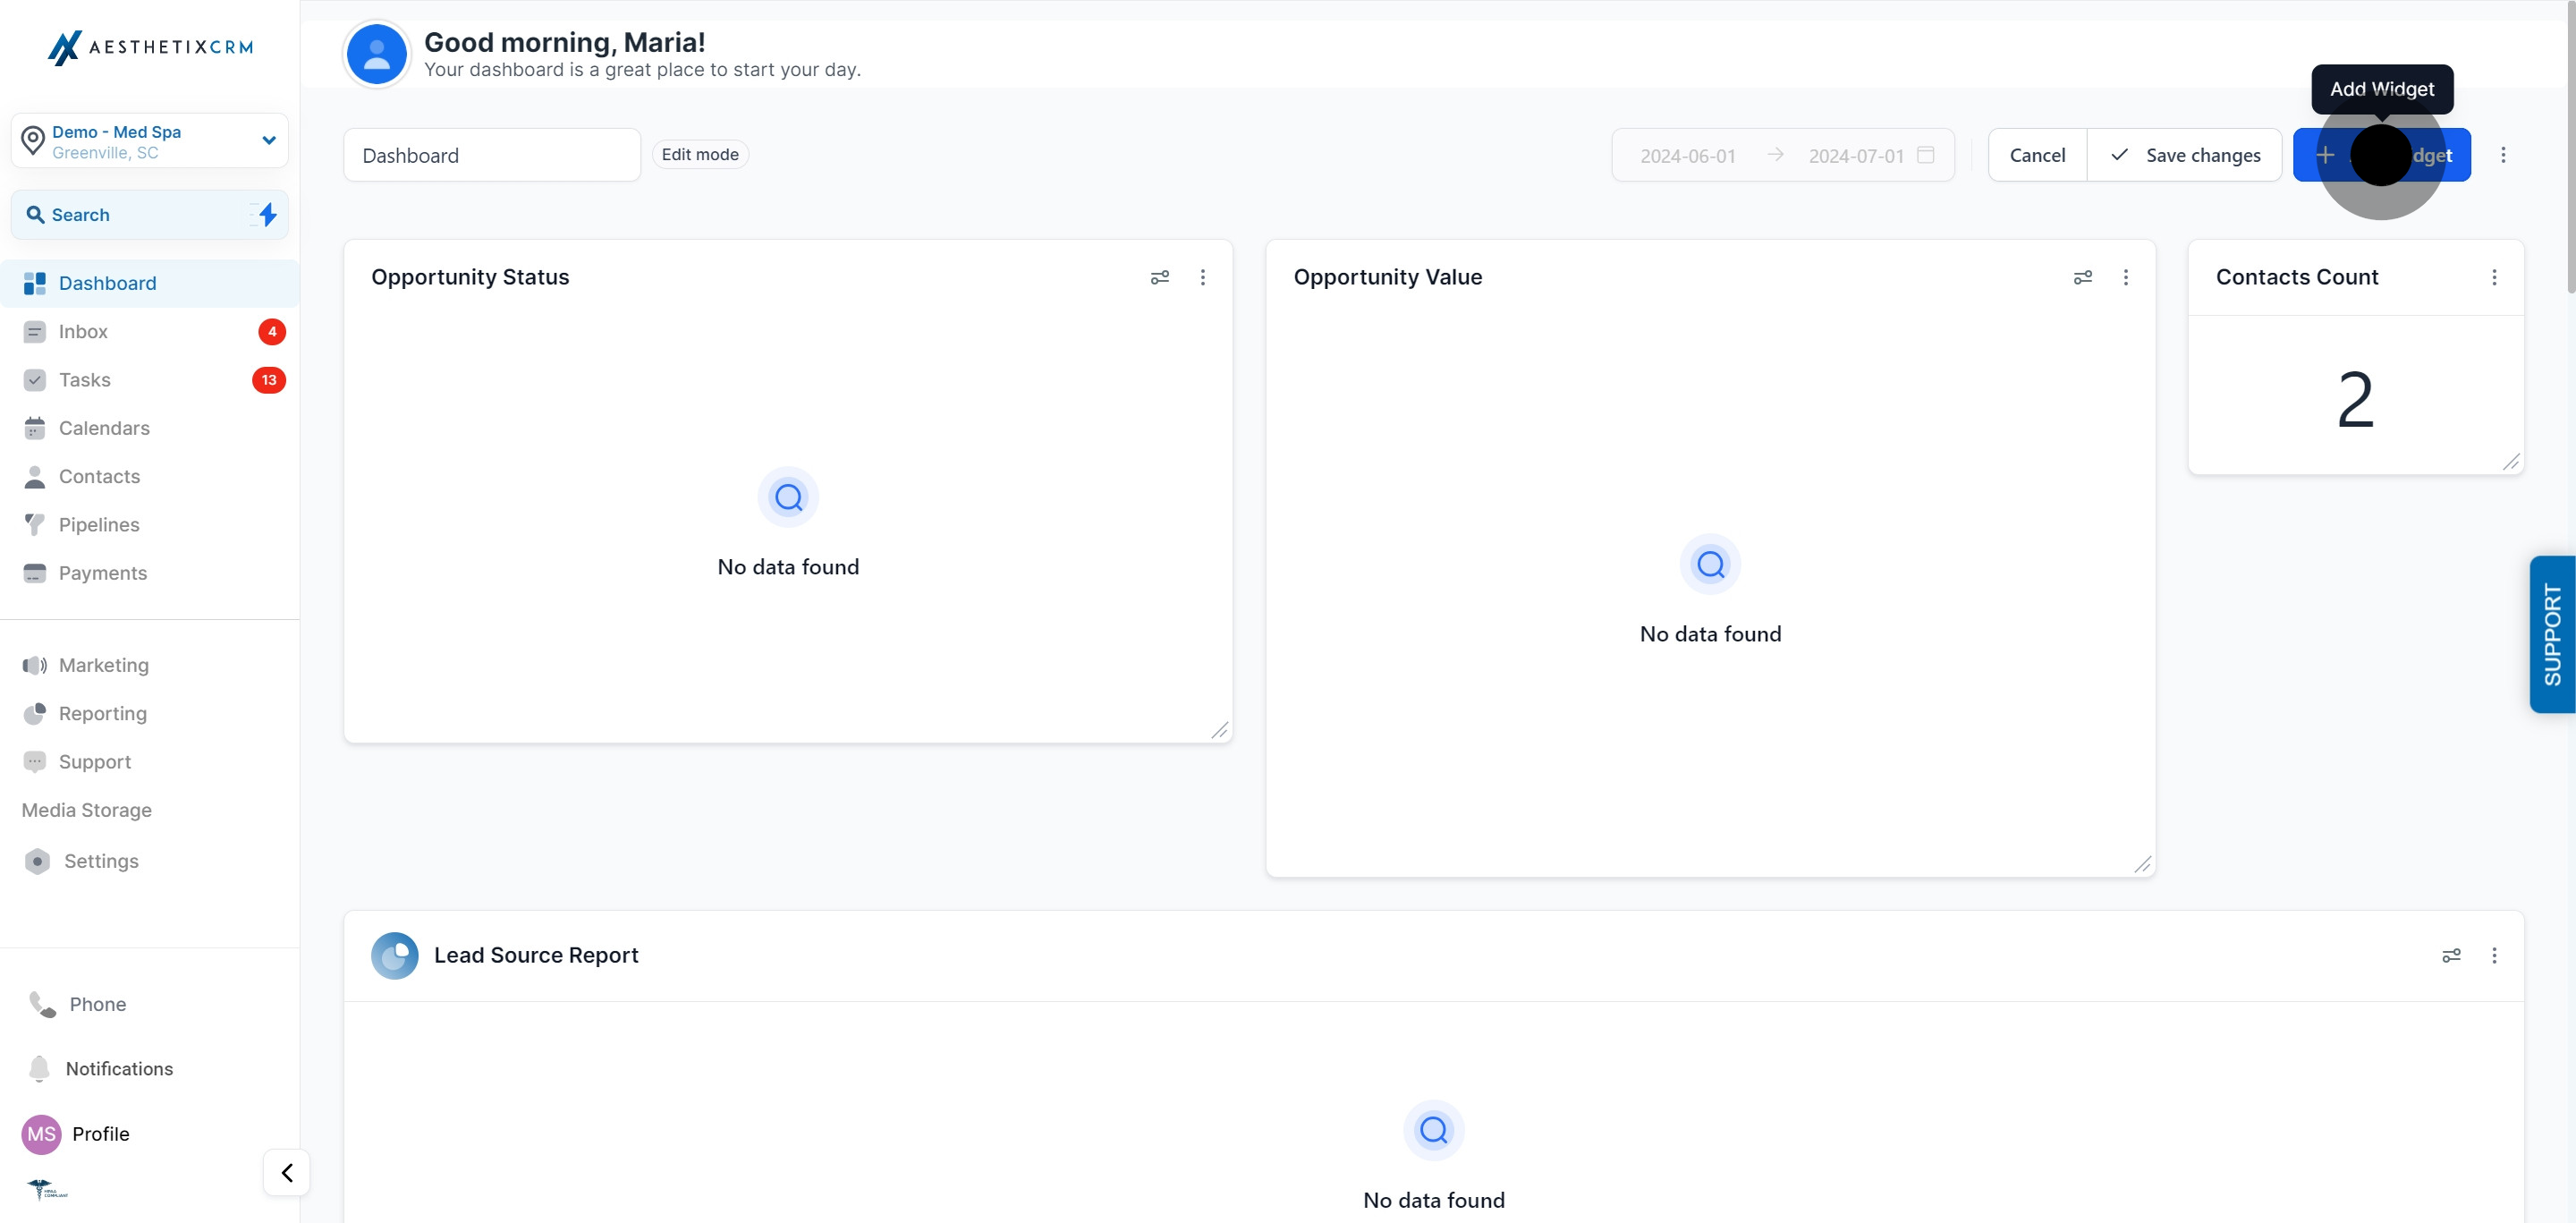
Click "Add Widget."
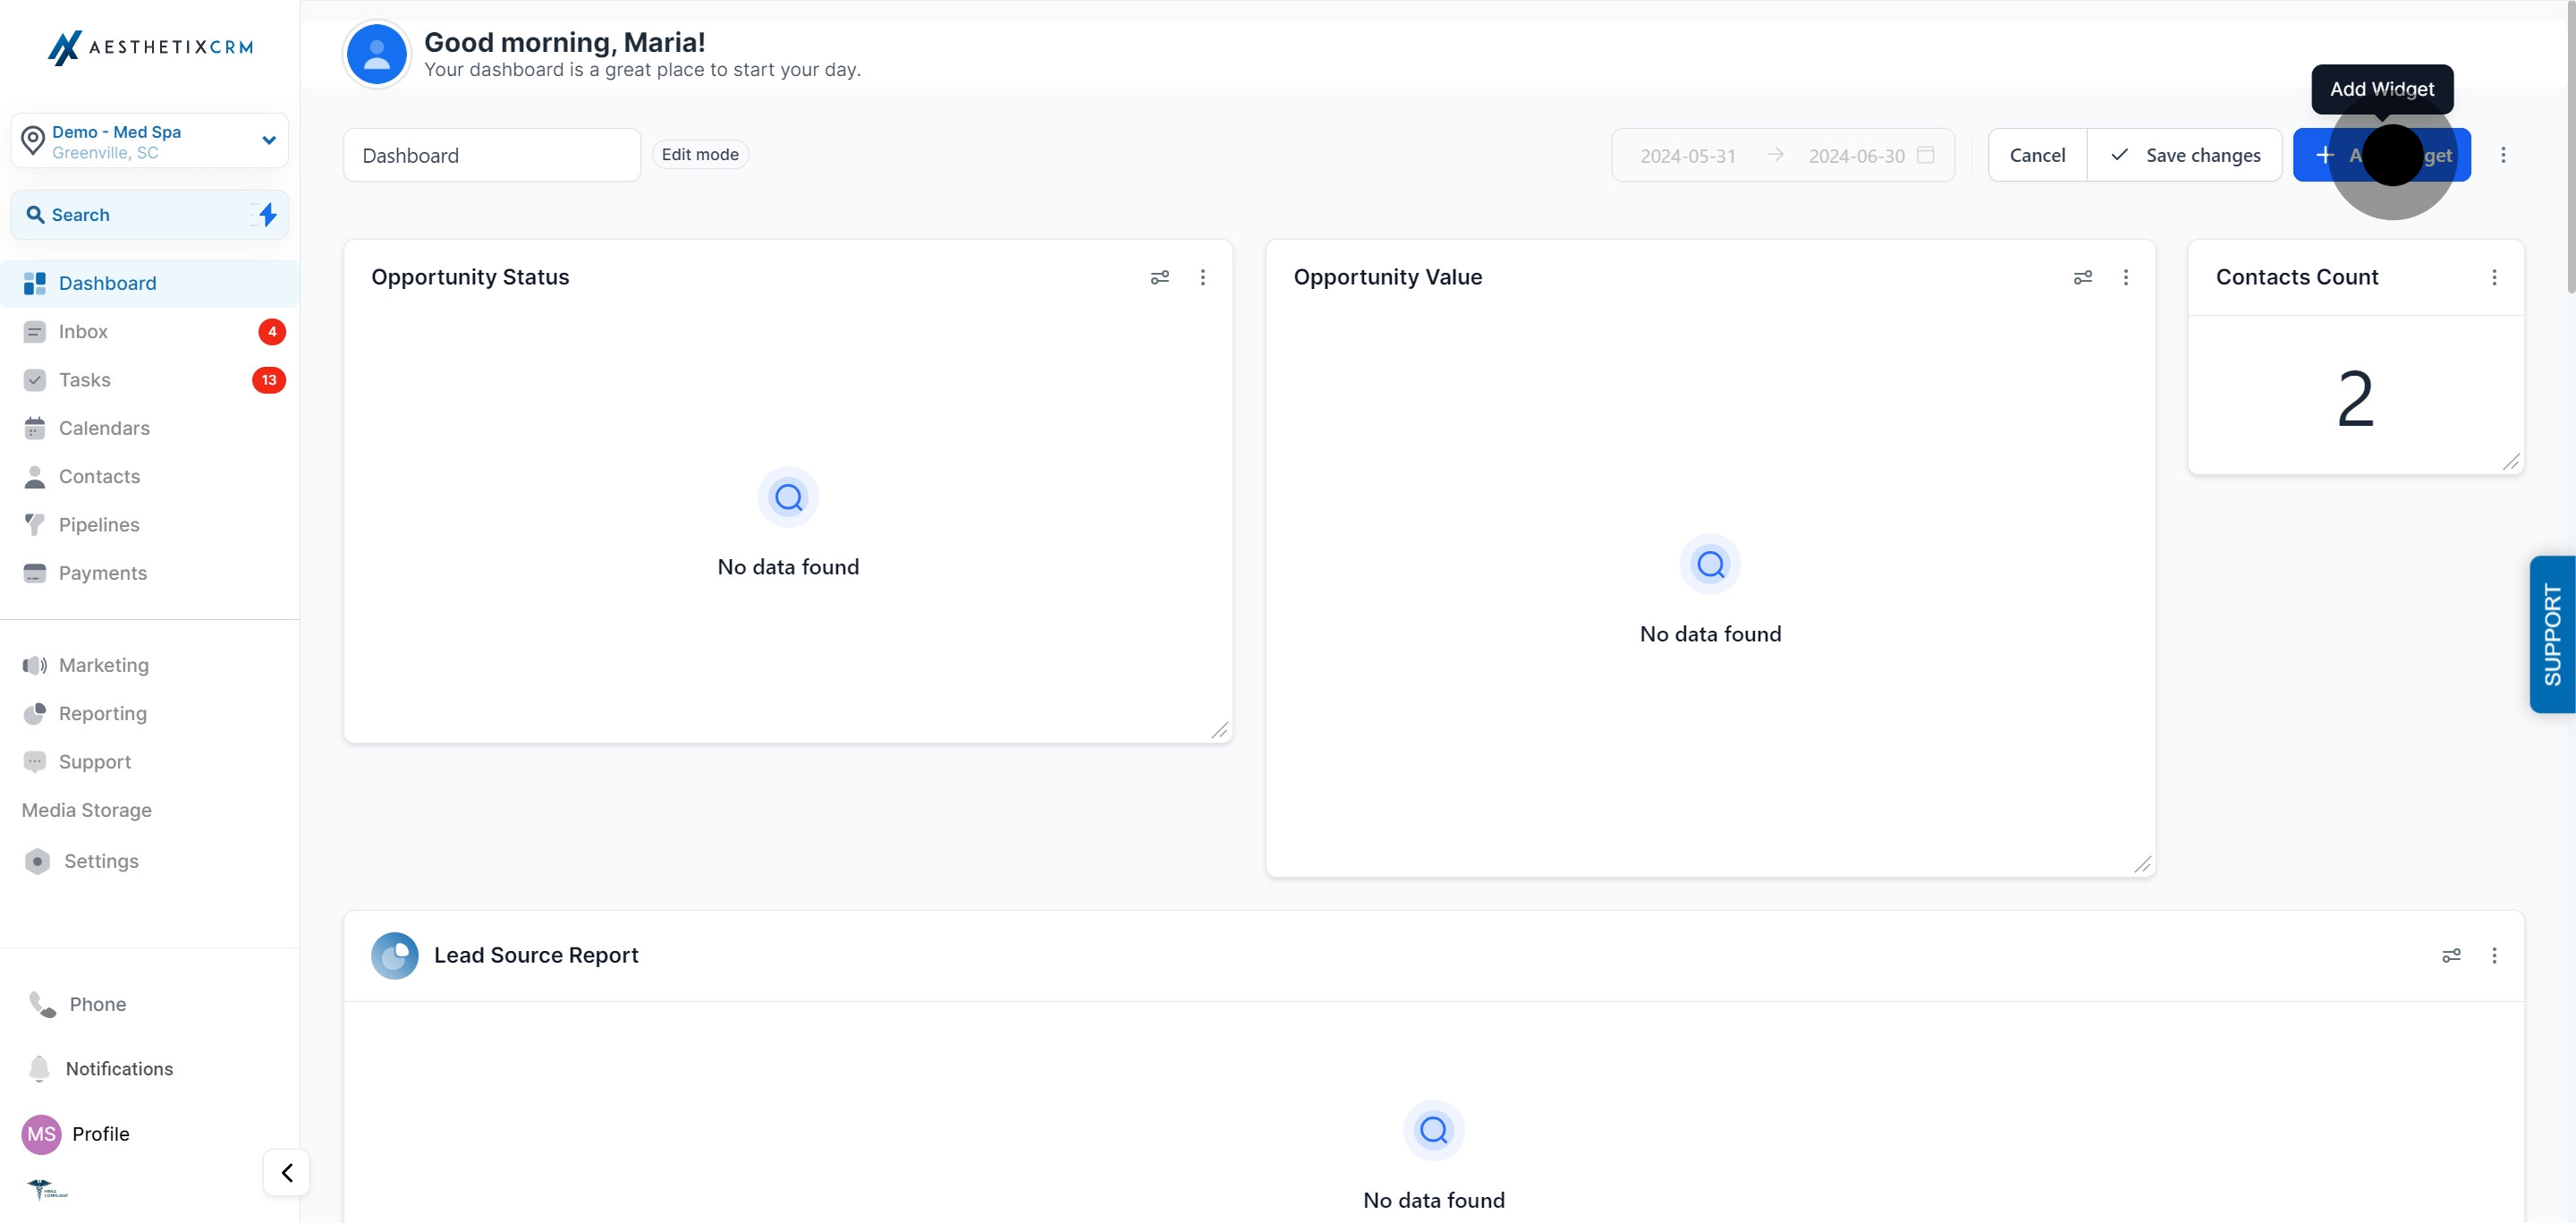
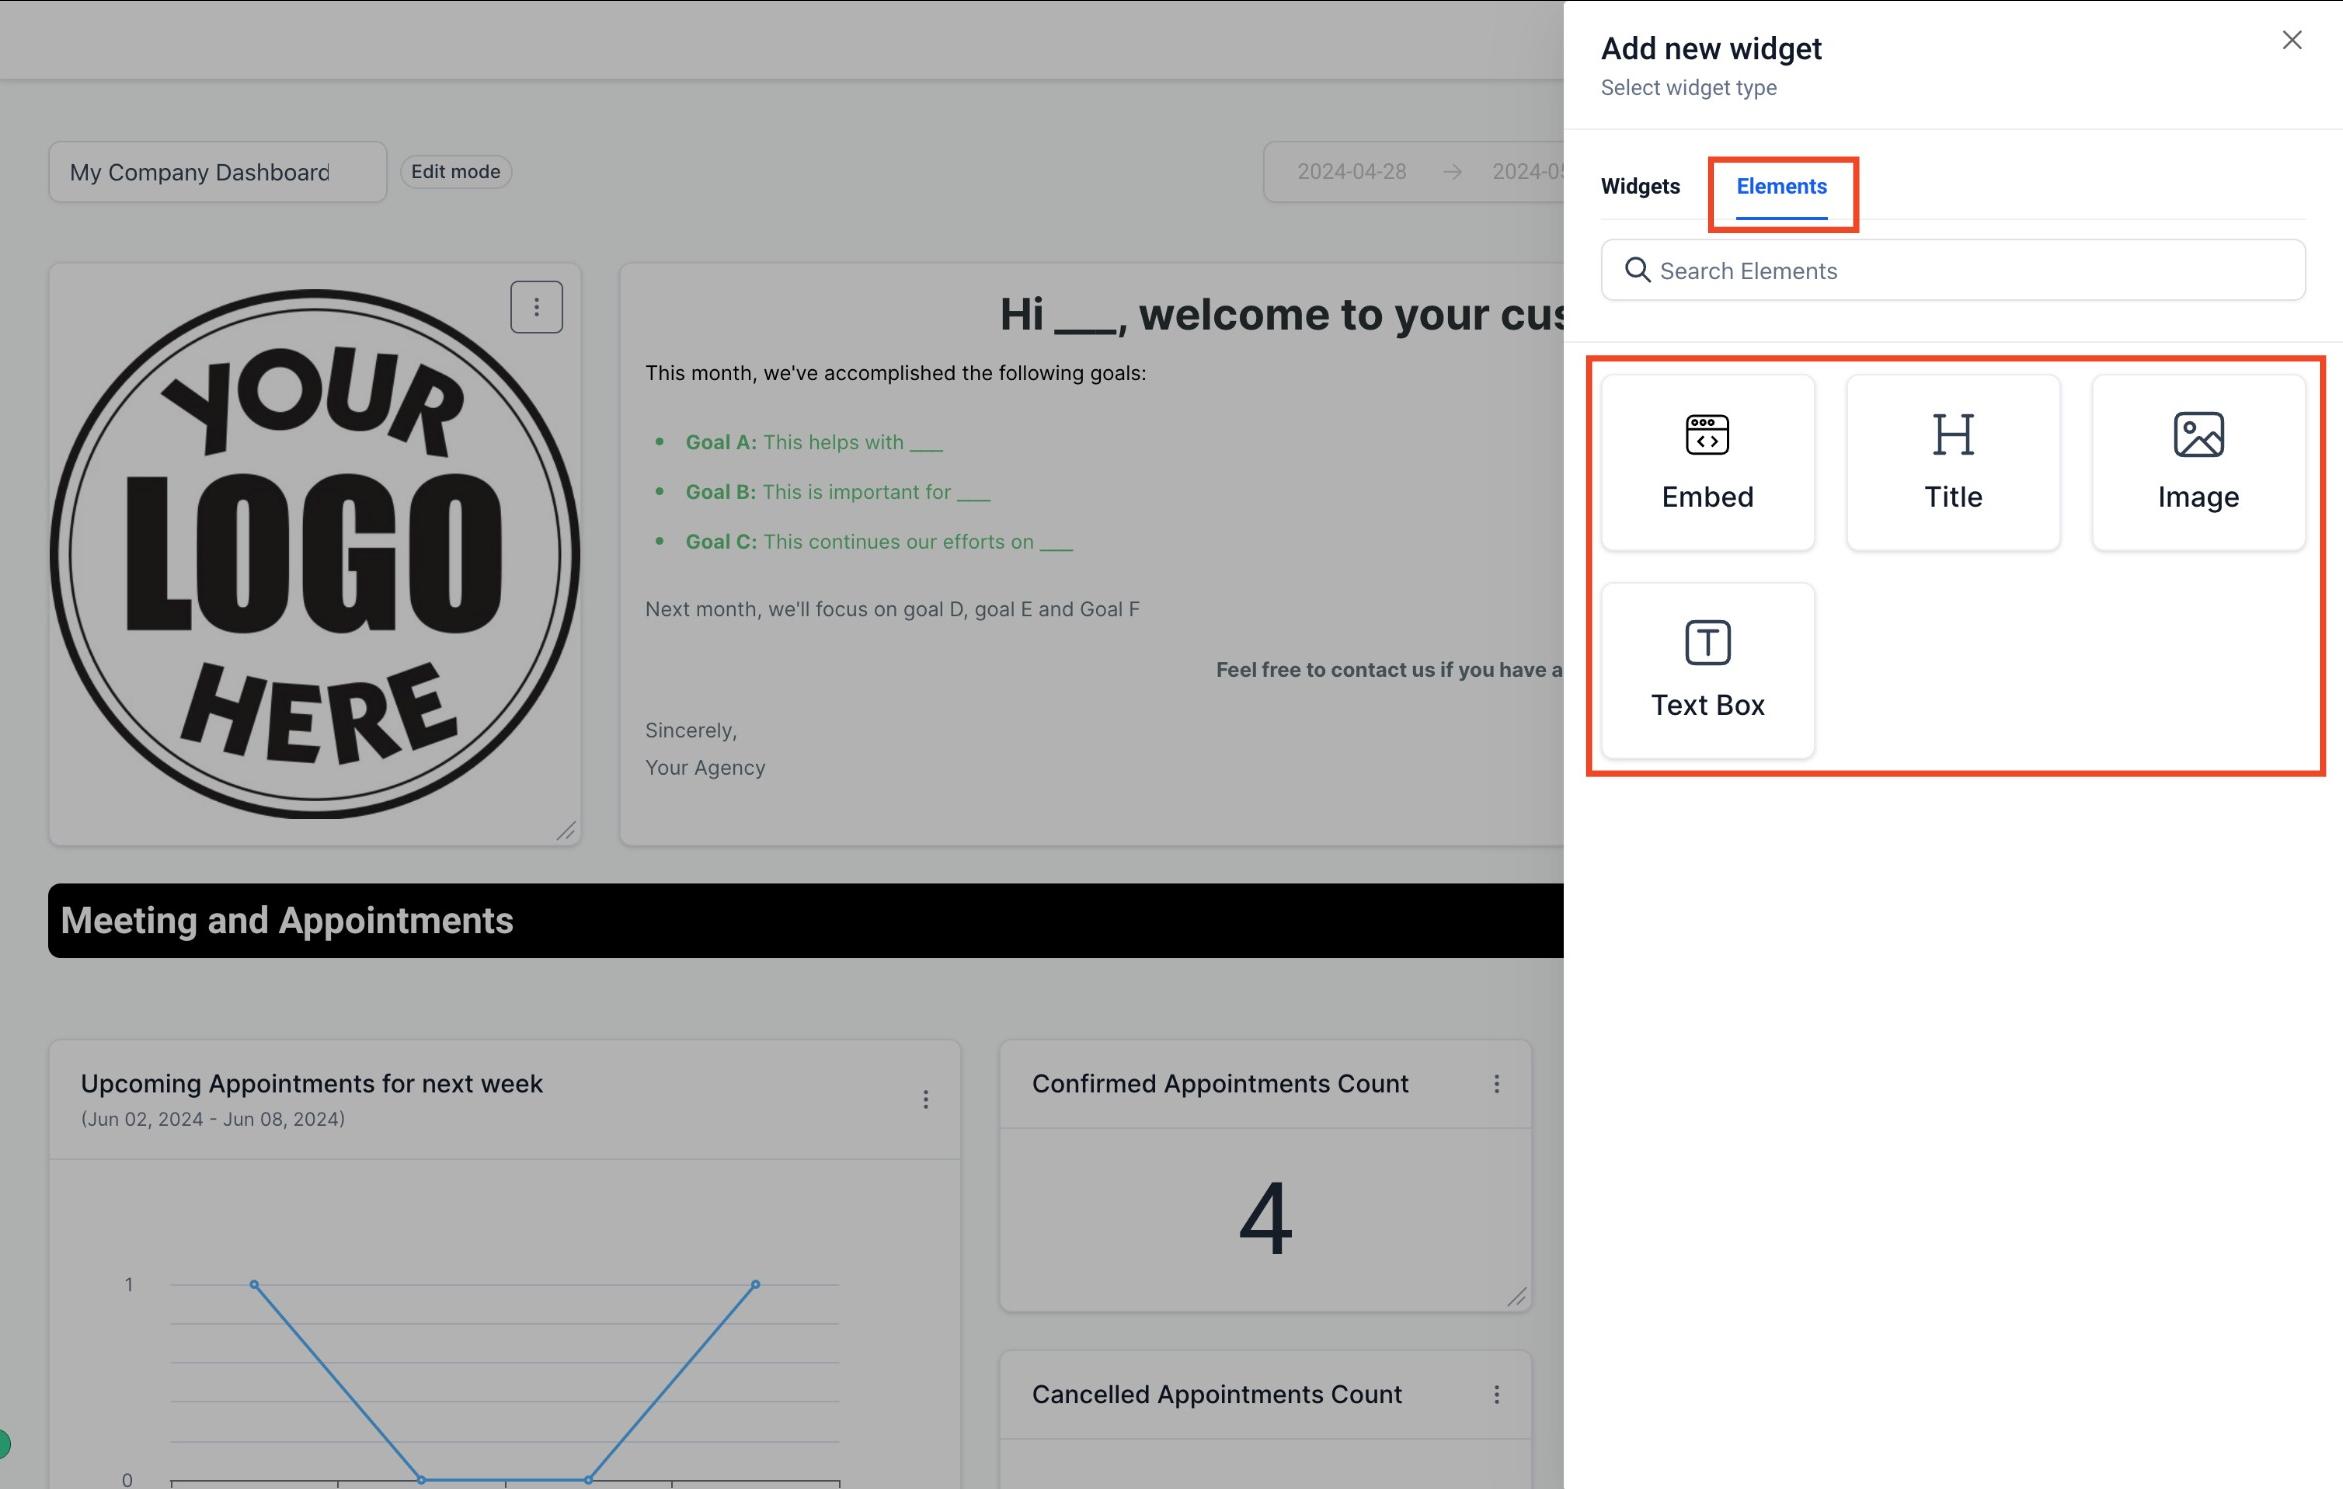
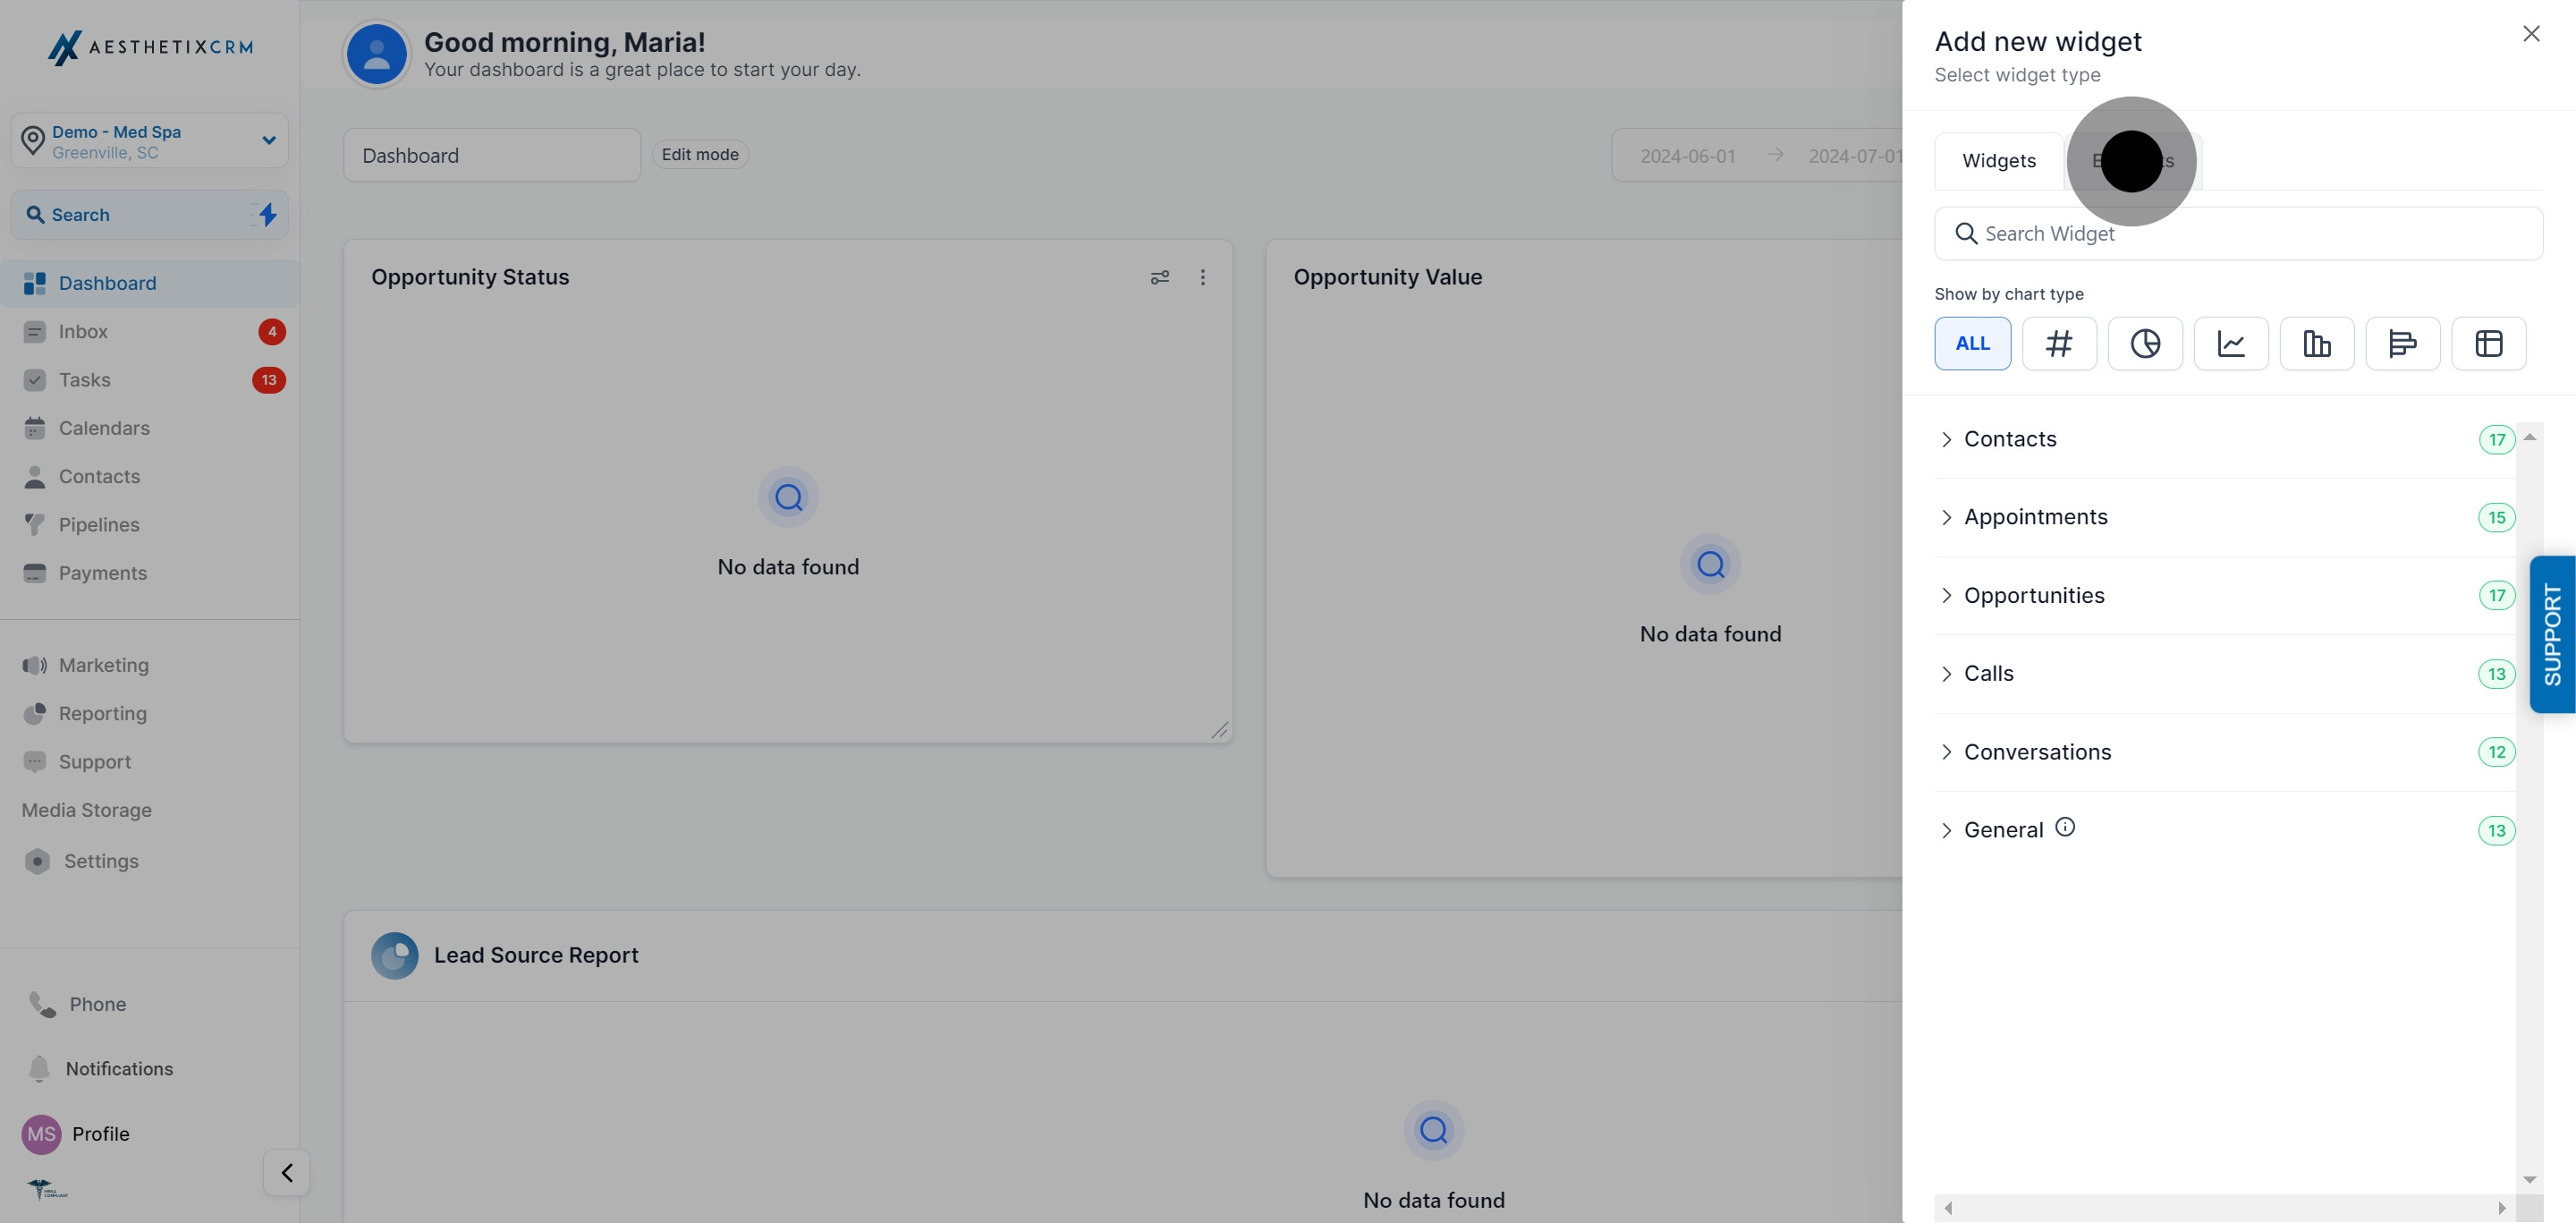
Click on "Elements."
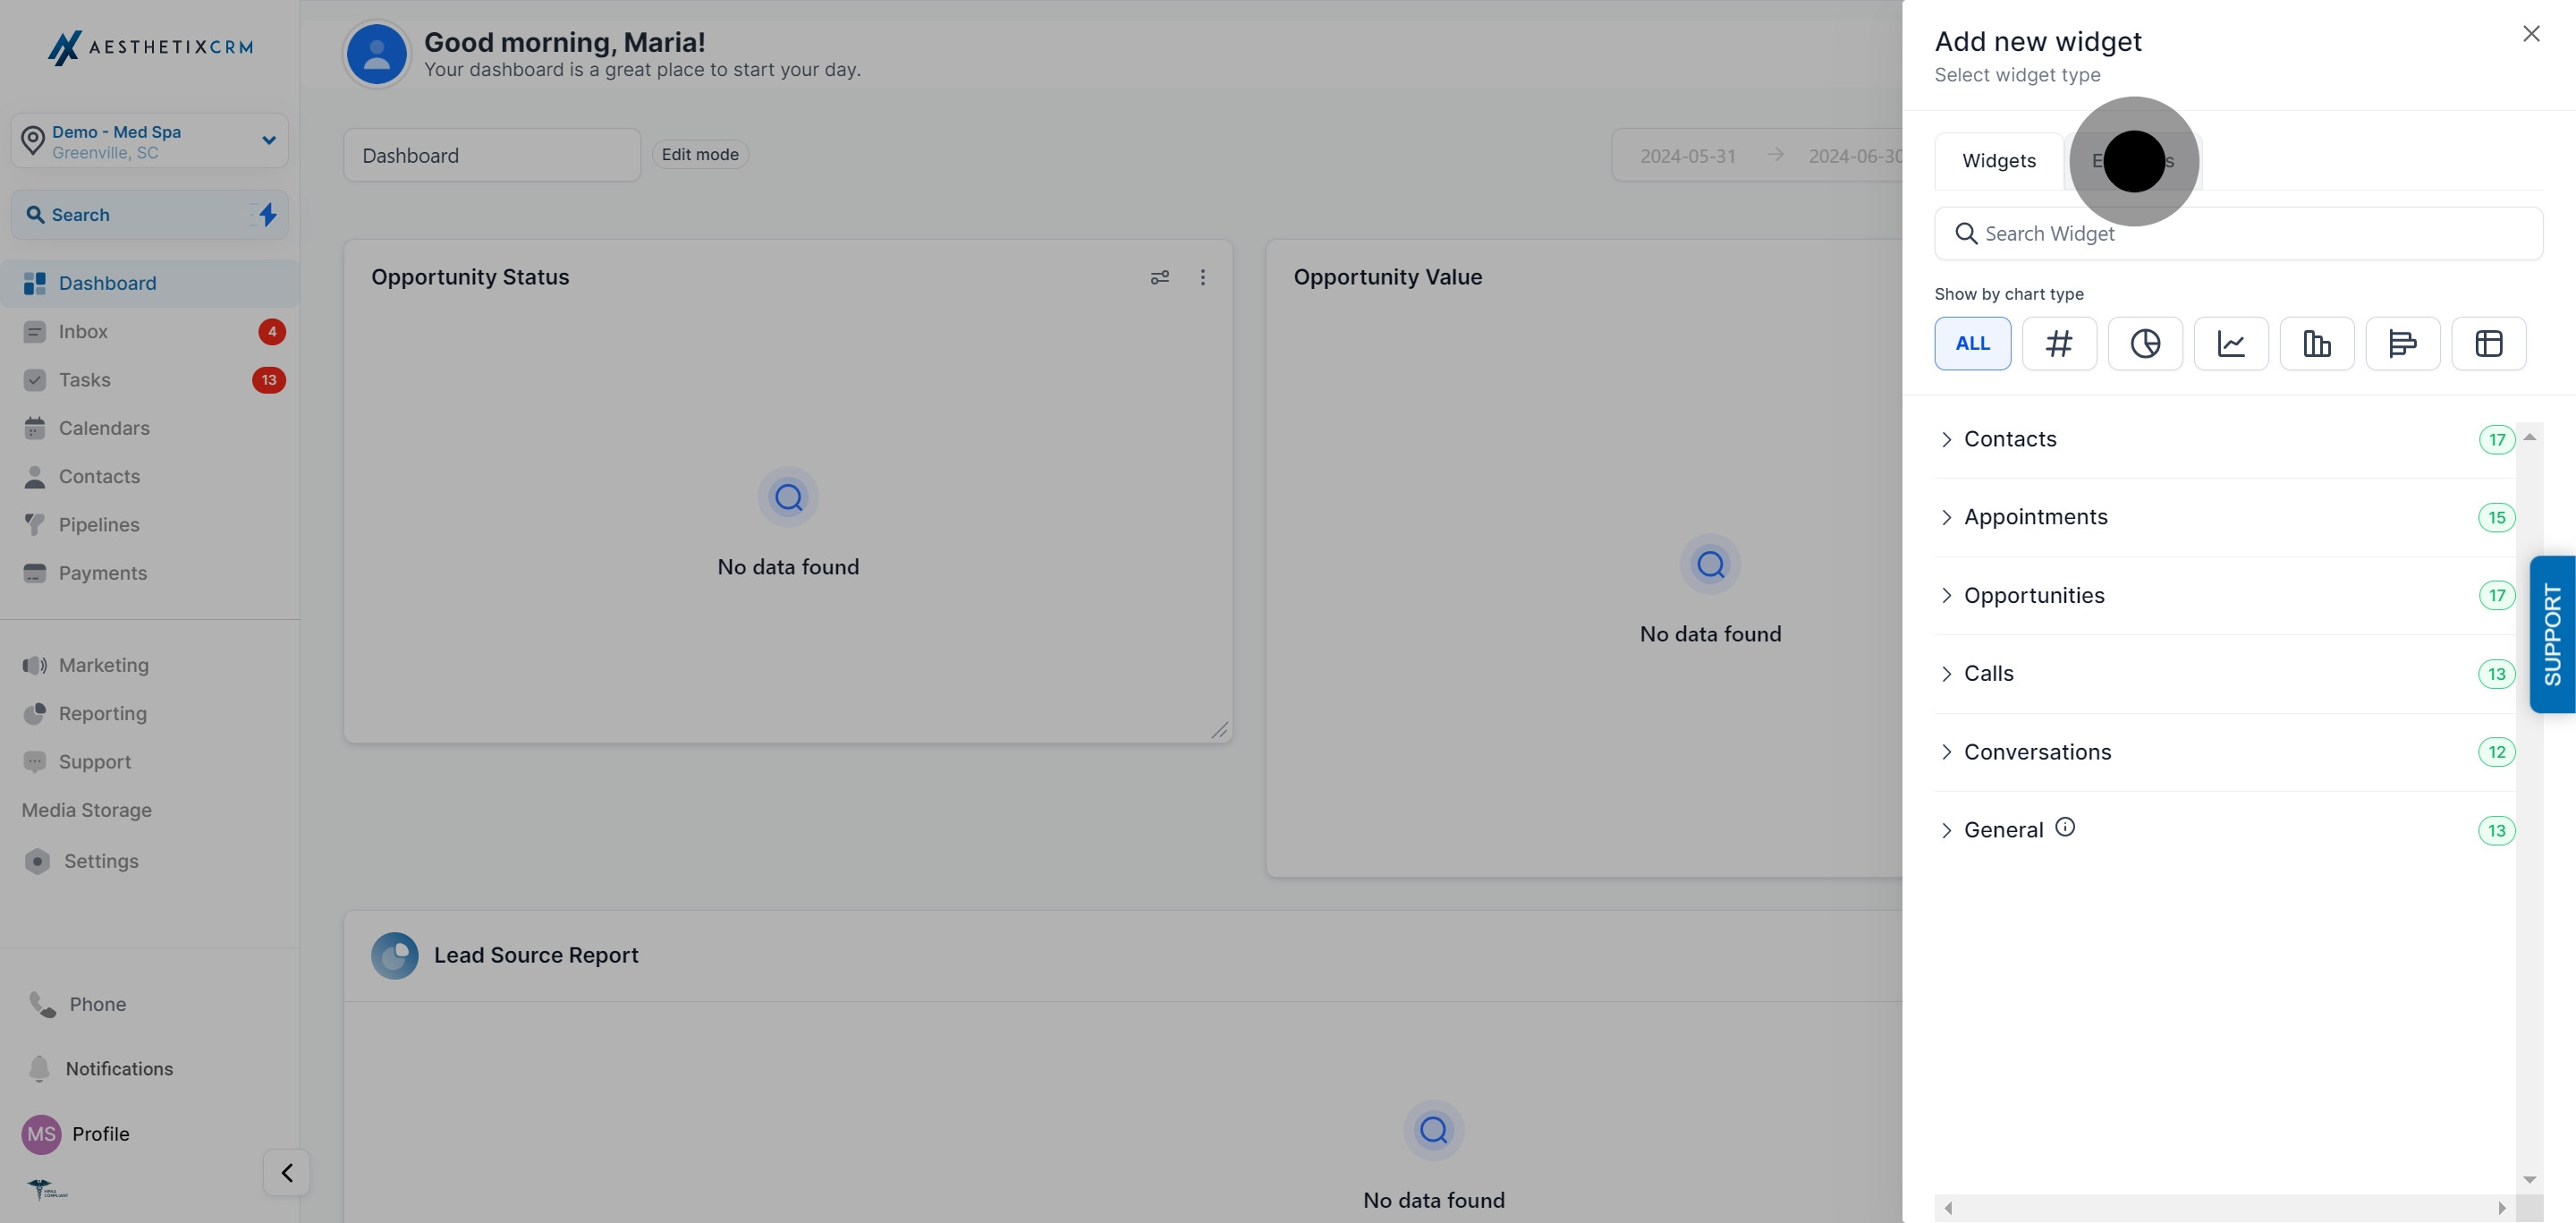
Switch to the Elements tab and choose Title.
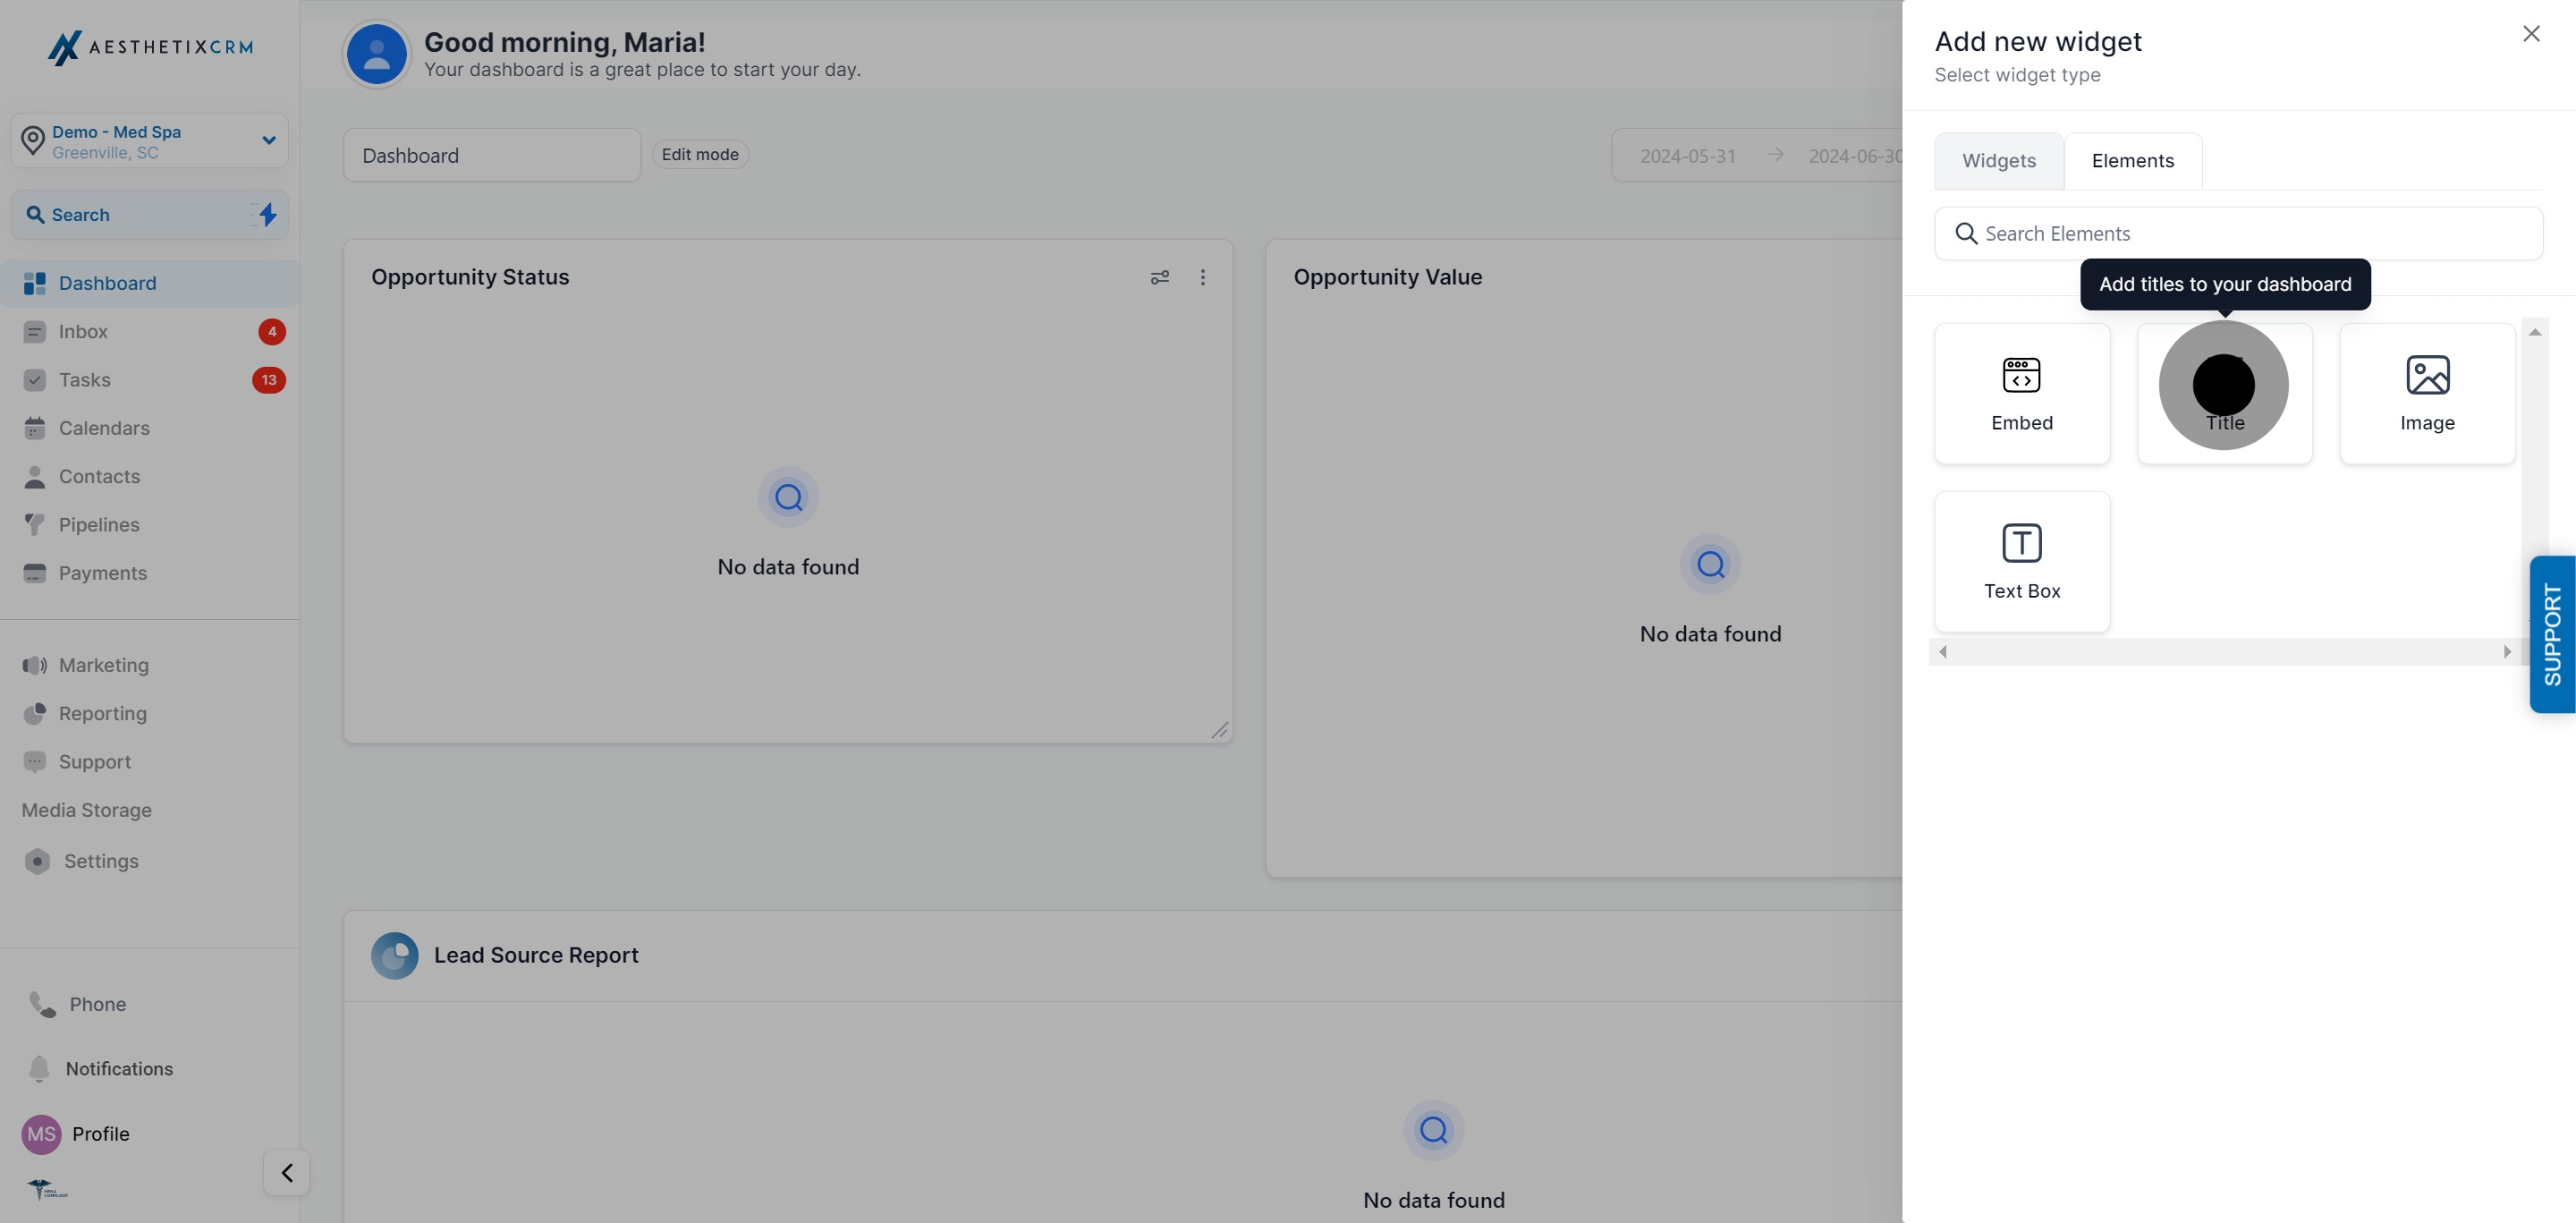
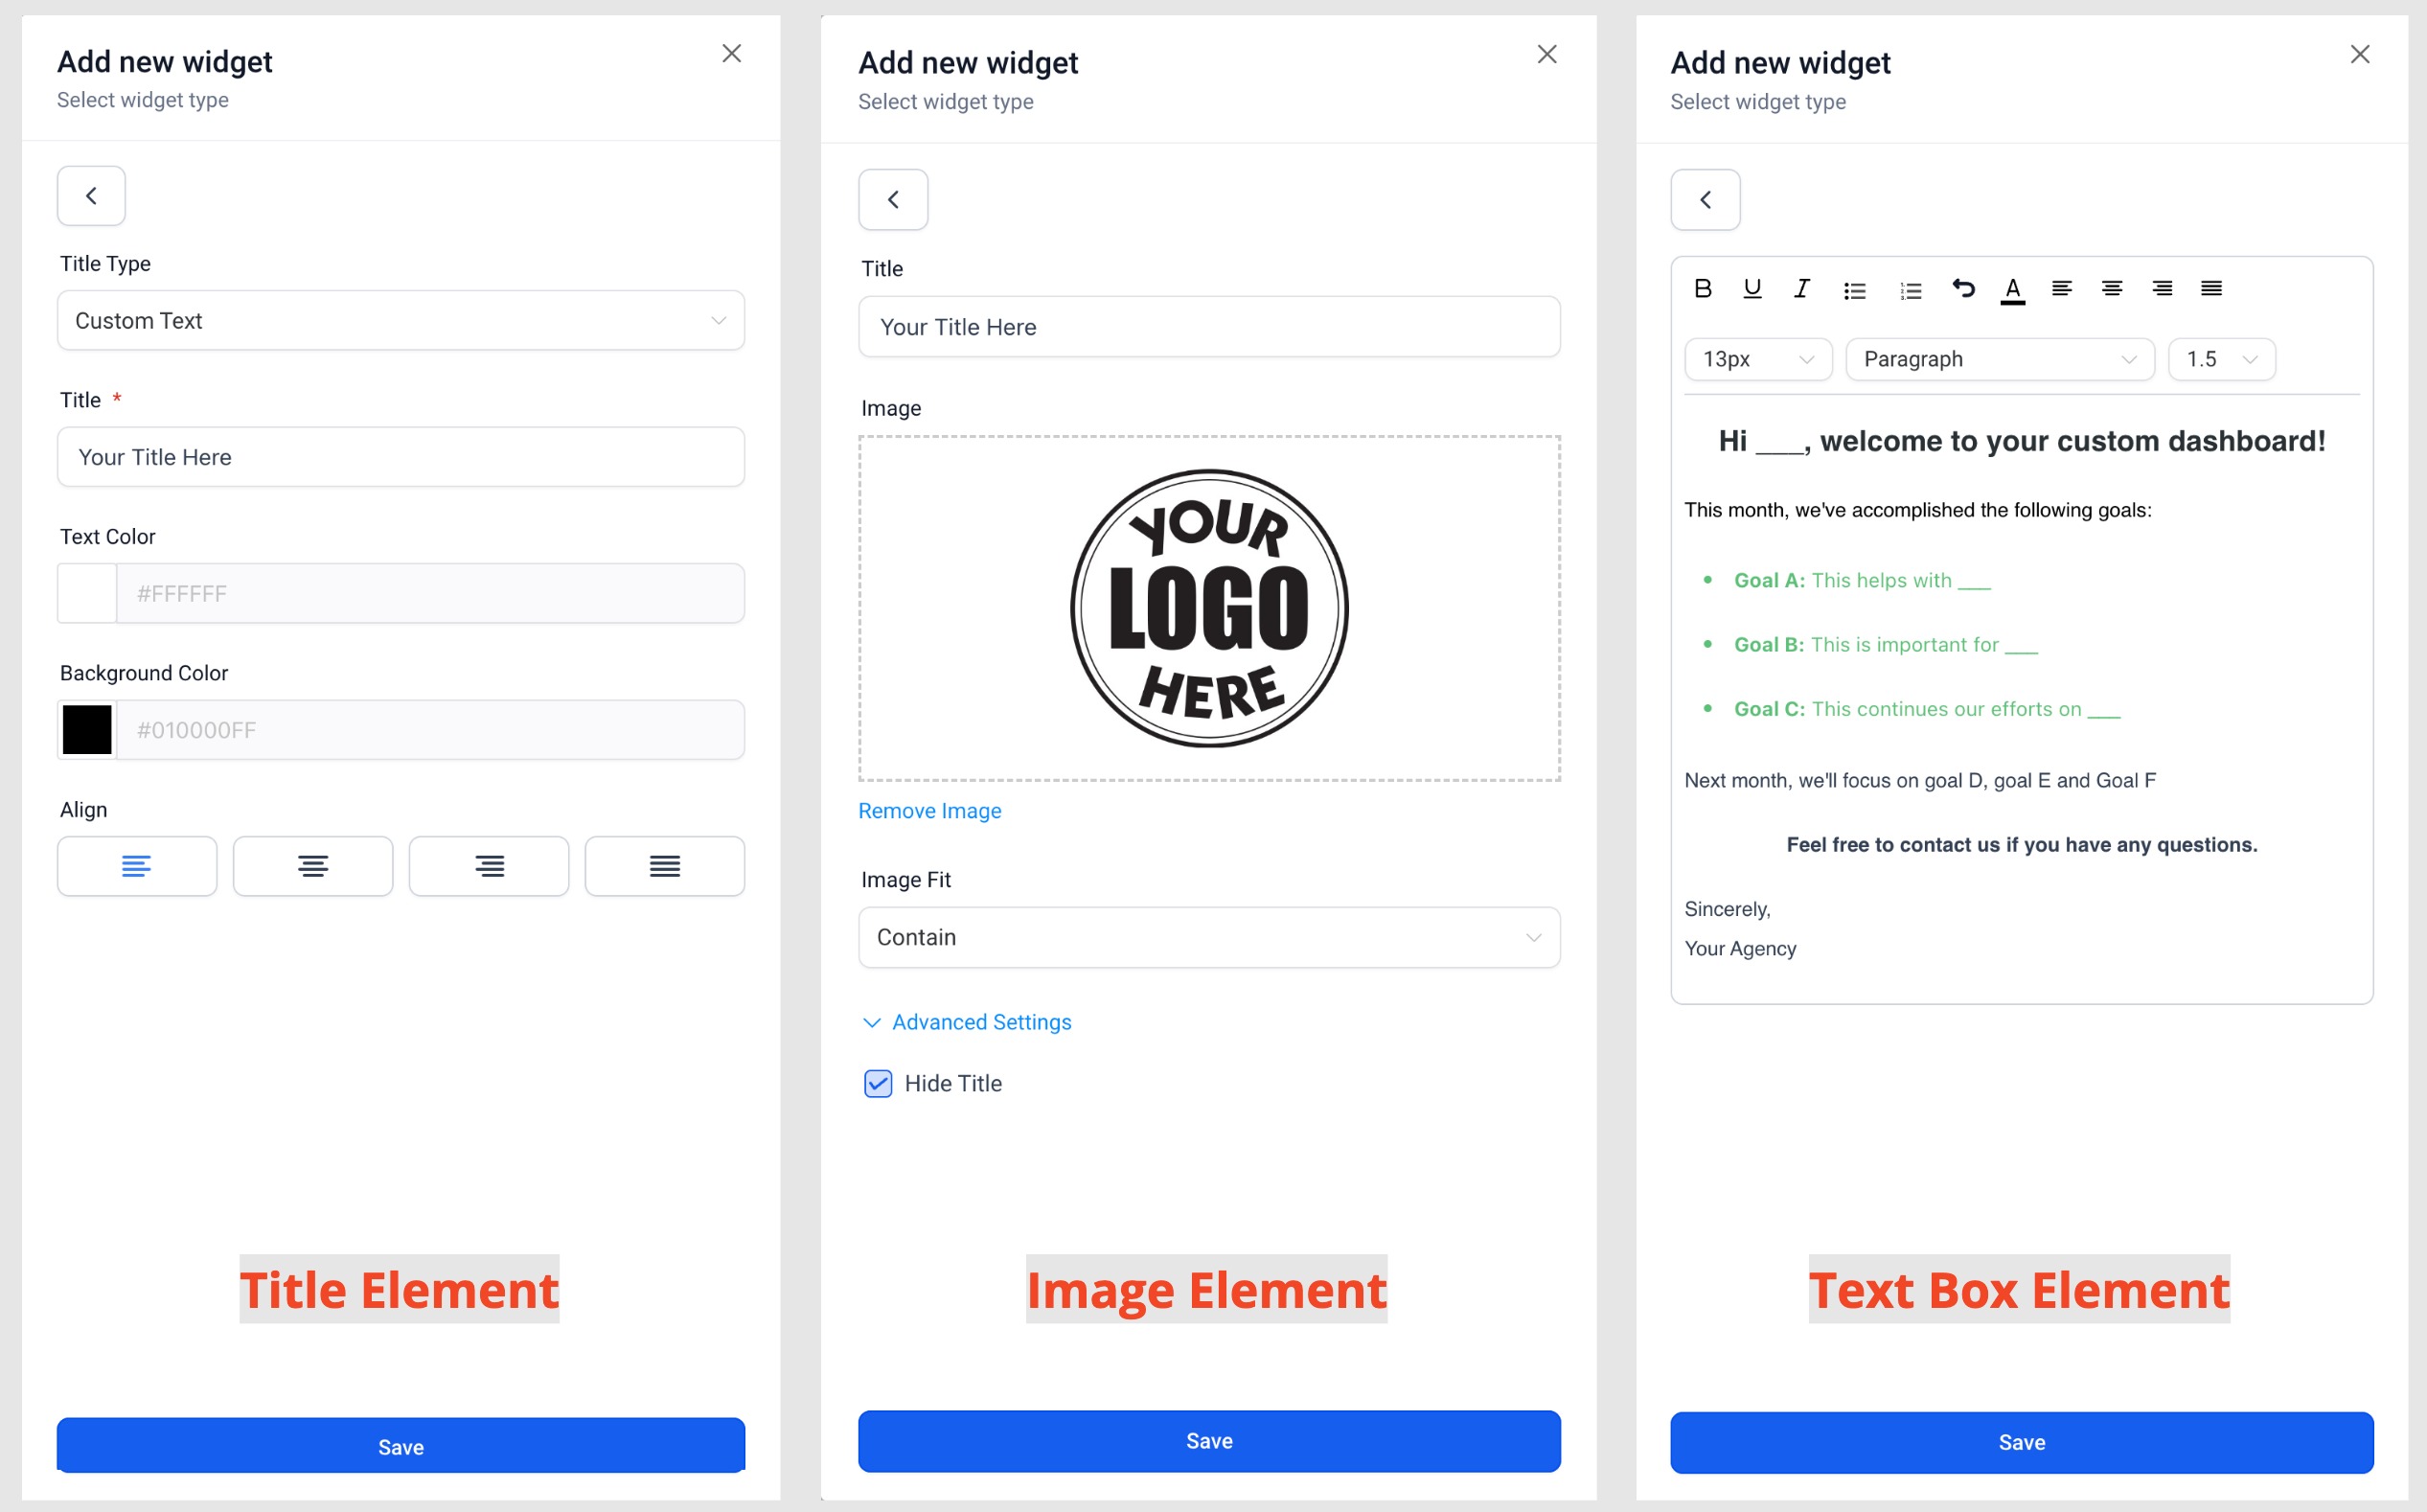
Type your heading text and configure the title.
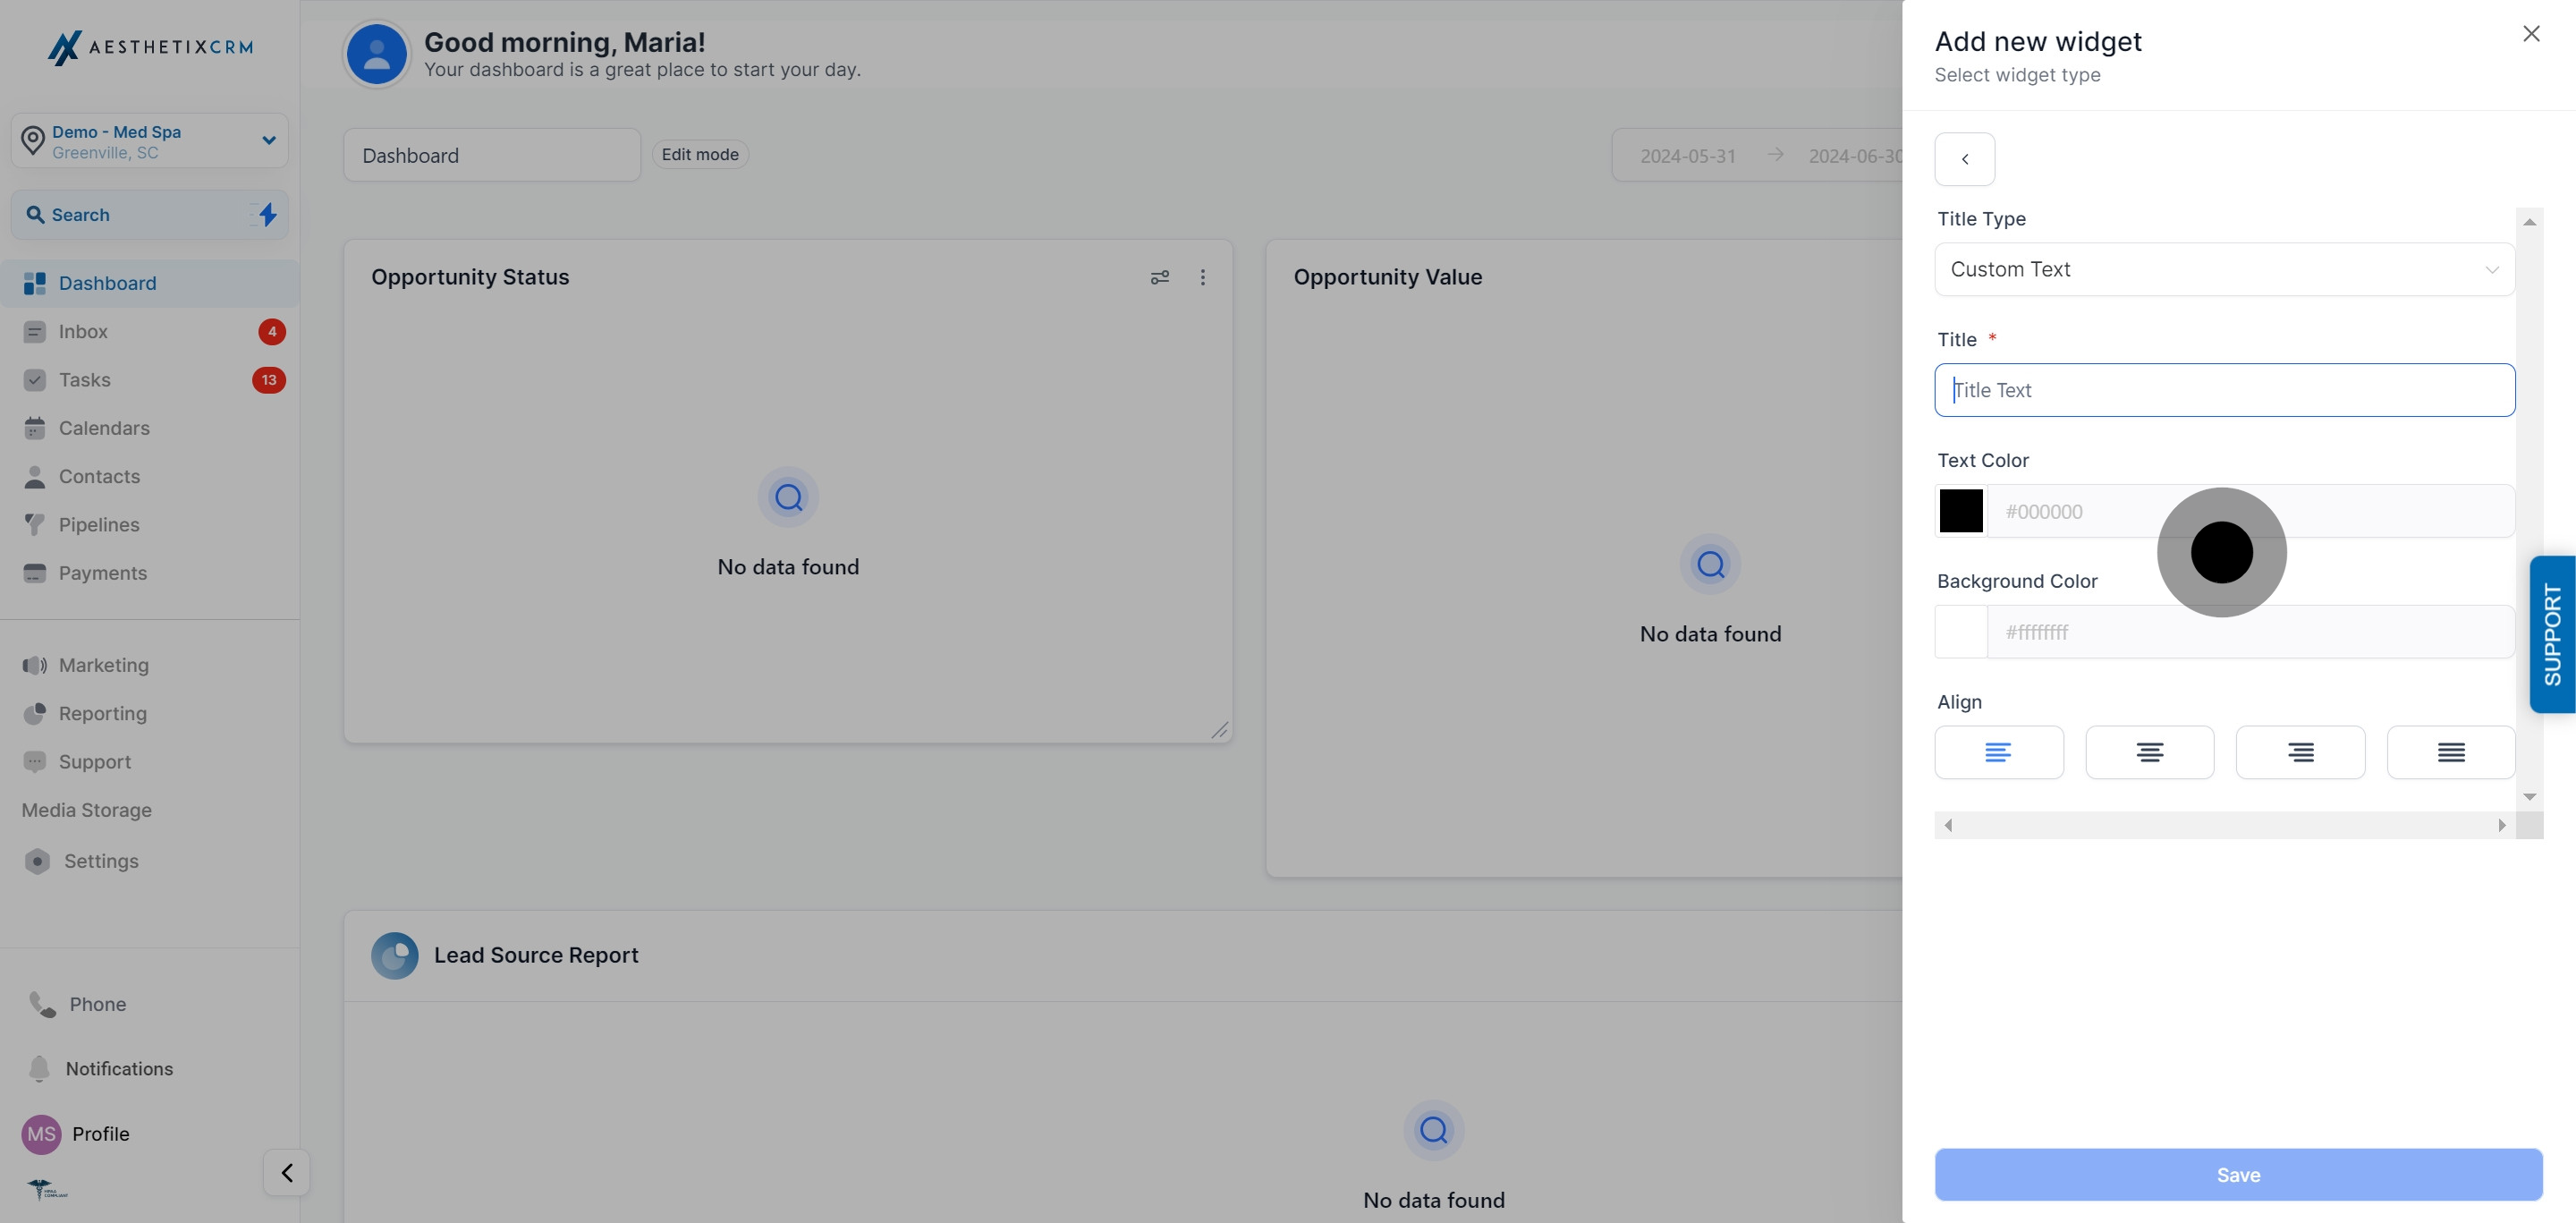
Click "Save."
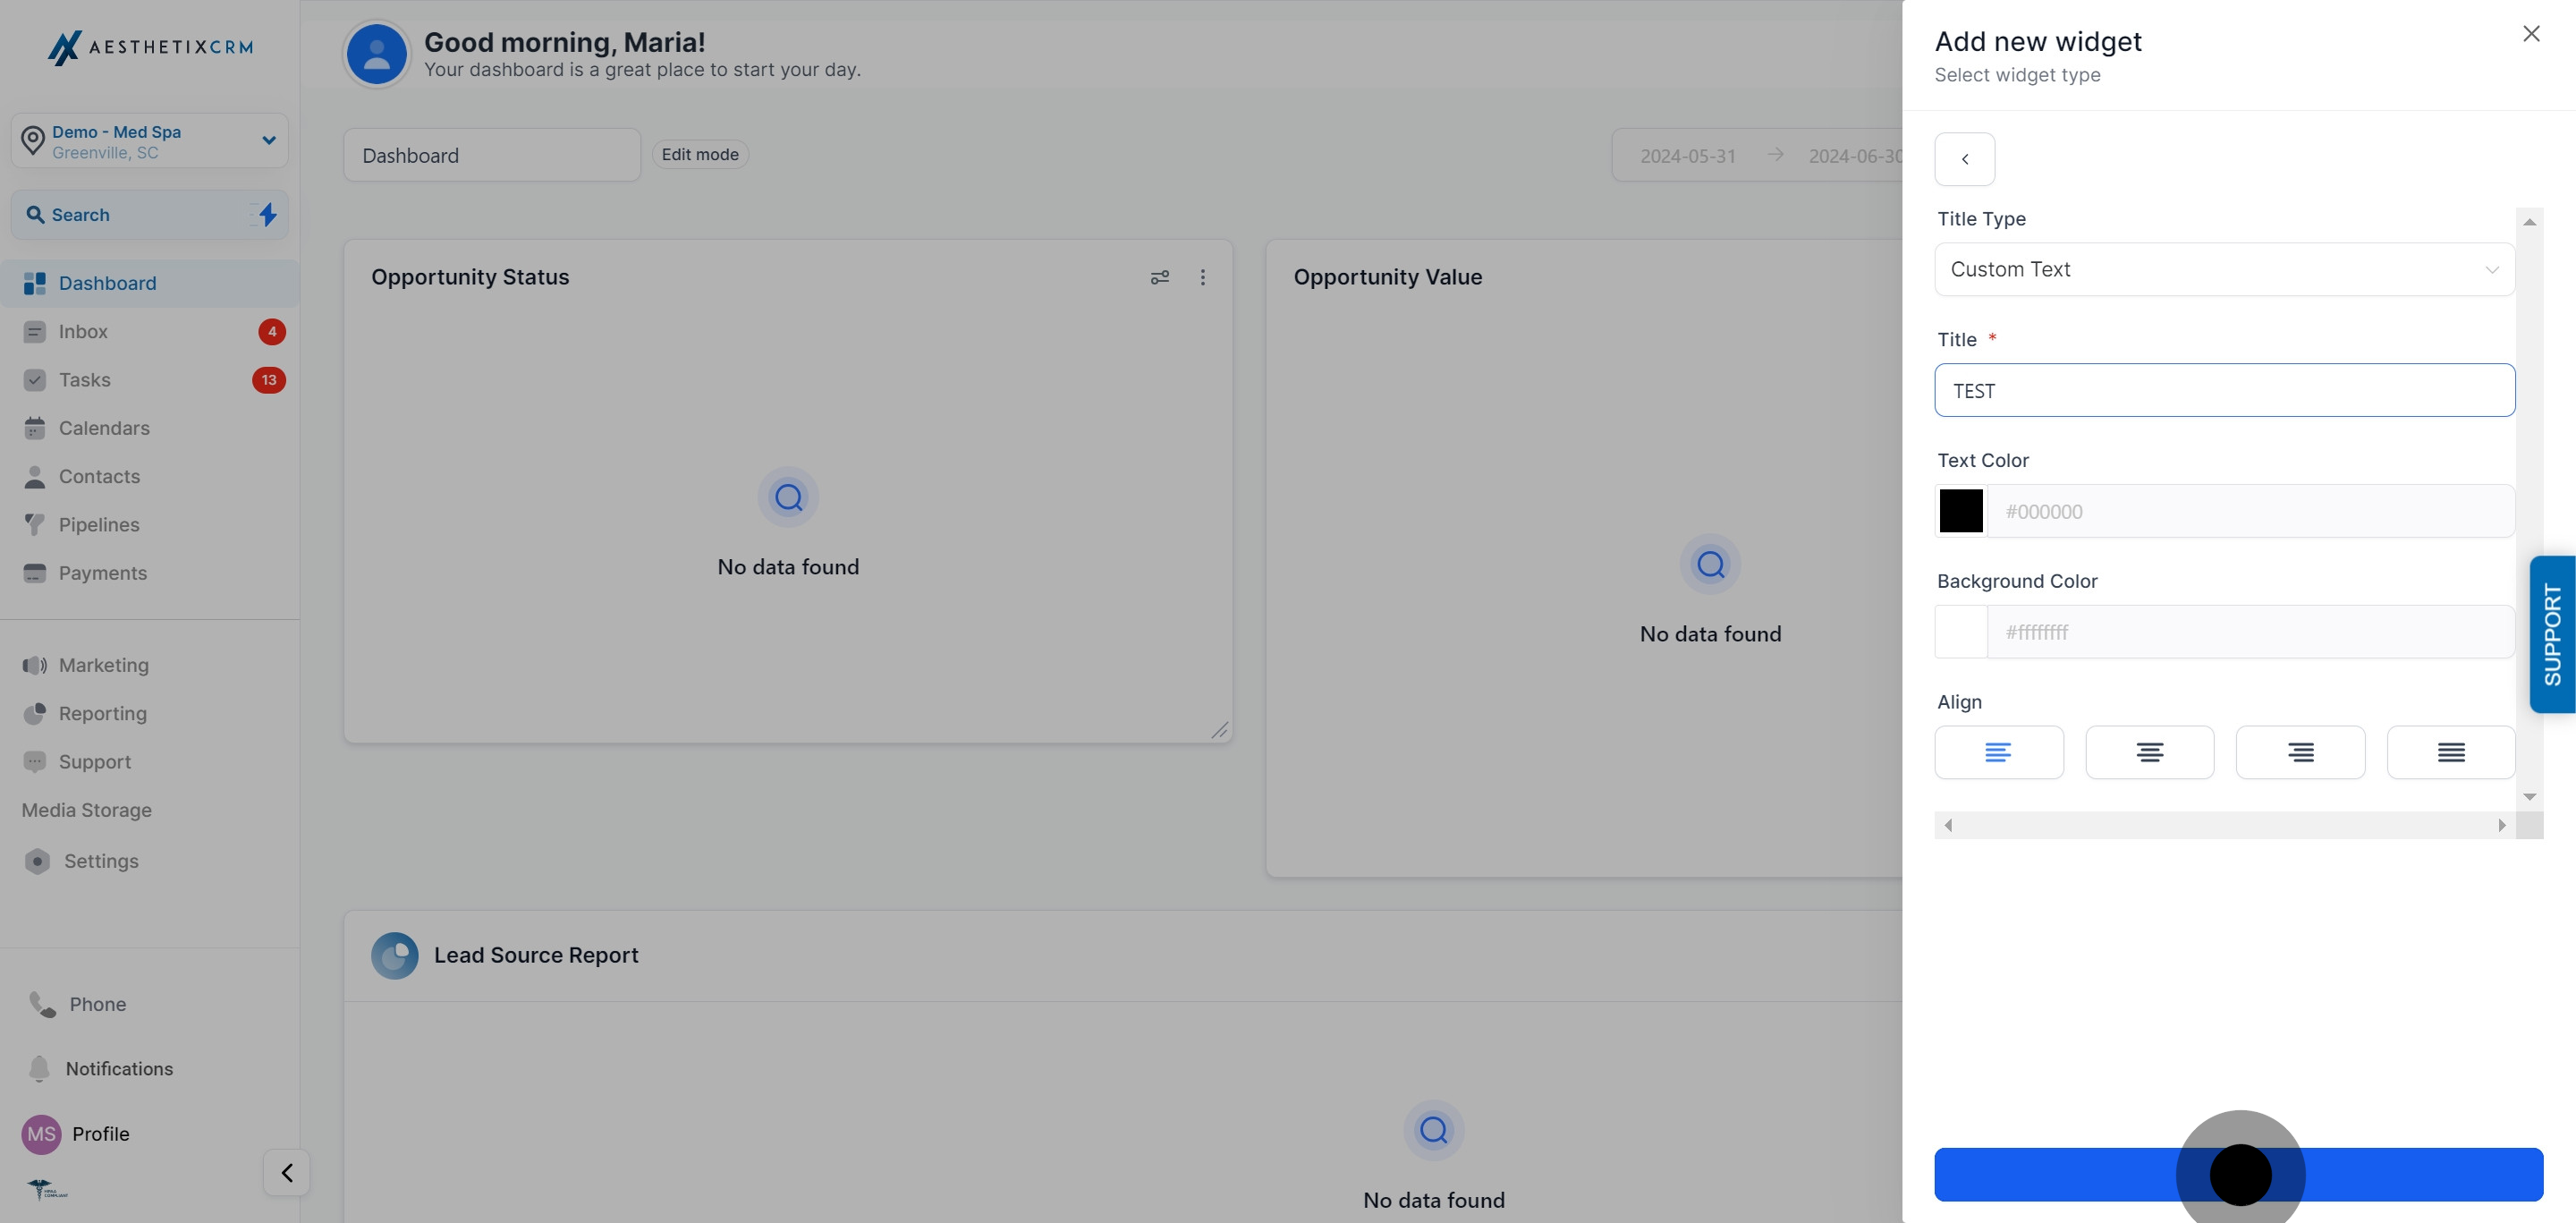
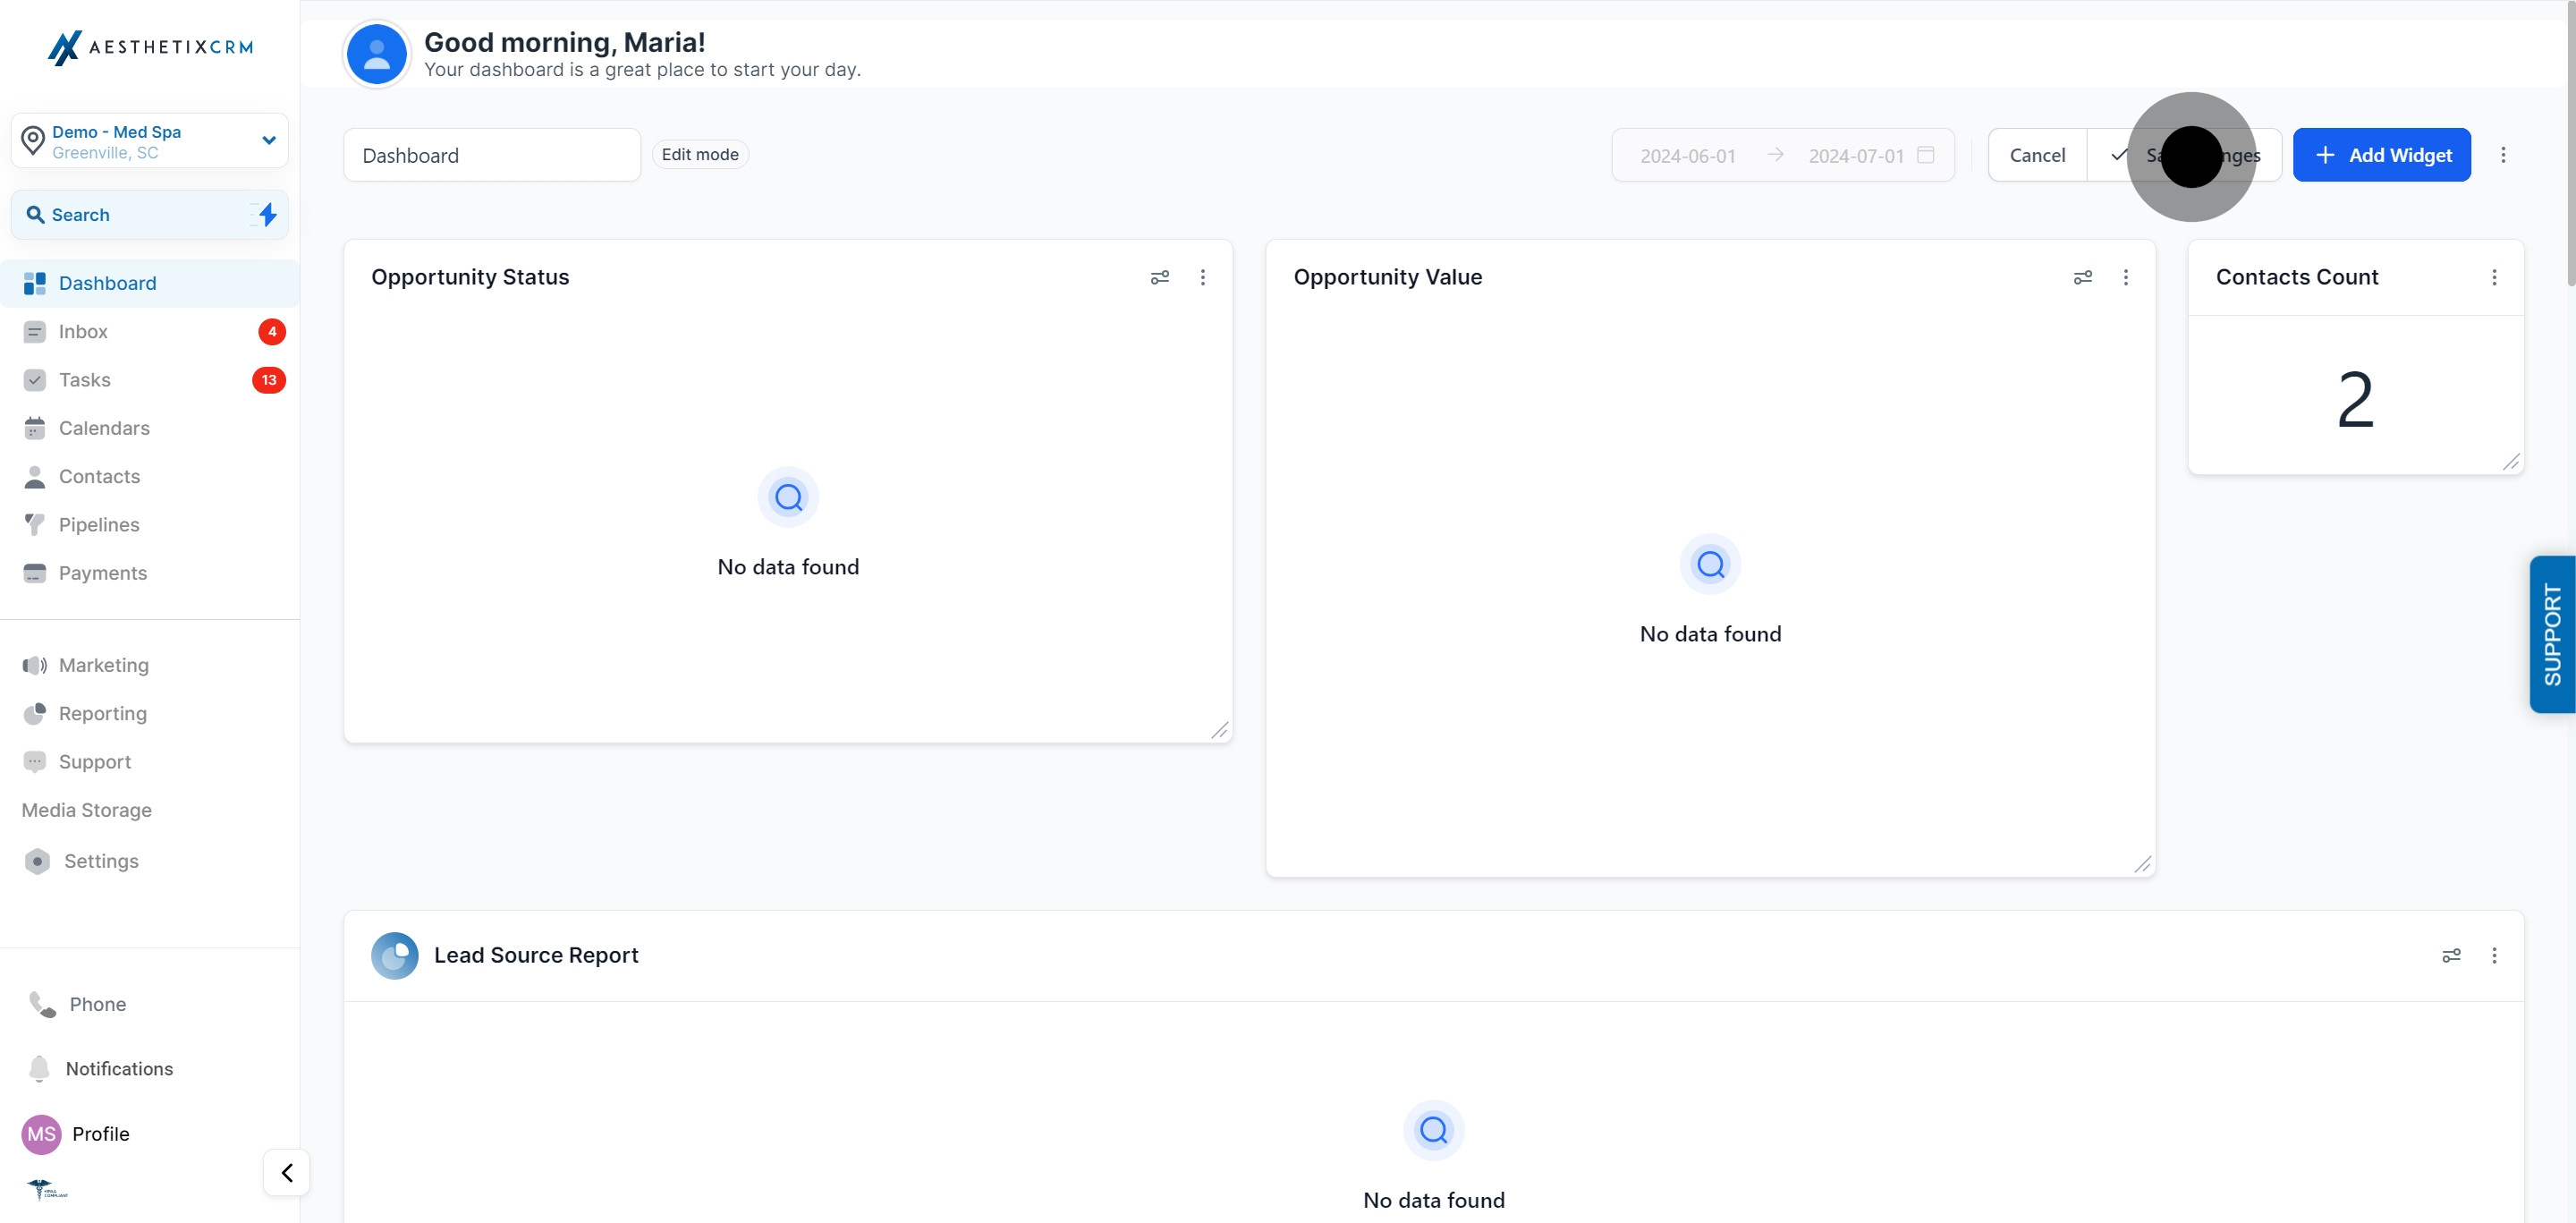
Click "Save Changes" to lock in the new title on your dashboard.
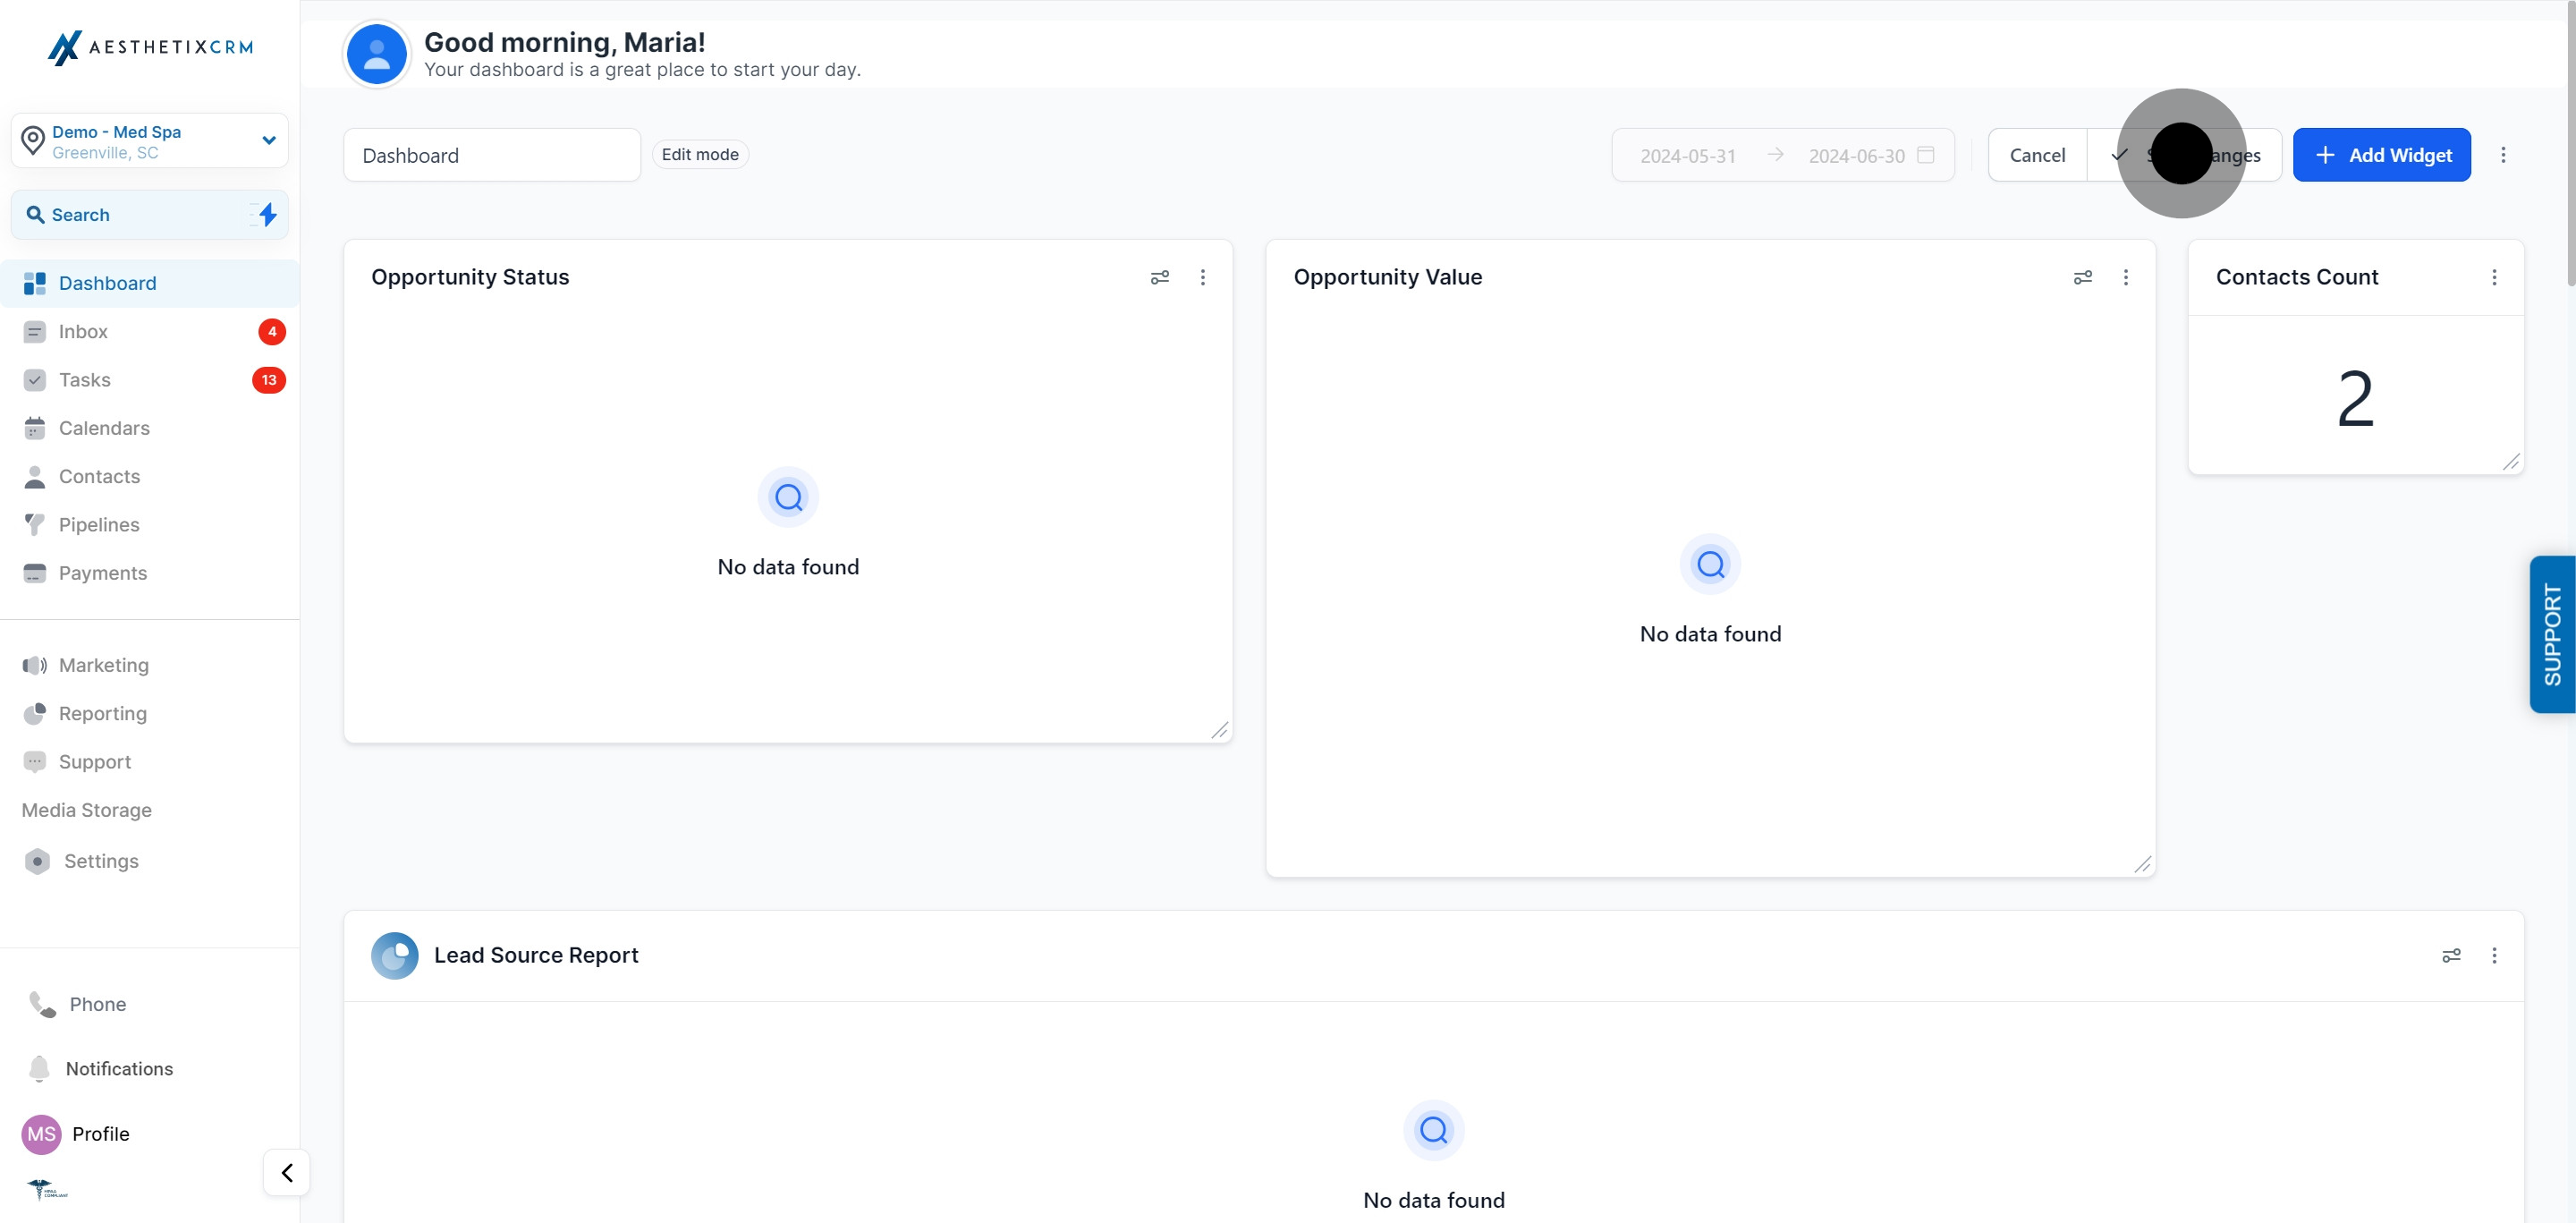
Drag the title widget above the group of metrics it labels, then repeat the process for each section you want to call out (for example, "Marketing," "Front Desk," or "Revenue").
Use a text box to leave instructions, context, or reminders directly on the dashboard.
Open the dashboard you want to edit.
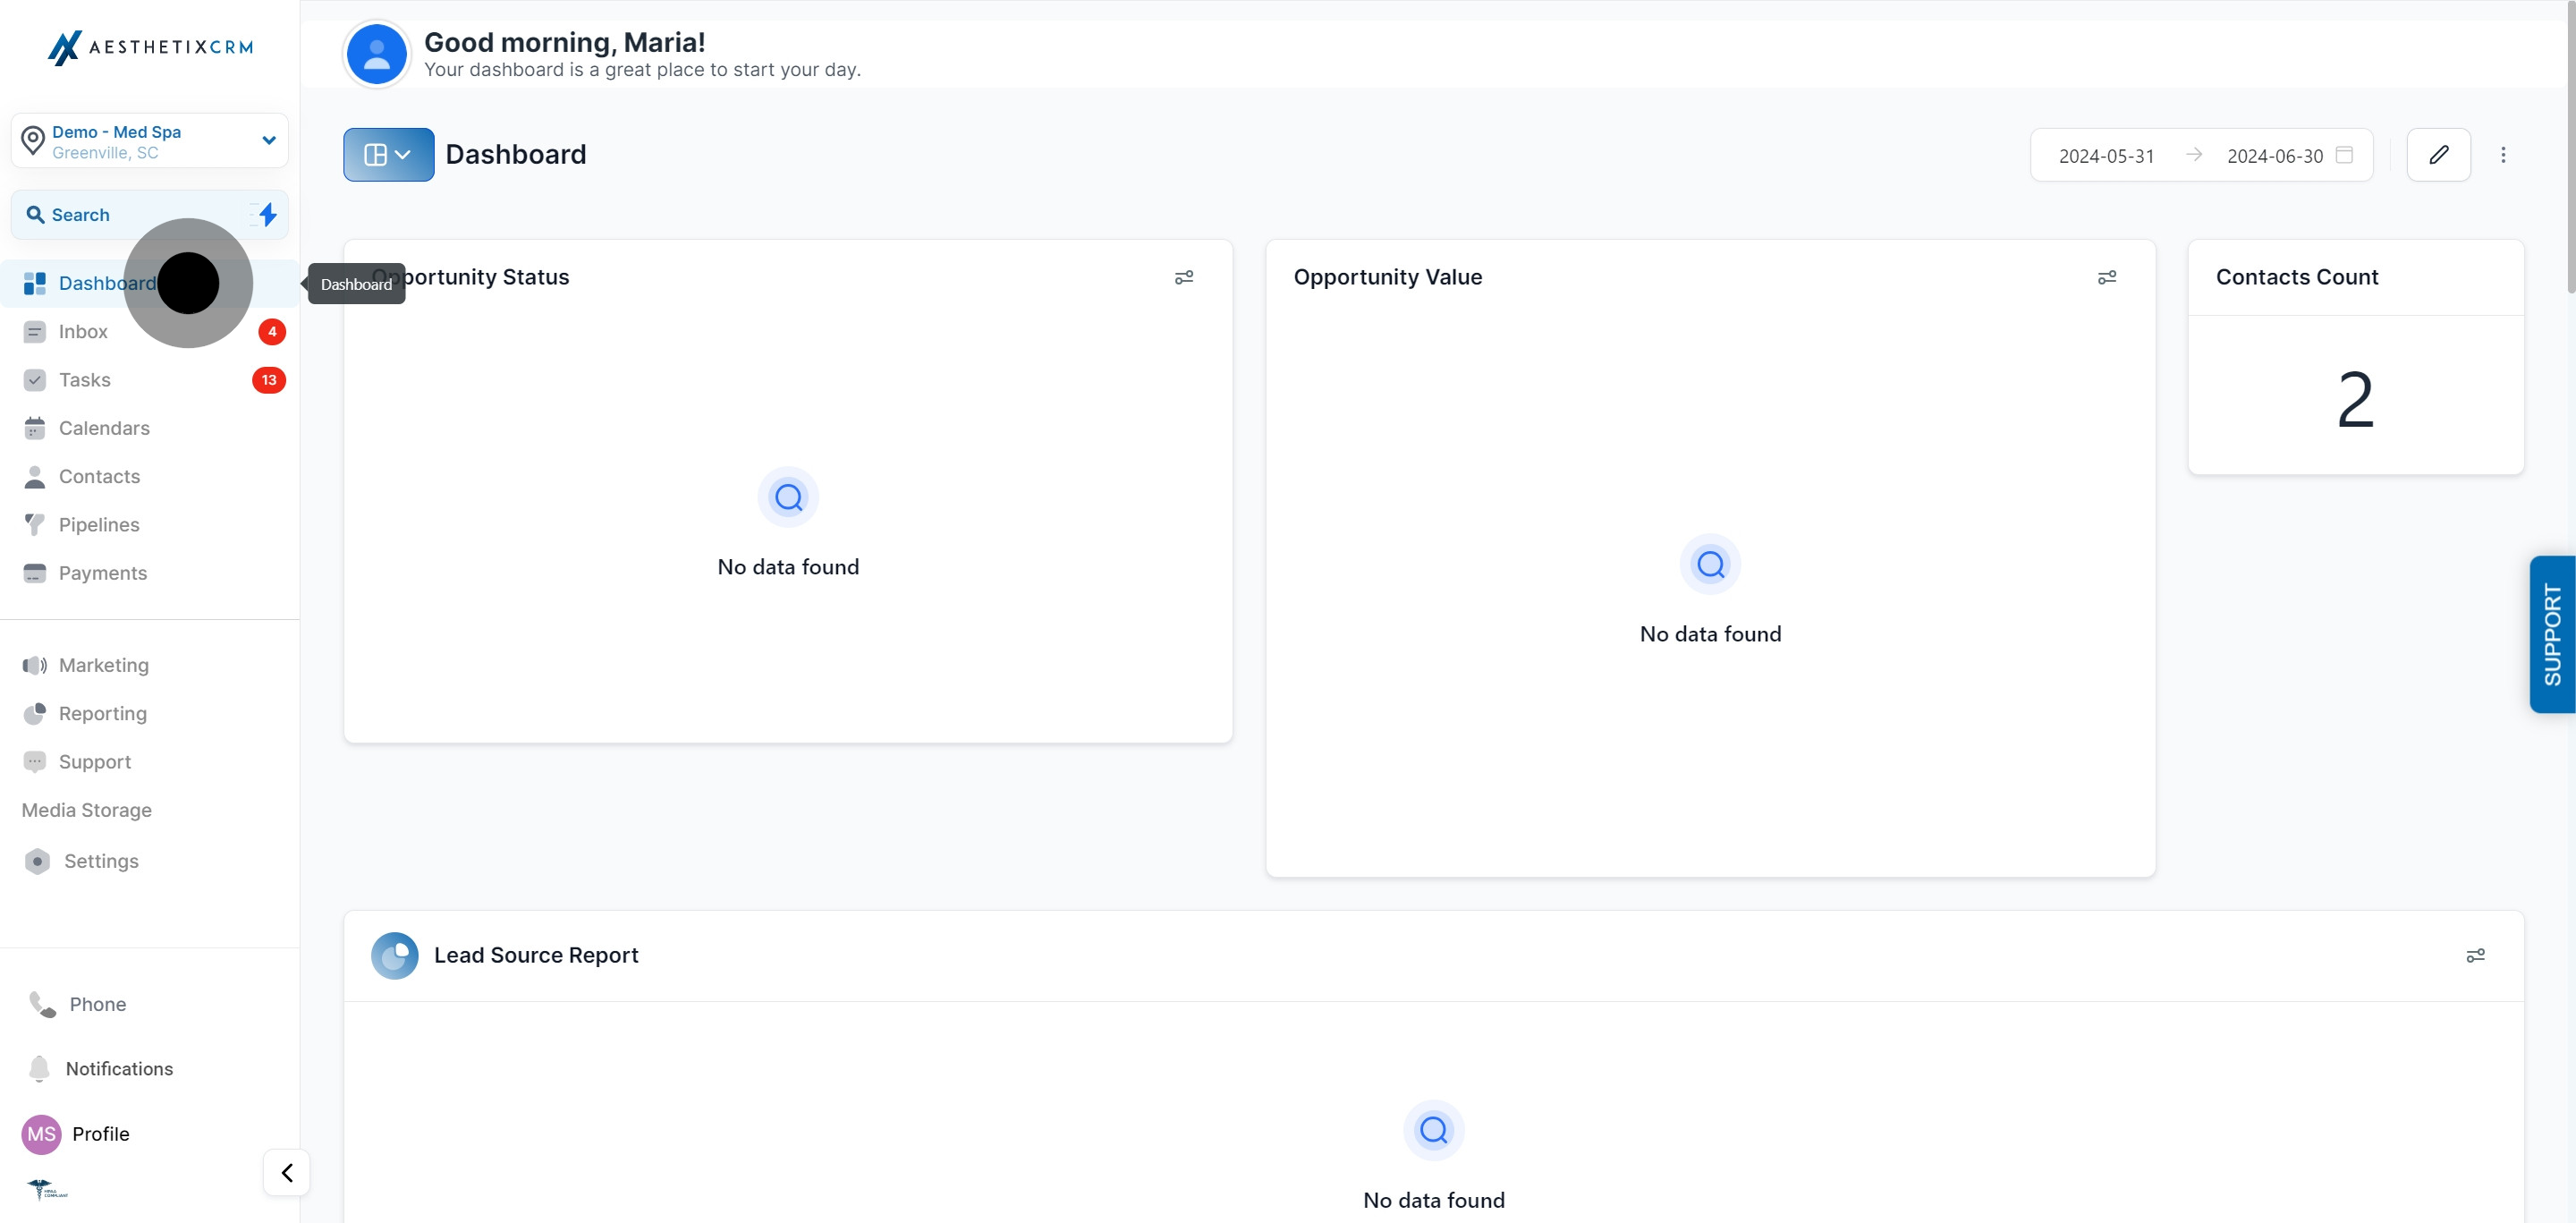
Click "Edit Dashboard."
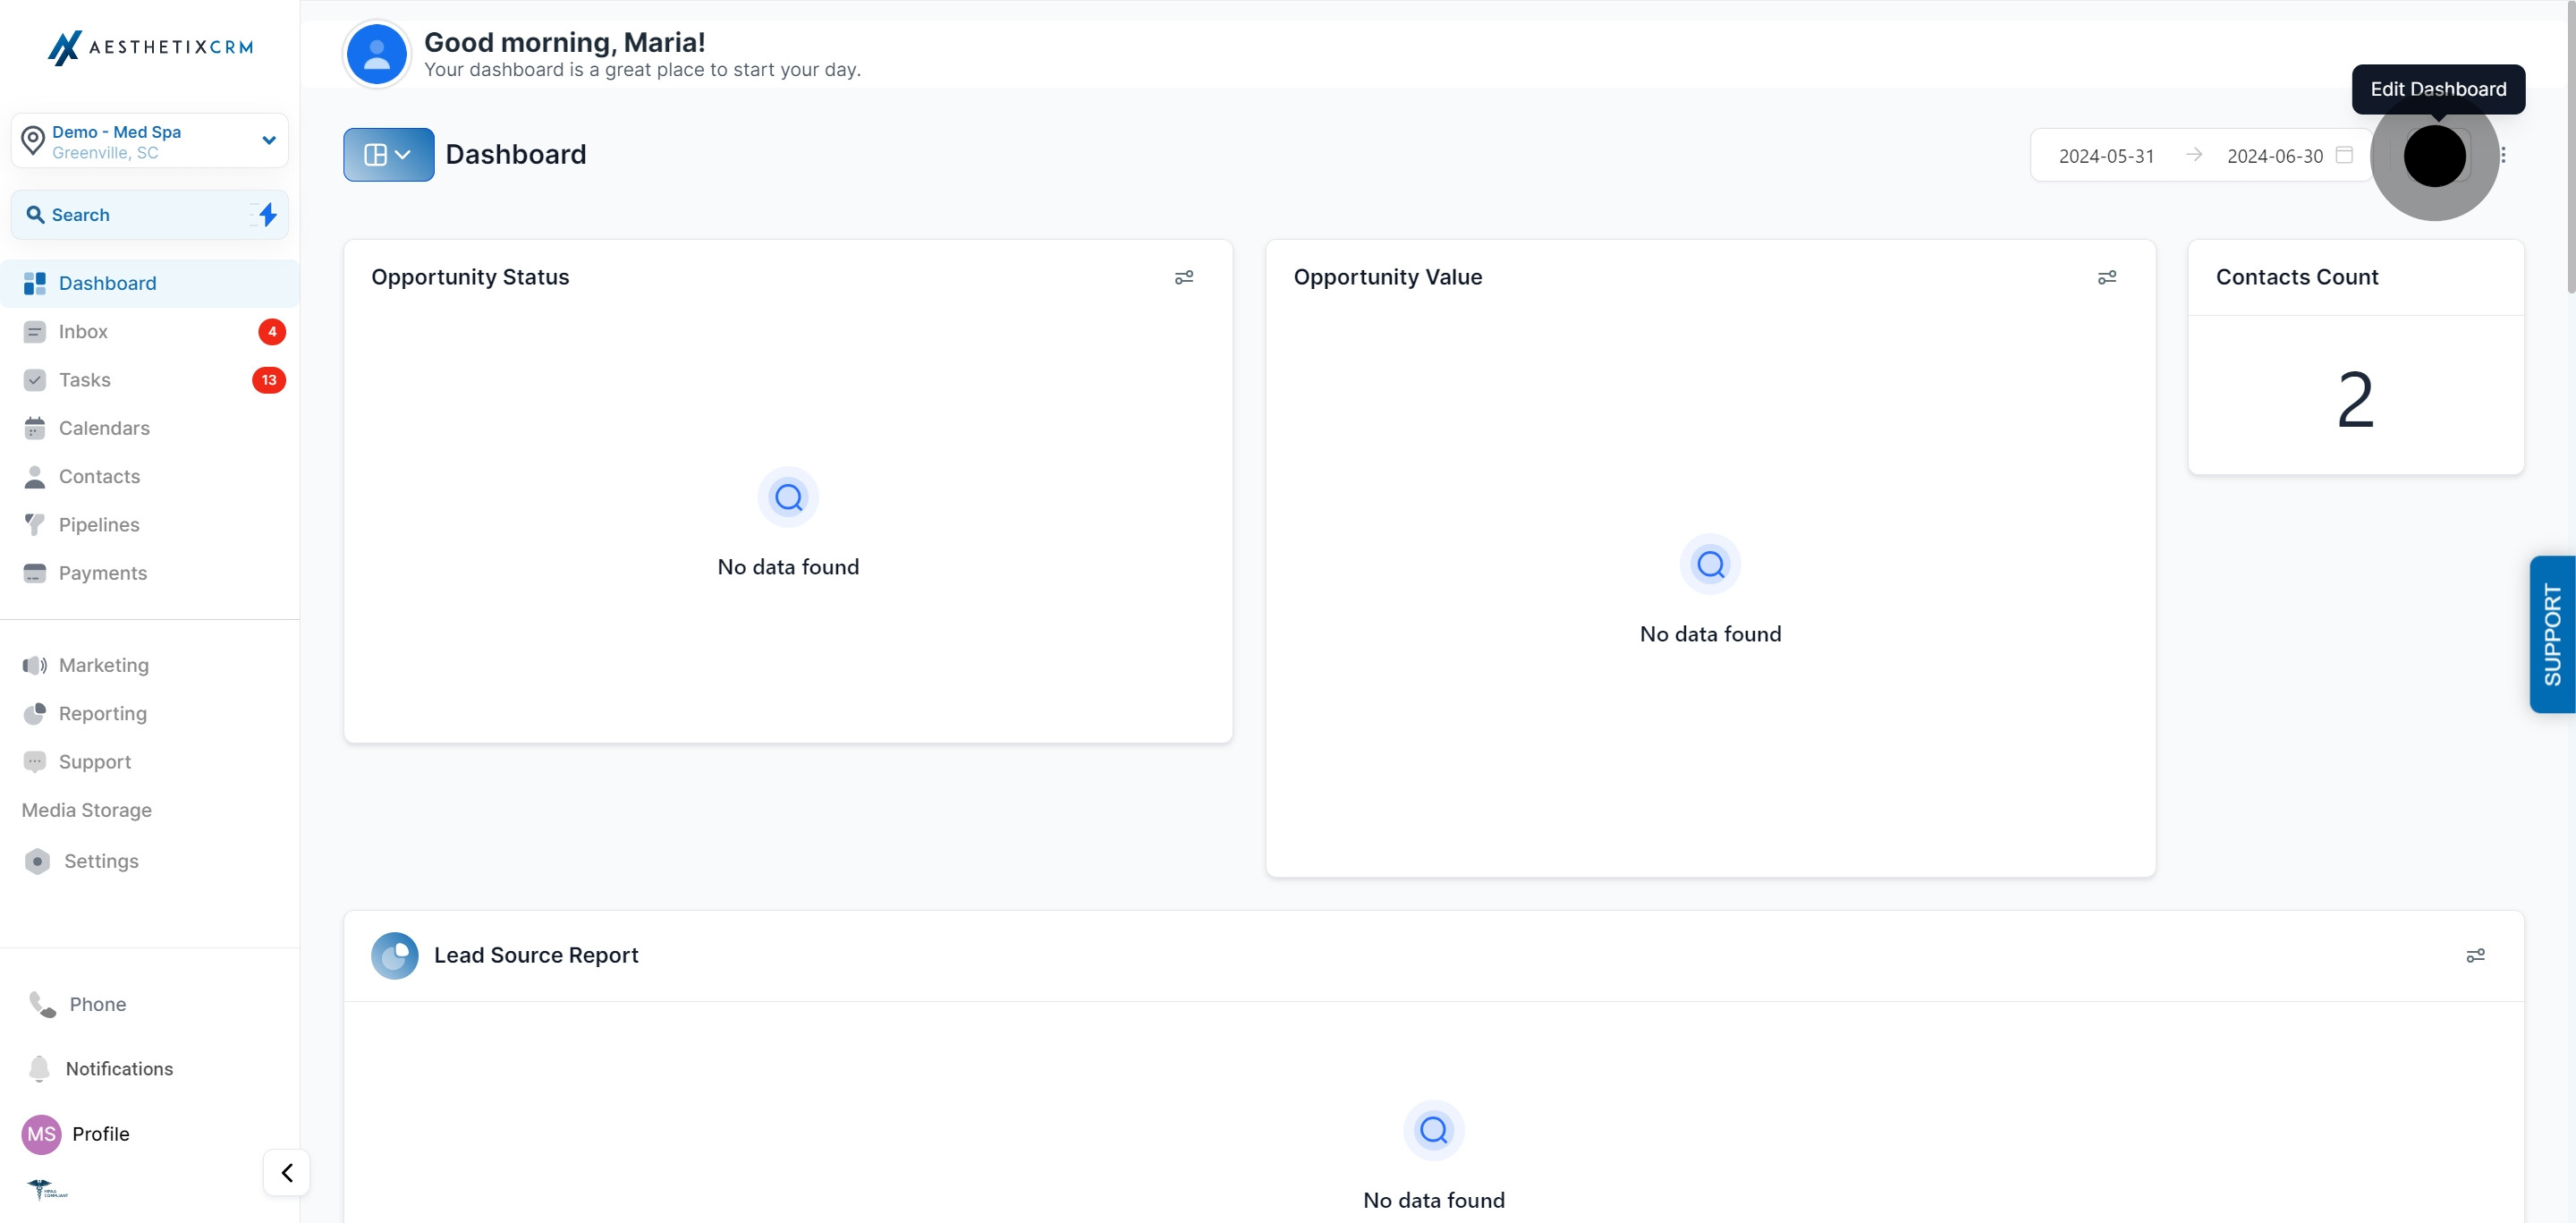
Click "Add Widget."
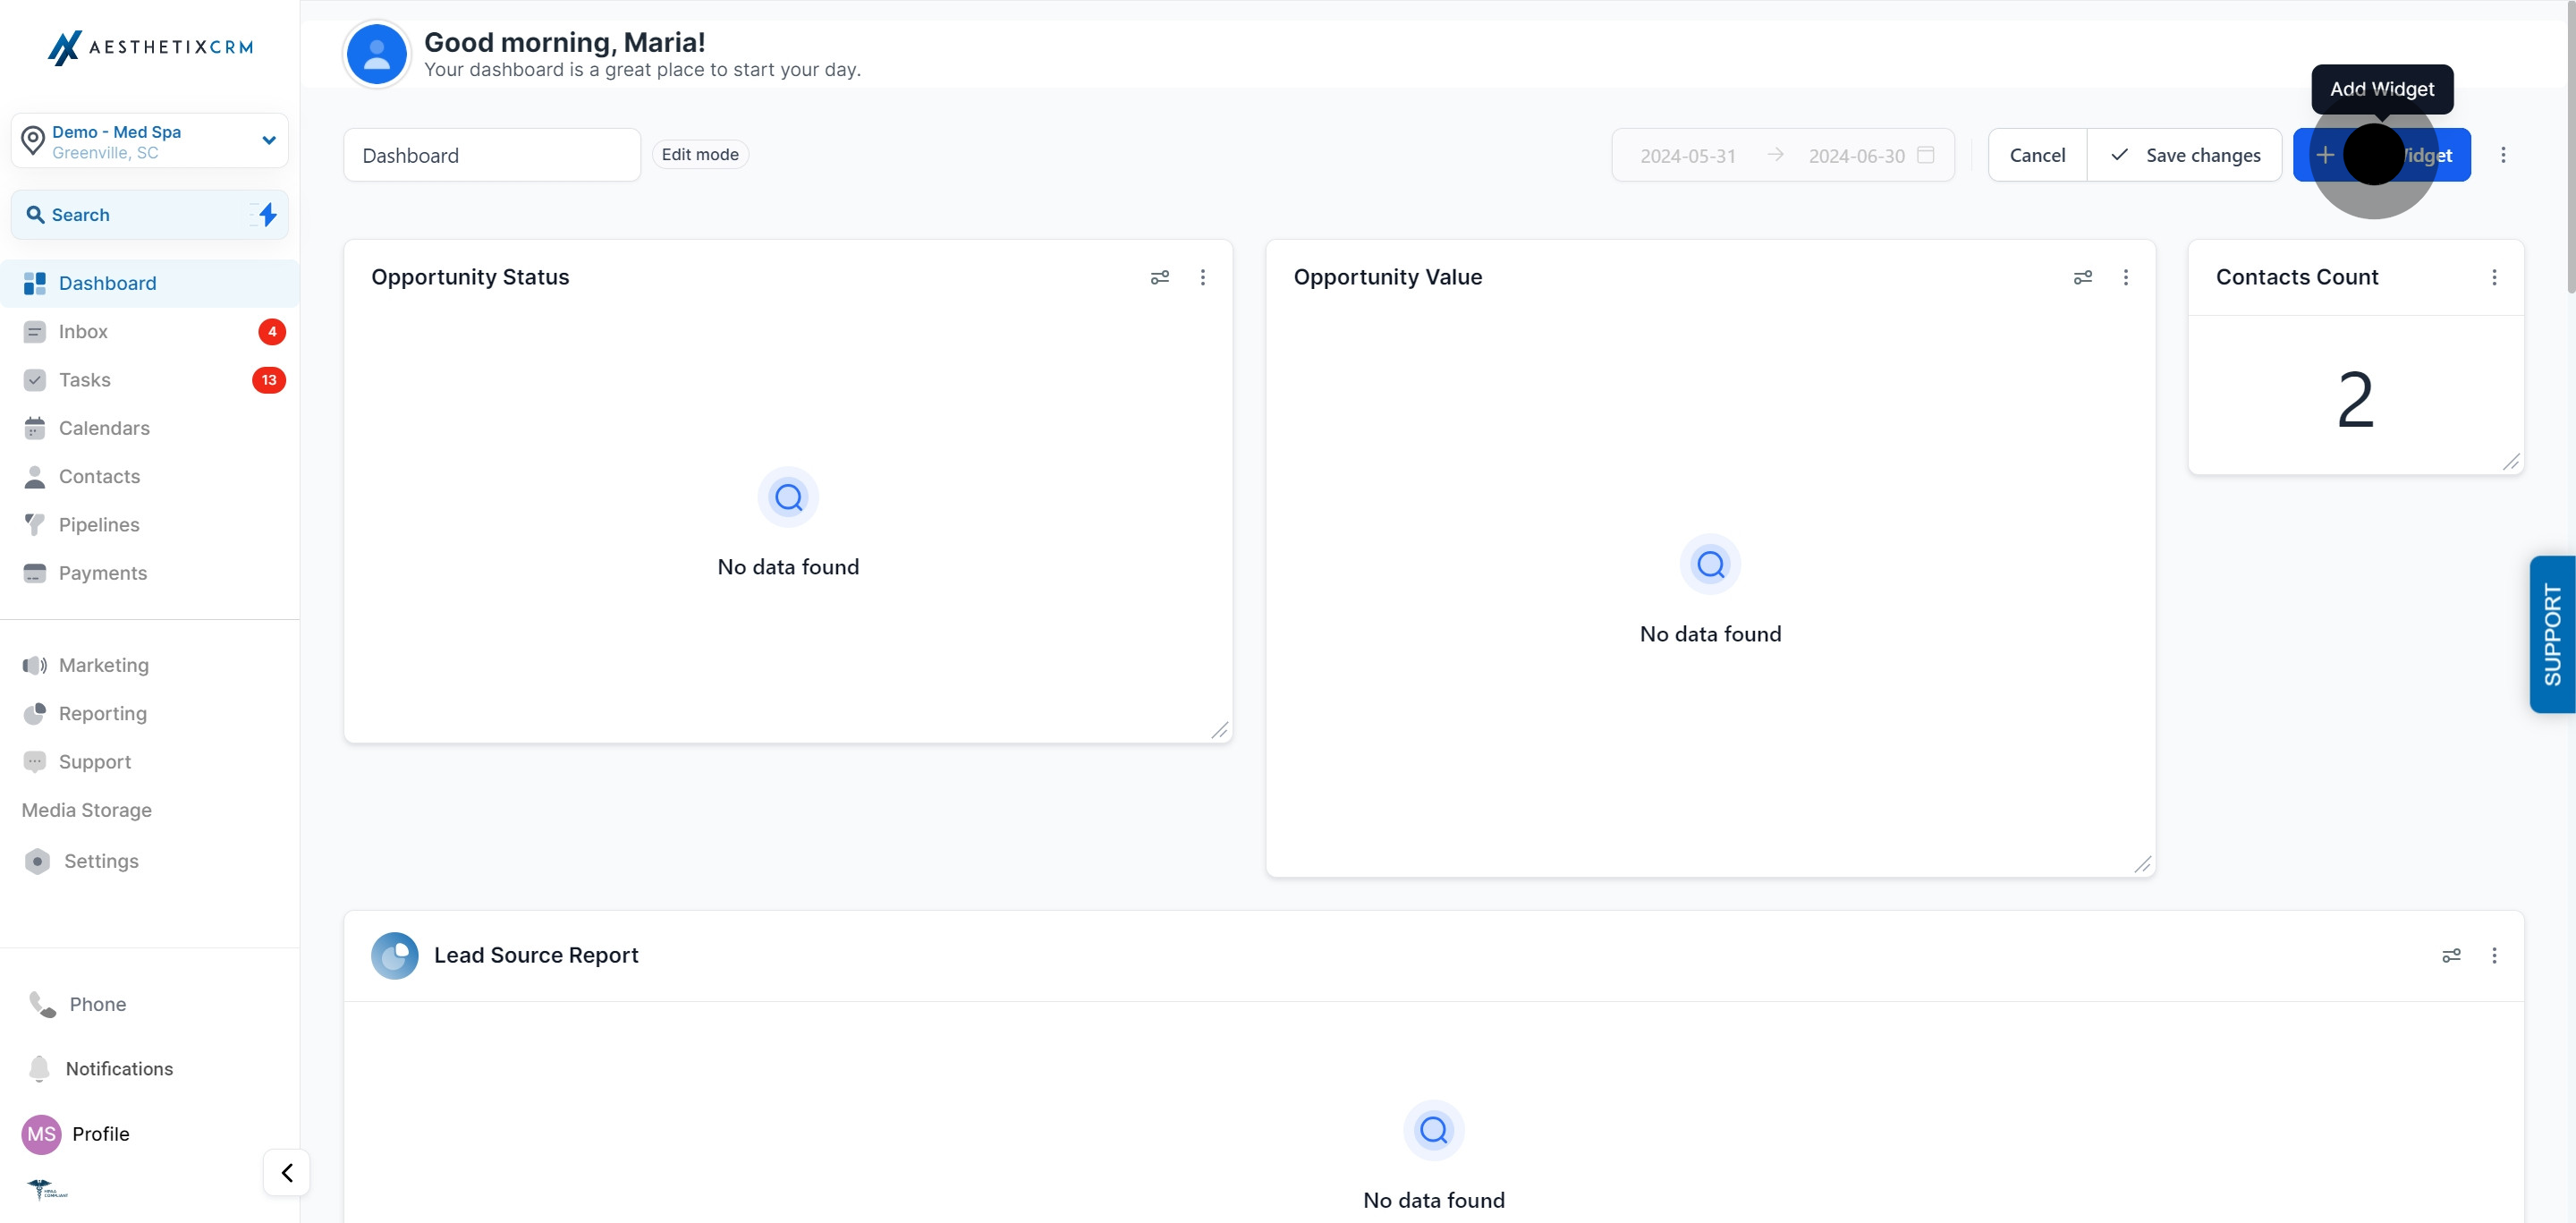
Click on "Elements."
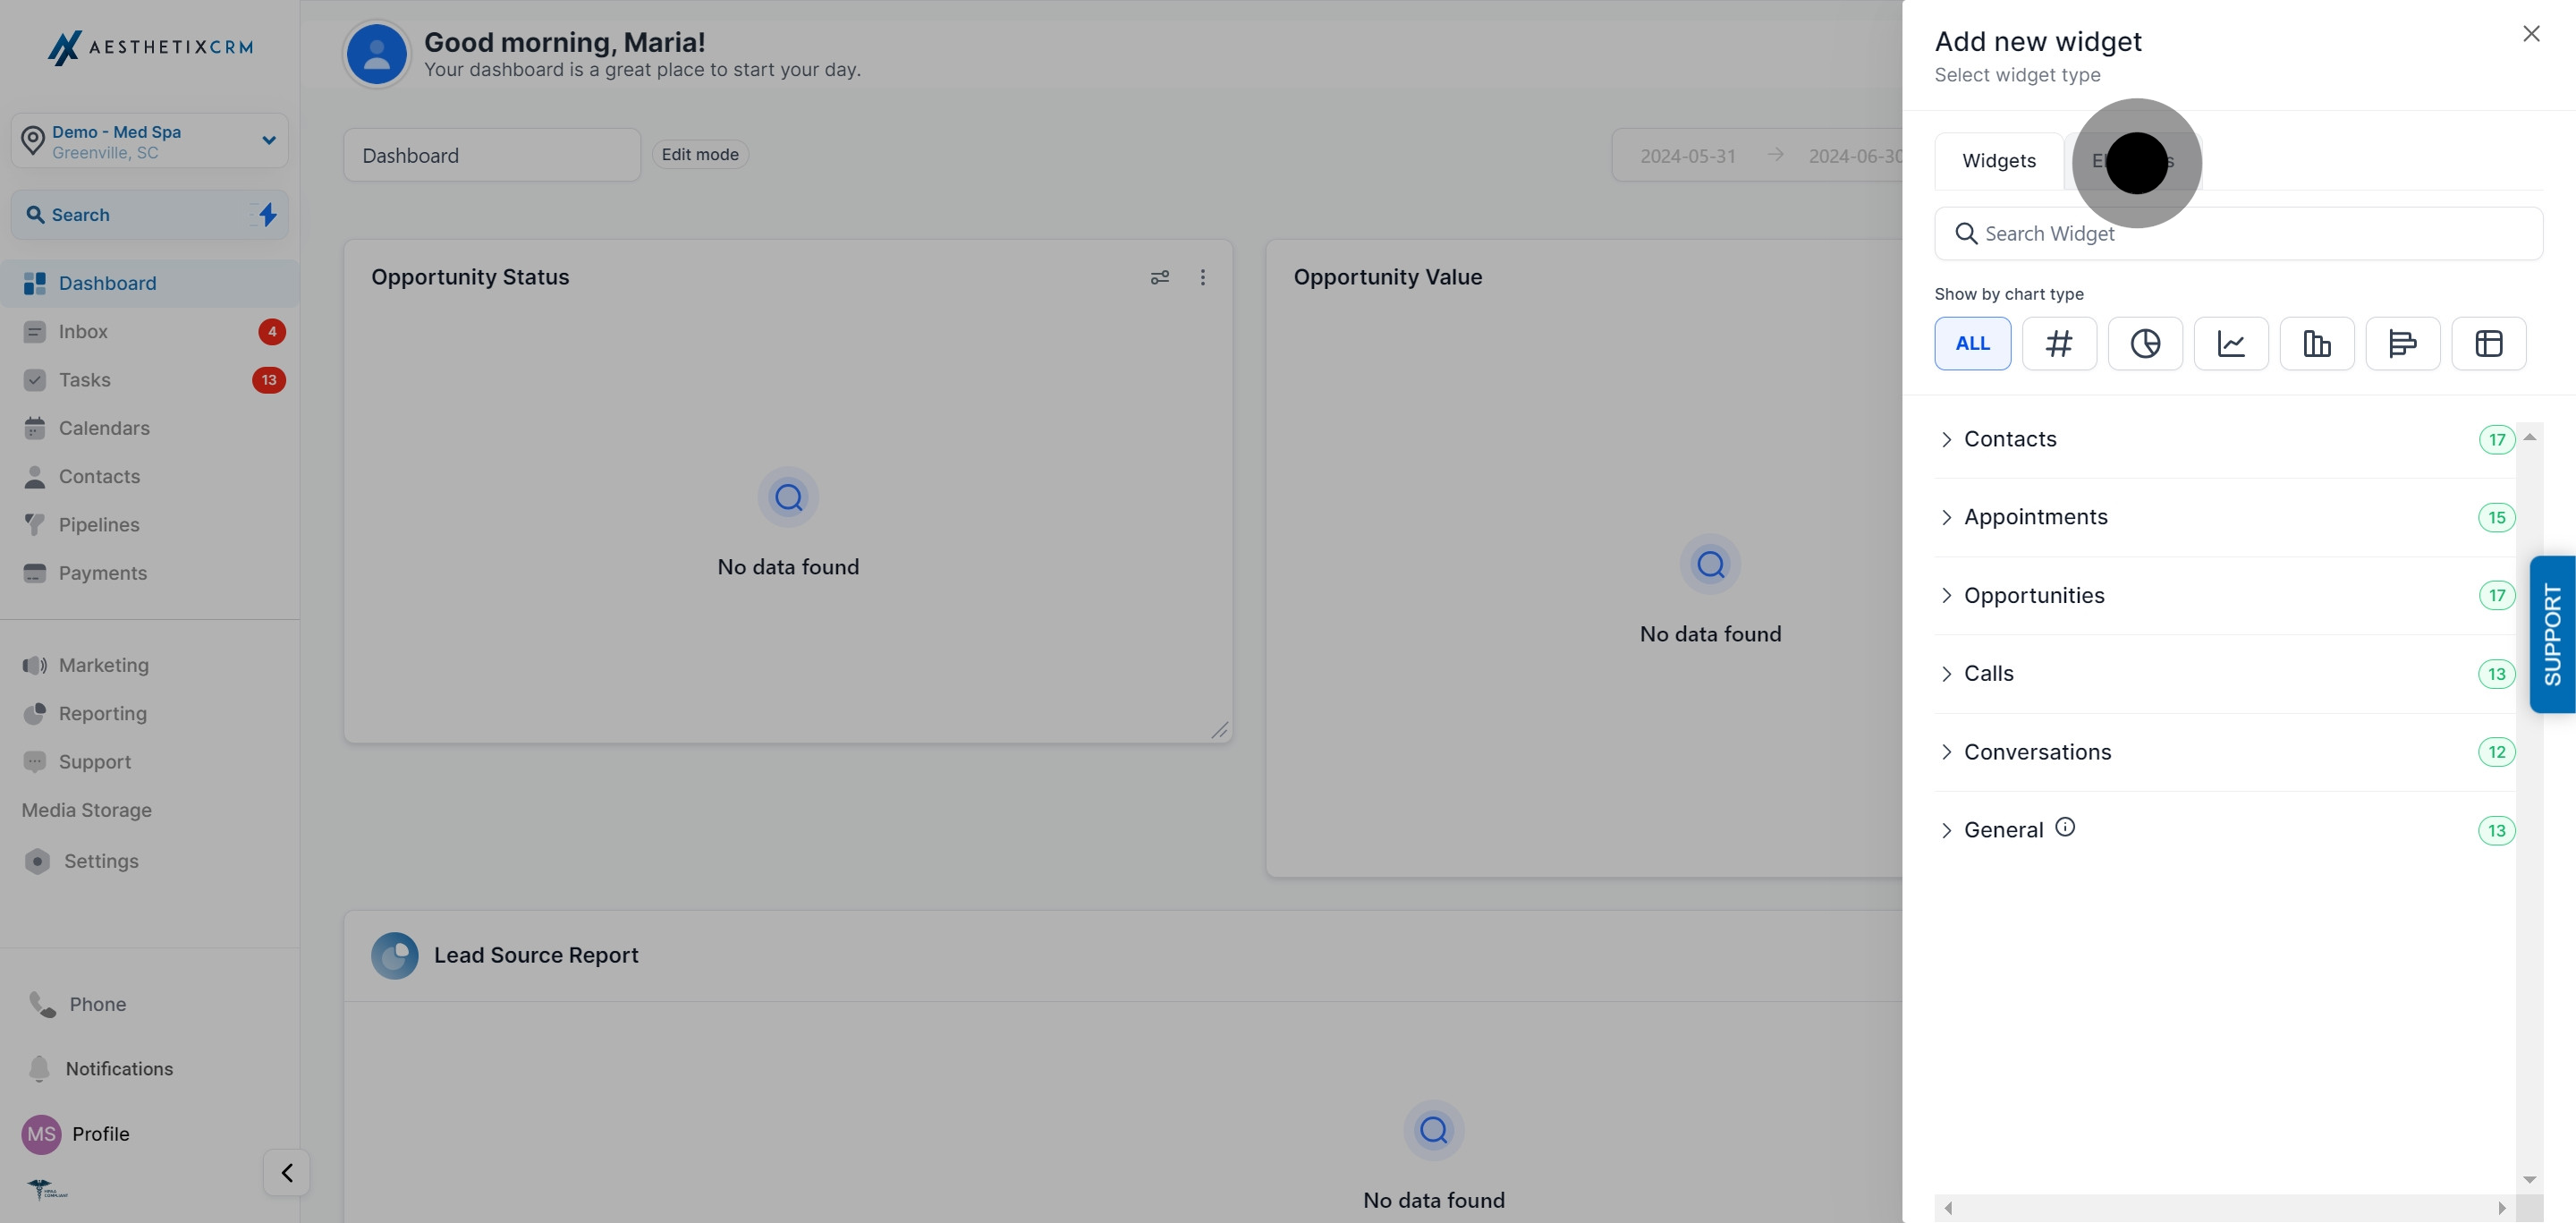
Switch to the Elements tab and choose Text Box.
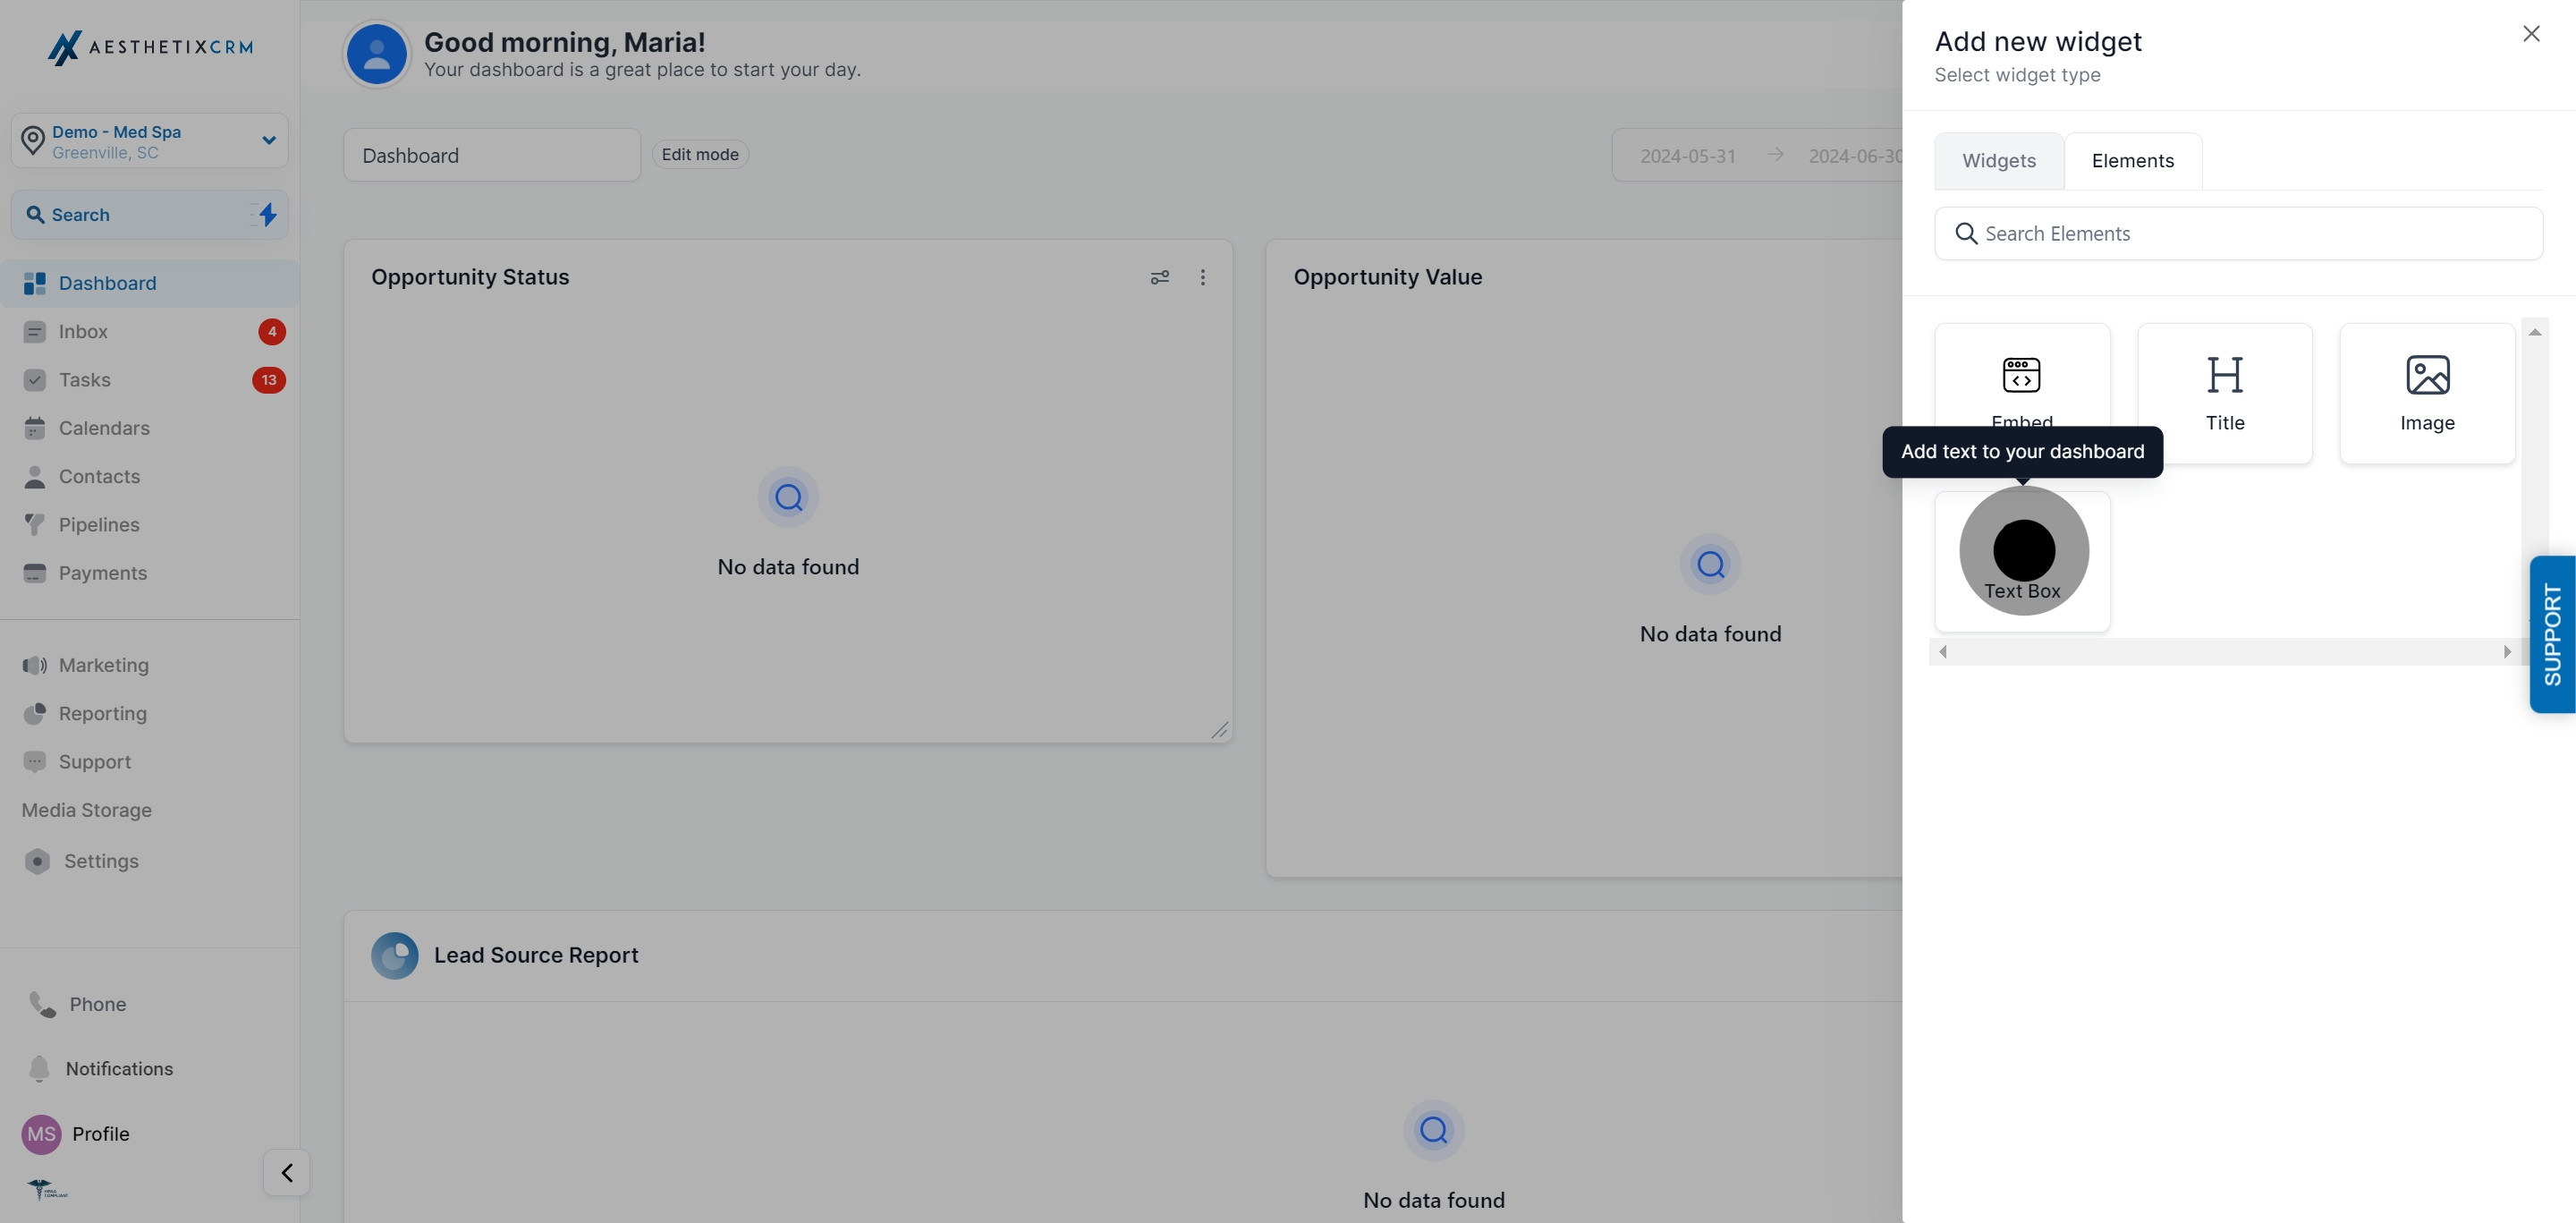
Type your note or instructions and configure the text box.
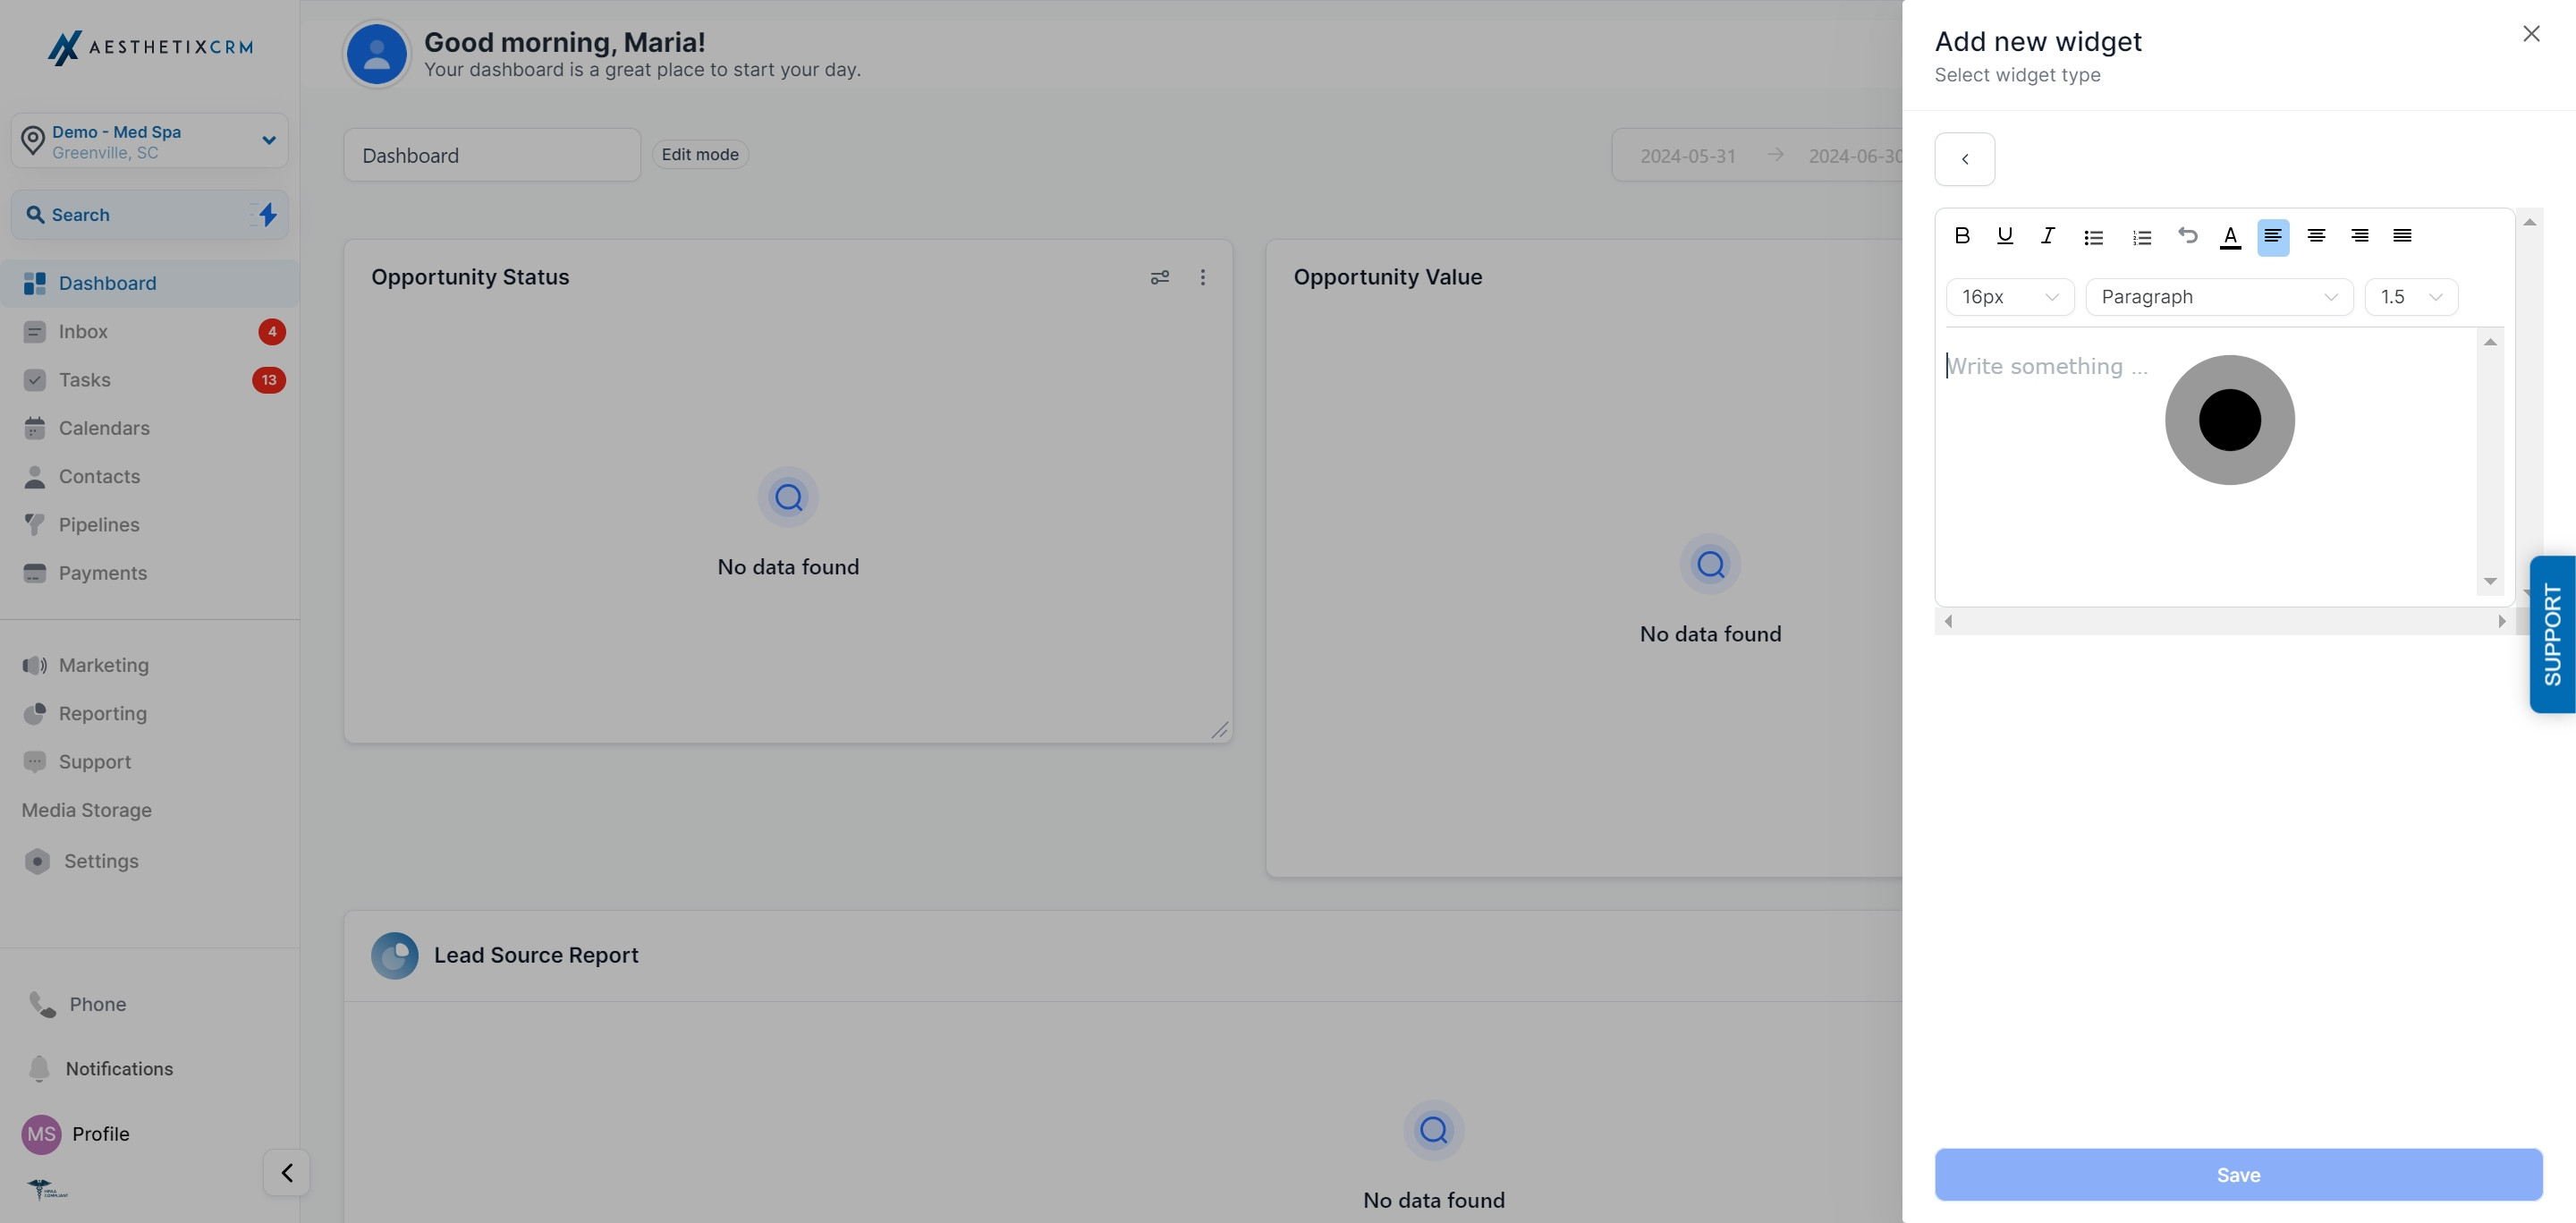
Click "Save."
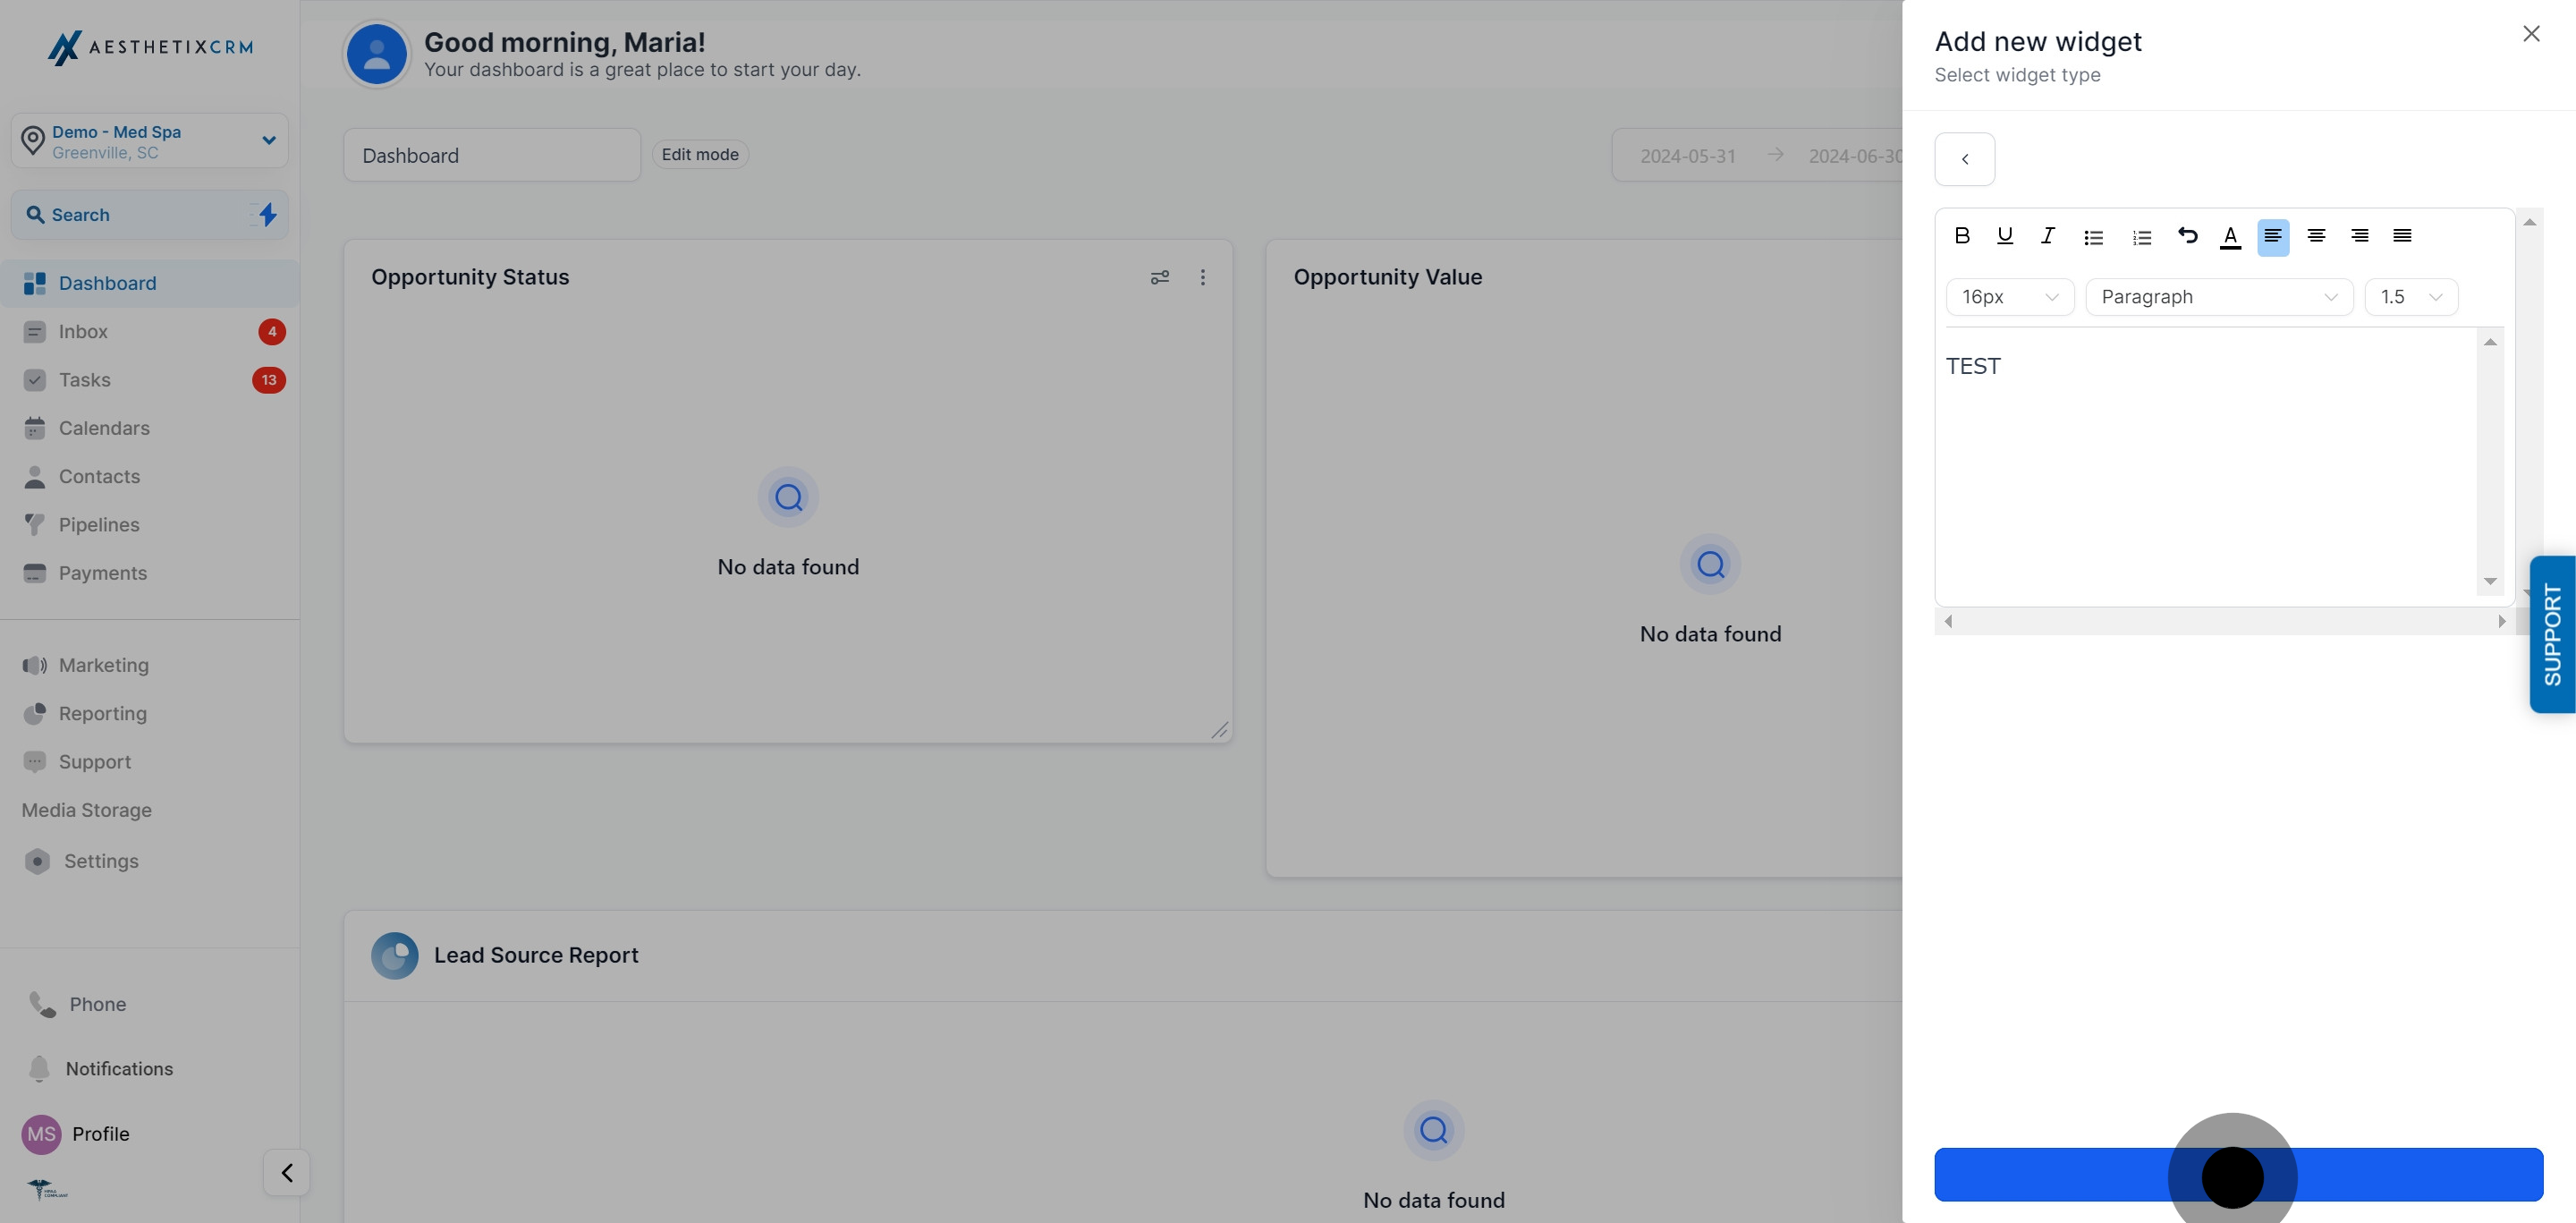
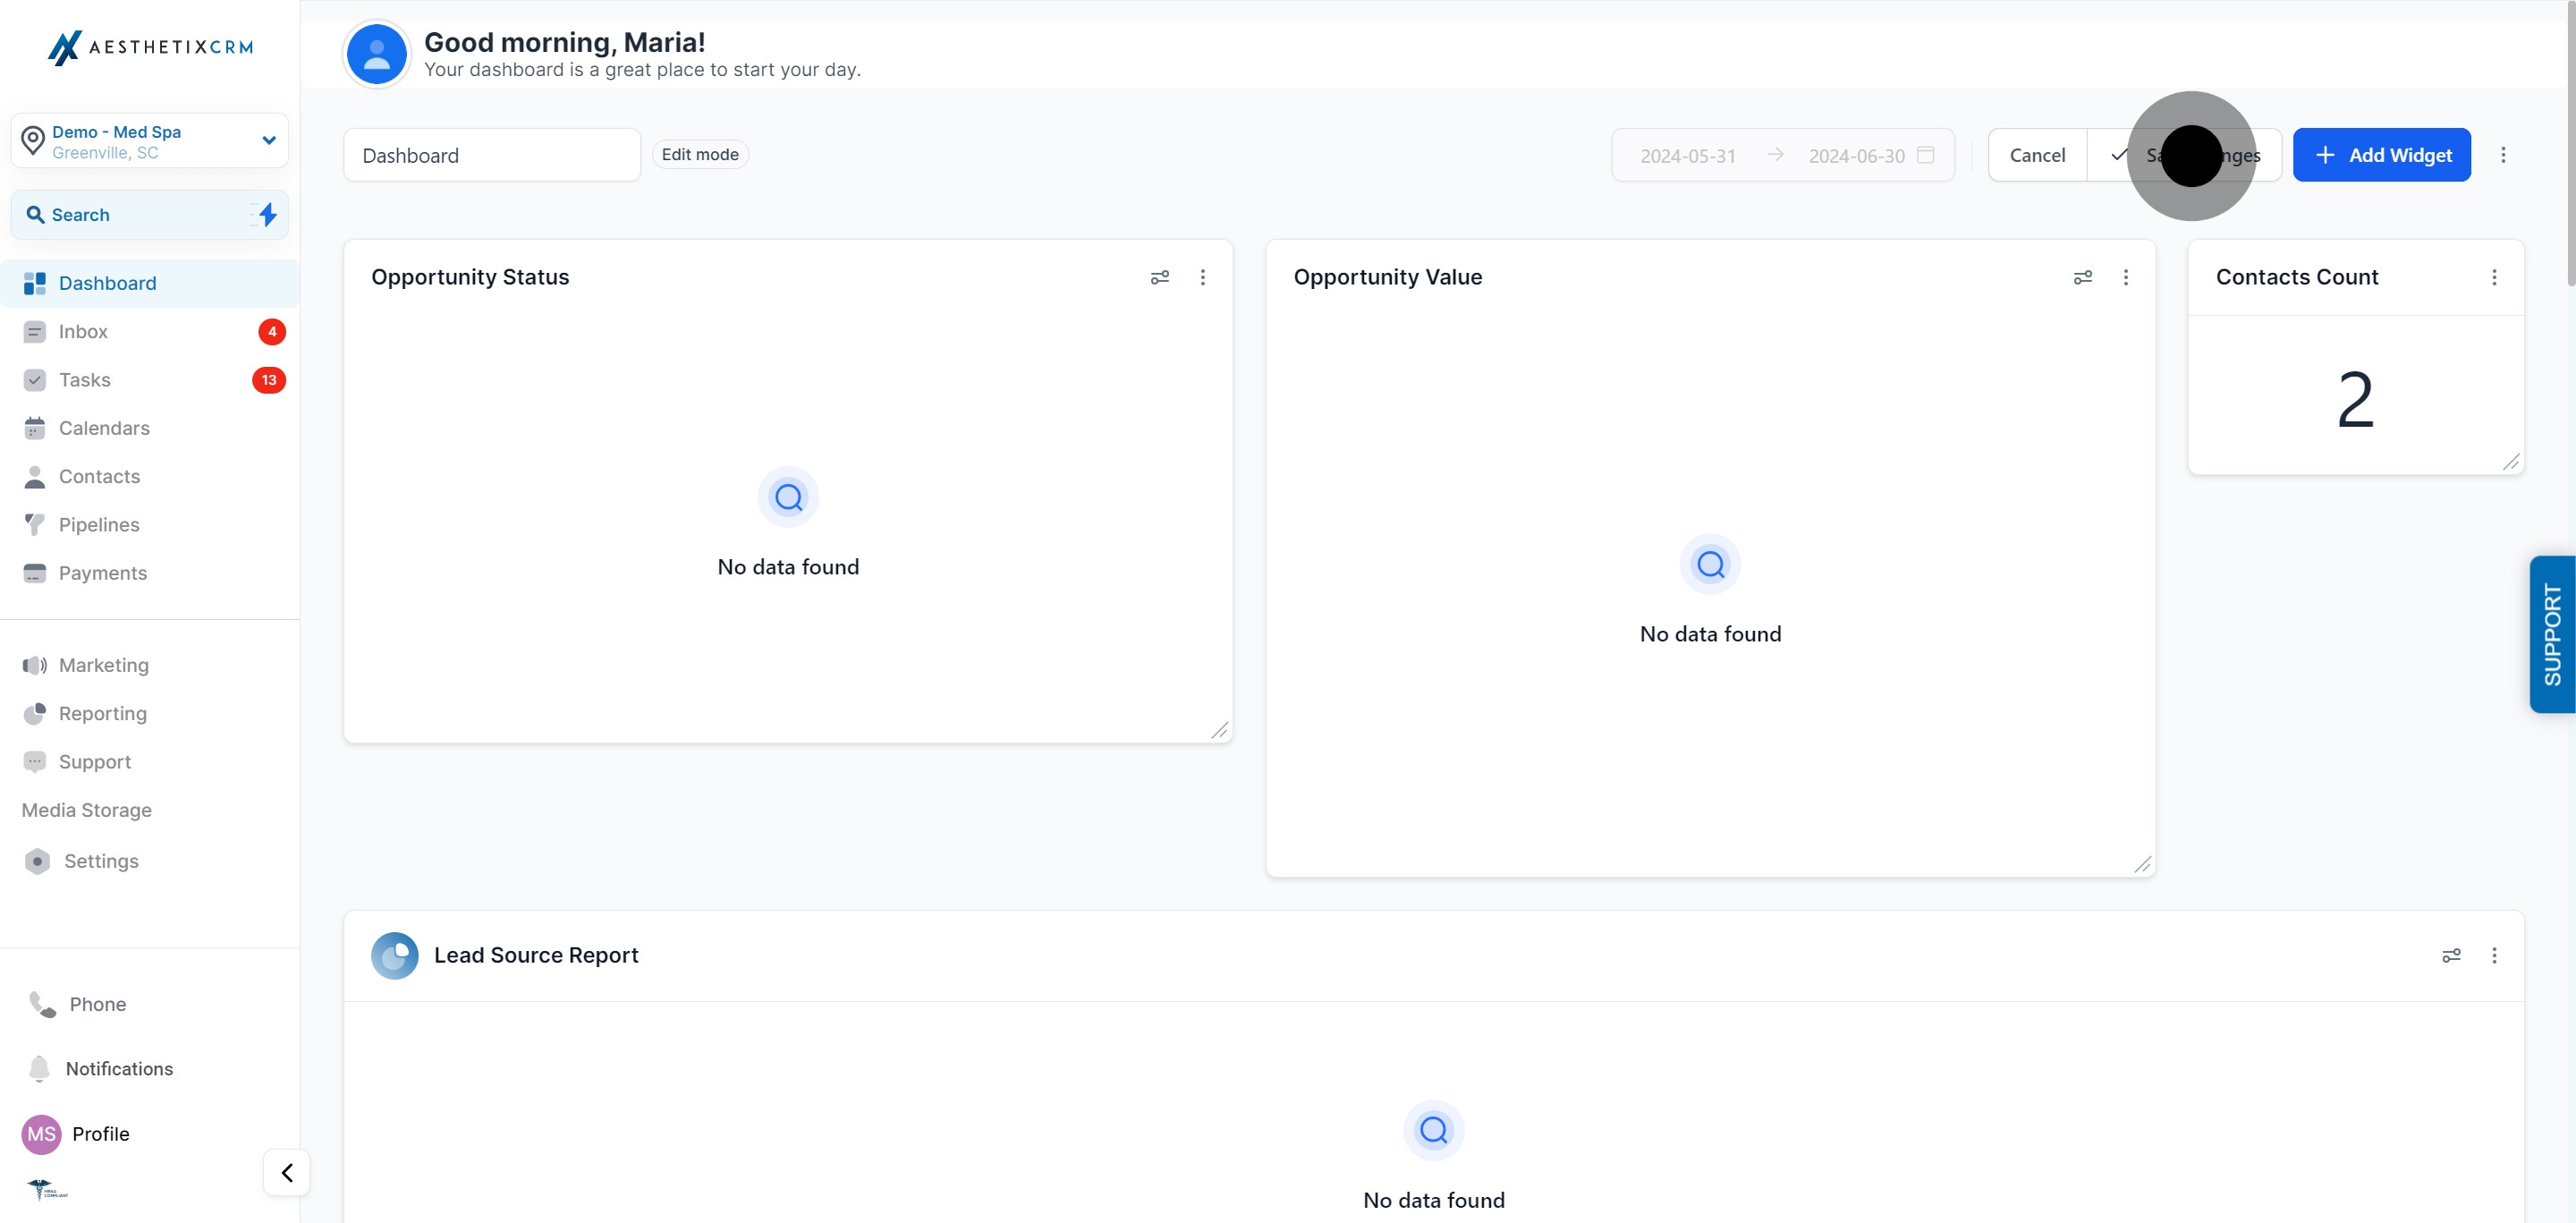
Click "Save Changes" to publish the text box.
Text boxes are a good spot for things like "Follow up with any lead older than 48 hours" or "Ask front desk to confirm this week's consult bookings by Friday."
Use images to add your logo, a treatment photo, or a chart snapshot to the board.
Open the dashboard you want to edit.
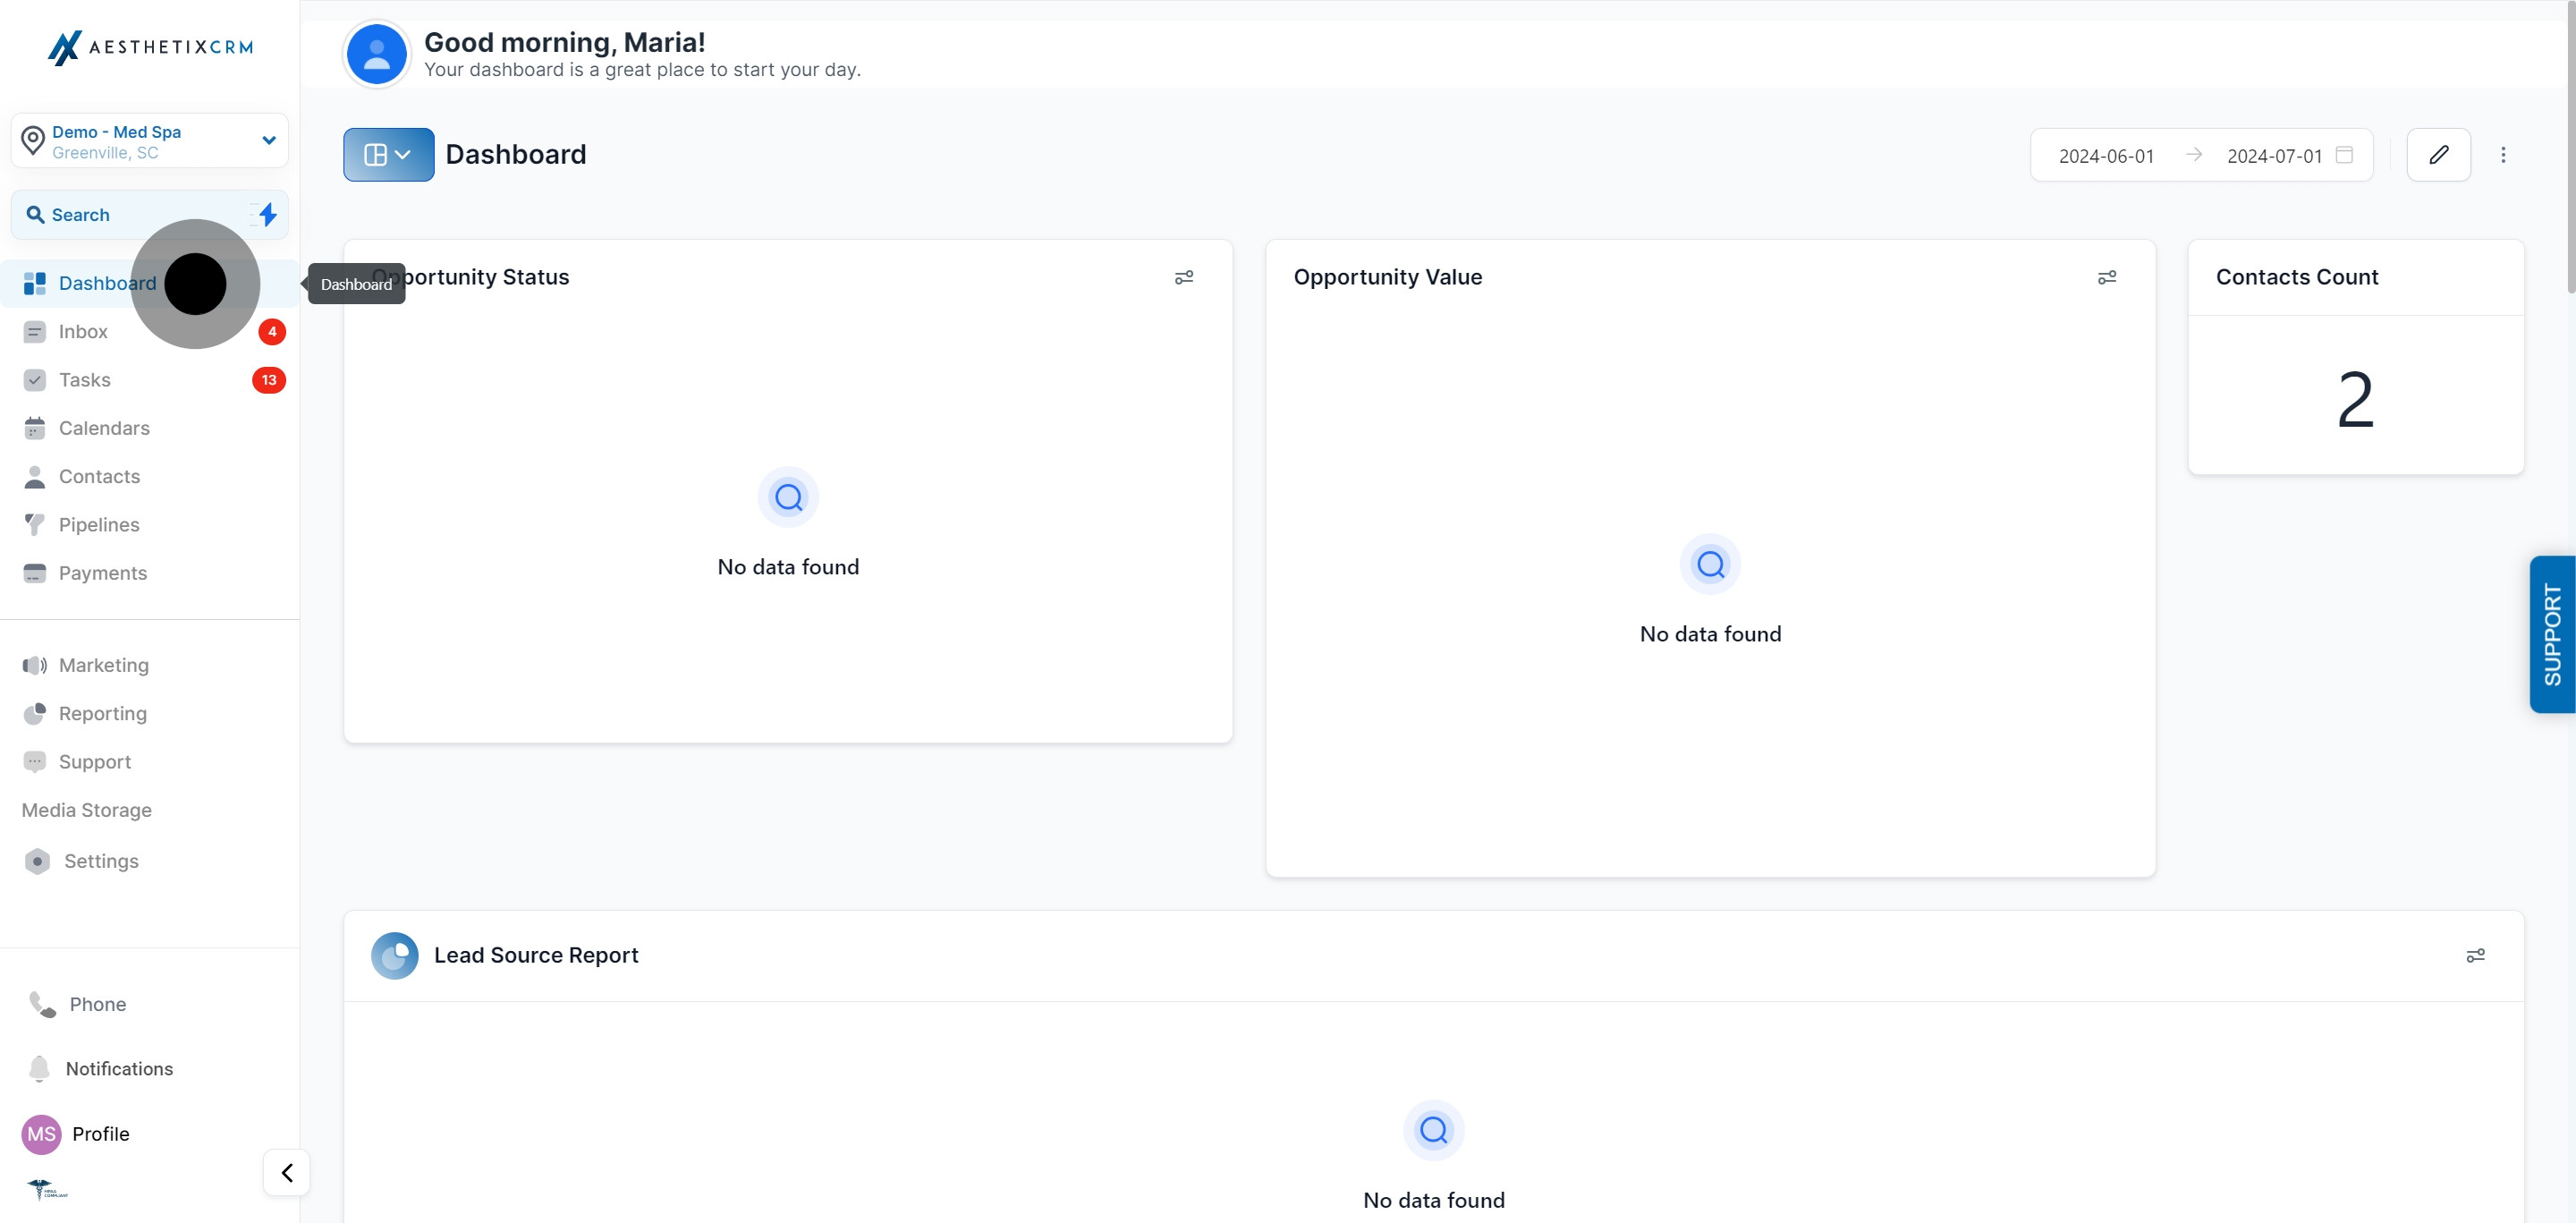
Click "Edit Dashboard."
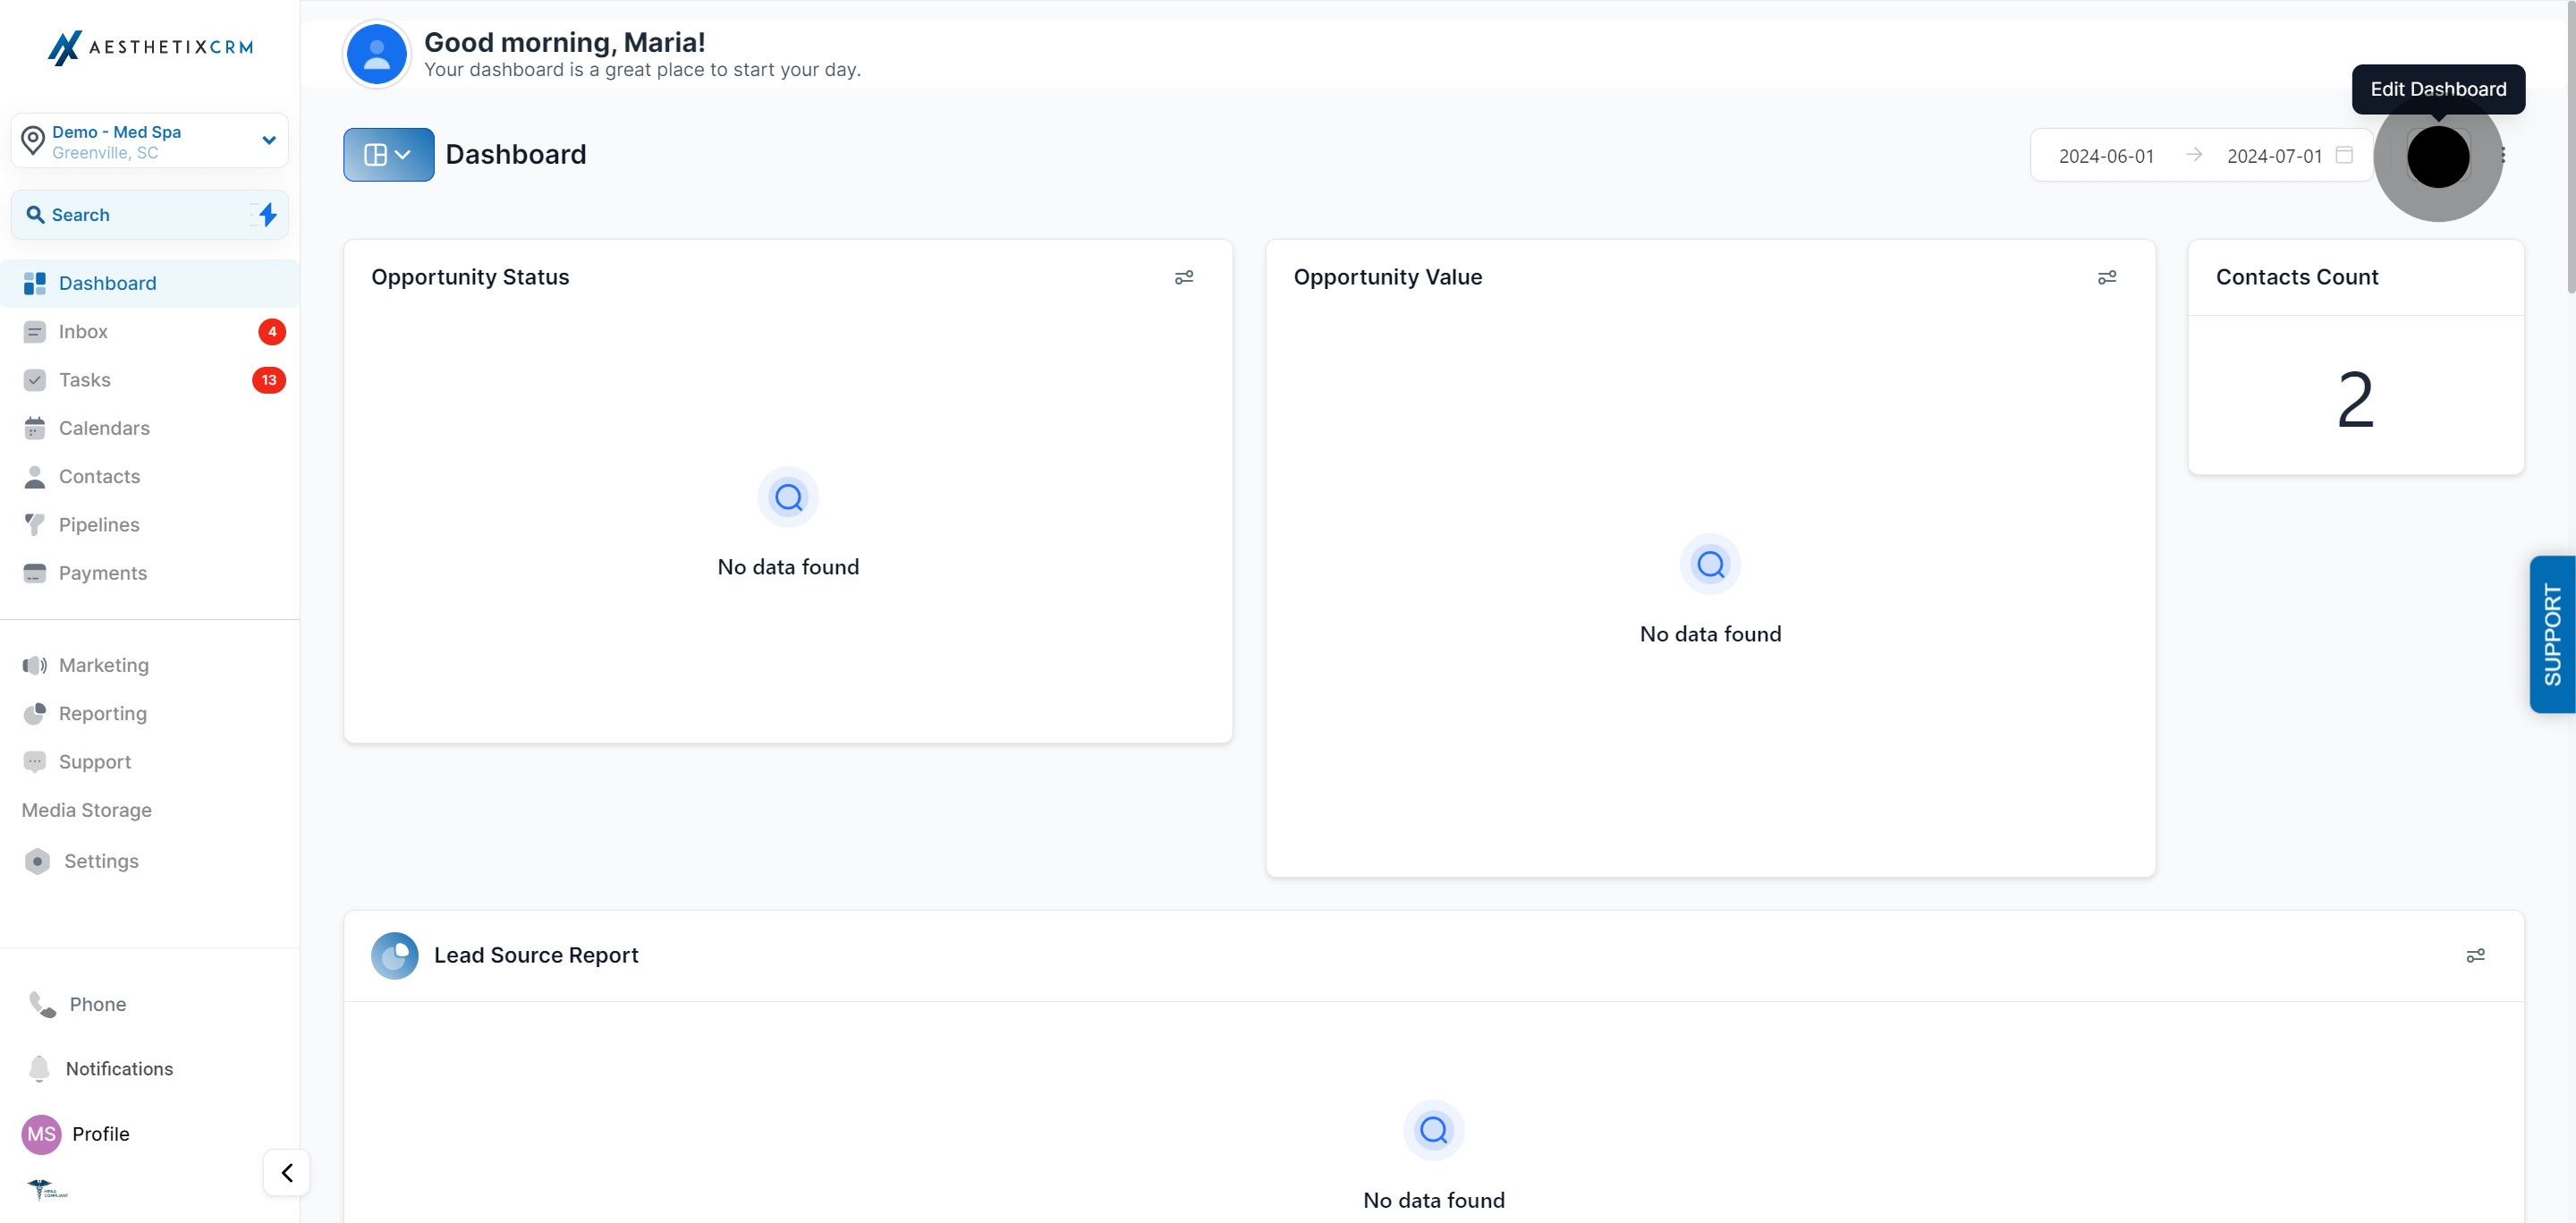
Click "Add Widget."
Click on "Elements."
Switch to the Elements tab and choose Images.
Open the image widget's settings to upload and configure your image.
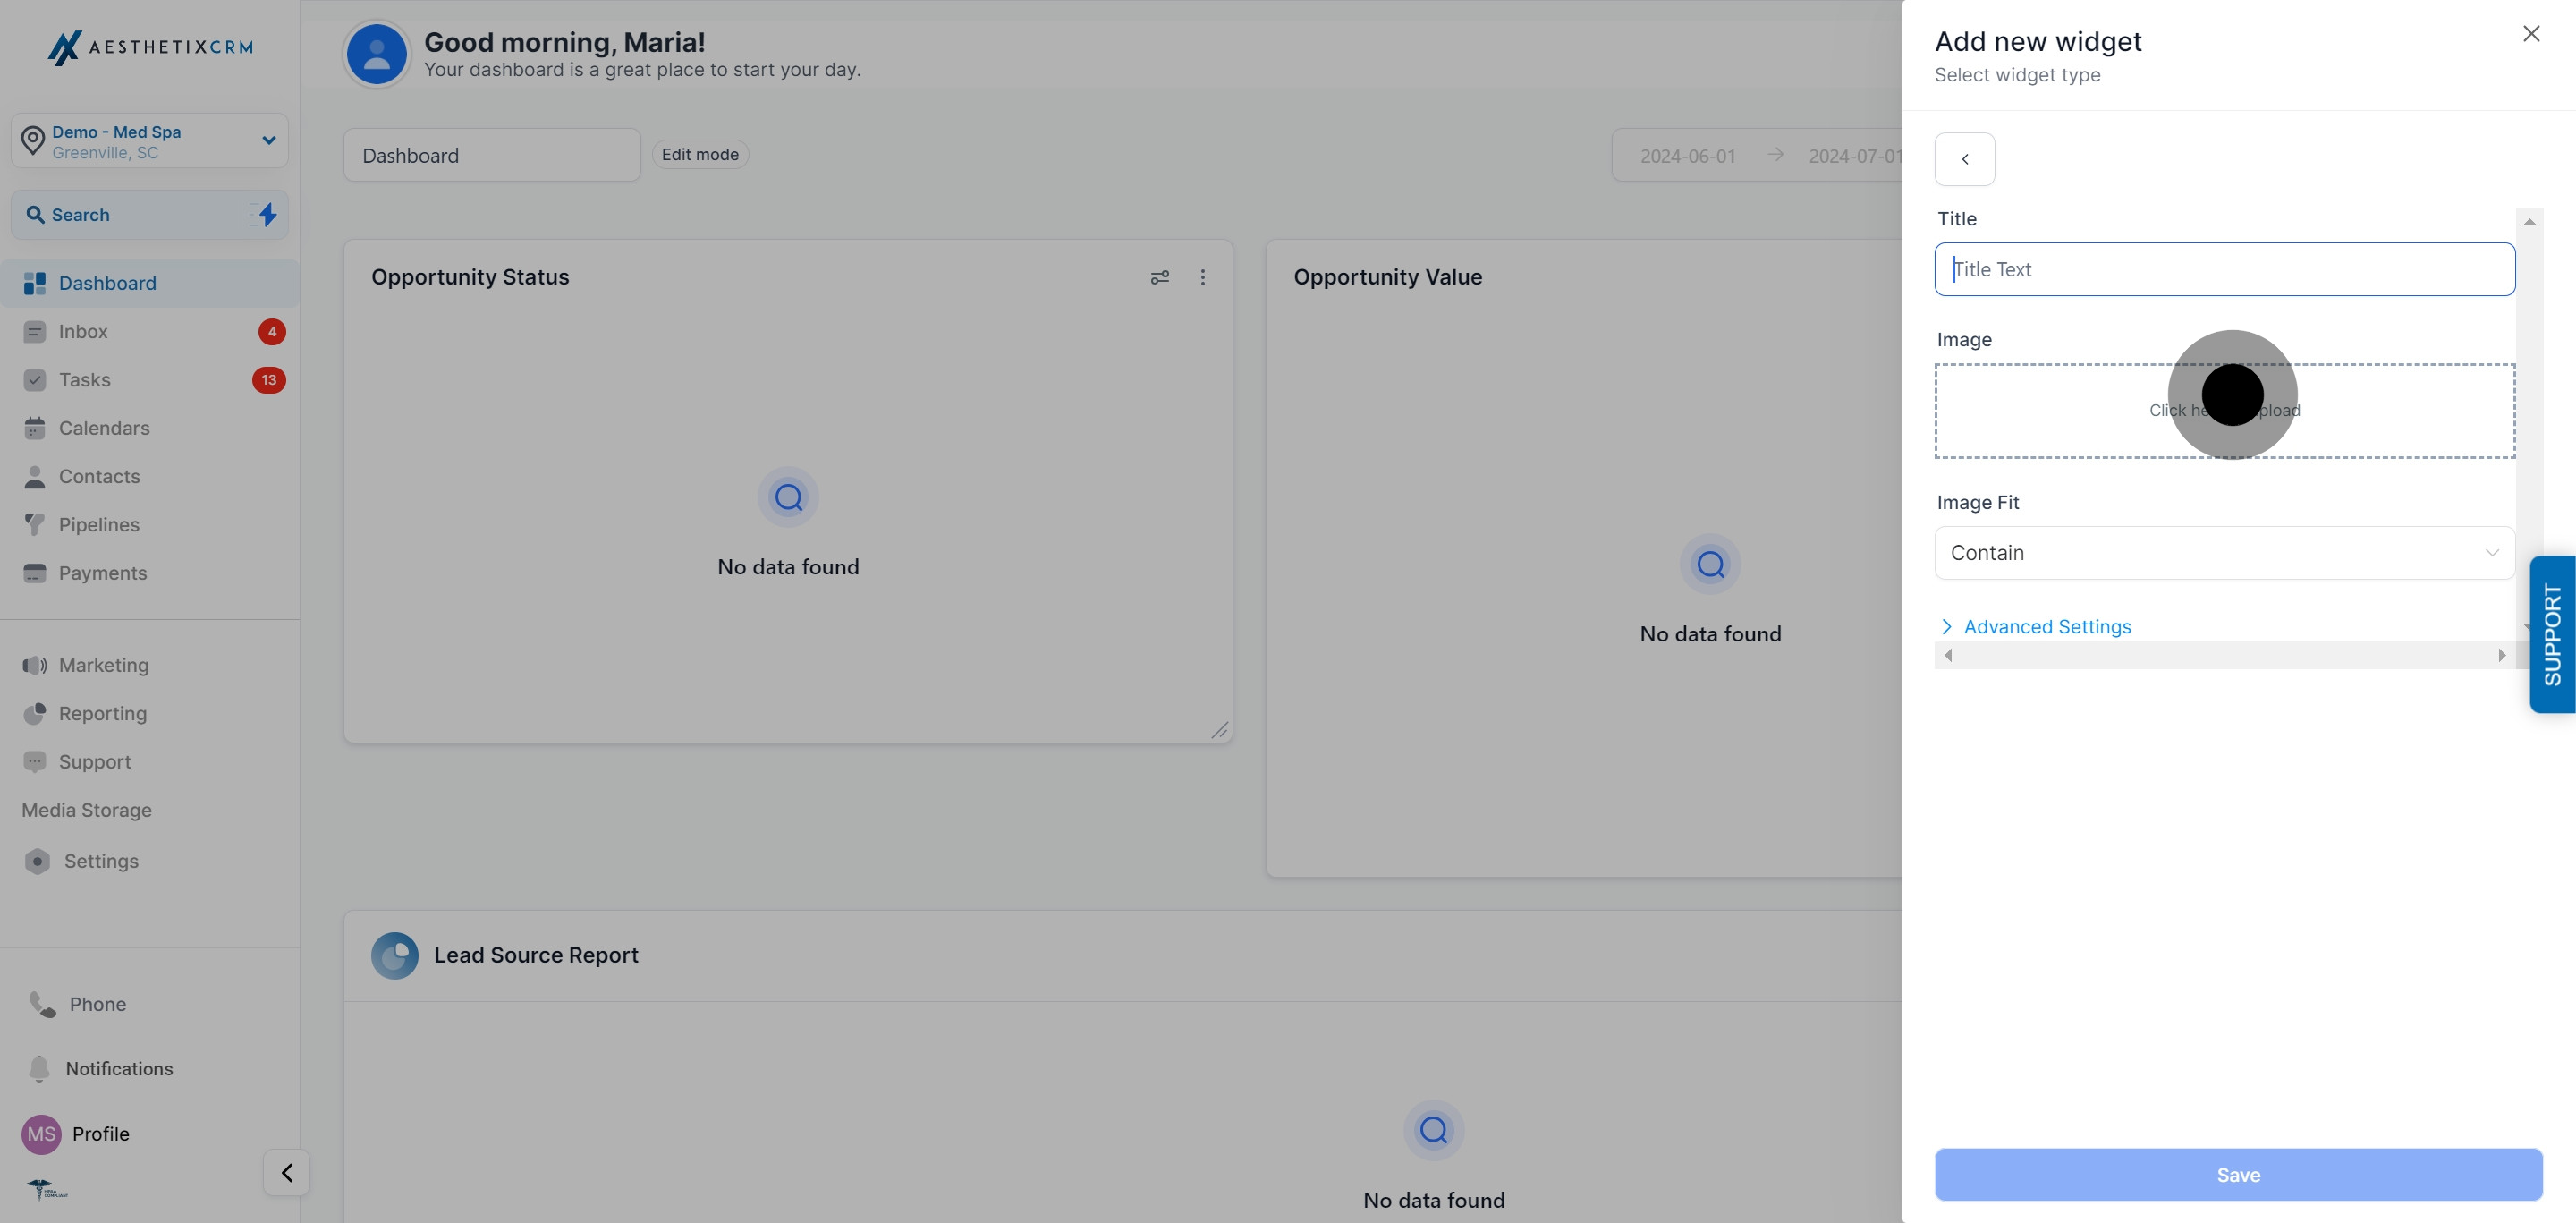
Click "Click here to upload."
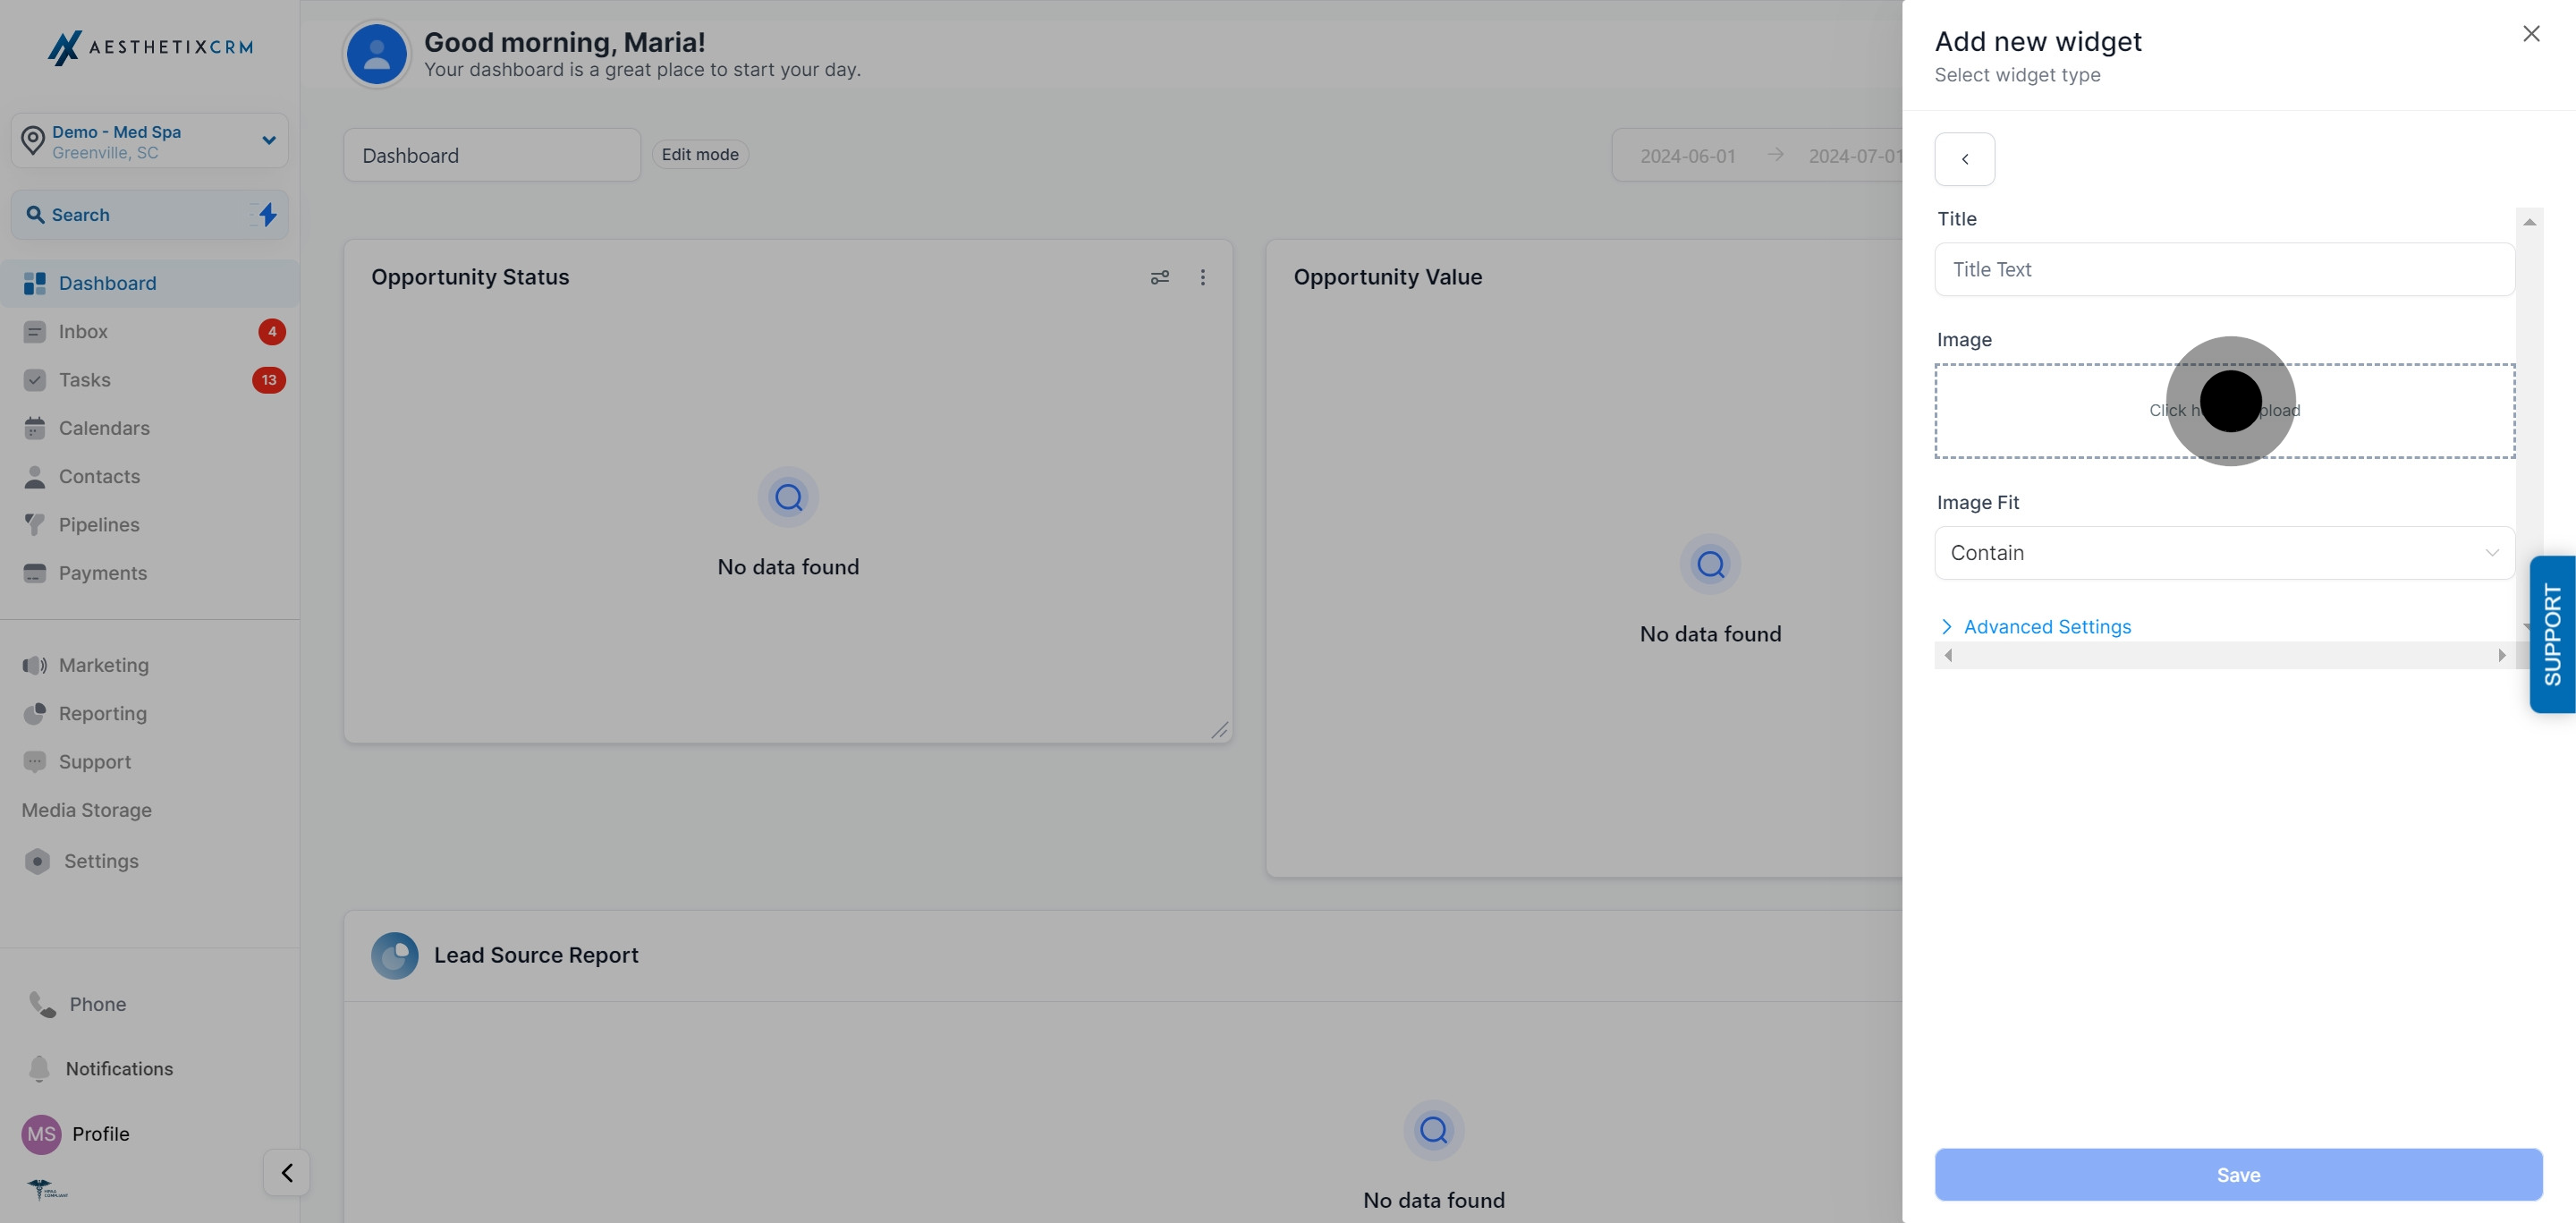
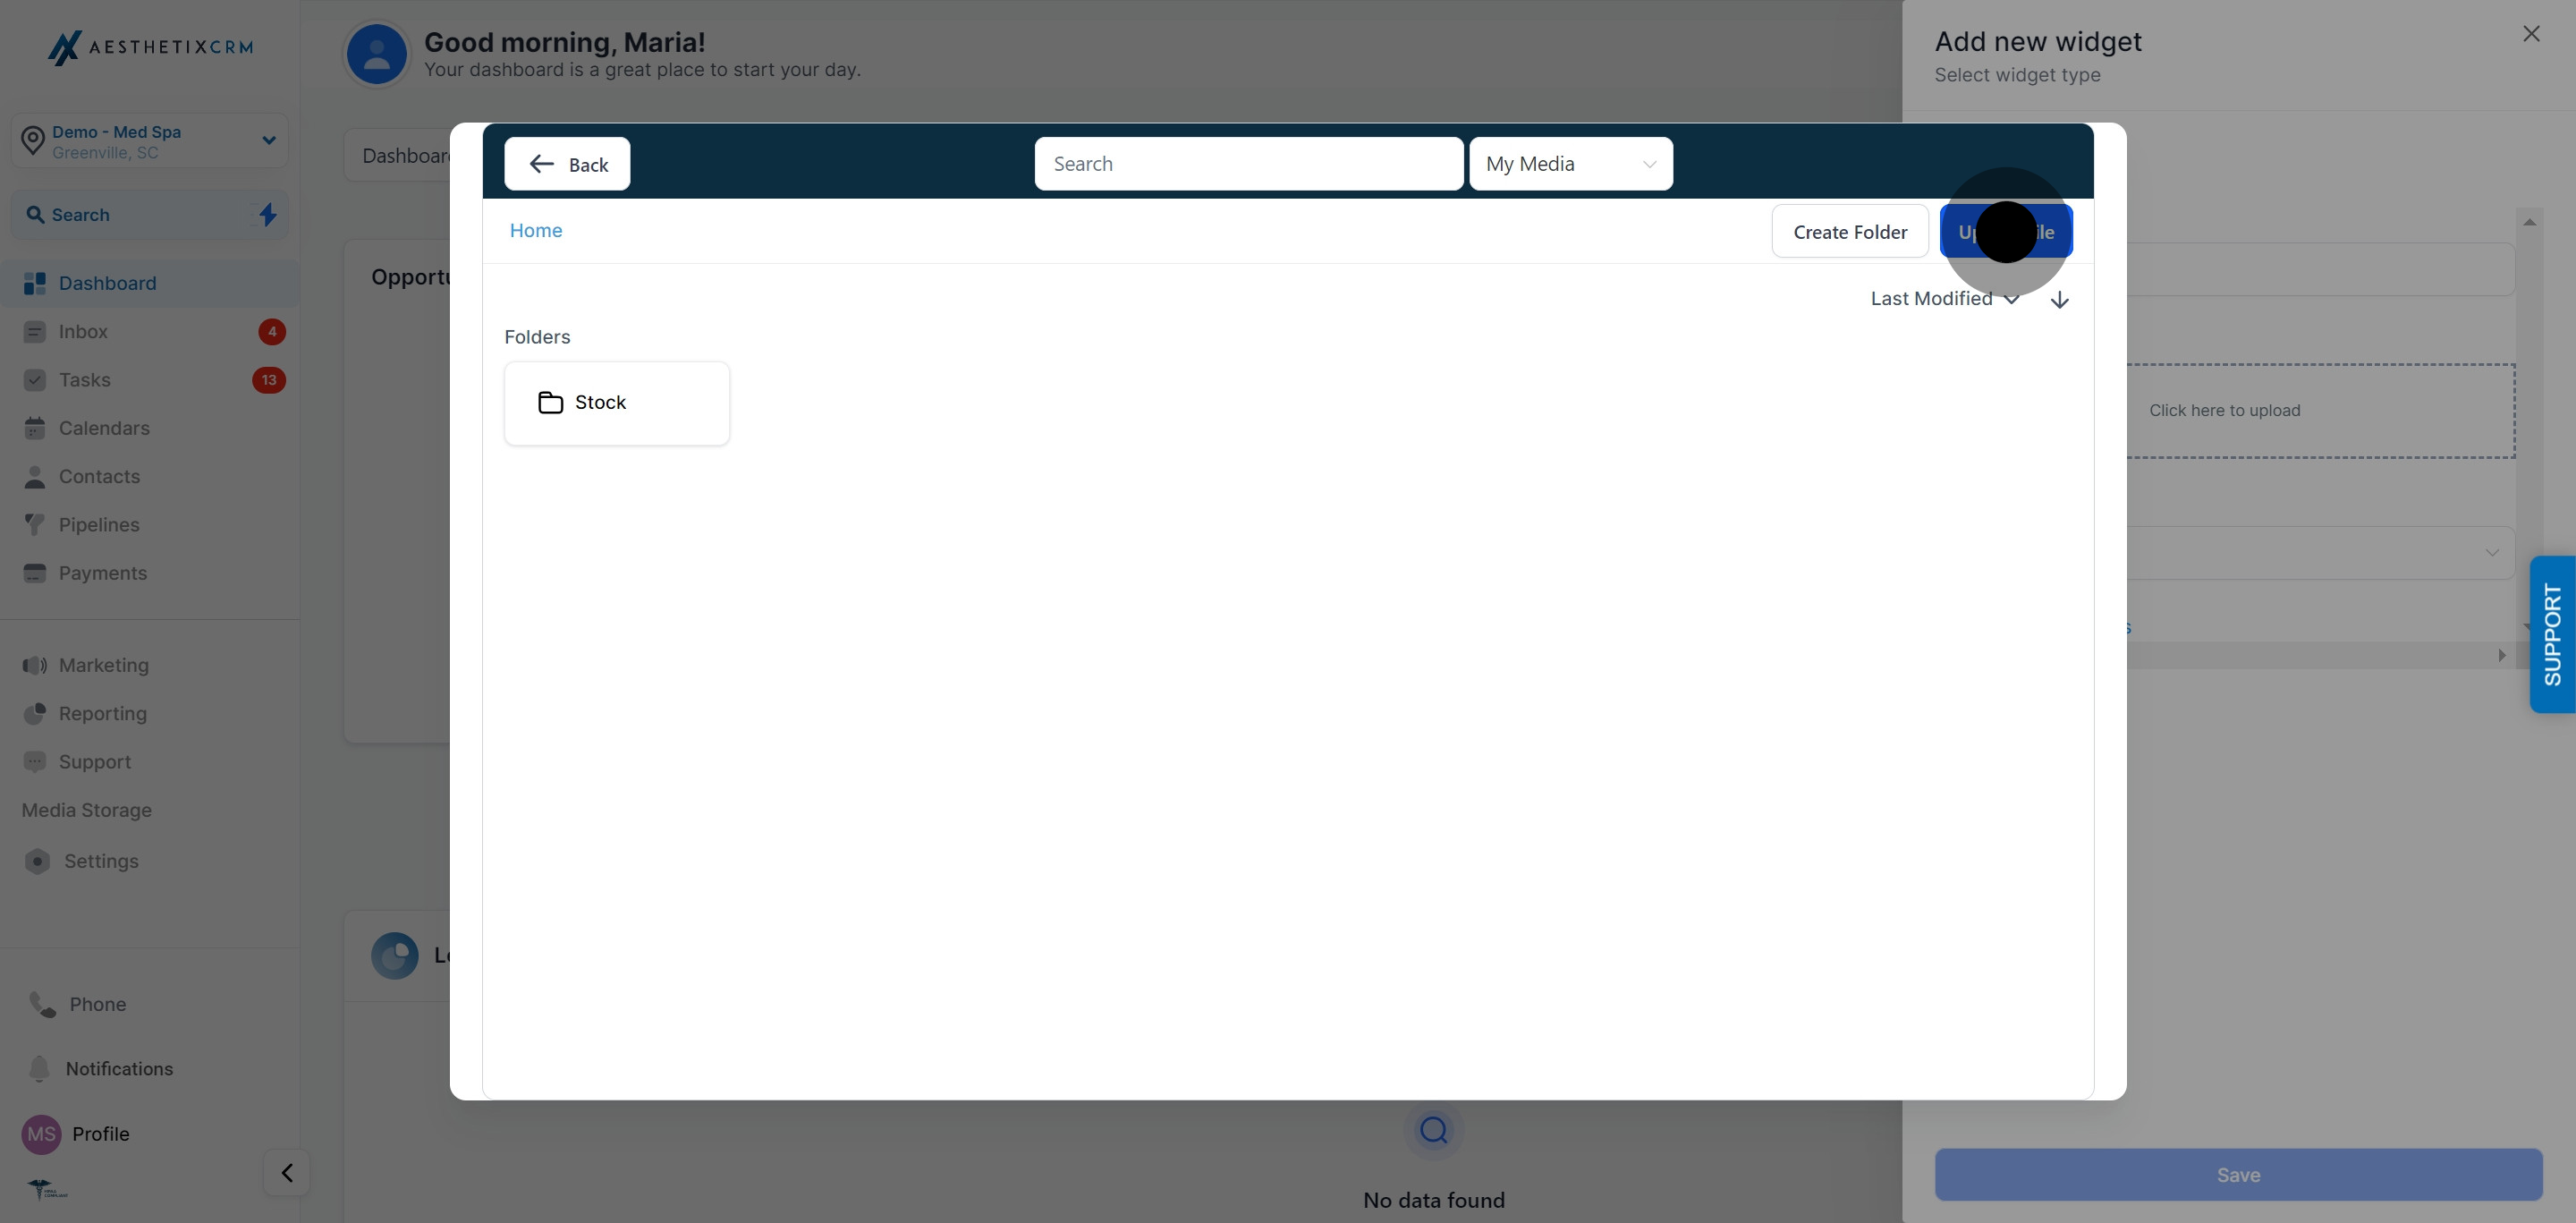
Click "Upload File" and select an image from your device or folders.
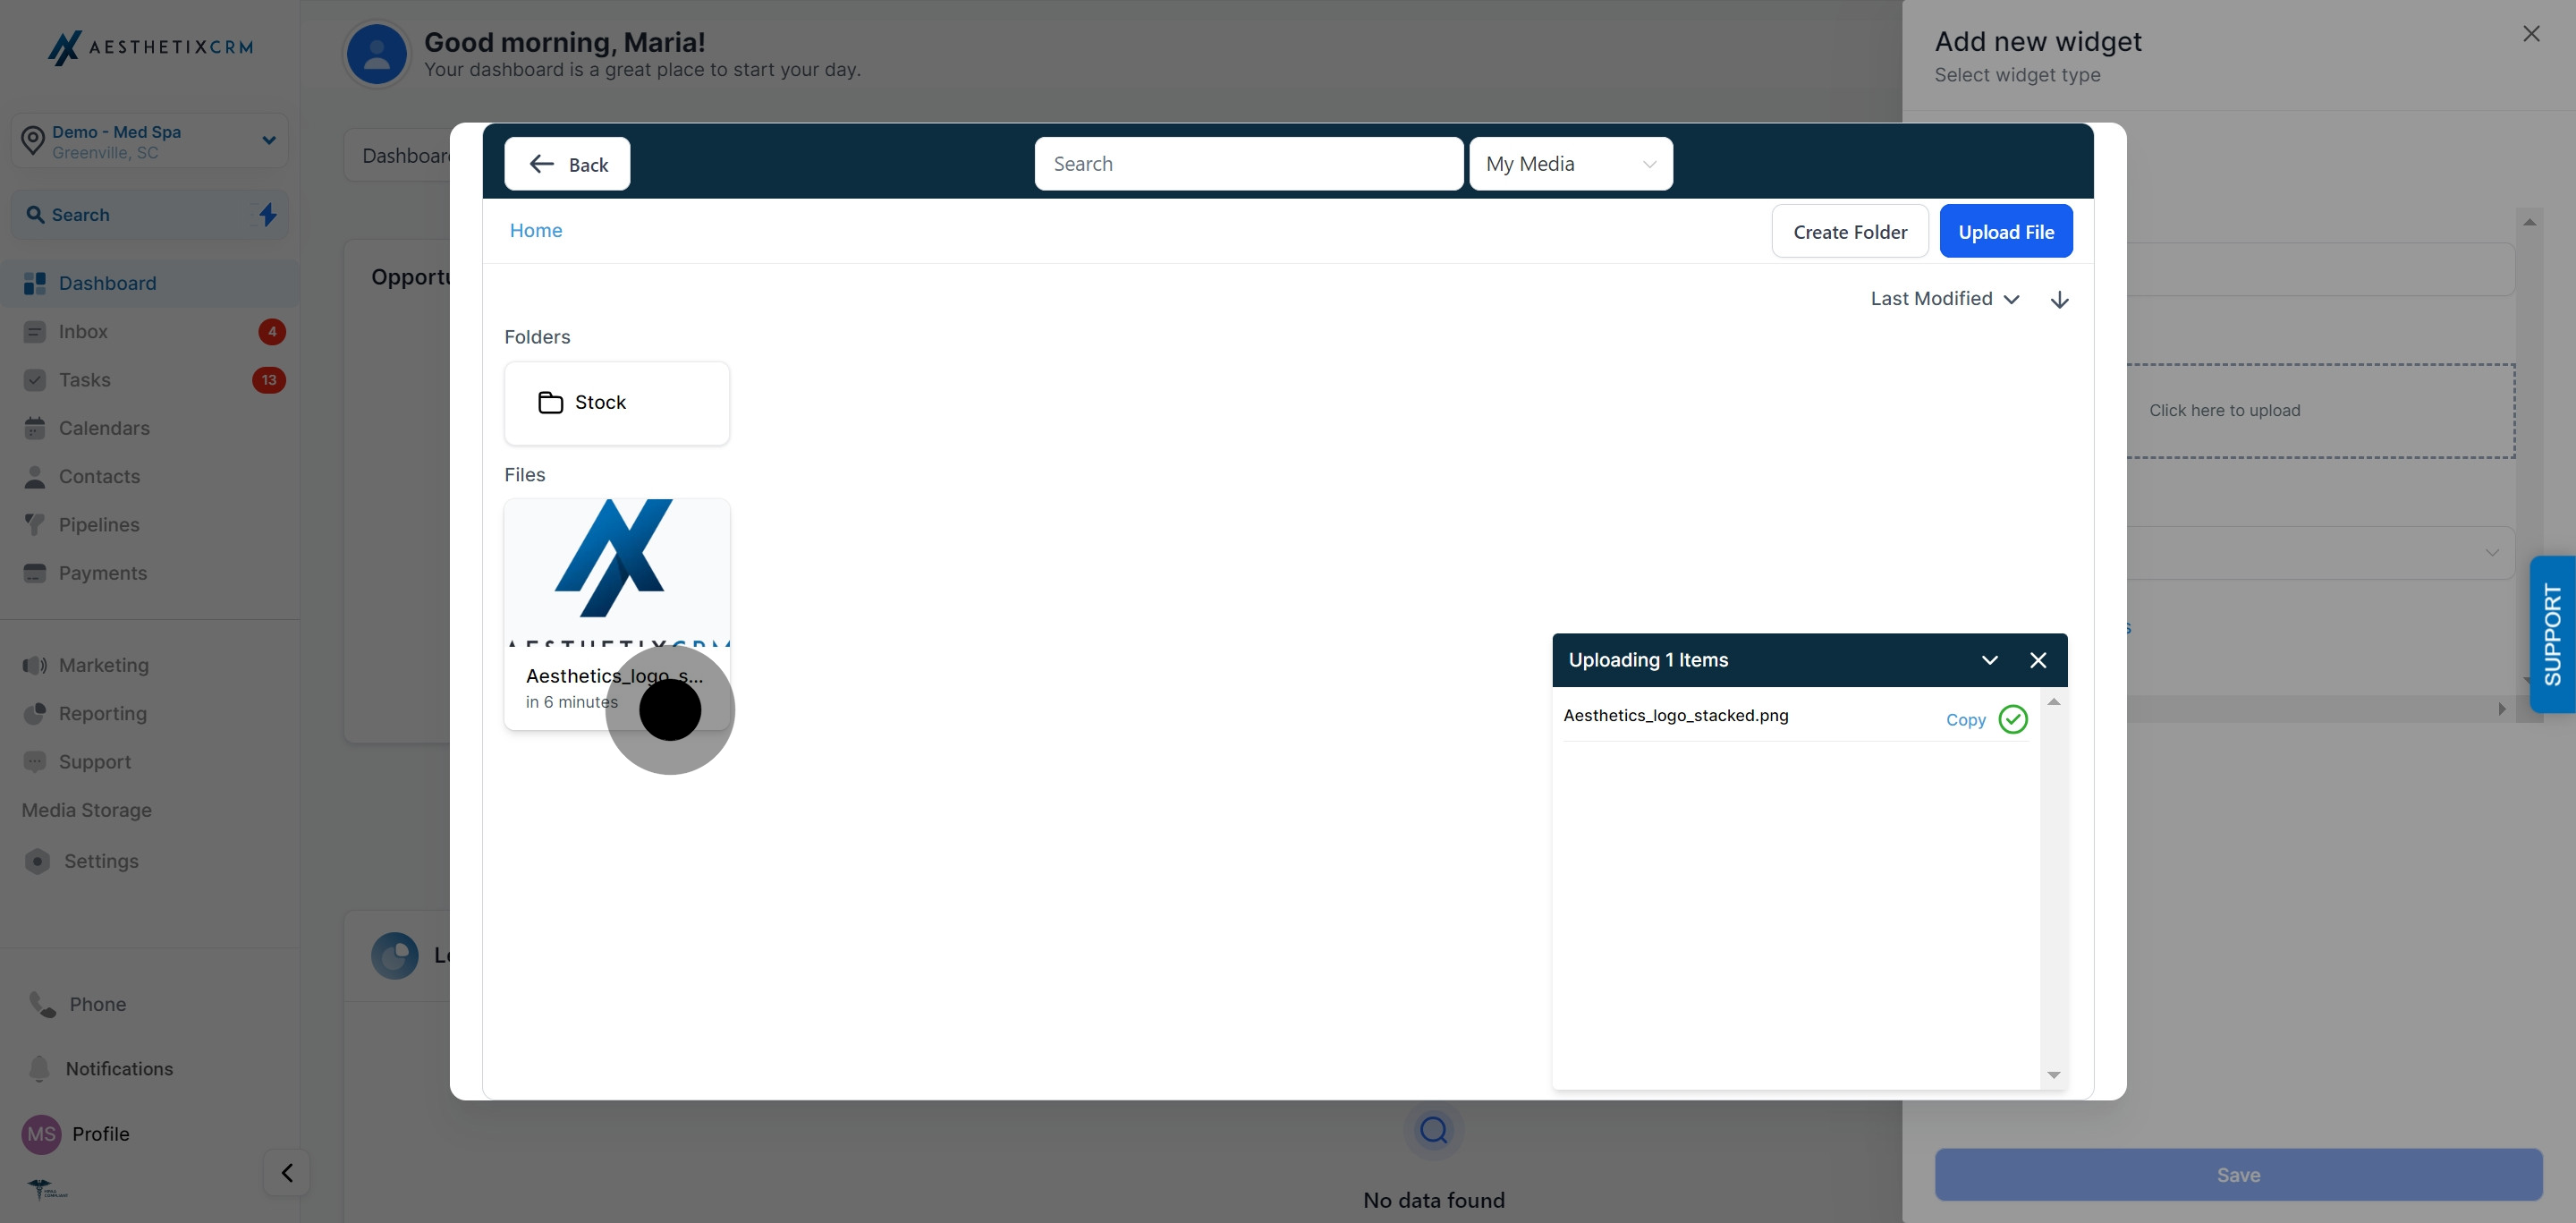
Double-click the uploaded image to drop it into the widget.
Click "Save."
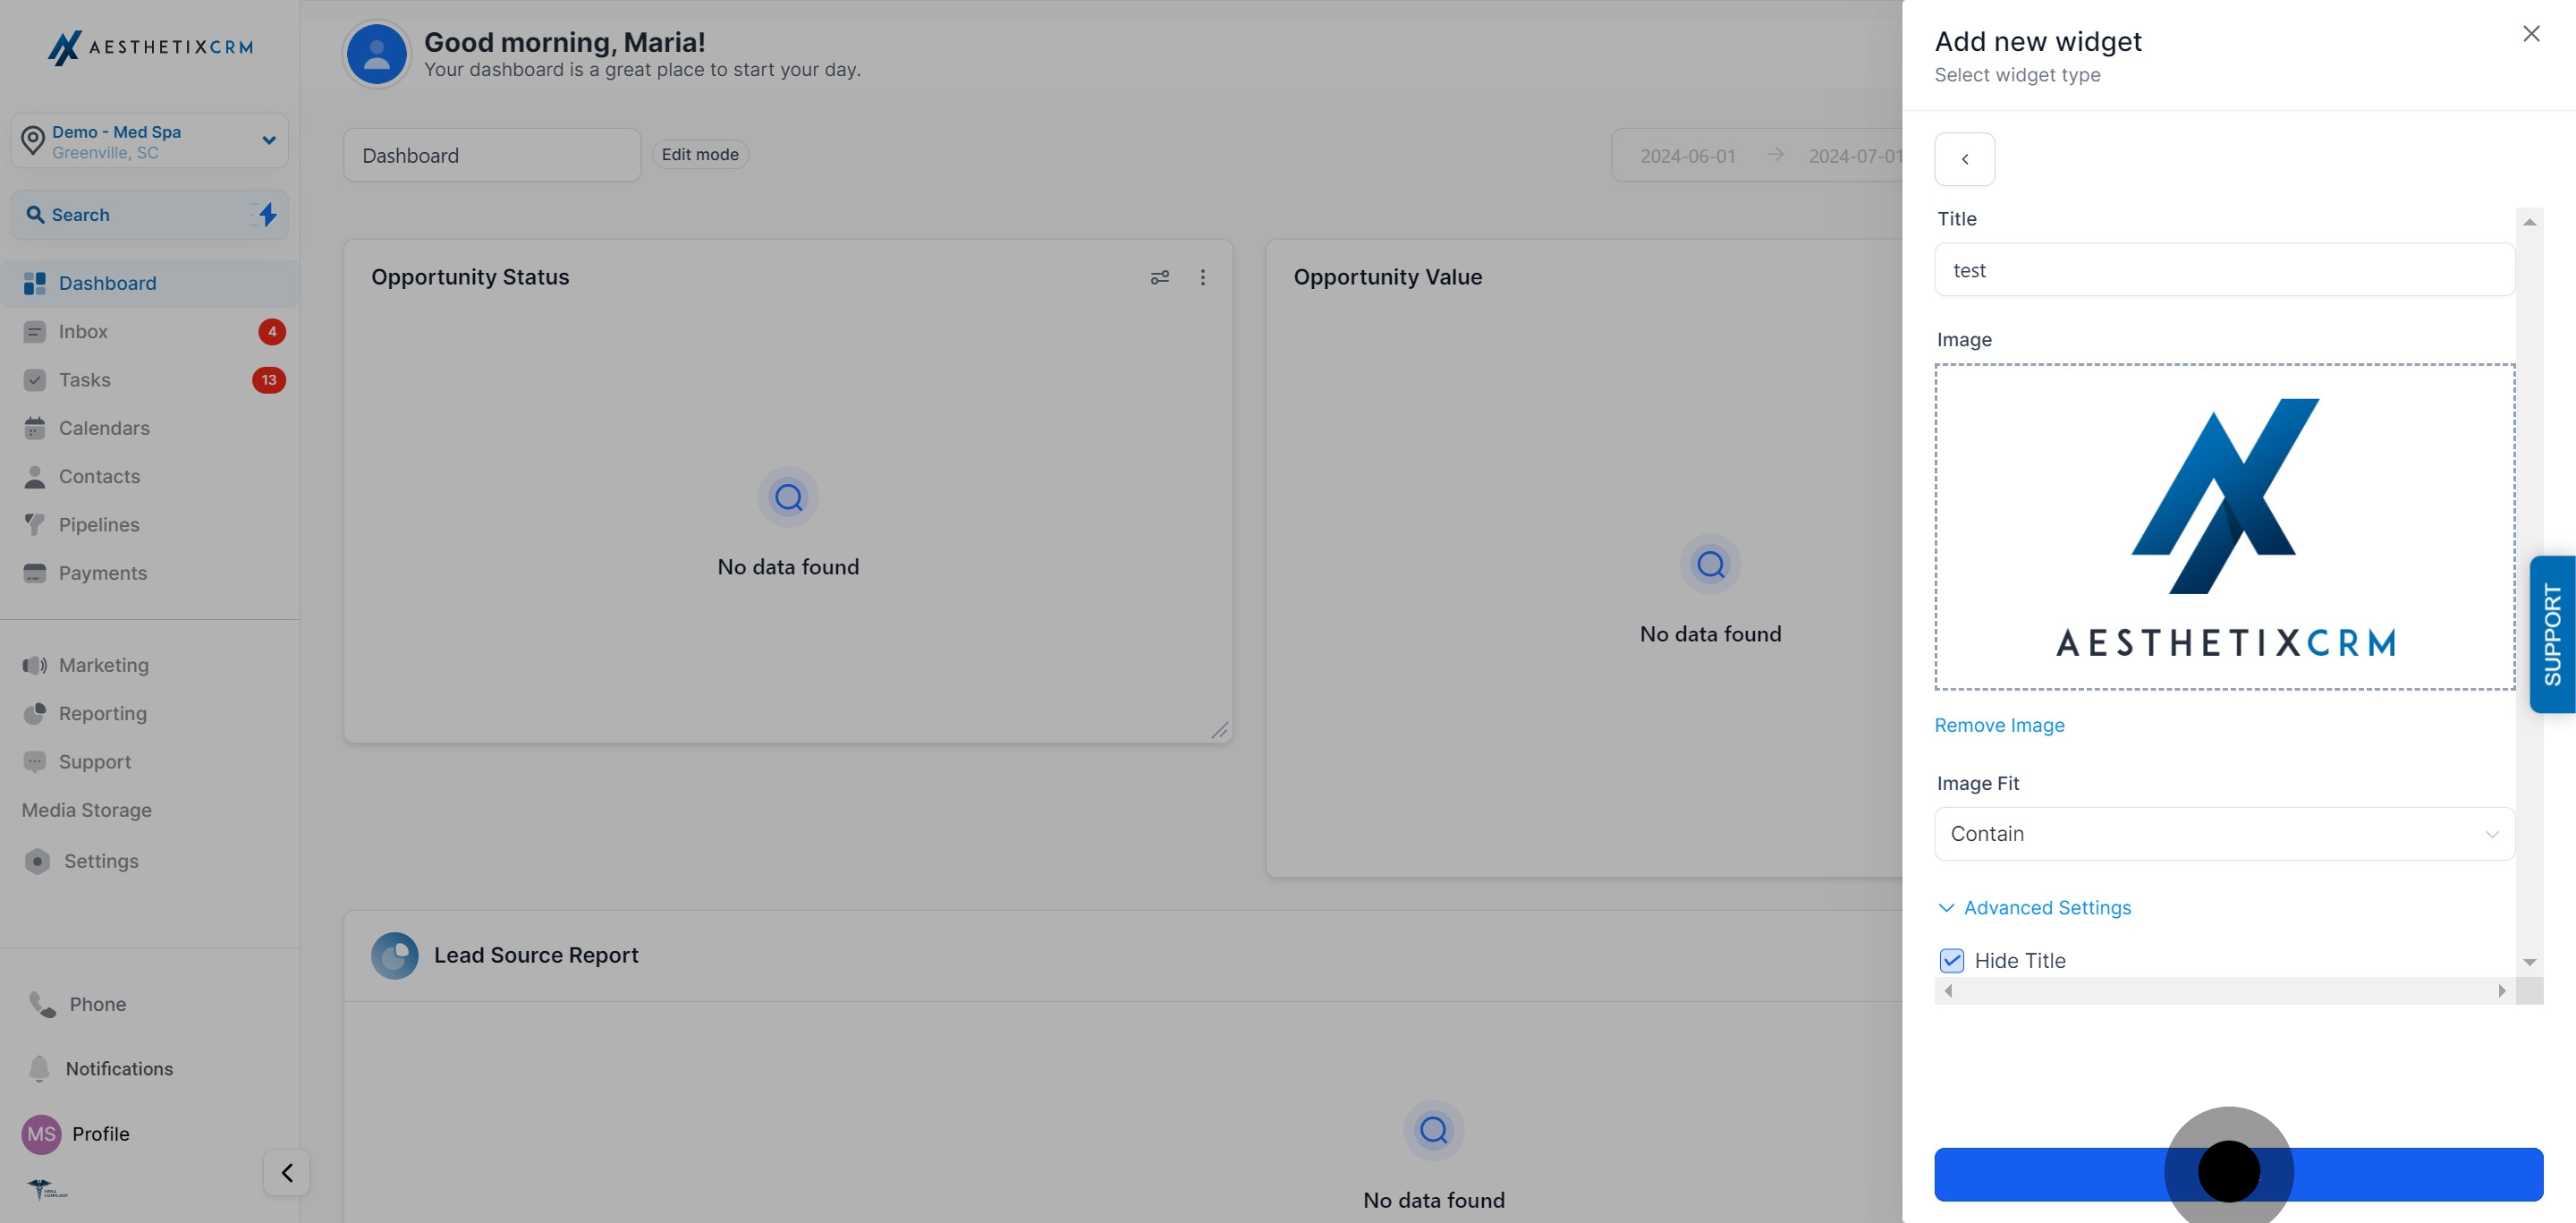
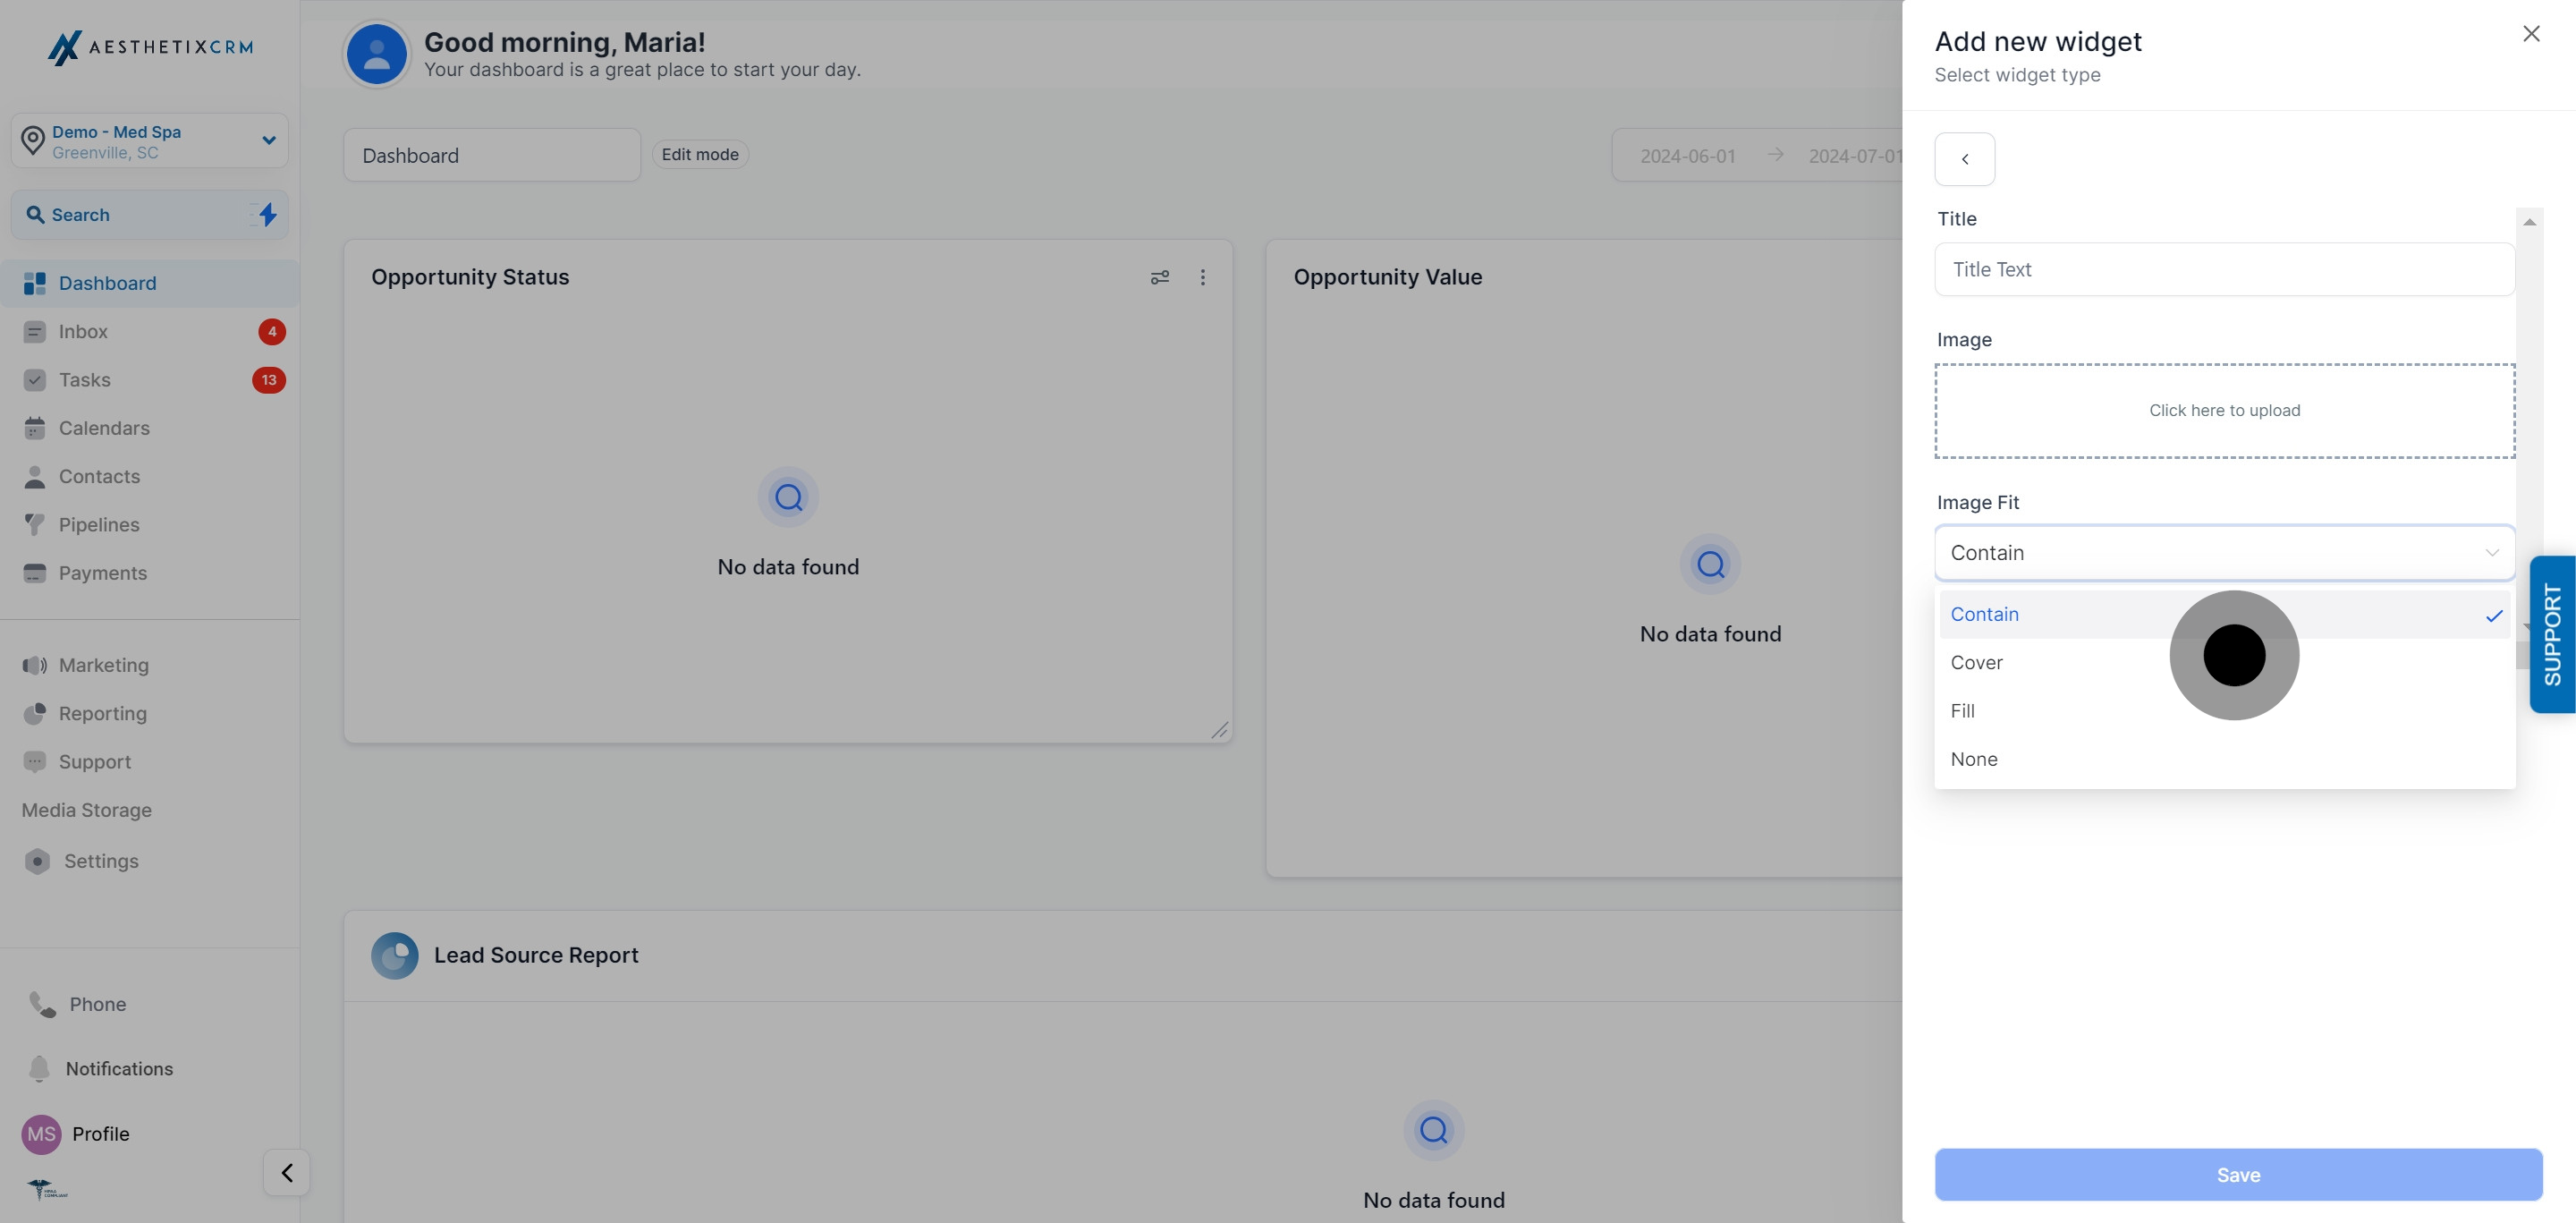
Set how the image should fit its frame (for example "Contain," so the whole image is visible without cropping).
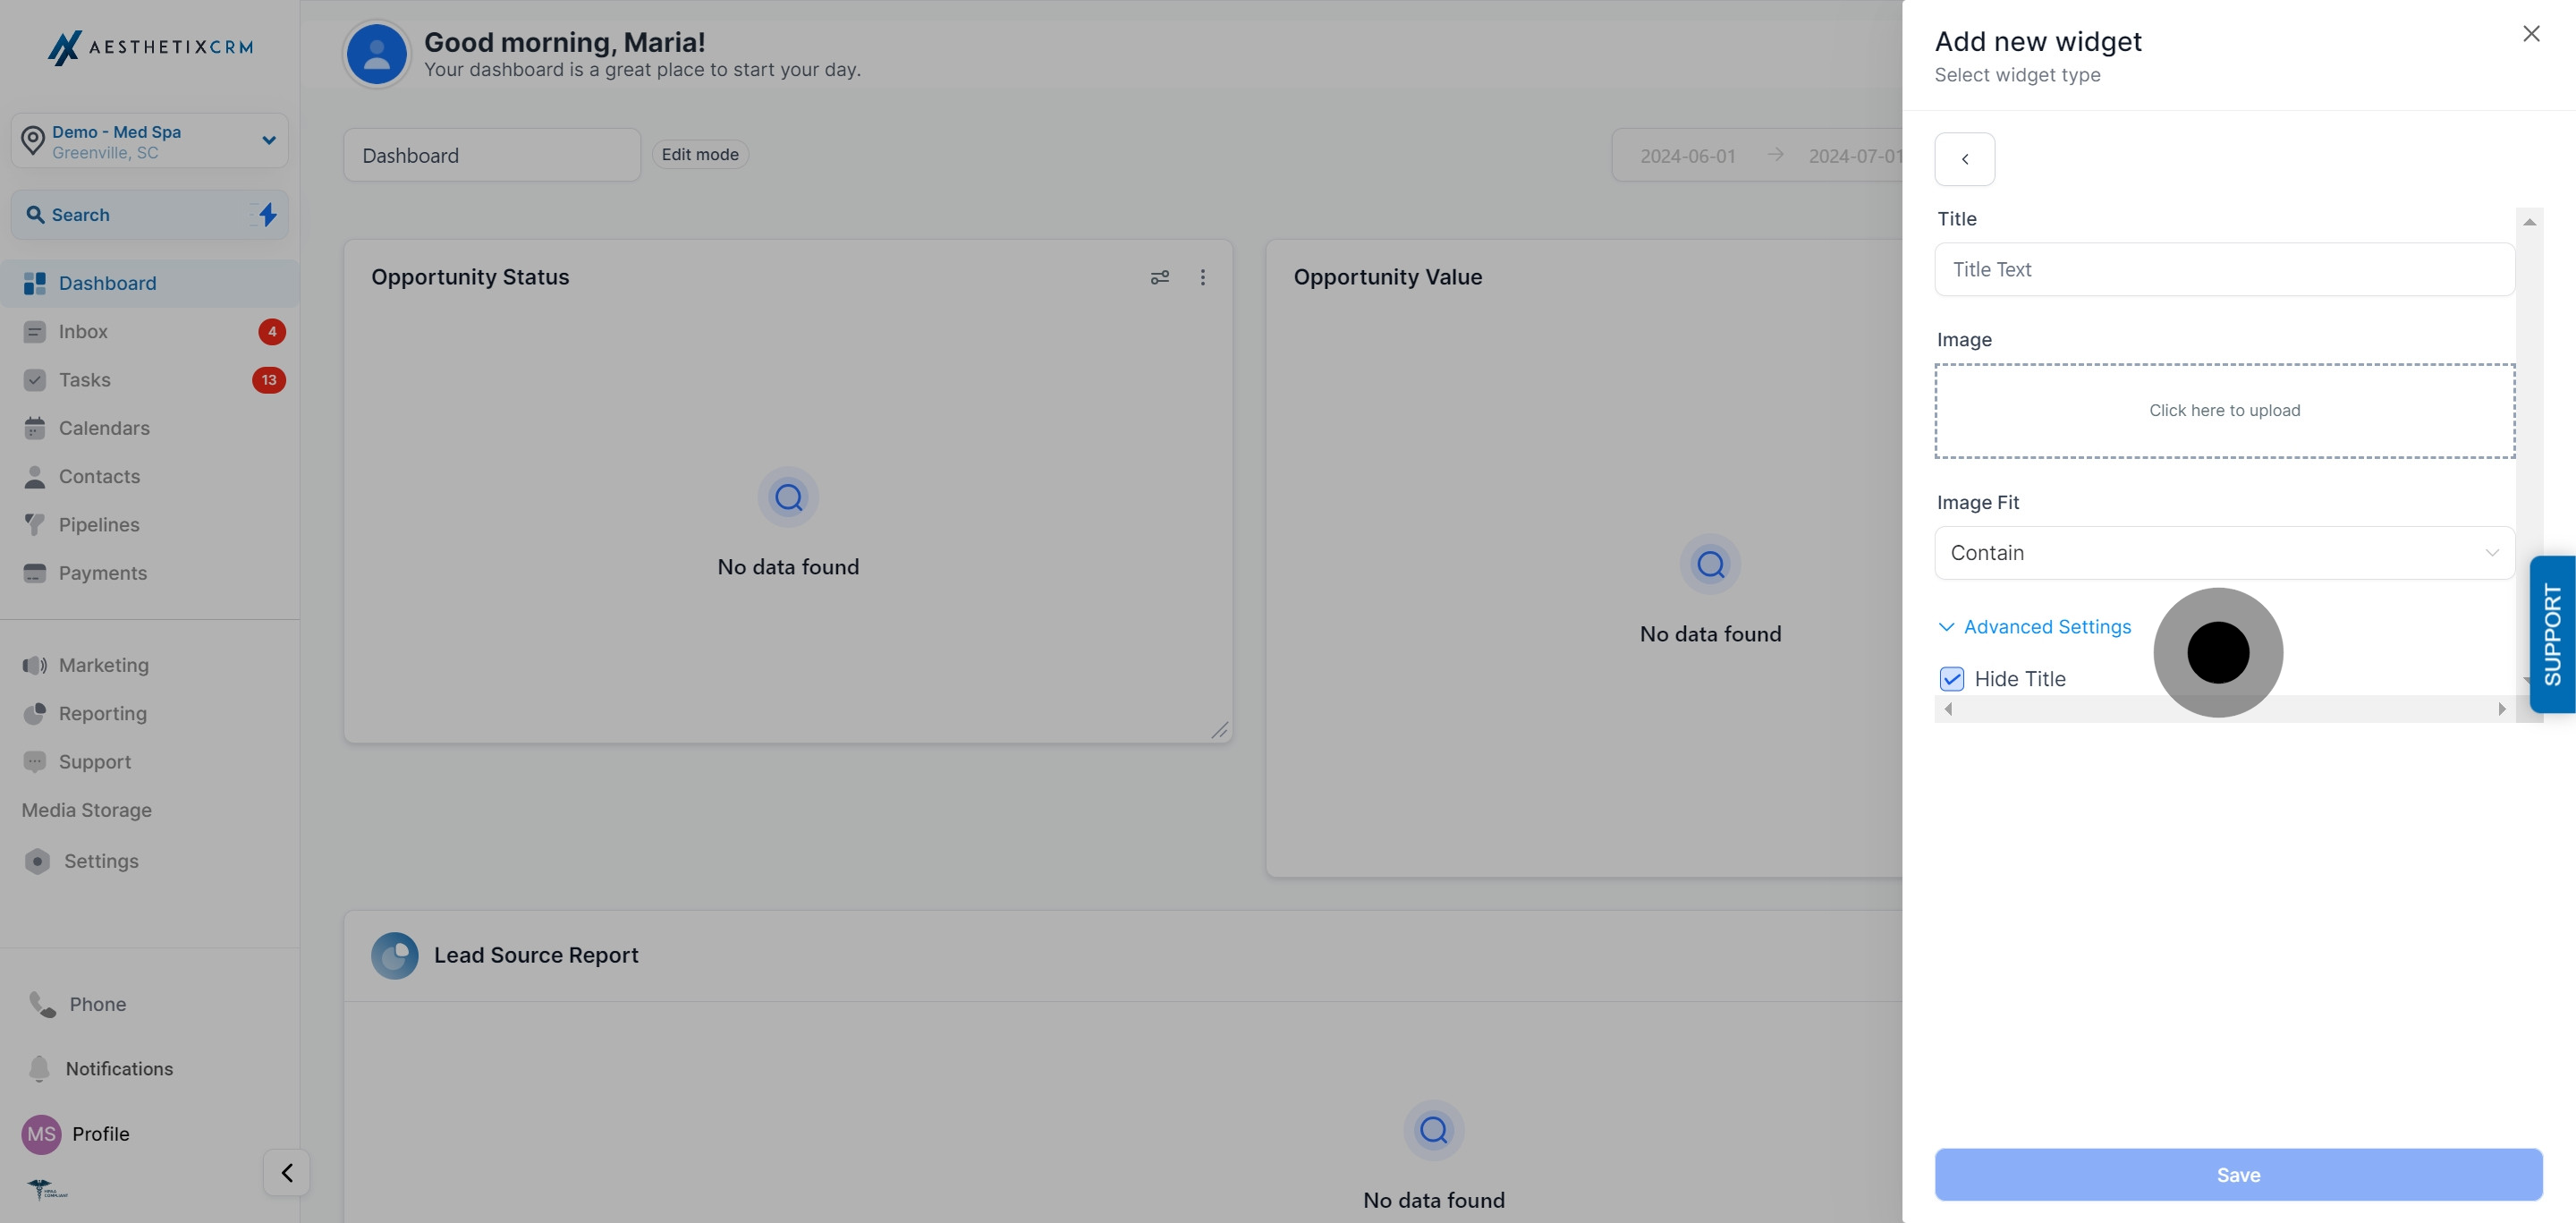
Under Advanced Settings, you can also choose to hide the widget's title if you don't want a caption showing above the image.
Click "Save" again to lock in your fit and title settings.
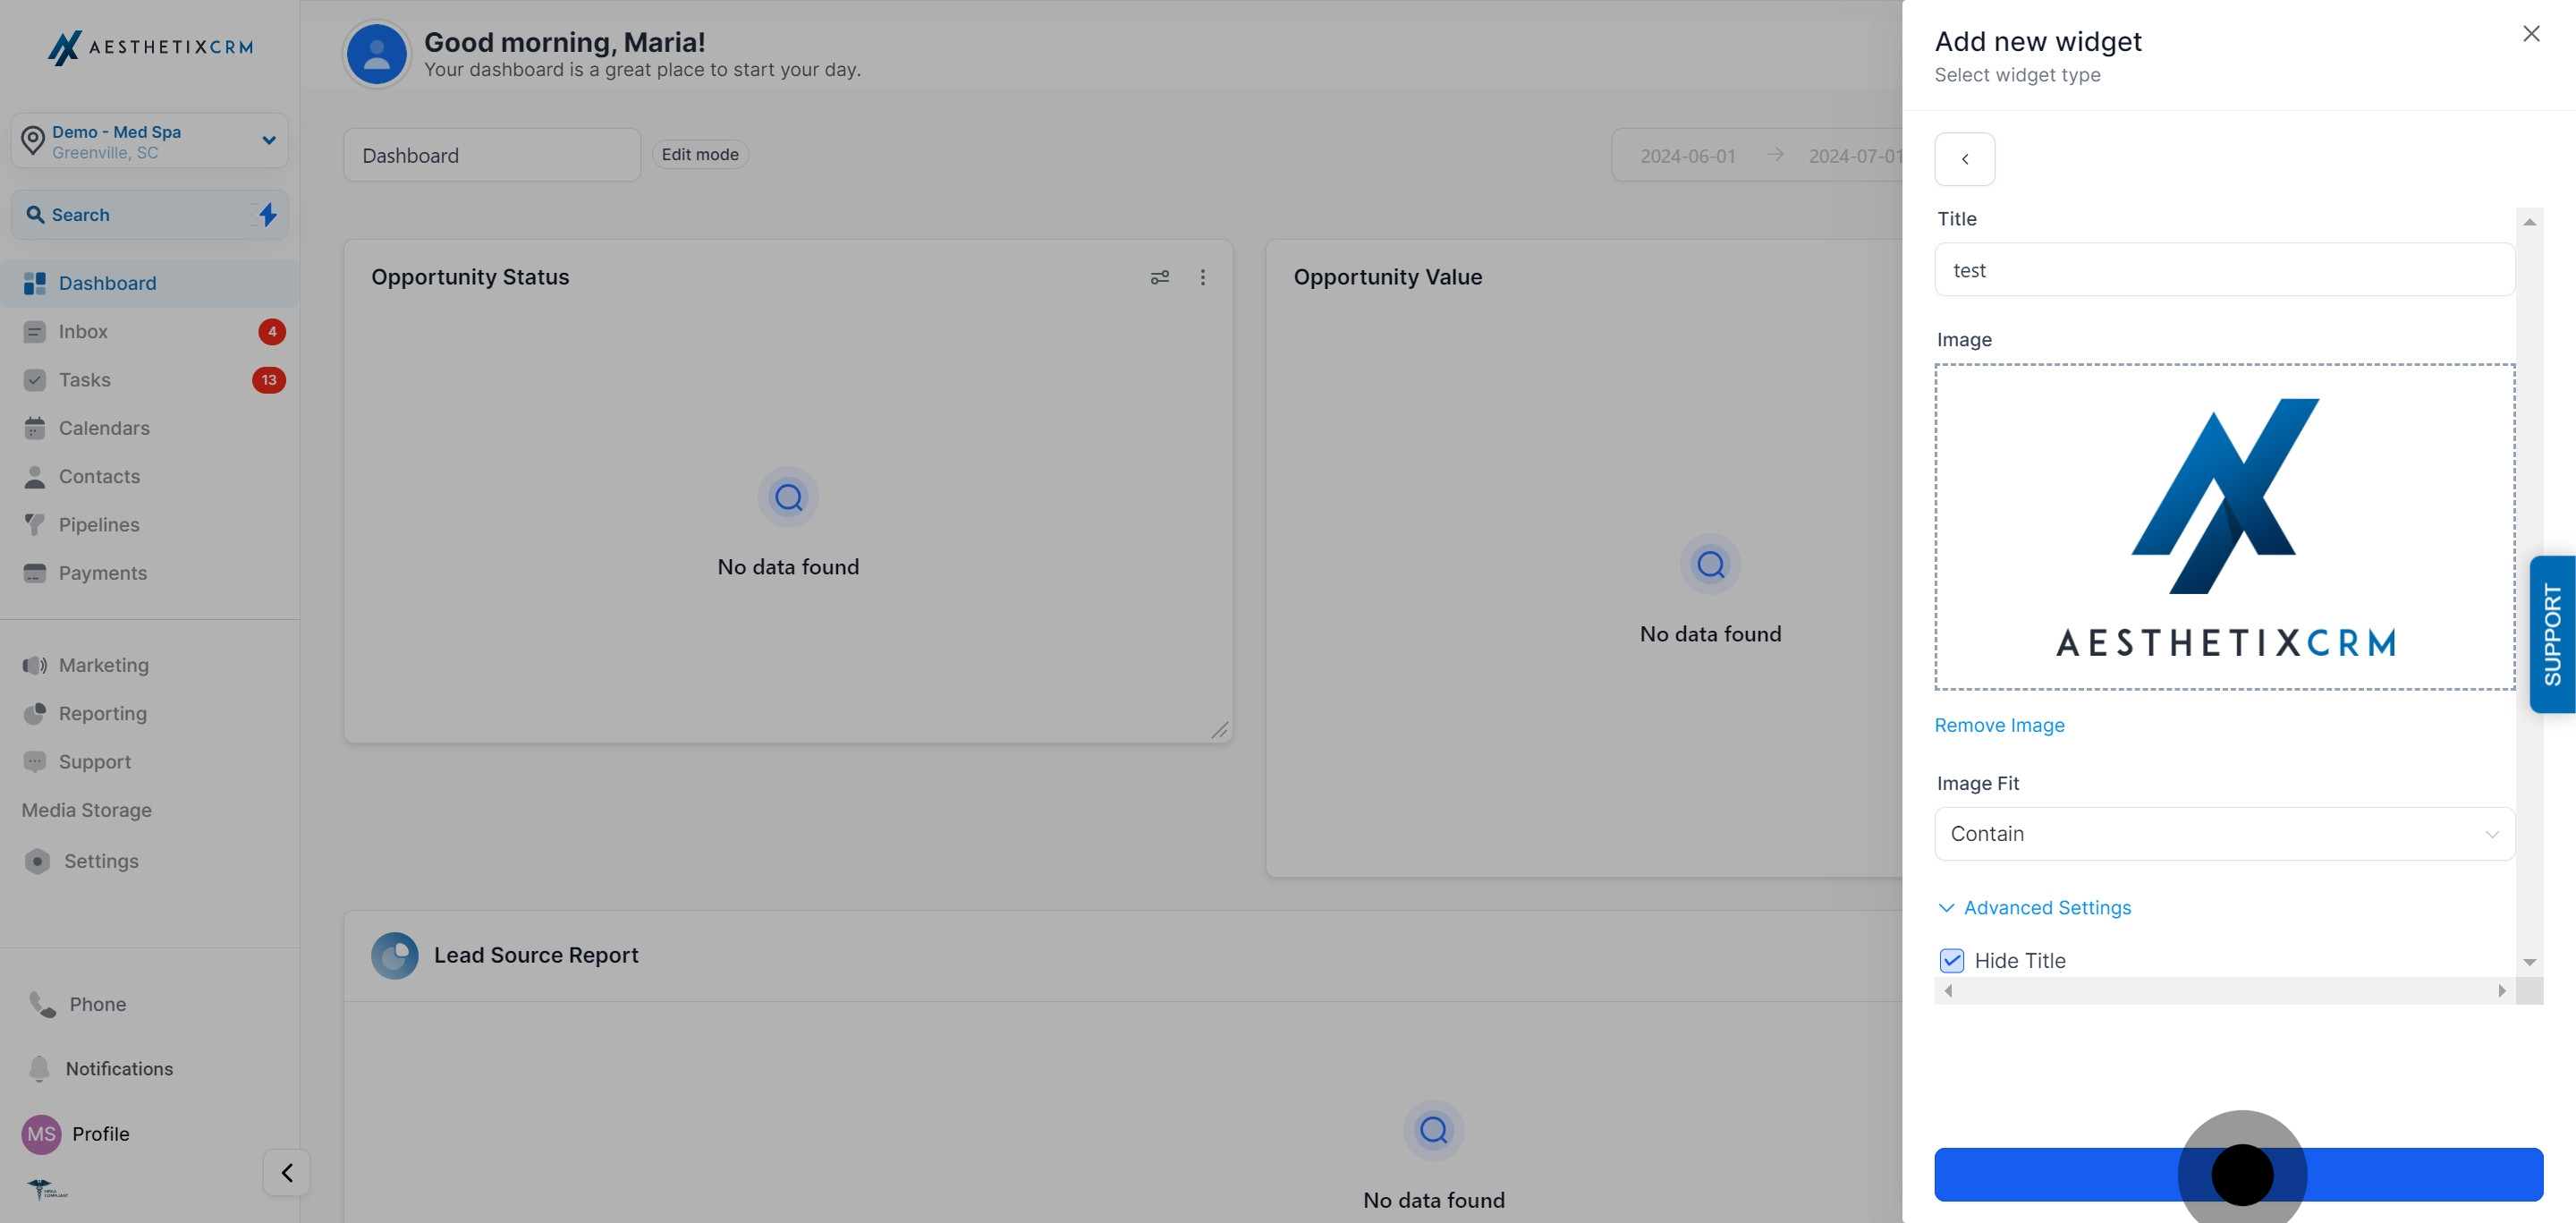
Click "Save Changes" to publish the image to your dashboard.
Use a Title widget at the top of each grouping of metrics so anyone viewing the board (front desk, providers, ownership) instantly knows what they're looking at.
Use Text Boxes to explain what a widget measures or to leave standing instructions, so the dashboard doubles as a quick reference instead of requiring a separate document.
Use Images to add your practice logo at the top of the board, or drop in before-and-after style visuals or infographics next to related metrics for extra context.
Drag and resize any of these three elements the same way you resize a chart widget, so you can fit them neatly around your existing reporting widgets.
All three element types live under Dashboard widgets, so revisit your KPI widgets in the Dashboard collection whenever you want to see leads, booked consults, revenue, pipeline value, conversion, or channel attribution alongside your new titles, text, and images.
Do I need to be an admin to edit a dashboard? You need edit access to the dashboard, which typically depends on your user role and permissions in Aesthetix CRM. If you can't see "Edit Dashboard," check with whoever manages your account roles.
Can I add more than one title, text box, or image to the same dashboard? Yes. You can add as many of each element as you need, so you can label multiple sections, leave several notes, and drop in several images across one dashboard.
Will other team members see my titles, text boxes, and images? Yes, once you save your changes, anyone with access to that dashboard sees the same layout, including any titles, notes, and images you've added.
What image file types can I upload? The image widget accepts standard image formats through the upload window. If a file doesn't upload, try converting it to a common format like JPG or PNG first.
What does the "Contain" fit option actually do? "Contain" scales your image down so the entire picture is visible inside the widget without cropping. If you don't set a fit option, the image may crop to fill the widget frame instead.
Can I hide the title above an image widget? Yes. Under the image widget's Advanced Settings, there's a "Hide Title" option so the widget shows just the picture without a caption.
Can I resize or move a title, text box, or image after saving it? Yes. Go back into Edit Dashboard and drag or resize the widget the same way you would any other dashboard widget, then save your changes again.
What happens if I click "Cancel" instead of "Save Changes"? Cancel discards the widget you just configured. Make sure you click "Save Changes" after adding or editing a title, text box, or image so it actually publishes to the dashboard.
Can I use these elements to organize widgets by department, like Marketing vs. Front Desk? Yes, that's one of the most common uses. Add a Title above each group of widgets and use a Text Box underneath to explain what that section covers.
Is there a limit to how large an image can be? The upload window doesn't specify a strict limit, but very large image files may take longer to upload and load slower on the dashboard. Keep image files reasonably sized for the best performance.
