Dashboards give your practice a configurable analytics space where you can track leads, booked consults, revenue, and other KPIs in one place. You can create as many dashboards as you need (an Owner KPI board, a Front-Desk board, a Marketing board, and so on), and each one has its own layout, widgets, and settings. This guide walks through building a new dashboard from scratch and covers the management options available once it exists.
Interactive walkthrough
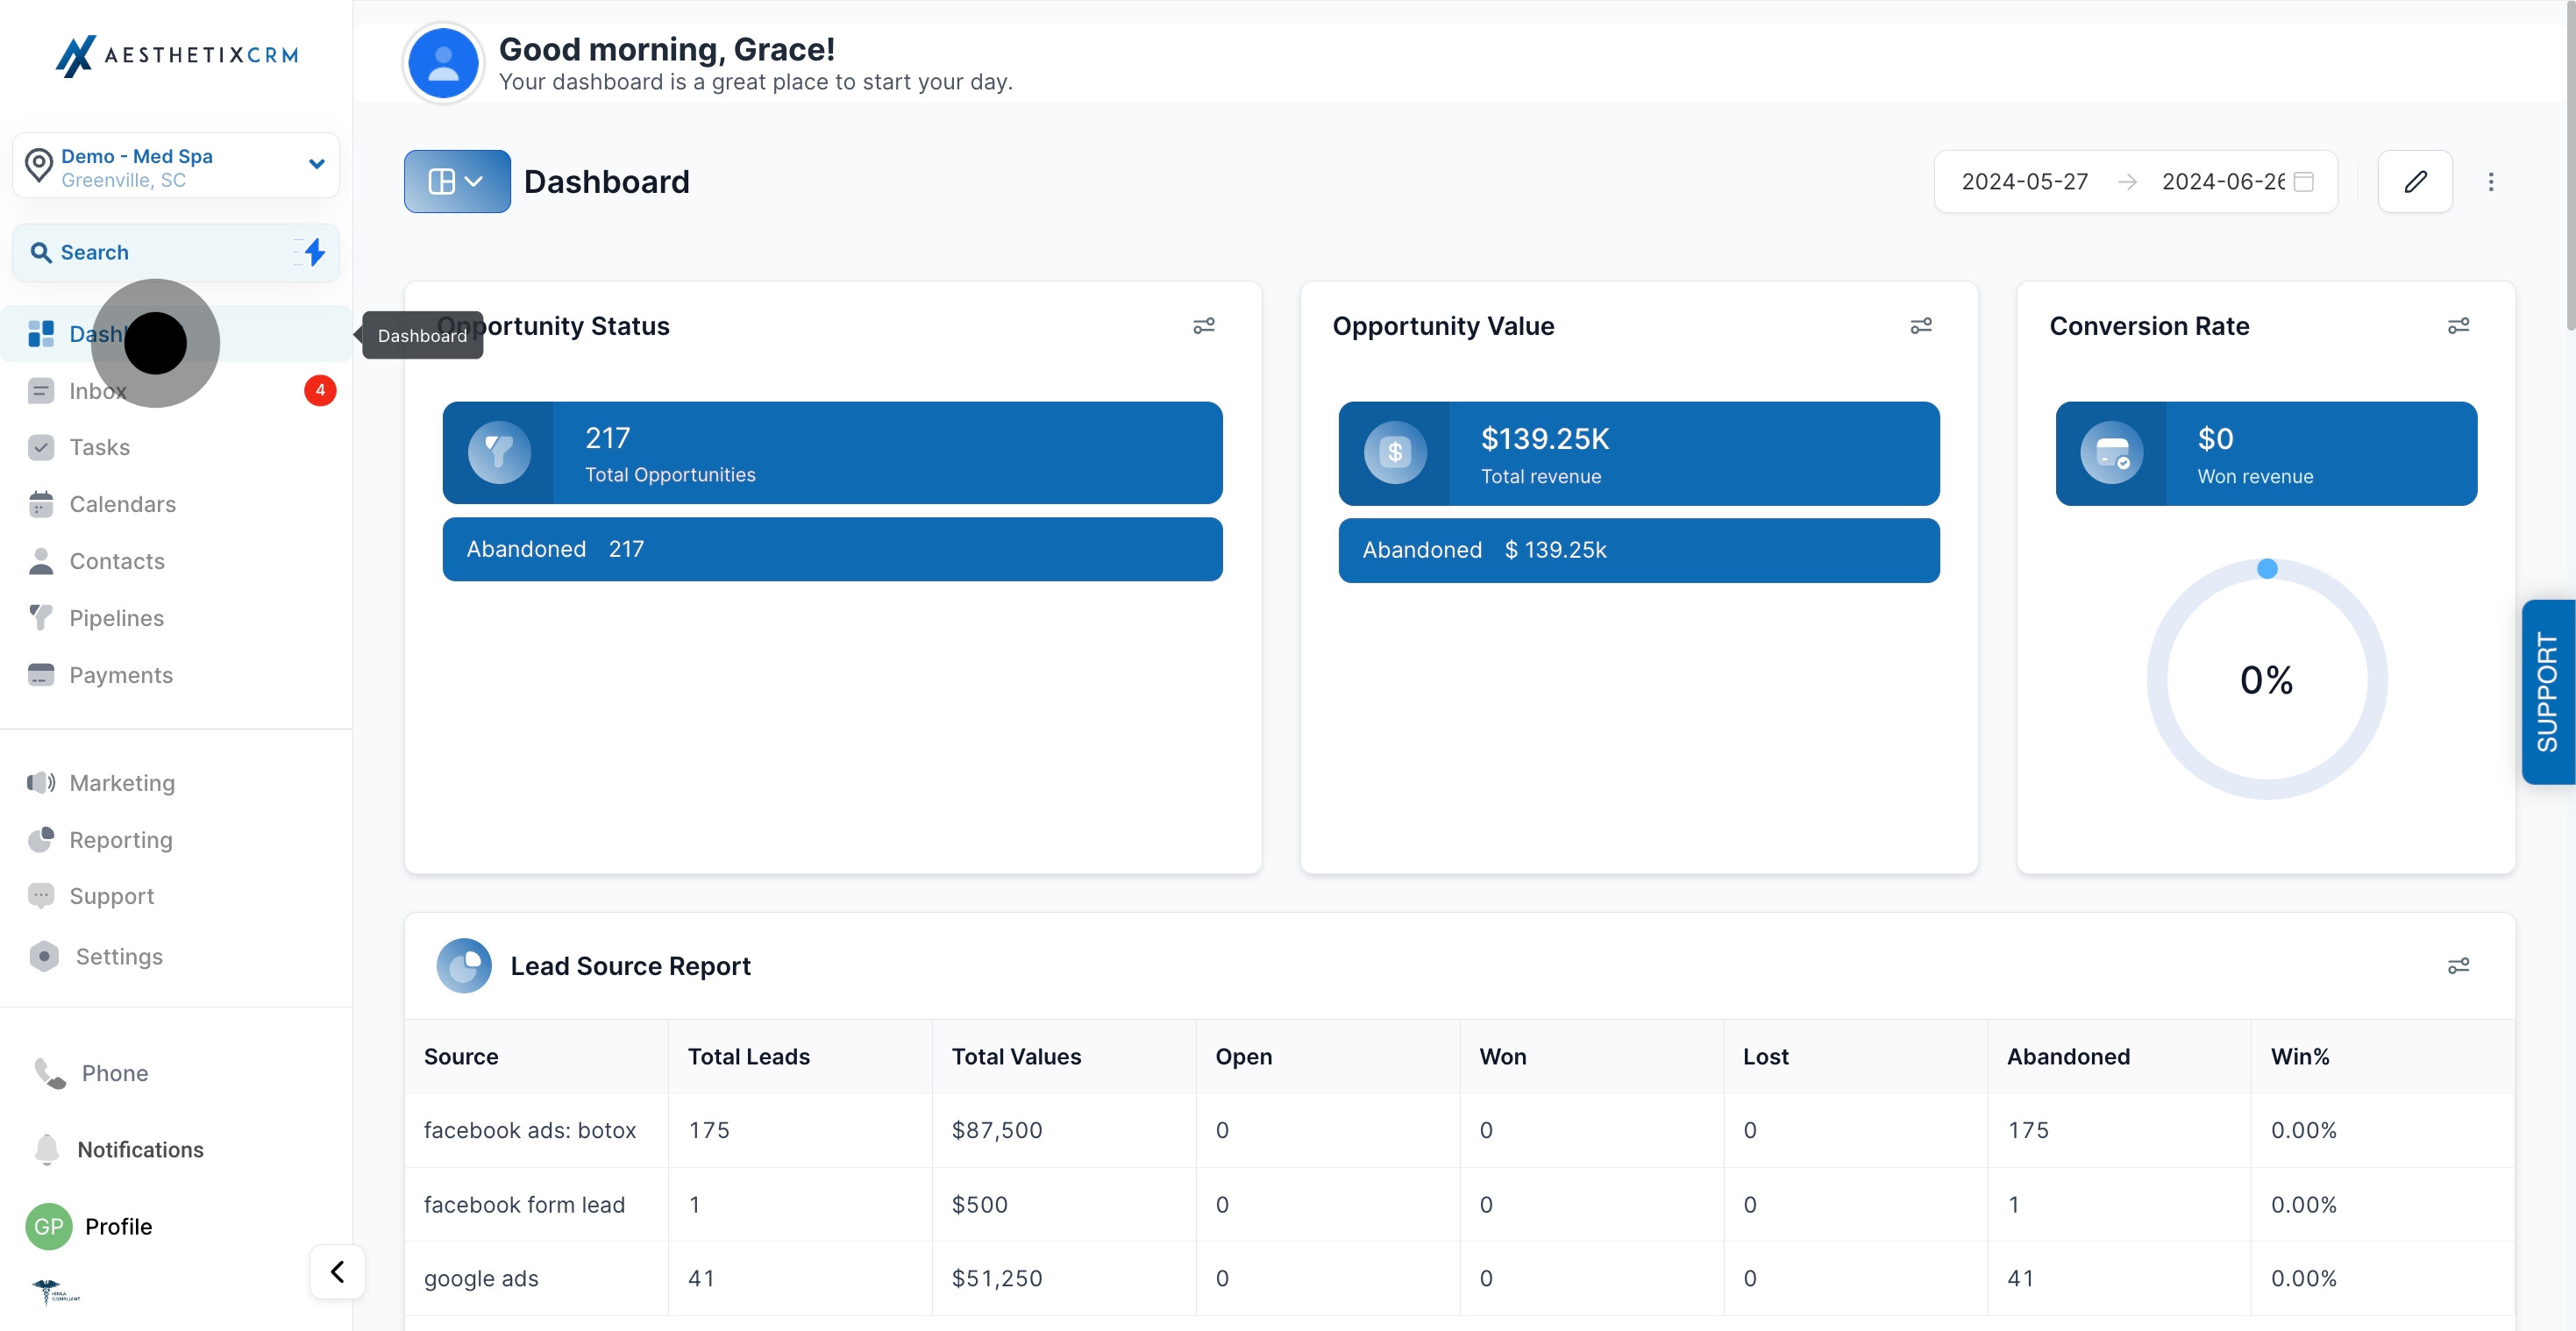
Navigate to the Dashboard section from the main menu.
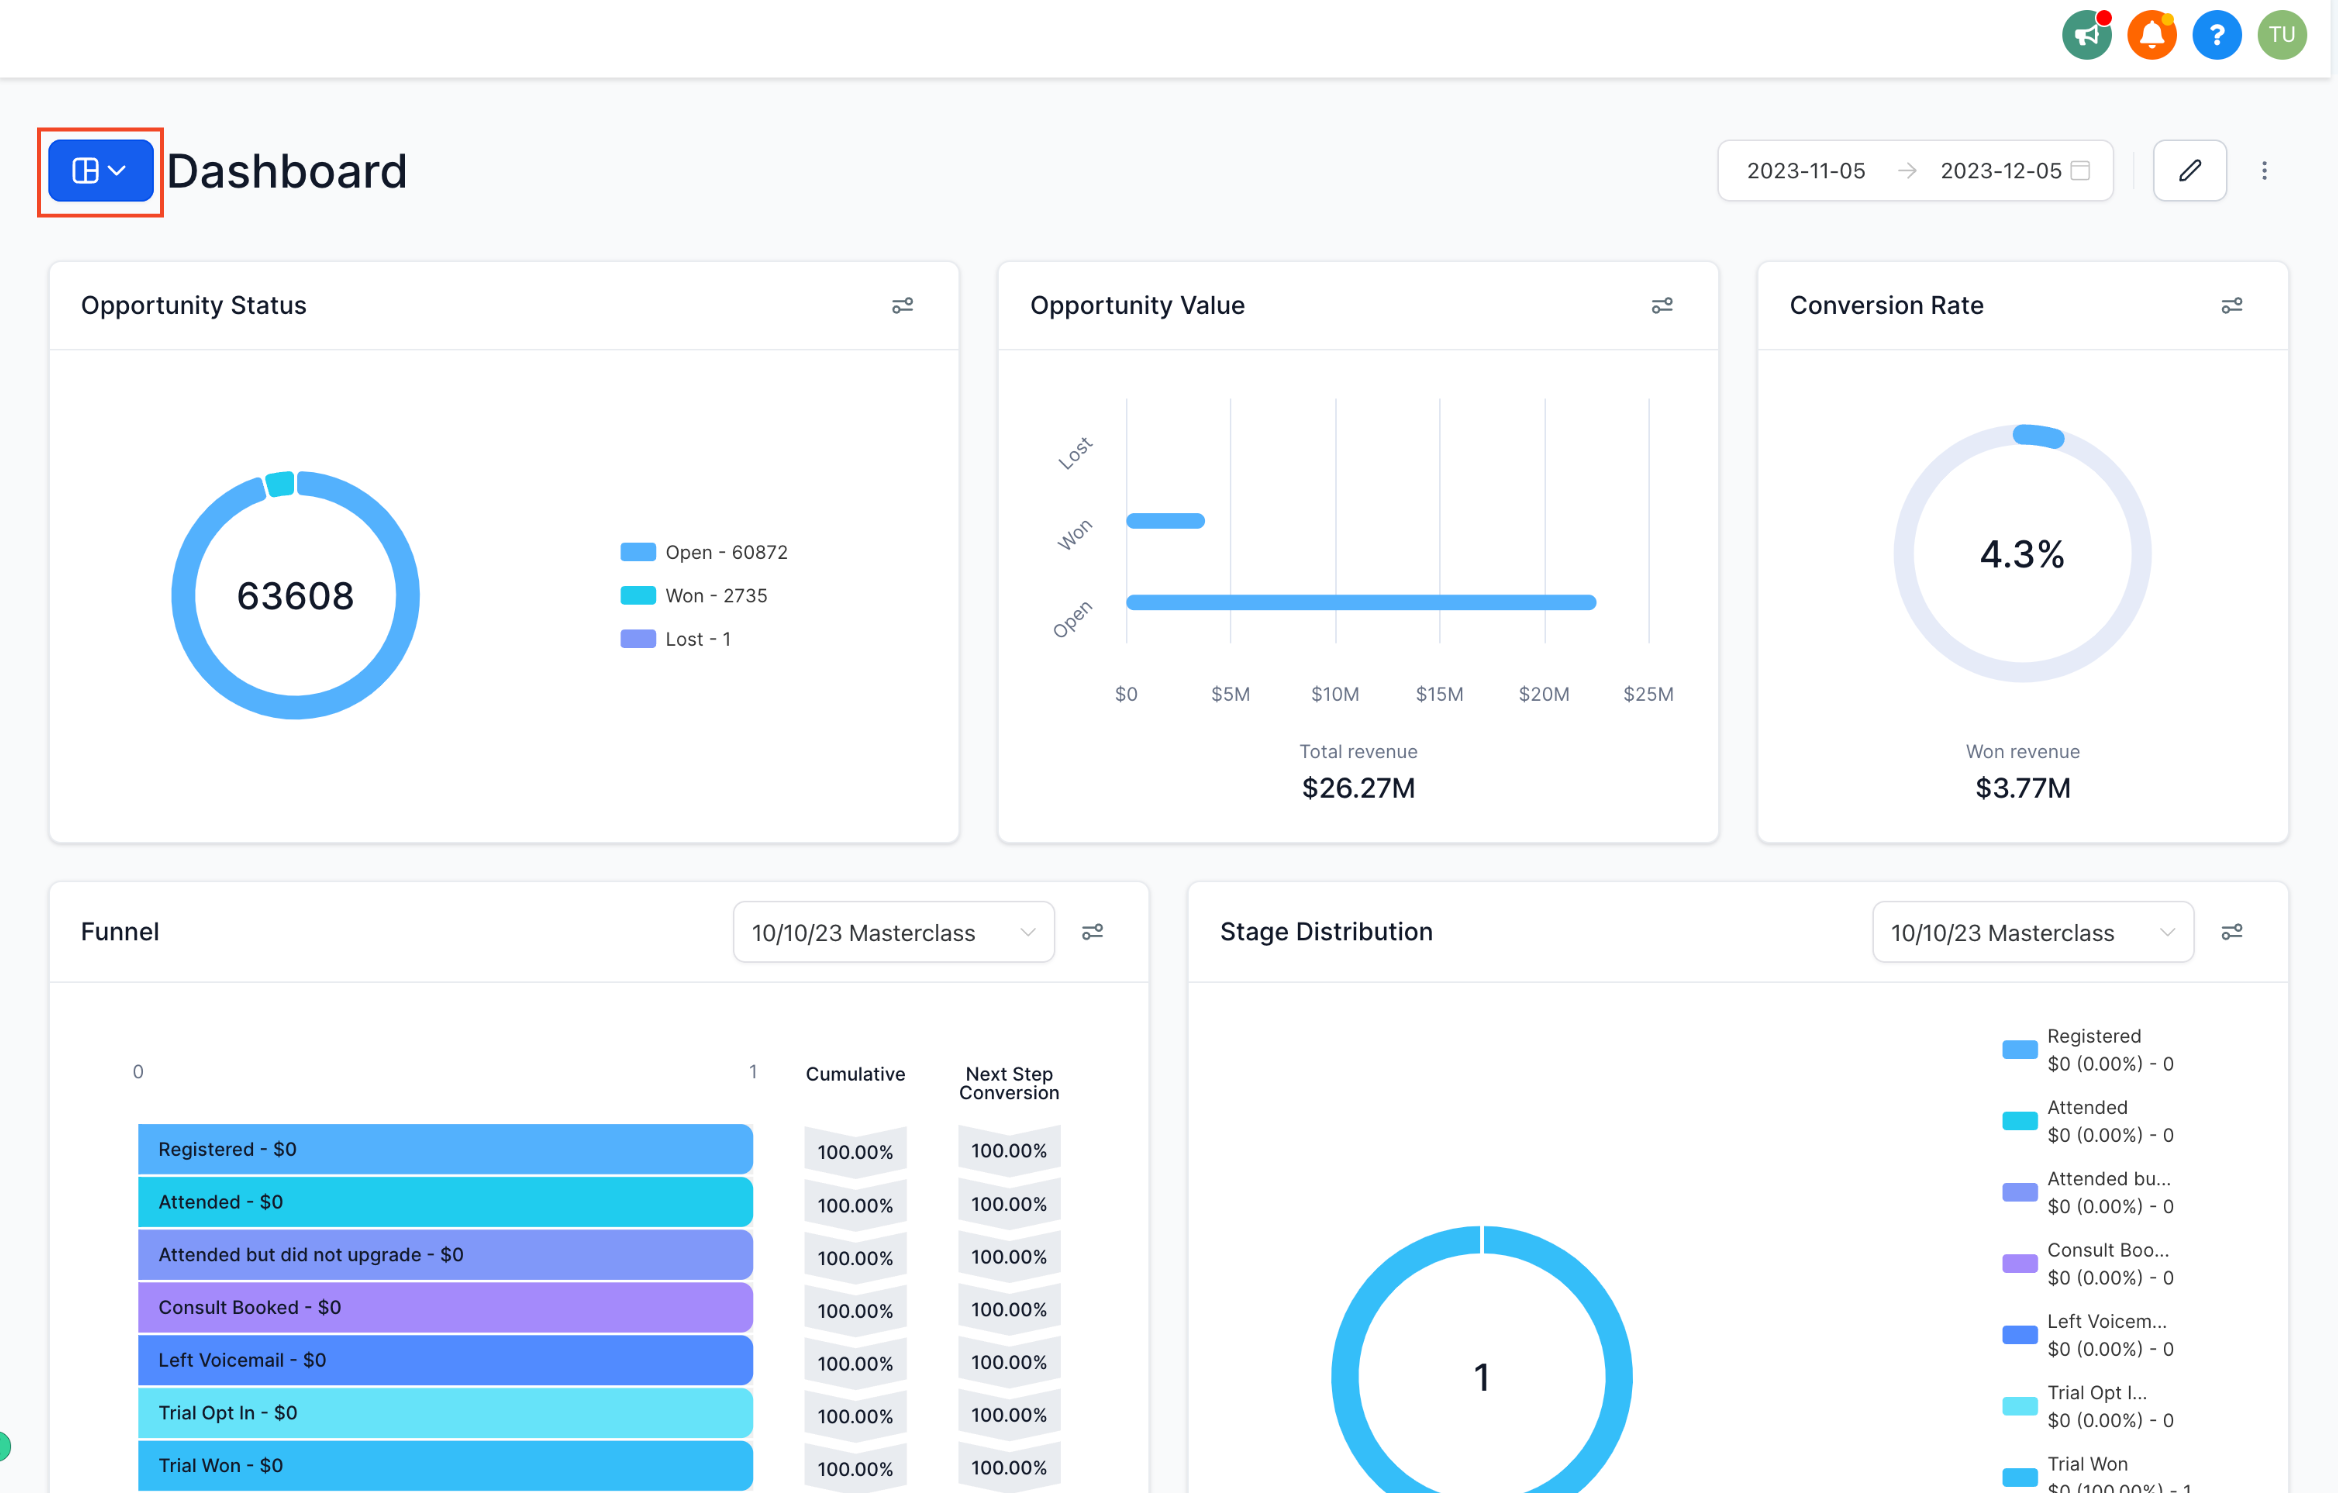
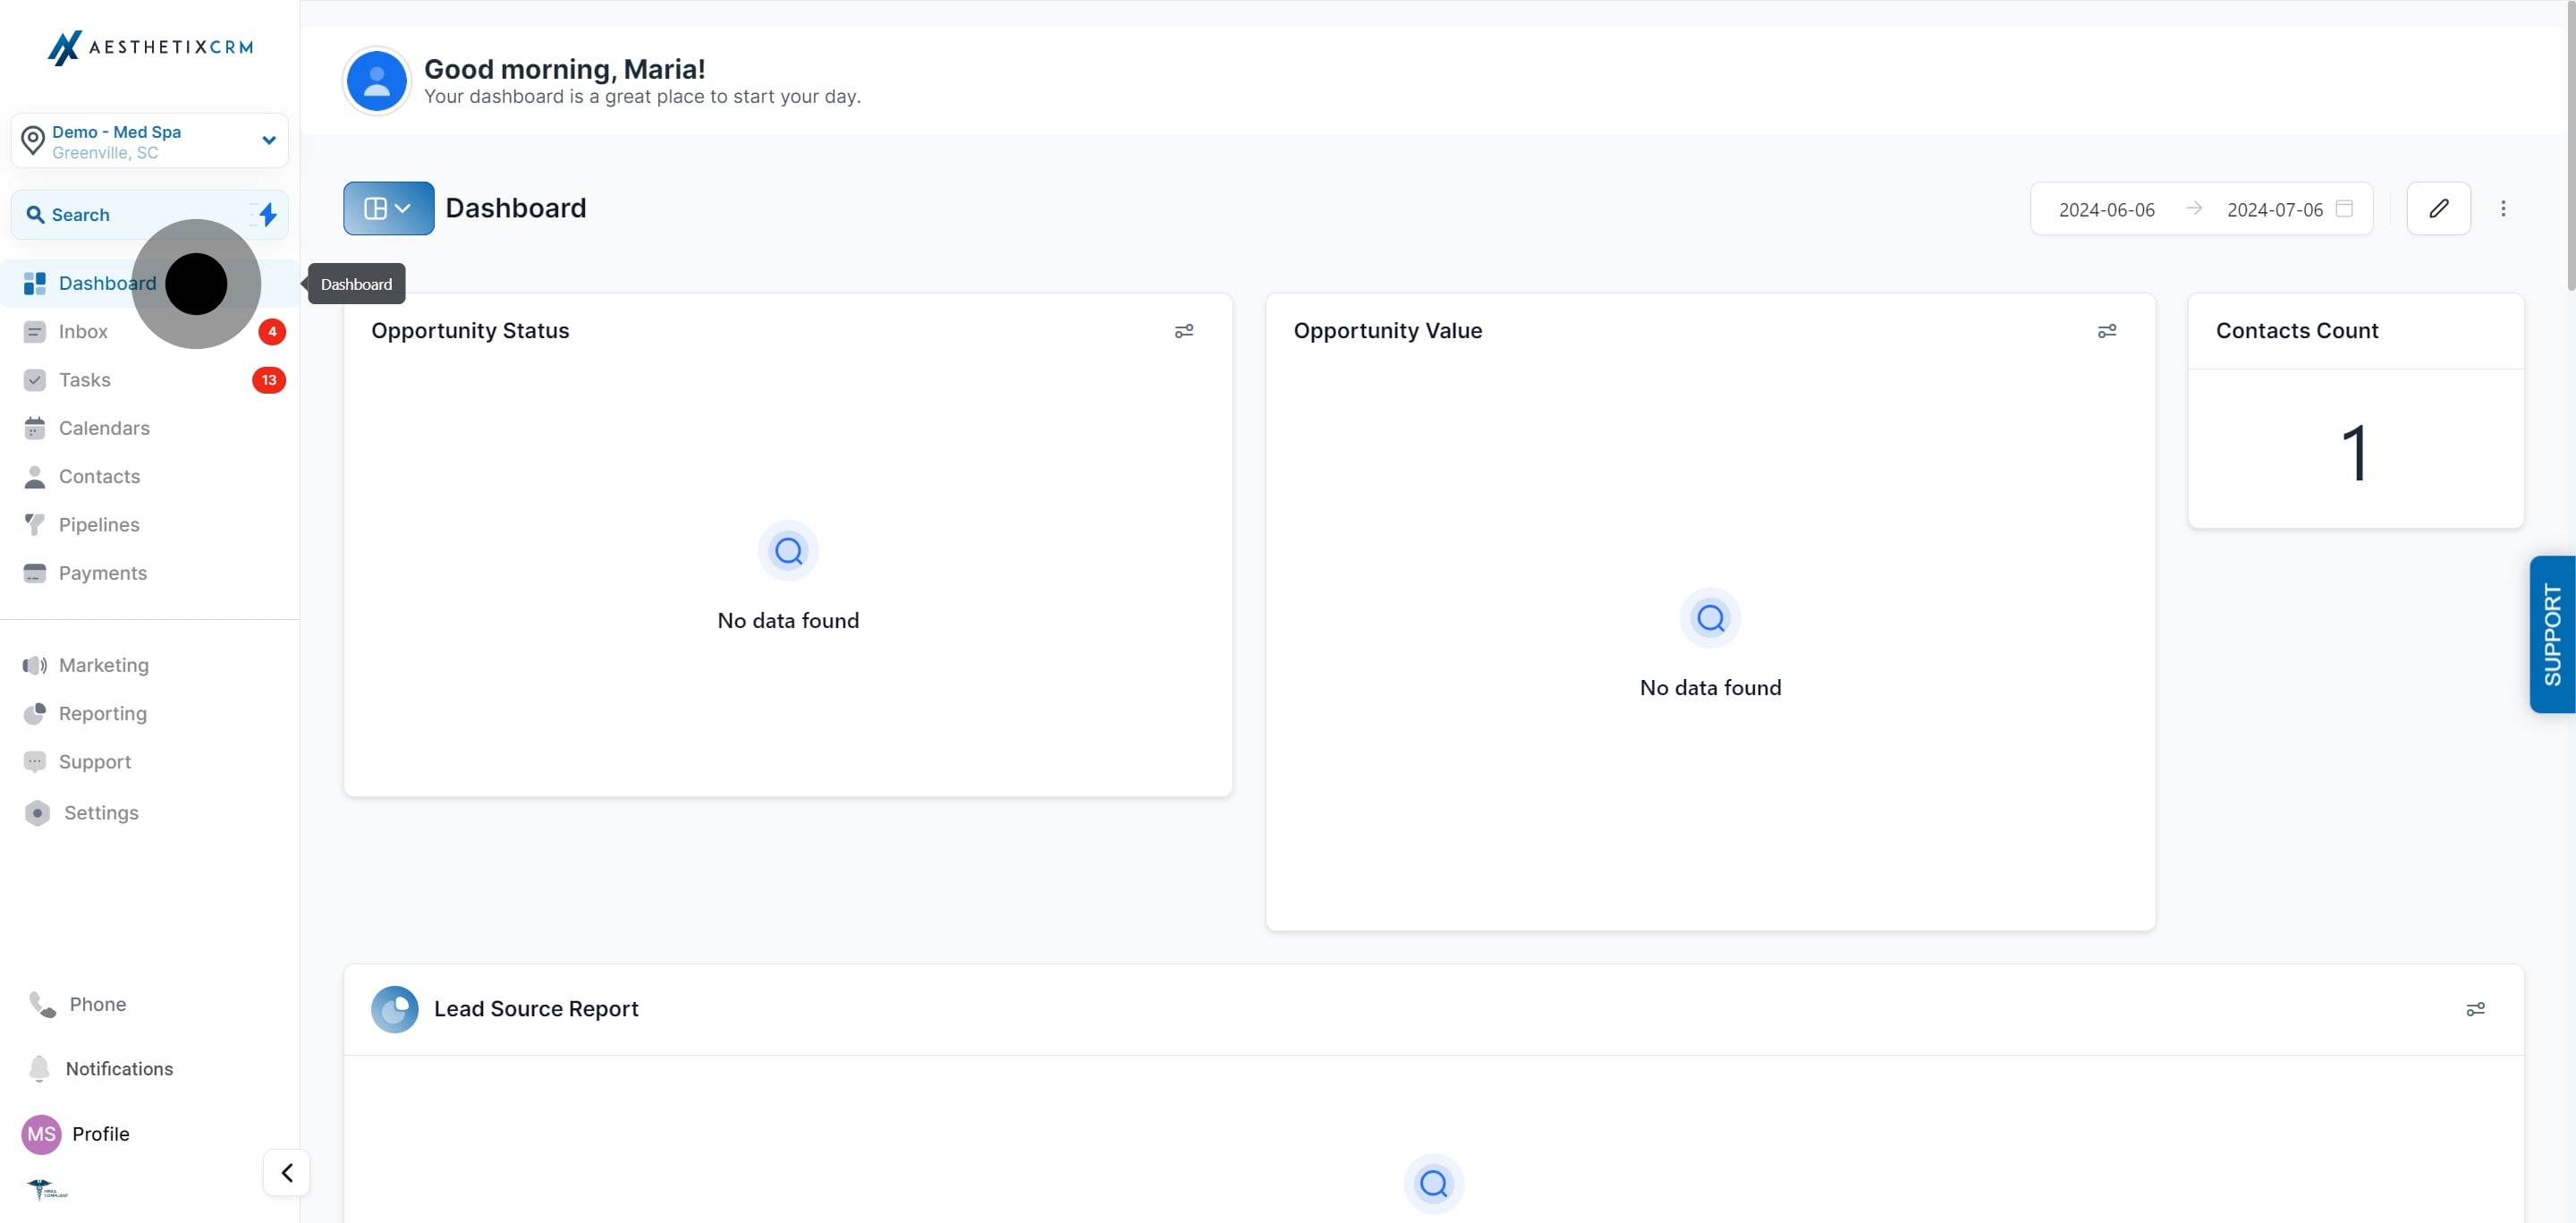
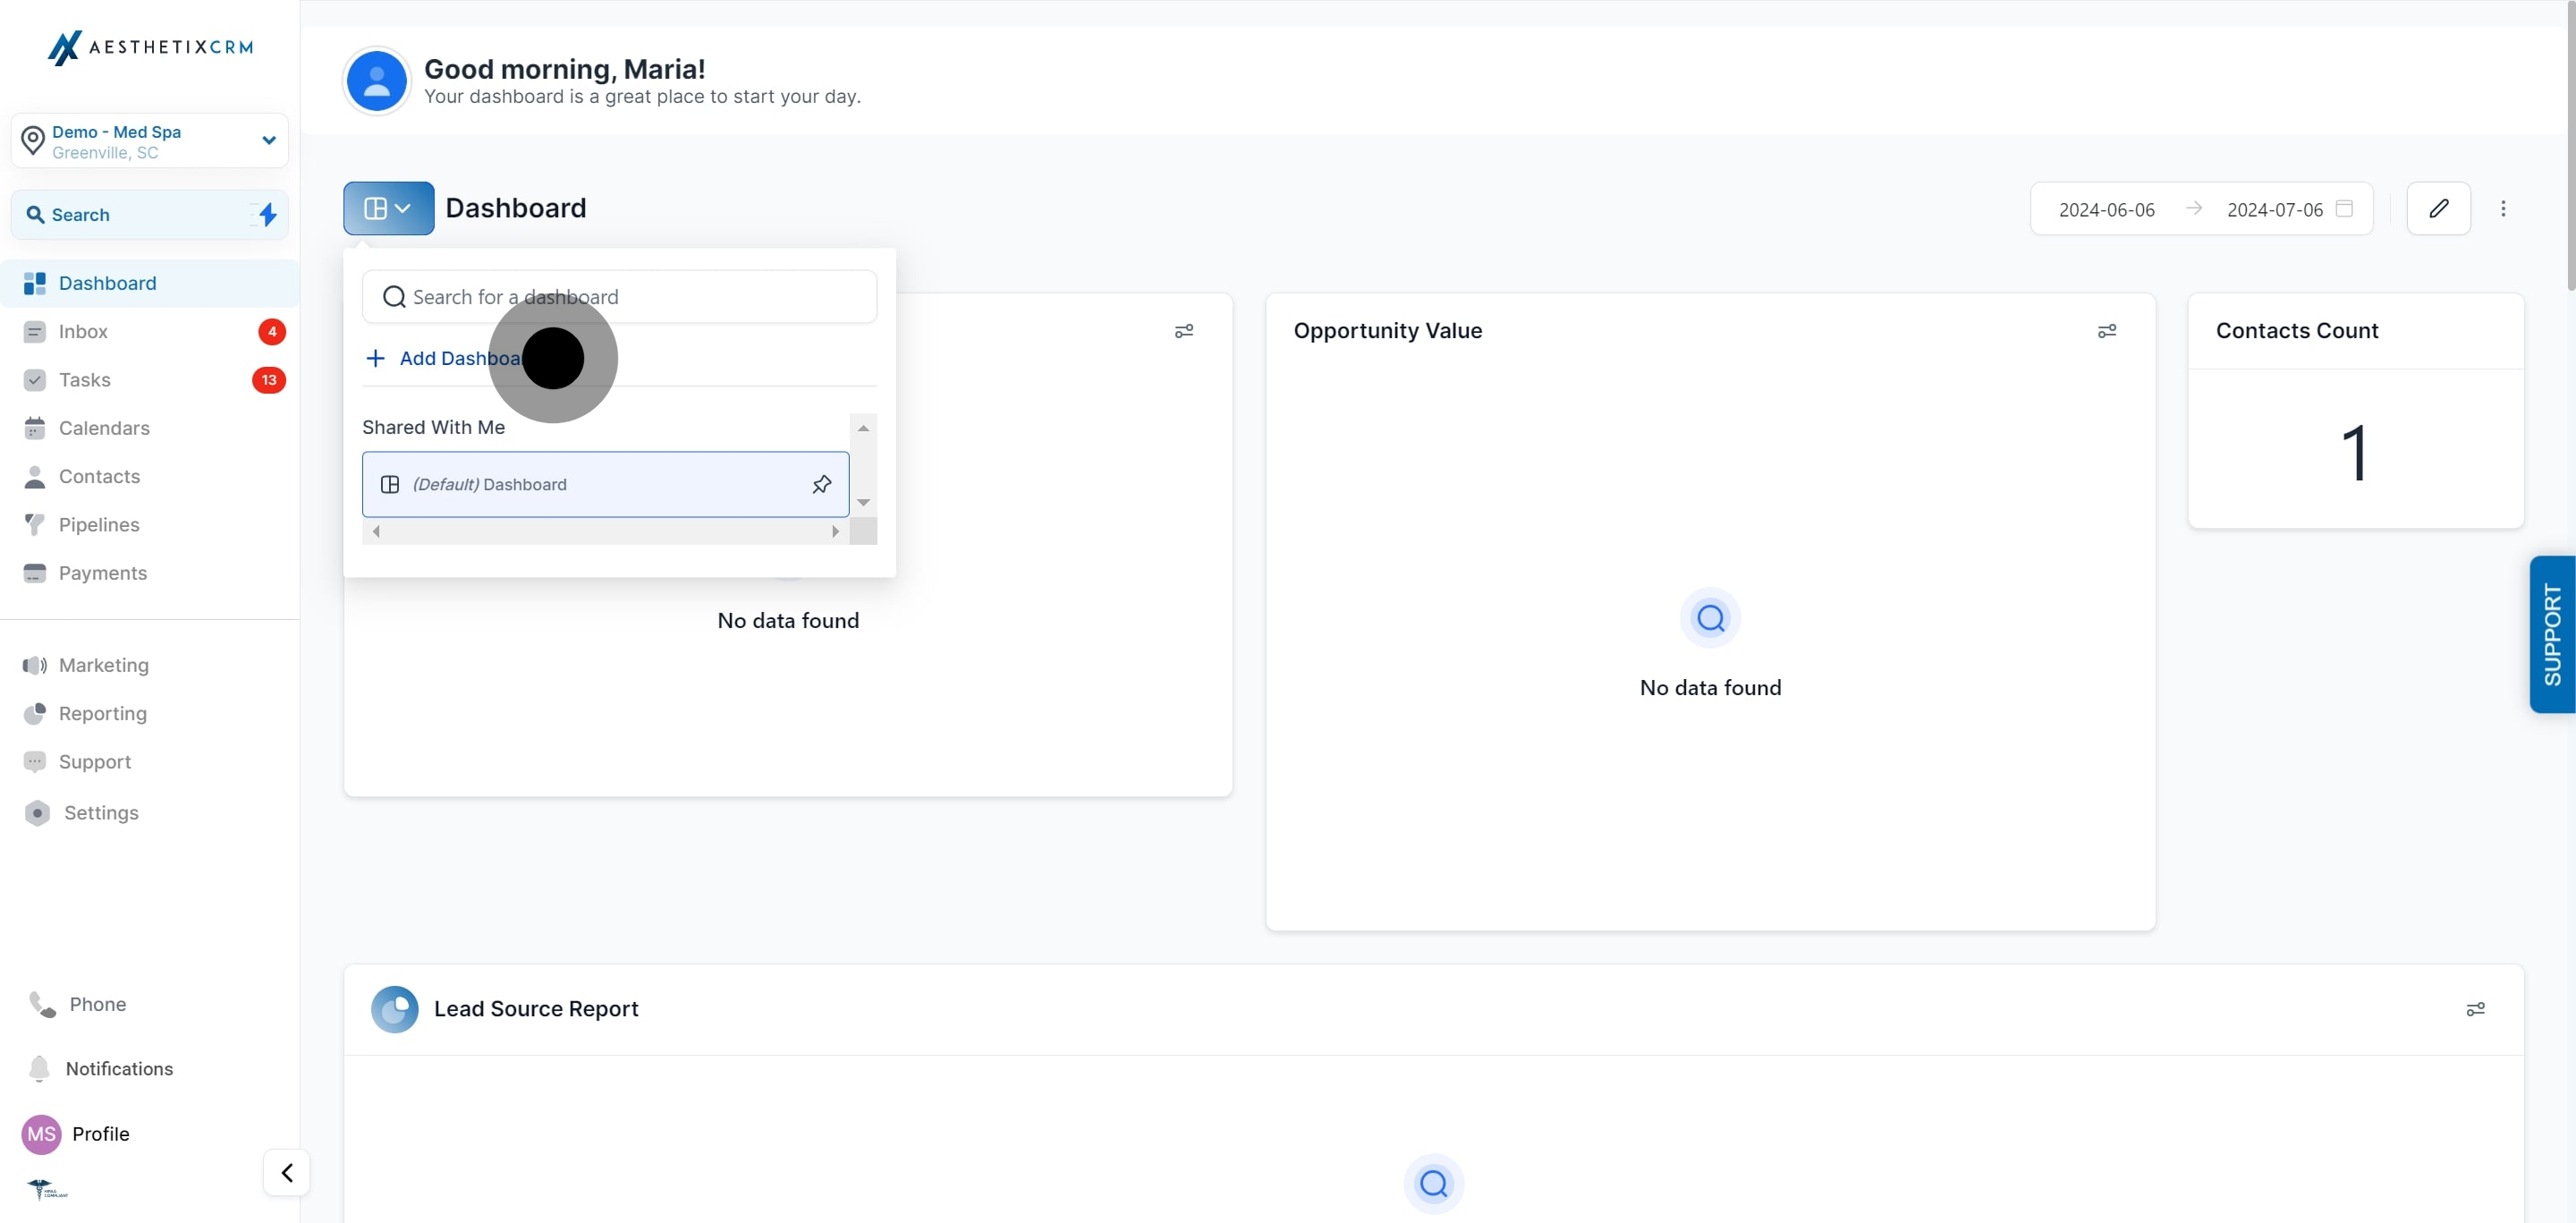
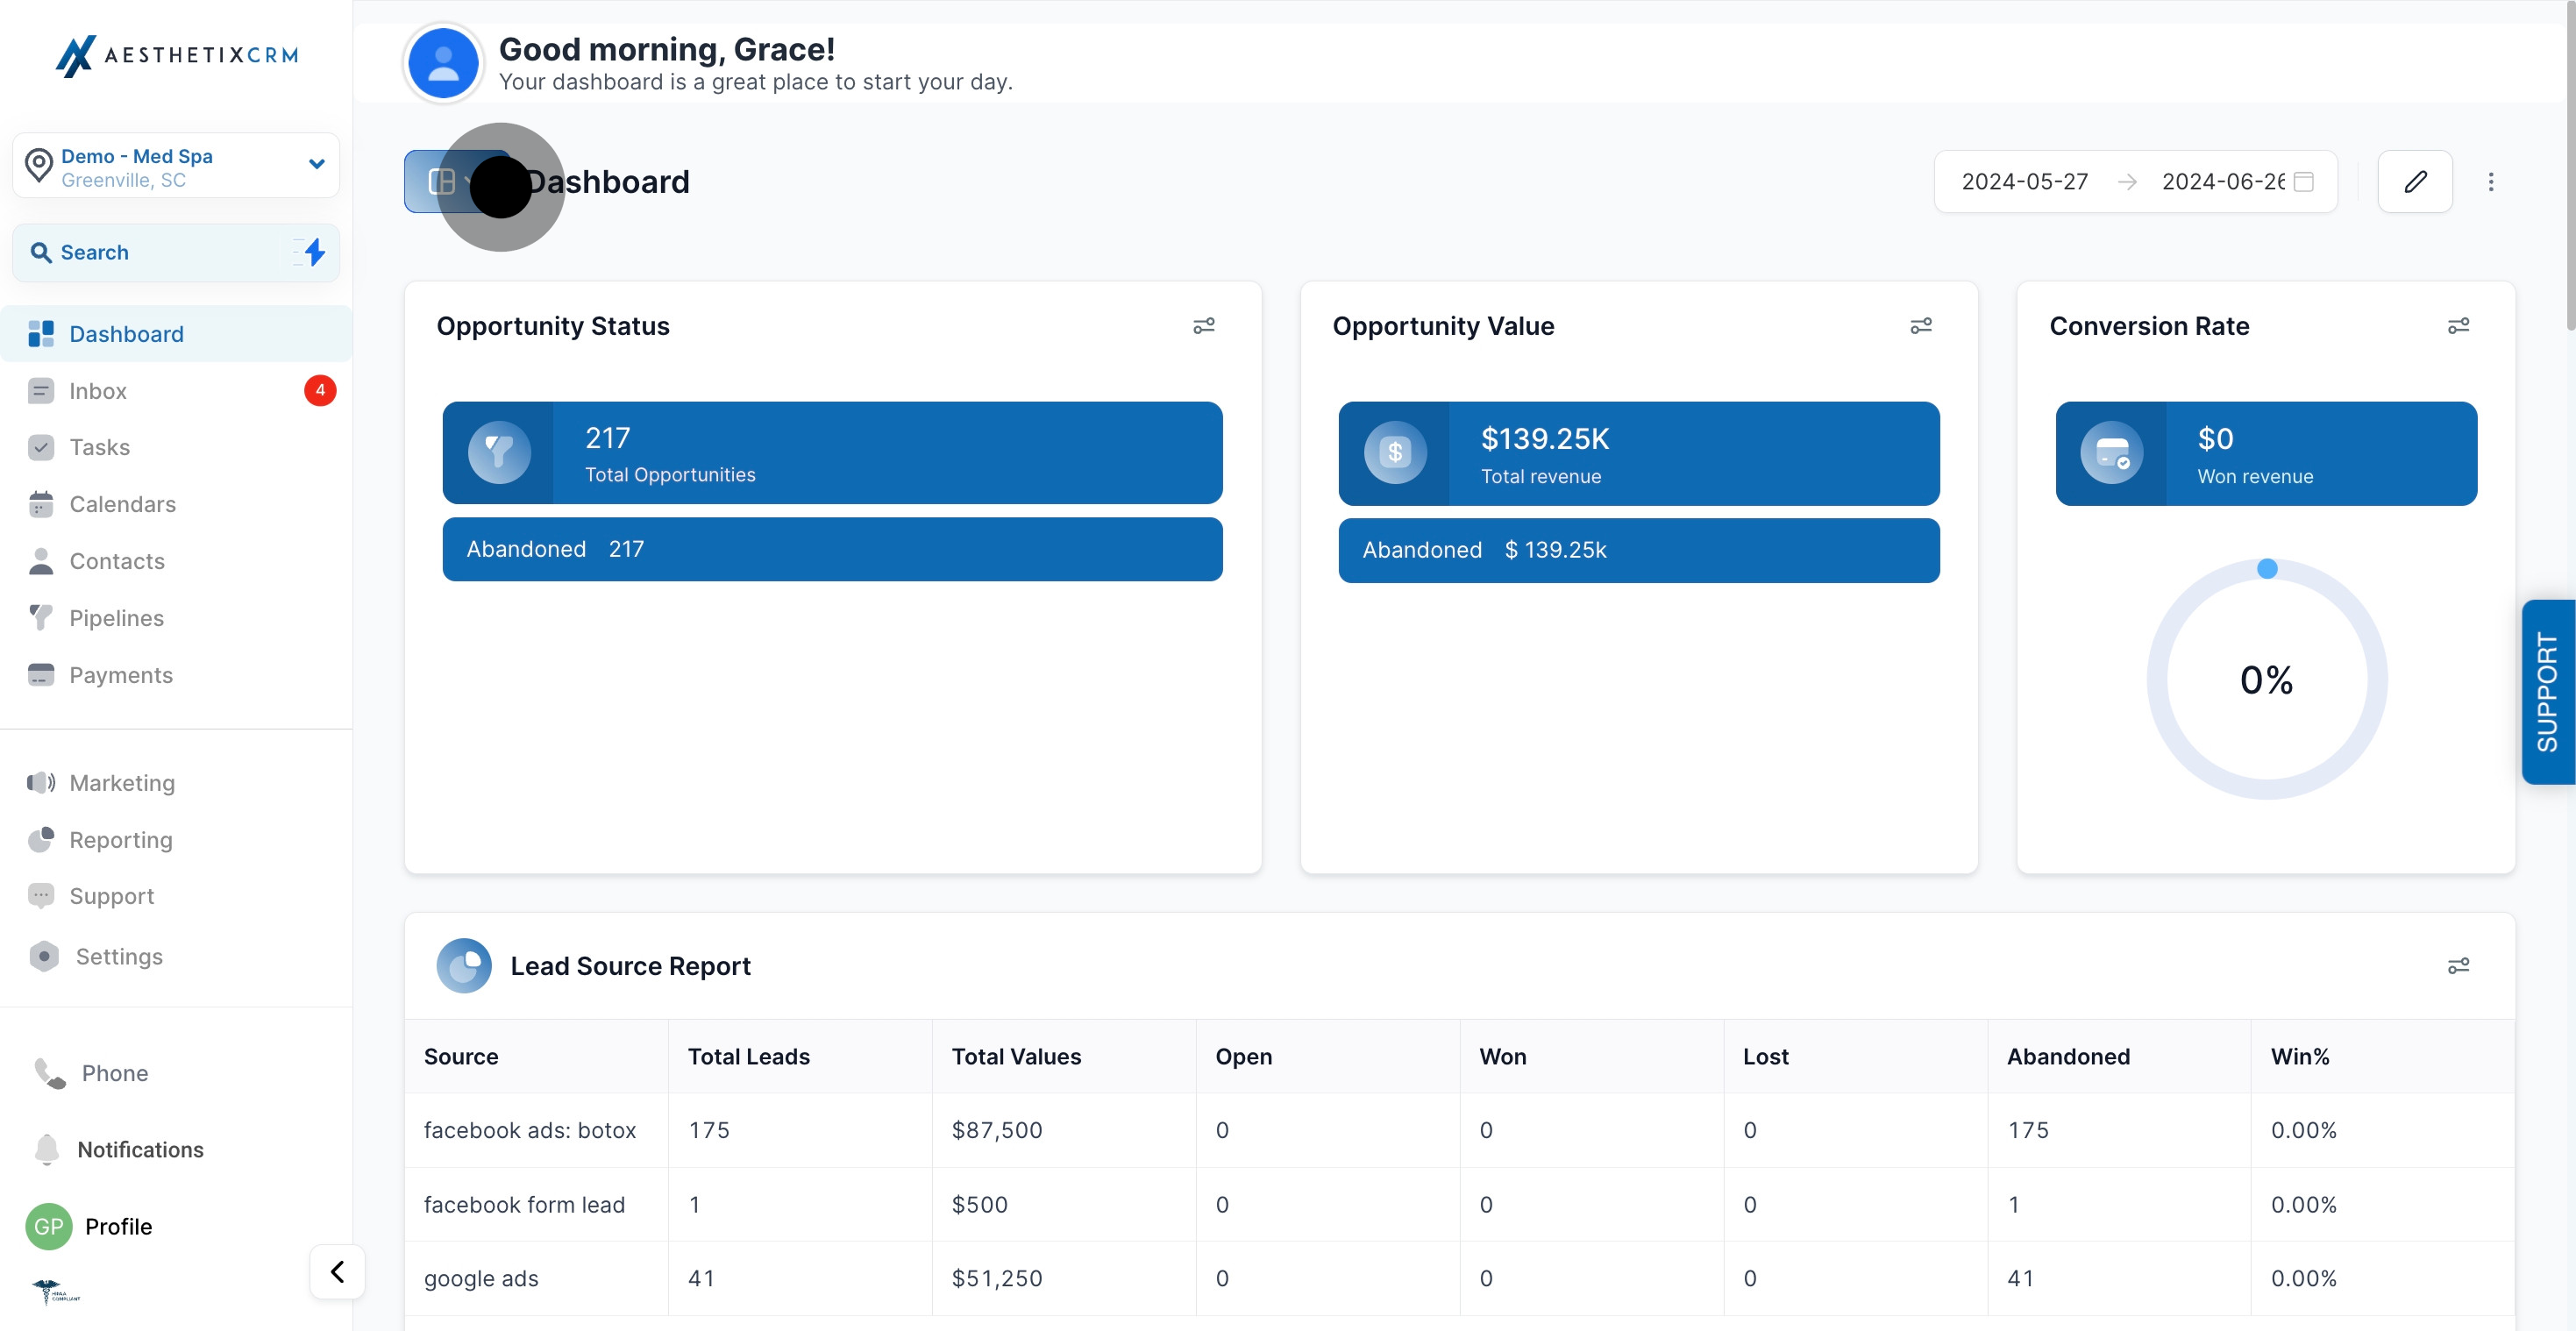
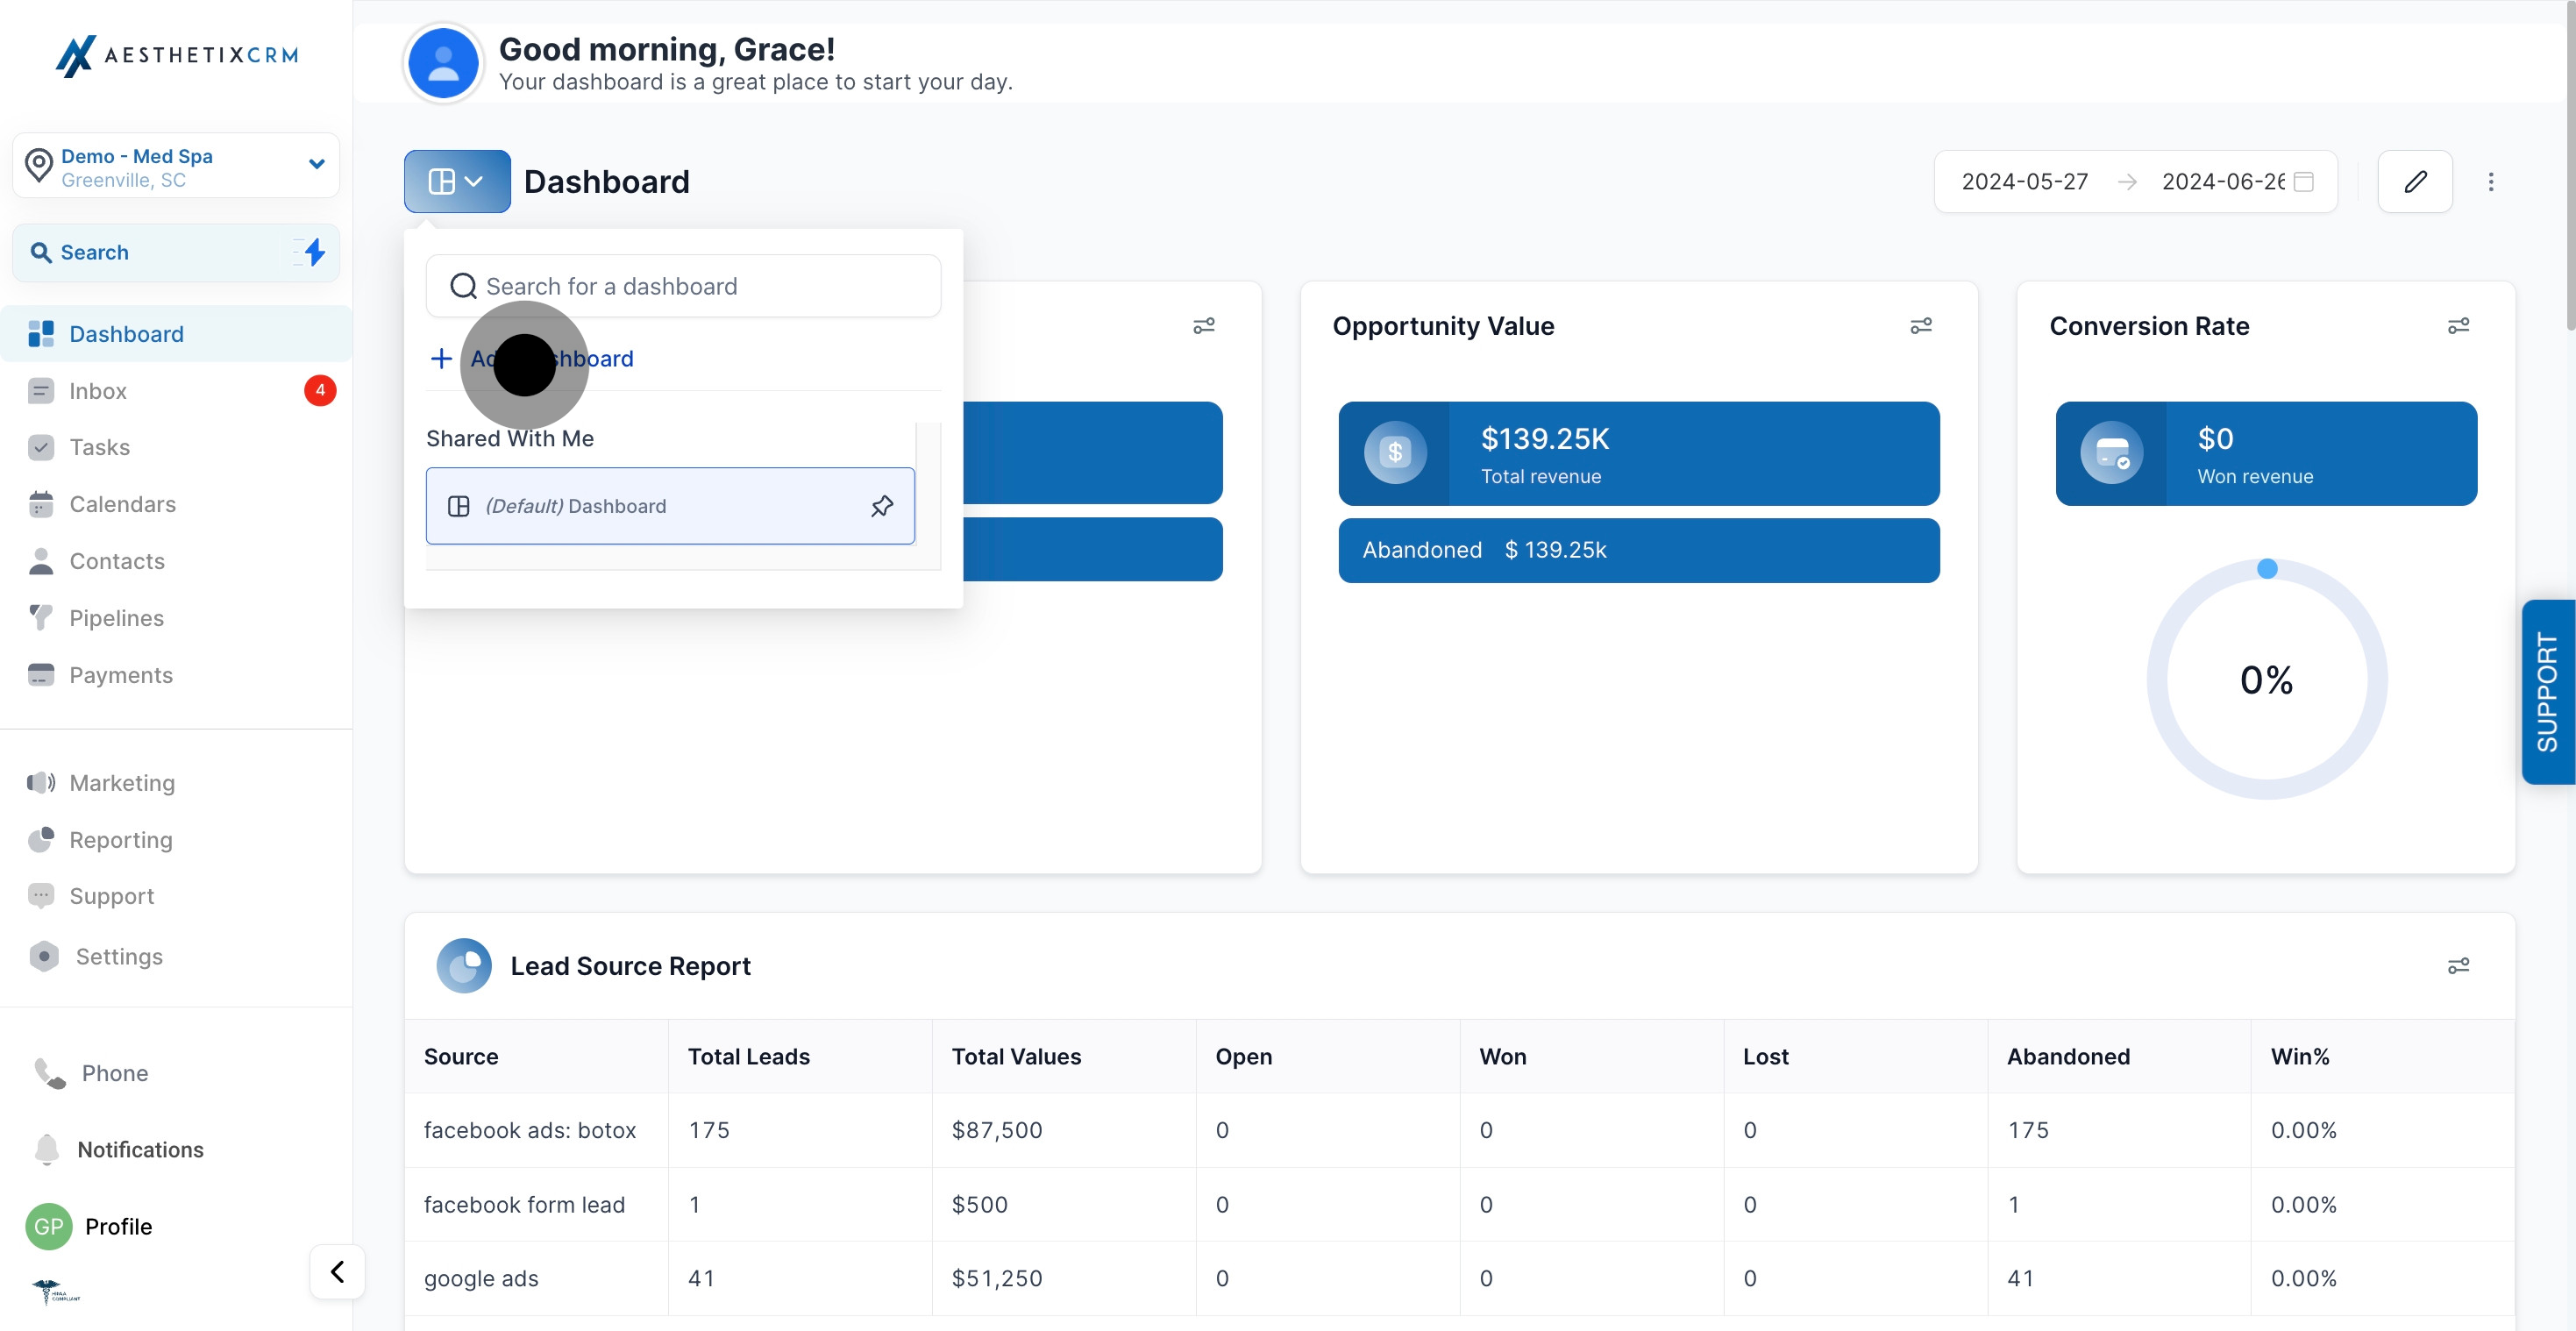
Click the dashboard navigation dropdown at the top of the page to expand it.
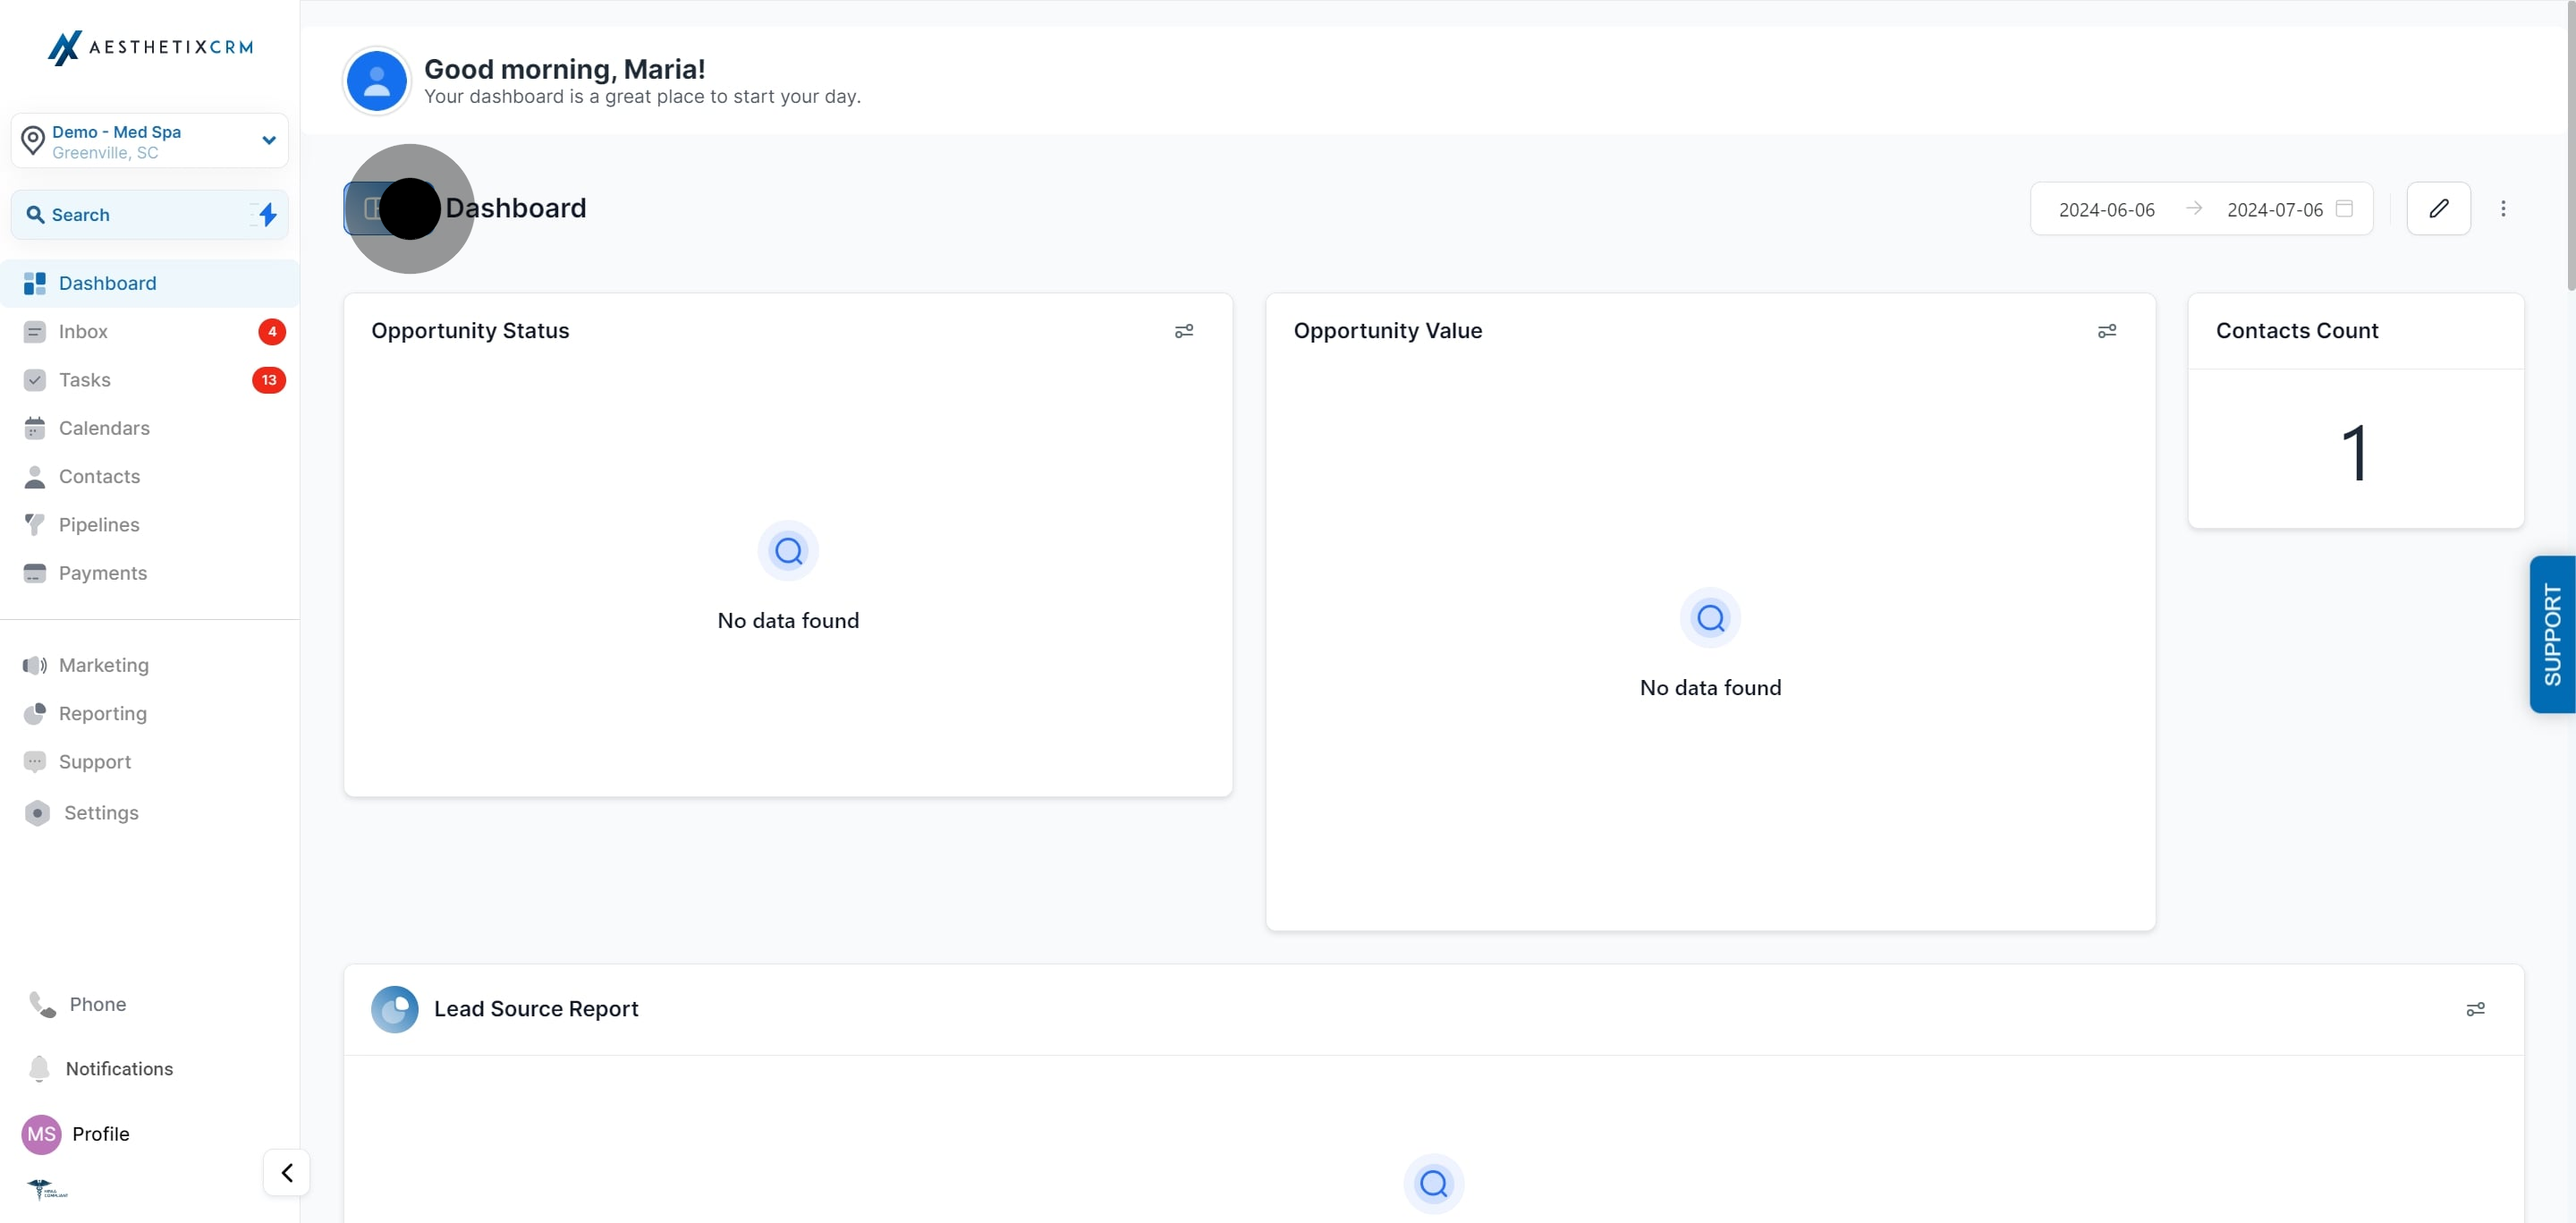
In the dropdown, click "+ Add Dashboard."
If you don't see this button, make sure you're in dashboard view mode (not edit mode).
Type a name into the Dashboard Name field. Use something specific to who will read it, like "Owner KPI Board" or "Front Desk Daily View," so your team can tell dashboards apart at a glance.
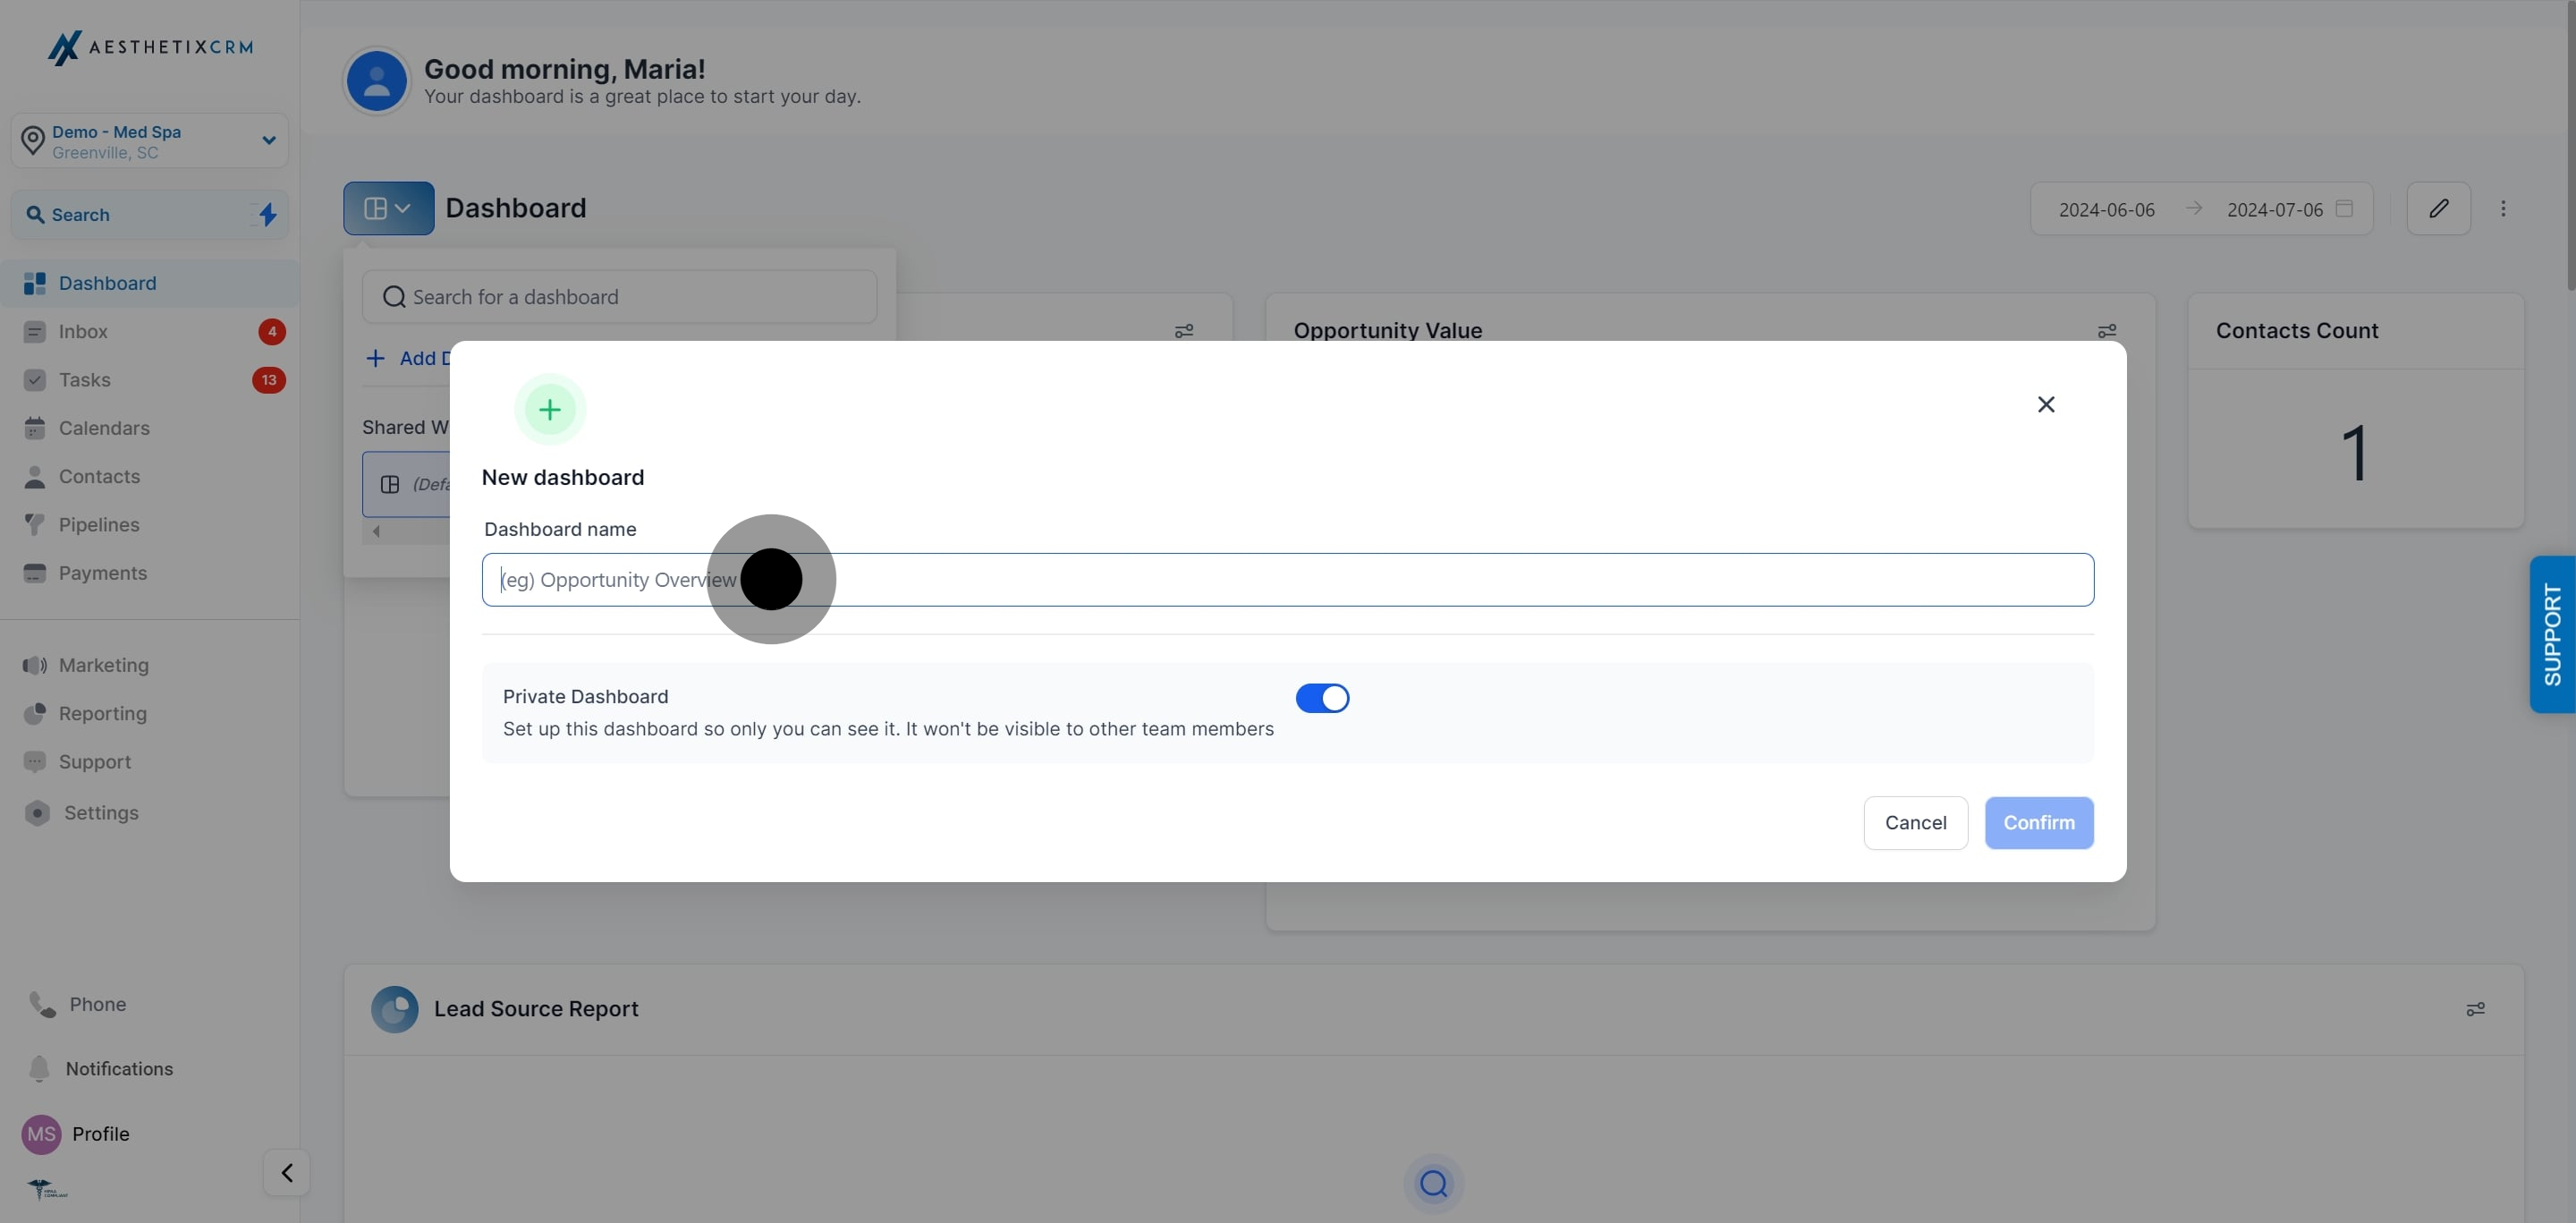
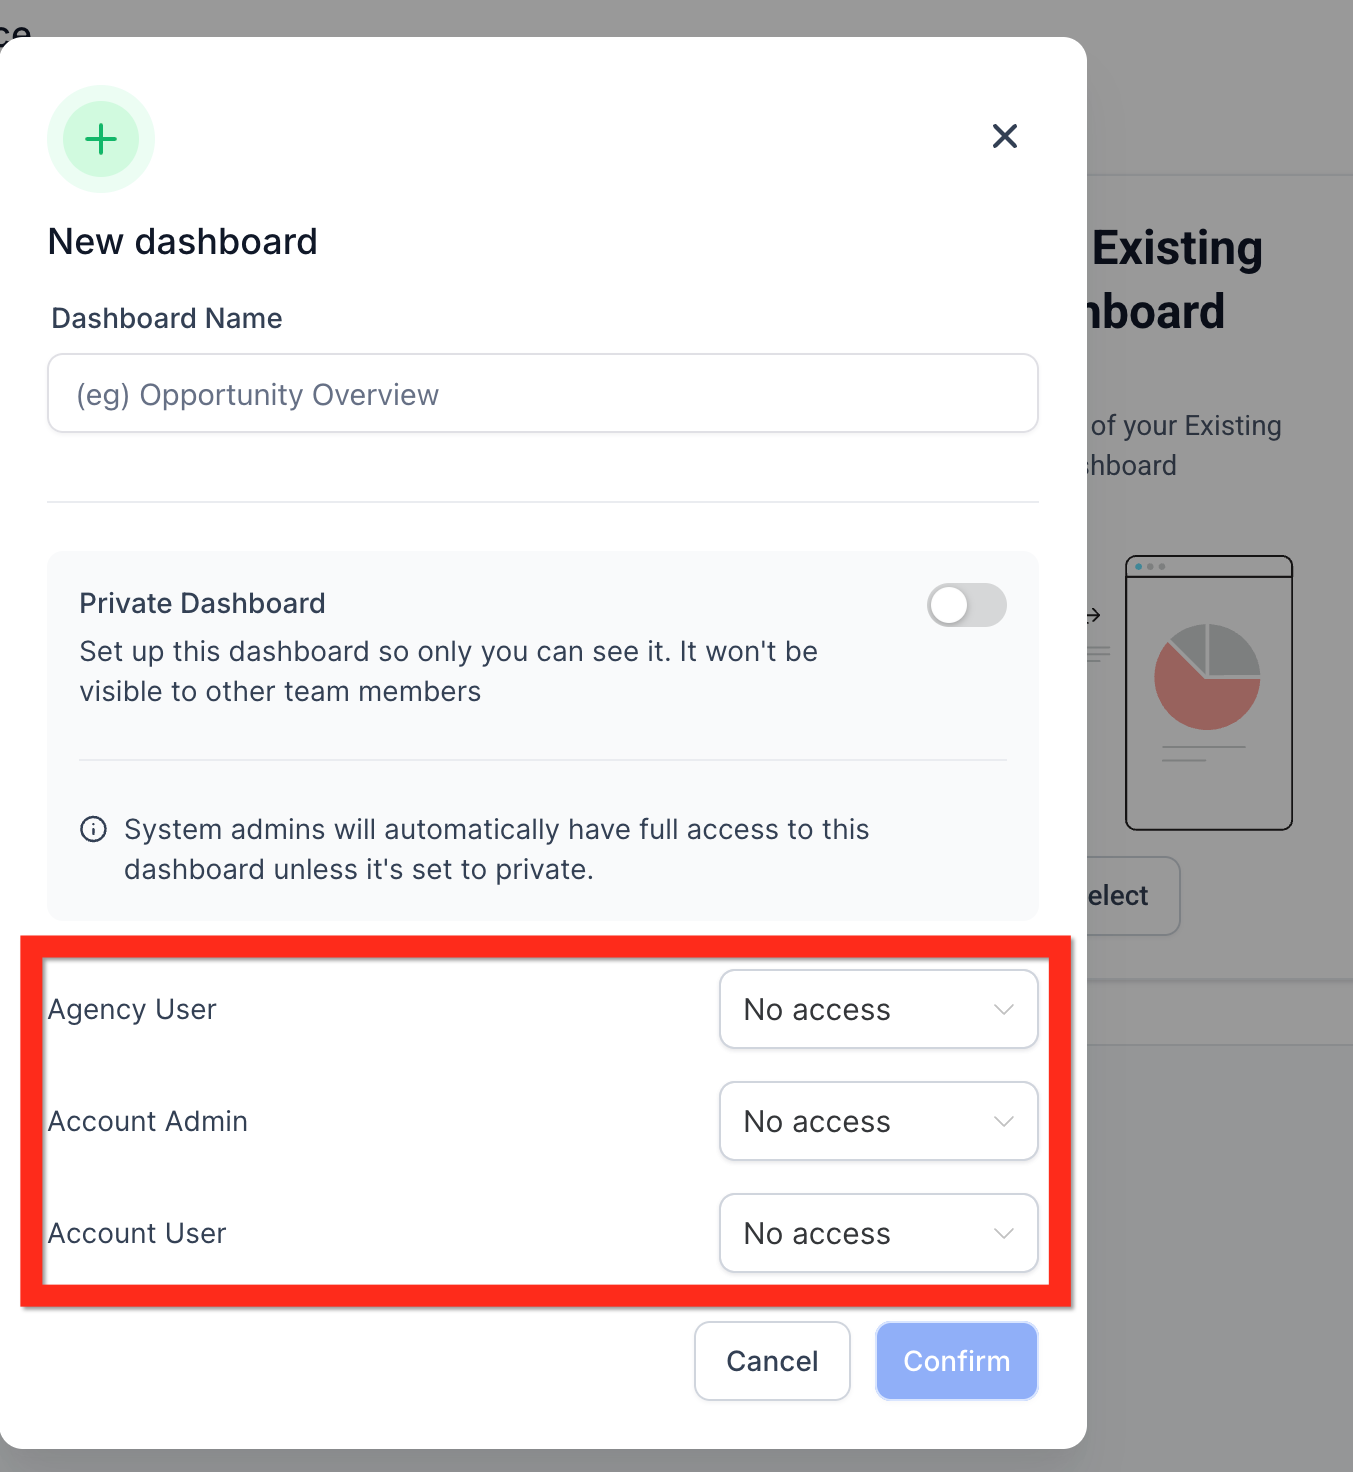
Use the Private Dashboard toggle to control who can see it. Turn it ON to keep the dashboard visible to you only, or OFF to allow your team to access it.
If Private Dashboard is turned off, set access levels for each user role so the right staff members can view (or edit) the dashboard.
If this toggle is missing, make sure you're still on the "New Dashboard" page and haven't navigated away.
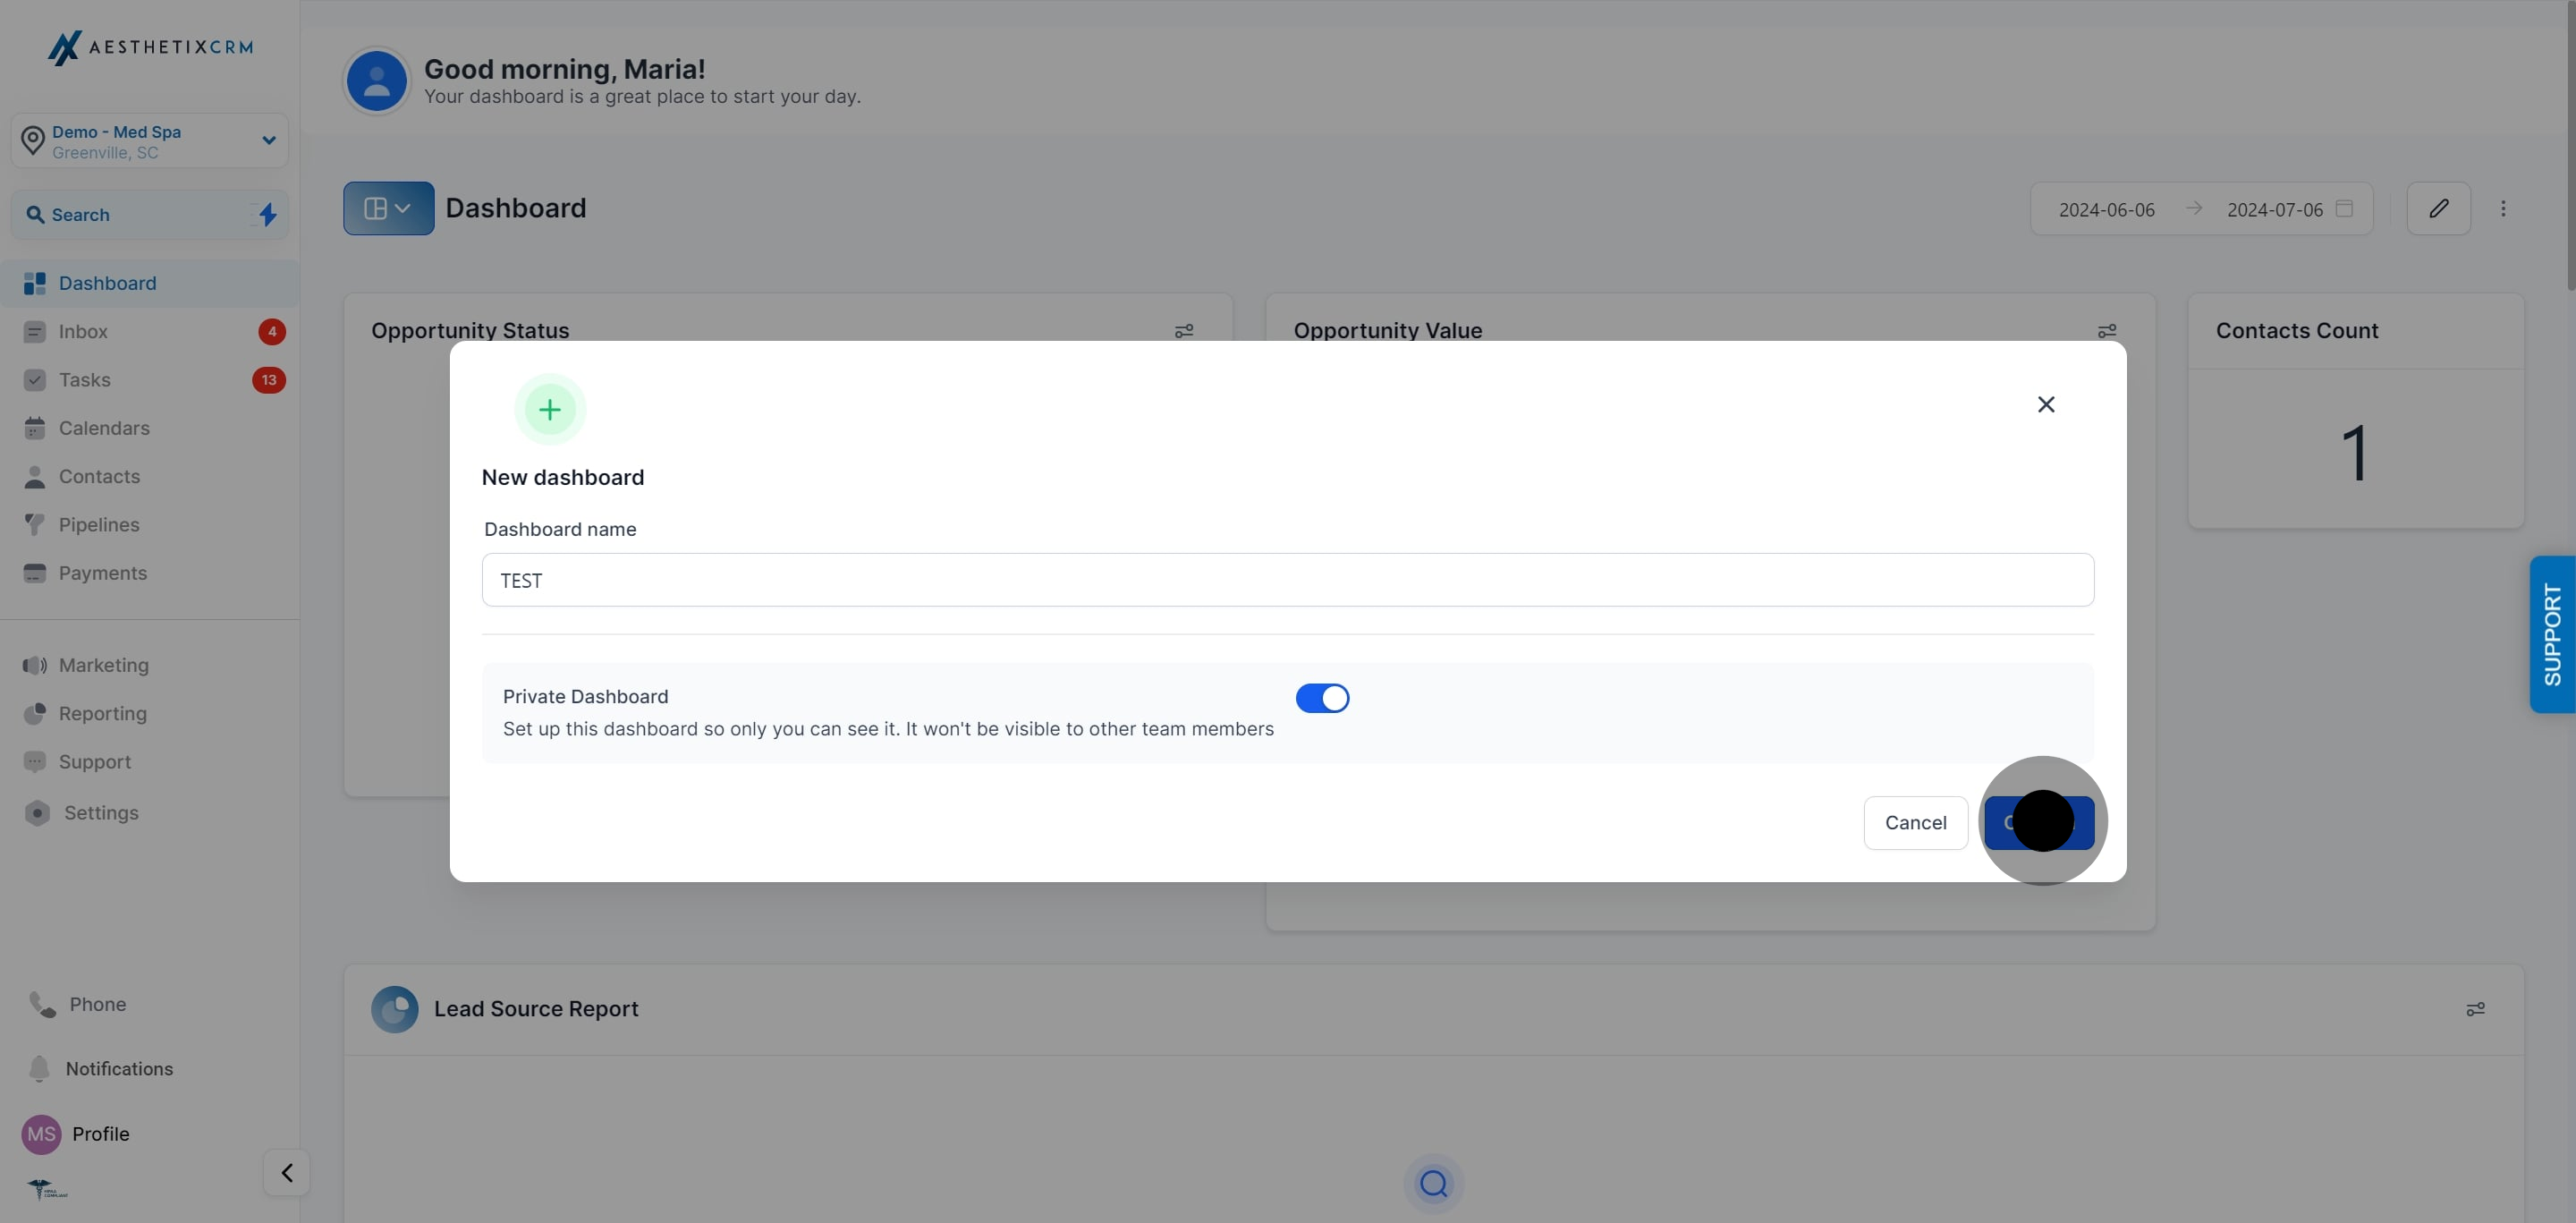
Click "Confirm" to finish. This opens your new, blank dashboard.
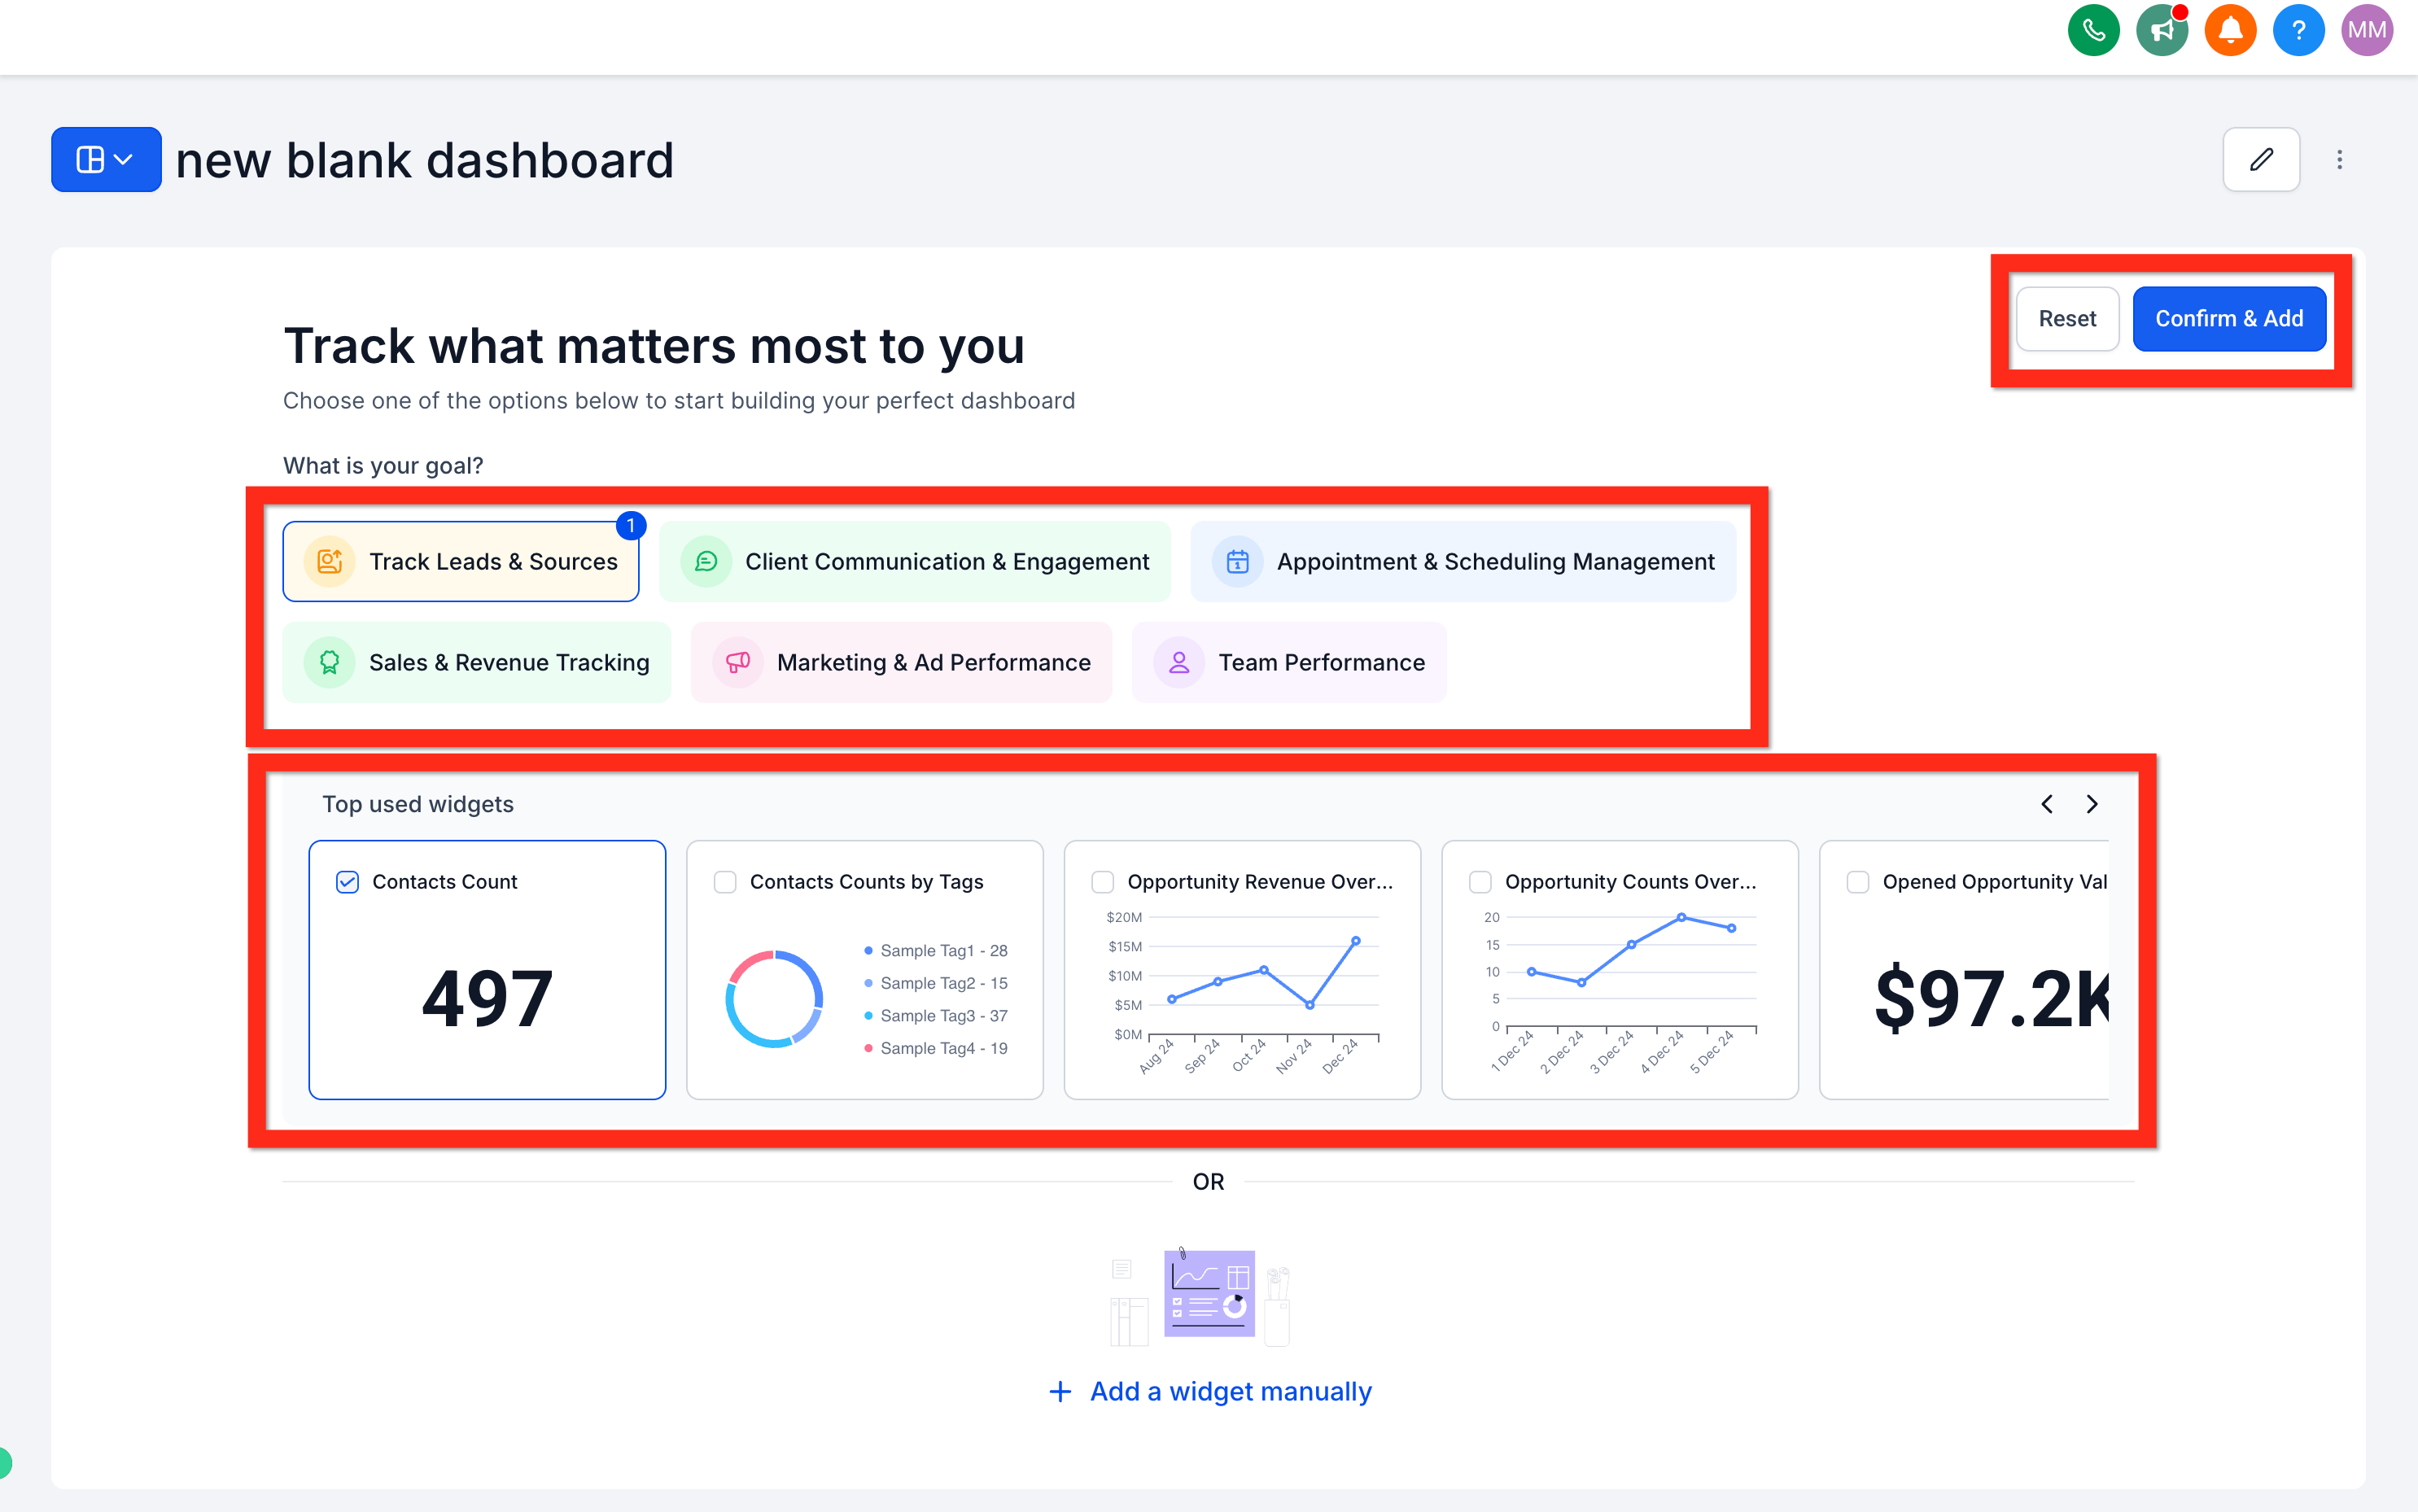
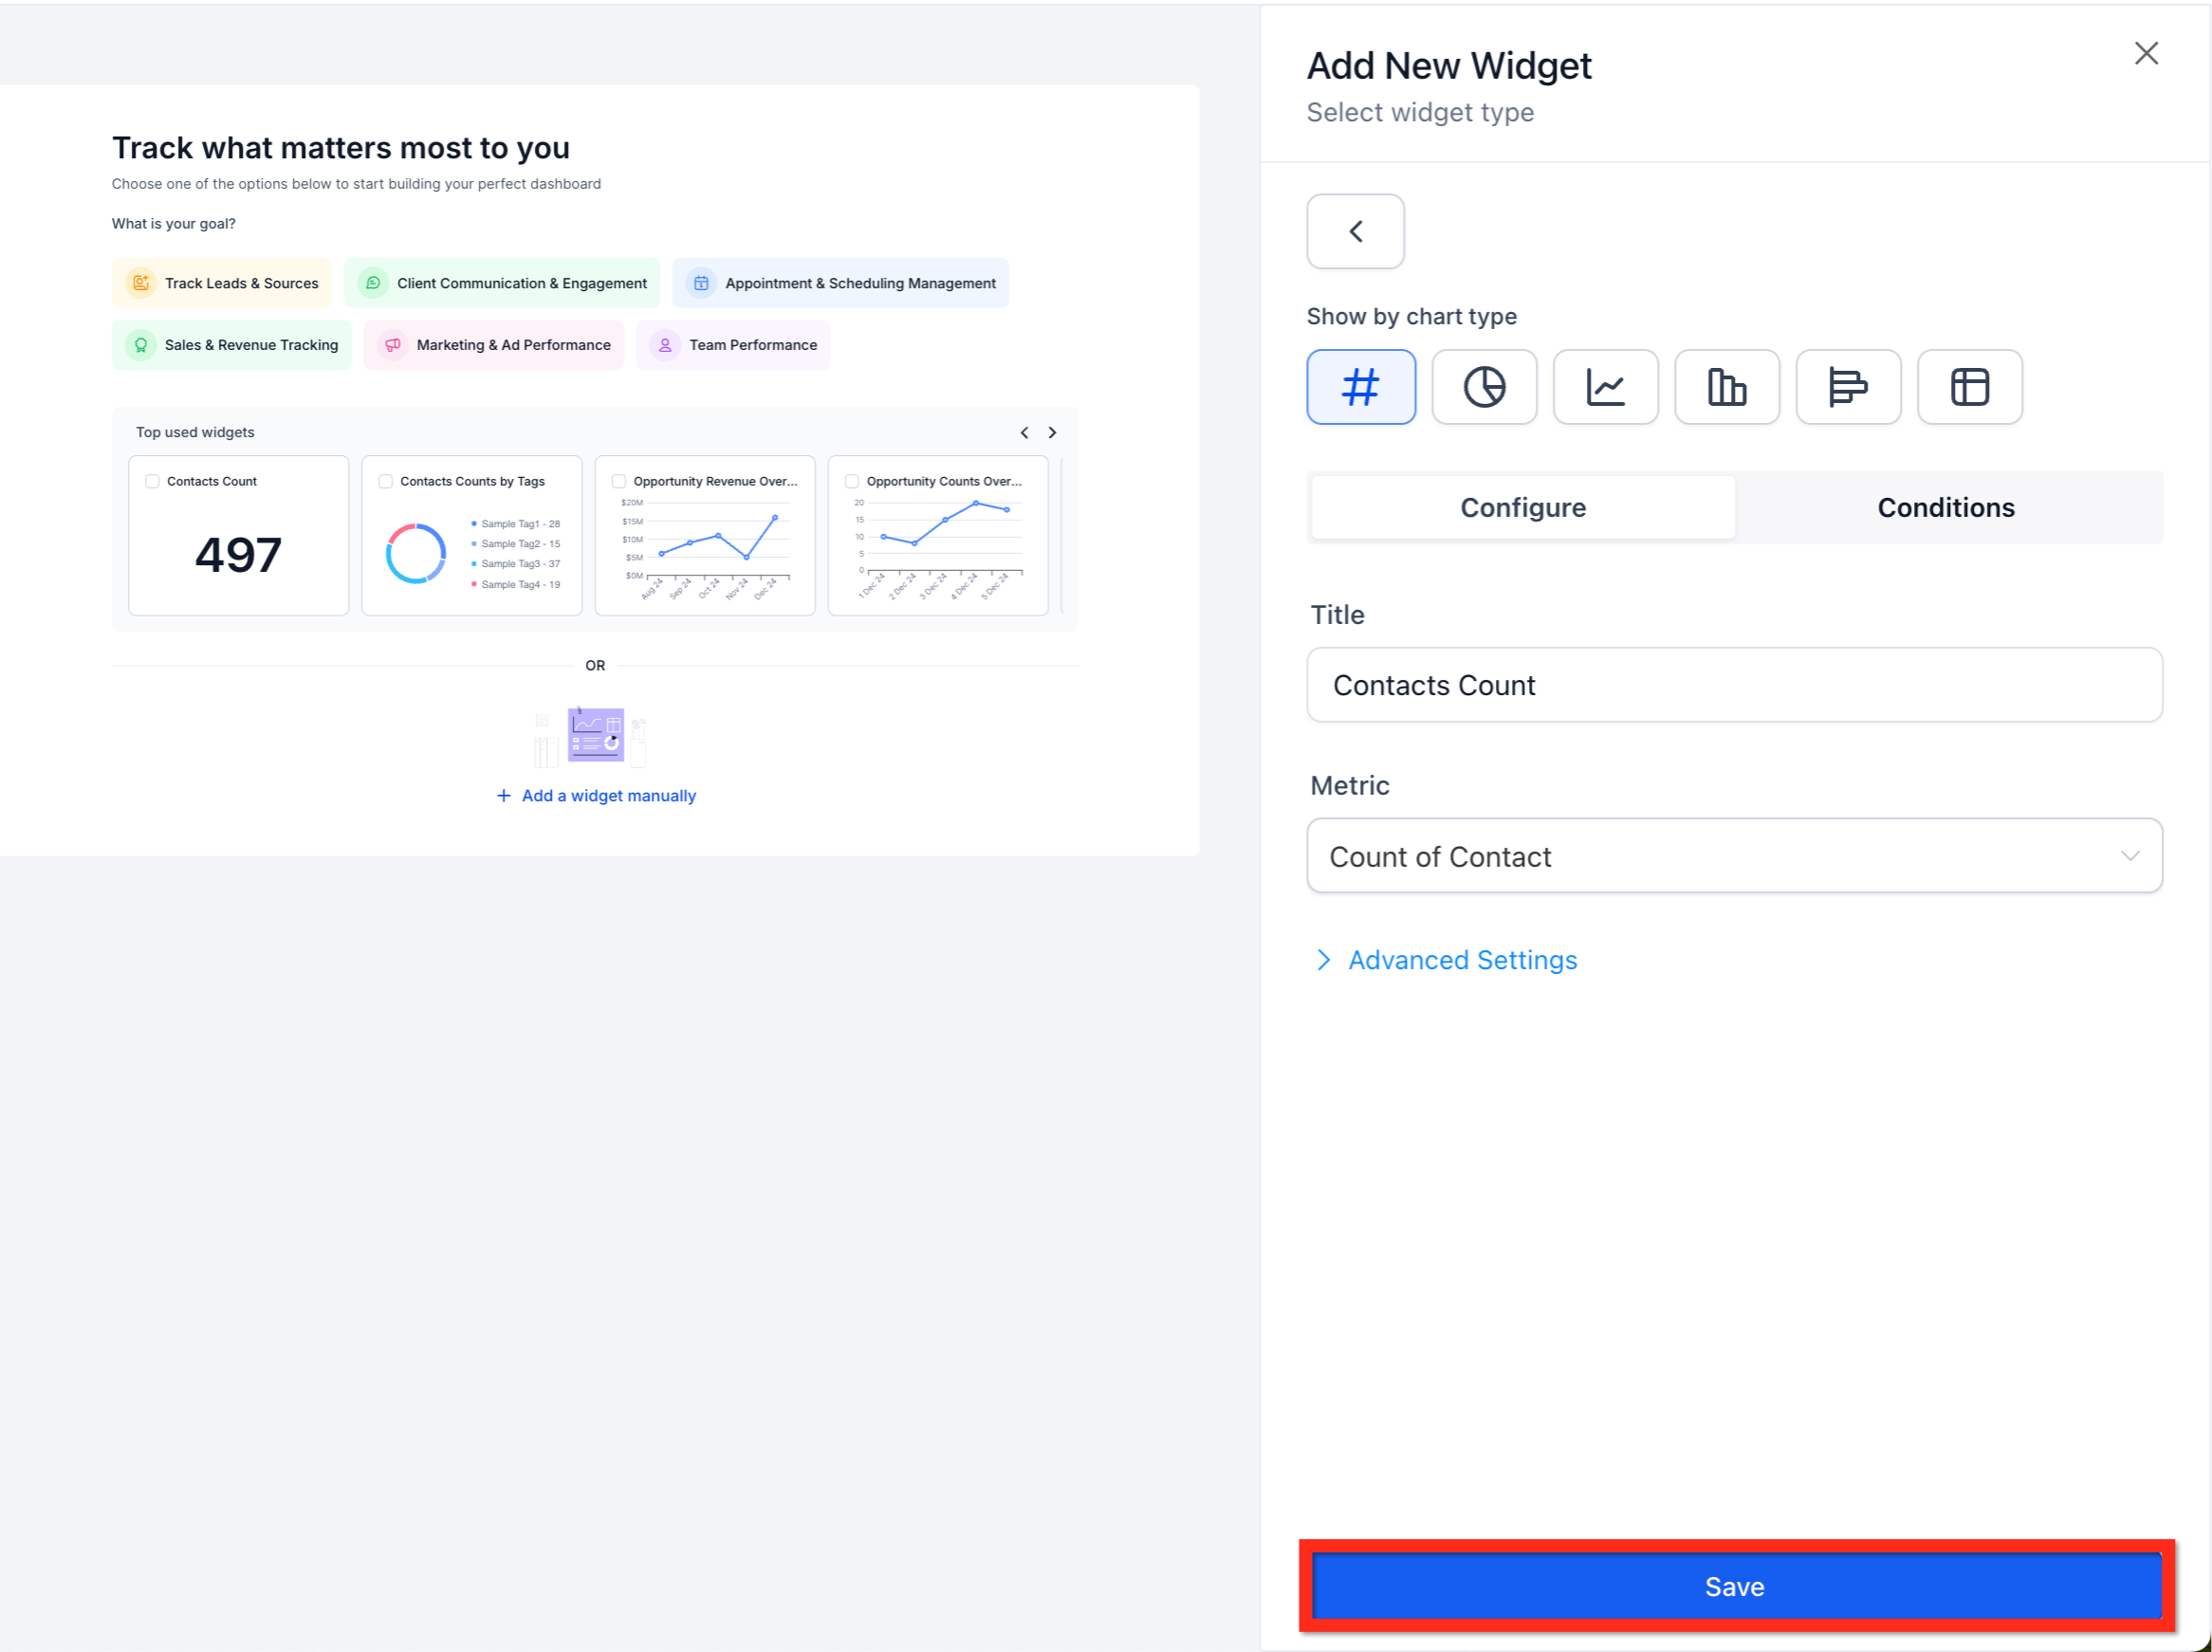
After the dashboard is created, you'll land on the Quick Start Widgets page. This is the default view any time a dashboard has no widgets yet. From here, choose one of three ways to add widgets.
Use the "What is your goal?" or "Top used widgets" quick-start options to select one or more popular widgets, then click "Confirm & Add" to insert them right away. This is the fastest way to get a working dashboard.
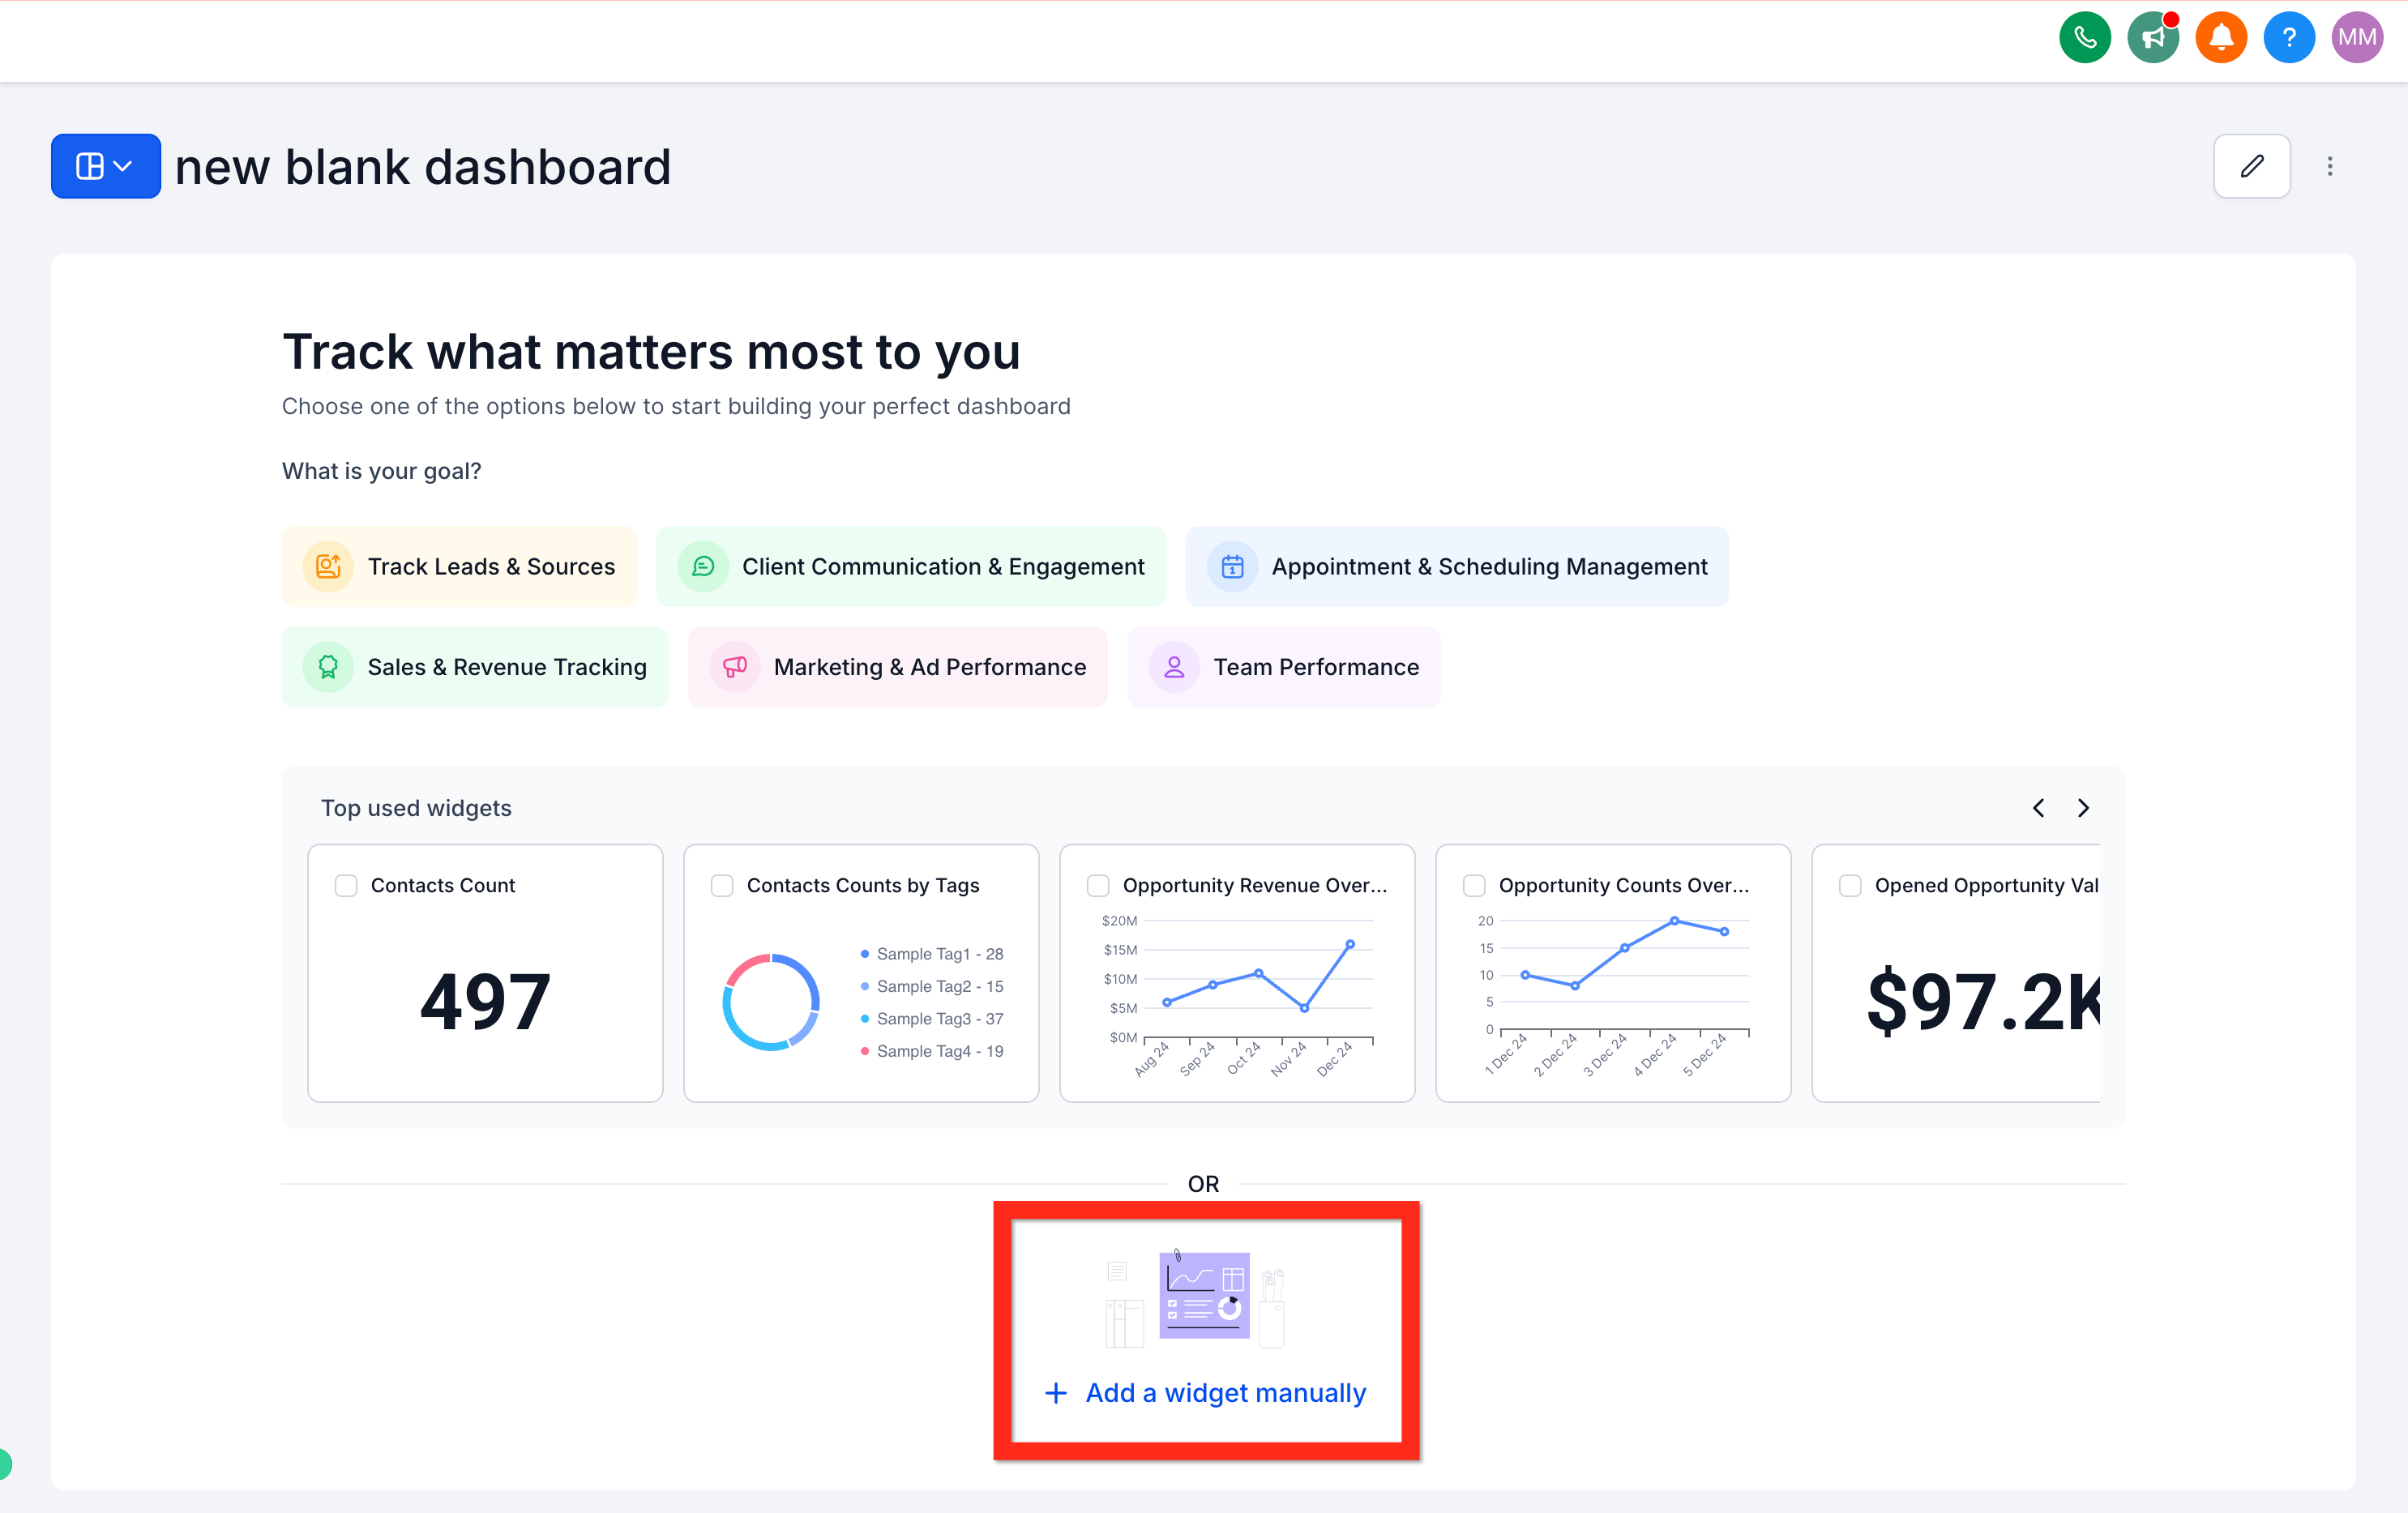
Click "+ Add a widget manually" to open the Add New Widget panel.
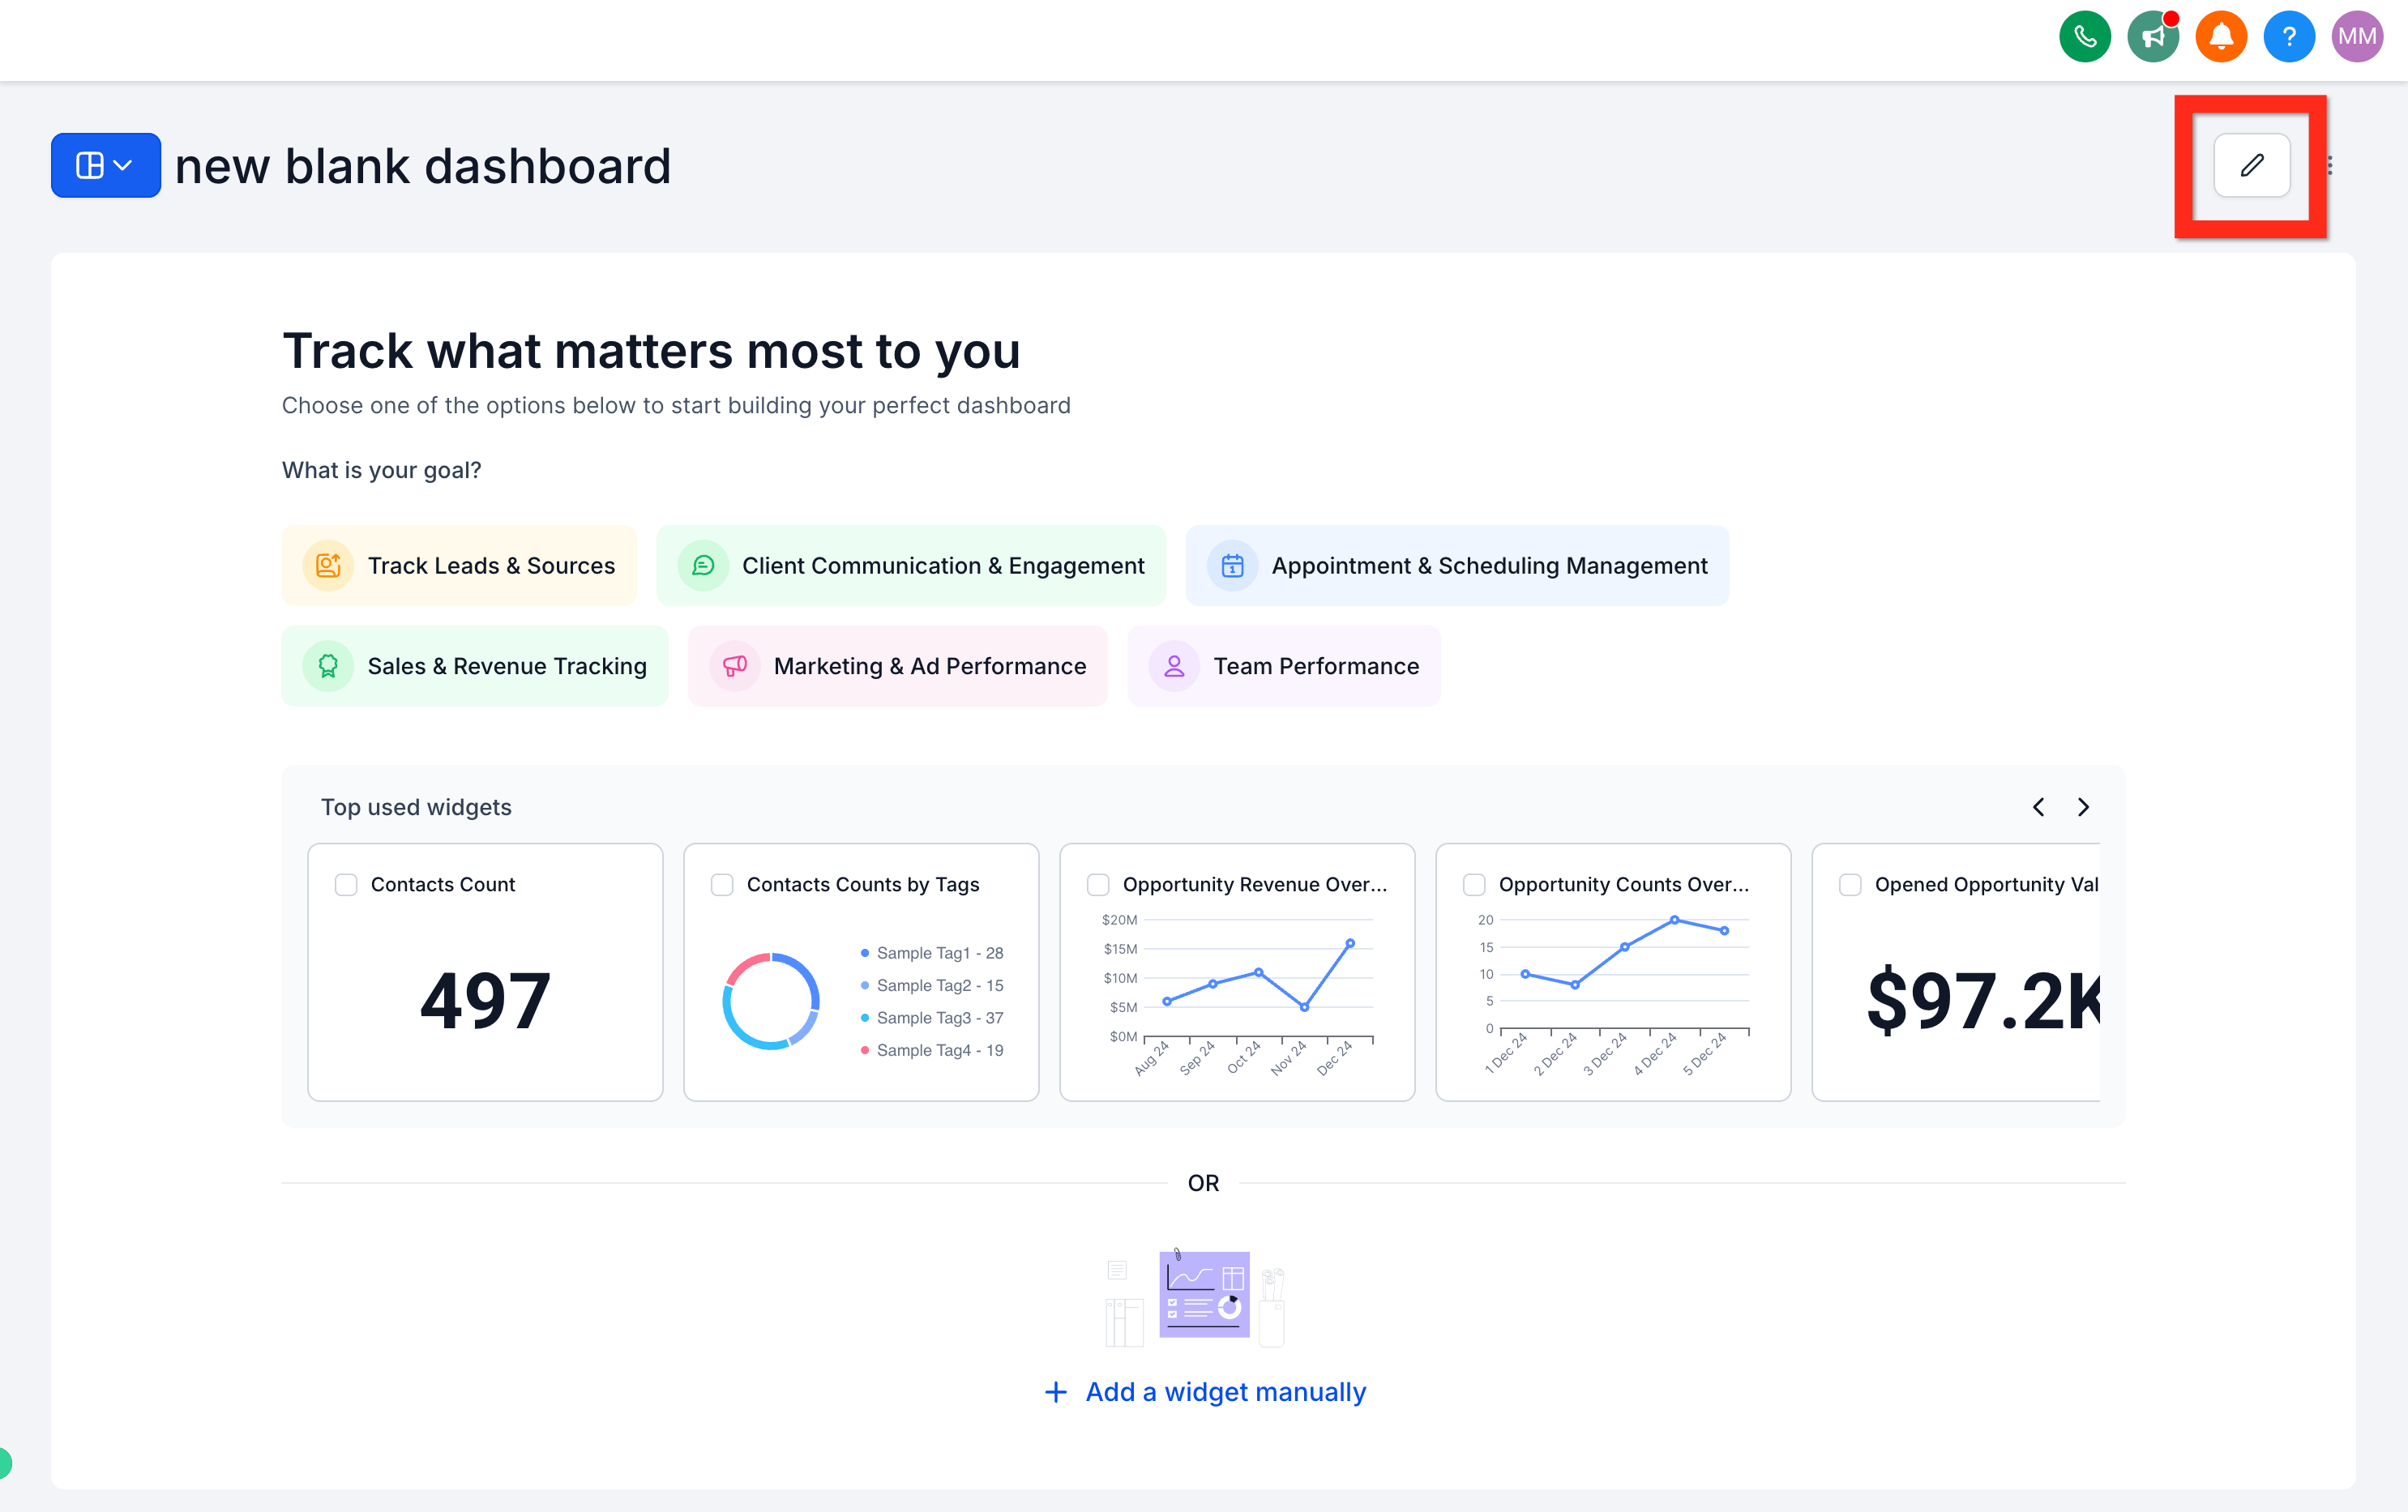
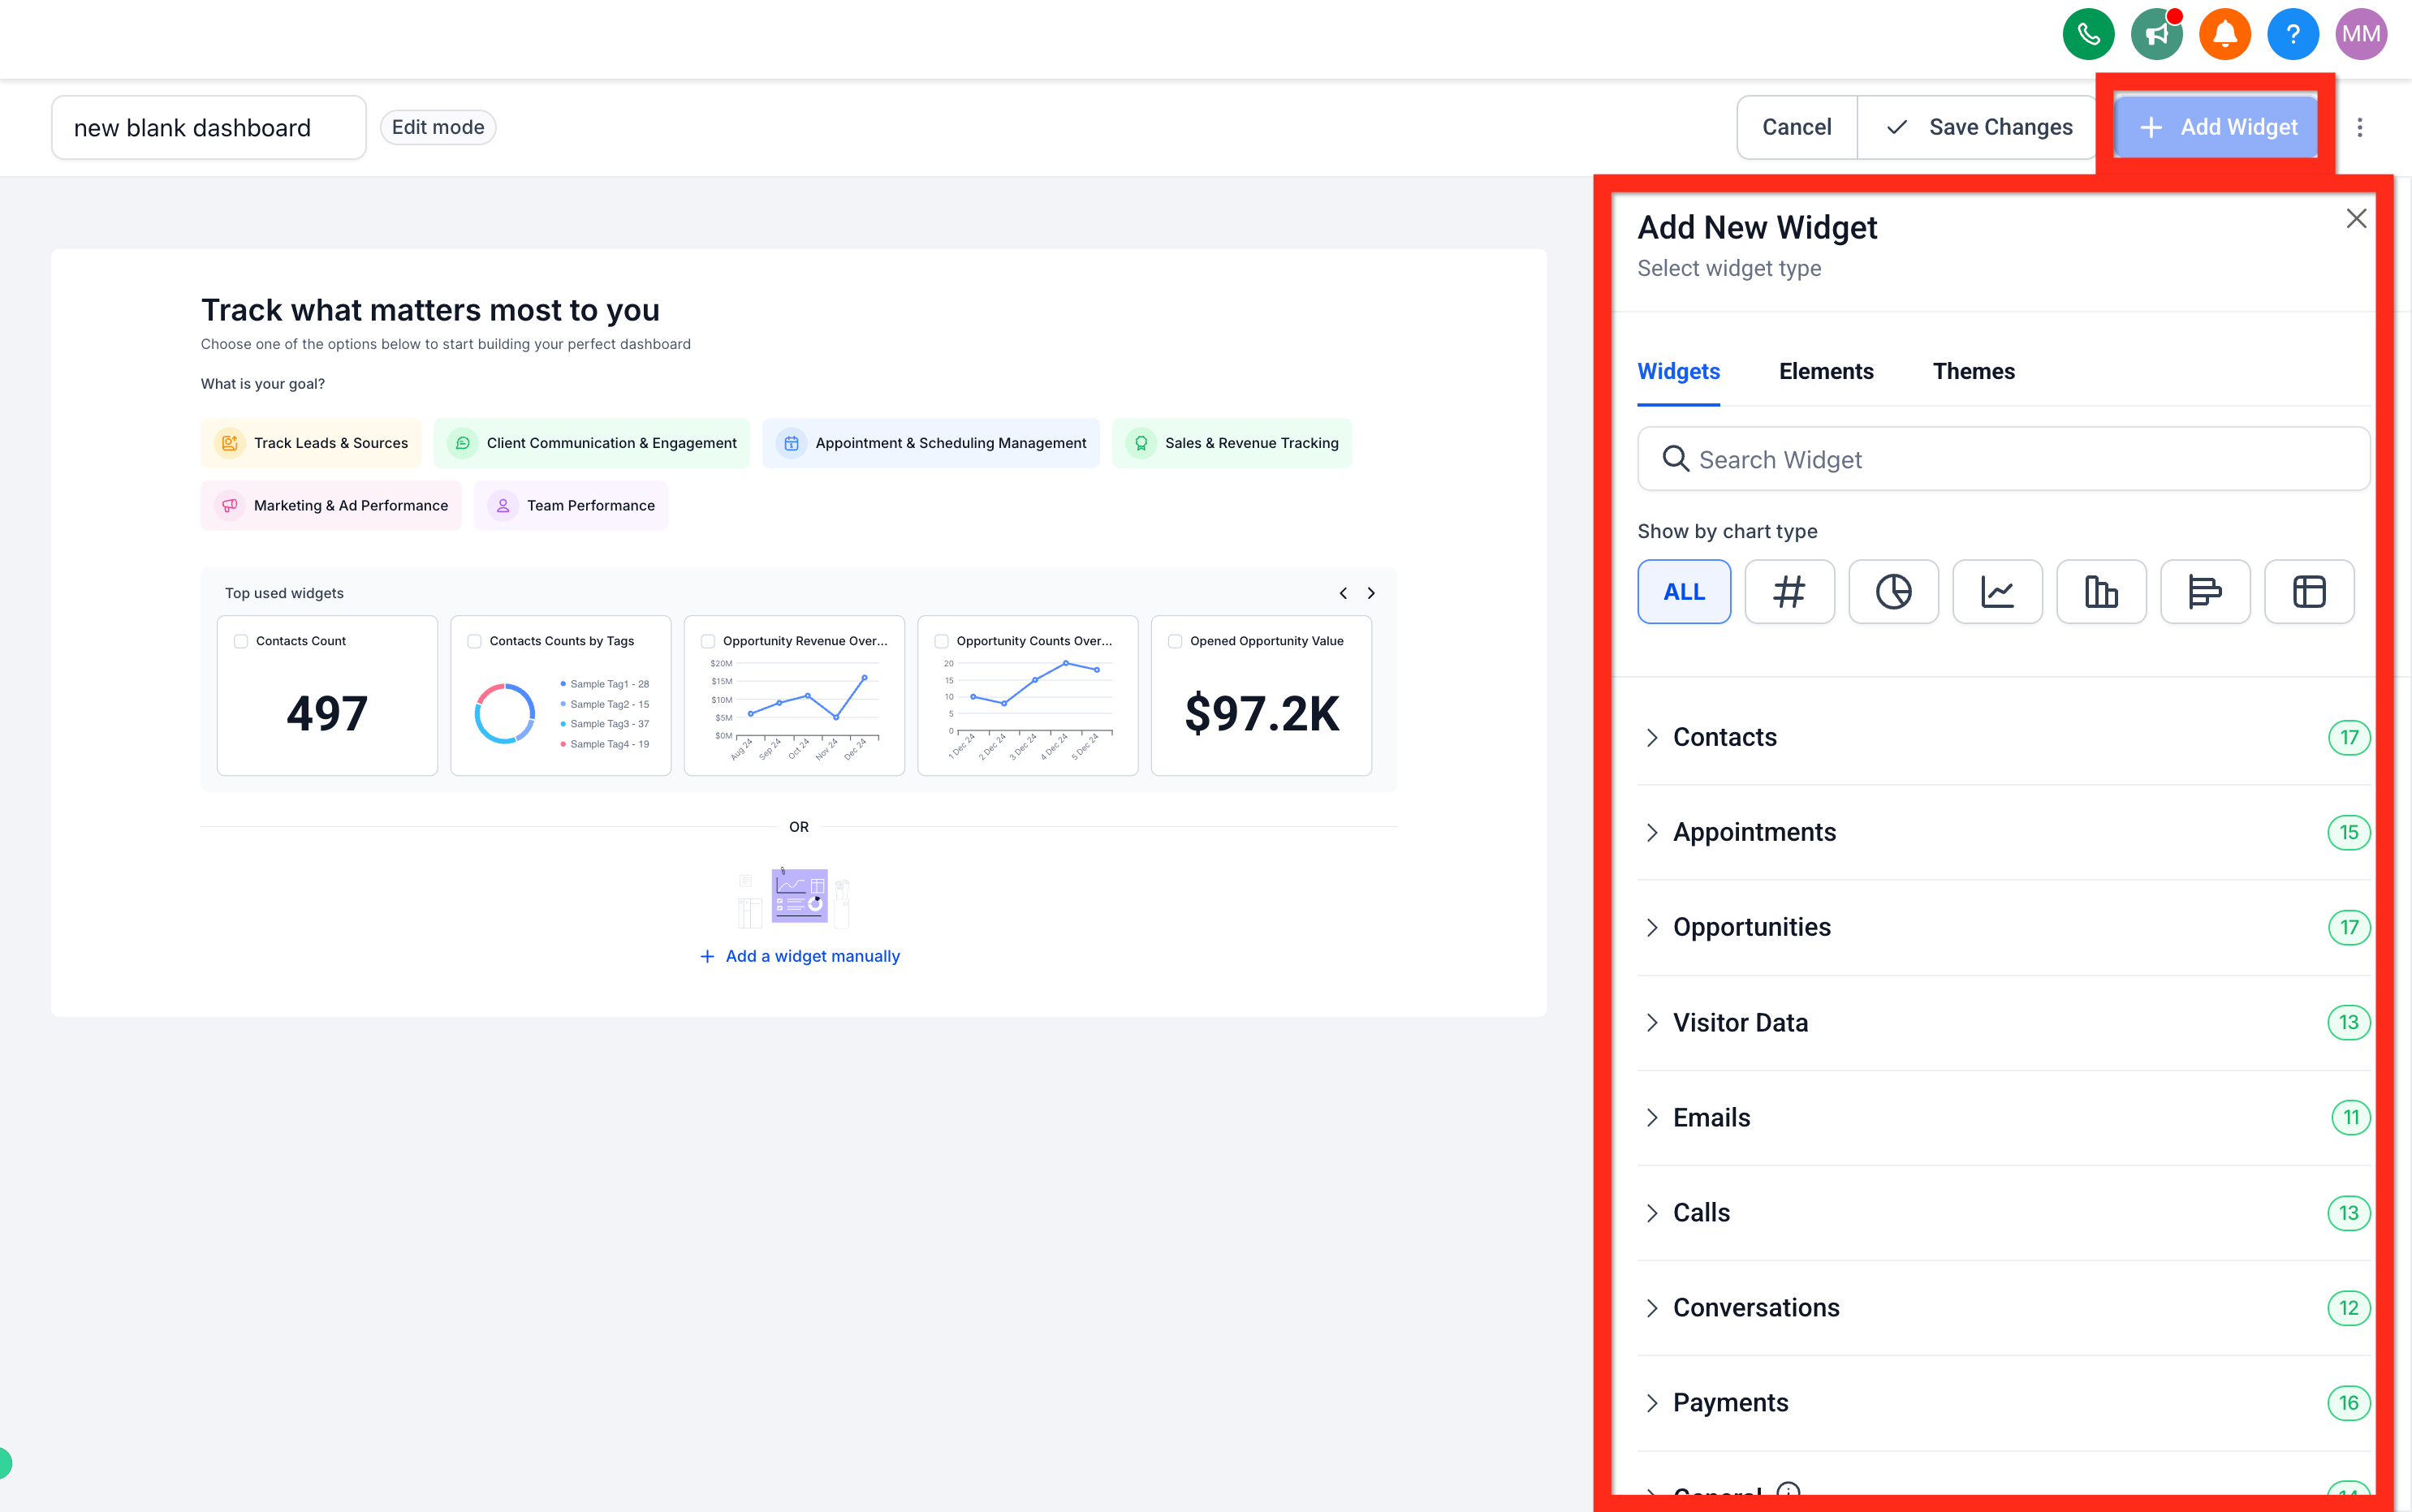
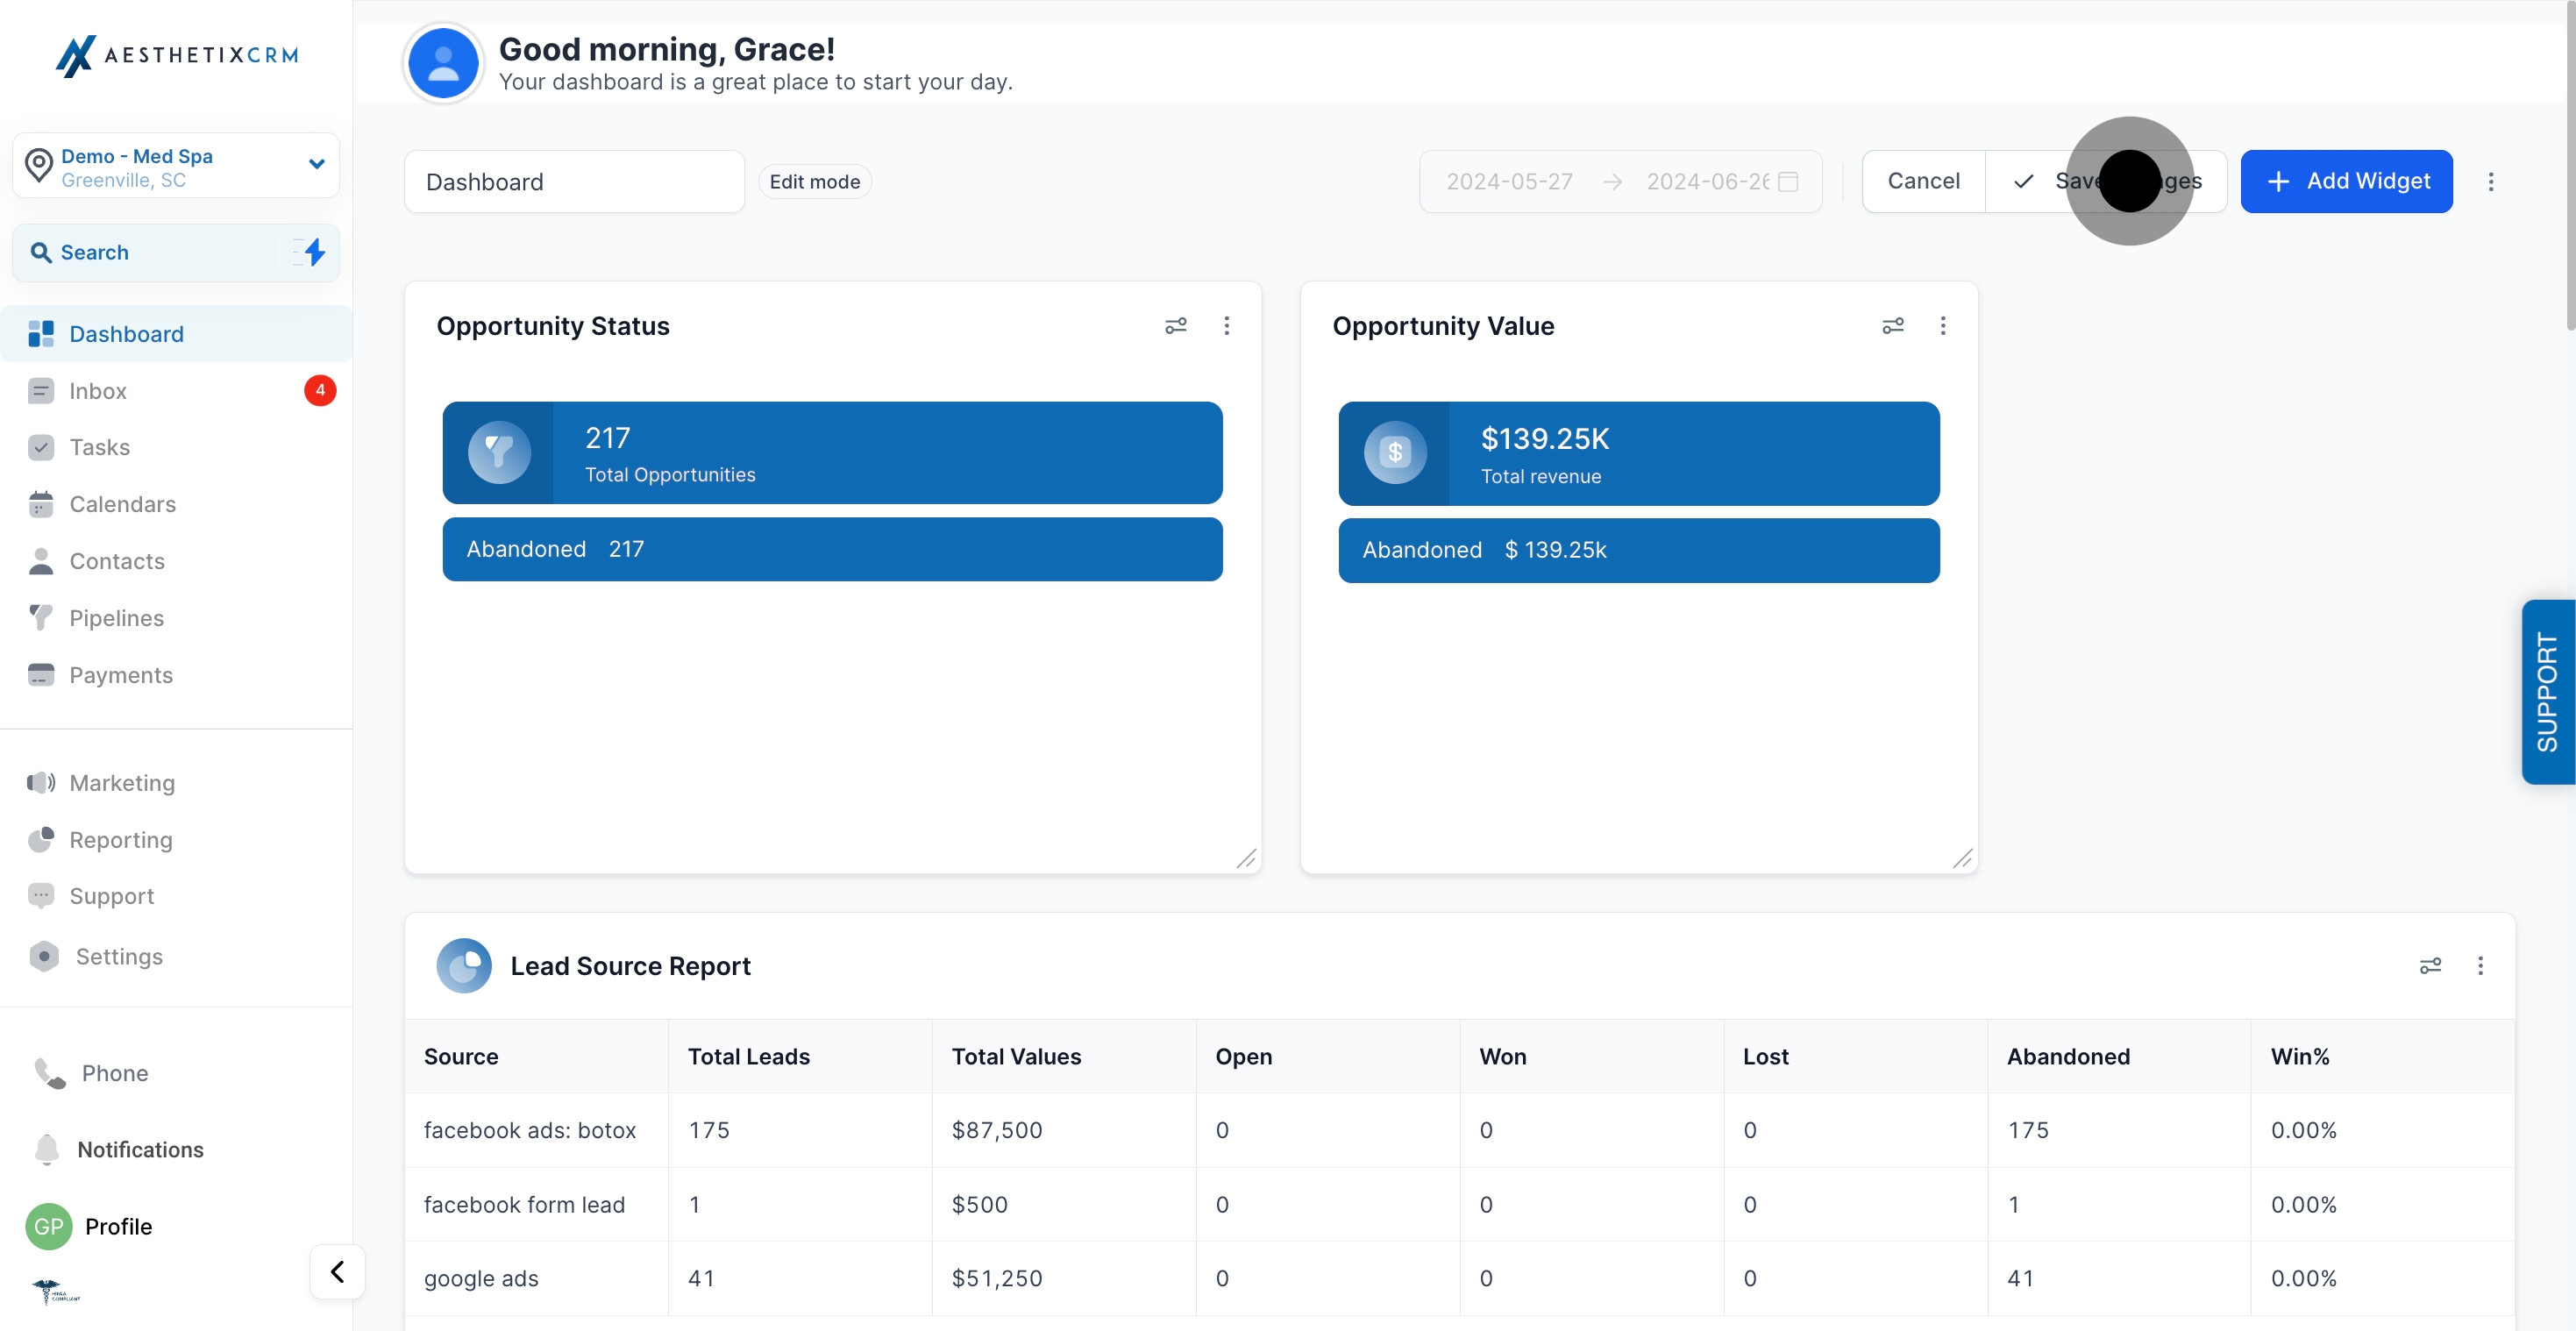
Click the Edit button (pencil icon), then click "+ Add Widget" from edit mode.
If you don't see this button, make sure you've actually entered edit mode first.
Whichever option you choose, use the Add New Widget panel to configure the widget's metric, chart type, and filters, then click "Save" within the panel.
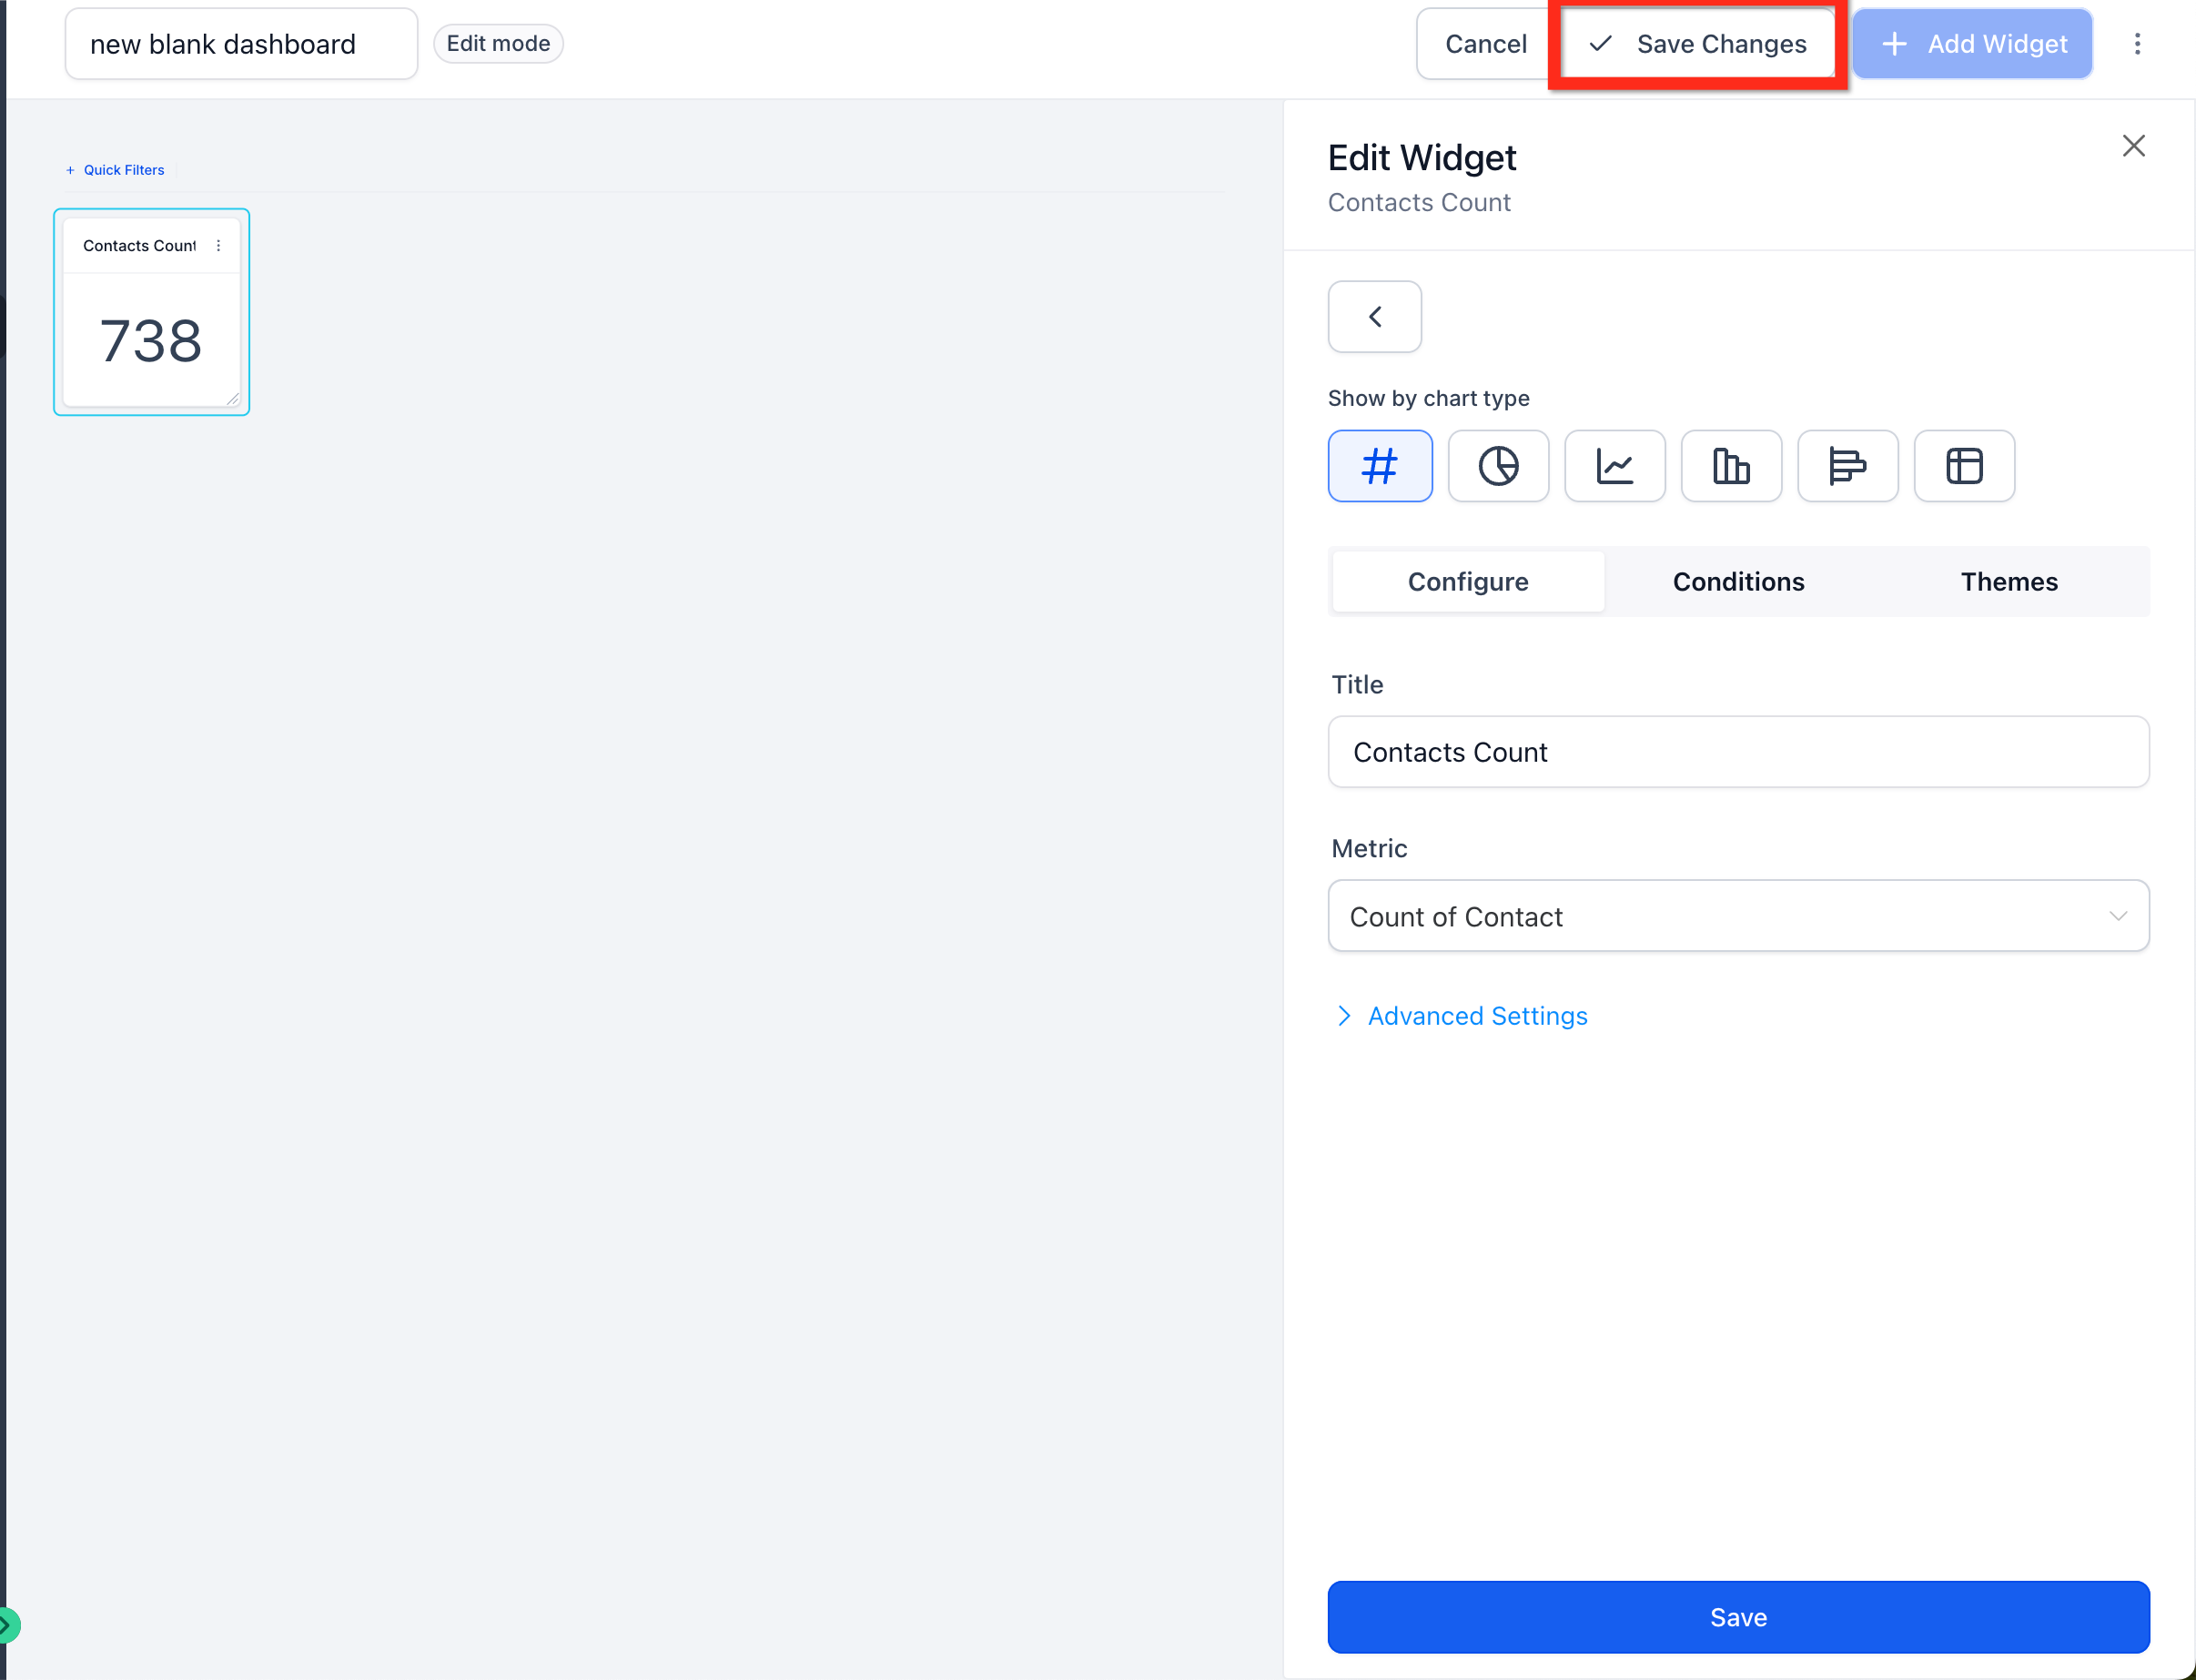
Once your widgets are placed the way you want, click "✓ Save Changes" to finish. This saves your layout and exits edit mode.
Once a dashboard exists, a few controls near the top of the page let you adjust and maintain it.
Open Dashboard from the main menu, then use the dashboard navigation dropdown to switch between dashboards or jump back to the one you just created.
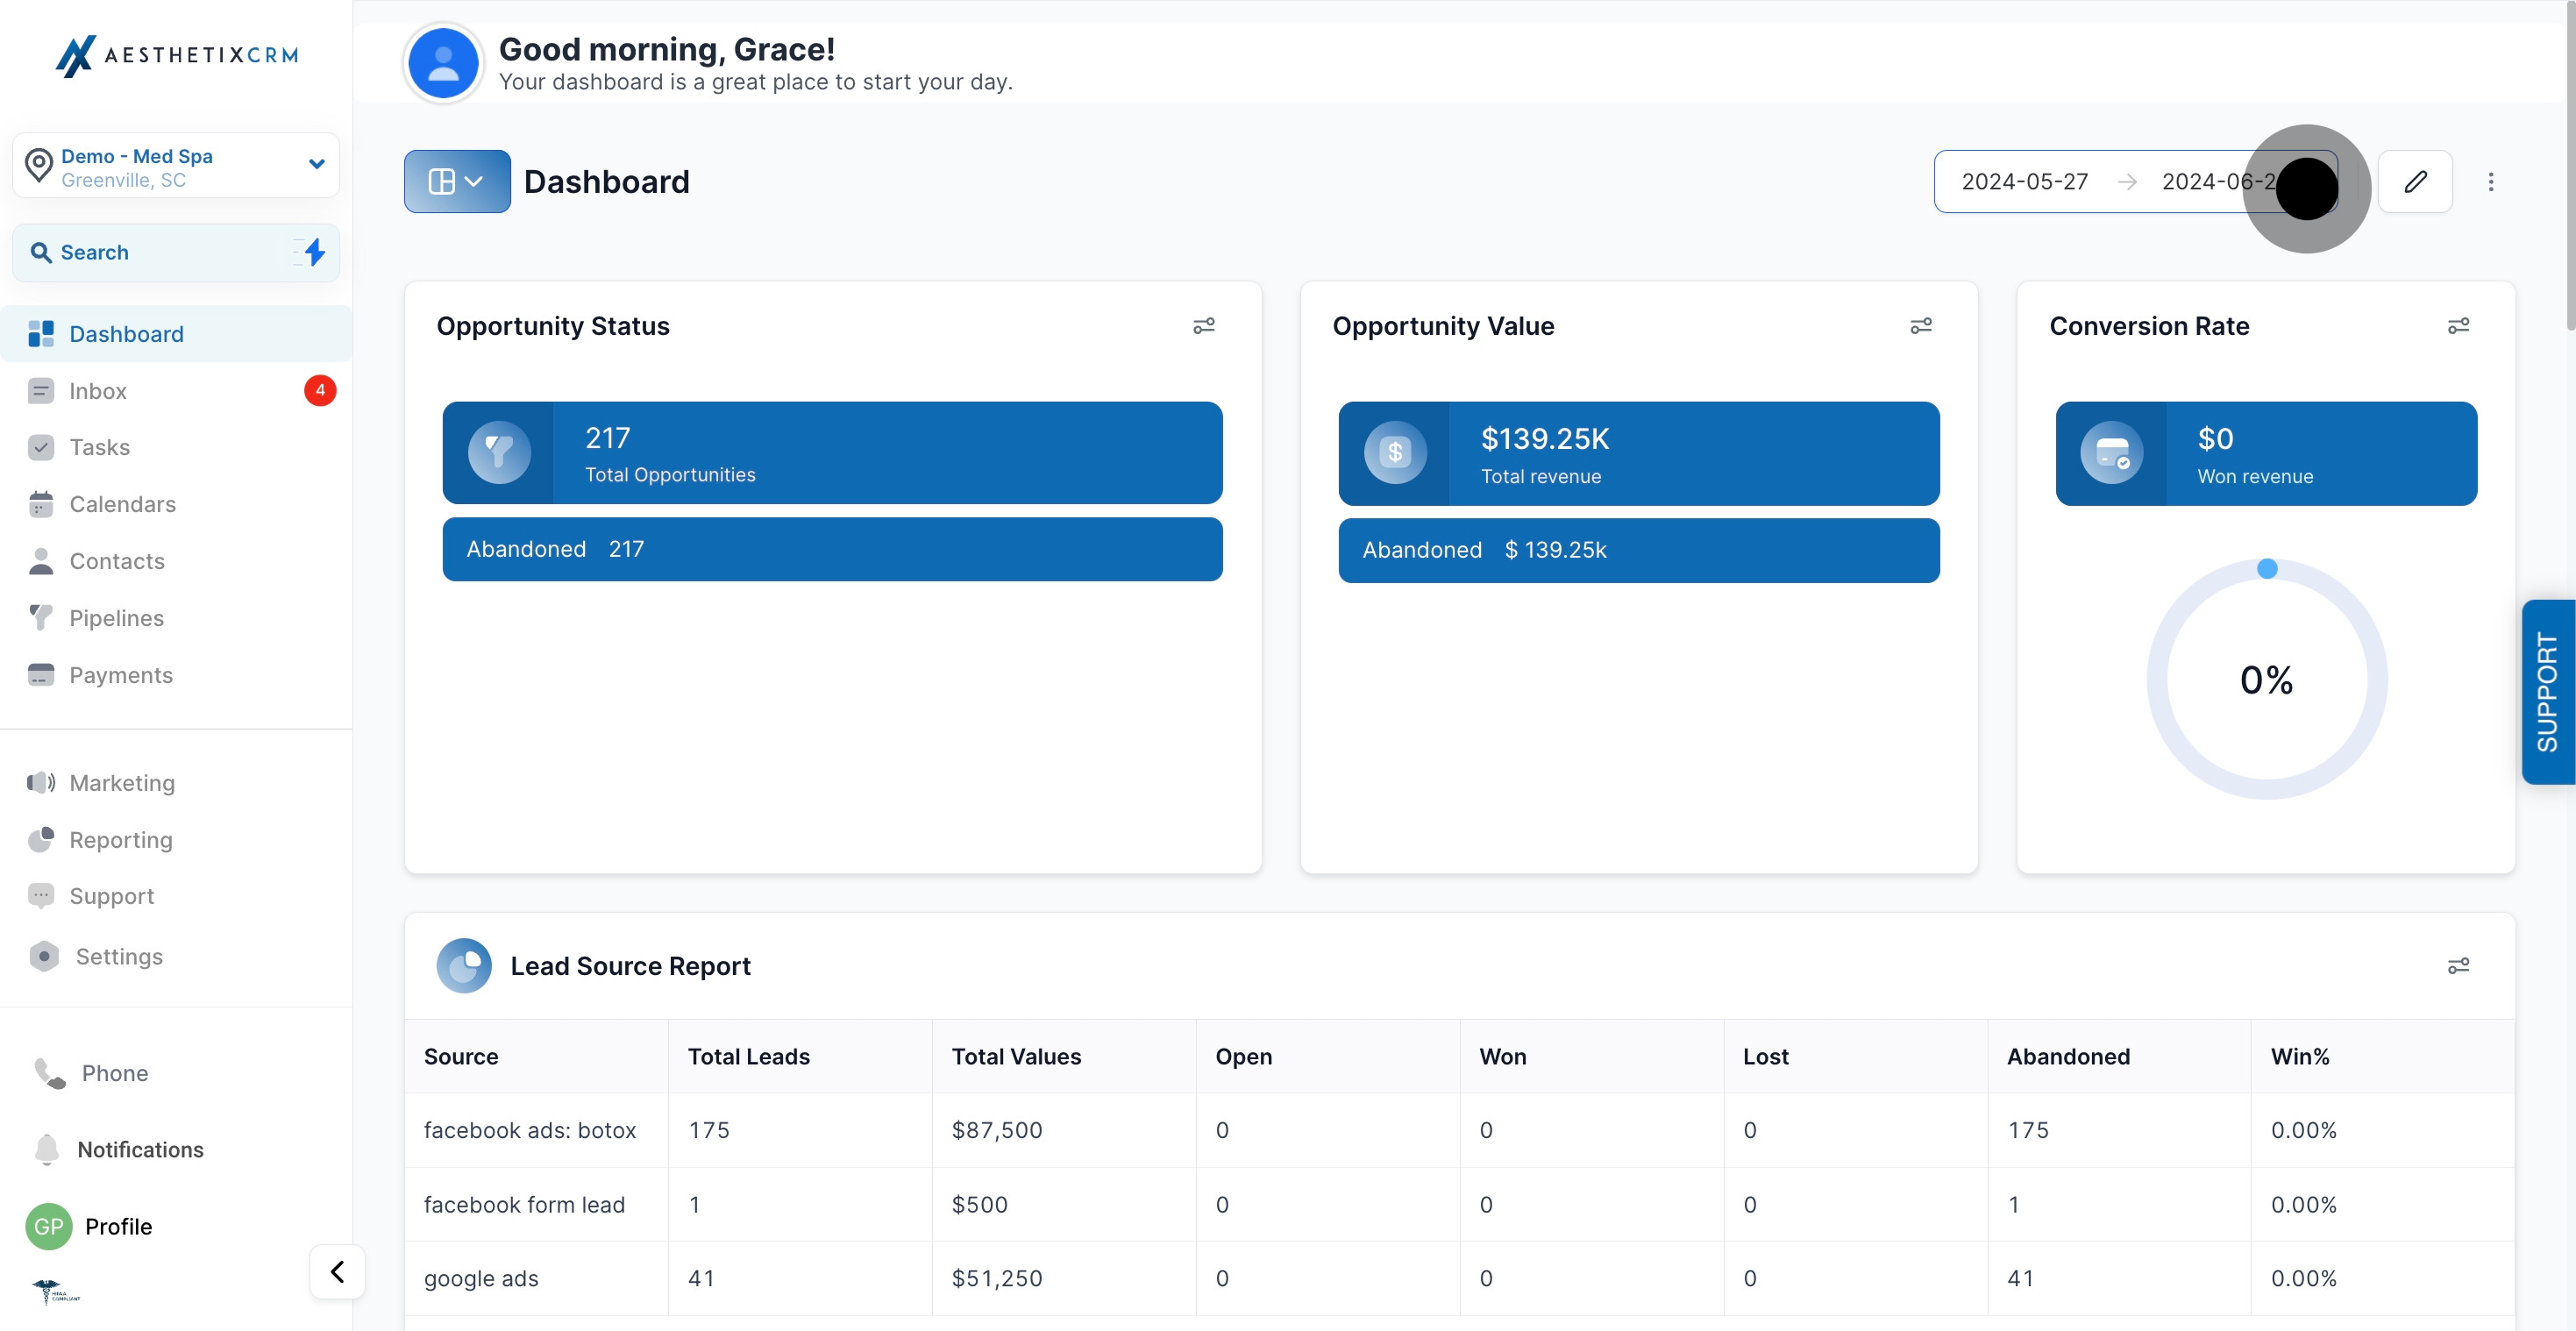
Change the date range control to move the entire dashboard's data window forward or back, so you can compare this week to last month or check quarter-to-date numbers.
Open the edit option to rename the dashboard, adjust its description, or update other details after the fact.
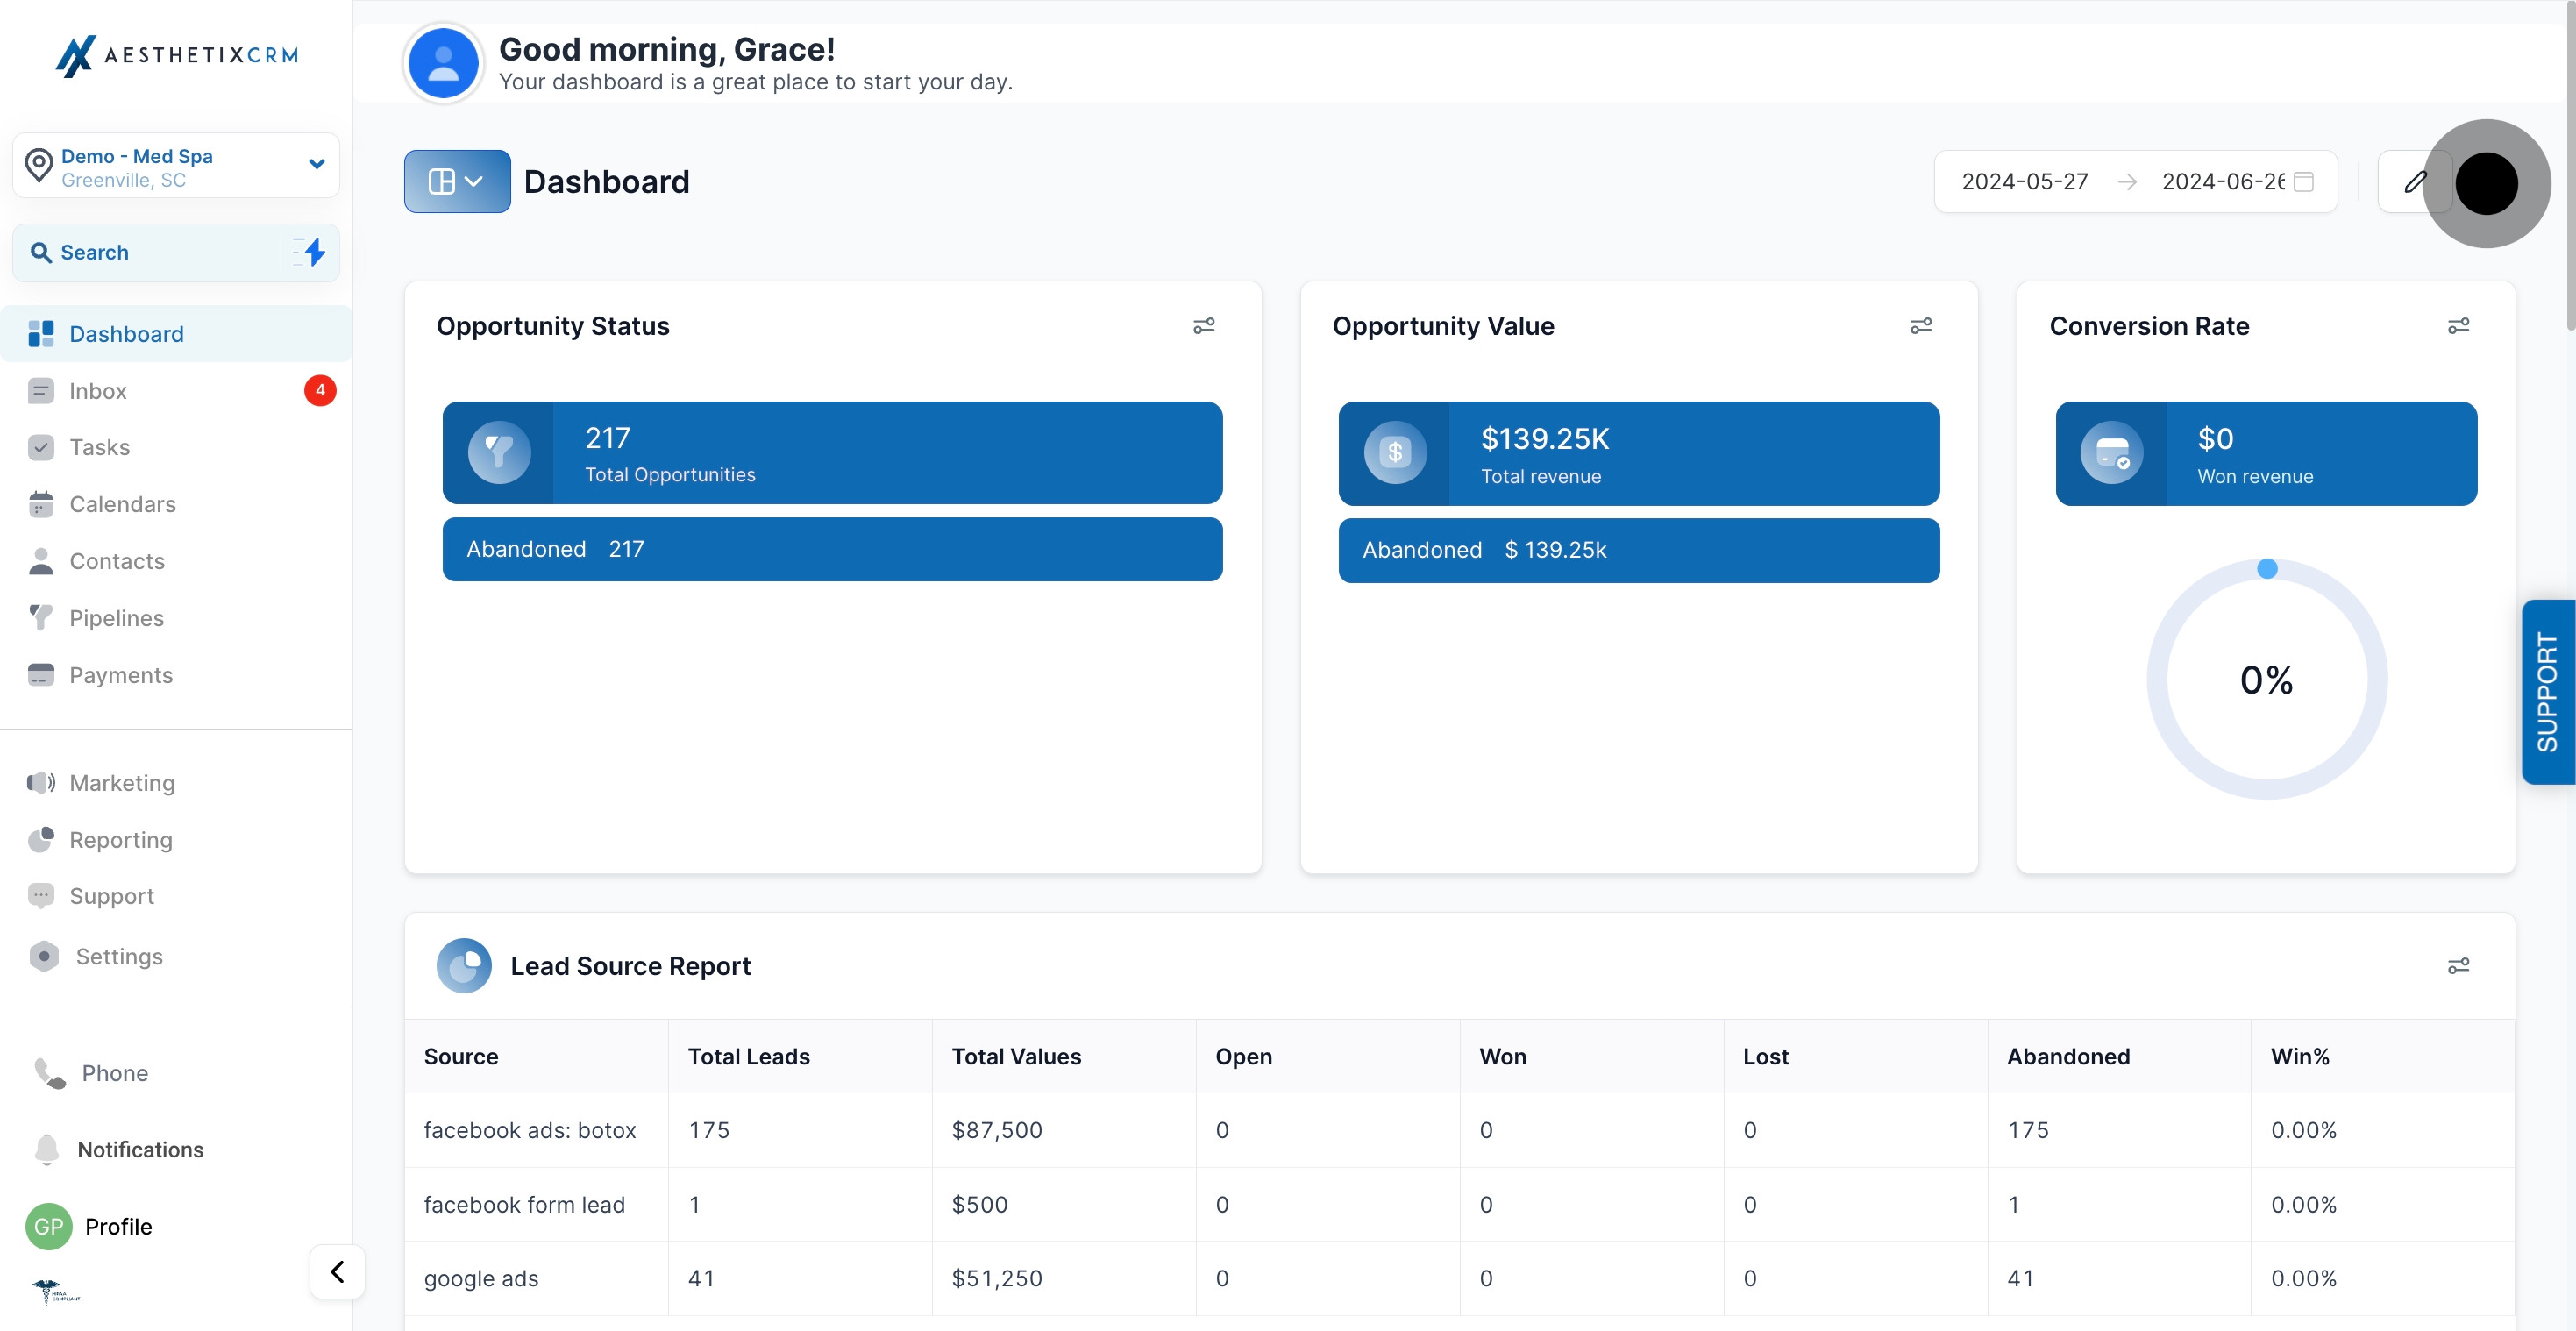
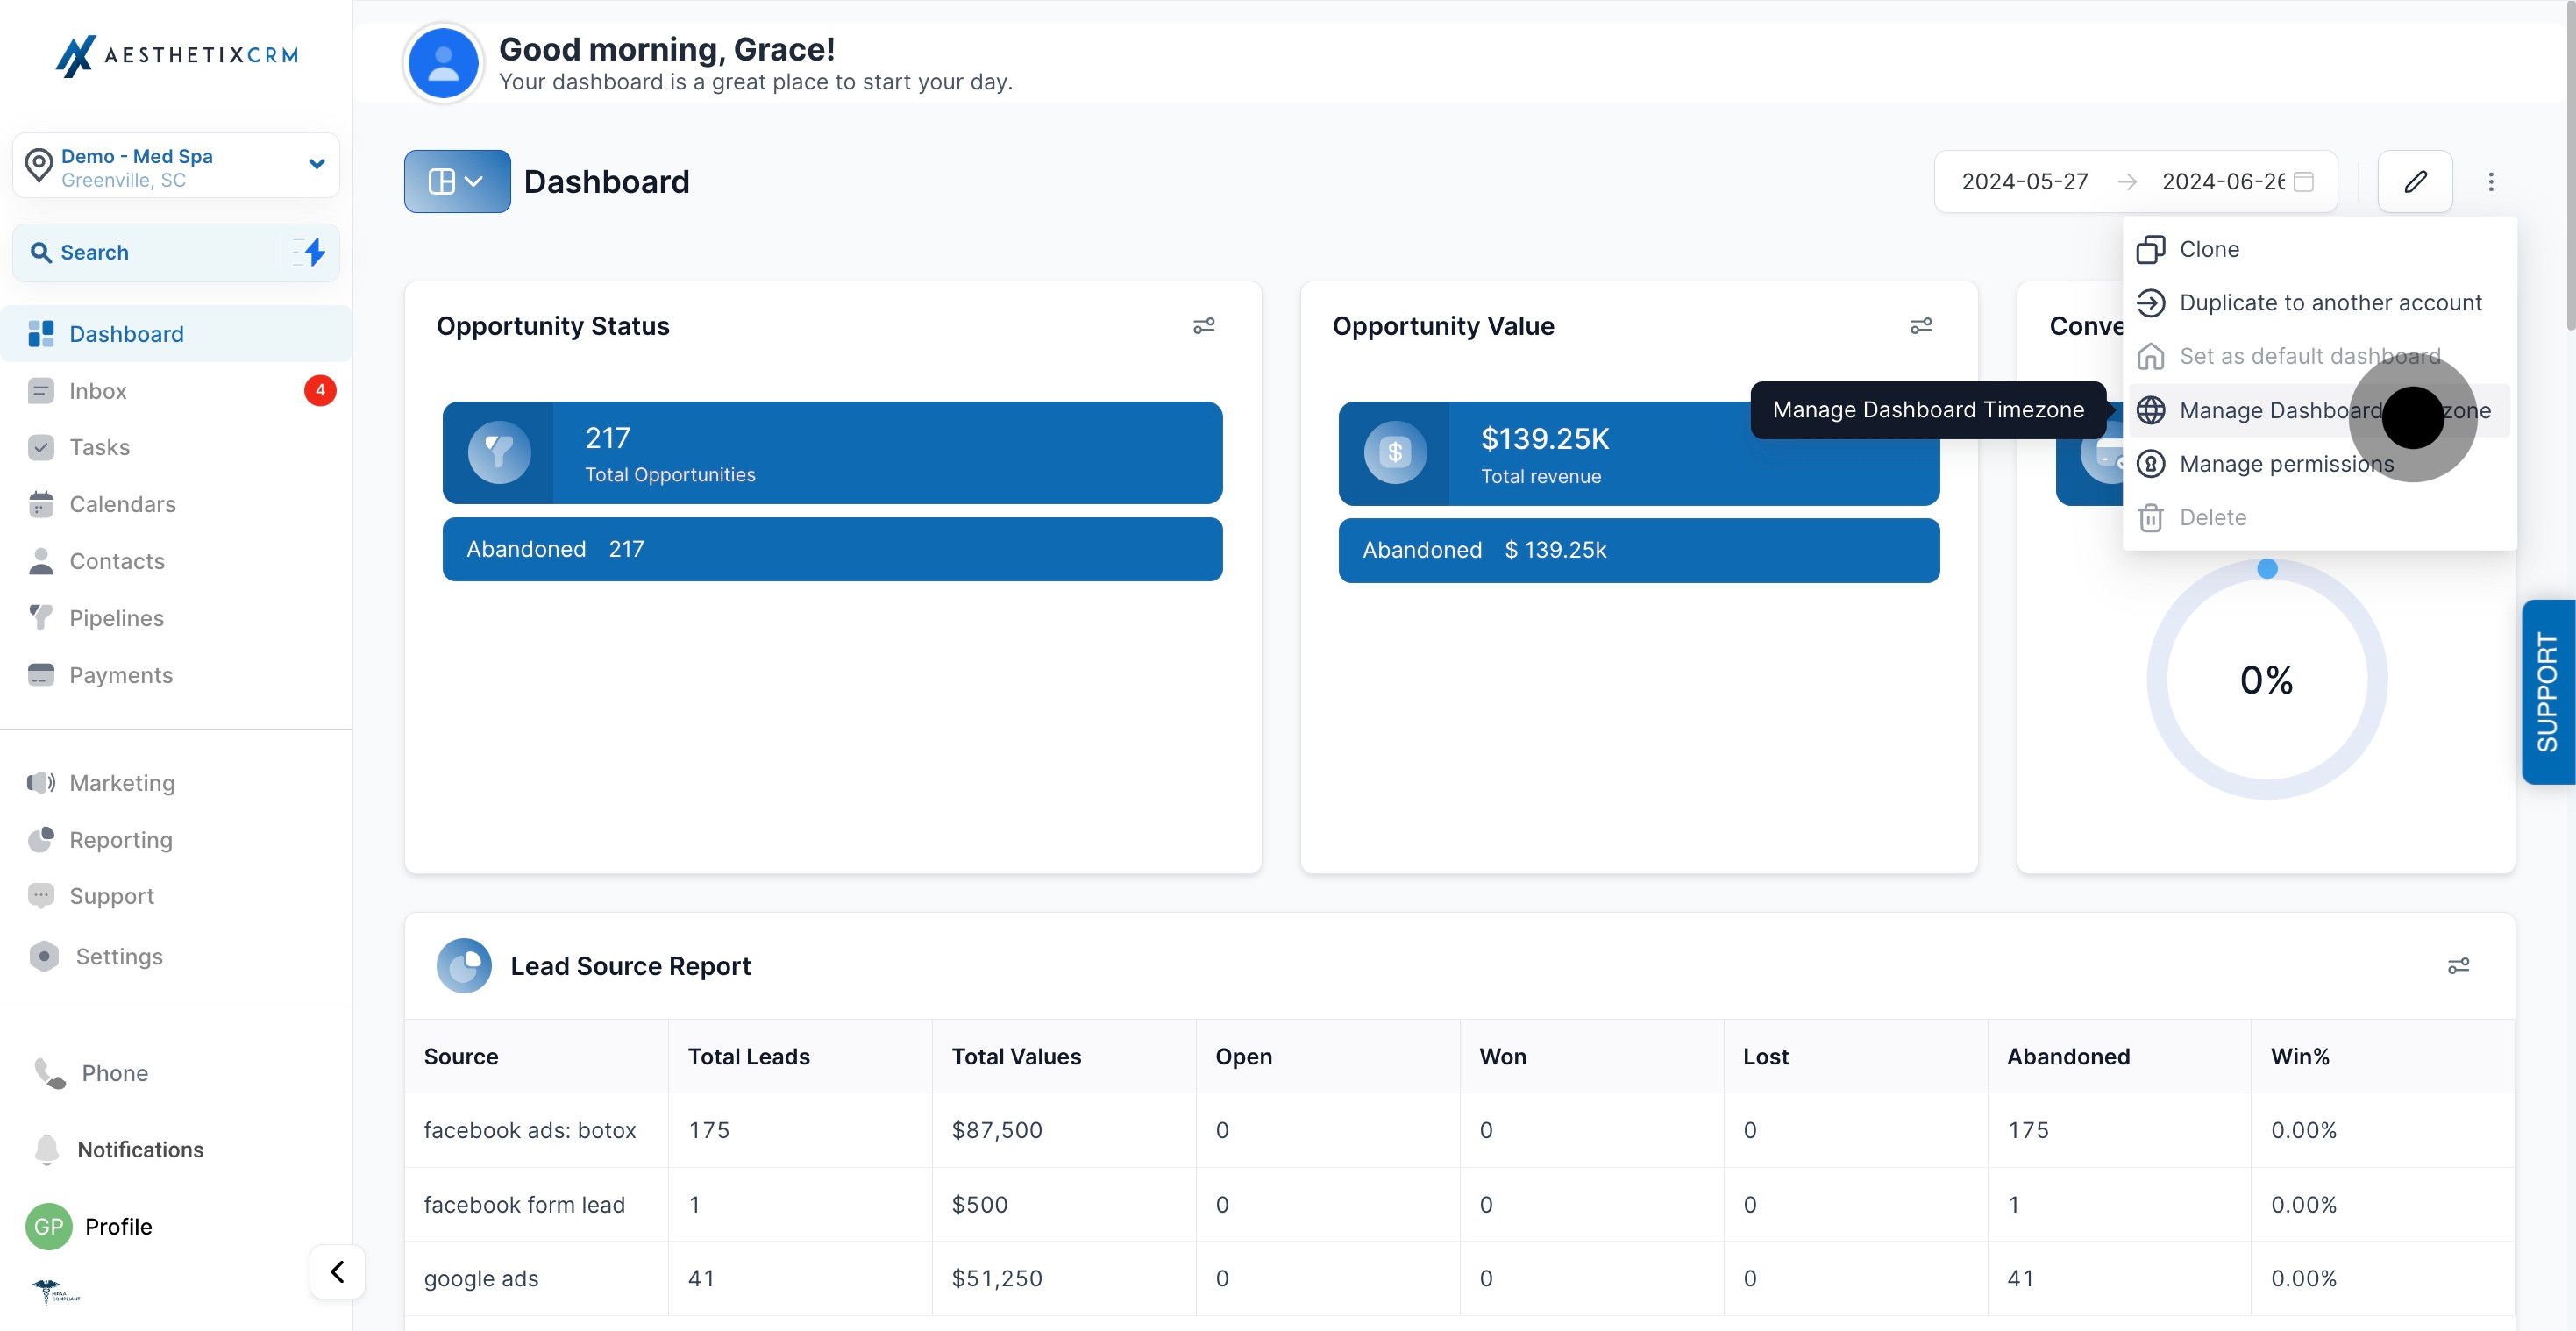
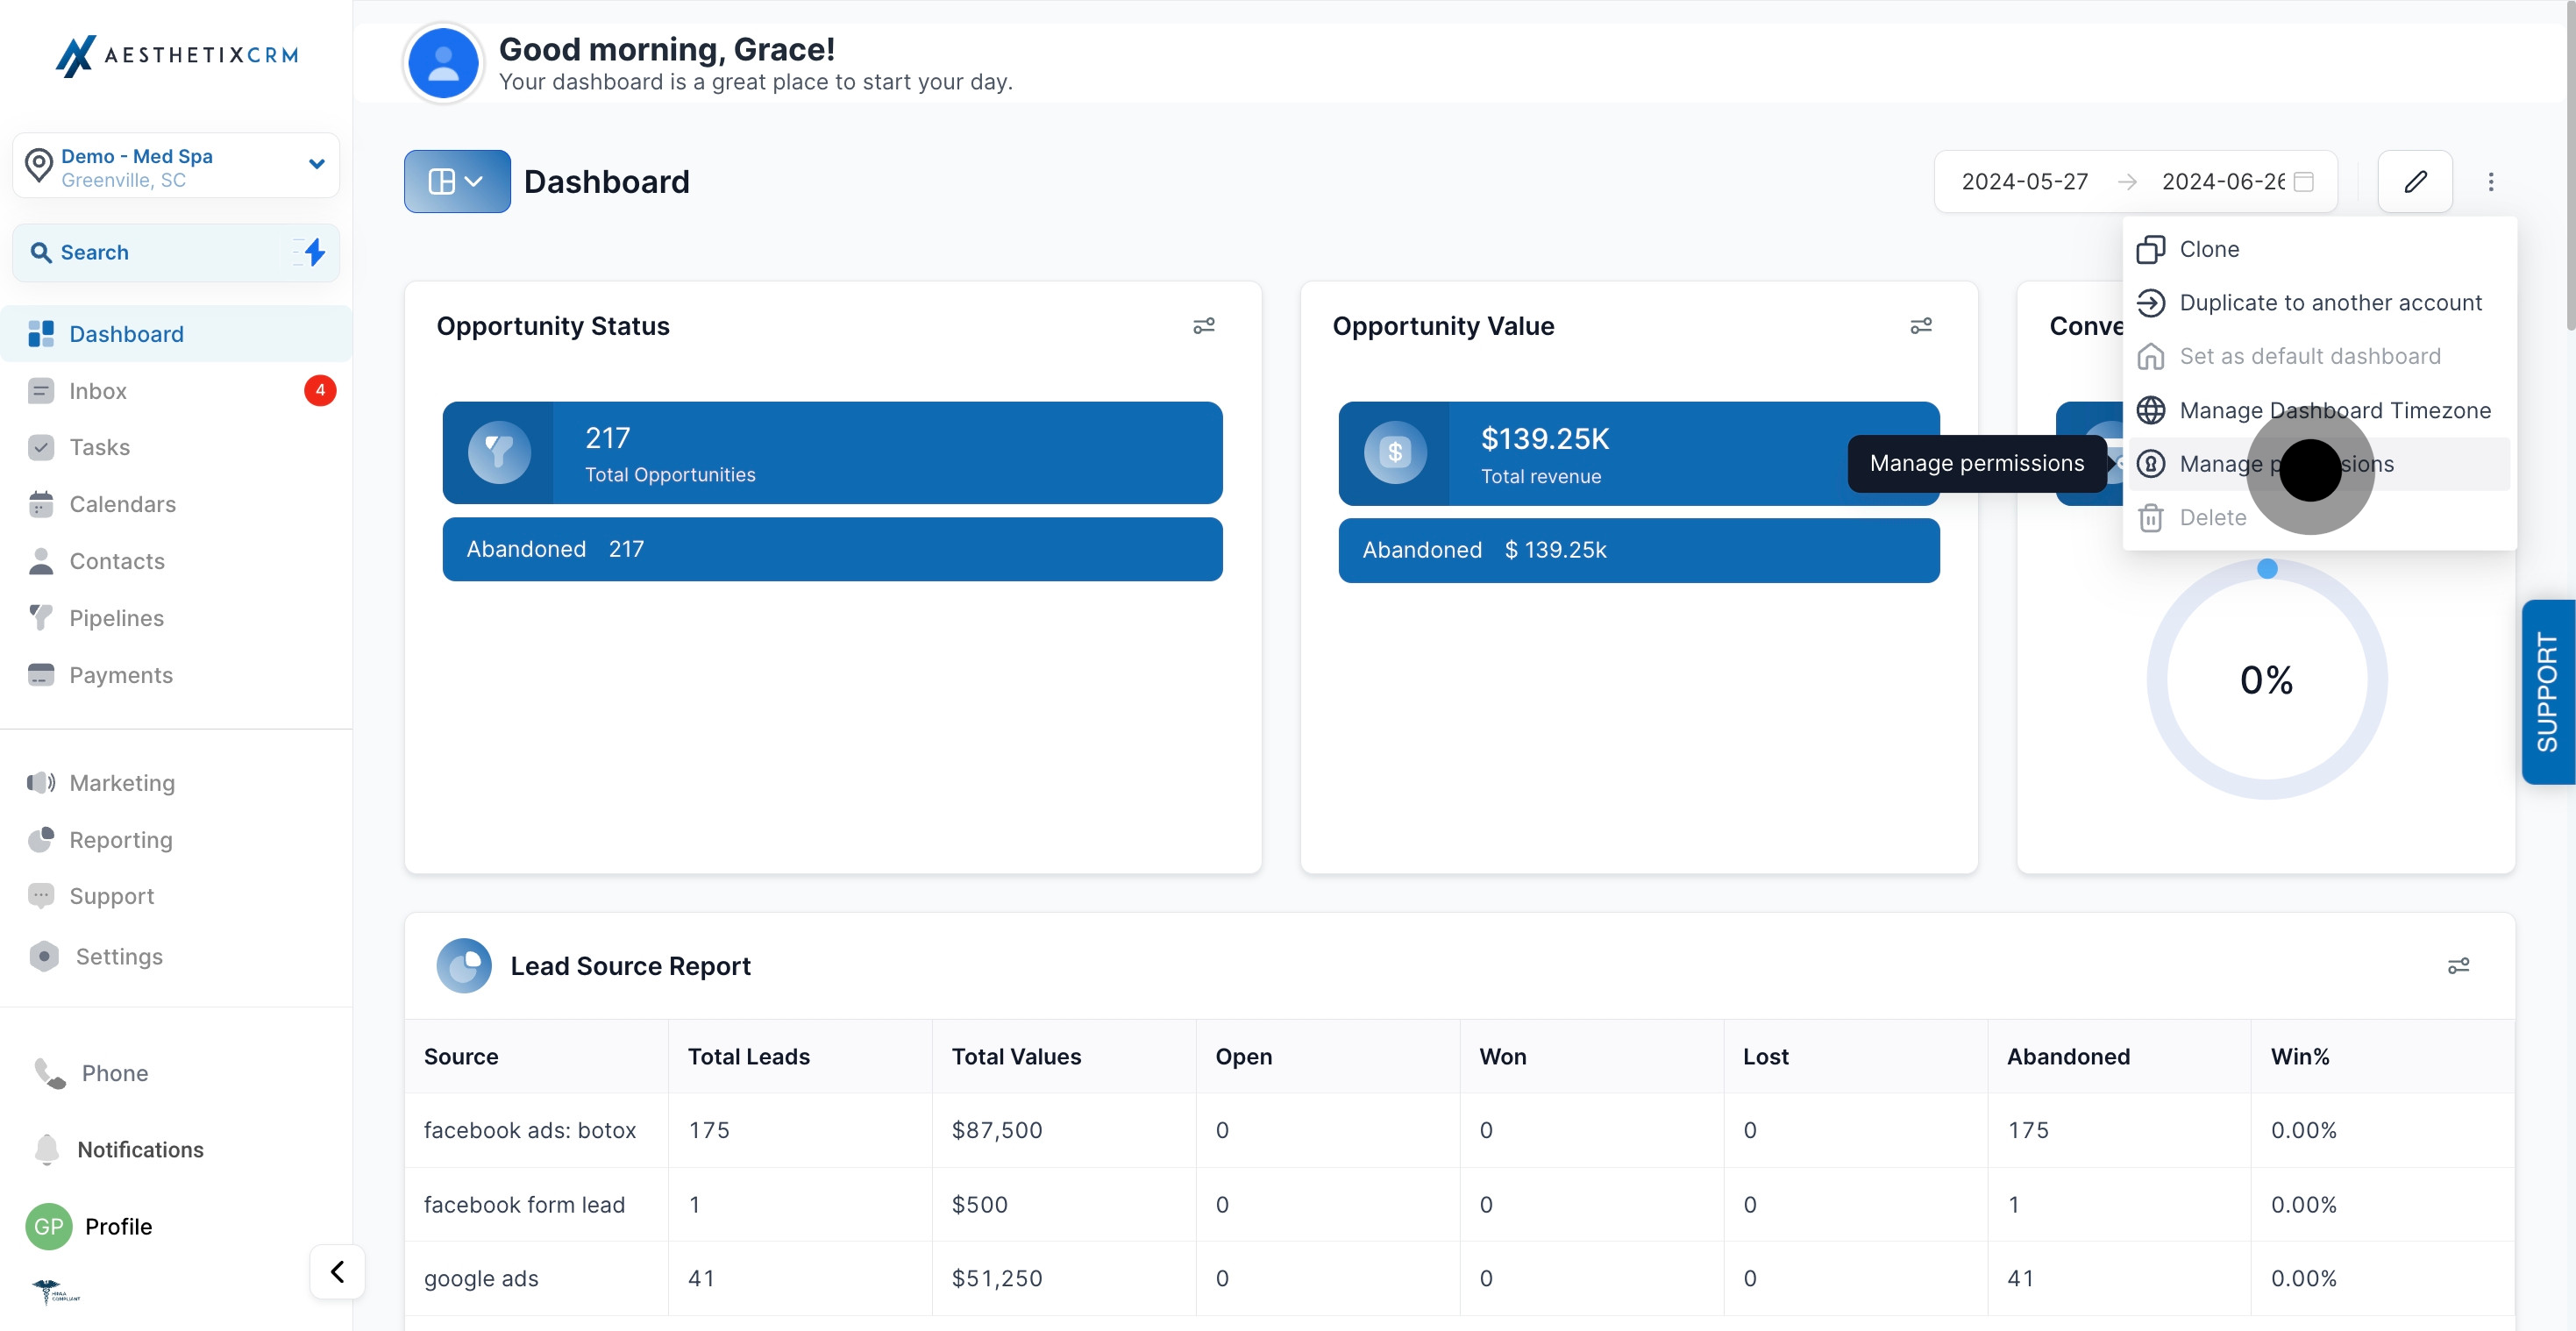
Click the three-dot (or similar) icon near the top of the dashboard to reveal additional options, including cloning, duplicating, timezone, and permissions.
Select "Clone" to create a copy of the current dashboard, including its widgets and layout. This is useful when you want a near-identical dashboard for a different team or date range without rebuilding it from scratch.
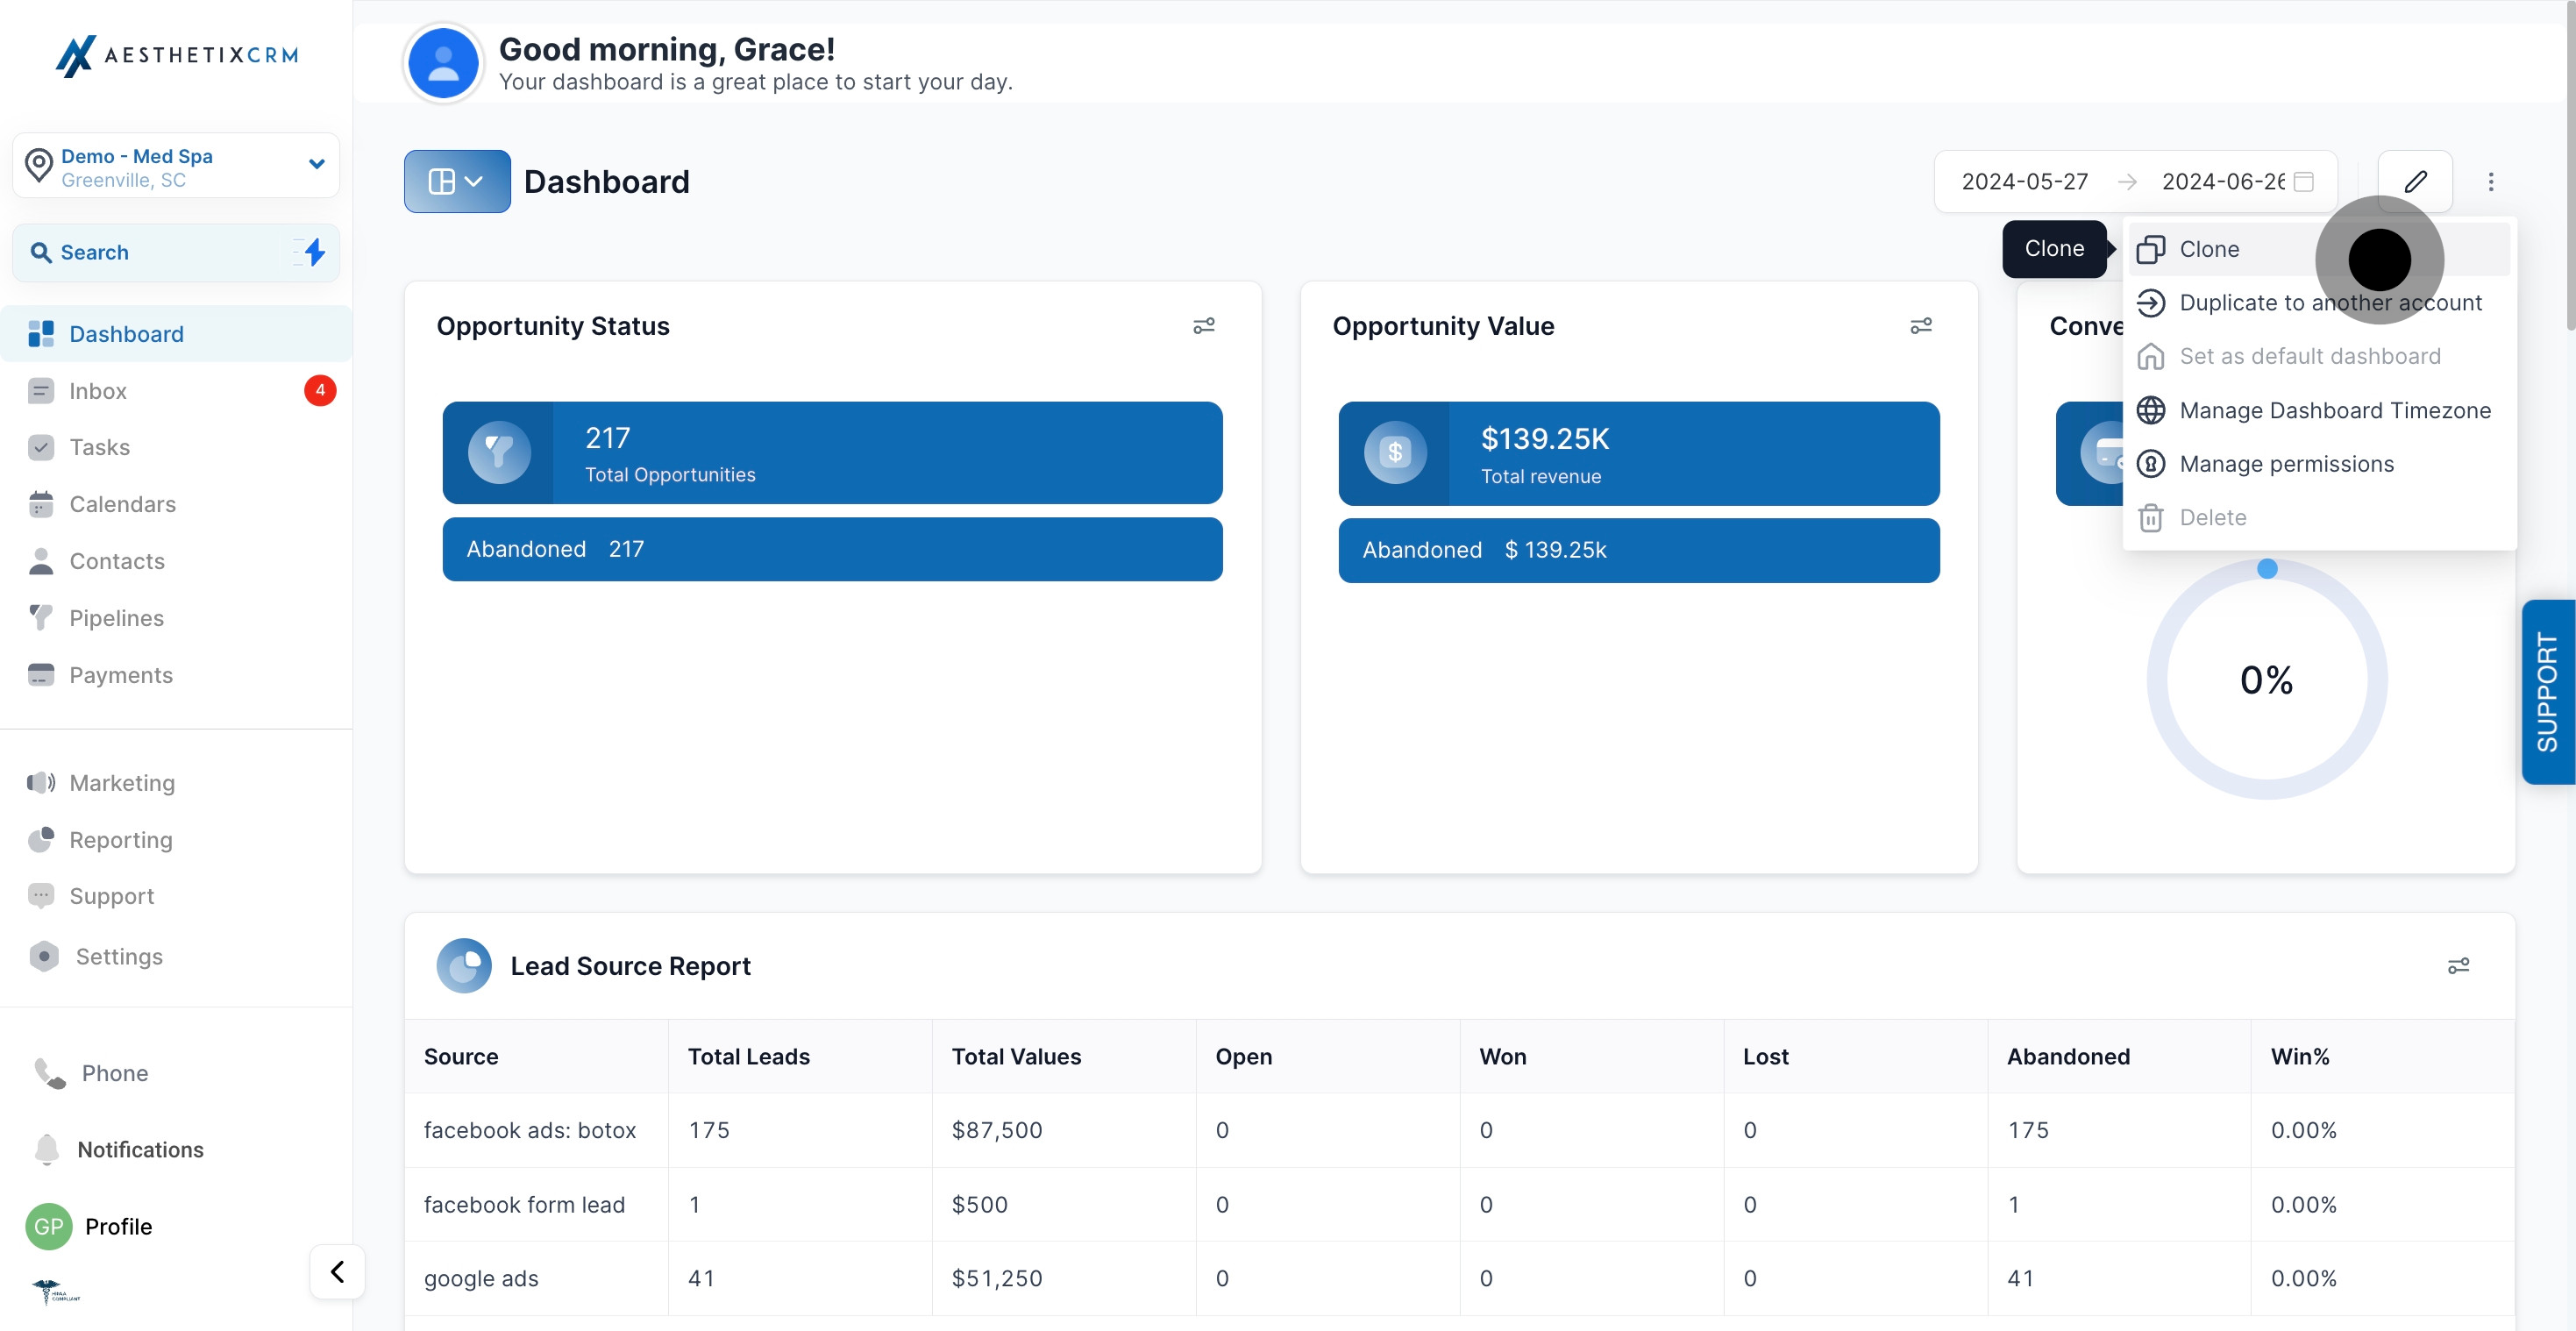
If your practice operates more than one Aesthetix CRM account (for example, multiple locations), choose "Duplicate to another account" to copy a dashboard's configuration over so you don't have to rebuild it for each location.
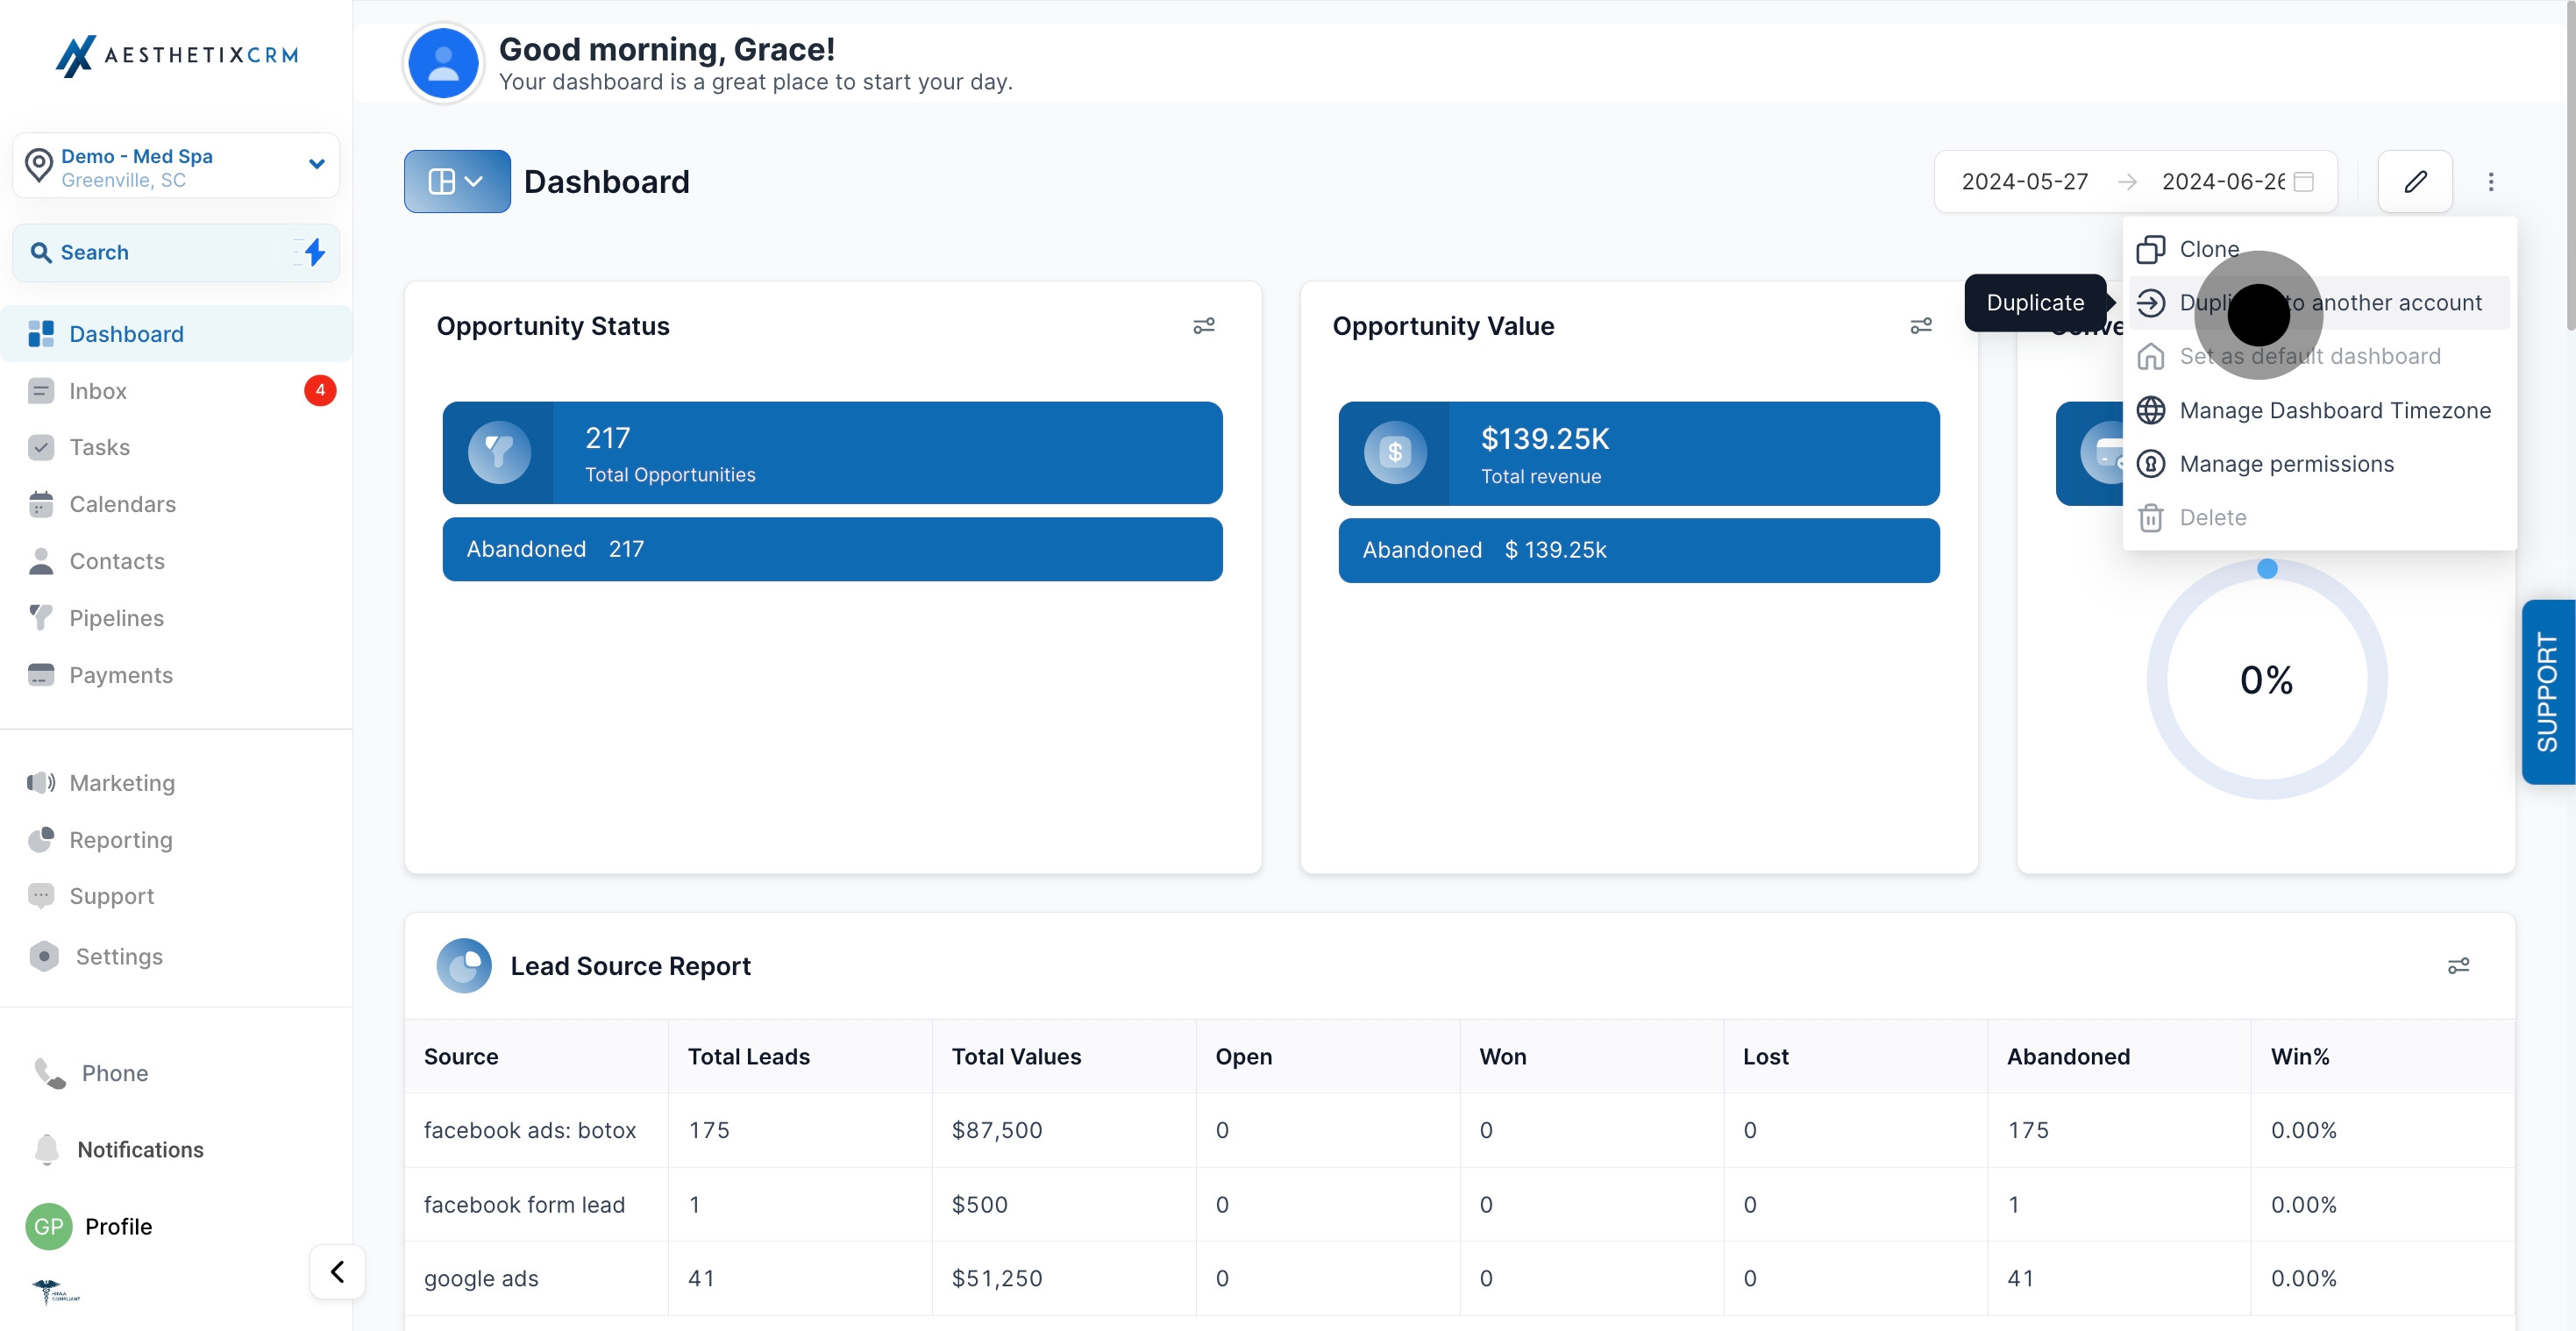
Set the timezone the dashboard uses when calculating date ranges. This keeps reporting periods consistent with your practice's local time, which matters most for daily and weekly widgets.
Revisit the Private Dashboard toggle and per-role access levels at any time to change who can view or edit the dashboard.
To remove a widget you no longer need, open its three-dot menu and choose the delete option.
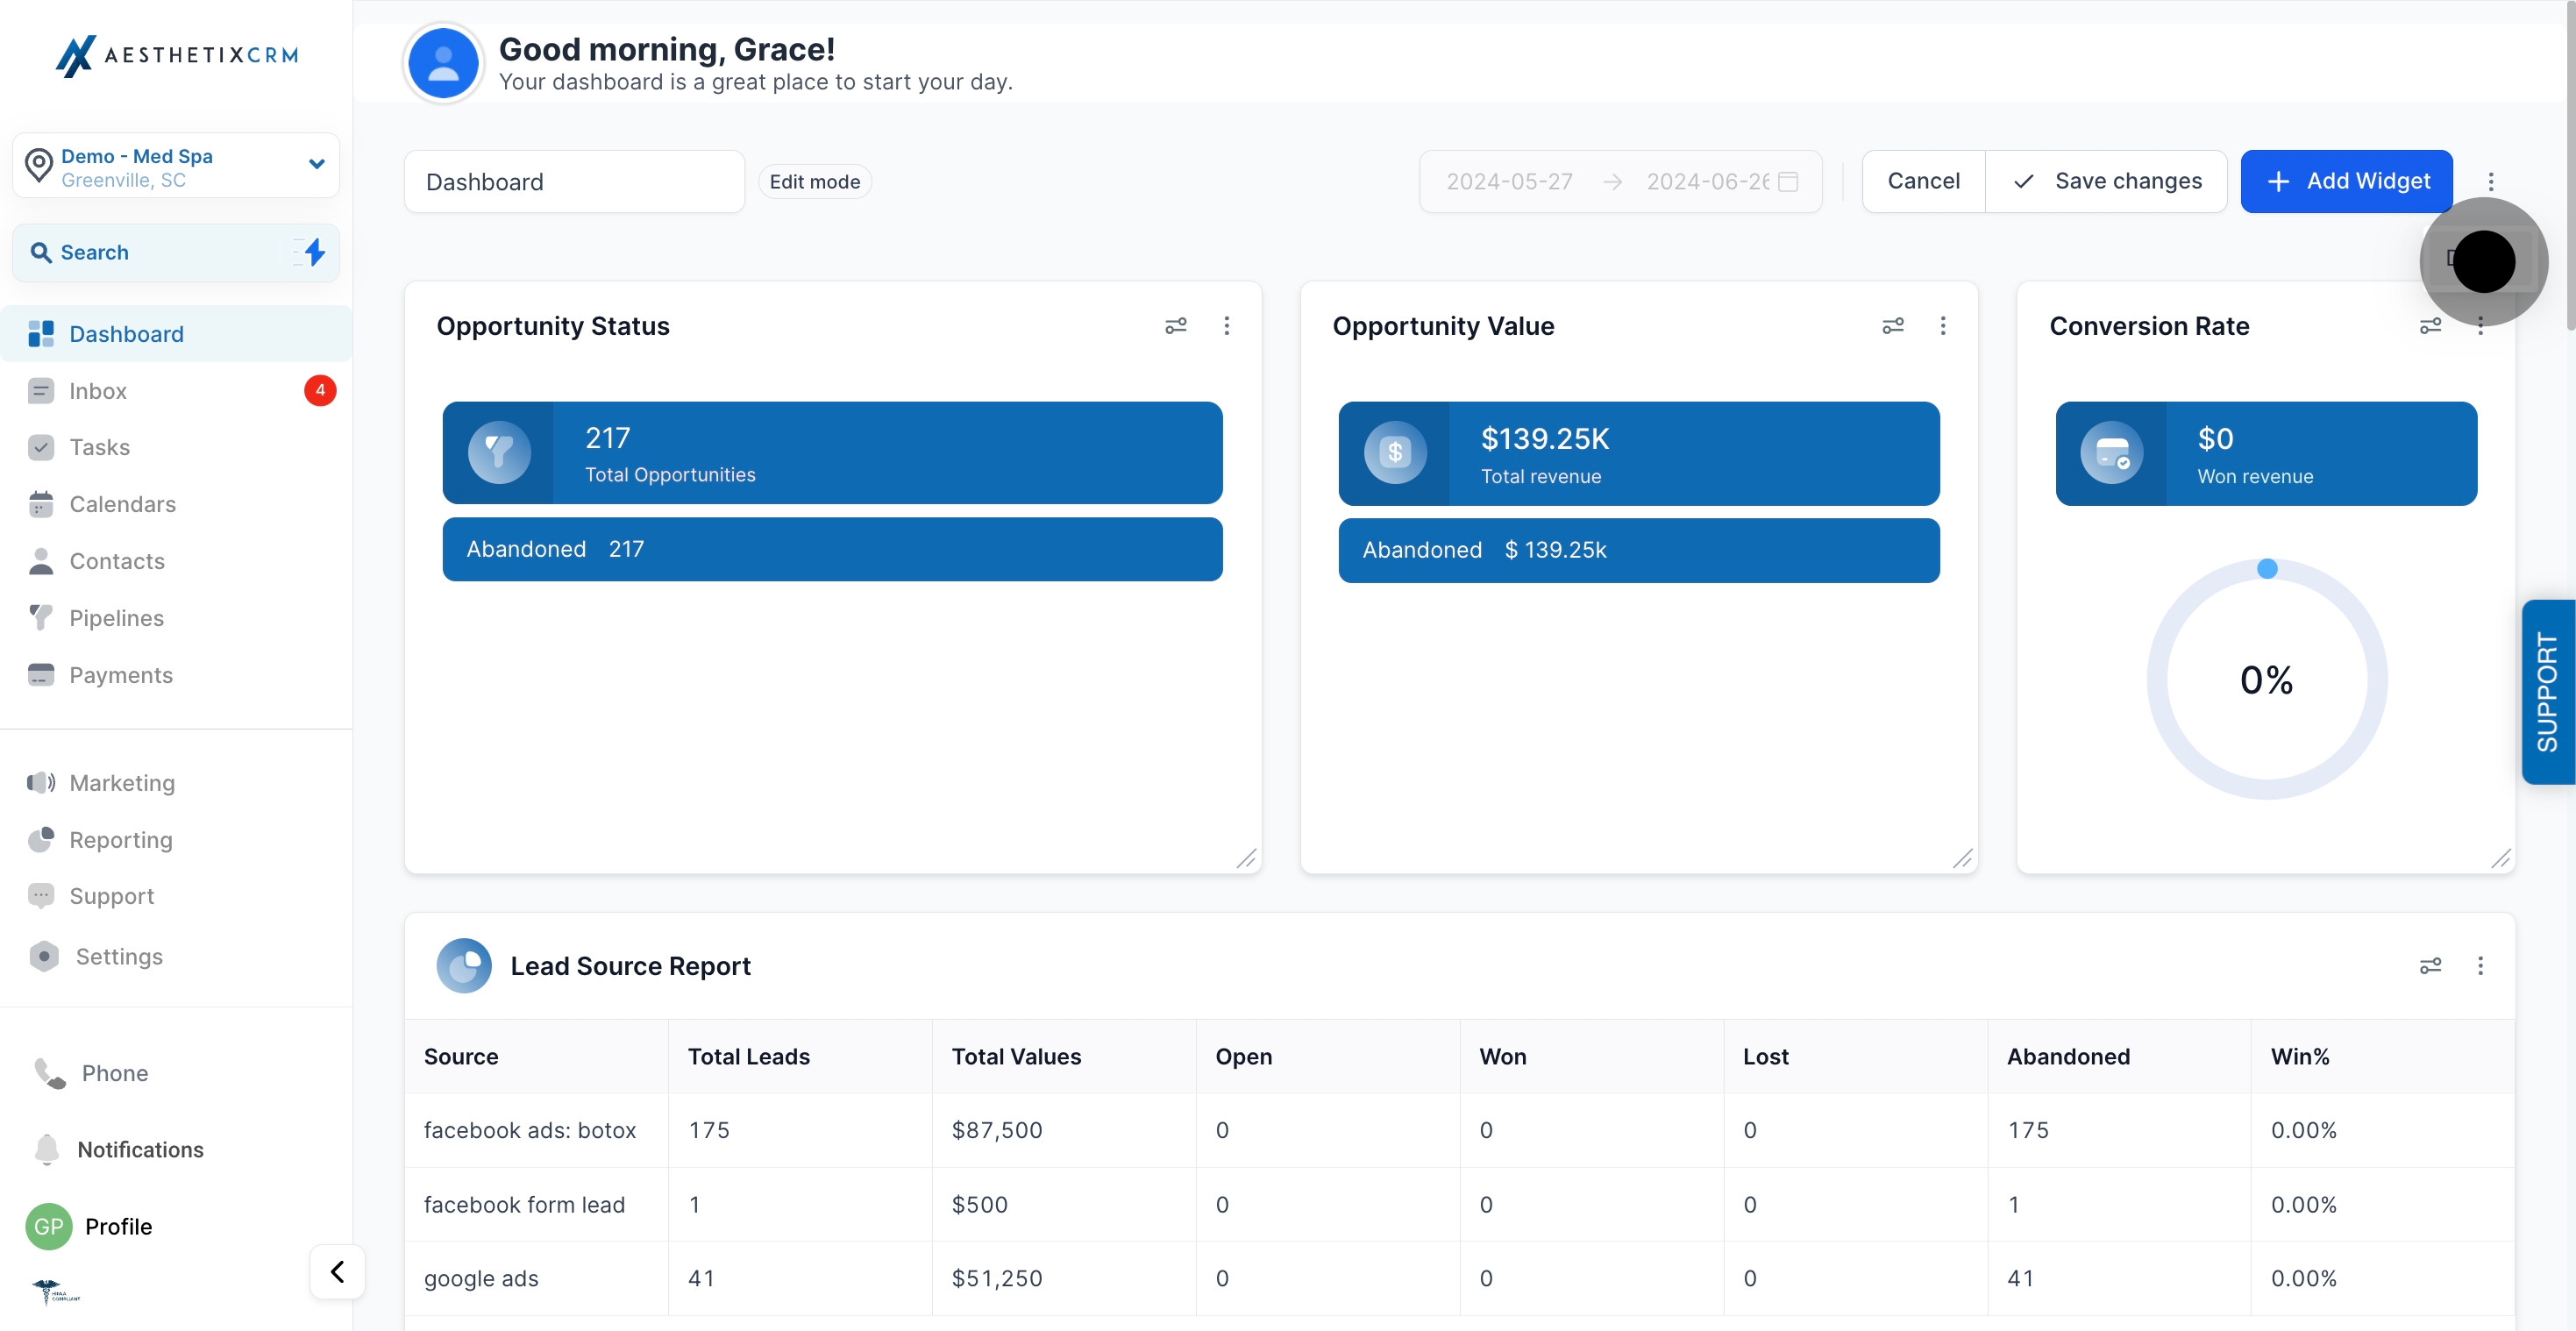
Whenever you're editing a dashboard, remember to either Confirm to save your changes or Cancel to discard them before leaving the page.
Can I create more than one dashboard? Yes. Create as many dashboards as your practice needs, one for ownership KPIs, one for the front desk, one for marketing, and so on. You can set any dashboard as your default.
What widget chart types are available? Widgets can display as scorecards, time series charts, bar or column charts, donut or pie charts, and tables, depending on the widget and the metric you choose.
Can I send my dashboard as a scheduled report? Yes. Once your dashboard is built, you can schedule reports at whatever frequency you choose and have them delivered automatically to your team or to any valid email address, including people who don't have a login.
Can I duplicate a dashboard I've already built? Yes. Use the "Clone" option to copy a dashboard within the same account, or "Duplicate to another account" if your practice runs multiple locations and you want to reuse the same layout elsewhere.
Why don't I see the "Add Dashboard" button? Make sure you're in dashboard view mode rather than edit mode. The button only appears from the main dashboard navigation dropdown.
Why is the Private Dashboard toggle missing? That toggle only appears on the "New Dashboard" creation page. If you've already navigated away, open the dashboard's edit or permissions options instead to adjust sharing.
What happens if I add no widgets when I create a dashboard? Nothing is lost. You'll simply land on the Quick Start Widgets page every time you open a blank dashboard, and you can add widgets whenever you're ready using any of the three add options.
Can I change a dashboard's timezone after I've created it? Yes. Open the dashboard's additional options and use "Manage Dashboard Timezone" to adjust it at any time, which keeps daily and weekly figures aligned with your practice's local time.
Do I need to save after adding or removing widgets? Yes. After adding, configuring, or deleting widgets, click "✓ Save Changes" (or Confirm) to keep your changes, or Cancel to discard them.
