When a patient buys a retail product through your Aesthetix CRM store (skincare, supplements, gift cards, and more), they can log in to a dedicated Customer Access Center to check the status of that order and look back at everything they've purchased before. Login happens by email and a one-time passcode (OTP), so there's no password for patients to create or forget. Setup lives in two places: Payments > Settings > Notifications (for the order confirmation email) and your store's Navigation Menu settings inside the Store Builder (for the login button itself).
The order confirmation email is what gives patients their first path into the Customer Access Center, so enable it before anything else.
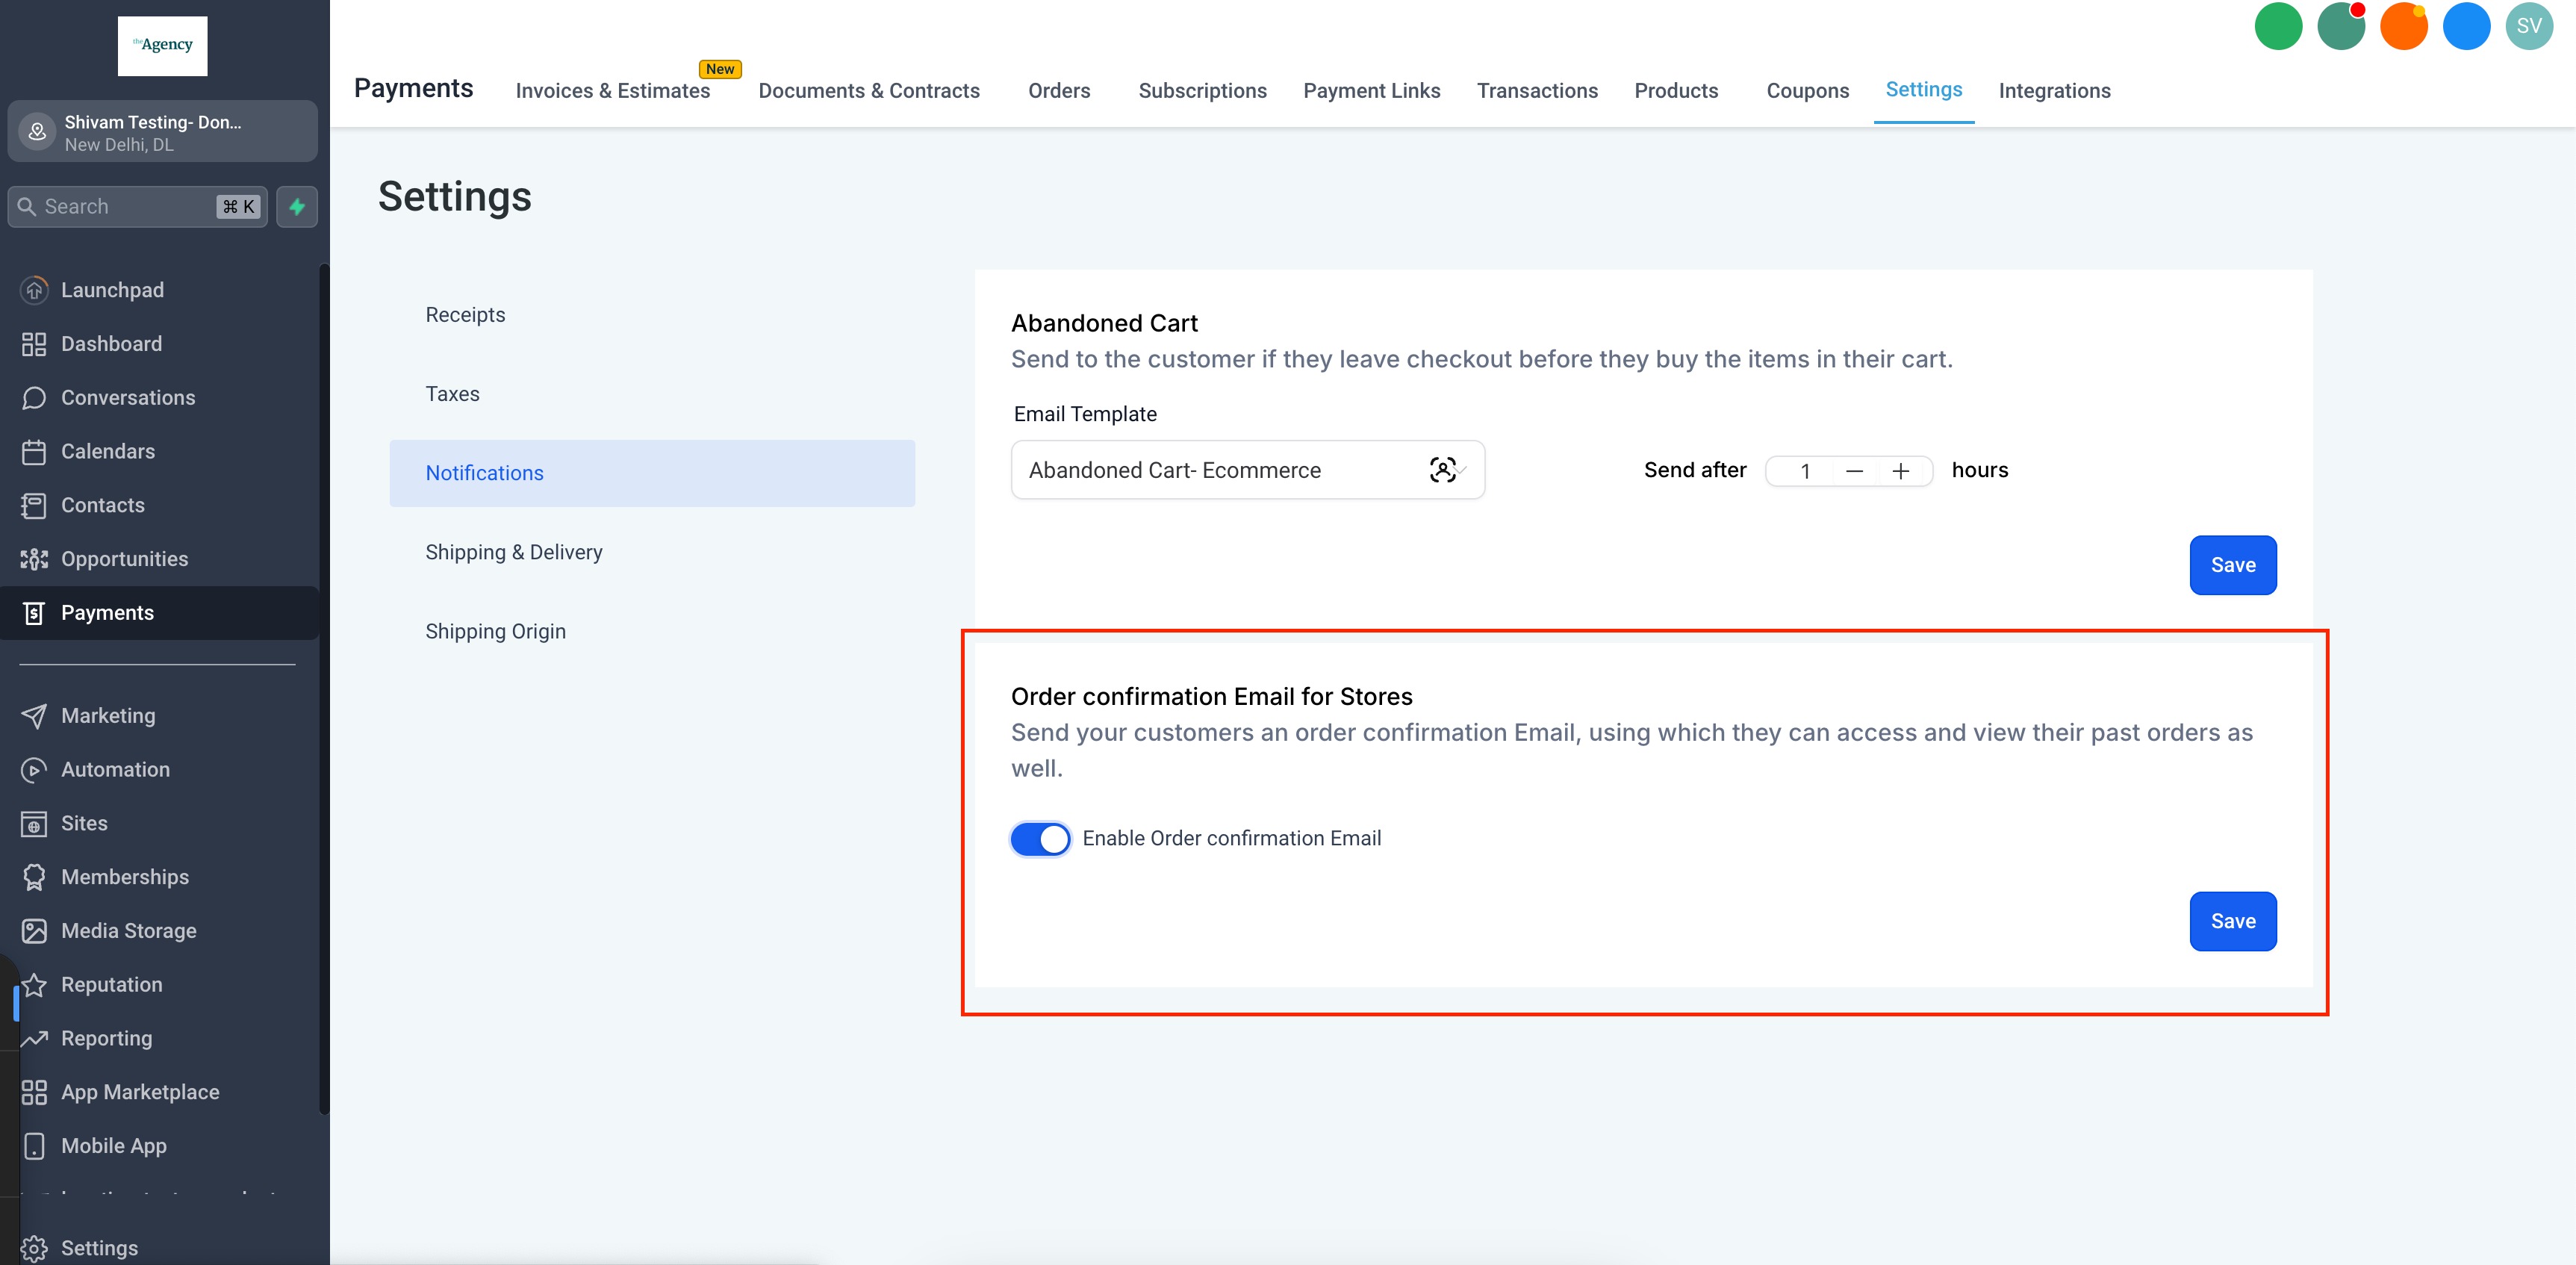
Go to Payments > Settings > Notifications.
Turn on Order Confirmation Email for Stores.
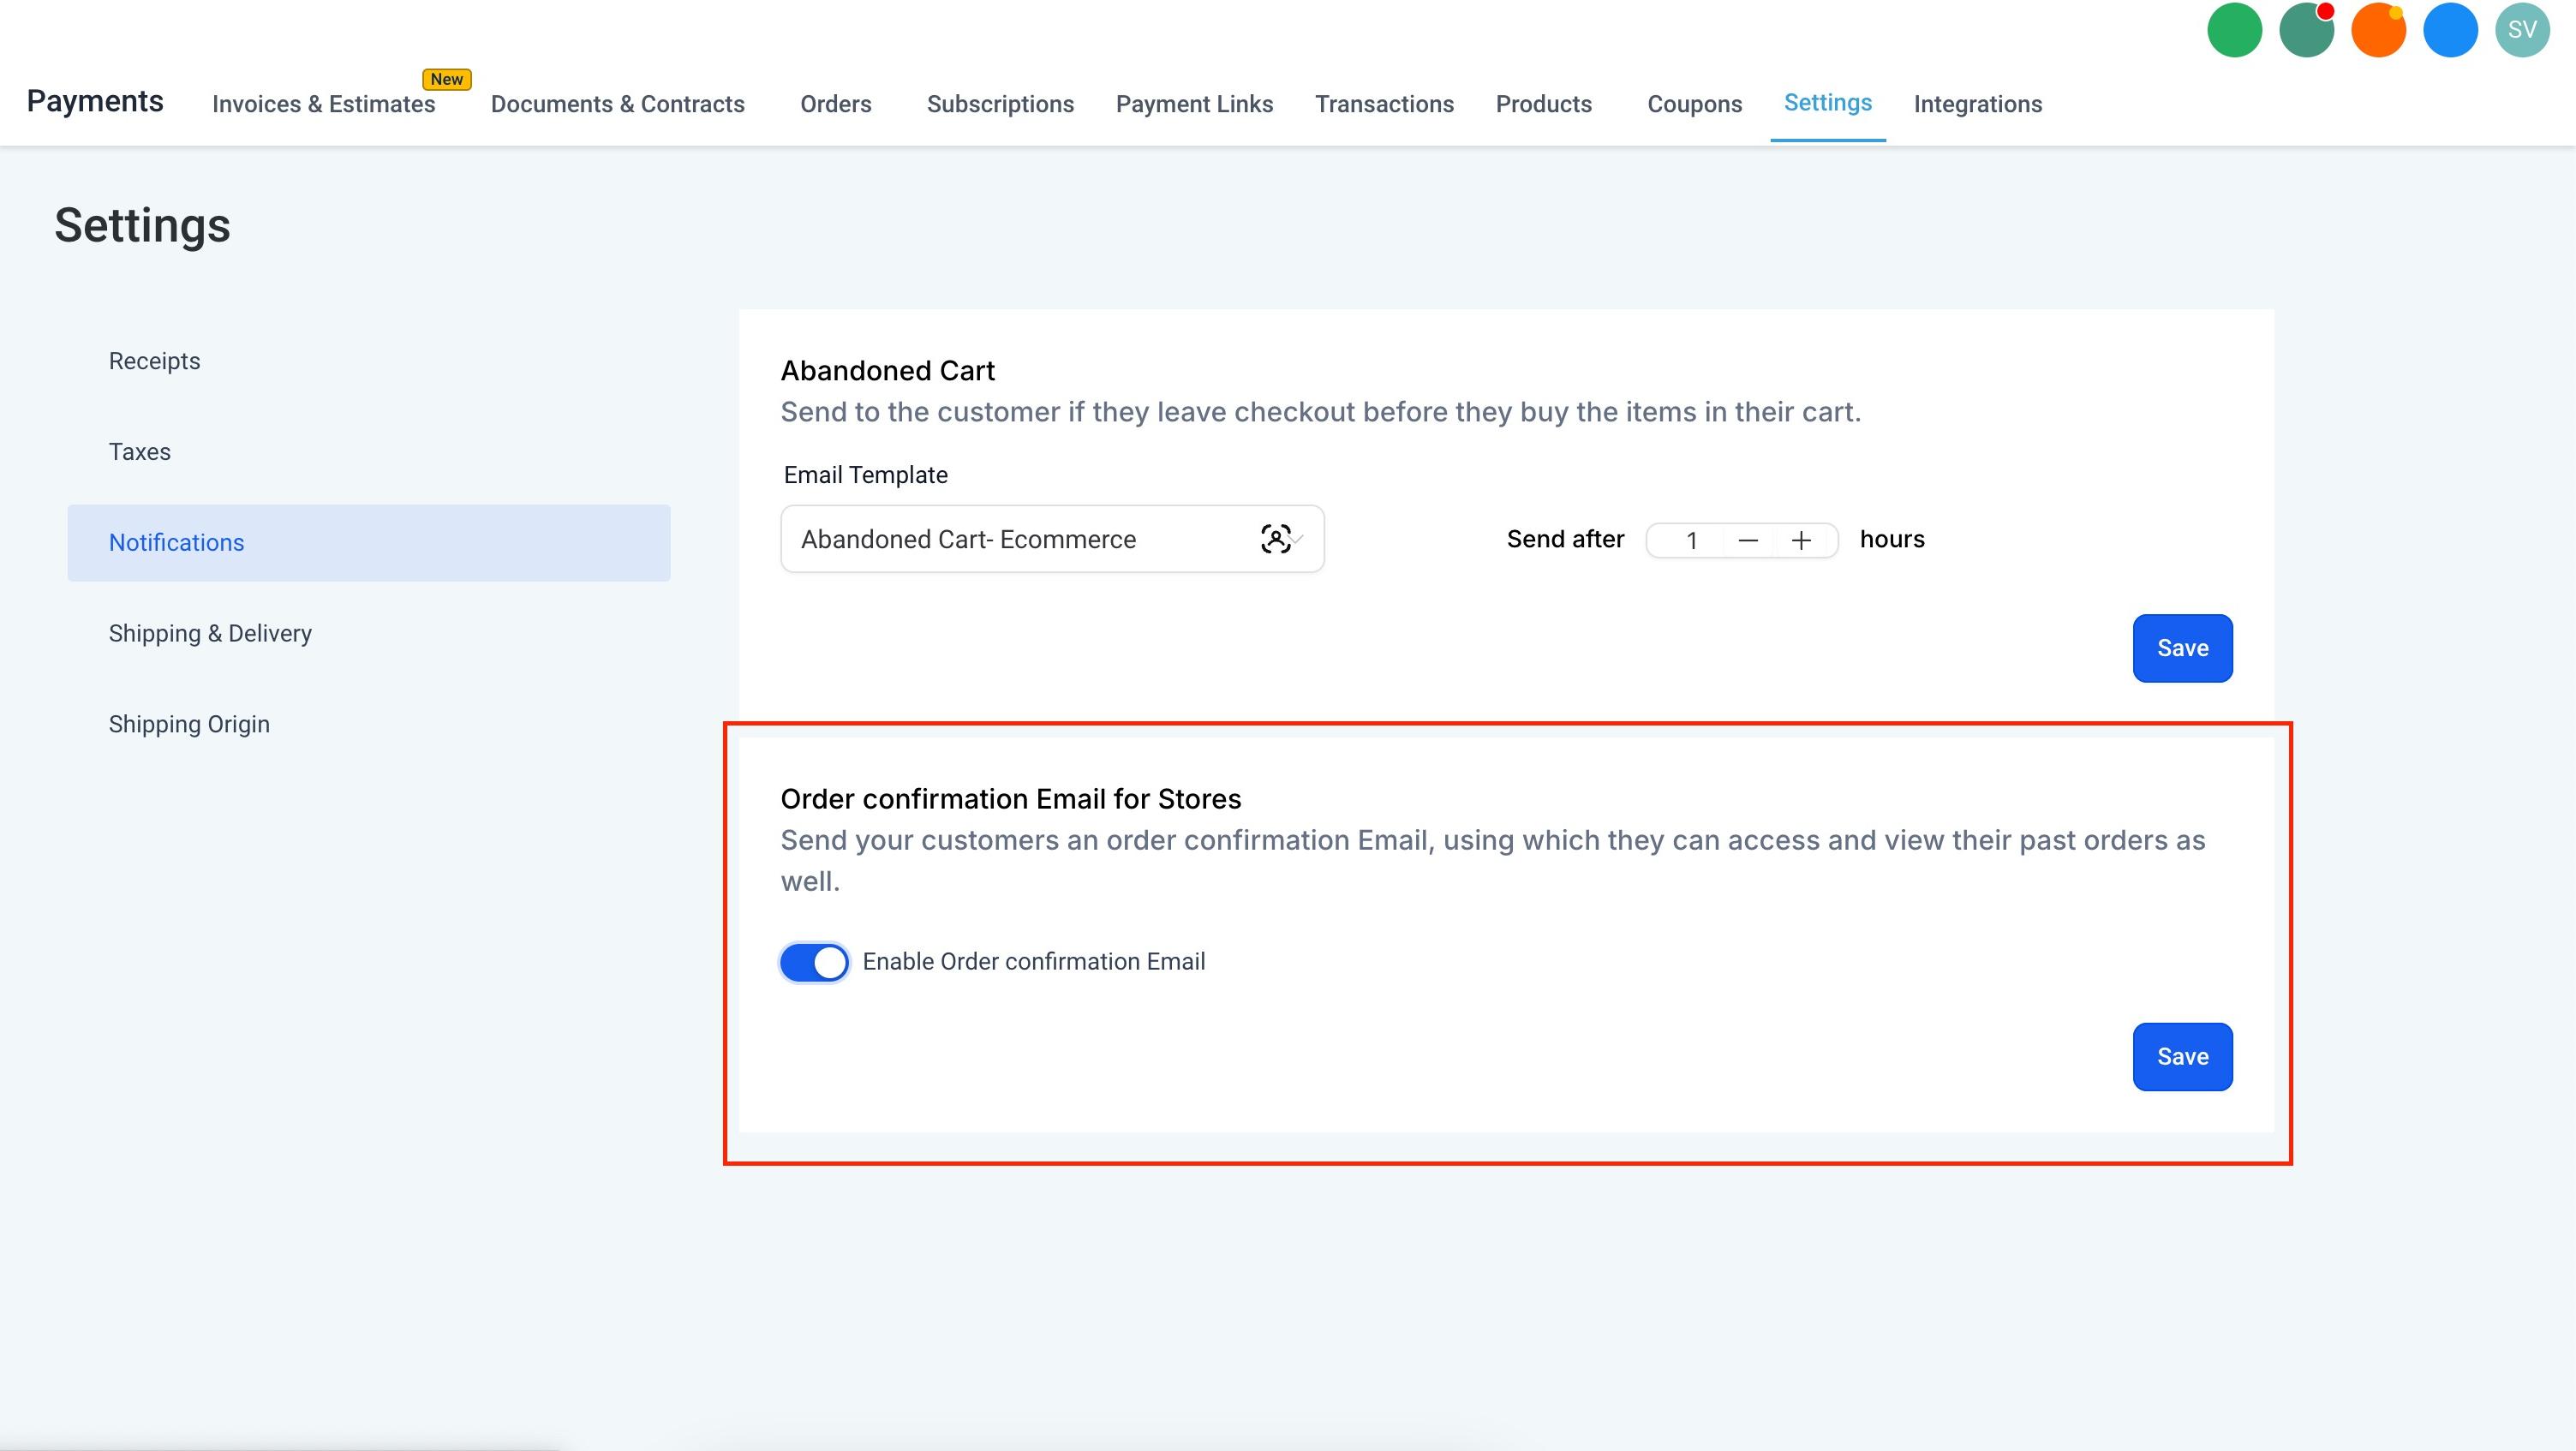
Once this is on, every patient who checks out receives a confirmation email with a View Order button.
Customer Login adds a login button directly to your store's navigation bar, so patients can access their account without waiting on an email at all.
Open the Store Builder from your dashboard.
Go to your store page and click the Navigation Menu.
Under General Settings > Customer Login, turn on the Enable Customer Login toggle.
In the same panel, scroll to Menu Items Dropdown to add extra links (for example, a link to your service menu or booking page). For each item, set its redirect URL and choose whether it opens in a new tab or the current one.
Confirm your store domain is added and verified, and that the domain's default path points to a page inside the store. Customer Login will not work on an unverified or unlinked domain.
If the Enable Customer Login toggle is off, the login button simply will not appear in the store's navigation, and patients will only be able to reach their orders through the confirmation email link.
Patients can get into the Customer Access Center two ways: by clicking View Order in their confirmation email, or by clicking the login button in your store's navigation.
The patient clicks View Order (email) or the login icon (storefront nav).
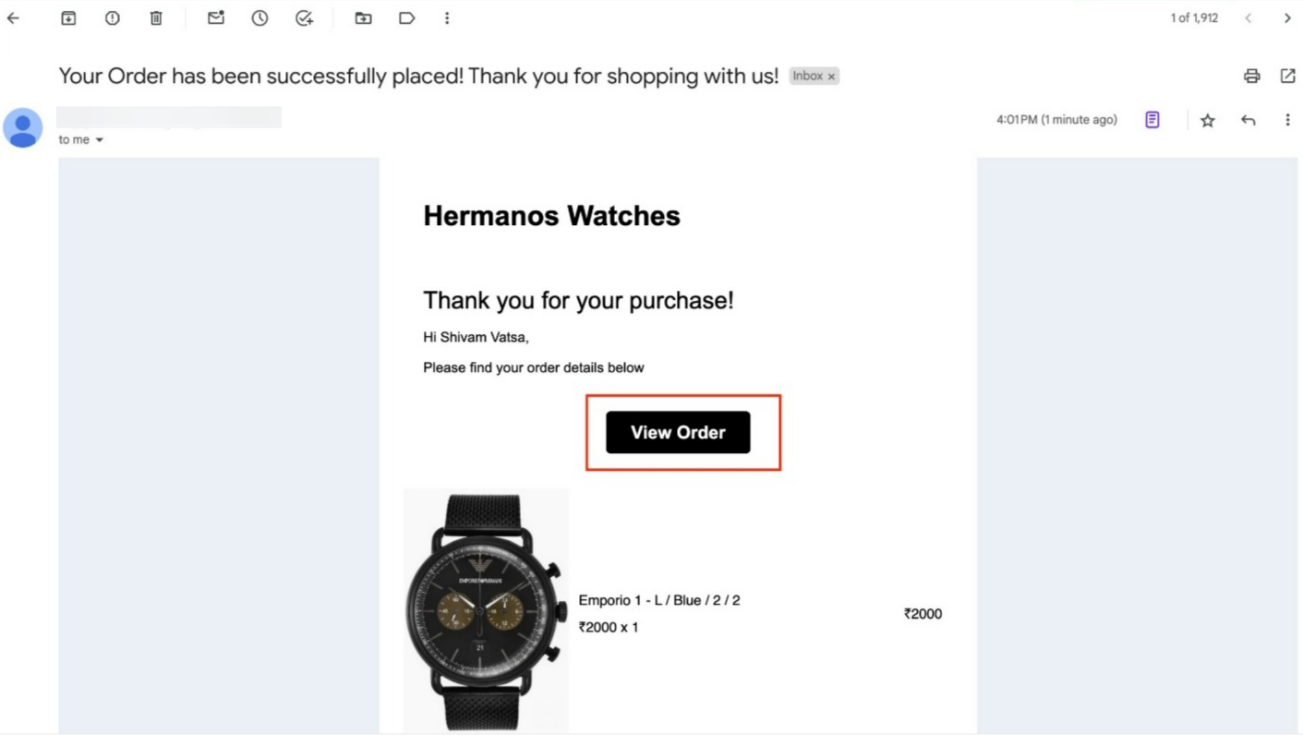
The patient enters the same email address they used at checkout.
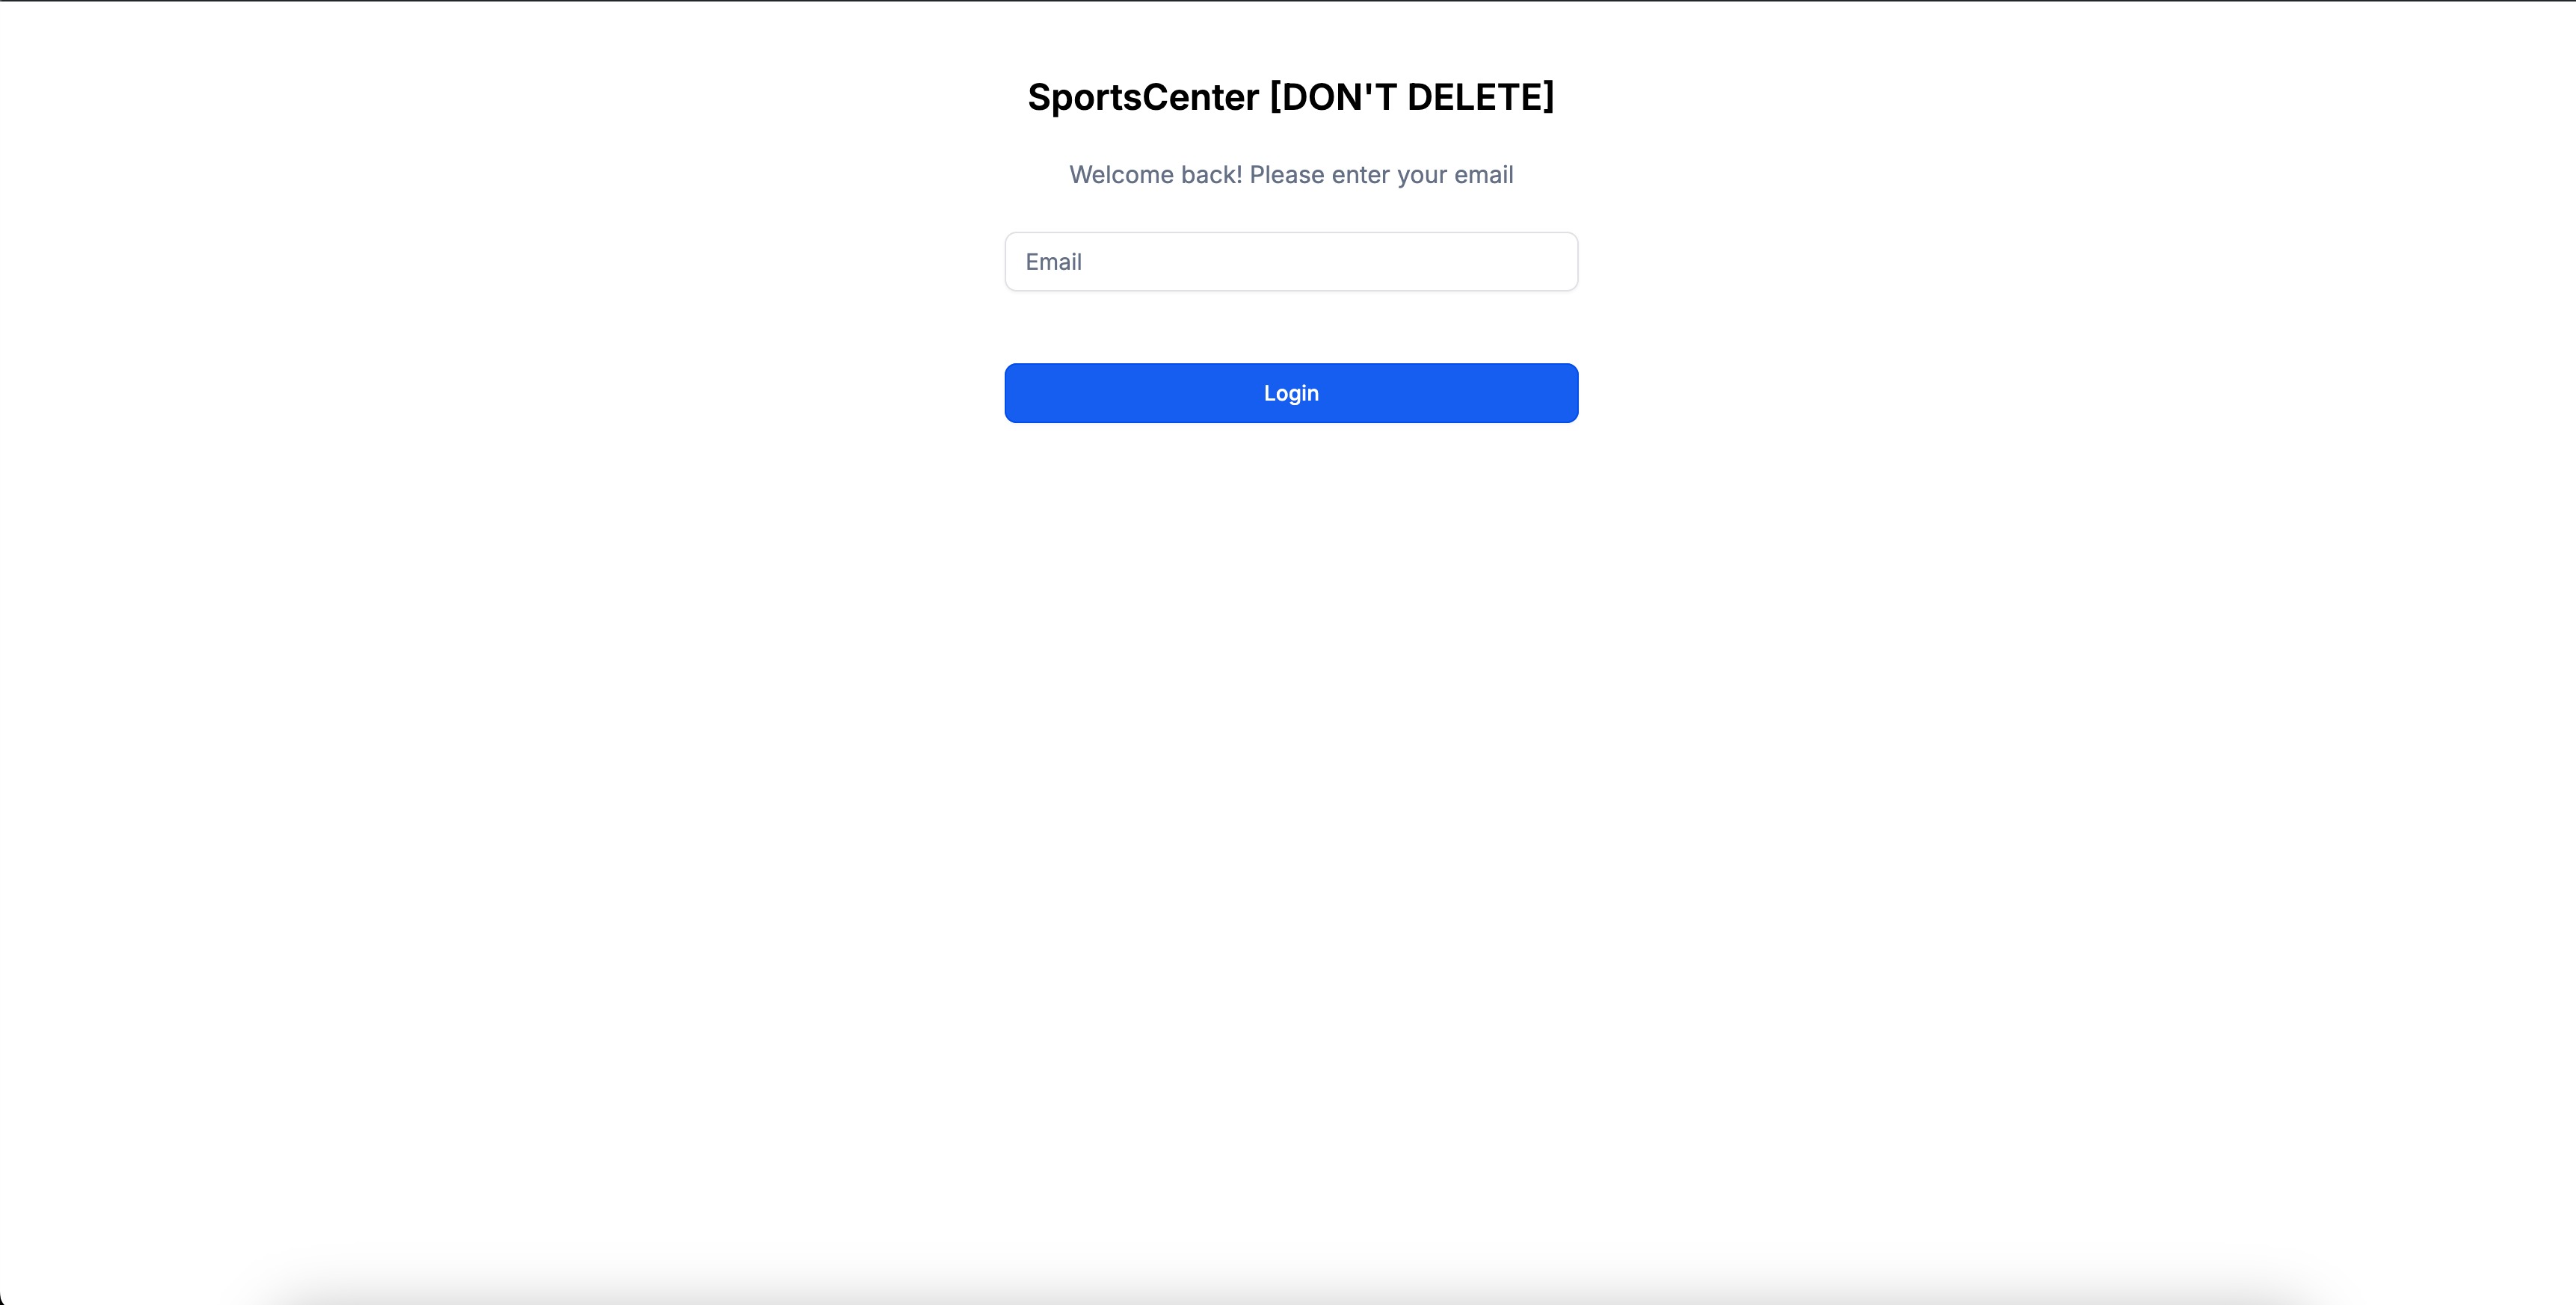
A one-time passcode (OTP) is sent to that email for verification. No password is ever created or stored.
Verification normally happens automatically in the background through Cloudflare Turnstile, a built-in bot check on the OTP request, so there's nothing for you to set up. On the rare occasion extra verification is needed, the patient sees a visible challenge before they can continue with their code.
Once verified, the patient lands on an order summary showing their current order details.
A couple of things to know about how logins are matched to patients:
If more than one contact record shares the same email address, the Customer Access Center logs in using whichever contact was created first.
If sticky contact is enabled on your account, all orders placed from that browser session are consolidated under the same login.
Once an order is logged in the store, whatever fulfillment status your team sets (partial or complete) is reflected back to the patient automatically. From their order details, patients can see:
Tracking number
Tracking URL
Carrier name
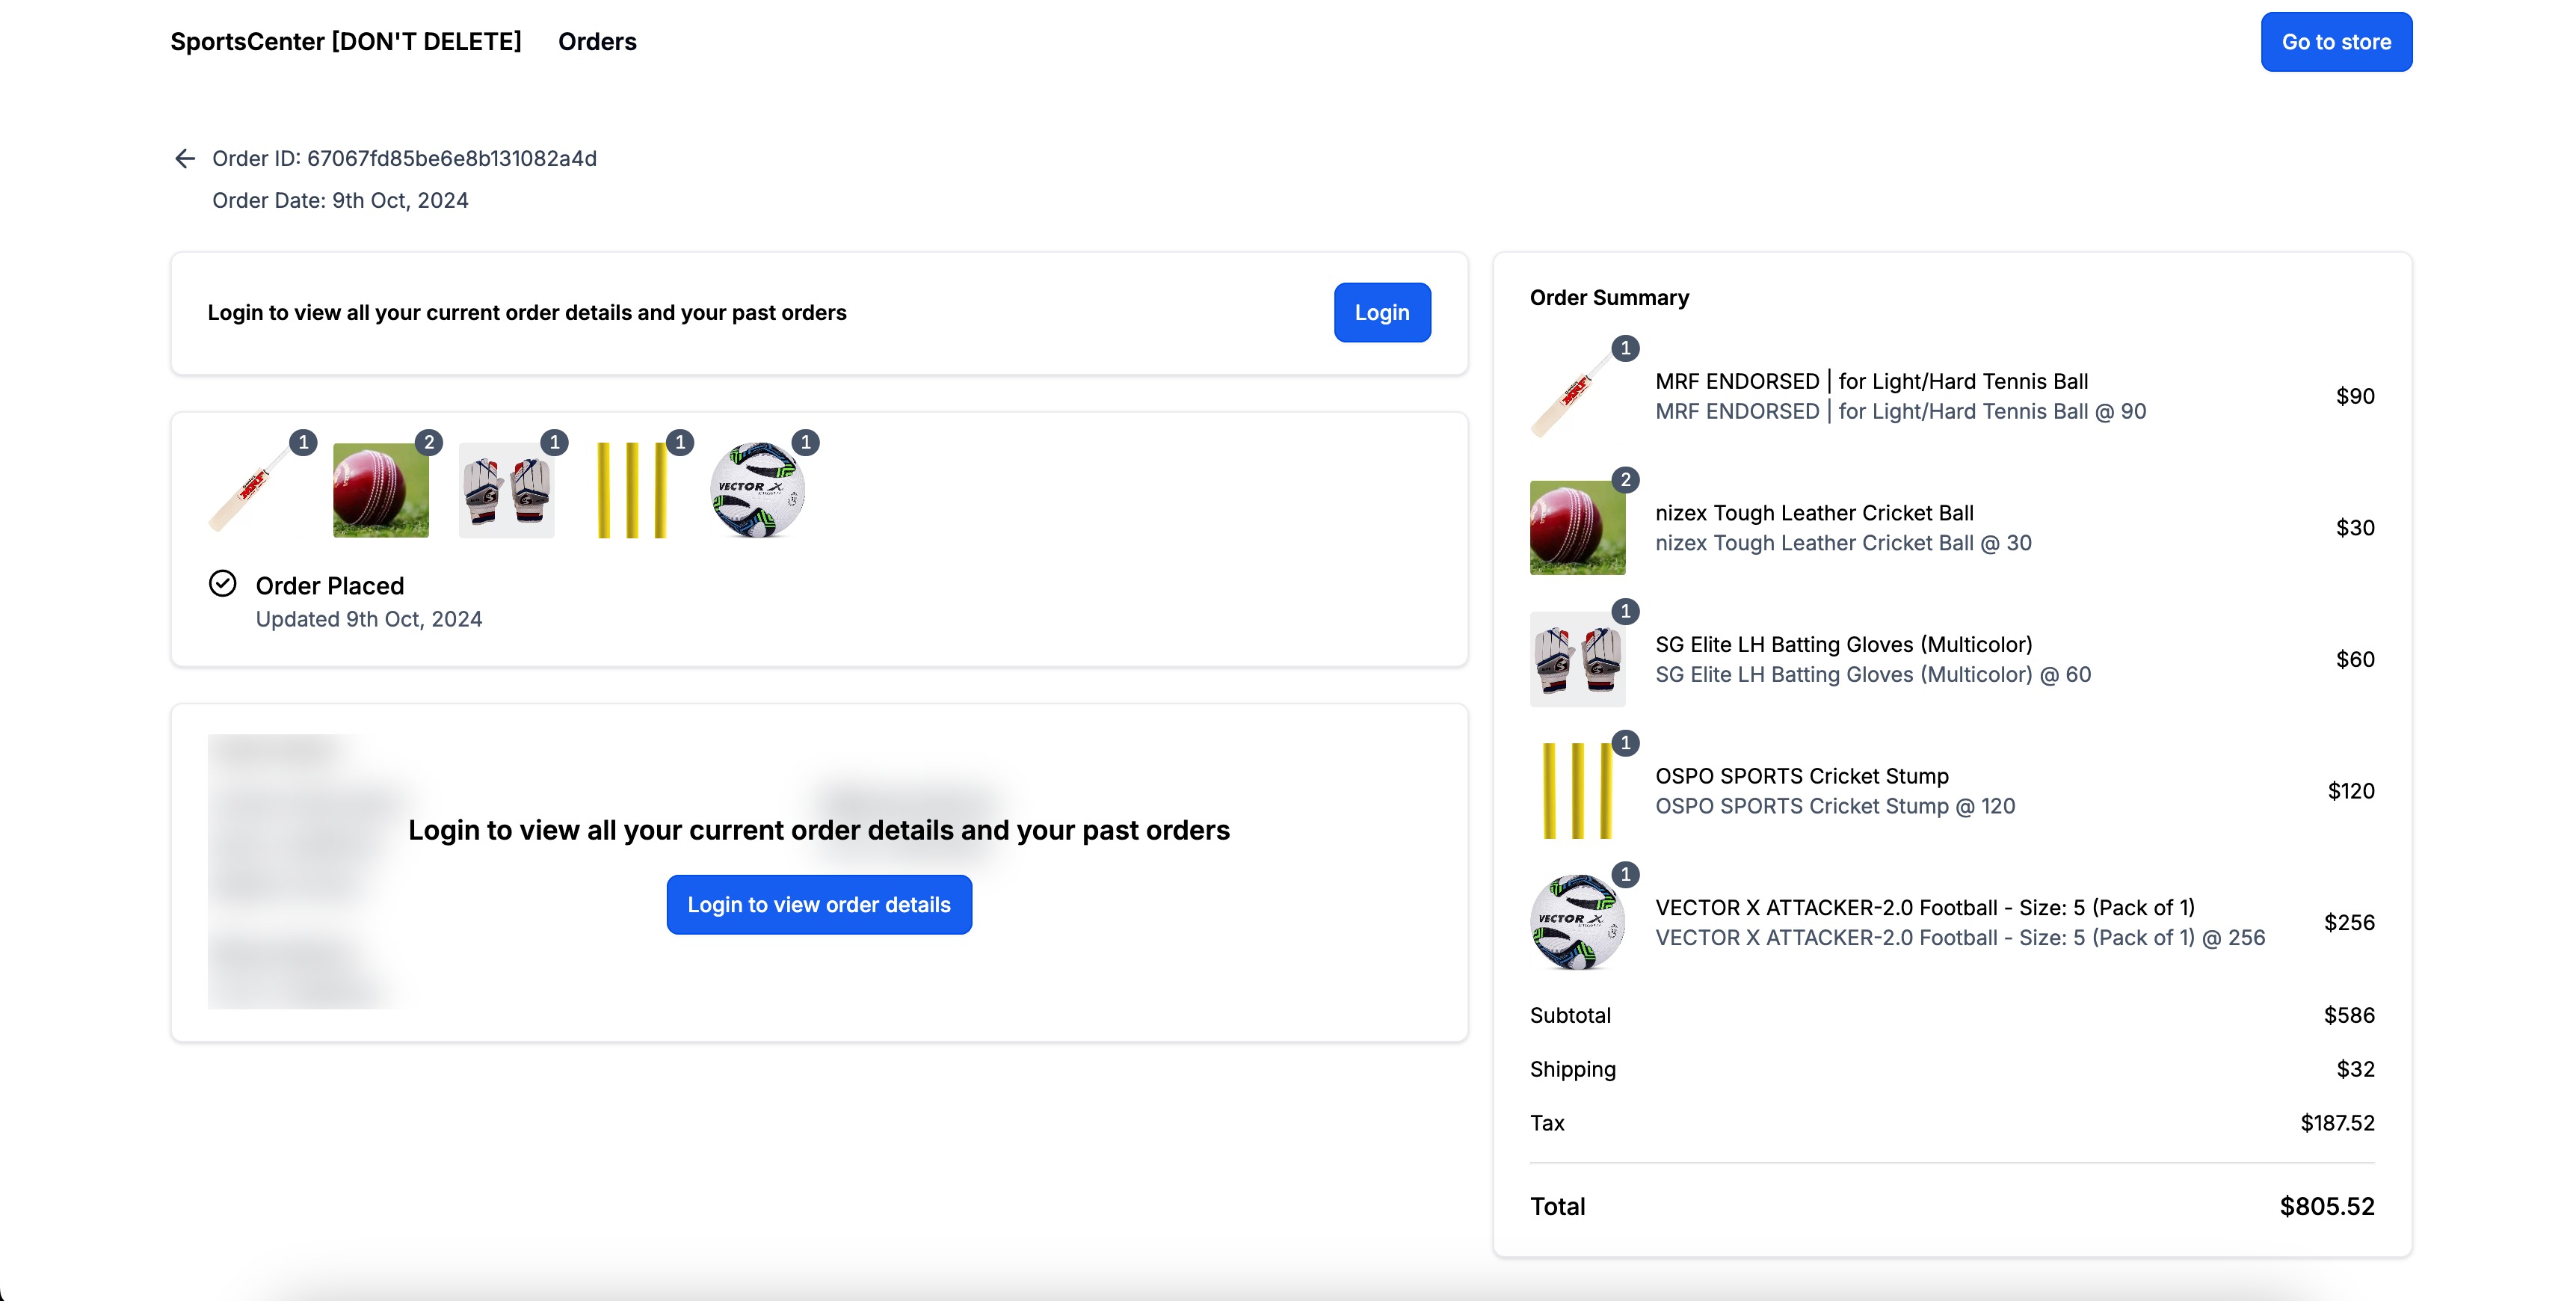
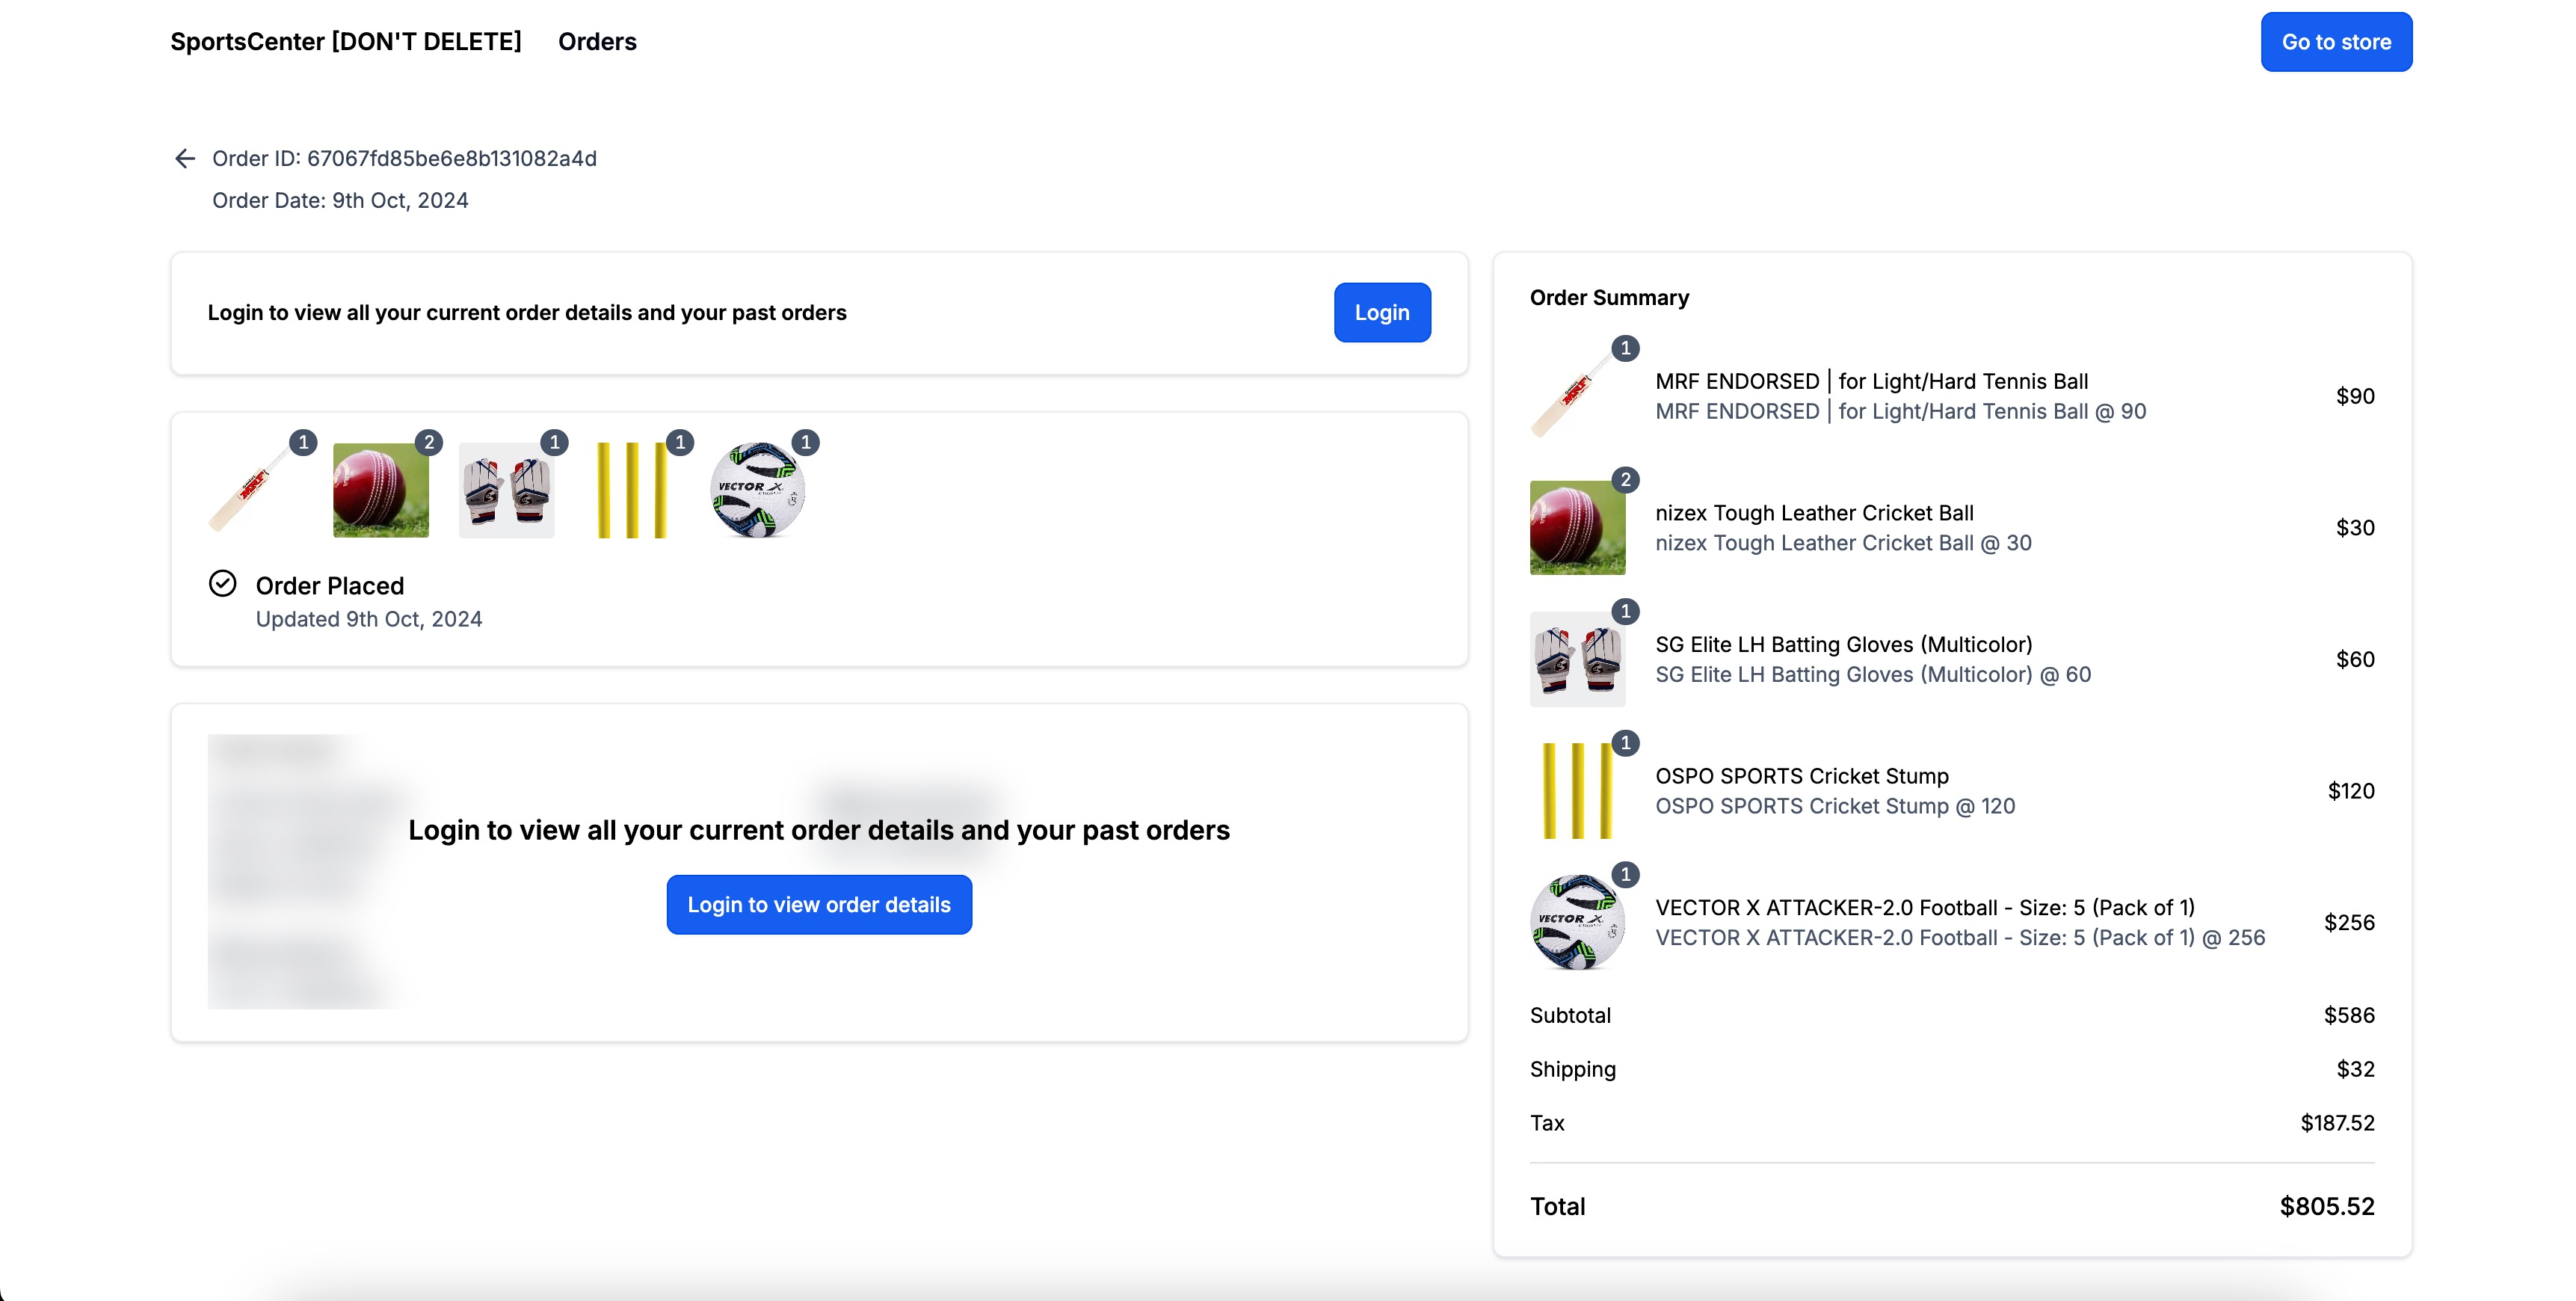
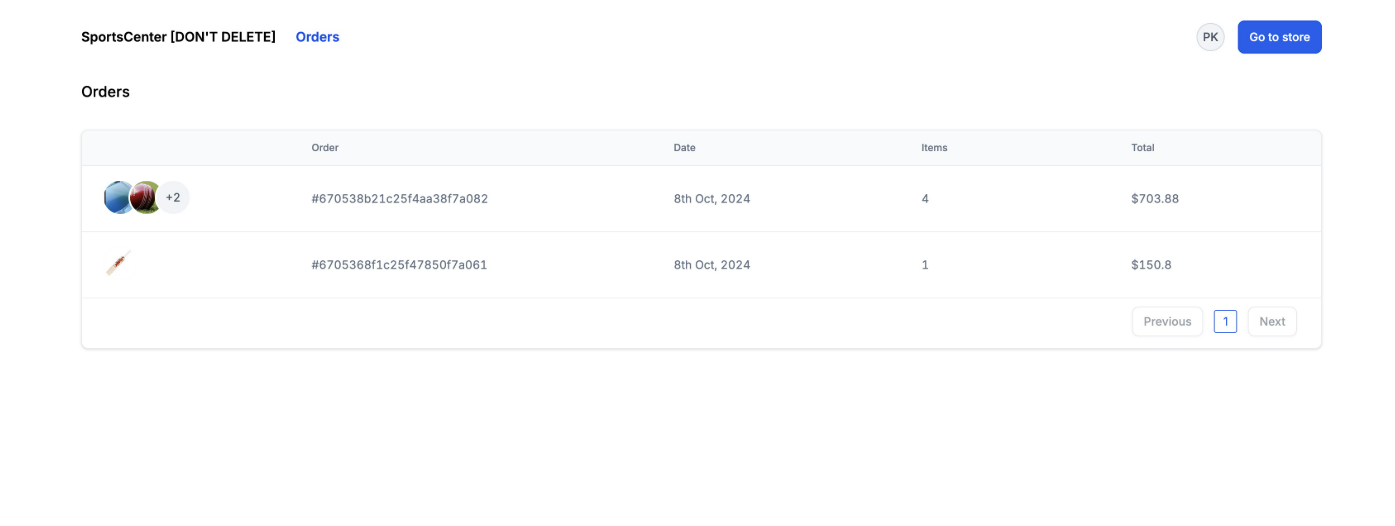
Once logged in, patients can pull up every order they've placed with your practice's store, not just the most recent one. They click the Orders button in the store's navigation menu (or the same option from the post-login dropdown) to see their full order history.
Wishlisting lets logged-in patients save products they're interested in without adding them to the cart, then come back to review or buy them later from a dedicated Wishlist page in the Customer Access Center. It uses the same Customer Login and verified store domain covered above, so set those up first if you haven't already.
Store Element | Wishlist Experience |
|---|---|
Product List | Shows a wishlist control on product cards as patients browse the catalog. |
Product Details | Lets a patient save the product from its own Product Details page. |
Featured Product | Lets a patient save a product shown through a Featured Product element. |
Open the Store Builder and go to the page with the product element you want to add wishlisting to.
Select the Product List, Product Details, or Featured Product element, open its General settings, and expand Wishlist Products.
Turn on Enable wishlist for products, then set the Wishlist Icon Active Color and Wishlist Button Background Color to match your store's design.
Go to your store's Navigation Menu settings and, under General Settings > Customer Login, add a menu item named My Wishlist. Set its Go To option to Go to Customer Access Center and its Page to Wishlist.
Confirm your store domain is verified, with its default path pointing to a page inside the store, the same requirement as Customer Login above.
Save and publish the store, then test it: view the store logged out and confirm the login prompt appears when you try to save a product, log in, save a product, and open My Wishlist to confirm it's there.
Once logged in, patients open My Wishlist from the store navigation to review everything they've saved. From there they can click View Product to return to an item, or remove it from the list if they no longer want it. Saving a product to a Wishlist never adds it to the cart, patients still go through your normal purchase flow when they're ready to buy.
Issue | What to Check |
|---|---|
Wishlist button doesn't appear | Confirm Enable wishlist for products is turned on for that Product List, Product Details, or Featured Product element, then save and publish the page. |
A logged-out patient can't save a product | Wishlisting requires Customer Login. Confirm it's enabled and that the login prompt opens correctly. |
My Wishlist is missing from the customer menu | Open Navigation Menu settings and confirm a menu item is set to Go to Customer Access Center > Wishlist. |
A saved product isn't showing in Wishlist | Confirm the patient is logged in, that the product was actually saved, and refresh the Wishlist page. |
After a patient logs in, their profile icon activates a dropdown menu in the store navigation. By default it includes:
Orders: opens their full order history
My Wishlist: opens their saved products, if you've added it to the navigation menu (see Wishlisting Products above)
Logout: signs them out of the Customer Access Center
Any extra menu items you added in Step 2 also appear here, so you can use this space to point patients toward booking, your service menu, or a loyalty program.
The Customer Access Center can also be reached directly at:
<storeurl>/store/account/orders
For example: myawesomestore.com/products/store/account/orders
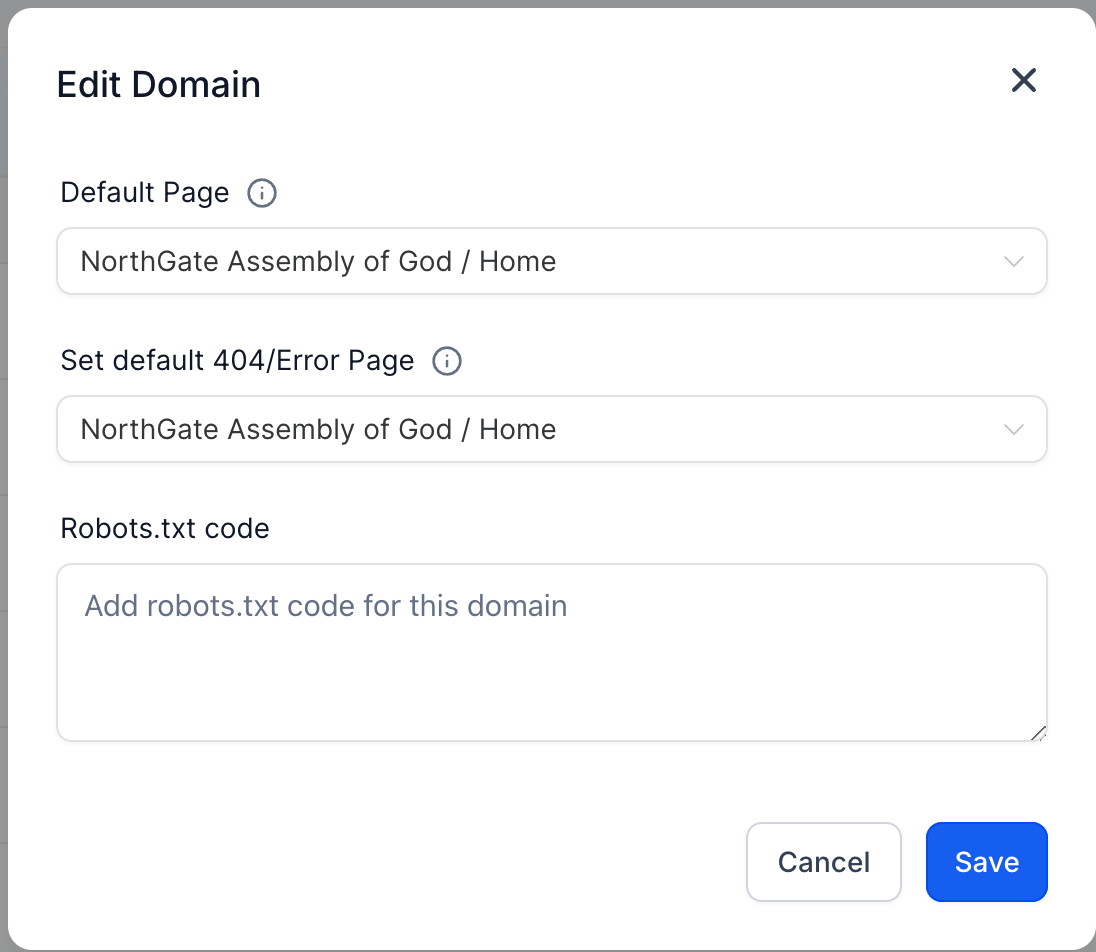
Your store domain must be connected and verified, and its default path must point to a page inside the store, or the Customer Access Center will not load correctly for patients.
Order confirmation emails and the Customer Access Center both rely on your checkout being set up correctly. Product catalog, taxes, coupons, and payment provider configuration live in the Payments collection, not here, if you need to review that setup. If you're still on Stripe for checkout, consider switching to AX Pay, Aesthetix CRM's own payment provider, which offers better processing rates than Stripe. See the AX Pay help article for details on making the switch.
CRM syncing for logged-in customer activity is not currently available; the login gives patients access to order history and logout only.
The same limitation applies to Wishlist: saved-product activity is not synced into the patient's CRM contact record either.
Because login is tied to the email used at checkout, a patient who checks out with a different email each time will not see a unified order history until those contact records are merged.
Connecting Shopify or WooCommerce instead of using the native store is covered in the Integrations collection; Customer Login as described here applies to your native Aesthetix CRM store.
Order data in the Customer Access Center is limited to purchase and shipping details tied to the email a patient used at checkout. It does not expose treatment notes, appointment history, or other clinical information, so it carries low HIPAA risk, but you should still avoid adding PHI (like treatment details) into product names or order notes that patients can see.
Do patients need to create a password to log in? No. Login uses a one-time passcode (OTP) sent to the email address used at checkout, so there's no password to set up or reset.
What happens if I leave the Enable Customer Login toggle off? The login button will not appear in your store's navigation. Patients can still reach their order through the confirmation email, but they won't have a persistent login option on the storefront.
Can patients test or use Customer Login without a verified domain? No. A live, verified domain must be connected to your store page for the login button and Customer Access Center to work.
What if the same patient checks out with two different email addresses? Each email creates or matches its own contact, so orders won't automatically combine across different emails. If multiple contacts share the exact same email, the first contact created is the one used for login.
Does sticky contact affect what a patient sees when logged in? Yes. With sticky contact enabled, all orders placed during that browser session are consolidated under the same contact, so a patient sees them together in their order history.
Can I customize the login button and menu? Yes. You can toggle the login button on or off, change its icon color to match your brand, add custom menu items with their own redirect URLs, and choose whether links open in a new tab or the current one.
Will logging in sync a patient's activity back into their CRM contact record? Not currently. Customer Login gives patients access to their order history and a logout option; it does not sync additional activity data into their contact record.
Where do I turn on the order confirmation email that gives patients the View Order link? Go to Payments > Settings > Notifications and turn on Order Confirmation Email for Stores.
Can patients see shipping and tracking info from their login? Yes. Once you update fulfillment status on an order (partial or complete), patients can view tracking number, tracking URL, and carrier name from their order details.
Is there a direct link I can share instead of relying on the login button?
Yes. The Customer Access Center is reachable at <storeurl>/store/account/orders, though patients still need to verify with their checkout email and an OTP to see their orders.
Do patients need to complete a CAPTCHA to get their login code? No, not normally. OTP requests are automatically checked by Cloudflare Turnstile in the background, and there's nothing for you to configure. A visible challenge only appears in the rare case where additional verification is needed.
Do patients need to be logged in to use Wishlist? Yes. If a patient who isn't logged in tries to save a product, the Customer Access Center login prompt opens first.
Which store elements can show a wishlist button? Product List, Product Details, and Featured Product elements all support the wishlist control. Enable it separately on each element where you want patients to see it.
Does saving a product to a Wishlist add it to the cart? No. Wishlisting only saves the product for later. Patients still go through your normal purchase flow when they're ready to buy.
How do patients get to their Wishlist? Add a My Wishlist item to your store's Customer Login navigation menu (Go To: Customer Access Center, Page: Wishlist). Once it's there, logged-in patients can open it any time to review or remove saved products.
