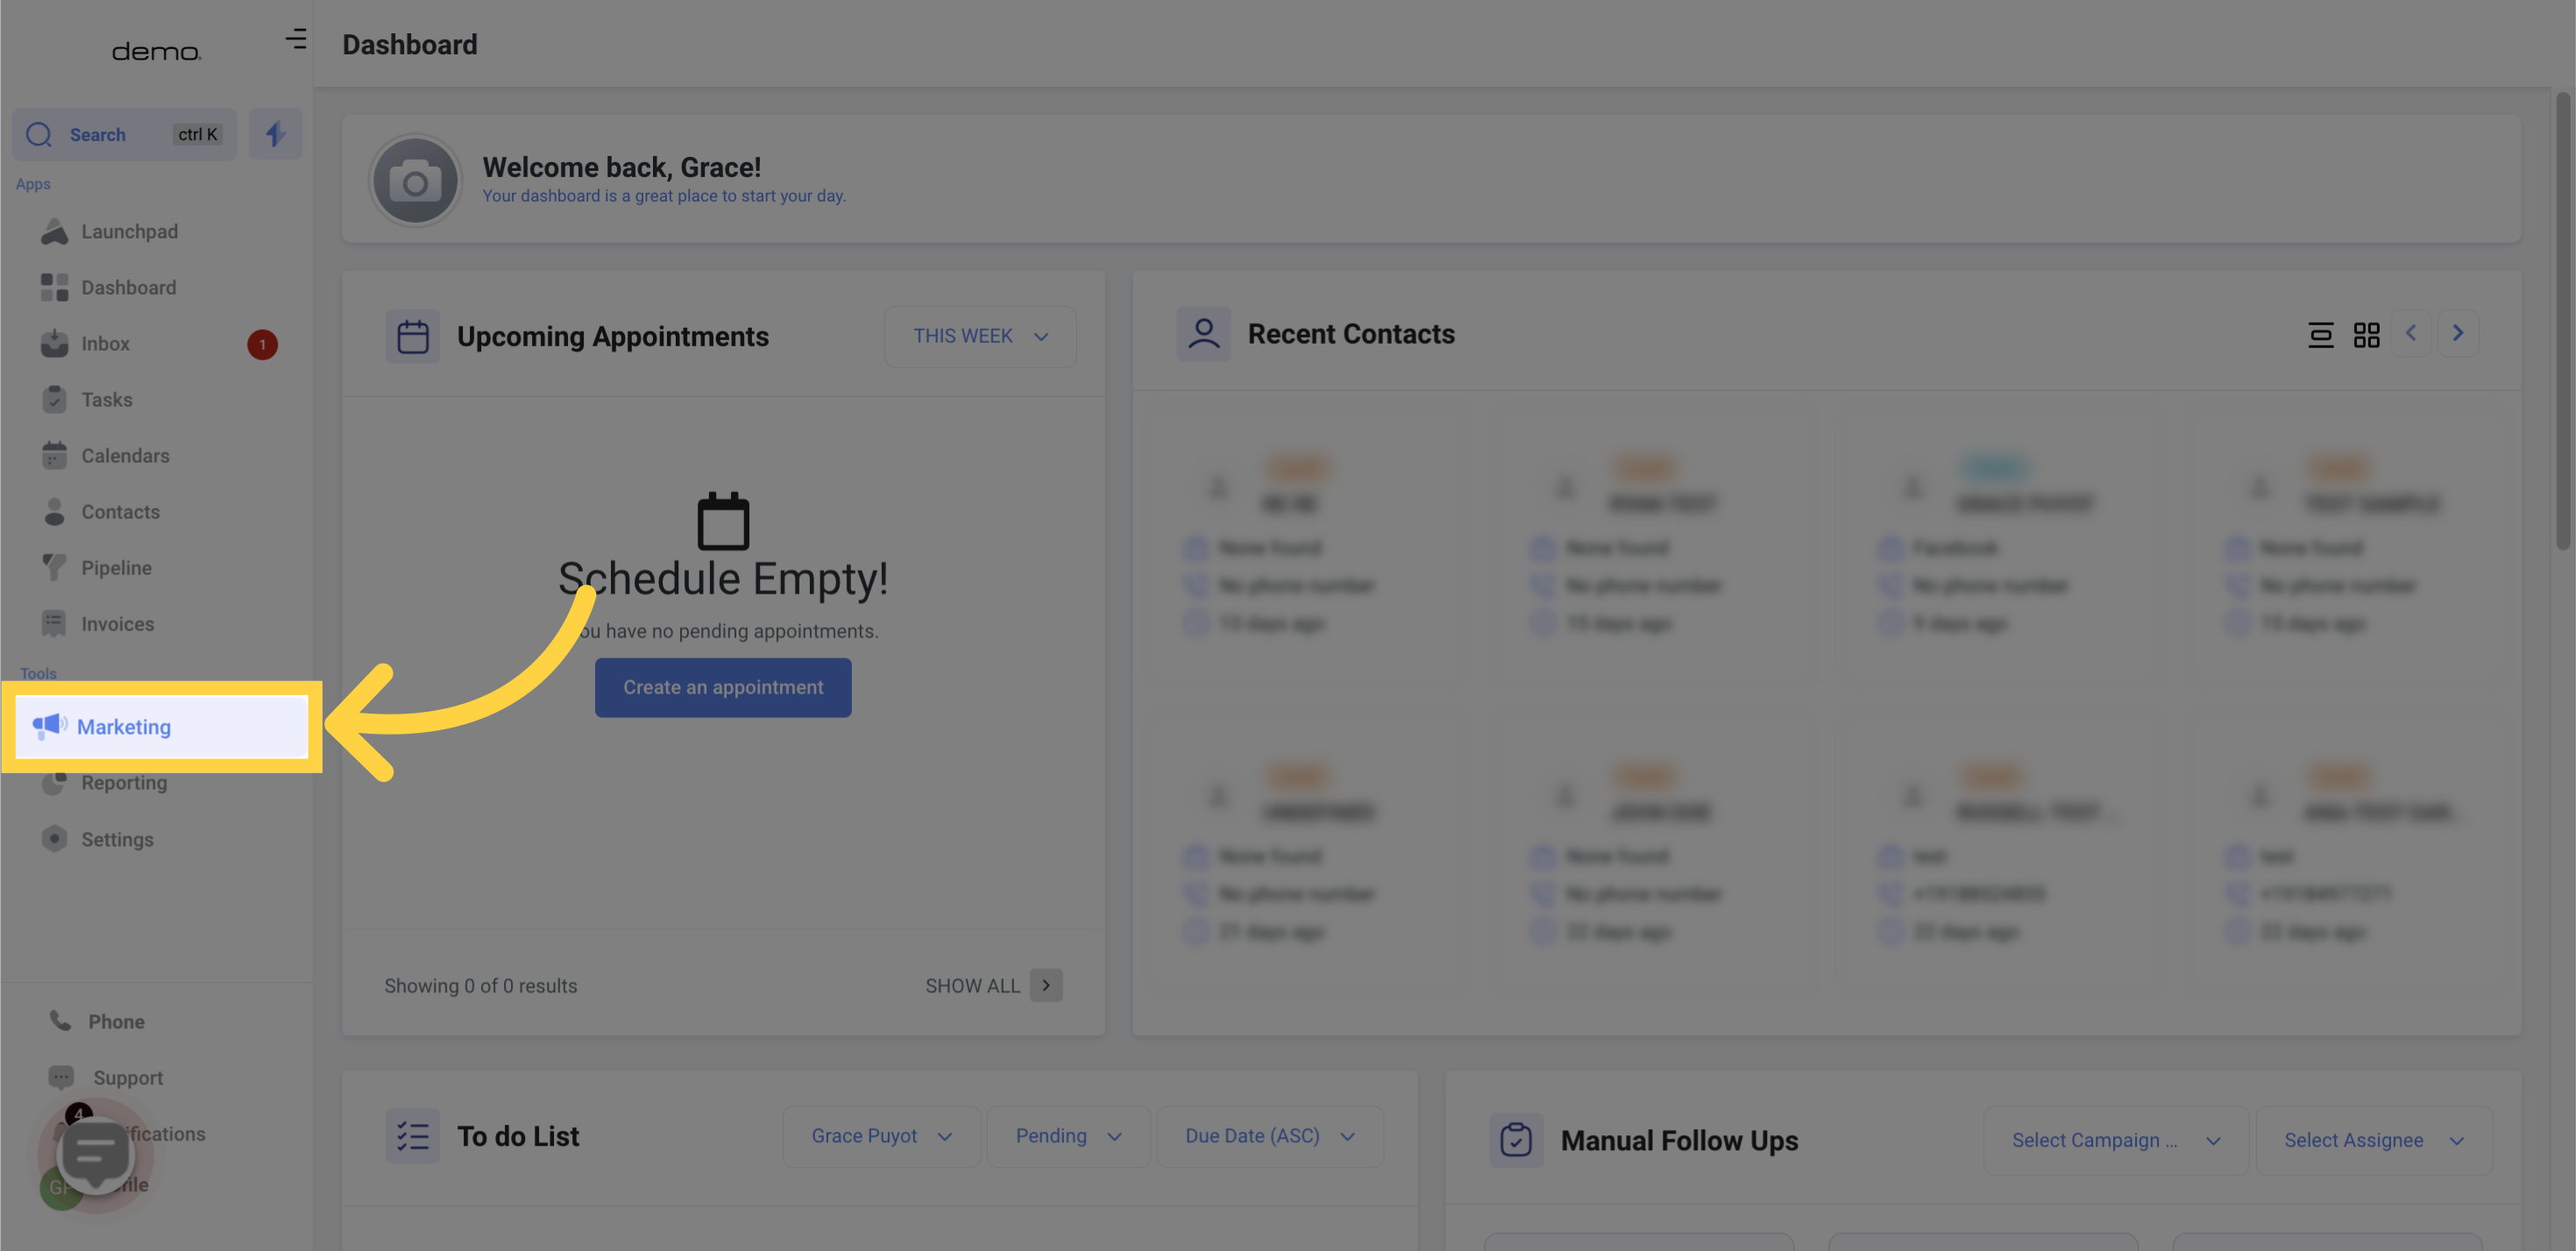
Access the Marketing section
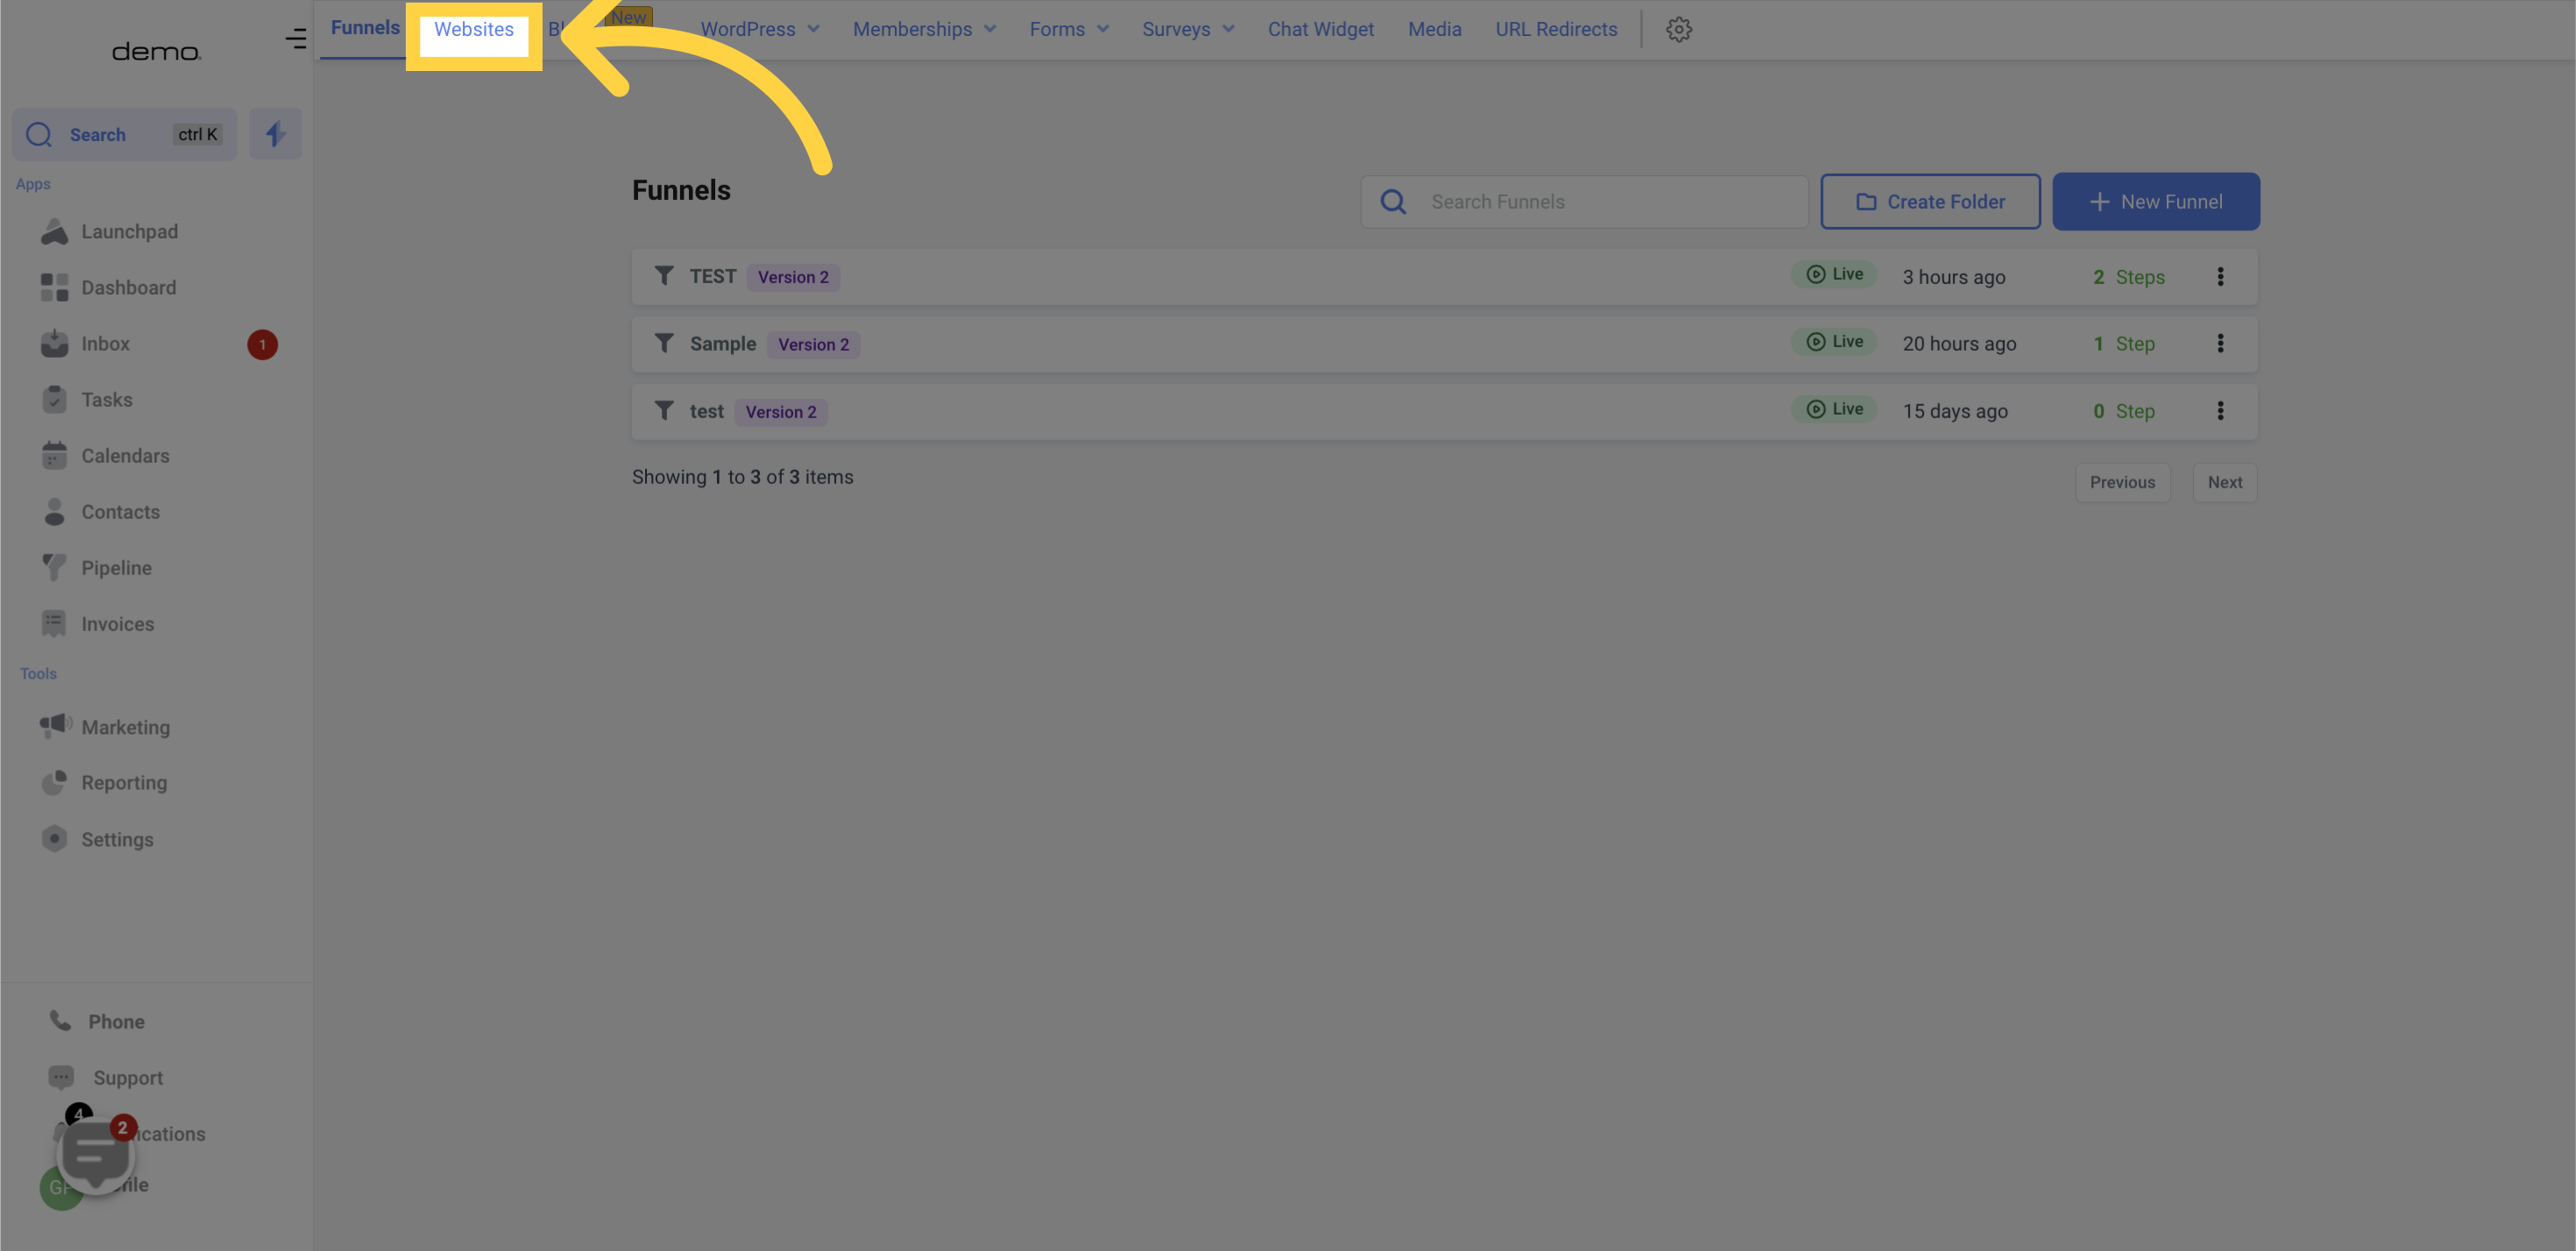
Select Funnels from the menu

Choose the Websites option
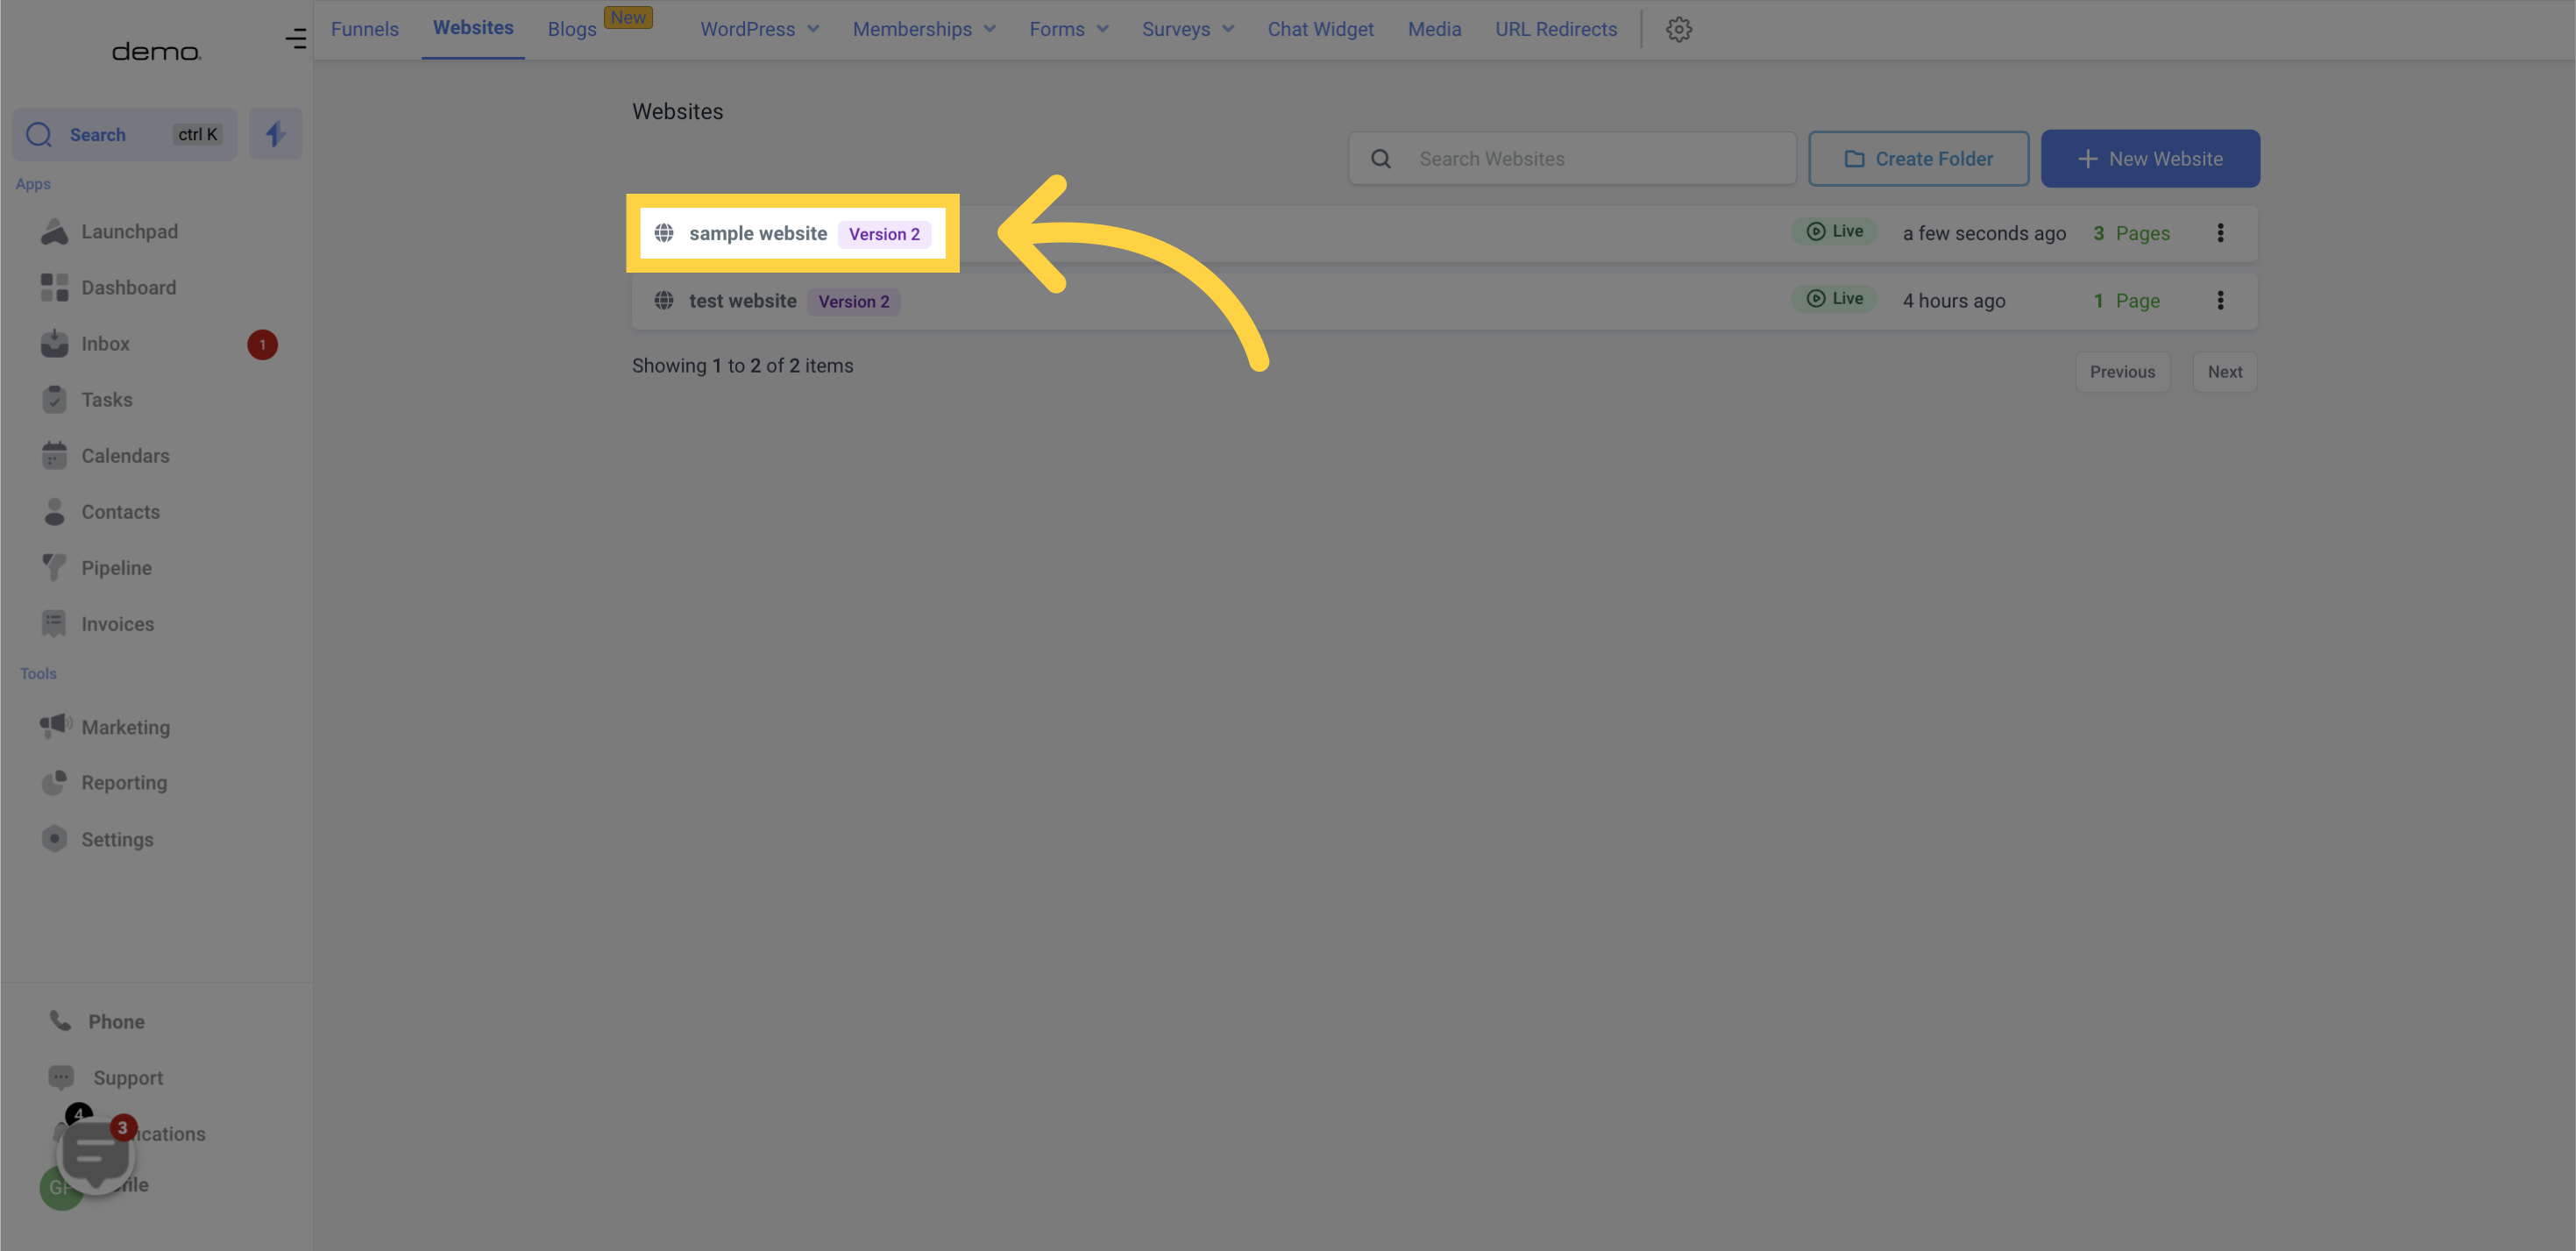
Select the desired website from the list
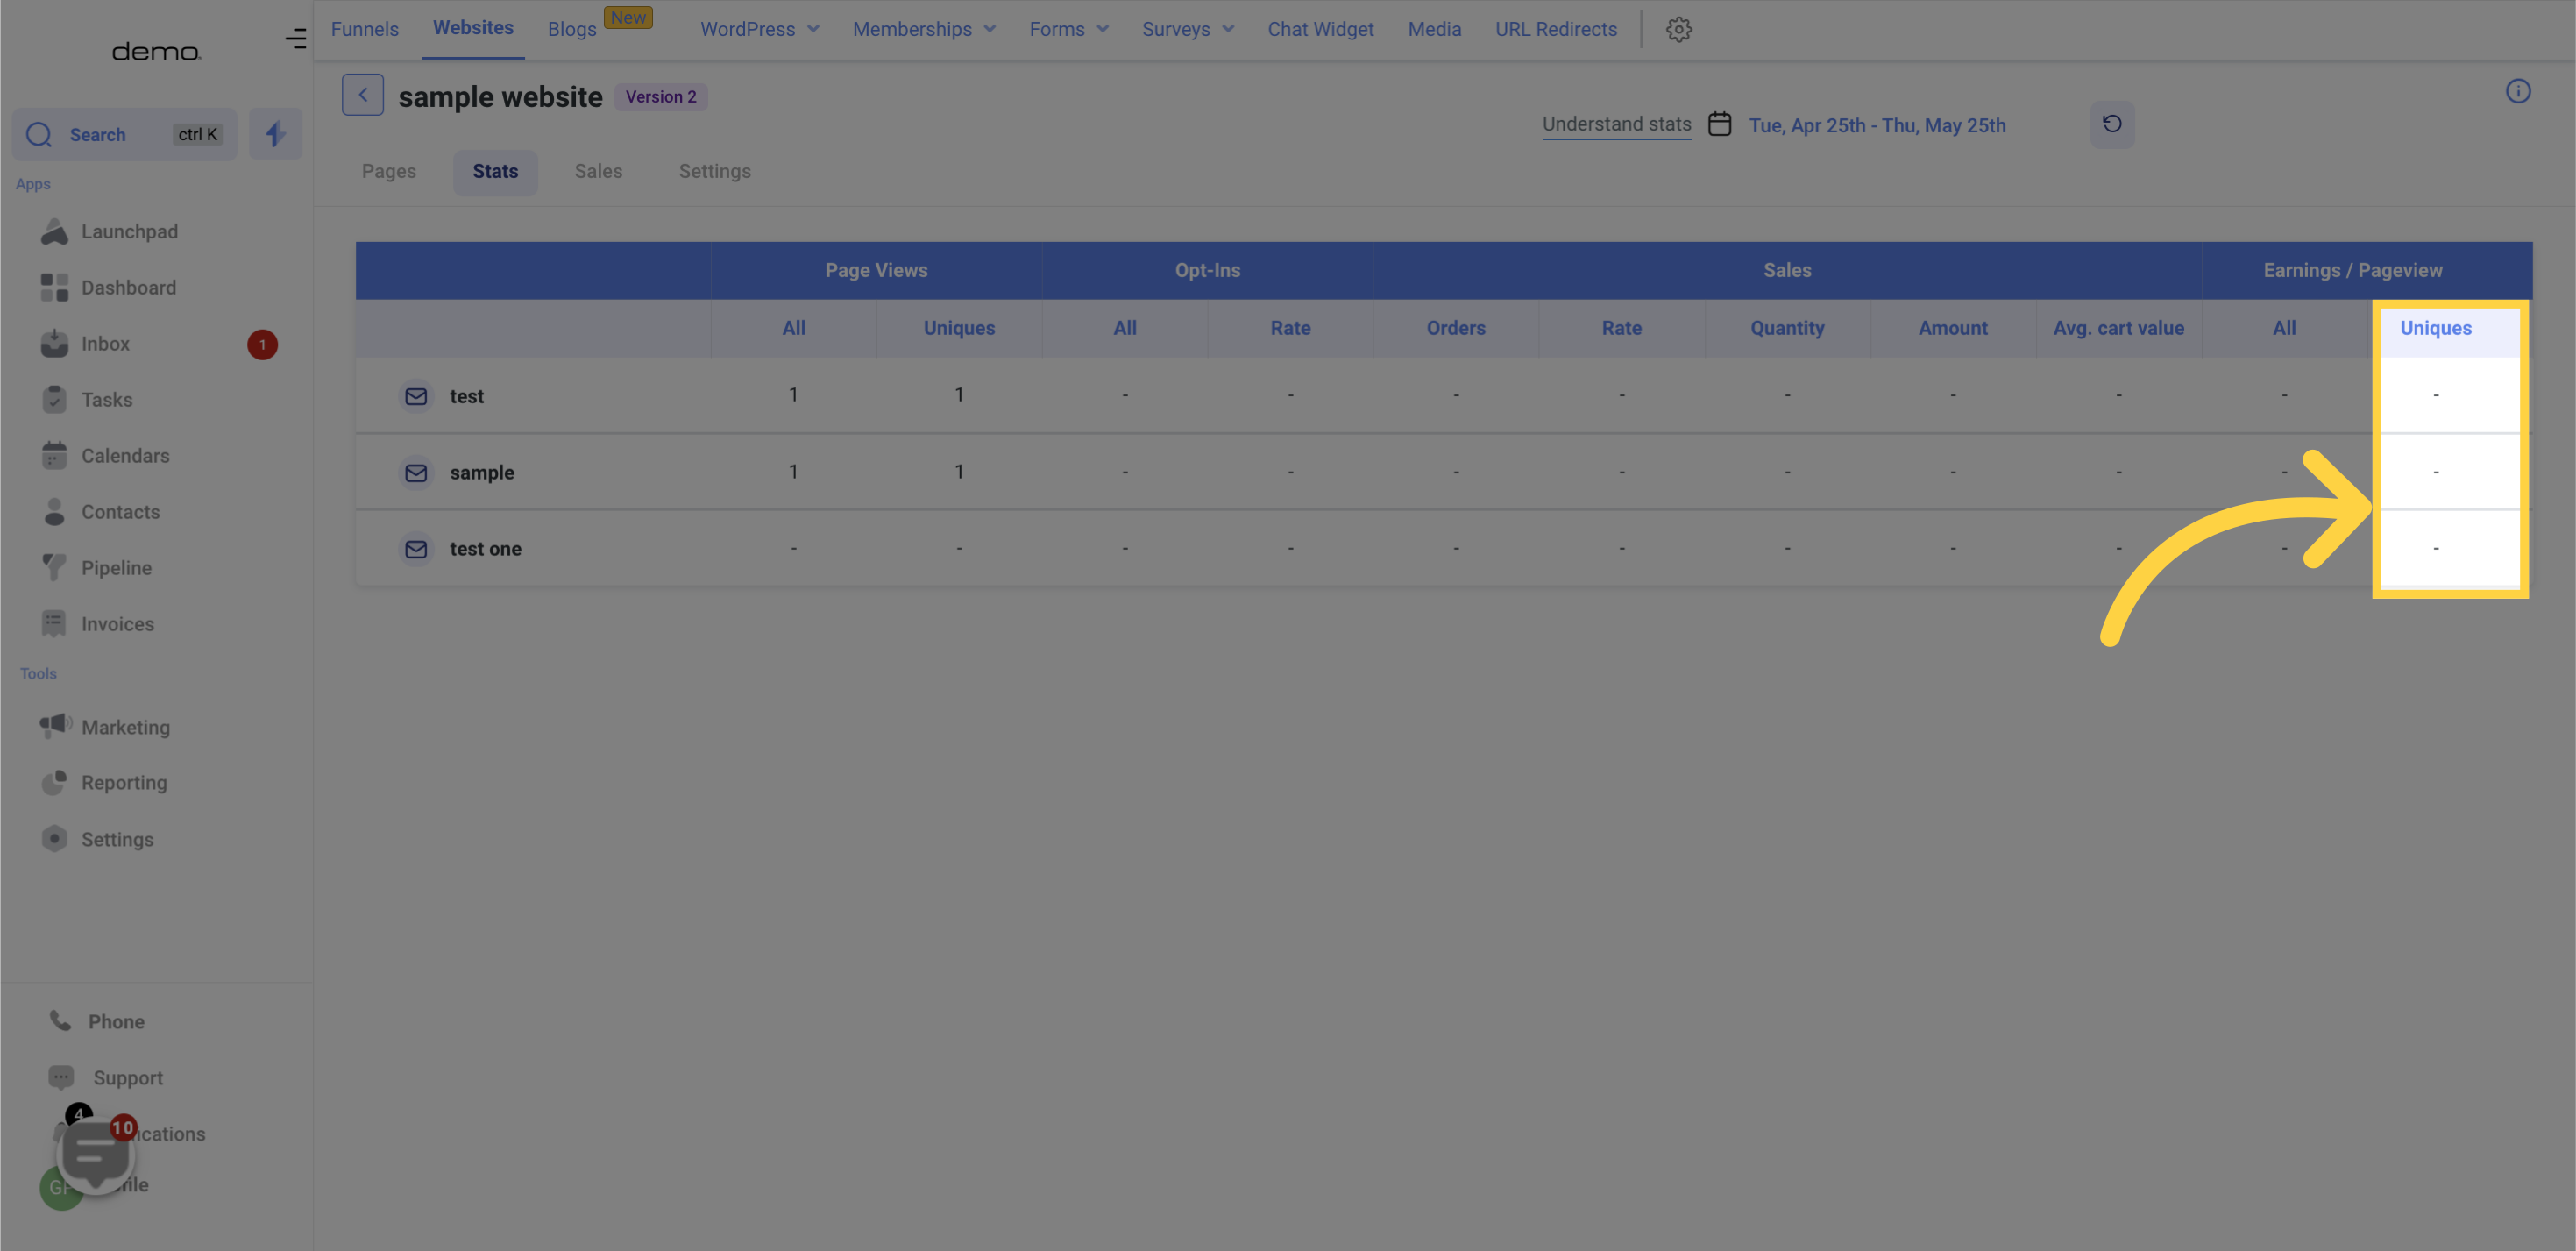
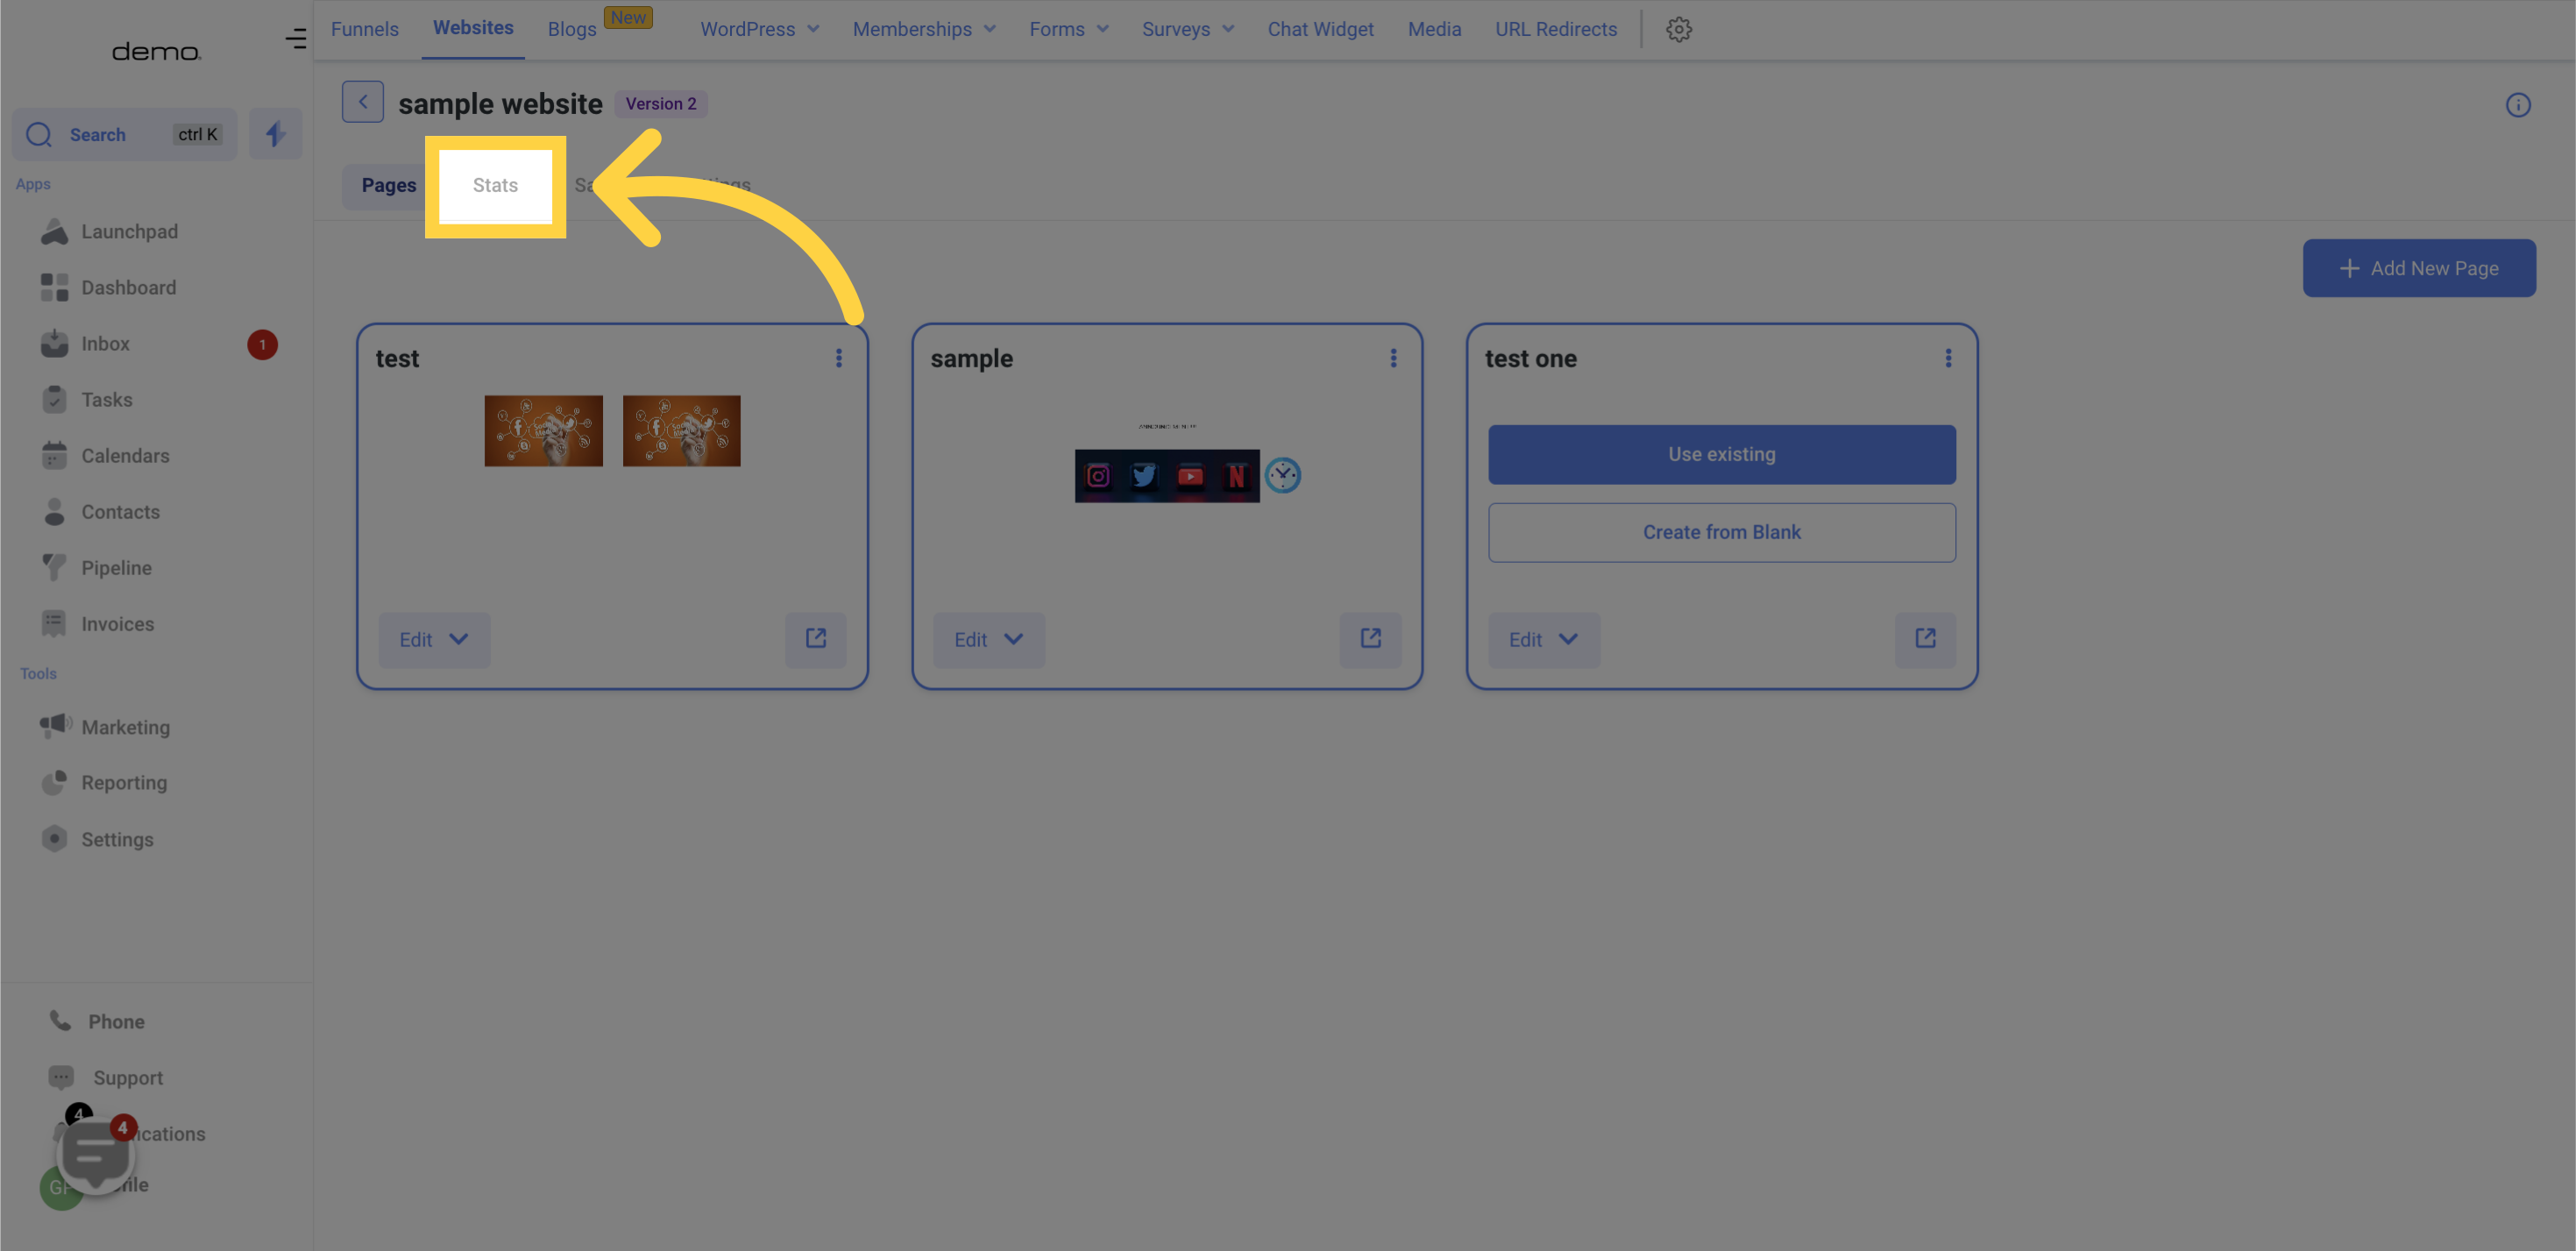
In the "Stats Tab," you can view detailed statistics for each step created on your website. This includes the number of visitors who accessed a specific page and the corresponding actions they took on each page.
To refine the data, you can adjust the date range within the respective filter option. Simply click on the date range icon and a calendar menu will appear. From there, you can select the specific date range you wish to work with.
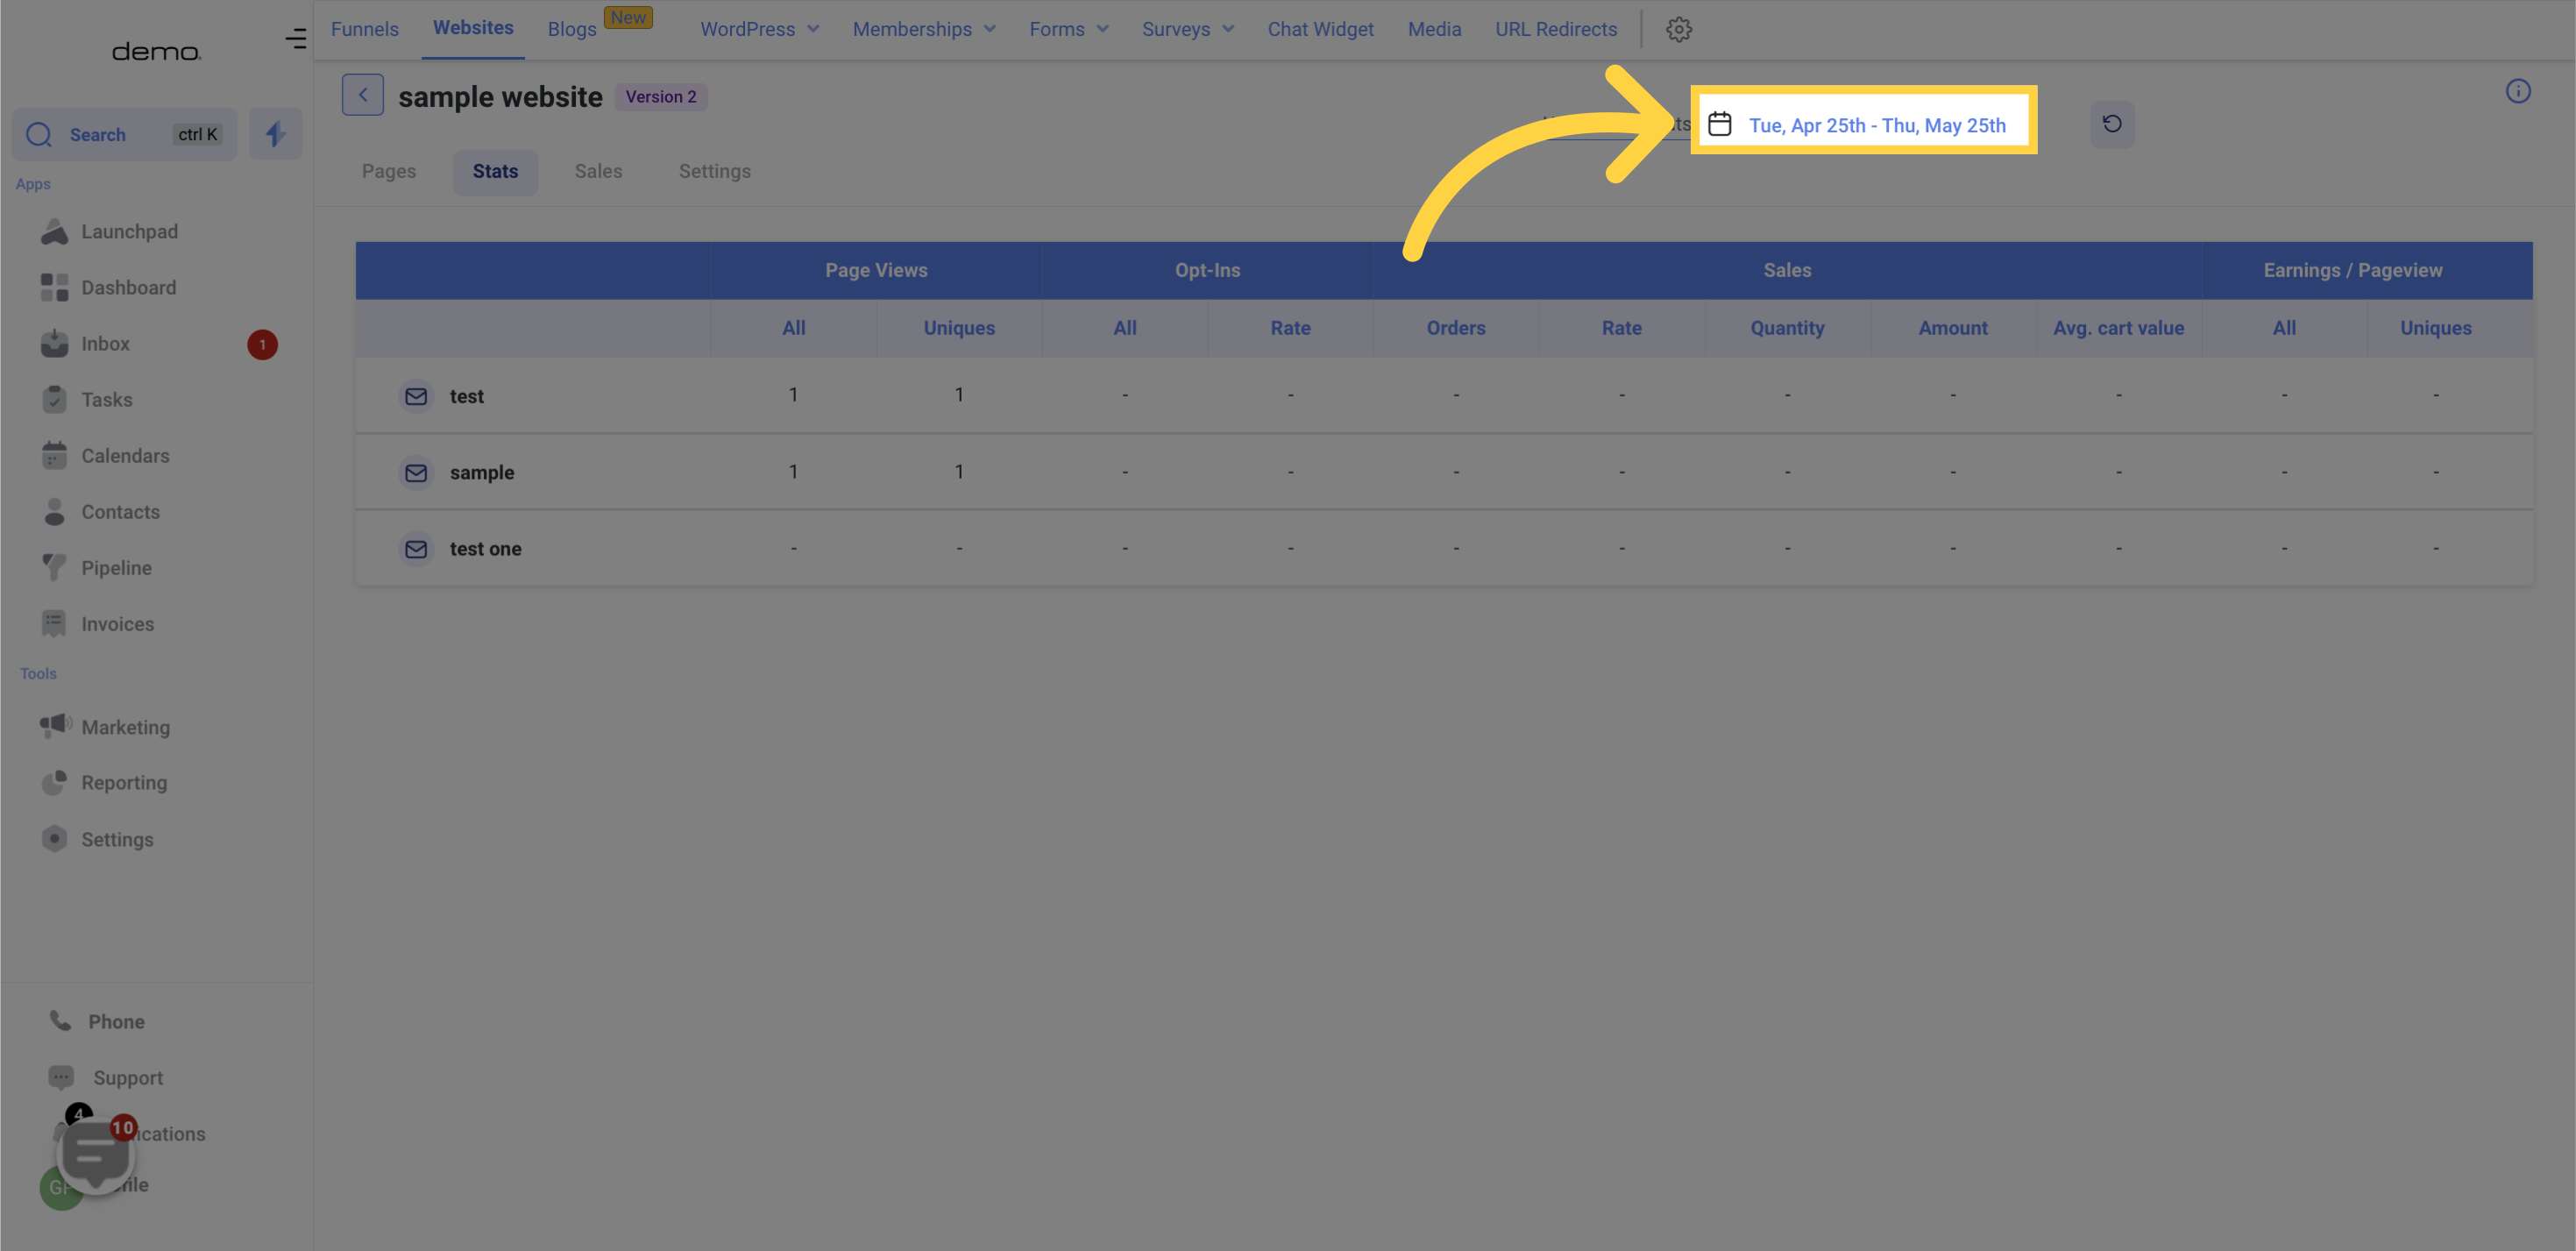
While you may be tempted to click on the "Reset" icon to wipe all data from the website, it is important to note that doing so will permanently delete all data. Therefore, it is not advisable to reset data unless absolutely necessary.

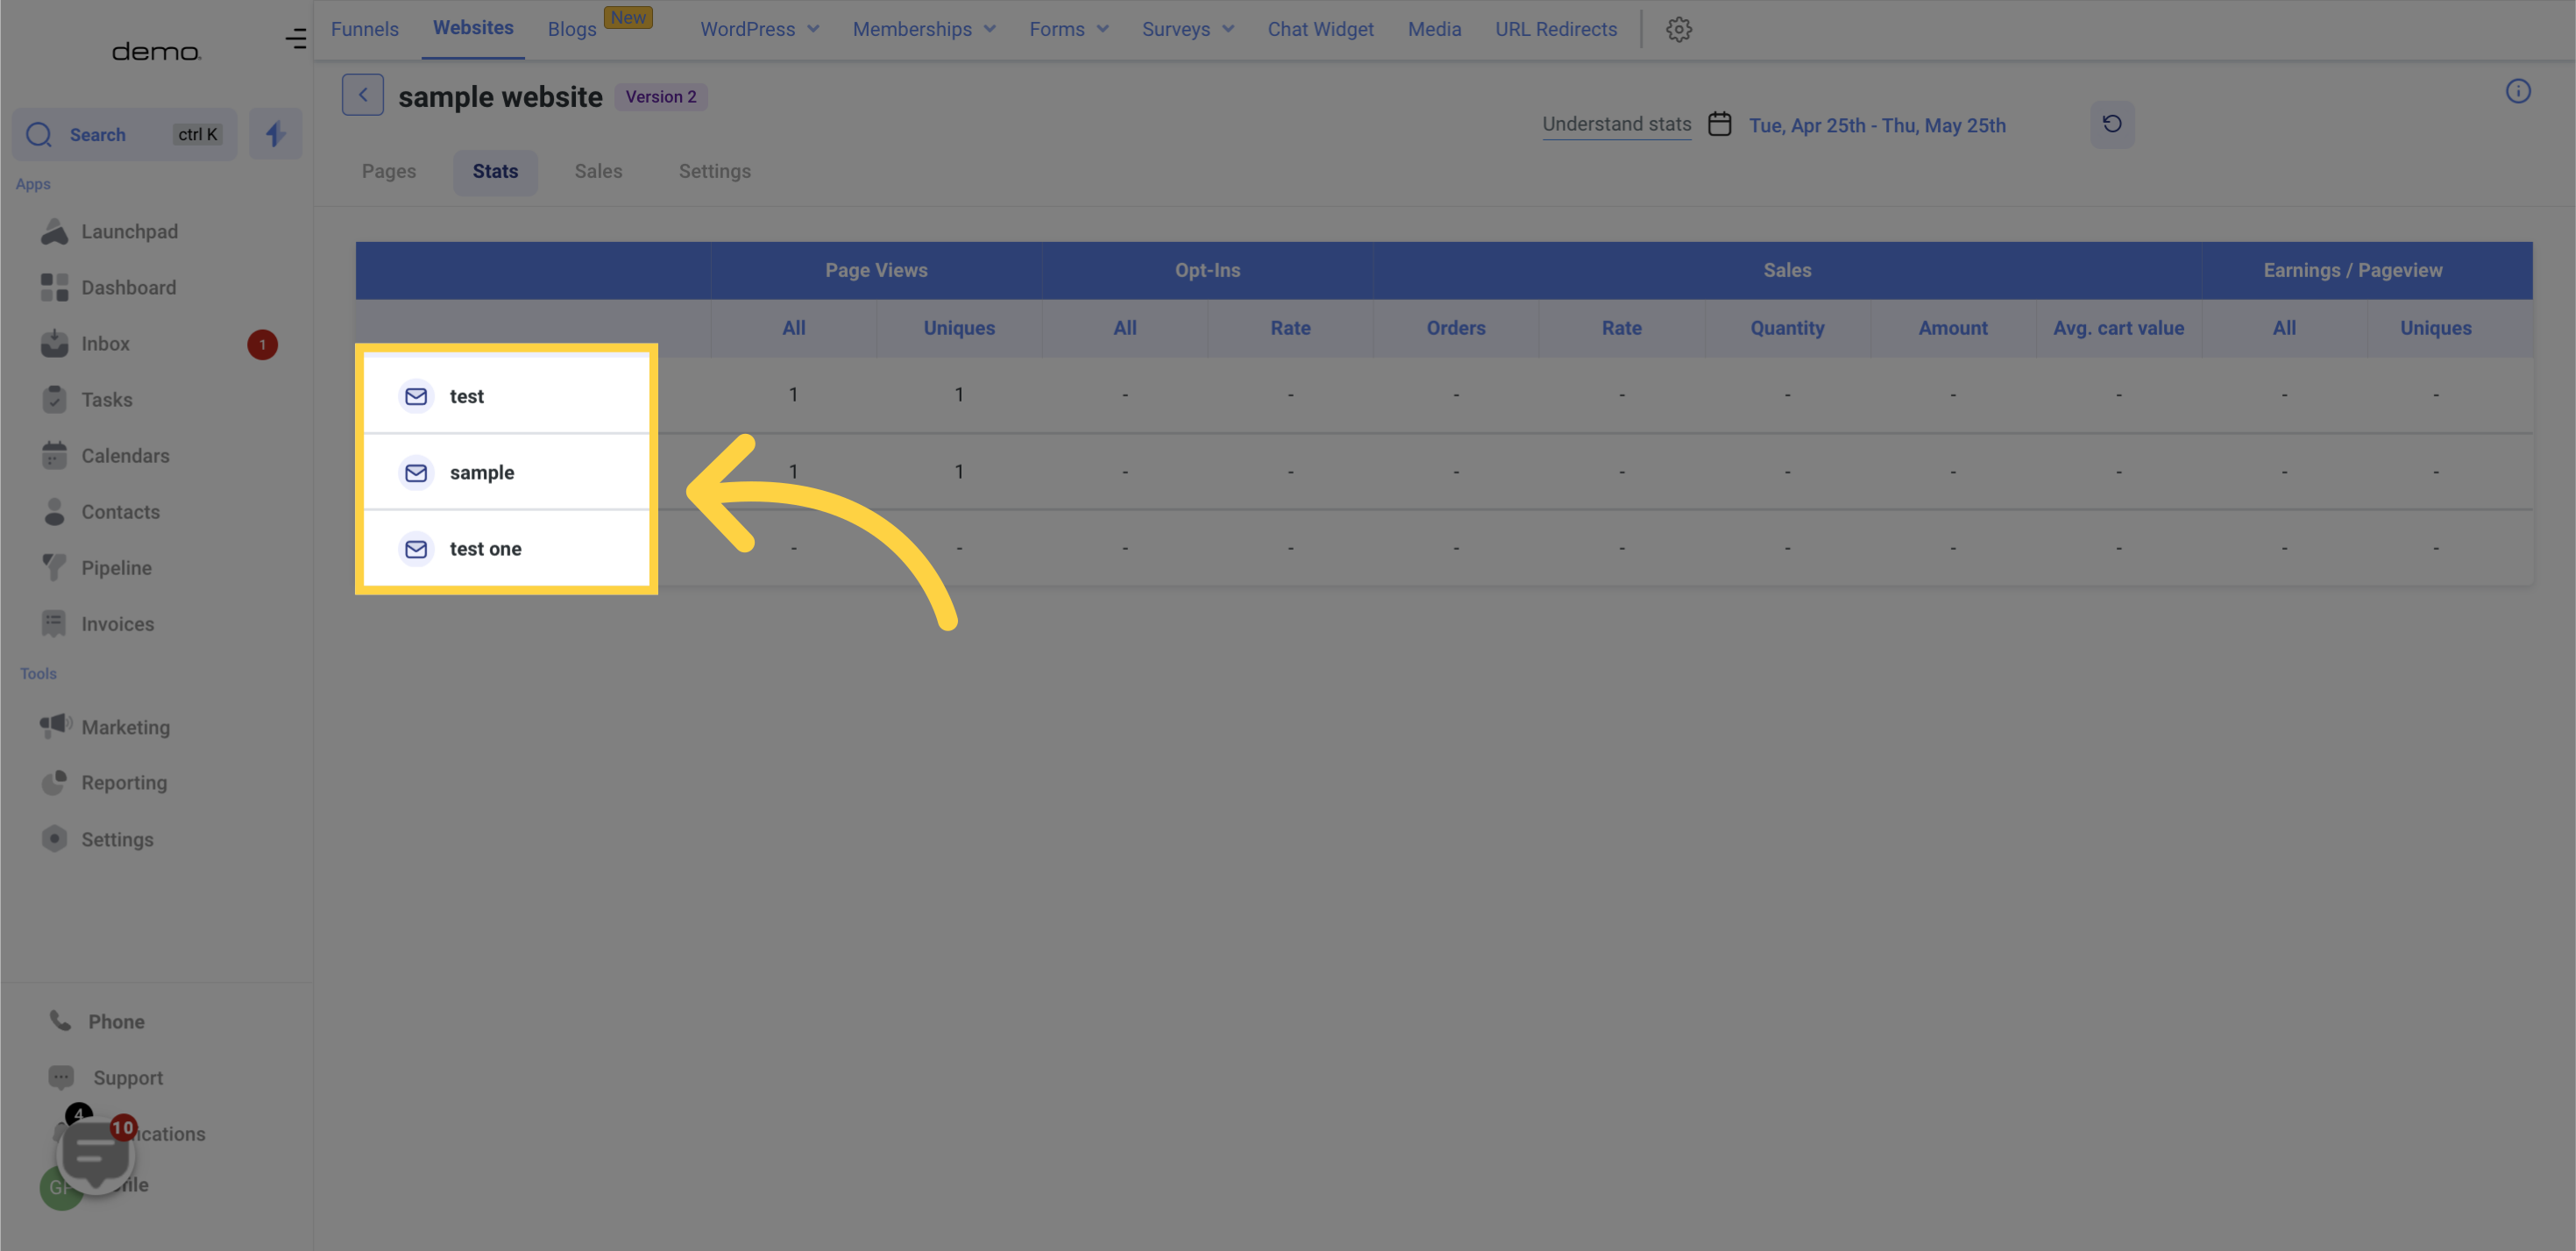
The website is comprised of various pages, each with its own unique content. To view the sub-pages within a specific funnel page, simply click on the funnel page and the sub-pages will appear in a dropdown menu.
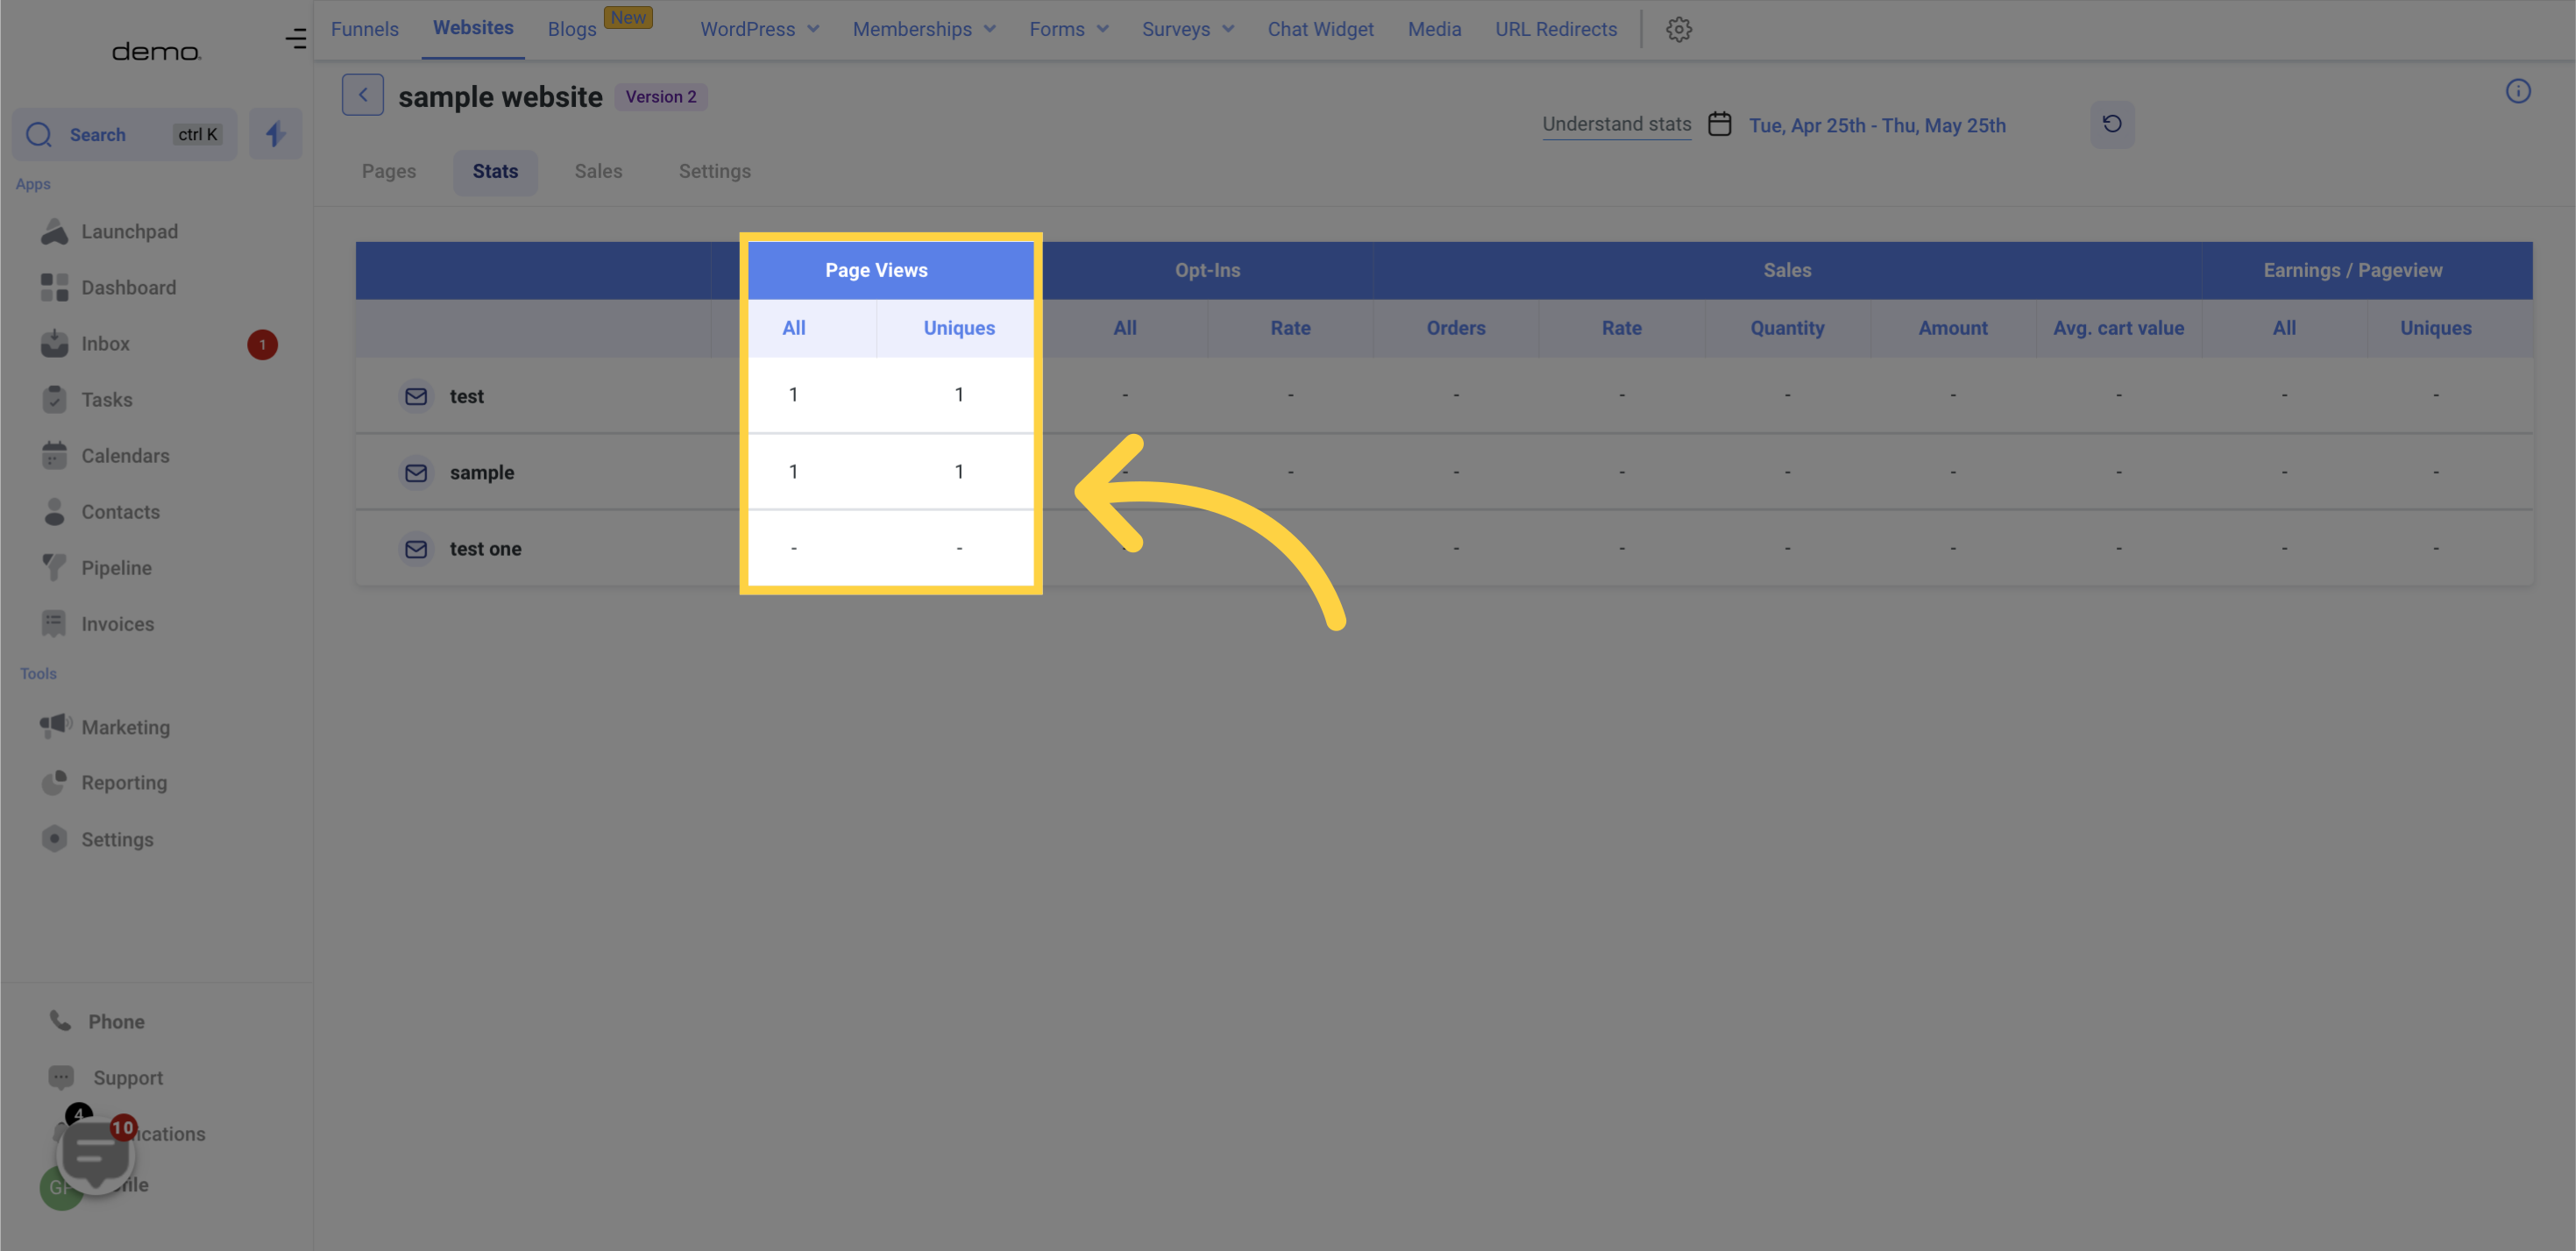
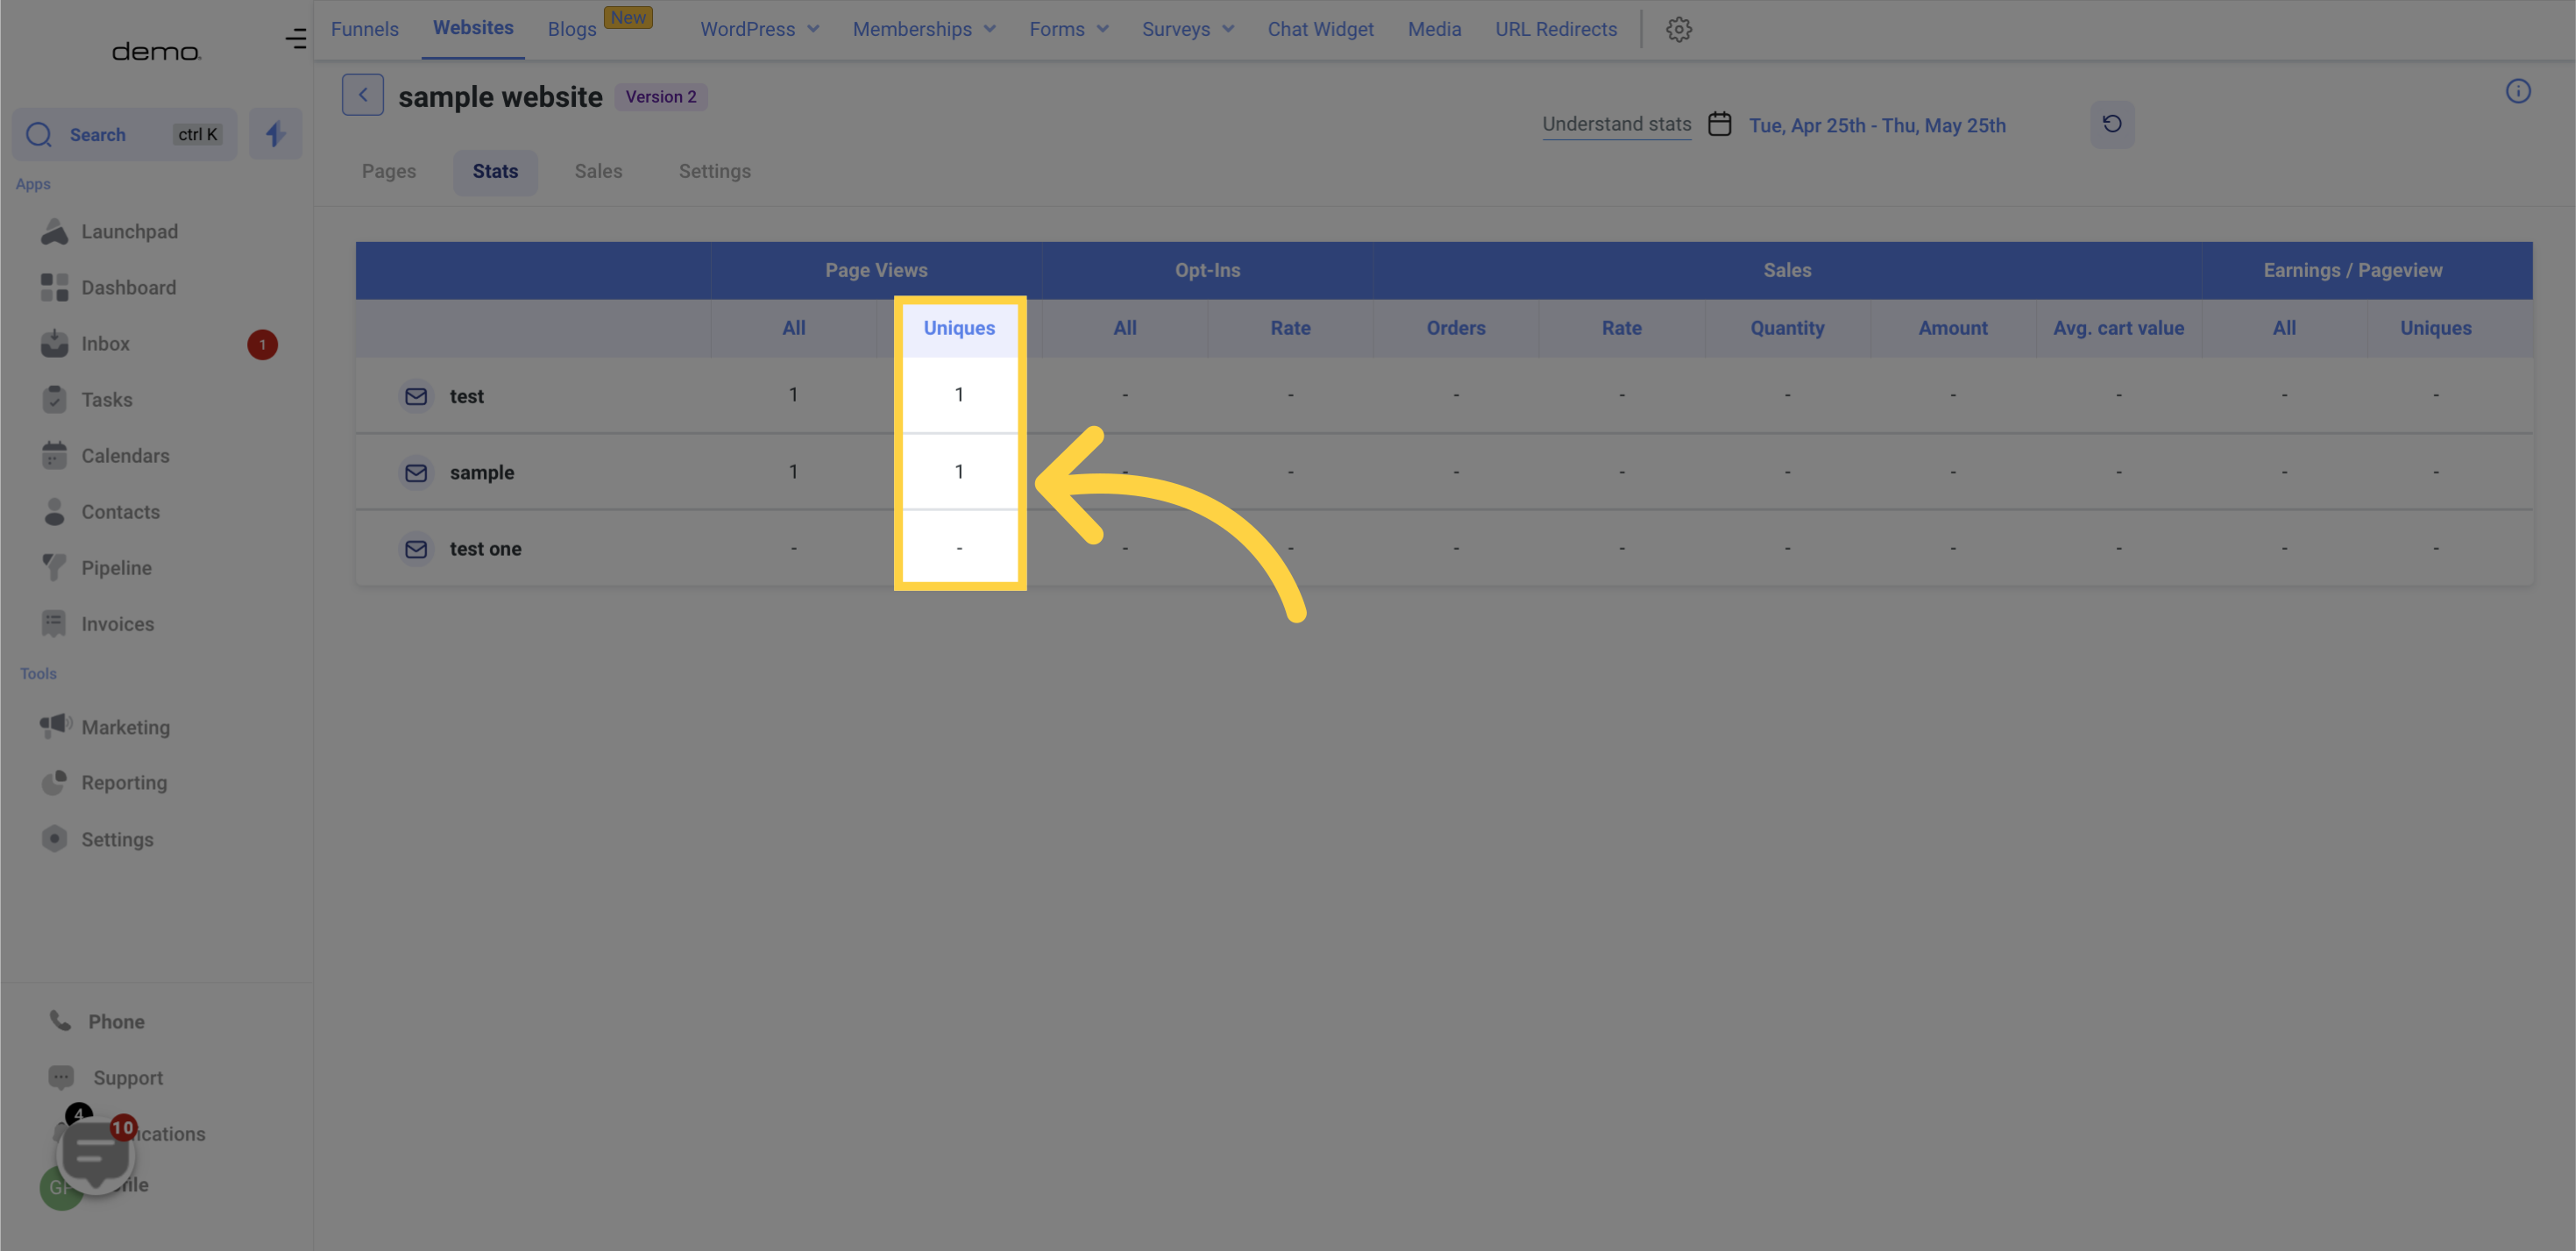
The "All" data represents the total number of times a website page has been viewed, including both new and returning visitors. For example, if a returning visitor opens a page 5 times and a new visitor opens the same page once, the "All" data will record a total of 6 views.

On the other hand, the "Uniques" data collects information on the number of unique visitors that have accessed a website page. Therefore, if a returning visitor opens a page 5 times and a new visitor opens the same page once, the "Uniques" data will record a total of 1 unique visitor.
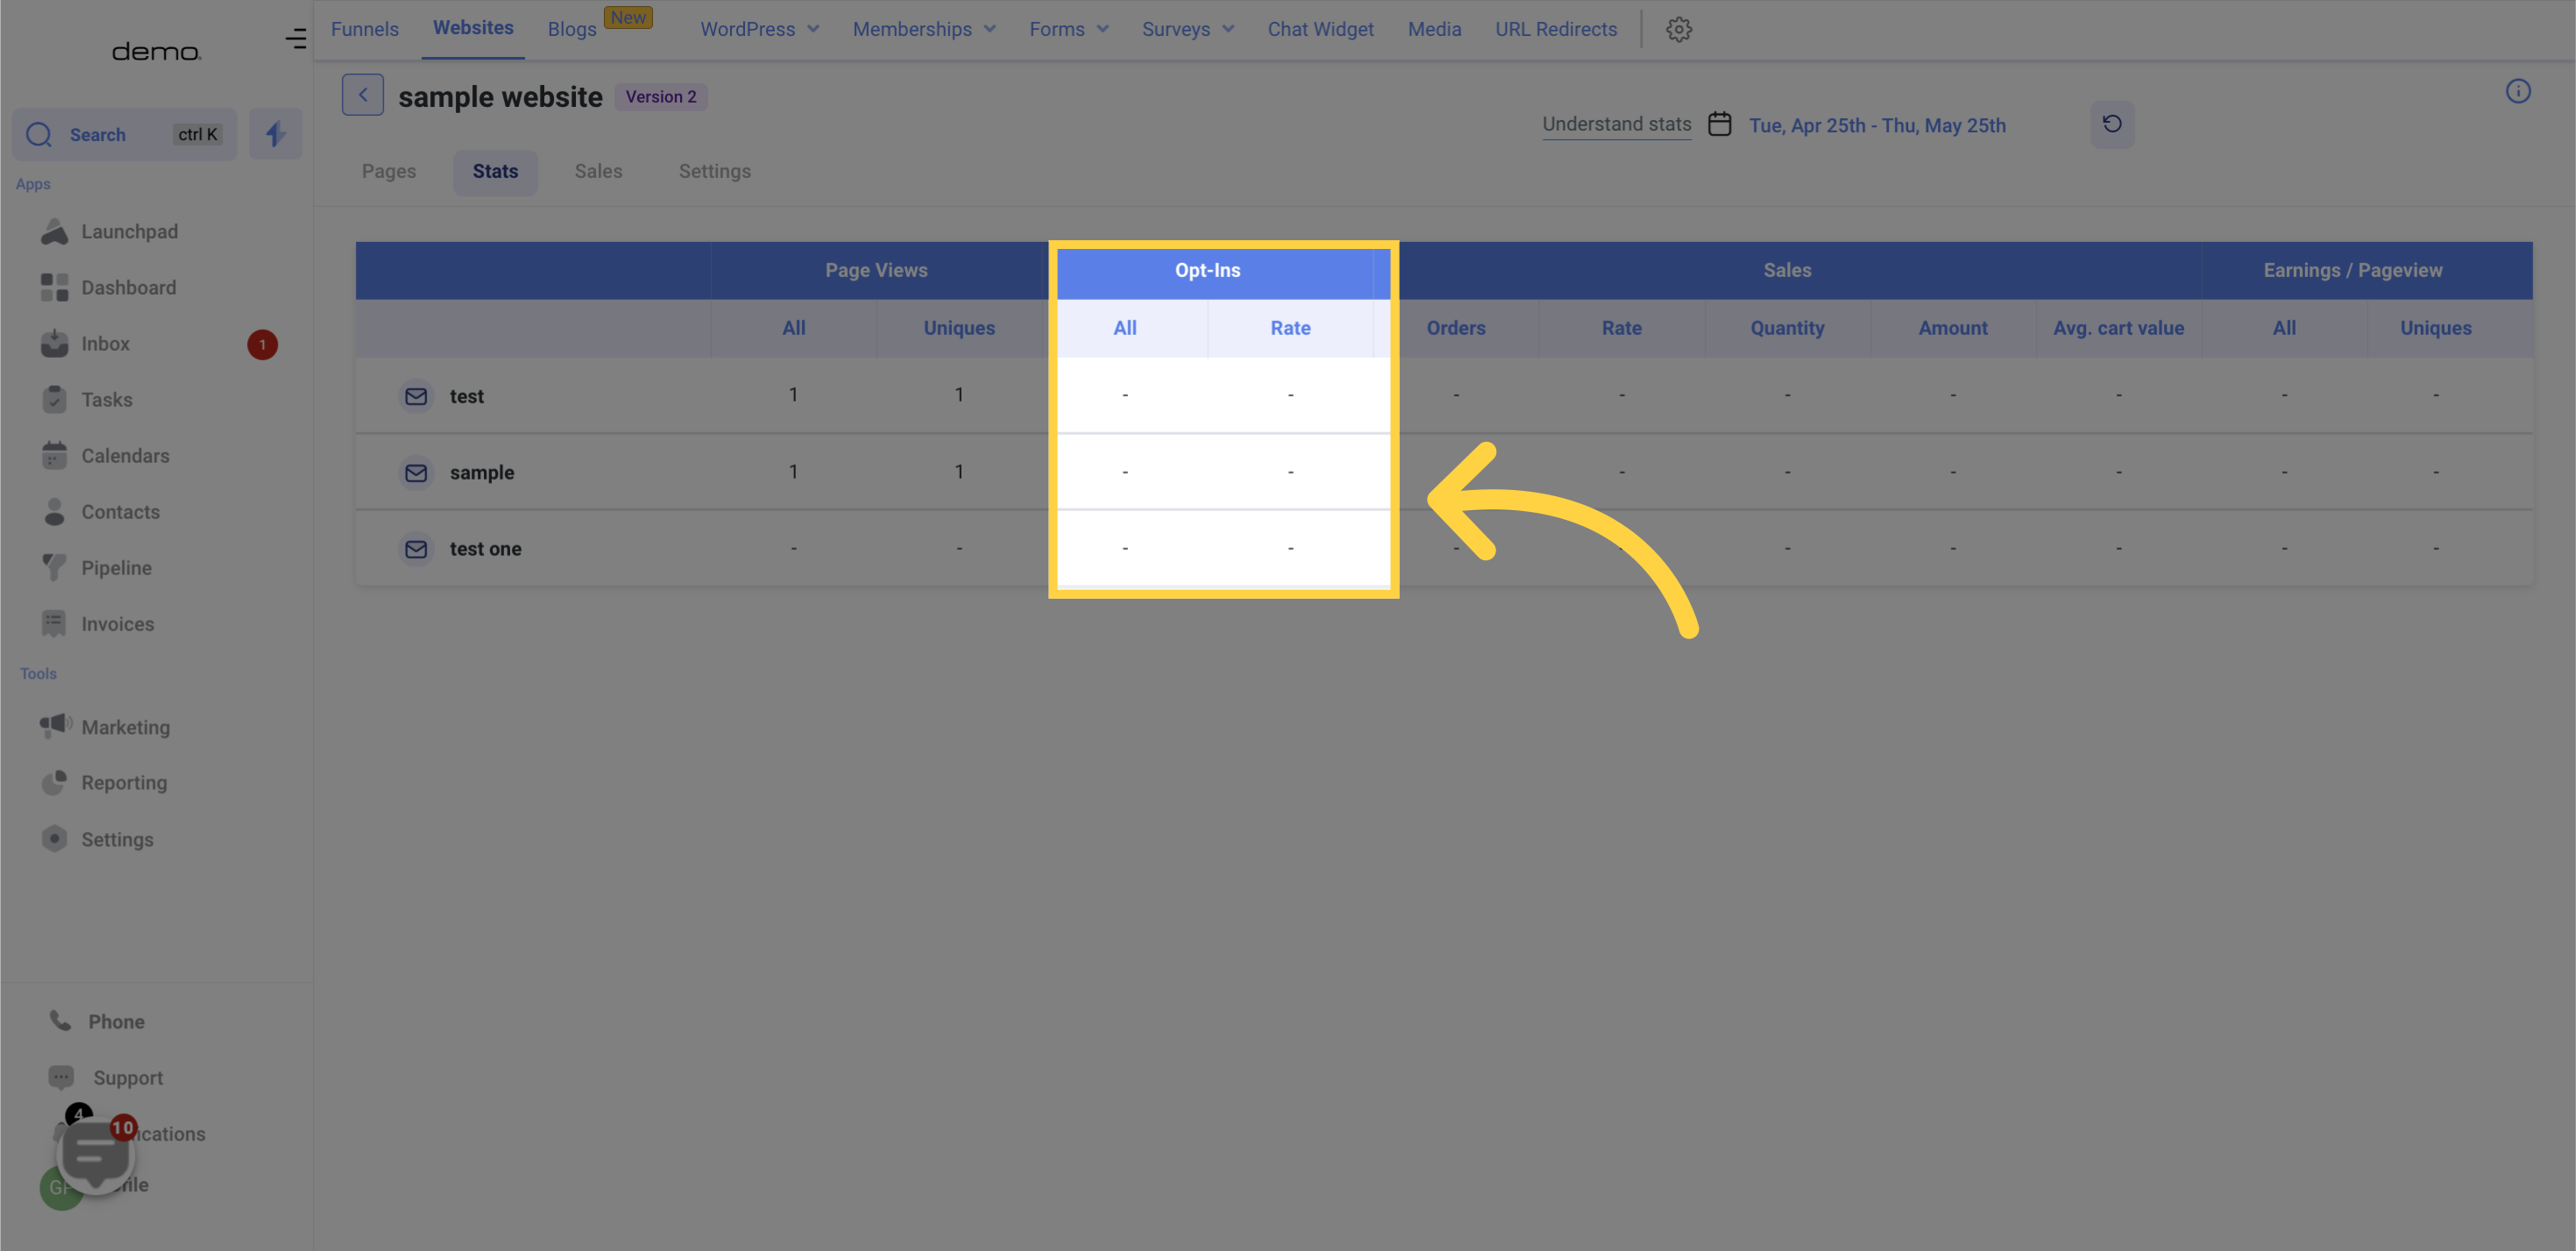
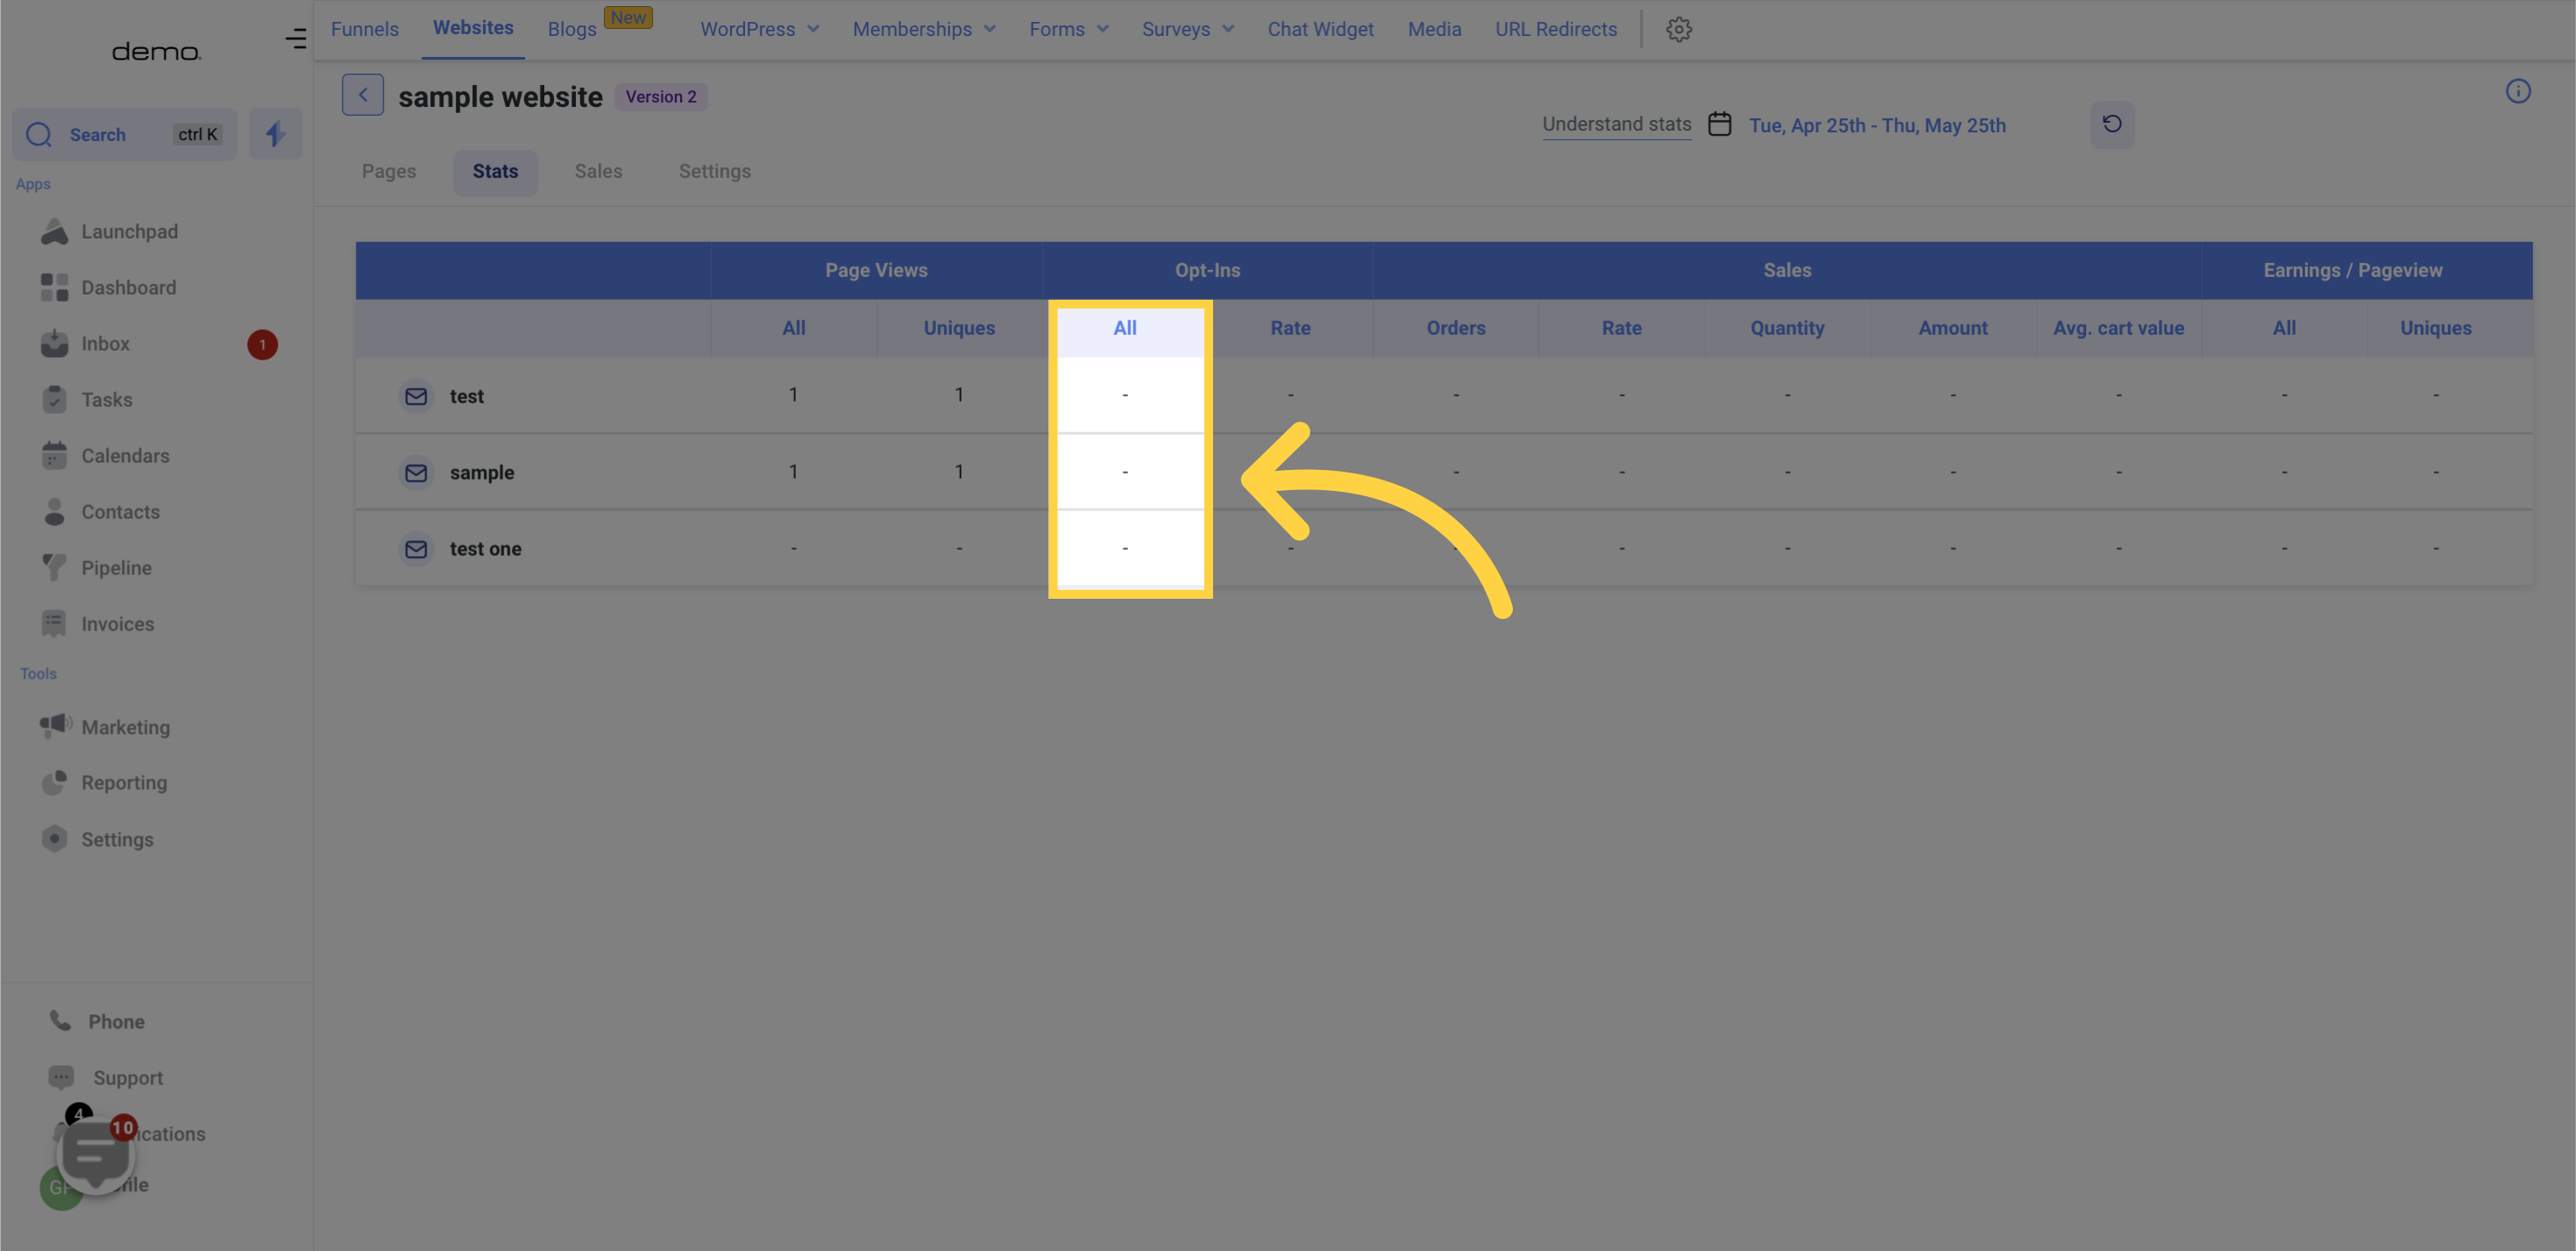
The "All" column displays the total number of opt-ins that have occurred on a website page.
Meanwhile, the "Rate" column indicates the rate at which opt-ins occurred, usually shown as a percentage (%). This is used to calculate the conversion rate of opt-ins, which measures the percentage of visitors who completed the desired action (in this case, opting in) out of the total number of visitors to the page.

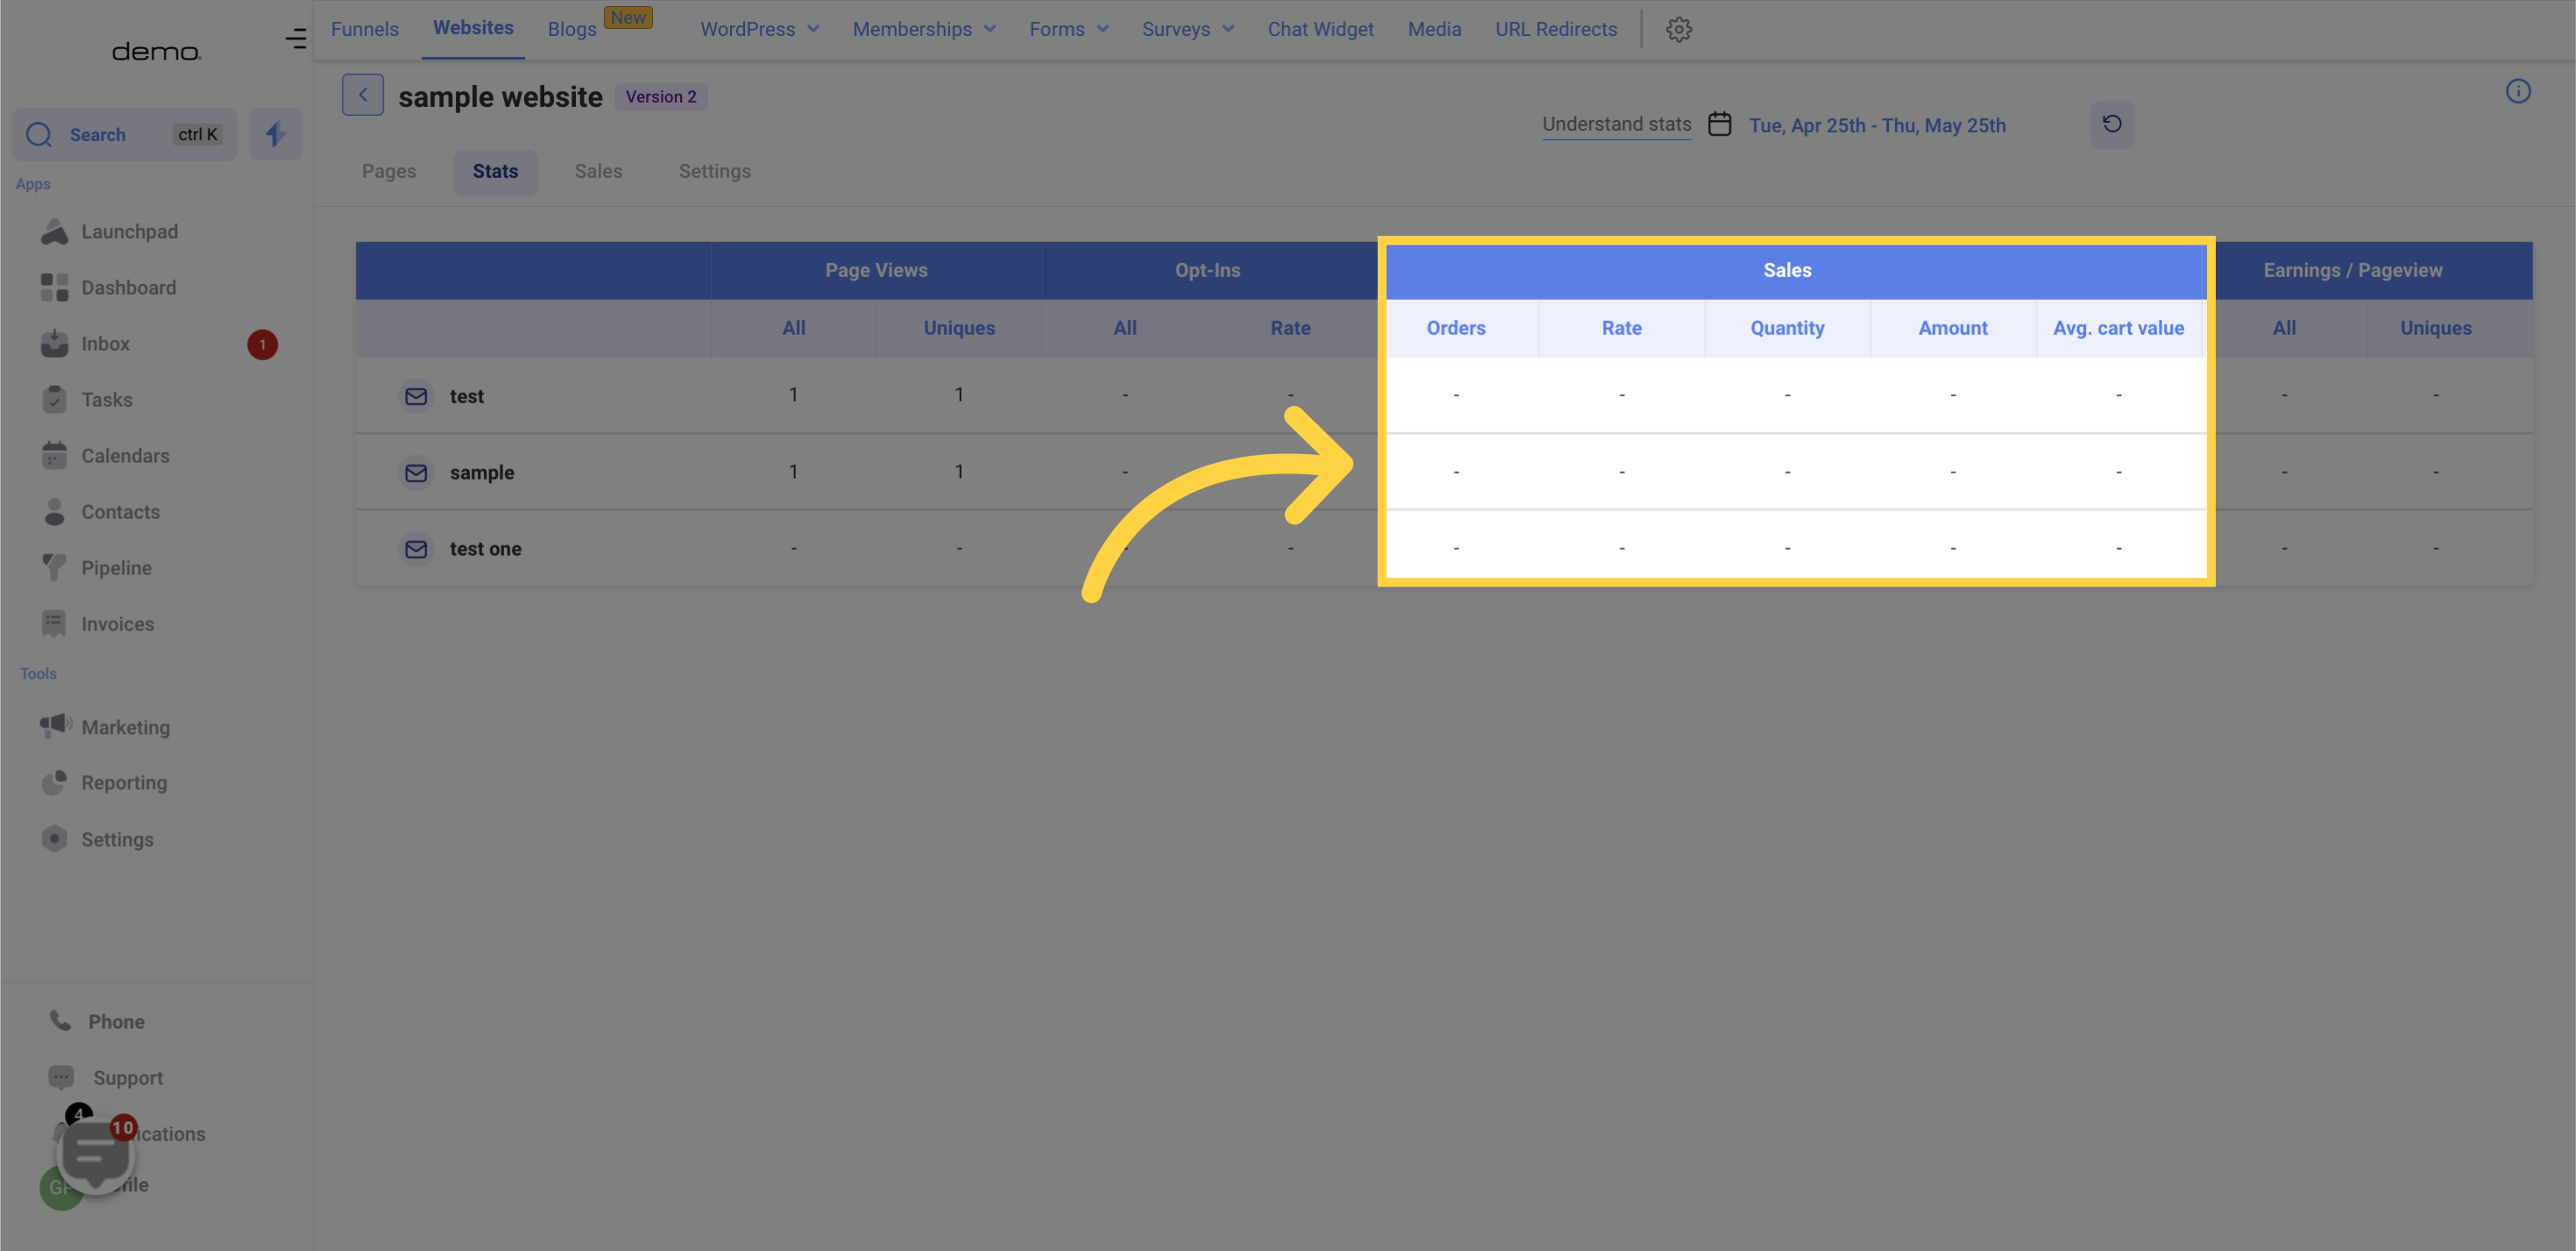
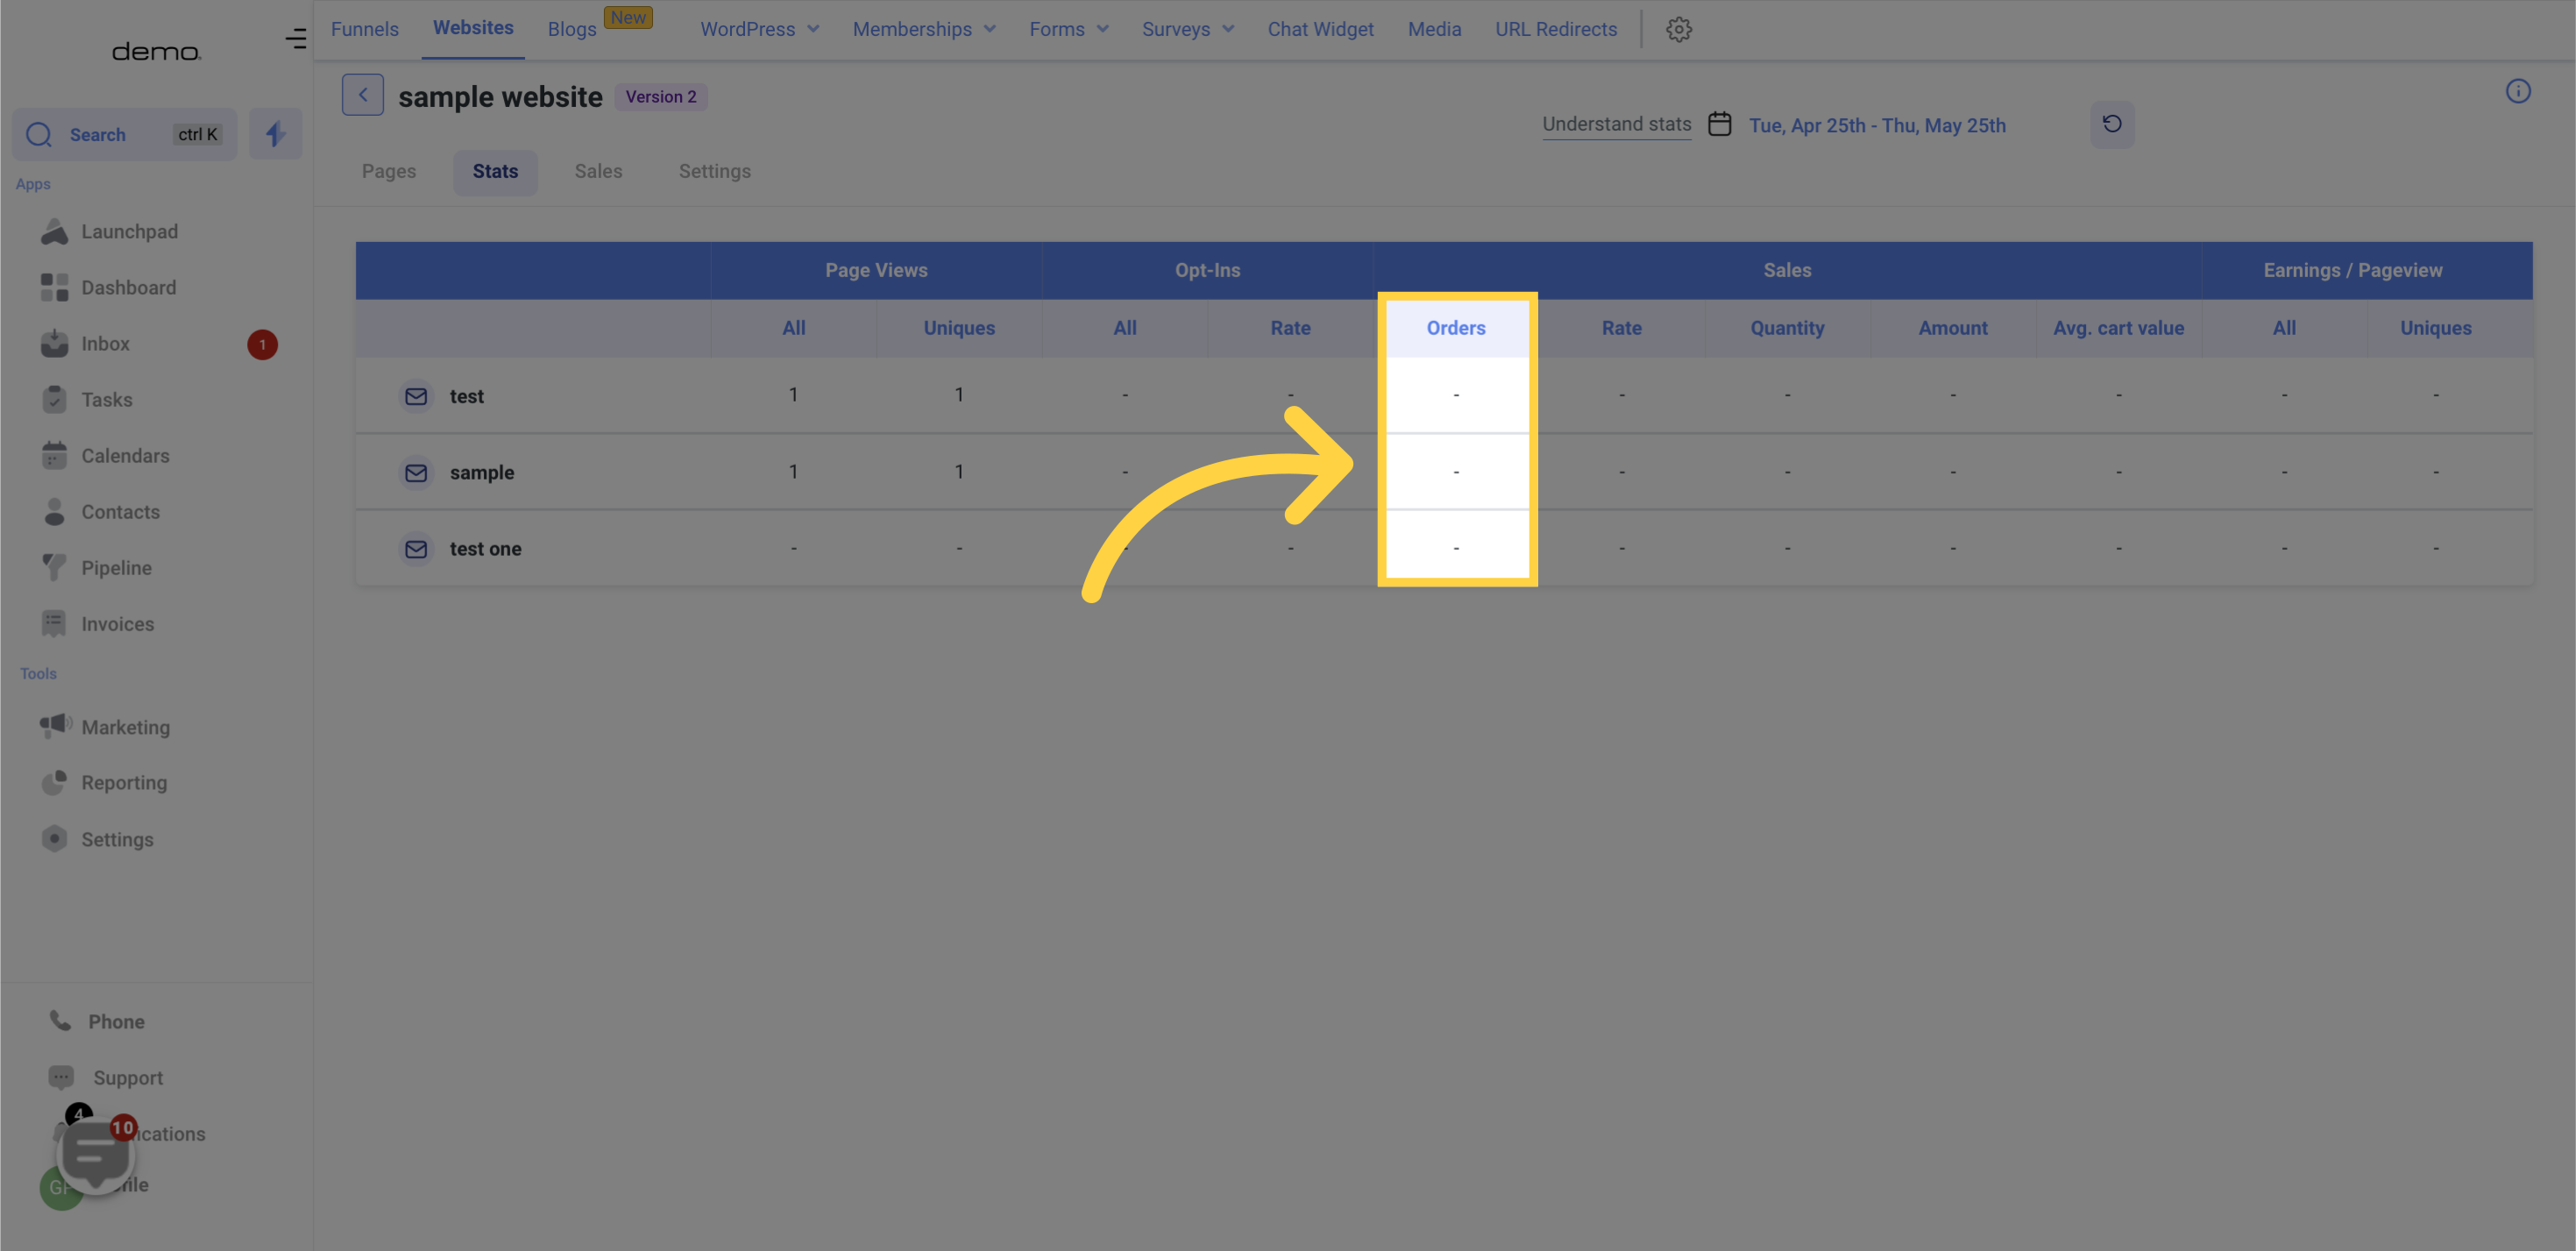
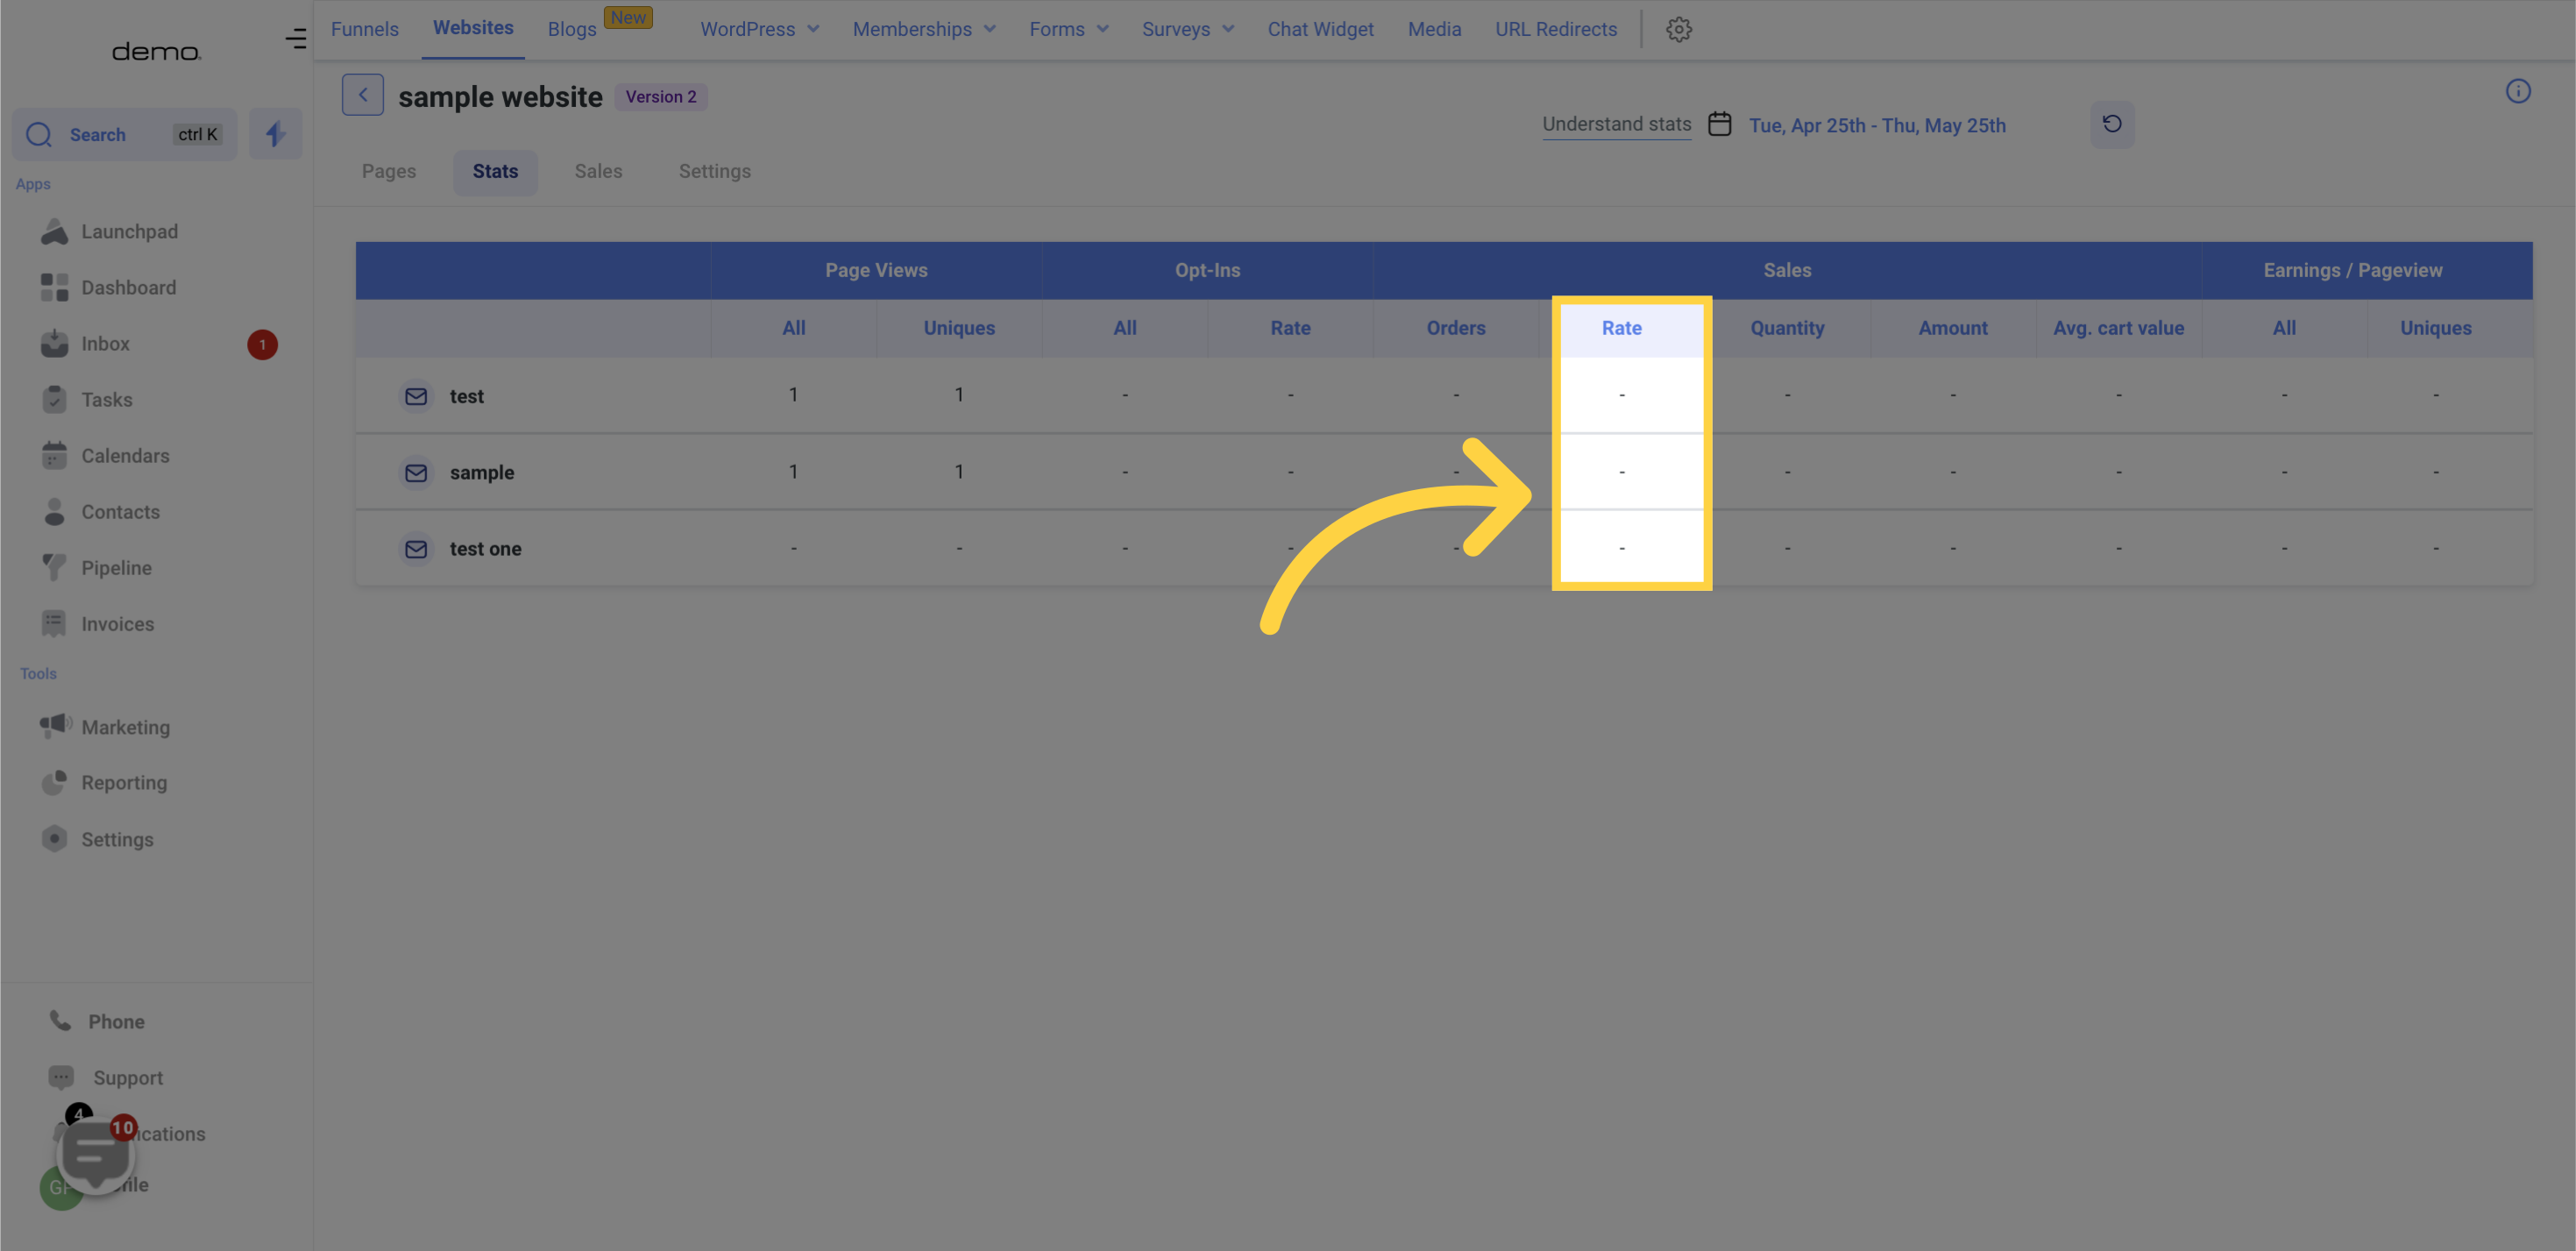
The "Rate" column calculates the sales rate

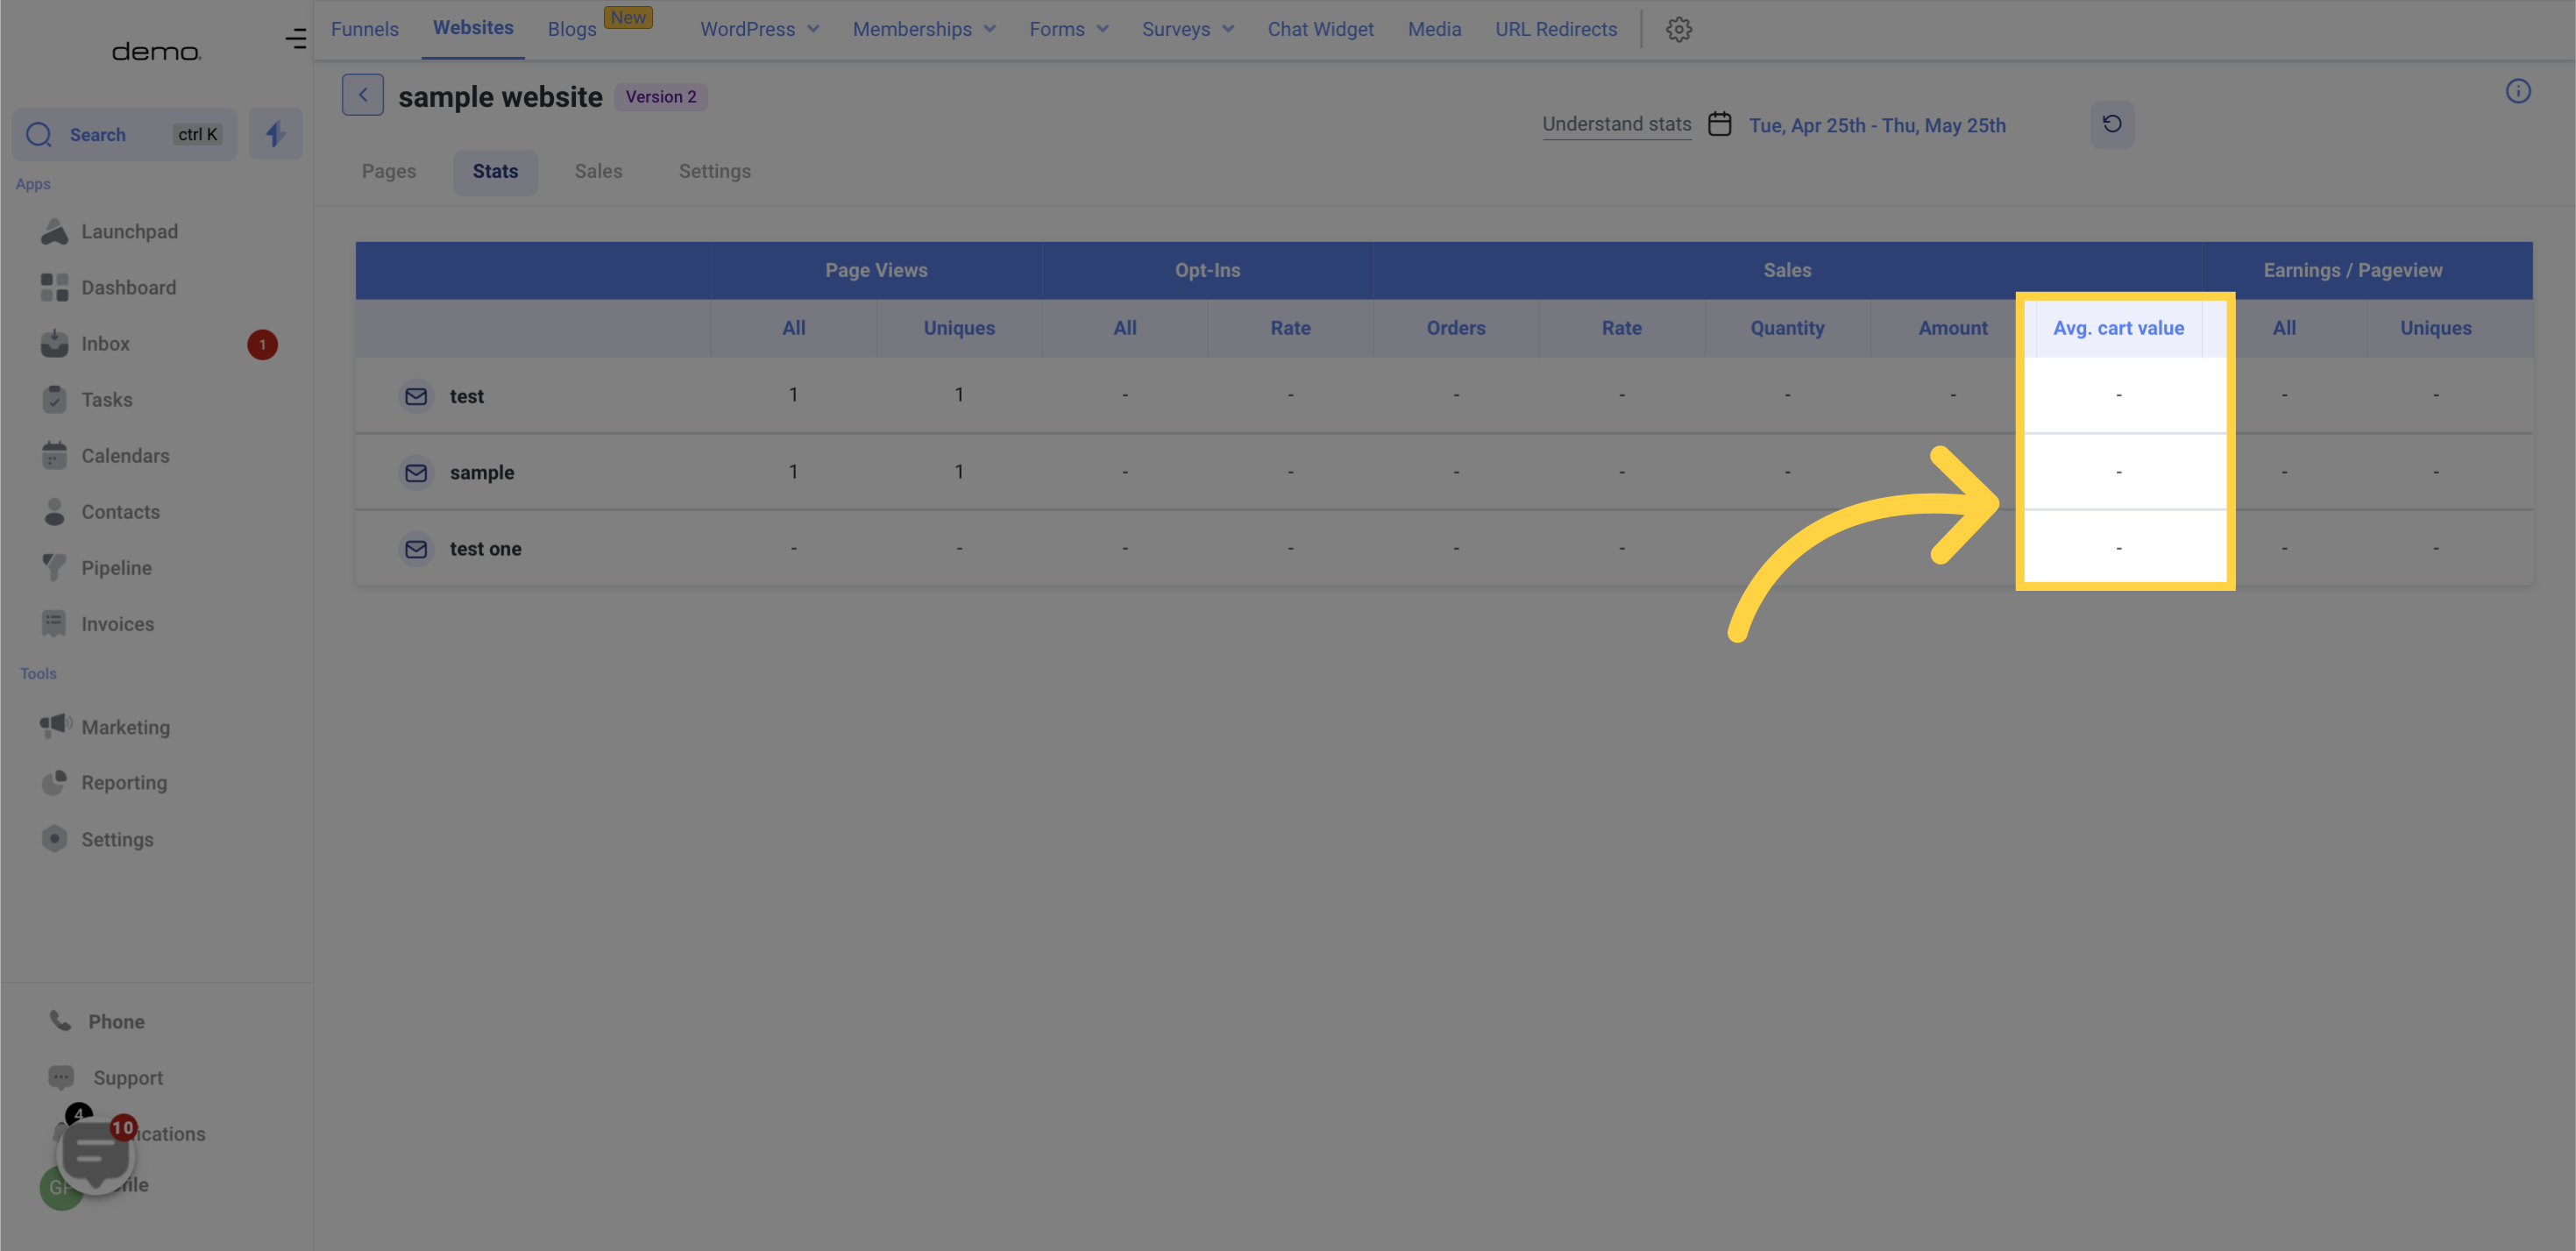
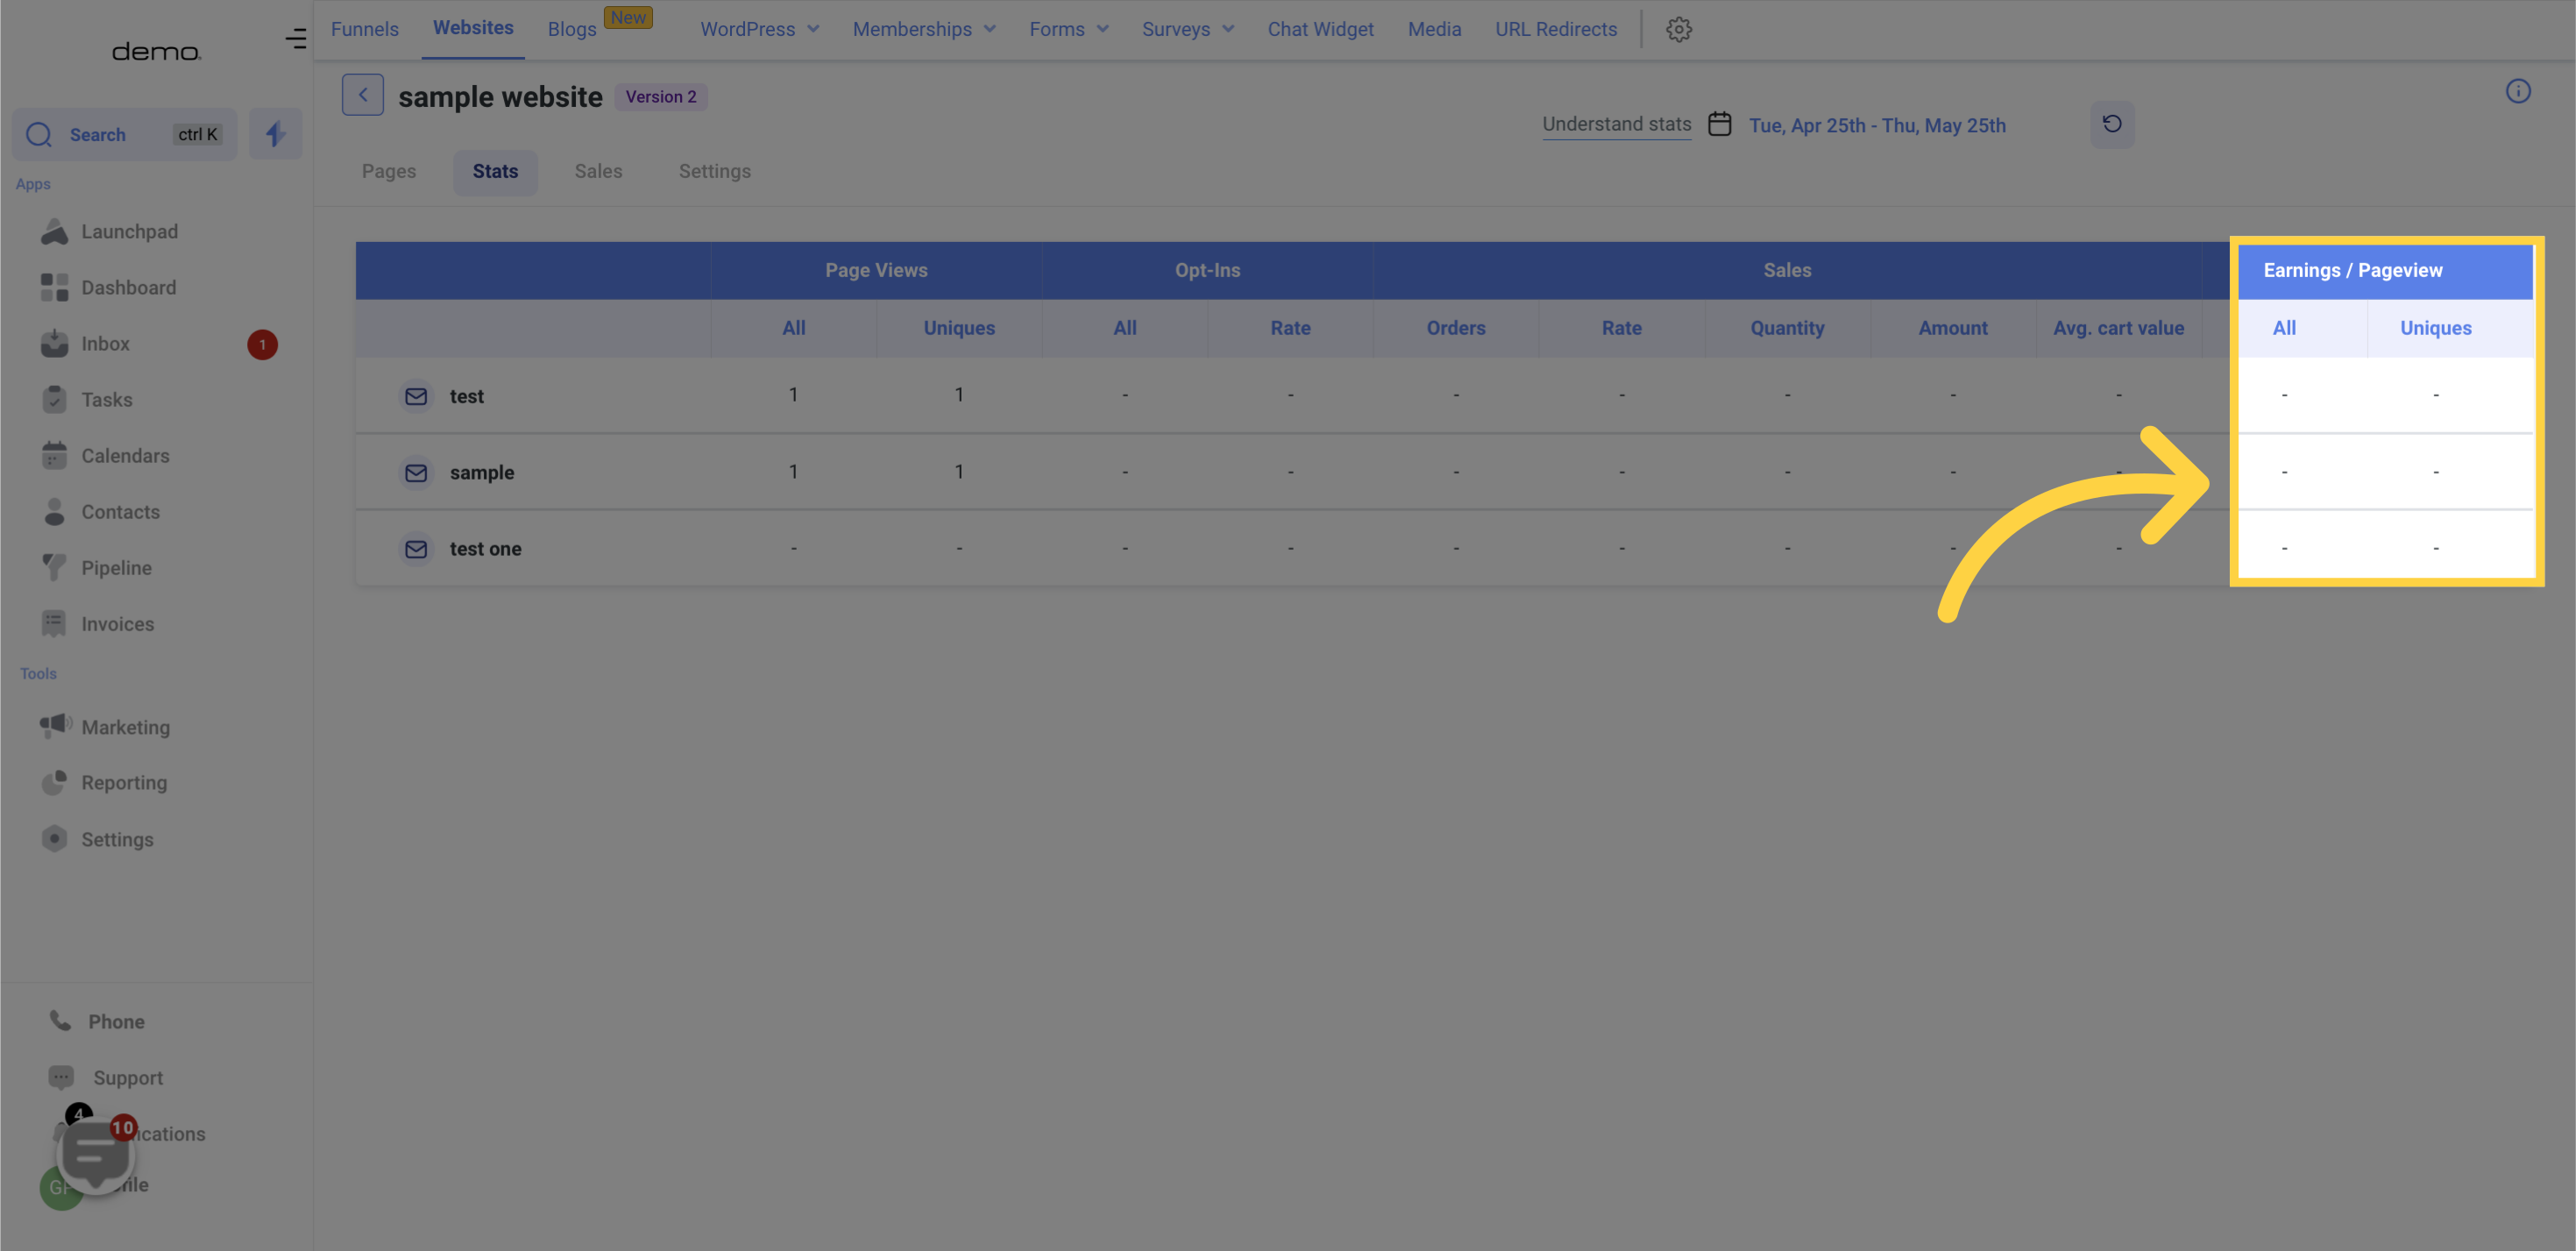
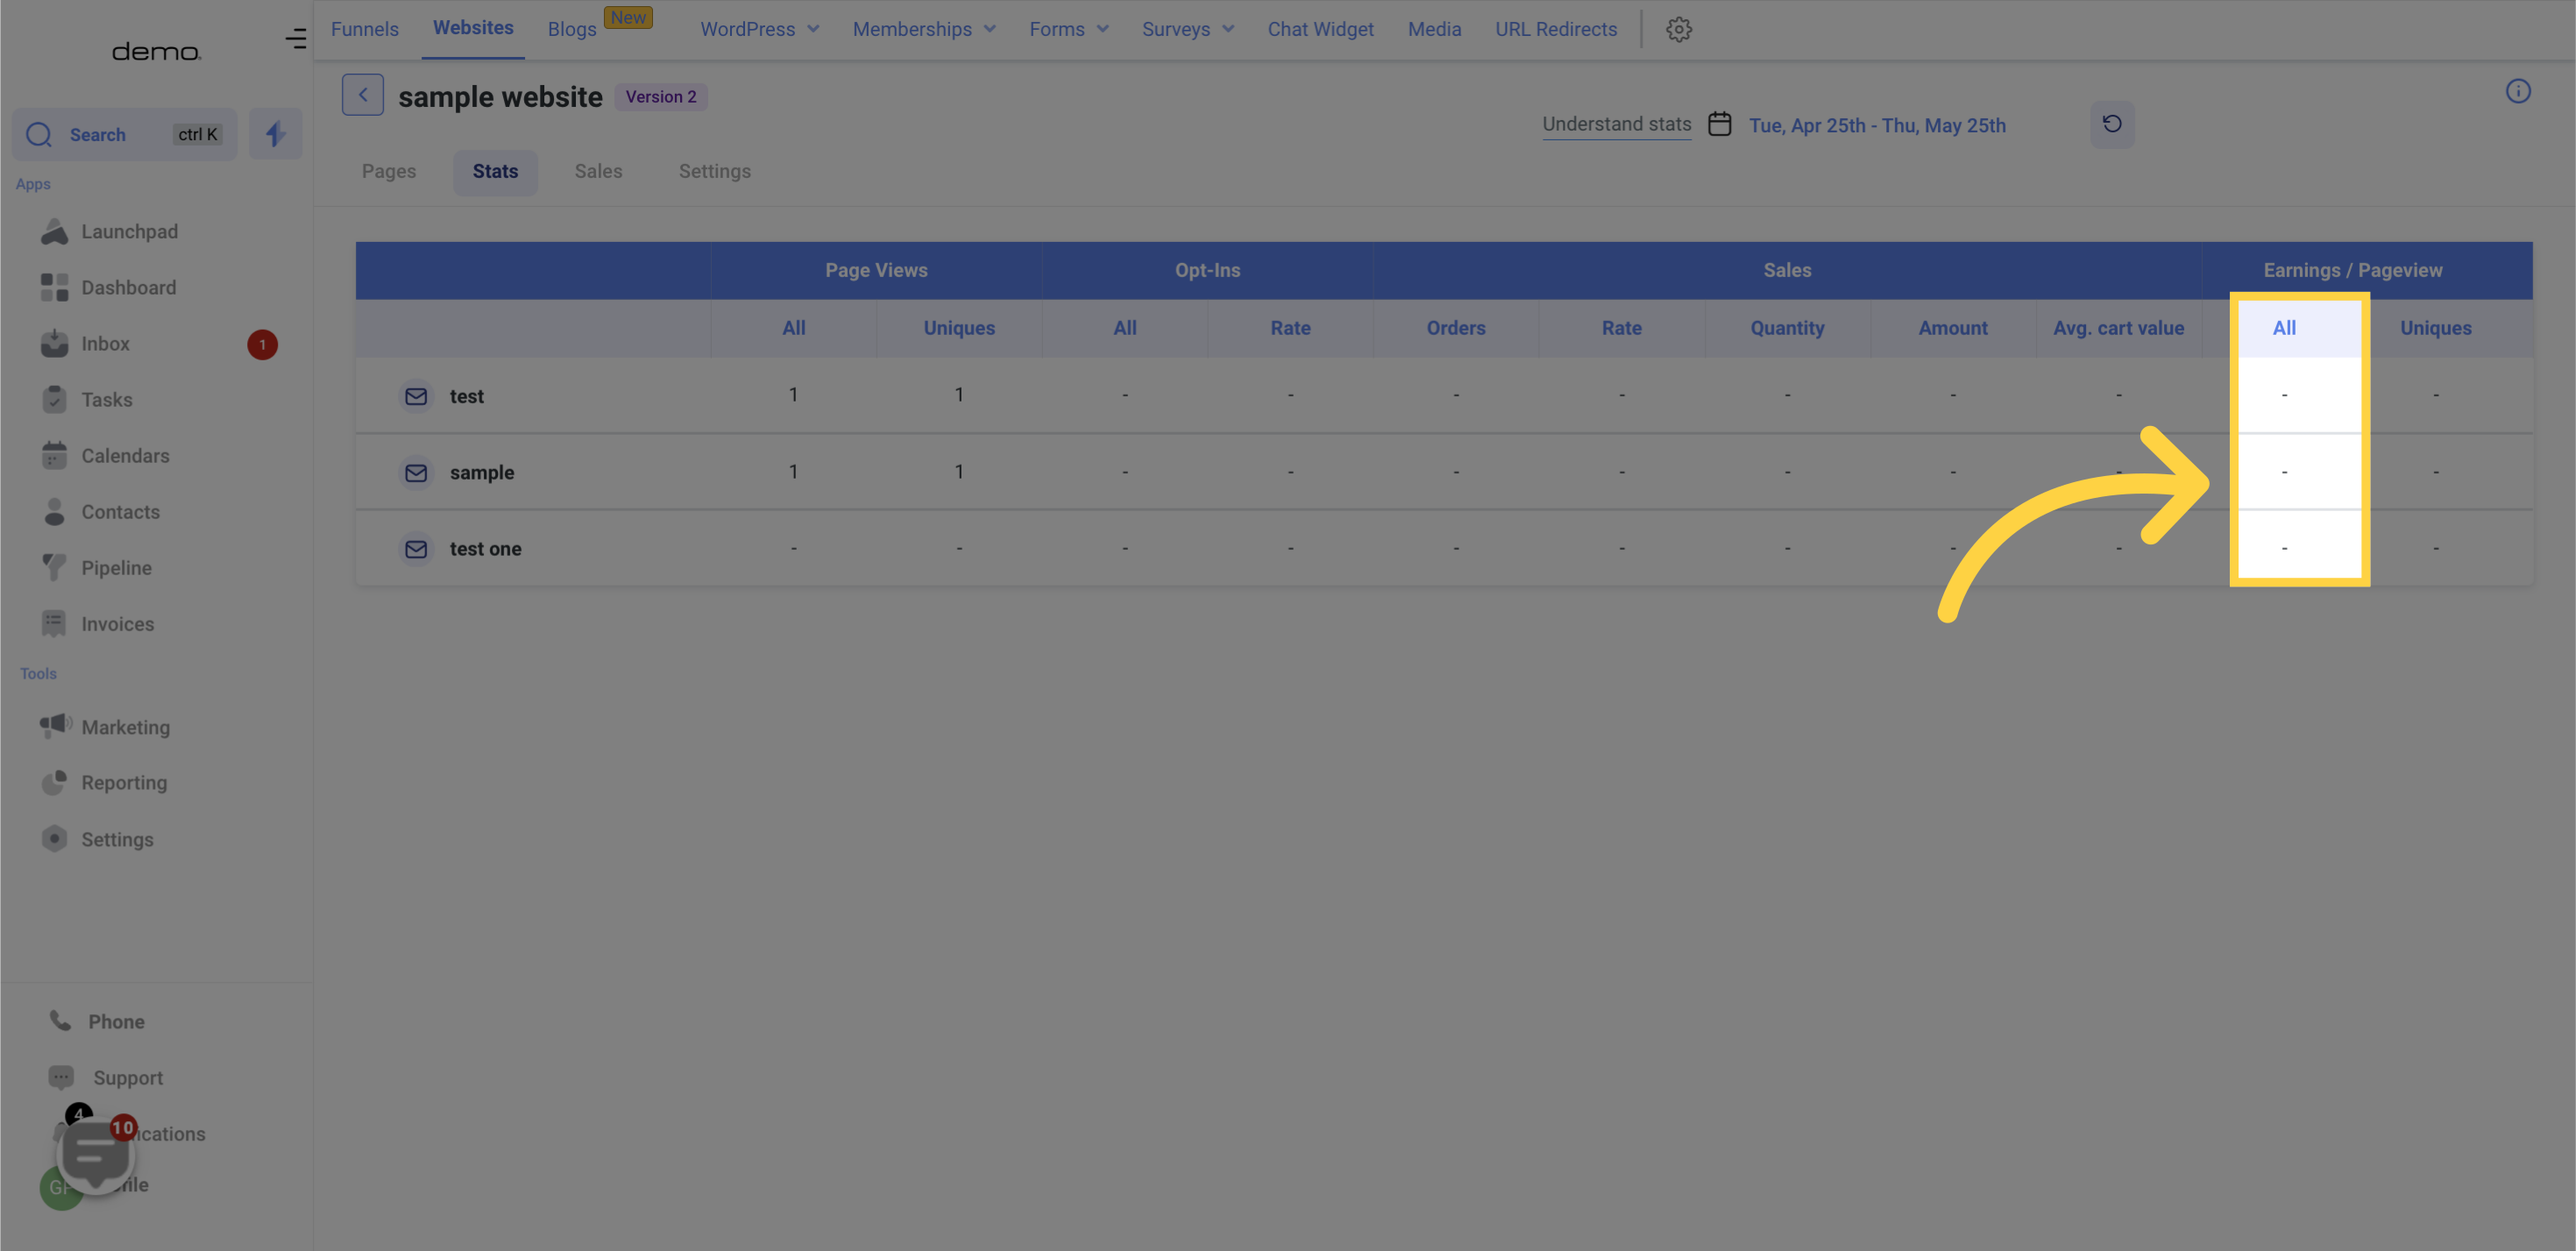
The "All" column shows the total earnings per page view of both new and returning visitors to a website page.
On the other hand, the "Unique" column displays the total earnings per page view of only new visitors. This means that it excludes any earnings generated by returning visitors, focusing only on the revenue generated by new visitors to the page.