Service Calendars are the scheduling engine behind every treatment your practice offers. Instead of one generic booking link, you build a calendar for each service, laser hair removal, microneedling, injectables, HydraFacials, and so on, and link it to the right provider, treatment room, and equipment. Service Calendars live under the Calendars menu in Aesthetix CRM, alongside your other calendar types.
A Service Calendar lets you define a specific treatment, assign the providers who can perform it, and reserve the resources it needs (a treatment room, a laser device, numbing supplies) so nothing gets double-booked. For a med spa, that might mean separate calendars for Botox consultations, laser skin resurfacing, and body contouring, each tied to the correct provider, room, and device. Patients get a clean self-service booking experience, and your front desk avoids the back-and-forth of manually checking staff schedules and room availability.
Automated scheduling: Patients book appointments online without calling the front desk. If you also use AI-driven appointment booking, note that it only works with native Aesthetix CRM calendars like Service Calendars, not with calendars synced from an EMR. See the AI Employee documentation for how automated booking connects to your calendars.
Resource management: Assign treatment rooms and devices/supplies (laser units, microneedling pens, numbing supplies) so two patients are never scheduled for the same room or machine at once.
Staff scheduling: Set each provider's working hours so only accurate, real availability shows up on the booking page.
Service grouping: Organize your menu into categories like "Injectables & Fillers," "Laser & Skin Treatments," or "Facials & Peels."
Flexible menus: Let patients book more than one service in a single visit, for example a consultation plus a treatment.
Professional branding: Add a service logo and custom colors so the booking page matches your practice's look.
Adding your providers is the foundation of every service calendar. You cannot assign a service to staff who haven't been added yet.
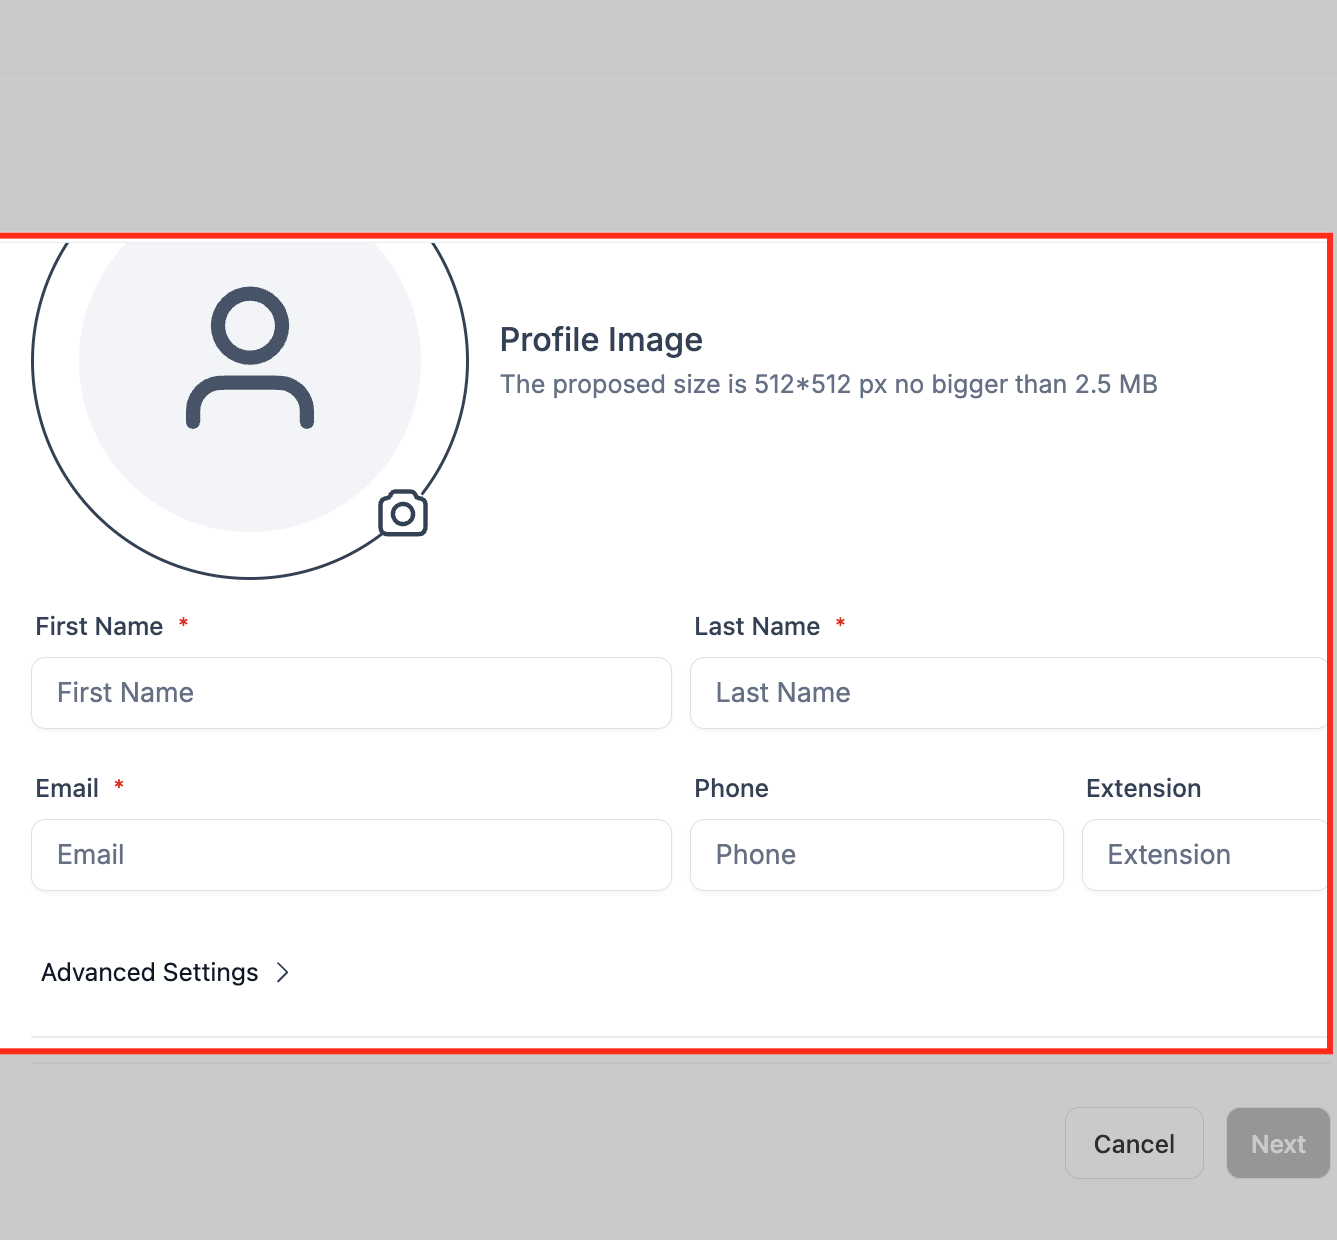
From your account dashboard, go to Settings → My Staff → Add User.
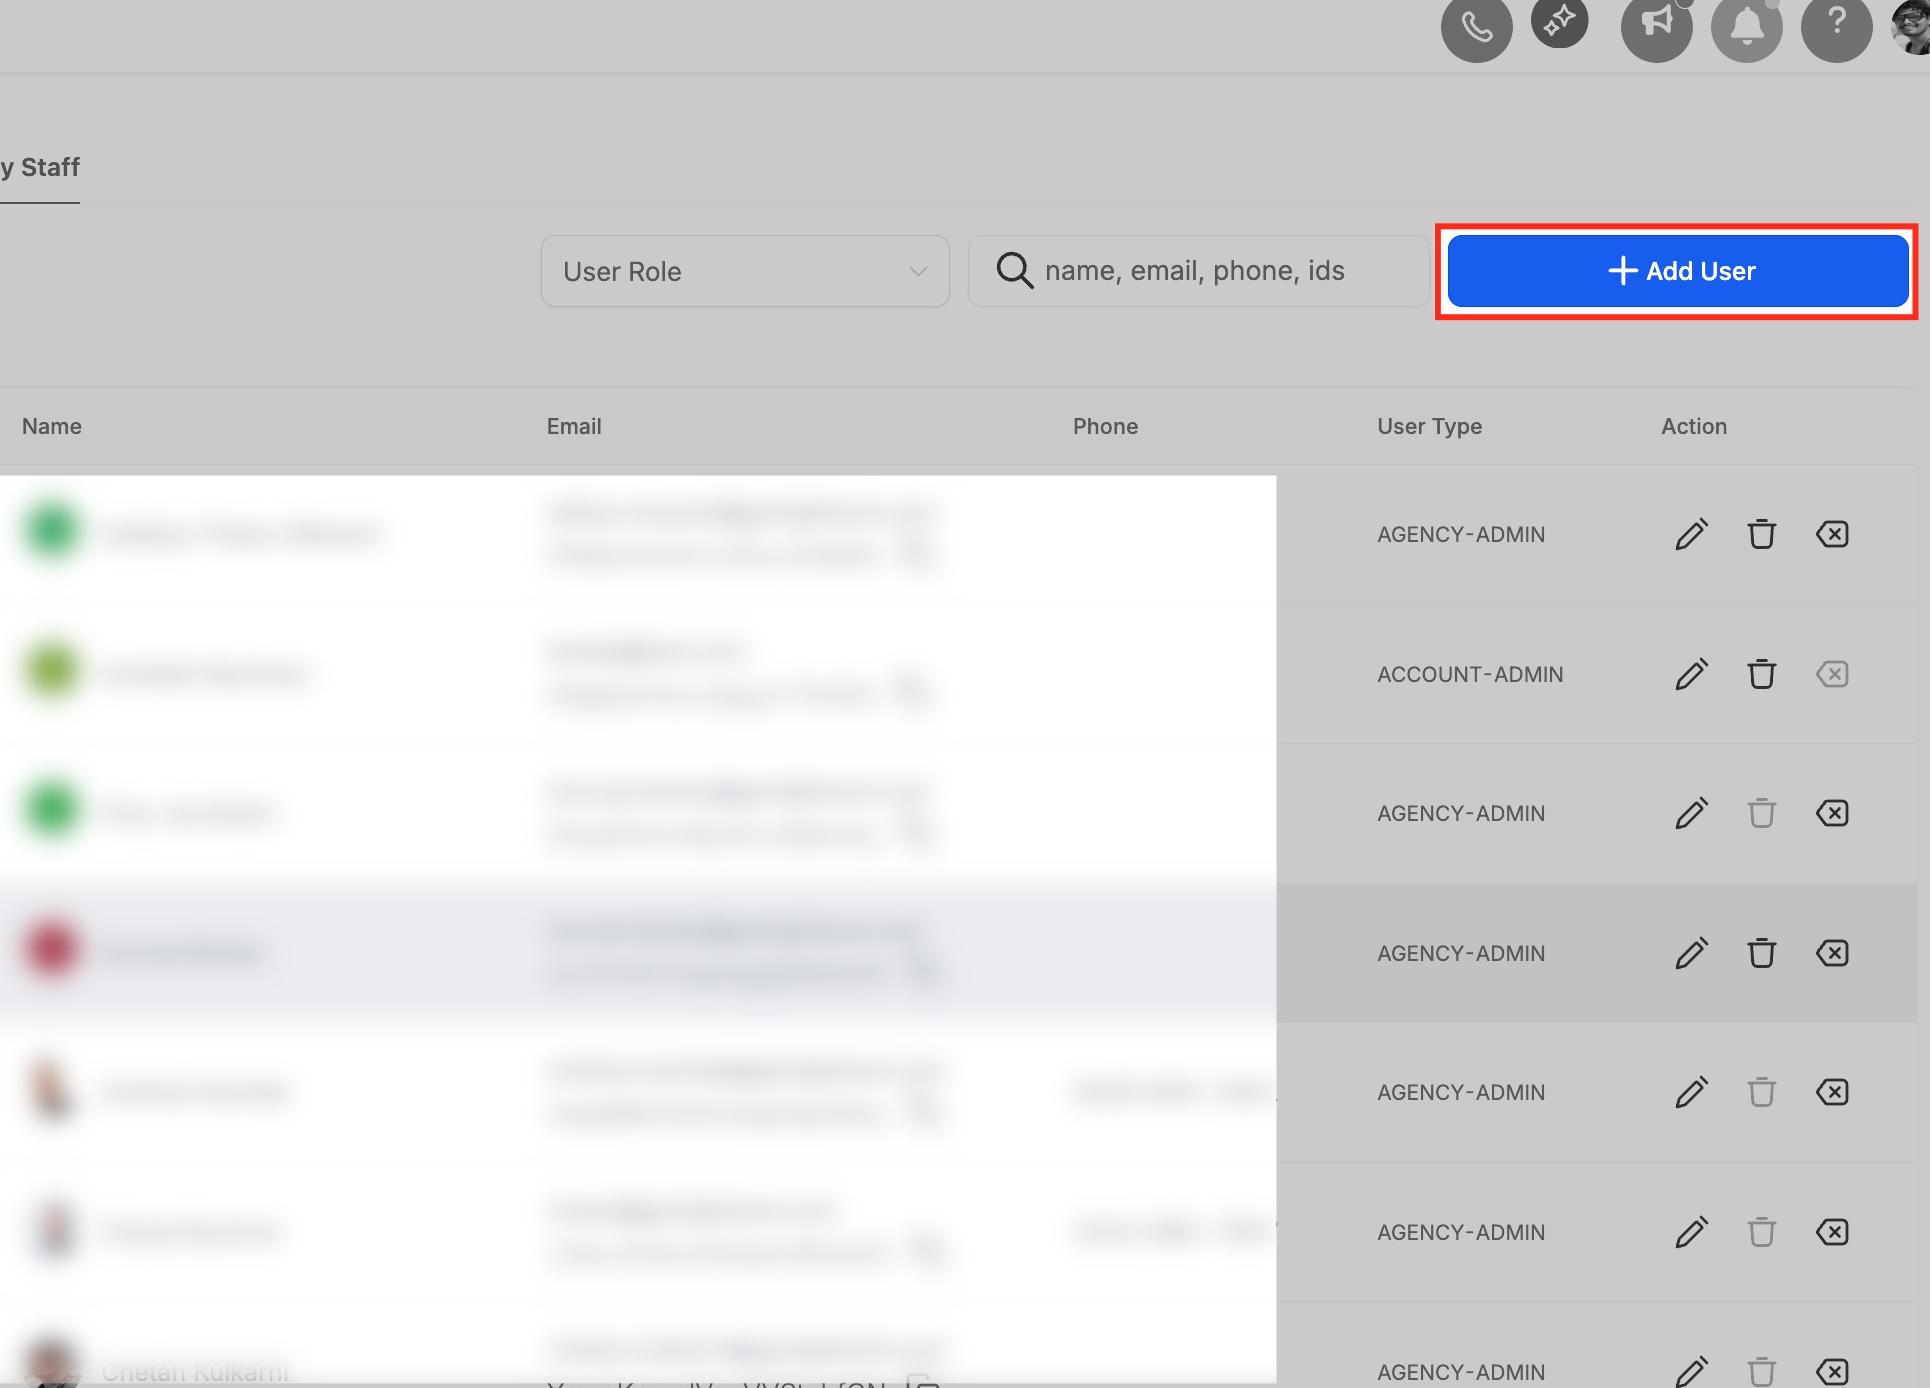
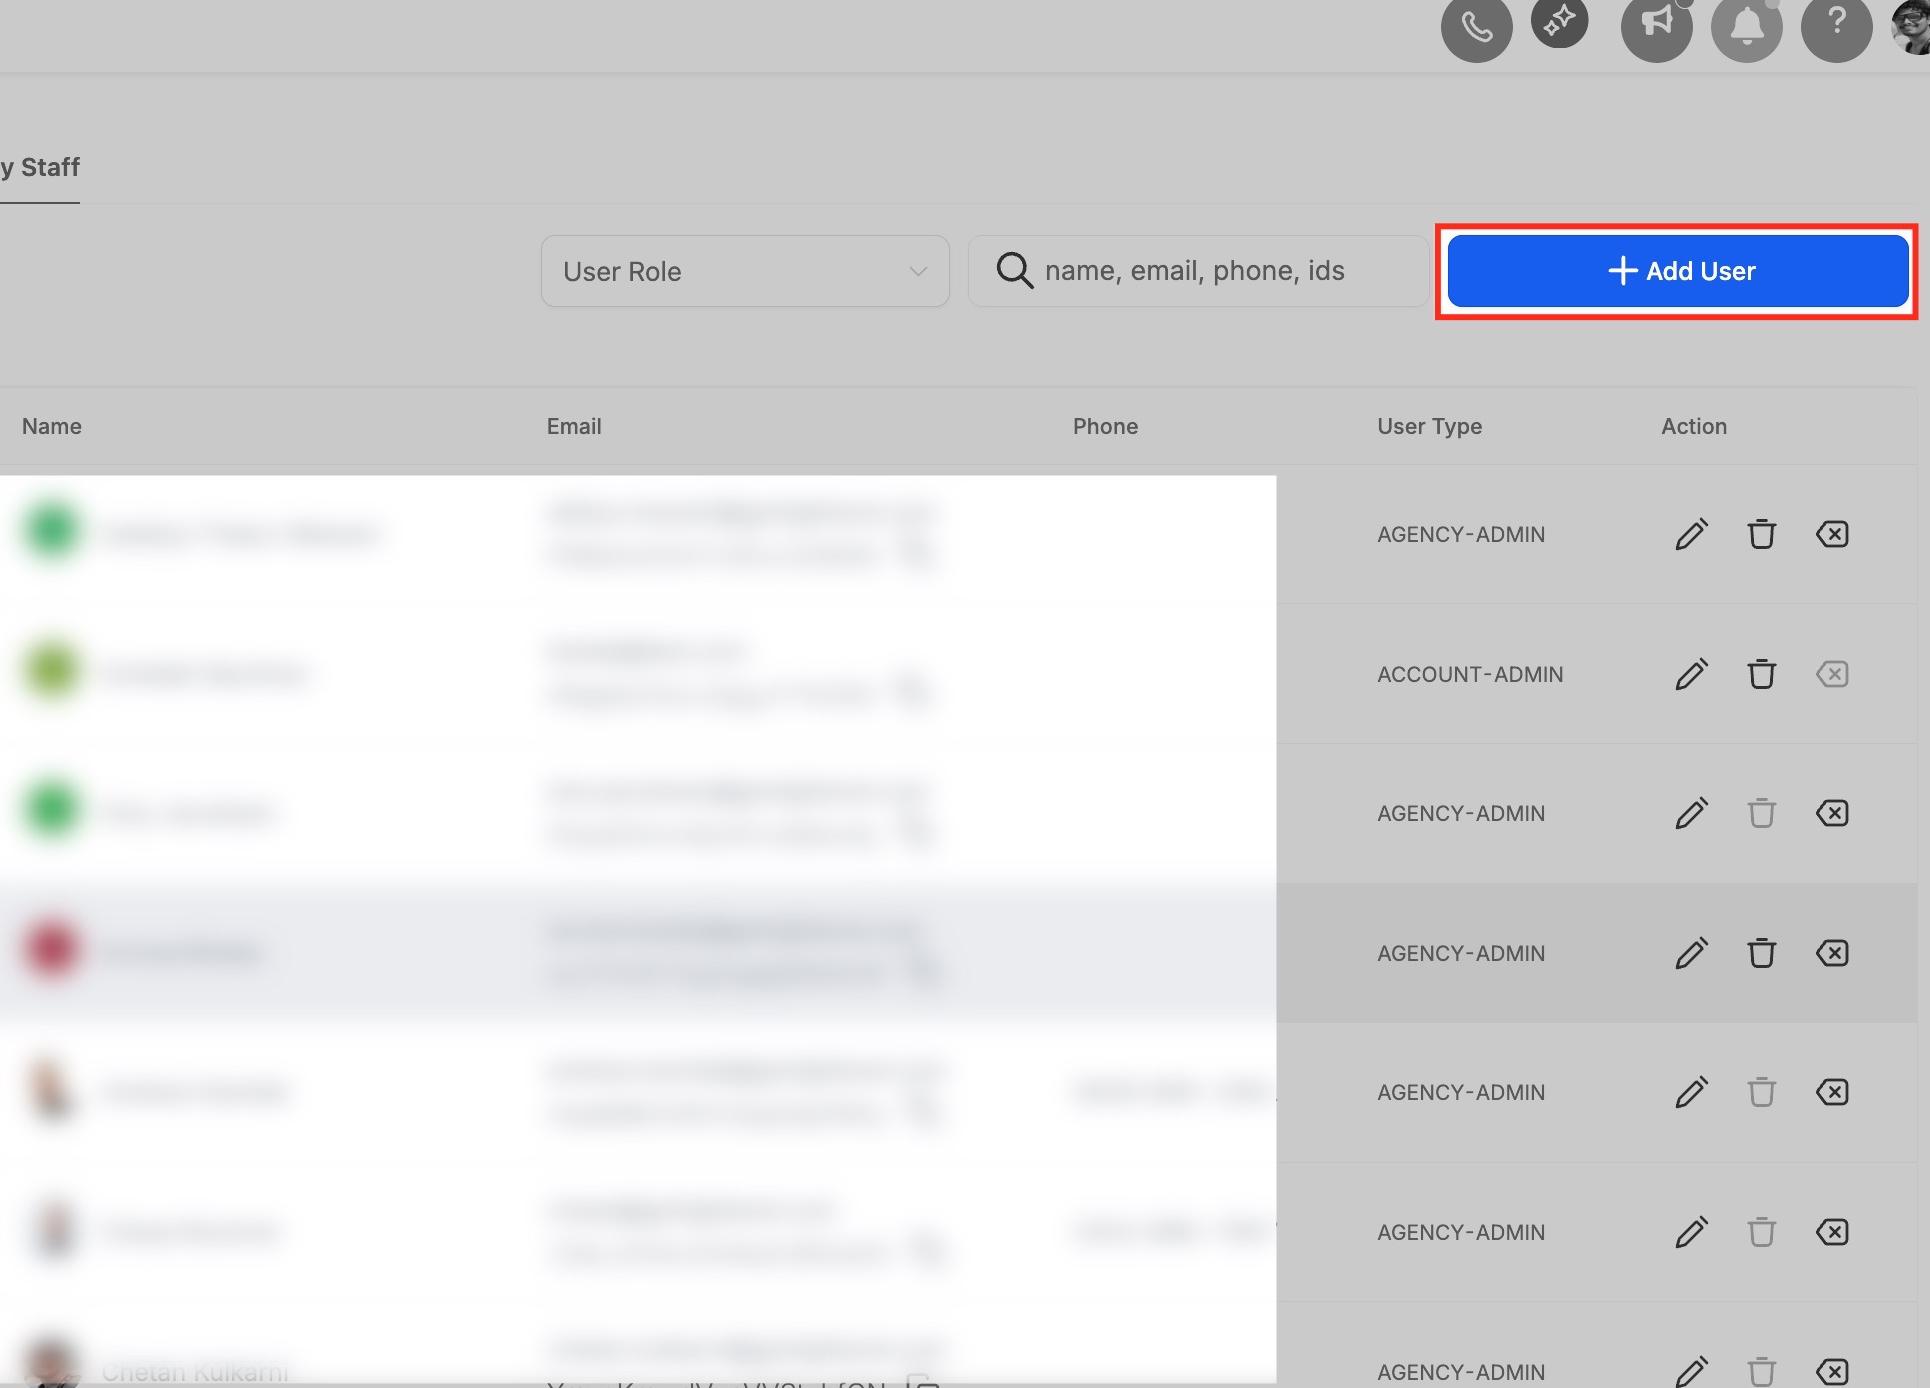
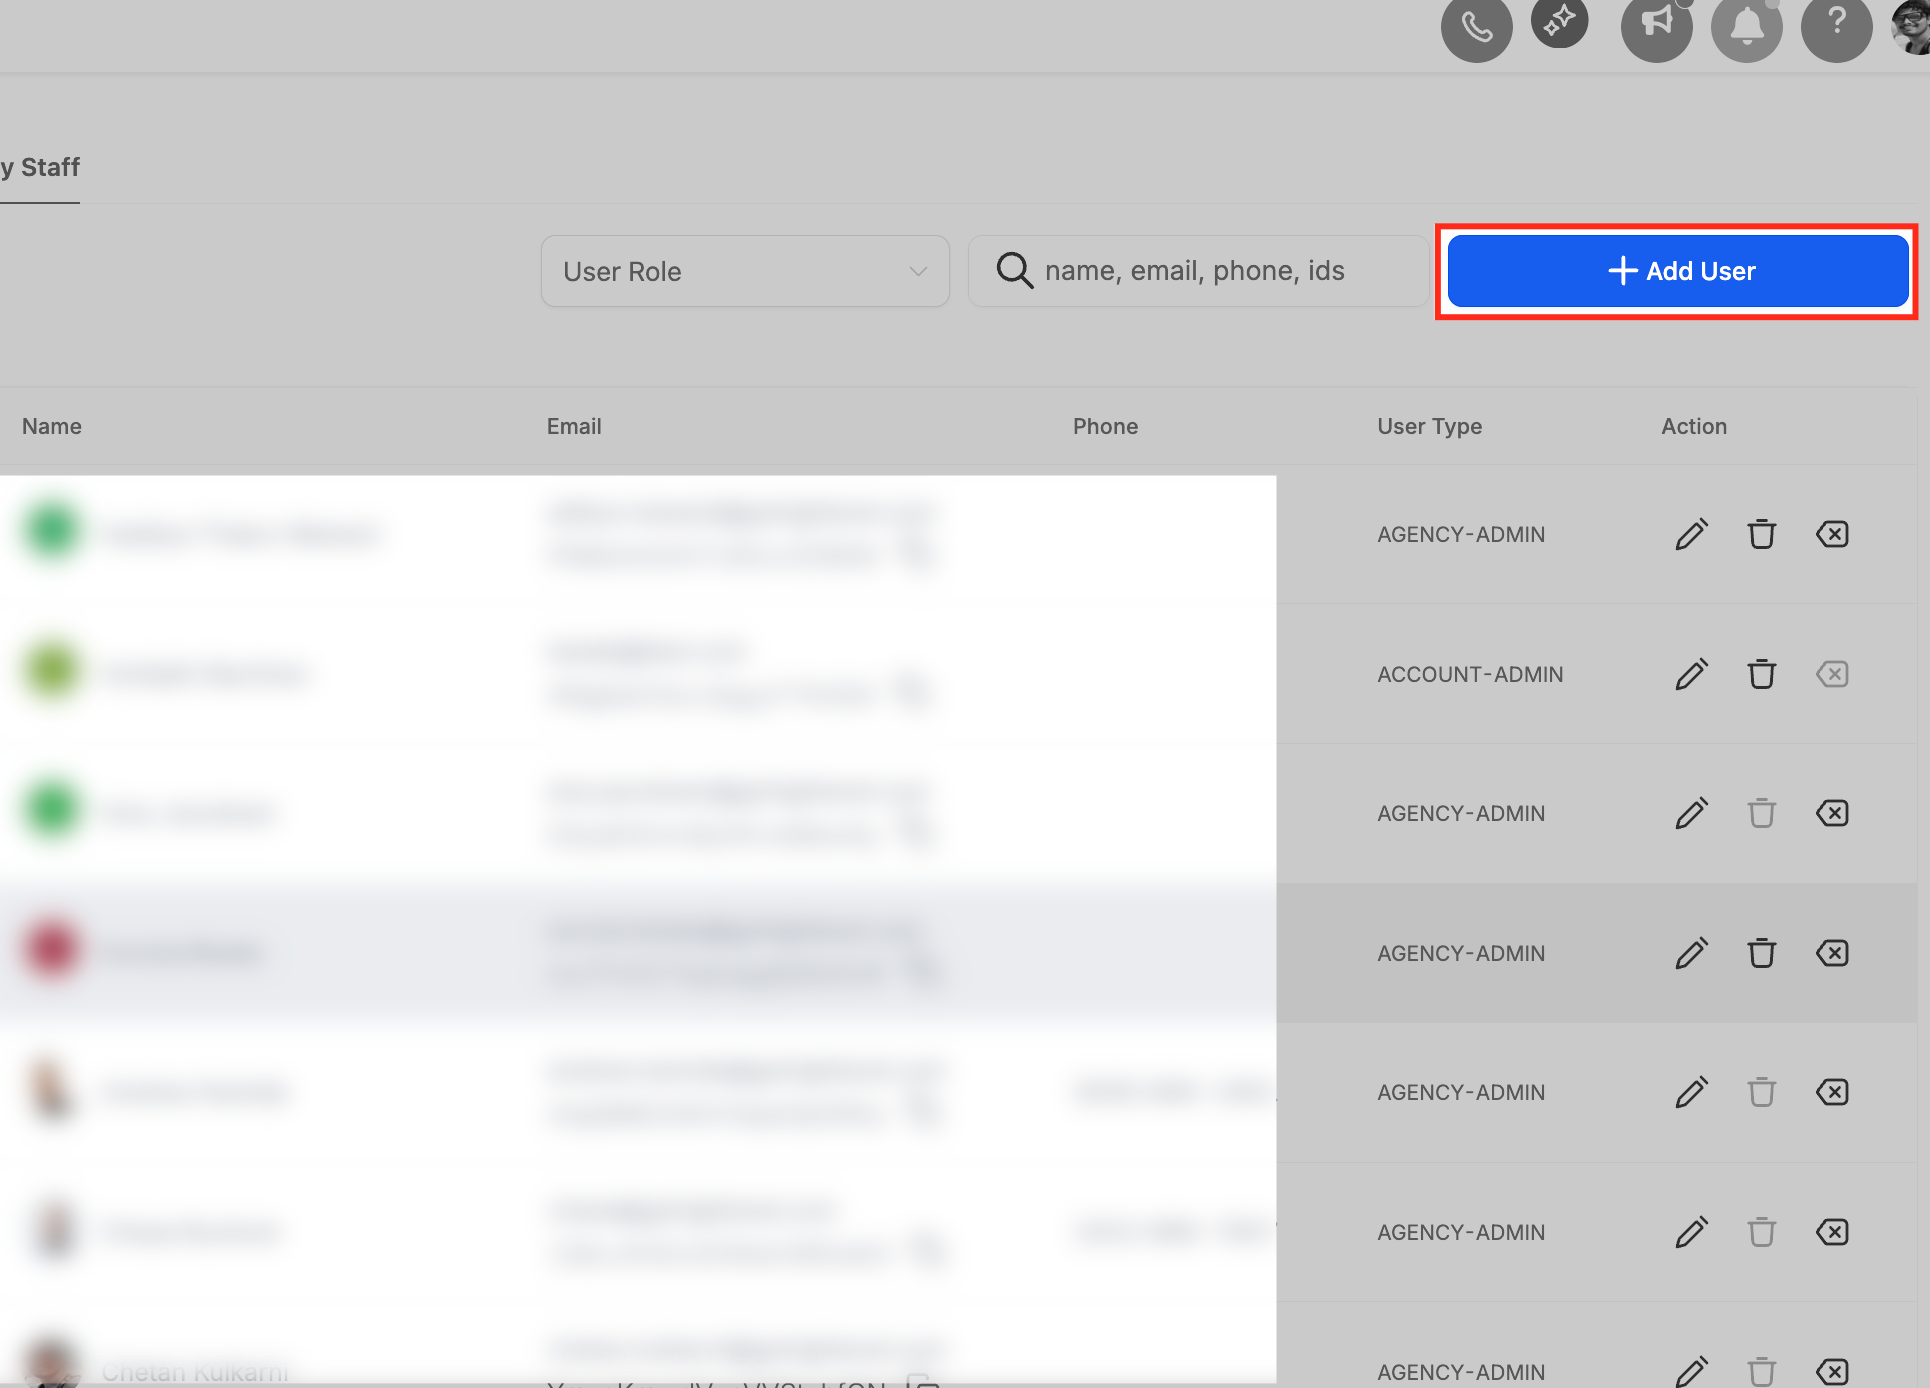
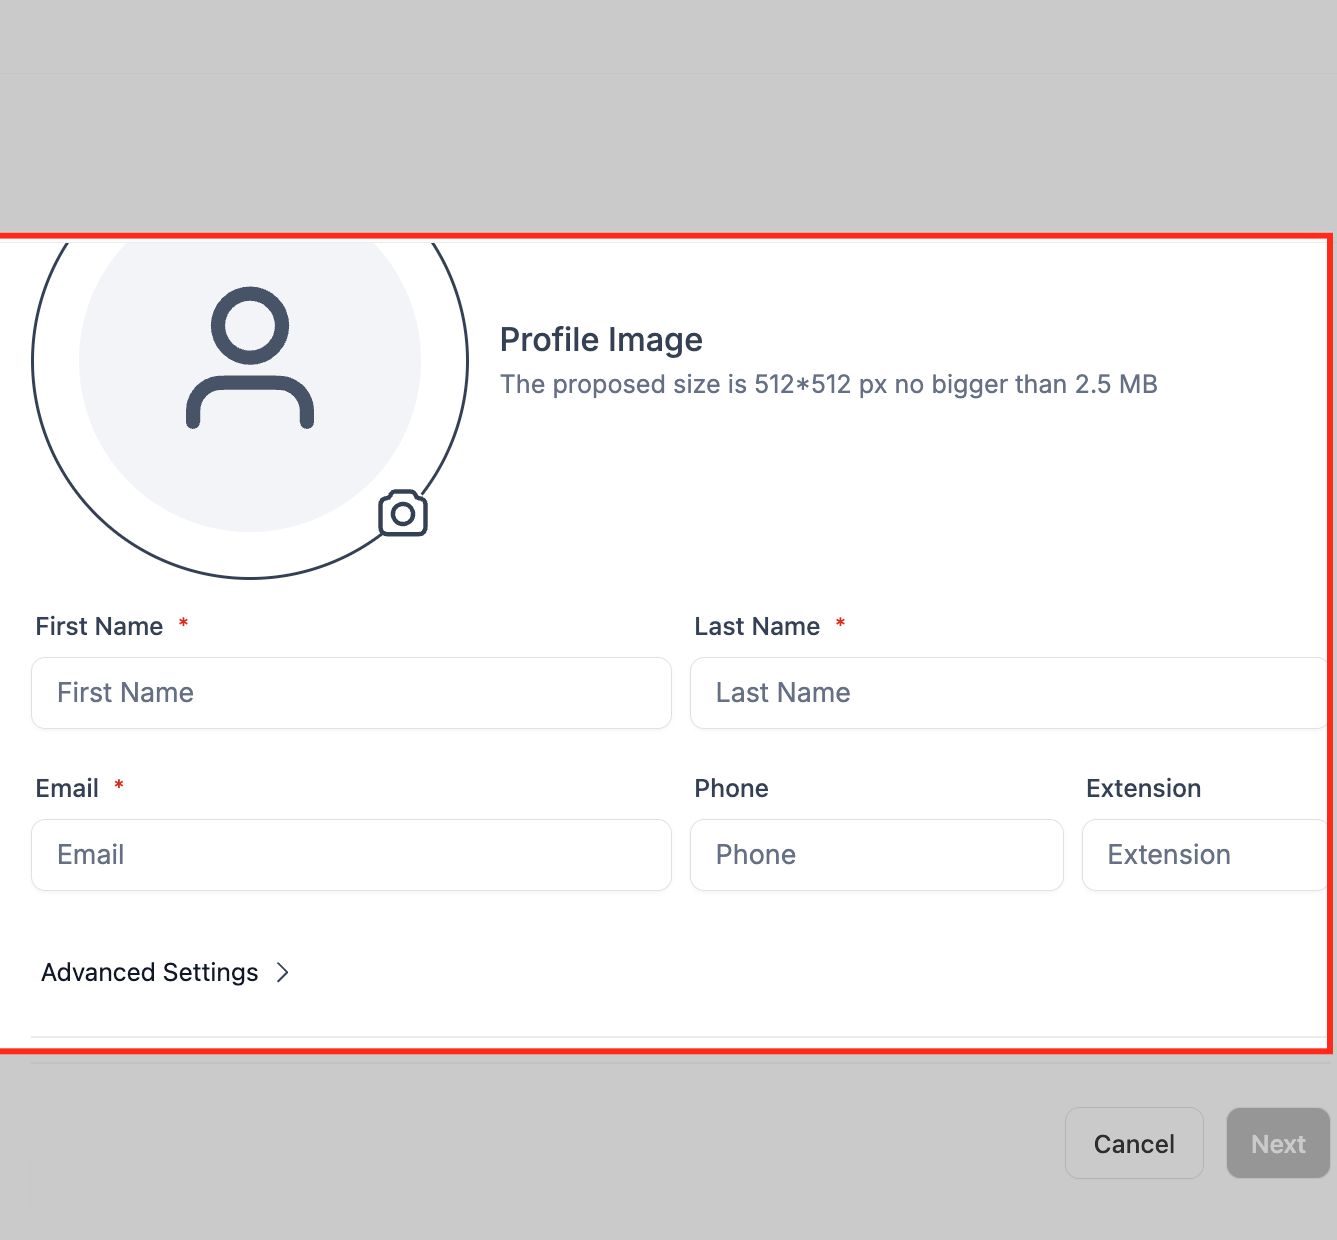
Enter the provider's name, email, and extension. Set user permissions if you need to limit what they can access. Define their availability, for example, one provider works Monday, Wednesday, Friday from 9am to 5pm, while another works Tuesday through Saturday from 11am to 7pm. Click Save.
If a provider already keeps their availability in Google Calendar, Outlook, iCloud, or Zoom, connect that calendar first from the Connections section so it stays in sync with the schedule you set here. That setup is covered in the calendar sync guides under Connections.
Groups are categories that organize related treatments under one heading, and each group gets its own booking link.
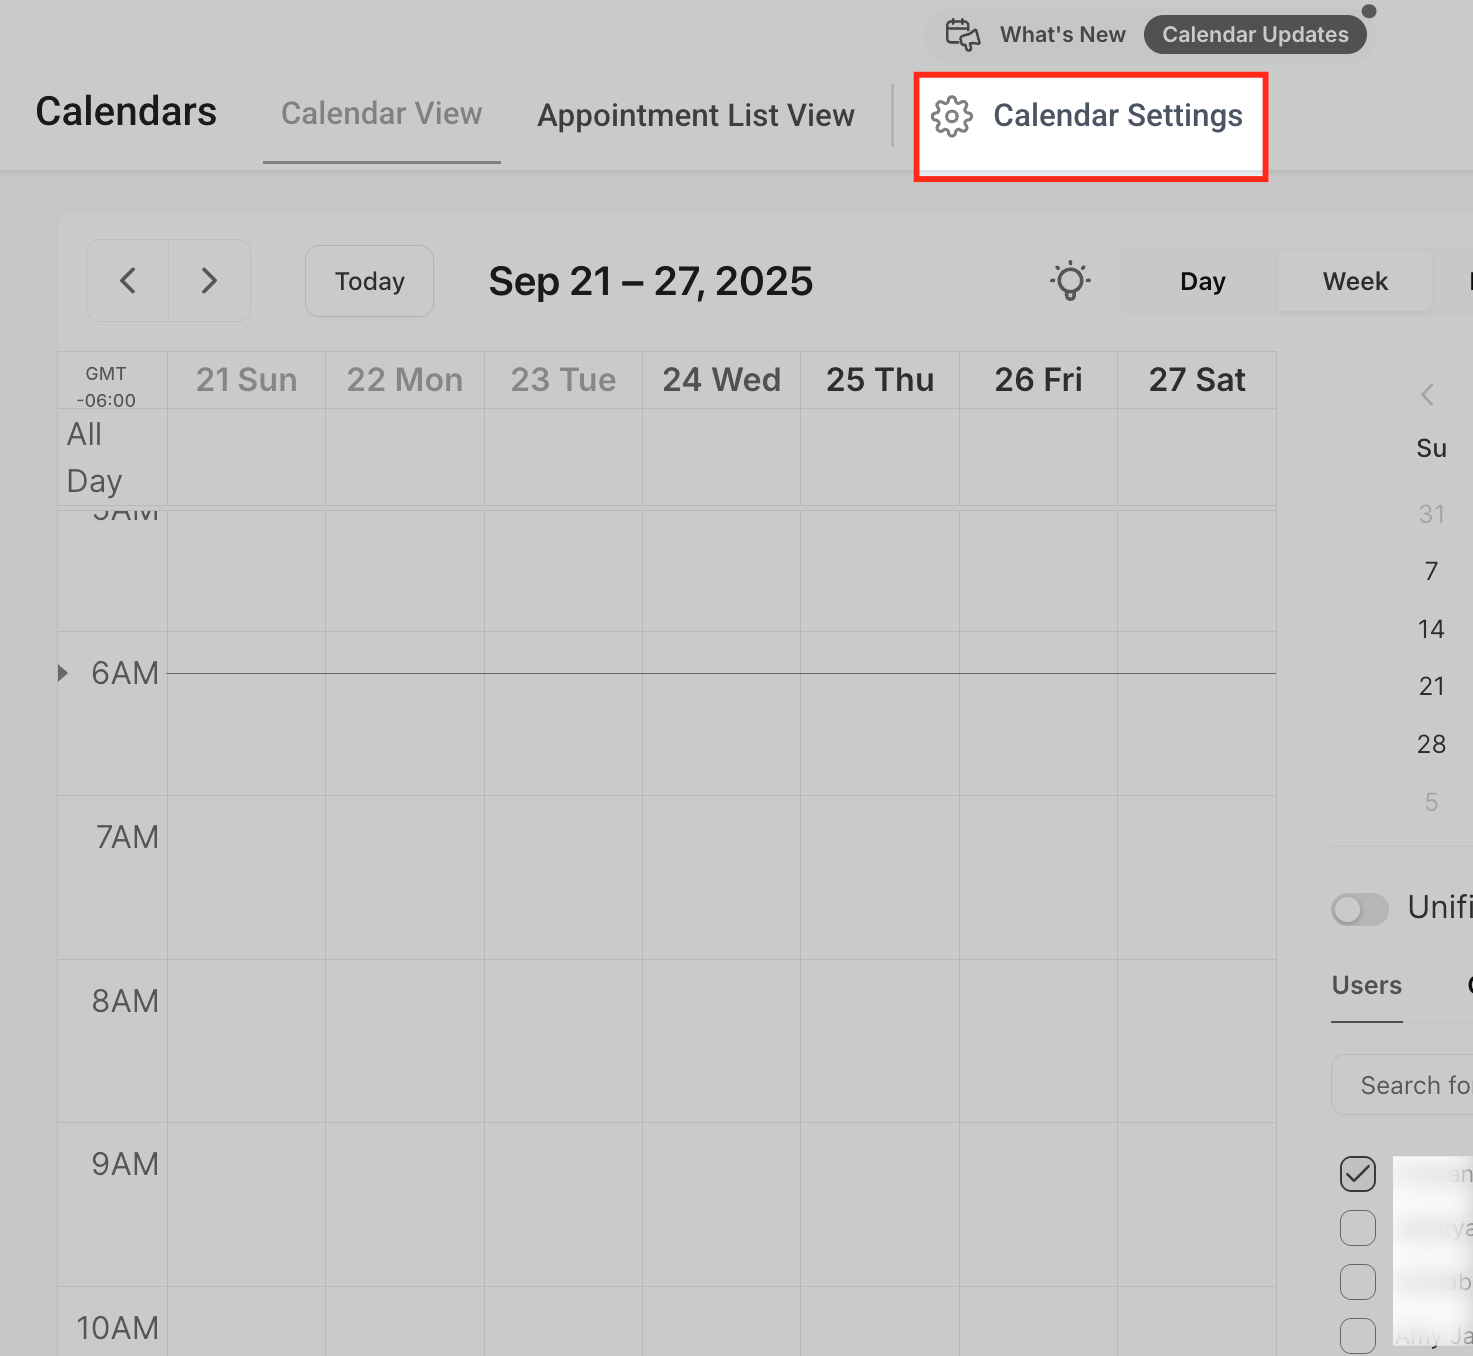
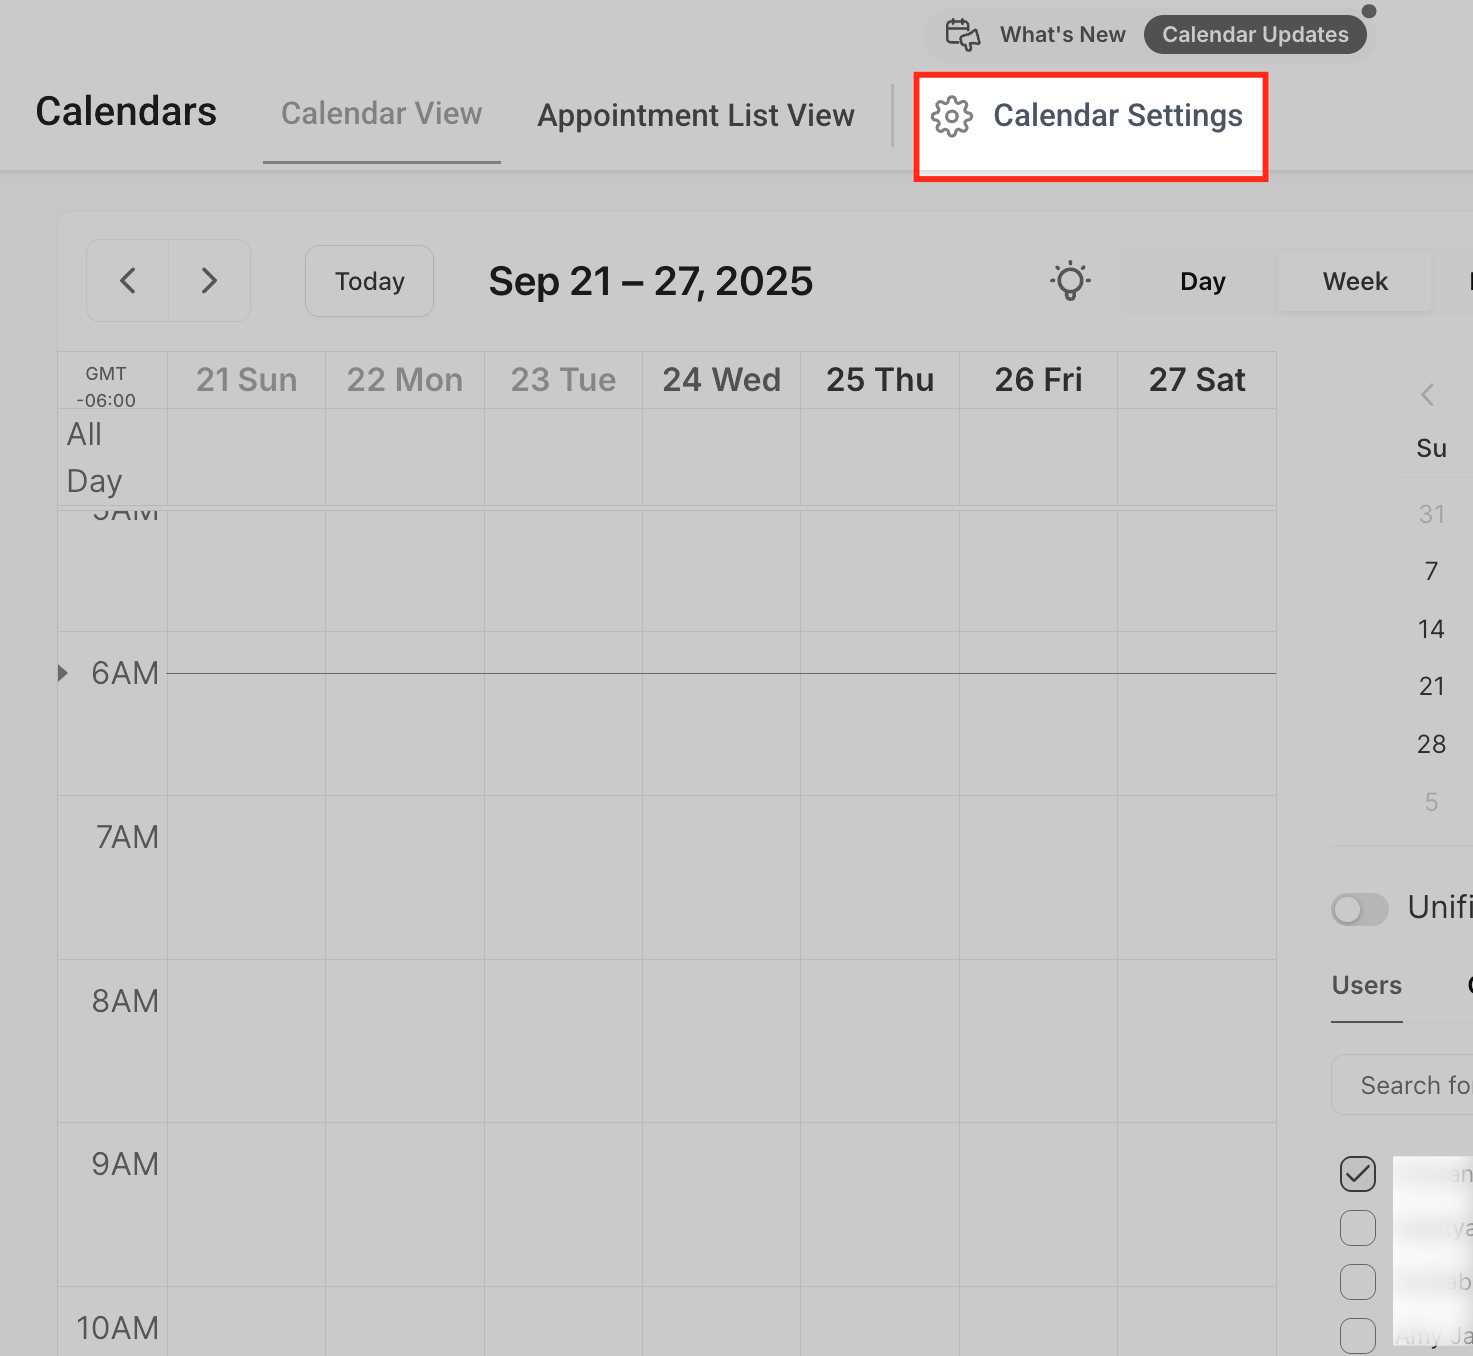
From the Calendars menu, click Calendar Settings in the top-right corner. This is where you access all configuration options for groups, services, and preferences.
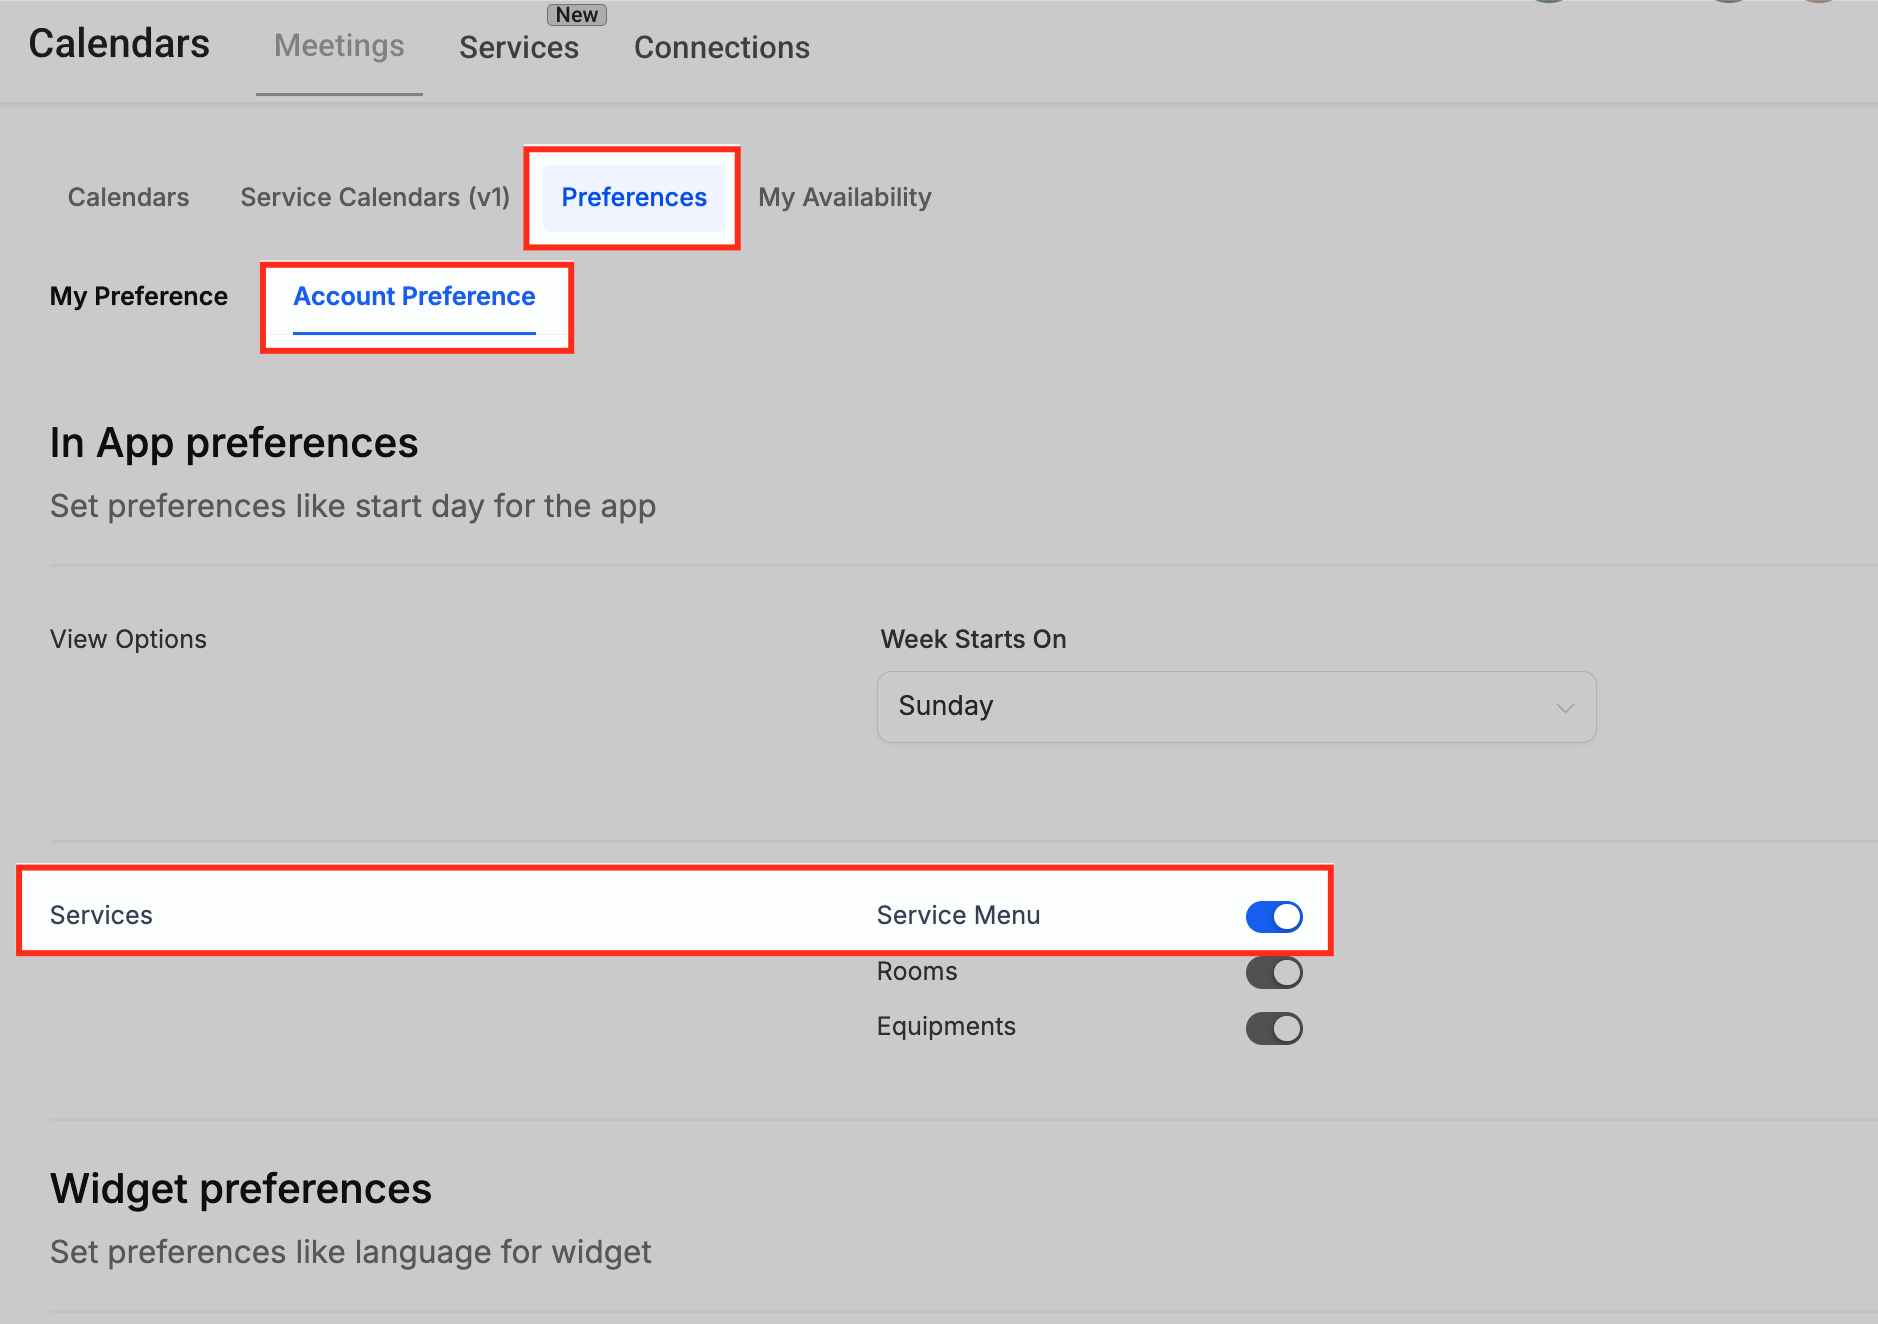
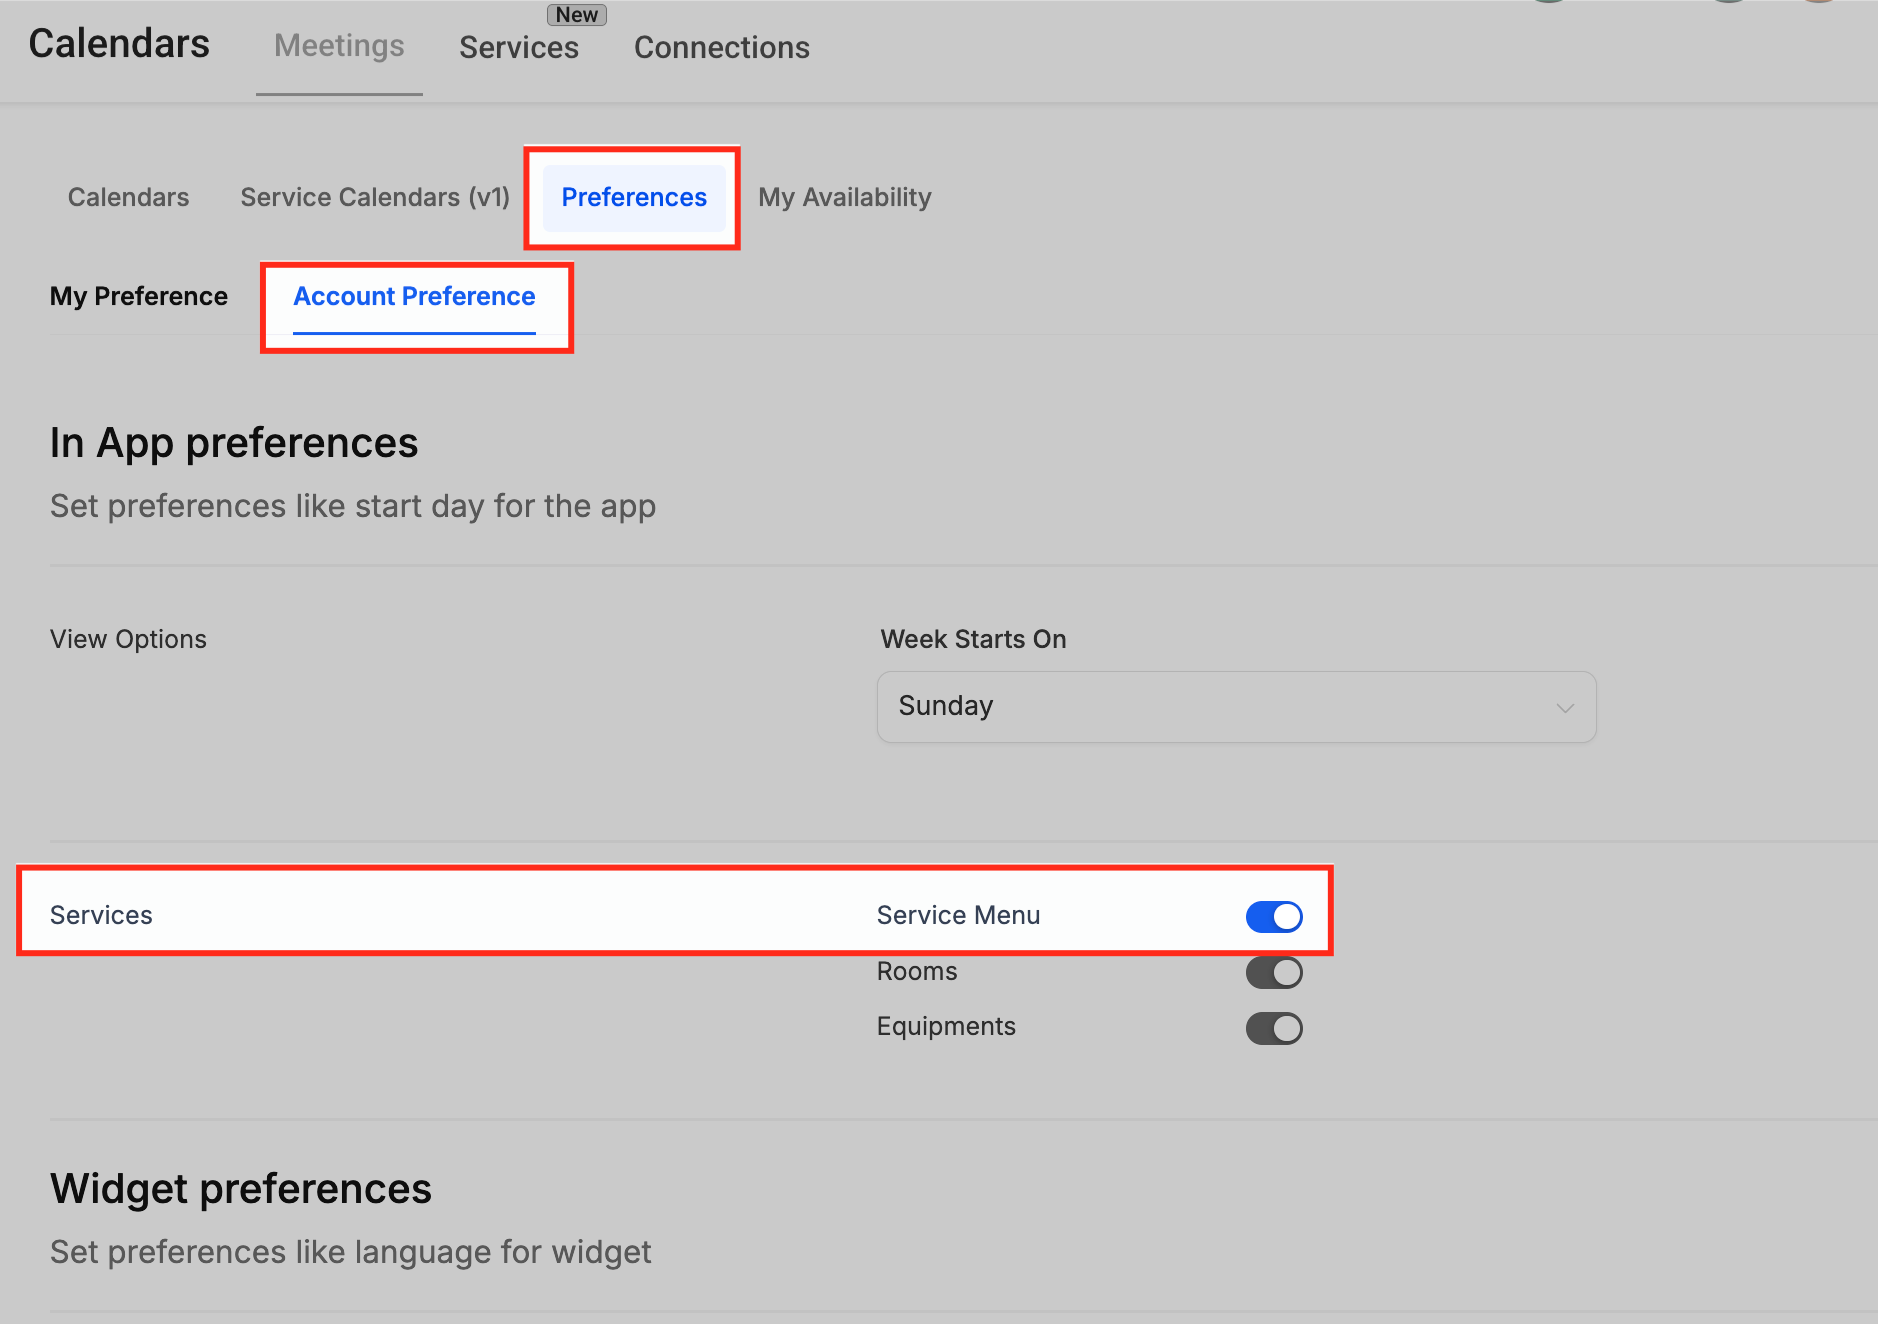
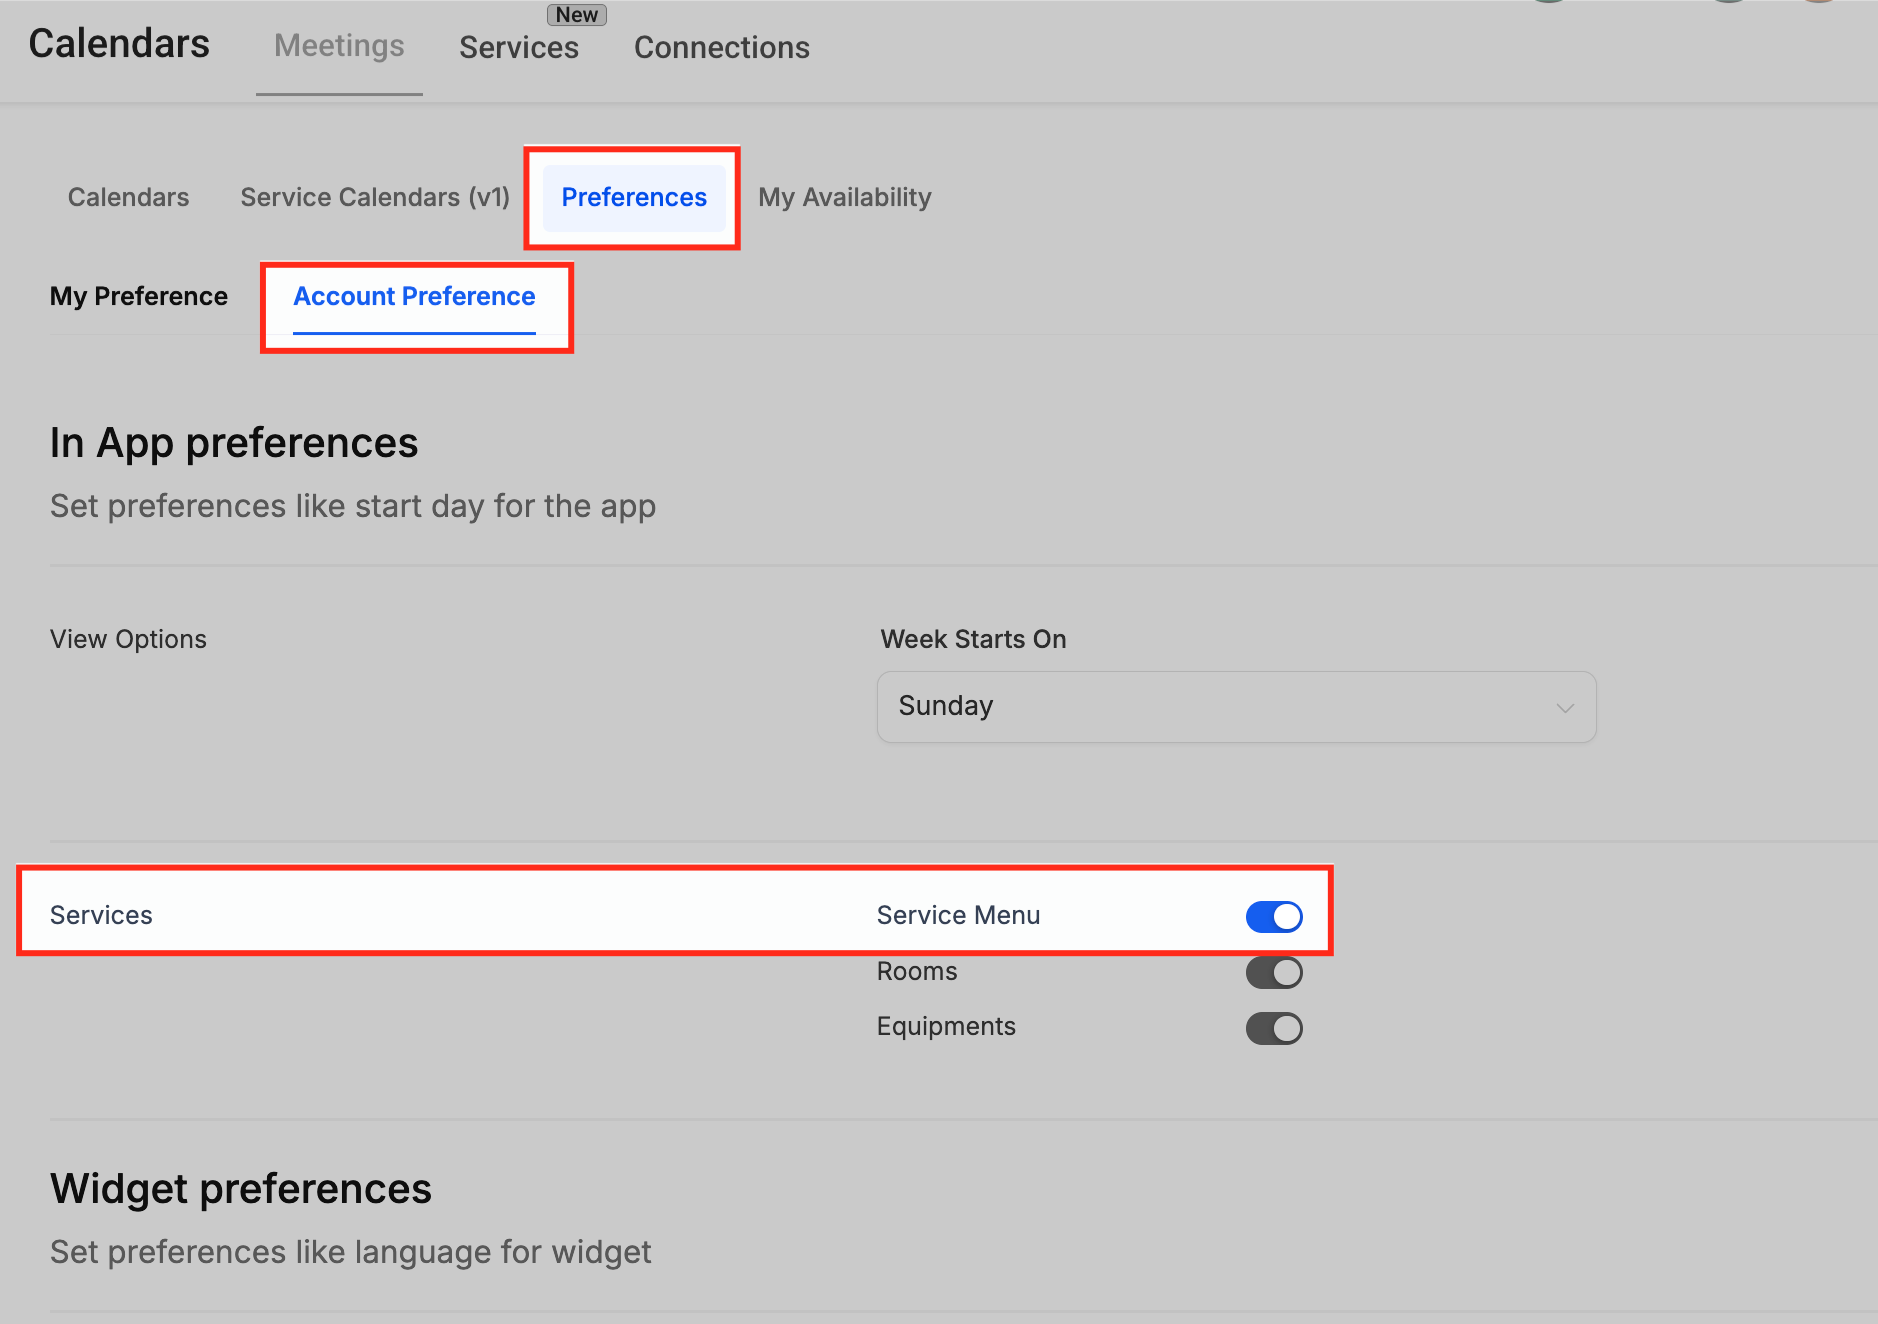
Go to Preferences → Account Preference and toggle Service Menu on. This activates service-based booking so you can create service calendars and menus.
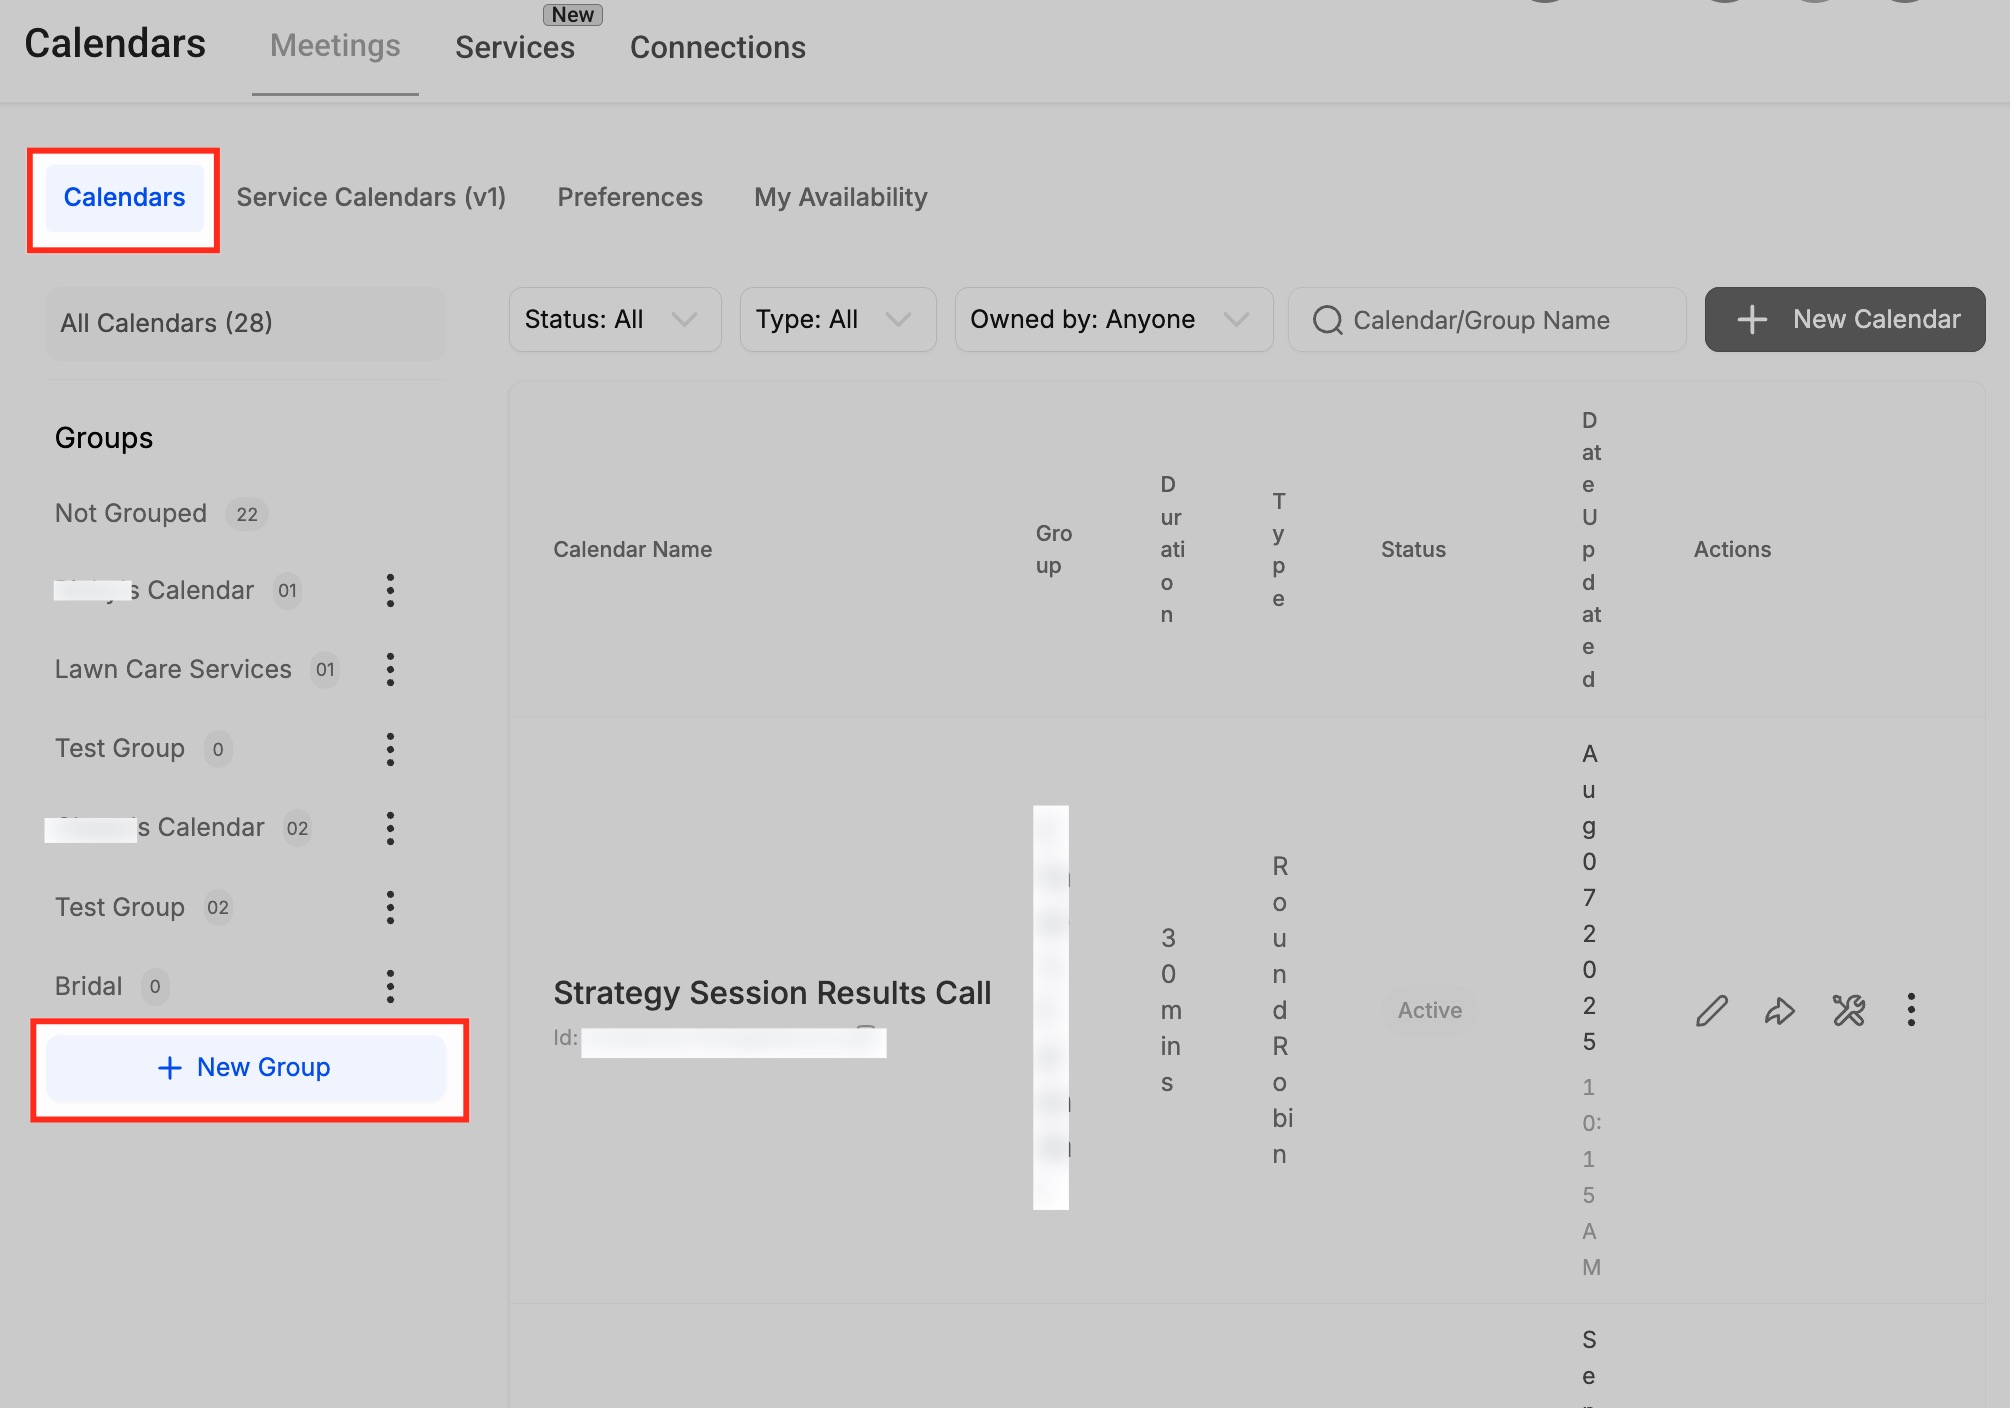
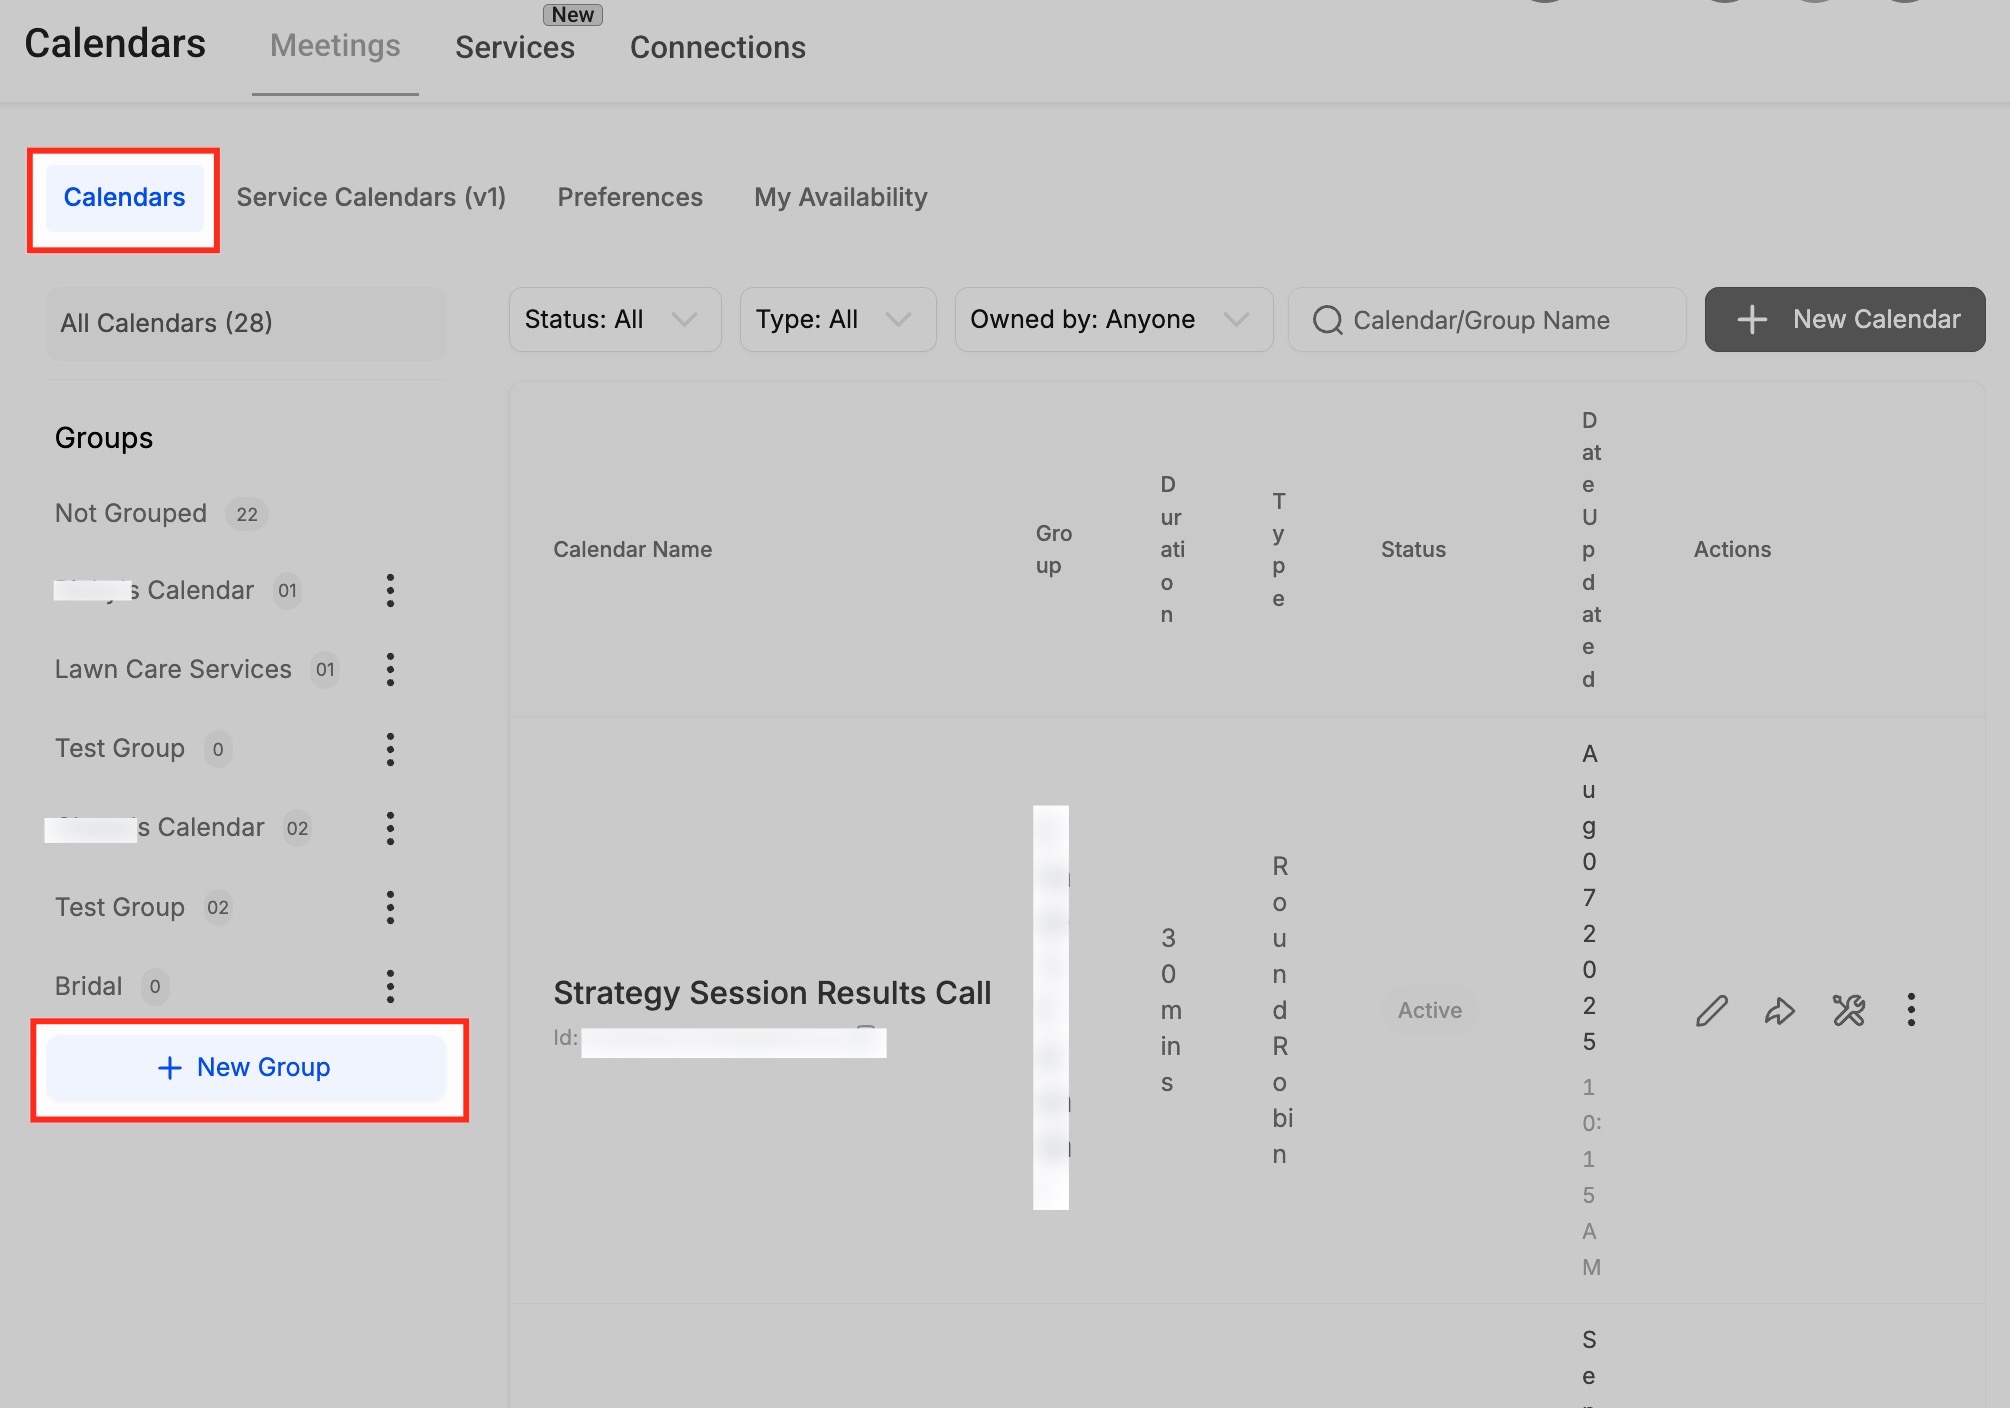
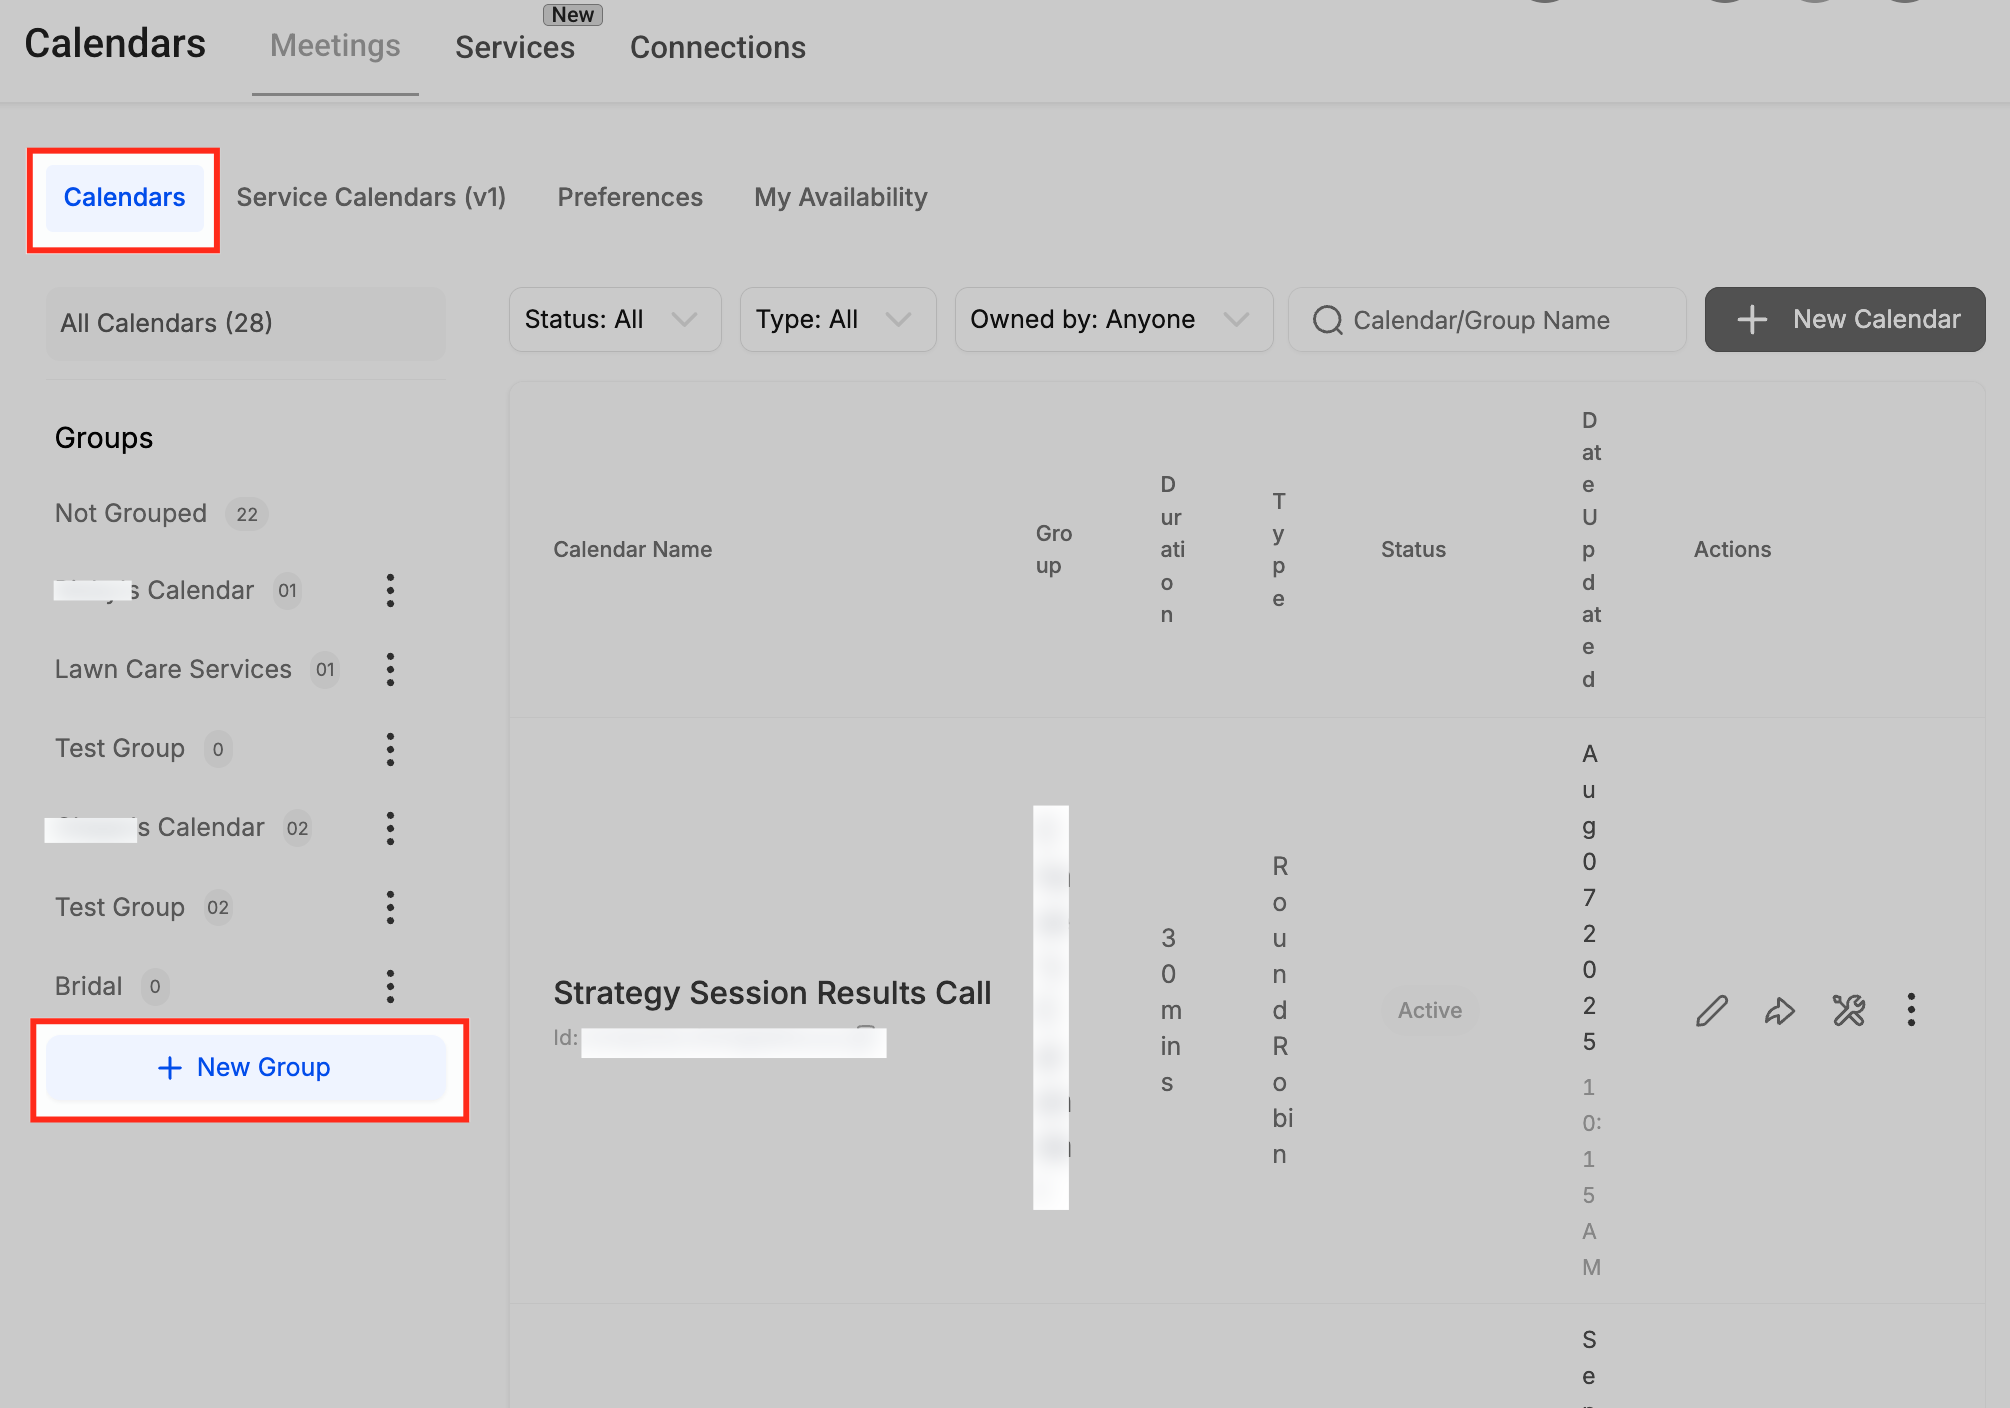
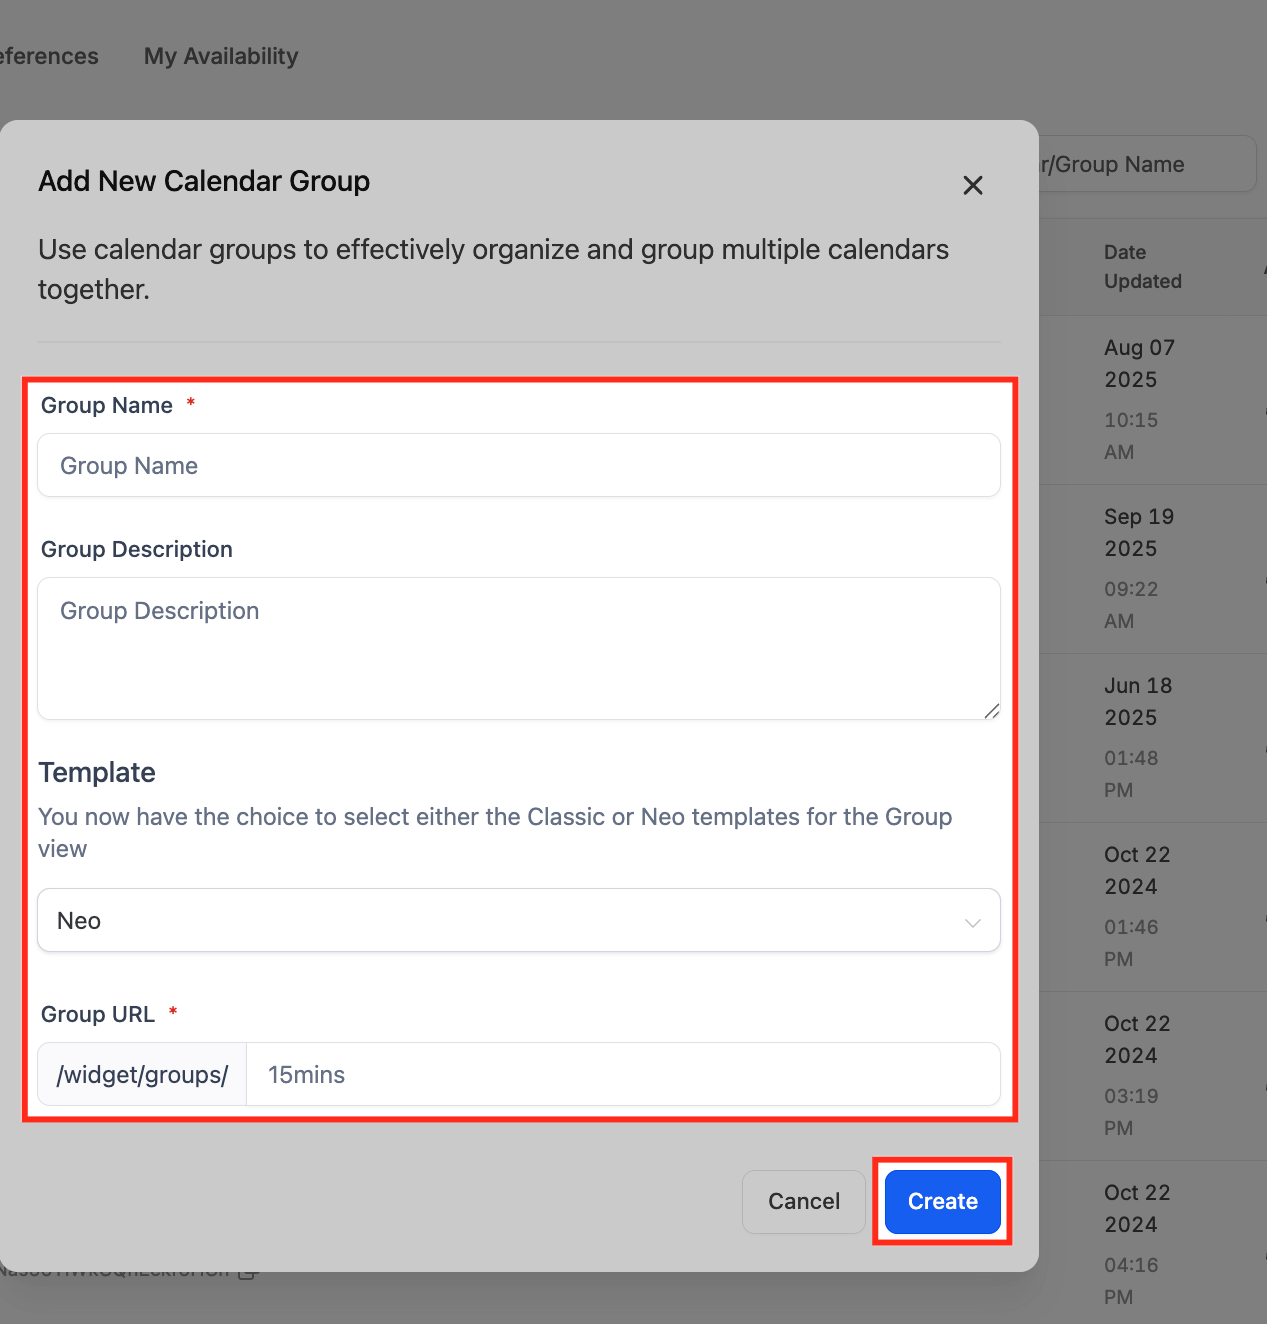
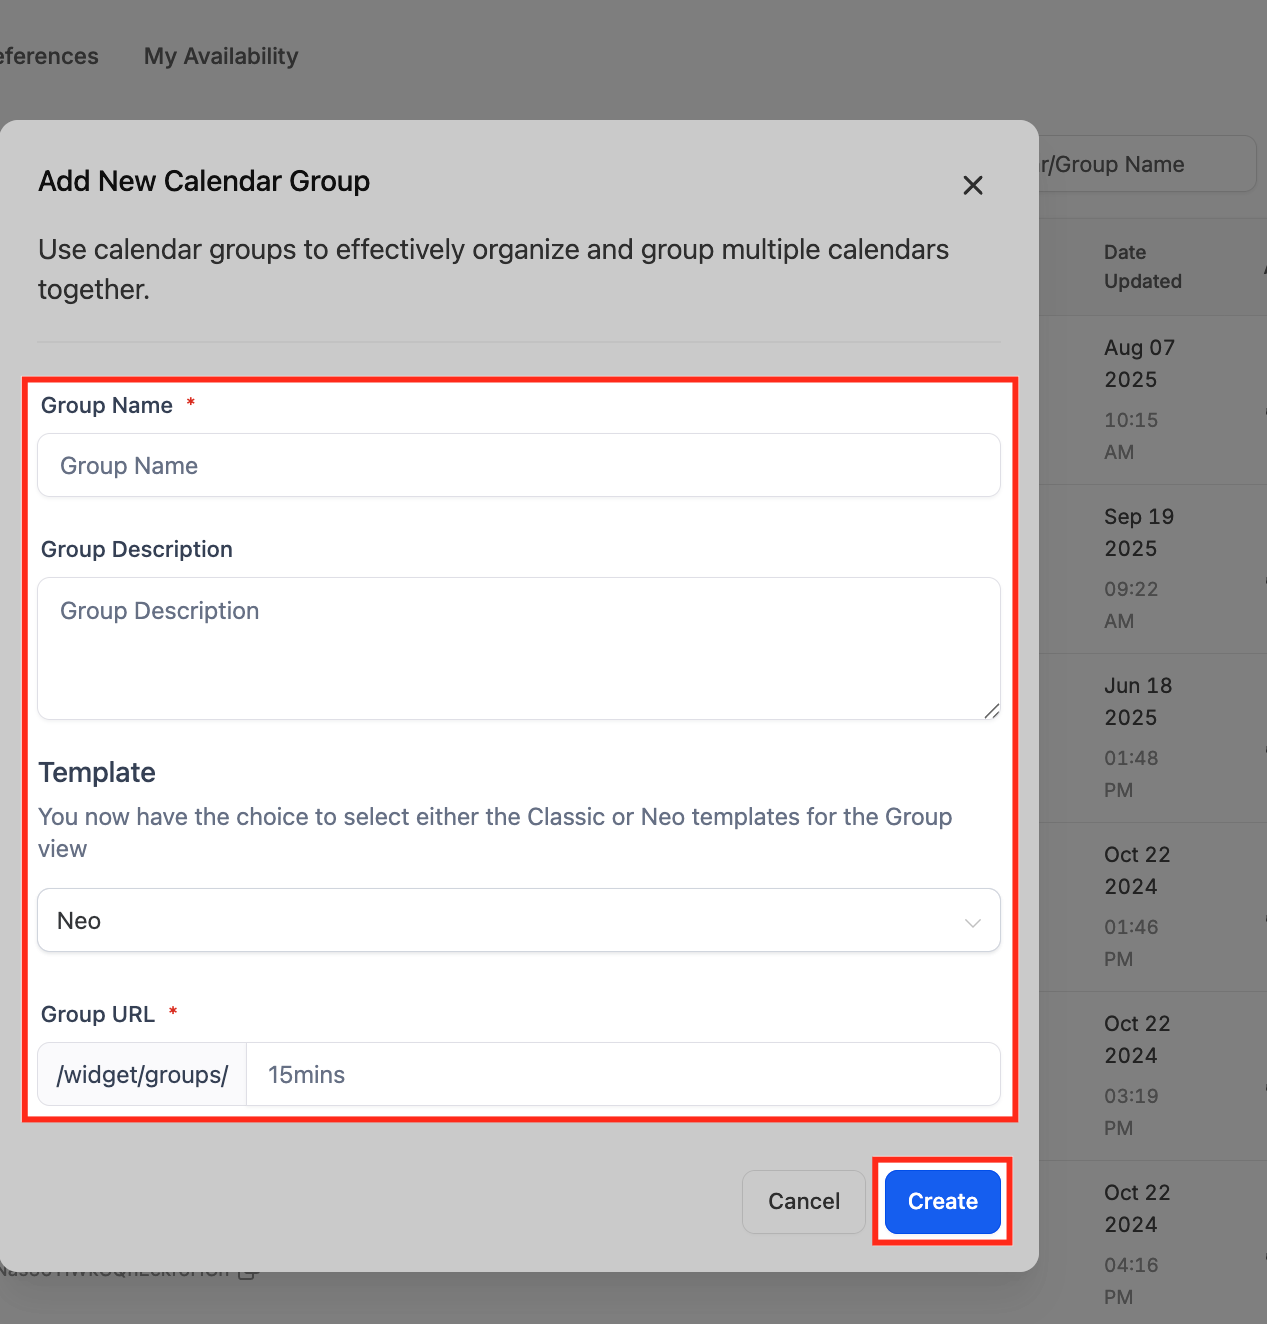
In the Calendars tab, click + New Group on the left sidebar. Groups help you organize related treatments, for example laser treatments, injectables, or facials.
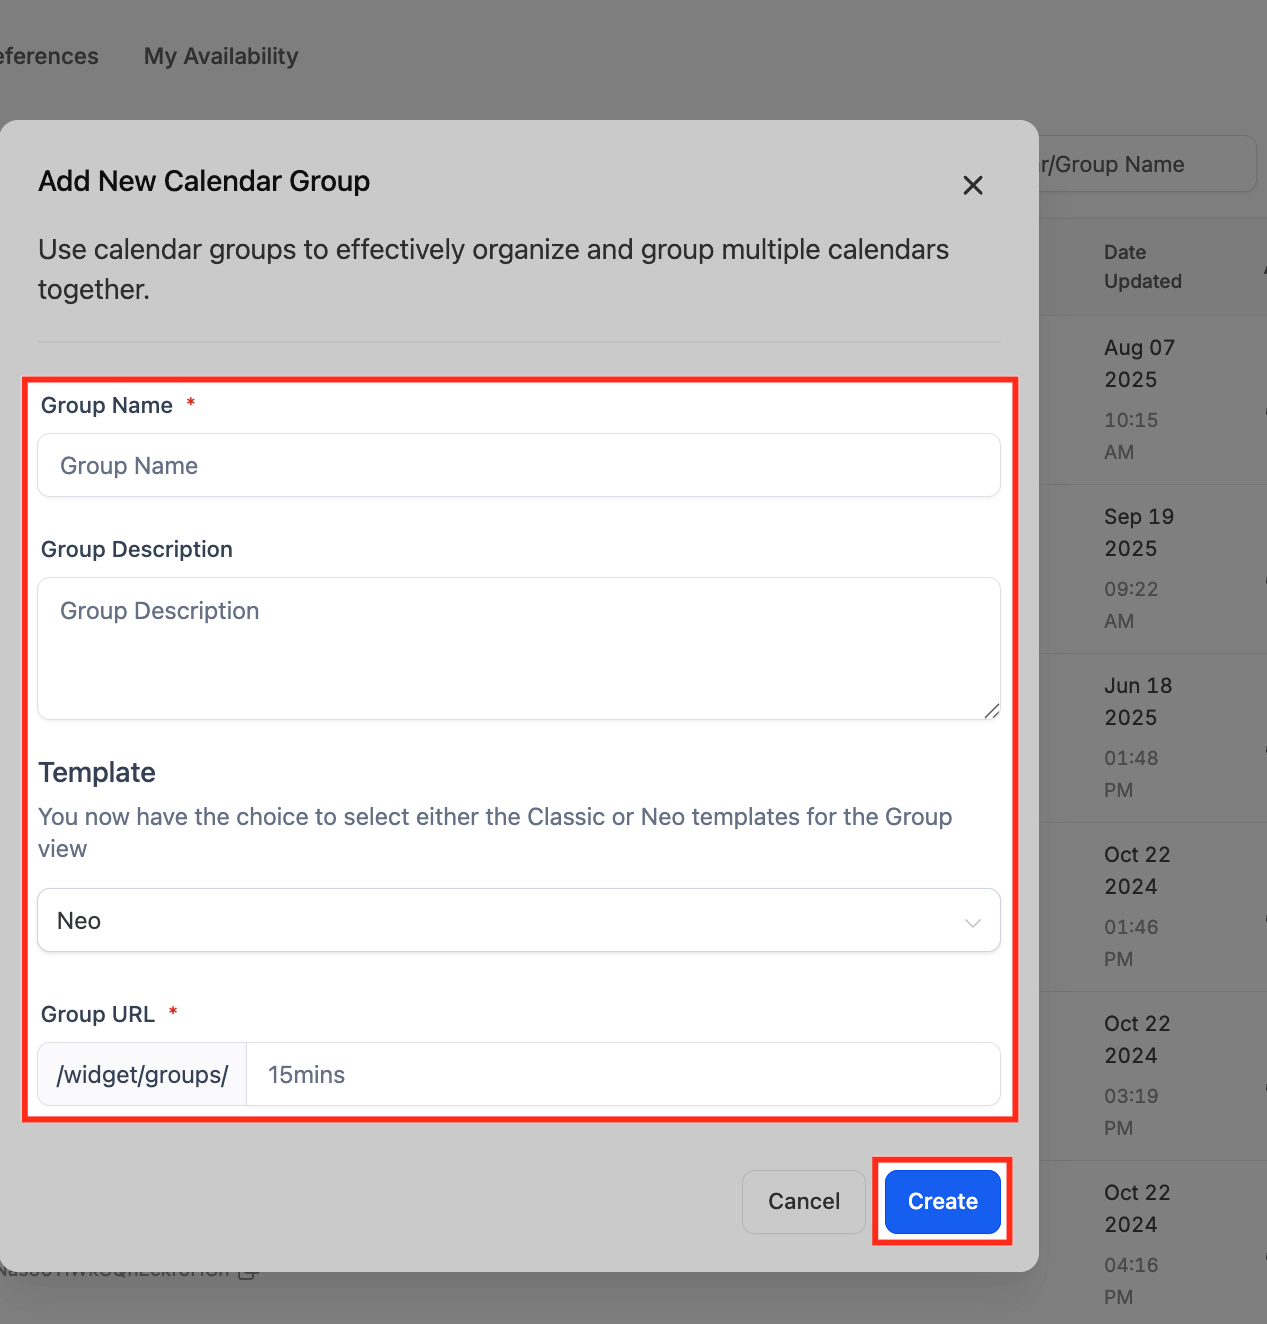
Enter the Group Name, Description, and URL (slug) in the pop-up form. Select a template type (Classic or Neo) and click Create to save the group.
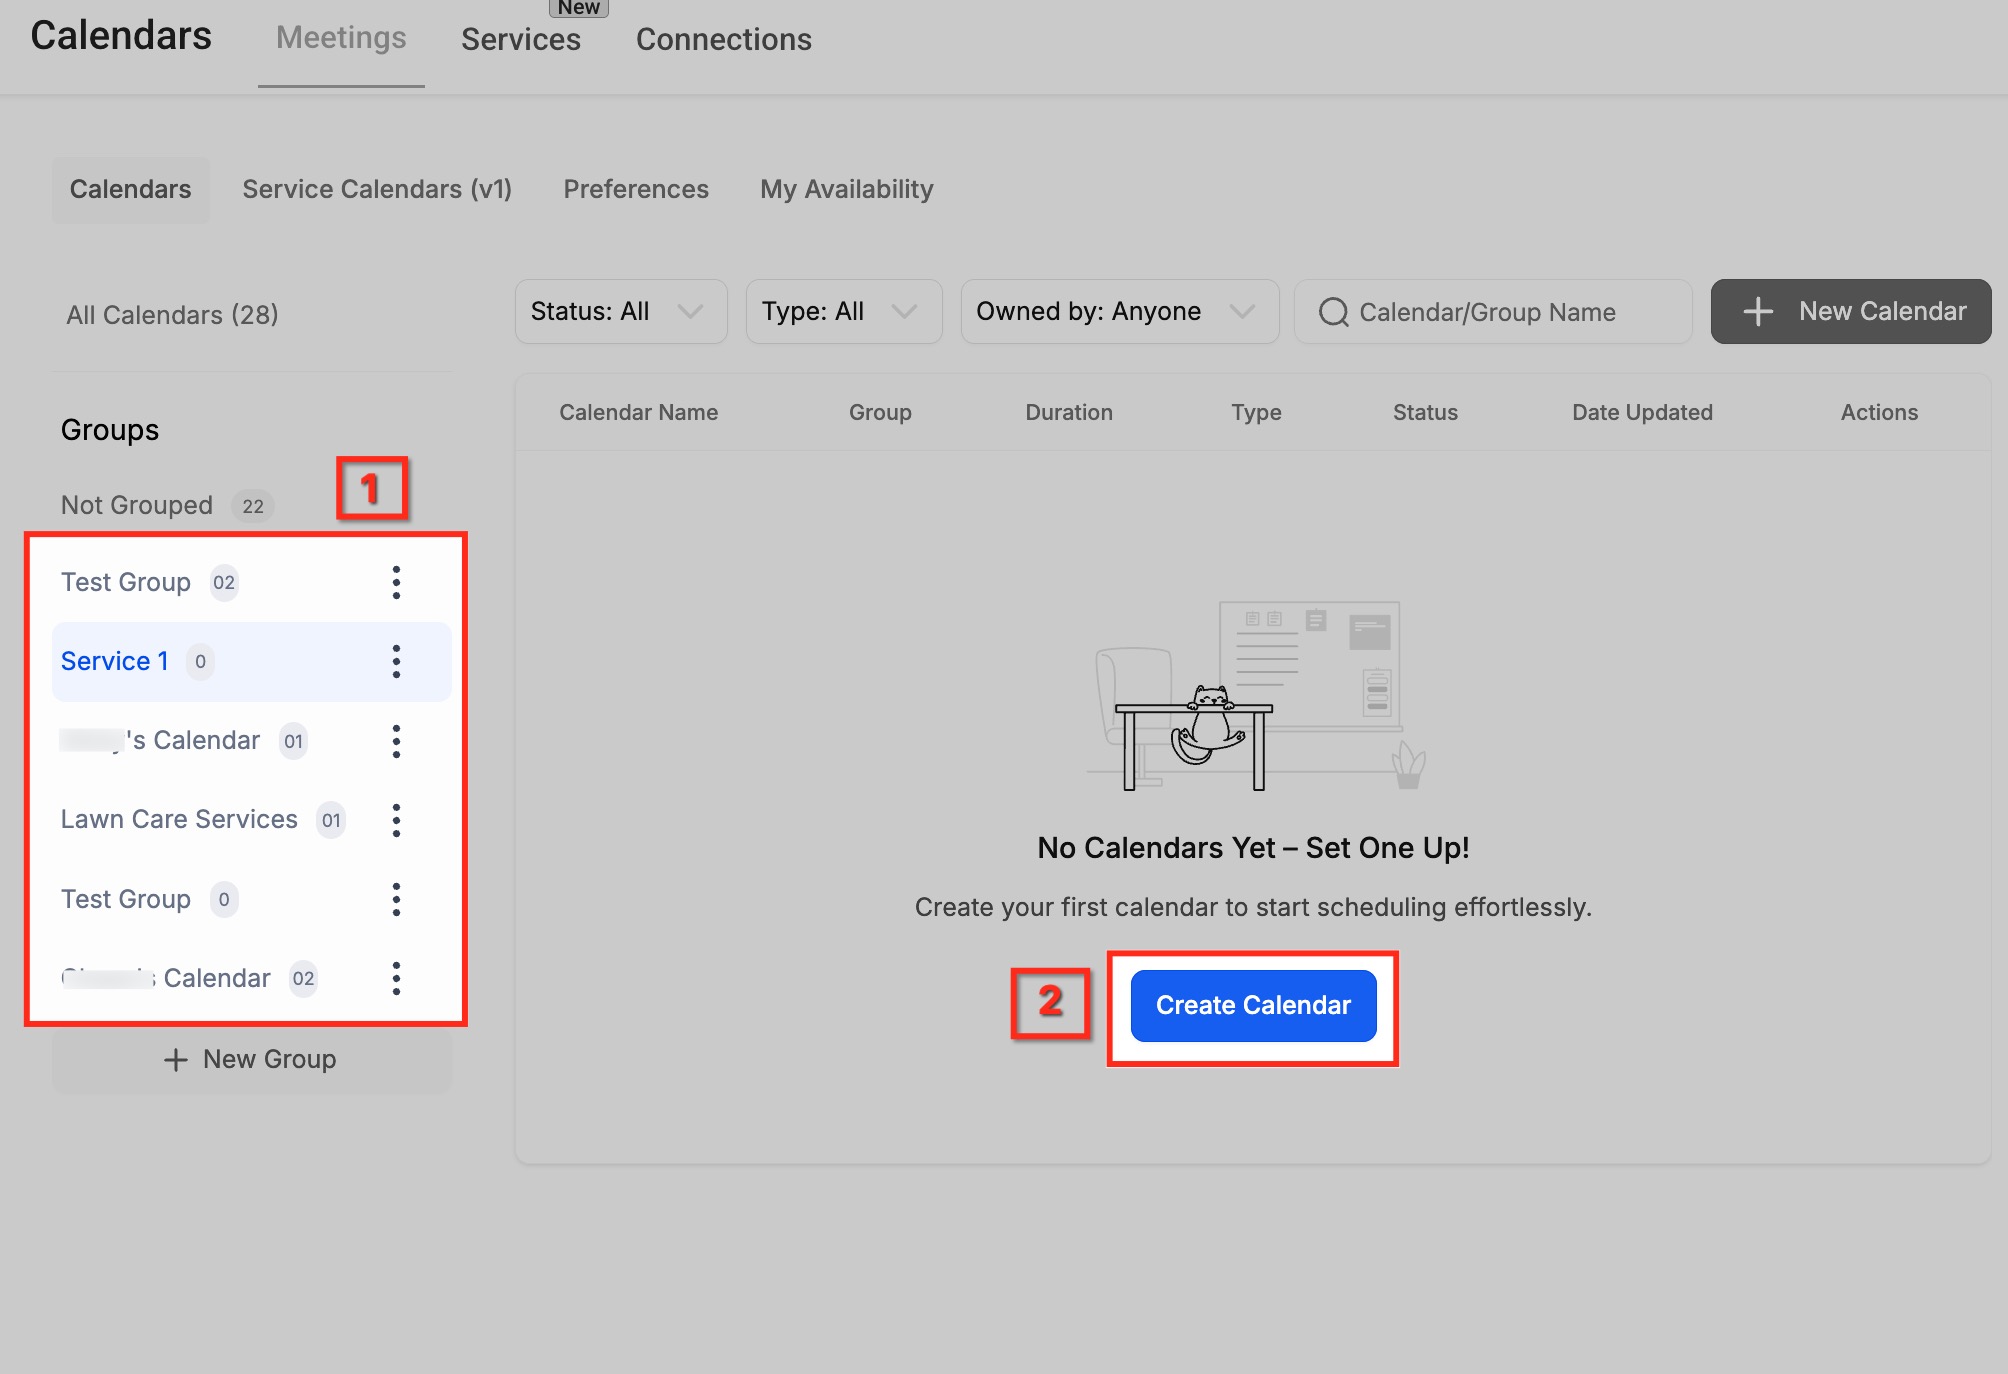
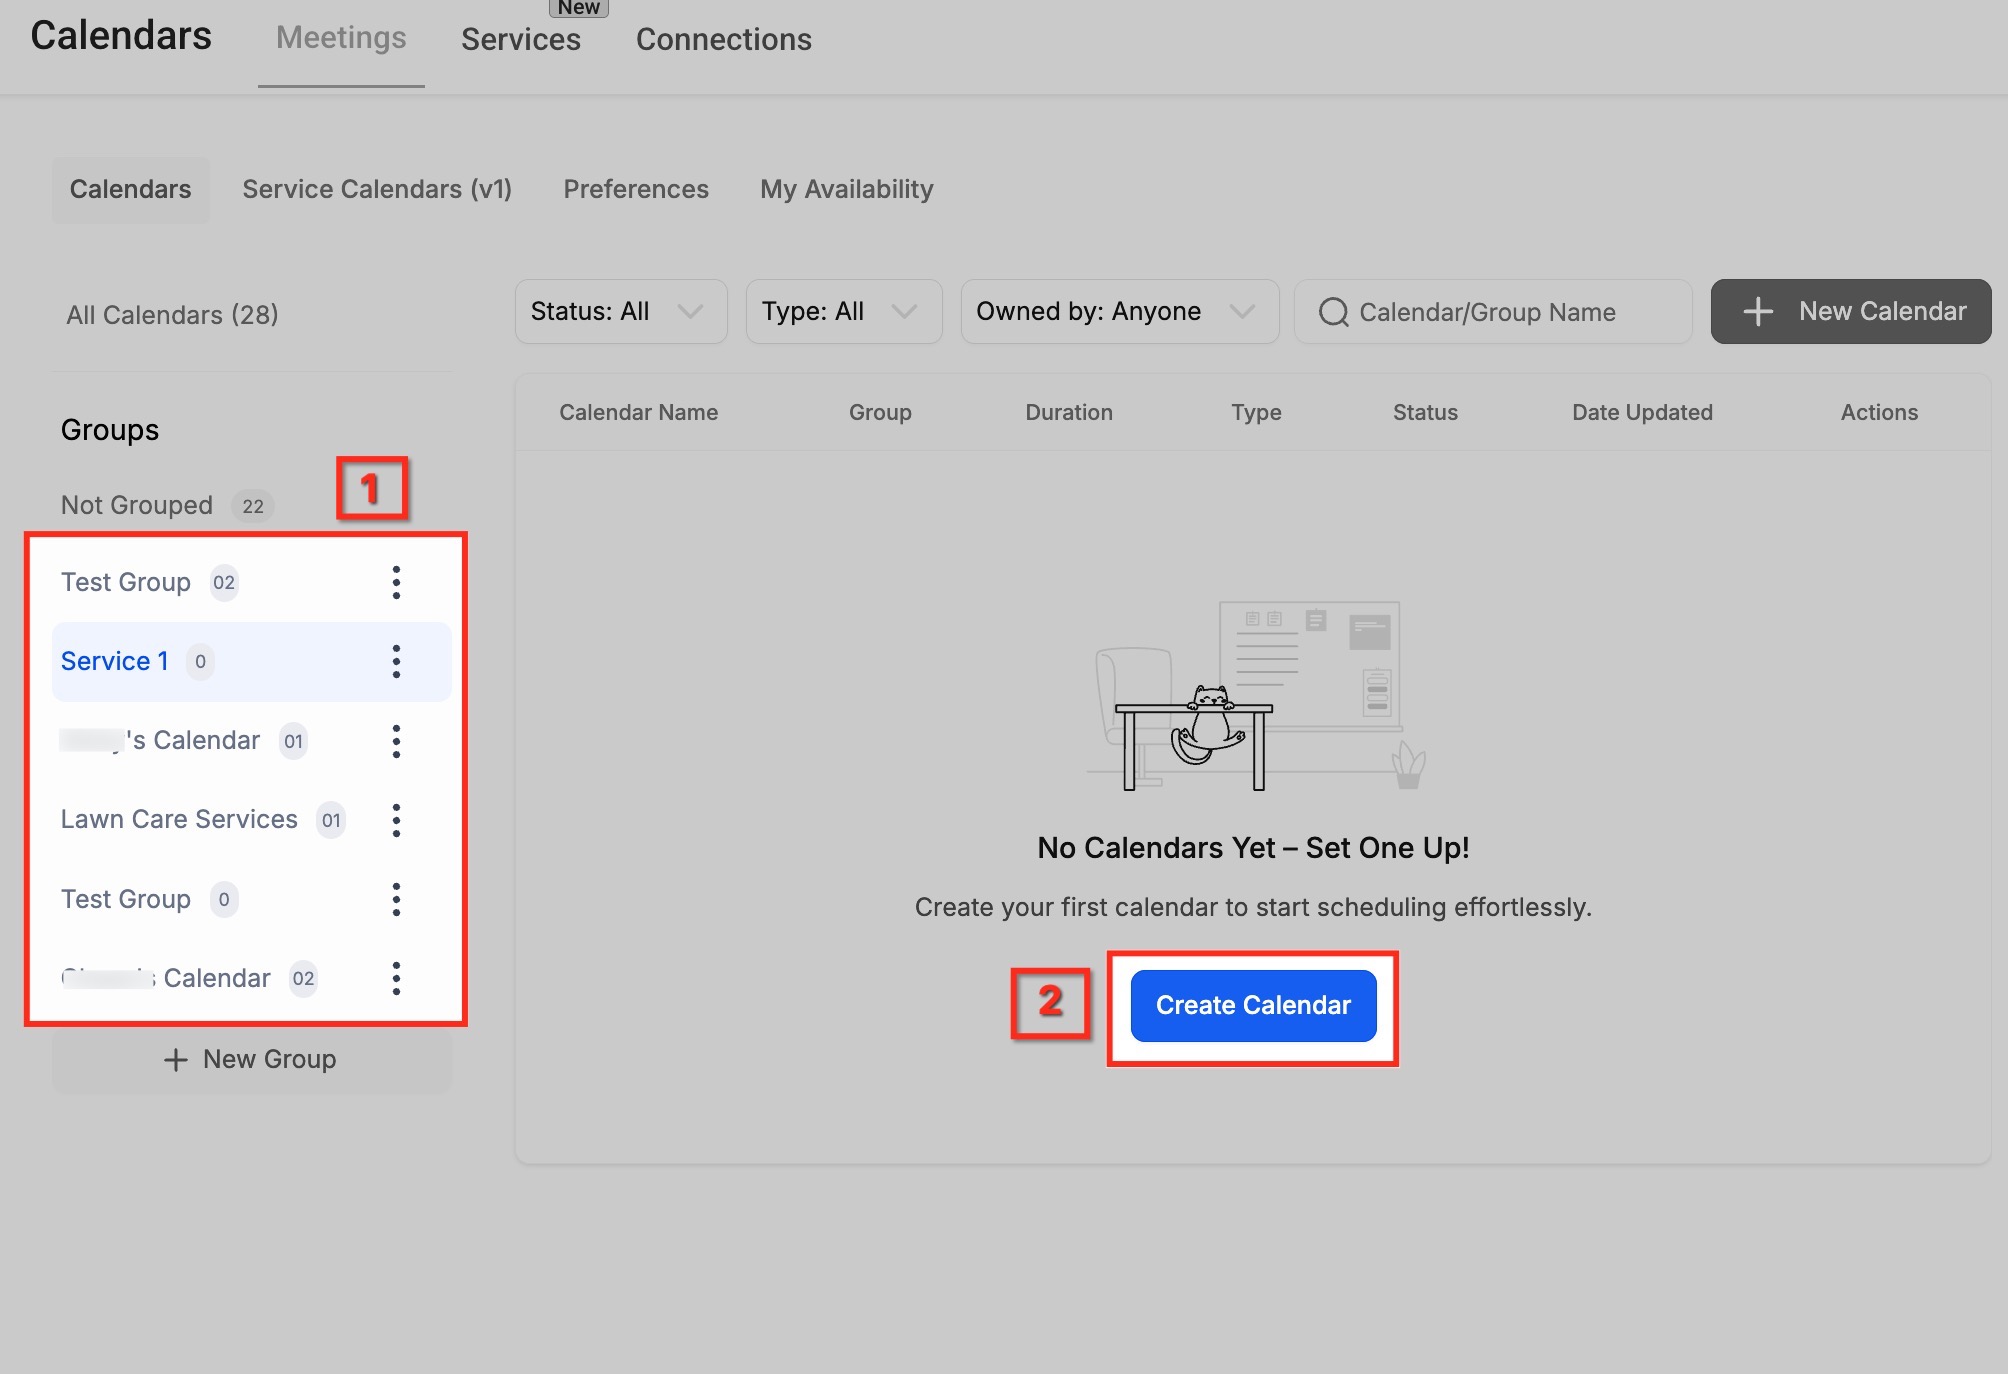
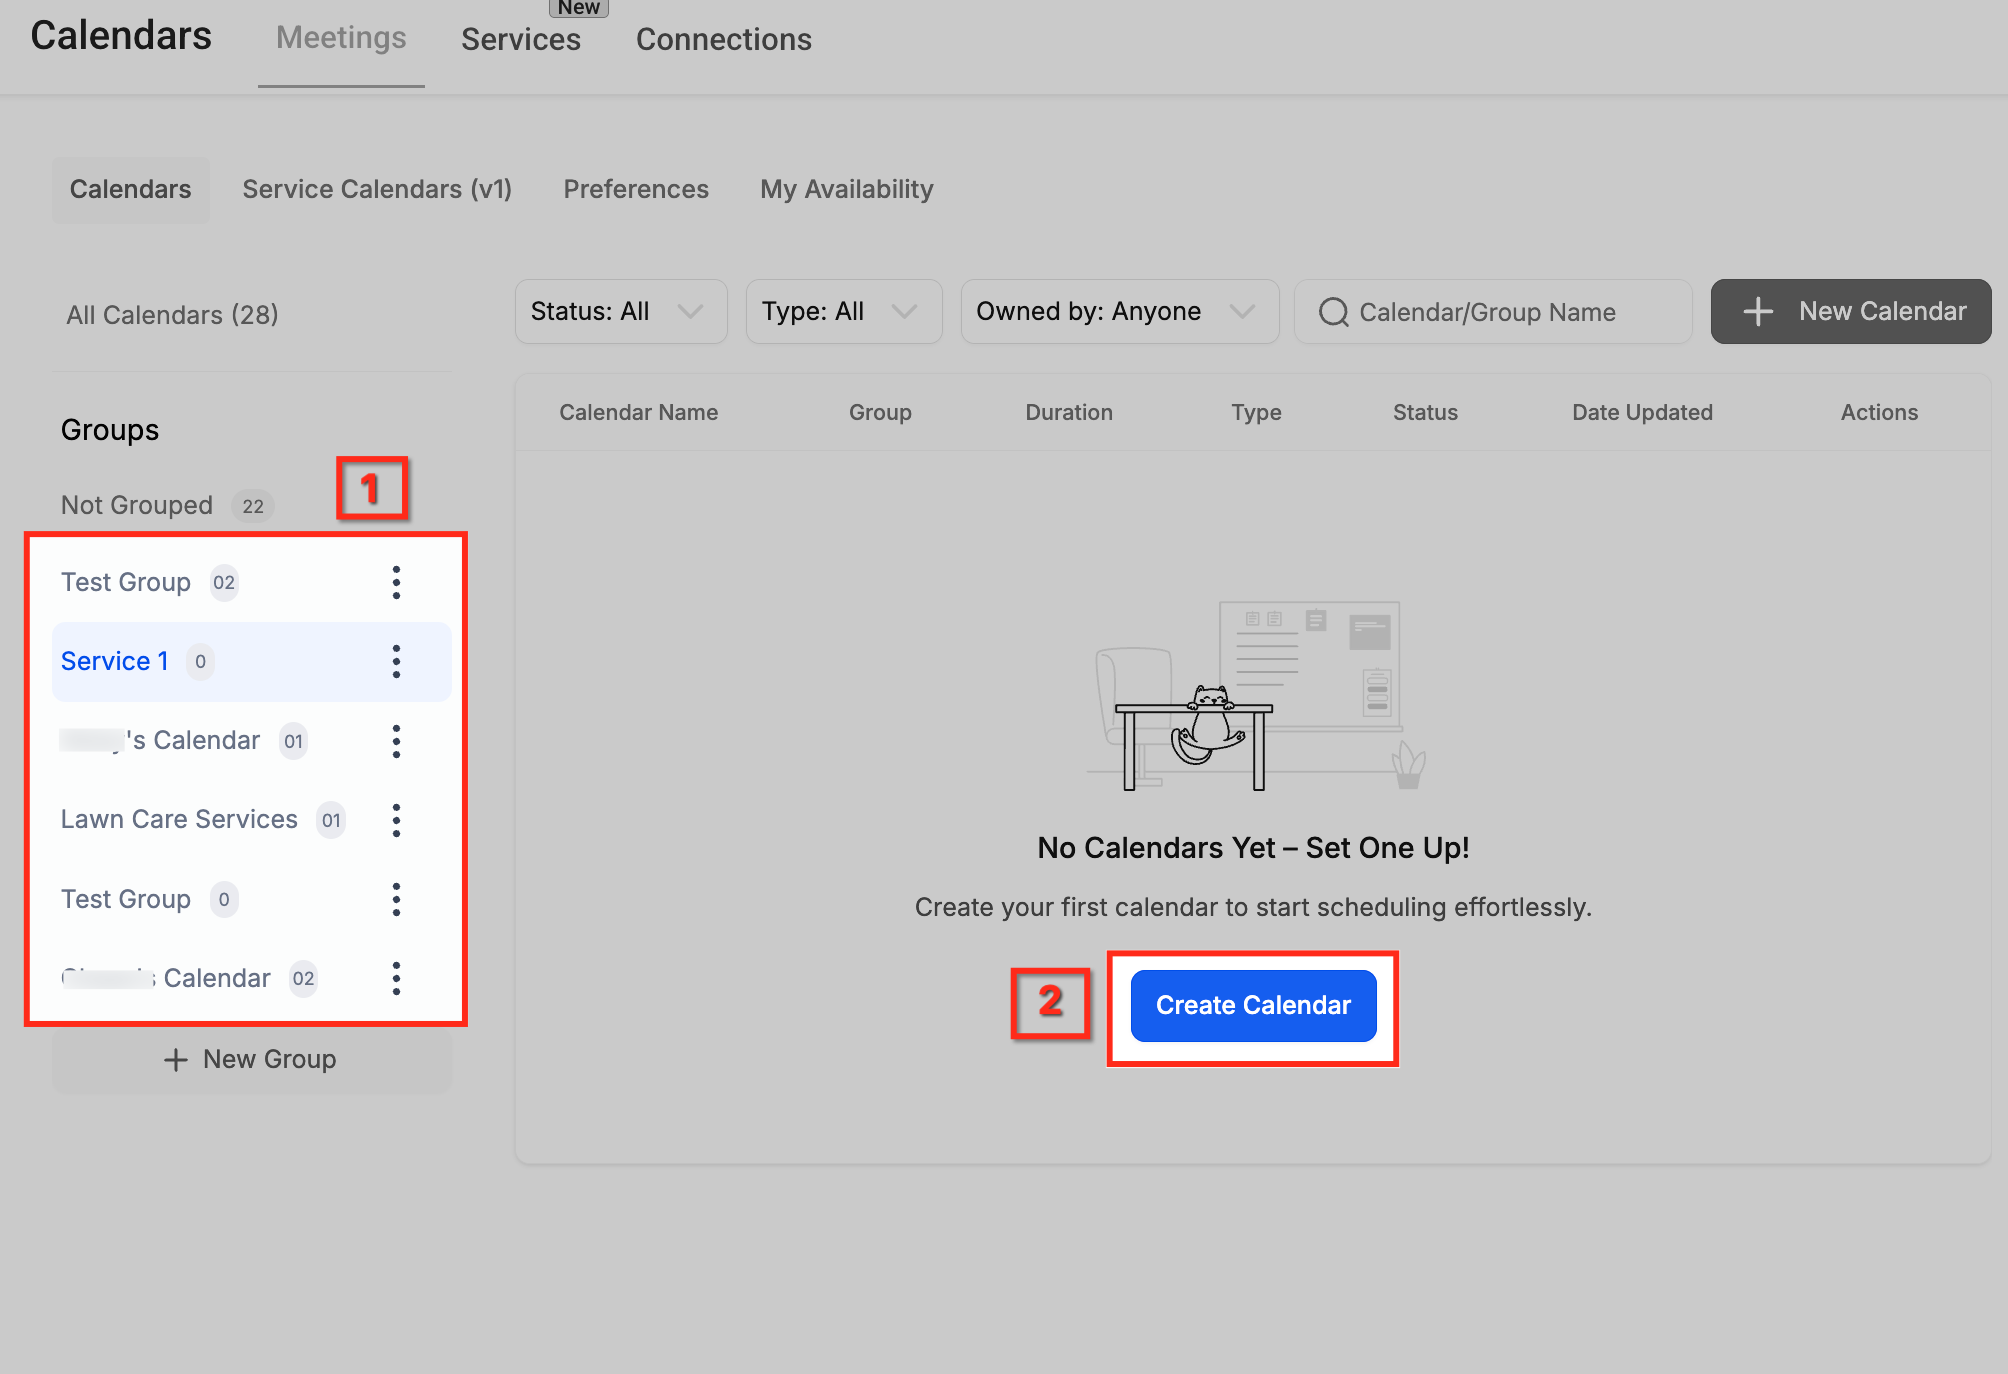
Select a group from the left sidebar and click Create Calendar. This starts the setup of a new service calendar for a specific treatment, such as microneedling or laser therapy.
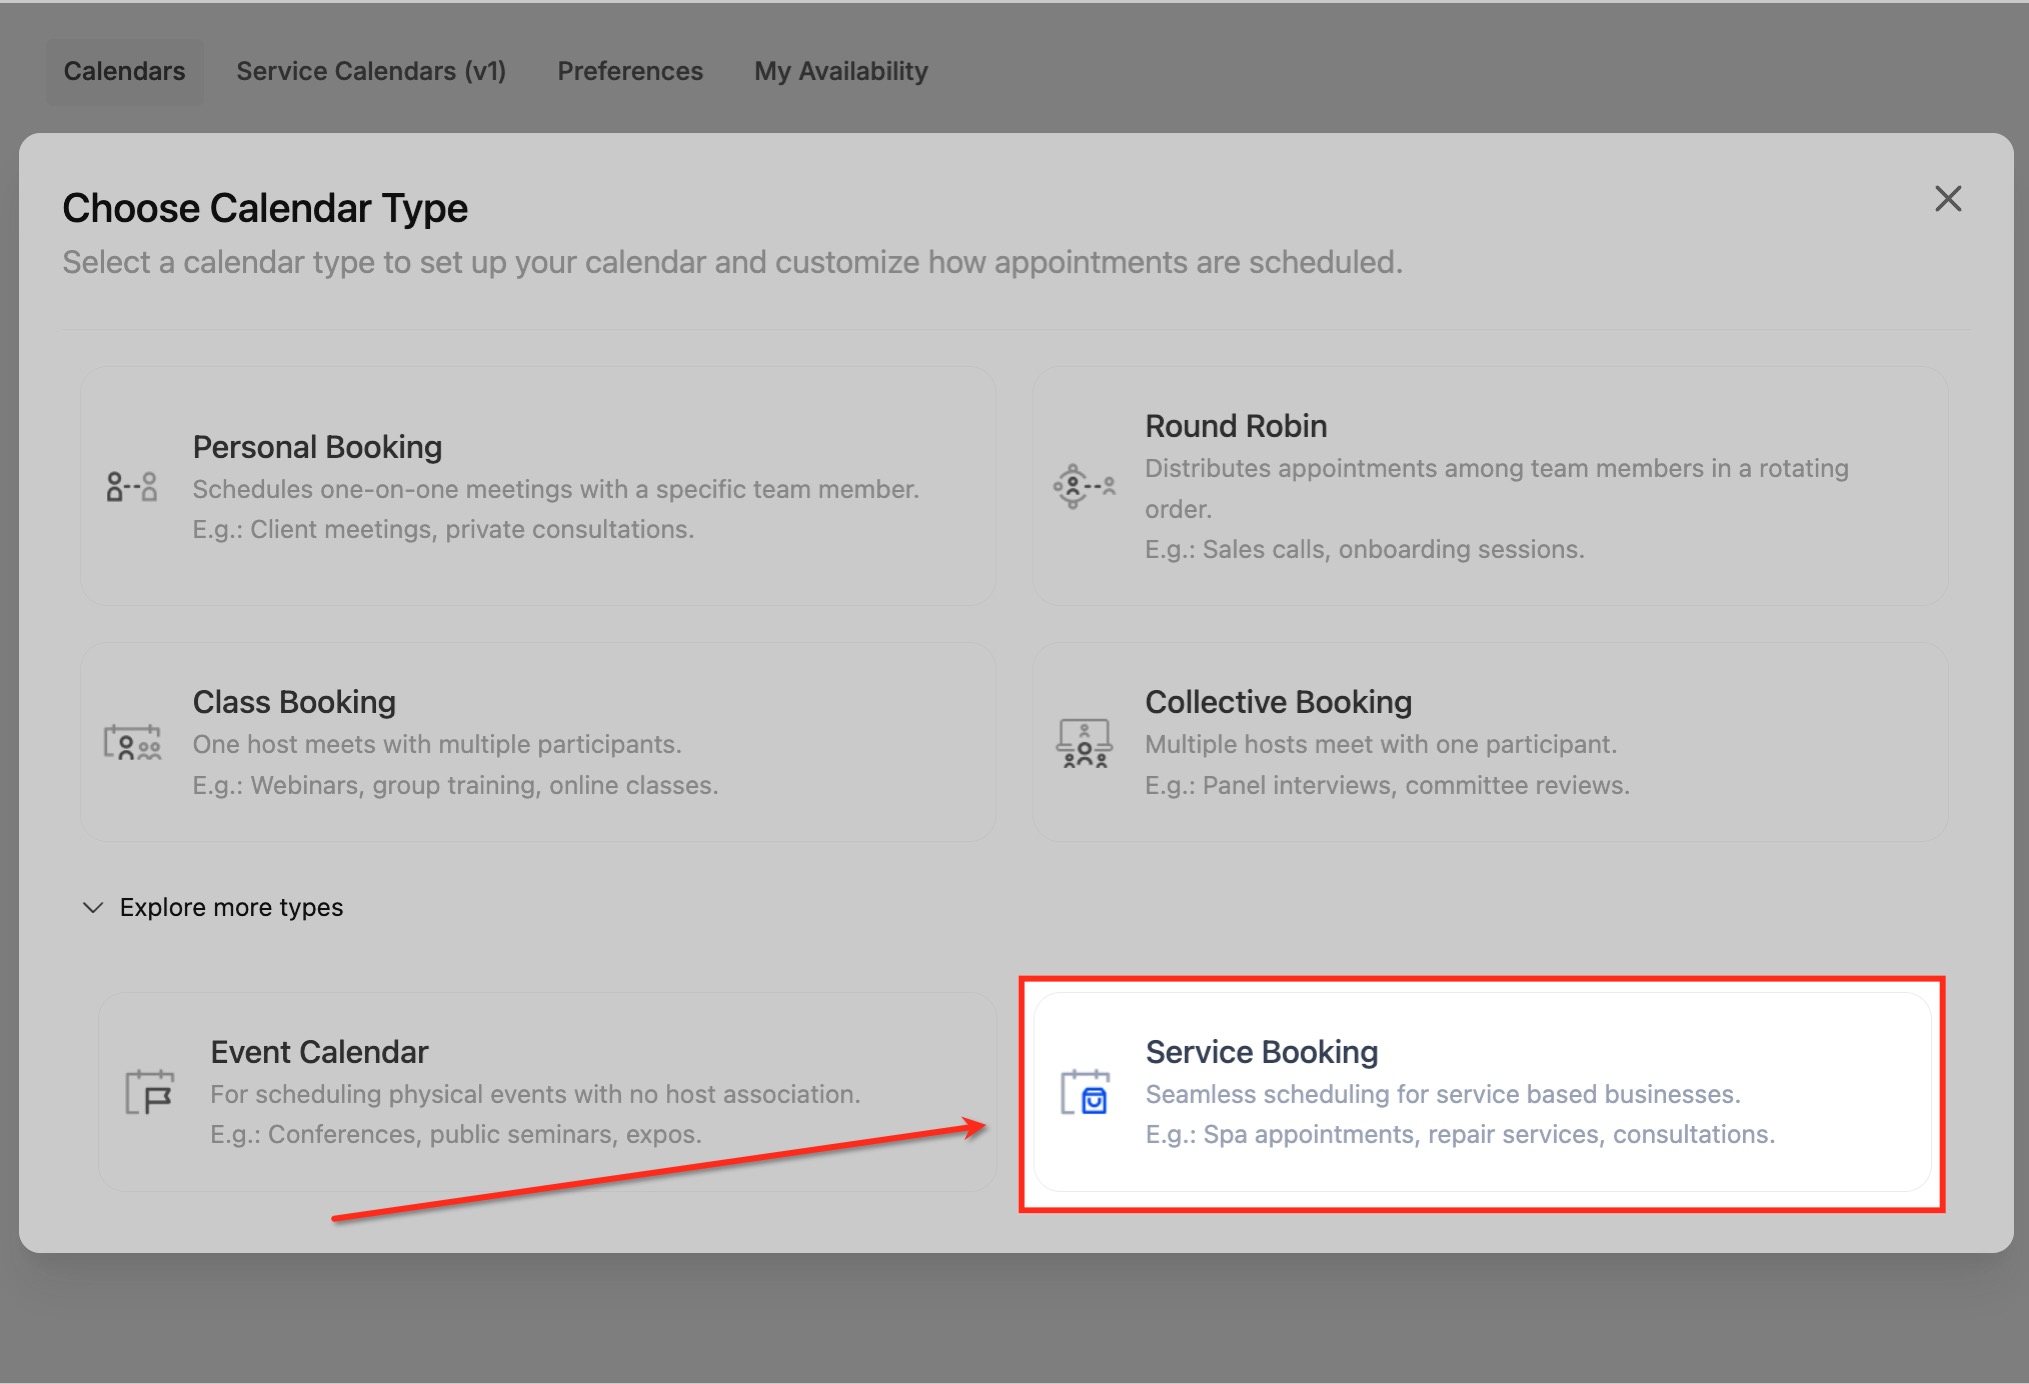
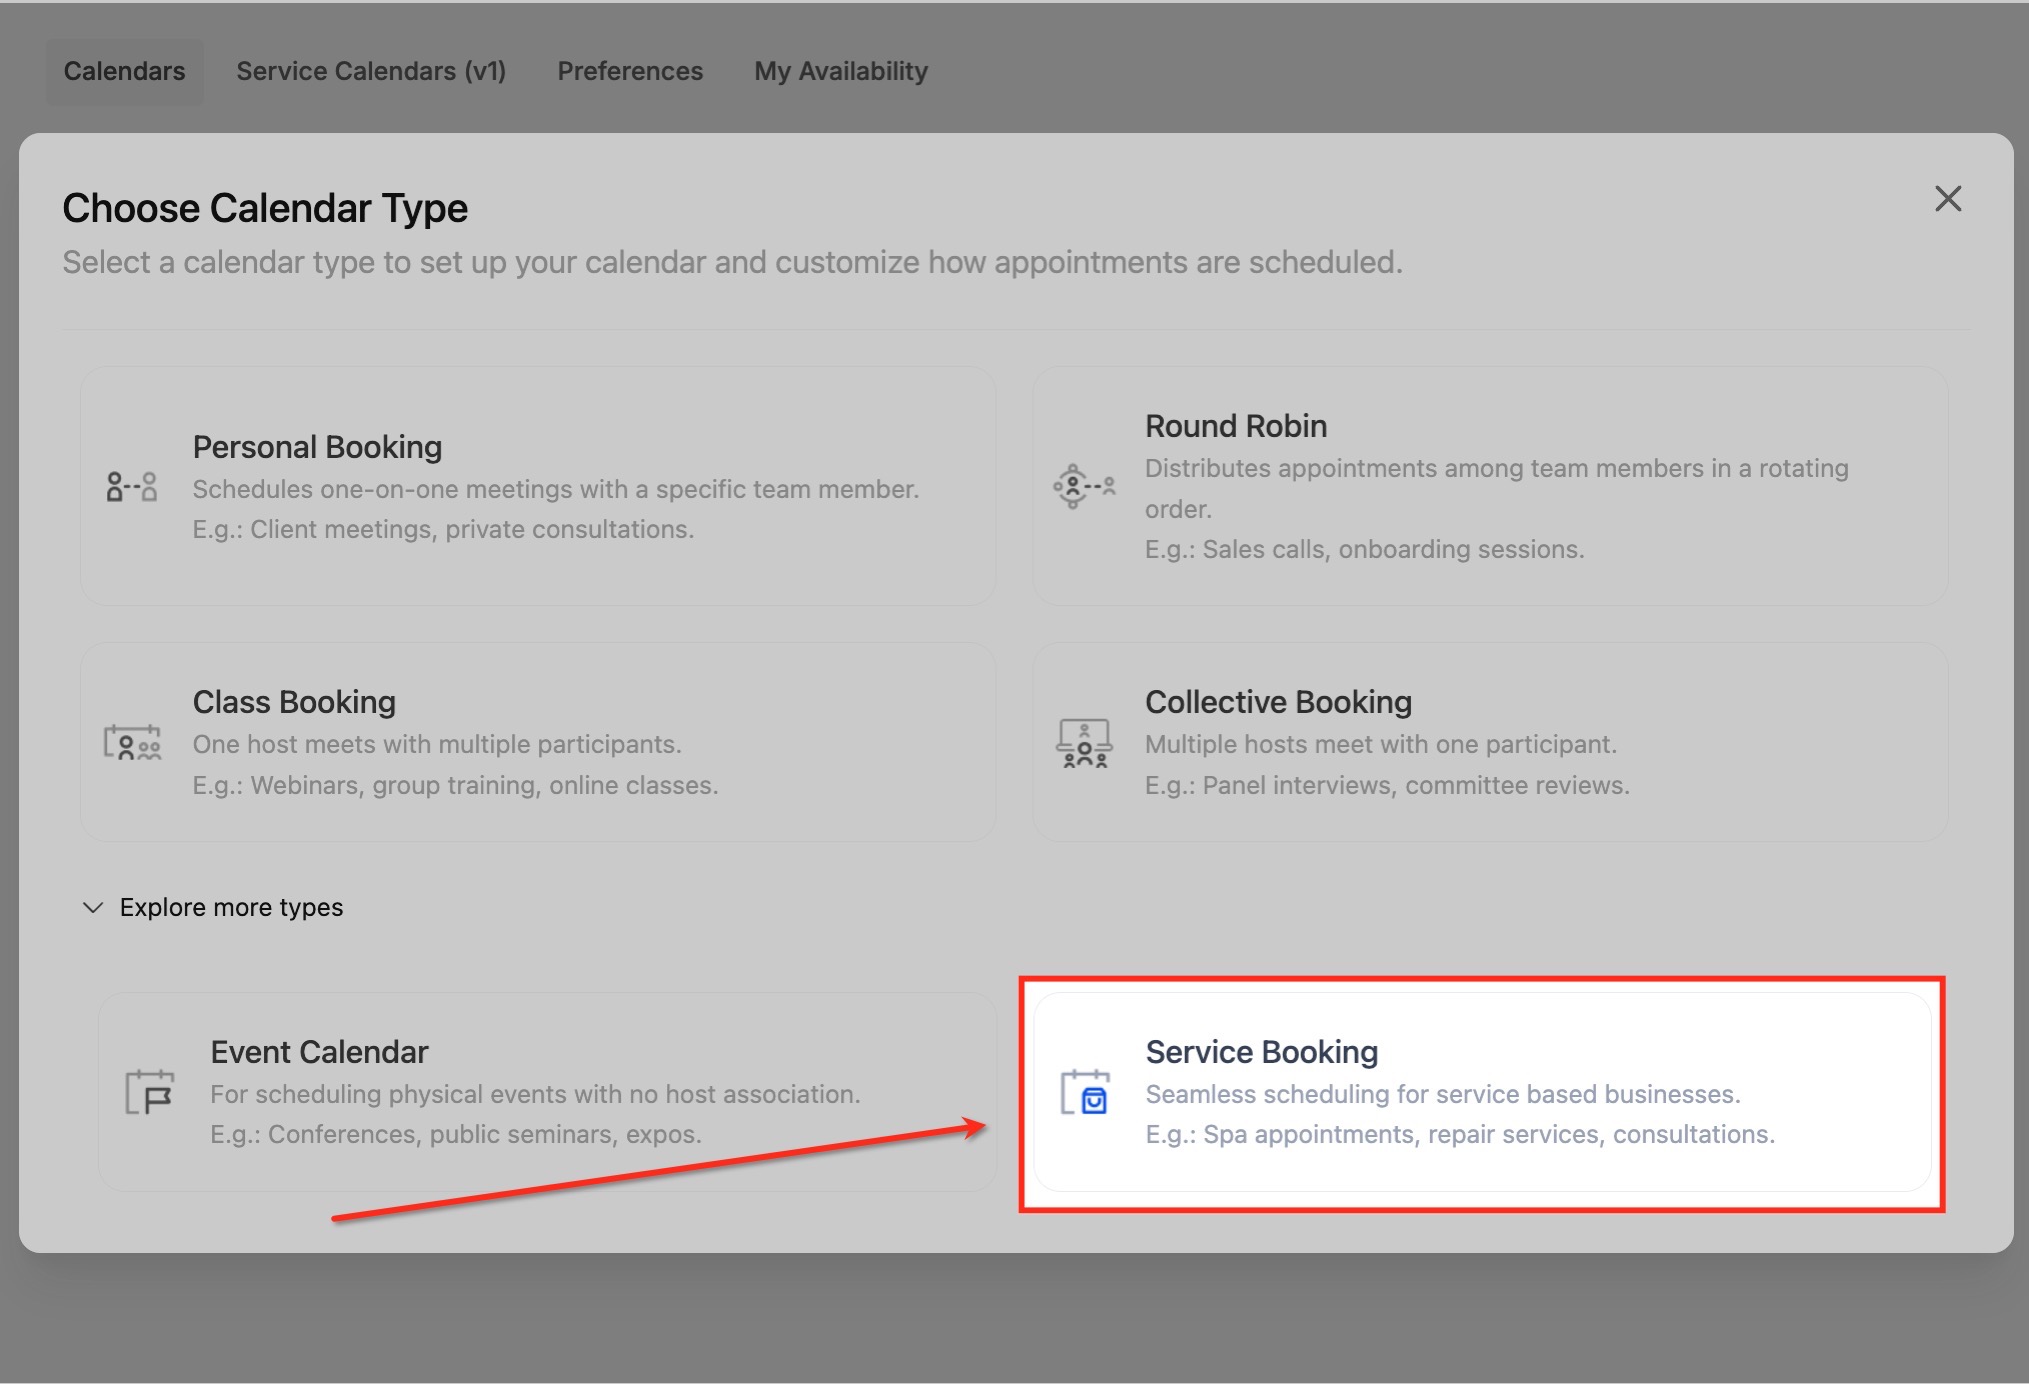
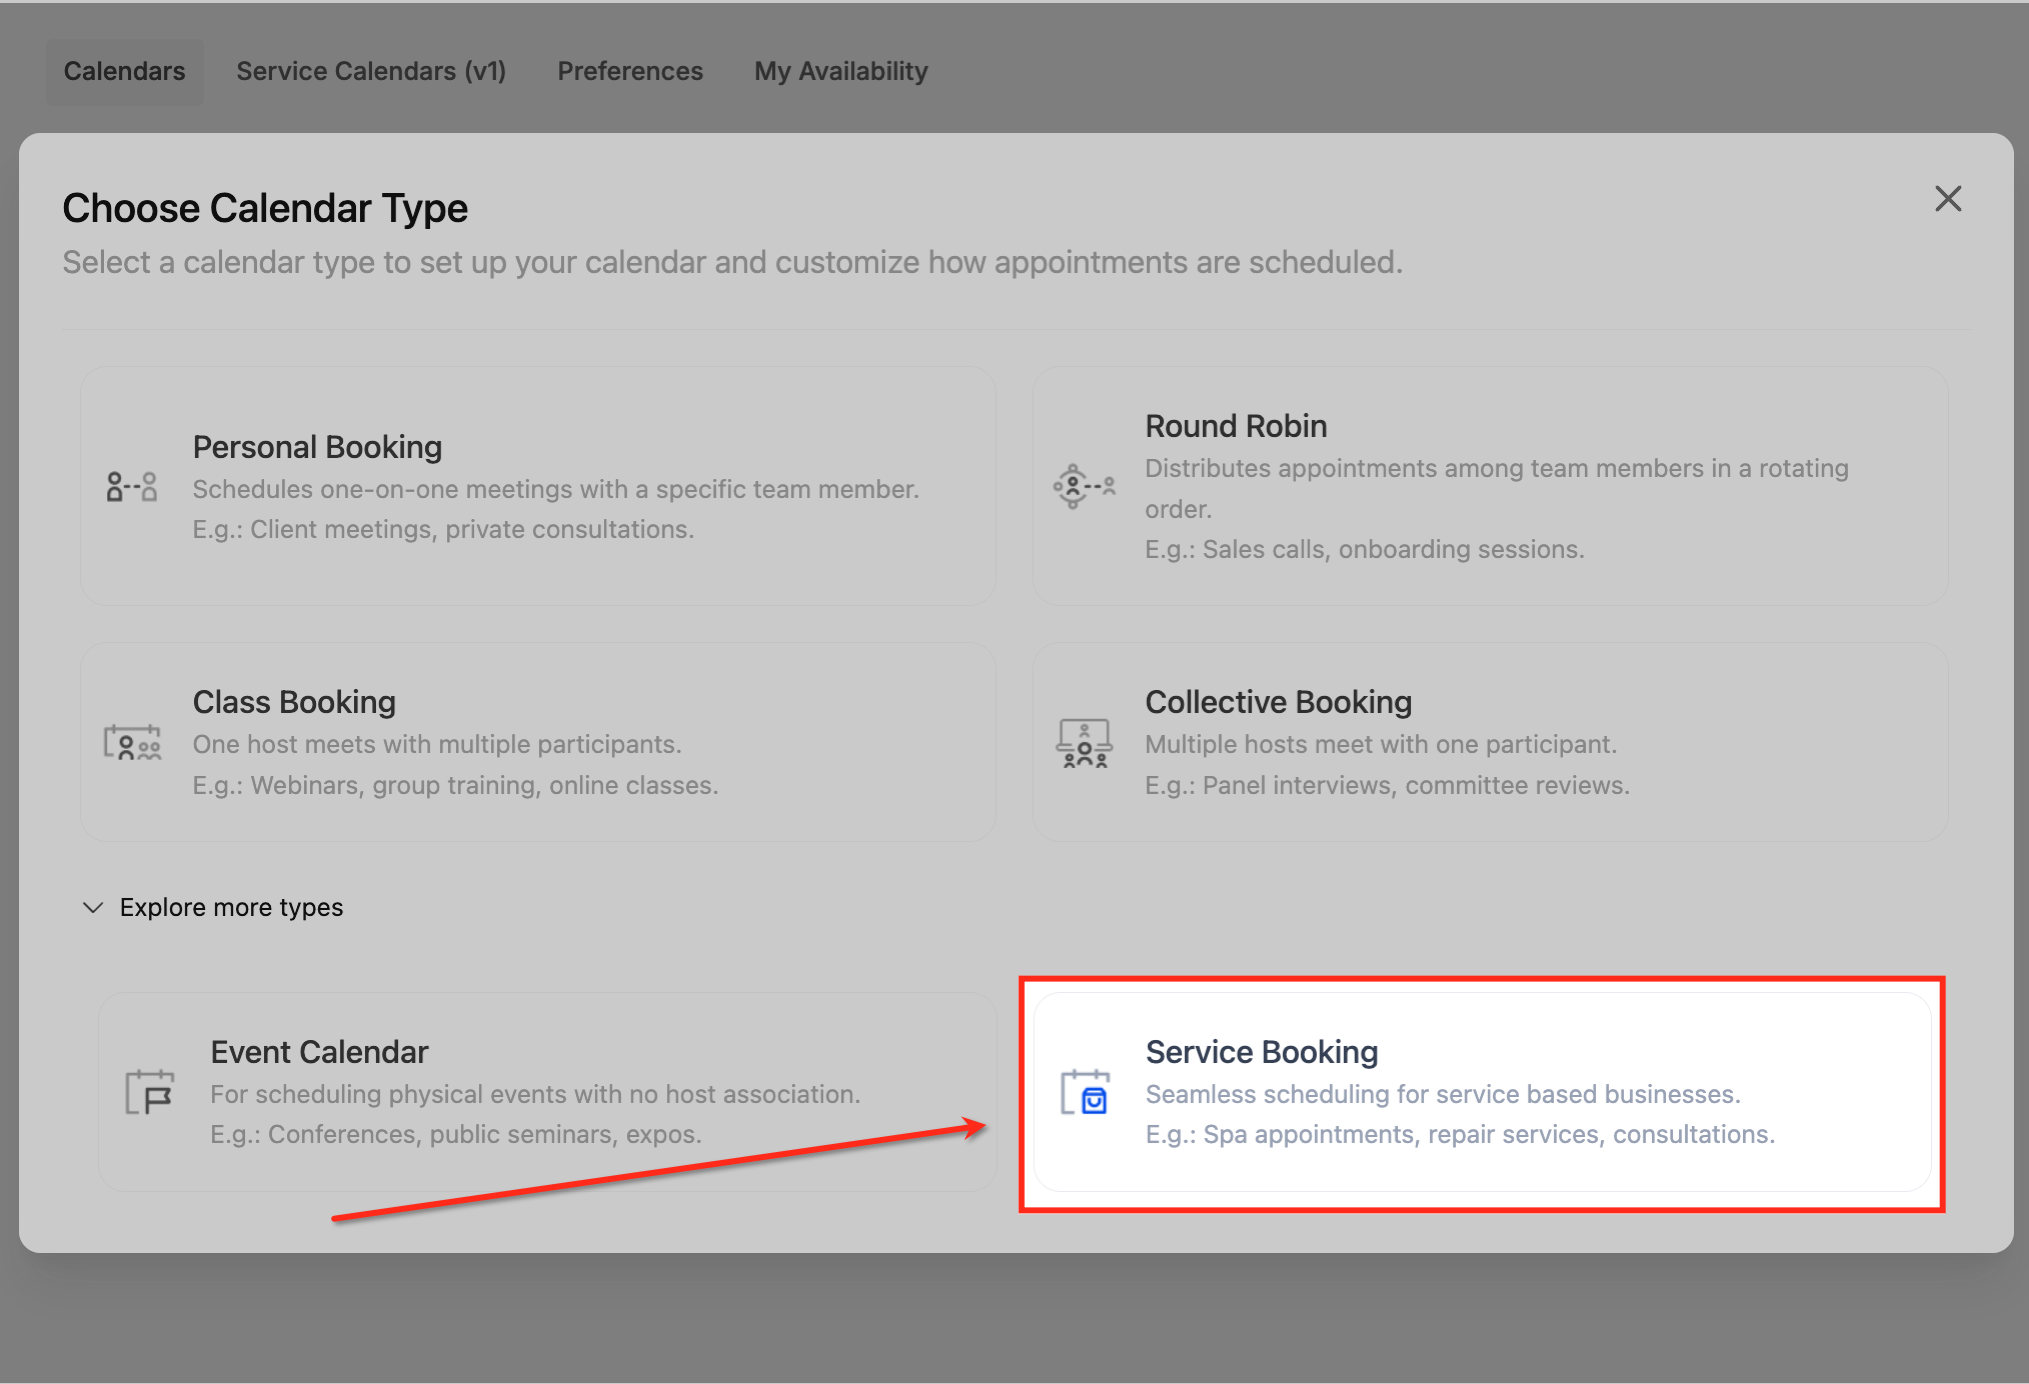
Navigate to Calendars → Service Menu → Create Service Menu. From the list of calendar types, click Service Booking. This option is built for treatment-based businesses, letting patients book a specific service like microneedling or a laser session.
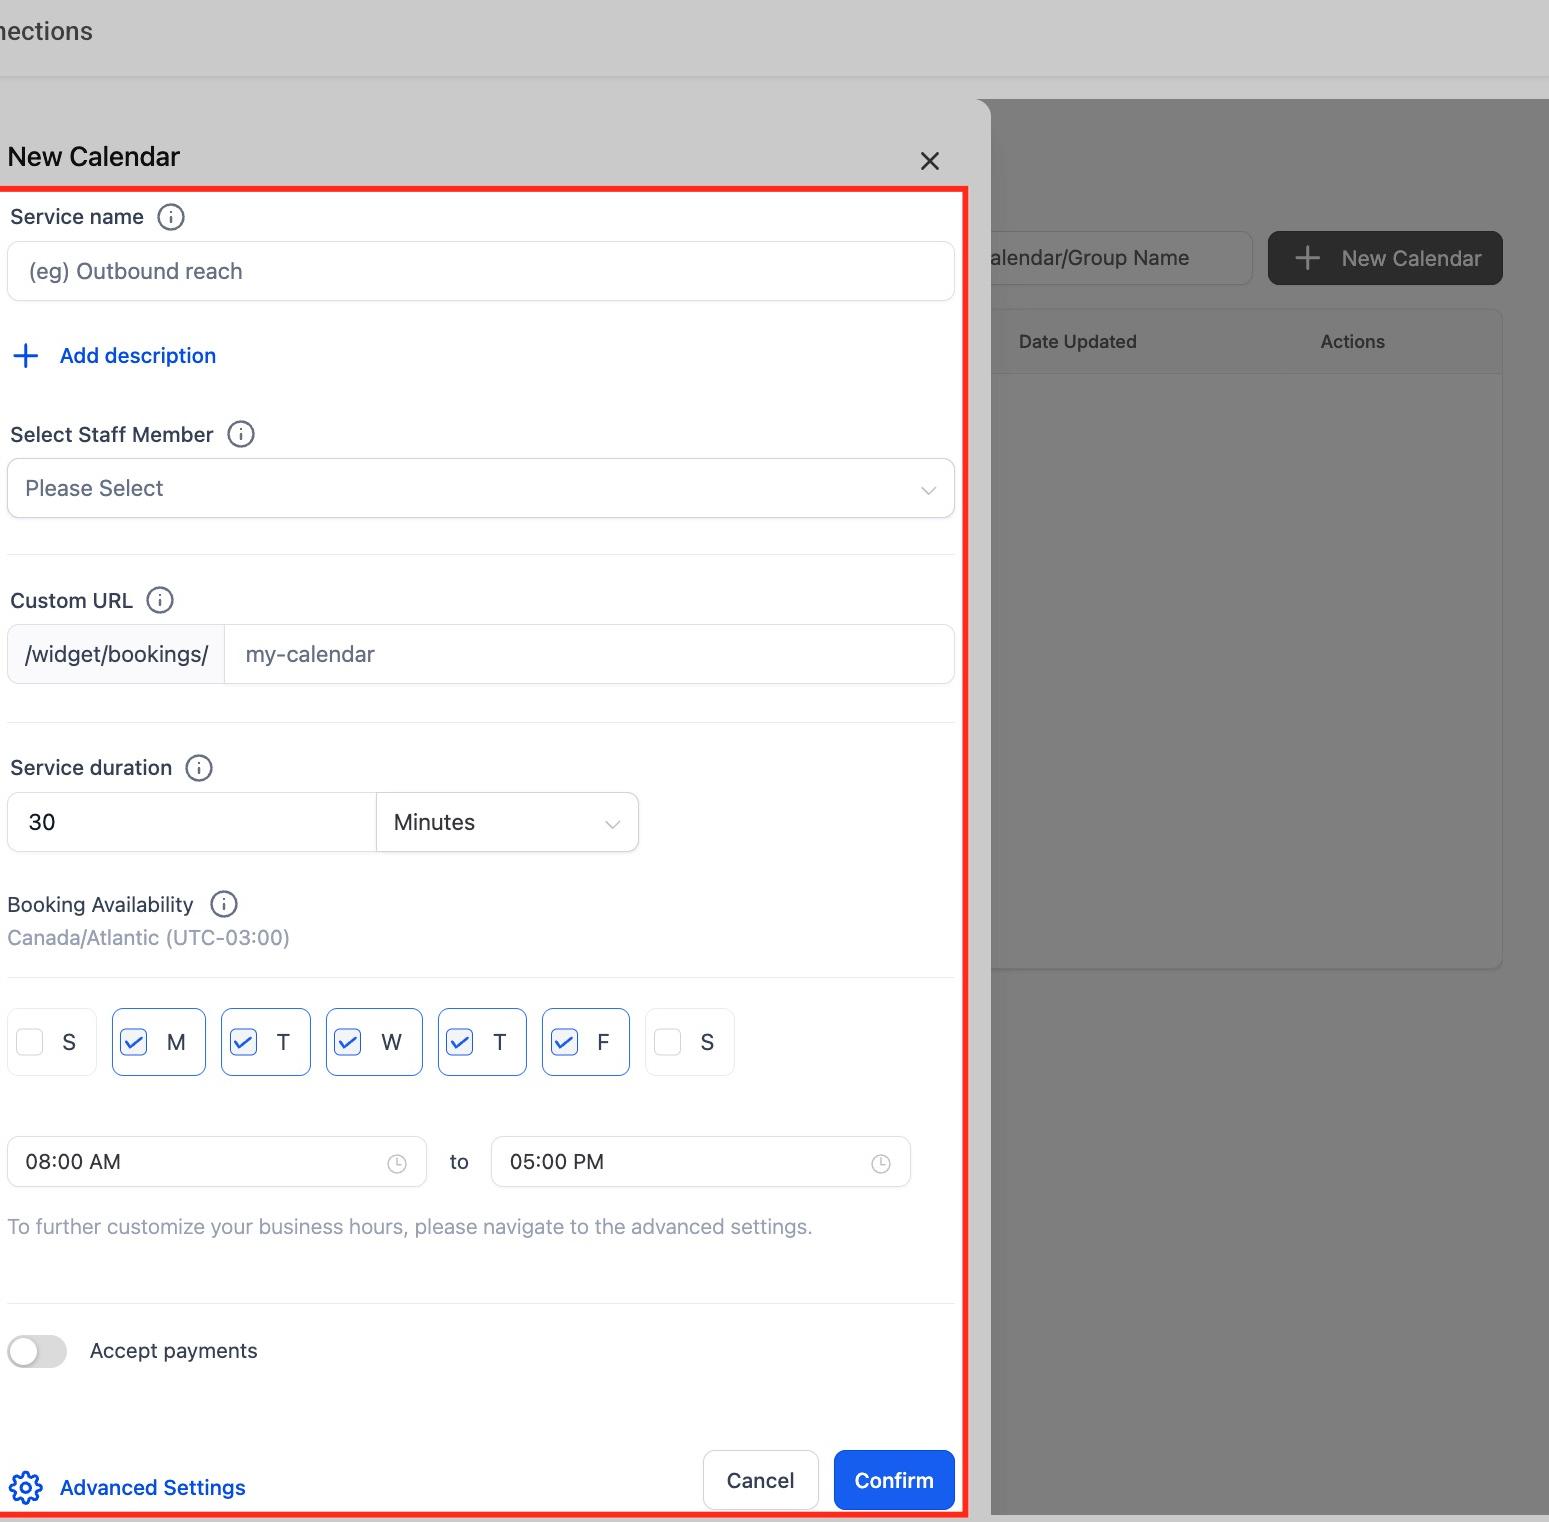
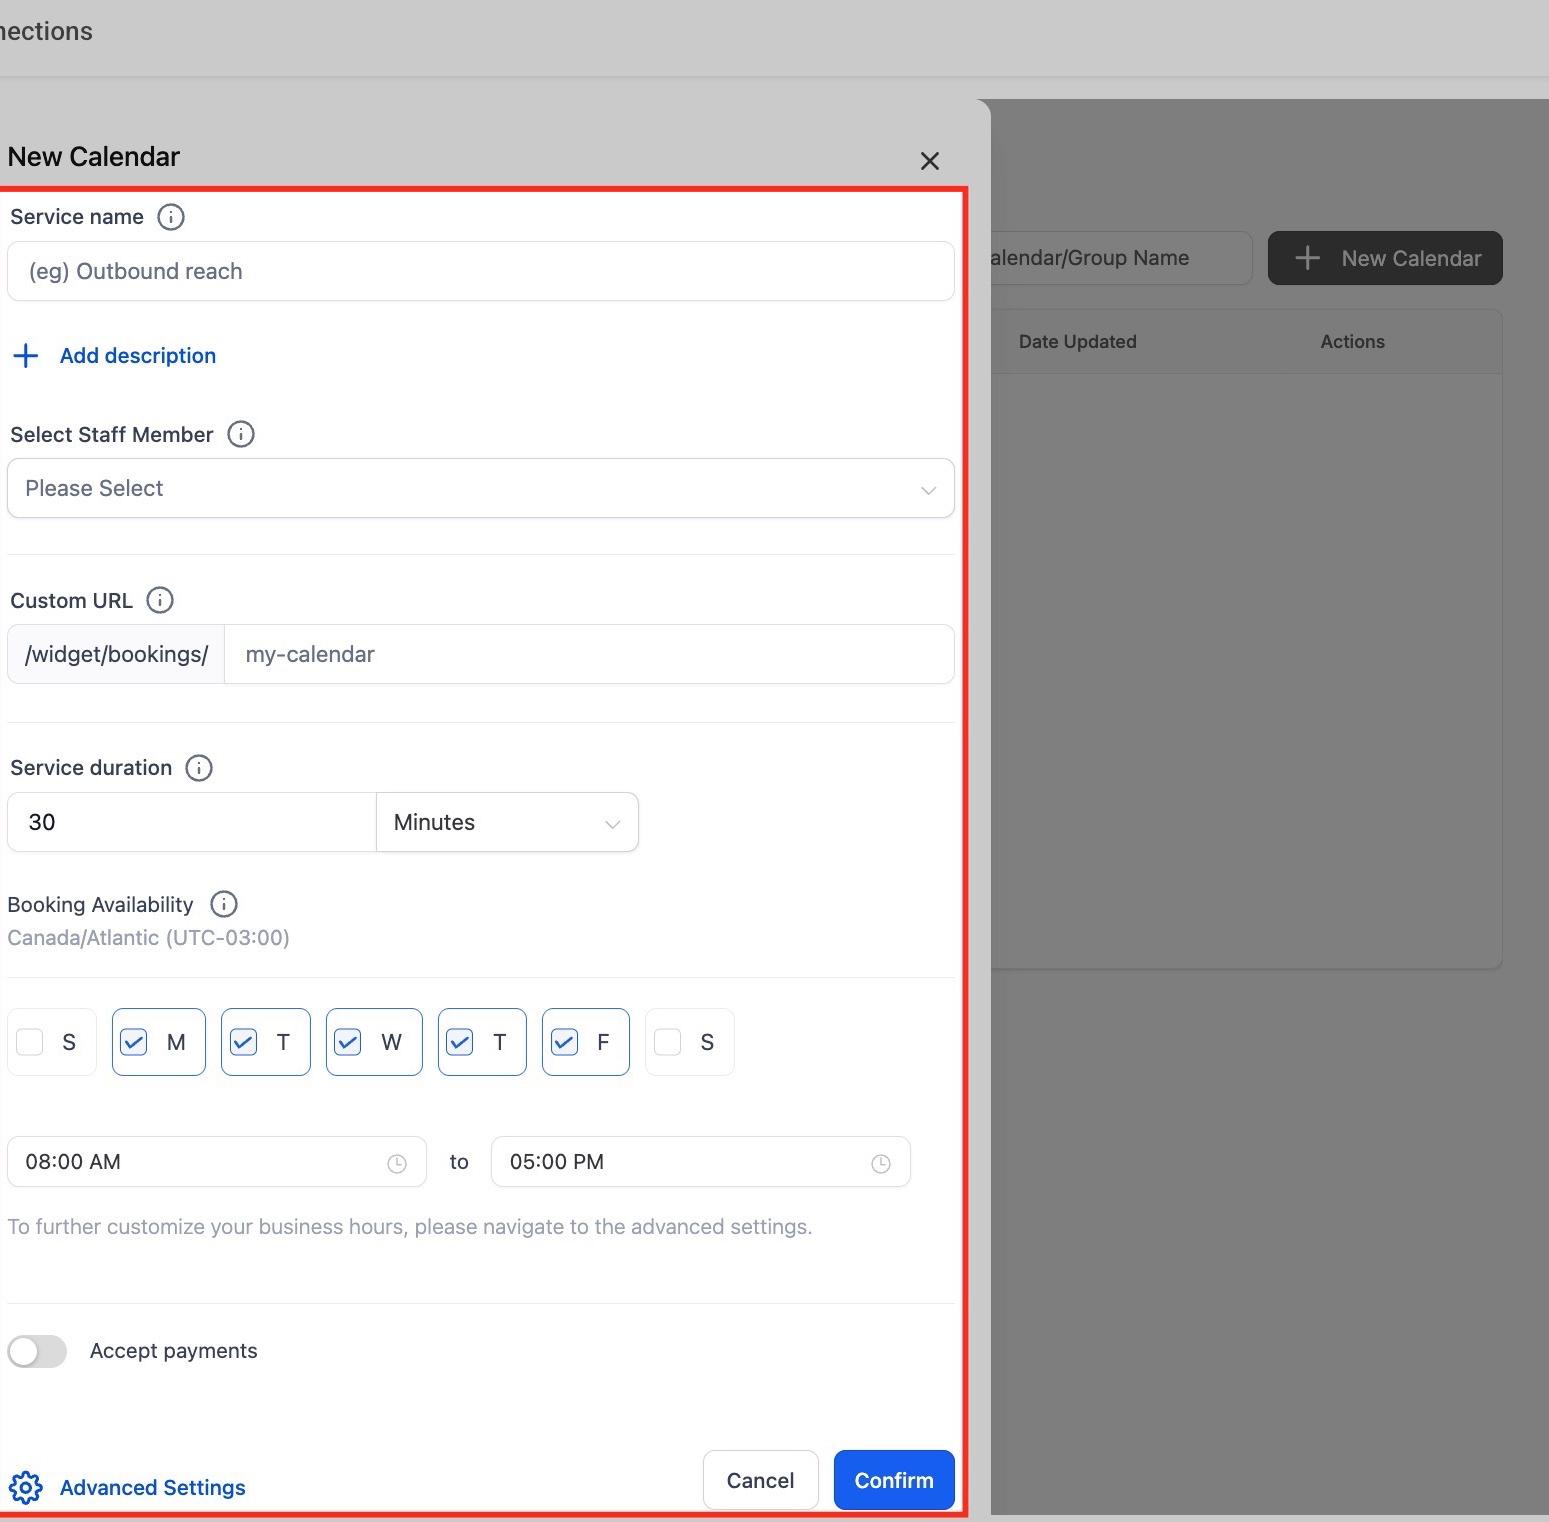
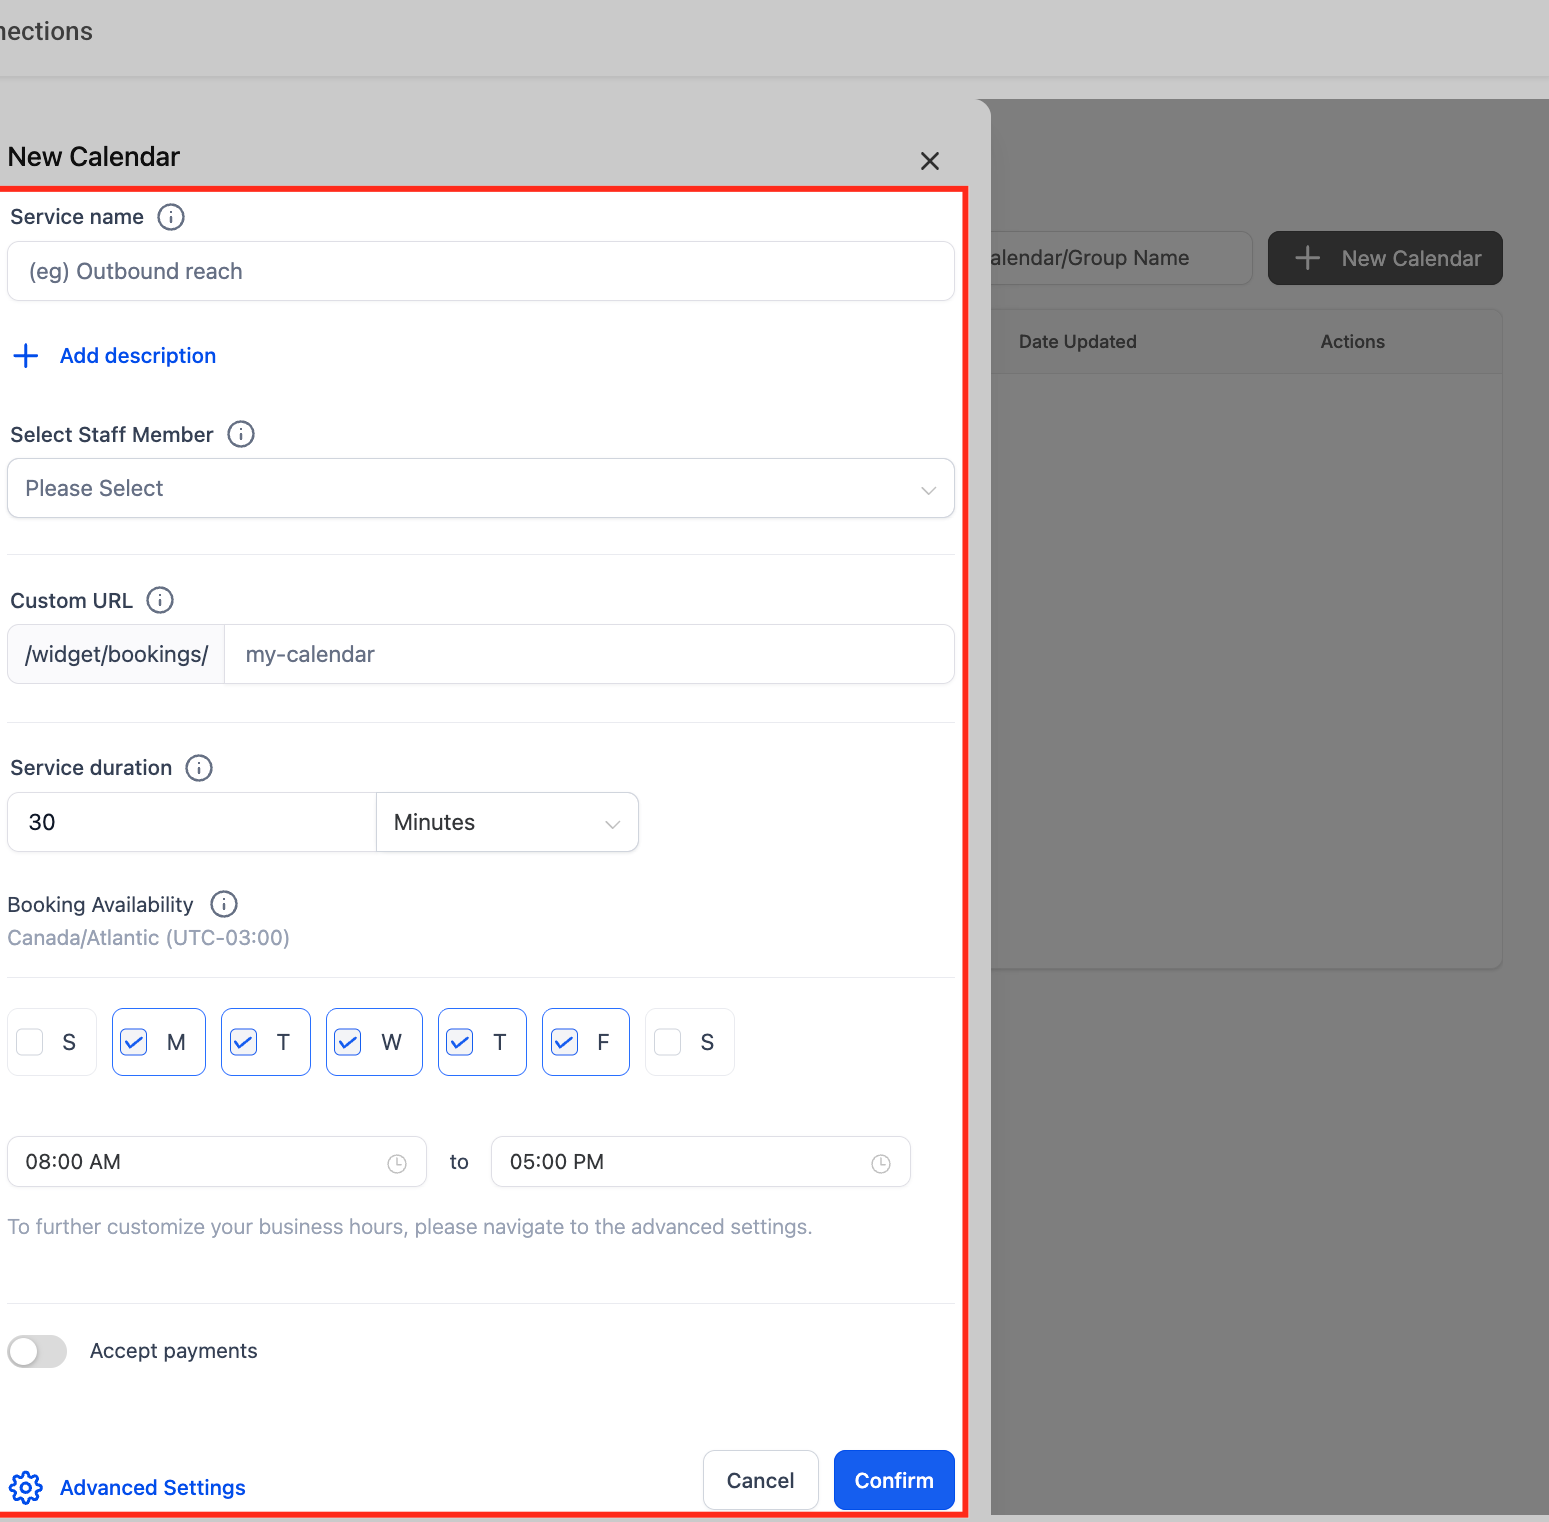
Fill out the Service Name, Assigned Staff, Custom URL, Service Duration, and Availability. This tailors the calendar to the specific treatment you're offering. Click Advanced Settings for further customization.
Advanced Settings expands additional panels: Service Details, Availability, Forms & Payment, Notifications, Customizations, and Rooms & Equipment. These let you fine-tune the booking flow, add branding, manage payment collection, and assign the room or equipment a treatment requires.
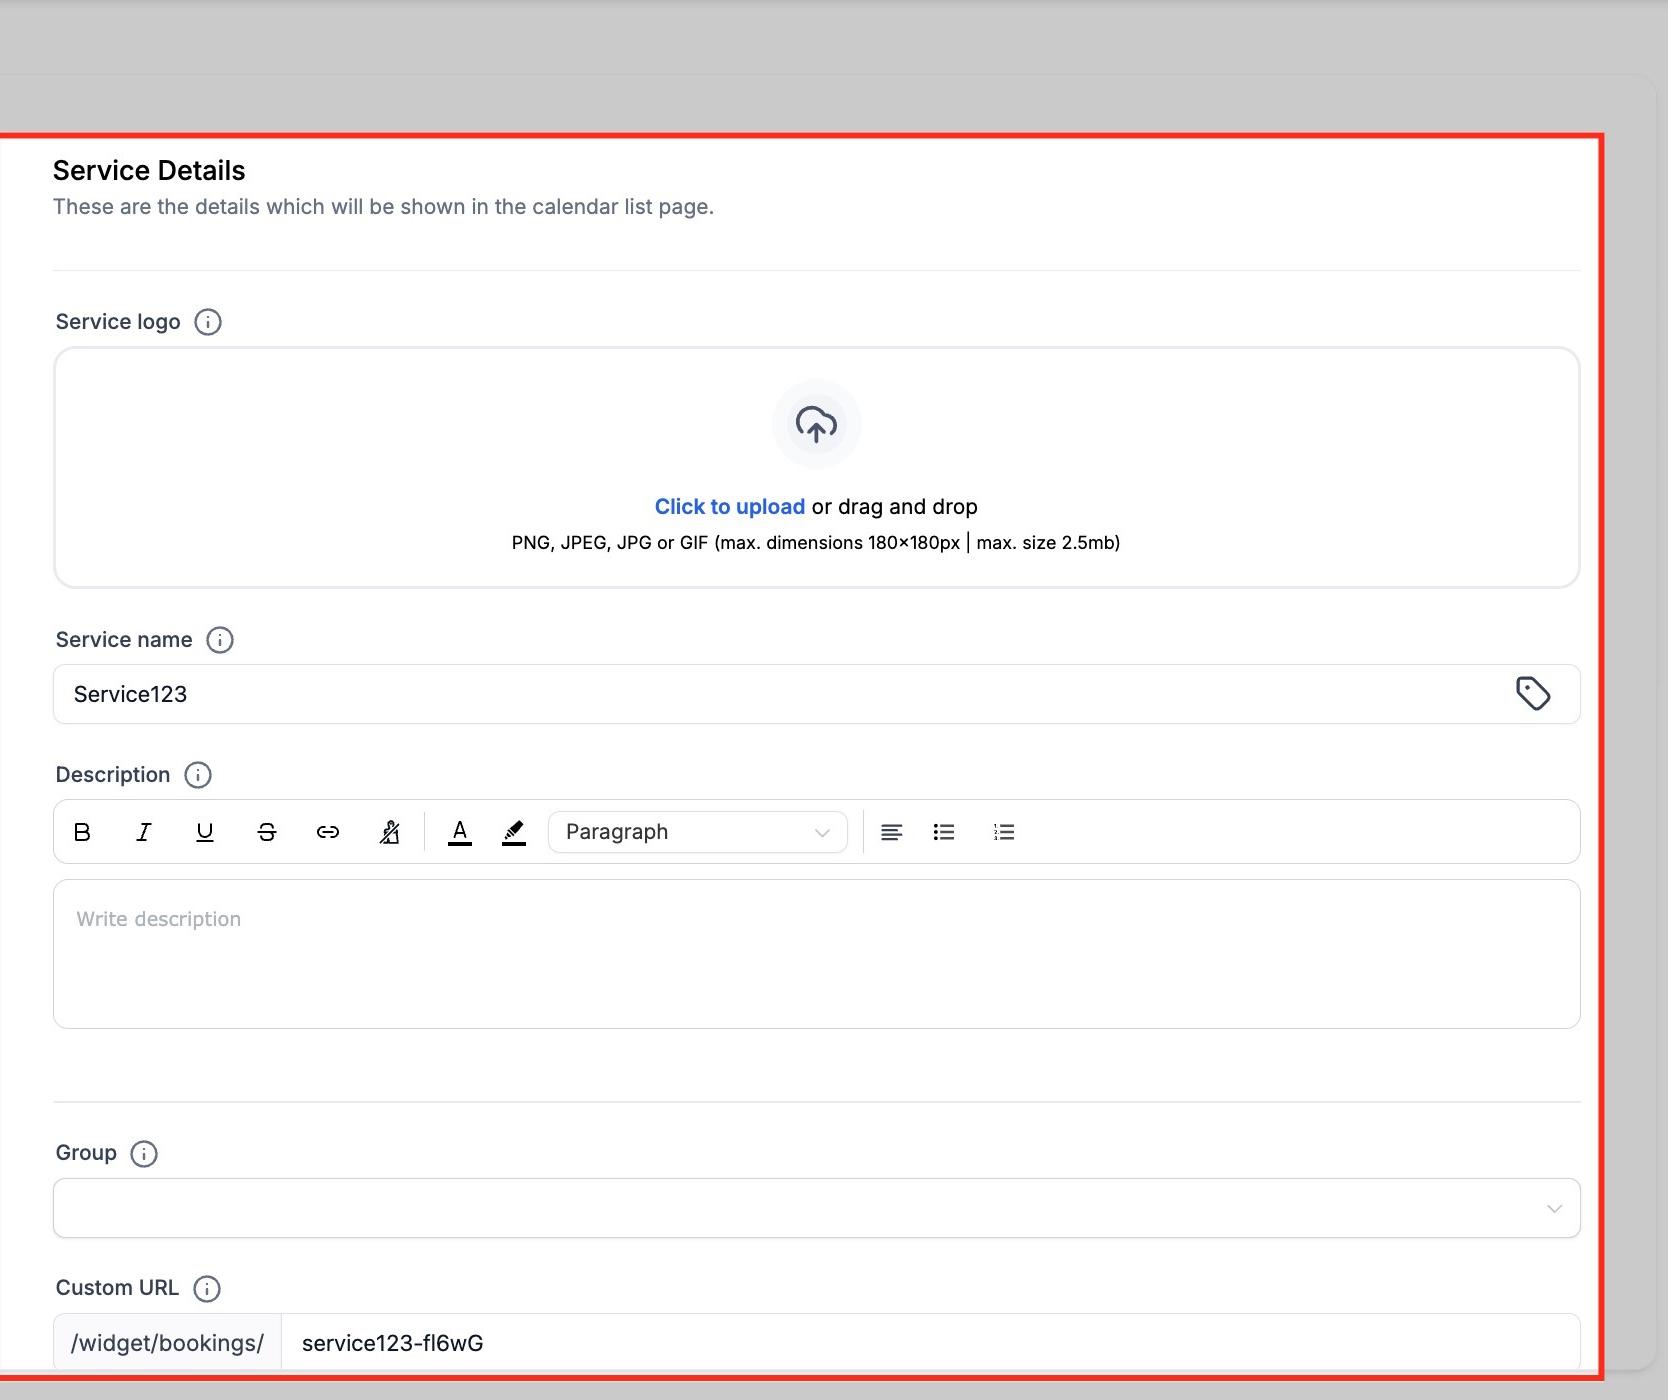
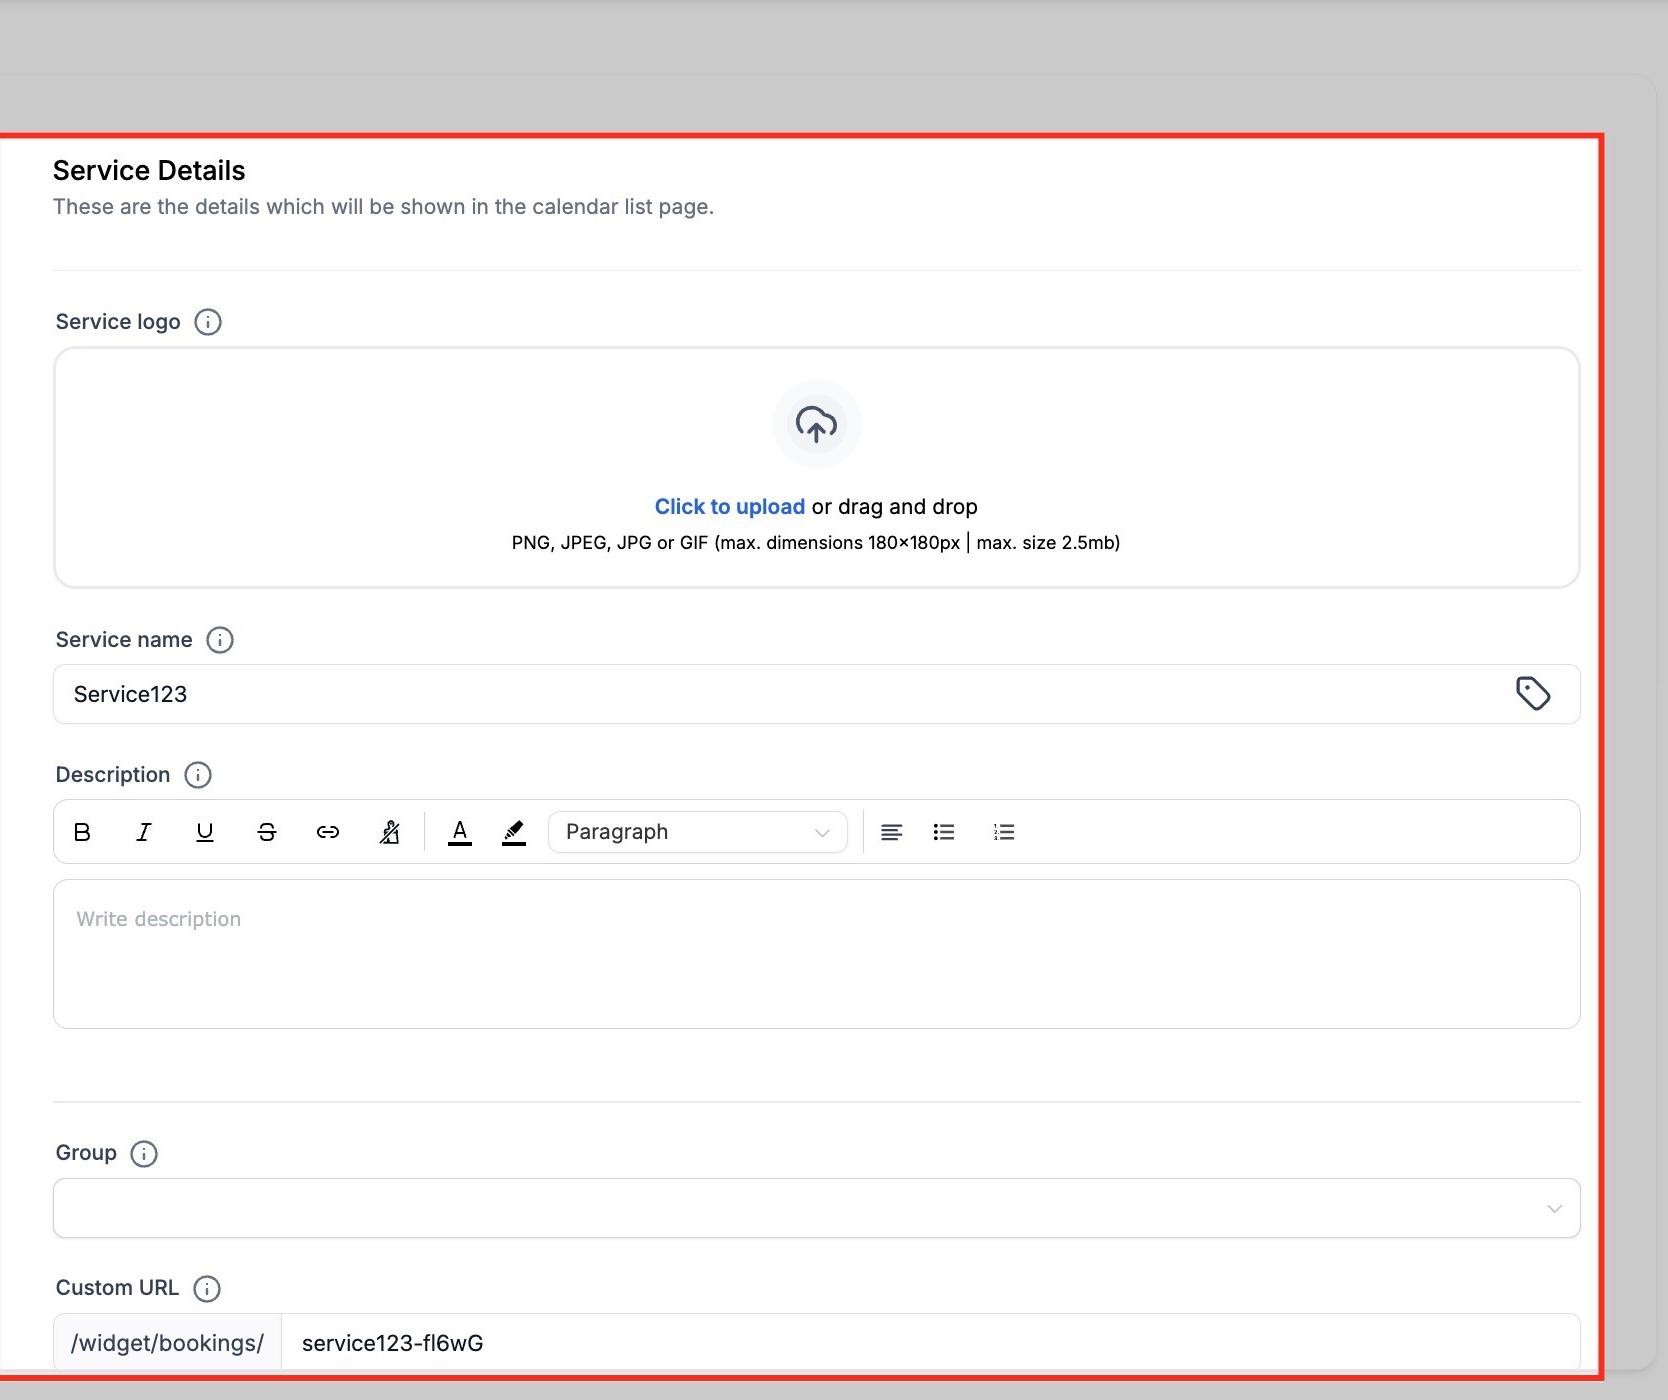
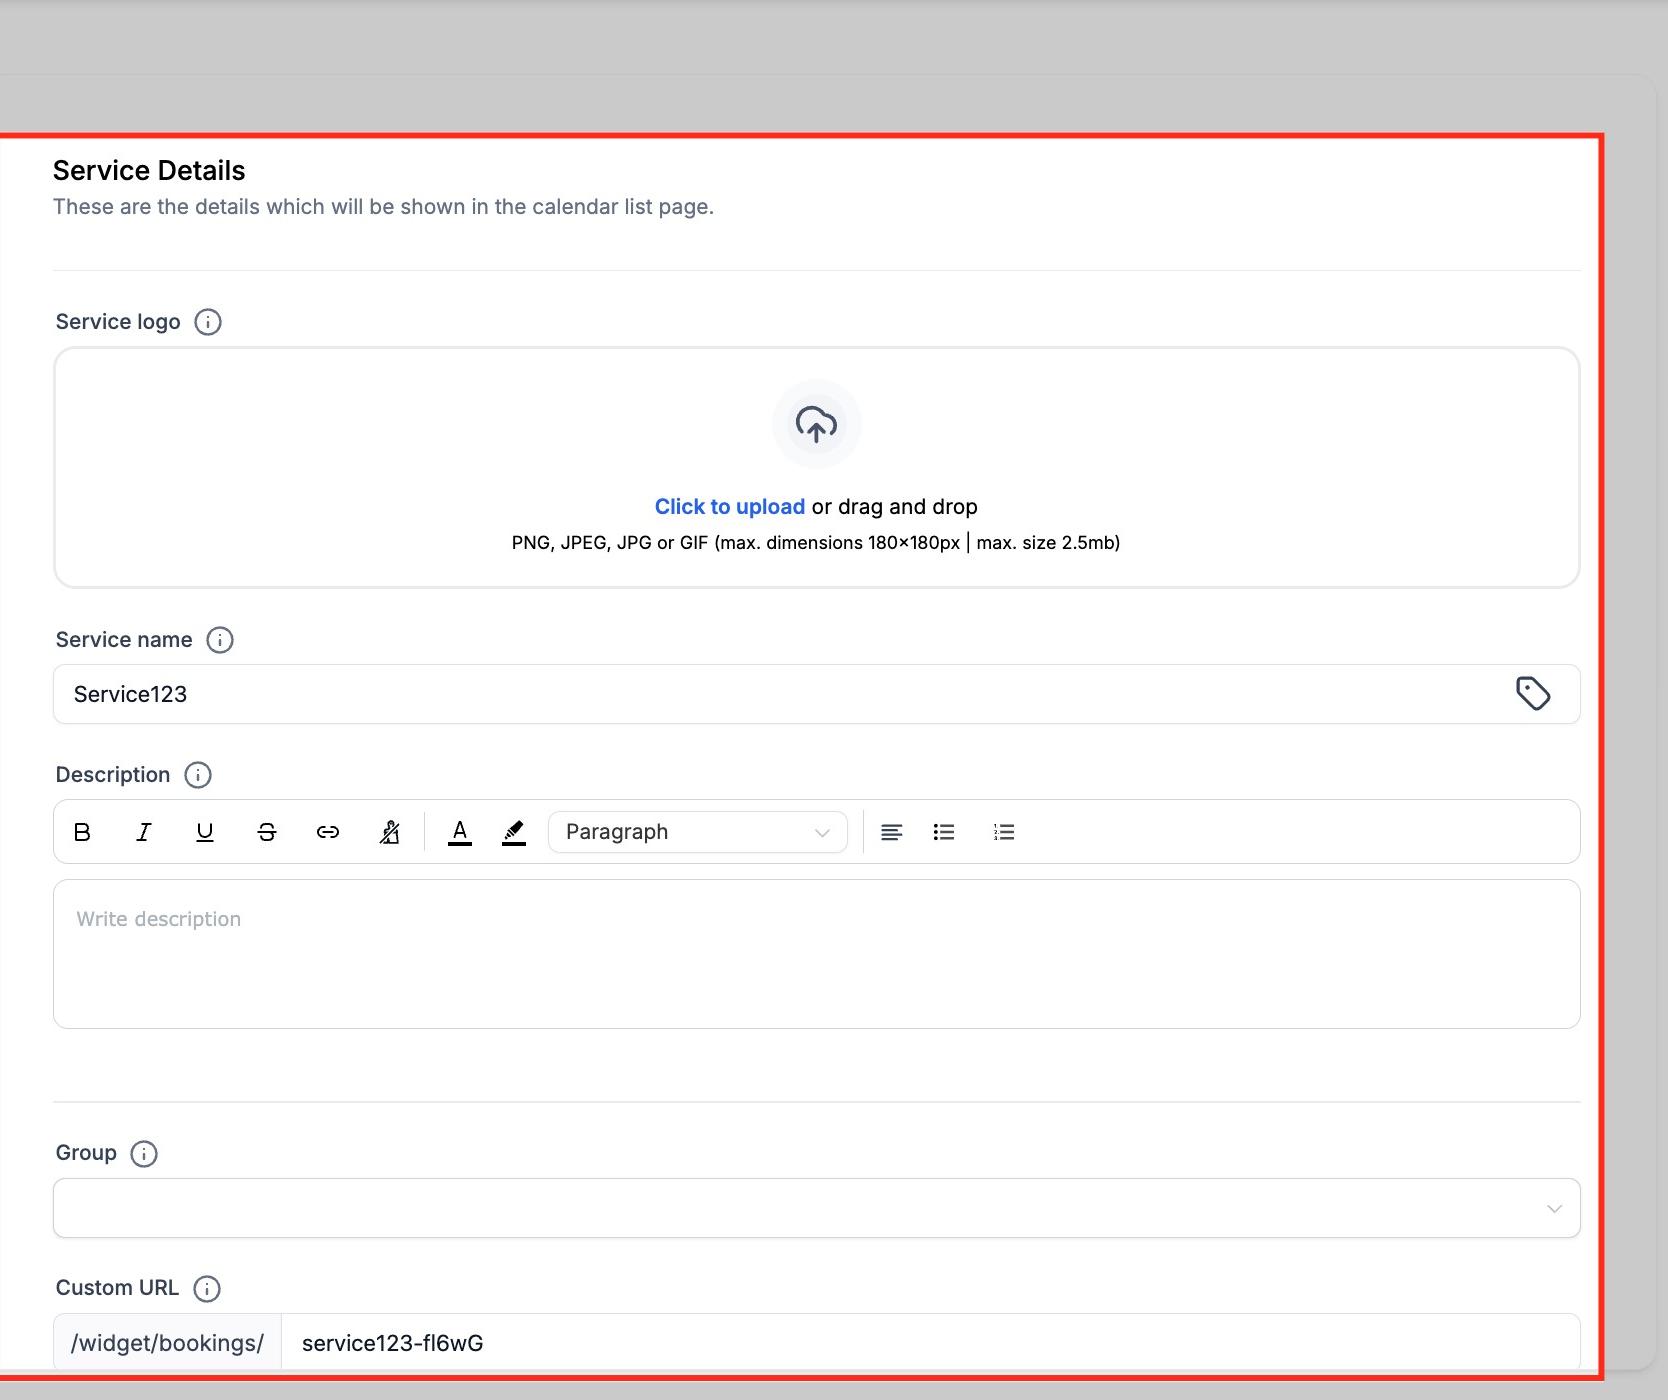
In the Service Details tab, define what patients see when booking. Upload a Service Logo for a professional look. Enter a clear Service Name (Microneedling, Laser Hair Removal, Botox Consultation) and a Description explaining what's included, for example "30-minute laser treatment with consultation and aftercare."
Assign the service to the right Group (Laser & Skin Treatments, Injectables & Fillers) so it stays organized with related treatments. Create a Custom URL, which becomes part of the booking link you share with patients (for example, /laser-treatment-booking).
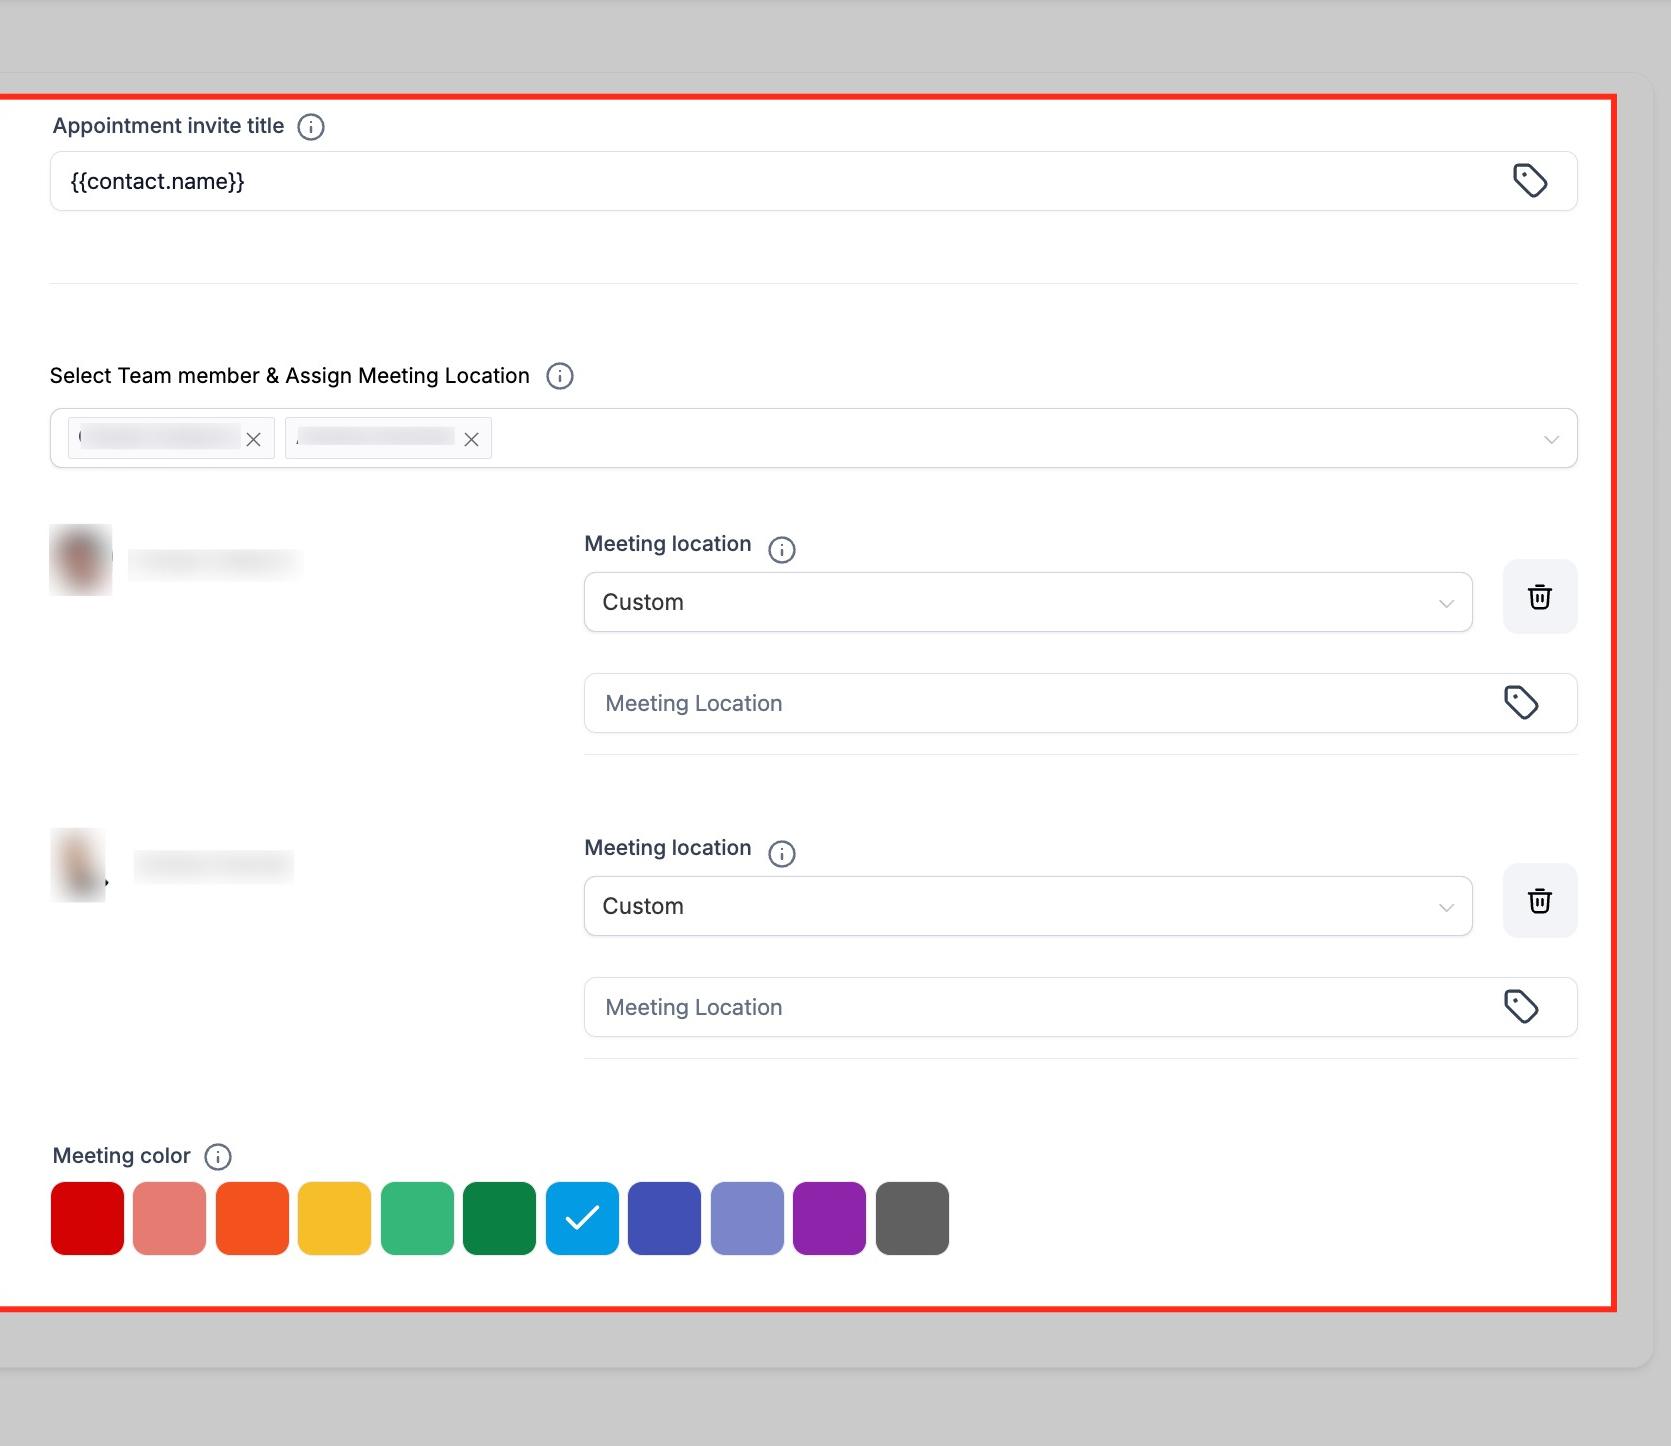
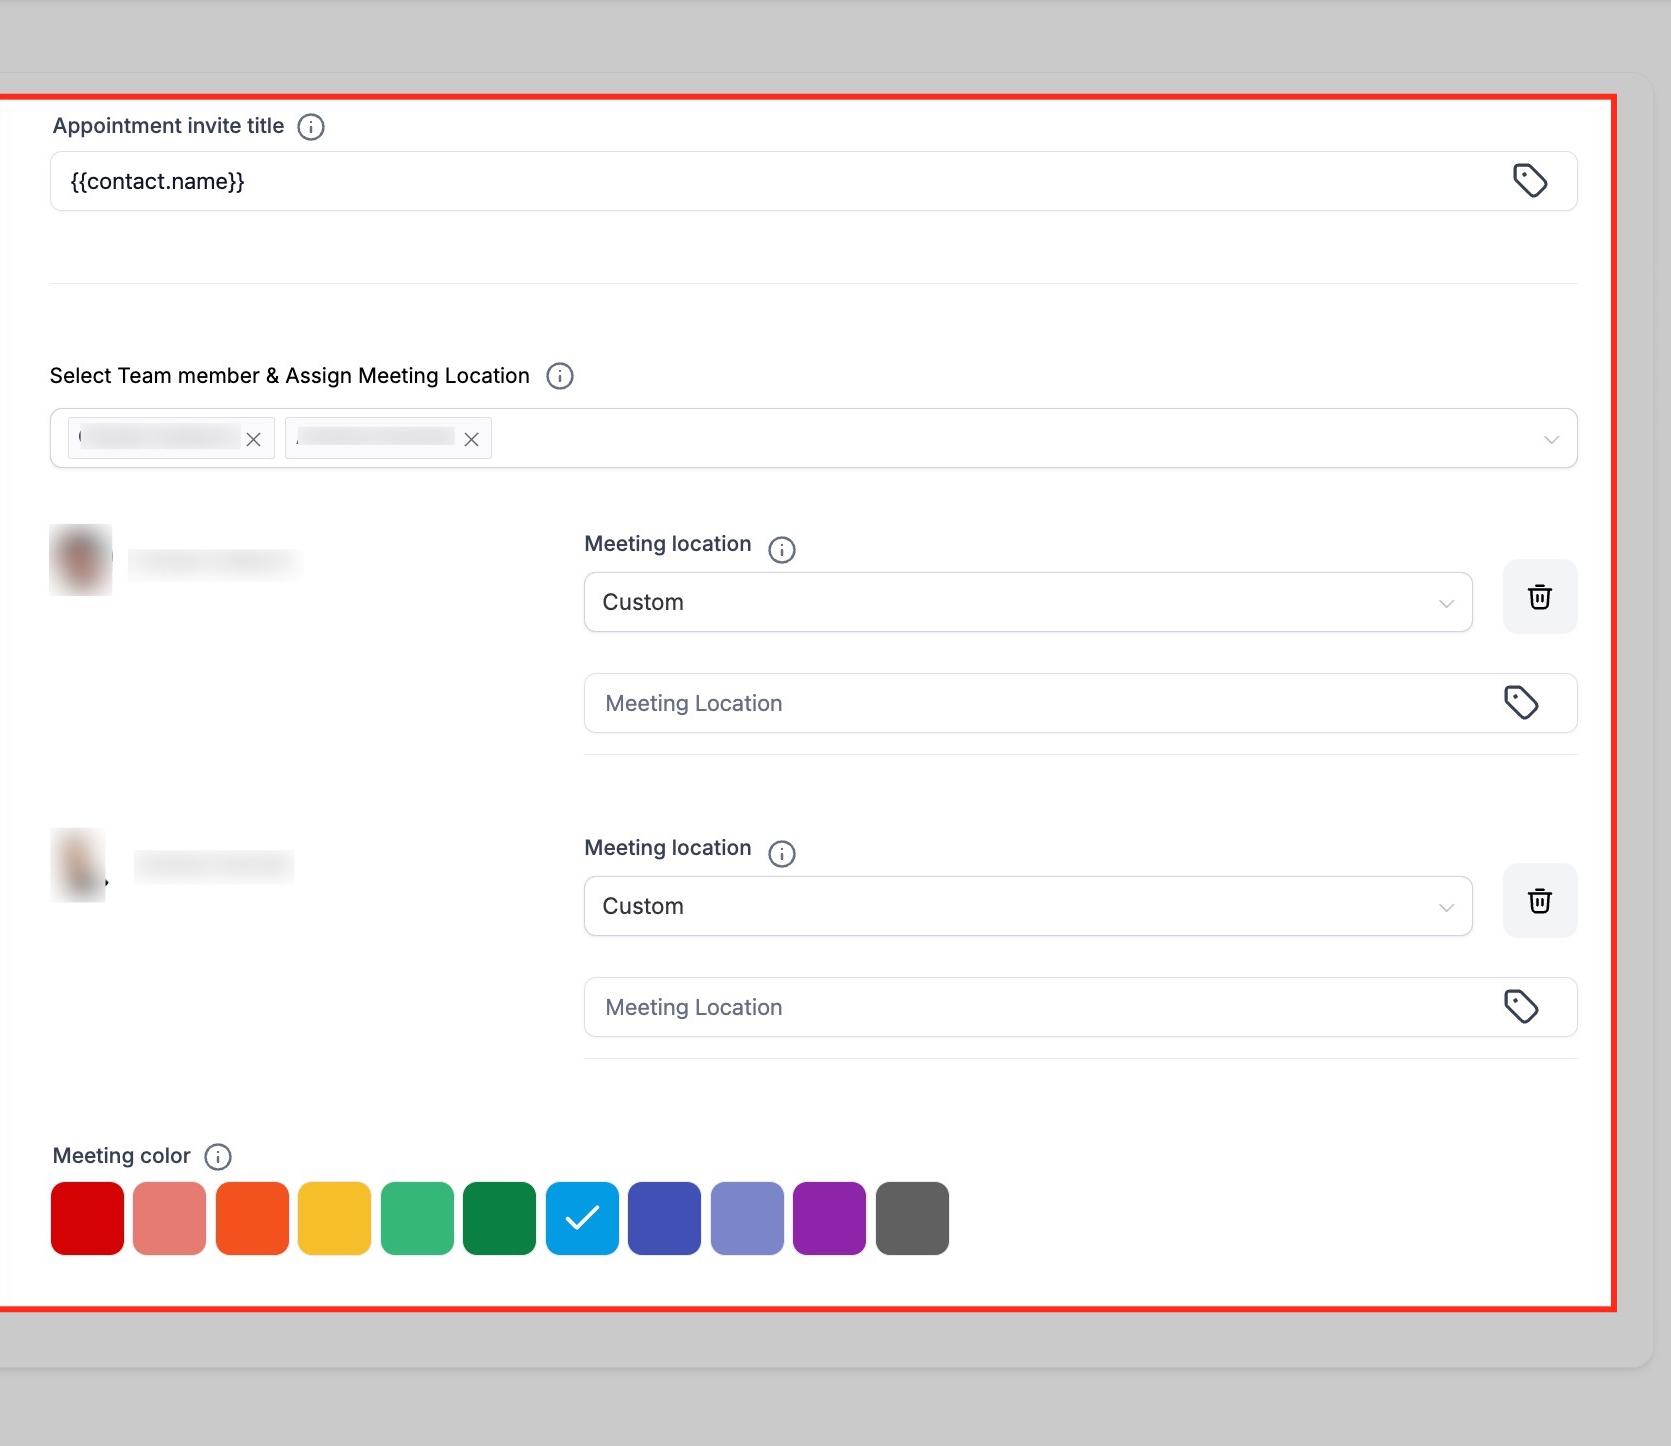
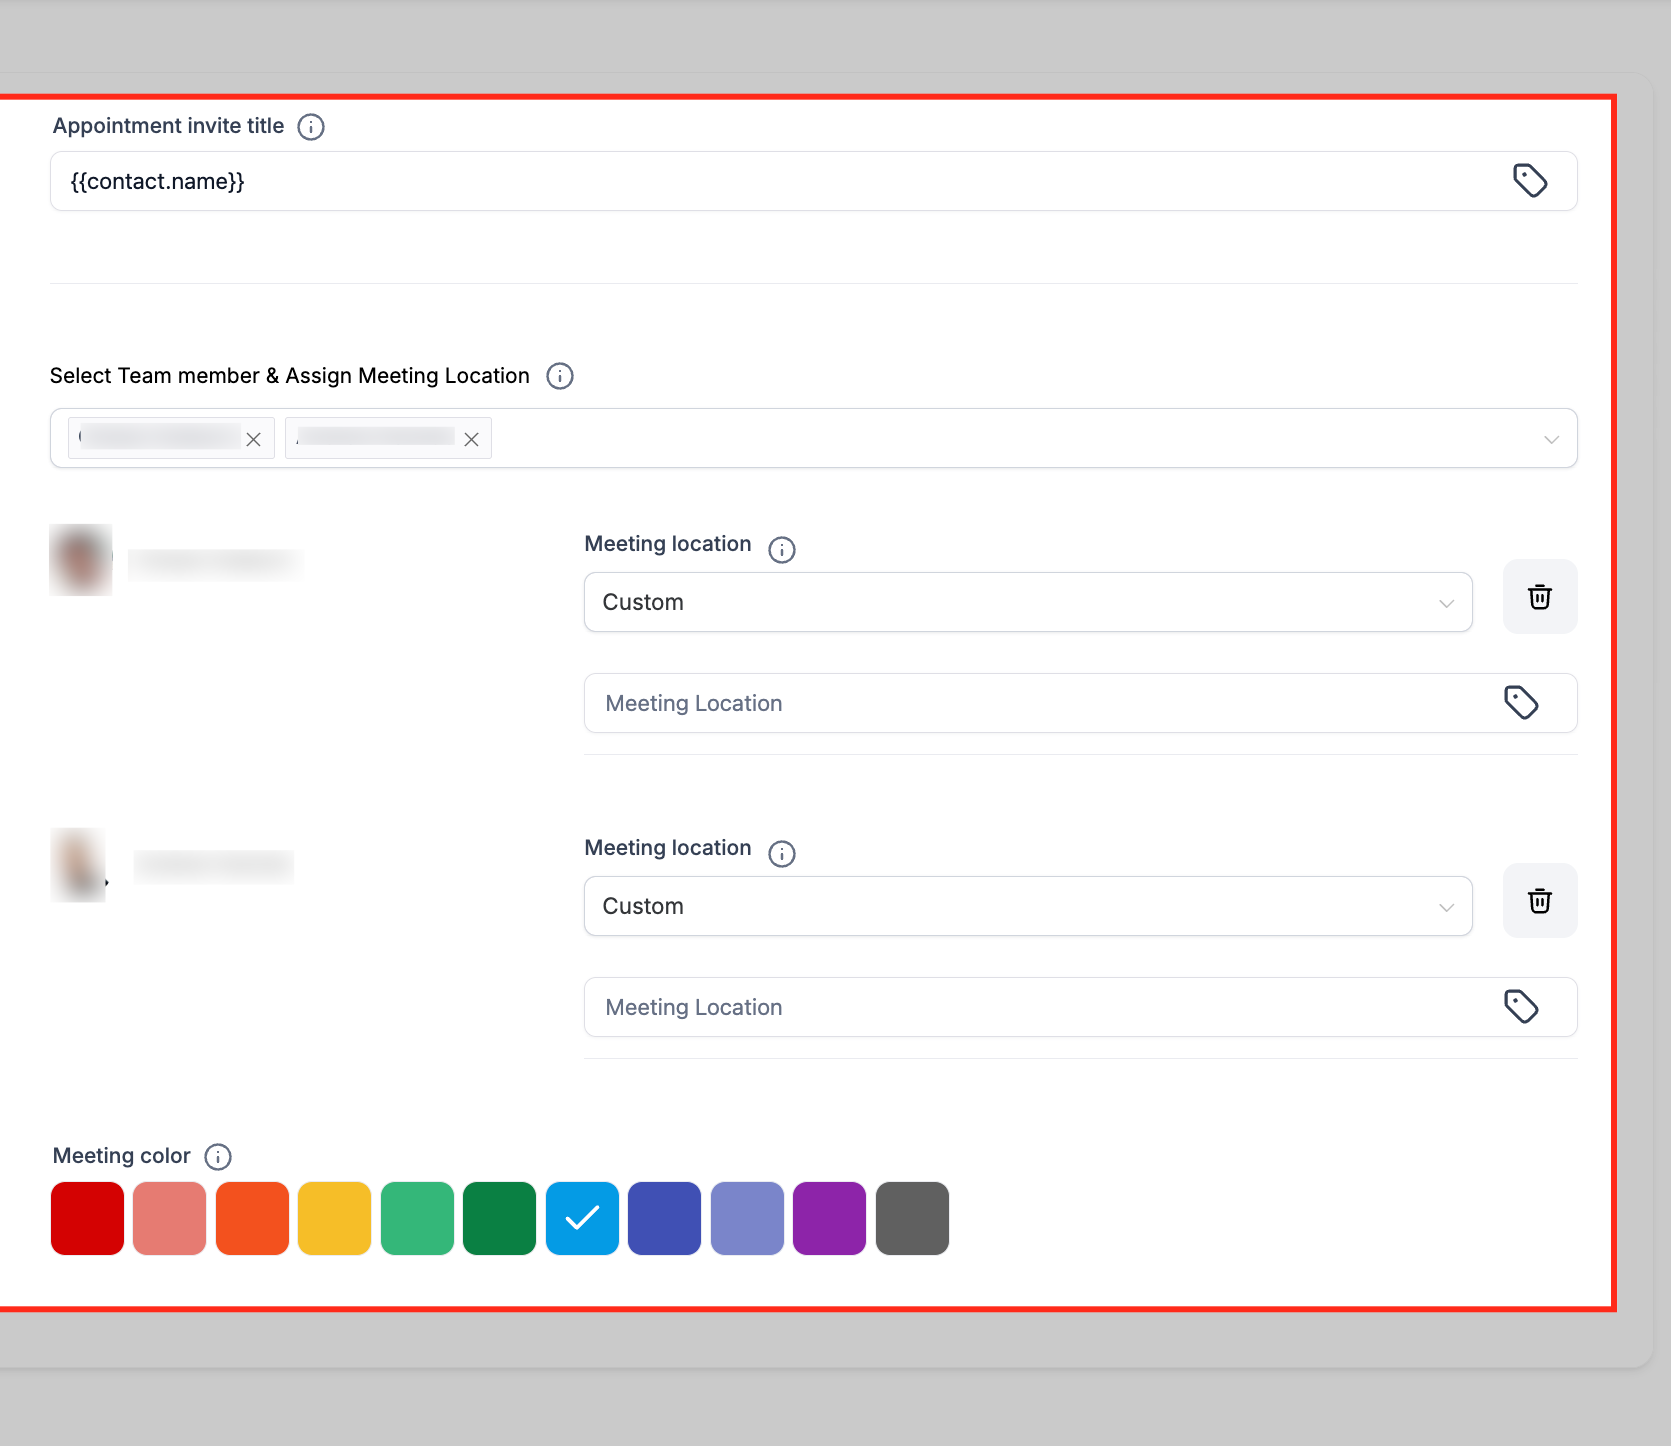
Set the Appointment Invite Title, which appears on both the patient's and staff's calendar invites. You can use placeholders like {{contact.name}} to personalize it. Under Team Members, assign one or more providers qualified to perform this treatment; patients will only see time slots for those providers.
Define a Meeting Location: your practice itself, a specific treatment room, or a custom video link for virtual consultations. Choose a Meeting Color to visually distinguish this appointment type on your internal calendar, making it easy for staff to spot at a glance.
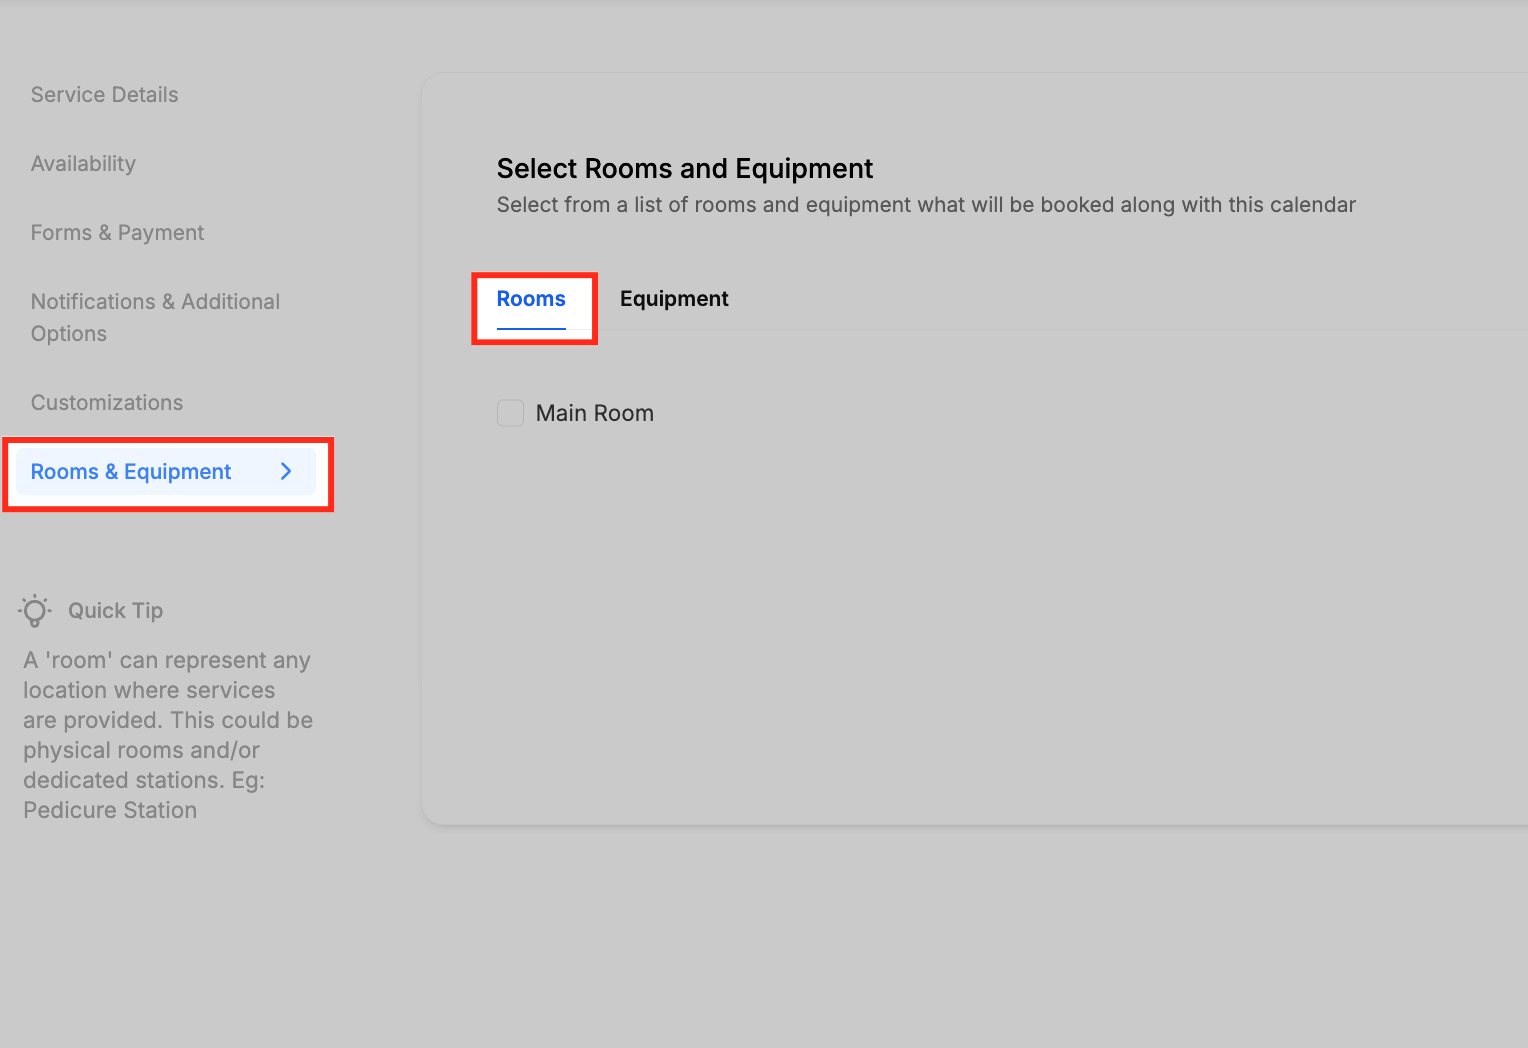
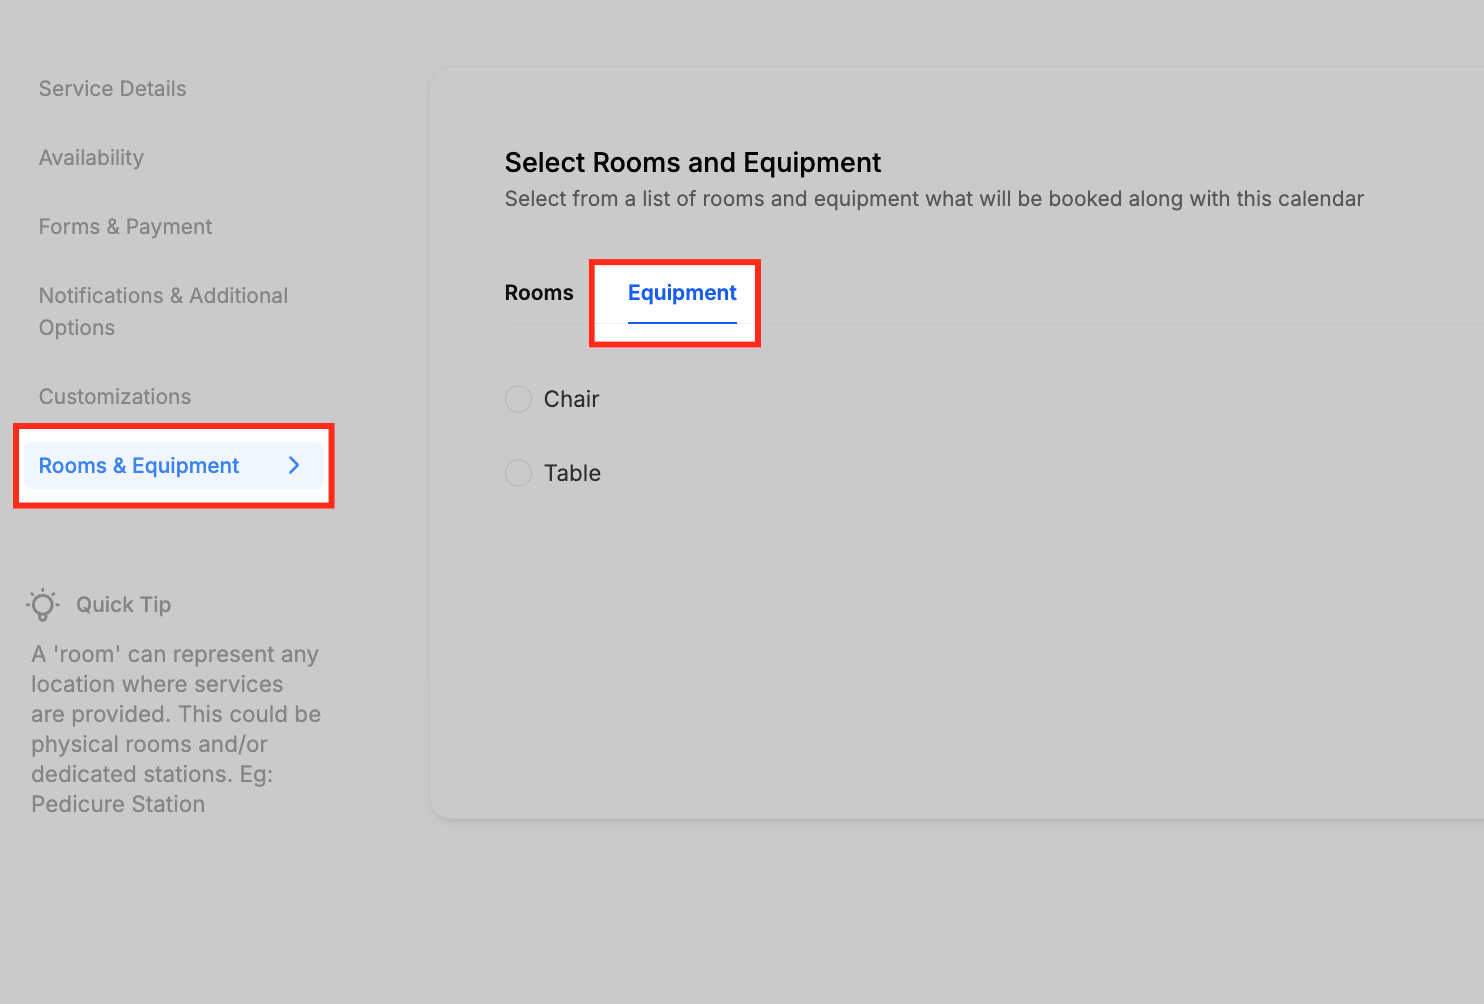
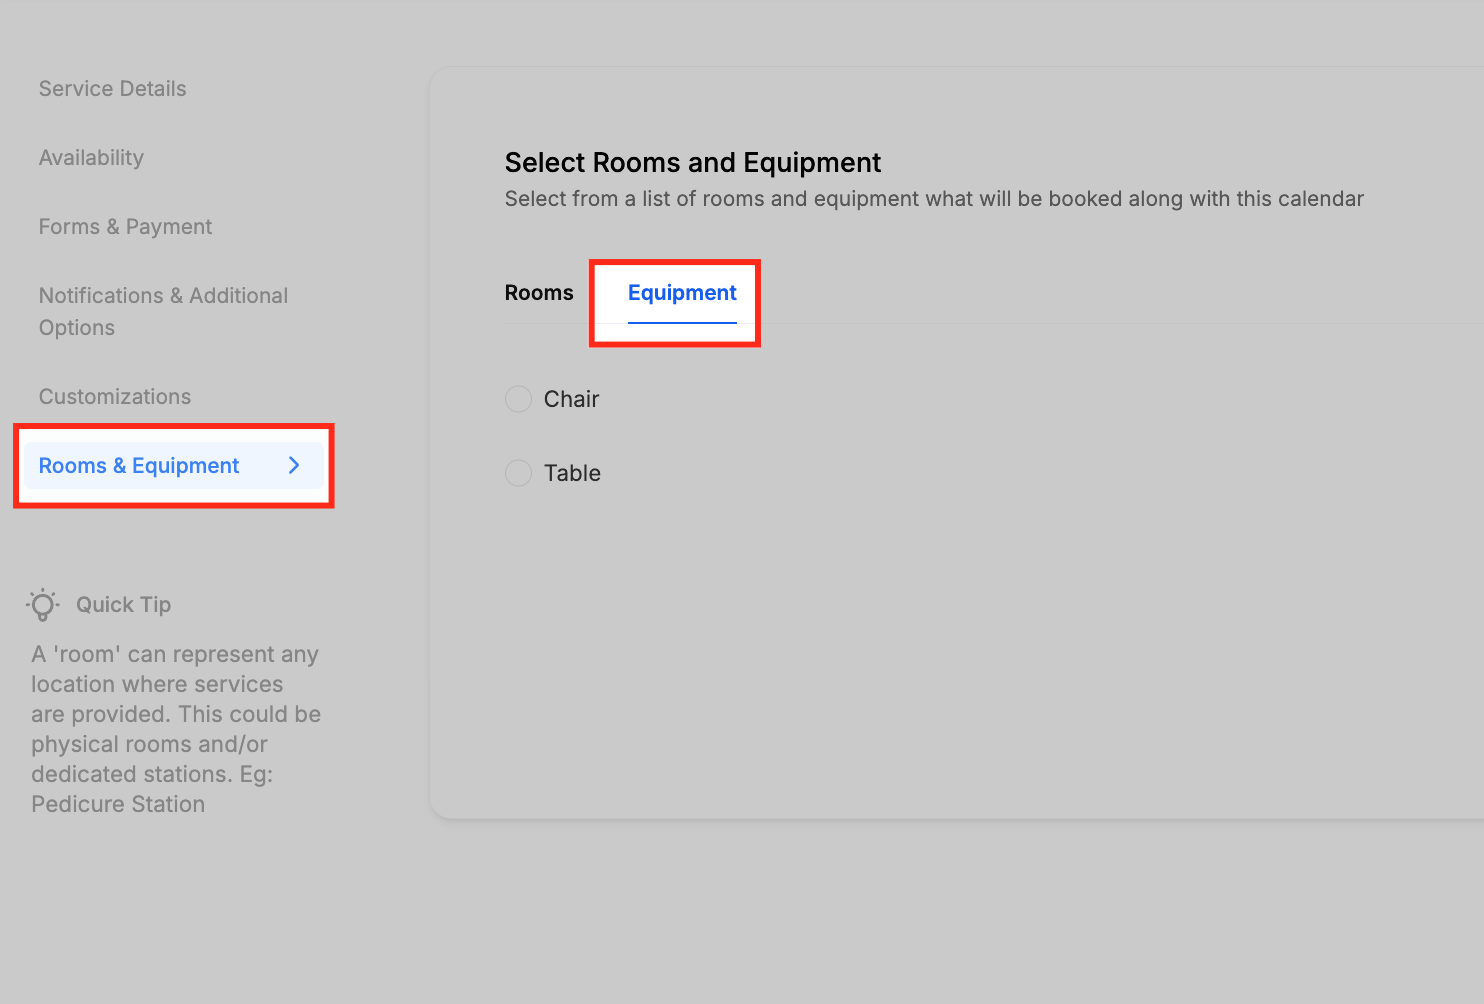
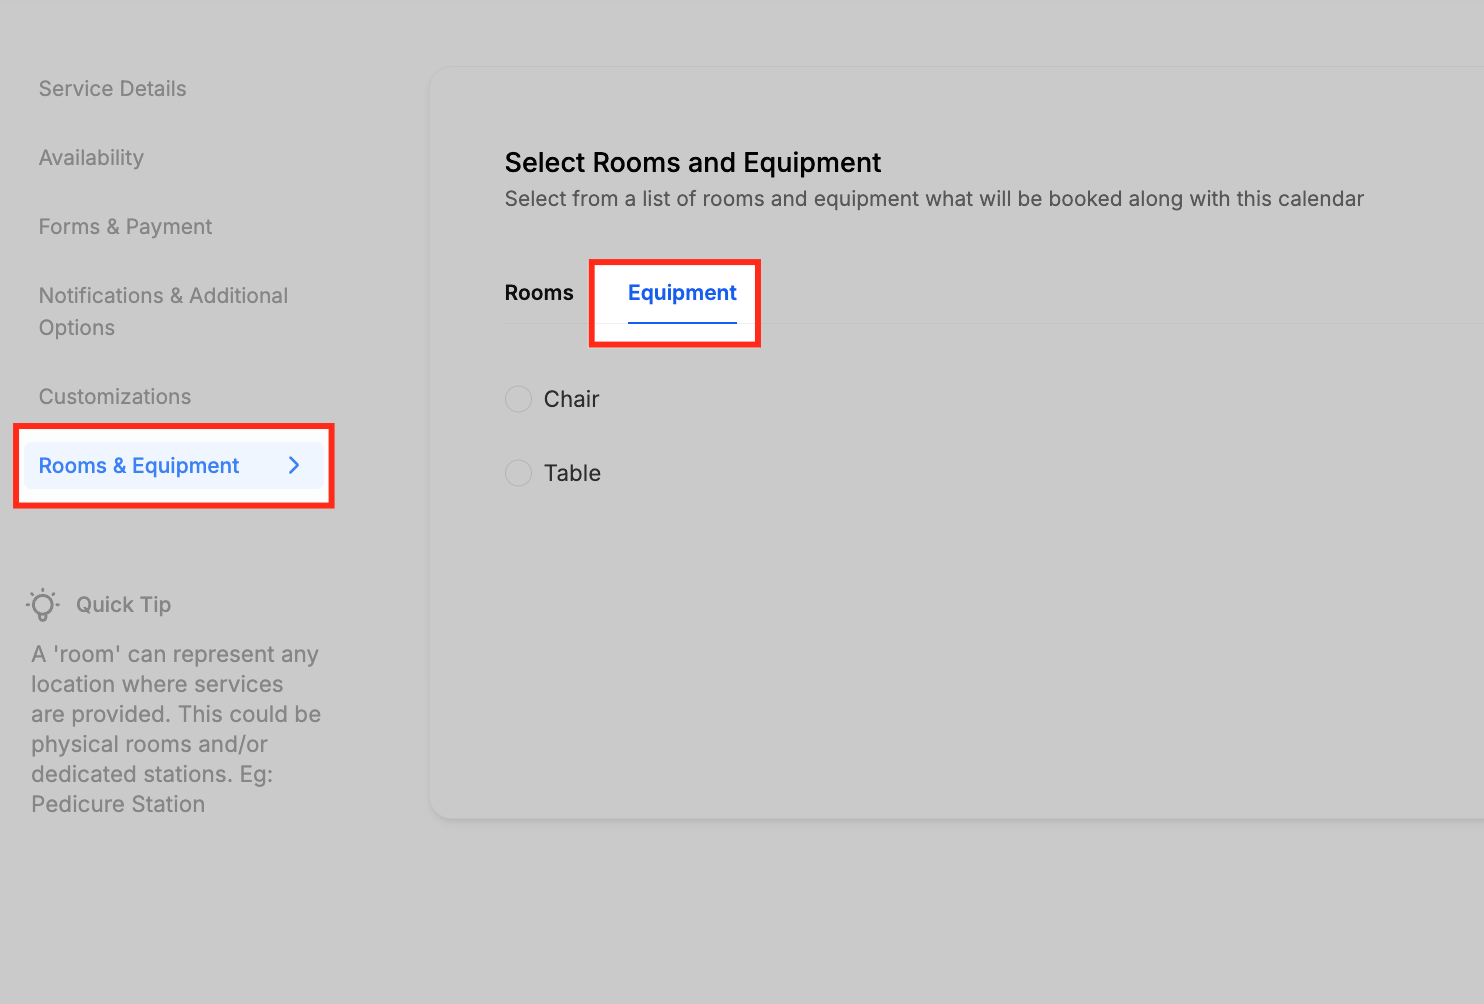
In the Rooms tab, connect a physical space in your practice to the service. A room can represent a treatment room, laser suite, or procedure room. For example, assign "Treatment Room 1" to microneedling and injectables, or "Laser Suite" to laser therapy. Assigning a room guarantees that once a patient books, that space is reserved and can't be double-booked, which matters most for practices with a limited number of treatment rooms.
In the Equipment tab, link the devices and supplies the treatment needs, and specify the available quantity. For example, assign a laser device to a laser therapy service, or a microneedling pen to a microneedling service. When a patient books, the system automatically reserves the equipment so it can't be overbooked across multiple appointments at the same time.
If your practice collects deposits or full payment at booking, connect a payment provider under Forms & Payment. Aesthetix CRM's own payment processor, AX Pay, offers better rates than Stripe and integrates directly with your booking flow. See the AX Pay help article for setup details.
If the intake form attached to a service collects patient health history or other PHI, treat that data with the same care as any other patient record: limit who on your team can view submissions and avoid pasting patient details into unrelated tools. Intake form setup itself is covered in the Forms section.
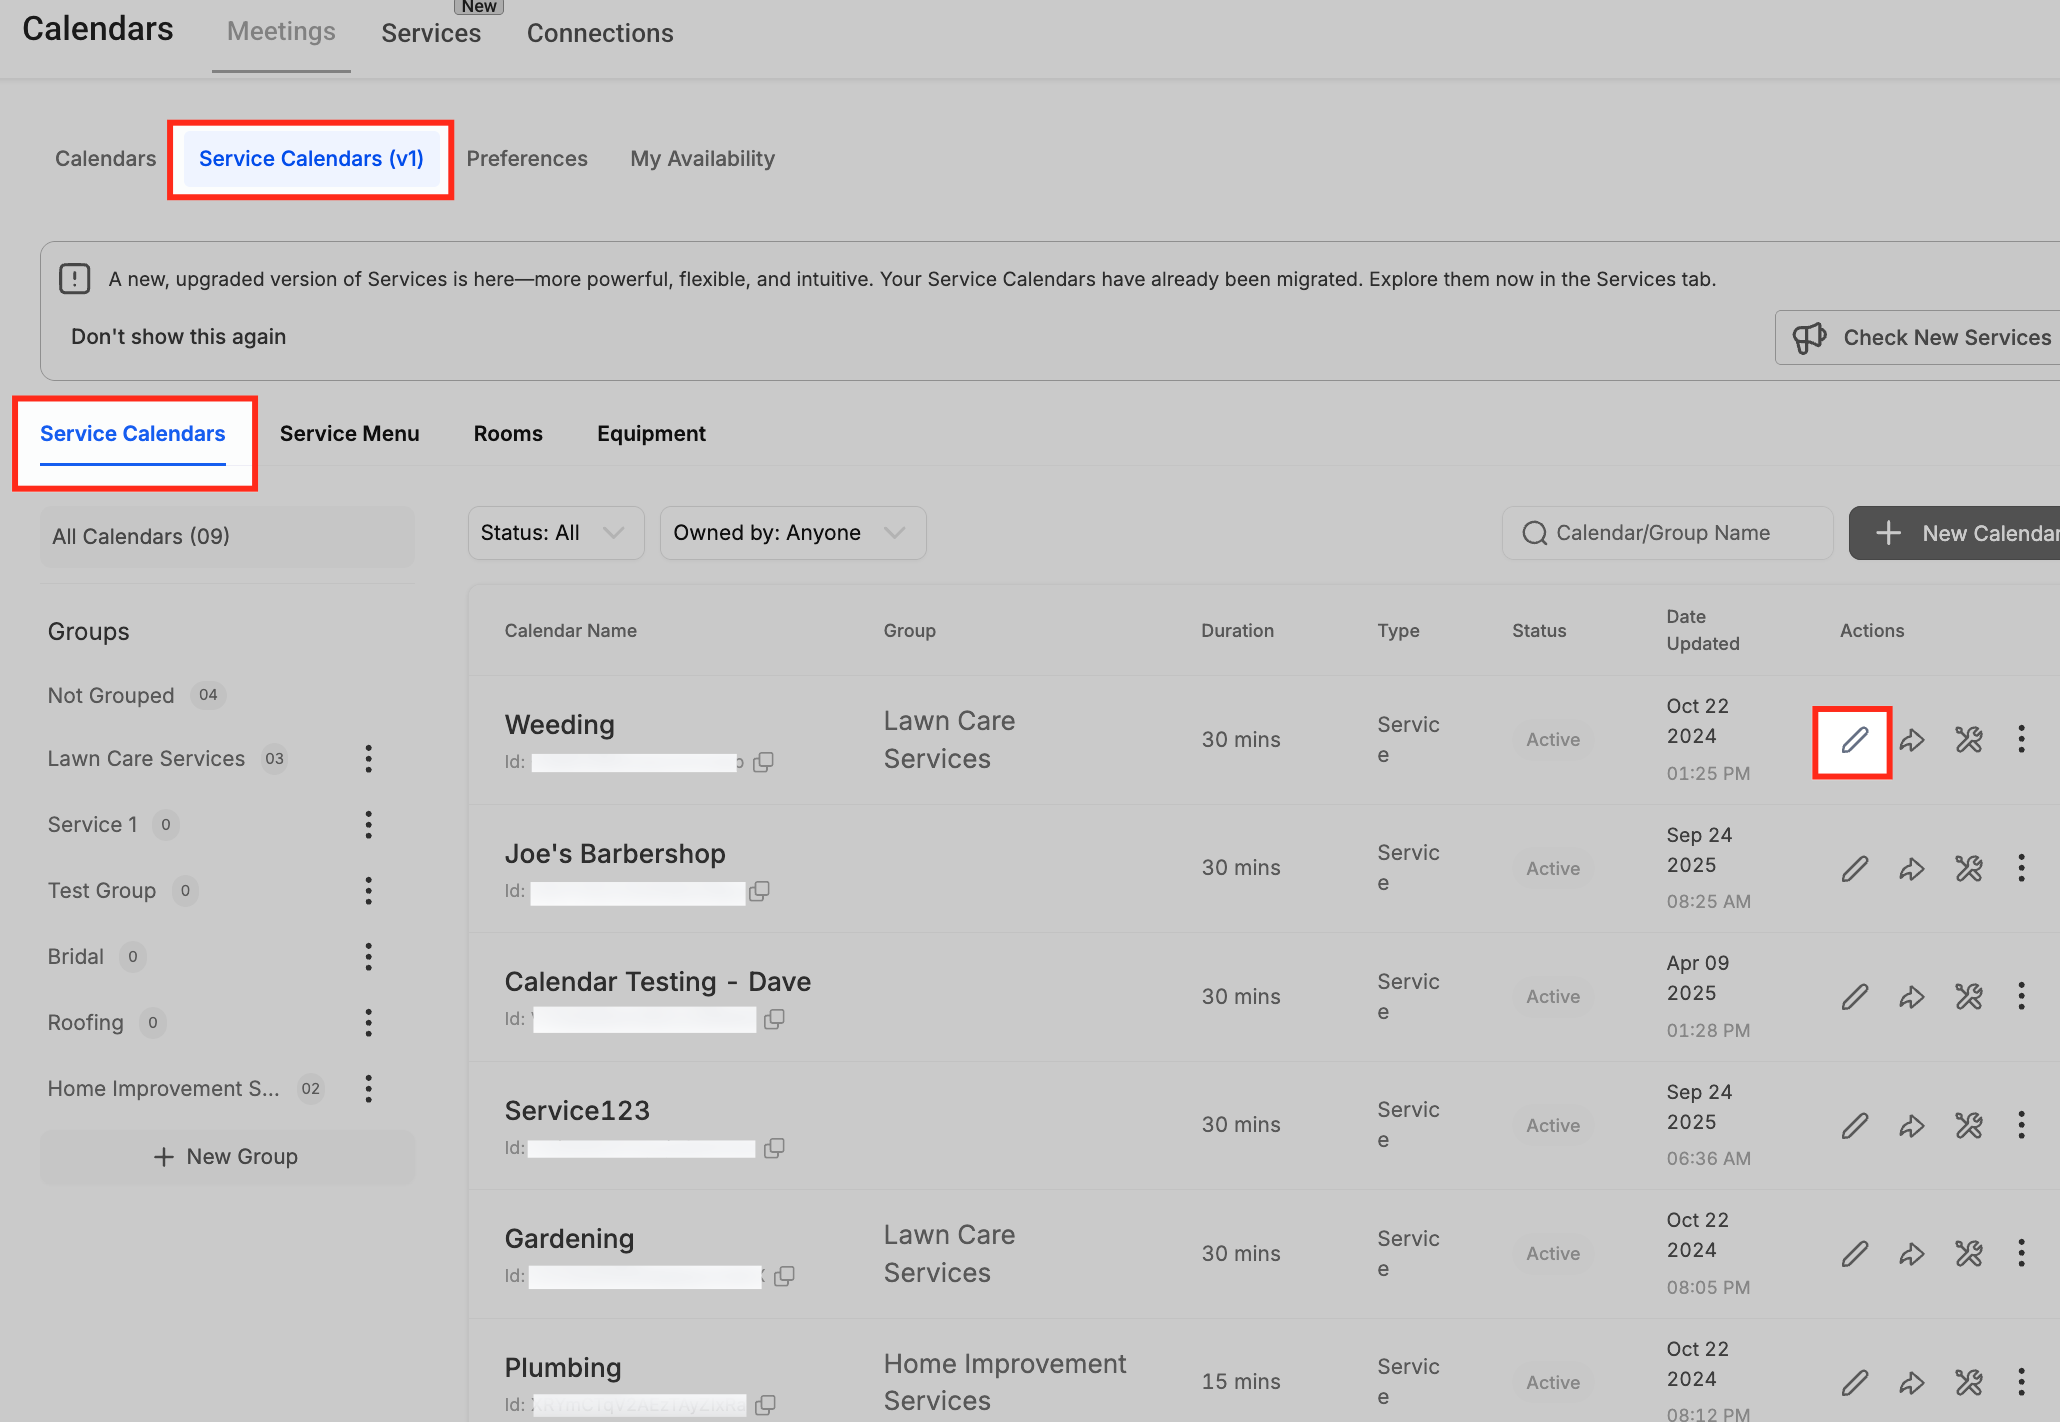
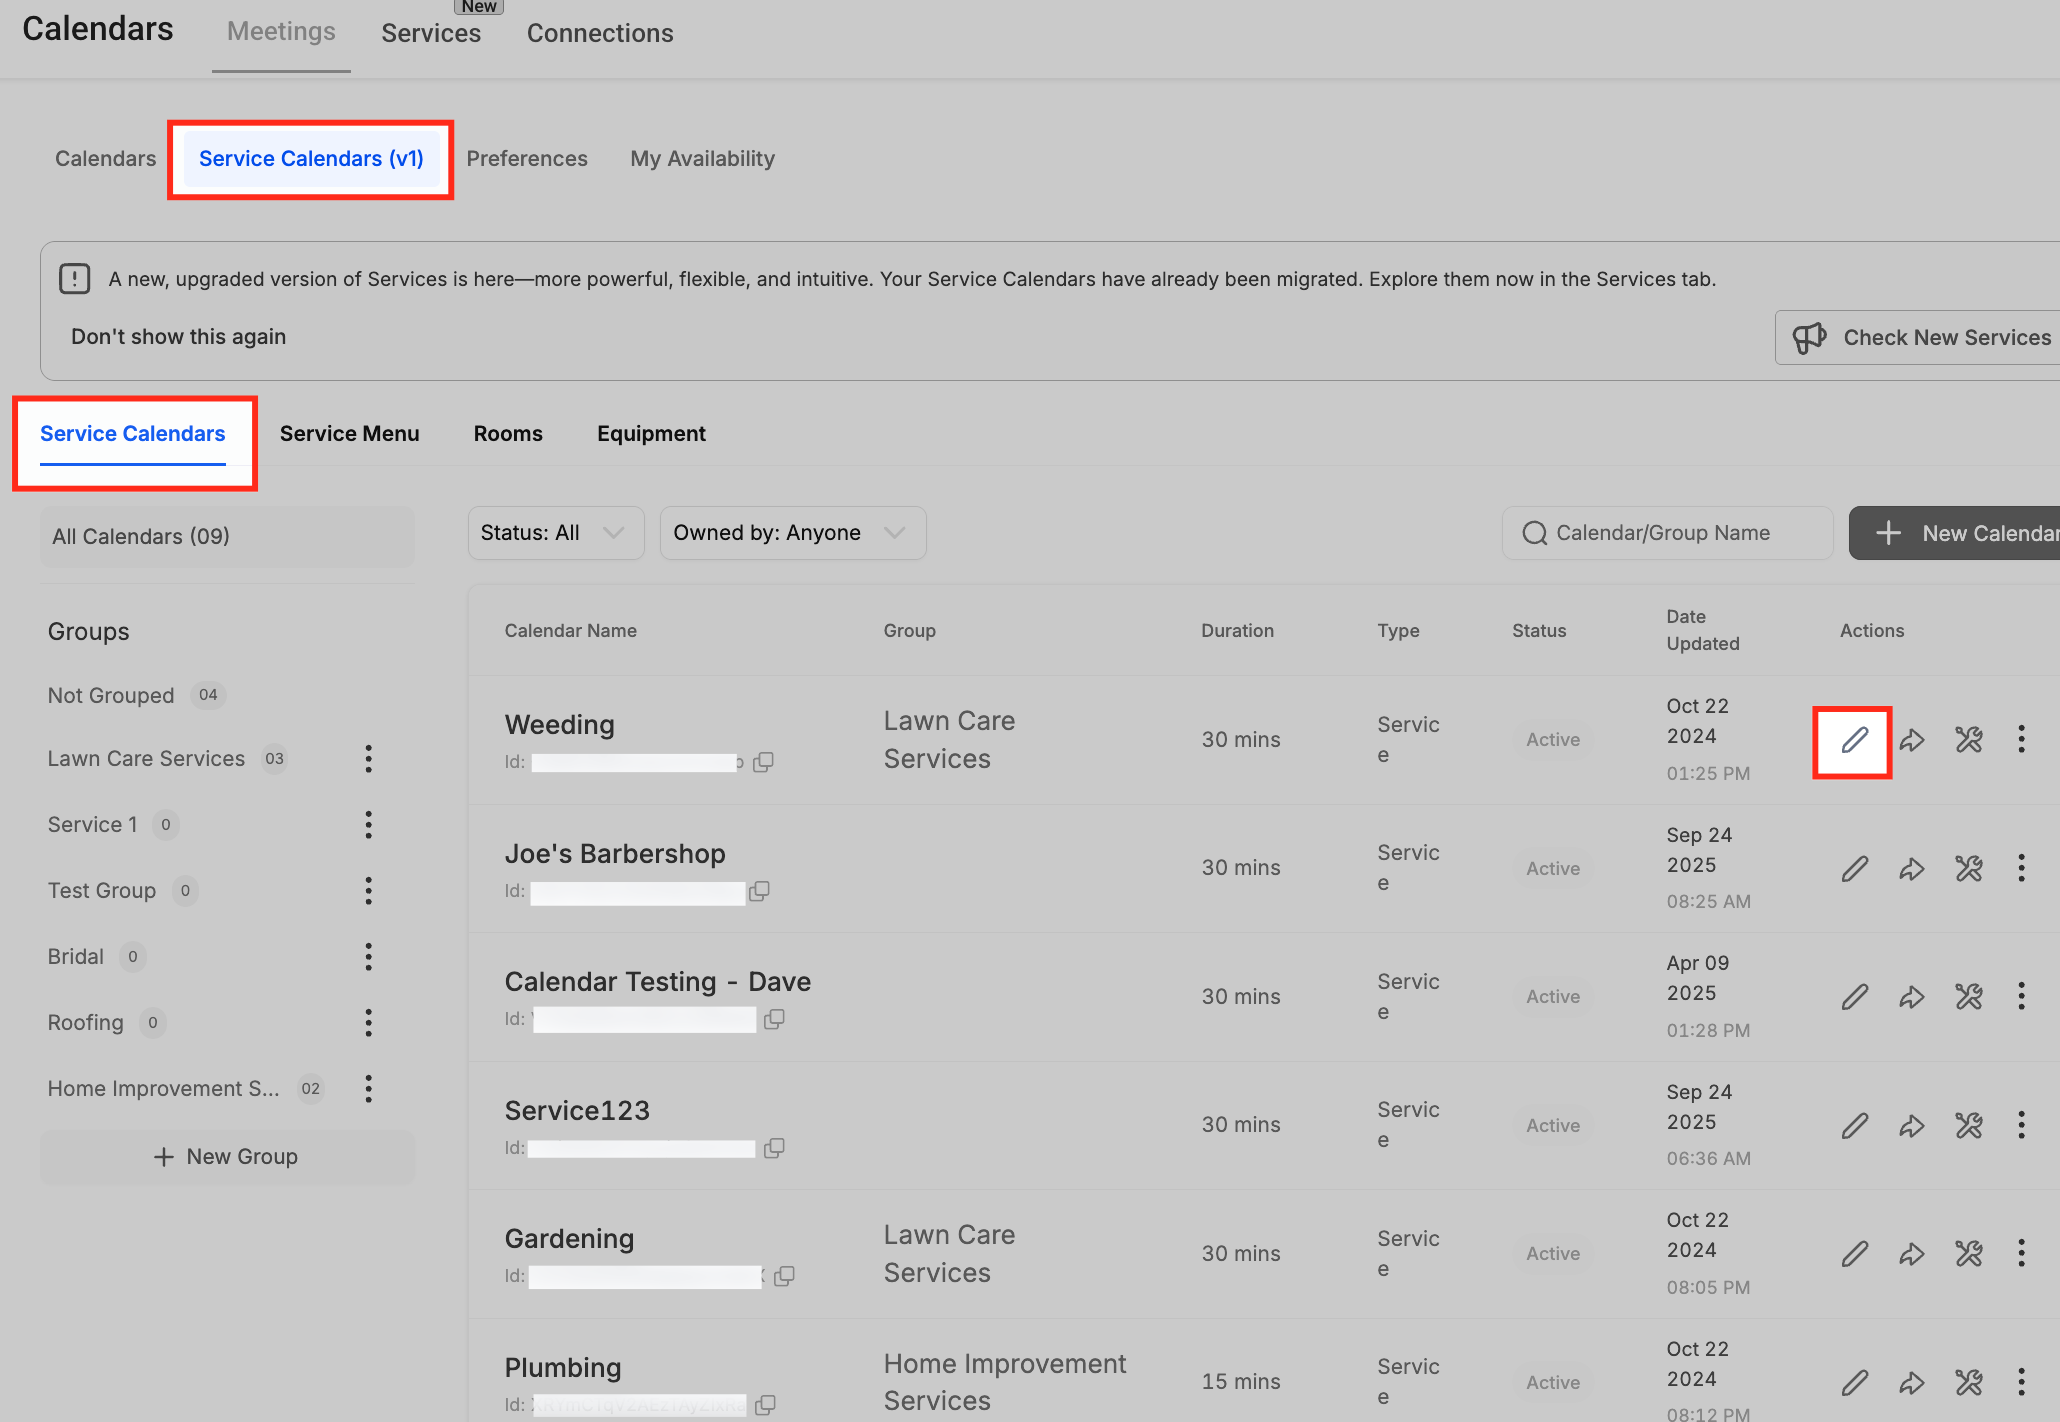
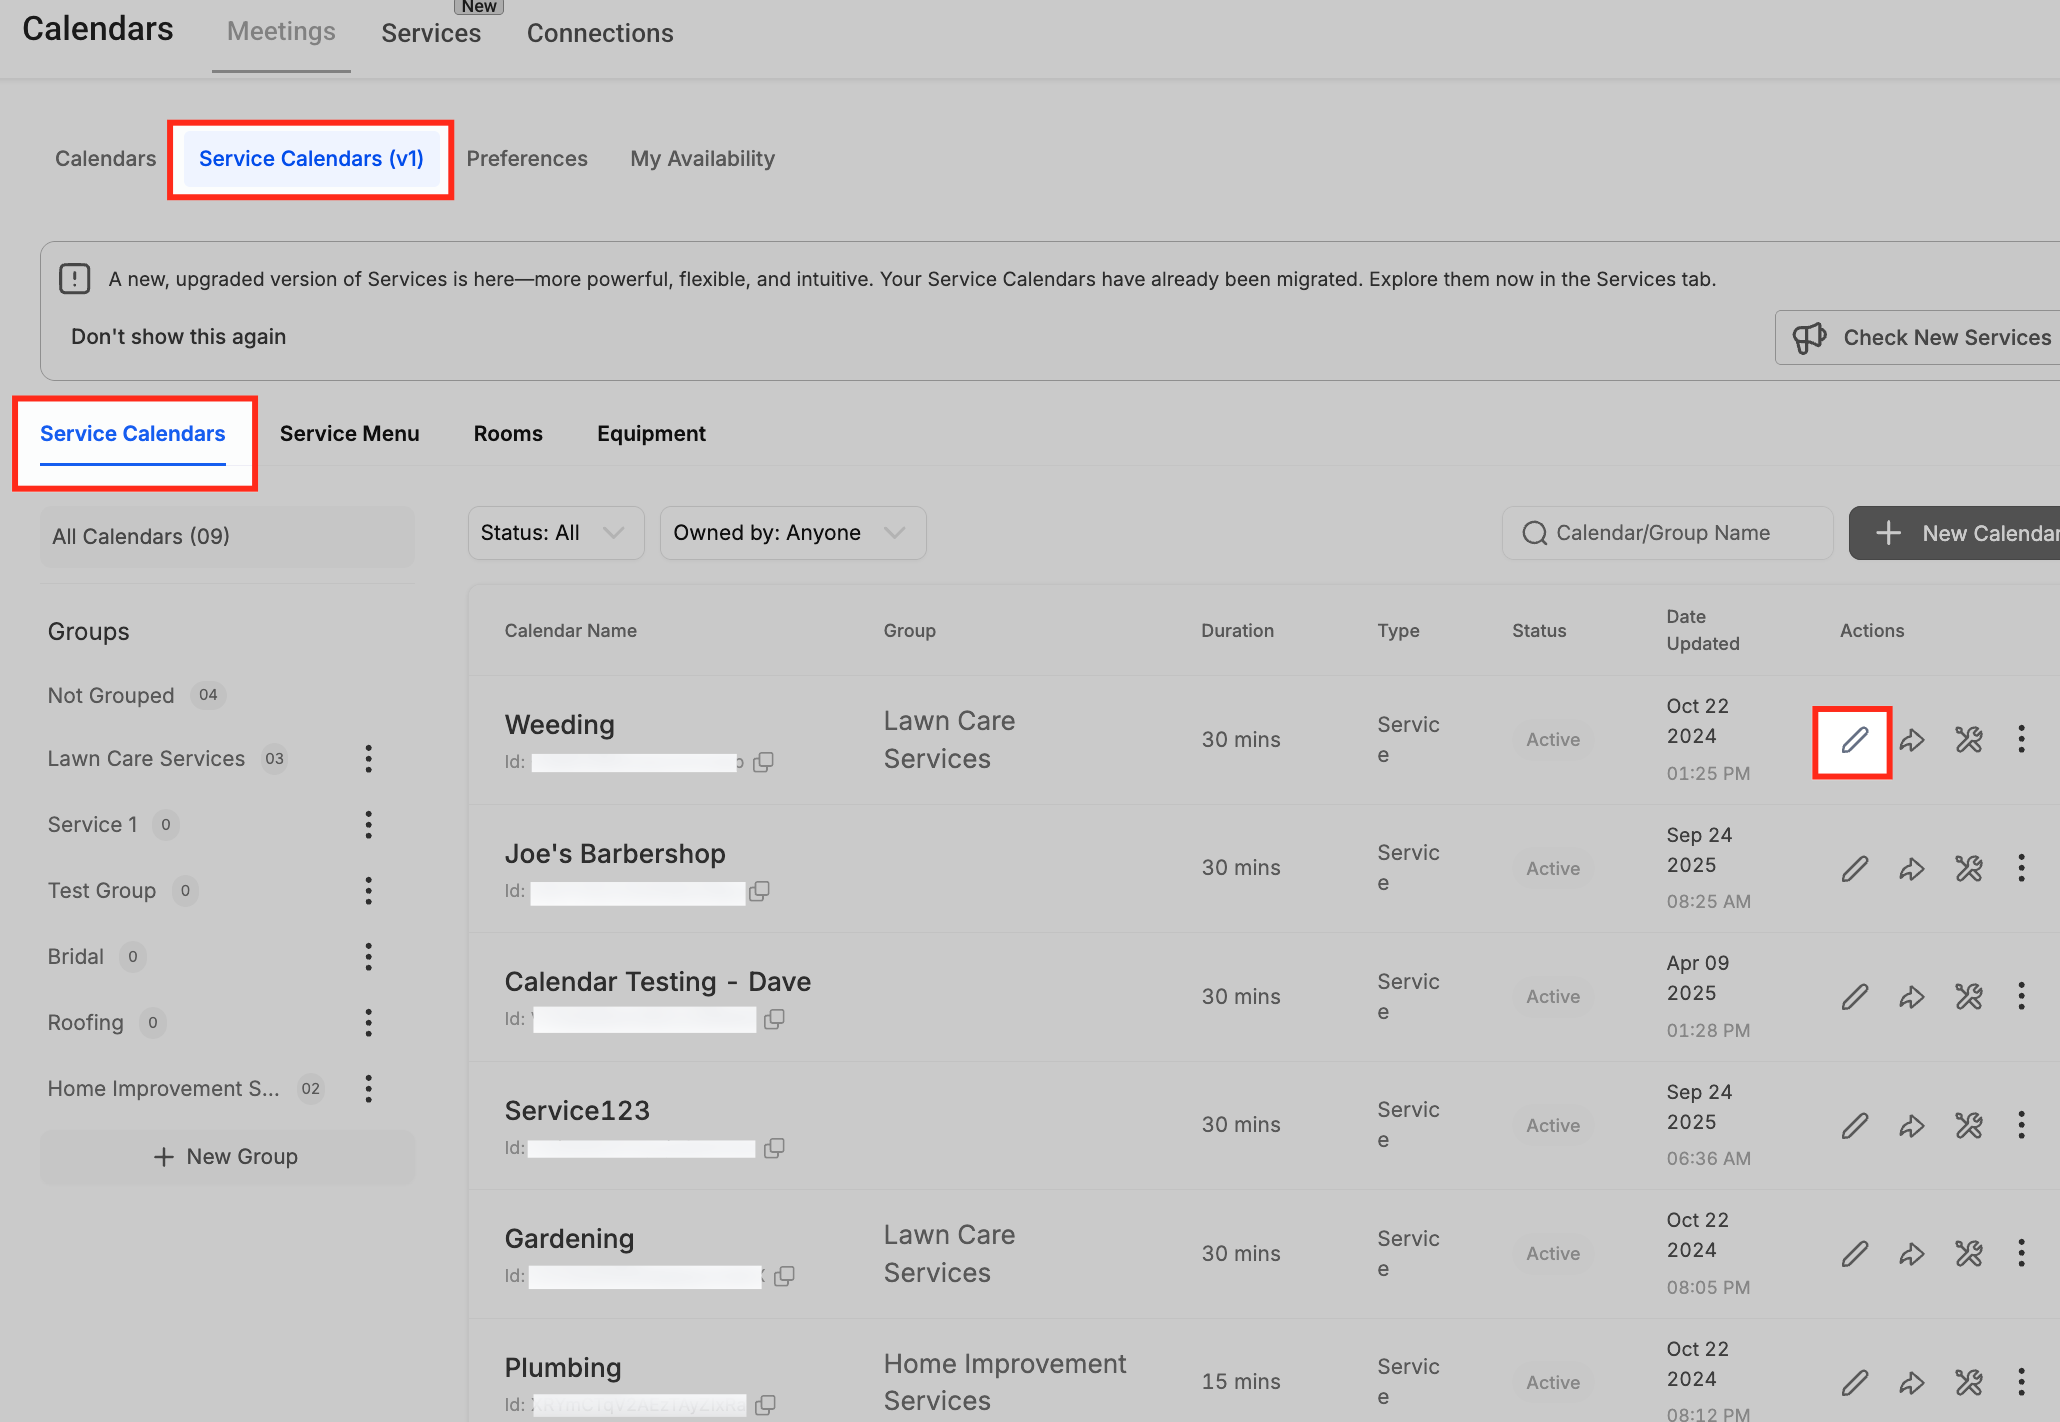
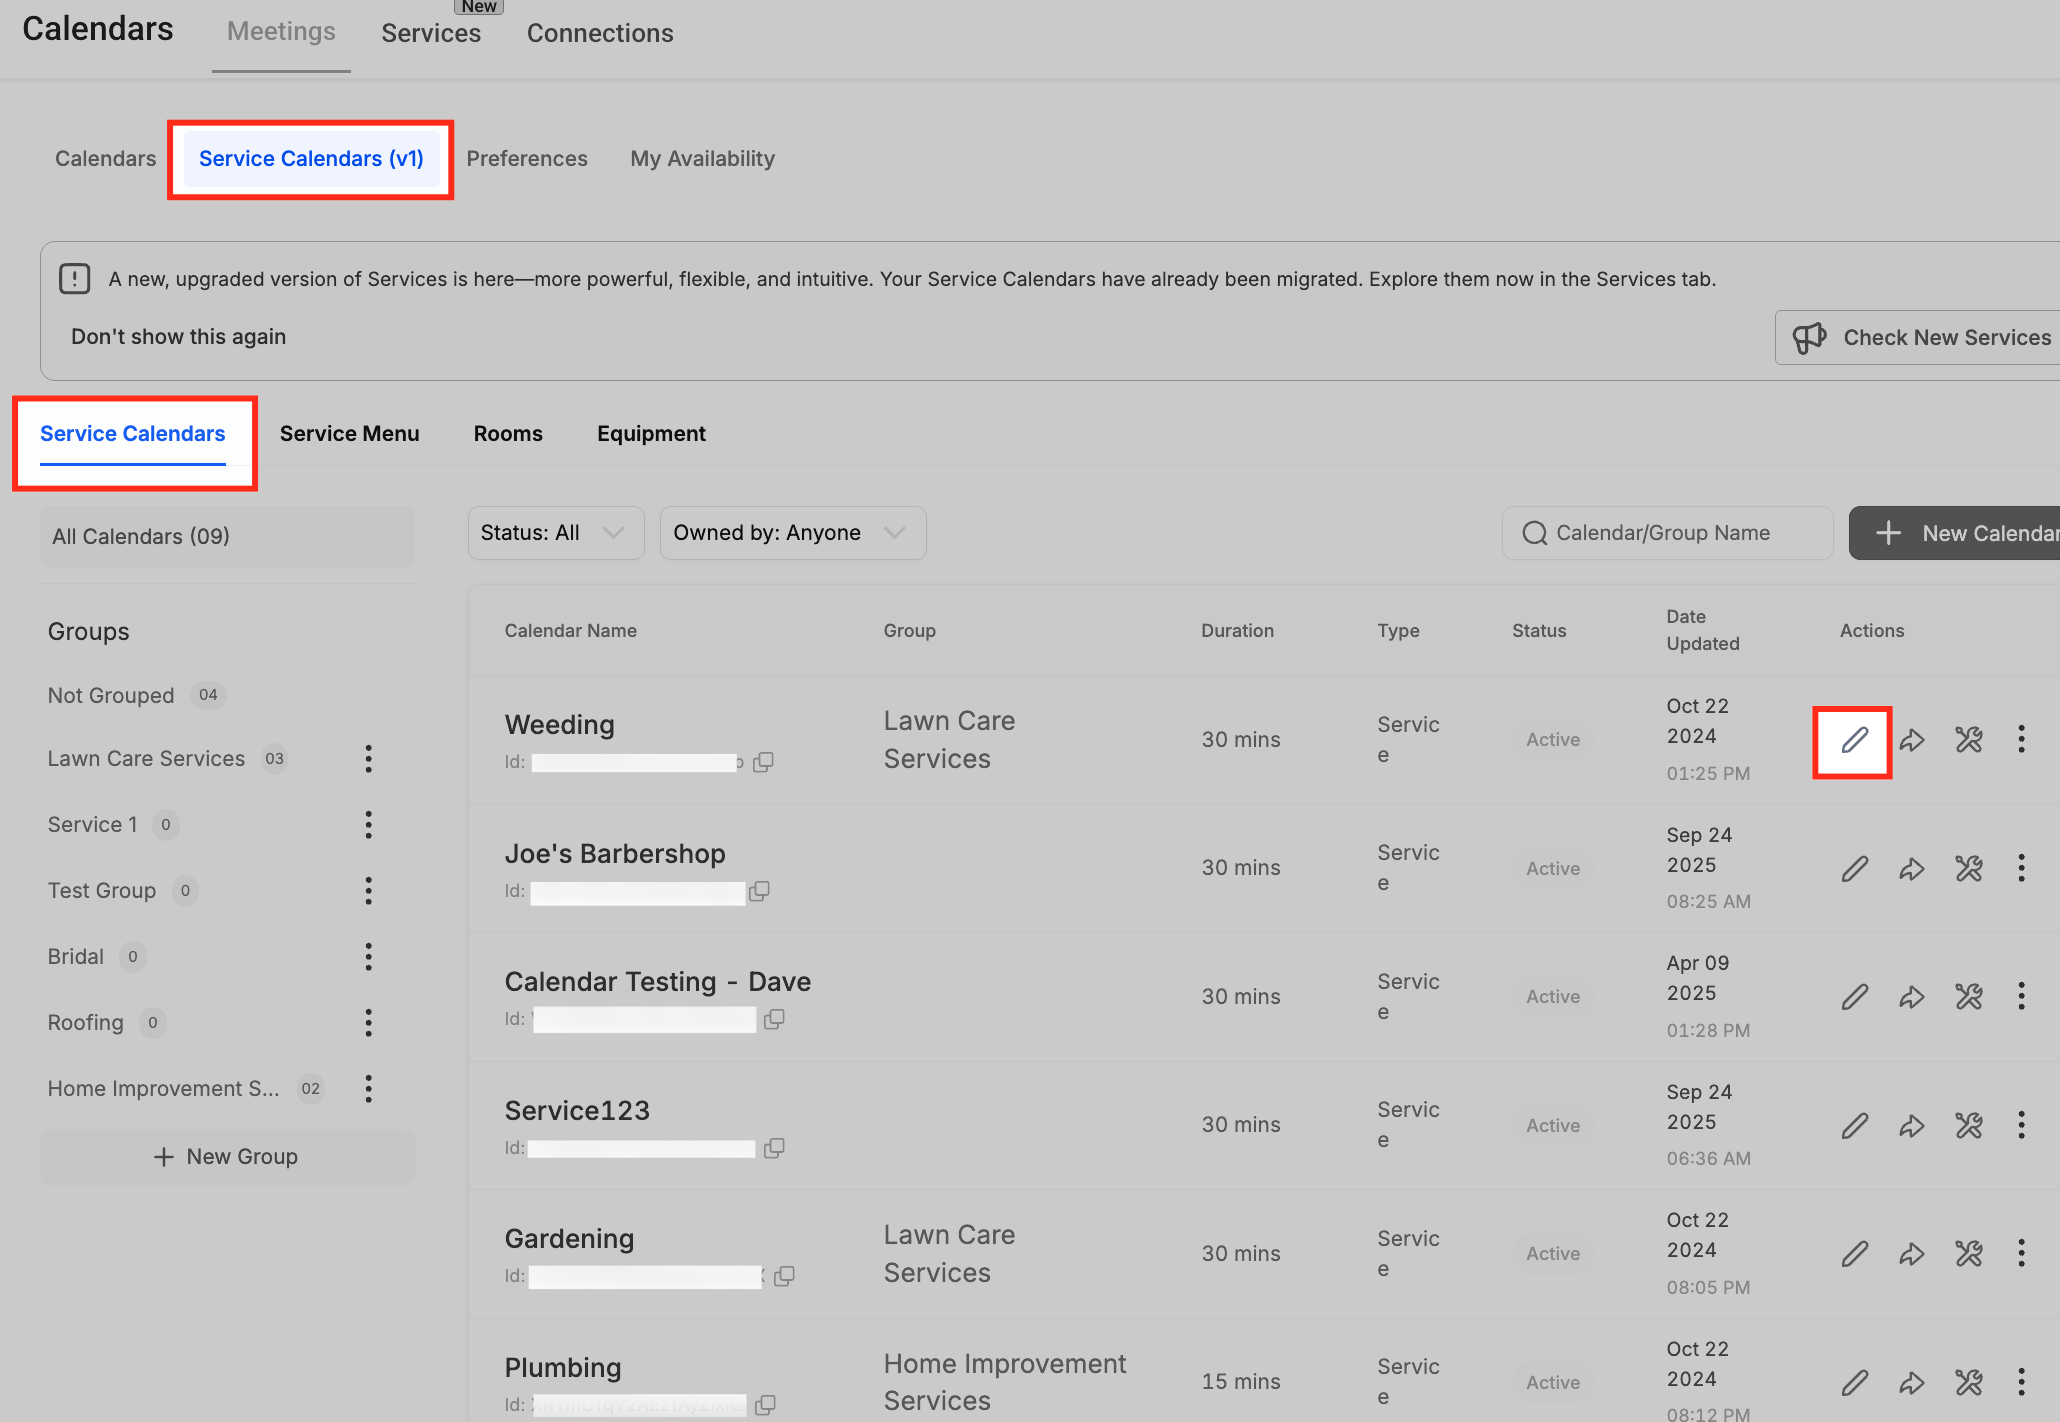
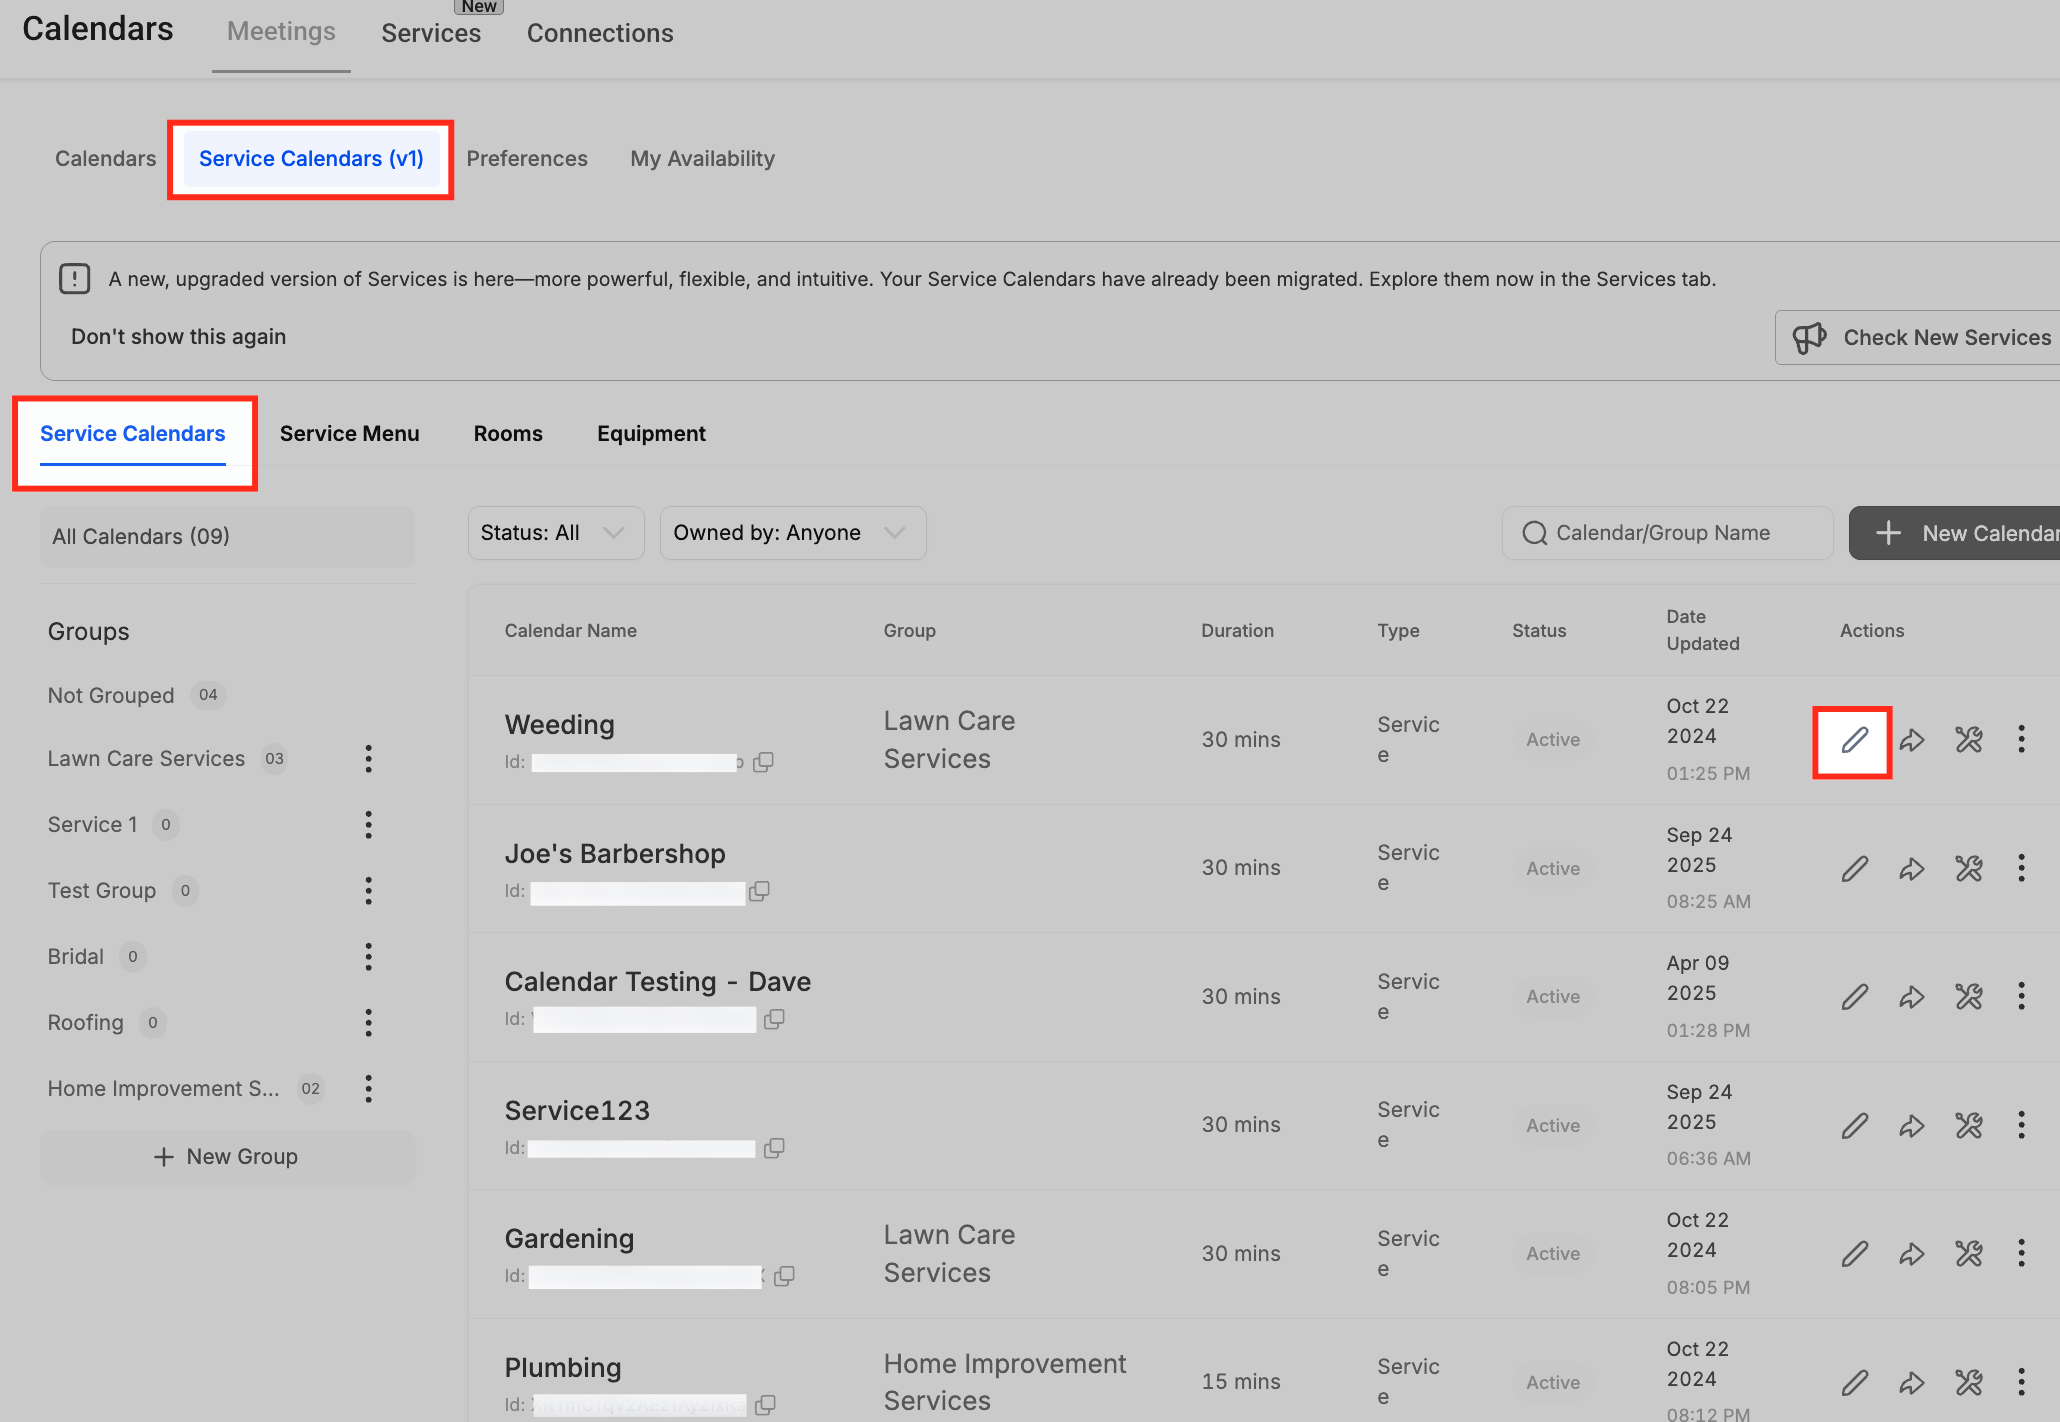
To update a calendar you've already created, go to Service Calendars (v1) under the Meetings tab. Find the calendar in the list and click the pencil icon under the Actions column. This reopens the calendar settings so you can adjust the service name, assigned staff, availability, notifications, or resources without rebuilding it from scratch.
A Service Menu displays multiple services or groups together on a single, patient-facing booking page, ideal for a full treatment menu rather than one isolated booking link.
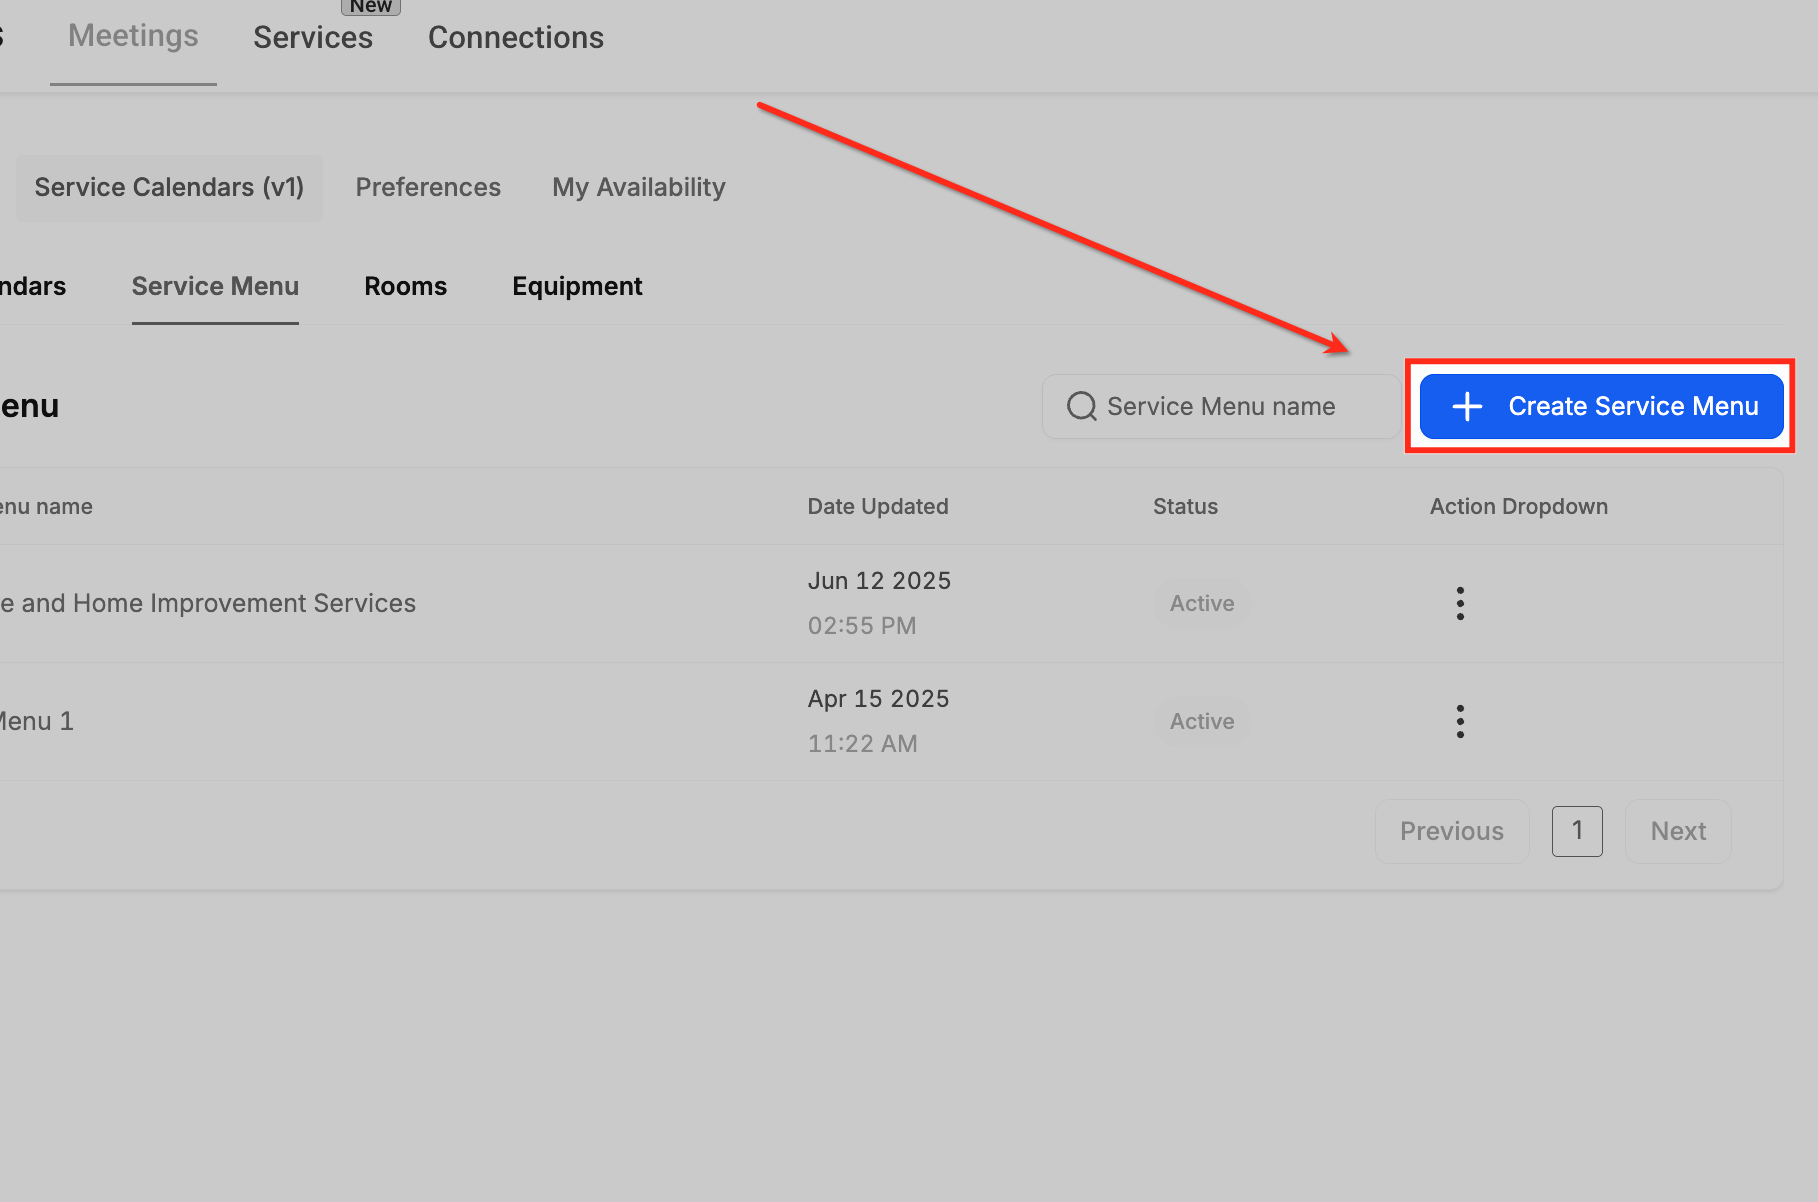
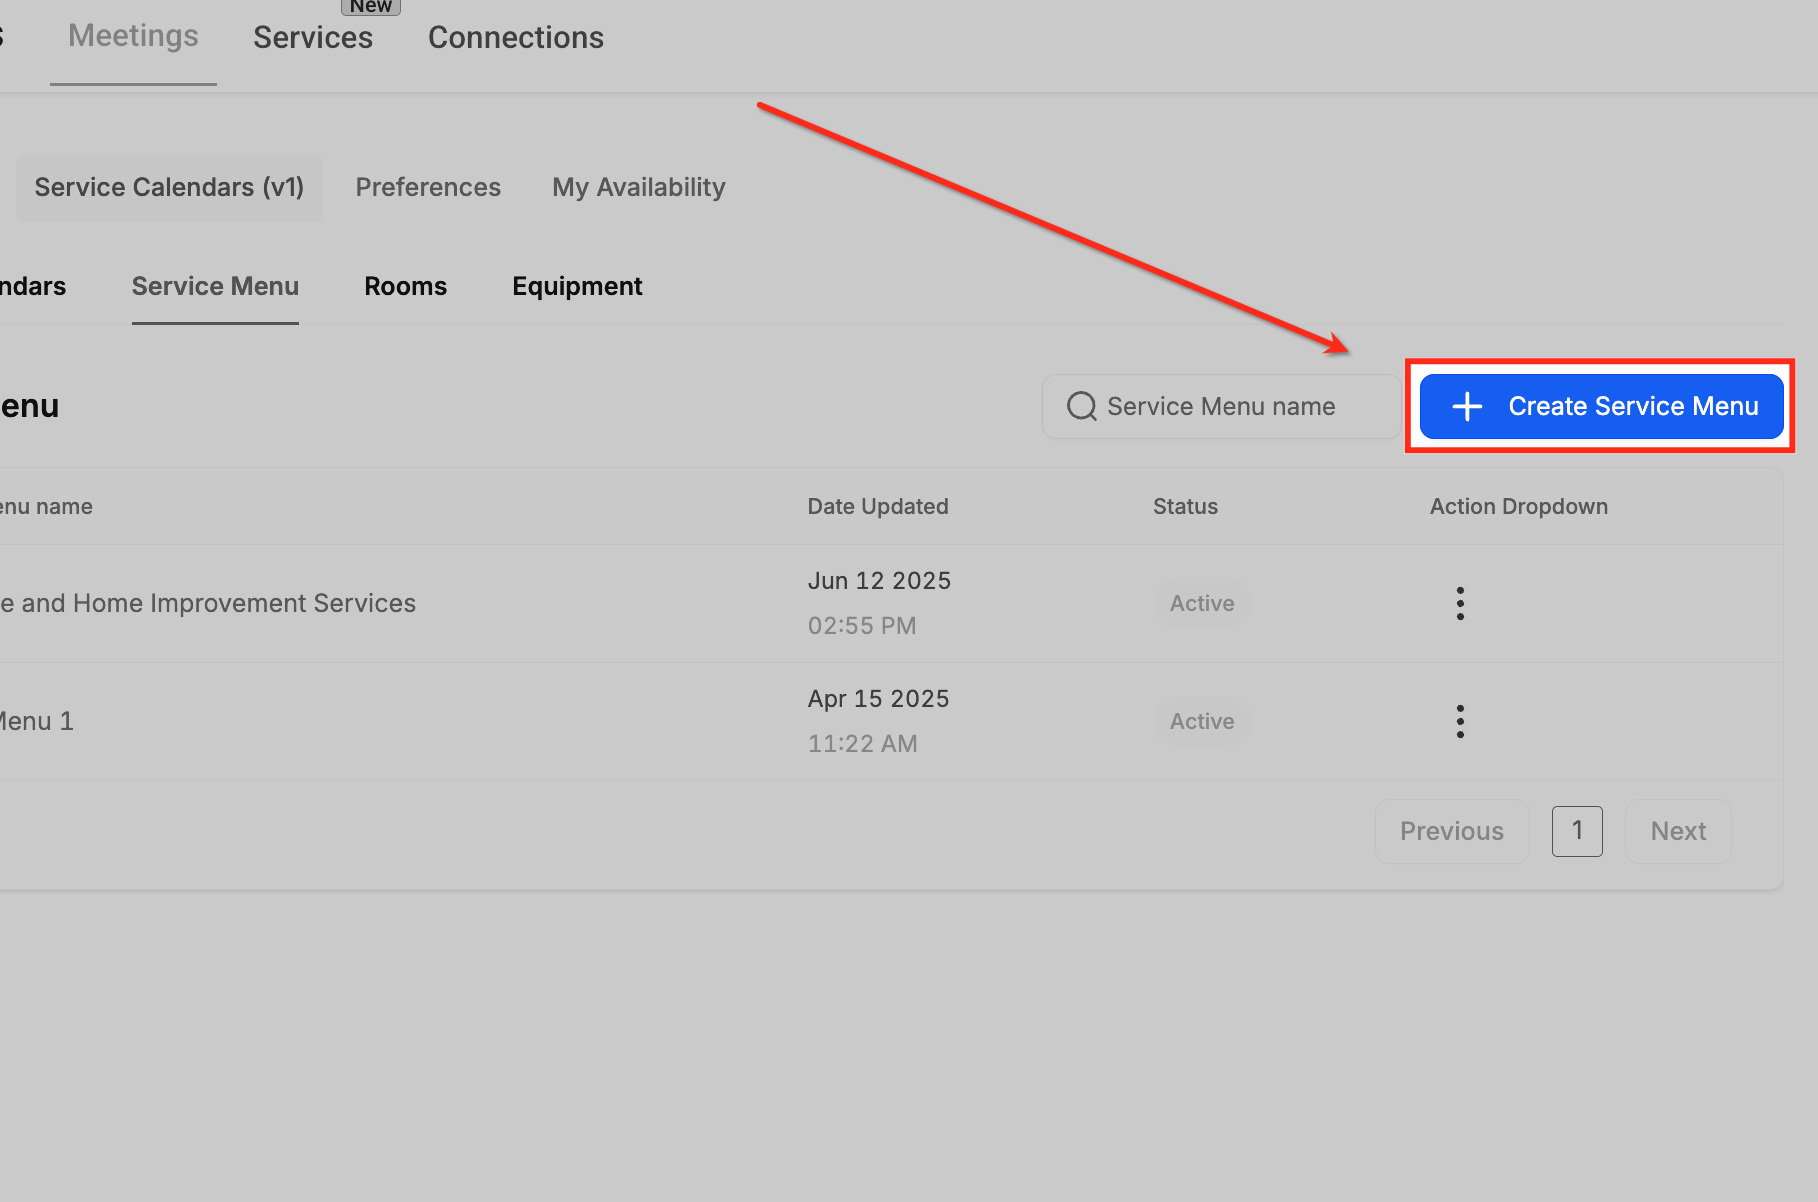
Go to Meetings → Service Calendars (v1) → Service Menu. This is where customer-facing menus are created and managed.
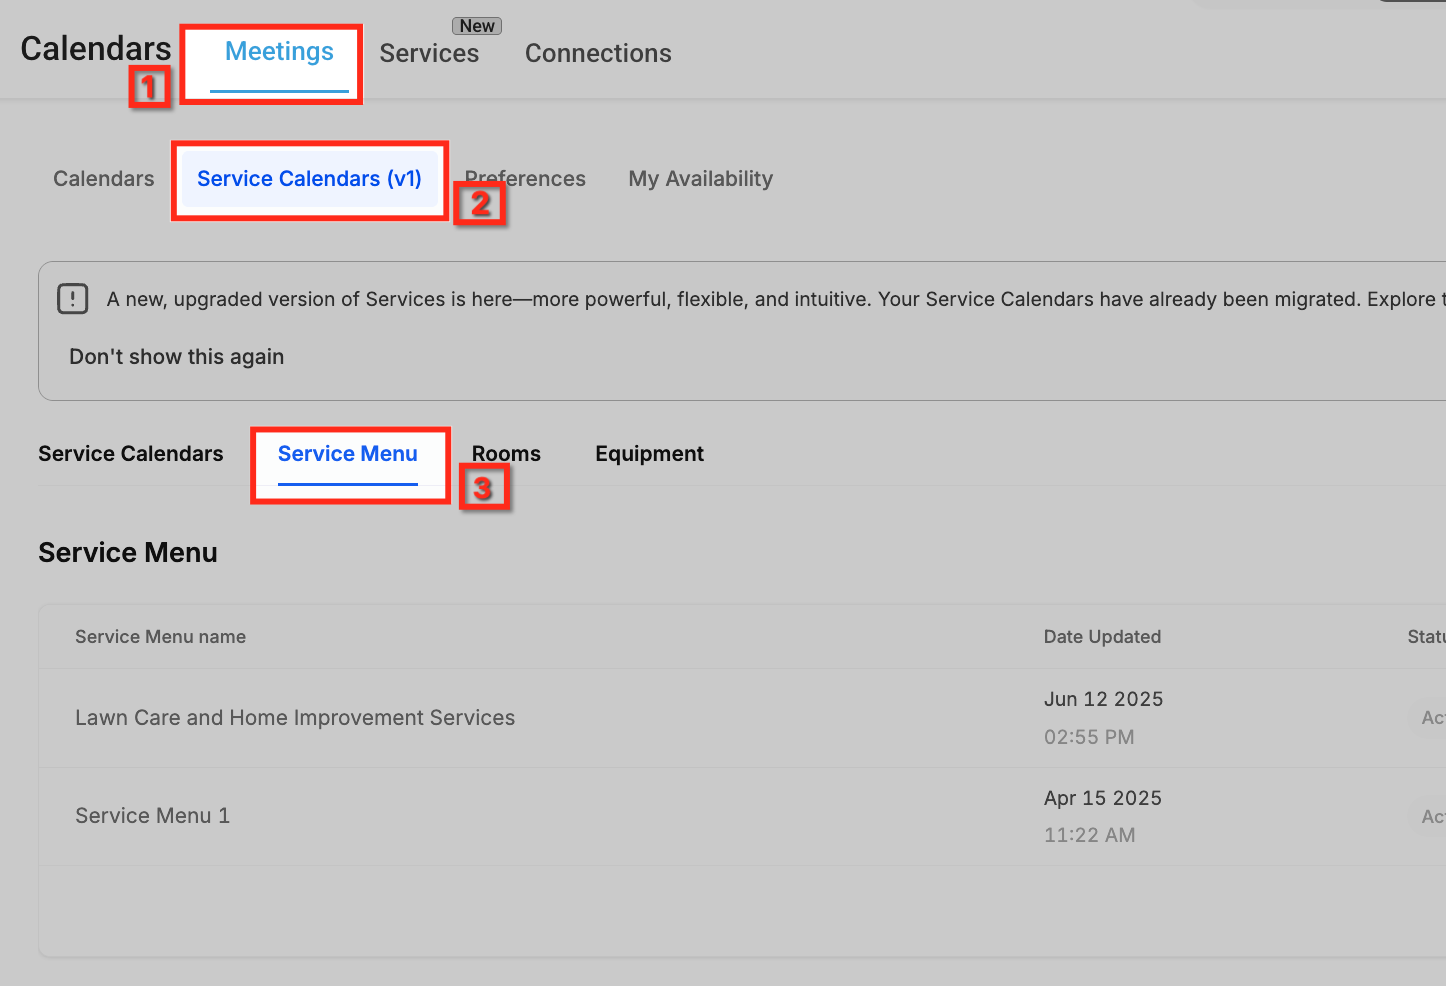
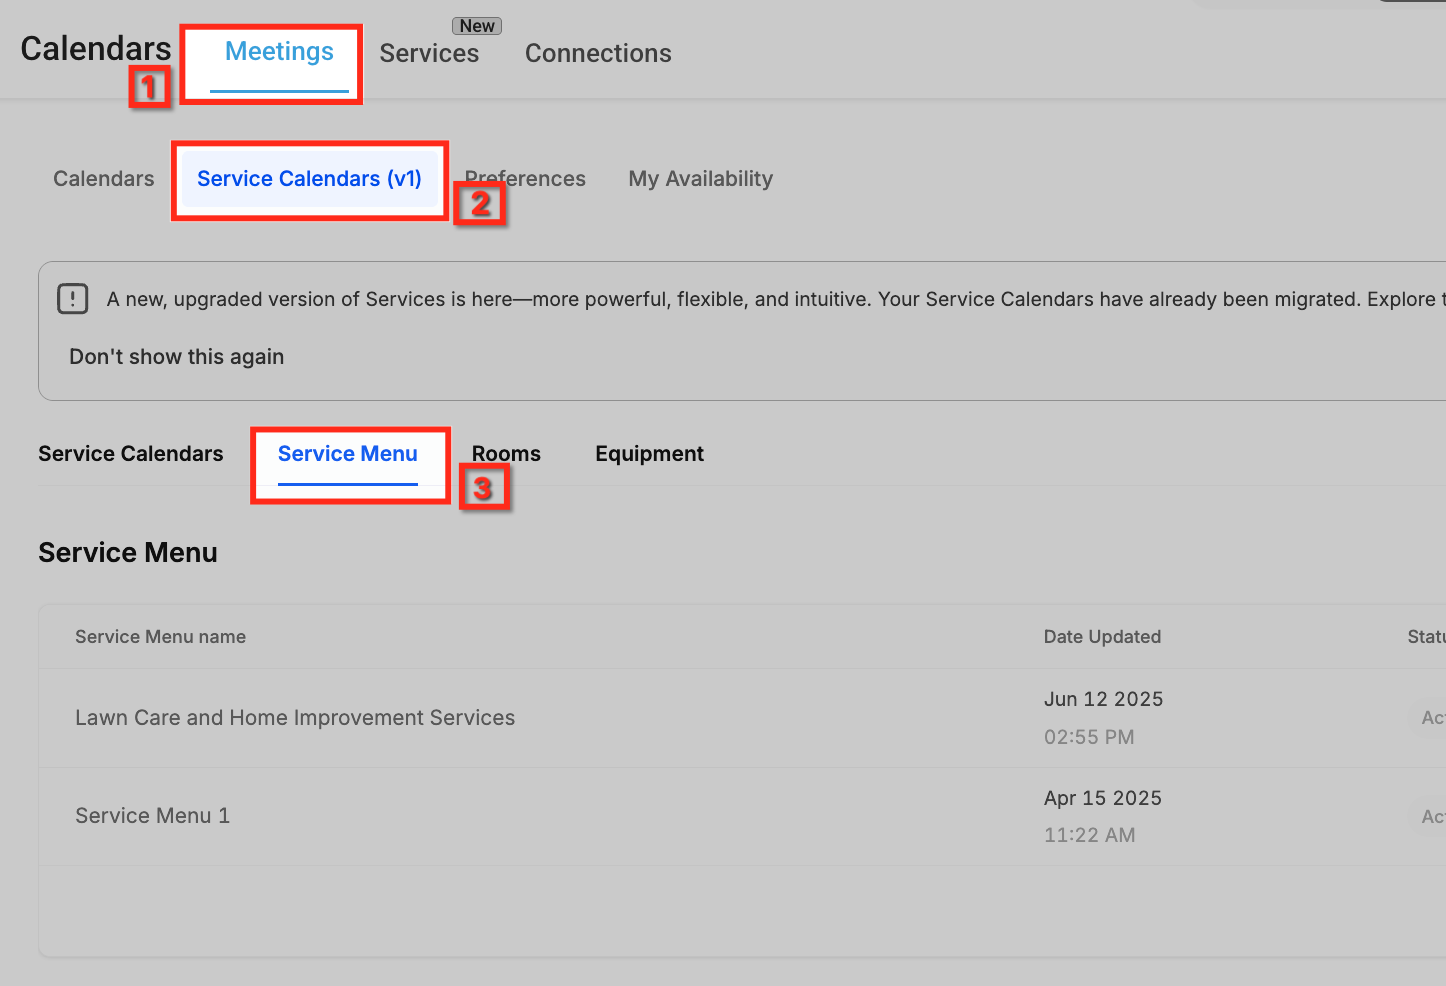
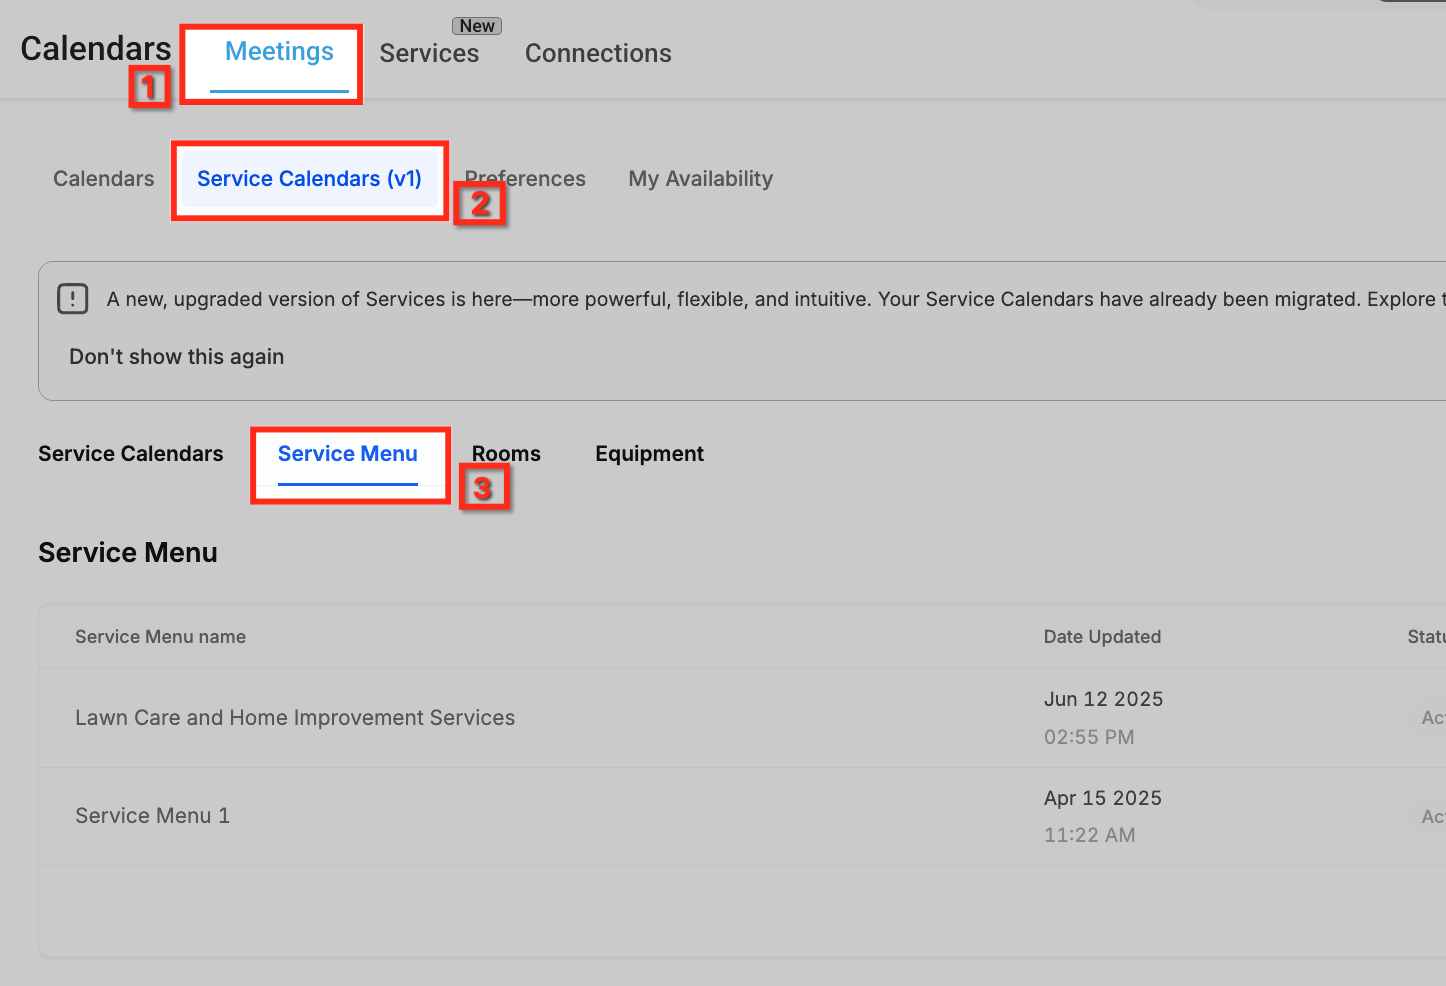
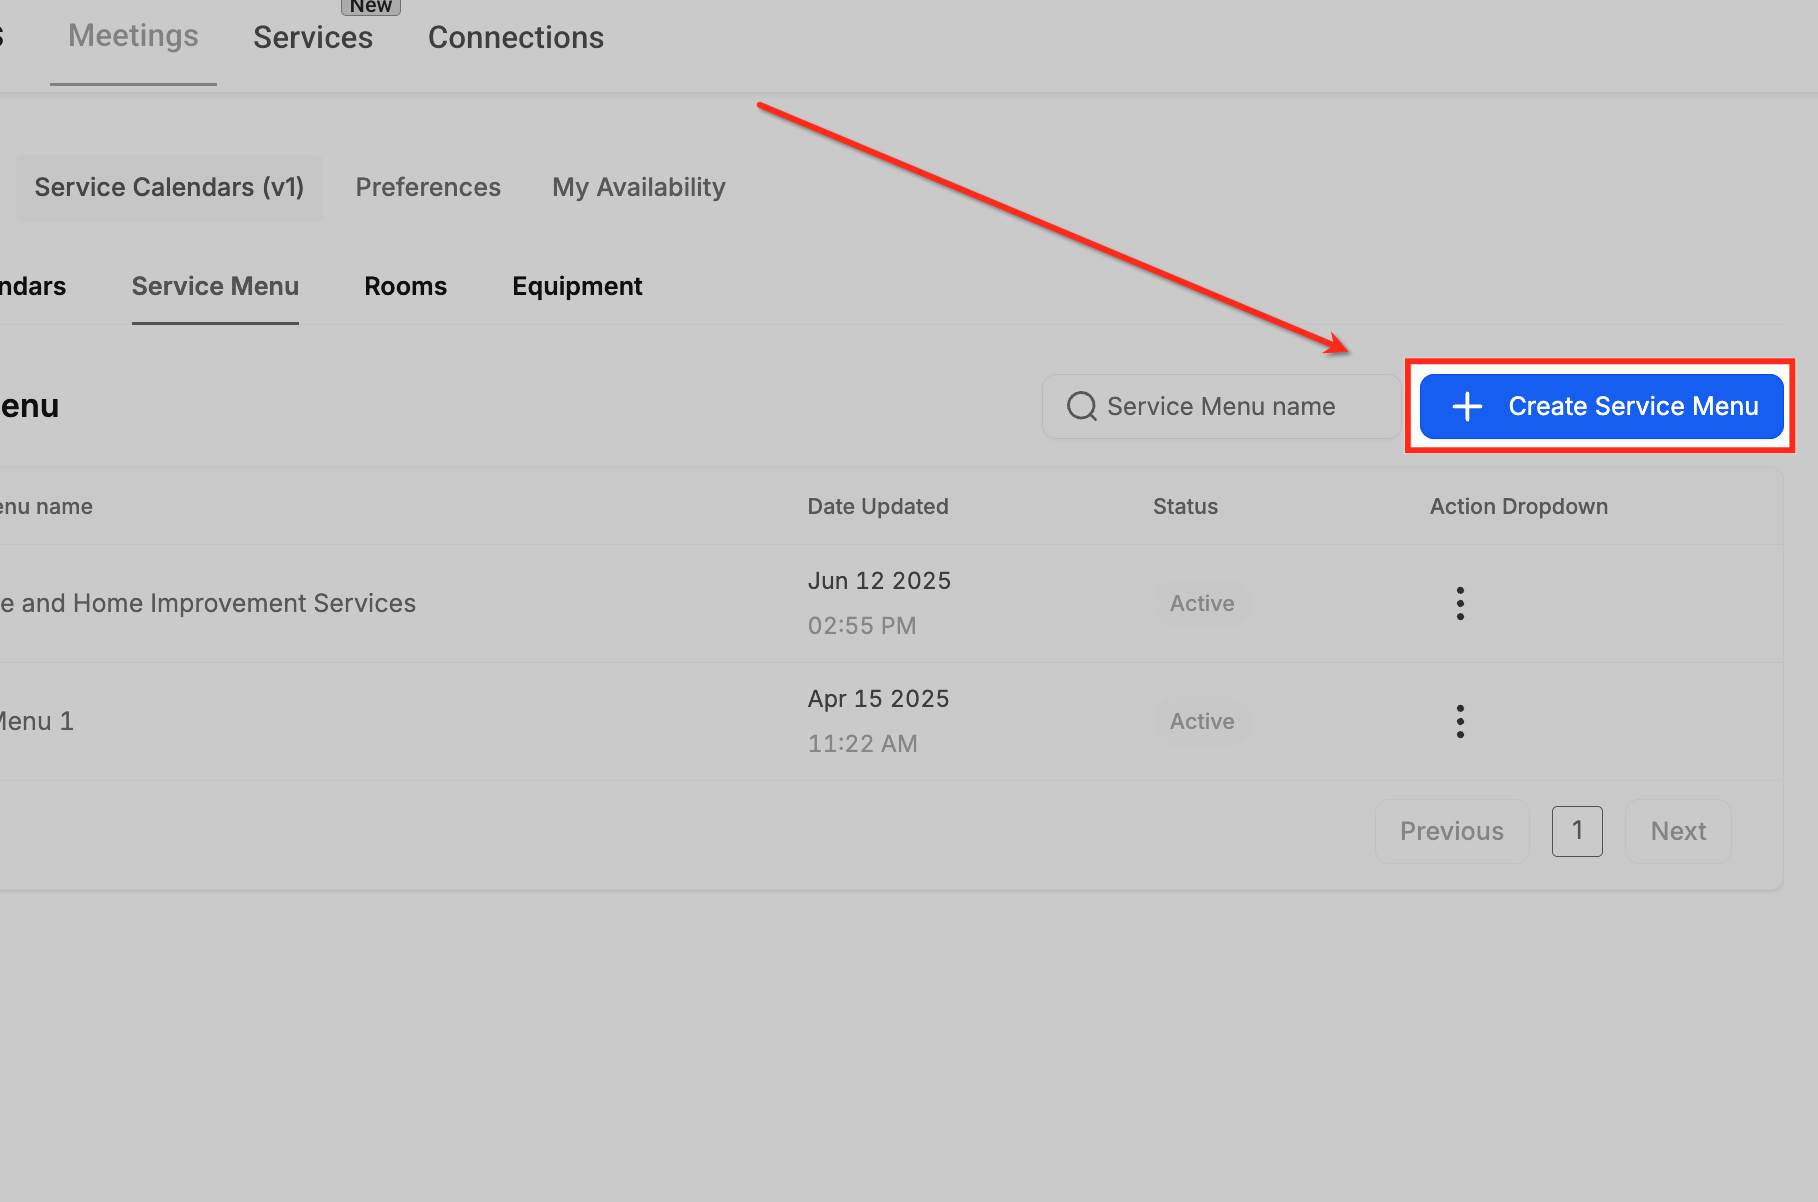
Click + Create Service Menu in the top-right corner. This starts a new patient-facing menu that displays your practice's services.
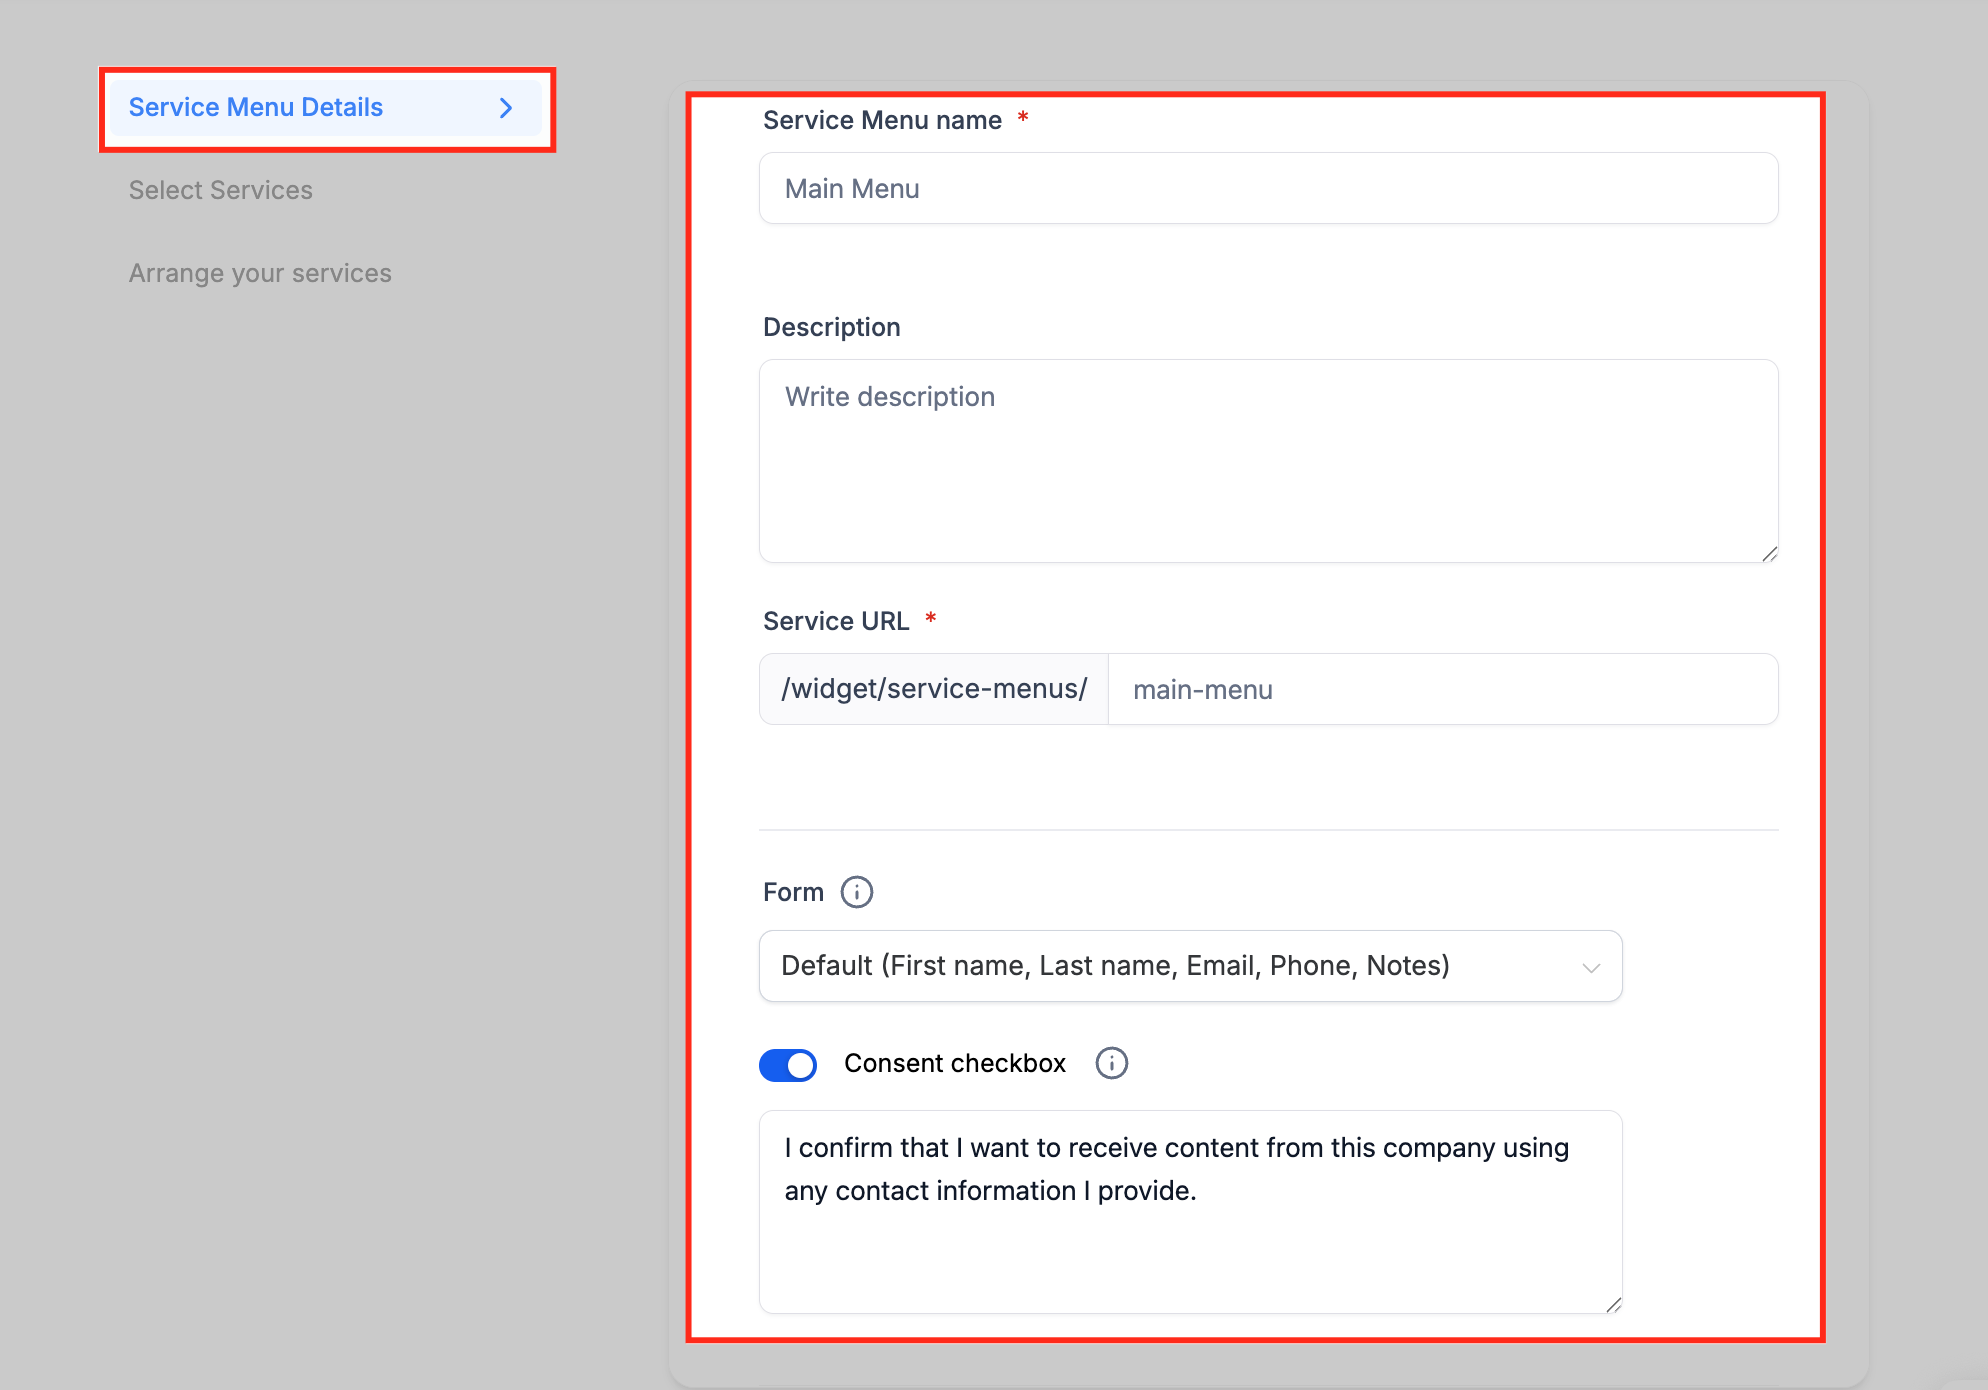
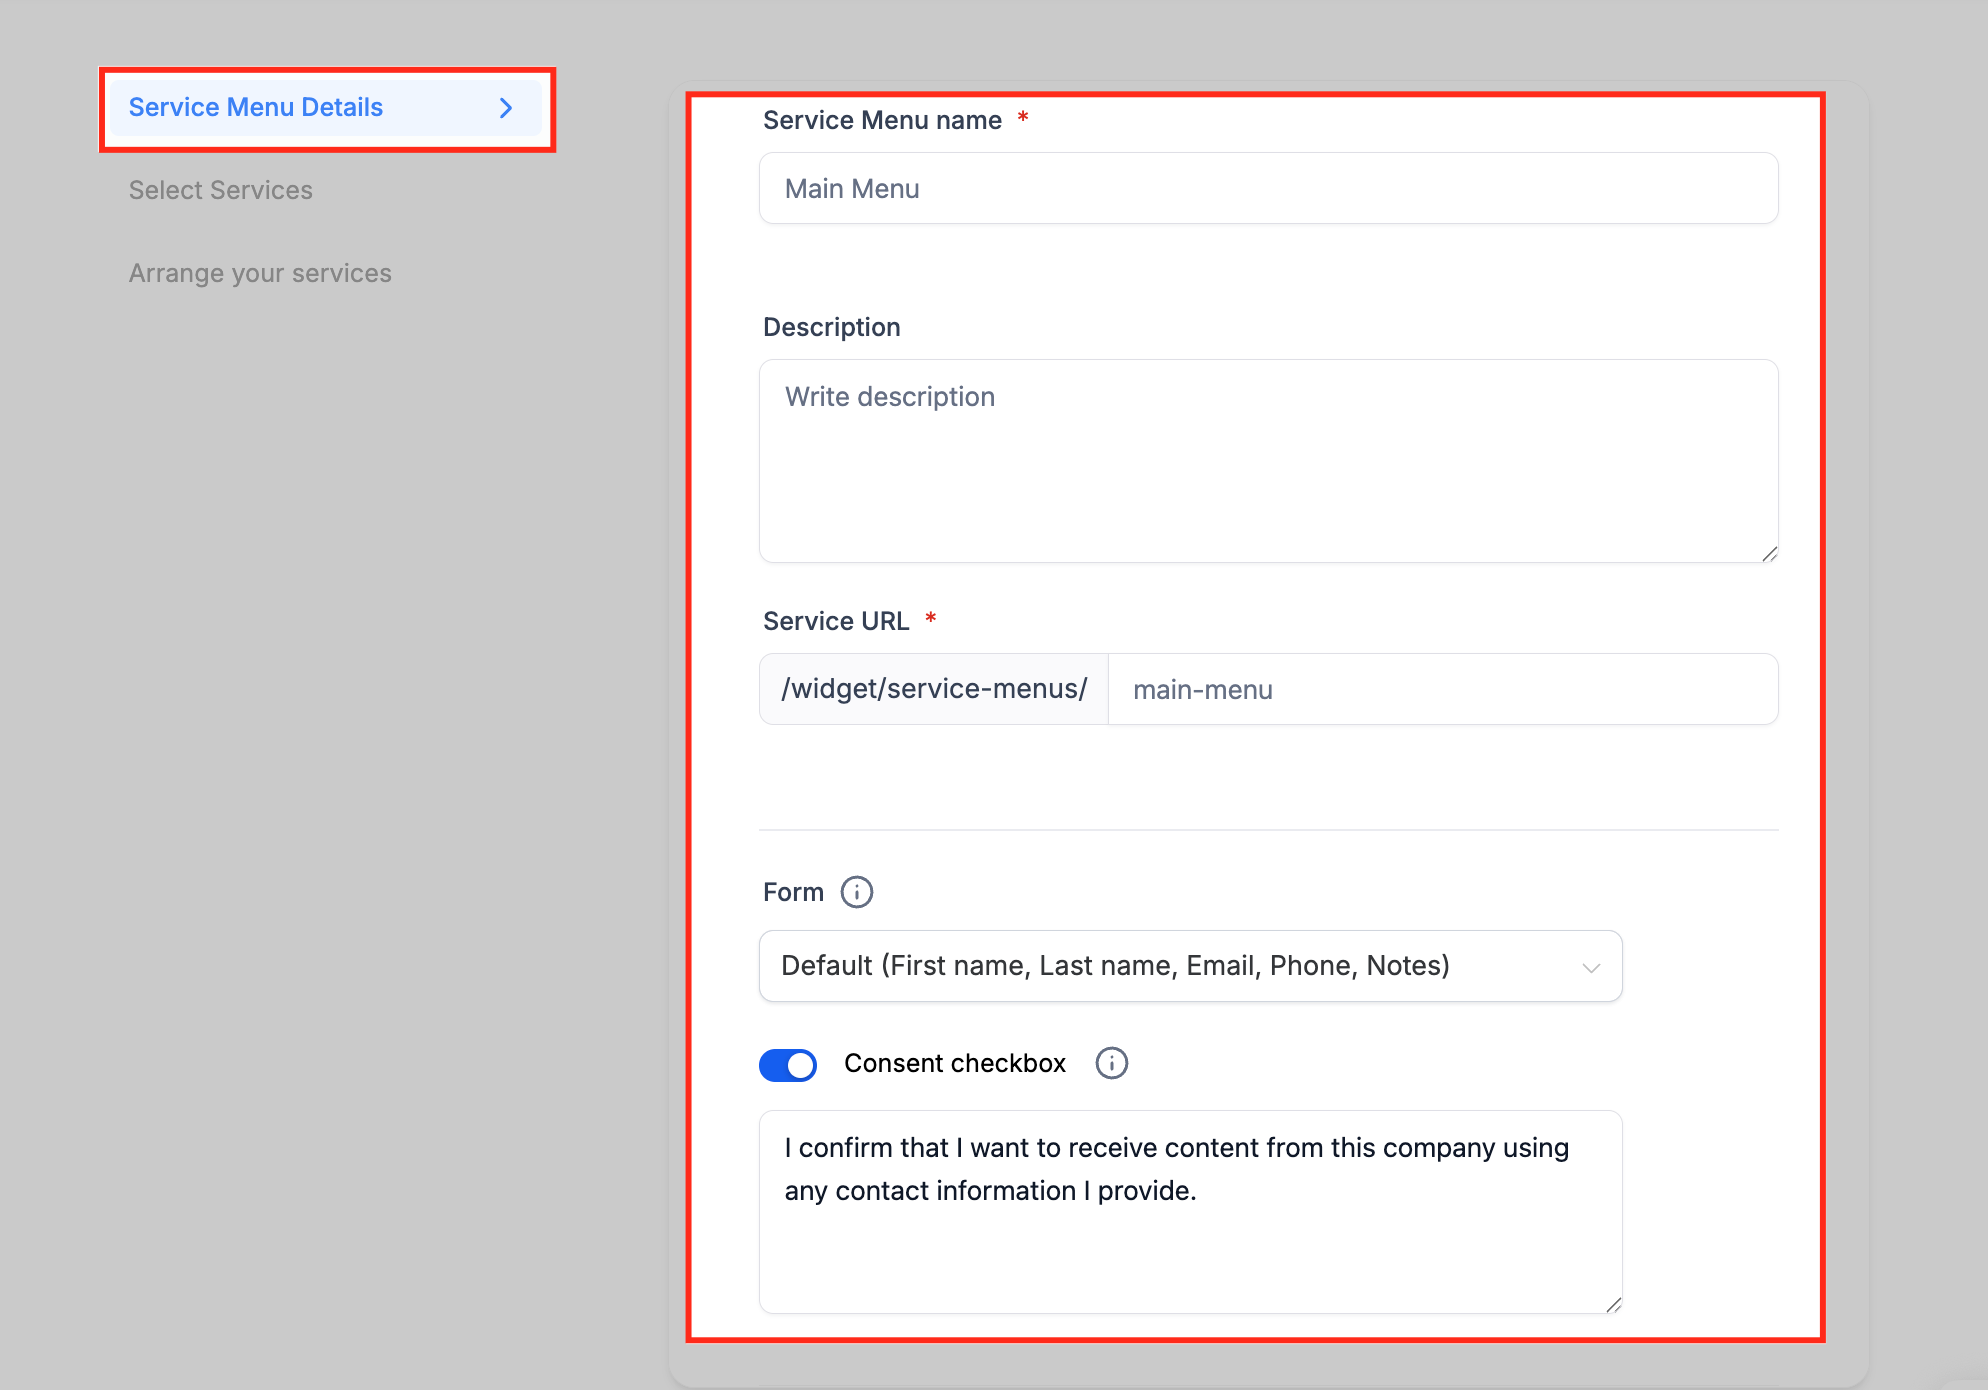
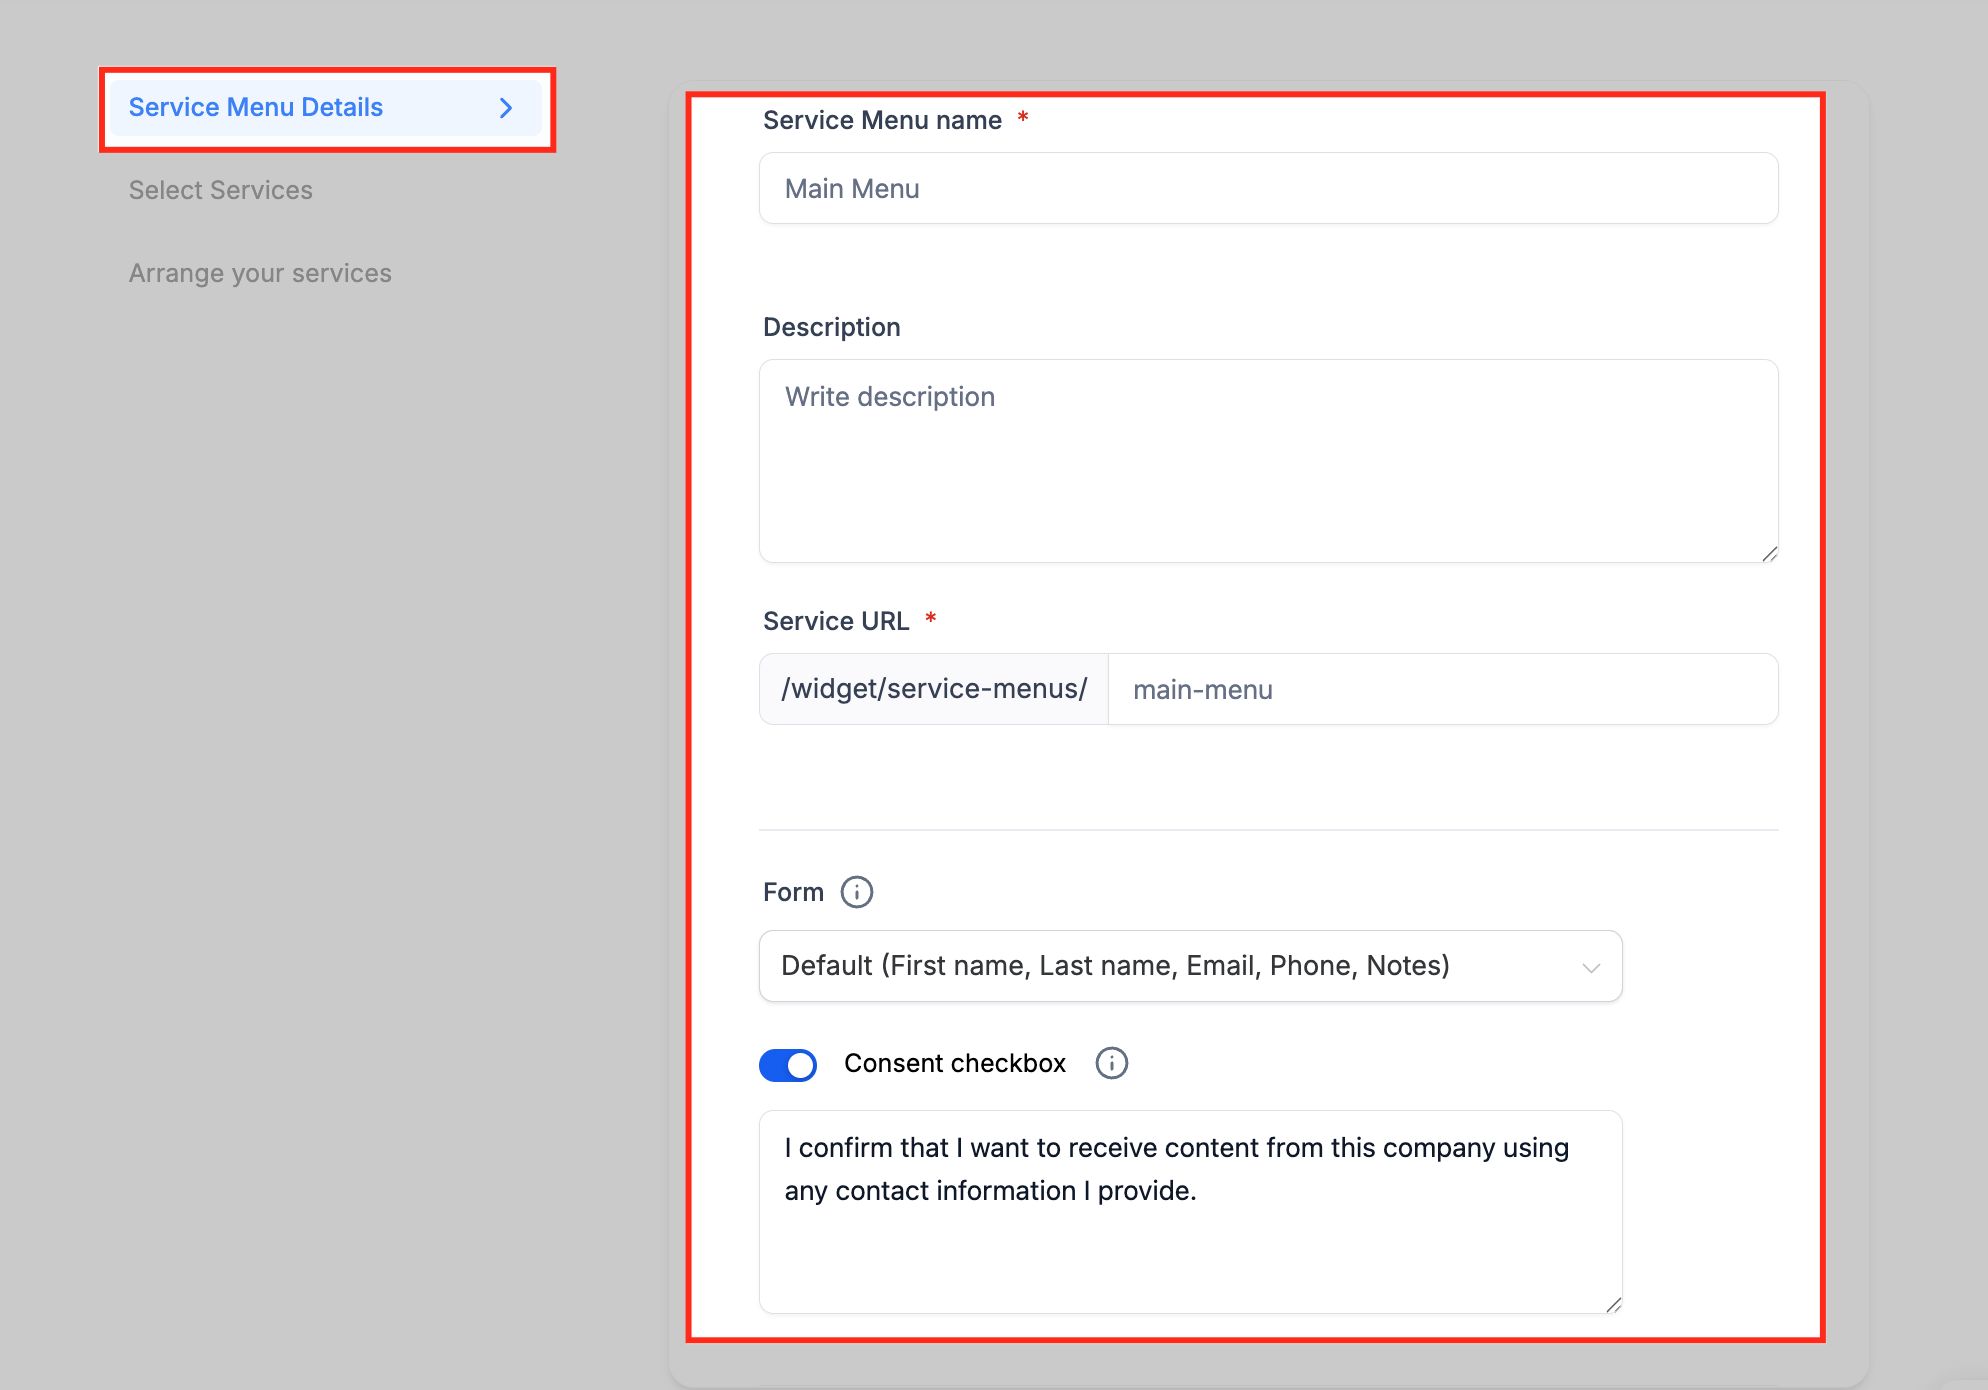
Complete the Service Menu name, Description, and Service URL slug. Choose the intake Form patients complete before booking and toggle the Consent checkbox if you need signed consent captured at the time of booking. These settings control what patients see at the top of the menu and the link you'll share with them.
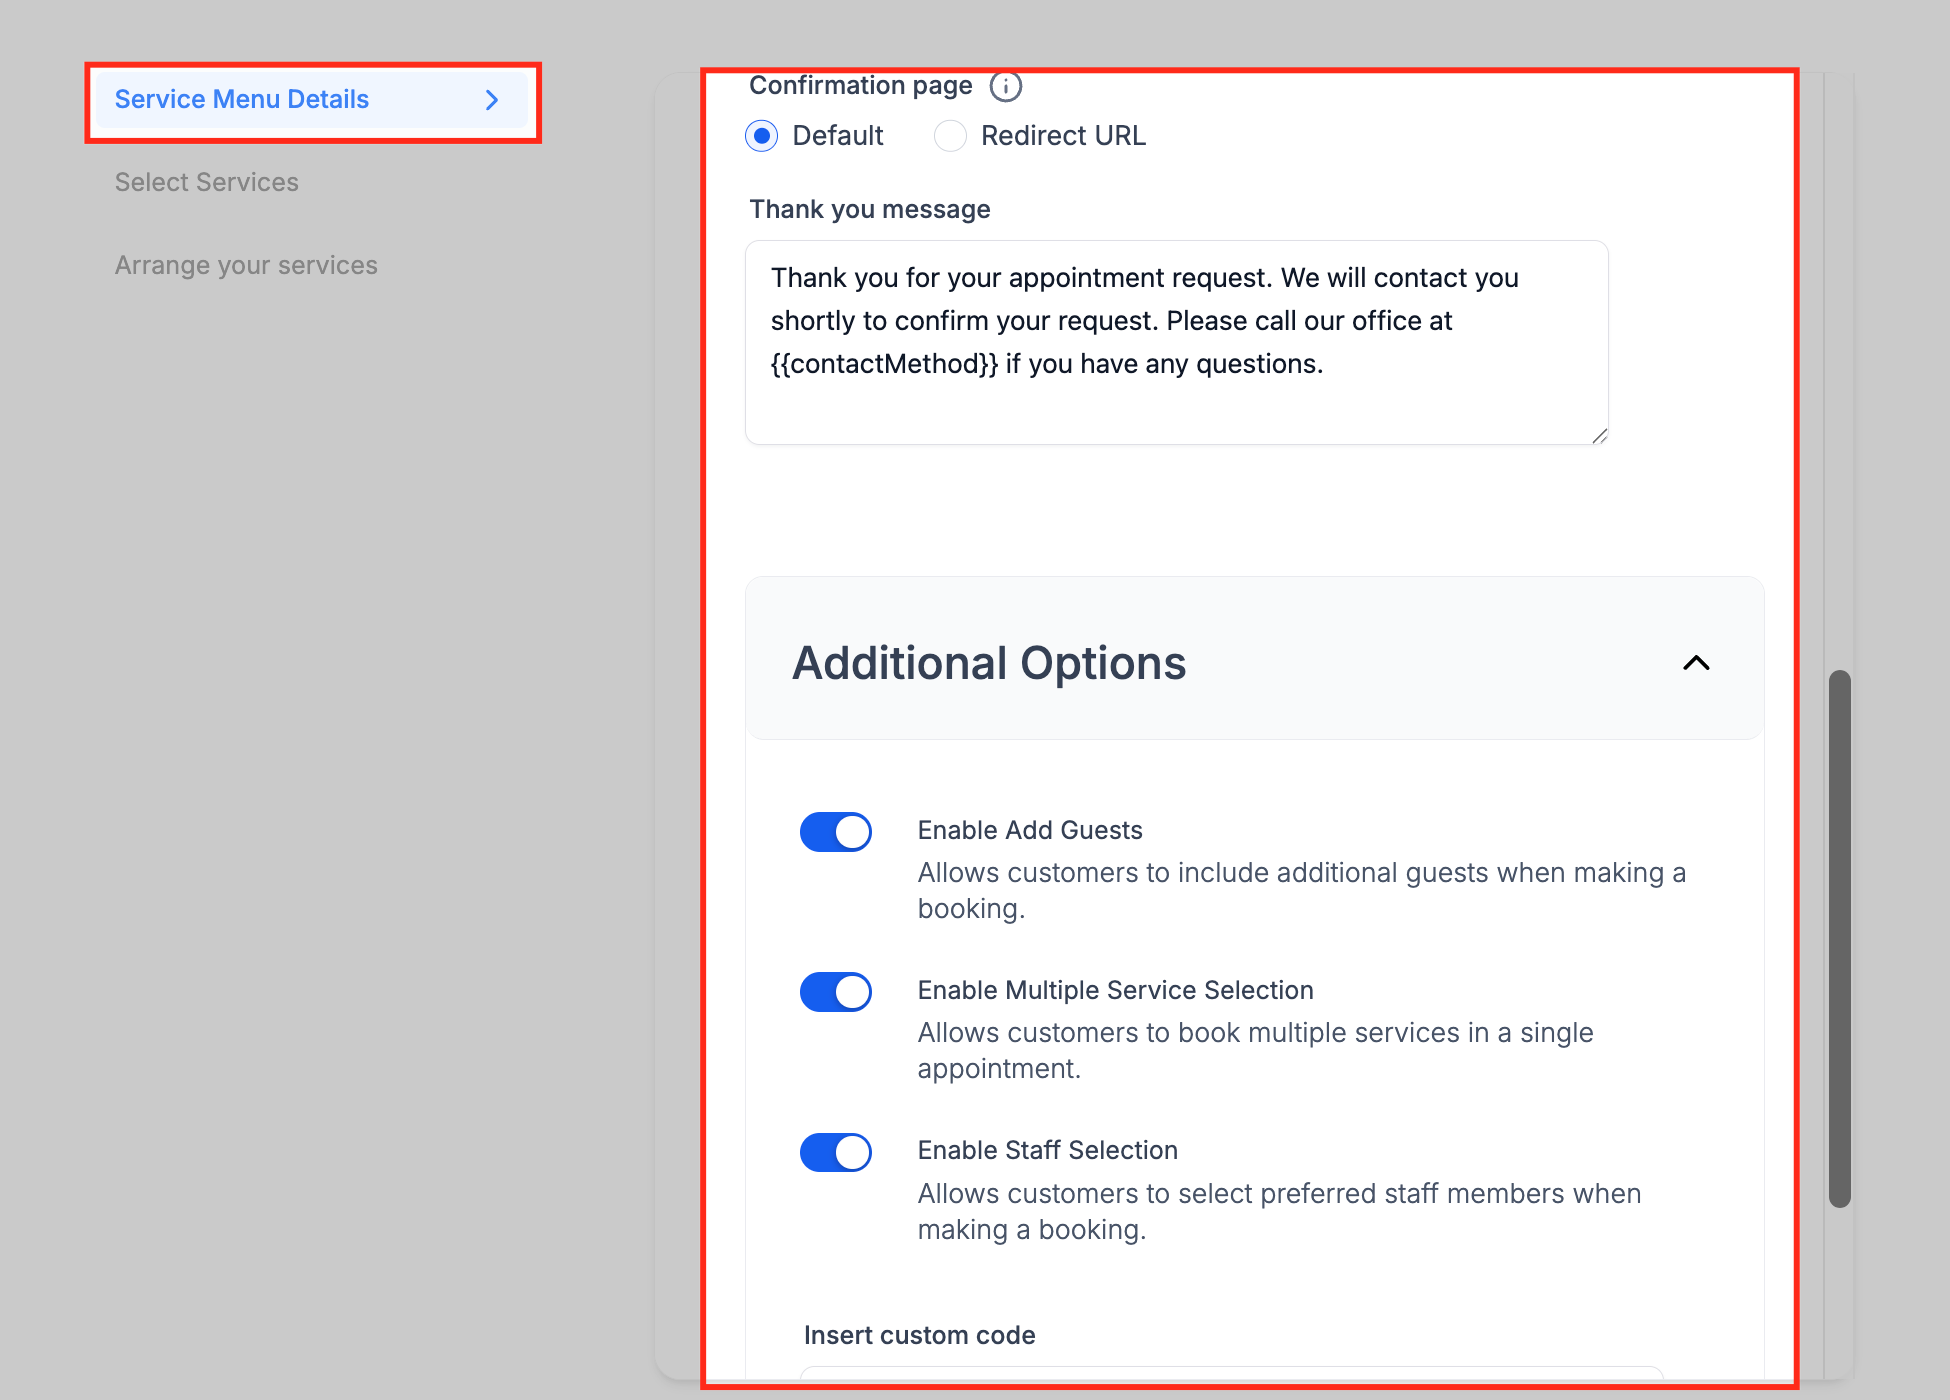
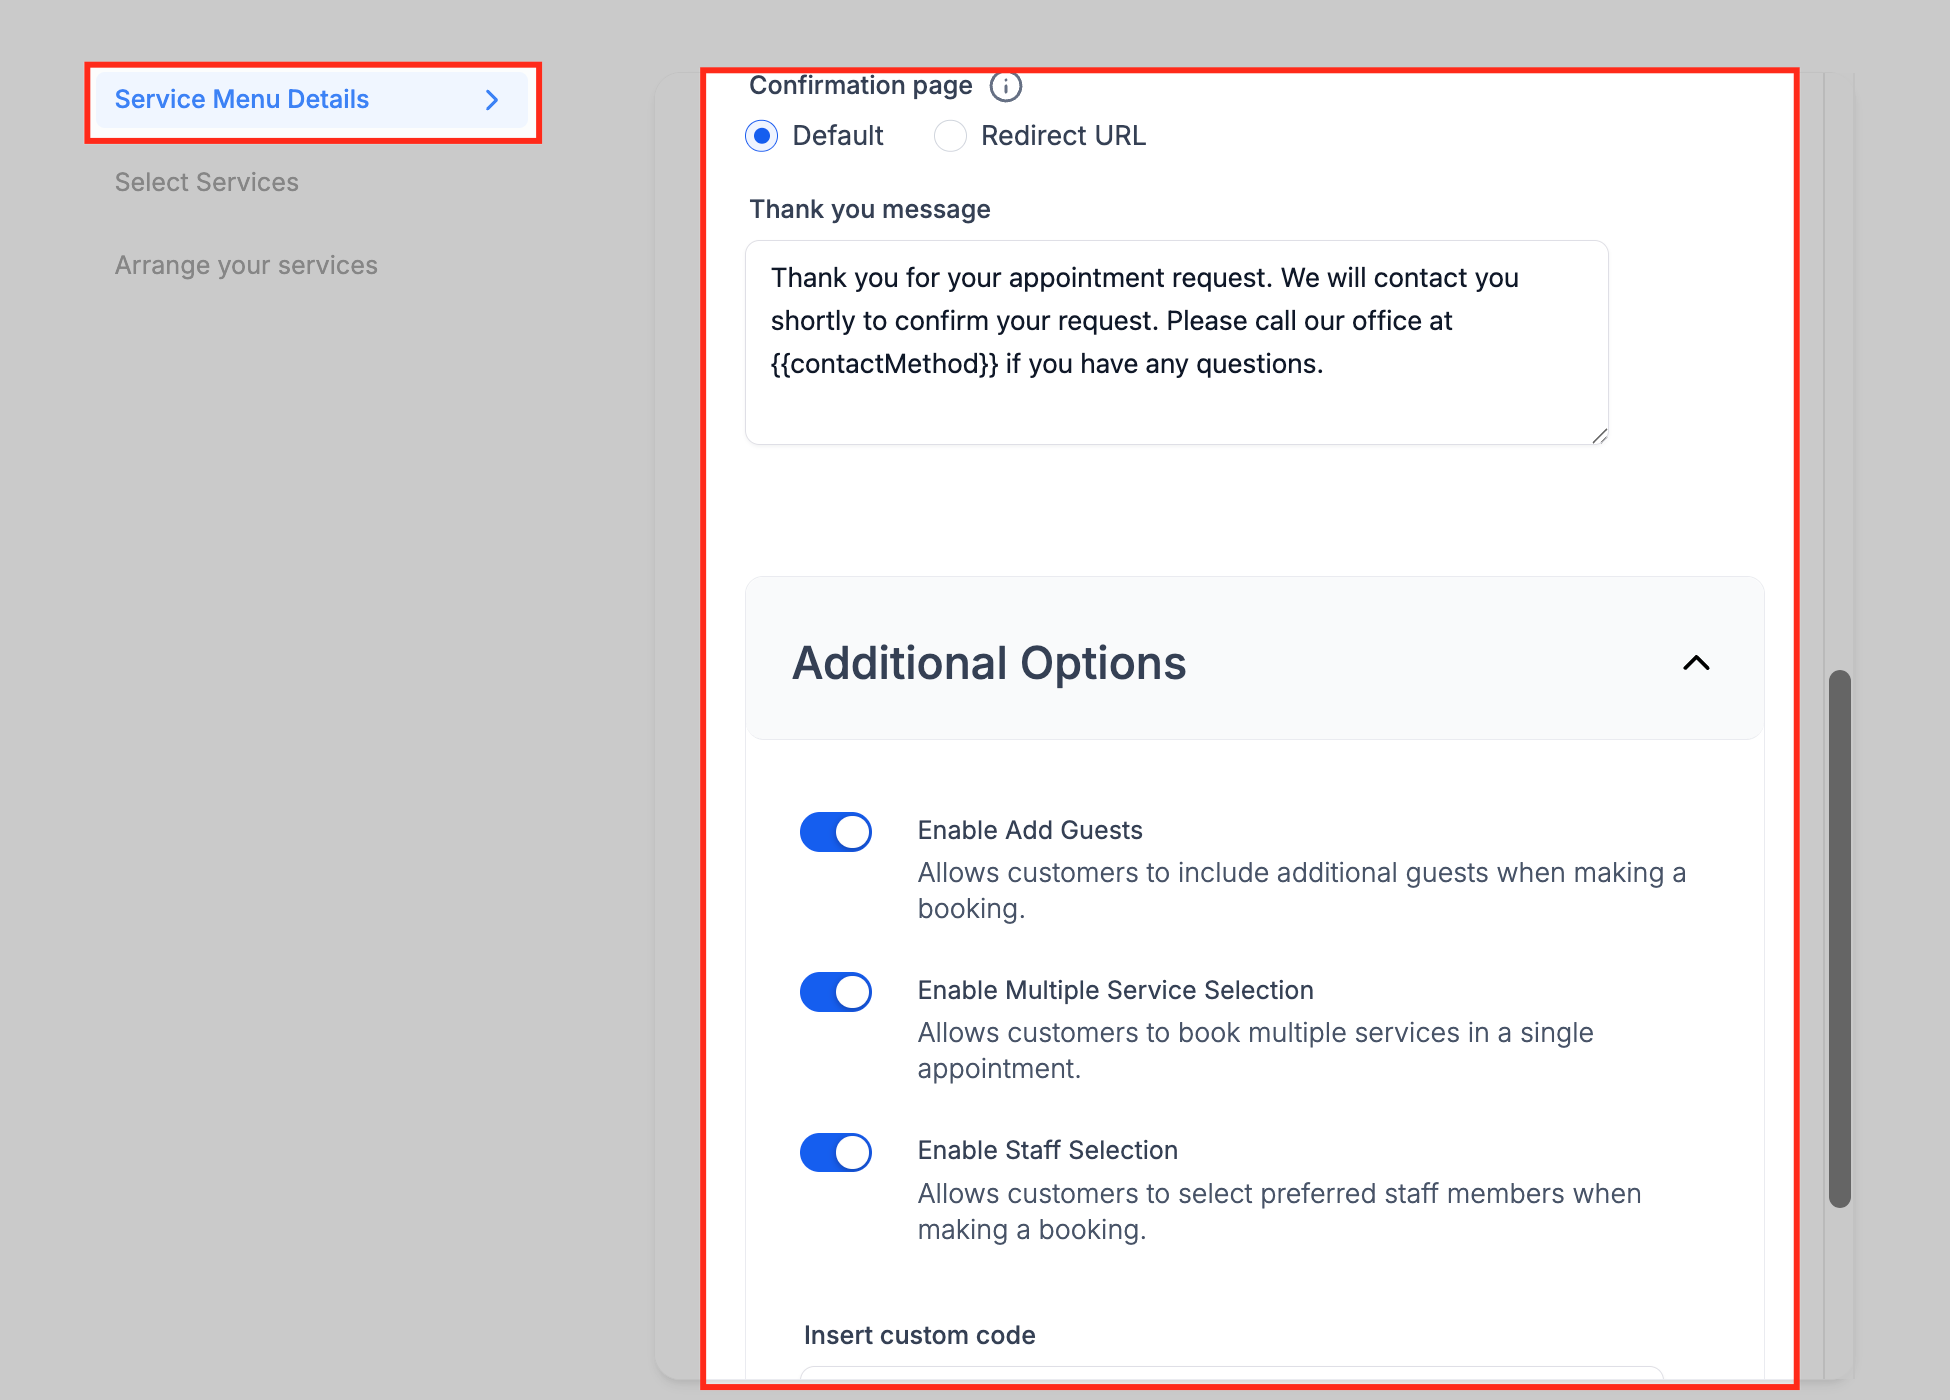
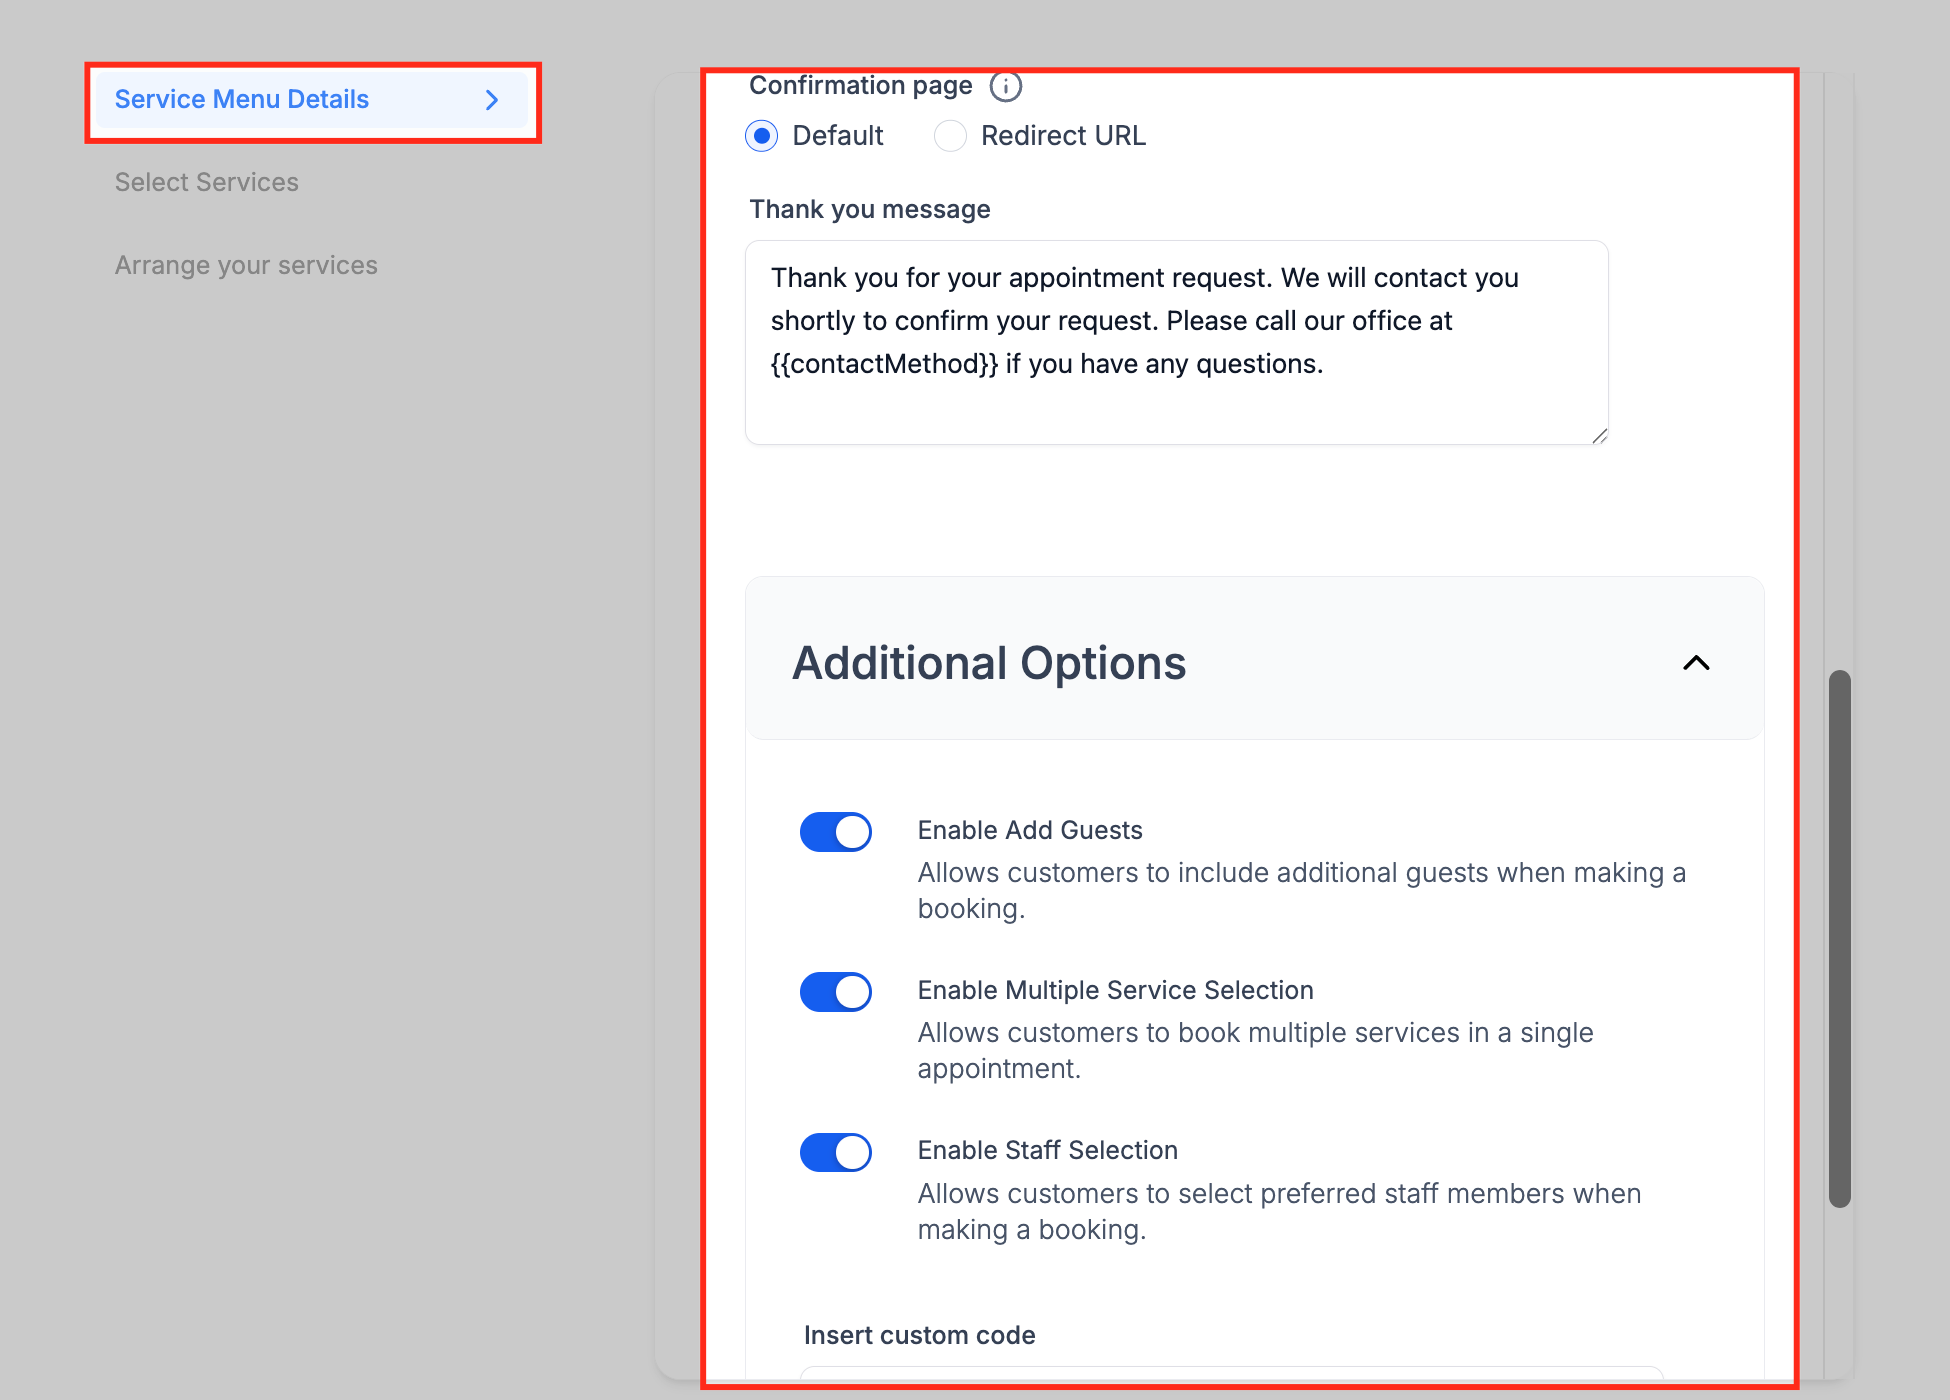
Under Additional Options, toggle Enable Add Guests, Enable Multiple Service Selection, and Enable Staff Selection. These let patients book for a companion, select more than one treatment in the same visit (a consultation plus a treatment, for example), and pick a preferred provider.
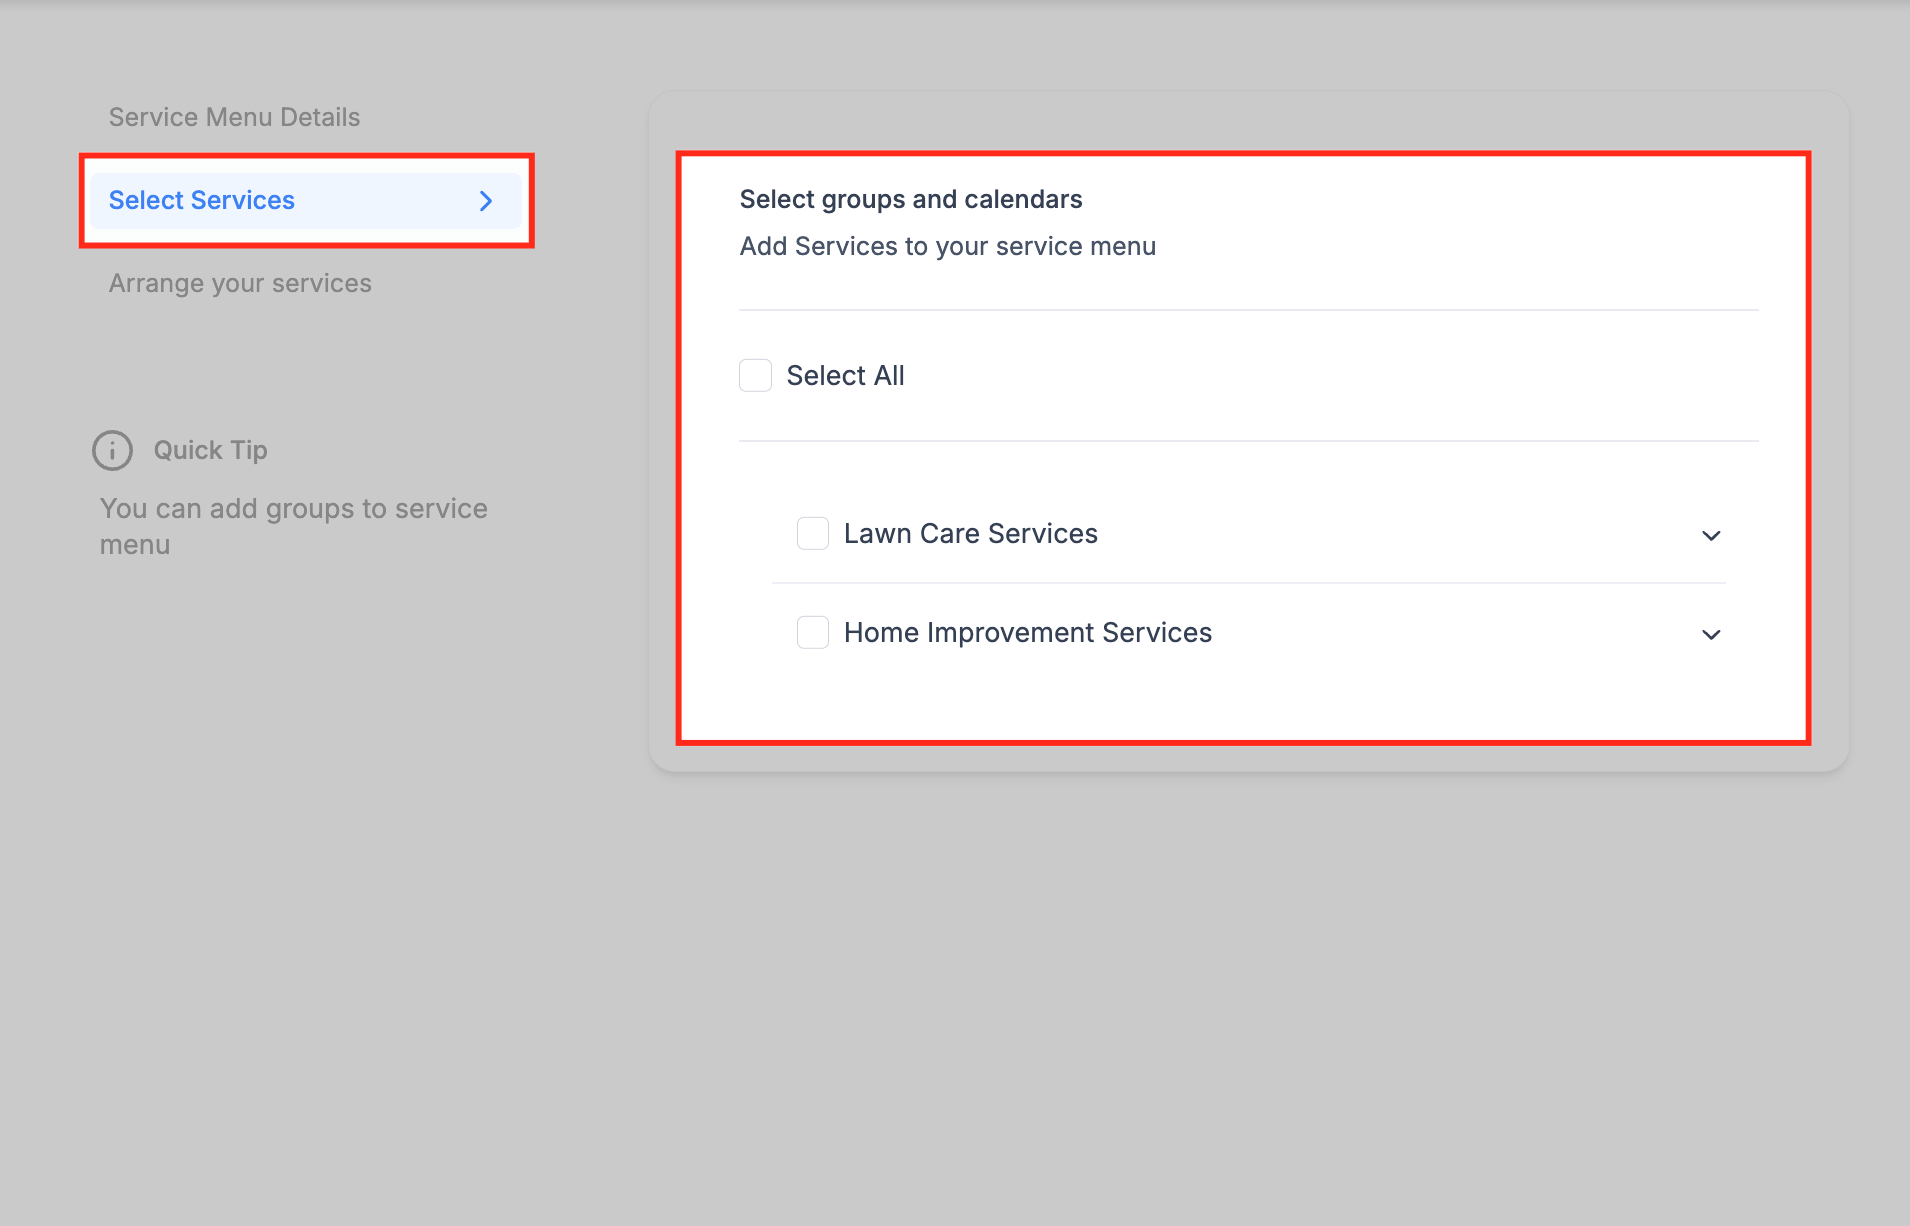
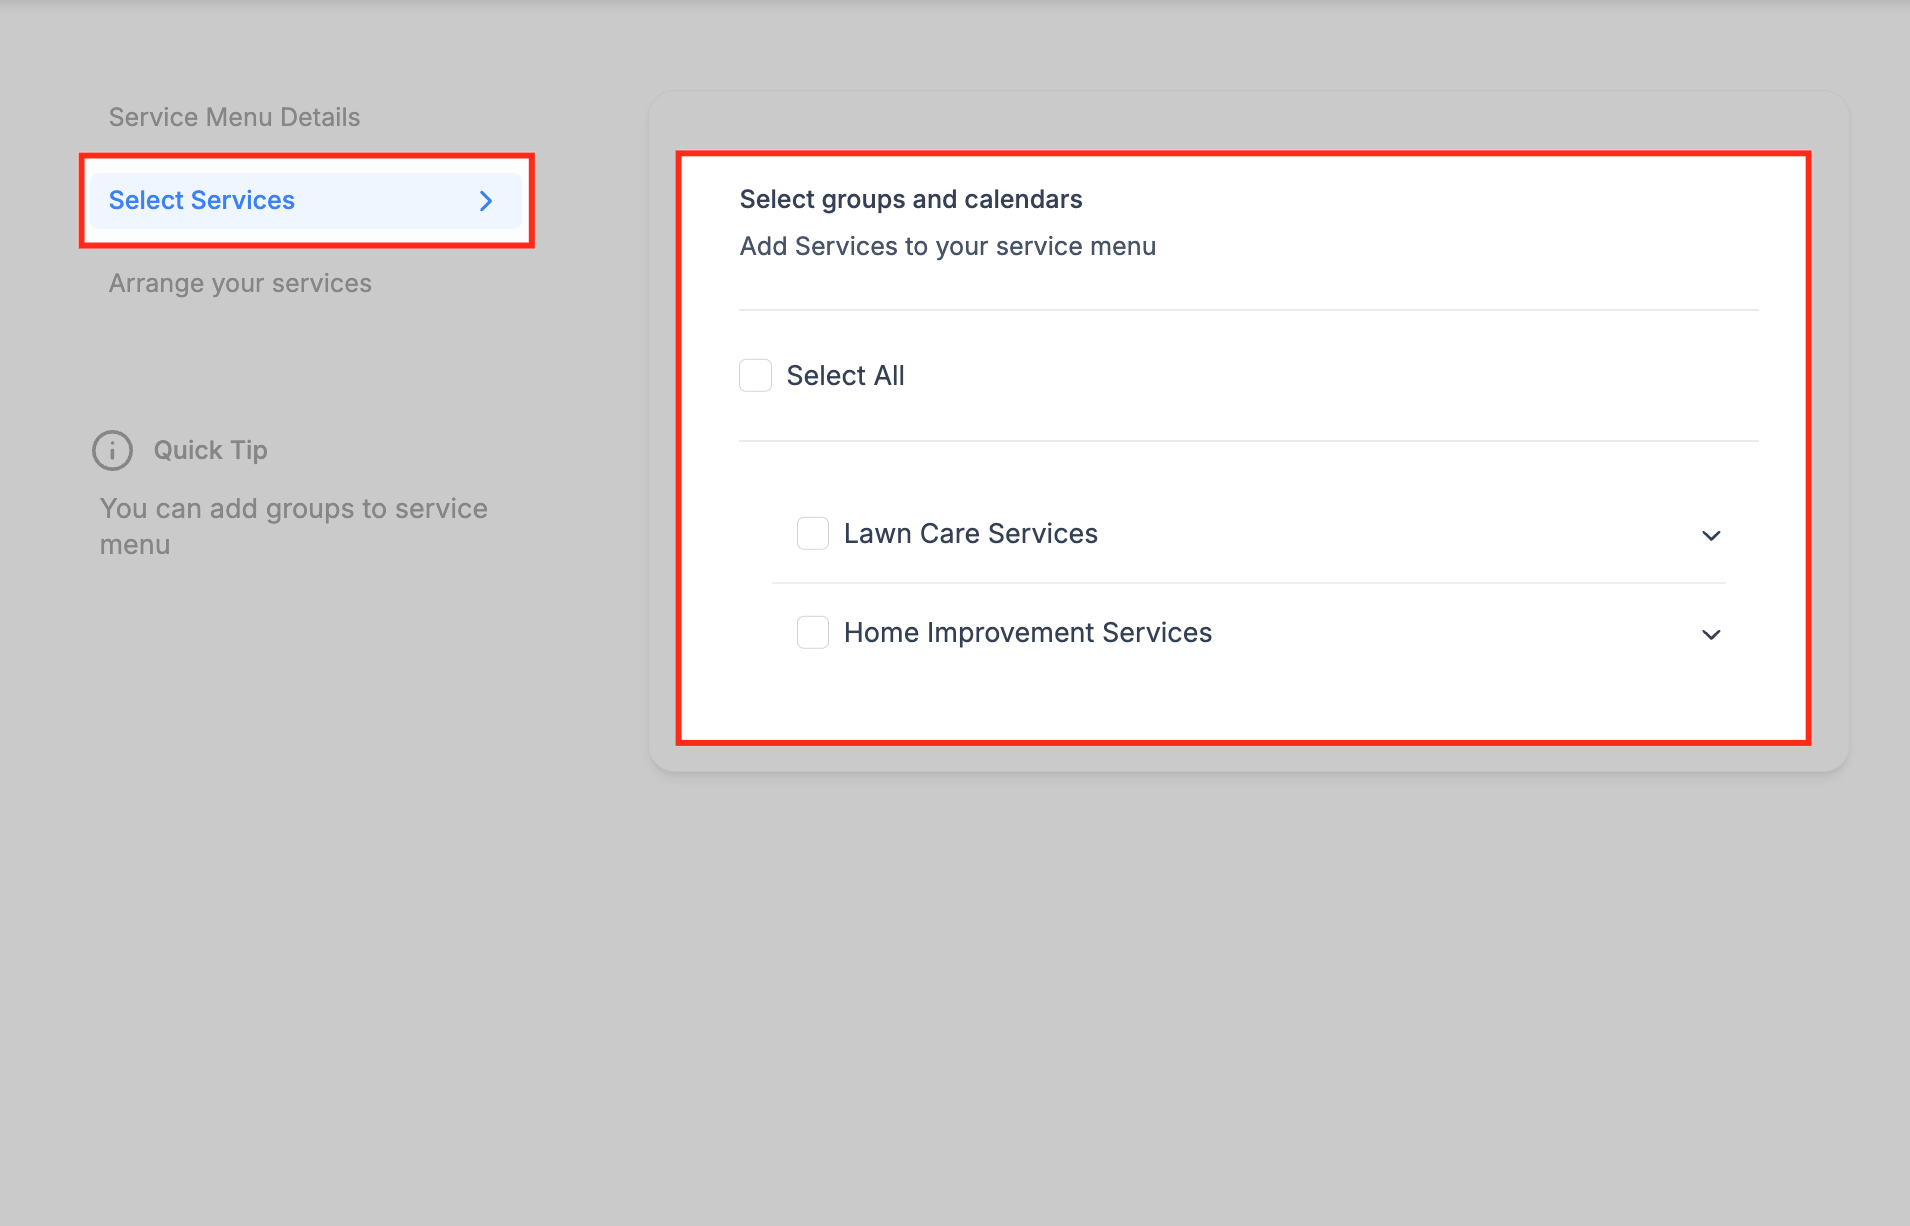
Click Select Services and choose the groups and calendars to include in this menu. Only services you've already created and assigned to a group appear here; expand a group to check off individual services.
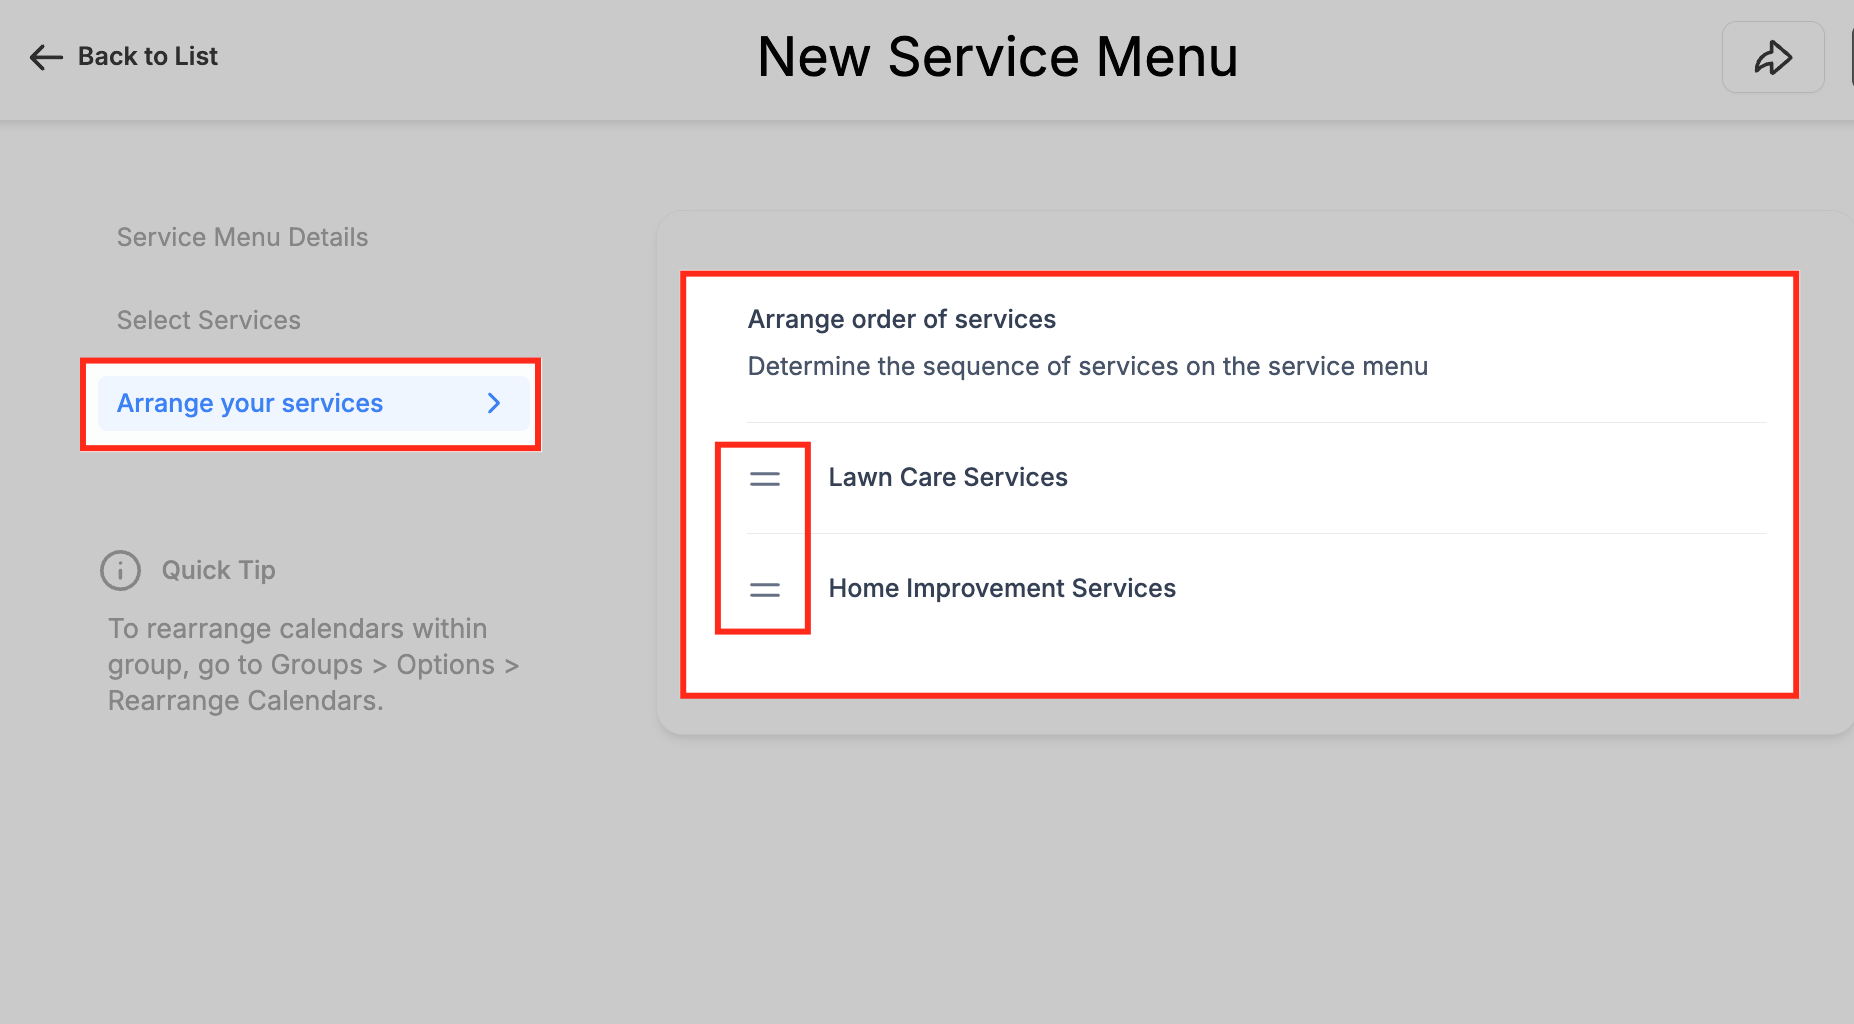
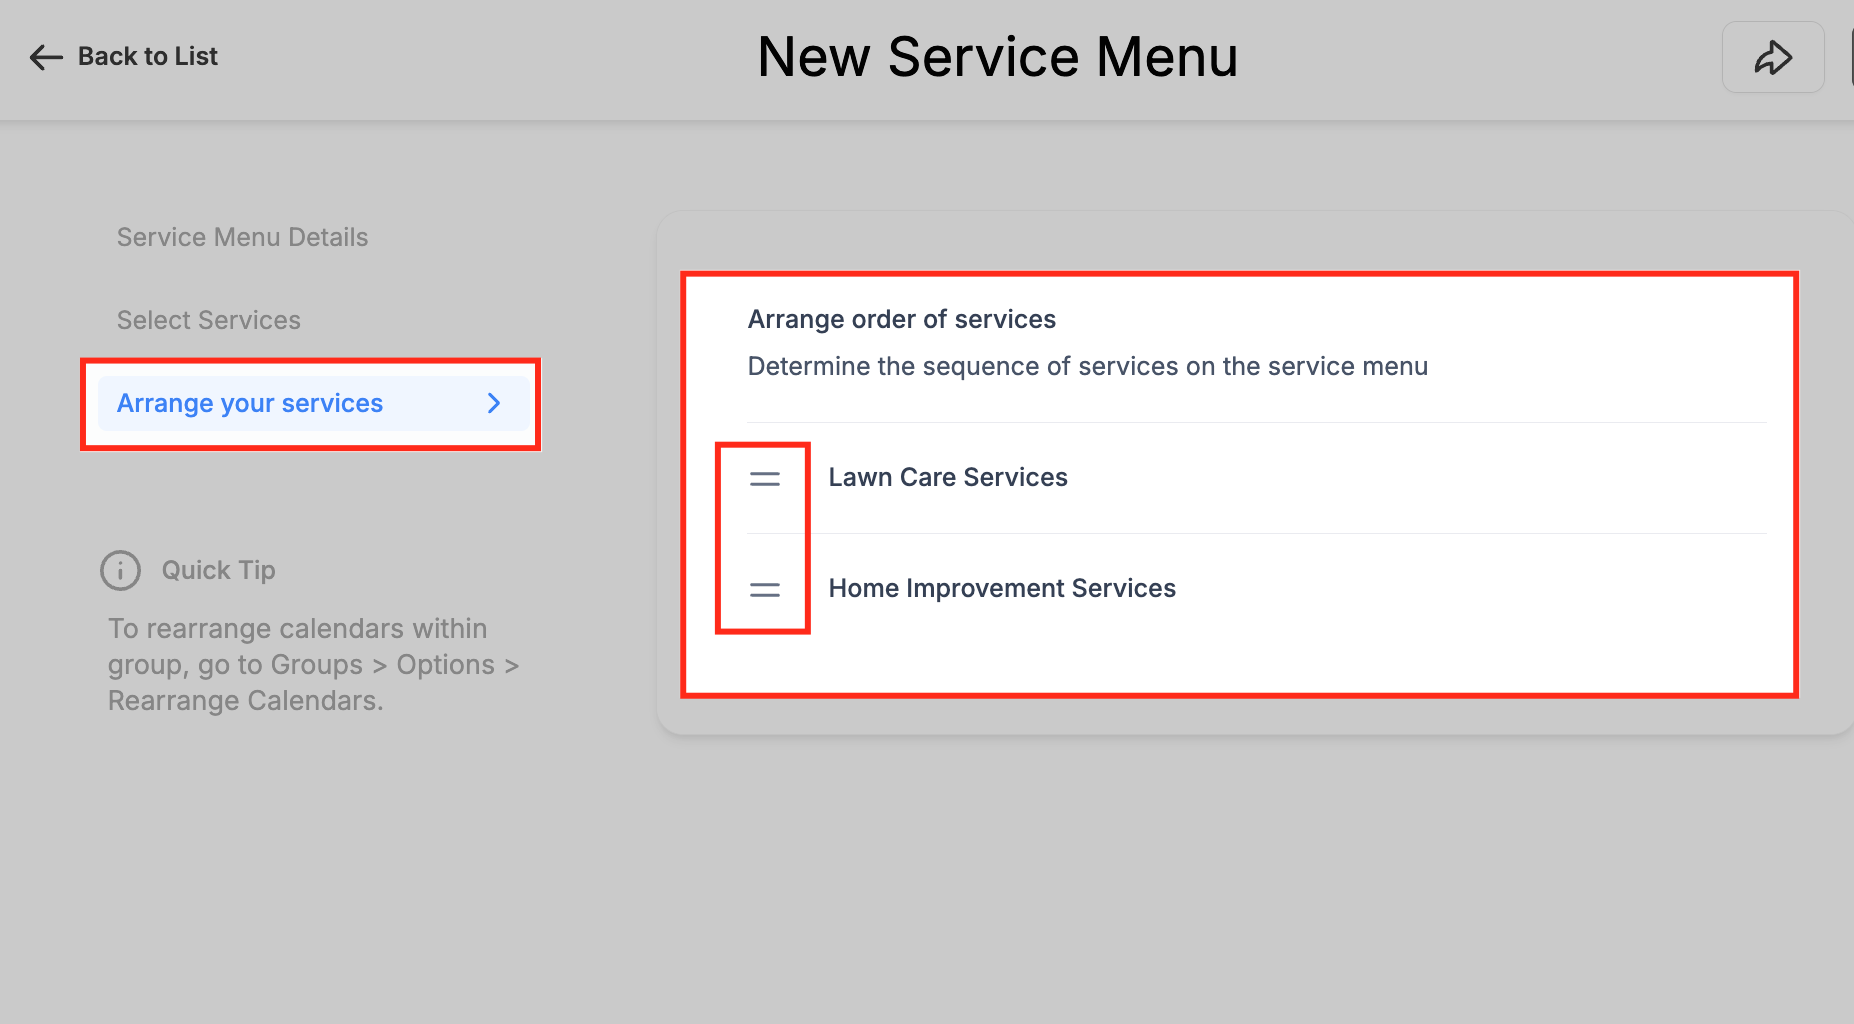
Open Arrange your services, then drag the handles to reorder how groups and services appear. Put your most popular treatments (laser therapy, microneedling) near the top to improve conversions.
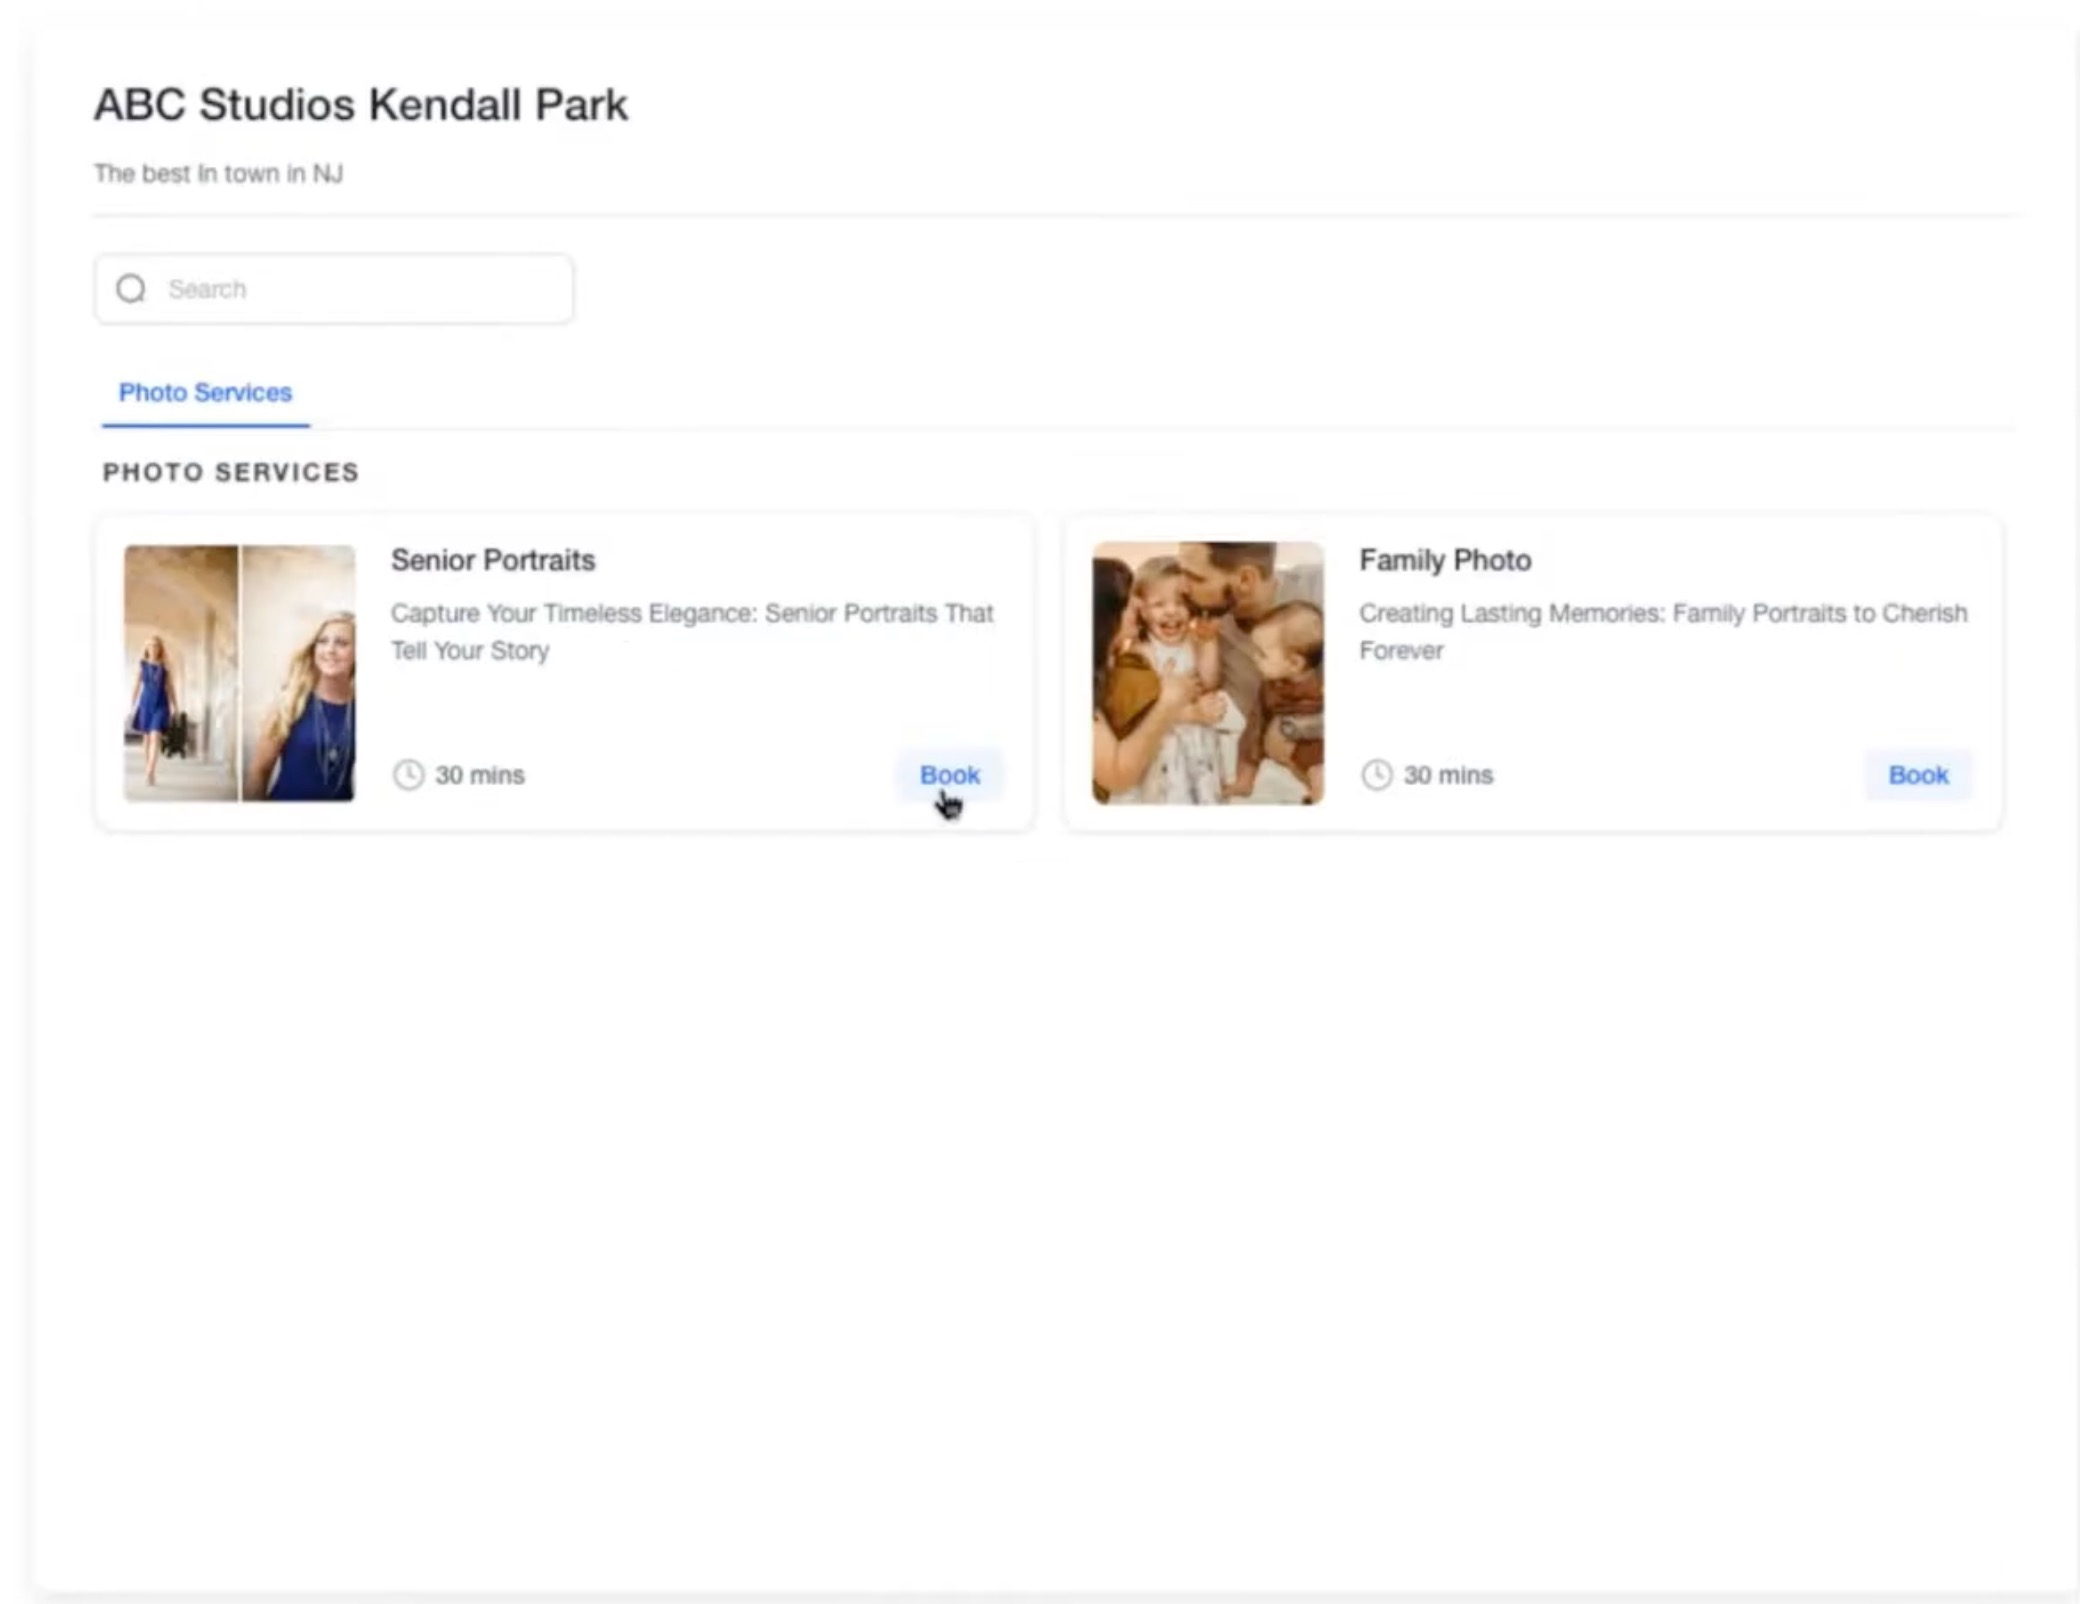
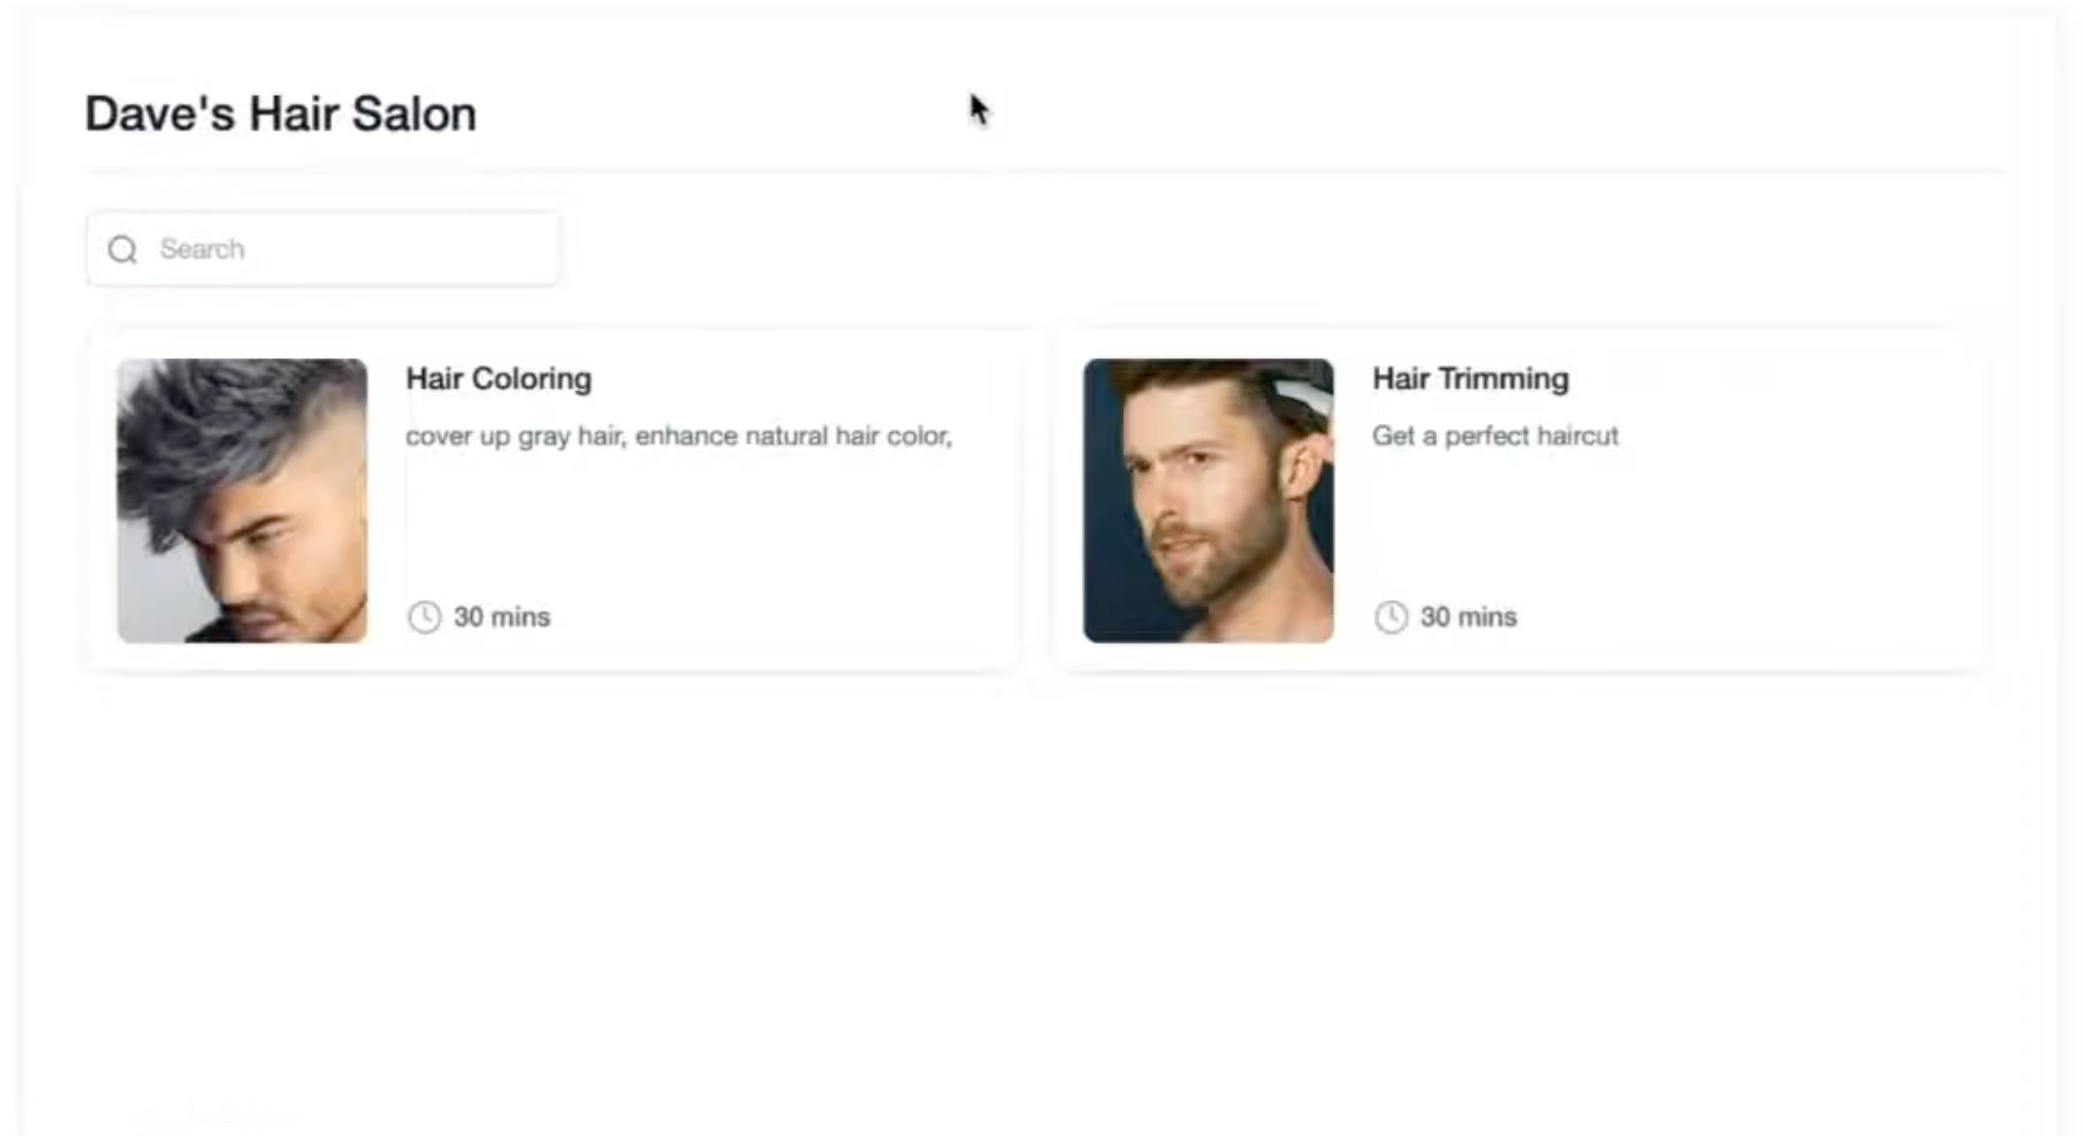
Once published, the link you send patients displays your full treatment menu the way they'll see it when booking.
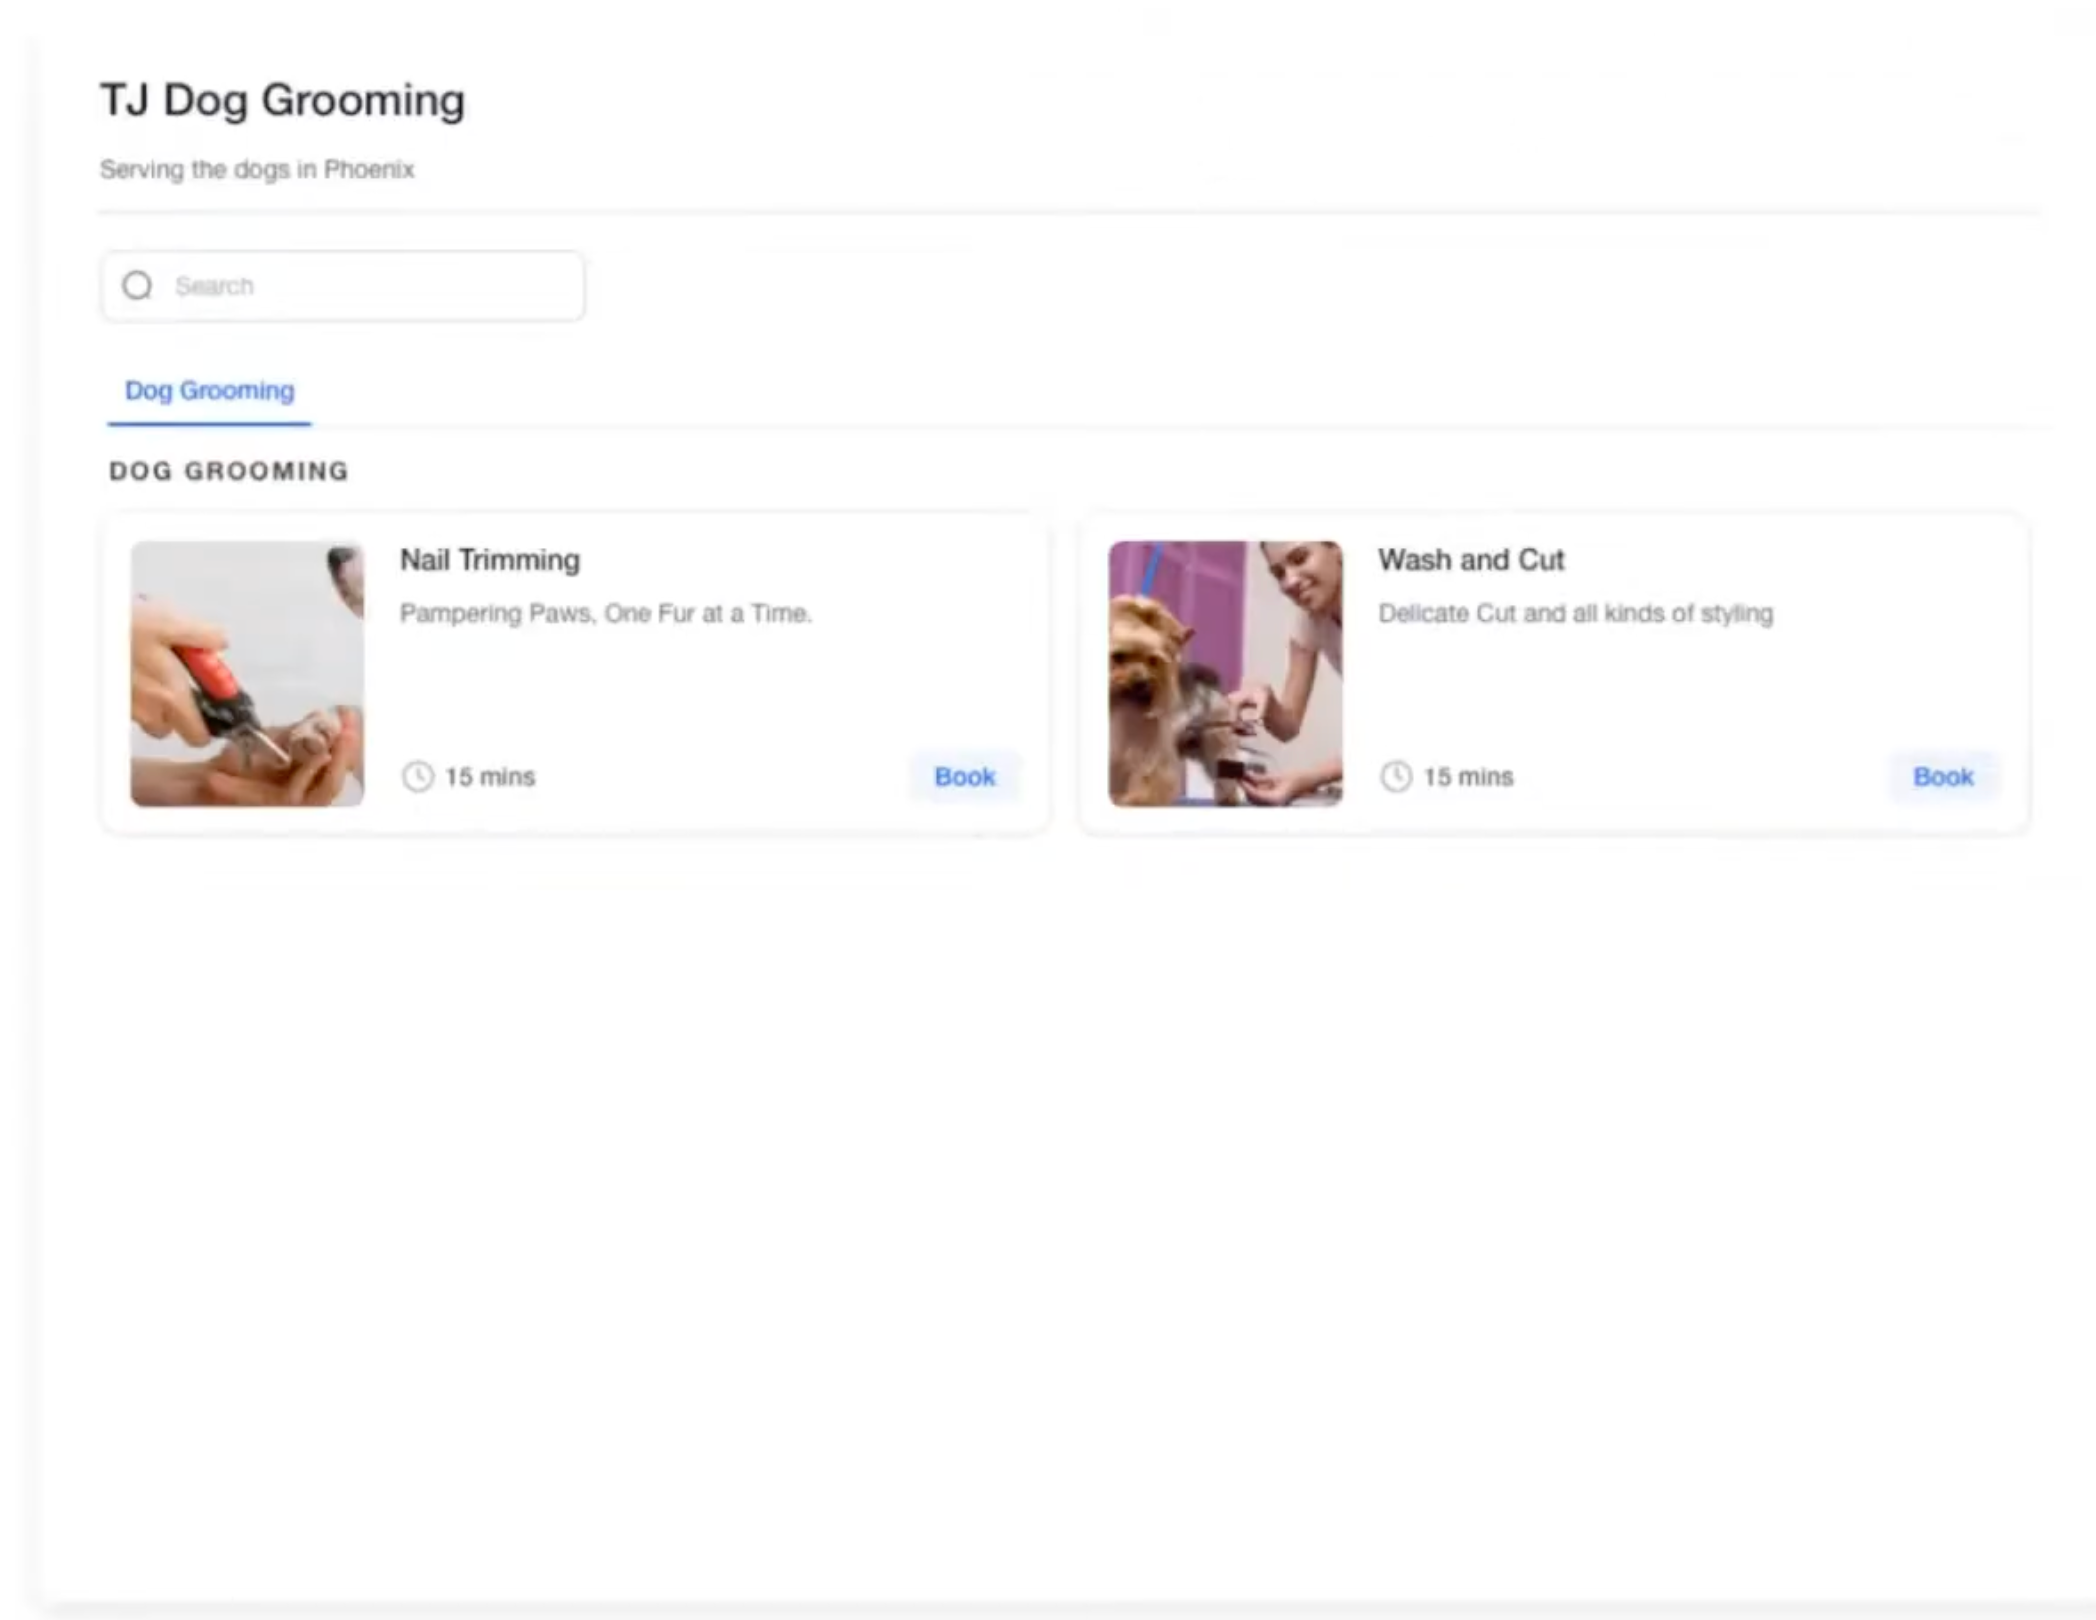
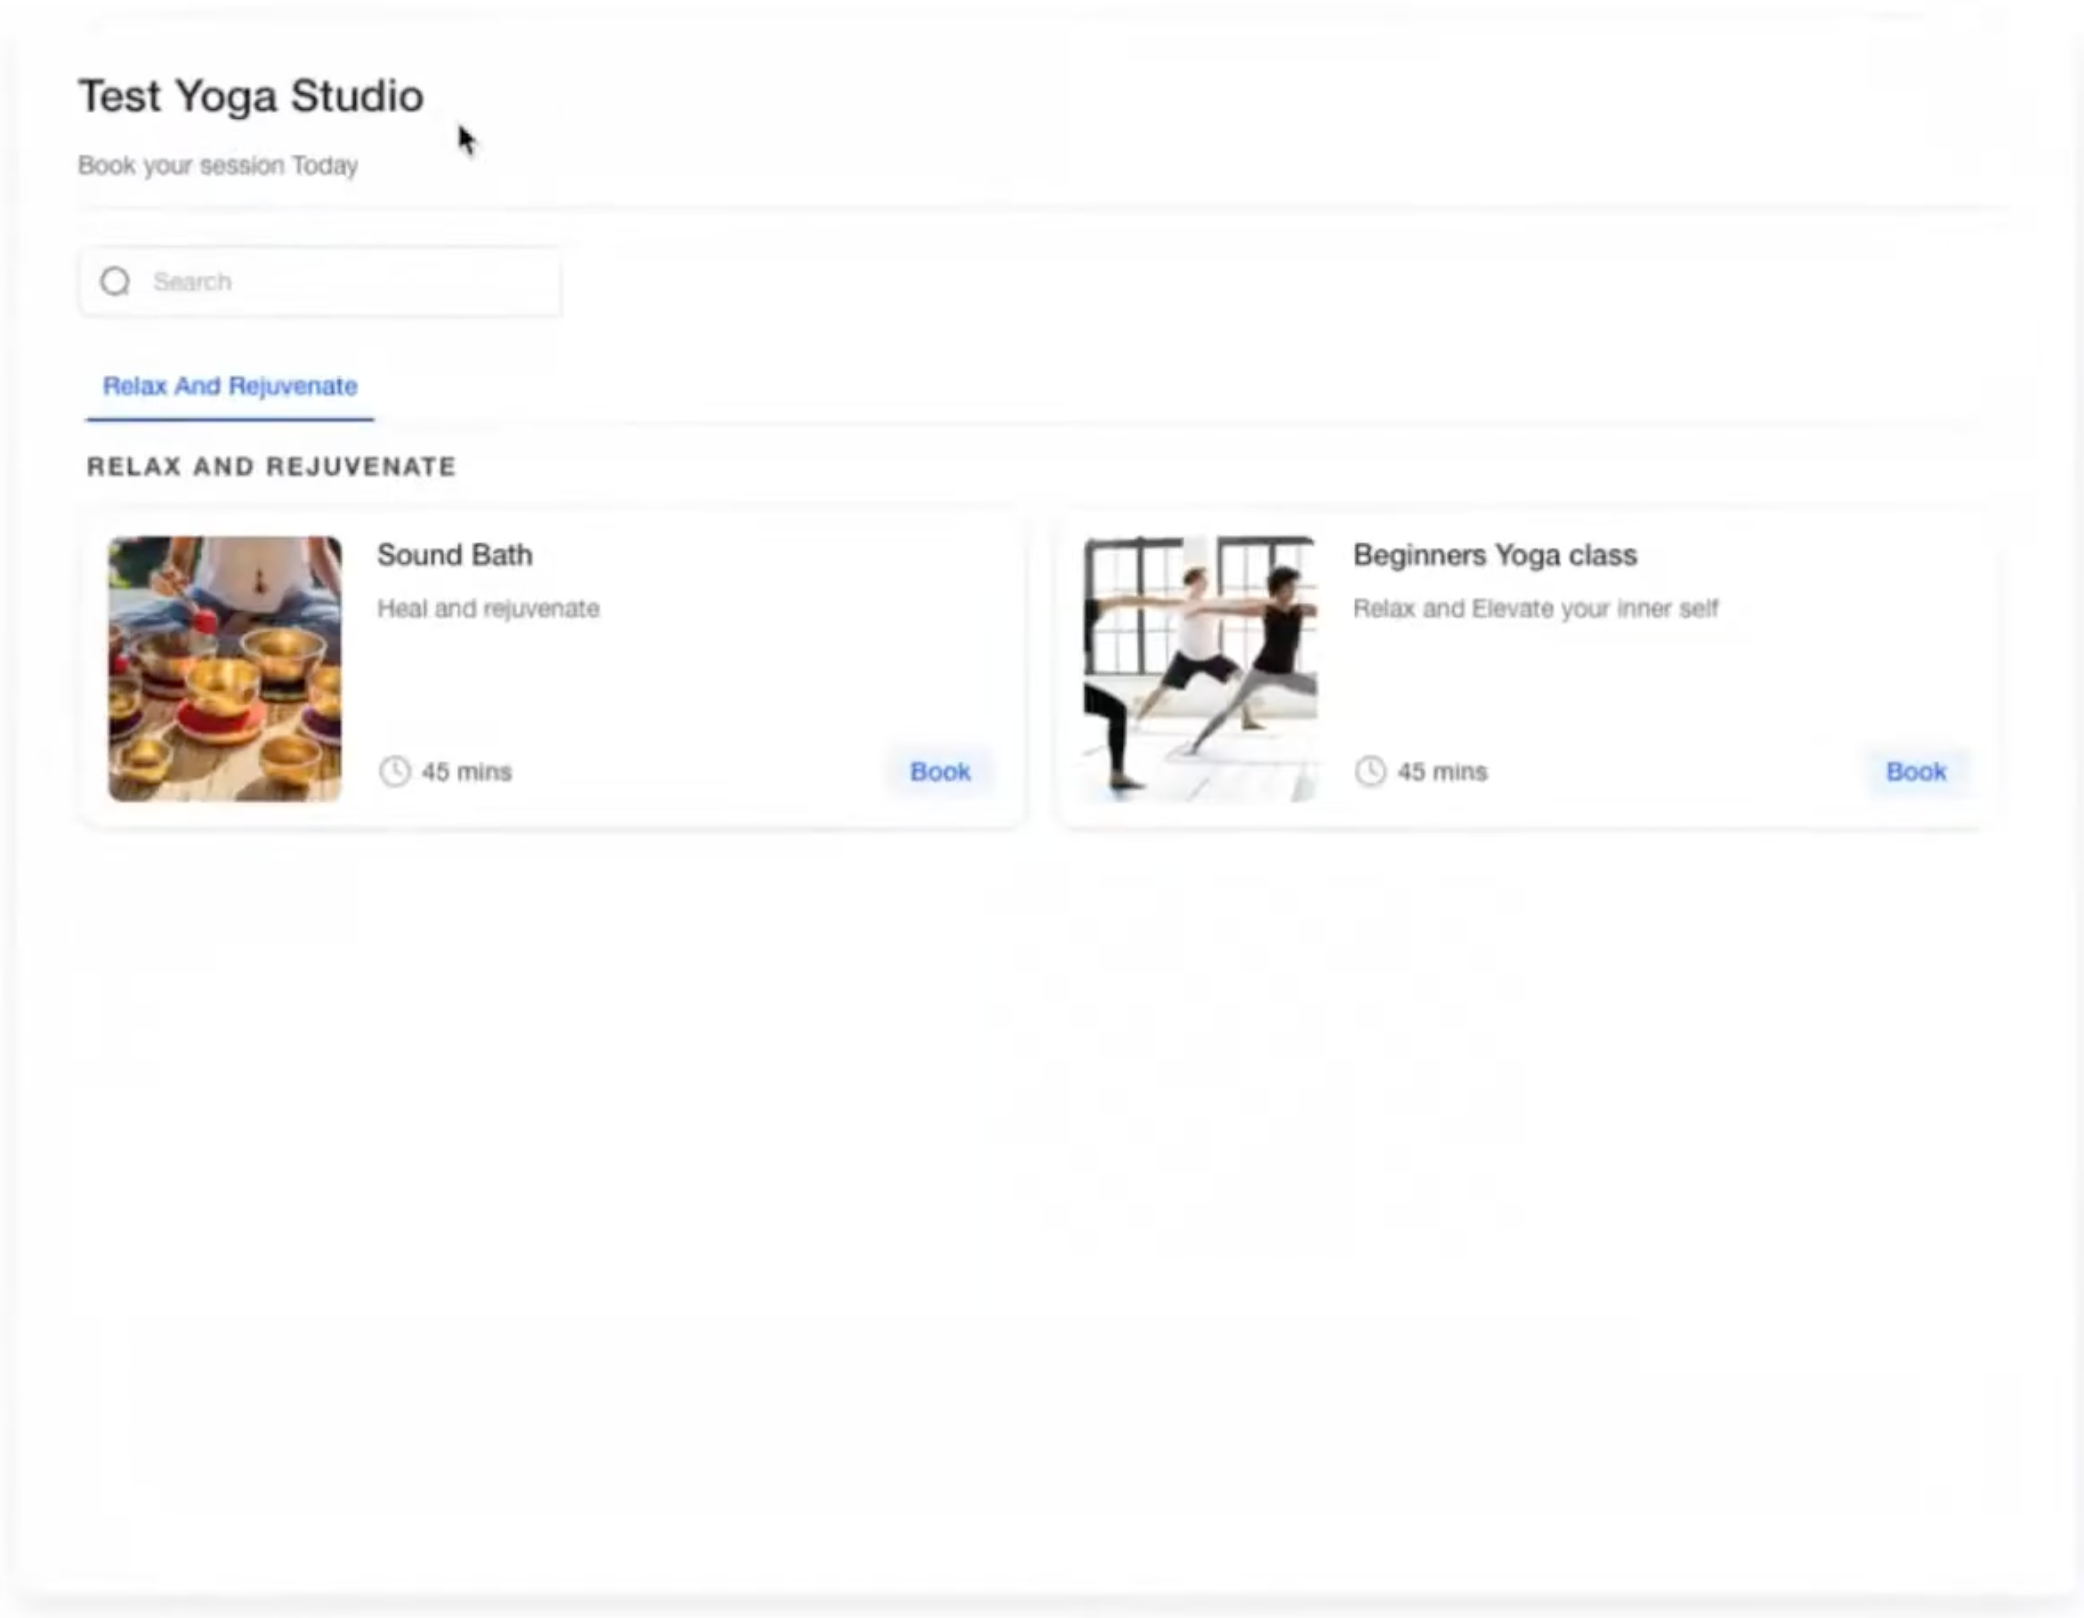
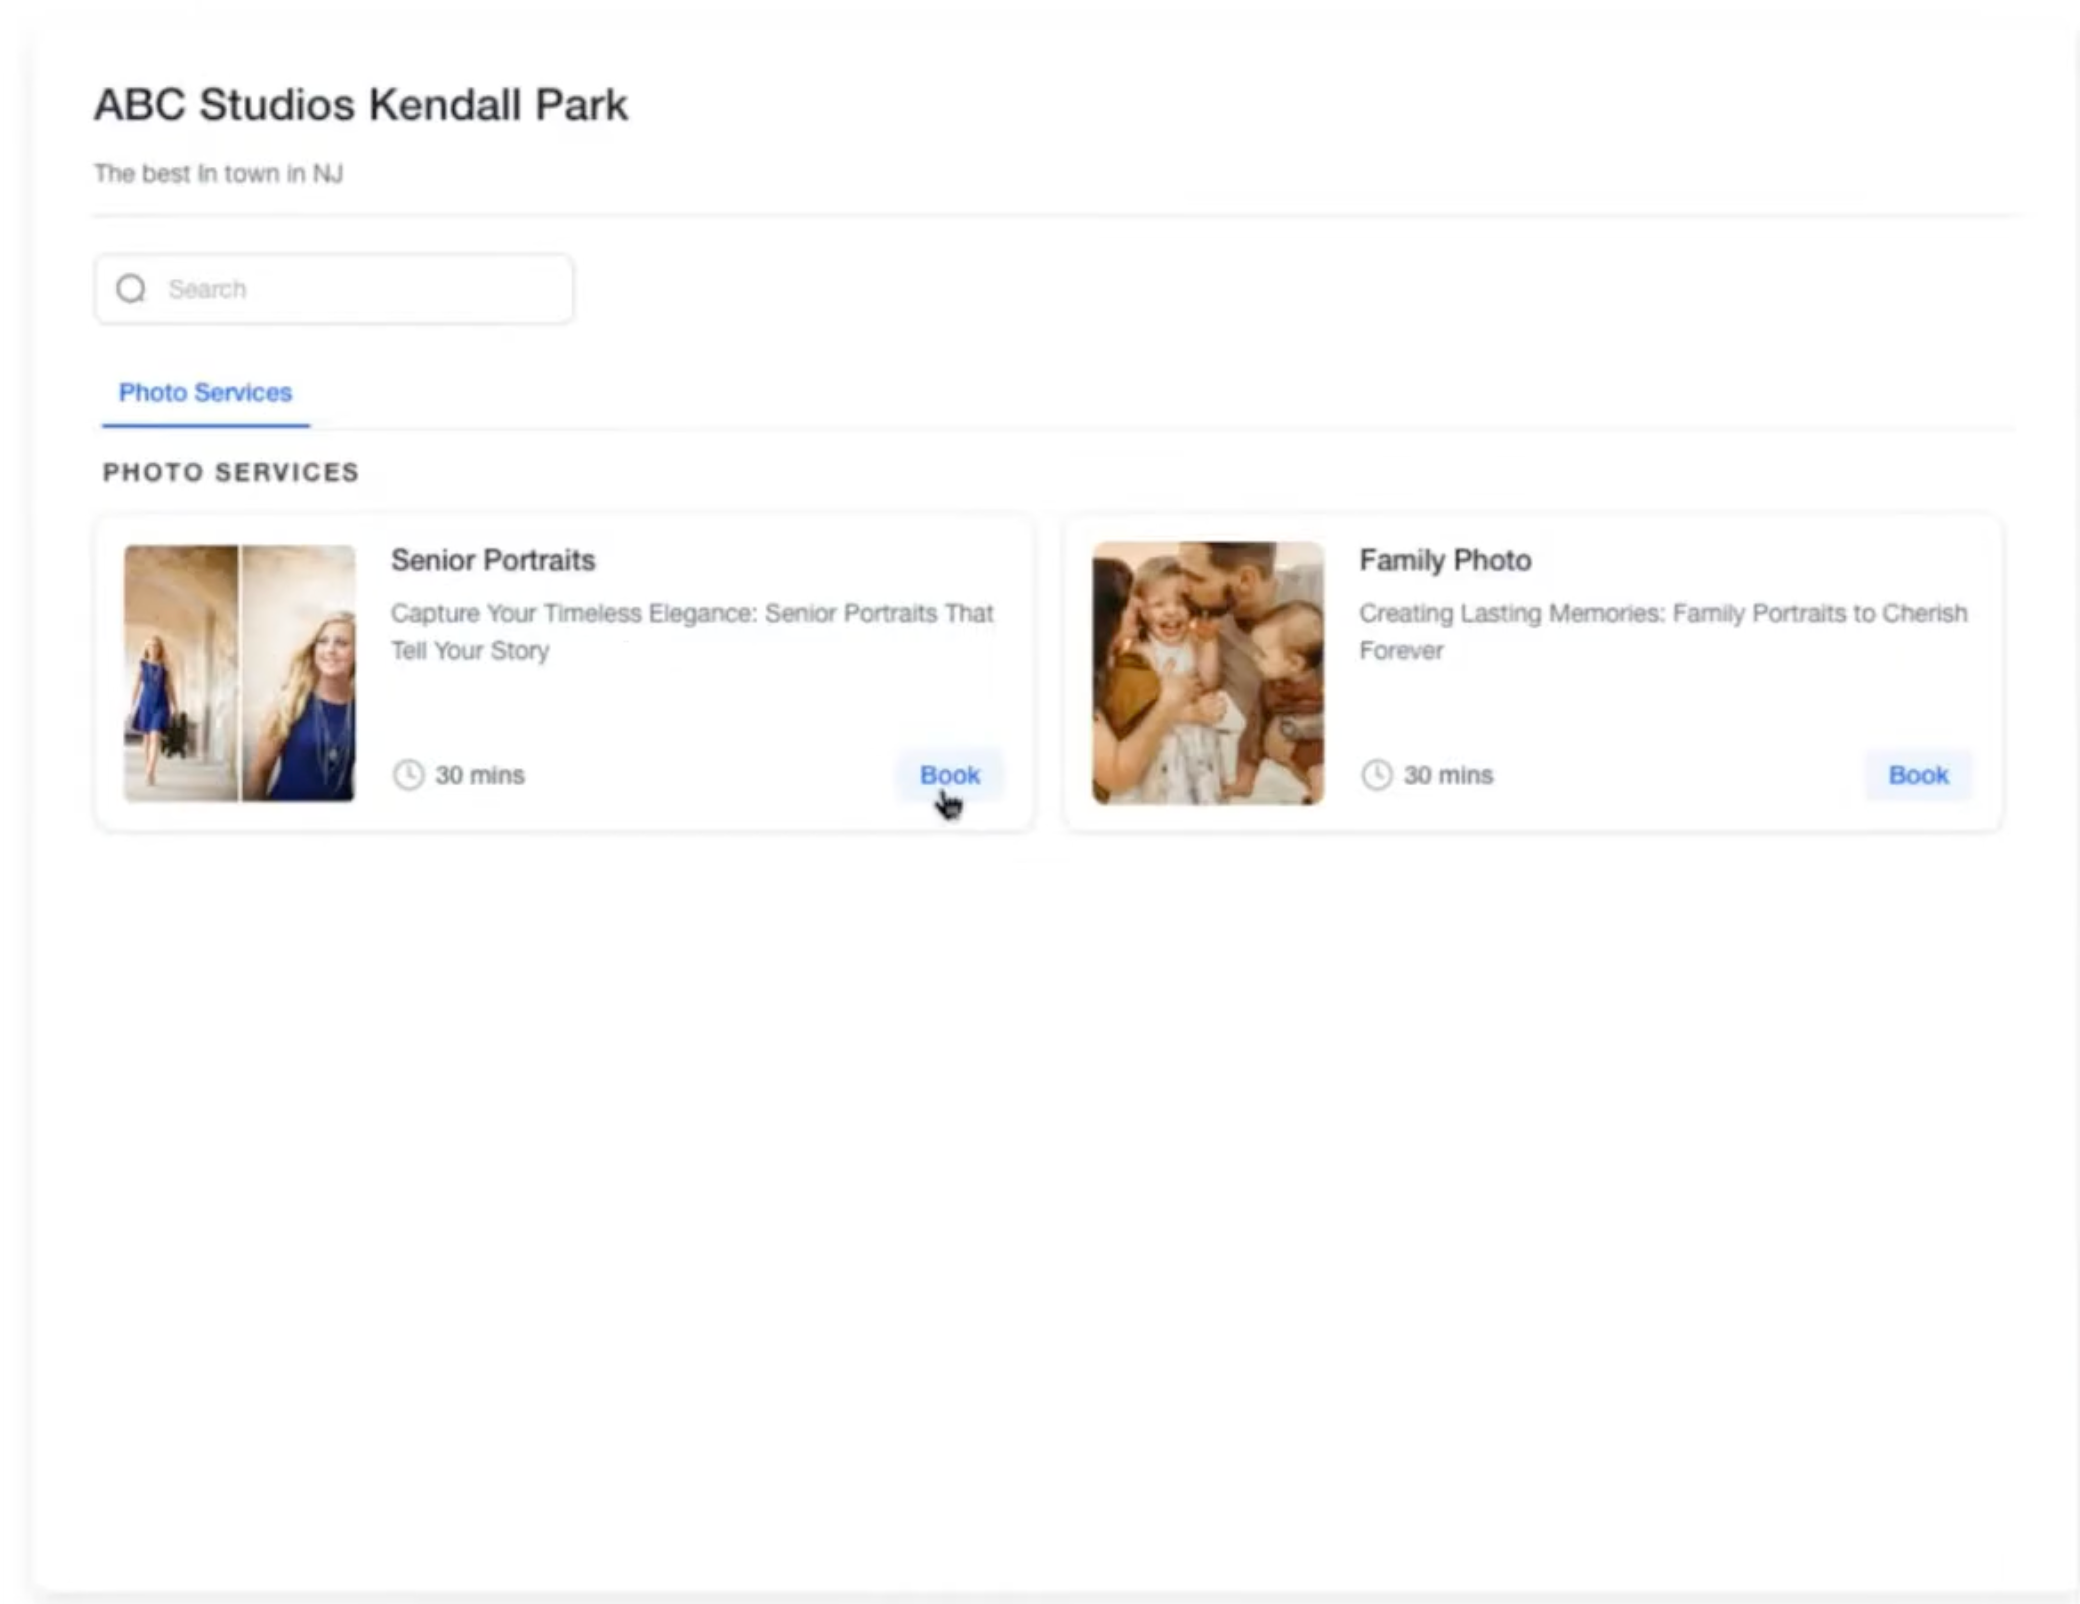
From here, you can embed the Service Menu or an individual calendar directly on your website or landing page; embedding is covered in the Funnels & Websites section.
Why can't I save a service calendar? You must assign at least one staff member to the service before you can save it.
Why are no booking times showing for a service? Check the assigned provider's availability, and confirm the room and equipment tied to the service aren't fully booked elsewhere.
Can a patient book more than one treatment in the same visit? Yes. Turn on Enable Multiple Service Selection in the Service Menu settings.
Can I collect a deposit or payment when a patient books? Yes, connect a payment provider under Forms & Payment on the service. AX Pay is Aesthetix CRM's built-in option and offers better rates than Stripe.
How do I stop two appointments from double-booking the same treatment room or device? Assign the room and equipment to each service in the Rooms and Equipment tabs. The system automatically blocks conflicting bookings.
Can patients choose their preferred provider when booking? Yes, enable Staff Selection in the Service Menu settings.
How do I show my full treatment menu on one page instead of separate links? Build a Service Menu that combines multiple groups and calendars into a single patient-facing page.
Do I need a separate calendar for every treatment I offer? Generally yes, one calendar per distinct service, so each has its own duration, staff, room, and equipment rules. Group related treatments together so patients can still browse them on one menu.
Can I edit a service calendar after it's already live? Yes. Go to Service Calendars (v1) under Meetings, find the calendar, and click the pencil icon to adjust staff, availability, notifications, or resources without rebuilding it.
Does AI-powered appointment booking work with service calendars? Yes, as long as the service calendar is a native Aesthetix CRM calendar rather than one synced from an EMR. See the AI Employee documentation for how automated booking is configured.
