
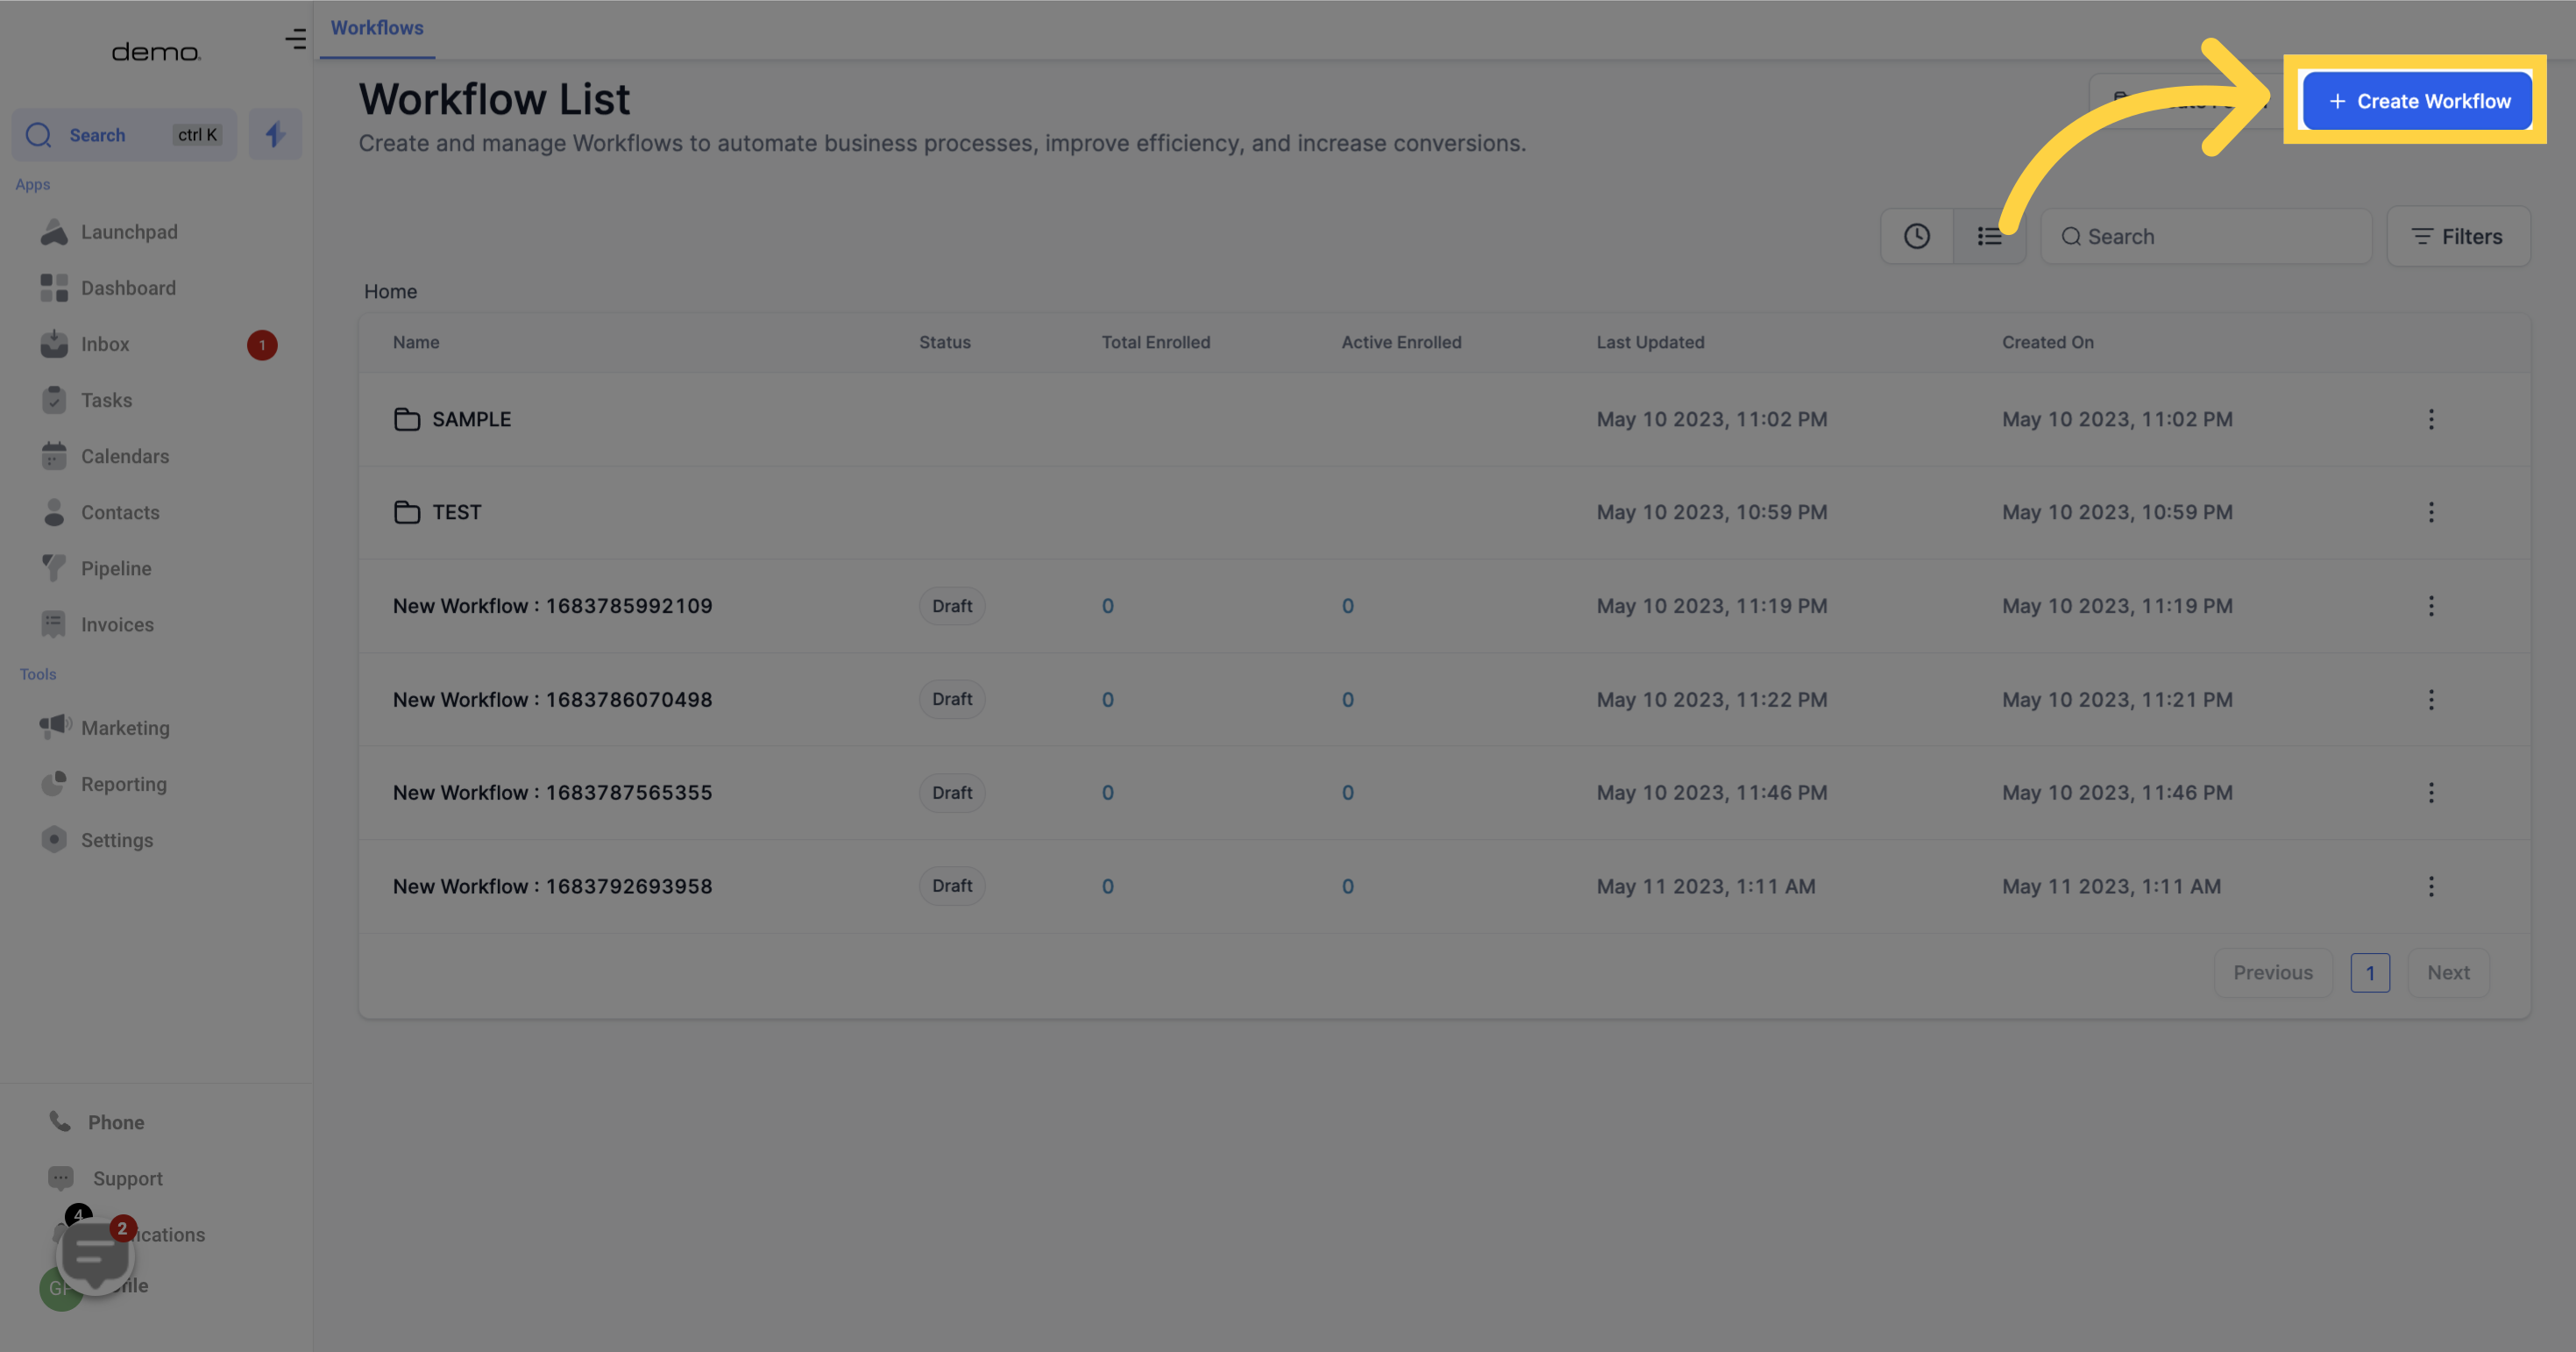
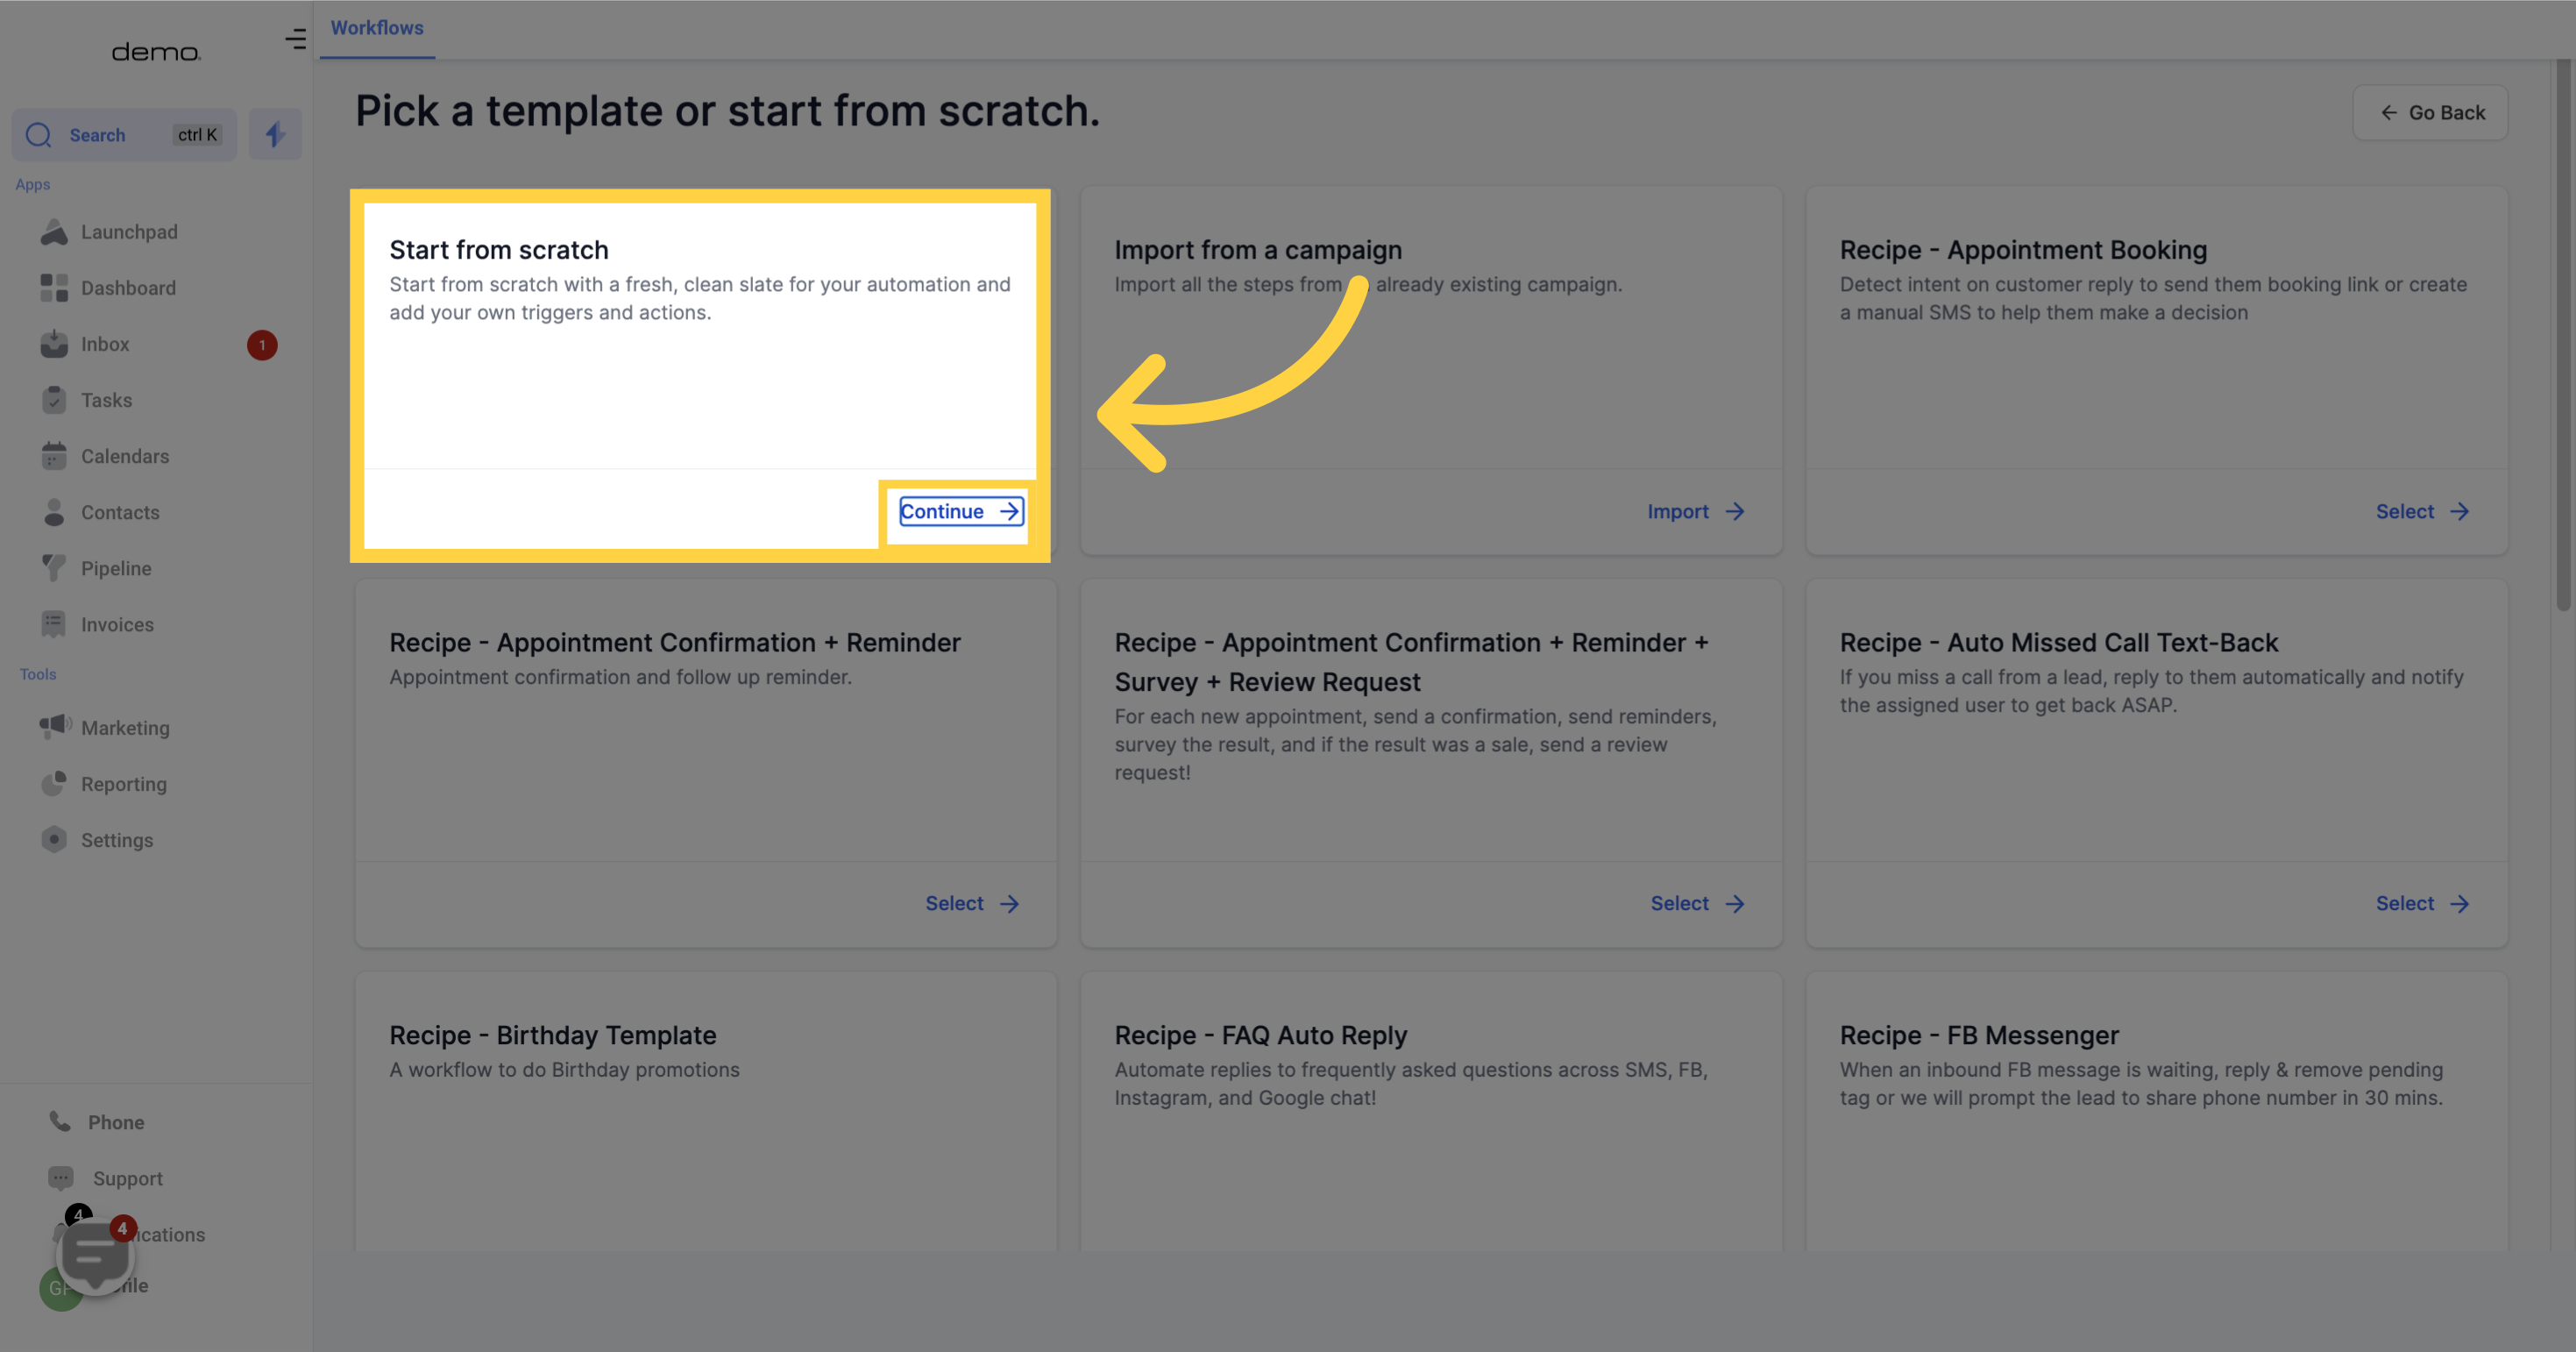
Pick a template or start from scratch, in my sample below i select "Start from scratch"
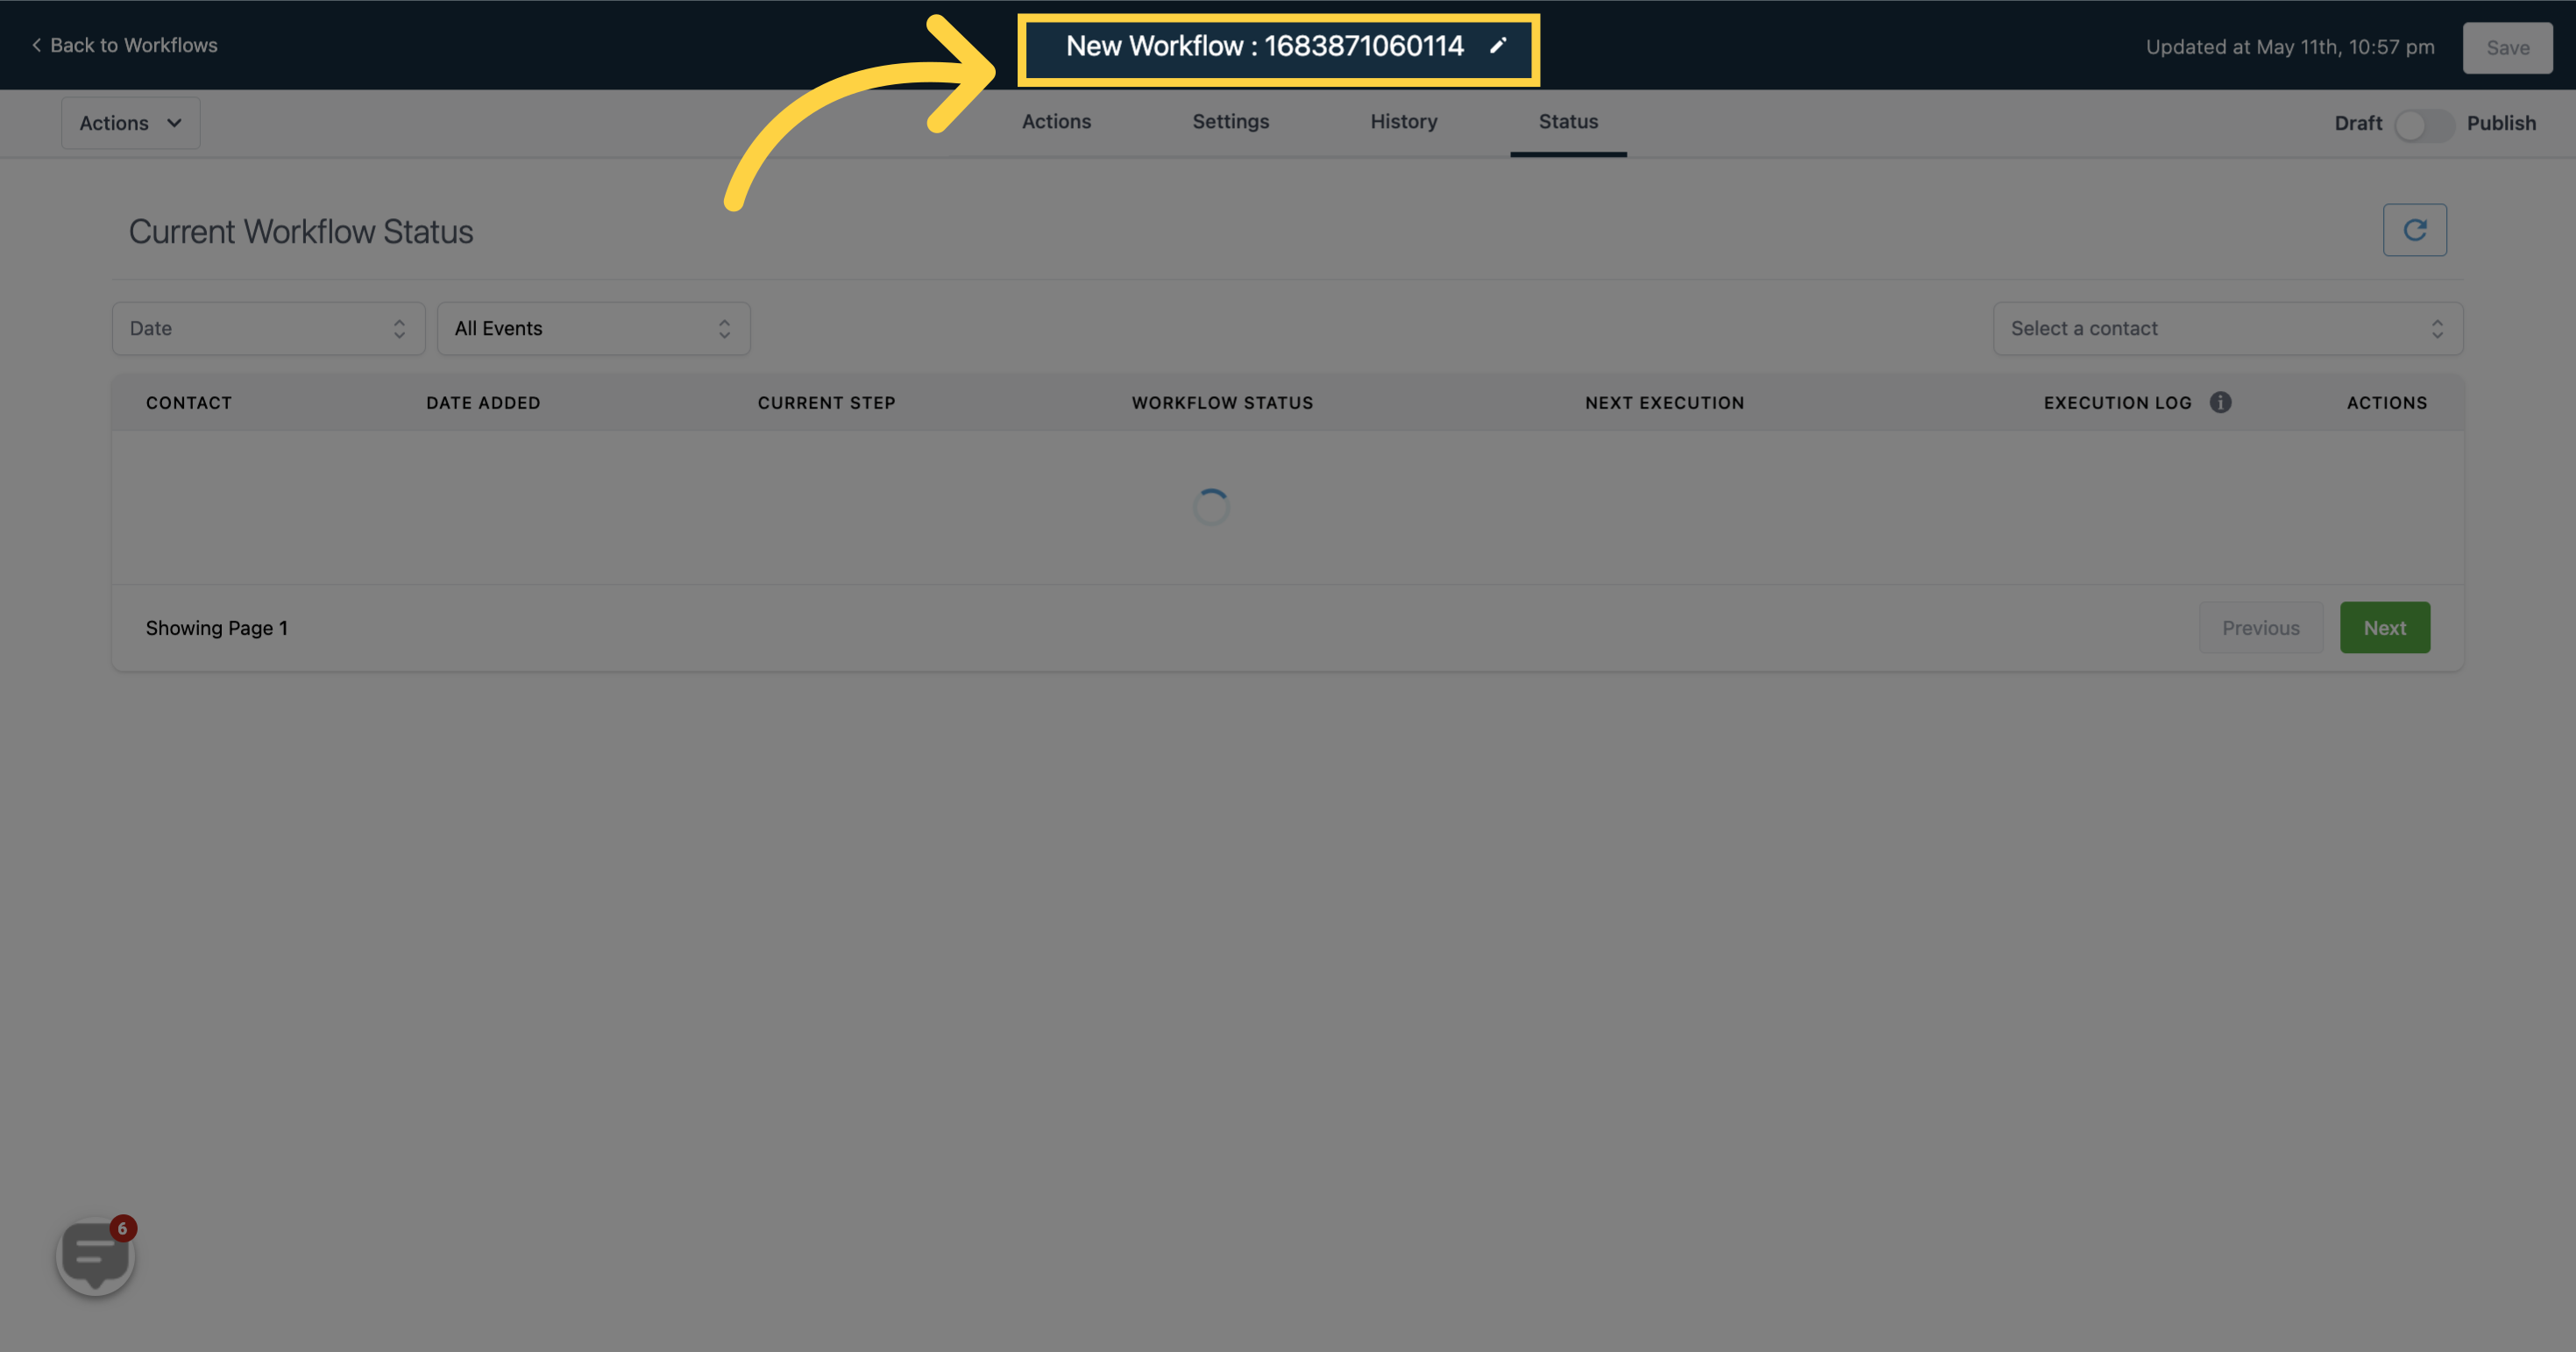
You can modify the title of this workflow by updating the current title assigned to it.
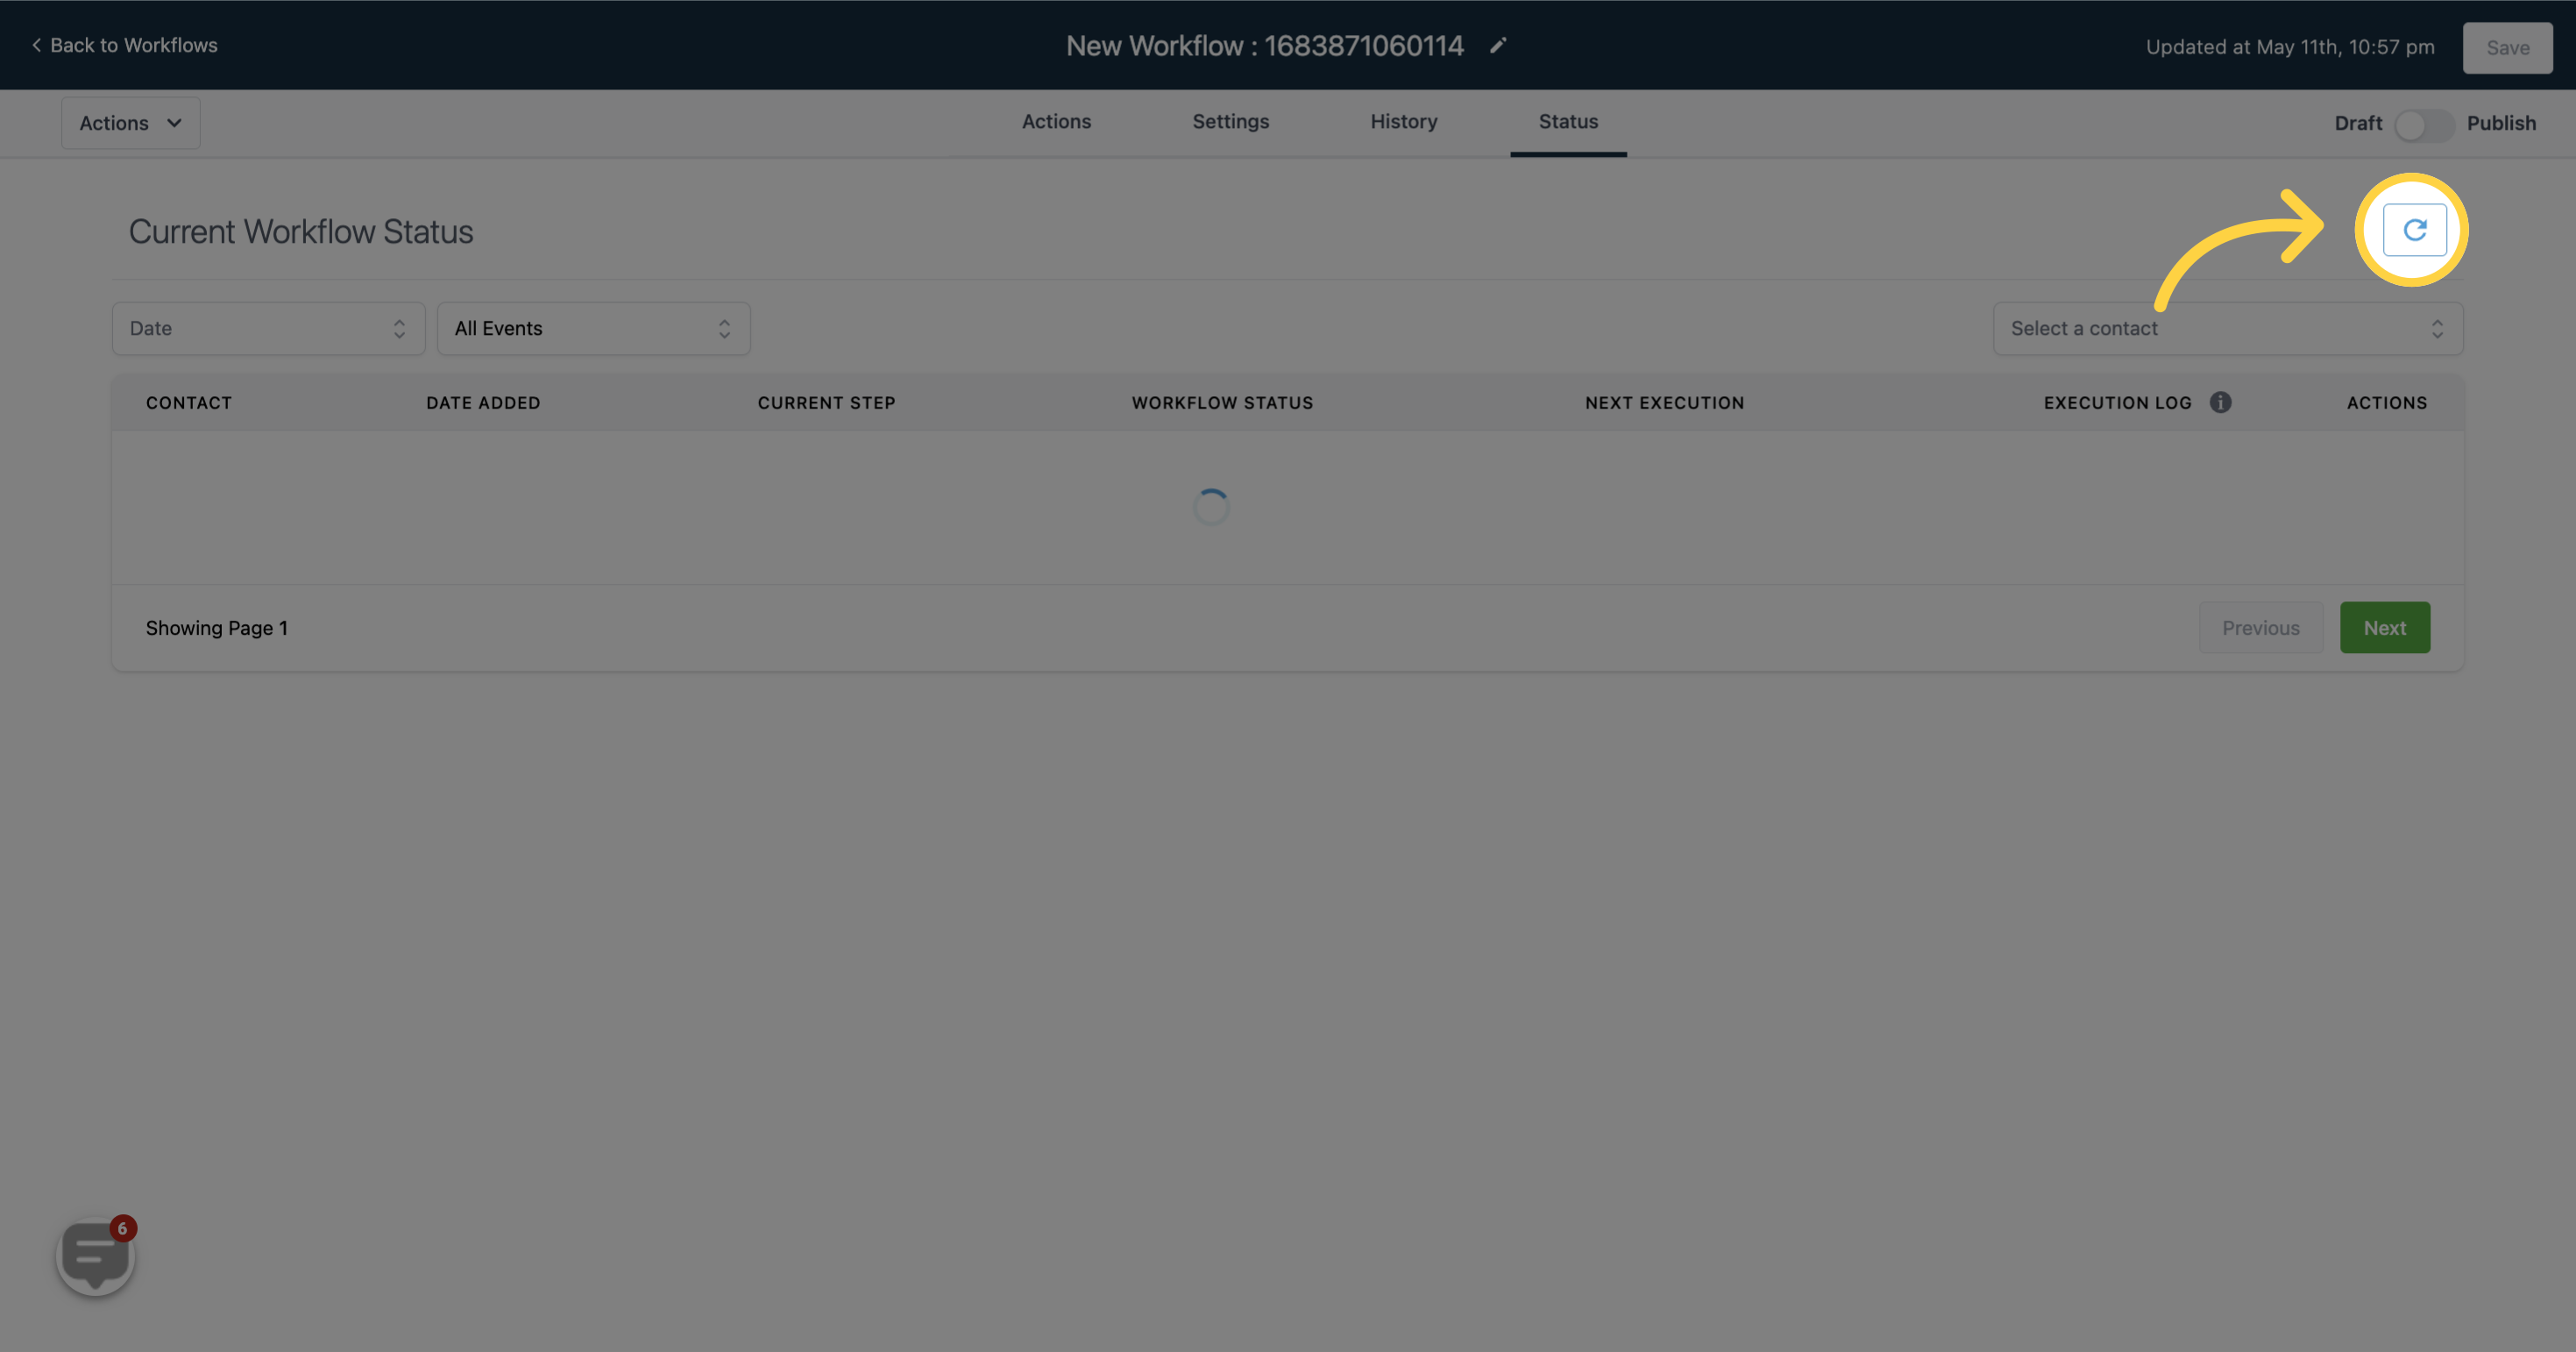
To update the status of the current workflow, simply click on the refreshing button.
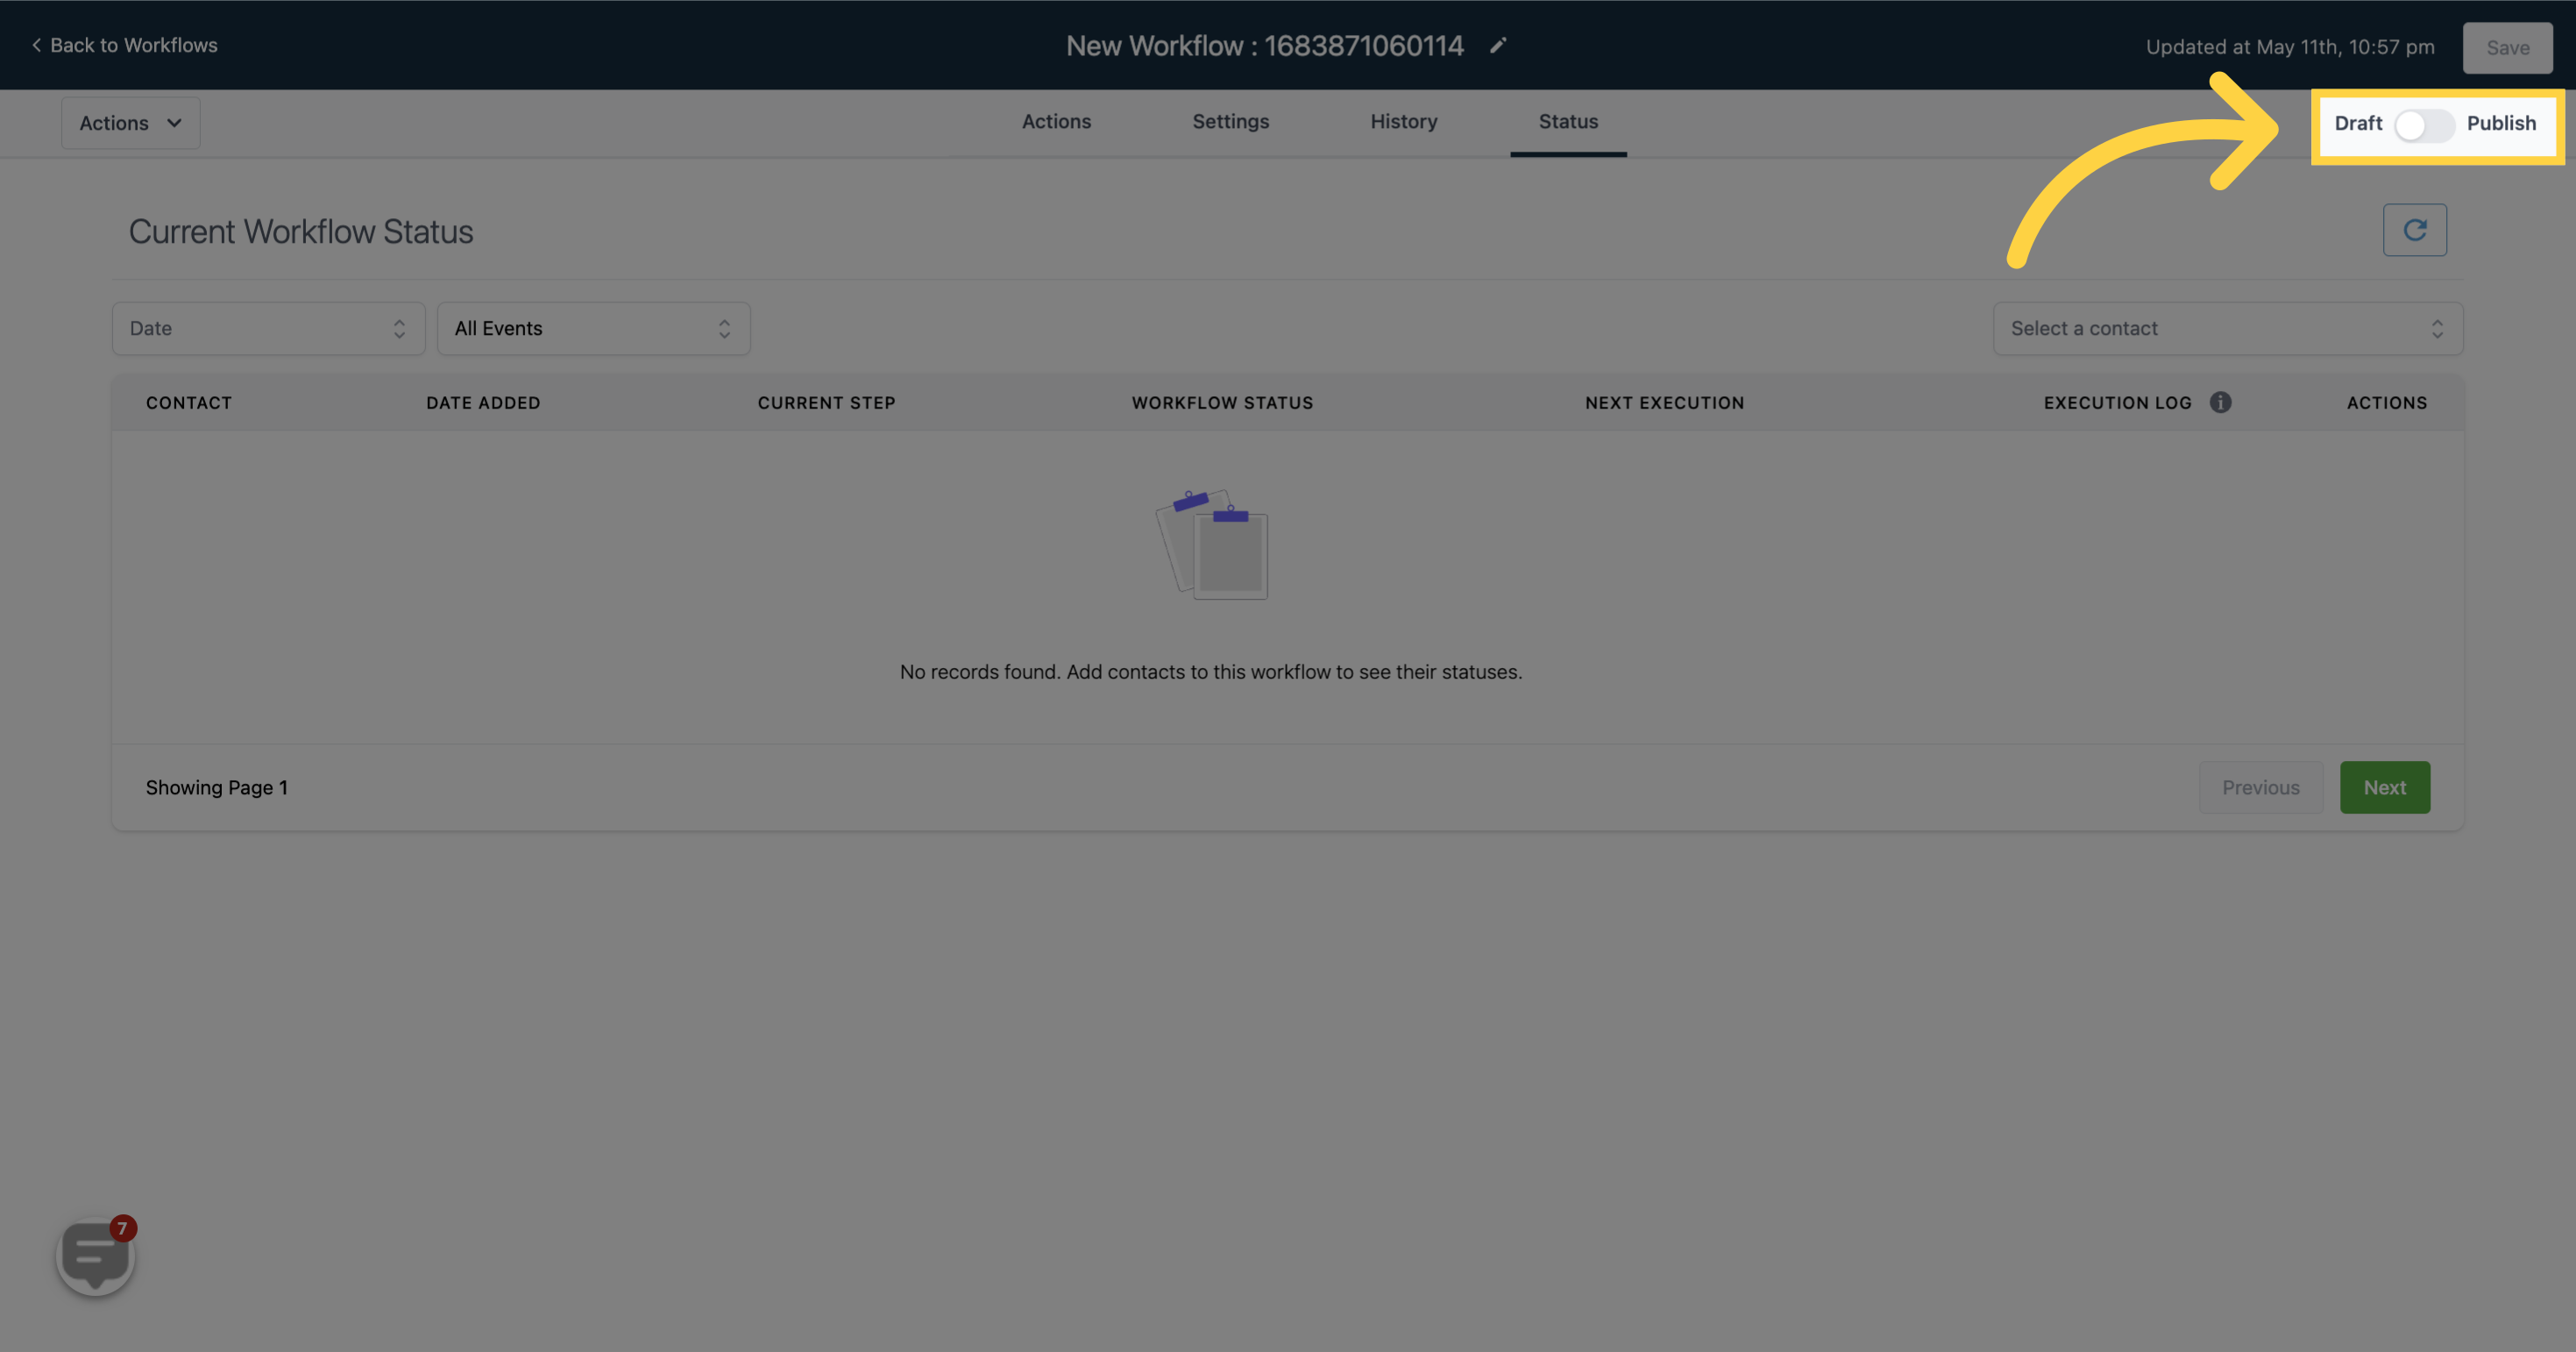
This button allows you to switch the workflow between draft and publish mode. By toggling the button on/off, you can activate or deactivate the workflow. When the button is on, the workflow is in publish mode, and when it's off, the workflow is in draft mode.
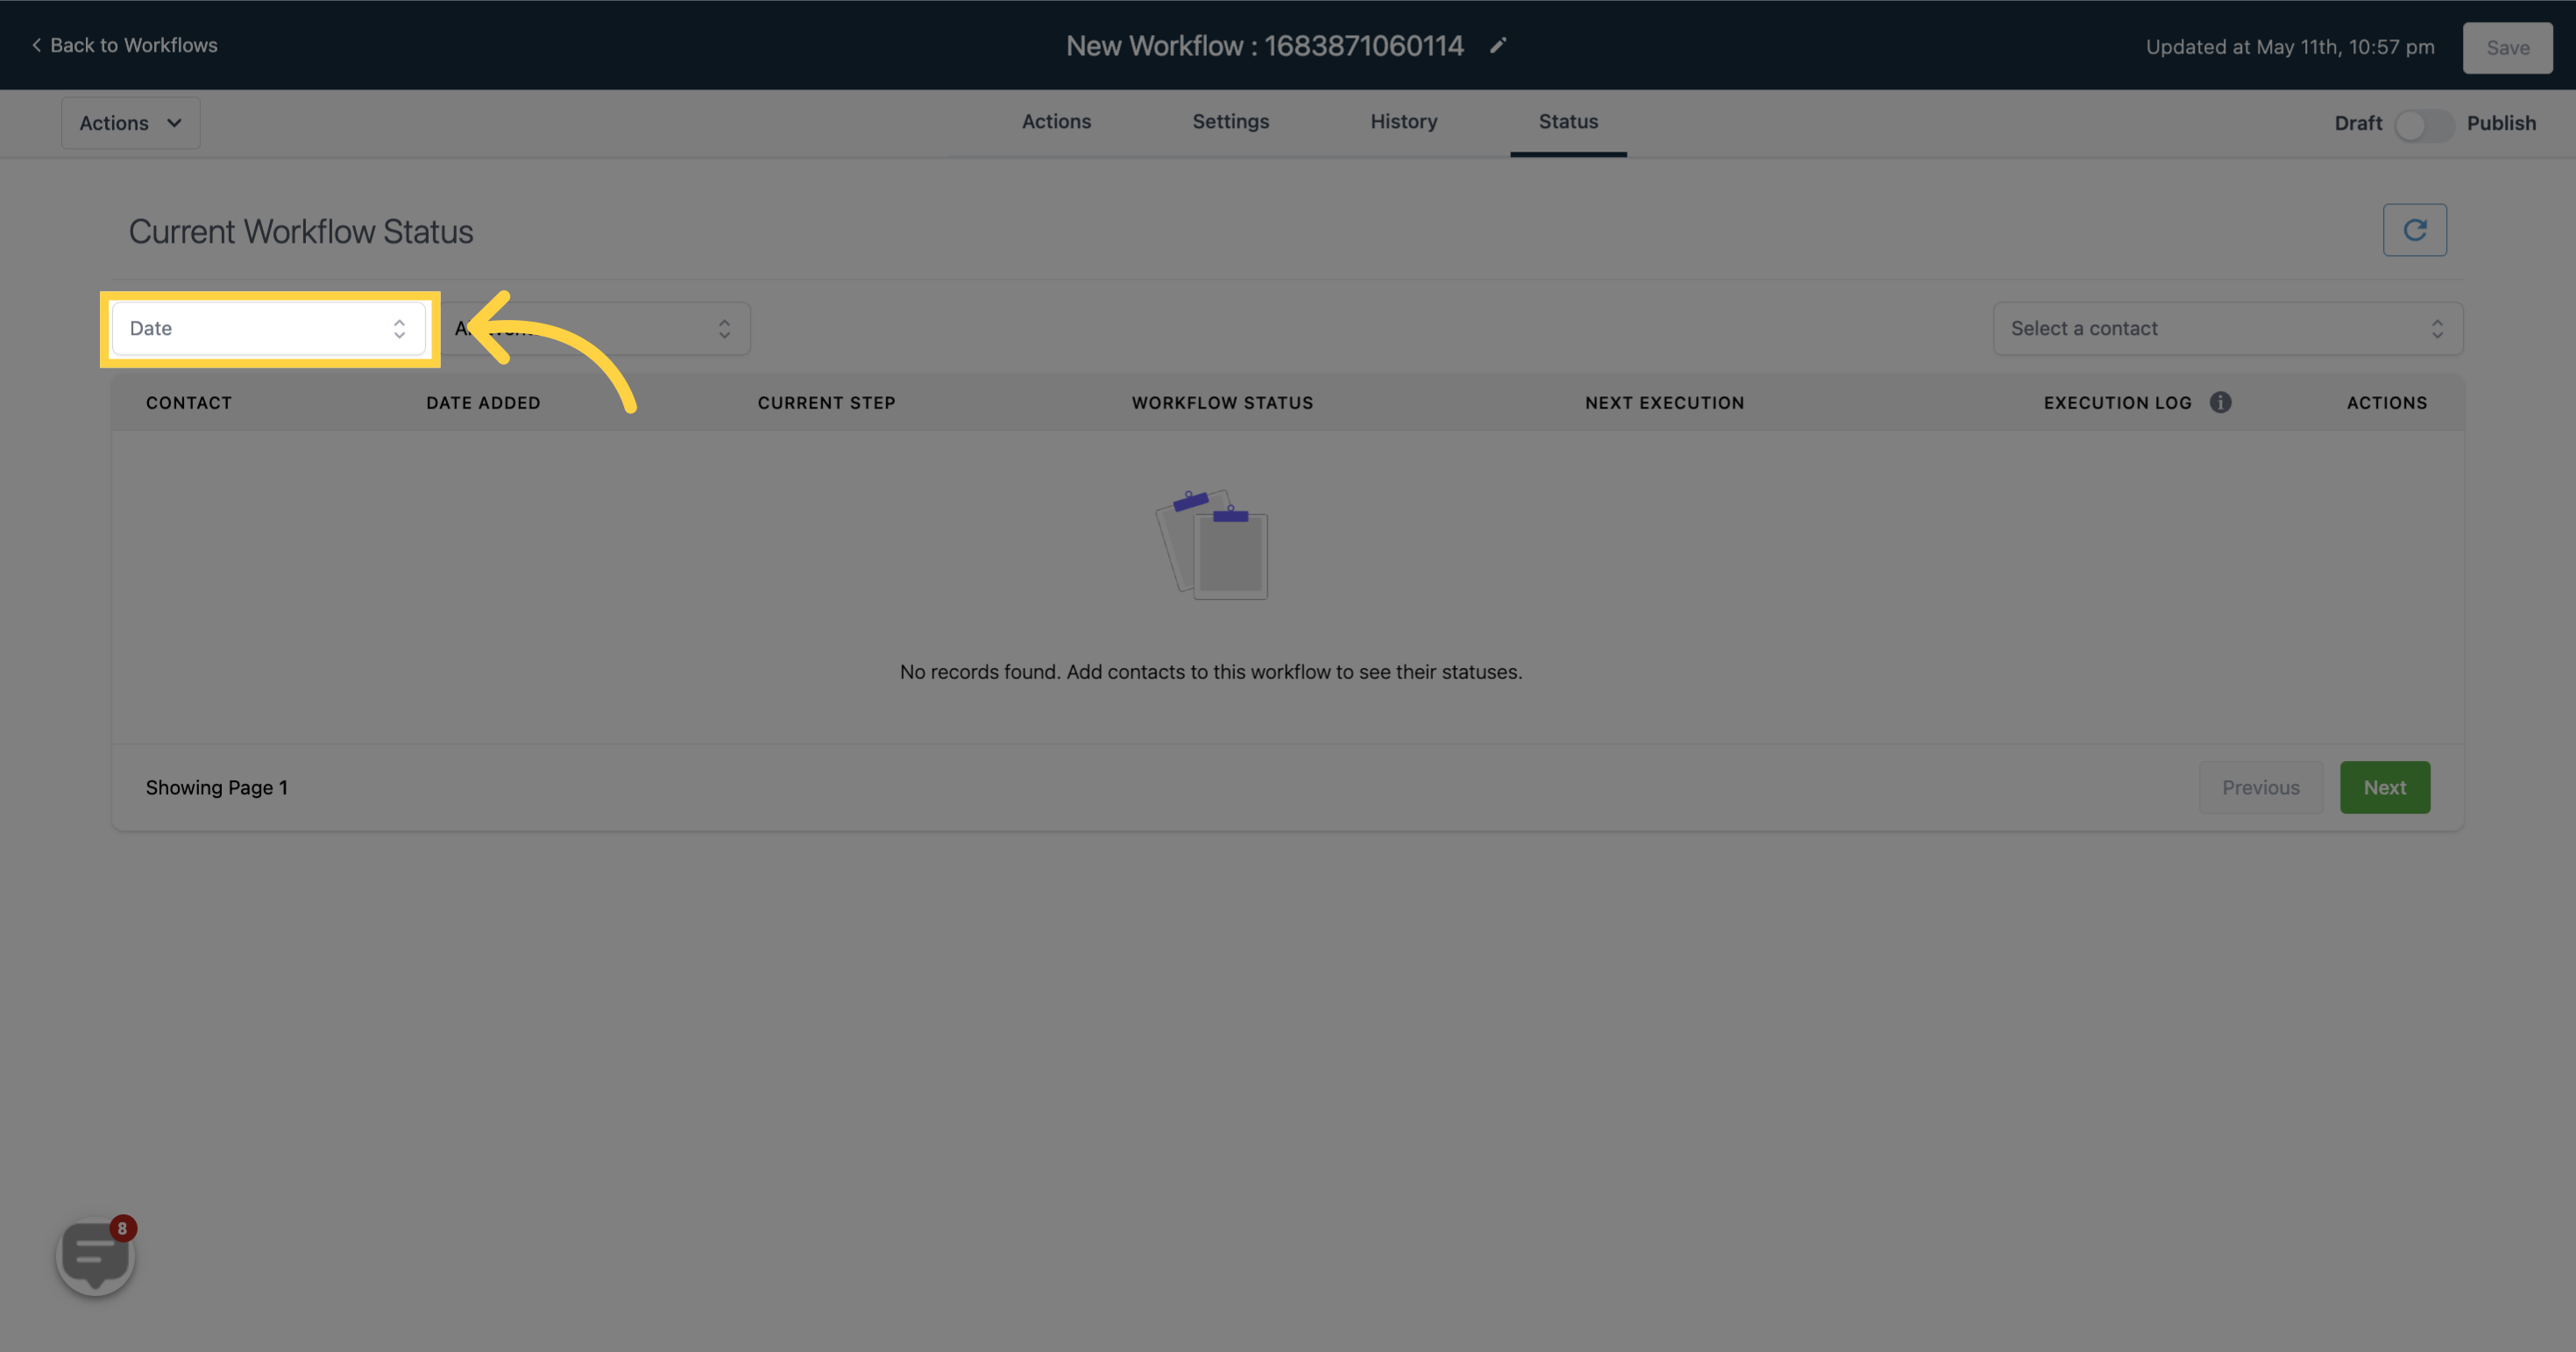
You have the option to filter the current workflow status based on their creation date
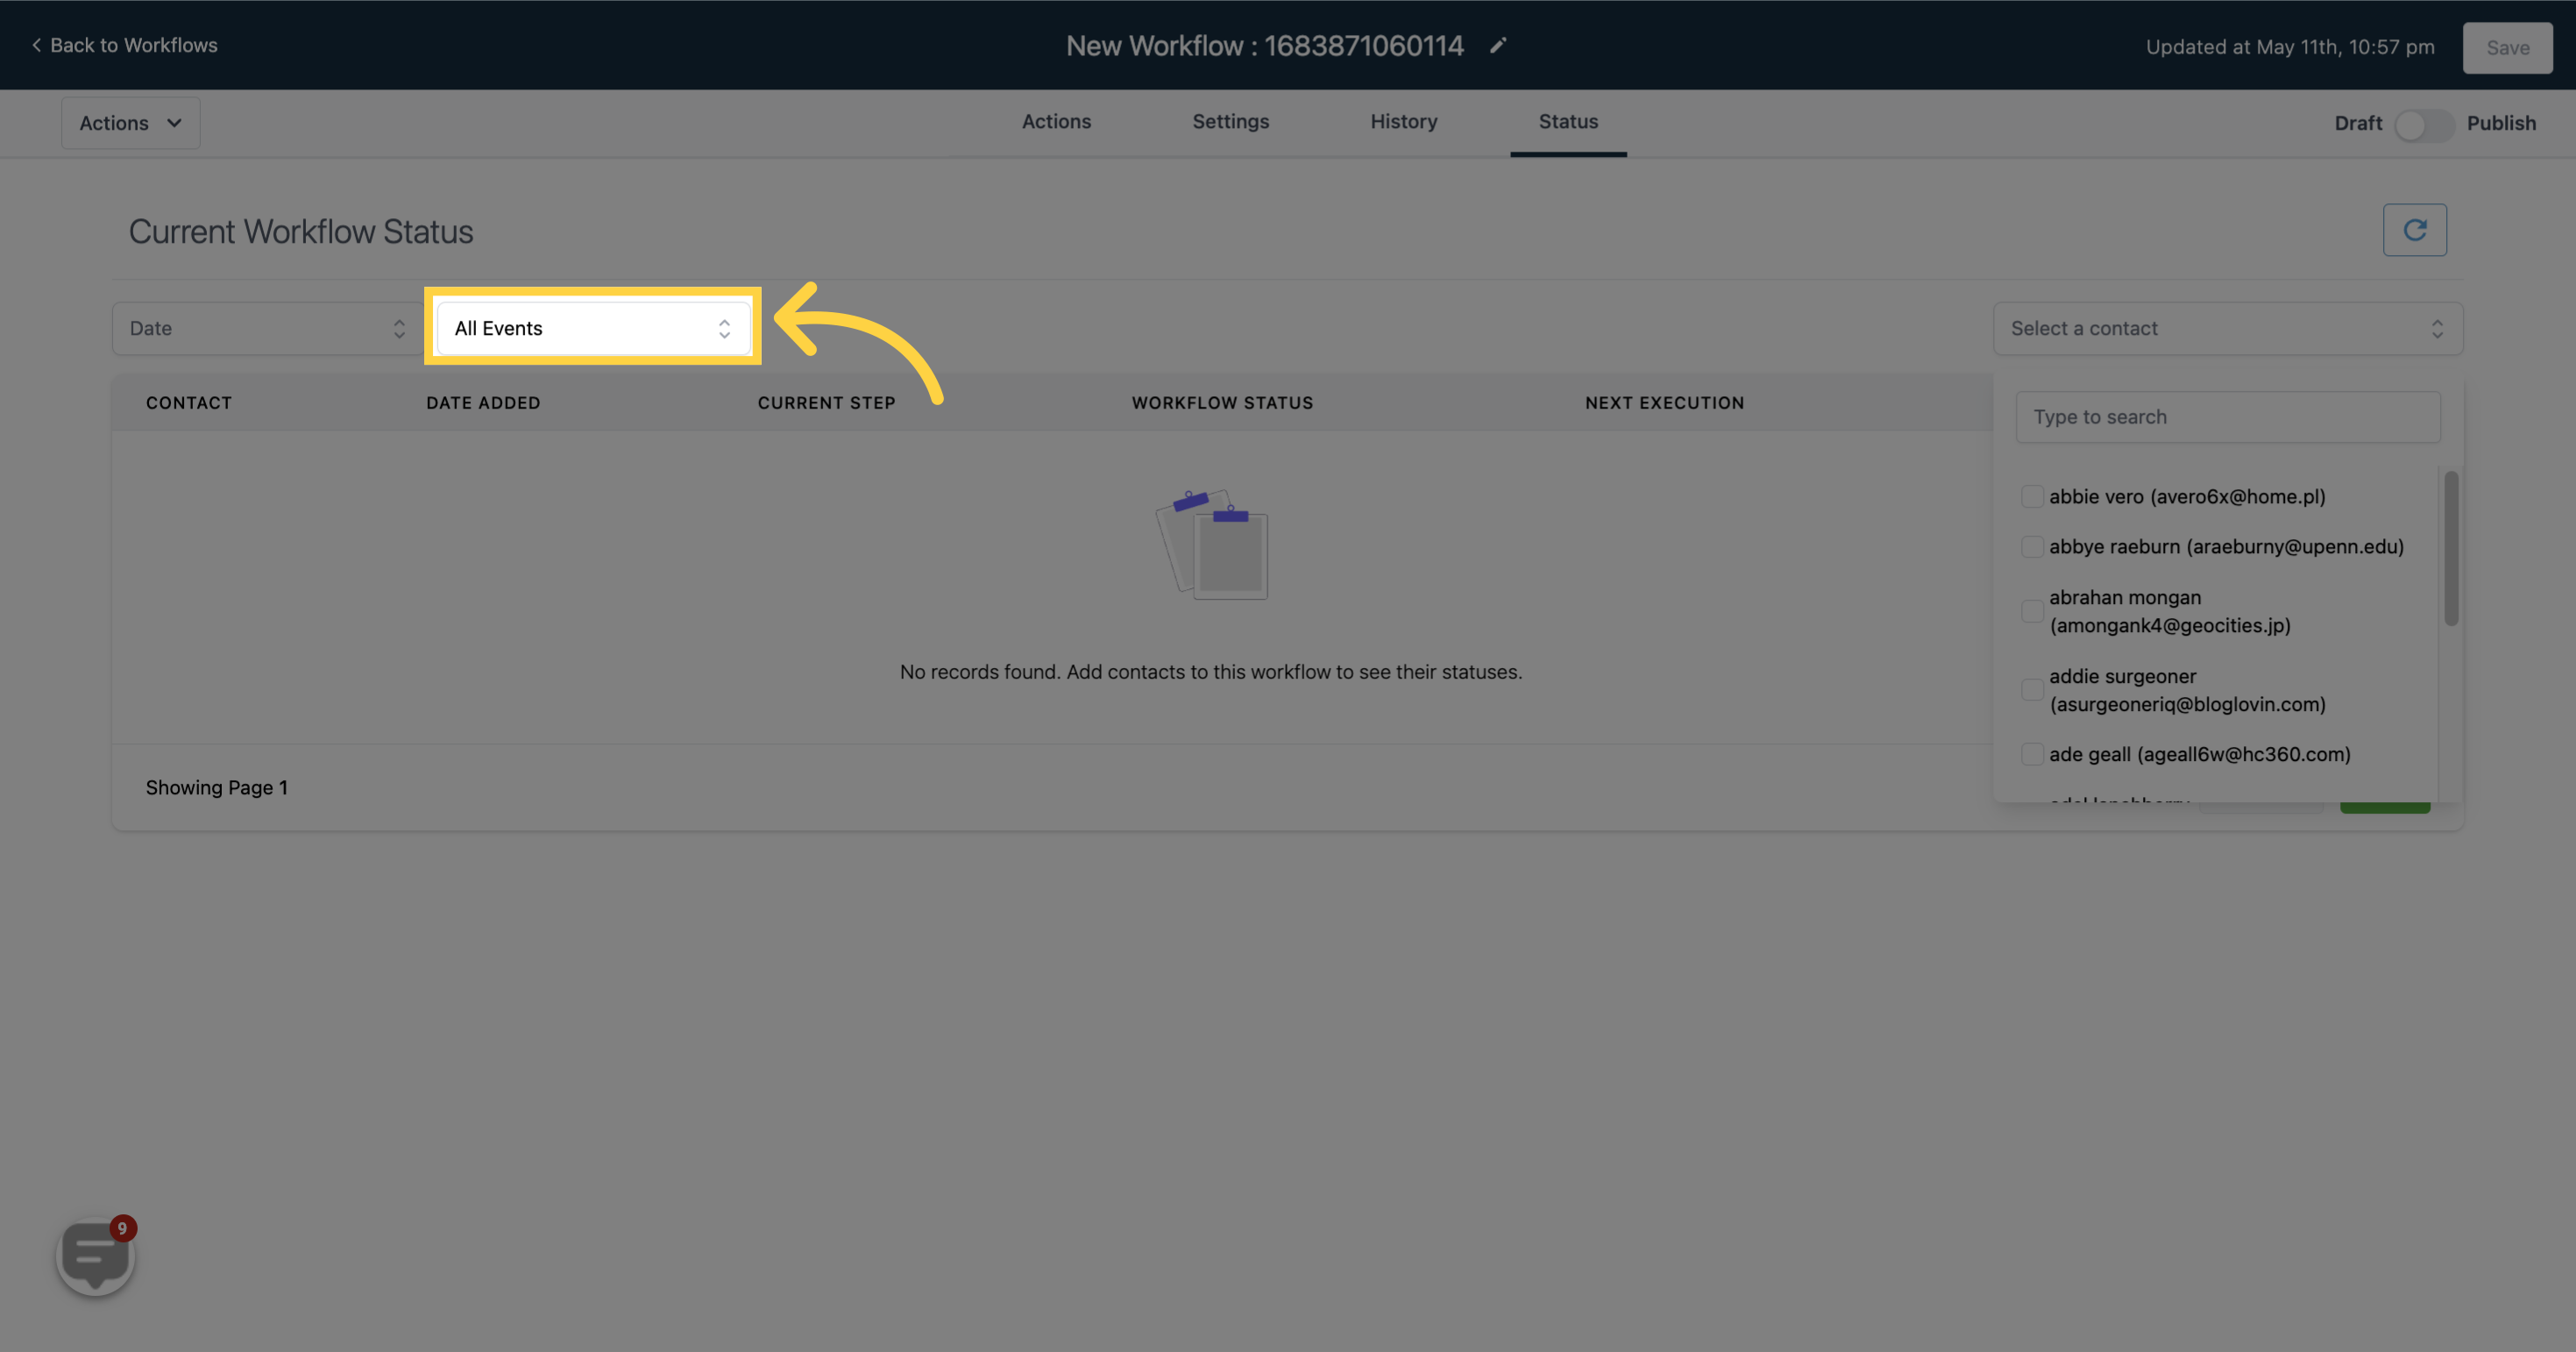
To refine your current workflow status list, you can filter it by various events.
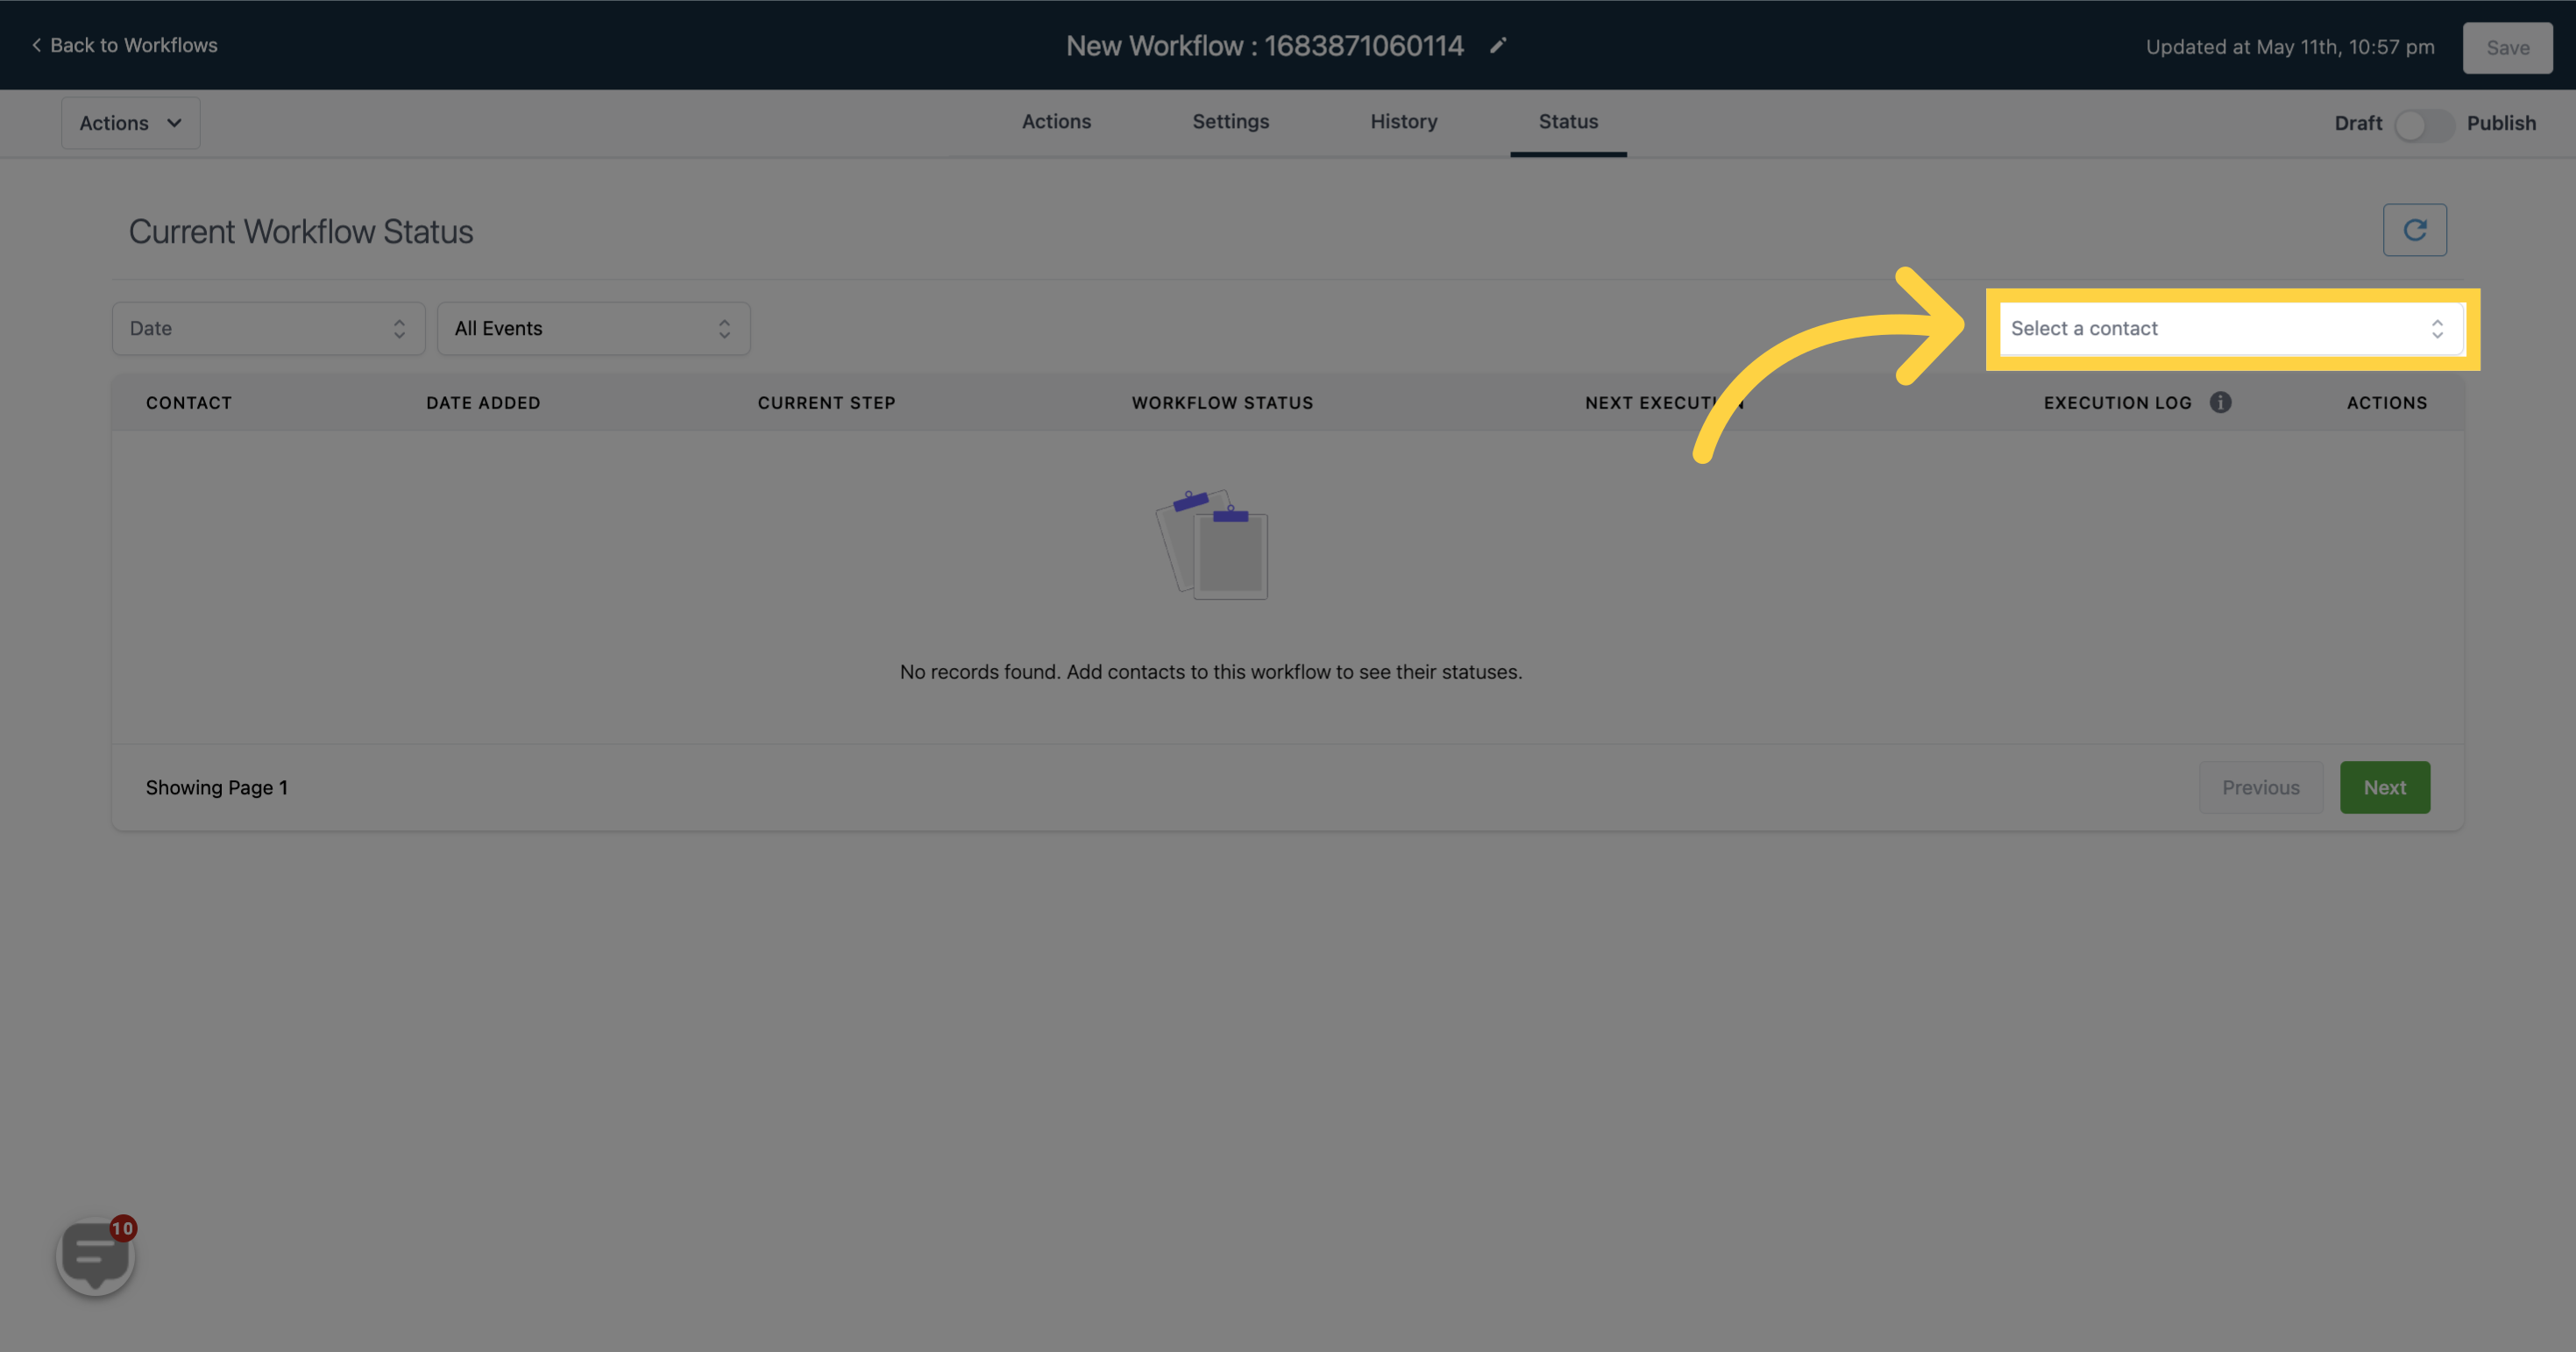
Searching by name can be a quicker solution for finding a particular action log among a large list of current workflow status updates.
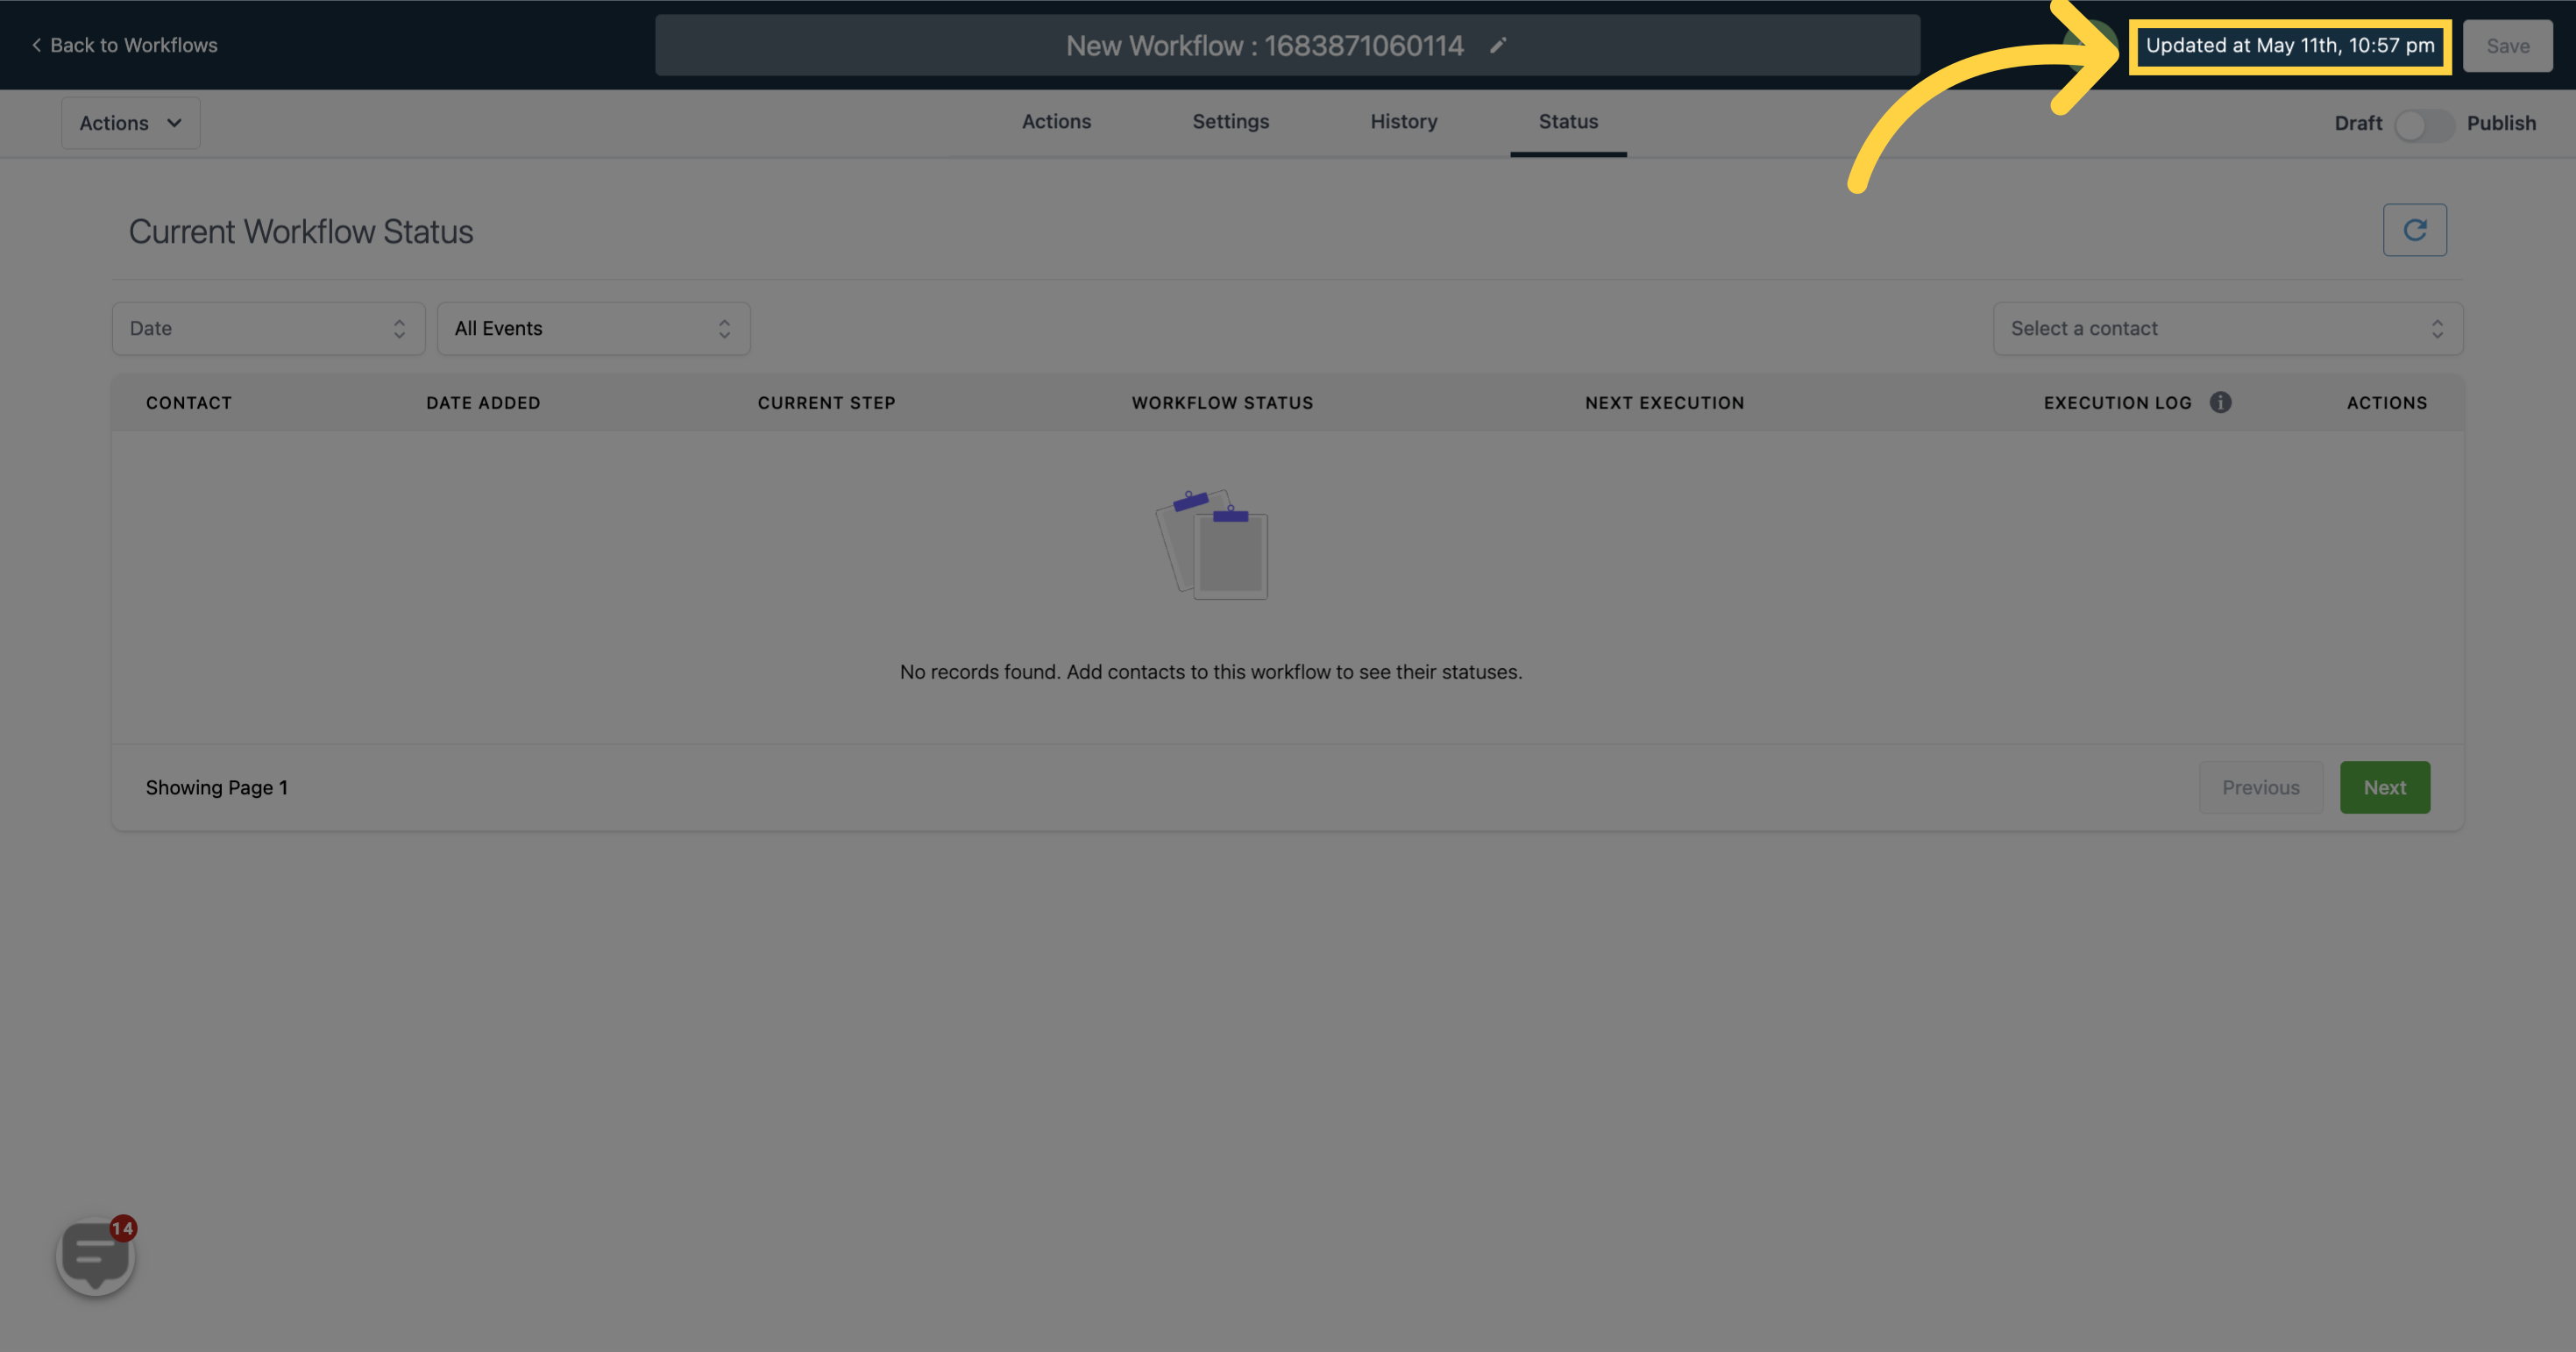
When you save the status of the workflow, the date and time will automatically be updated.
Don't forget to save your changes once you've finished editing a current workflow status.
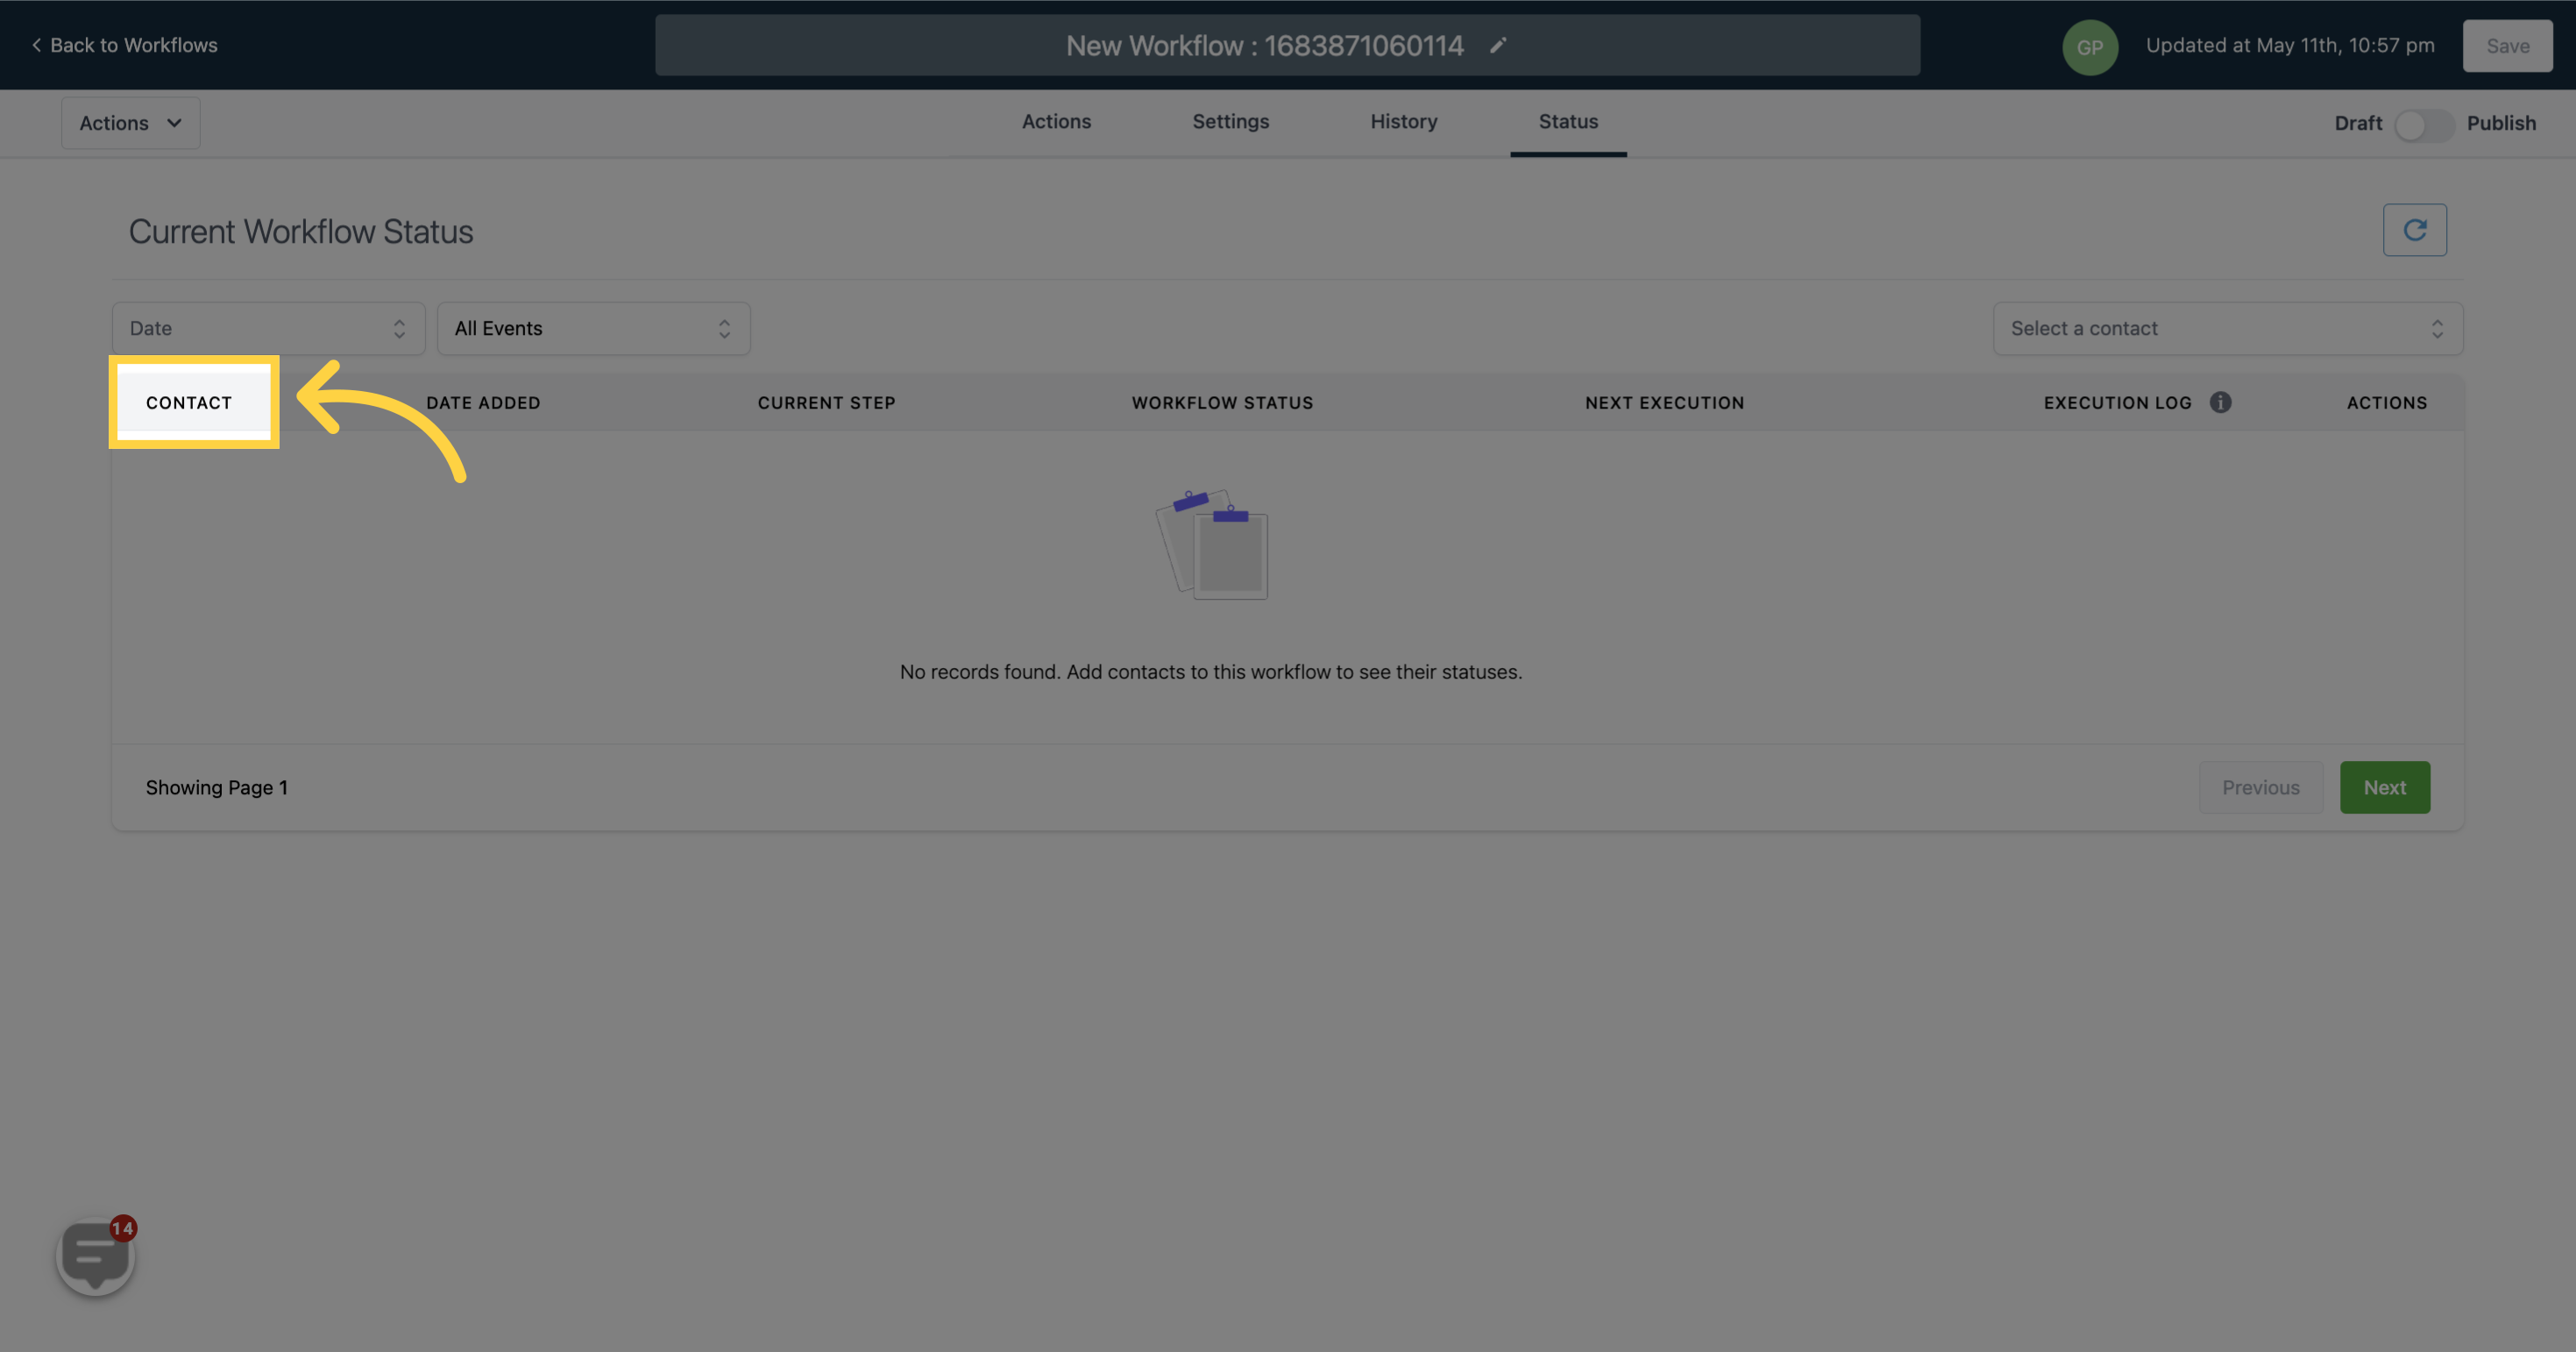
This table displays an overview of the current workflow status along with the collected data such as:
CONTACTS - Contacts that have been added
)
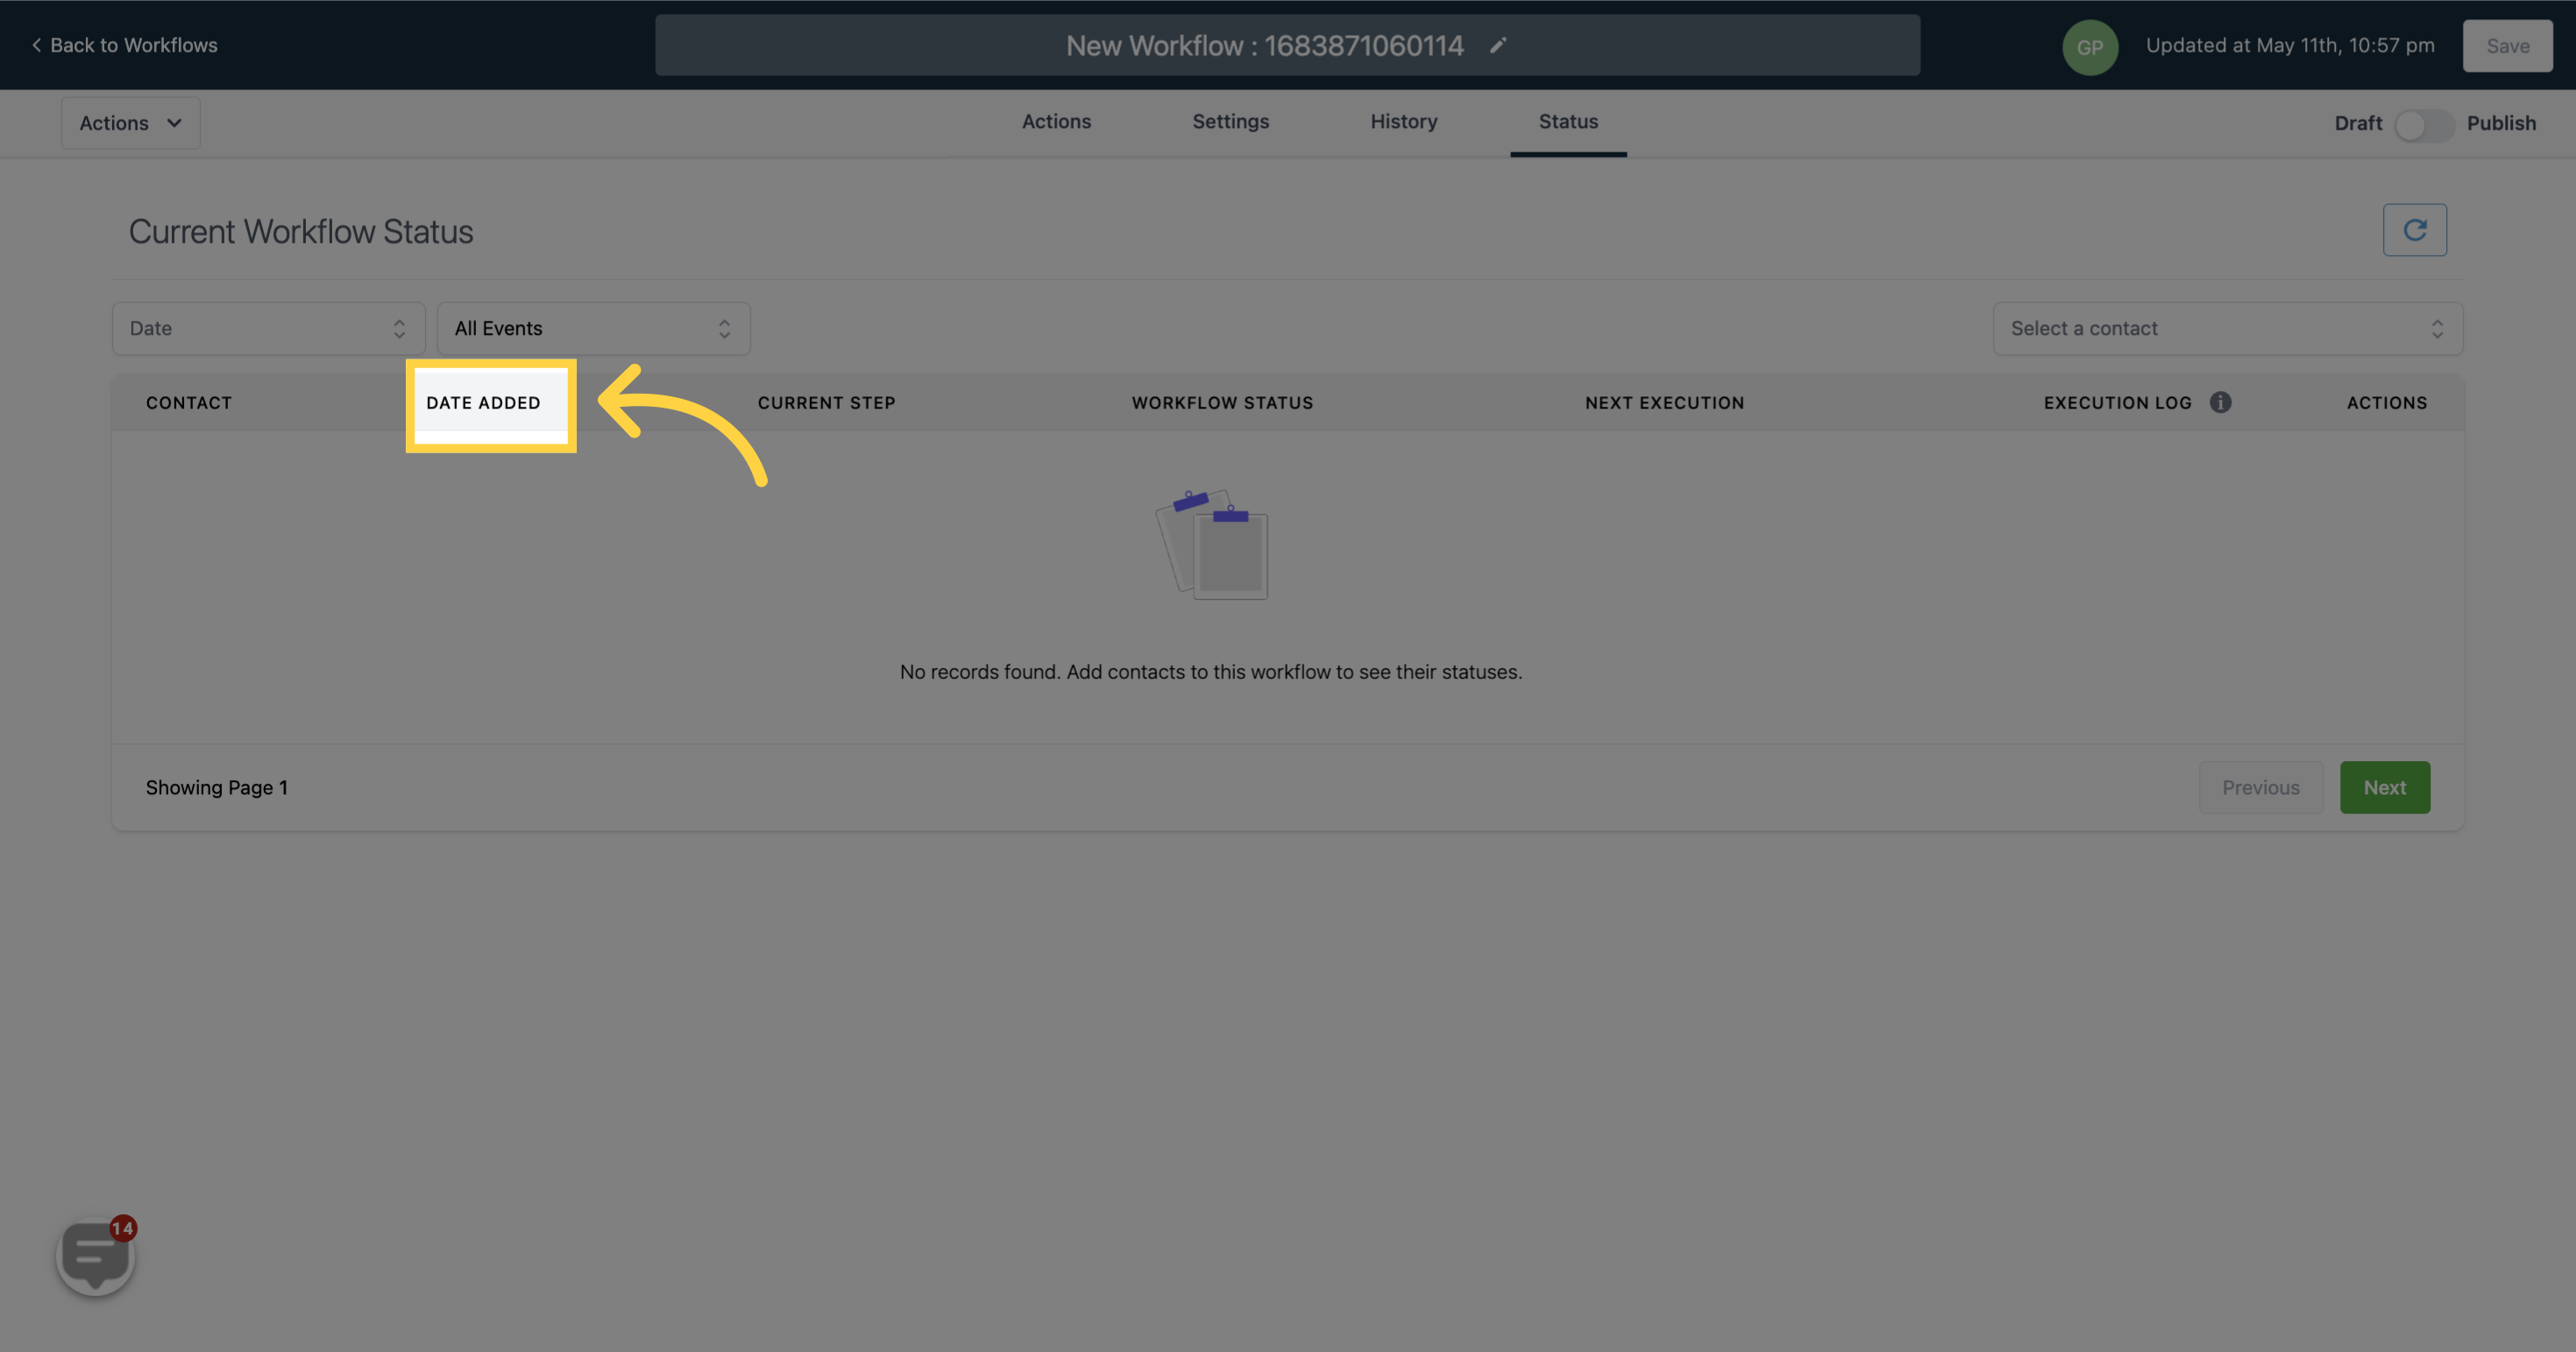
DATE ADDED - Date and time the contacts were added
)
CURRENT STEP - The current step at which contacts are in the workflow
)
WORKFLOW STATUS - Their current status in the workflow
)
NEXT EXECUTION - The upcoming scheduled execution
)
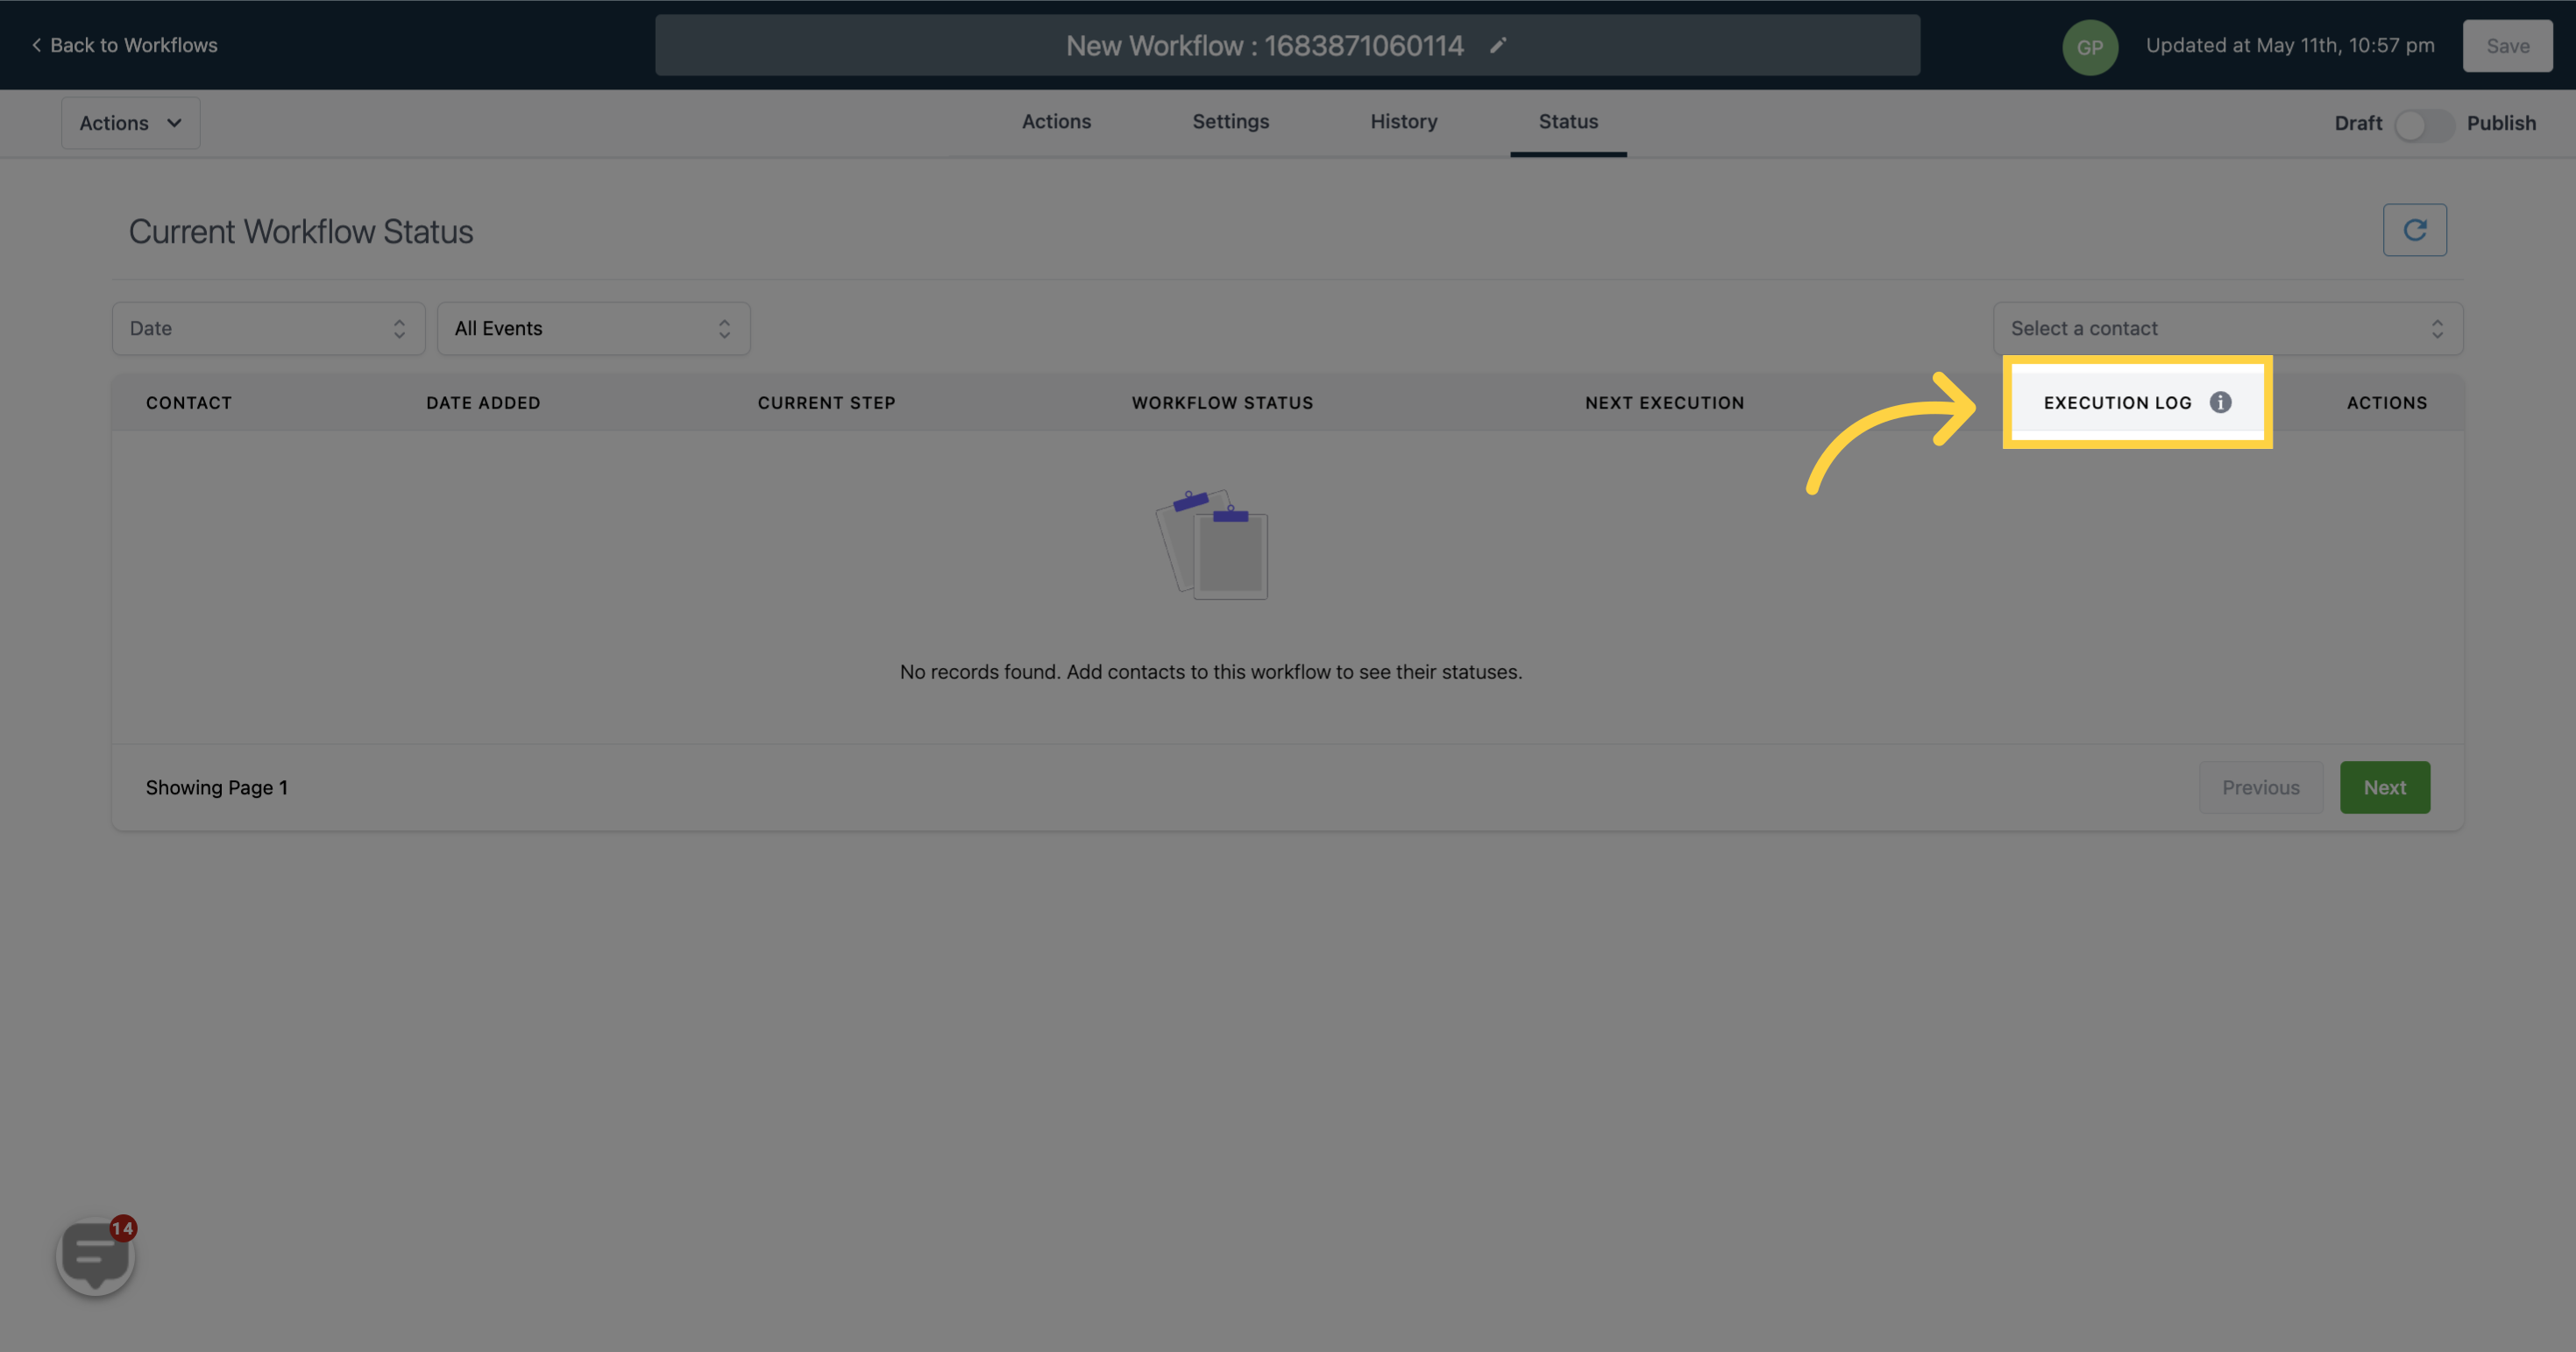
EXECUTION LOG - Execution log which includes a list of actions completed for a specific contact
)
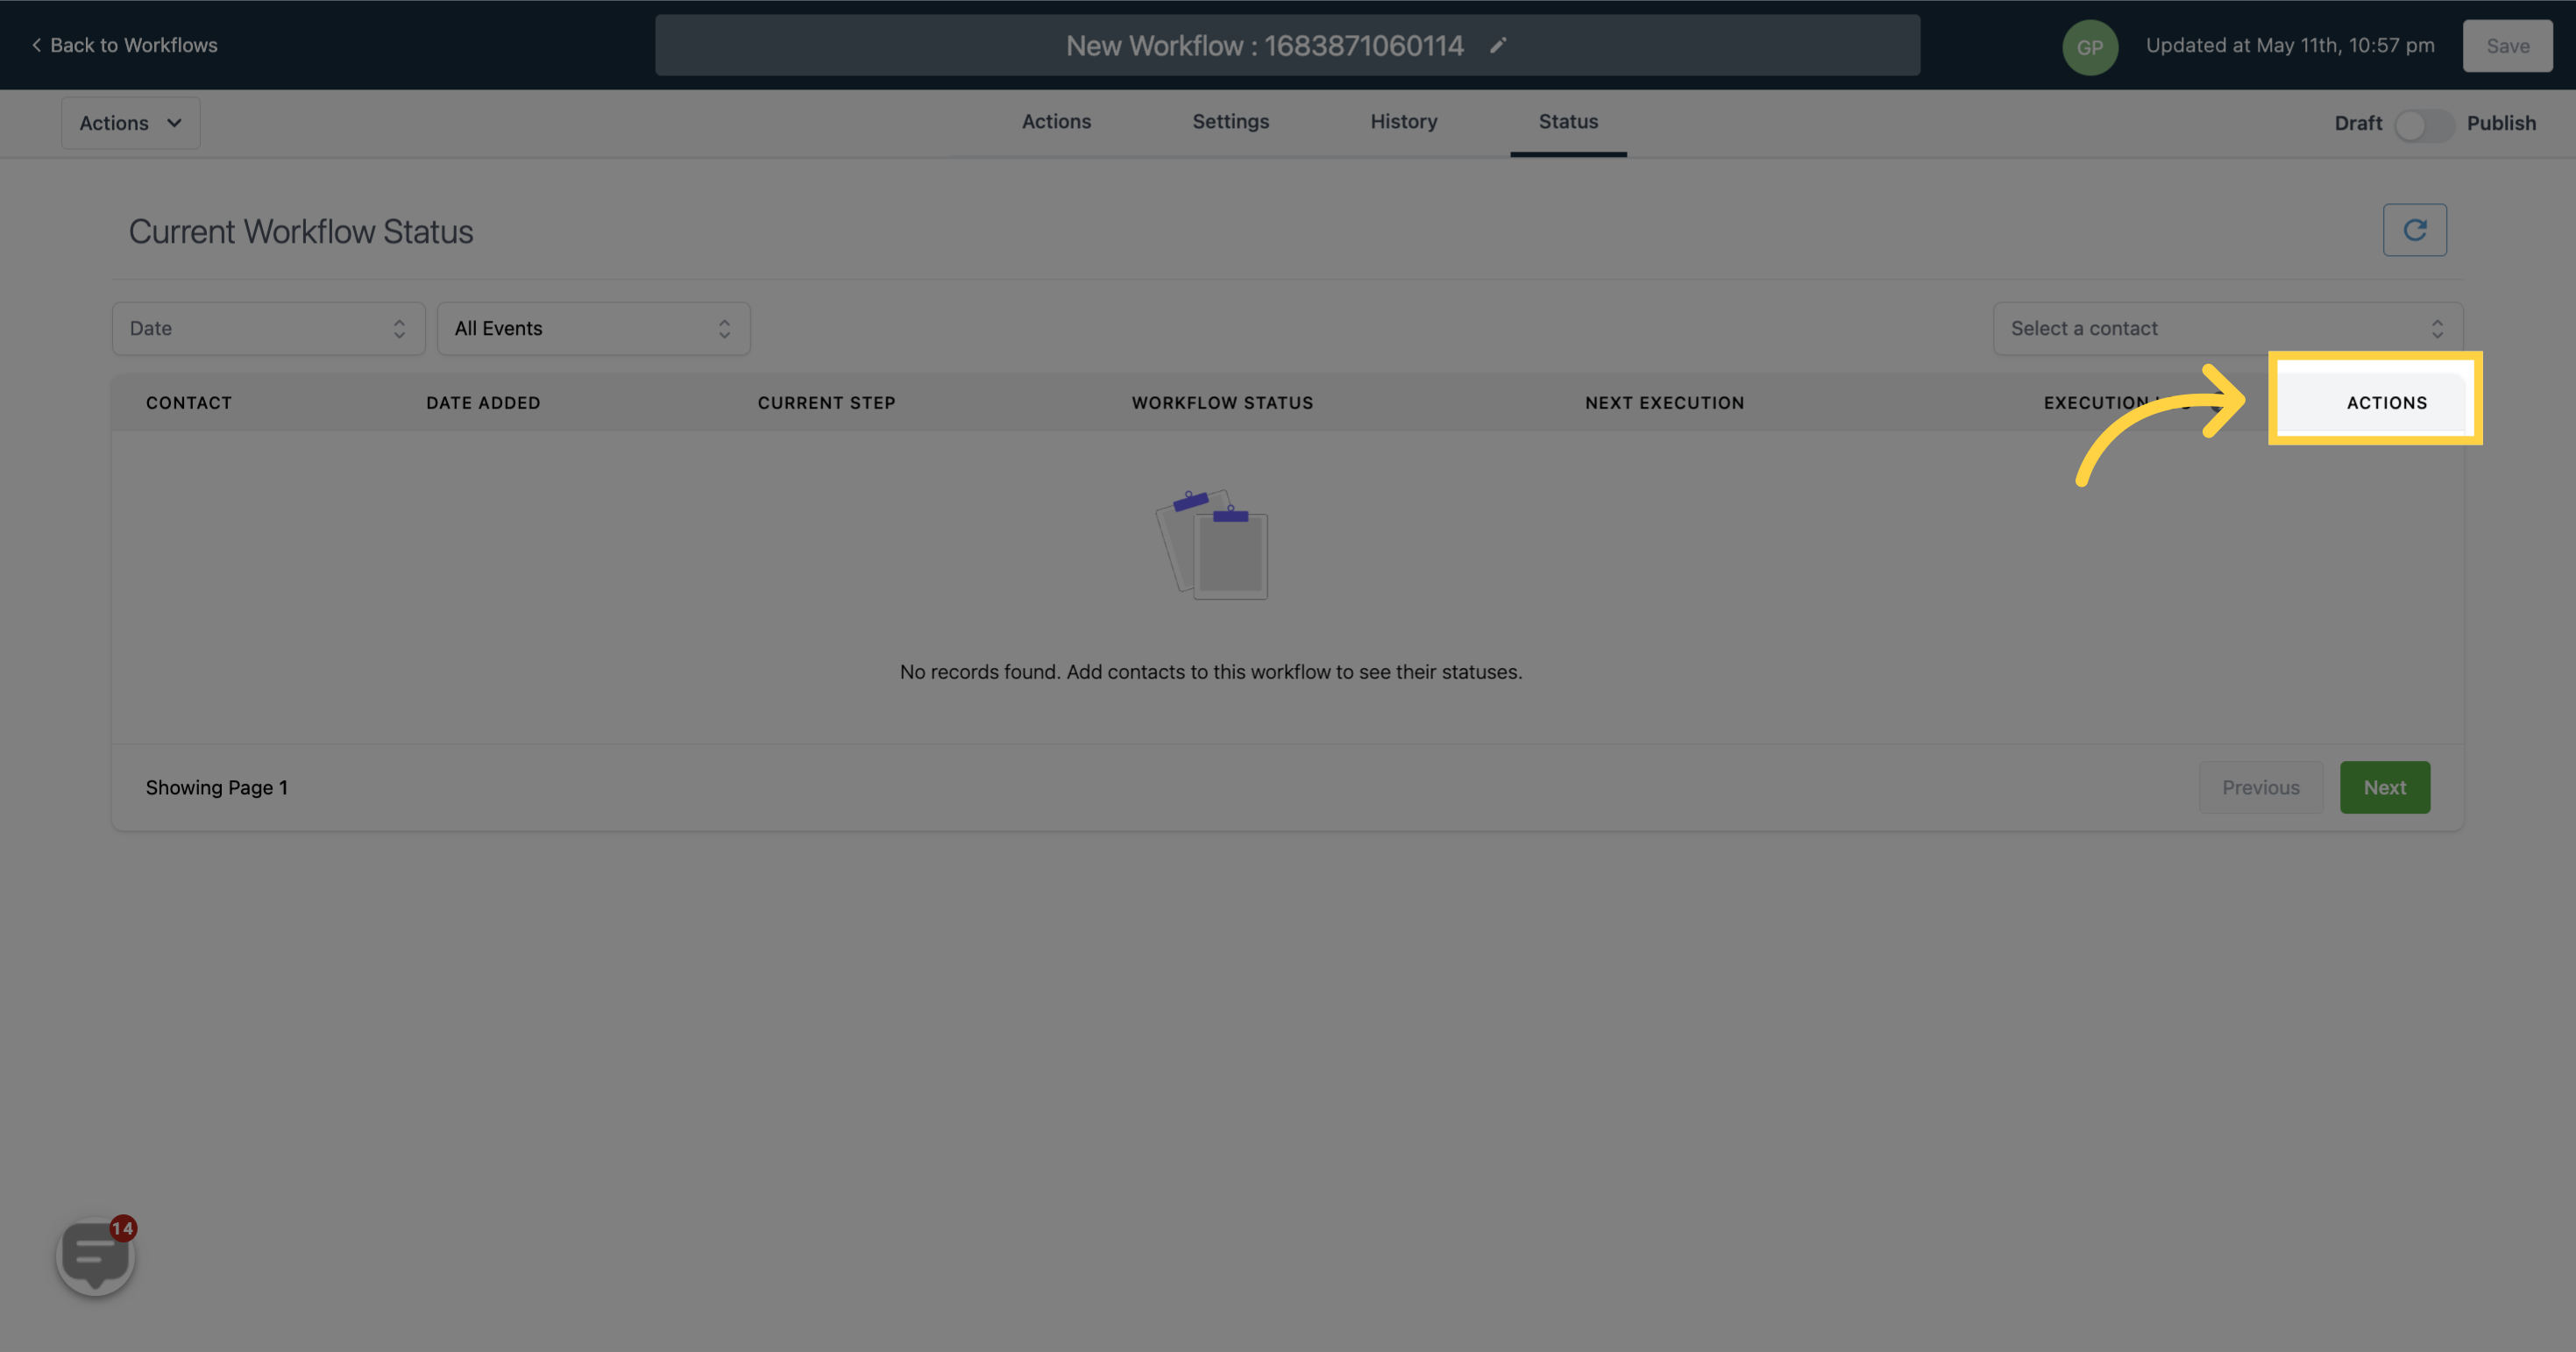
ACTIONS - Actions undertaken on the contacts
)