The Options tab in the Aesthetix CRM survey builder controls how your survey behaves: what happens on submit, how questions are shown, whether contacts are created before the survey is finished, and how consent is captured. This guide covers every setting.
Surveys live under Web Tools → Surveys, alongside Forms. Many of these options mirror the Forms settings, so a workflow you use for forms will feel familiar here.
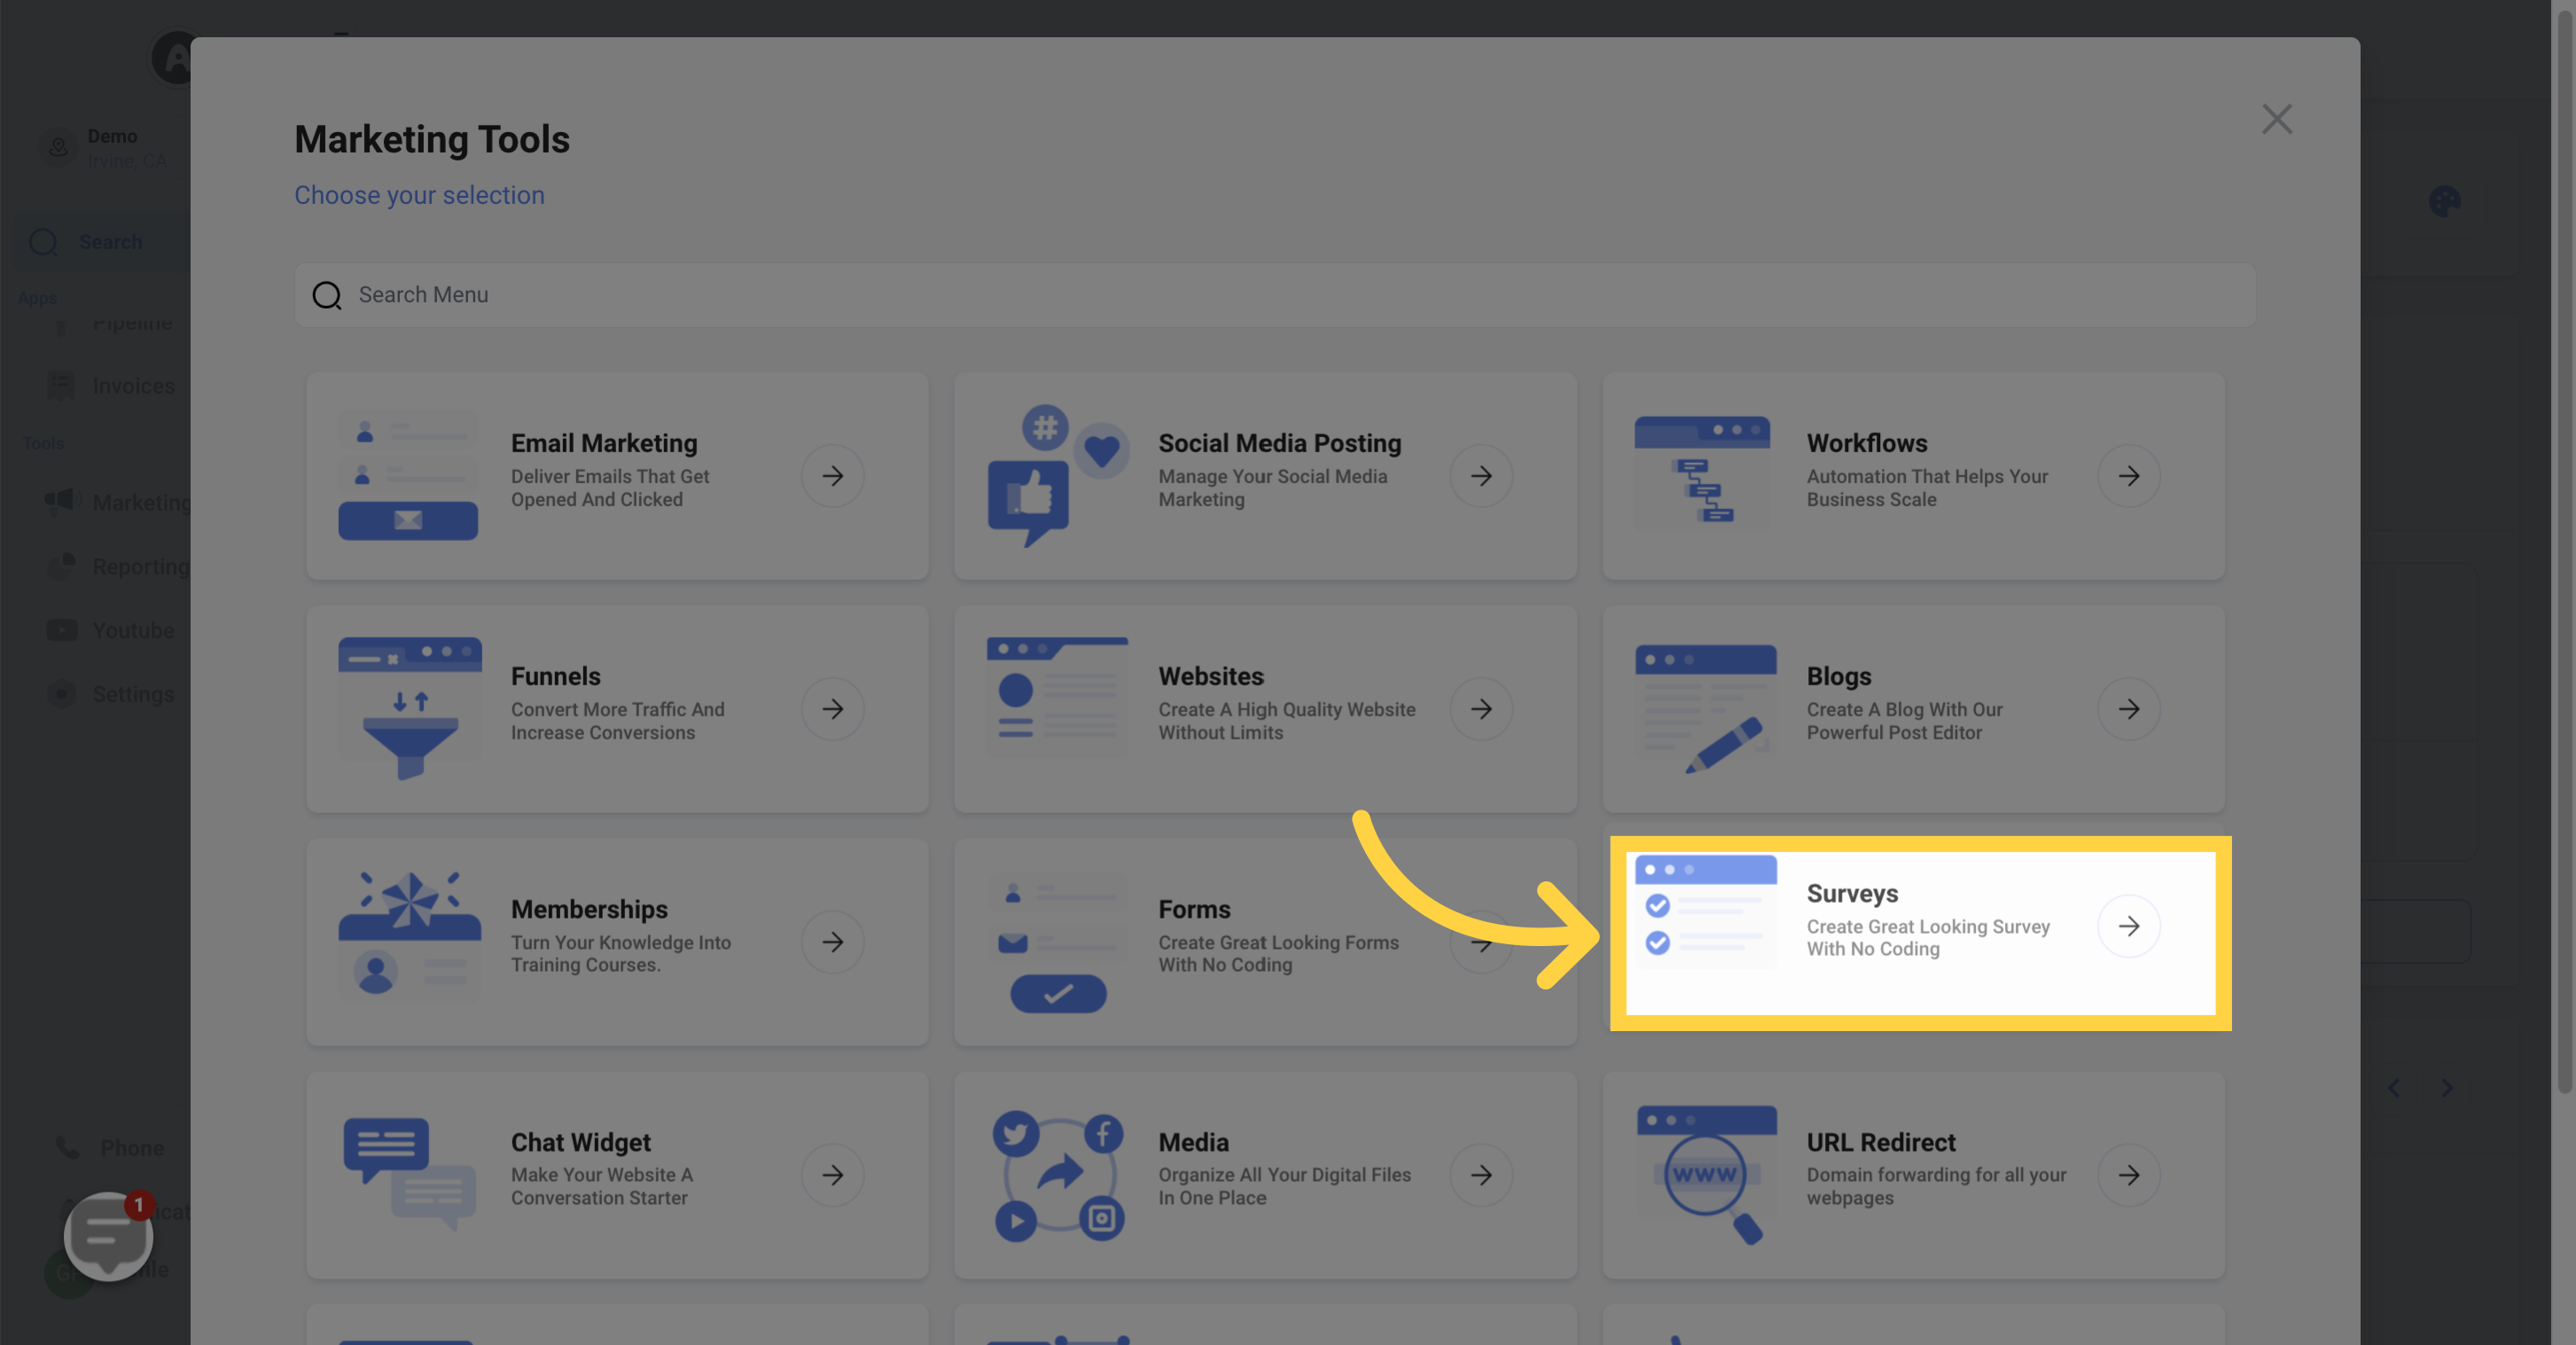
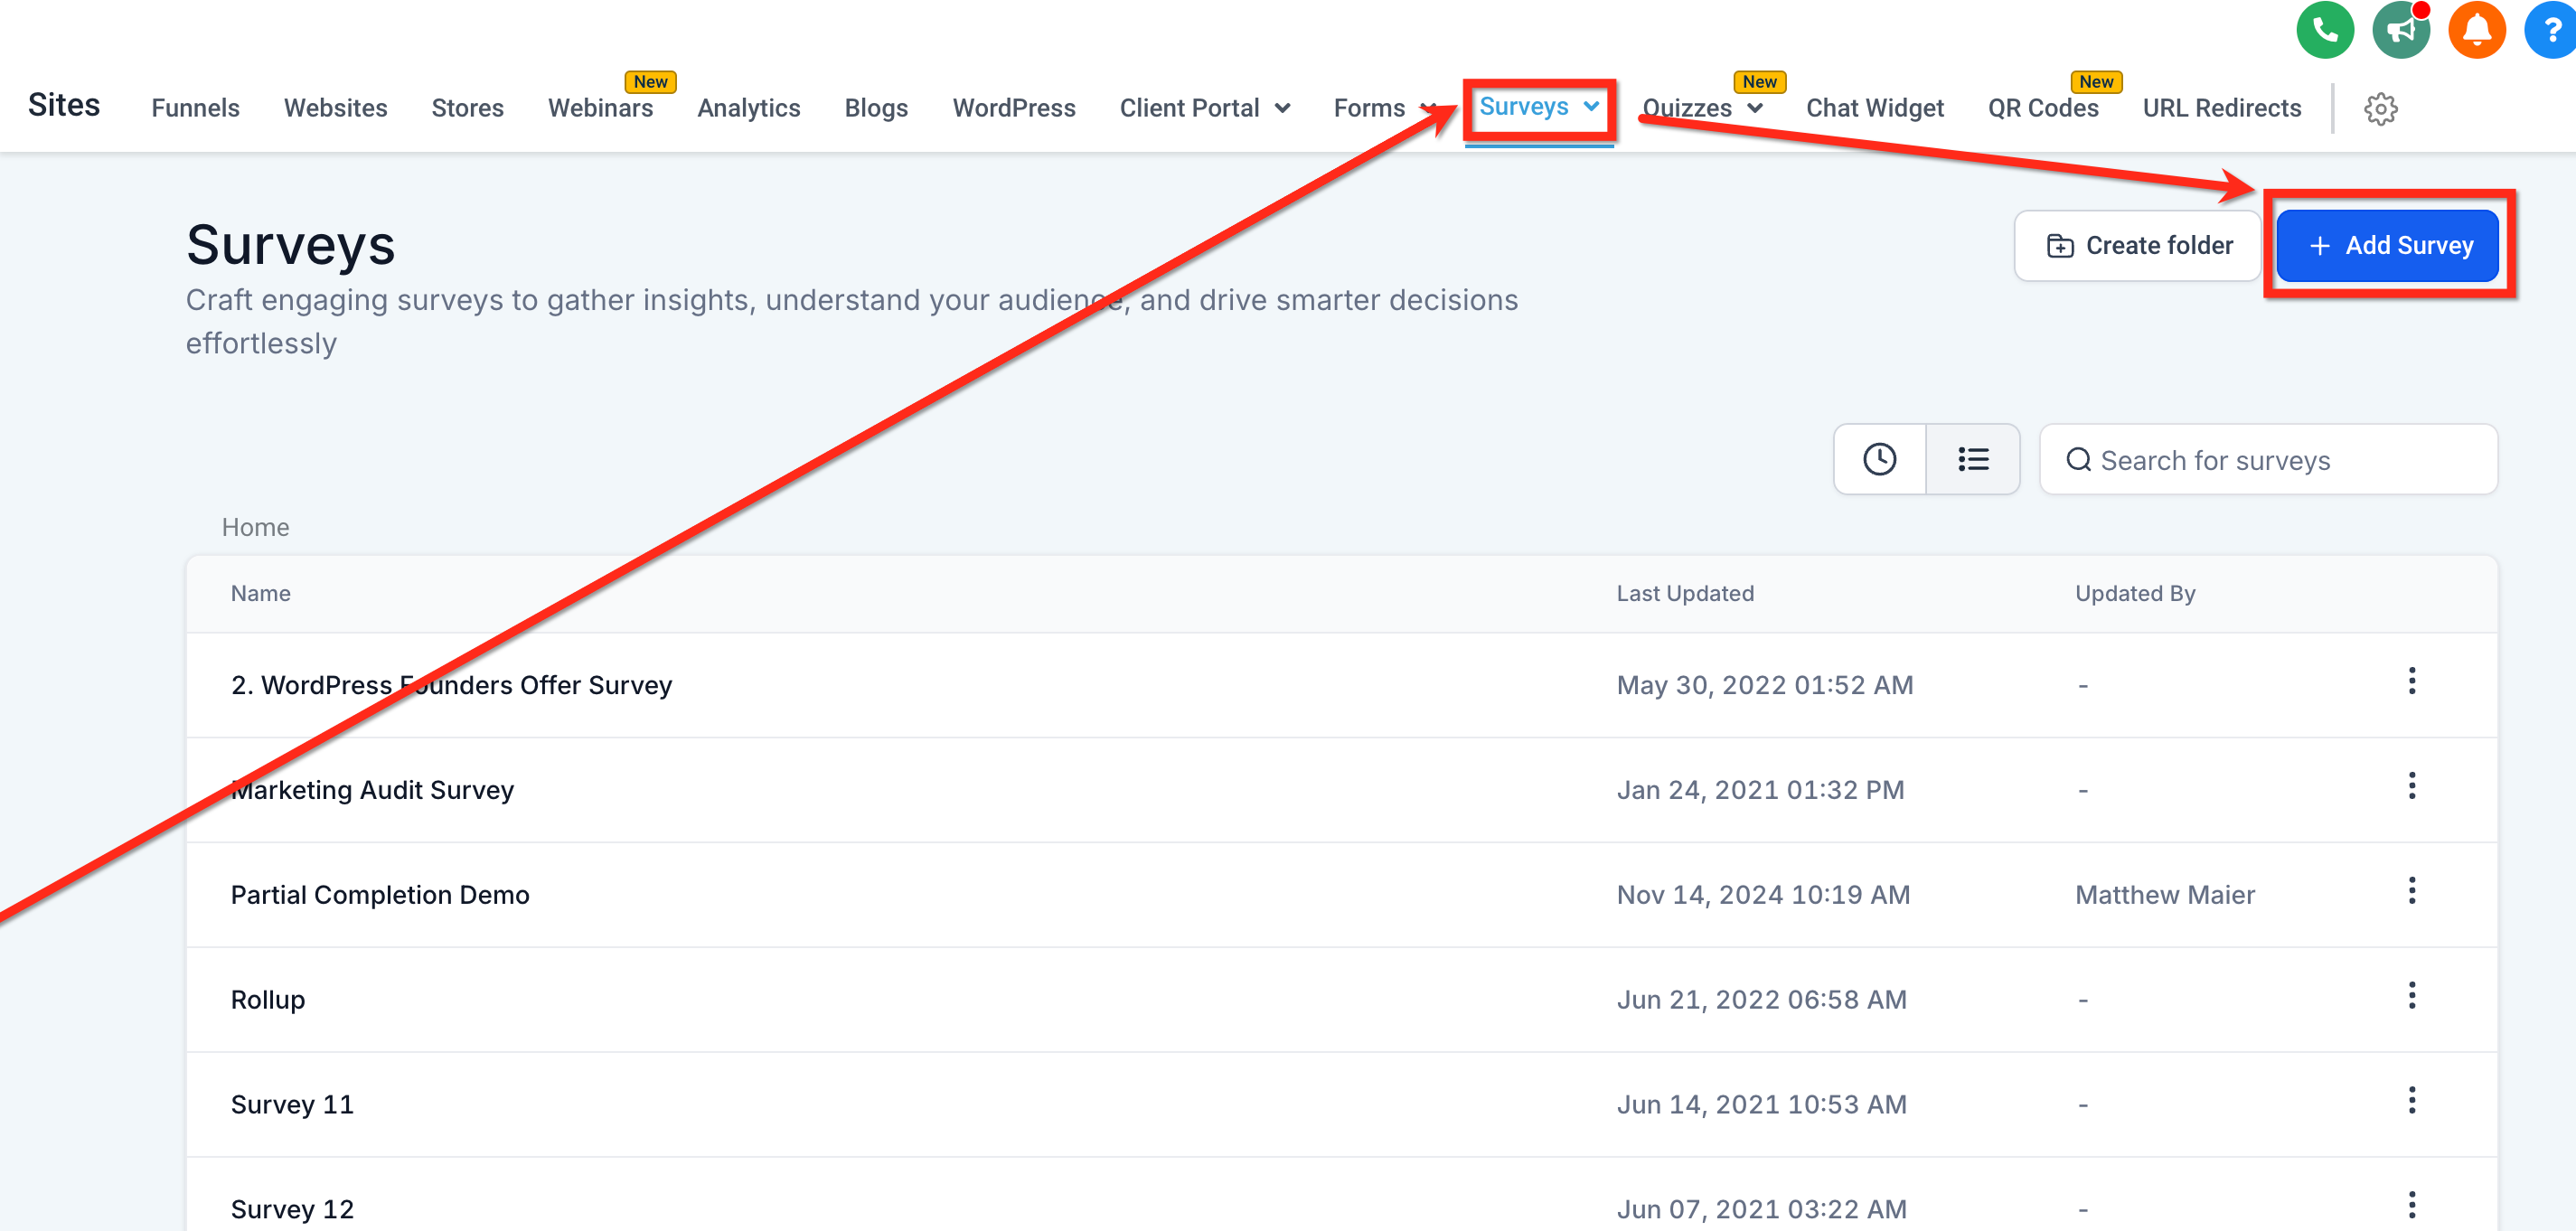
Go to Web Tools → Surveys.
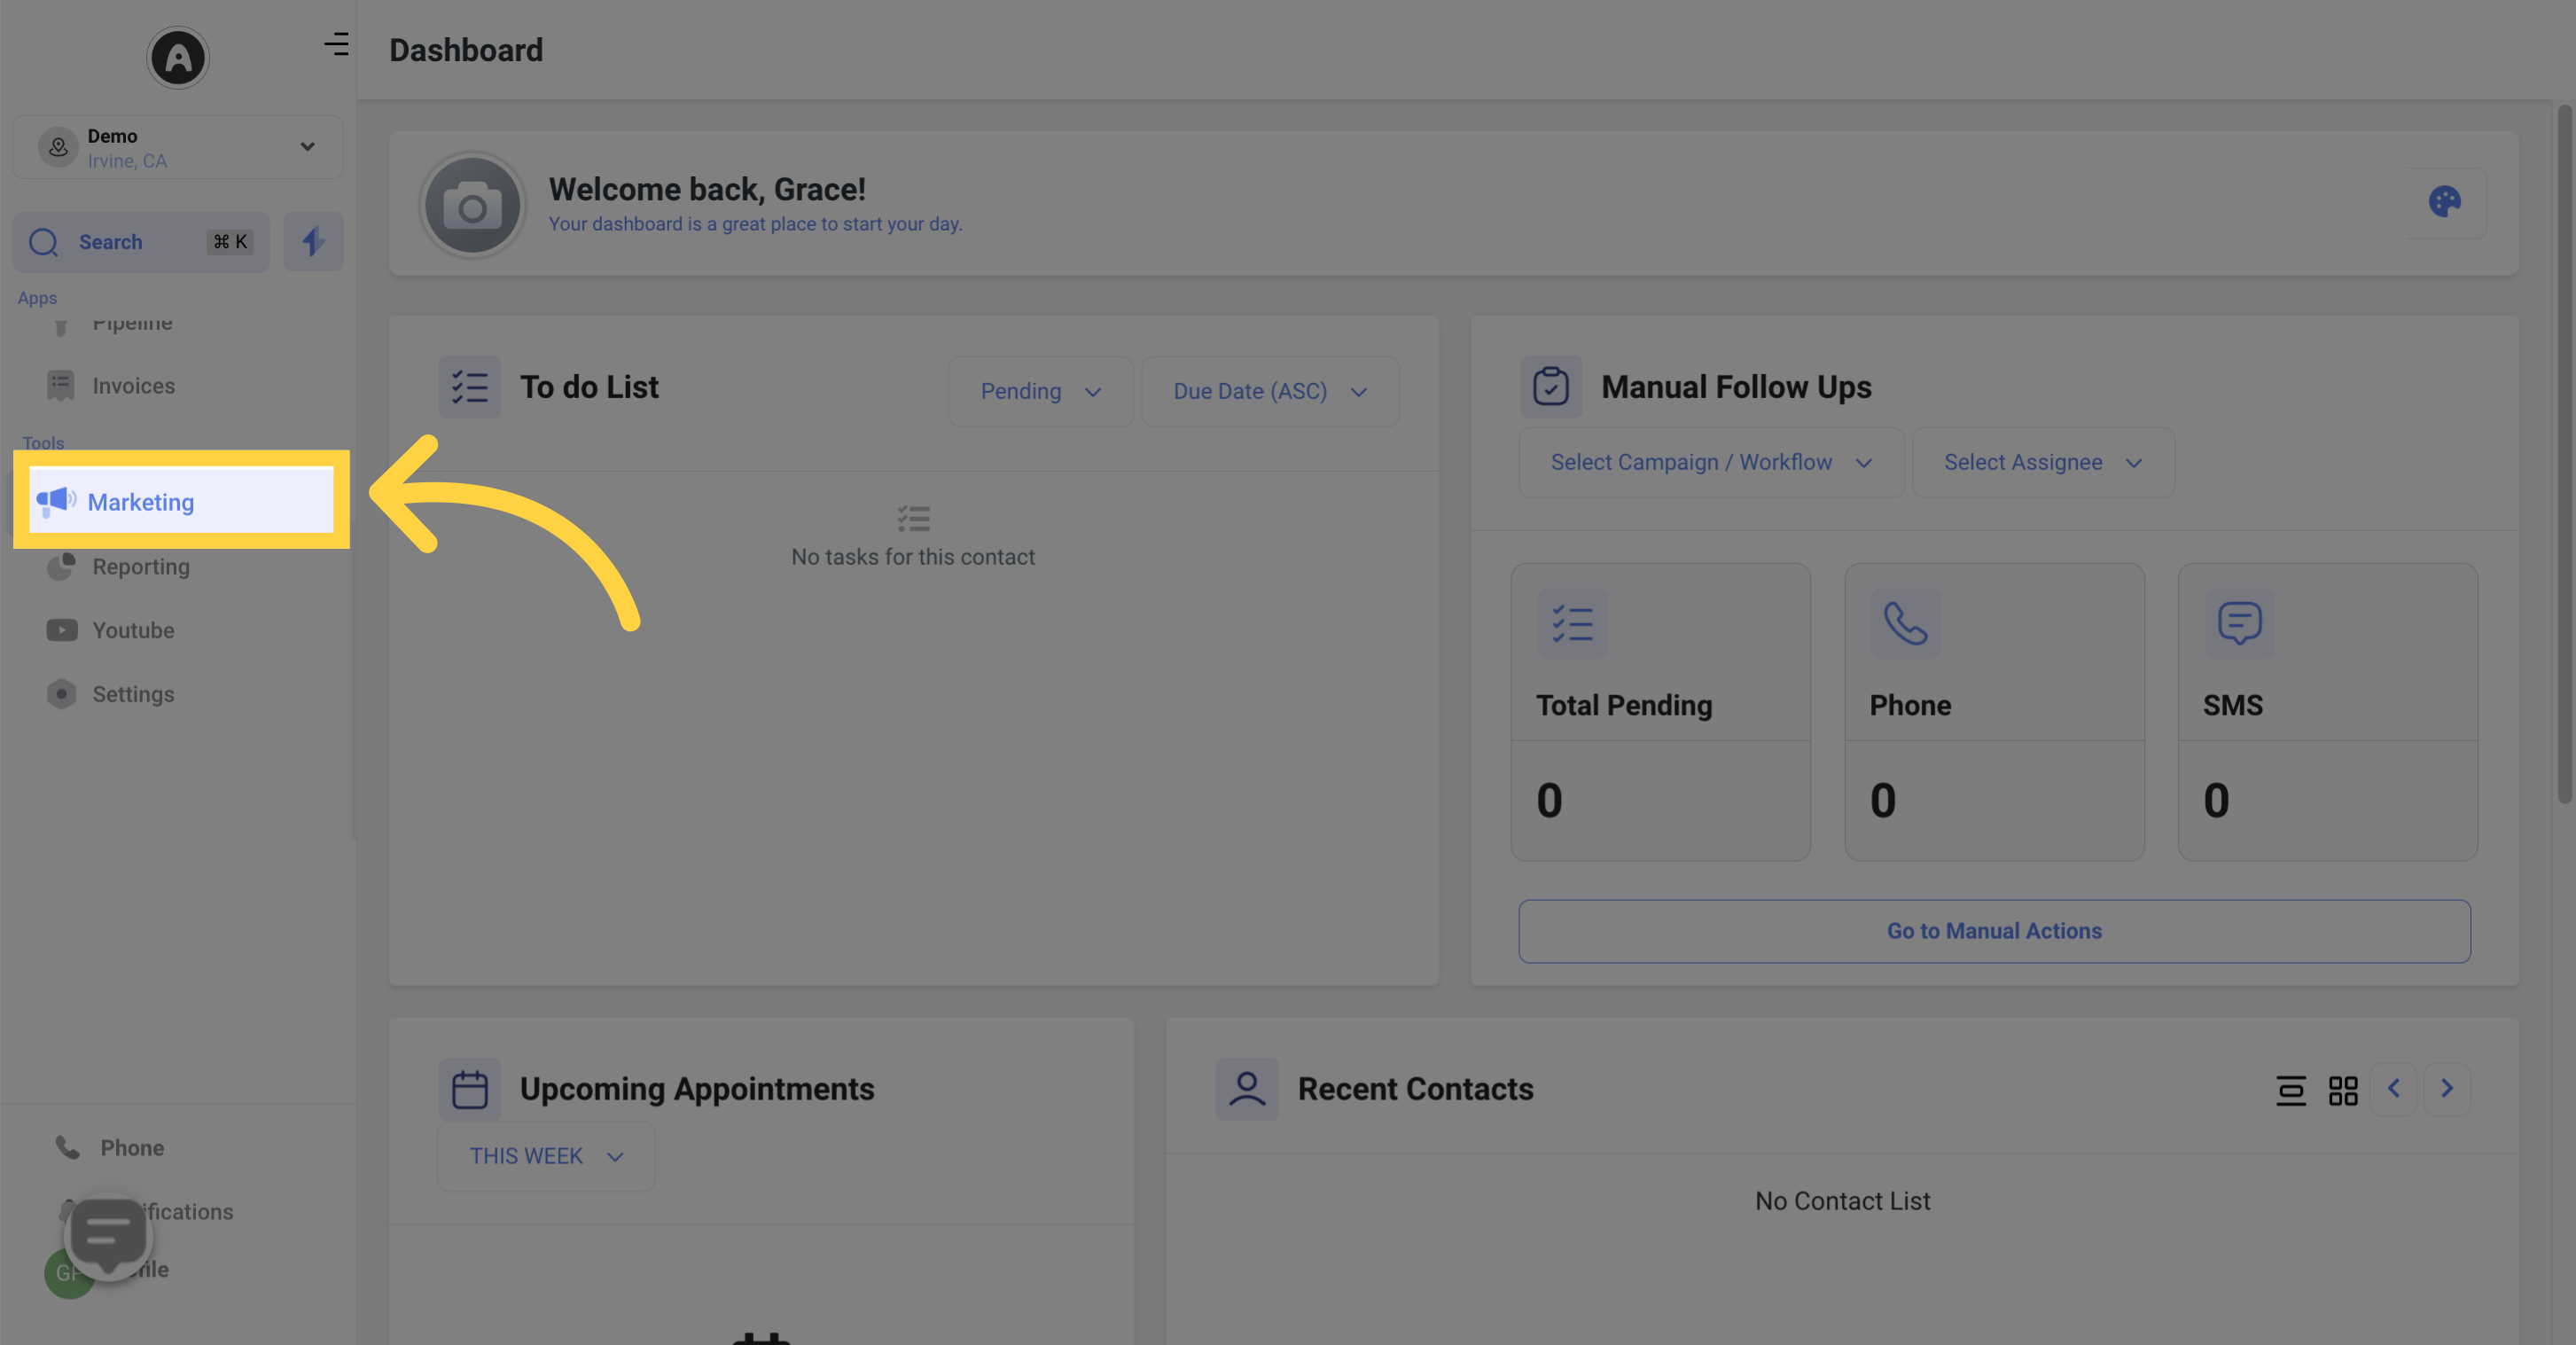
Open the Surveys list.
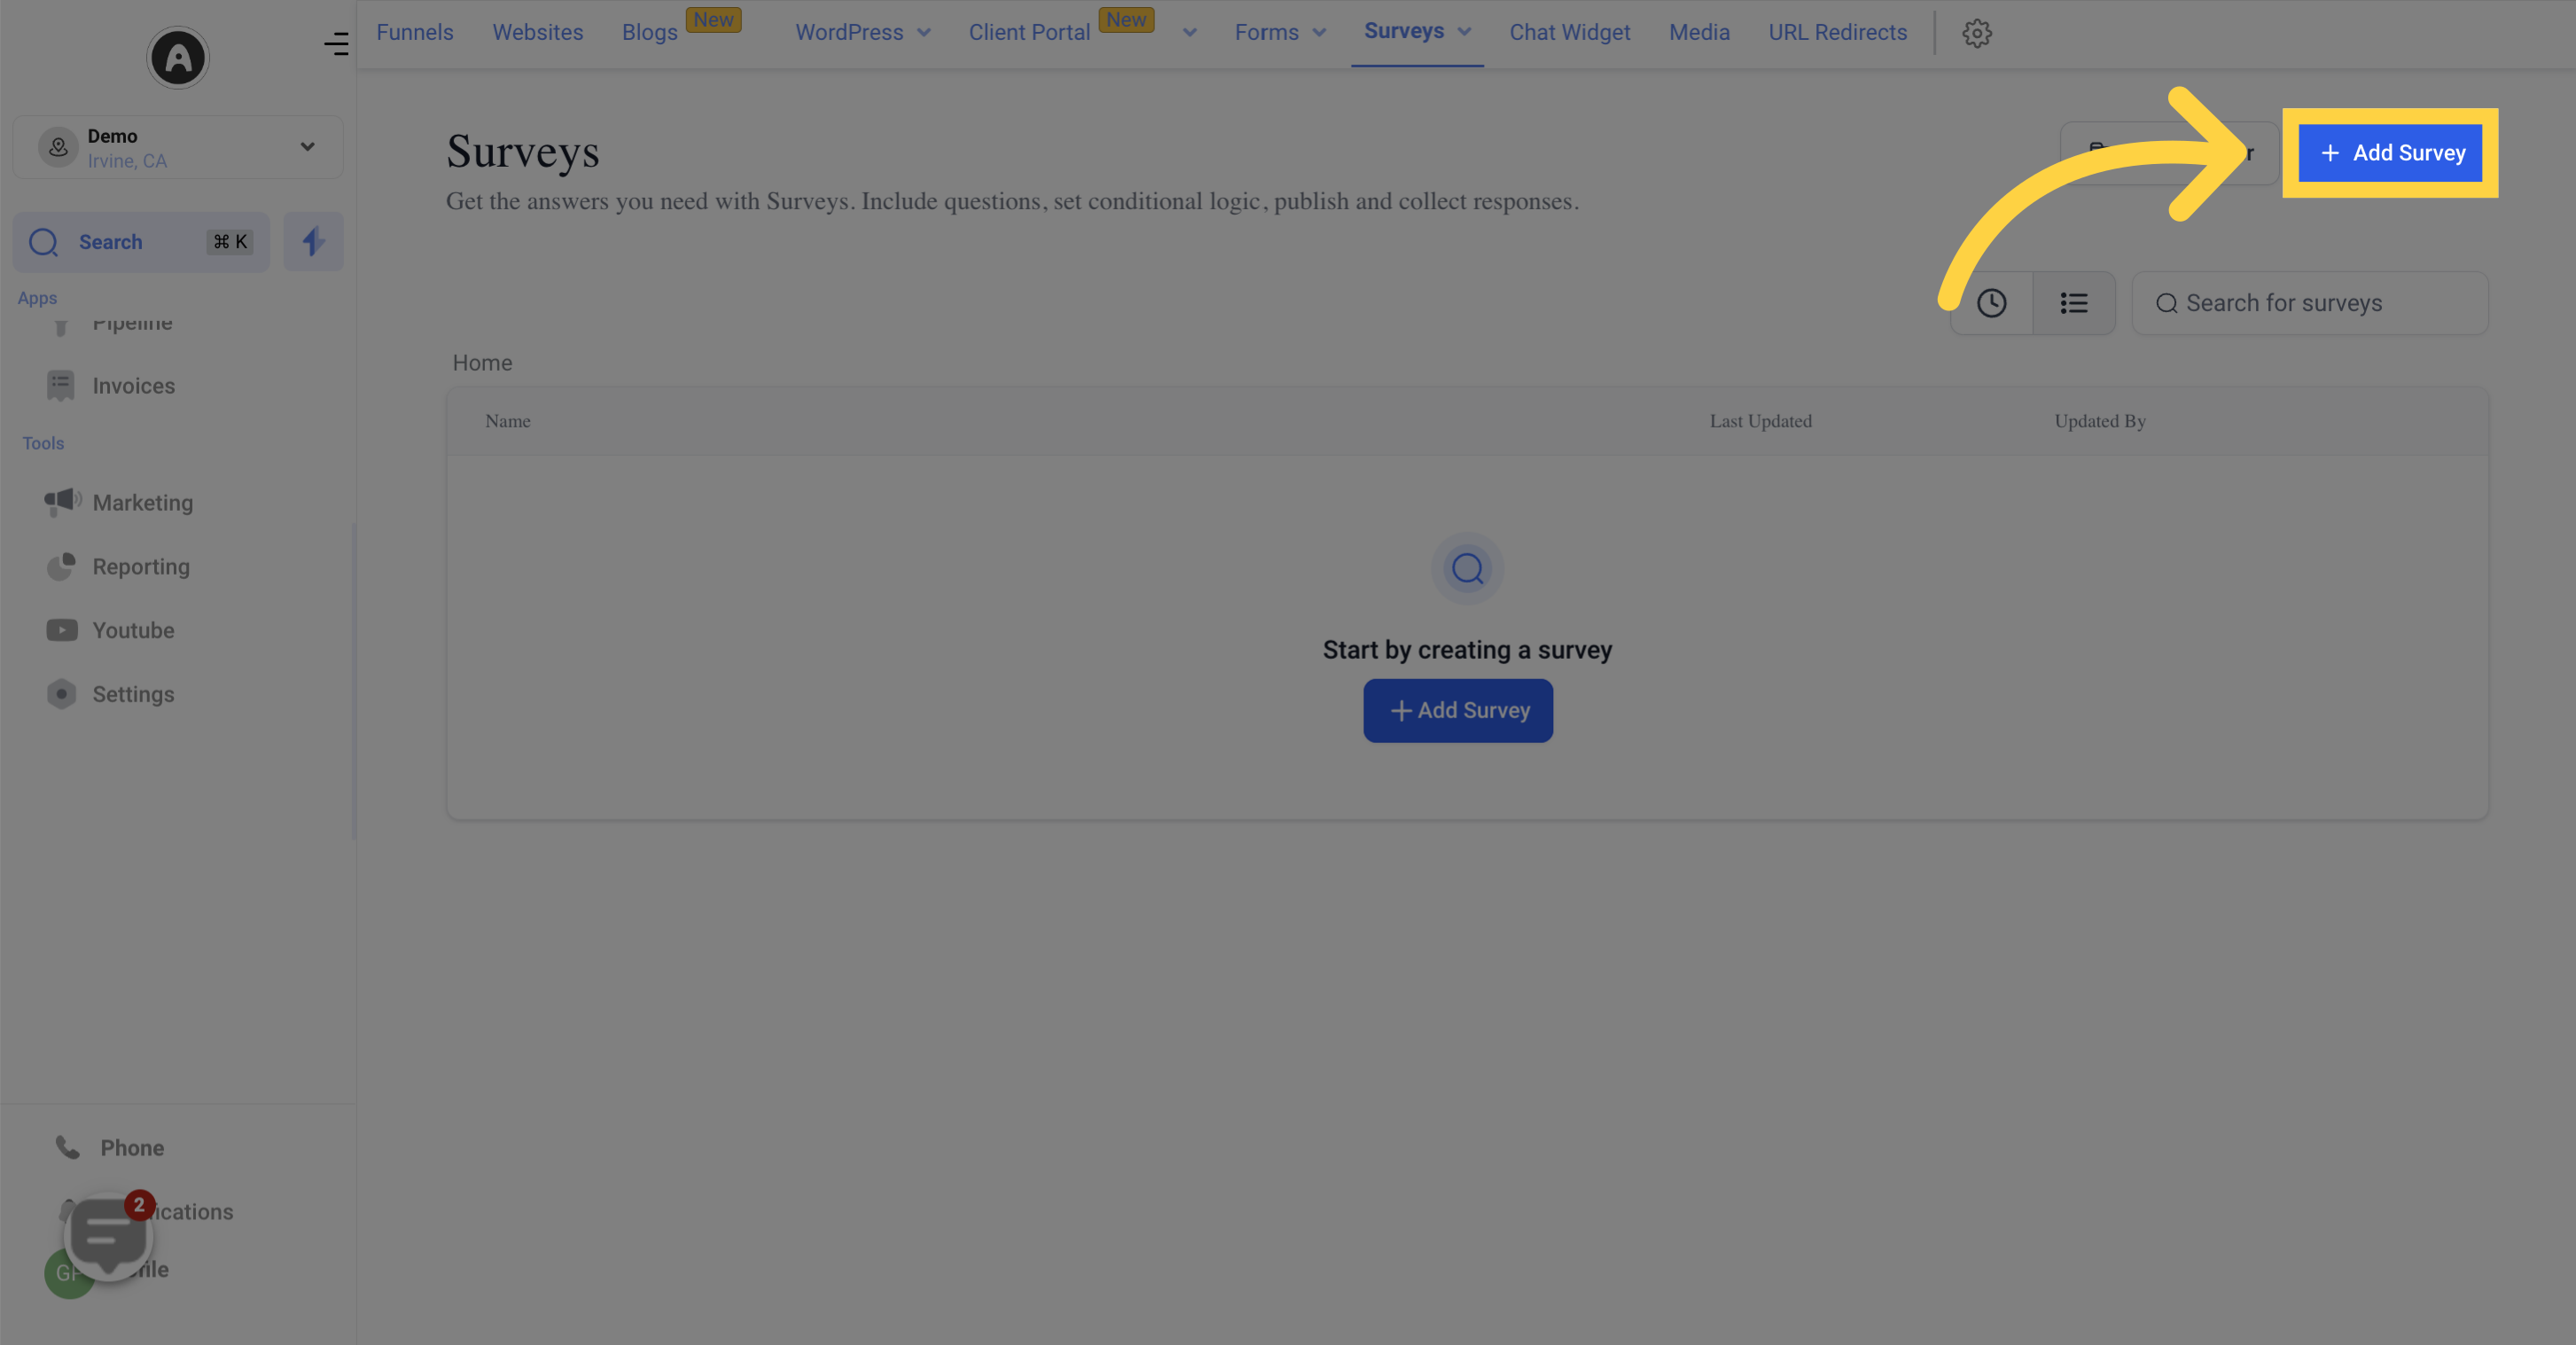
Click Add Survey.
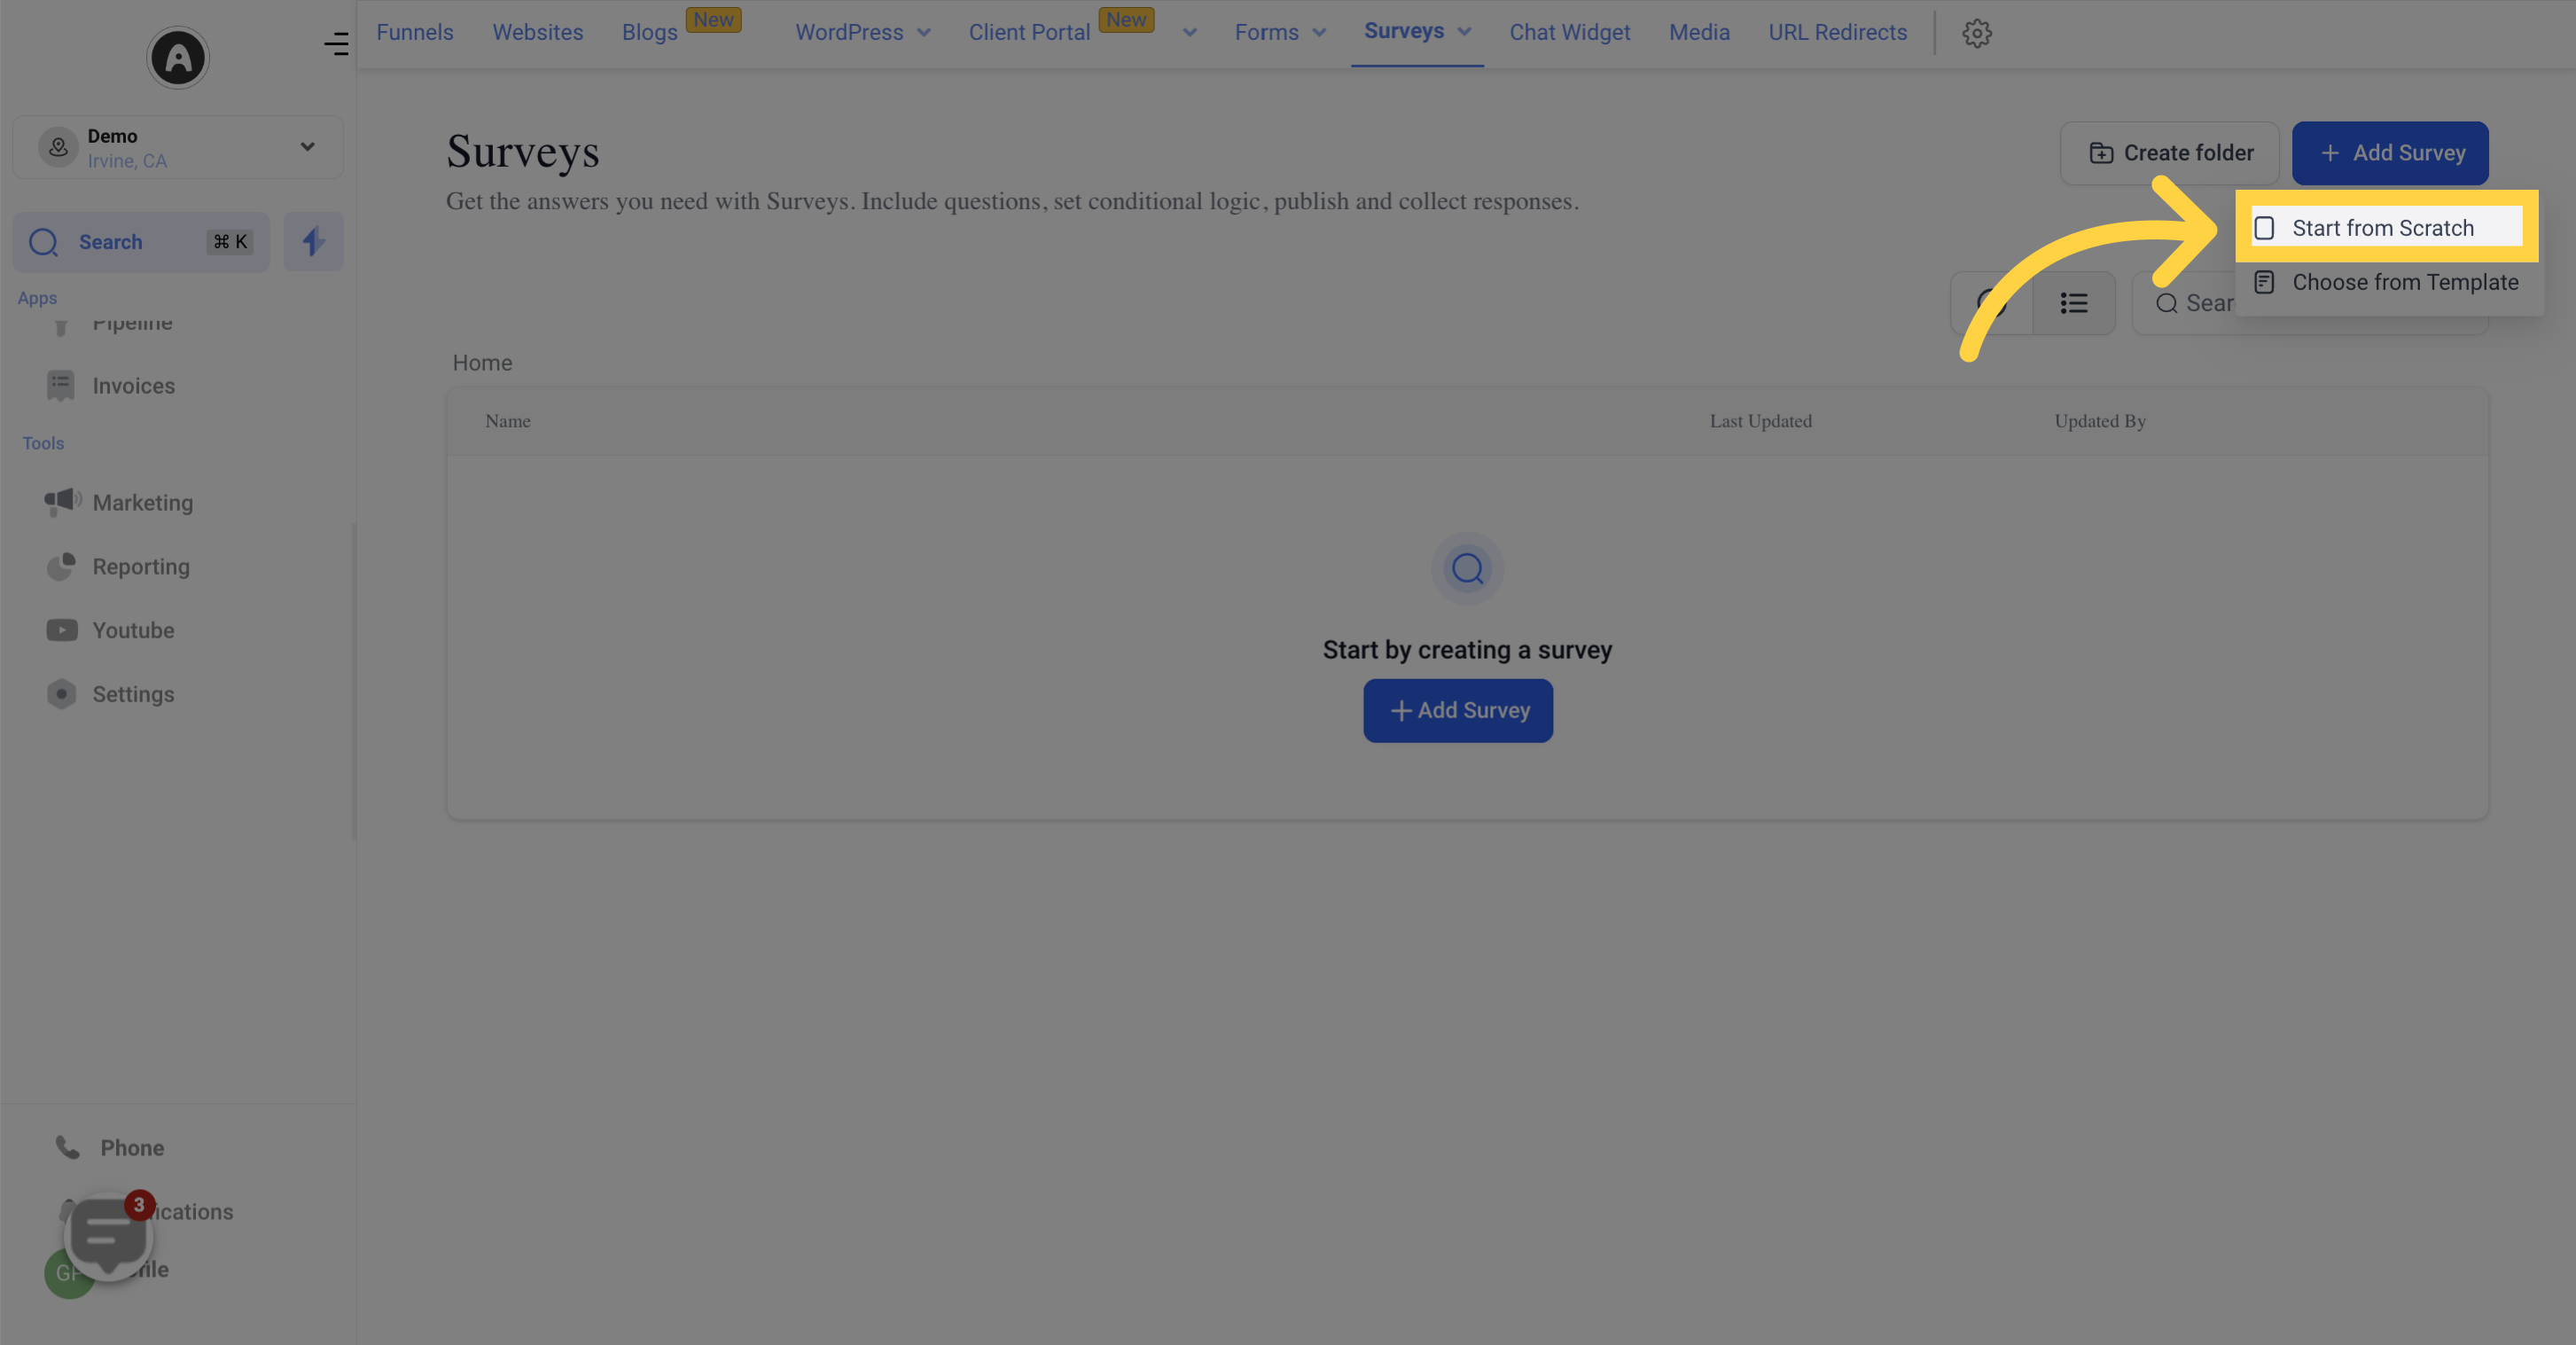
Choose Start from Scratch (or pick a template).
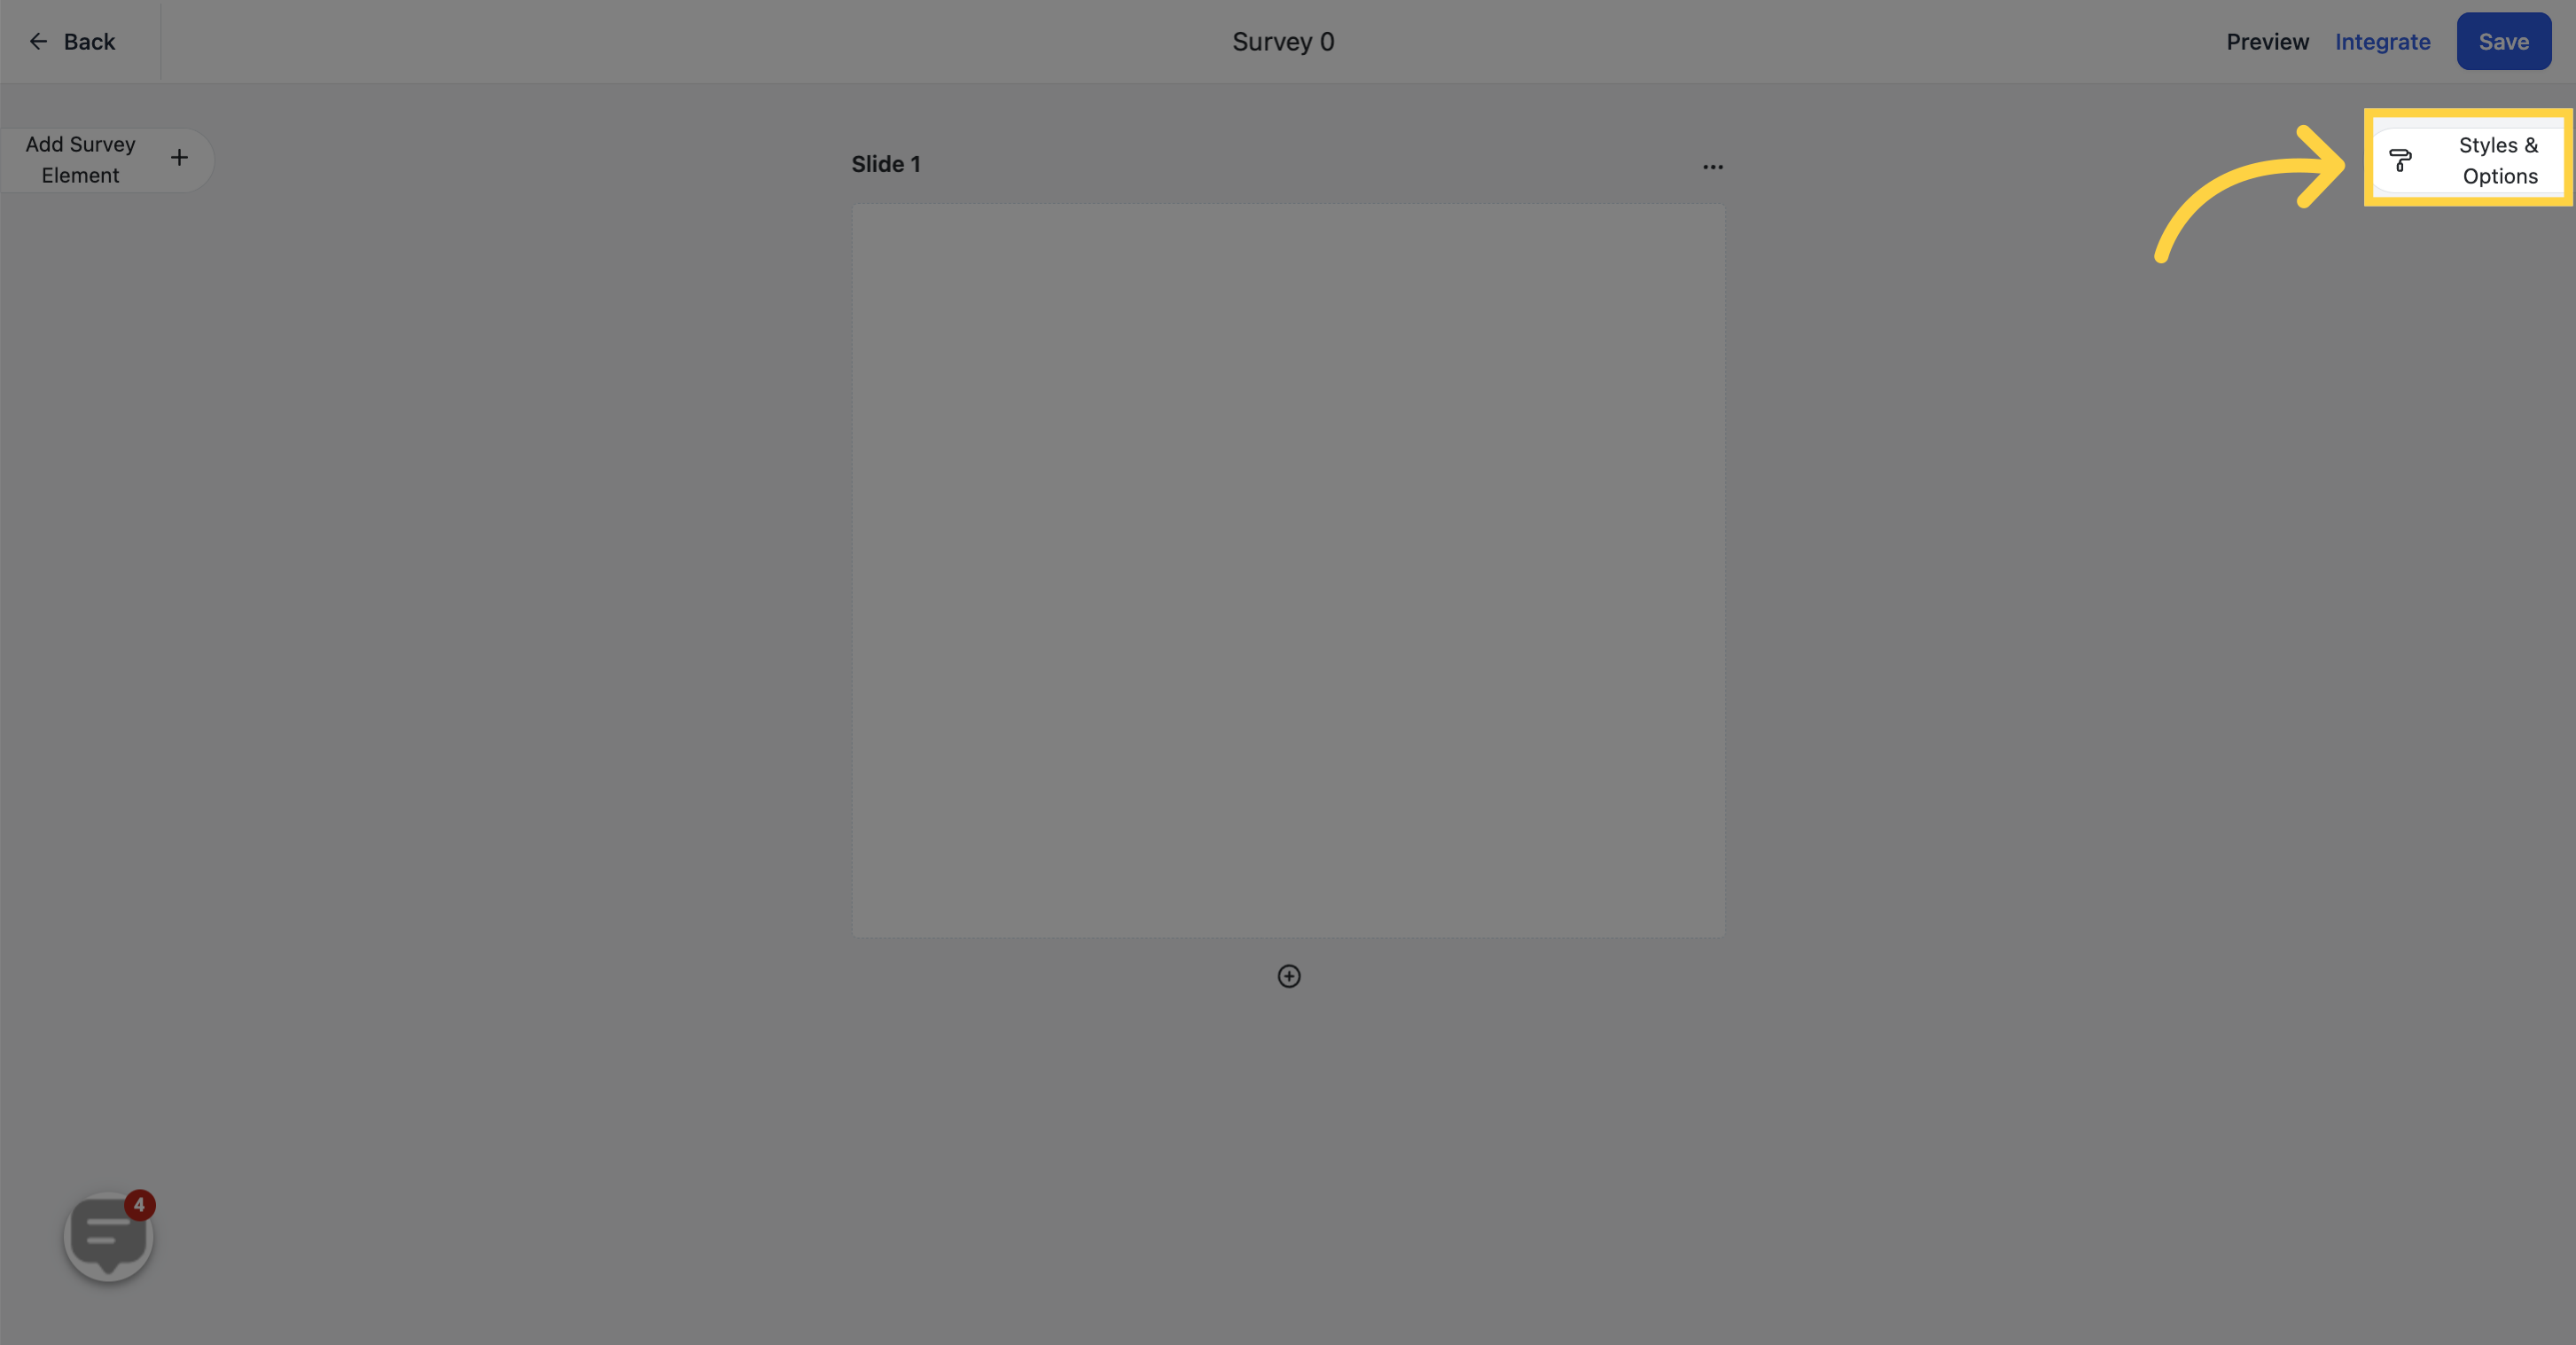
Click the Styles & Options tab.
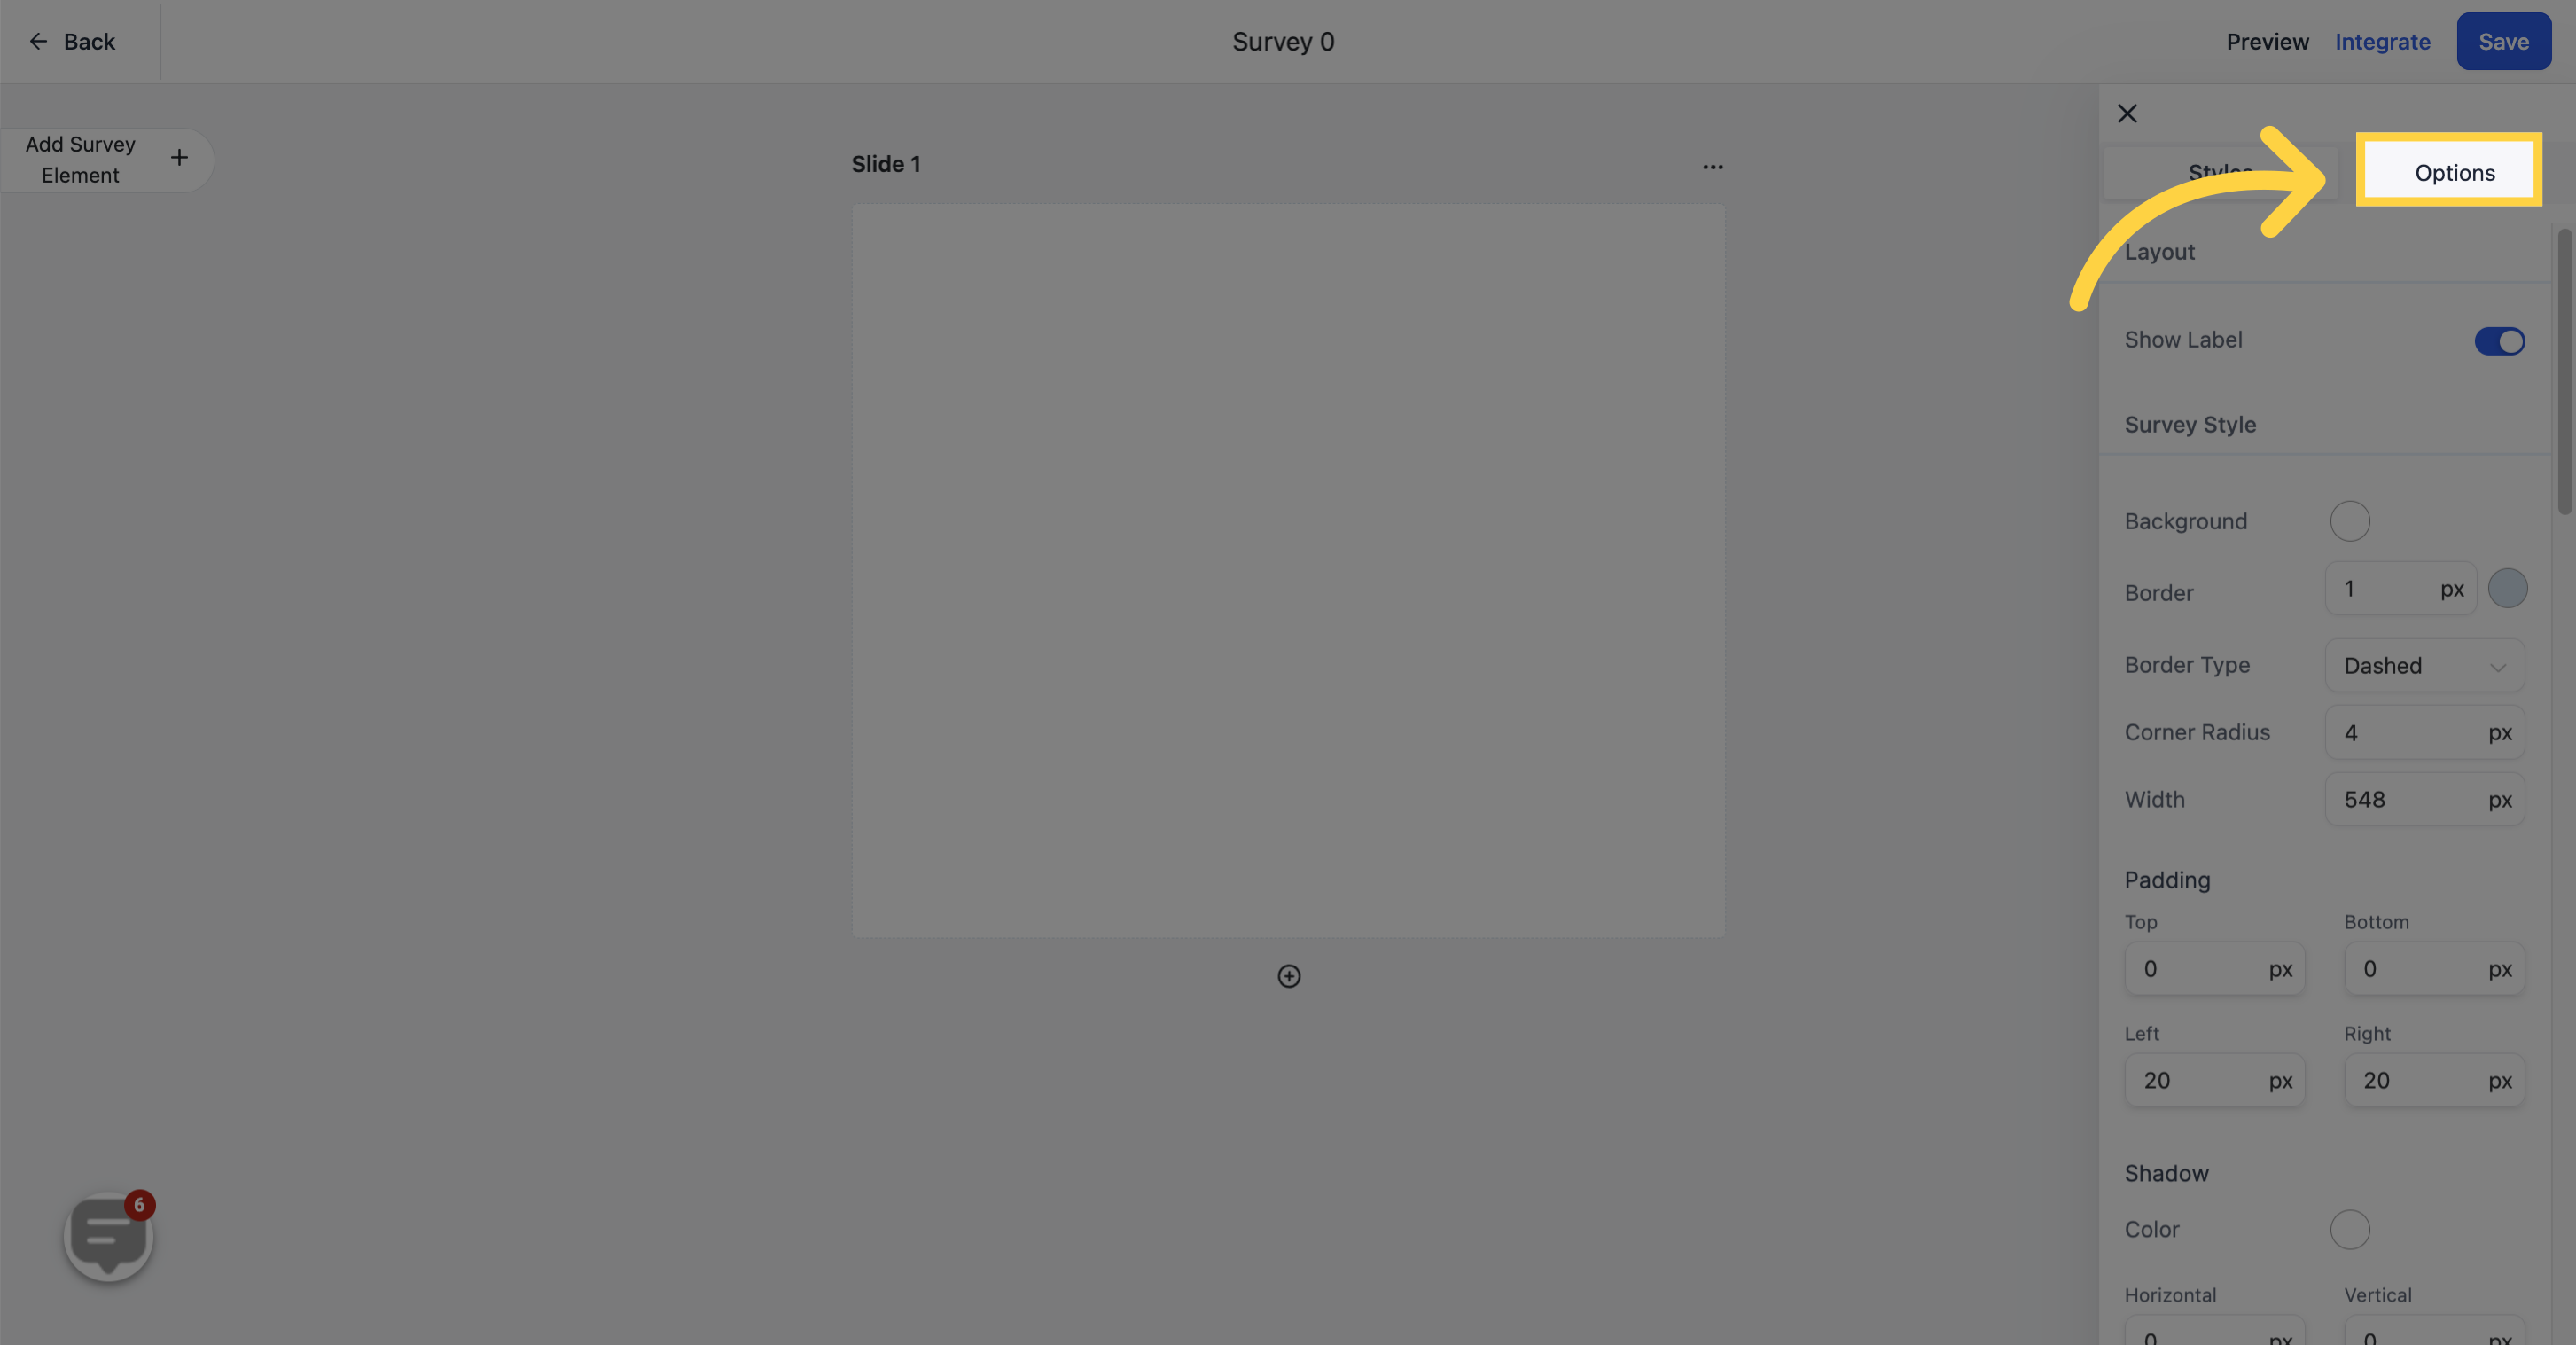
Select Options.
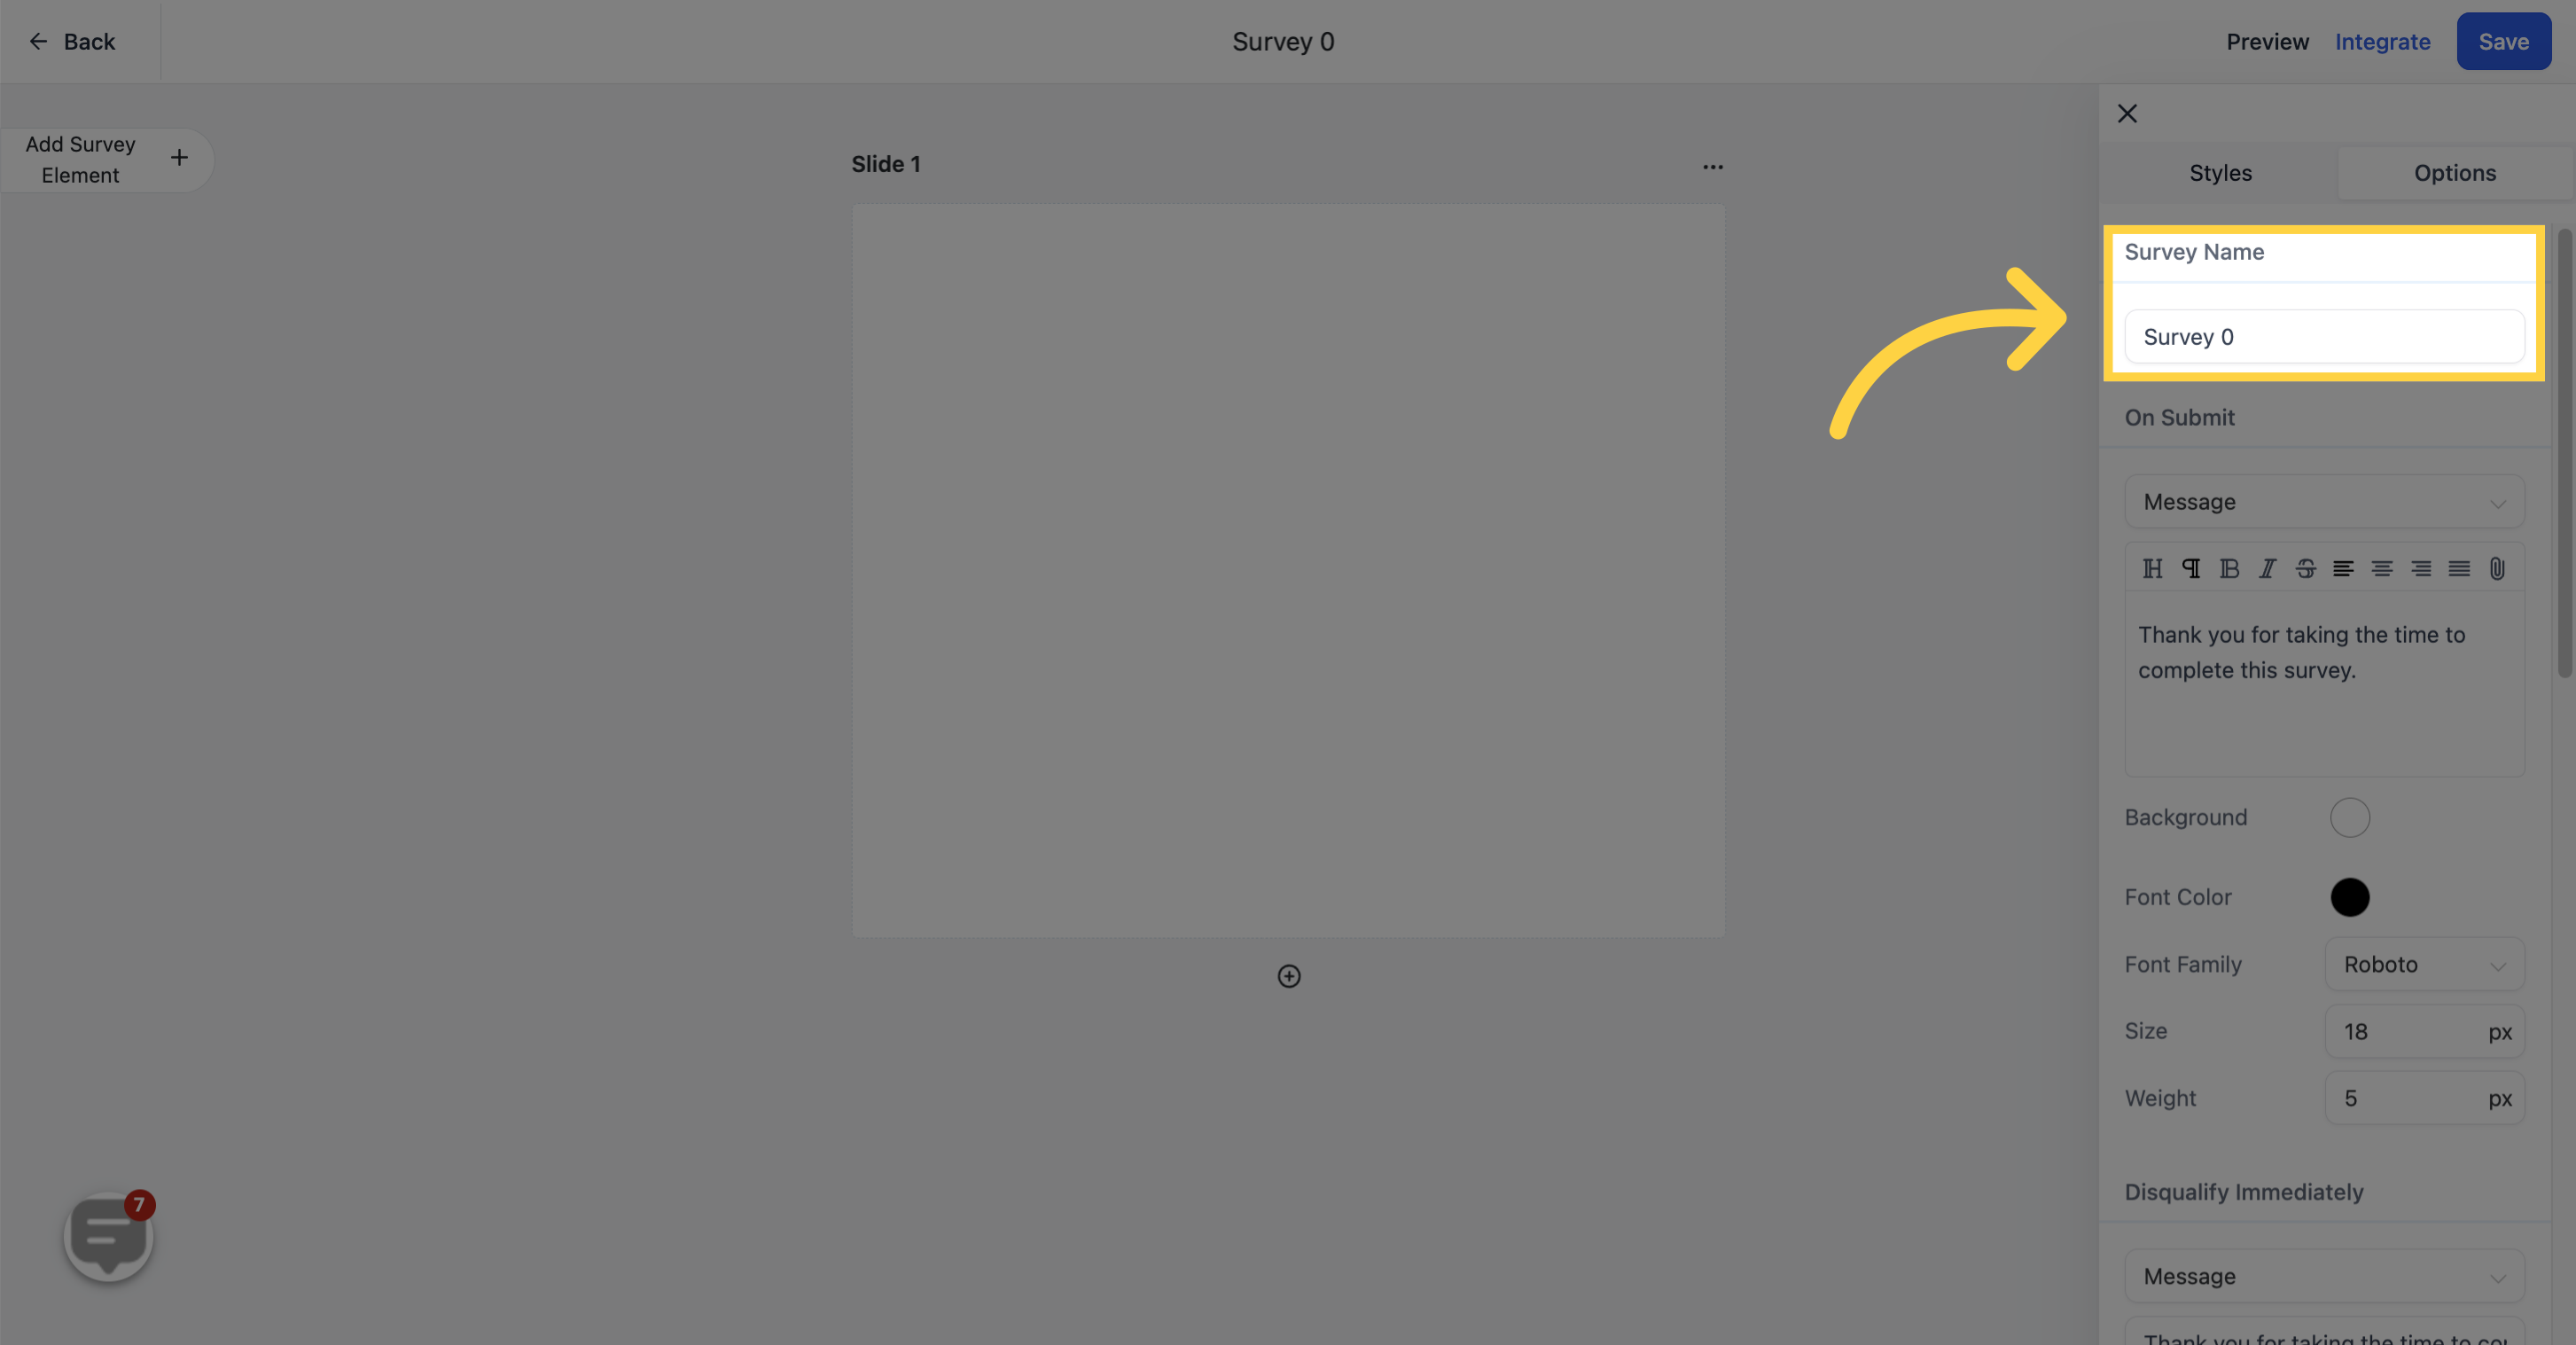
Set or change the name of your survey in this field. This is the internal name you will see in the survey list and submissions filter.
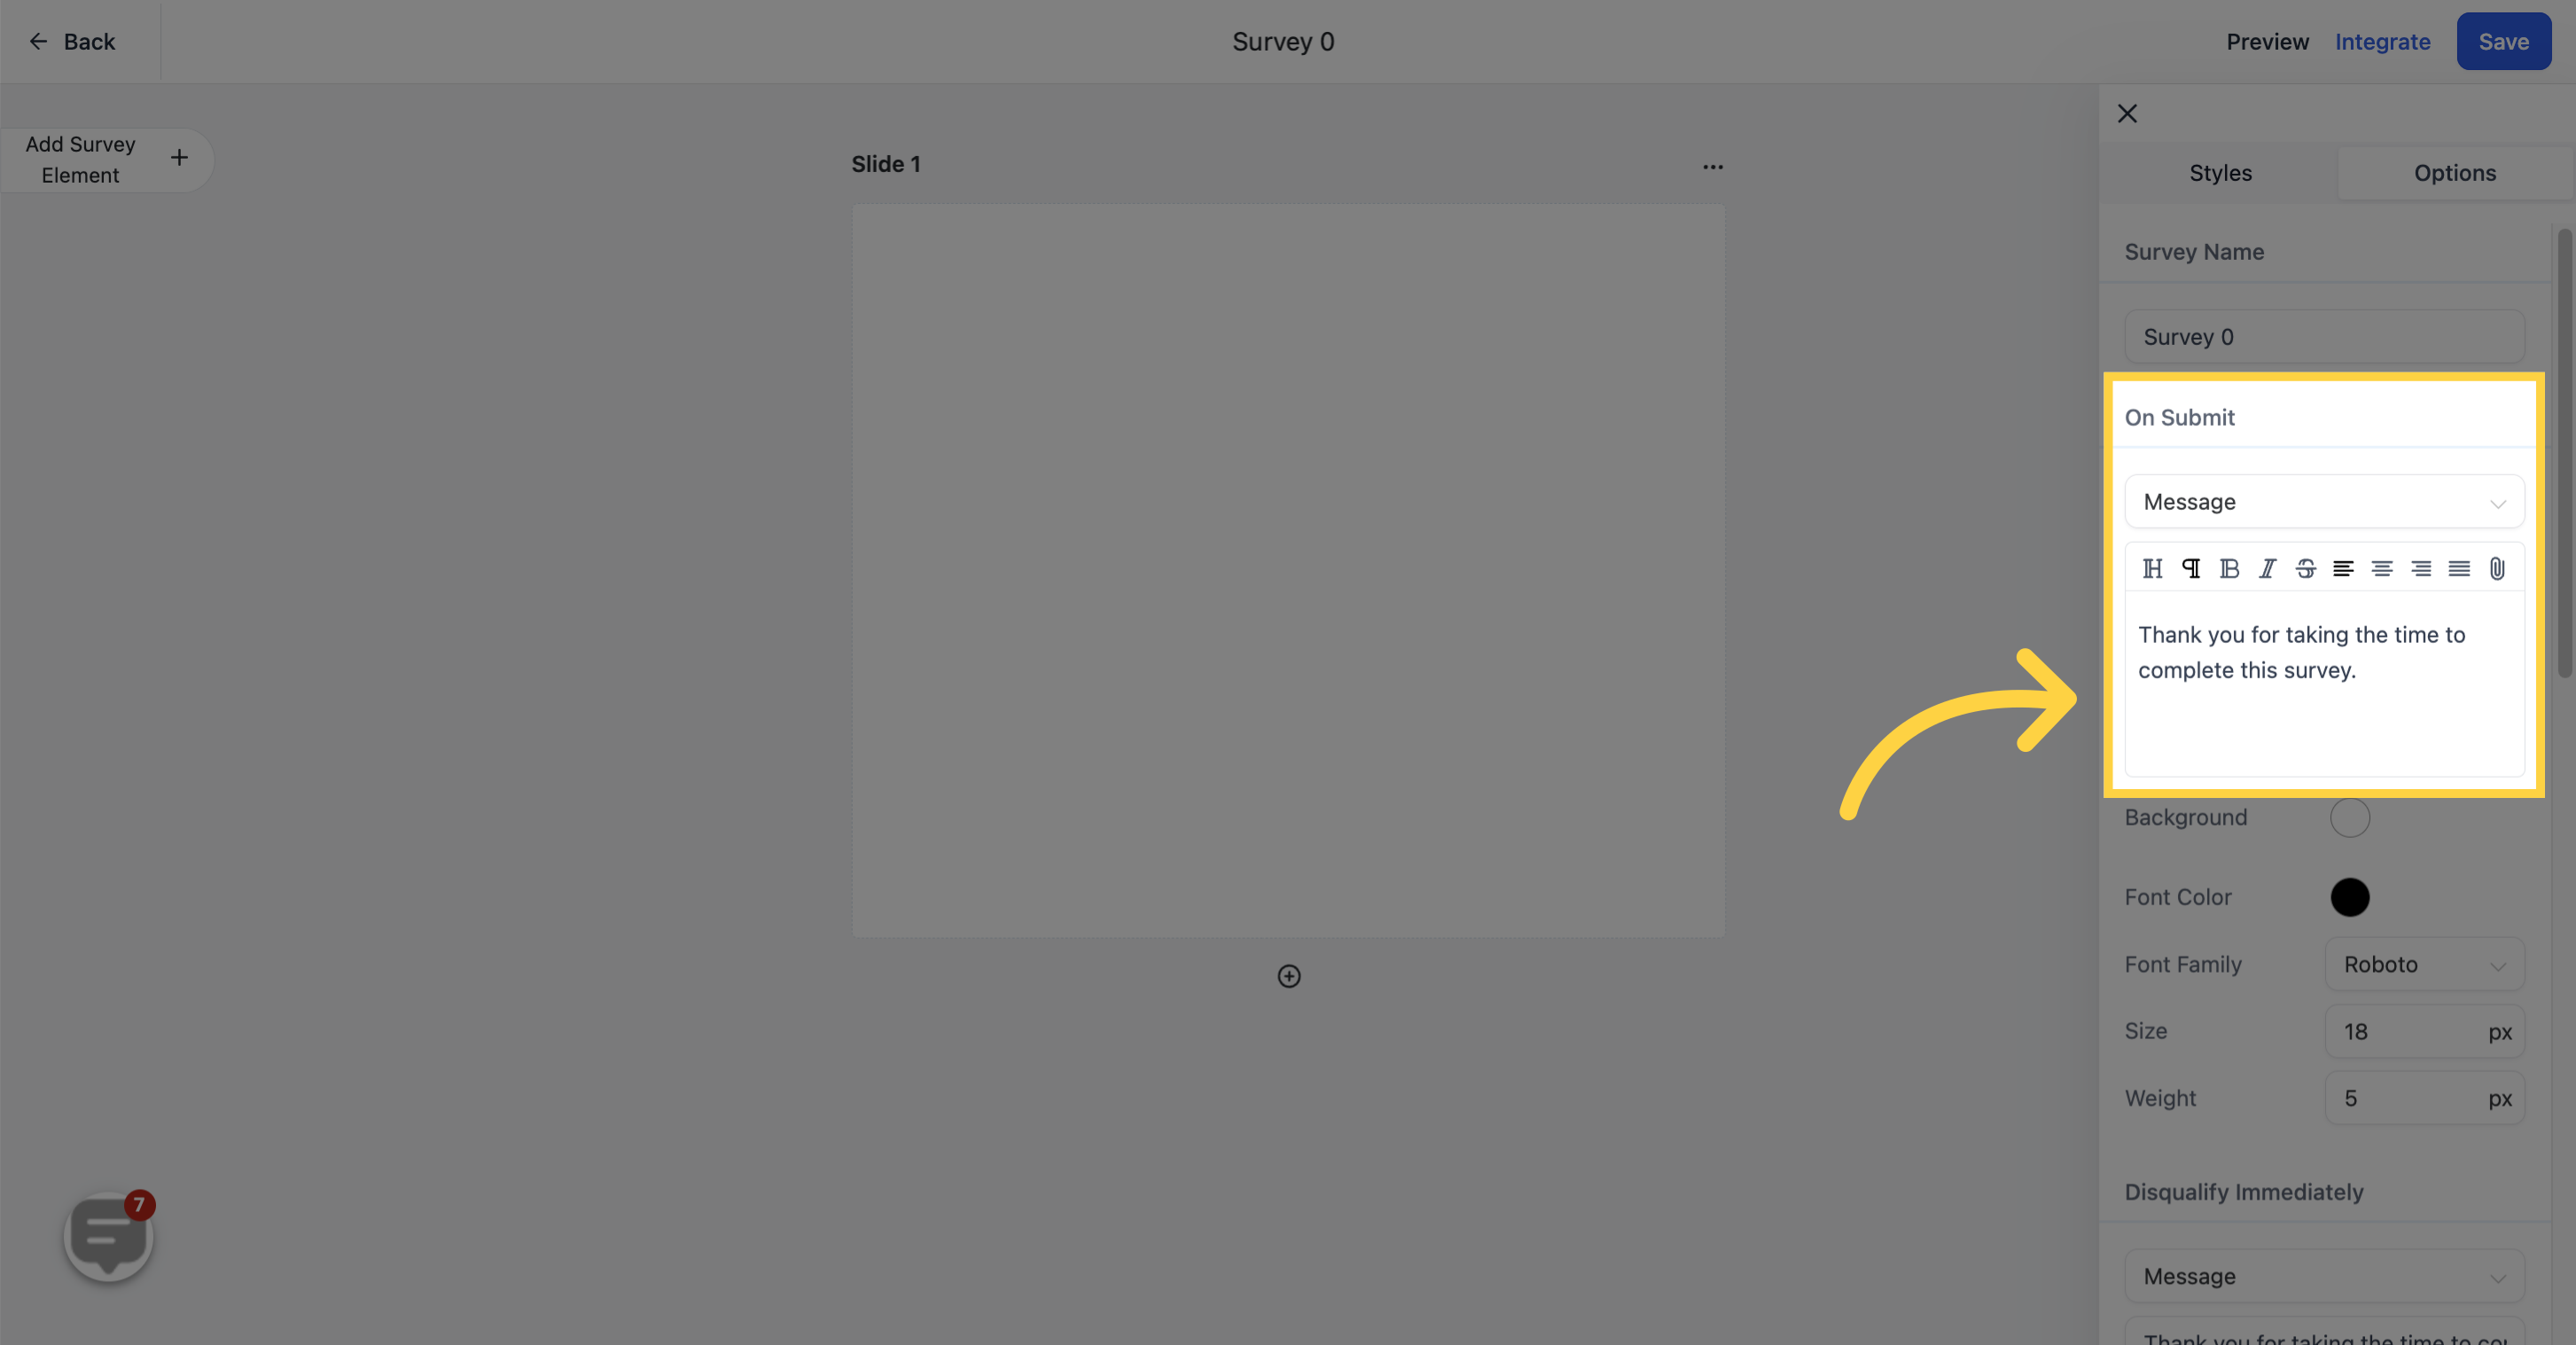
Decide what happens when a patient submits the survey:
Open URL: Redirect the patient to a URL of your choice after they submit, such as a Thank You page or a booking link.
Message: Show a confirmation message and keep them on the same page. Be sure to enter the message text in the input section for it to appear.
Aesthetix CRM lets you set an active response window for a survey, so it automatically moves from Not open yet to Accepting responses and then to Closed on the schedule you configure, instead of you having to remember to turn it off manually. This is useful for anything tied to a deadline: event registrations, flash promotions, webinar sign-ups, contests, or a limited enrollment period.
Scheduling is optional. If you leave Schedule visibility off, your survey keeps working exactly as it does today with no start or end window.
Opens:
Right away: The survey starts accepting responses as soon as it is published.
Pick a date: The survey waits until the date and time you select before it starts accepting responses.
Closes:
Never: The survey has no scheduled end date and stays open indefinitely.
Pick a date: The survey stops accepting new responses at the date and time you select.
Time zone: Choose the time zone that should apply to both the opening and closing times. Set this to match the time zone your team uses when communicating deadlines internally, so what patients see lines up with what your staff expects.
For each of the two closed states, before the survey opens and after it closes, choose how to handle visitors who land on it outside the active window:
Show a page: Display a custom message using the built-in content editor, such as "This survey opens on [date]" or "This survey is now closed." Preview the message before you publish to confirm it reads the way you intend.
Open a link: Redirect visitors to another URL instead, such as a waitlist, an alternate offer, or your main booking page.
You can set different experiences for each state. For example, show a "coming soon" page before the window opens, and redirect to a waitlist link after it closes.
Open the survey in the builder and go to Options.
Turn on Schedule visibility.
Under Opens, choose Right away or Pick a date (and set the date/time if applicable).
Under Closes, choose Never or Pick a date (and set the date/time if applicable).
Select the time zone that should govern both times.
Configure what visitors see before the survey opens and after the survey closes, using Show a page or Open a link for each.
Preview both experiences, then click Save.
Enabling or changing a closing date only controls whether new responses are accepted going forward. It does not delete or affect any submissions the survey has already collected.
For screening surveys (for example, checking whether a prospective patient is a candidate for a treatment), you can disqualify based on a specific answer.
Disqualify Immediately: If a patient selects a specific answer, they are disqualified right away.
Open URL: Redirect them to a URL of your choice.
Message: Show a disqualification message and keep them on the same page. Enter the message text for it to take effect.
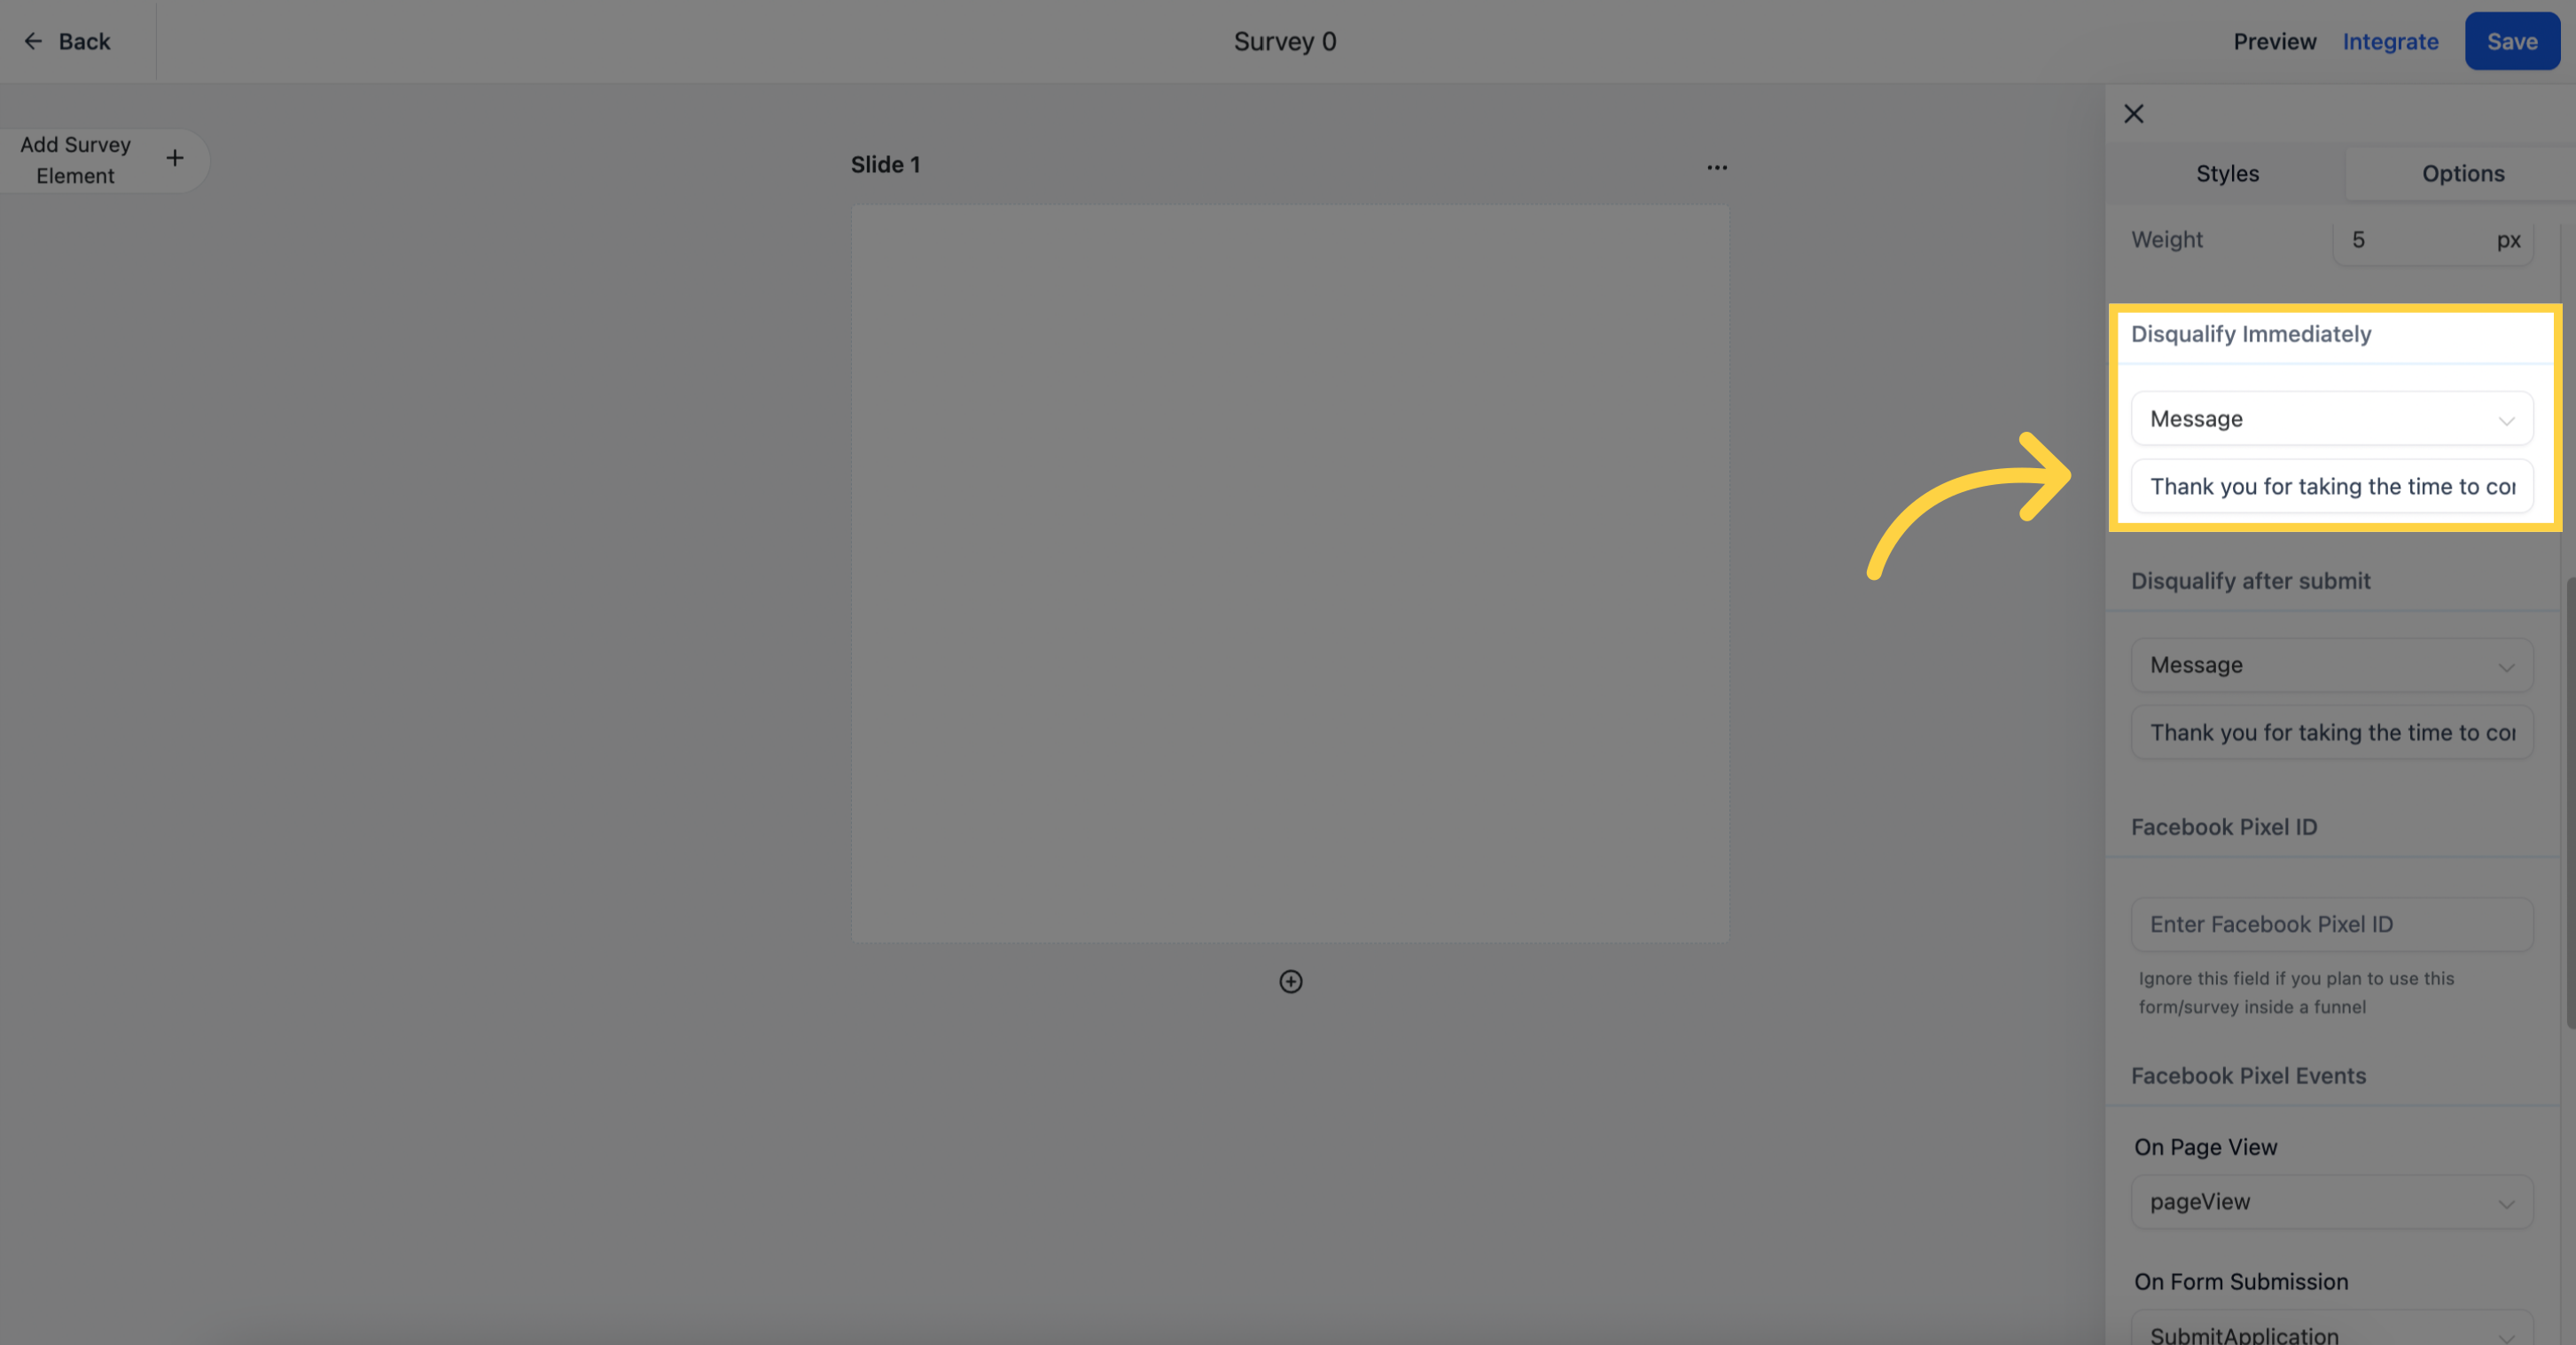
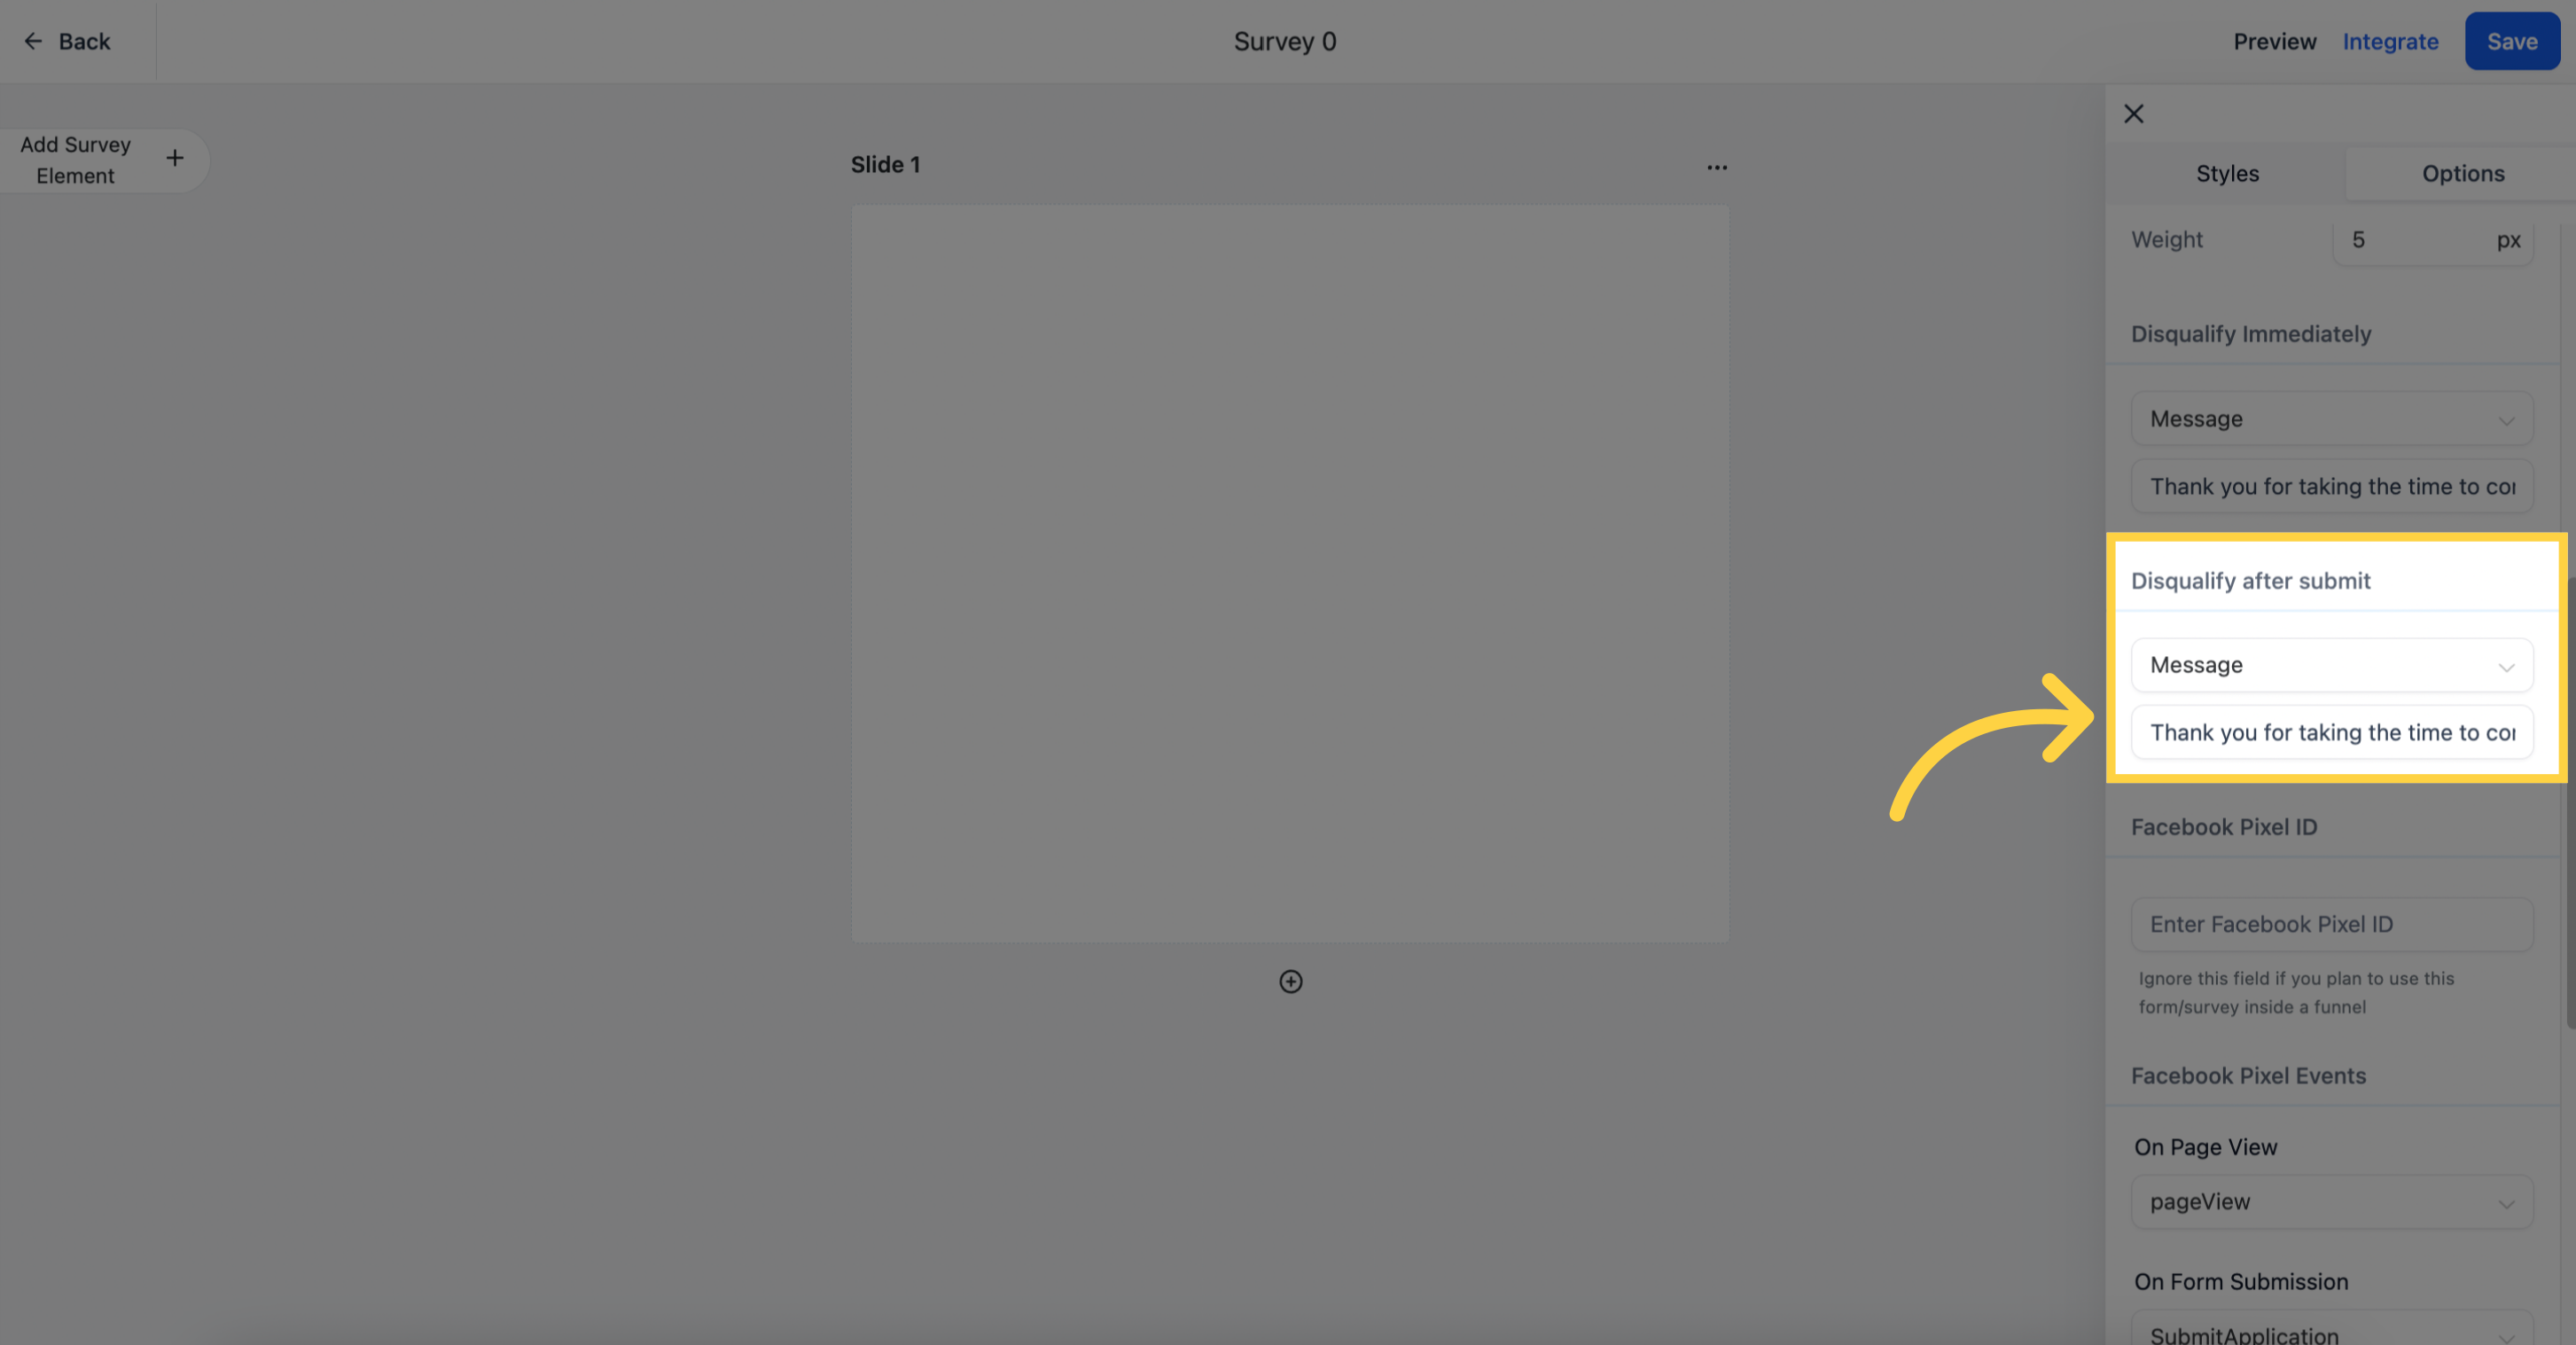
Disqualify After Submit: The patient completes the whole survey but is disqualified at the end.
Open URL: Redirect them to a URL of your choice.
Message: Show a disqualification message and keep them on the same page. Enter the message text for it to take effect.
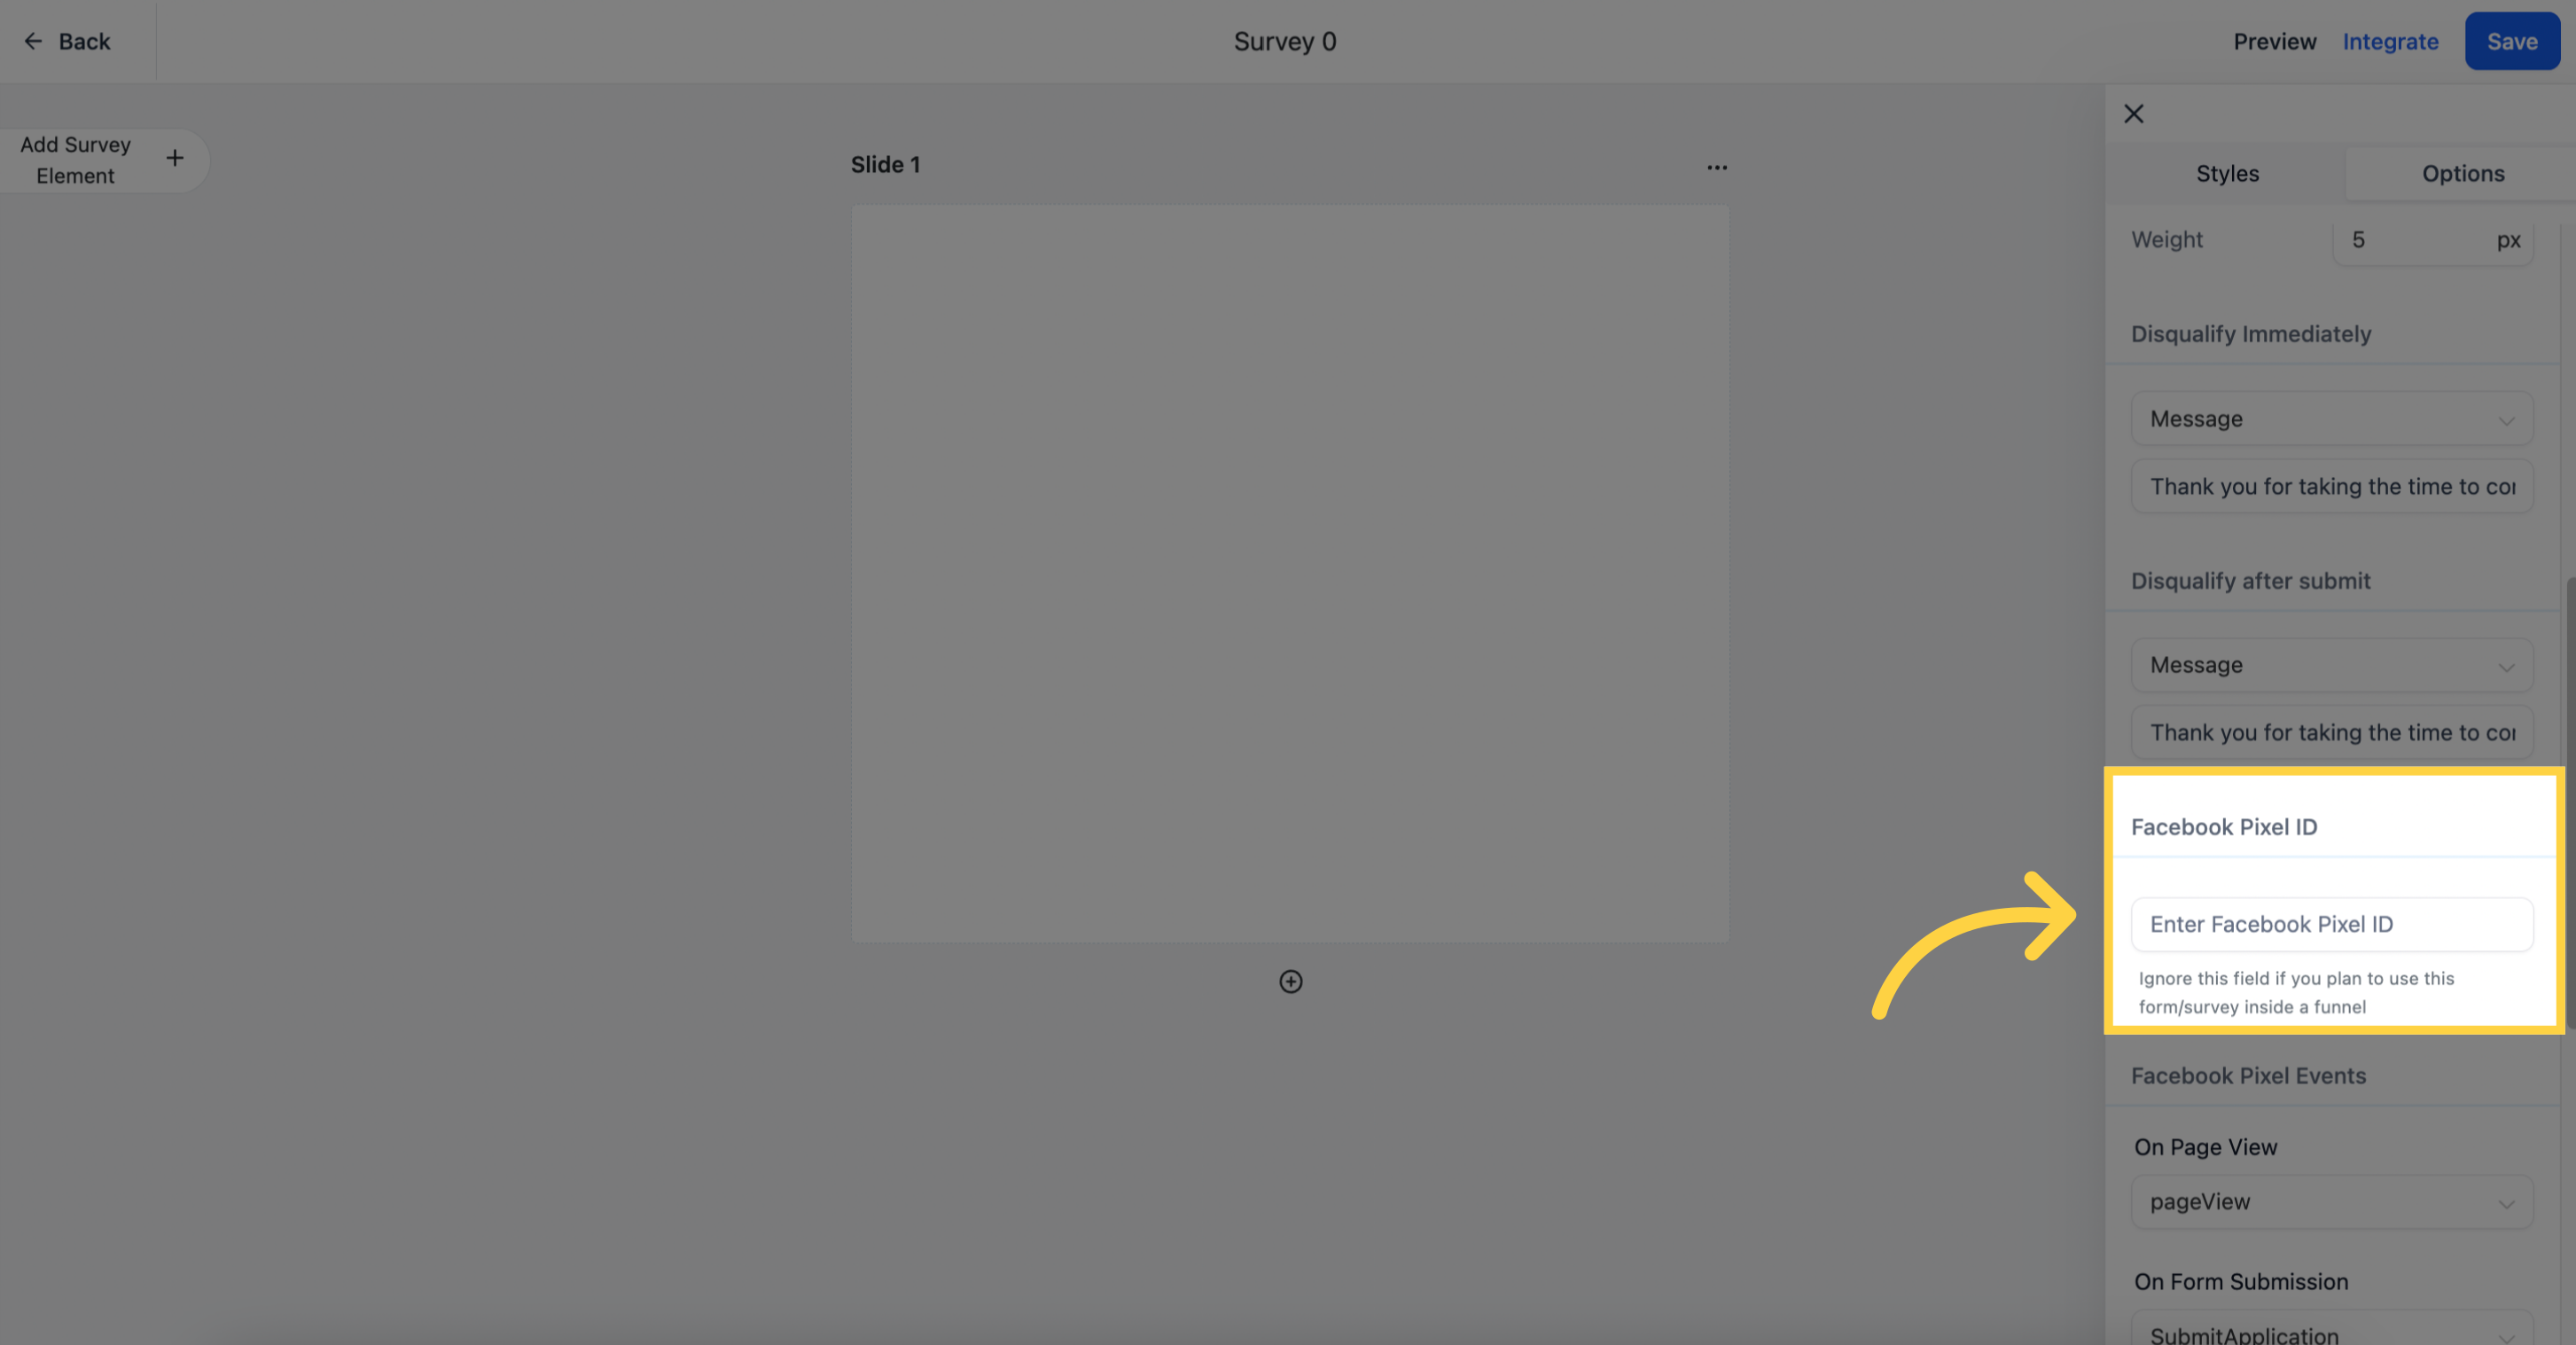
If you run Facebook or Instagram ads that drive patients to your survey, you can attribute submissions with your Facebook Pixel.
Facebook Pixel Input: Enter your Pixel to track survey submissions for analytics and advertising. If the survey lives inside a funnel, you can leave this blank.
Facebook Pixel Events: Specify which Pixel events to fire so you can attribute actions tied to the survey.

On Page View: Choose which events fire when a visitor lands on the page where the survey is embedded.
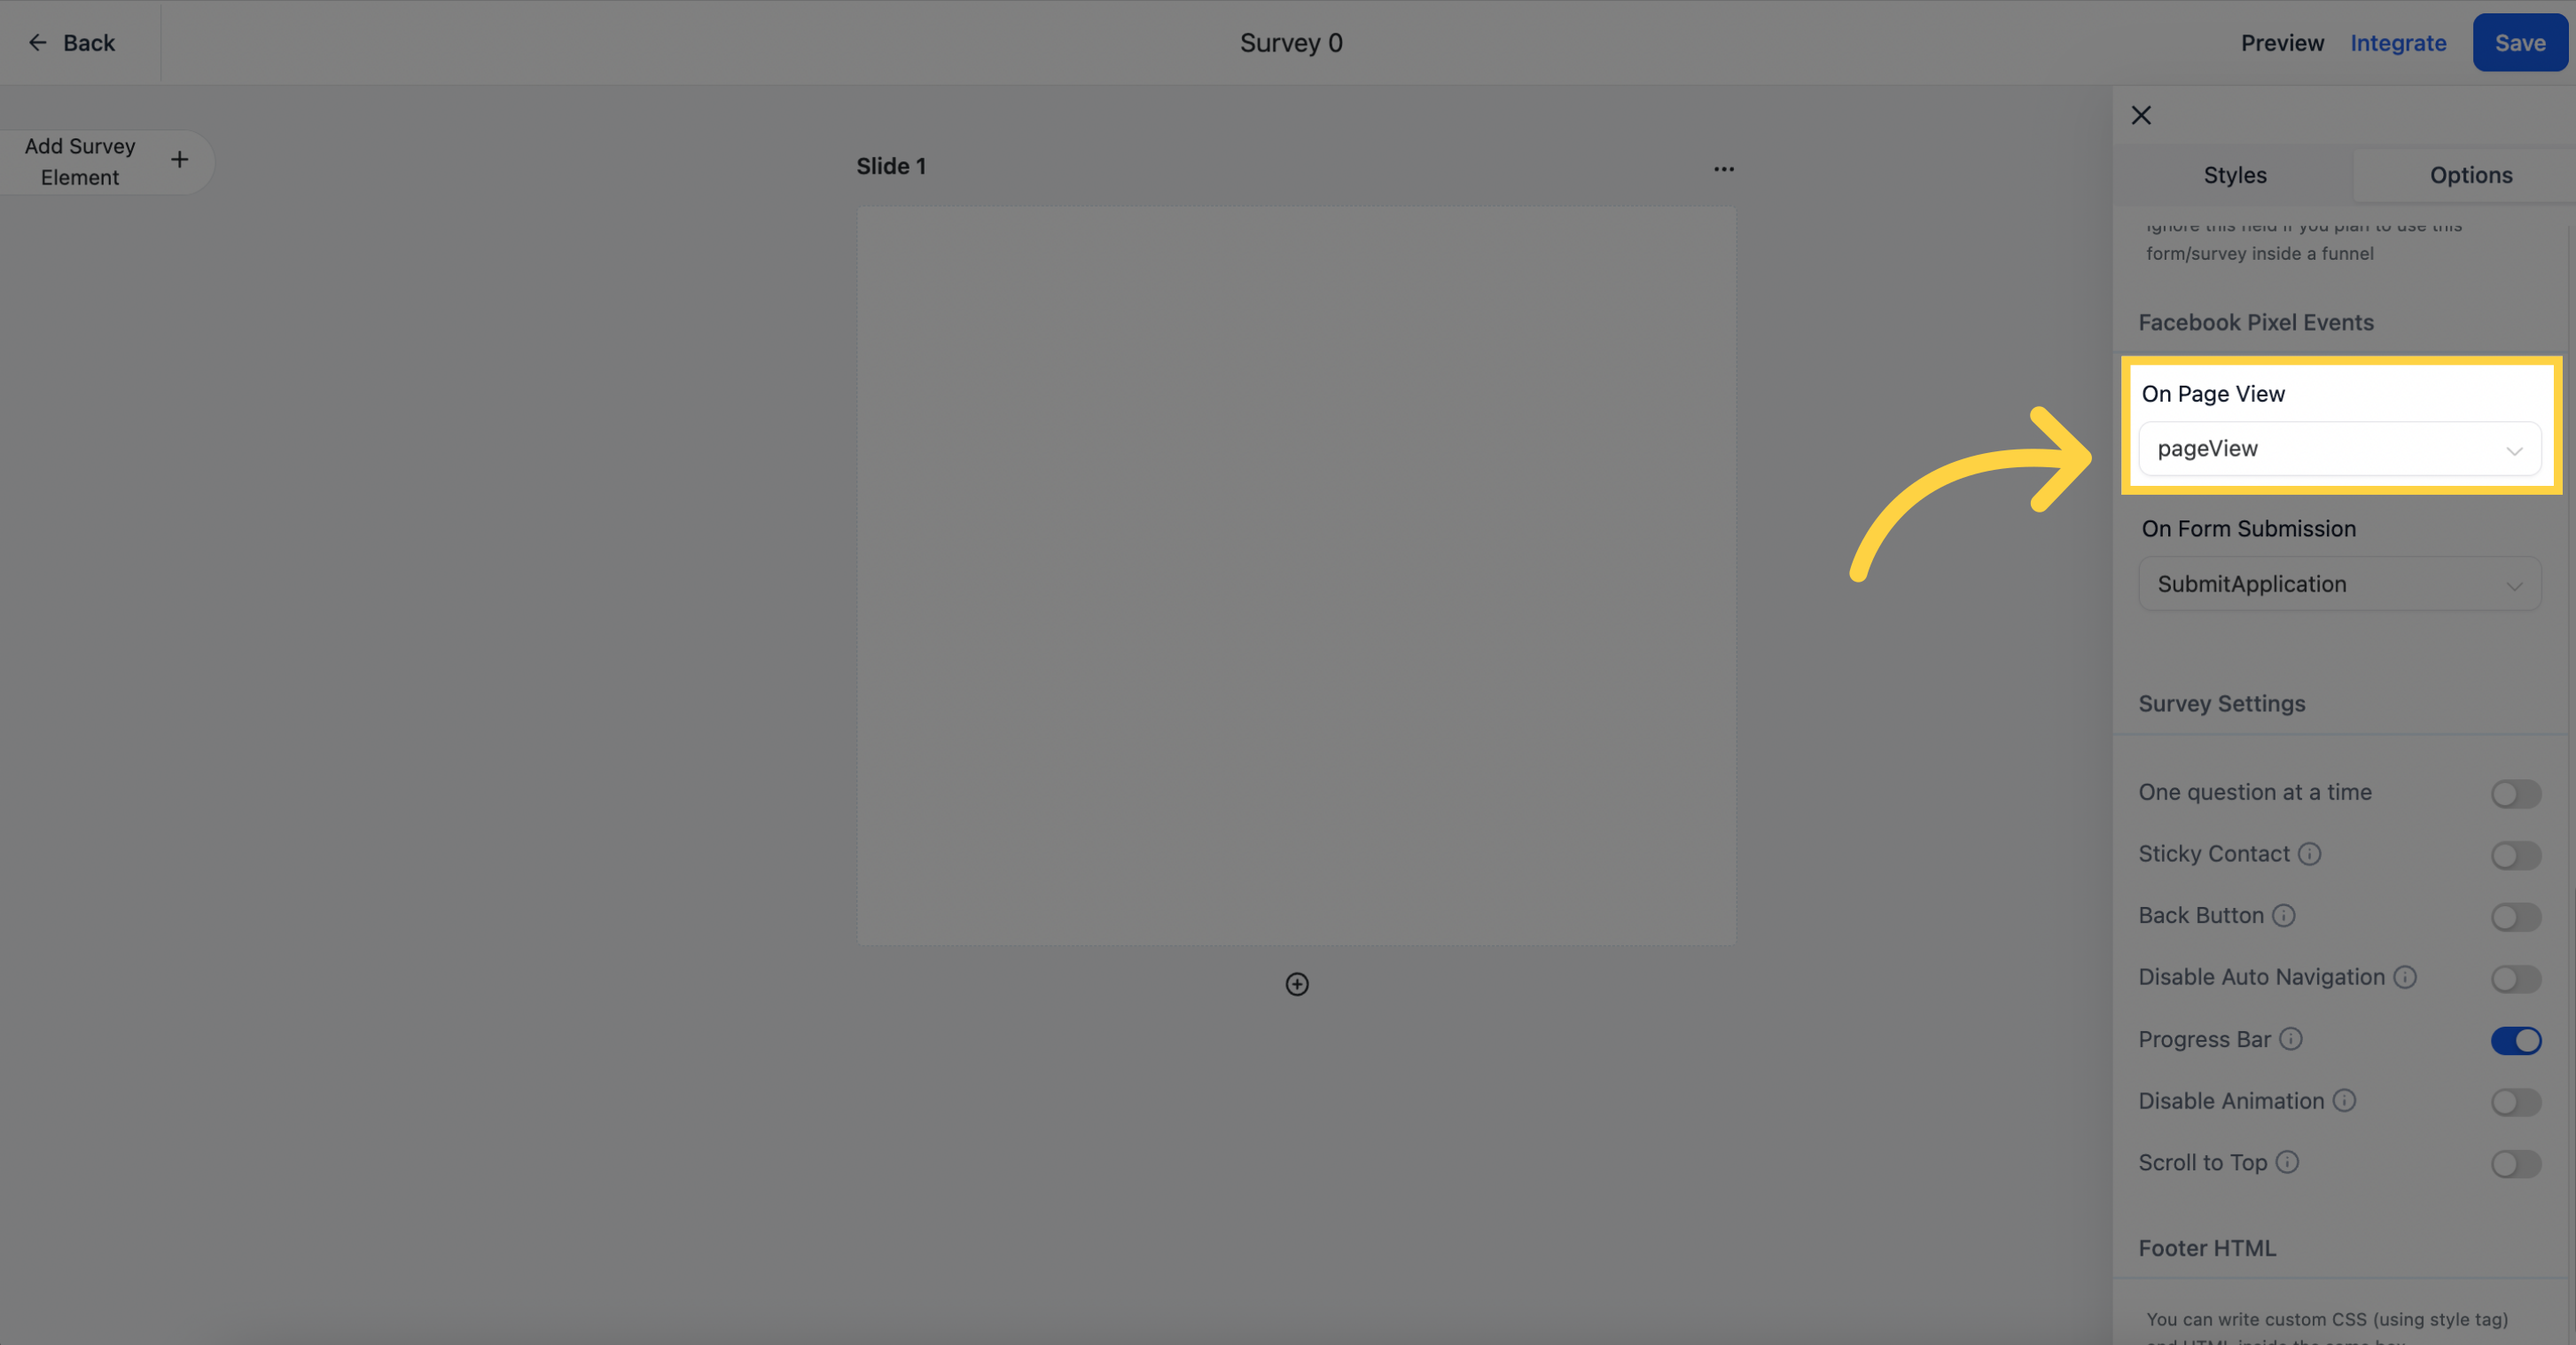
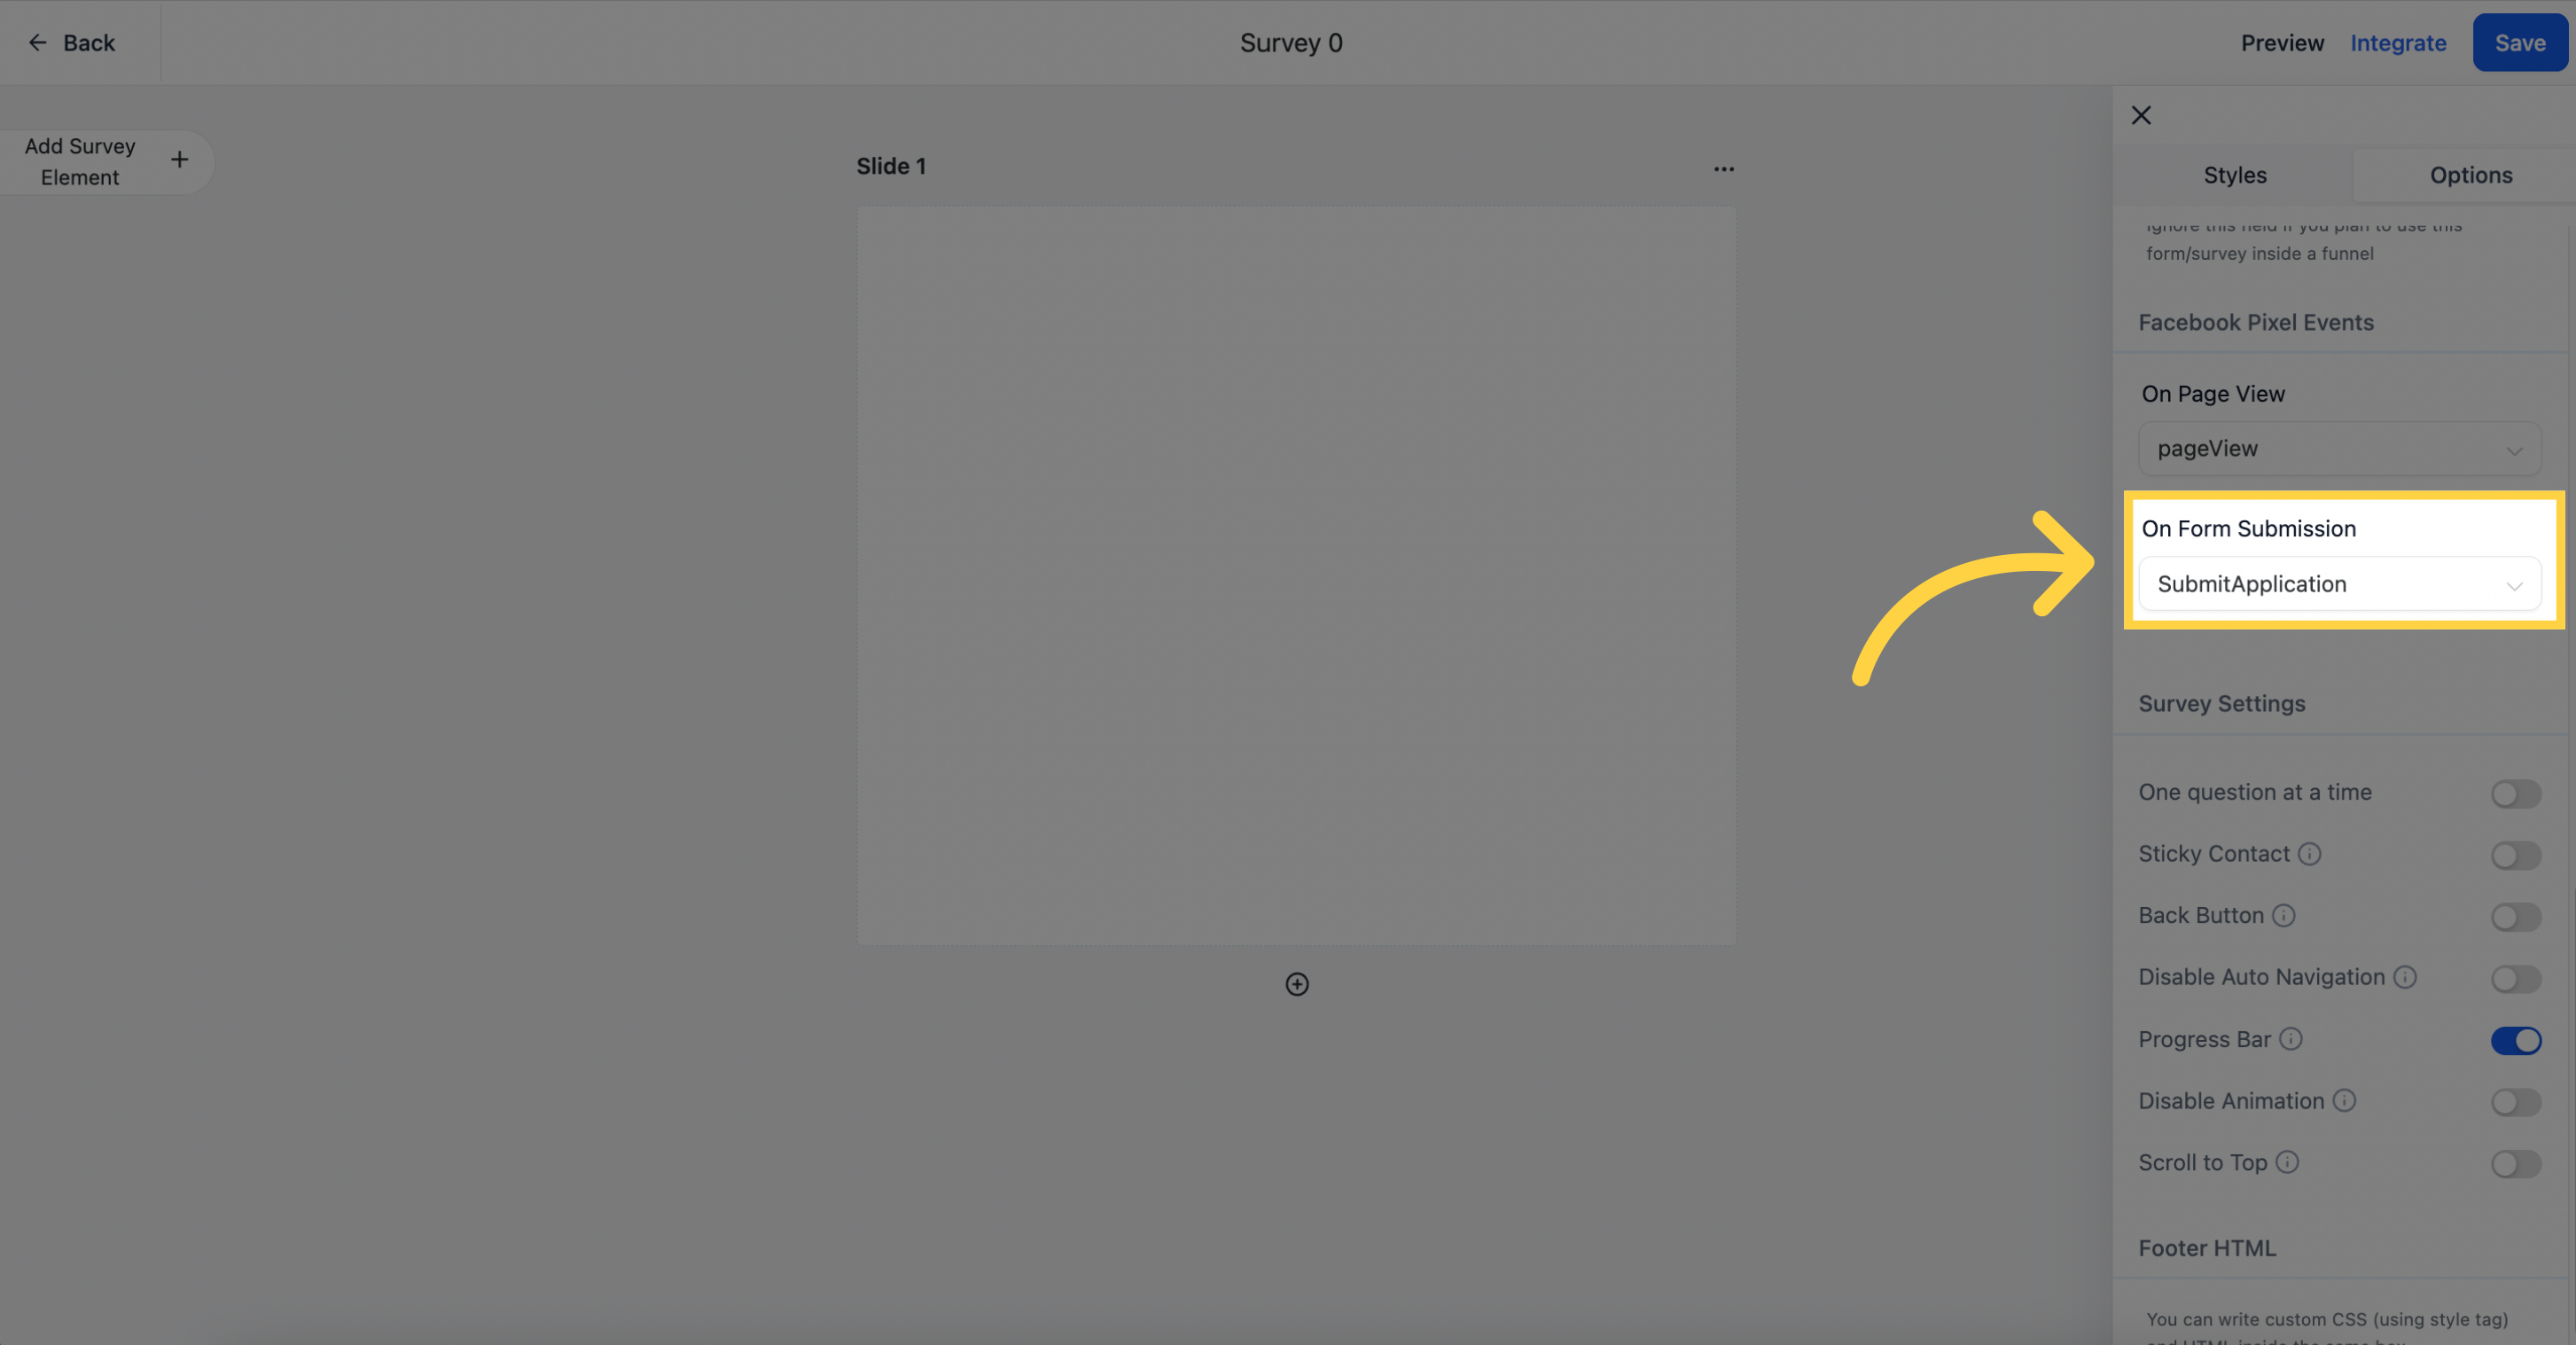
On Form Submission: Choose which events fire when a patient submits the survey.
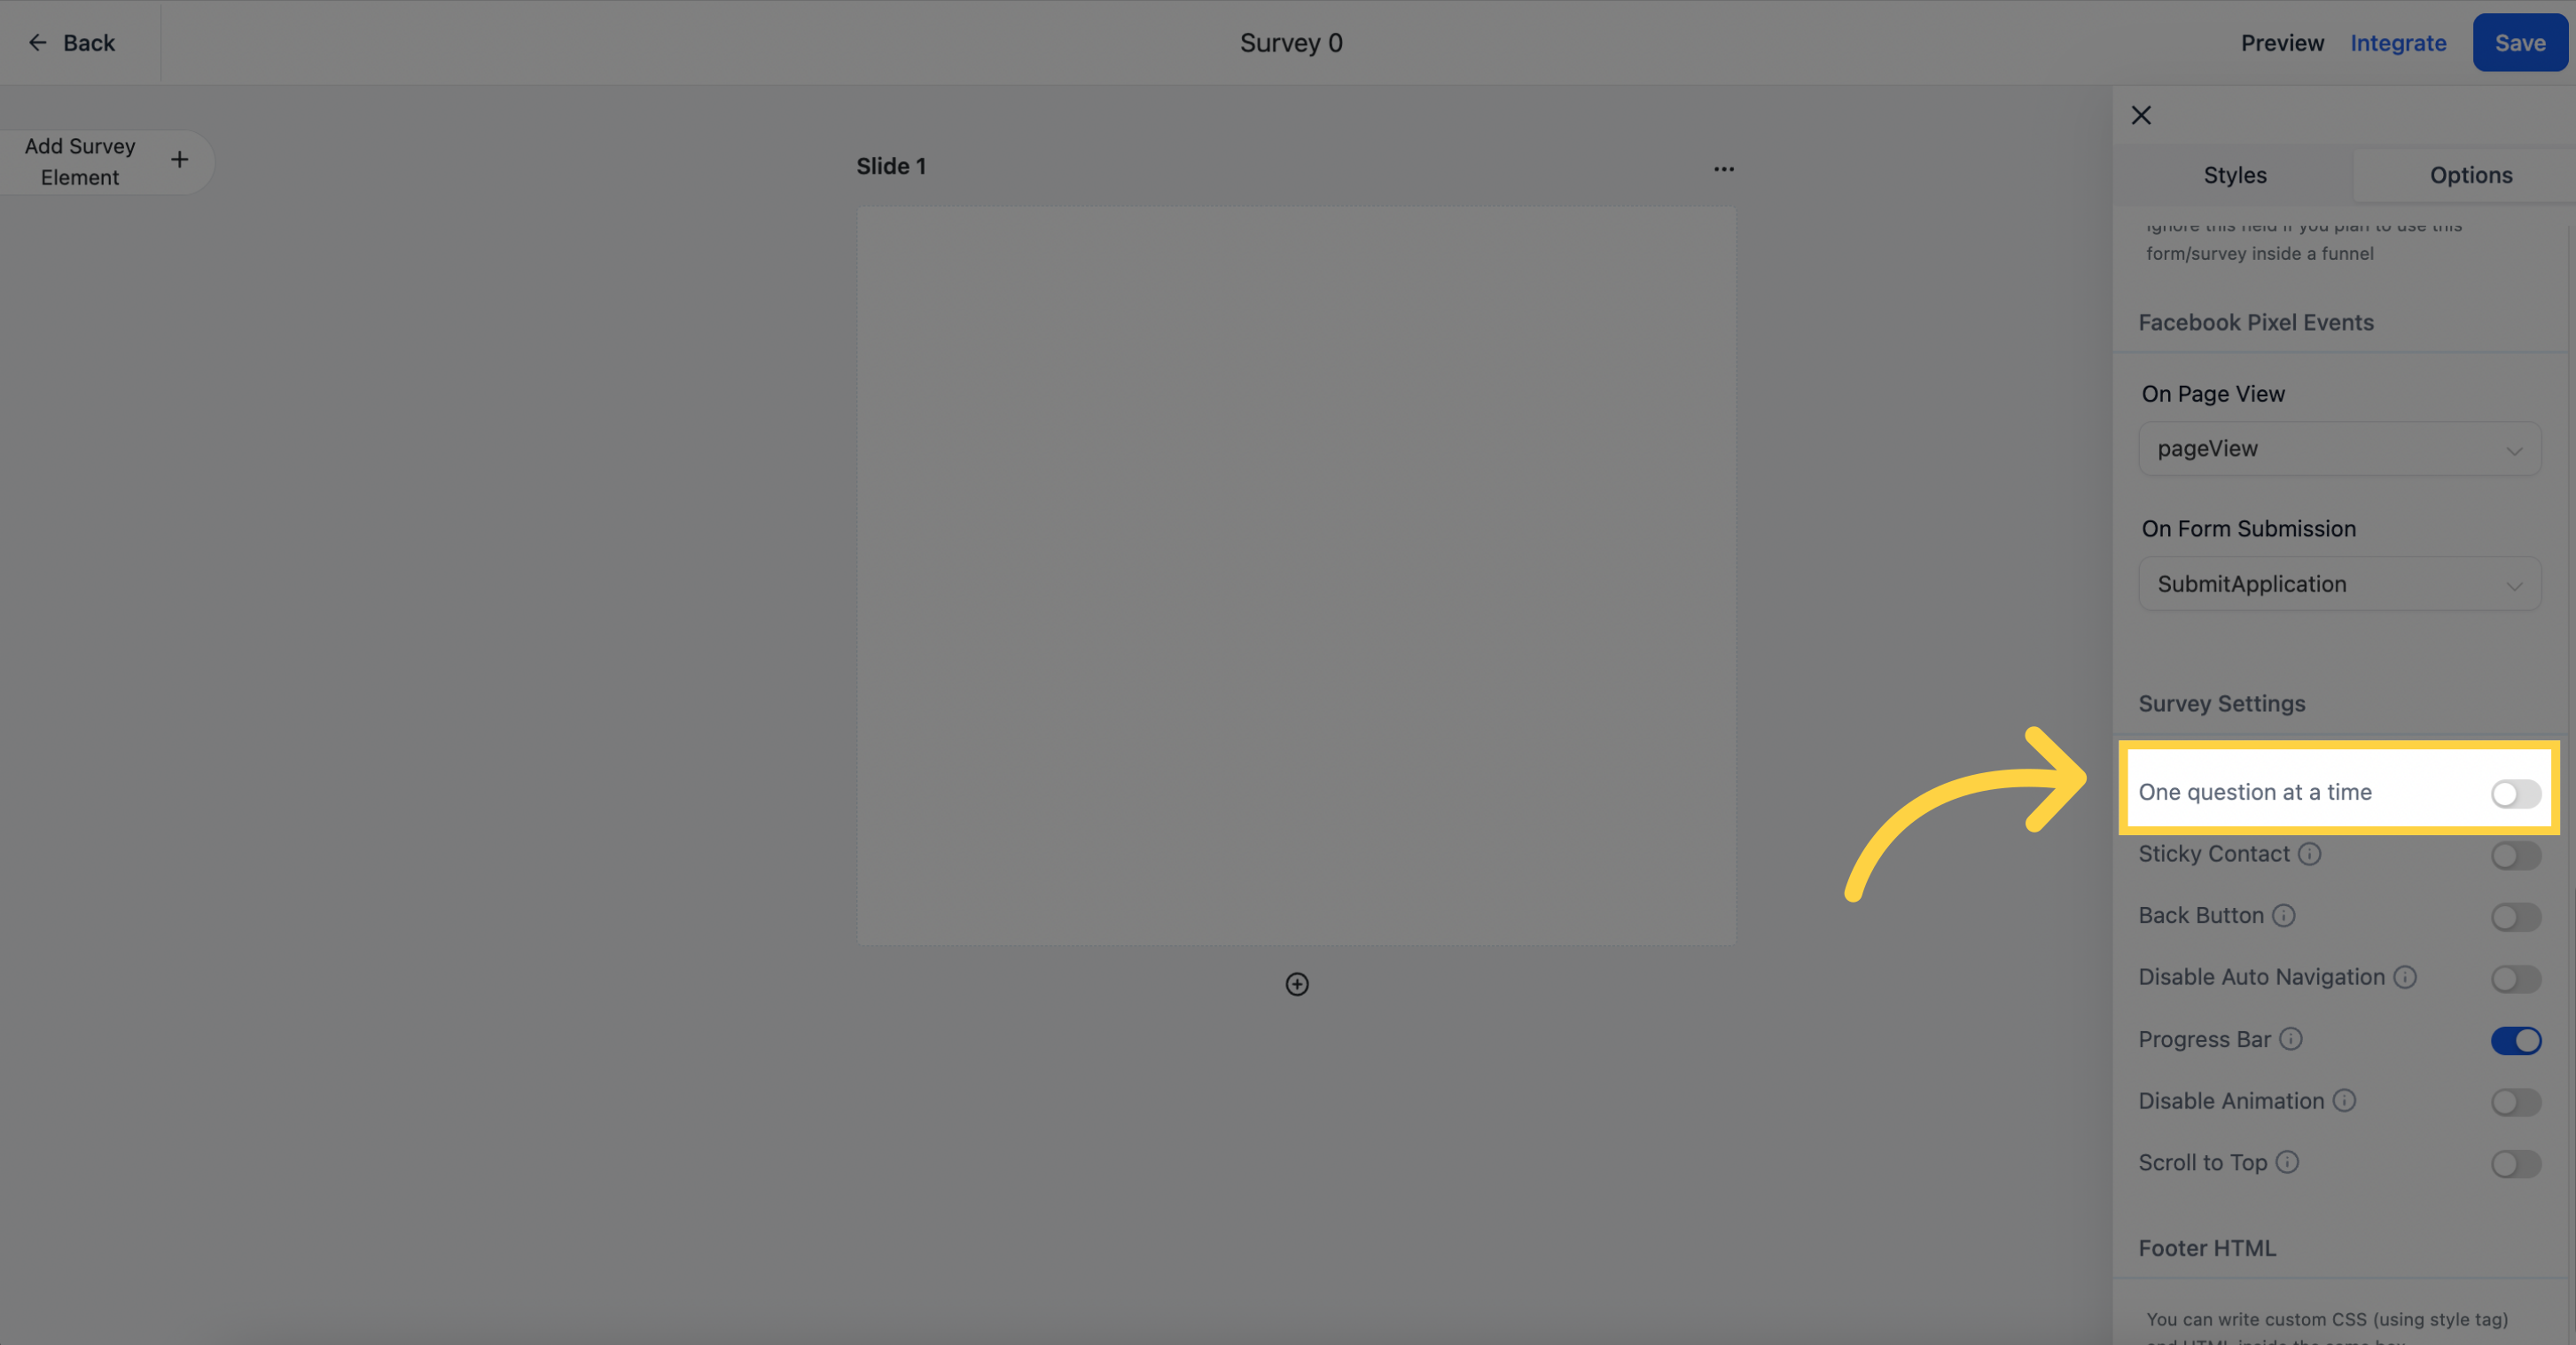
One Question at a Time: Show only one question per slide. The patient answers each question before moving to the next, which keeps long intake surveys from feeling overwhelming.
Sticky Contact: Autofill a patient's contact details if they have entered them before, so returning patients do not have to retype their information.

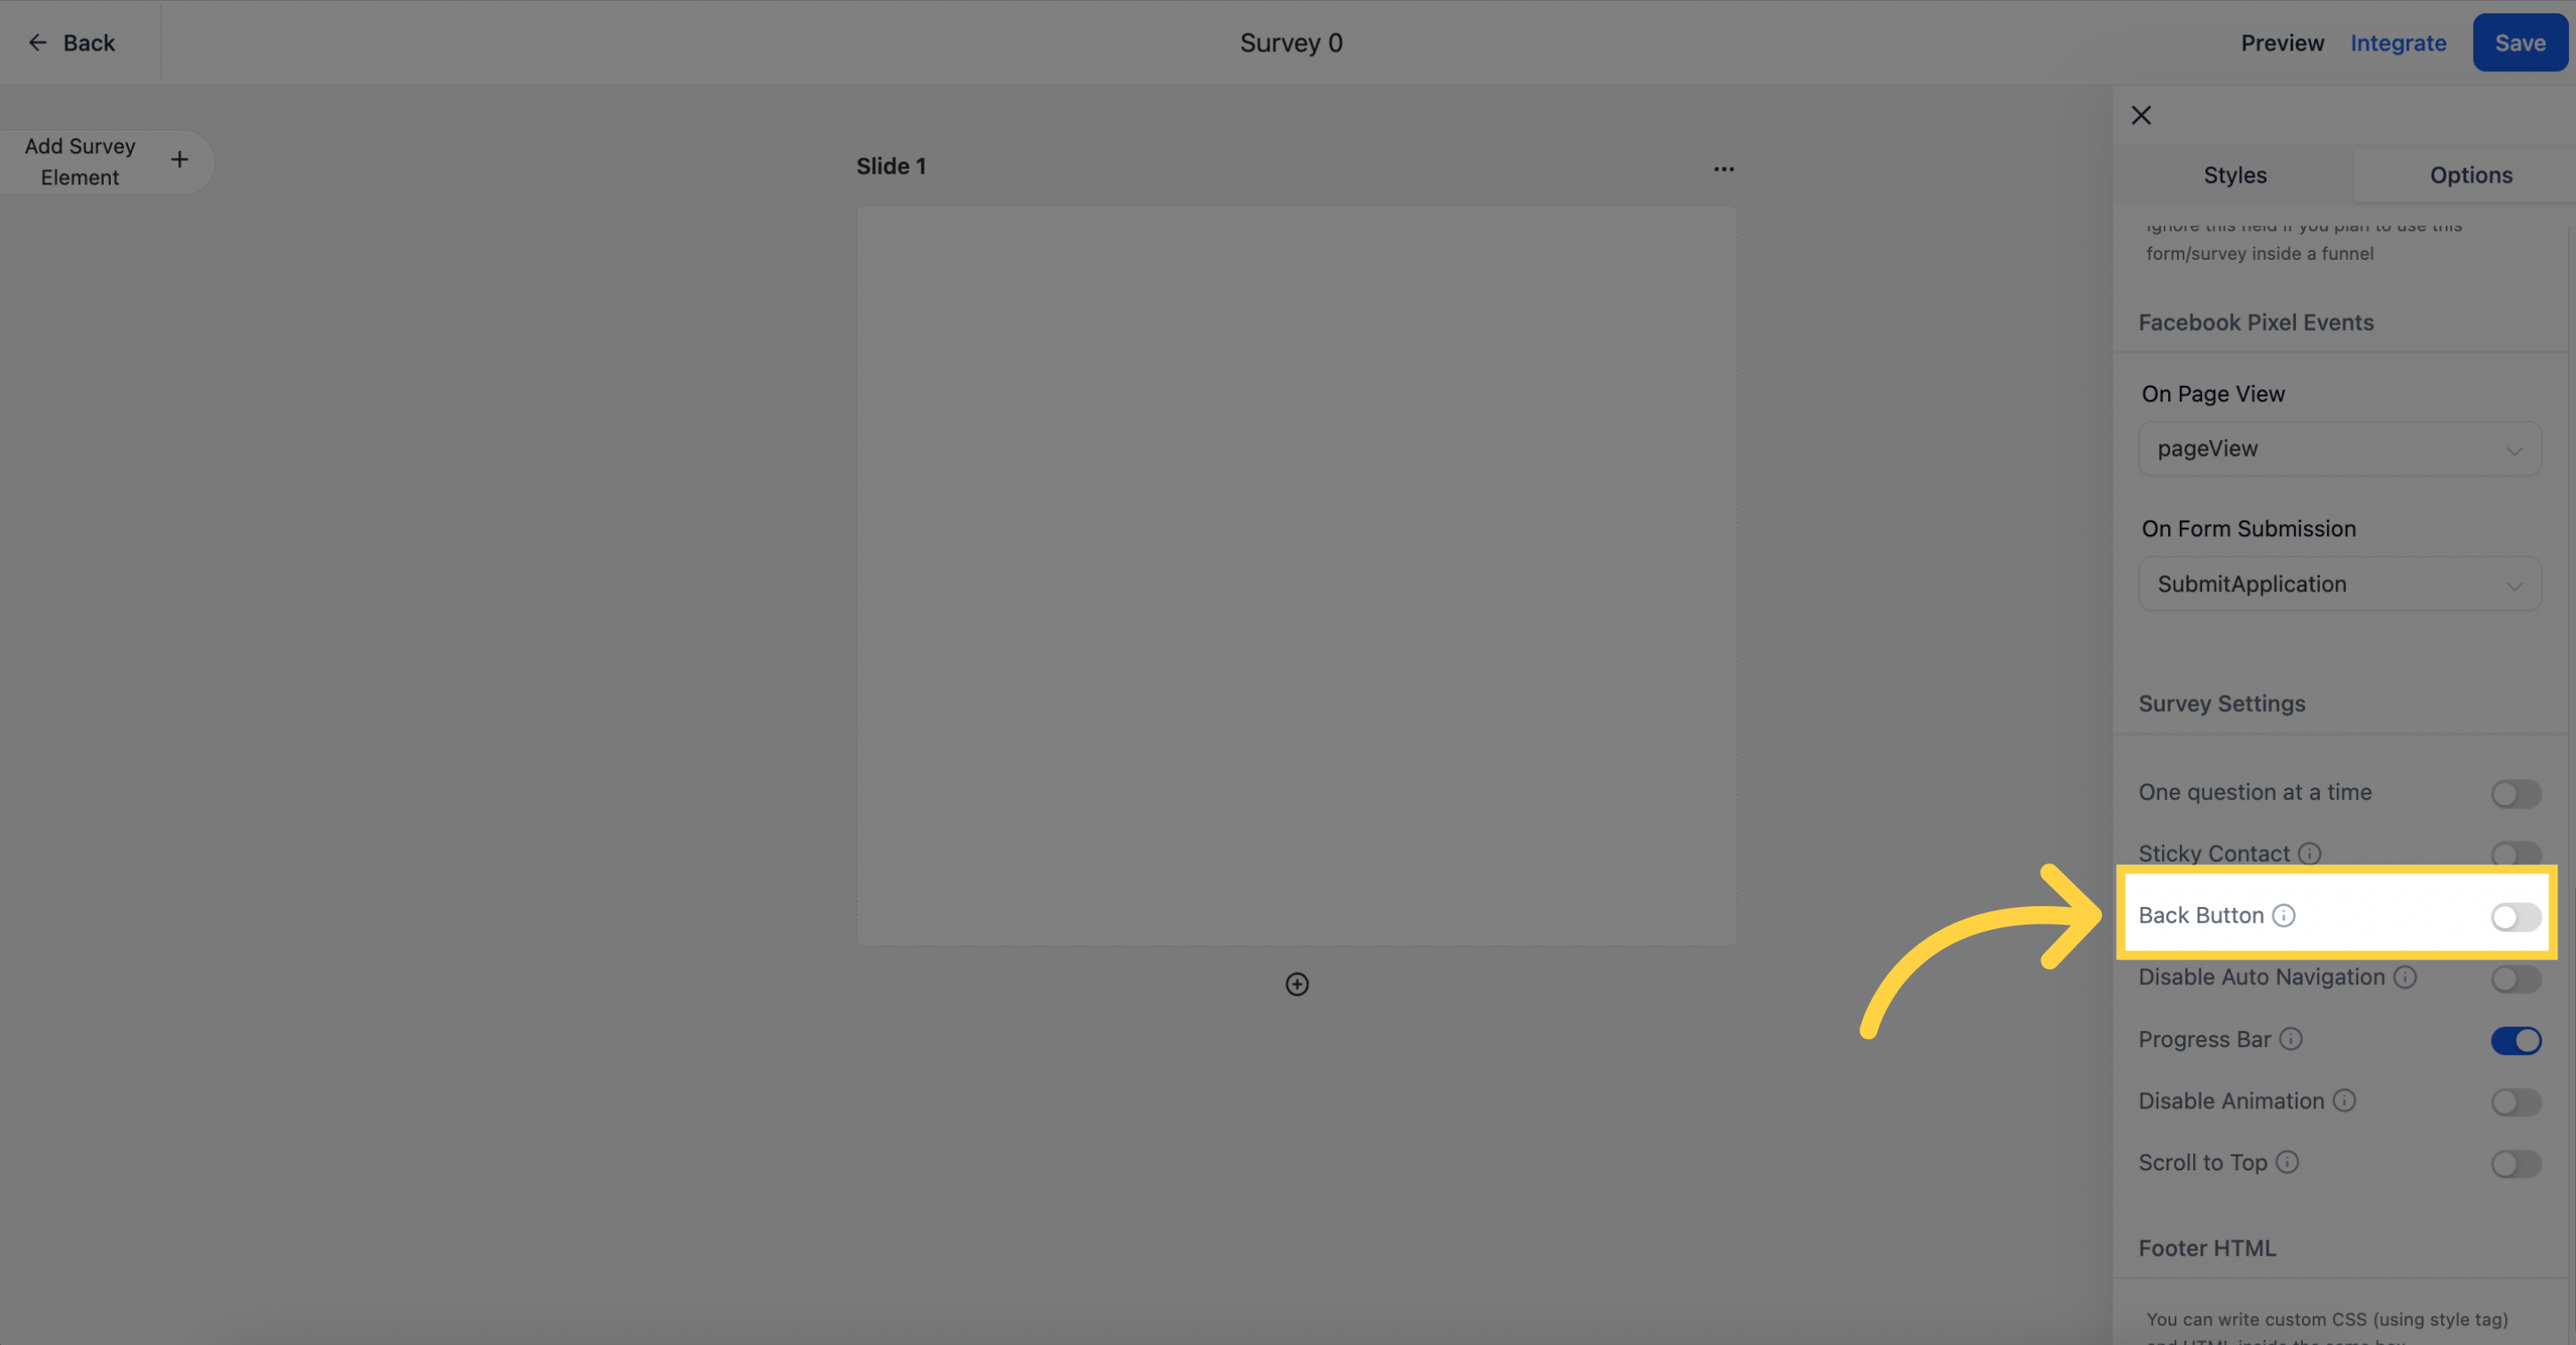
Enable Back Button: Let patients go back to change an answer they already gave.
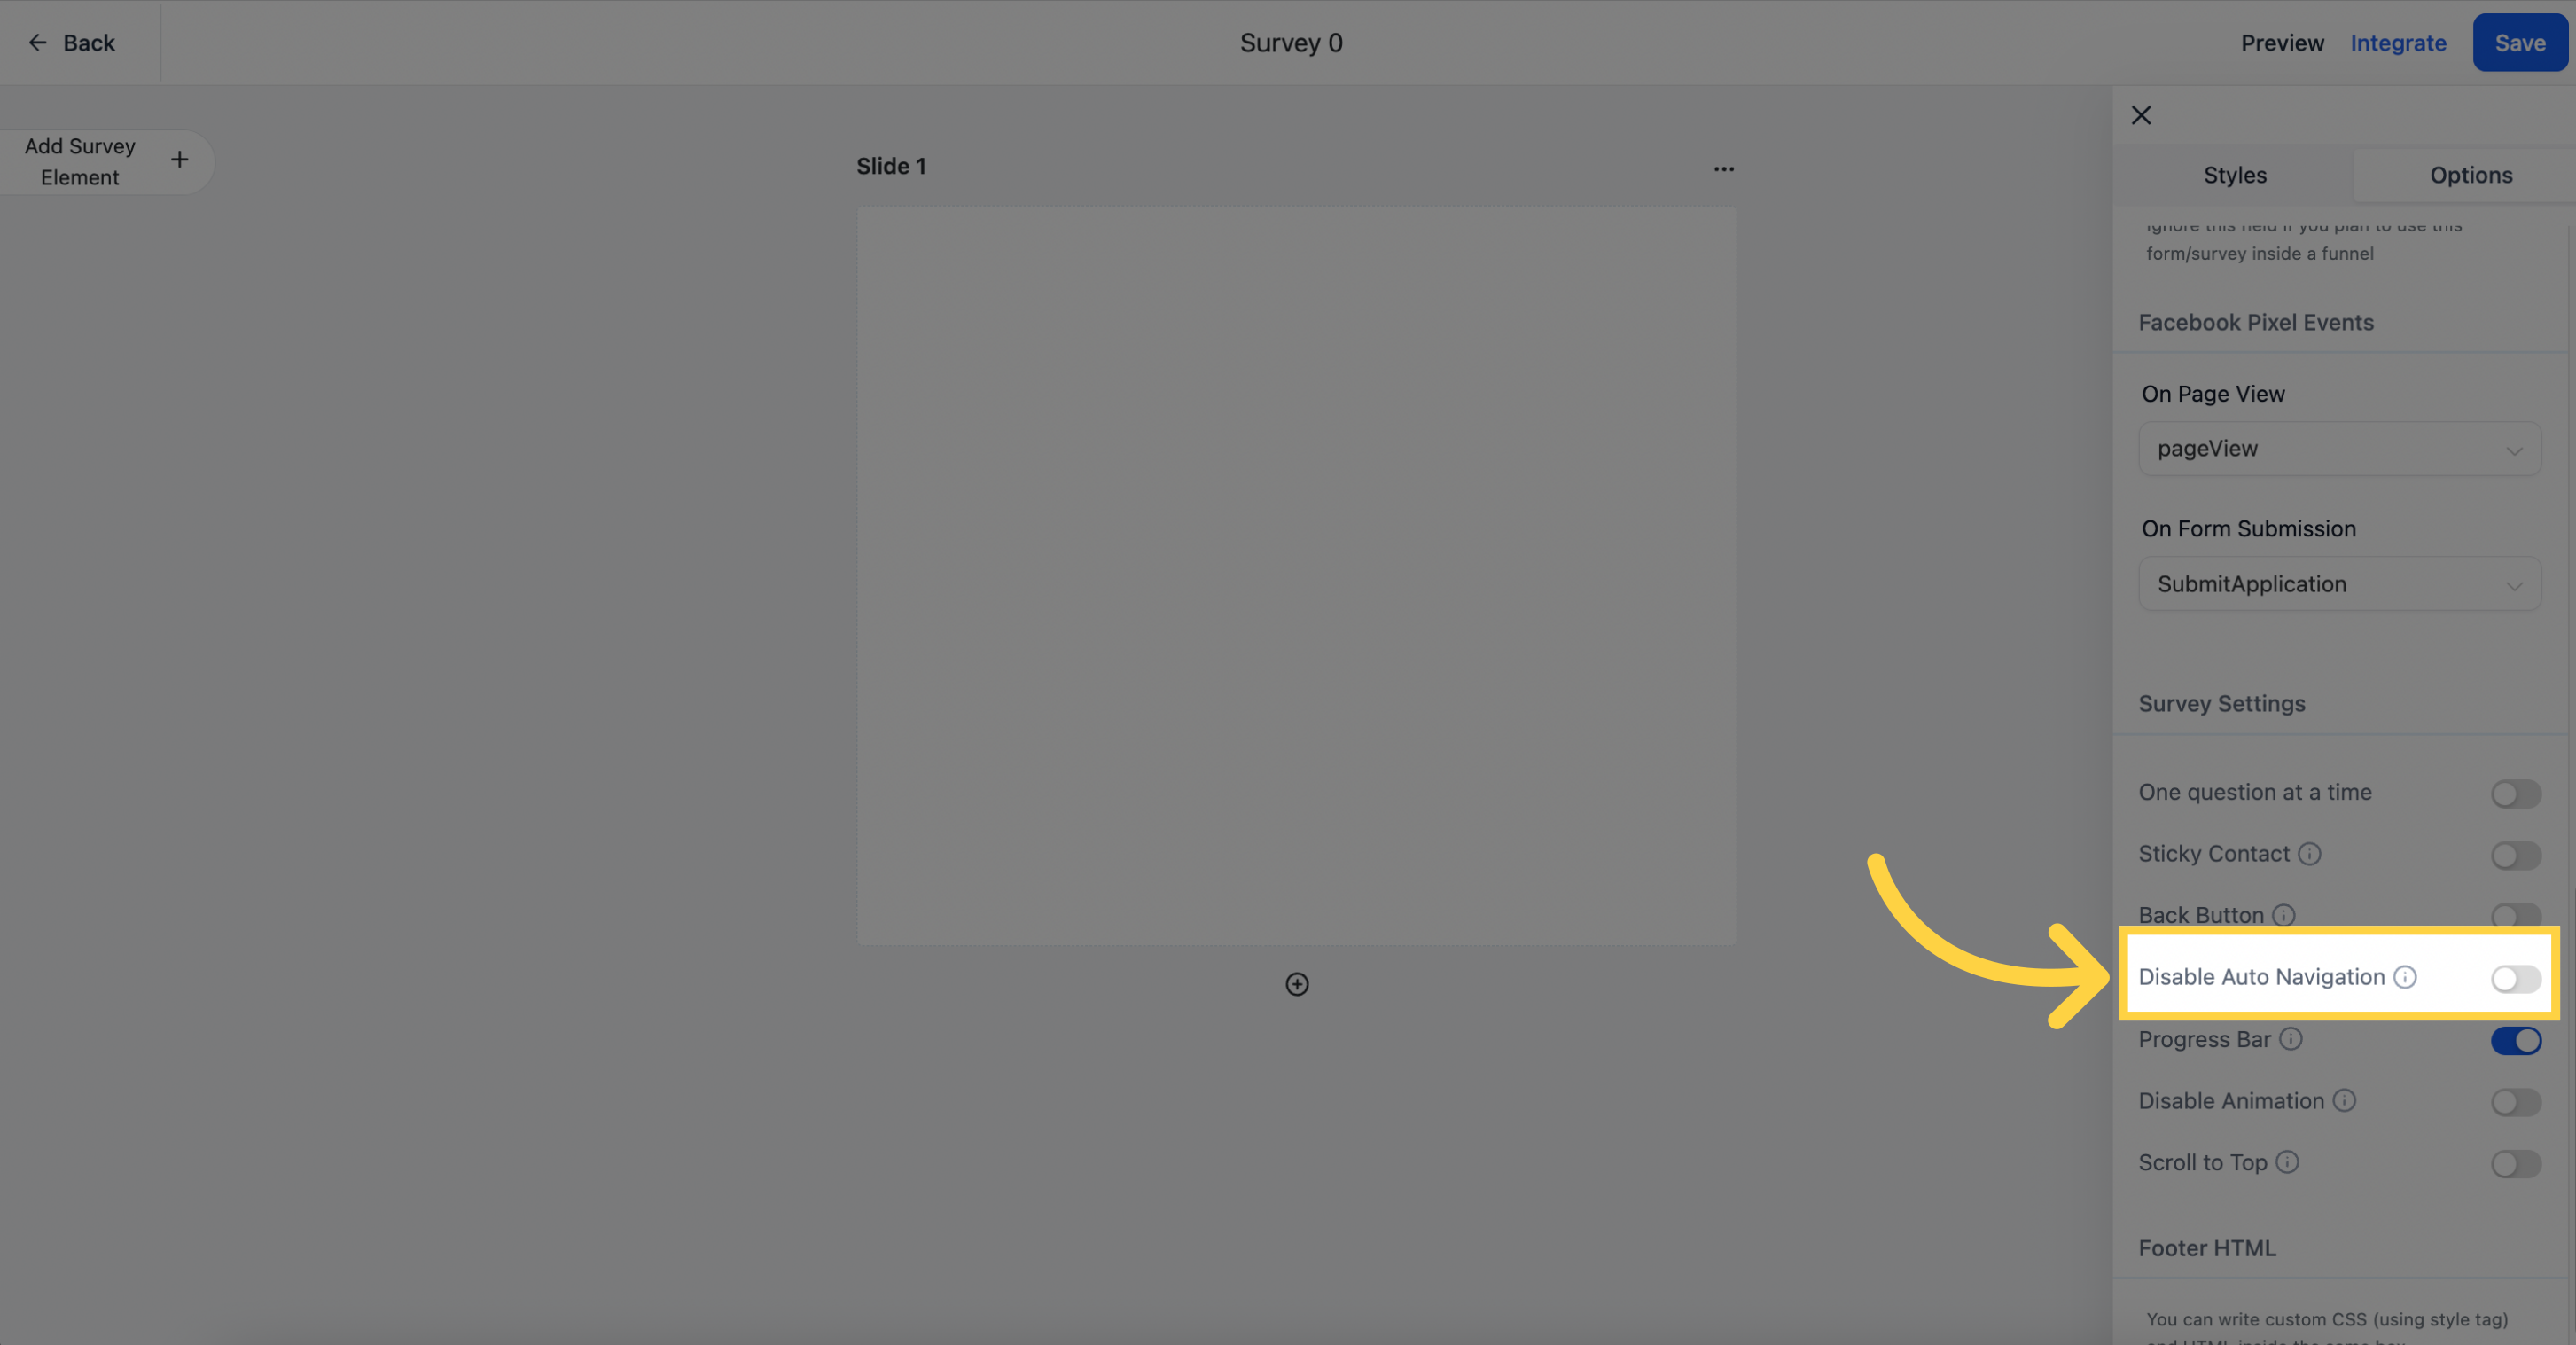
Disable Auto Navigation: By default the survey advances automatically. Disable it so patients must click Next to move to the next slide.
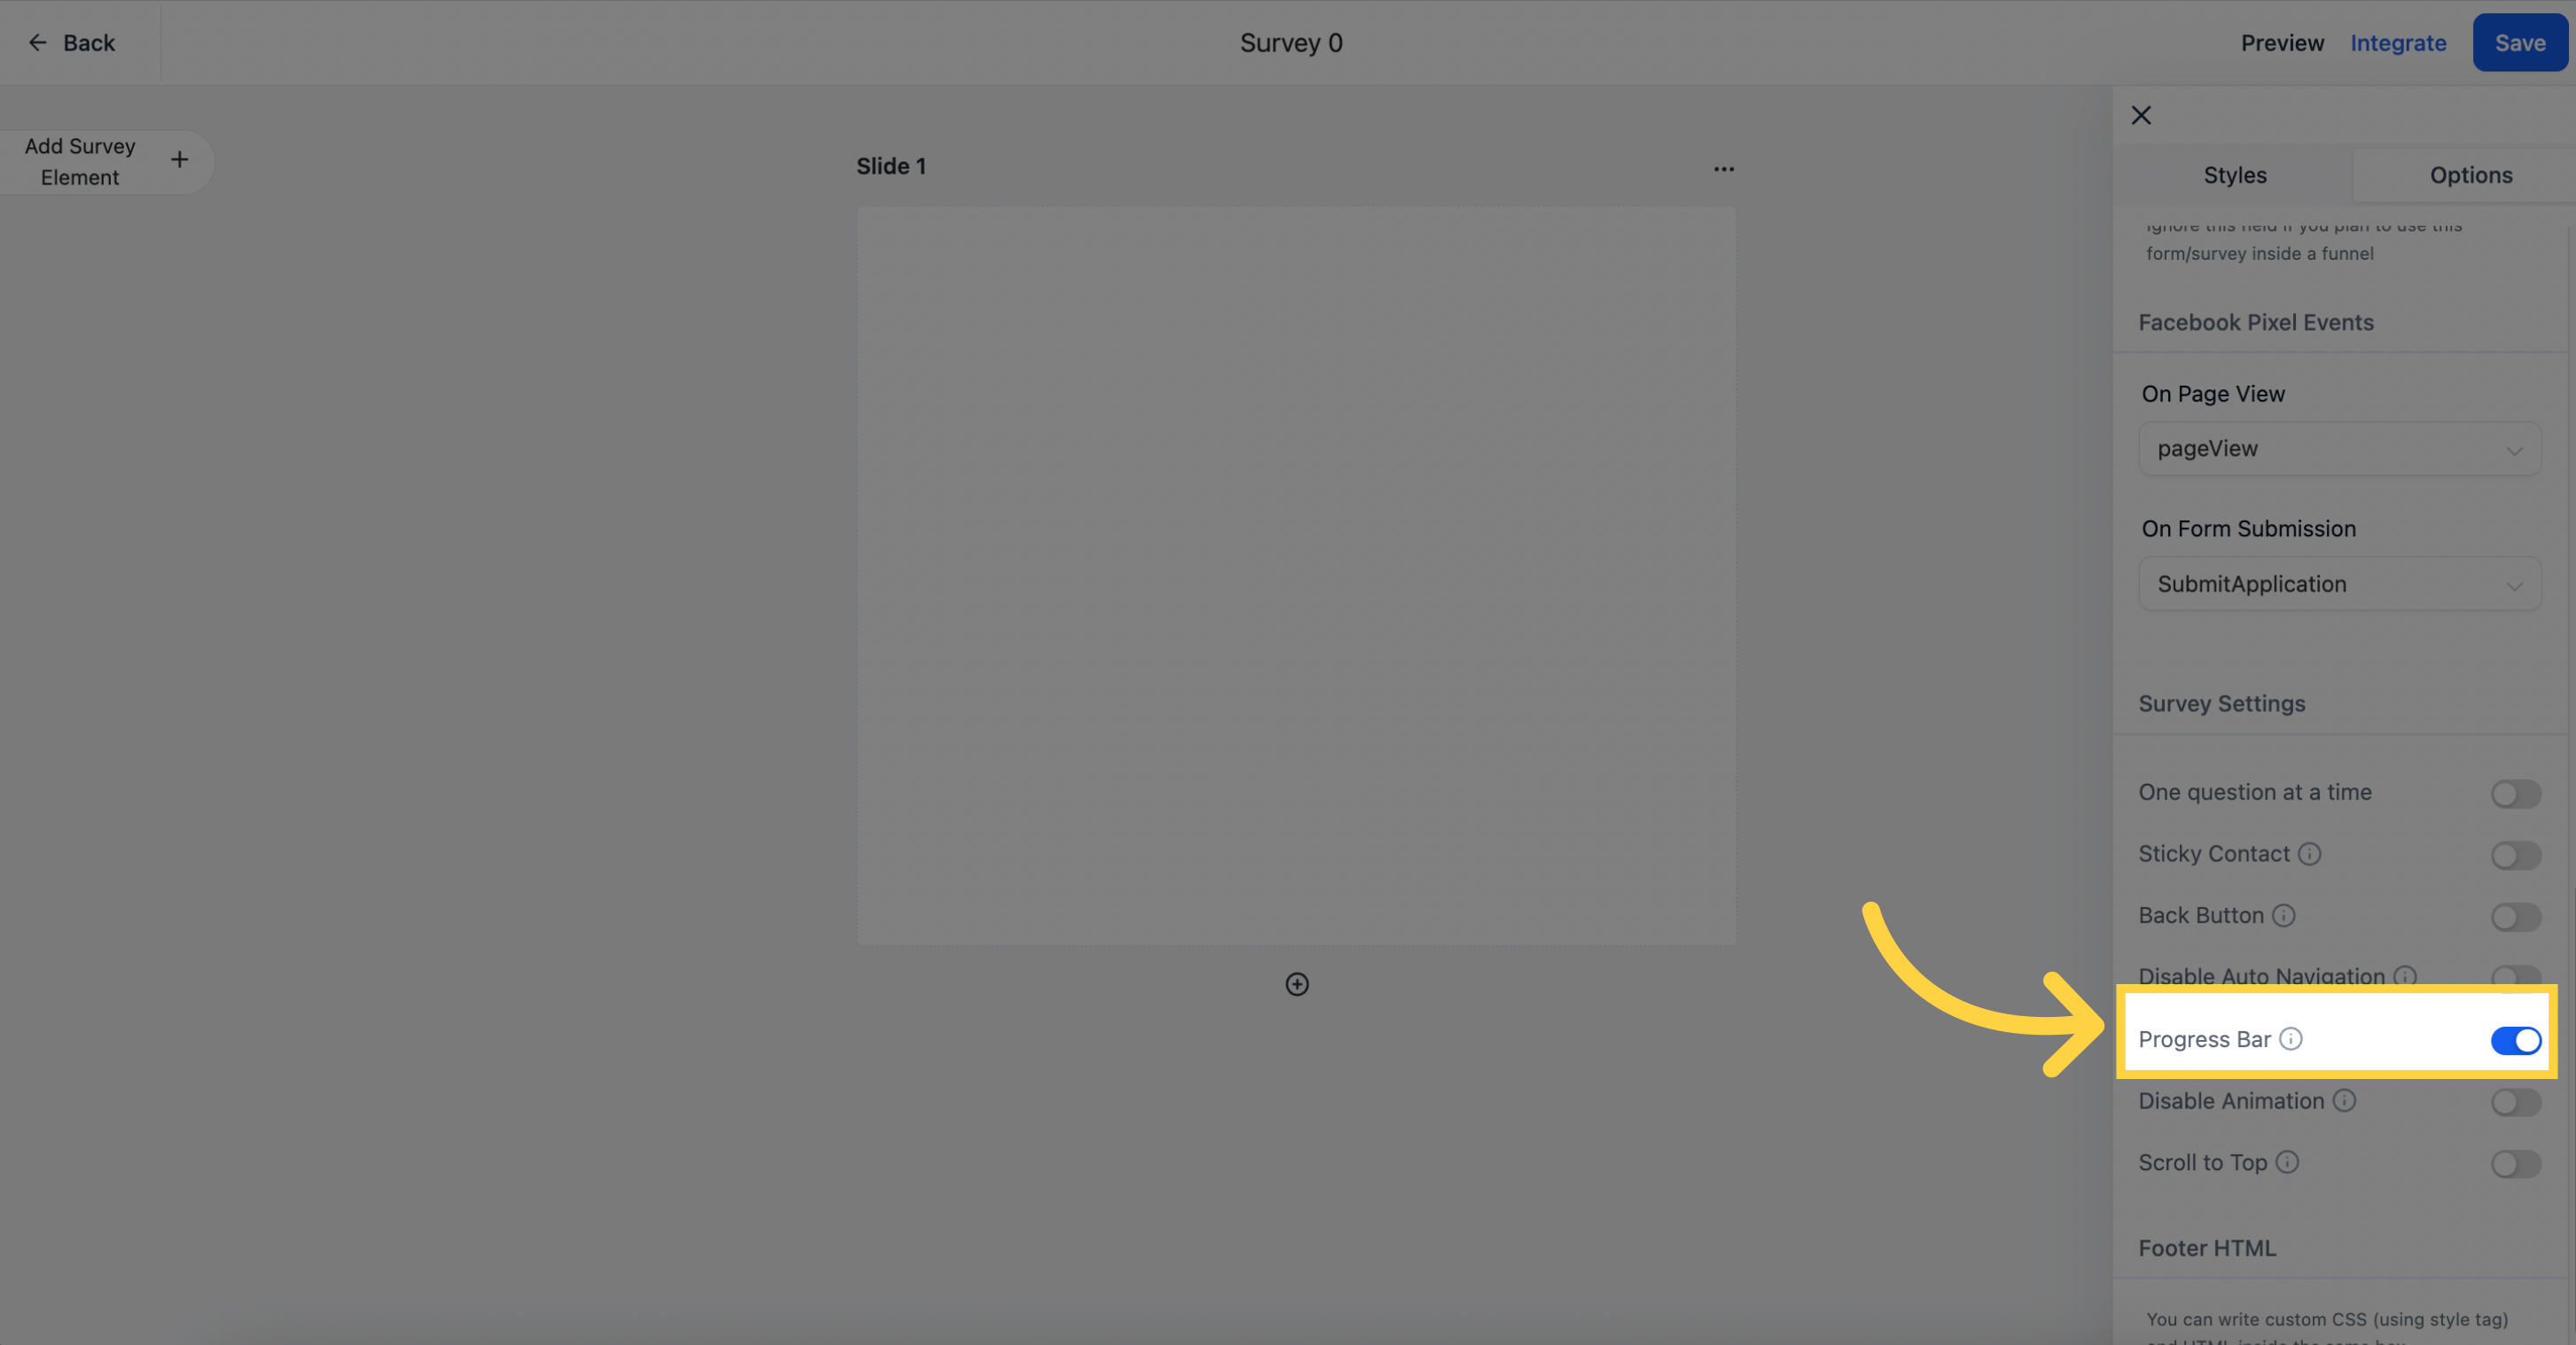
Progress Bar: Show patients how far they have progressed. This is especially helpful on longer surveys, reducing frustration and abandonment.
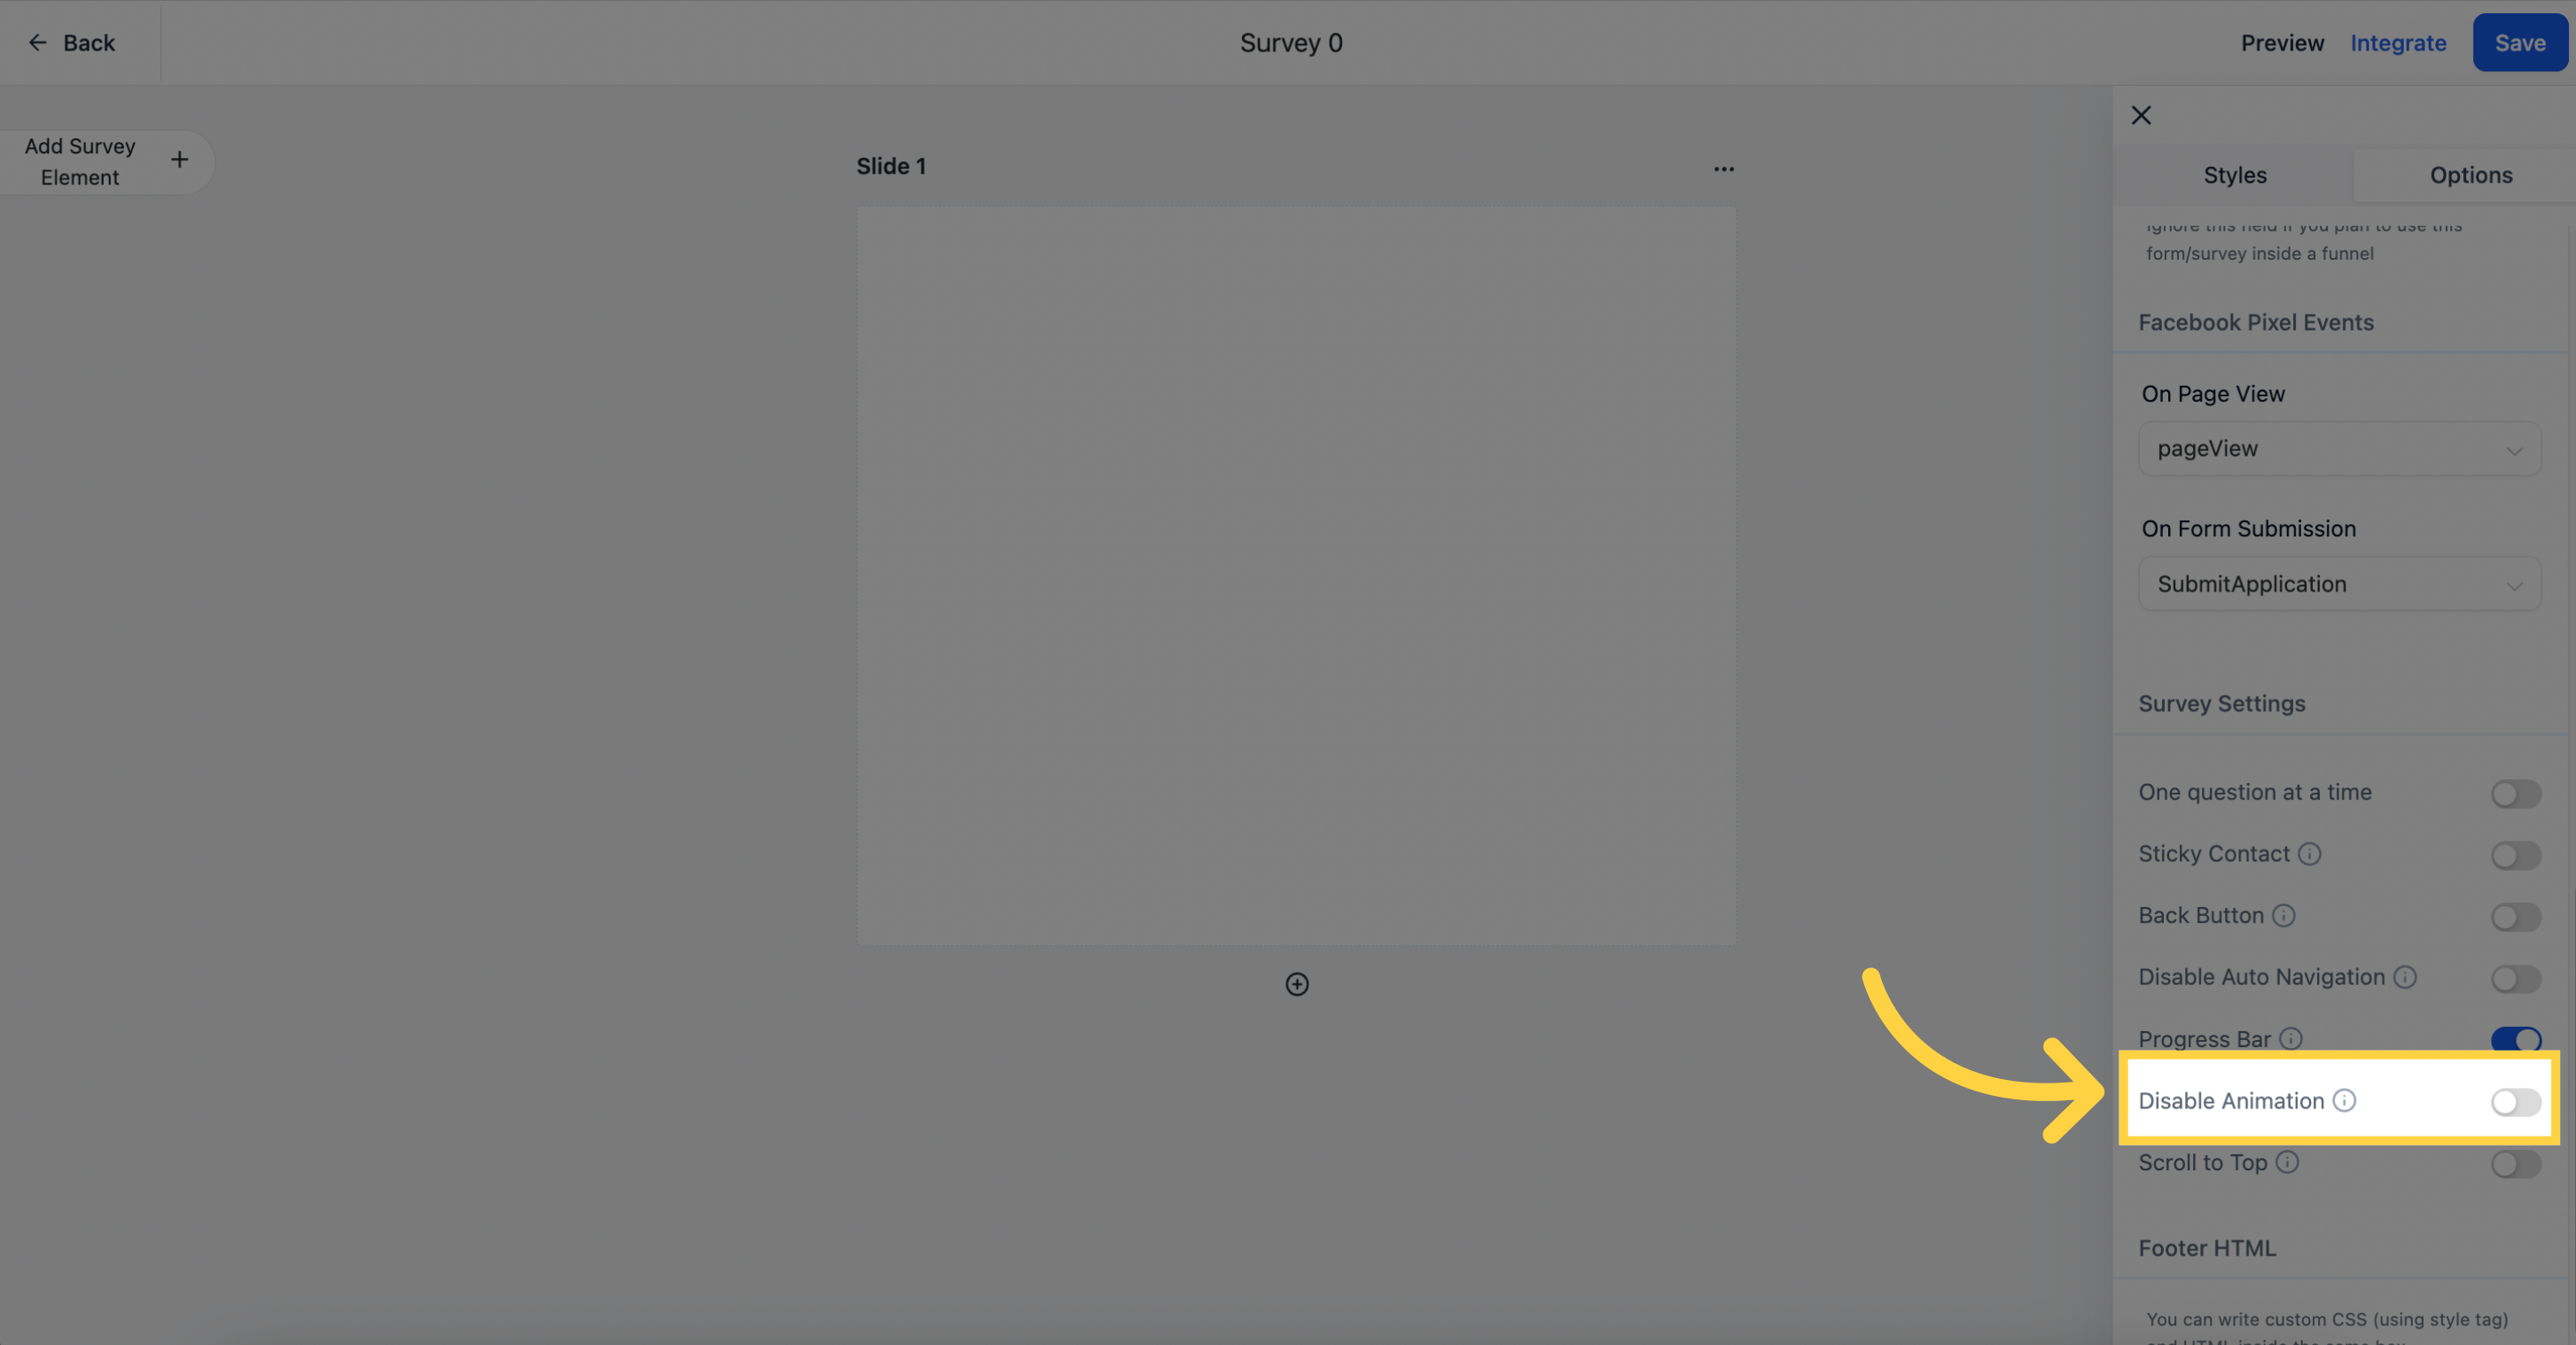
Disable Animation: Stop the transition effect between slides. If Scroll To Top is enabled, the survey scrolls to the top when slides switch.
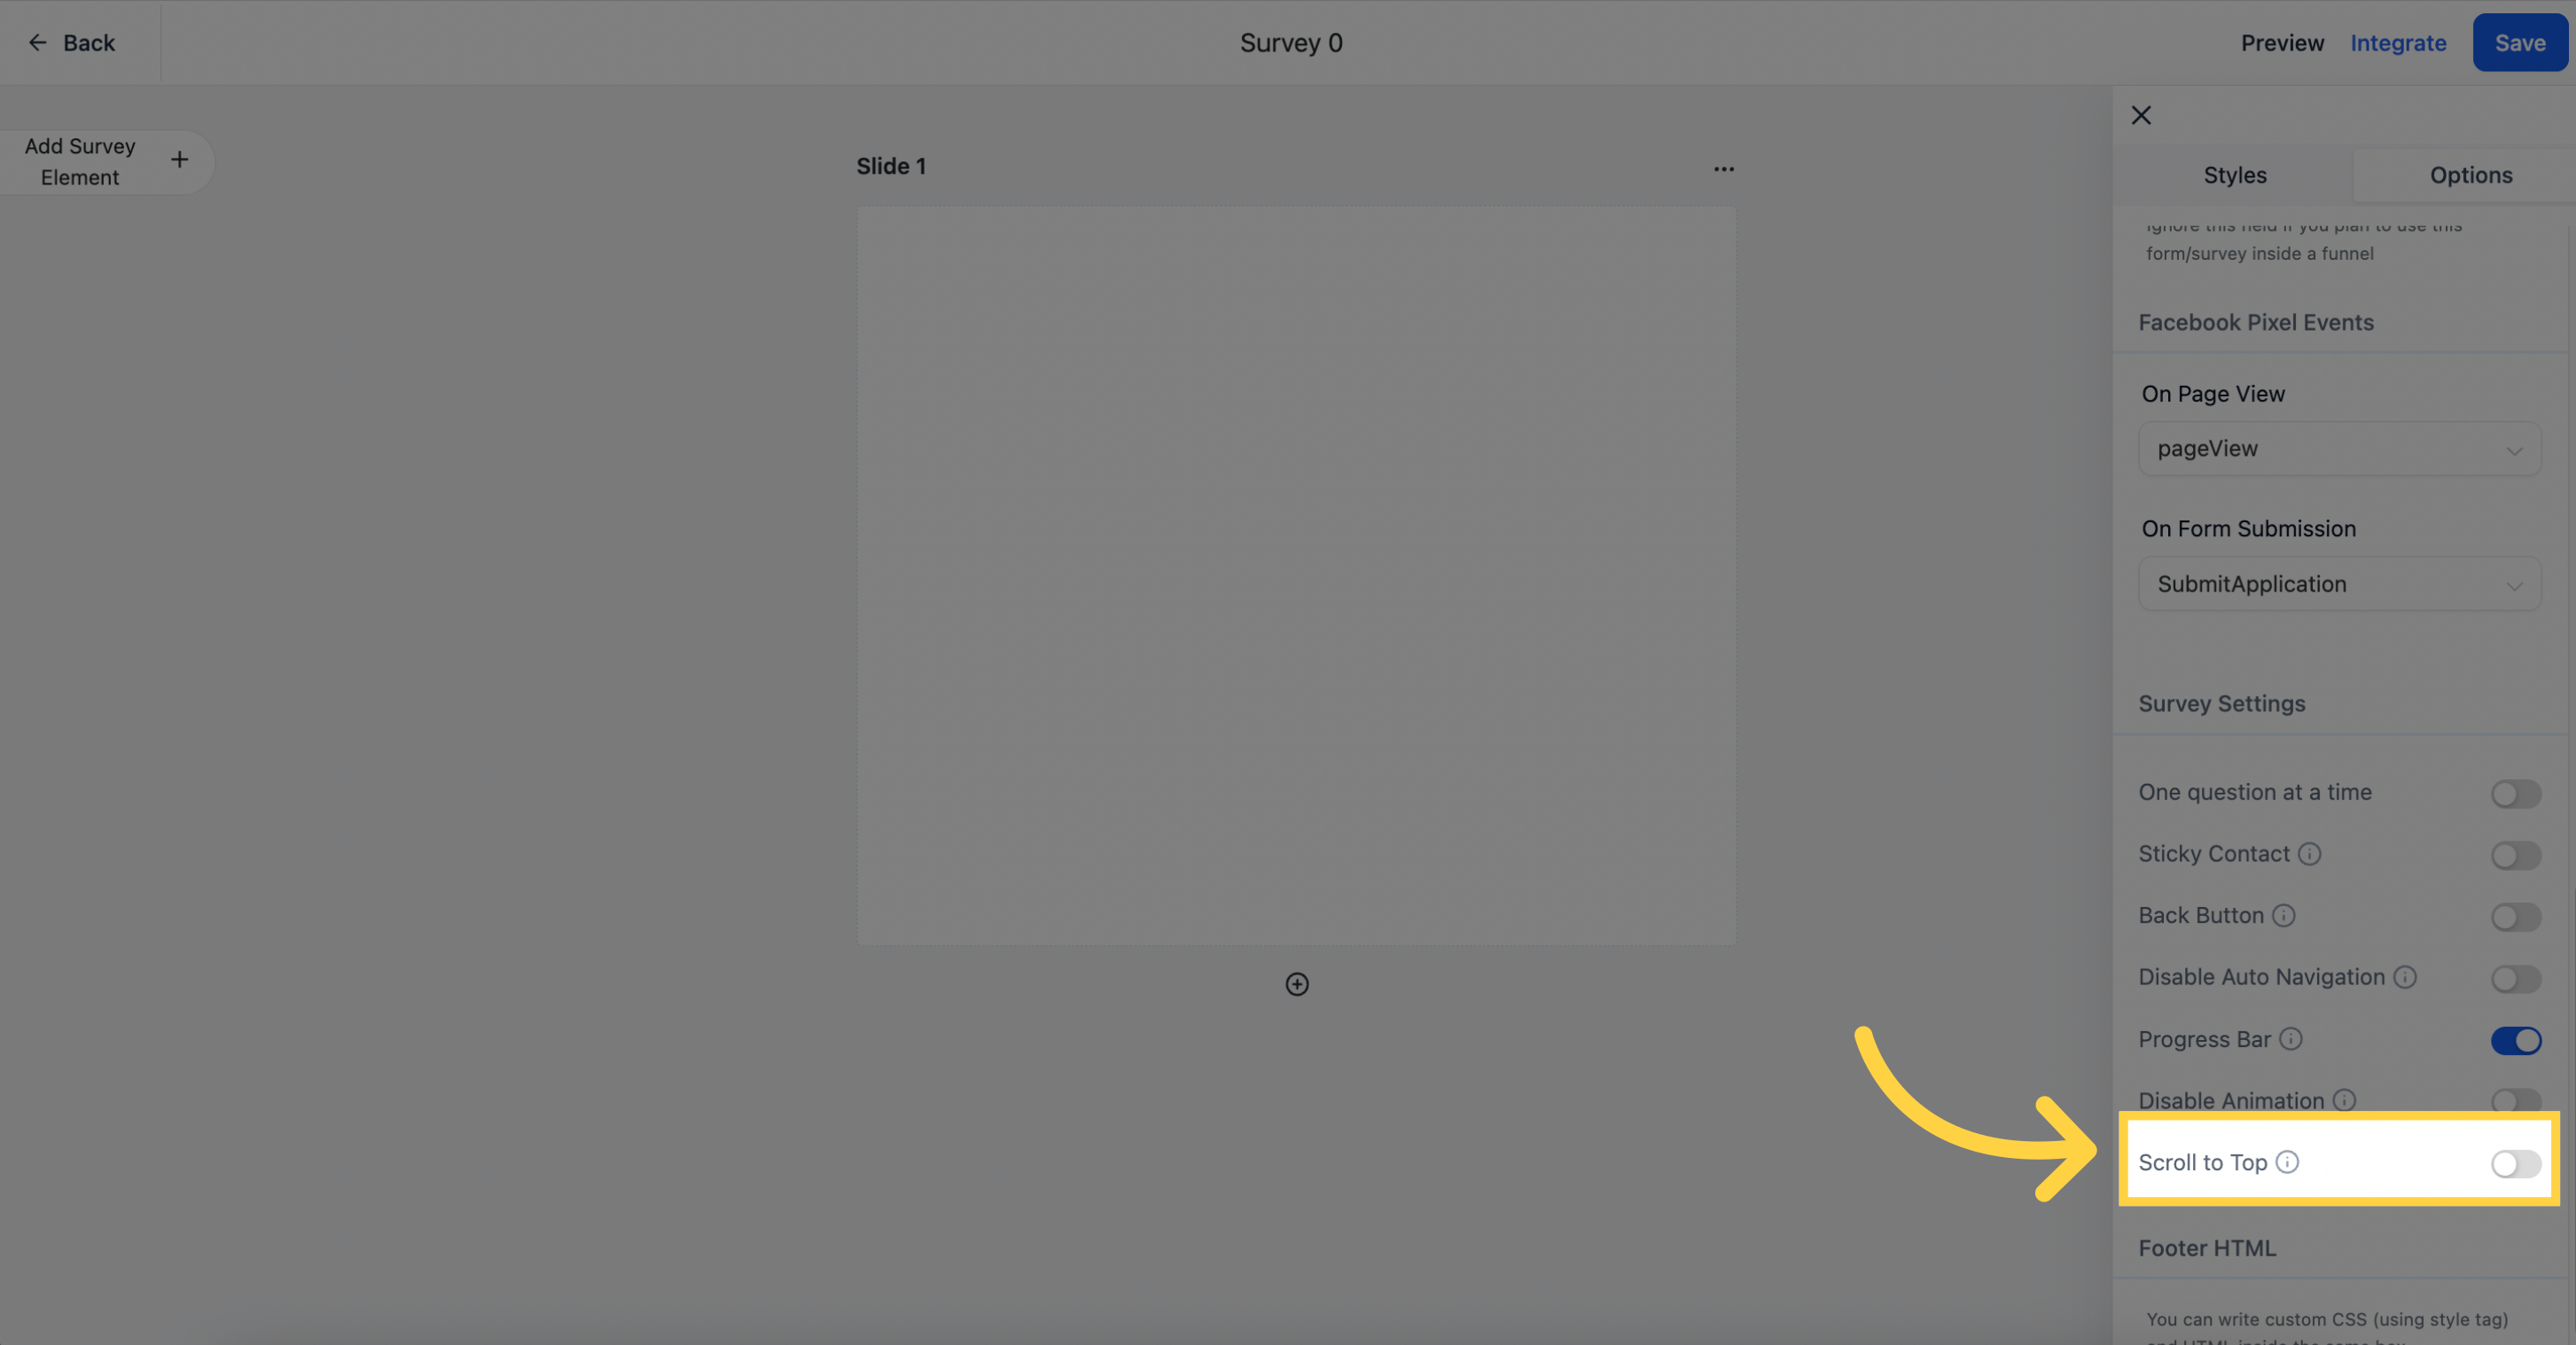
Scroll To Top: Automatically scroll the survey to the top when a new slide appears.
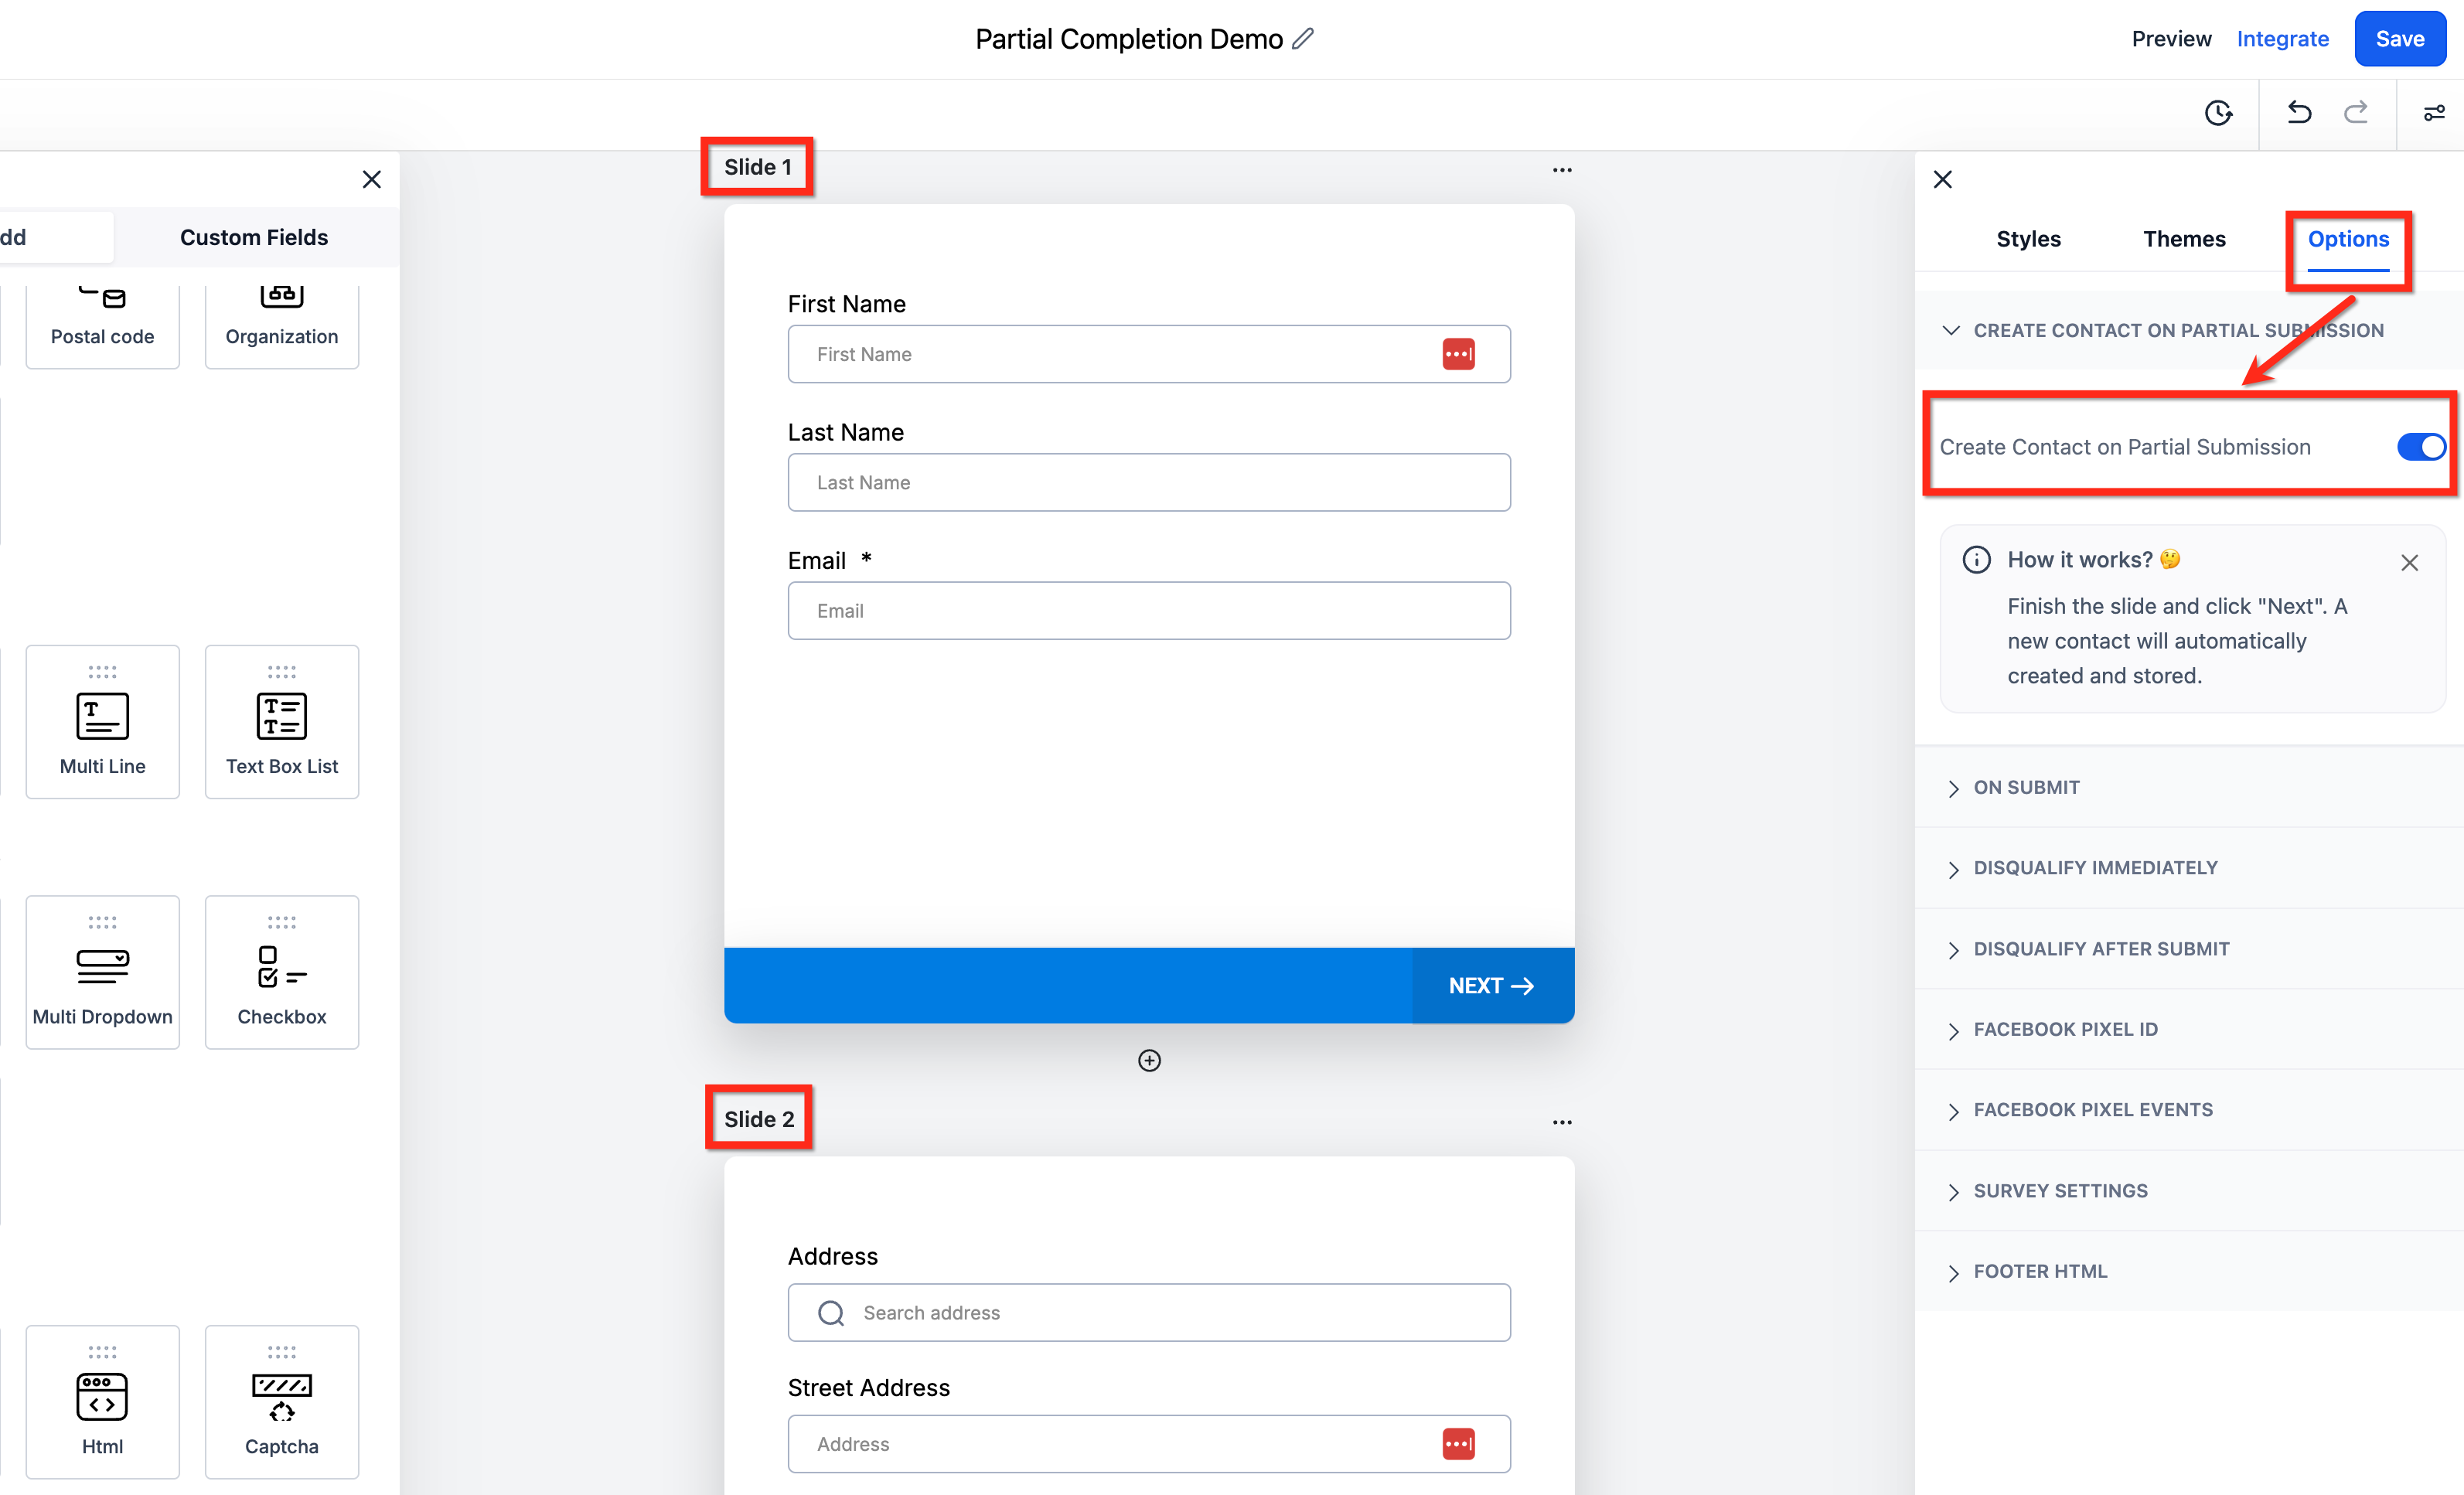
By default a contact is created only when the survey is fully submitted. With Create Contact on Partial Submission enabled, Aesthetix CRM saves the patient's contact information as they progress, even if they leave before finishing. This lets you capture a new lead as soon as partial responses are recorded, which is valuable for longer consult or intake surveys where patients sometimes drop off.
To use it:
Open your survey in the builder.
In Options, toggle on Create Contact on Partial Submission. Put contact information fields (name, email, phone) on the first slide so there is data to create the contact record from.
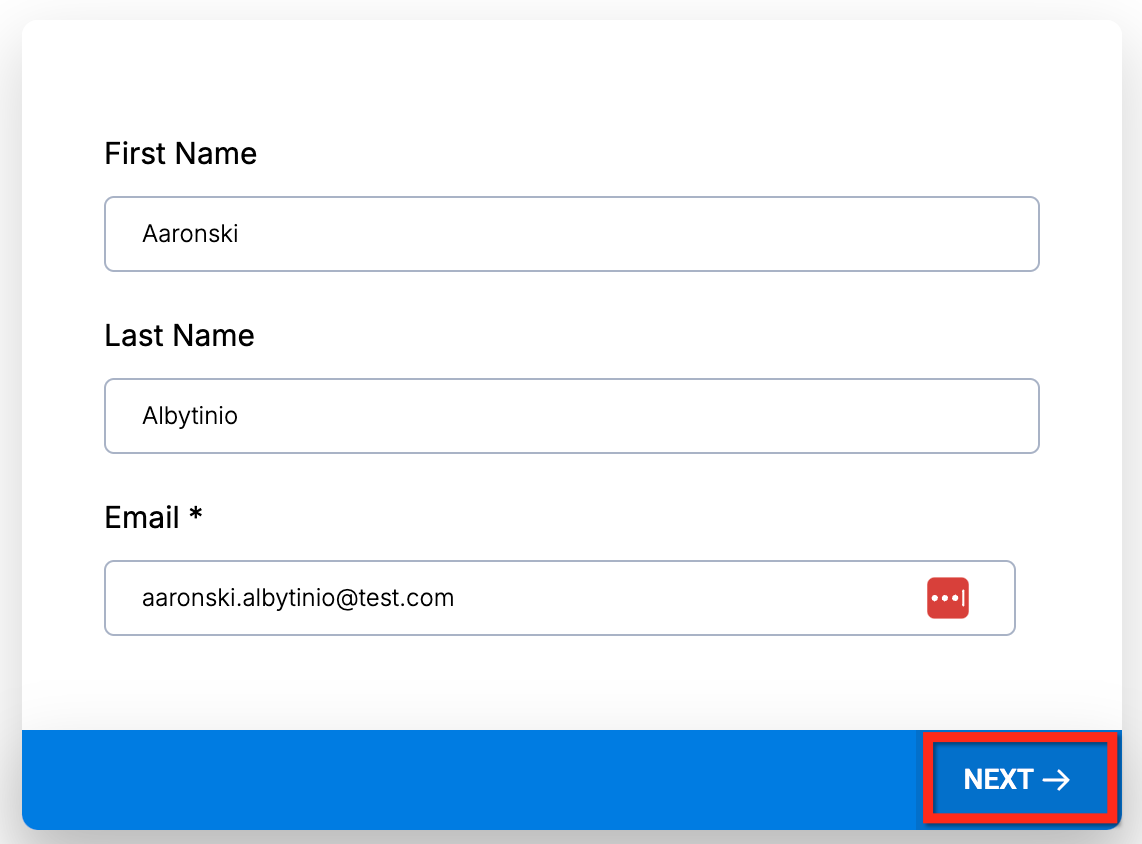
The patient fills out the first slide and clicks Next.
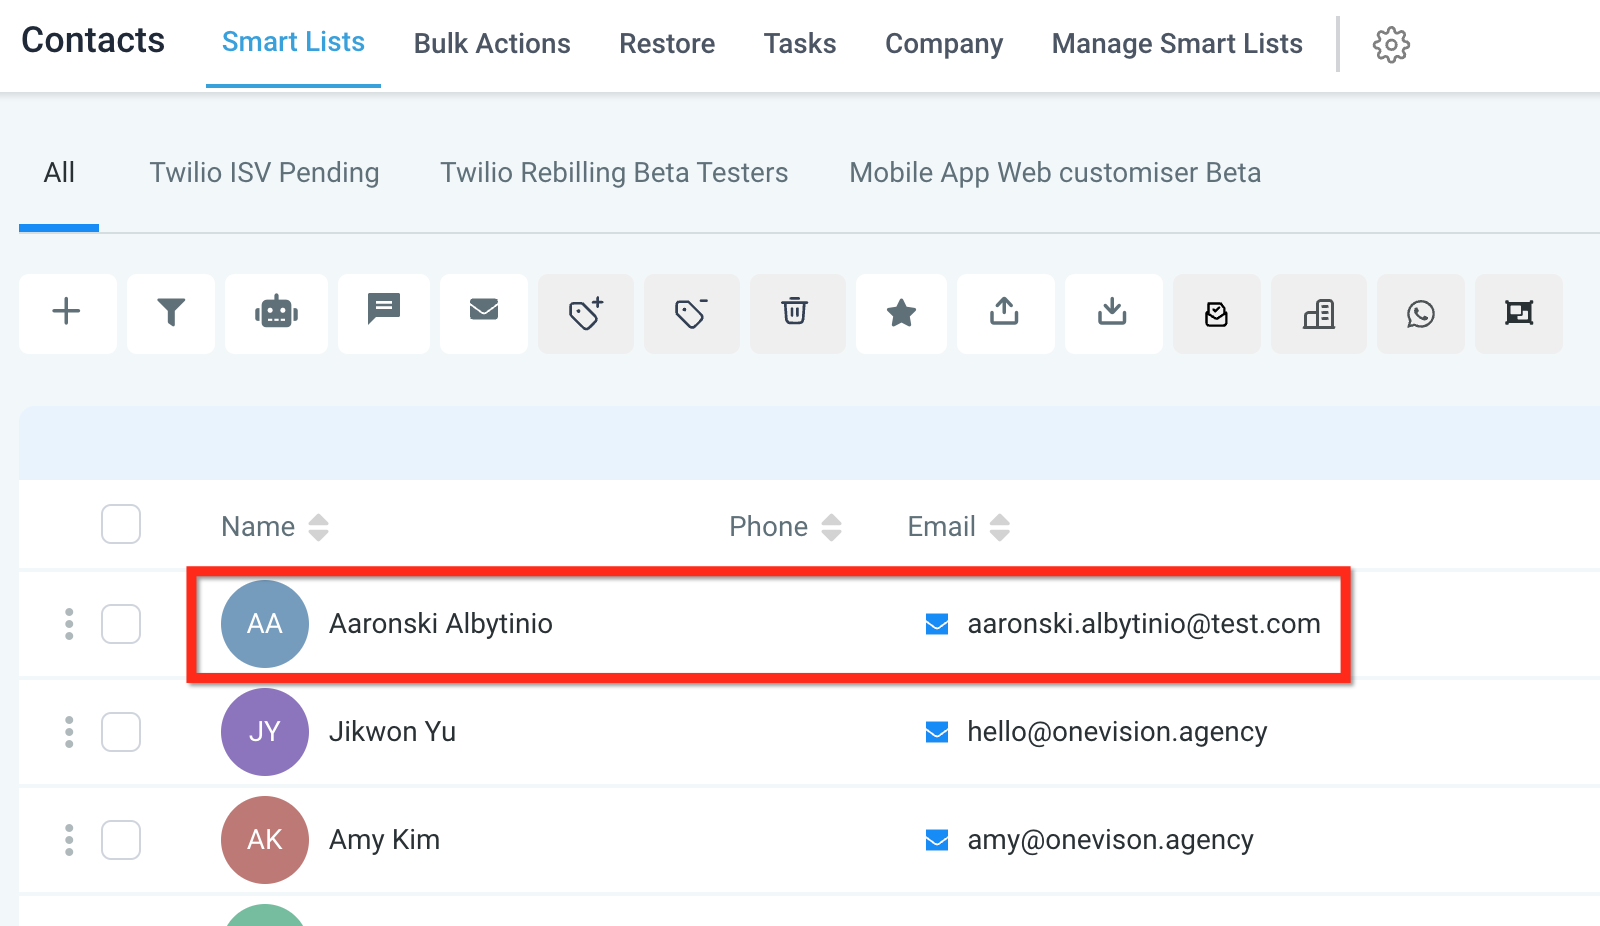
The contact is created at that point, before the rest of the survey is completed and submitted.
Partial completion interacts with complex slide logic in a few specific ways. Best practice is to place basic contact fields at the front of the survey and avoid jumping straight to the last or second-to-last slide.
Not supported if slide logic skips to the last slide: If slide logic jumps directly to the final slide, partial contact creation does not fire. The system treats the last slide as a final submission.
Not updated on the second-to-last slide: When logic skips to the slide just before the final one, contact information is not updated. The contact is only finalized and updated during the final submission.
If your practice uses Voice AI outbound calling, the system runs a pre-call compliance scan to confirm a patient has given valid opt-in consent before dialing. That scan now recognizes consent captured through Surveys, in addition to Forms and Appointment Forms/Calendars. Configuring your survey to collect clear consent keeps automated calls compliant.
What counts as valid opt-in:
A clear, affirmative action (such as a checked box) indicating consent to receive voice calls.
Displayed consent text that specifically references voice calls. Avoid vague or bundled language.
A timestamp, and when available, submission details.
The consent submission must be associated with the contact and the phone number you intend to call.
Keep language adaptable to your legal framework, and consult counsel for jurisdiction-specific requirements.
To set consent up on a survey:
Add a required consent item (a checkbox or explicit confirmation).
Capture or confirm the patient's phone number so consent is associated with the right number.
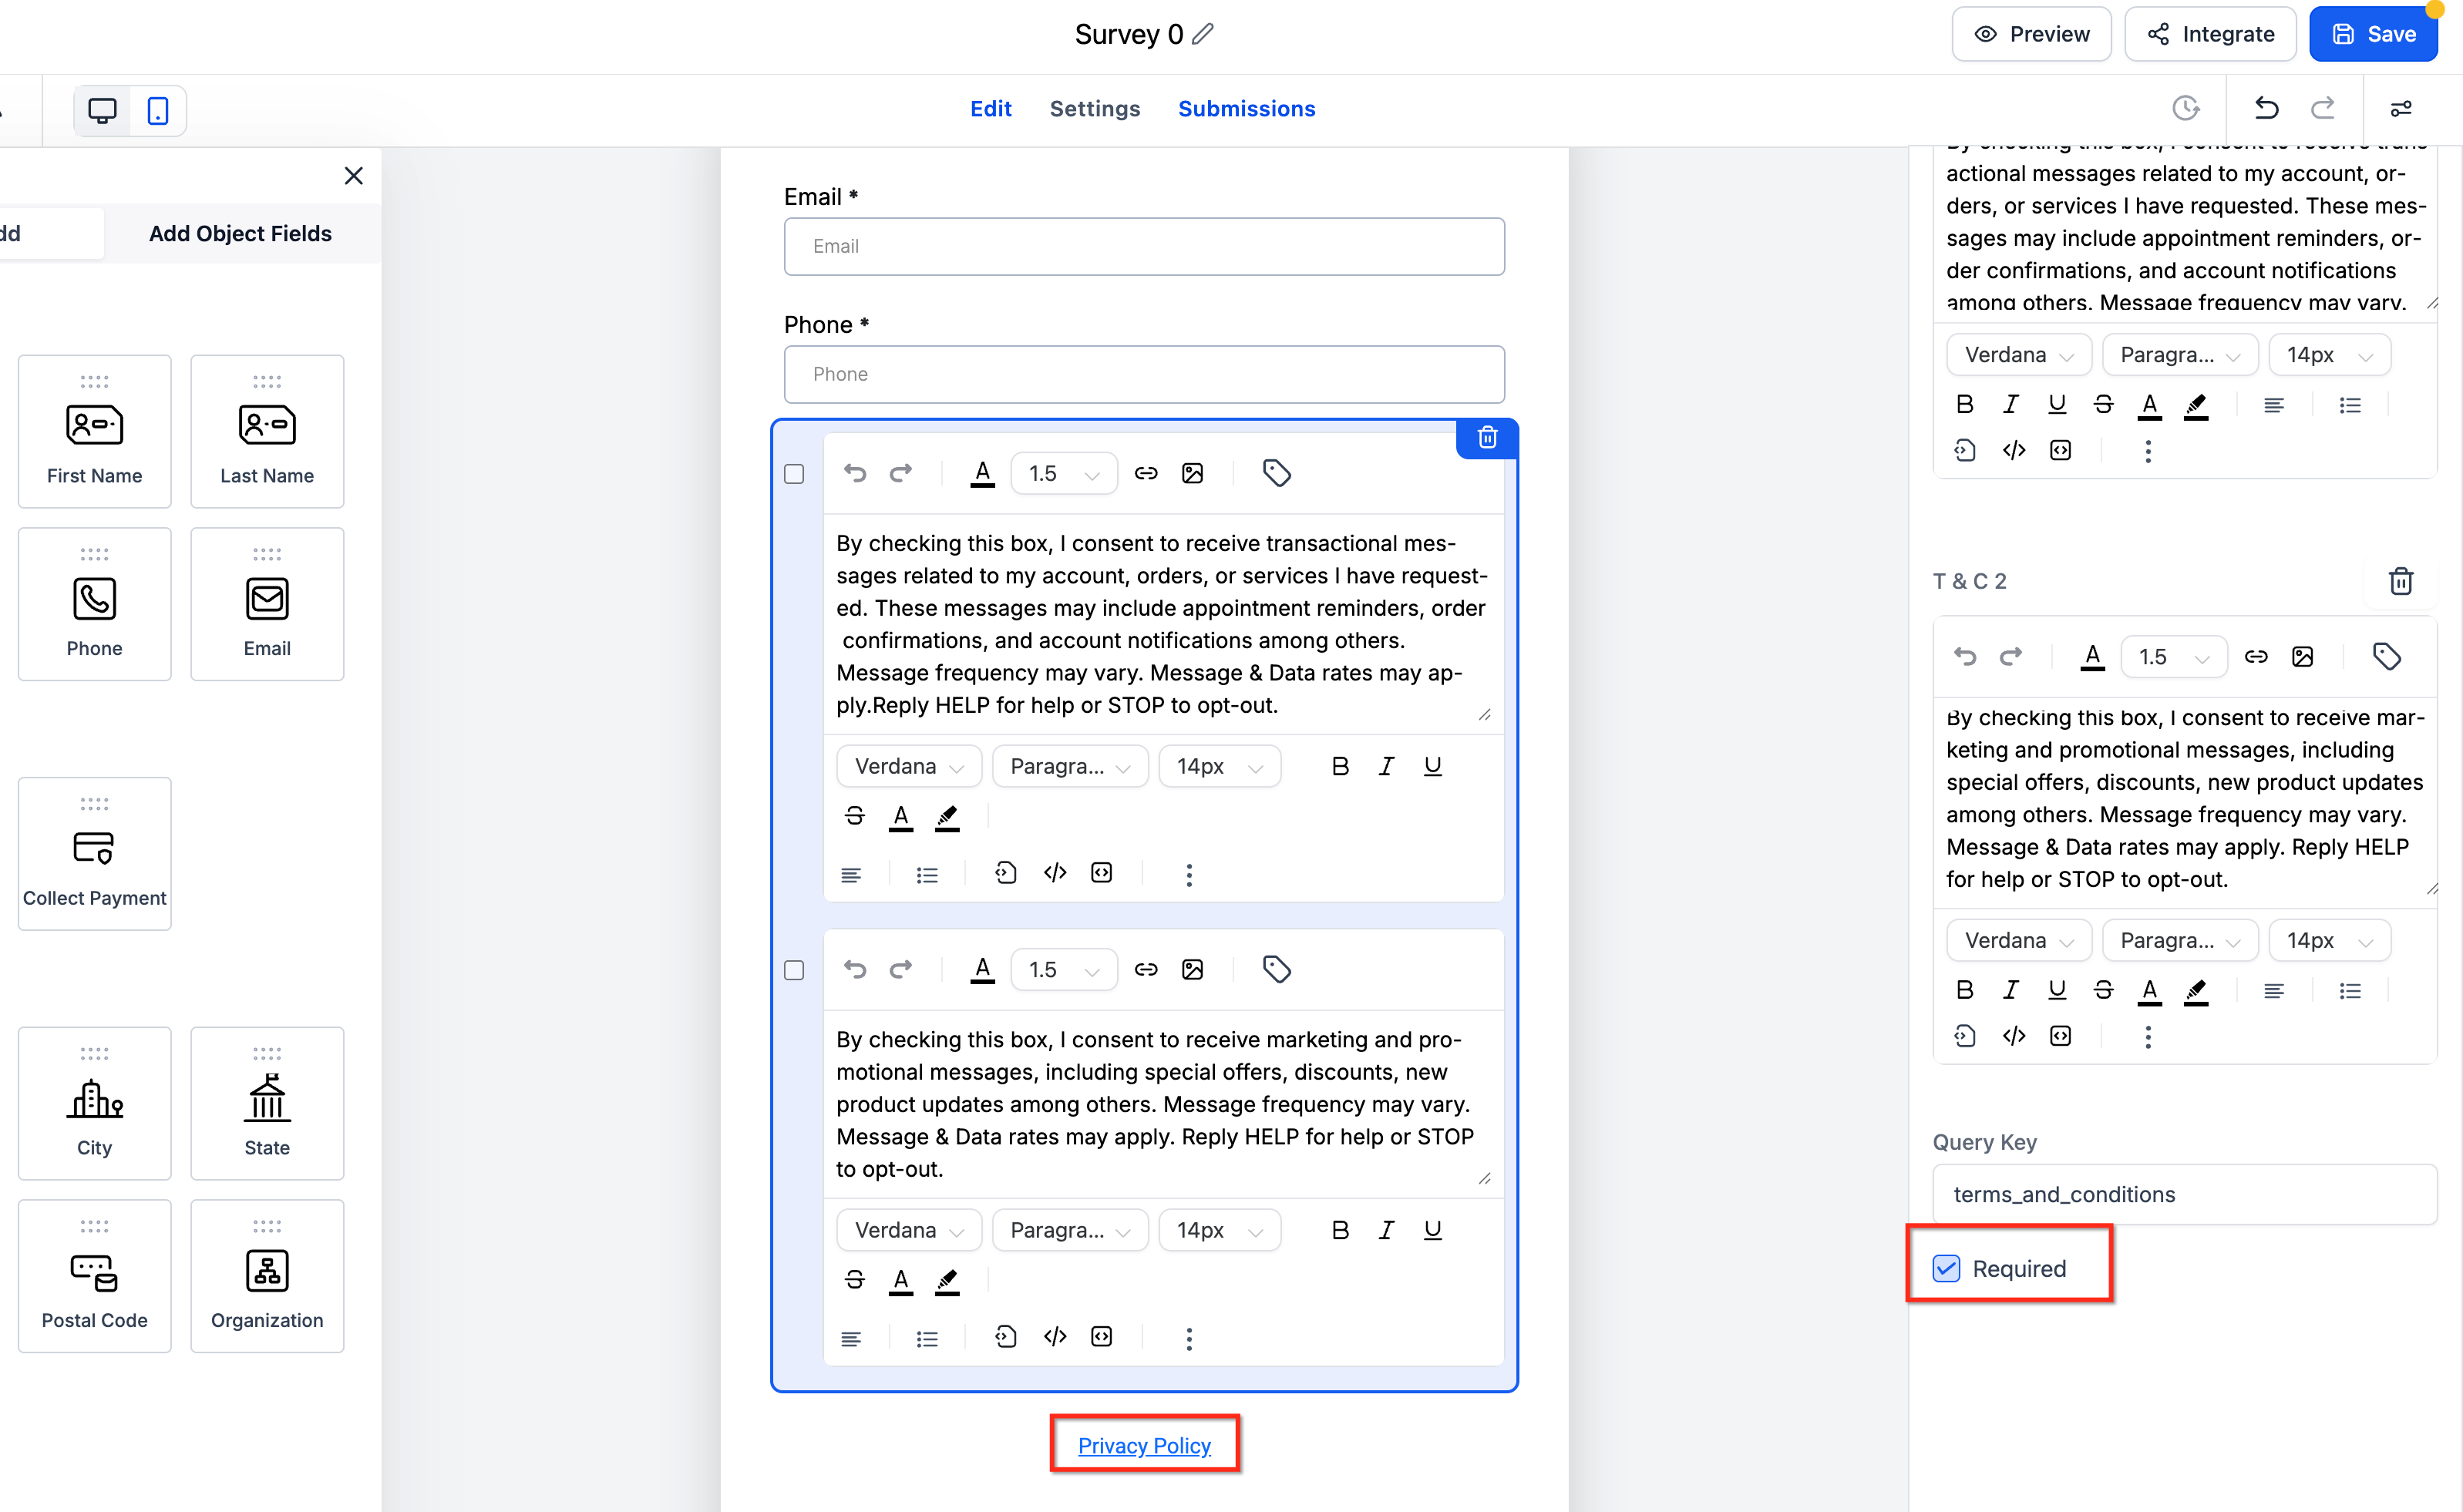
After building it, submit the survey once with a test contact, then open that contact's timeline to confirm the consent entry, its source, and its timestamp appear correctly.
Note that opt-out always wins: a recent opt-out or DNC flag blocks calls even if a prior opt-in exists.
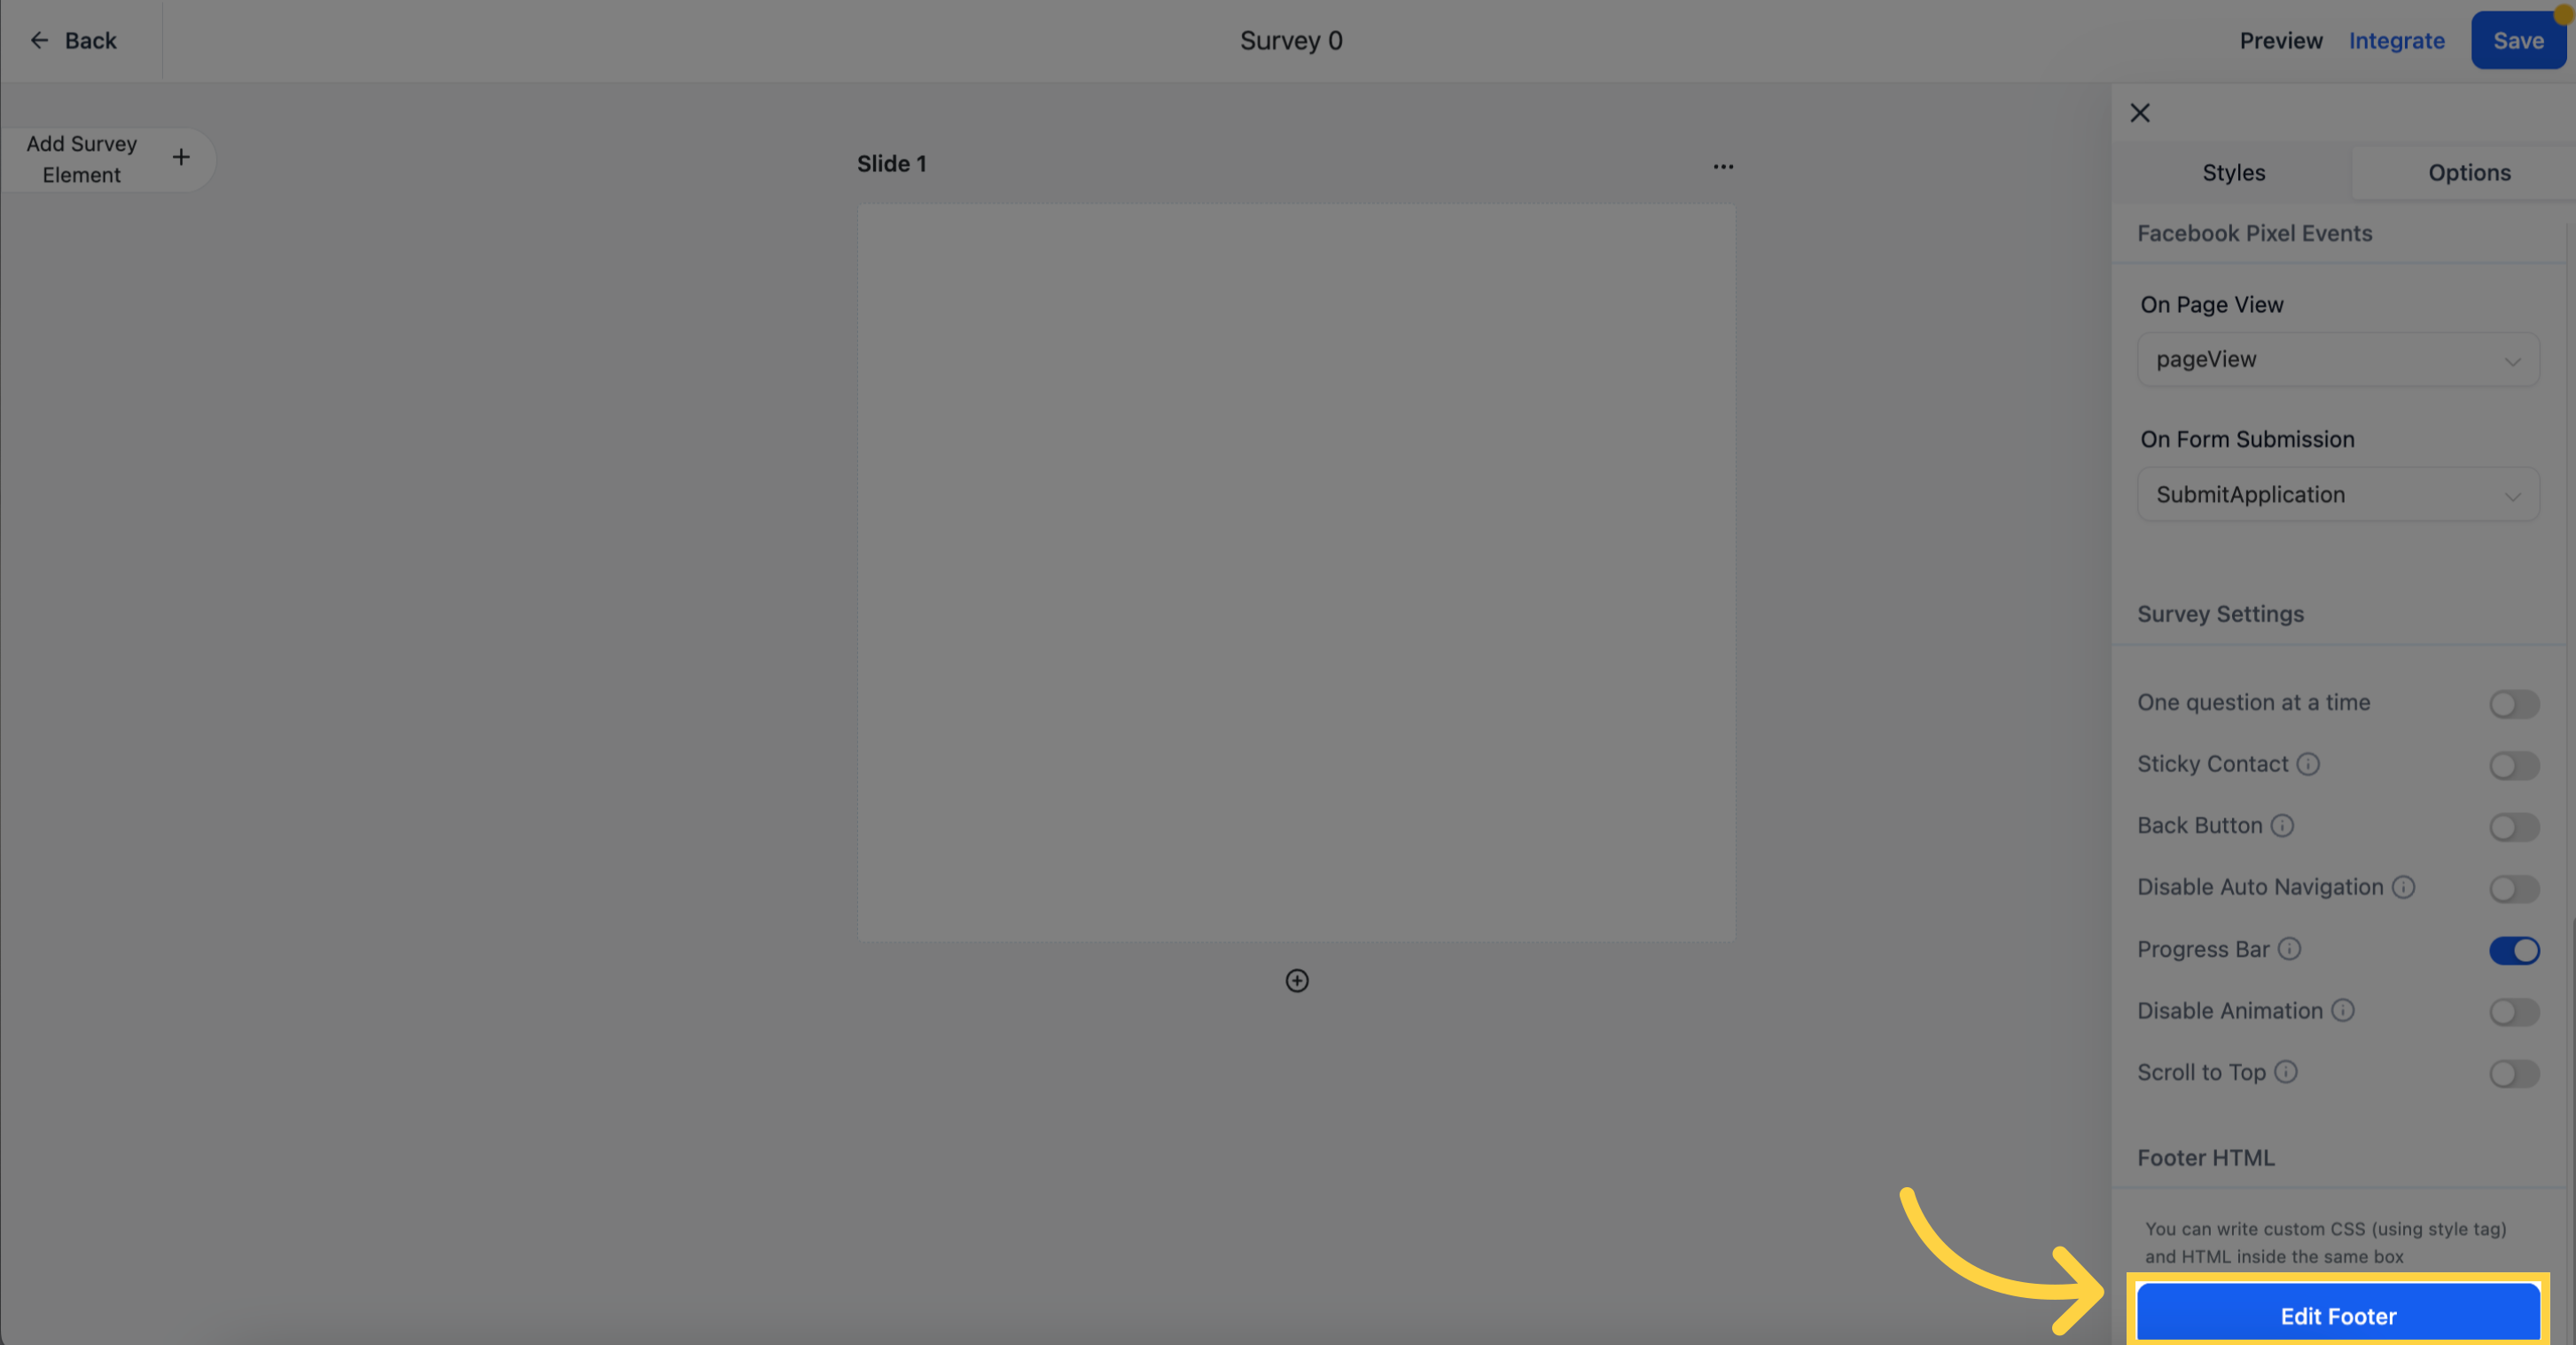
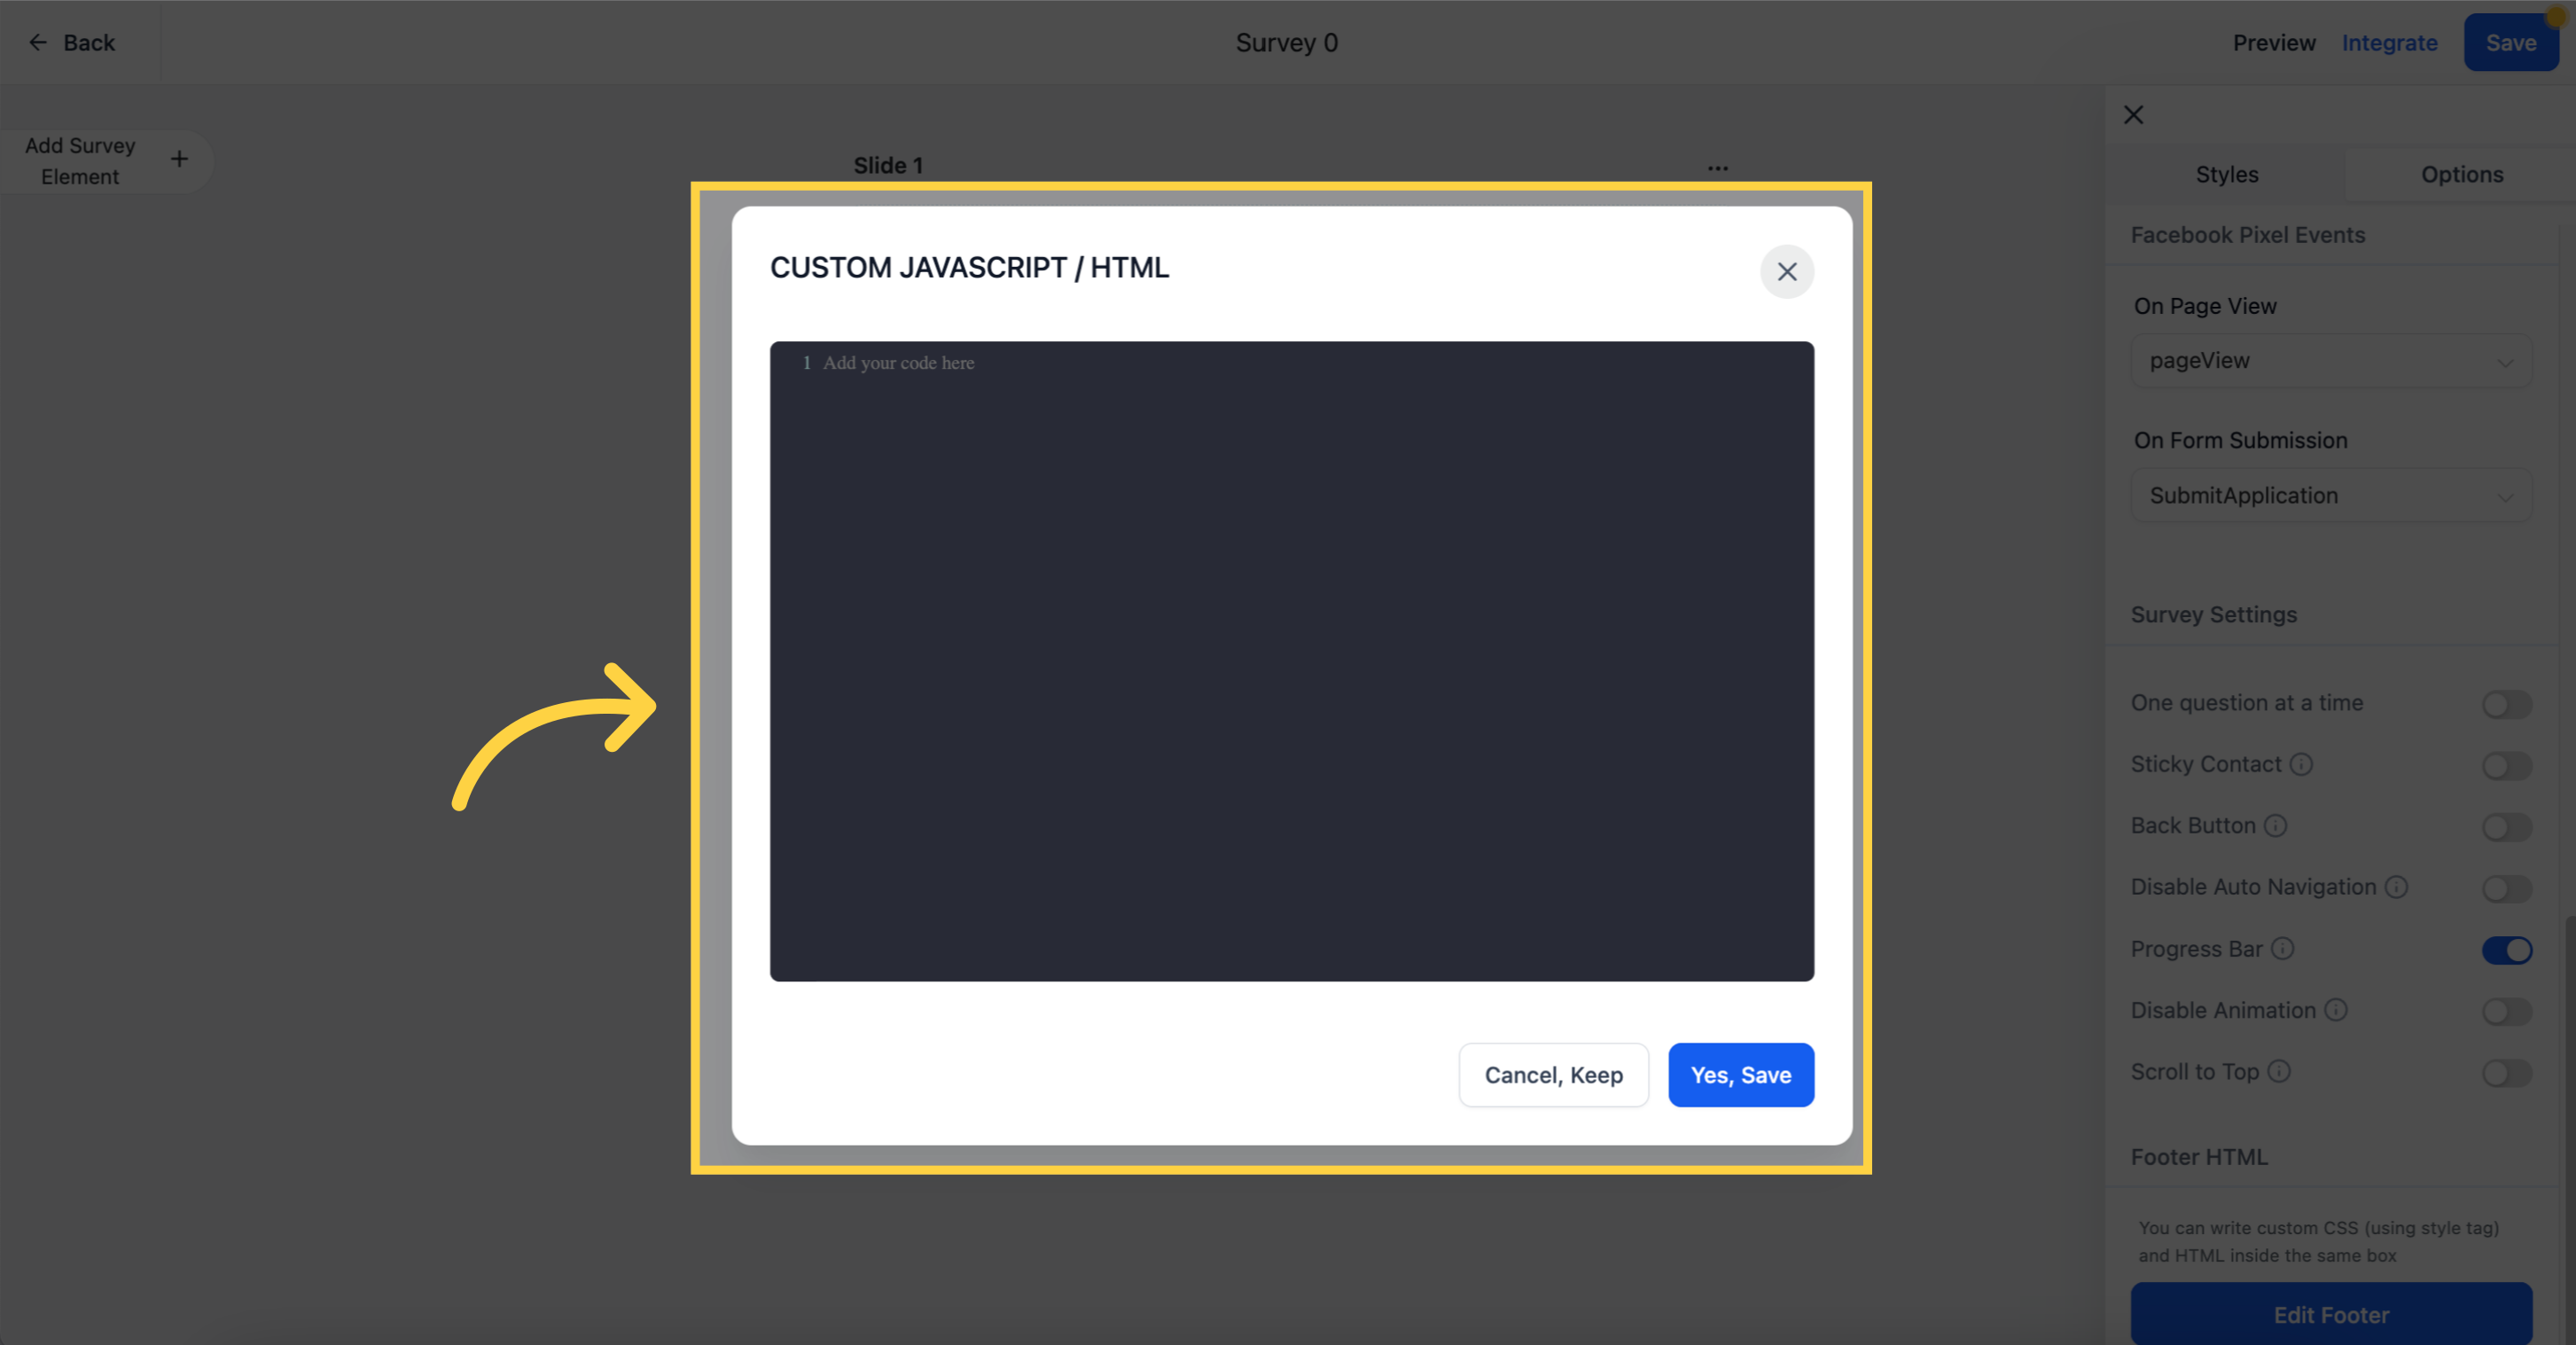
If you want to display a custom footer on your surveys, edit it here. You can add custom HTML and CSS in the same box, which is useful for disclaimers, privacy statements, or a required consent notice.
Enter your HTML and CSS in this section.
When you are done, click Save to store your options.
Where do I find the survey options? Open the survey under Web Tools → Surveys, click the Styles & Options tab, then select Options.
What is the difference between "Open URL" and "Message" on submit? Open URL redirects the patient to a page you choose (such as a Thank You or booking page). Message keeps them on the same page and shows the text you enter. Remember to fill in the message text for that option to work.
When should I use Disqualify Immediately versus Disqualify After Submit? Use Disqualify Immediately for screening surveys where a single disqualifying answer means there is no reason to continue. Use Disqualify After Submit when you still want the patient to complete every question before being disqualified at the end.
How do I schedule when my survey opens and closes? Turn on Schedule visibility in Options, then set an opening rule (Right away or a specific date), a closing rule (Never or a specific date), and the time zone that governs both. You can also configure what visitors see before the survey opens and after it closes.
What do visitors see if they arrive before a survey opens or after it closes? Whatever you configure for that state: either a custom page built with the content editor, or a redirect to a different URL, such as a waitlist or alternate offer page.
Will setting a closing date delete or hide my existing submissions? No. A closing date only stops new responses from being accepted after that point. It has no effect on submissions the survey already collected.
What does Create Contact on Partial Submission do? It creates a contact record as soon as a patient completes the first slide with contact fields, even if they never finish the survey. This captures the lead early. Put name, email, and phone fields on the first slide for it to work.
Why was a partial contact not created for my survey? Partial contact creation does not fire if your slide logic skips directly to the last slide, and contact info is not updated when logic skips to the second-to-last slide. Keep basic contact fields near the front and avoid jumping straight to the end.
How do surveys support Voice AI consent checking? Add a required consent checkbox with clear language that references voice calls, and make sure the survey captures the patient's phone number. The pre-call scan then recognizes that opt-in before Voice AI dials. Opt-outs and DNC flags always override a prior opt-in.
Will older survey submissions count for consent? They can, as long as the submission is associated with the contact and the phone number you intend to call. Verify in the contact timeline and Voice AI call logs.
What does Sticky Contact do? It autofills contact details for patients who have entered them before, so returning patients do not have to retype their information.
Can I add my own HTML footer to a survey? Yes. In the Options tab, open the footer editor and add your custom HTML and CSS. This is handy for disclaimers or a consent notice.
