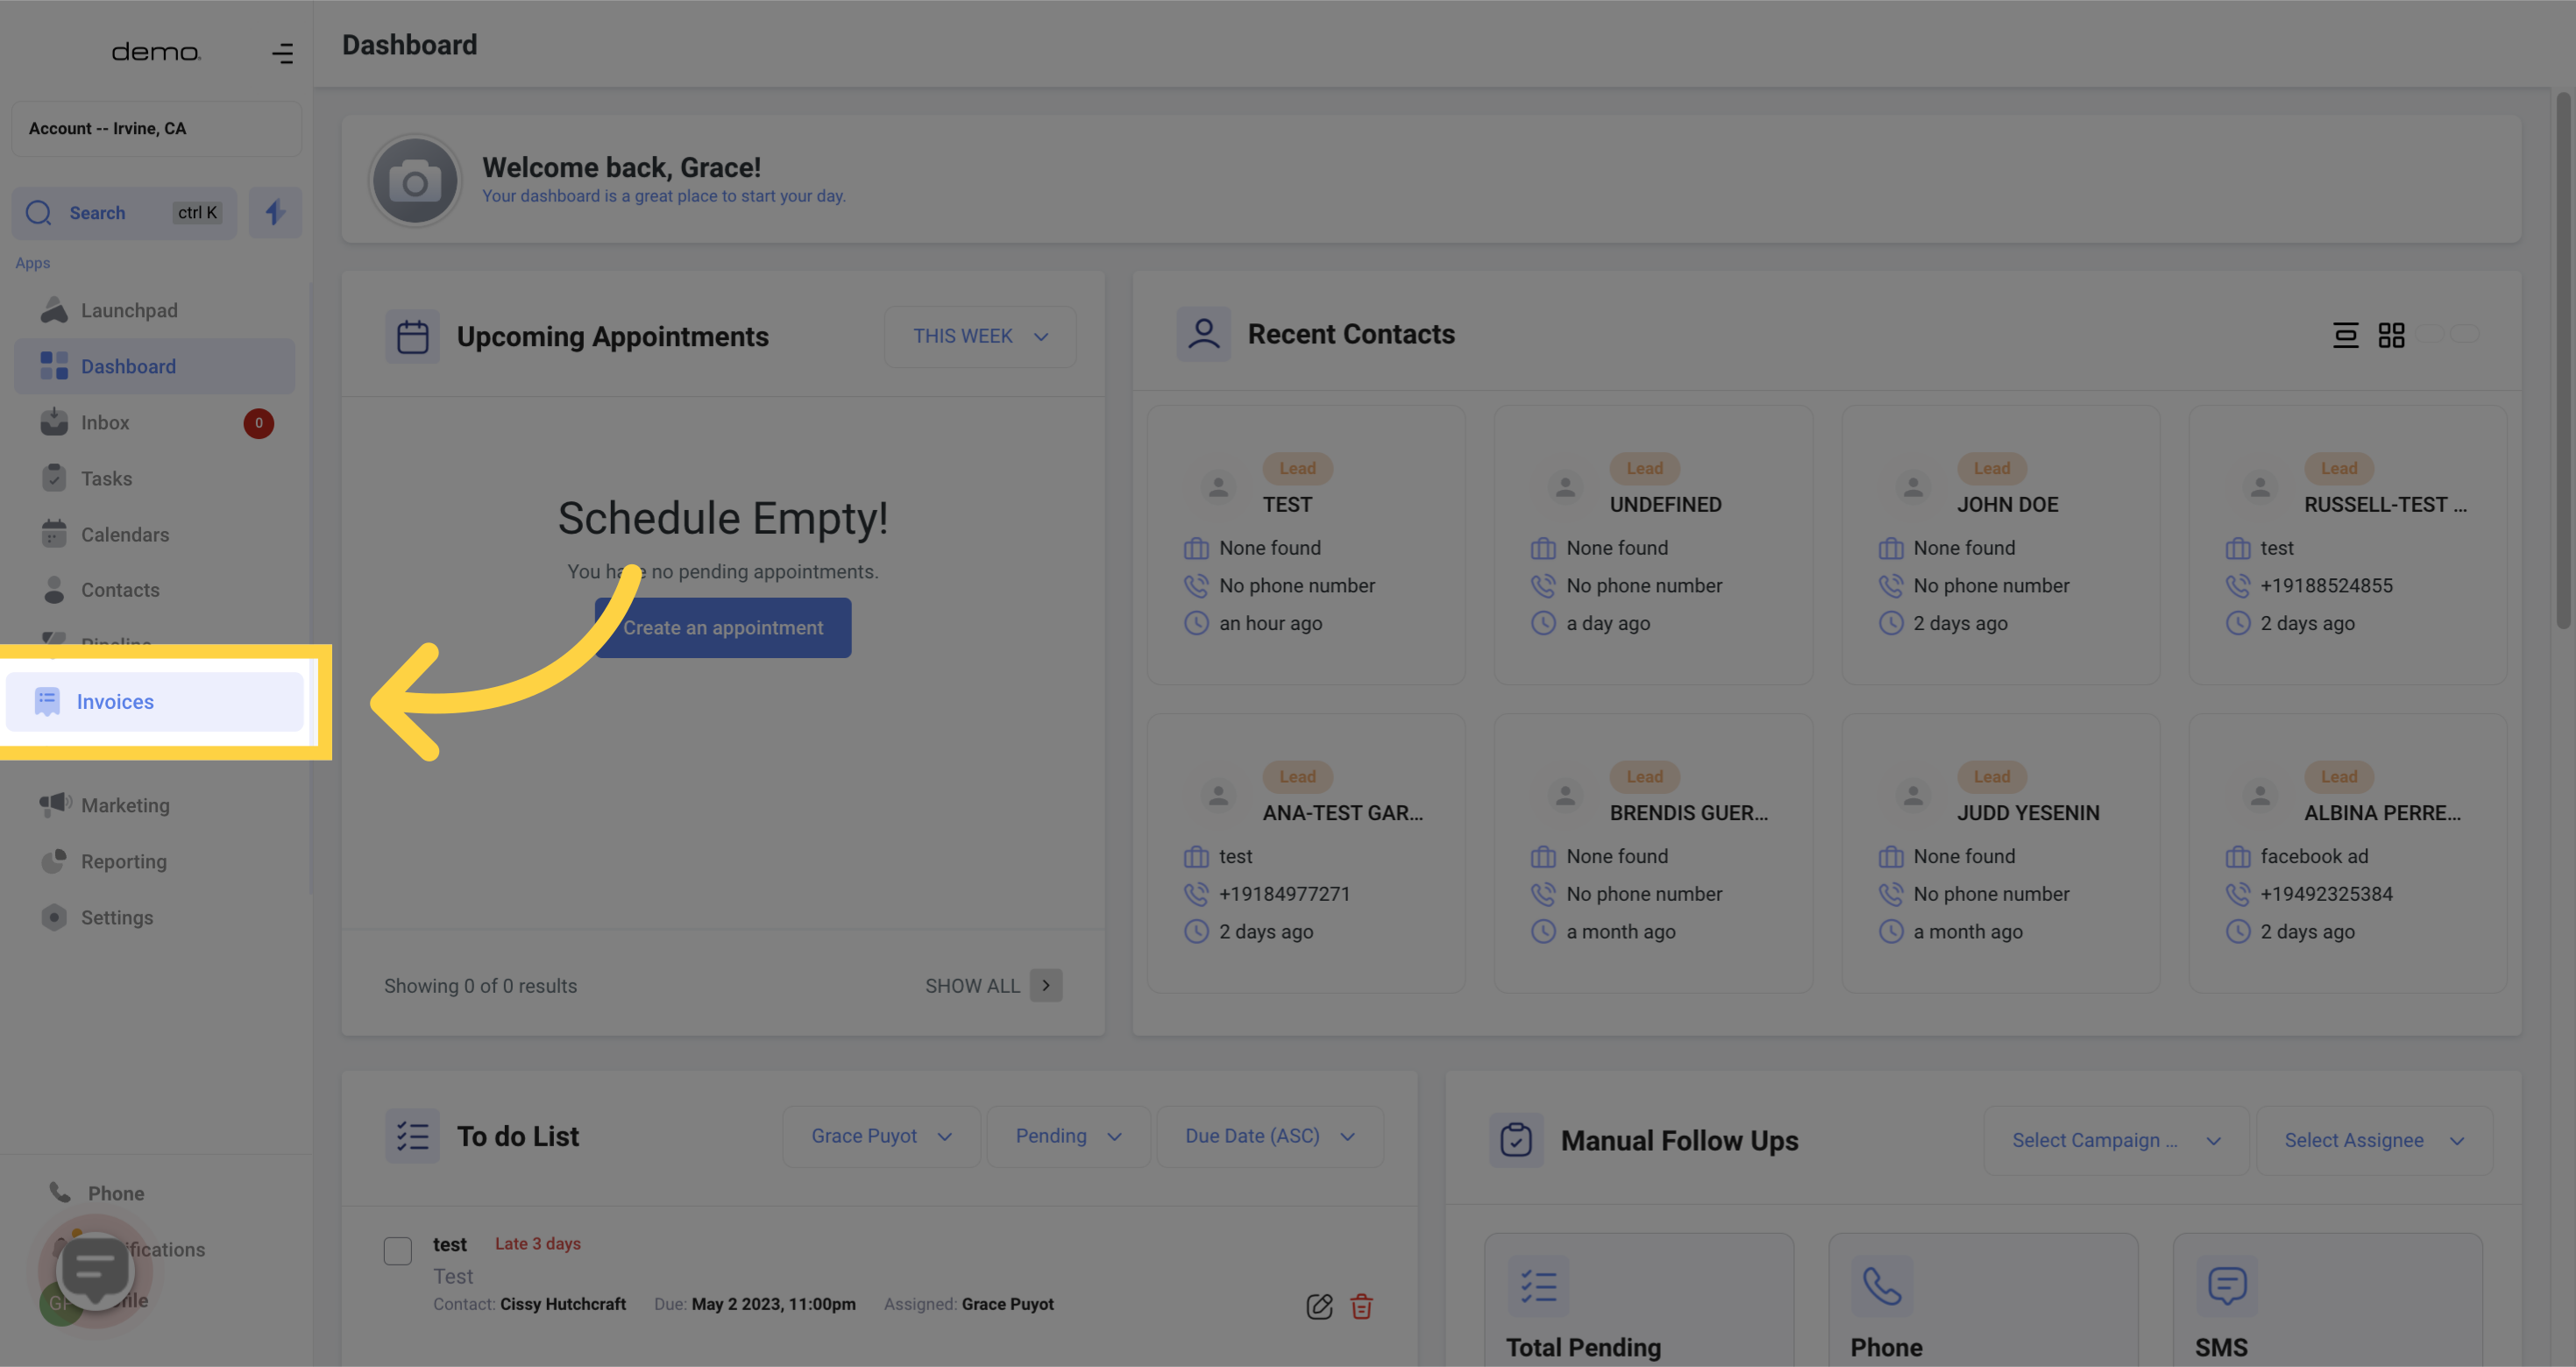
Access the Invoices section.
Create a one-time invoice for the customer.
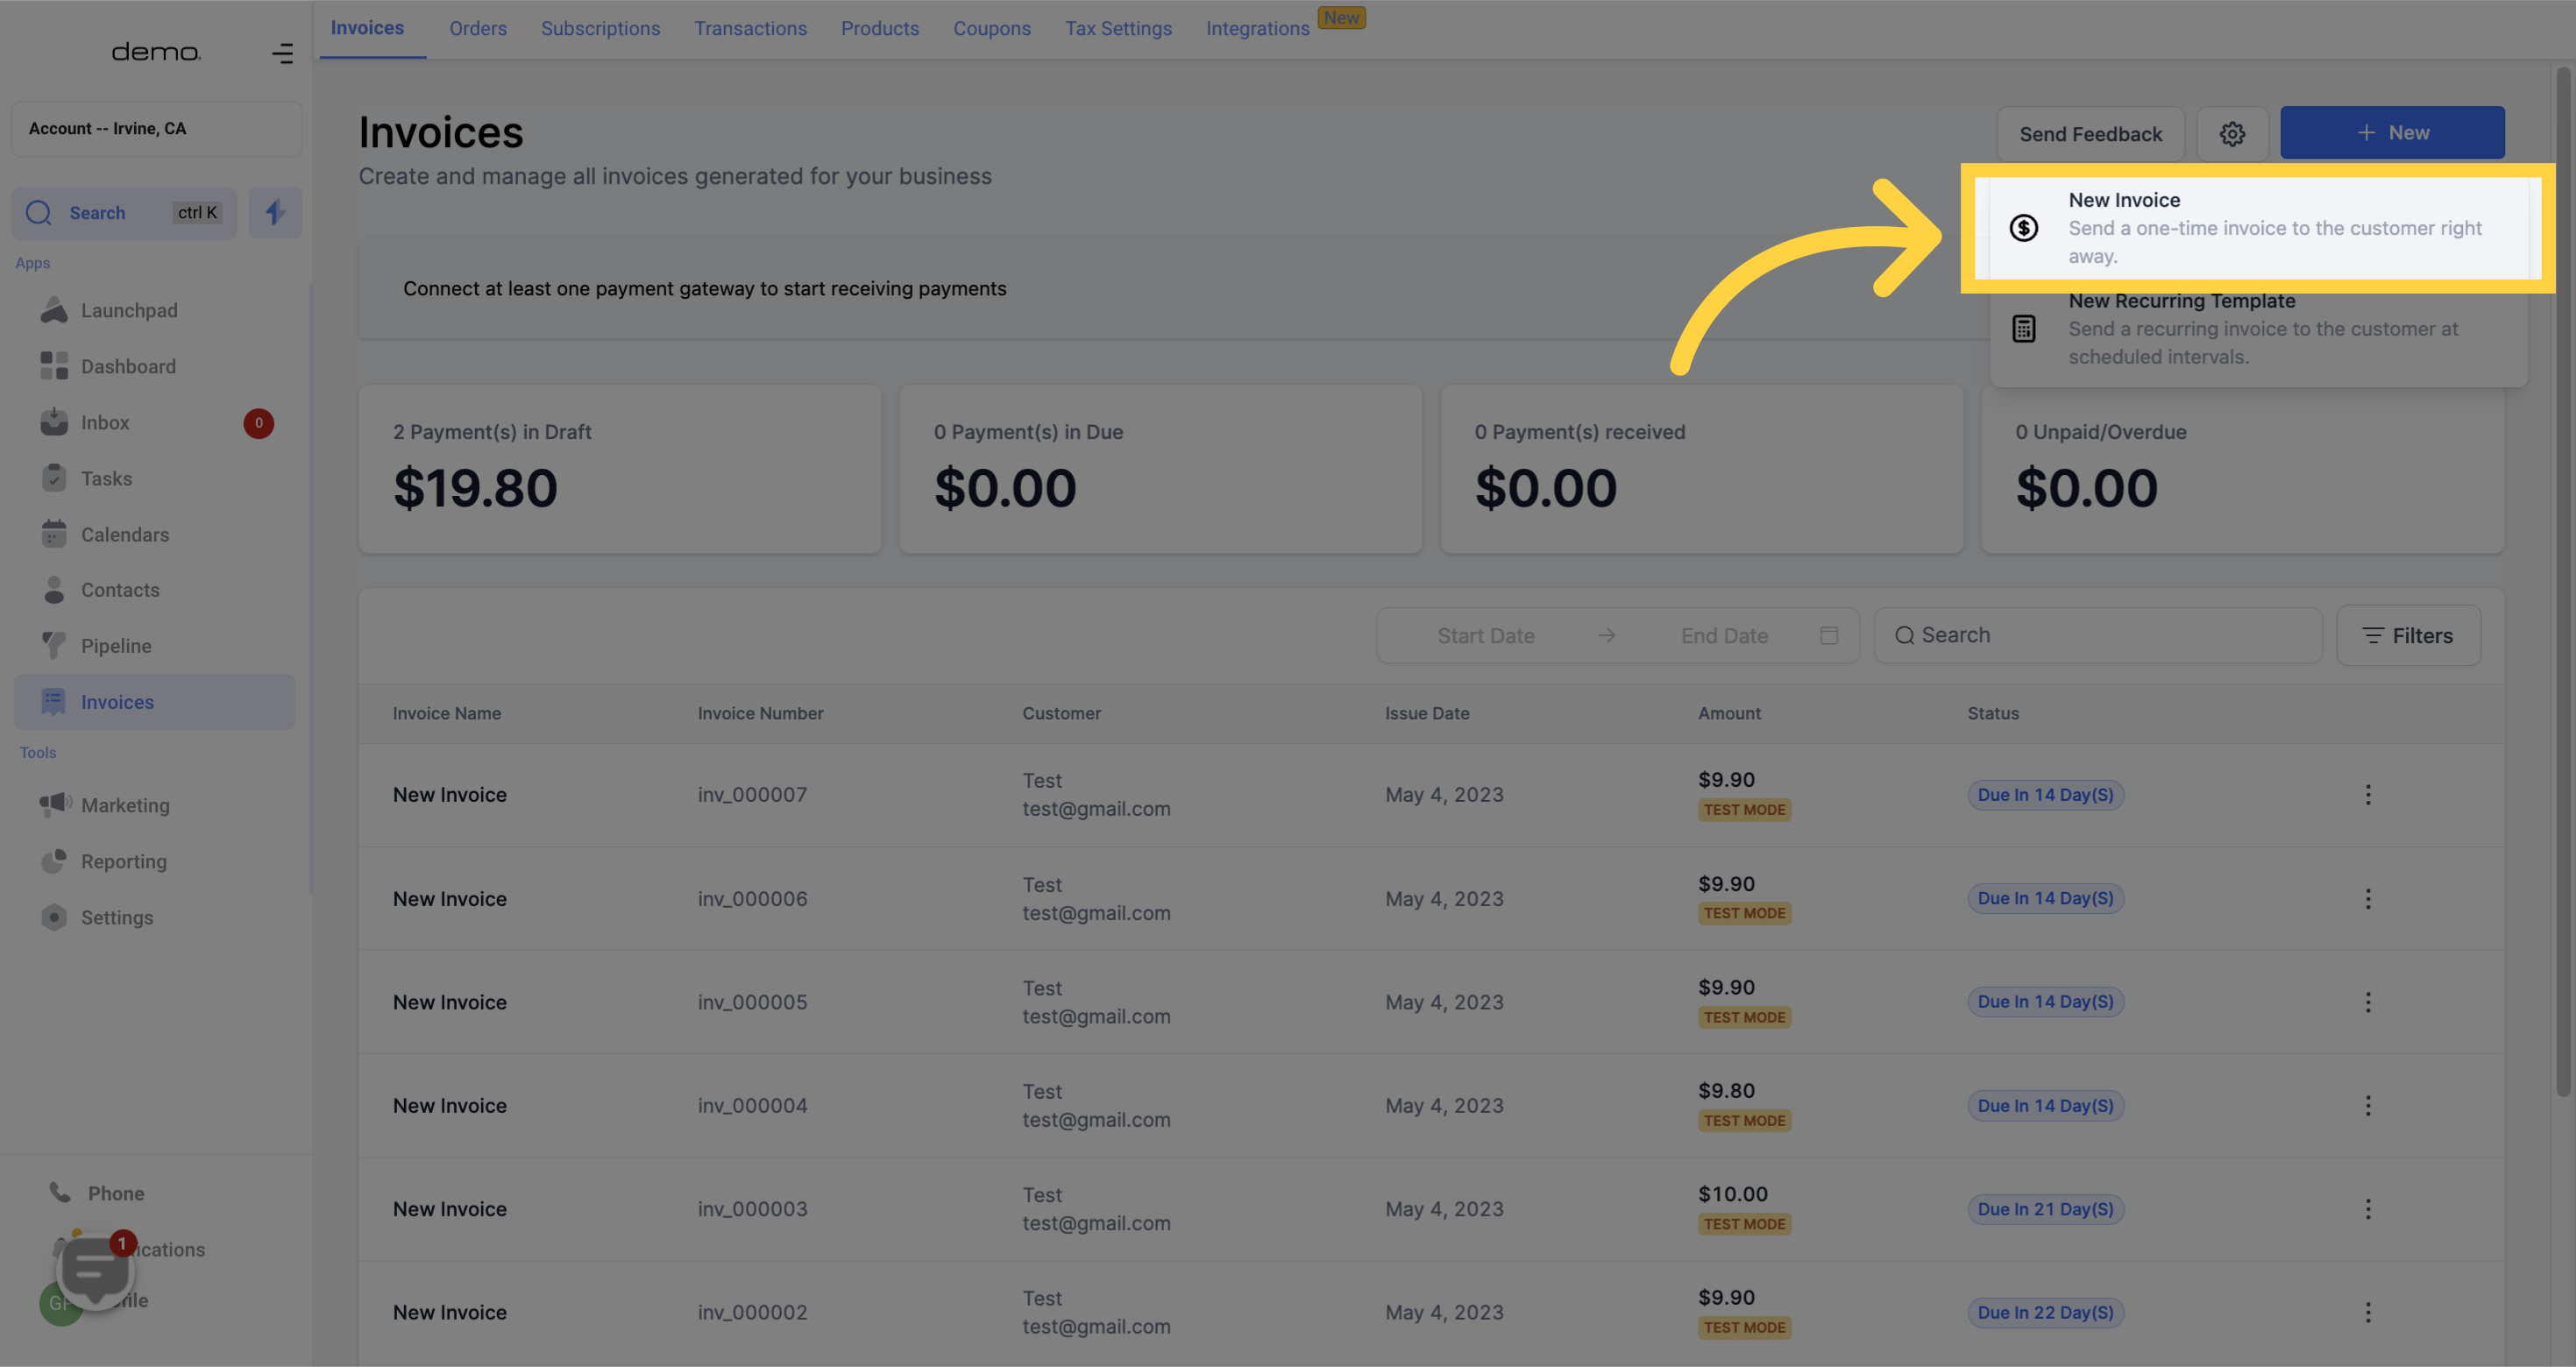
You can easily customize the name of your invoices. Once you've created your invoices in your CRM, you'll be able to see them in a list. If you have a lot of invoices, it can be helpful to give each one a unique name for easy reference.

PREVIEW - If you've made changes to an invoice and want to see how it will look before sending it to the client, you can preview it using the options available. This will give you an idea of how the invoice will appear to the client in its current state.
RECORD PAYMENT - Alternatively, if you've already sent the invoice and received payment through methods such as cash or cheque, you can use the Record Payment option to add the payment record to your system. This will help you keep track of payments received and outstanding. Additionally, you can even use the Record Payment option while on a call with a client to make

To save any changes you make to an invoice, simply use the save option.
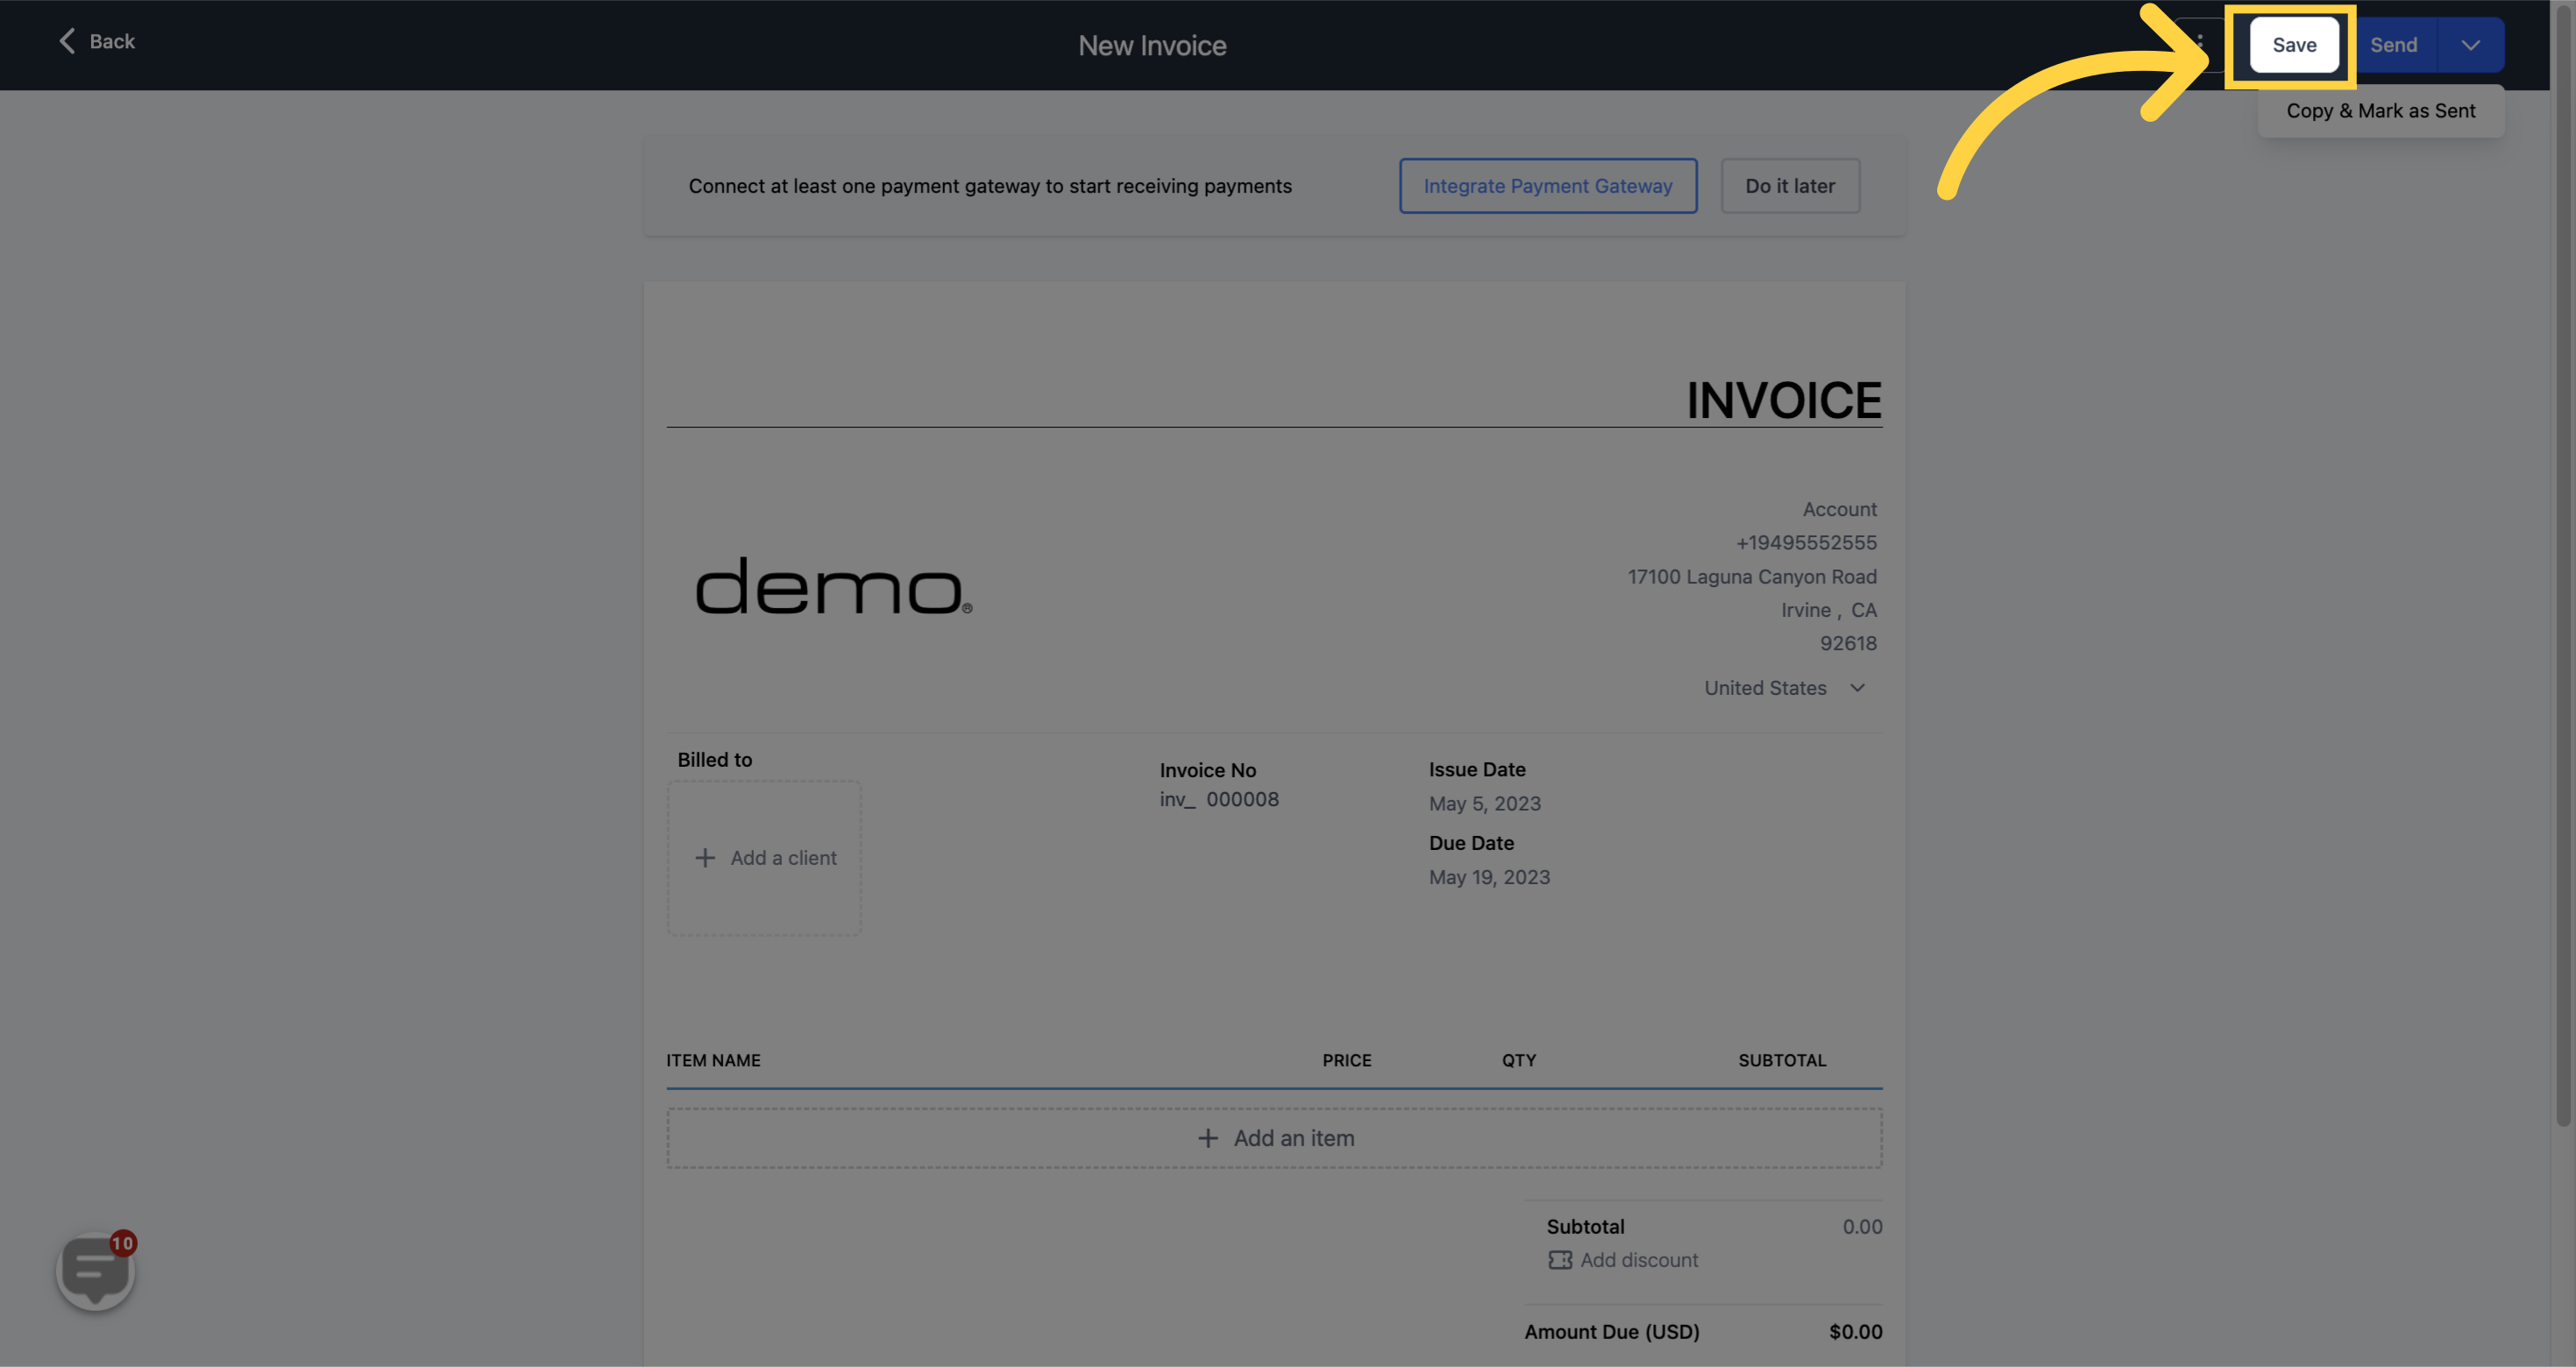
Once you have set up all the necessary information, including the recipient's details and other relevant details, you can send your invoice by using the "Send" tab.

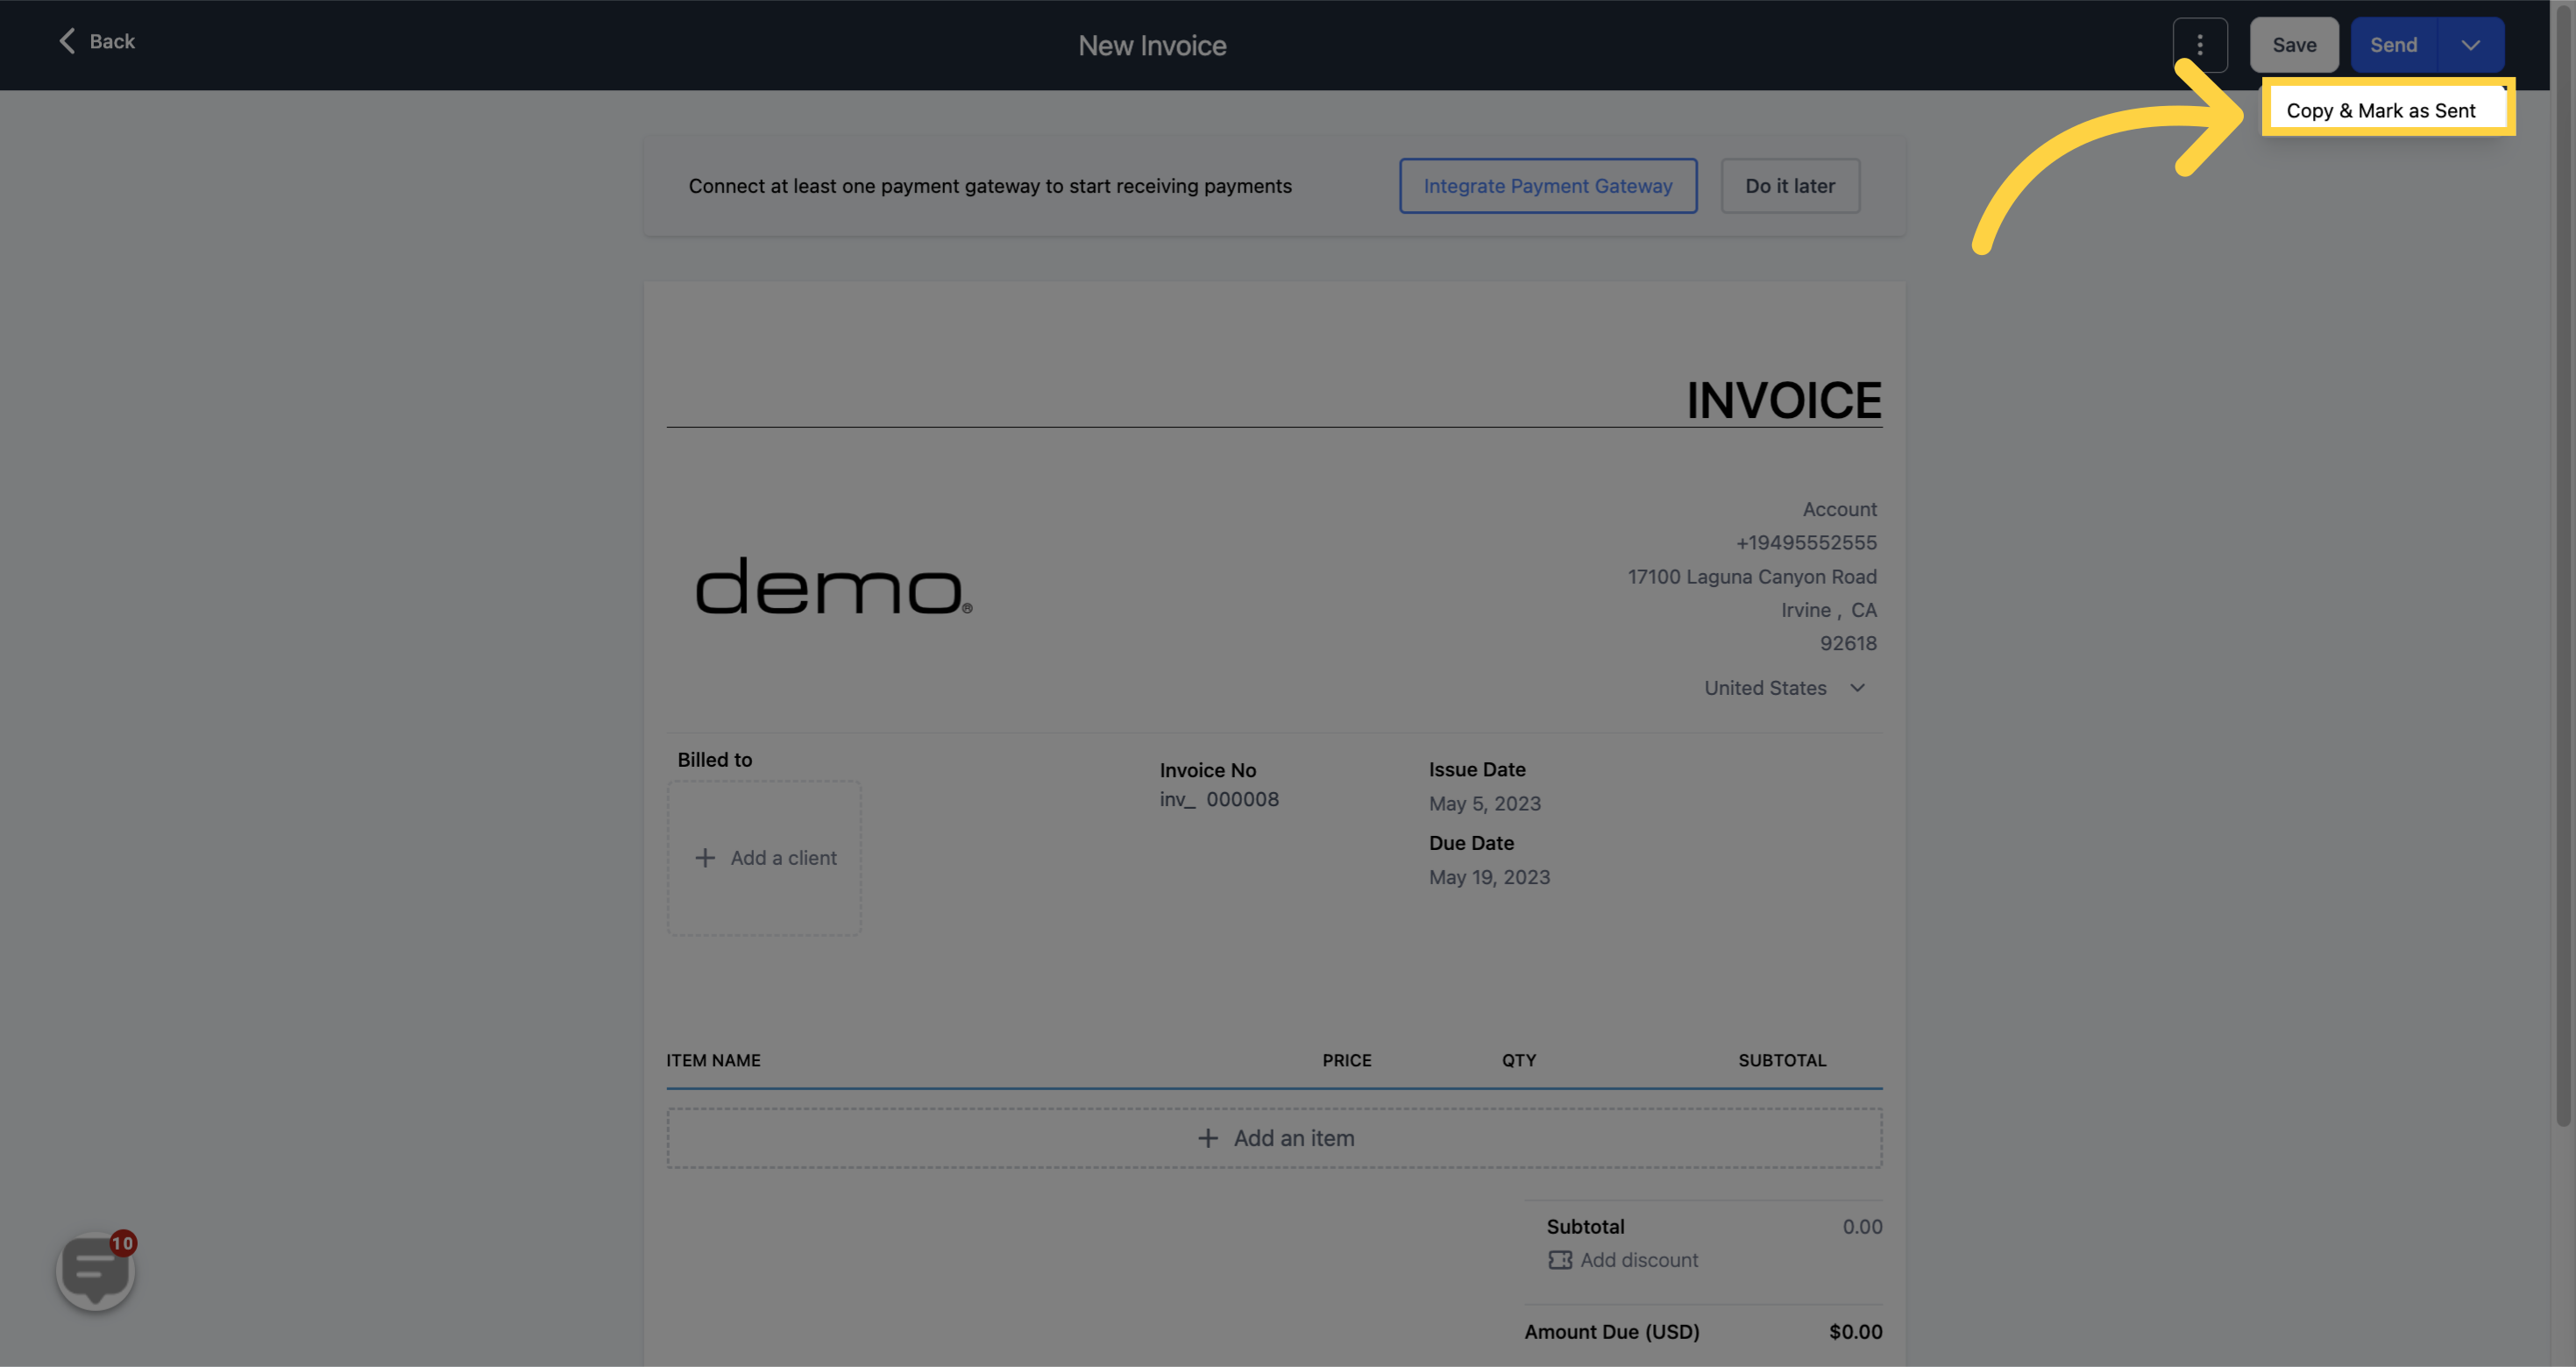
If you want to duplicate an existing invoice for future use and also mark it as sent, you can use the "Duplicate and Mark as Sent" tab. This option allows you to perform both actions in just one click.
Enter your company name
)
Enter your phone number
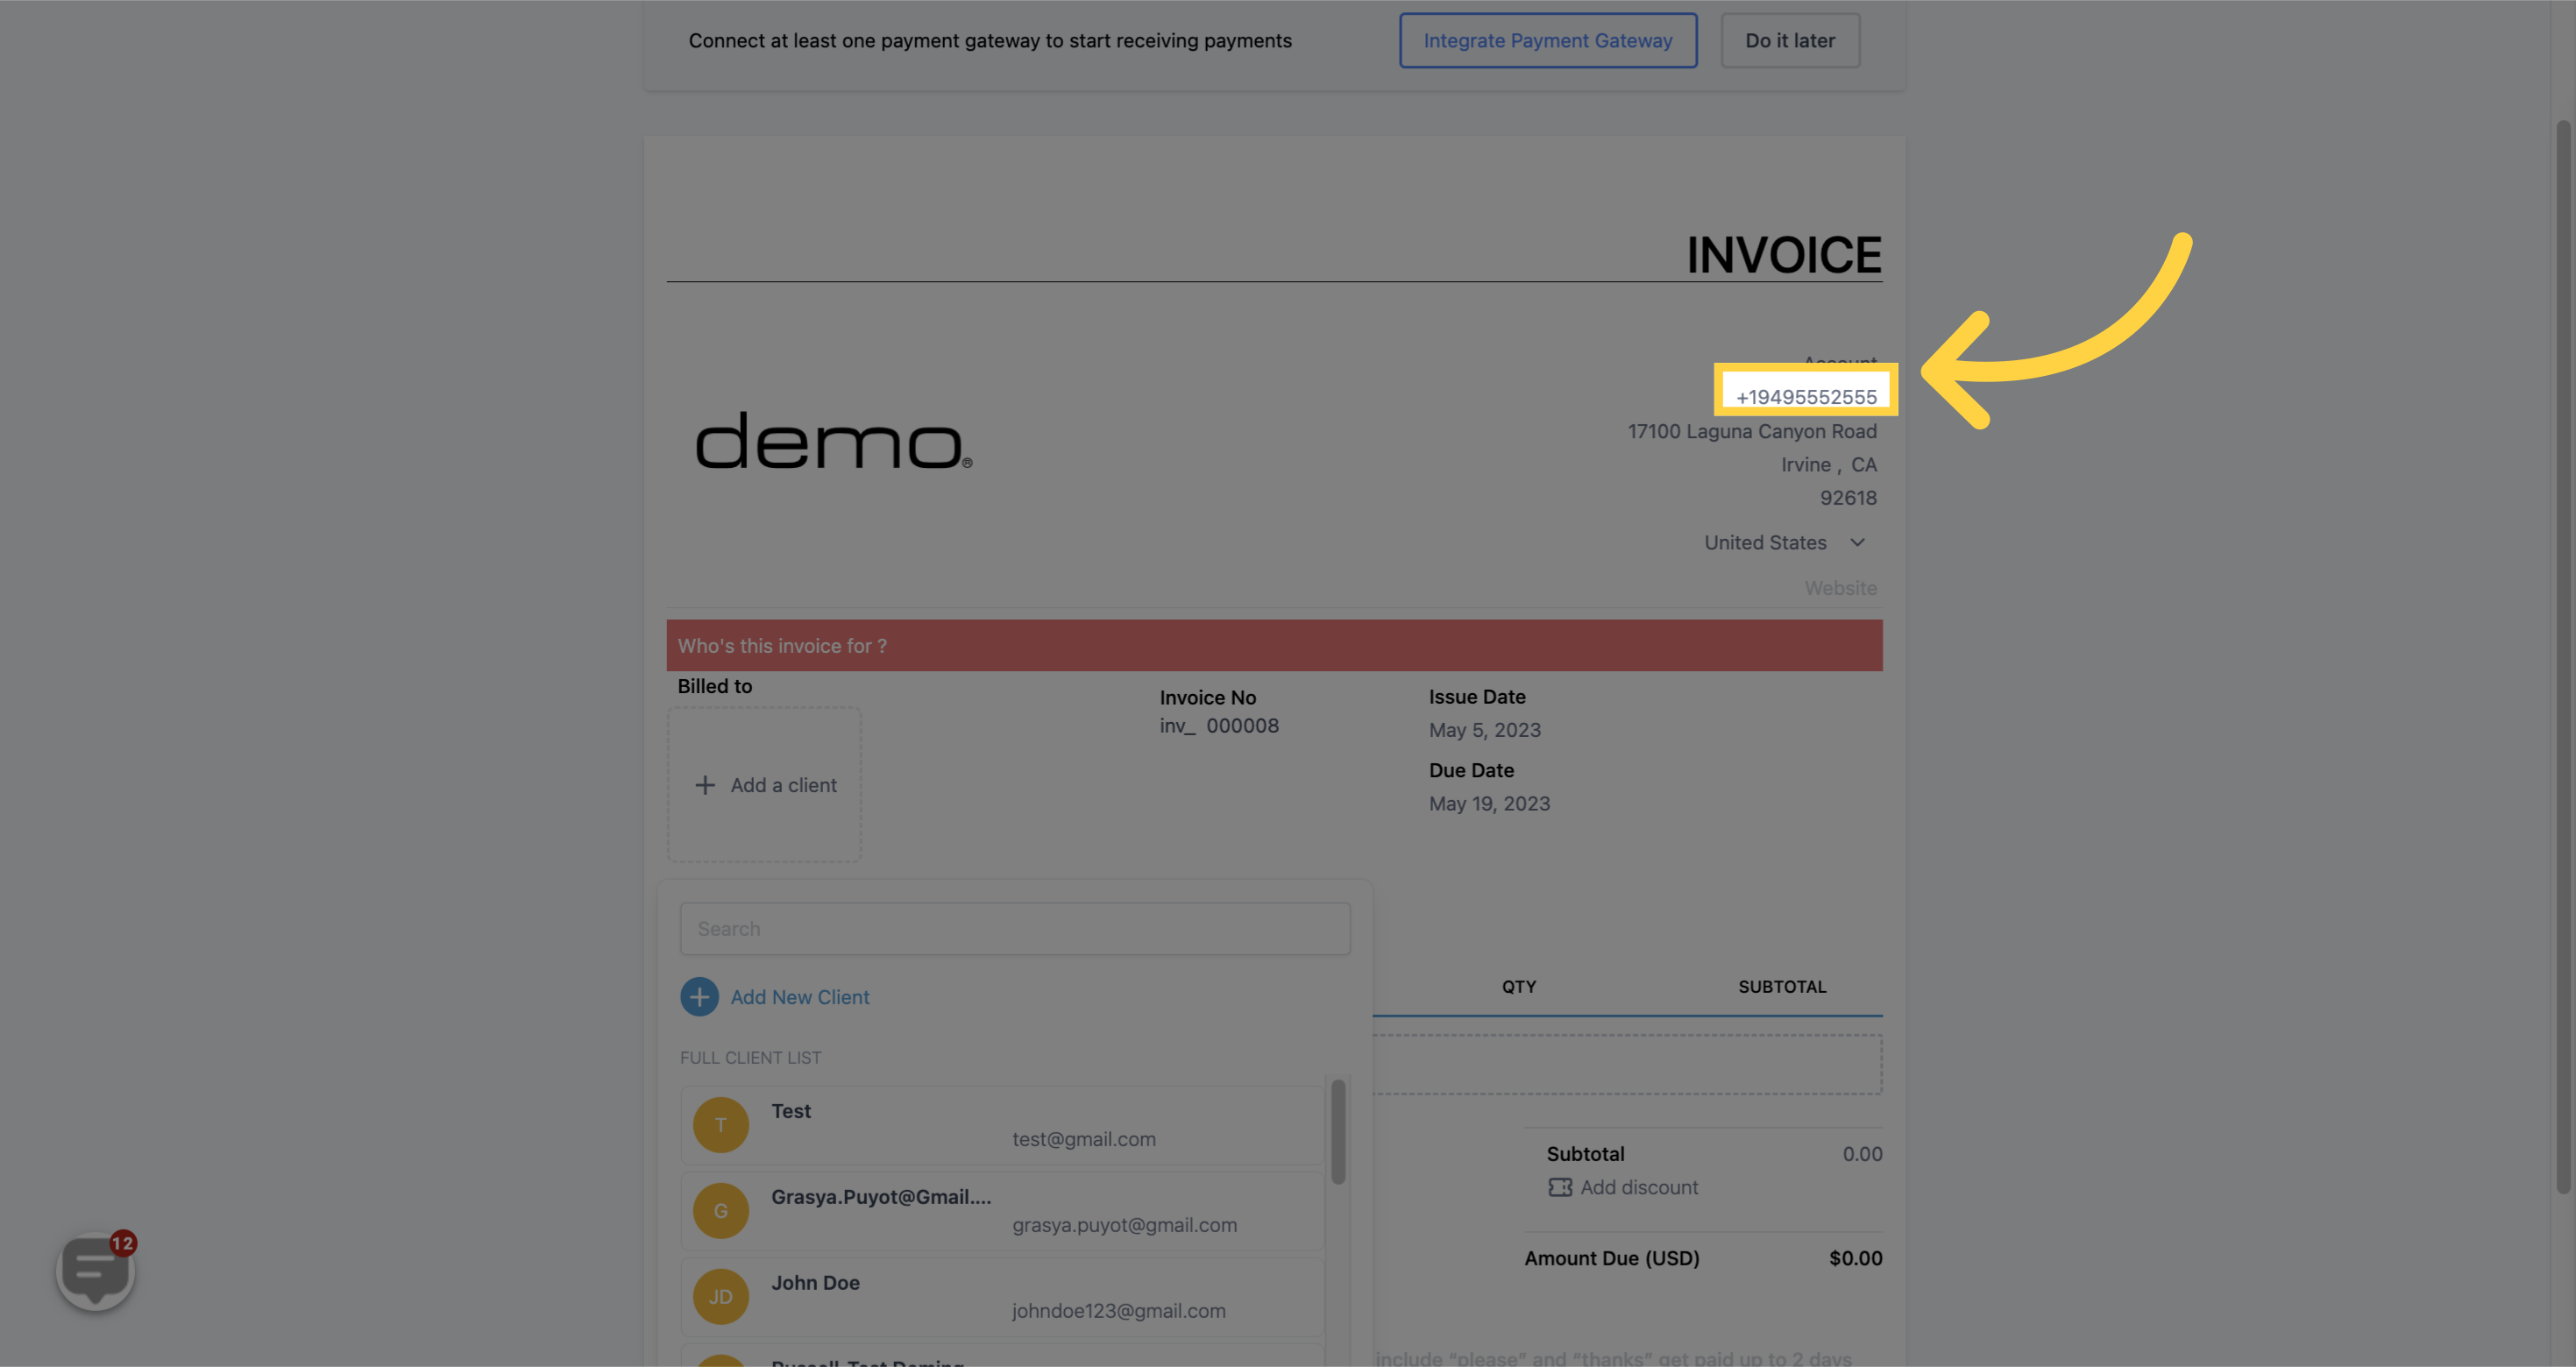)
Enter your business address
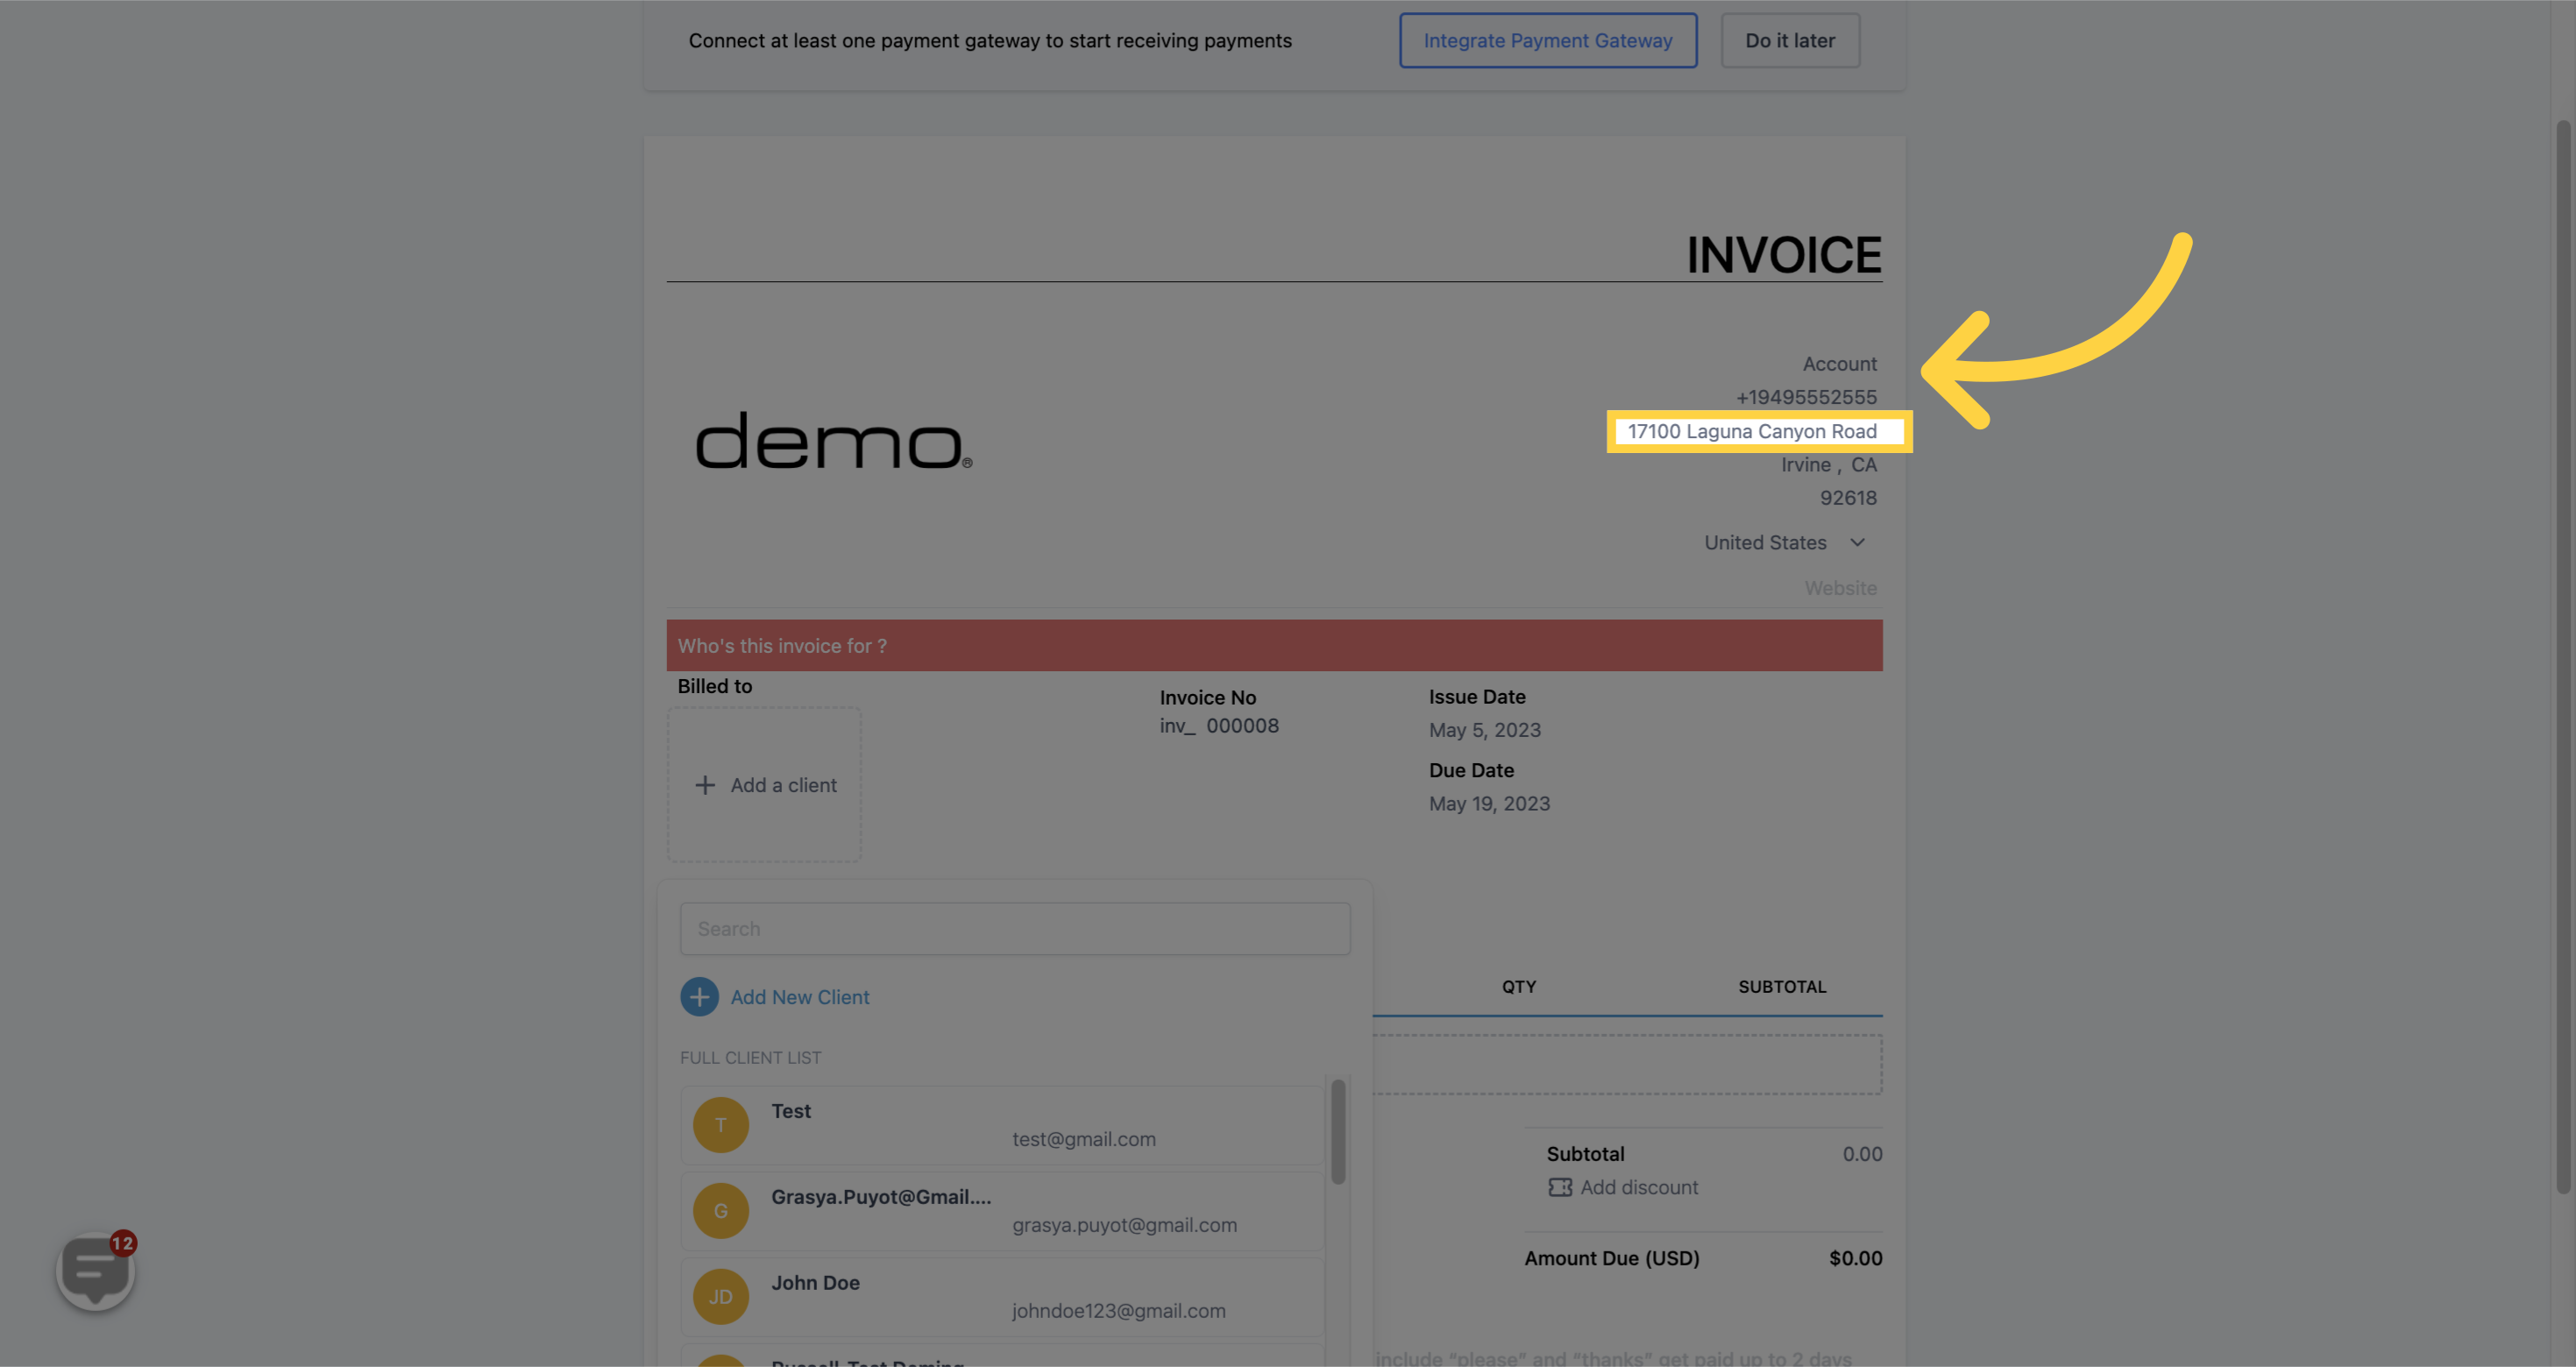)
Add City, State
)
Add zip code
)
Select your country
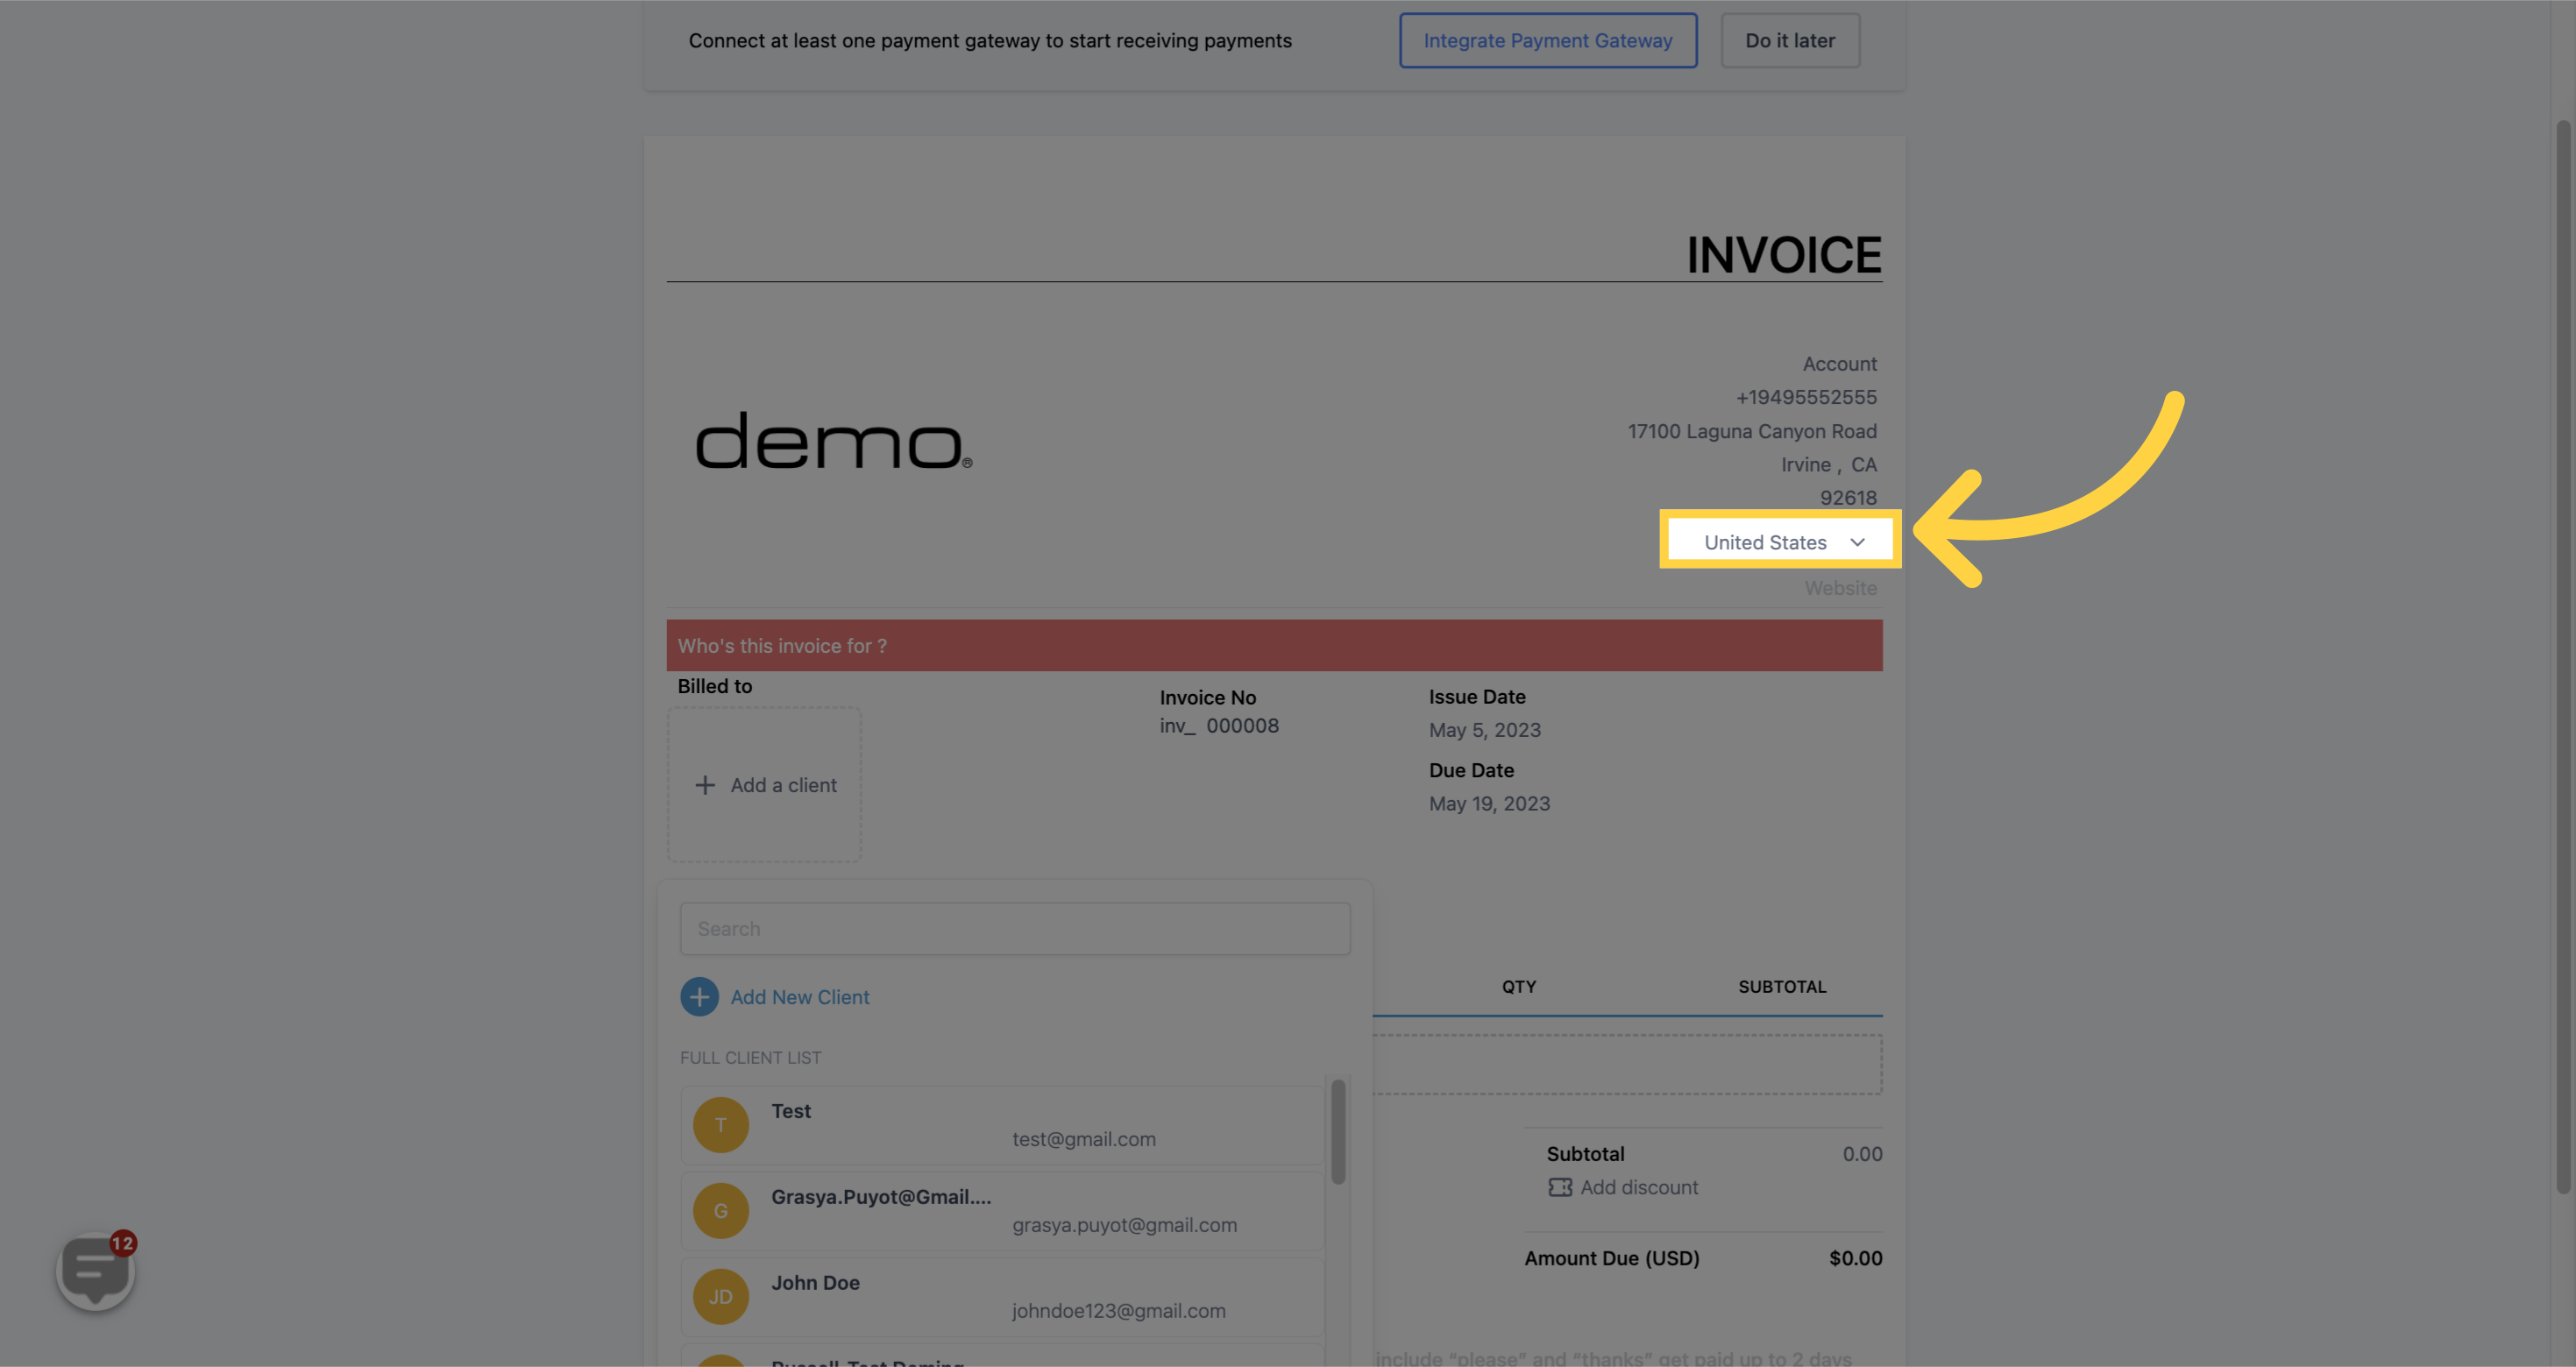)
Enter your business website address
)
To add your client's contact information, you have two options. First, you can manually add the information by filling out the appropriate fields, such as name, address, phone number, and email. Alternatively, you can also select a contact from your CRM if you have one set up. This can be done by simply selecting the appropriate contact from the dropdown menu or by searching for the contact by name or email.
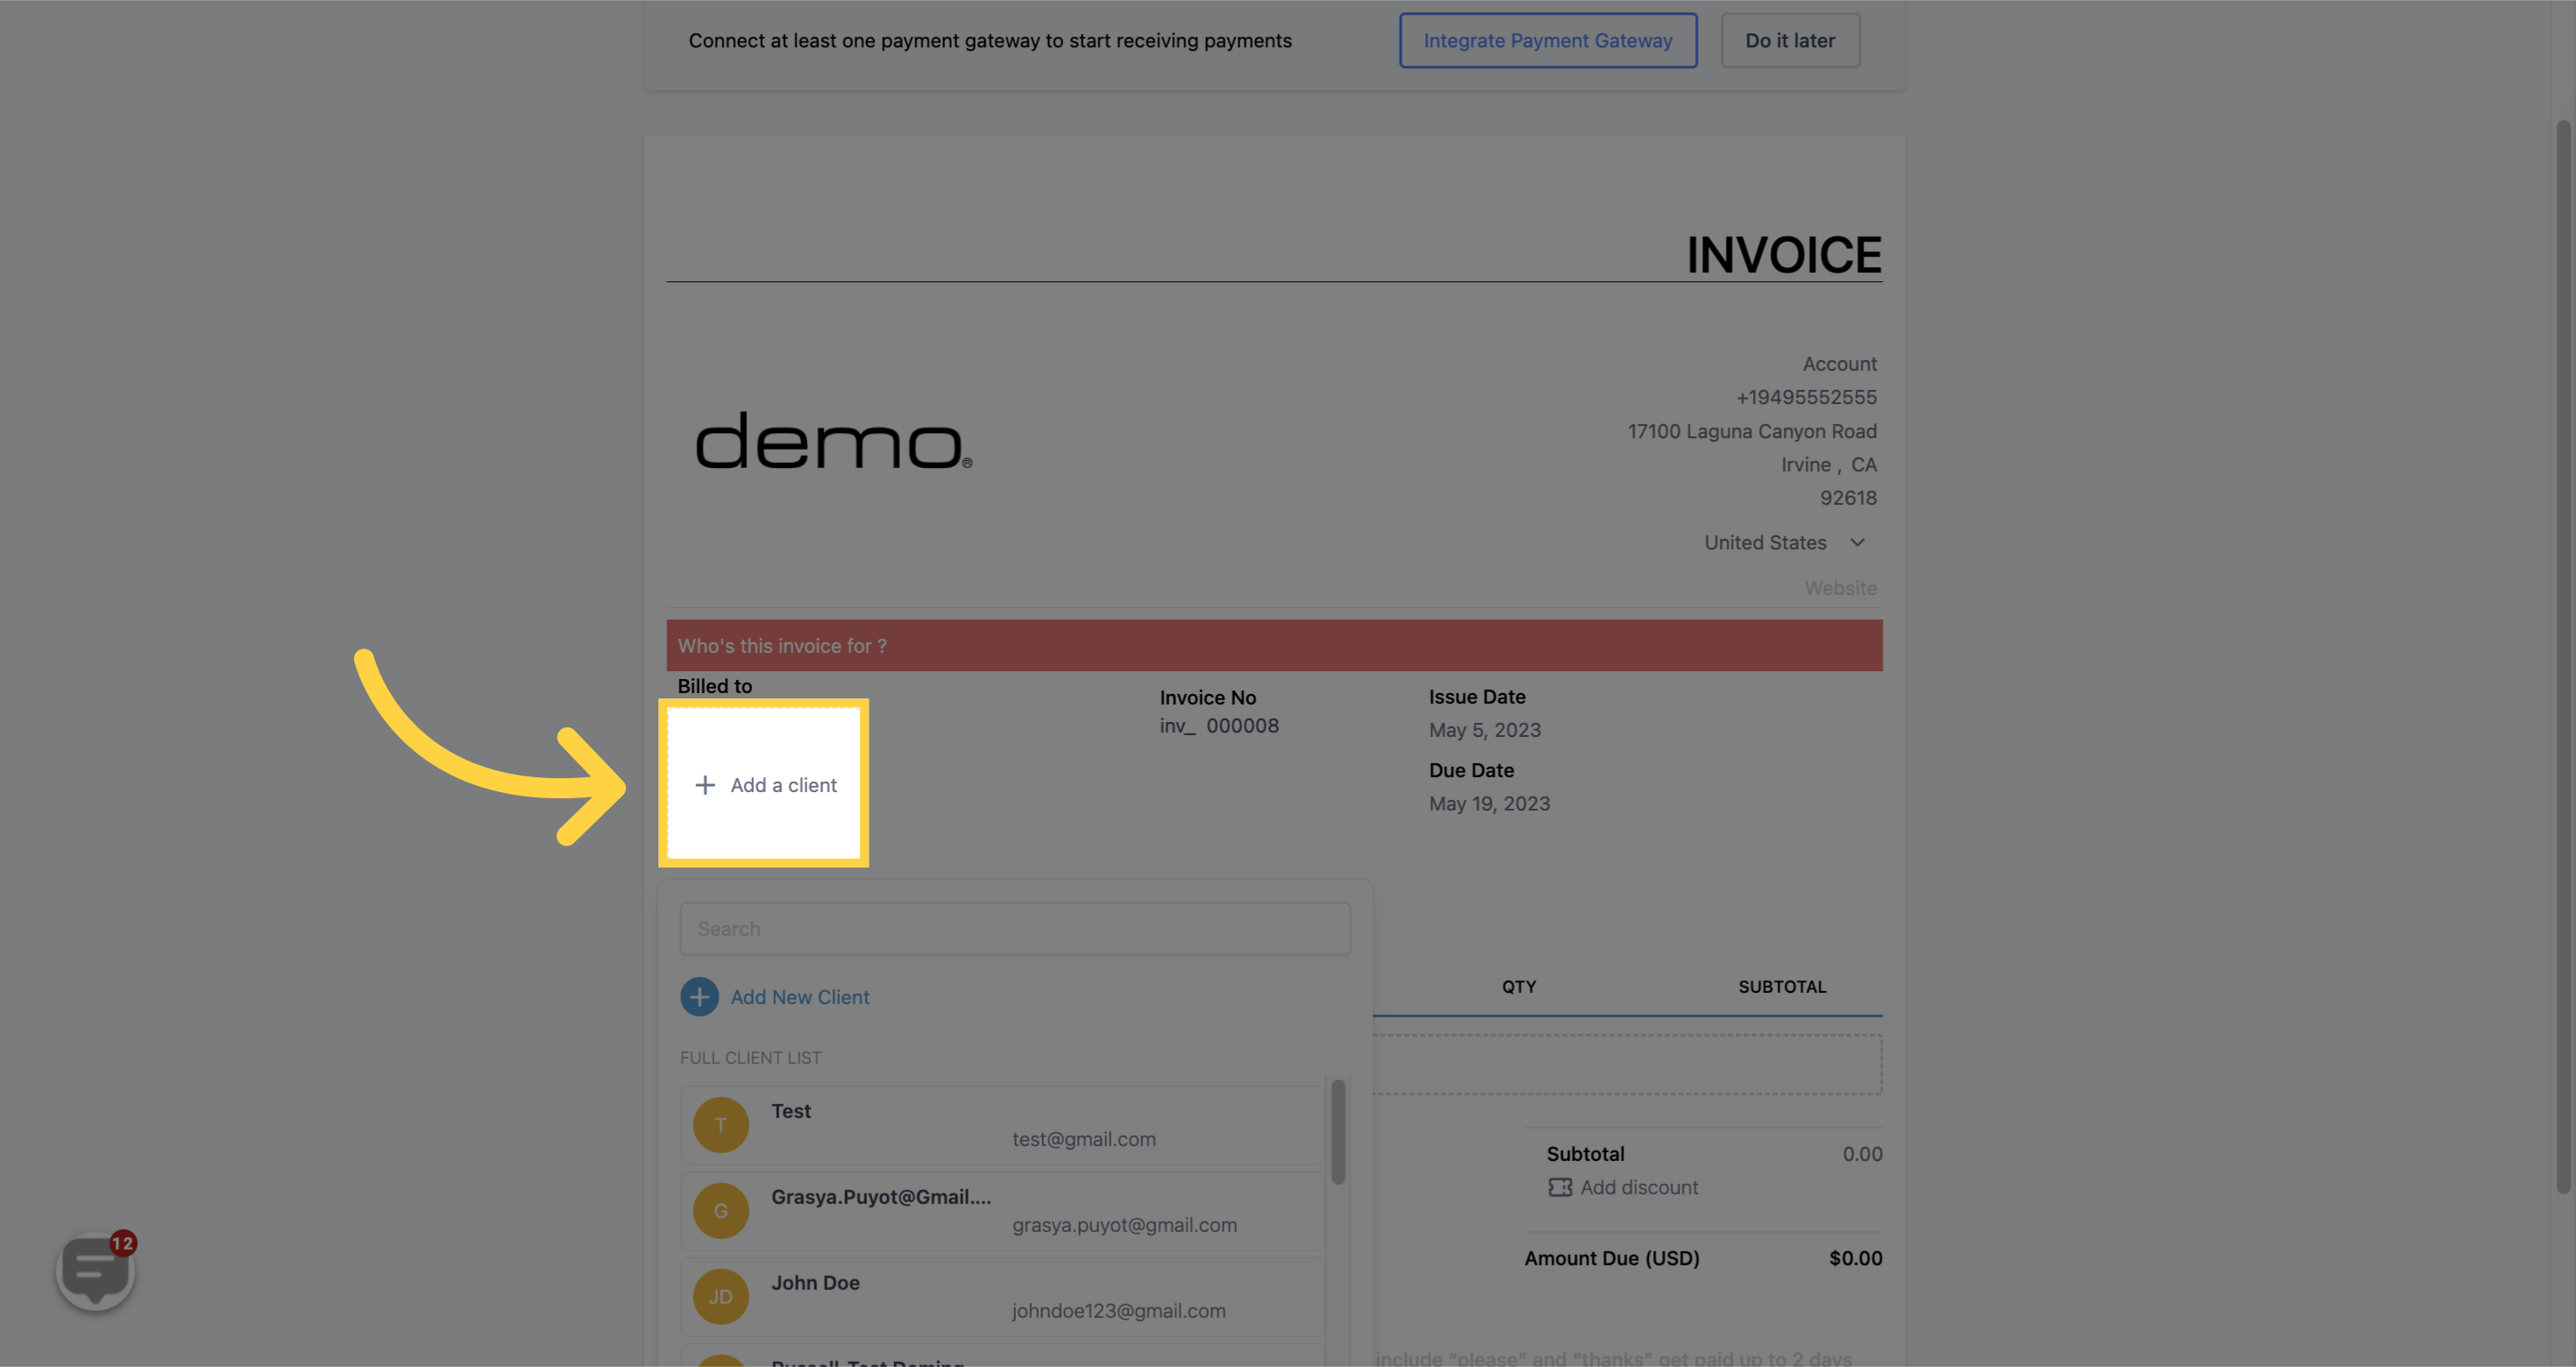
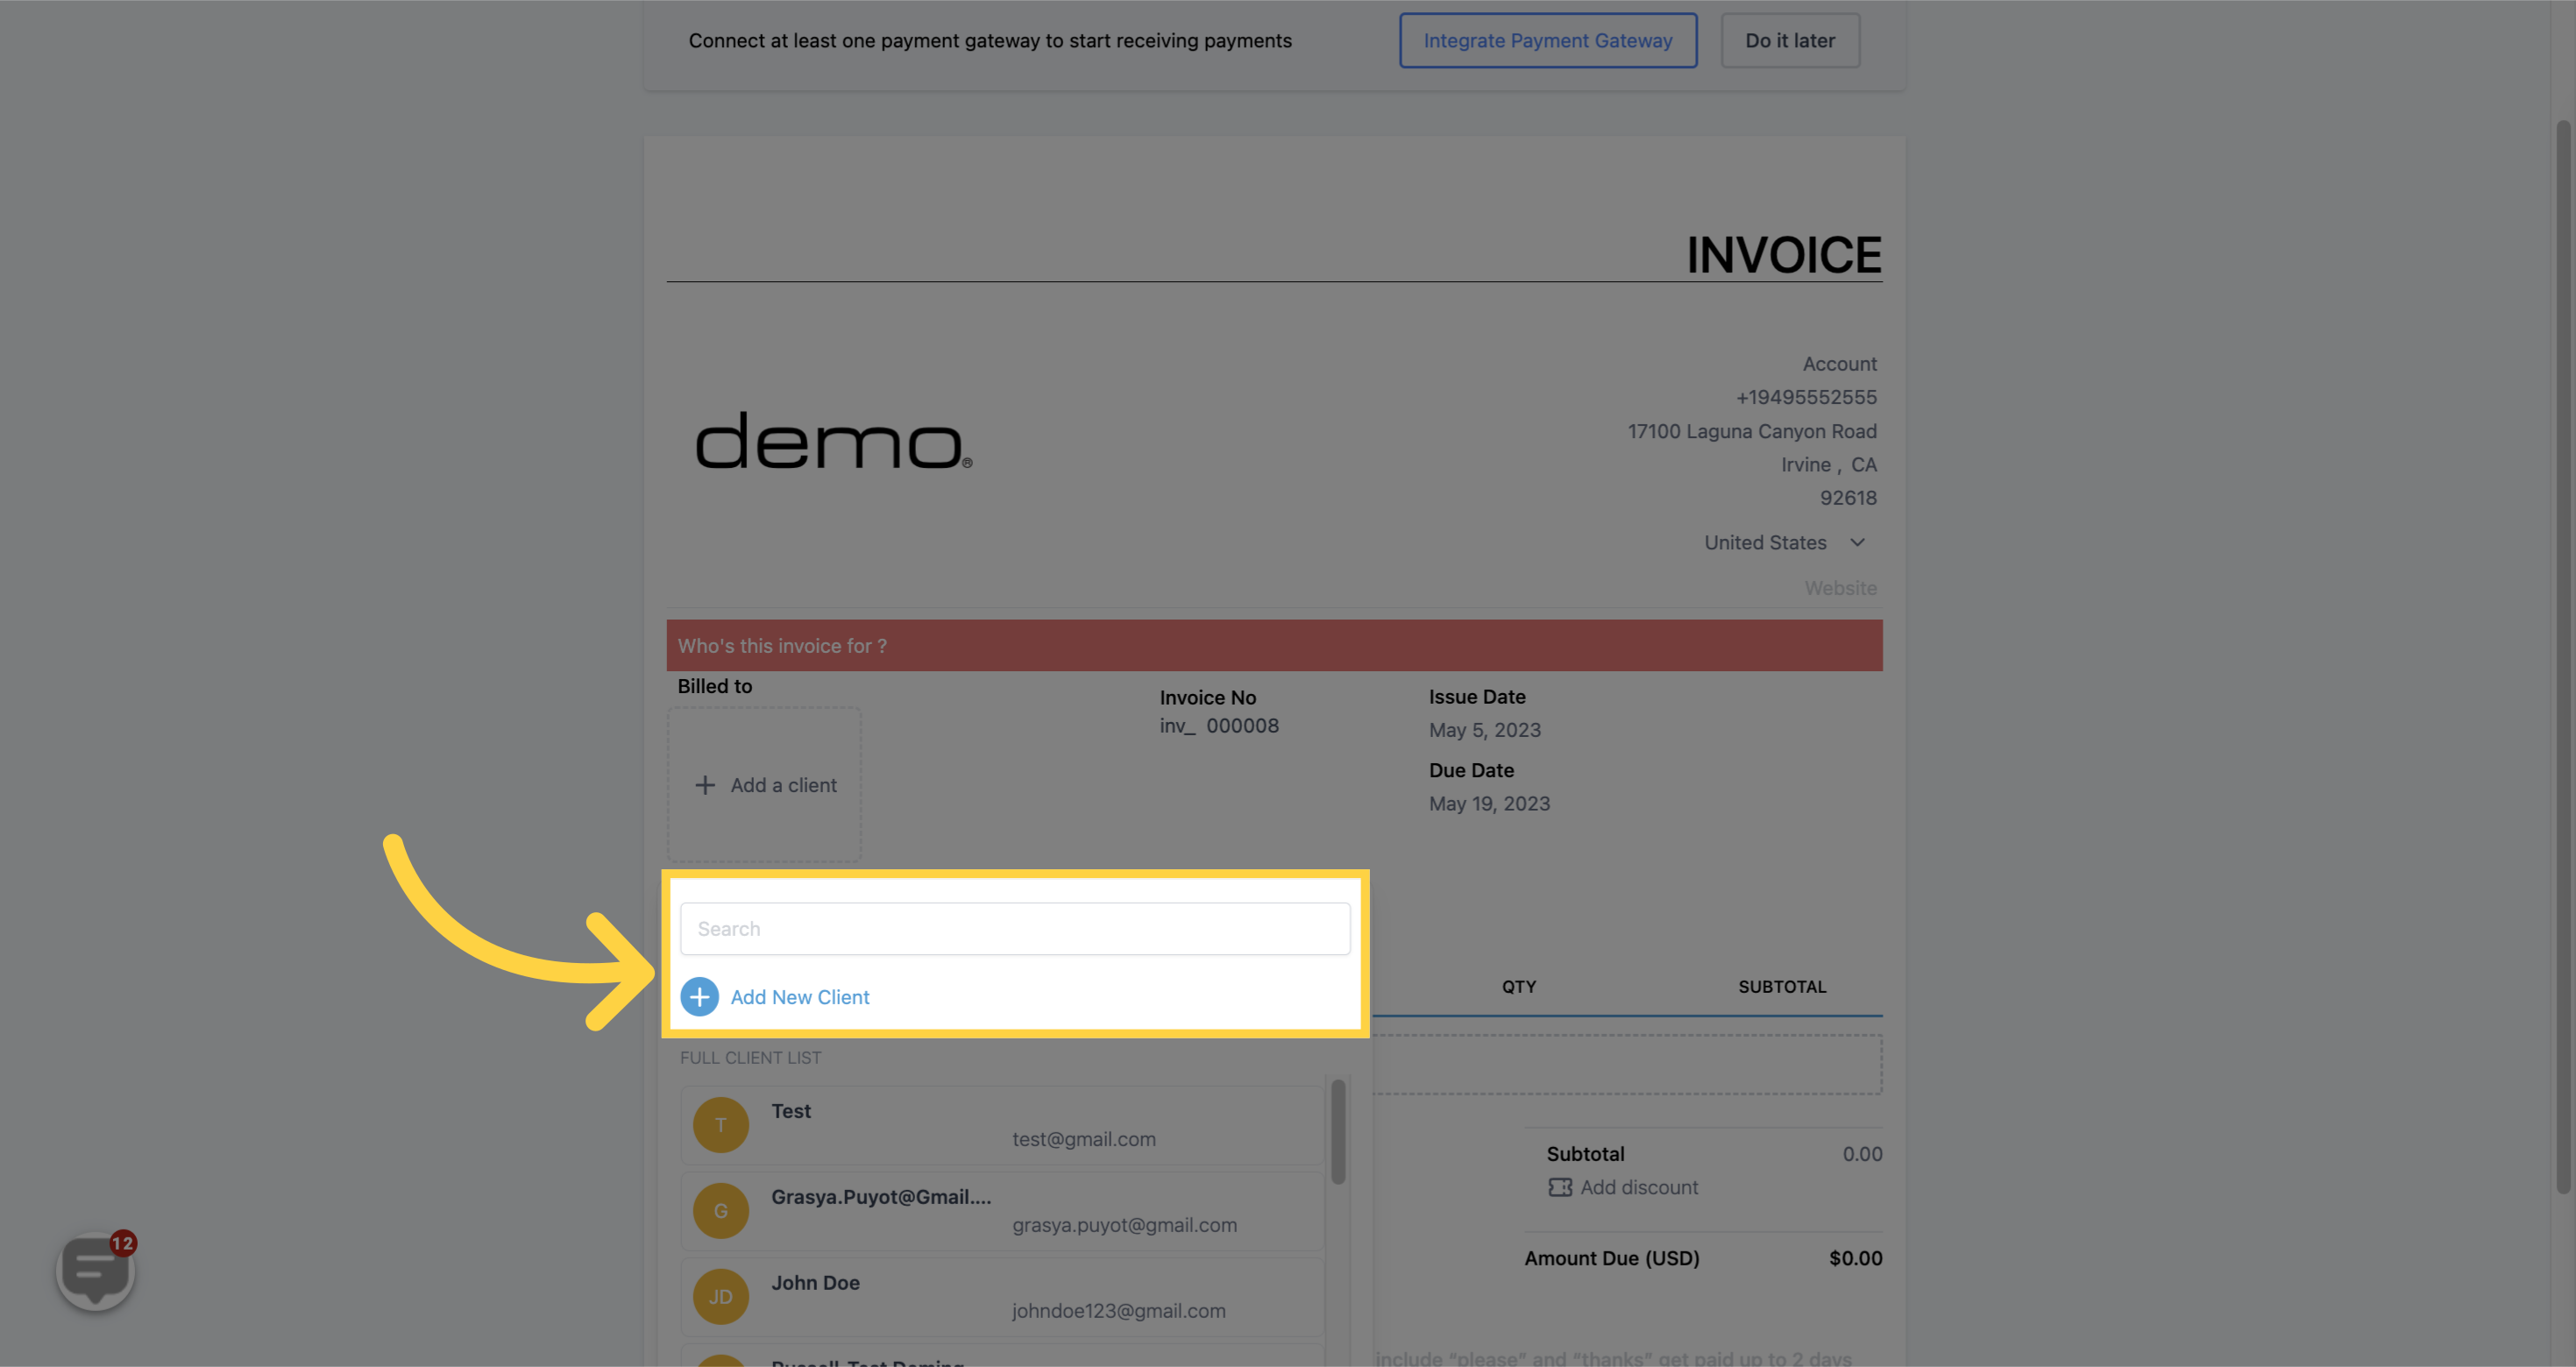
if you anticipate needing to access your client's contact information on an ongoing basis, it can be a good idea to create a new contact in your CRM. This will allow you to easily select their information when creating new invoices in the future.
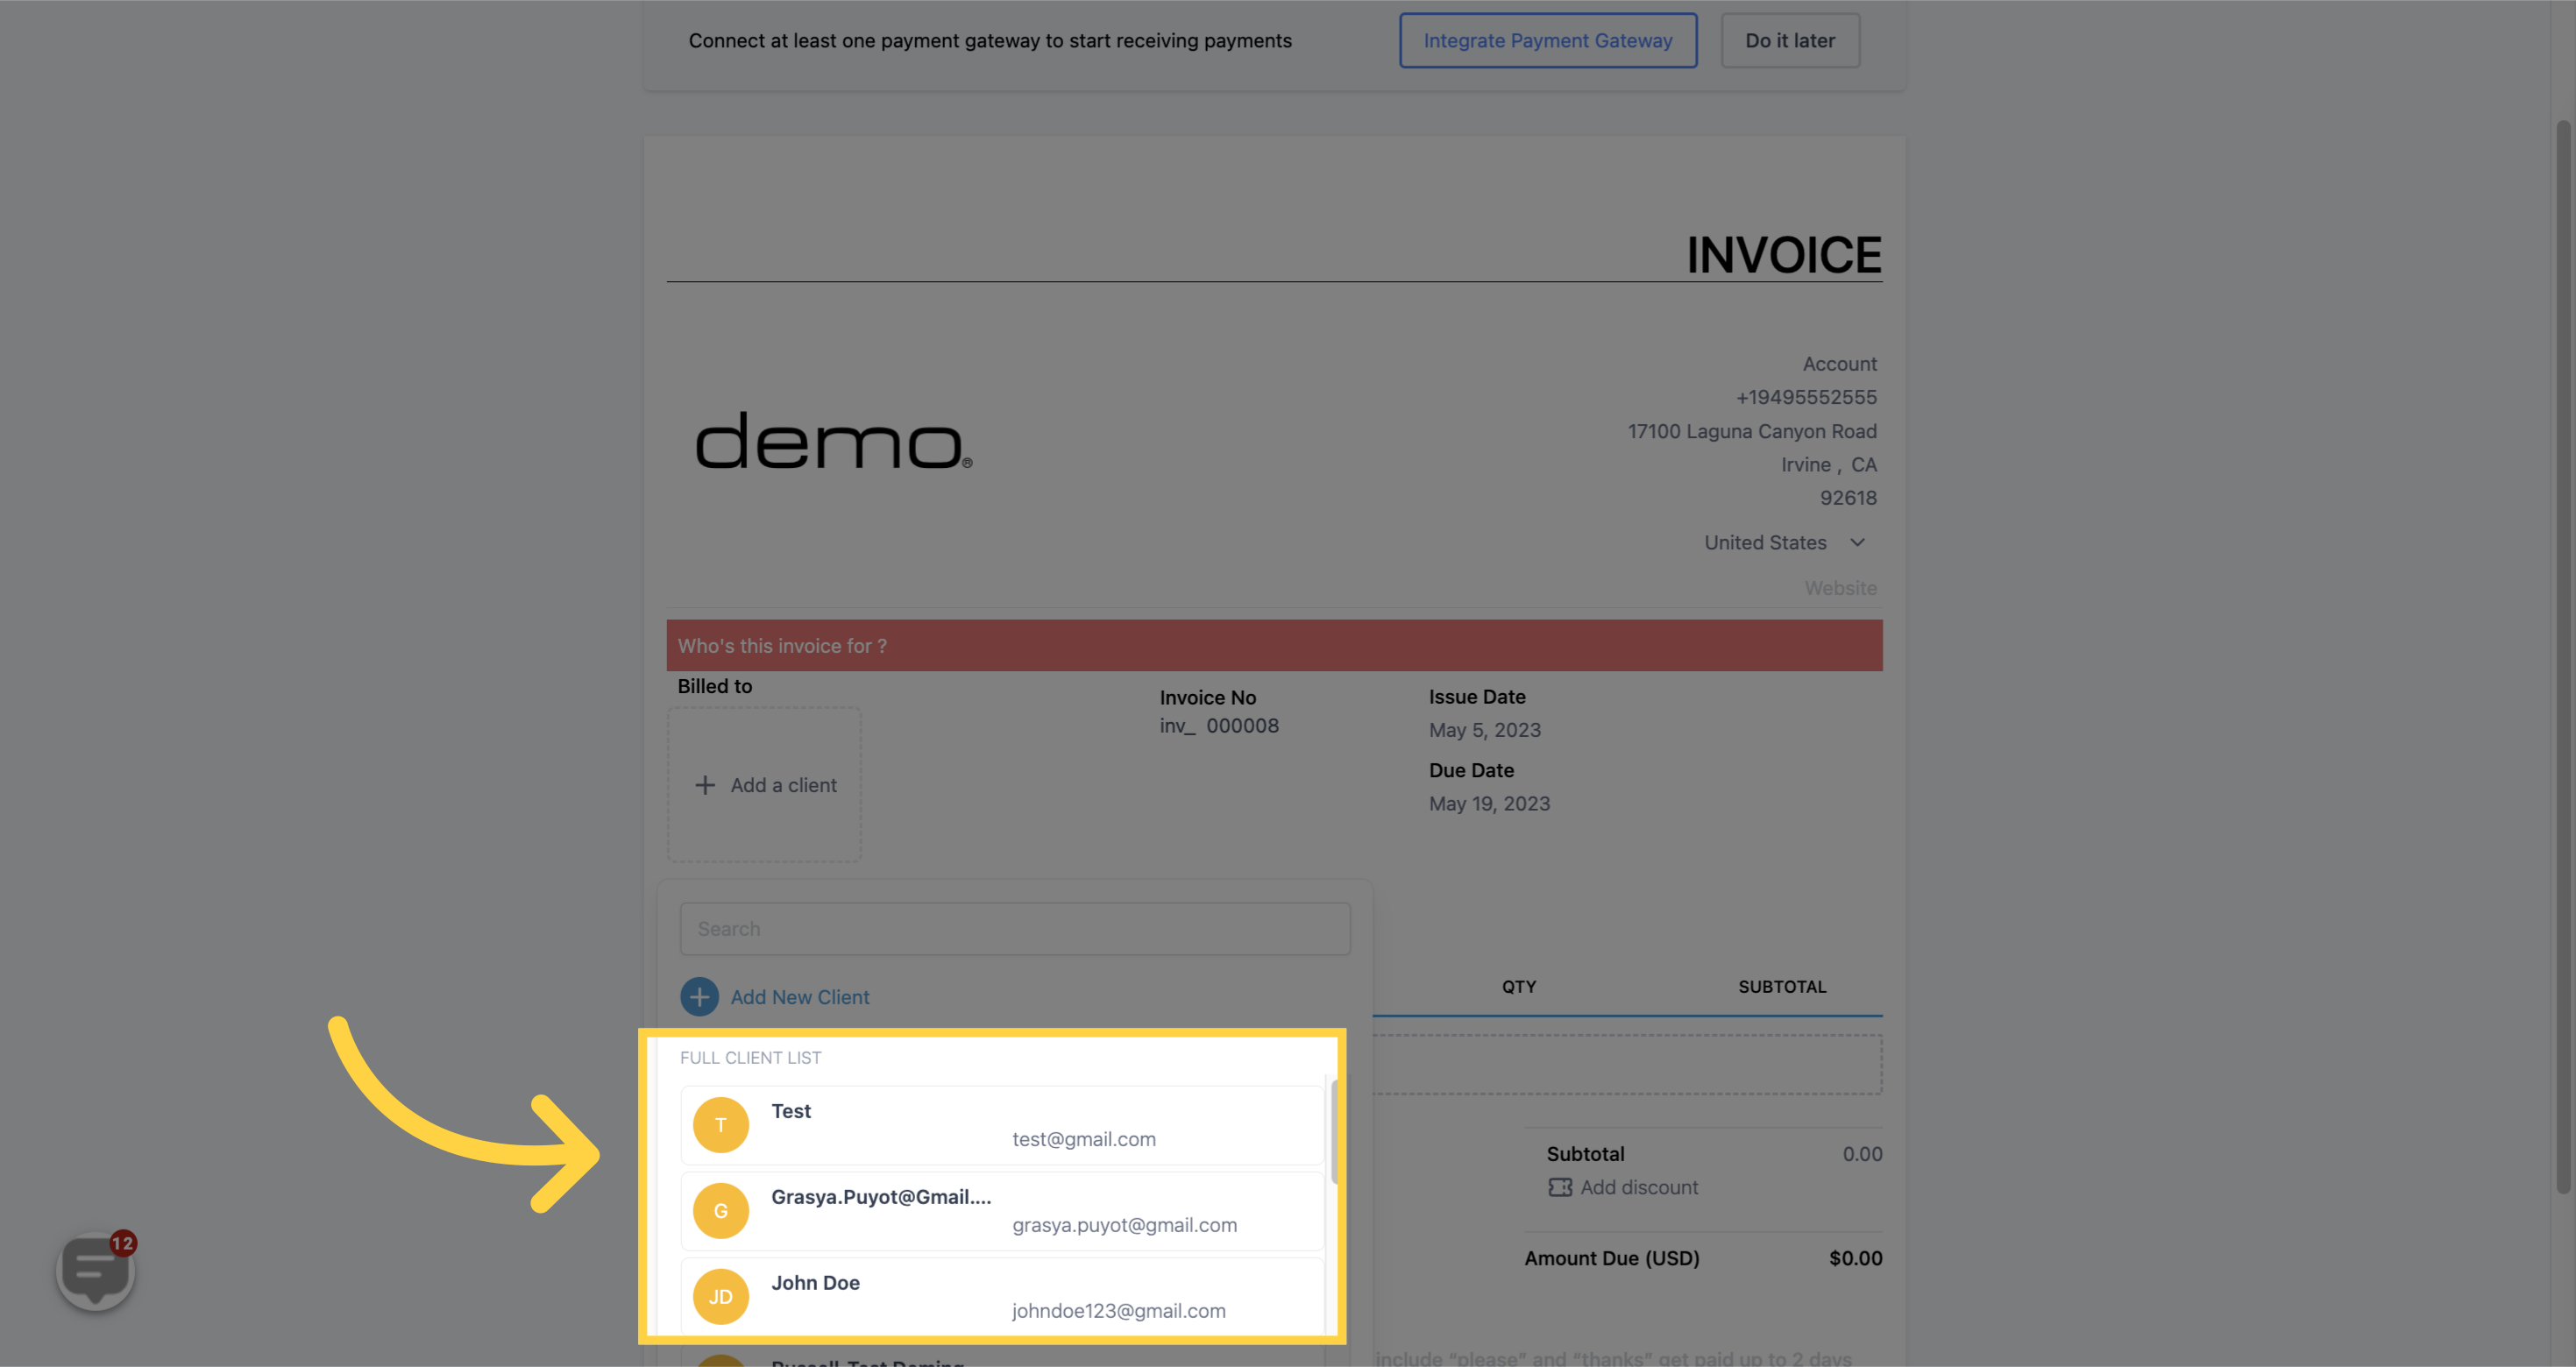
If you have your client's contact information saved in your CRM, you can easily access it by using the search bar. Simply type in the name or business name of your client, and their information will appear. This can save time and streamline the process of creating and sending invoices.
If you need to add or modify your client's information for invoicing purposes, you can do so manually. Simply navigate to the appropriate section and fill out the necessary fields
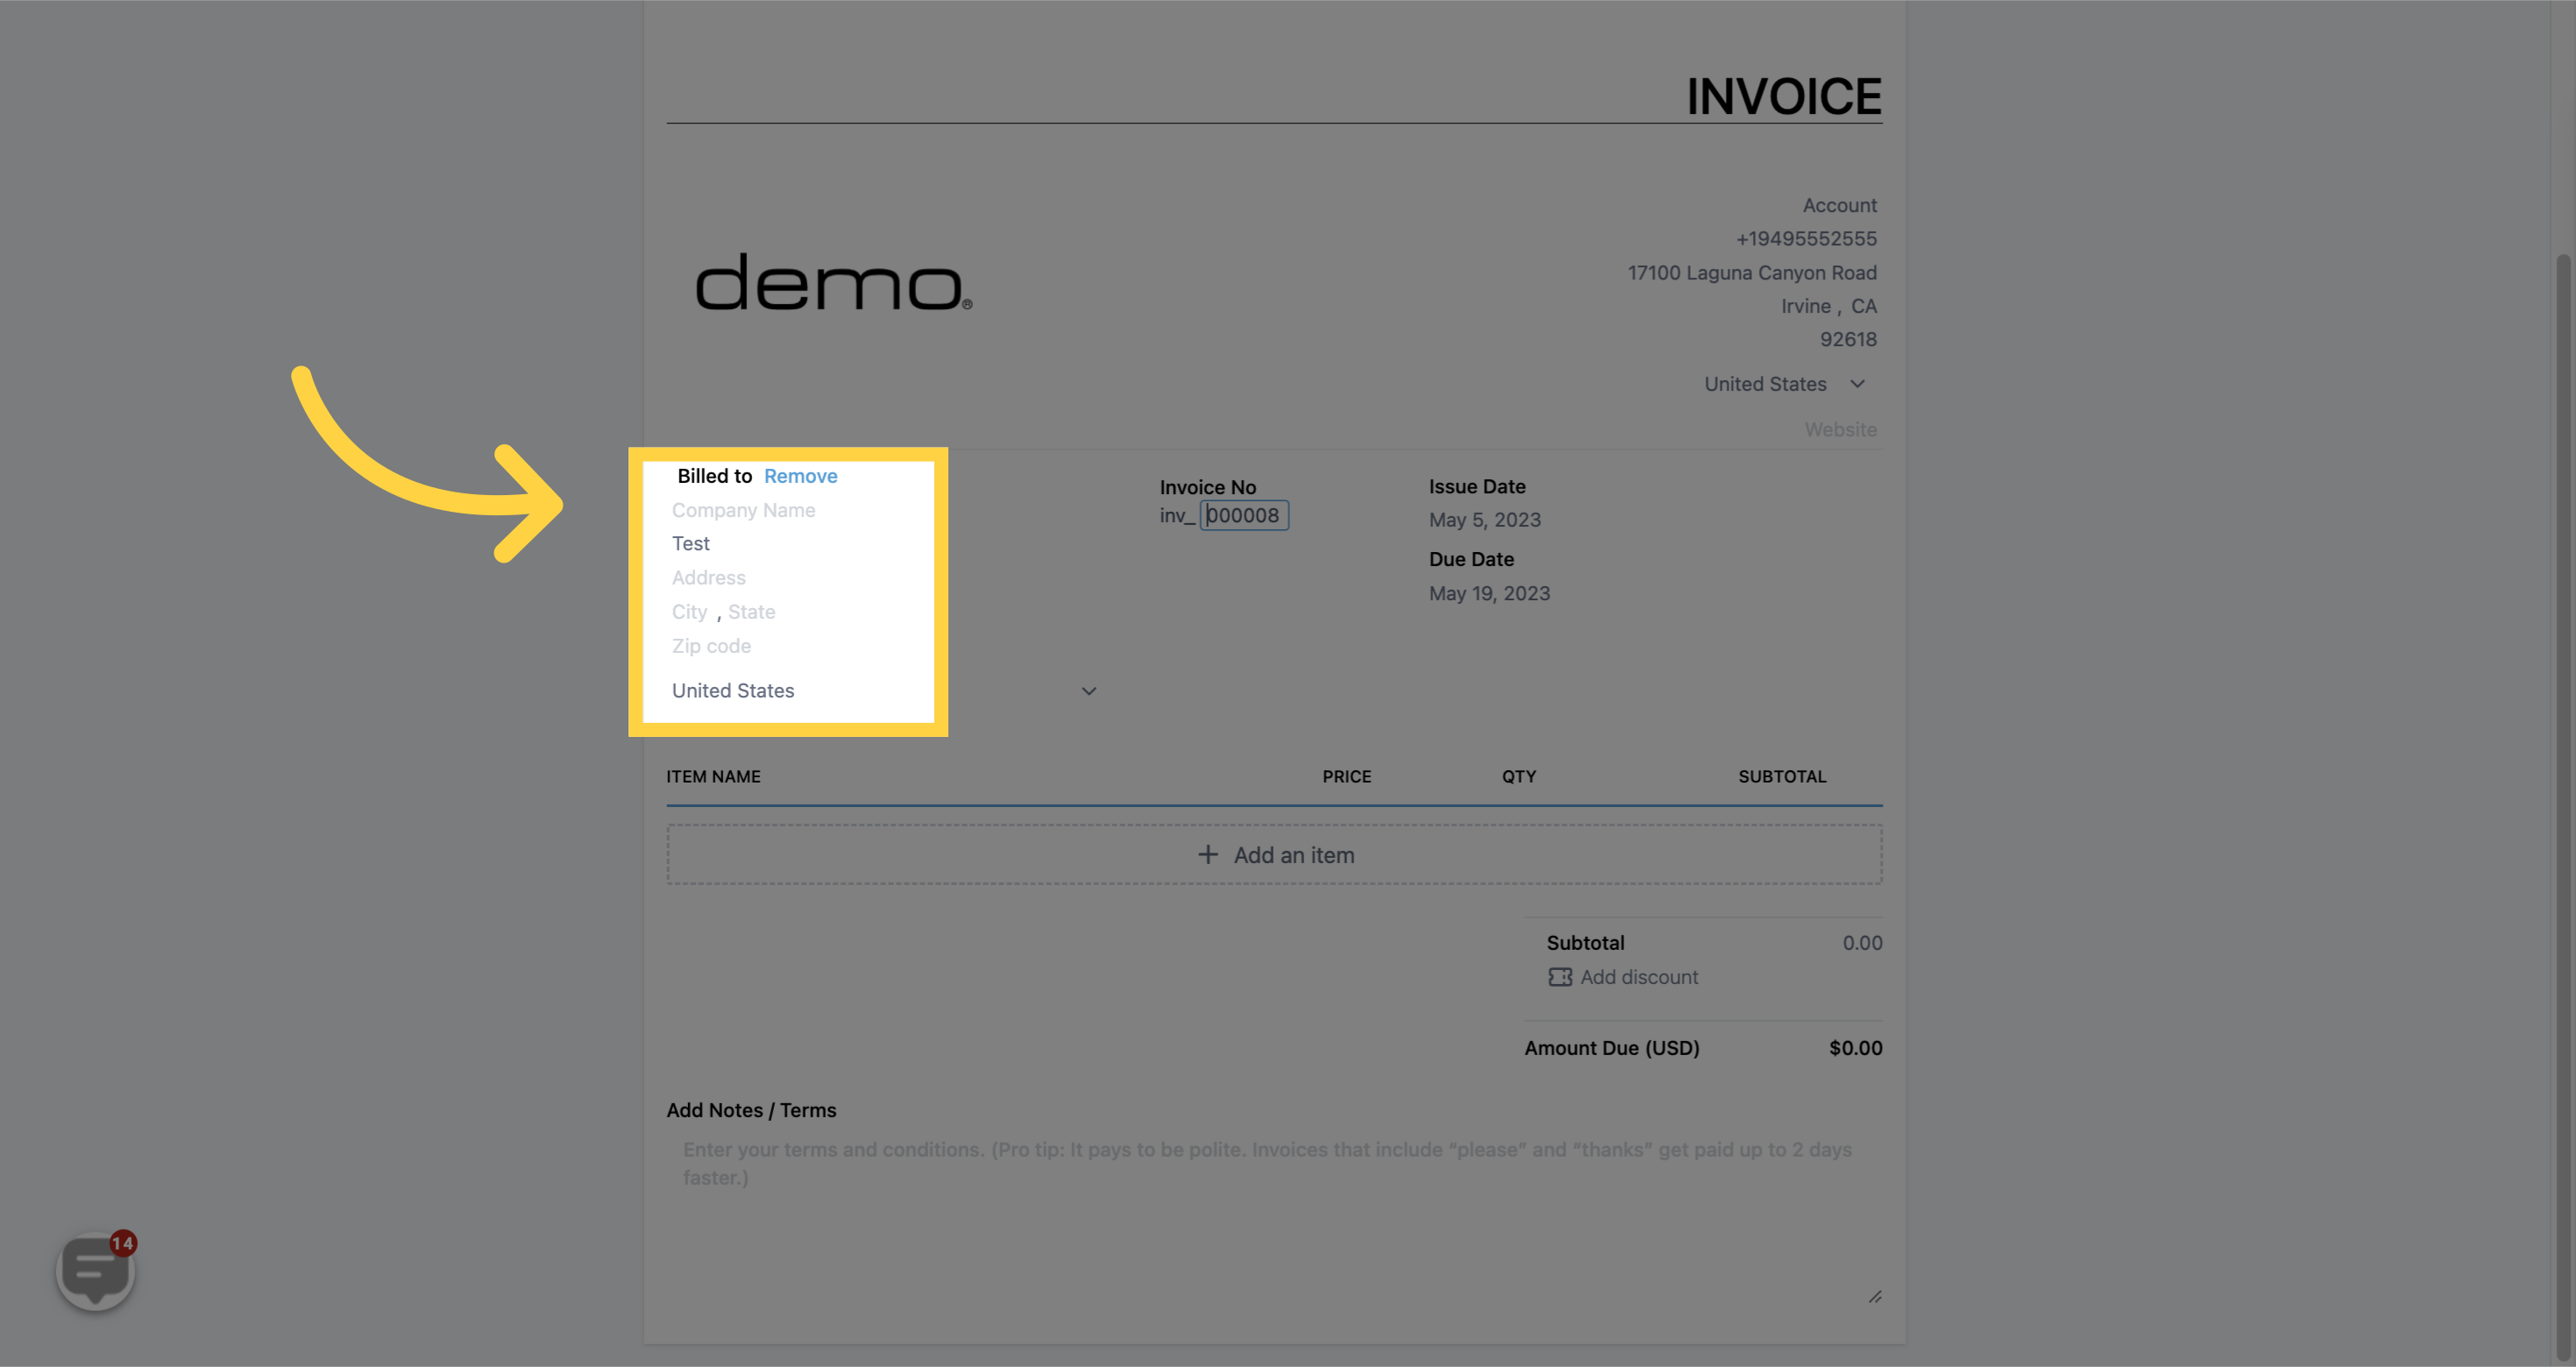
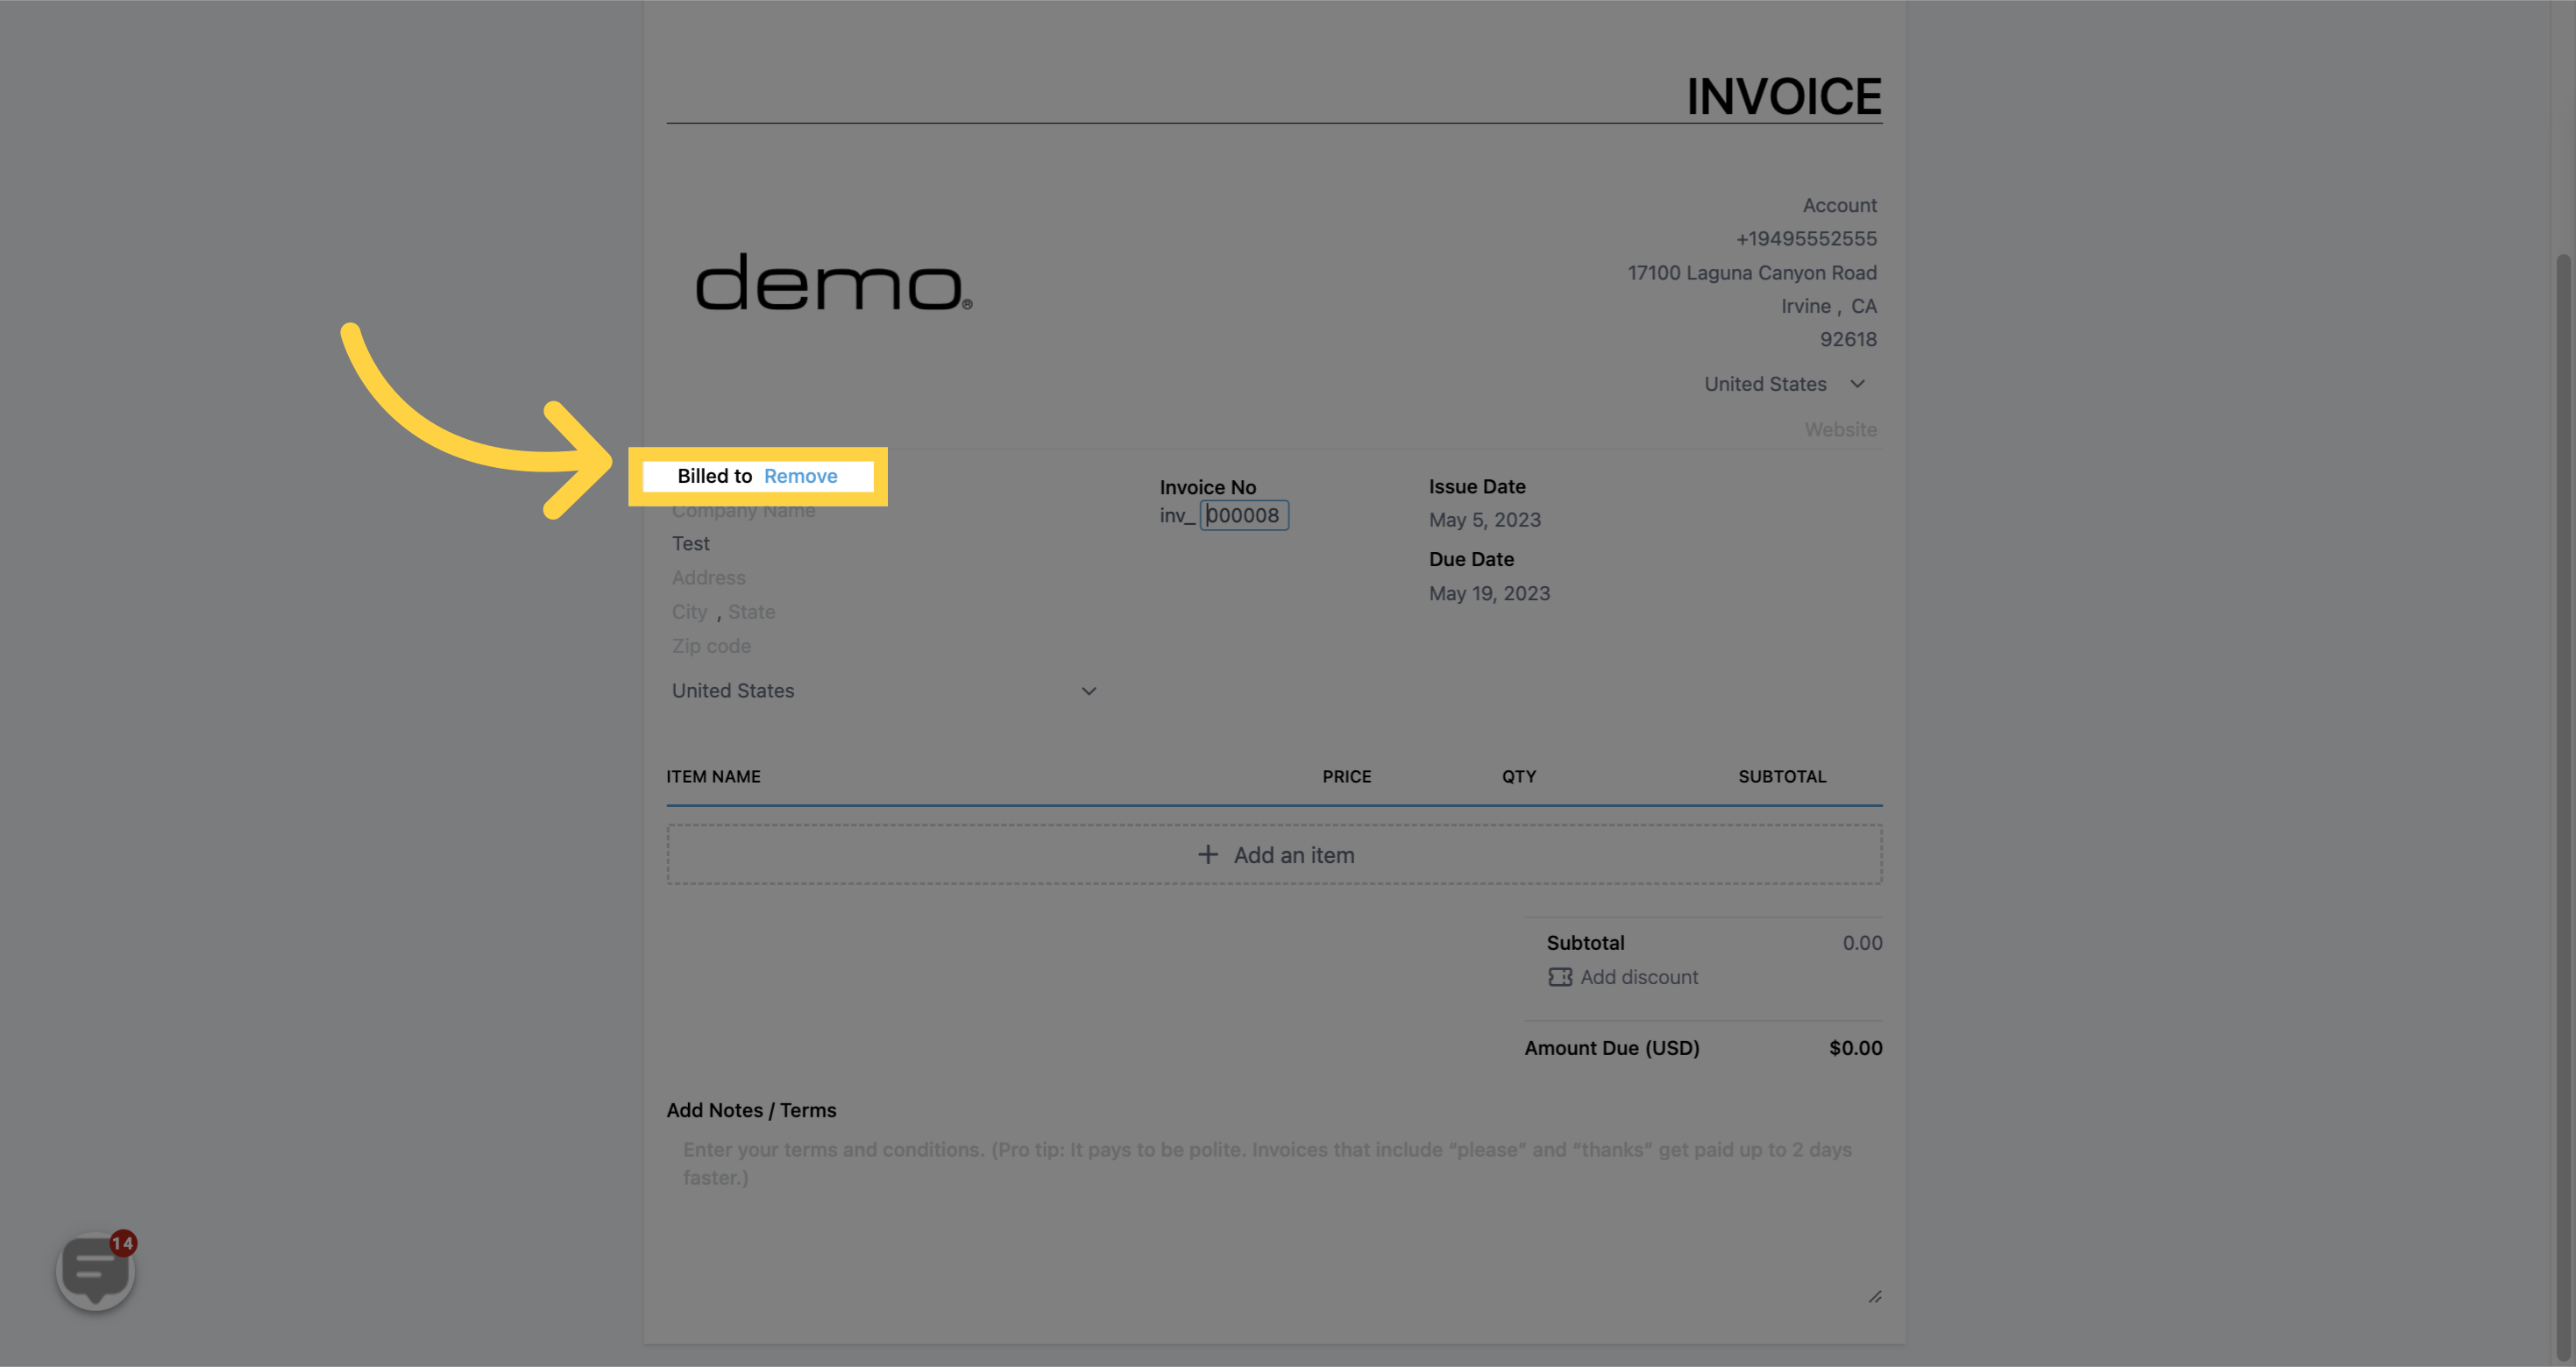
If you've added the wrong contact information to your invoice, don't worry. You can easily remove it by using the "Remove" button. This will remove all of the contact information from the invoice so that you can add the correct information.
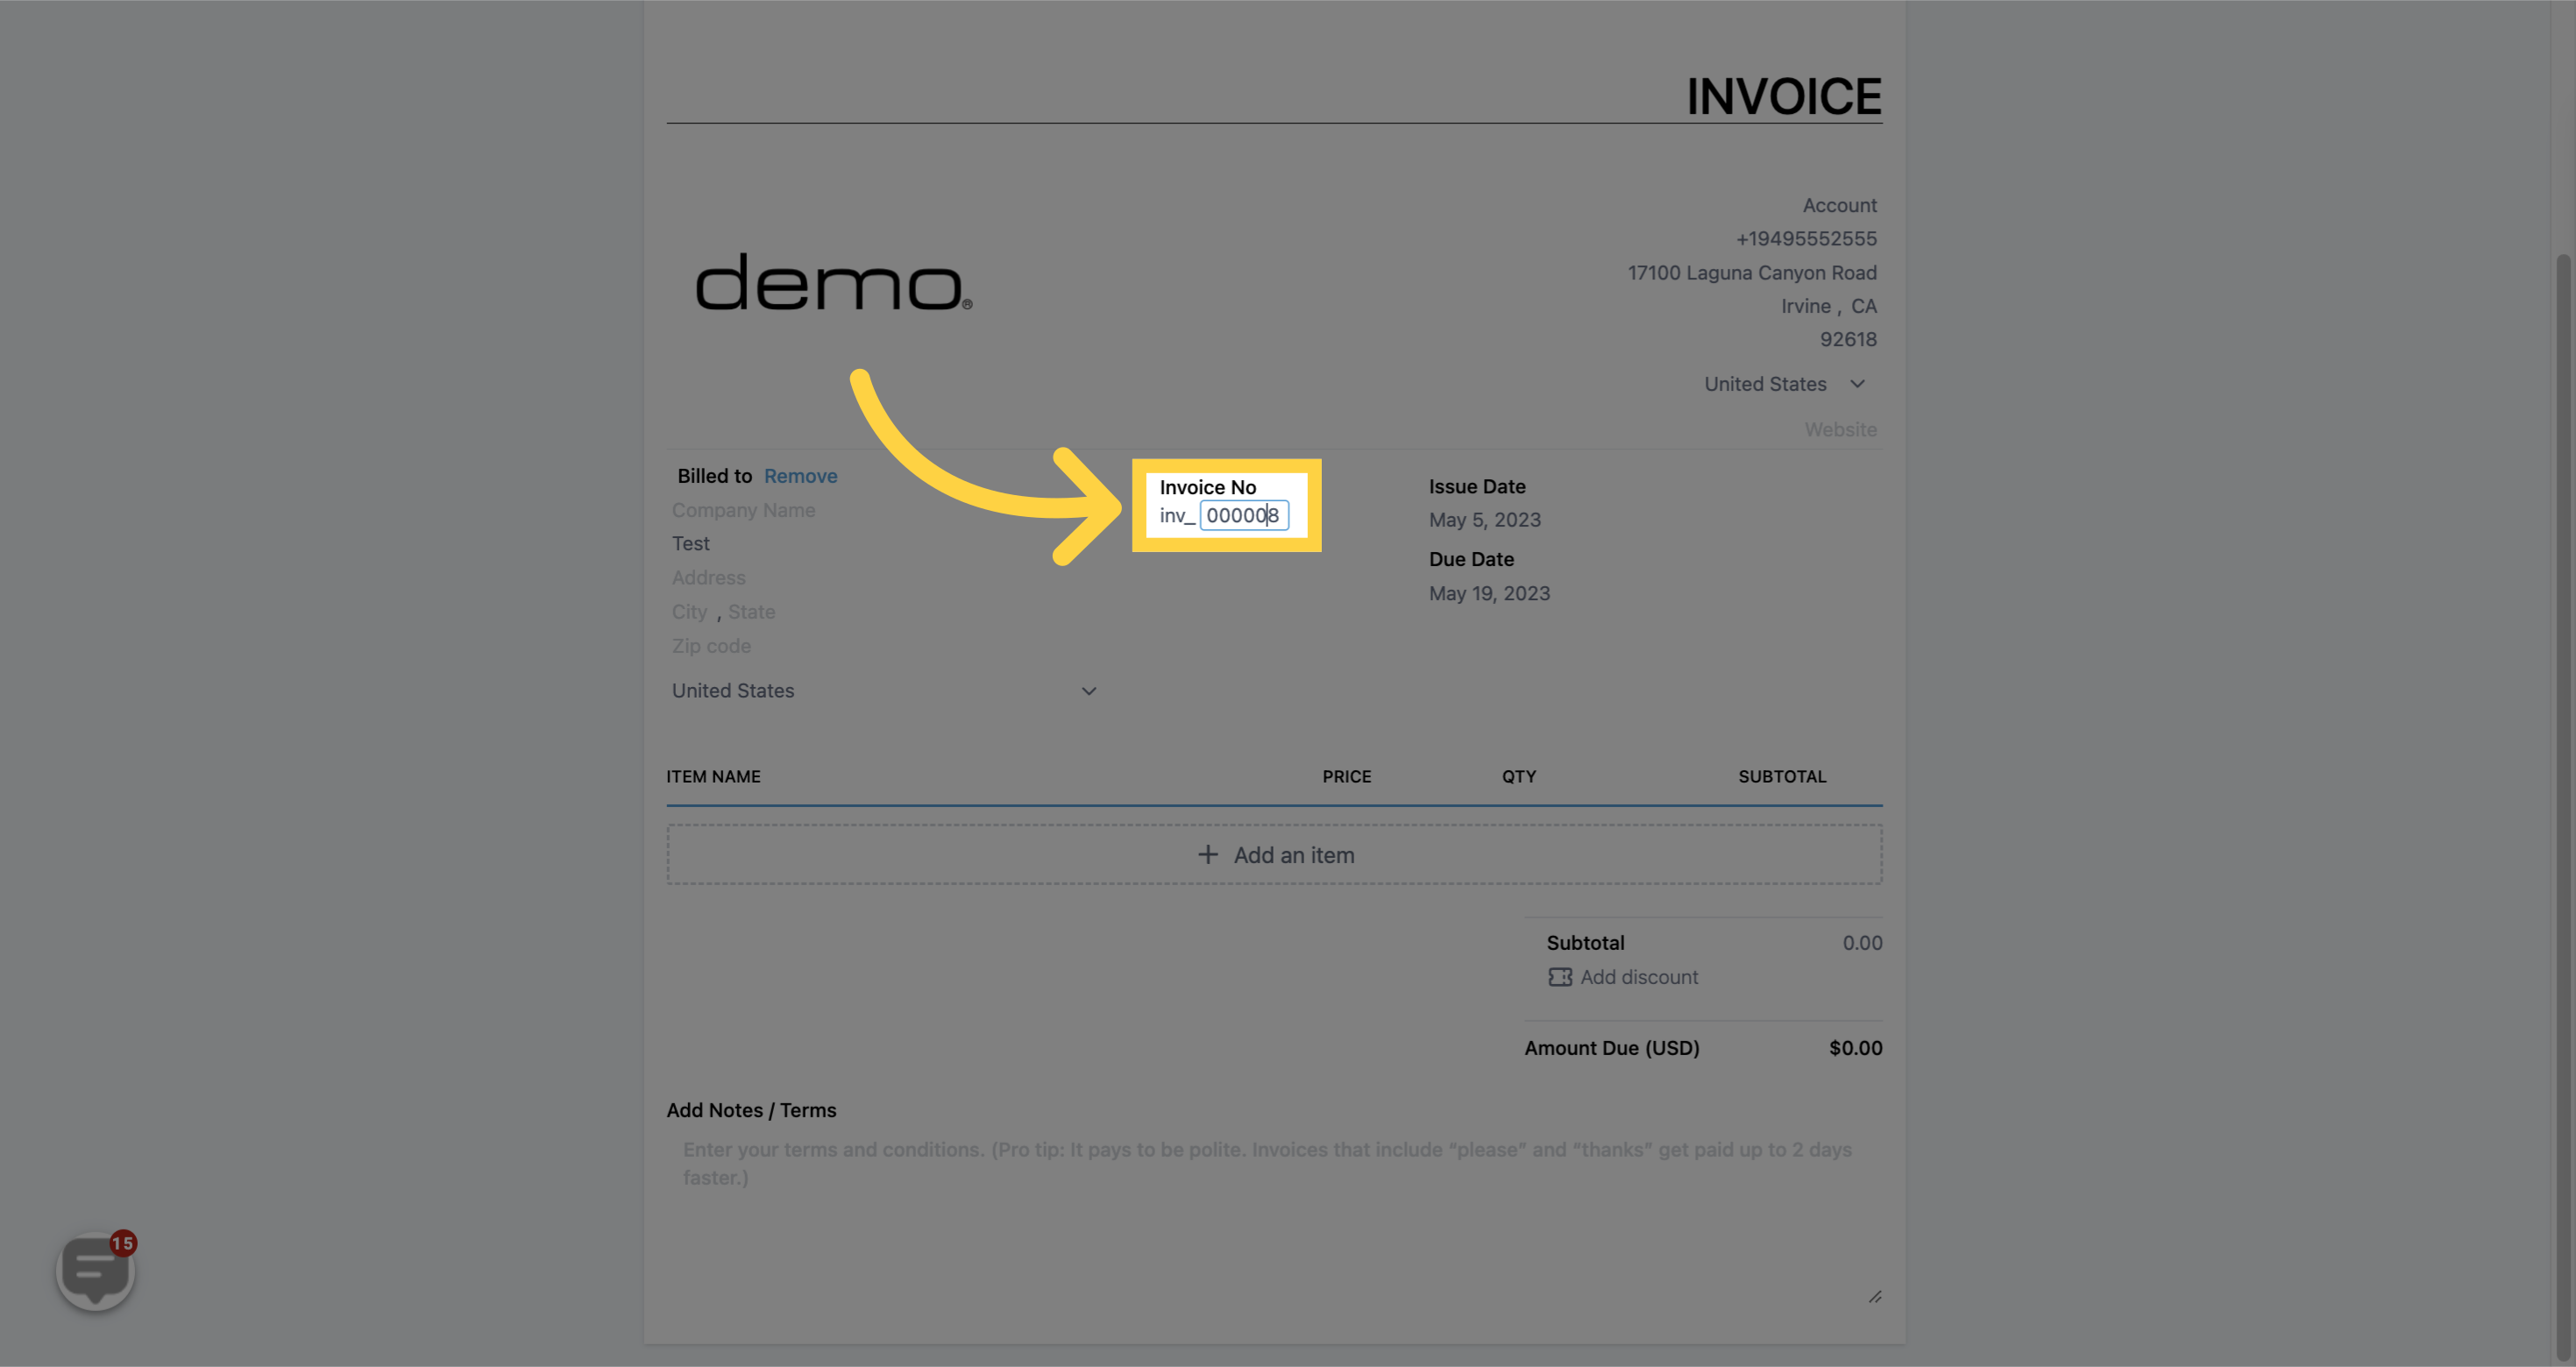
When creating a new invoice, the system will automatically assign a sequential number to it. However, you can edit this number if necessary, as long as the number you enter is either the next available number in the sequence or a number that has never been used by the system before.
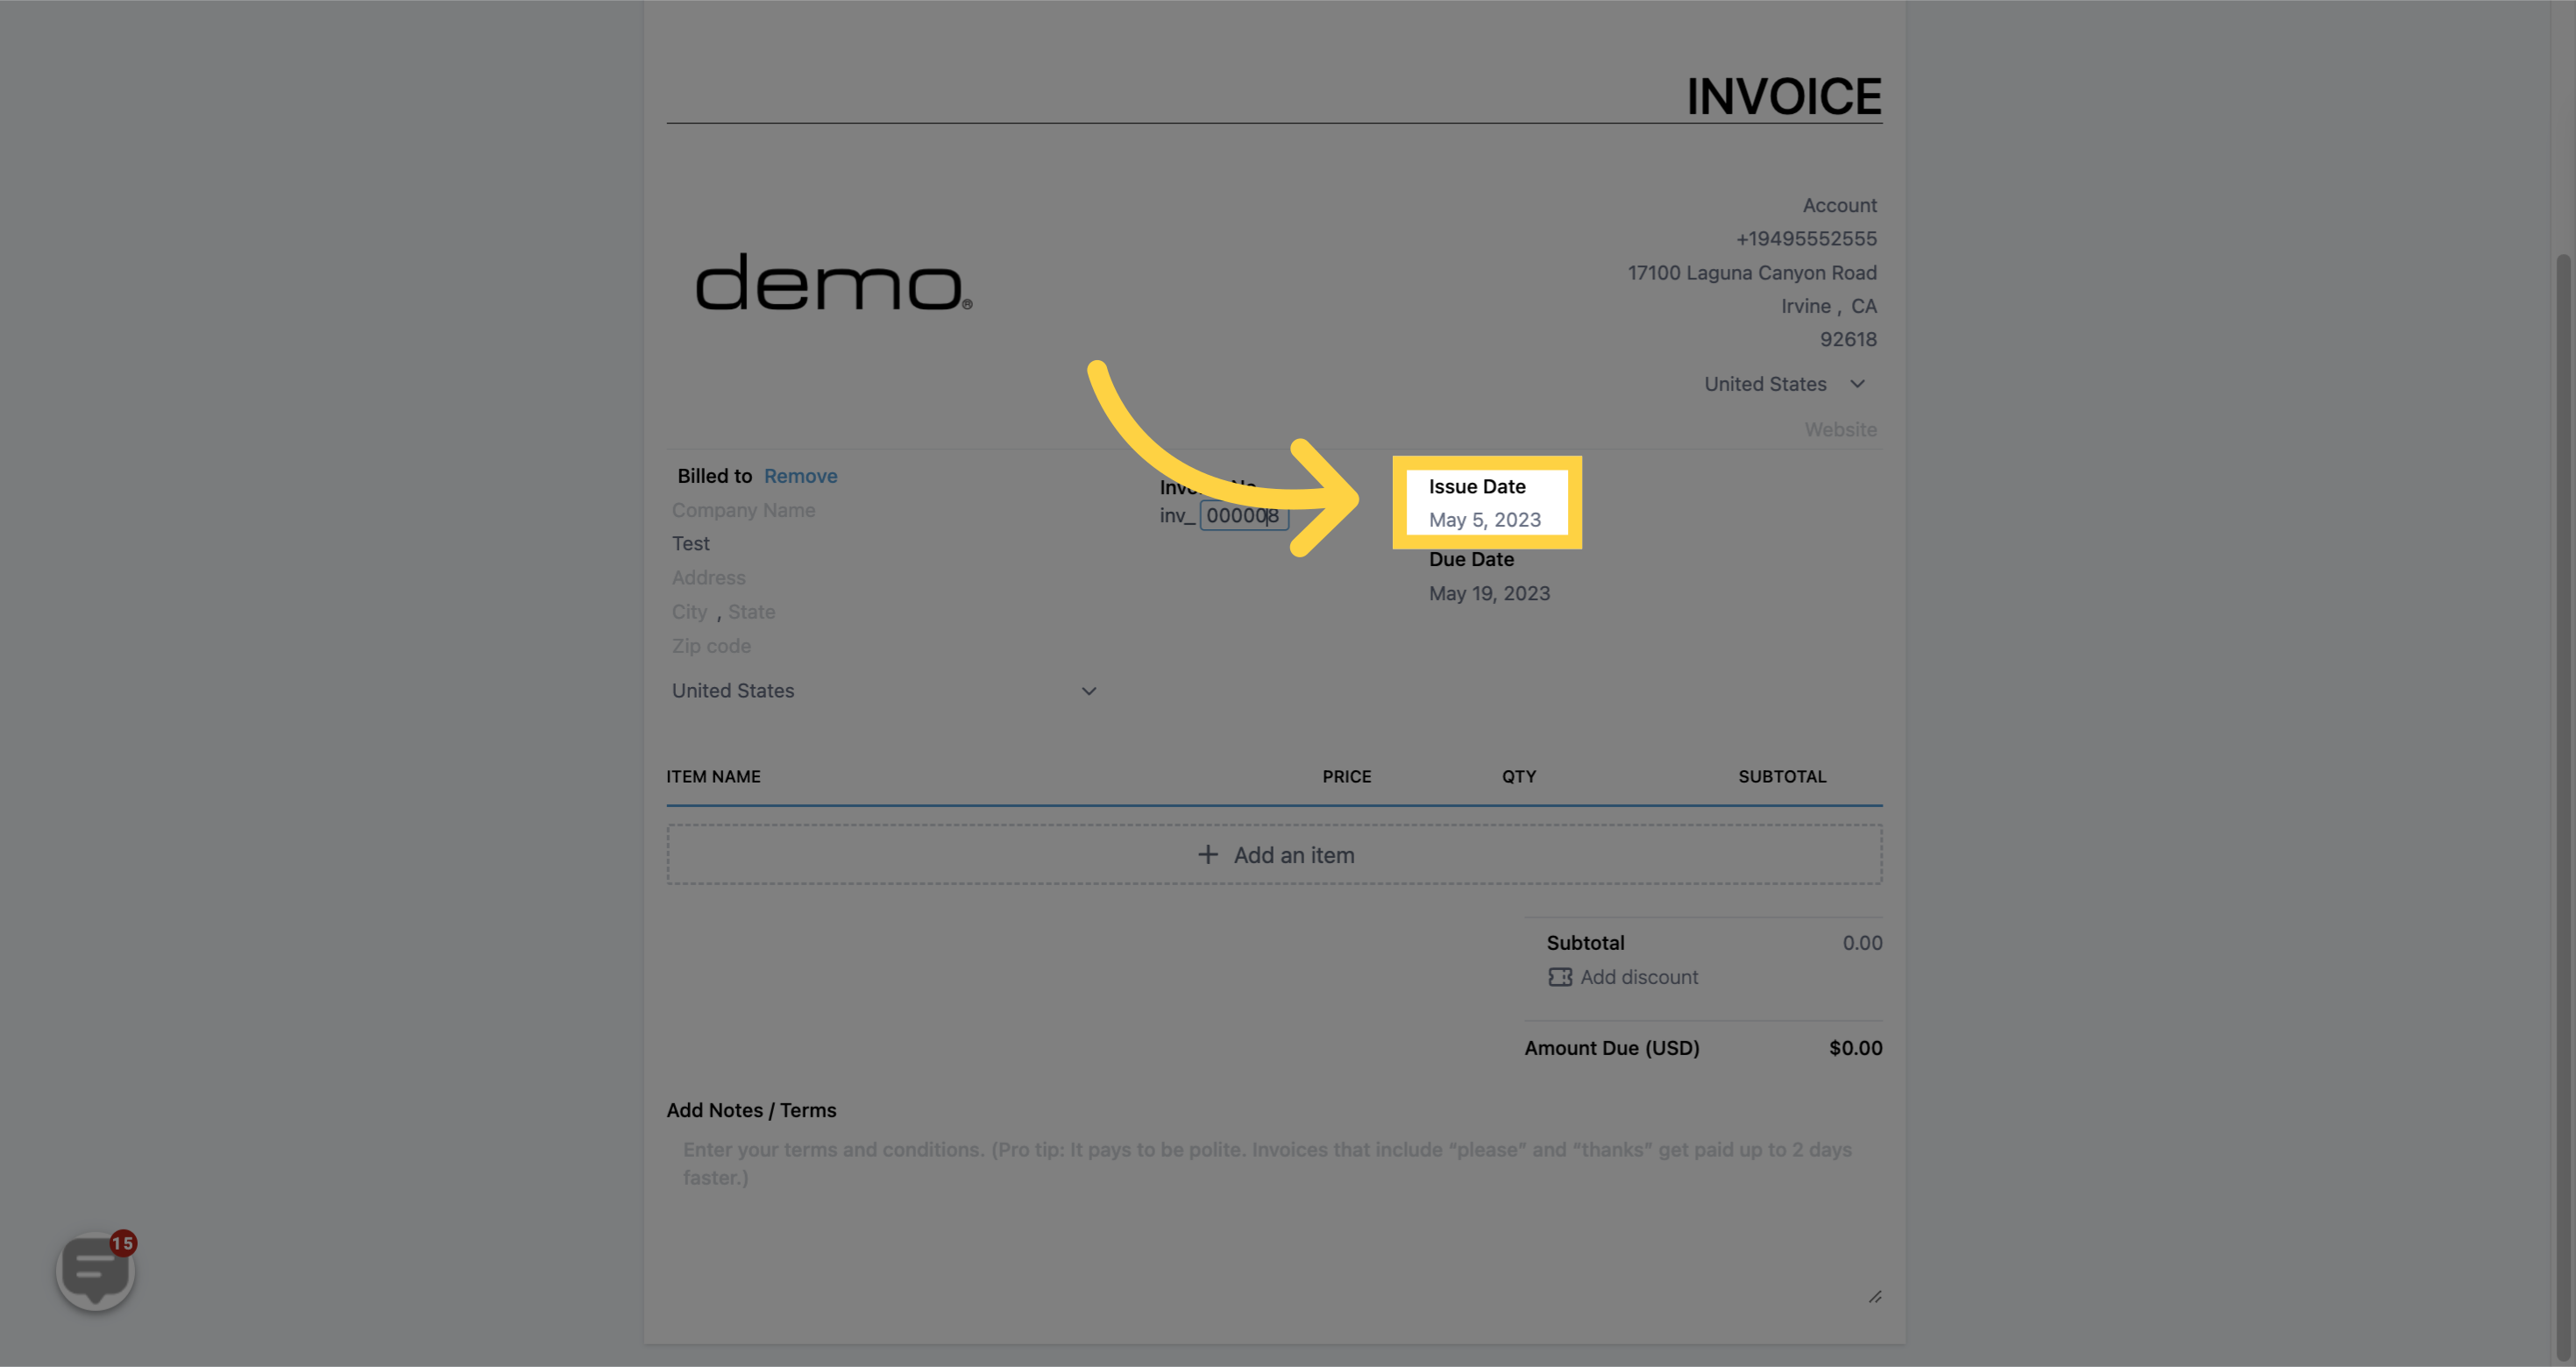
By default, the current date when the invoice was created will be set as the issue date for the invoice. However, you can modify the date to fit your requirements. Keep in mind that the date must be one that has already passed. You cannot set the issue date for a future date.
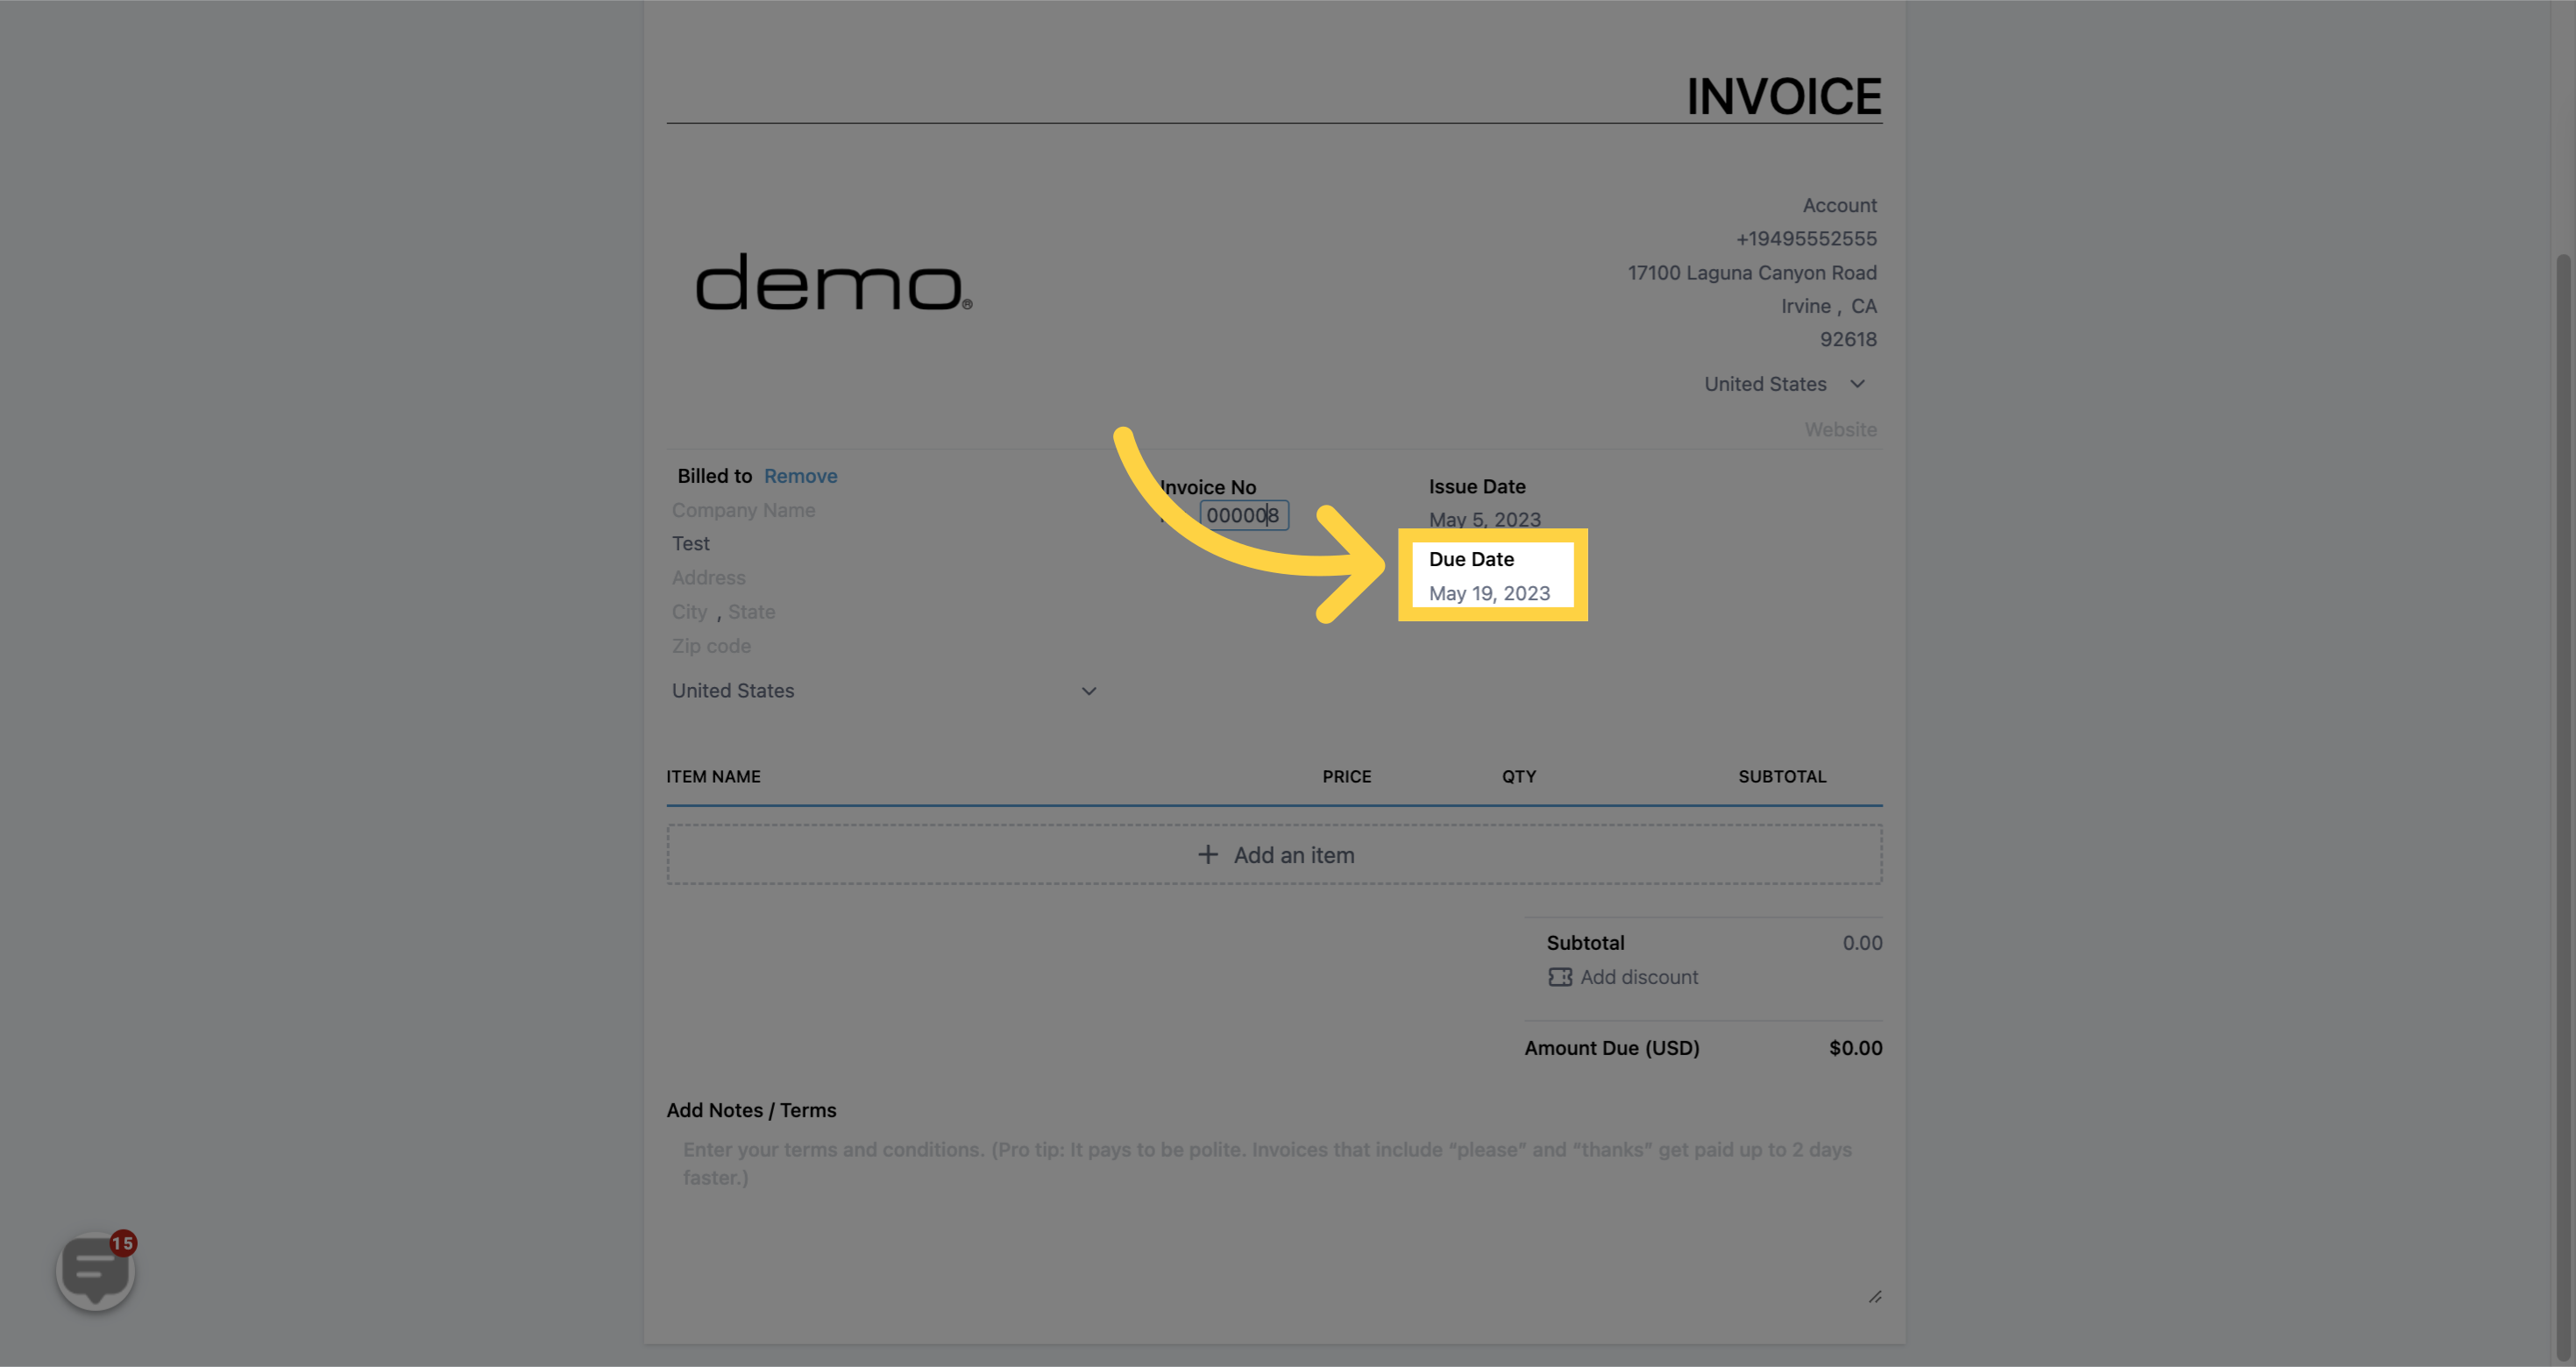
When creating an invoice, you can also choose a due date for the payment. To do this, simply click on the date indicator at the top, which will open a calendar. From there, you can select a date up to two weeks from the date you're creating the invoice.
You can also select an existing item that you have saved in your CRM by clicking on the "Select Item" button.

If you need to create a new item for your invoice that is not already in your CRM, you can easily do so by clicking on the "Add Item" button. From there, you can enter all of the necessary information
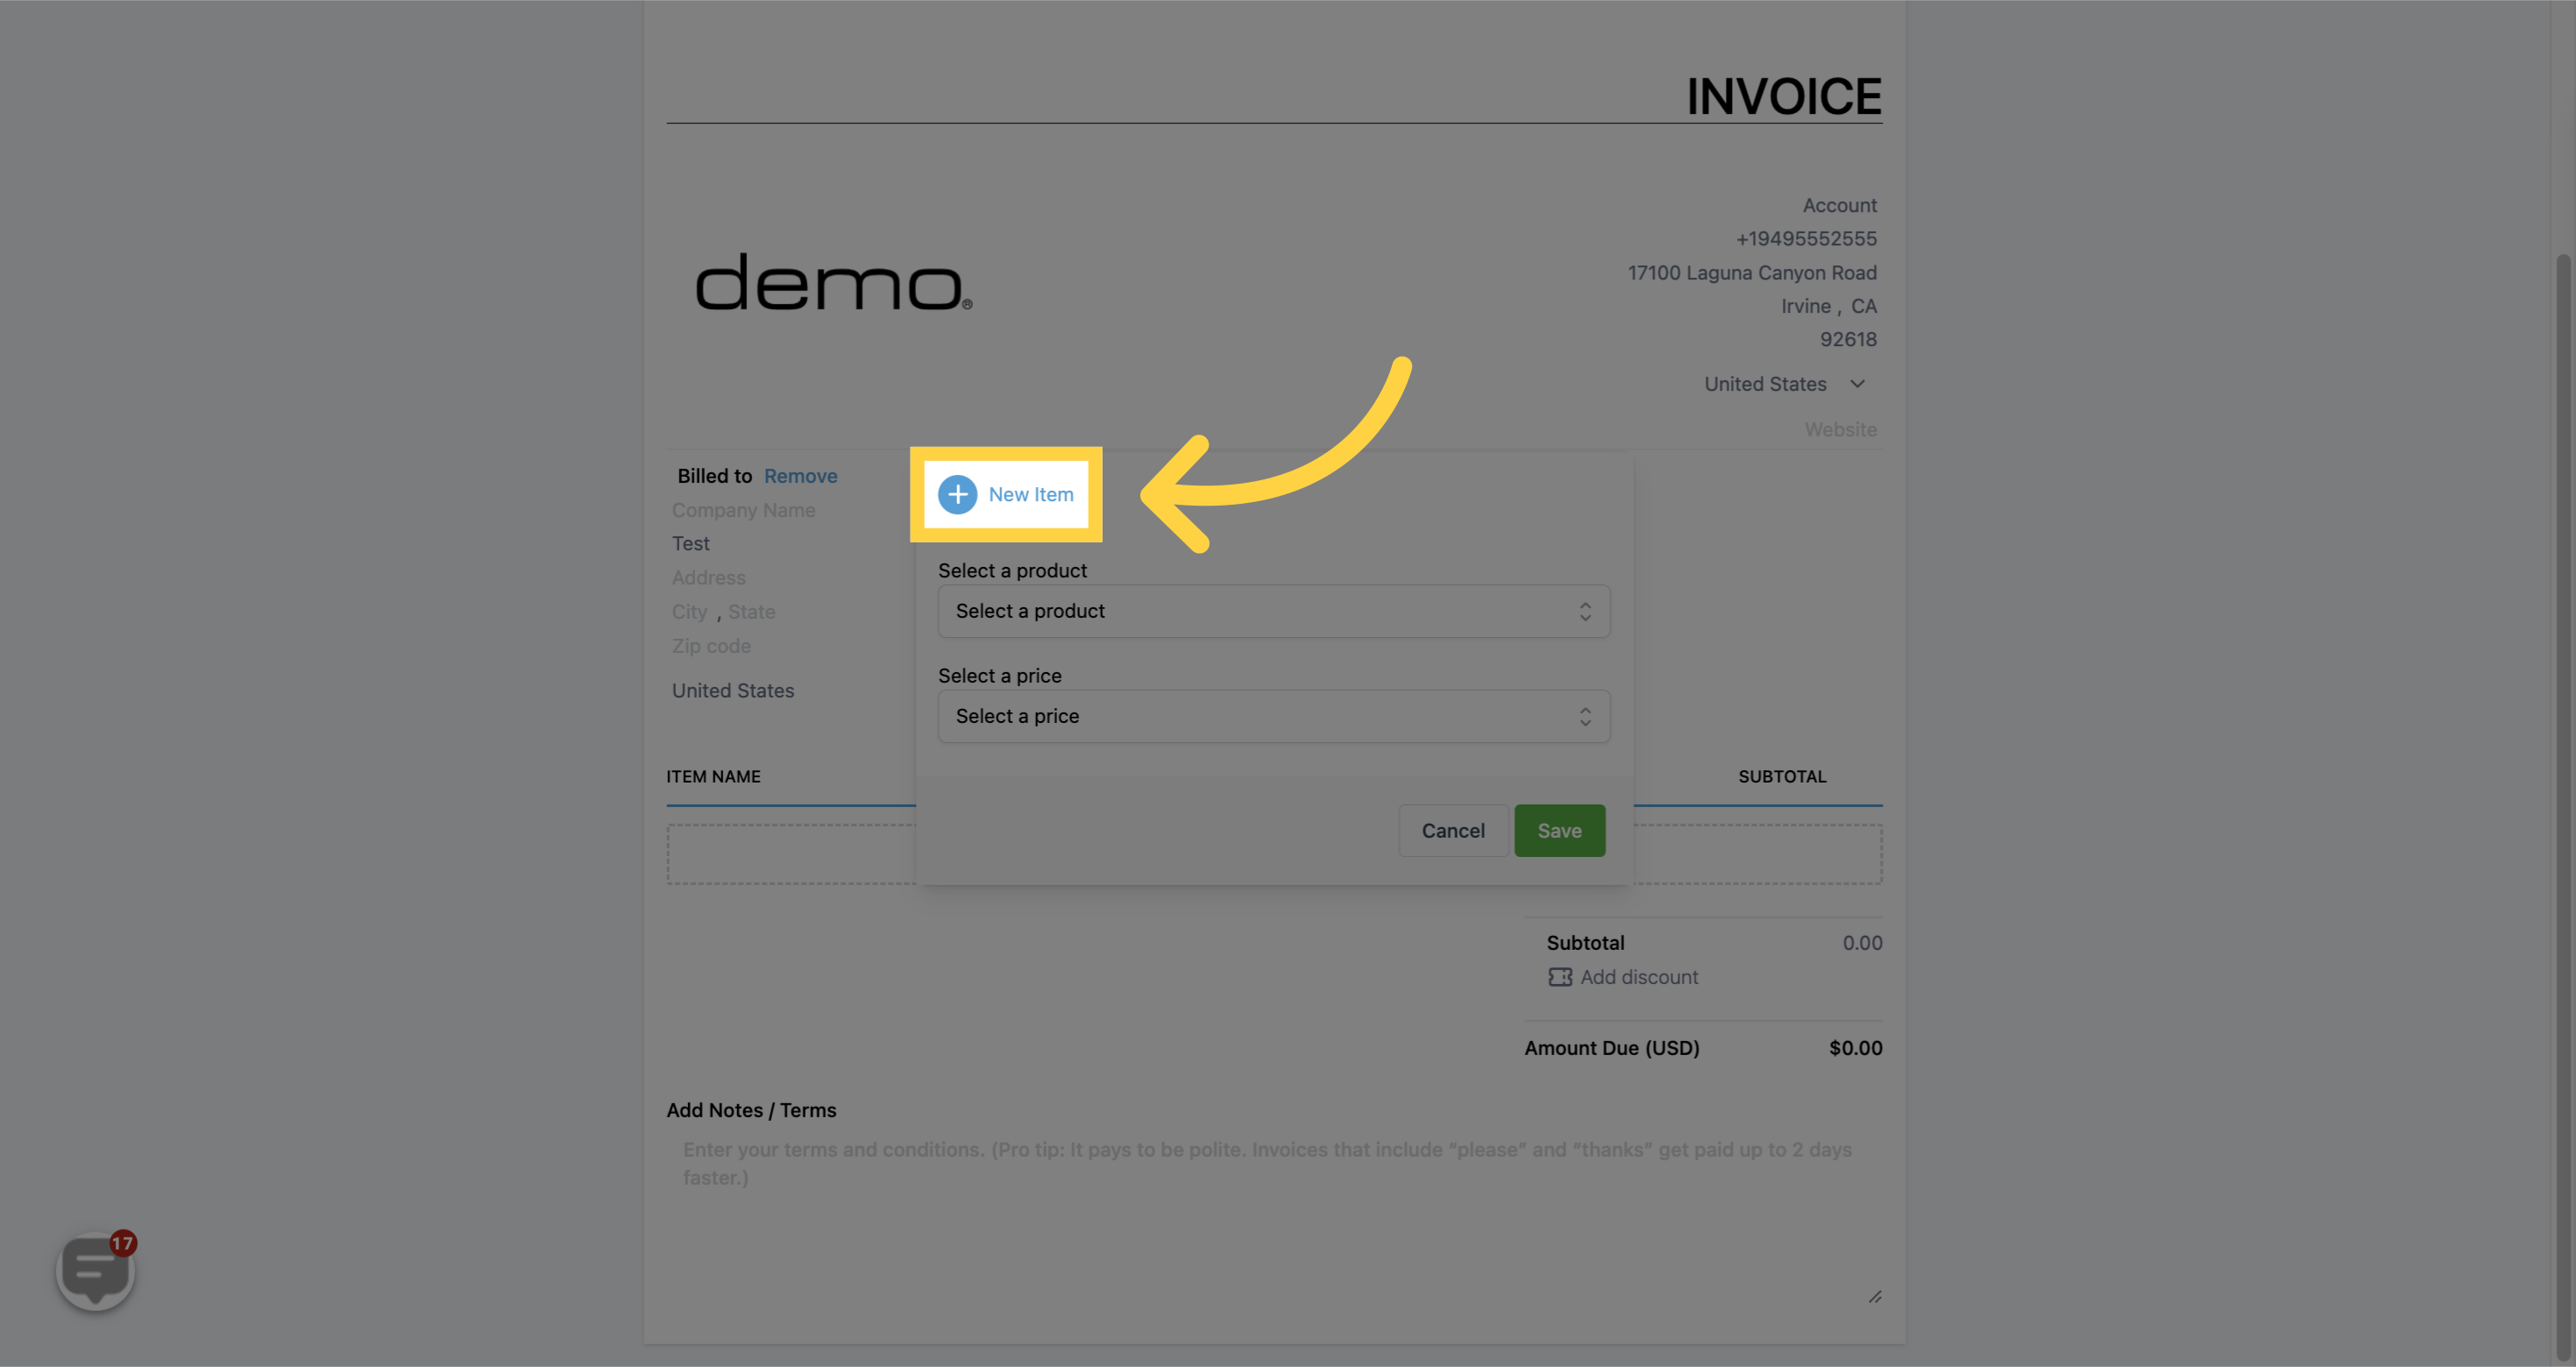
If you have already created items or products in your CRM that you want to add to your invoice, you can easily select them from the dropdown menu. Simply click on the "Select Item" button and choose the item from the list that appears.

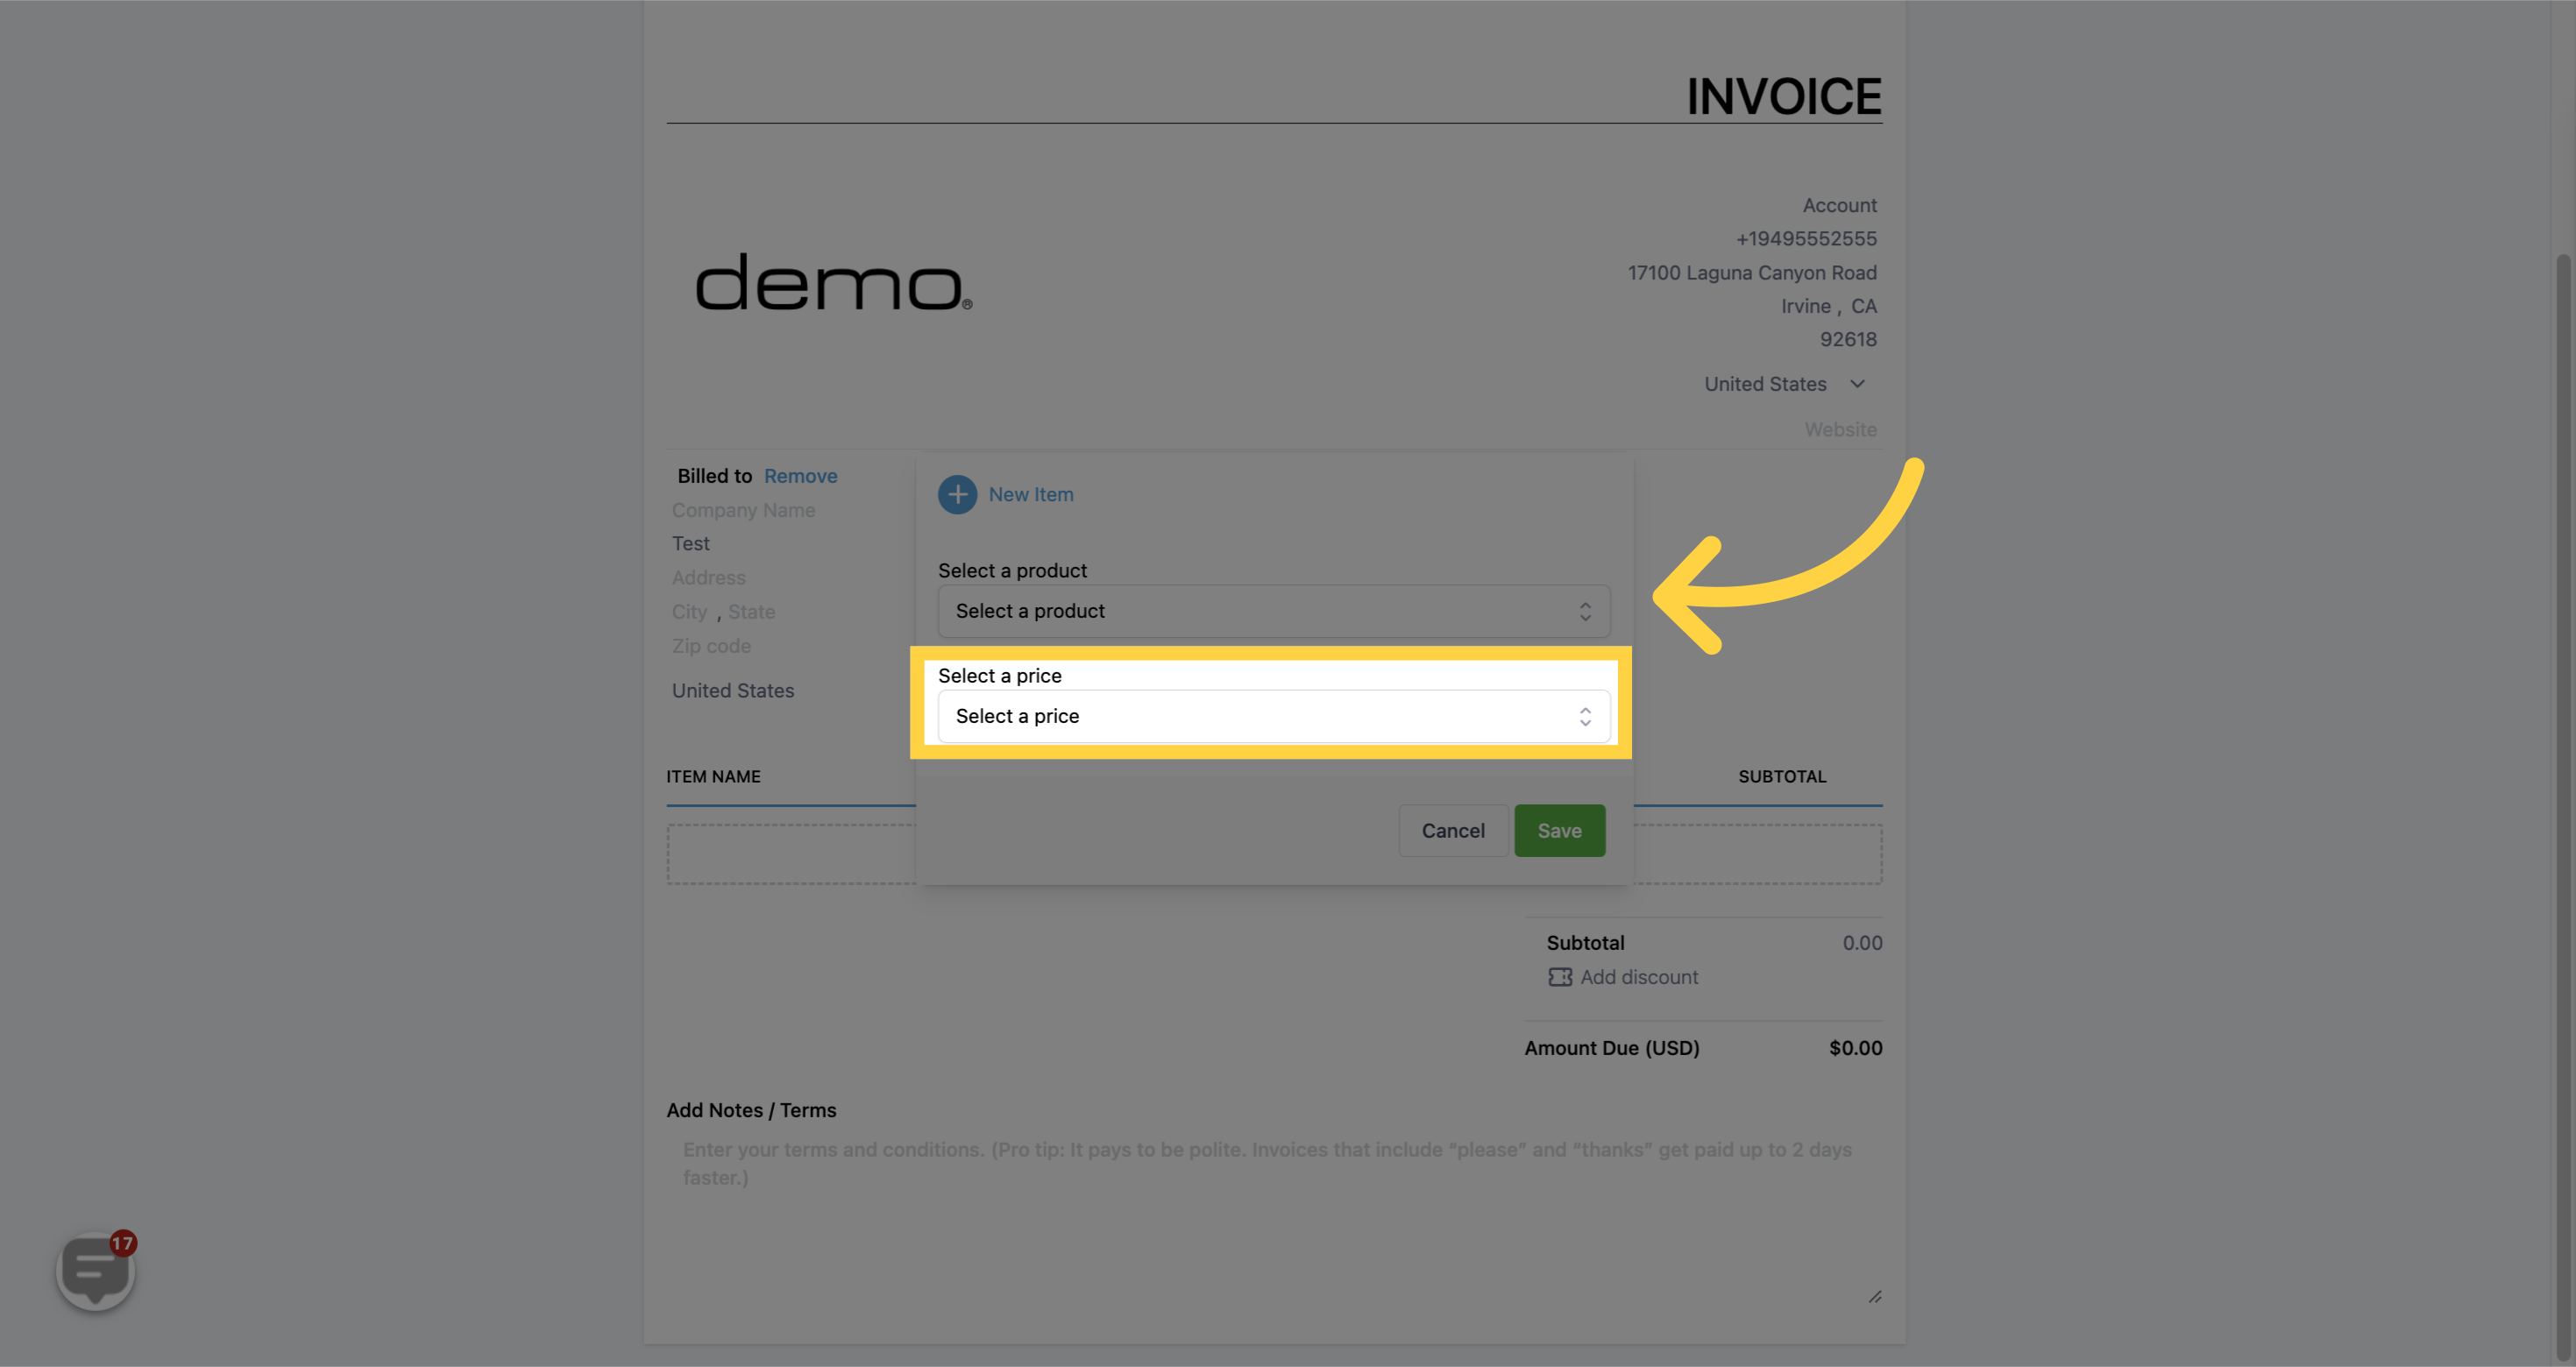
Each product or item in your CRM has a preset value associated with it. This value will automatically change based on the product you have selected for the invoice.
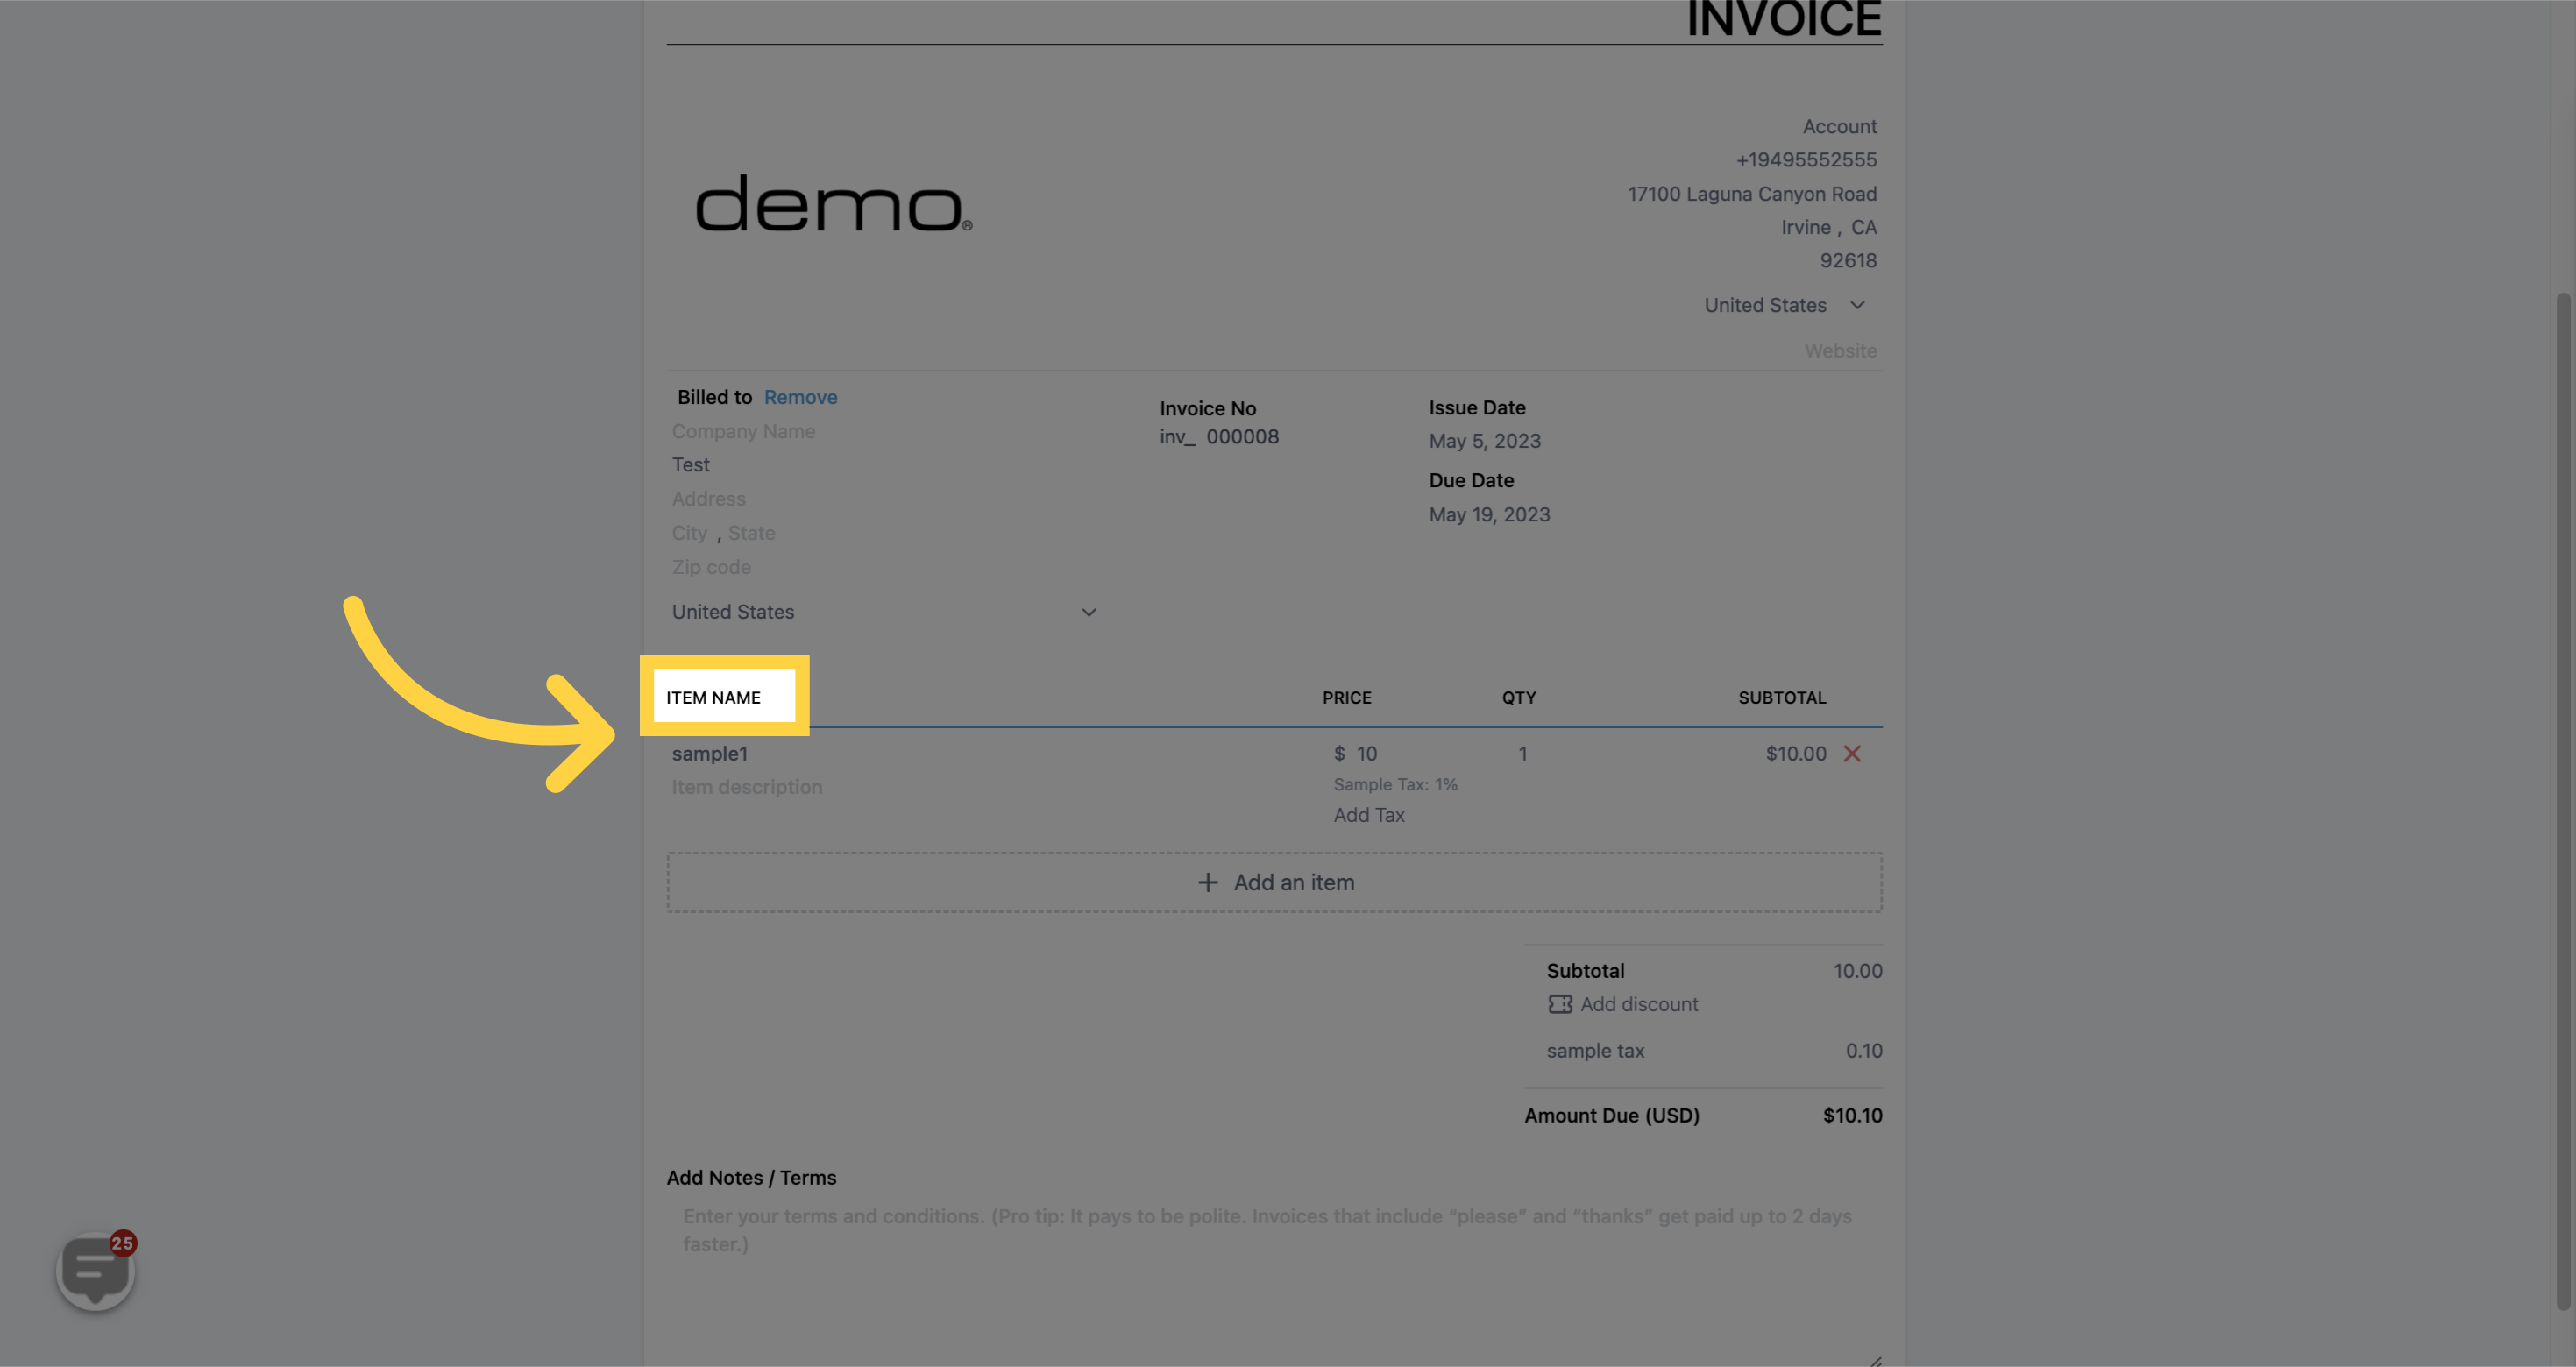
ITEM NAME -When you view an invoice, you'll see the names of products or services included on it. If you've added a description to an item, that description will also appear below the product name for added details.
)
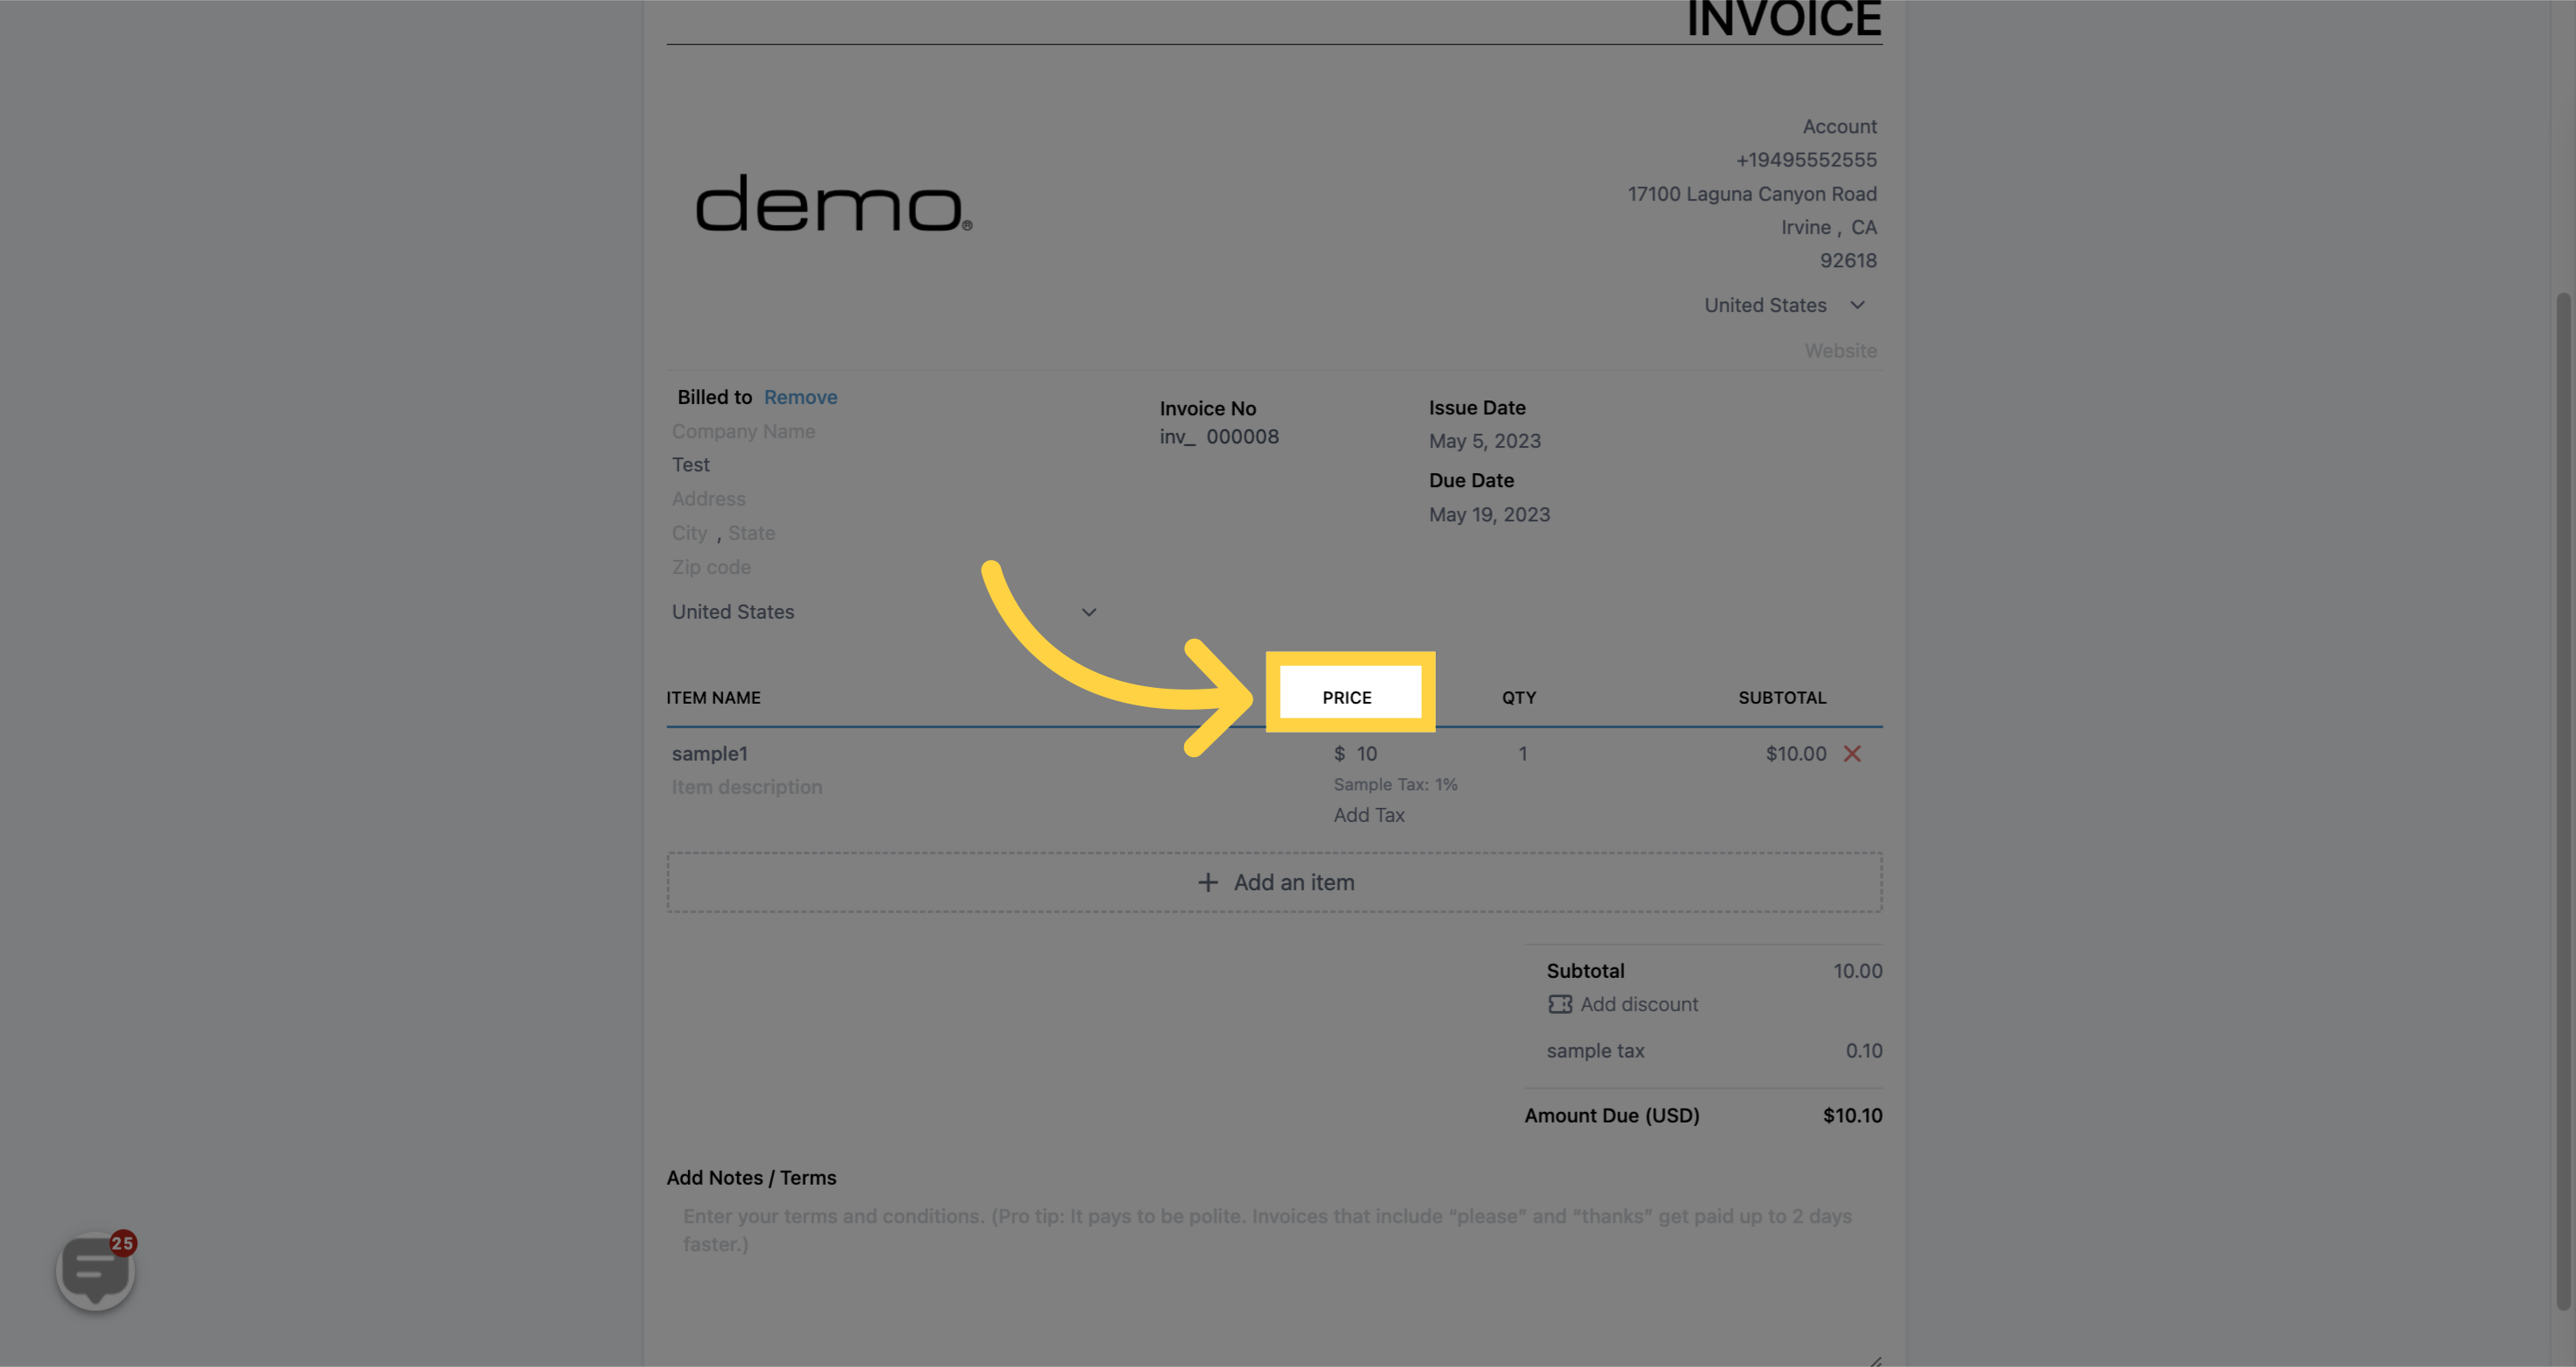
PRICE - On an invoice, your customer will see the price for each item that has been added. The prices for these items are pulled directly from the products that you've created in your CRM.
)
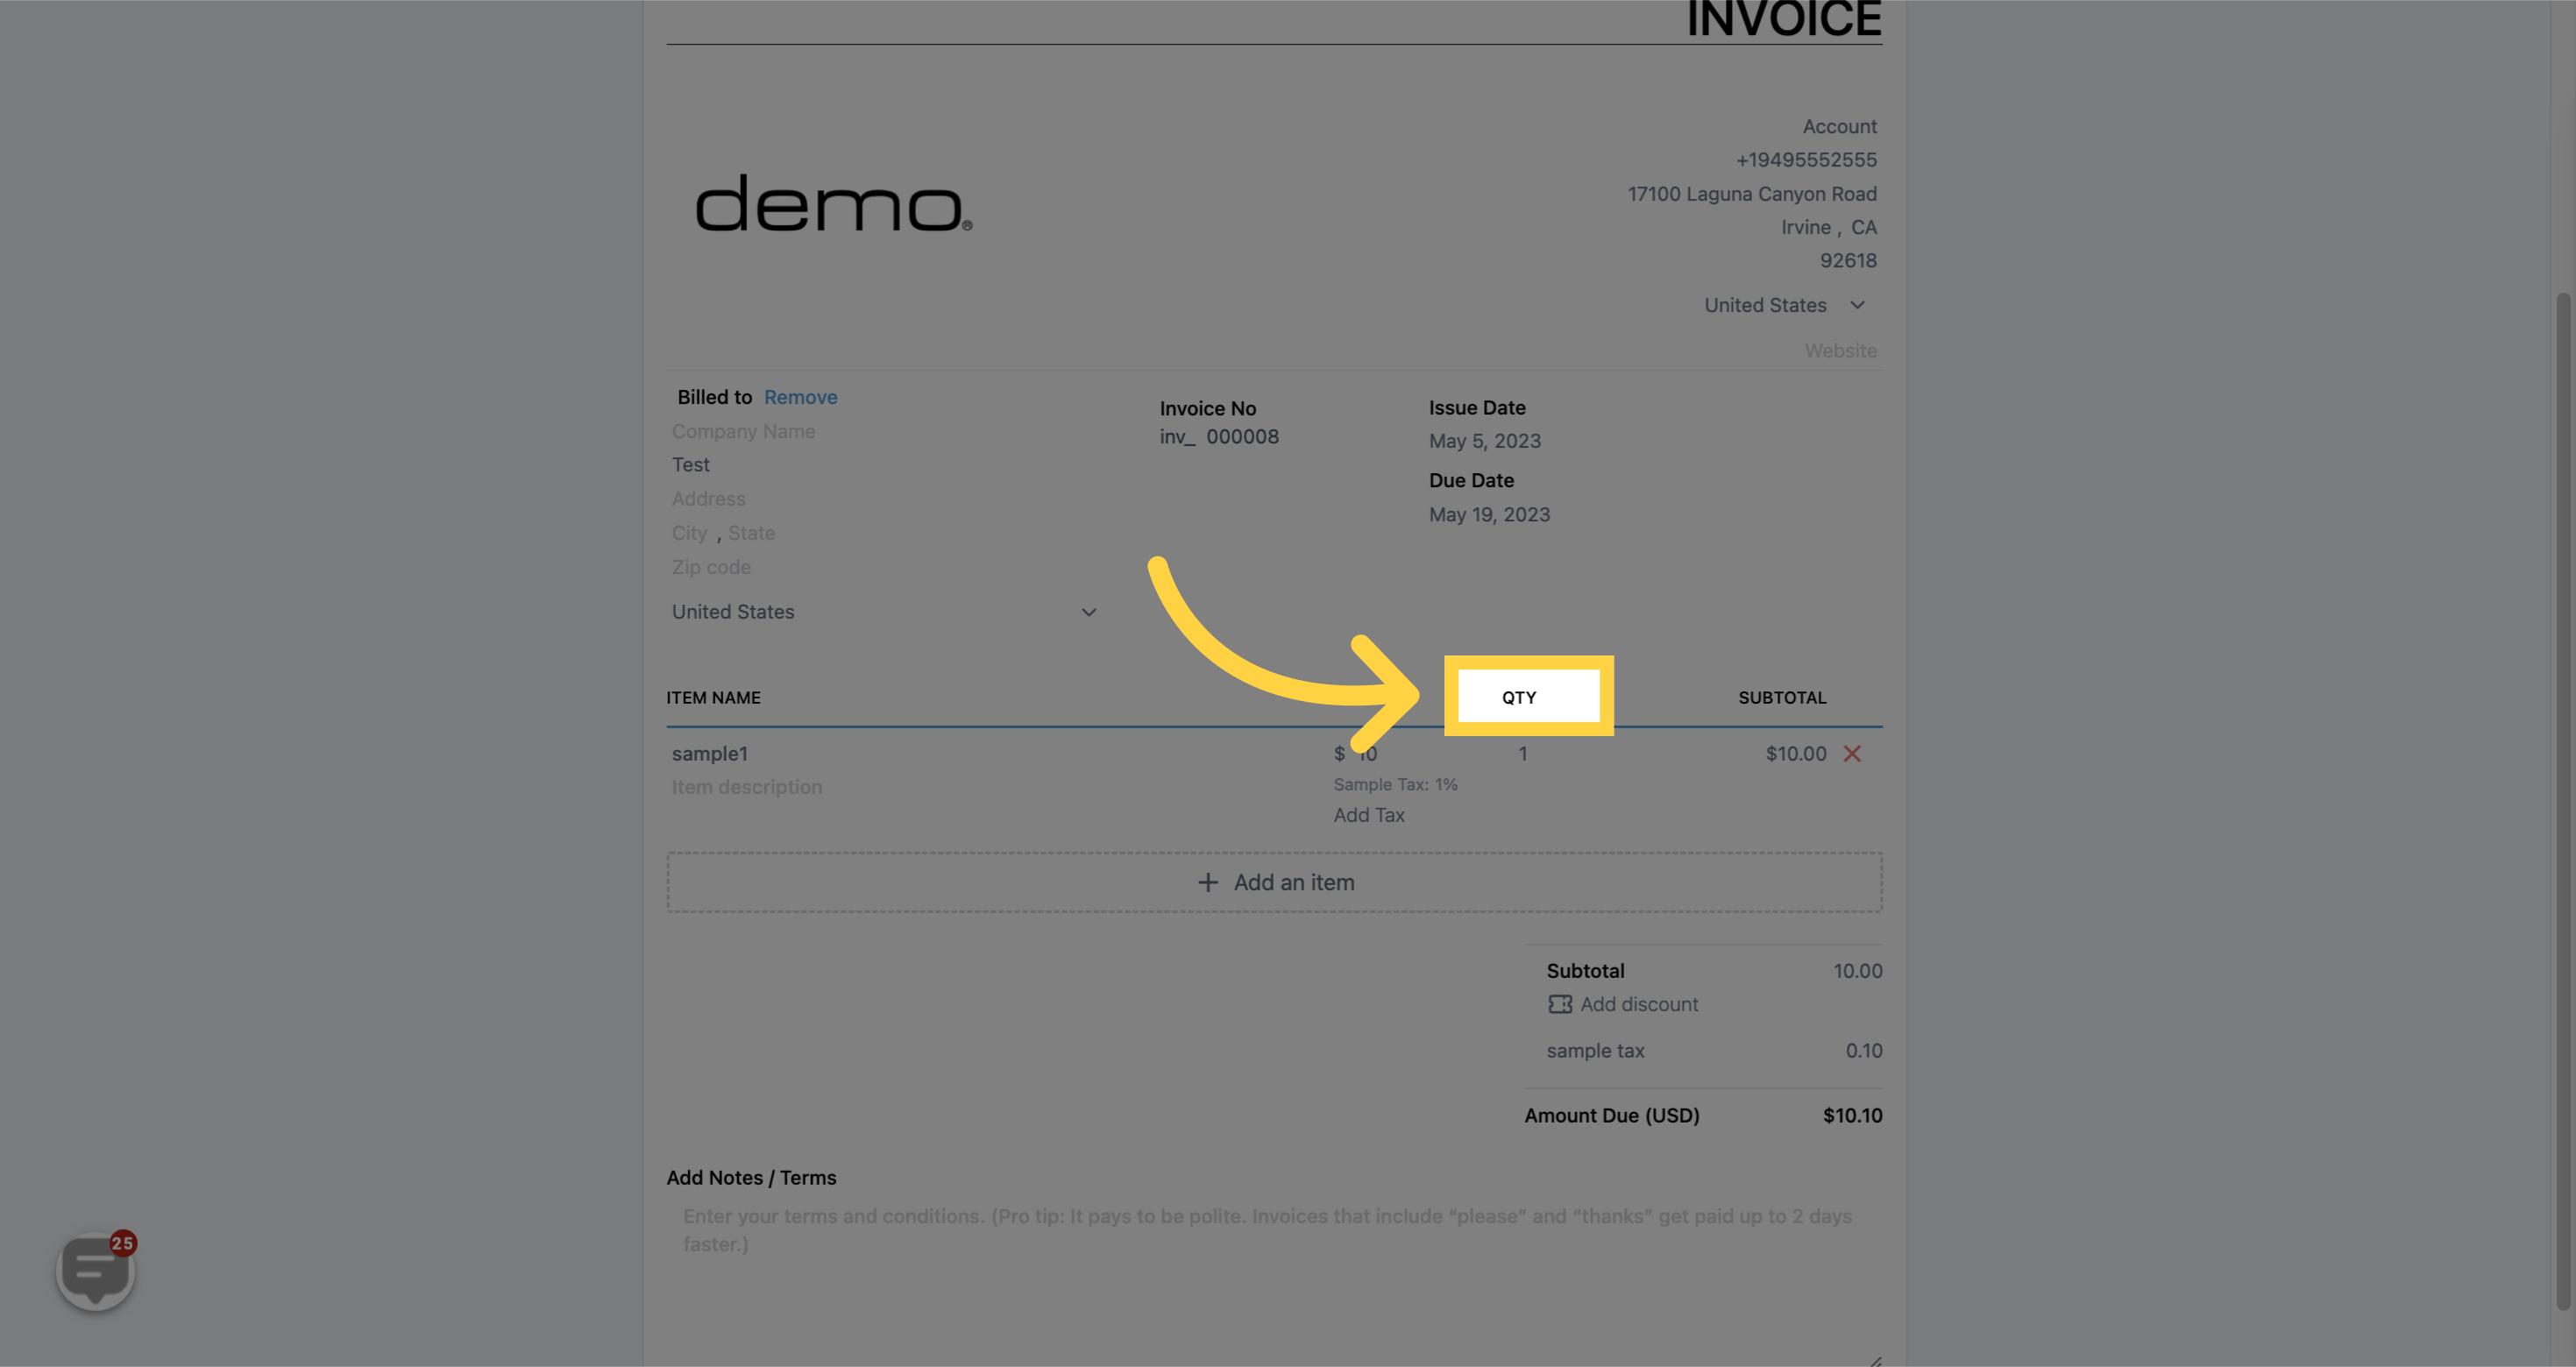
QTY - On an invoice, you and your customer can see the quantity of each product that has been added.
)
SUBTOTAL - On an invoice, you can see the subtotal for each set of products.
)
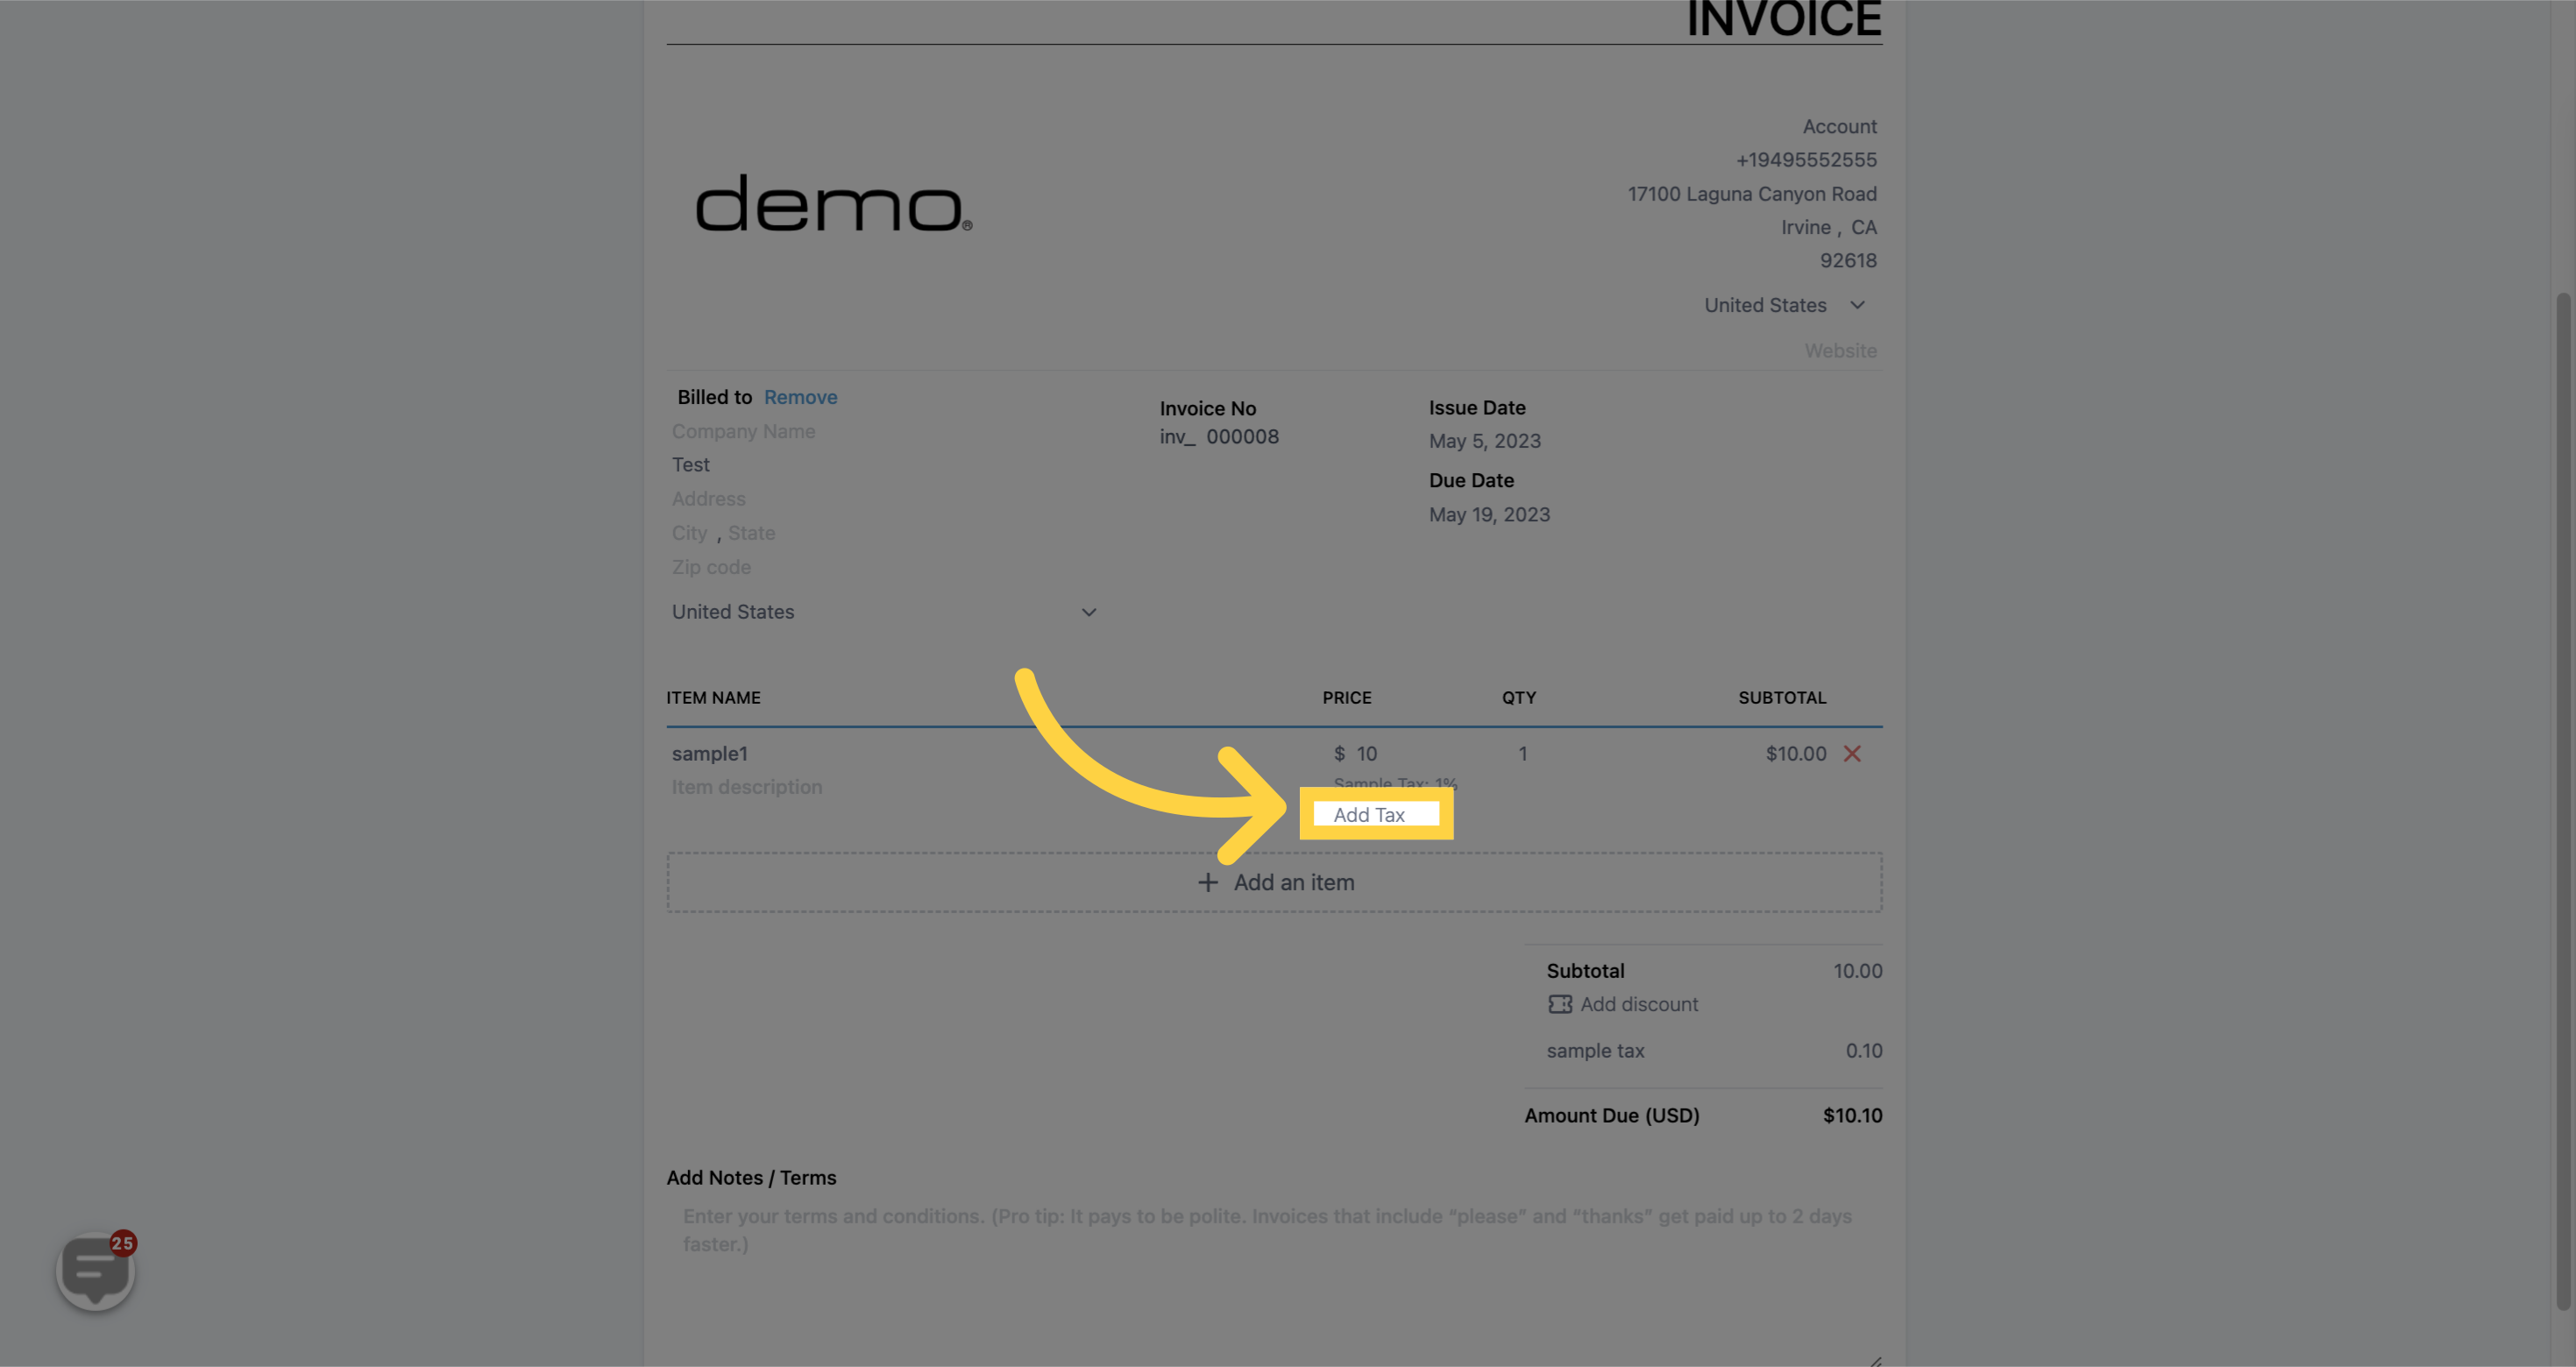
When creating an invoice, you have the option to add taxes to the product or service you are providing. This enables your clients to see the breakdown of the total amount they are paying, including the tax amount that is included in the final price.
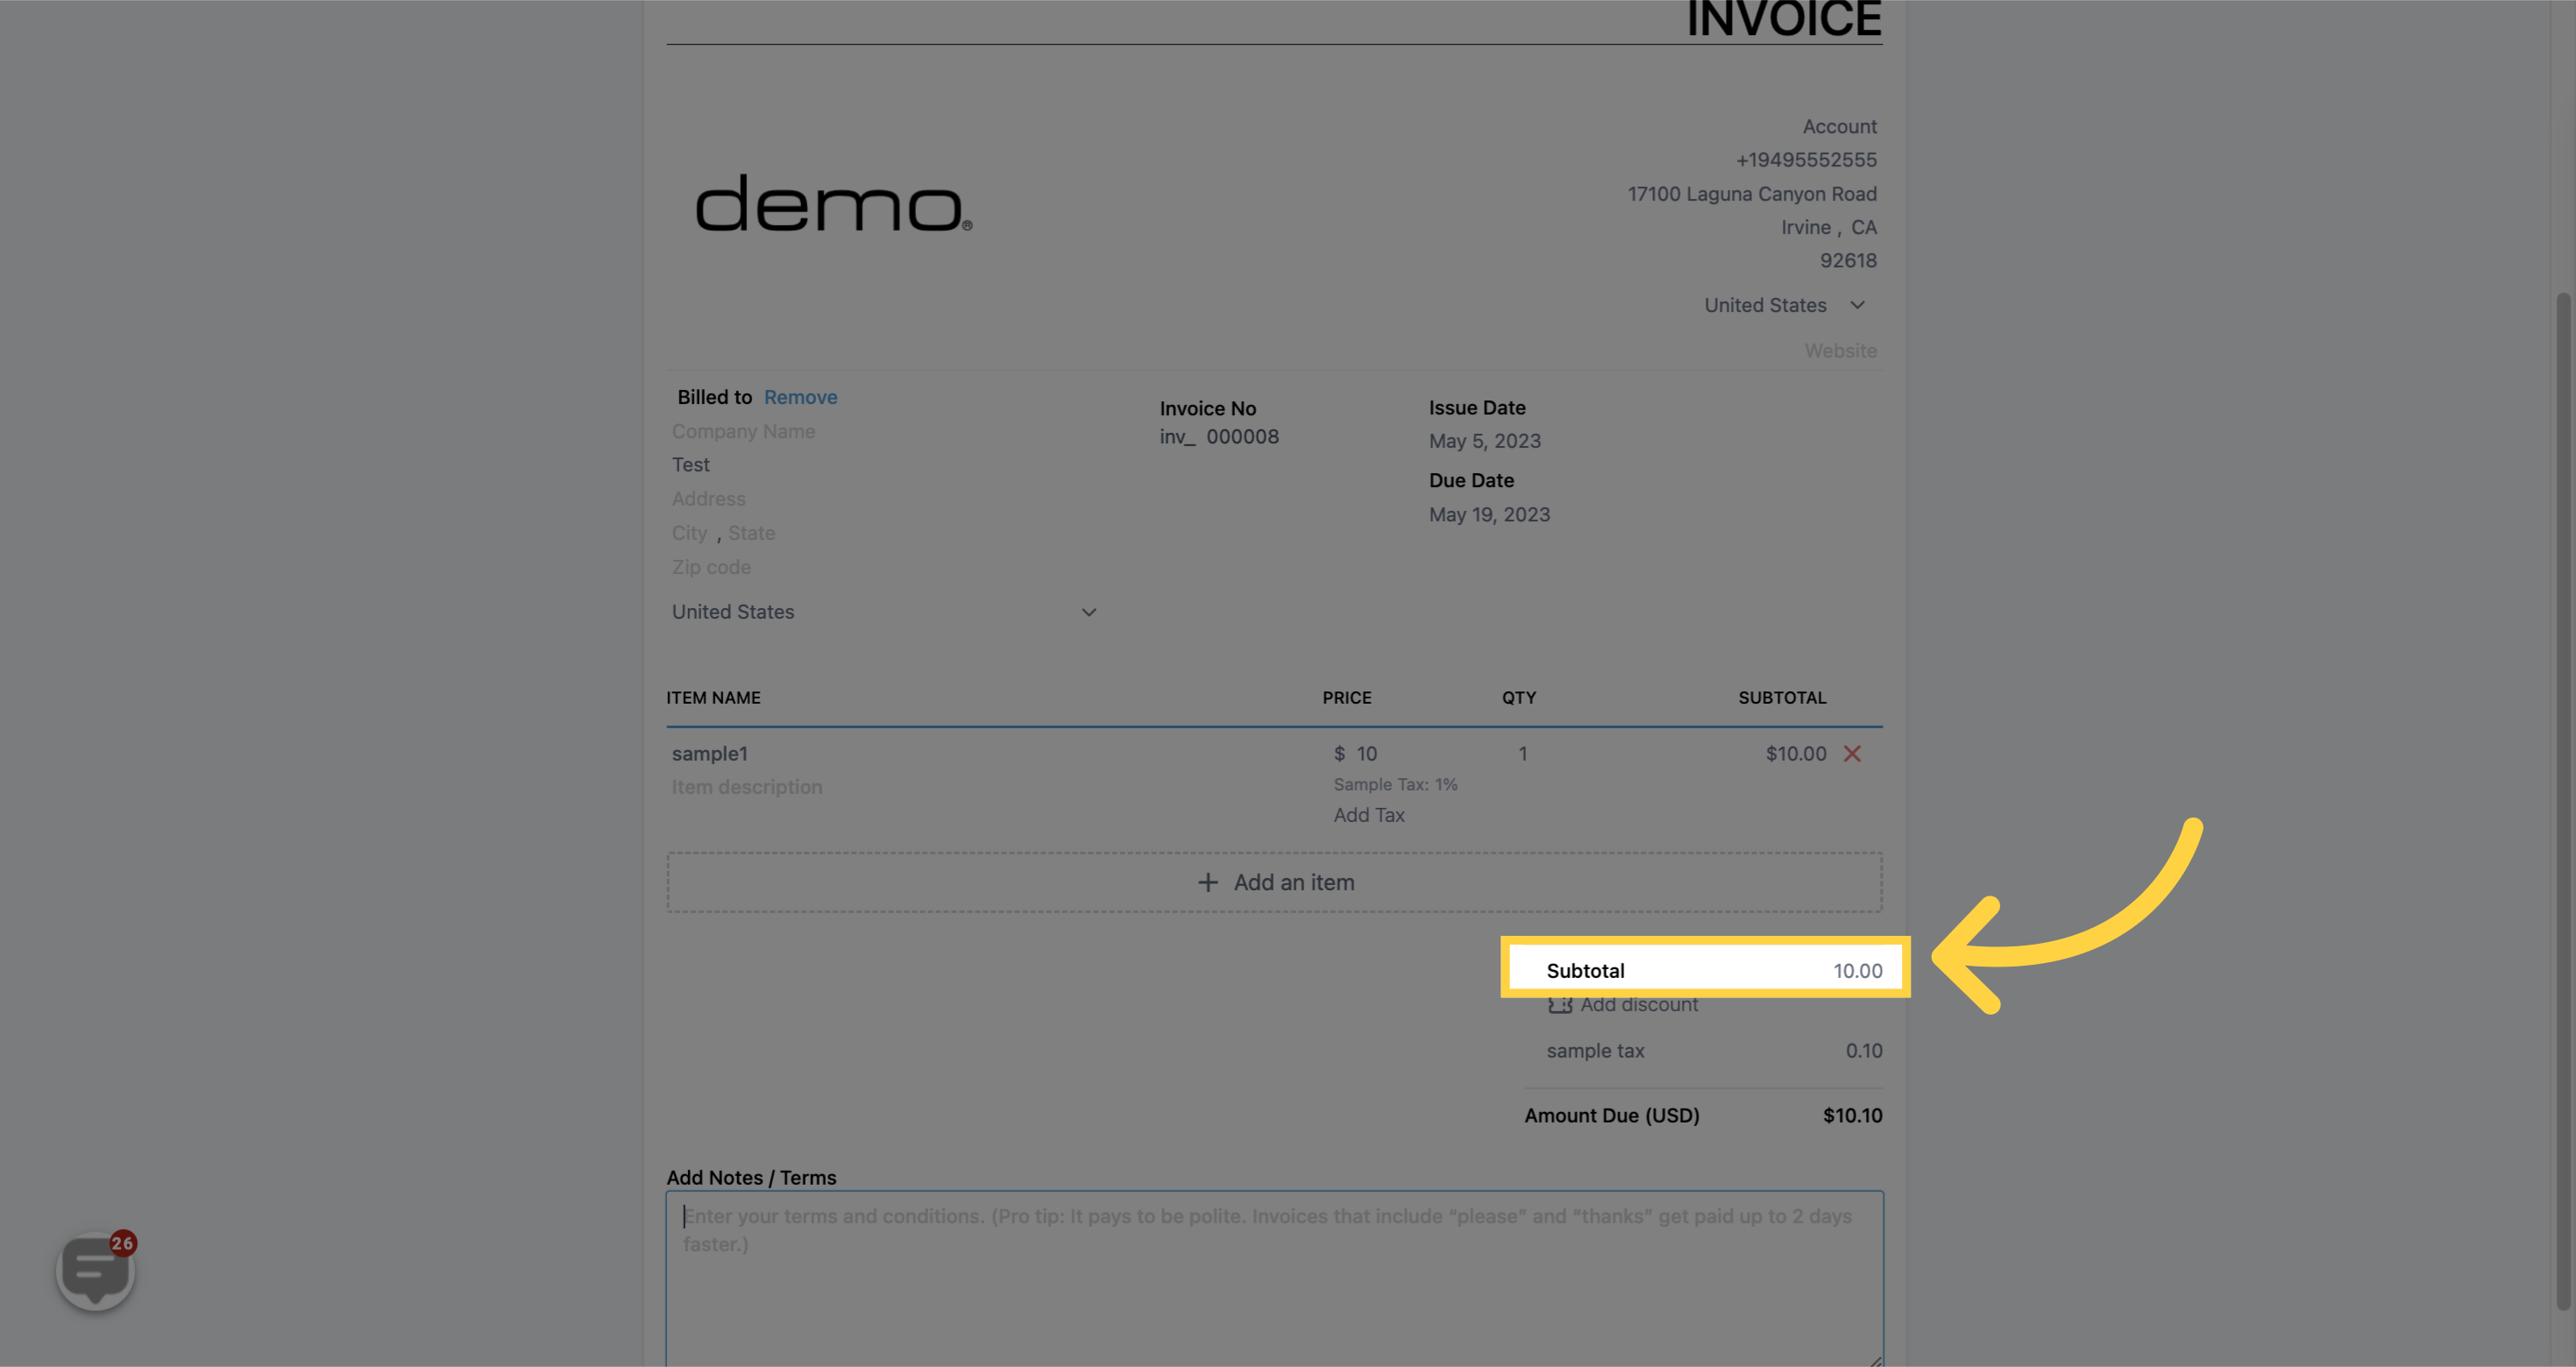
he category subtotal on the invoice shows the subtotal for a specific category of product or service mentioned on the invoice.
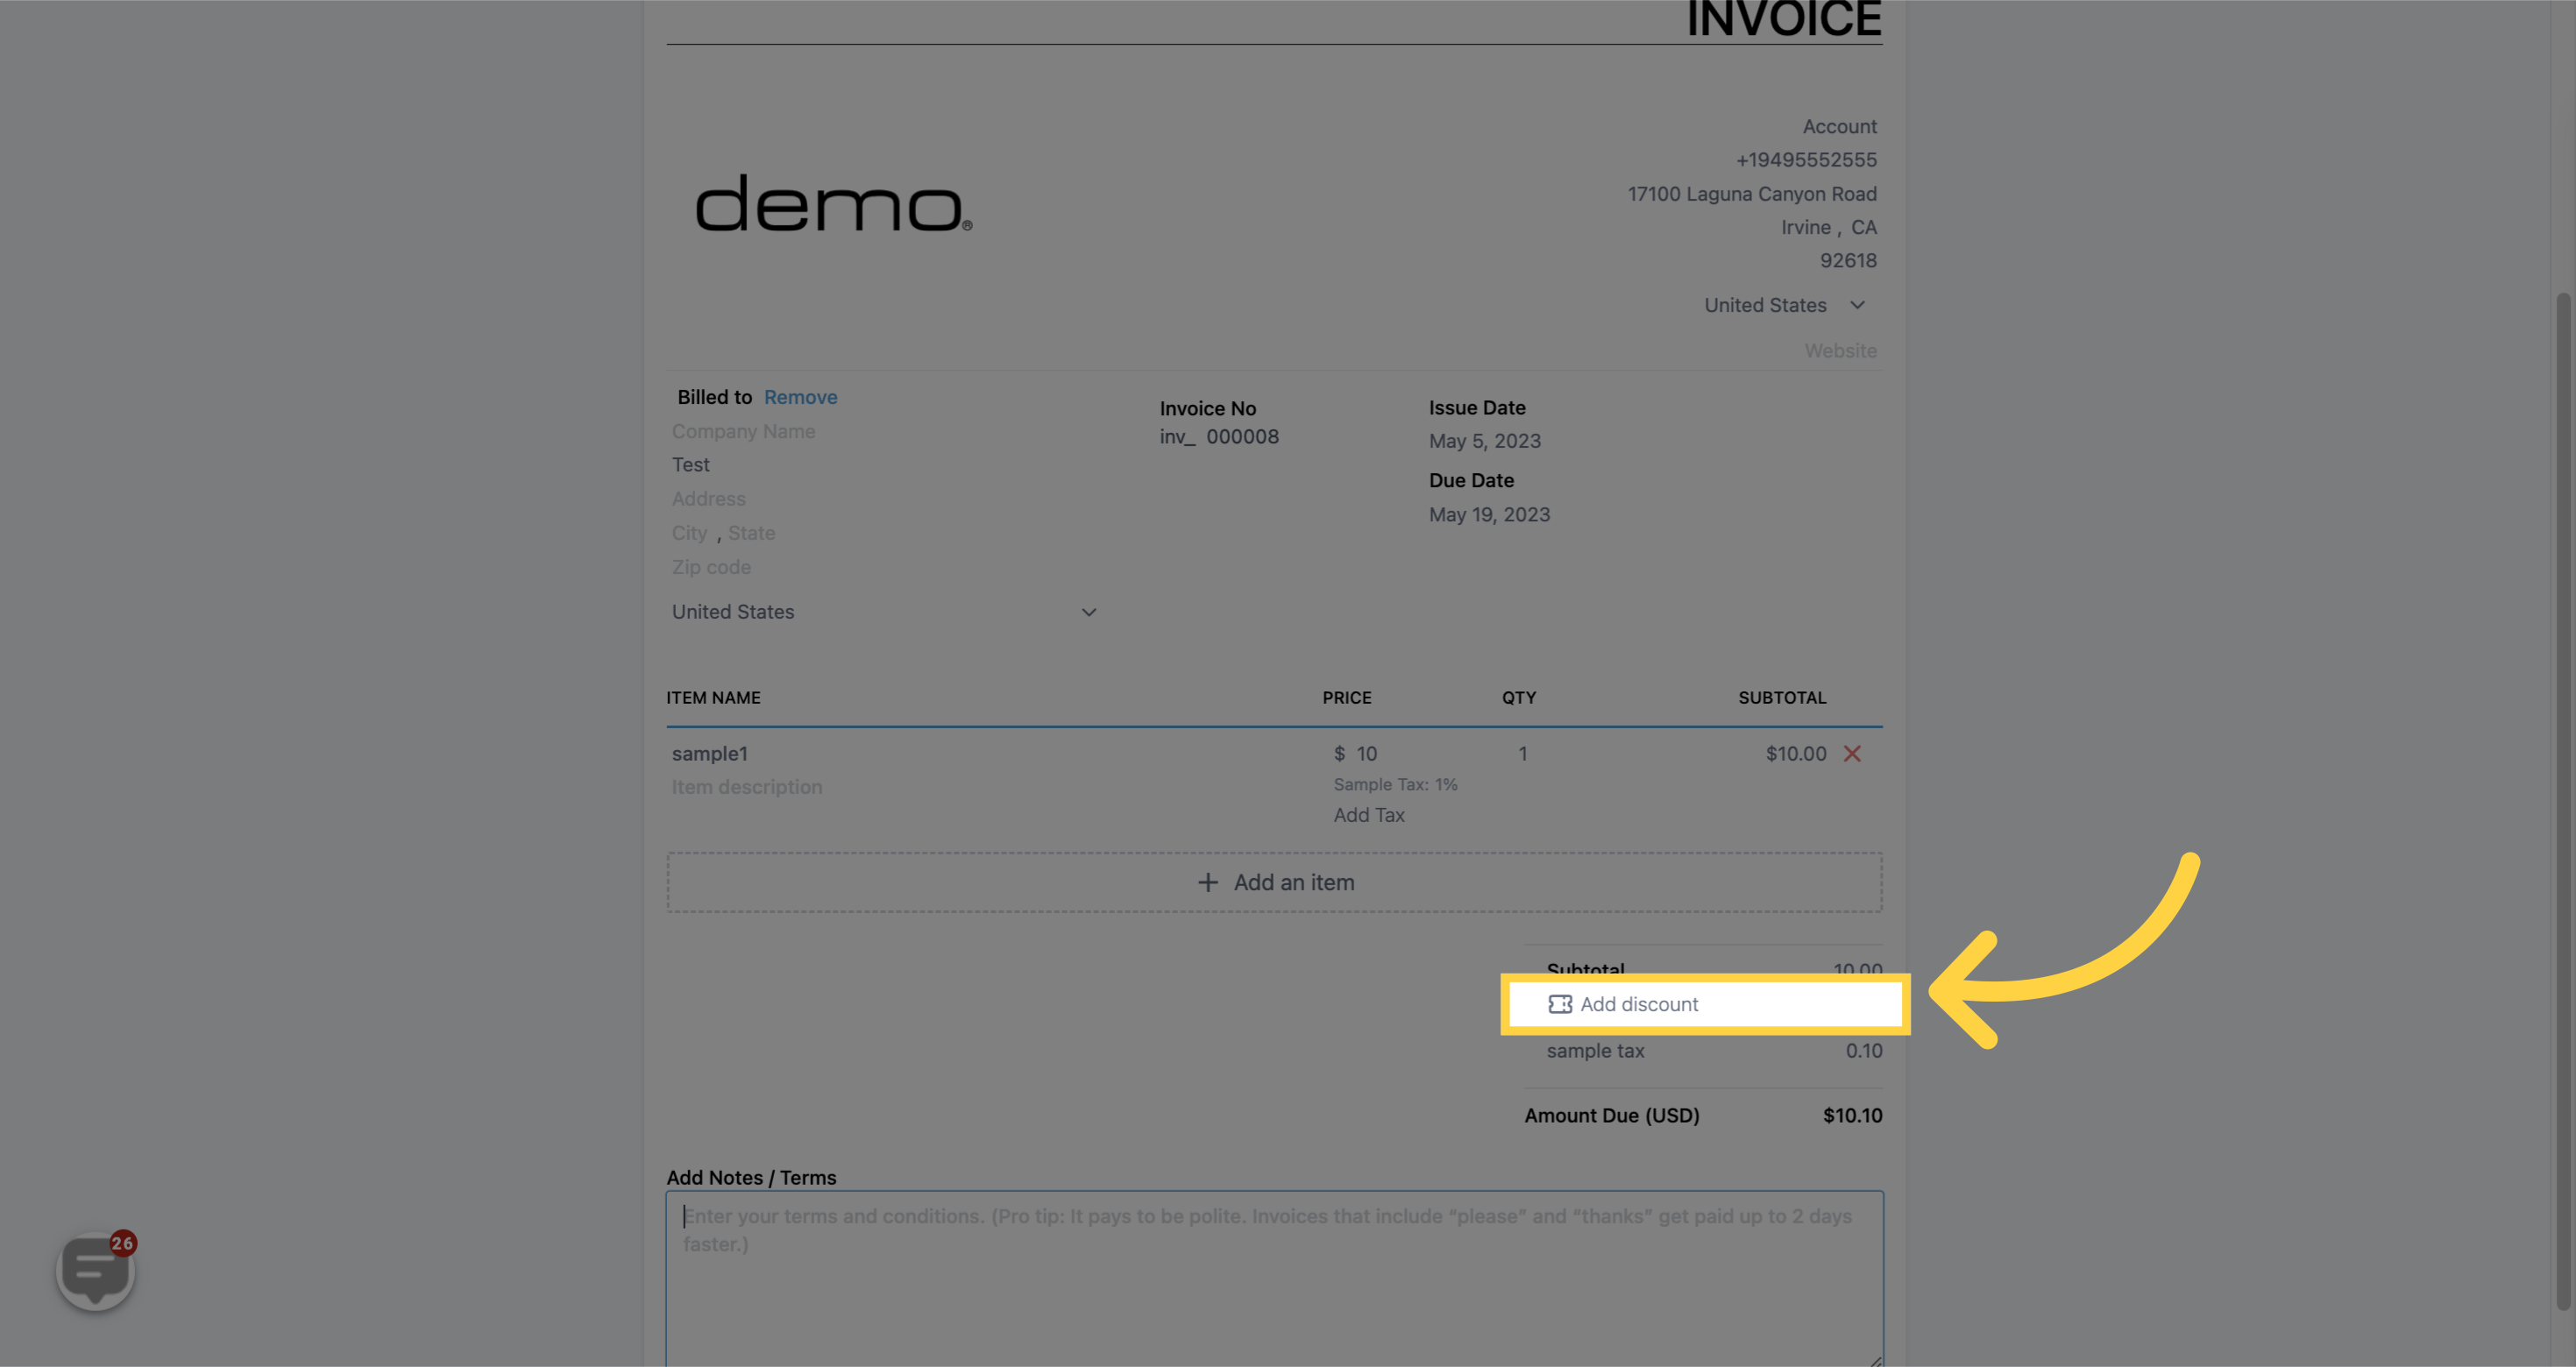
You can set a discount on your invoice by navigating to the appropriate section. From there, you can set the percentage of the discount you wish to apply to the invoice
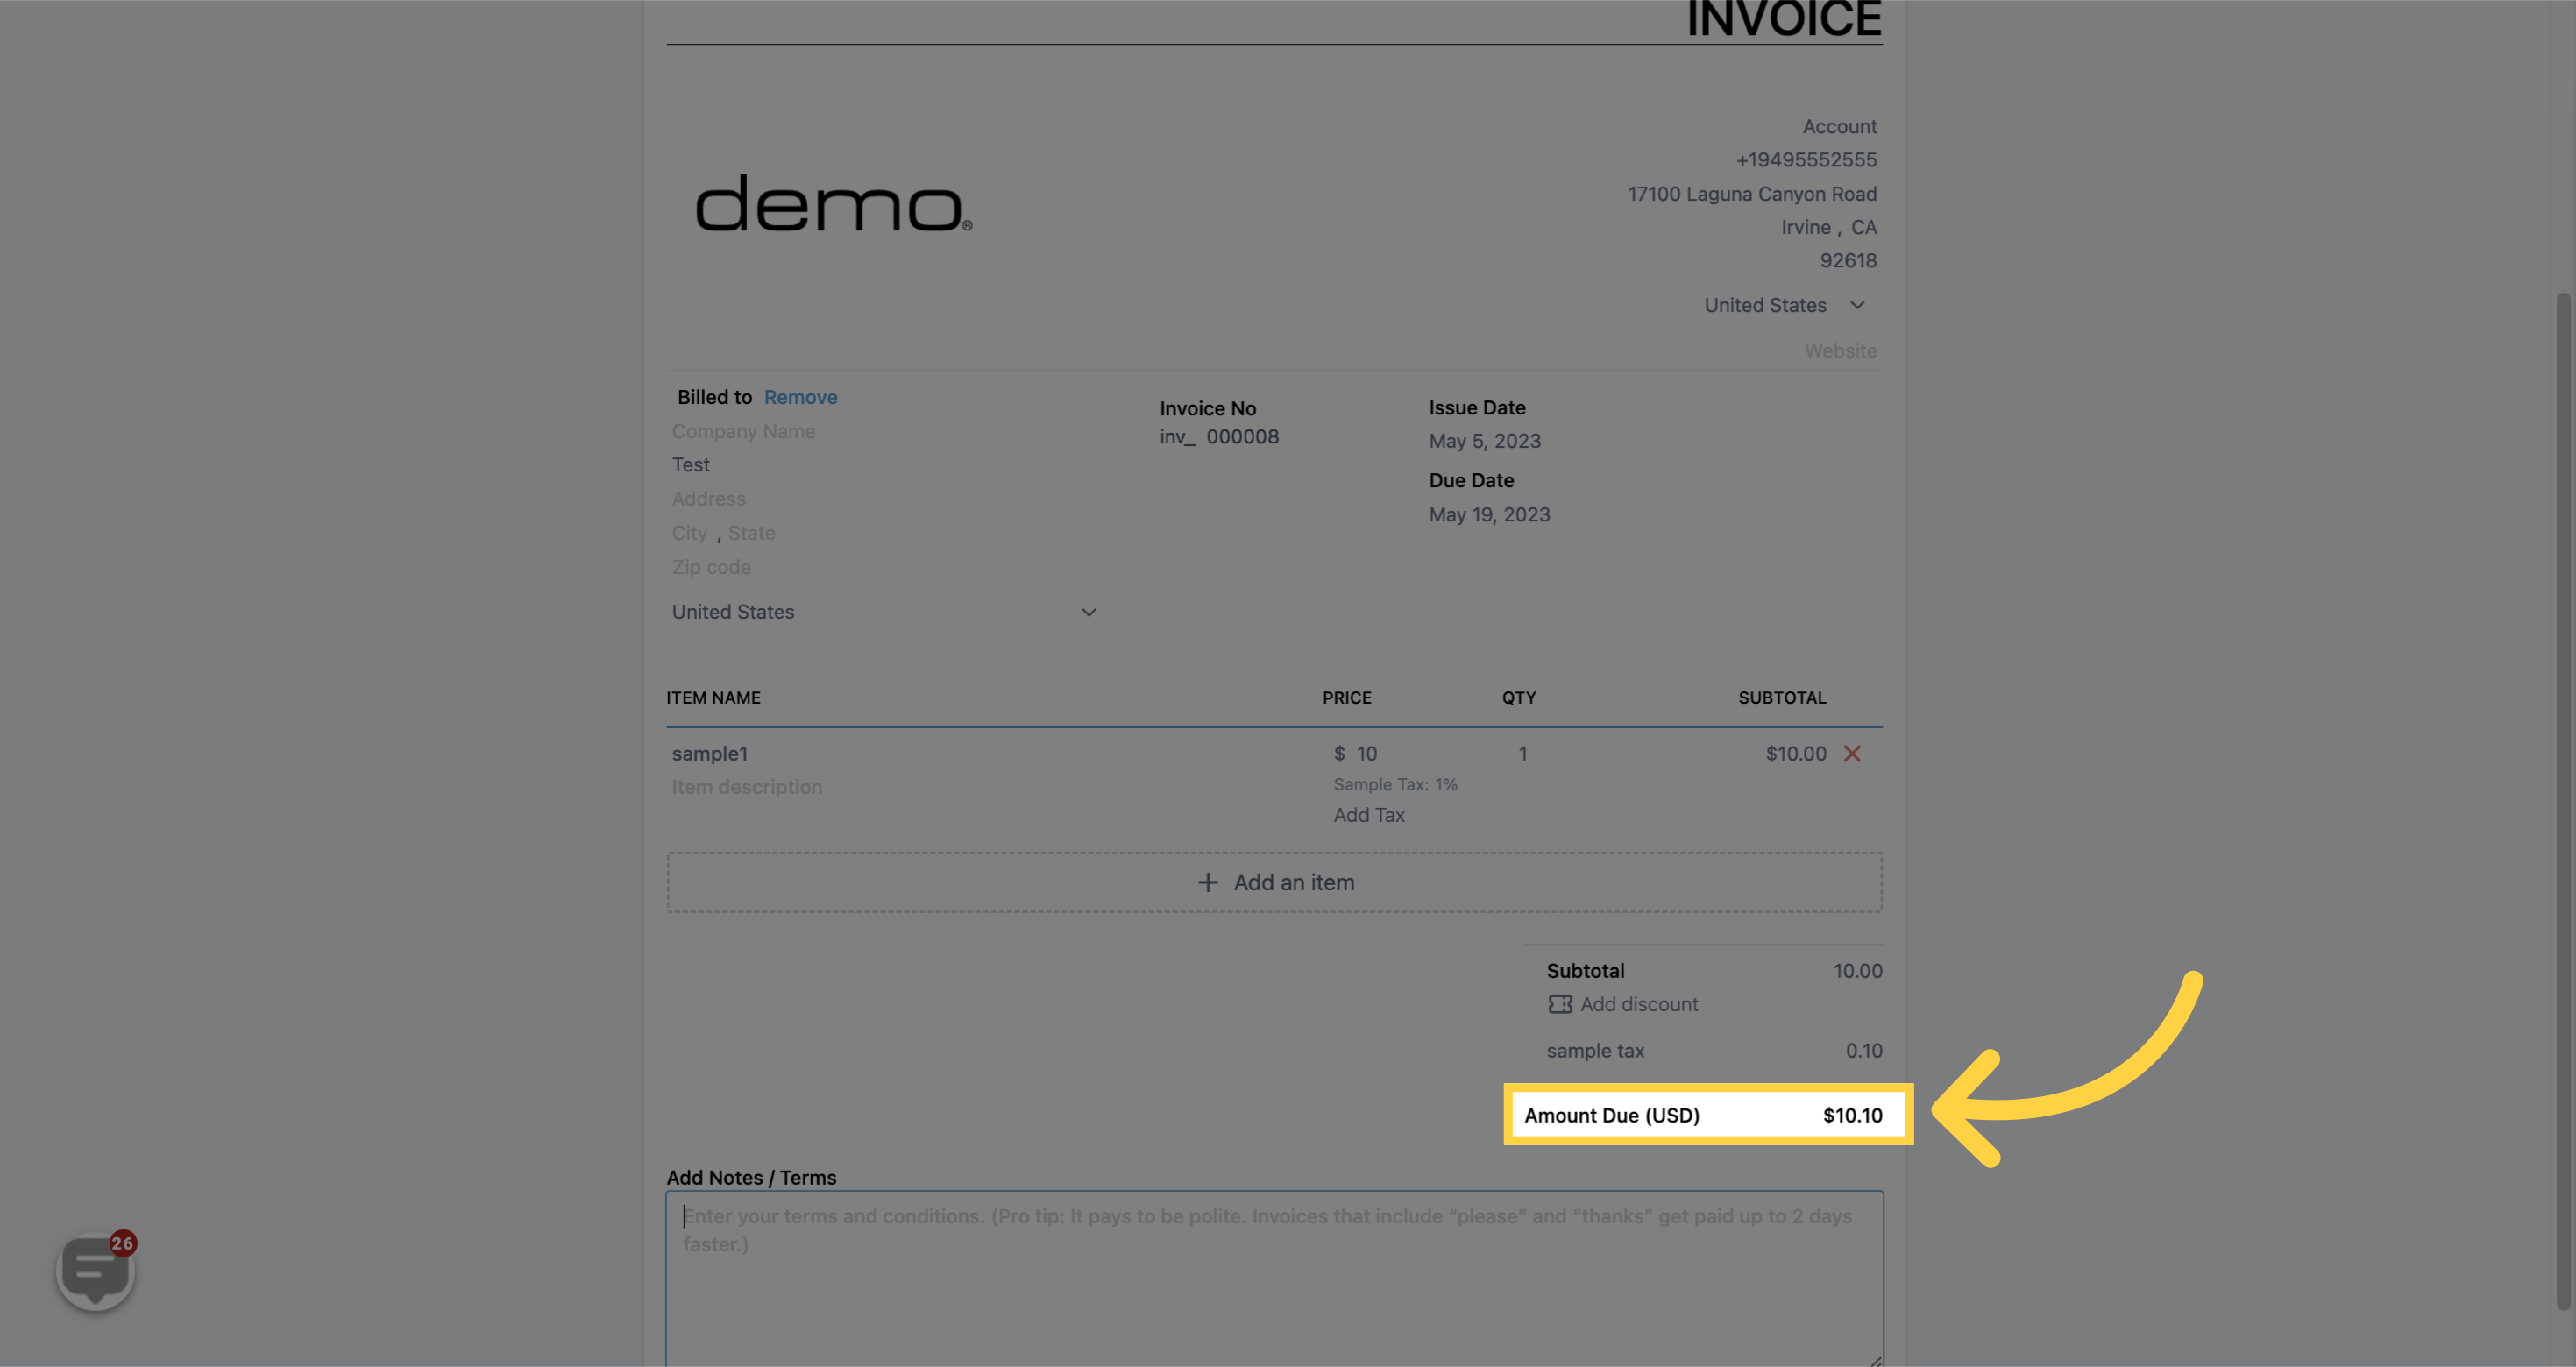
The amount due on an invoice is the sum of money that is required to pay the invoice in full. This amount takes into account any discounts or taxes that may have been applied, and reflects the final balance owed to the vendor.
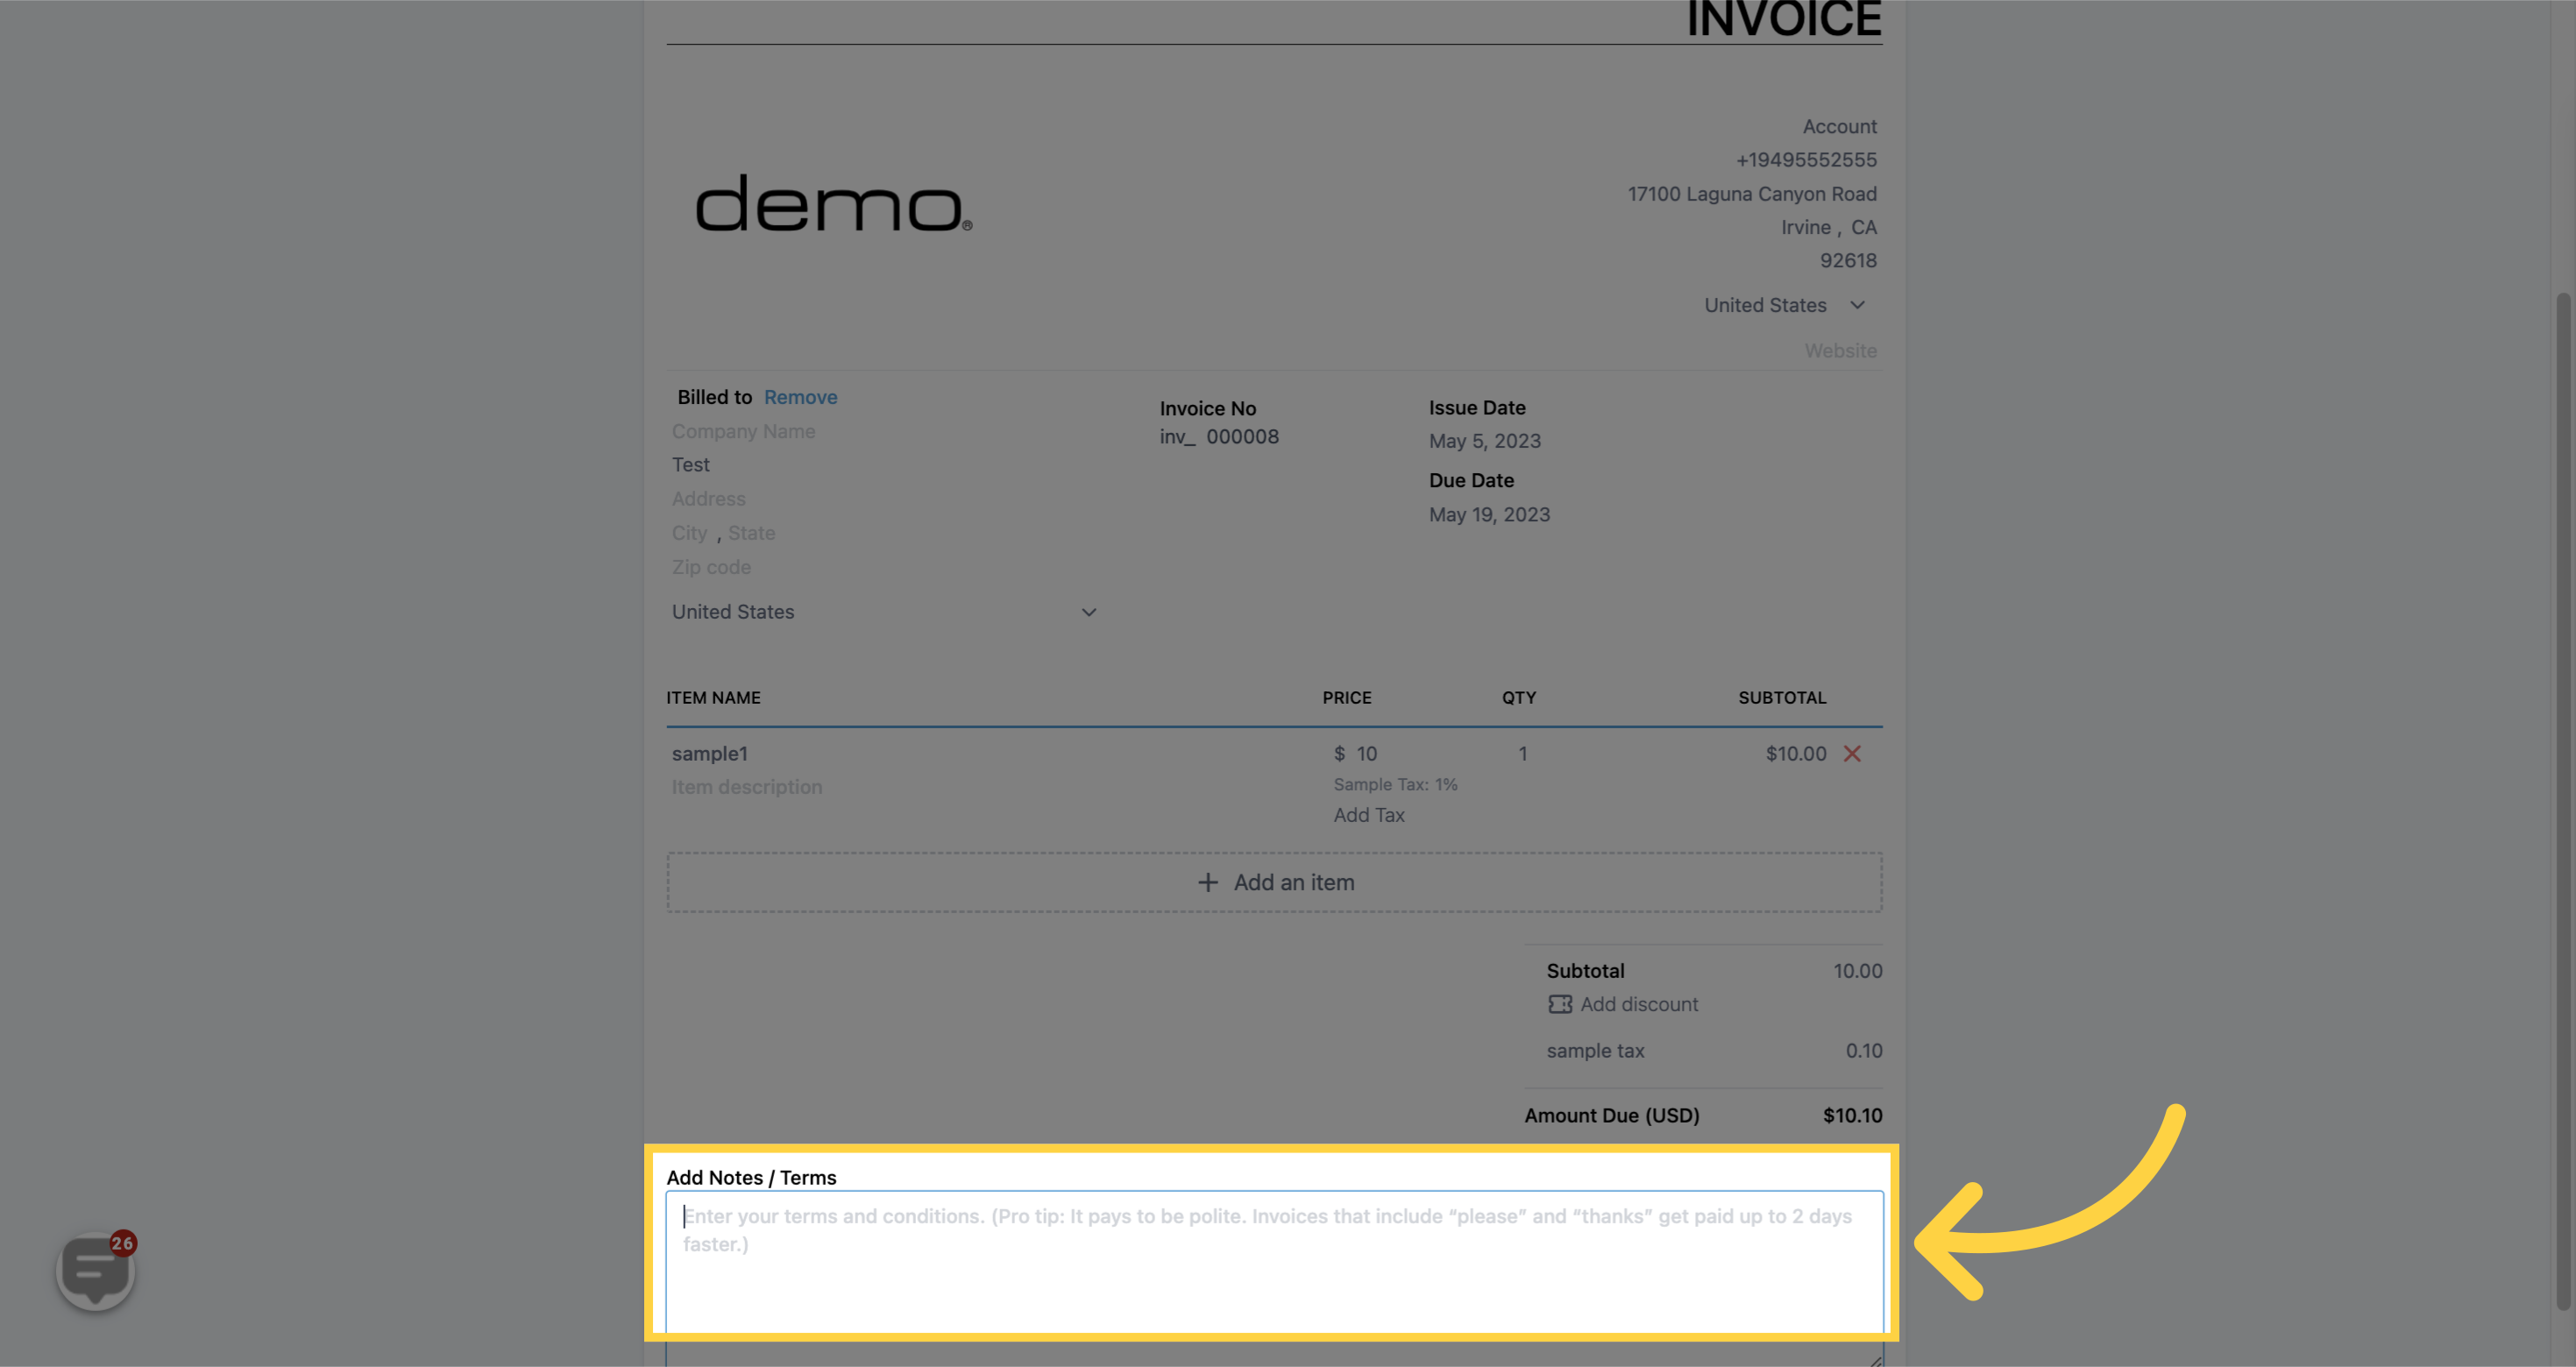
The notes and terms section on an invoice will display the preset notes and terms associated with the vendor account. However, for individual invoices, you may wish to customize these notes and terms based on your specific goals.