When a prospective patient fills out one of your Facebook or Instagram lead forms, that lead should land in Aesthetix CRM instantly and start receiving follow-up right away. This guide shows you how to connect a Facebook lead form submission to a Lead Capture workflow so no lead slips through the cracks.
The current approach (AX 3.0) uses the Facebook Lead Capture workflow template and the Facebook Lead Form Submitted trigger. If your account was set up in 2023 you may still be using the older Paid Ads Lead Nurture template (AX 2.0). Both are covered below, with the current 3.0 method as the primary path.
The Facebook Lead Form Submitted trigger starts a workflow the moment a patient submits a form through your connected Facebook Page's lead ad. These forms, sometimes called instant forms, live natively inside Facebook and Instagram and do not require a separate landing page. When someone fills one out, their information is sent straight to Aesthetix CRM, where your workflow can tag them, assign an owner, create an opportunity, and begin nurturing them.
For a med spa, this means a lead from your Botox promotion or consultation ad is captured in real time and enrolled in follow-up email and text sequences without any manual data entry.
Key benefits:
Connect your Facebook and Instagram campaigns directly to CRM automation, with no landing page or manual export required.
Add leads to your CRM in real time so your team can respond fast.
Target the exact page and form with built-in filters.
Automatically assign contacts, notify staff, and route leads into your pipeline.
Personalize follow-up based on the treatment and campaign the lead came from.
Two prerequisites must be in place for the trigger to work:
Facebook Page connected. Your Facebook Business Page must be connected under Settings > Integrations, and you must be an admin of that page. Only connected pages appear in the trigger's filter dropdowns.
Form fields mapped. Your Facebook lead form fields (name, email, phone) must be mapped to Aesthetix CRM contact fields under Settings > Integrations > Facebook Form Field Mapping. Without mapping, lead data will not sync correctly. For full mapping and troubleshooting steps, see the Facebook Lead Ad Troubleshooting & Field Mapping guide.
Confirm your form fields are mapped so incoming data flows to the right contact fields. See the Facebook Lead Ad Troubleshooting & Field Mapping guide for the field mapping walkthrough.
Aesthetix CRM includes a ready-made Facebook Lead Capture workflow template. Duplicate it so you can customize a copy for your campaign without altering the original template.
Open your duplicated workflow and configure each piece:
Trigger: Select Facebook Lead Form Submitted, then add a filter for the specific form using In Form: Form Name so only submissions from that campaign's form start the workflow.
Action 1 (Update campaign source name): Set the source campaign name to match this campaign for cleaner reporting.
Action 2 (Ads tag): Apply a unique tag for the campaign so you can filter and find these contacts easily later.
Action 3 (Treatment of Interest): Select the treatment associated with the campaign. This value is personalized into your follow-up email and text messages.
Action 4 (Assign user): Confirm the correct staff member is assigned to the lead.
Action 5 (Opportunity value): Set the opportunity value to the price of the treatment being promoted. This value is applied to the opportunity in your pipeline for better sales reporting and revenue forecasting.
Action 6 (Nurture enrollment): Make sure leads and patients are enrolled into the correct nurture workflows. Test that these fire correctly before turning the campaign live. If your lead and patient nurtures are not firing correctly, contact support.
Save your changes and publish the workflow to activate it.
If your account still uses the older setup, the steps are similar but built on the Paid Ads Lead Nurture template with a slightly shorter action list:
Map Facebook lead form fields (same as above).
Duplicate the Paid Ads Lead Nurture template instead of the Facebook Lead Capture template.
Edit the workflow:
Trigger: Select Facebook Lead Form Submitted and add a filter for In Form: Form Name.
Action 1: Apply a unique Ads tag for the campaign.
Action 2: Select the Treatment of Interest associated with the campaign, which personalizes your email and text follow-up.
Action 3: Update the opportunity value based on the treatment price so it is assigned to the opportunity in your pipeline.
Publish and save the workflow.
If you are still on the 2.0 template, moving to the 3.0 Facebook Lead Capture template is recommended so you get the campaign source and user assignment actions.
If you build a workflow from scratch instead of duplicating the template, configure the trigger like this.
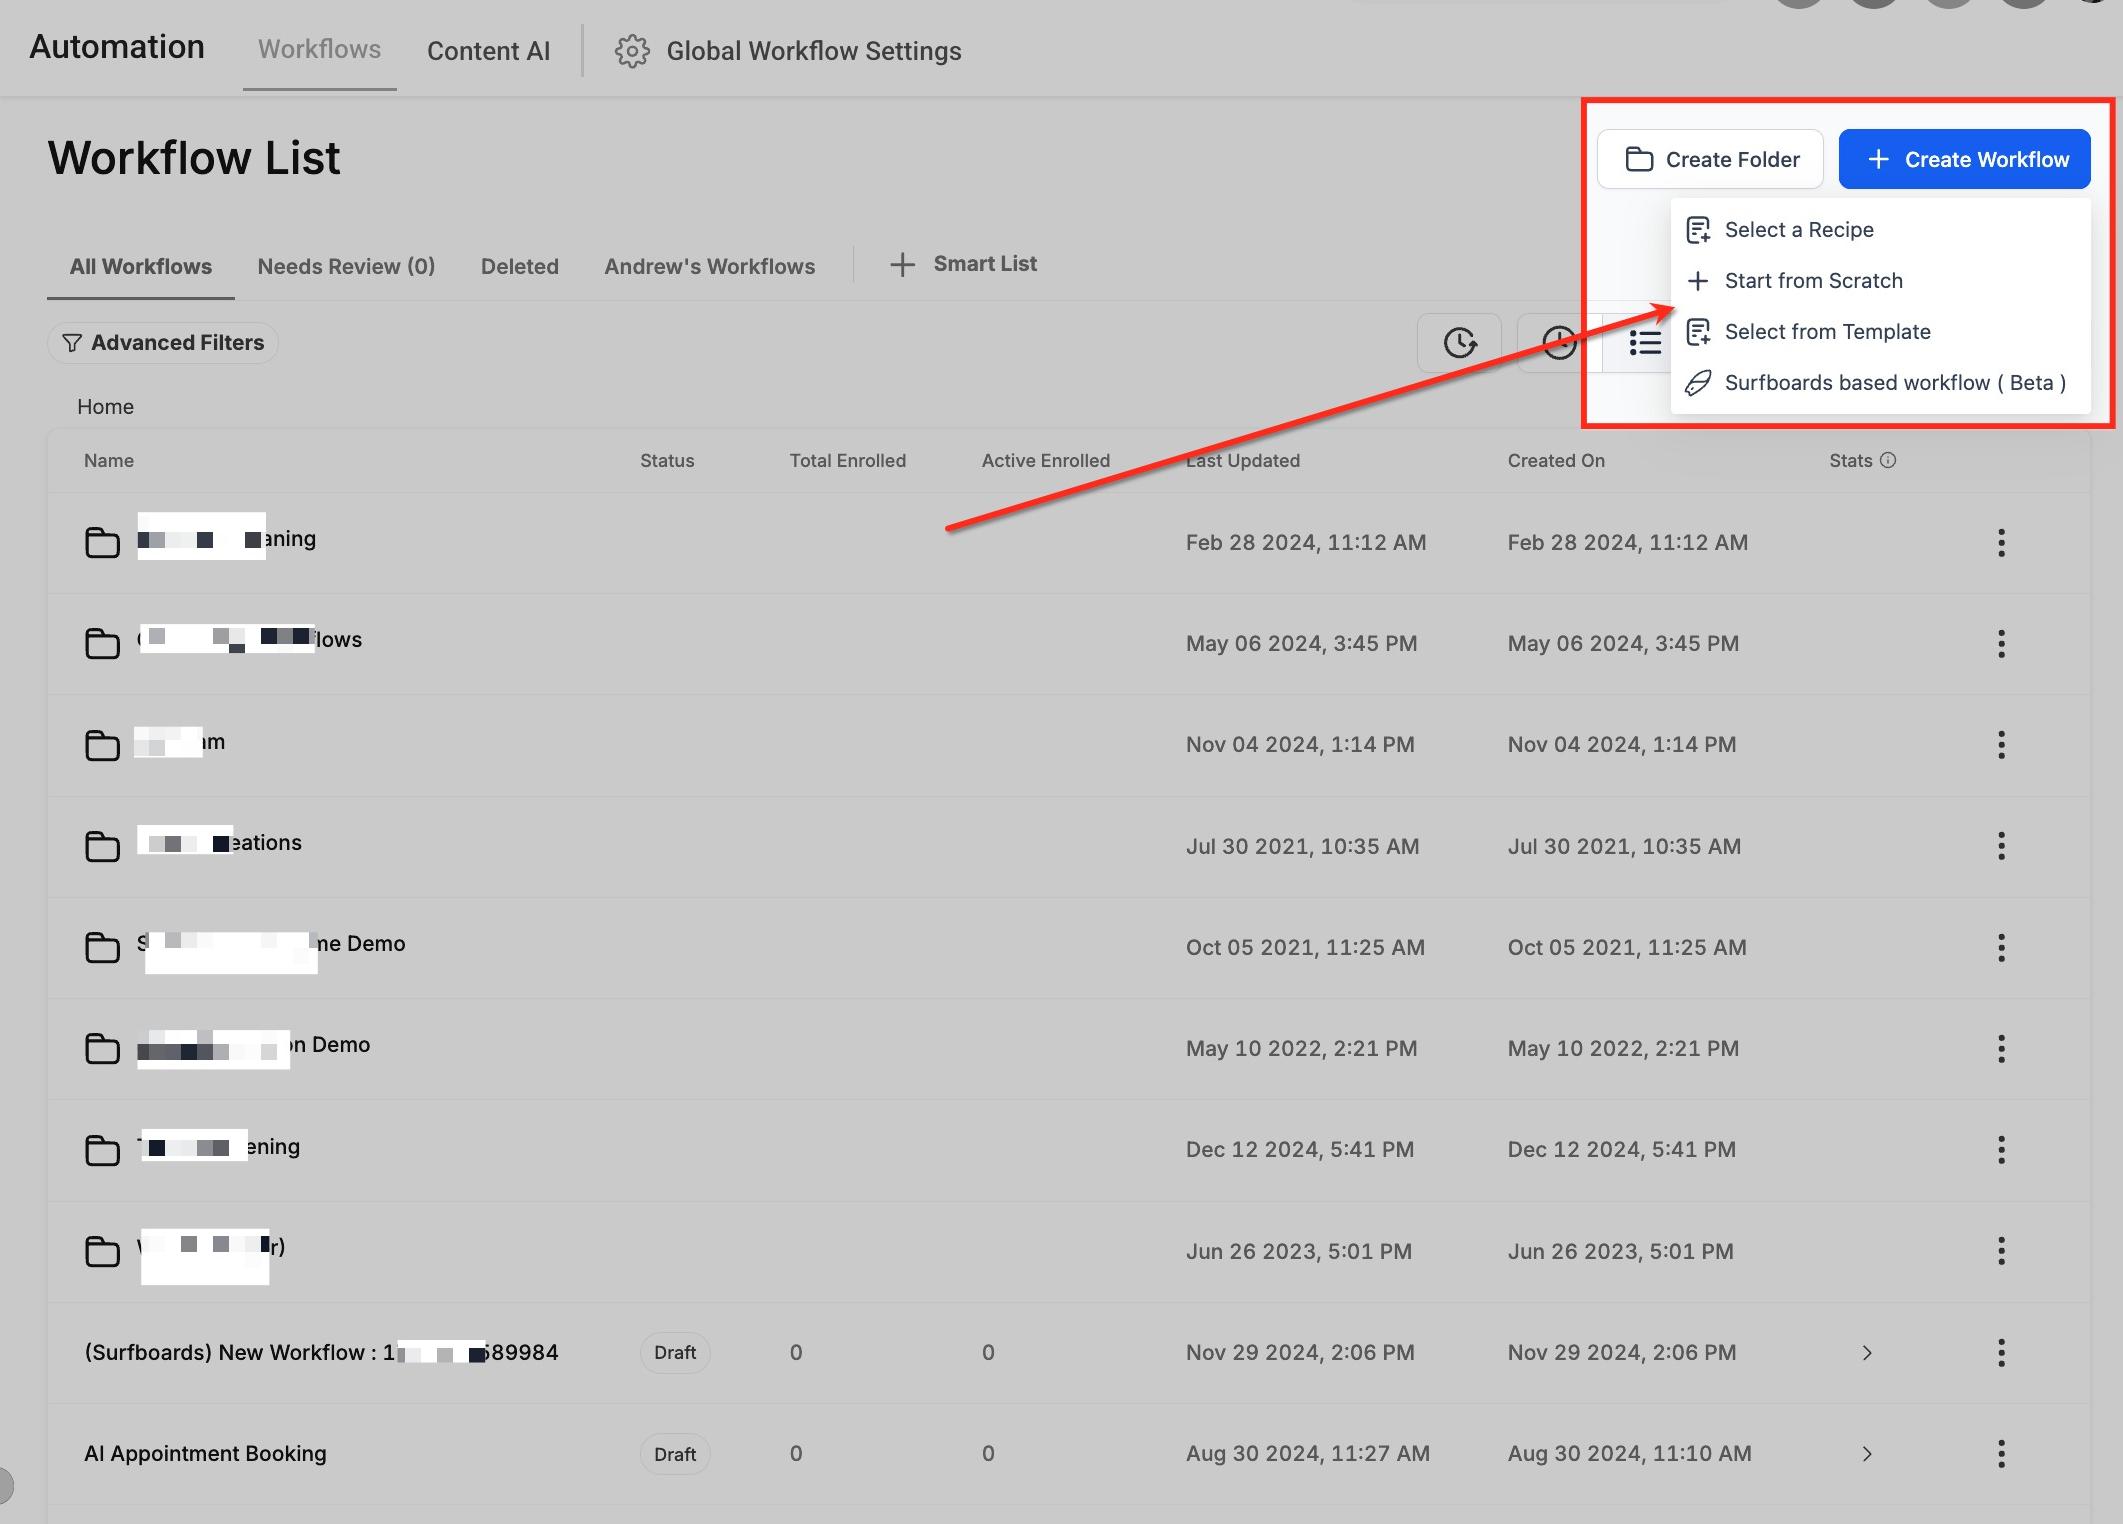
Go to Automation > Workflows and either create a new workflow or open an existing one. In the builder, click + Add New Trigger.
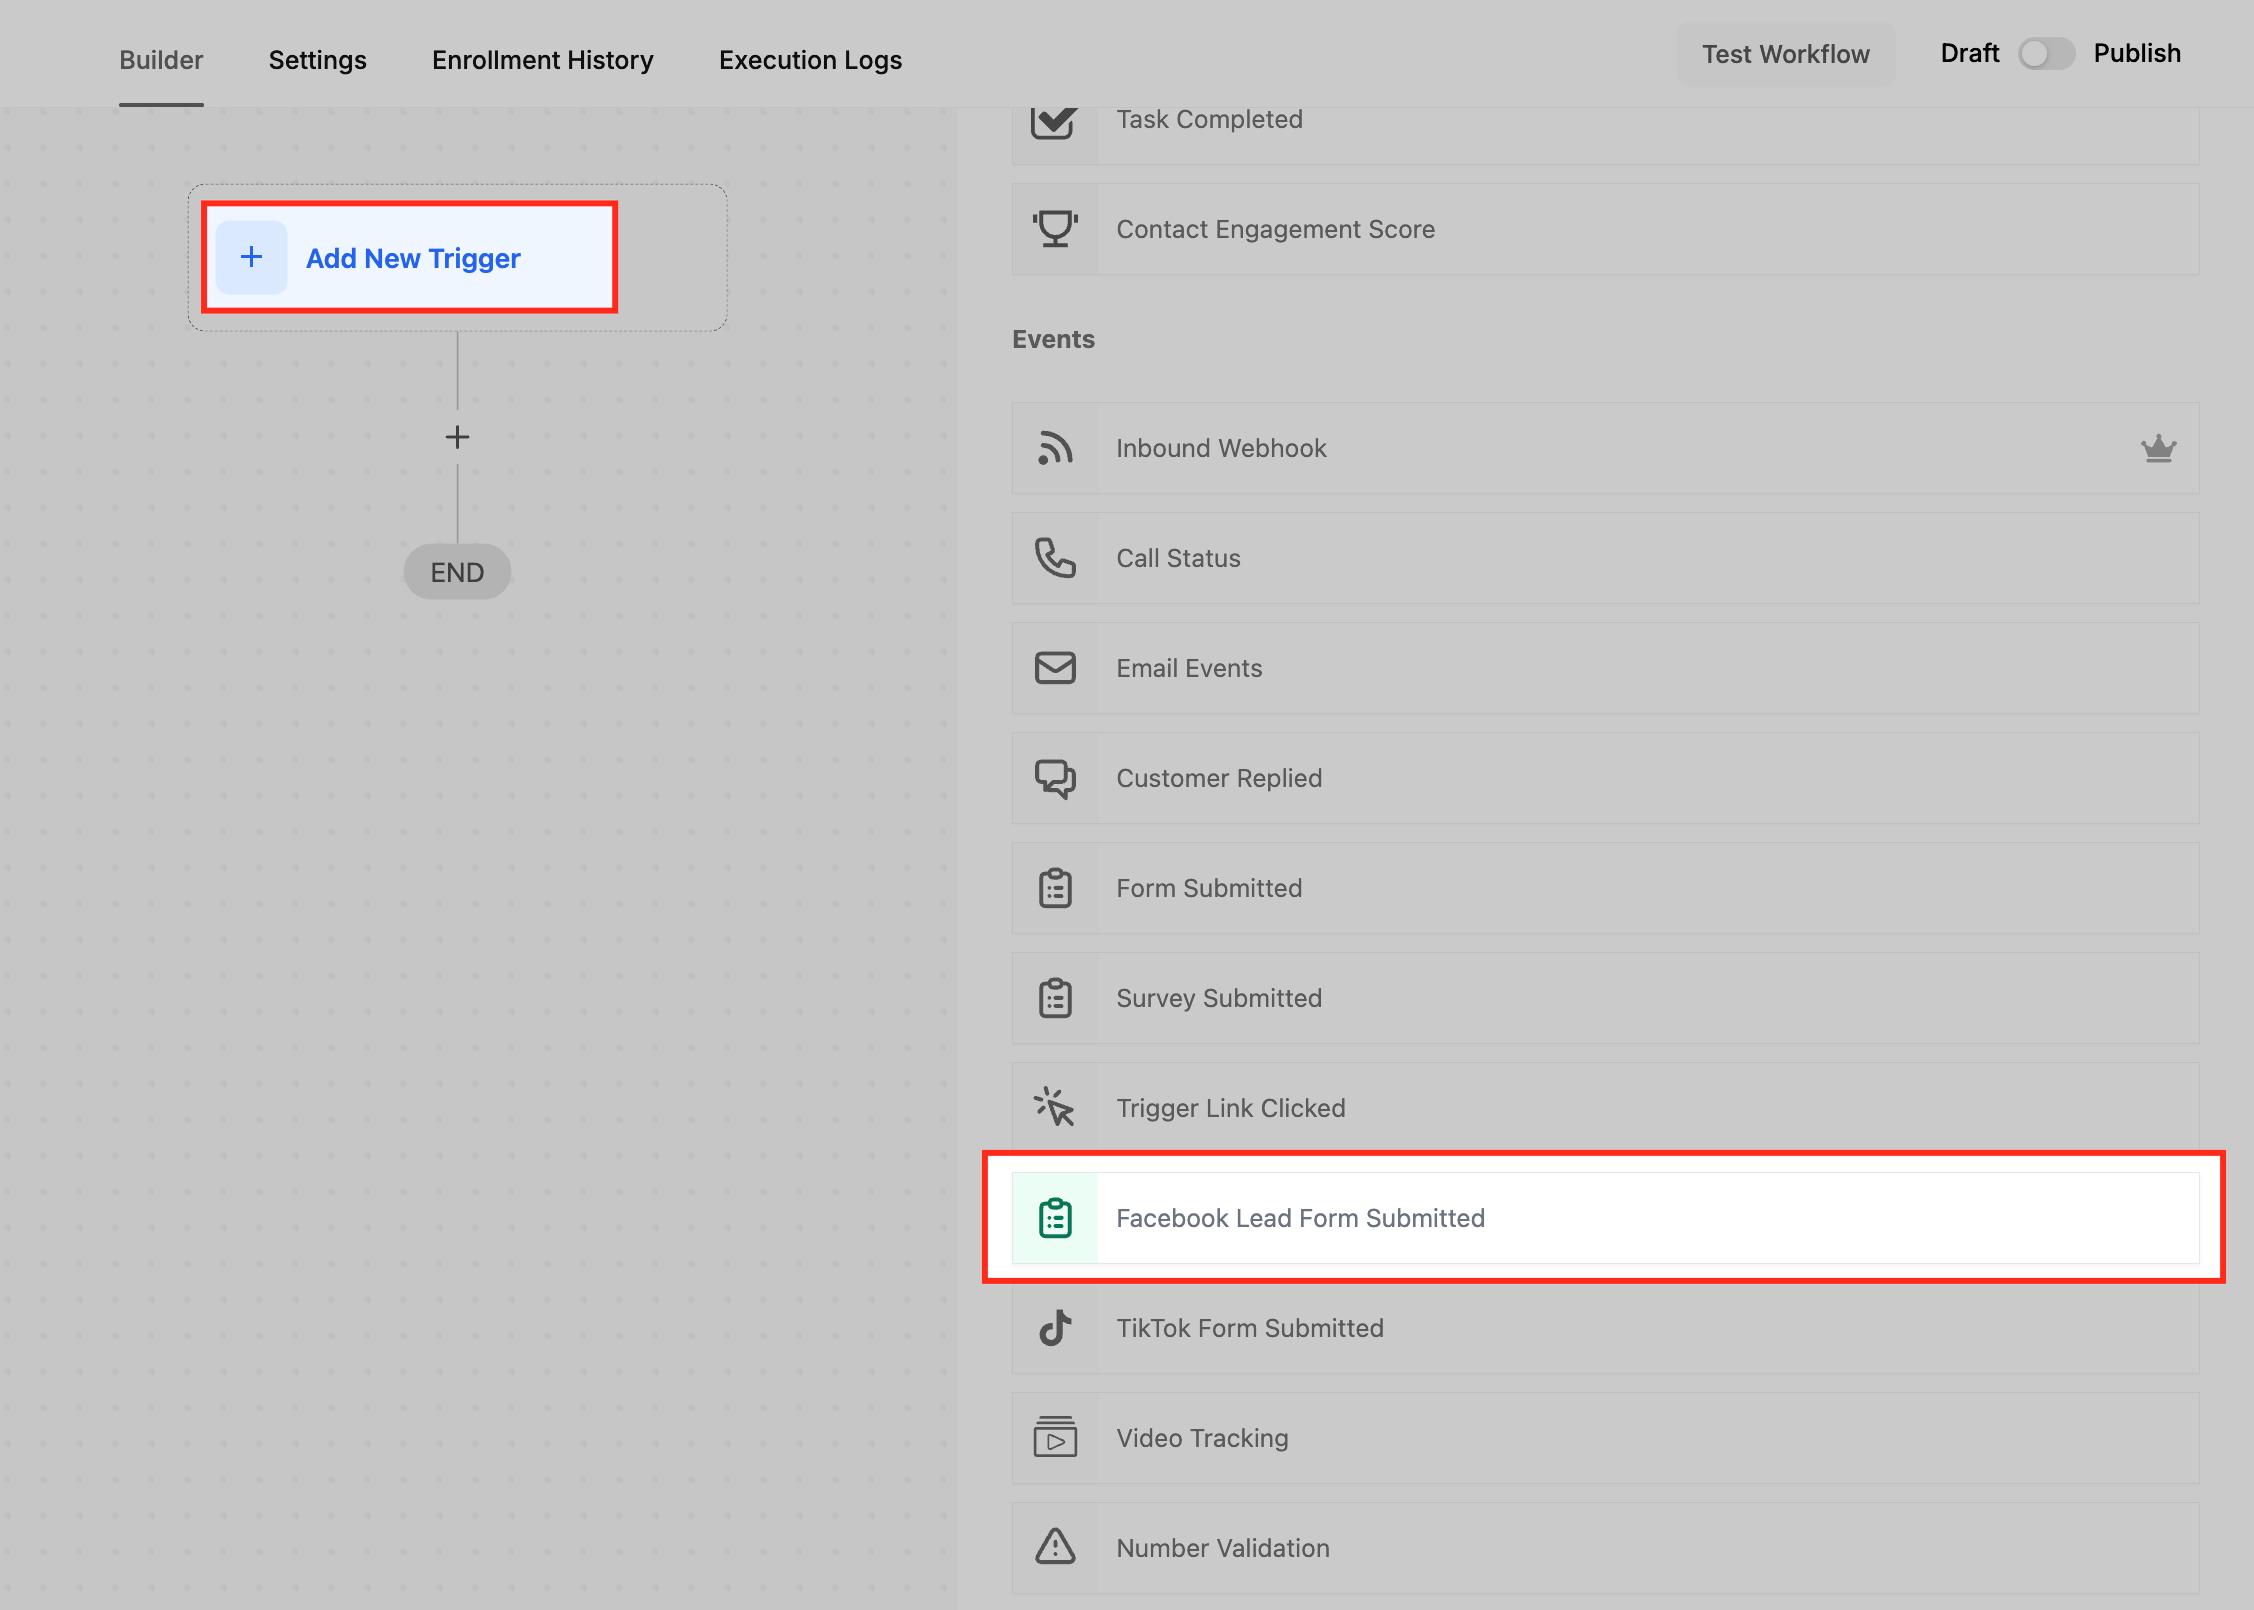
From the list of triggers, scroll to the Events section and select Facebook Lead Form Submitted. It appears with a green clipboard icon.
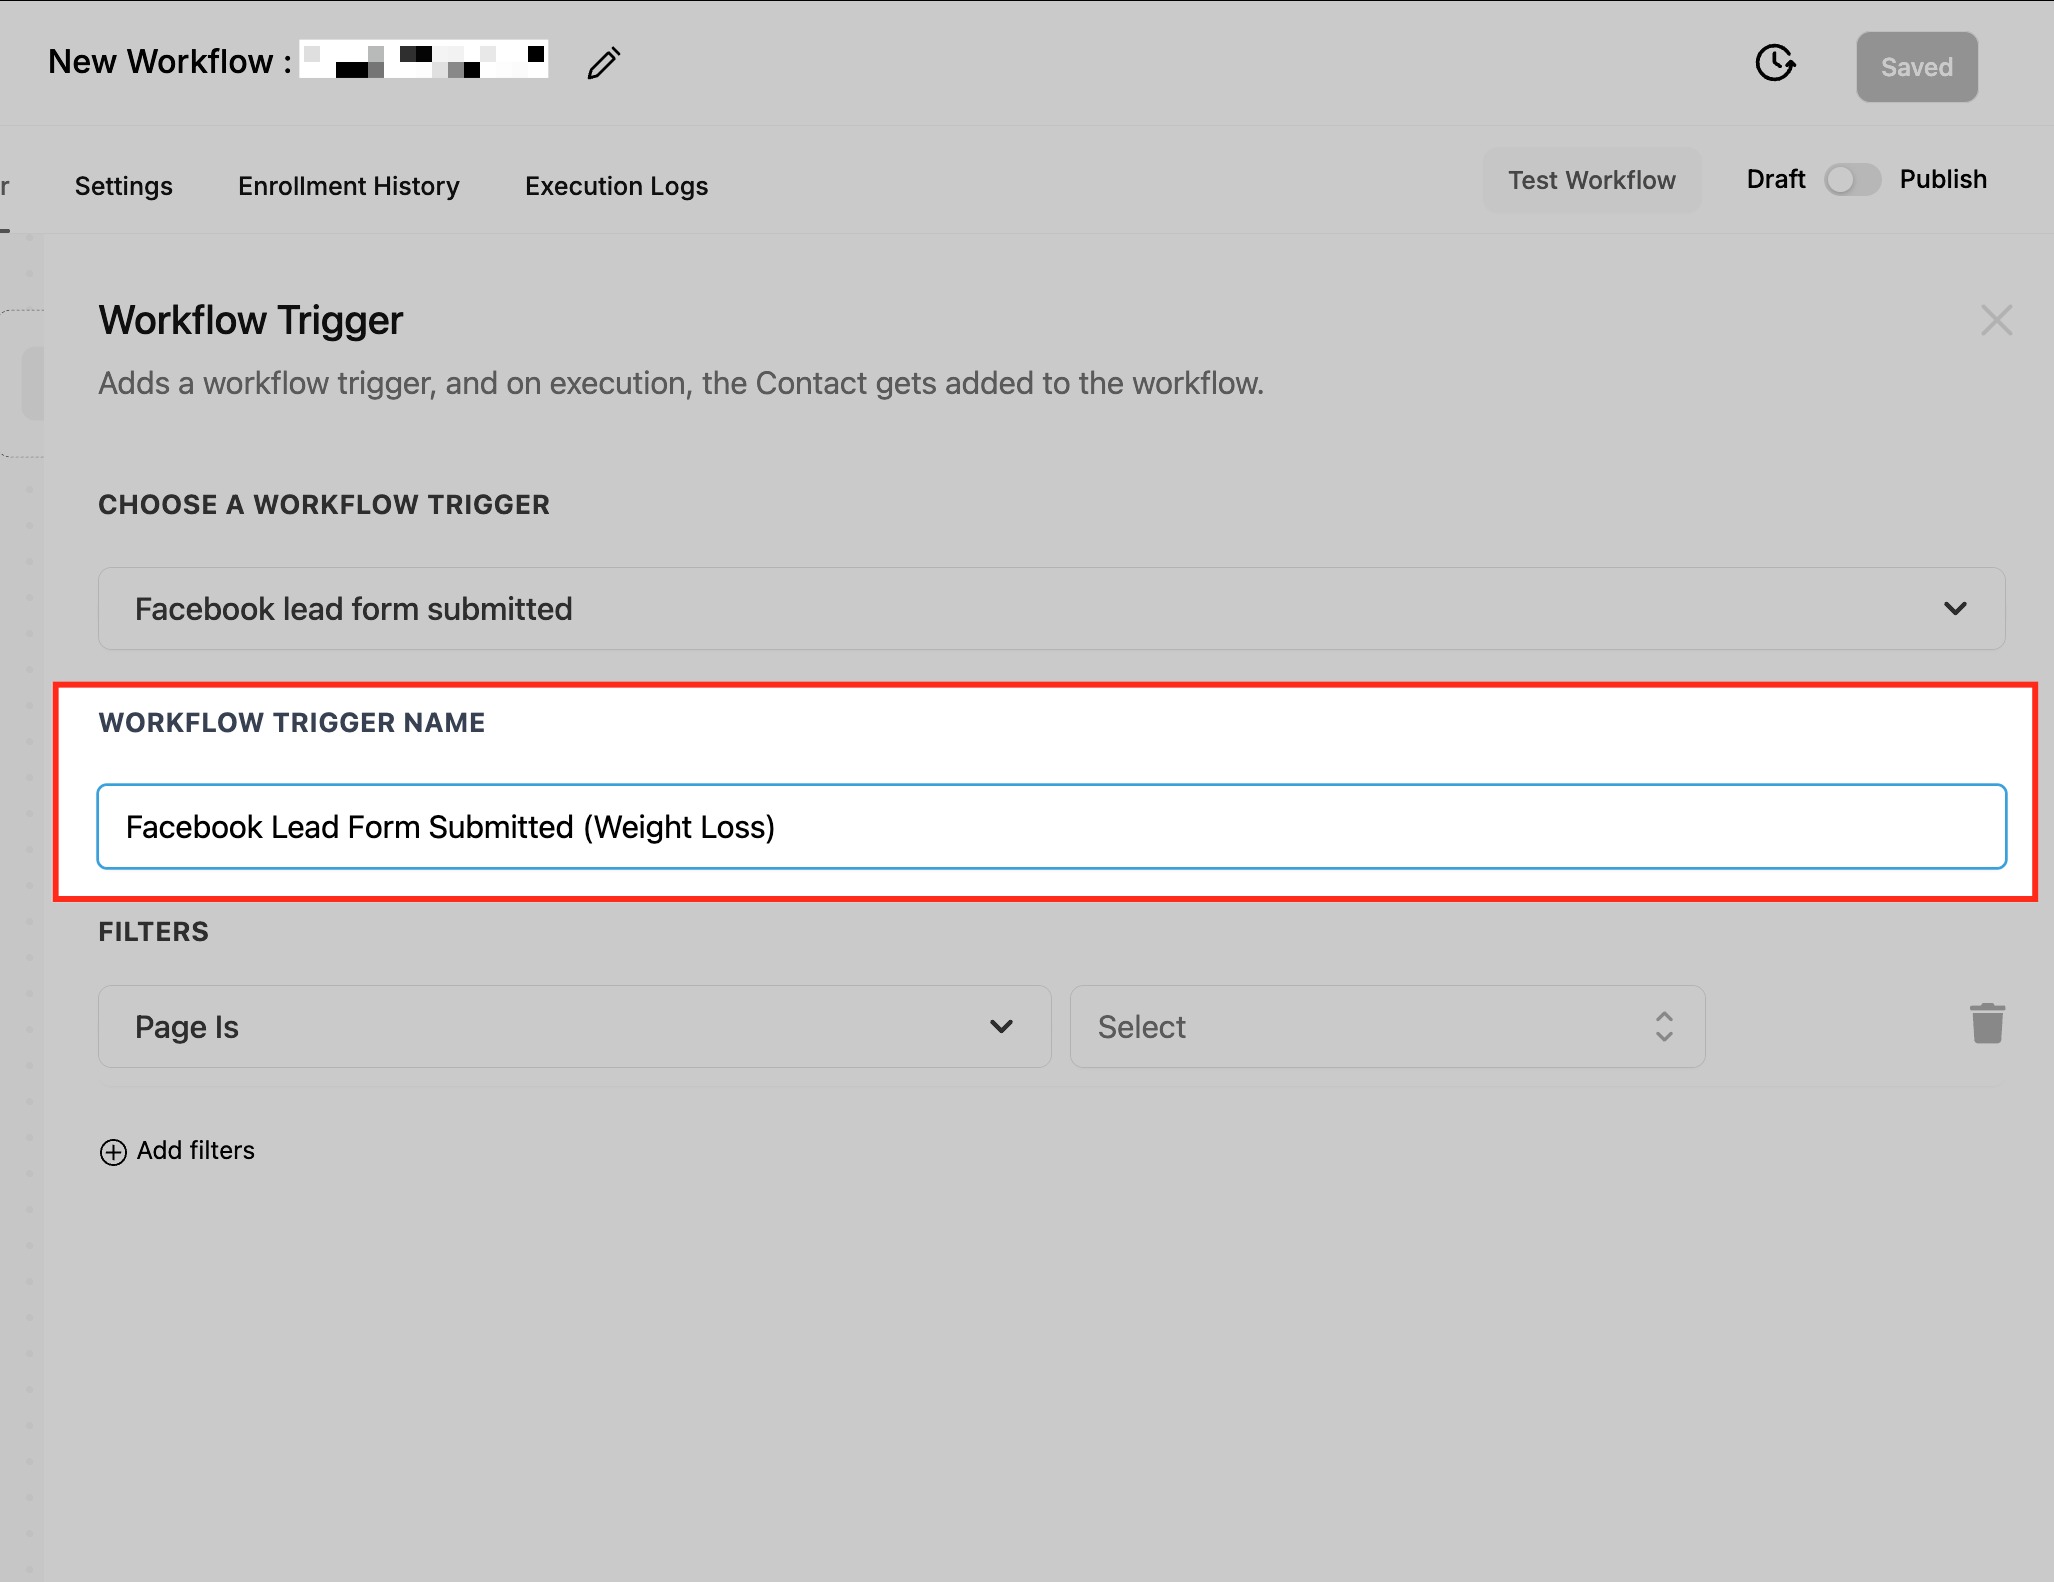
Give it a descriptive name so you can identify it later, especially when you manage several lead sources. For example: Facebook Lead Form Submitted (Botox New Patient Special).
Add filters so only leads from the correct page and form start the workflow.
Page Is: Select the Facebook Page running the campaign. Only pages connected under Settings > Integrations appear here.
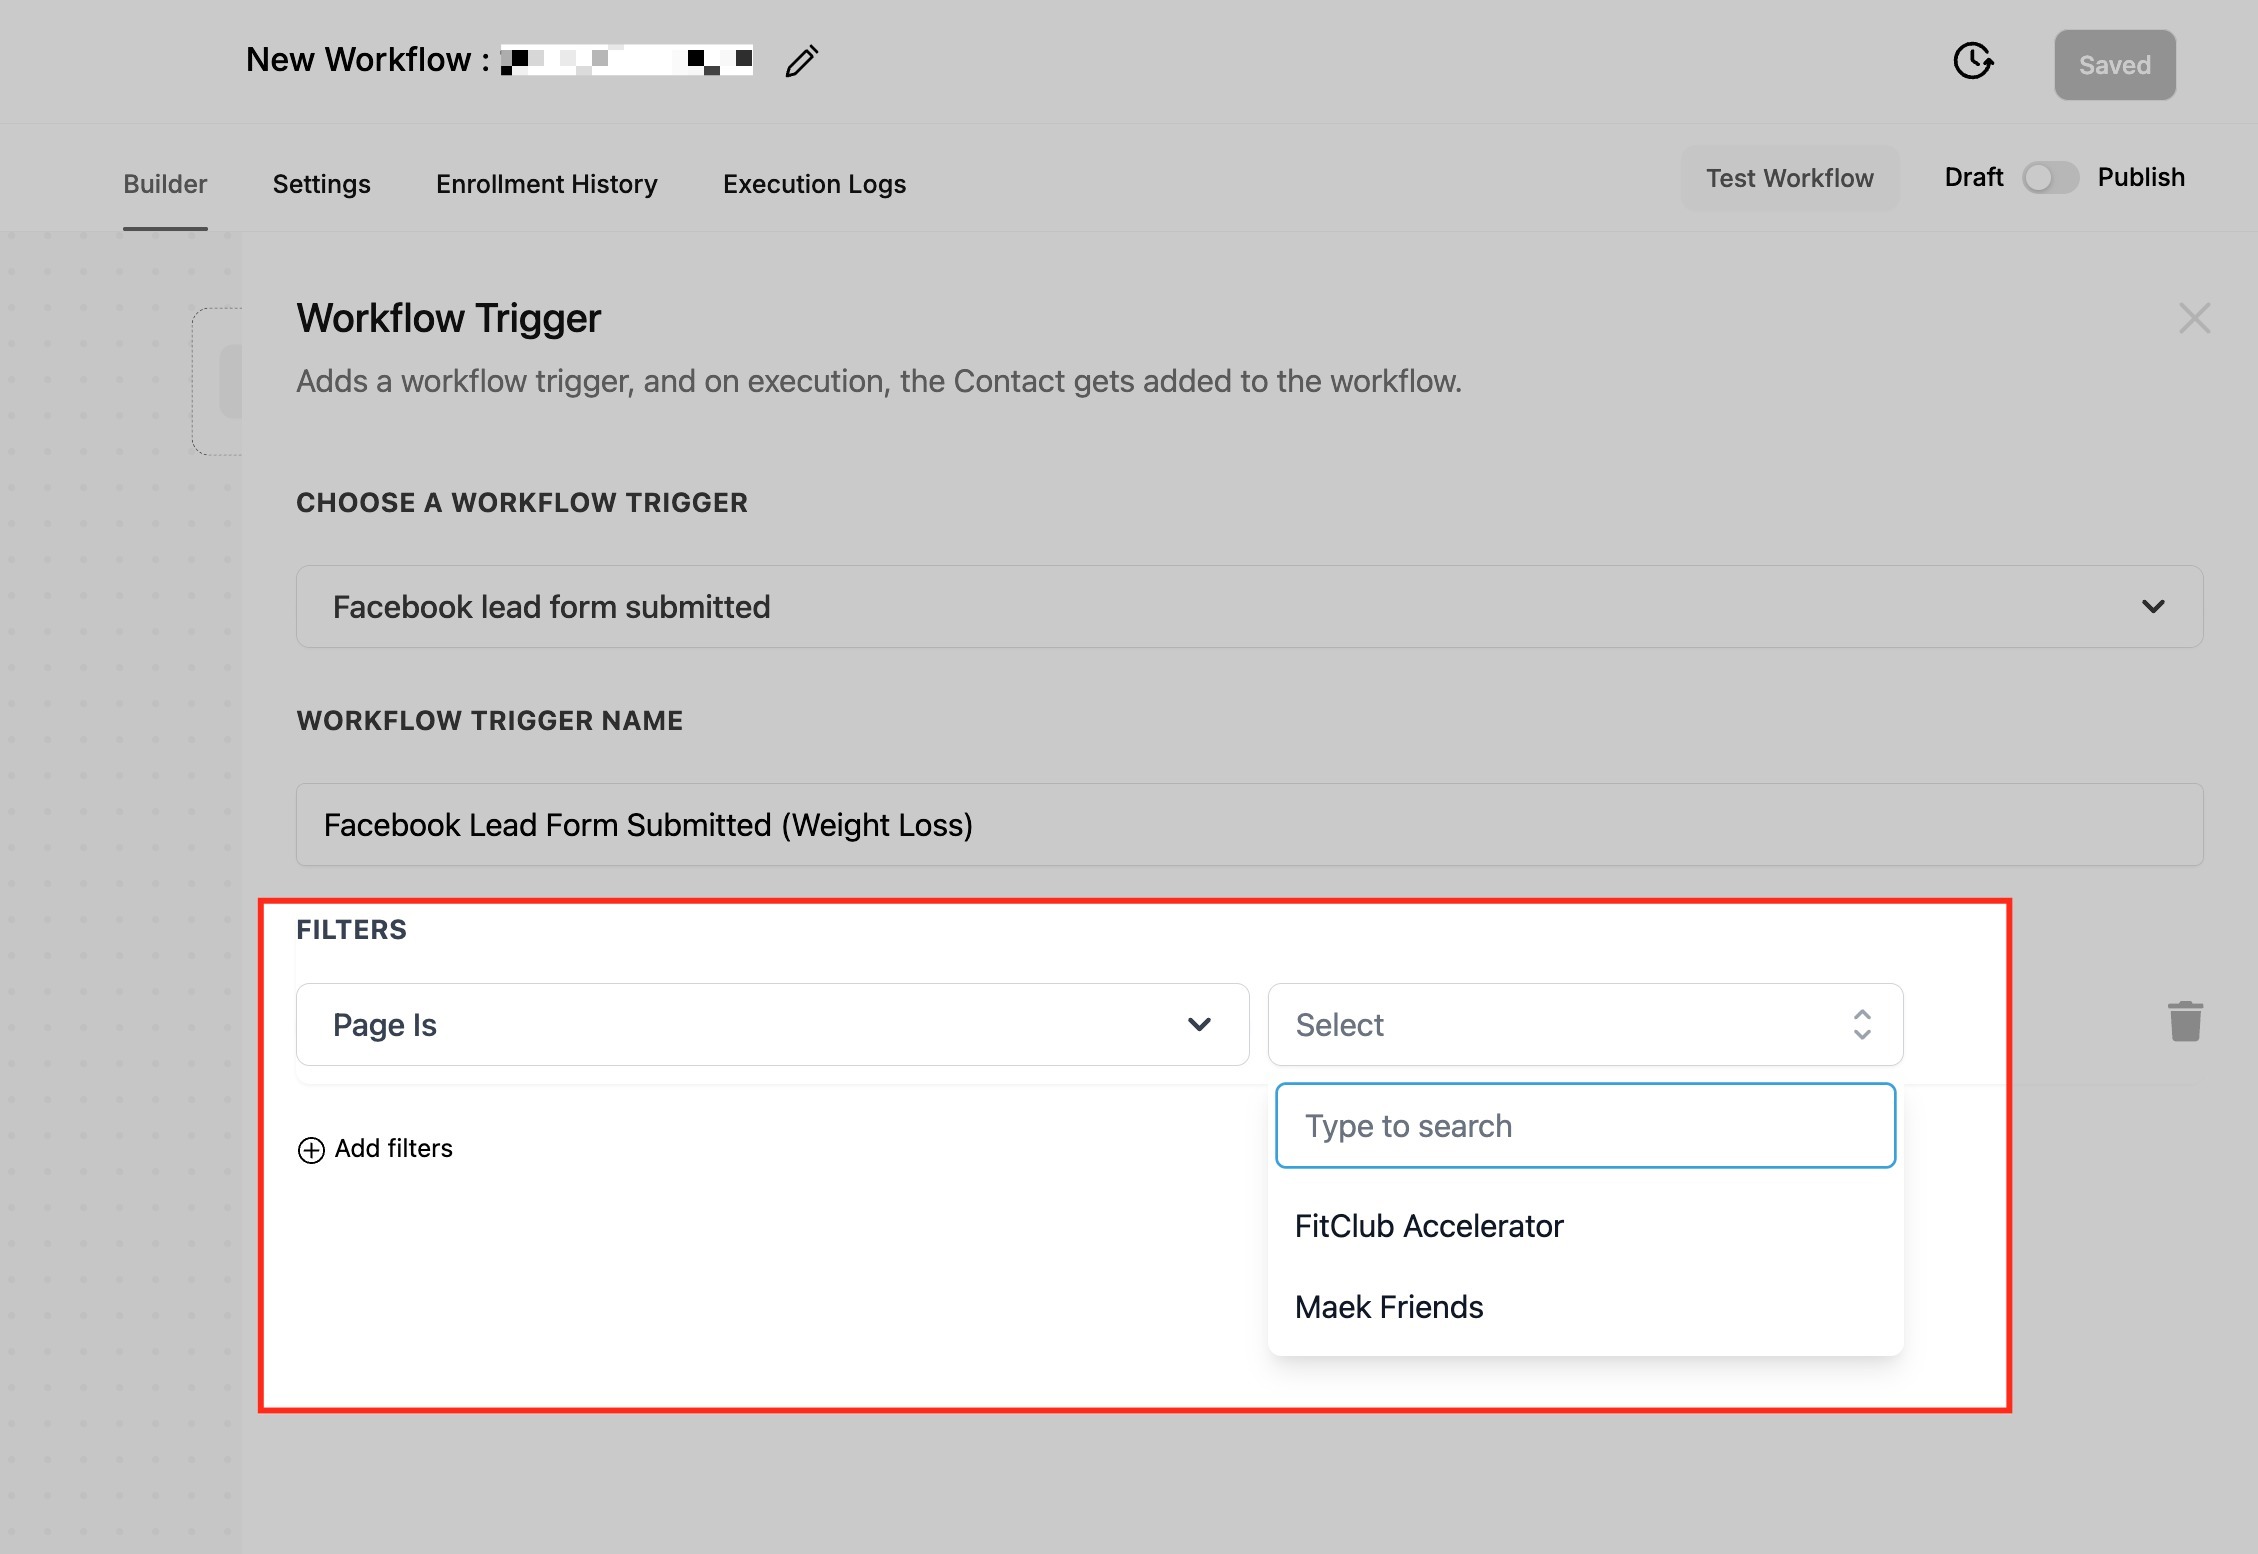
Form Is: After choosing a page, select the specific lead form associated with it.
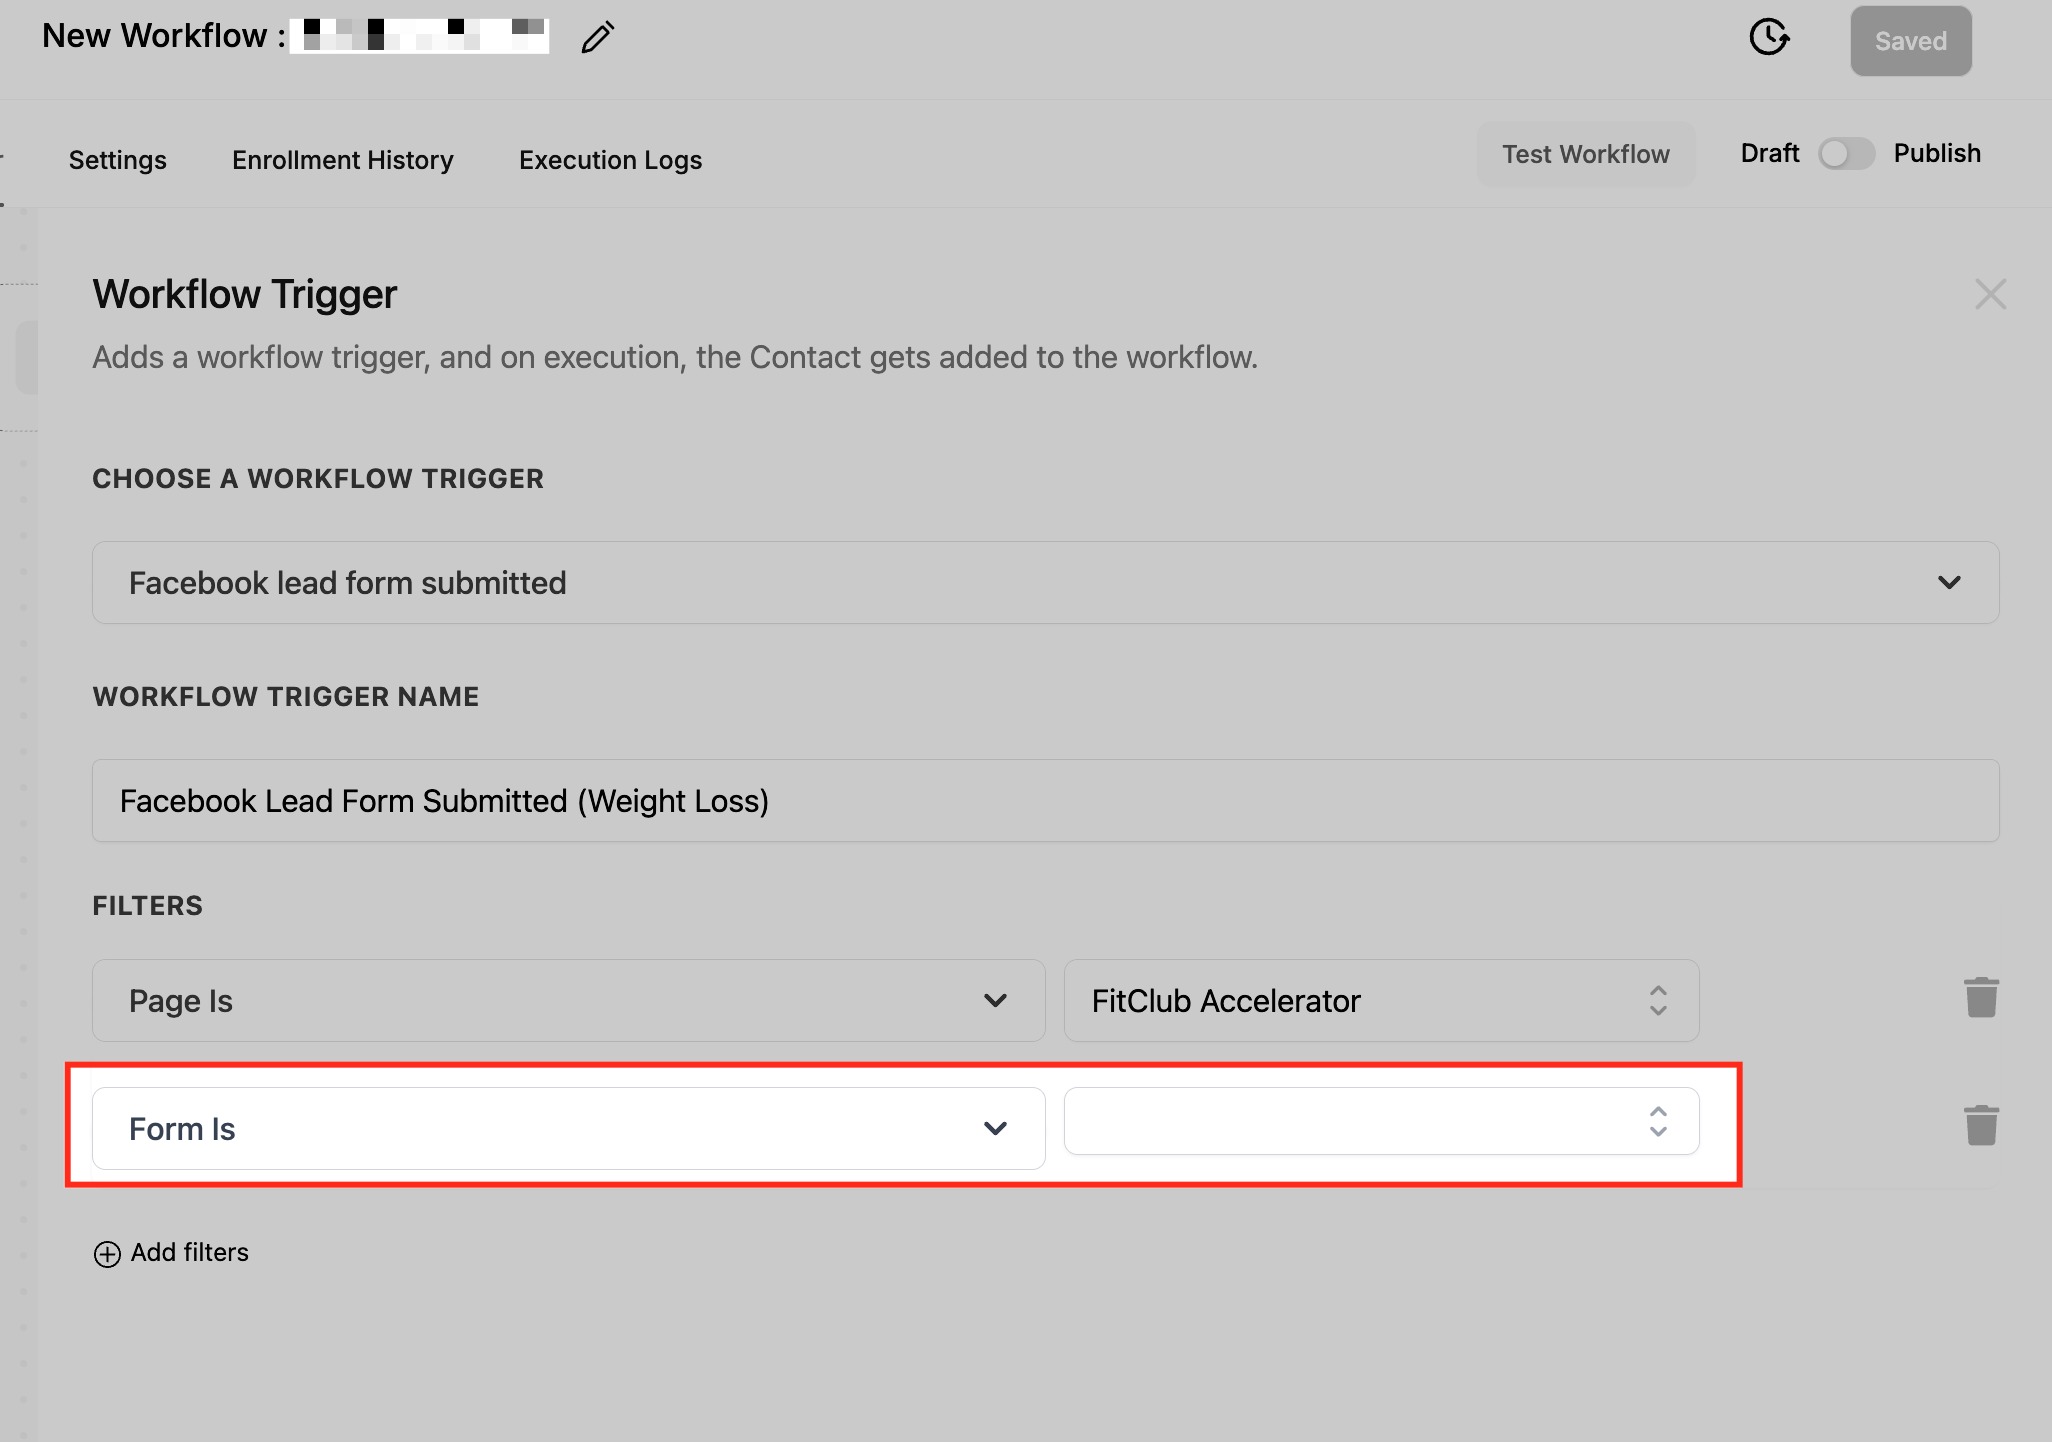
Once your trigger and filters are set, click Save Trigger and build your workflow actions. When finished, use Test Workflow, then Publish to activate it.
Beyond the template defaults, these actions help you respond faster and keep leads organized:
Create/Update Opportunity: Route new leads into your sales pipeline automatically so nothing gets lost.
Assign to User: Give each lead an owner immediately for faster follow-up.
Send Email: Deliver a personalized welcome or thank-you email to keep the lead engaged from the first minute.
Internal Notification: Alert your team in real time whenever a new lead enters, so no opportunity is missed.
After building your actions, use Test Workflow to confirm everything works, then Publish.
Once your lead capture workflow is running, you can go further and tell Meta which leads actually became patients. Facebook's Conversions API (CAPI) lets Aesthetix CRM send lead status back to Meta as leads move through your pipeline, so Meta can optimize your lead ads for quality rather than raw volume.
This is configured with a separate pair of workflows and a conversion pixel. For the full walkthrough, see the Facebook Conversion Leads Walkthrough and Facebook Conversions API (CAPI) guides.
Your practice is a good fit for Conversion Leads optimization if you:
Use Facebook/Instagram lead ads (instant forms) with field mapping set up in Aesthetix CRM.
Have the 15 to 16 digit Meta Lead ID mapped to your CRM.
Generate at least 250 leads per month.
Can upload data at least once per day.
Have a lead stage you want to optimize for that occurs within 28 days of the lead being generated.
Have a target lead stage with a 1% to 40% conversion rate.
Workflows: The Facebook Lead Form Submitted and Pipeline Stage Change triggers, plus all nurture actions, live in the Workflows collection.
Funnels: If you run traffic to a landing page instead of a native lead form, pixel setup lives in the Funnels collection.
Social Media Planner: Organic (non-paid) Facebook and Instagram posting is handled in the Social Media Planner, not Ad Manager.
What happens if I do not use any filters in the trigger?
The workflow will fire for any lead form submitted across all connected Facebook Pages. That can trigger the wrong follow-up, so it is best practice to filter by page and form name.
Do I need to map my Facebook lead form fields before setting this up?
Yes. Go to Settings > Integrations > Facebook Form Field Mapping and confirm your form fields (name, email, phone) are mapped to Aesthetix CRM contact fields. Without proper mapping, lead data may not sync.
Why do I not see my Facebook Pages or forms in the dropdown?
This usually means the Facebook integration is incomplete. Confirm your page is connected under Settings > Integrations > Facebook and that you granted the correct permissions as a page admin.
Can one trigger listen to multiple Facebook forms?
No. The trigger supports one form per filter. You can clone the trigger inside the same workflow with different filters, or set up a separate workflow for each form.
Should I use the 3.0 Facebook Lead Capture template or the 2.0 Paid Ads Lead Nurture template?
Use the current 3.0 Facebook Lead Capture template. It adds campaign source naming and user assignment on top of the 2.0 actions. The 2.0 template still works if you are already using it, but the 3.0 flow is recommended for new campaigns.
What actions can I automate after a form is submitted?
Common actions include sending confirmation emails and texts, assigning the lead to a staff member, tagging the contact, setting a Treatment of Interest, creating a pipeline opportunity, and sending internal team notifications. You can stack as many actions as you need.
How do I make sure my nurture sequences are working before going live?
Use Test Workflow and submit a test lead, then confirm the contact is enrolled in the correct lead and patient nurtures and that emails, texts, and call tasks fire as expected. If nurtures are not firing, contact support before turning the campaign live.
Is it safe to advertise medical-aesthetic services this way?
Capturing name, email, and phone from a lead form is standard. Just follow your practice's HIPAA policies, keep any treatment details in the form general, and get patient consent before texting or emailing.
