Inbound webhooks let external systems send data directly into Aesthetix CRM to start a workflow. This is the standard way to connect a custom WordPress form, such as a Gravity Forms or Contact Form 7 submission, so new leads flow straight into the CRM. It also works for any external tool that can send an HTTP request, including eCommerce platforms, event registration systems, and automation tools like Zapier, Make, and Pabbly. This guide explains what an inbound webhook is, how to set up the trigger, how to map the data, and how to connect a WordPress form.
An inbound webhook lets an external system send data into your CRM automatically. When an event happens in the external system, it sends an HTTP request (POST, GET, or PUT) to a unique webhook URL tied to a trigger in your CRM, which starts a workflow. This real-time data transfer lets you automate processes, reduce manual entry, and keep information synchronized between tools.
A few useful terms:
Webhook URL: A unique address created by the CRM that the sending app posts data to.
Payload: The package of information sent from one app to the other, formatted as JSON.
Query parameters: Extra values added to the webhook URL to pass information cleanly, similar to UTM parameters.
Mapping: Connecting fields from the payload to the correct fields or custom values in your CRM.
Lead capture from web forms: When a visitor submits a form on your WordPress site or a landing page, the form sends the lead's name, email, and phone to the webhook URL, and the CRM creates or updates the contact so your team can follow up promptly.
Event and webinar registration: When someone registers on an external platform for an open house or education event, their details flow into the CRM and are added to their record.
Store or order integration: When a patient purchases a retail product through an external store, the order details are sent to the CRM and attached to the contact.
Support or intake tickets: When a patient submits a request through a separate system, the details are logged against their record so your team has full context.
The Inbound Webhook is a premium workflow trigger. Once enabled on your account, it is available when you build a workflow.
Open or create a workflow in your CRM.
Select Inbound Webhook as the workflow trigger. A unique webhook URL is generated for this trigger.
Copy the webhook URL to use in your external application.
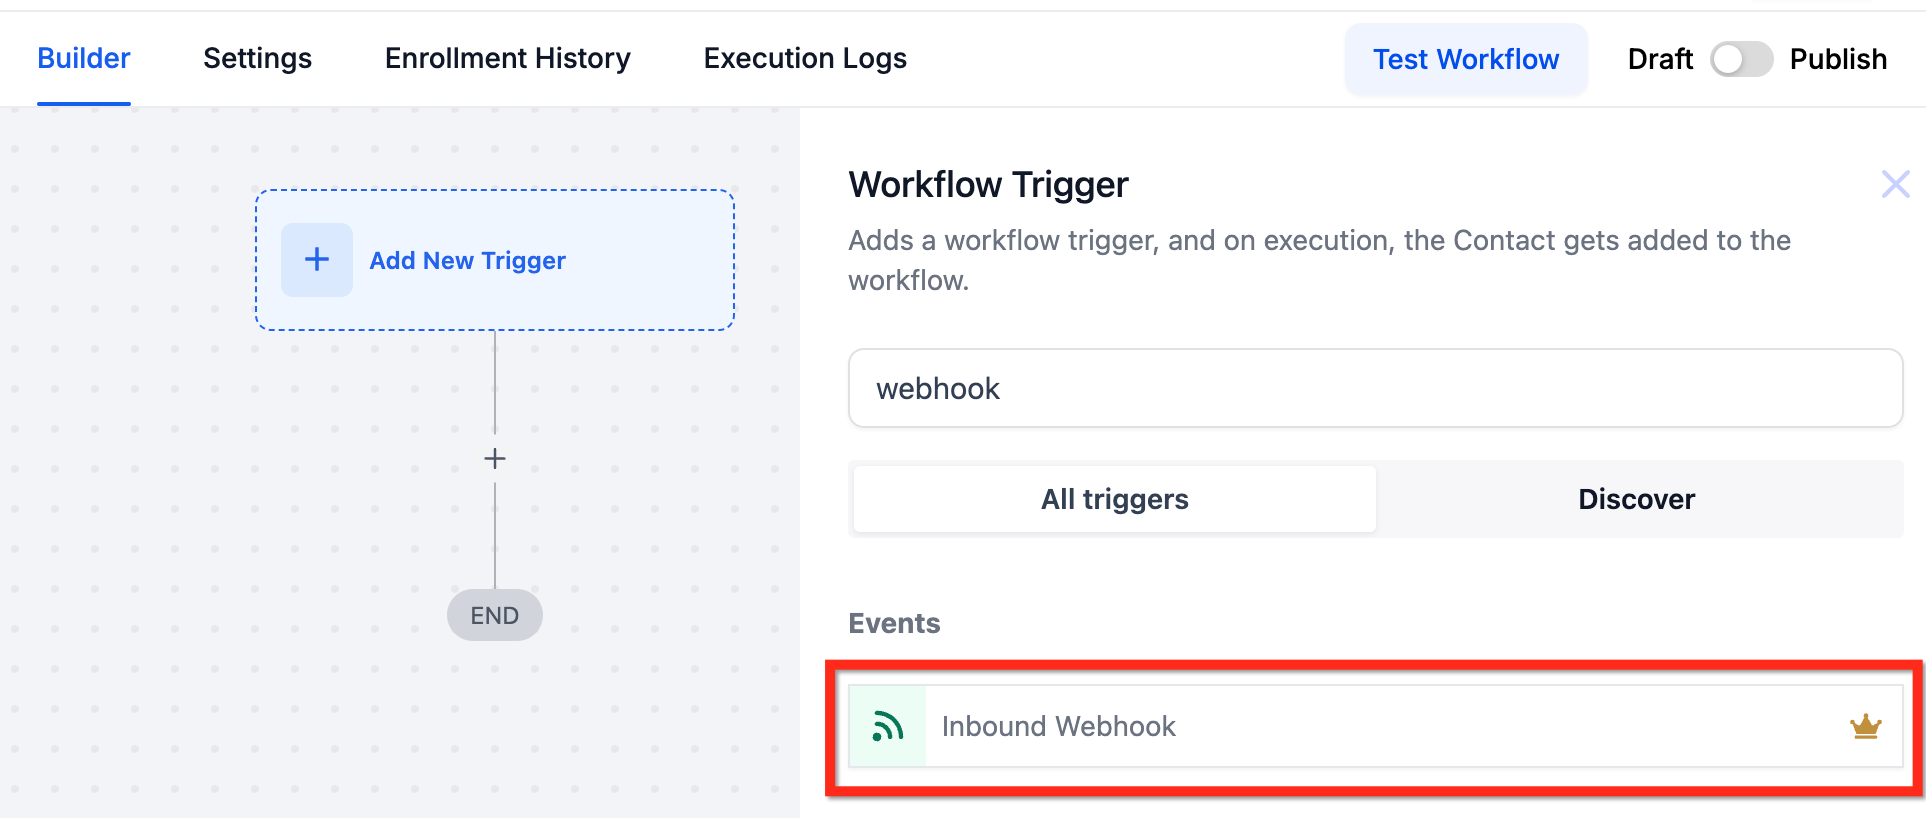
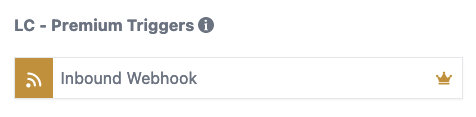
Send a sample request from your external system to the copied webhook URL using a supported method (POST, GET, or PUT), then capture it in the CRM.
Retrieve the webhook URL, use it in your application, send the data, and click Test Trigger (or Check for New Requests) to pull in the sample.
Choose the data received and save it as sample data for future reference. Click Load More to view additional recent requests. Once you select the desired data, save the trigger. This step stores the data reference for custom values, which you can then use like any other contact custom field or account custom value.
Send a supported HTTP request to the webhook URL and copy the ID in the response.
Use that unique ID to find the correct mapping reference in your webhook trigger. The most recent request always appears at the top of the list.
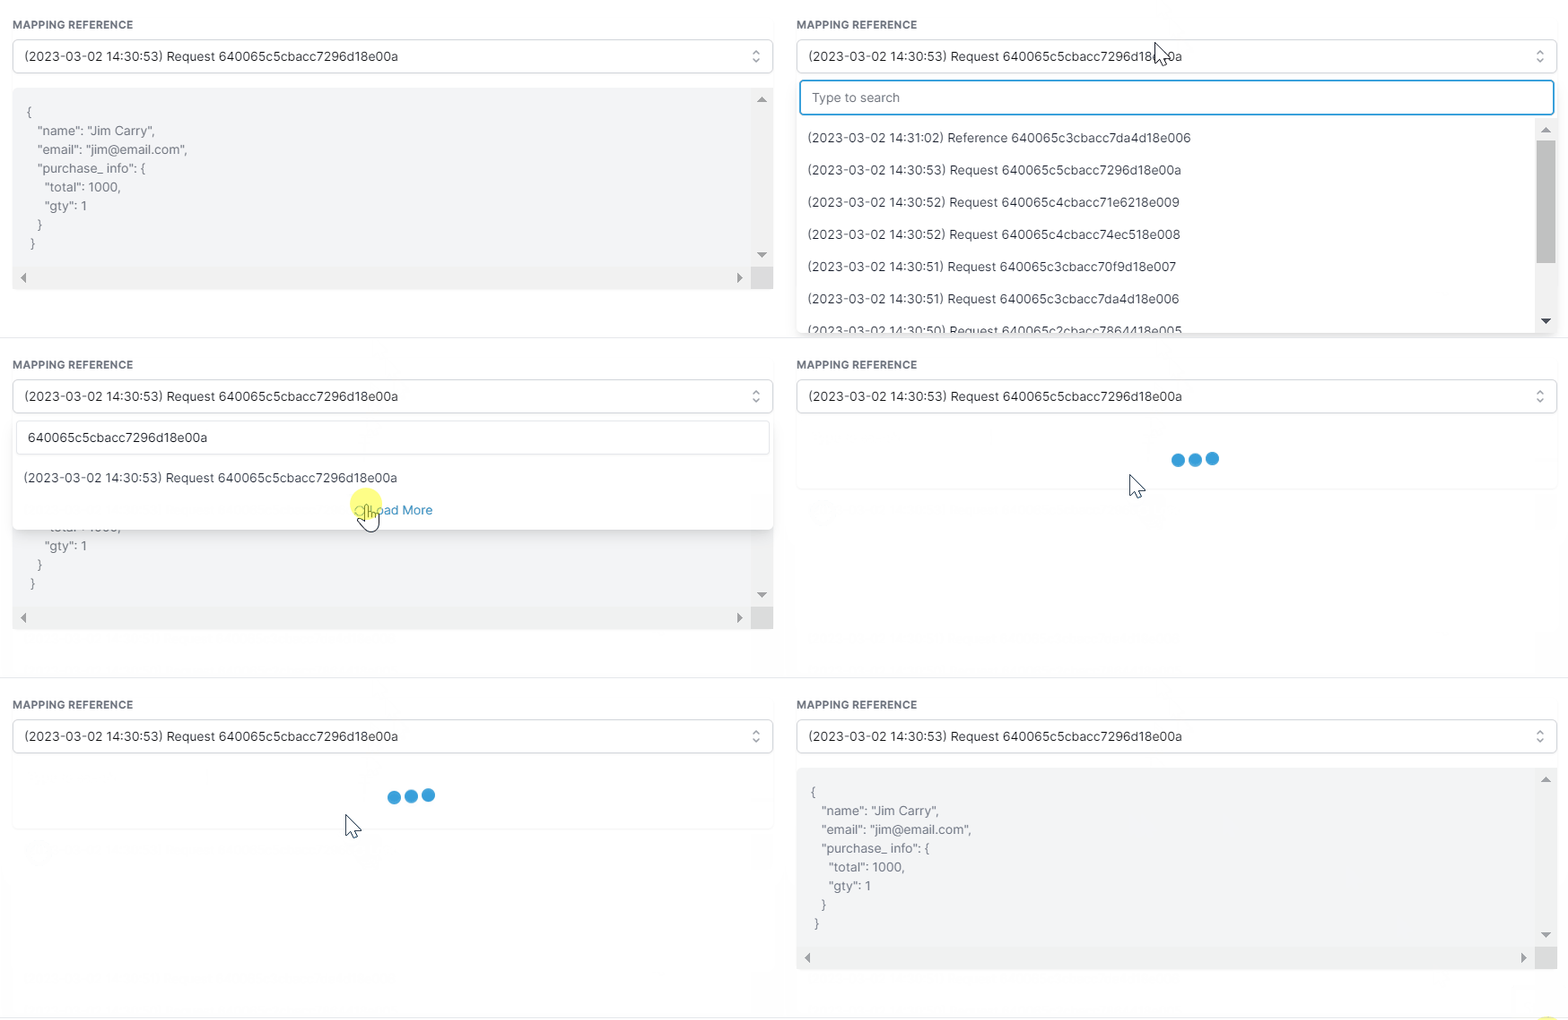
Select the correct reference and verify the body of the request.
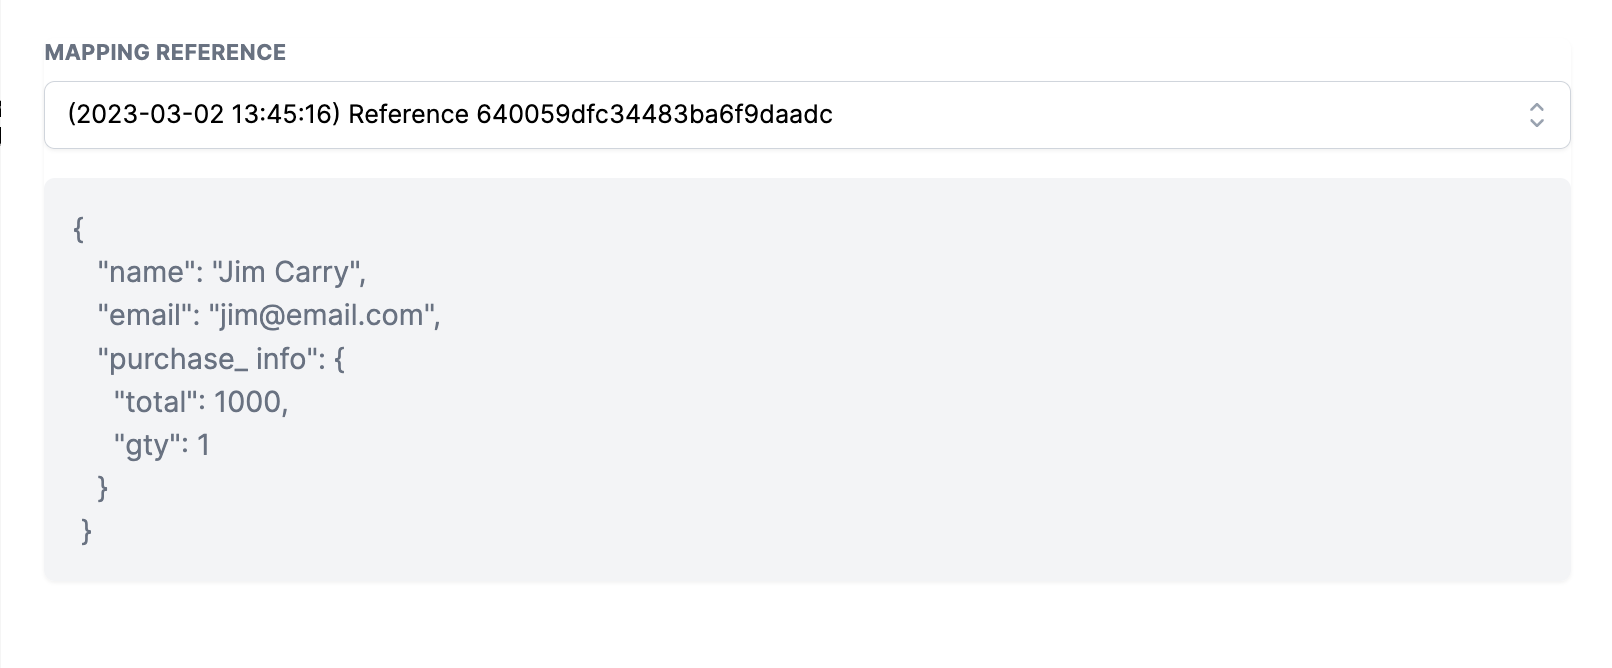
You can also generate the webhook URL and map data directly from the trigger configuration.
After you save the trigger, the Create/Update Contact action opens. Select the fields you need and map the incoming payload data to them. To create a new contact or update an existing one, the payload must include either an email or a phone number, which the CRM uses to find or create the contact.
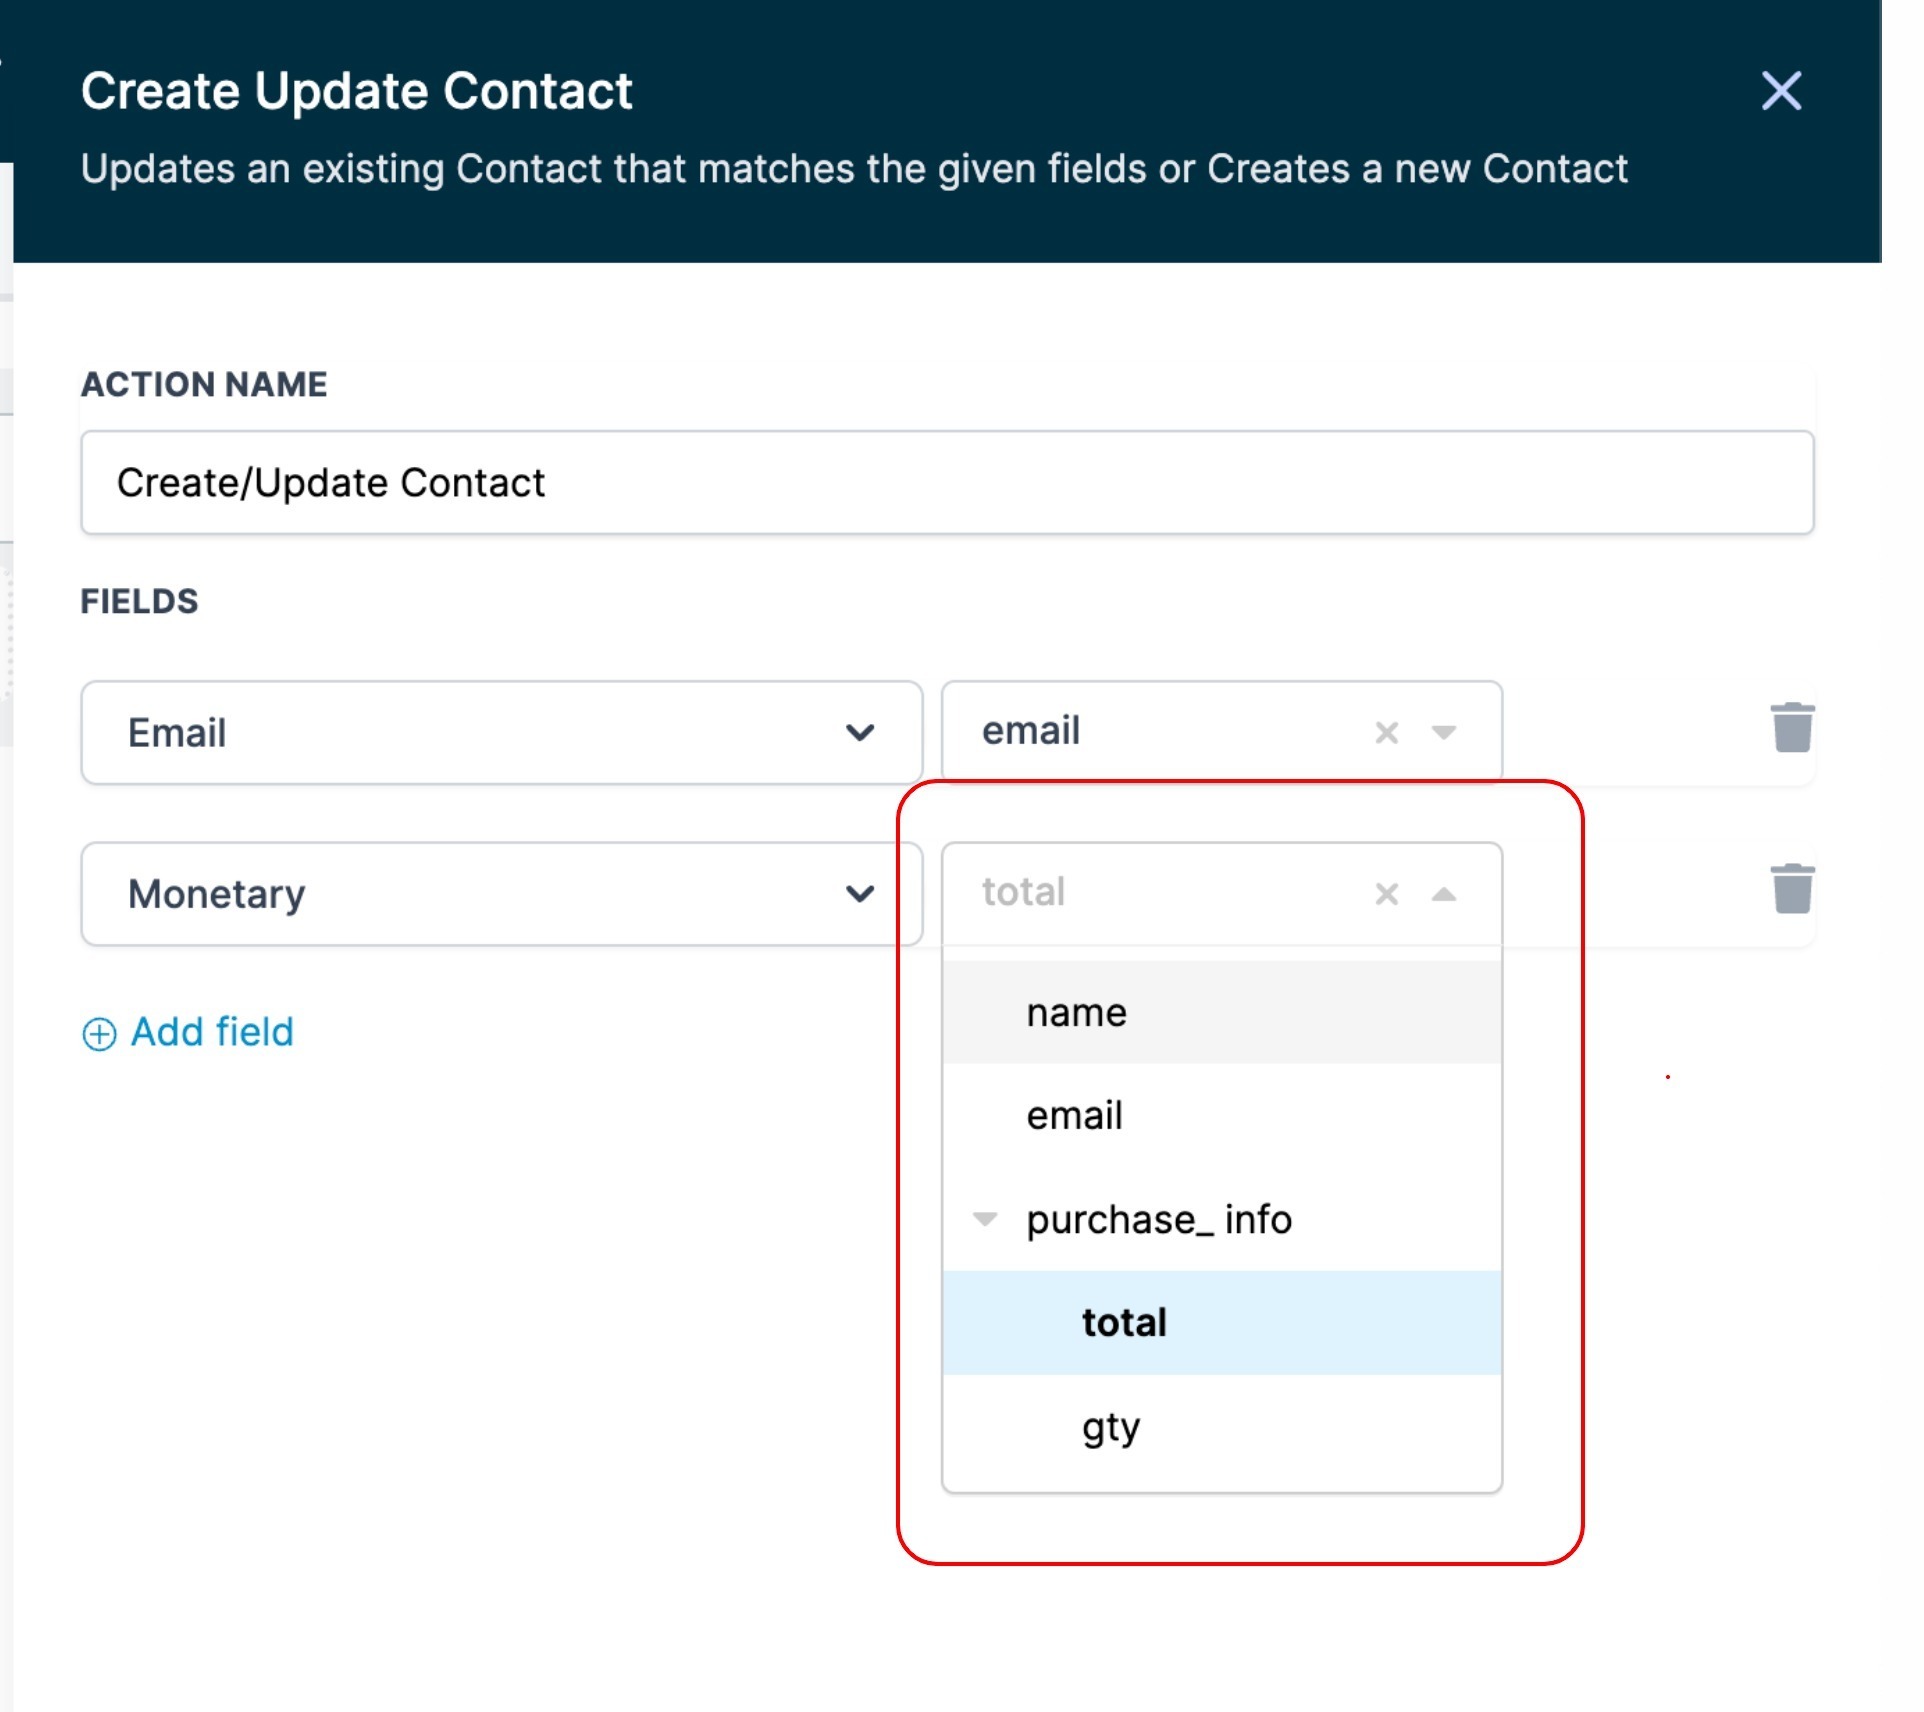
If your data does not include an email or phone, you can remove this action and the workflow will run contactless.
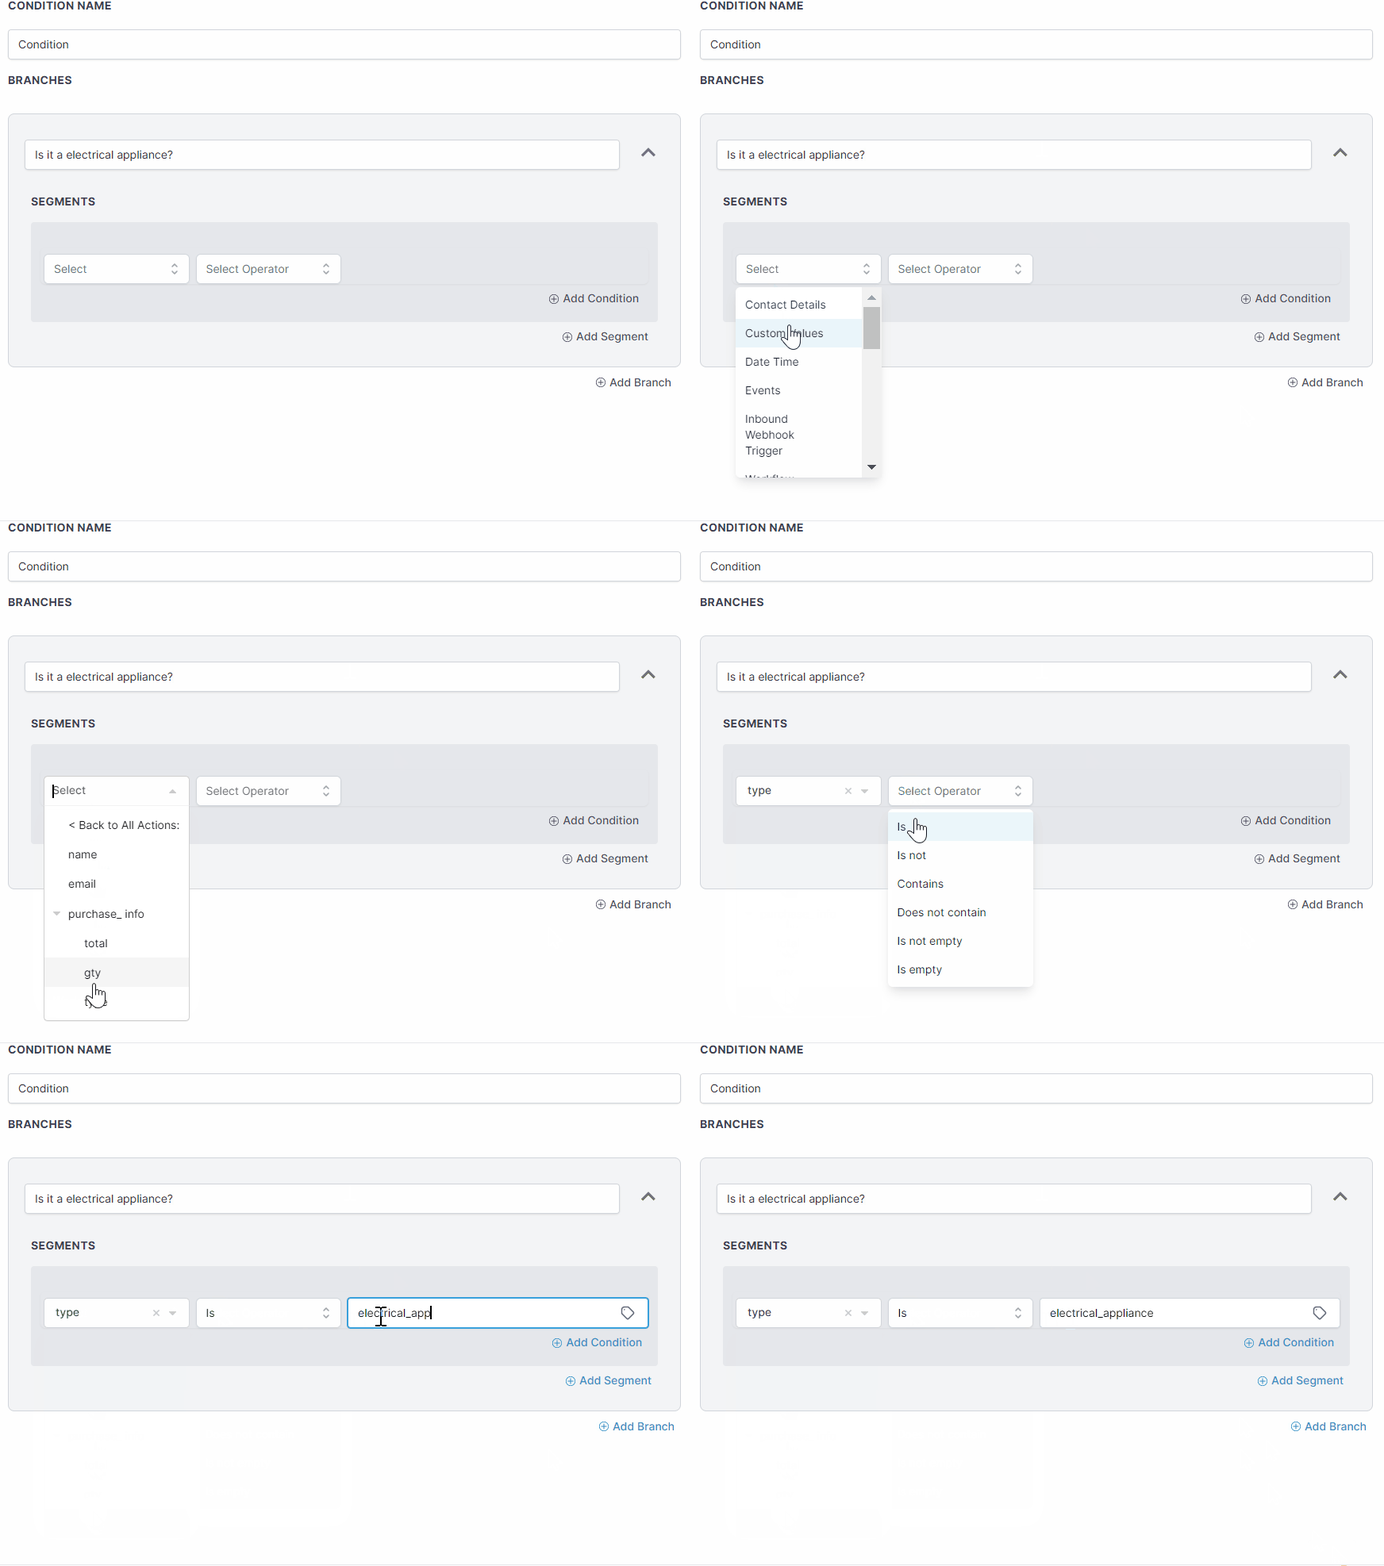
Once the trigger and contact action are set, you can use the captured values as custom values anywhere in the workflow, including emails, SMS, and If/Else conditions.
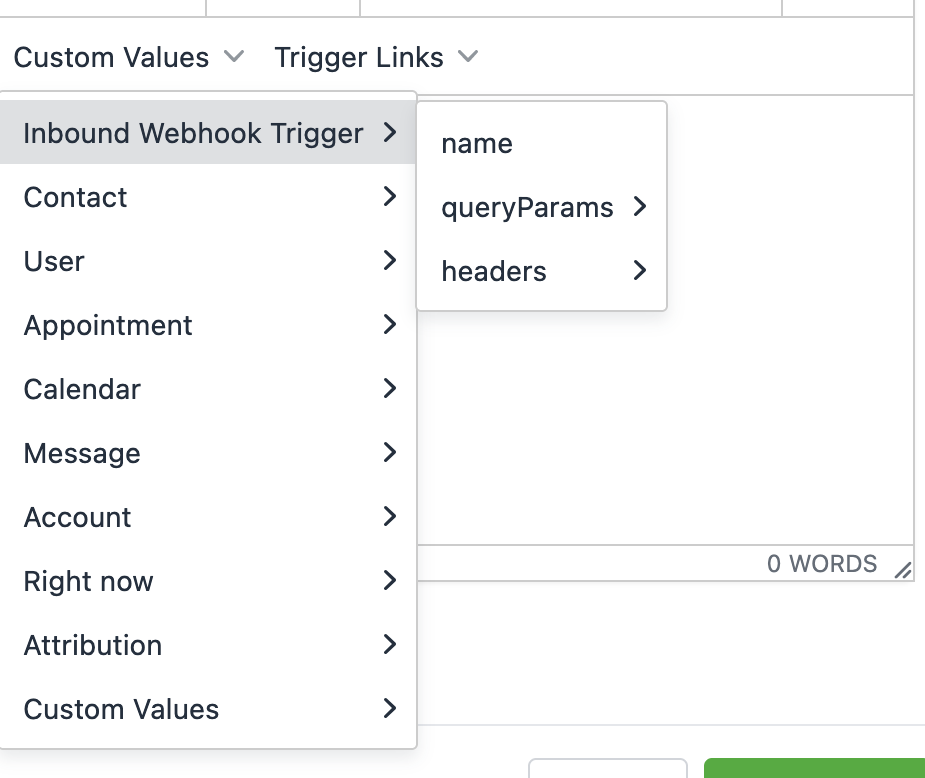
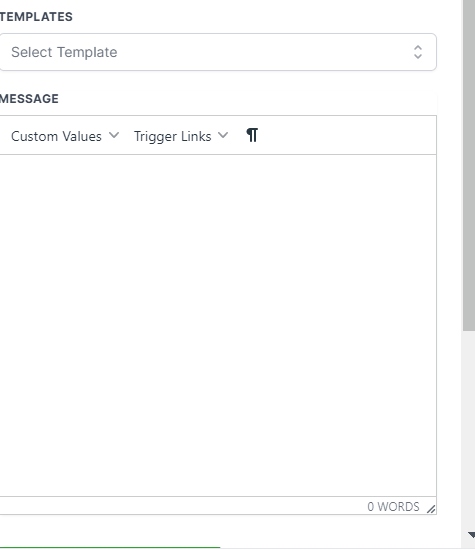
For example, use the values in your communication actions:
Or use them inside If/Else conditions to branch the workflow:
A workflow can run contactless, with no dependency on contact data, so you can send any payload and use it in actions that do not require a contact, such as Custom Webhook, Google Sheets, Slack, and internal tools. If you later need the contact, use the Create/Update or Find Contact action to bring it into the workflow. For example, you could send order data via an inbound webhook, add it to a Google Sheet, use If/Else to categorize by order value, and send a Slack notification.
To connect a WordPress form such as Gravity Forms:
Create the inbound webhook trigger in your CRM and copy the webhook URL, as described above.
In WordPress, add the webhook URL to your form's webhook or notification setting. Gravity Forms offers a webhook add-on, and other form plugins offer similar features. If your form plugin cannot send webhooks directly, use an automation tool such as Zapier, Make, or Pabbly to catch the form submission and POST it to your CRM webhook URL.
Map the form fields to a JSON payload that includes at least an email or phone number.
Submit a test entry, then capture and map the sample data in your CRM trigger.
If you are new to workflows, here is how to create one to hold your inbound webhook trigger.
Go to the Workflows area inside the Automation section of your CRM.
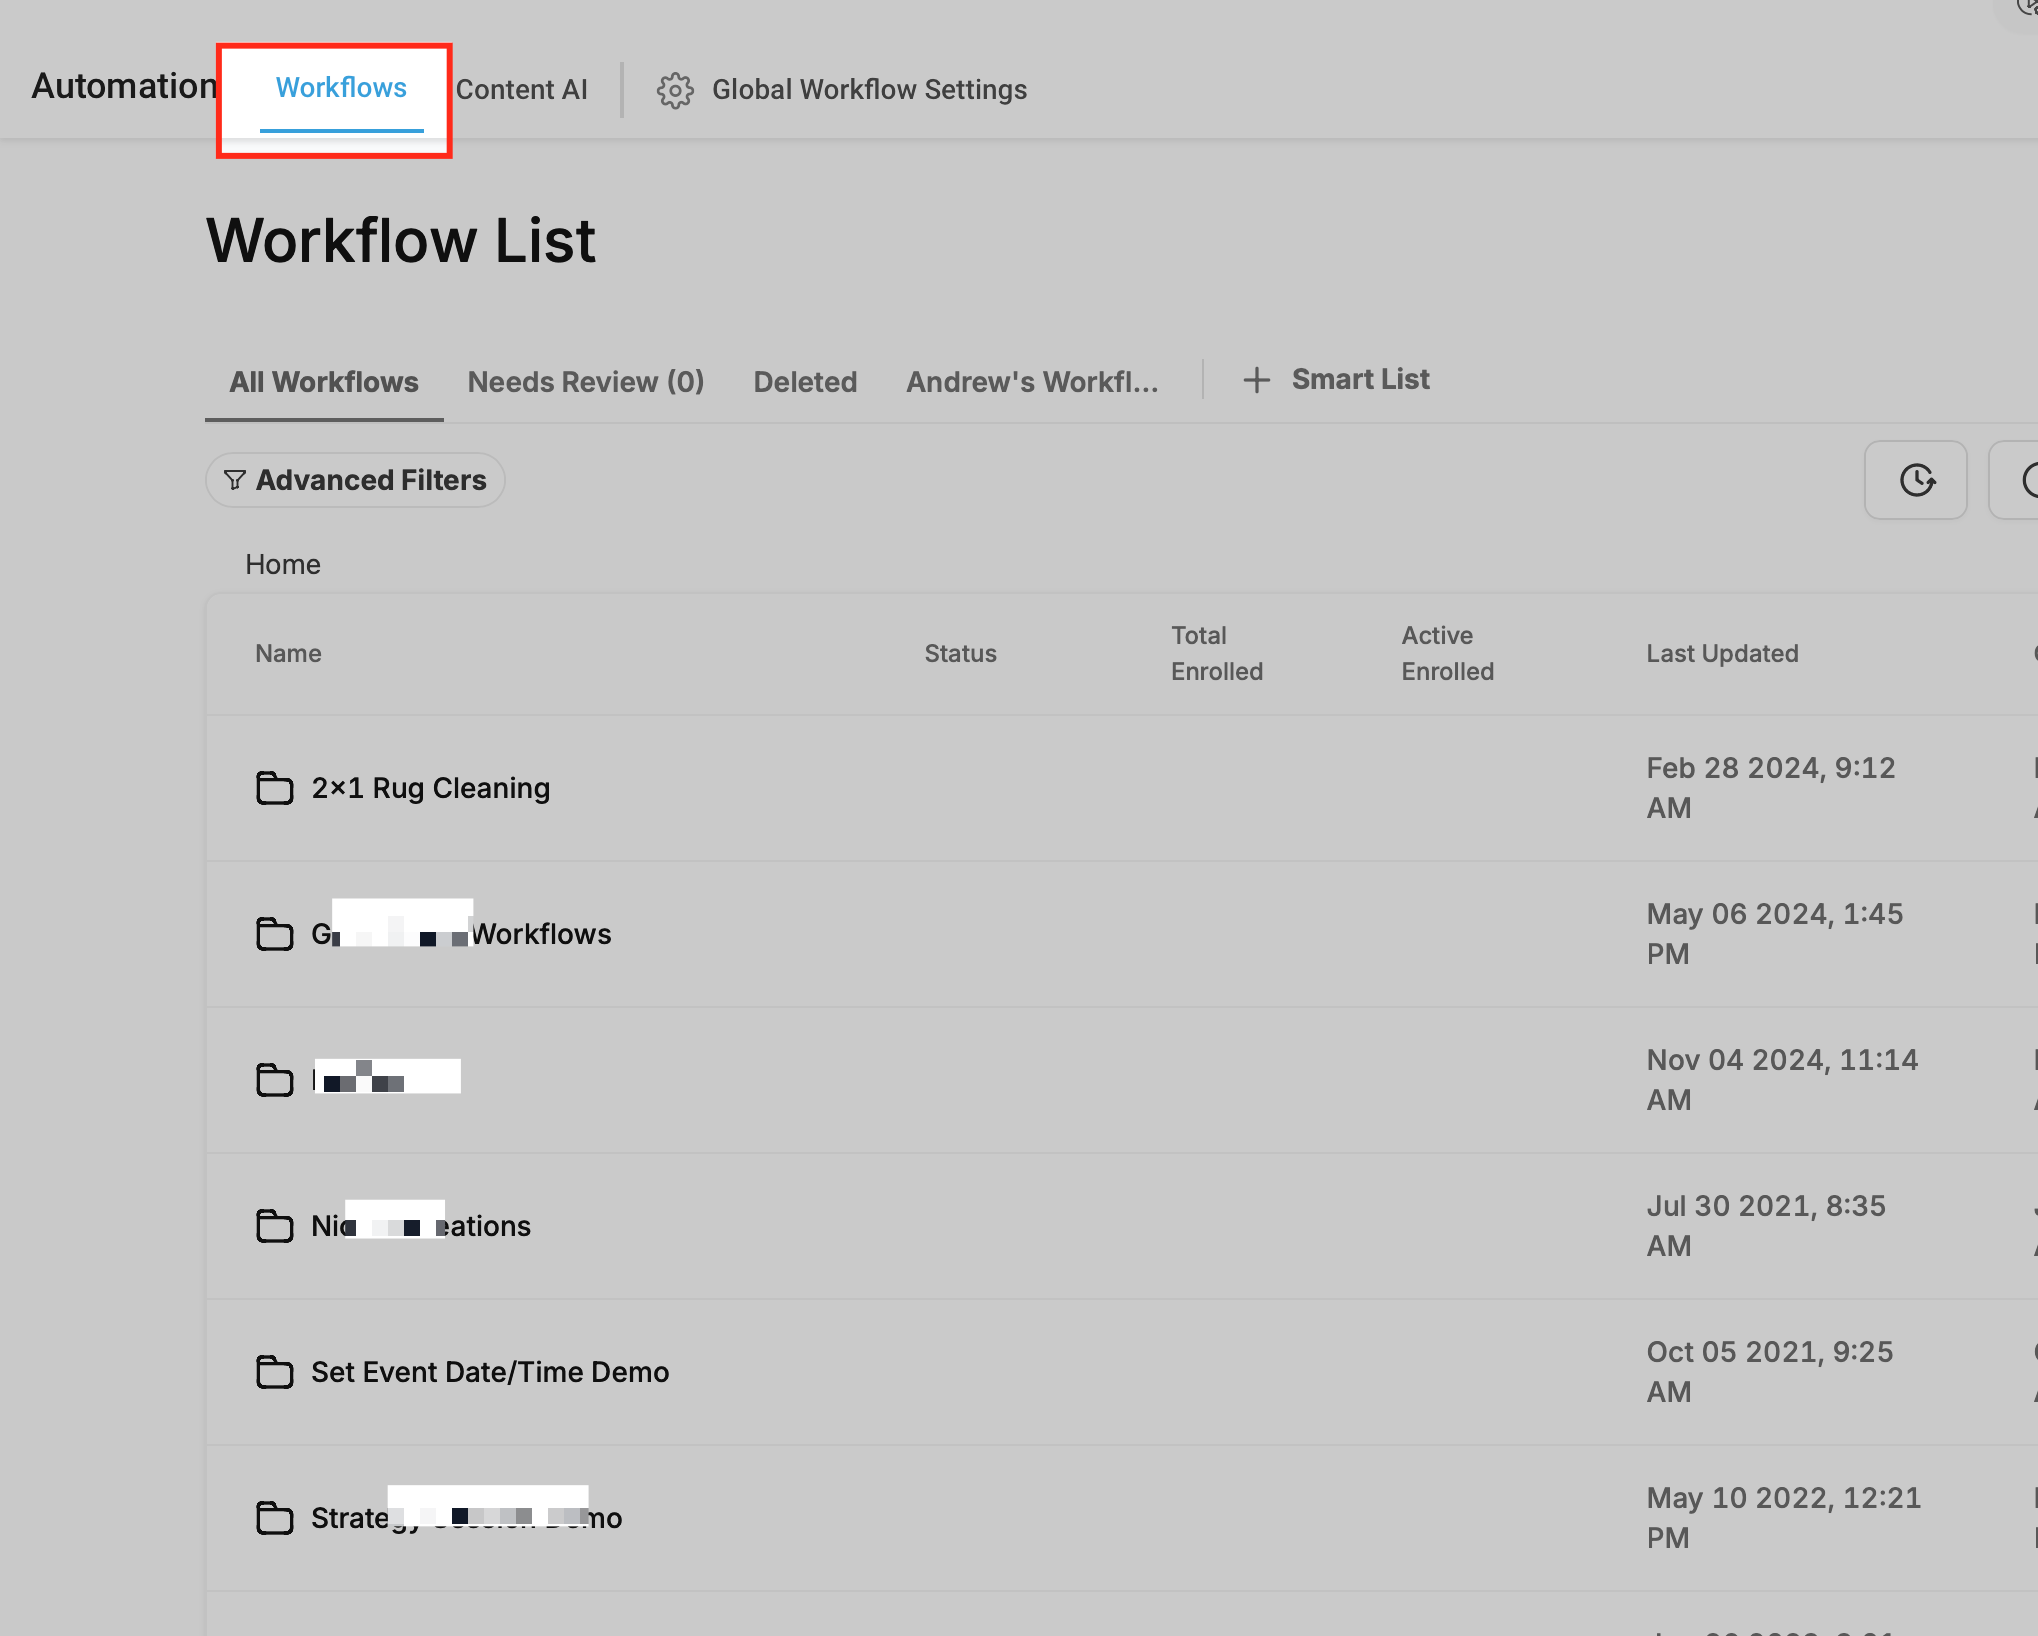
Click + Create Workflow. You can start from scratch, use a recipe, or use a template.
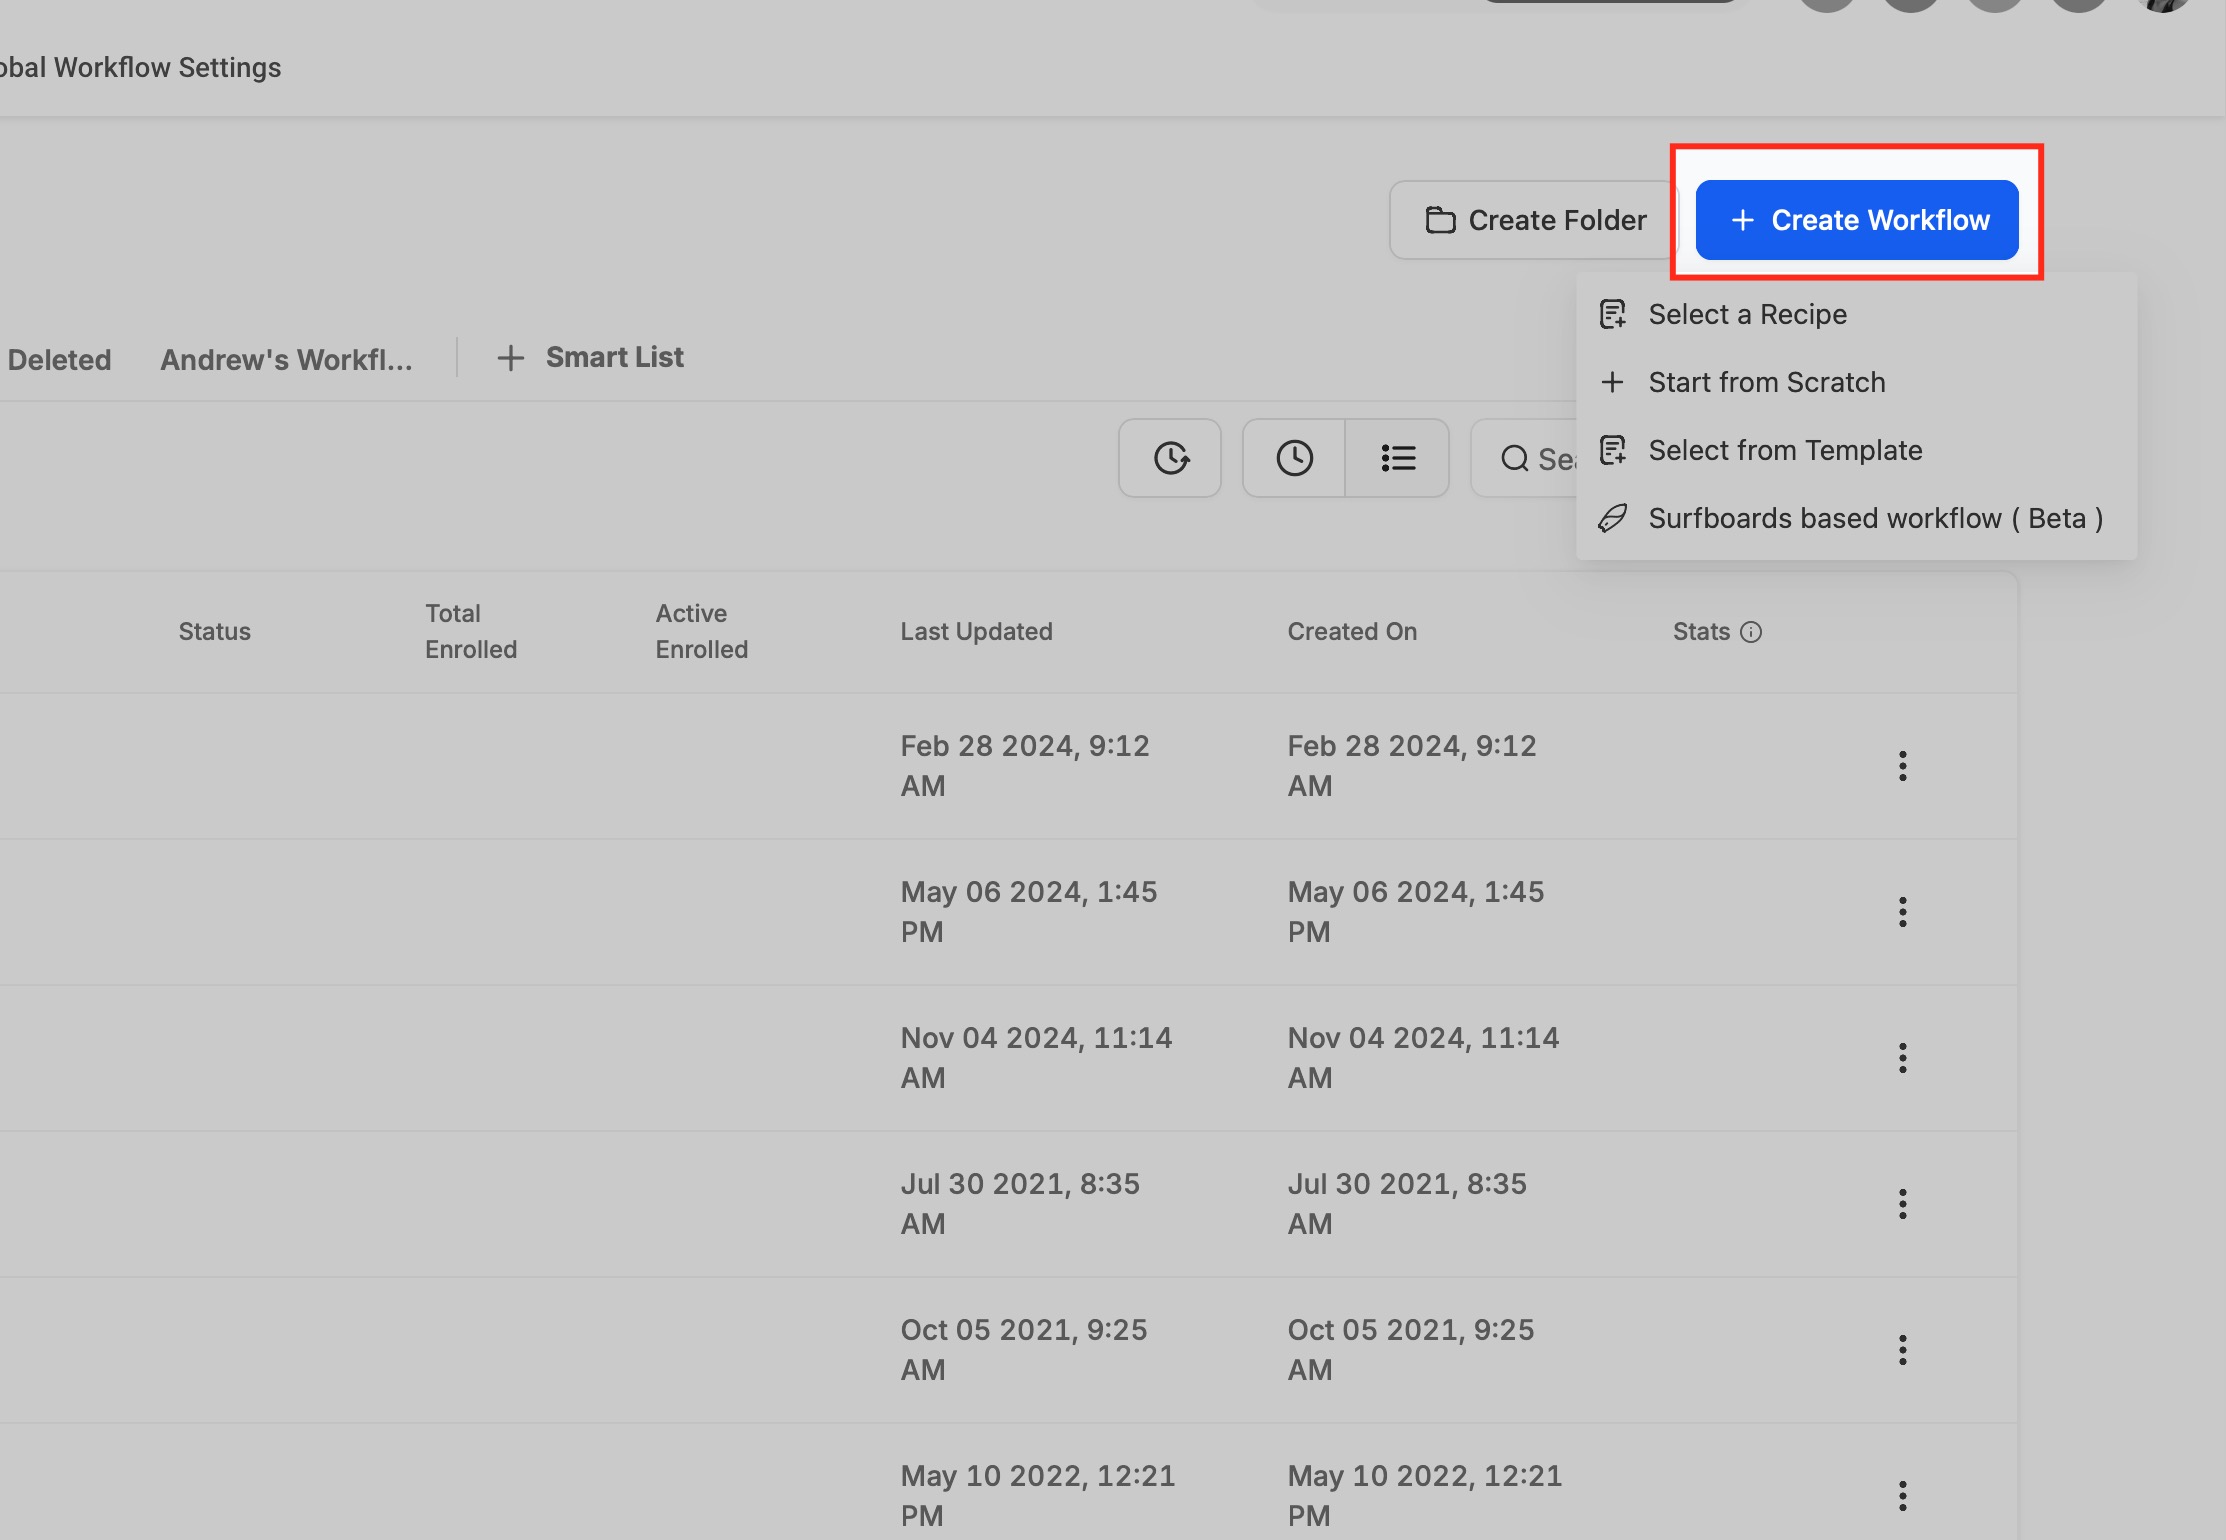
Recipes give you a ready-to-use structure you can customize.
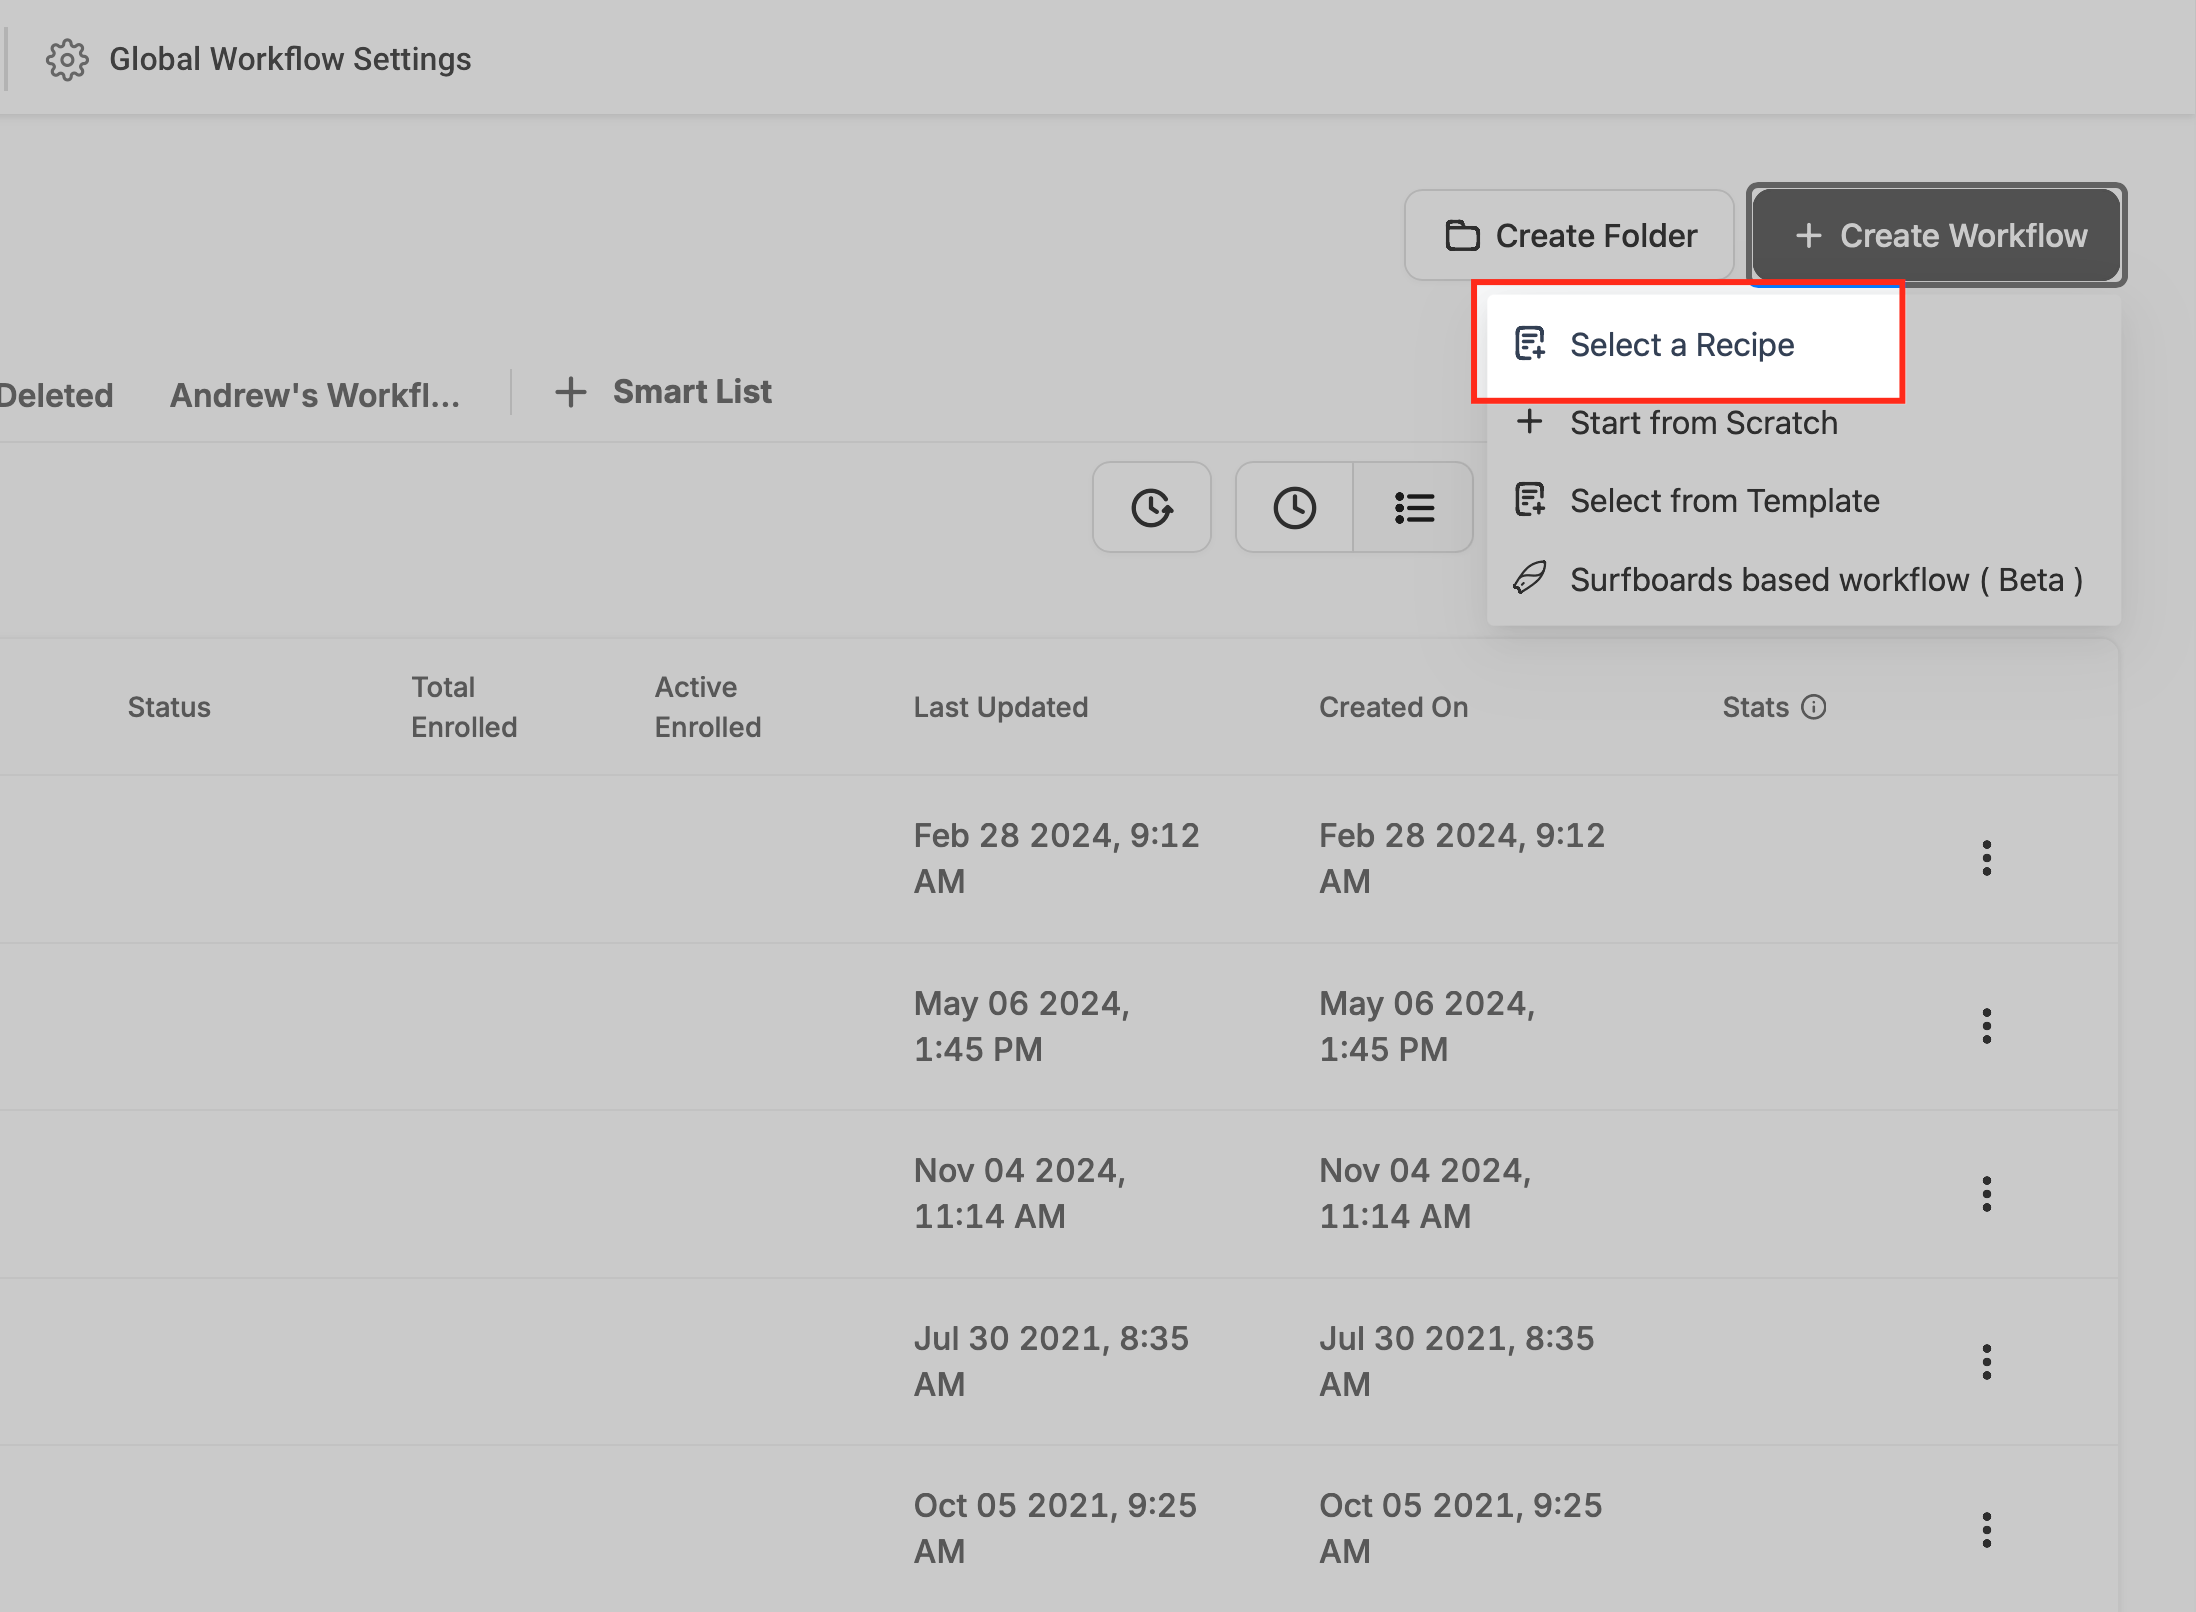
Choose a recipe that suits your needs.
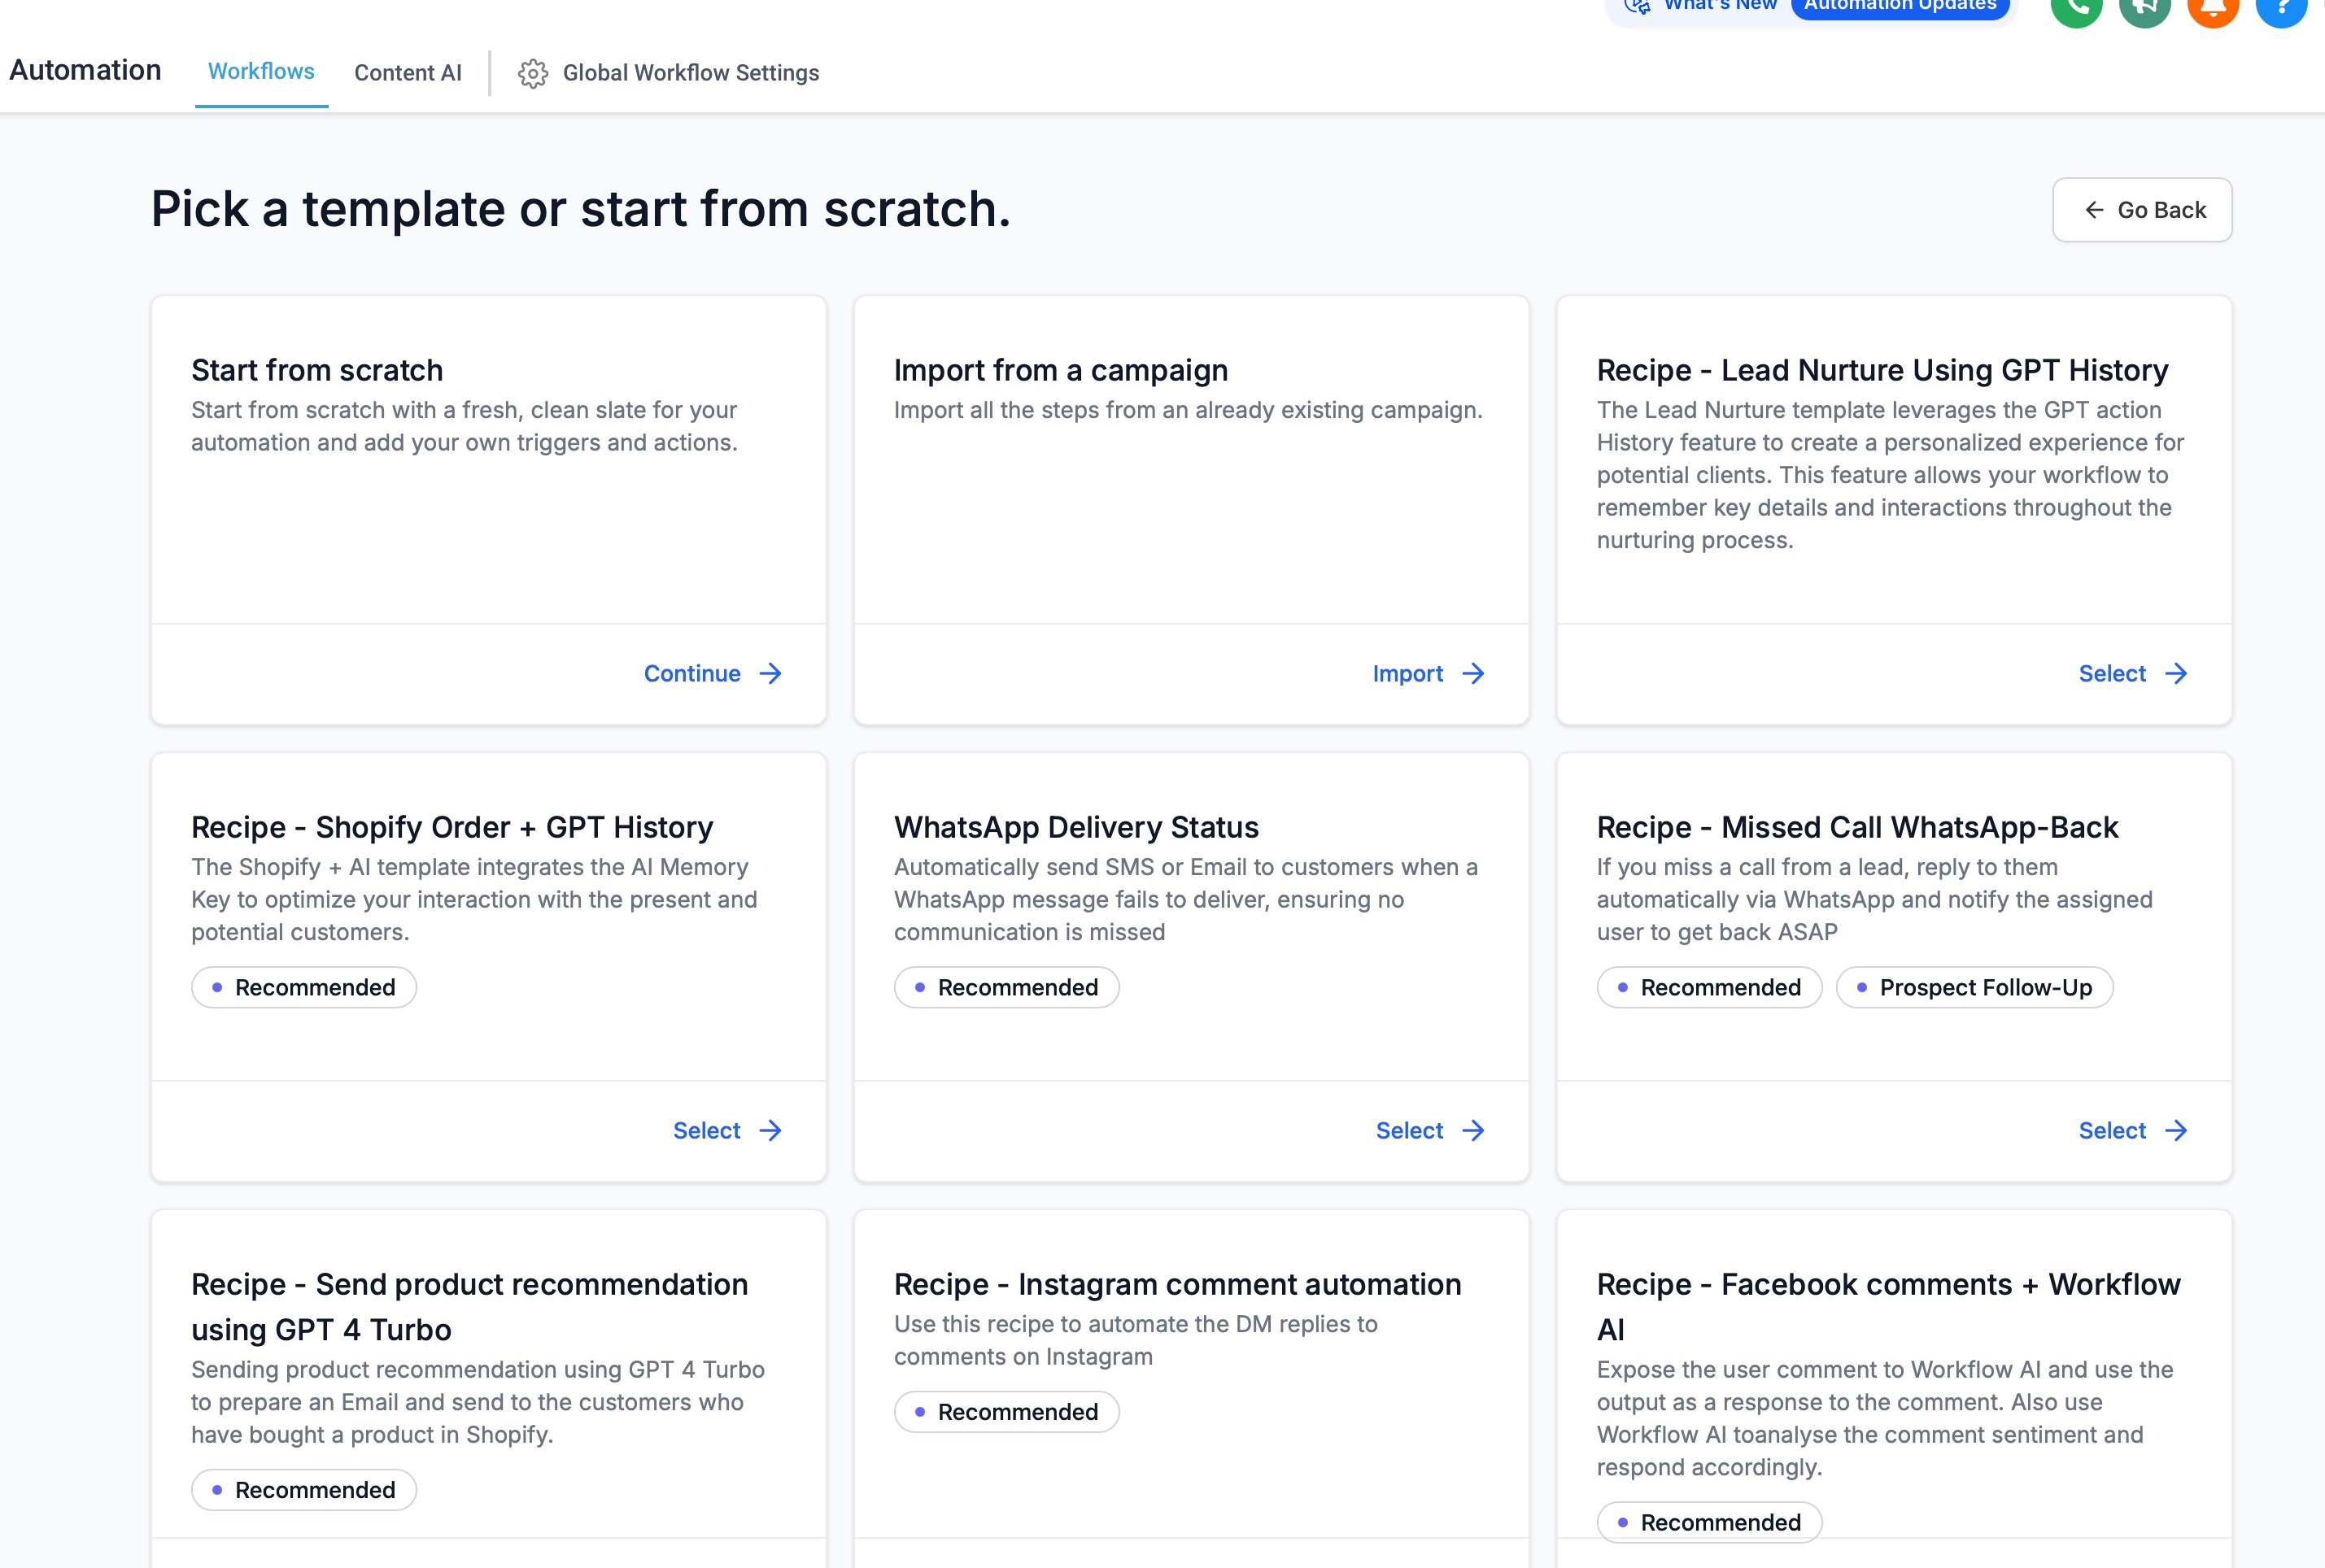
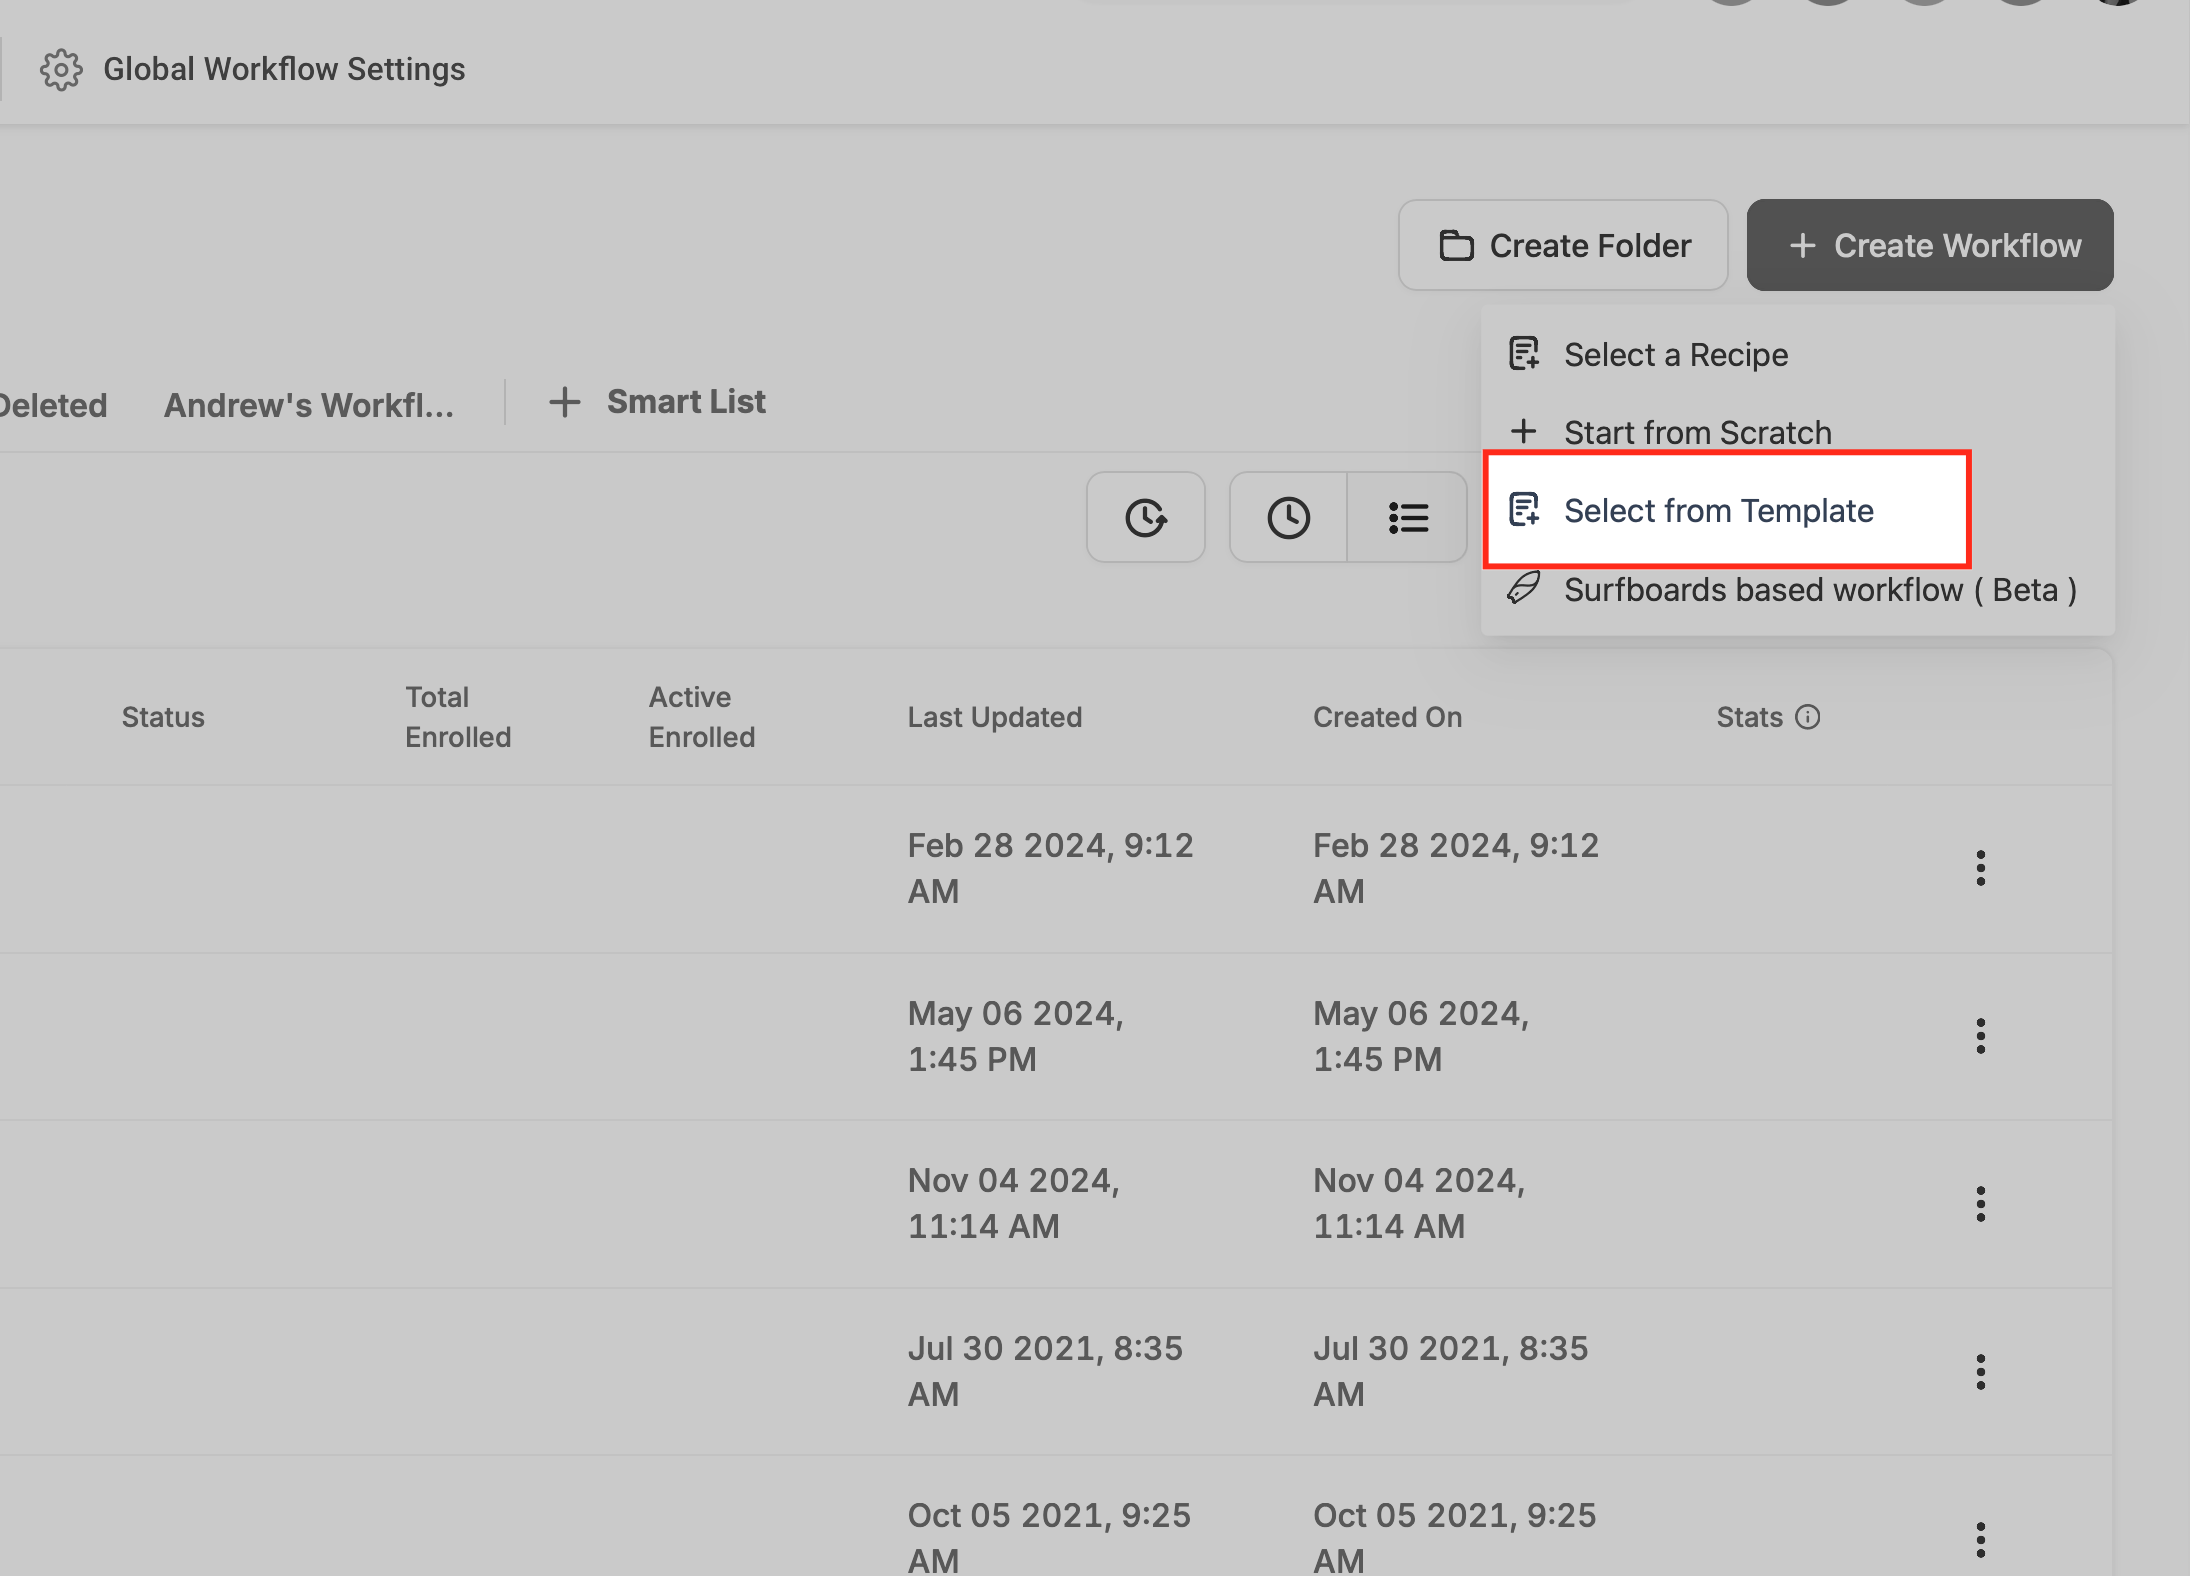
Or click Select from Template to view the template library.
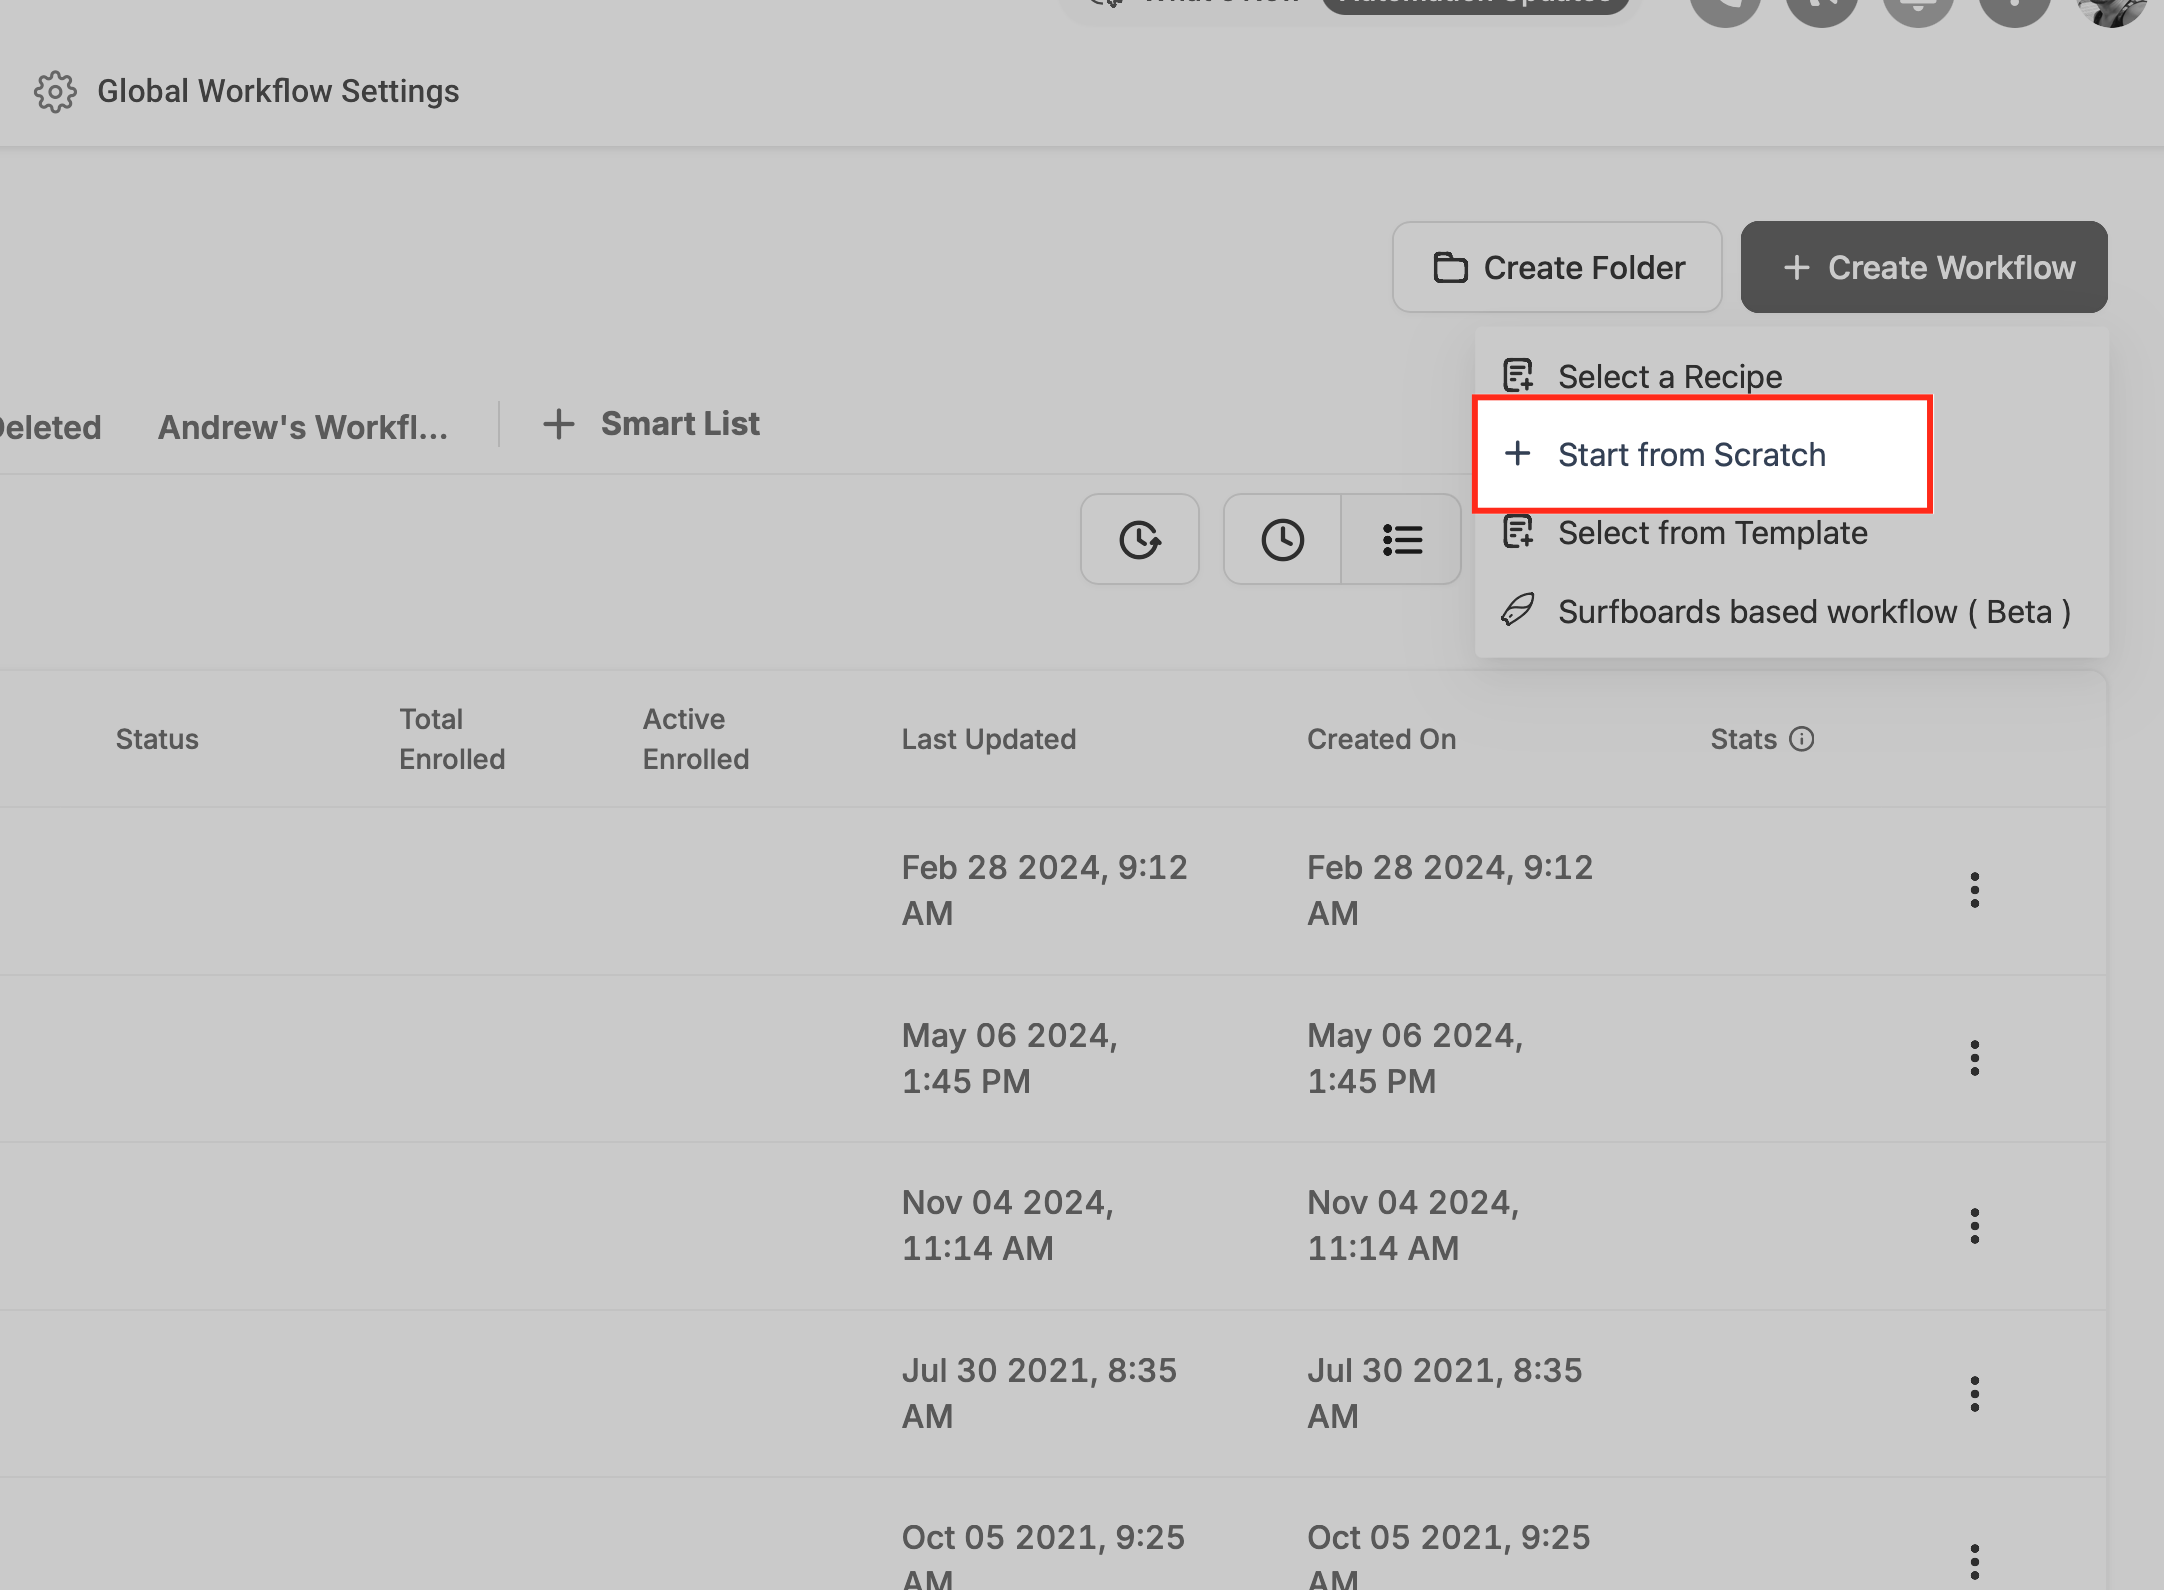
To build your own, choose Start from scratch.
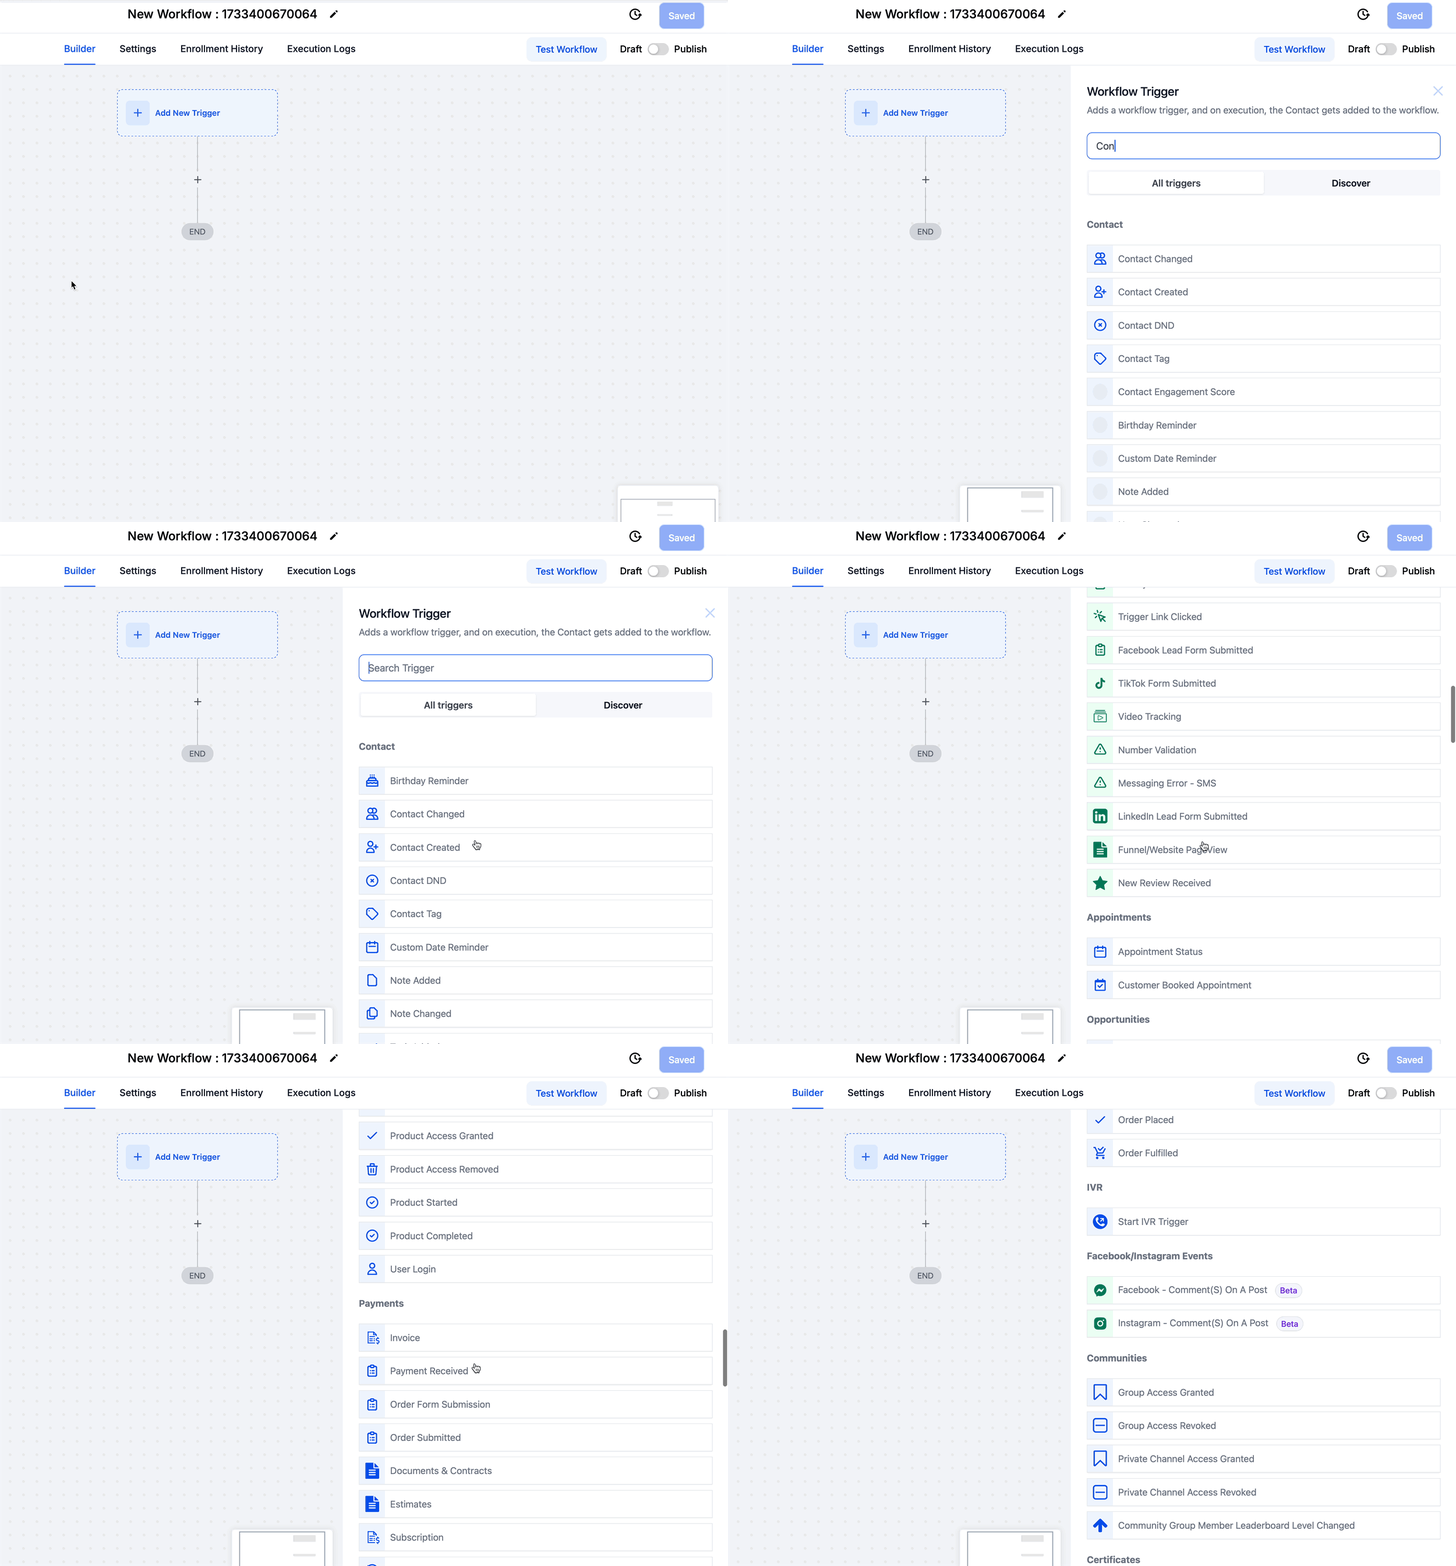
Choose a trigger. For this integration, select Inbound Webhook.
Add the actions to run after the trigger, such as creating a contact or sending a notification.
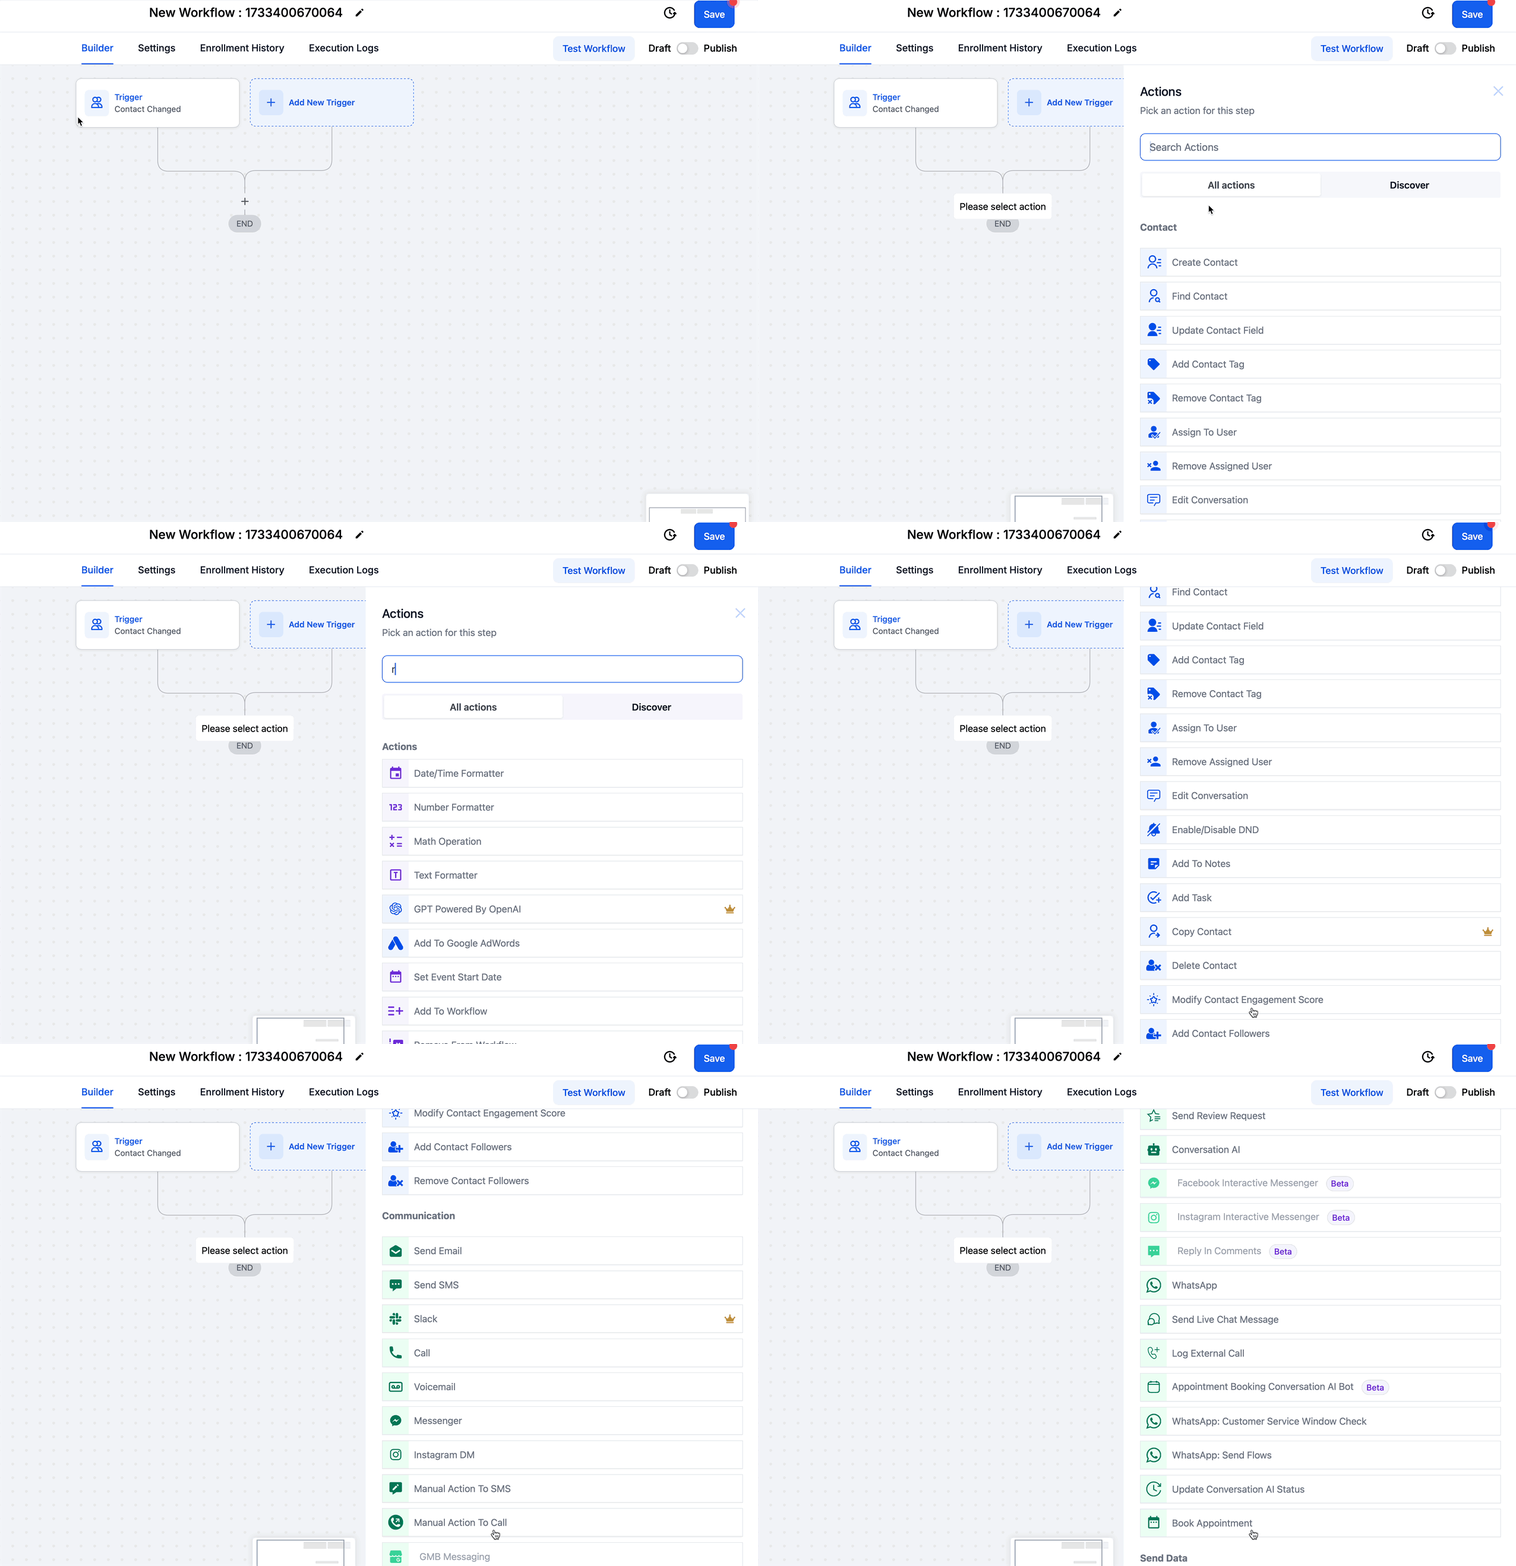
Click Save, and use Test Workflow before you publish.
Always send the request using a supported method: POST, GET, or PUT.
Send the data as a JSON object, which is the only supported format.
Keys must be a single string with no spaces. Use CamelCase or snake_case instead of separating words with spaces.
Providing an email or phone number in the payload is required to find or create a contact, unless you run the workflow contactless.
Arrays are not supported in custom values. You can send them in the request but cannot use them inside actions.
If your data structure changes, re-select the mapping reference in the trigger so fields resolve correctly in later actions.
If your webhook URL is ever compromised or leaked, delete the existing Inbound Webhook trigger and add a new one. A new URL with a different ending ID is generated, so update your integrations to match. Requests to the old URL will no longer enter your workflow.
What data format does the webhook require? JSON. Send the payload as a JSON object, and keep keys as single strings with no spaces.
Do I have to include an email or phone number? Yes, if you want to create or match a contact. An email or phone is required to find or create the contact. If neither is present, you can run the workflow contactless.
Can I connect a Gravity Forms or other WordPress form? Yes. Add your CRM webhook URL to the form's webhook or notification setting, or use Zapier, Make, or Pabbly to relay the submission if your plugin cannot send webhooks directly.
Which HTTP methods are supported? POST, GET, and PUT are all supported.
Can a workflow run without a contact? Yes. Workflows can run contactless, and you can use actions like Custom Webhook, Google Sheets, Slack, and other internal tools that do not depend on contact data.
Why isn't my mapping reference showing up? Send a live sample request to the webhook URL, then wait and refresh the mapping reference section until the request appears. The most recent request is always at the top.
What happens if my form's field structure changes? Re-select the mapping reference inside the Inbound Webhook trigger so the new or changed fields map correctly in your other actions.
How do I secure a leaked webhook URL? Delete the current Inbound Webhook trigger and add a new one to generate a fresh URL, then update your external integrations. Requests to the old URL will stop entering the workflow.
Can I use query parameters to pass extra data? Yes. Add a query key and value to the end of the webhook URL, similar to UTM parameters, and you can then select that parameter cleanly when mapping.
