Instead of relying on a single global default provider, Aesthetix CRM lets you assign specific payment providers to different parts of your practice, such as funnels, forms, stores, calendars, and invoices. This channel-level control routes payments based on where the transaction originates, so you can optimize fees, tailor provider strengths to each use case, and test new providers safely. This guide explains what is supported today, how default and preferred providers behave, how to configure providers per channel, and answers the most common questions.
Tip: Aesthetix CRM offers AX Pay, our own payment processing with rates better than Stripe. When choosing which provider to run on your channels, we recommend AX Pay as your default. See AX Pay Overview and Setup Guide.
Before you can assign providers by channel, connect at least one provider under Payments and then Integrations. Connecting a provider links your account to a payment processing service so you can collect payments online. Some providers connect through a login authorization, while others need credentials such as API keys (test and live), a security or webhook key, or a merchant or account ID. Keep any required credentials ready, enter them or complete the login, and save the connection. Each provider has its own setup guide with detailed, provider-specific steps.
Payment providers can be used across these channels in Aesthetix CRM:
Funnels: One Step Order Forms
Funnels: Two Step Order Forms
Forms
Stores
Calendars
Invoices
Invoice Auto Payment
Payment Links
Courses
Communities
Surveys
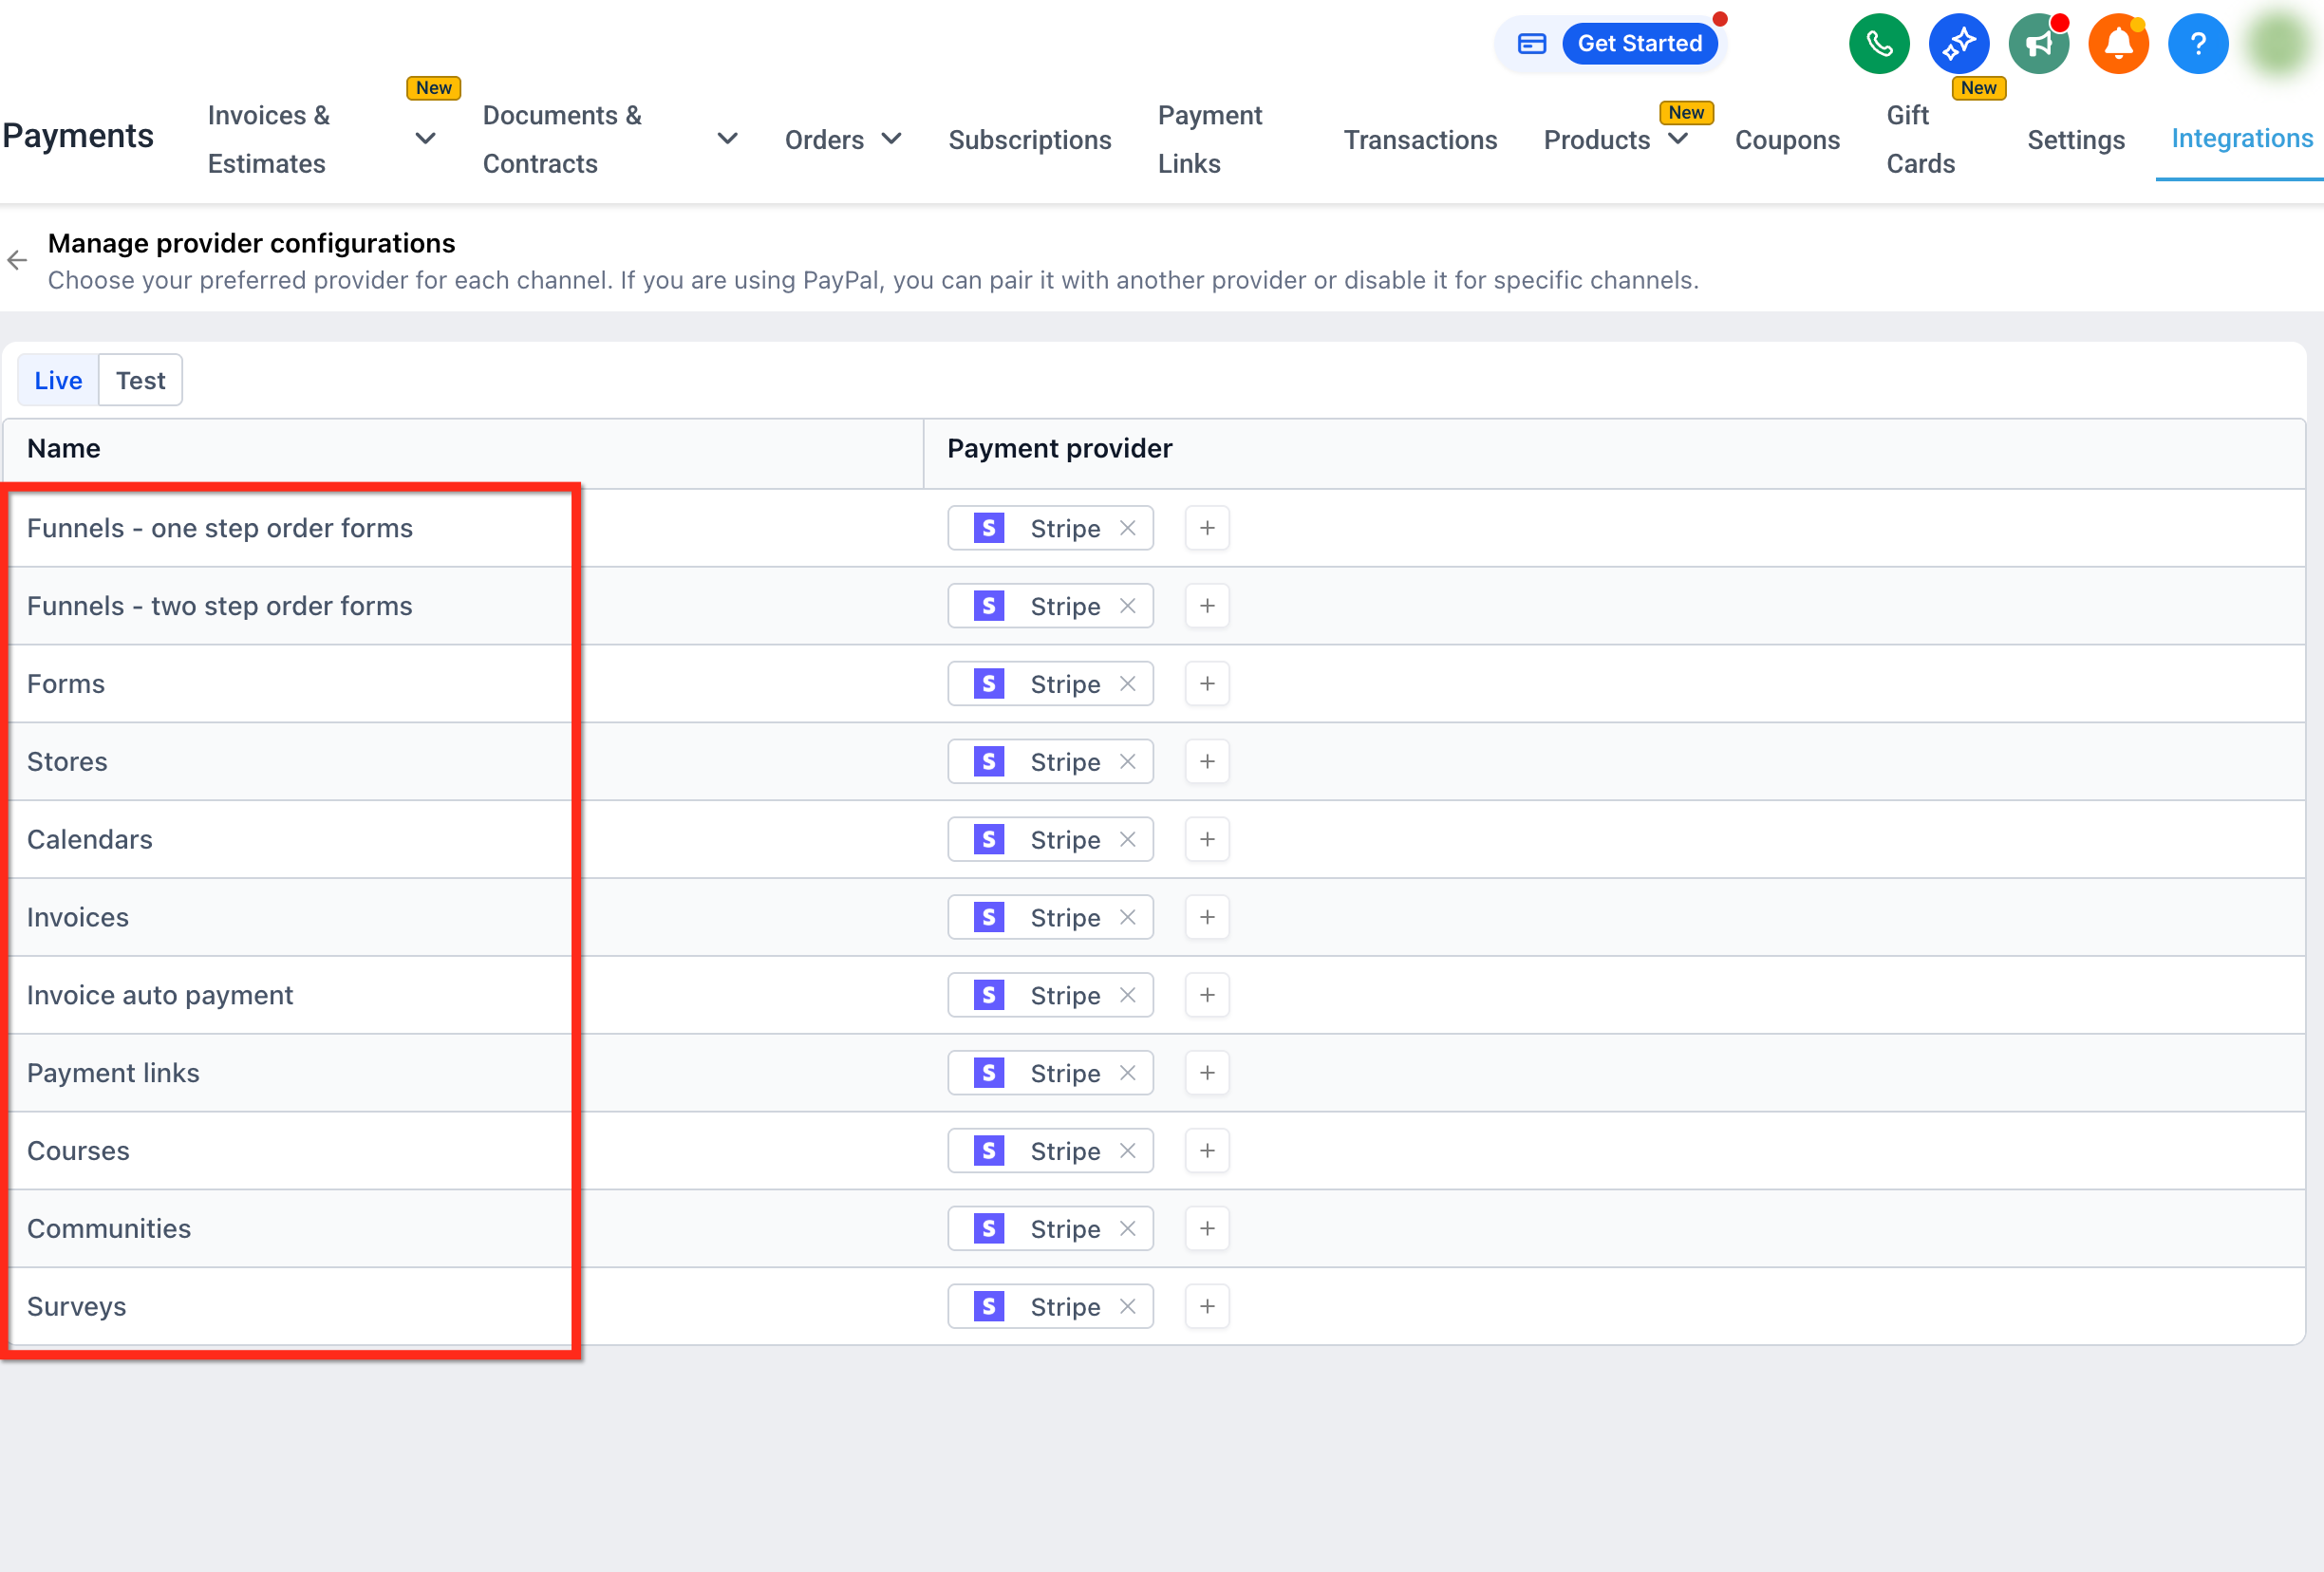
Additional channels are guided by community demand and roadmap priorities. You can request support for a new channel by contacting the Support team, reaching out to the Product team, or submitting the request through the Idea Board.
Provider selection follows a simple set of rules that determine which provider is used at checkout:
Provider priority: Channel-level settings override the global default provider. If no provider is set for a channel, the global default is used. Only connected providers can be selected.
Supported combinations: You can use PayPal plus one other provider (for example Stripe or NMI). Multiple non-PayPal providers together are not supported (for example Stripe plus NMI on the same checkout).
Editing providers: You can remove any selected provider. PayPal can be added or removed alongside another provider, but PayPal cannot be directly replaced by another provider. To swap it, remove PayPal first.
When your account has a default provider configured, that provider appears in the provider selection window. Each account can have one default provider plus PayPal (optional):
If both the default provider and PayPal are configured, patients see both options.
If PayPal is not configured, patients see only the default provider.
Separating live and test configurations lets you experiment with providers without touching real transactions, which is essential for validating integrations and checkout experiences safely.
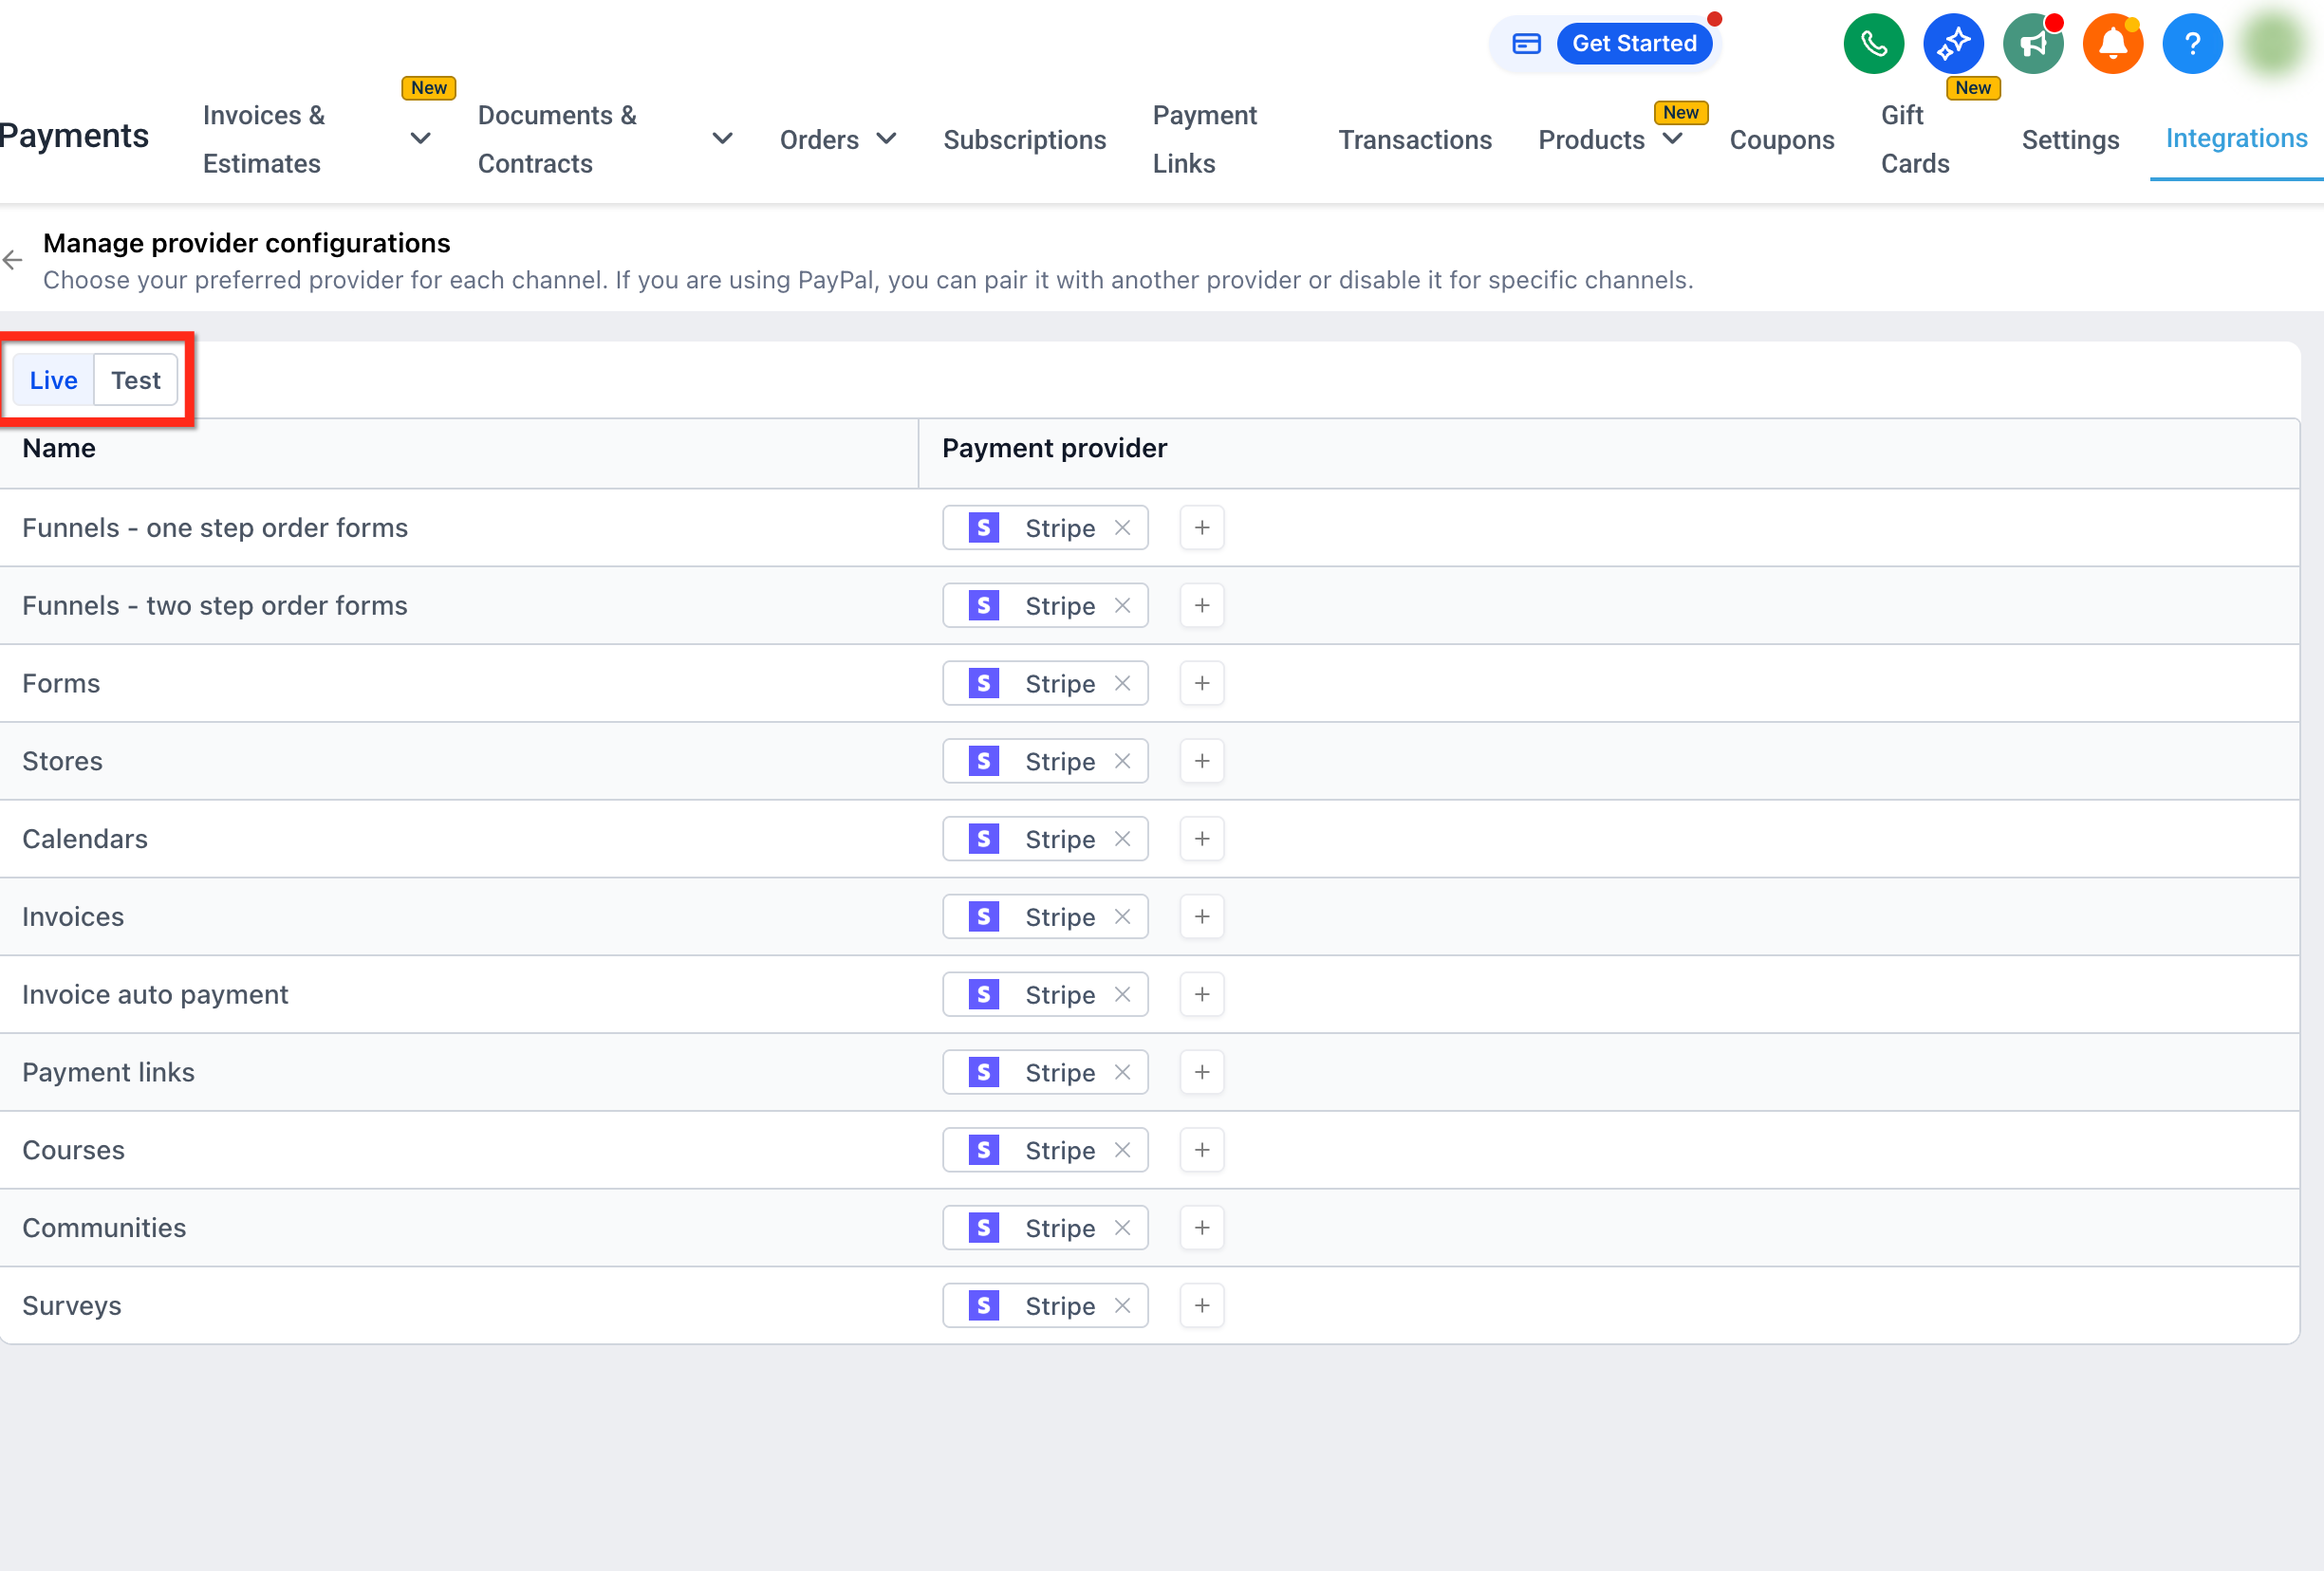
Live mode: Used for real patient transactions.
Test mode: Used for testing payment flows without processing real payments.
Each mode can have different providers assigned per channel.
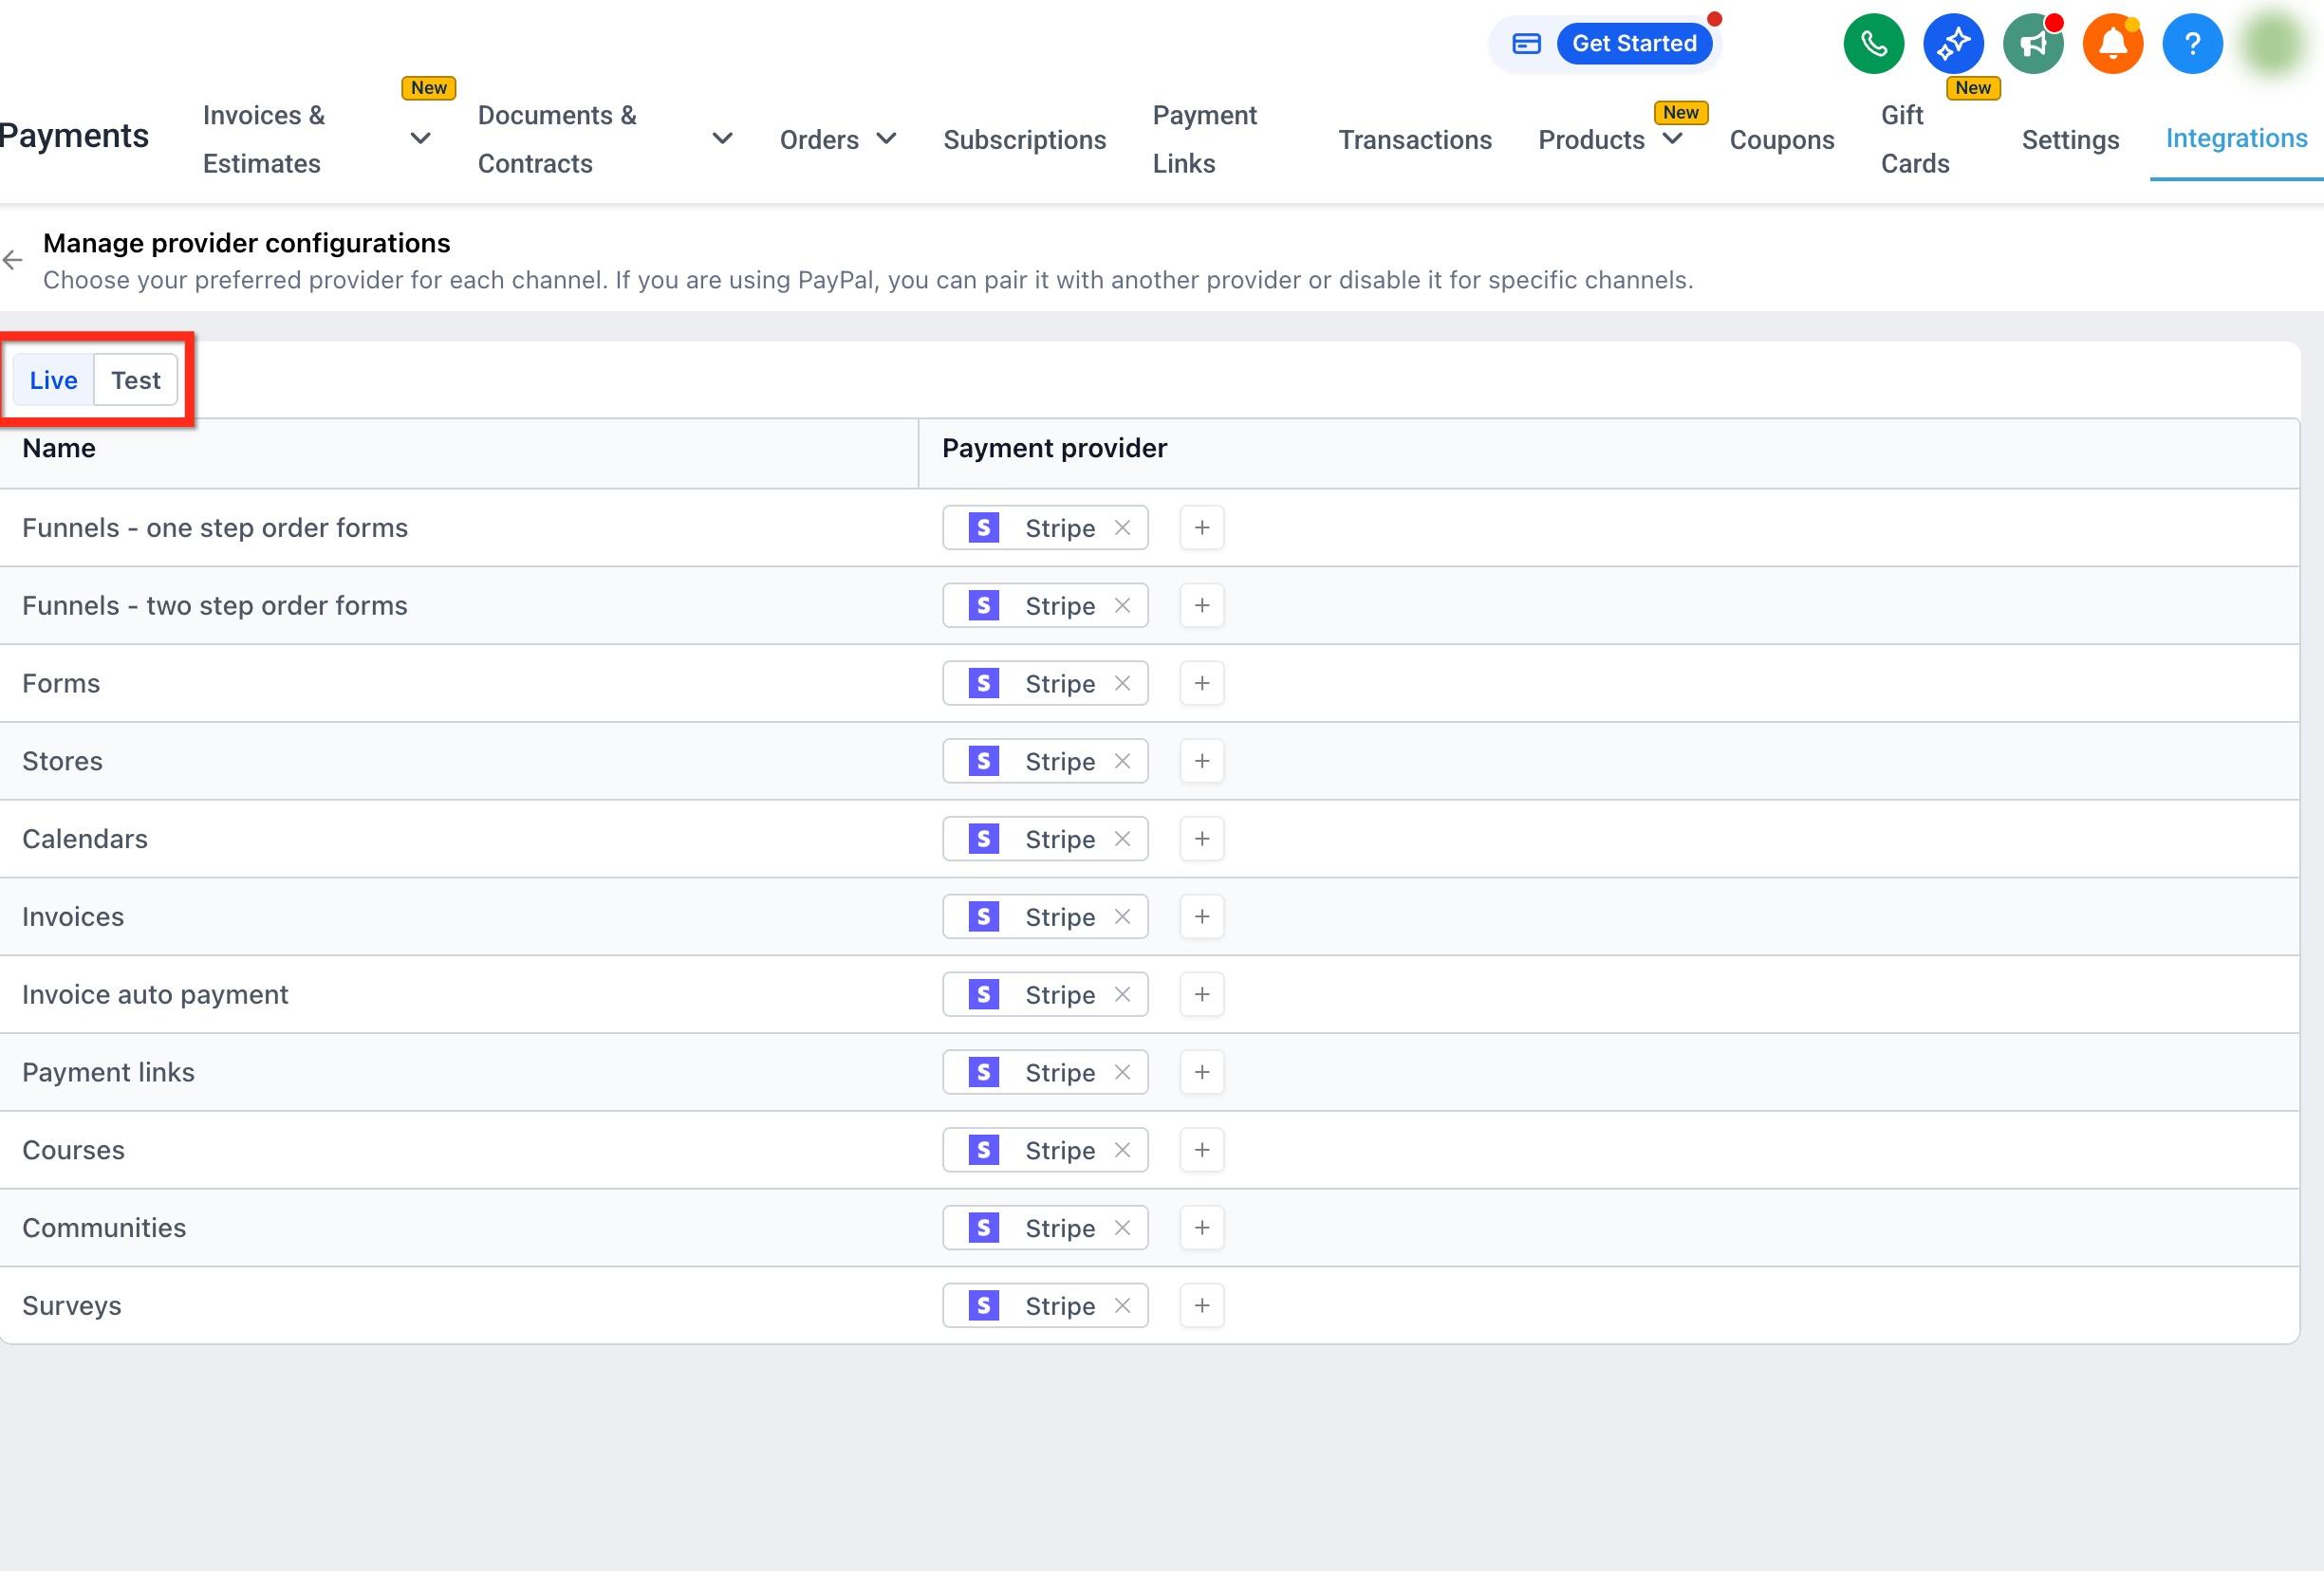
Proper setup ensures payments are routed correctly and prevents failed transactions.
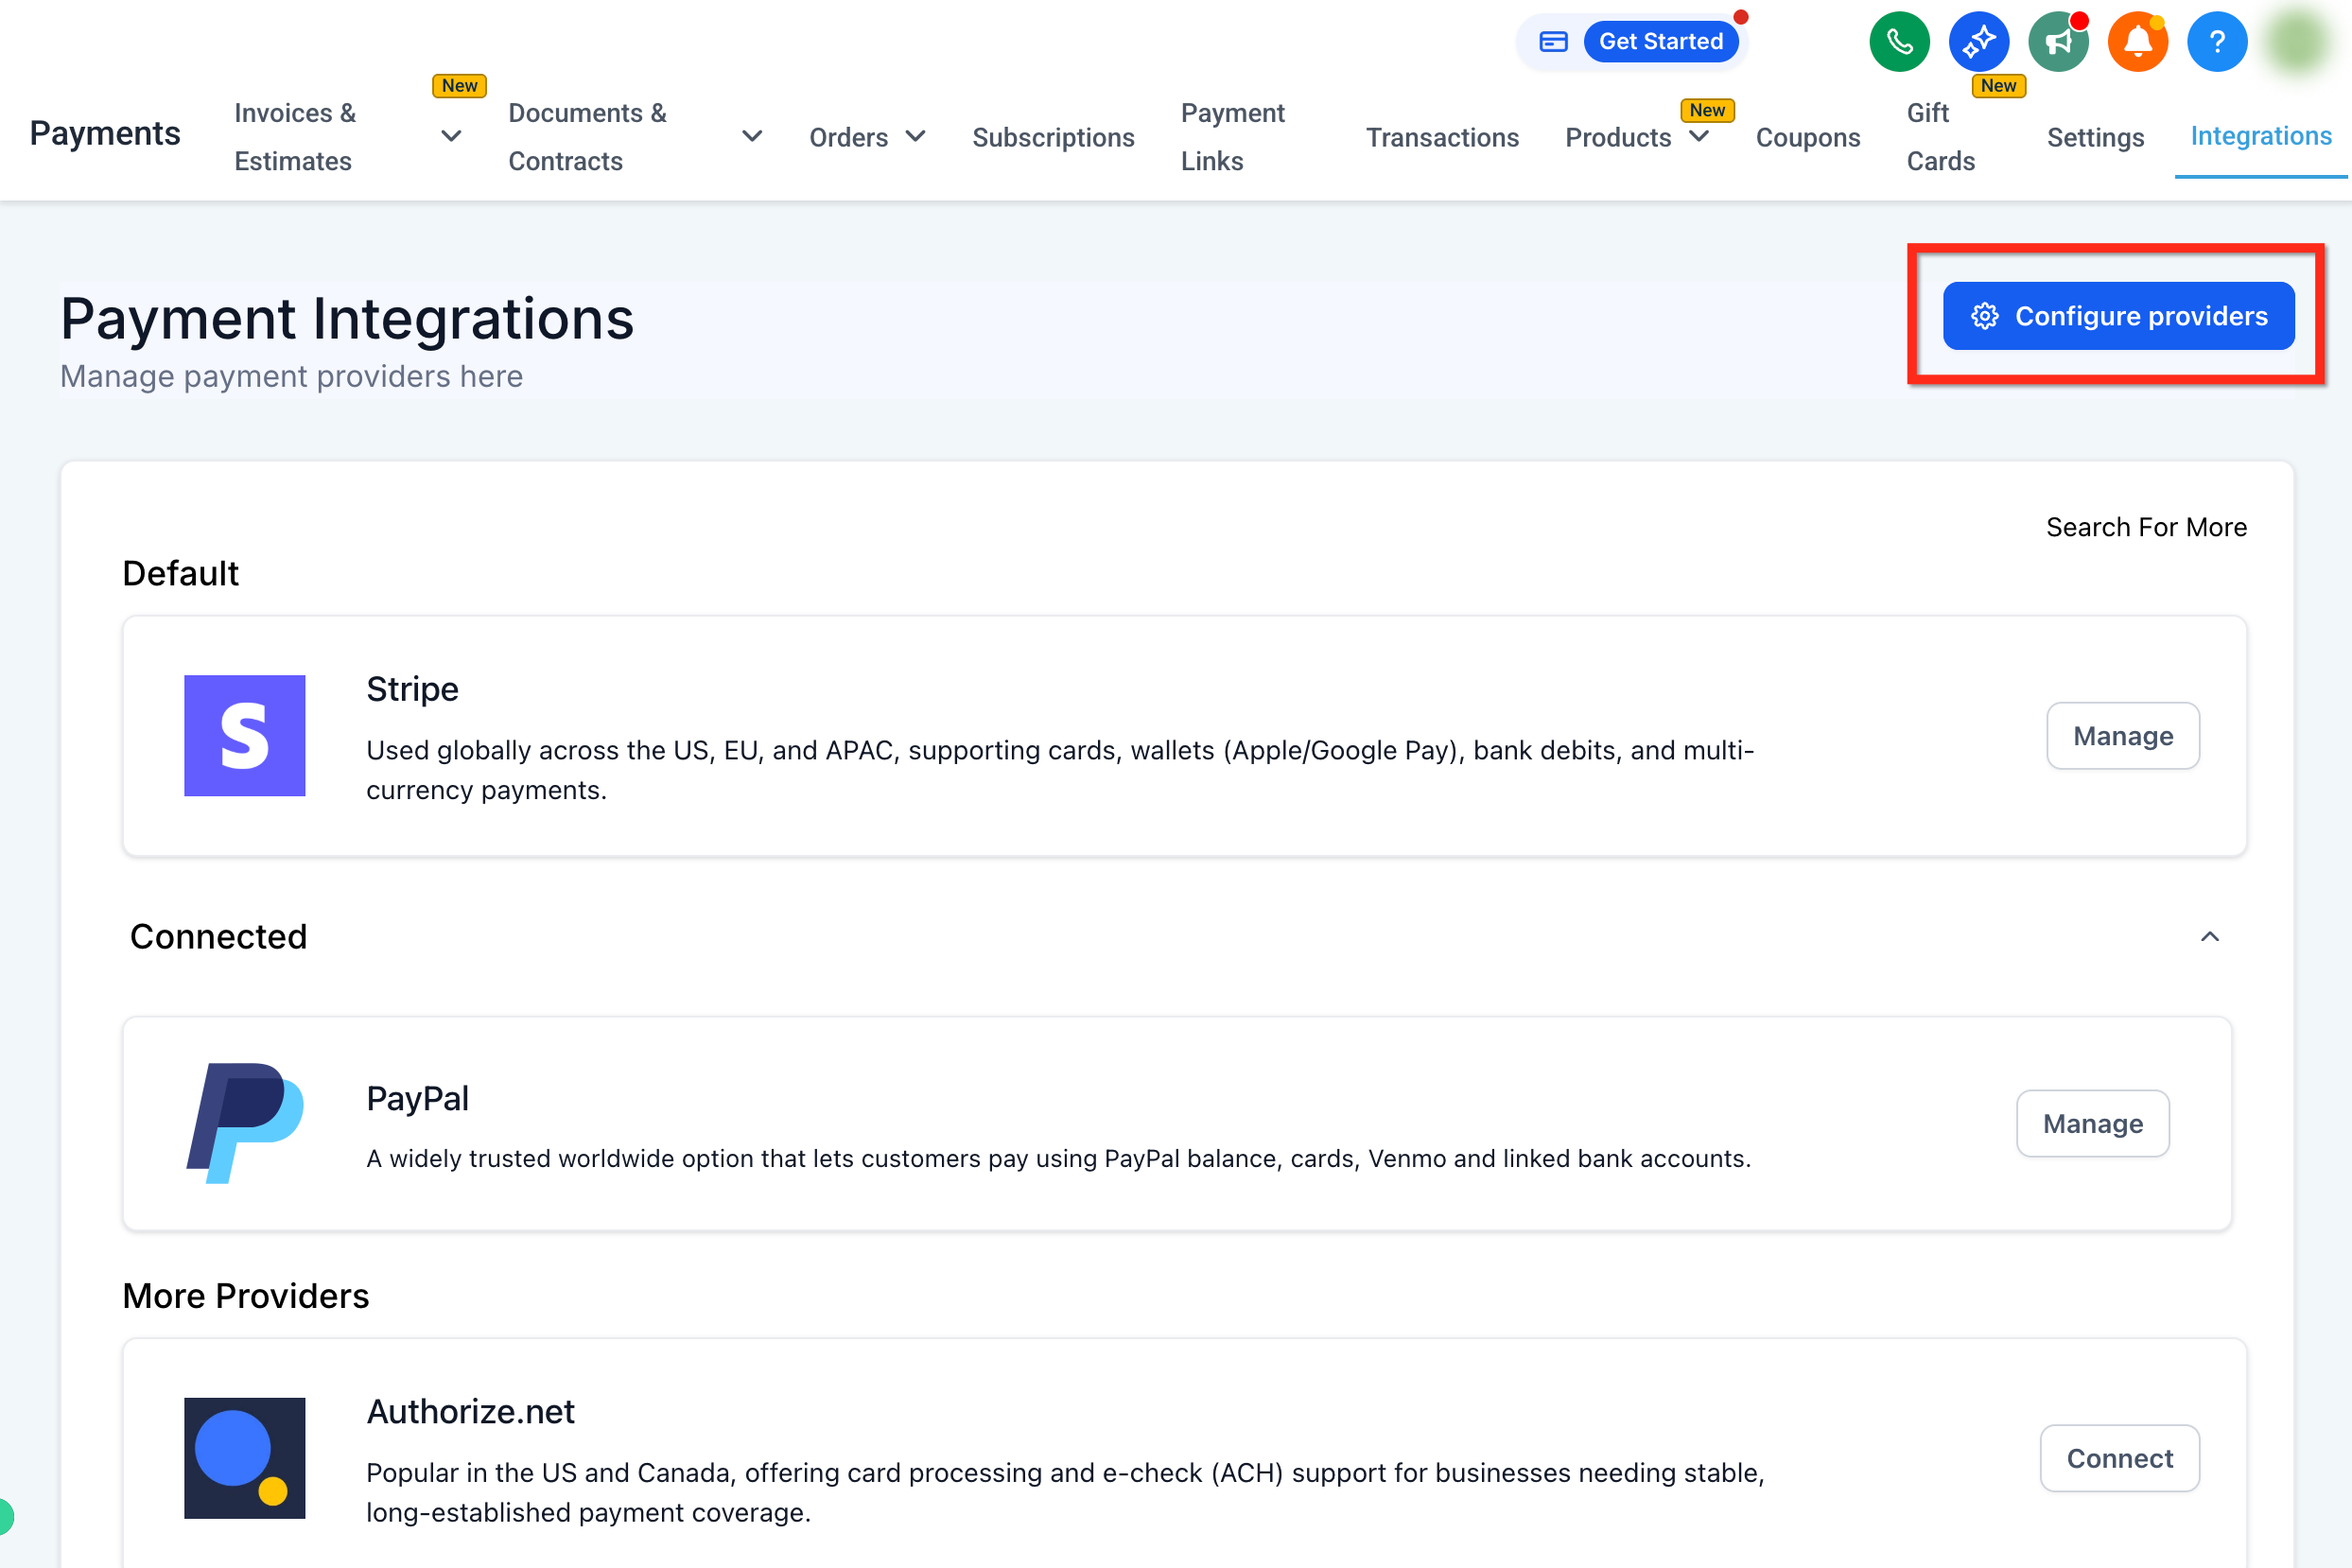
Navigate to Payments in your account.
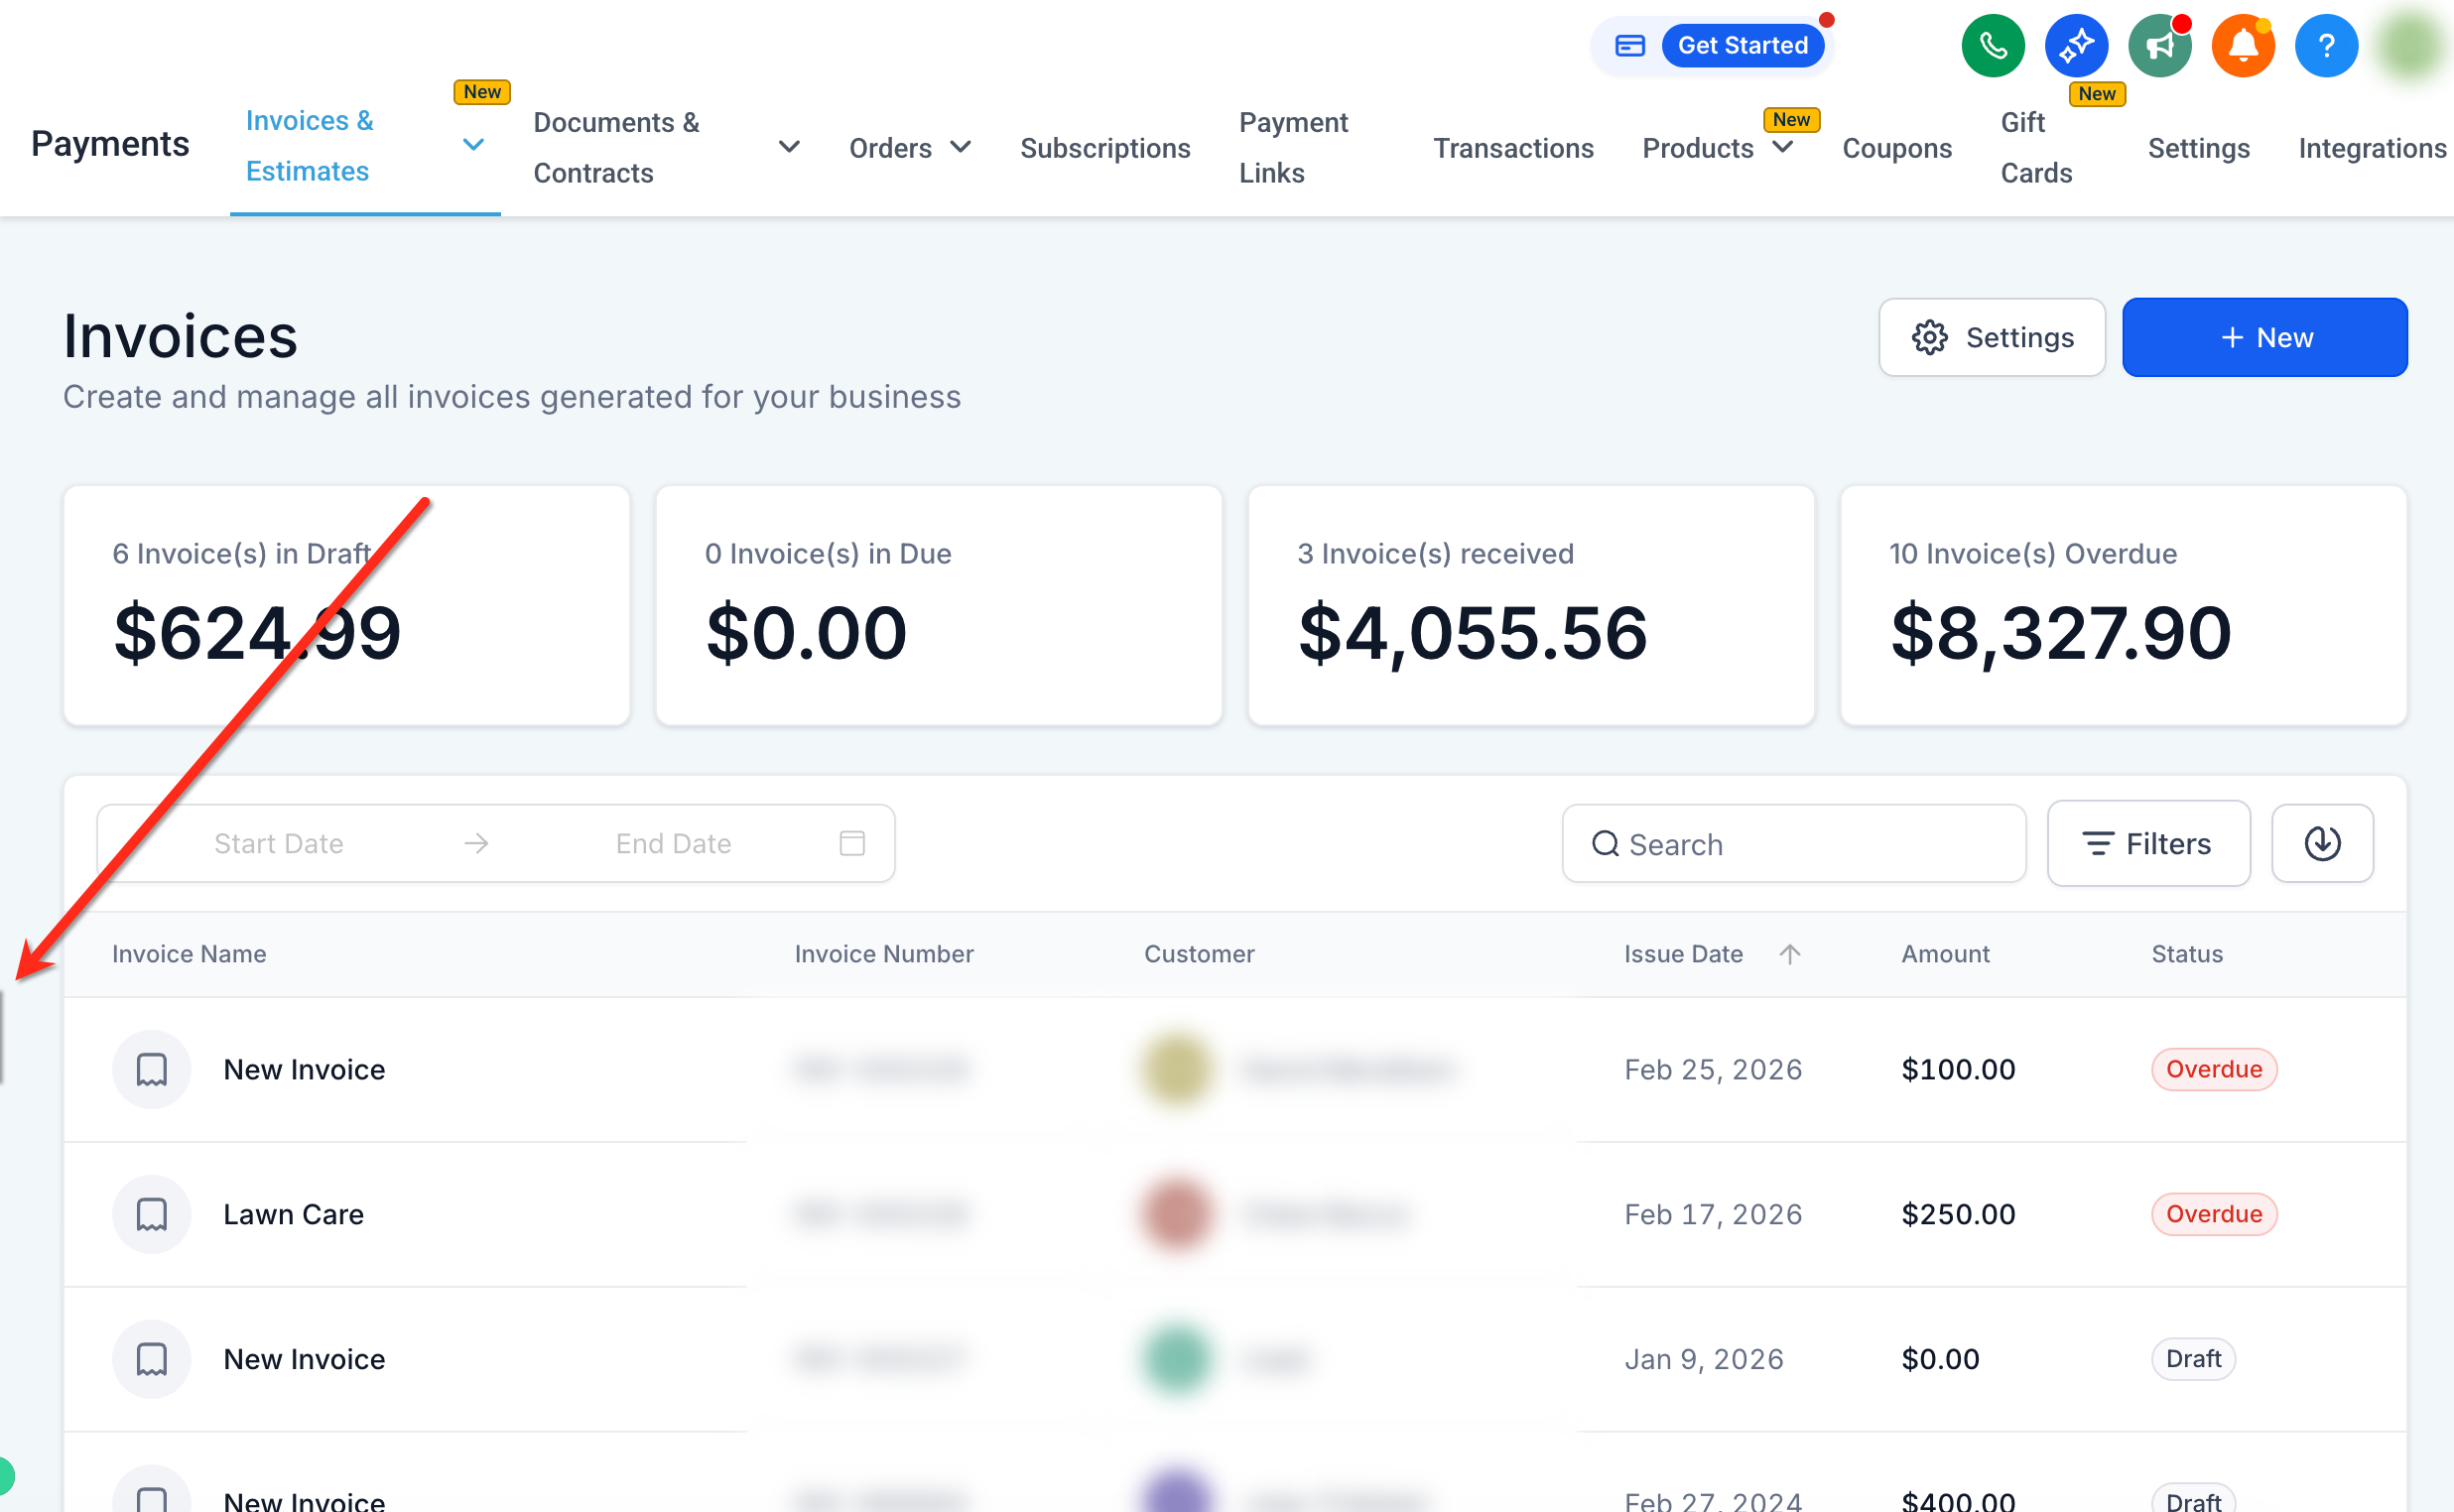
Click Integrations.
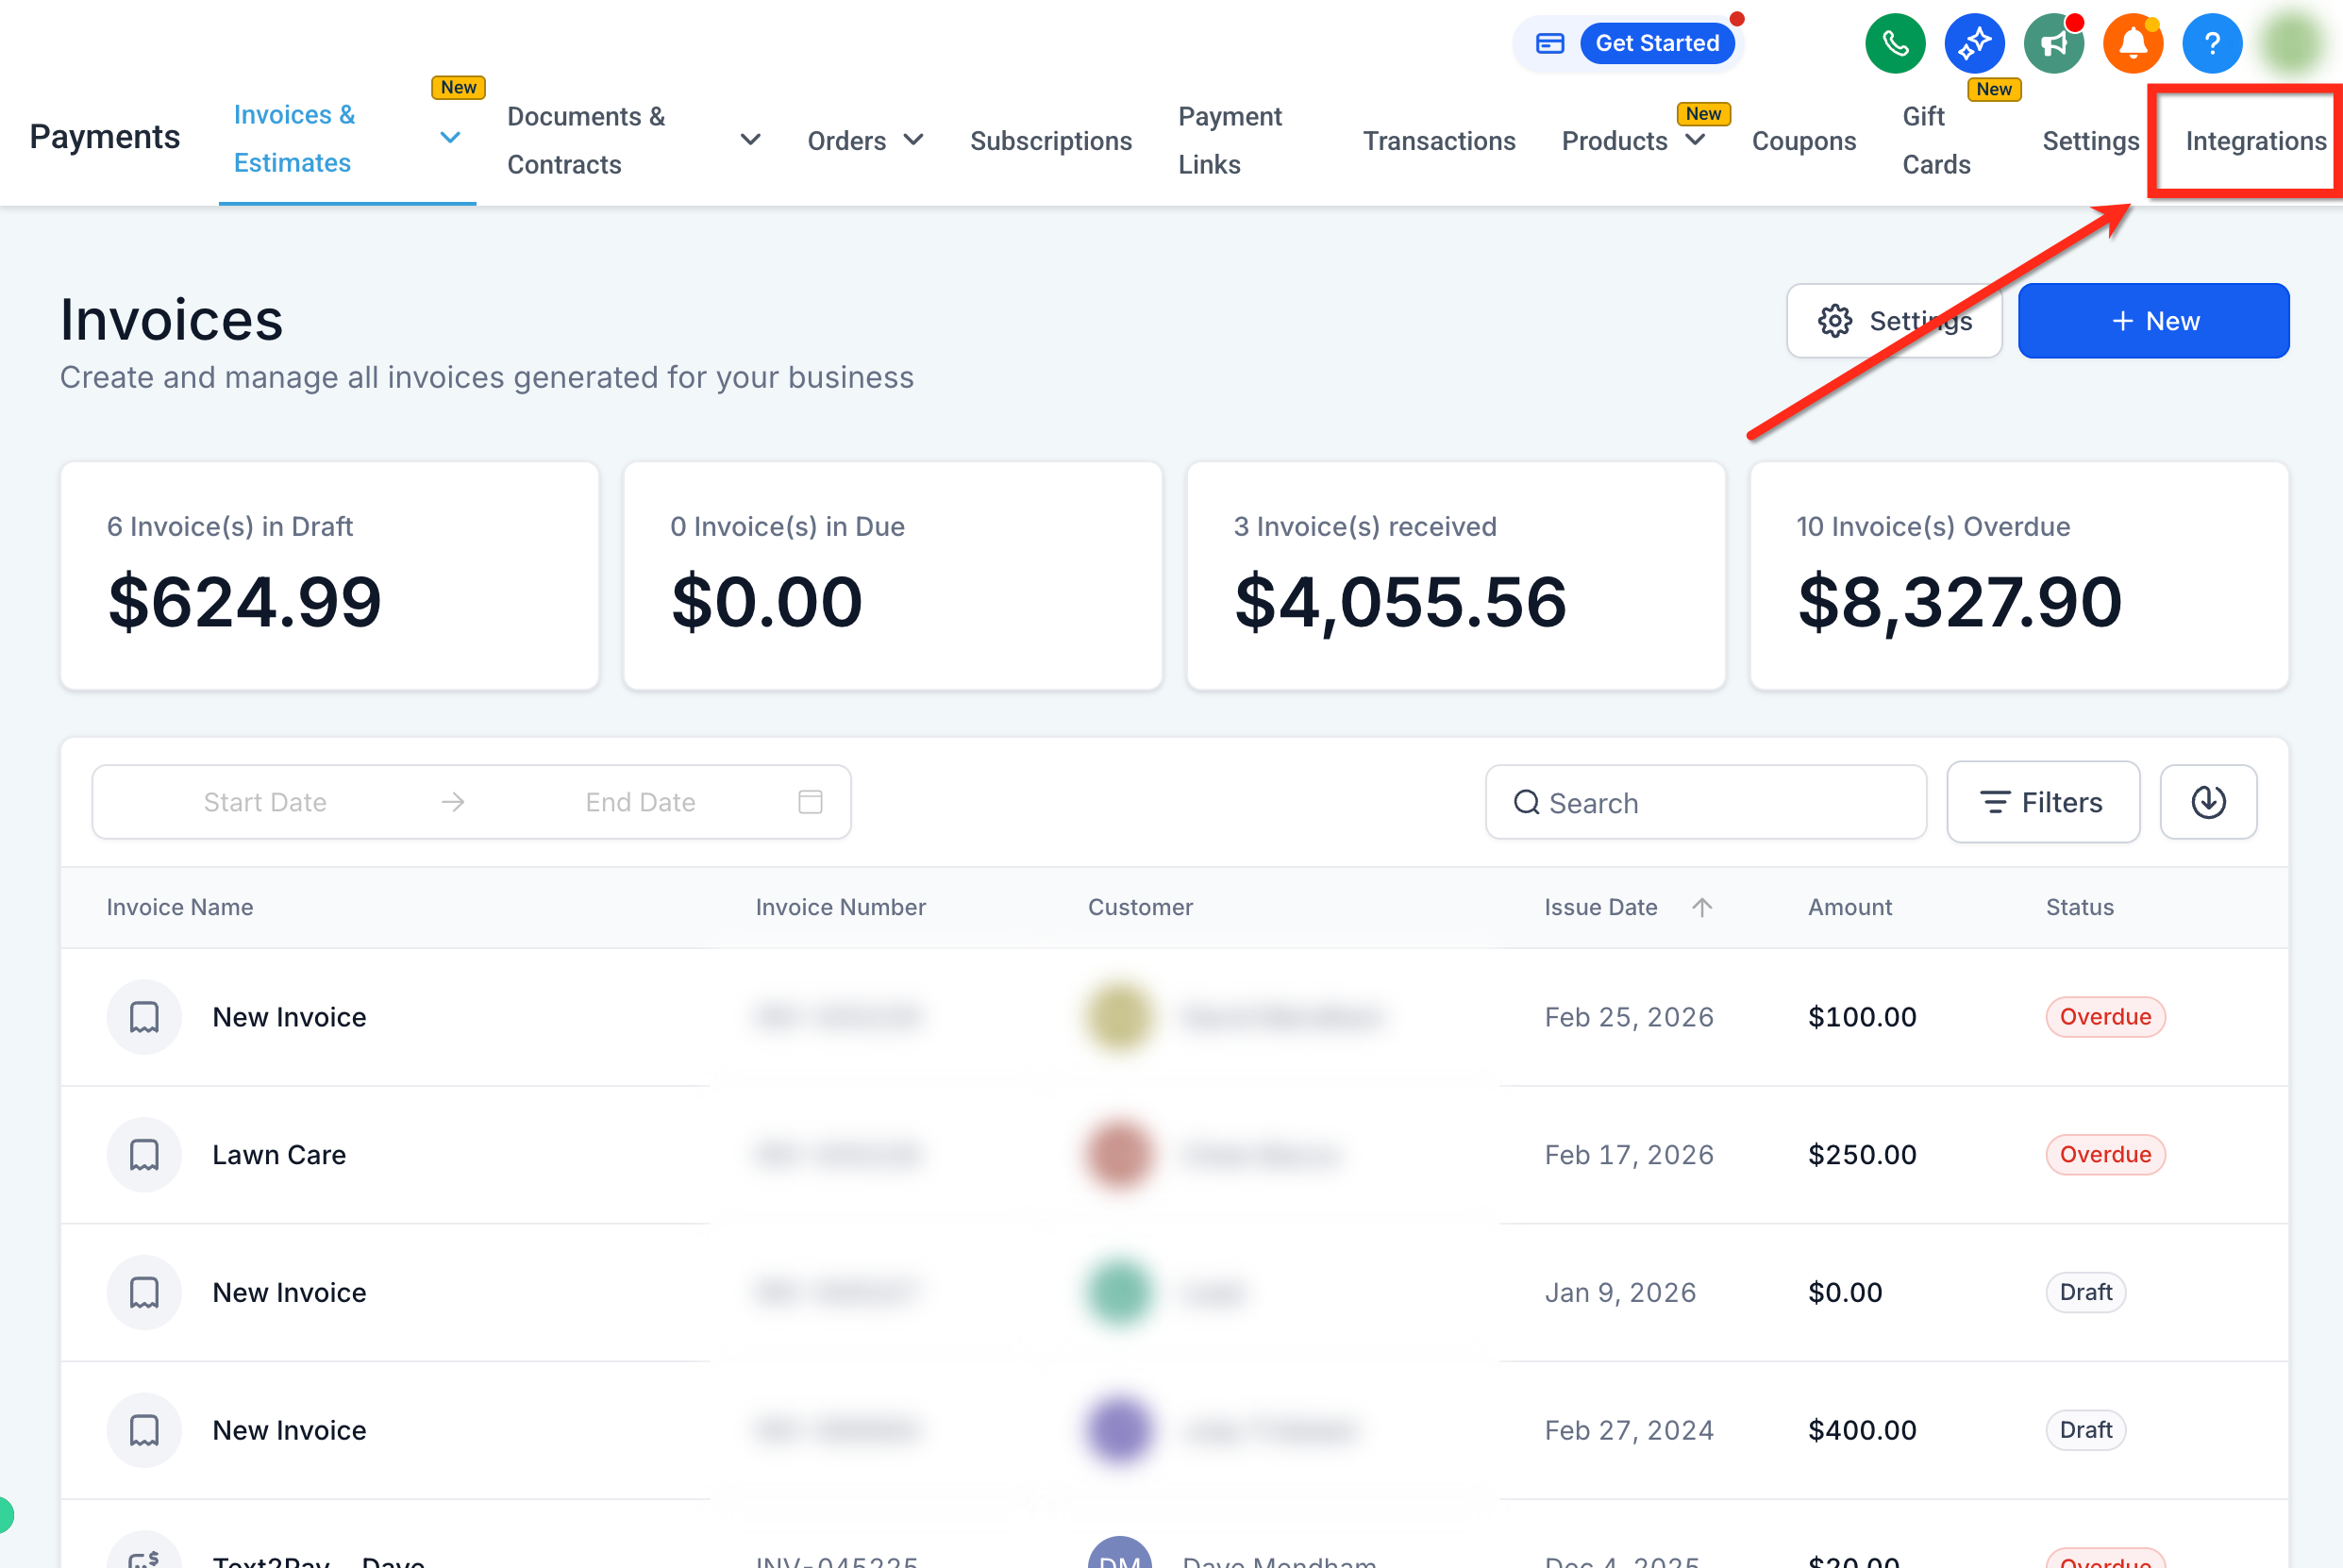
Click Configure Providers.
Toggle between Live or Test mode as needed.
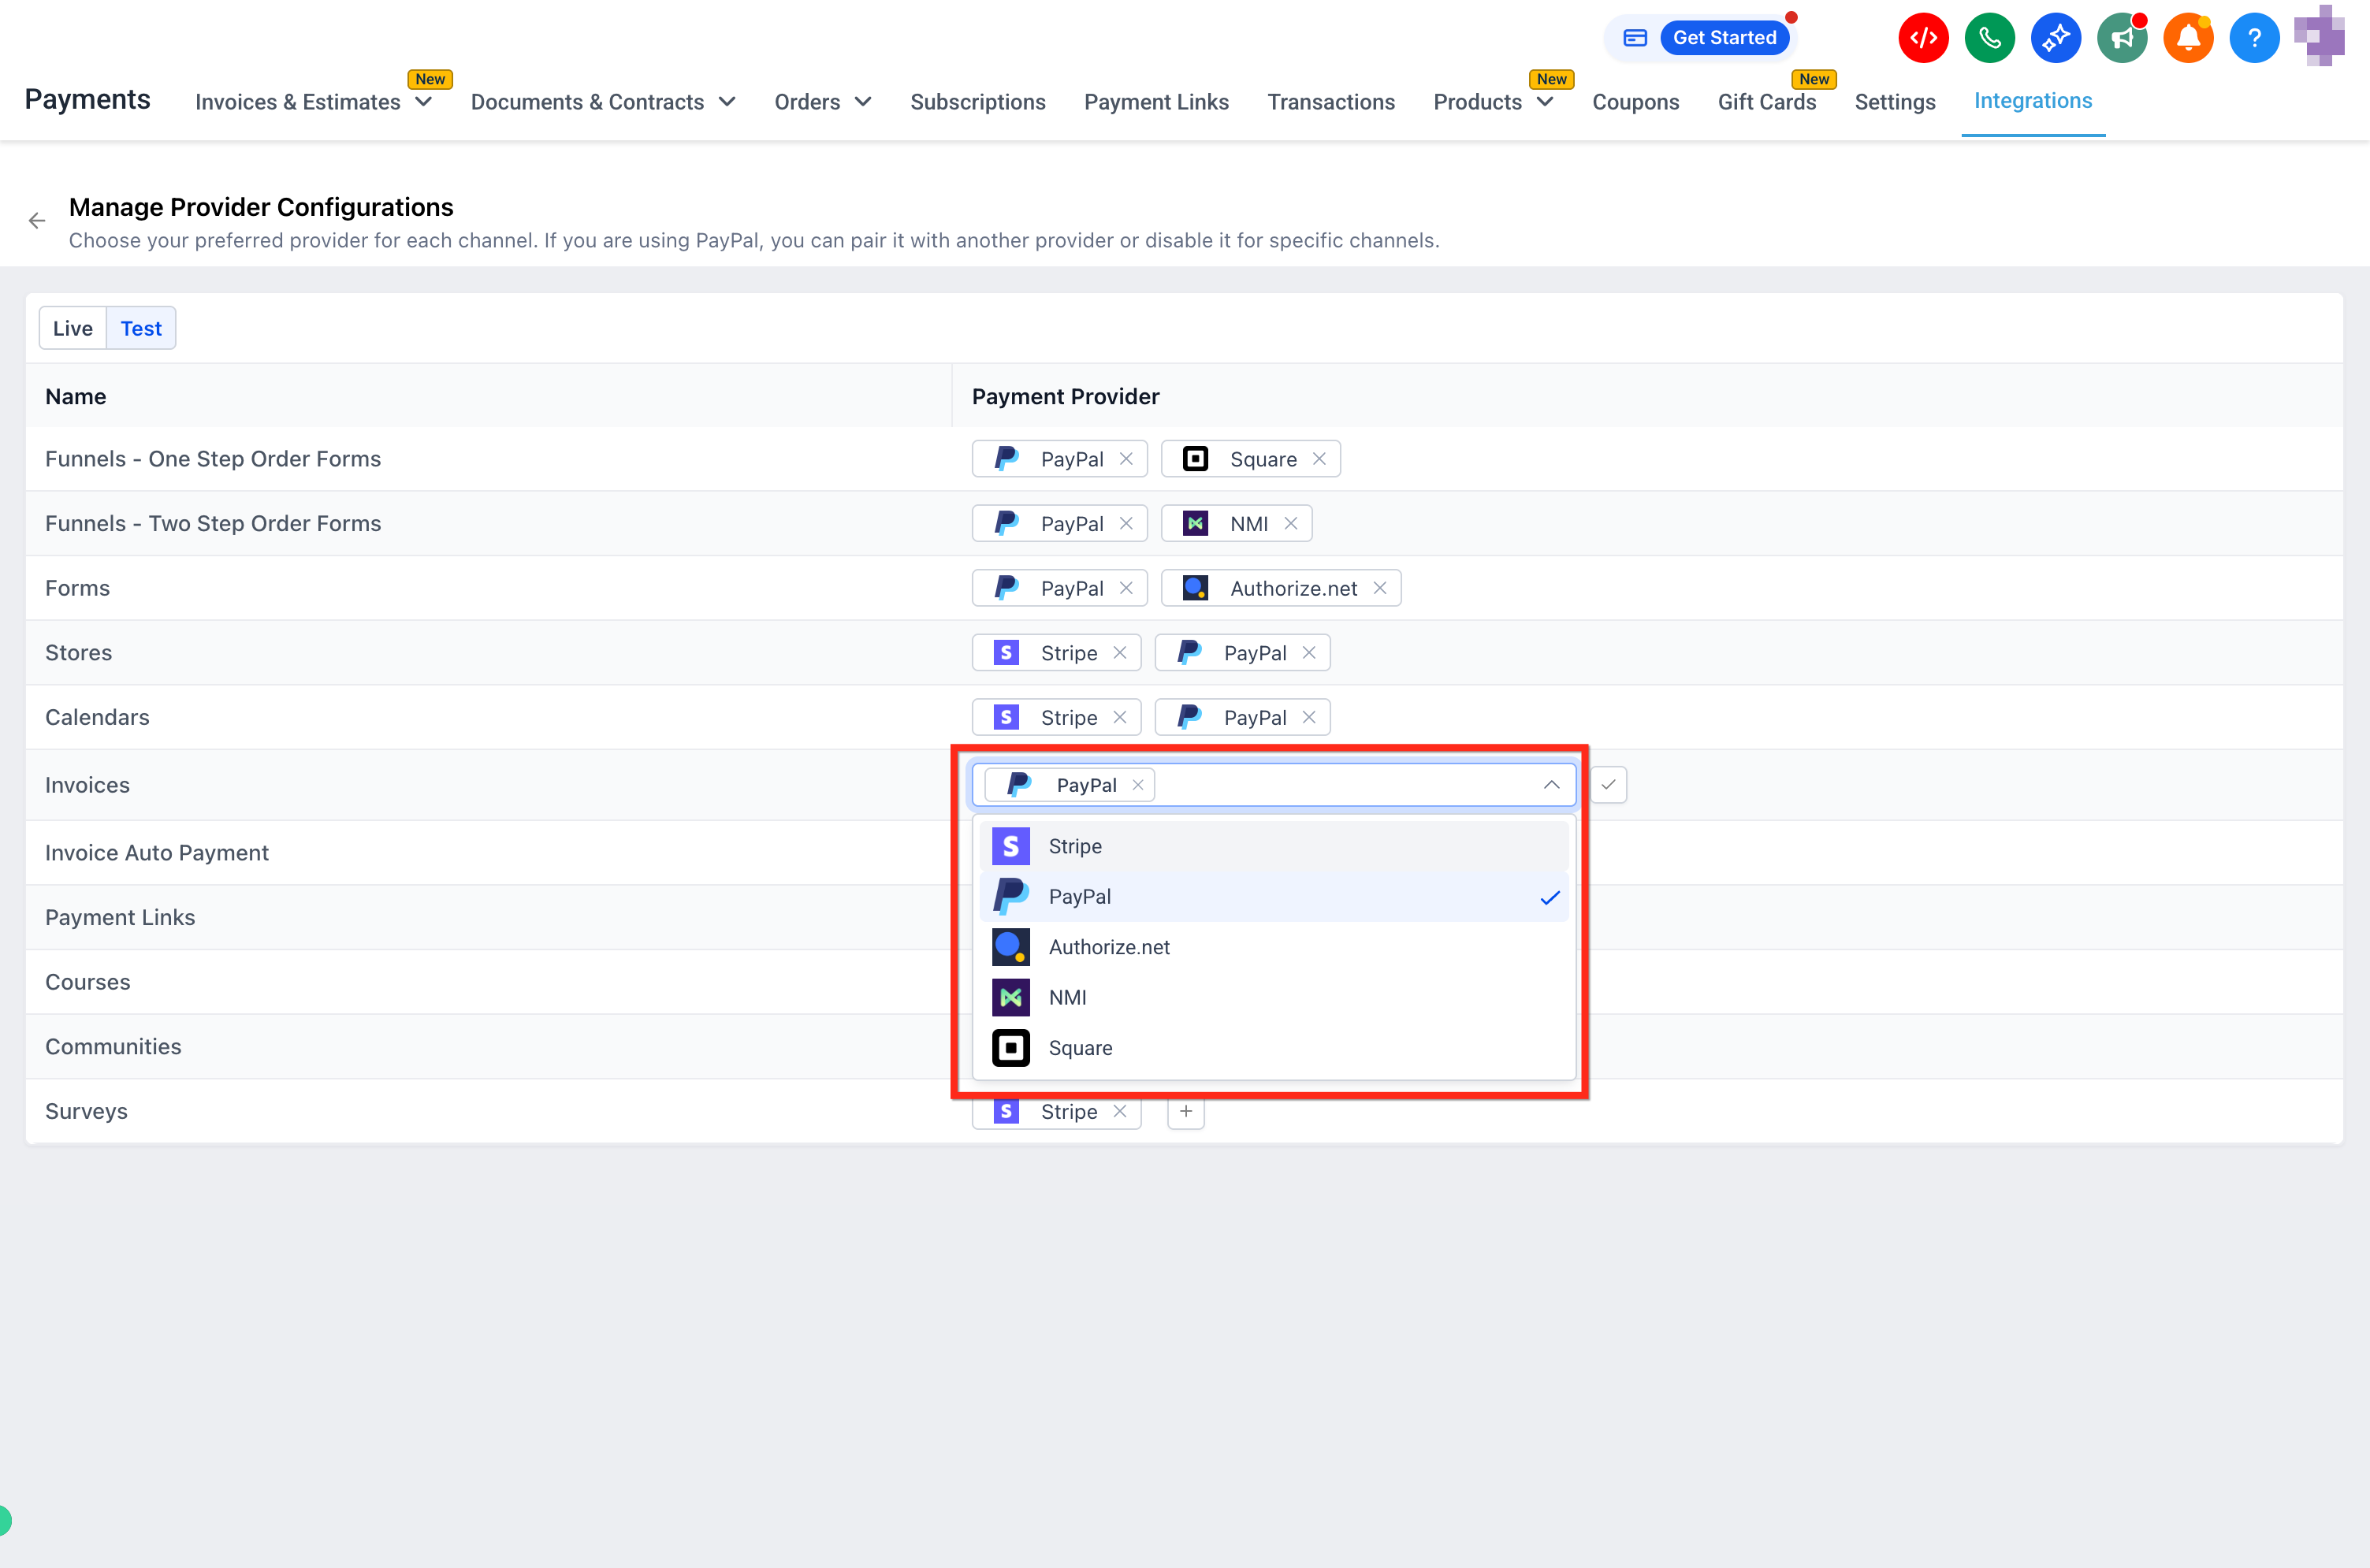
Select your preferred payment provider or providers for each channel.
Add a provider: Click the + next to a channel and choose from your connected providers in the dropdown (Stripe, PayPal, Square, and so on). You can add PayPal plus one additional provider (for example Stripe or NMI). The dropdown only shows providers already connected in your account.
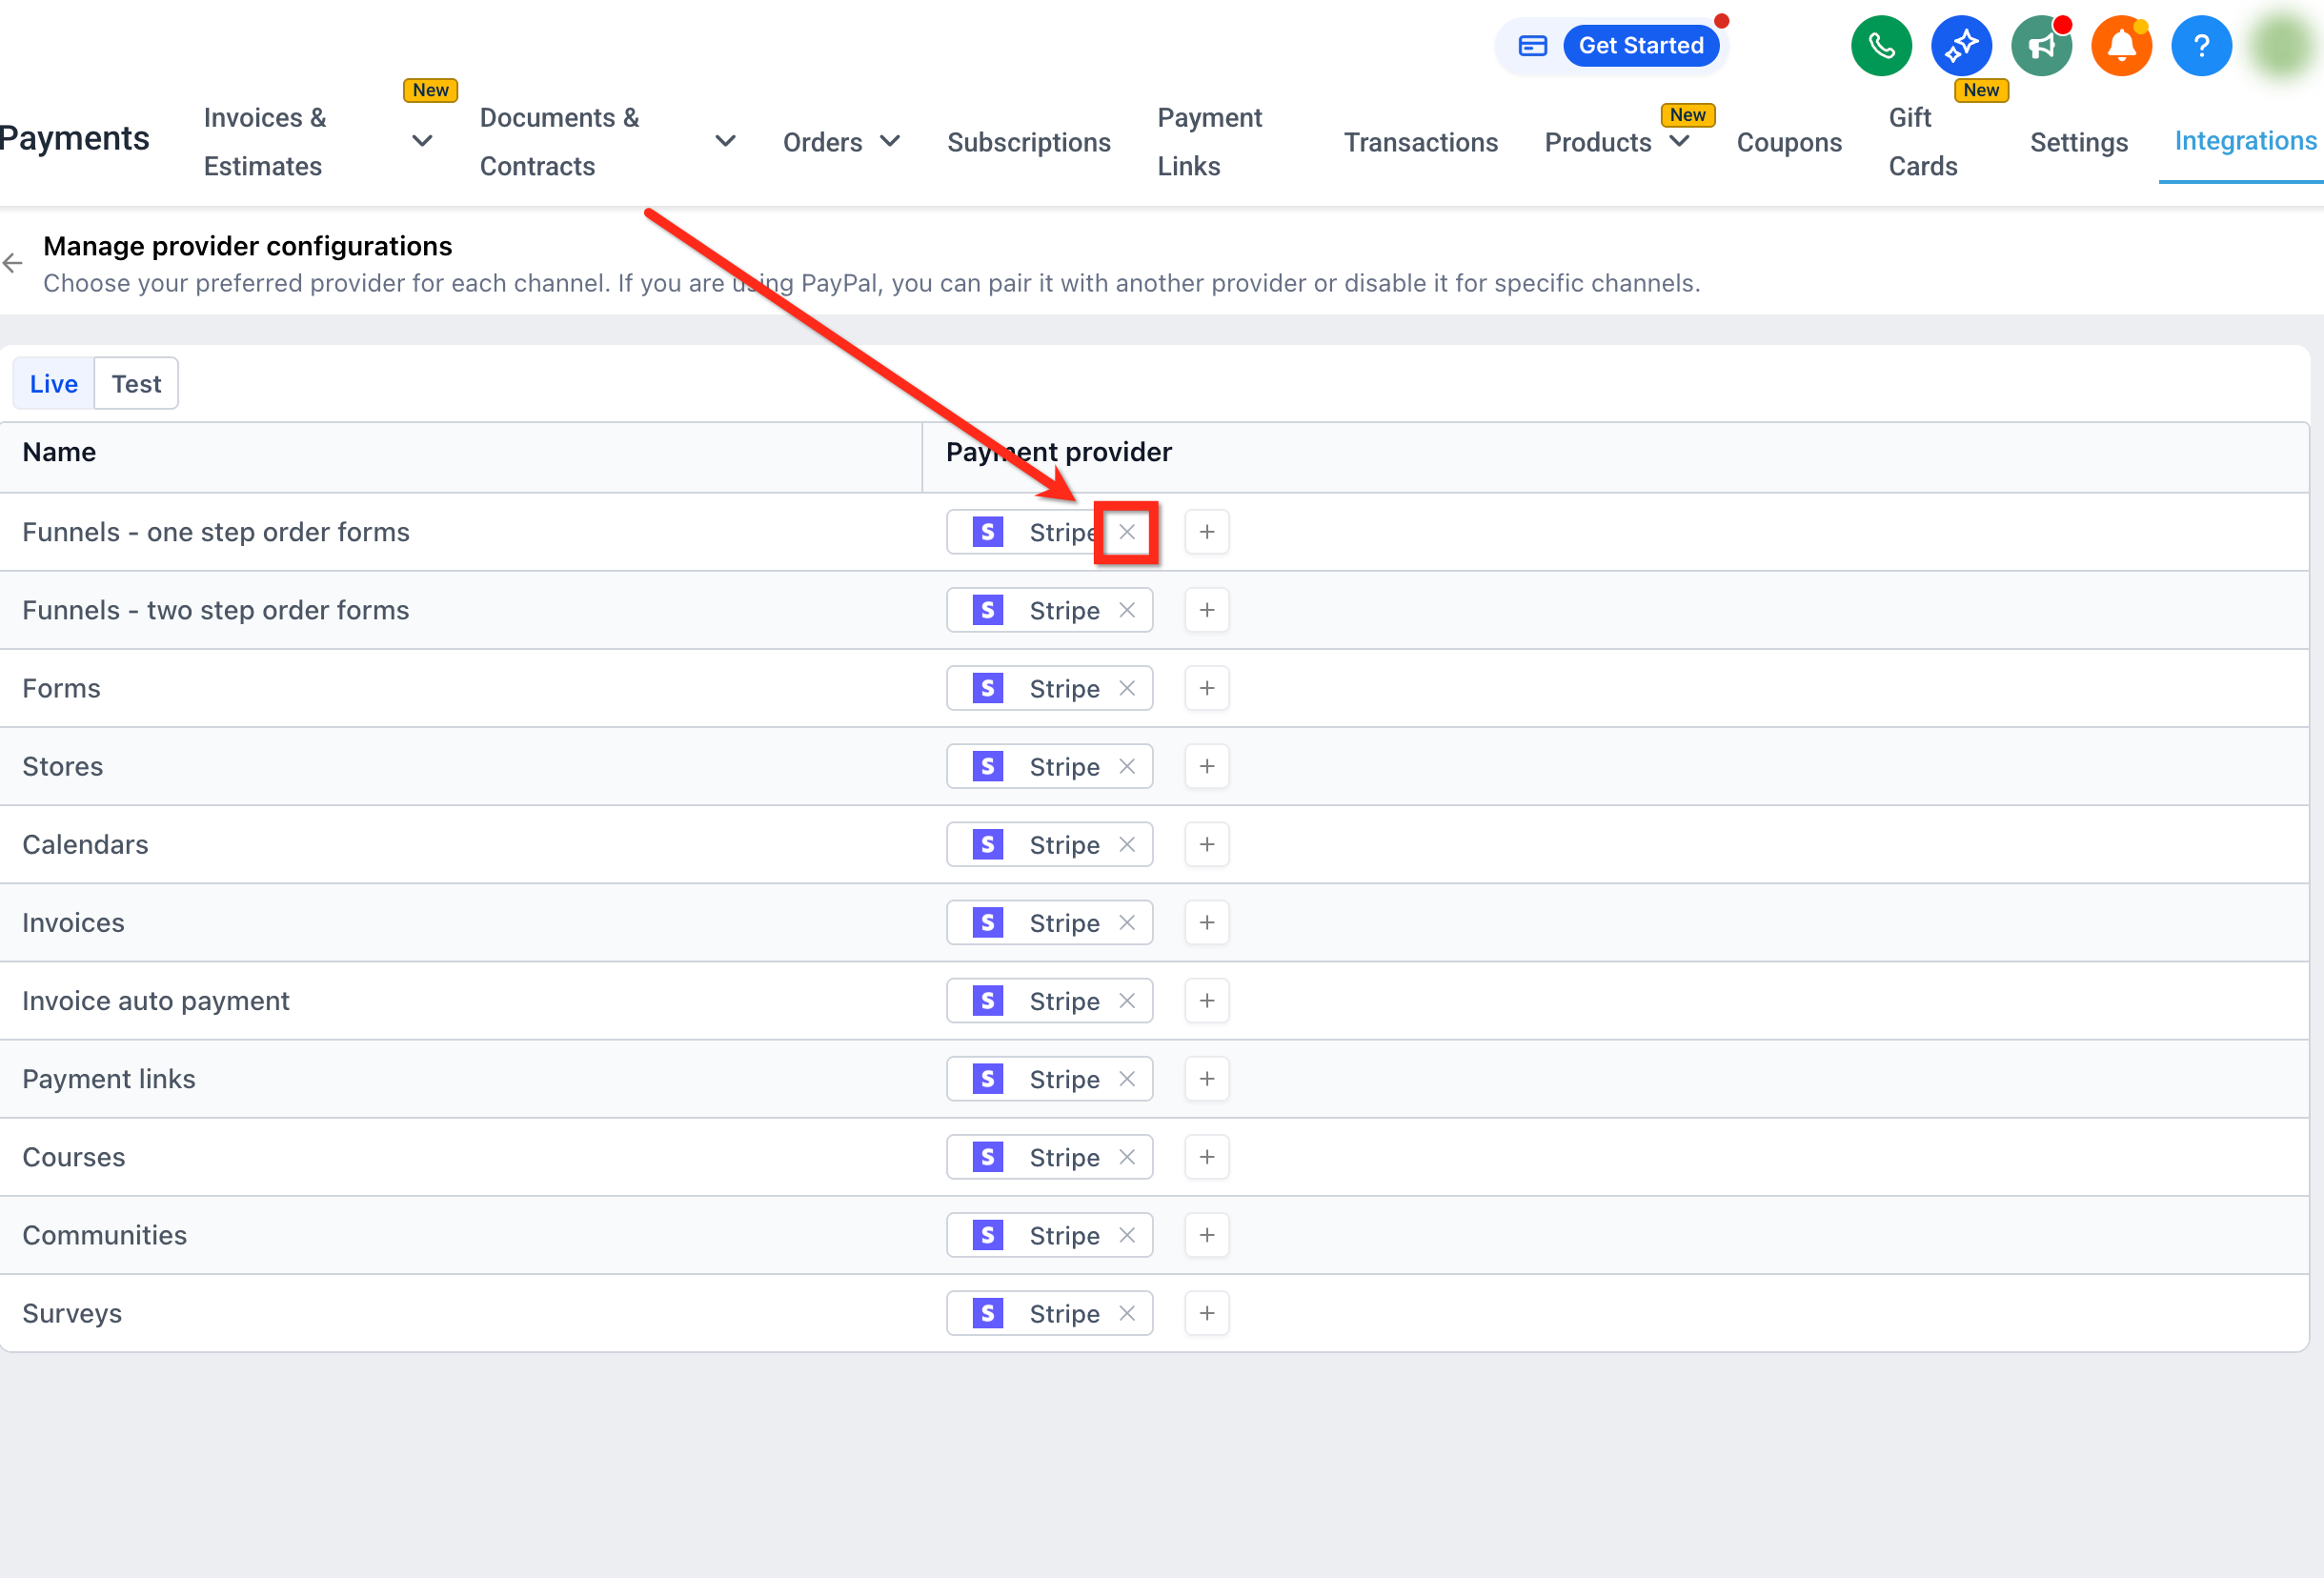
Remove a provider: Click the X next to the provider and confirm removal when prompted.
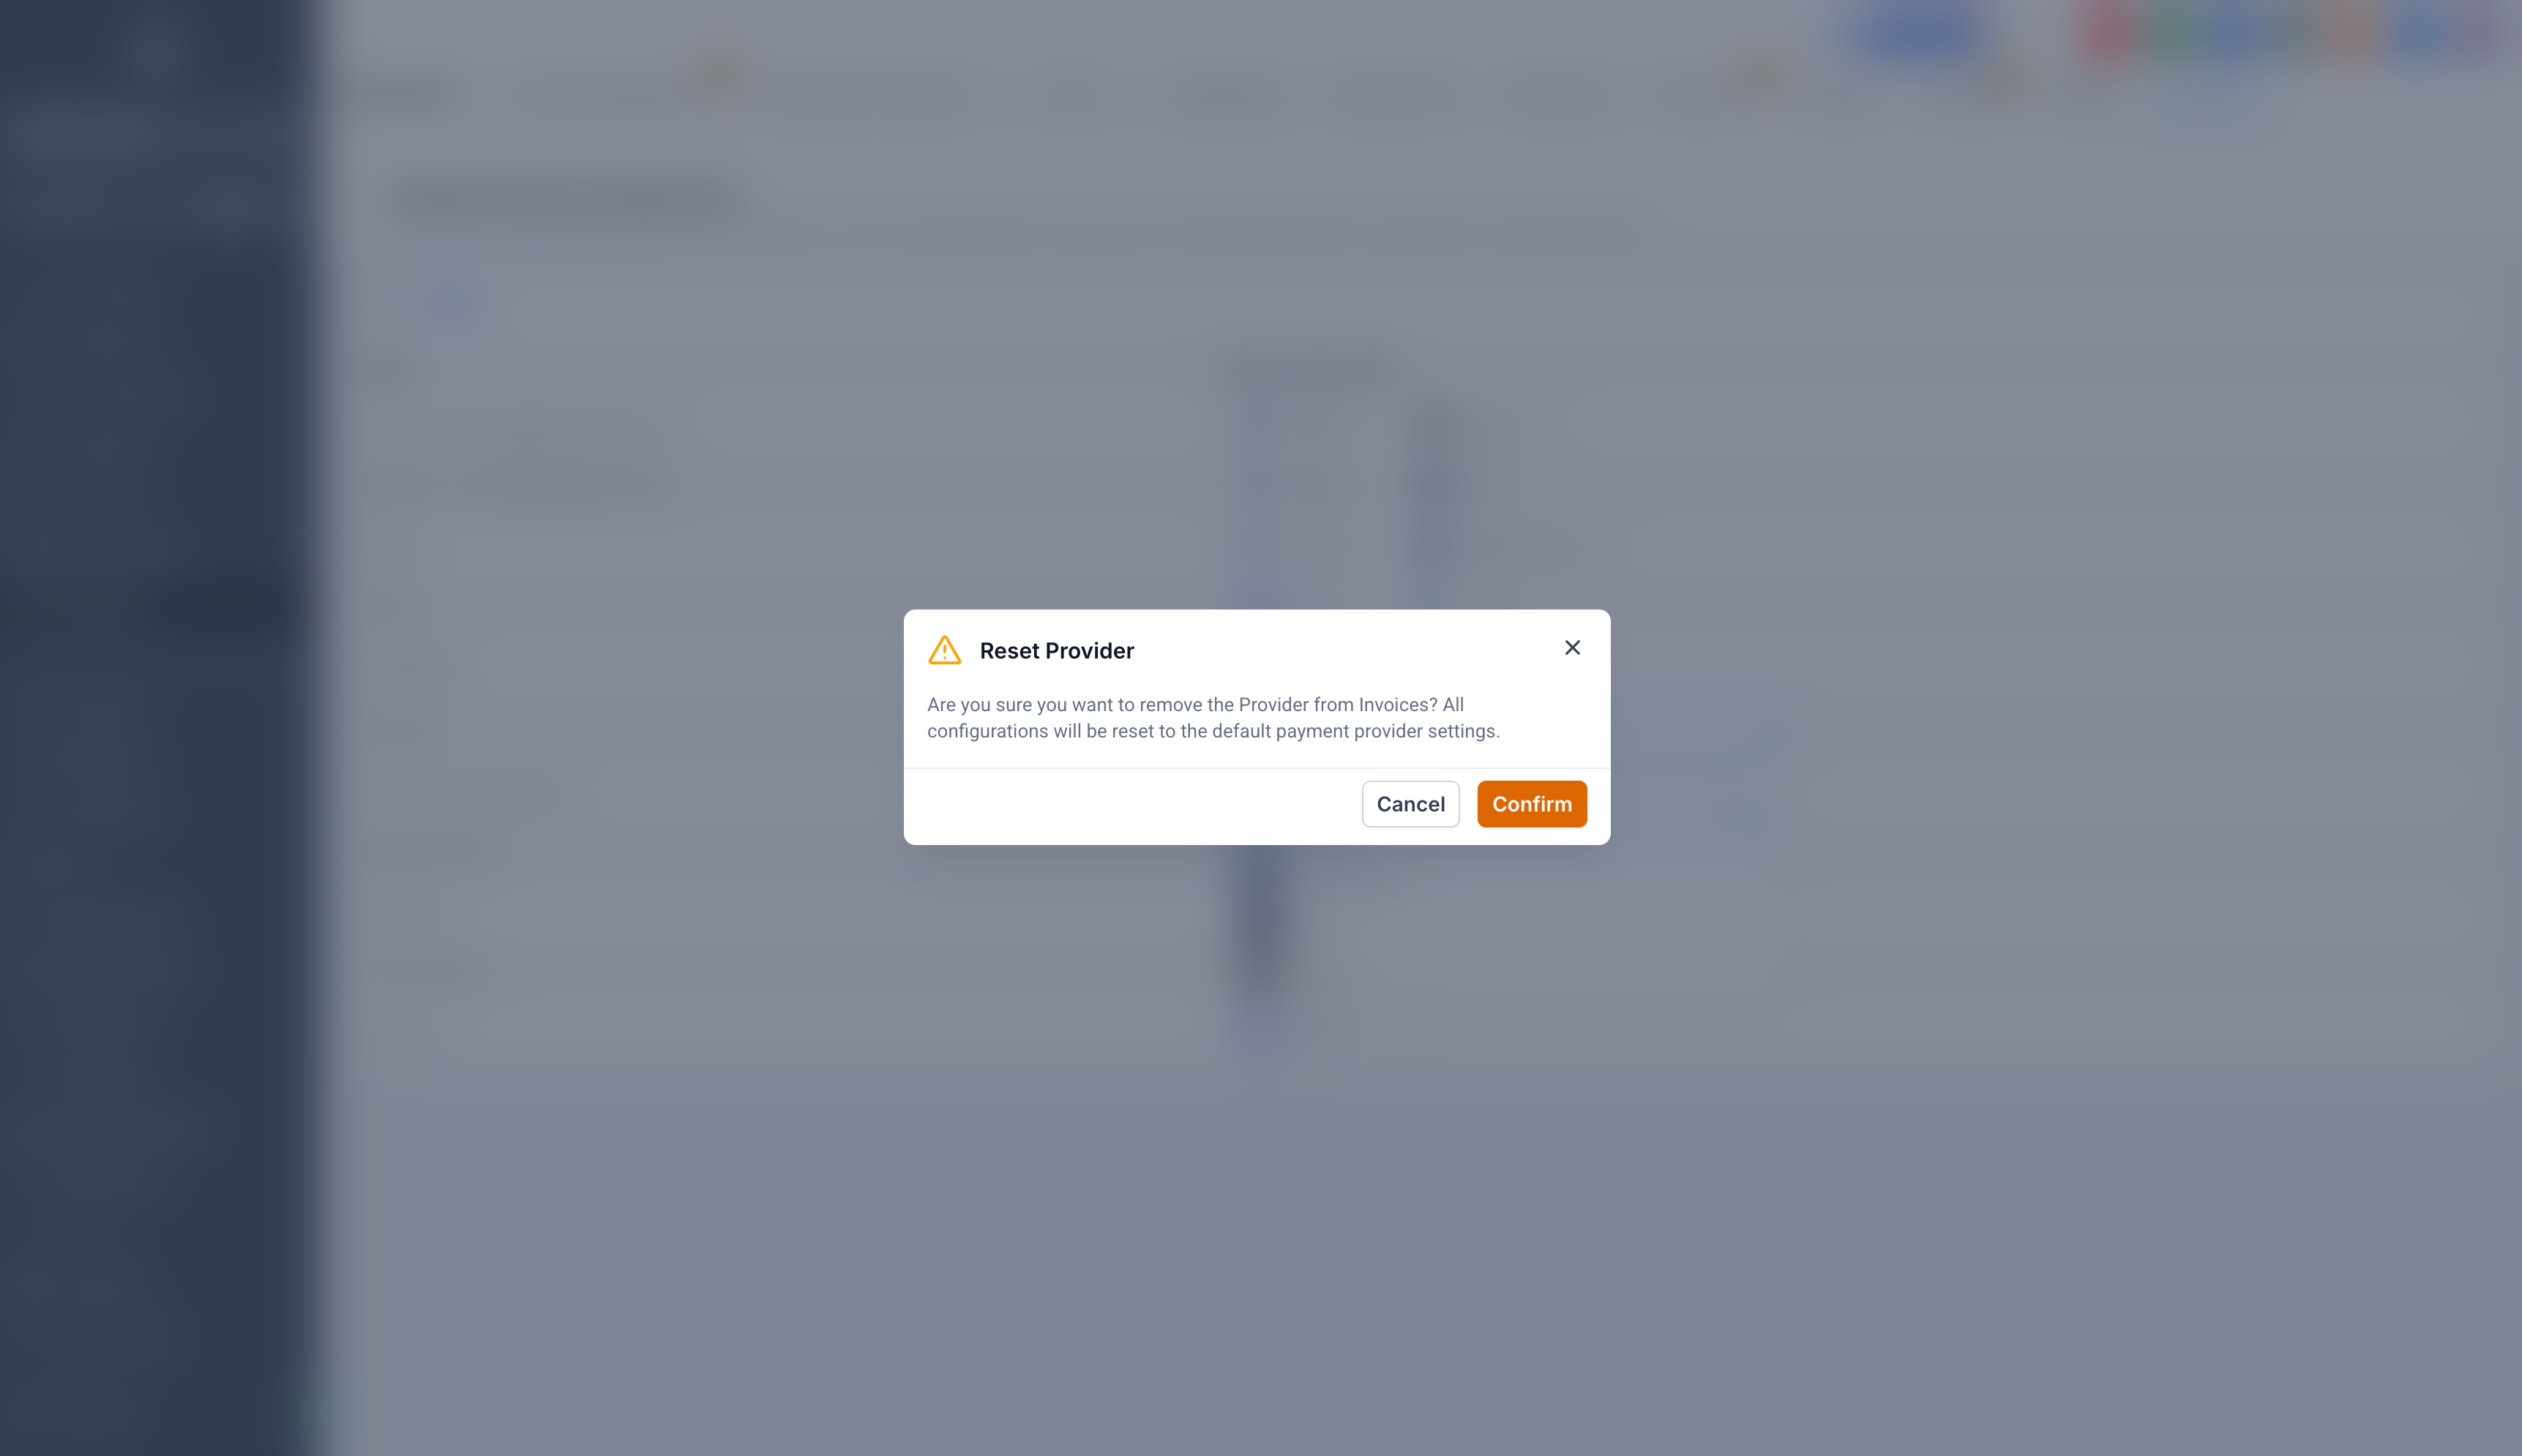
Reset a provider: Resetting removes the custom configuration, and the channel reverts to the global default provider.
How many payment providers can I use on a single checkout?
You can use PayPal plus one additional provider (such as Stripe or NMI). Multiple non-PayPal providers together, like Stripe plus NMI on the same checkout, are not supported.
How does the default provider affect channel configuration?
The default provider acts as a fallback. If you set a provider at the channel level, it overrides the default for that channel. If no channel-level provider is set, the default is used.
Can I configure a different provider for each store or funnel individually?
Not yet. Today, configuration is at the channel level, so a setup where one store uses PayPal, another uses Stripe, and a third uses NMI is not currently available. More granular control per store, funnel, or asset is planned for future updates.
What happens if a preferred provider is disconnected?
If a provider set at the channel level is later disconnected from the Integrations page, the system automatically falls back to the default provider. If you reconnect that provider later, you must re-select it as the preferred provider for the channel before it can be used again.
Can I remove all providers from a channel to disable payments?
No. If you remove all providers from a channel, the system reverts that channel to the global default provider to prevent accidental loss of payment functionality. Payments are only hidden if no providers are connected at all in your account.
Can I remove or replace PayPal in the provider selection window?
You can add or remove PayPal alongside another provider, and you can remove PayPal while keeping the other provider. You cannot replace PayPal directly with a different provider. PayPal can only be added or removed.
Do all providers require API keys to connect?
No. Some providers use a login-based connection, while others require manual credentials such as API keys or a merchant ID.
What is test mode?
Test mode lets you simulate transactions without processing real payments, so you can validate a provider and checkout flow before going live.
Why are payments not processing?
Check that the provider is connected, that credentials are entered correctly, that the provider account is active and verified, and that the correct mode (test or live) is selected. Also confirm the right payment methods are enabled. If issues continue, reach out to Support.
