Linking invoices and estimates to opportunities keeps your sales and billing data connected. Whether you create a document manually or send it through automation, it stays attached to the relevant deal, so you get a complete financial history for each opportunity and your team can see billing progress without leaving the pipeline.
You can link invoices and estimates to opportunities in several ways:
Create the document directly from an opportunity record.
Link it manually in the Payments tab while building it.
Automatically link it using a workflow.
Create and link it from the mobile app.
This guide covers each method.
This is the quickest way to link a document while you are working a specific deal. When you create an invoice or estimate from an opportunity, it is linked automatically.
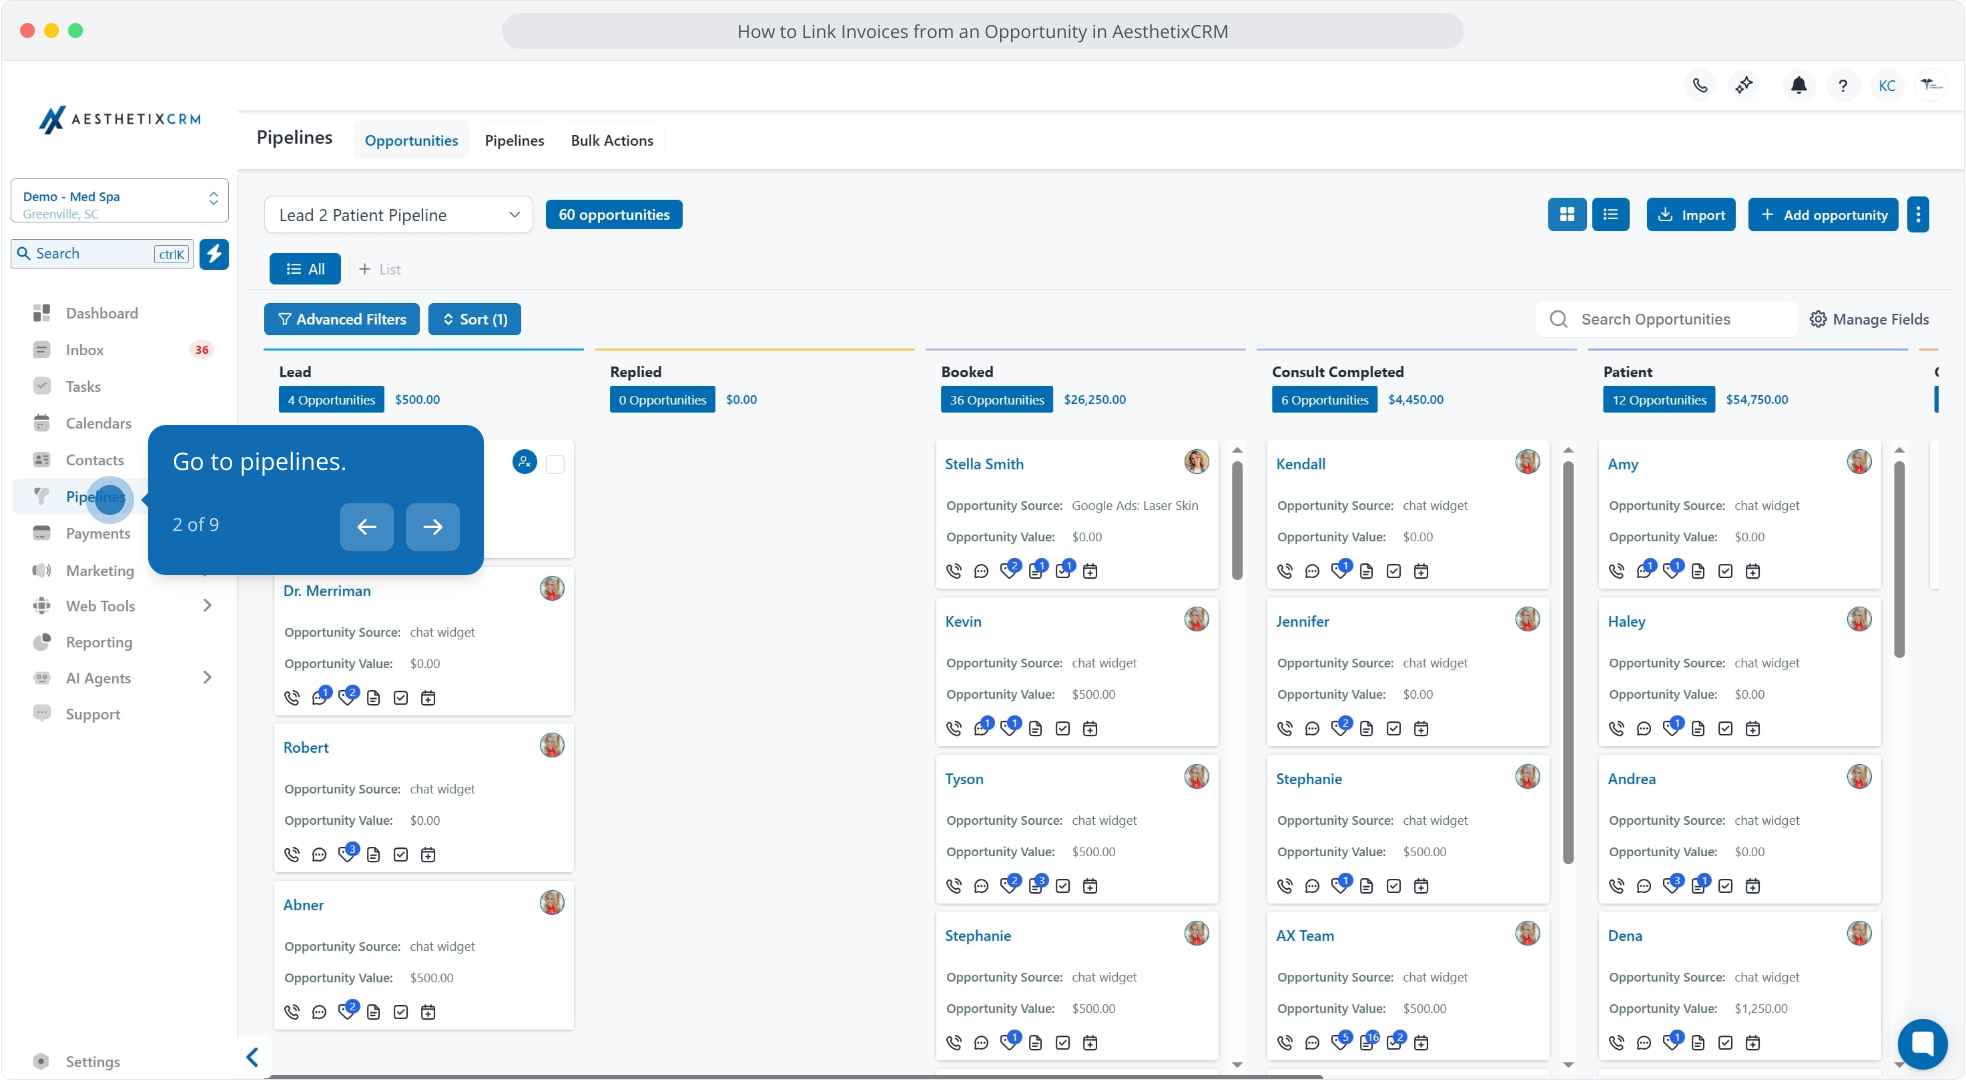
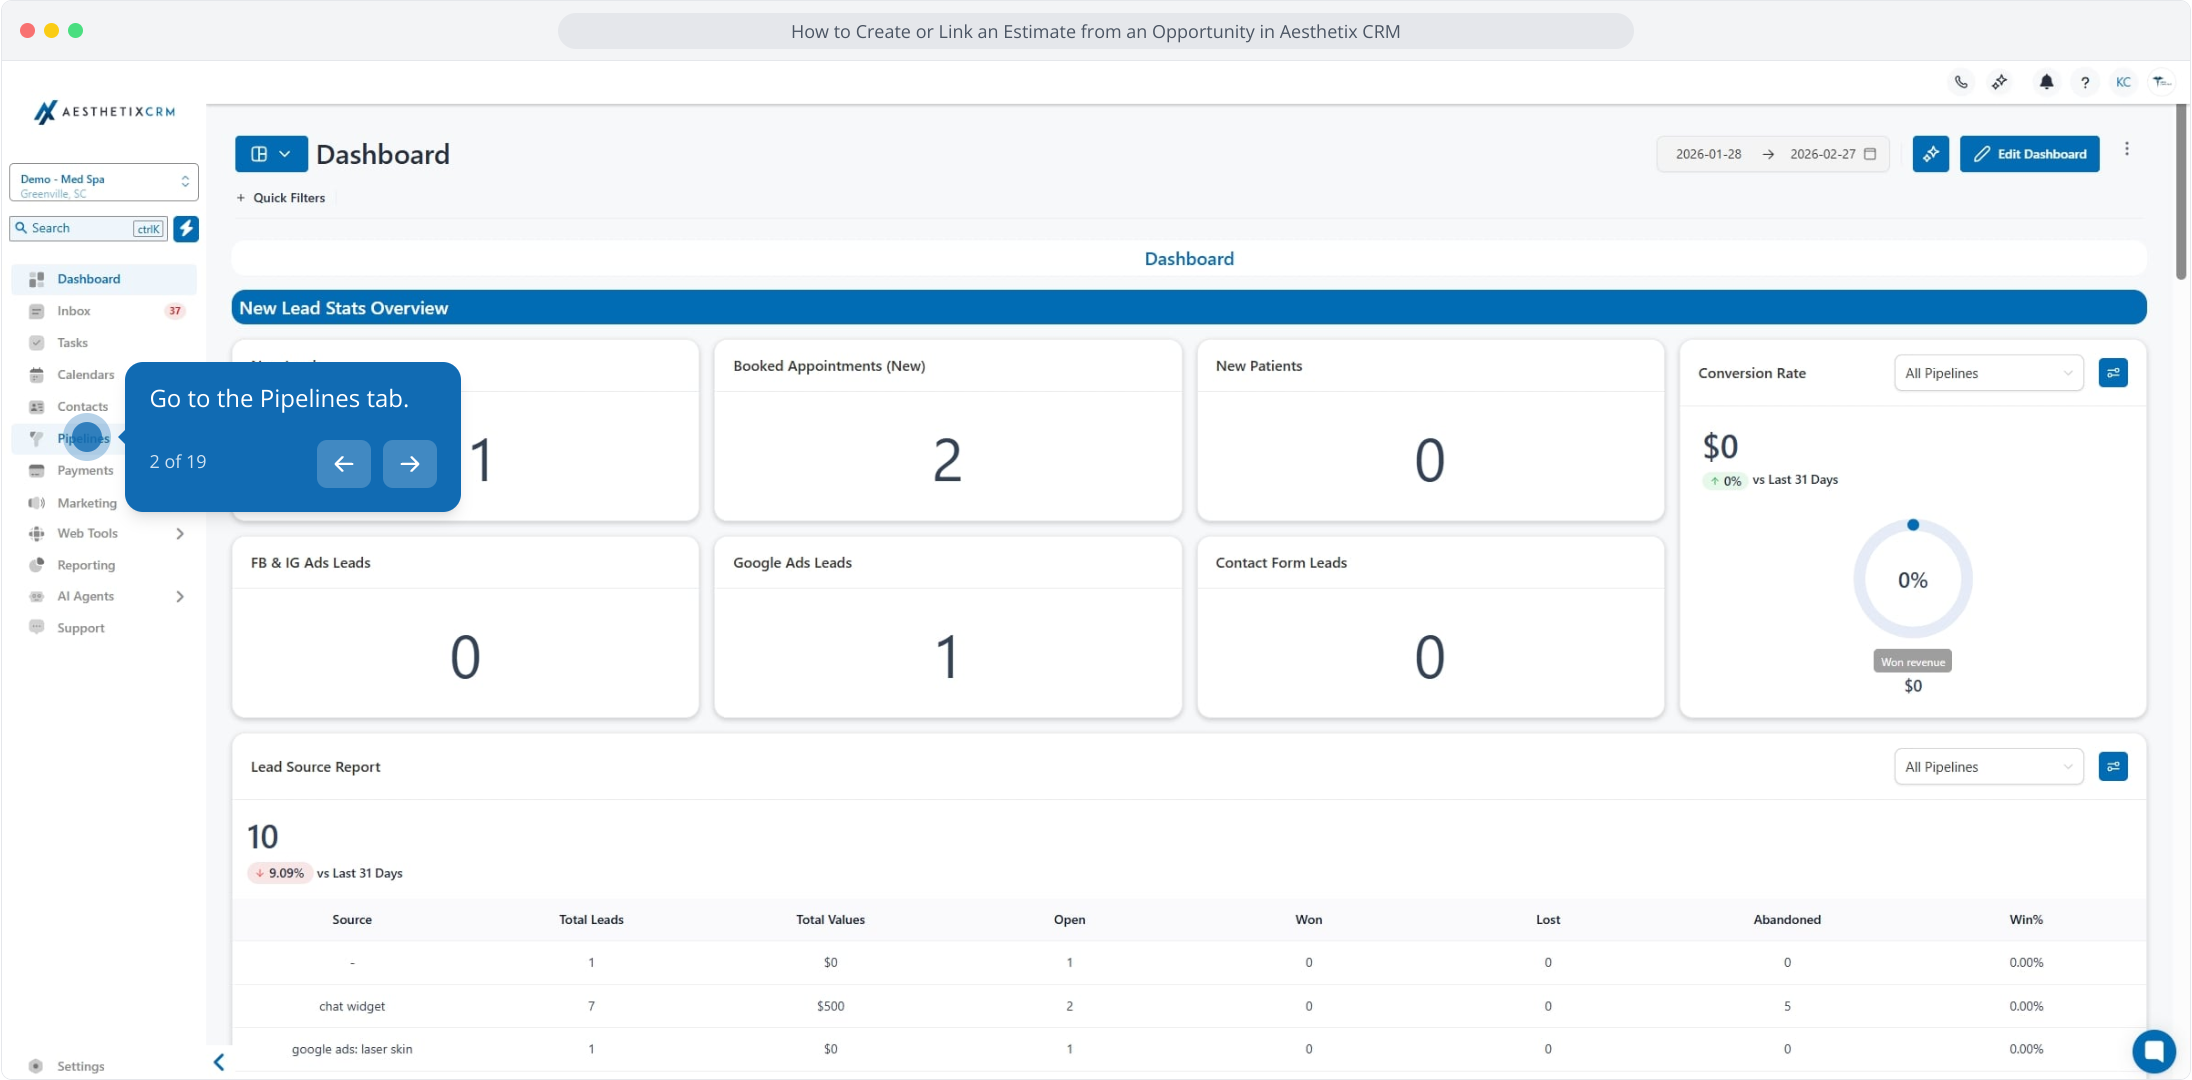
Go to Pipelines.
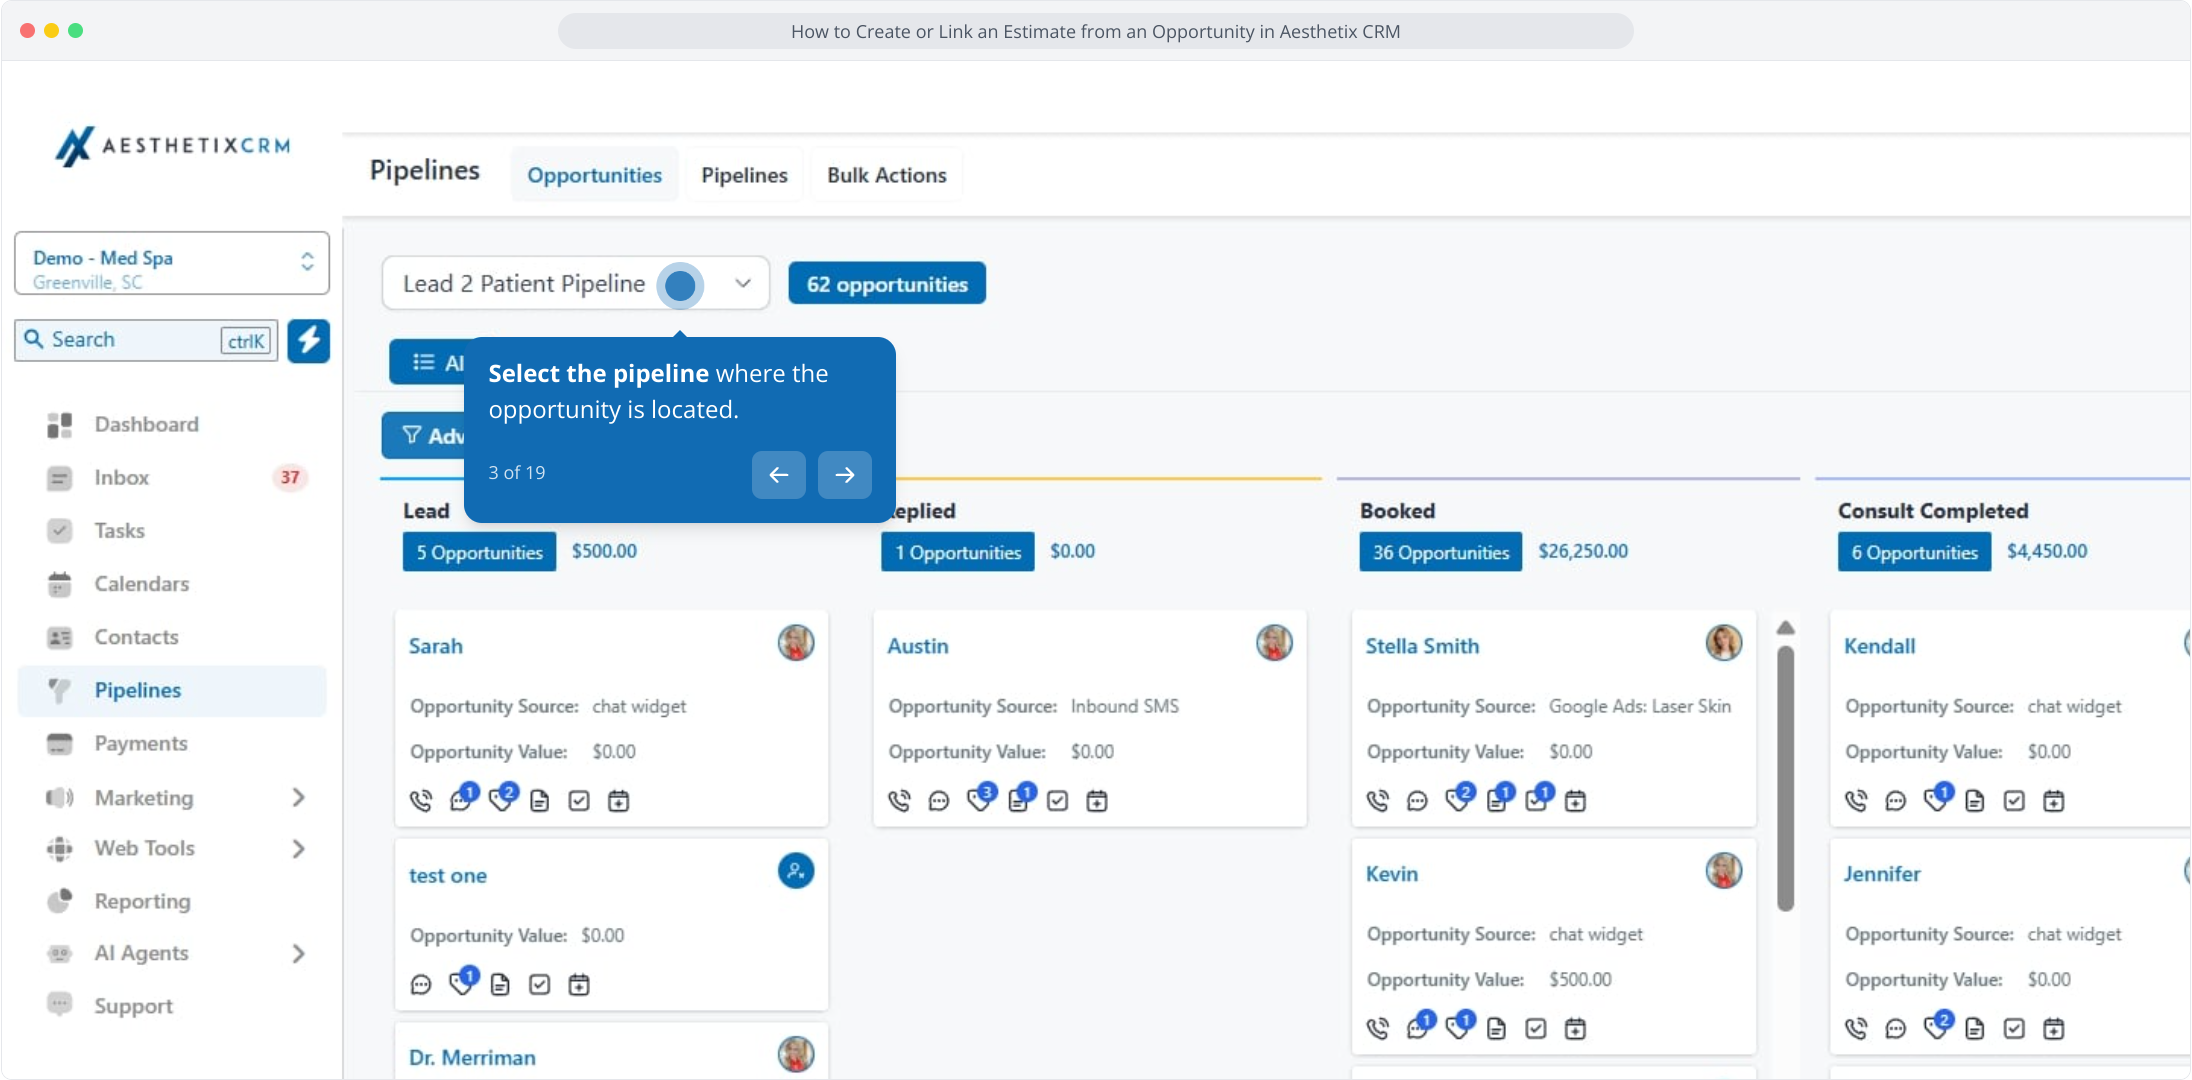
Select the pipeline where the opportunity is located.
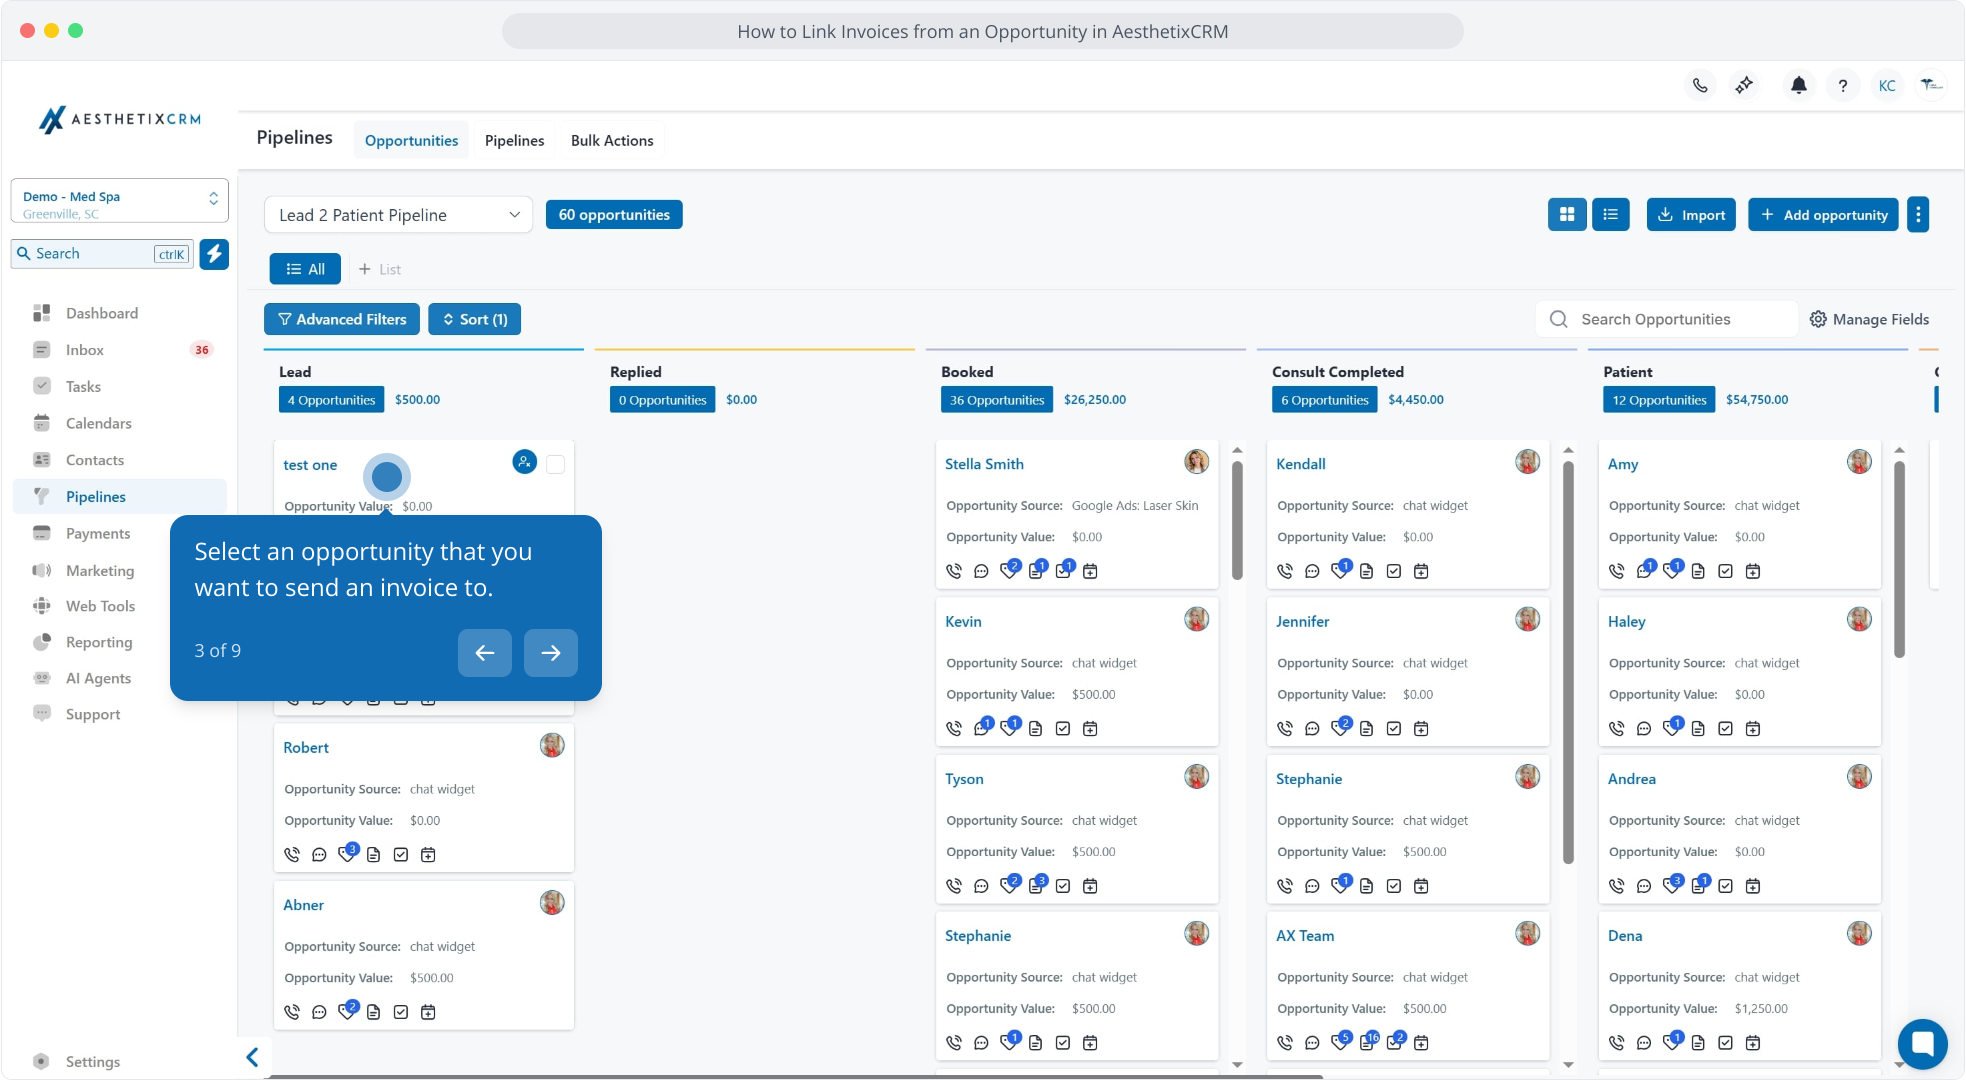
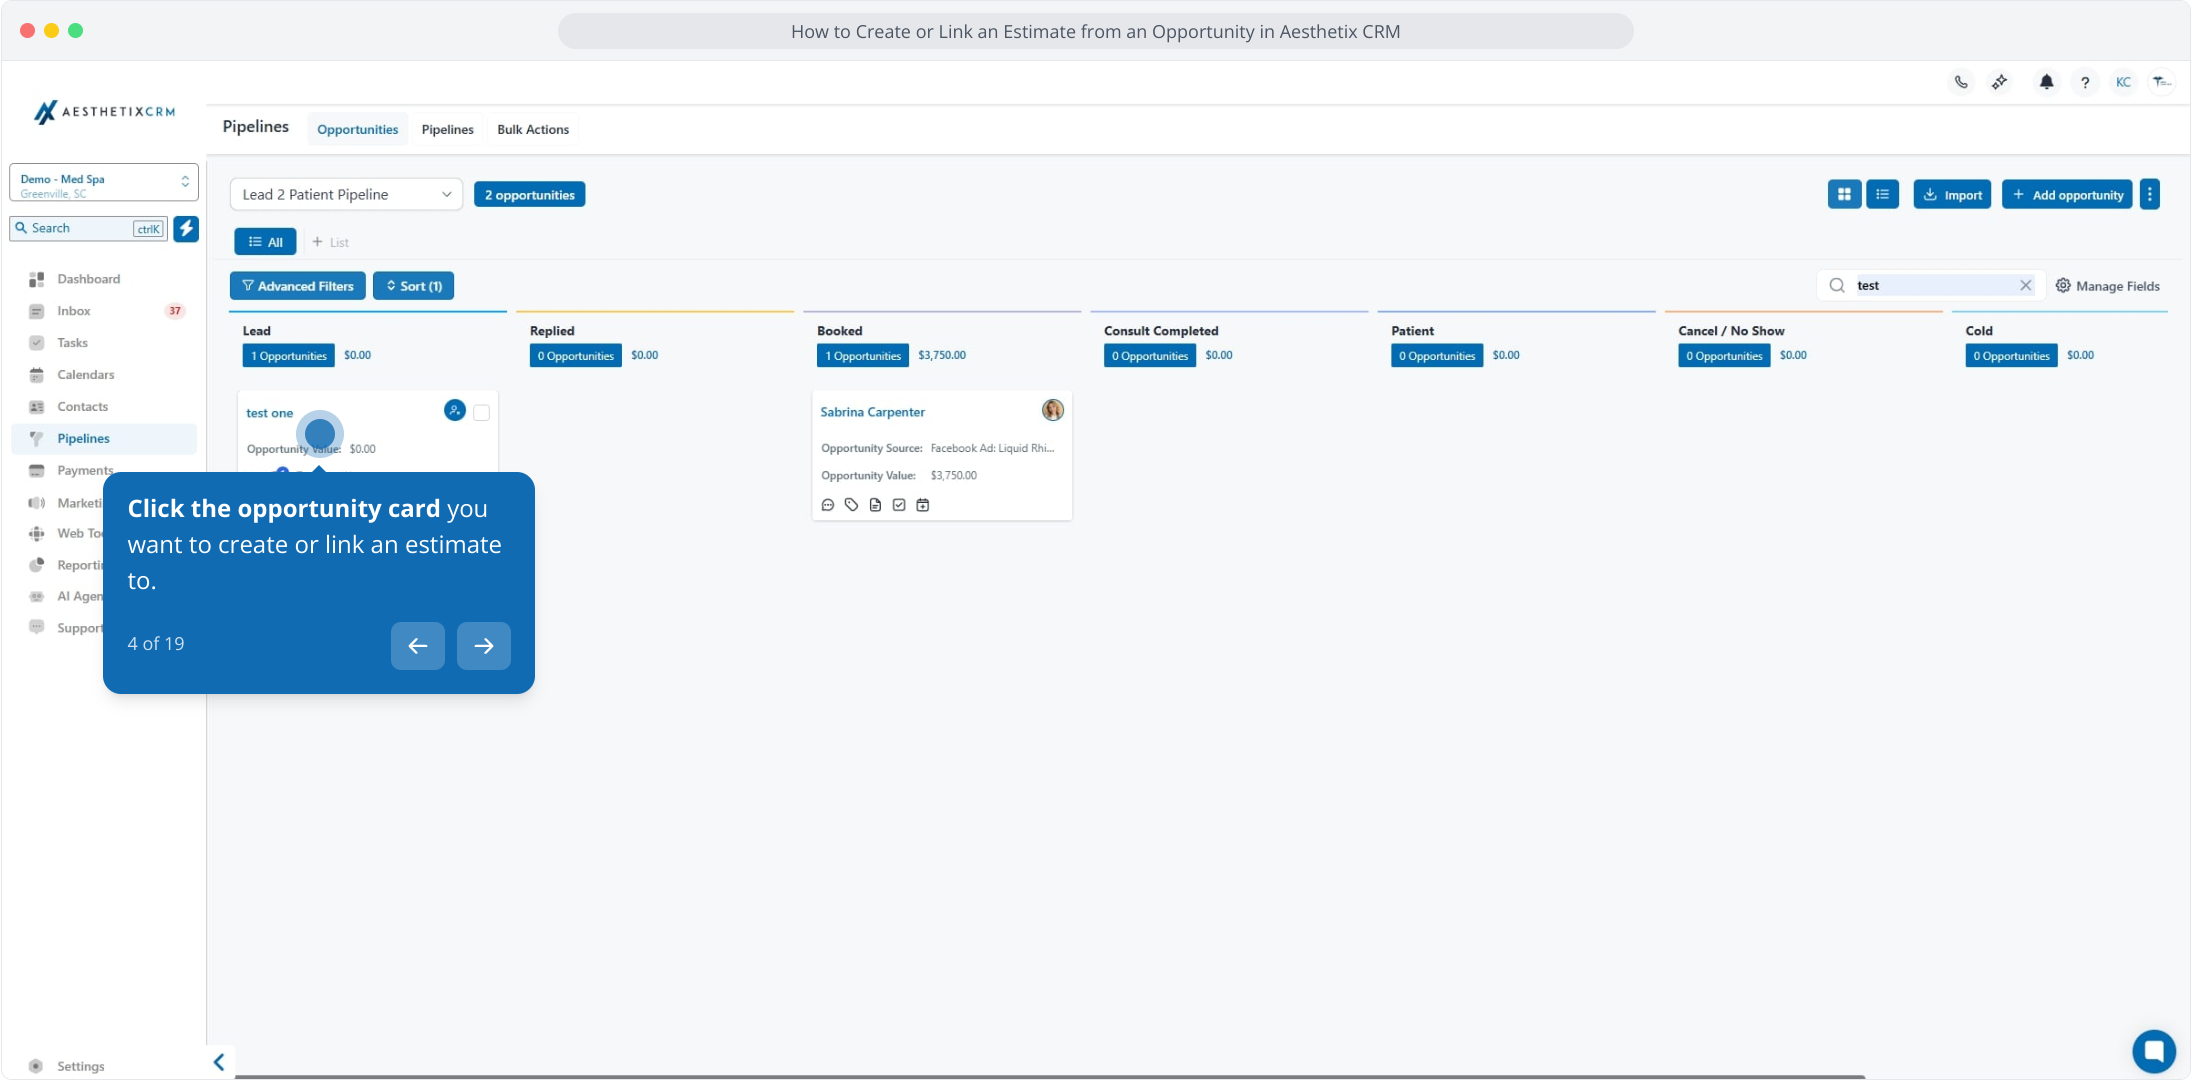
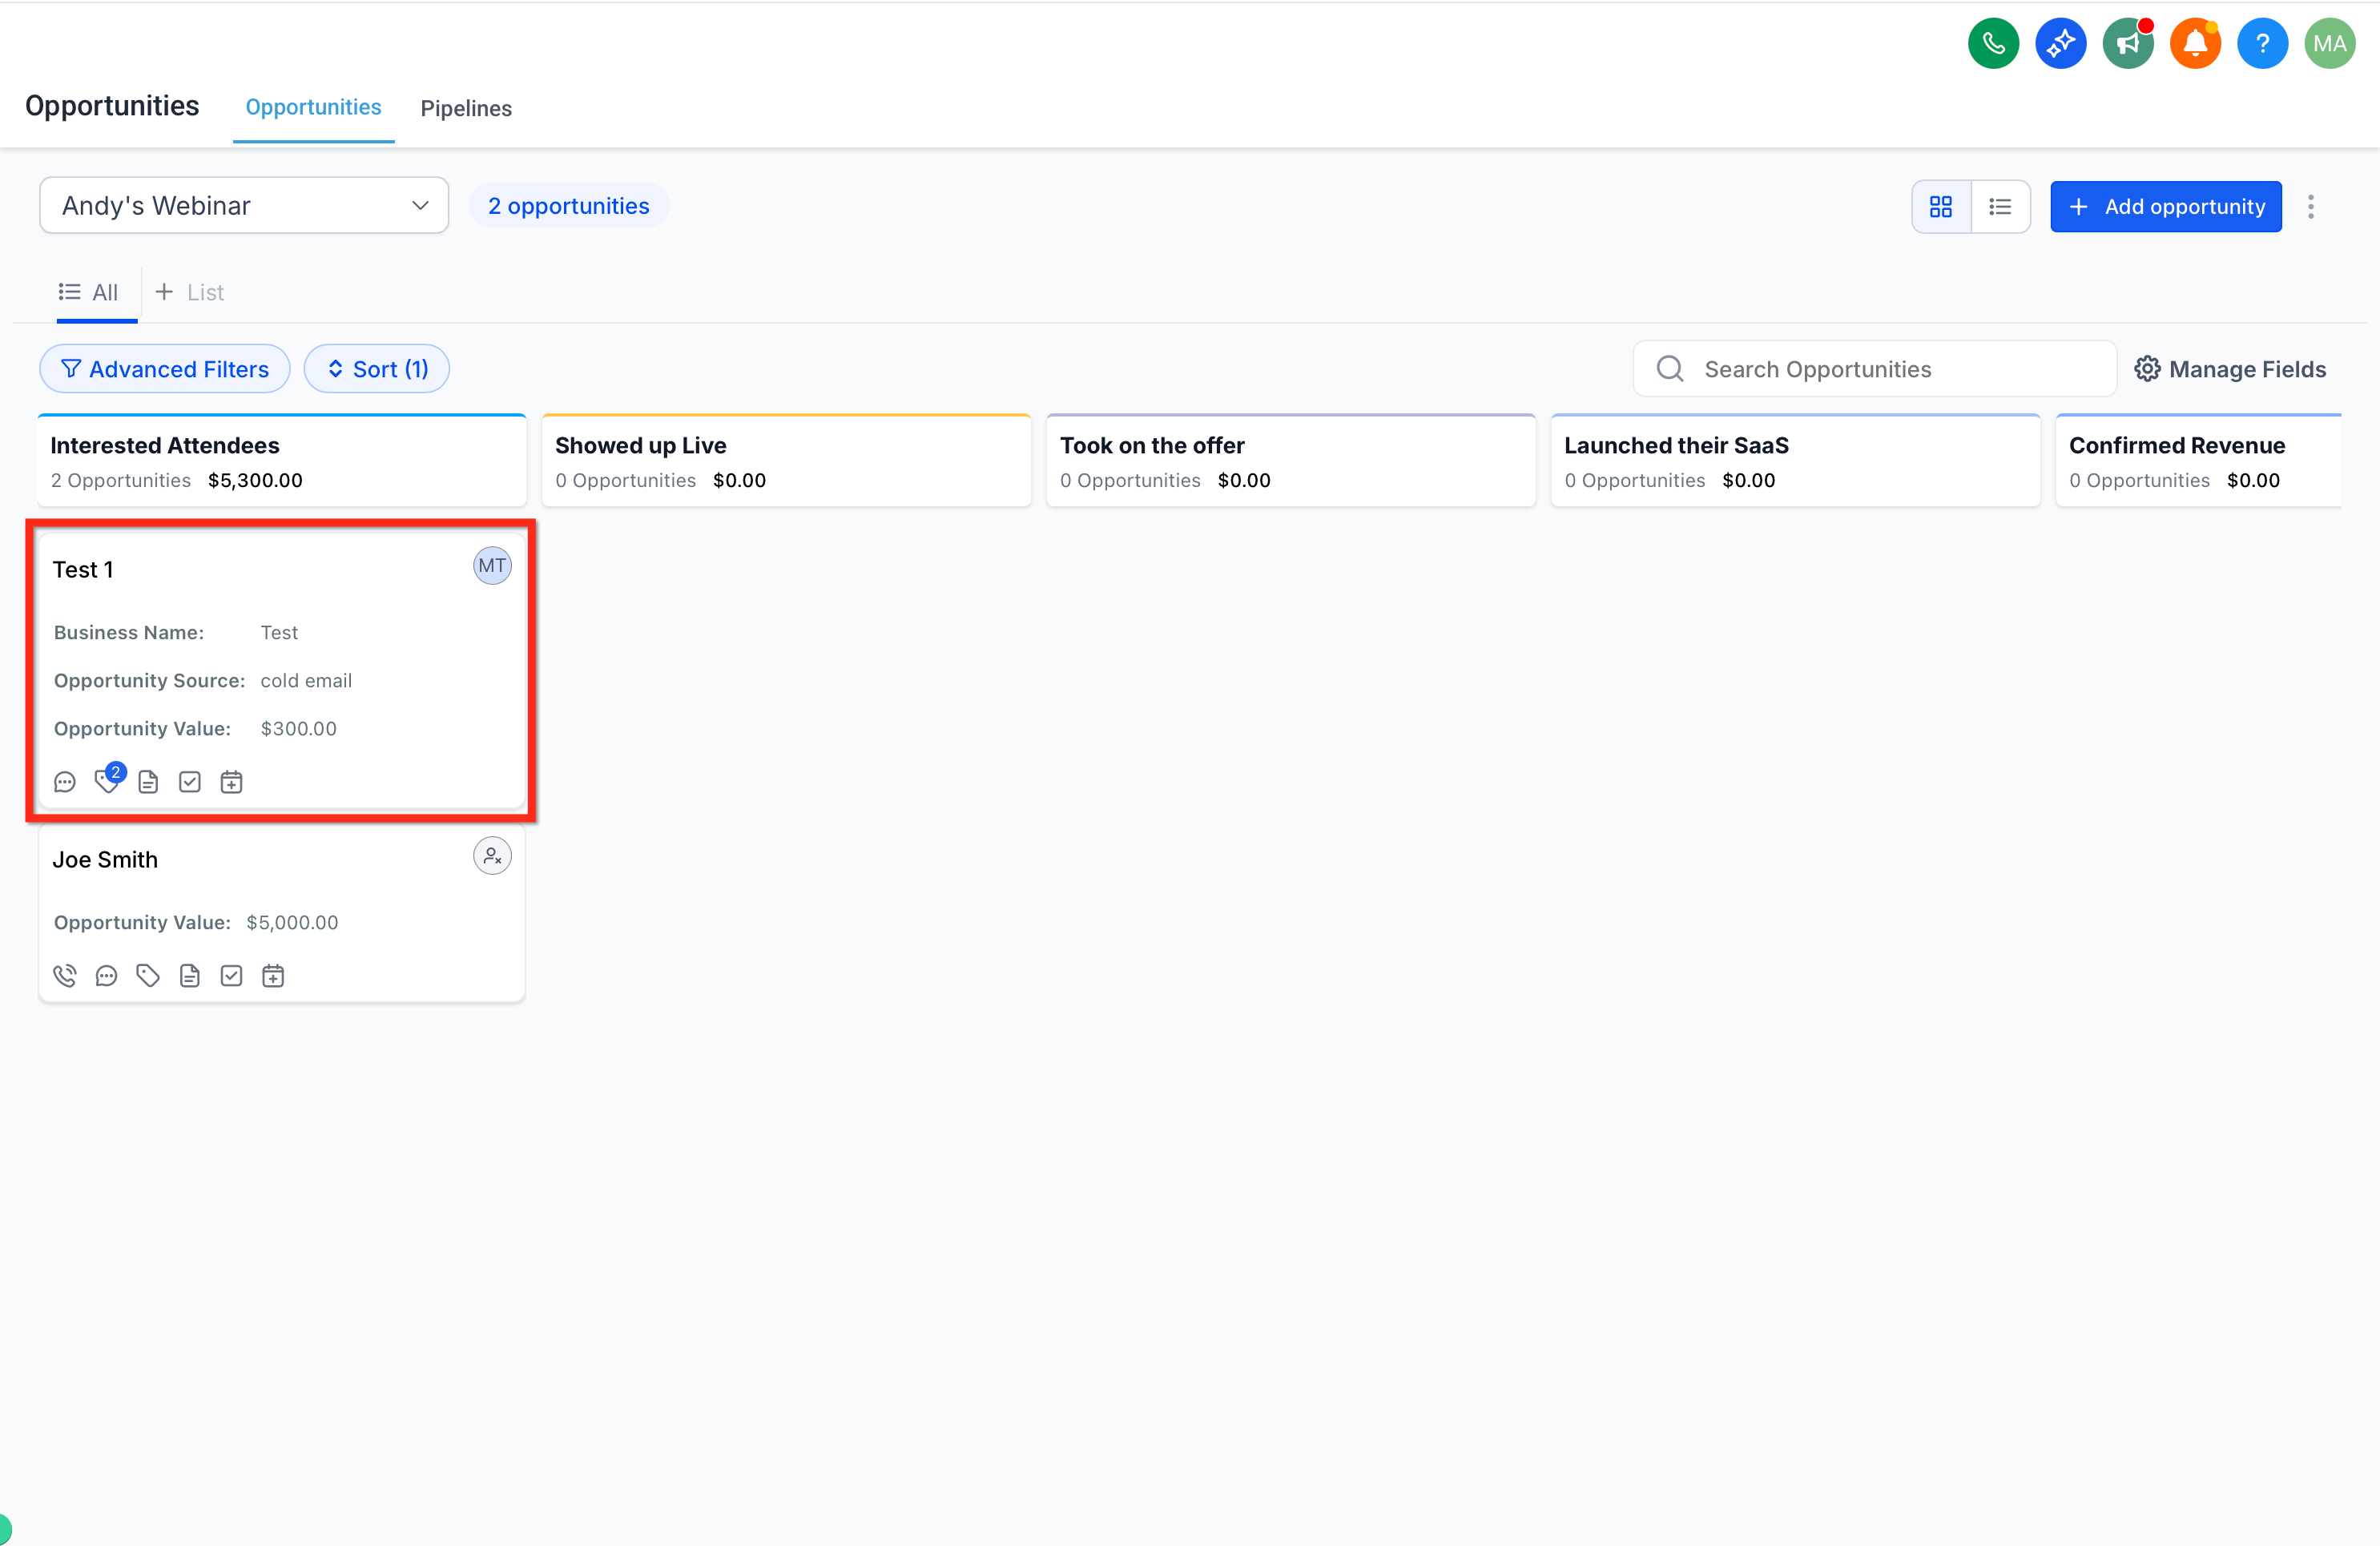
Click the opportunity card you want to create or link a document to.
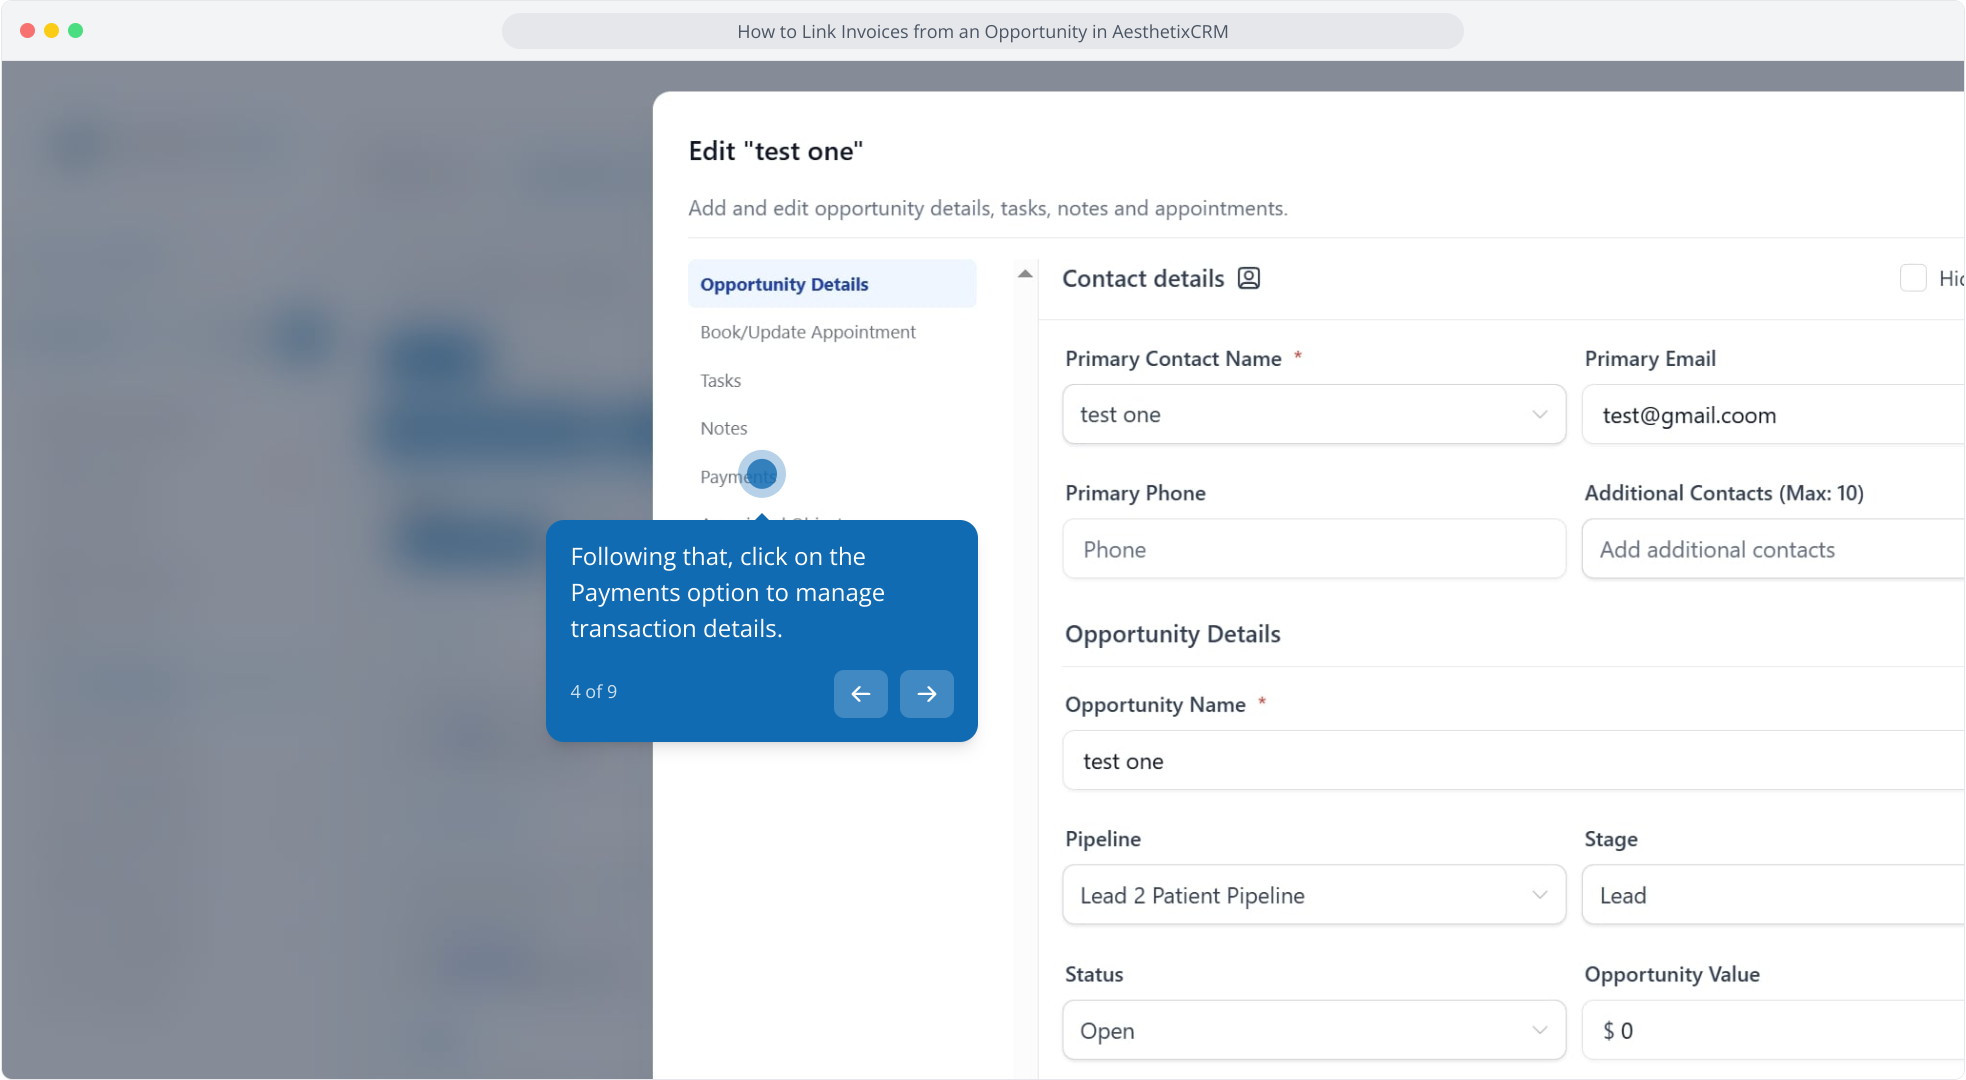
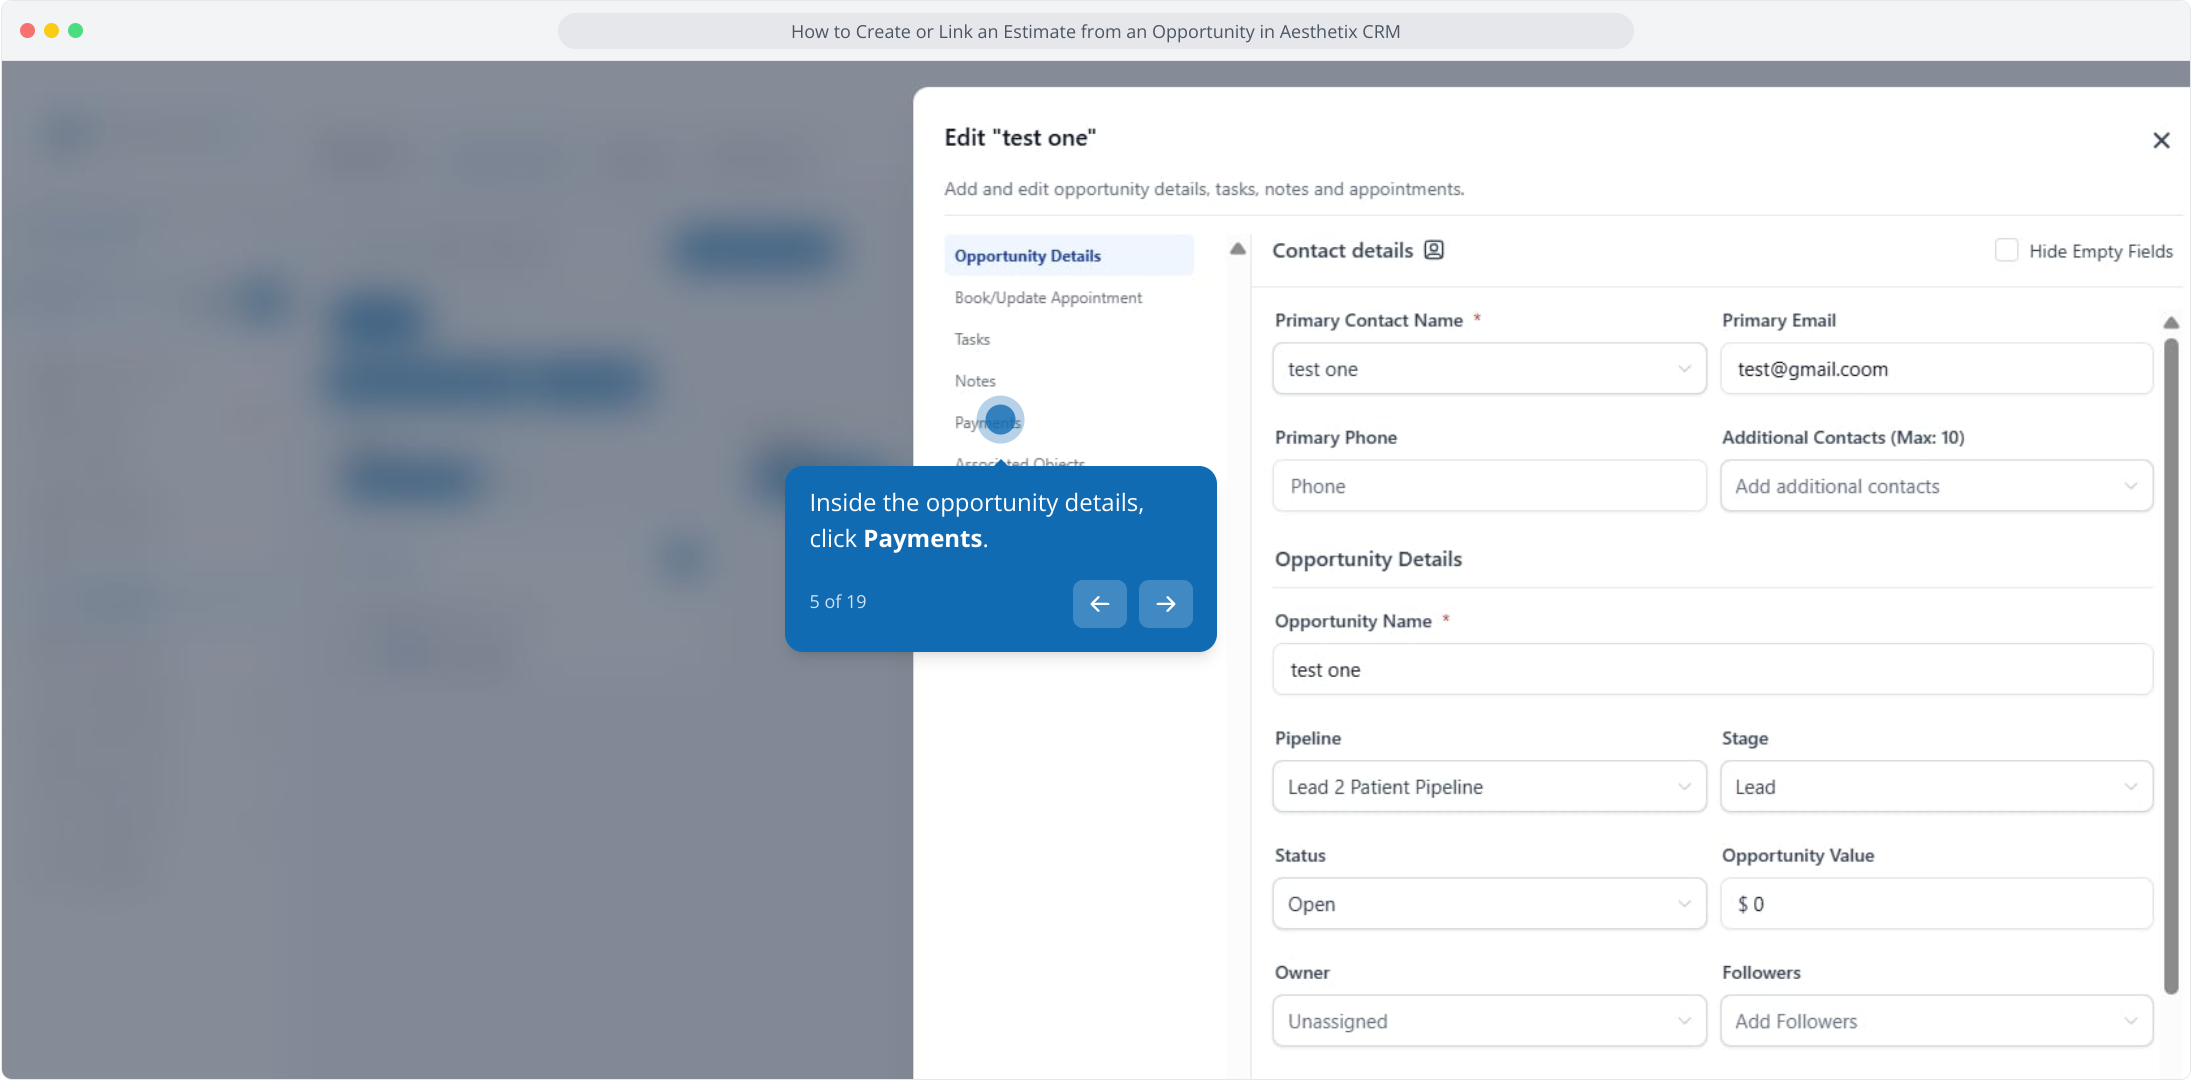
Inside the opportunity, click the Payments tab.
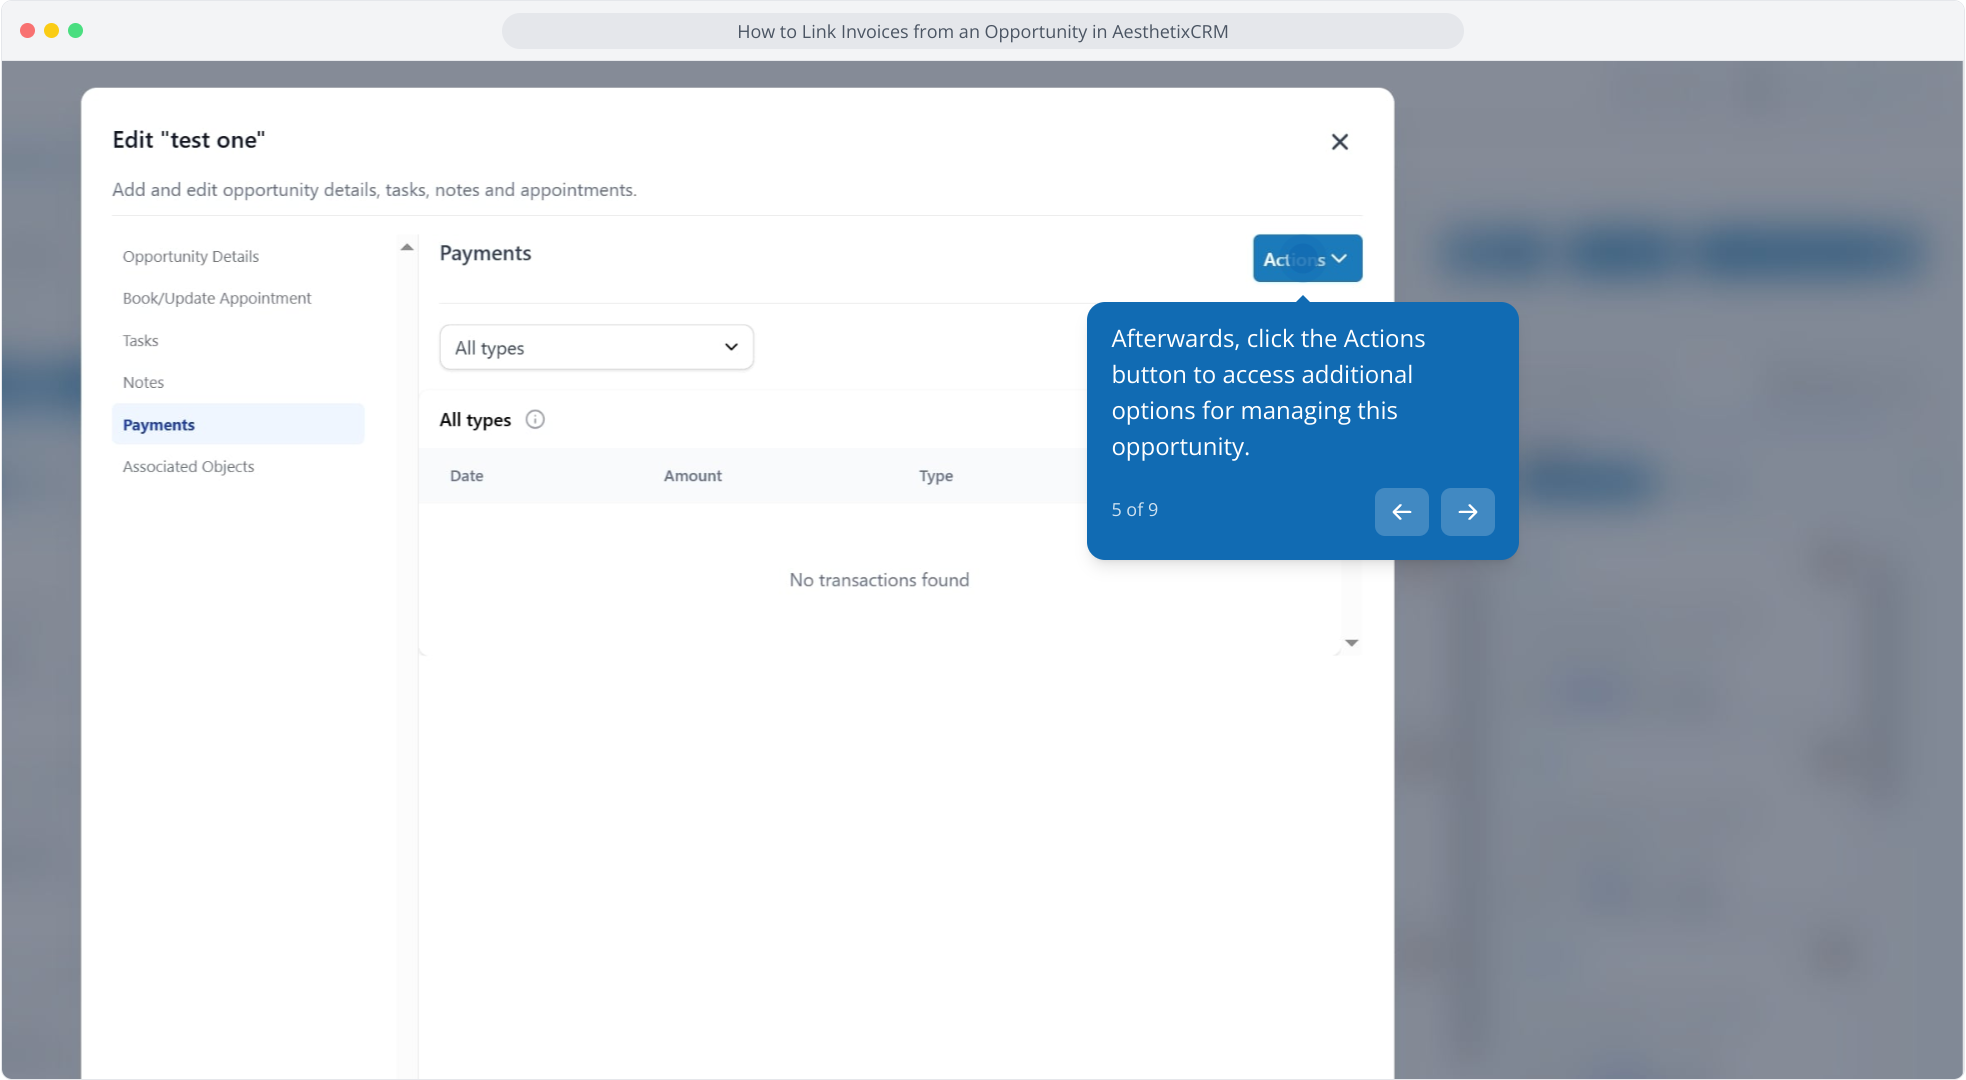
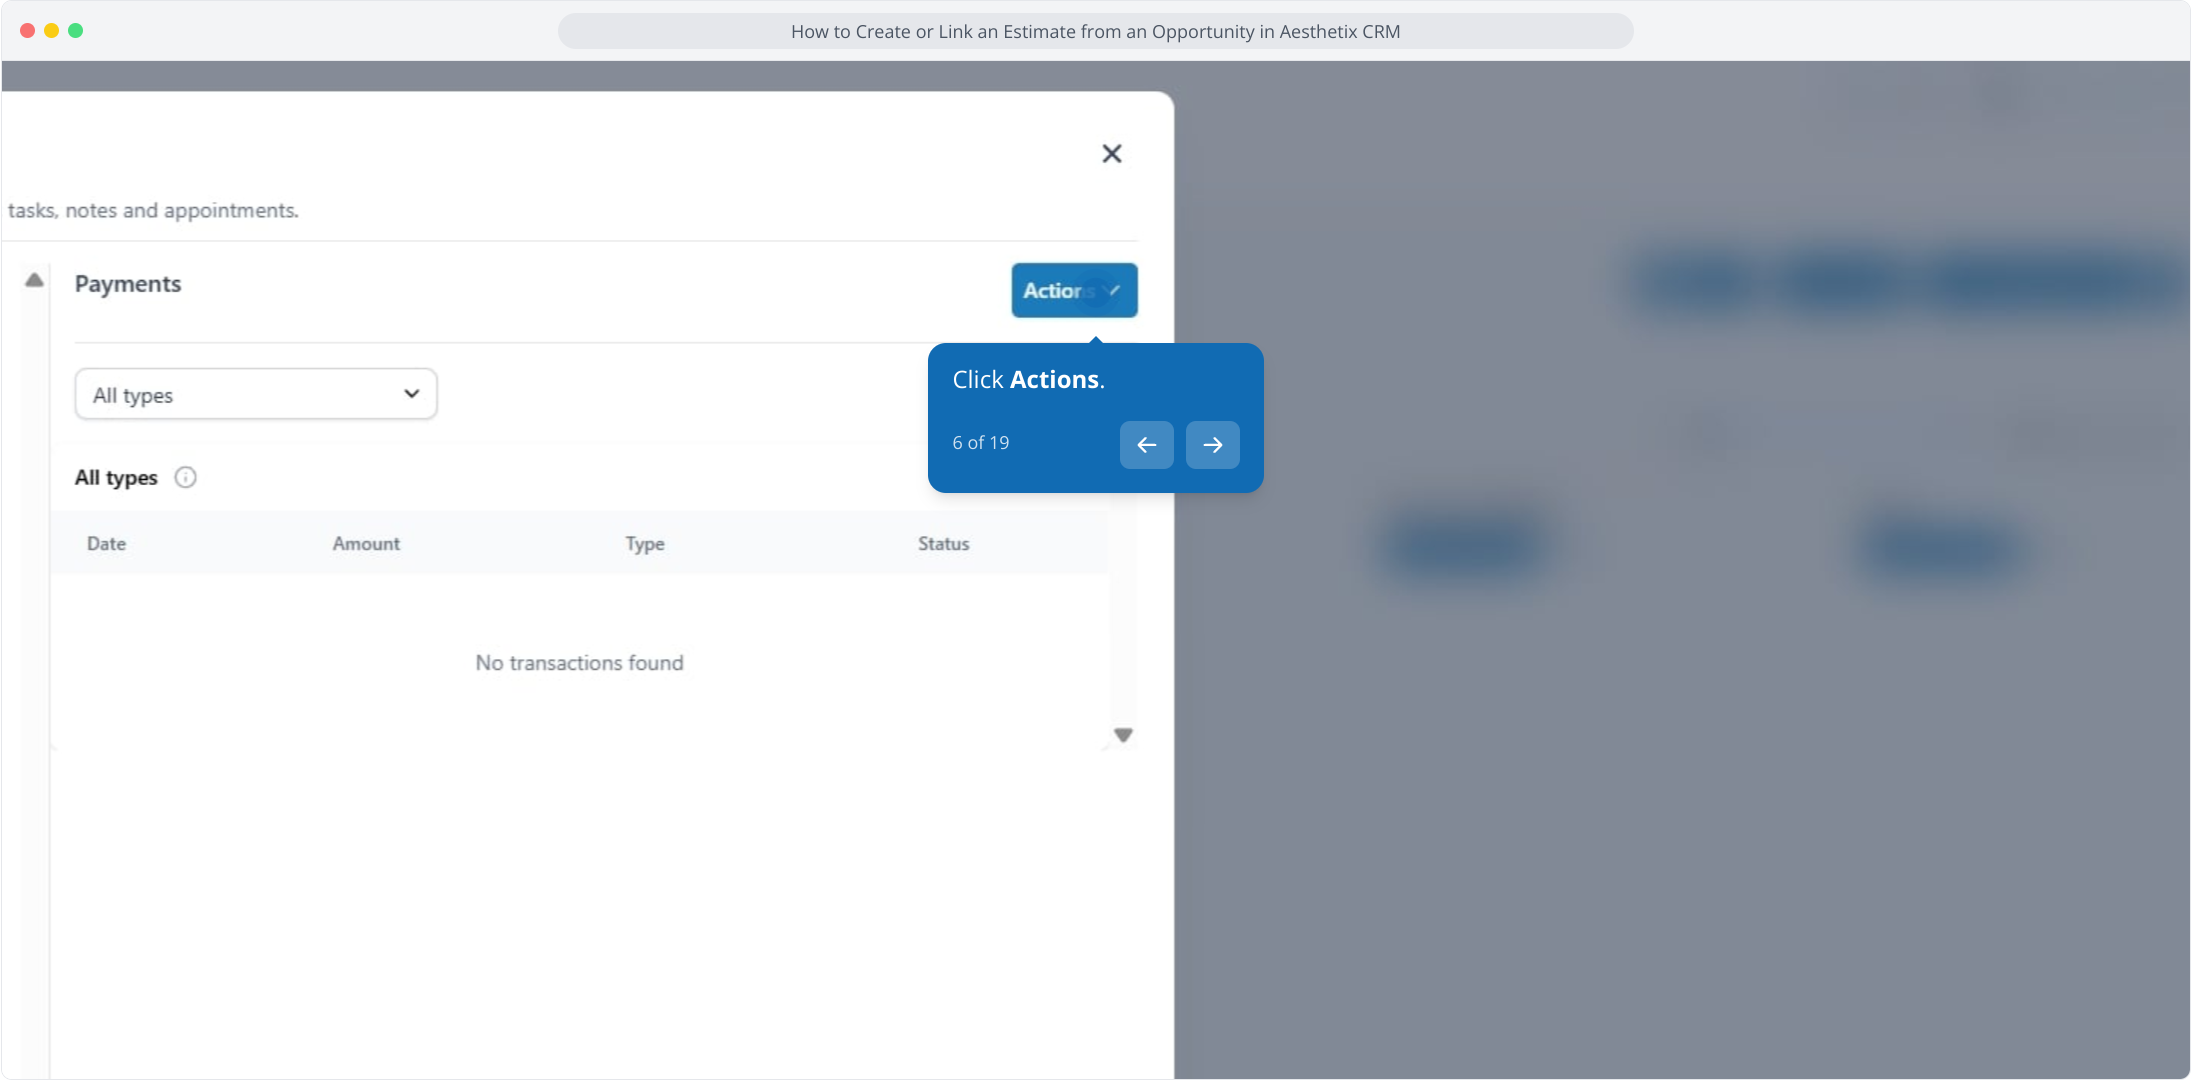
Click the Actions button.
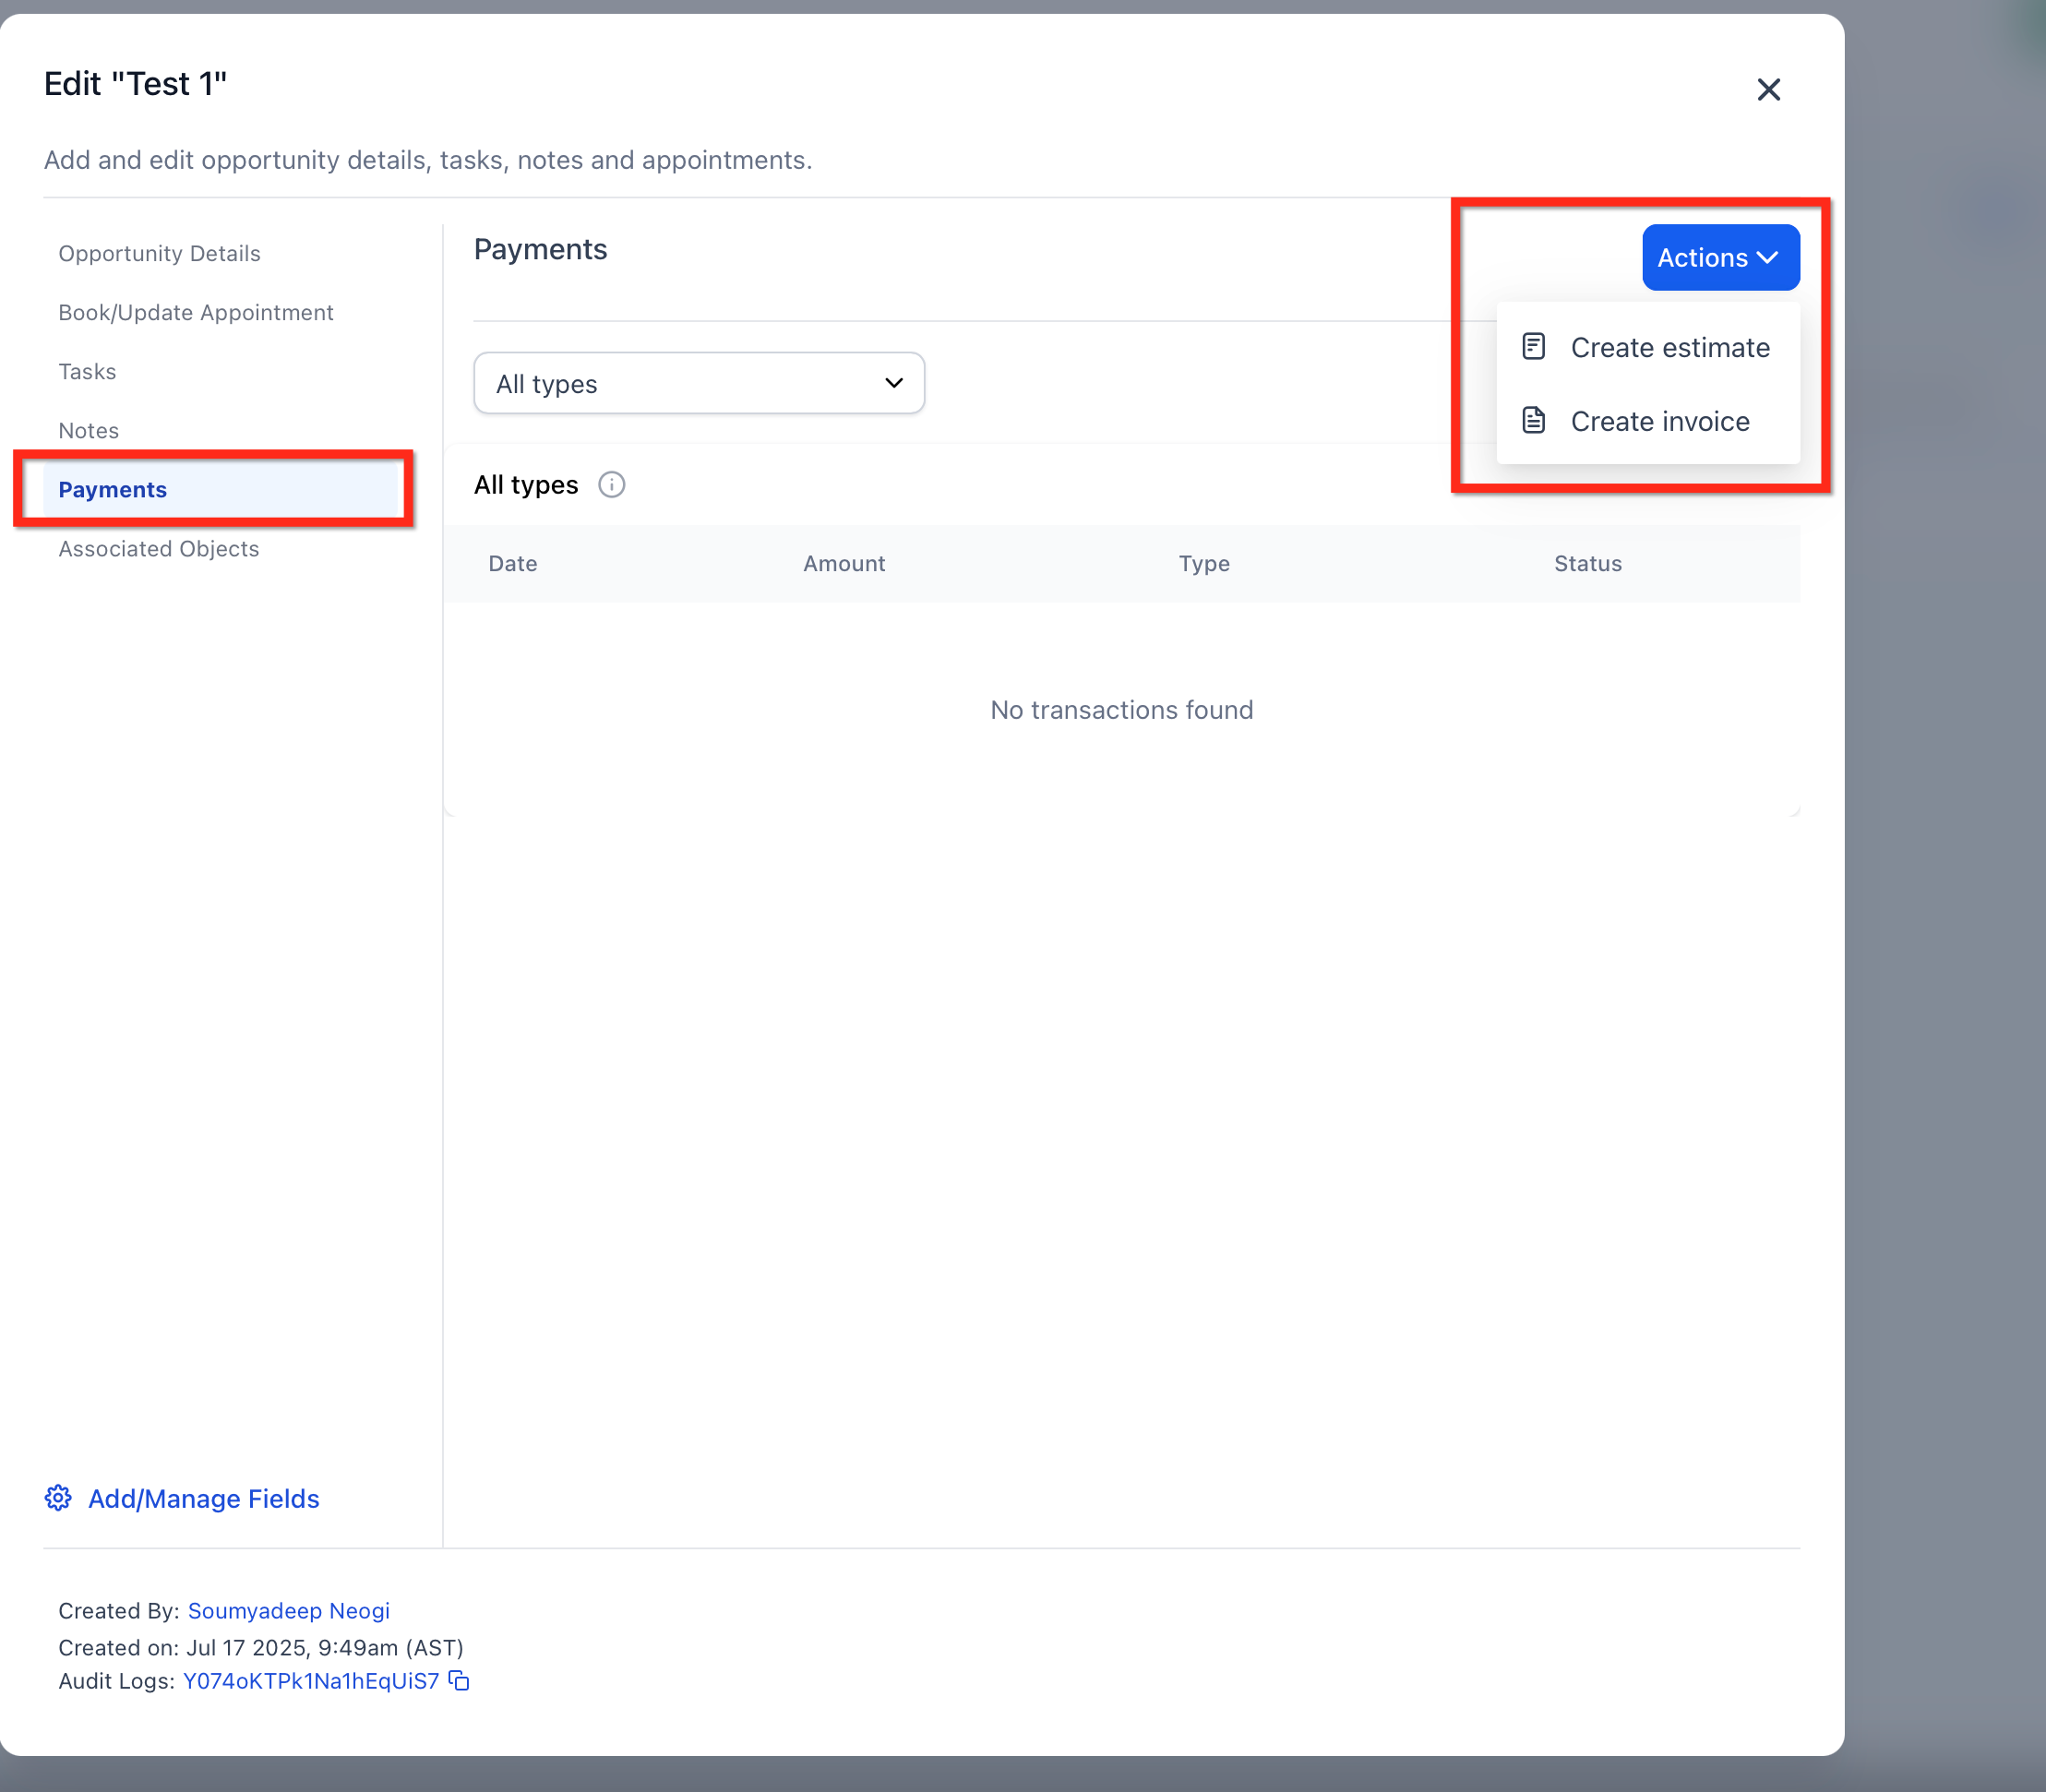
Choose Create Invoice or Create Estimate. You are taken to the editor with the opportunity already linked.
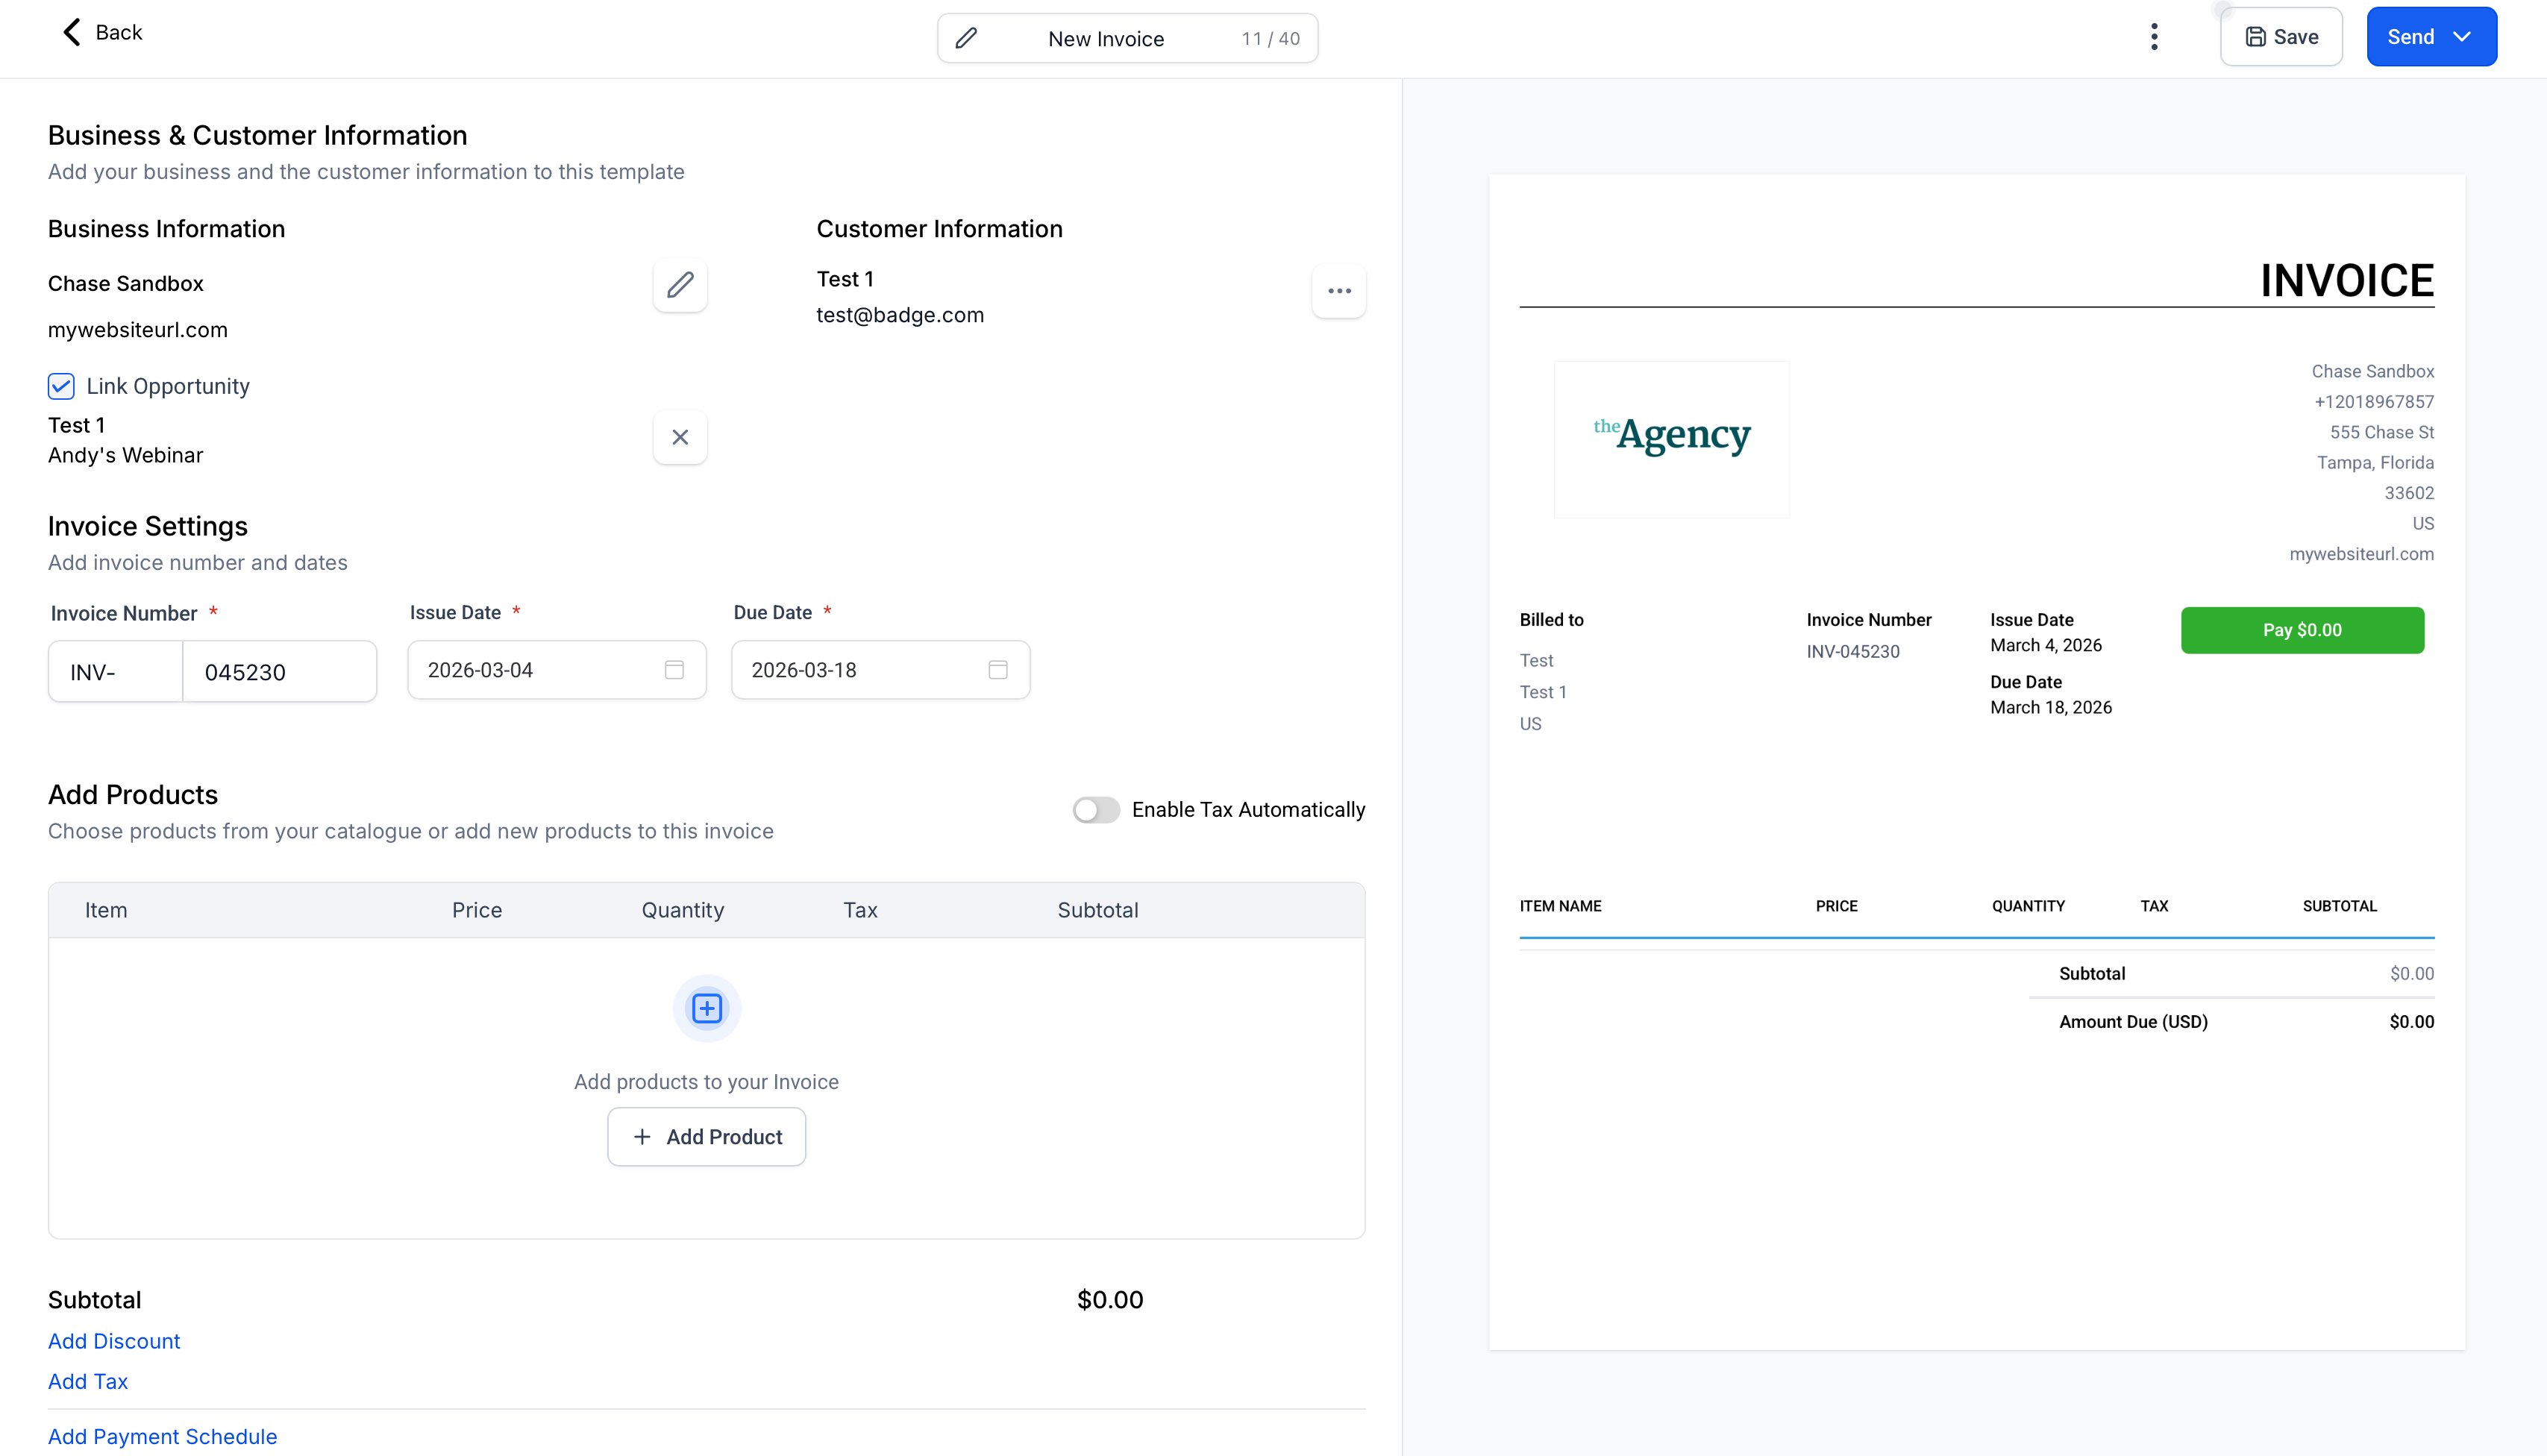
Click Create invoice to generate an invoice for this opportunity.
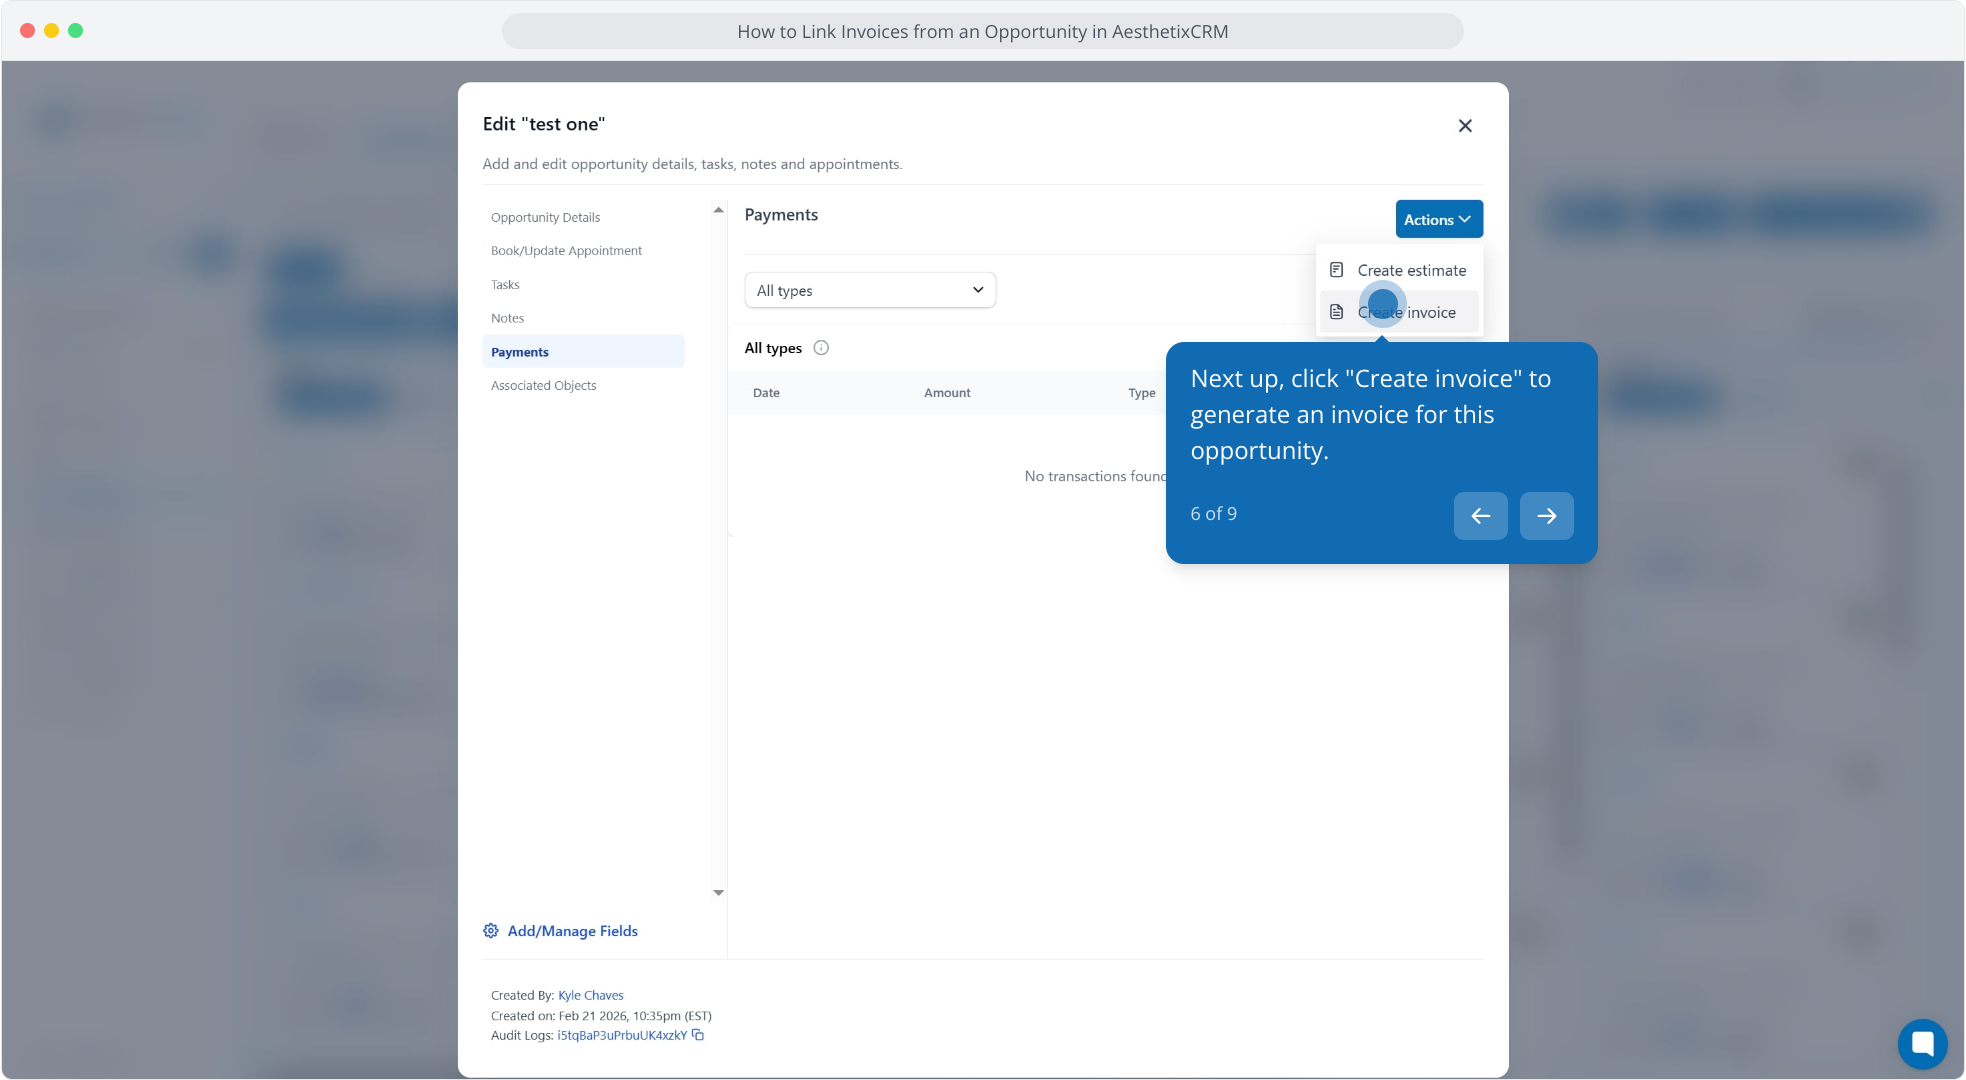
Fill out the invoice details you need to send to the opportunity.
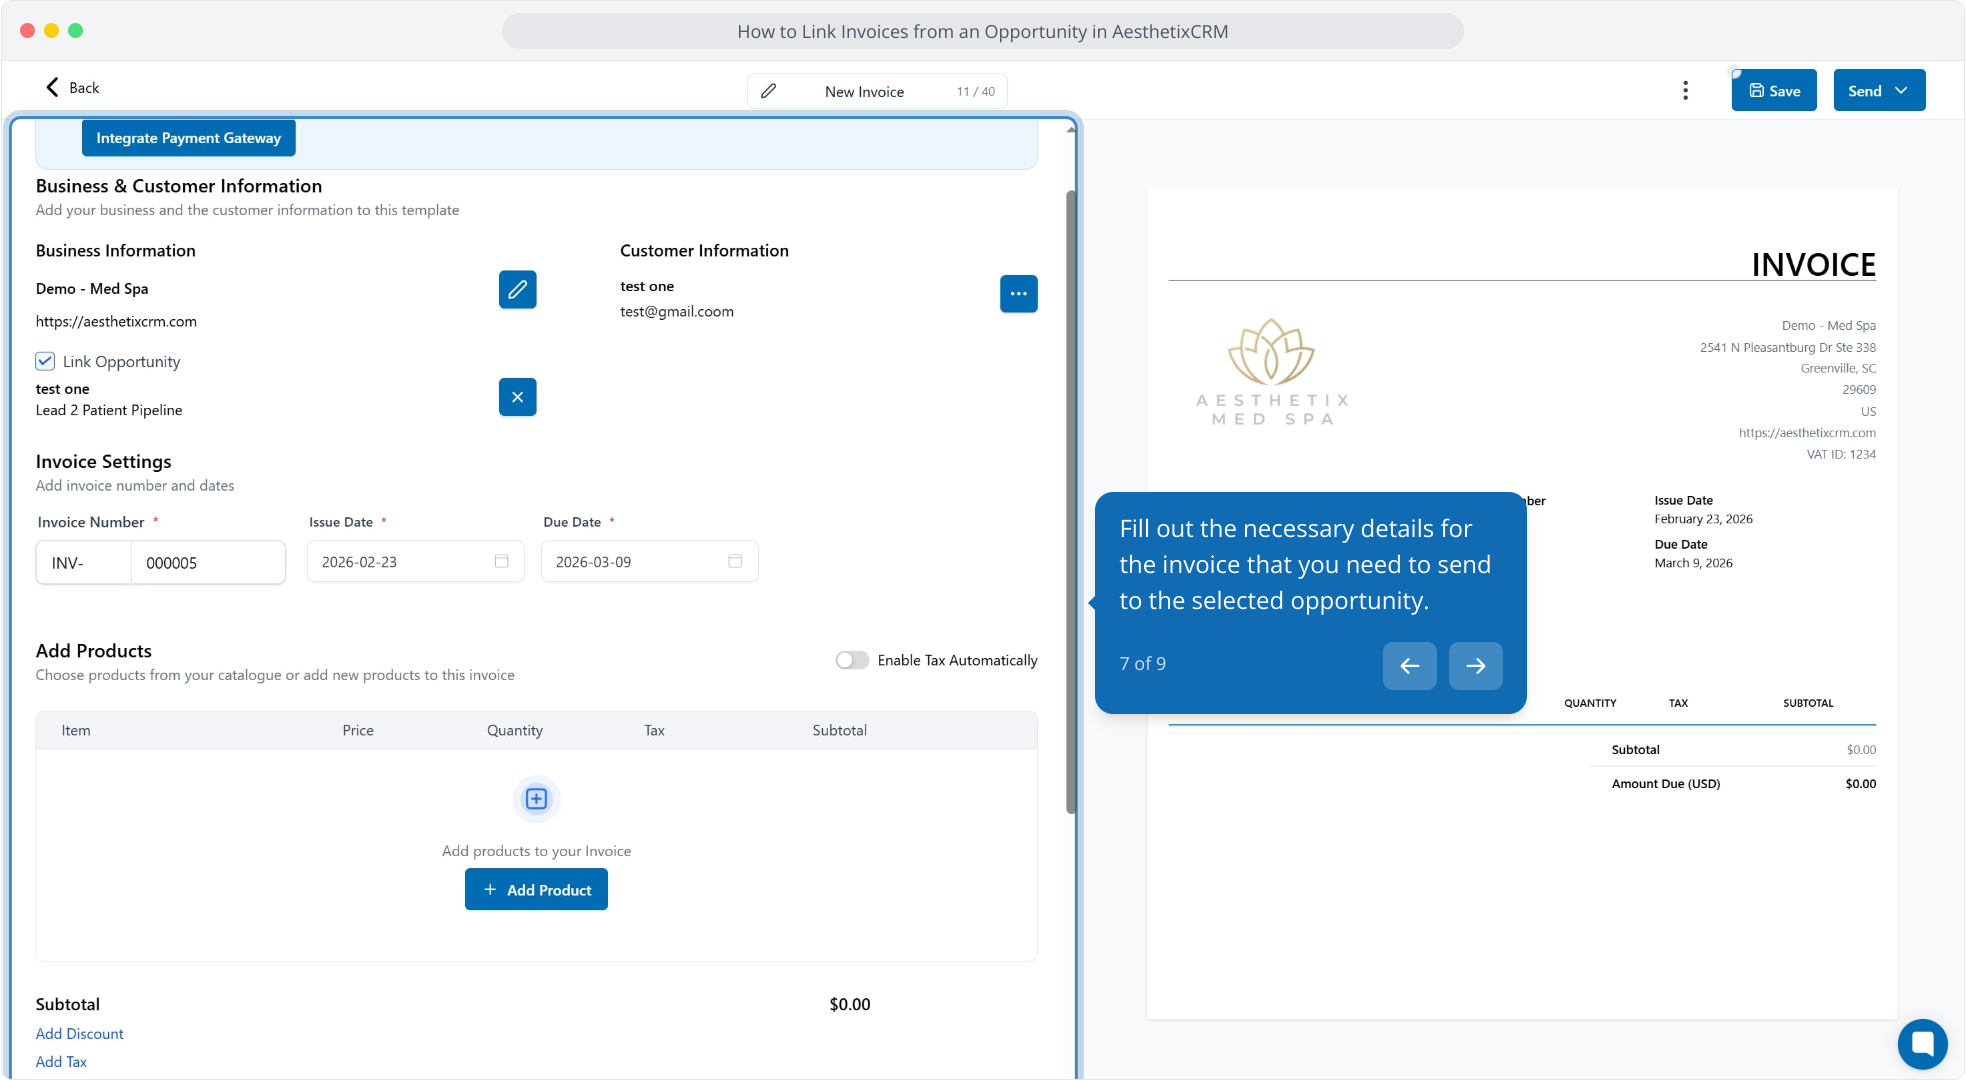
Review the invoice.
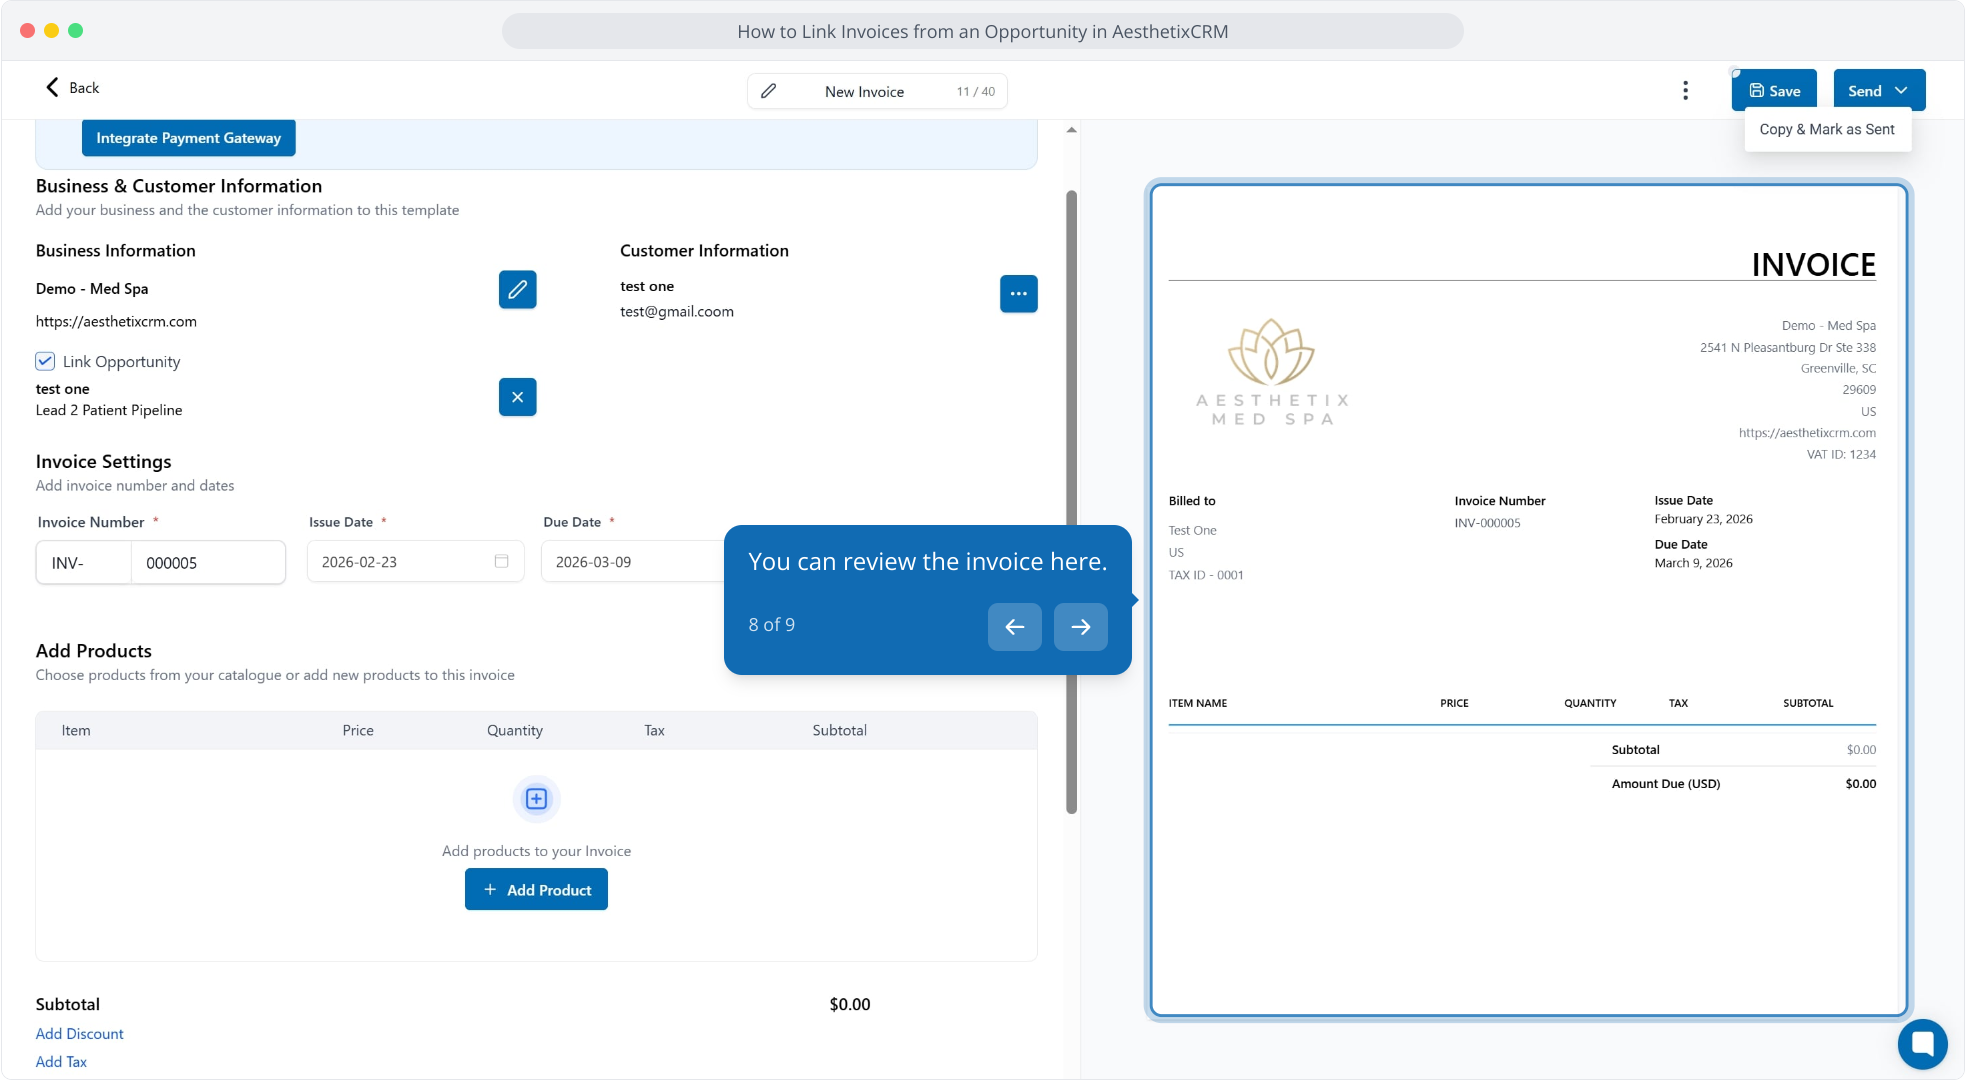
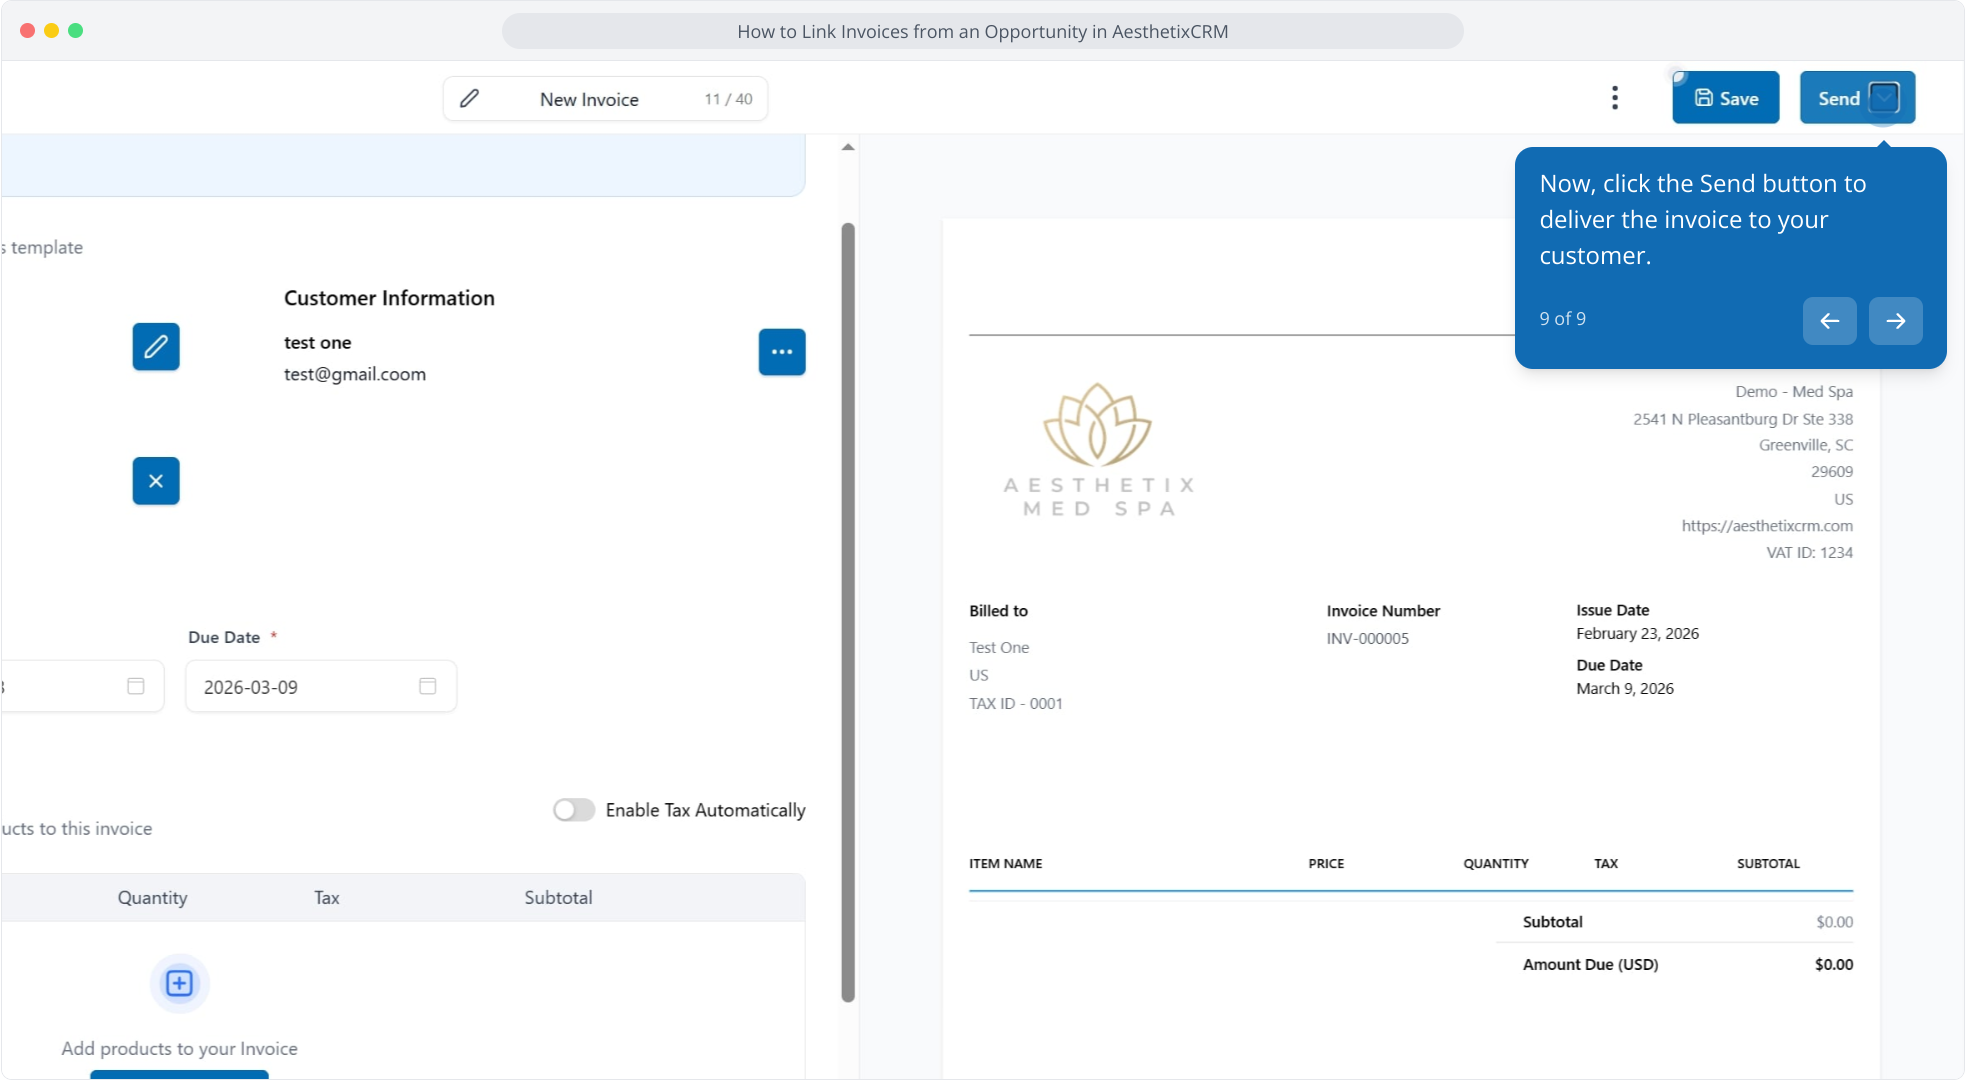
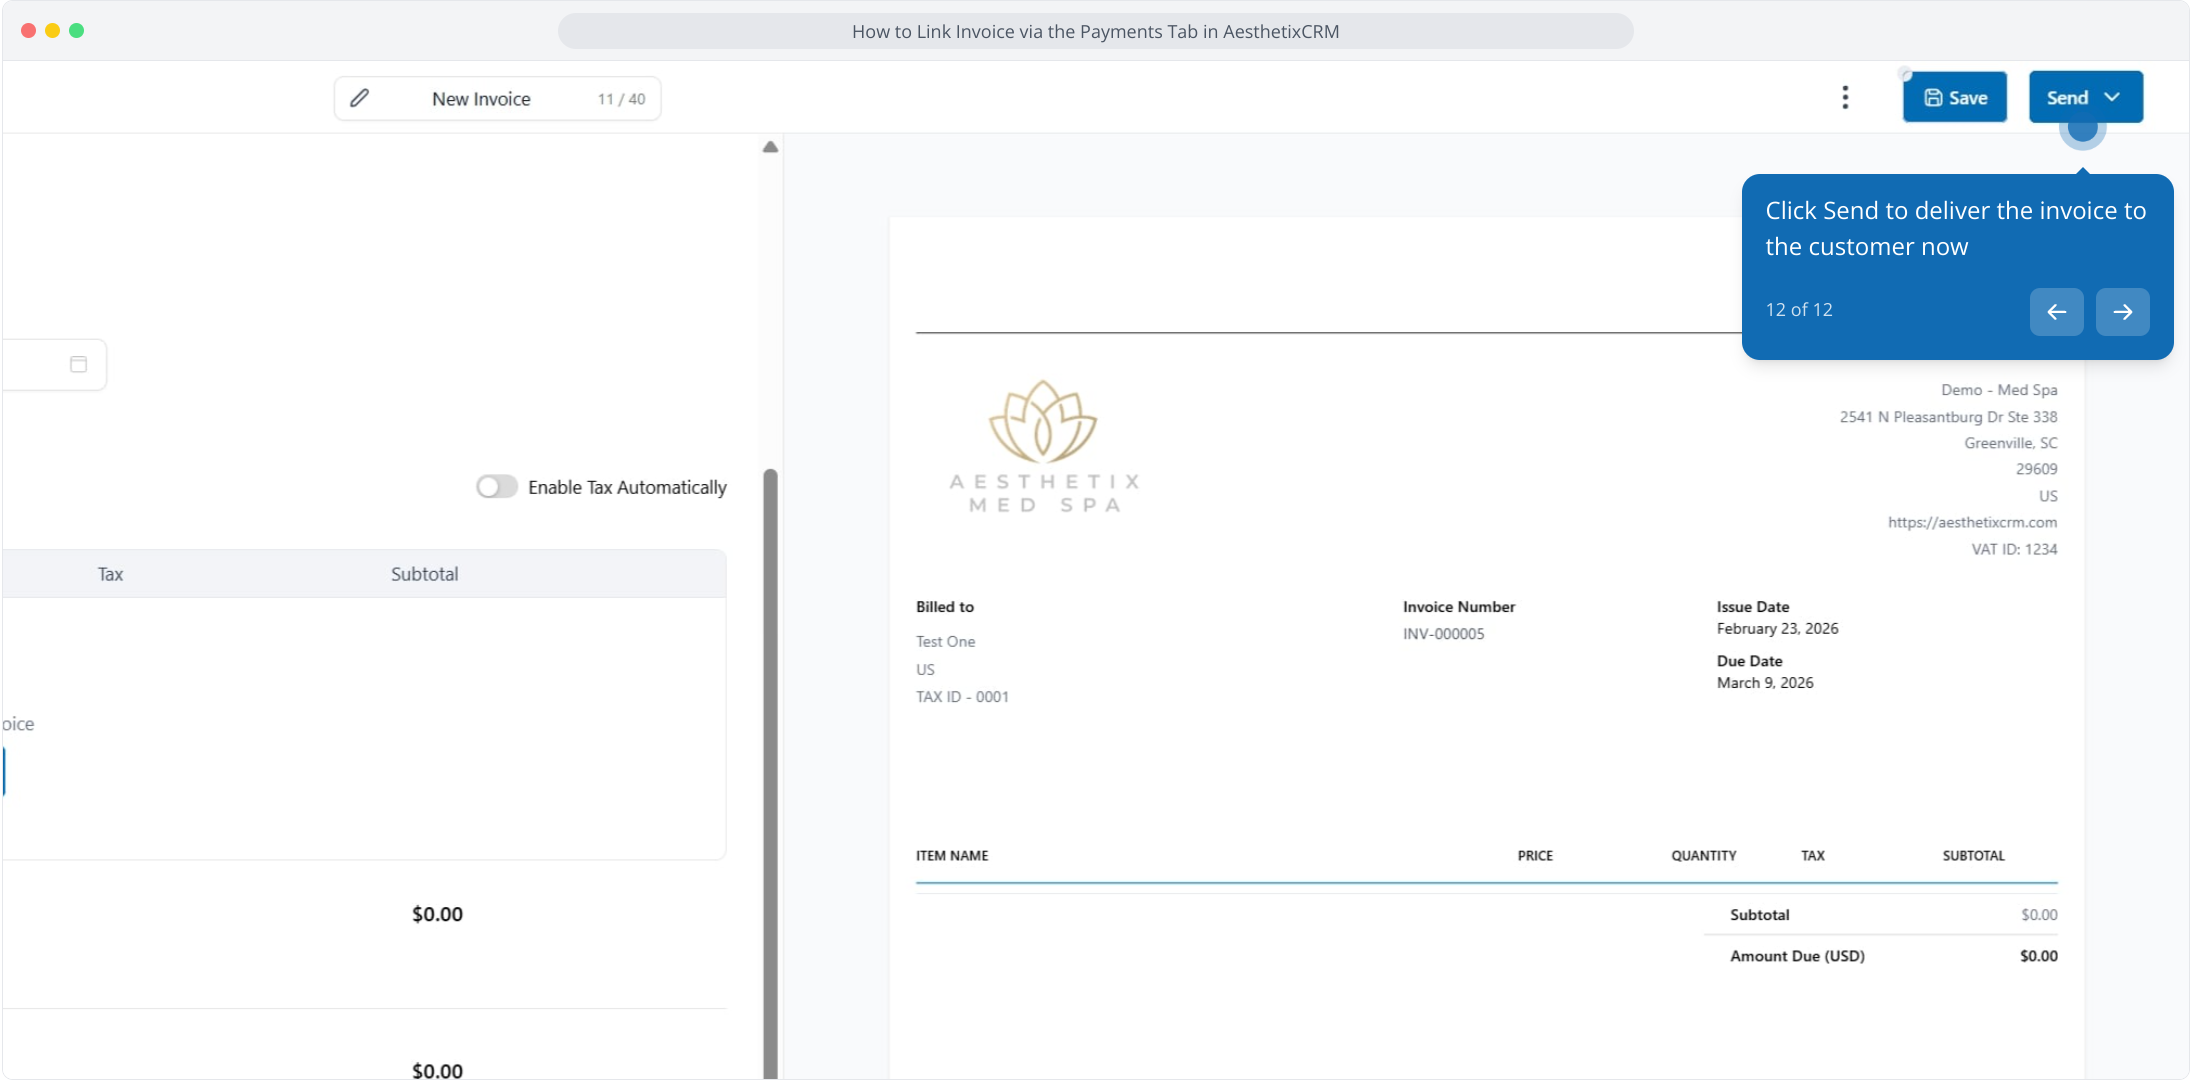
Click the Send button to deliver the invoice to the patient.
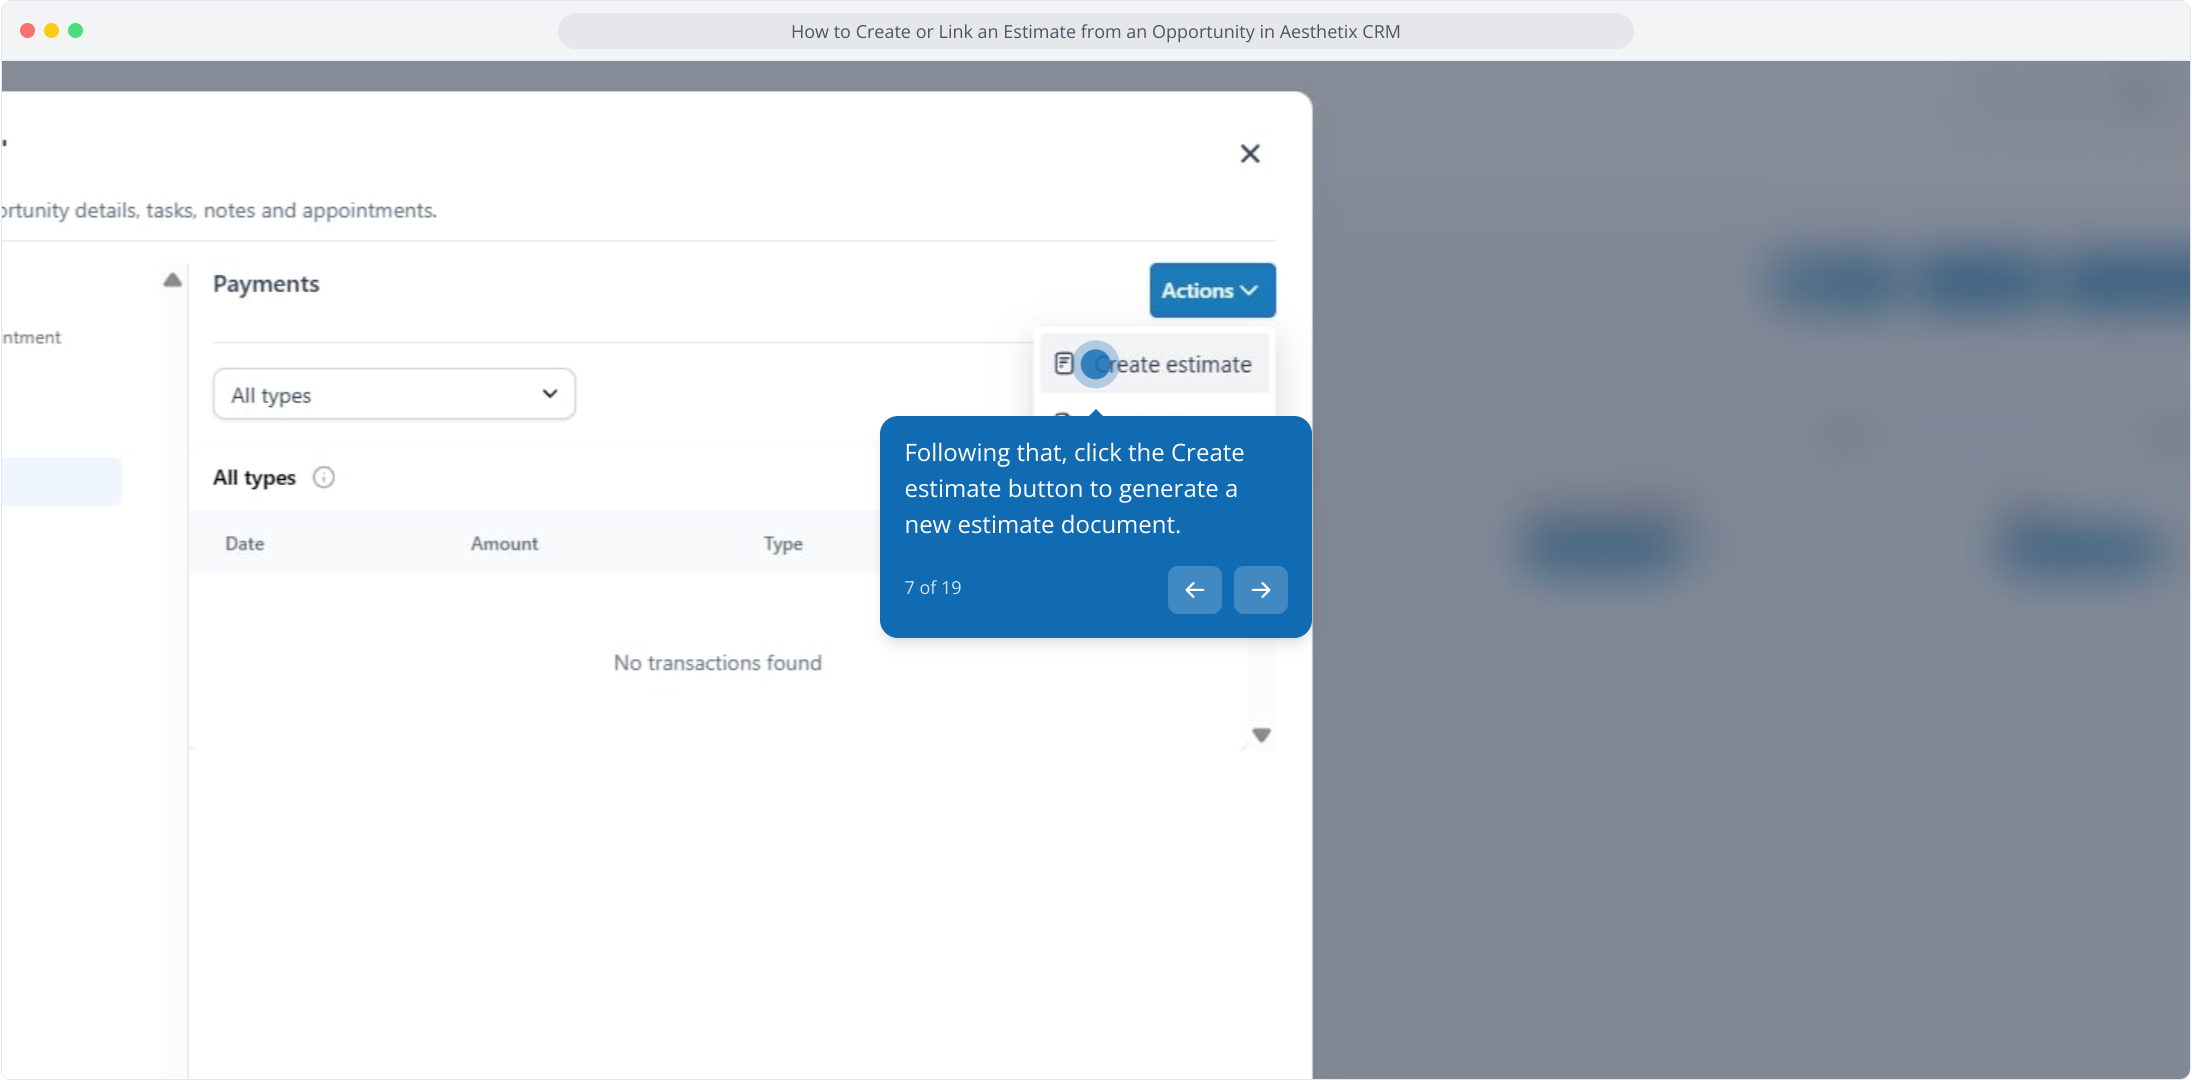
Click the Create estimate button to generate a new estimate.
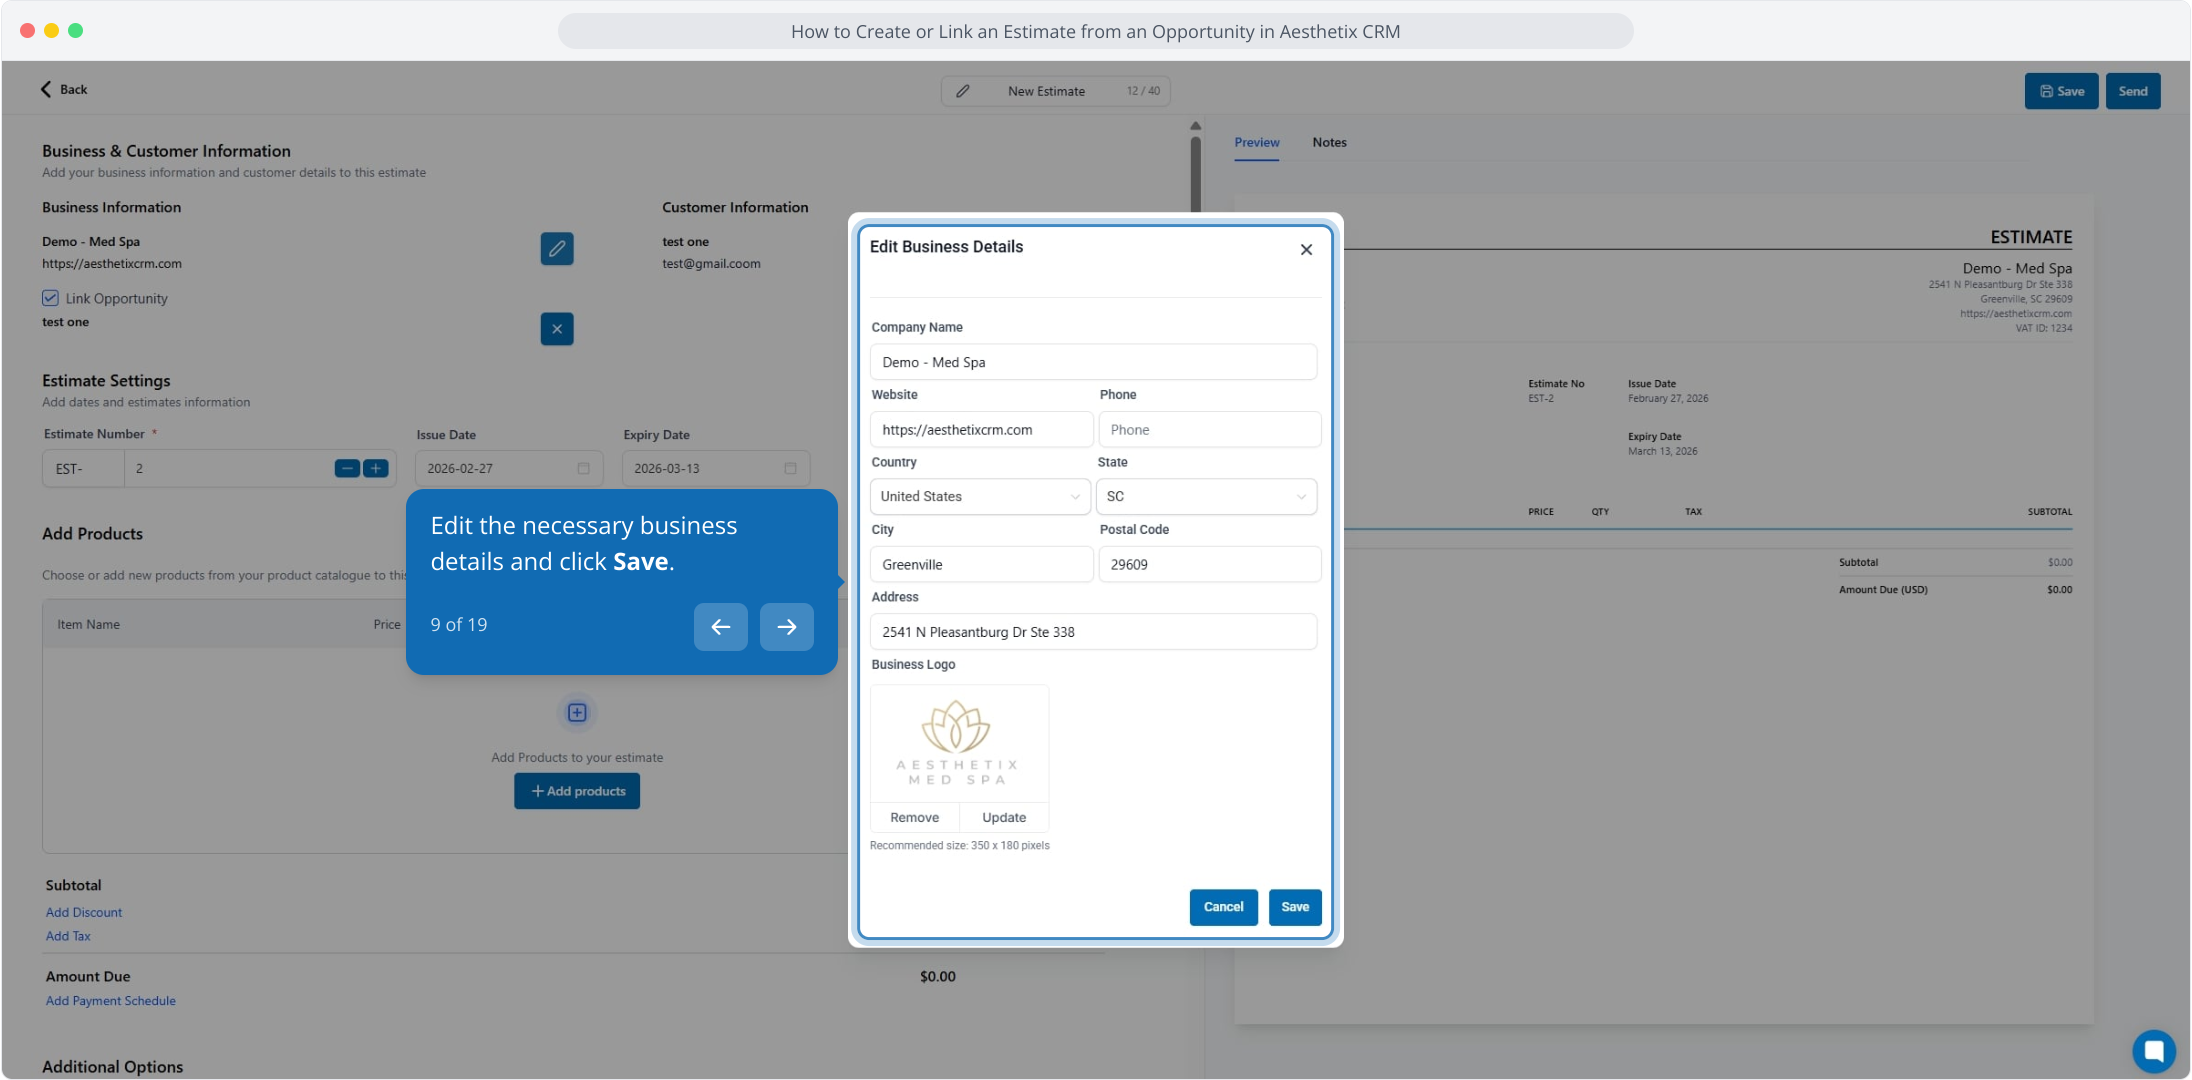
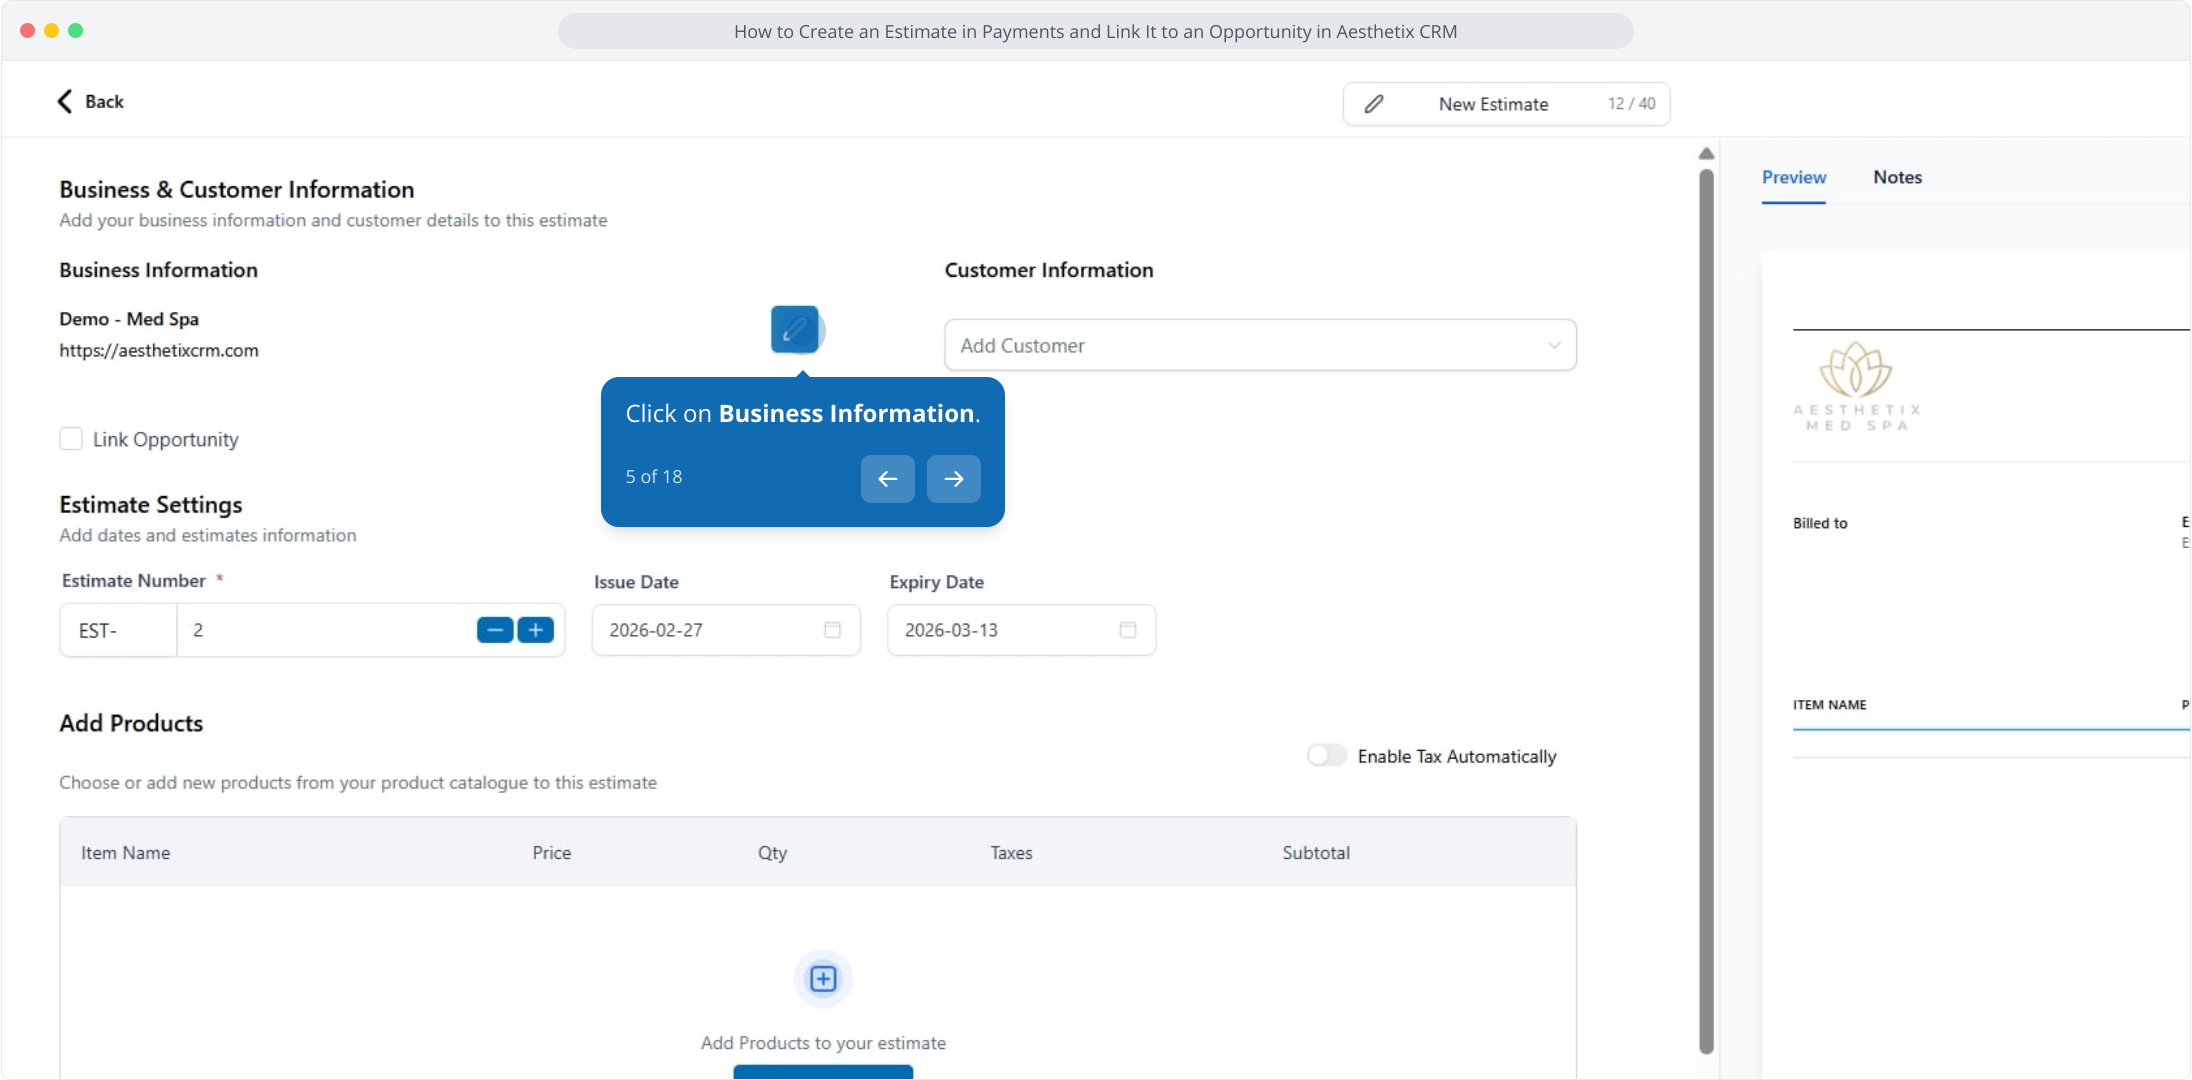
Click the pencil icon to open Business Information.
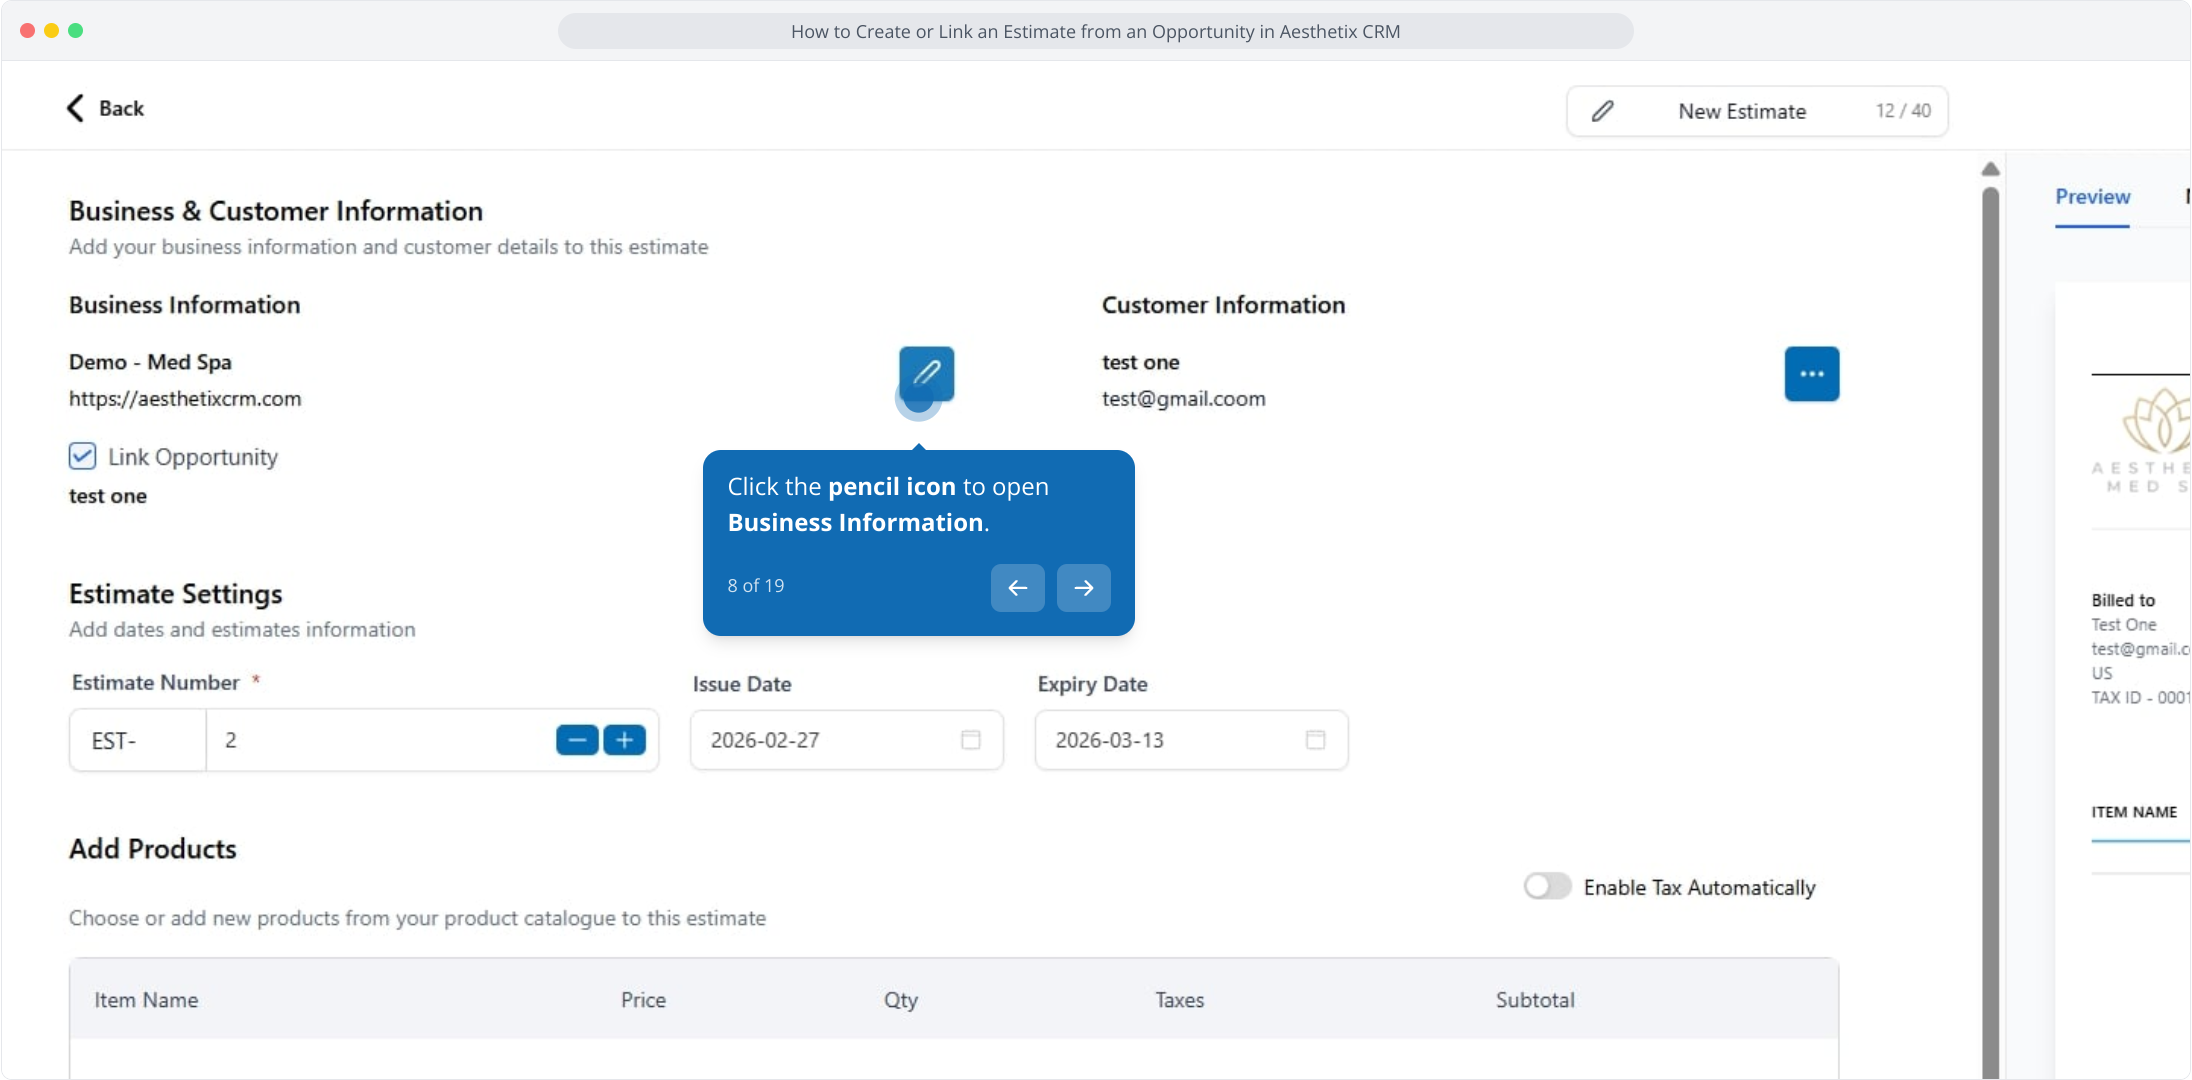
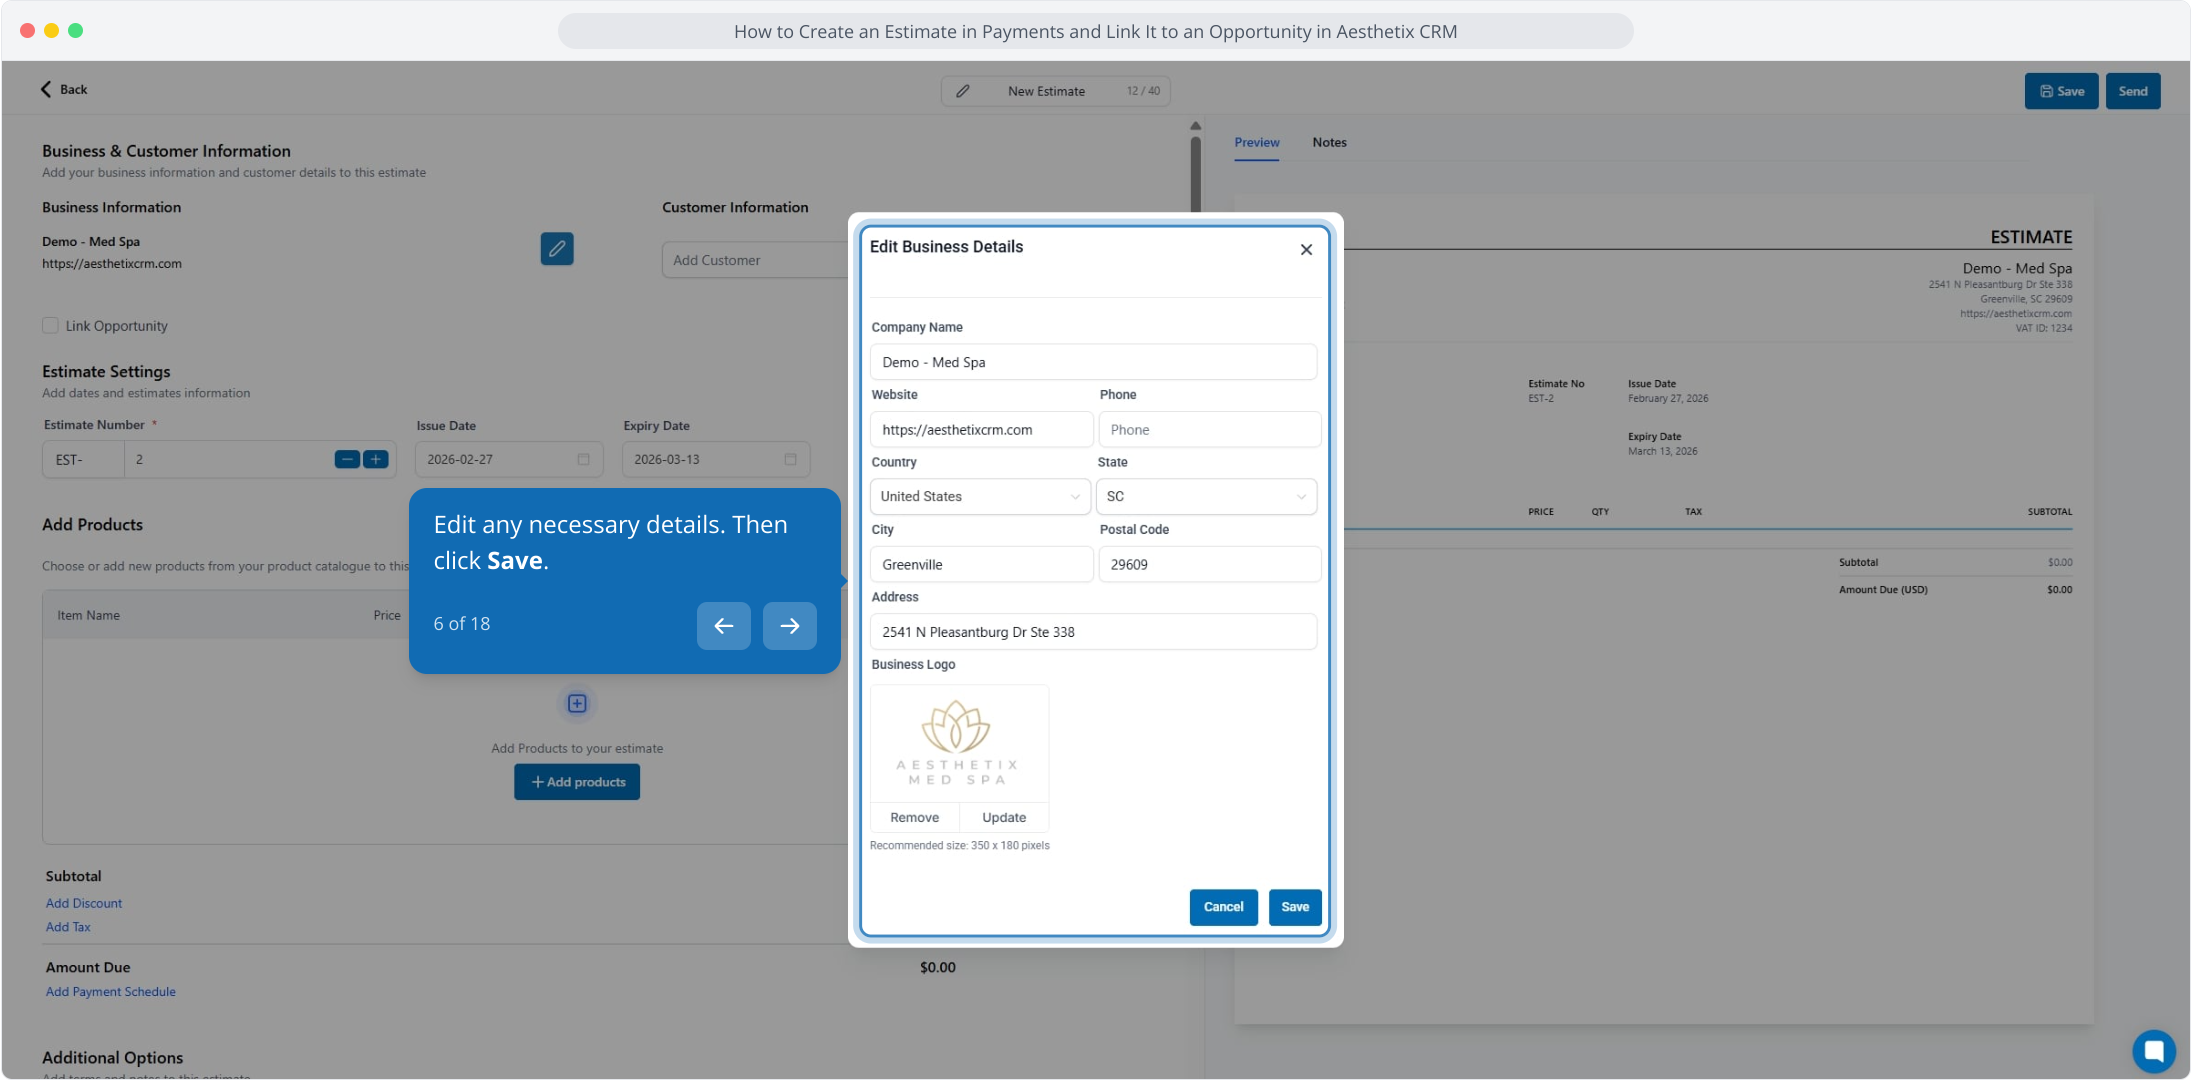
Edit the necessary business details and click Save.
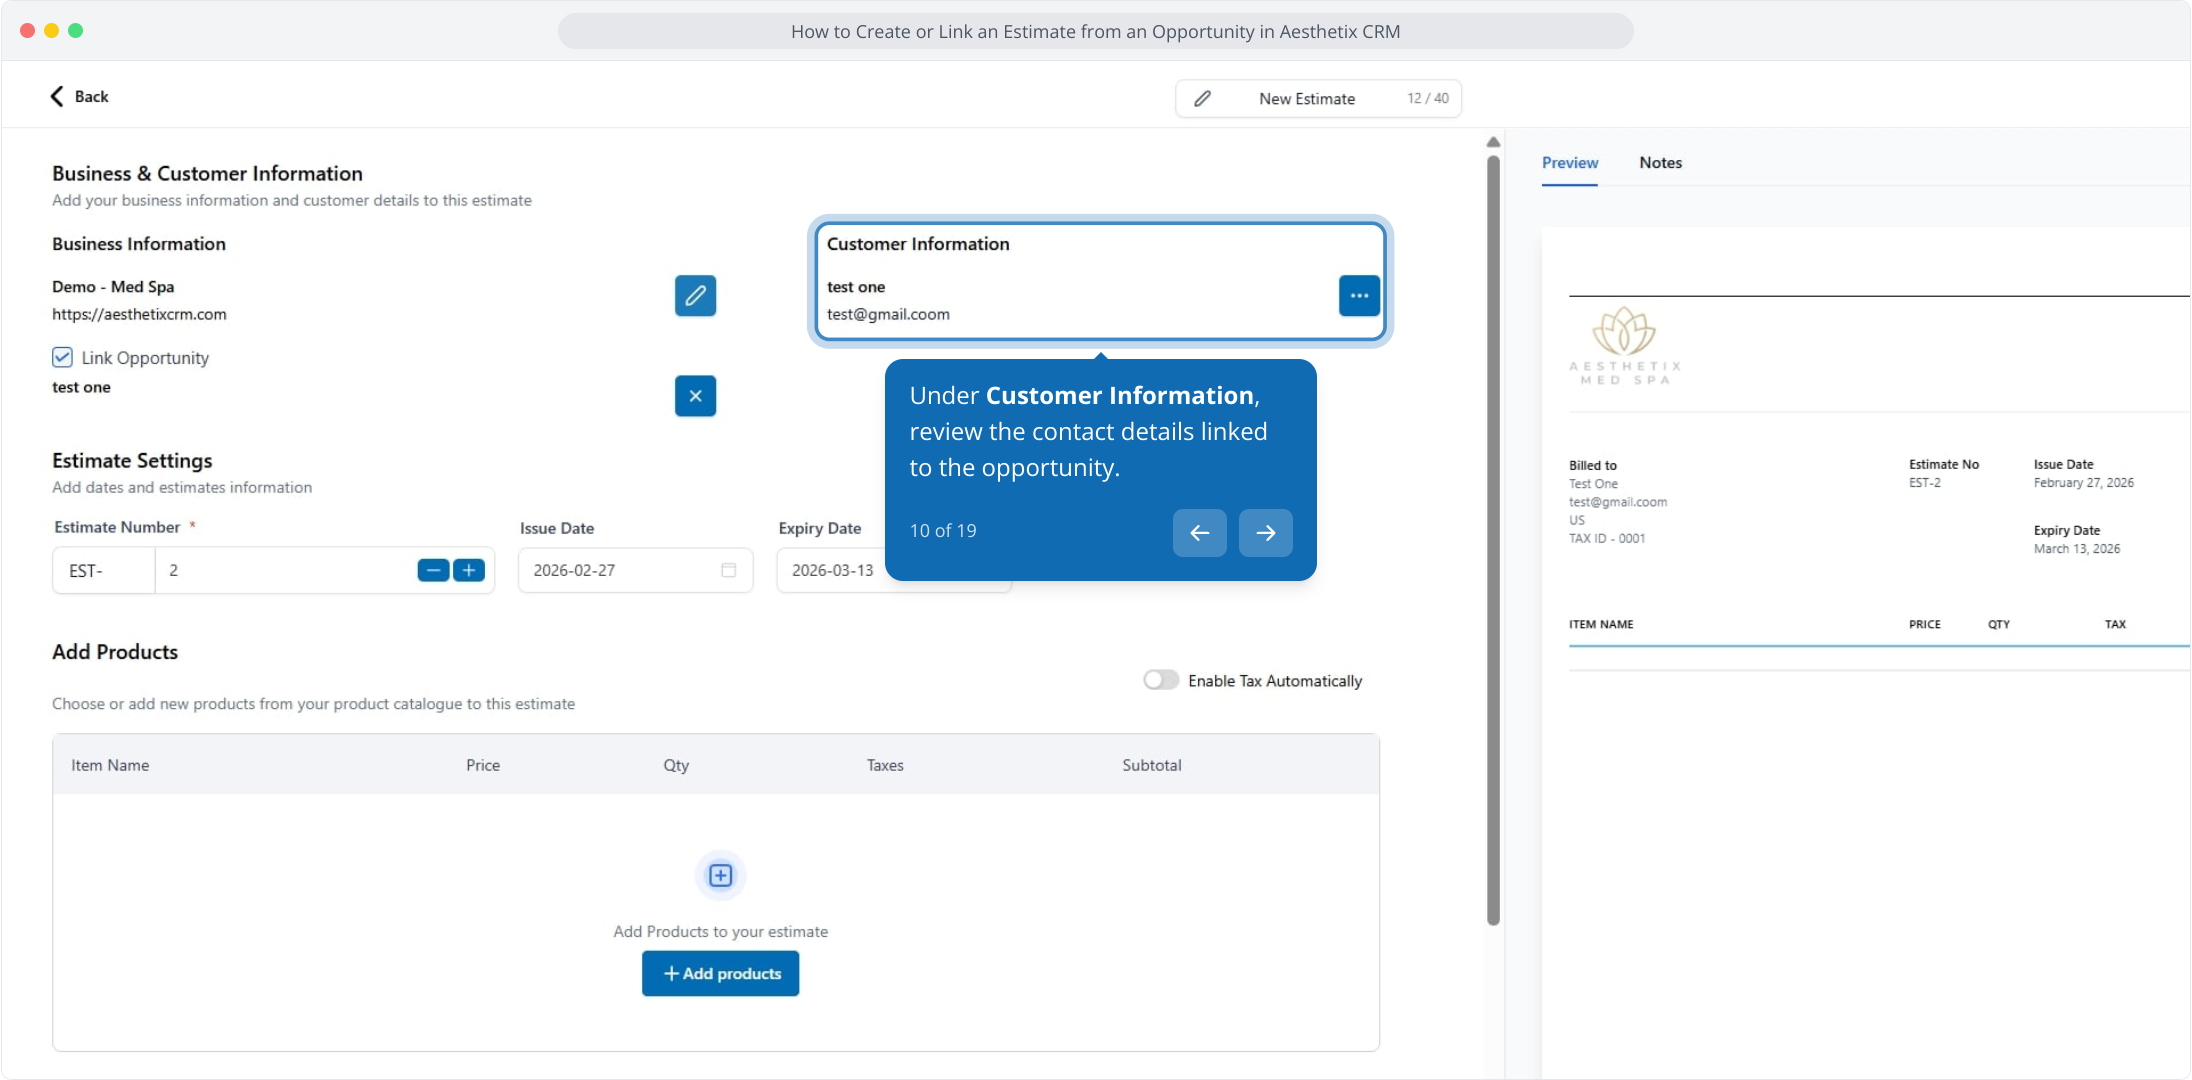
Under Customer Information, review the patient details linked to the opportunity.
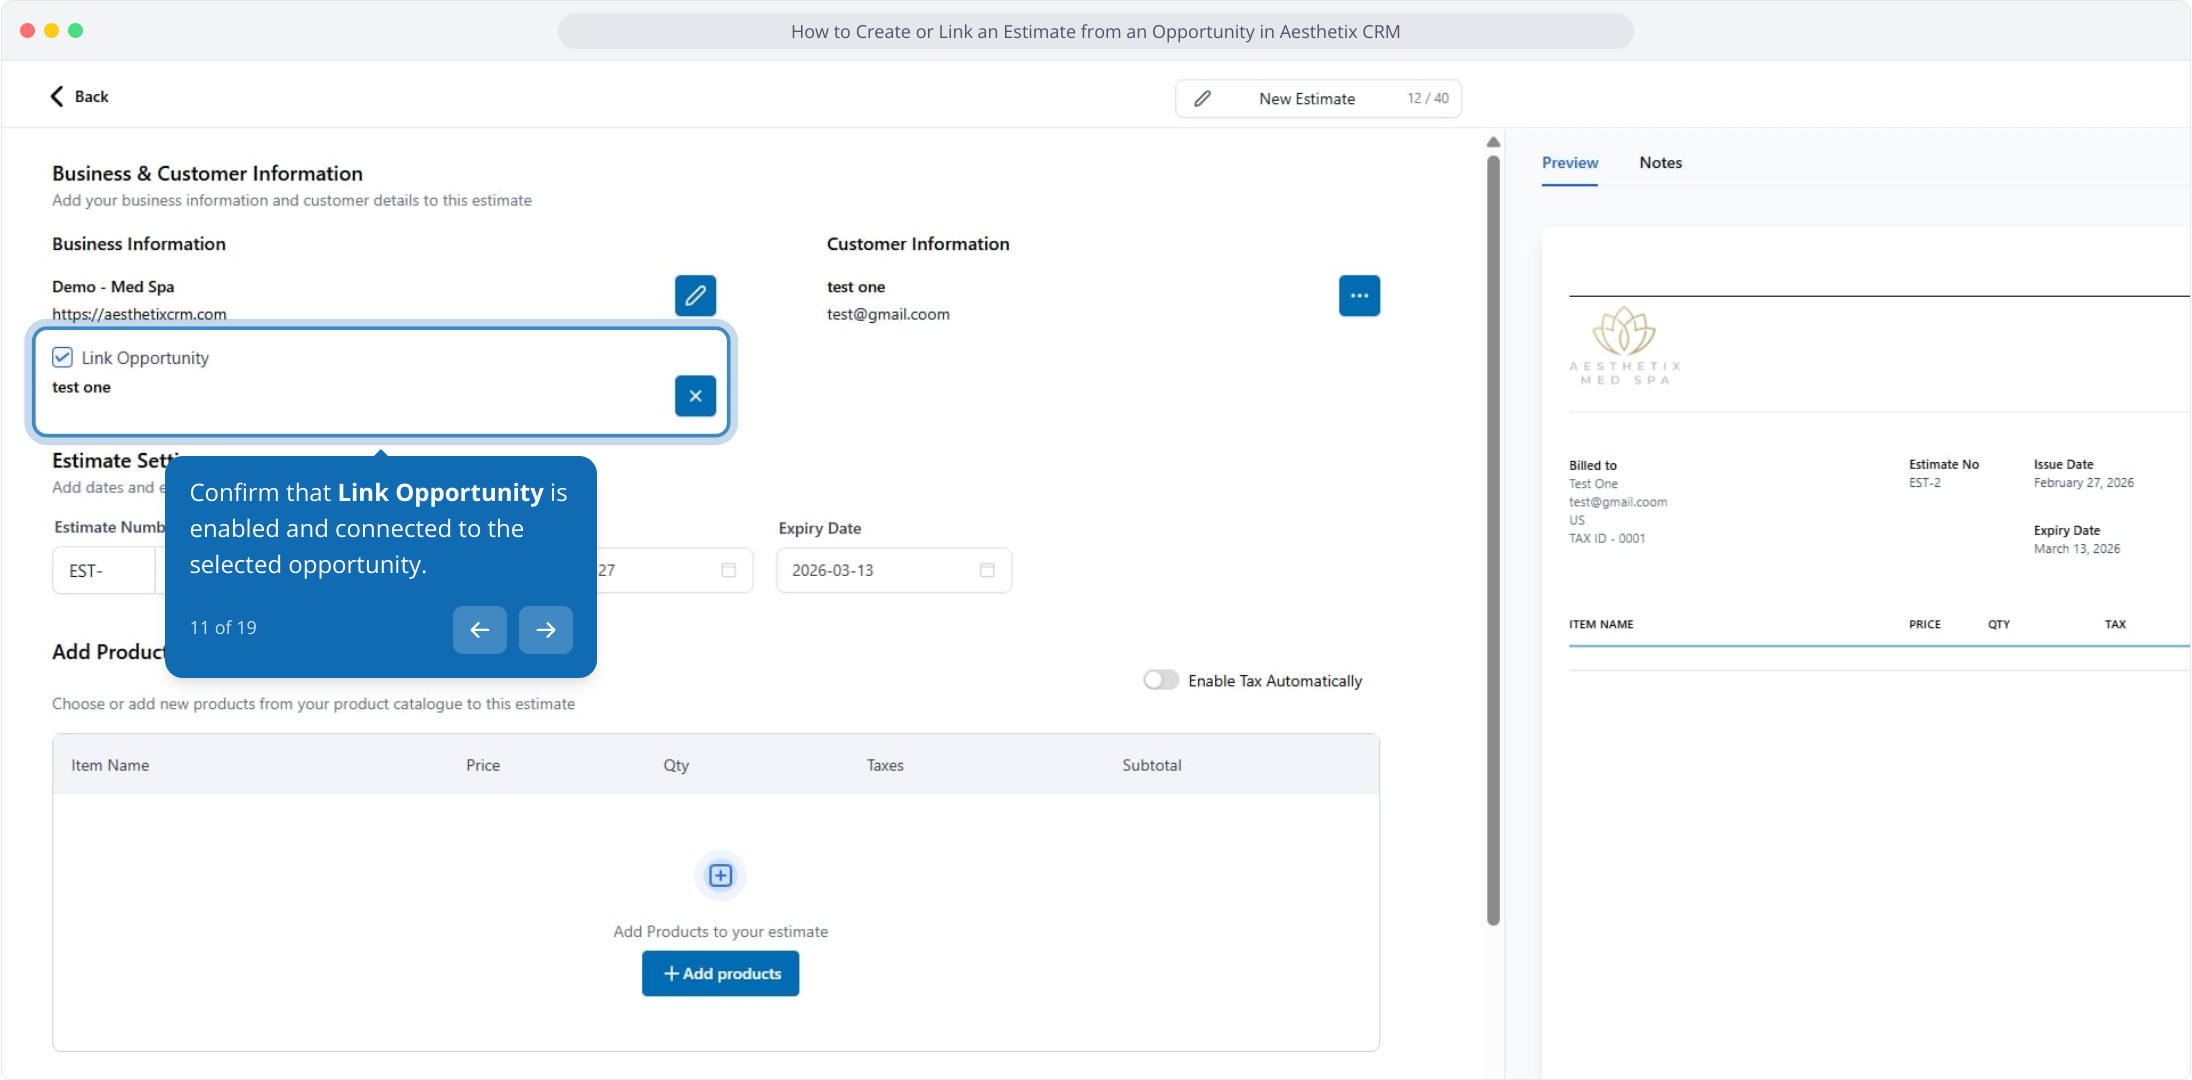
Confirm that Link Opportunity is enabled and connected to the selected opportunity.
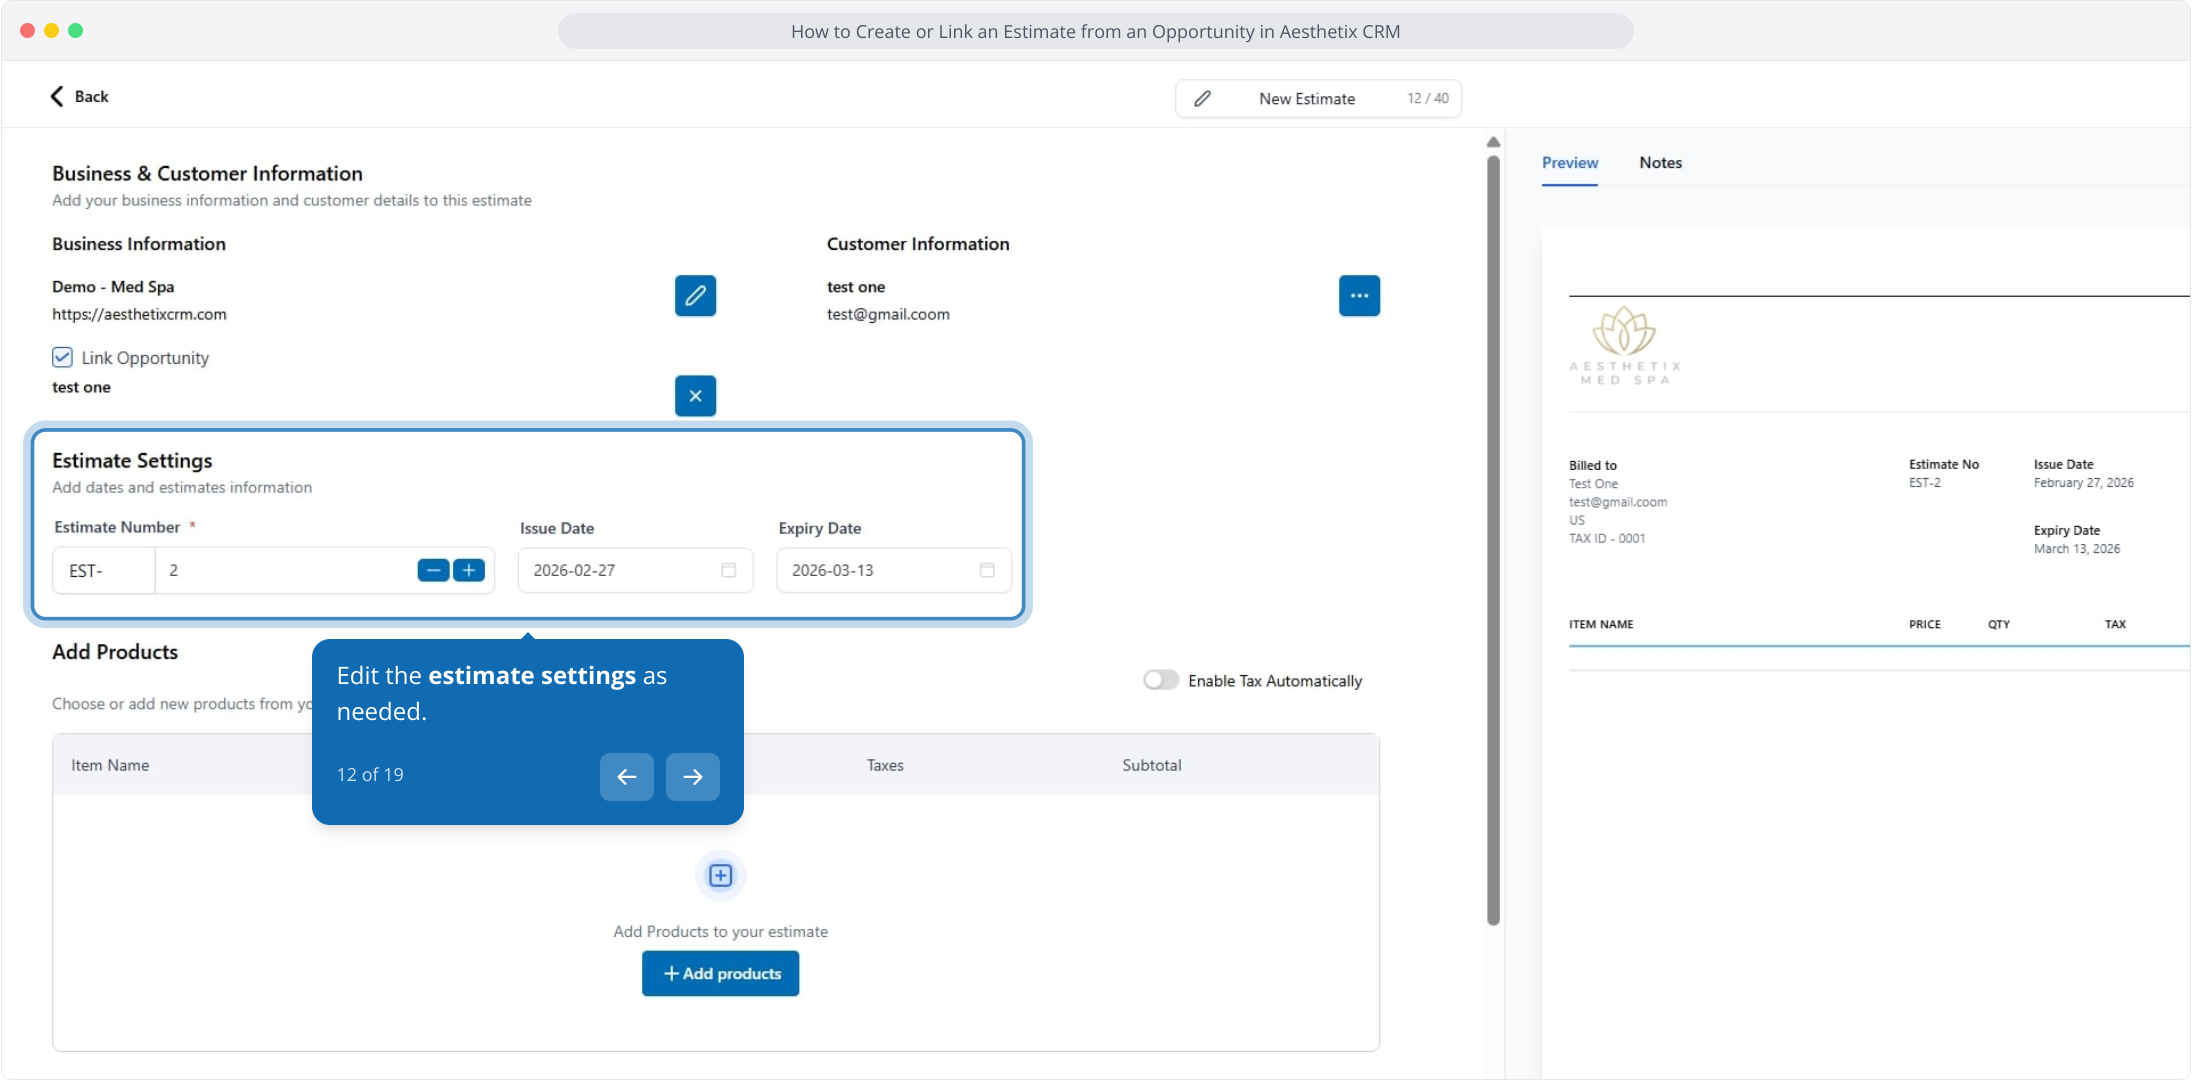
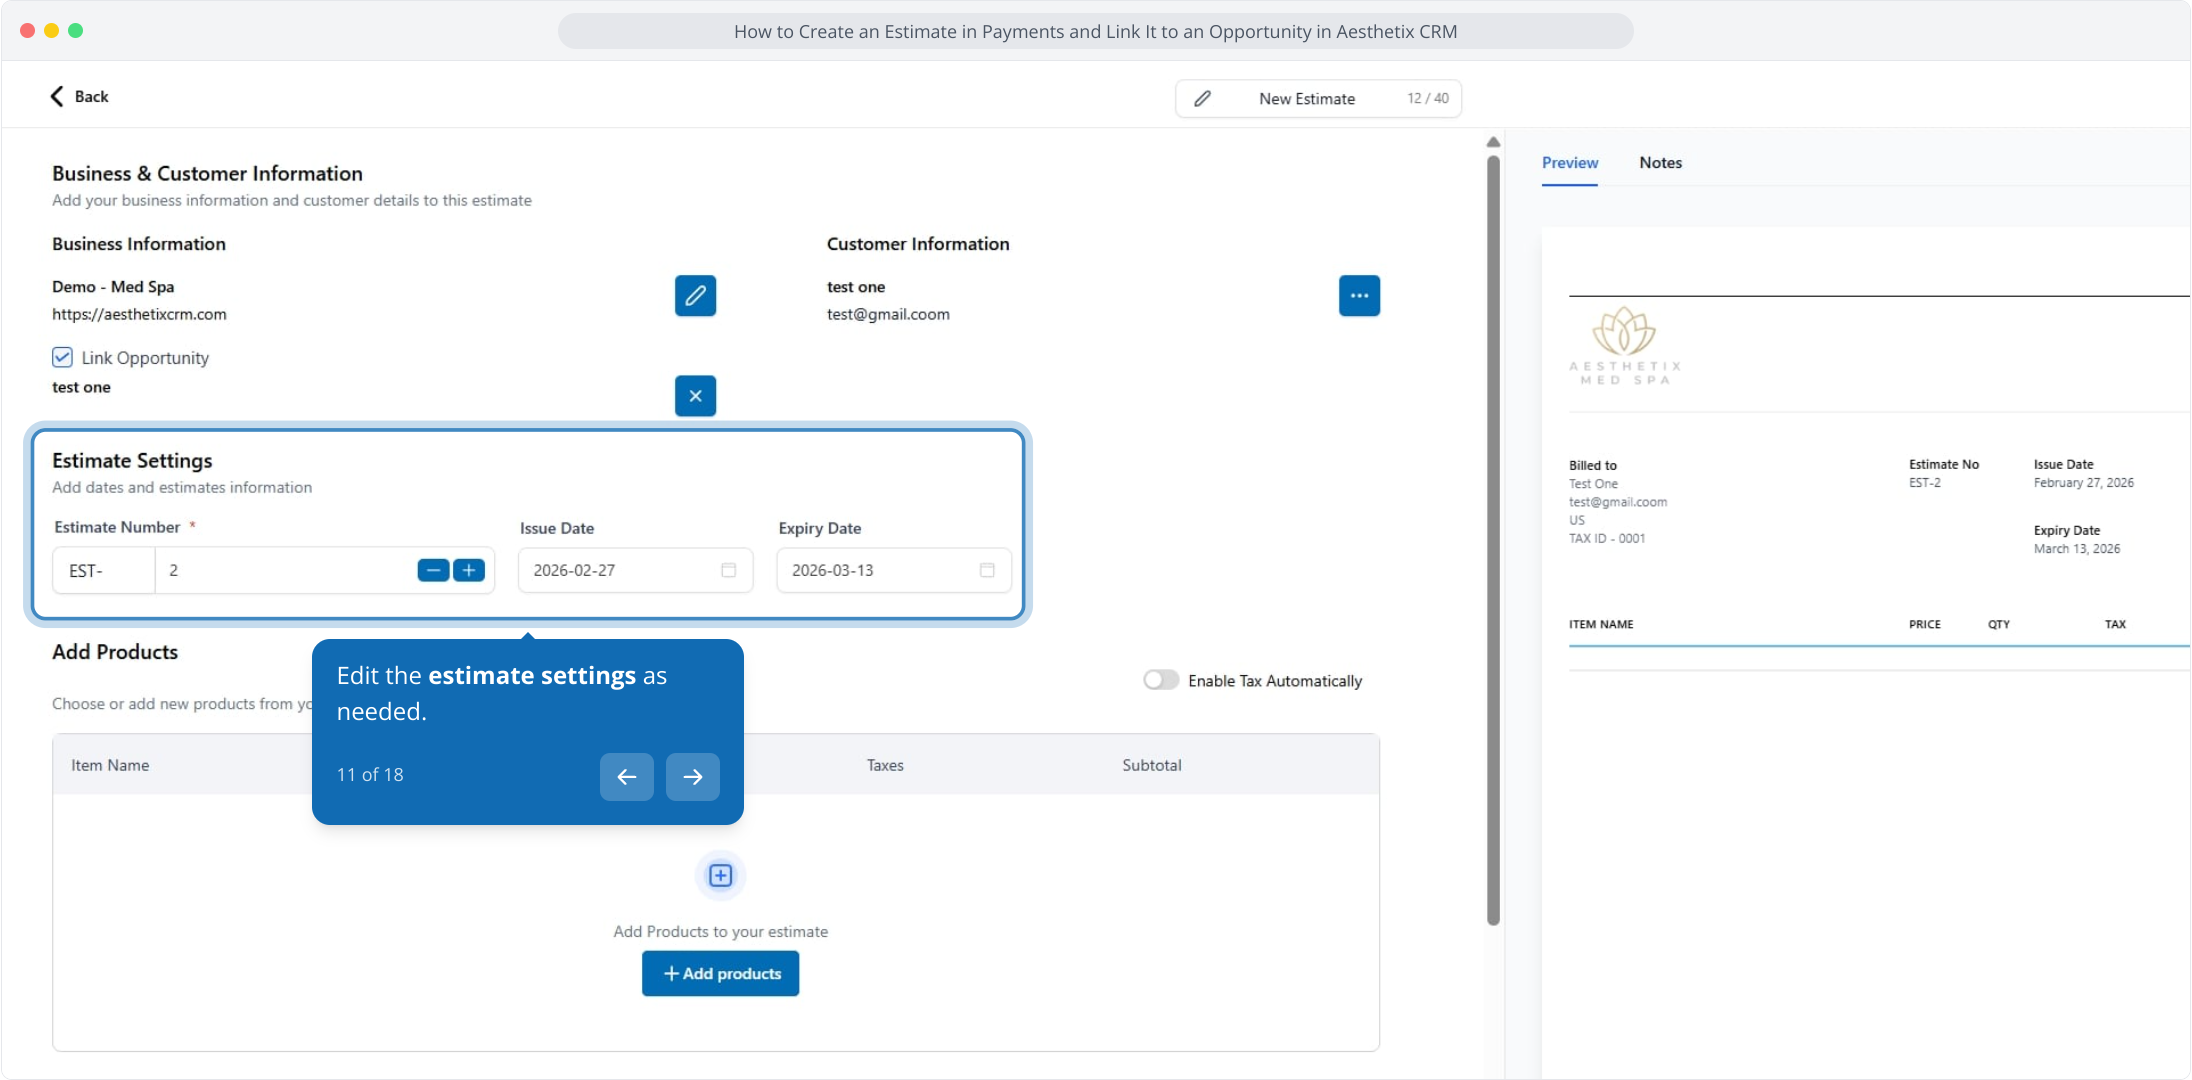
Edit the estimate settings as needed.
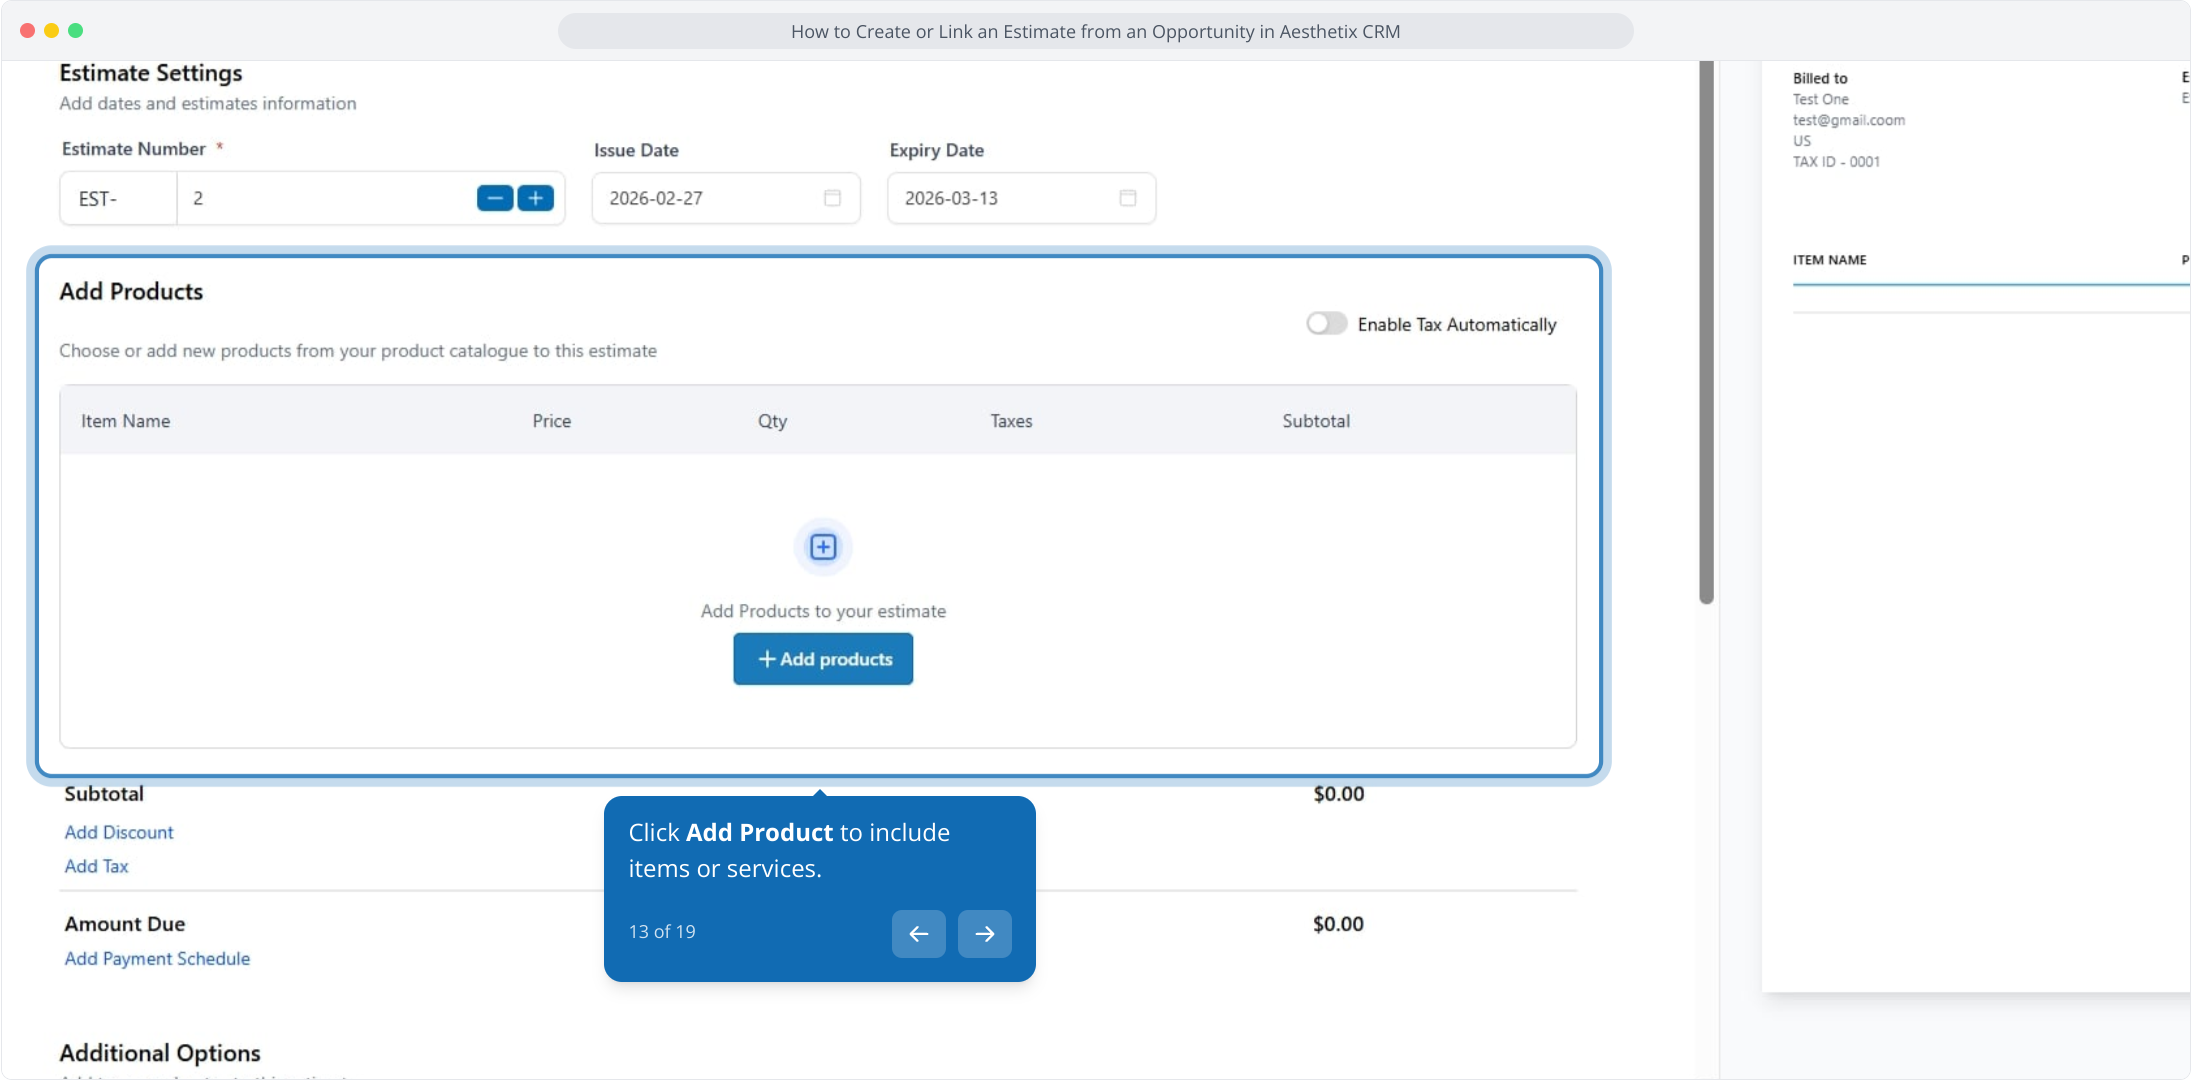
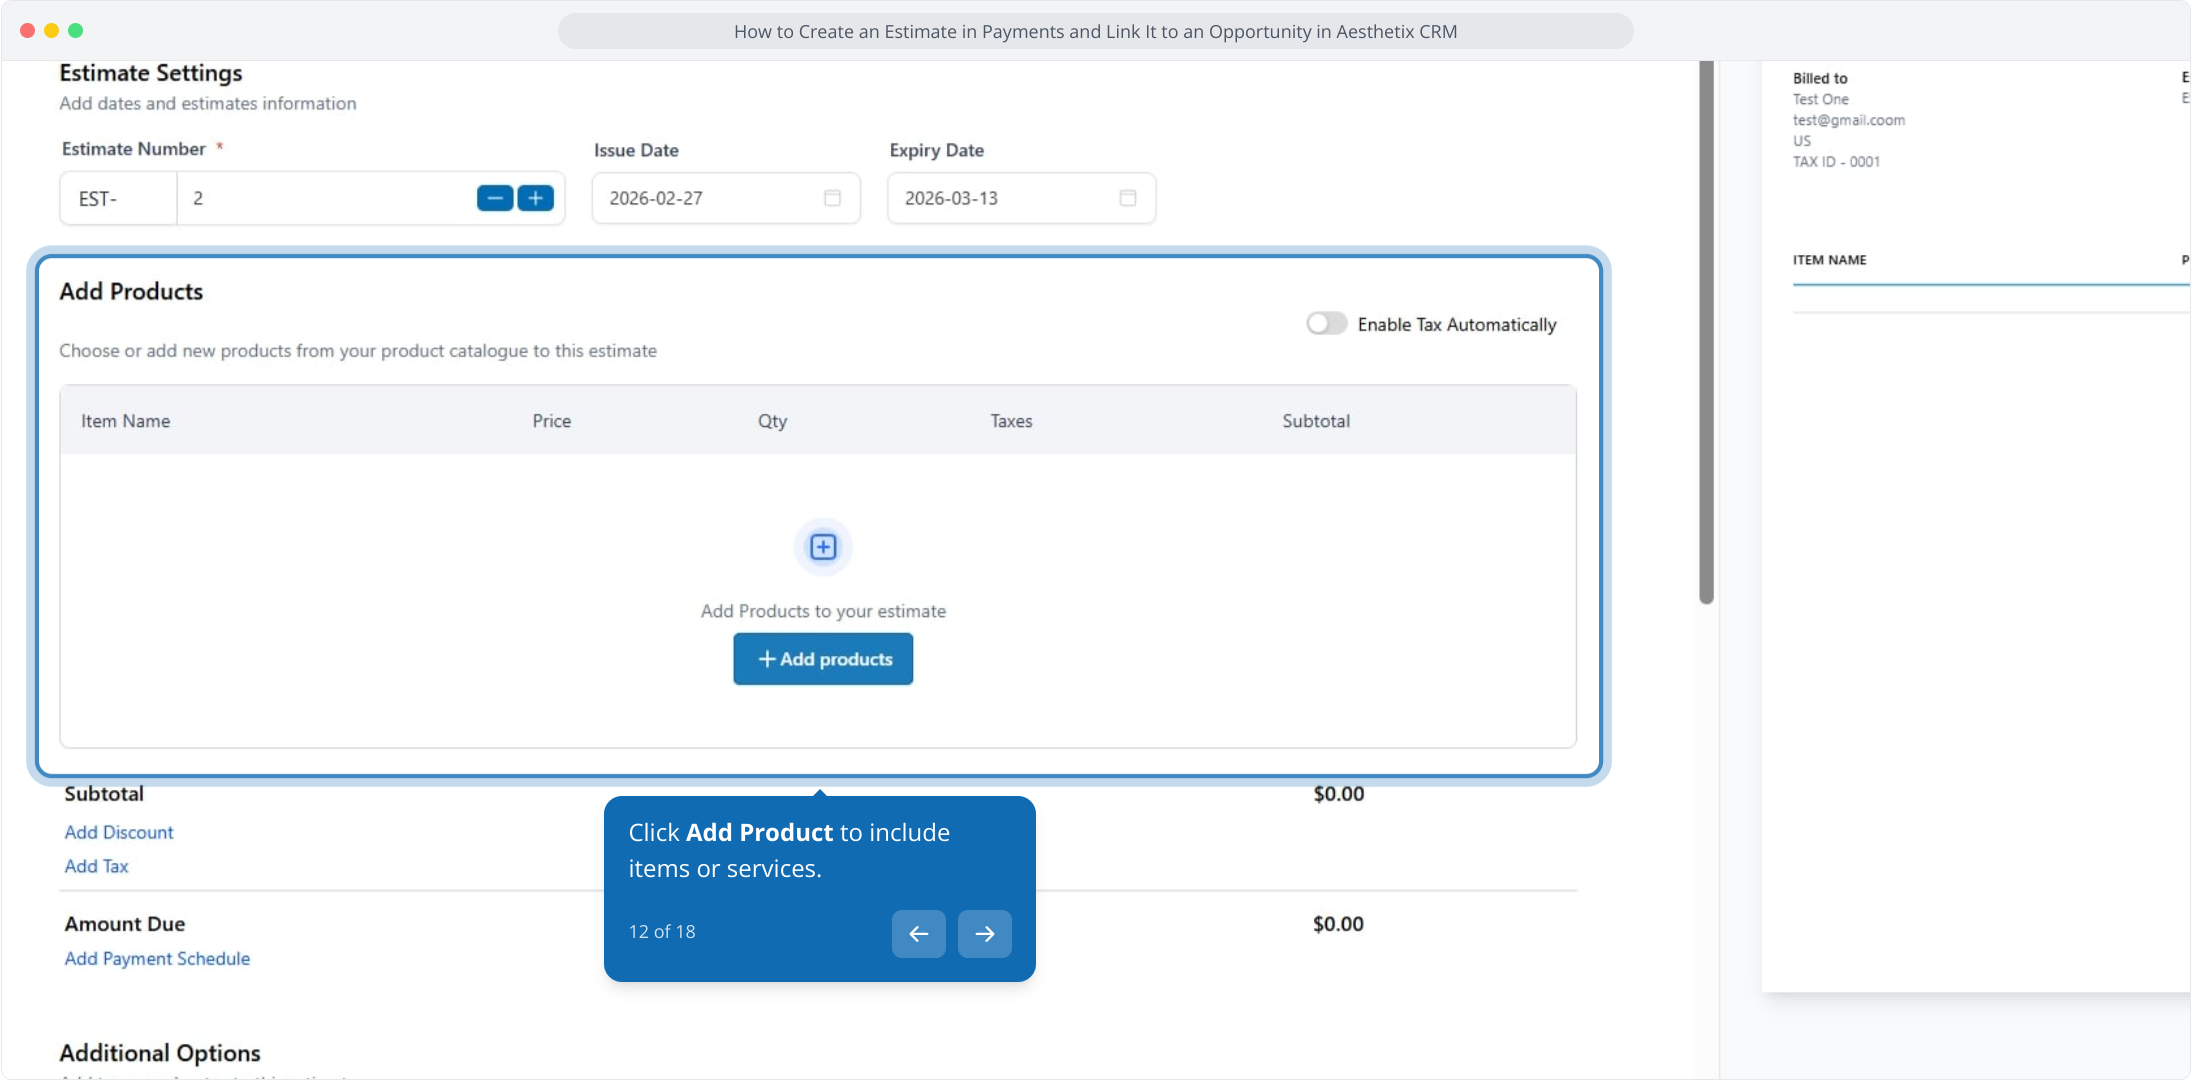
Click Add Product to include items or services.
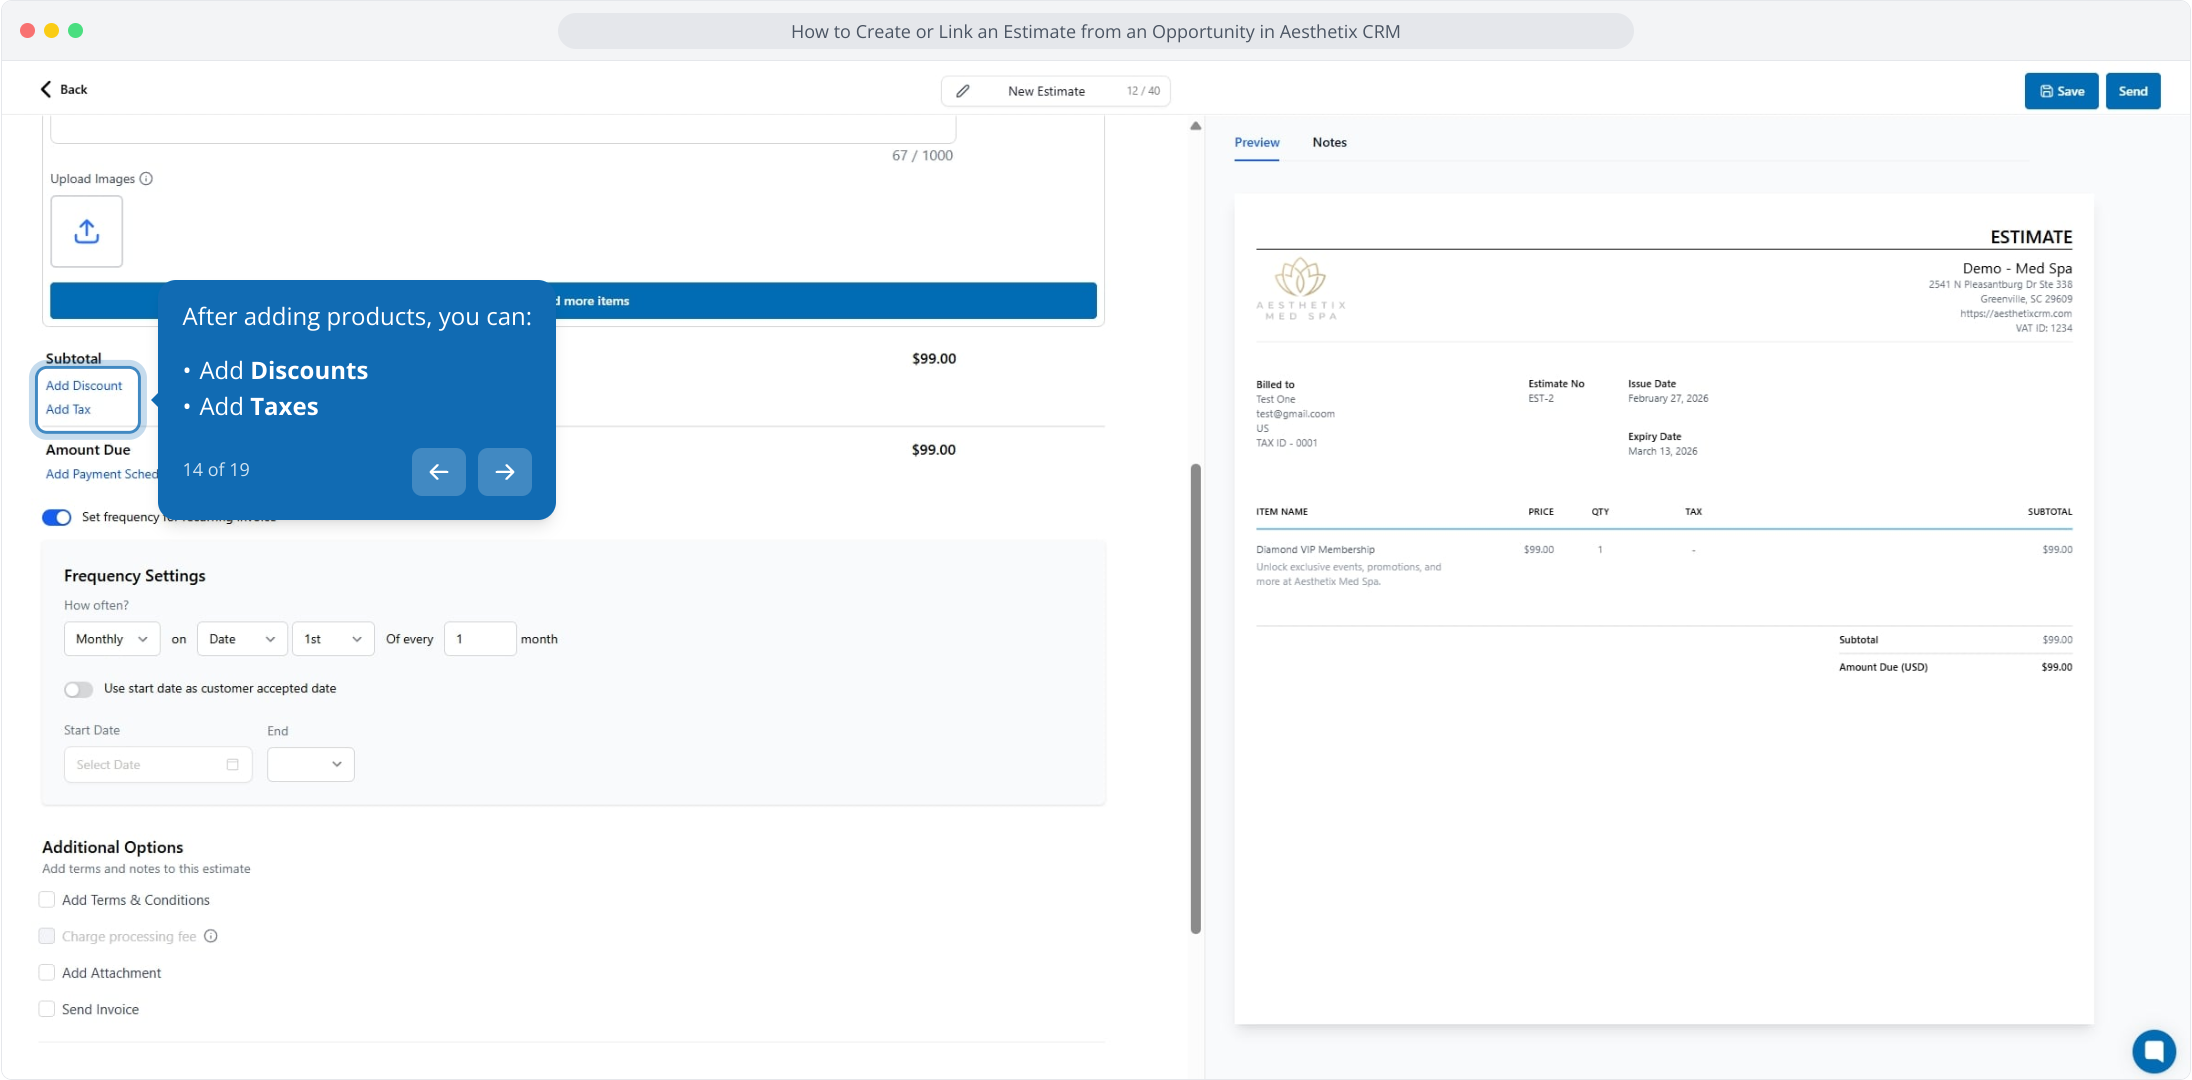
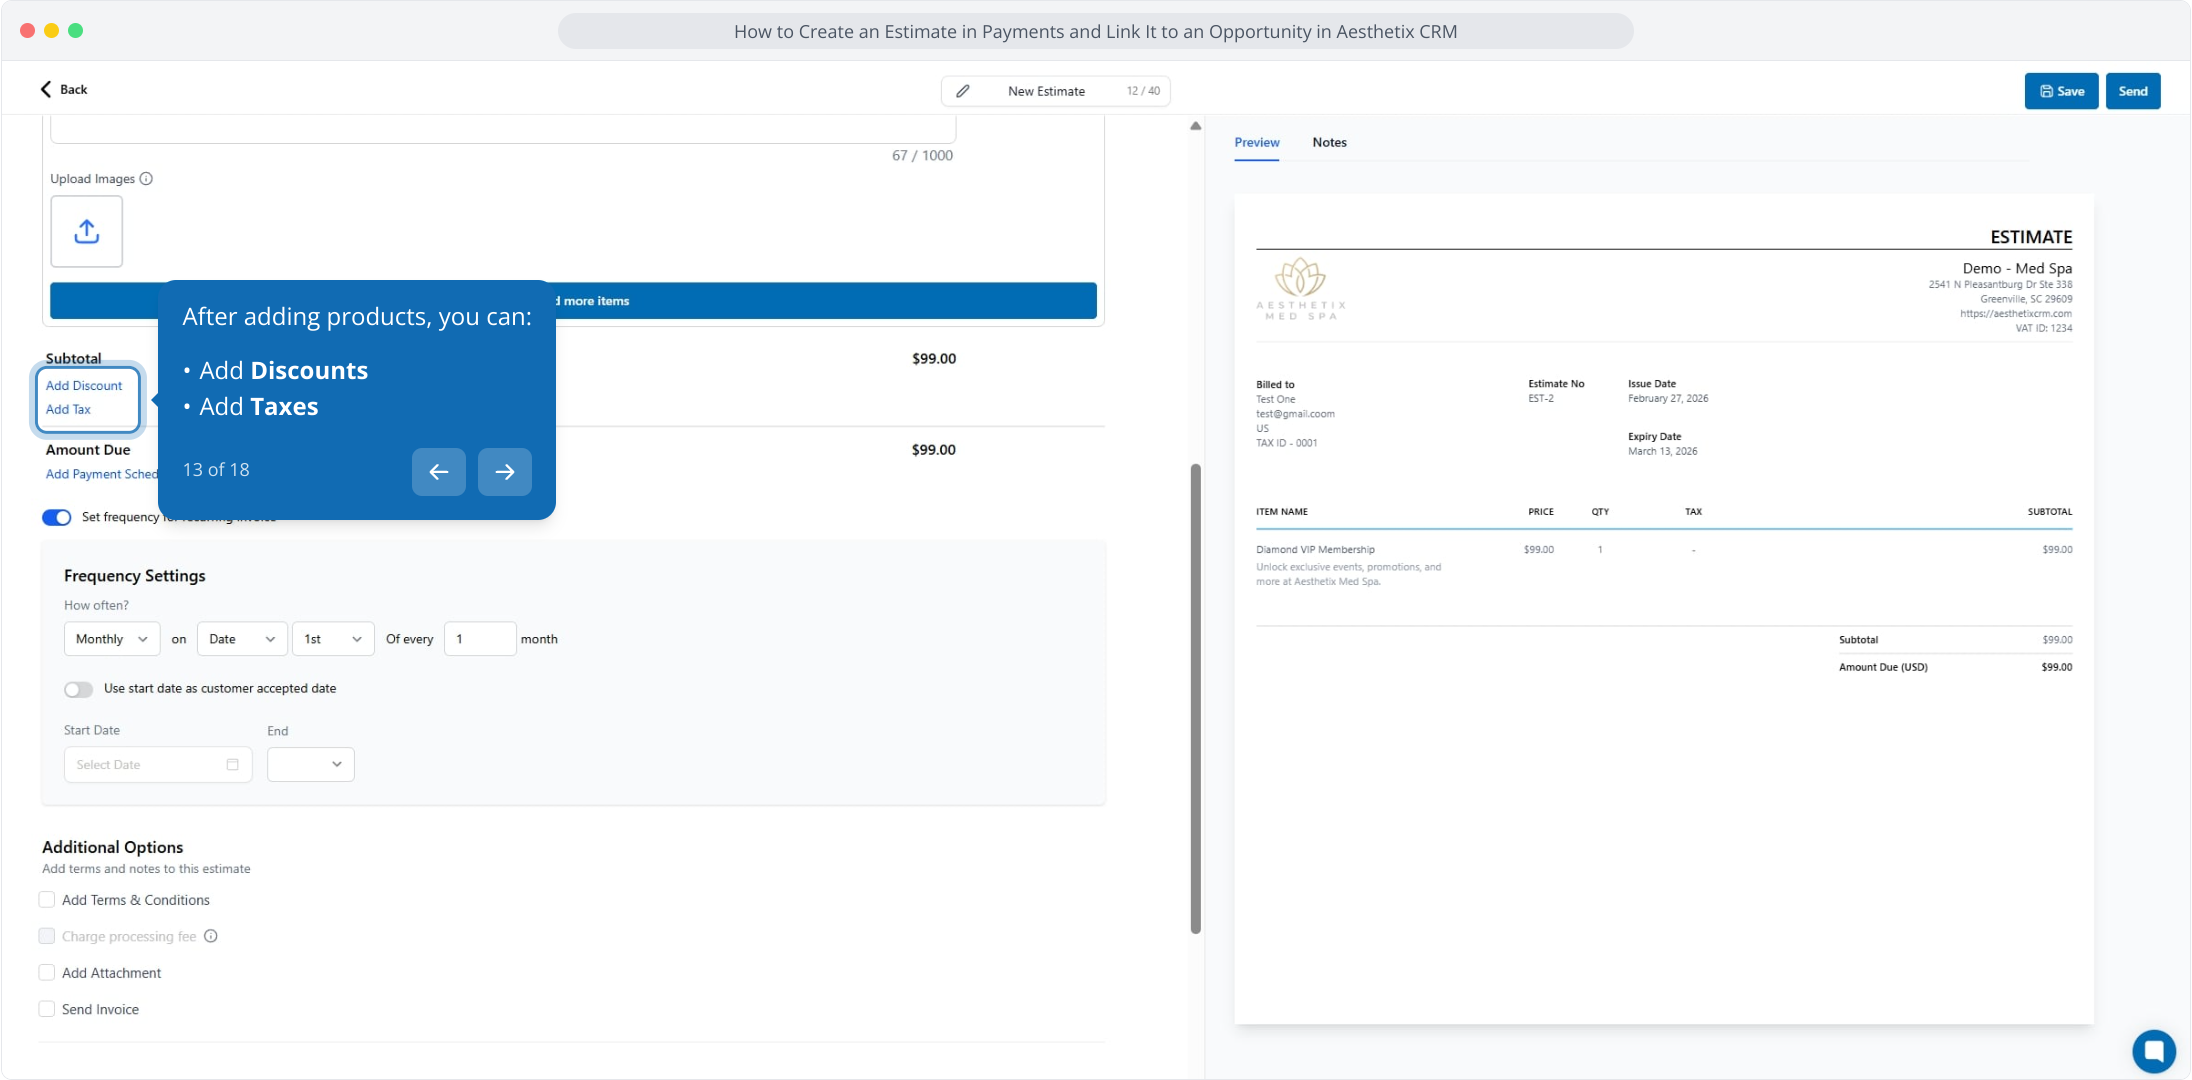
After adding products, you can add Discounts and Taxes.
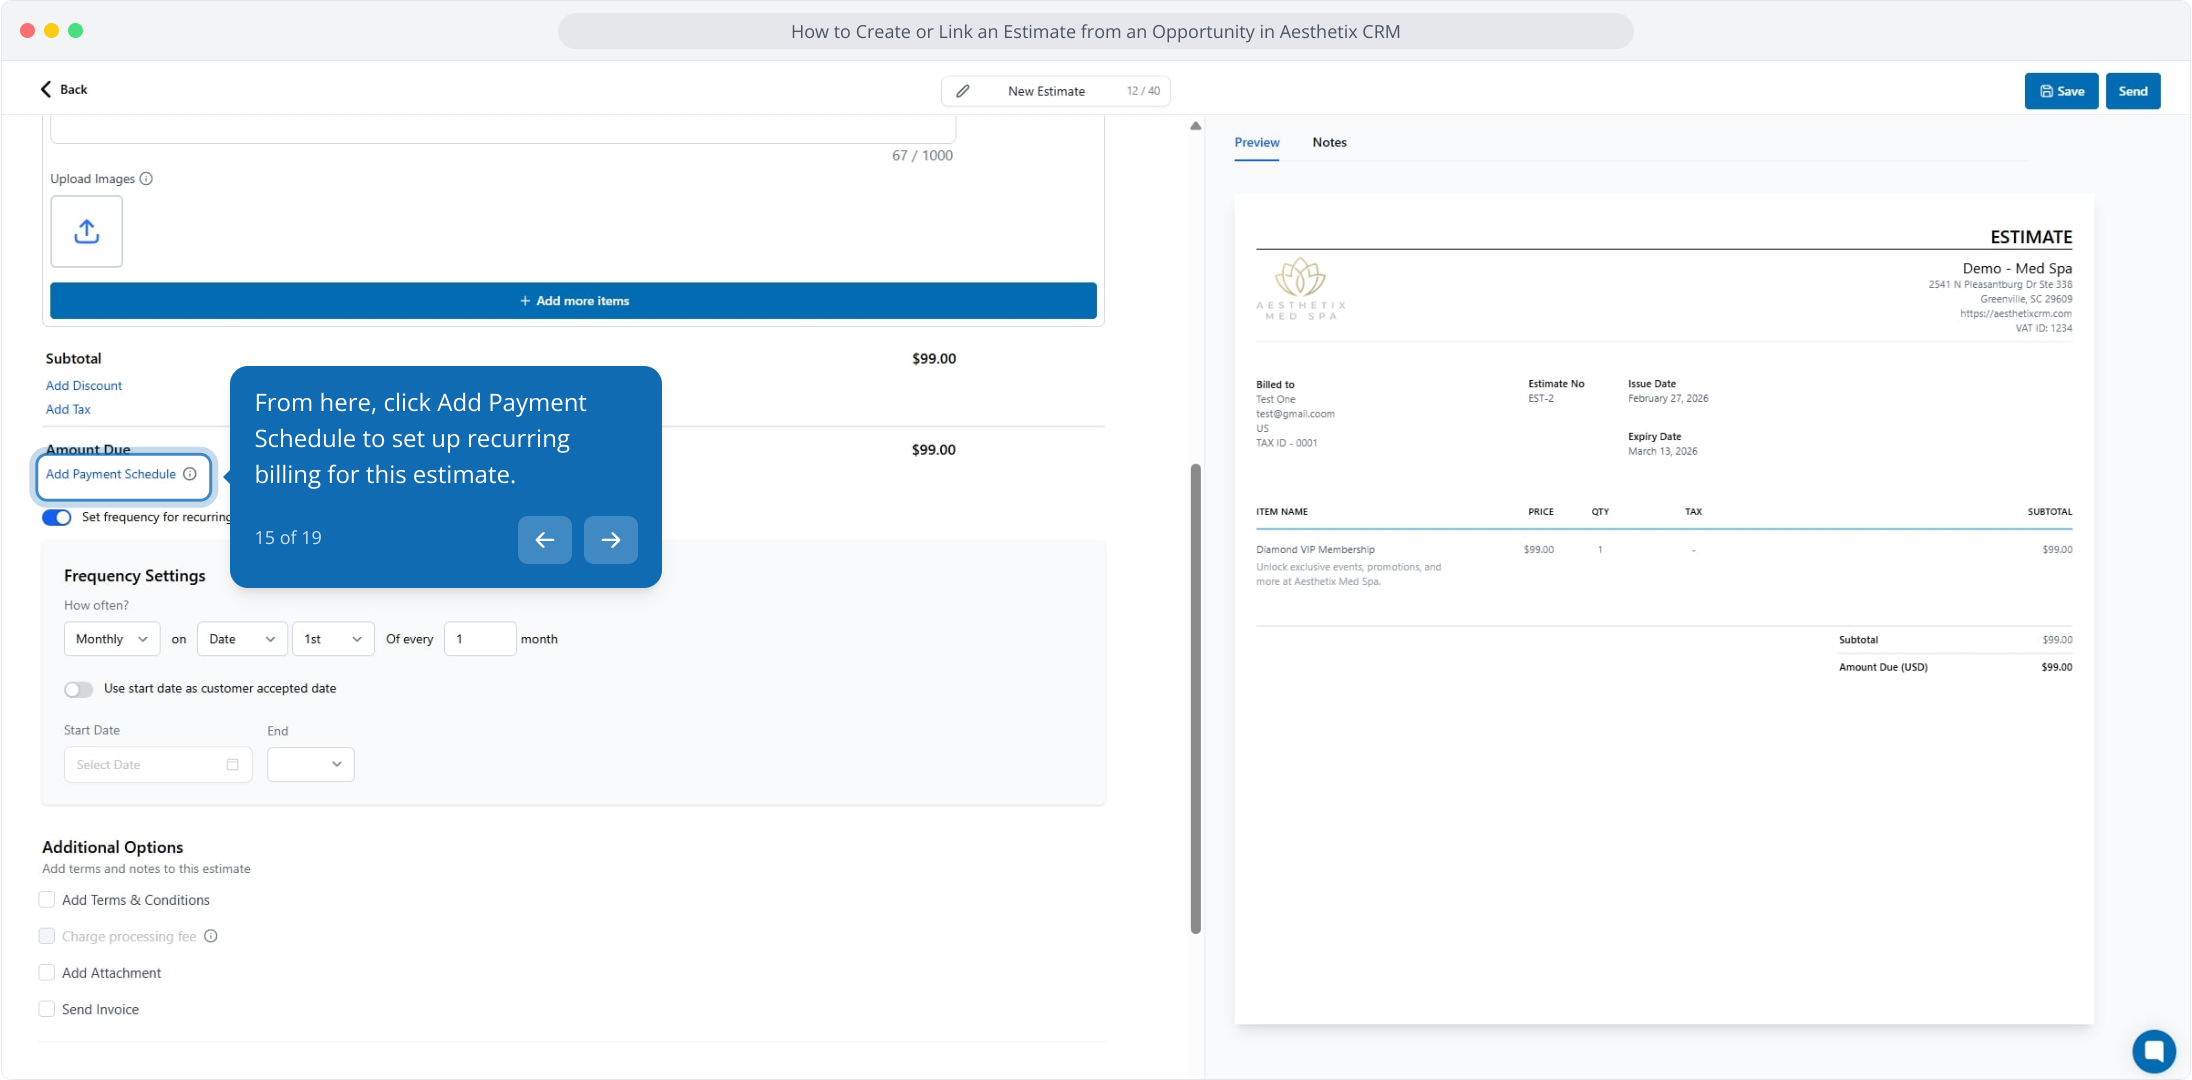
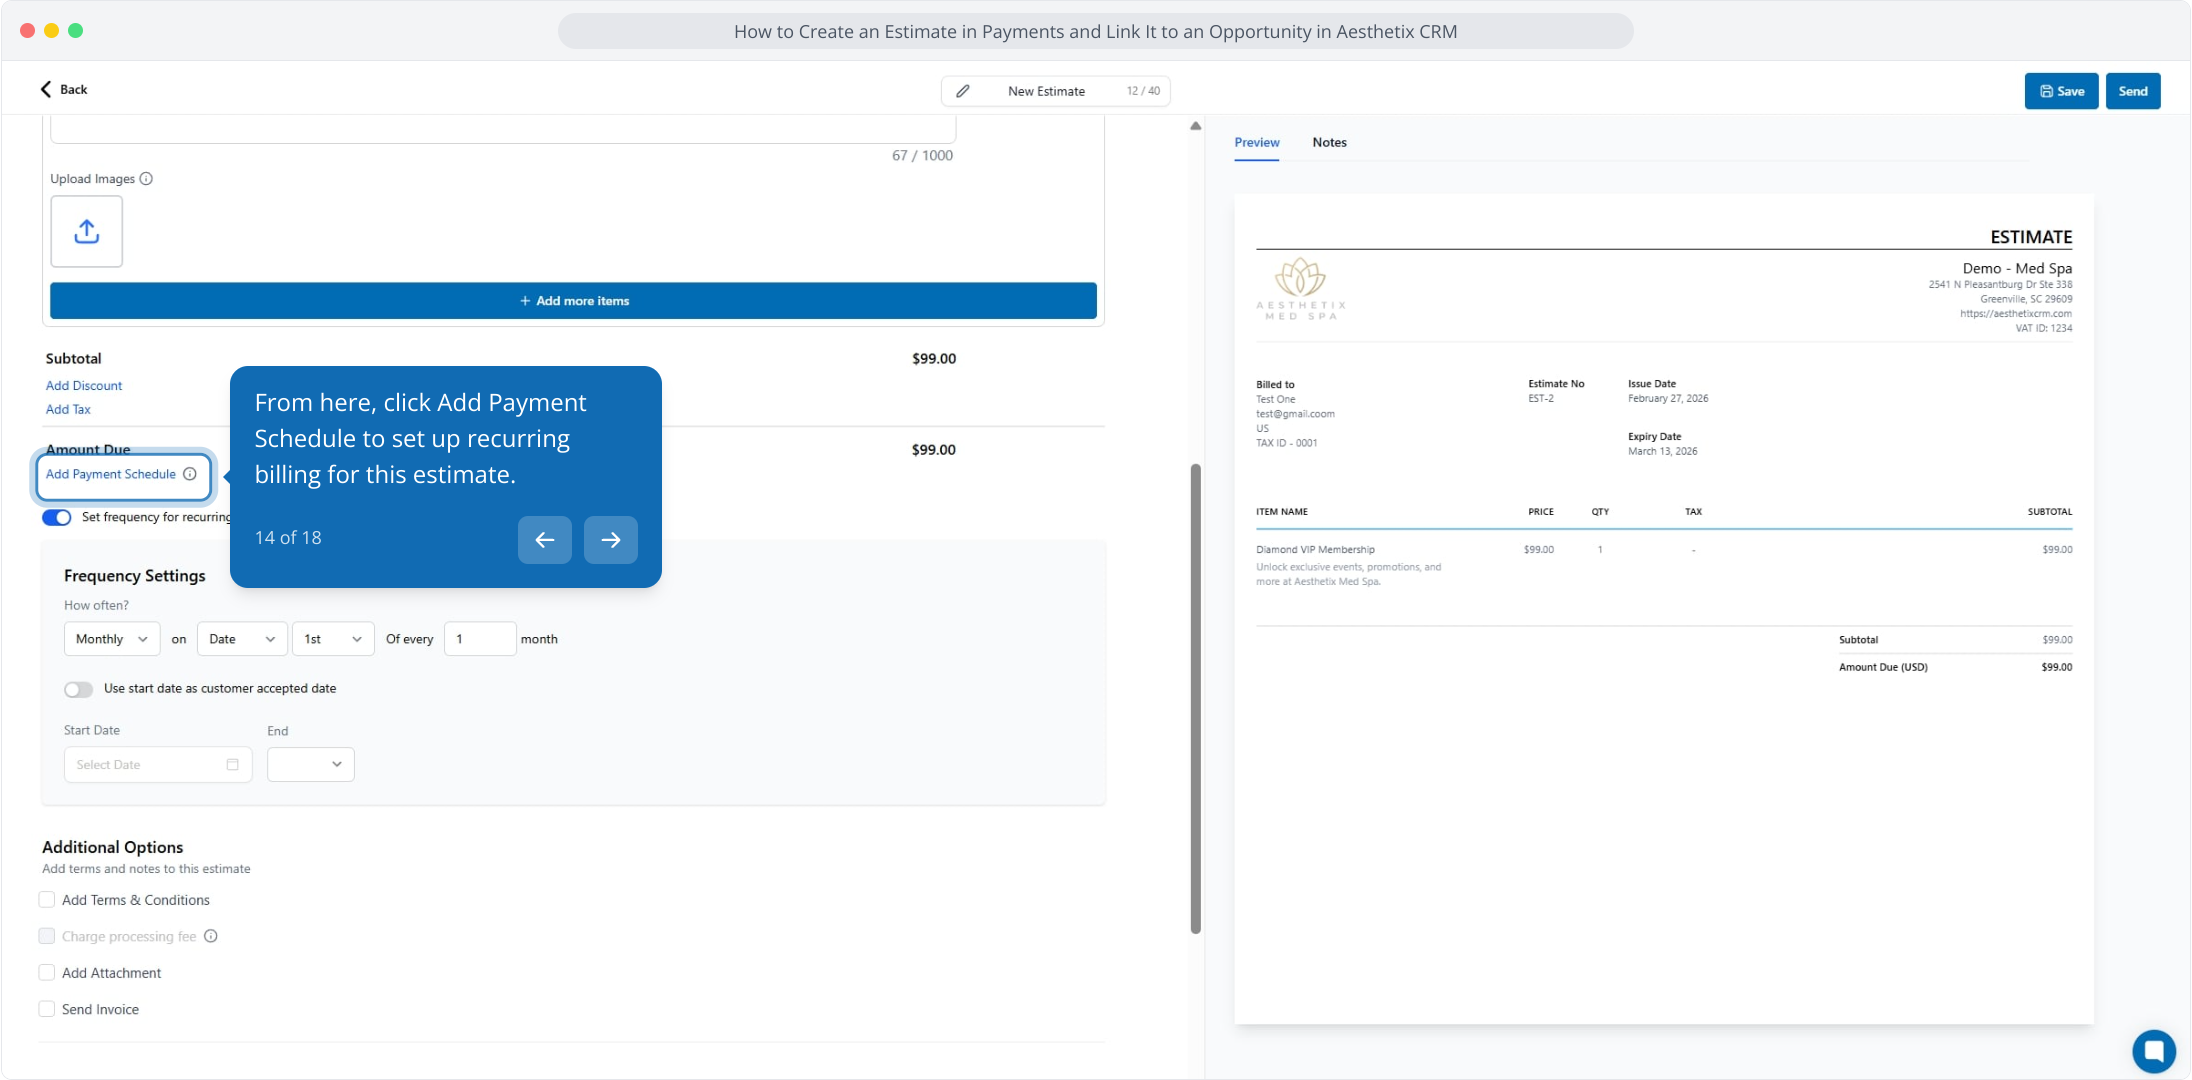
Click Add Payment Schedule to set up installment billing for this estimate.
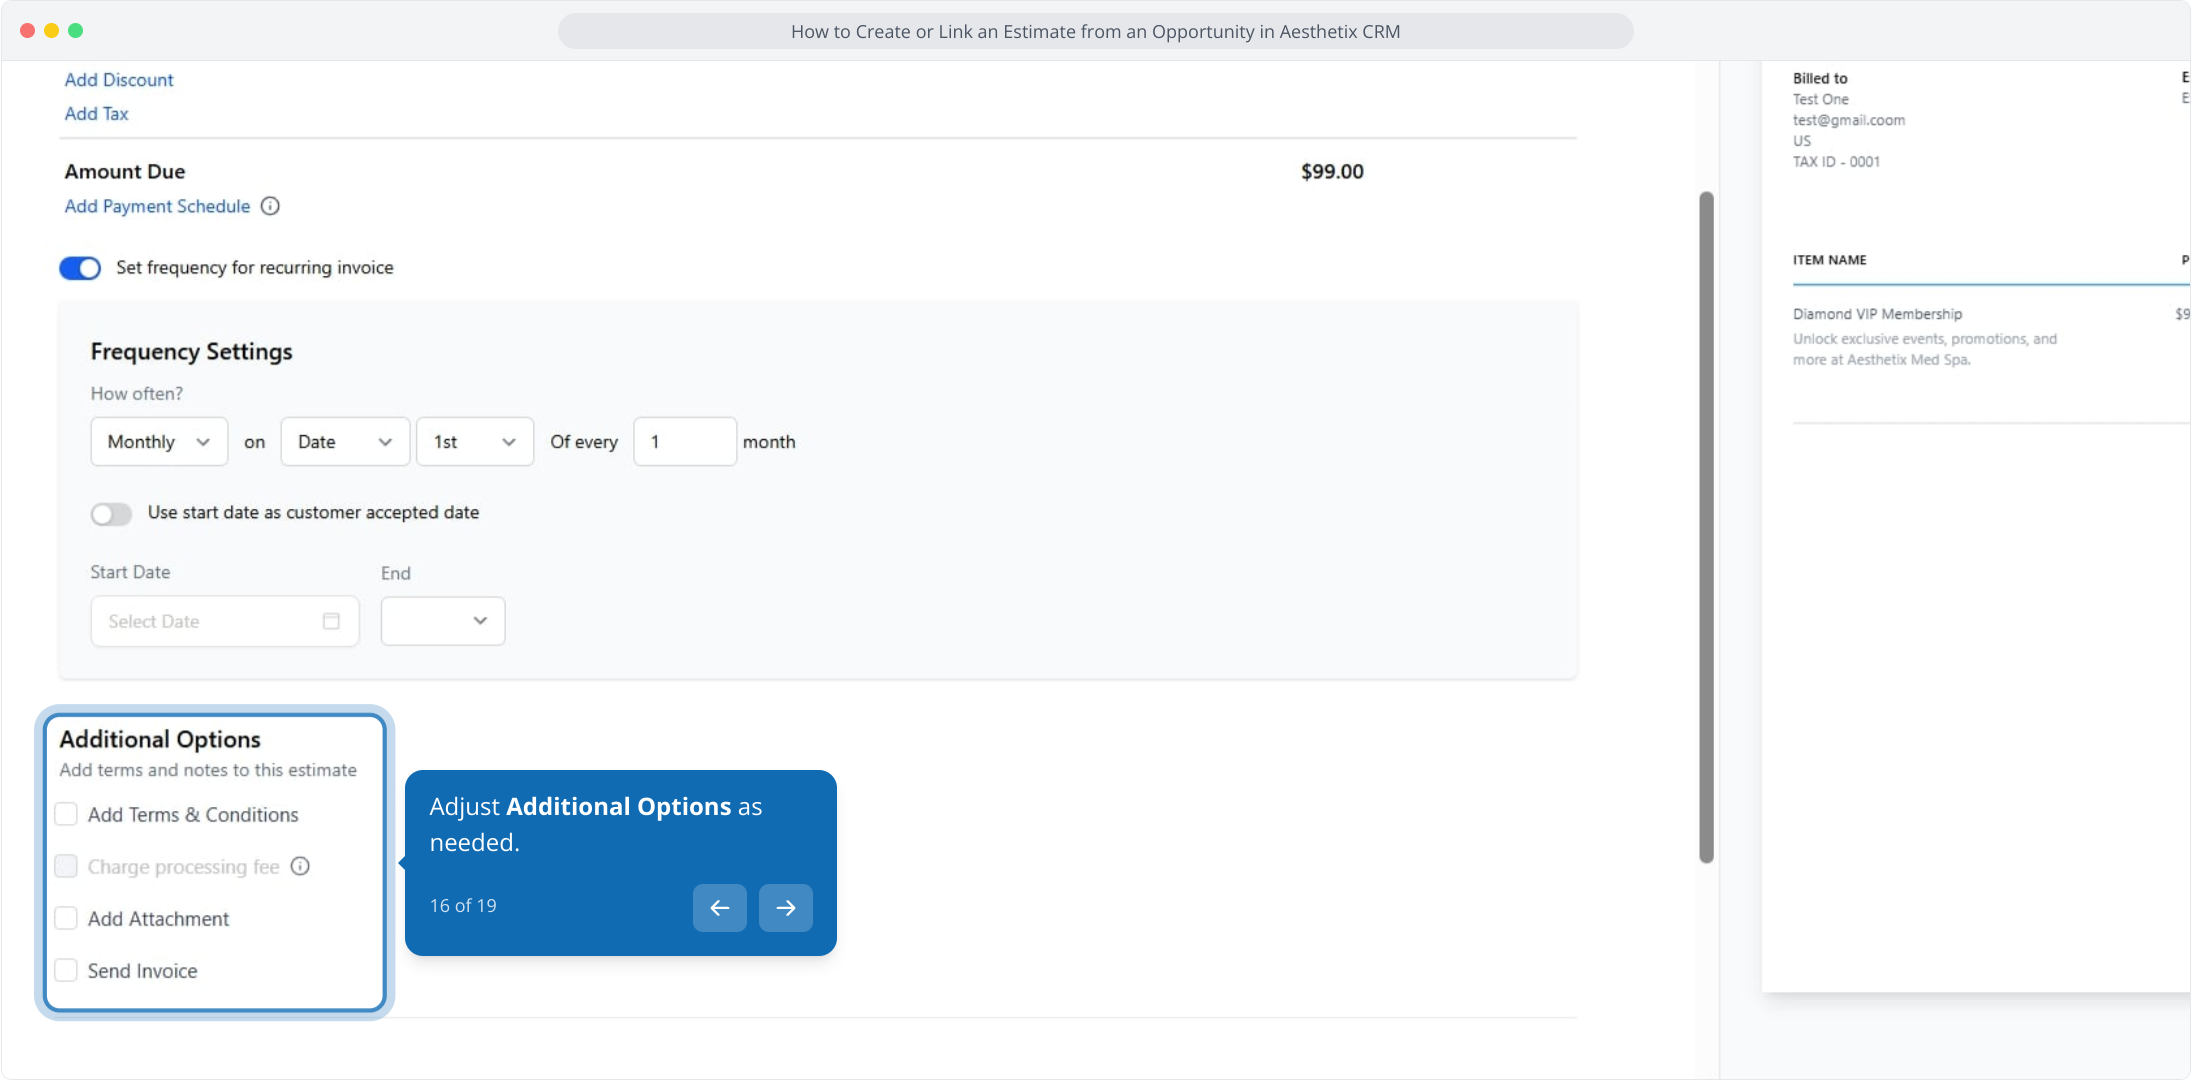
Adjust Additional Options as needed.
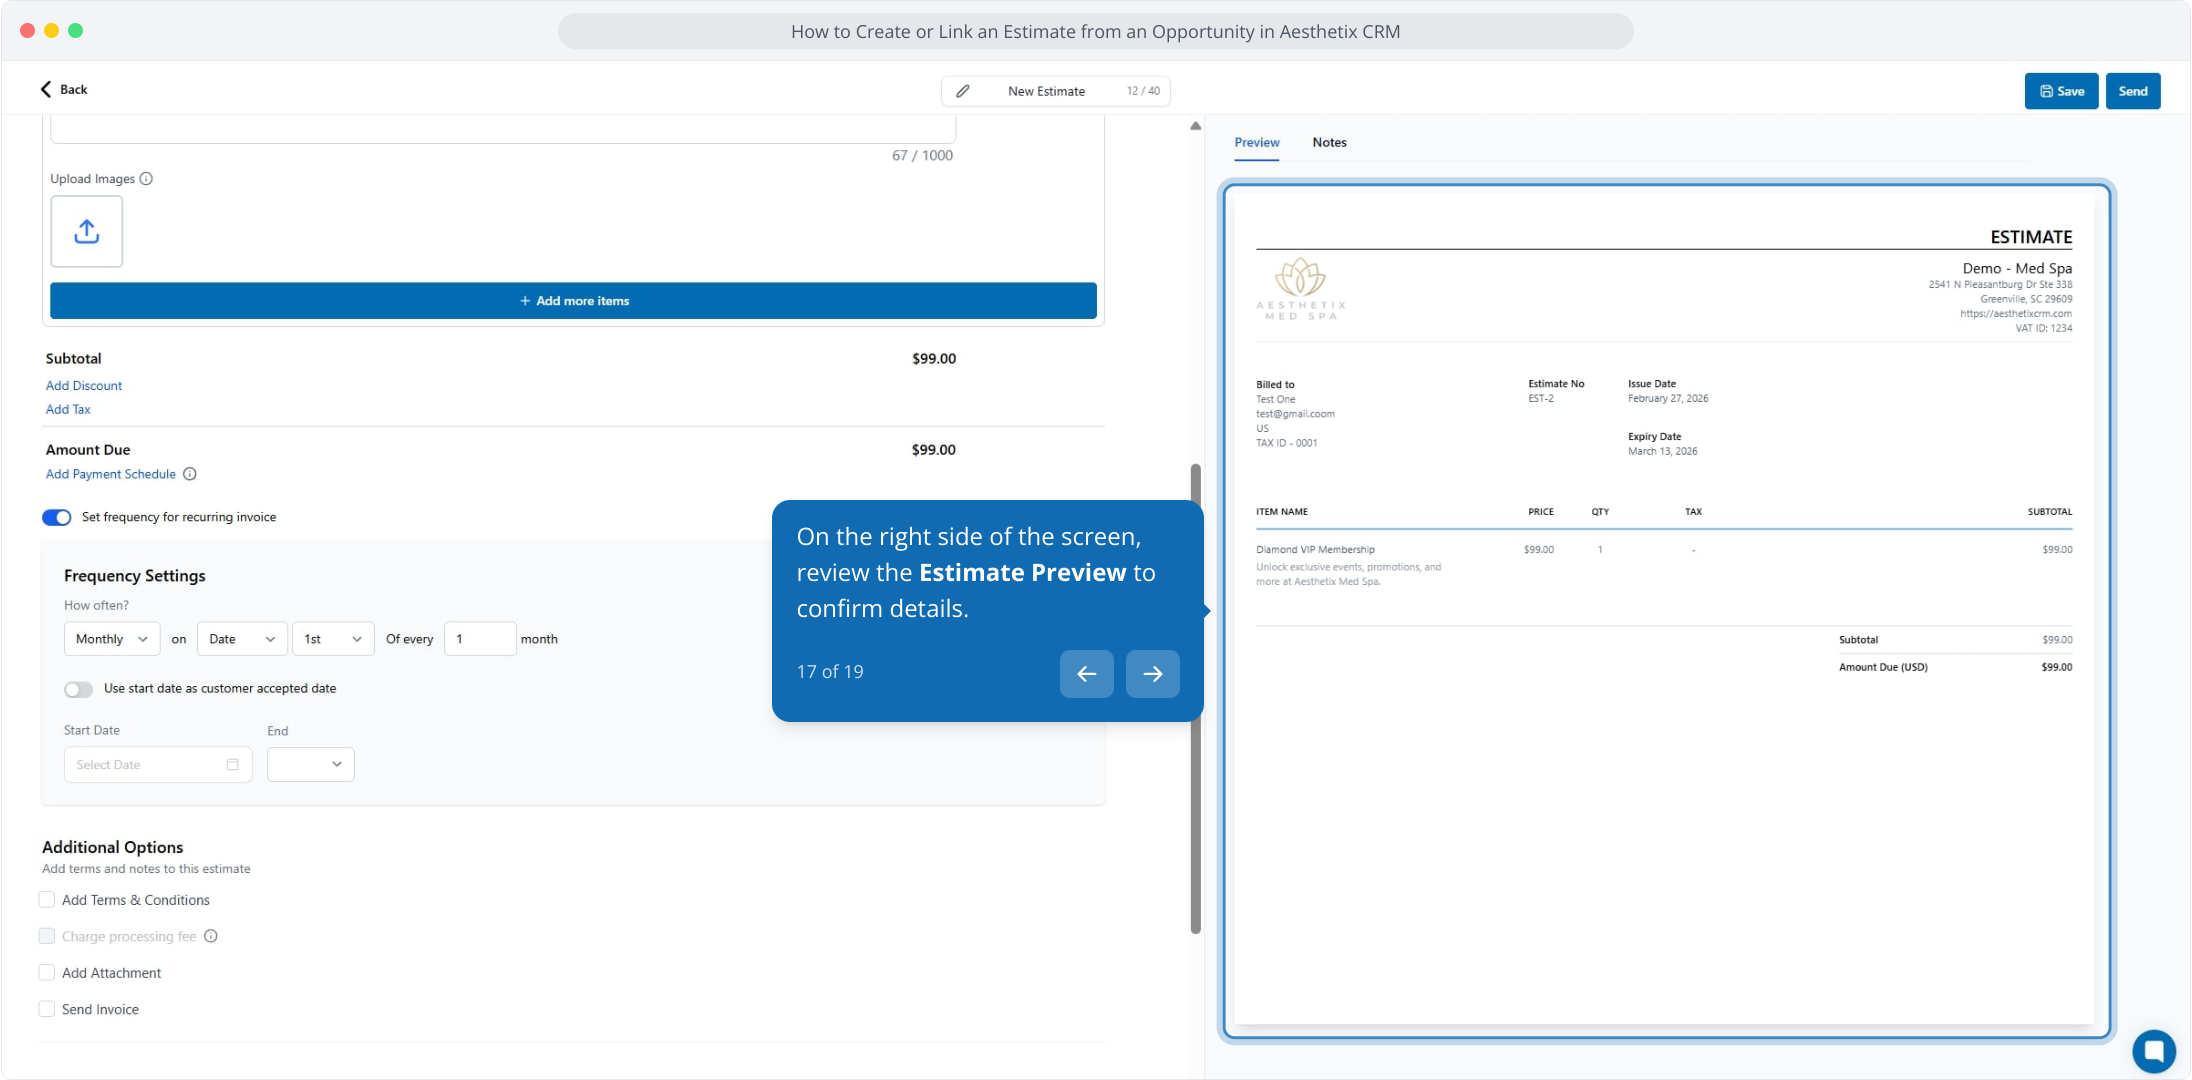
On the right side of the screen, review the Estimate Preview to confirm the details.
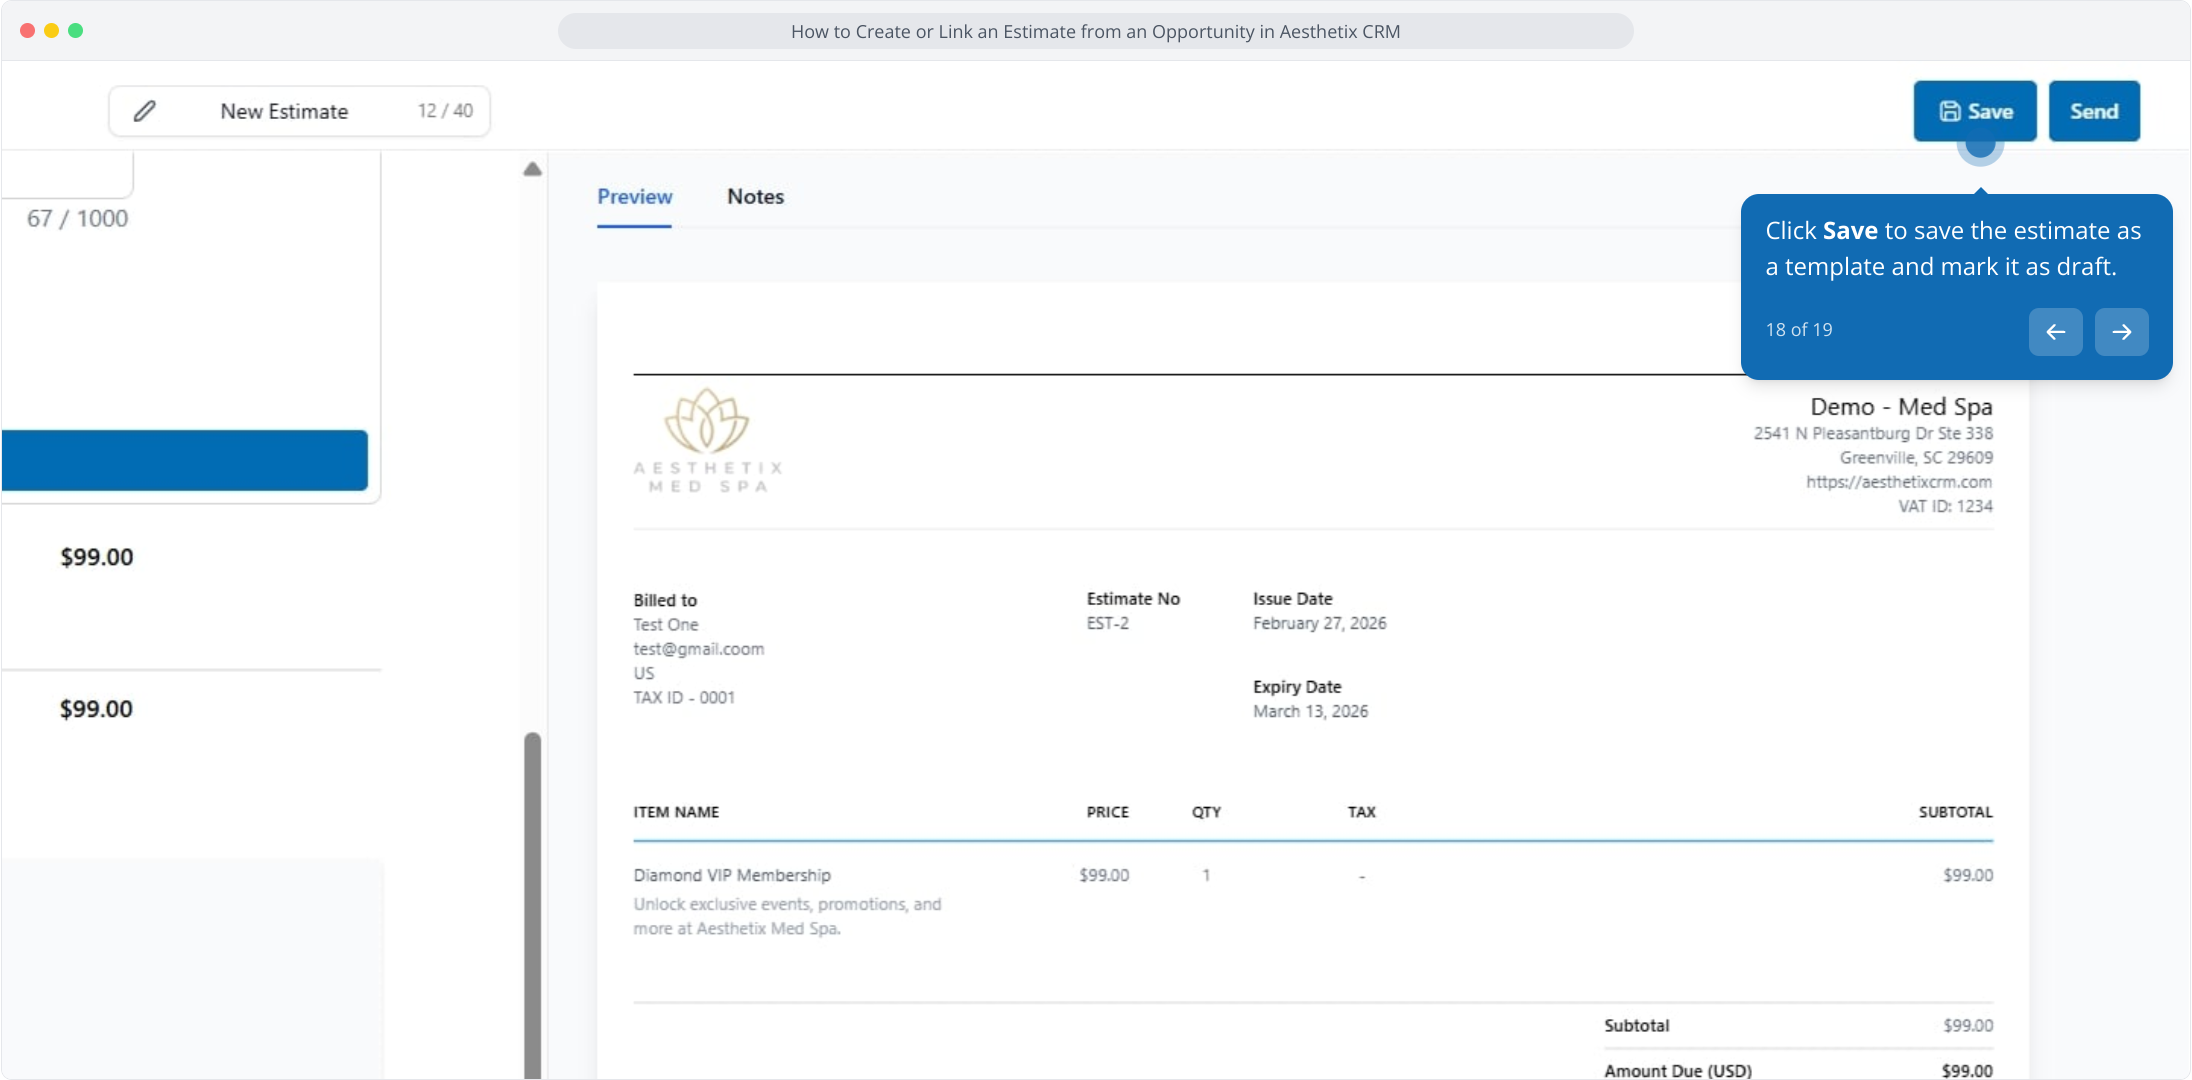
Click Save to keep the estimate as a draft.
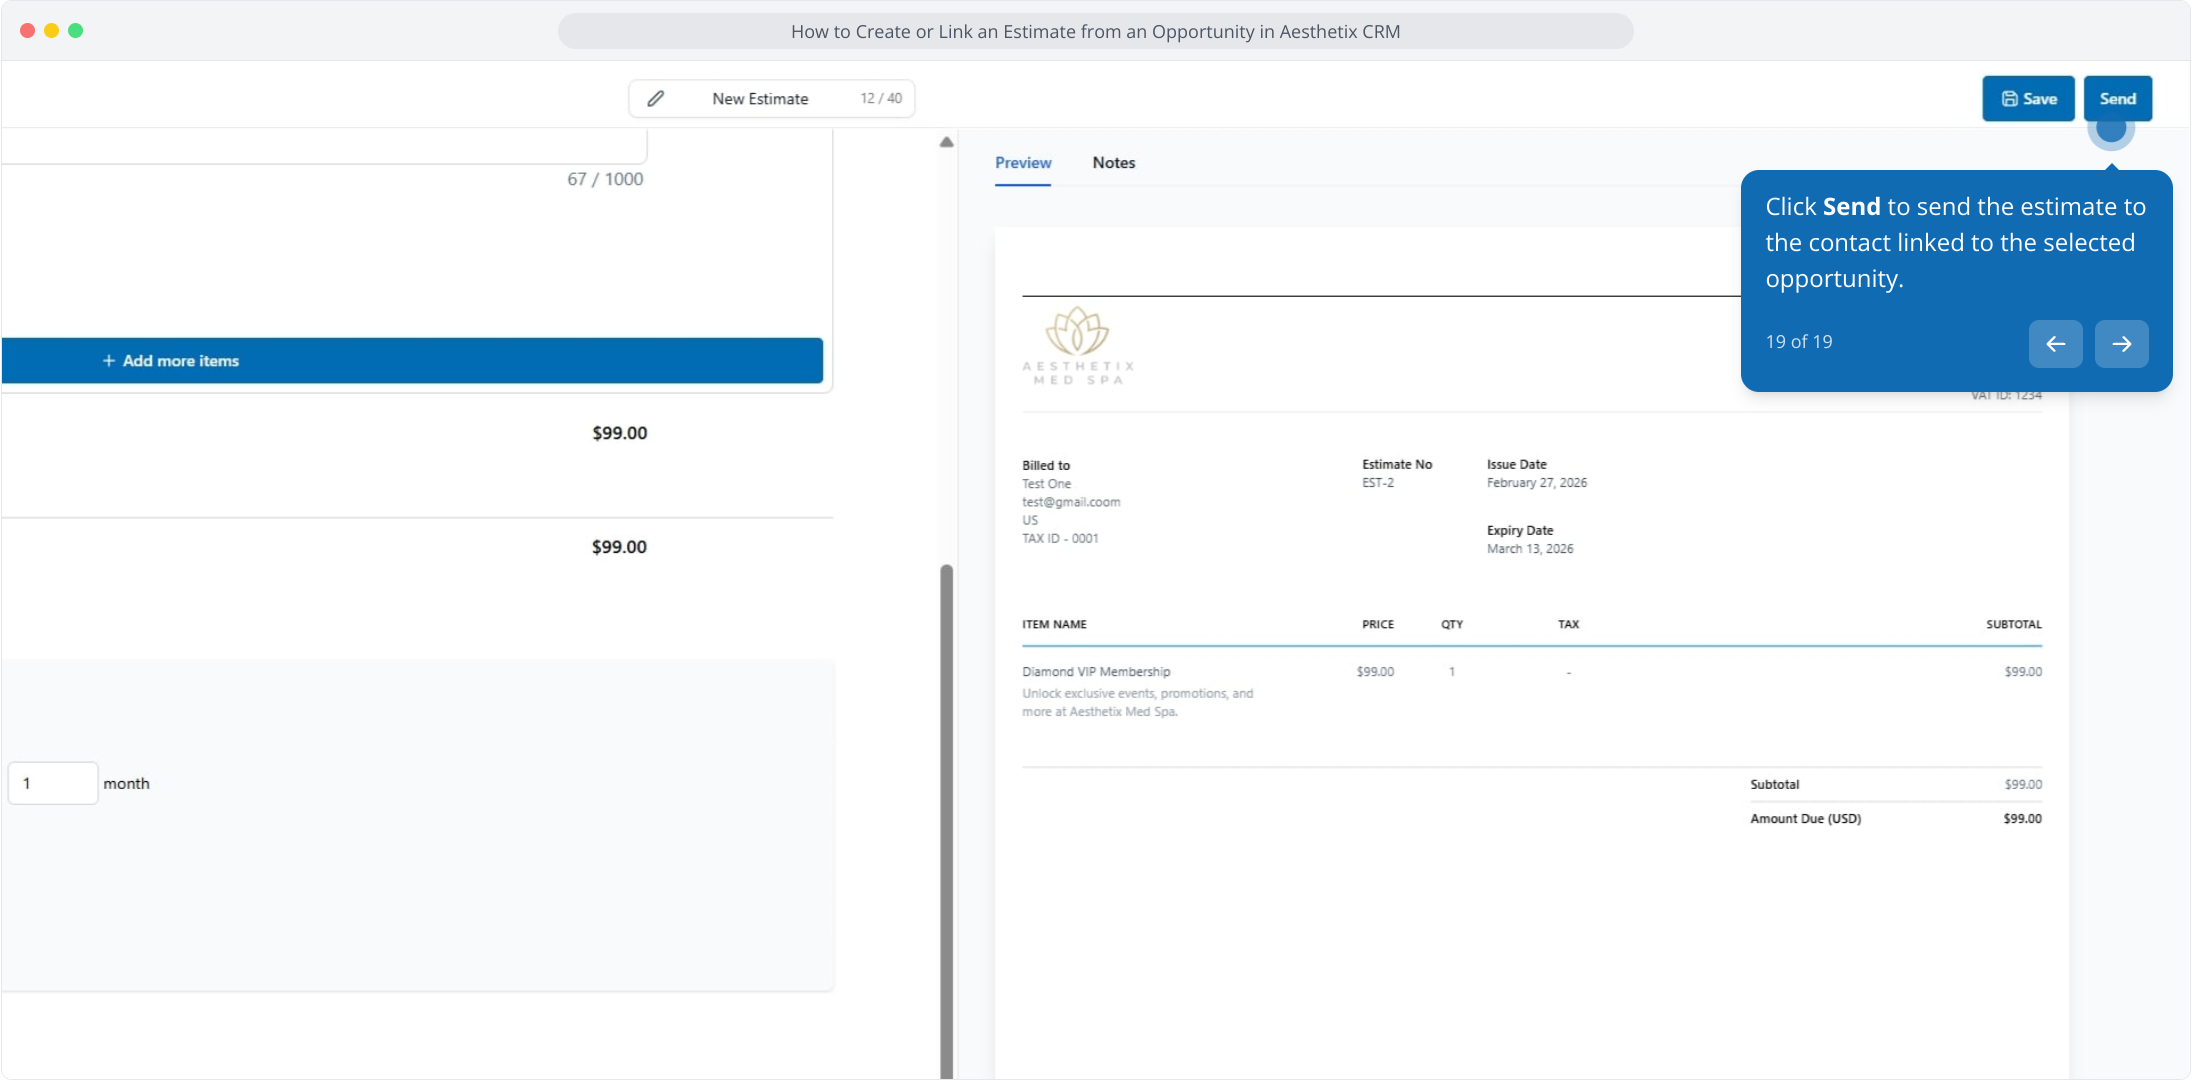
Click Send to deliver the estimate to the patient linked to the opportunity.
You can also start from the main Payments area and link the document to an opportunity while you build it.
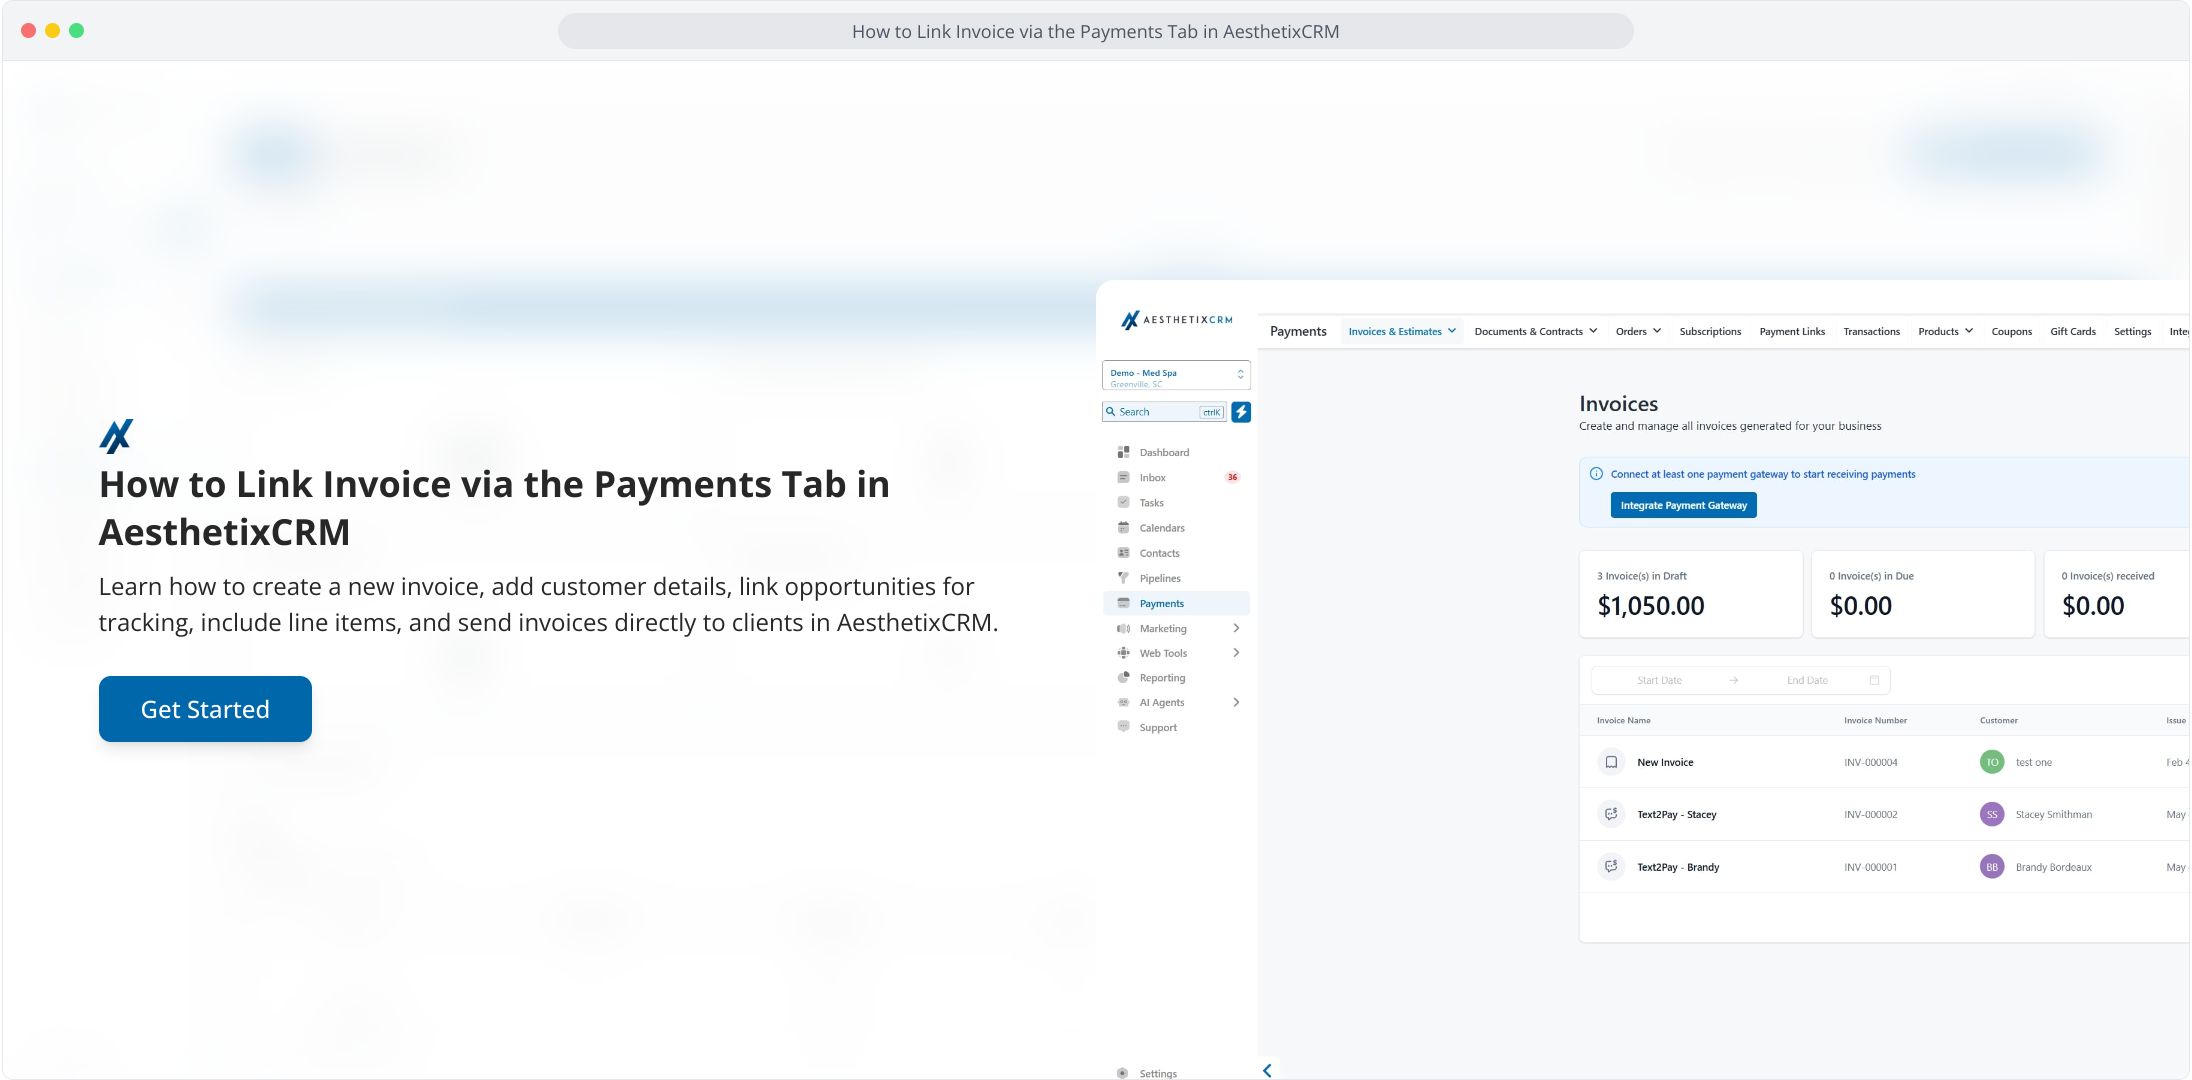
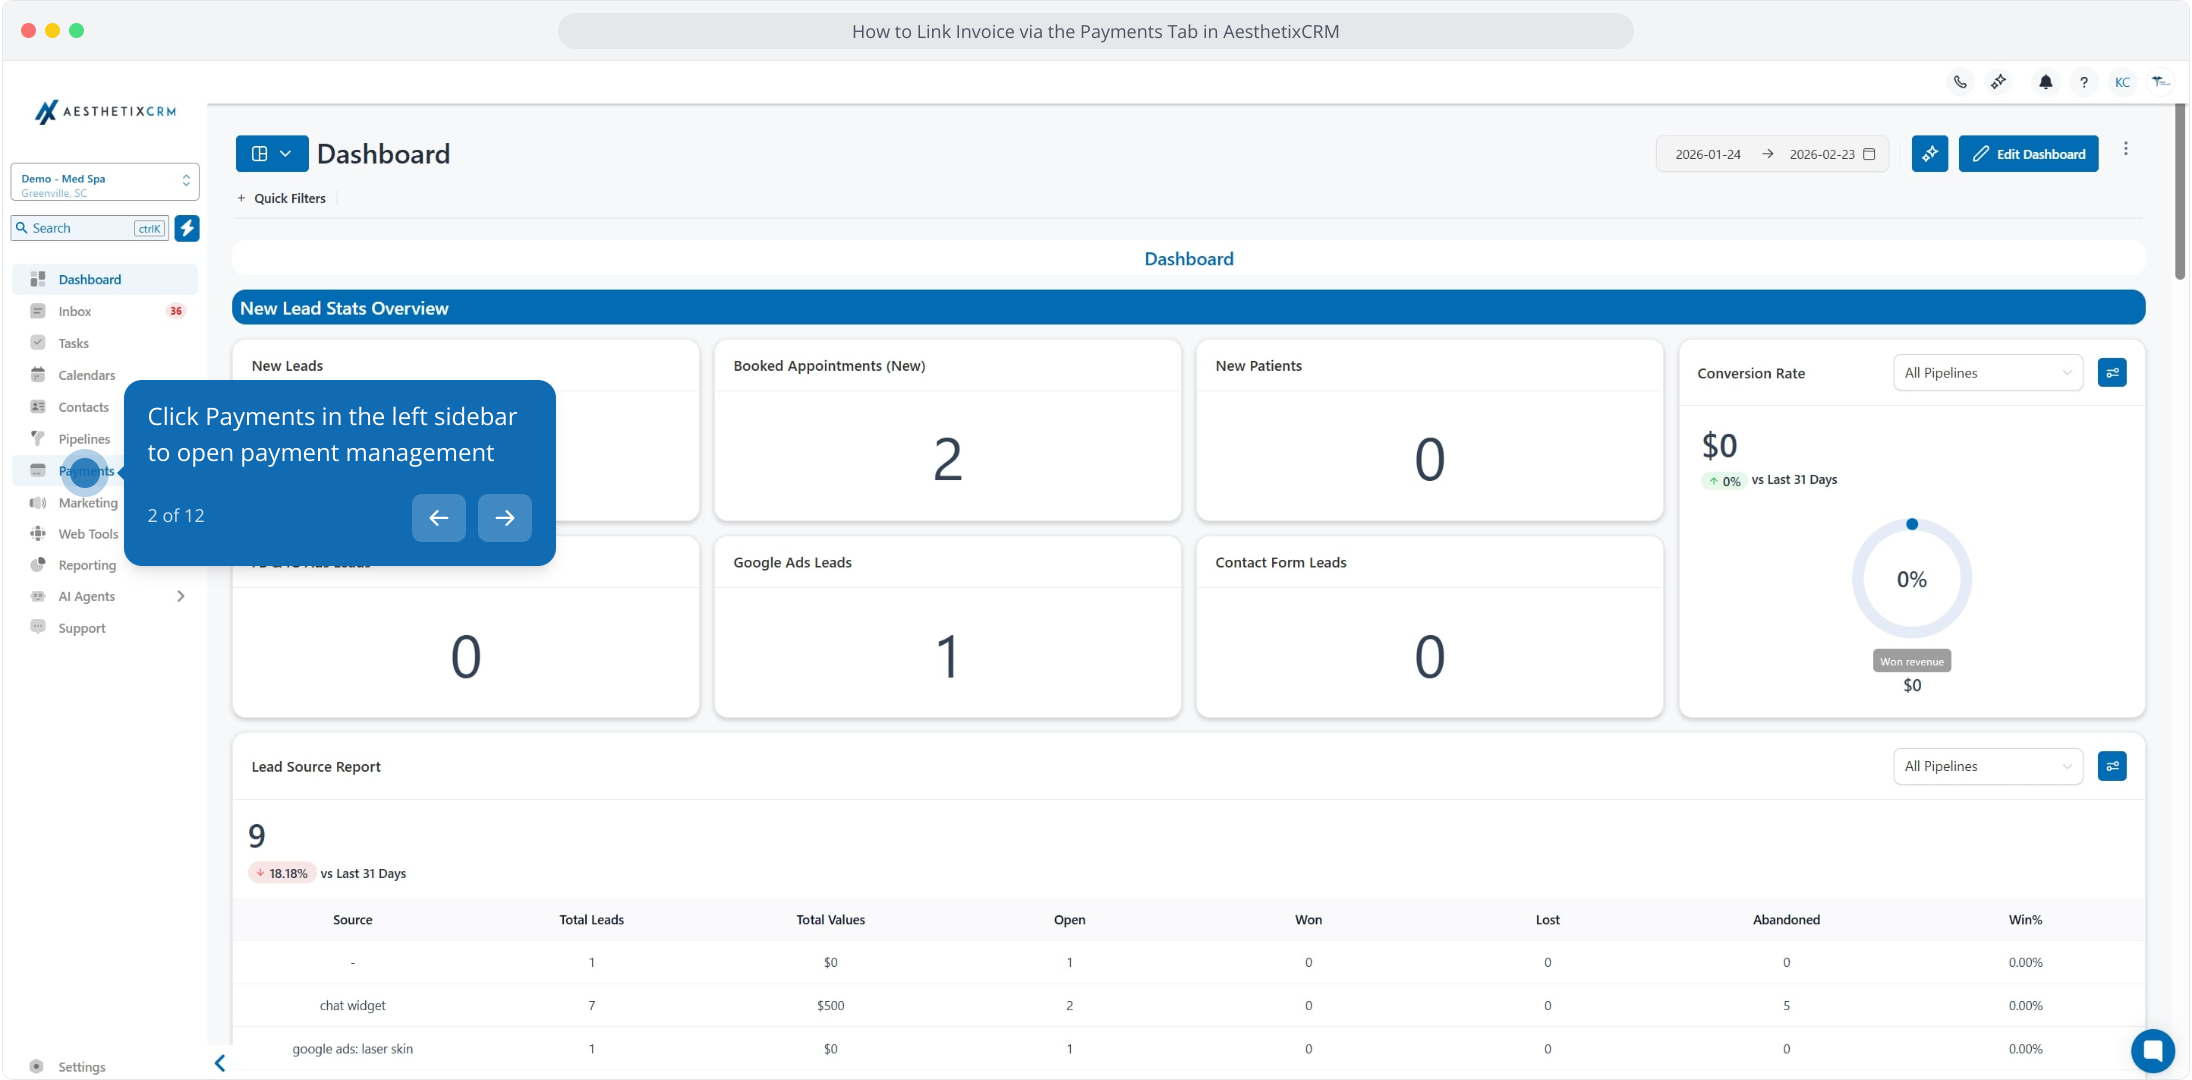
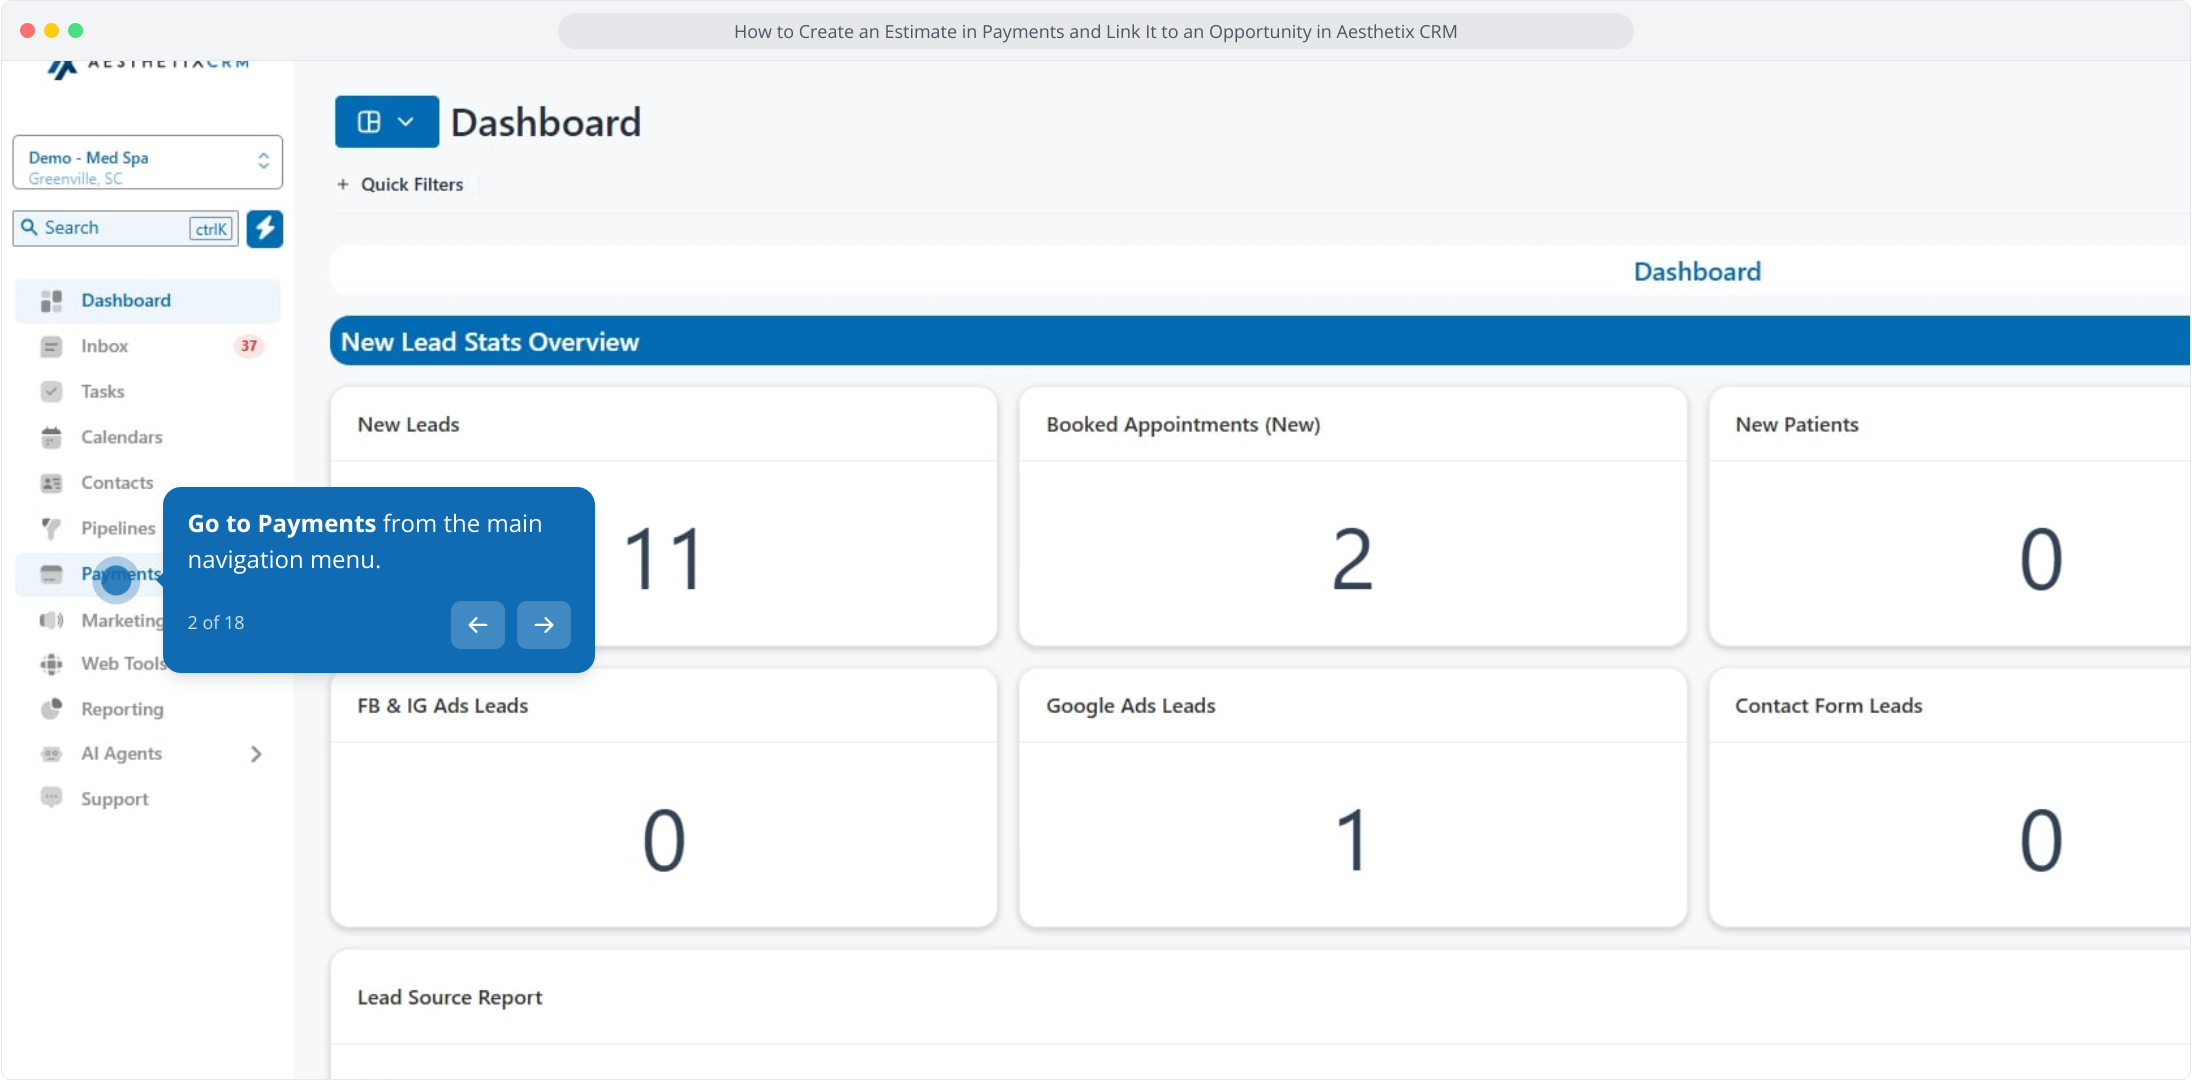
Click Payments in the left sidebar, then switch to Invoices or Estimates using the dropdown.
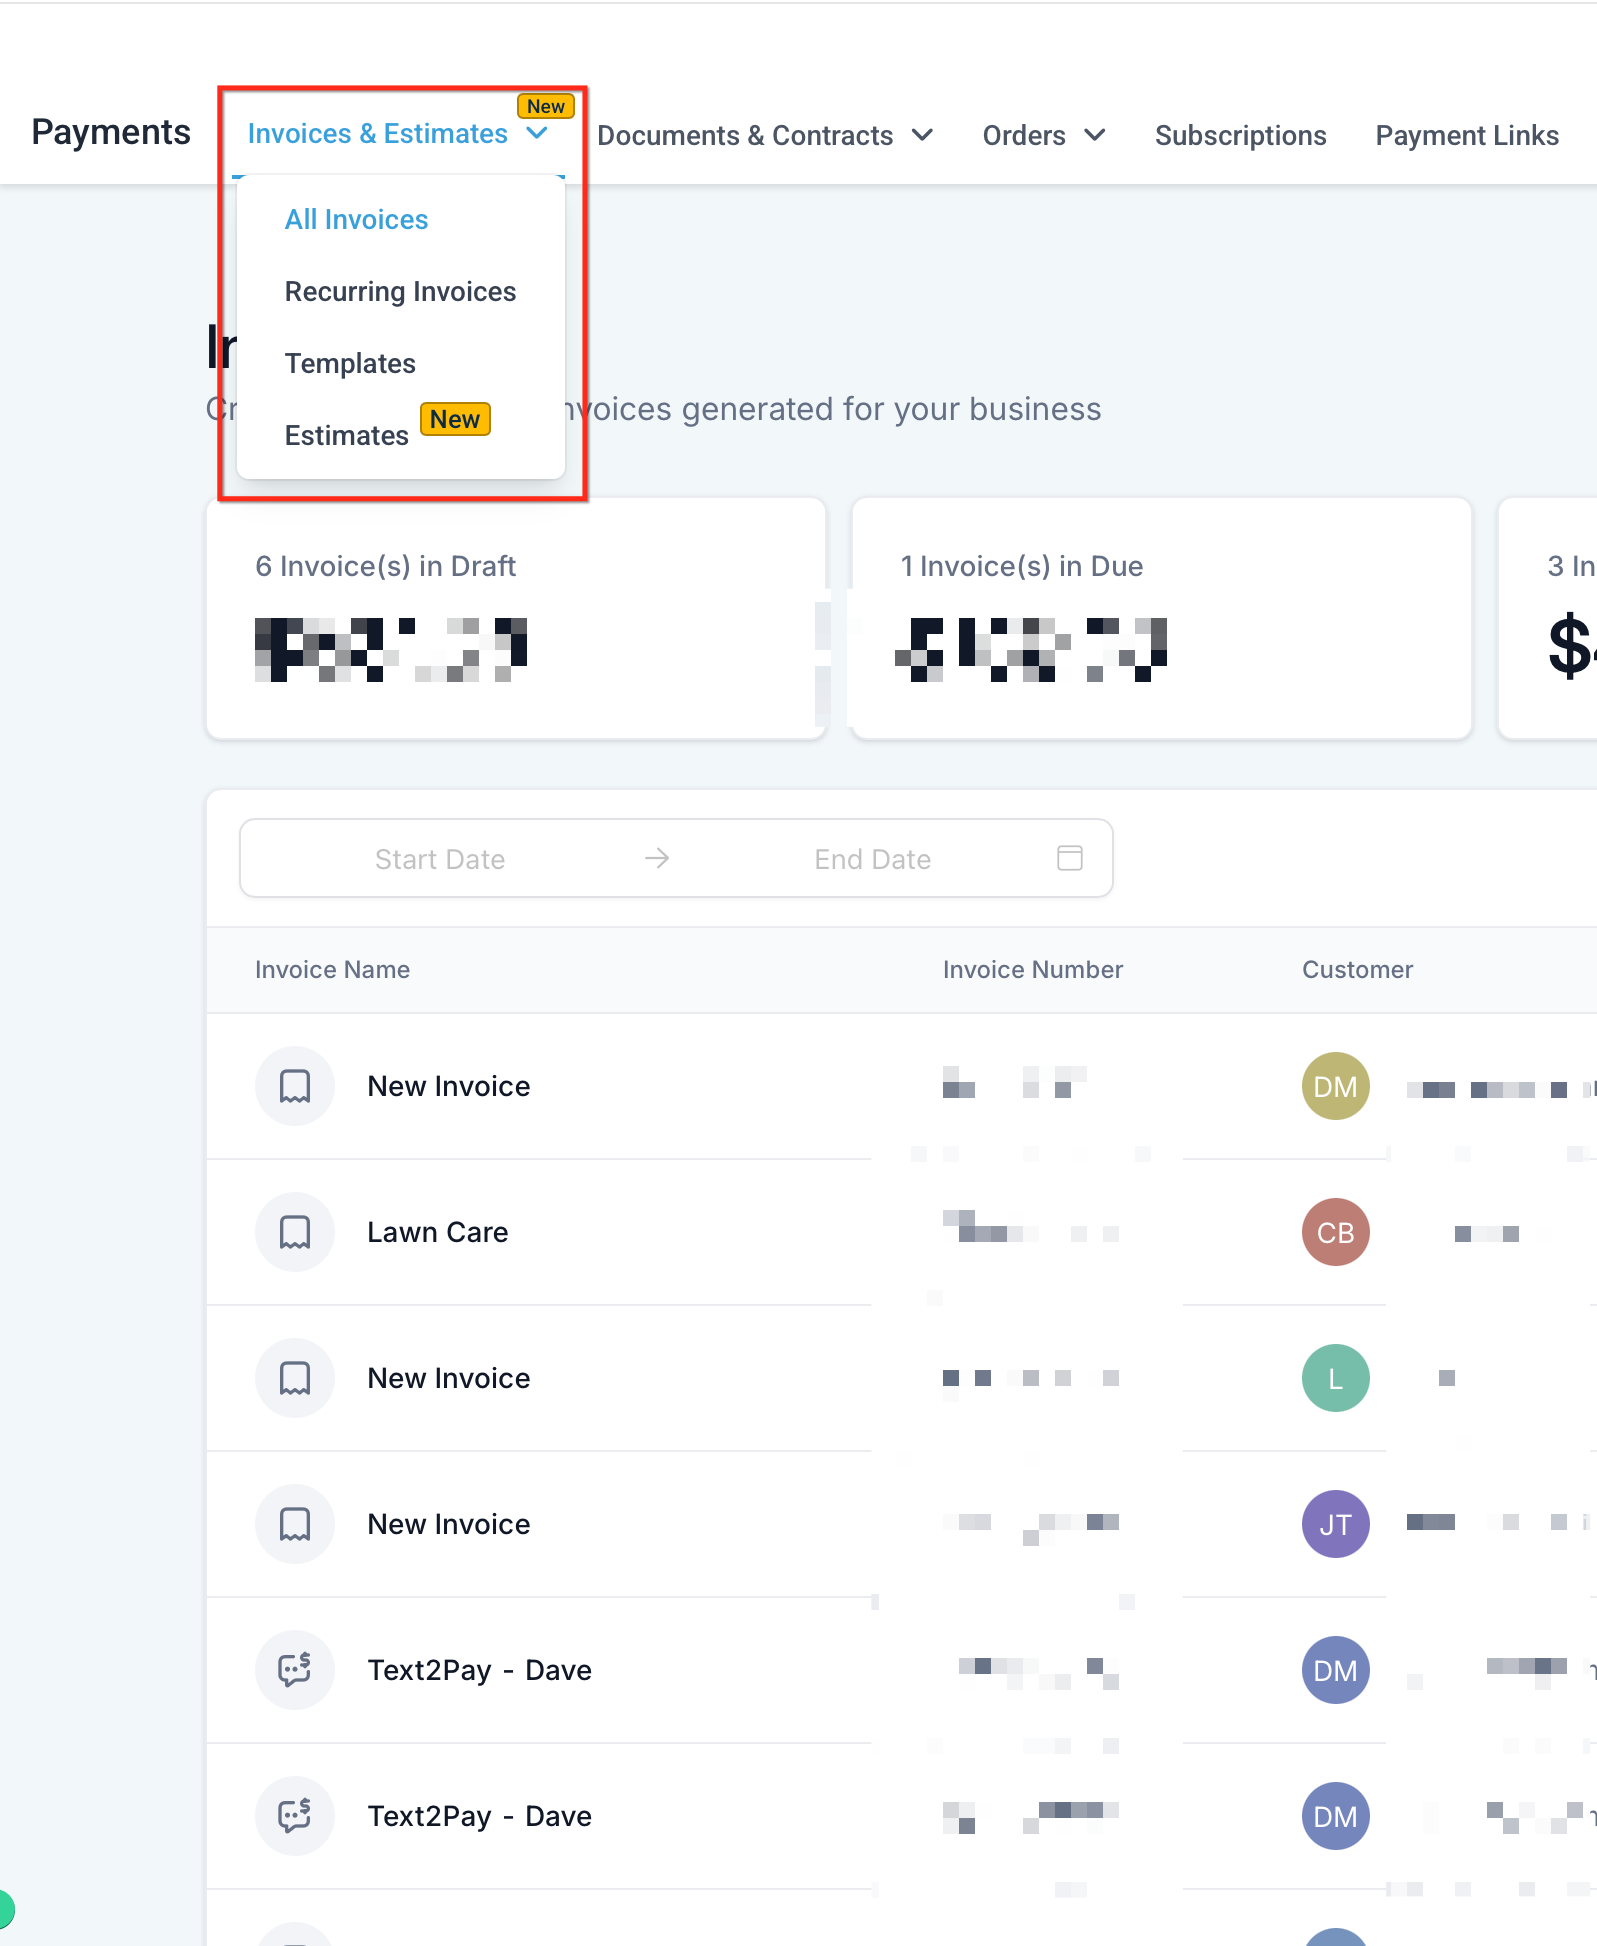
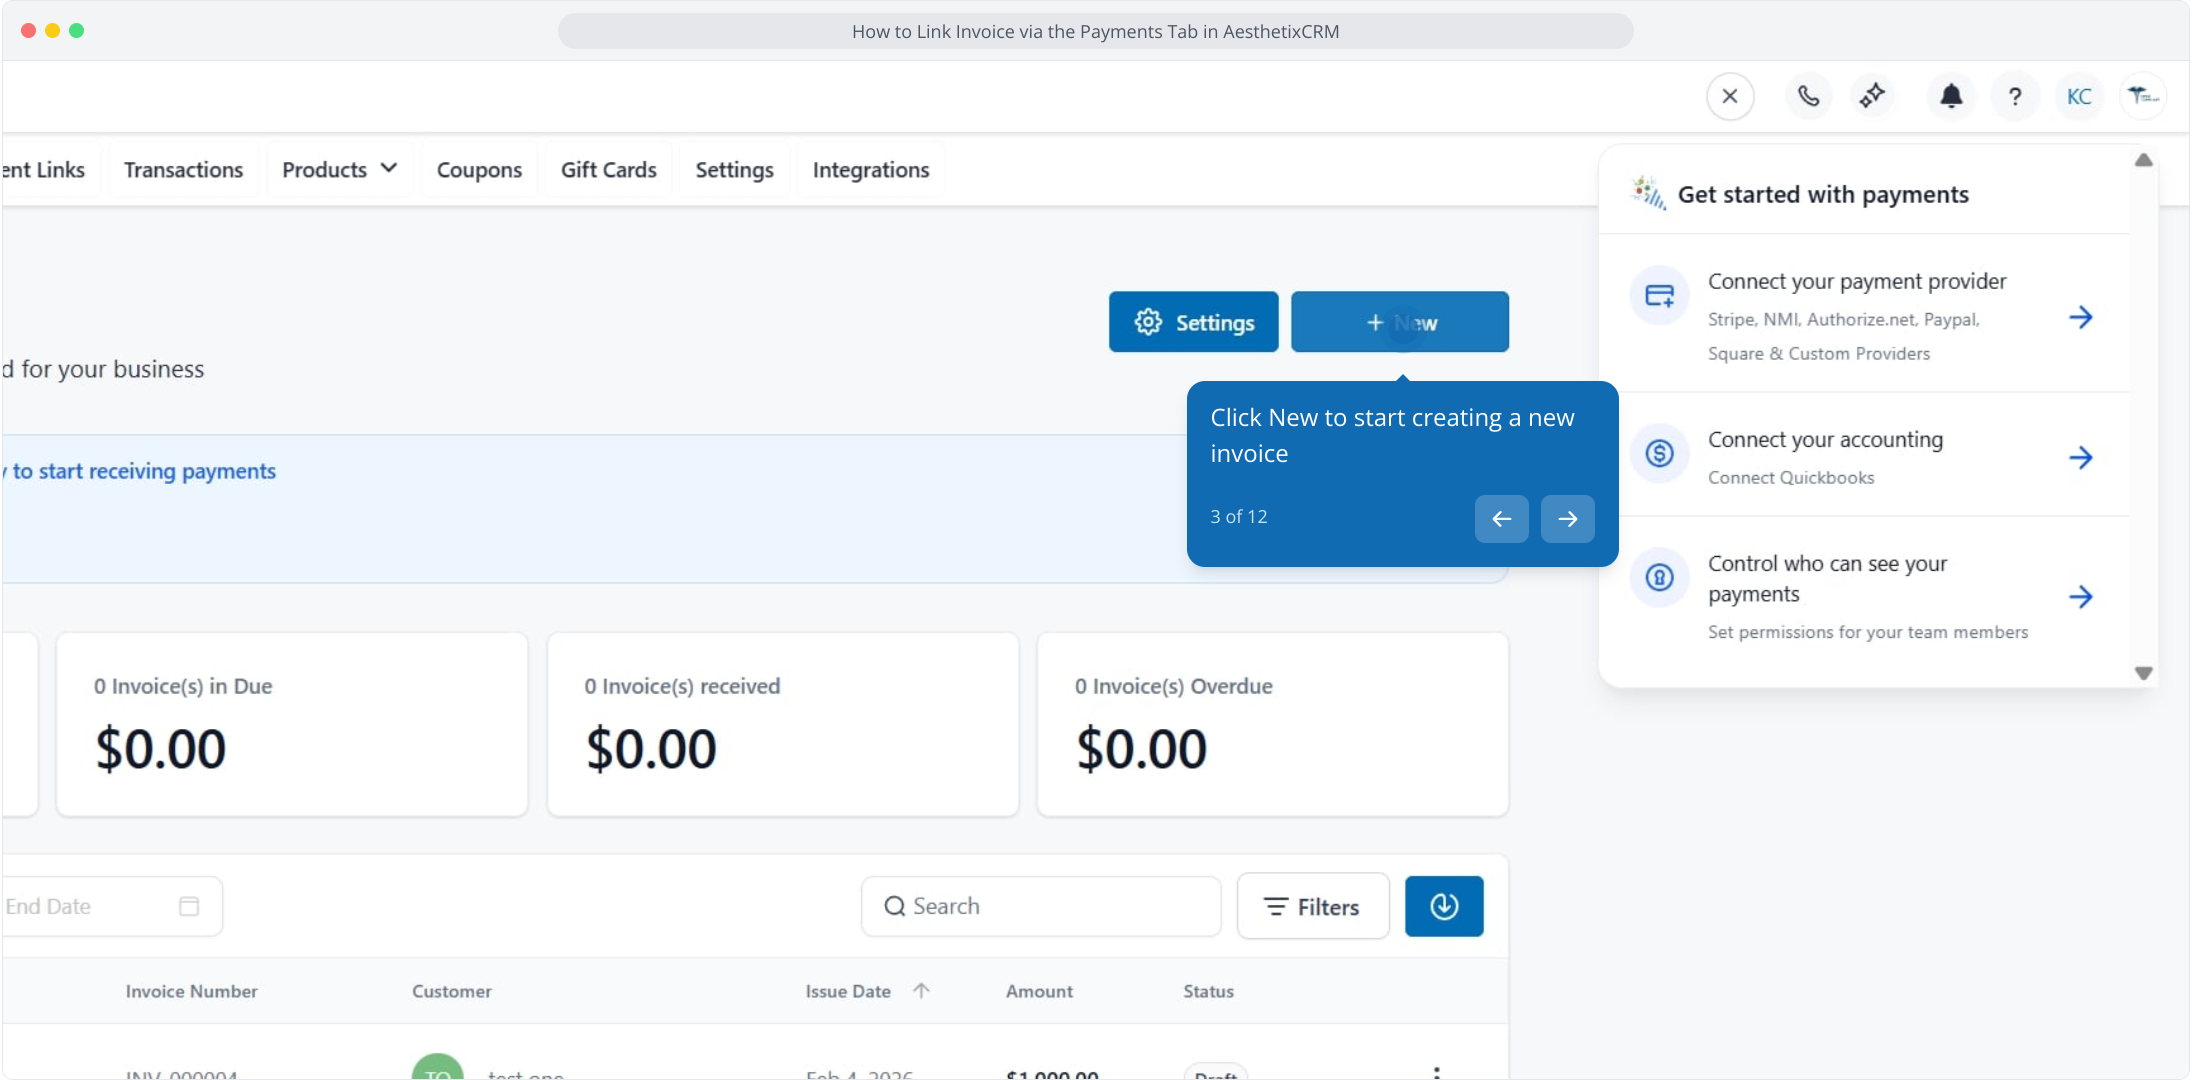
Click New to start a new document.
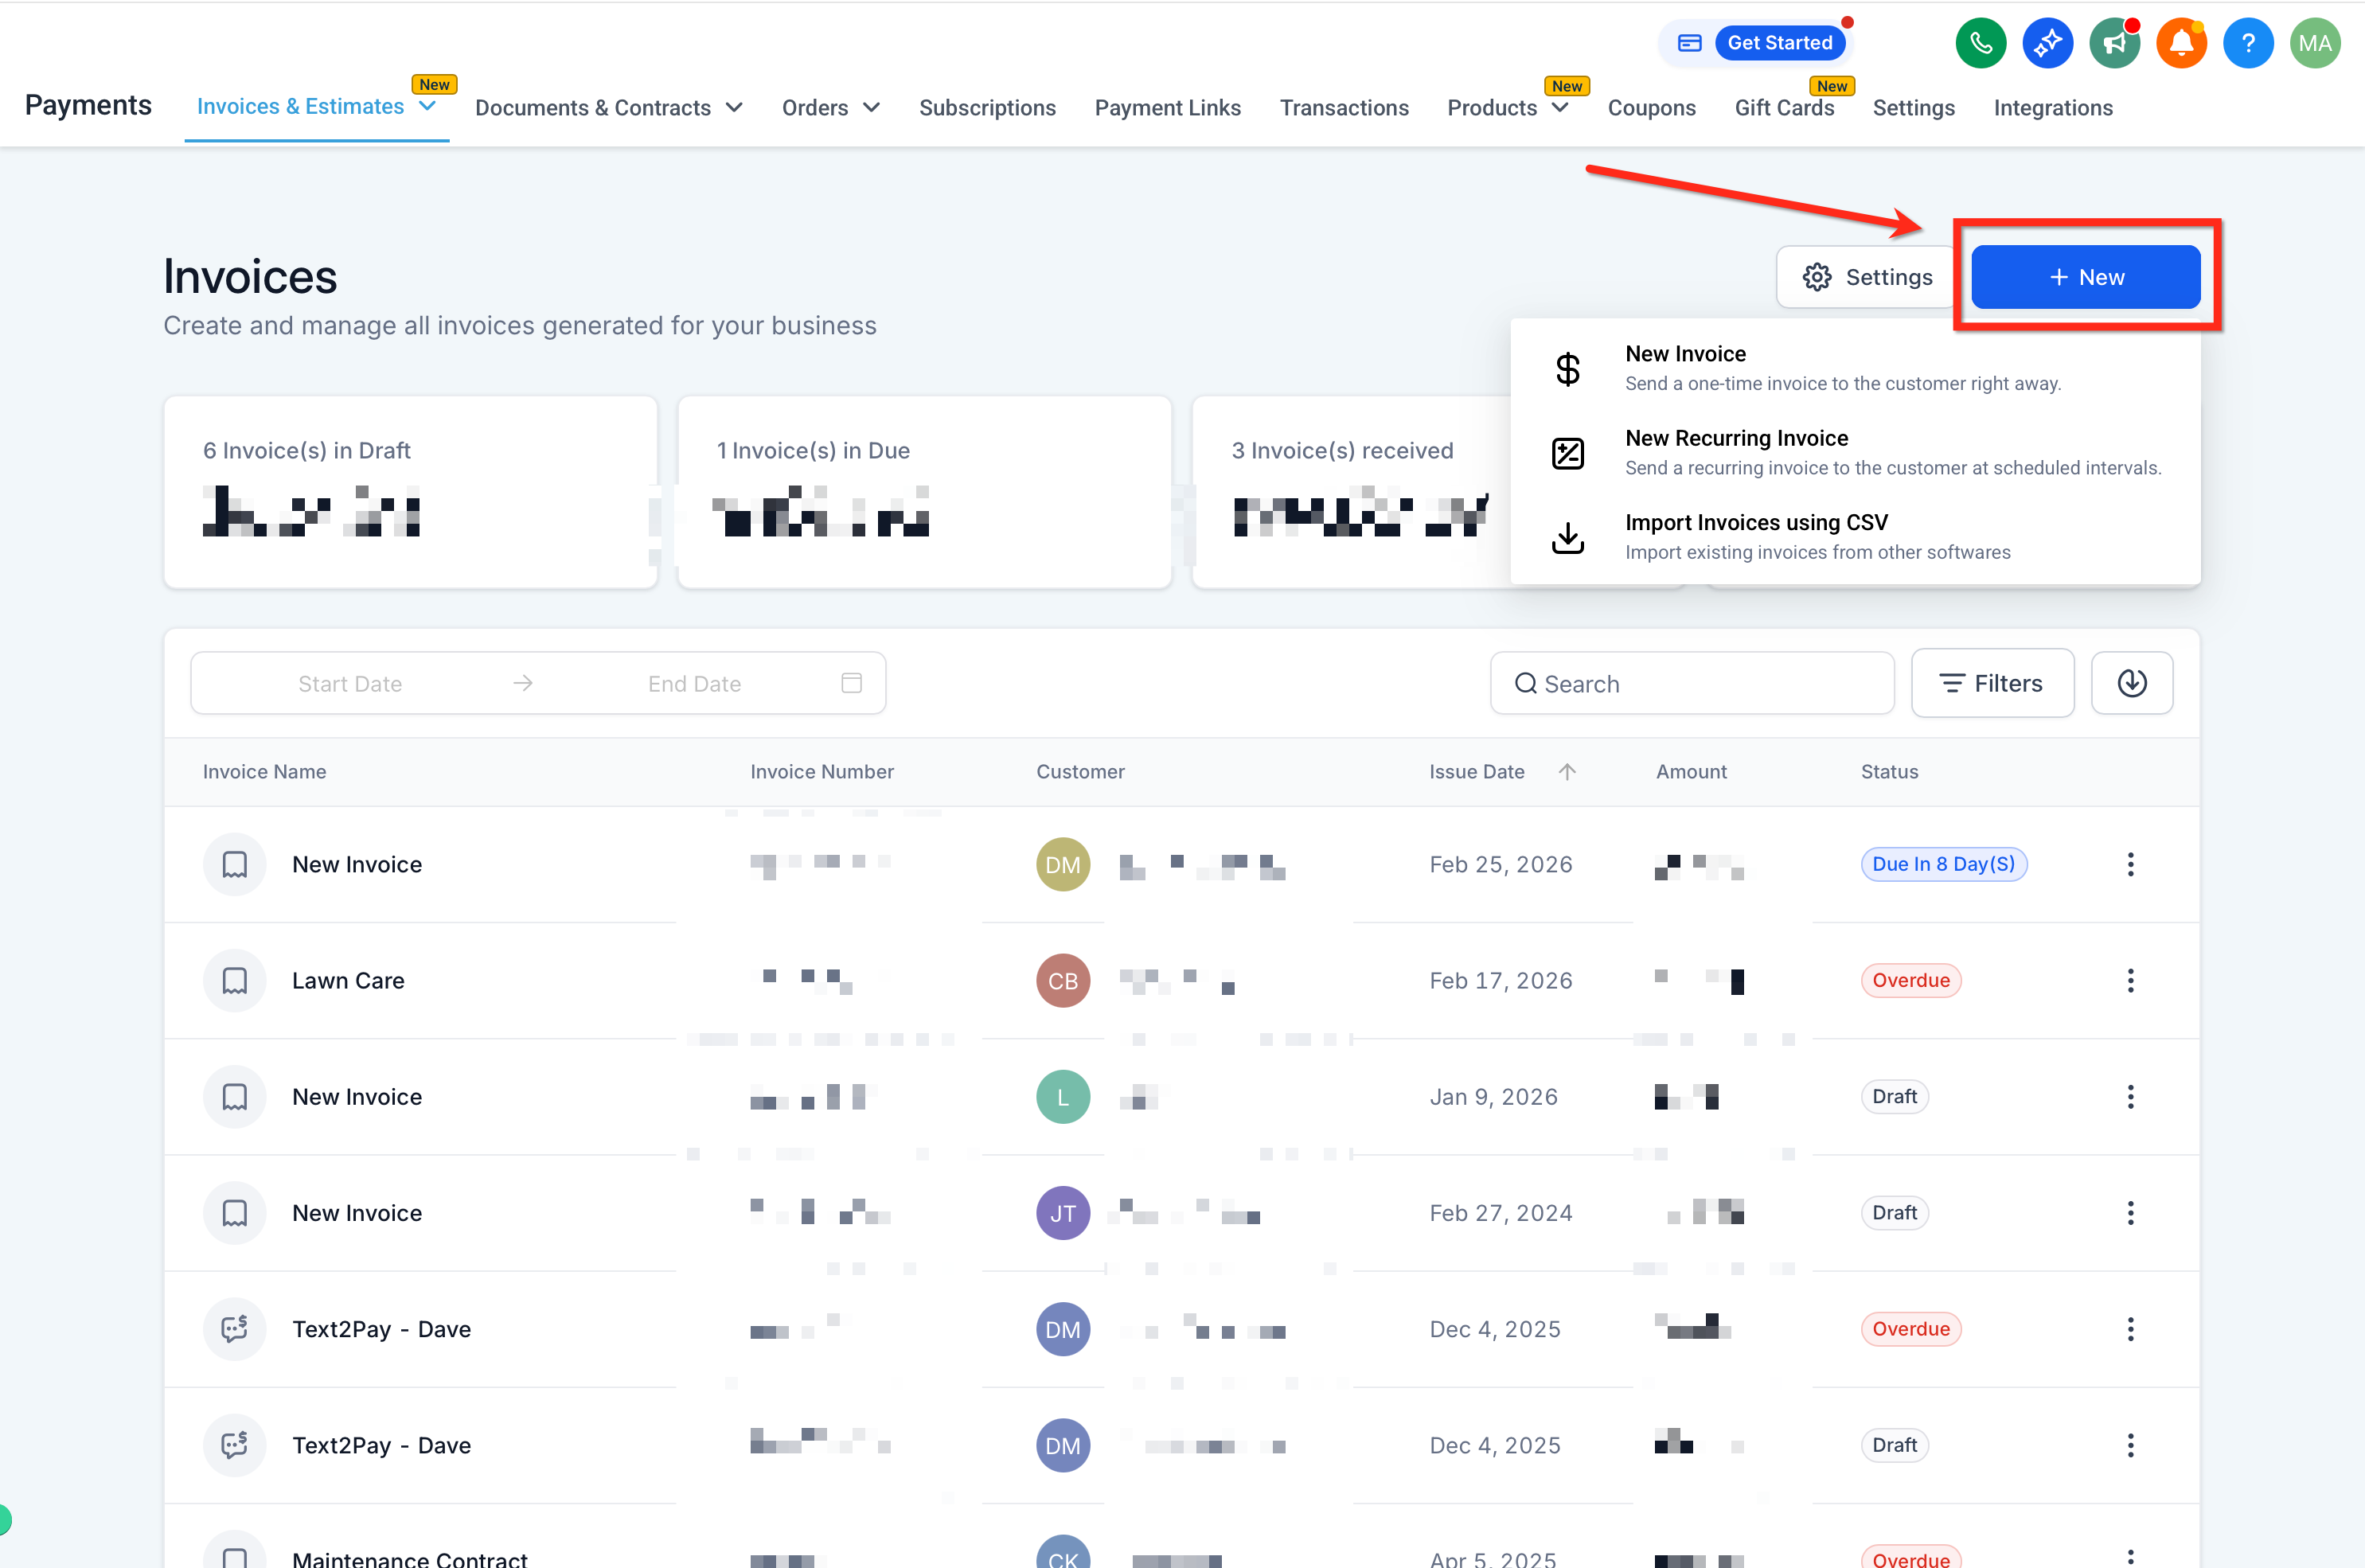
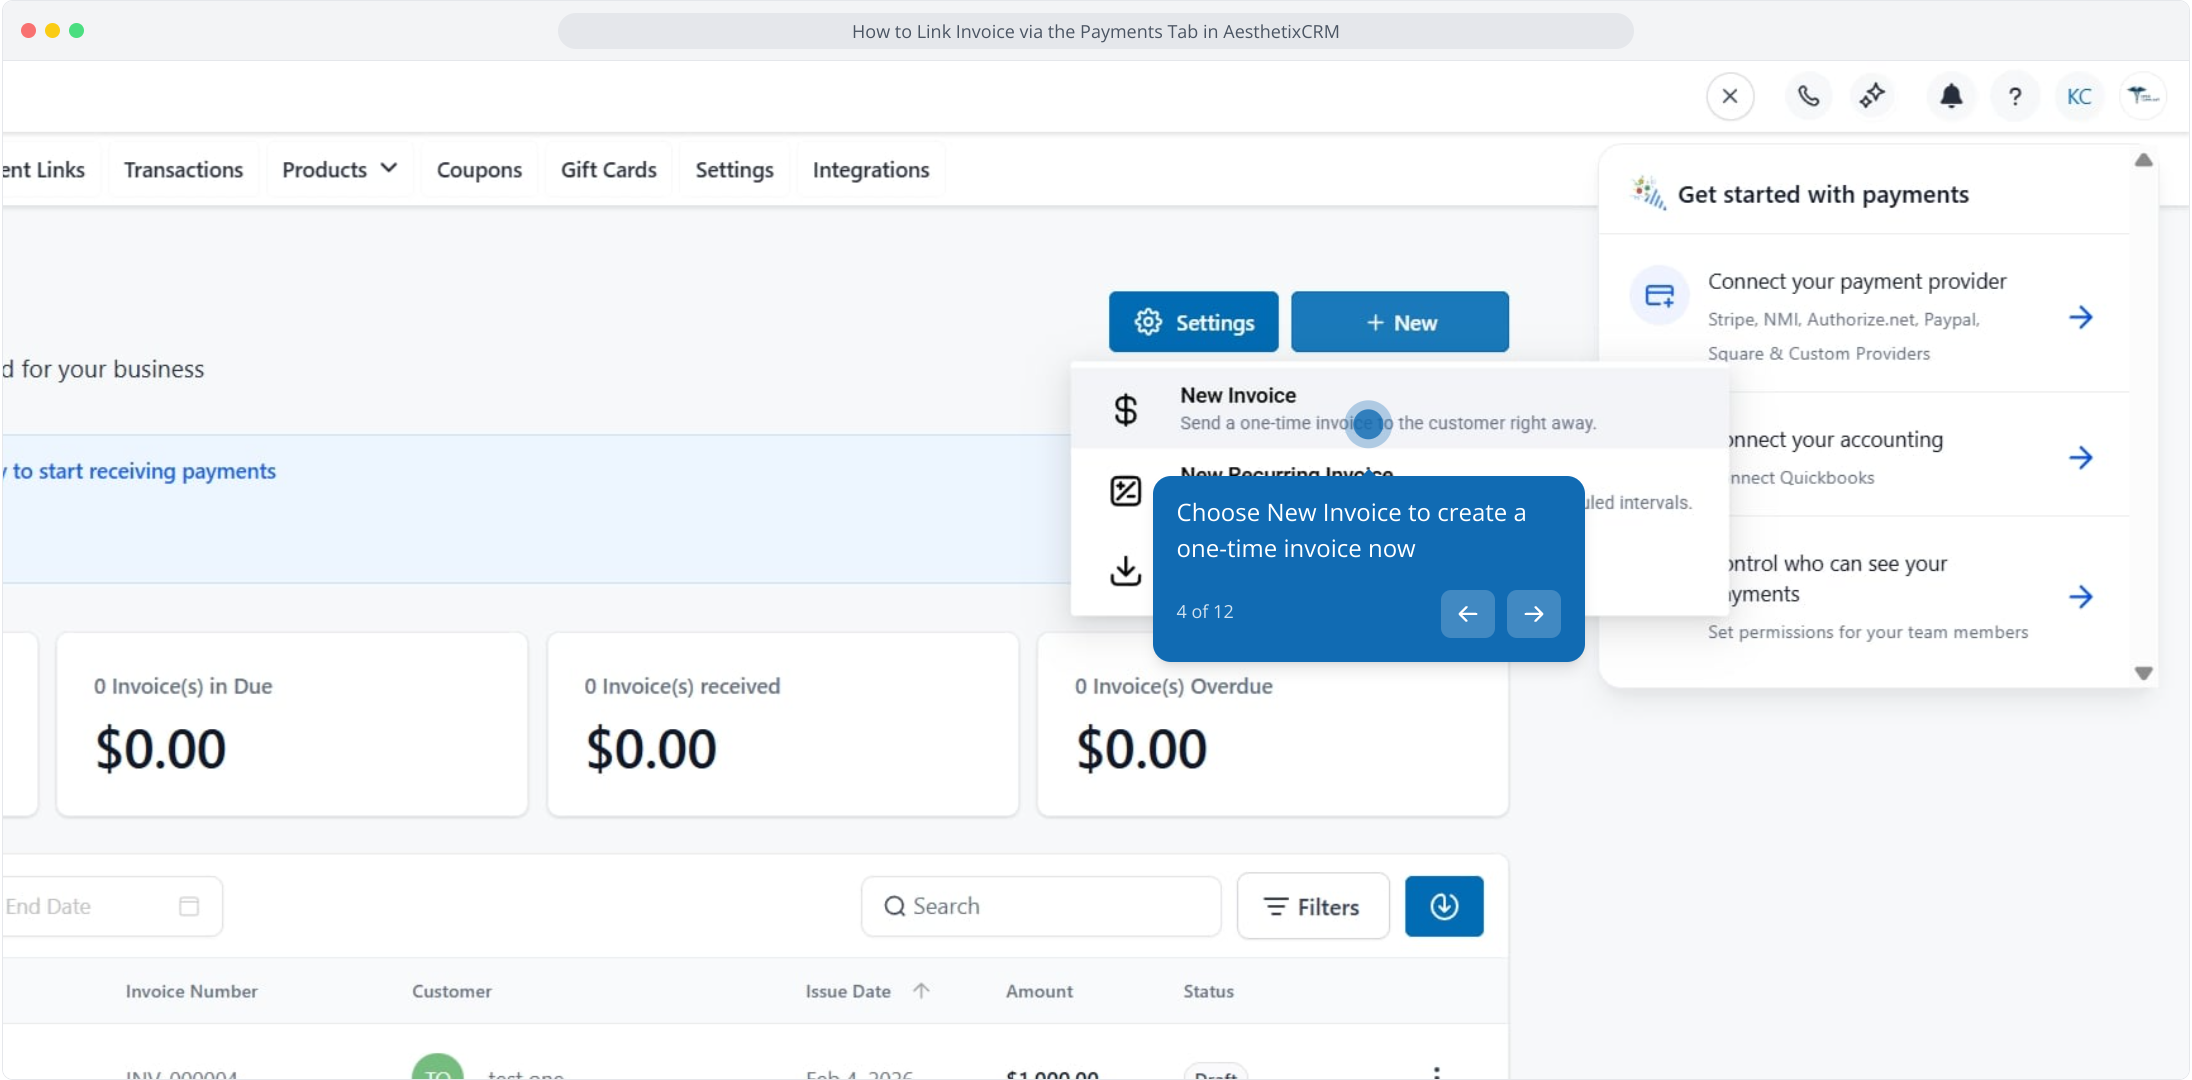
Click New and choose New Invoice to create a one-time invoice.
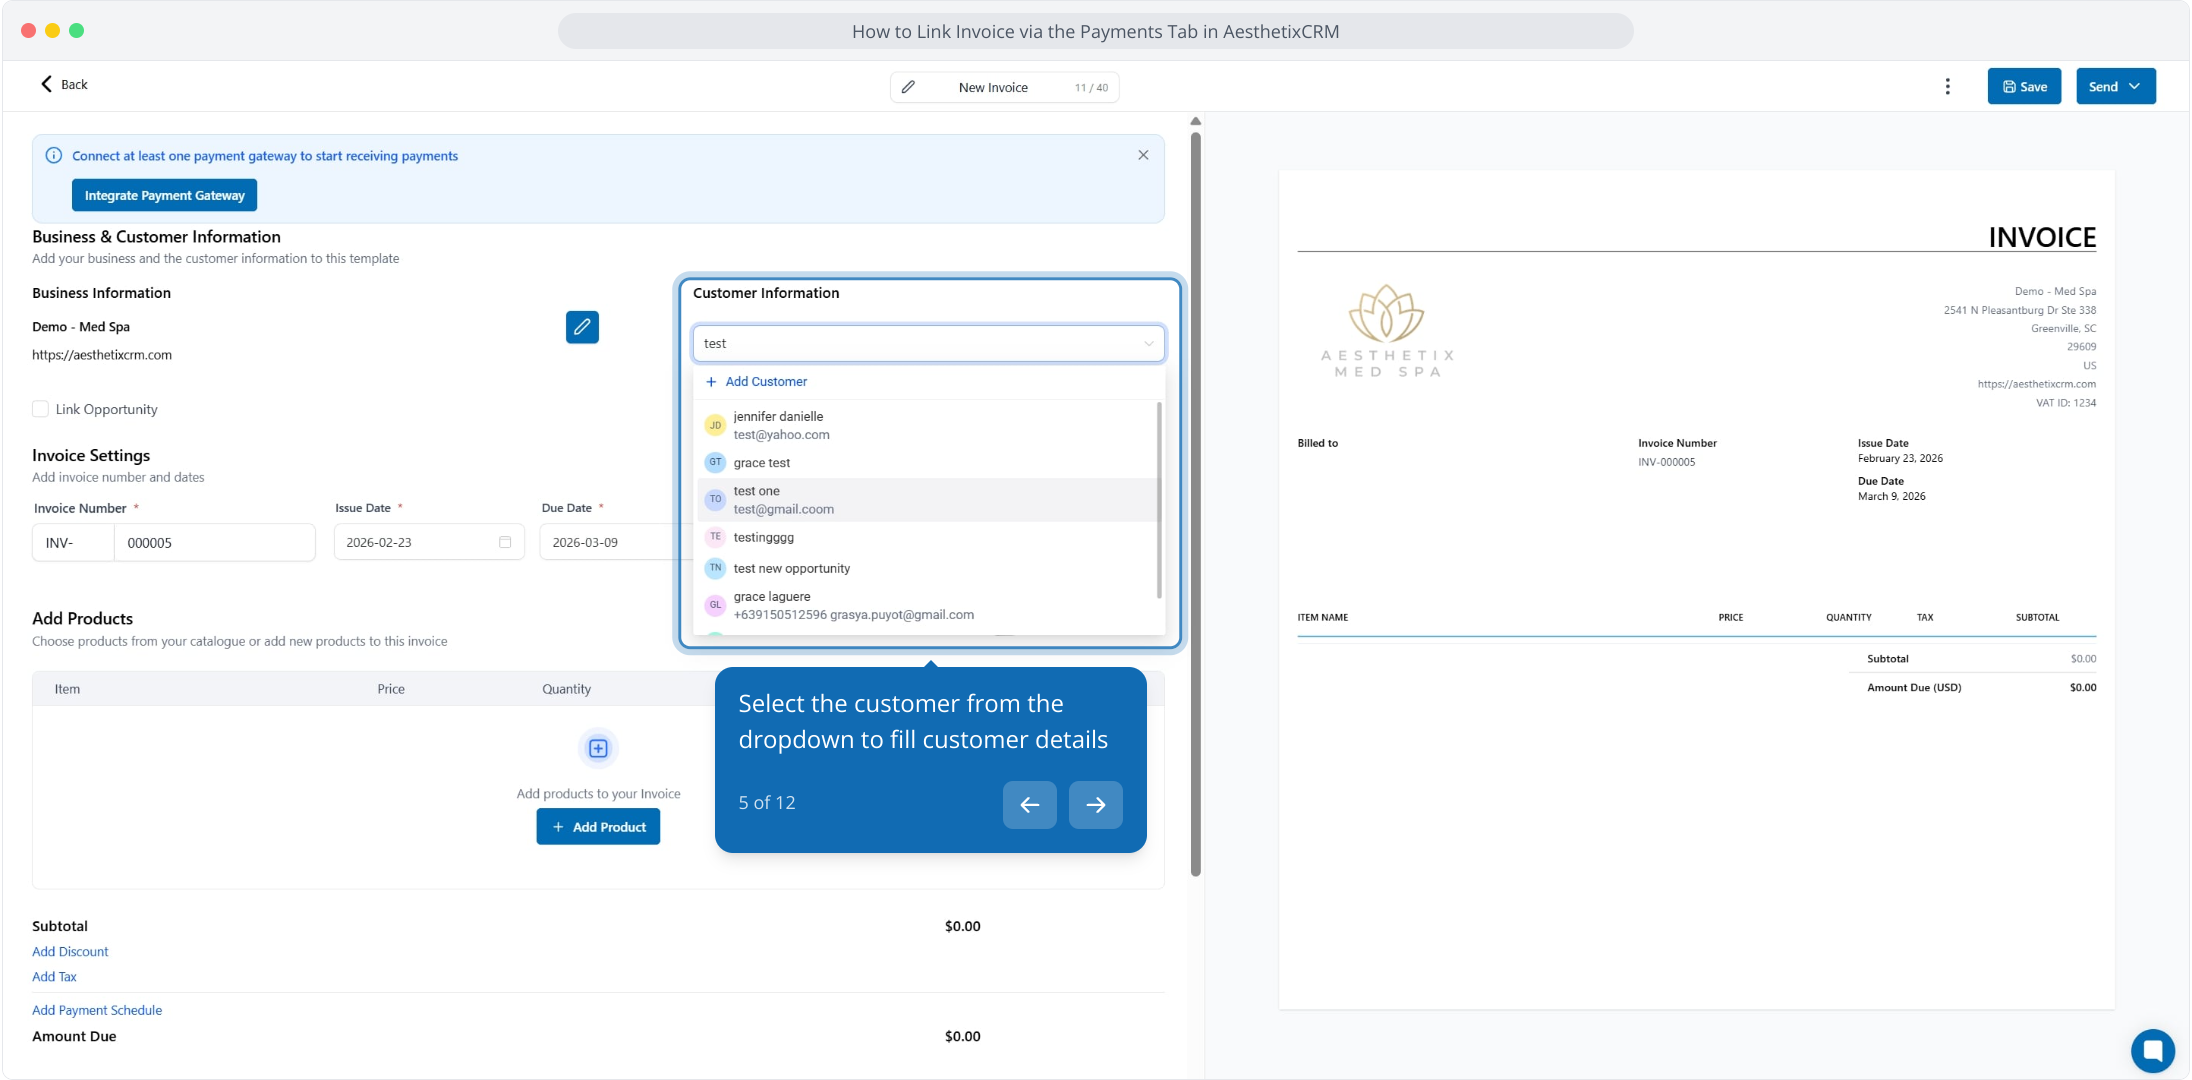
Select the patient from the dropdown to fill in their details.
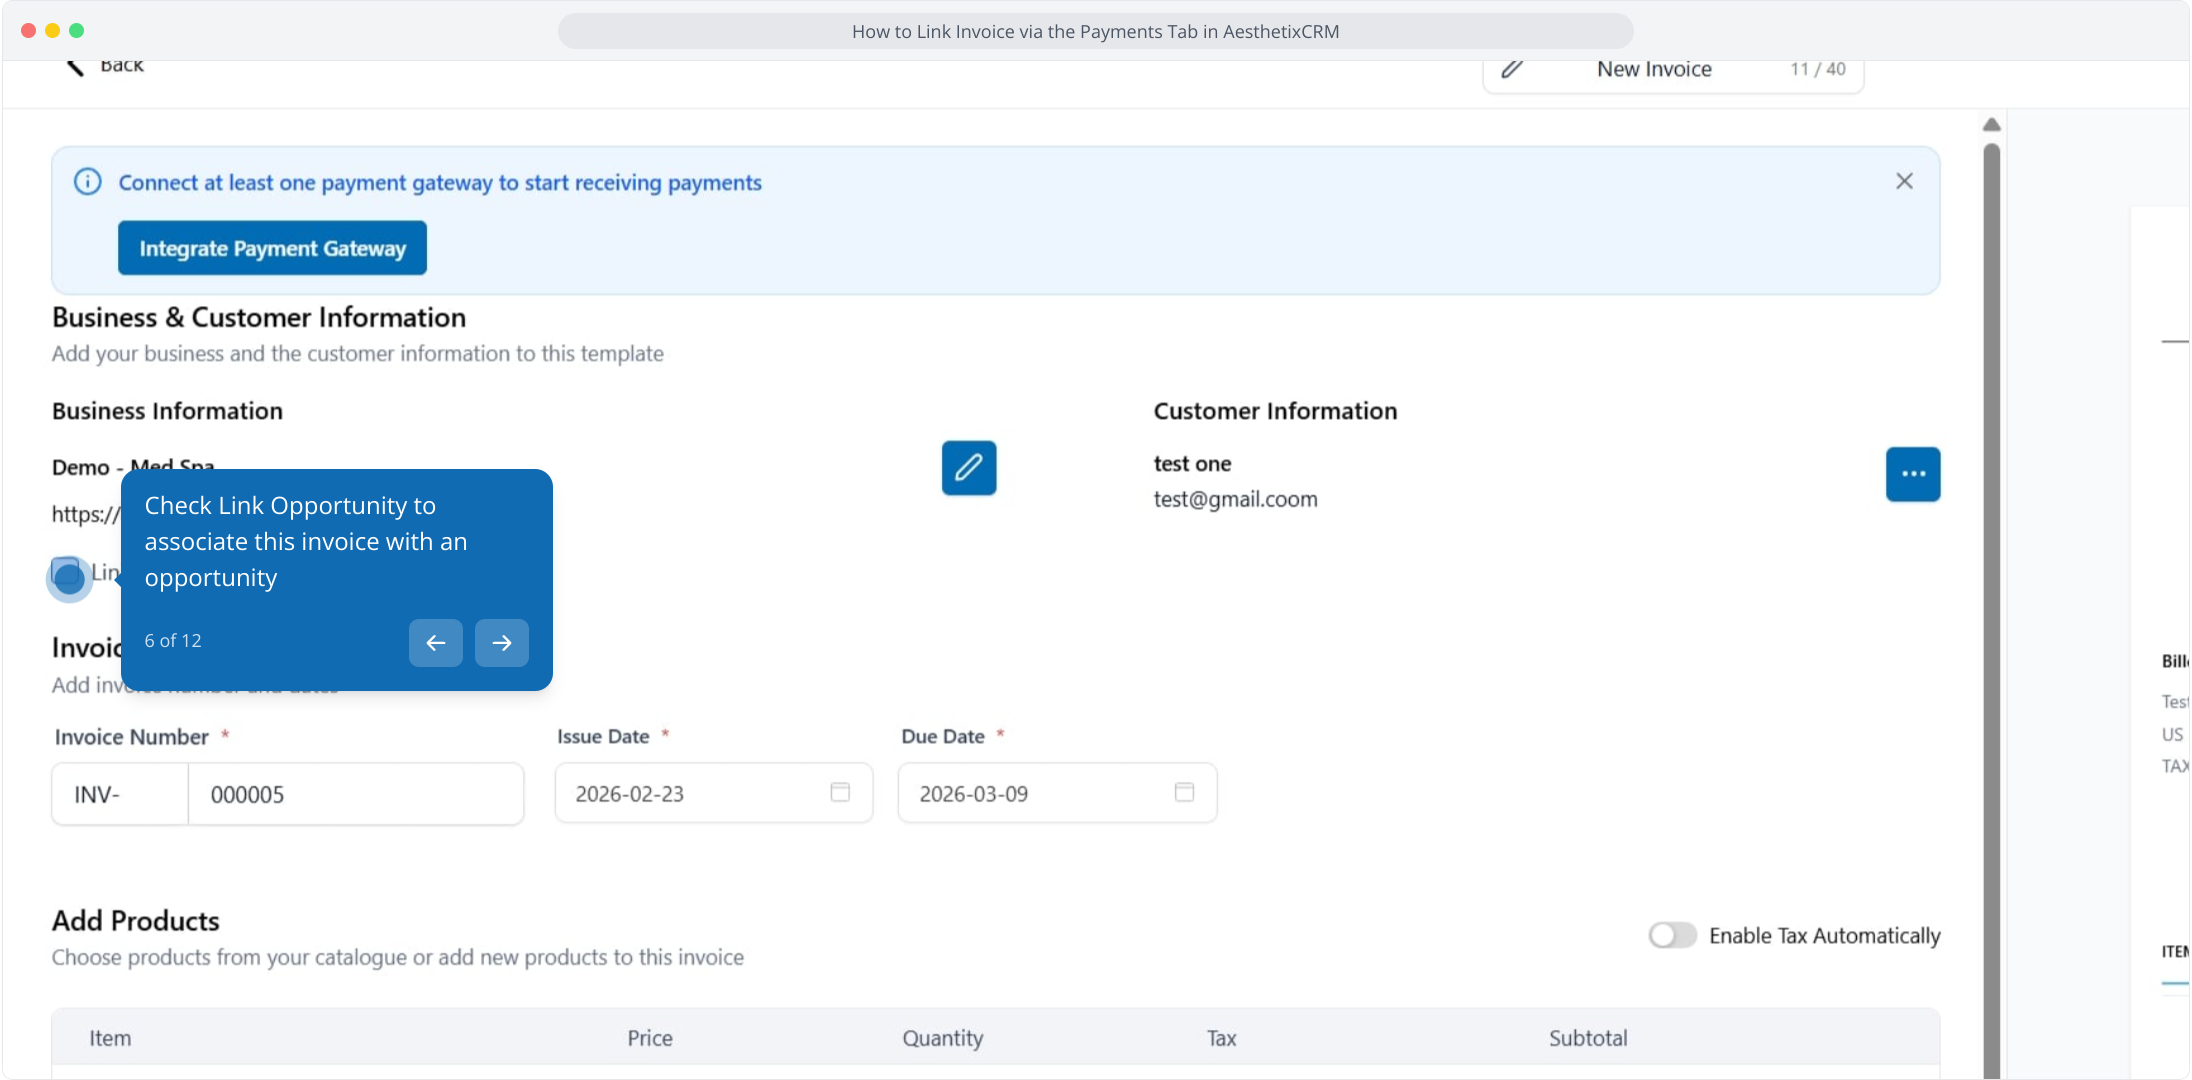
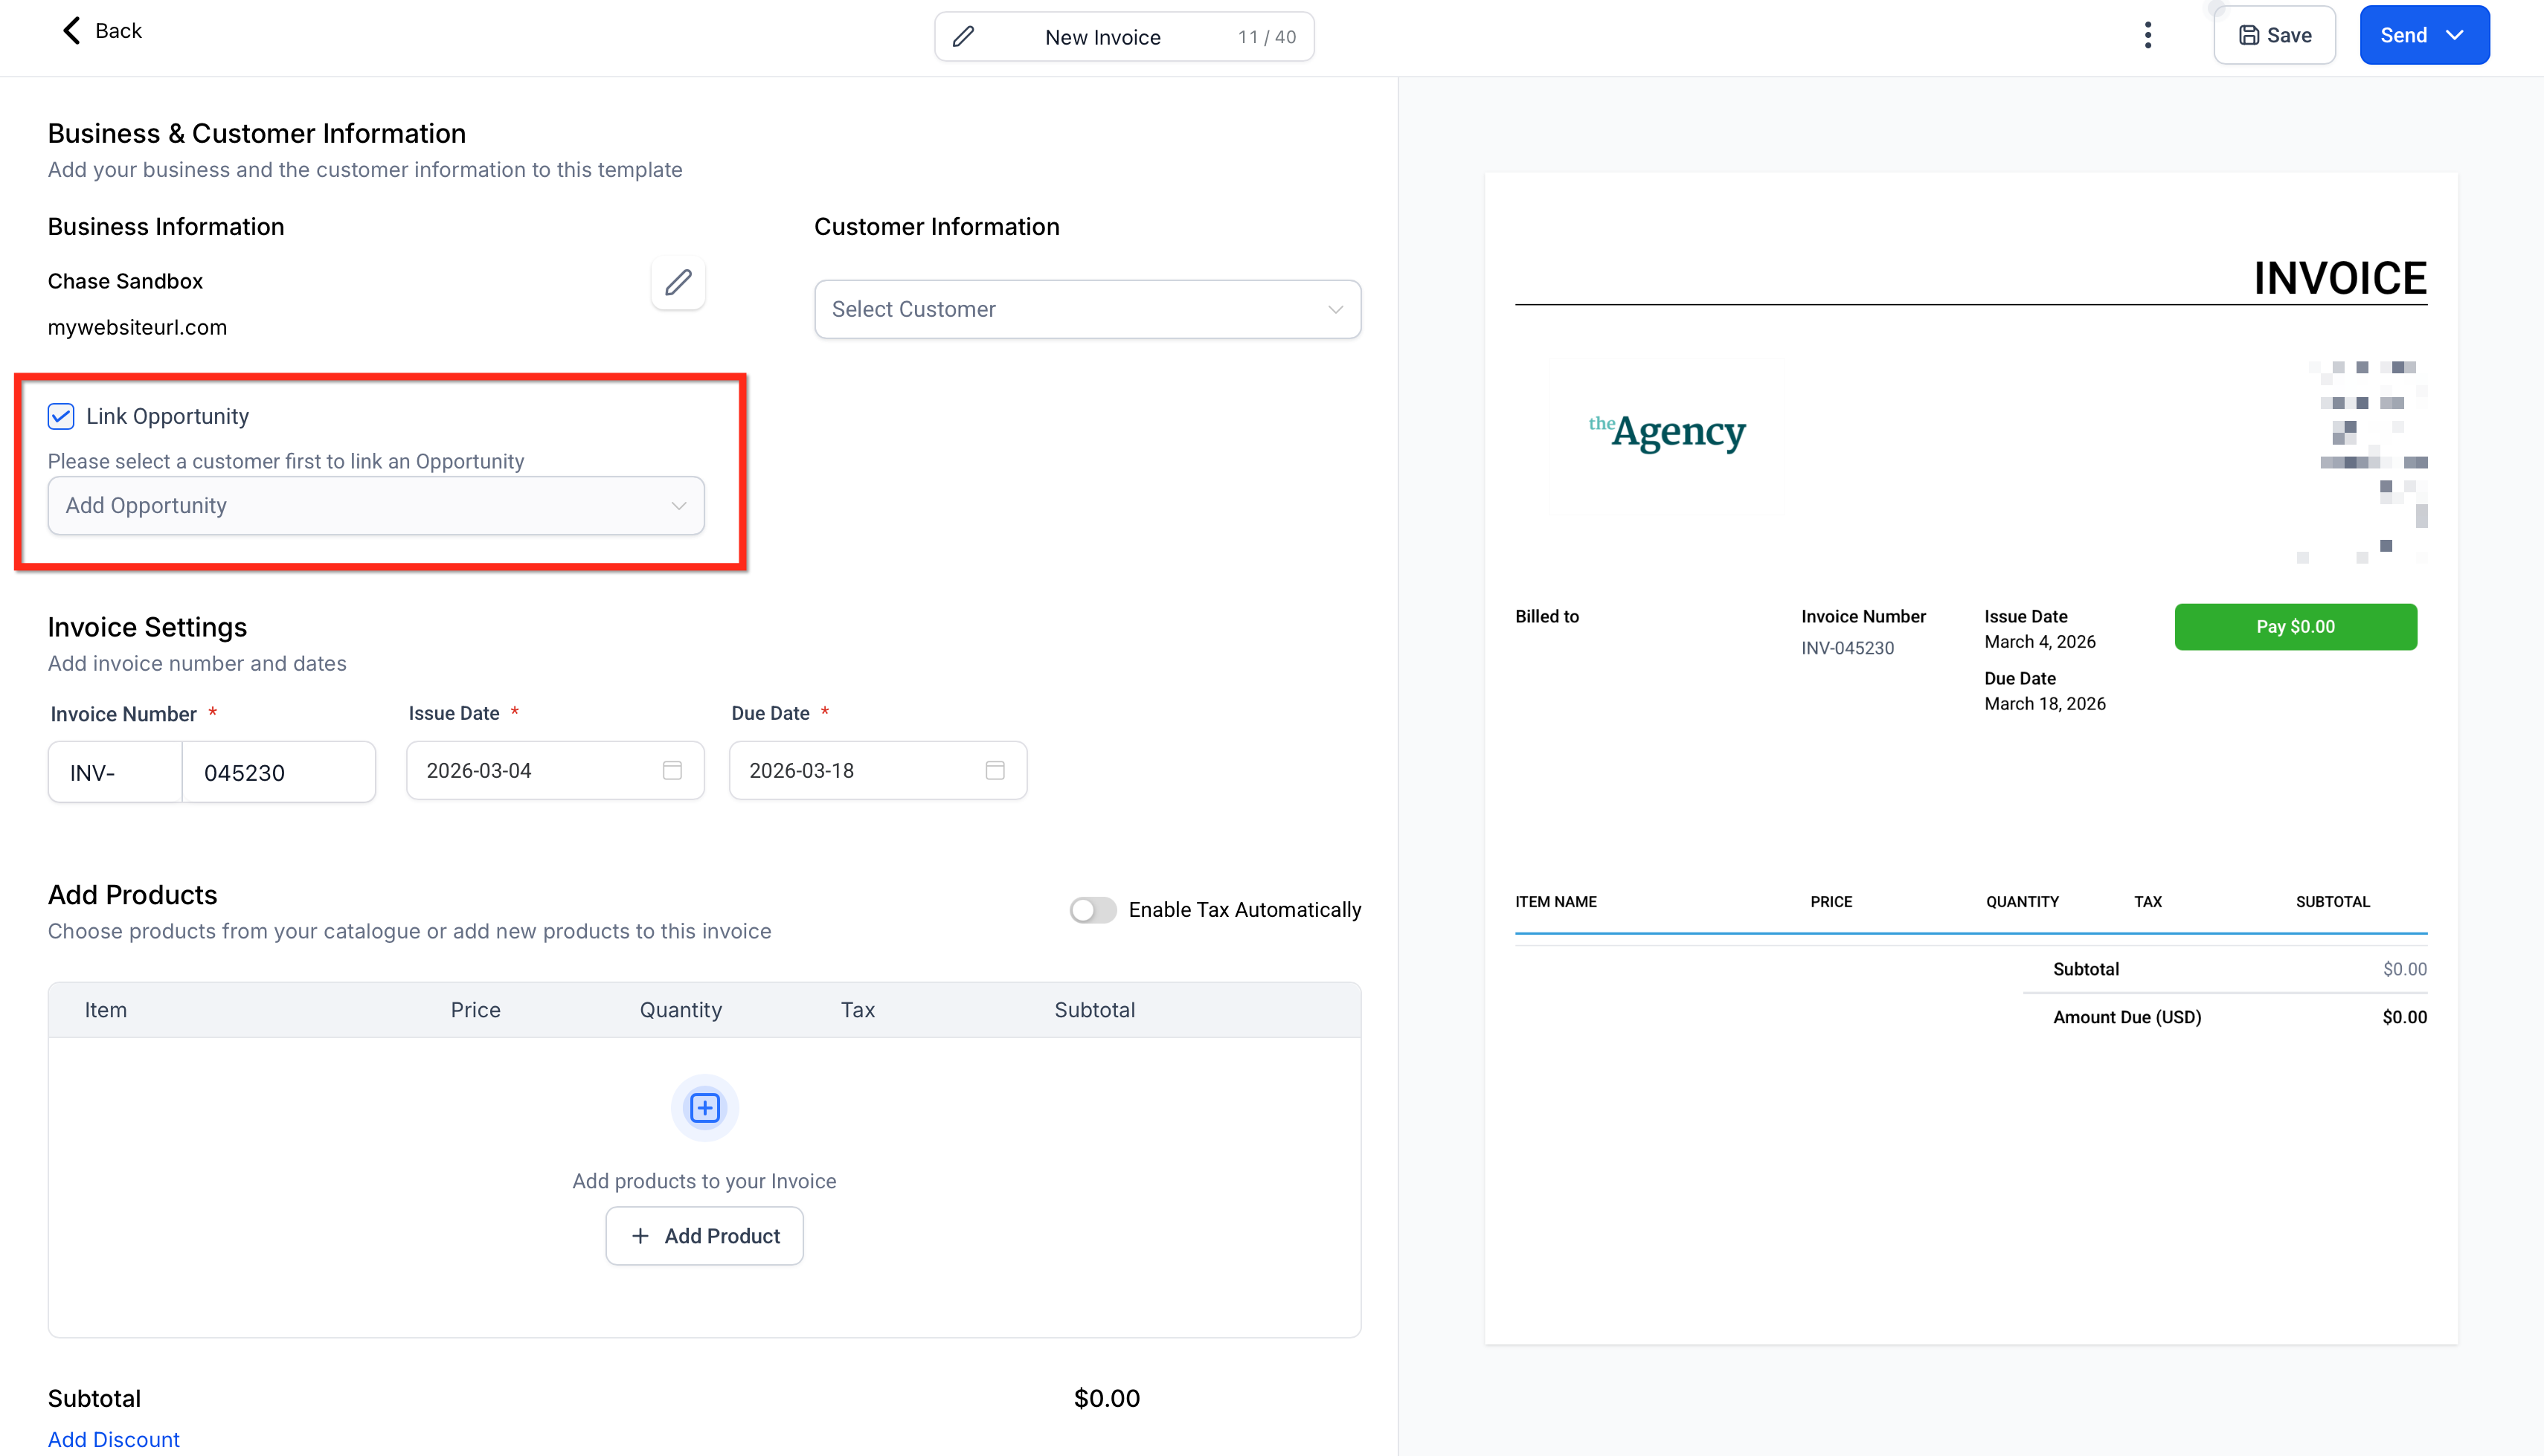
Check Link Opportunity to associate this invoice with an opportunity.
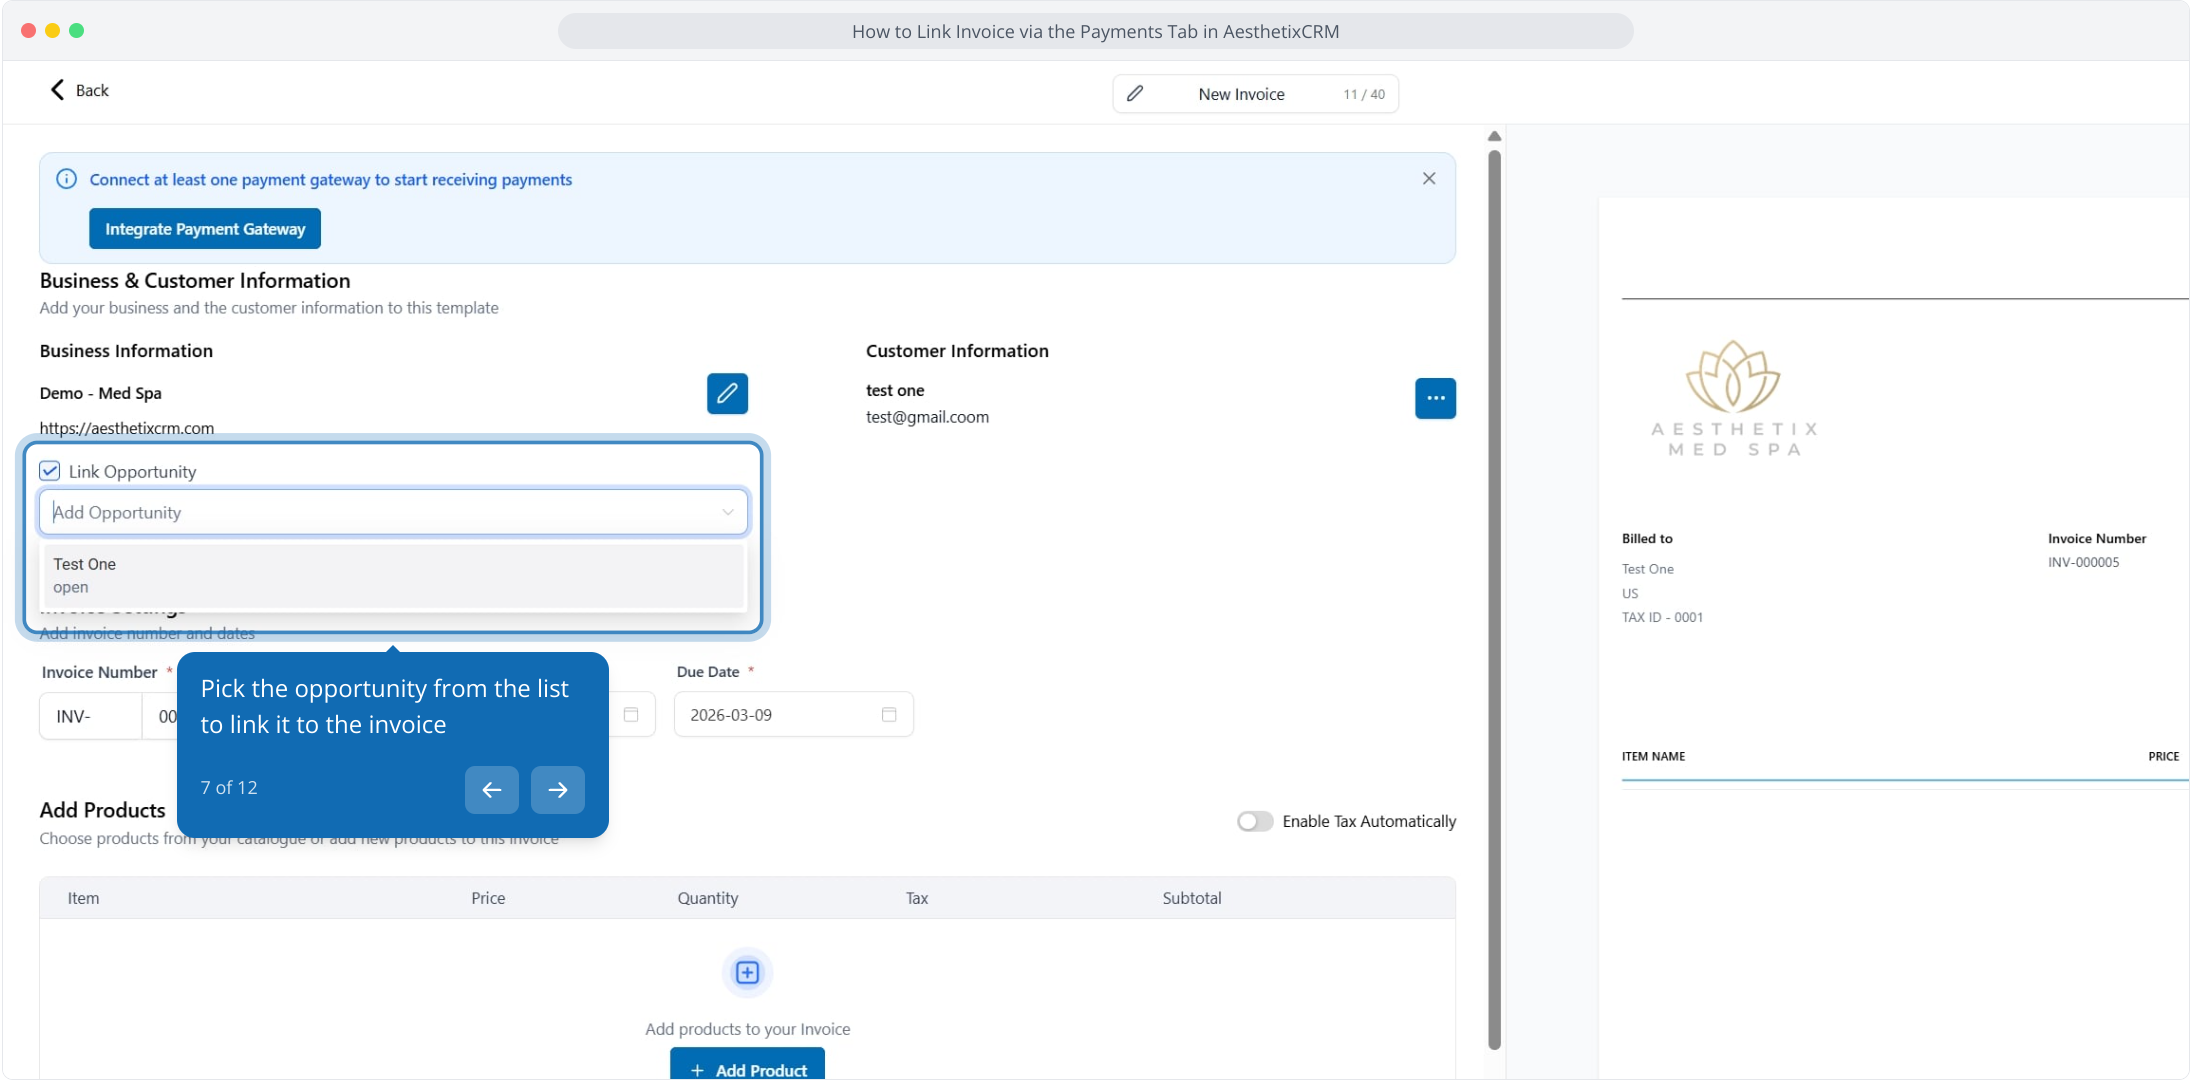
Pick the opportunity from the list to link it to the invoice.
Add a product line, and set taxes, discounts, and a payment schedule as needed.
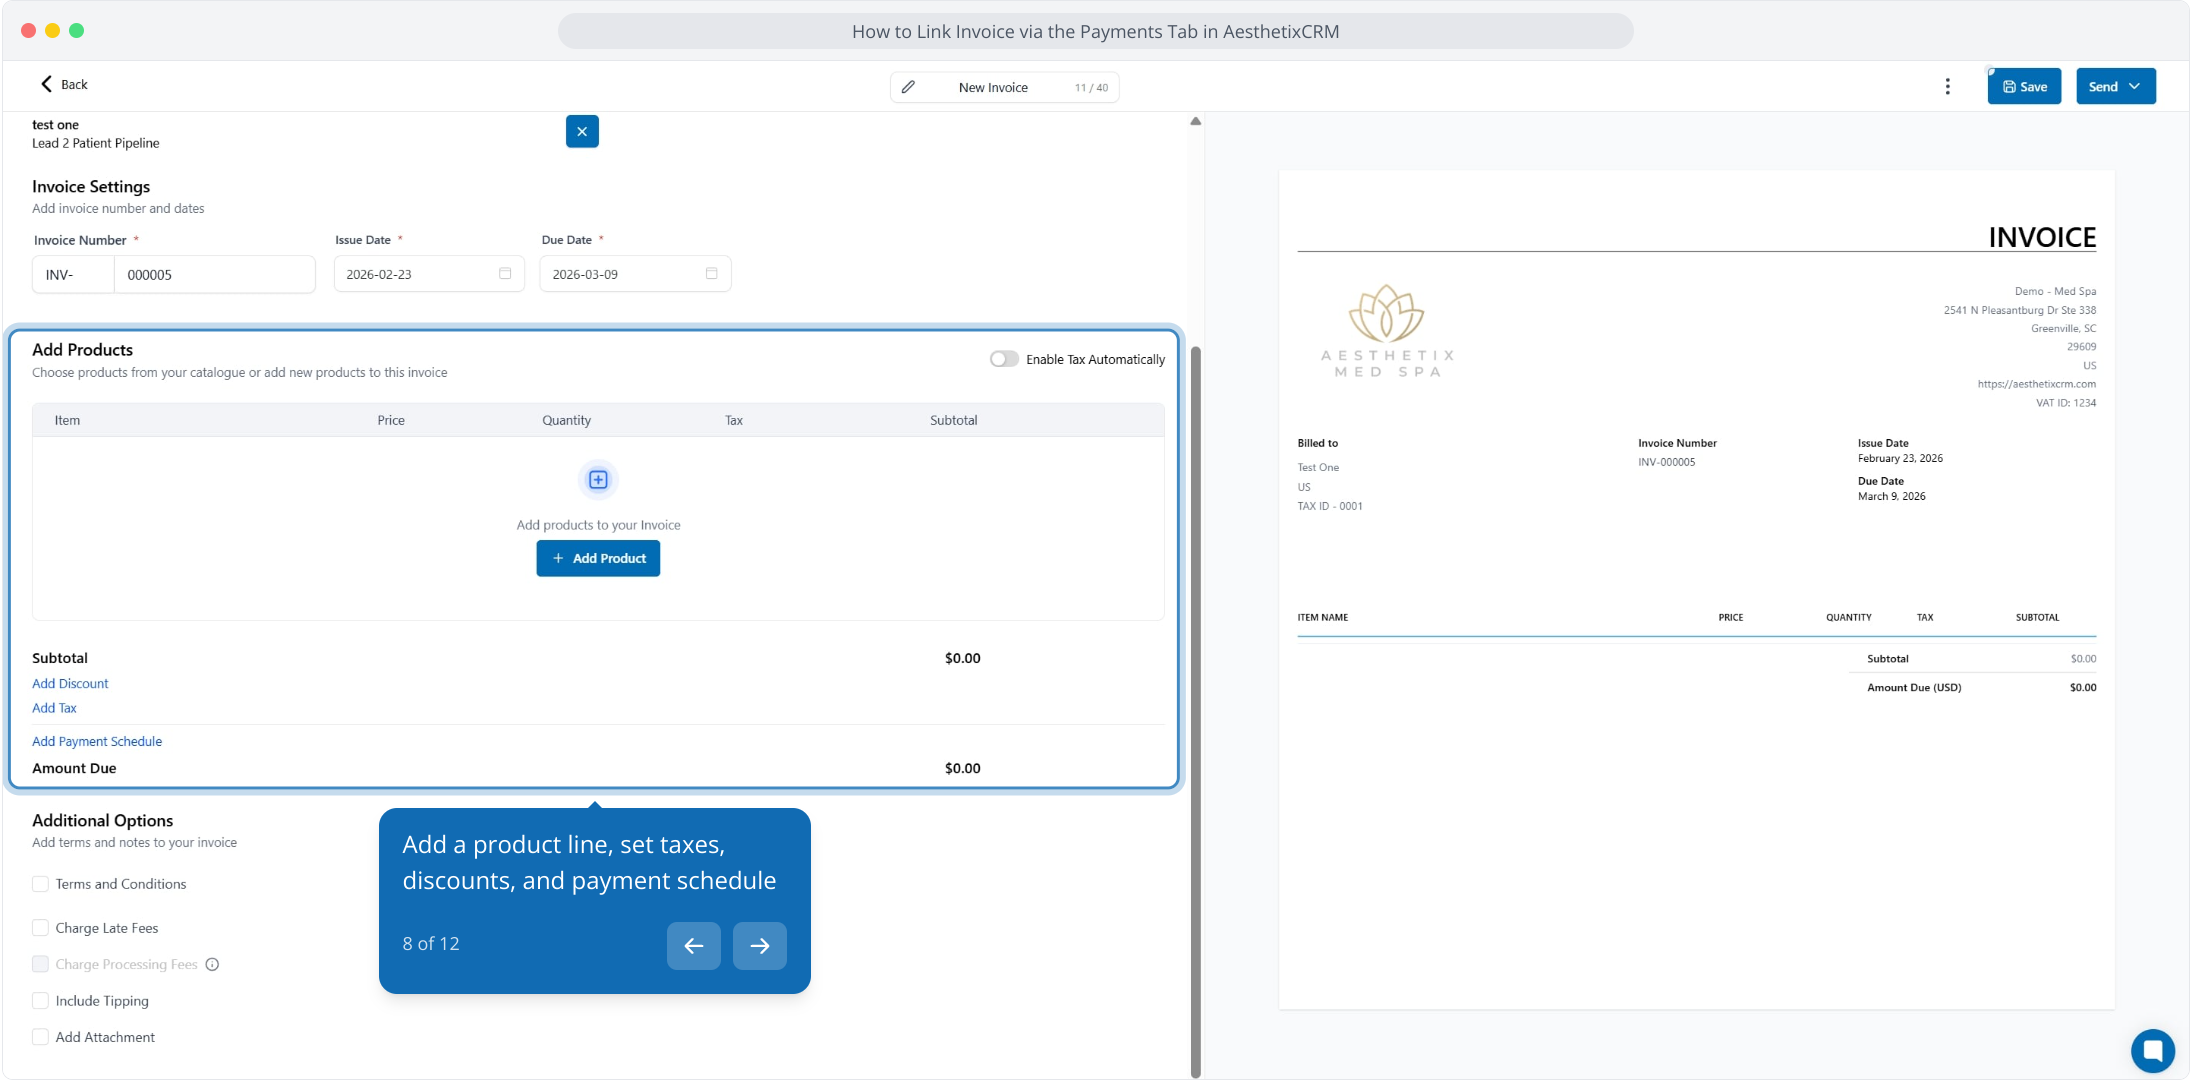
Open Additional Options and adjust settings if needed.
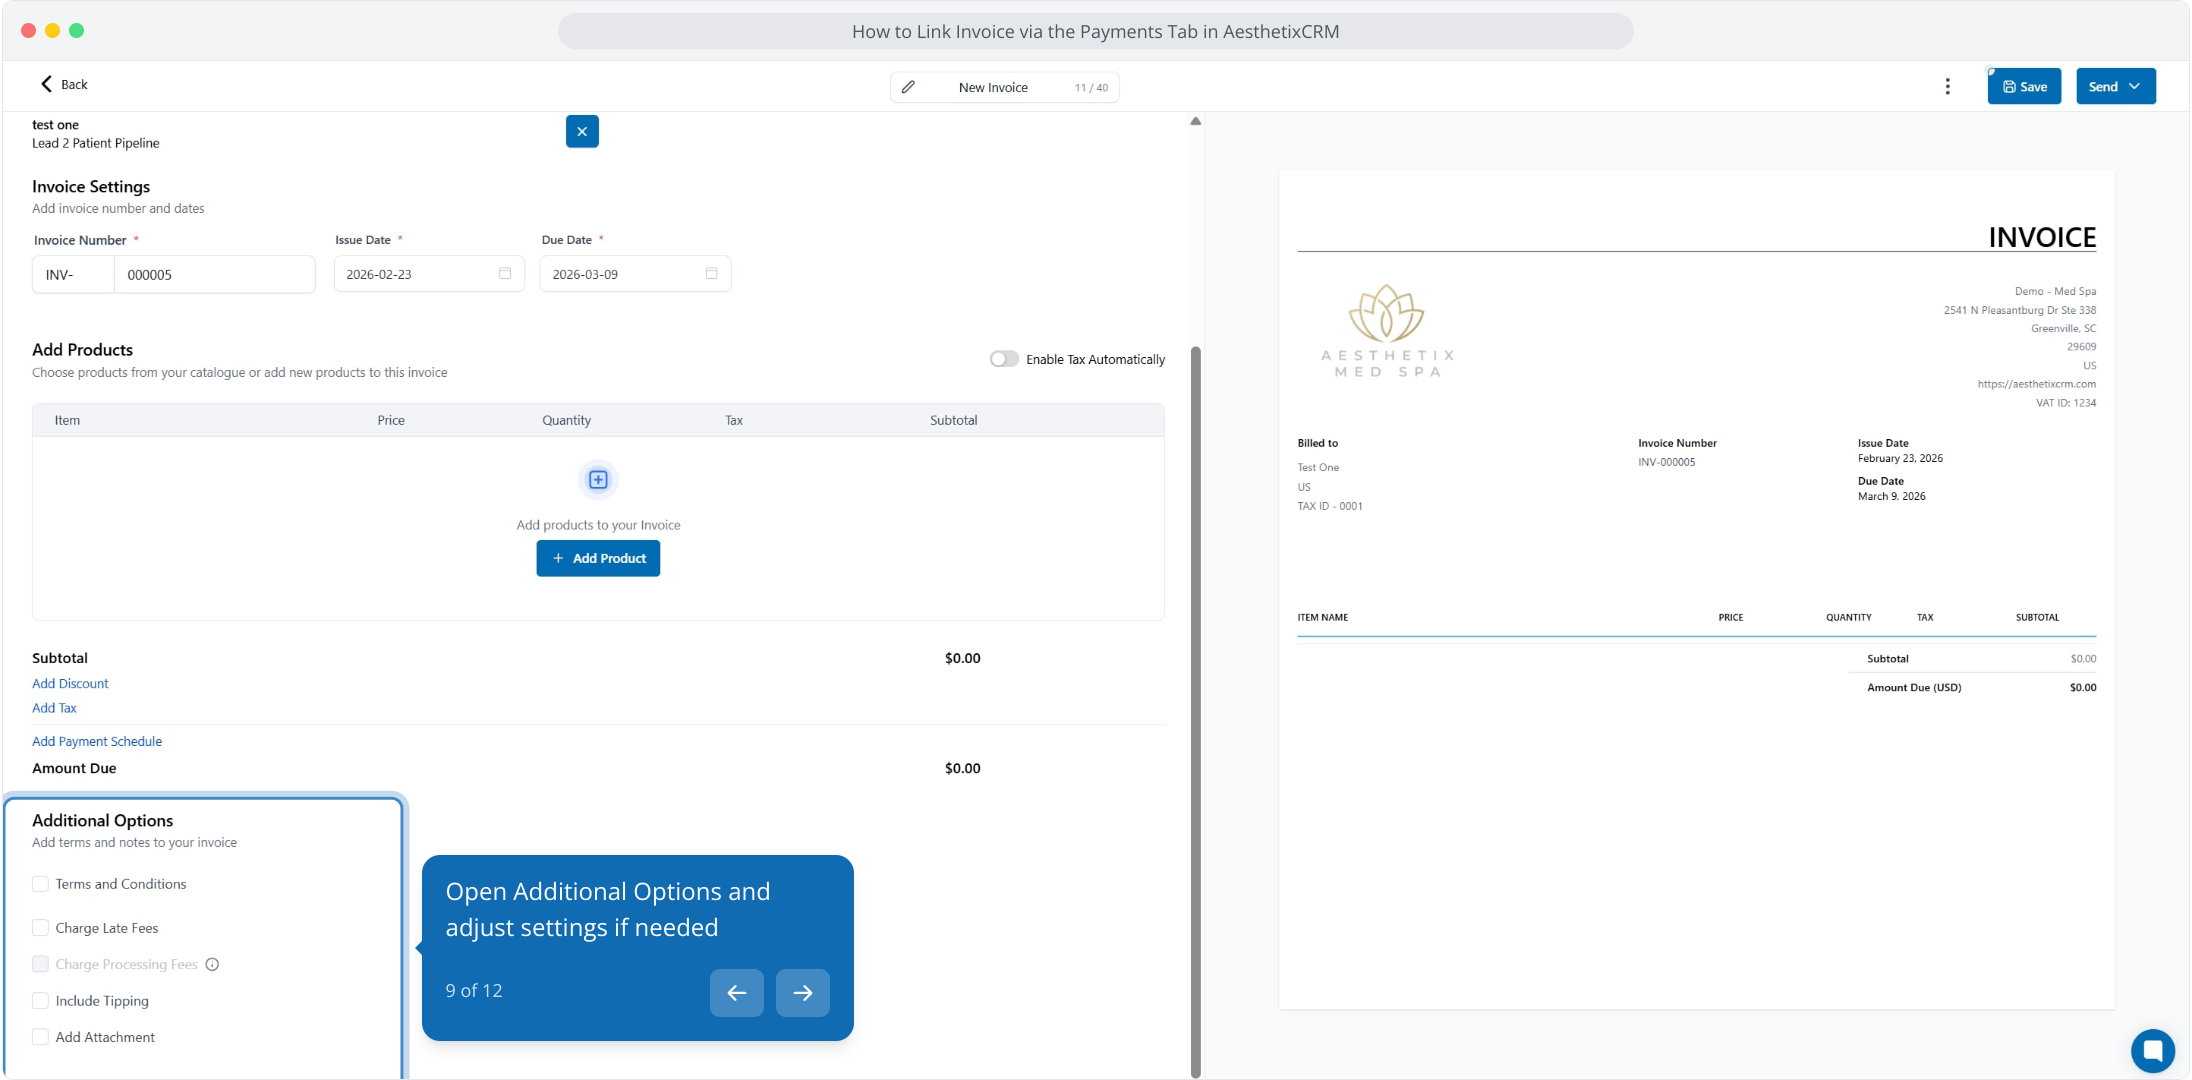
Review the invoice preview to confirm items, totals, and dates.
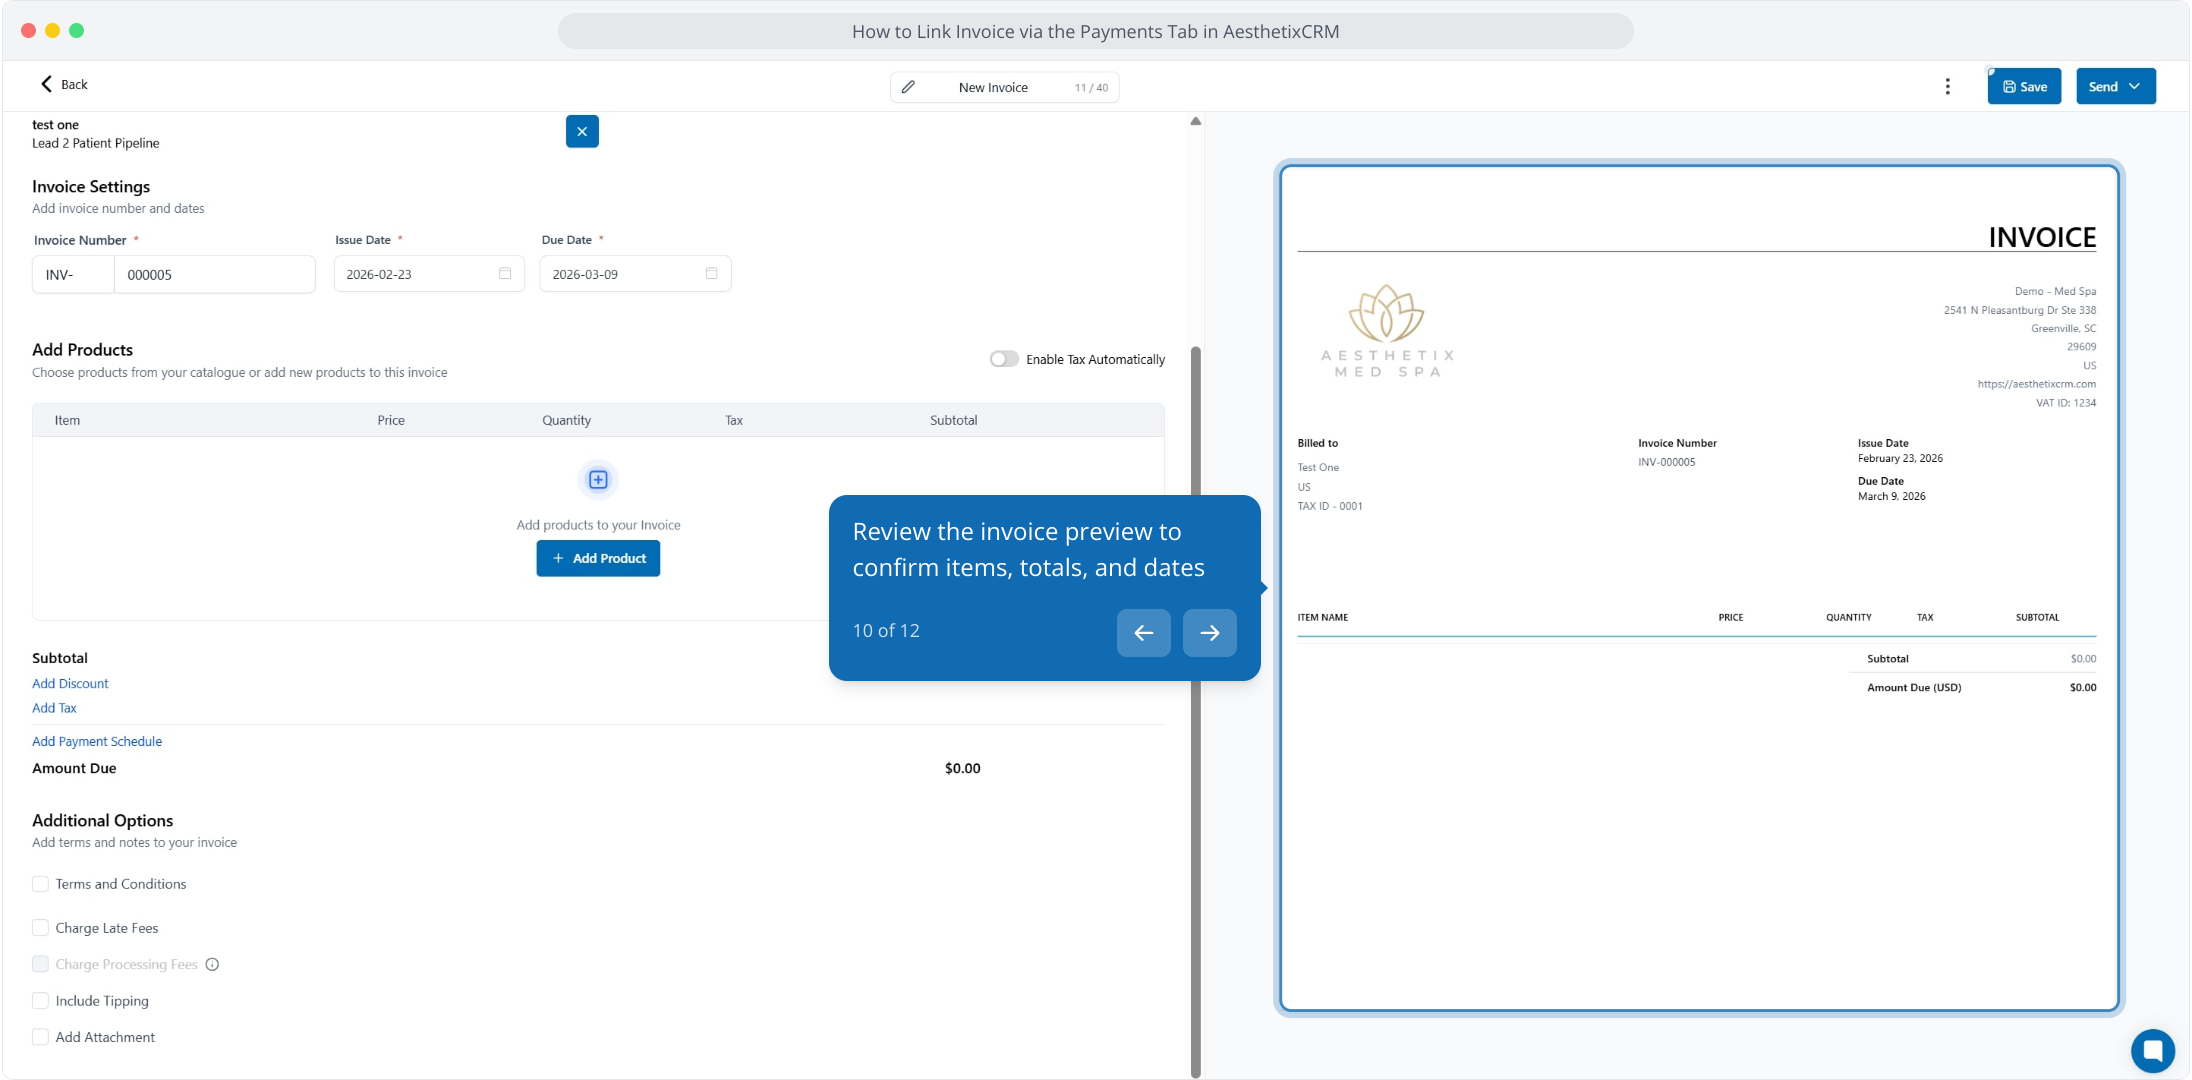
Click Save to store the invoice as a draft.
Click Send to deliver the invoice to the patient.
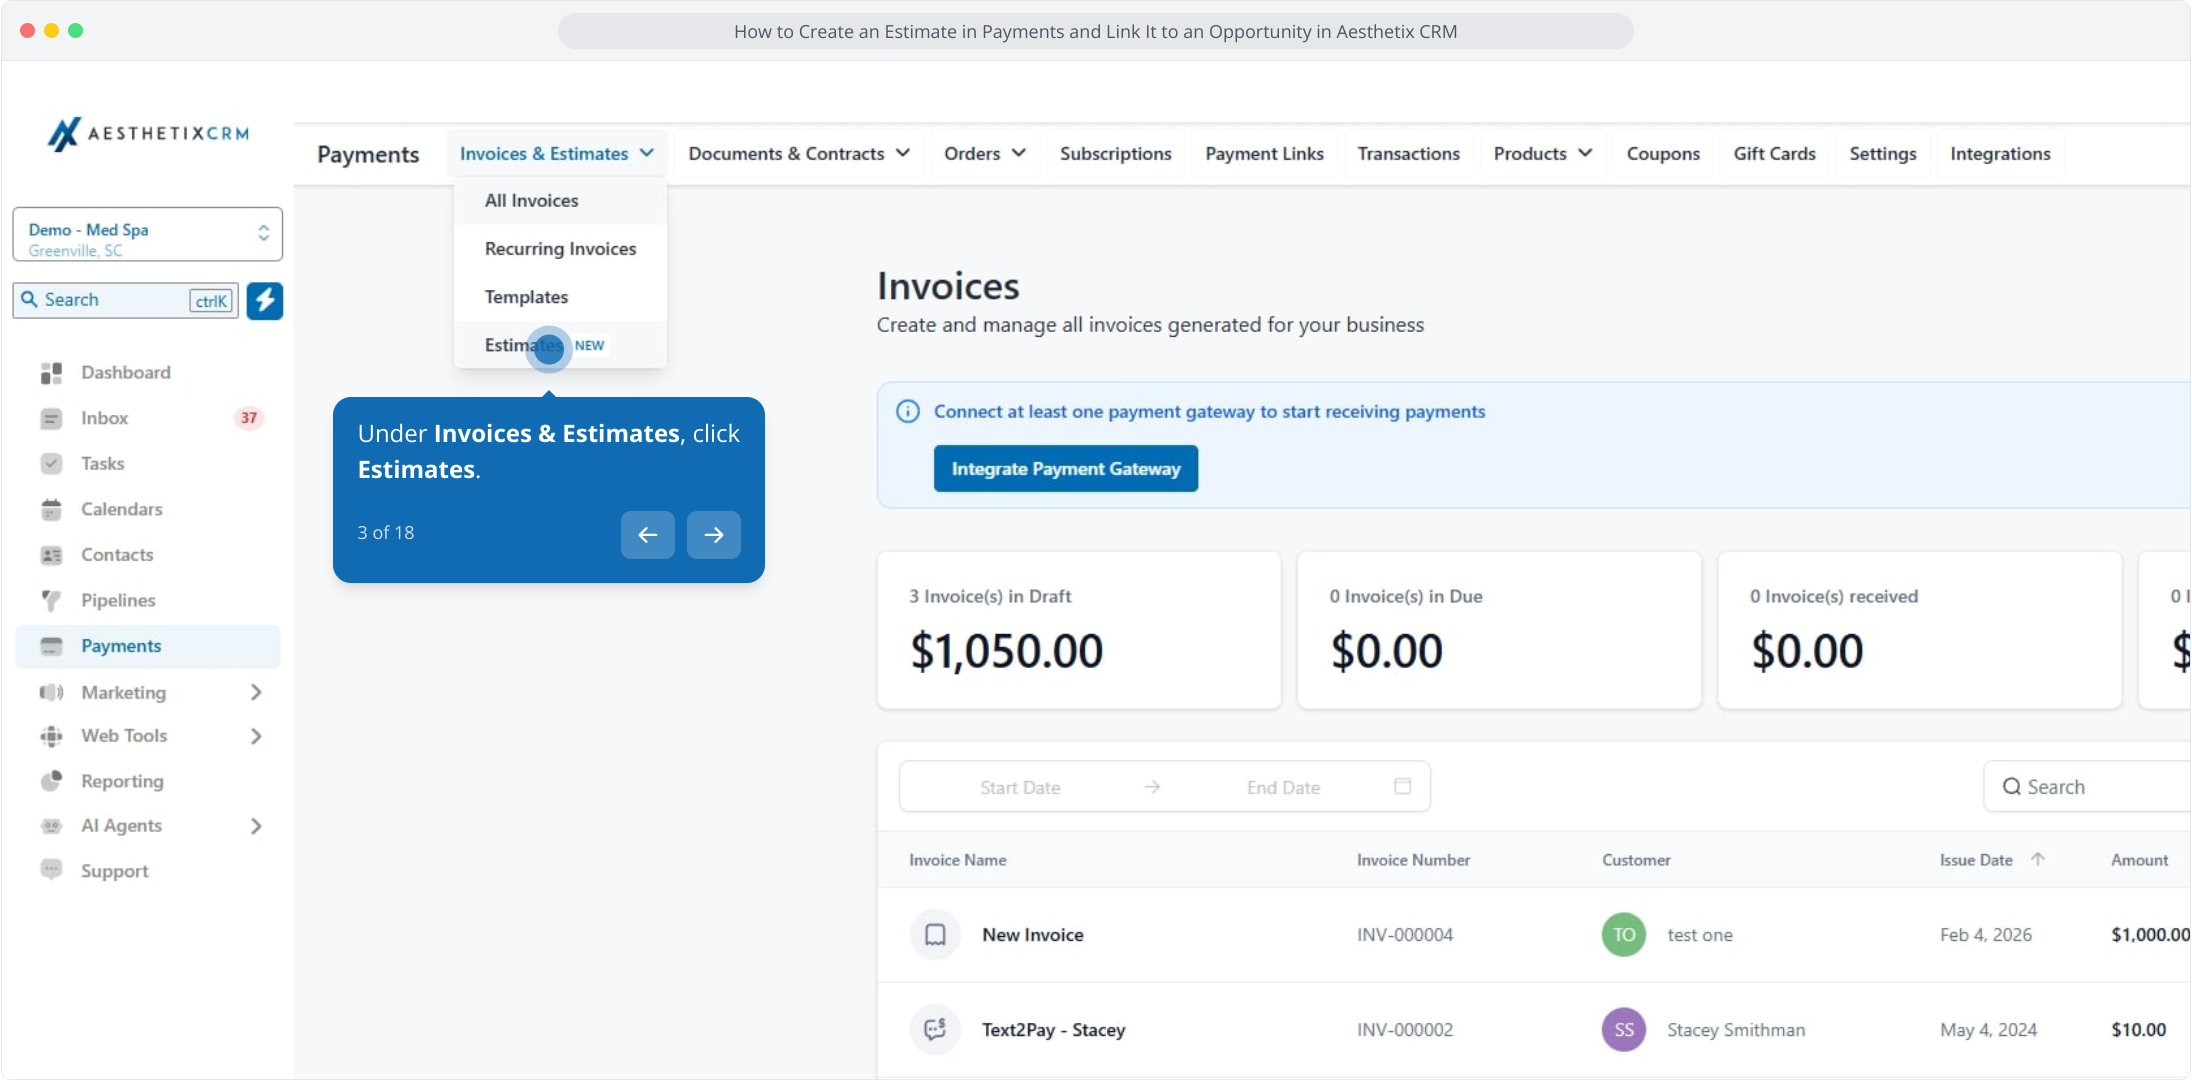
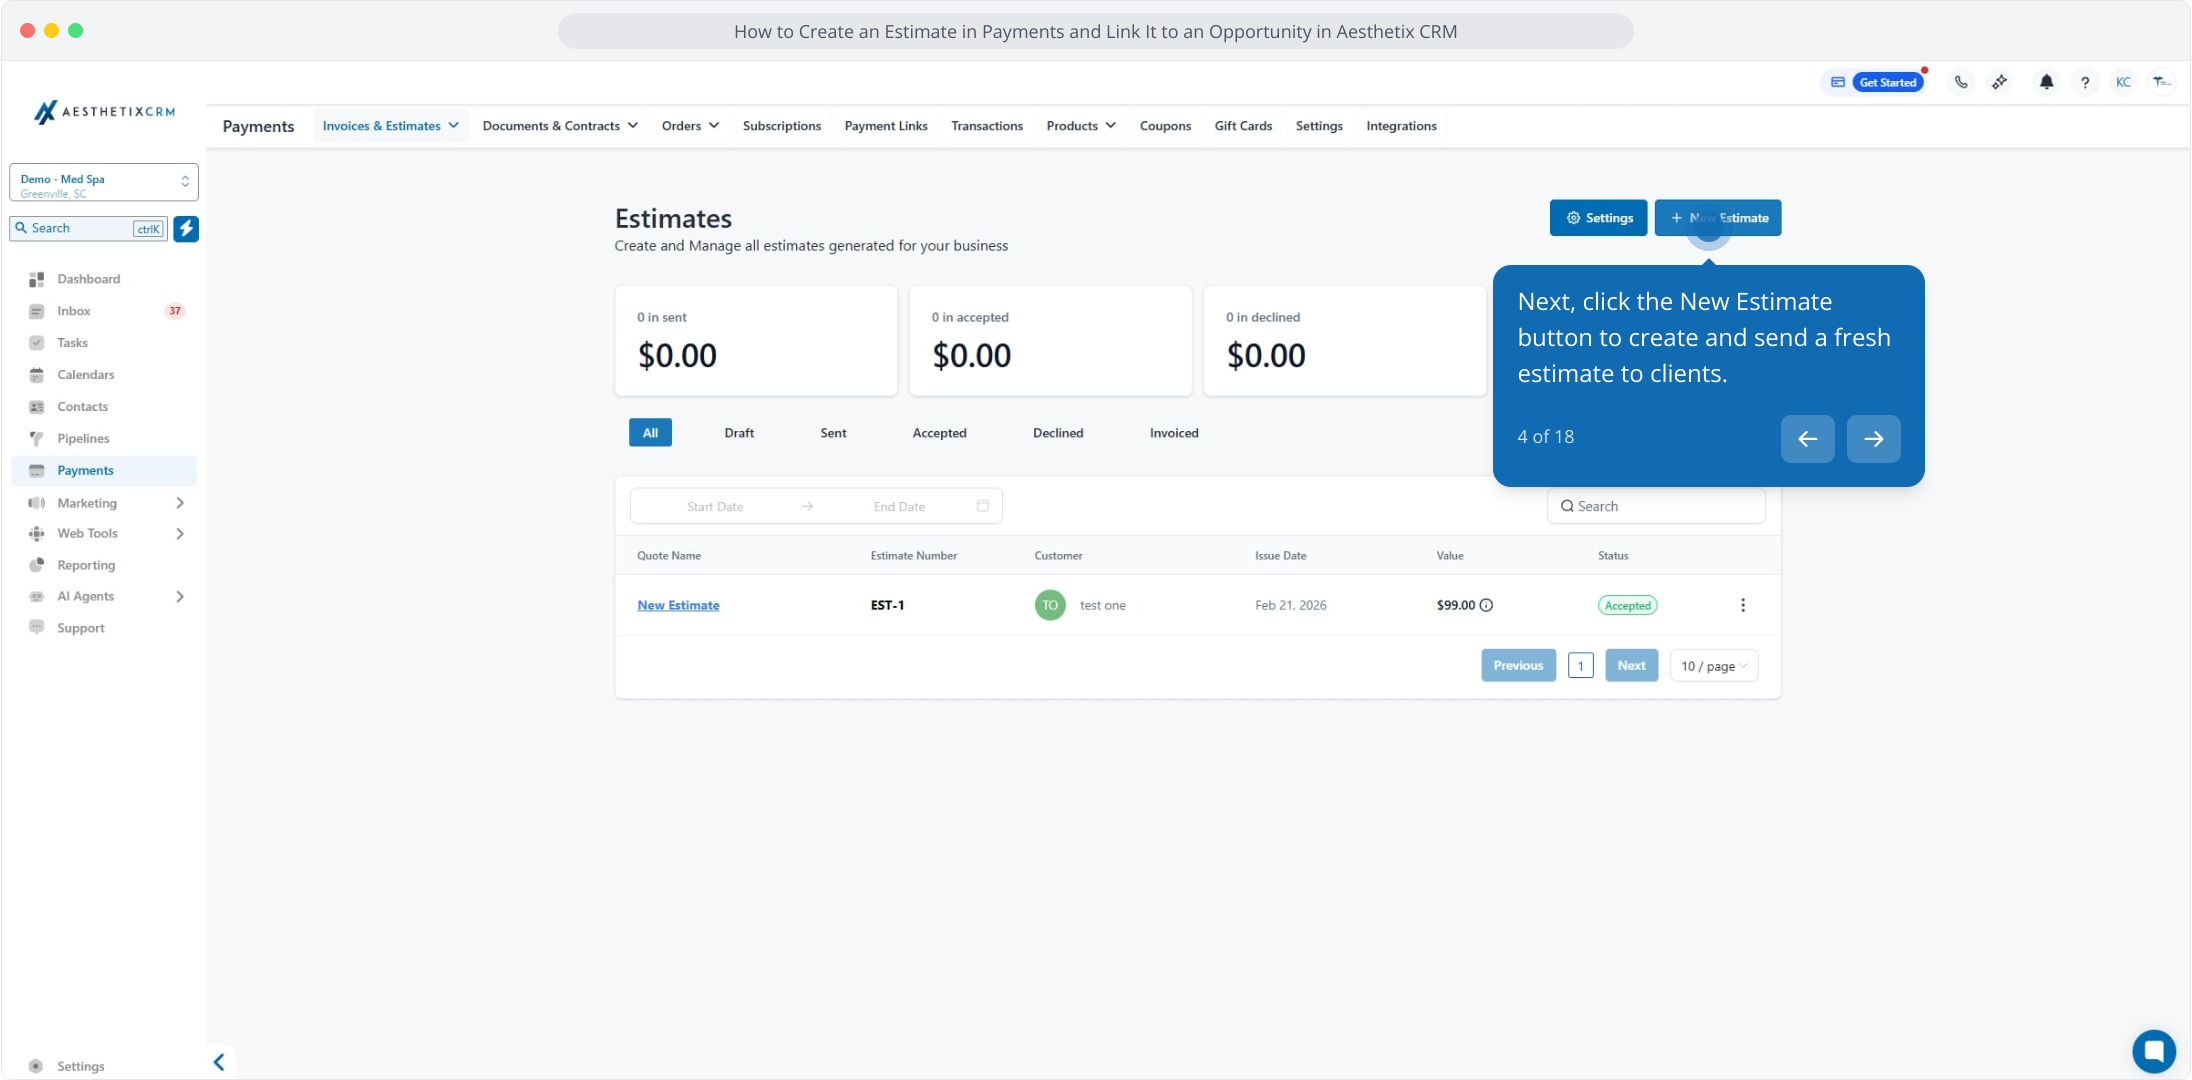
Under Invoices & Estimates, click Estimates, then click New Estimate.
Click Business Information, edit any necessary details, and click Save.
Under Customer Information, search and select the patient you want to send the estimate to.
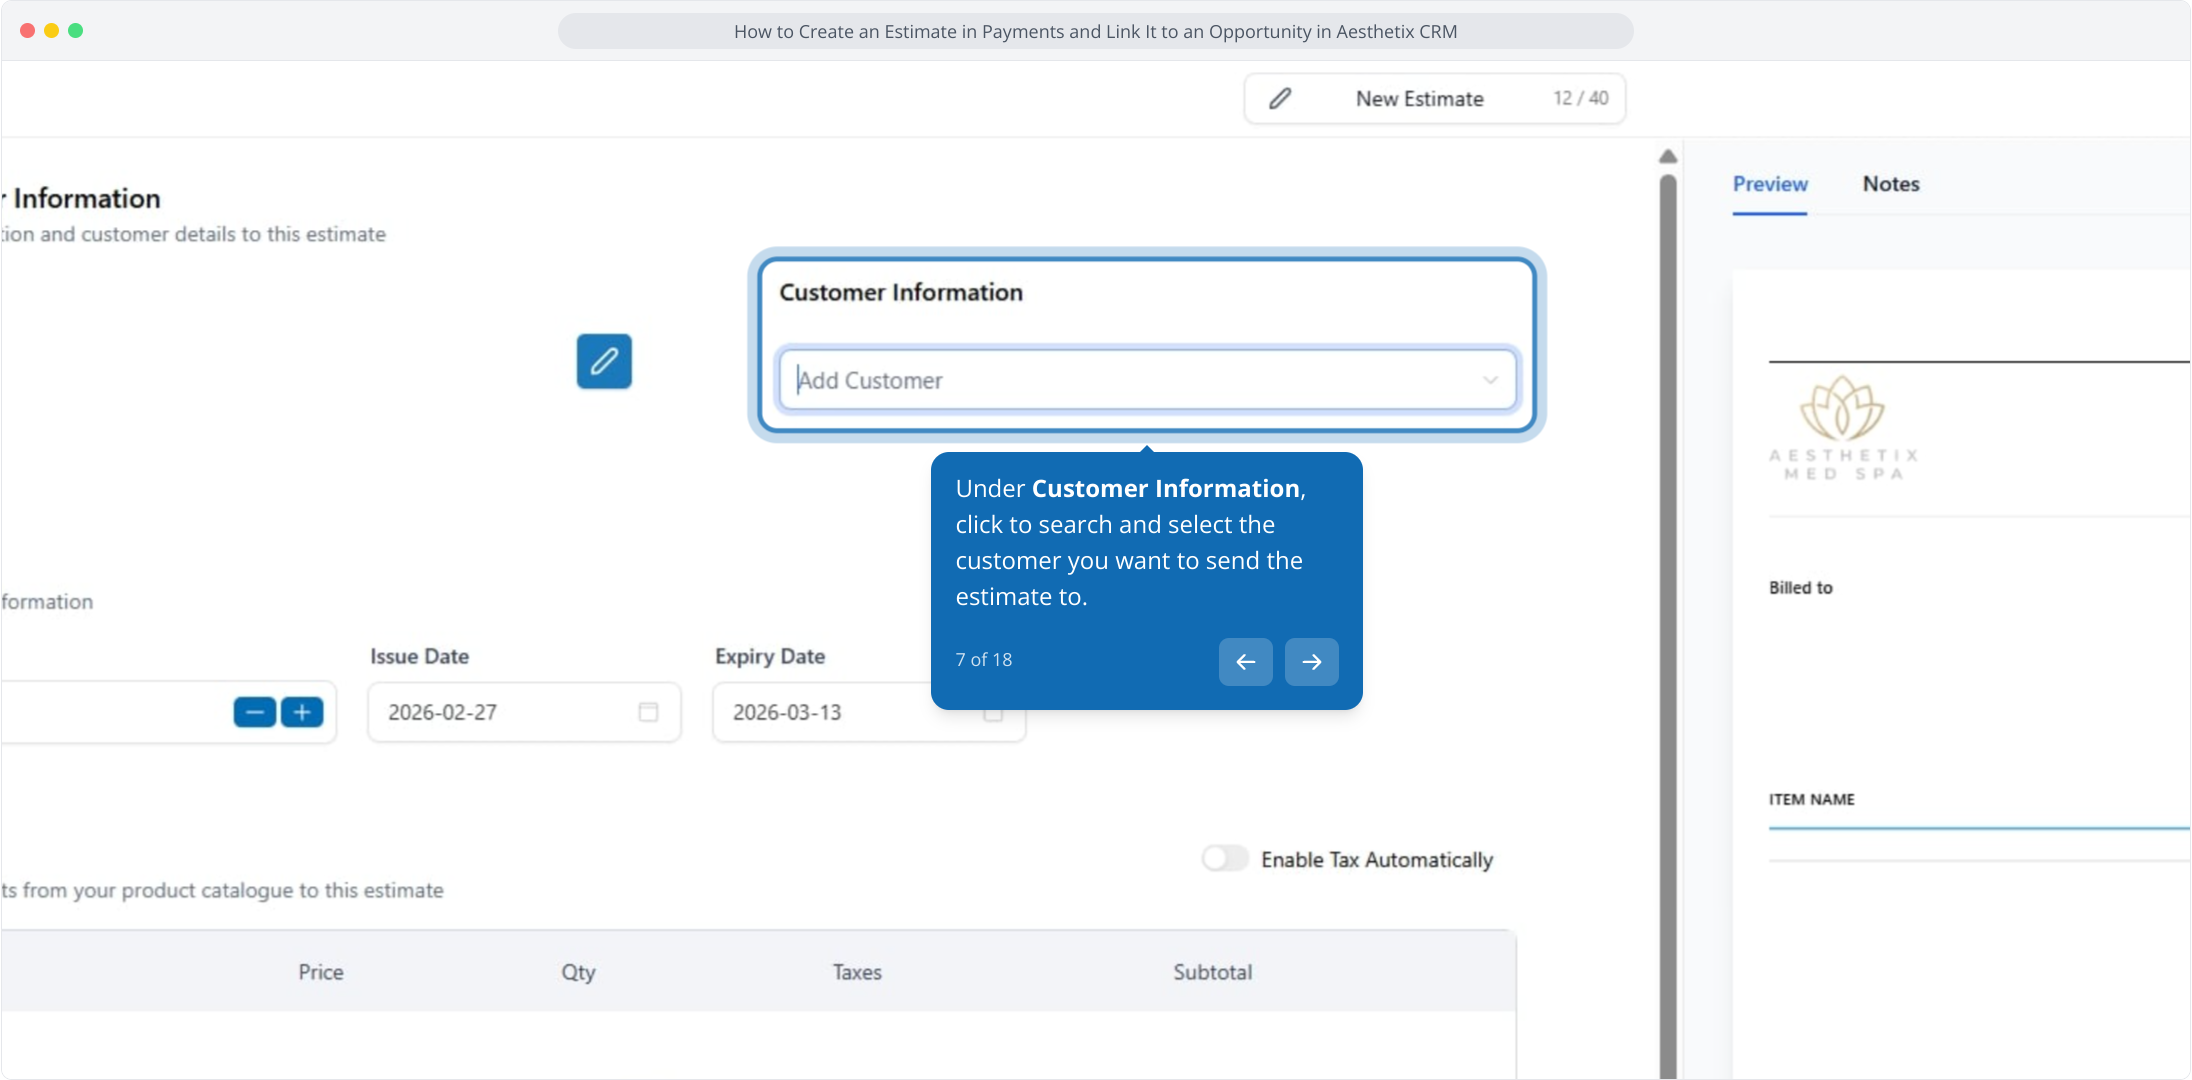
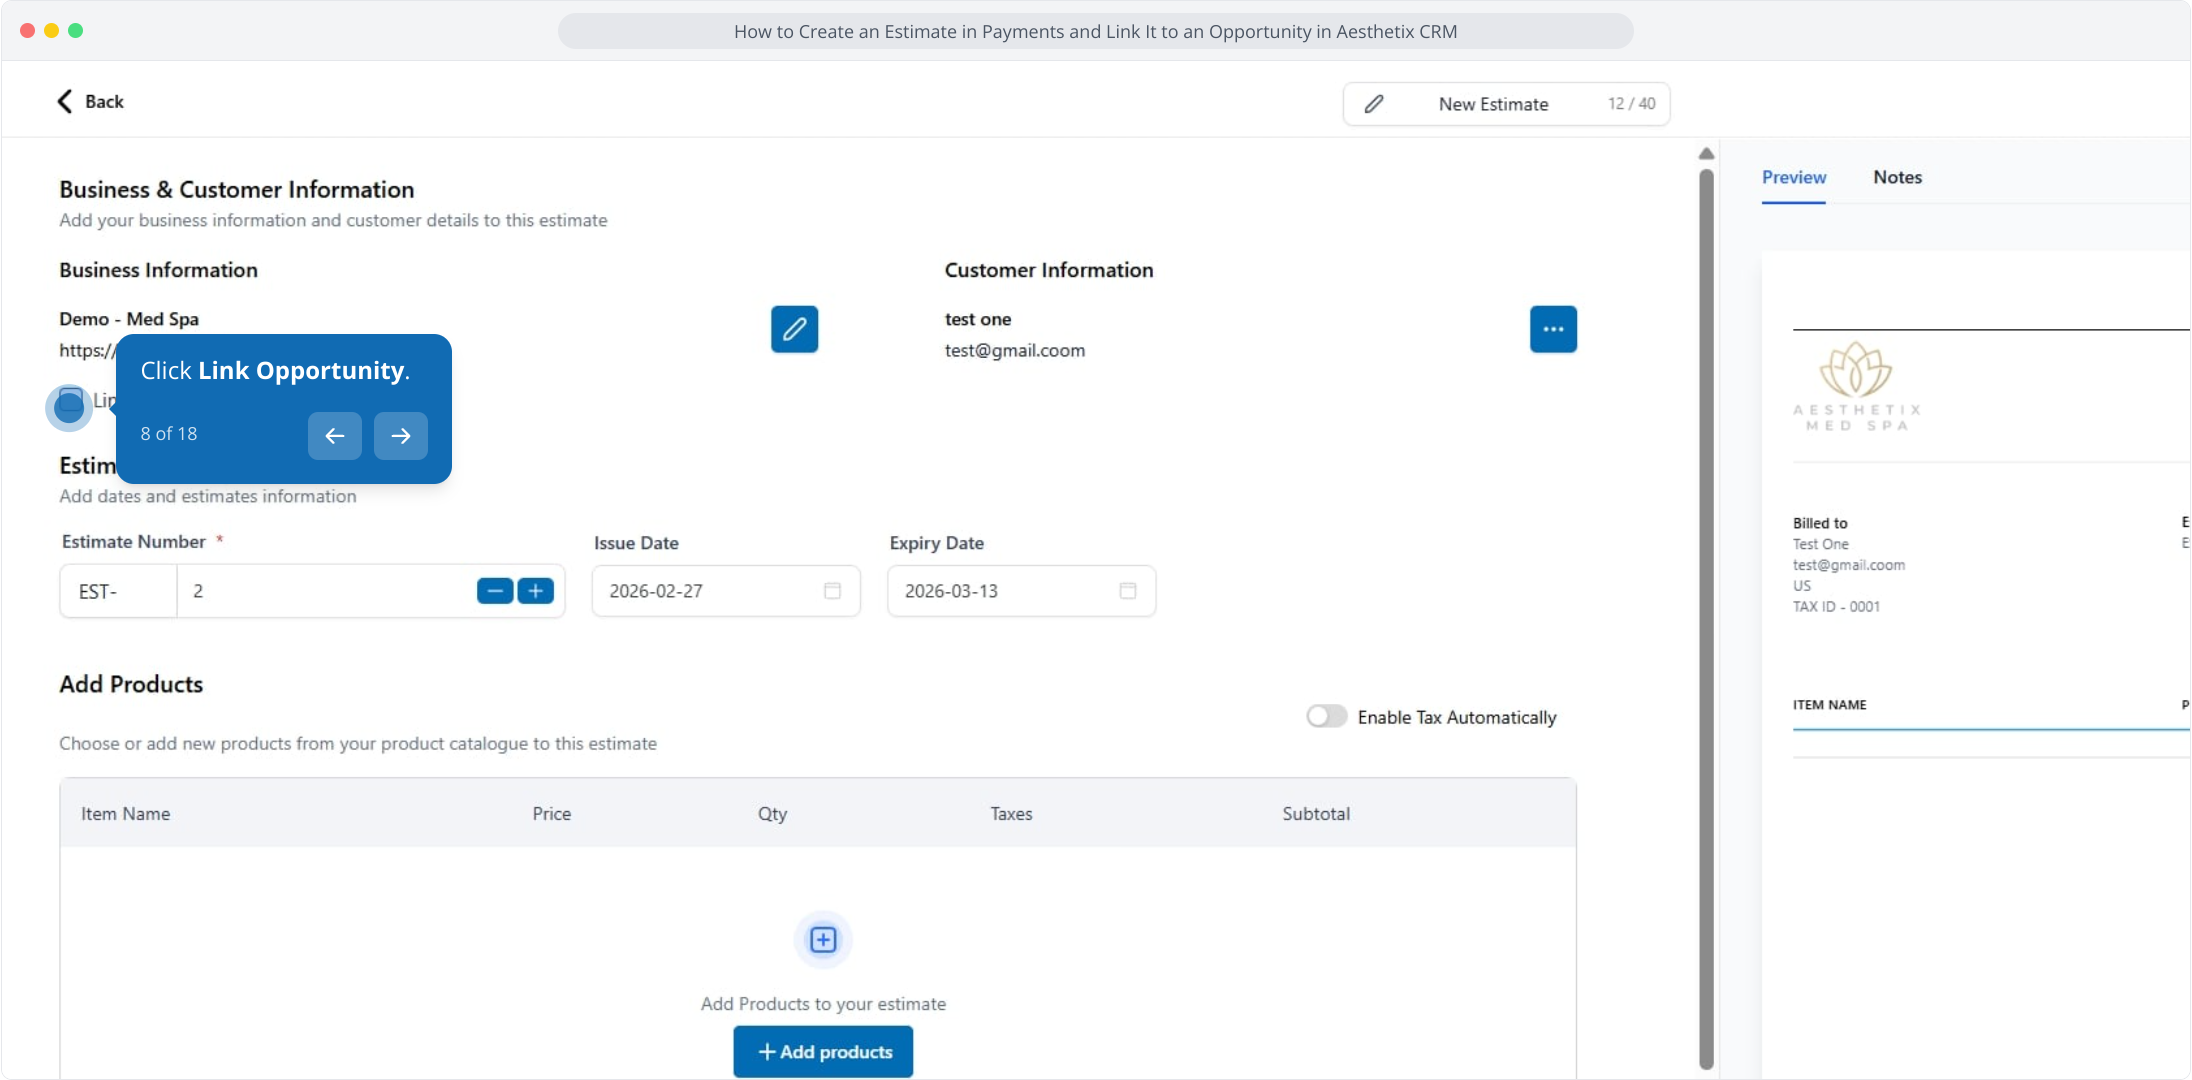
Click Link Opportunity.
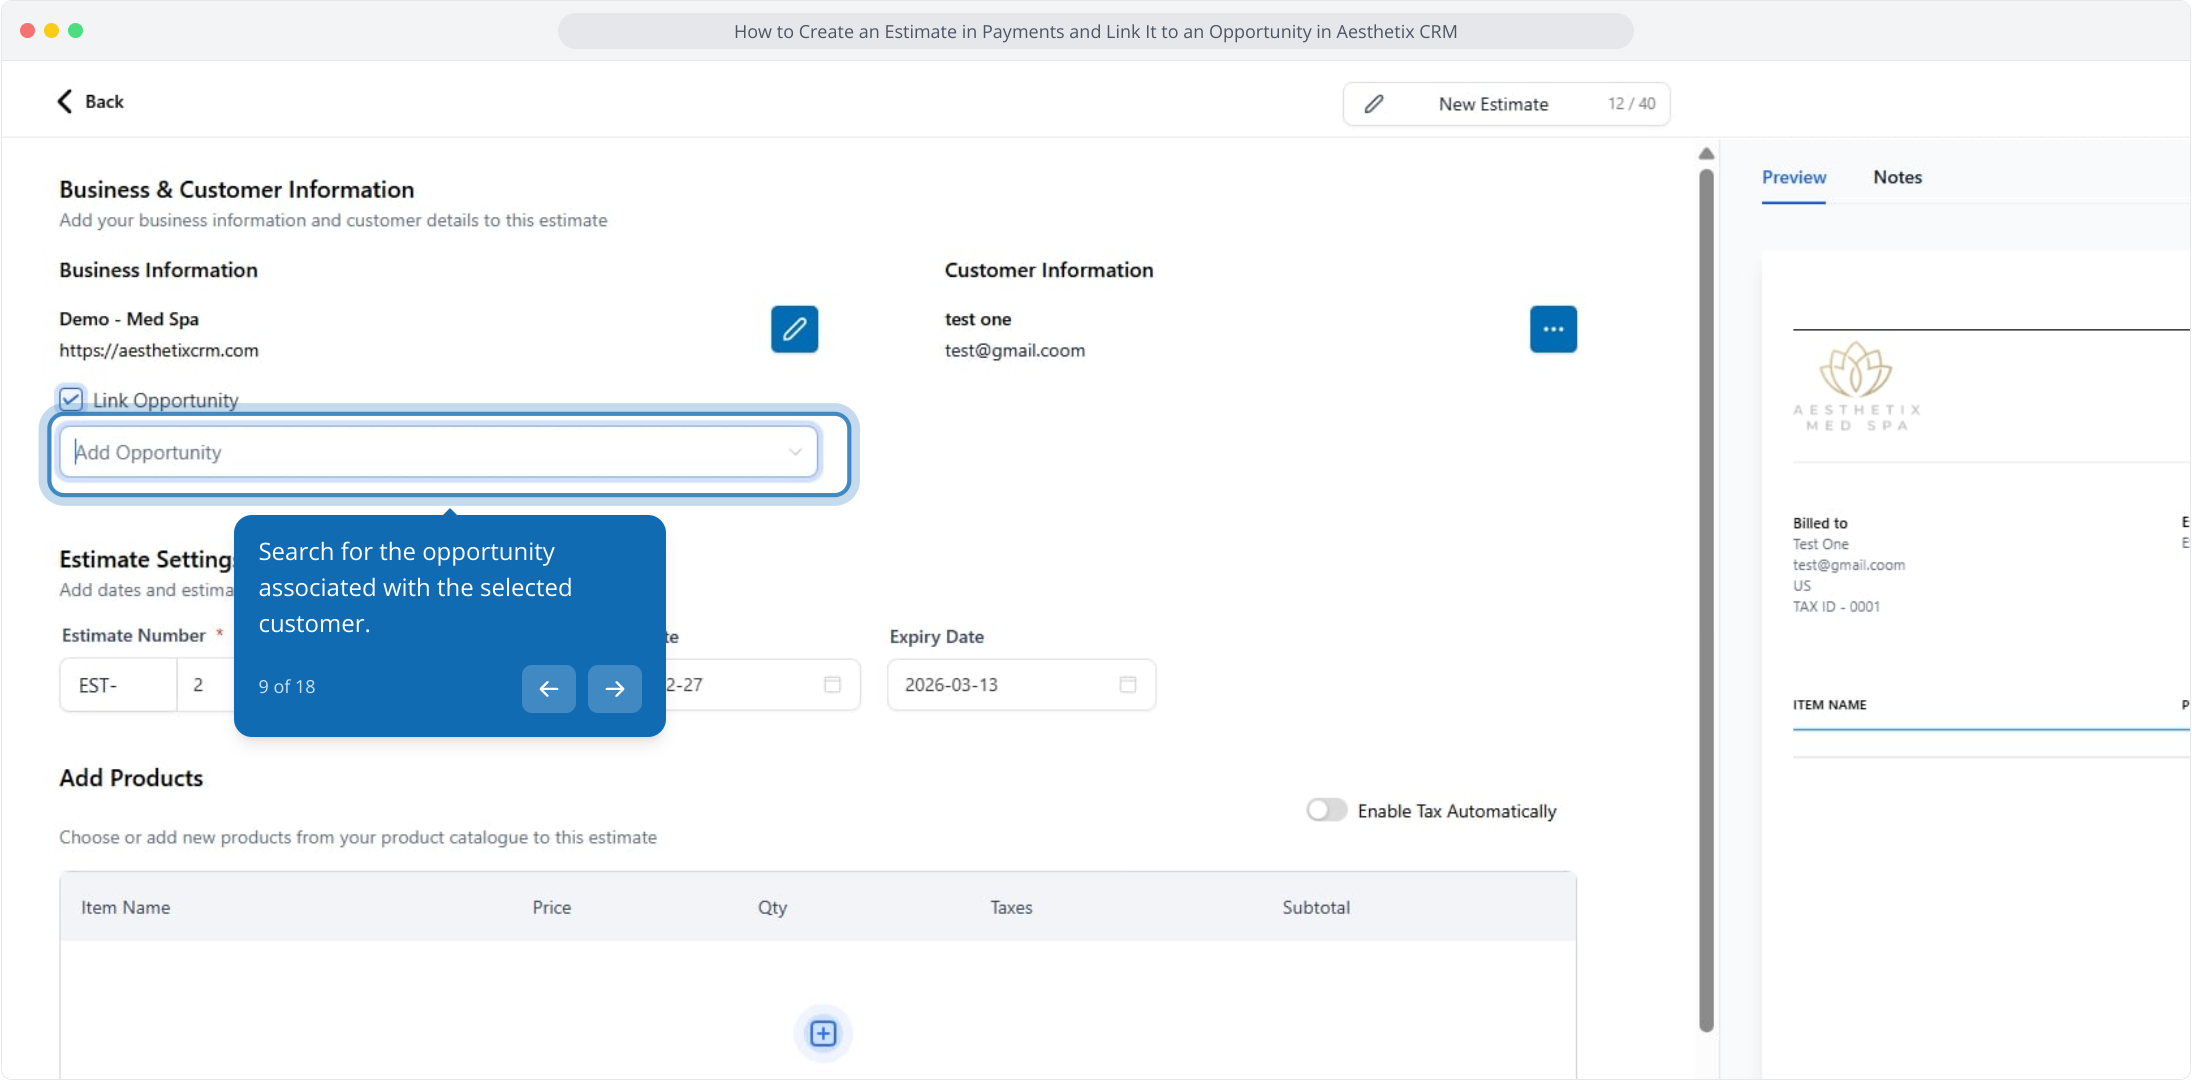
Search for the opportunity associated with the selected patient.
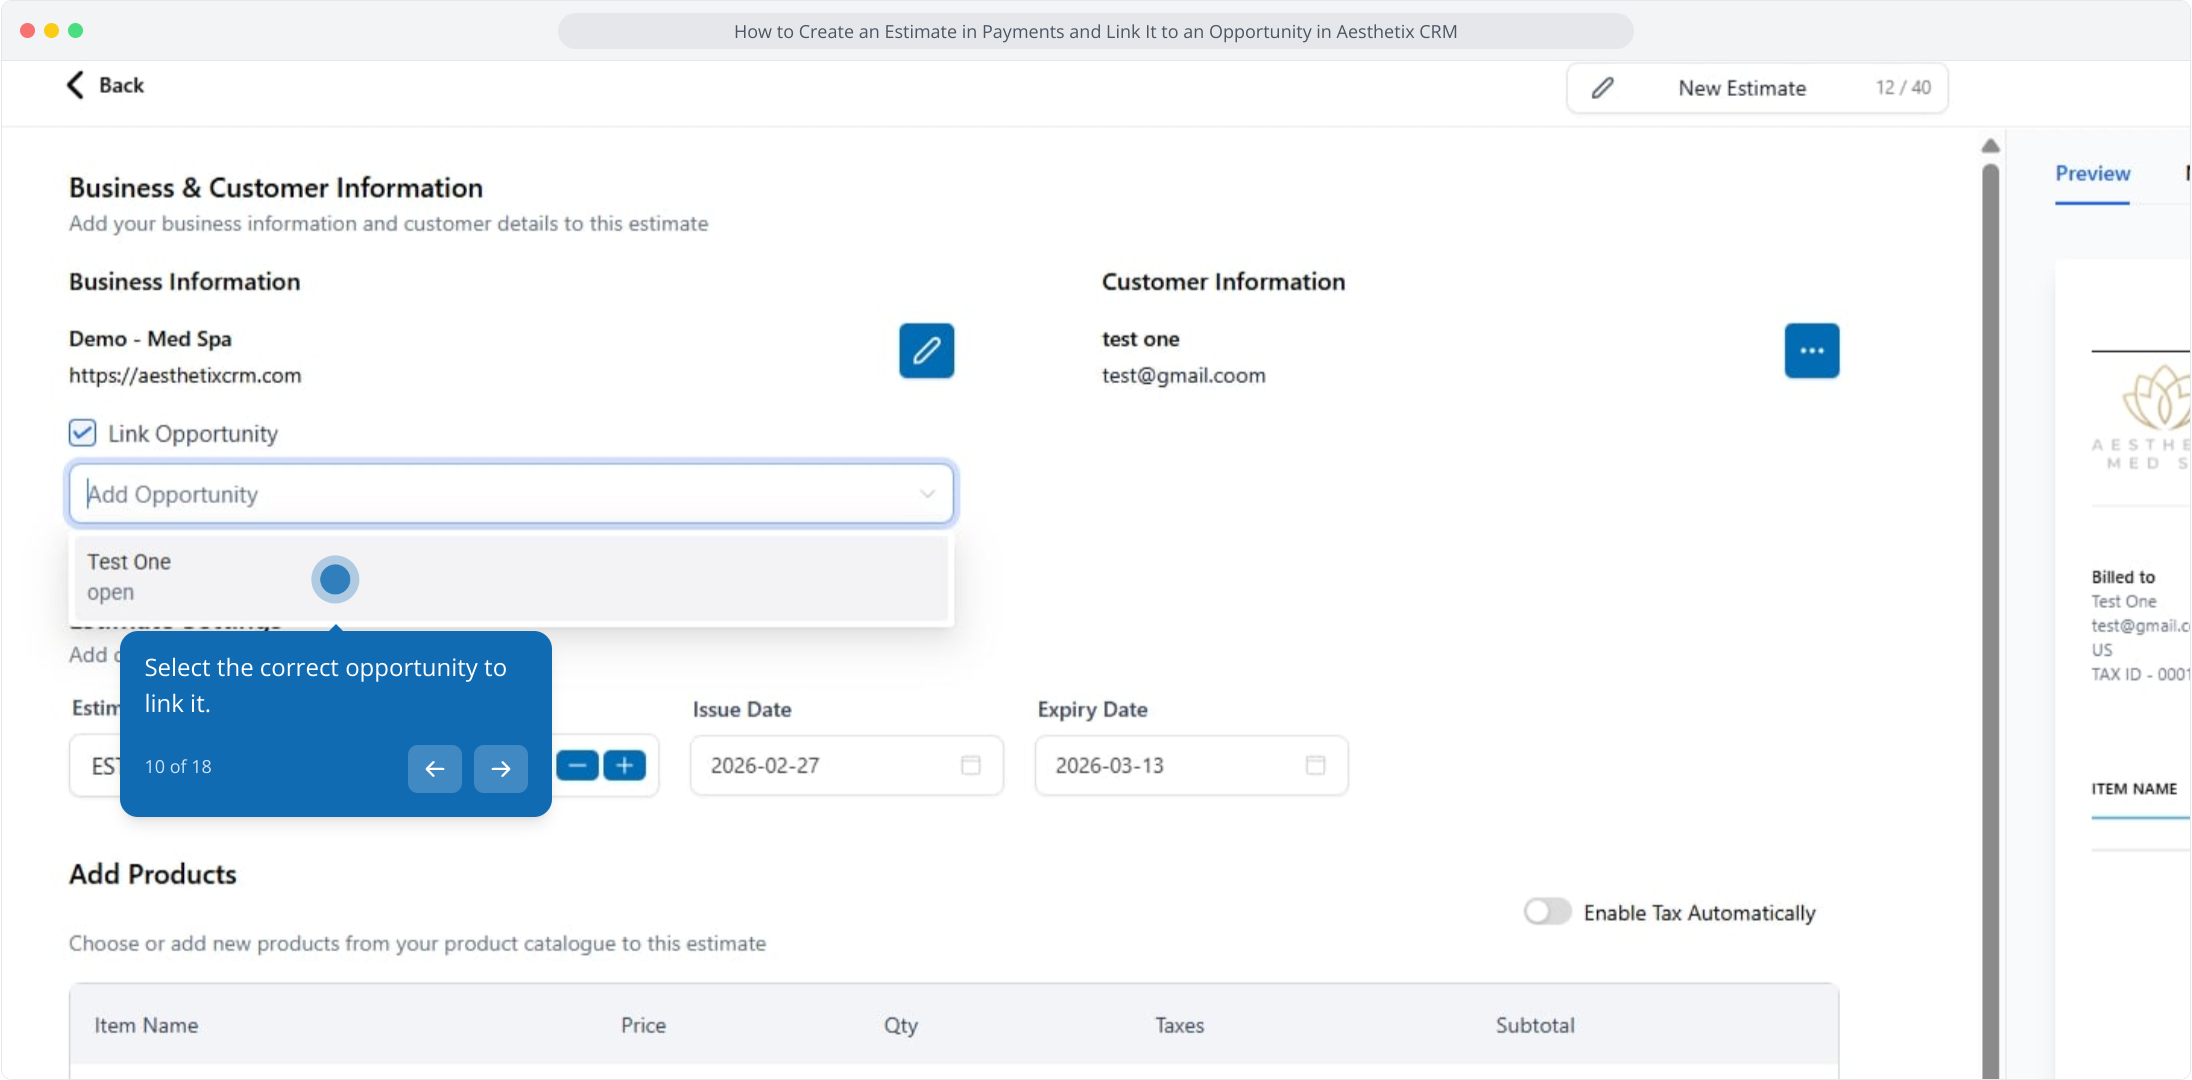
Select the correct opportunity to link it.
Edit the estimate settings as needed.
Click Add Product to include items or services.
After adding products, you can add Discounts and Taxes.
Click Add Payment Schedule to set up installment billing for this estimate.
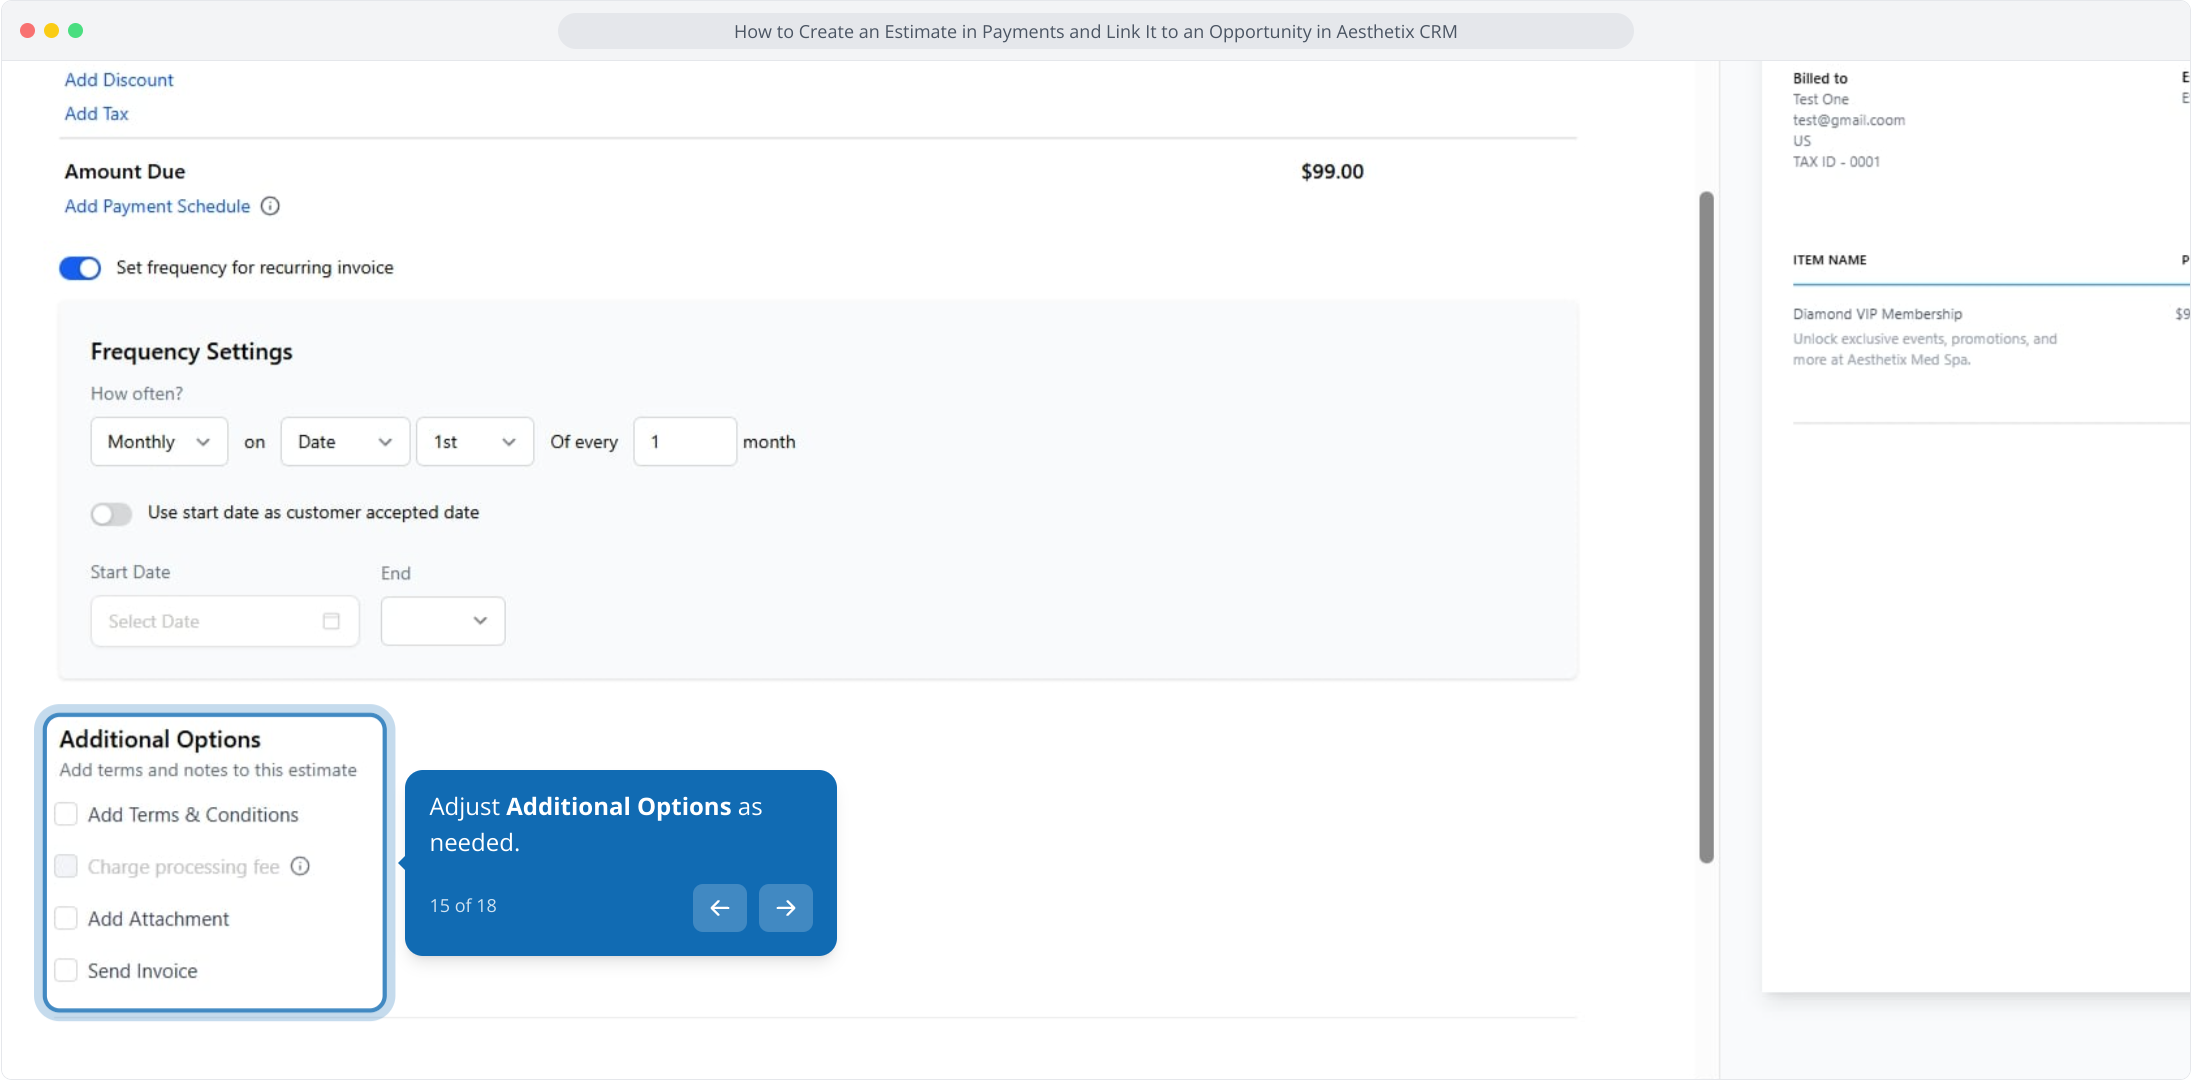
Adjust Additional Options as needed.
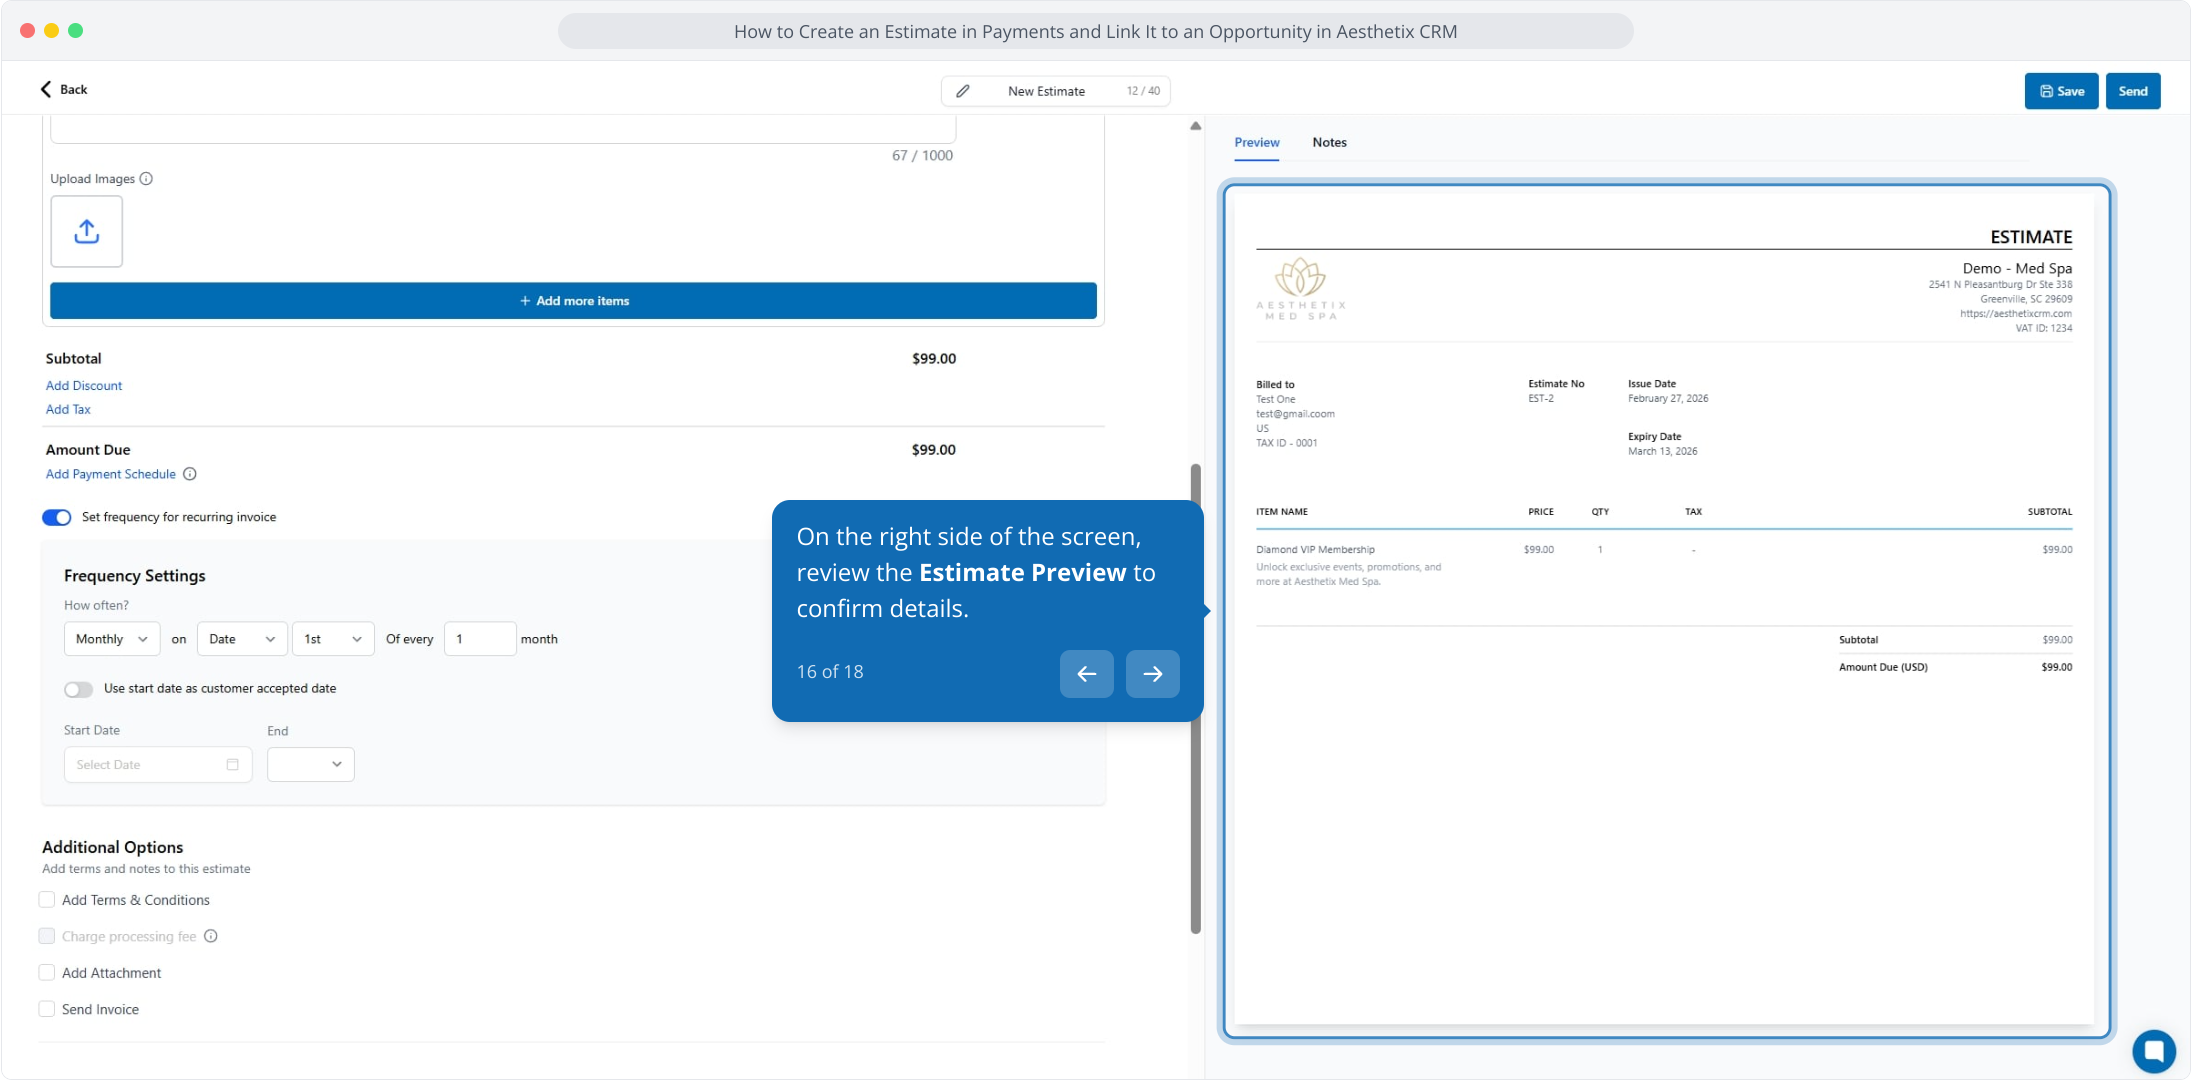
On the right side of the screen, review the Estimate Preview to confirm the details.
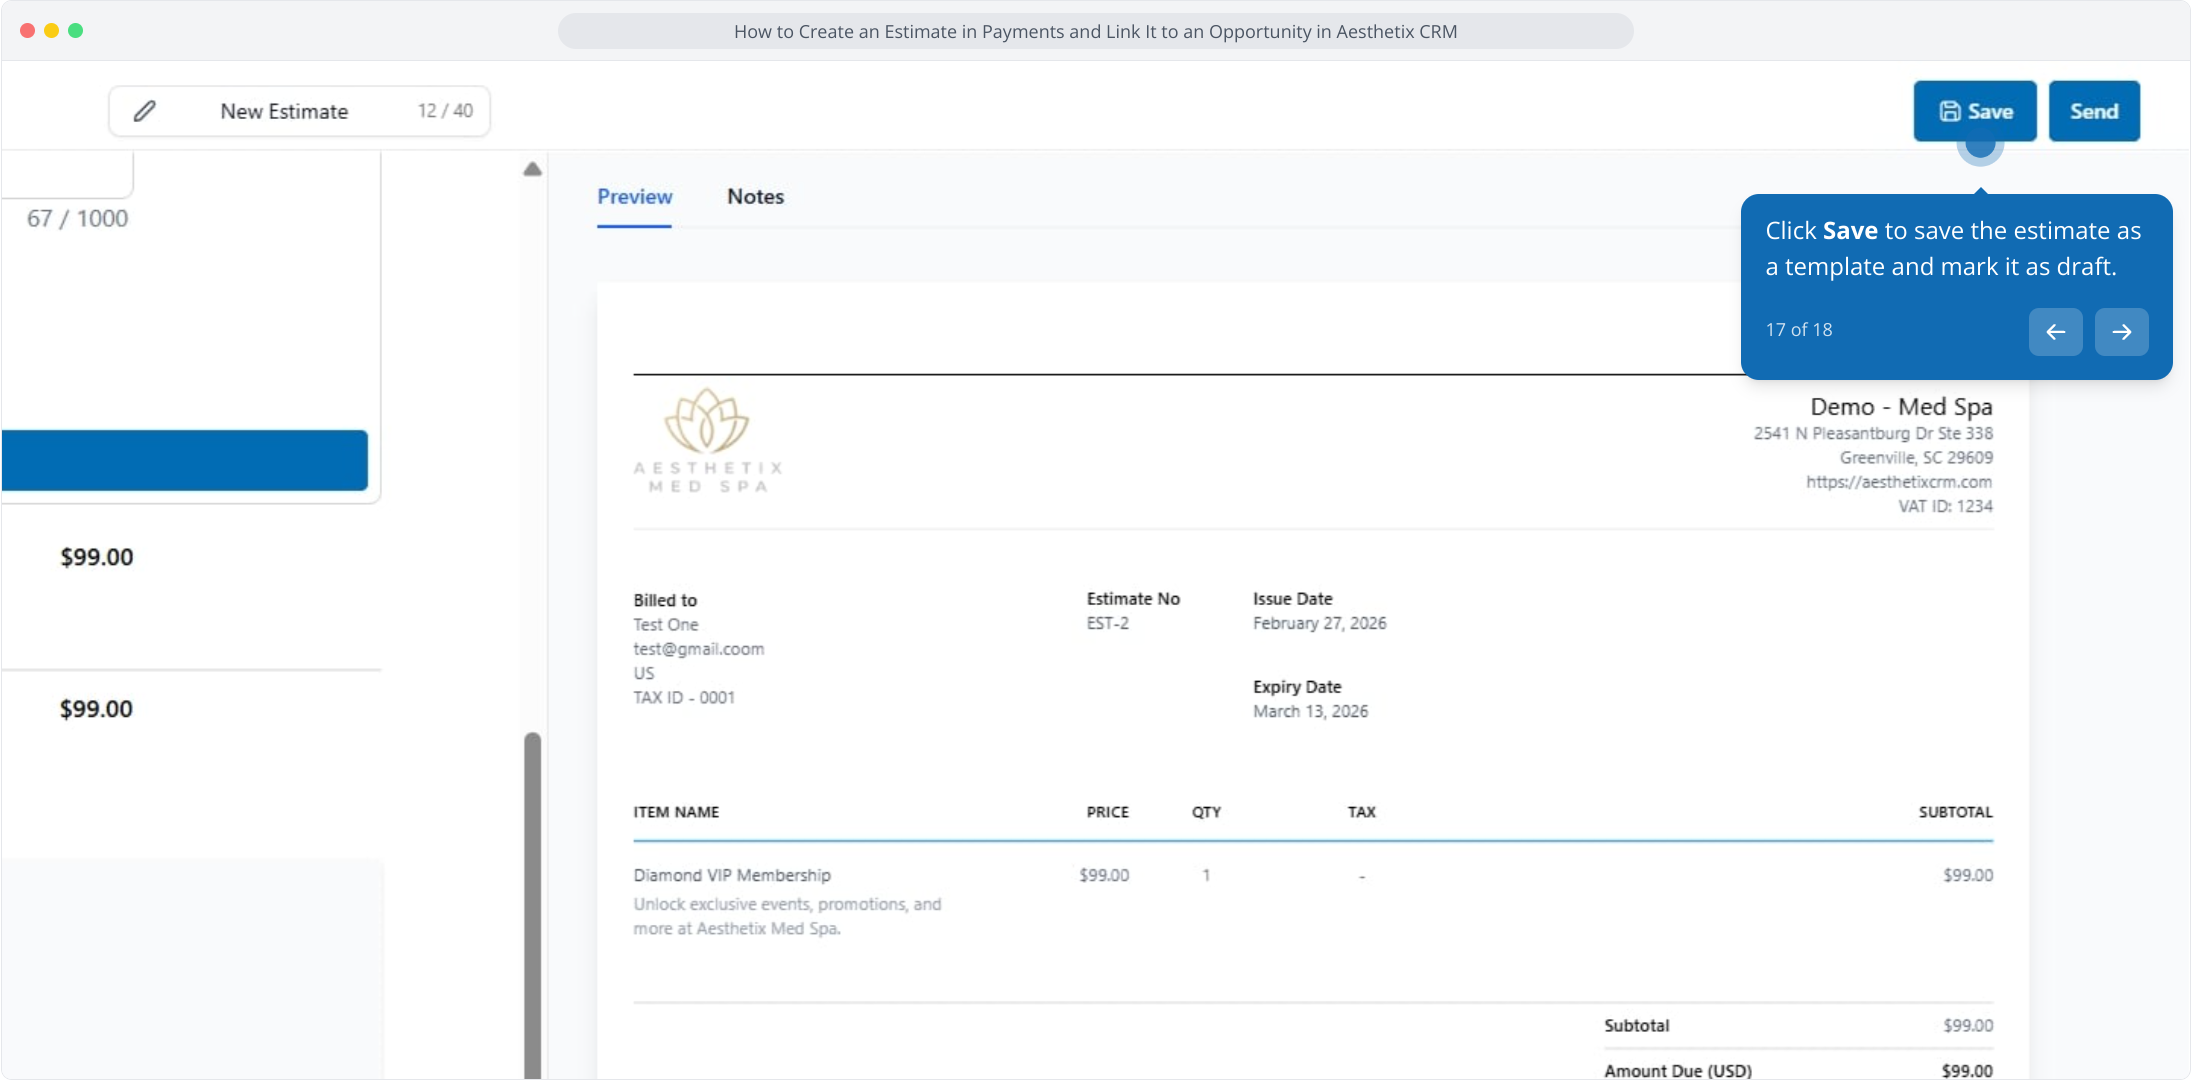
Click Save to keep the estimate as a draft.
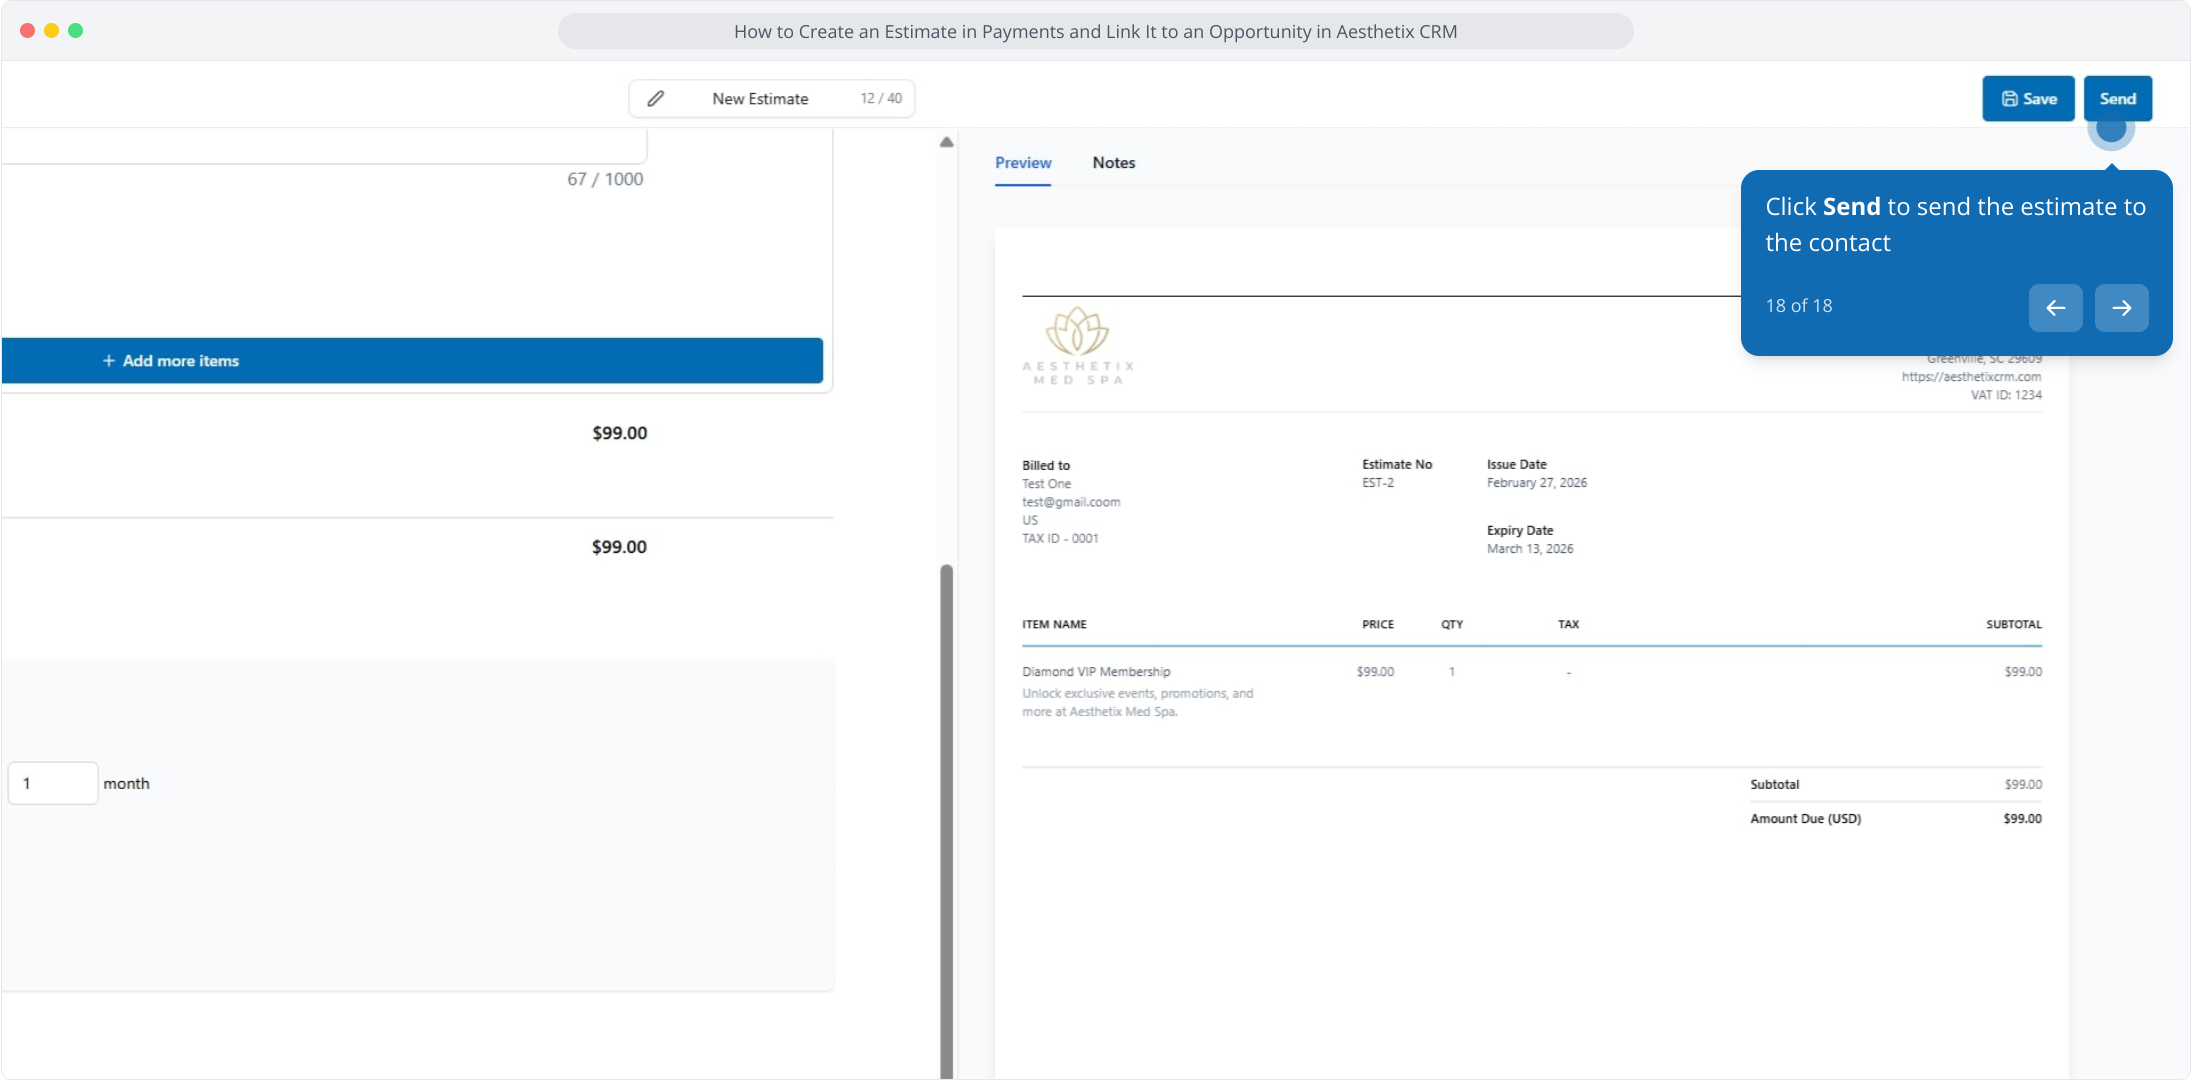
Click Send to deliver the estimate to the patient.
You can automate the entire process so invoices and estimates are generated and linked to an opportunity without manual effort.
Go to Workflows and create a new workflow or open an existing one.
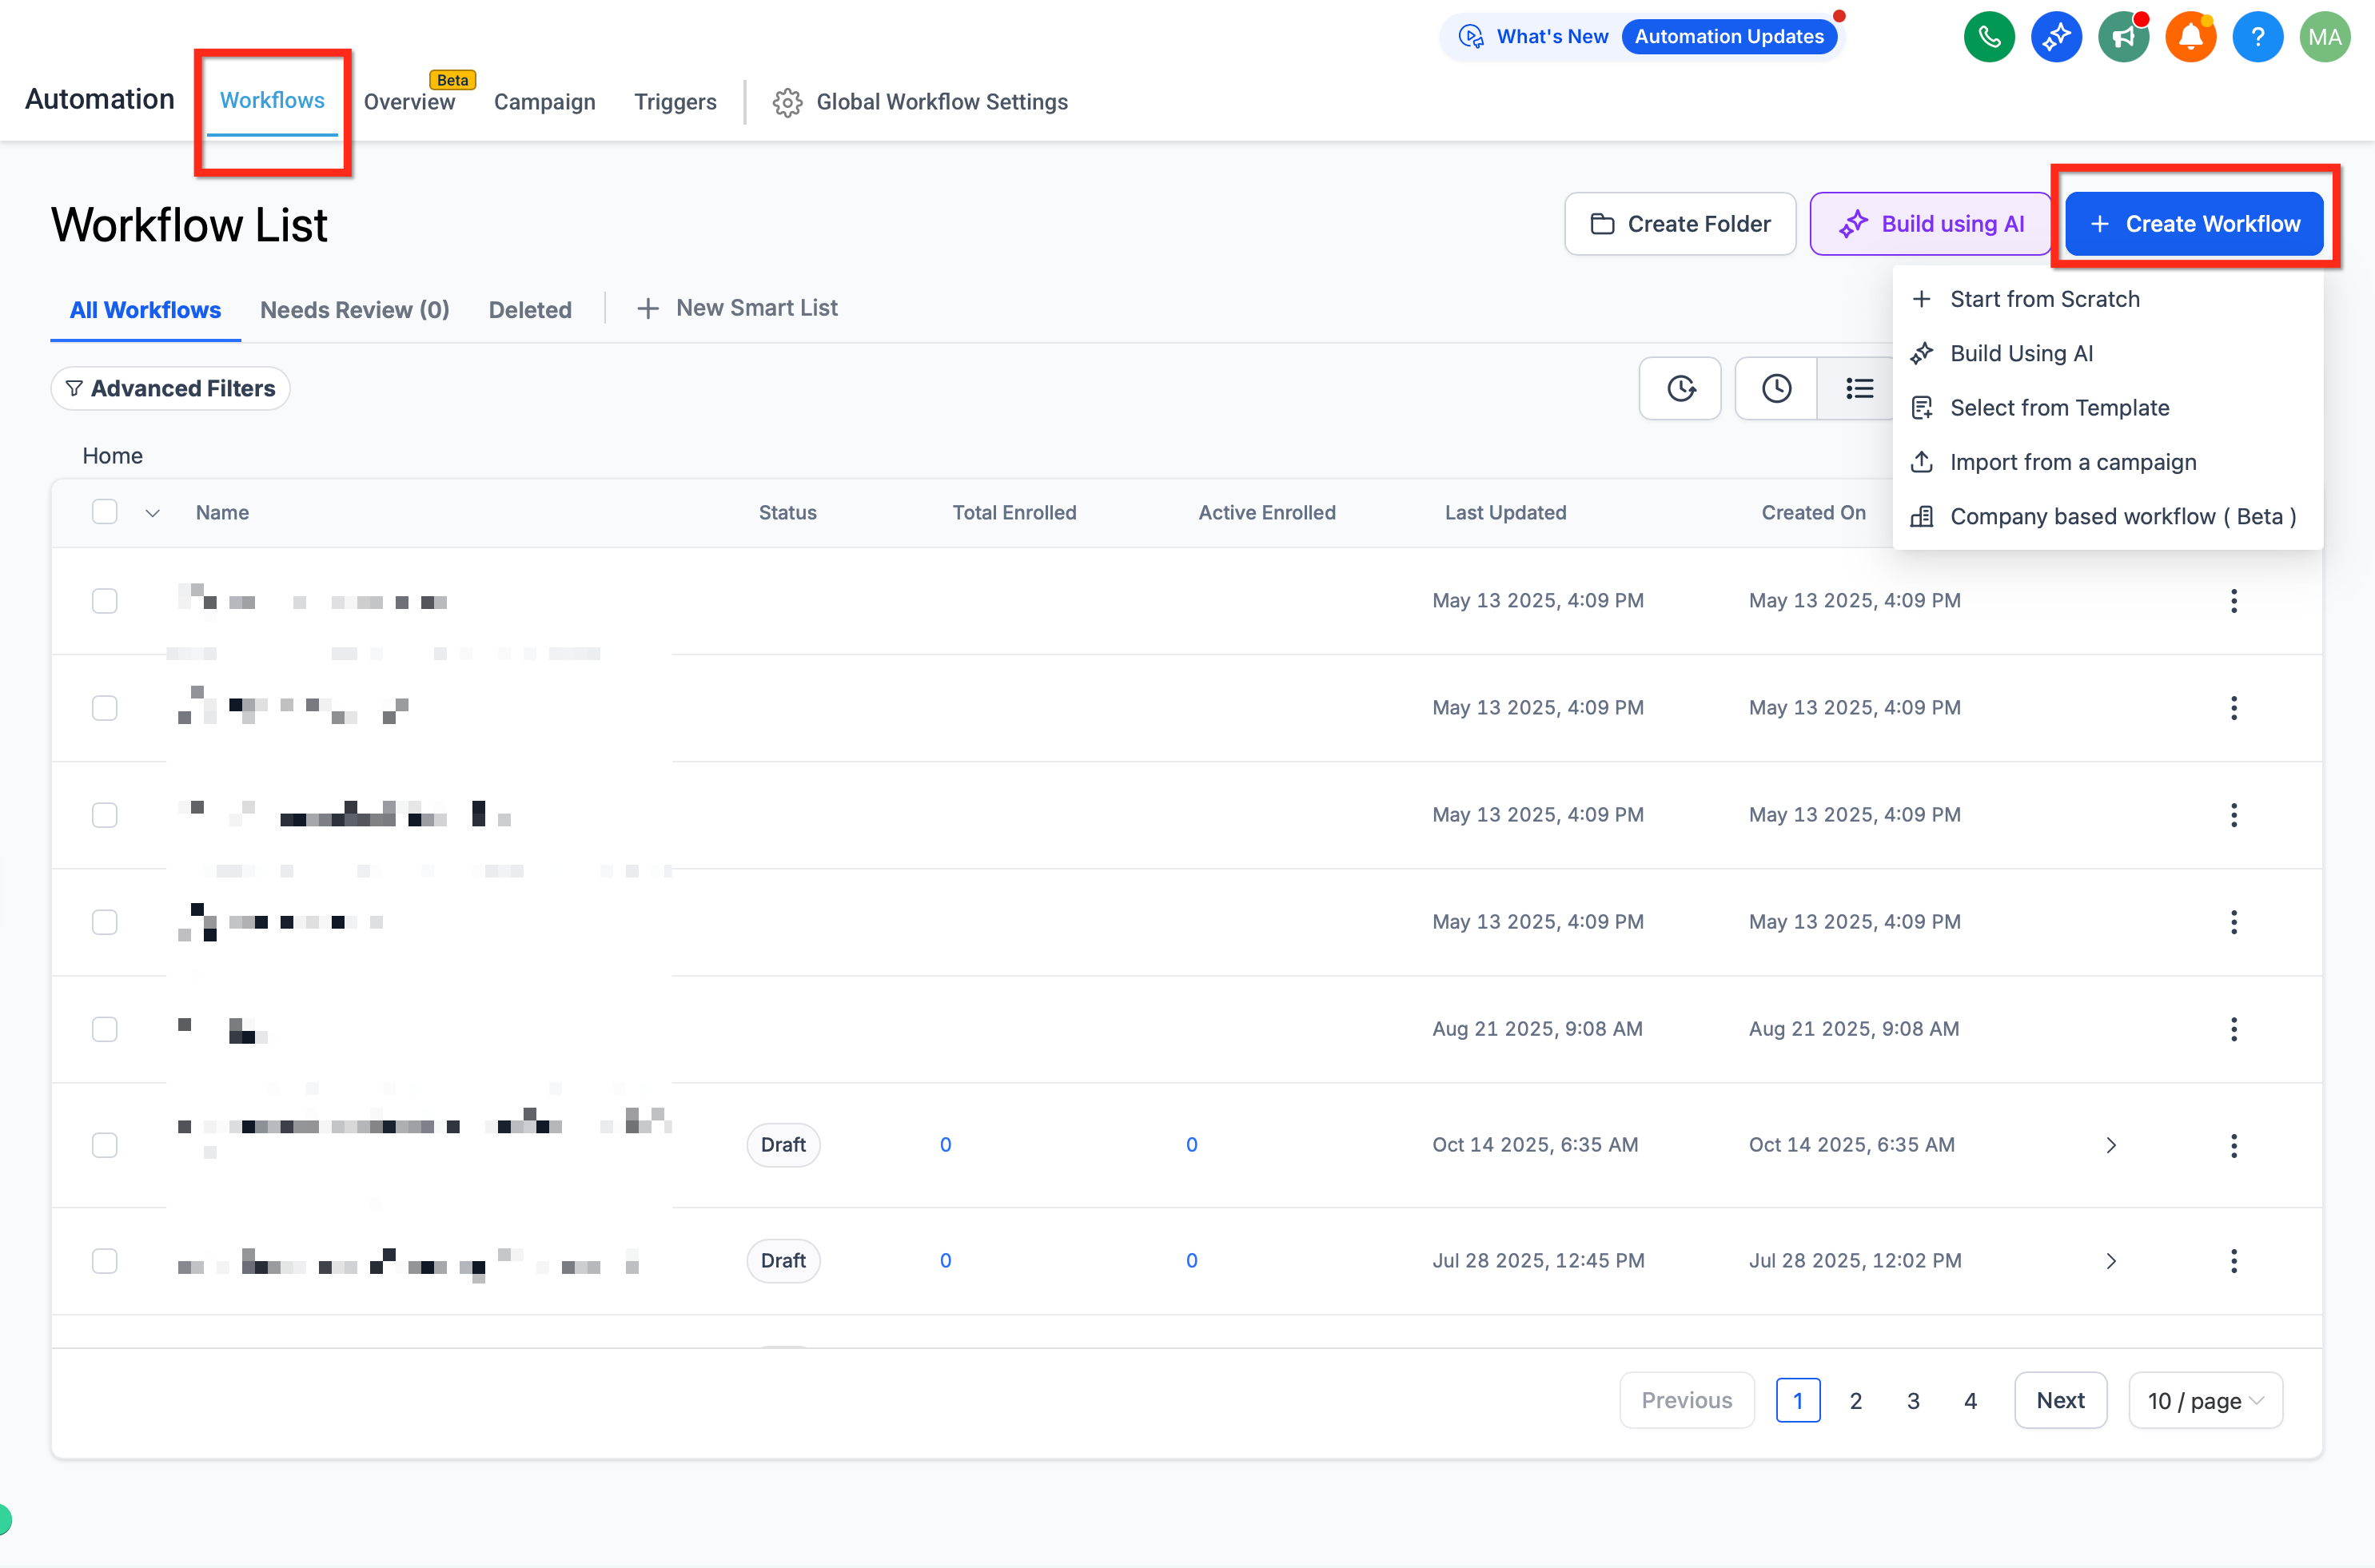
Use an opportunity-based trigger, such as a stage change or status update.
Add a Send Invoice or Send Estimate action.
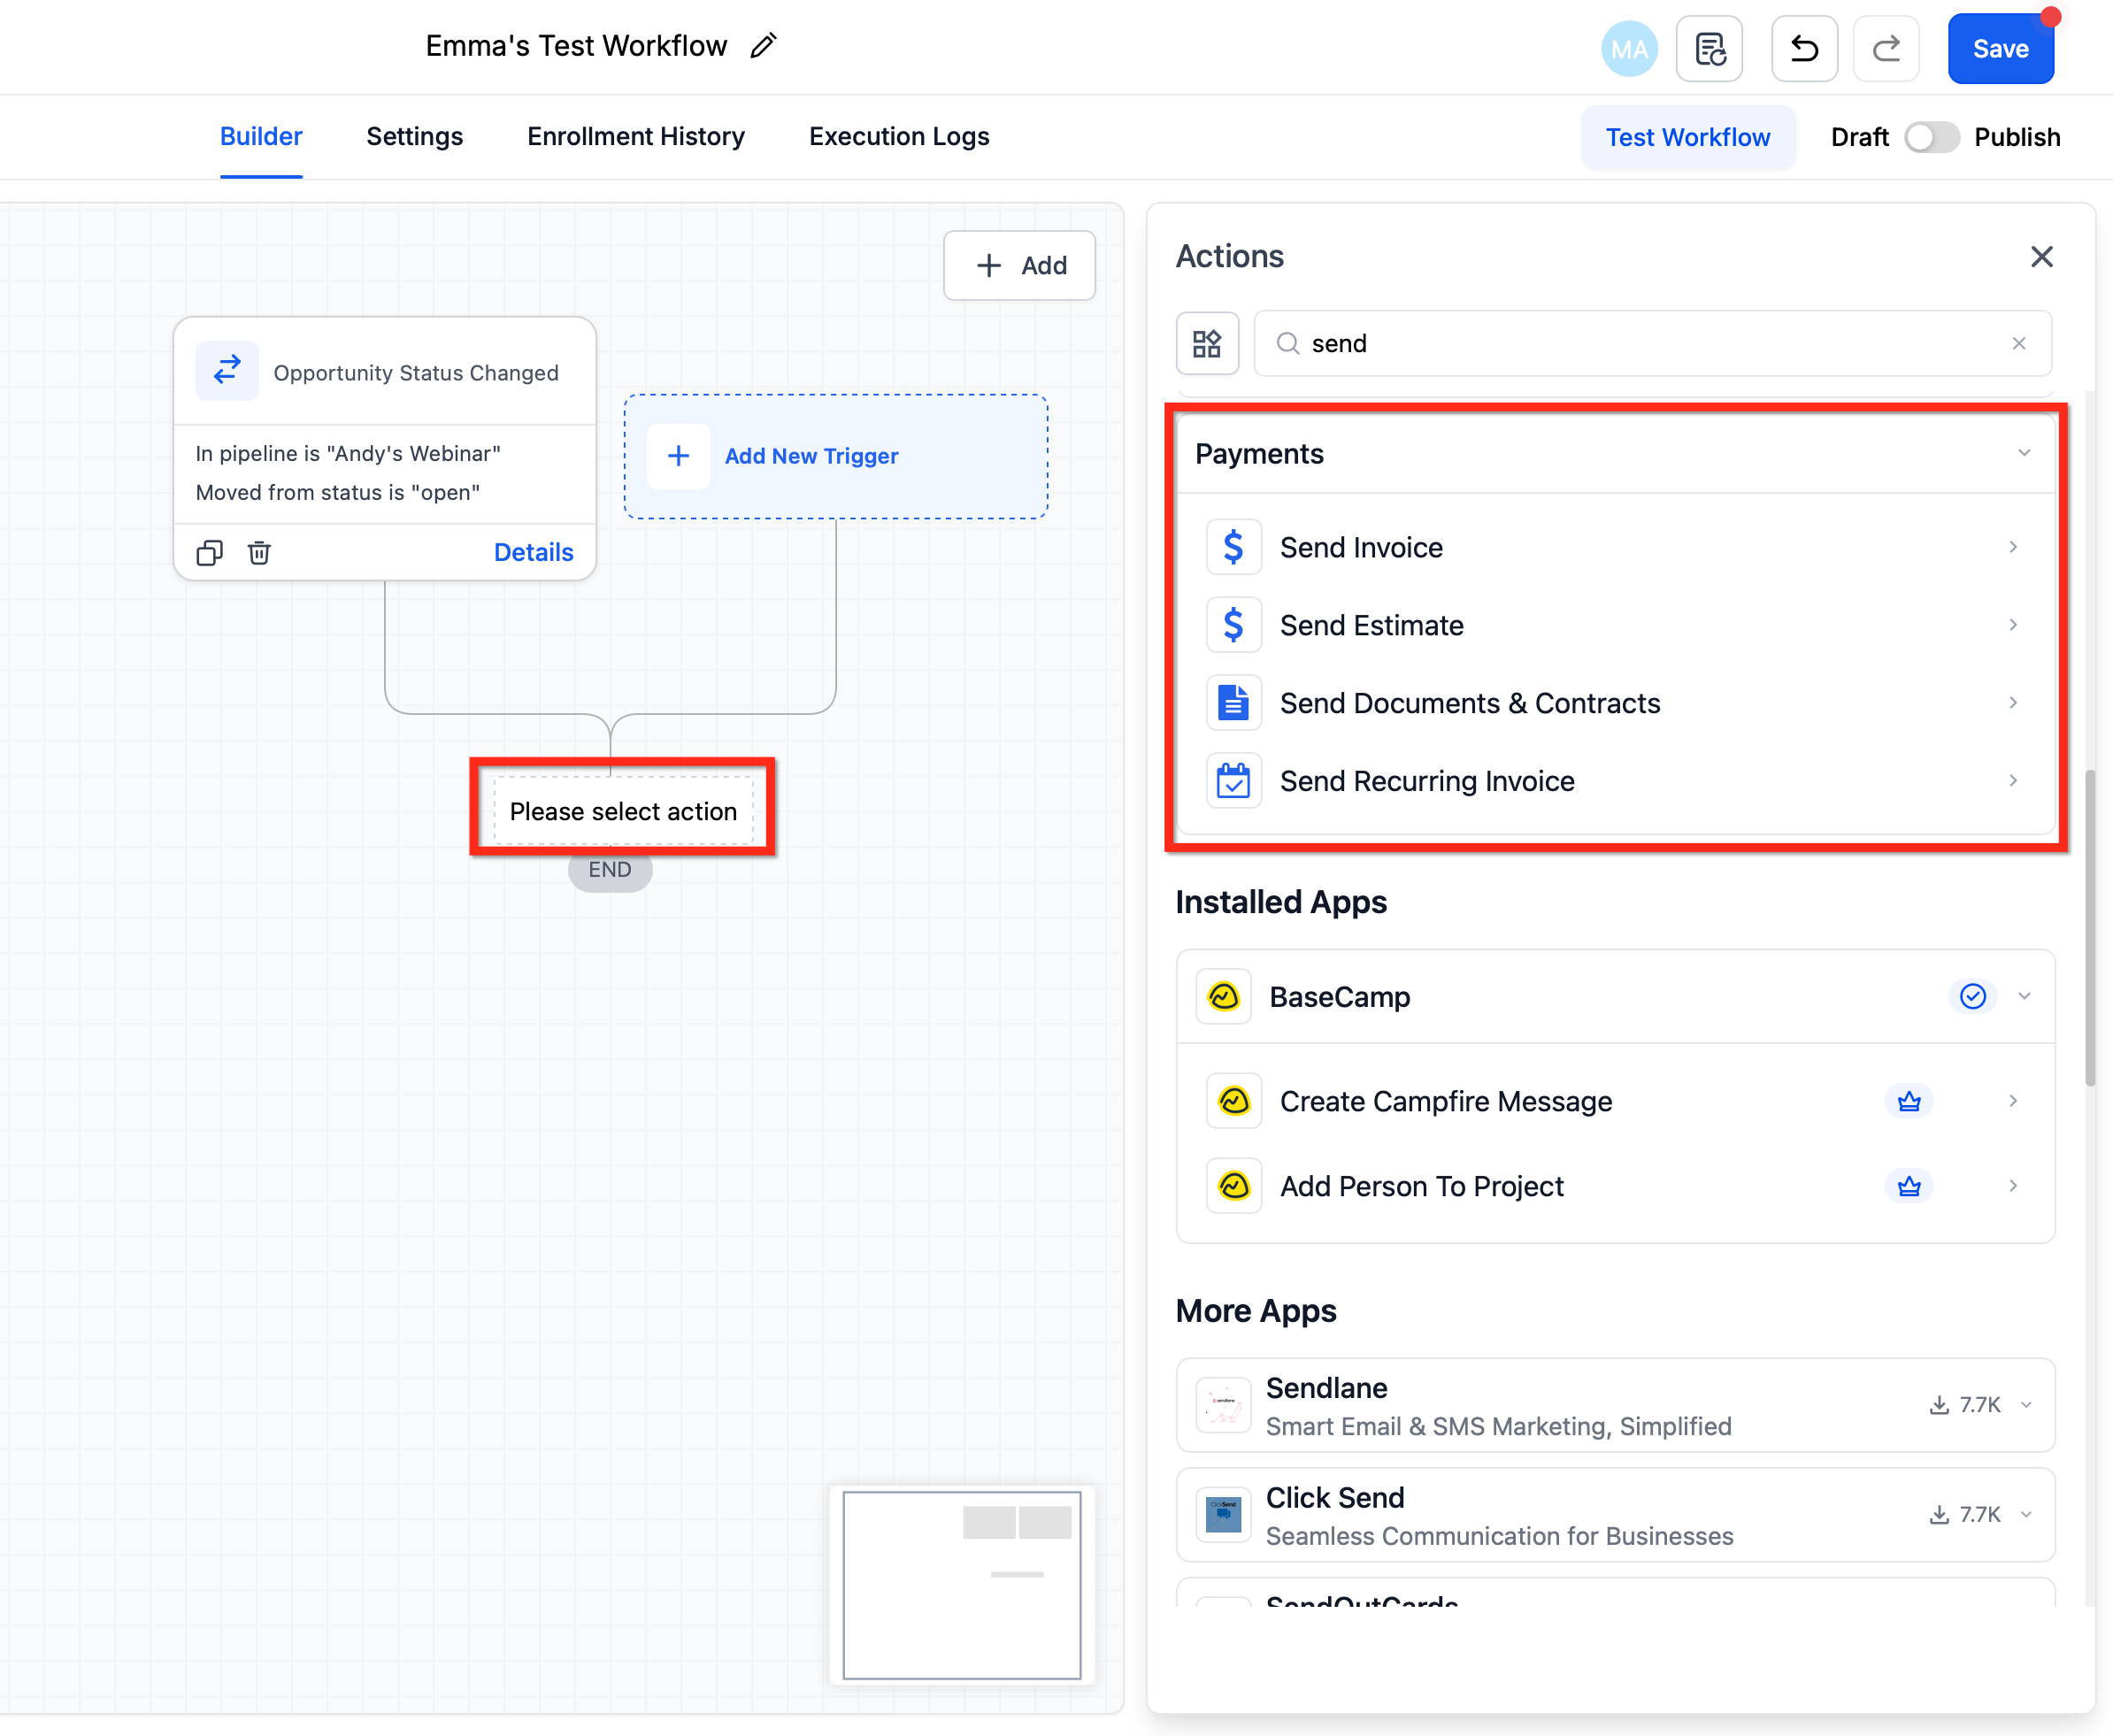
The system creates, sends, and automatically links the document to the opportunity.
Note: The Find Opportunity workflow action only selects an opportunity for later steps. It does not link invoices or estimates by itself.
If you send contracts, proposals, or other paperwork through Payments → Documents & Contracts, you can build a reusable template that pulls its details straight from the linked opportunity, such as a treatment budget, service type, or expected close date. When a workflow generates the document, each merge field is replaced with the matching value from that opportunity, so you are not retyping the same details into every document by hand.
Opportunity merge fields behave differently from Contact merge fields. Because one contact can have more than one opportunity, an Opportunity merge field can hold a different value for each deal tied to that same patient, while a Contact field stays the same across all of that patient's deals.
Before setting one up, confirm:
The field you want to pull in was created as an Opportunity custom field, not a Contact field.
The opportunity that will trigger the workflow already has a value saved in that field.
The opportunity is associated with the correct contact.
The template is saved before it is selected inside a workflow.
The workflow uses an opportunity-based trigger, such as a pipeline stage or status change, so the opportunity's data is available when the document generates.
The contact has a valid email address if the document will be sent by email.
If a template is used for more than one role (patient, provider, witness, and so on), assign at least one fillable element to Contact before using it in a workflow. Role details entered in the workflow override that field's default value in the template.
Go to Payments → Documents & Contracts → Templates and open an existing template, or create a new one.
Add a Text block or Table where the opportunity information should appear.
Place your cursor in that spot and click the Merge Fields icon.
Select Contact → Custom Fields → Opportunity Details → [Field Name].
Confirm the merge field token landed in the right spot, then click Save.
Use the Merge Fields menu instead of typing a token by hand. It inserts the exact field key, which avoids a broken or misspelled merge field that never populates in the finished document.
Go to Workflows and open or create a workflow.
Add an opportunity-based trigger, such as Pipeline Stage Changed or Opportunity Status Changed, and set its filters (pipeline, stage, or status). Add both triggers only if either event should start the workflow.
Add the Send Documents & Contracts action.
In the action, choose the From User, select your saved template, and choose Create as Draft or Send Directly, then select the delivery channel and complete any required recipient or signer details.
Save the action, then publish the workflow.
While you are testing a new template, use Create as Draft. Open the generated draft and confirm that every opportunity field filled in with the value you expected before switching the action to Send Directly.
The Payments tab inside Contacts and Opportunities on mobile lets you create invoices and estimates that stay connected to the patient or deal, without leaving the record. Available actions depend on your connected payment provider, payment configuration, app version, and user permissions.
Open the mobile app and navigate to Contacts.
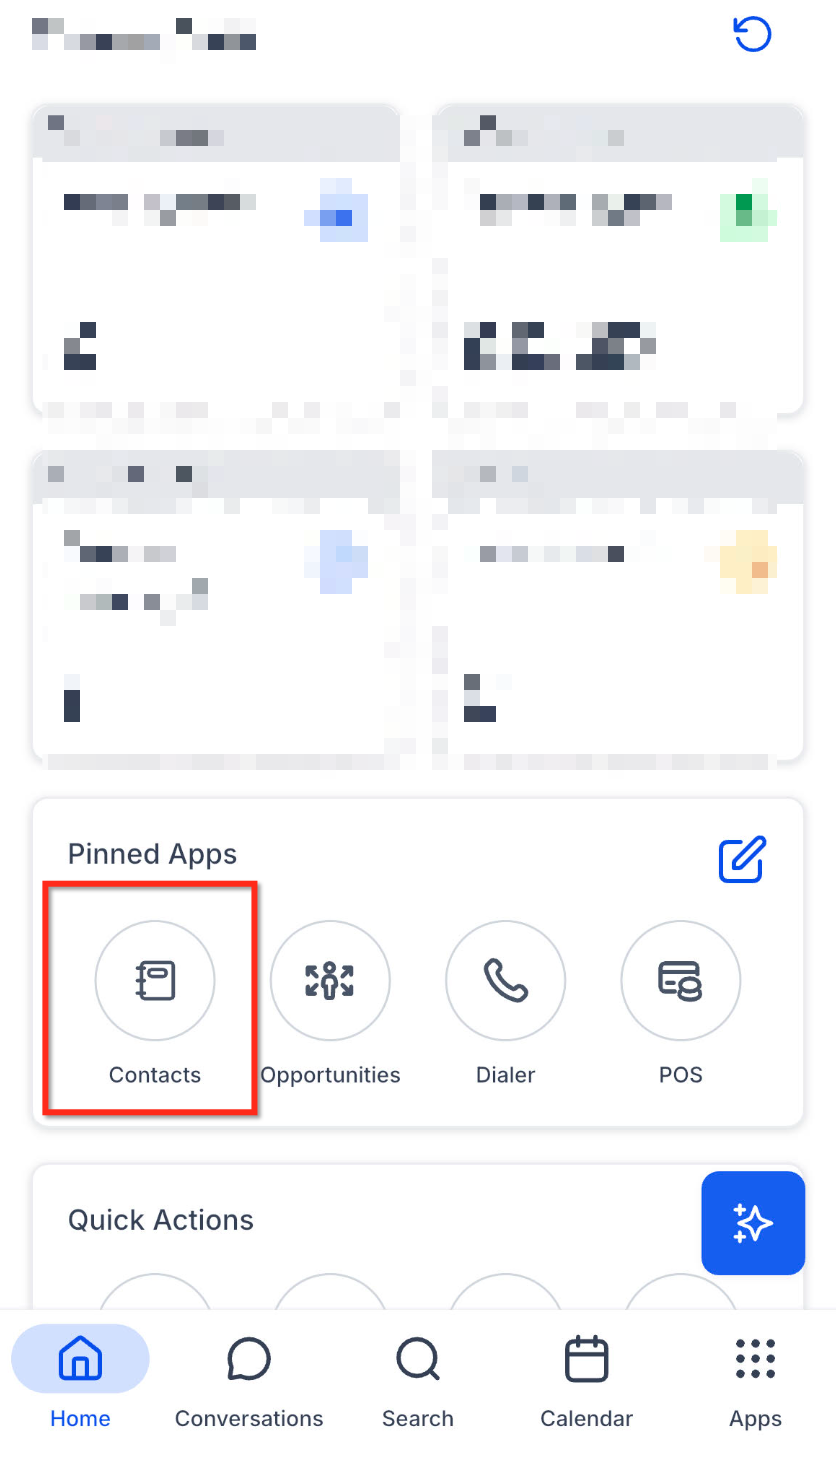
Open the contact you want to manage, then tap the Payments tab.
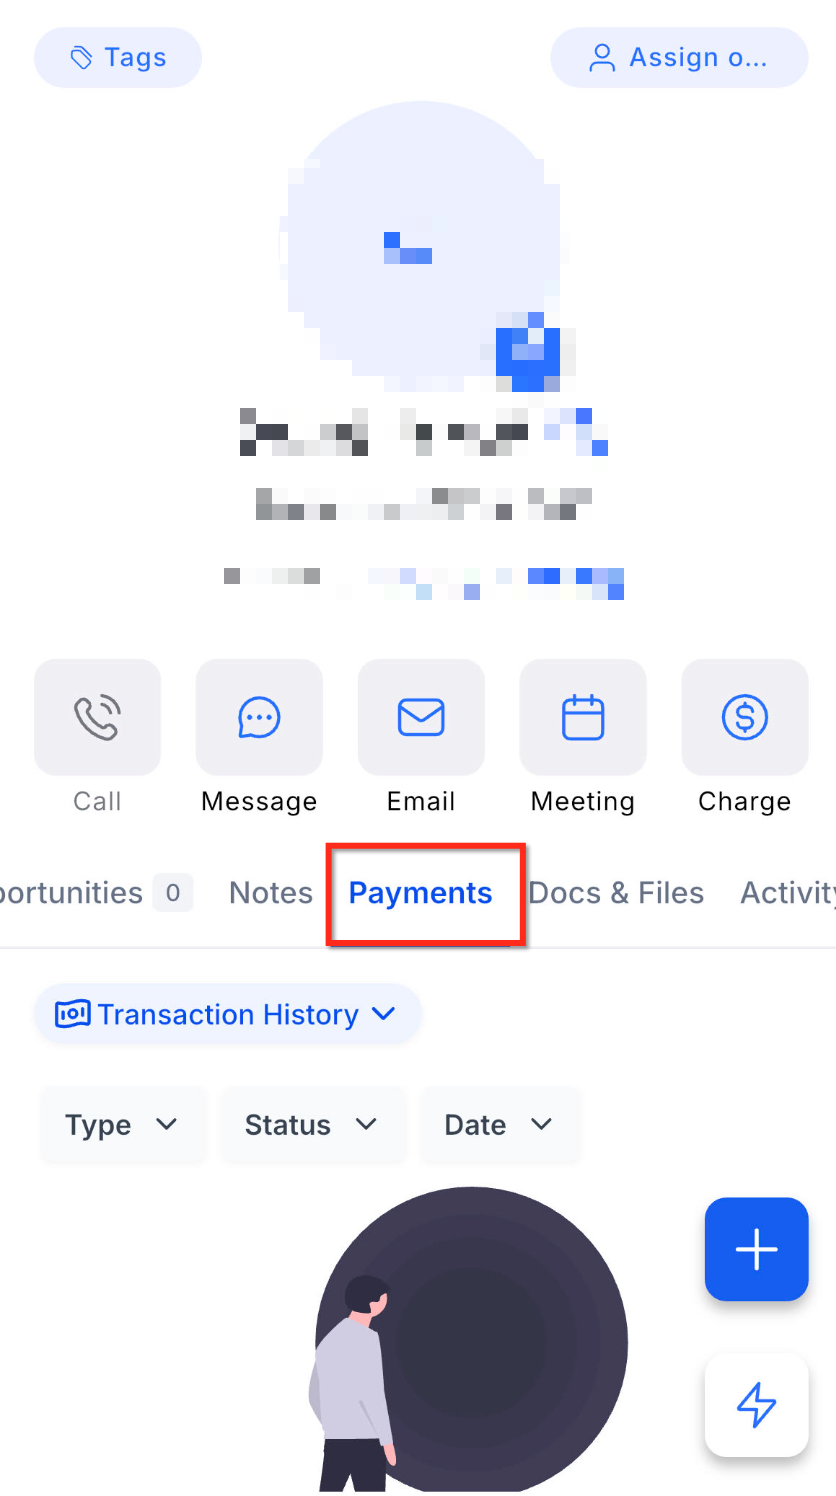
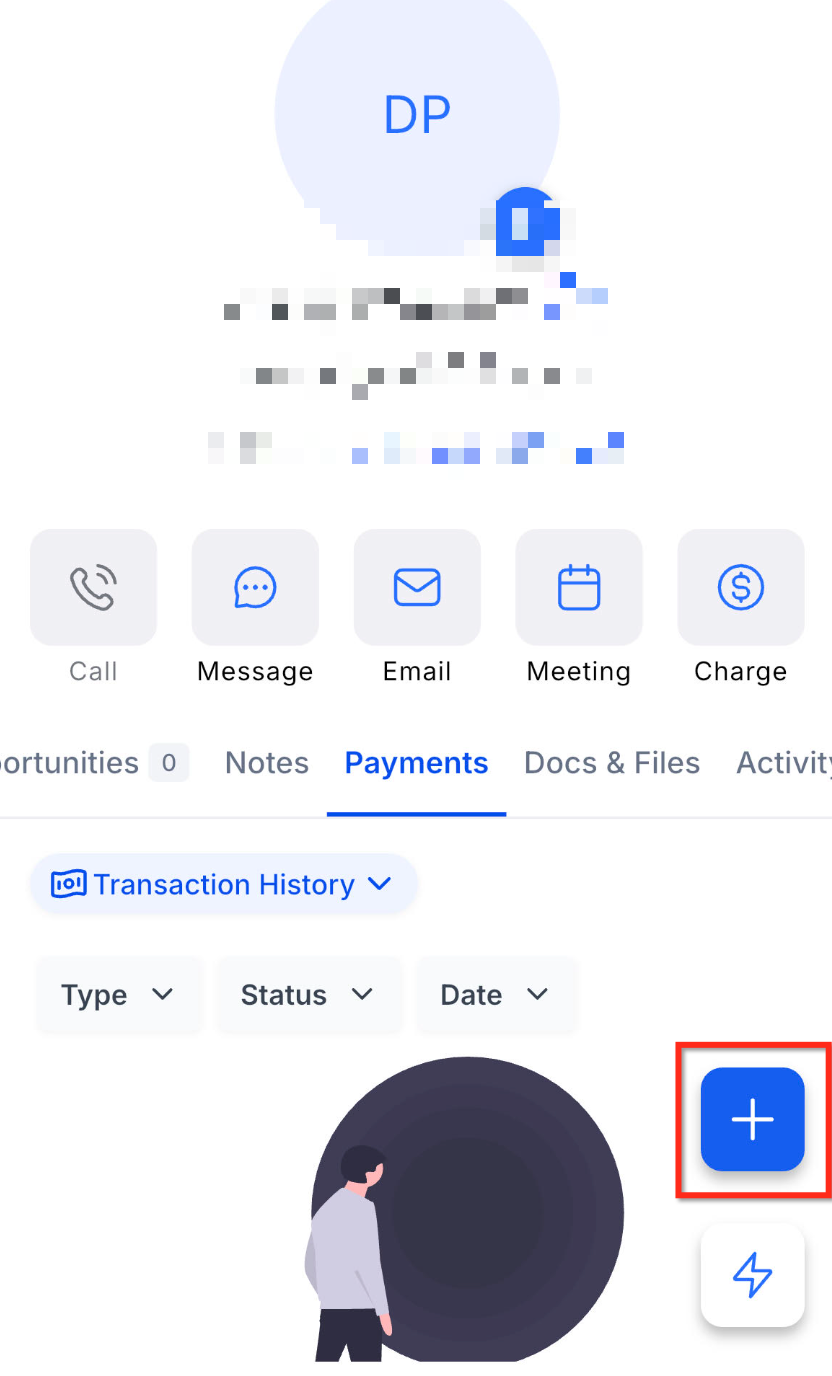
Tap the Add icon at the bottom.
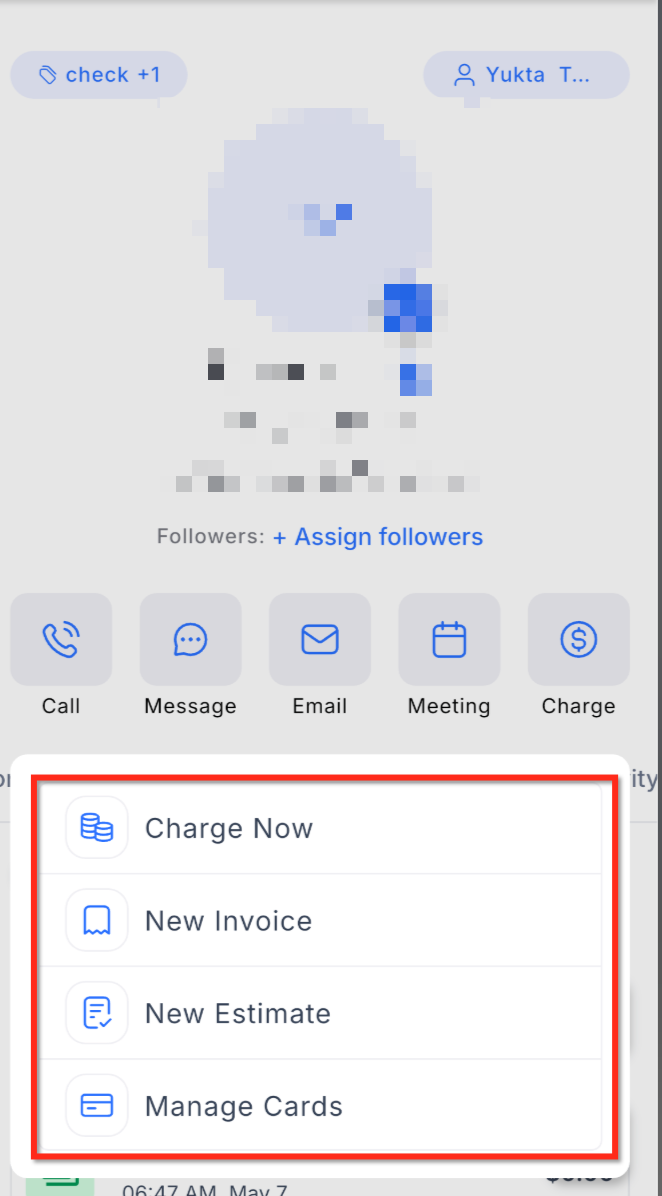
Choose an available action, such as Charge Now, New Invoice, New Estimate, or Manage Cards on File.
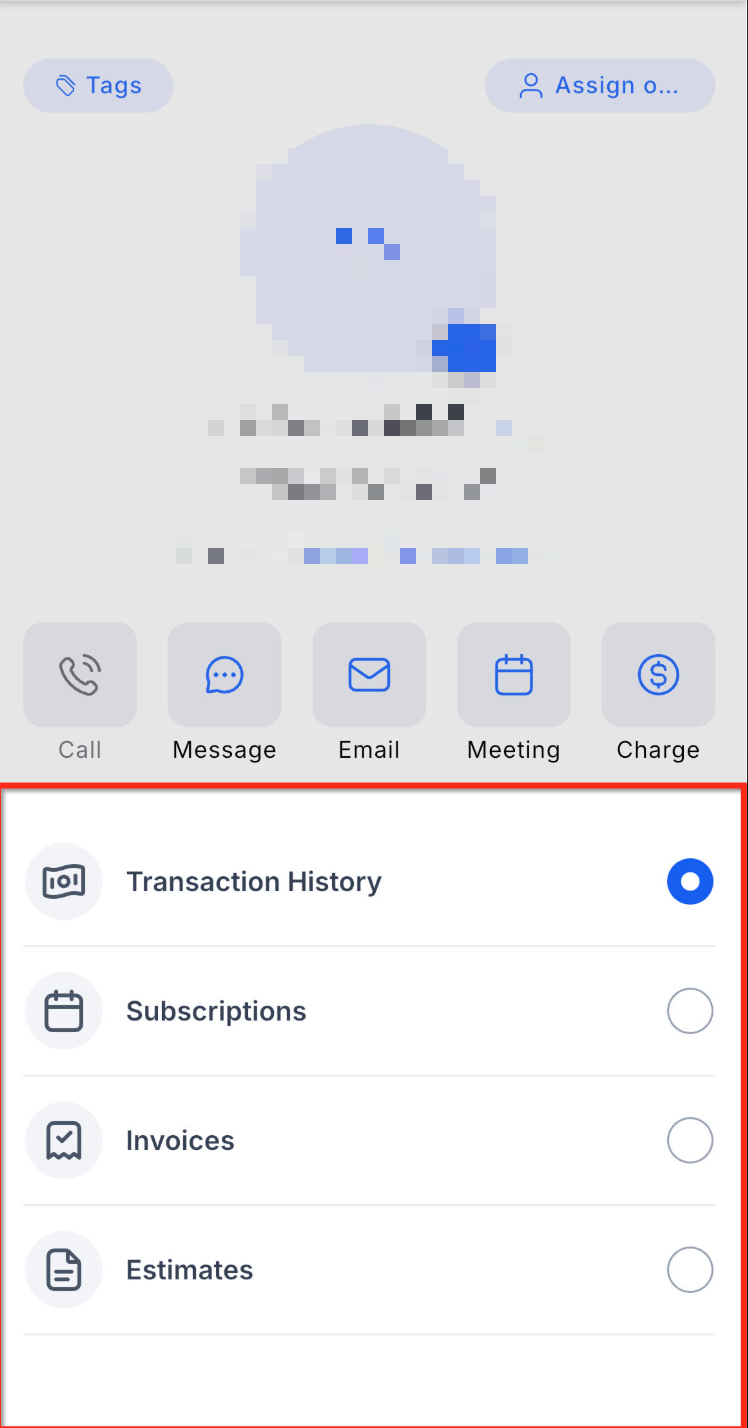
Use the filter chips to browse payment activity by type, such as Transactions, Invoices, Estimates, and Subscriptions.
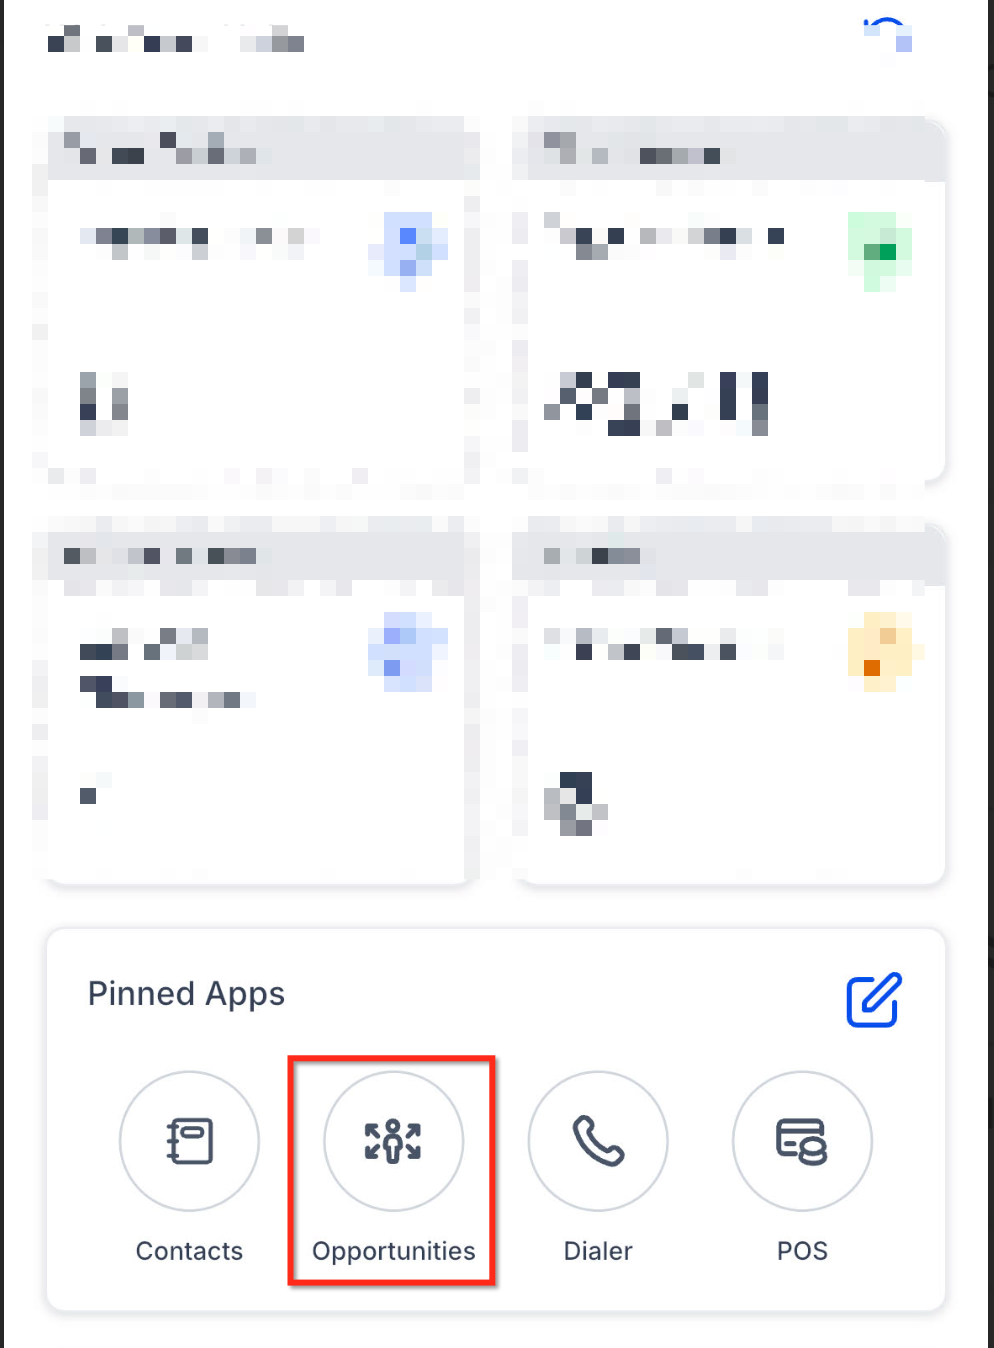
Open the mobile app and navigate to Opportunities.
Open the opportunity you want to manage, then tap the Payments tab.
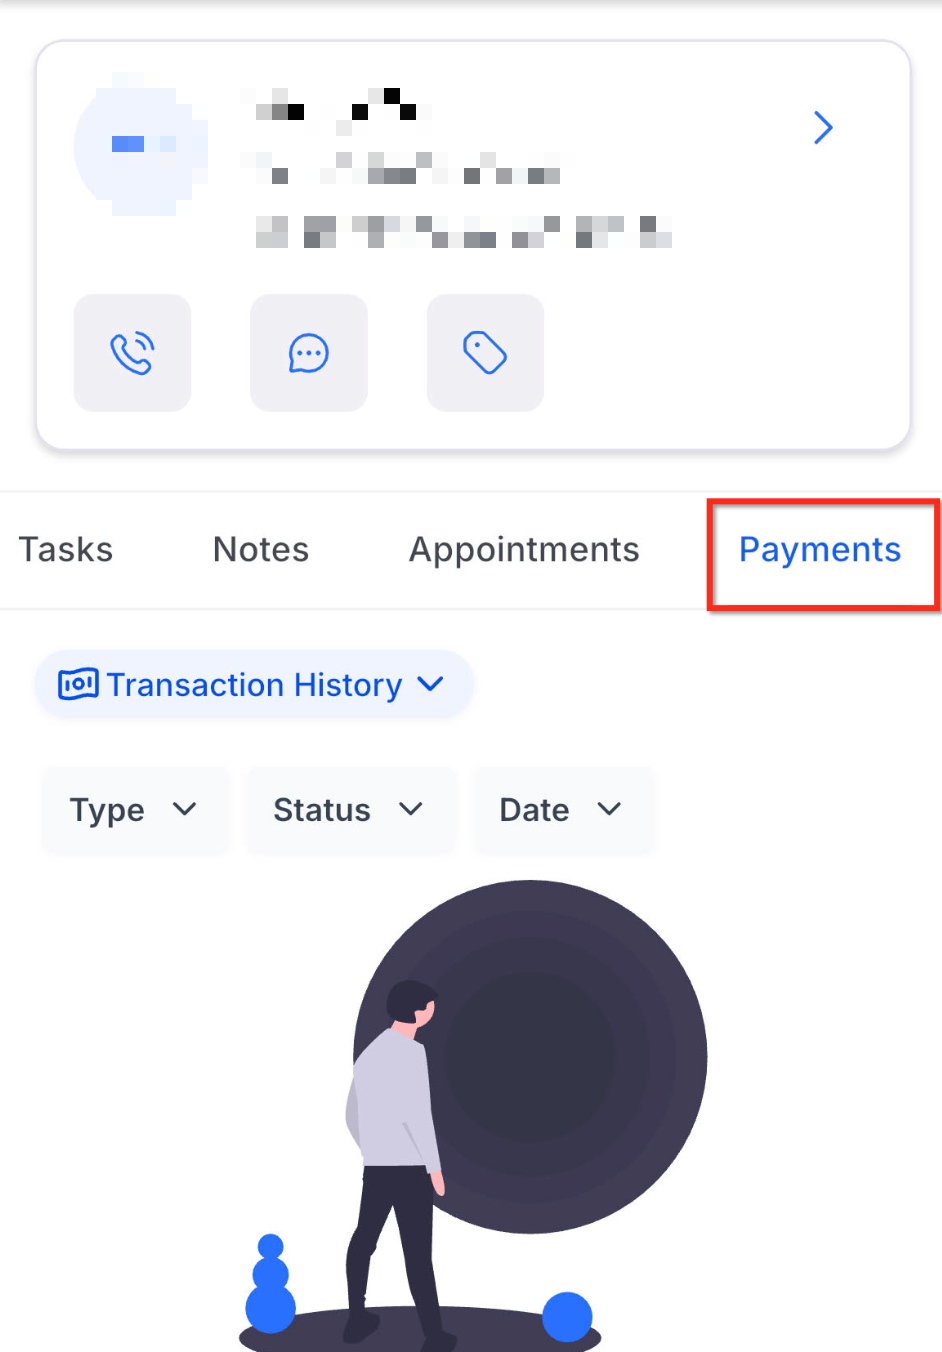
Tap the Add icon at the bottom to create a New Invoice or New Estimate.
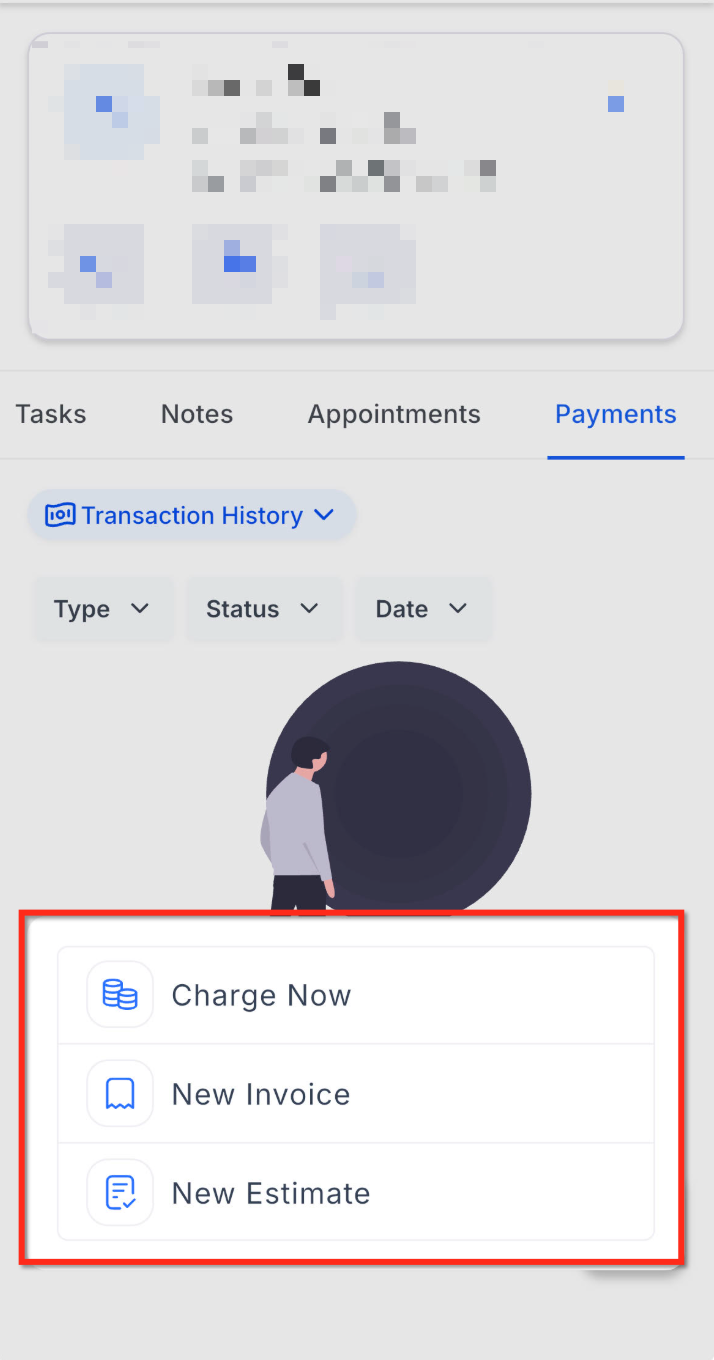
Complete the invoice or estimate details. Invoices and estimates created here are linked to the opportunity automatically.
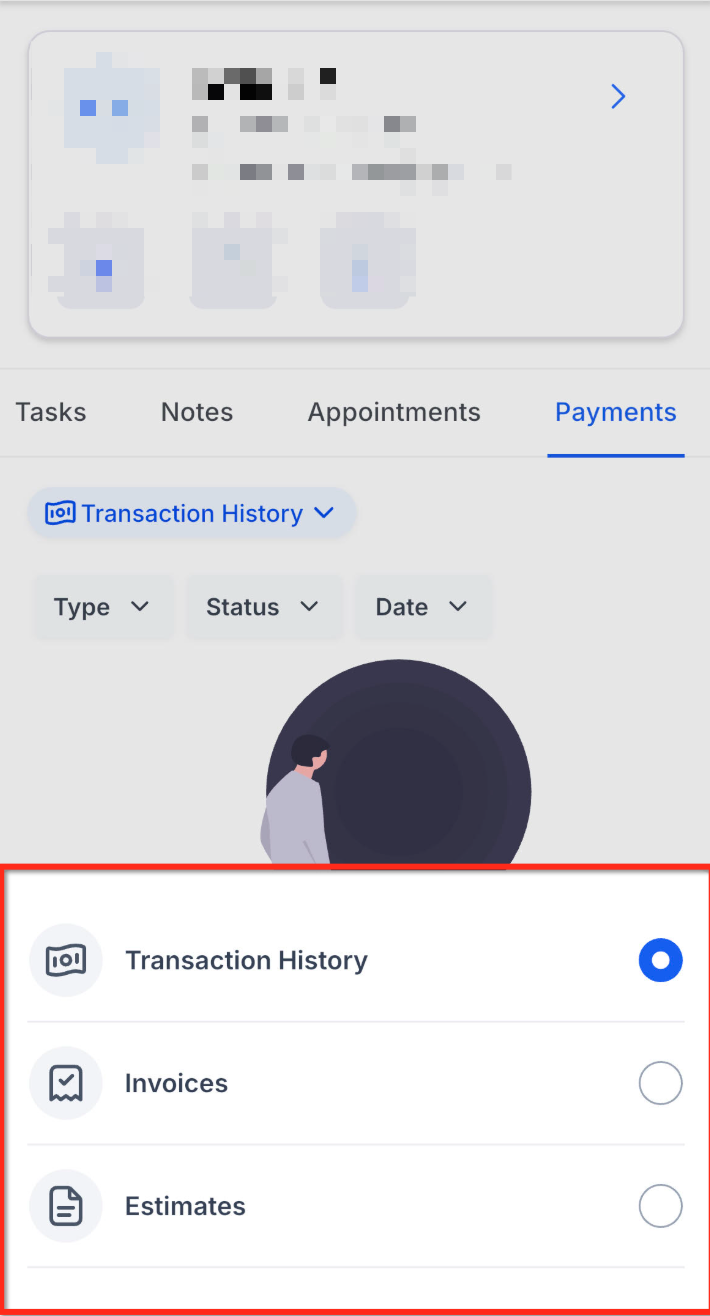
Review linked payment activity and statuses from the Opportunity Payments tab.
Are documents created from an opportunity linked automatically? Yes. Any invoice or estimate you create from the Opportunity Payments tab, or through the Actions menu on an opportunity, is linked to that opportunity automatically.
Can I link multiple invoices or estimates to one opportunity? Yes. You can link multiple billing documents to a single opportunity to reflect several stages of payment or multiple proposals.
What if I forget to link an invoice when creating it? You can edit the invoice later and link it to the correct opportunity from the Payments tab using the Link Opportunity option.
Can I unlink an invoice or estimate from an opportunity? Unlinking is not supported after the document is finalized. If you need to reassign it, clone the document and link the copy to the correct opportunity.
Do workflow-linked documents appear in the opportunity view? Yes. Any invoice or estimate generated through a workflow and tied to an opportunity appears in that opportunity's Payments tab.
Do I need Payments configured before I can create documents on mobile? The available actions depend on your payment setup, connected provider, enabled payment methods, app version, and user permissions.
Can I manage cards on file from an opportunity on mobile? Manage Cards on File is a Contact action. Use the Contact Payments tab to save, view, or remove a patient's saved cards.
Why are some actions missing from my mobile Payments tab? Some actions depend on your payment configuration, connected provider, app version, or user permissions. Confirm these are set up if an action does not appear.
Why is an opportunity value blank in a generated document? Confirm that the opportunity which triggered the workflow has a saved value in that field, that you selected the field under Opportunity Details in the Merge Fields menu, and that the template was saved before the workflow ran.
Why does the merge field token still show instead of the real value? The token normally stays visible while you are editing the template. If it still shows in the generated document, reinsert the field using the Merge Fields menu and test the workflow again.
Which workflow trigger should I use to generate a document from an opportunity? Use Pipeline Stage Changed when the document should generate at a specific pipeline stage, and Opportunity Status Changed when it should generate after a status change, such as when a deal is marked Won.
Why doesn't my template show up in the Send Documents & Contracts action? Confirm you saved it as a template, not an individual document, in Payments → Documents & Contracts → Templates. Only saved templates can be selected in that workflow action.
