Estimates let you send a patient a price proposal before you bill them, so they can review and approve treatment packages, procedures, or product bundles in advance. Once the patient accepts, you can convert the estimate into an invoice in a couple of clicks.
This guide covers how to create an estimate, add products and photos, use custom values and partial quantities, send it to a patient, track its status, convert it to an invoice, and build estimates from templates on the go.
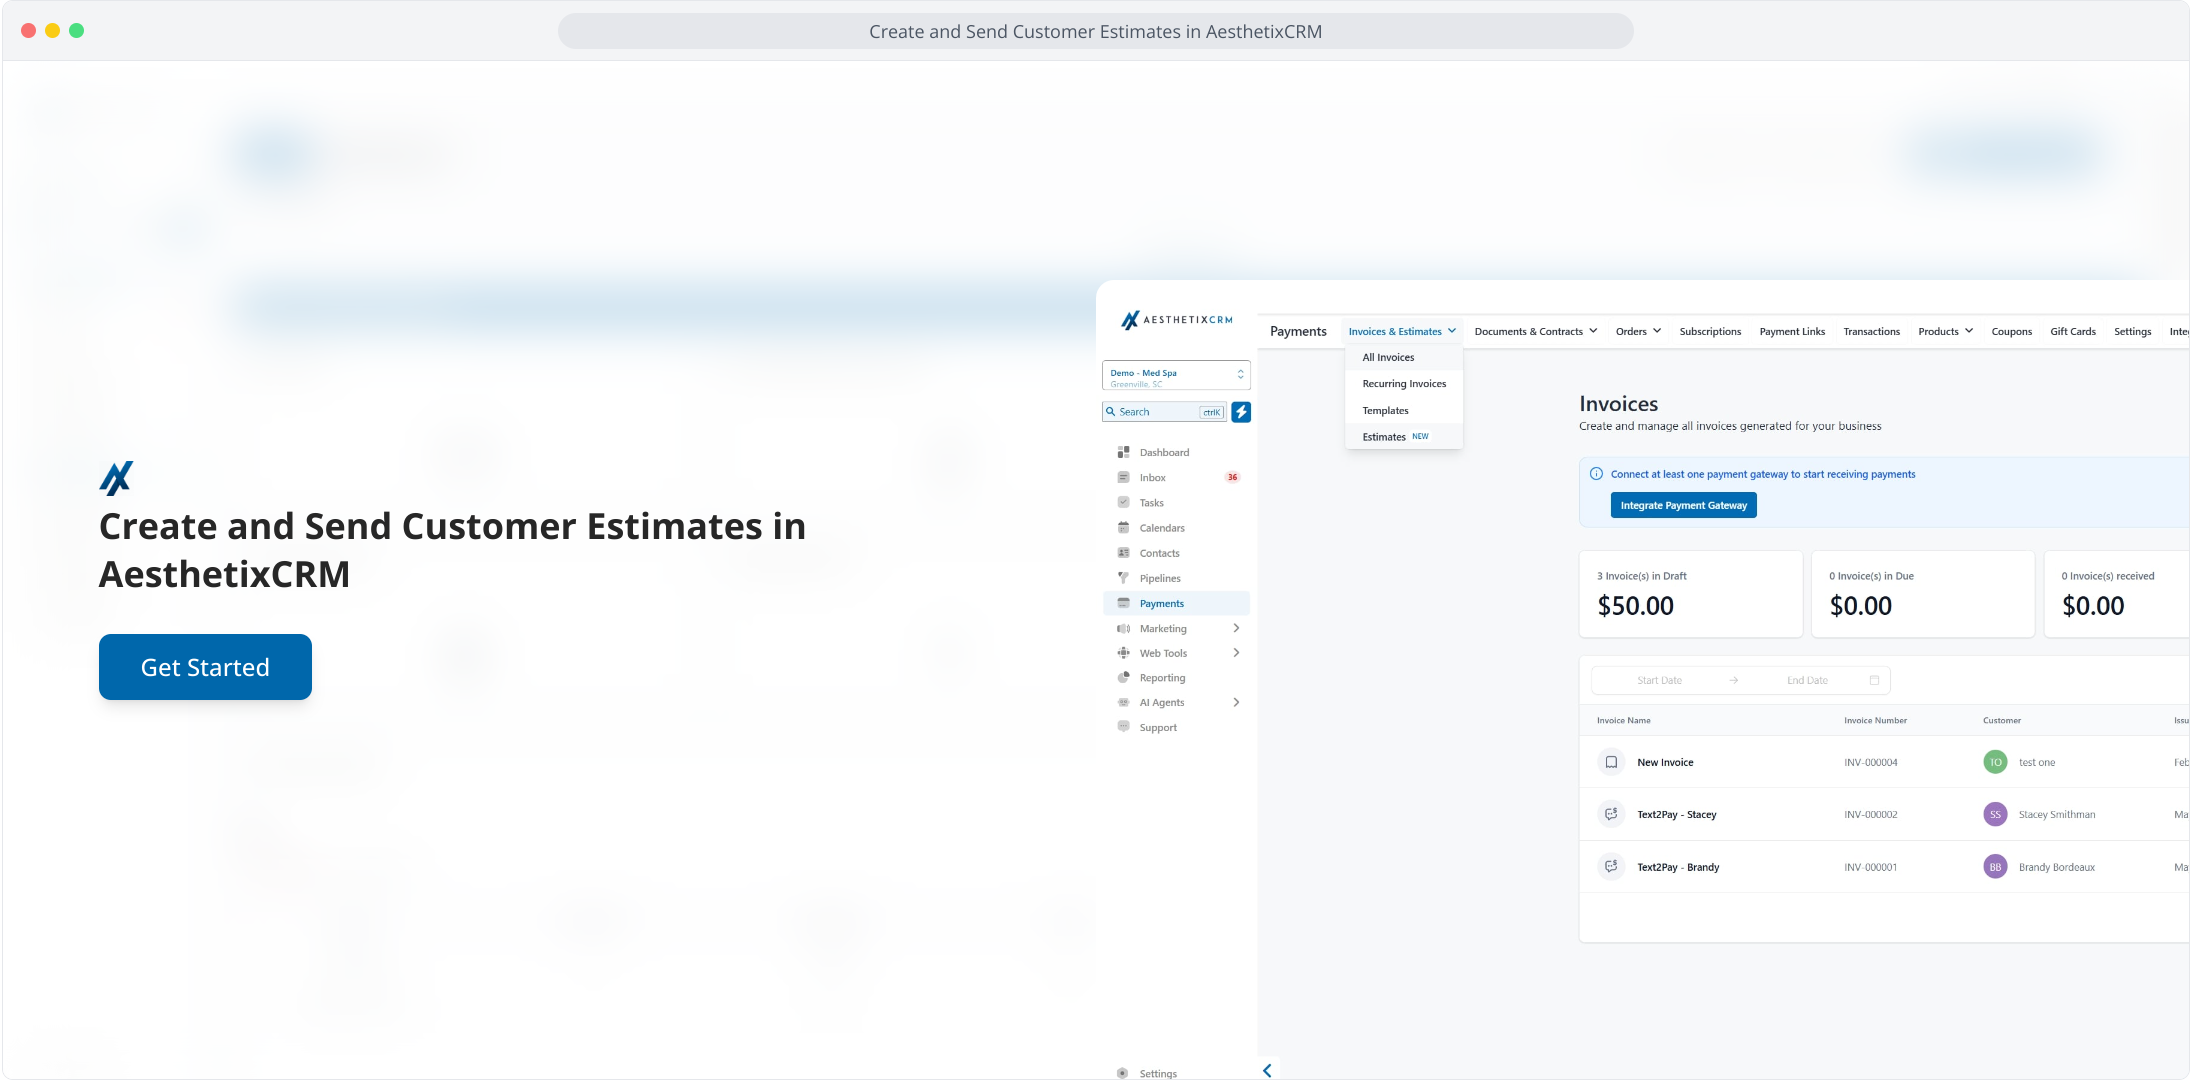
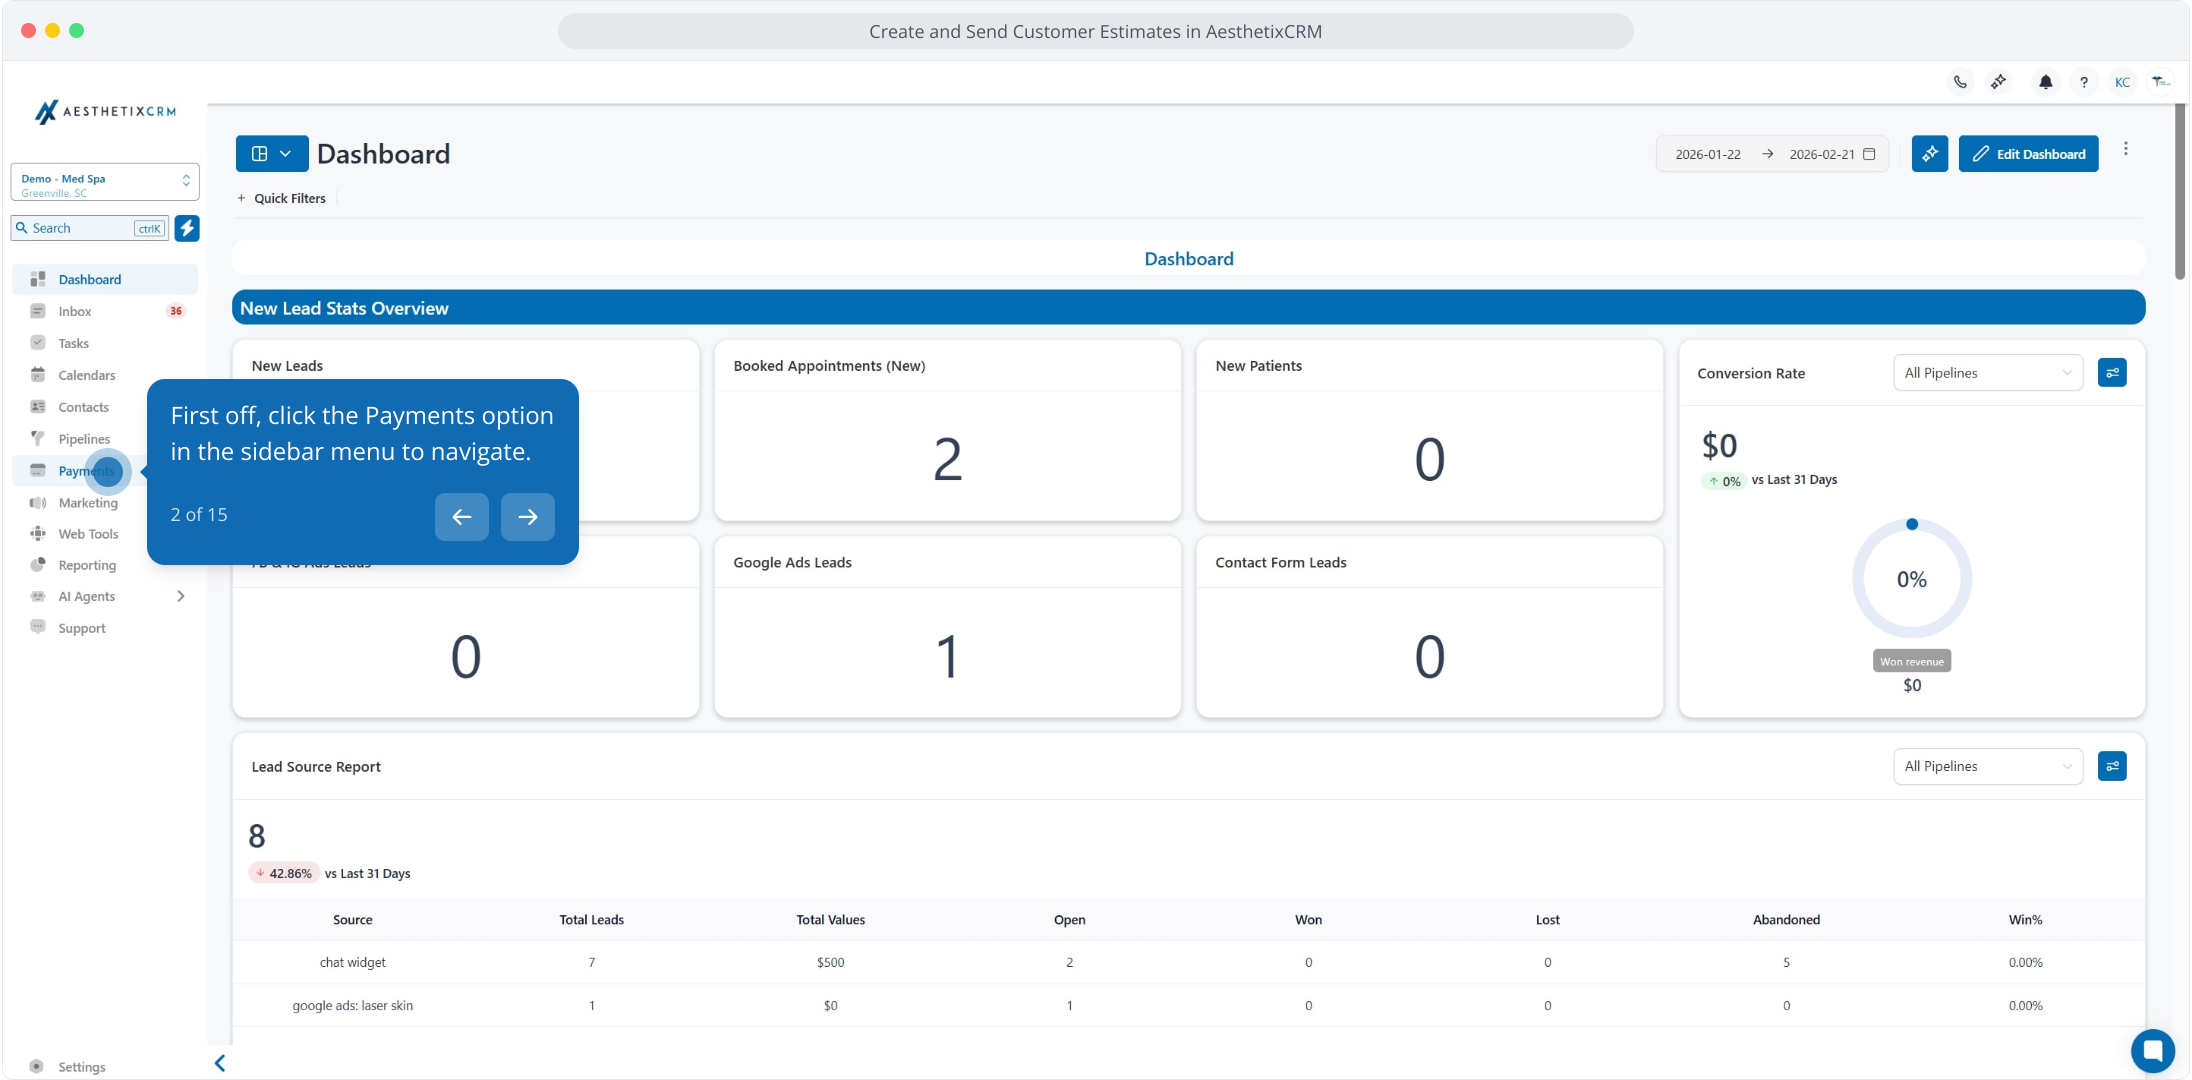
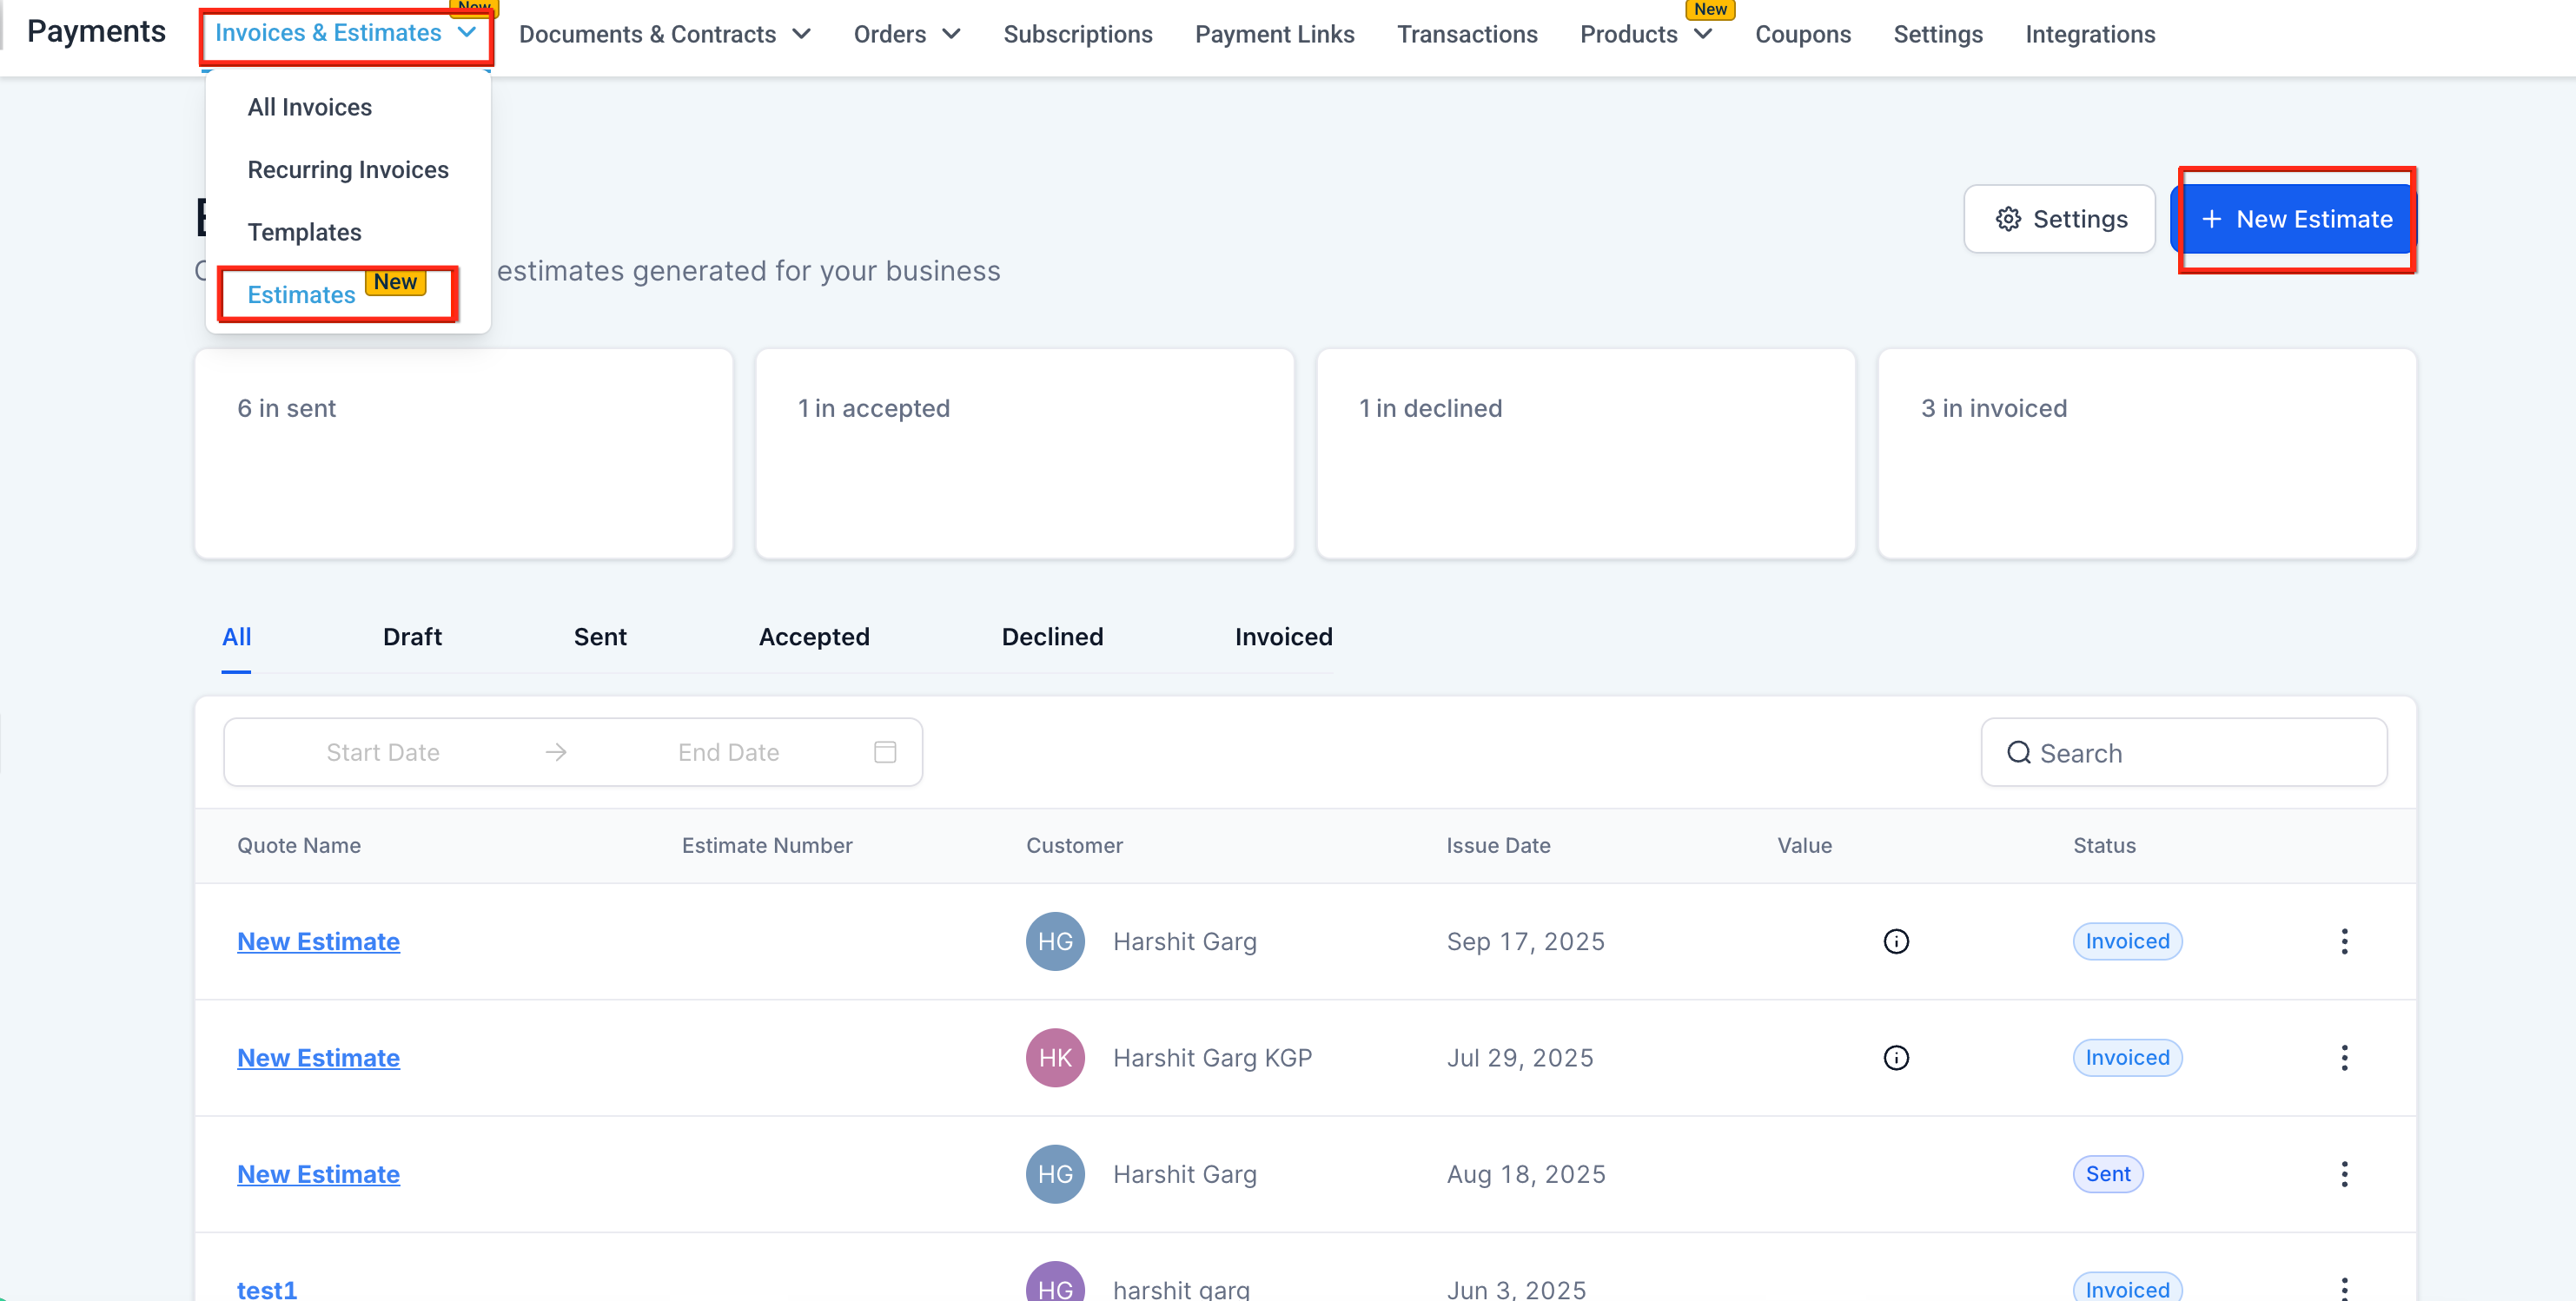
Click Payments in the left sidebar to open your payment tools.
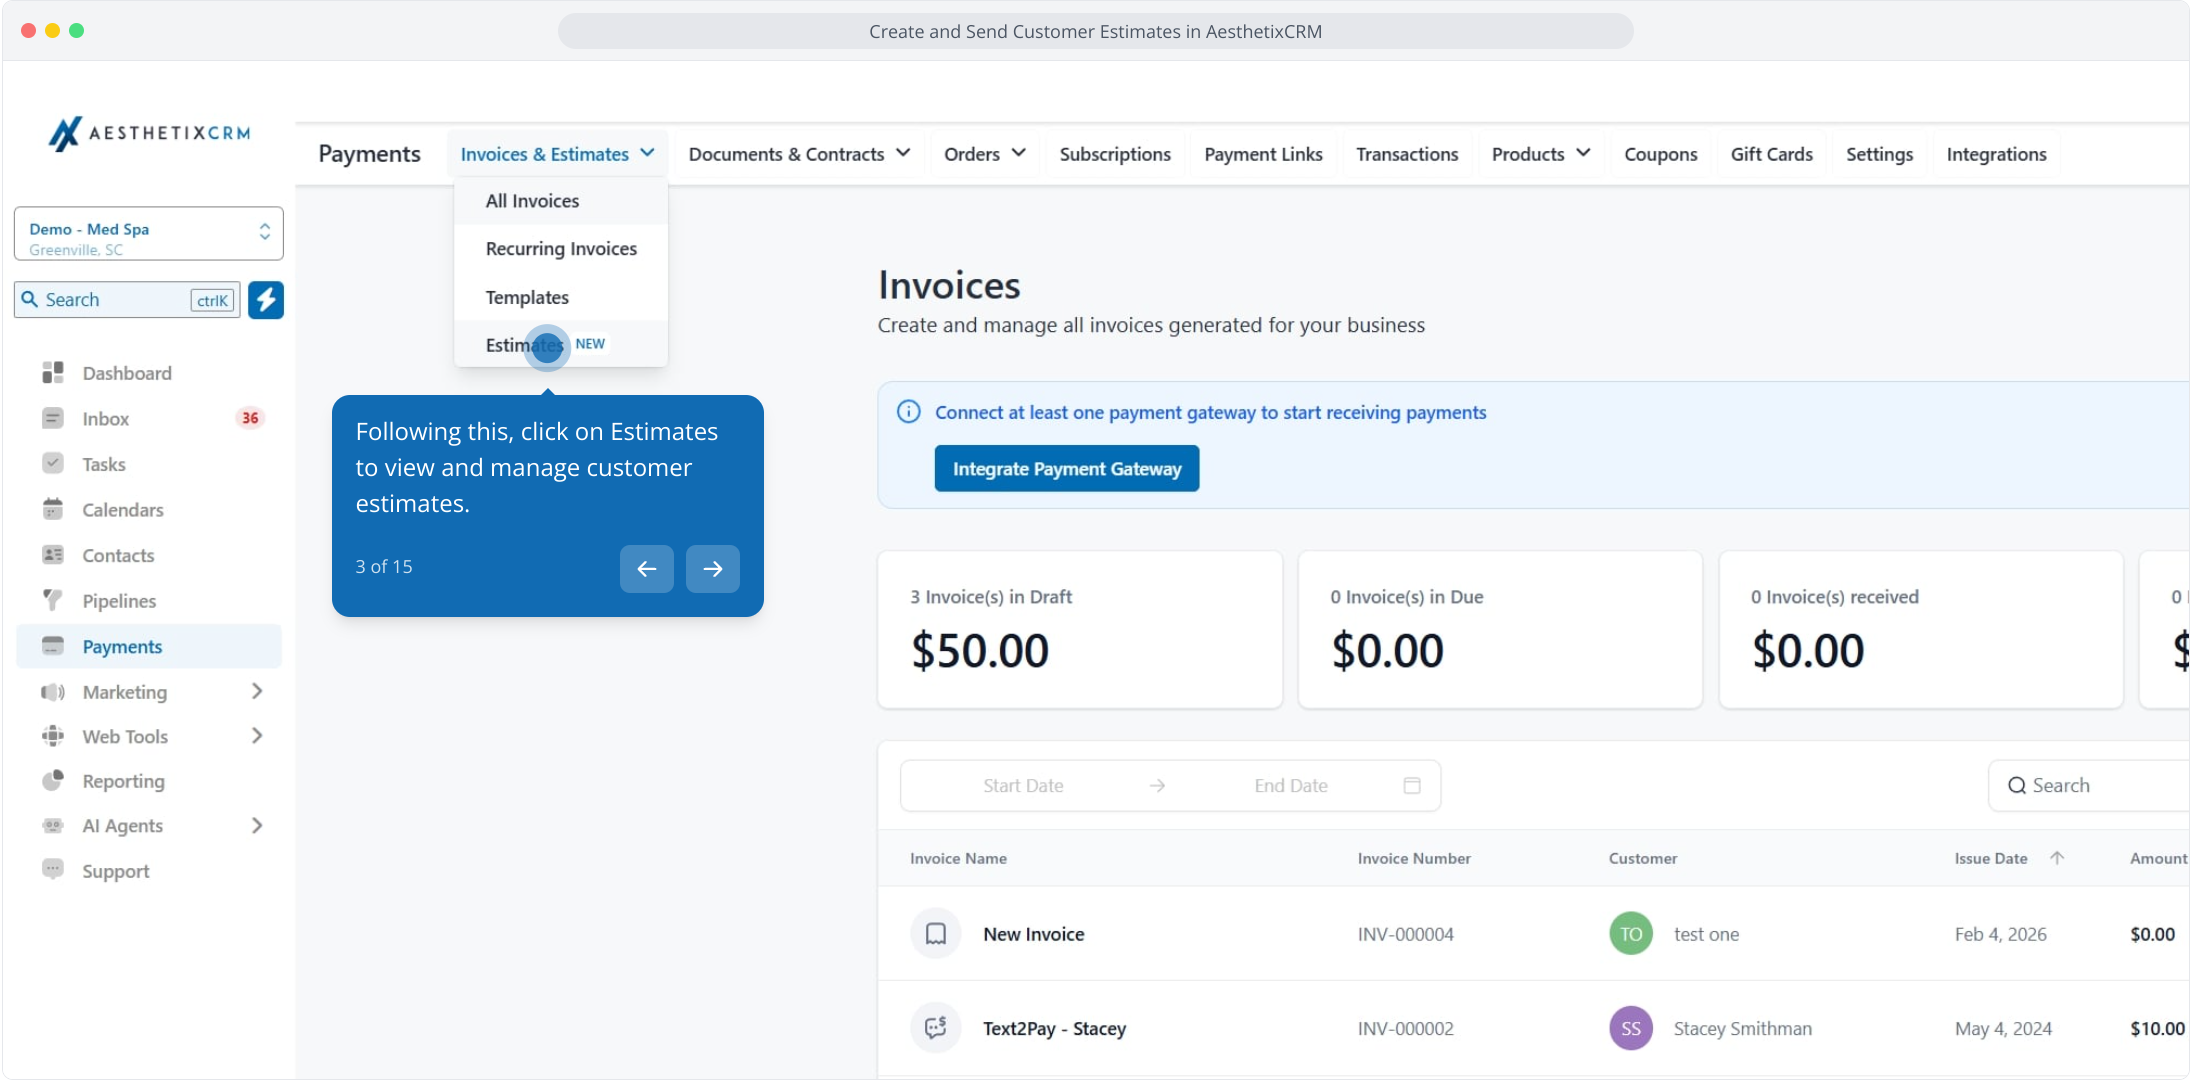
Click Estimates to view and manage patient estimates.
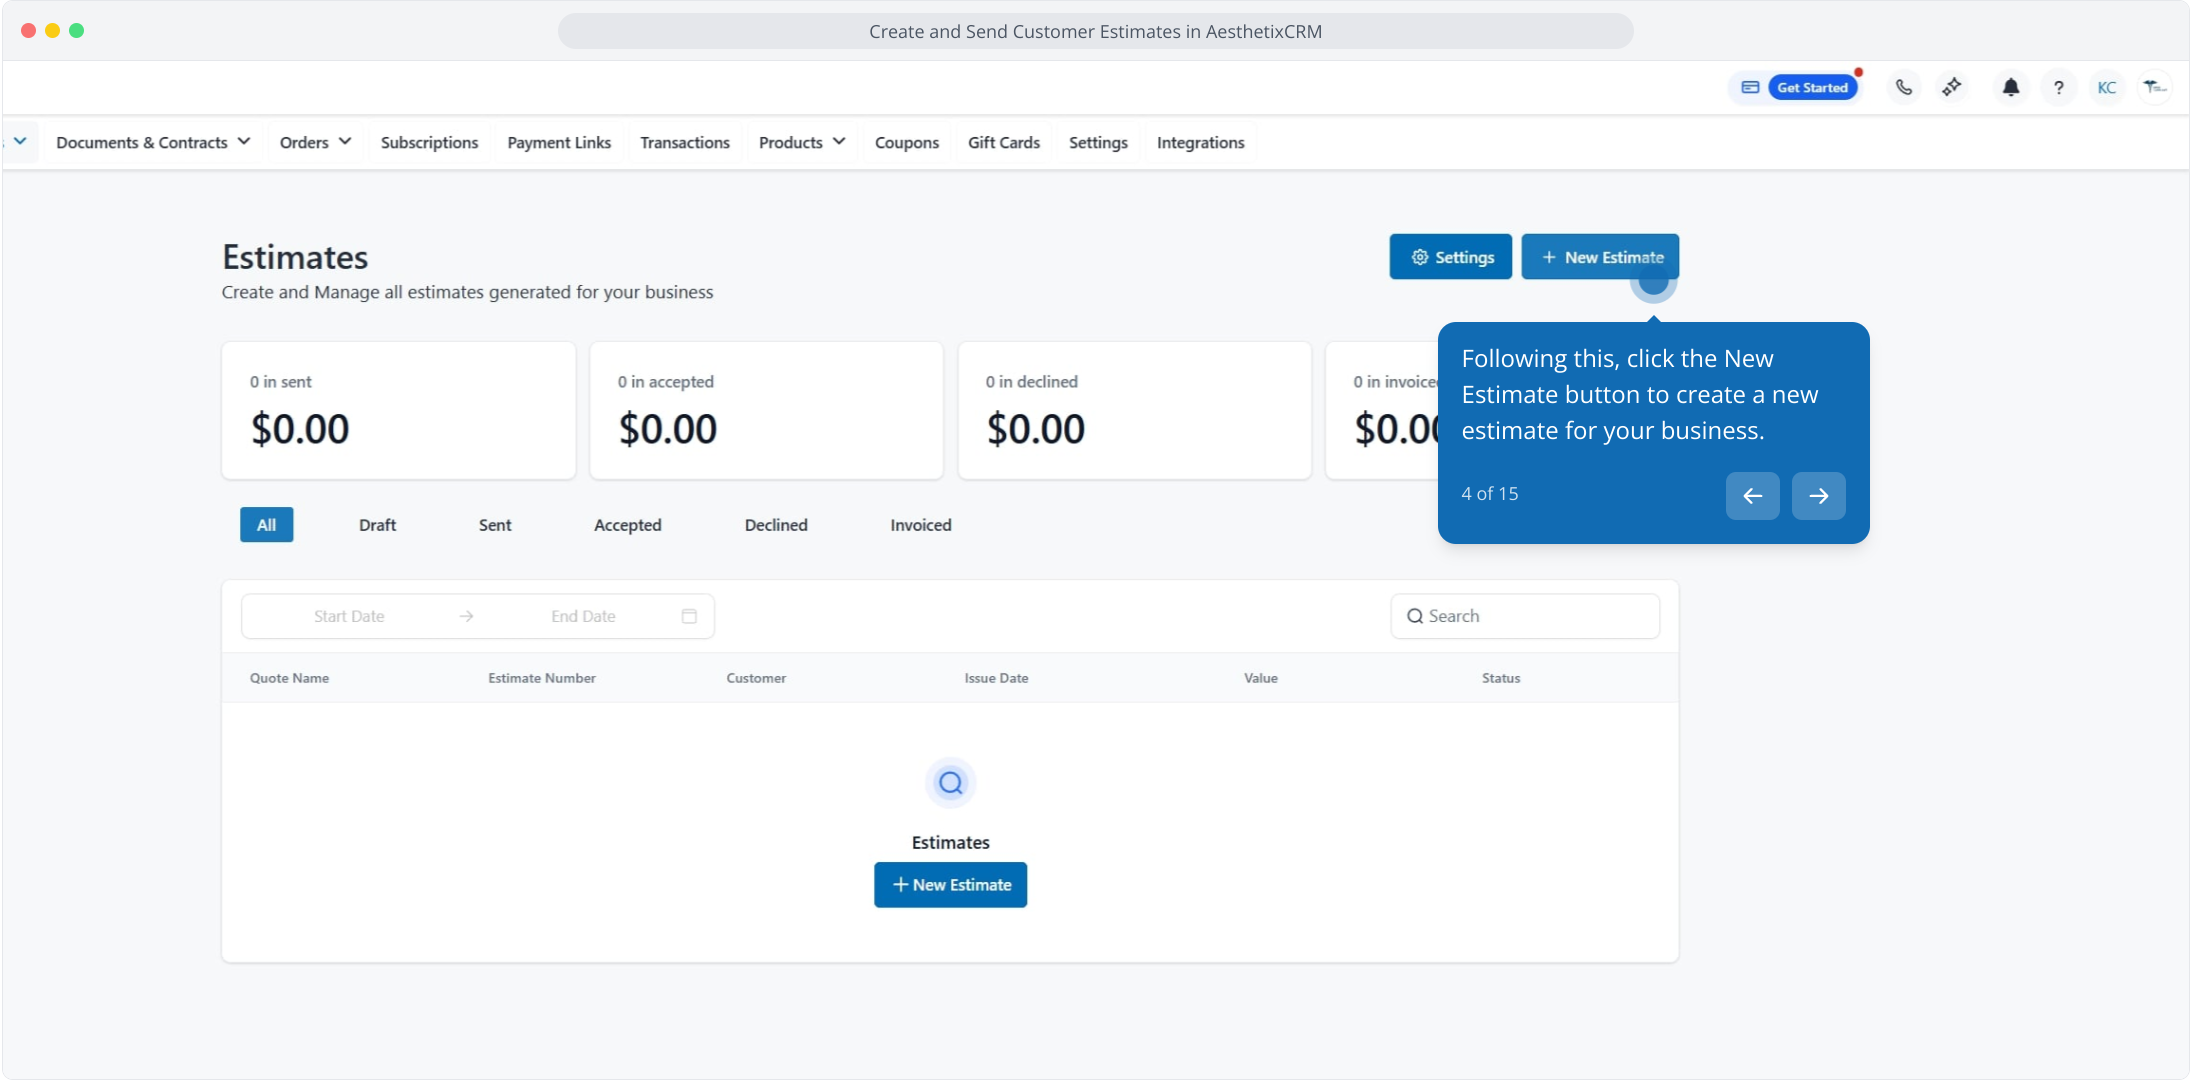
Click the New Estimate button to start a fresh estimate.
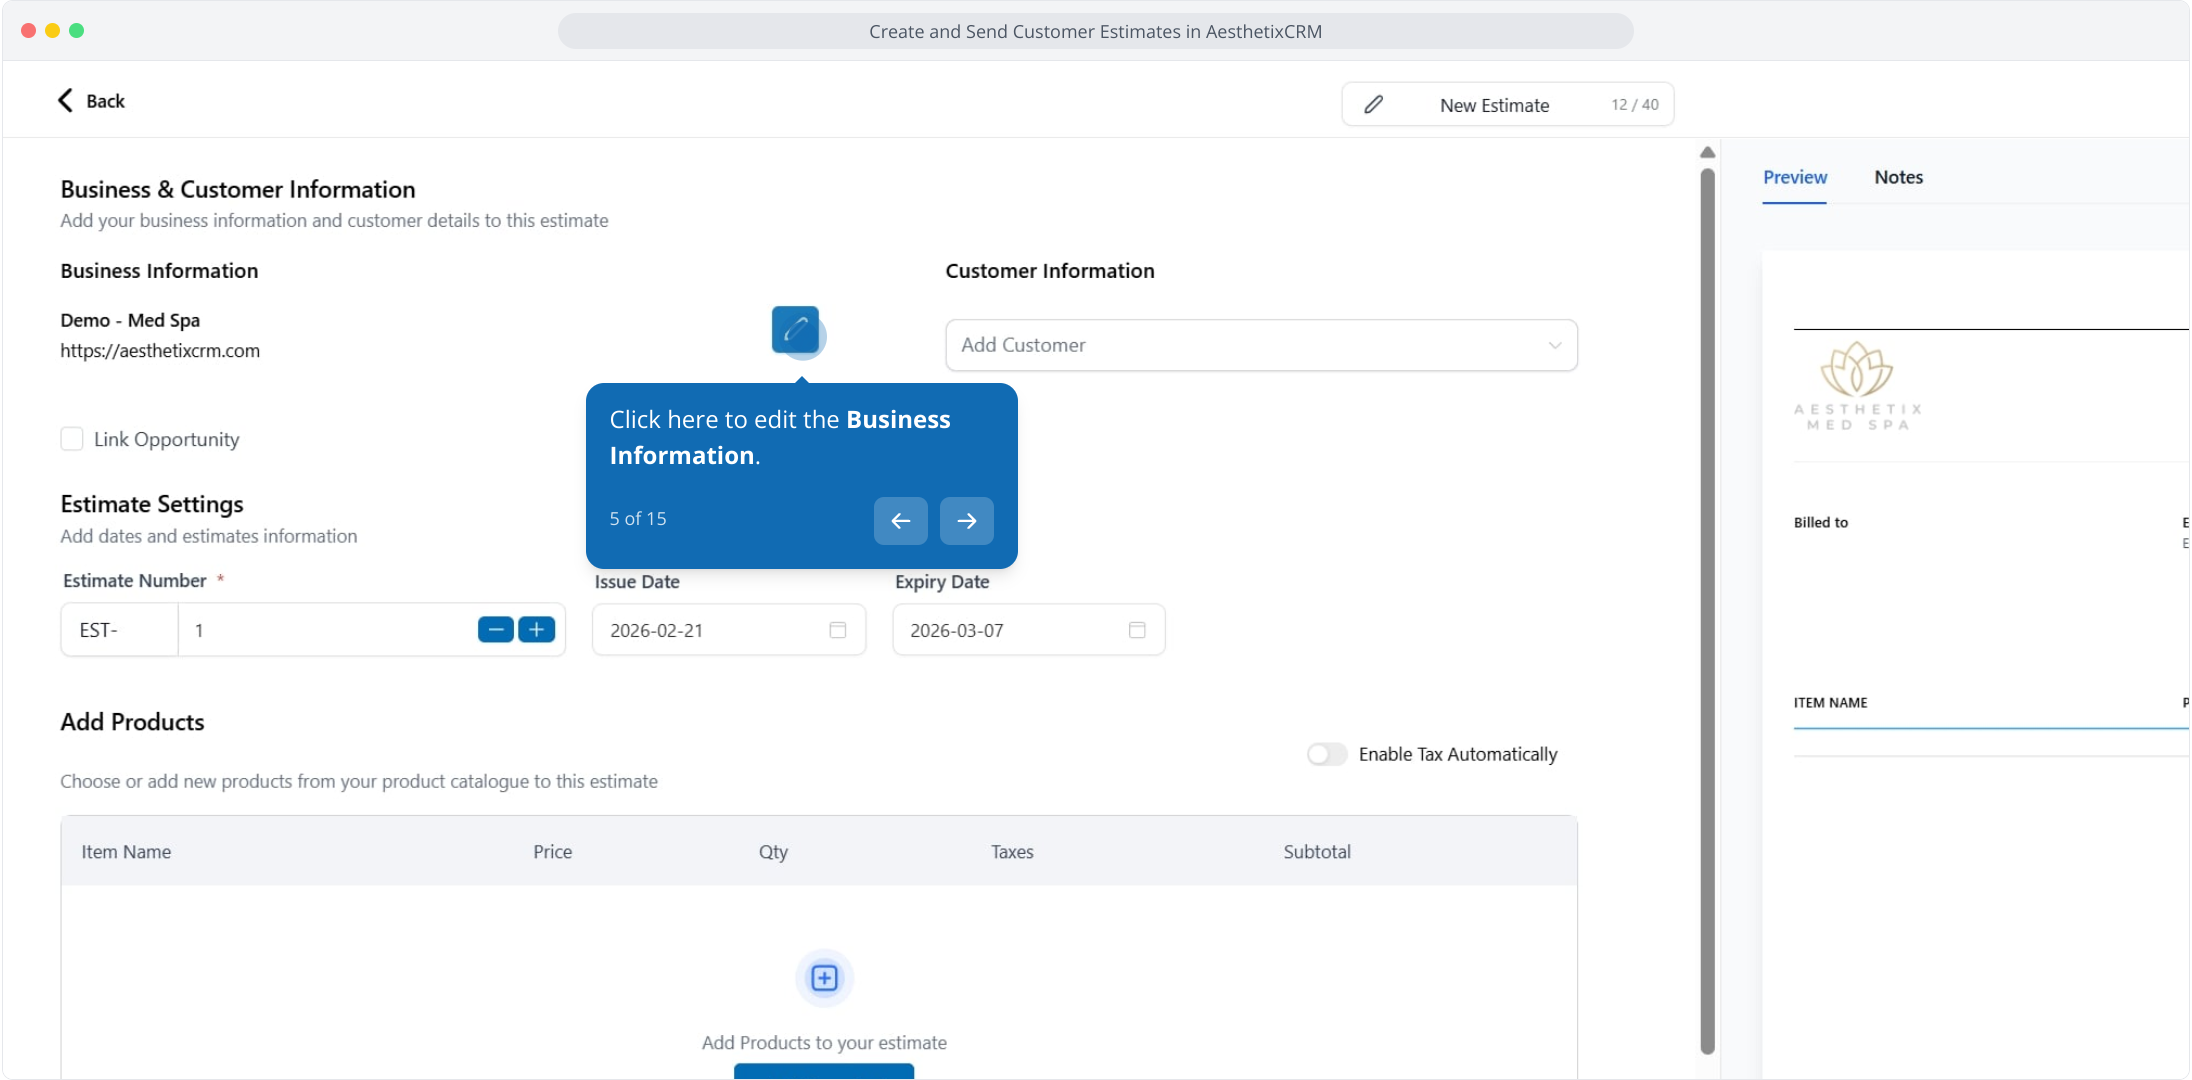
Click to edit the Business Information.
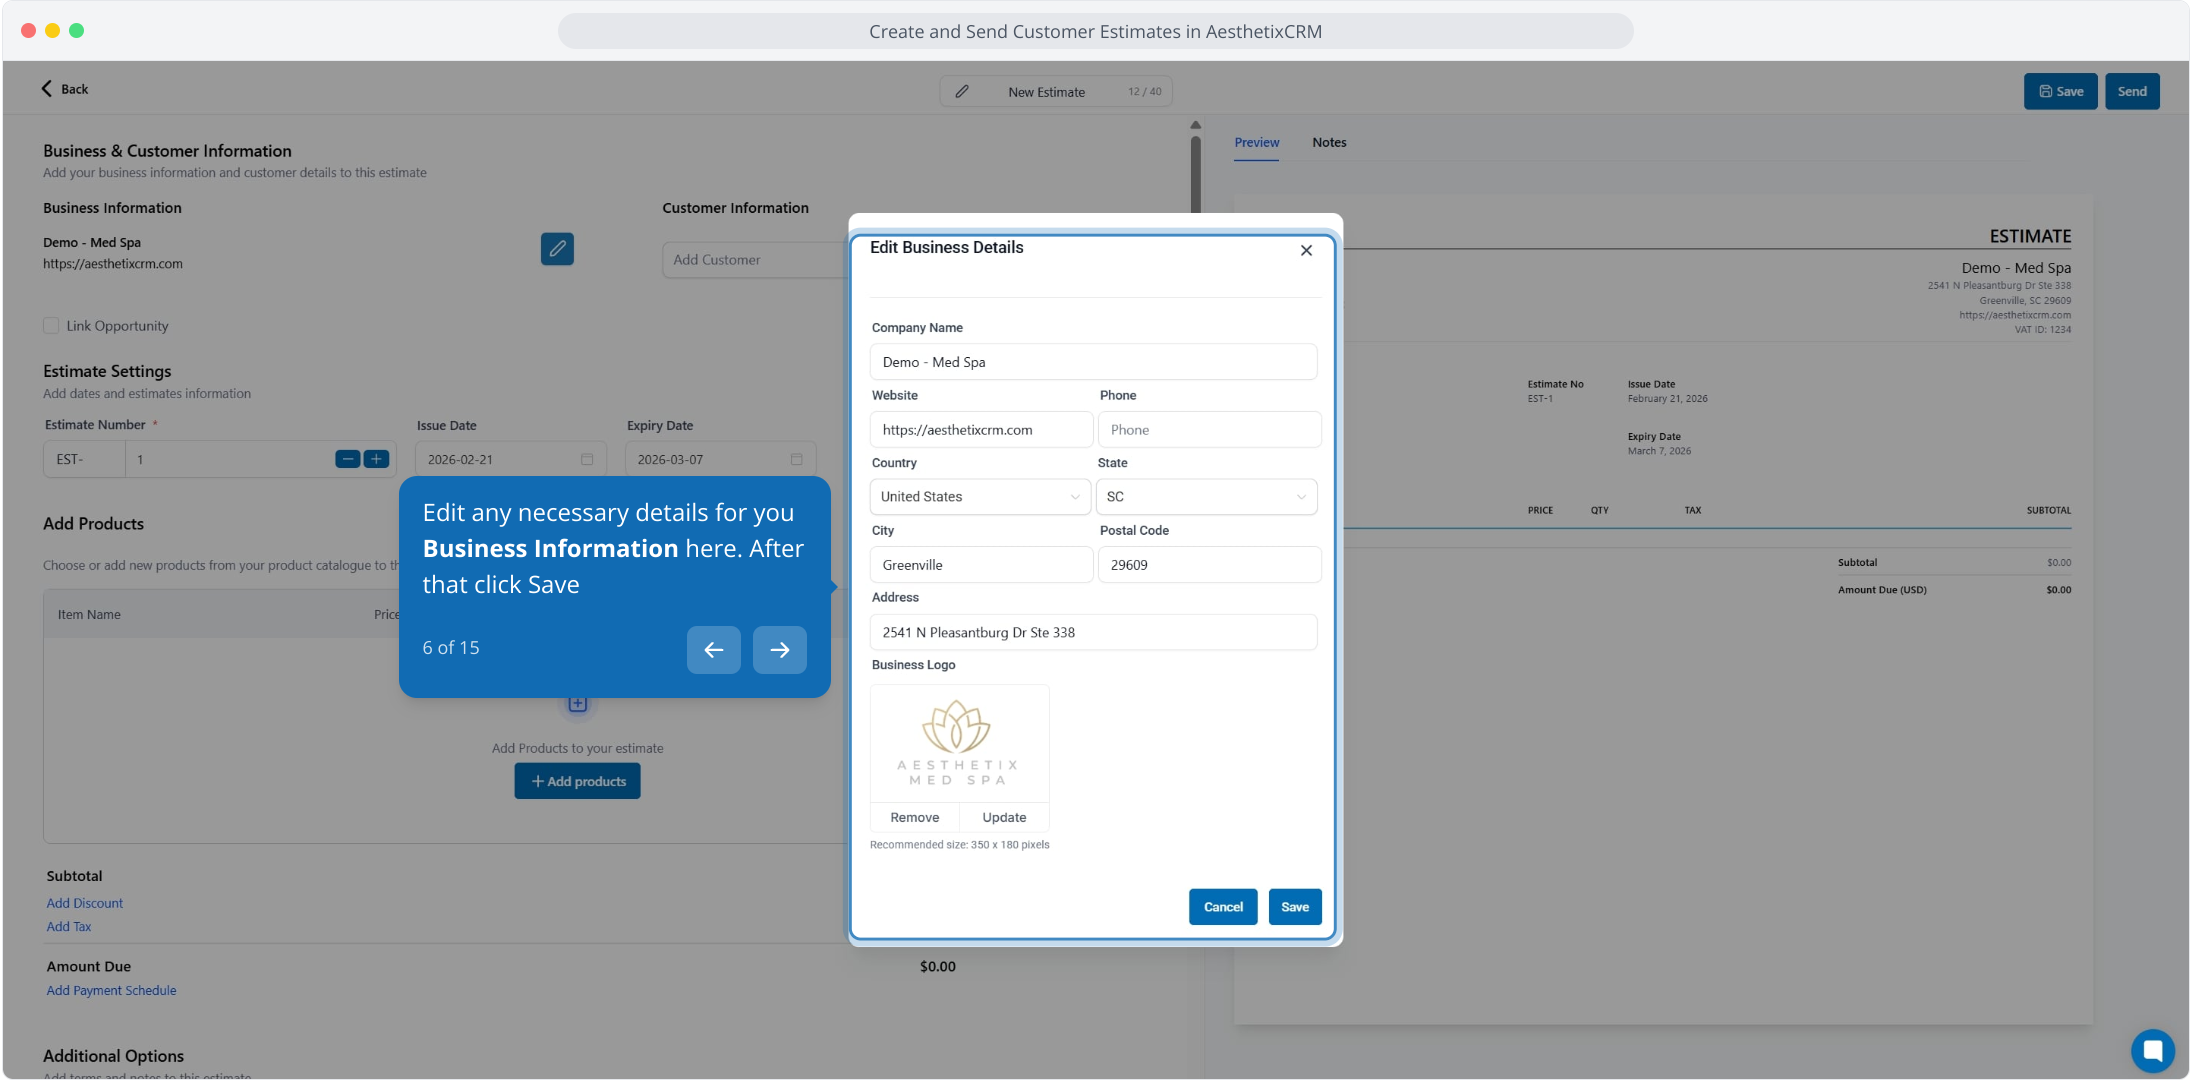
Edit any necessary details for your business information, then click Save. This information appears at the top of the estimate.
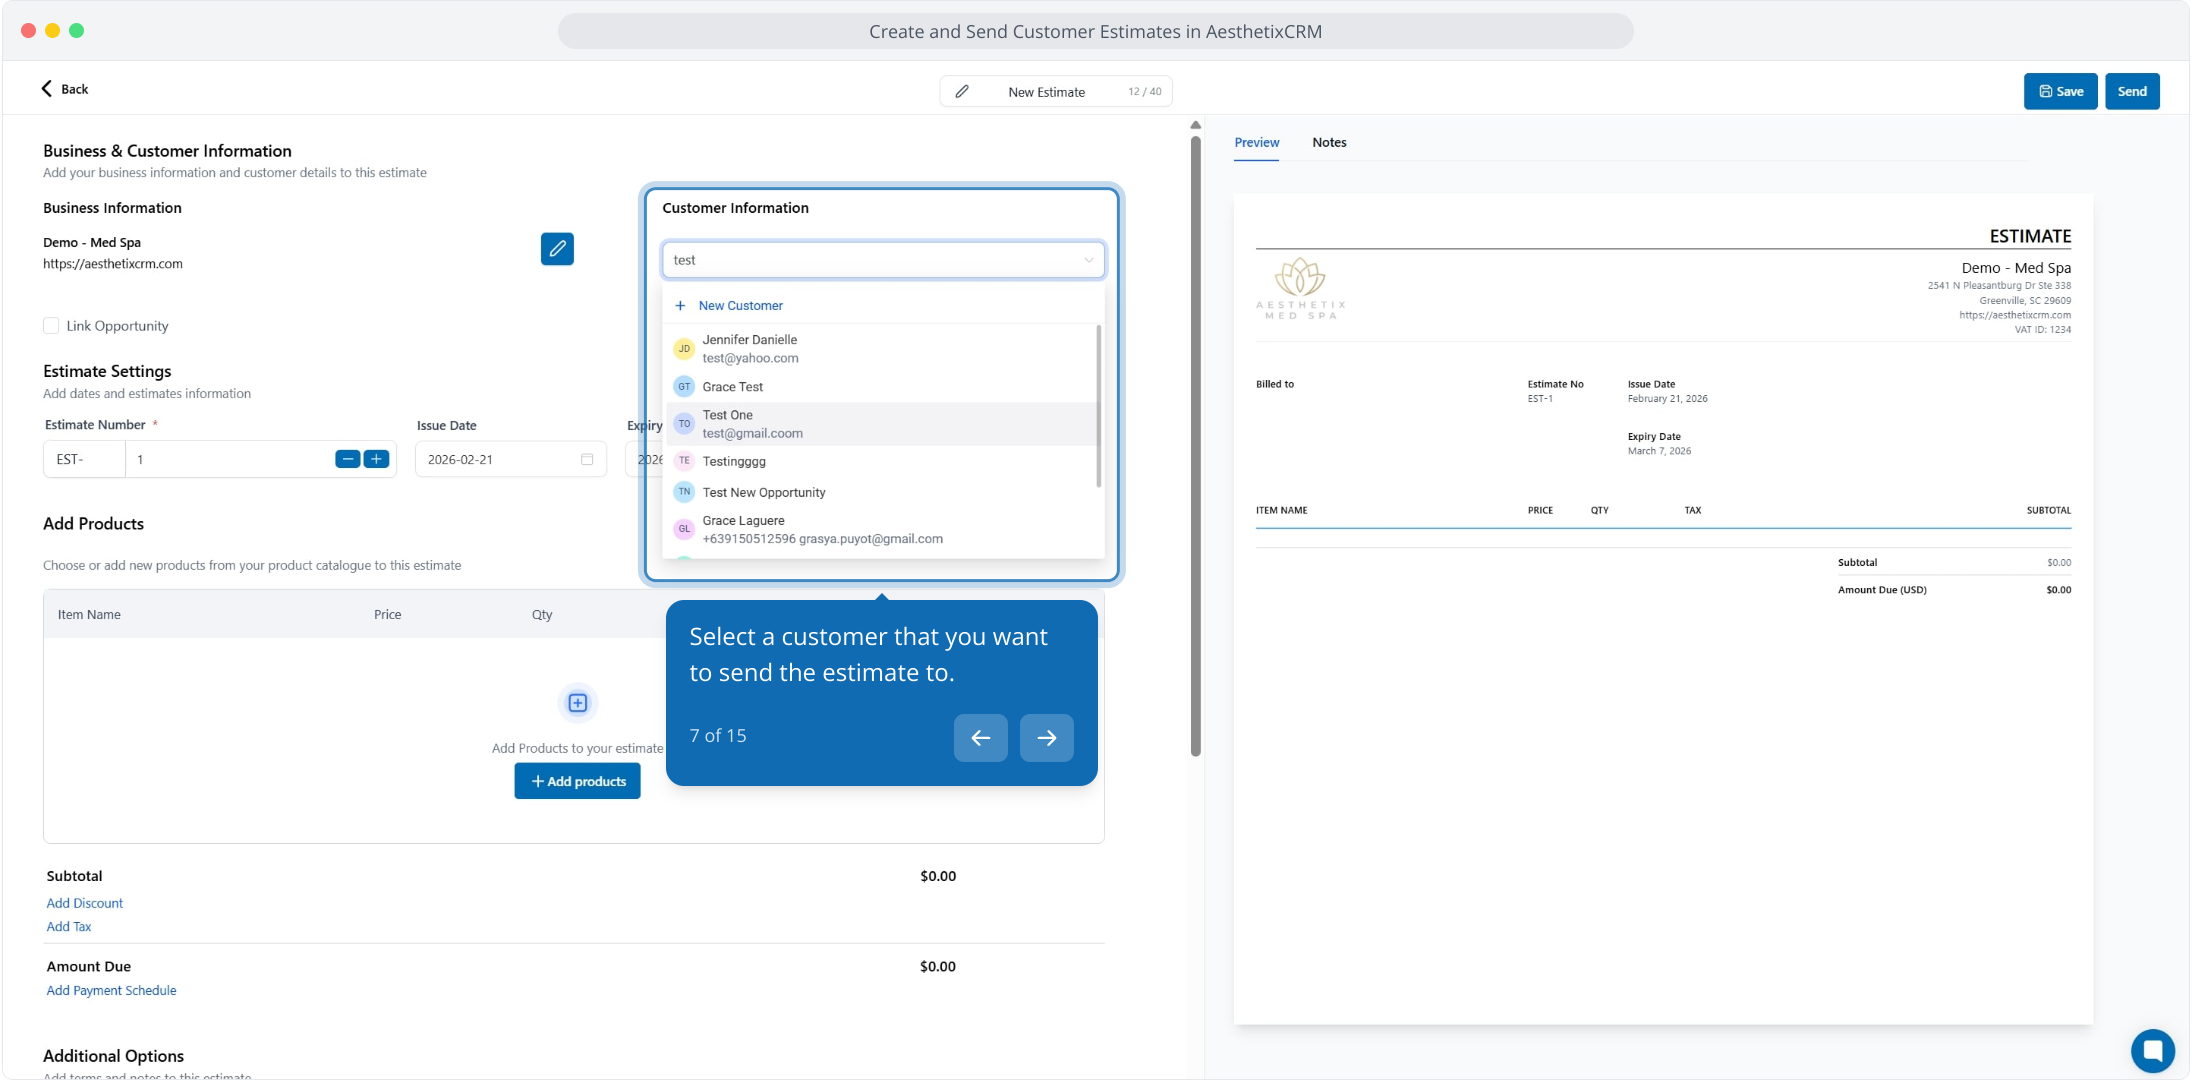
Select the patient you want to send the estimate to.
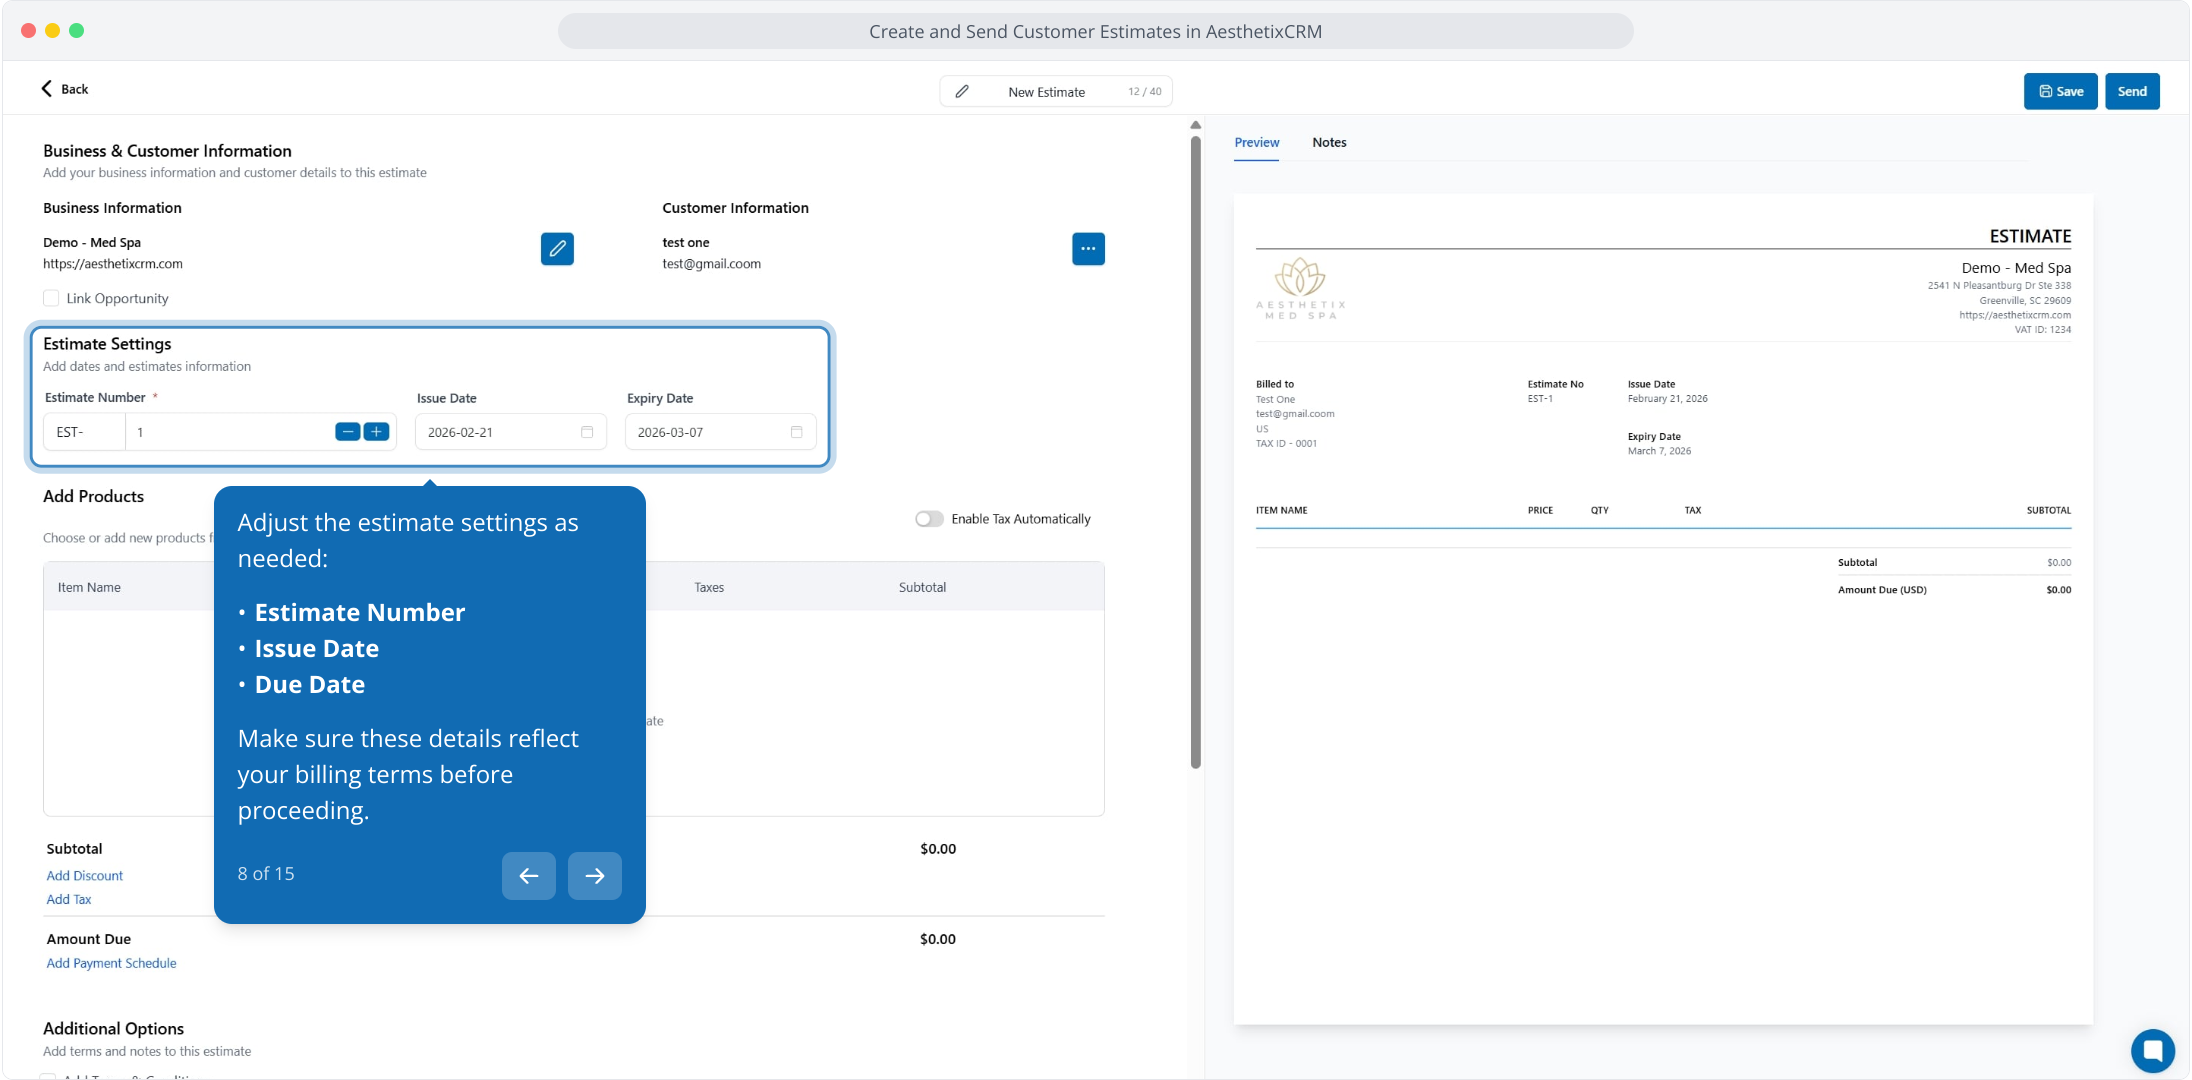
Adjust the estimate settings as needed:
Estimate Number
Issue Date
Expiry (Due) Date
Make sure these details reflect your terms before proceeding.
Click the Add Product button to include treatments, packages, or products on the estimate. Choose from your prebuilt product catalog so the description and price prefill automatically, then edit as needed for the individual patient.
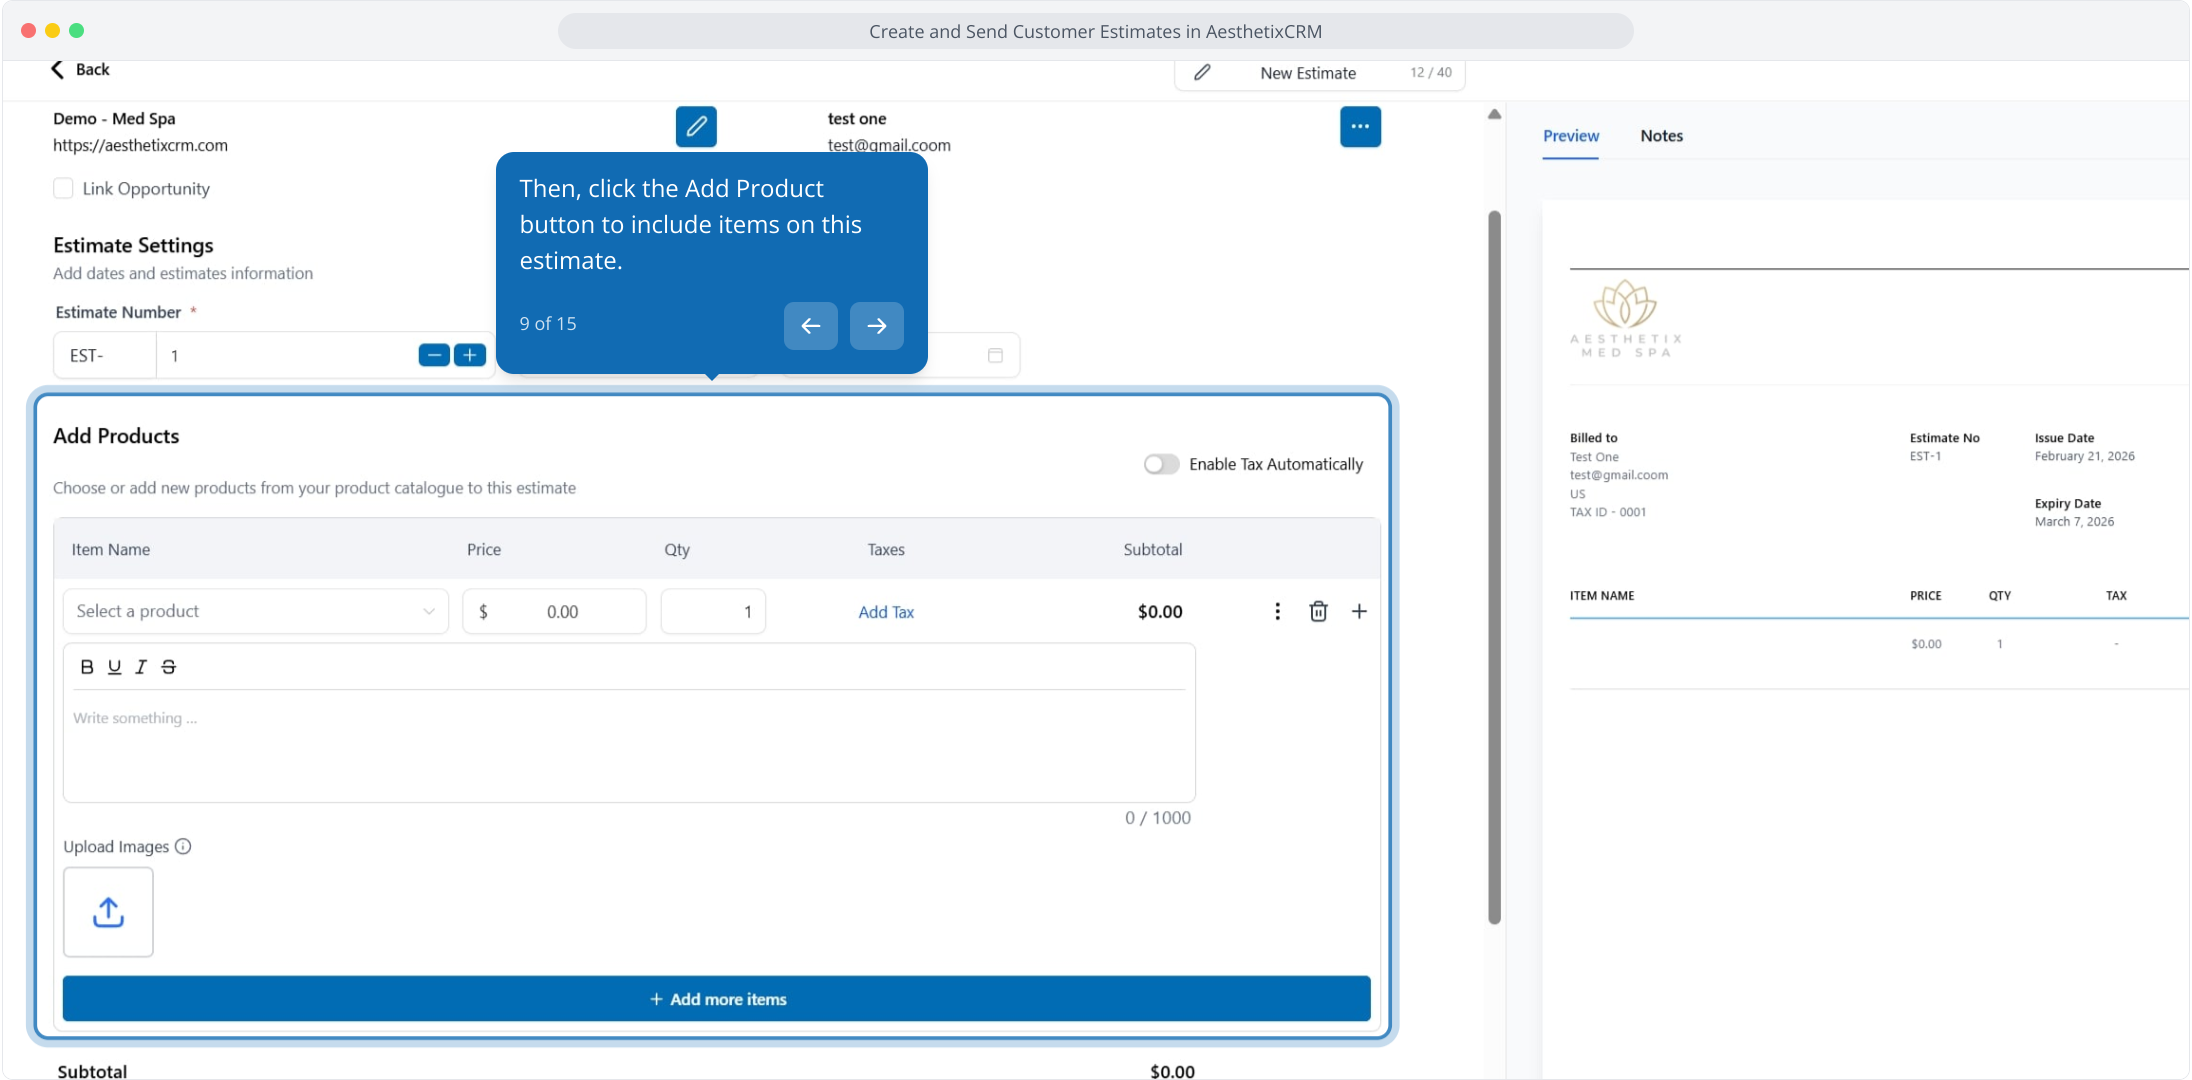
Once your product catalog is set up, building estimates becomes fast and consistent.
Custom values let you add extra details or standardized information to an estimate. You can configure them at two levels.
Editor level (per estimate):
Open an existing estimate or create a New Estimate.
Locate the Custom Values field.
Enter the required custom information.
Save or send the estimate.
Settings level (default on all new estimates):
Go to Settings.
Select Estimate Preferences.
Define your custom values.
Click Save.
These predefined values then appear automatically whenever a new estimate is created. You can still edit them per estimate in the editor.
Partial quantities let you add items using fractional values instead of whole numbers, which is useful for time-based services (for example, 1.5 hours of a treatment) or products measured in partial units (for example, 0.25 units).
Open or create an estimate.
Add a product or service.
In the Quantity field, enter a fractional value such as 1.5 or 0.25.
The system automatically calculates the total price based on the quantity entered.
Save or send the estimate.
You can attach up to four images to any product or service line so patients see exactly what they are approving. Photos appear as thumbnails under each line item and open in a full-screen gallery when clicked.
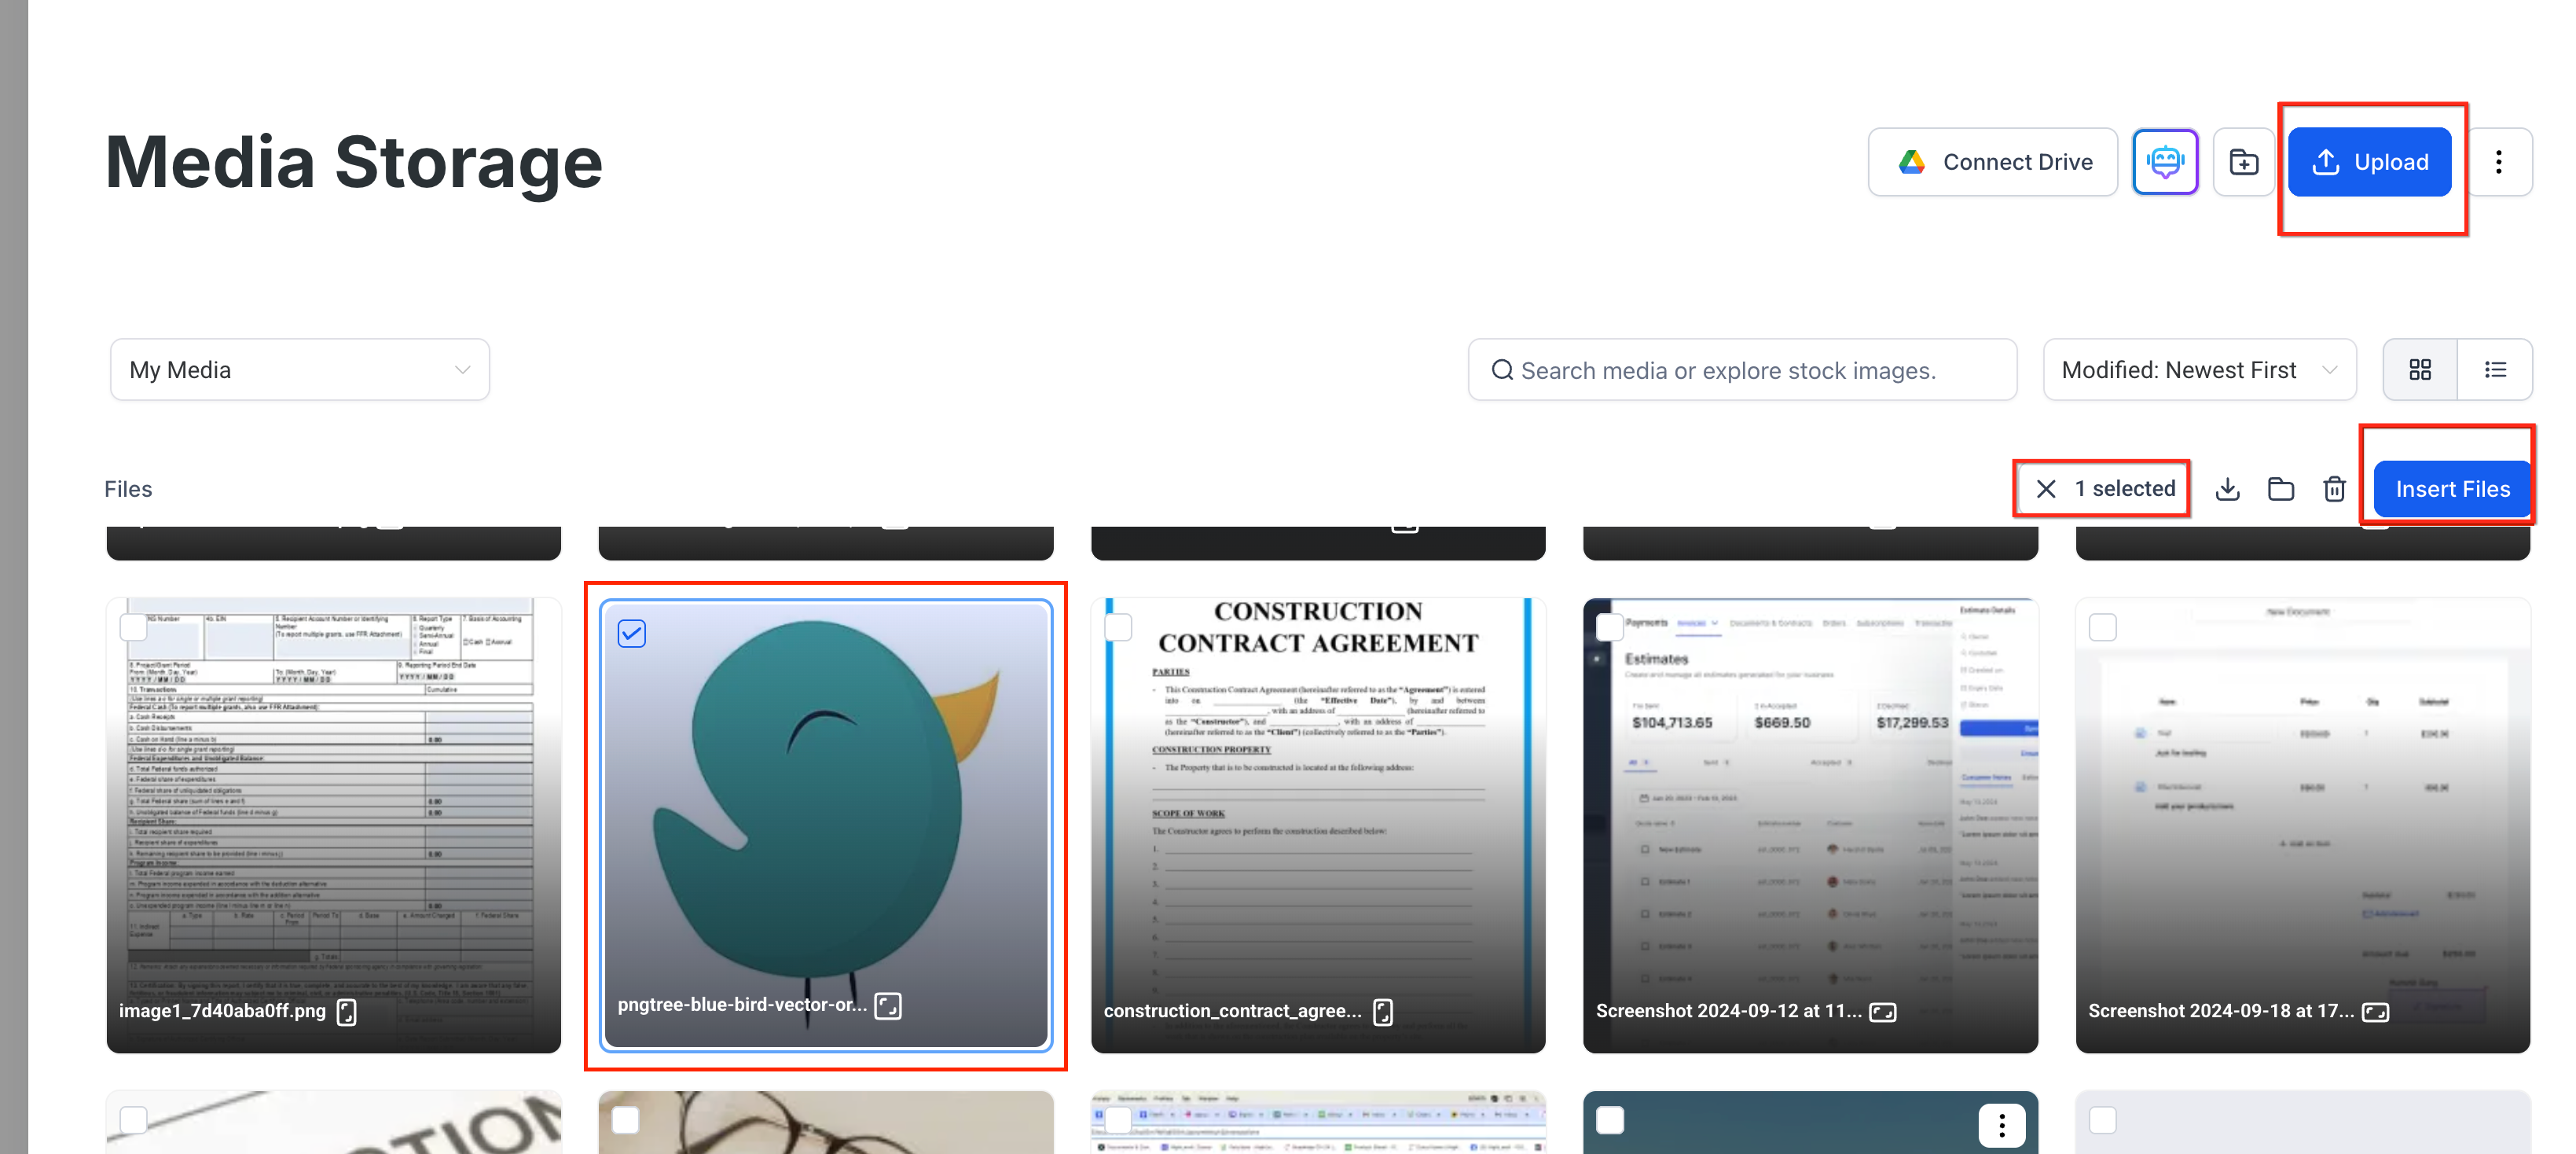
You can pull images from your Media Storage or upload new ones (uploads are saved to Media Storage automatically for reuse), and you can mix both, up to four per line item.
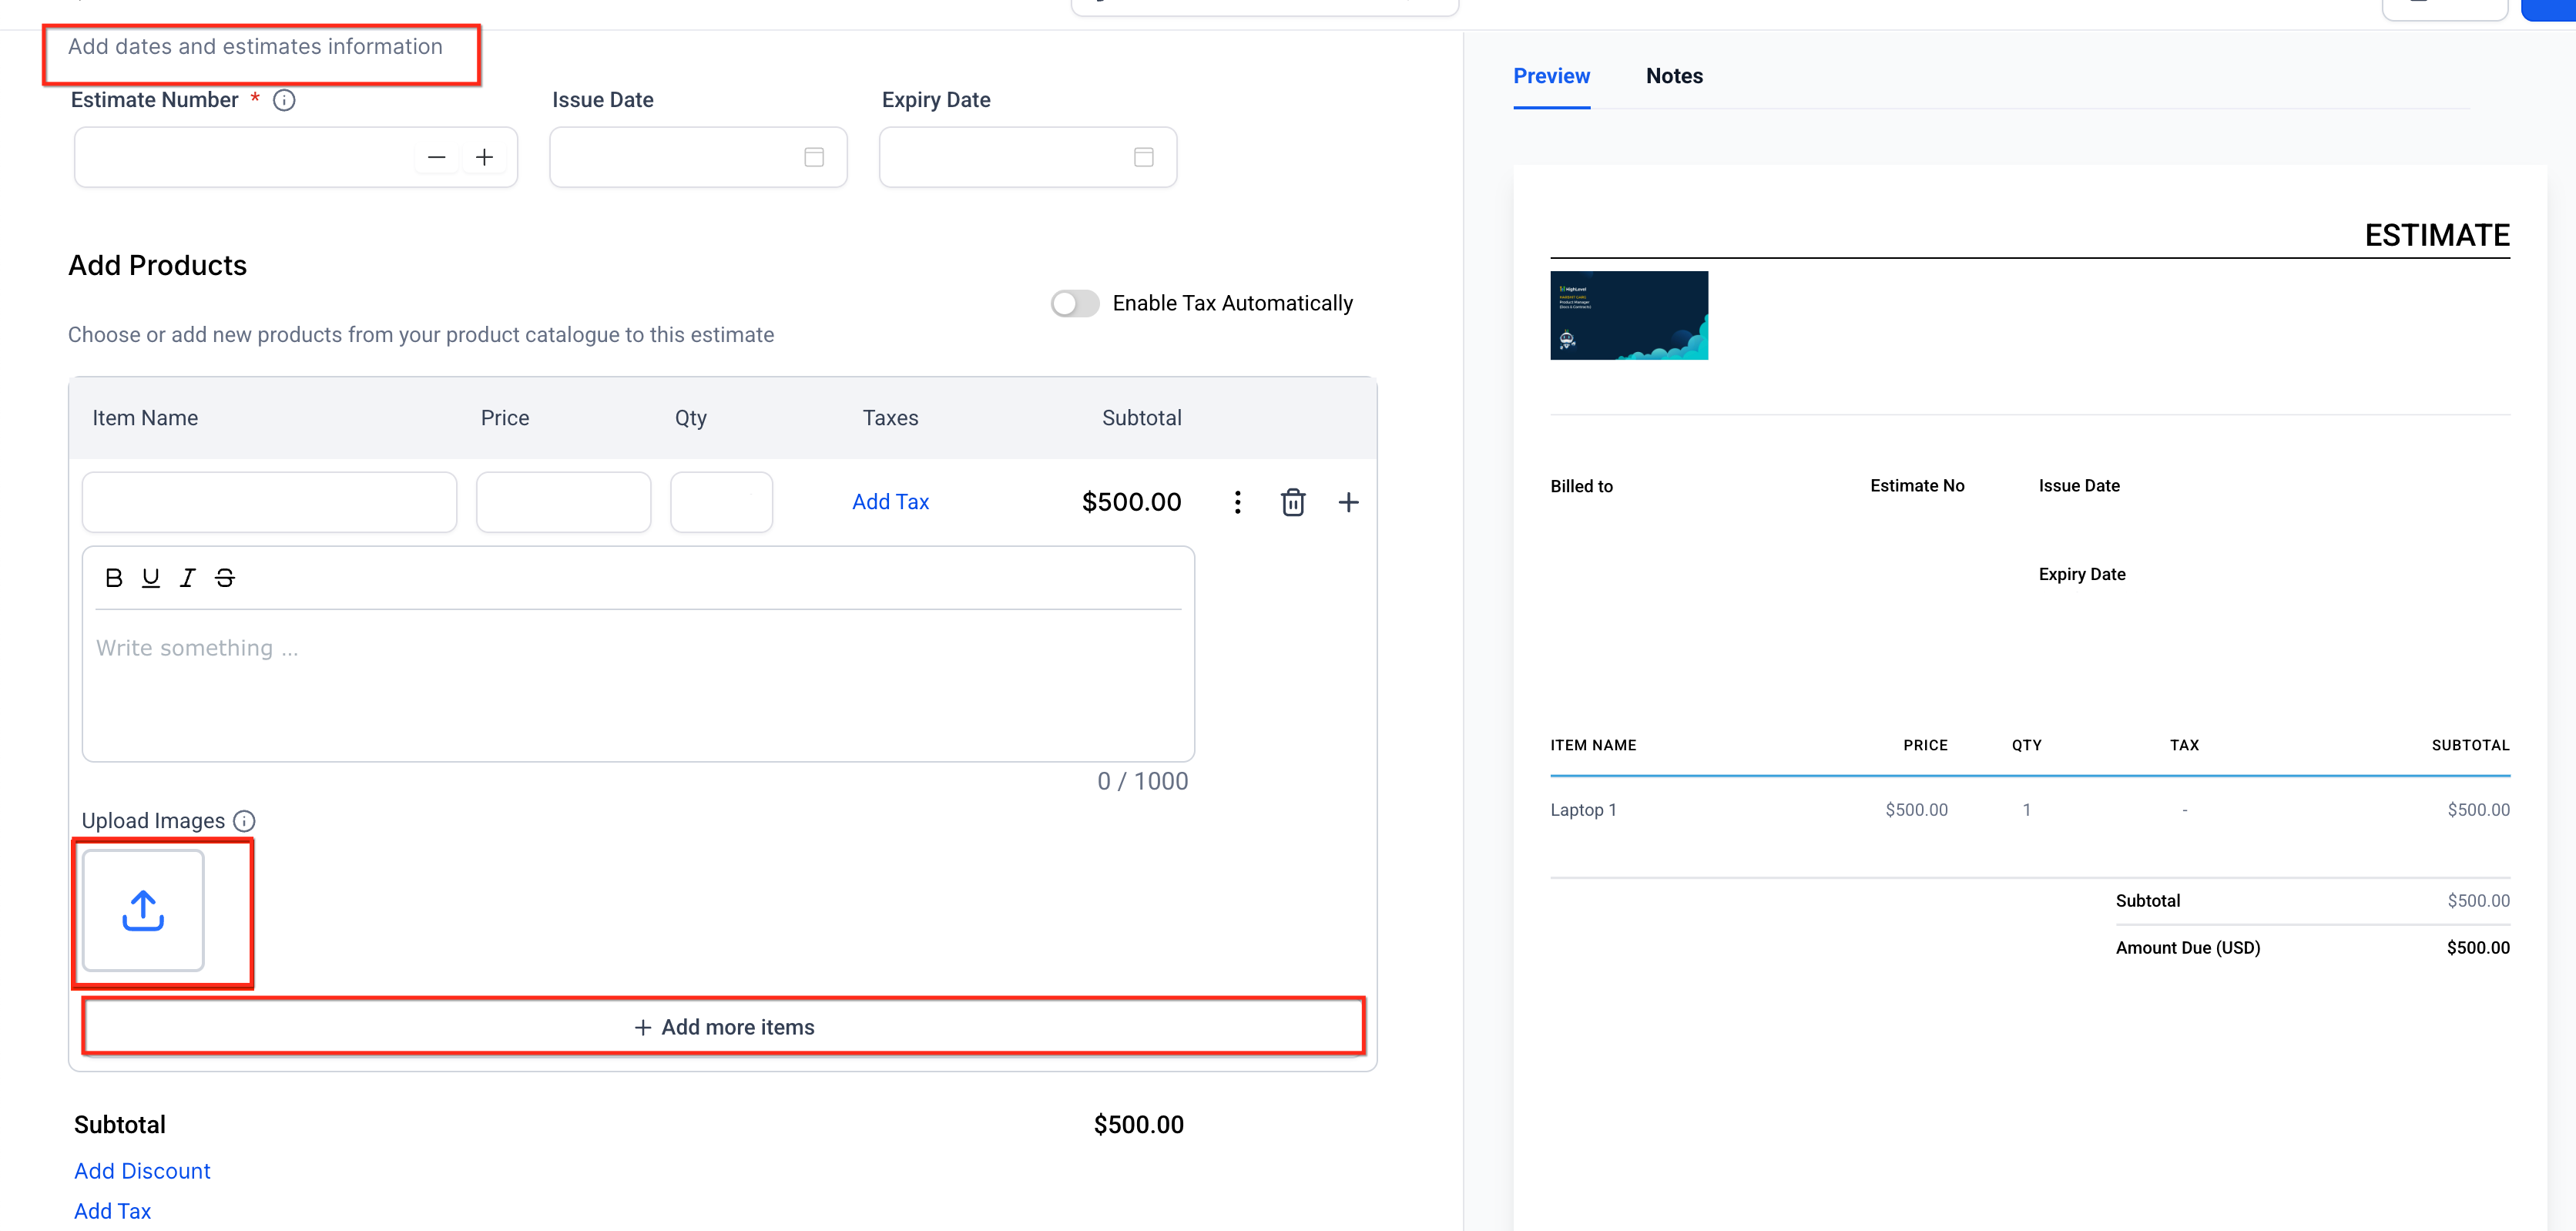
To add photos while building an estimate:
Create a New Estimate and enter your details.
Under the line item, click Upload Images.
Choose Upload to add new files, or select from Media Storage.
Select up to four images and click Insert Files.
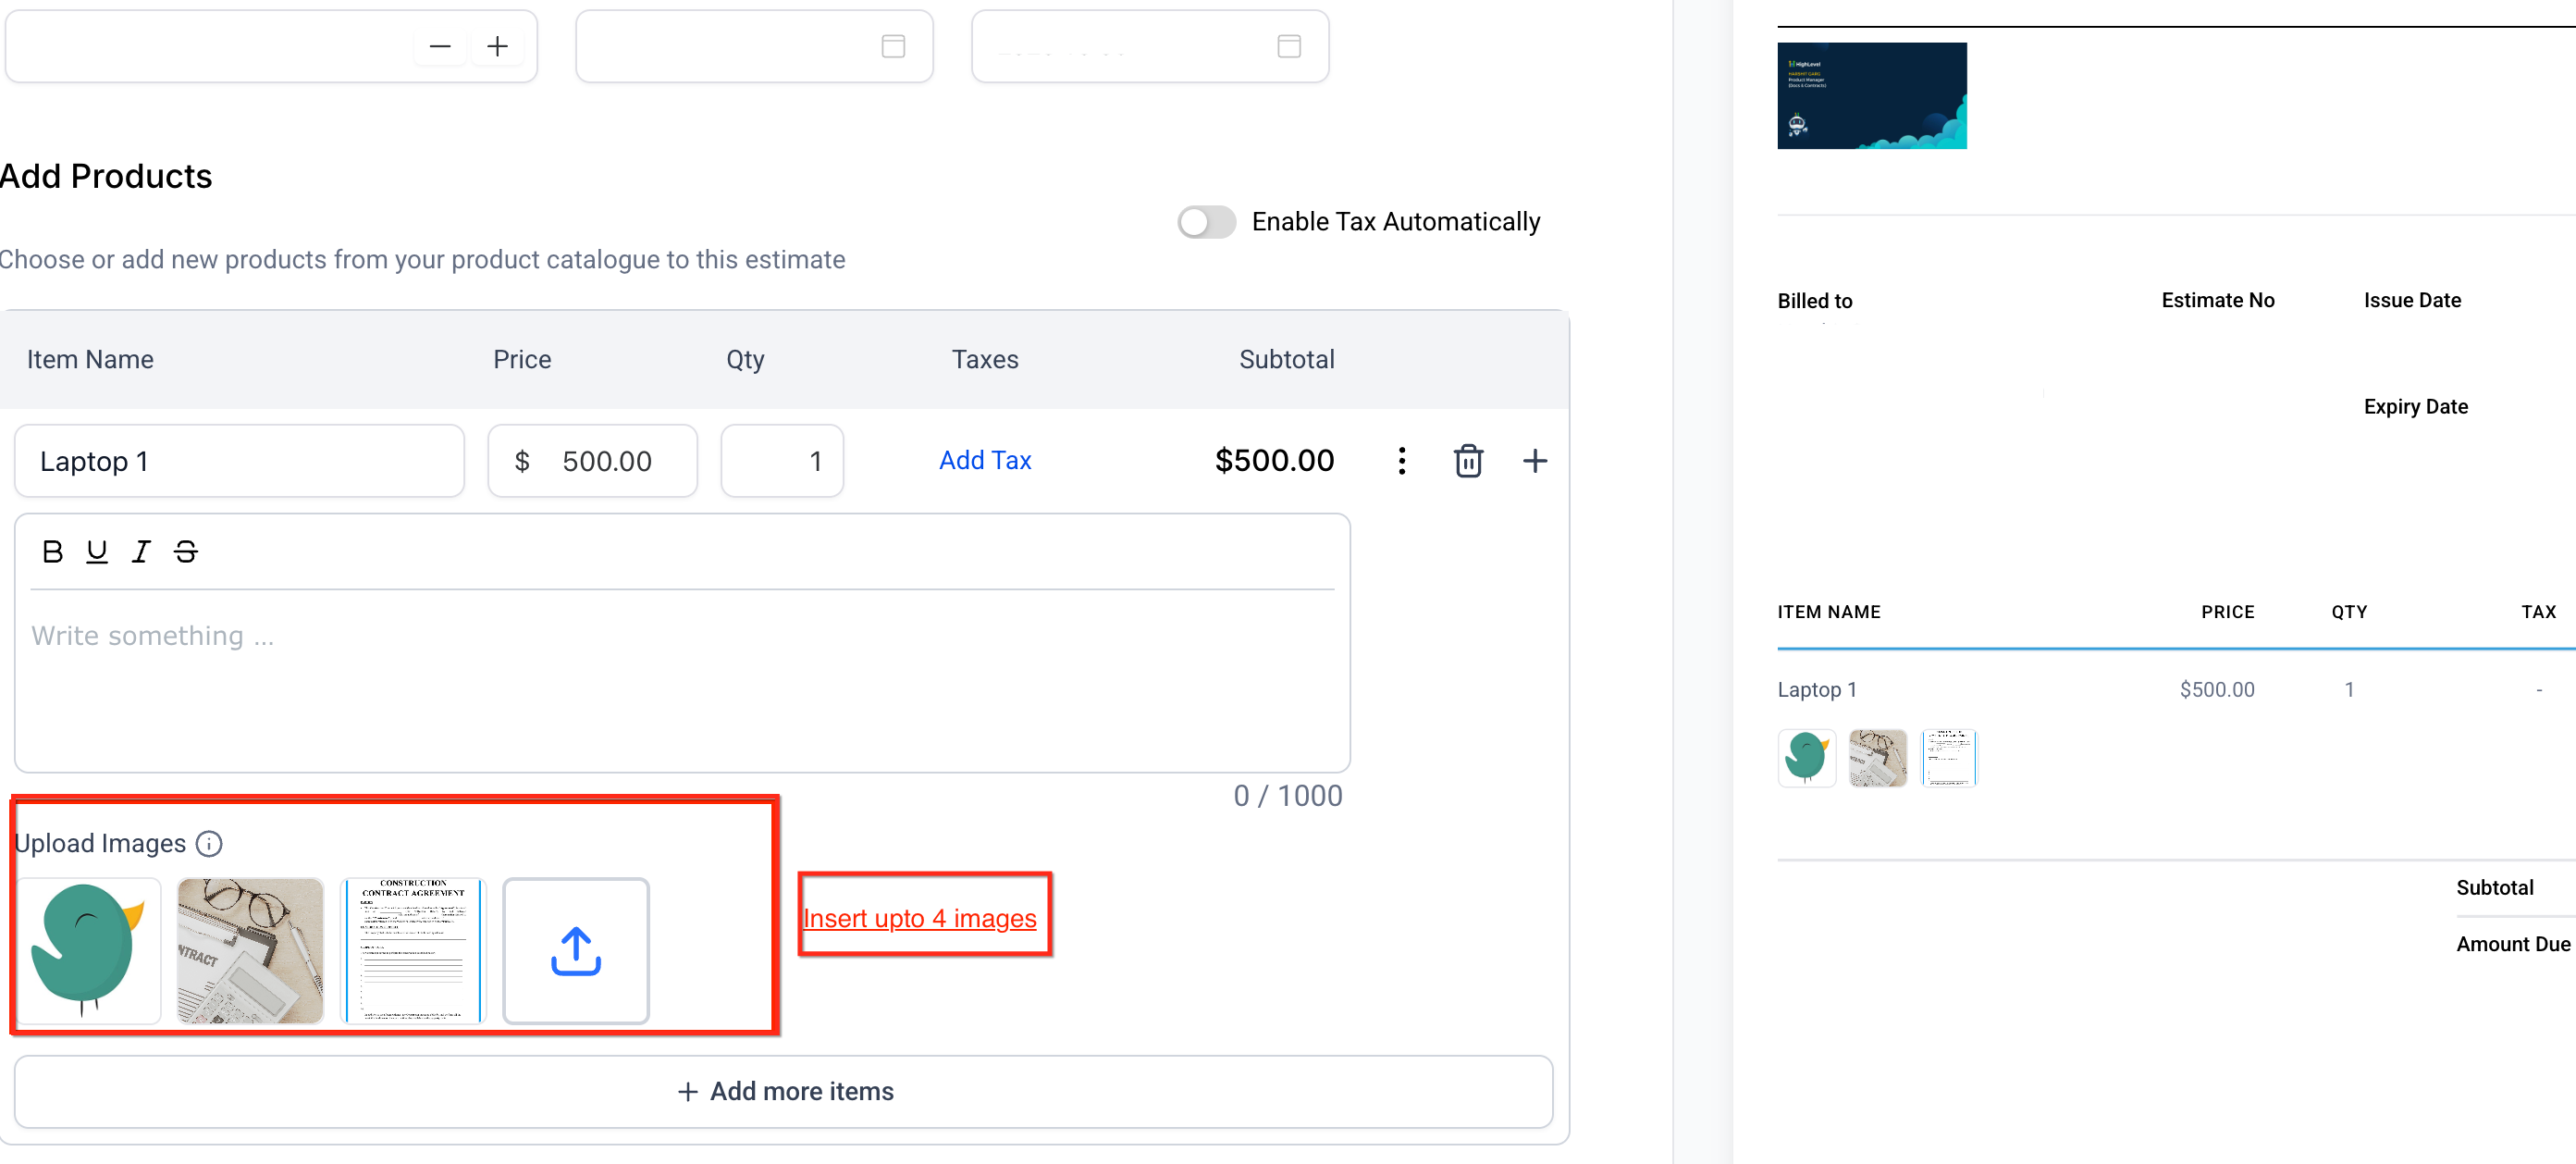
Review the estimate to confirm thumbnails appear beneath the correct line item.
Click Send. Patients receive clickable thumbnails that open in a full-screen gallery.
Supported formats are JPG and PNG. Keep each image under 2 MB, use a maximum of four images per line item, and maintain consistent aspect ratios for neat thumbnails. For extra files such as PDFs or spec sheets, use the Attachments feature (up to 10 files per estimate) covered in the attachments guide.
Click the Send button to deliver the estimate.
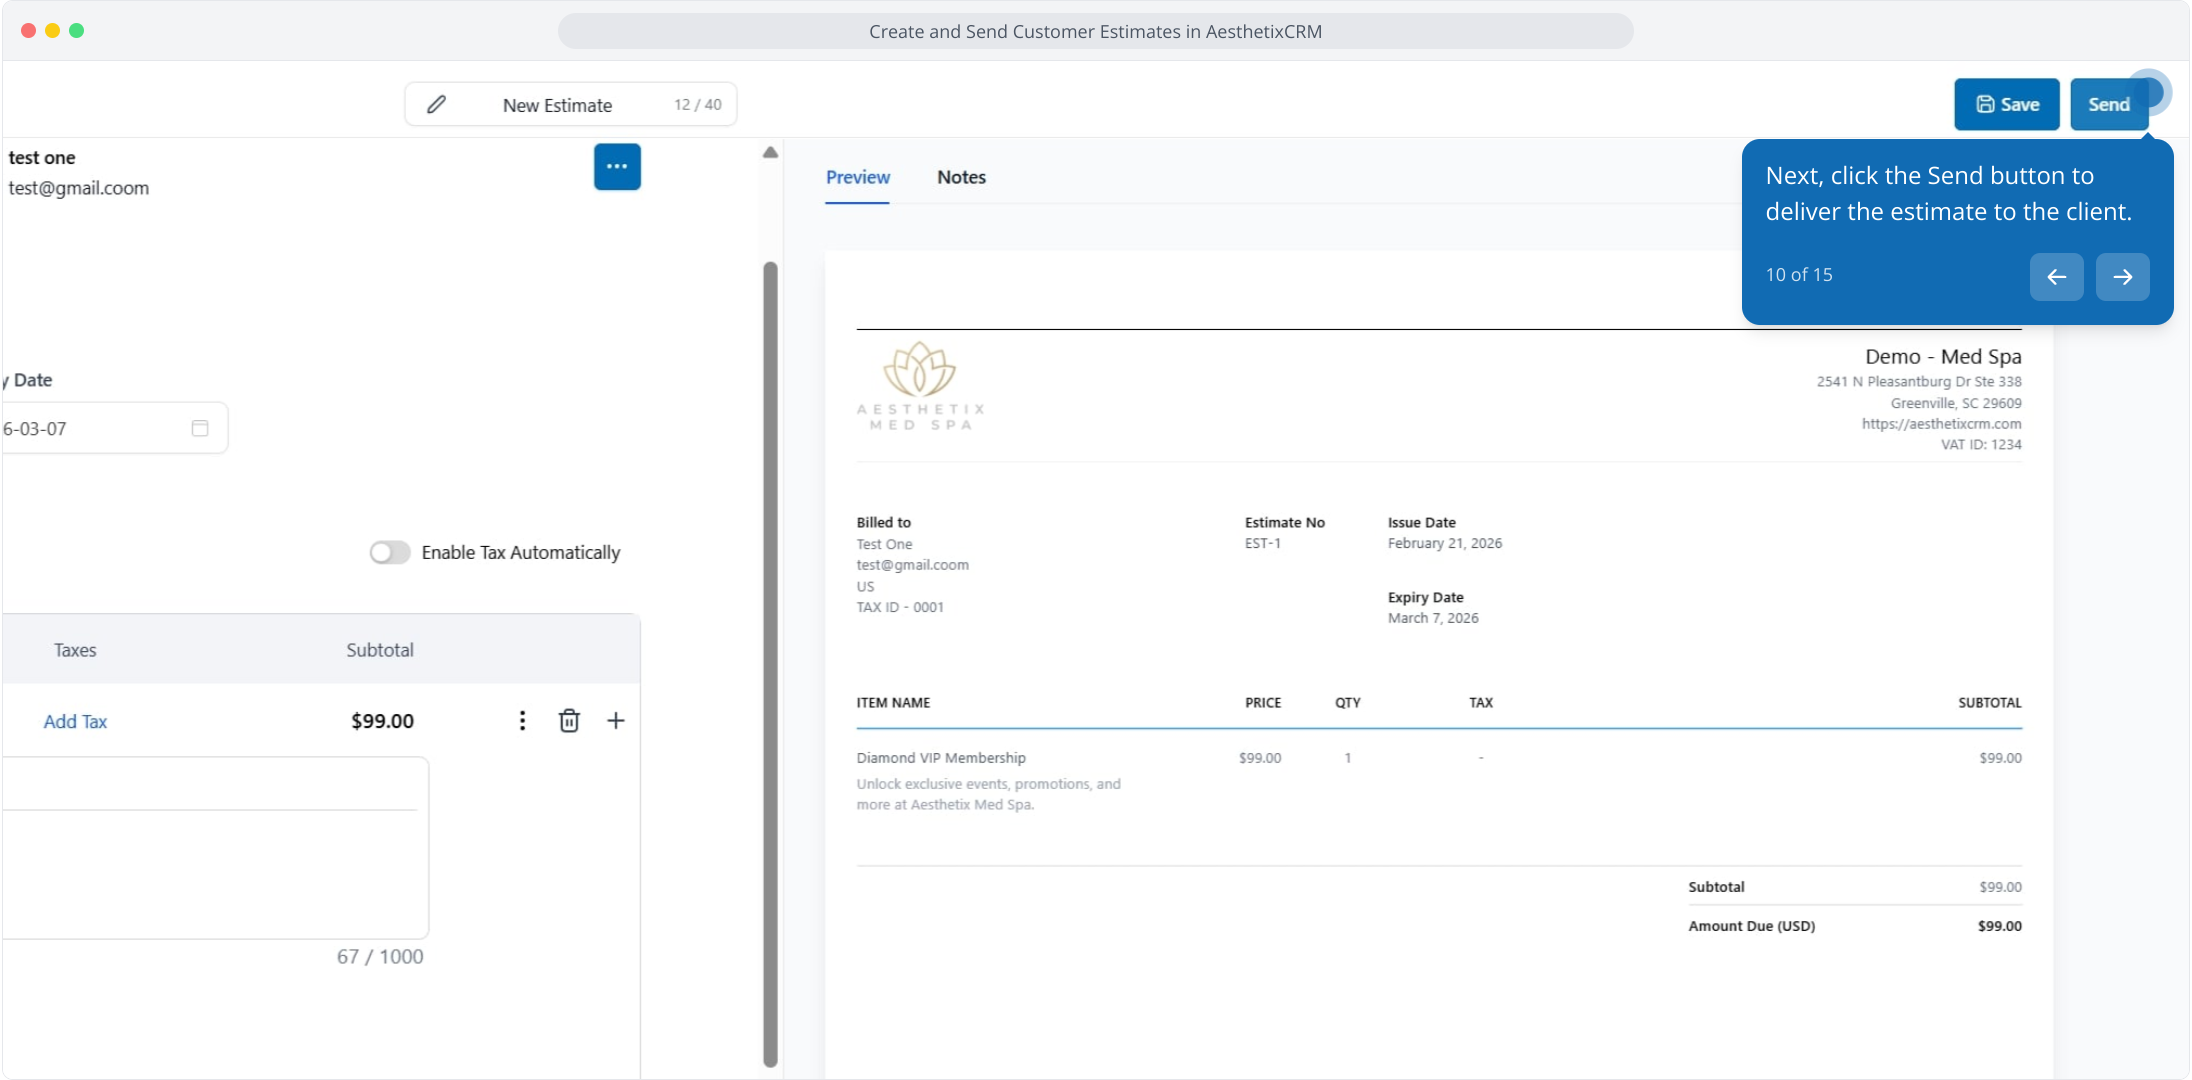
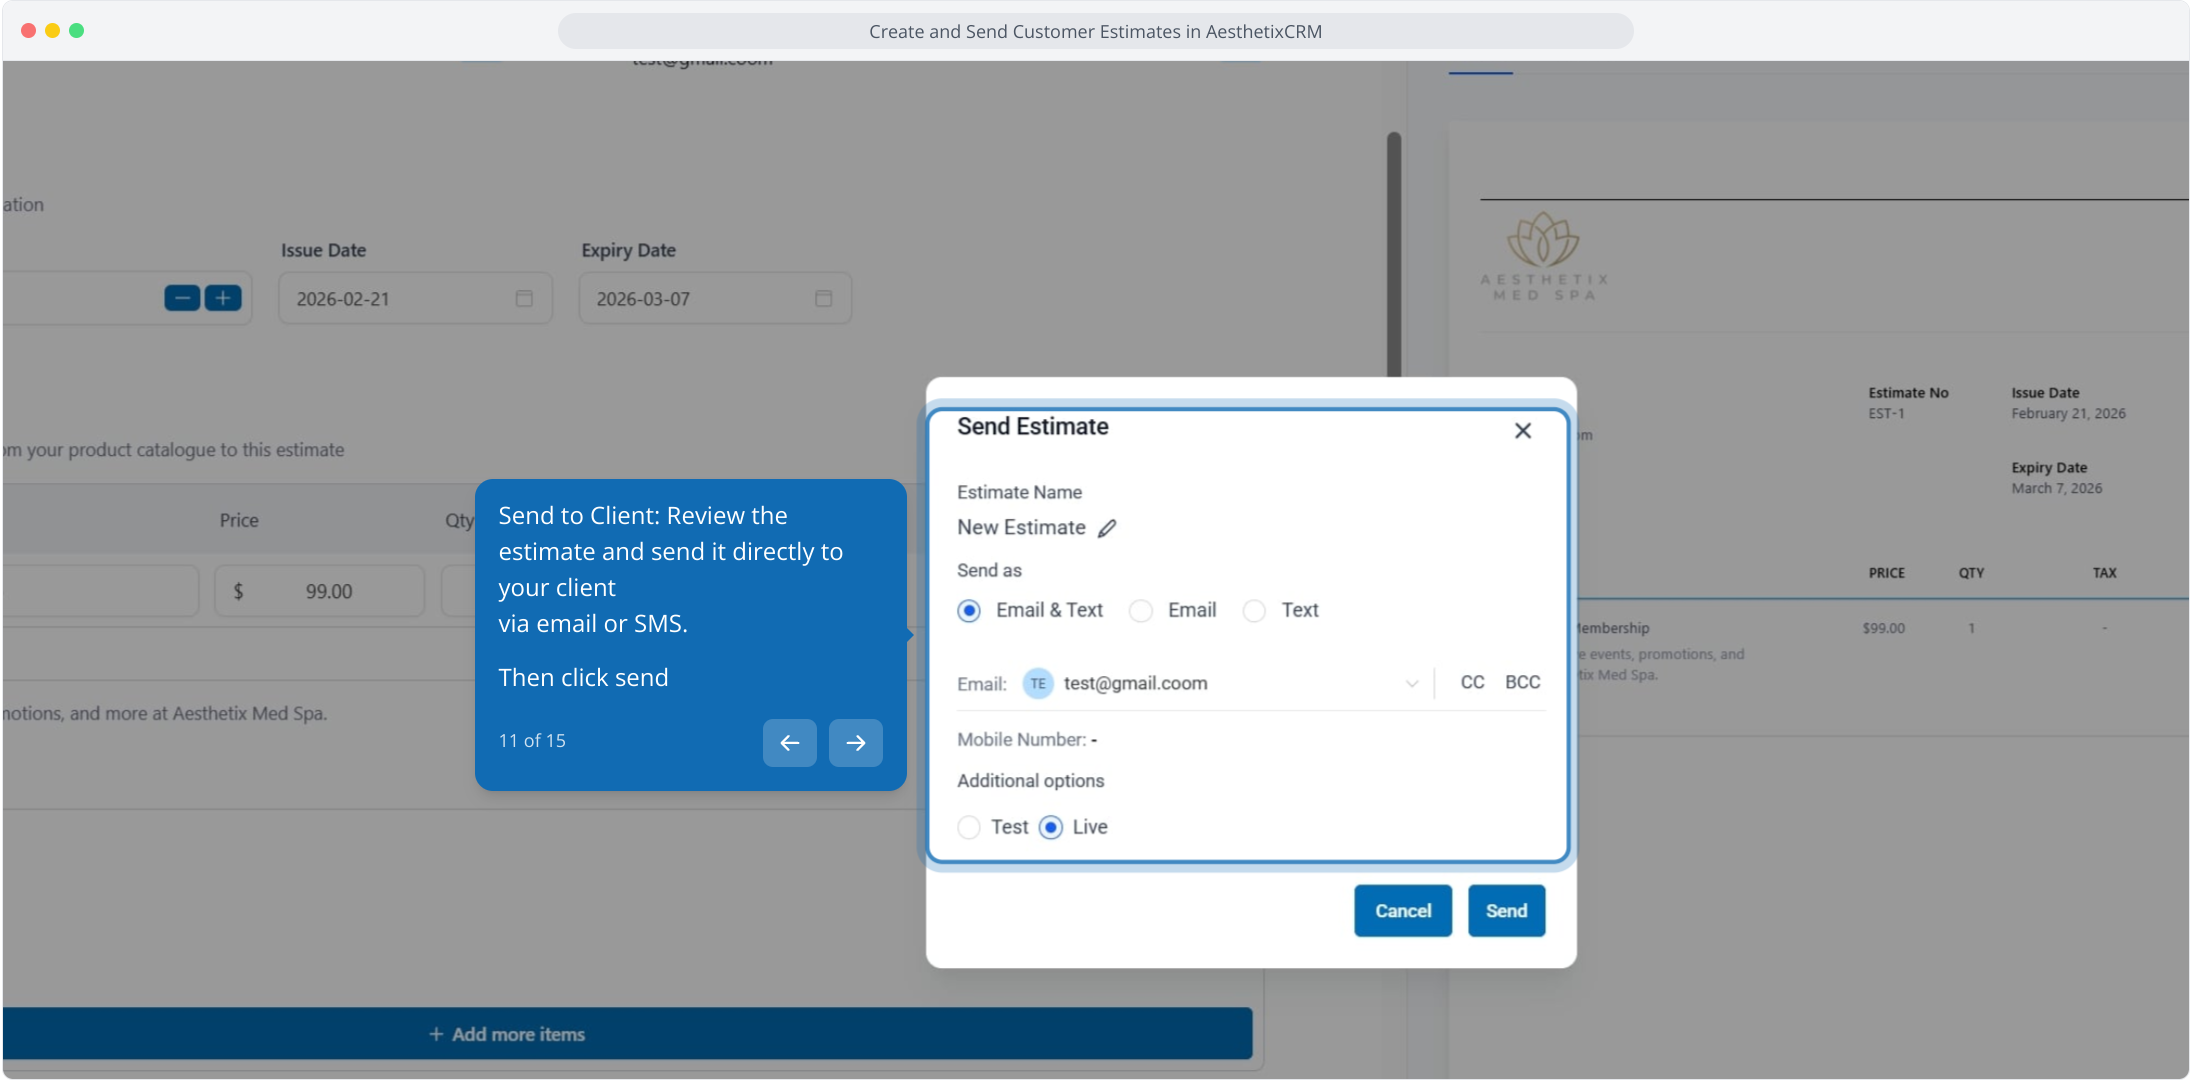
Review the estimate and send it directly to the patient via email or SMS, then click Send. You can also copy and share the direct link. The estimate is delivered using the email or SMS template you have preconfigured in Aesthetix CRM.
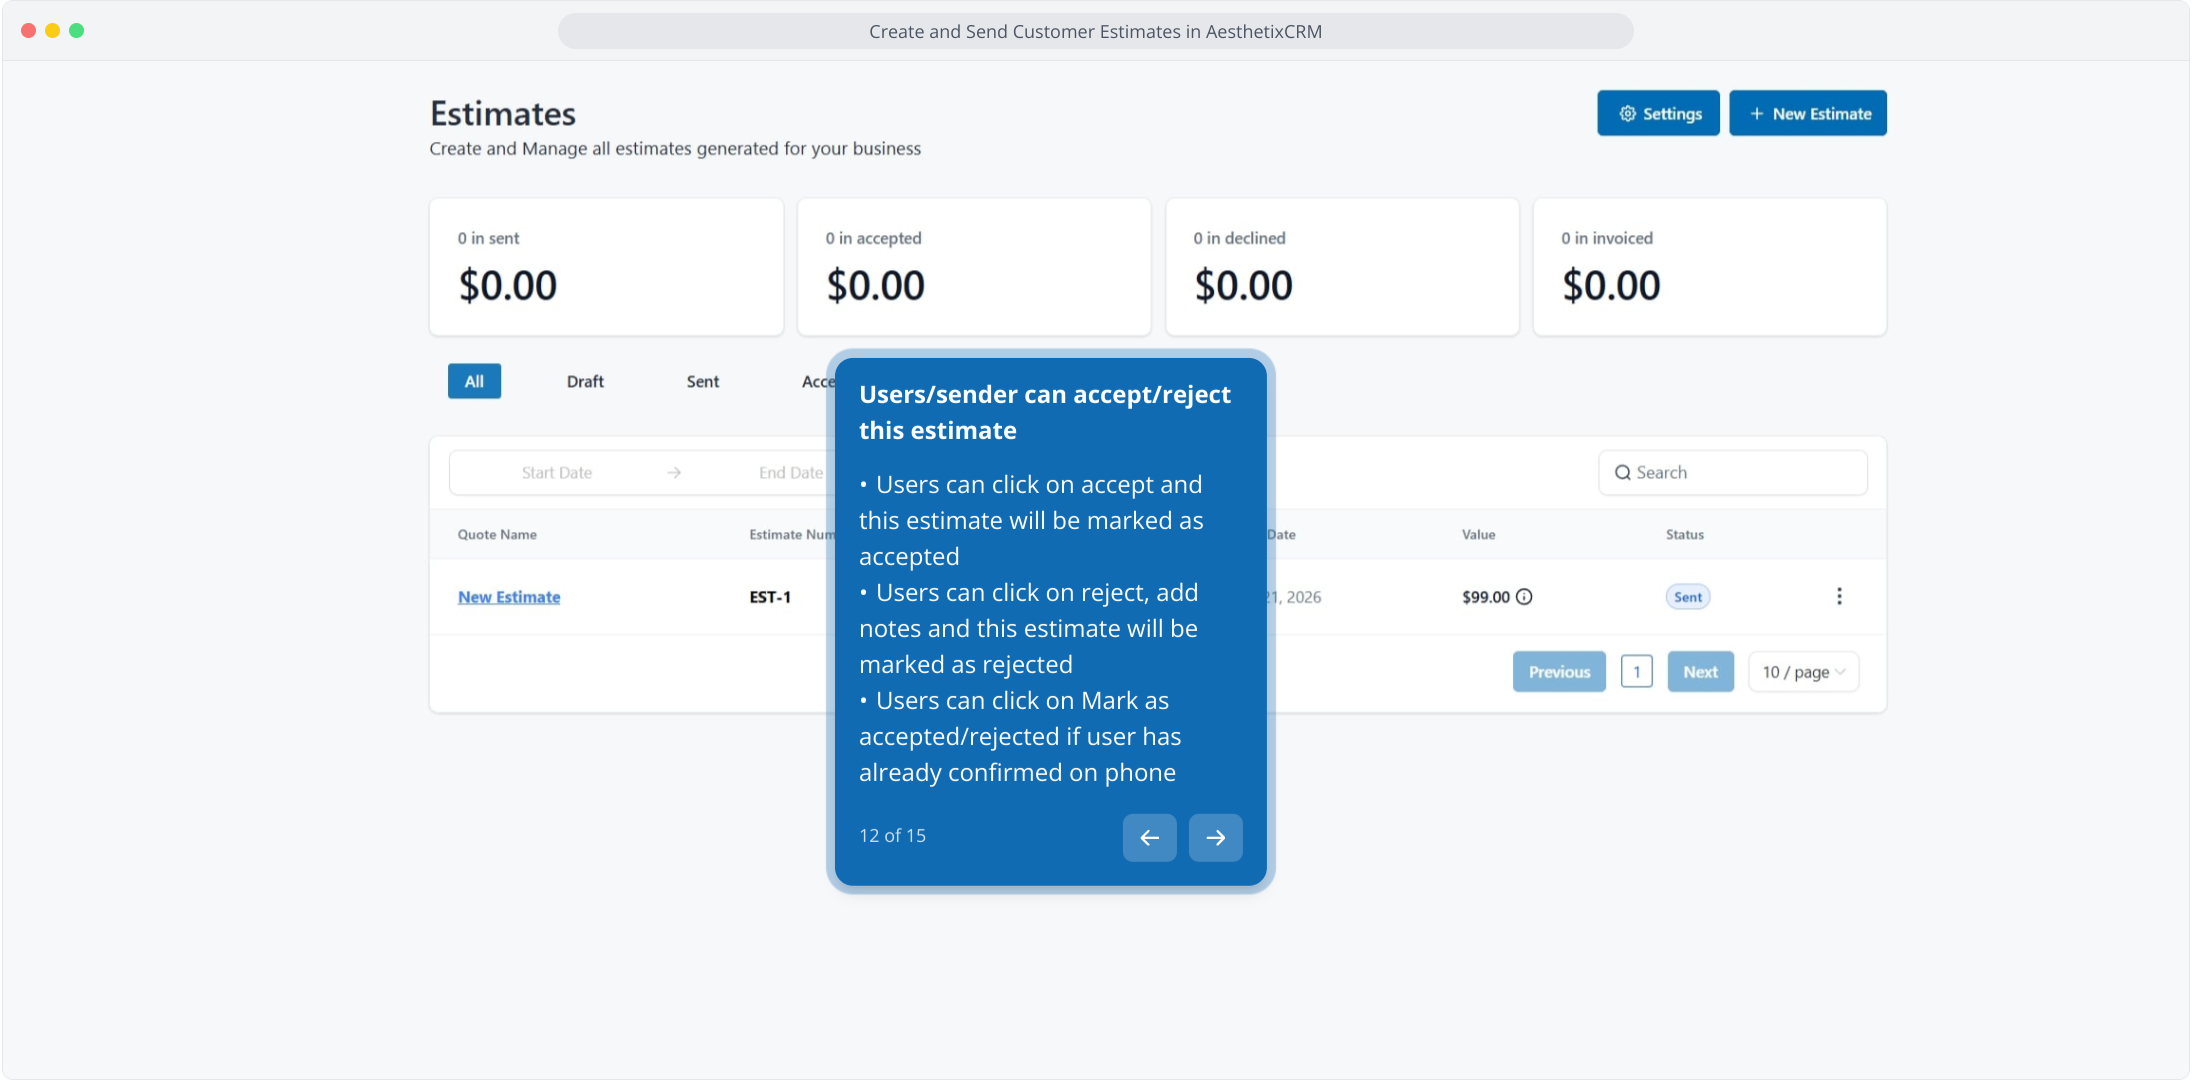
Once an estimate is sent, it can be accepted or rejected in a few ways:
The patient can click Accept, and the estimate is marked as accepted.
The patient can click Reject, add notes, and the estimate is marked as rejected.
Your team can click Mark as accepted or Mark as rejected if the patient already confirmed by phone.
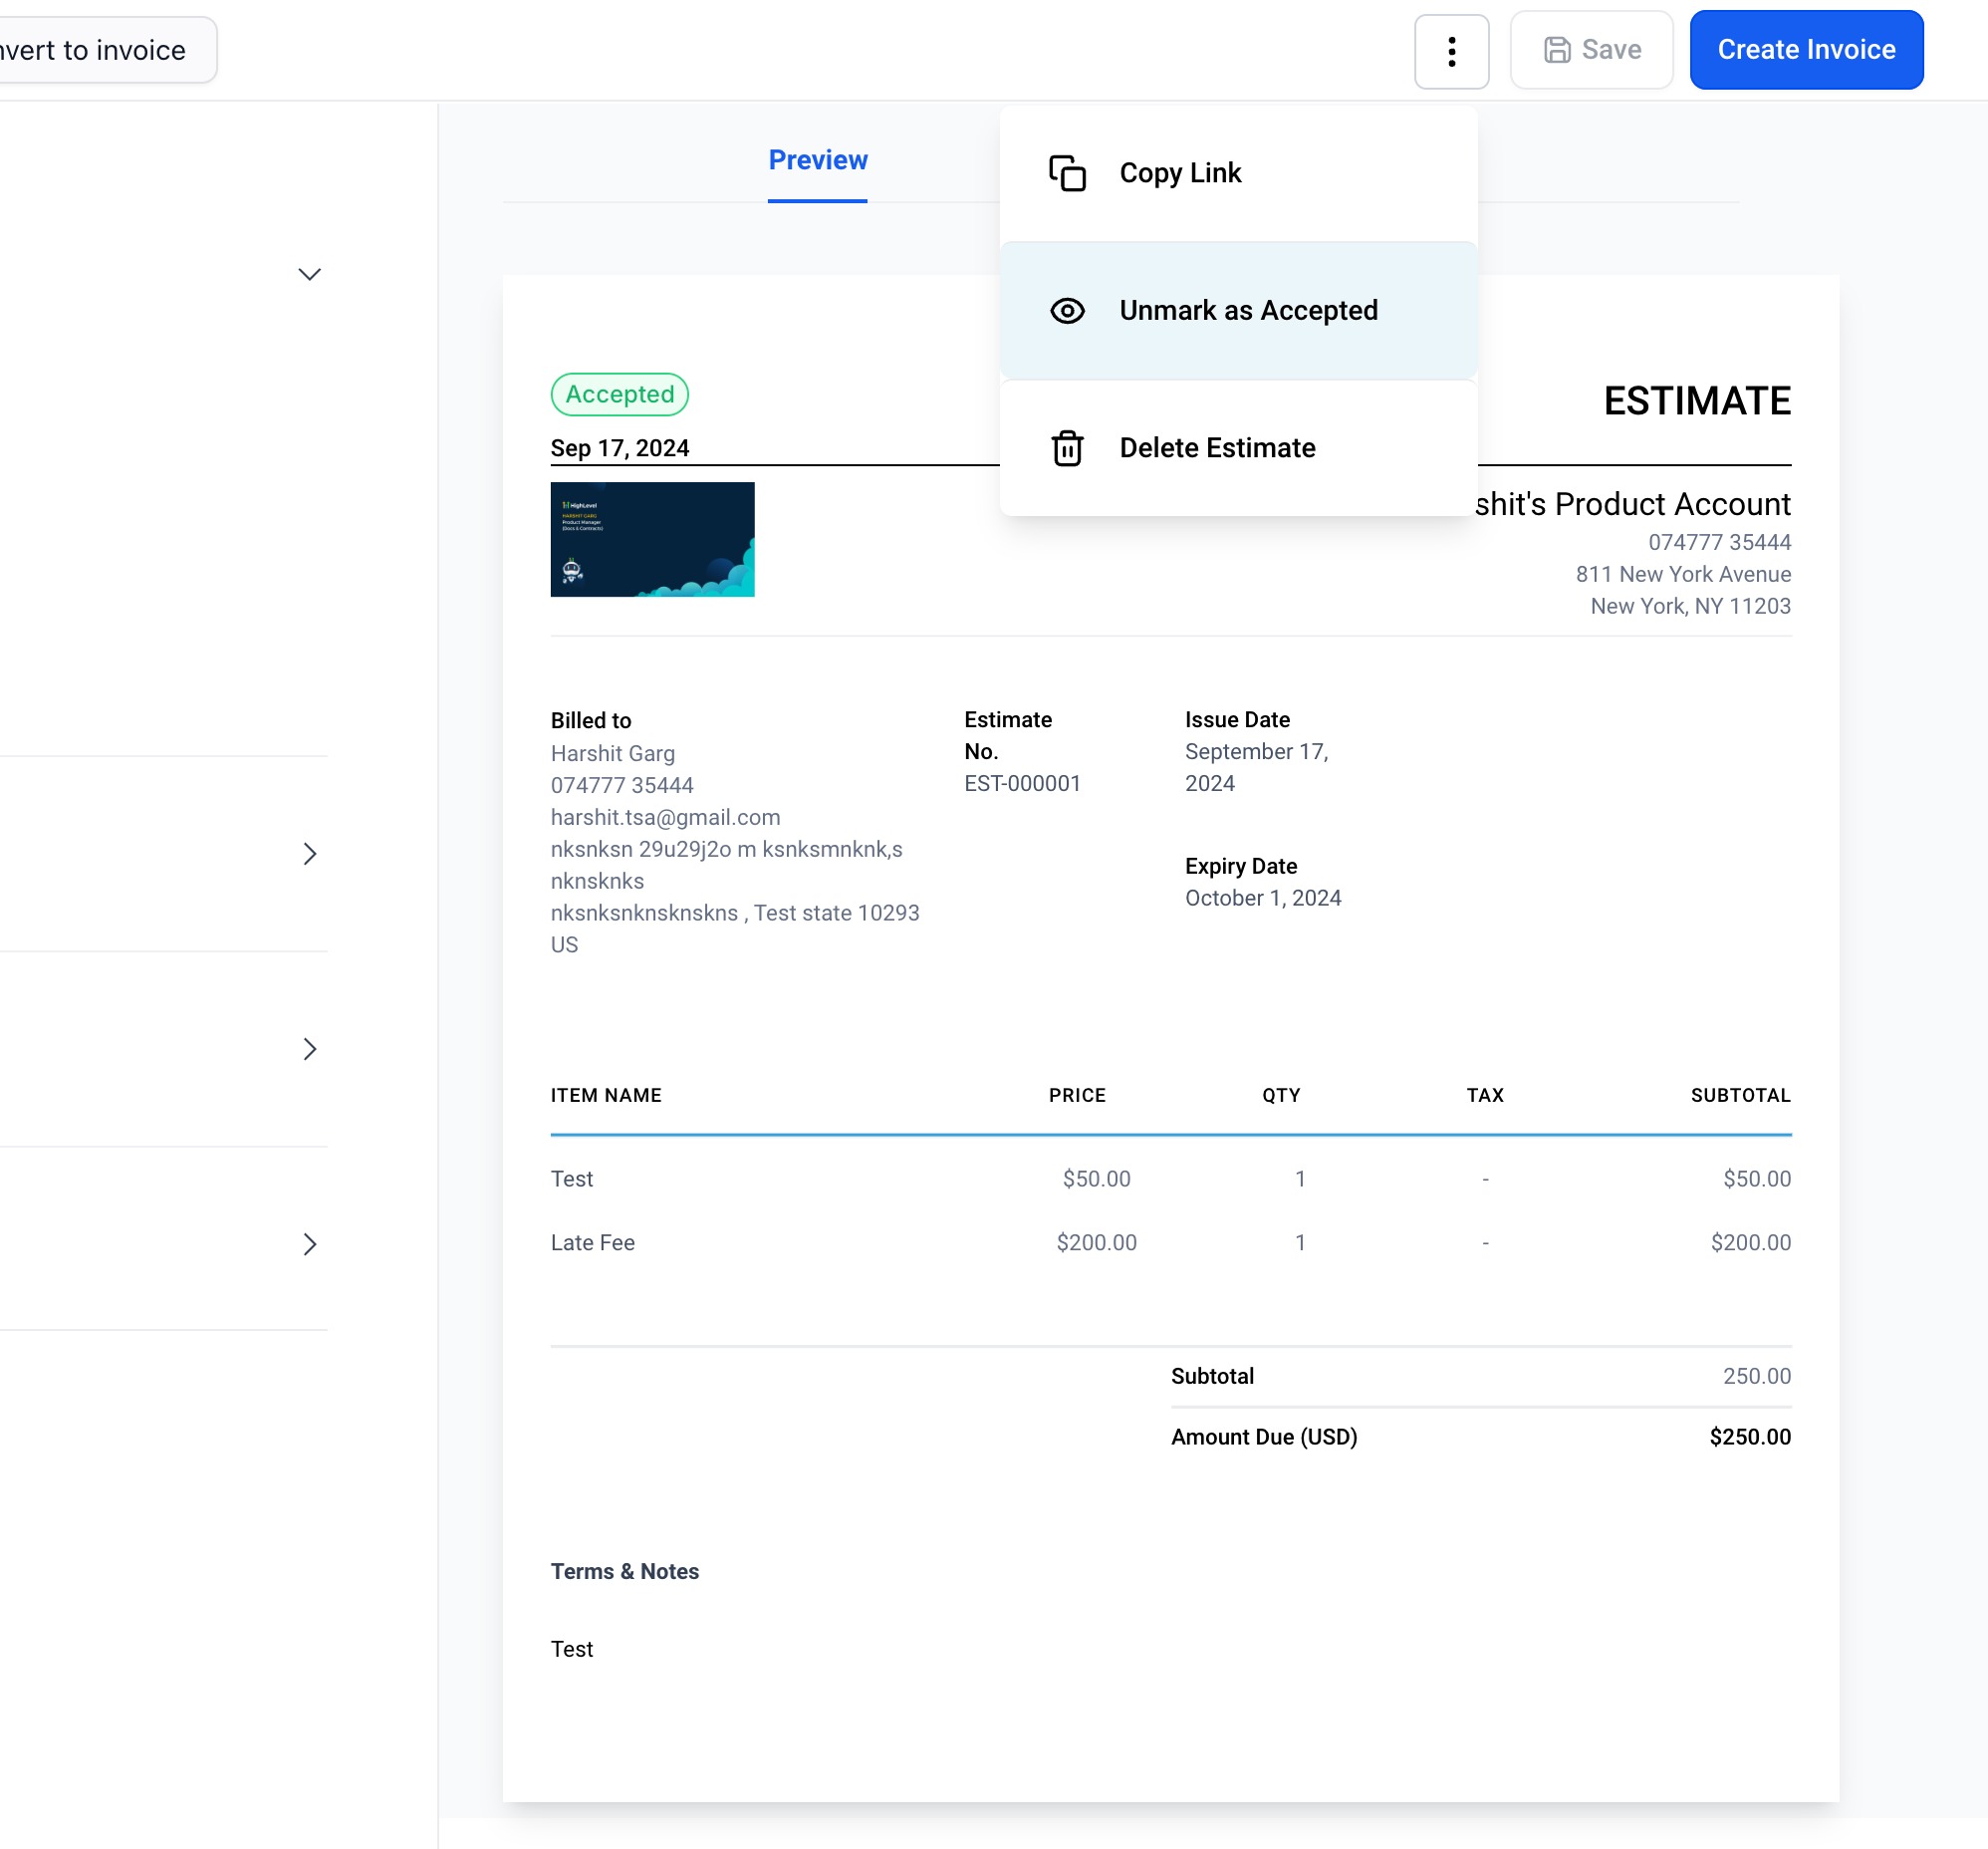
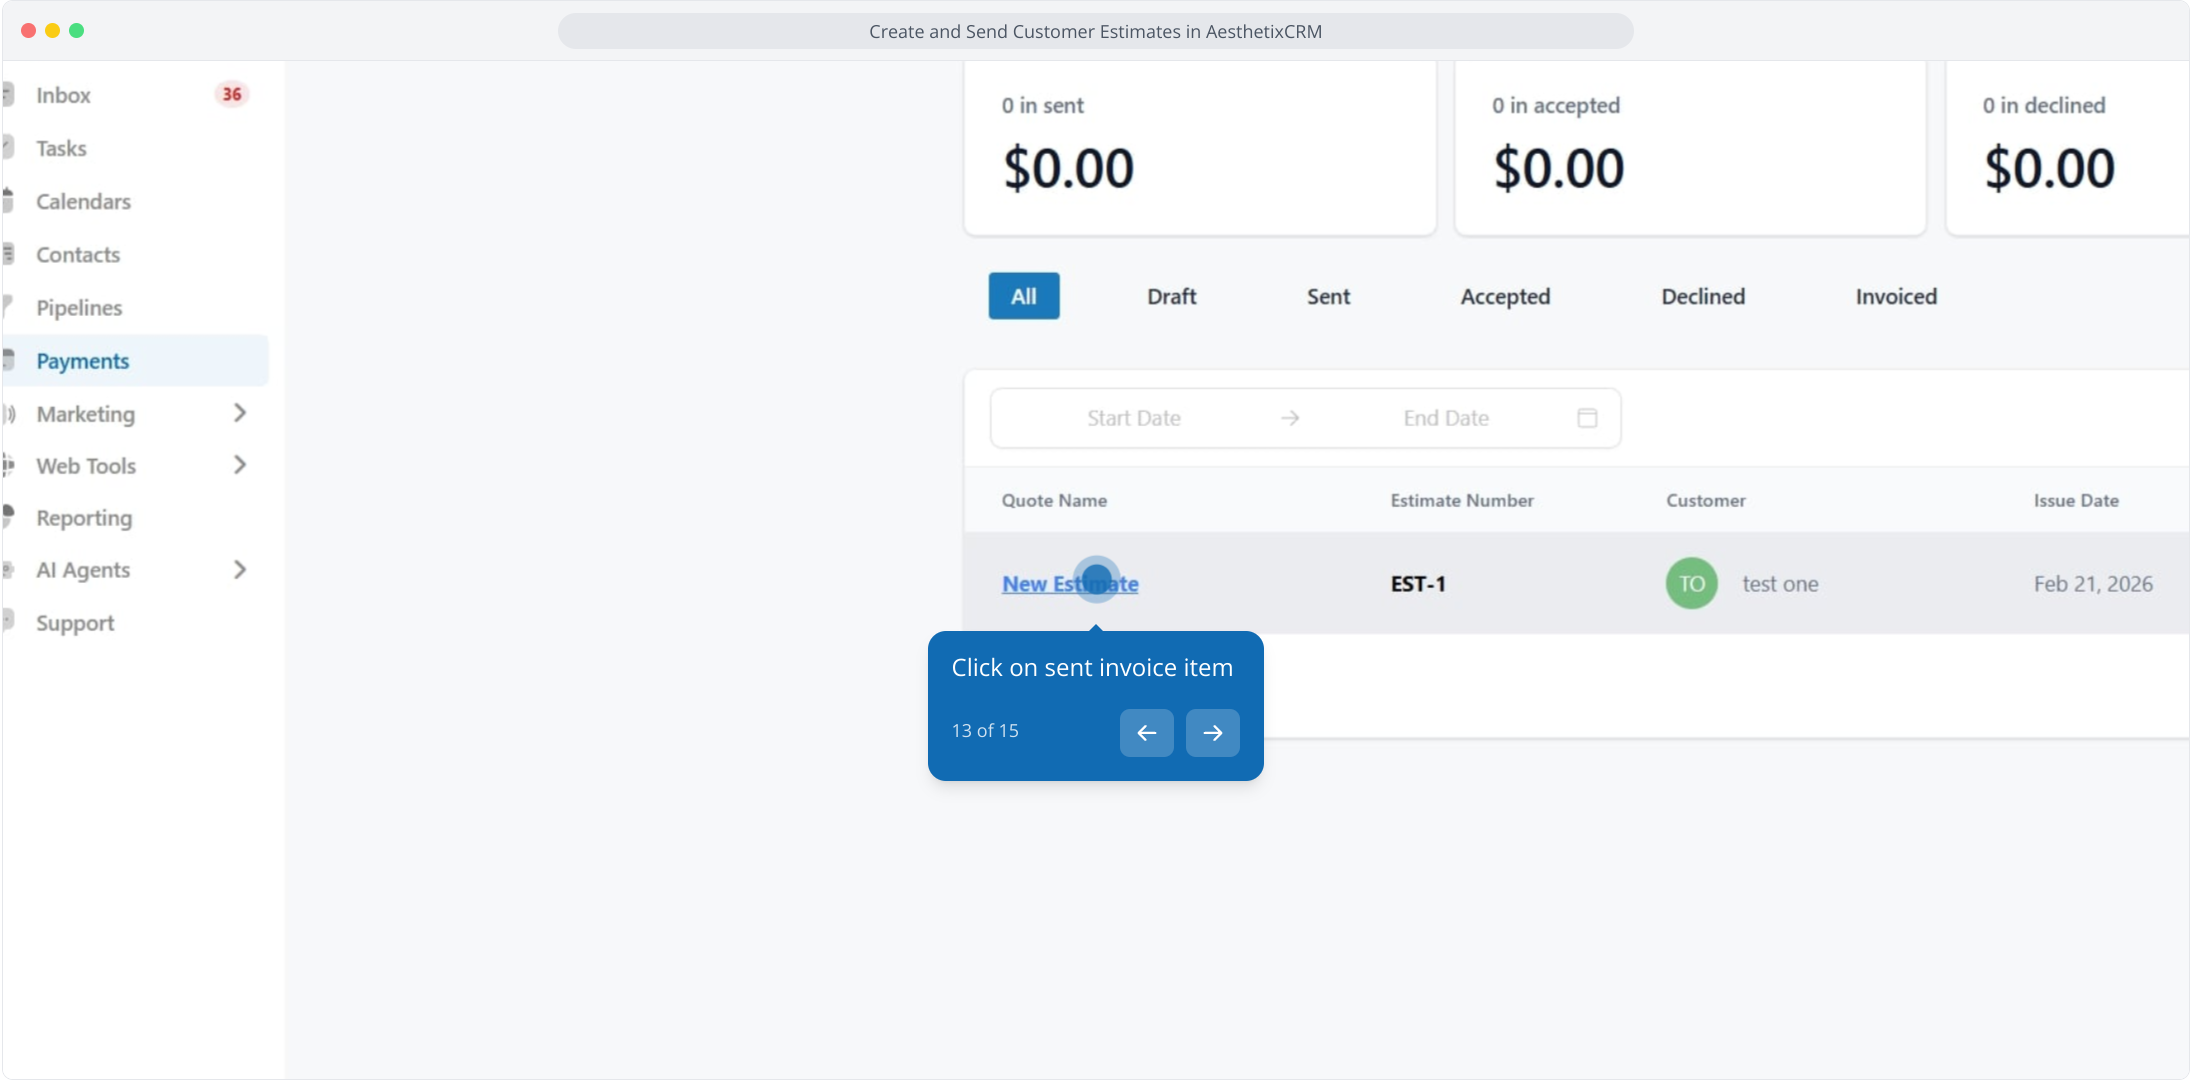
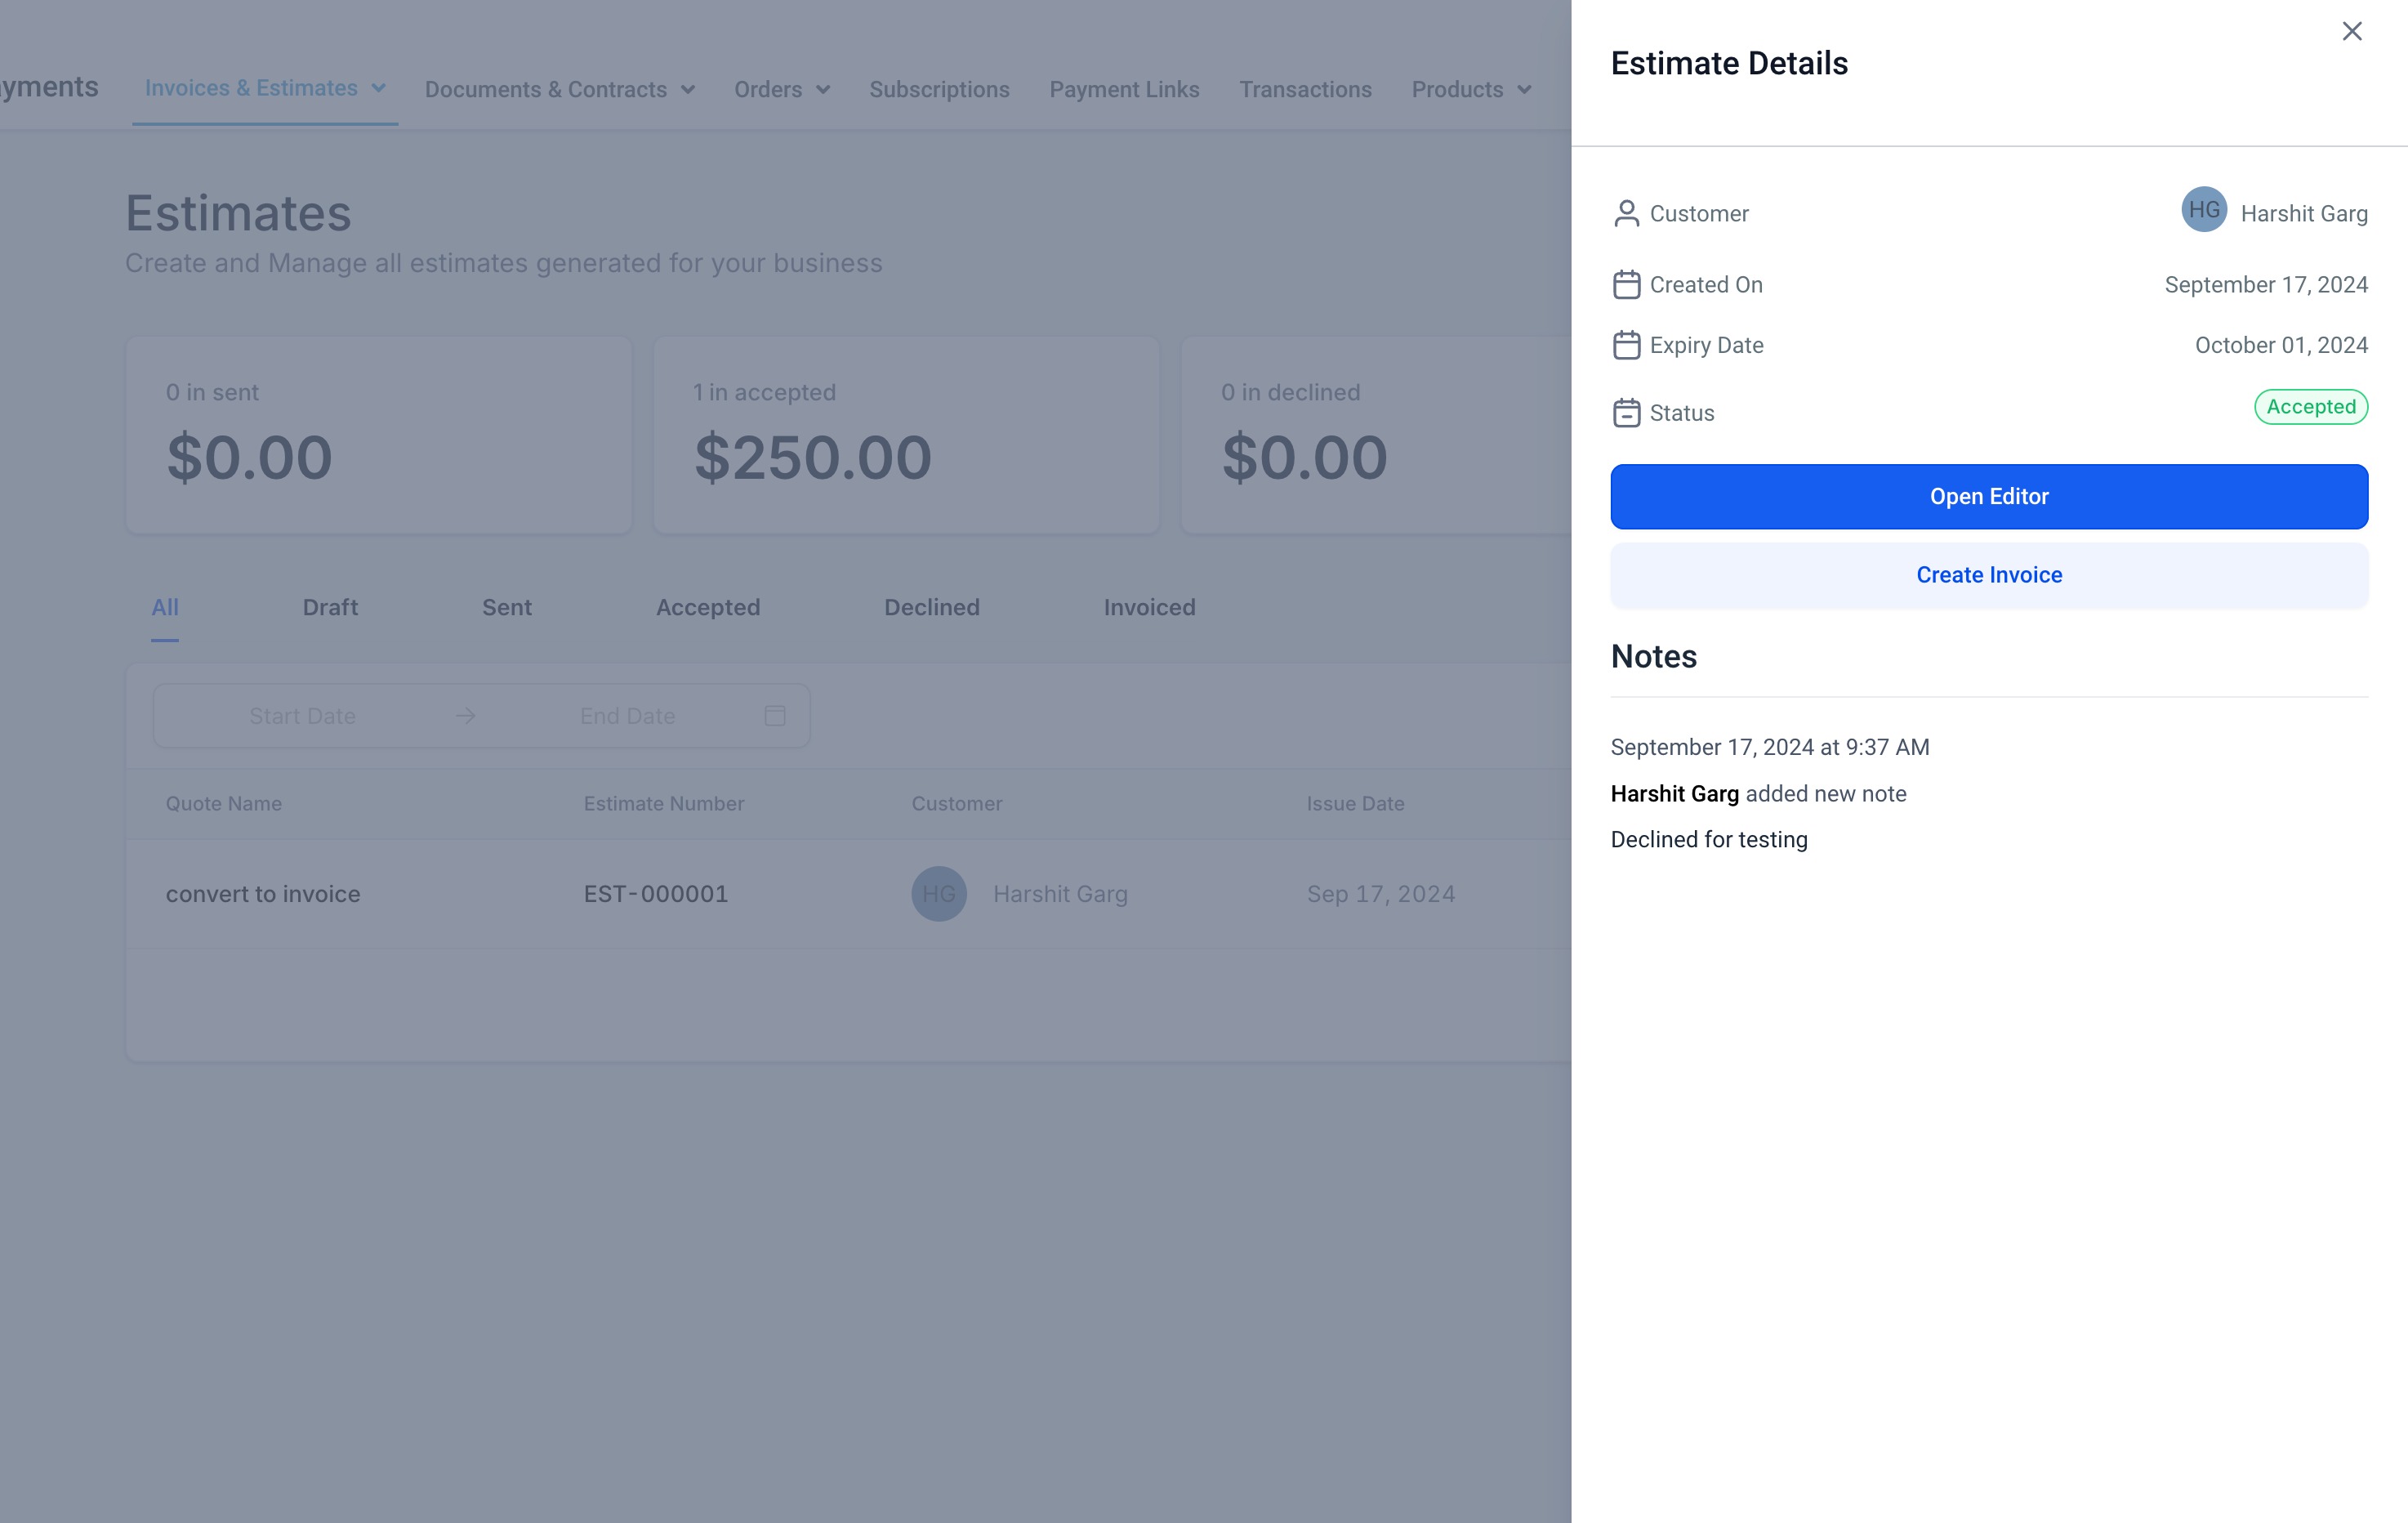
Once the patient approves the estimate, you can convert it into an invoice. Click the sent estimate item.
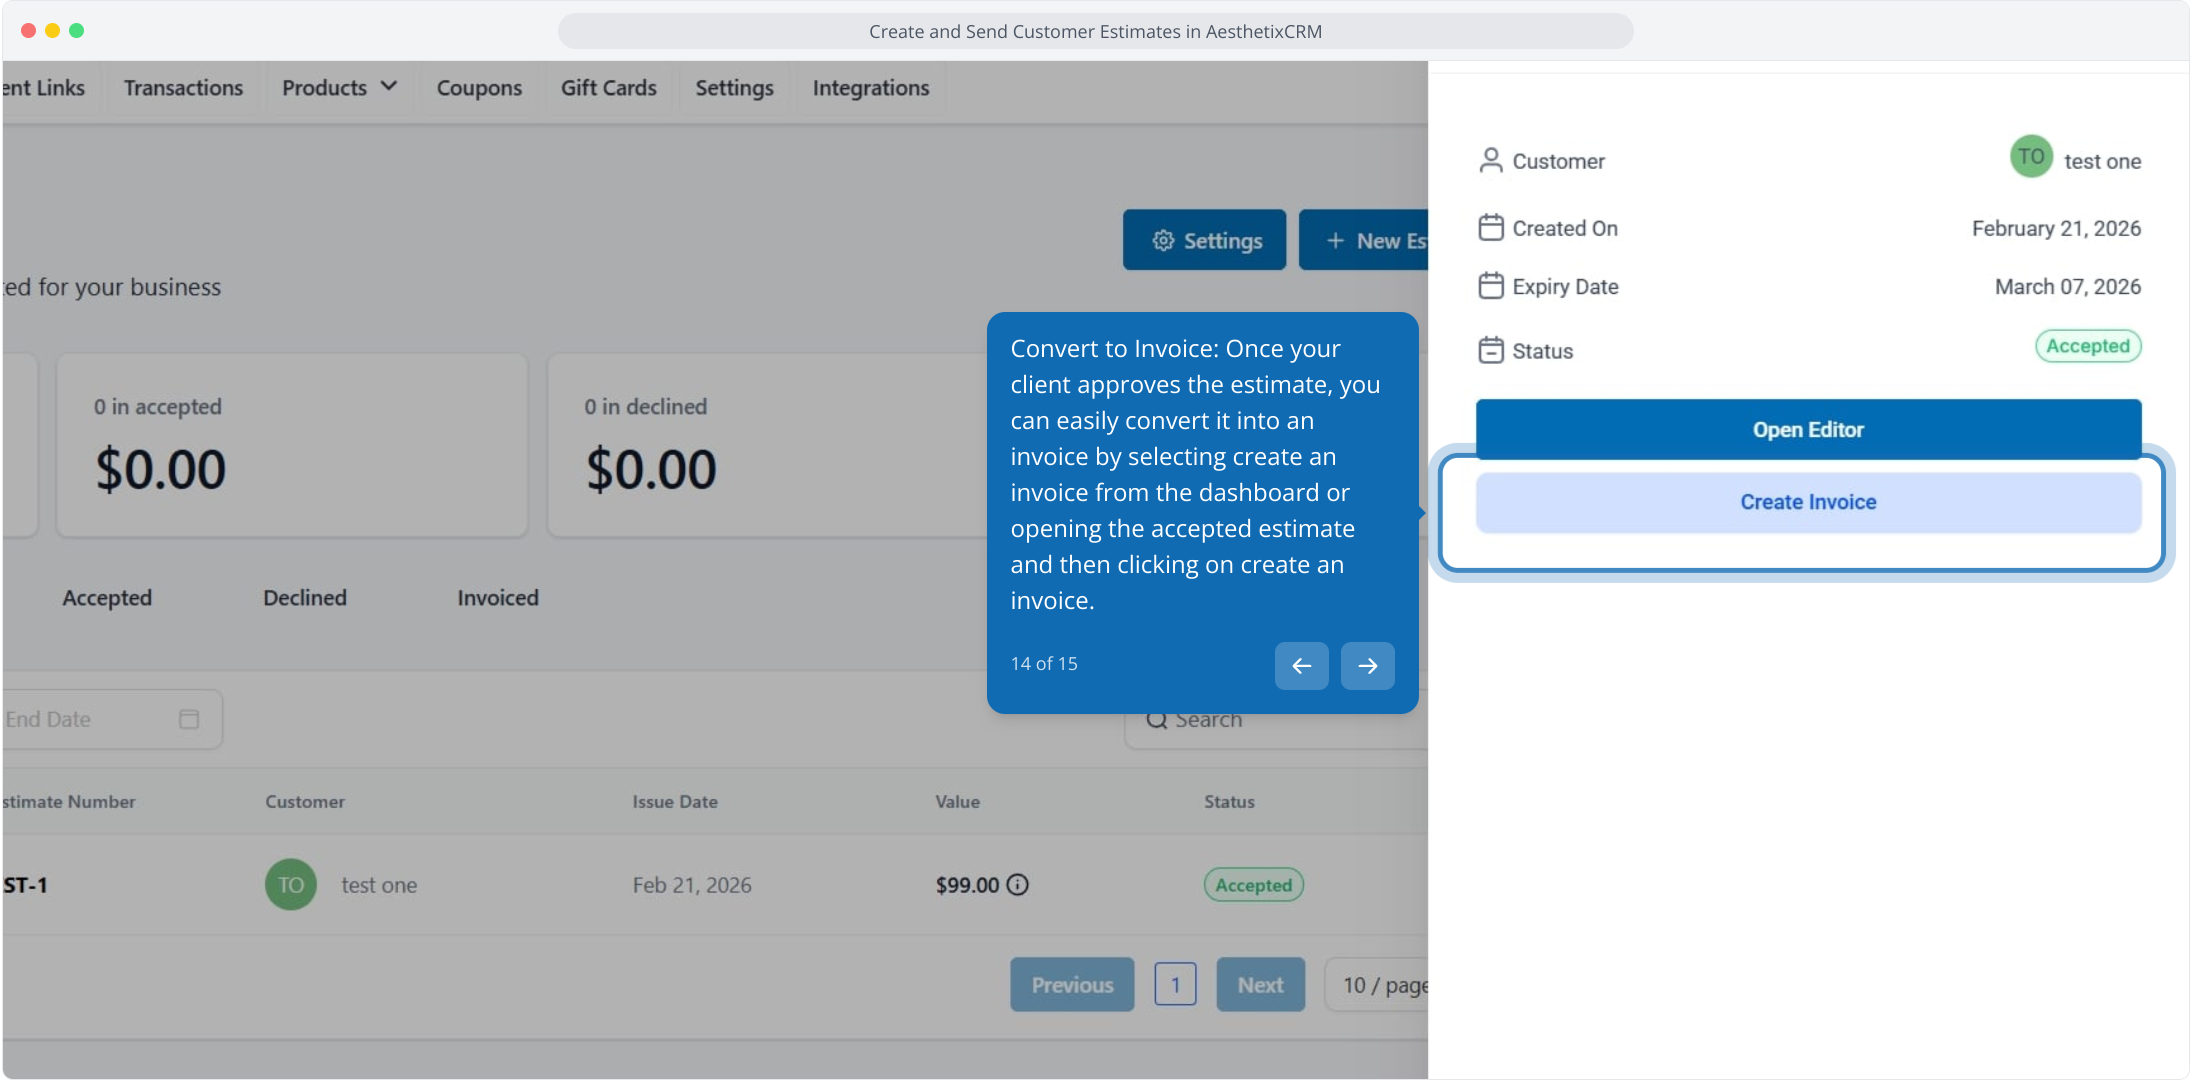
Select Create an invoice from the dashboard, or open the accepted estimate and click Create an invoice.
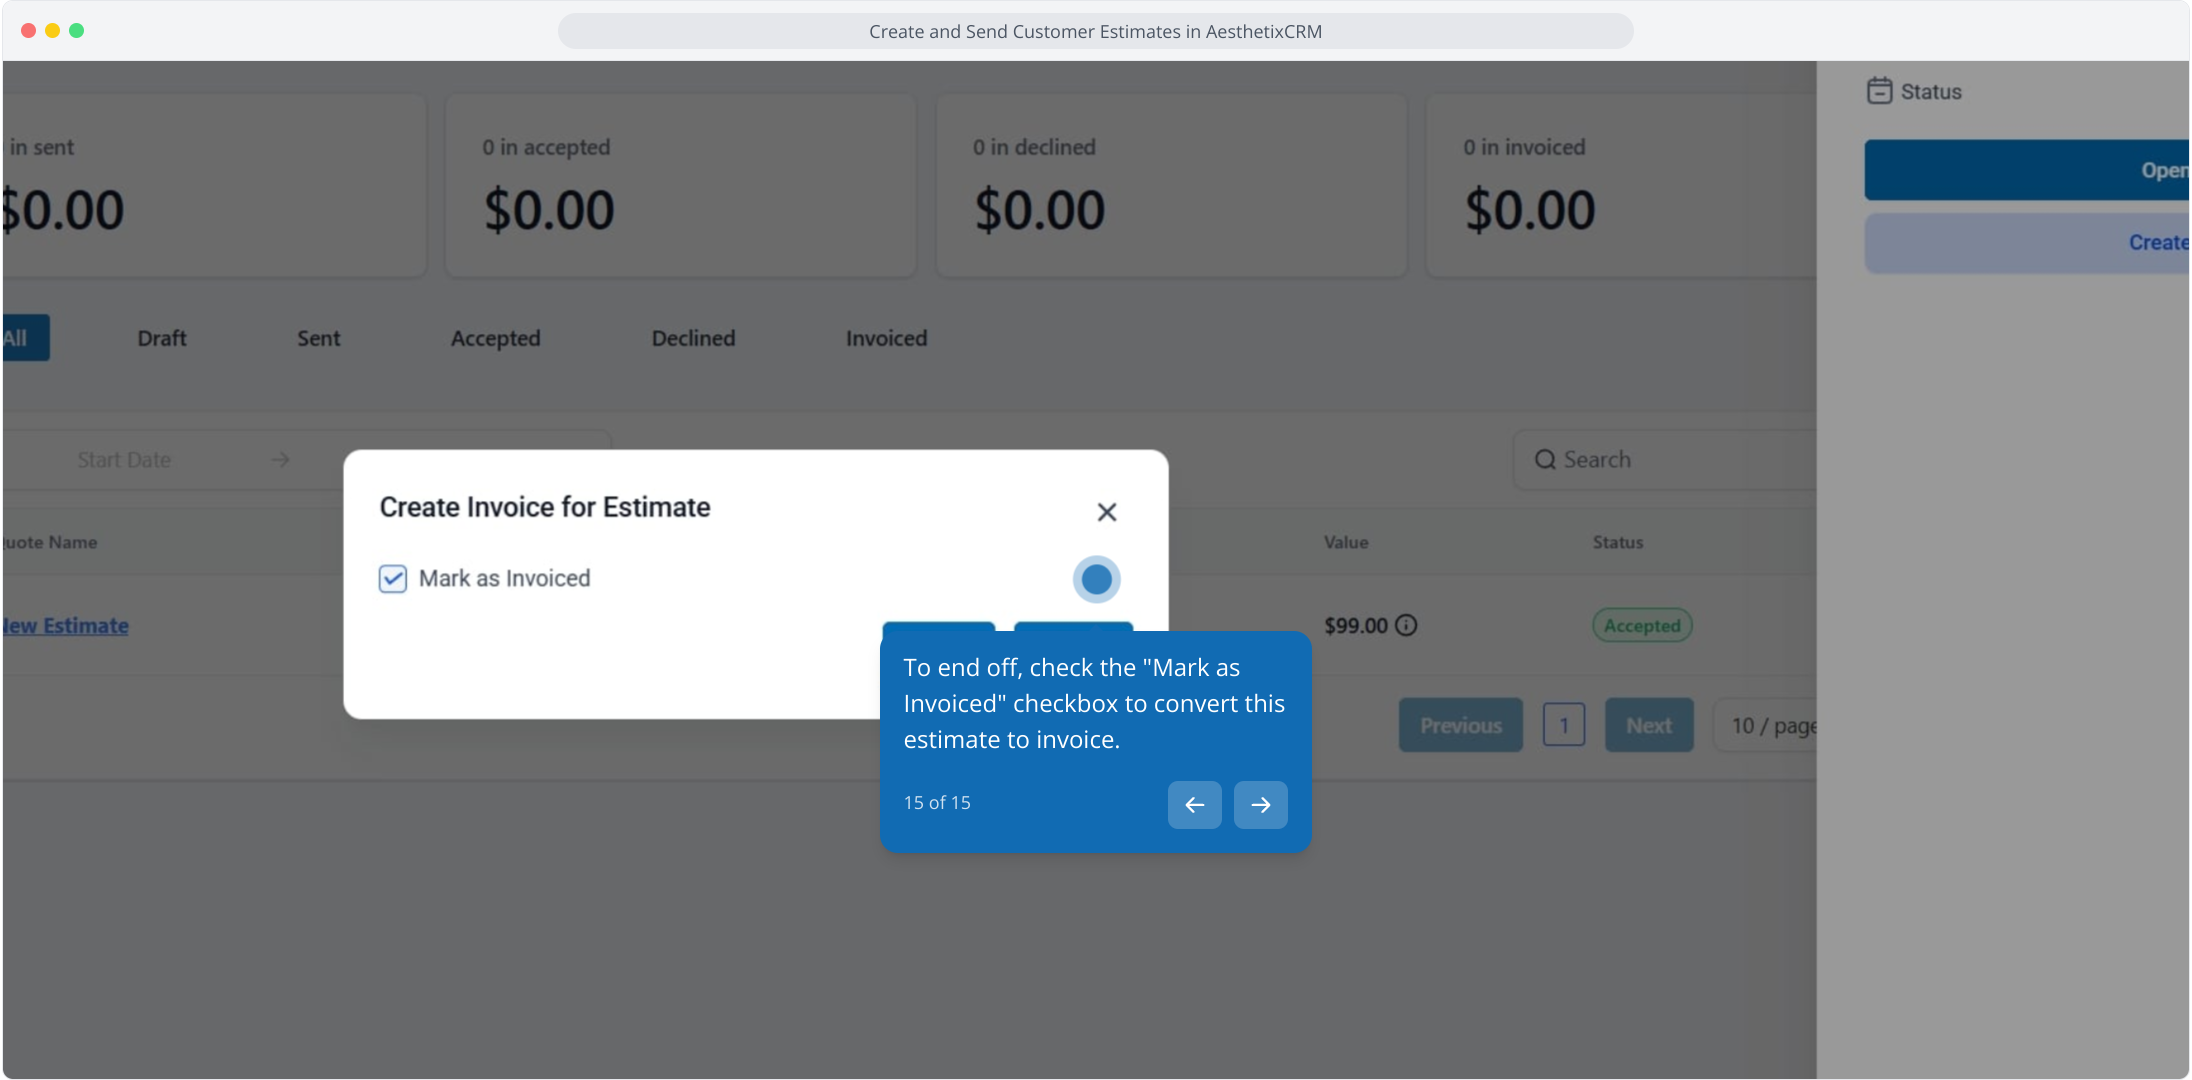
Check the Mark as Invoiced checkbox to convert the estimate.
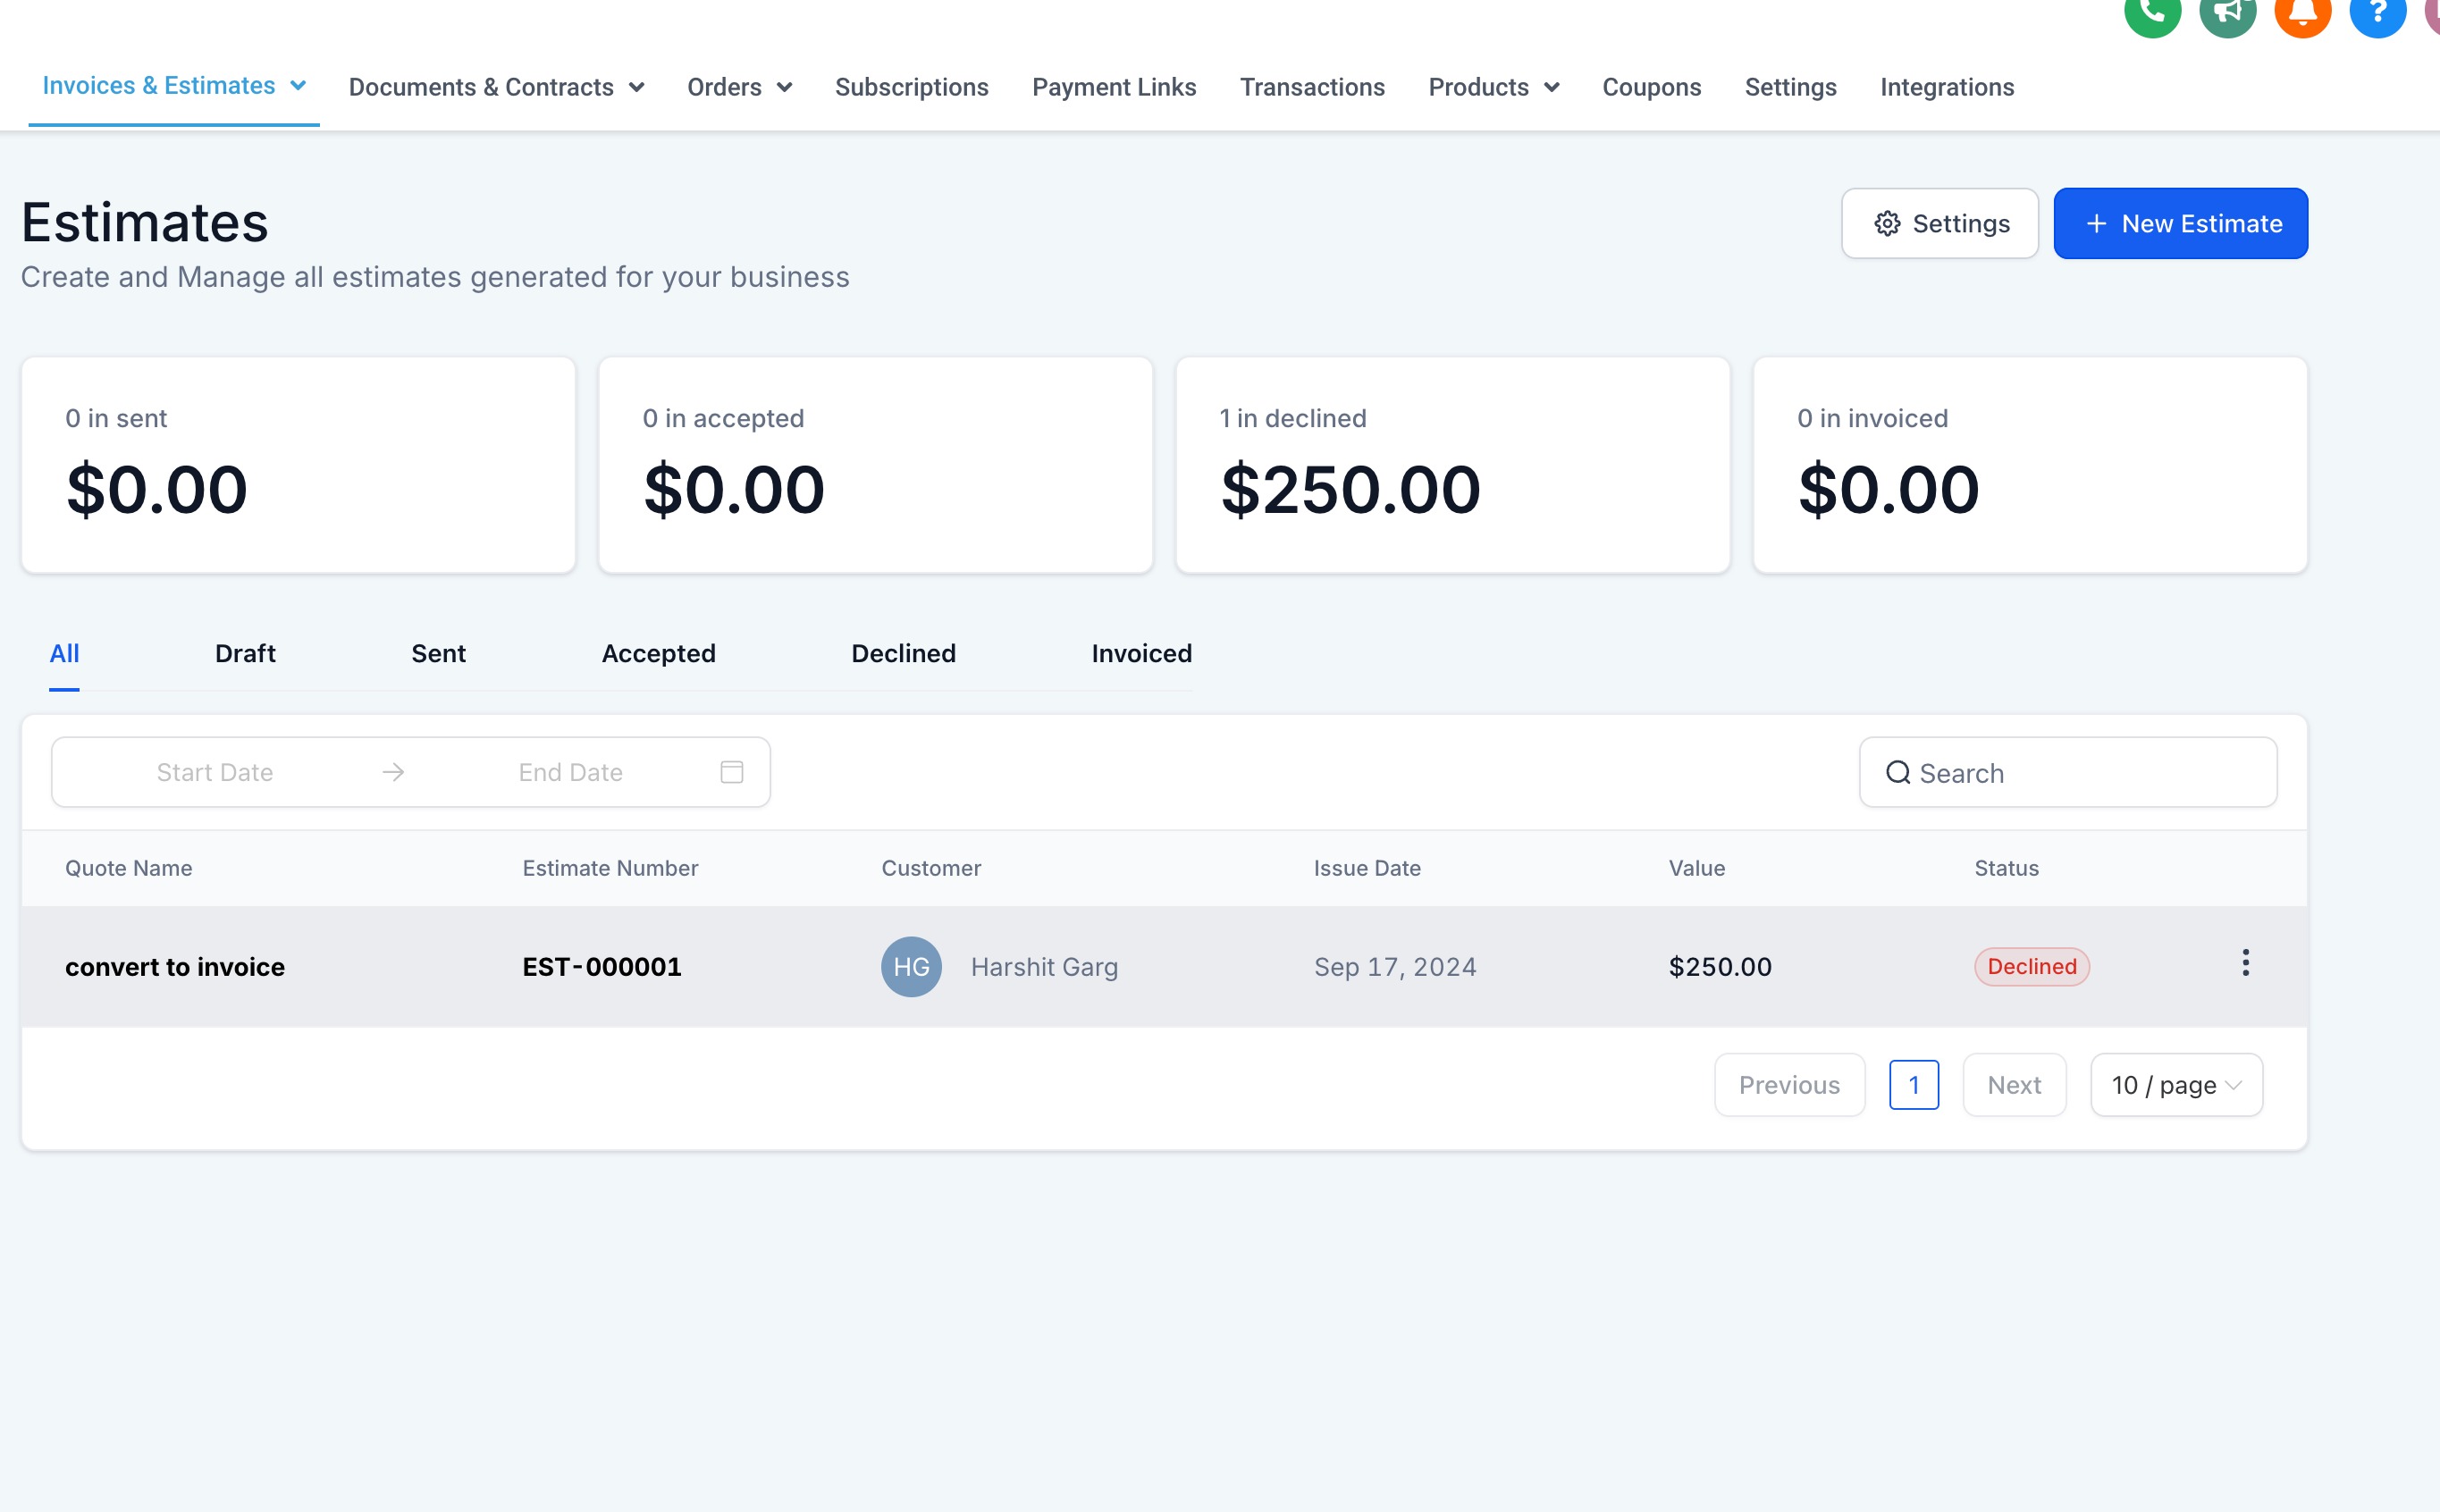
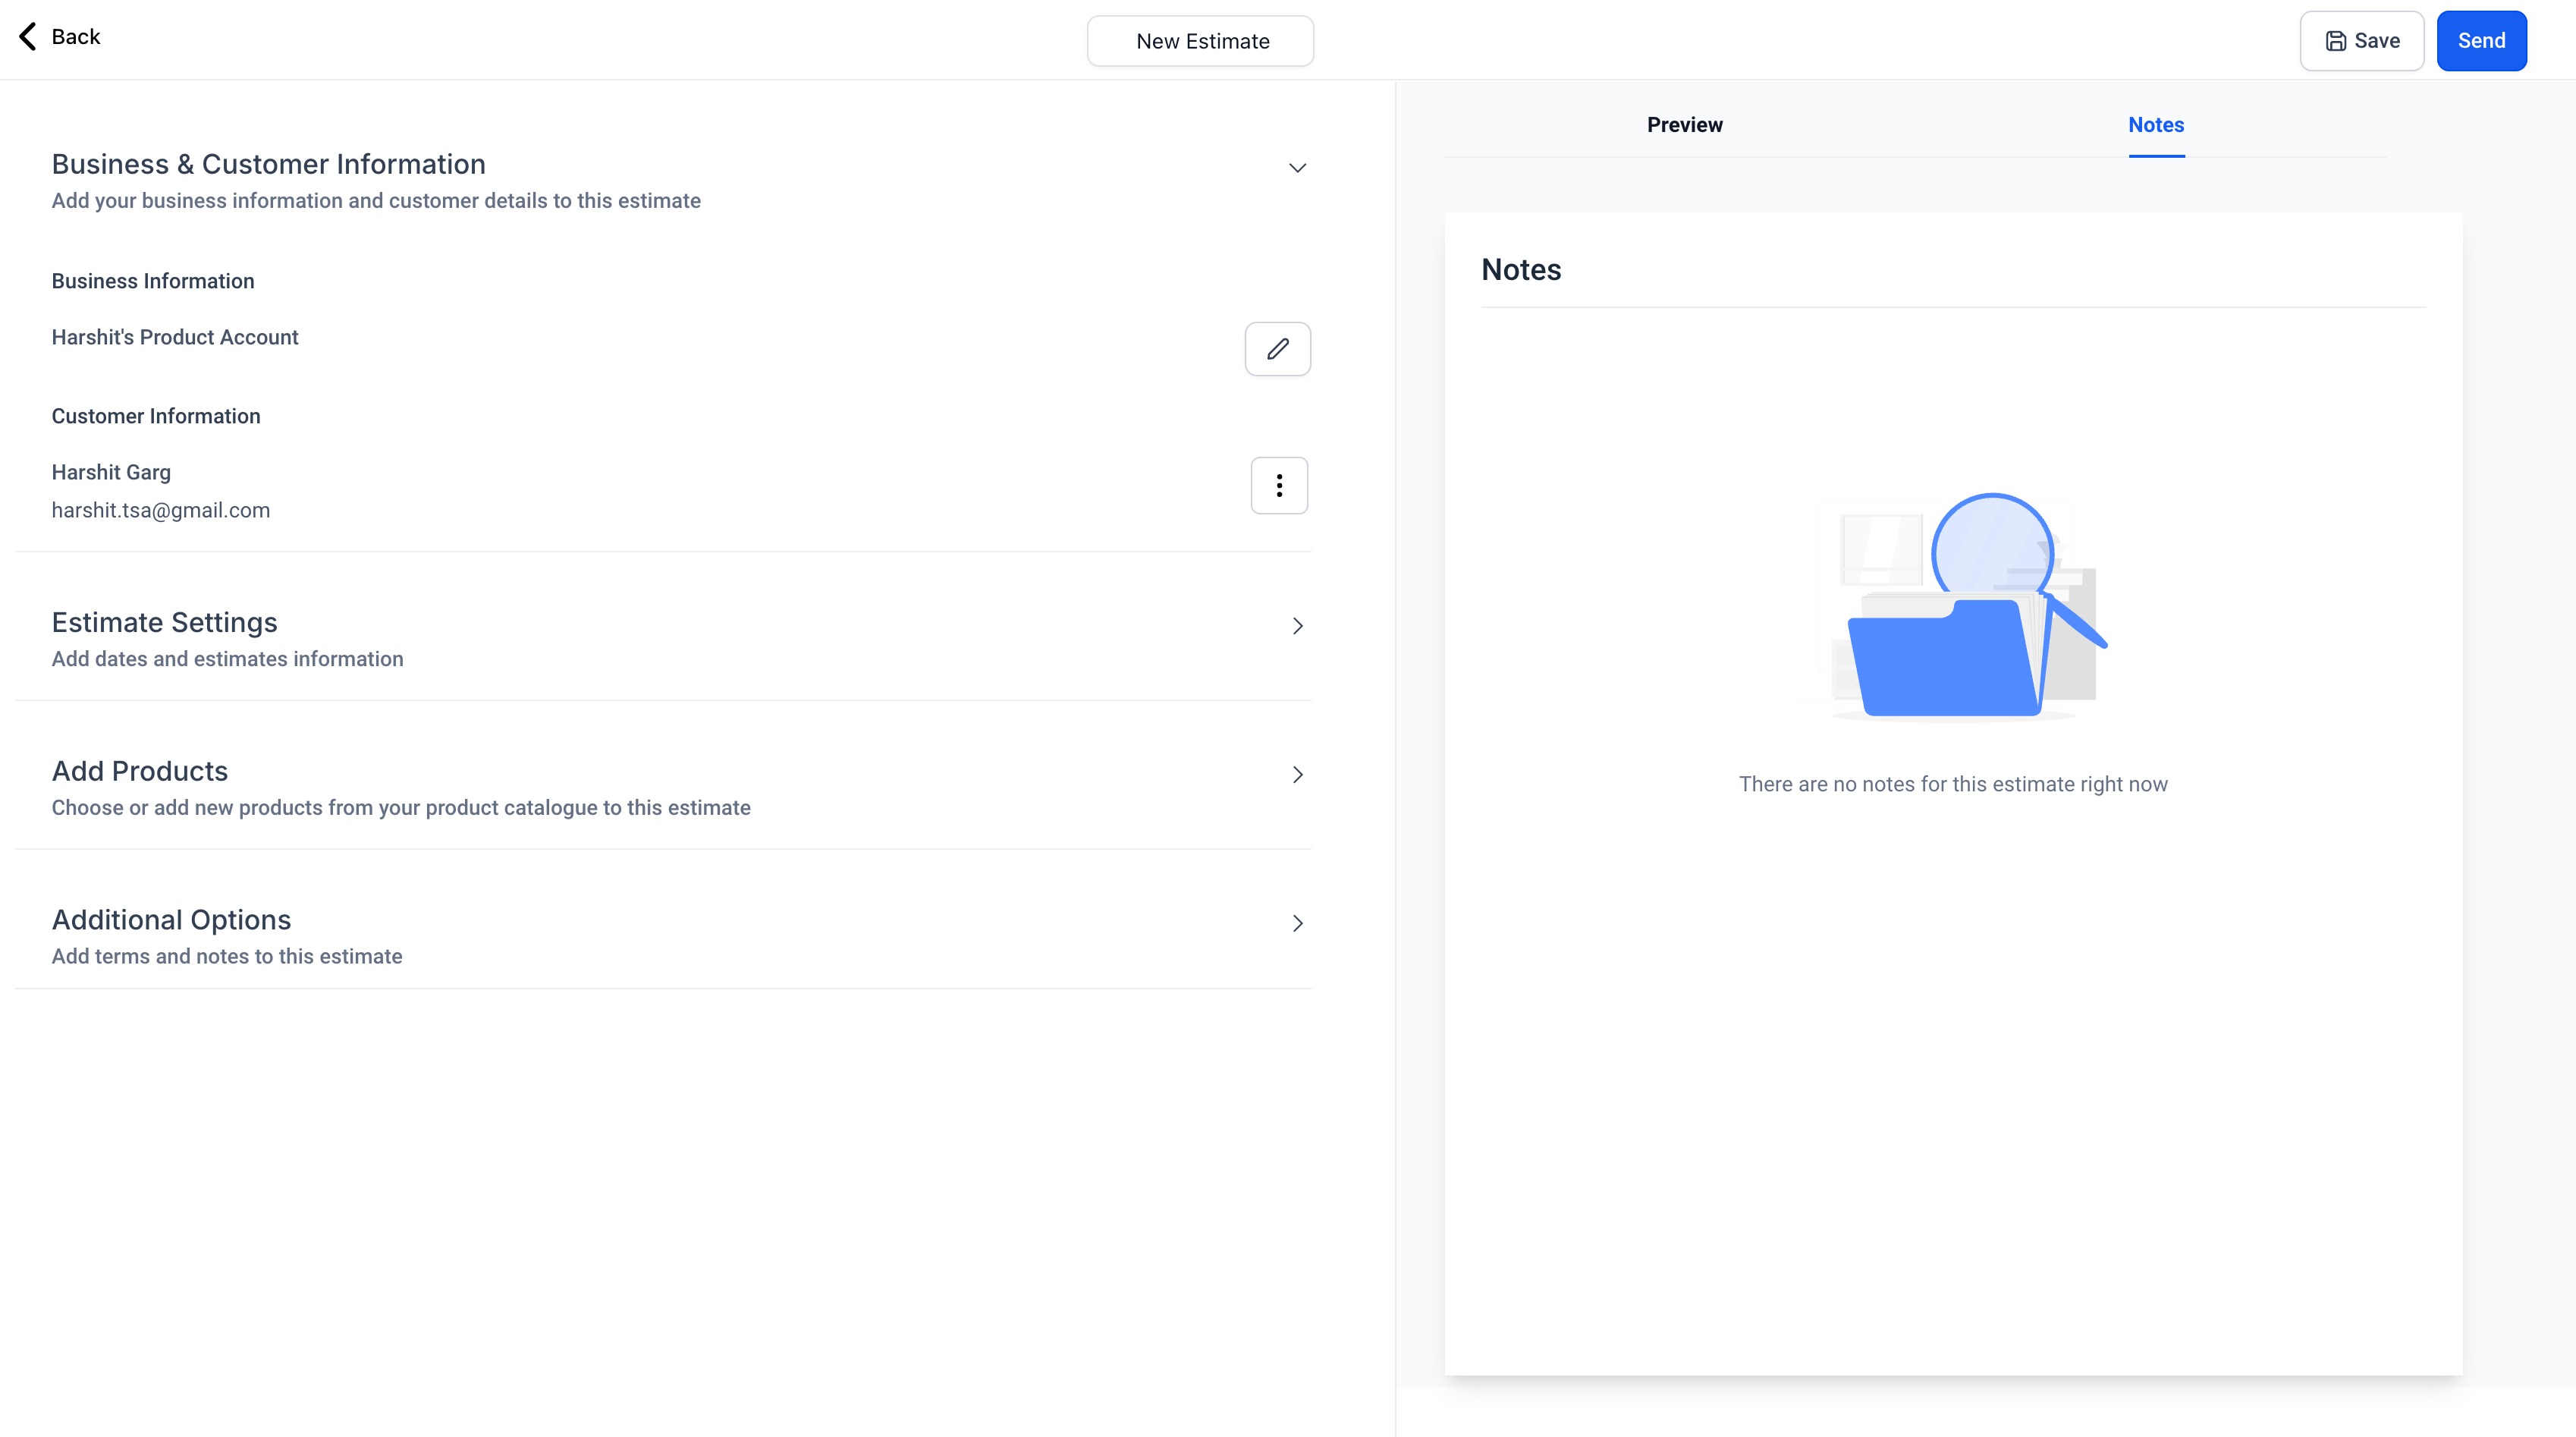
From the Estimates dashboard you can keep track of every estimate by stage: Draft, Sent, Accepted, Declined, and Invoiced. The cards at the top of the dashboard show the total value of estimates in your pipeline, and you can review notes added by your team both on the dashboard and inside the estimate builder. This visibility helps your team follow up at exactly the right time.
To automate follow-ups, you can build workflows tied to estimates that send reminder messages automatically if a quote has not been accepted.
Estimate templates let you start a new estimate from a prebuilt layout so you can generate consistent, error-free estimates in a few taps while you are with a patient. Templates are created and managed in the web app; the mobile app can use them but cannot create, edit, or delete them.
Before you start, confirm your mobile app is updated (whitelabeled apps may need to request the update from support) and that your user has access to Payments and Estimates.
Log in to the mobile app and open the Estimates area from the navigation bar.
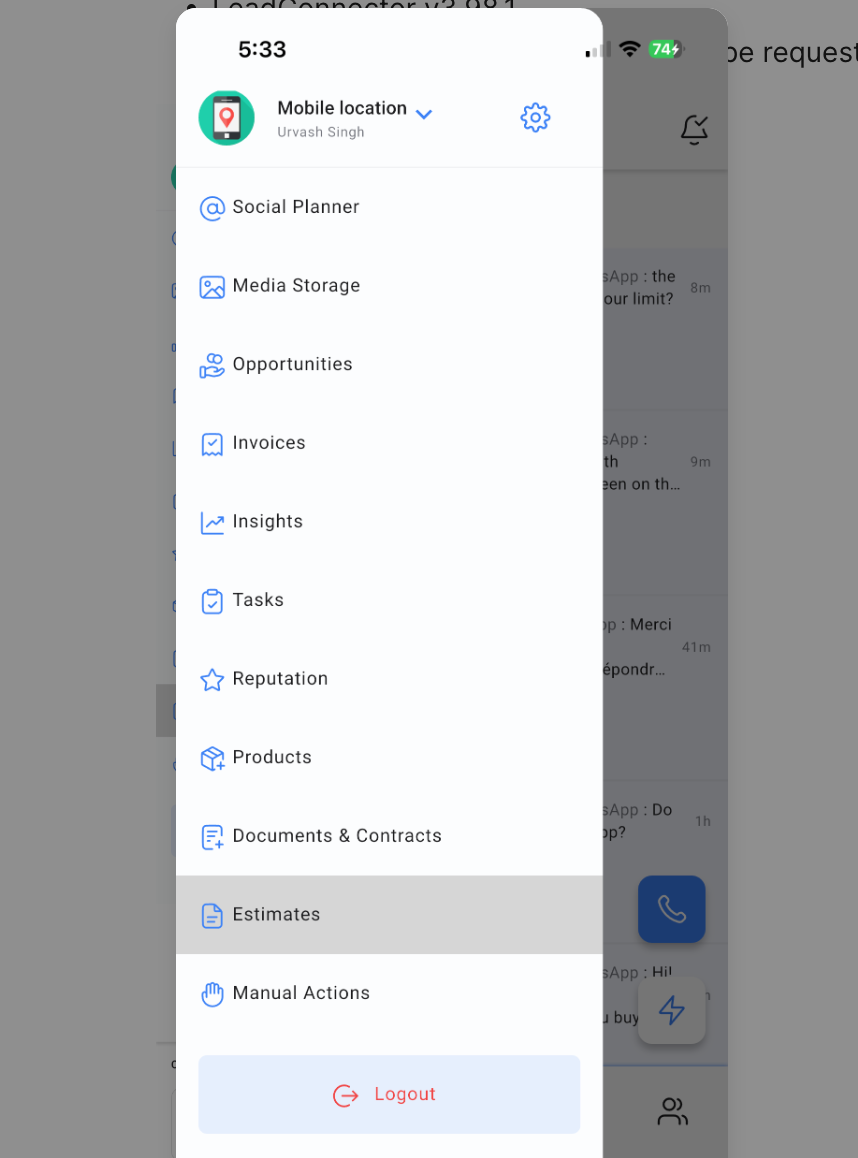
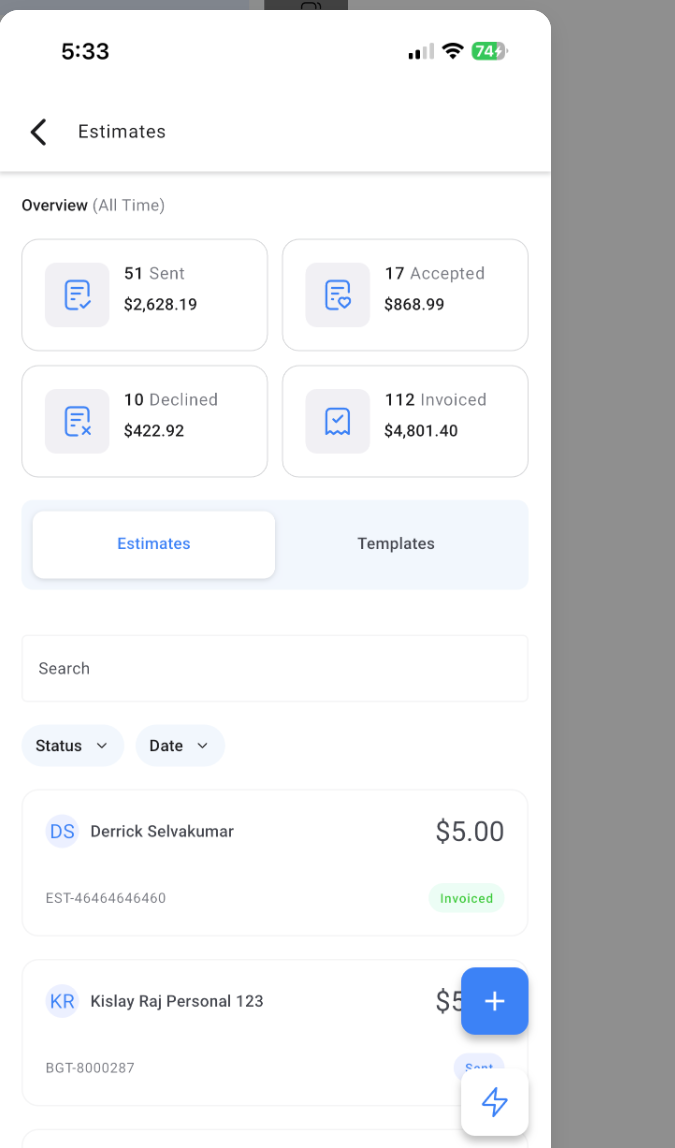
On the Estimates homepage you will see two tabs, Estimates and Templates. Switch to the Templates tab.
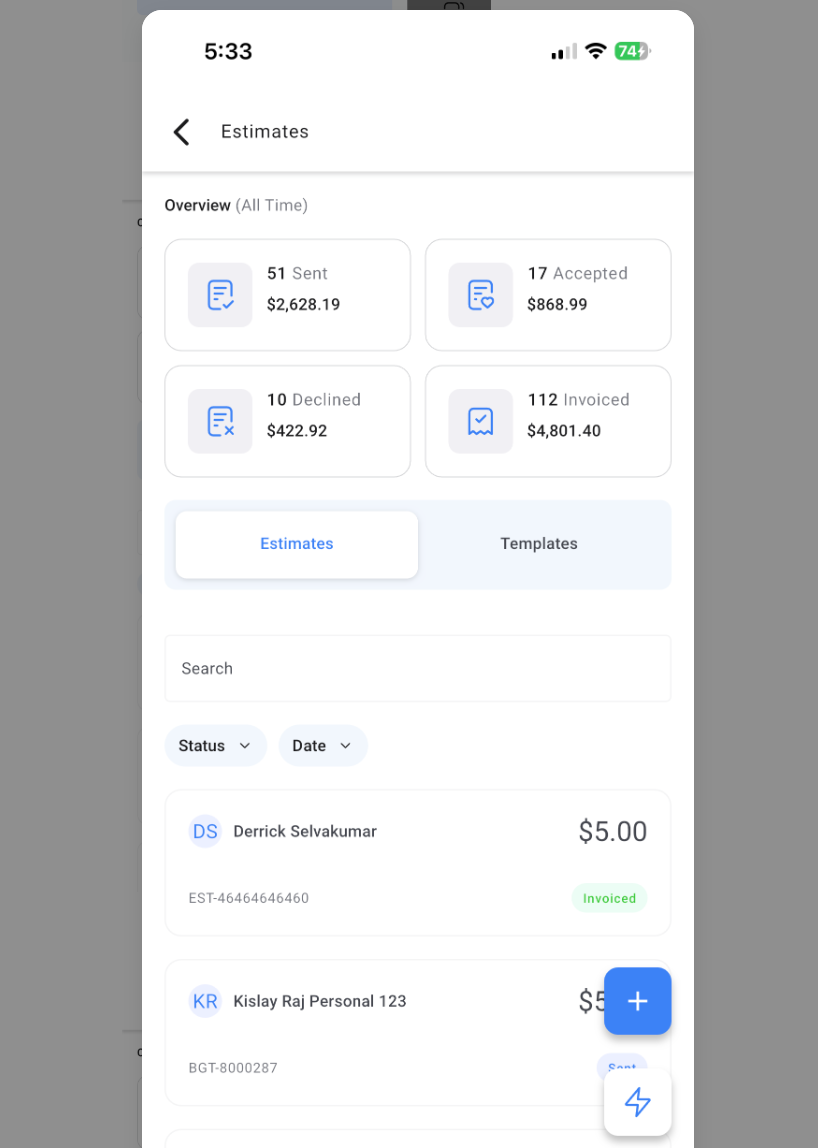
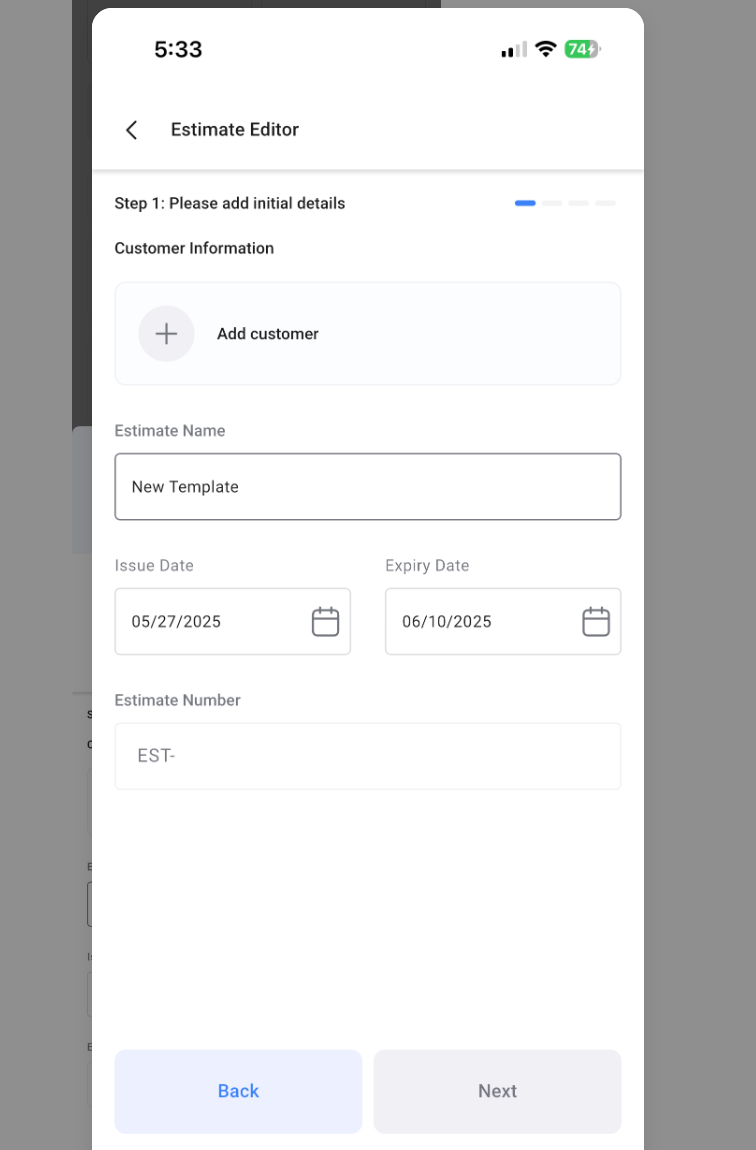
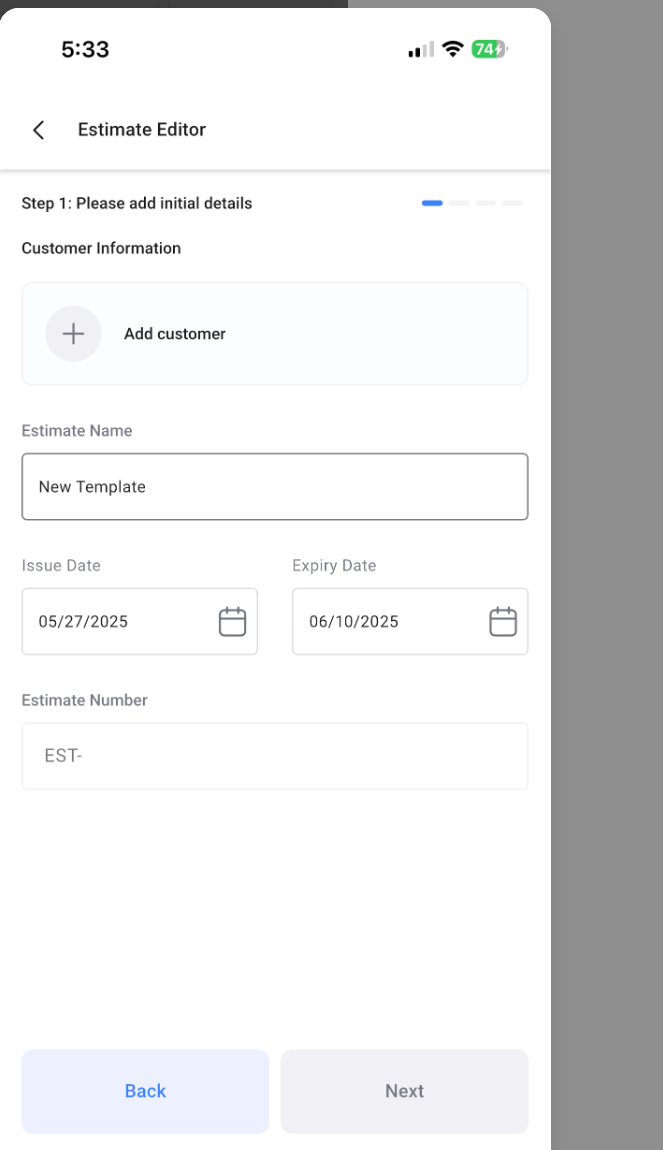
Select any template to instantly create an estimate from it. You can still edit fields such as quantities or pricing before sending.
What is the difference between an estimate and an invoice? An estimate is a price proposal you send for the patient to review and accept or reject. An invoice is a request for payment. Once a patient accepts an estimate, you can convert it into an invoice in a couple of clicks.
Can I use both settings-level and per-estimate custom values at the same time? Yes. You can manually edit custom values in the estimate editor while also using the predefined values configured in Estimate Preferences.
Do partial quantities affect pricing? Yes, correctly. The system automatically calculates the total based on the fractional quantity you enter, so a quantity of 1.5 is priced at one and a half units.
How many photos can I add to a line item? Up to four images per line item. For additional visuals, combine multiple photos into one image or use the Attachments feature.
Will product photos transfer if I convert the estimate to an invoice? Yes. Images remain visible when you convert an estimate to an invoice. However, images are stored in Aesthetix CRM and do not sync to external accounting systems such as QuickBooks or Xero.
Can patients download the line-item photos? Not directly from the gallery. If you want to provide downloadable files, attach them using the Attachments feature instead.
Can I create or edit templates from the mobile app? No. Templates are created and managed on the web. The mobile app lets you use existing templates to create new estimates.
The Templates tab is not showing on mobile. What should I check? Confirm your mobile app is on the required version, that you are in the correct account, and that your user has access to Payments and Estimates. Whitelabeled apps may need the latest build deployed by support.
How can I automatically remind patients about an unaccepted estimate? Build a workflow tied to estimates that sends reminder messages after a set time if the estimate has not been accepted, so no opportunity slips through the cracks.
Where can I see all estimates sent to a specific patient? Open the patient's contact record and review the Documents section, which shows a complete history of estimates that have been sent, viewed, and accepted.
