Invoice templates let you define a consistent look and set of fields once, then reuse them for every invoice you send. This keeps your invoices on-brand and saves time when billing patients for treatments, packages, and products. You can build a template from your layout settings, or convert an existing invoice into a reusable template.
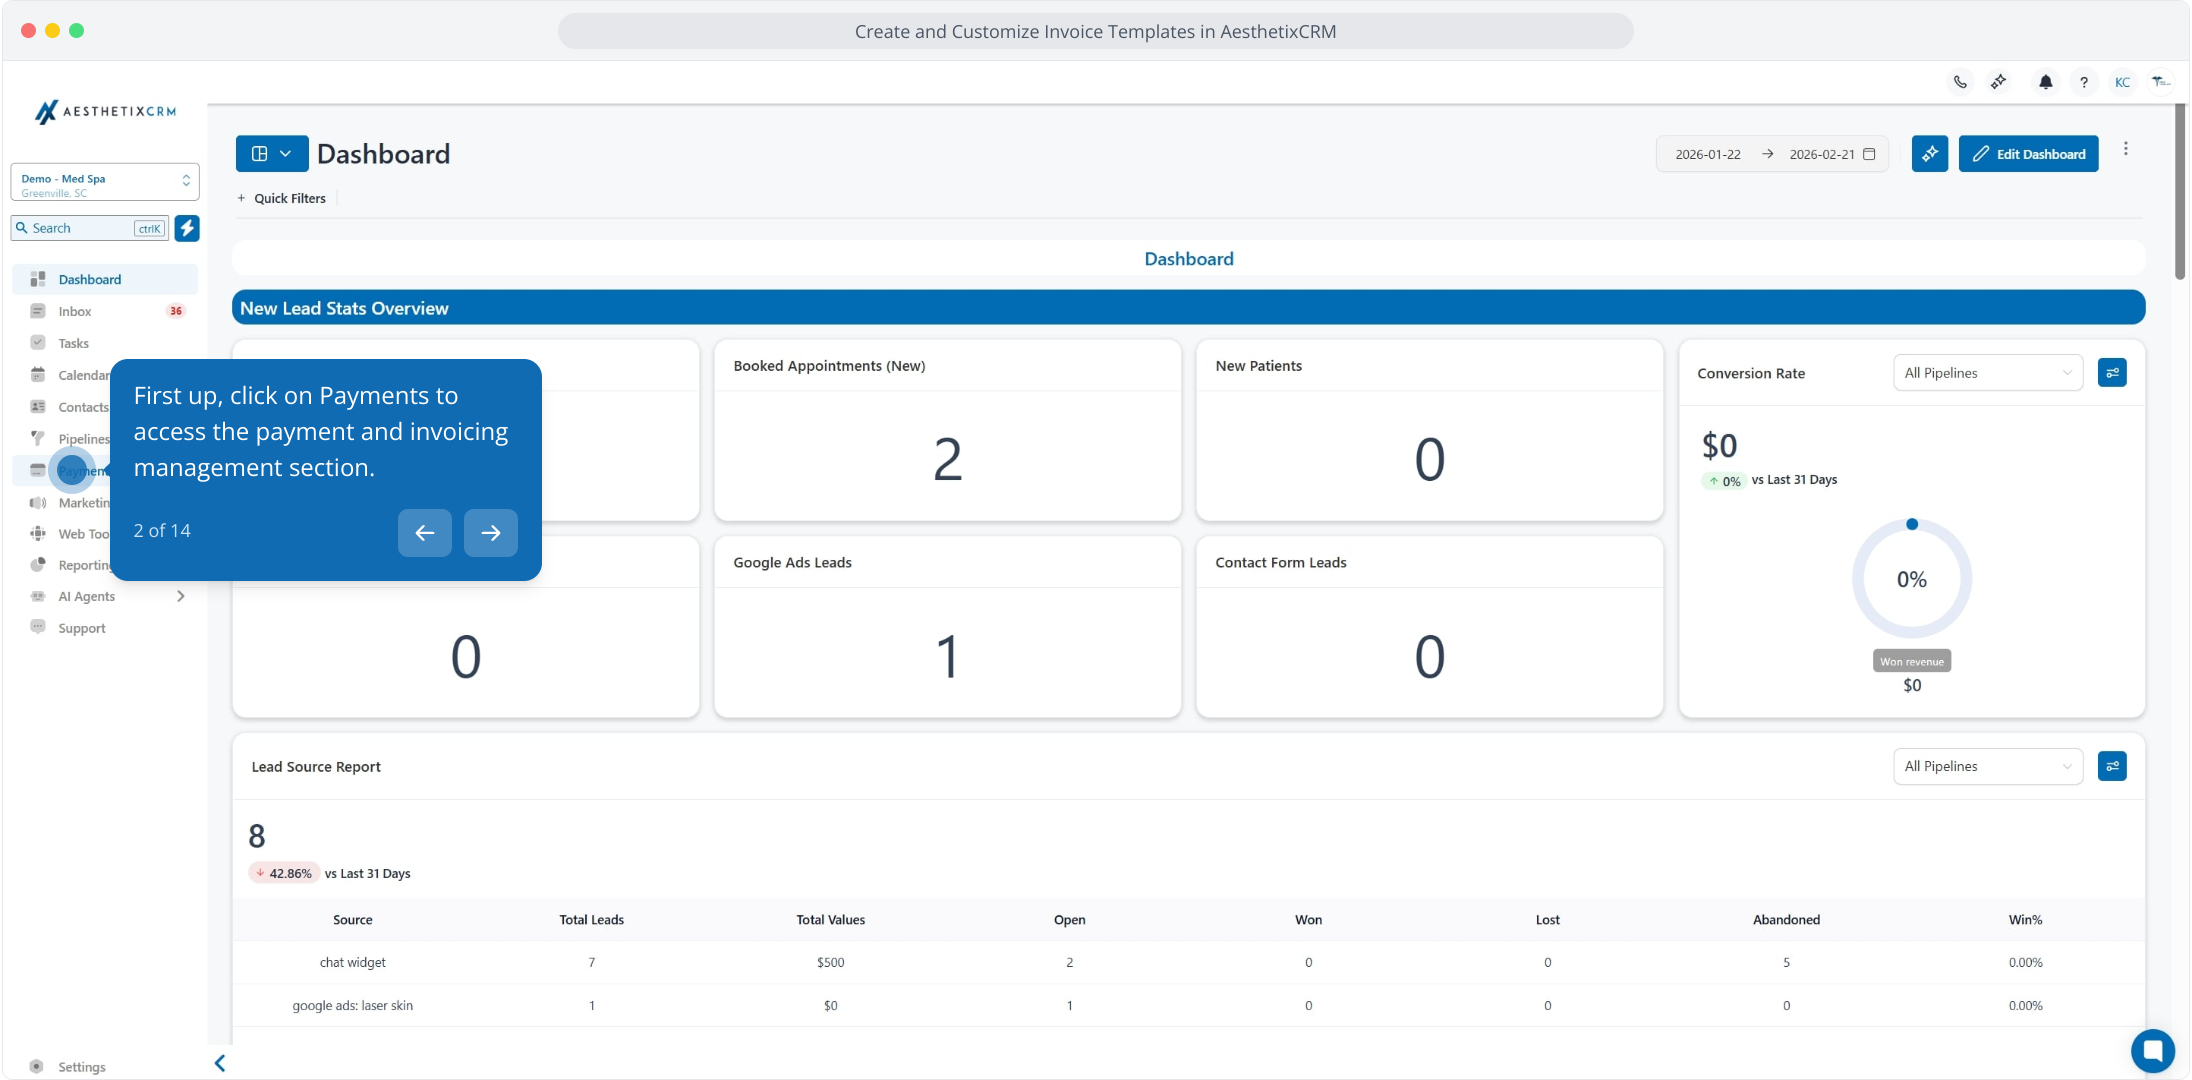
Click on Payments to access the payment and invoicing section.
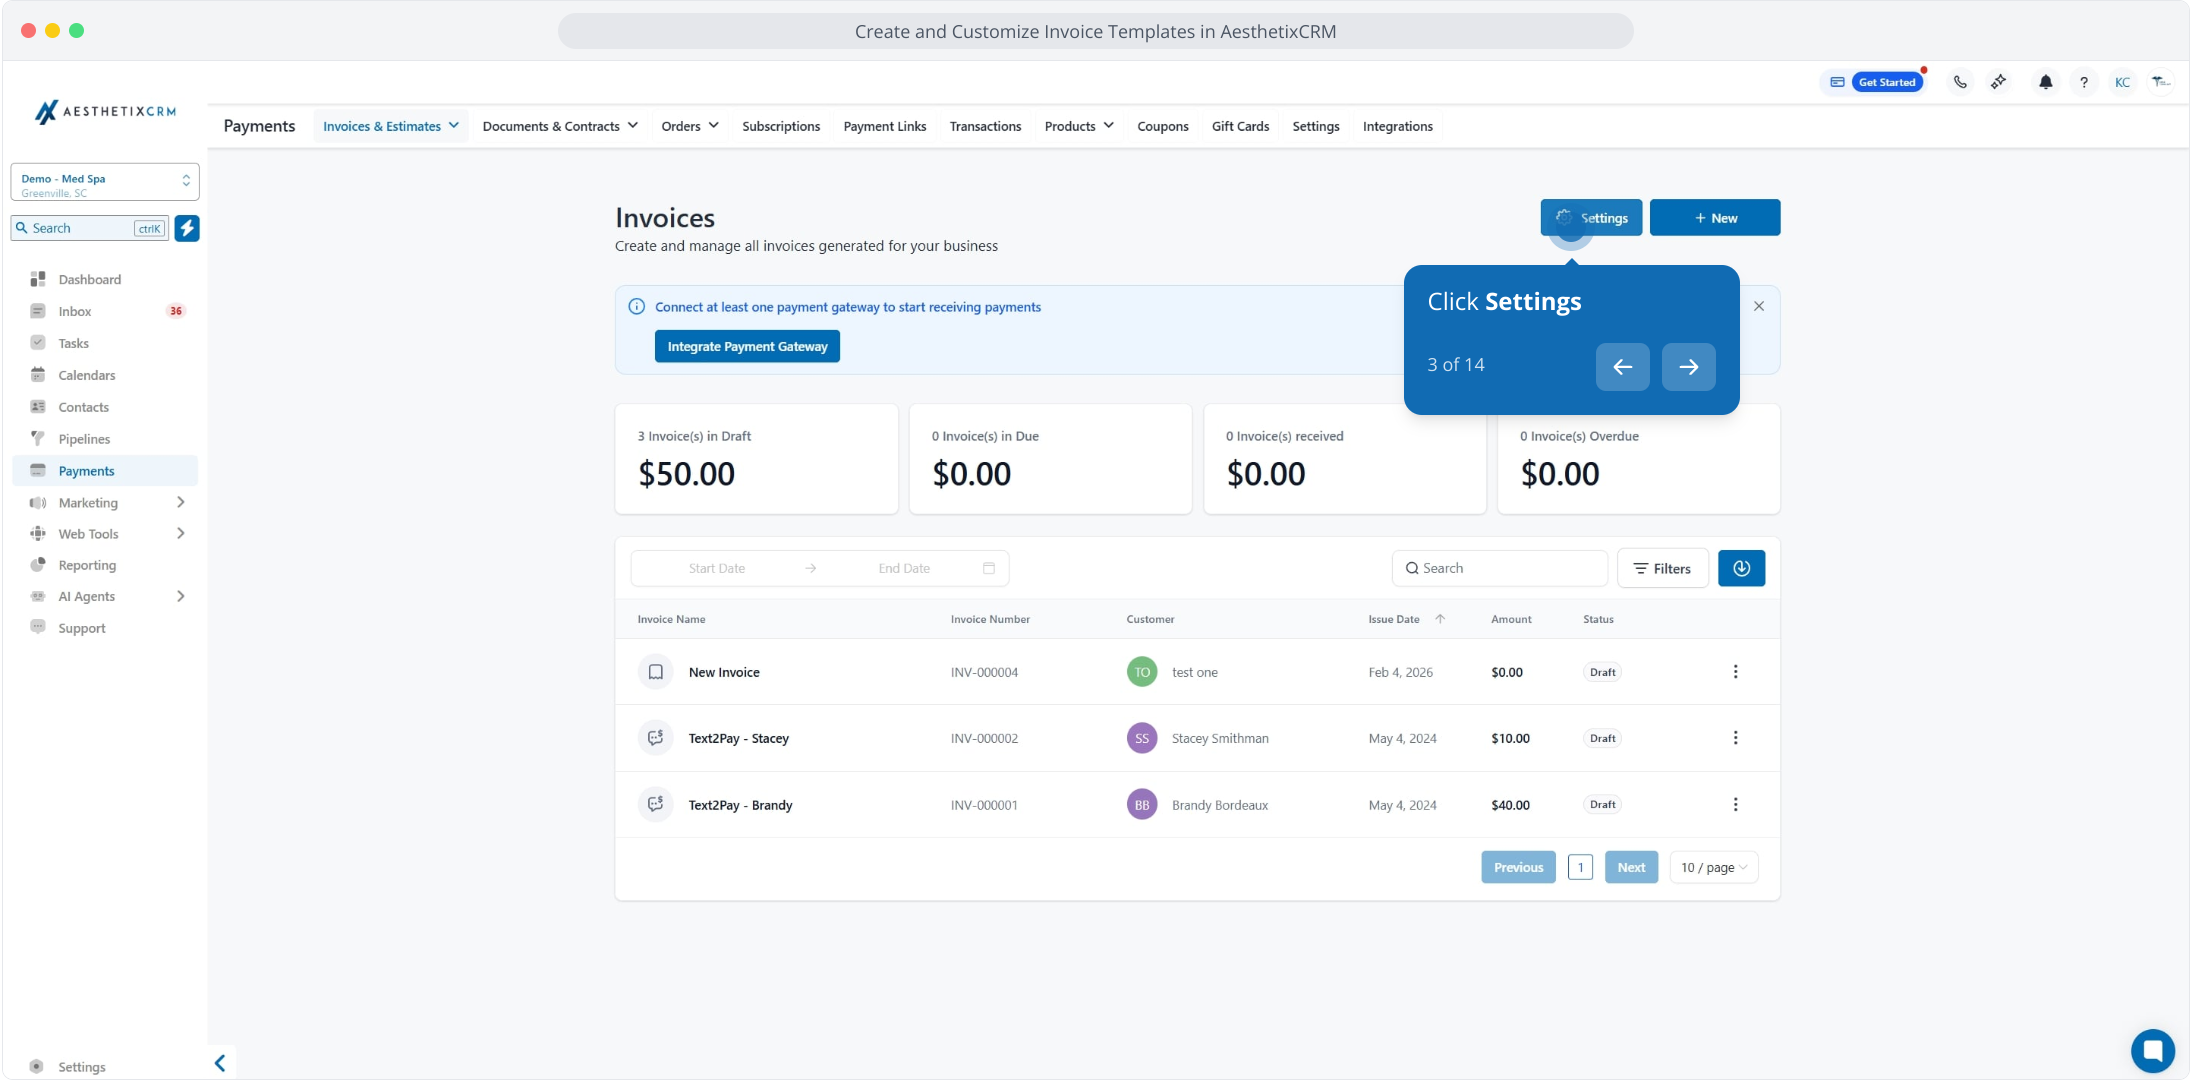
Click Settings.
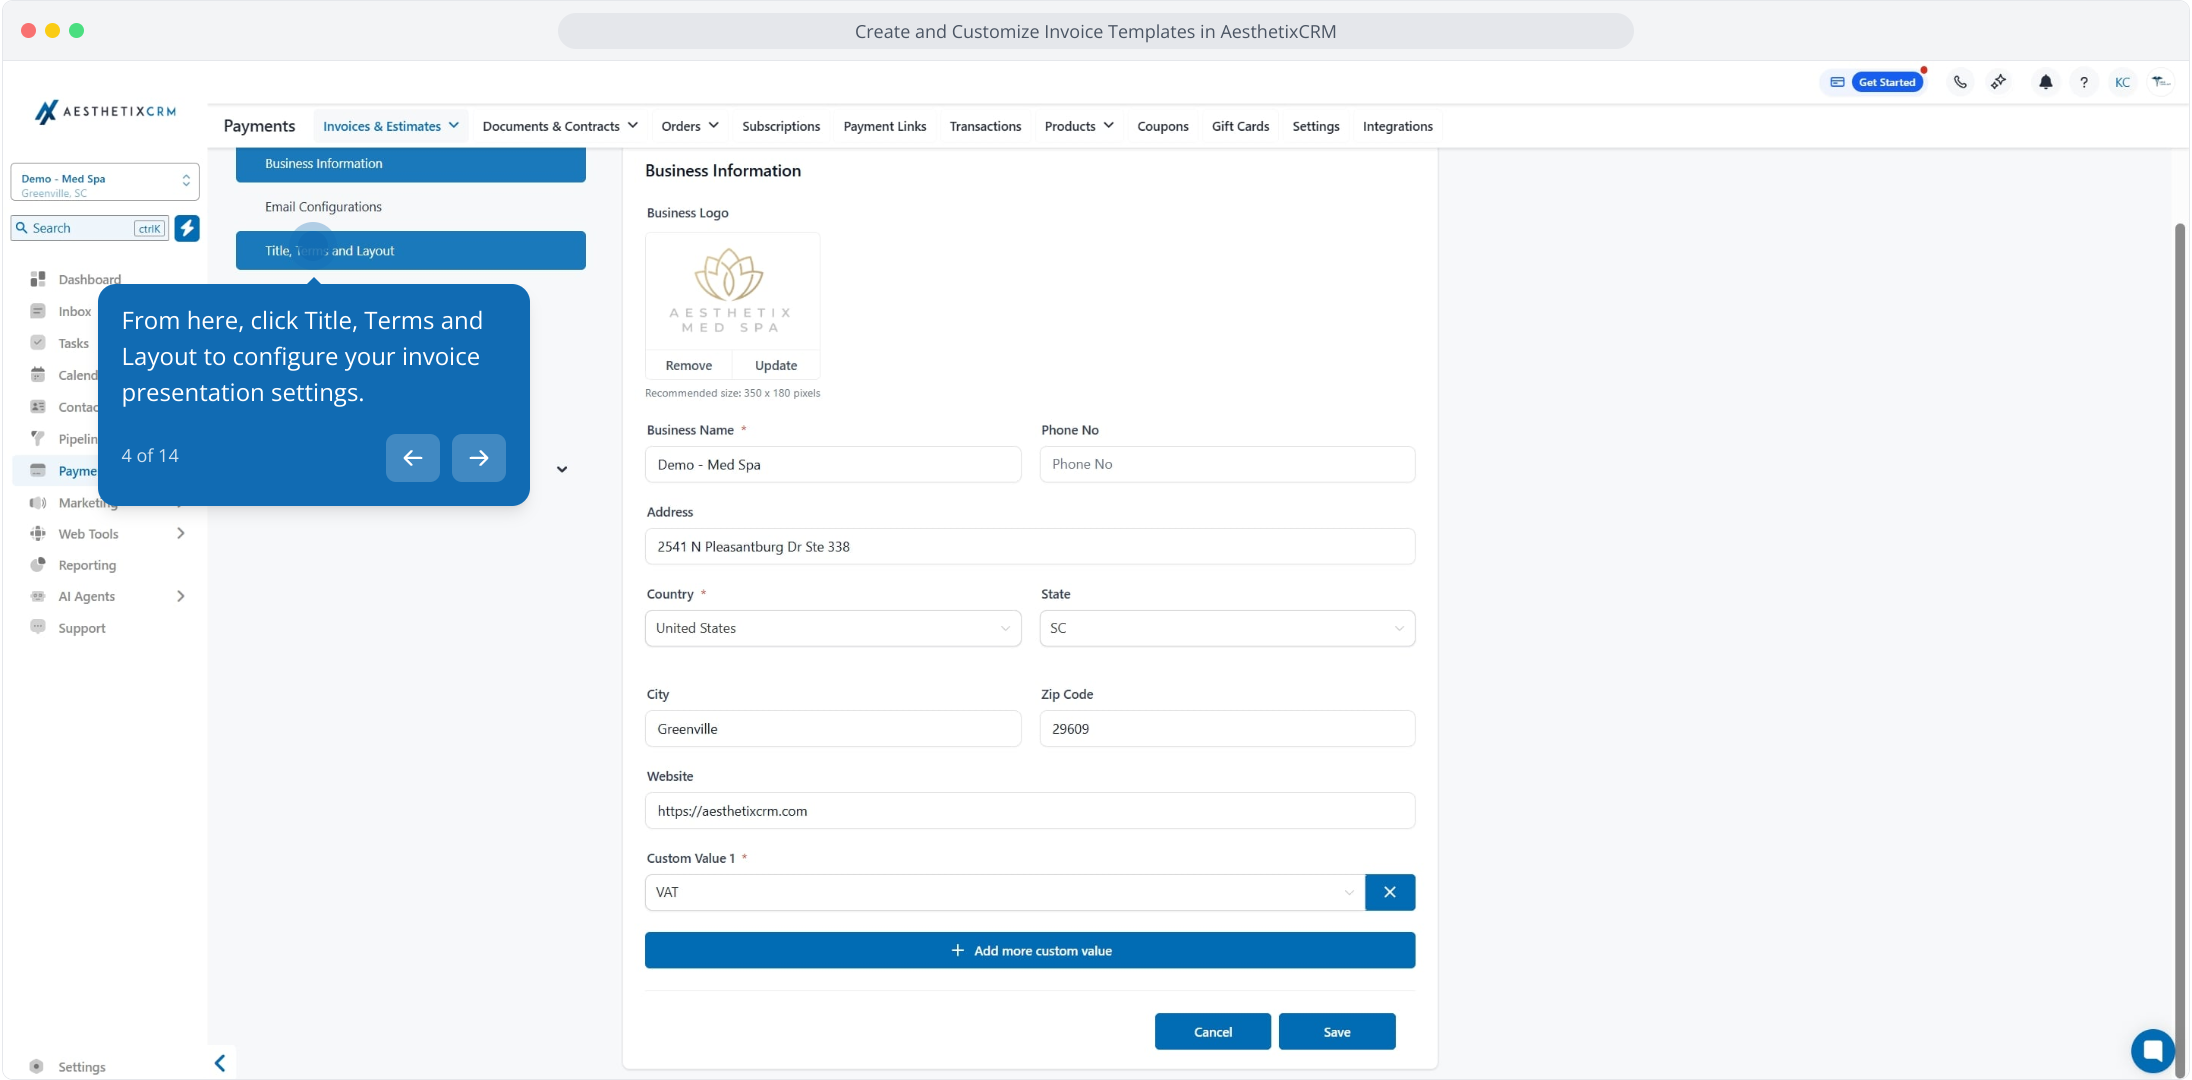
Click Title, Terms and Layout to configure your invoice presentation settings.
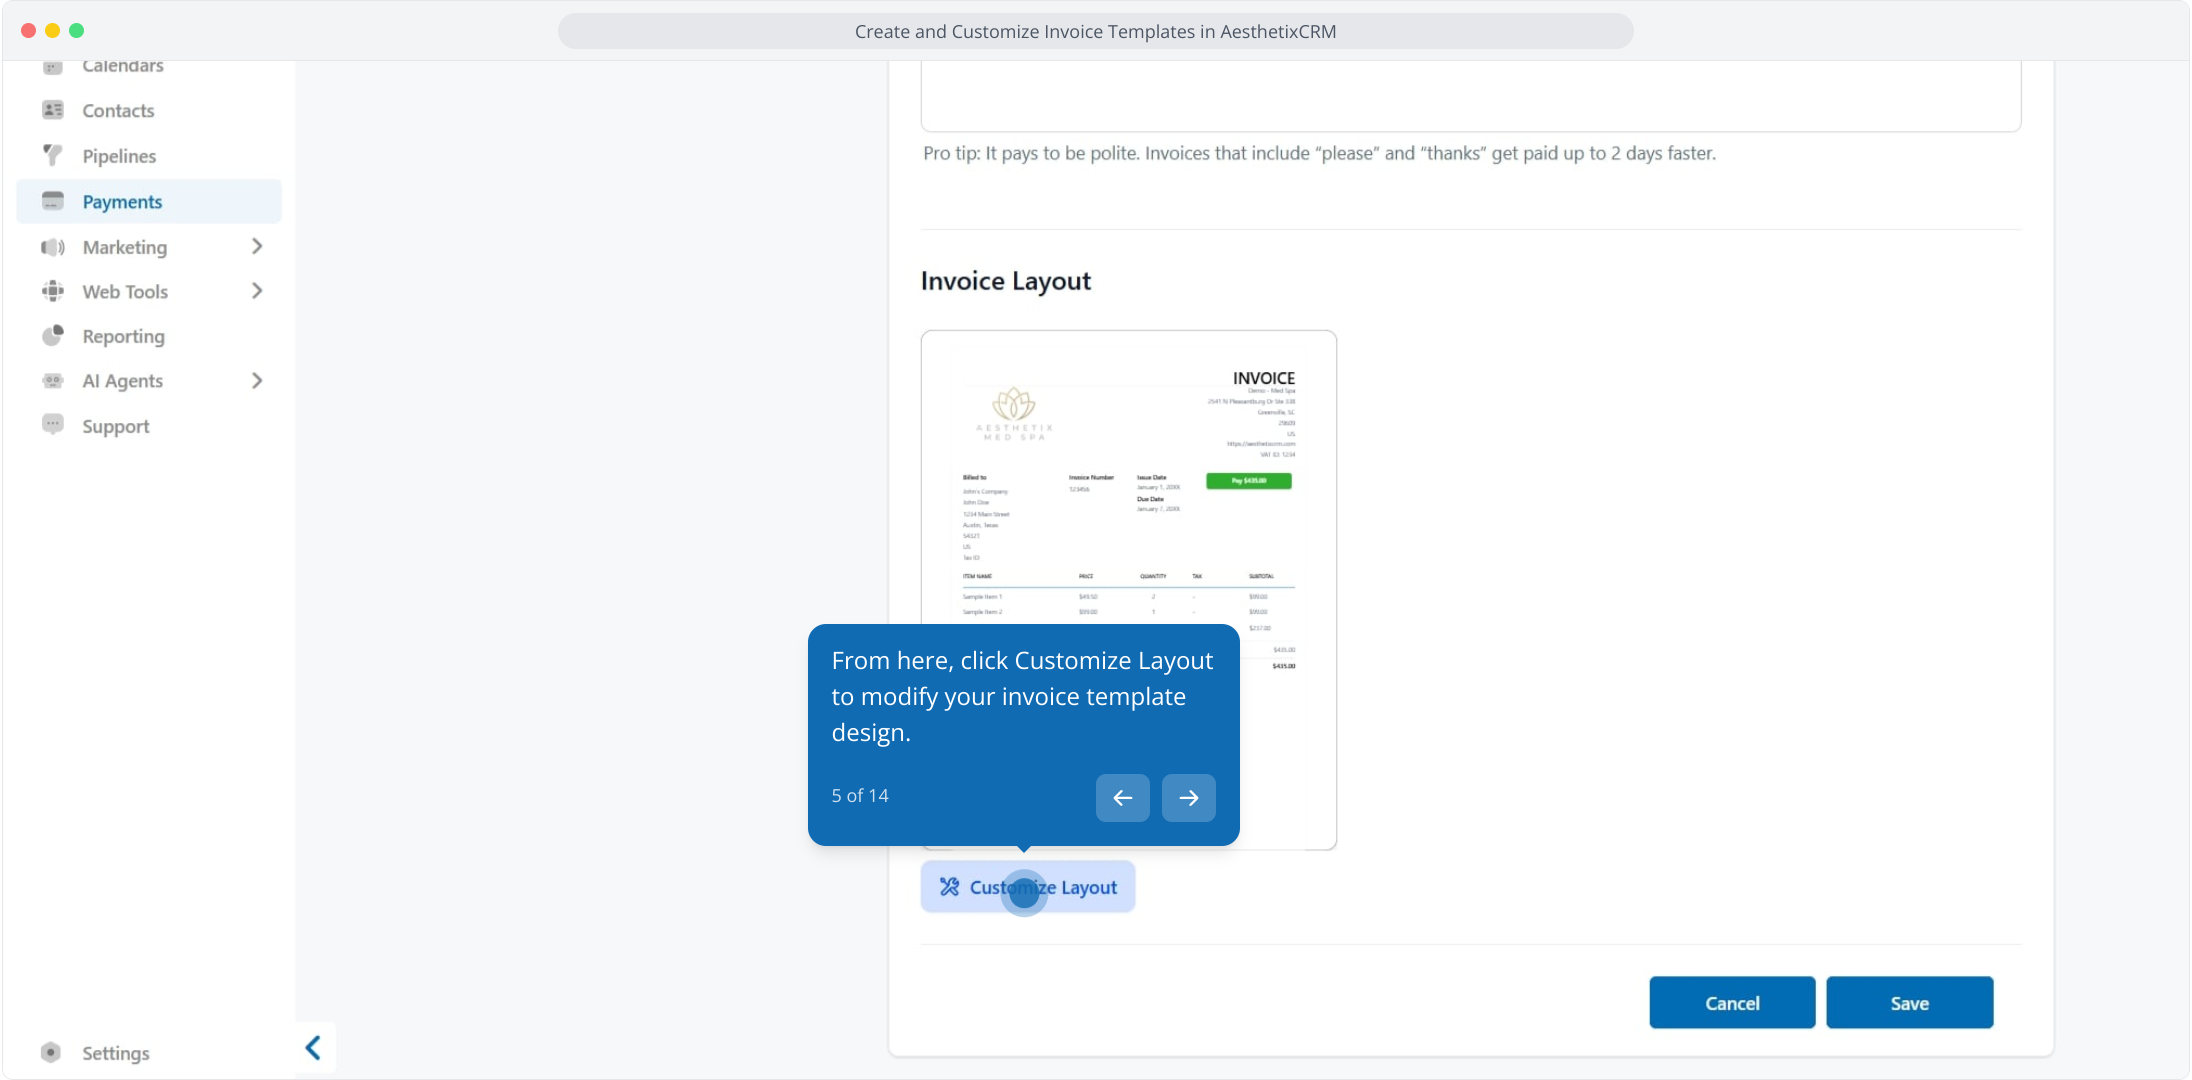
Click Customize Layout to modify your invoice template design.
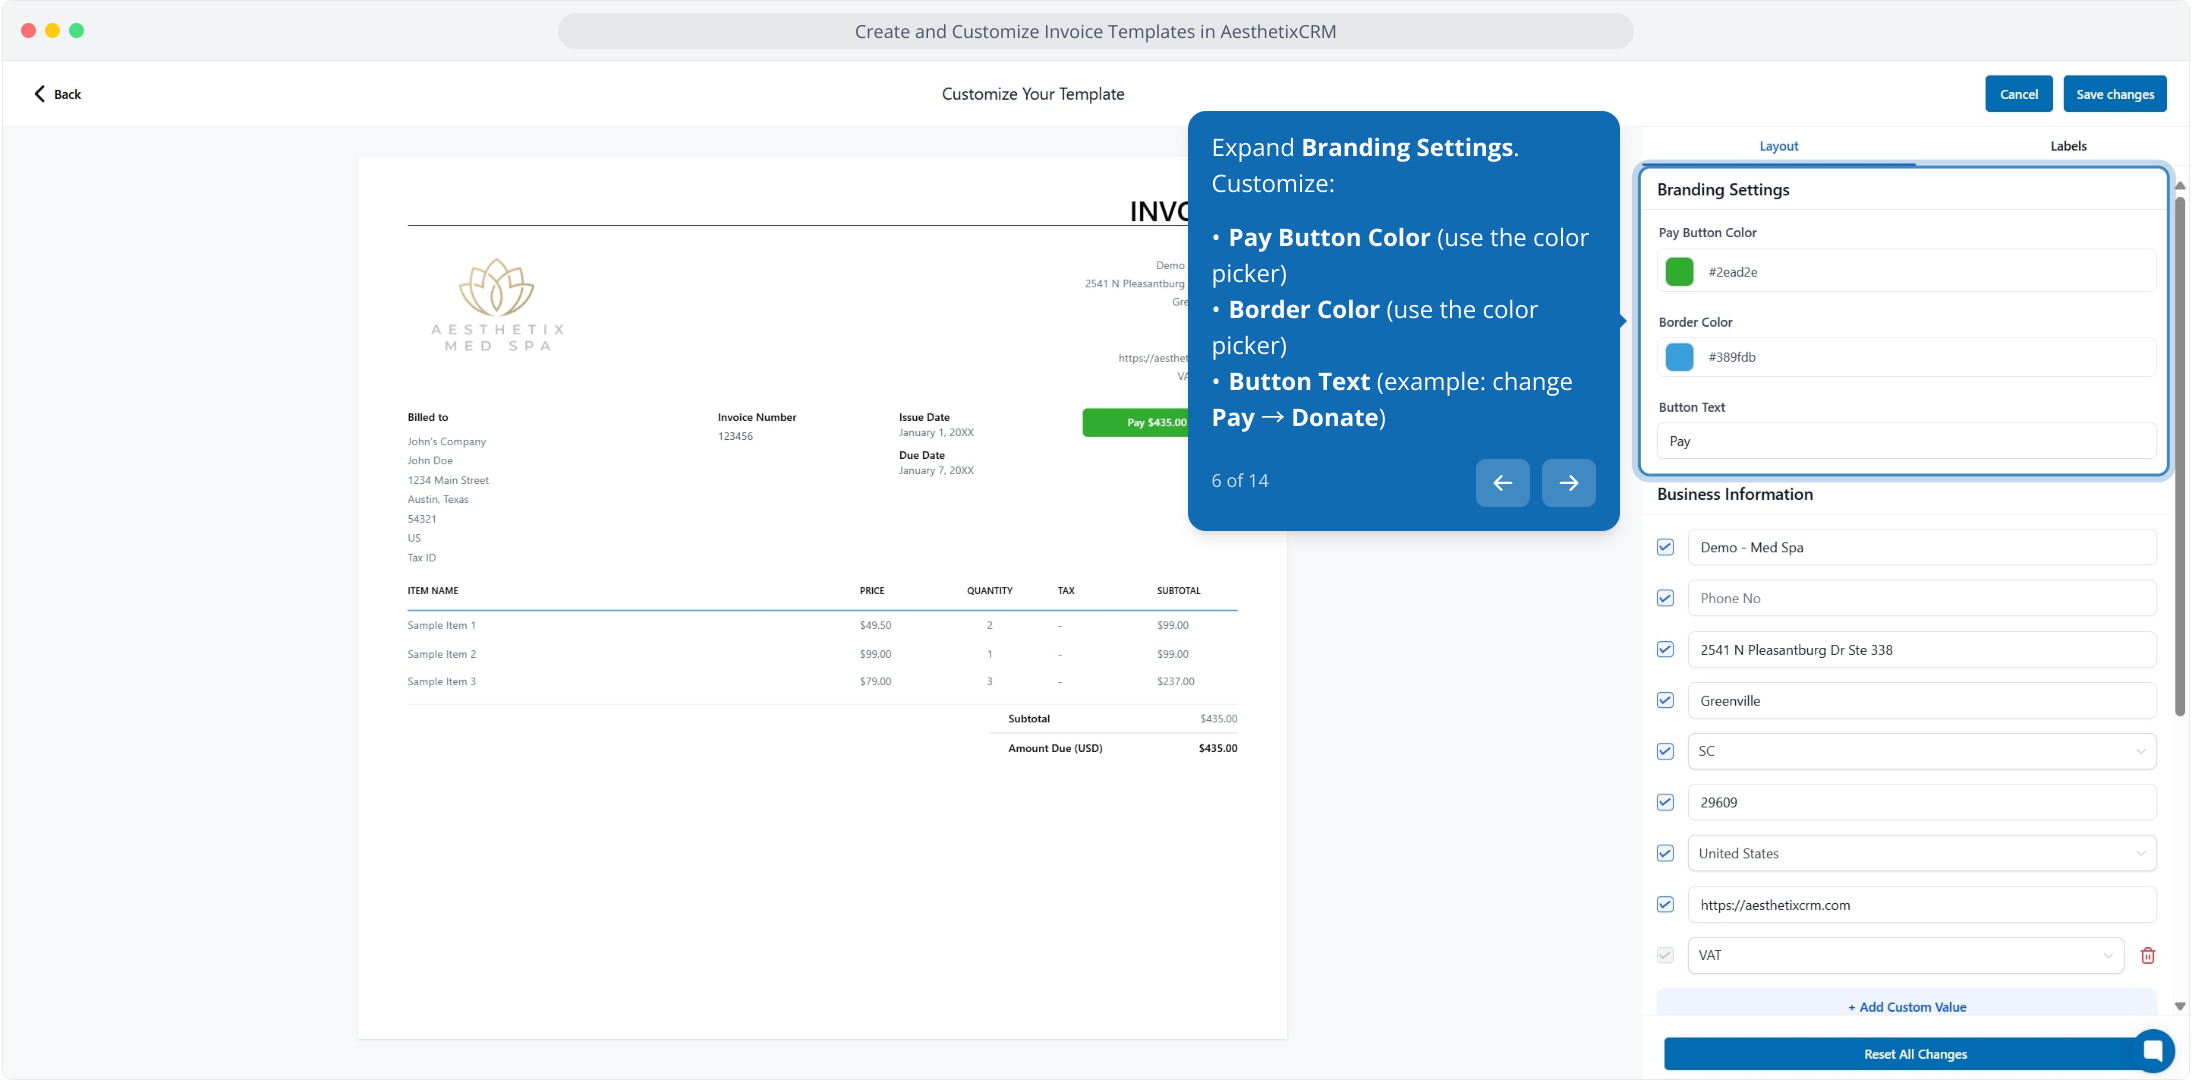
Expand Branding Settings and customize:
Pay Button Color (use the color picker)
Border Color (use the color picker)
Button Text (for example, change Pay to Deposit)
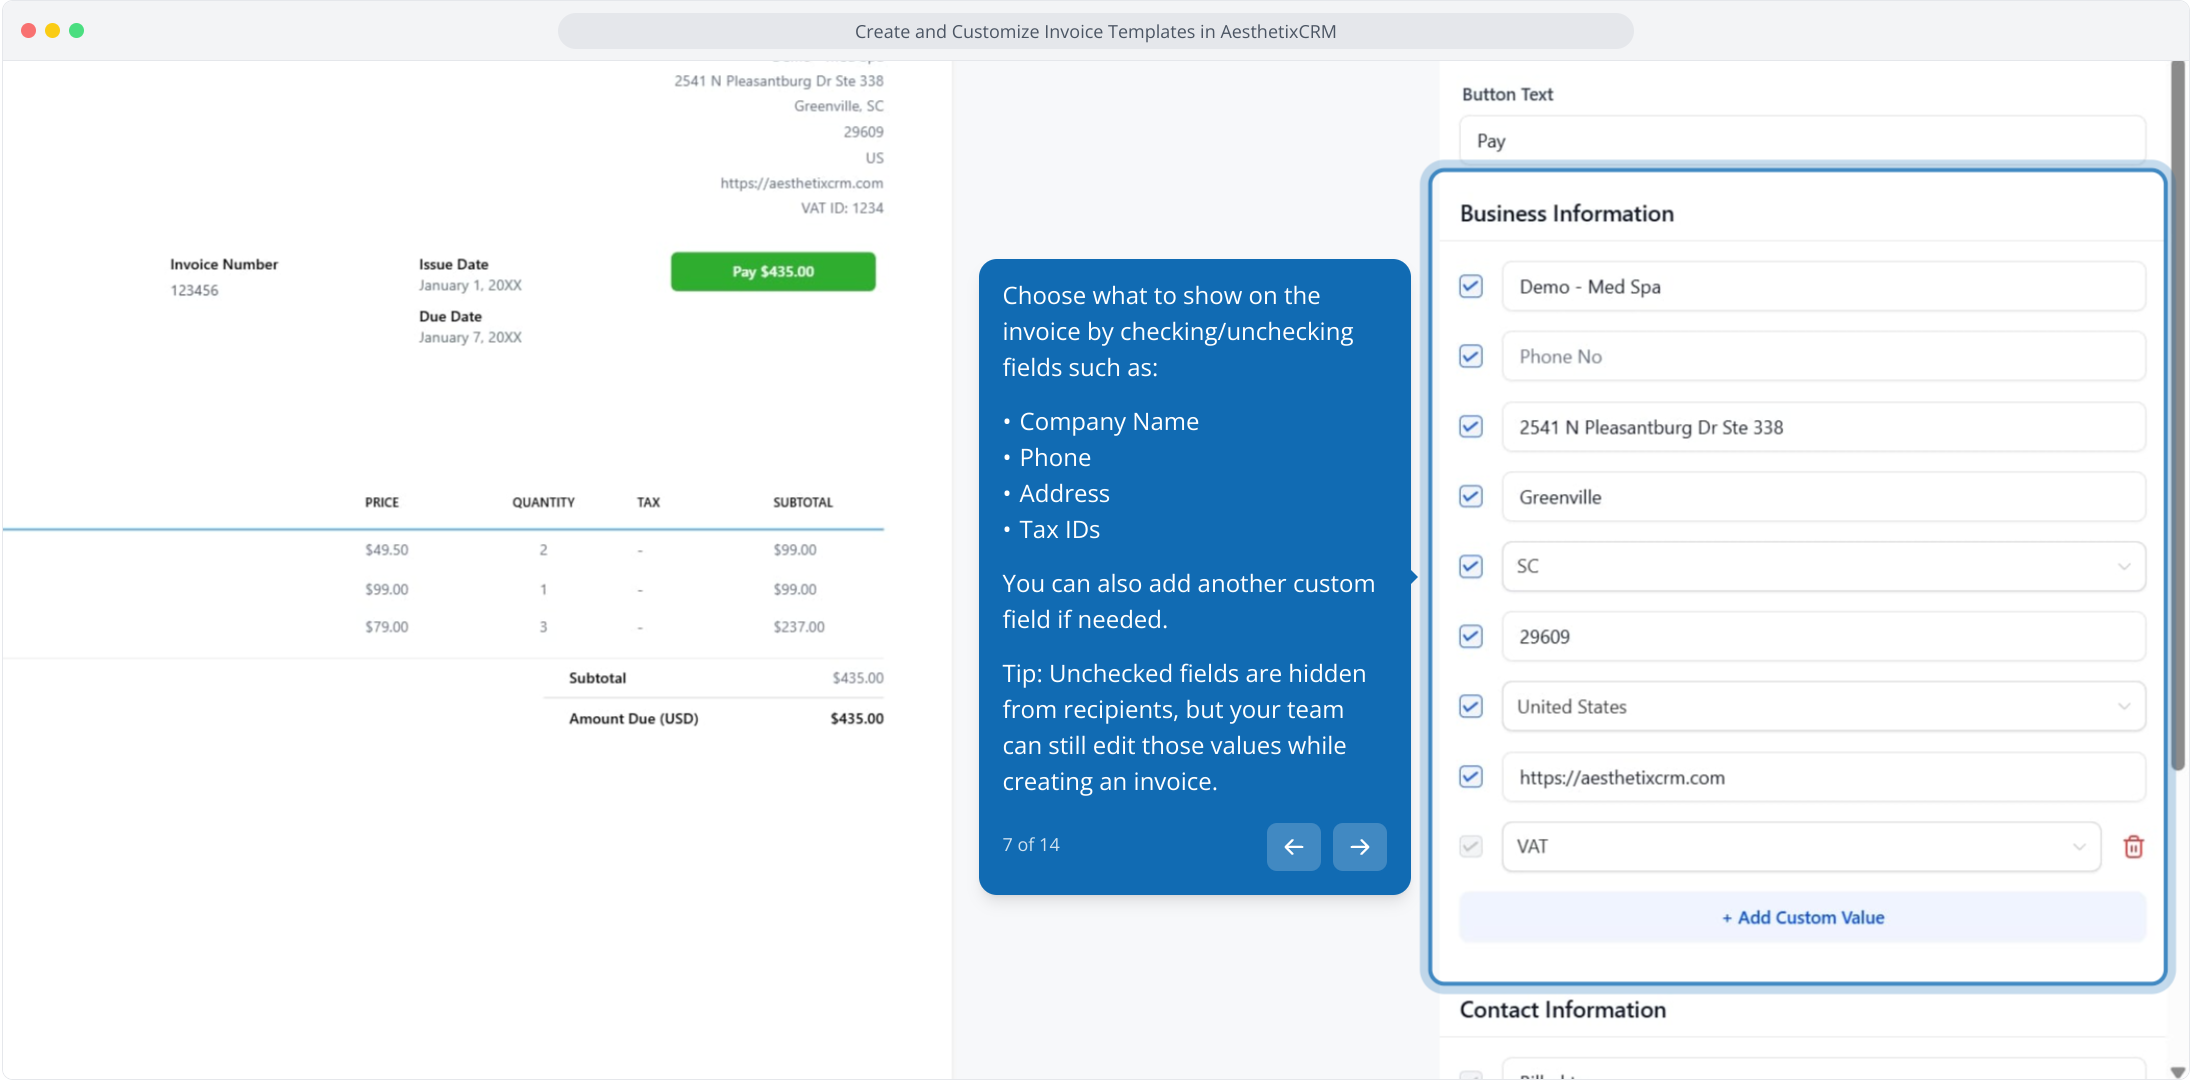
Choose what to show on the invoice by checking or unchecking fields such as:
Company Name
Phone
Address
Tax IDs
You can also add another custom field if needed.
Tip: Unchecked fields are hidden from recipients, but your team can still edit those values while creating an invoice.
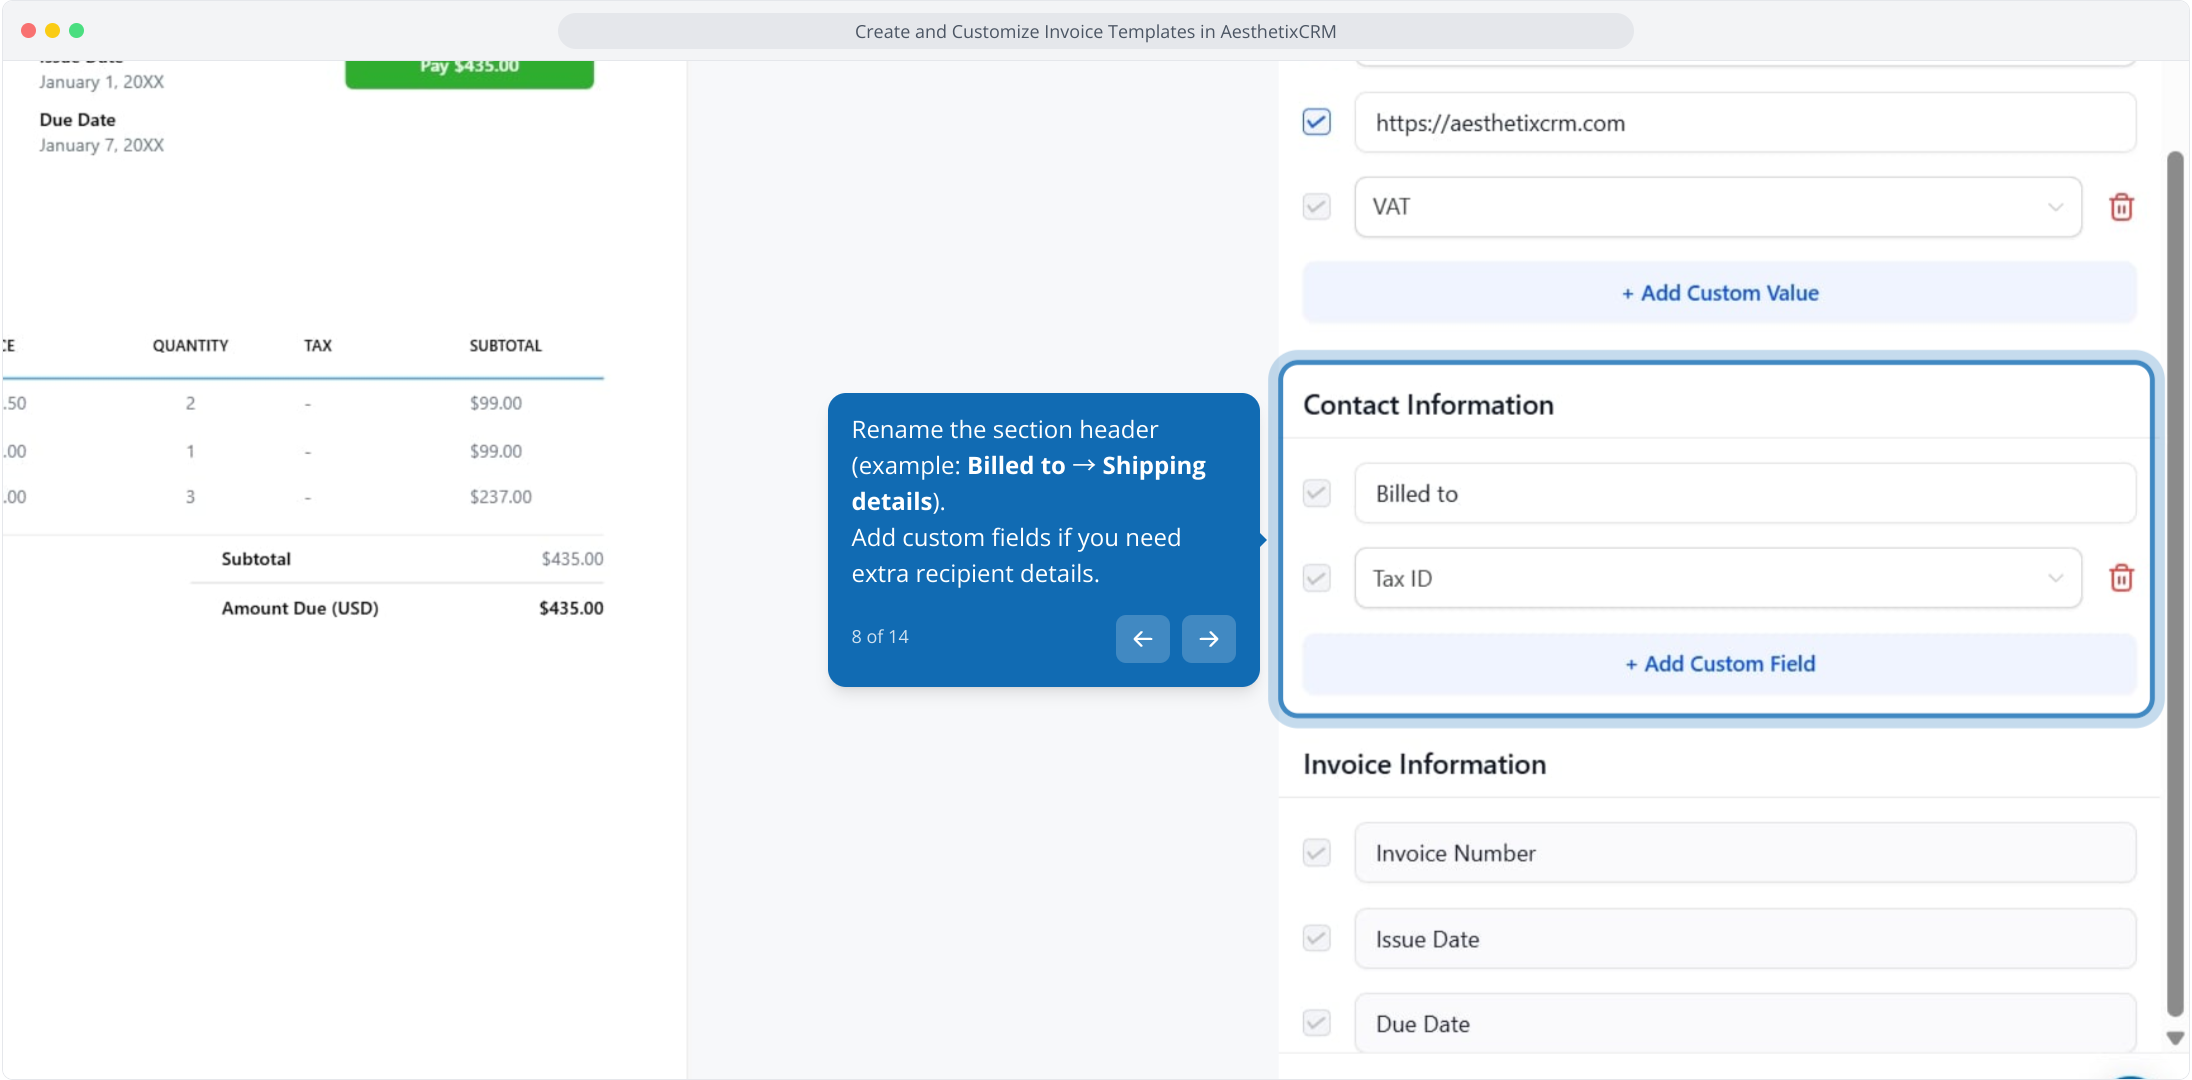
Rename the section header (for example, change Billed to to Patient details). Add custom fields if you need extra recipient details.
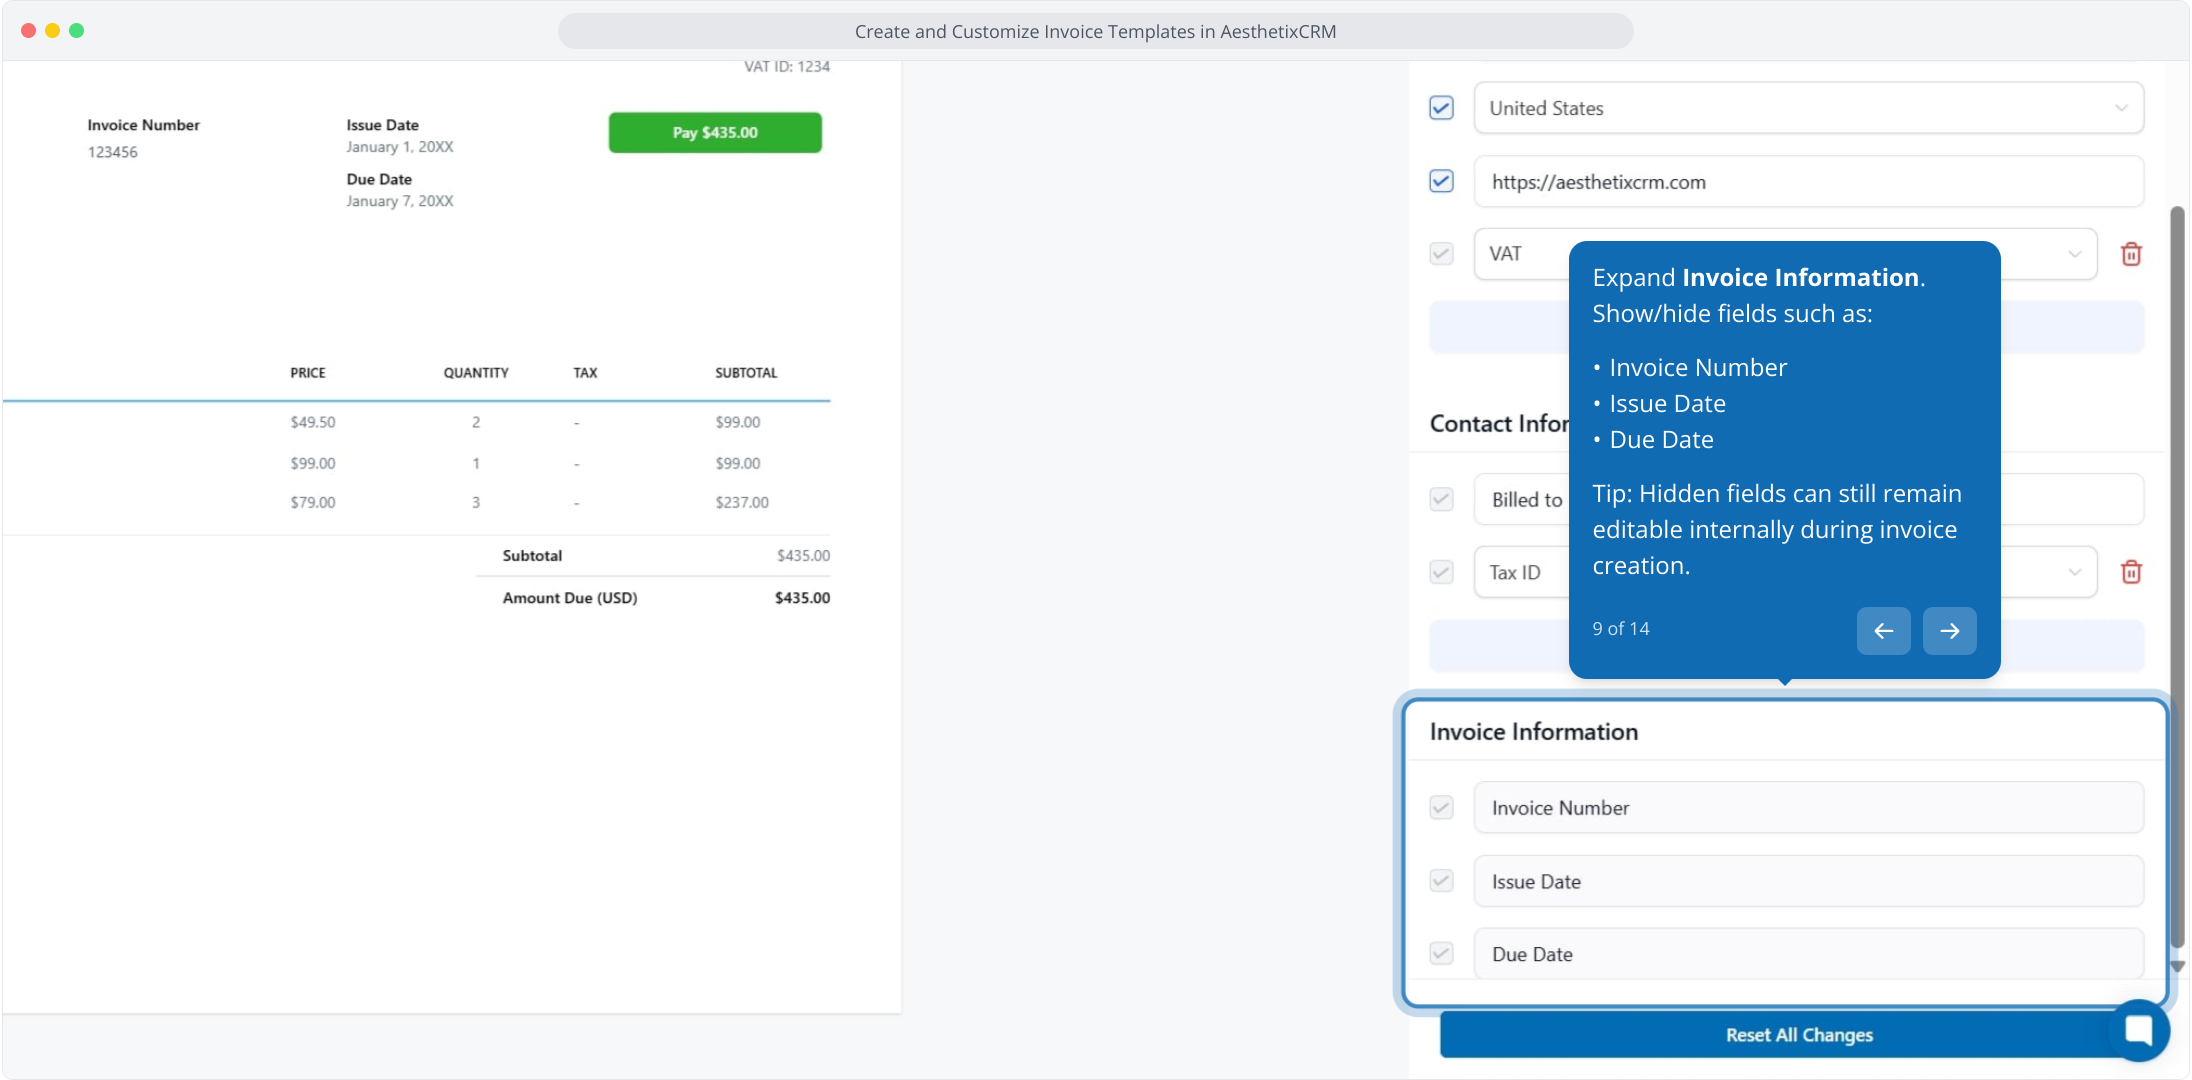
Expand Invoice Information and show or hide fields such as:
Invoice Number
Issue Date
Due Date
Tip: Hidden fields can still remain editable internally during invoice creation.
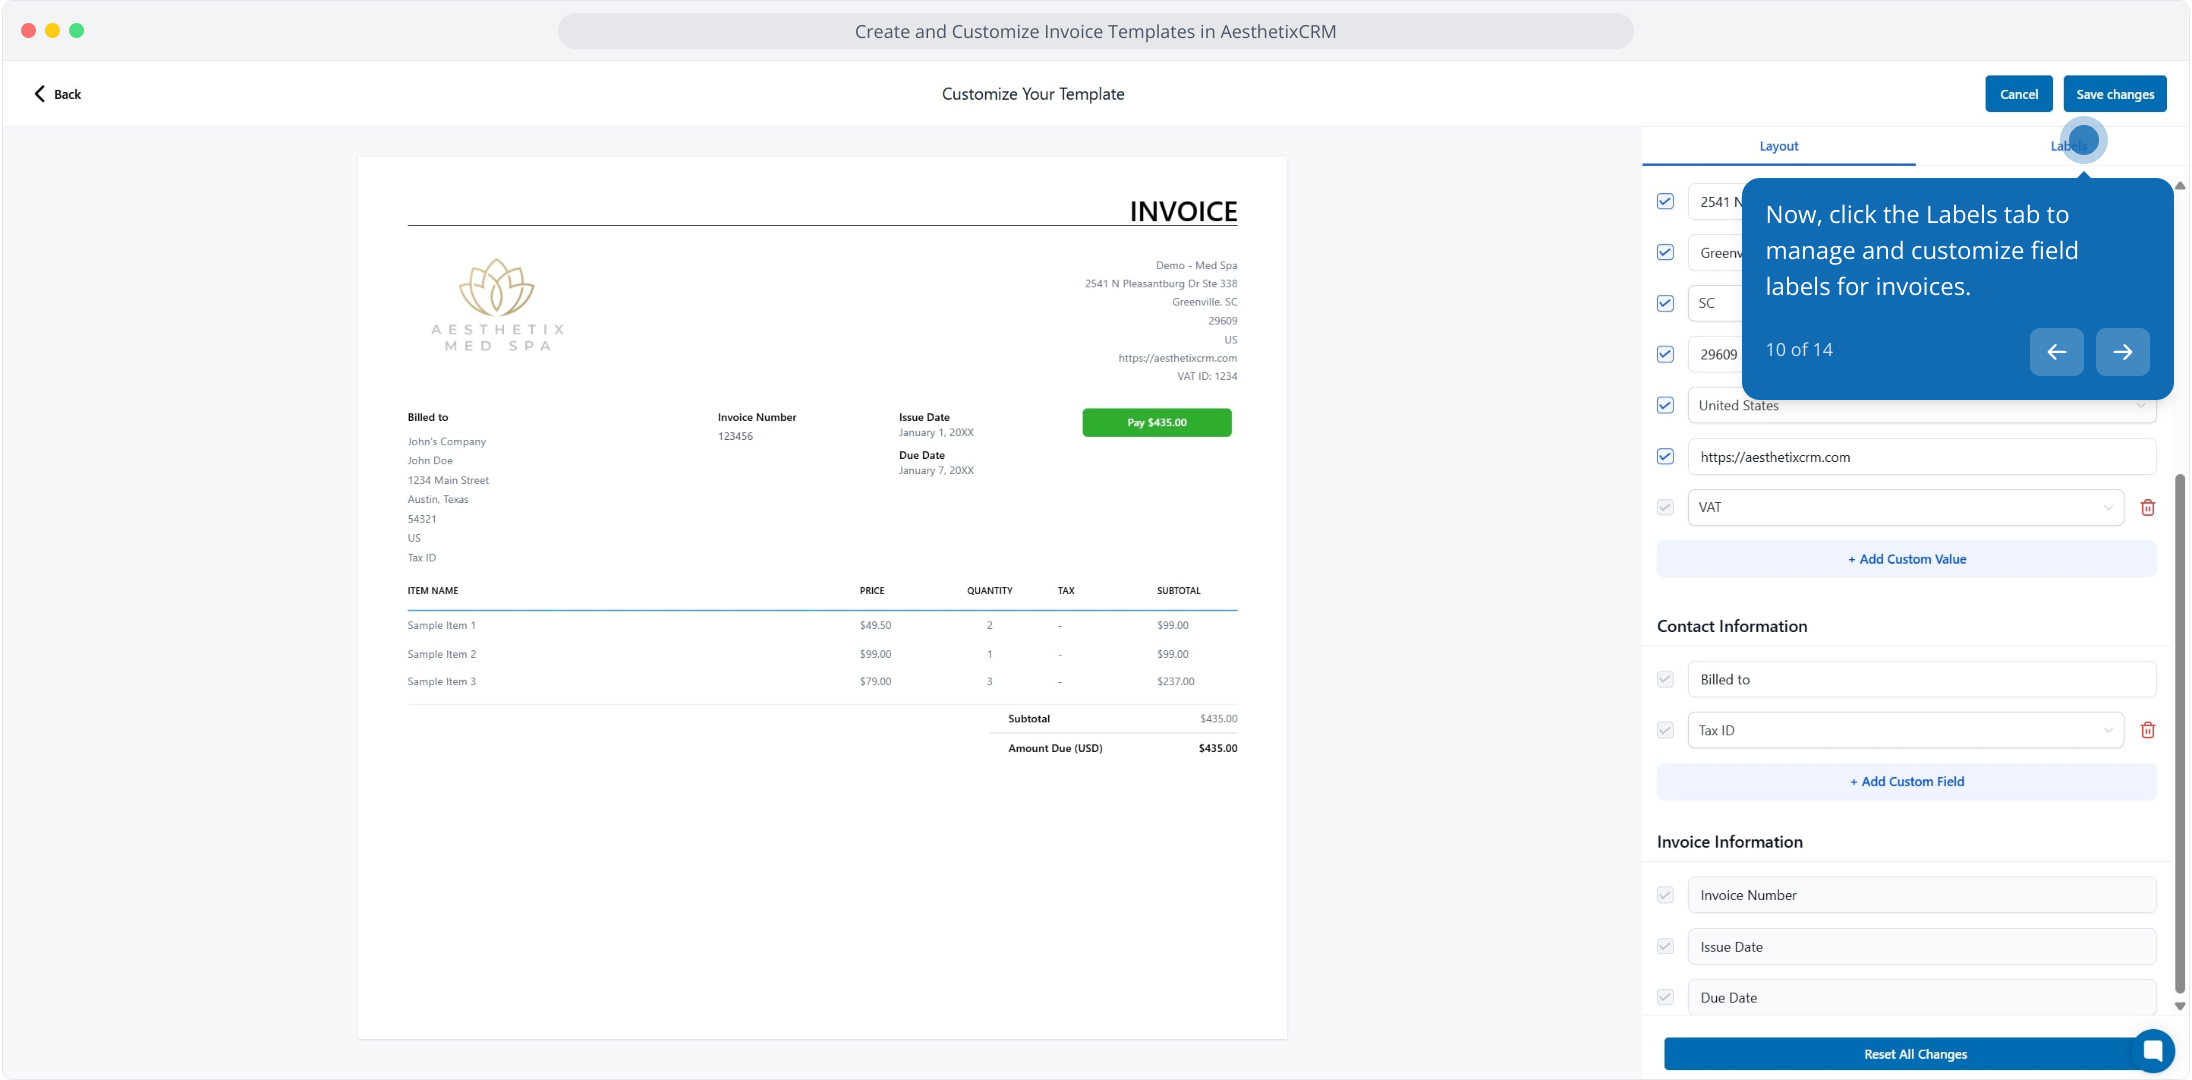
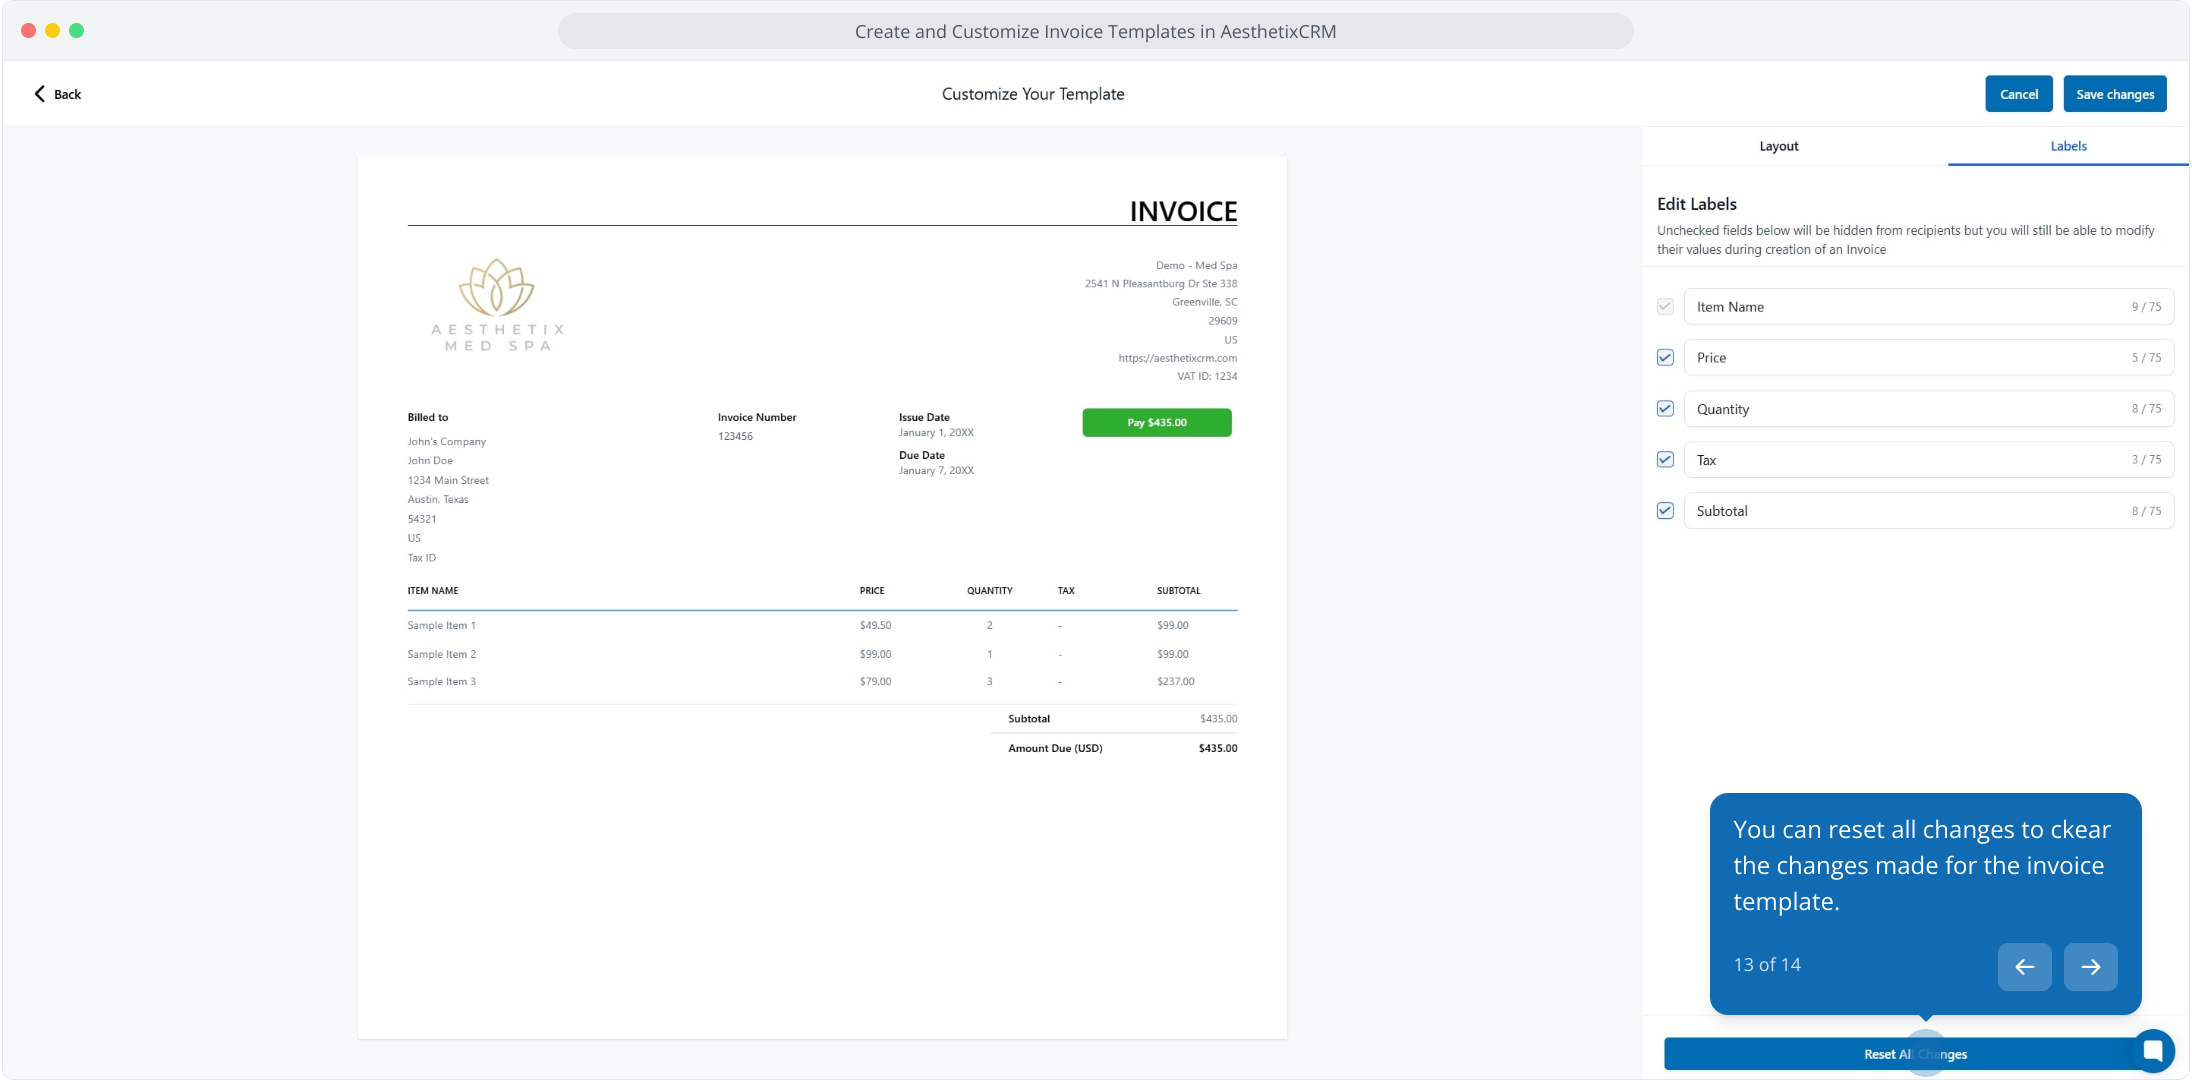
Click the Labels tab to manage and customize field labels for invoices.
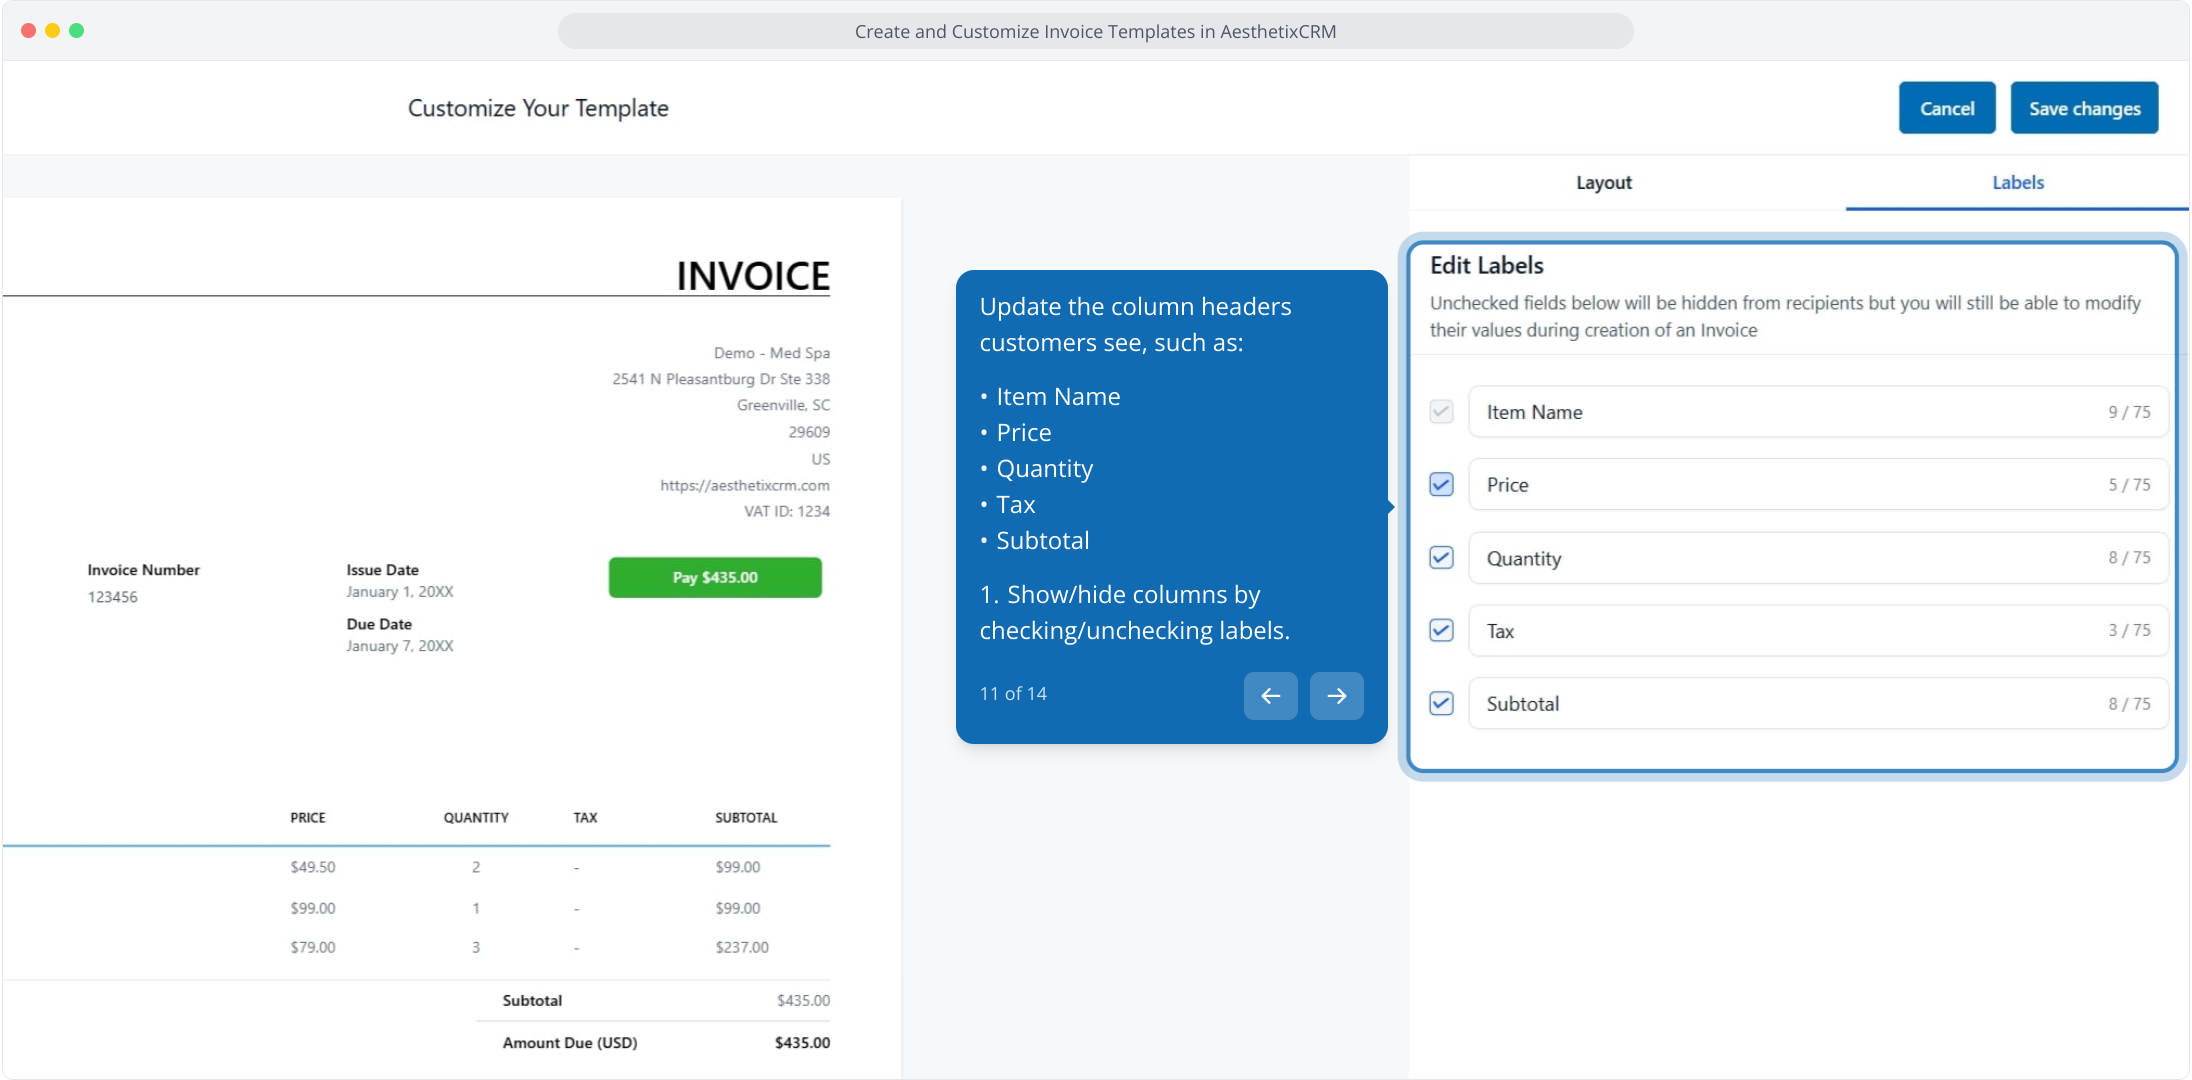
Update the column headers patients see, such as:
Item Name
Price
Quantity
Tax
Subtotal
Show or hide columns by checking or unchecking labels.
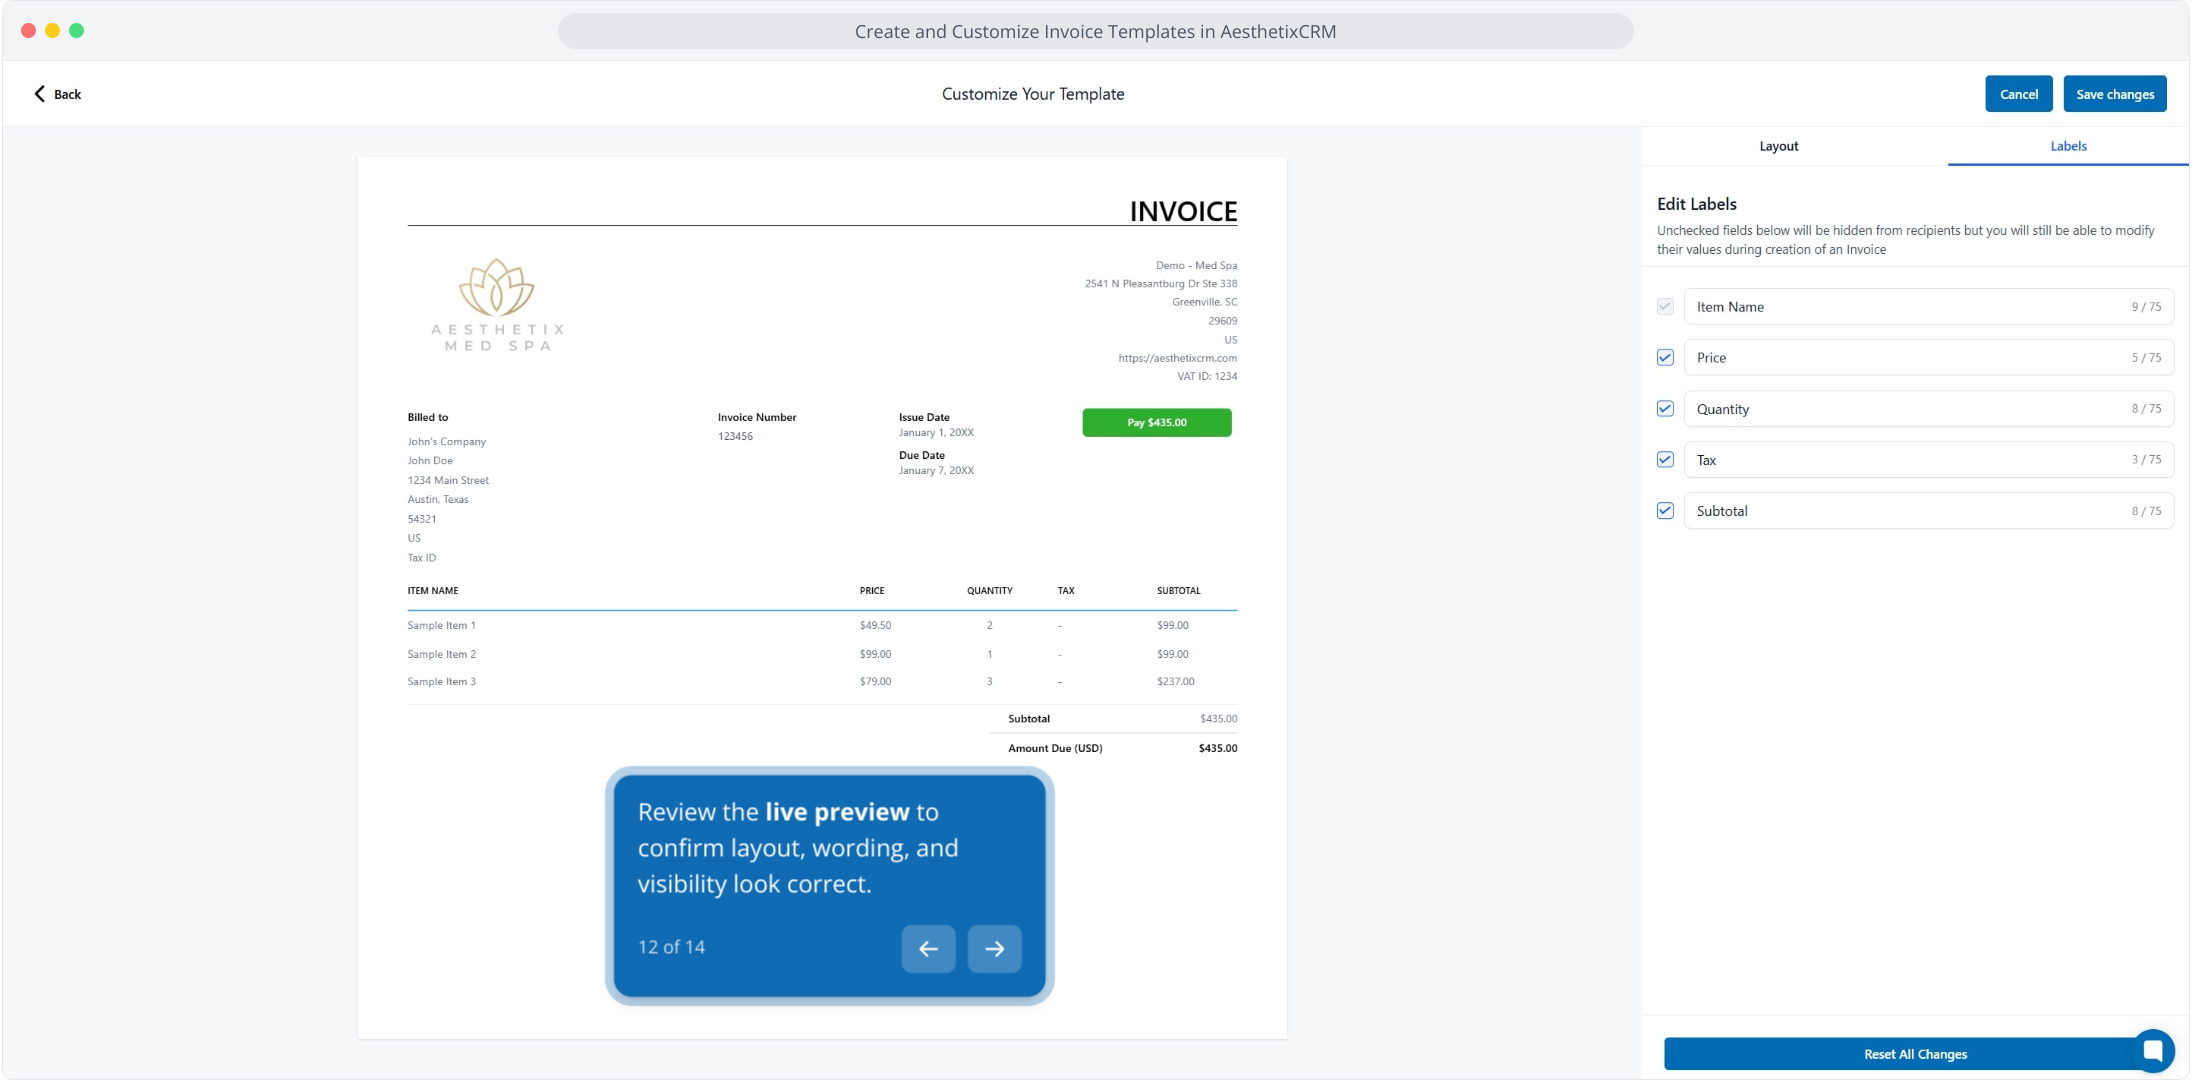
Review the live preview to confirm the layout, wording, and visibility look correct.
You can click Reset to clear the changes made to the invoice template.
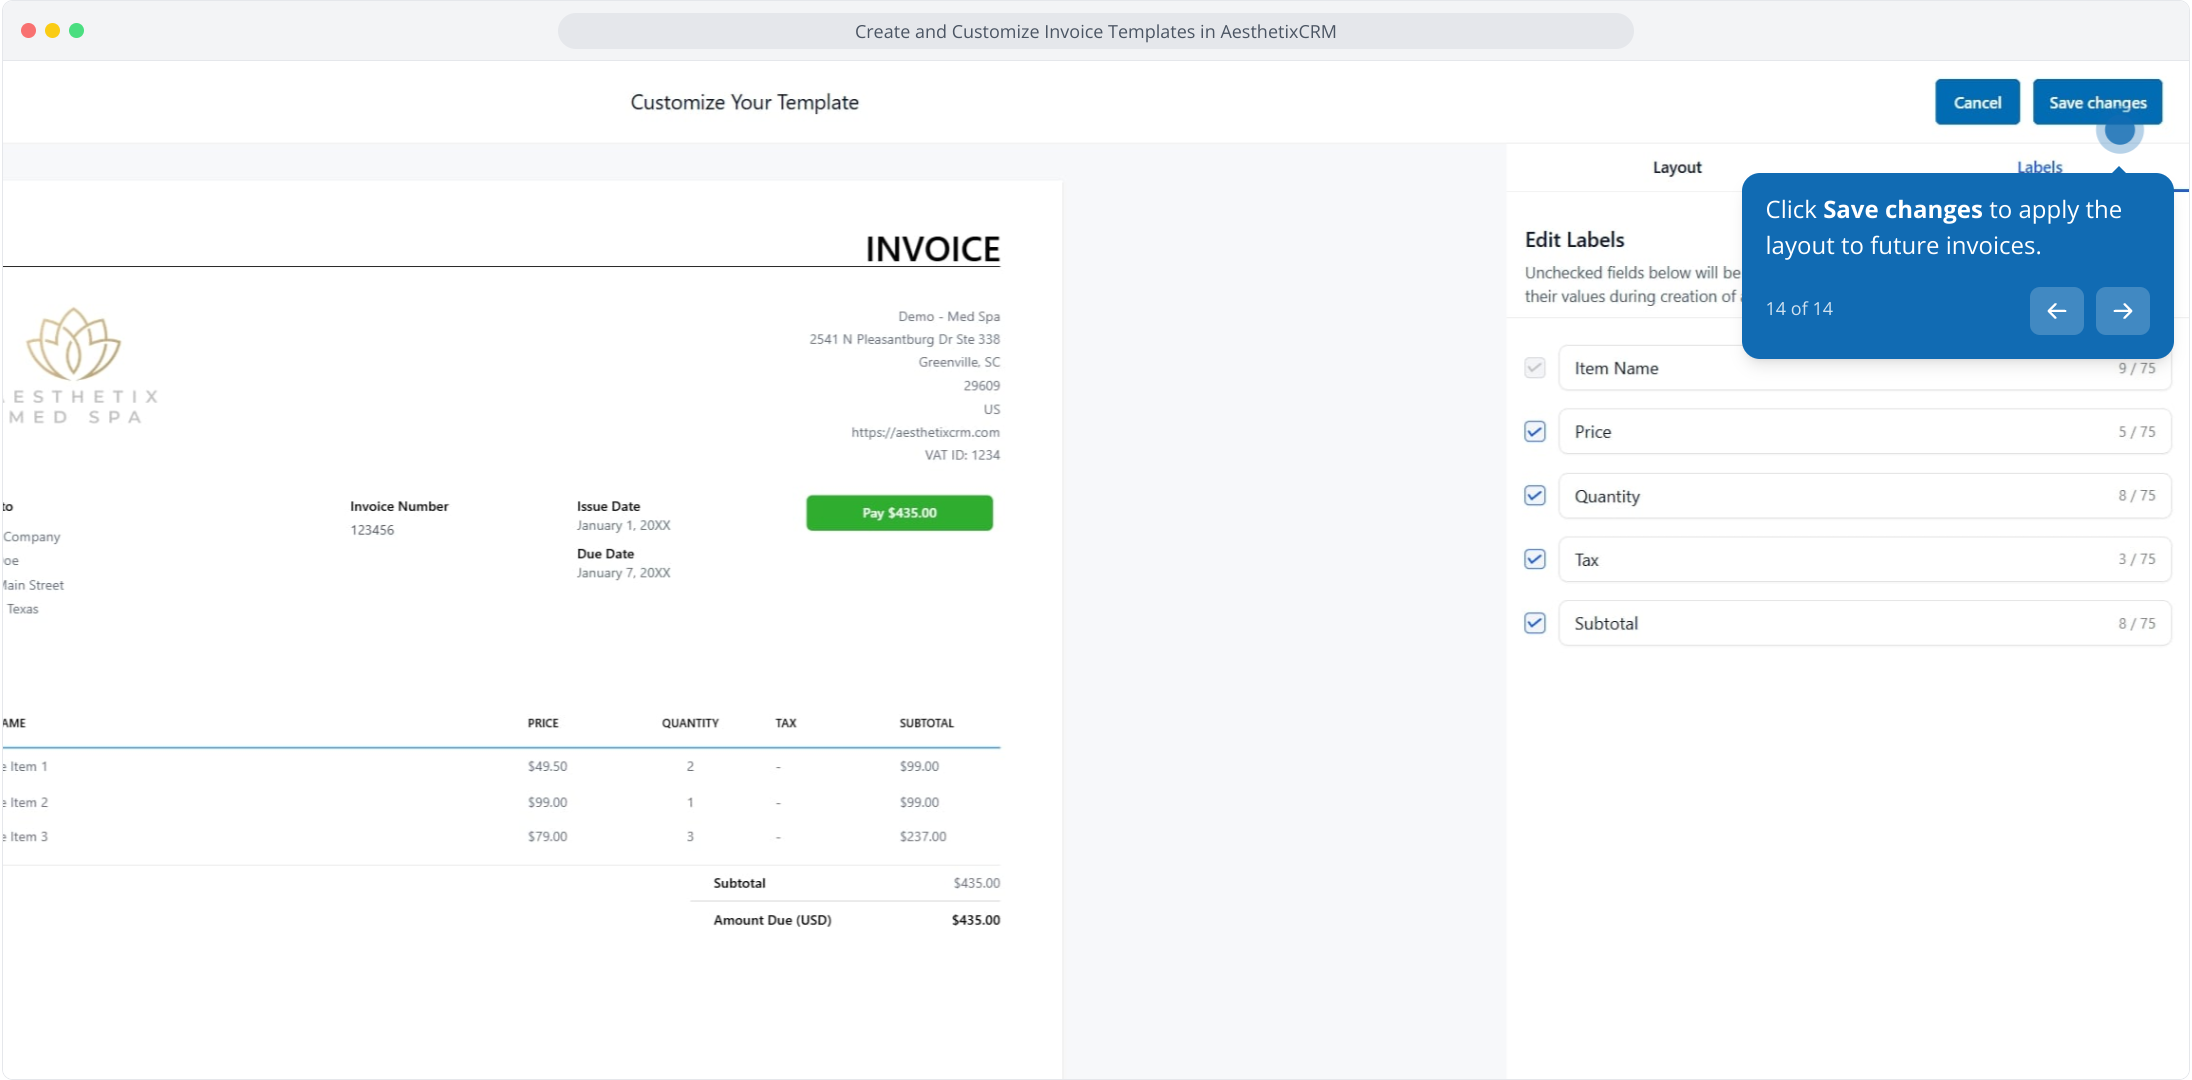
Click Save changes to apply the layout to future invoices.
If you already have an invoice set up the way you like it, you can turn it into a reusable template.
Click on Payments.
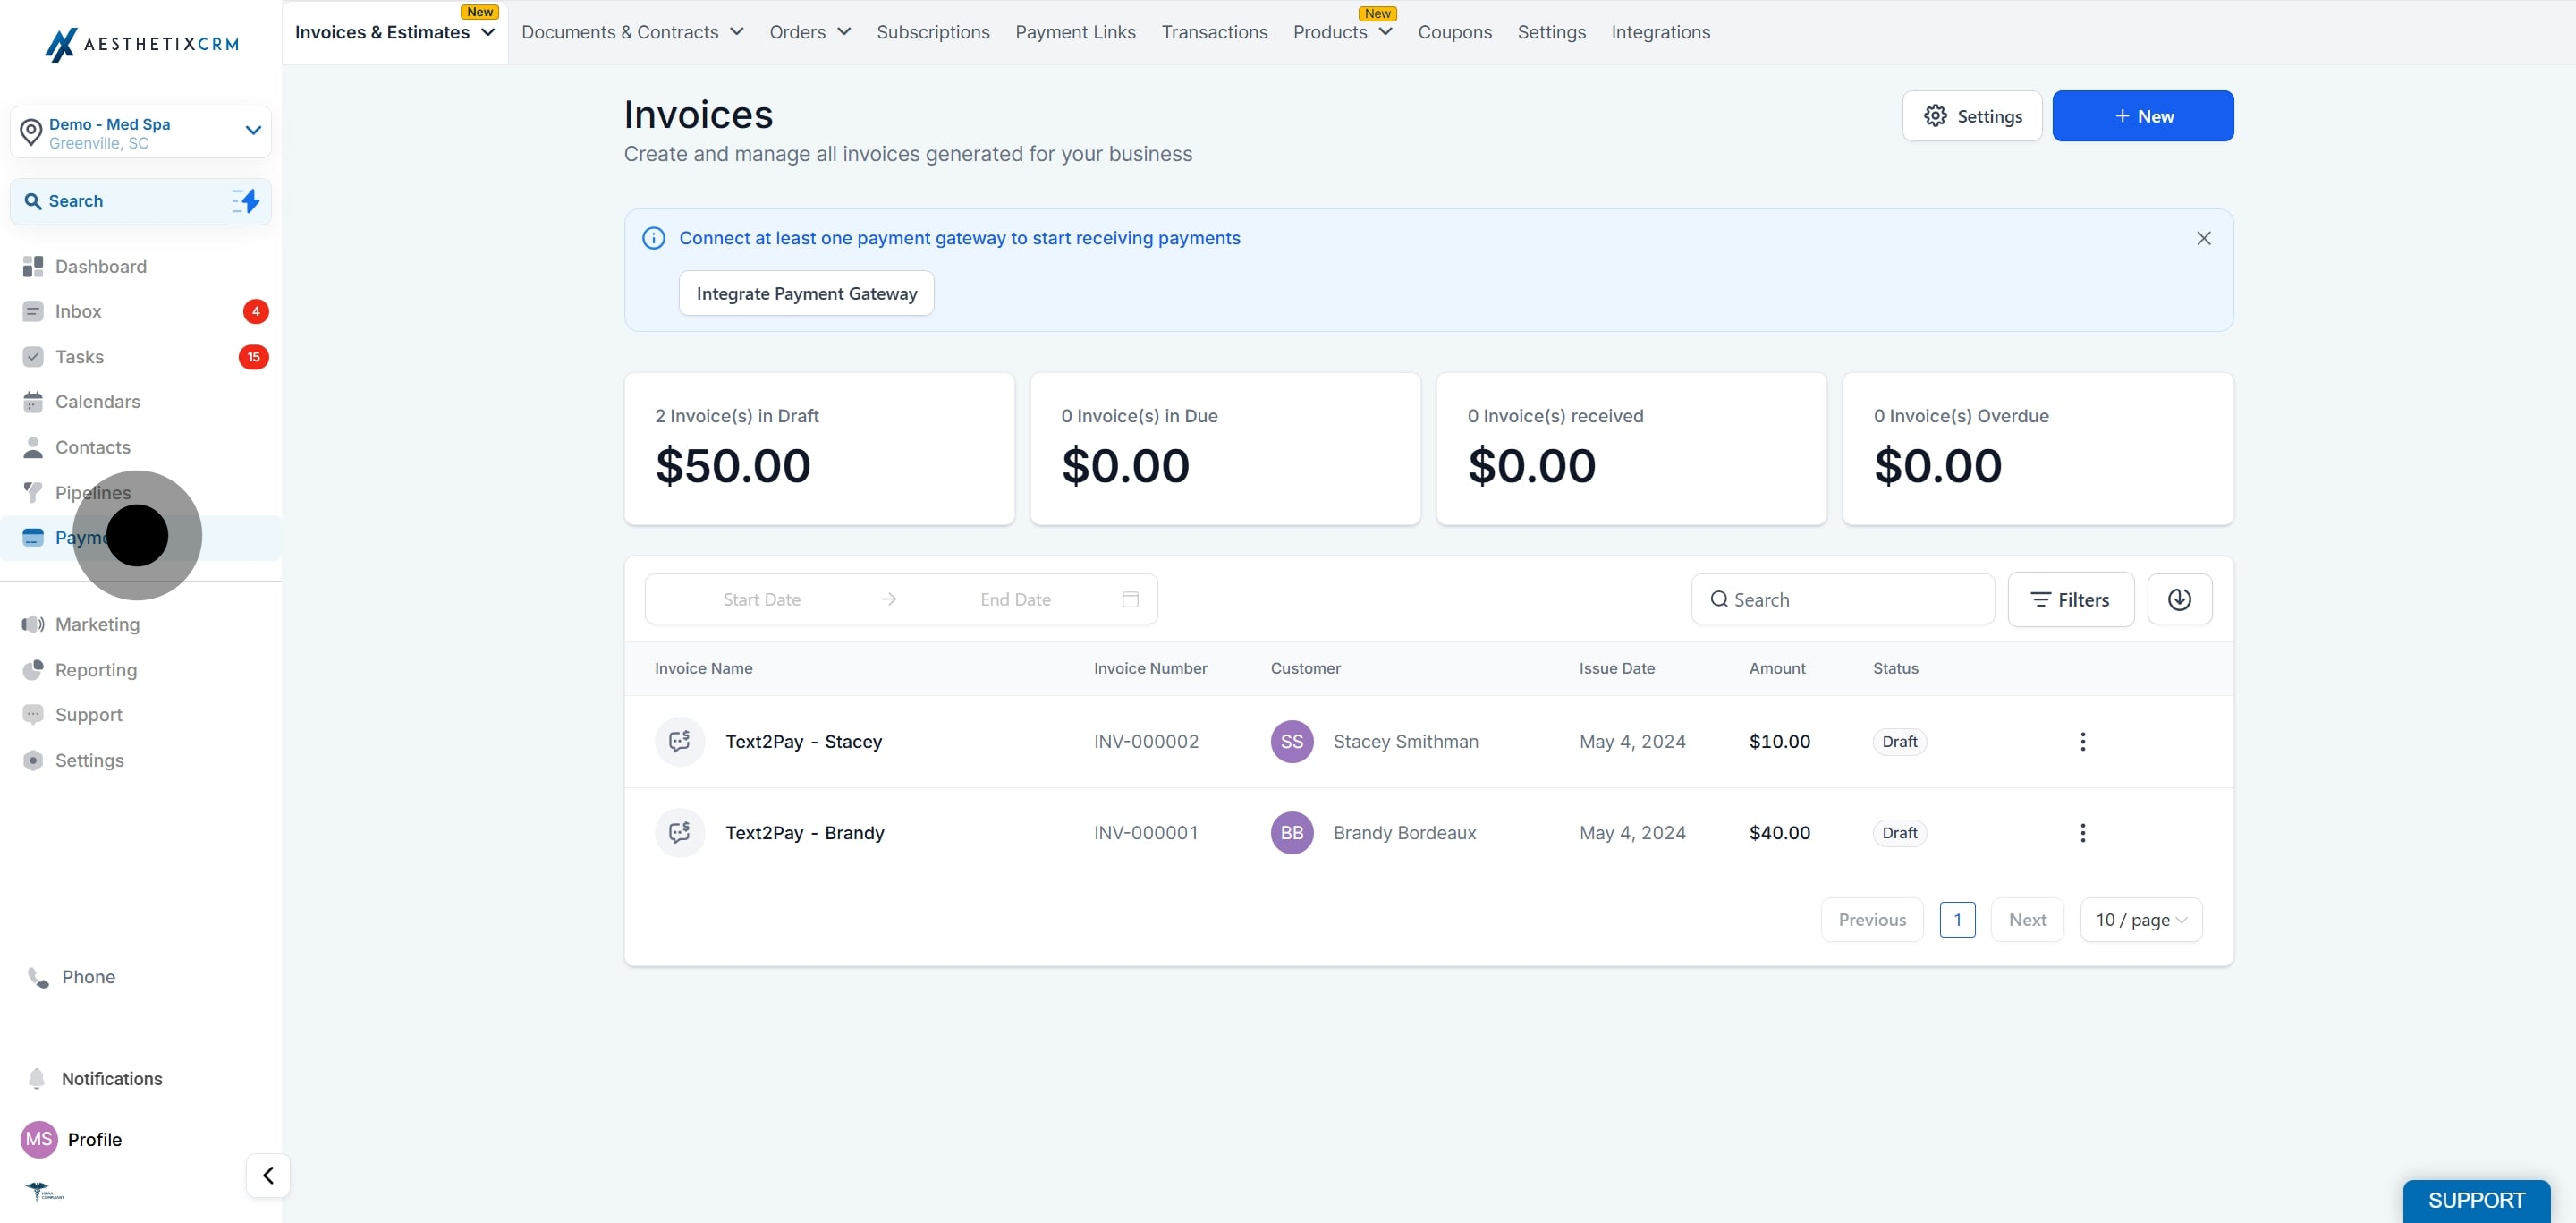
Click on Invoice and Estimates.
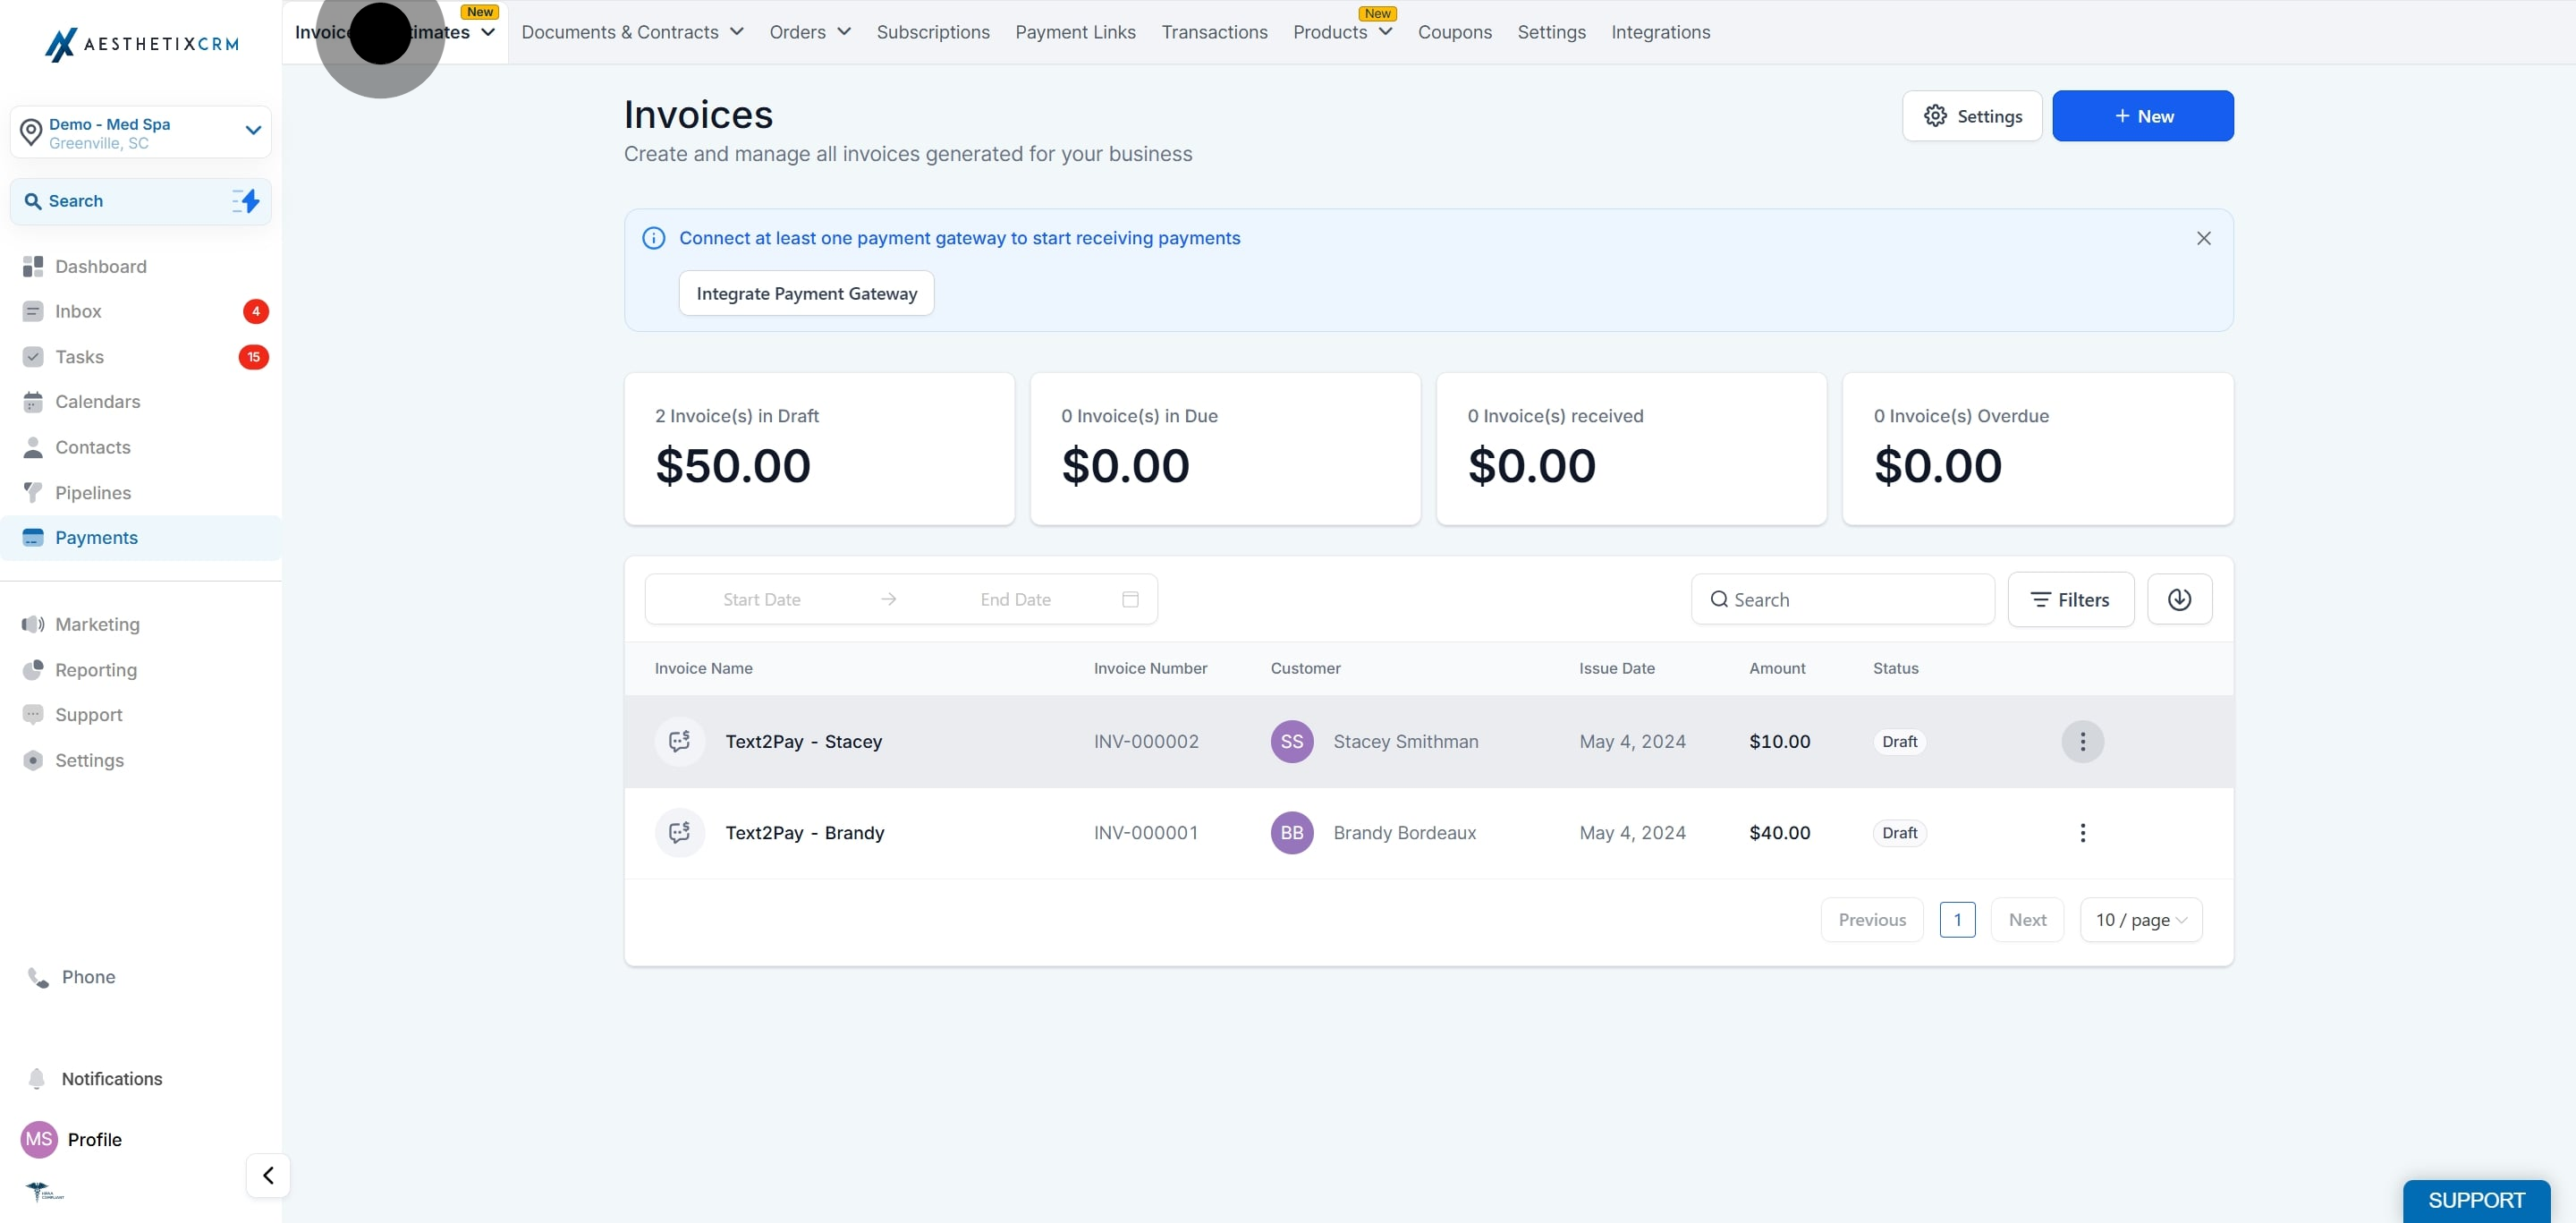
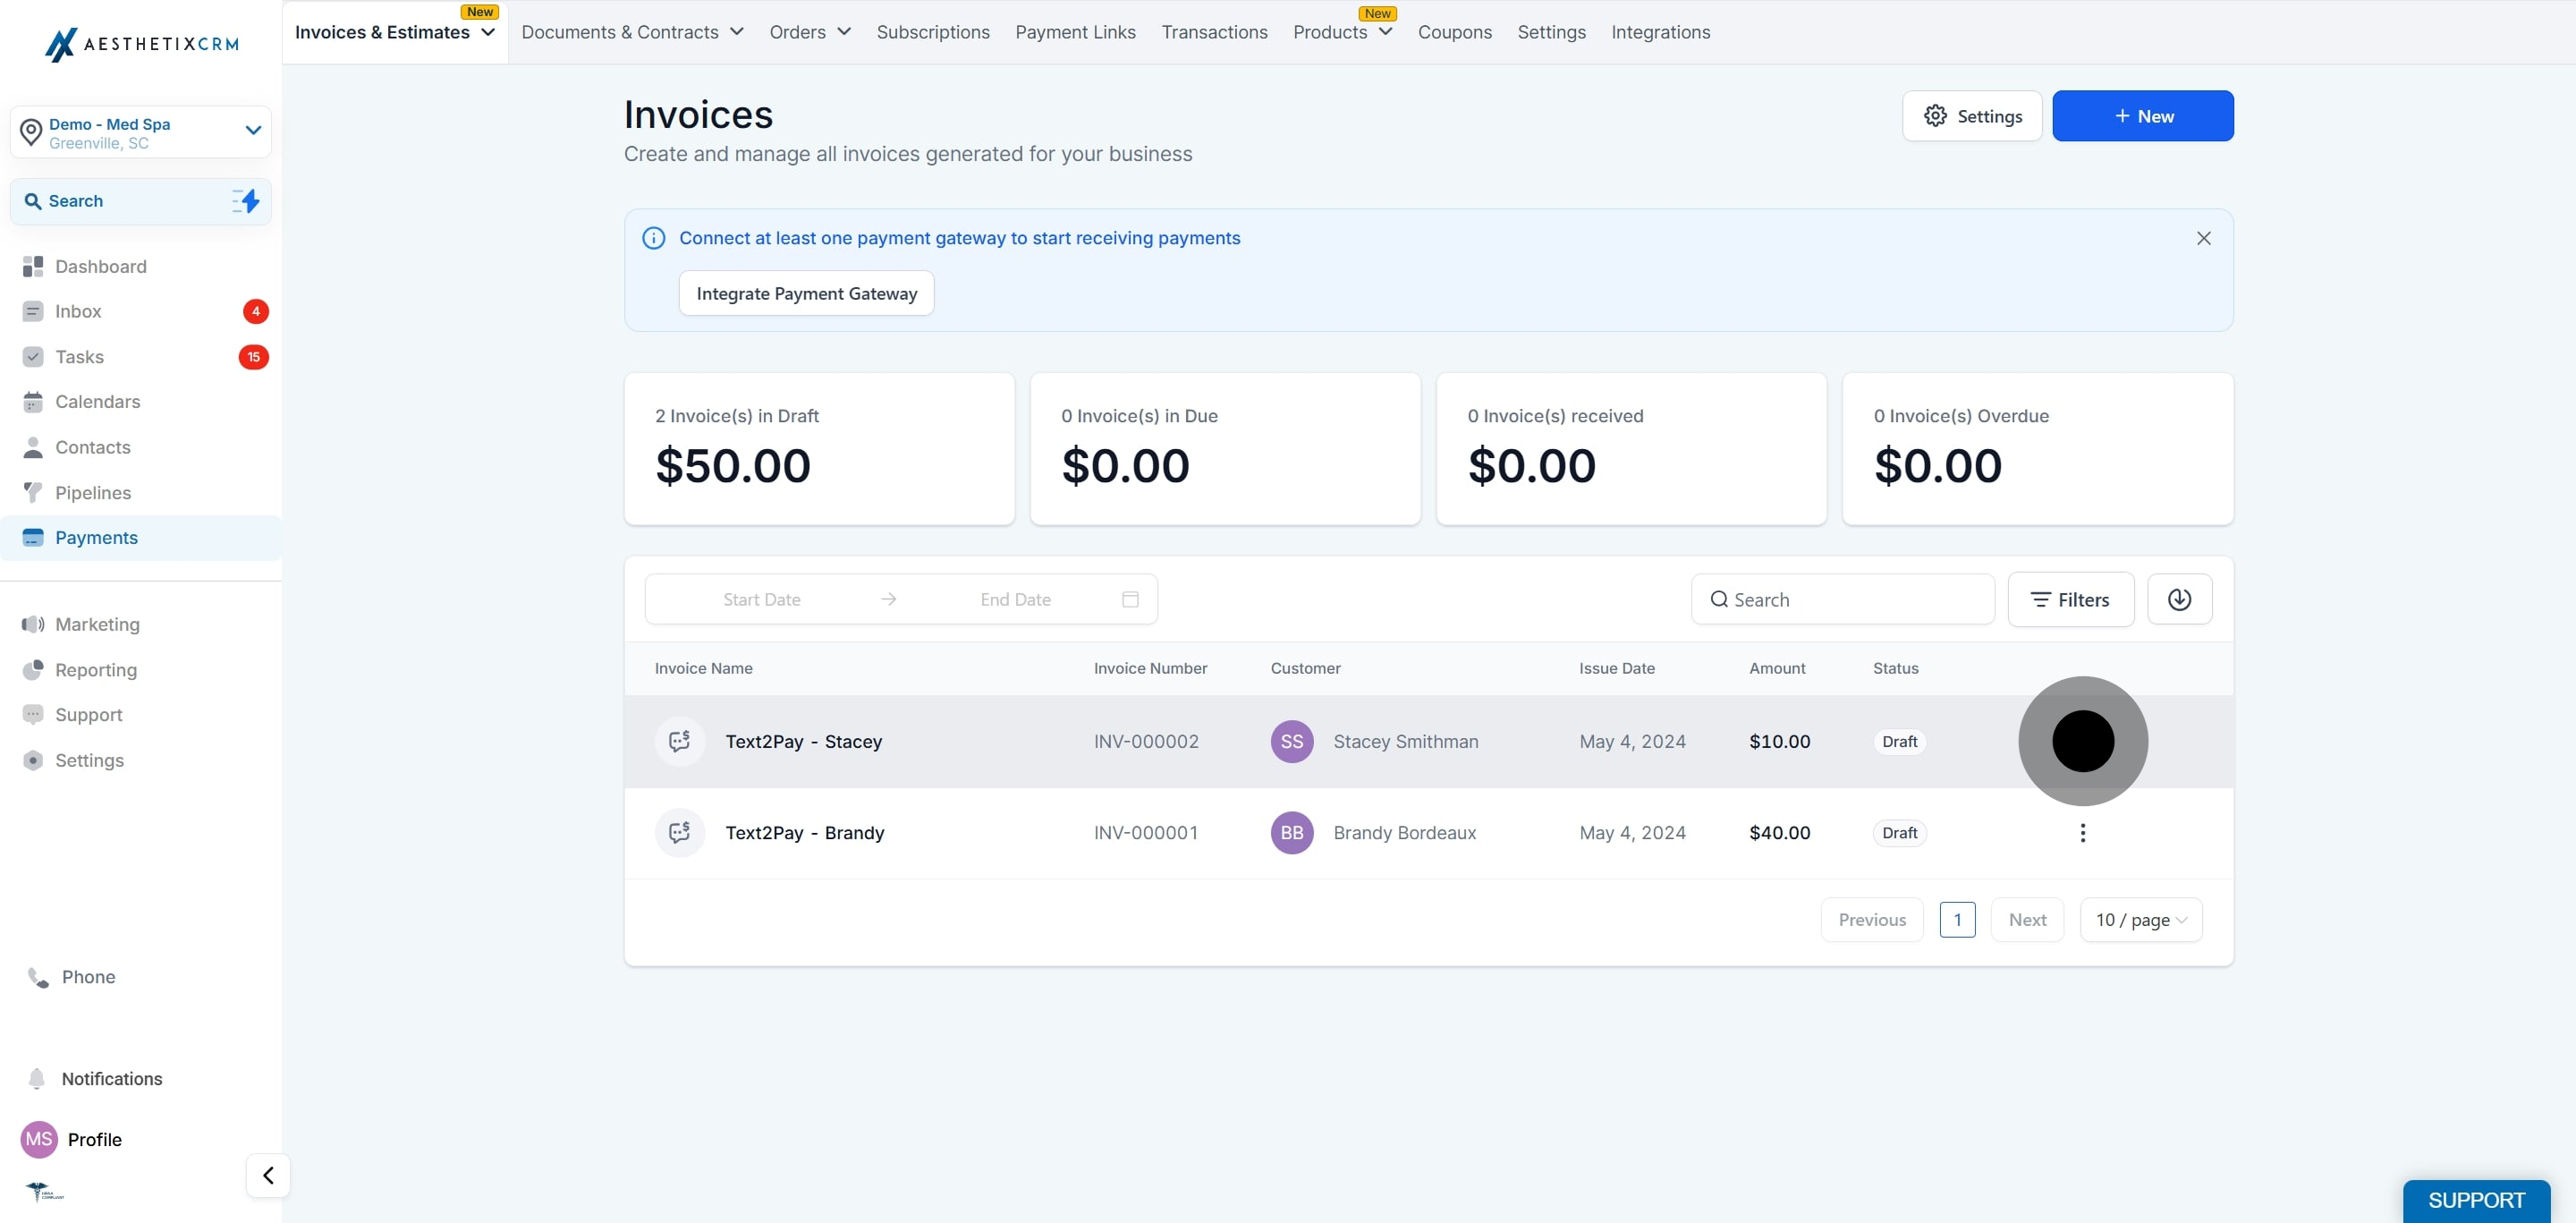
Select the invoice you want to convert and click the three dots next to it.
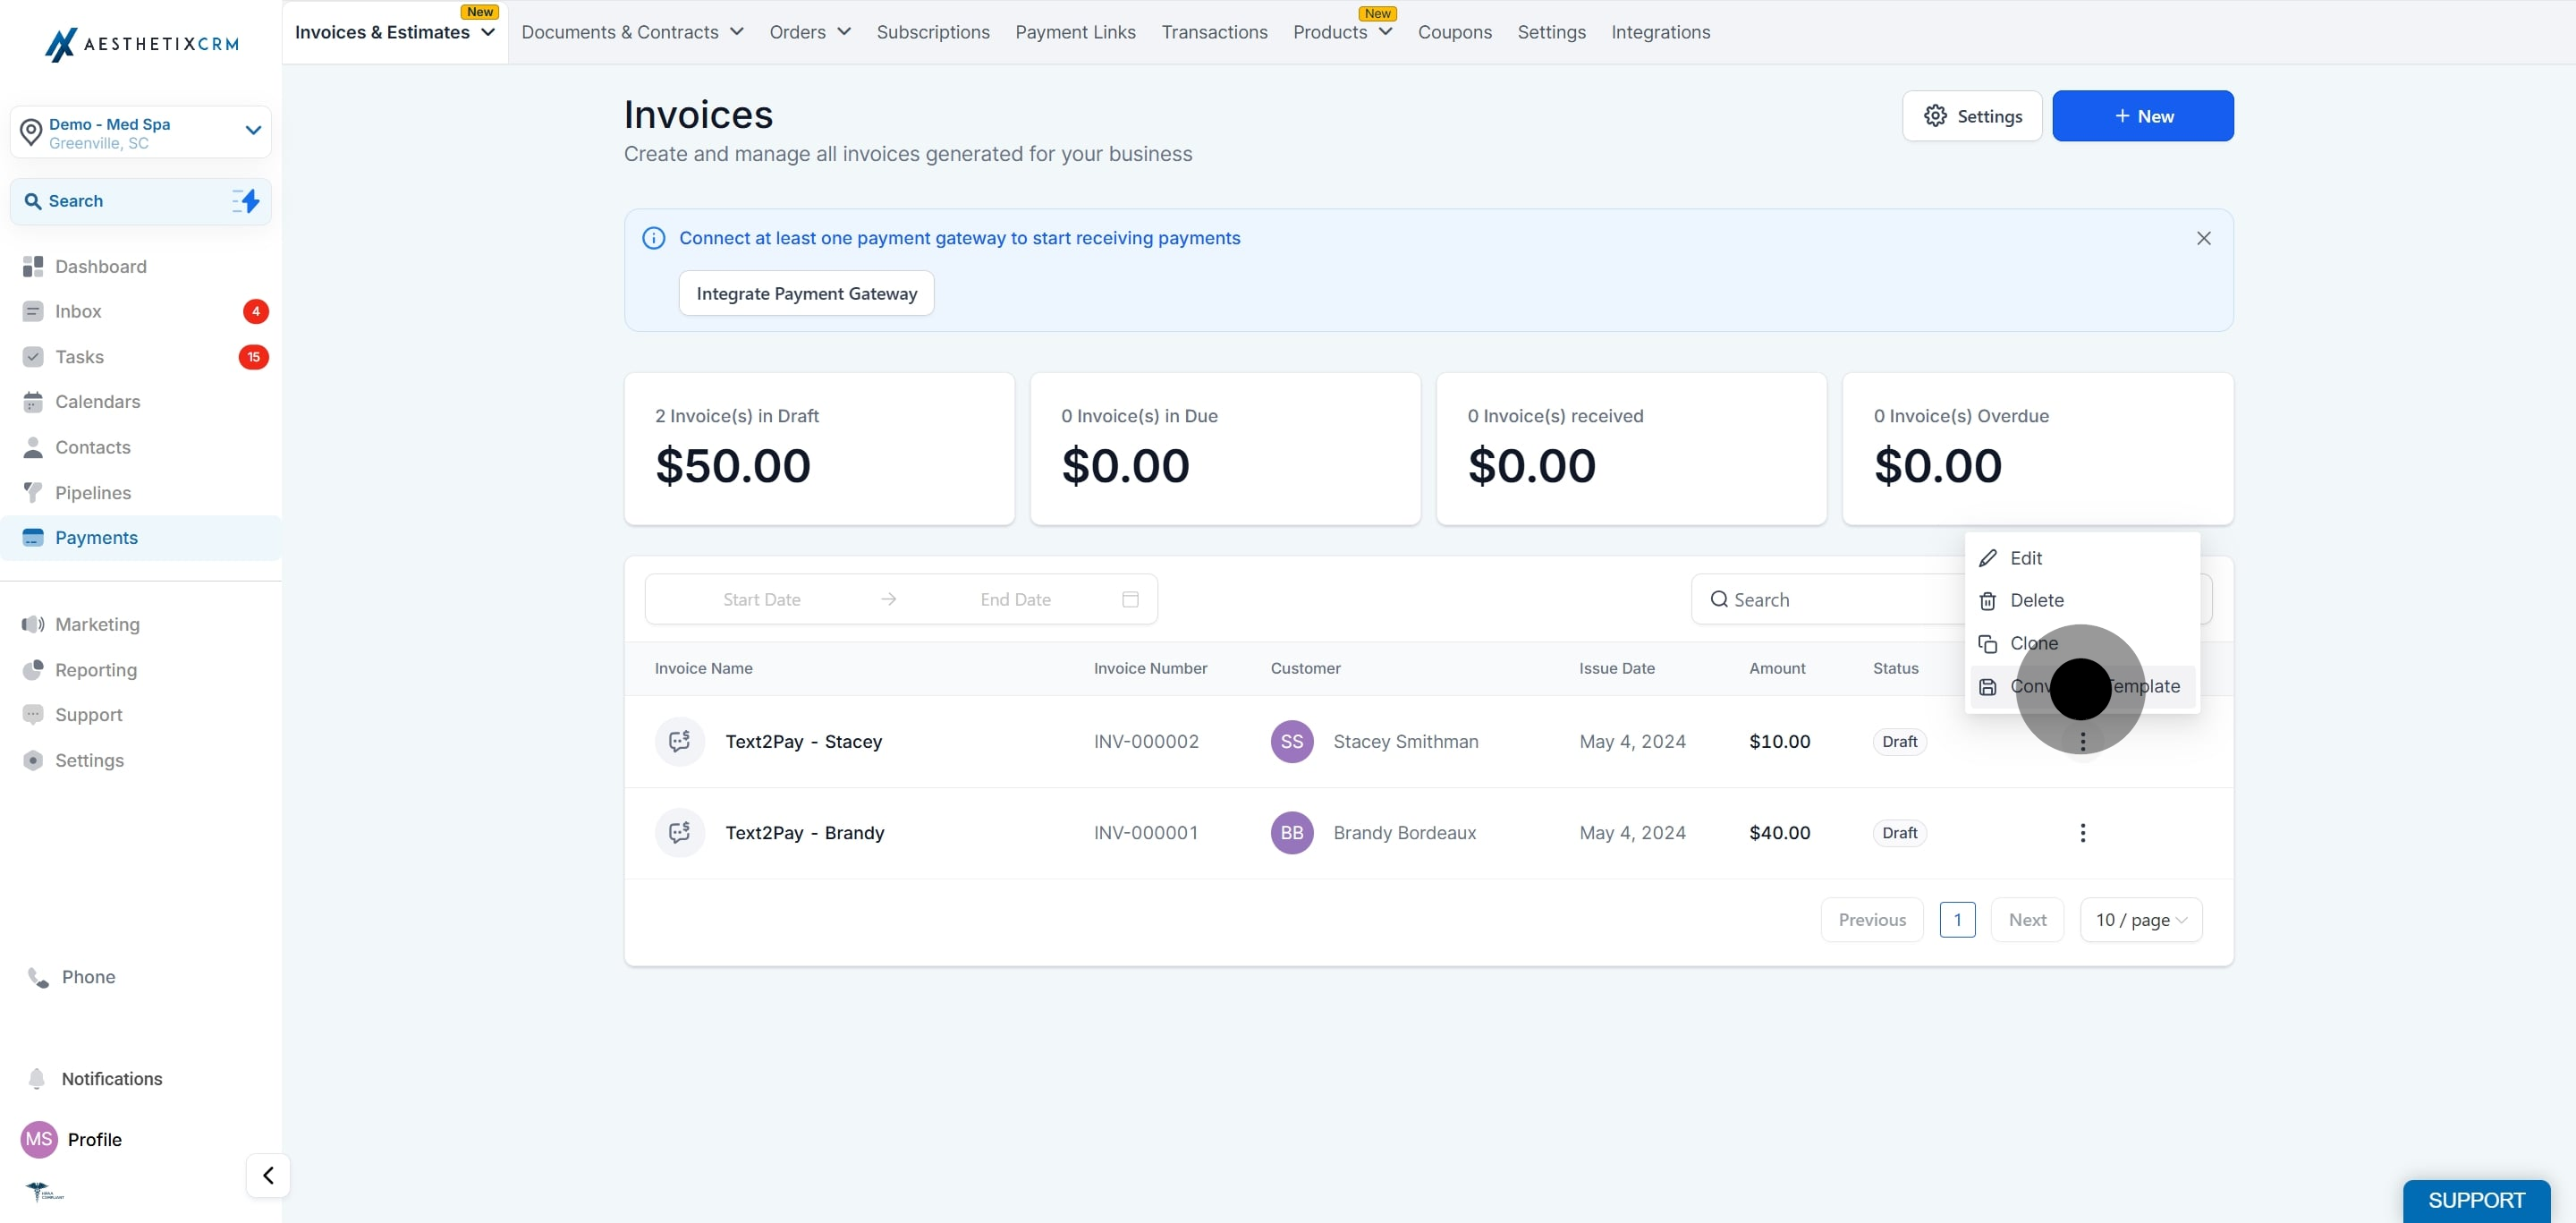
Click Convert to Template.
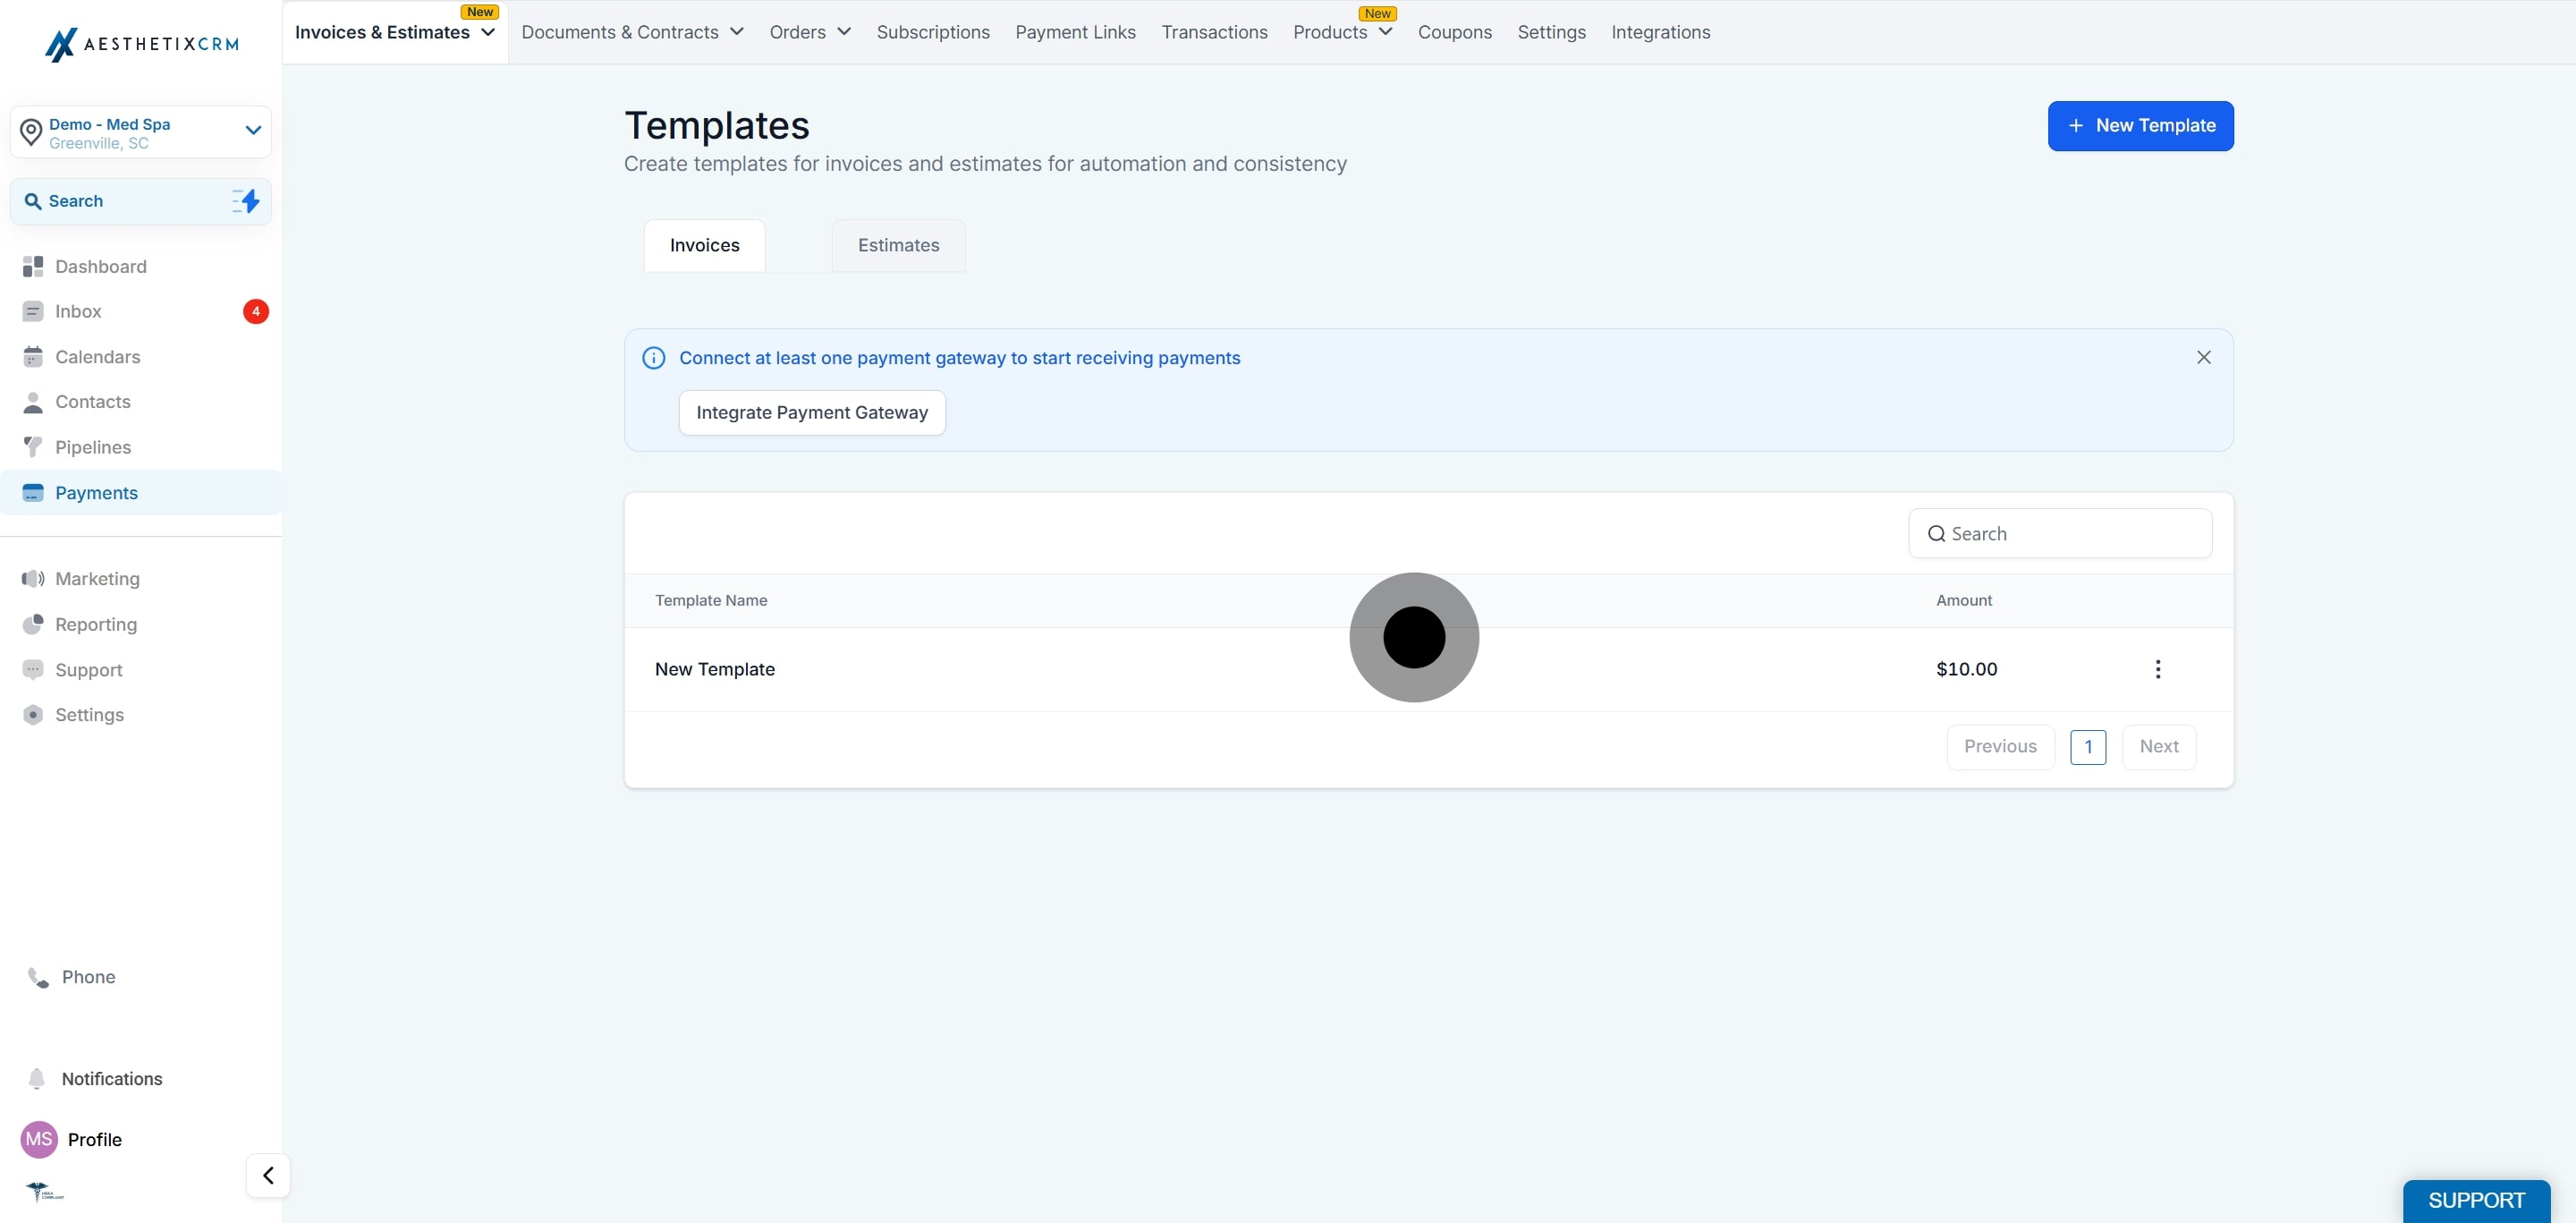
The invoice now appears in the Templates tab, ready to reuse.
Do template layout changes apply to all my invoices? Yes. Layout customizations are saved at the account level and used for every new invoice you create.
Will invoices I already sent update after I change the template layout? No. Previously delivered invoices and PDFs do not change automatically. Create a fresh PDF or resend the invoice so recipients see your latest layout.
Can I hide a column but still enter those values when creating an invoice? Yes. Hiding a label only hides it from the recipient view; your team can still edit the values during invoice creation.
Where does a converted invoice go? After you select Convert to Template, the invoice appears in the Templates tab, where you can reuse it for future invoices.
Can I customize the pay button text on my template? Yes. Under Branding Settings you can change the button text (for example, from Pay to Deposit) along with the pay button and border colors.
How do I undo my template changes before saving? Click Reset in the layout editor to clear your changes and restore the previous settings.
