Invoice settings let you control how every invoice and estimate looks and behaves before you send it. Configuring these defaults once means each new invoice starts with your practice branding, payment rules, layout, and notification preferences already in place.
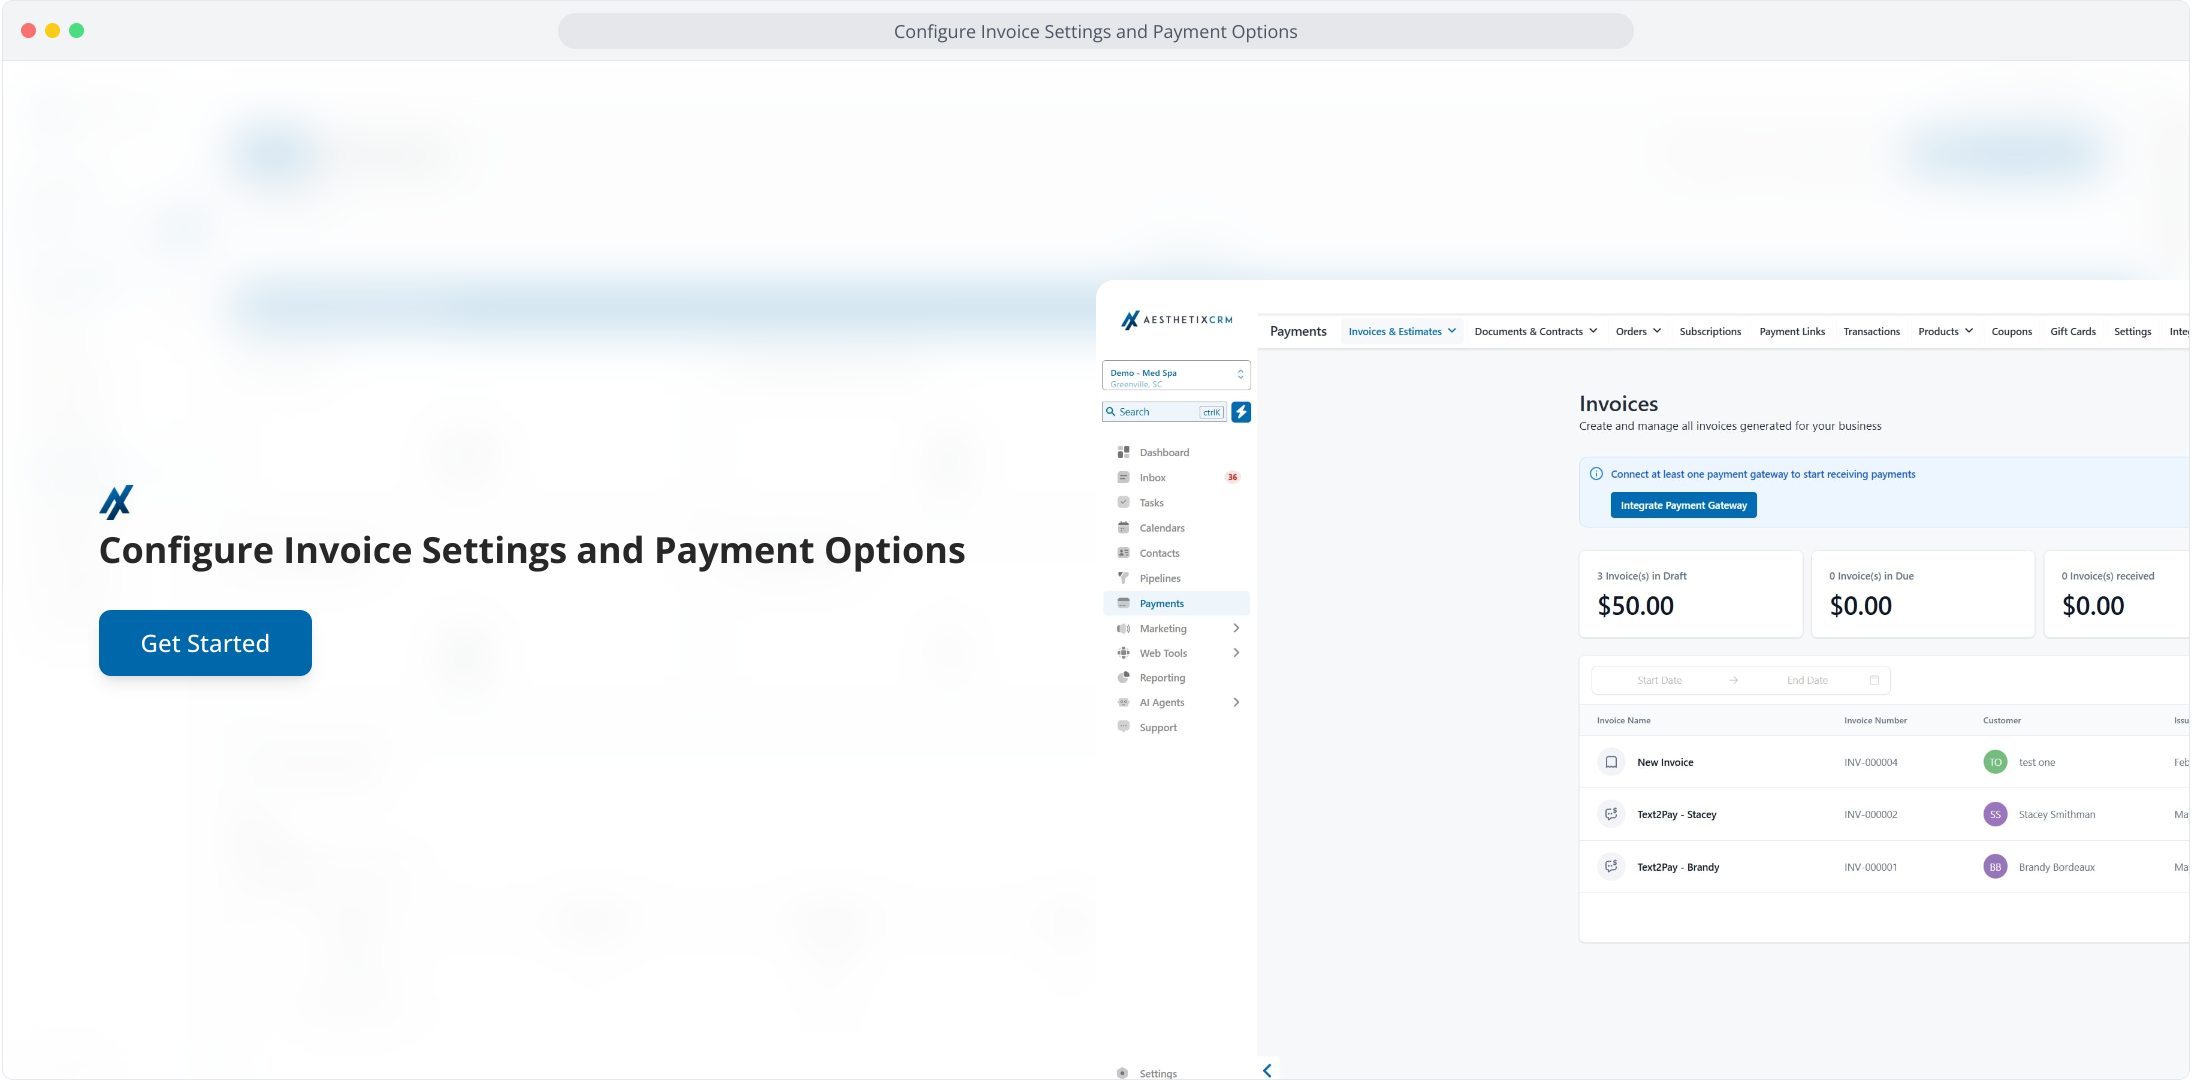
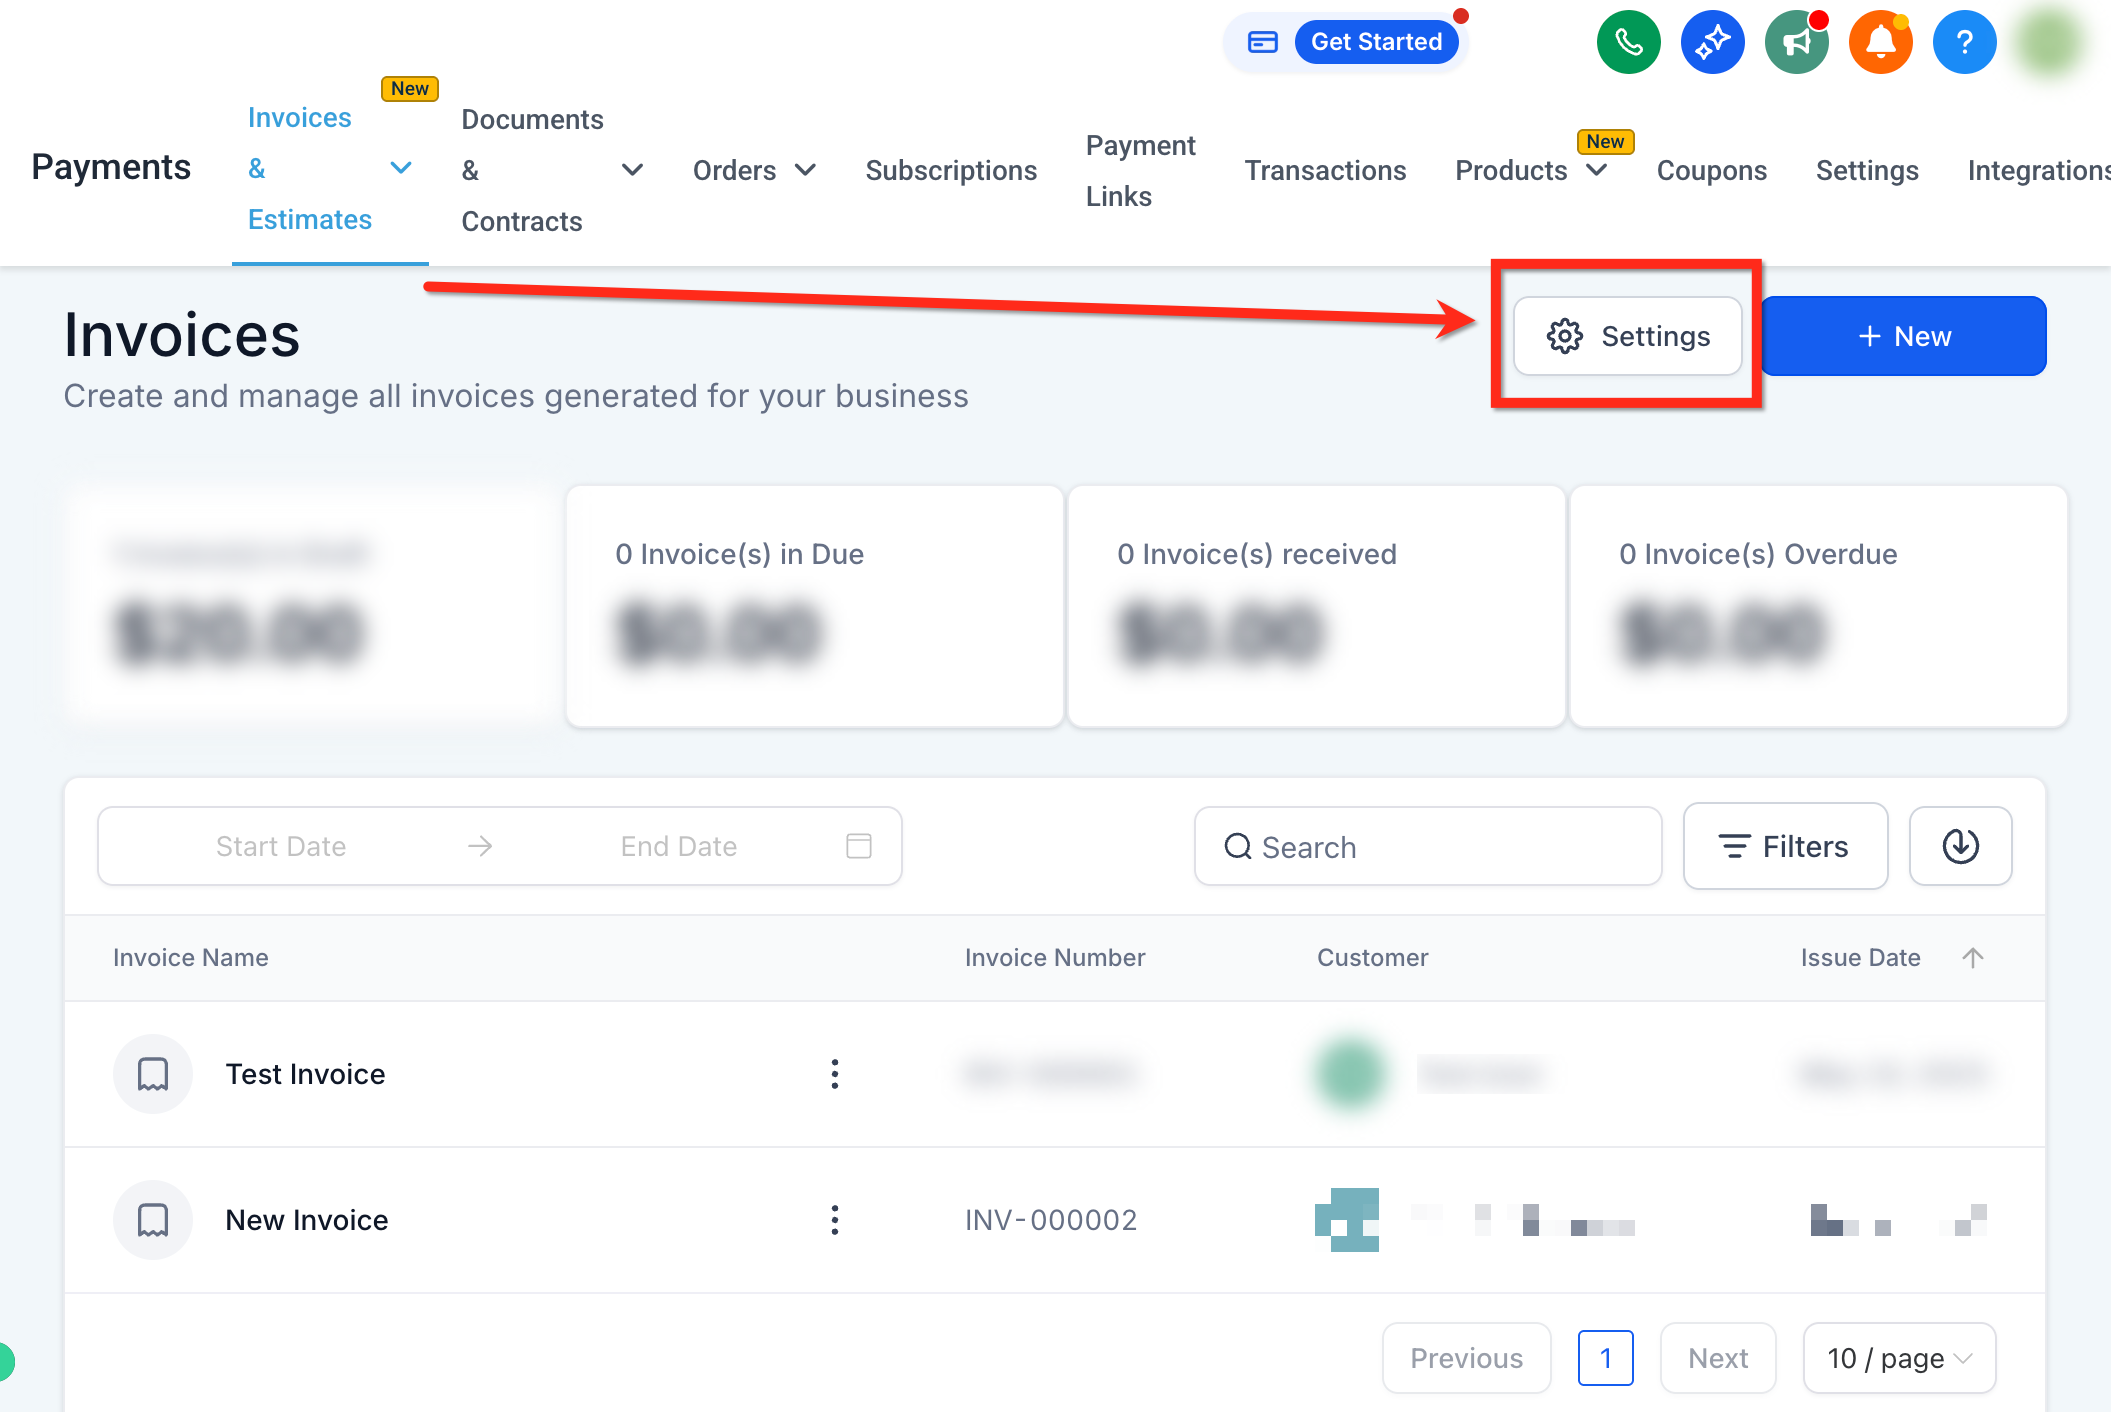
To open your invoice settings, go to Payments → Invoices & Estimates, then click the Settings button (or the gear icon).
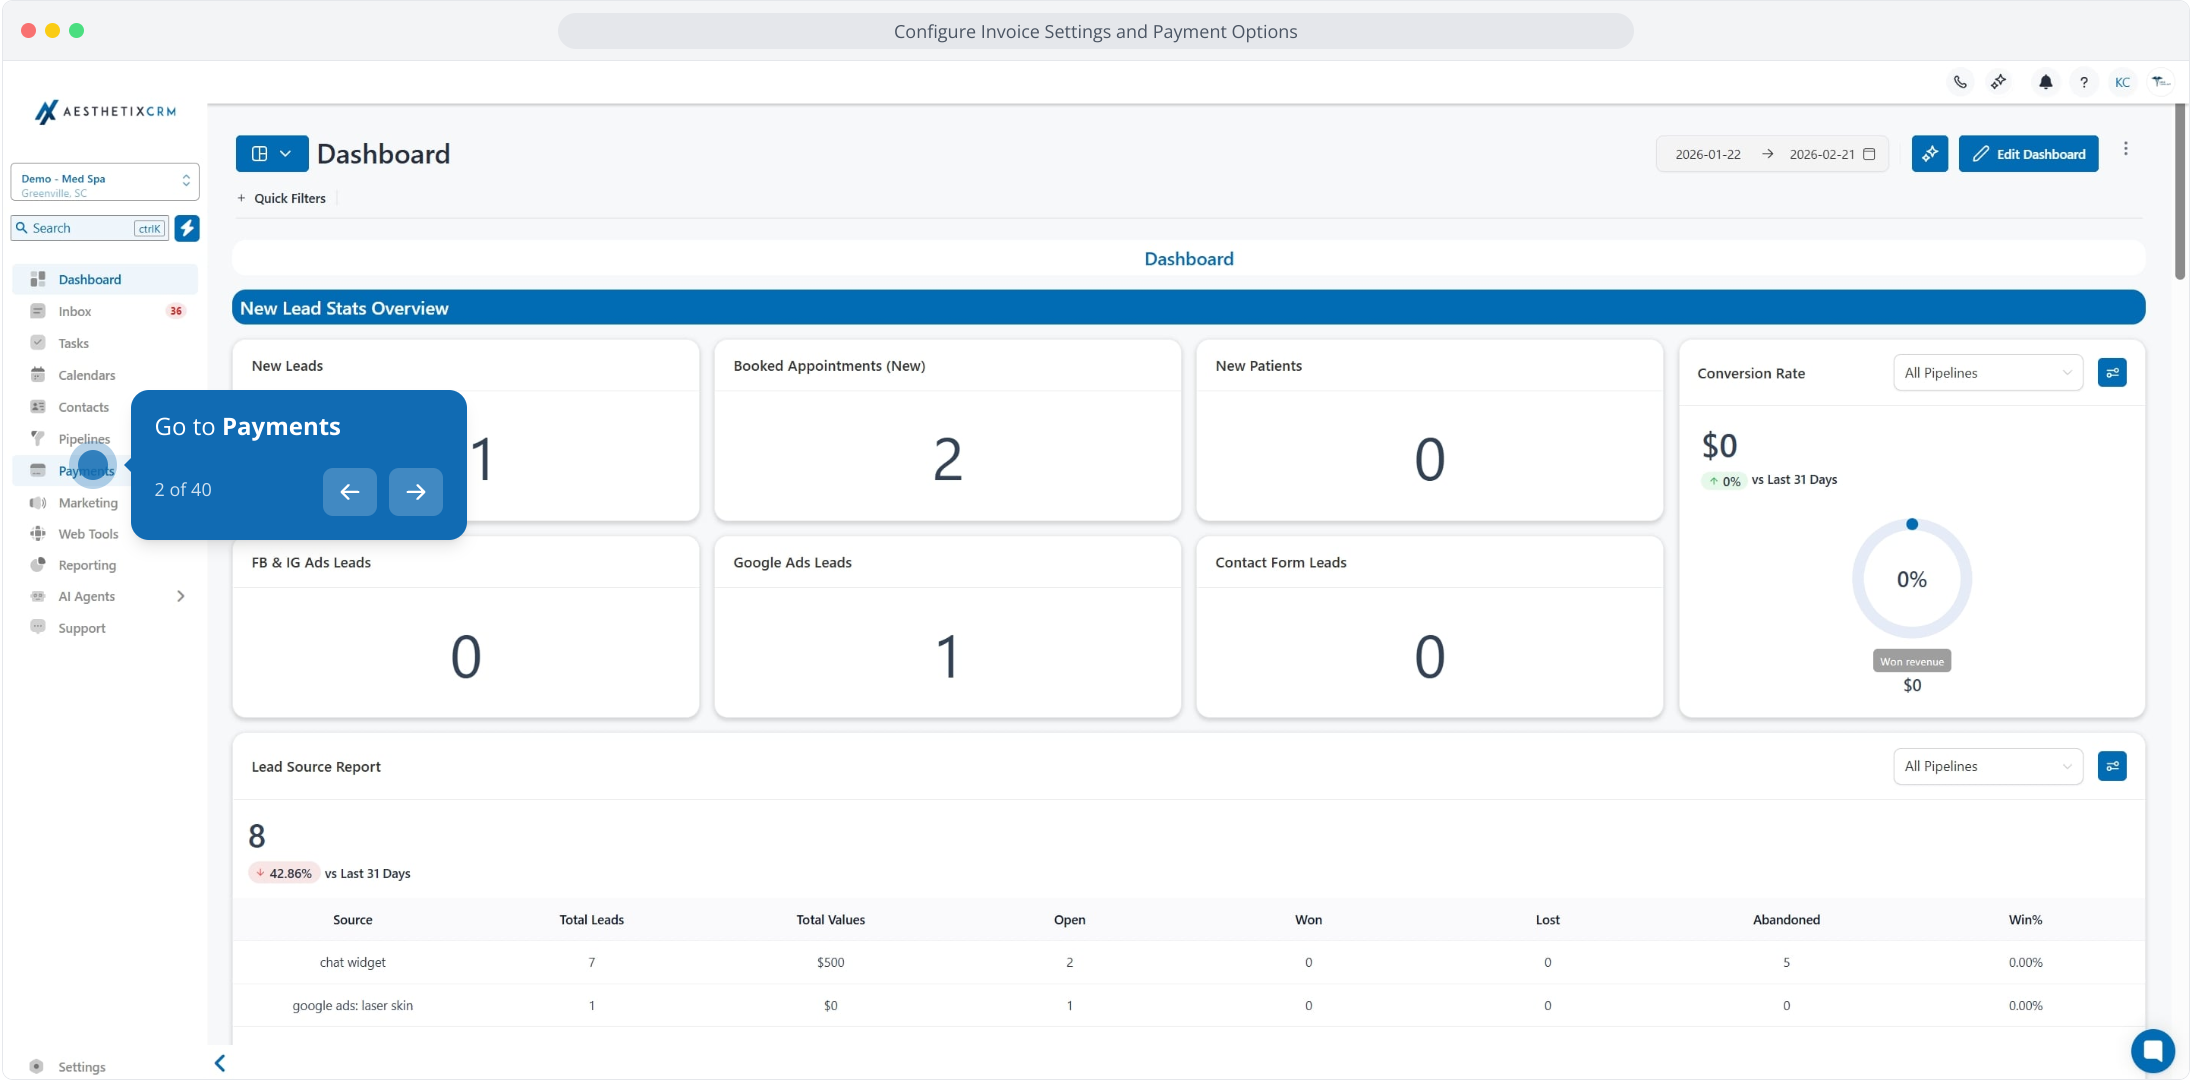
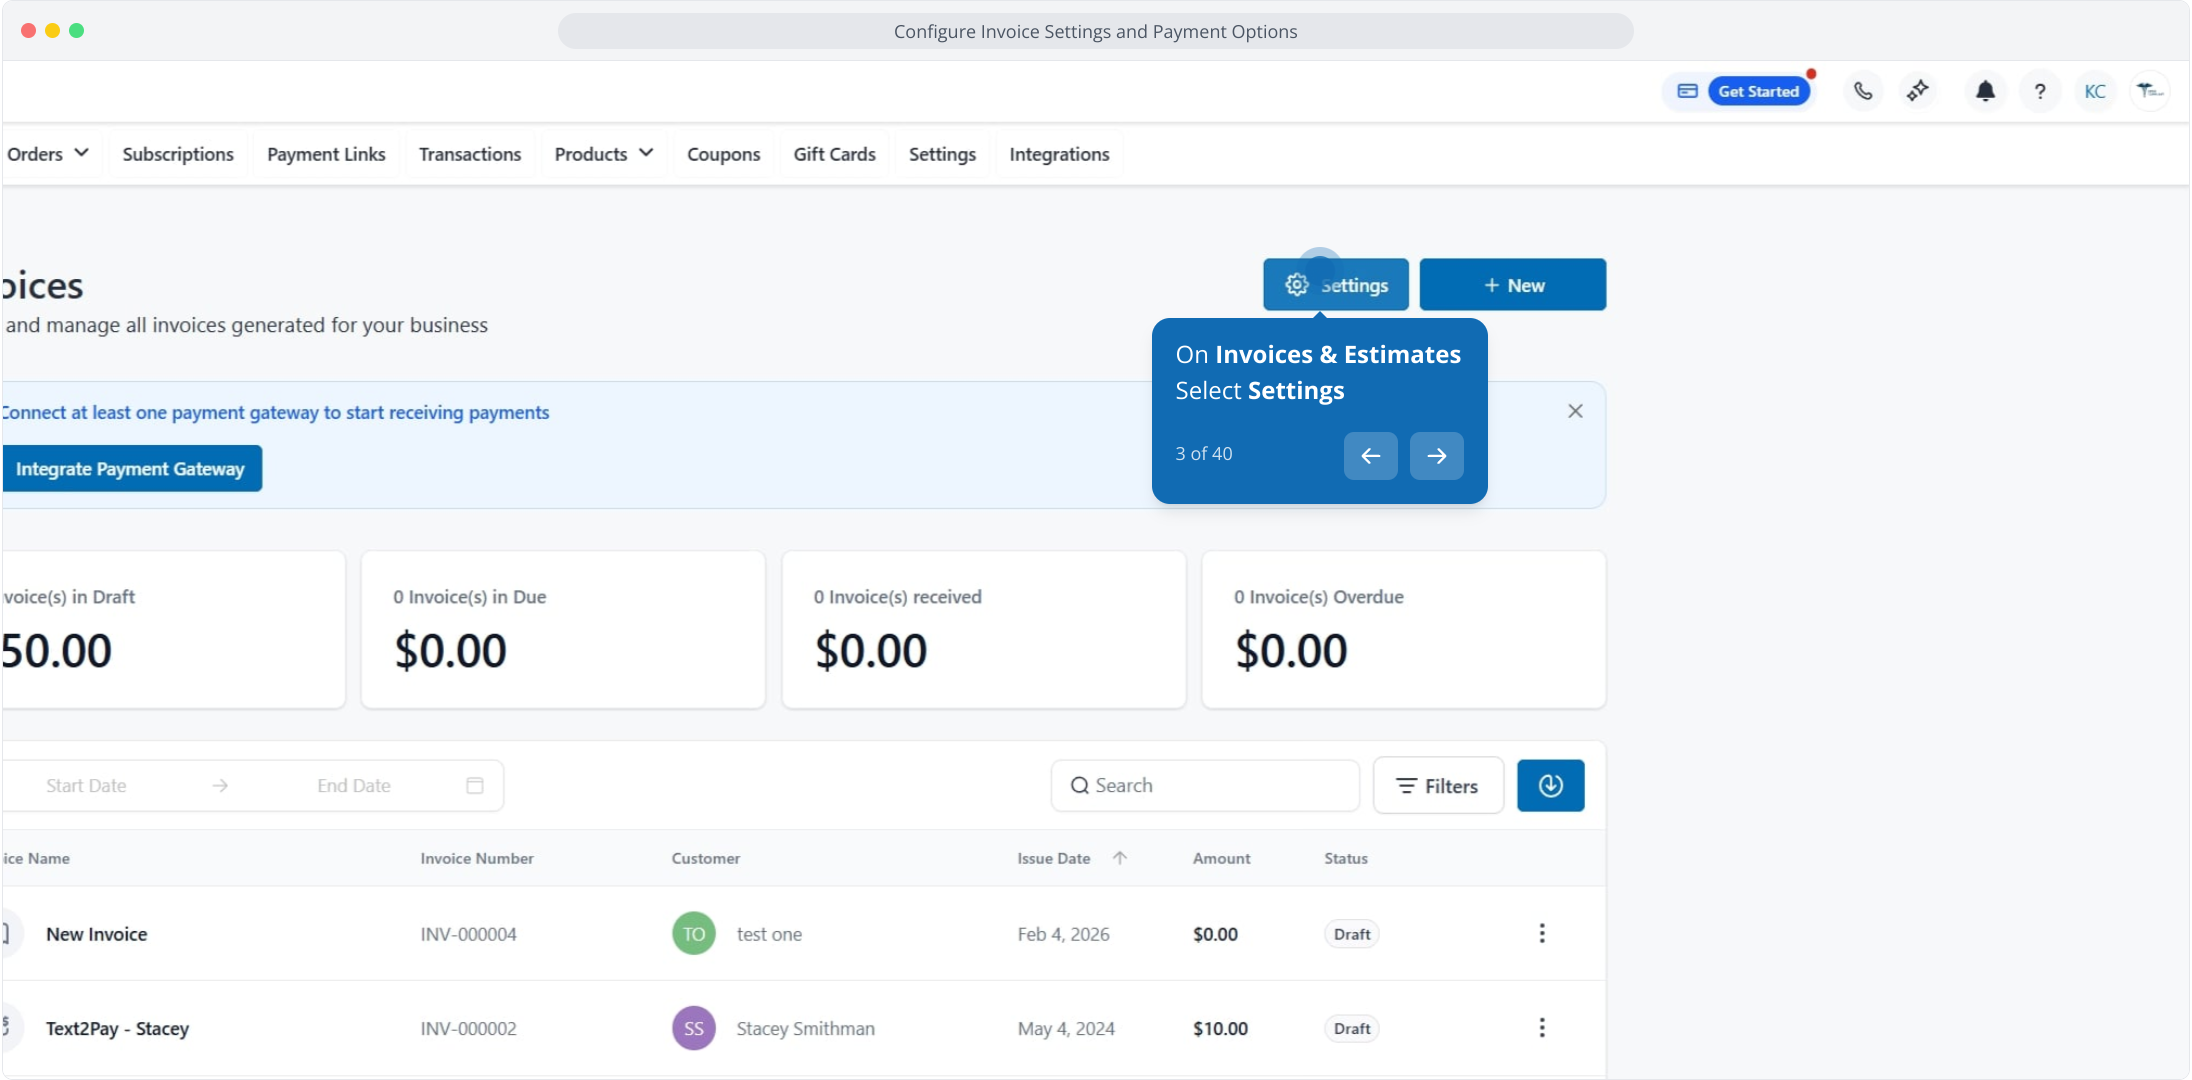
On Invoices & Estimates, select Settings.
Click Business Information to view and manage your practice details.
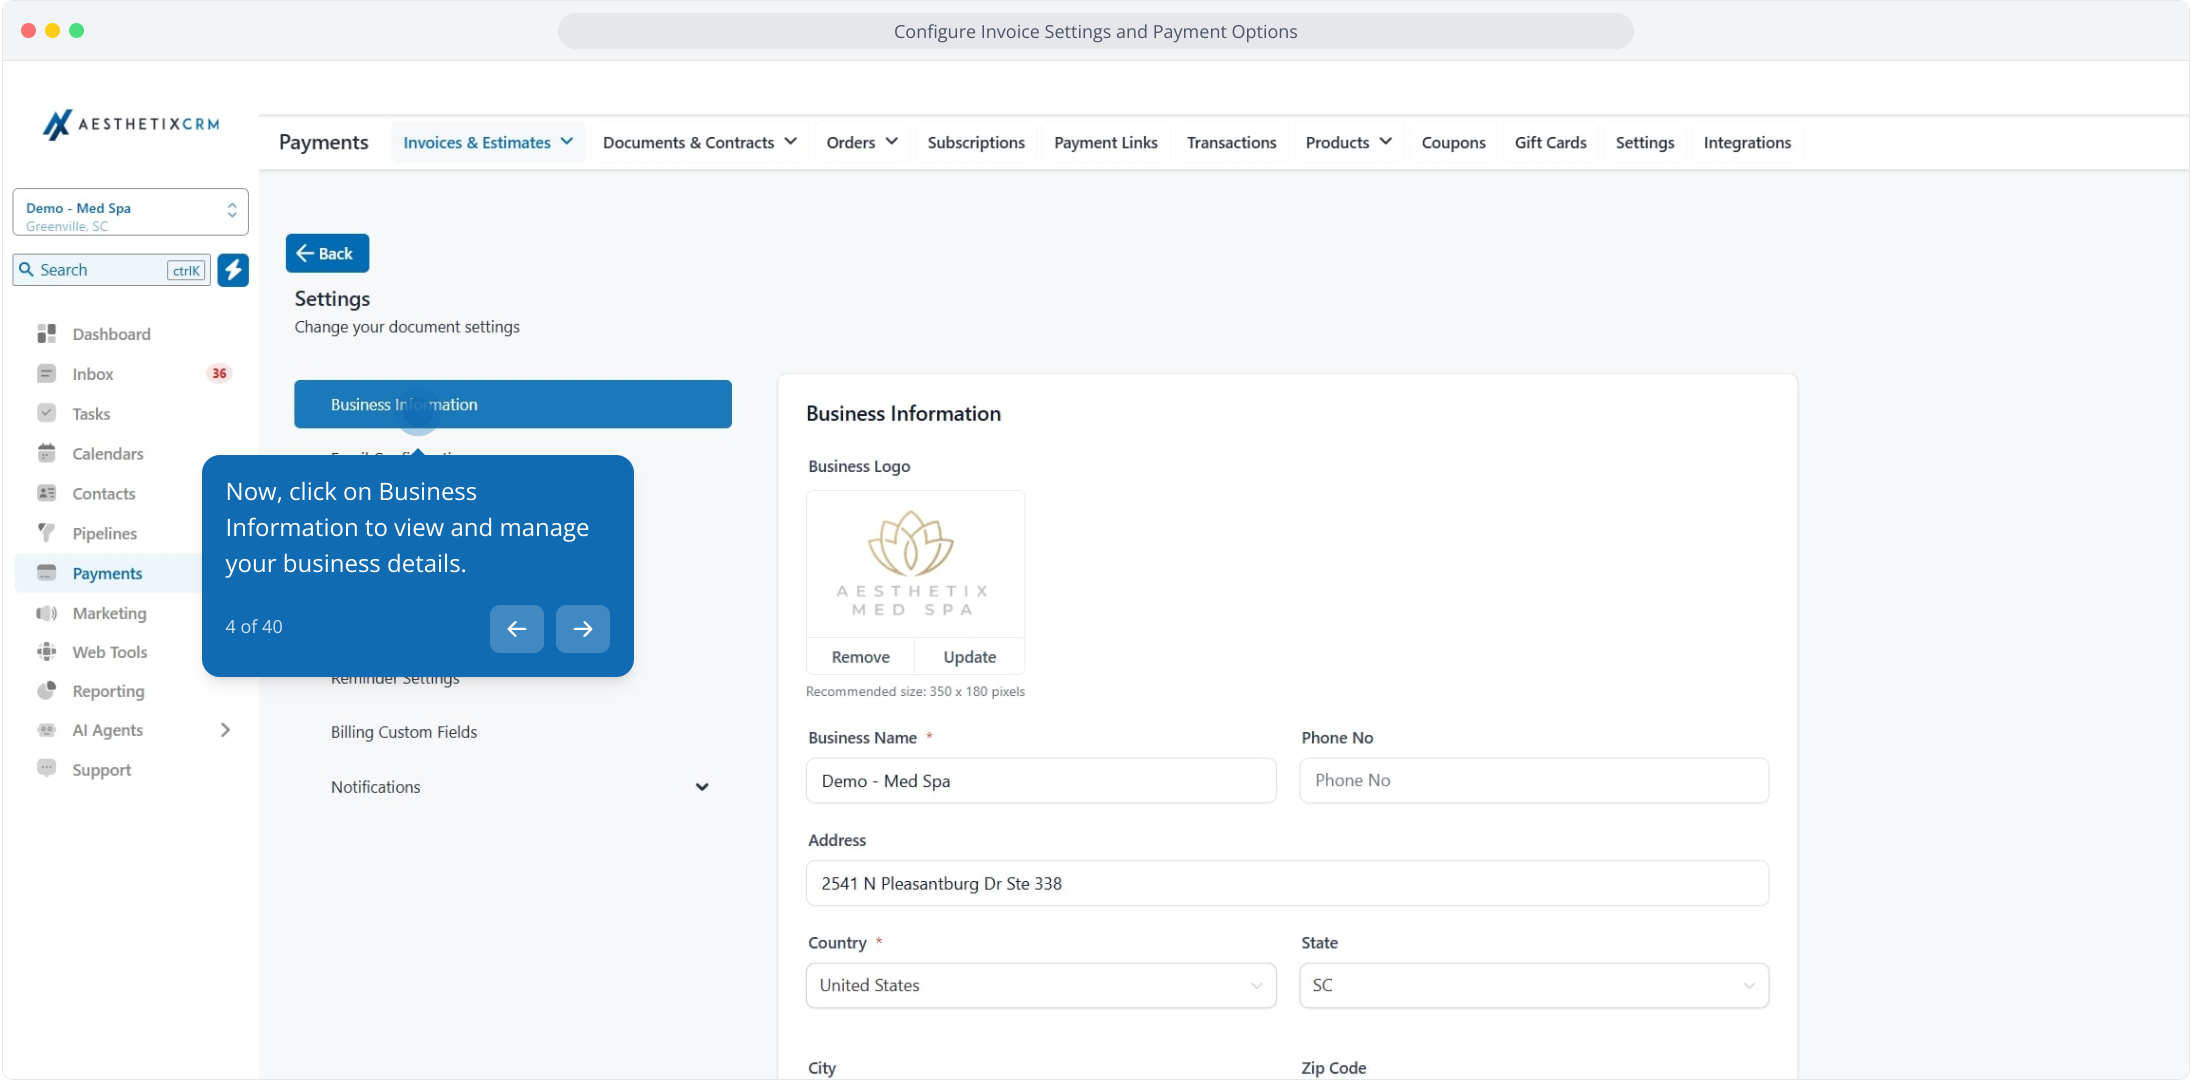
Fill out your business logo, business name, phone number, address, and website.
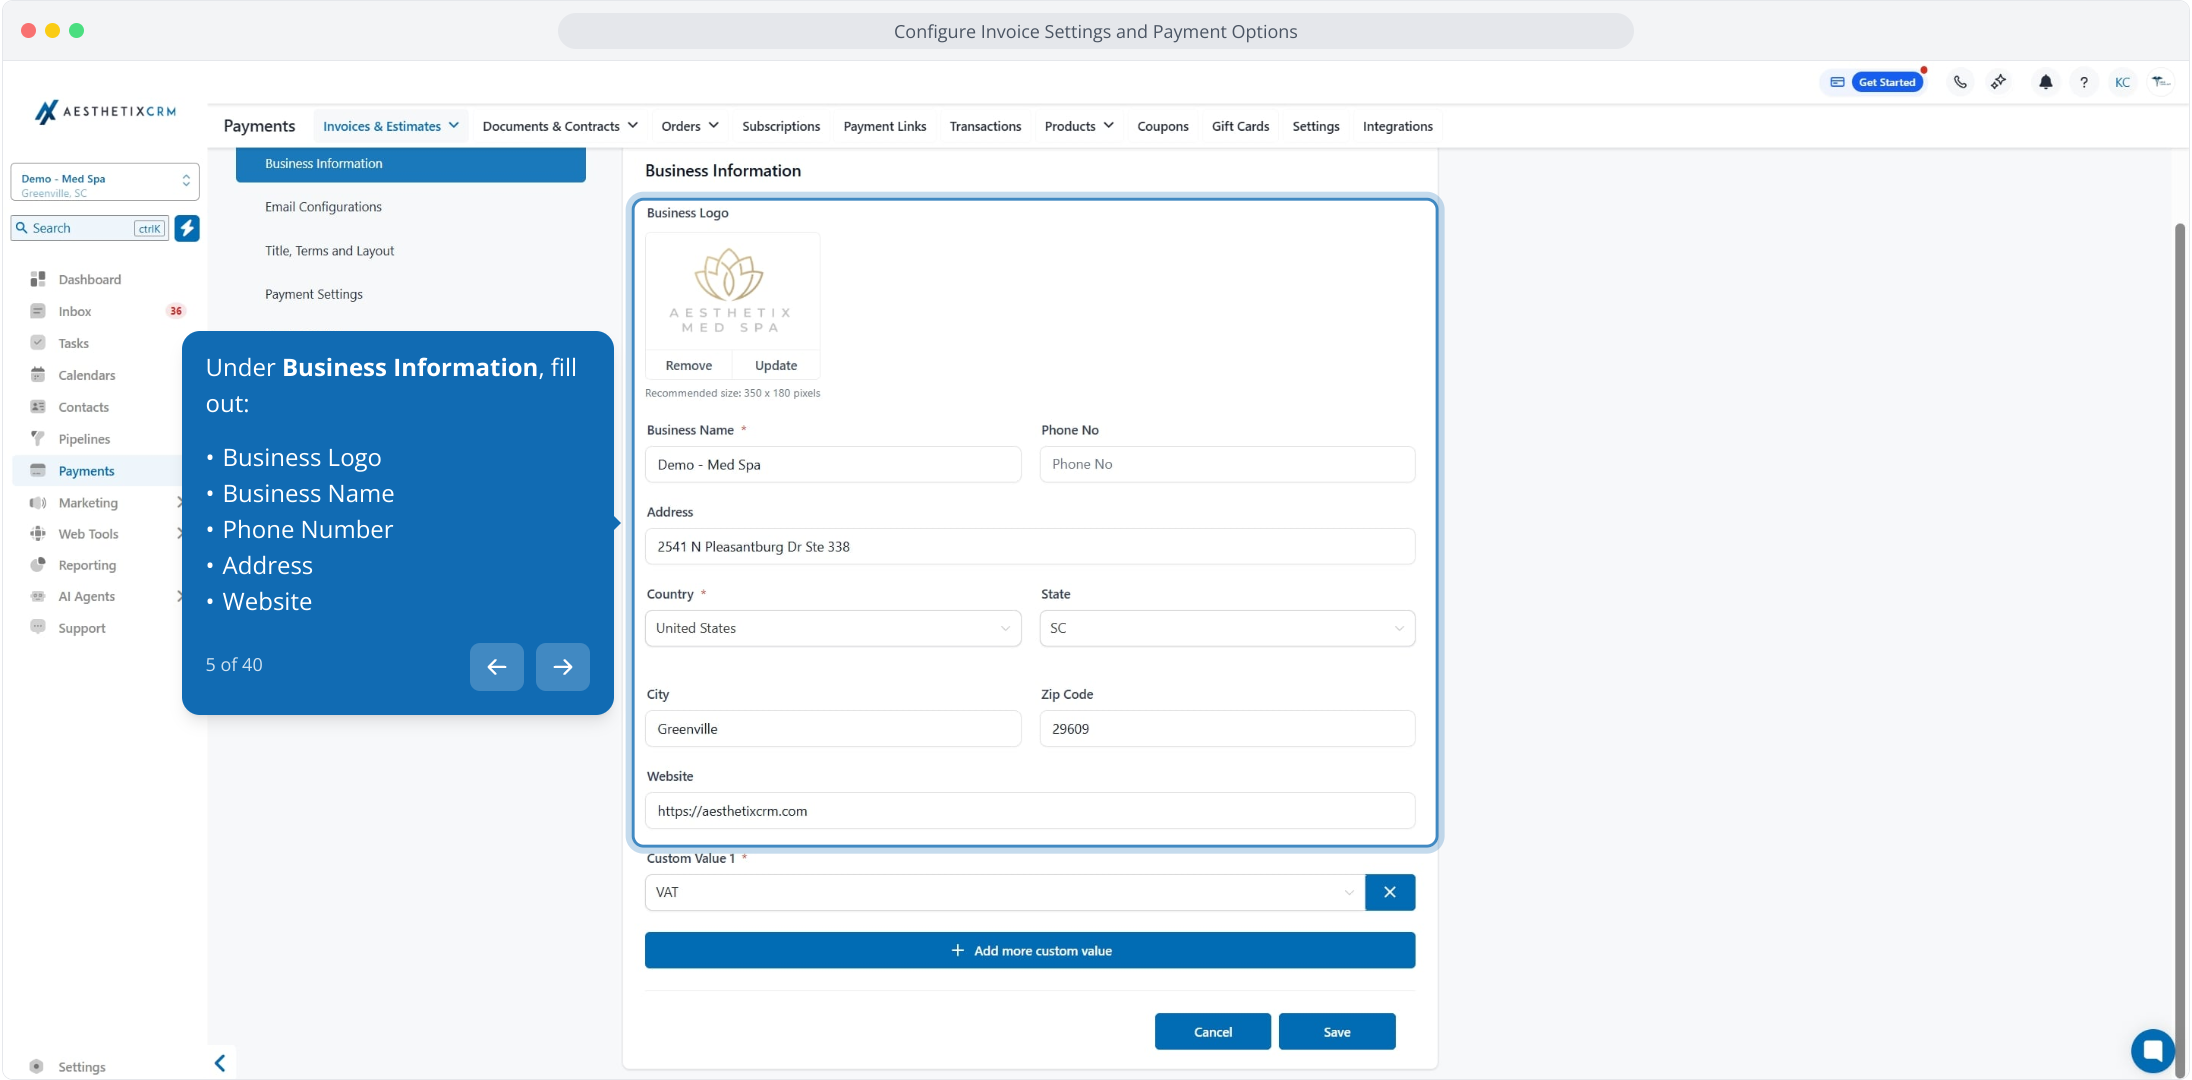
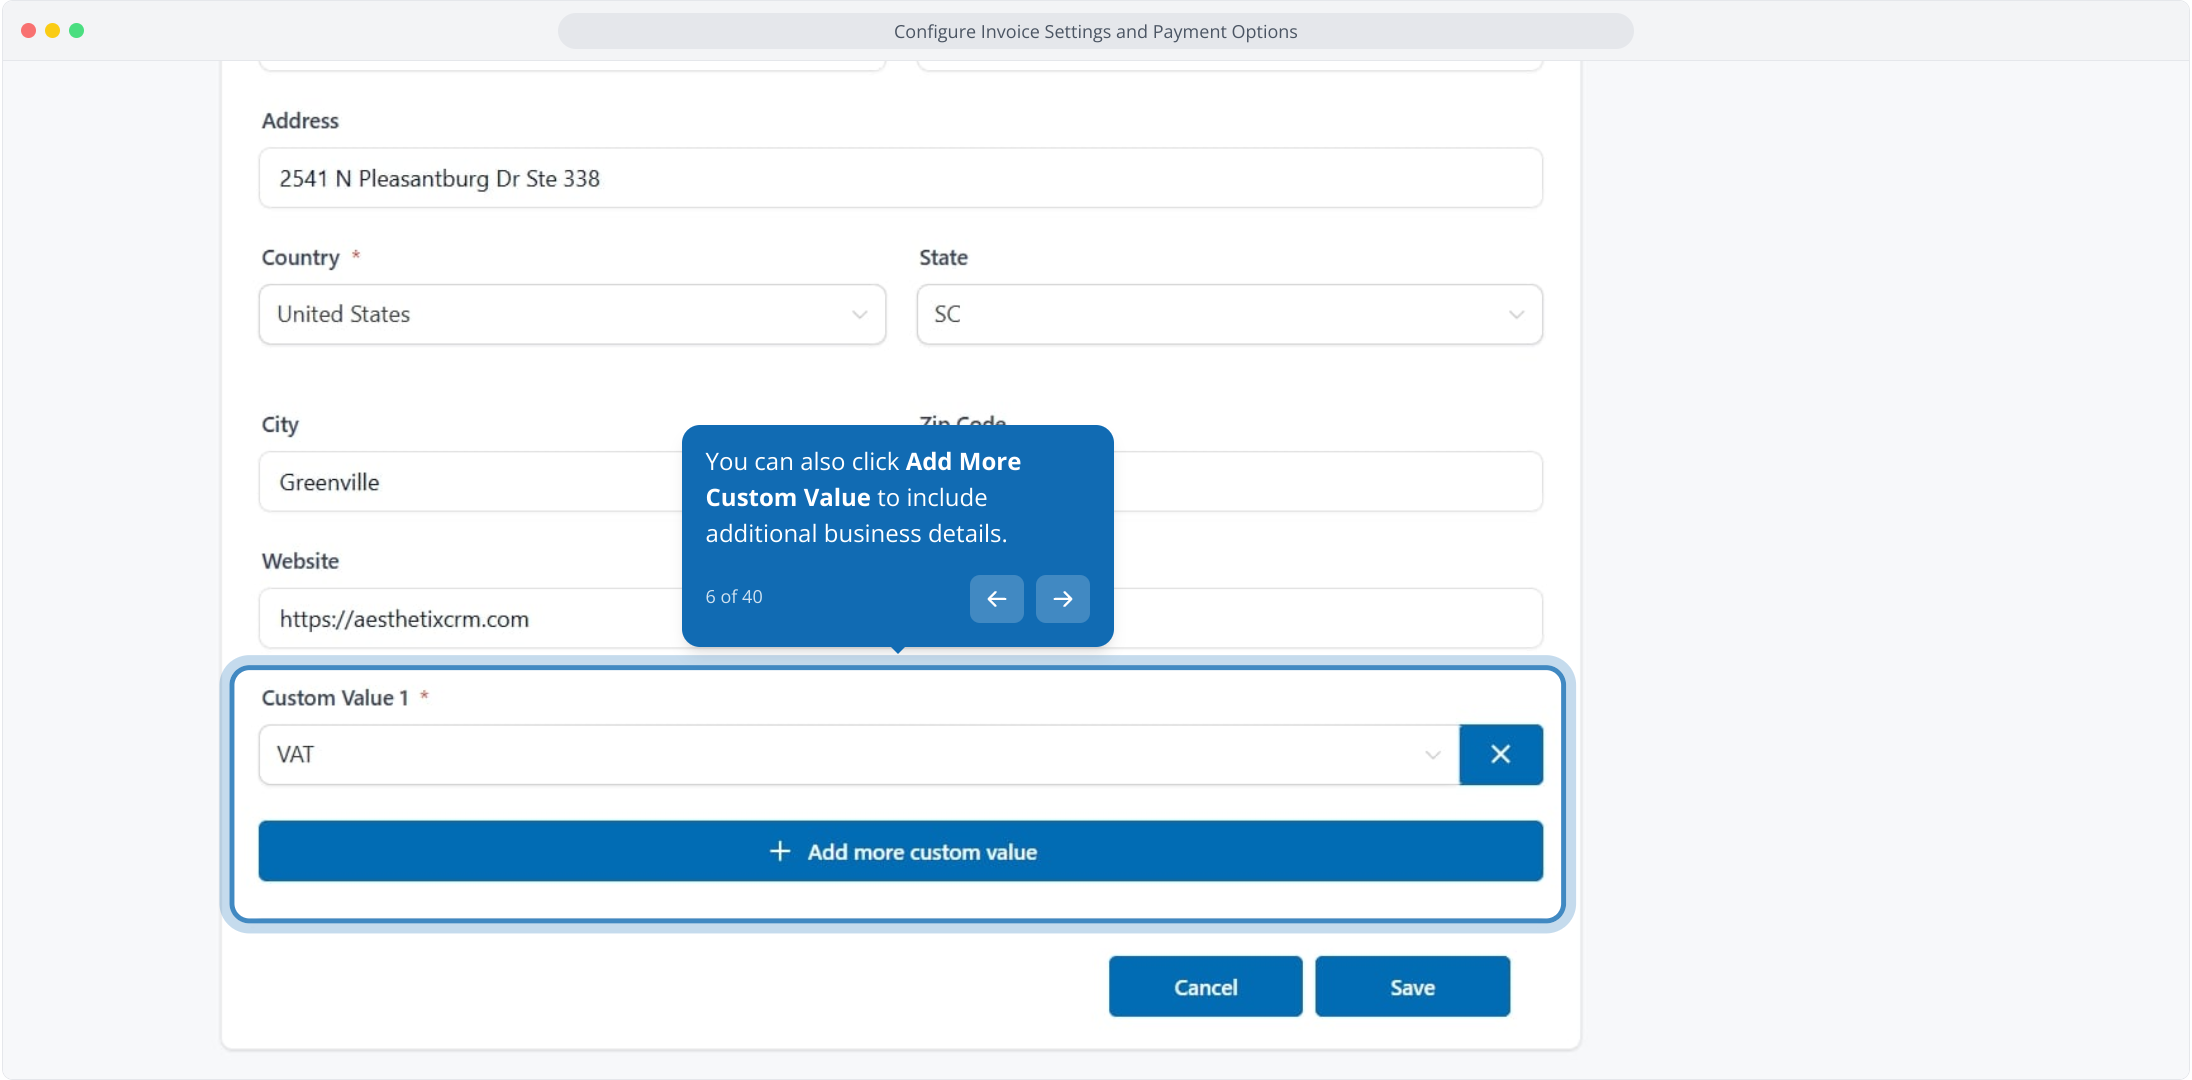
You can also click Add More Custom Value to include additional business details.
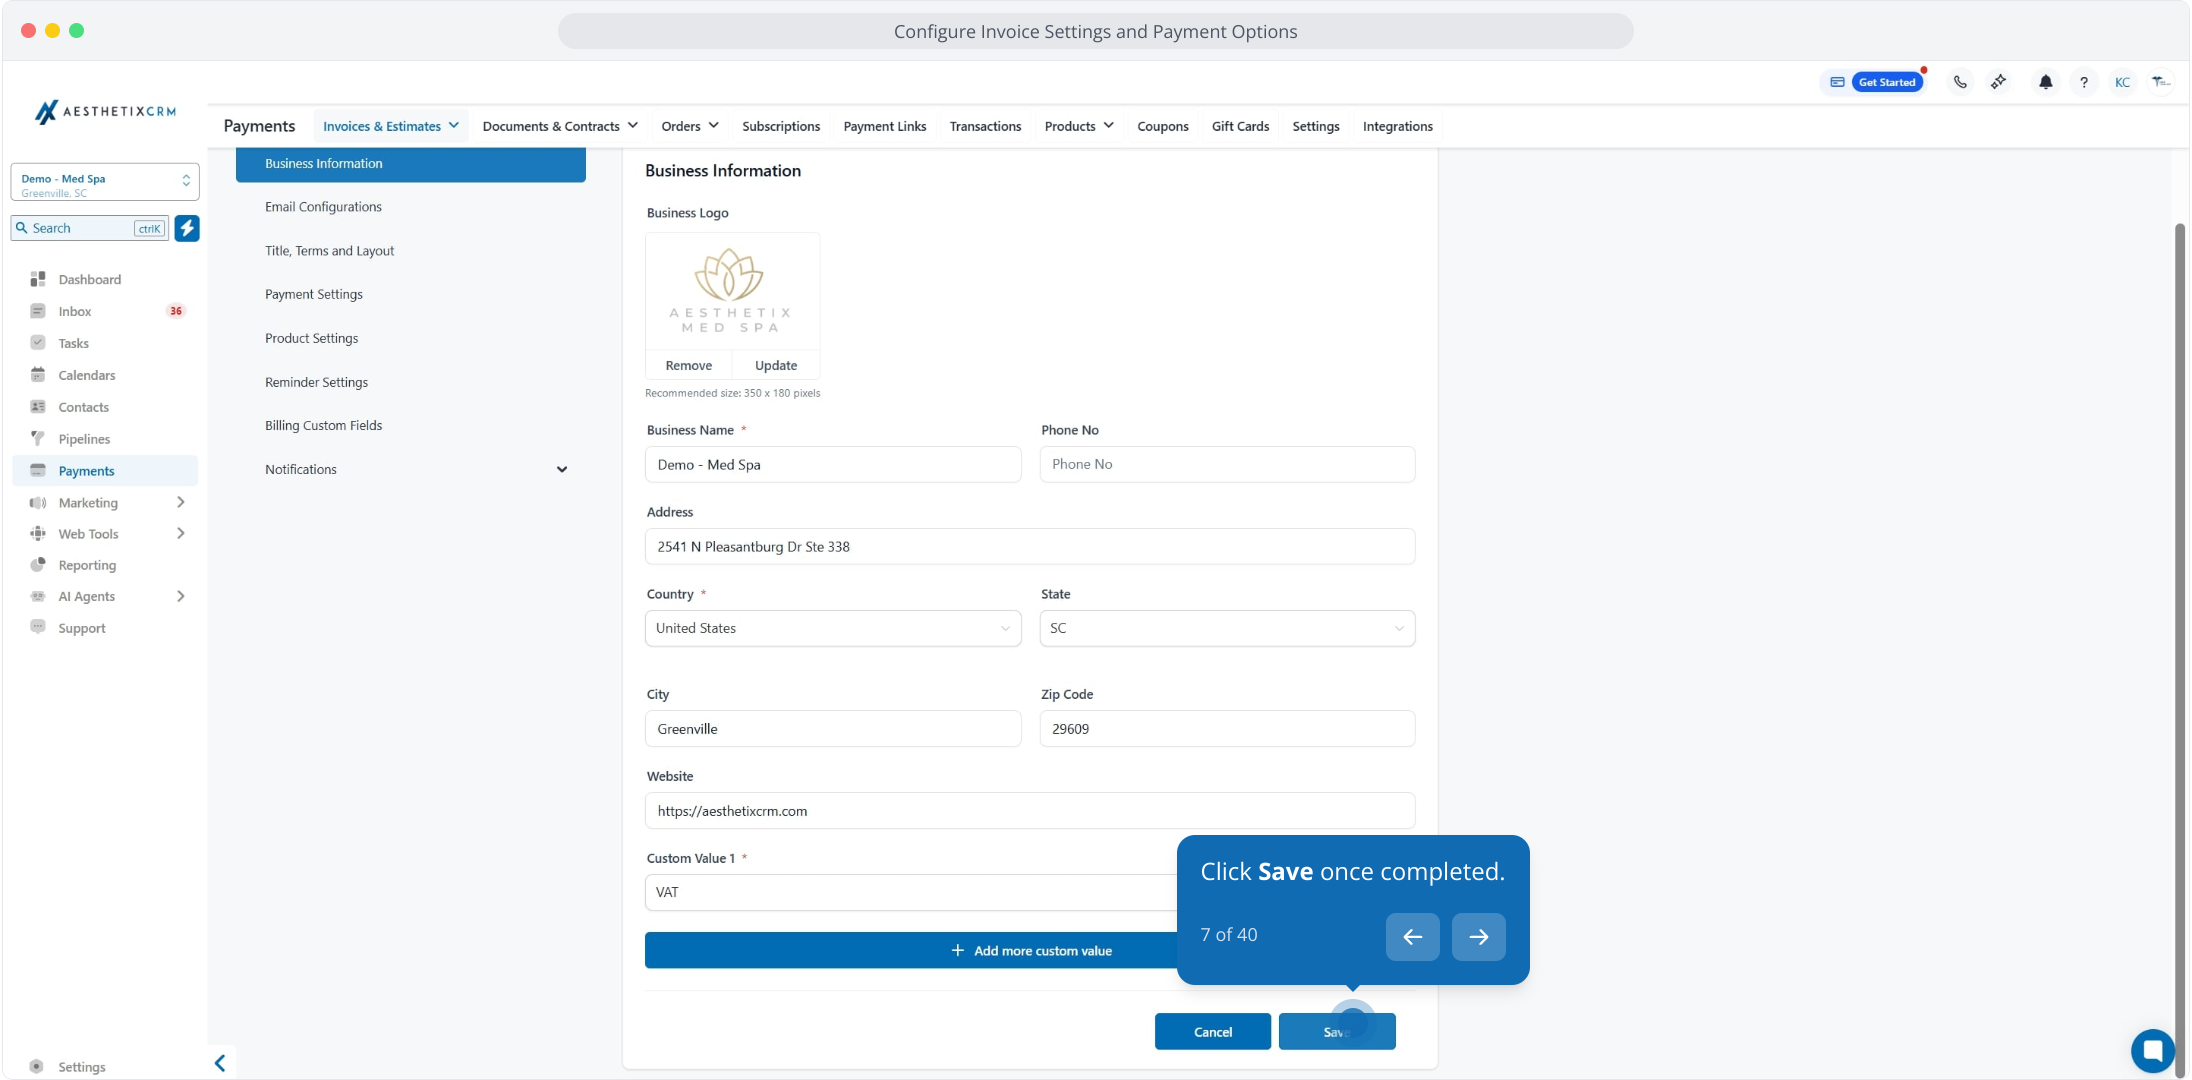
Click Save once completed.
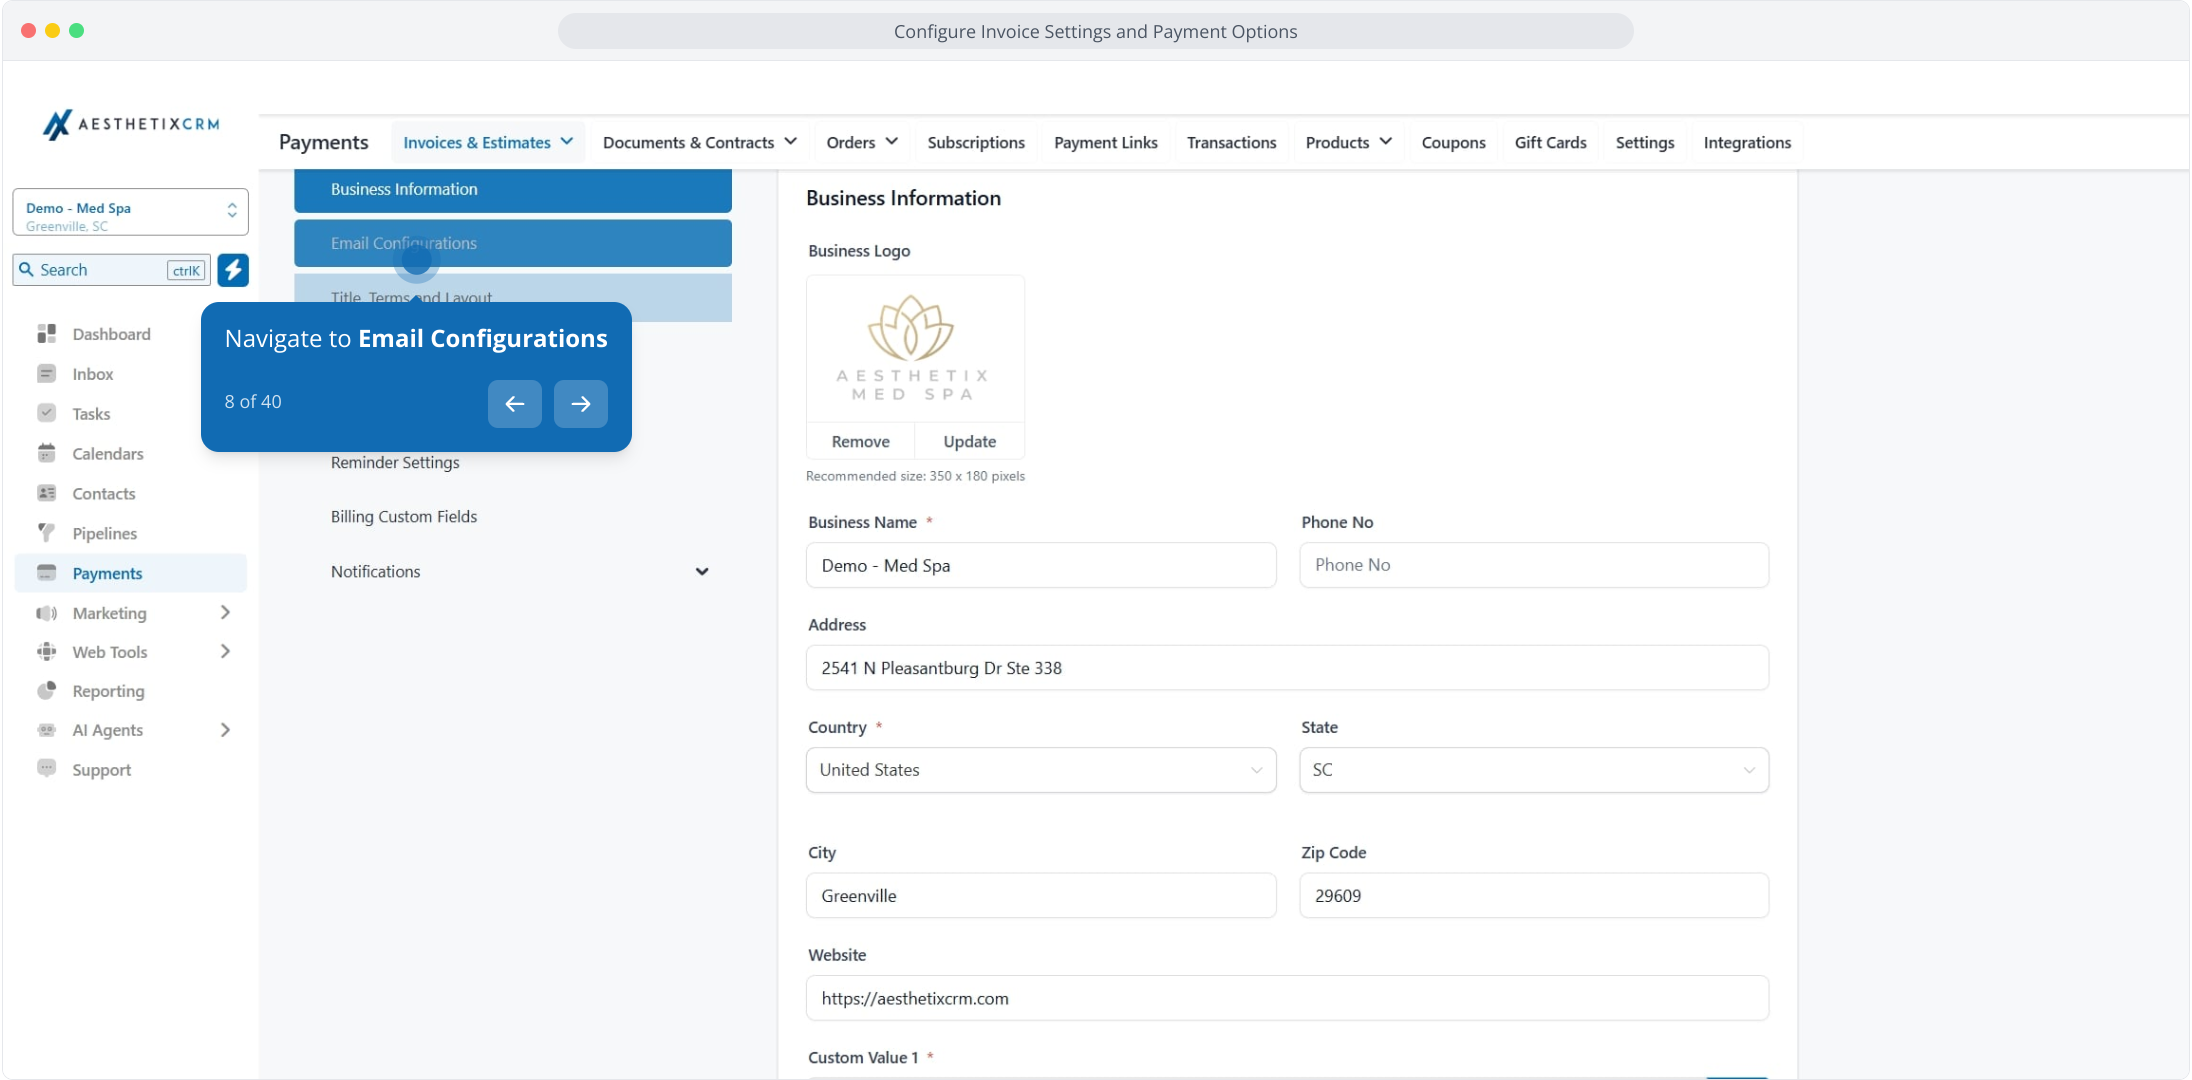
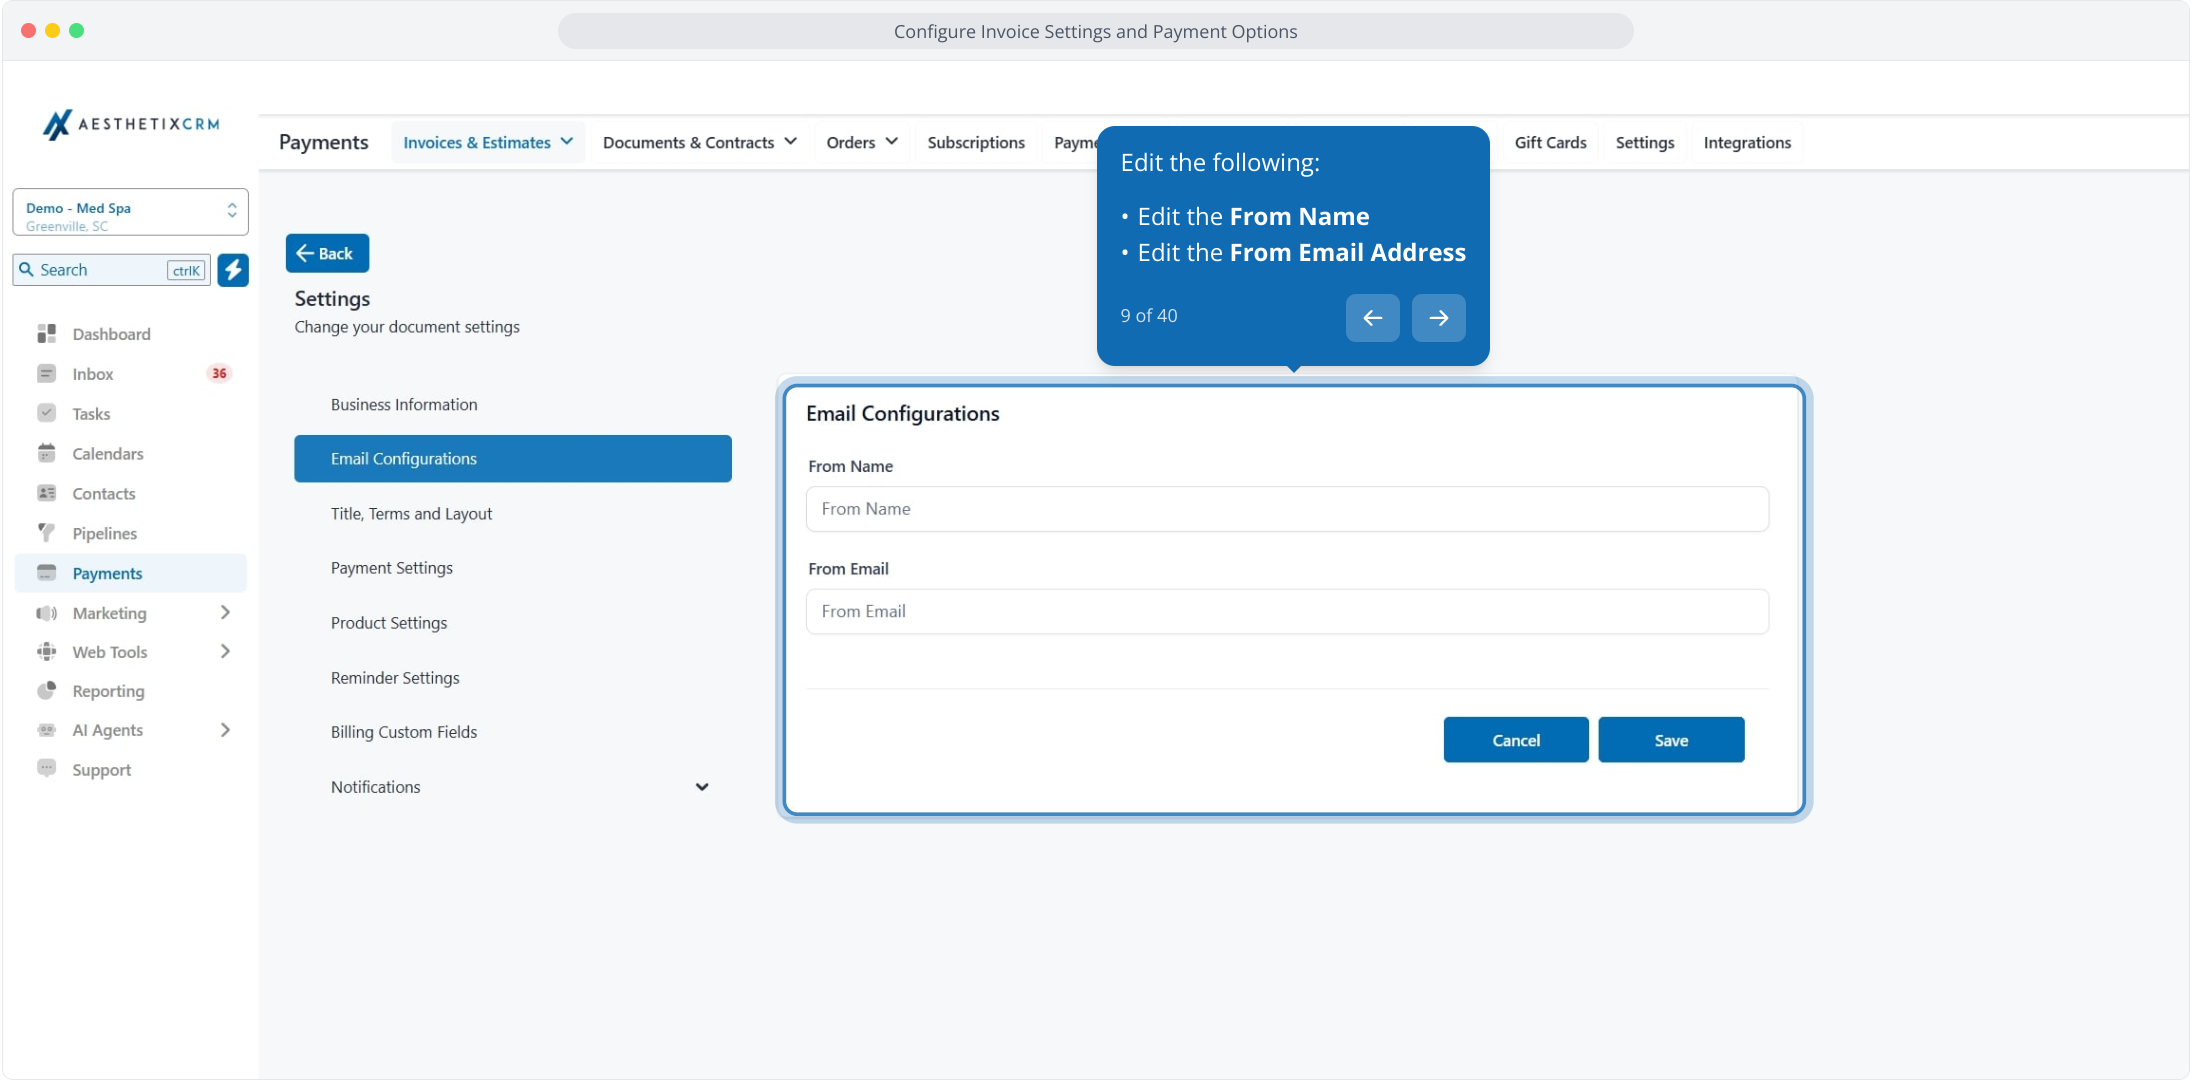
Navigate to Email Configurations.
Edit the From Name and the From Email Address that invoices are sent from.
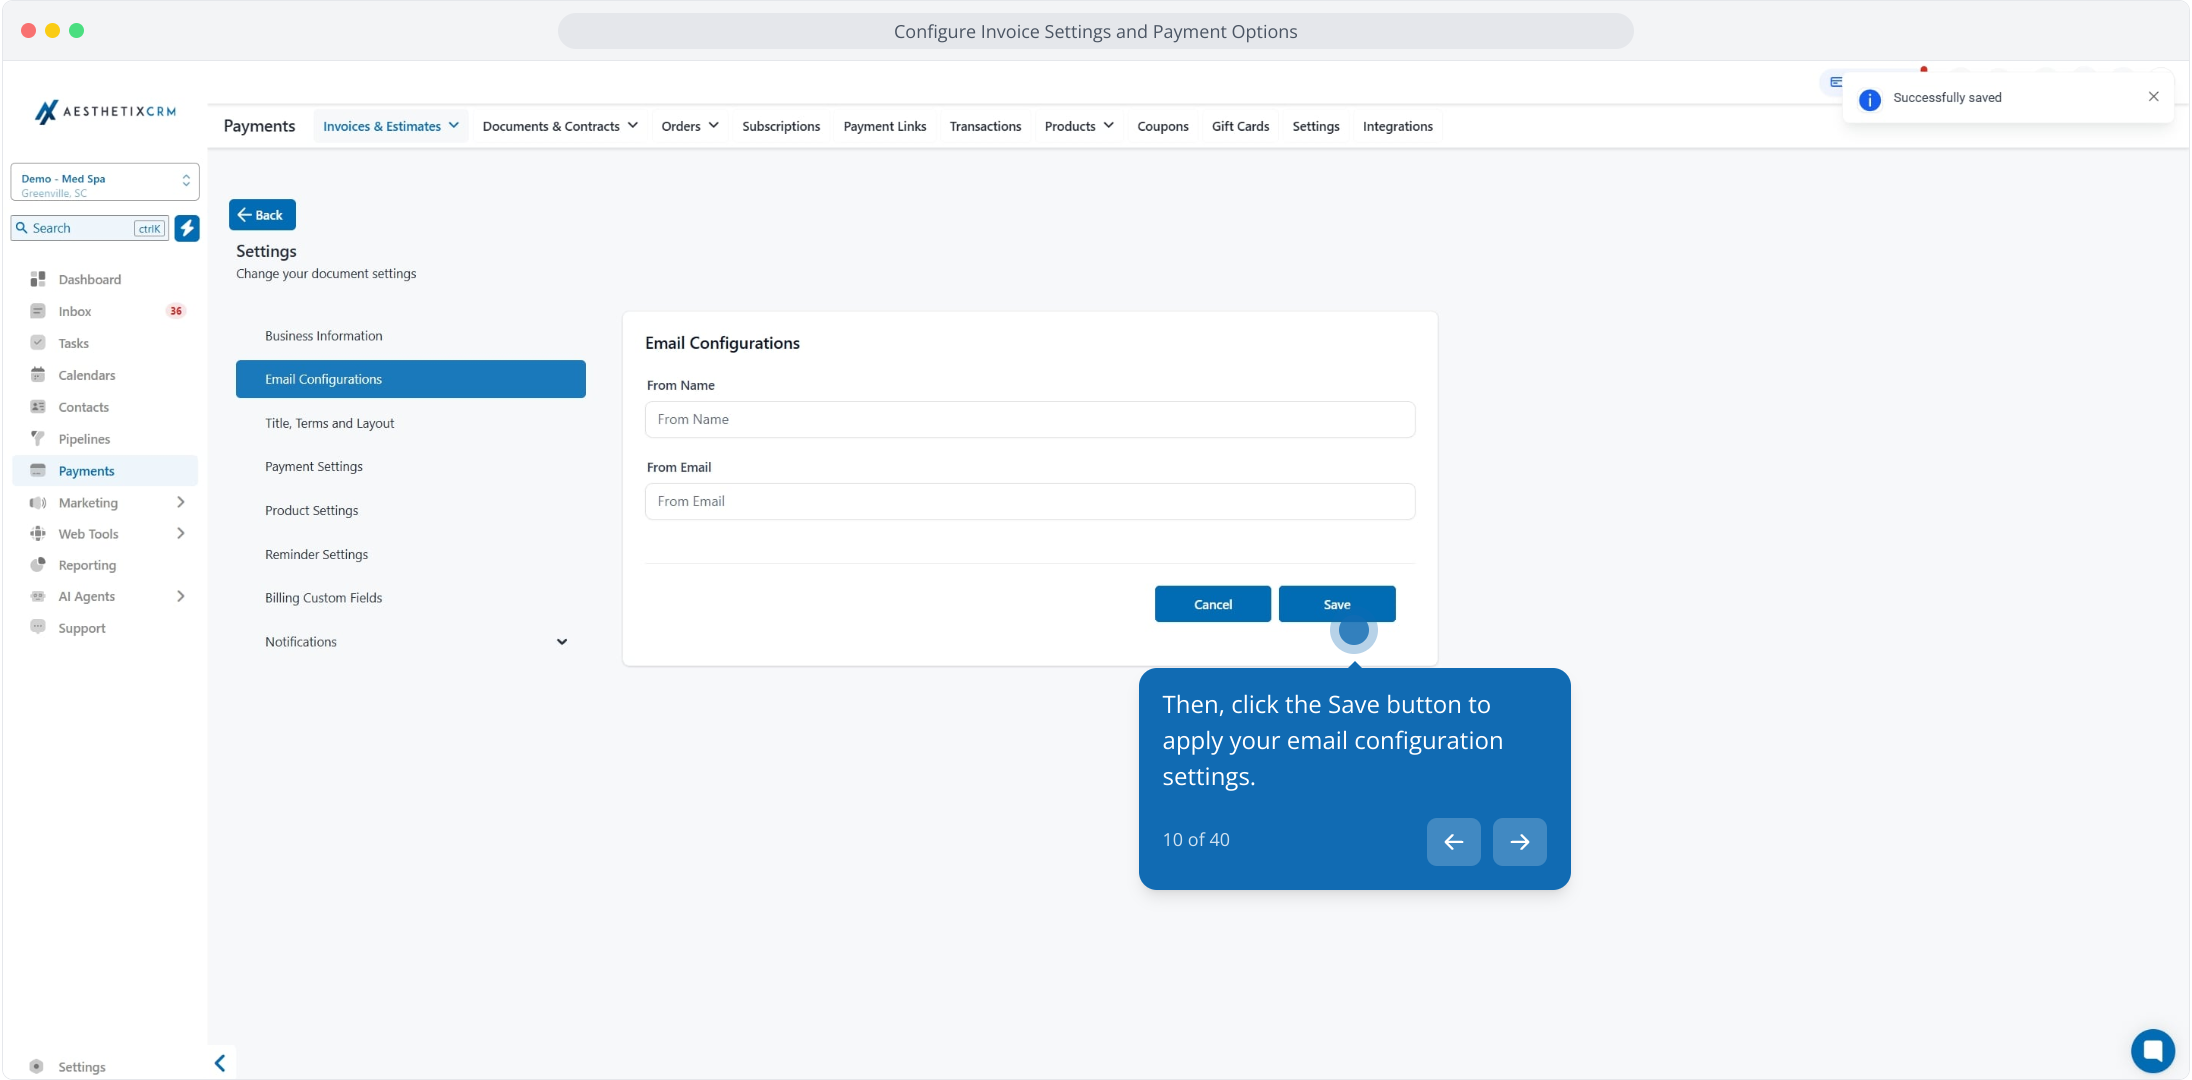
Click Save to apply your email settings.
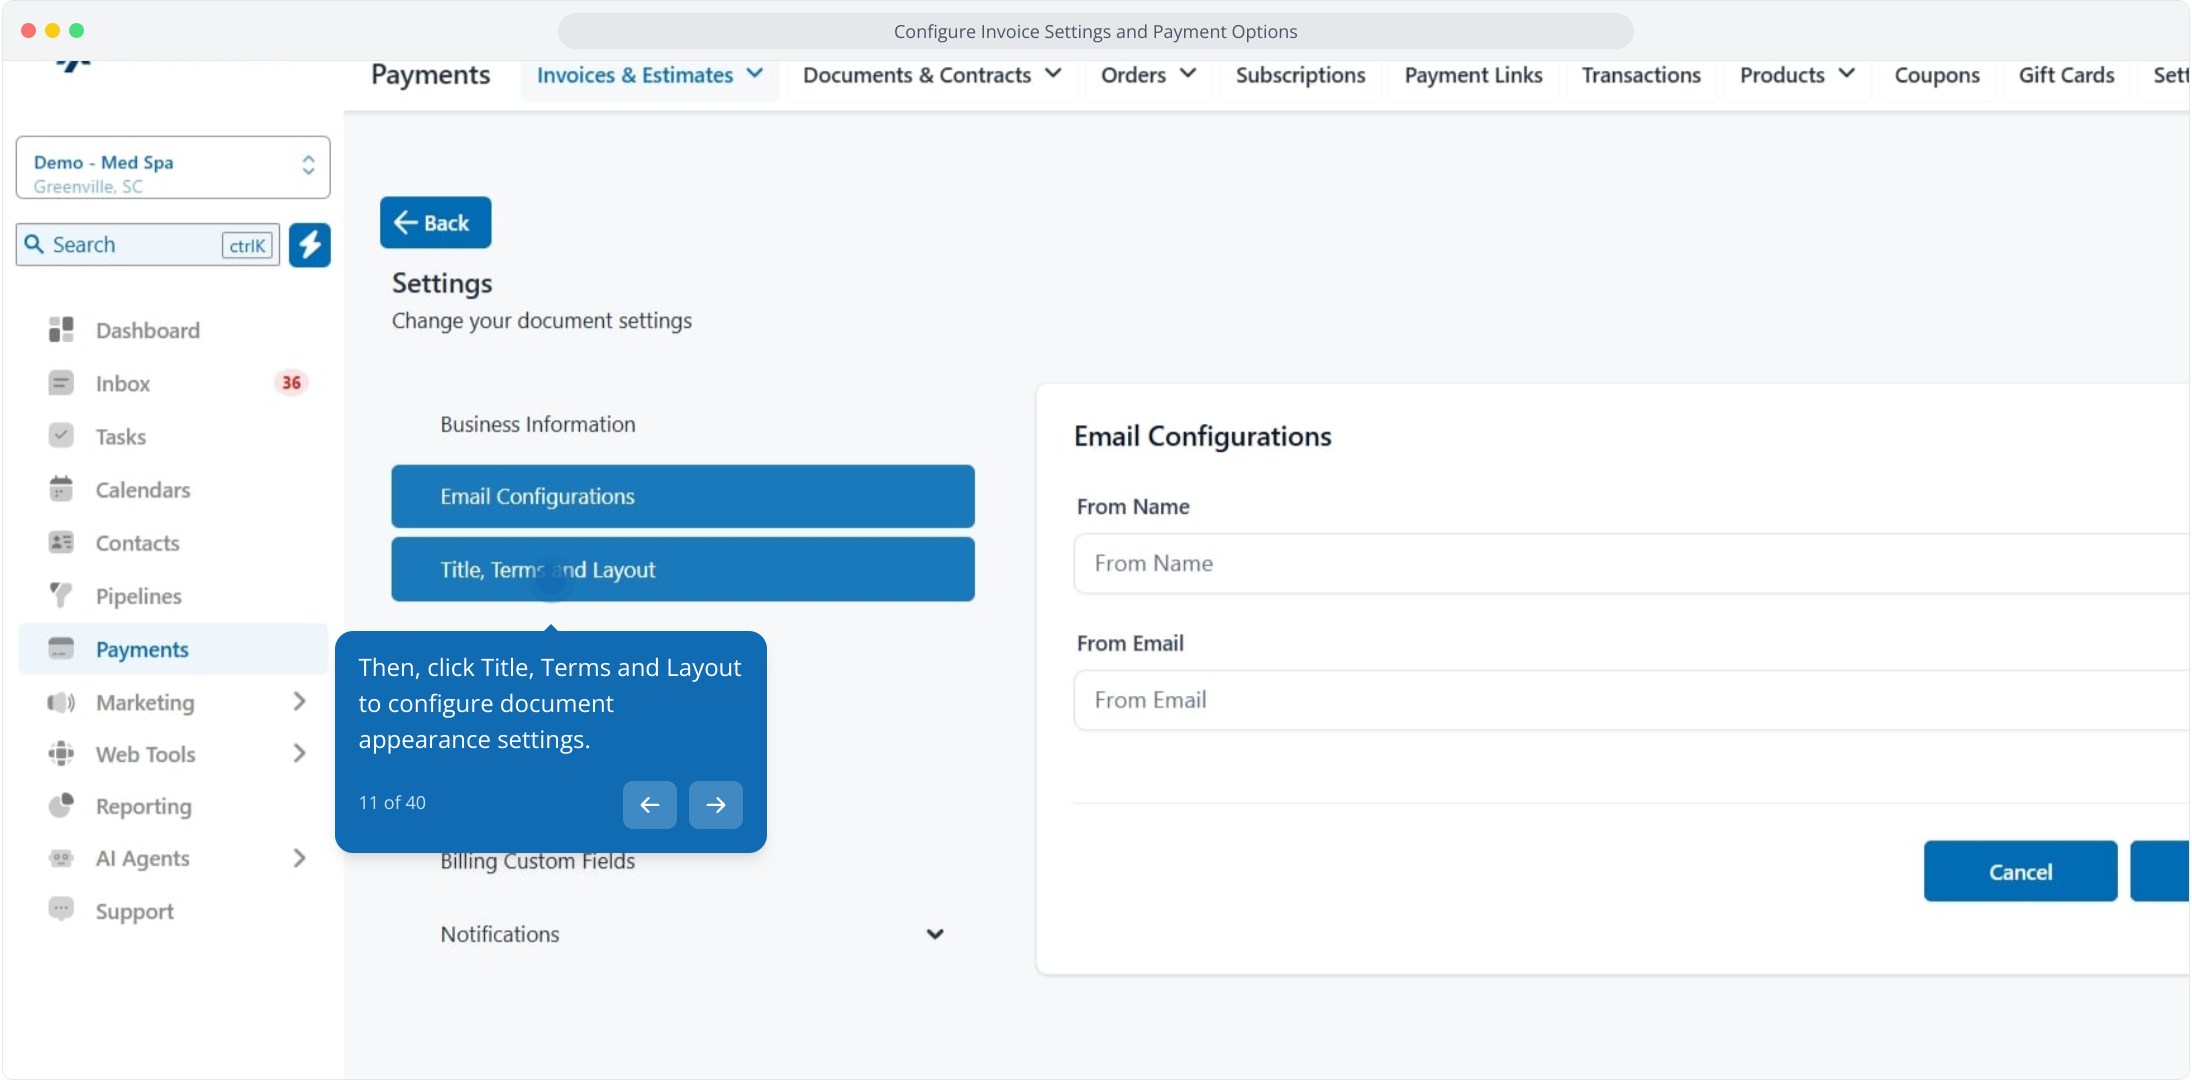
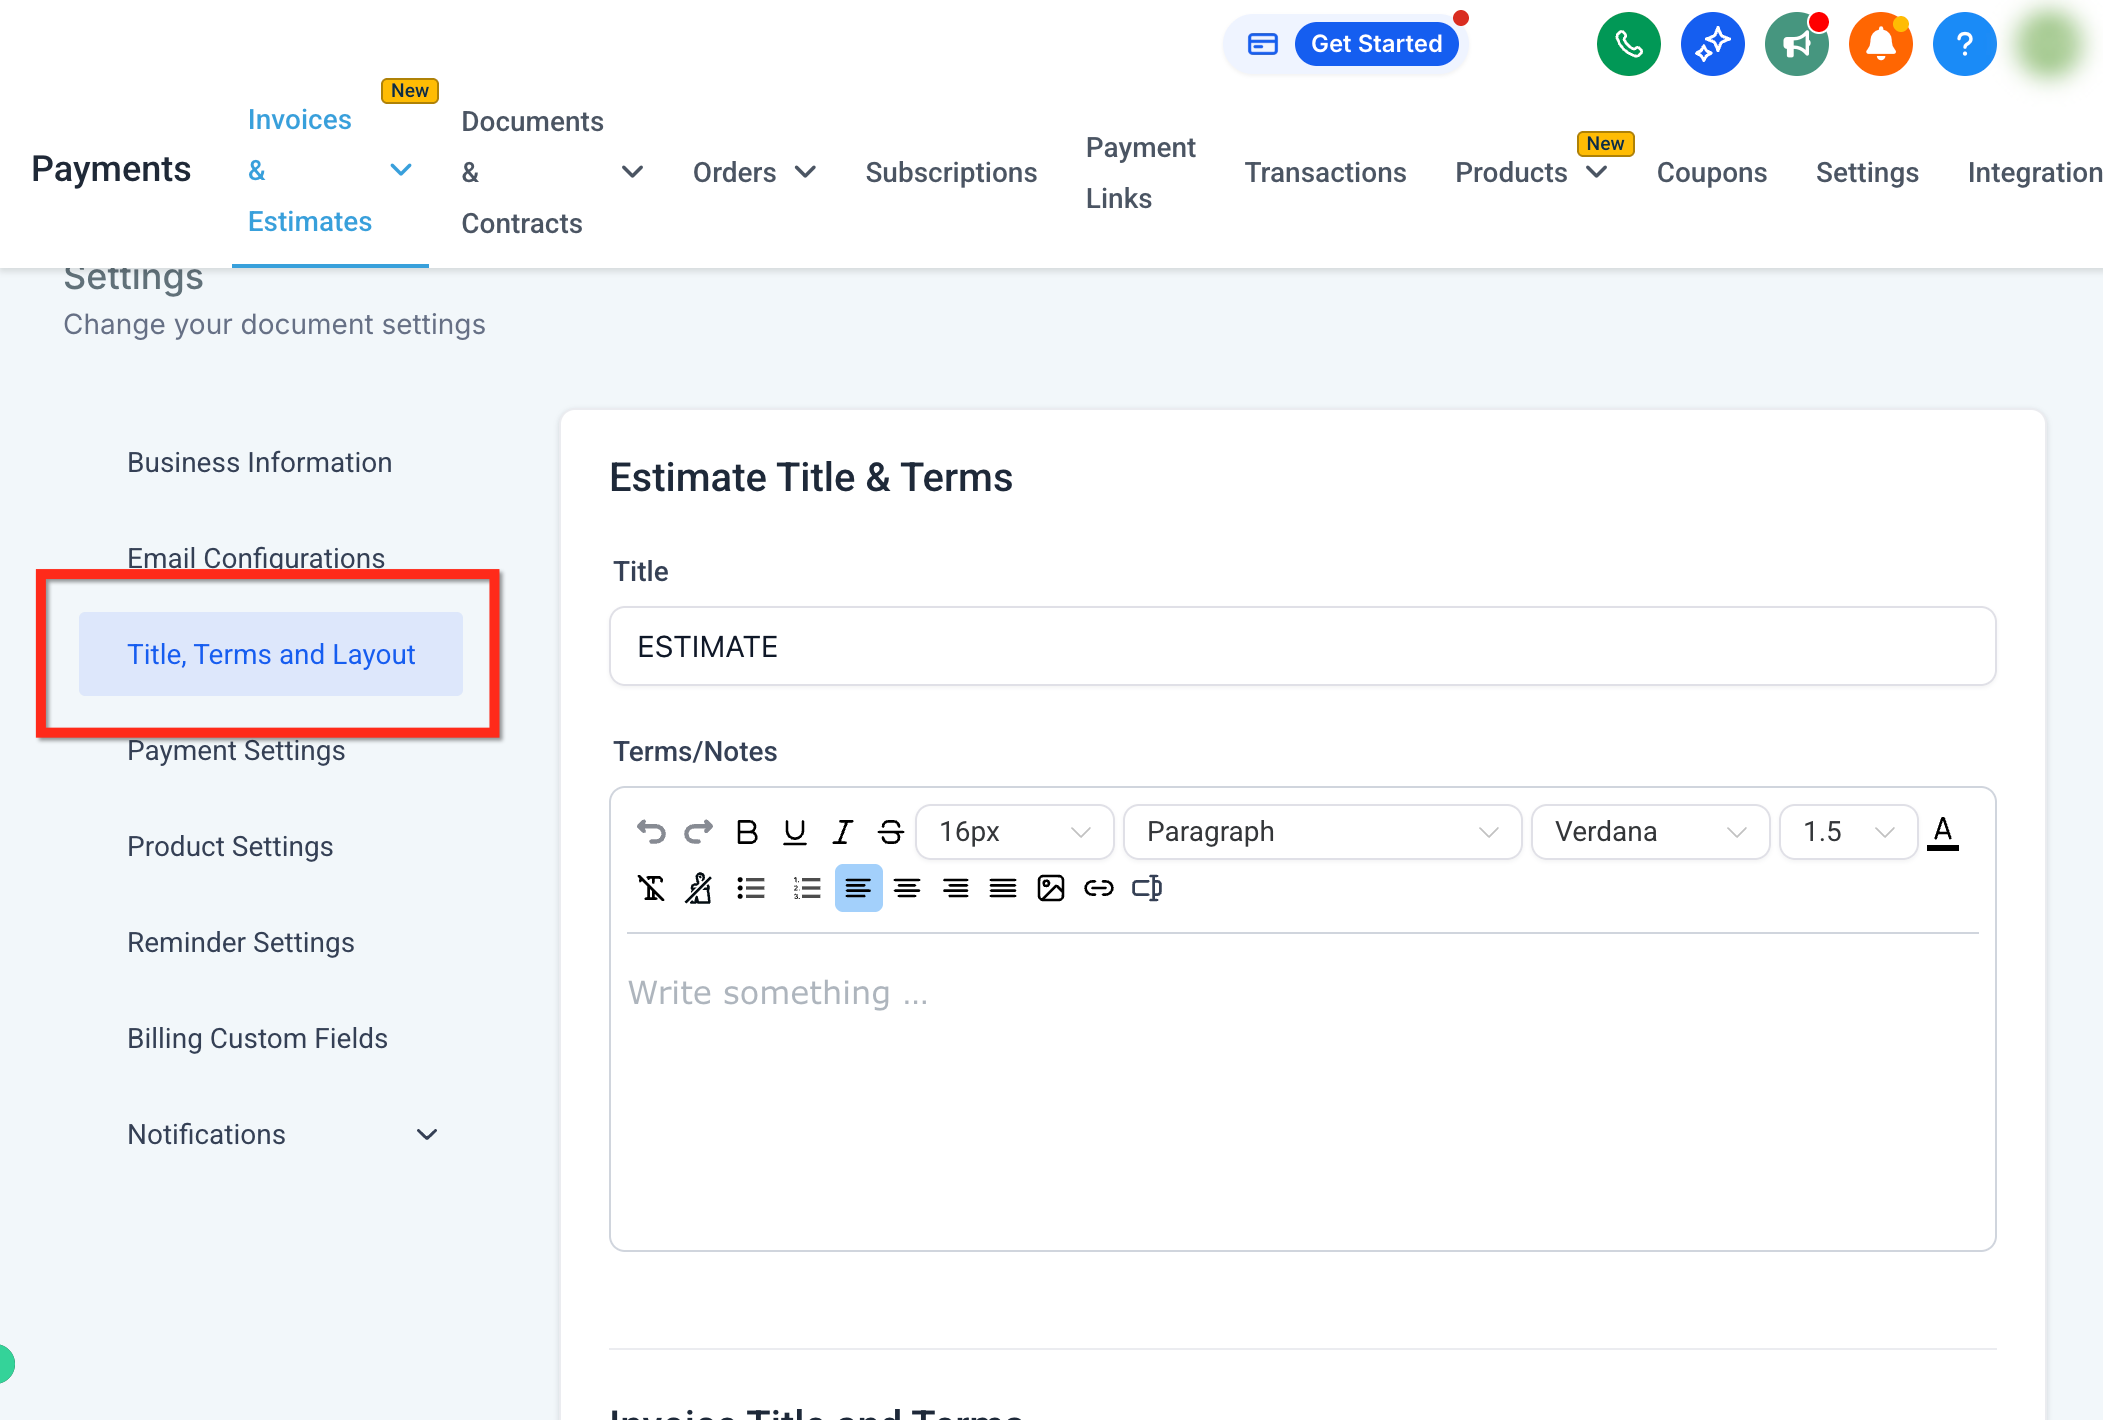
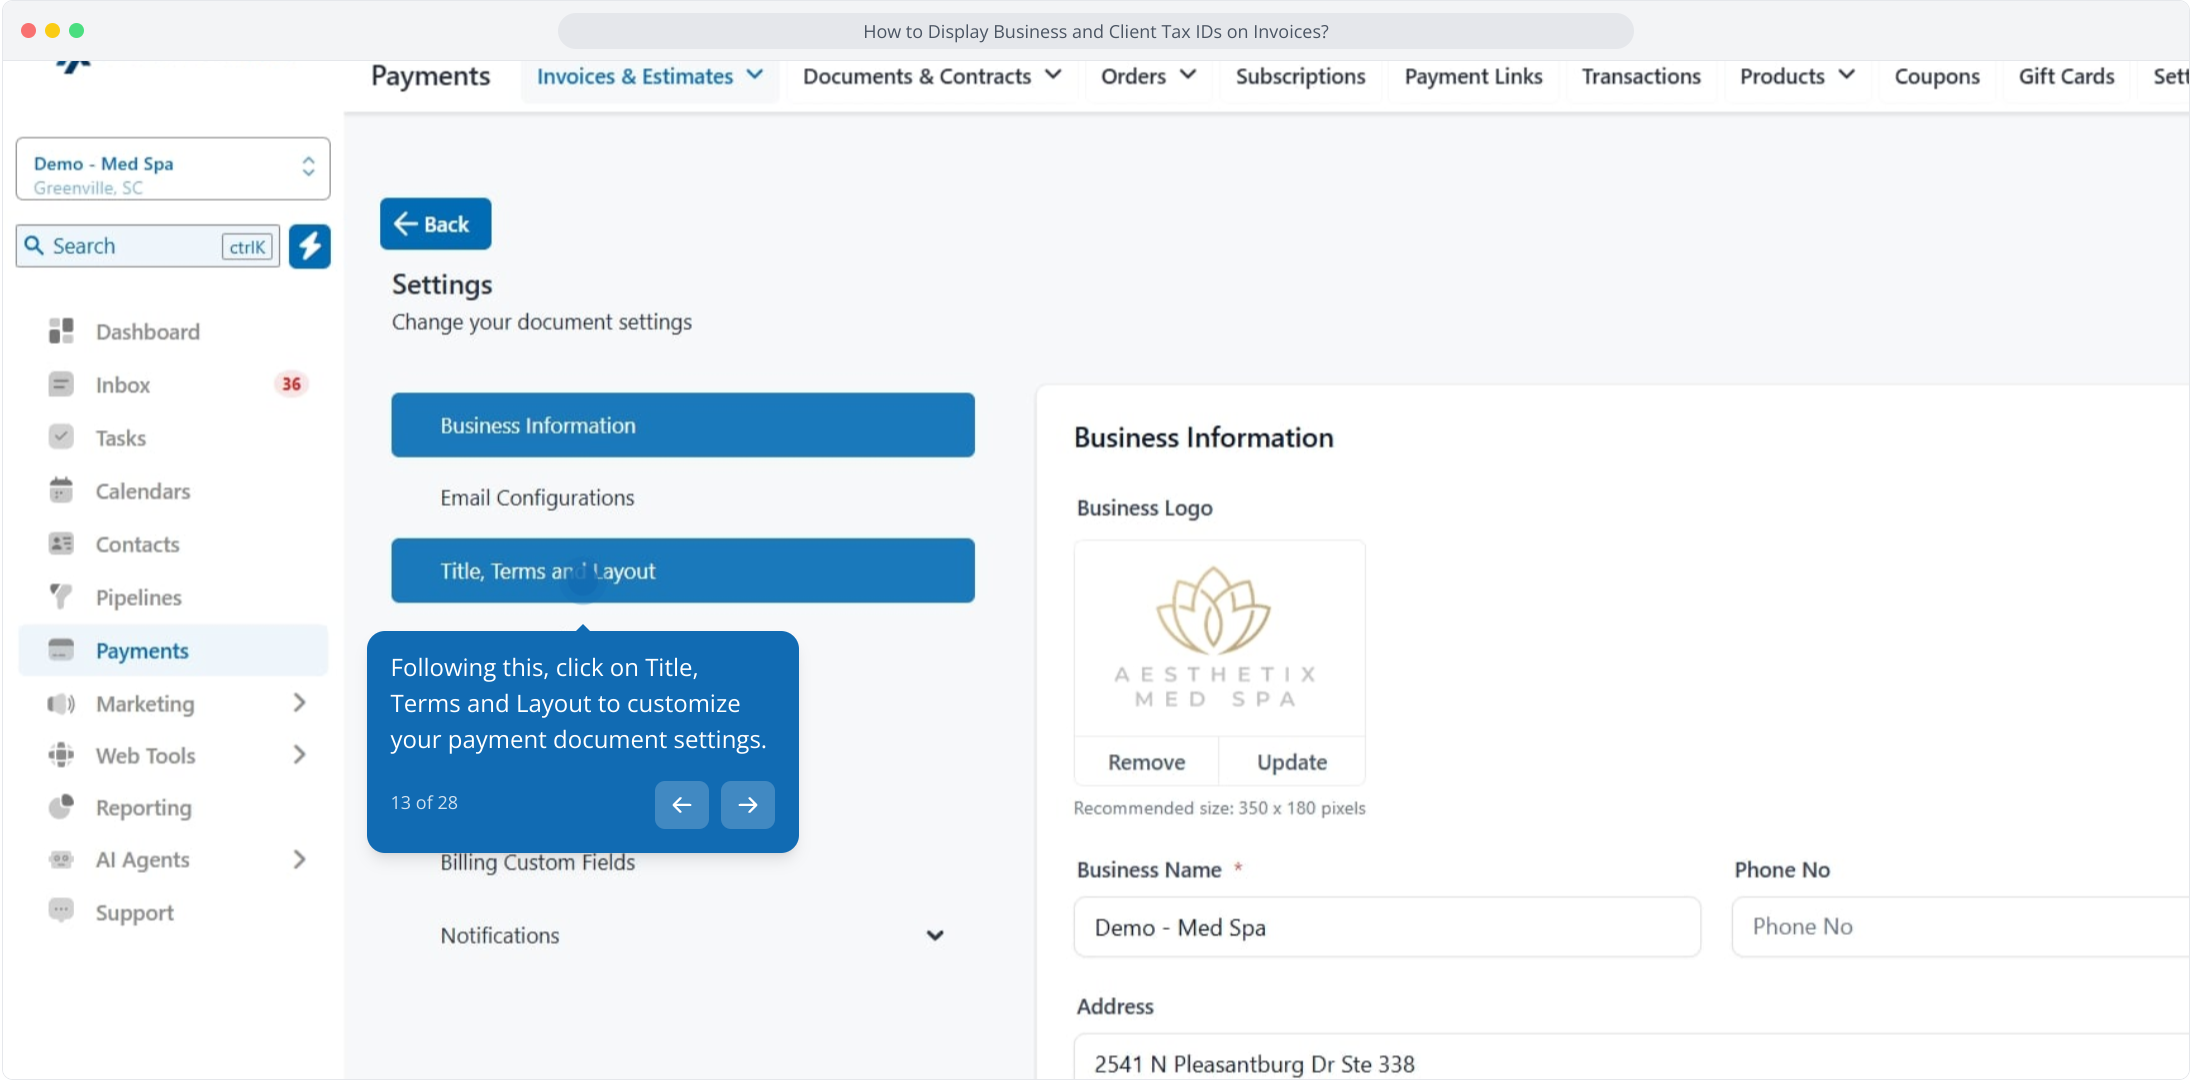
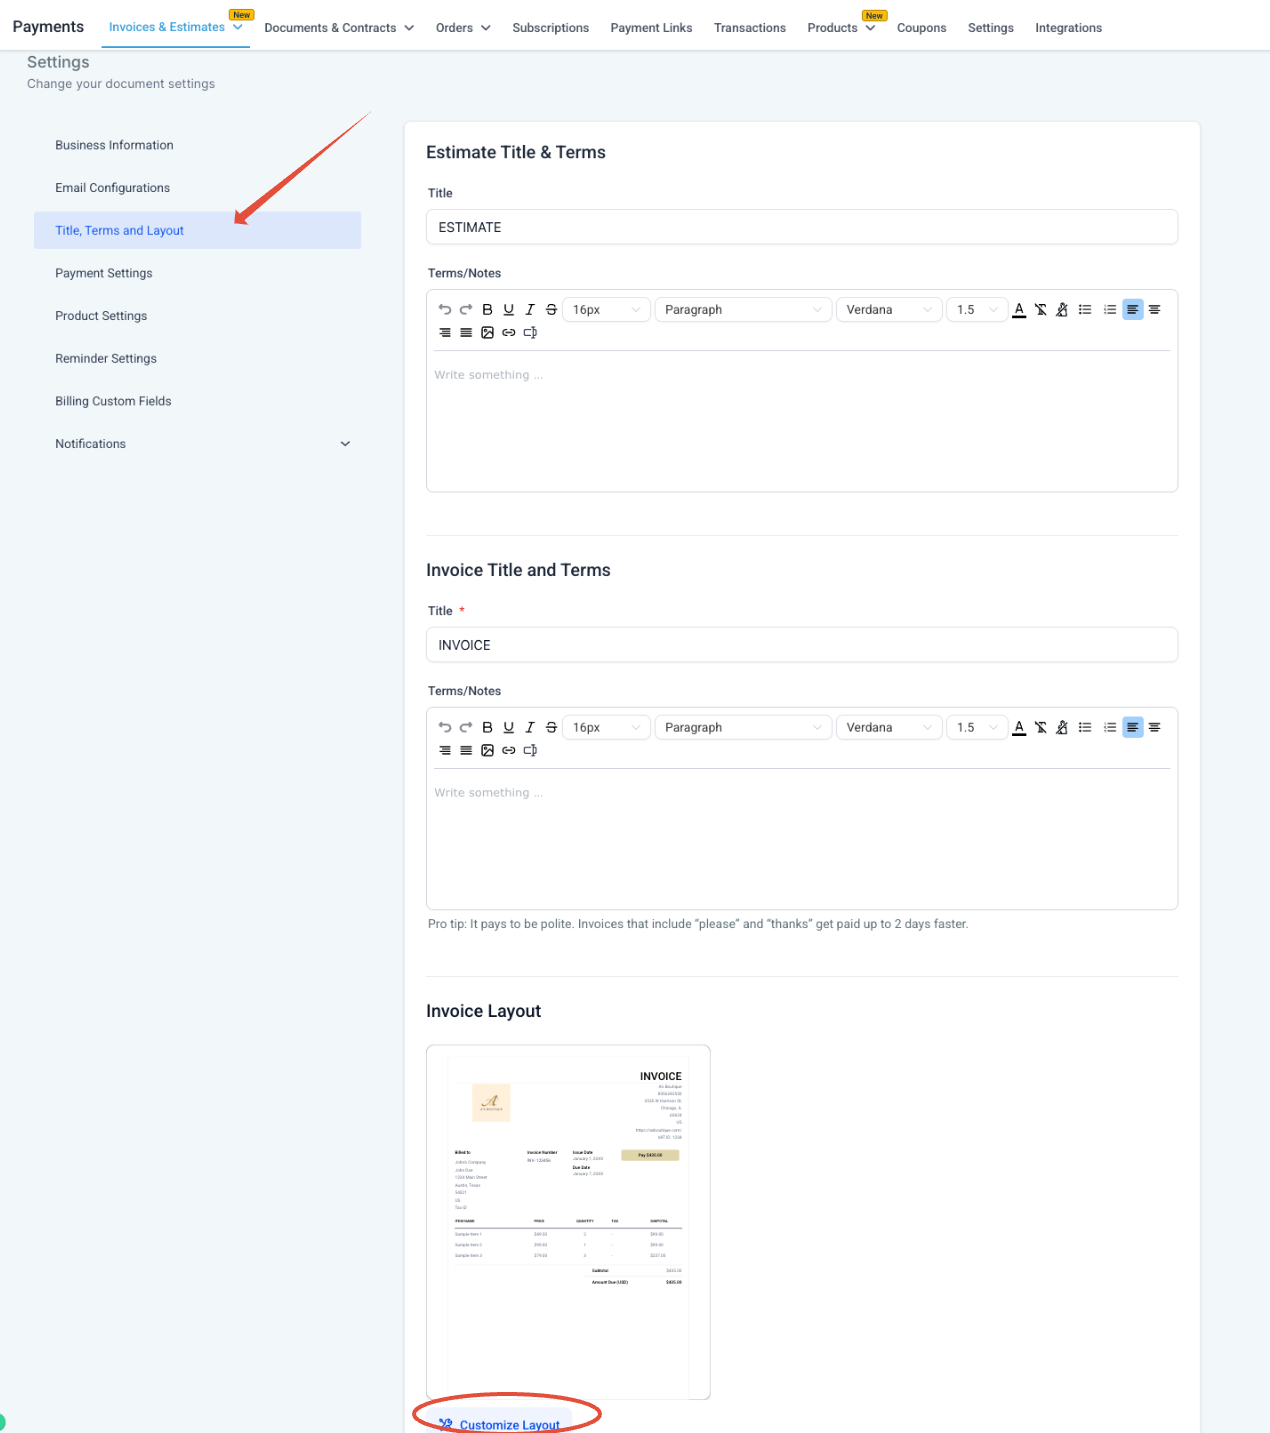
Click Title, Terms and Layout to configure document appearance.
Edit the Estimate Title and the Estimate Terms and Notes. Numerous formatting options are available, including line breaks and links.
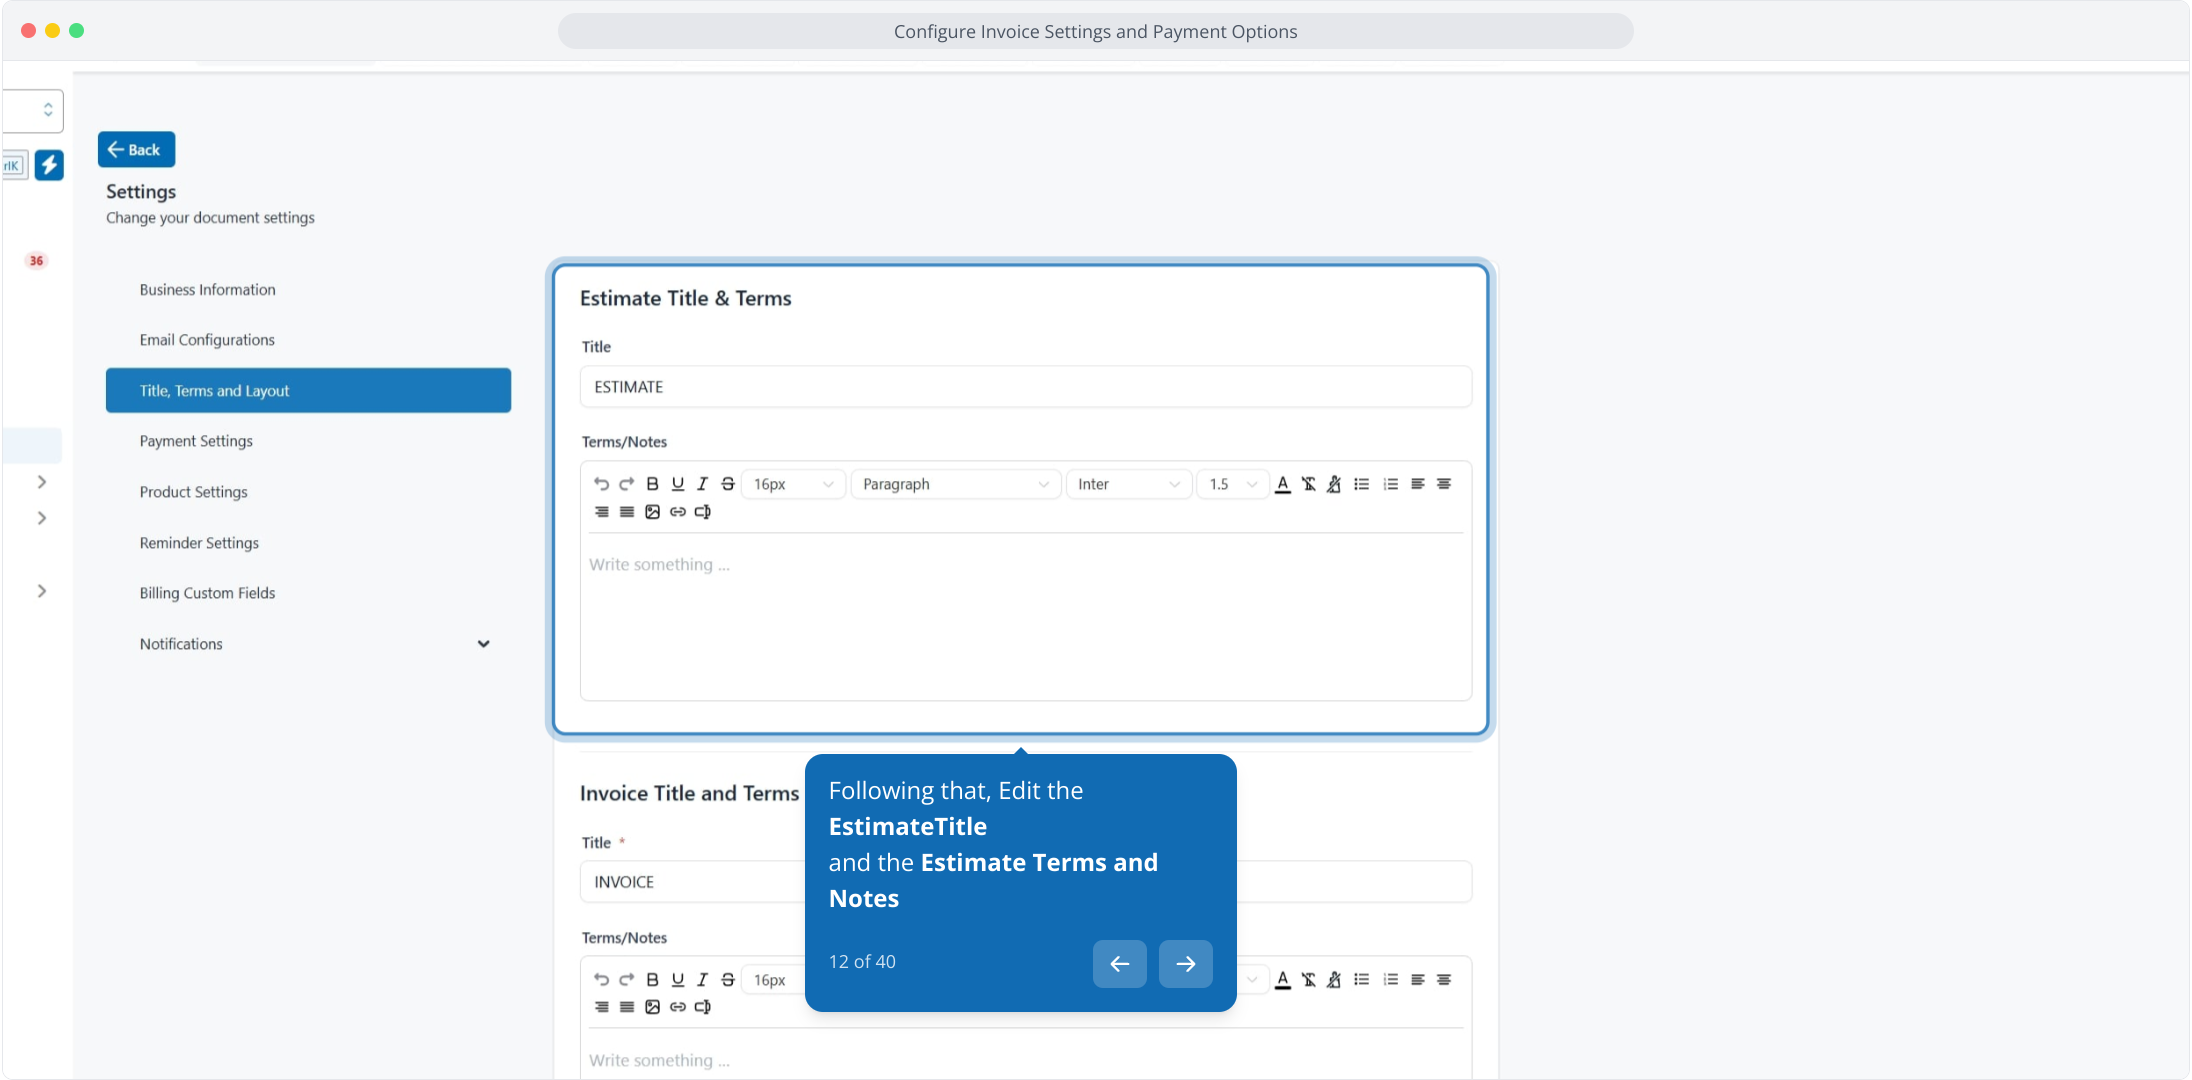
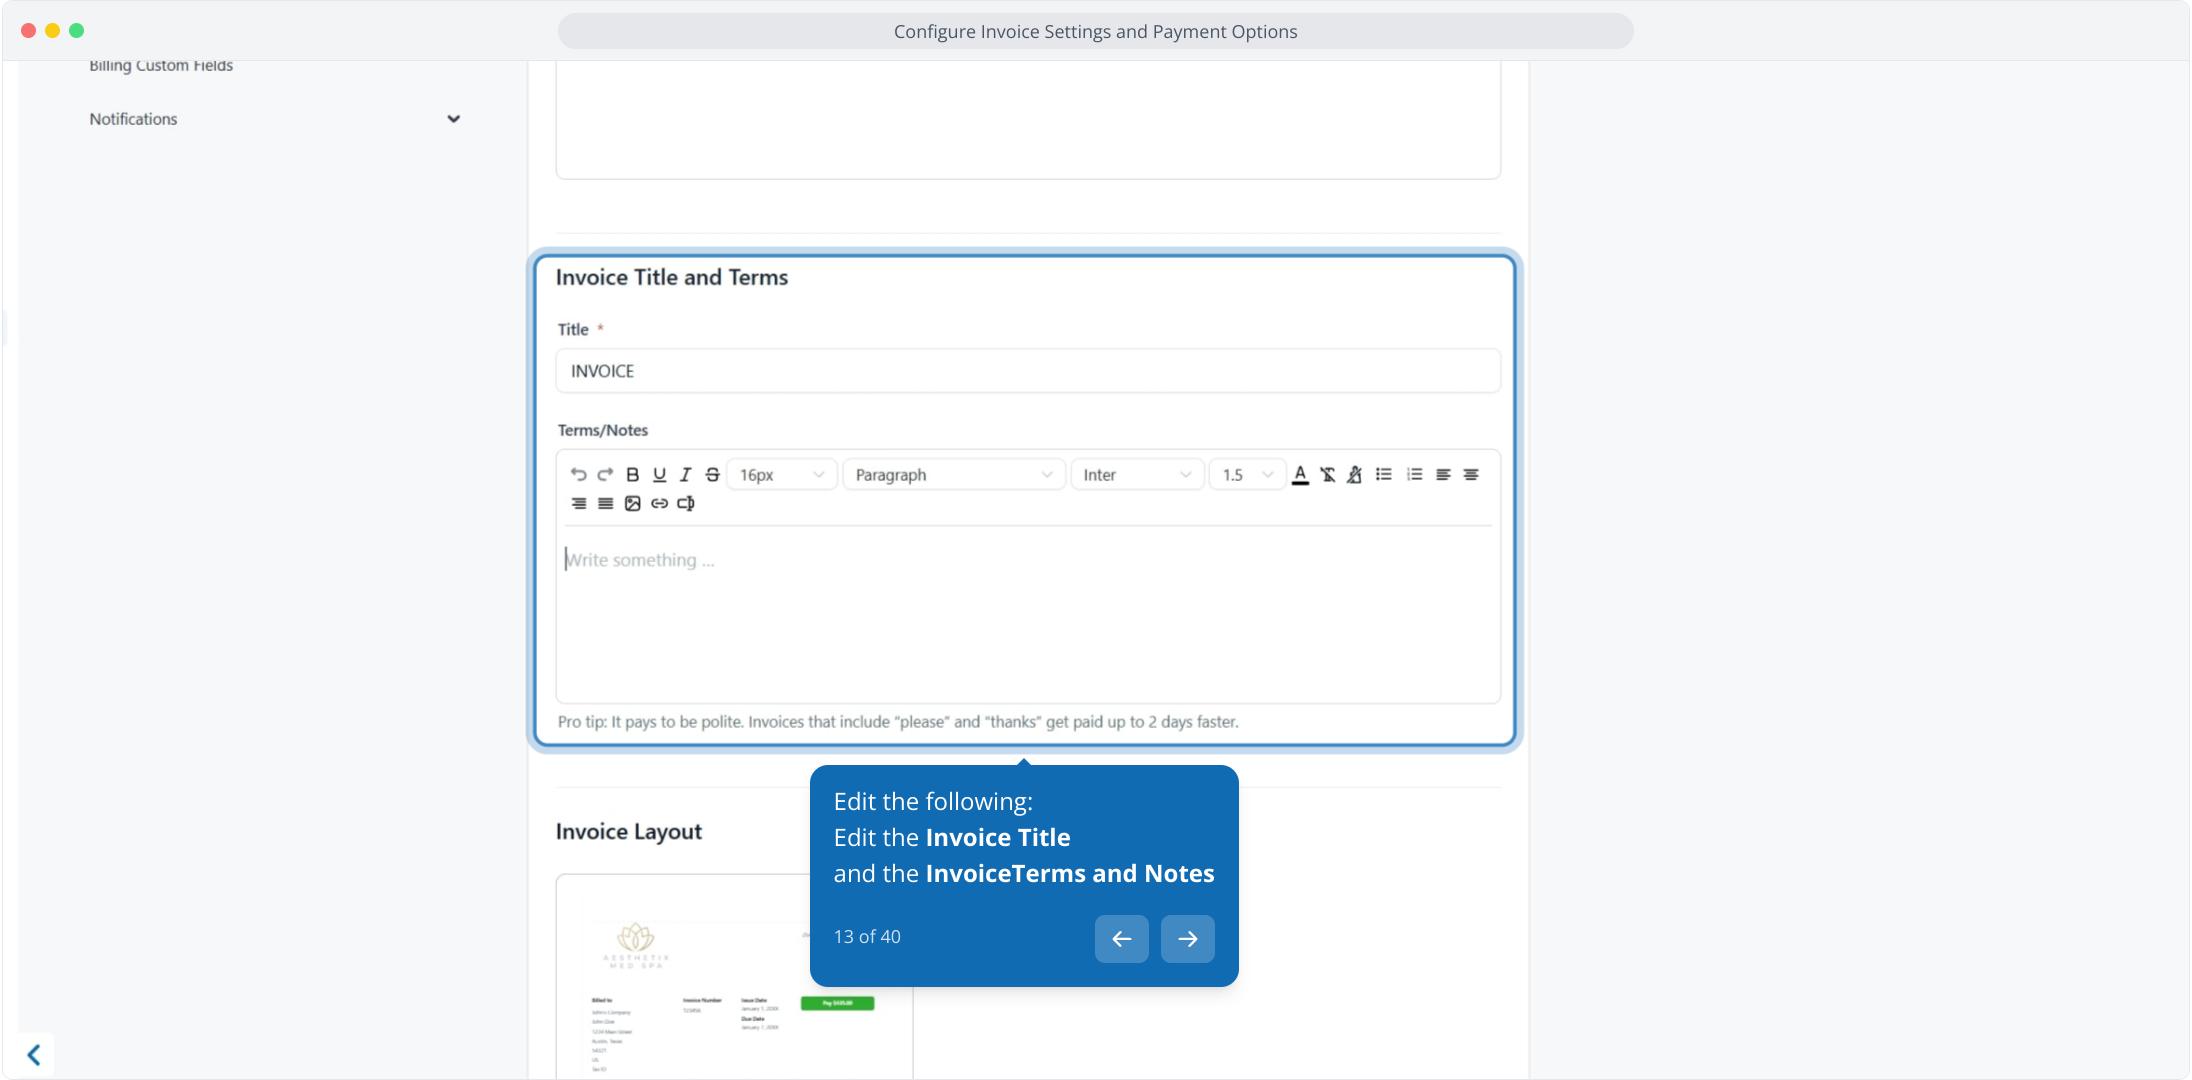
Edit the Invoice Title and the Invoice Terms and Notes.
You can preview and edit the invoice layout here.
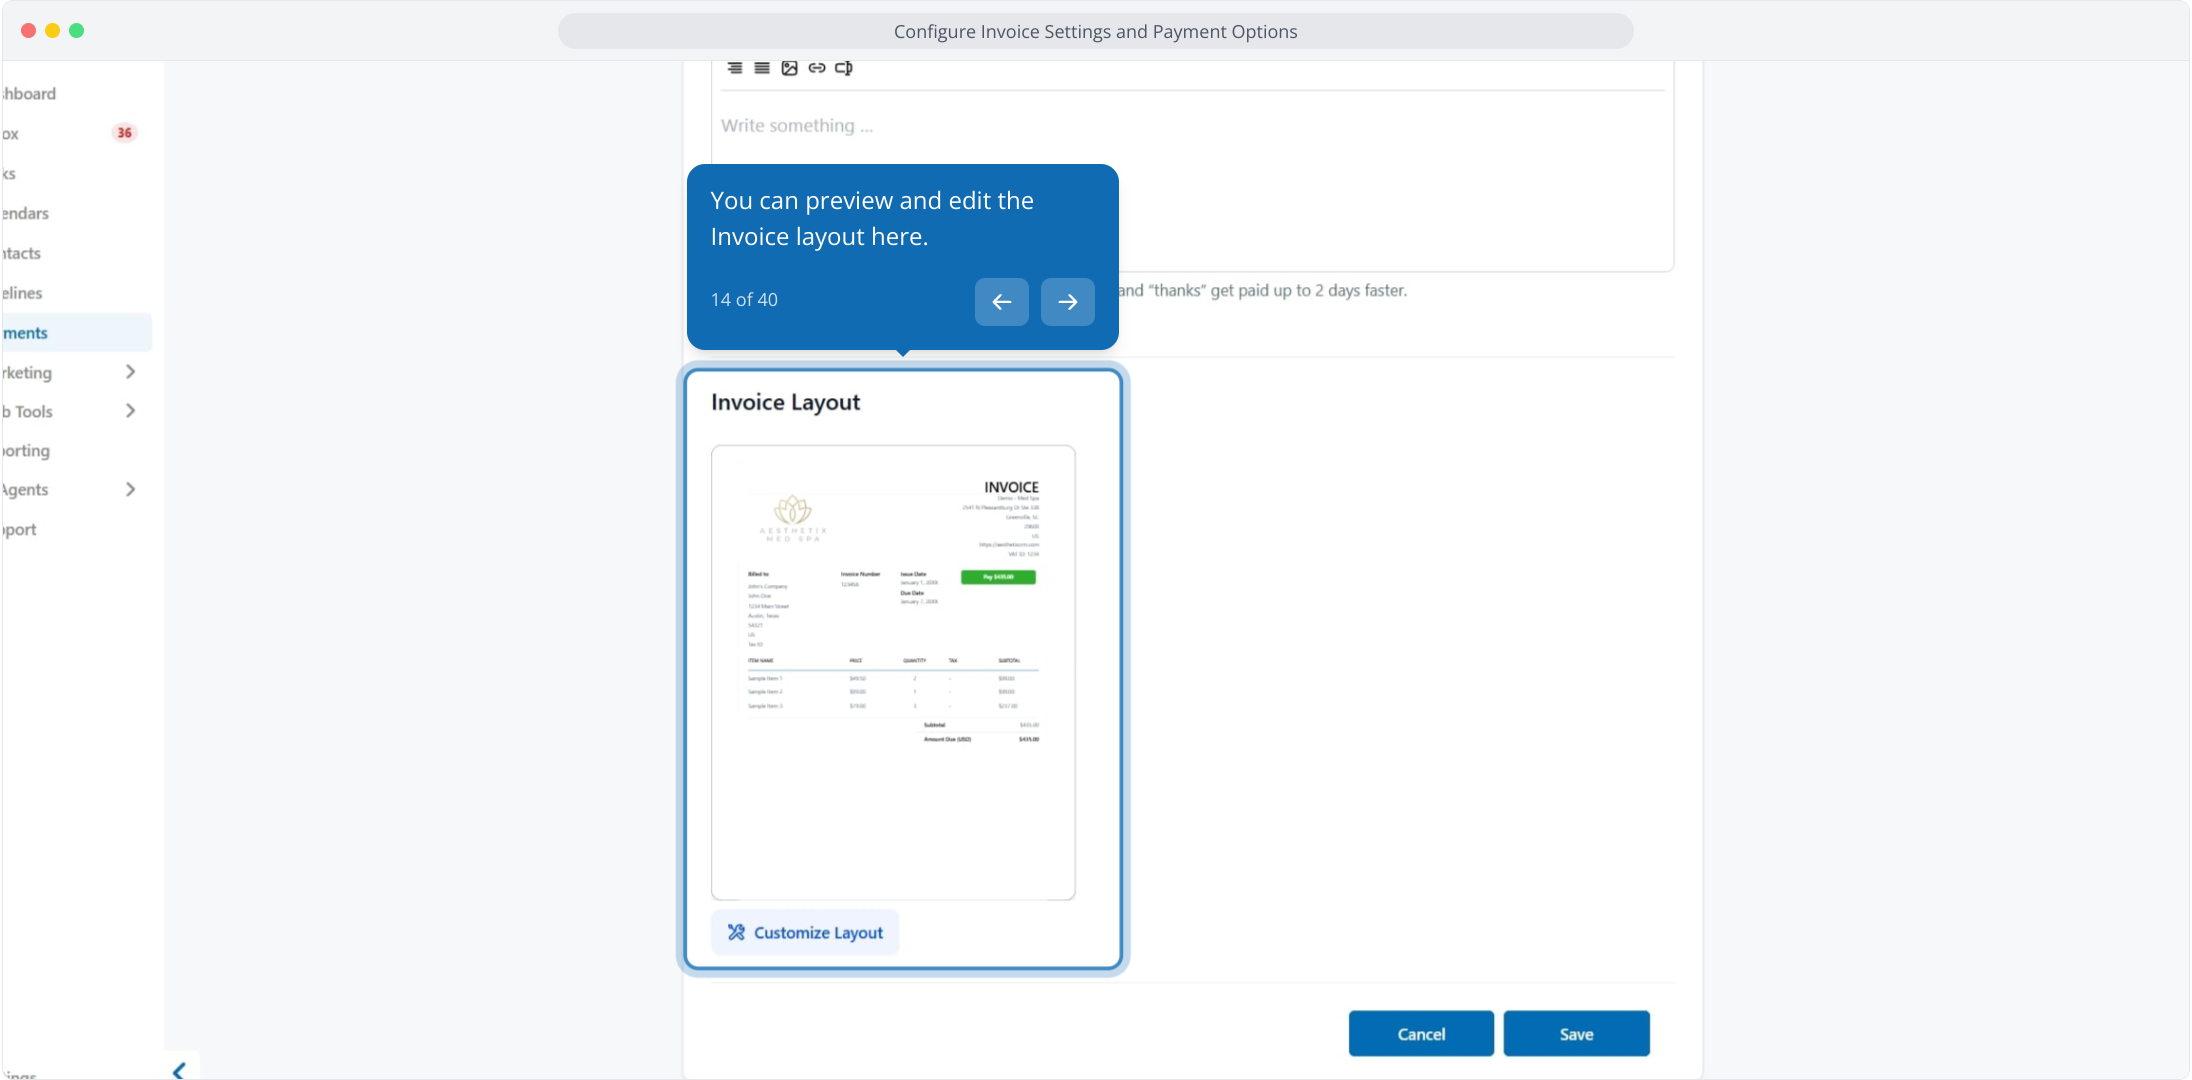
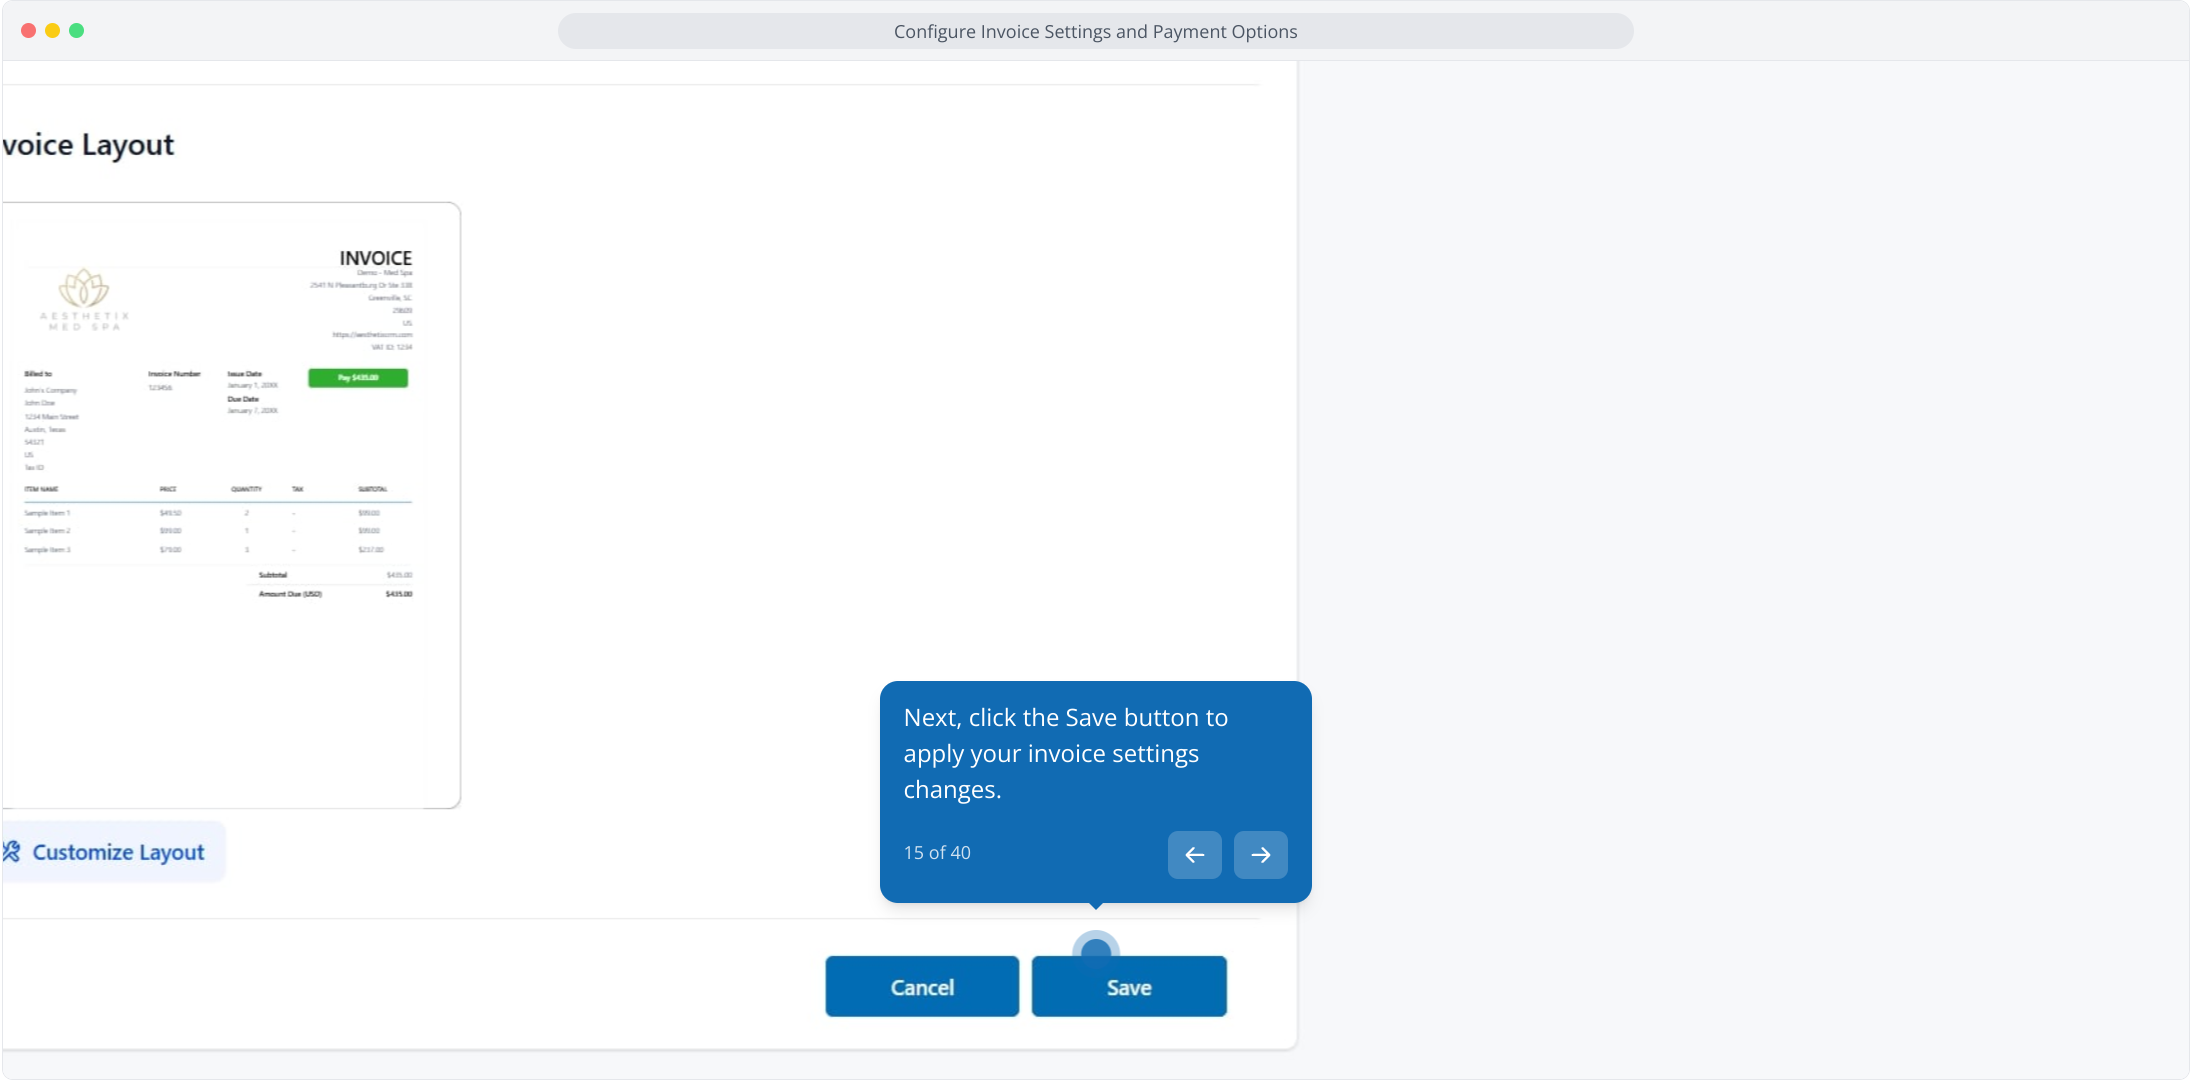
Click Save to apply your changes.
Layout customization lets you control the visual design and section wording of your invoices. Instead of one fixed template, you can adjust branding, business and contact sections, and line-item labels so every invoice reflects your practice.
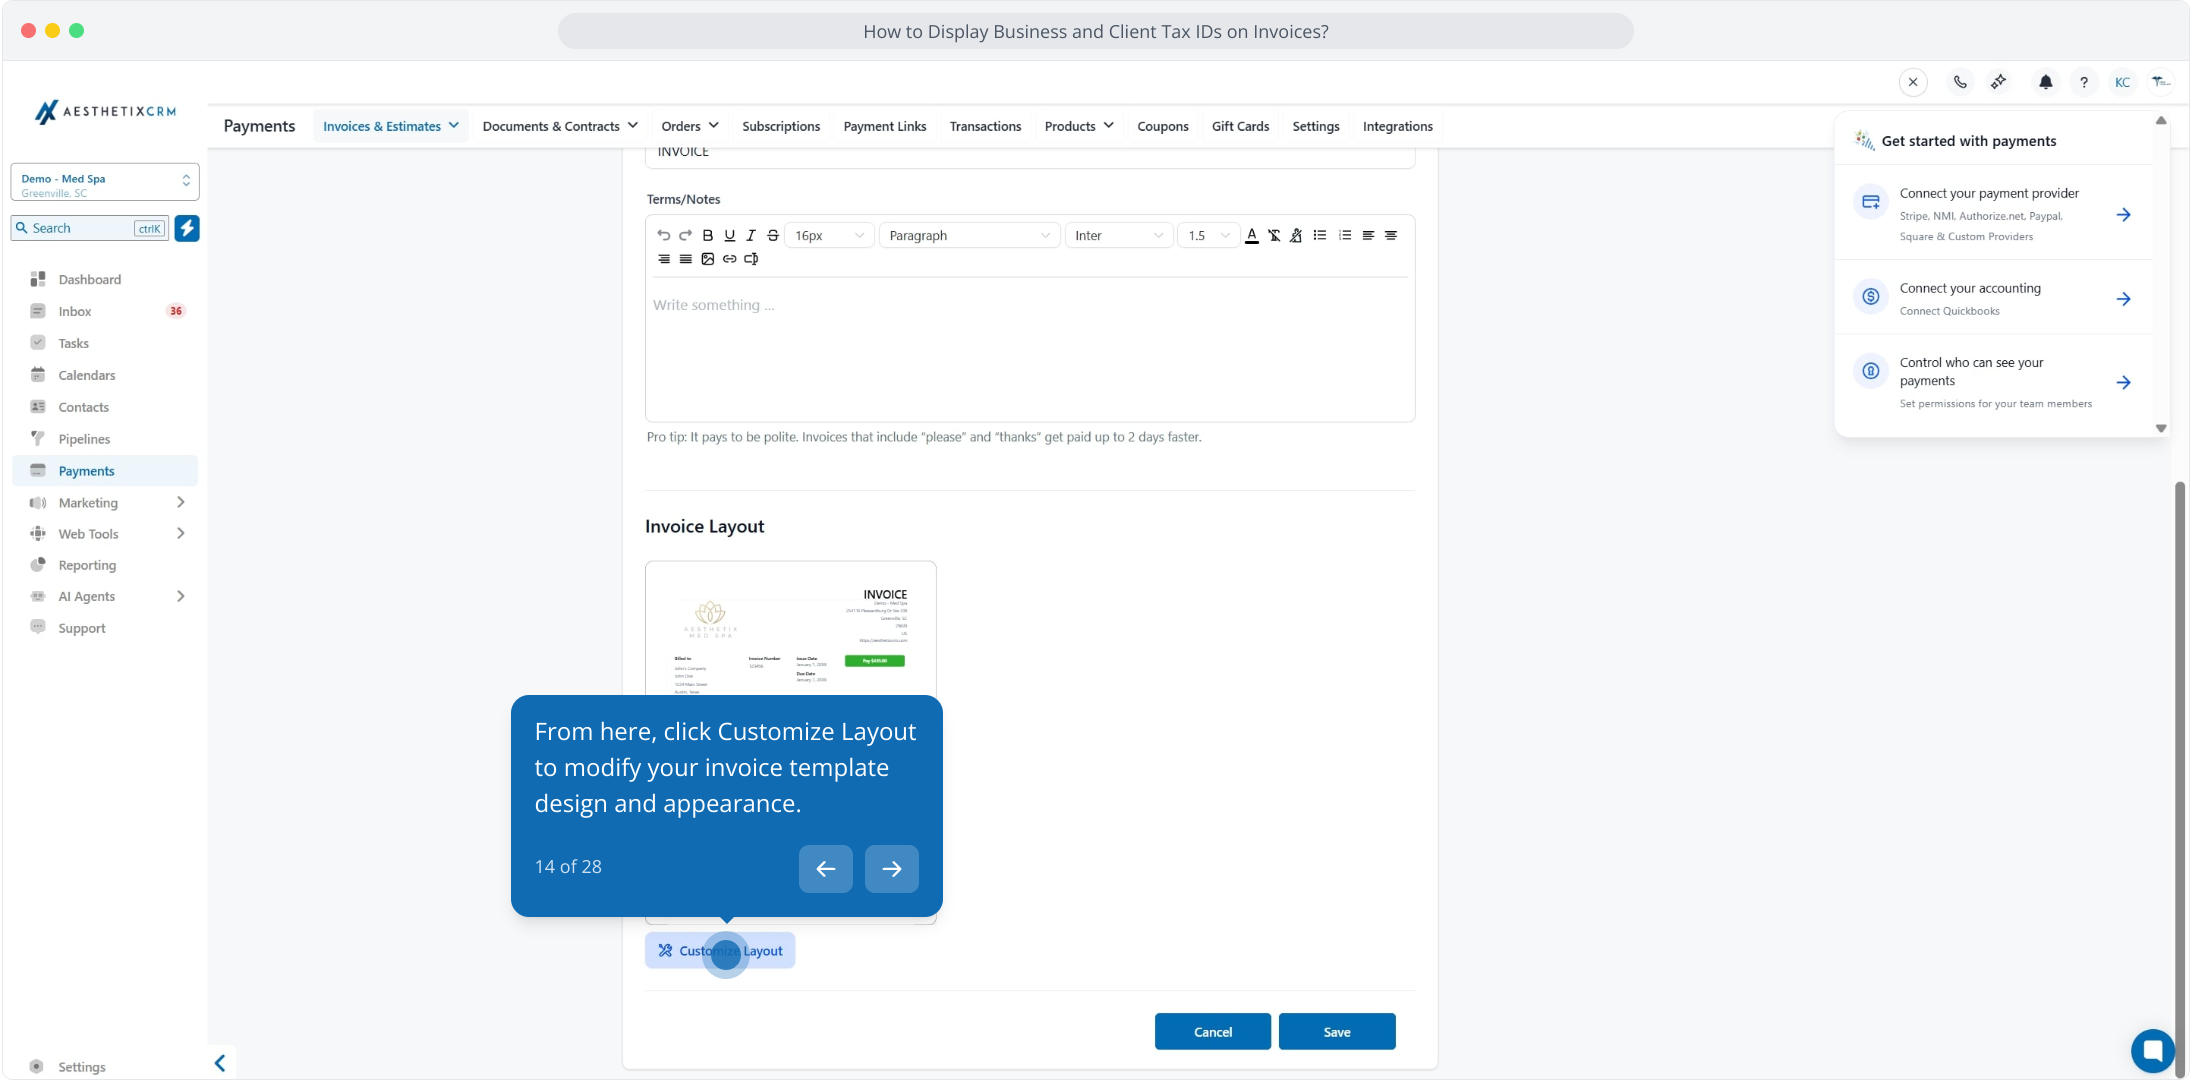
Under Title, Terms and Layout, scroll to Invoice Layout and click Customize Layout.
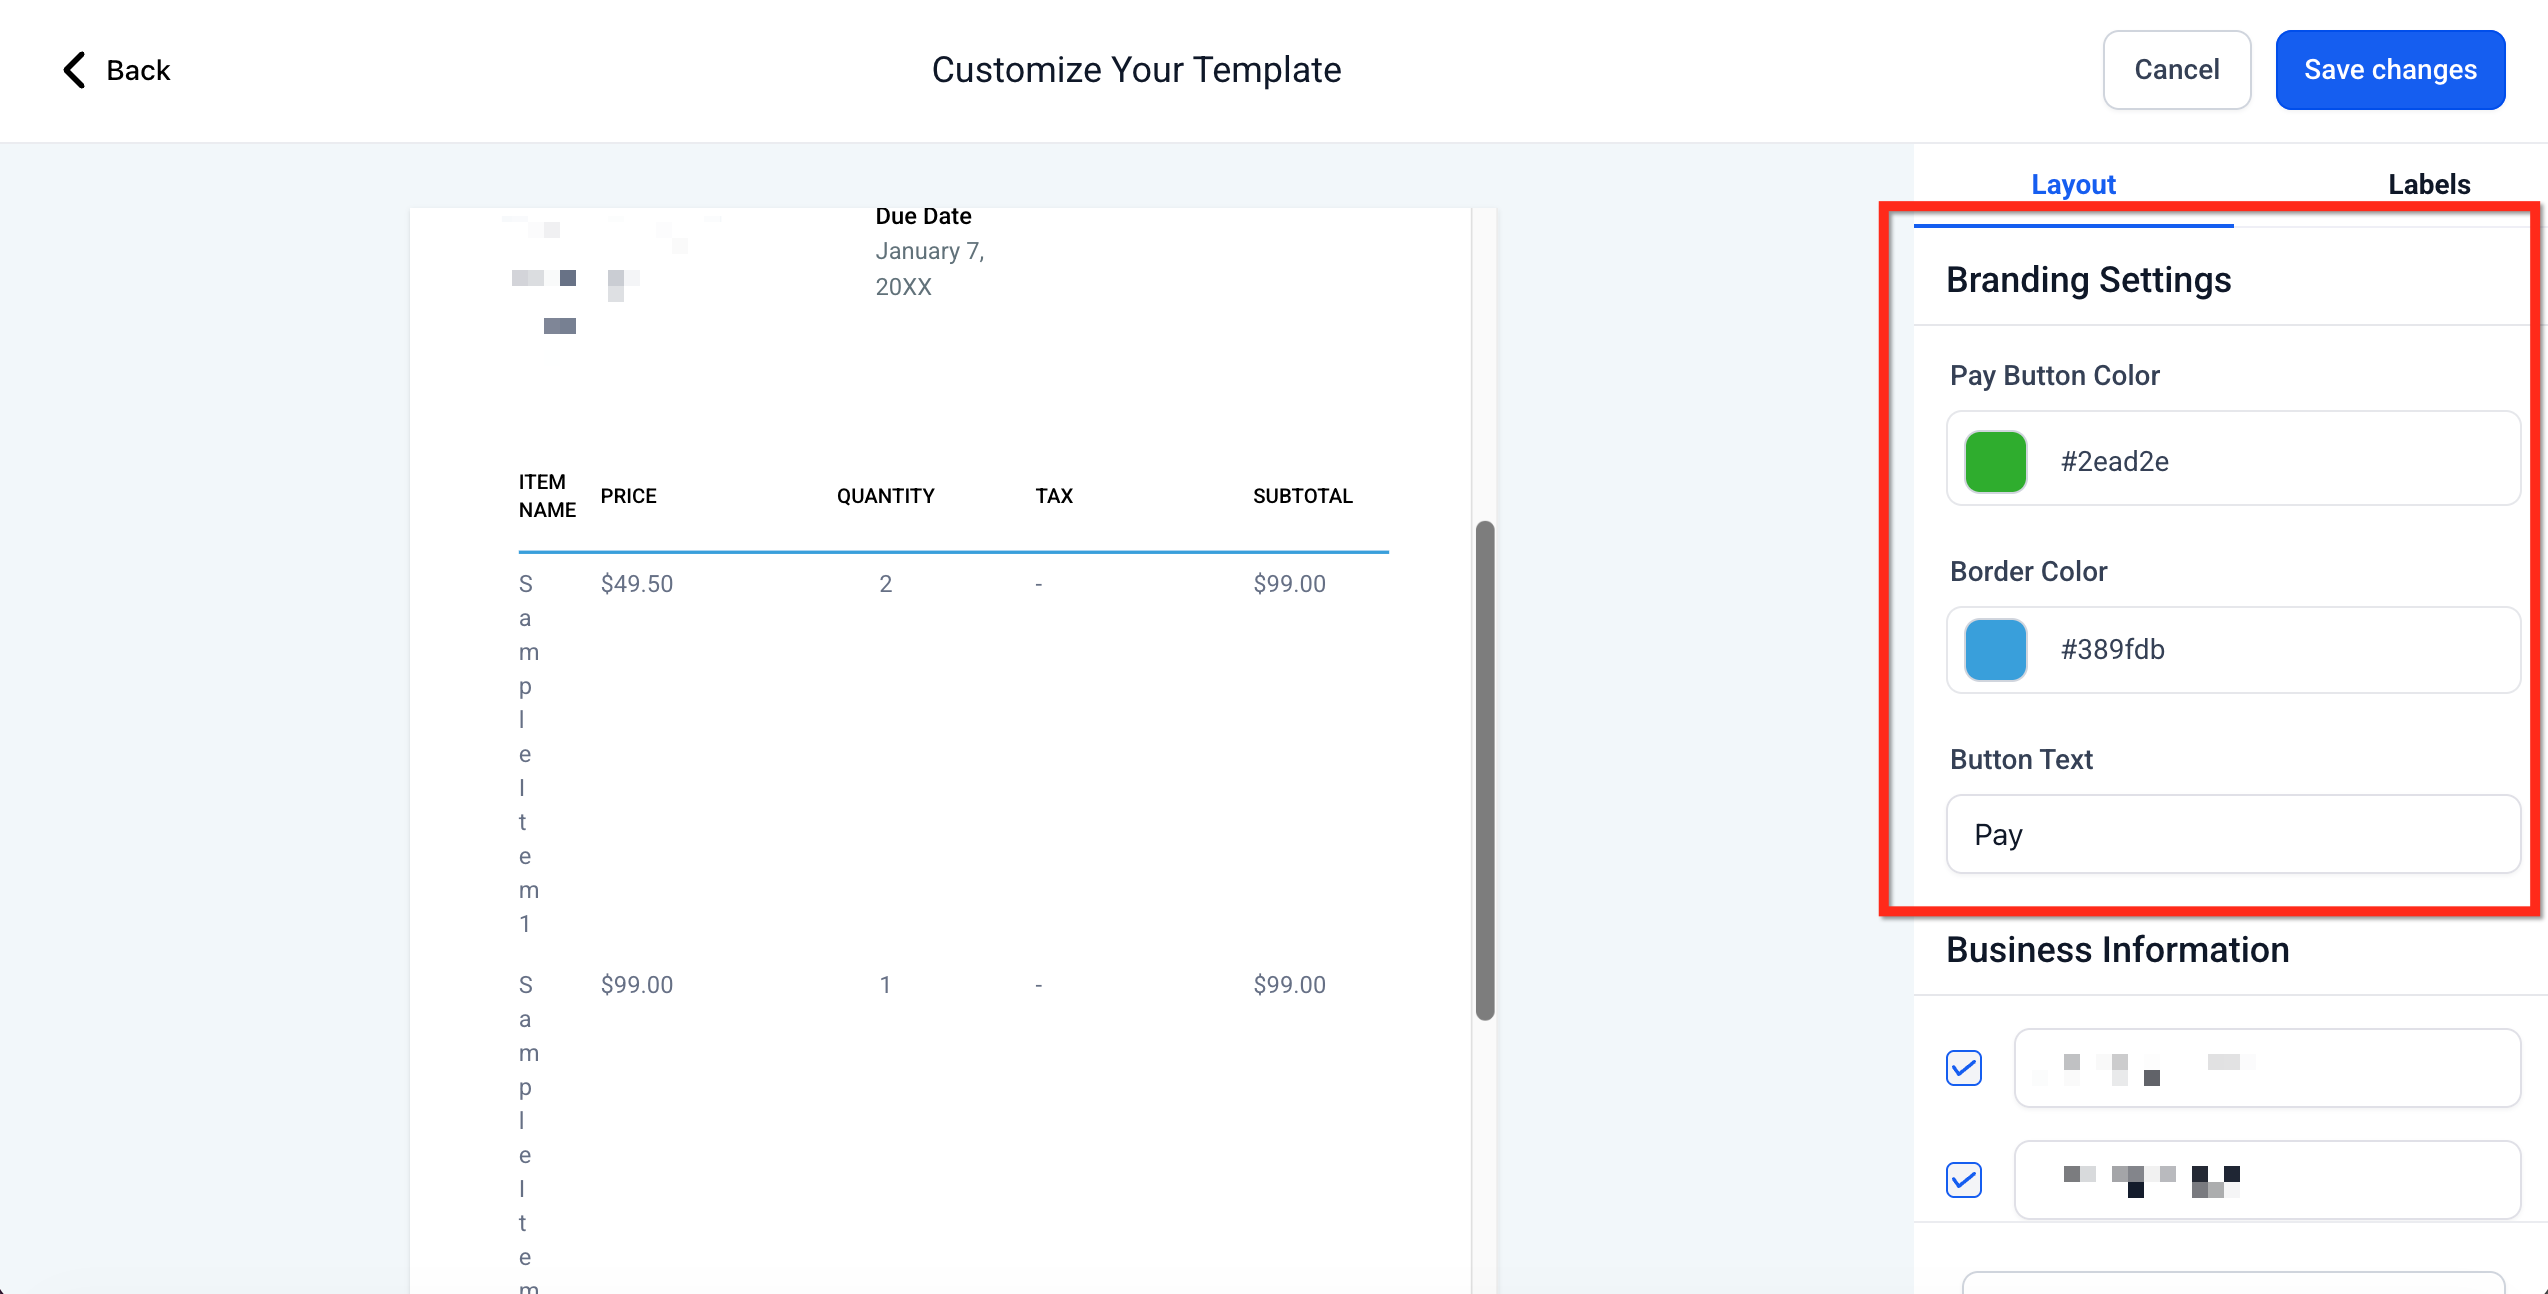
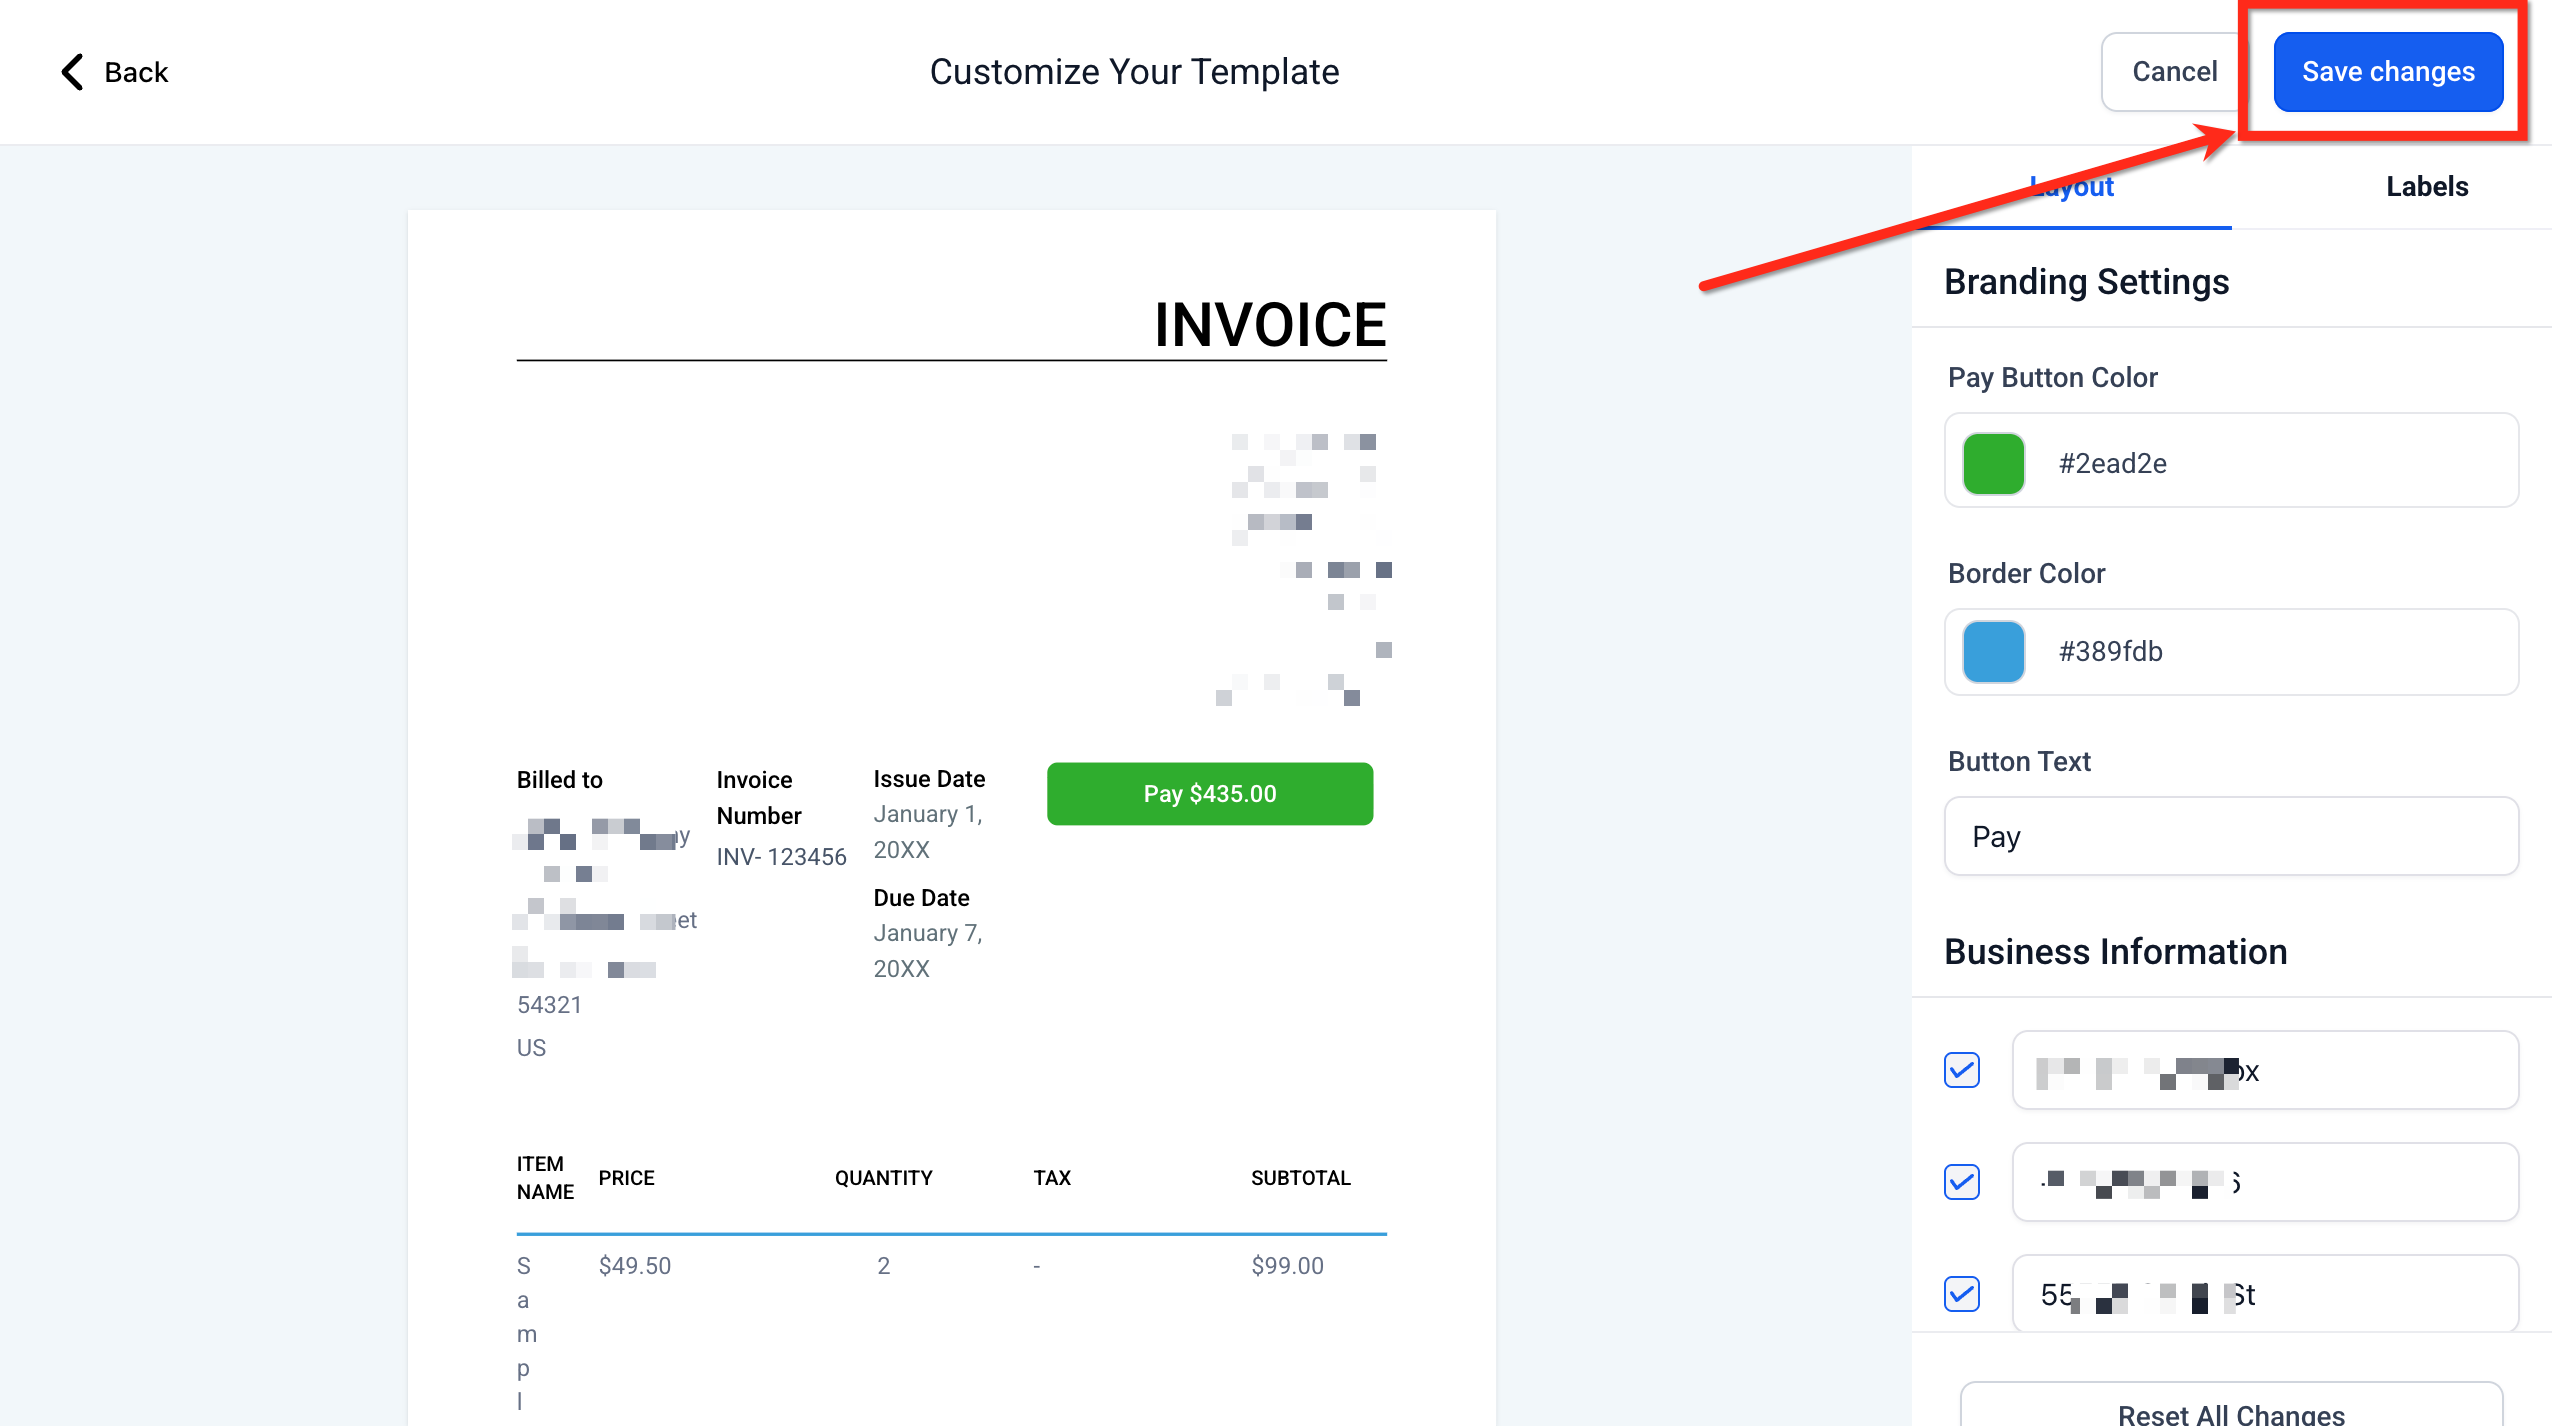
Branding Settings: Adjust the pay button color, border color (both use a color picker), and button text (for example, change Pay to Deposit).
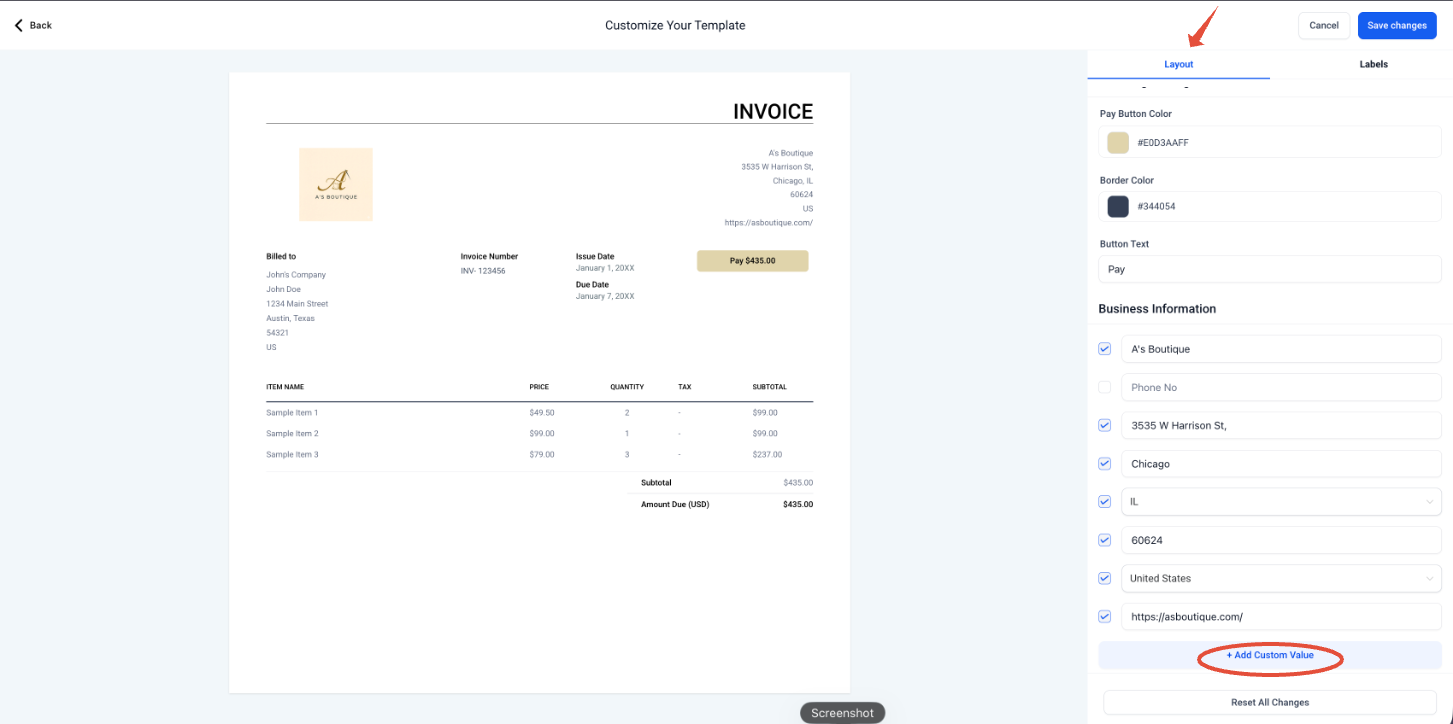
Business Information: Show or hide standard fields like company name, phone, address, and tax IDs. Add up to 3 custom values (such as registration number or VAT/GST), and reorder or remove them as needs change.
Tip: Unchecked fields are hidden from recipients, but your team can still edit their values while creating an invoice.
Contact Information: This is the recipient block (for example, "Billed to"). Rename the section header (for example, to "Patient details") and add custom fields to capture extra recipient details.
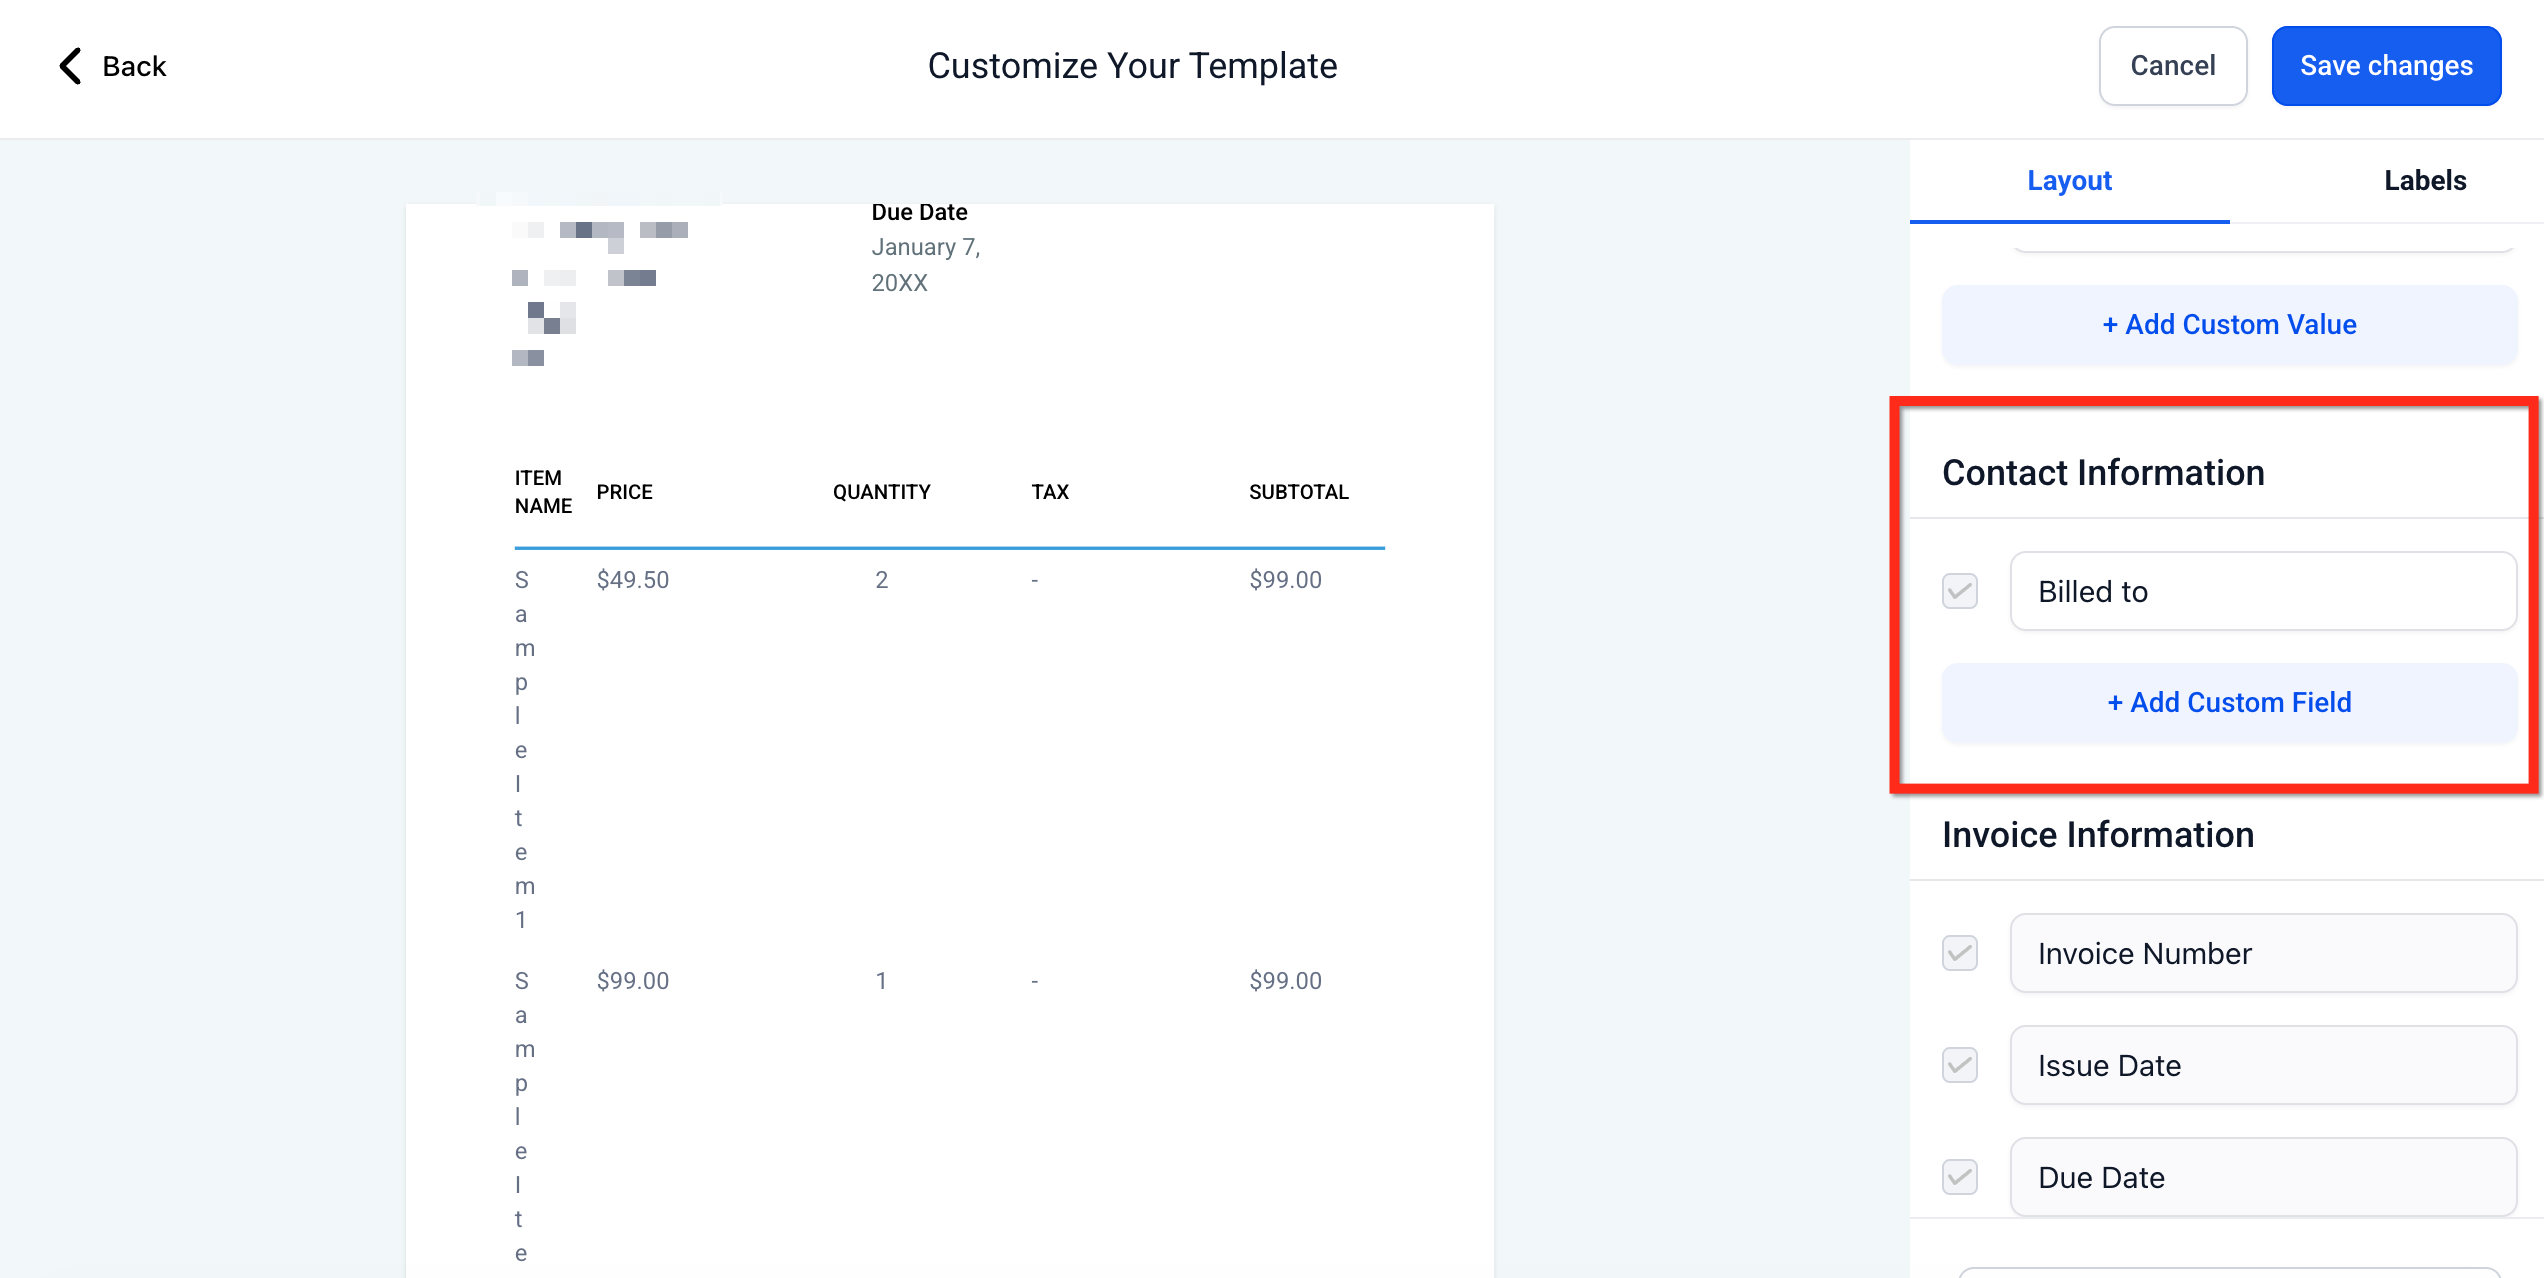
Invoice Information: Show or hide core fields such as Invoice Number, Issue Date, and Due Date. Hidden fields can still remain editable internally during invoice creation.
Labels: Rename the column headers your patients read, such as Item Name, Price, Quantity, Tax, and Subtotal. Show or hide columns by checking or unchecking labels, and respect character counters (for example, up to 75 characters) to avoid wrapping.
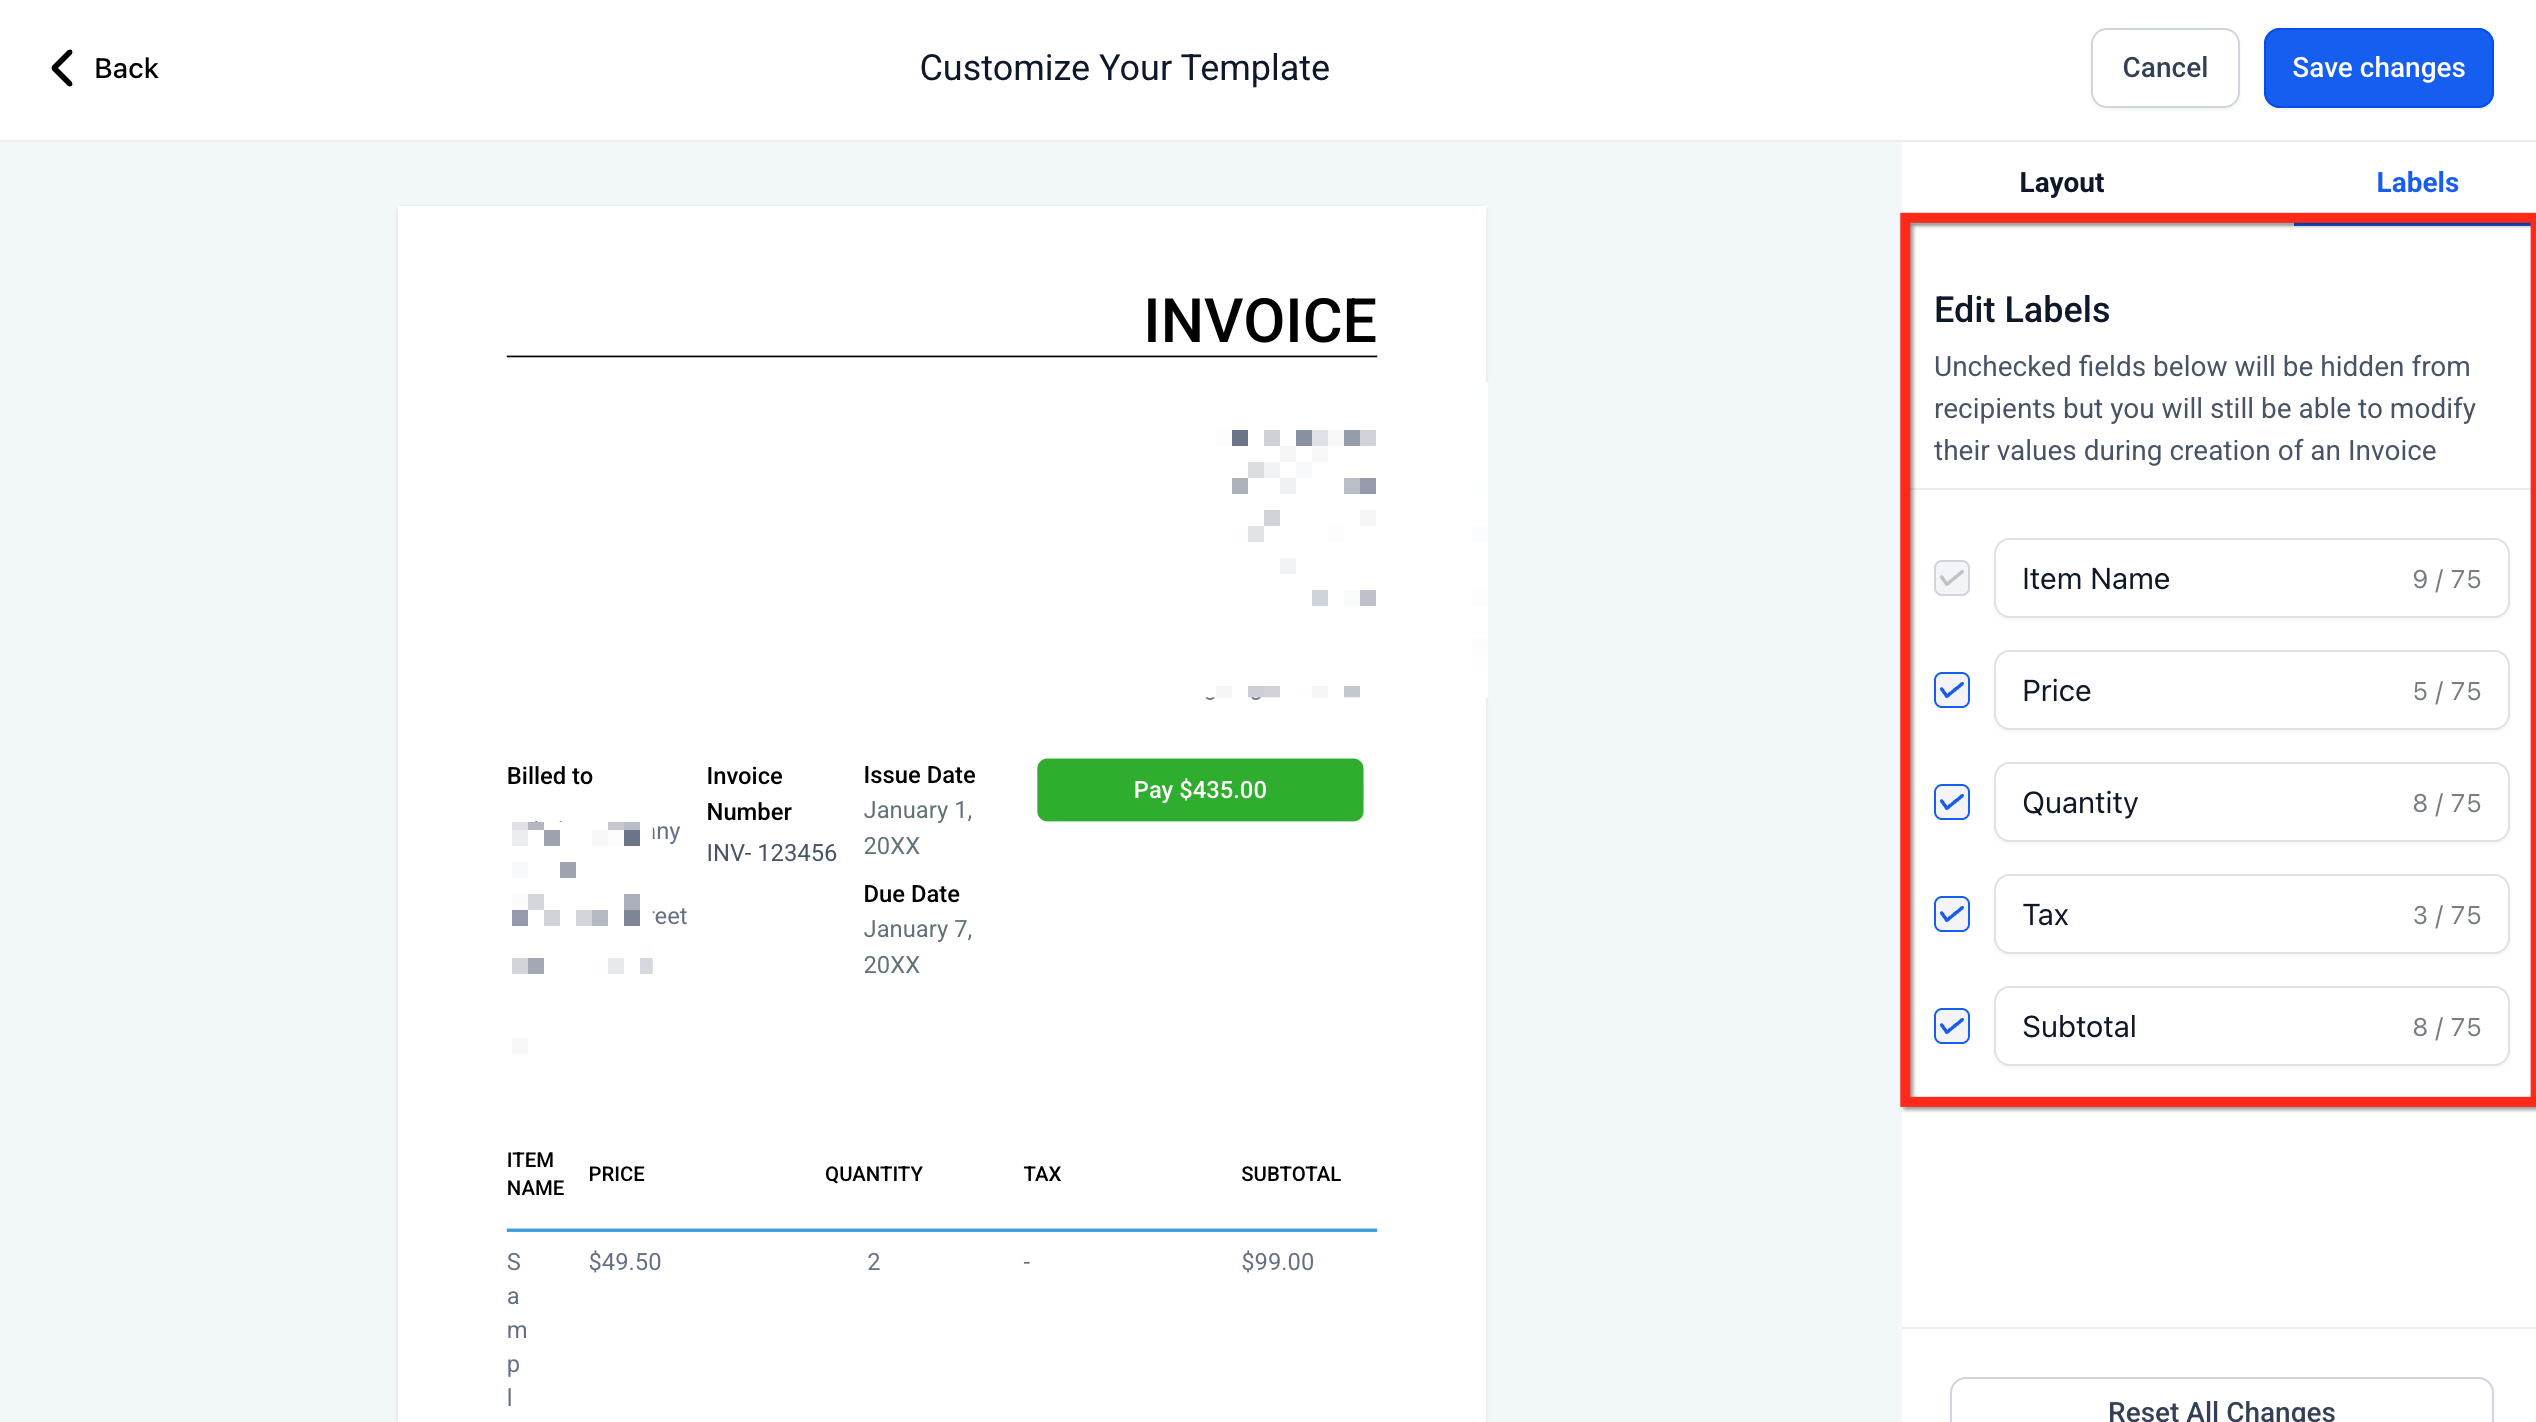
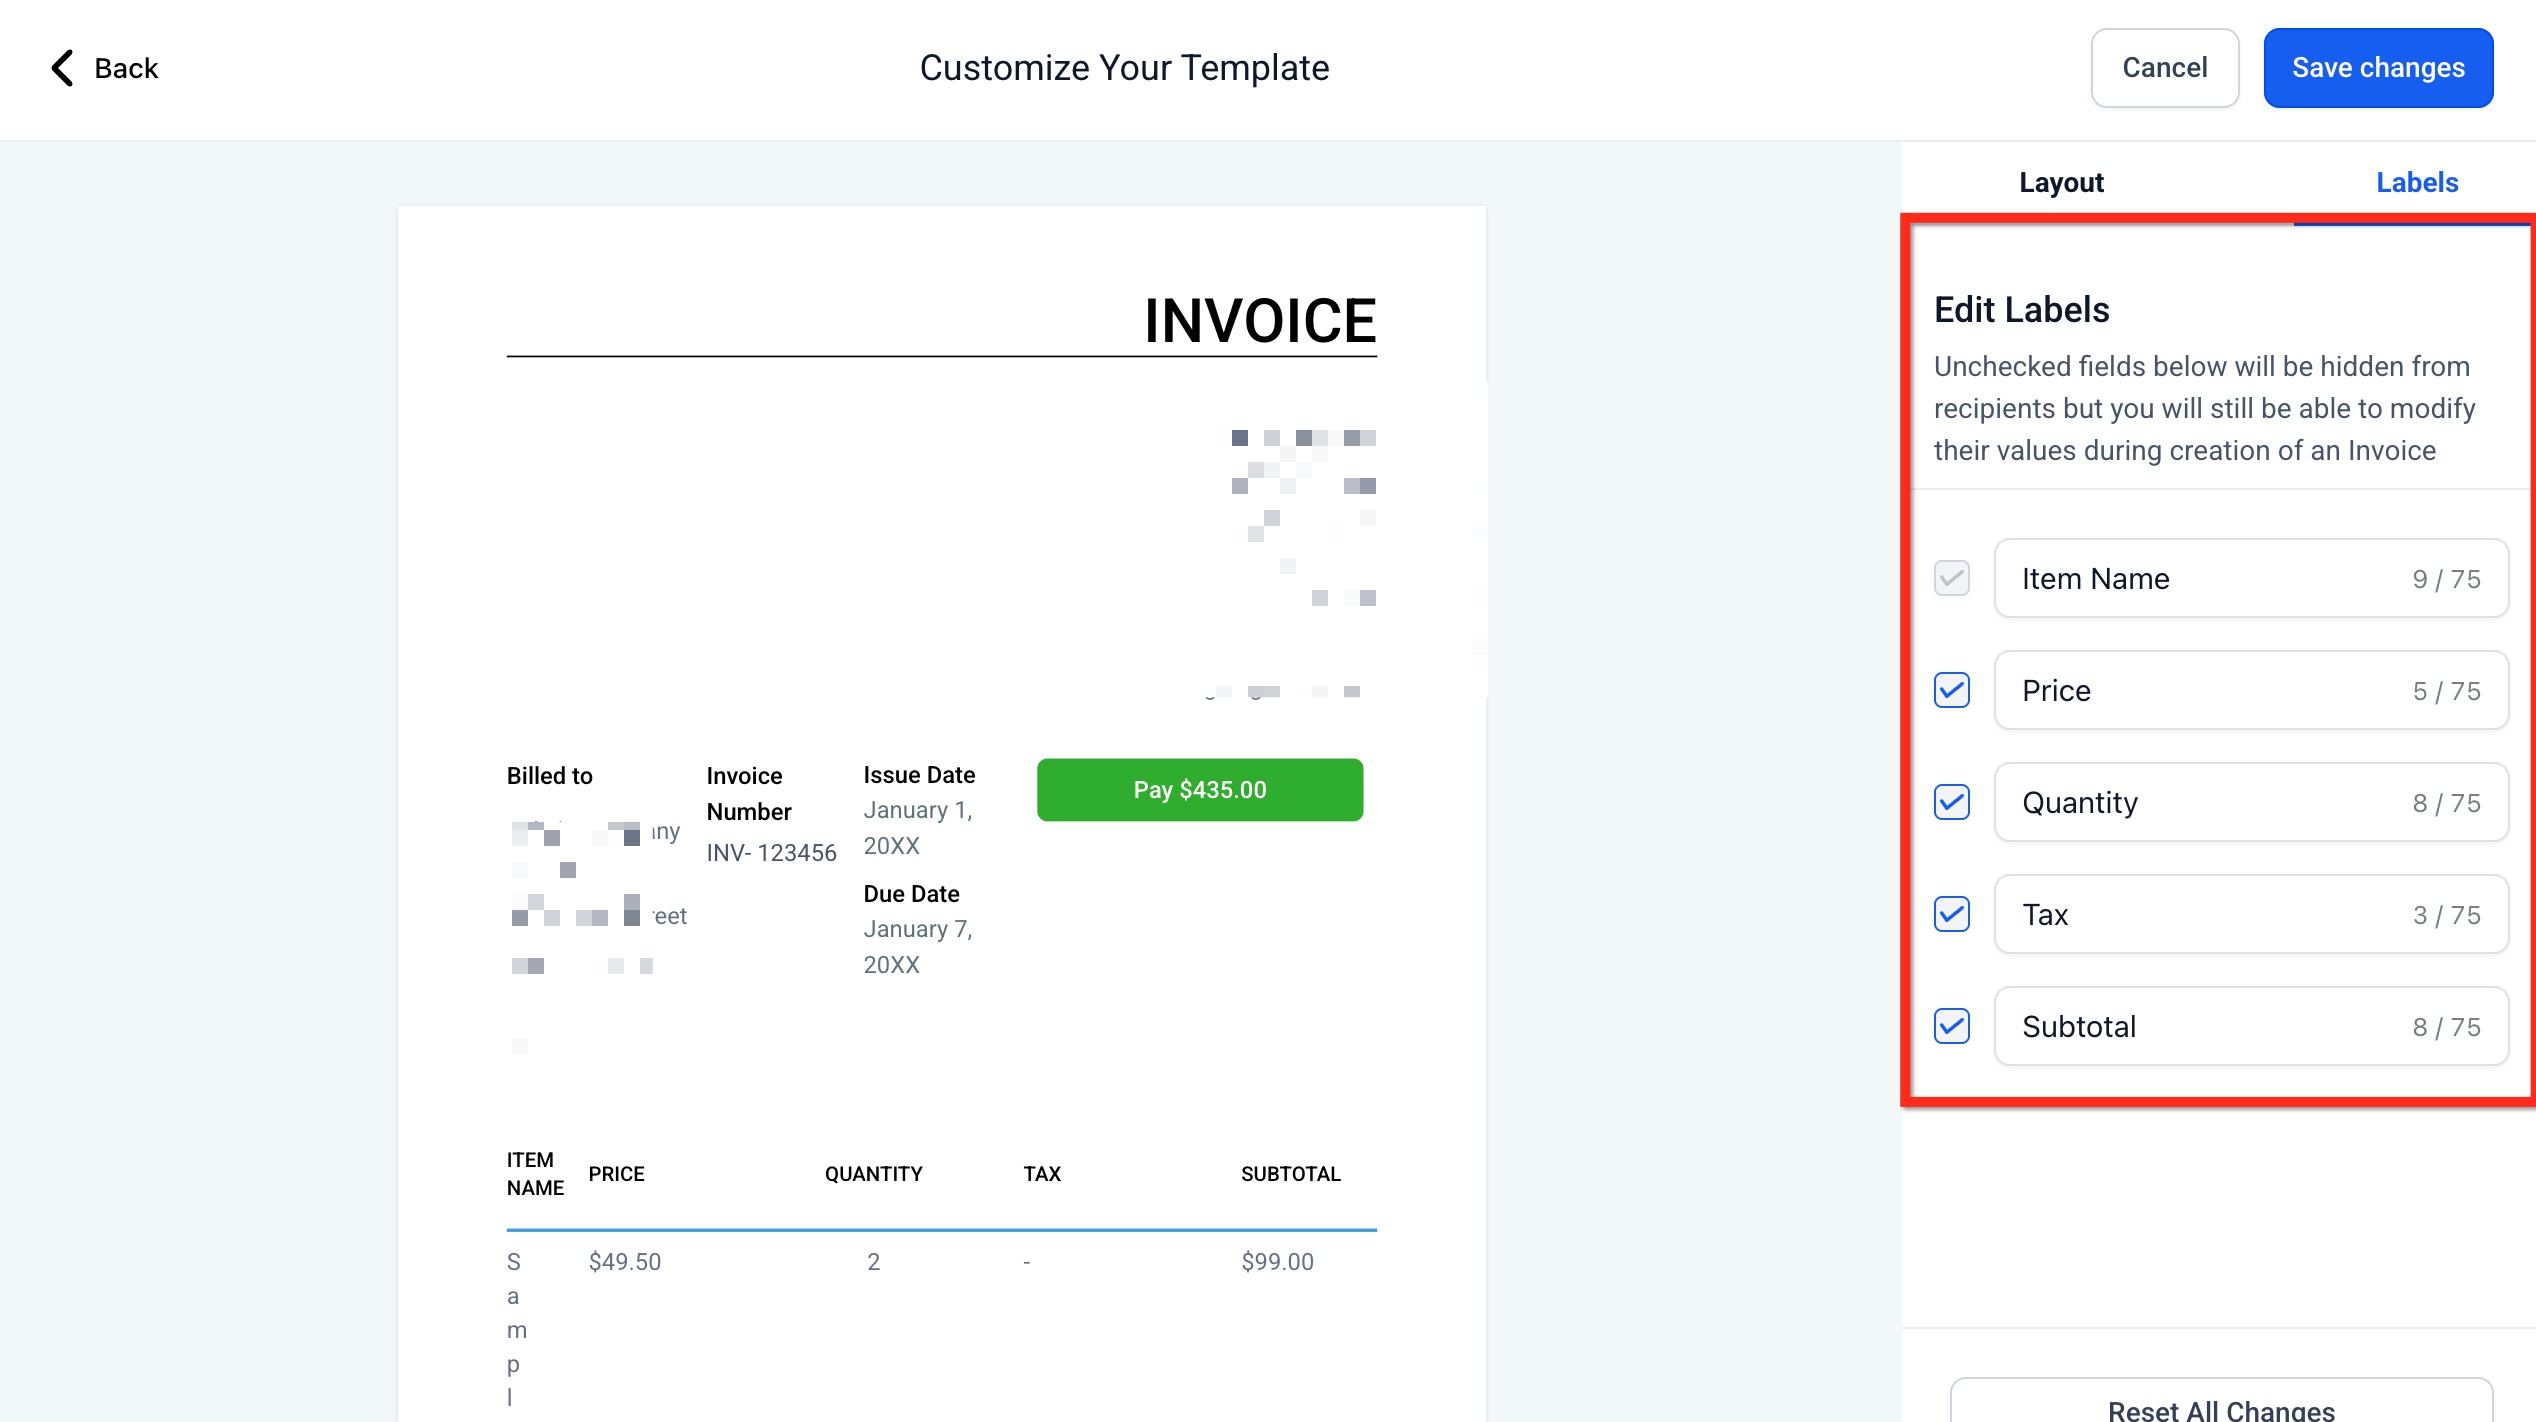
Review the live preview to confirm layout, wording, and visibility look correct, then click Save changes. To start over, click Reset All Changes to restore defaults.
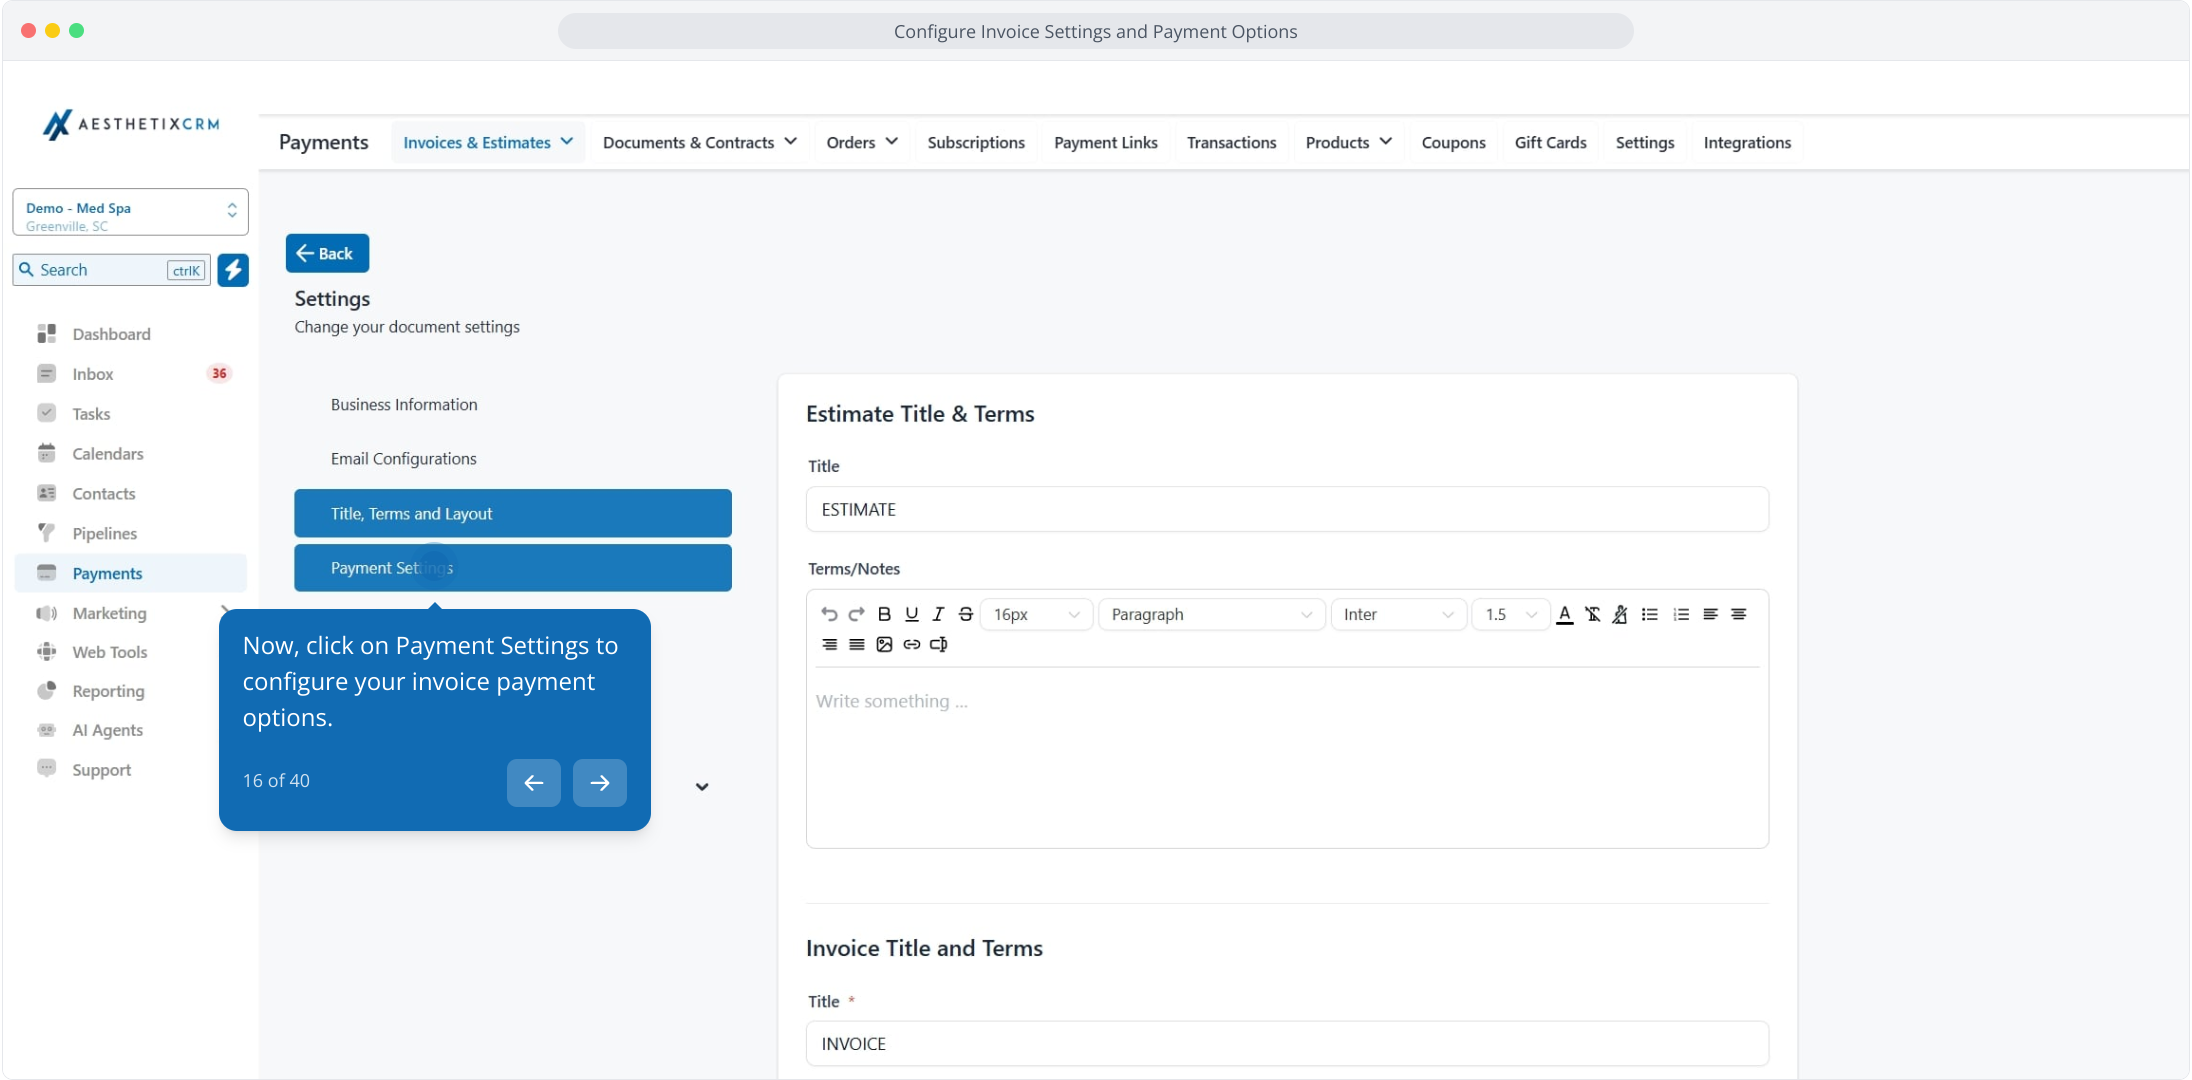
Click Payment Settings to configure your invoice payment options.
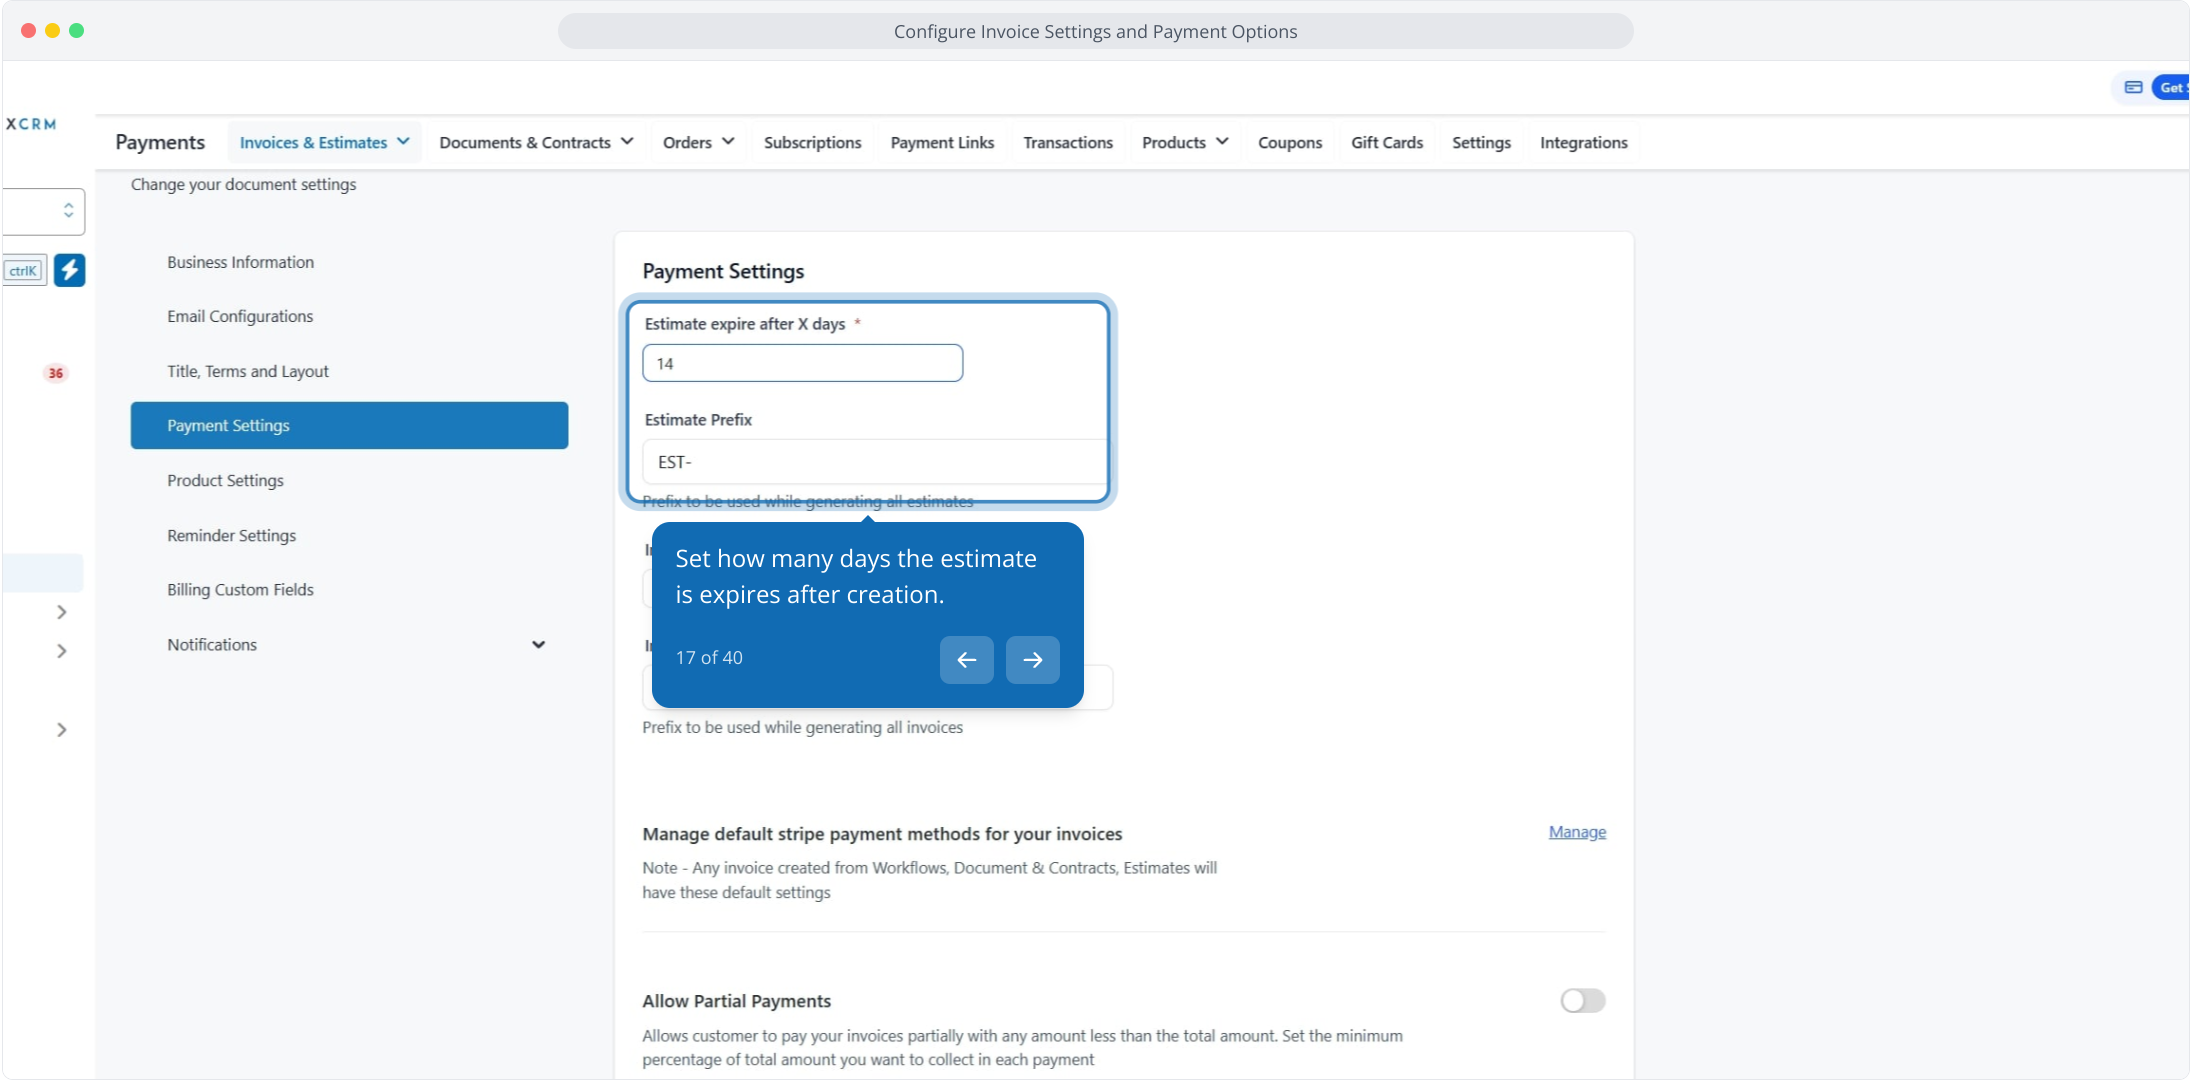
Set how many days an estimate expires after creation.
Set how many days an invoice is due after creation.
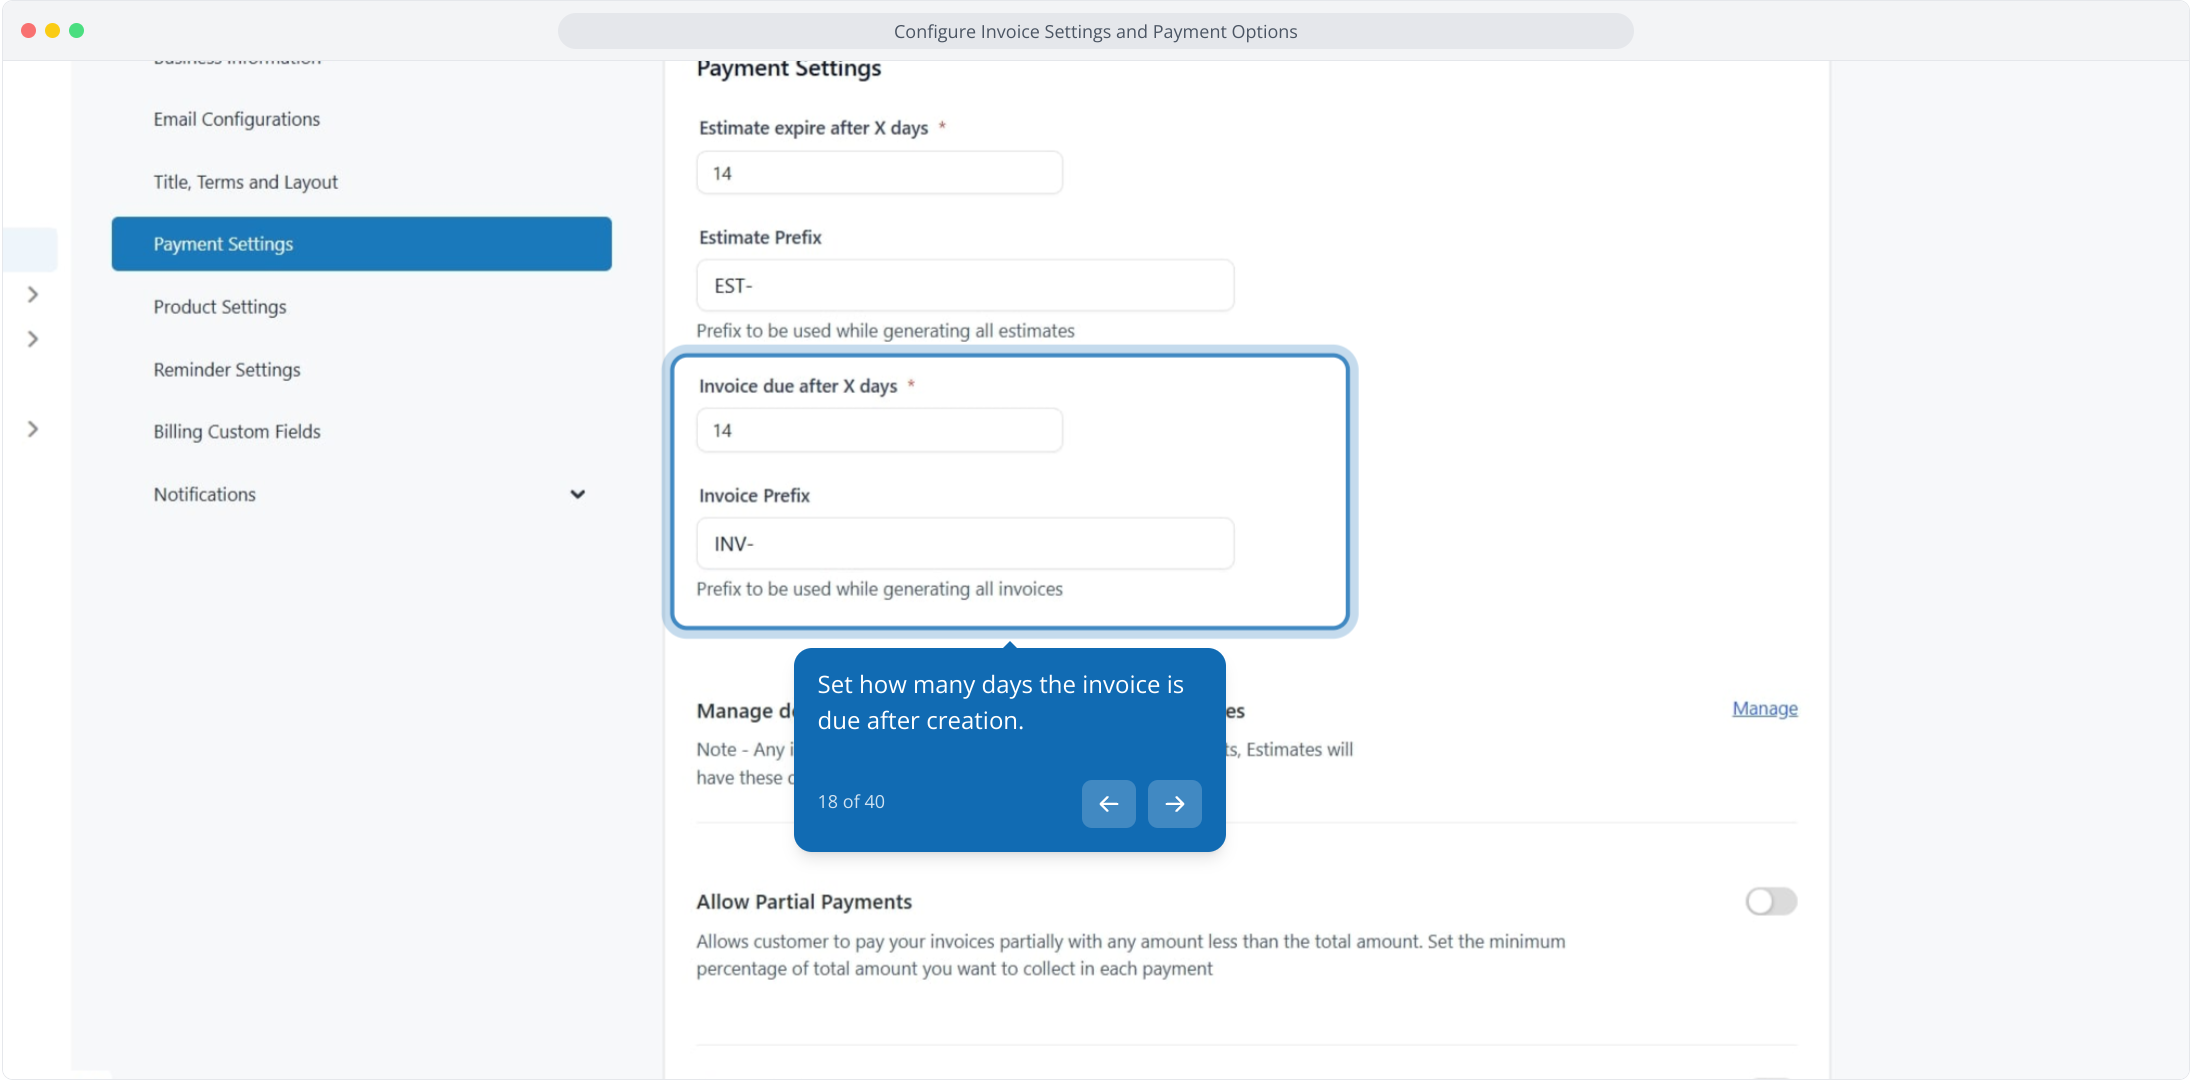
Click Manage to configure the default payment methods for invoices.
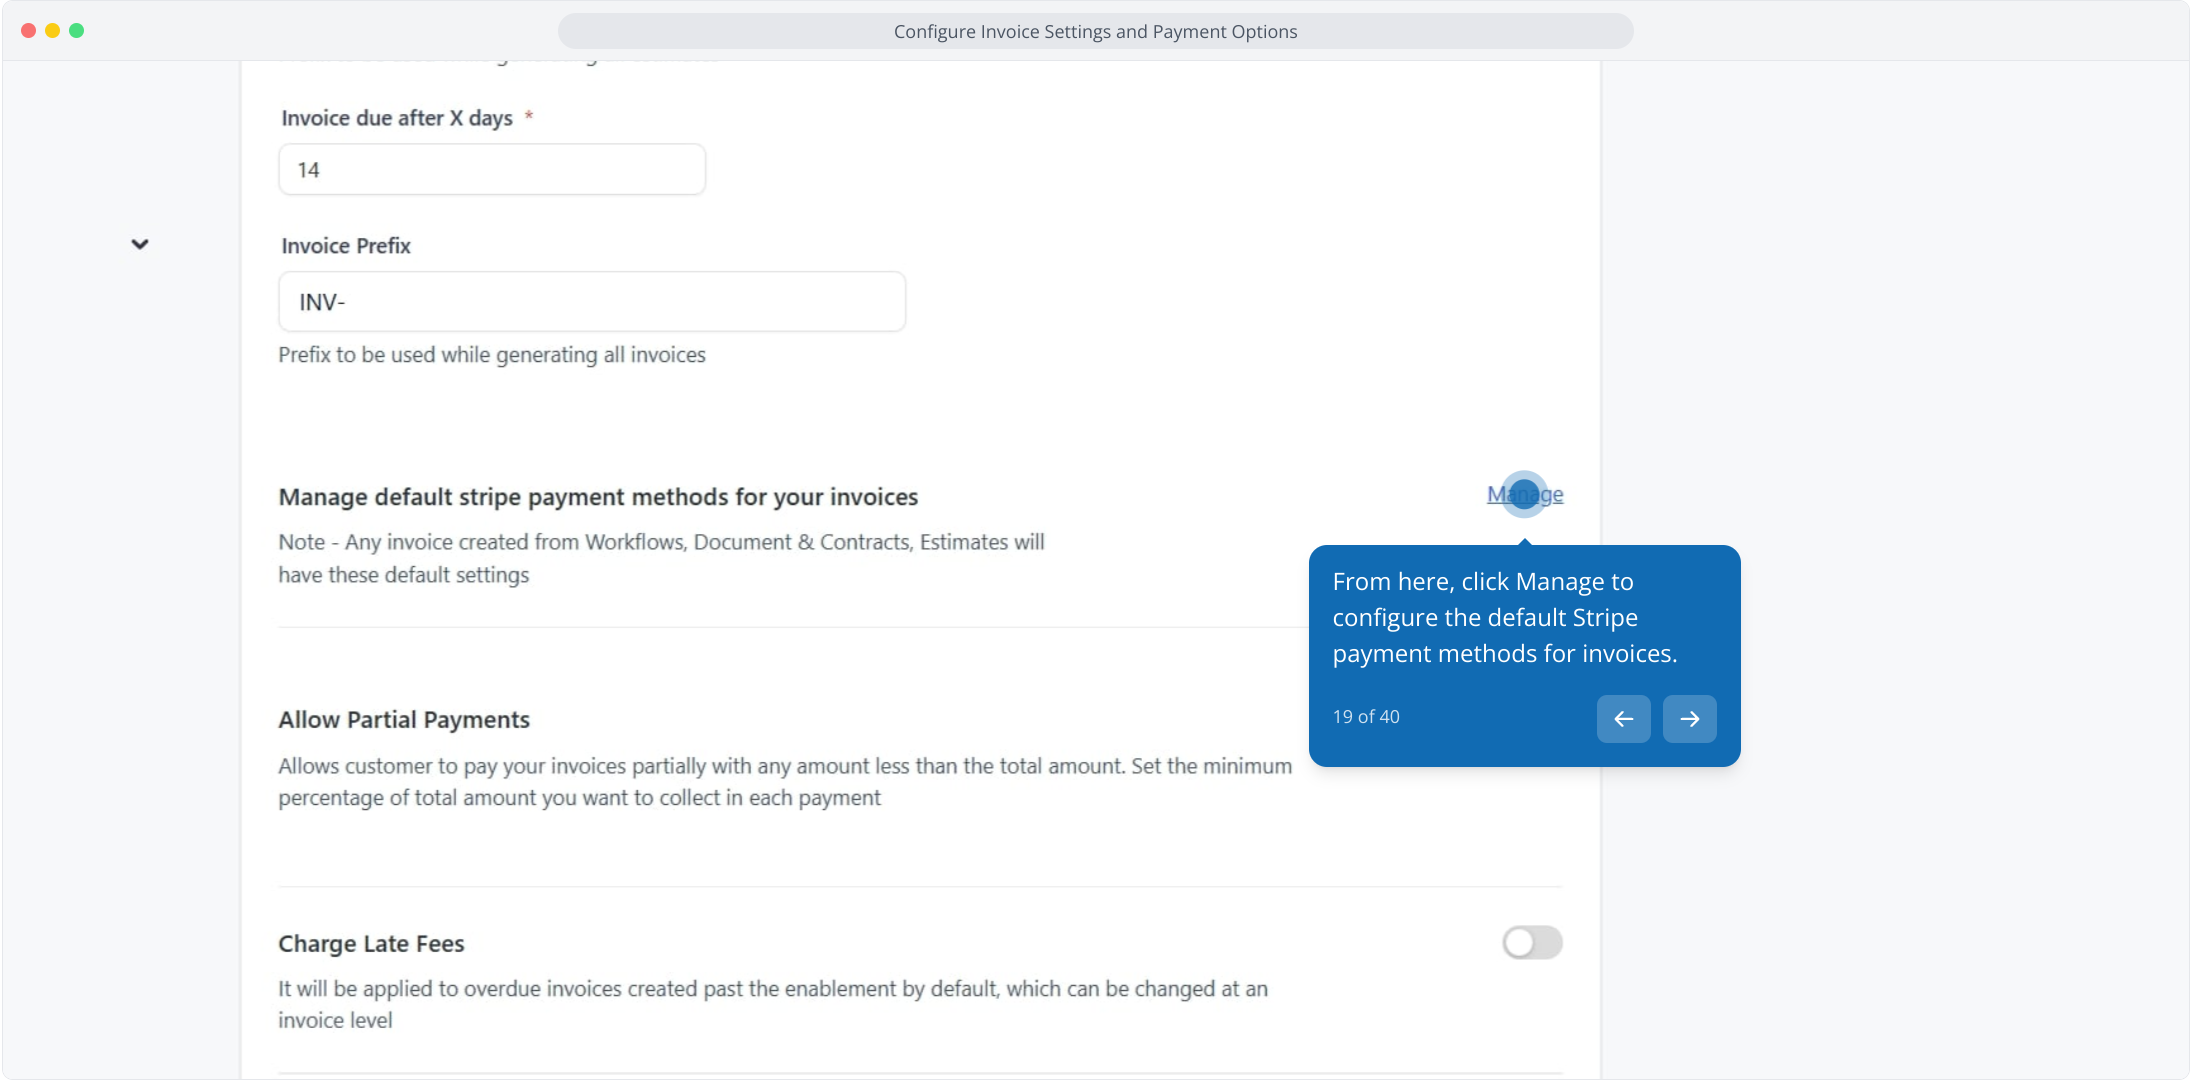
Enable all valid payment methods, or enable only specific methods (such as bank transfers only).
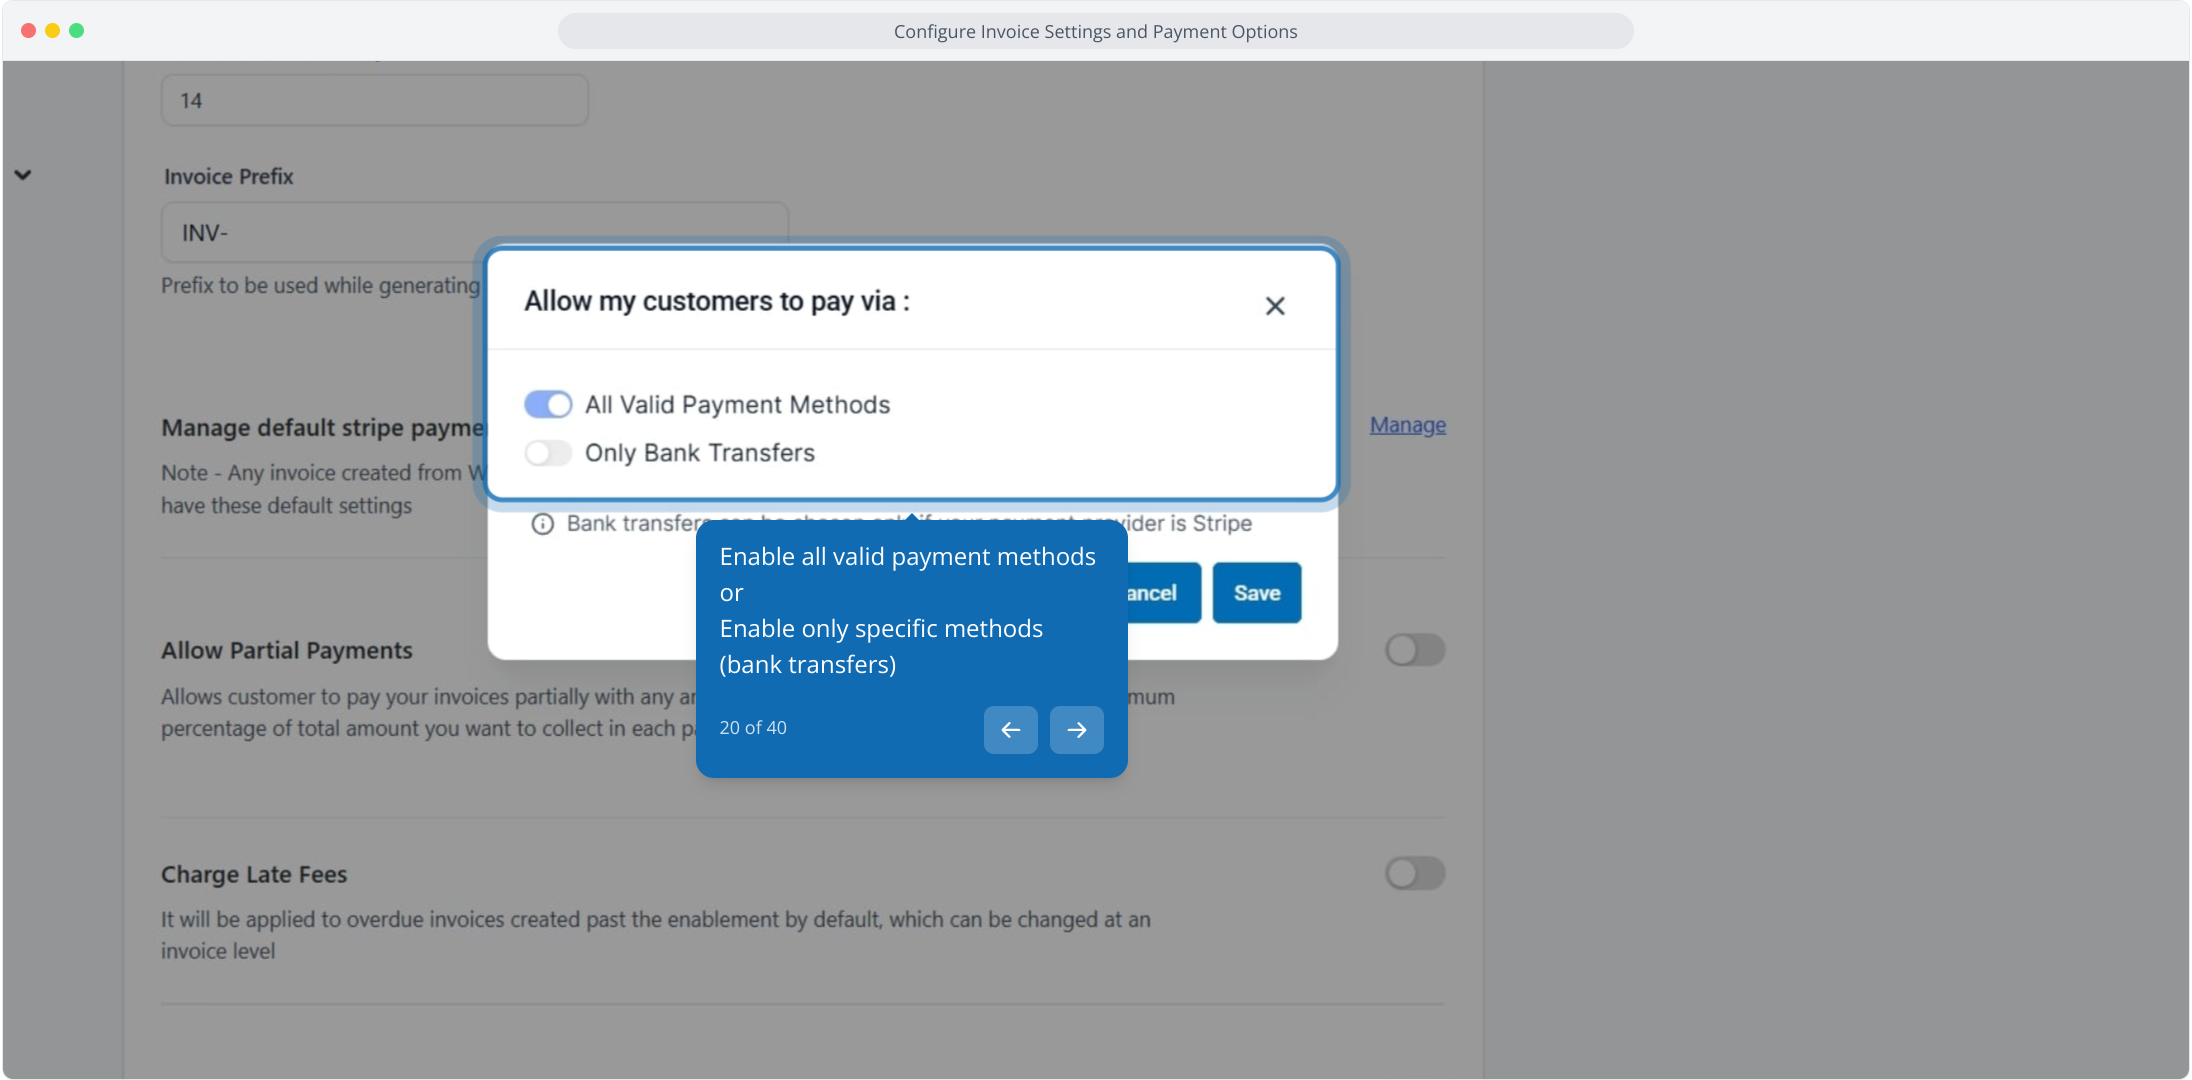
Click Save.
Enable Allow Partial Payments and set a minimum percentage (for example, 25% for a deposit).
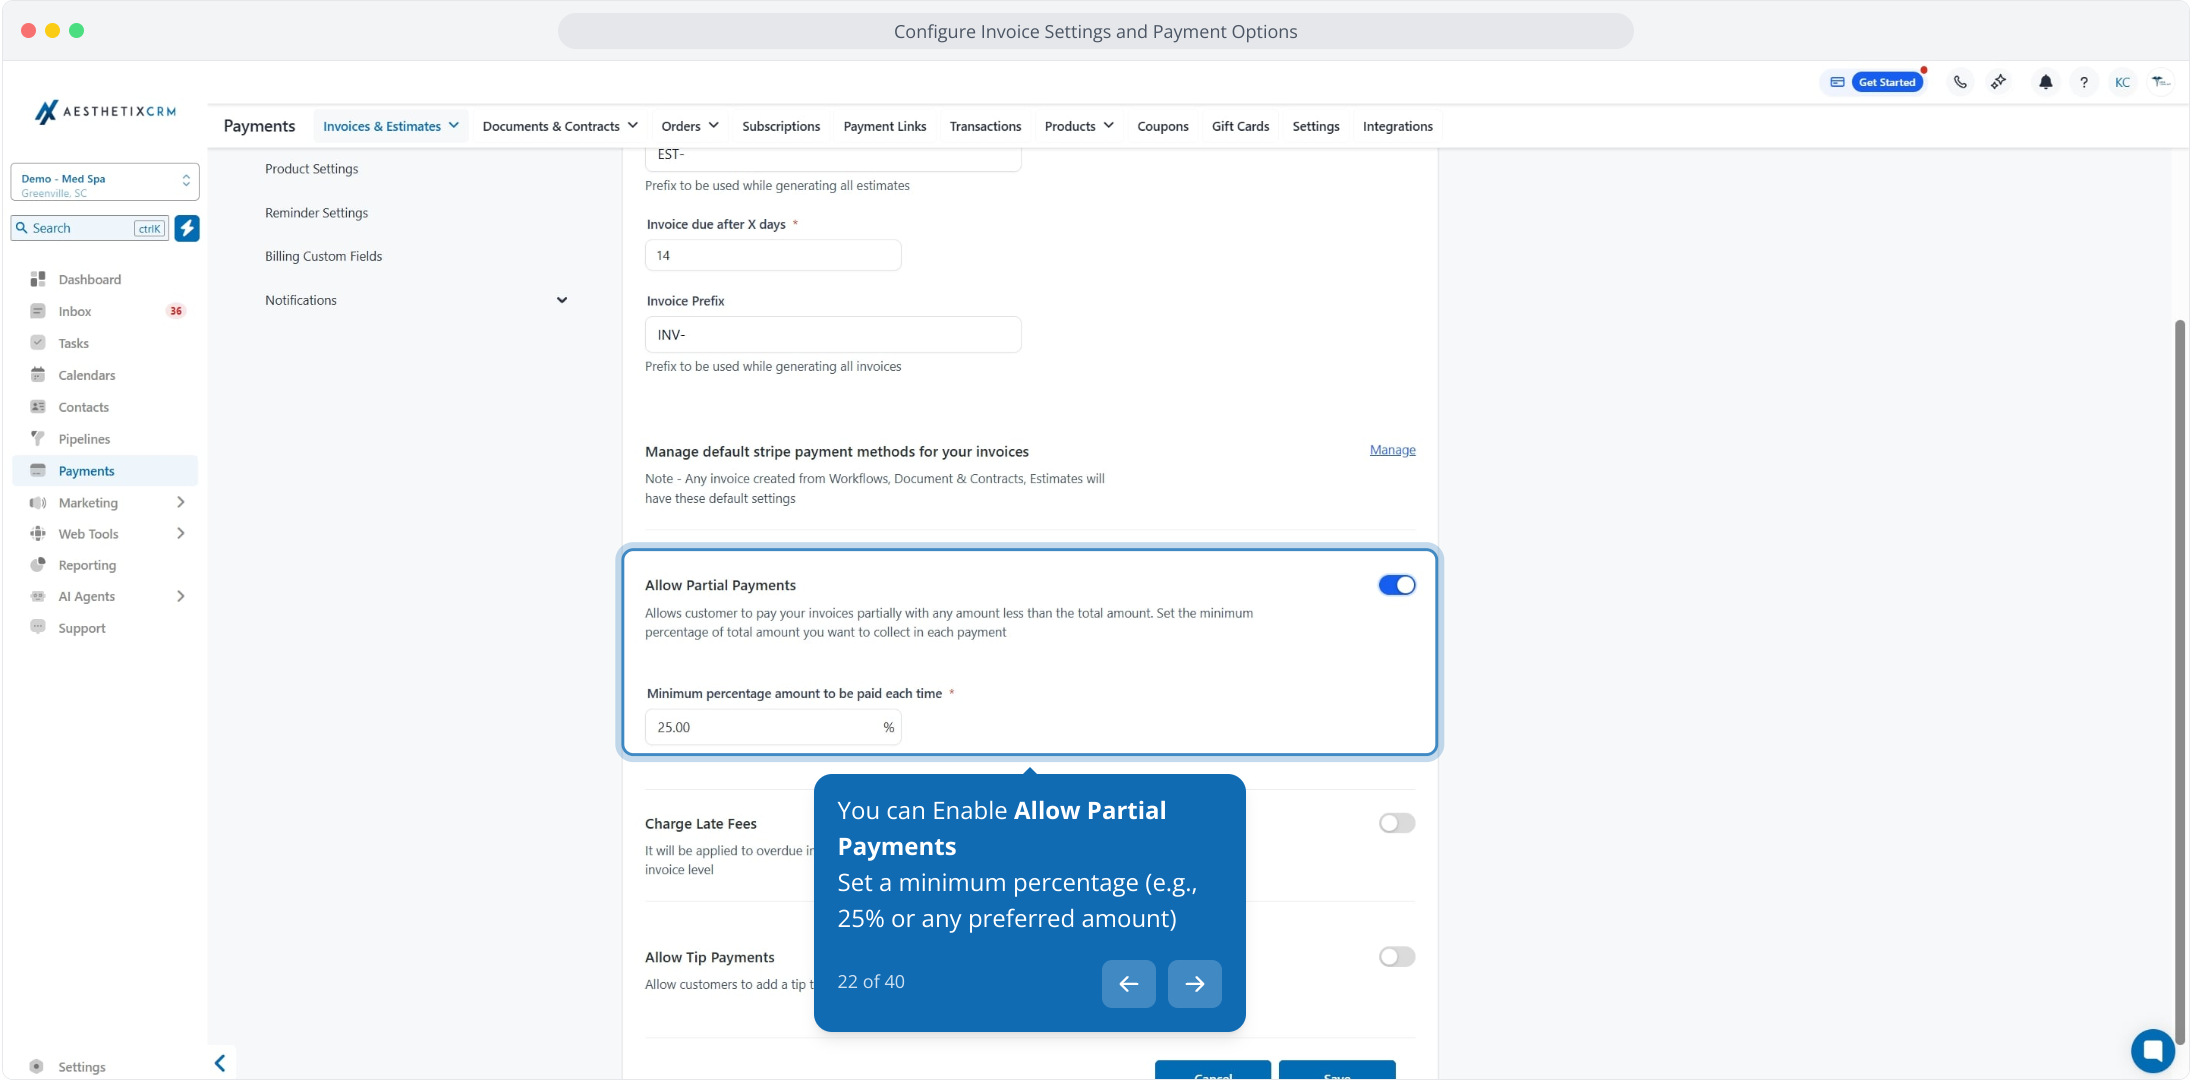
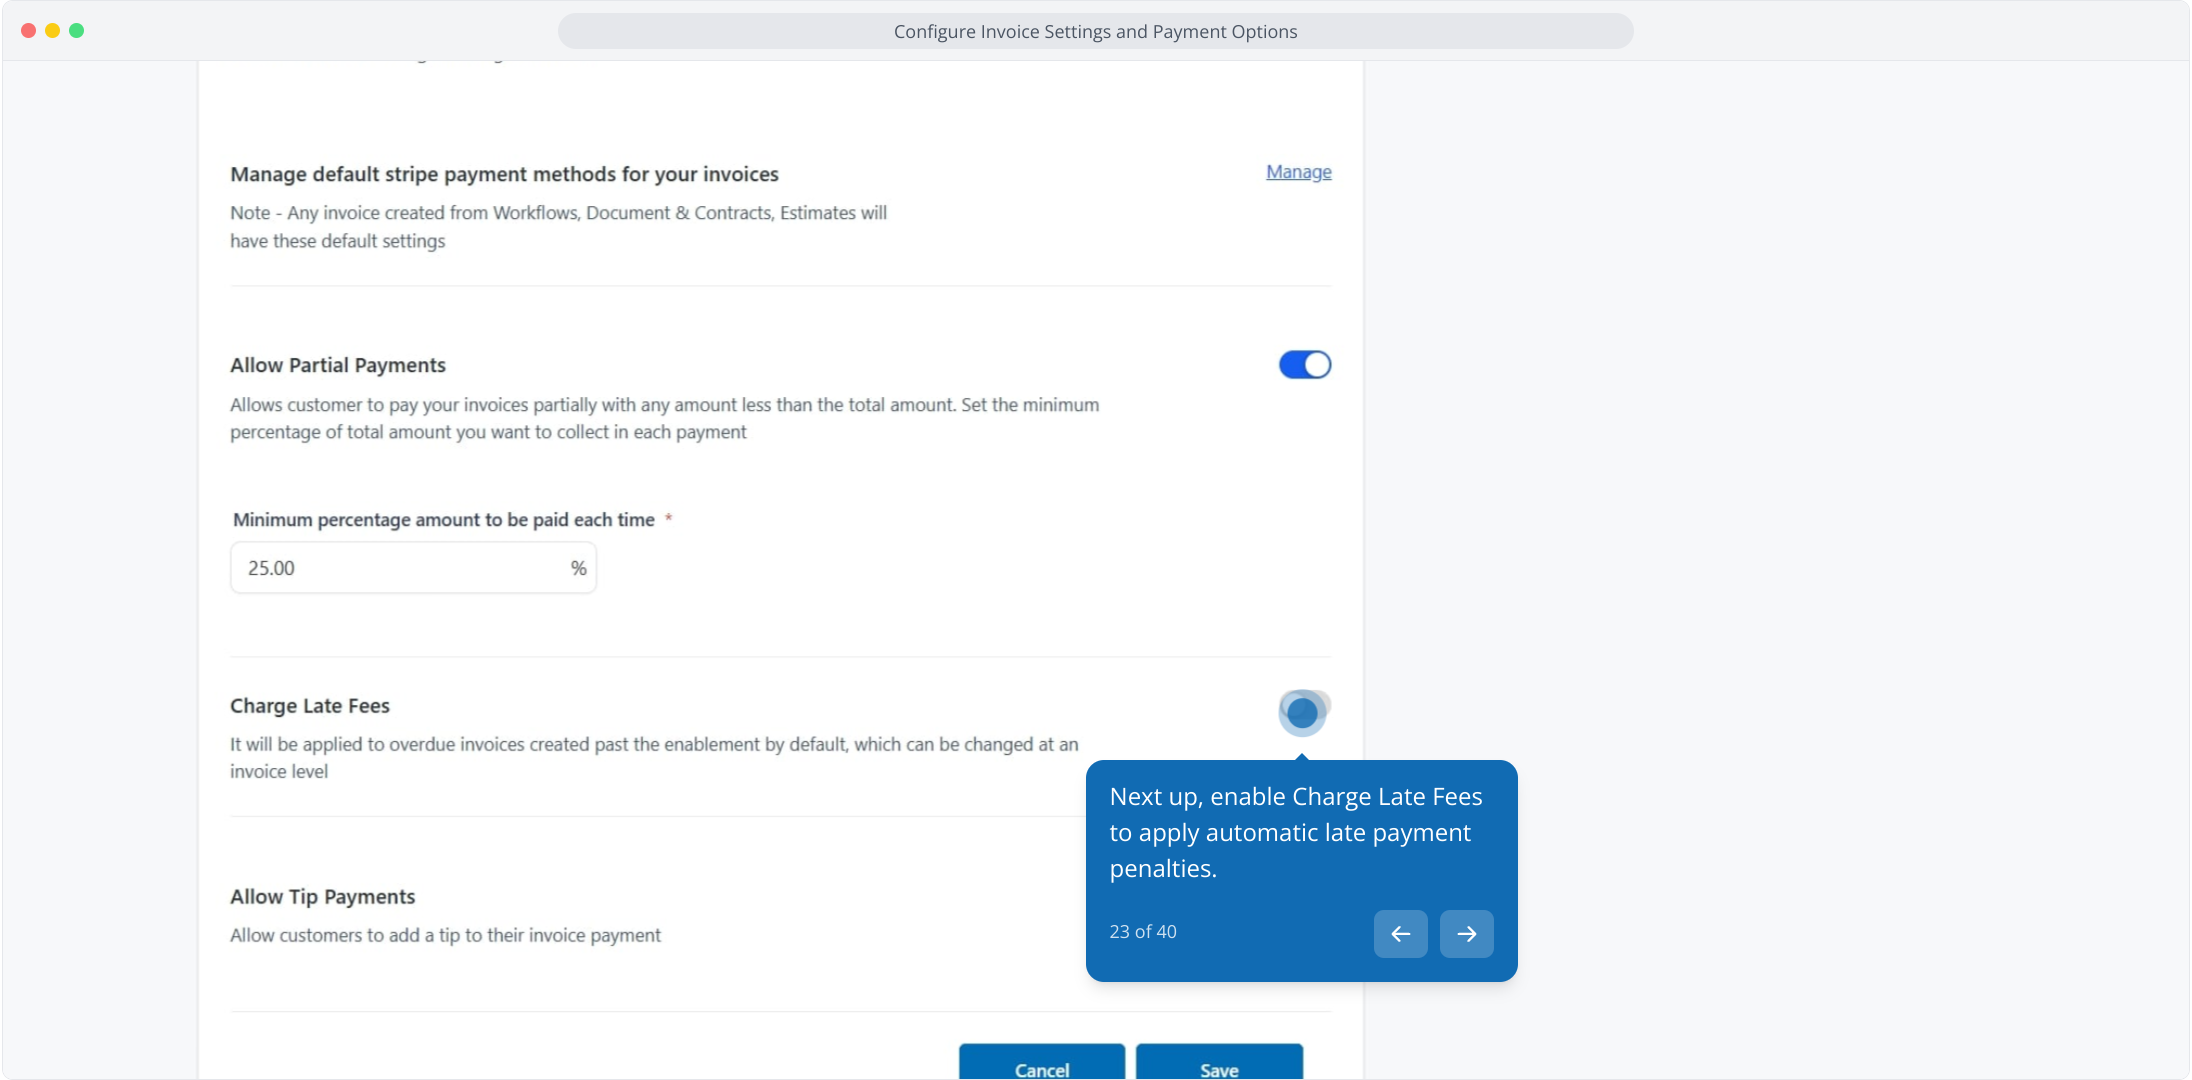
Enable Charge Late Fees to apply automatic penalties on overdue invoices.
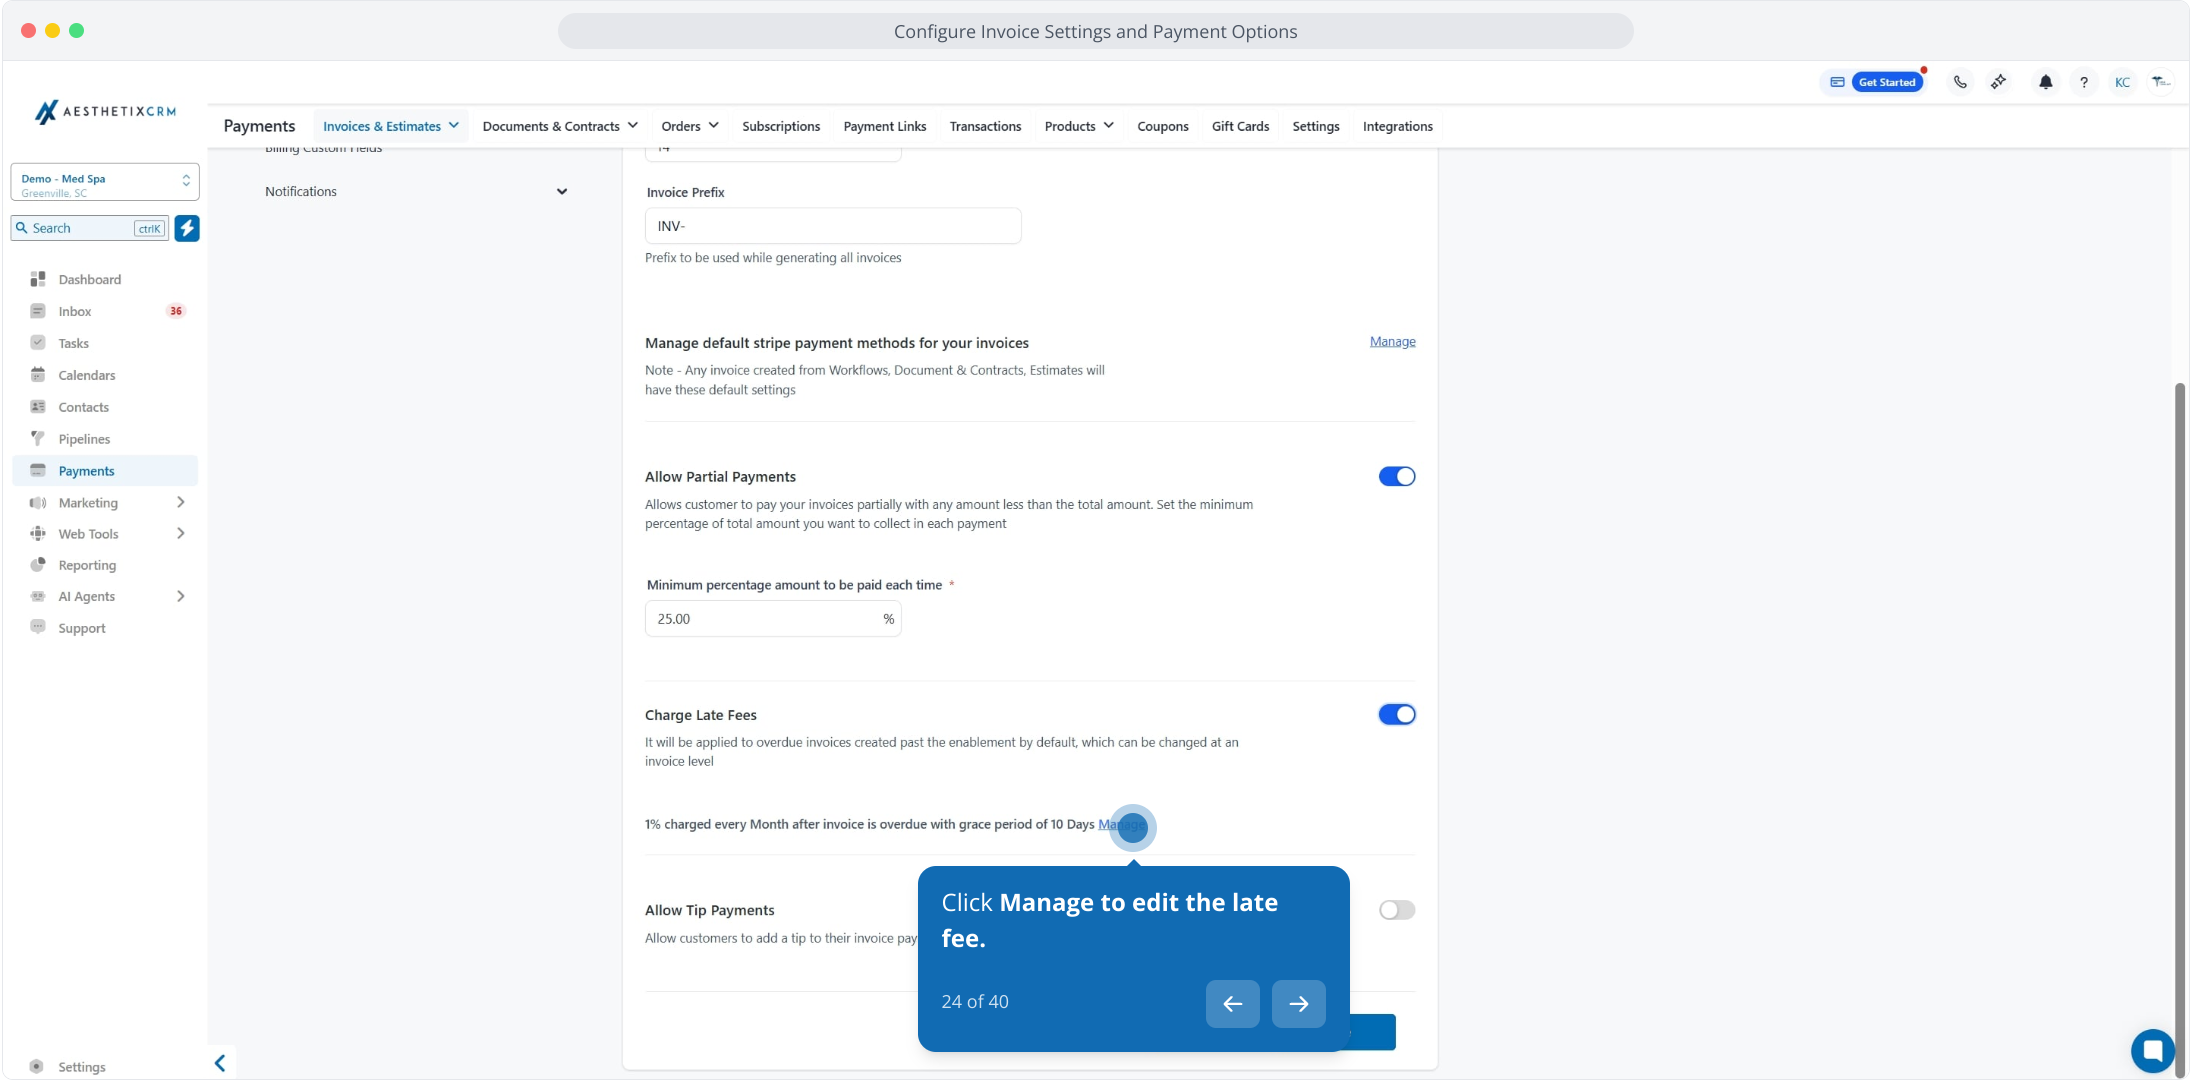
Click Manage to edit the late fee.
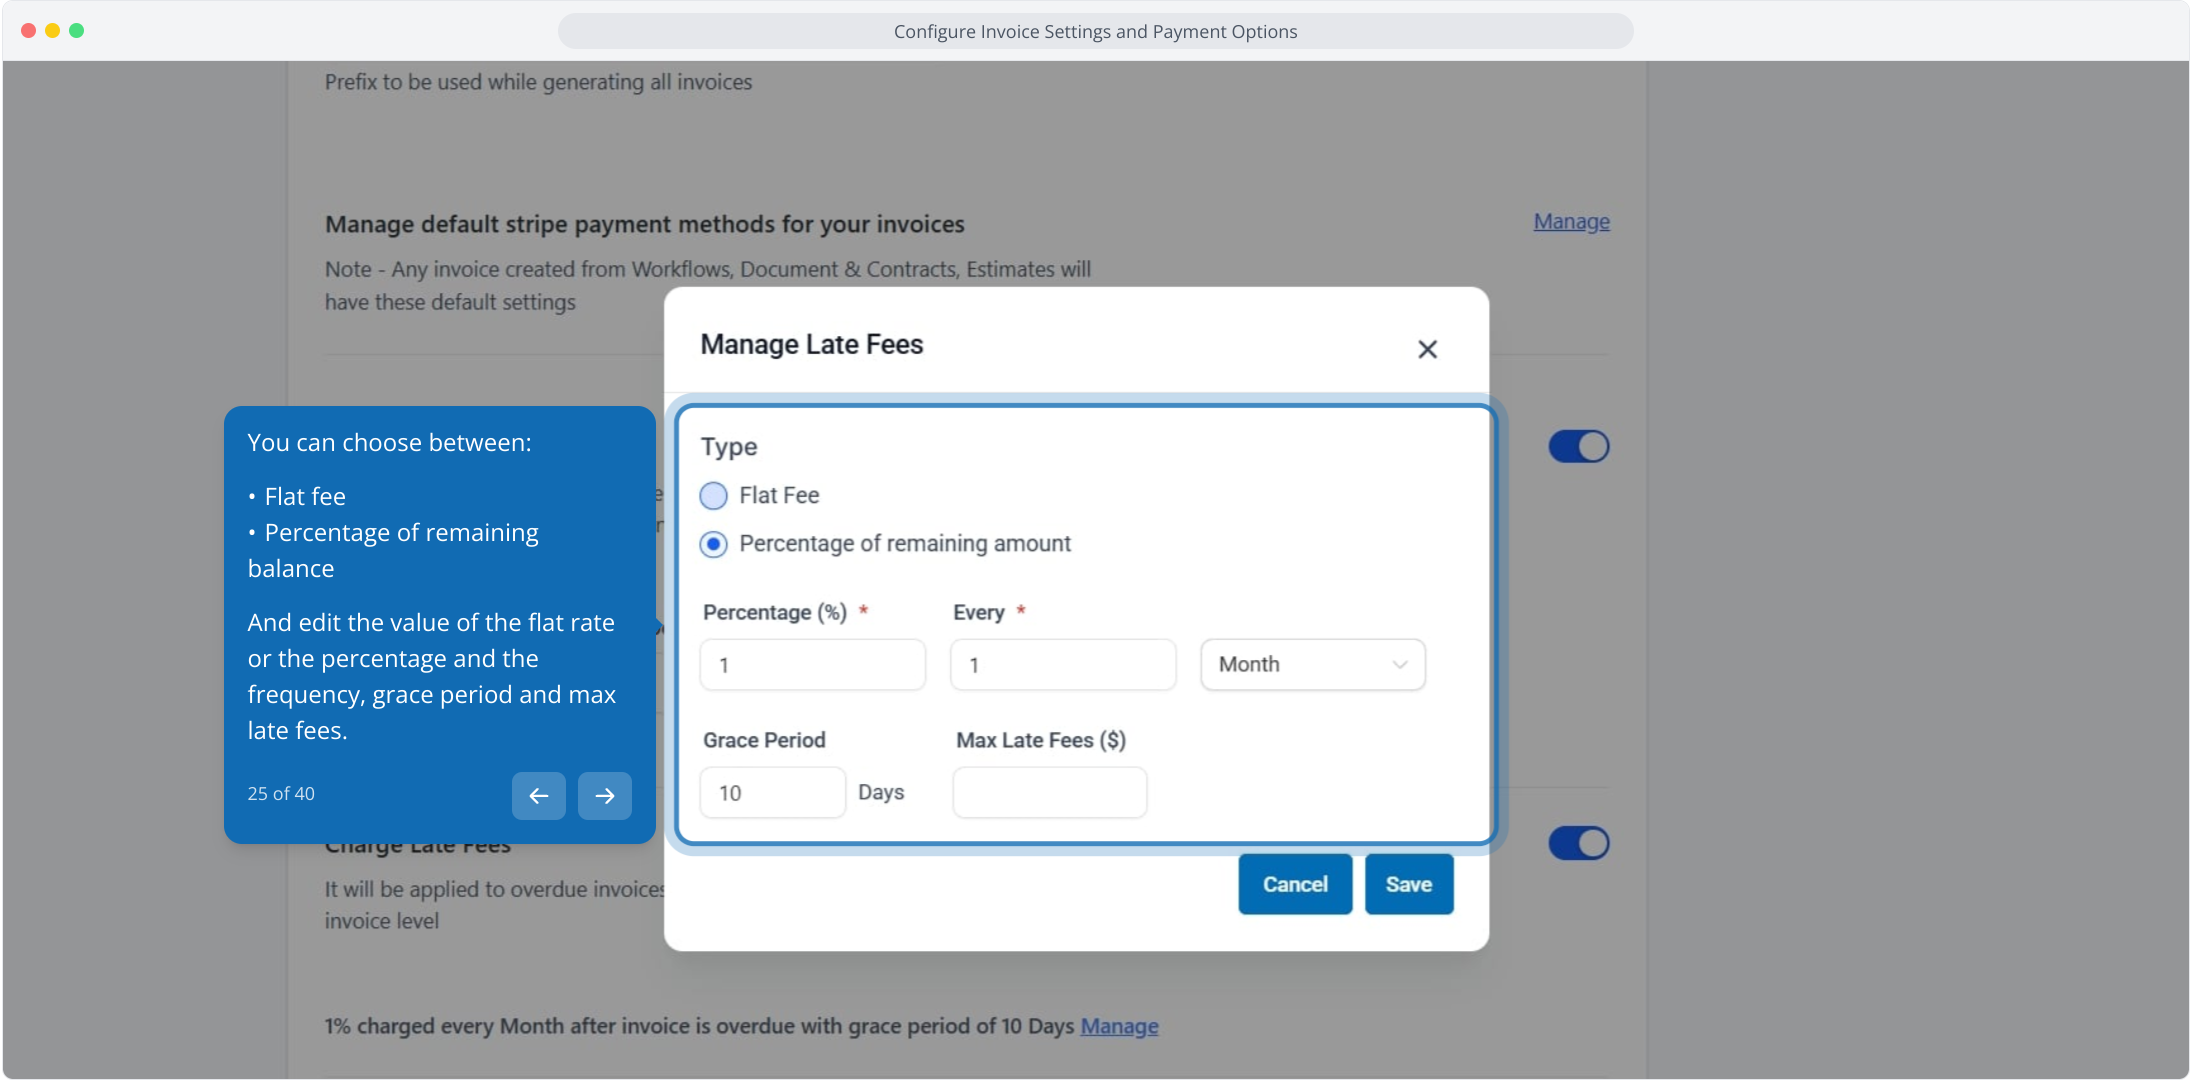
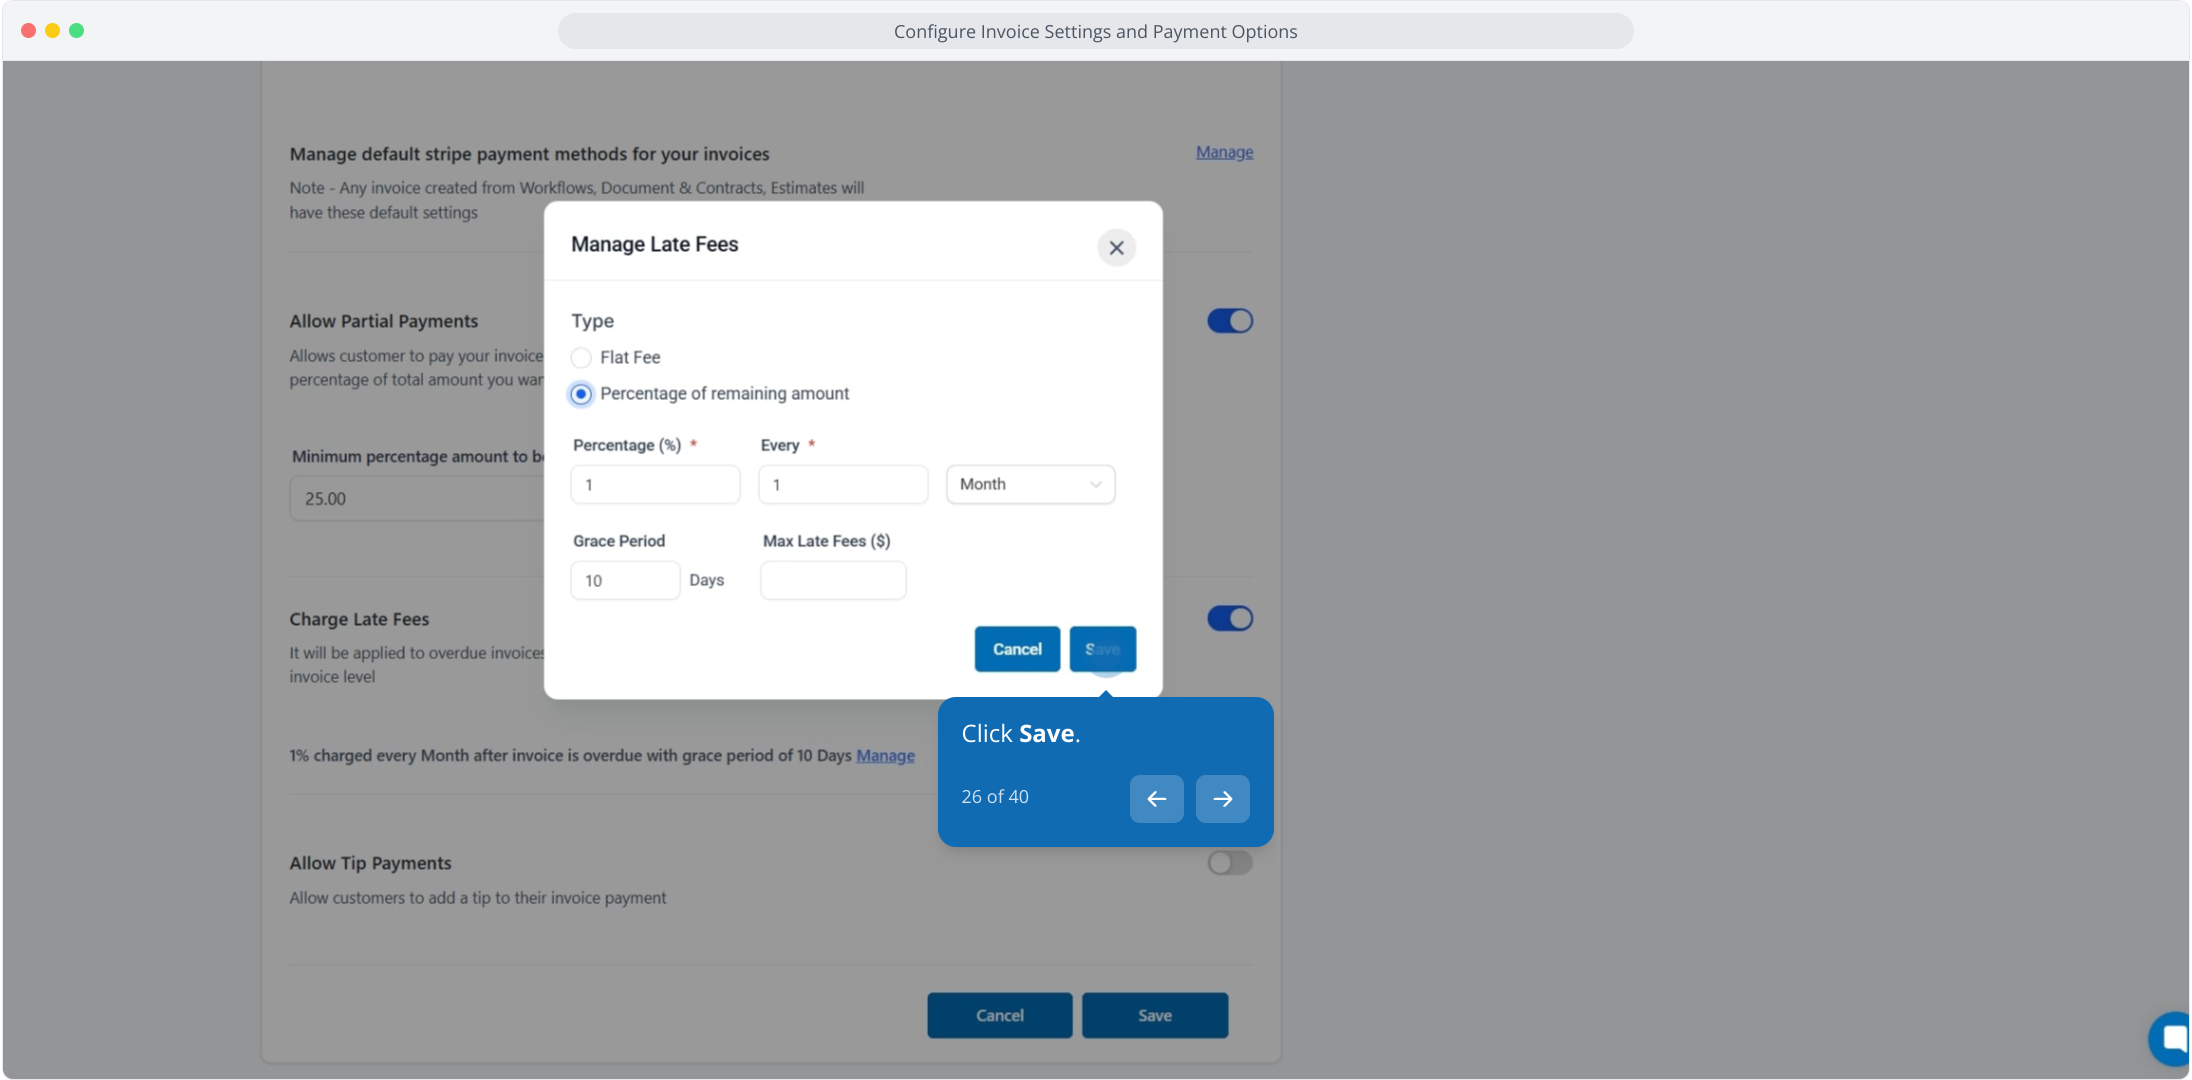
Choose between a flat fee or a percentage of the remaining balance, and edit the value, frequency, grace period, and maximum late fee.
Click Save.
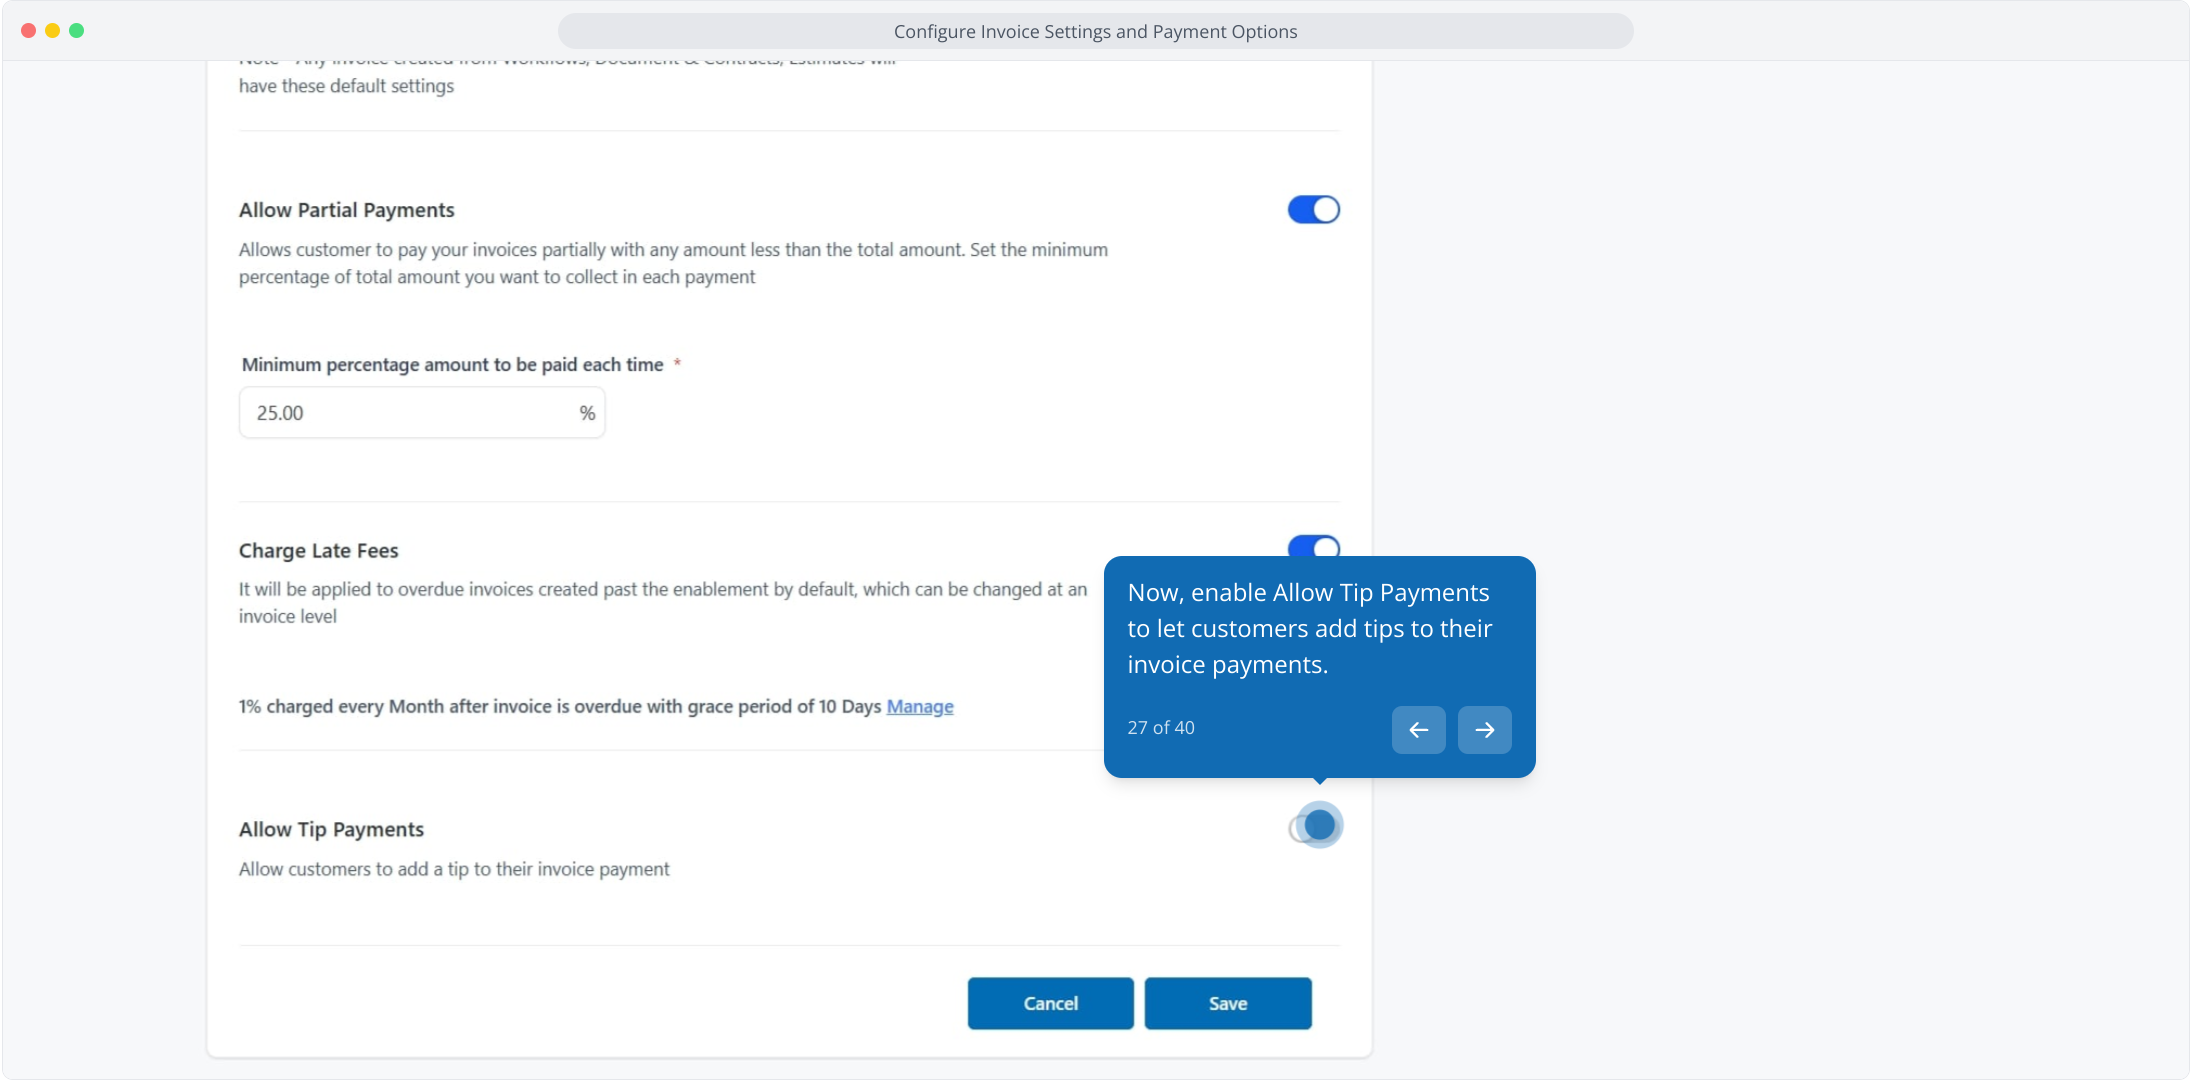
Enable Allow Tip Payments to let patients add a tip to their invoice payments.
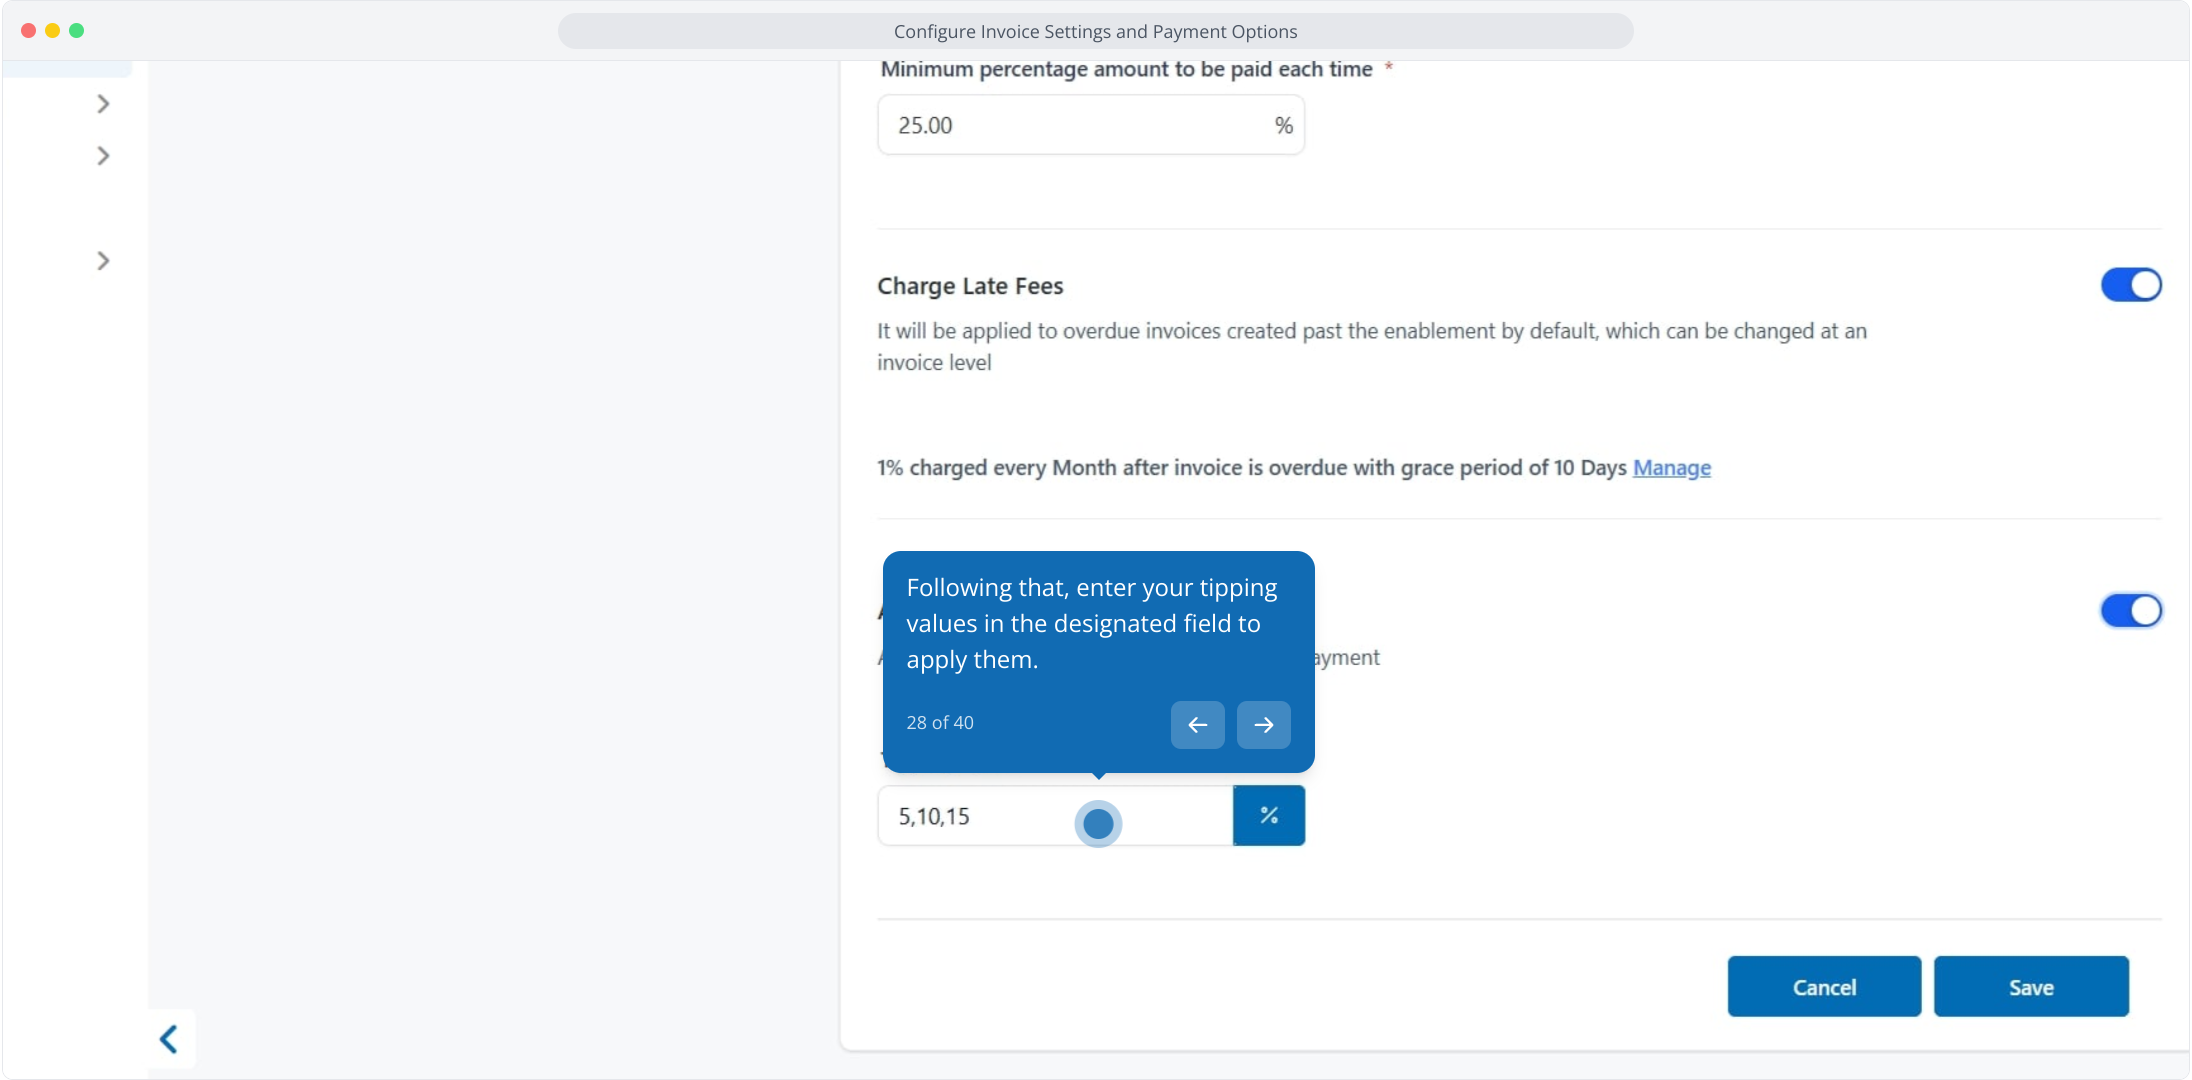
Enter your tipping values in the designated field.
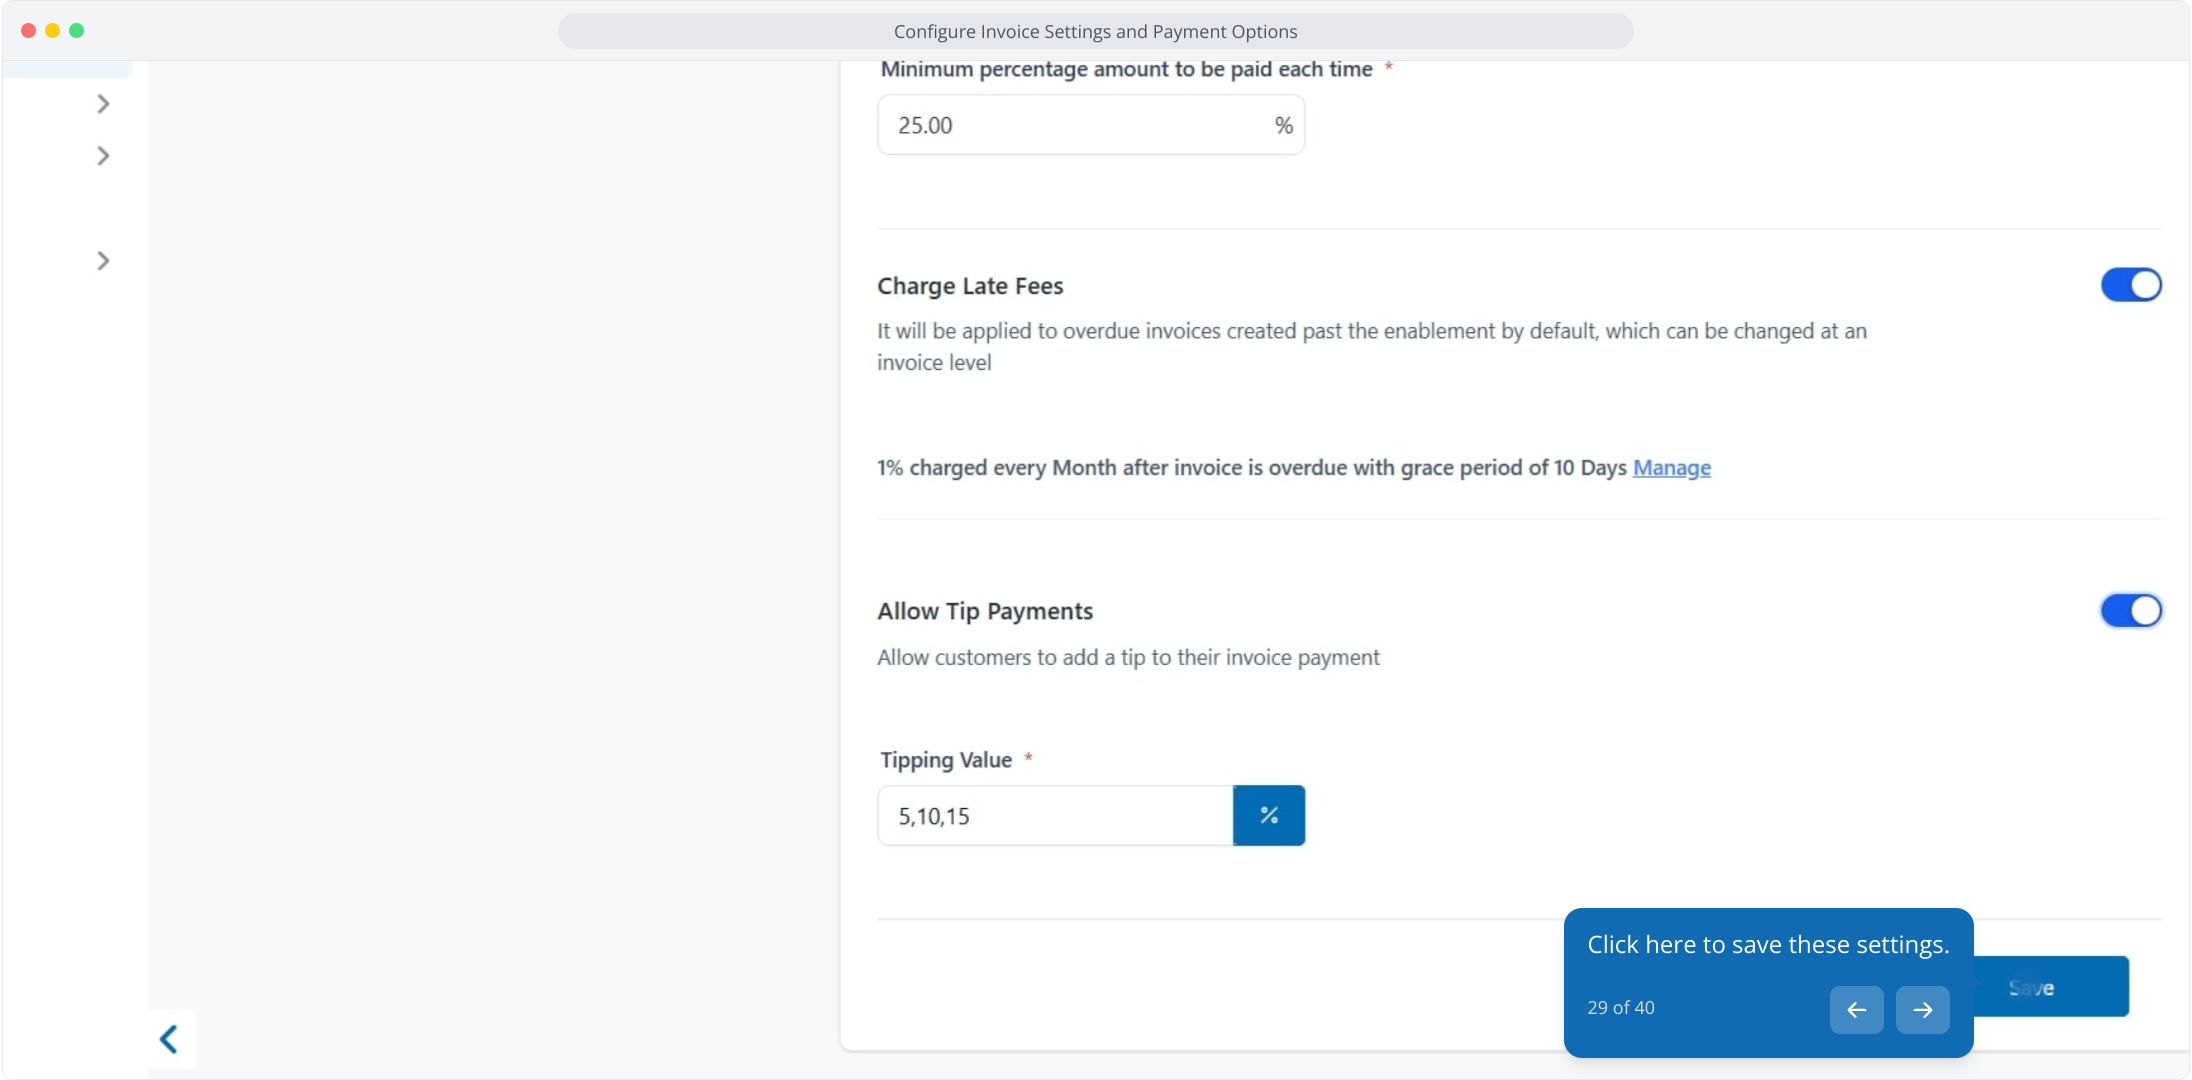
Click Save.
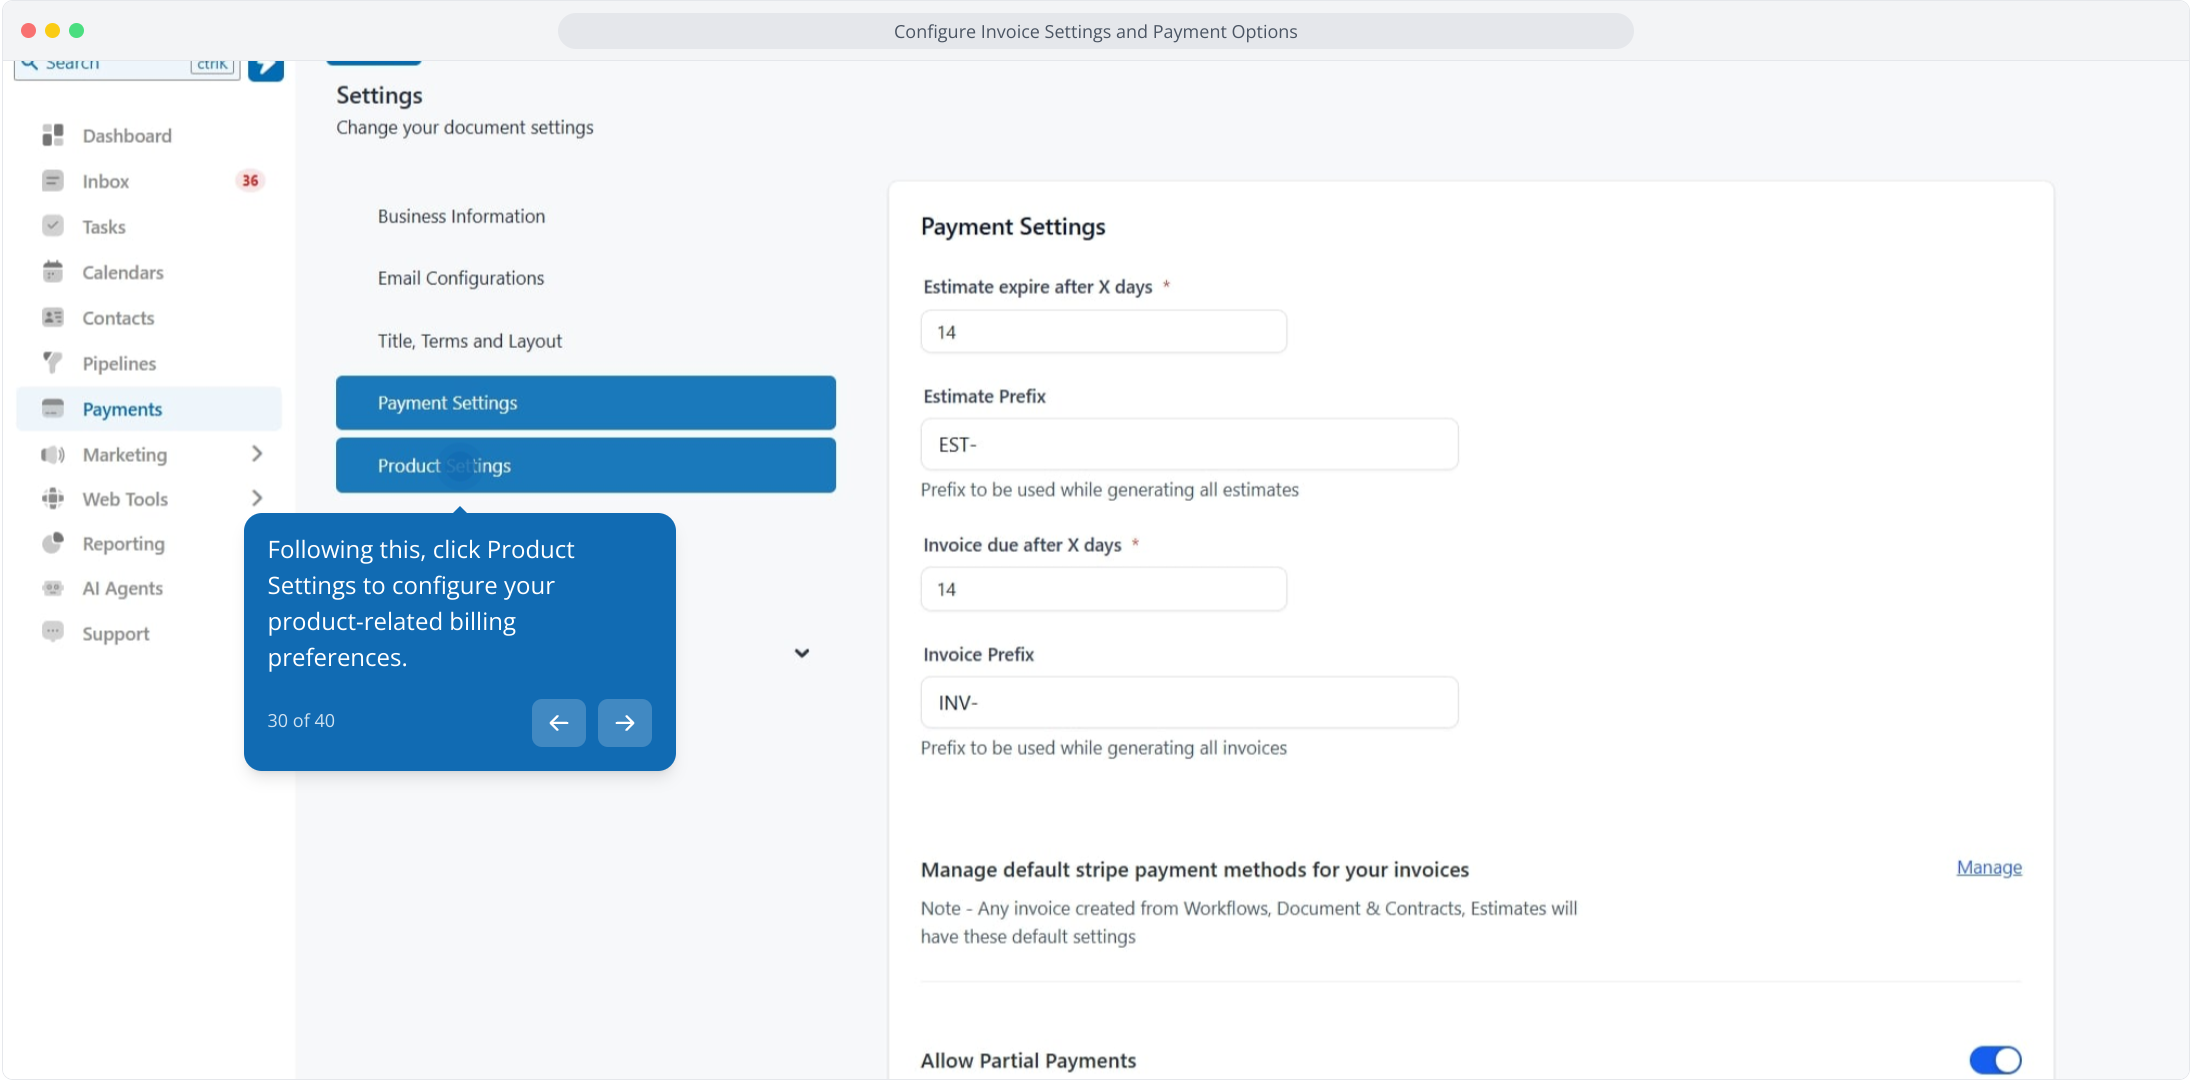
Click Product Settings to configure product-related billing preferences.
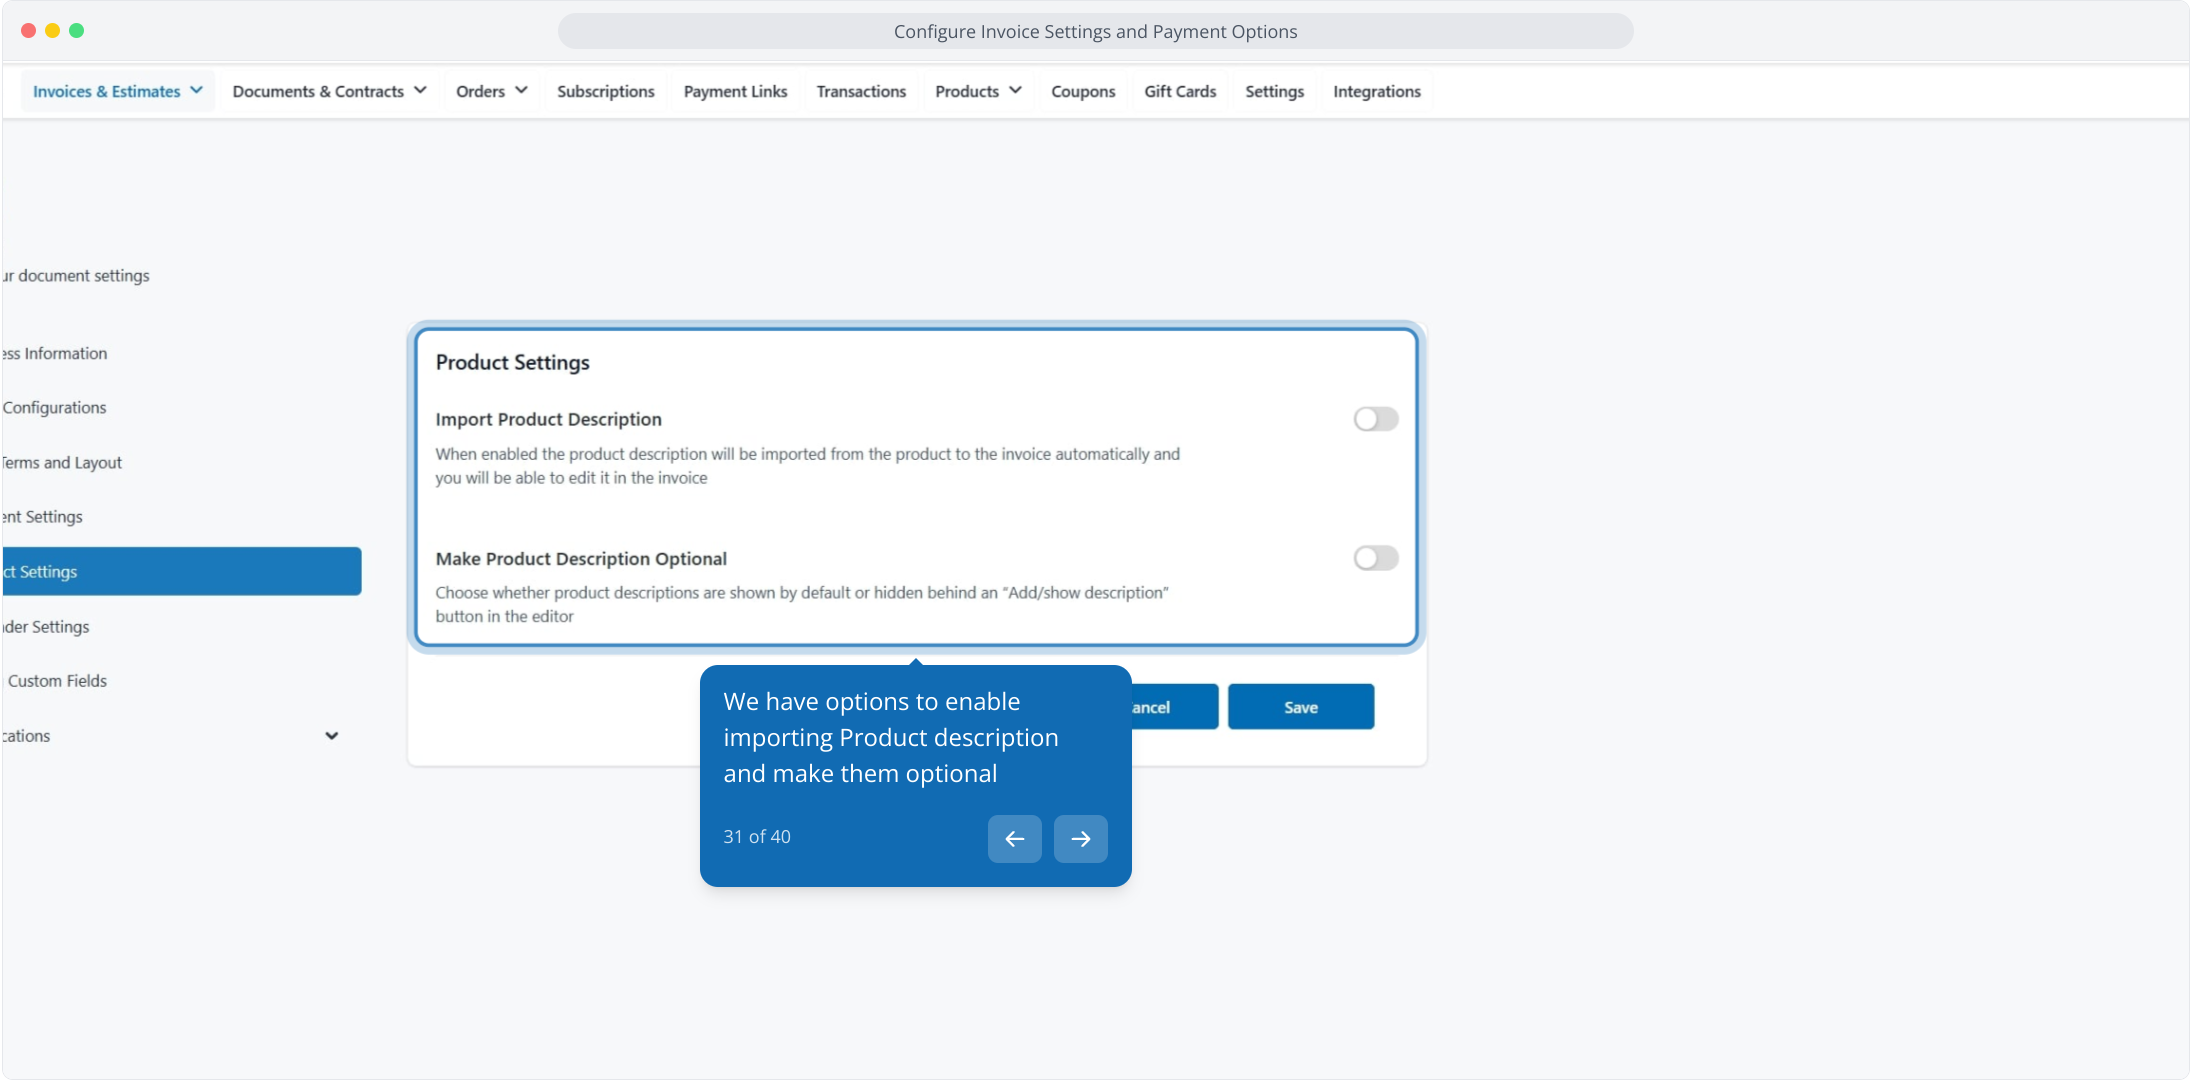
Here you can enable importing product descriptions and make them optional.
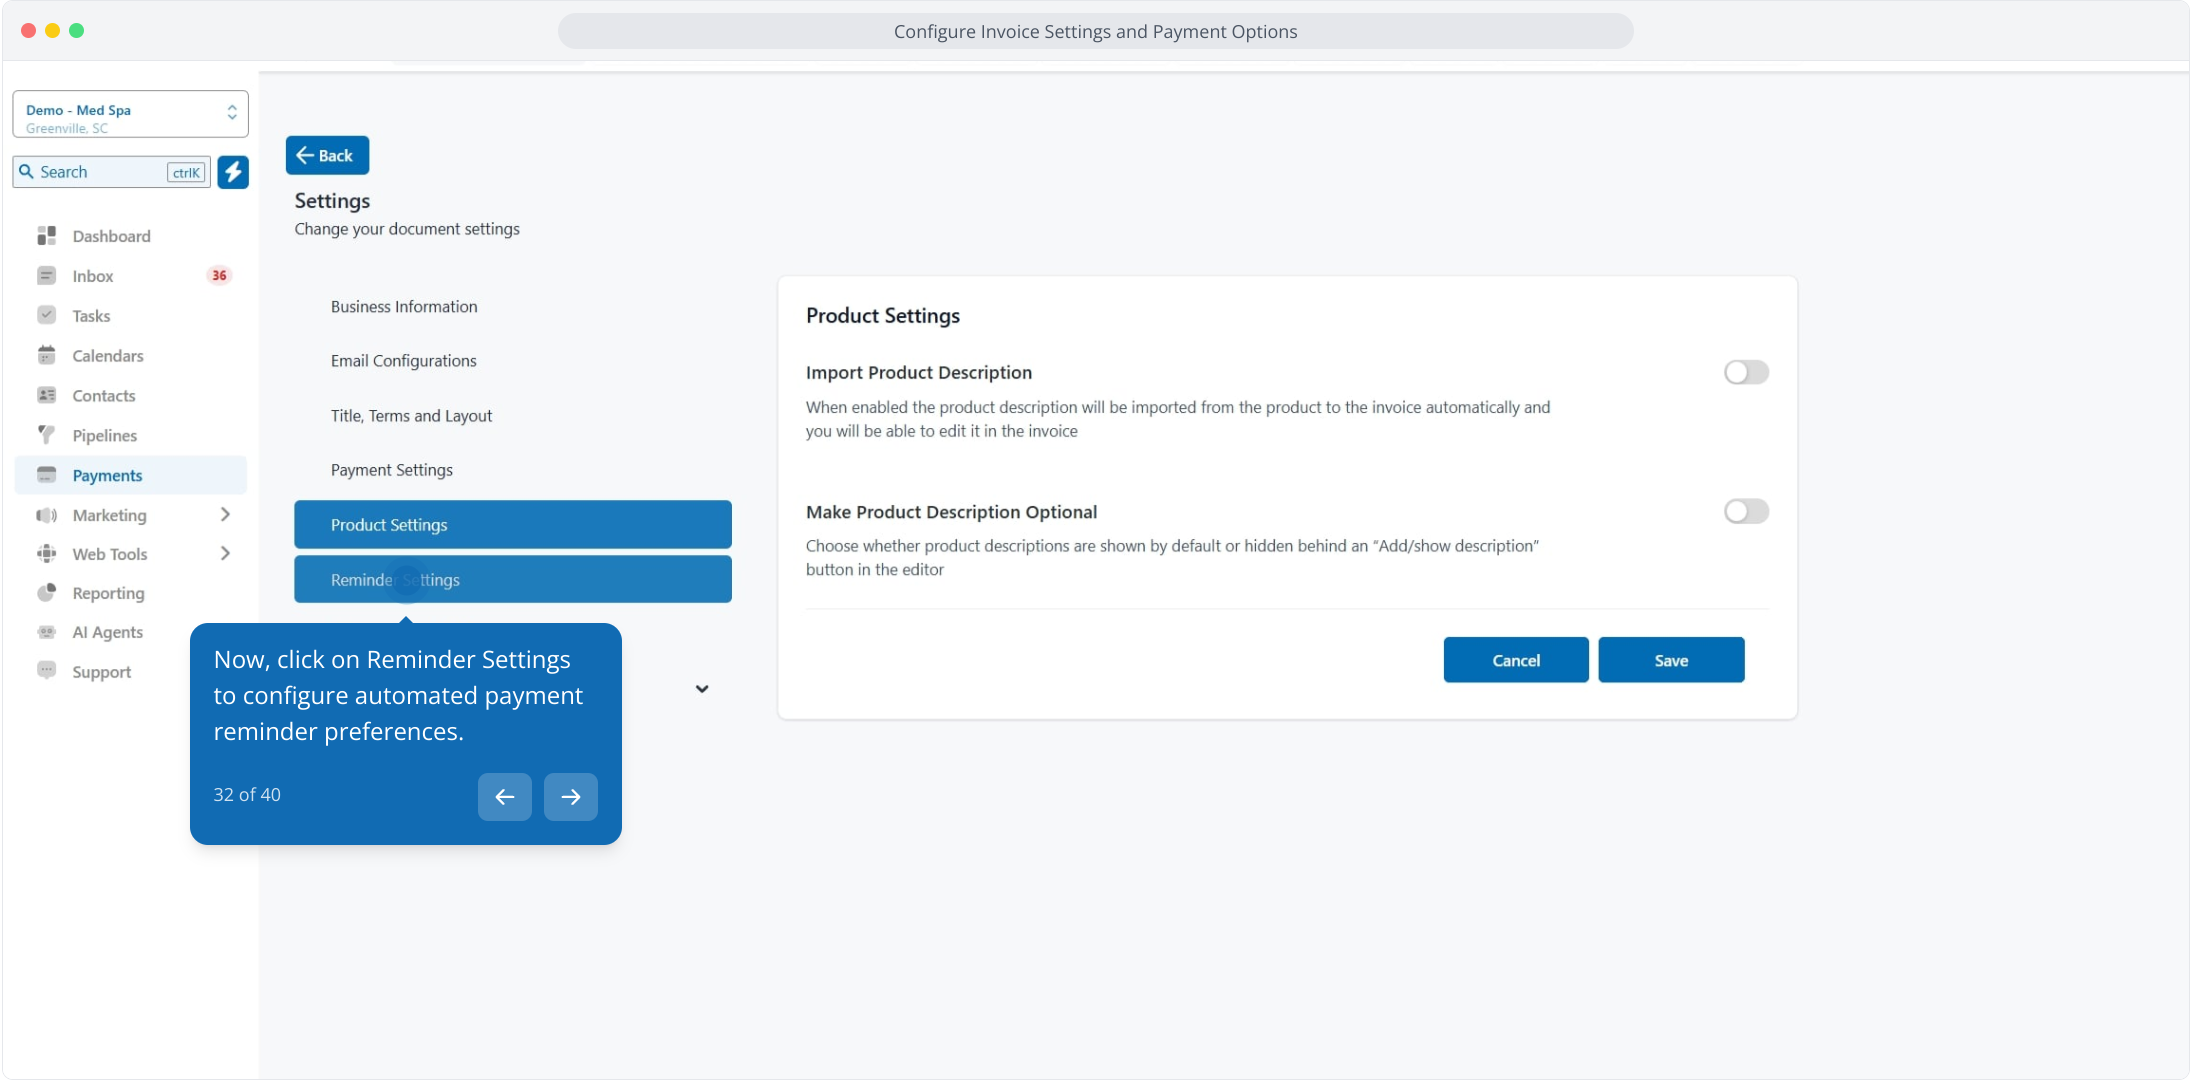
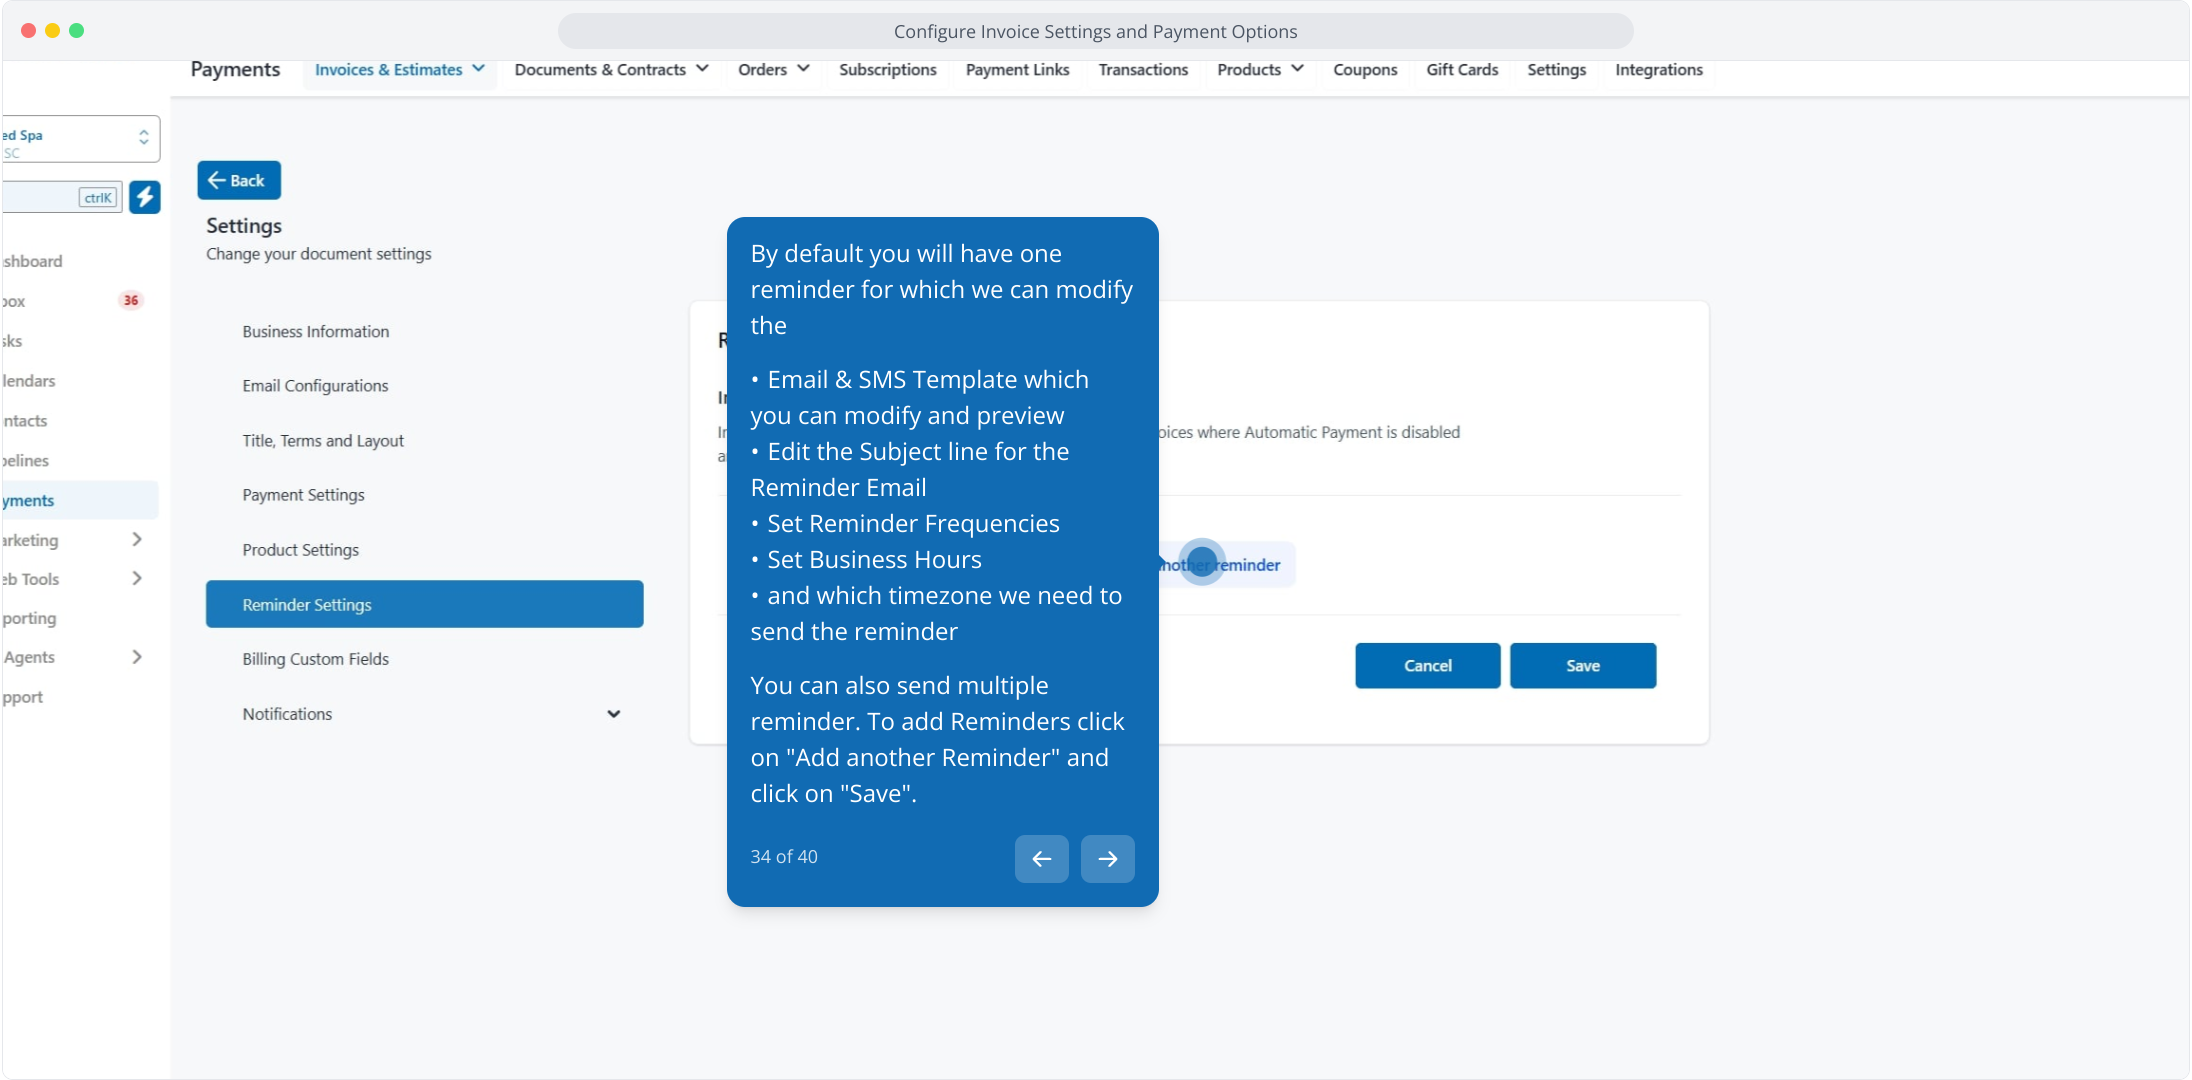
Click Reminder Settings to configure automated payment reminders.
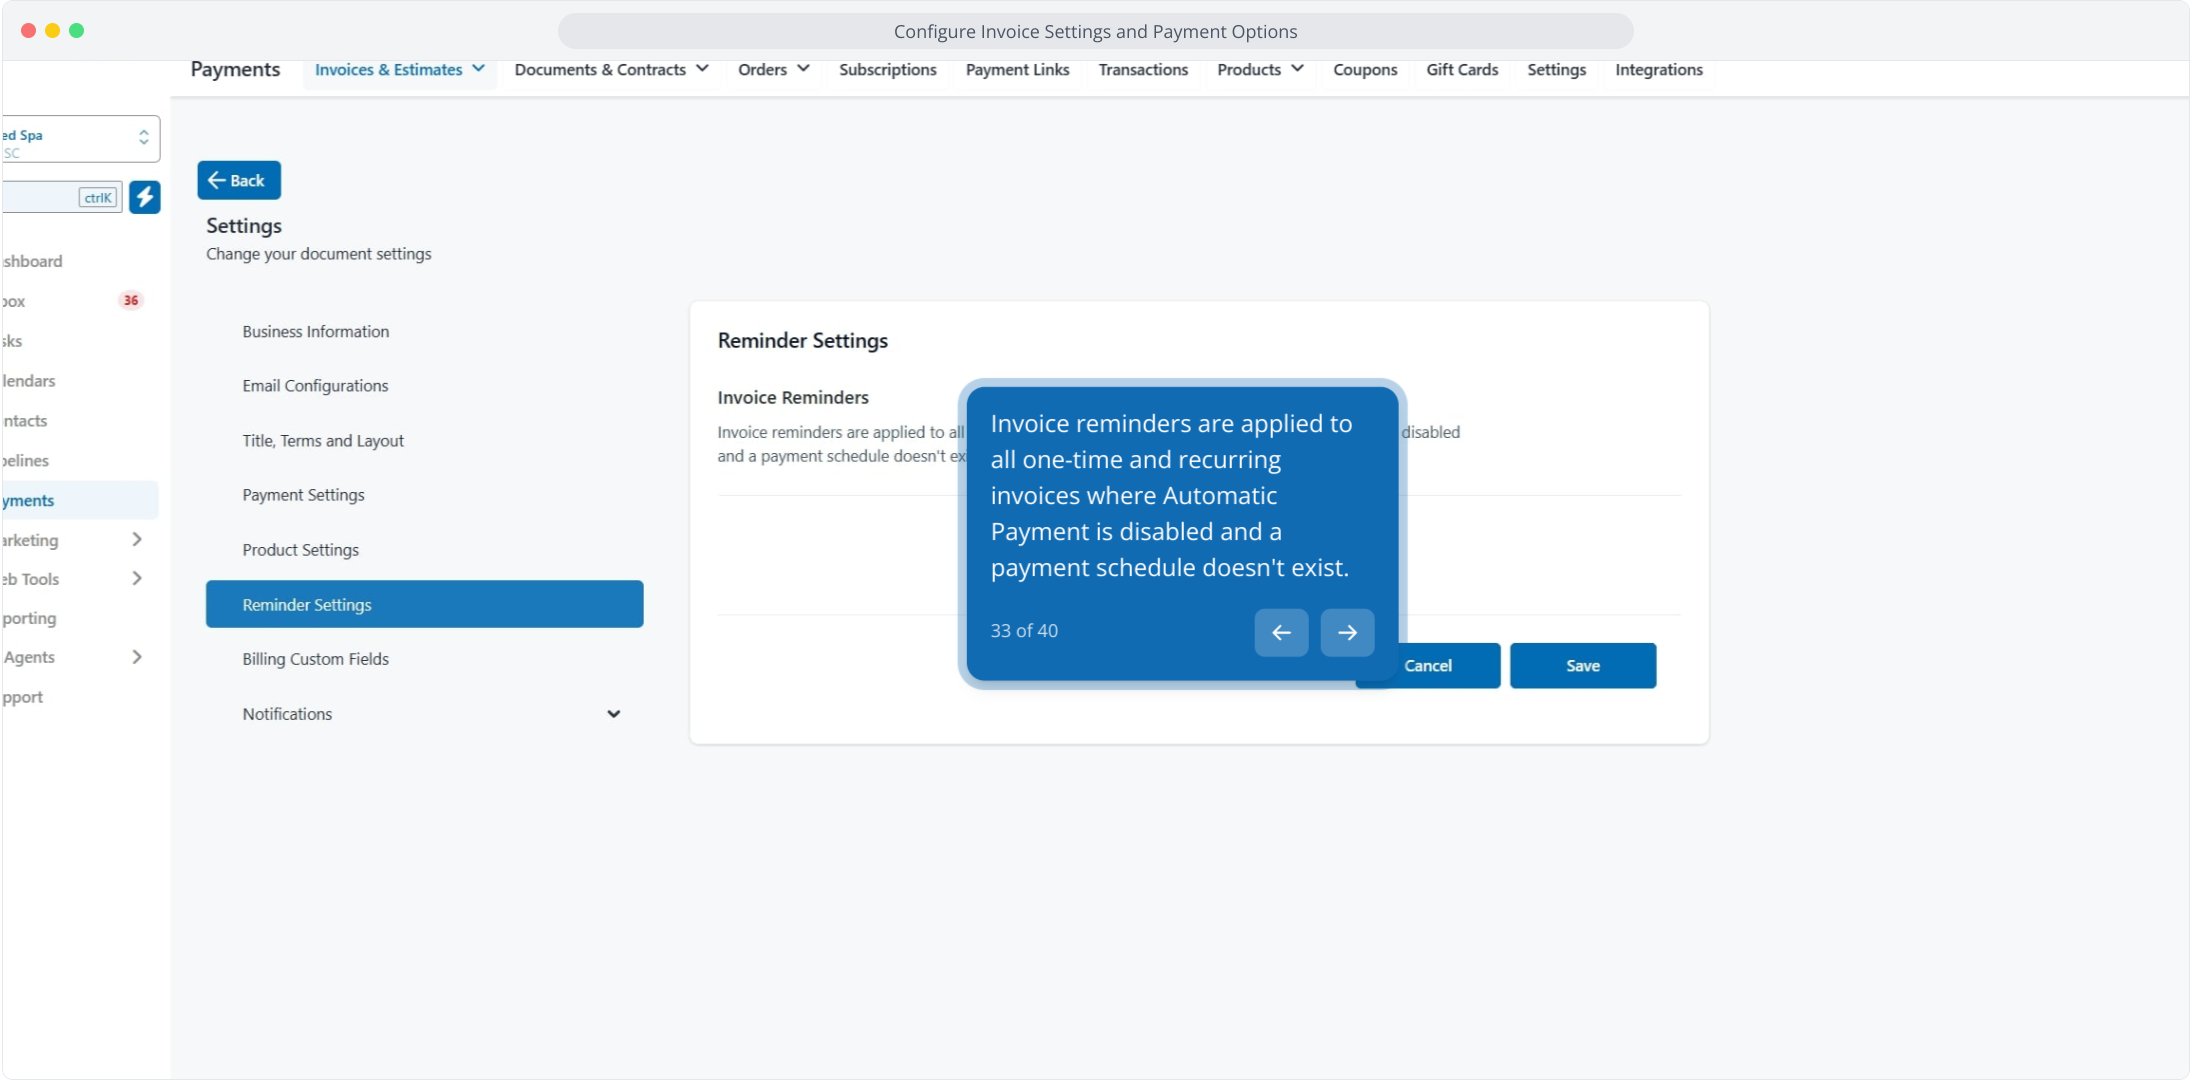
Invoice reminders apply to all one-time and recurring invoices where automatic payment is disabled and no payment schedule exists.
By default you have one reminder. You can modify the email and SMS template (with preview), the reminder email subject line, the reminder frequencies, business hours, and timezone. To send multiple reminders, click Add another Reminder, then Save.
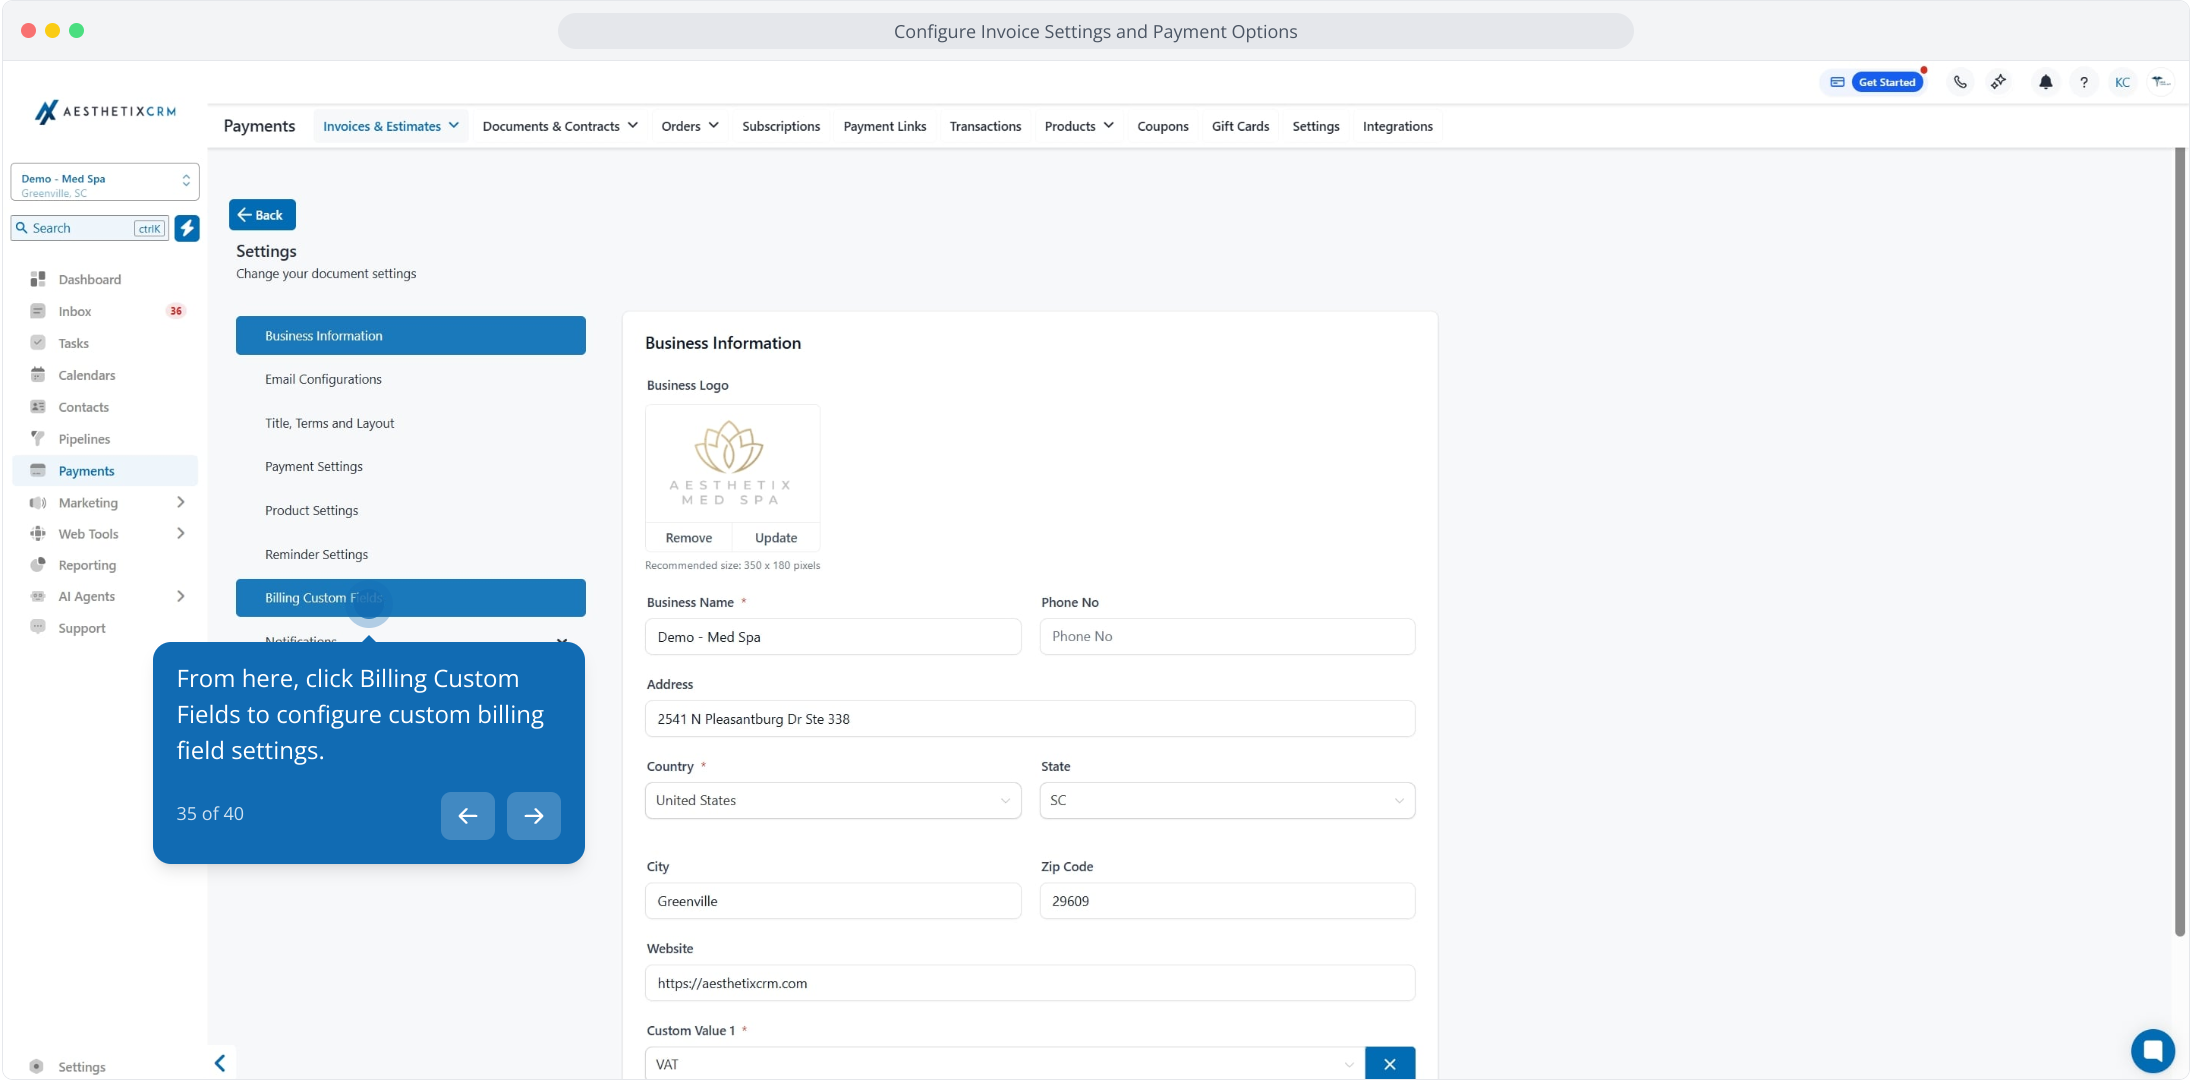
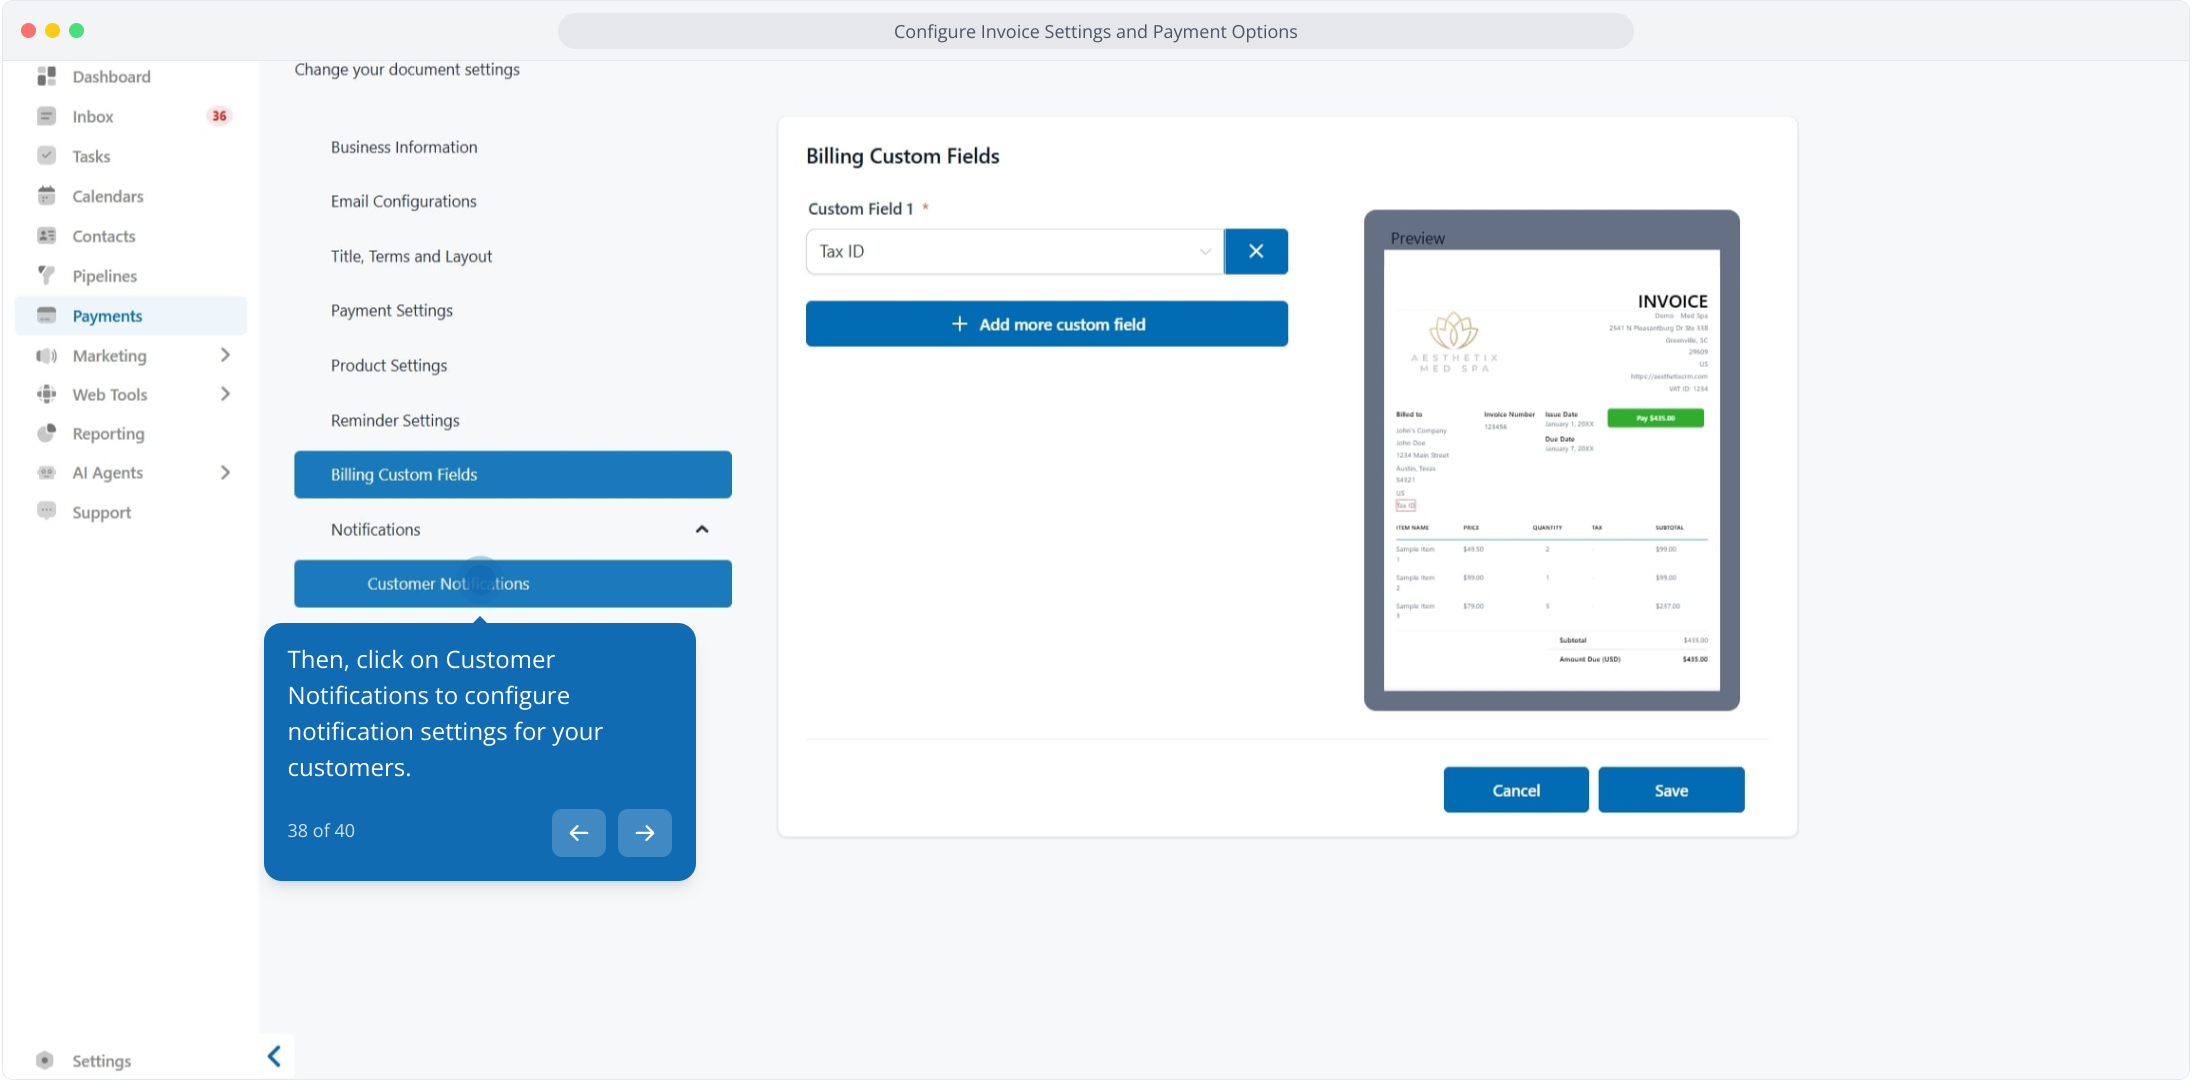
Click Billing Custom Fields to configure custom billing fields.
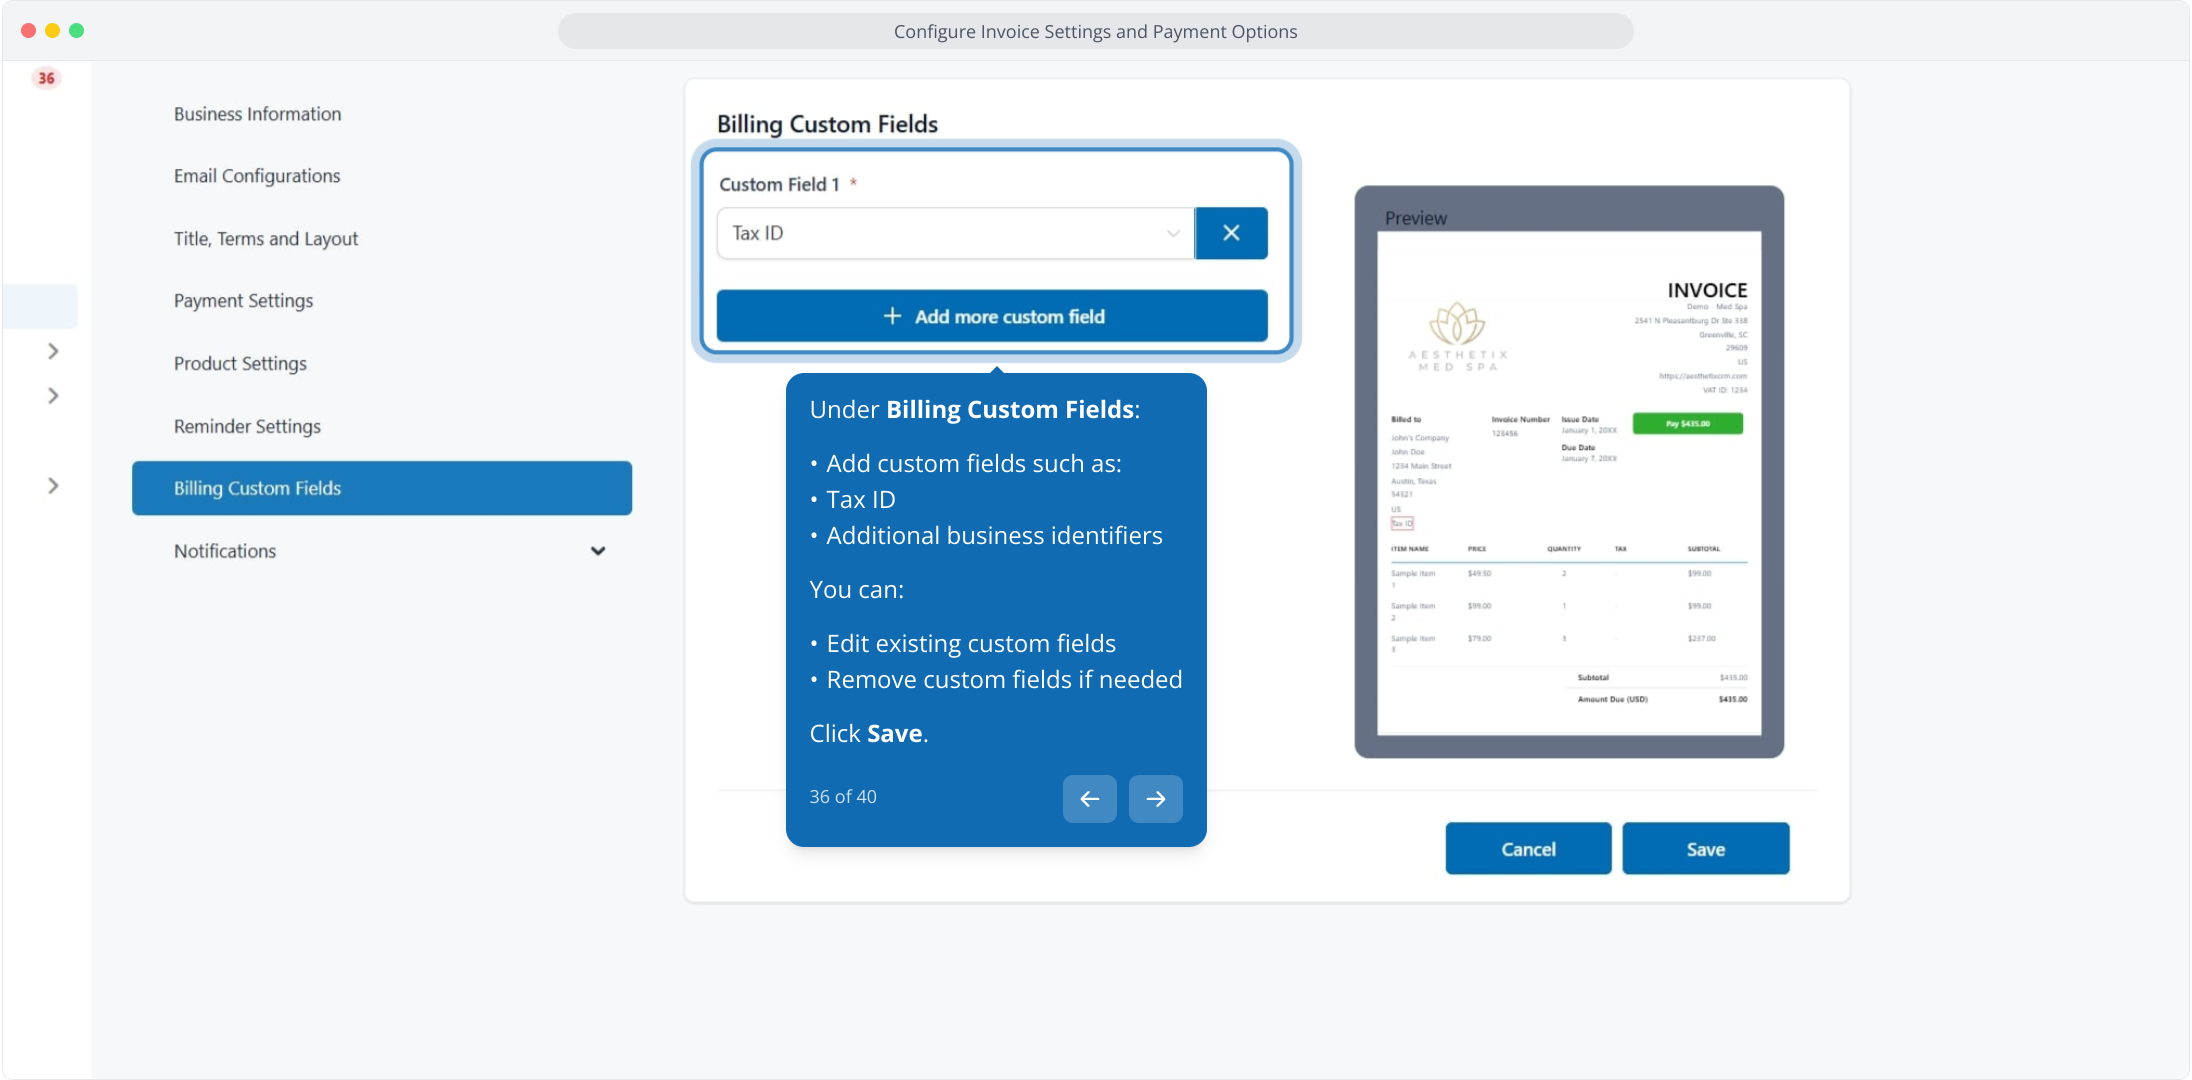
Add custom fields such as a tax ID or additional business identifiers. You can edit existing custom fields or remove them, then click Save.
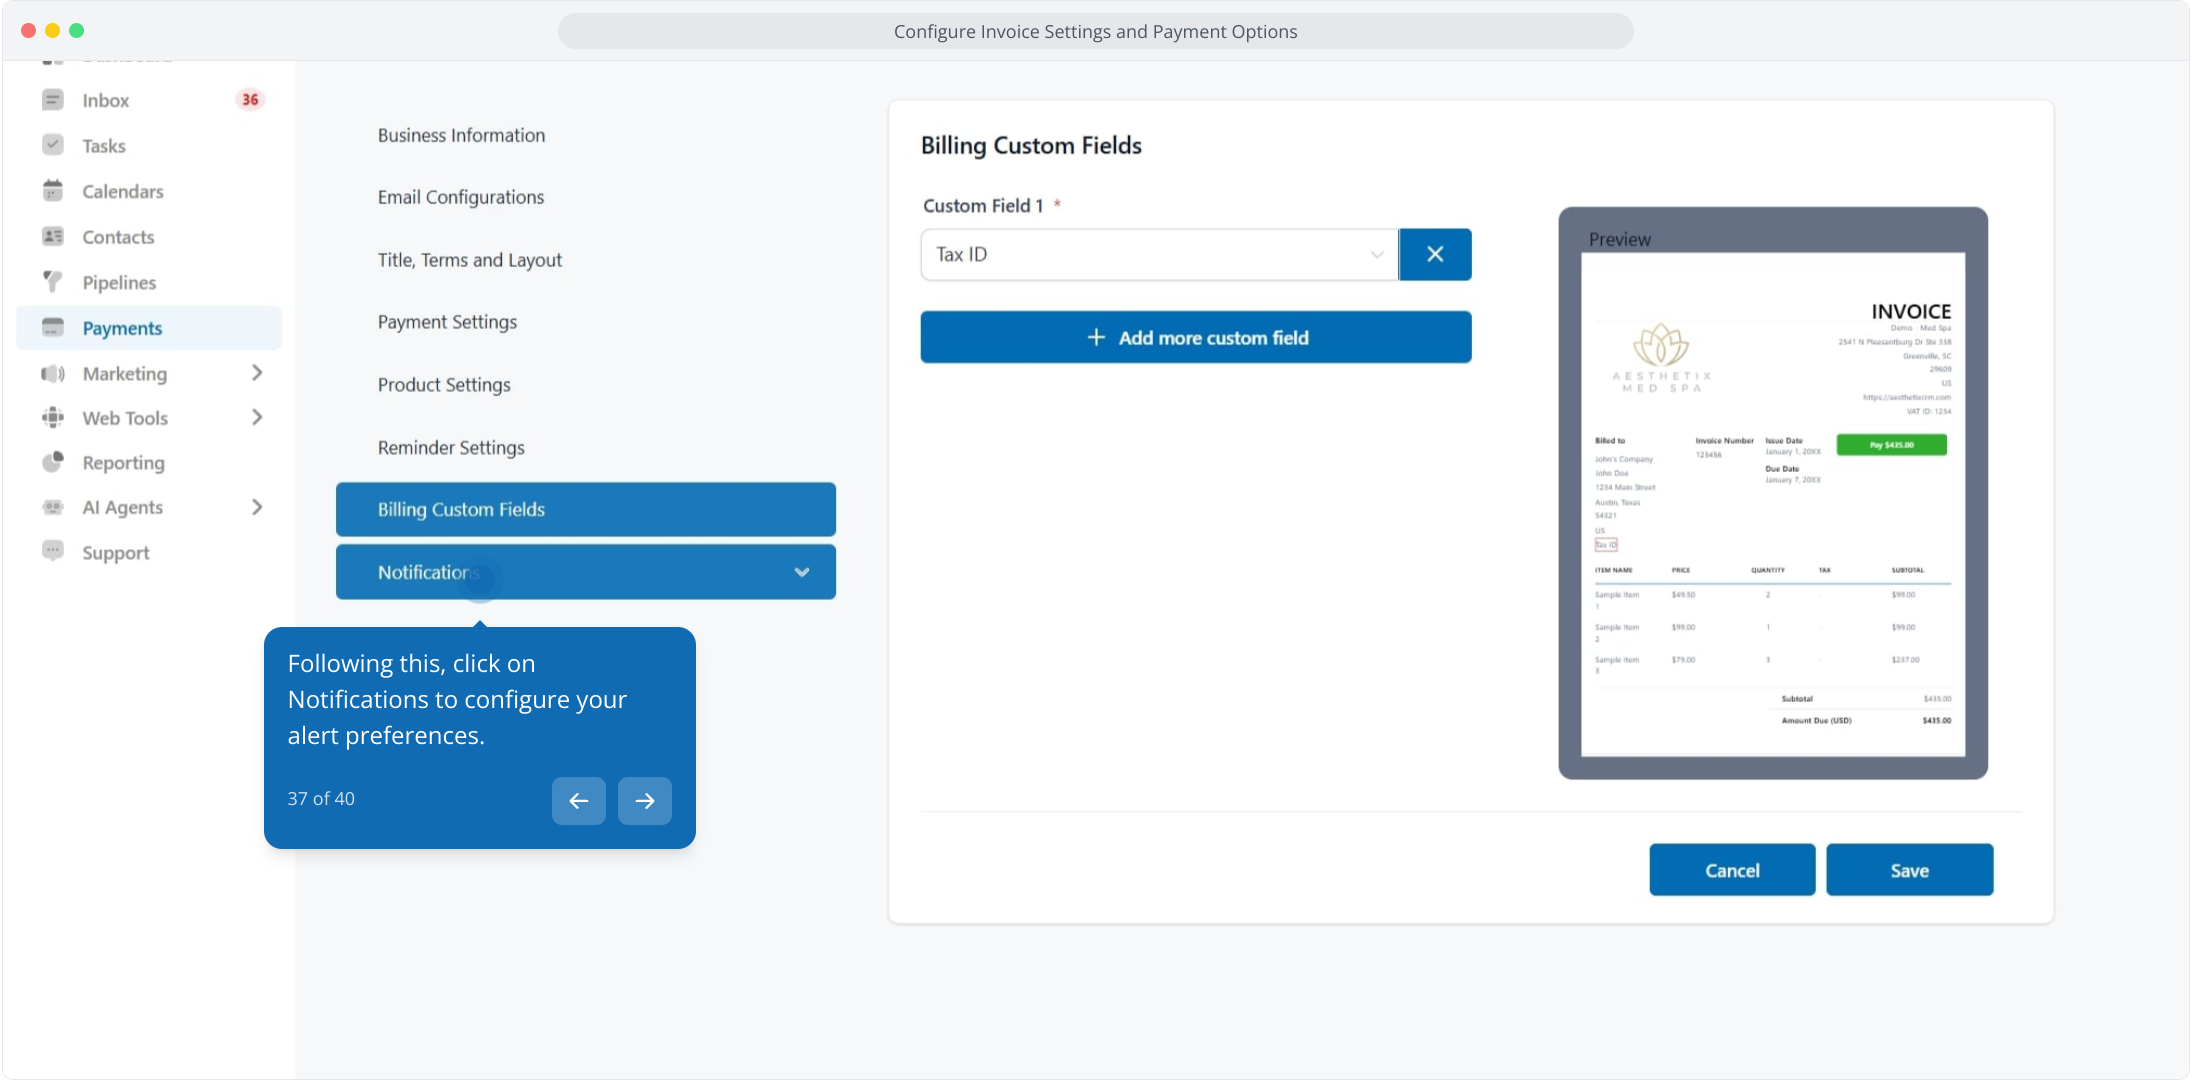
Click Notifications to configure alert preferences.
Click Customer Notifications to configure notifications sent to patients.
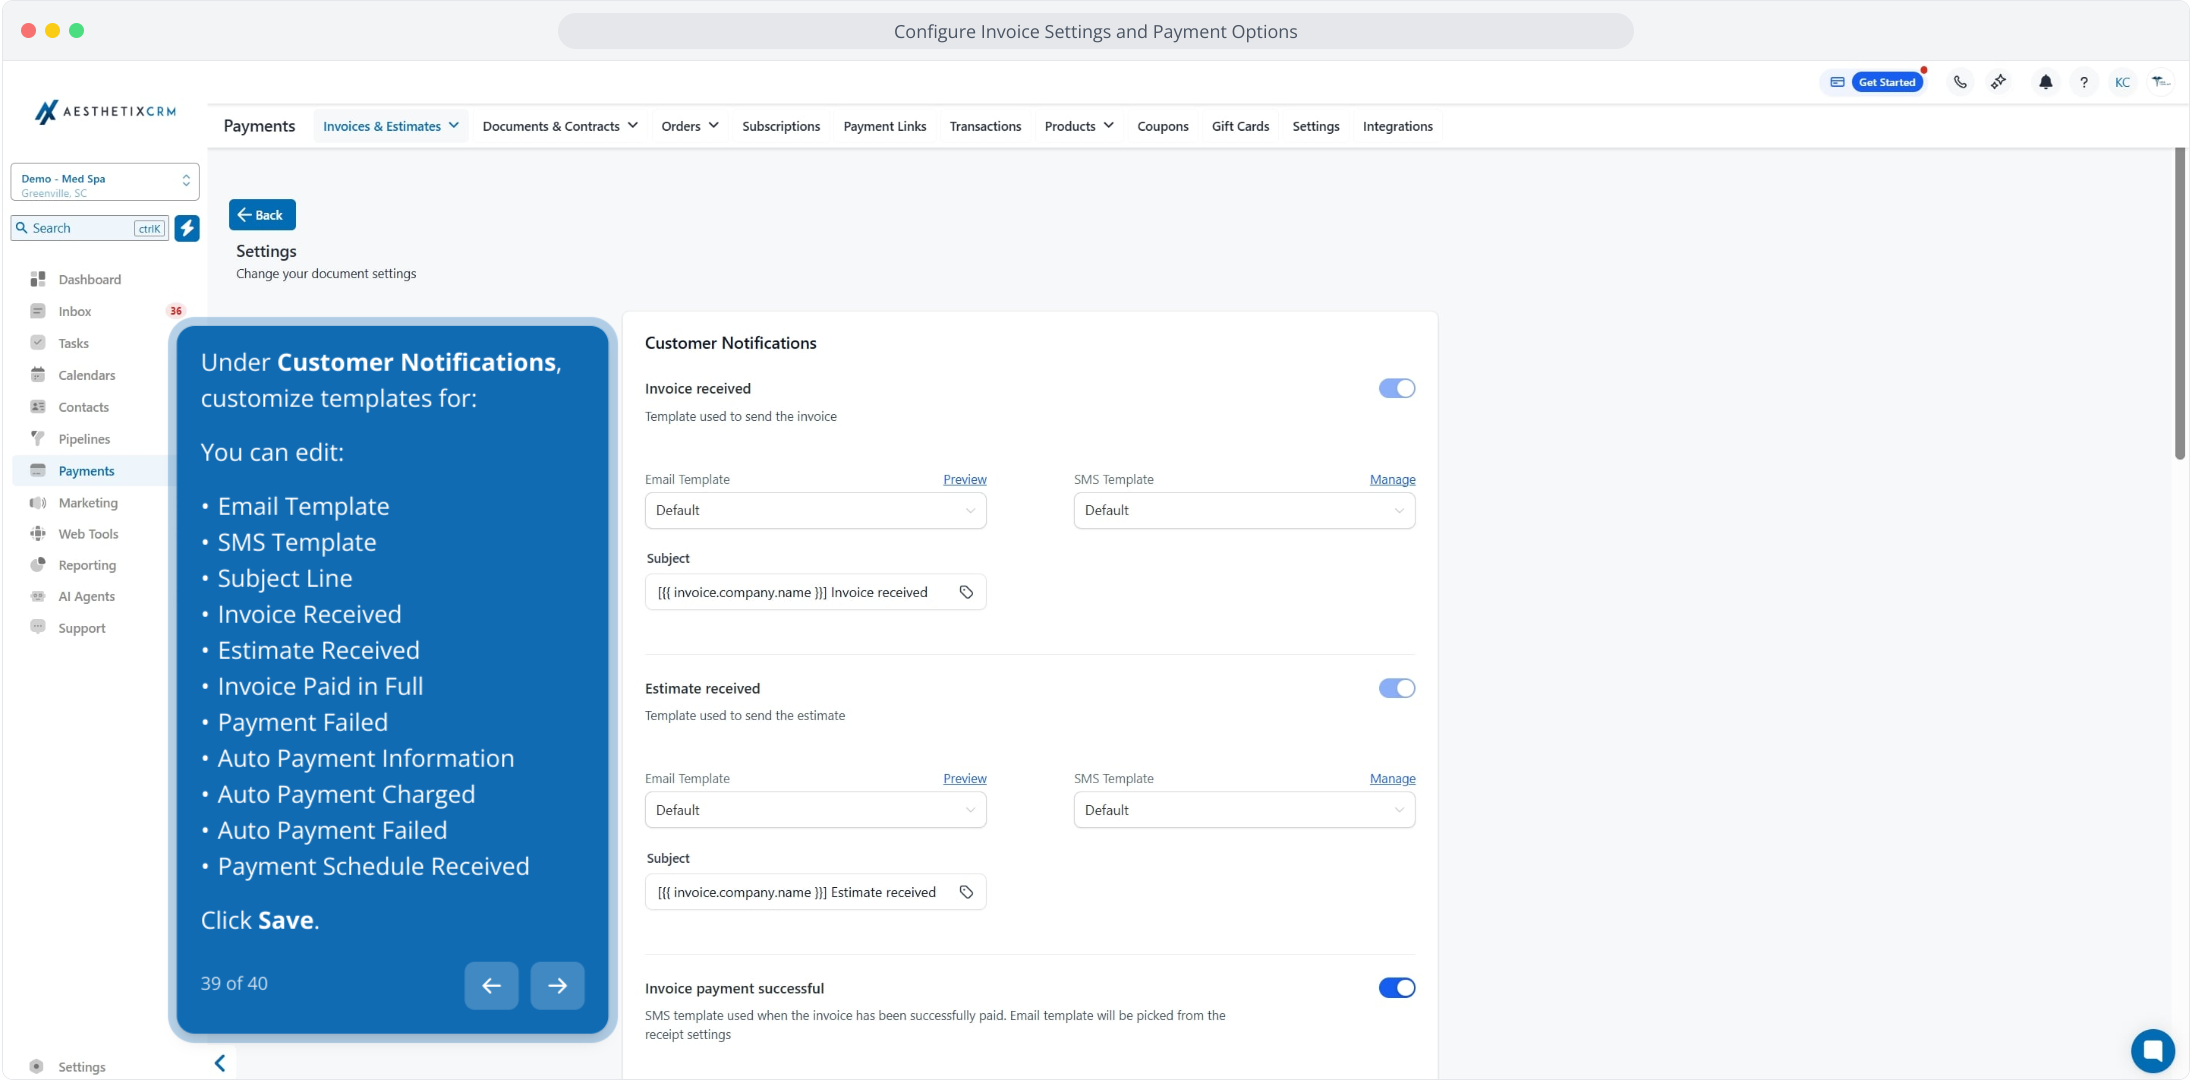
Under Customer Notifications, you can edit the email template, SMS template, and subject line for: Invoice Received, Estimate Received, Invoice Paid in Full, Payment Failed, Auto Payment Information, Auto Payment Charged, Auto Payment Failed, and Payment Schedule Received. Click Save.
Under Team Notifications, enable alerts sent to the user who issued the invoice for: Invoice Payment Successful, Invoice Payment Failed, Auto Payment Failed, Auto Payment Skipped, Invoice Could Not Be Sent, Estimate Accepted, and Estimate Declined. Click Save.
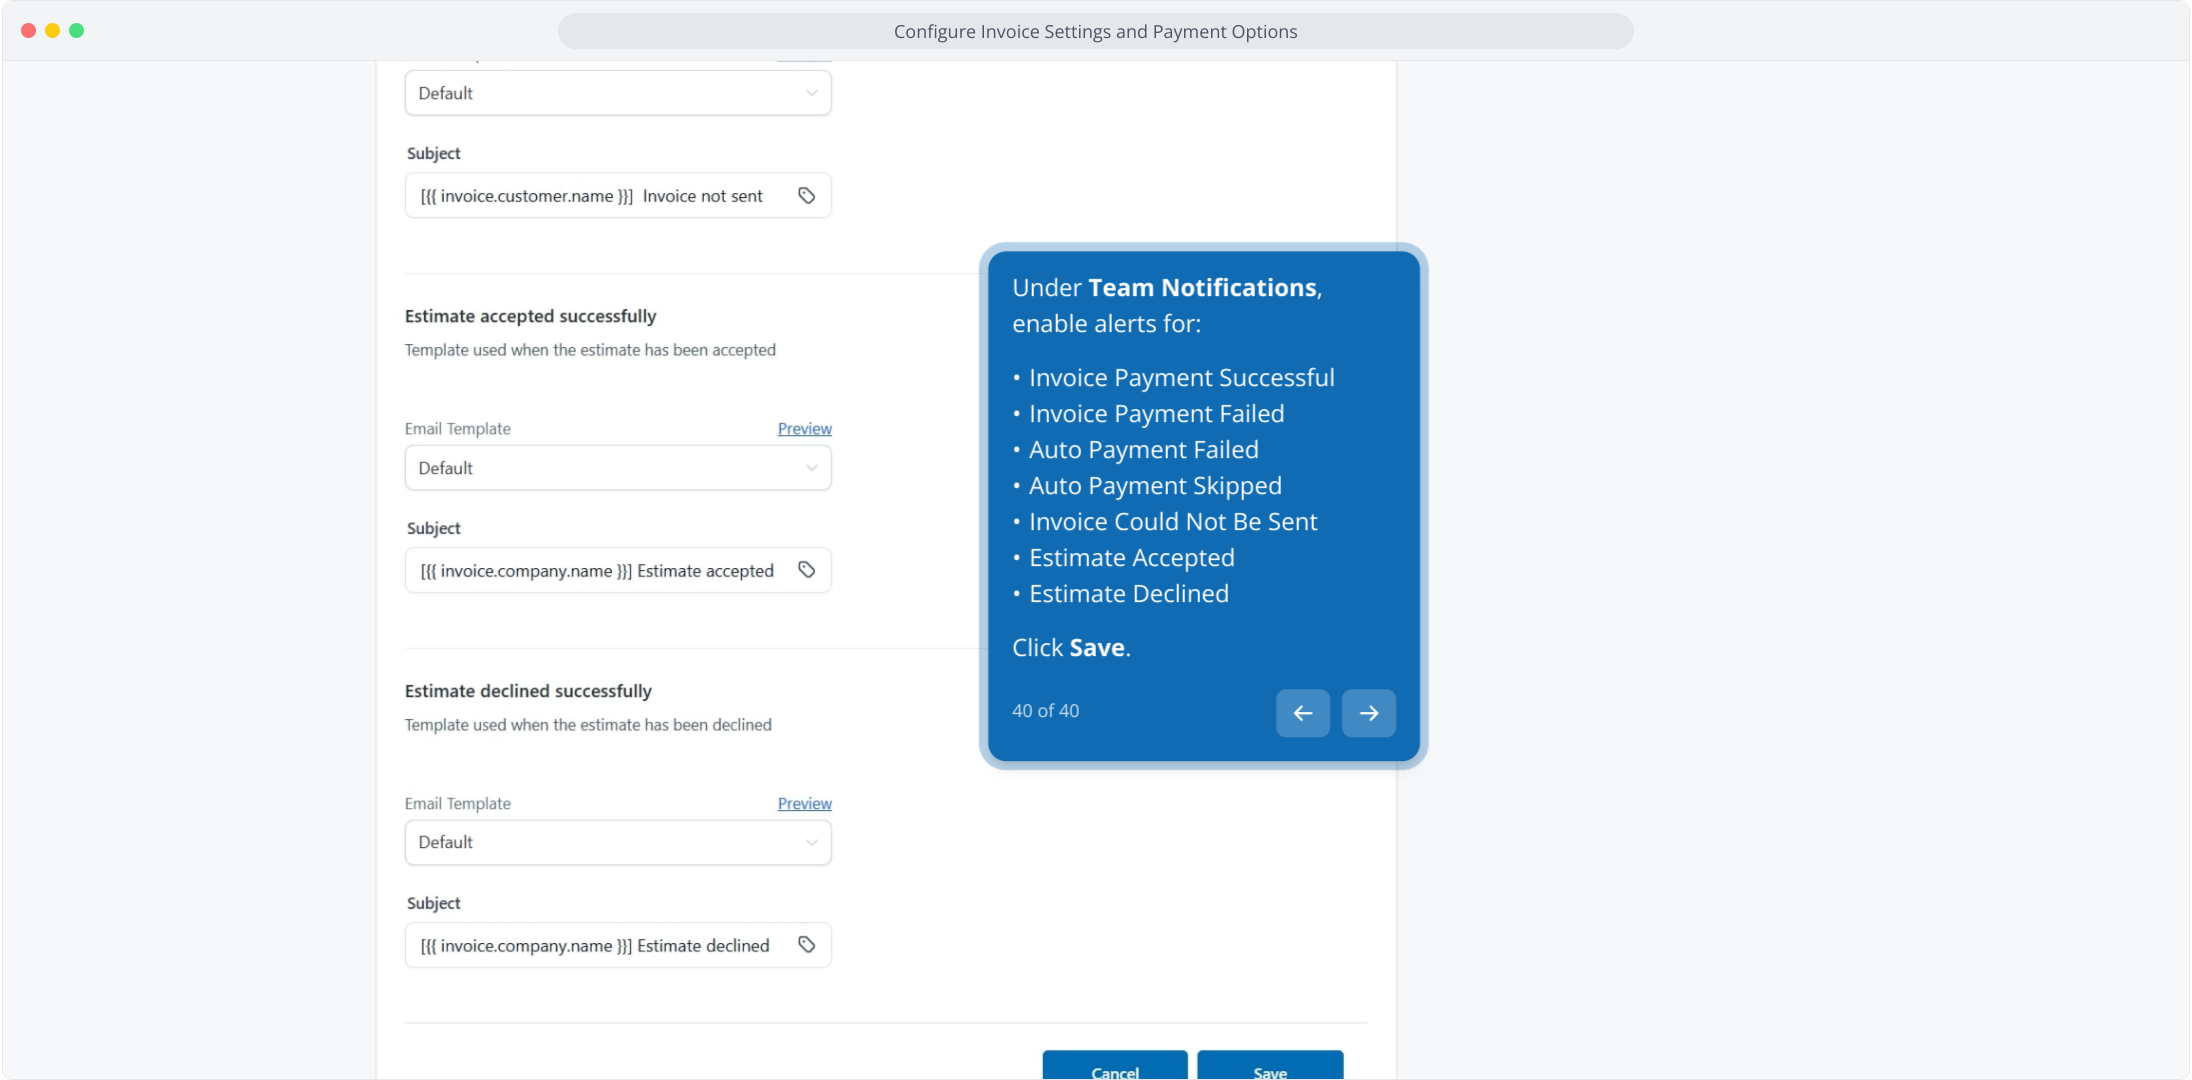
Note: To see a default template, a manual test is required.
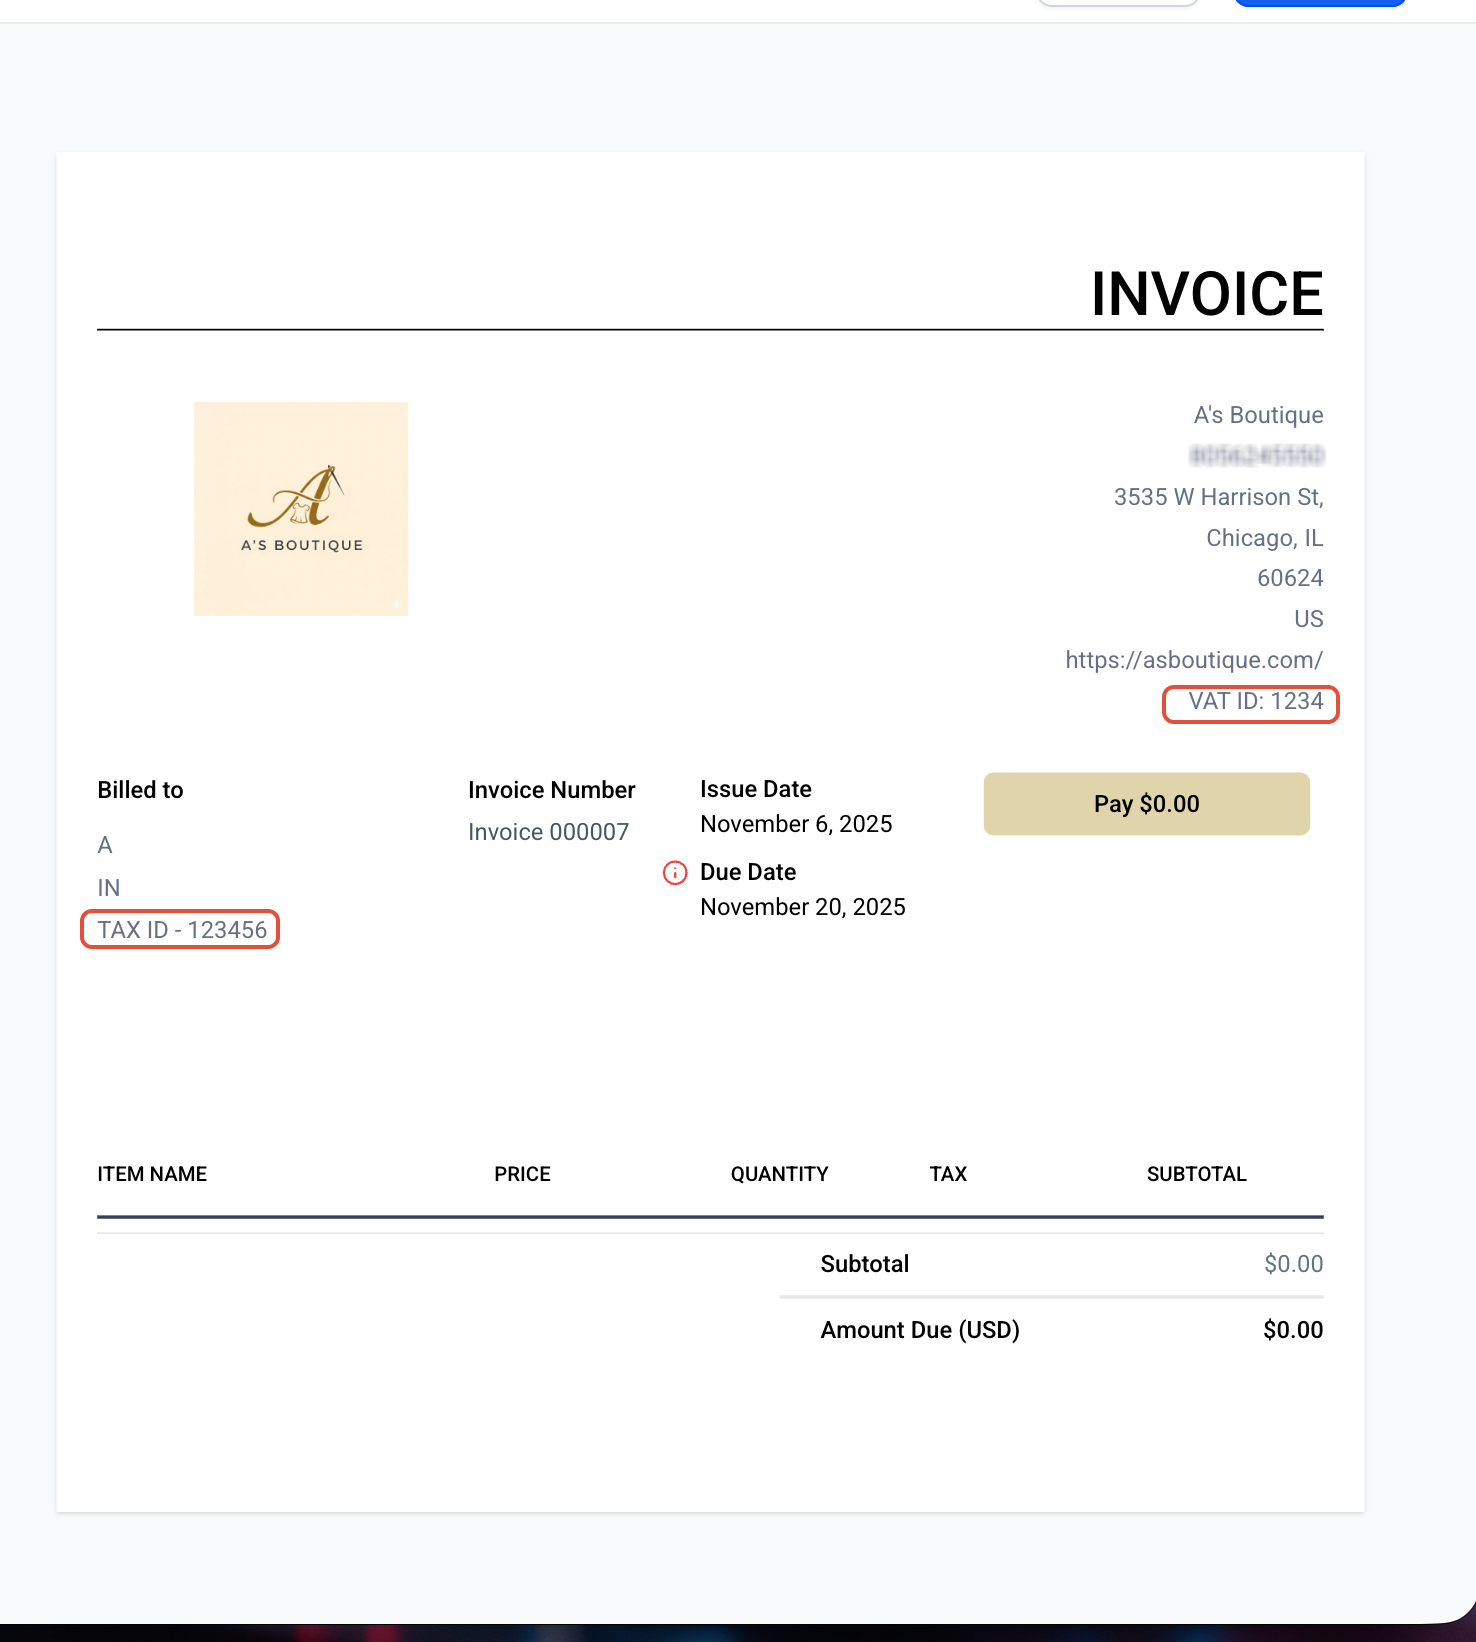
If your practice needs tax identification numbers on invoices, you can configure the system to automatically display your Business Tax ID under the business details section and each patient's Tax ID under the contact section.
The setup has two stages: create the data points (custom field and custom value), then map them into the invoice layout.
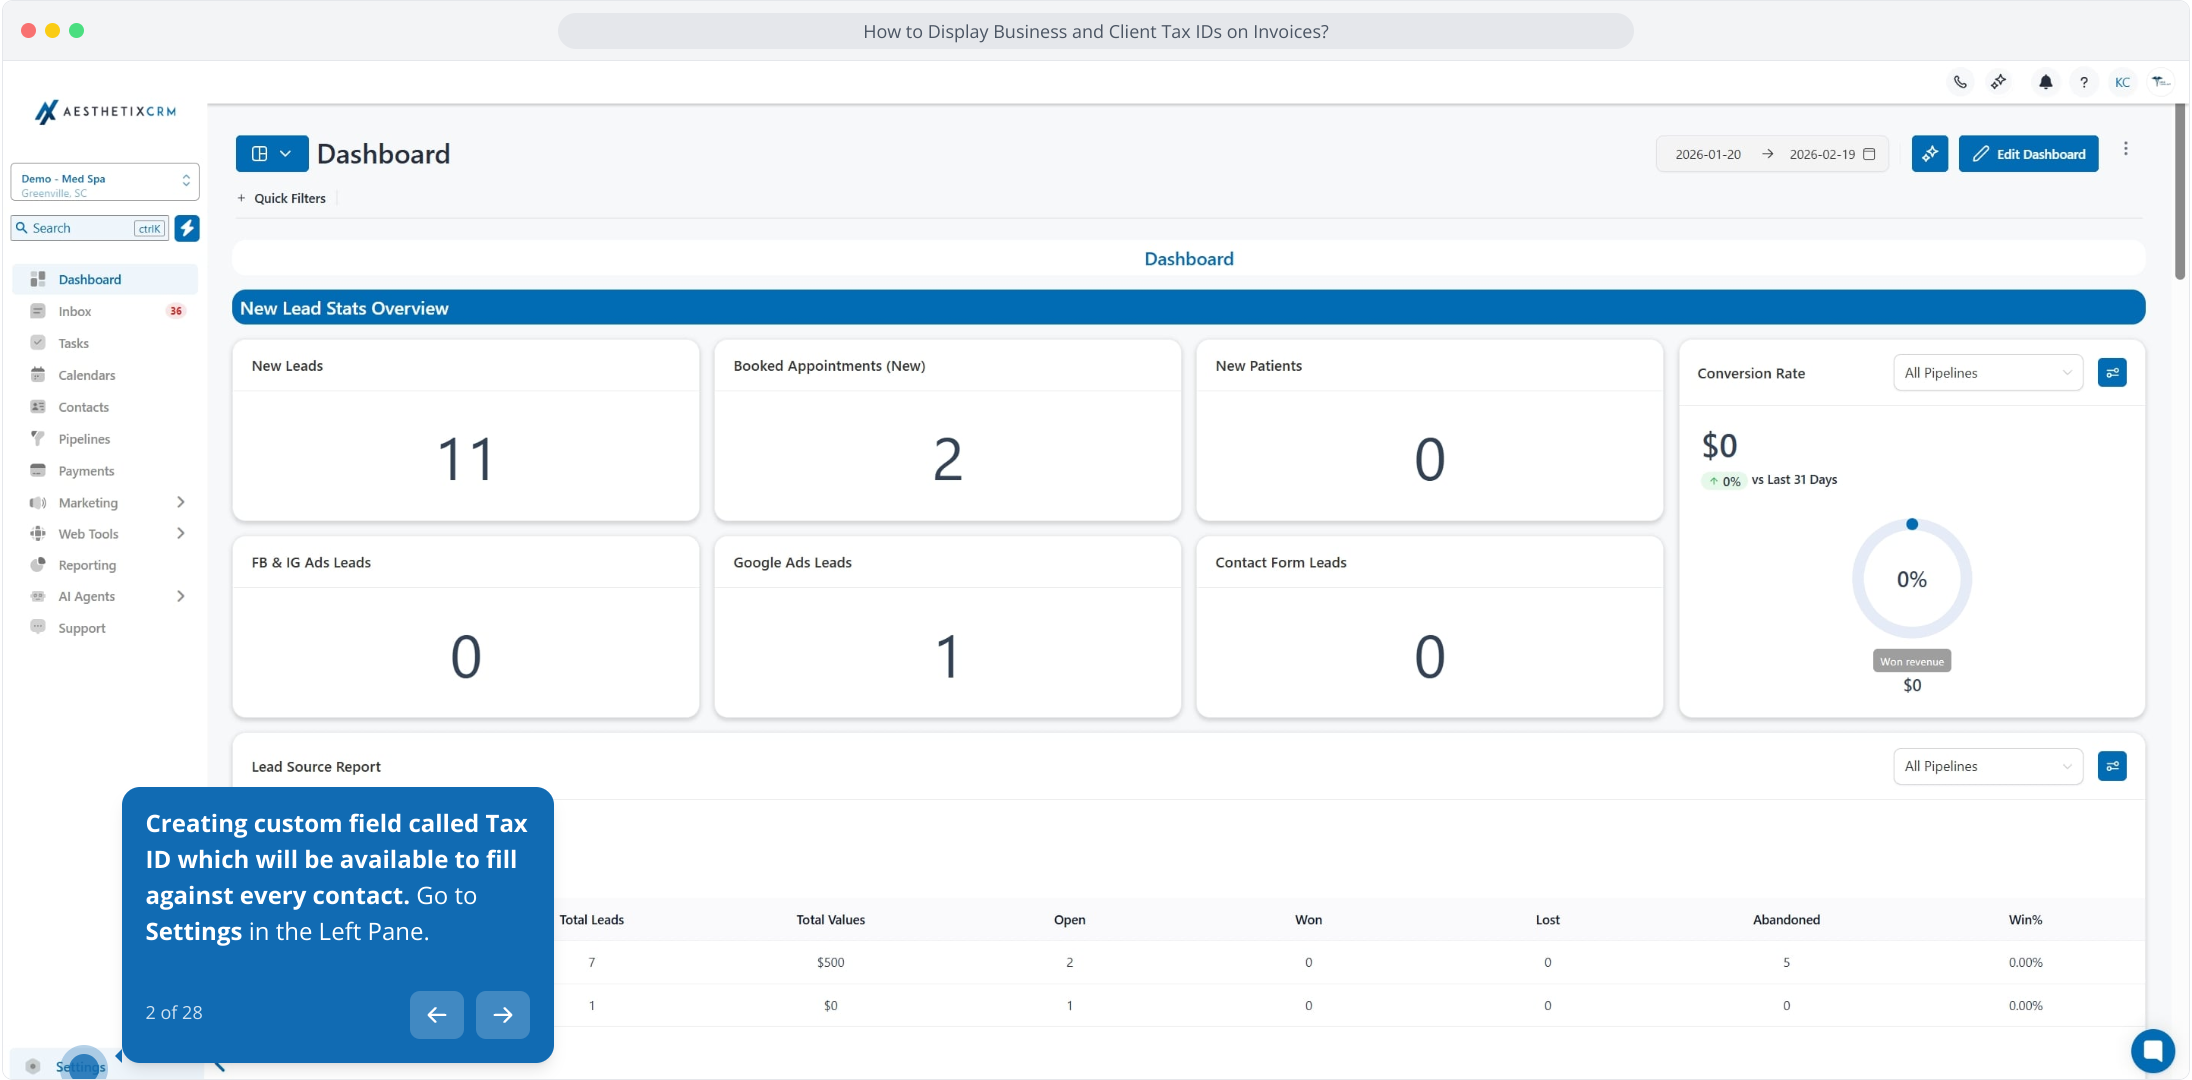
Go to Settings in the left pane.
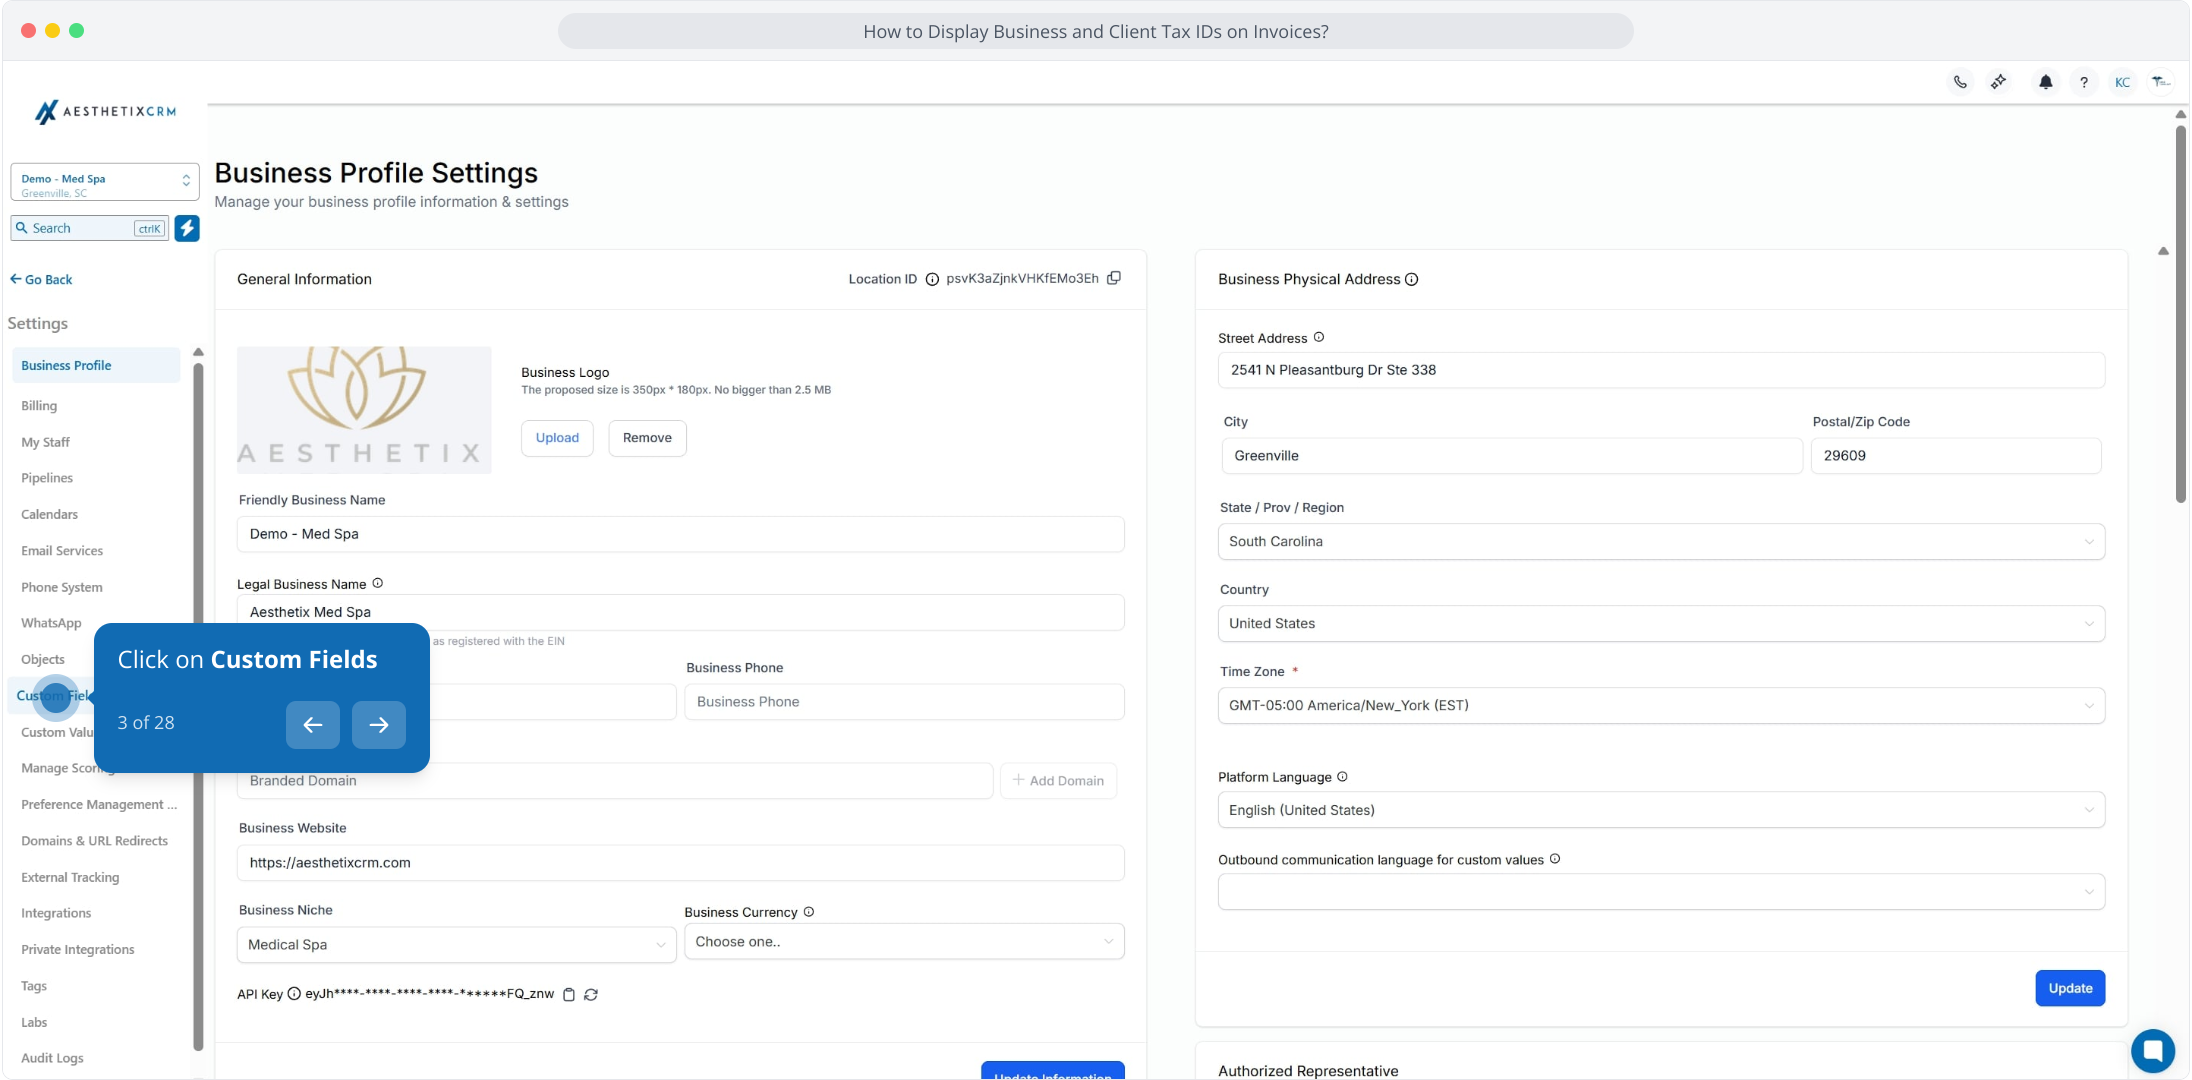
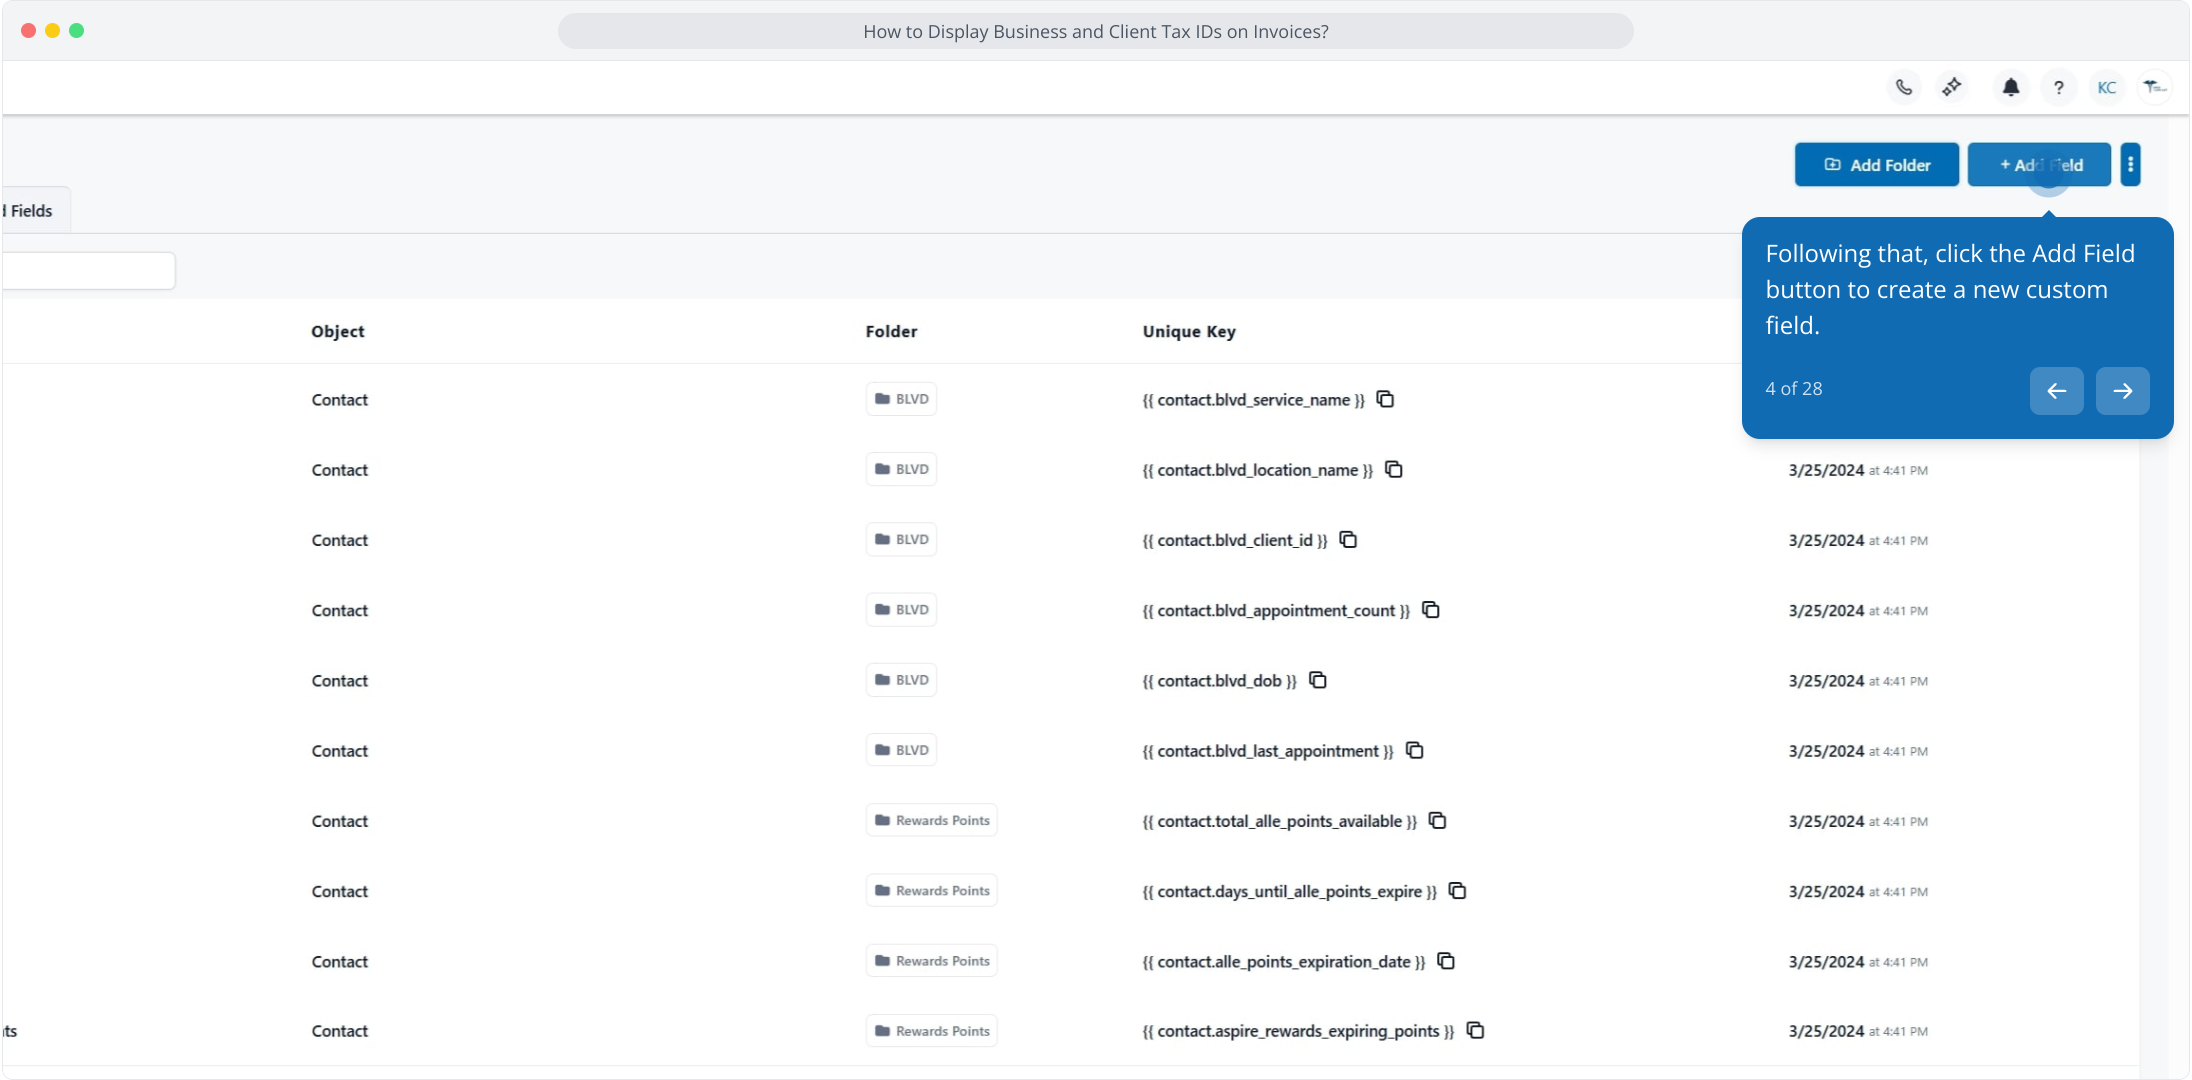
Click Custom Fields, then select + Add Field.
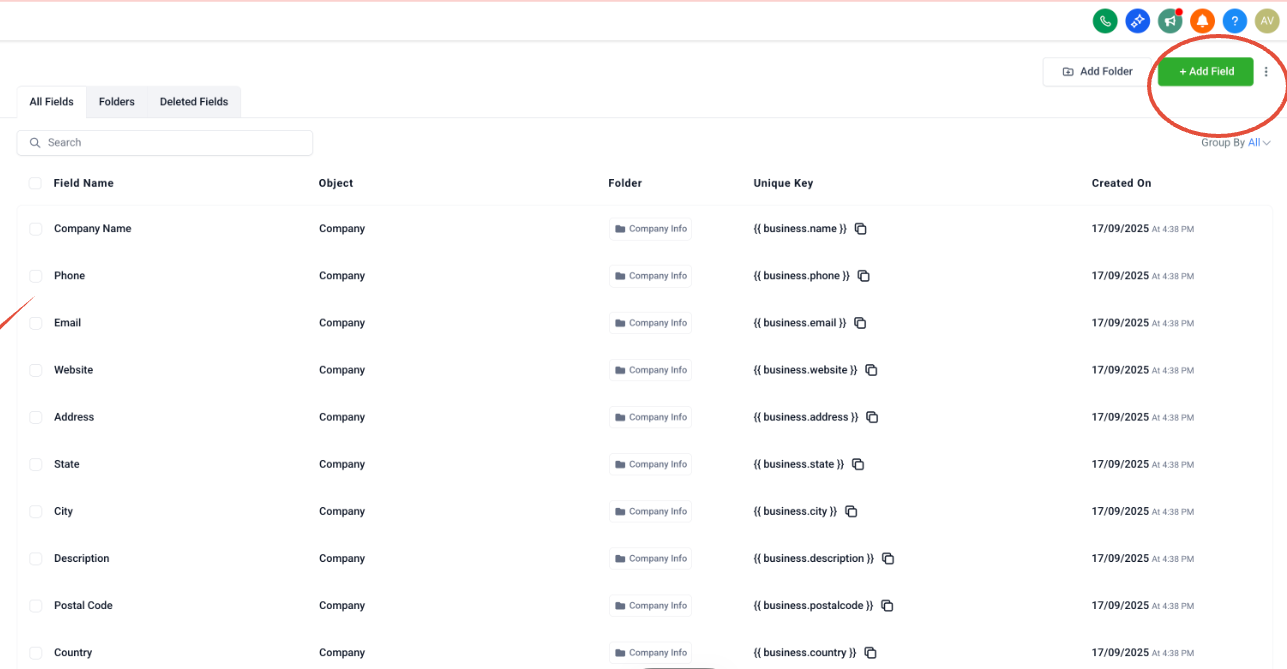
Click Add Field.
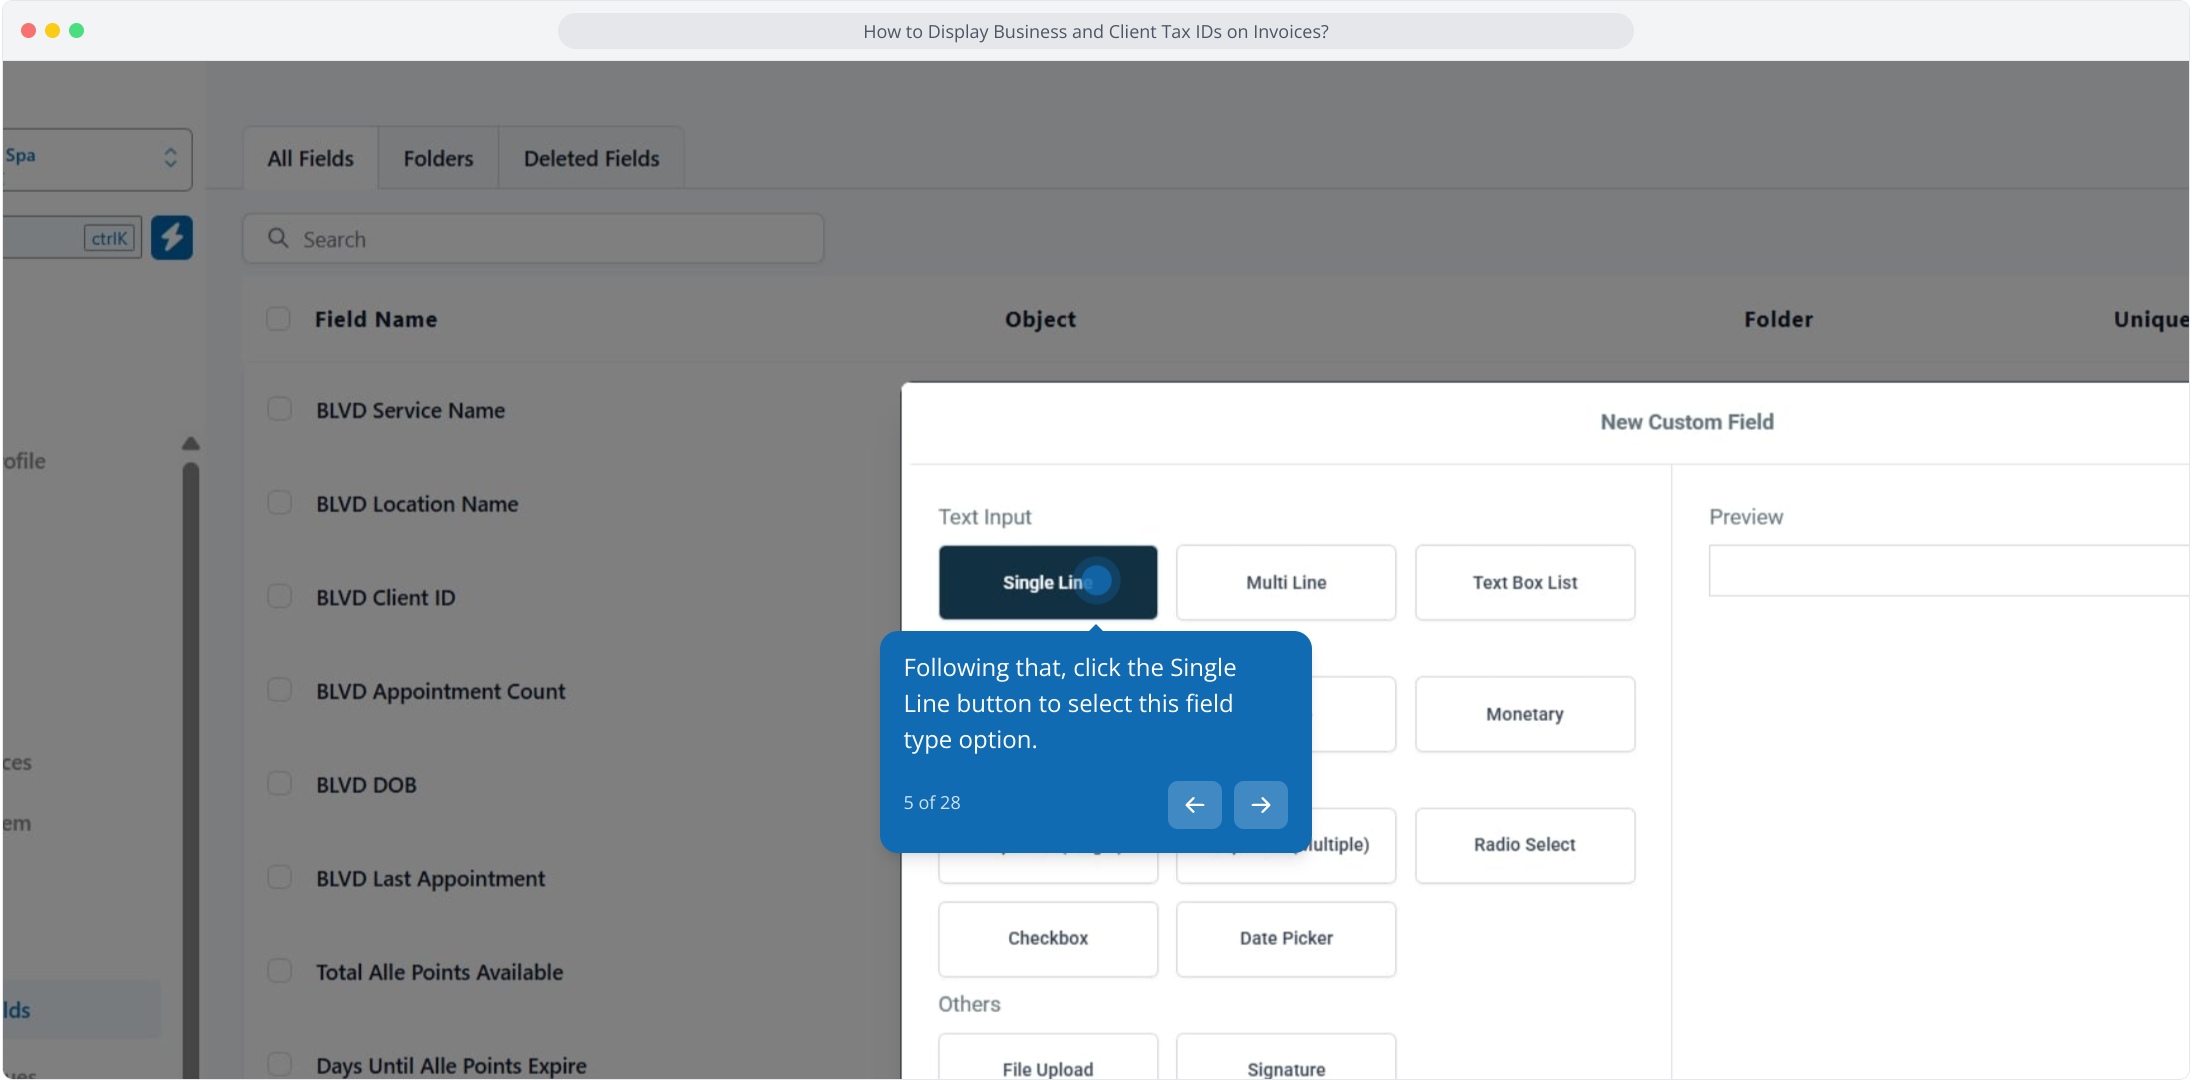
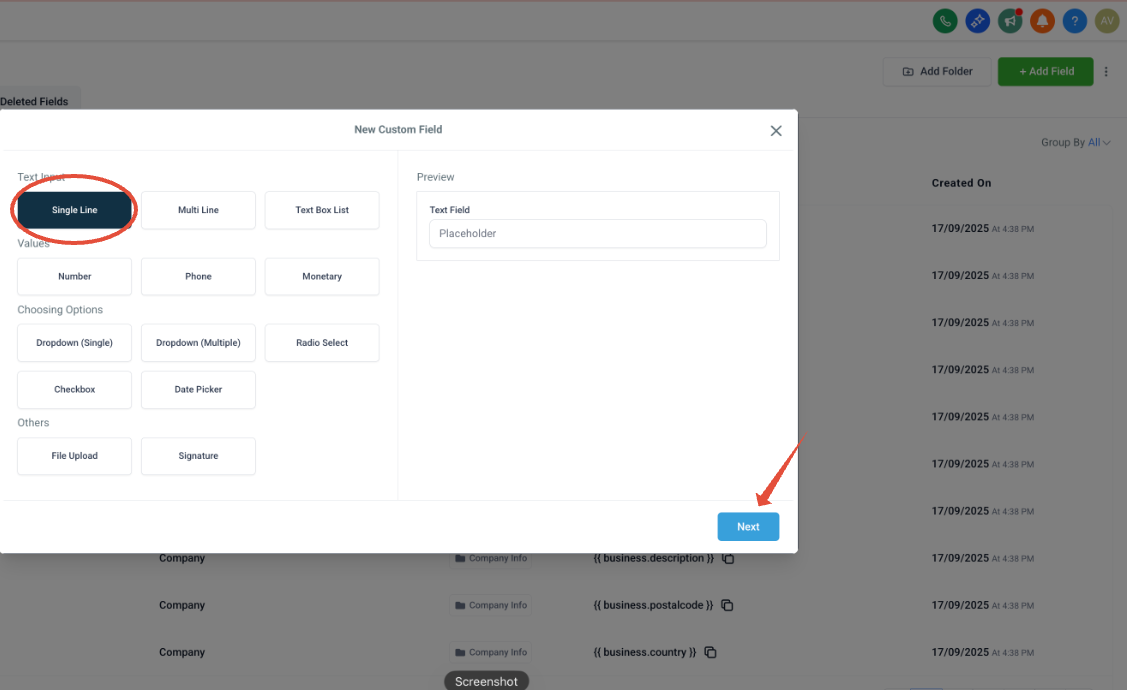
Click the Single Line field type.
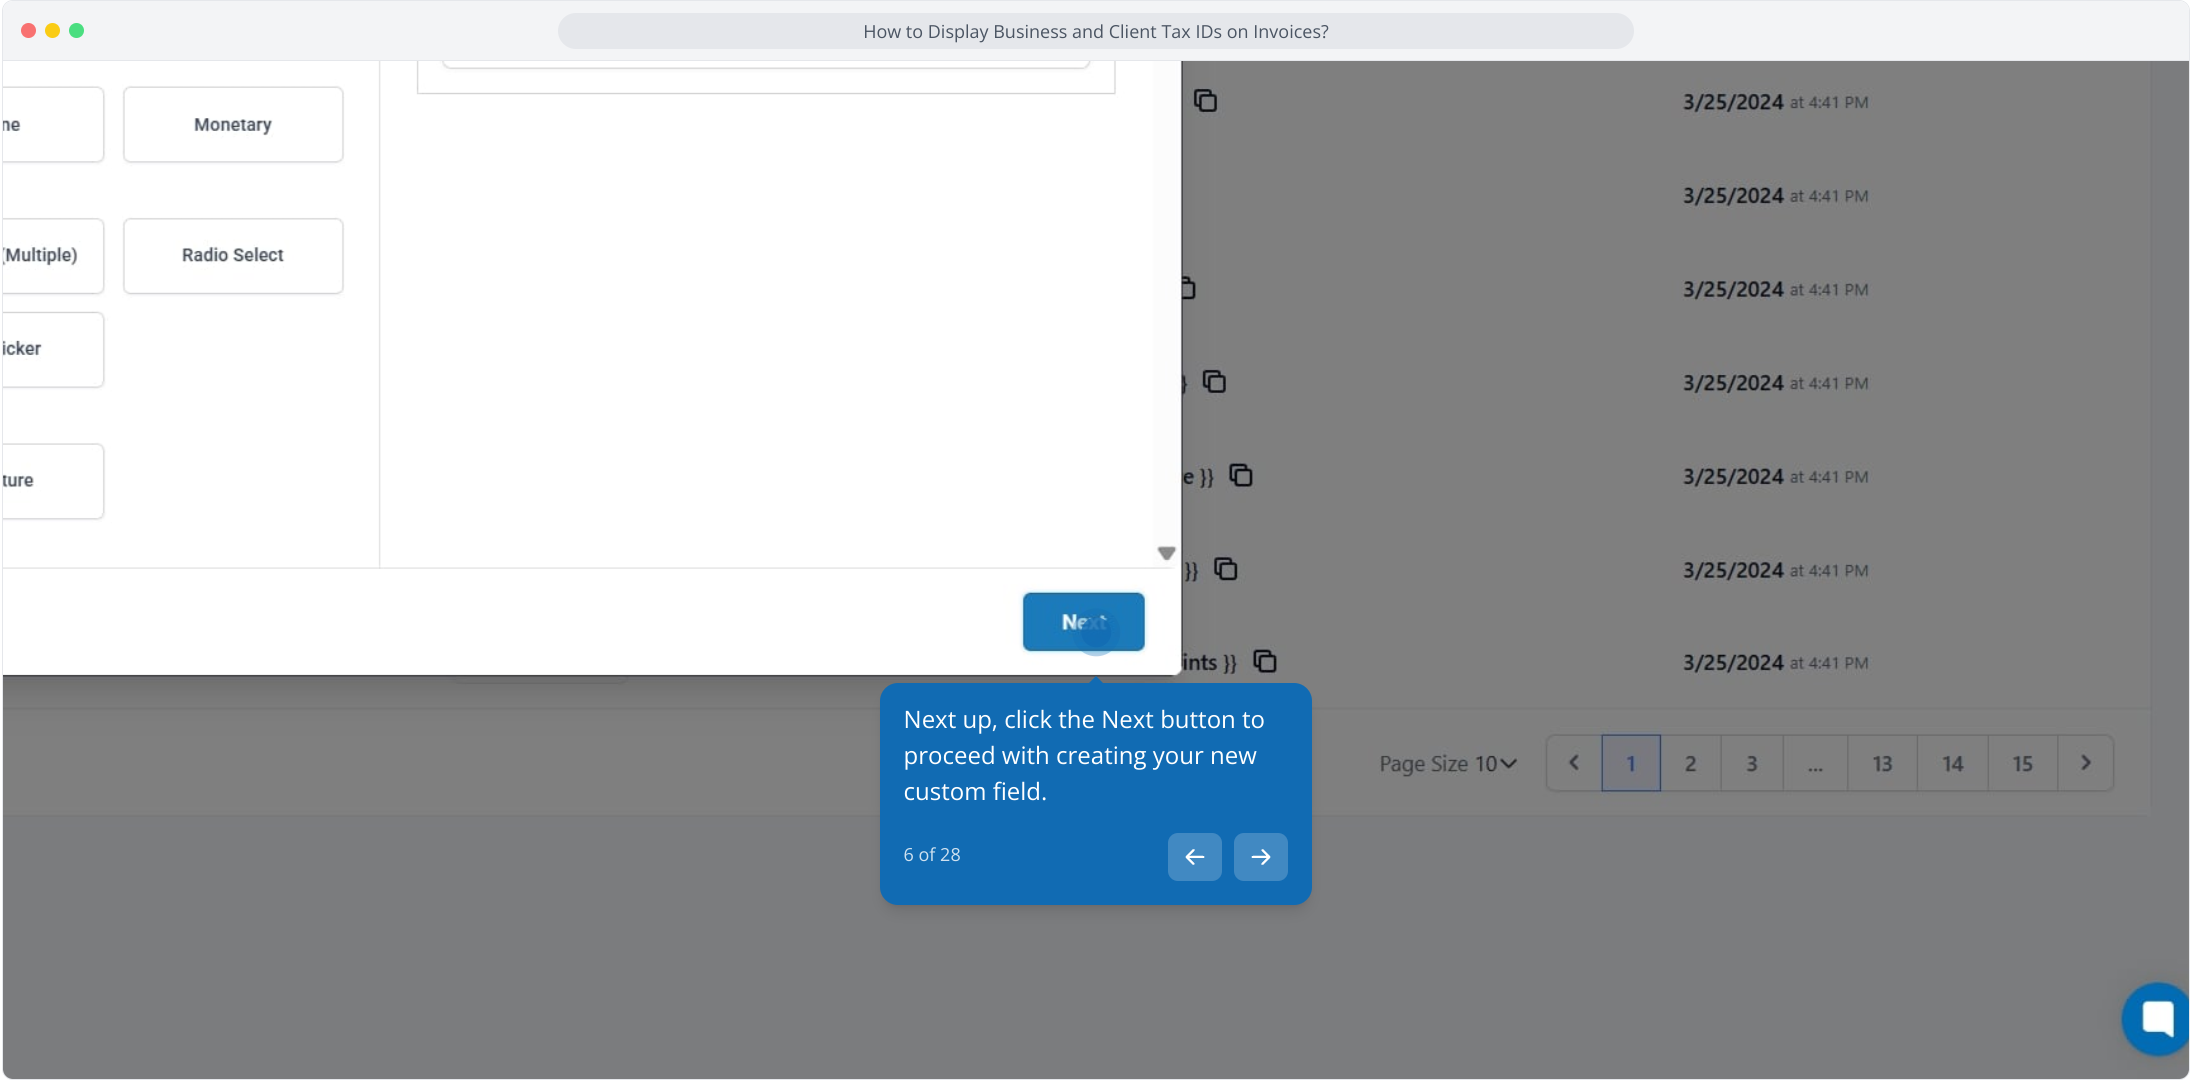
Click Next.
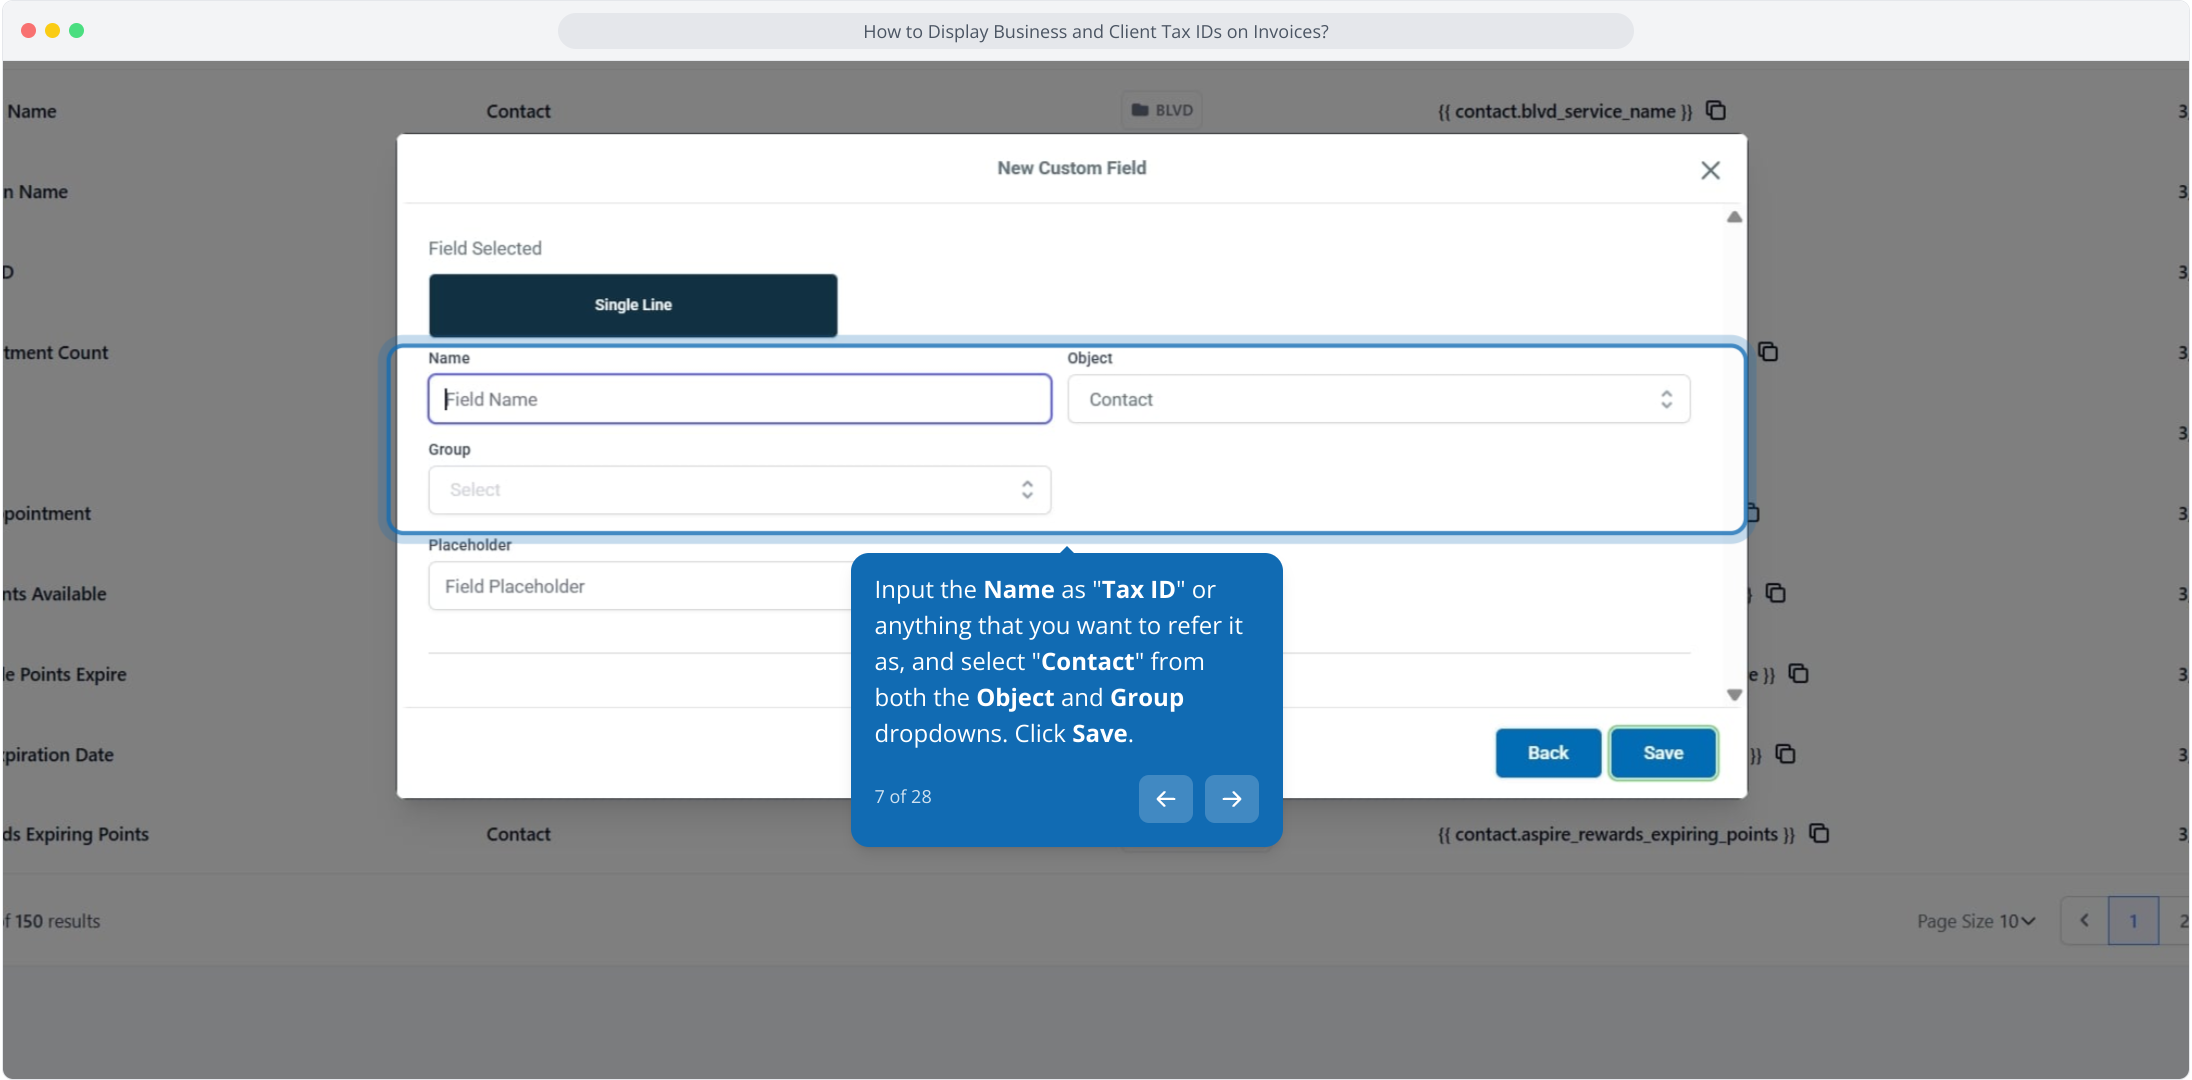
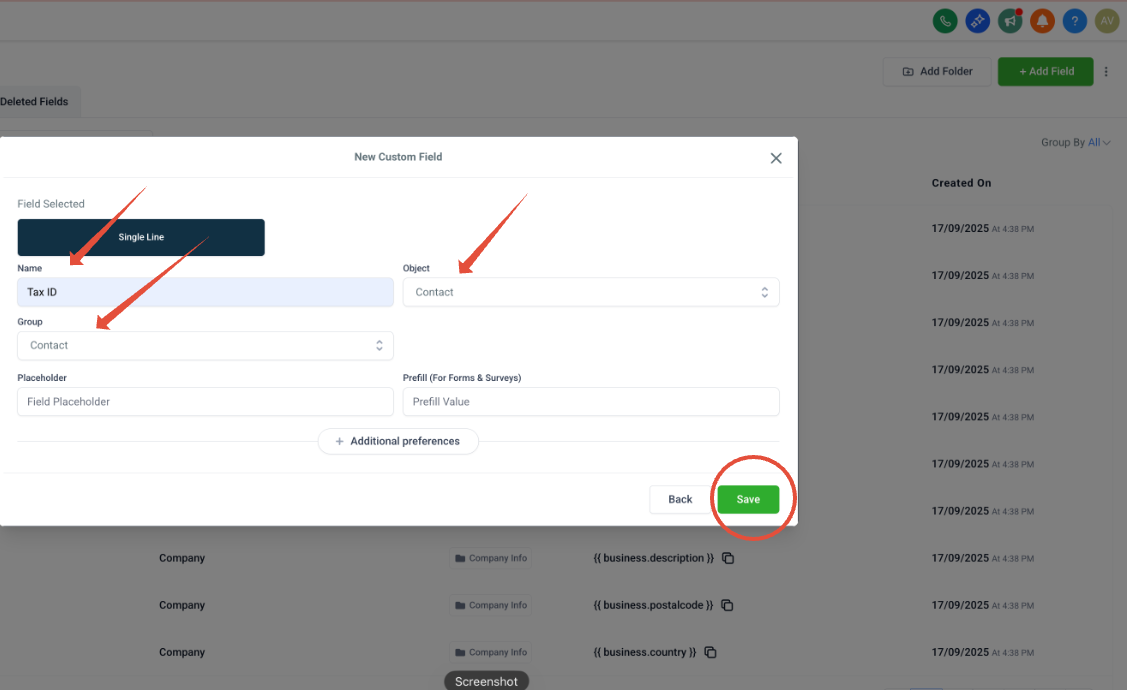
Enter the Name as "Tax ID" (or anything you prefer), and select Contact from both the Object and Group dropdowns. Click Save.
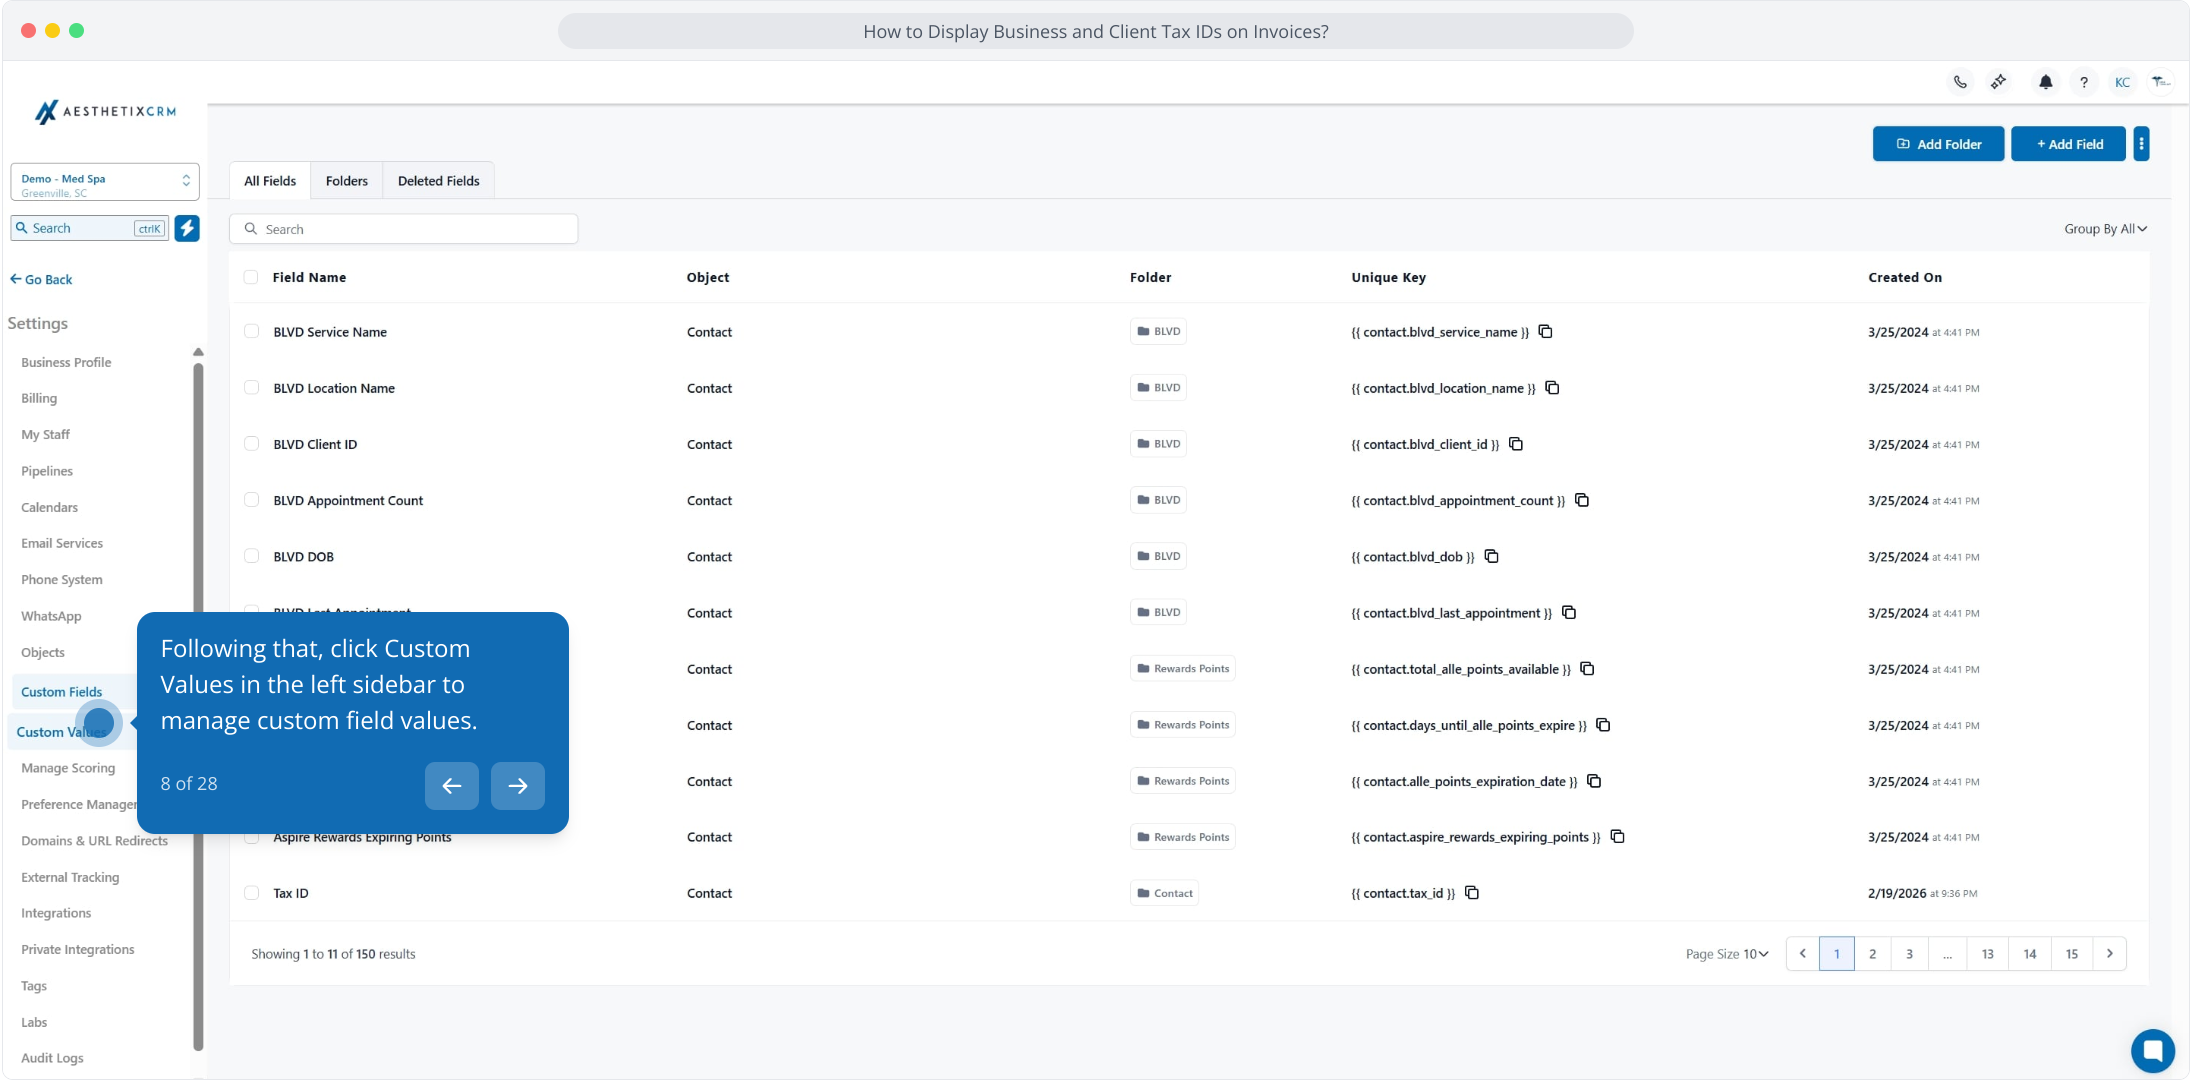
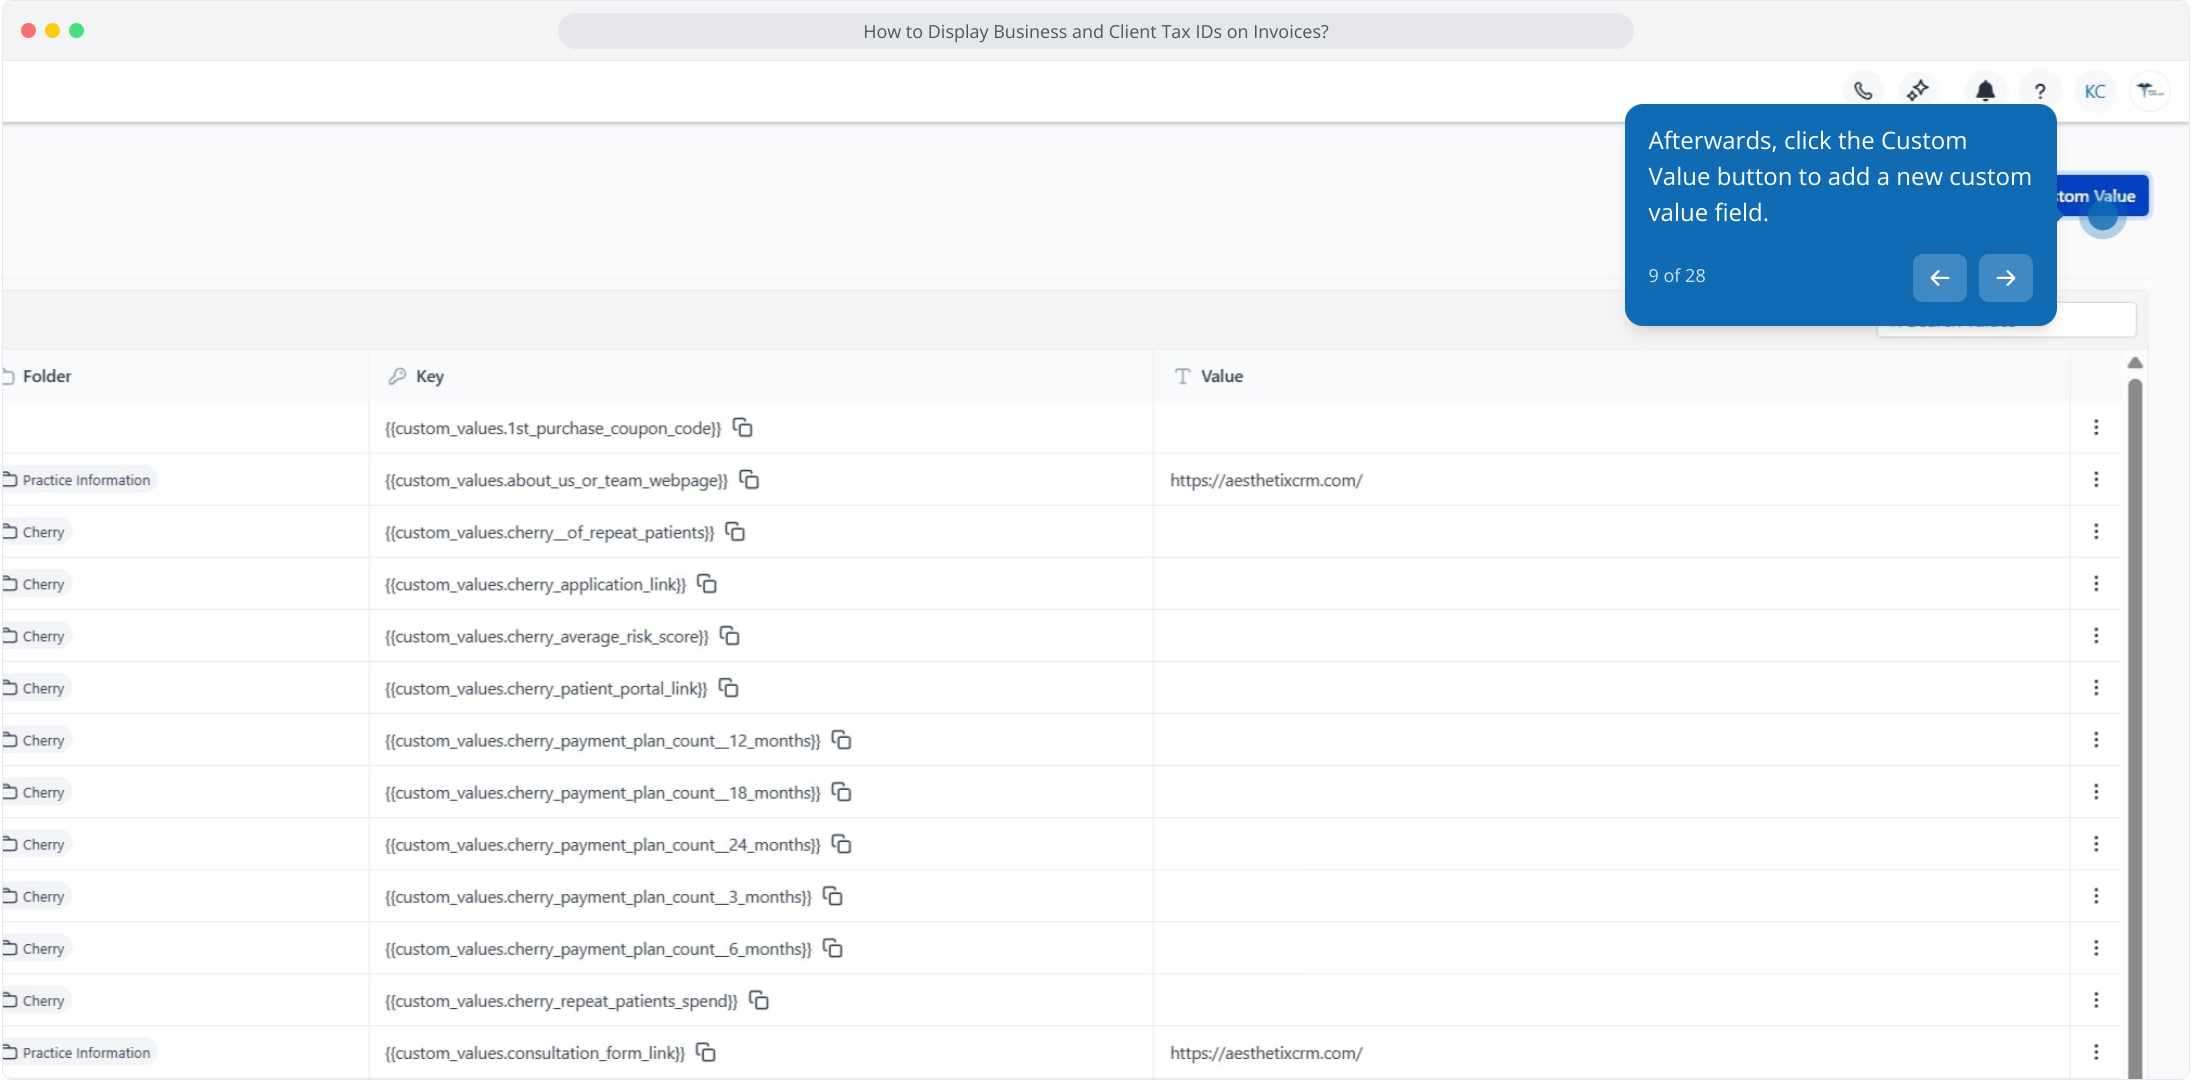
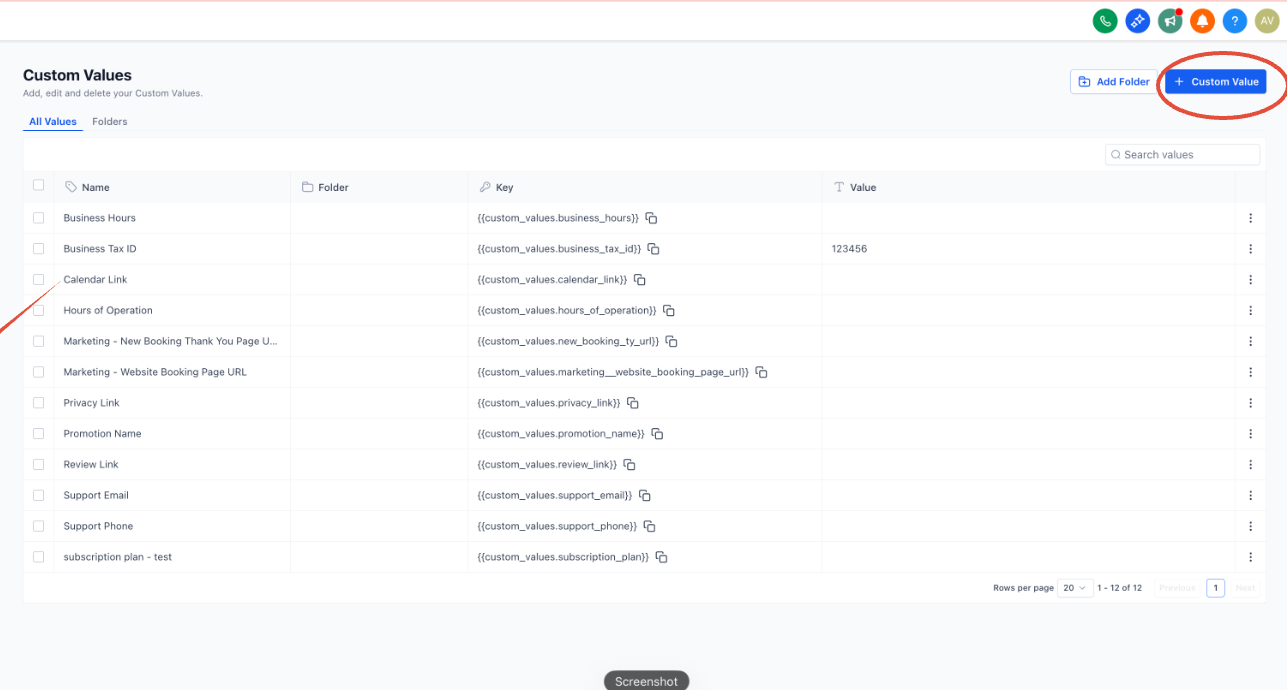
Go back to Settings, click Custom Values, and select + Custom Value.
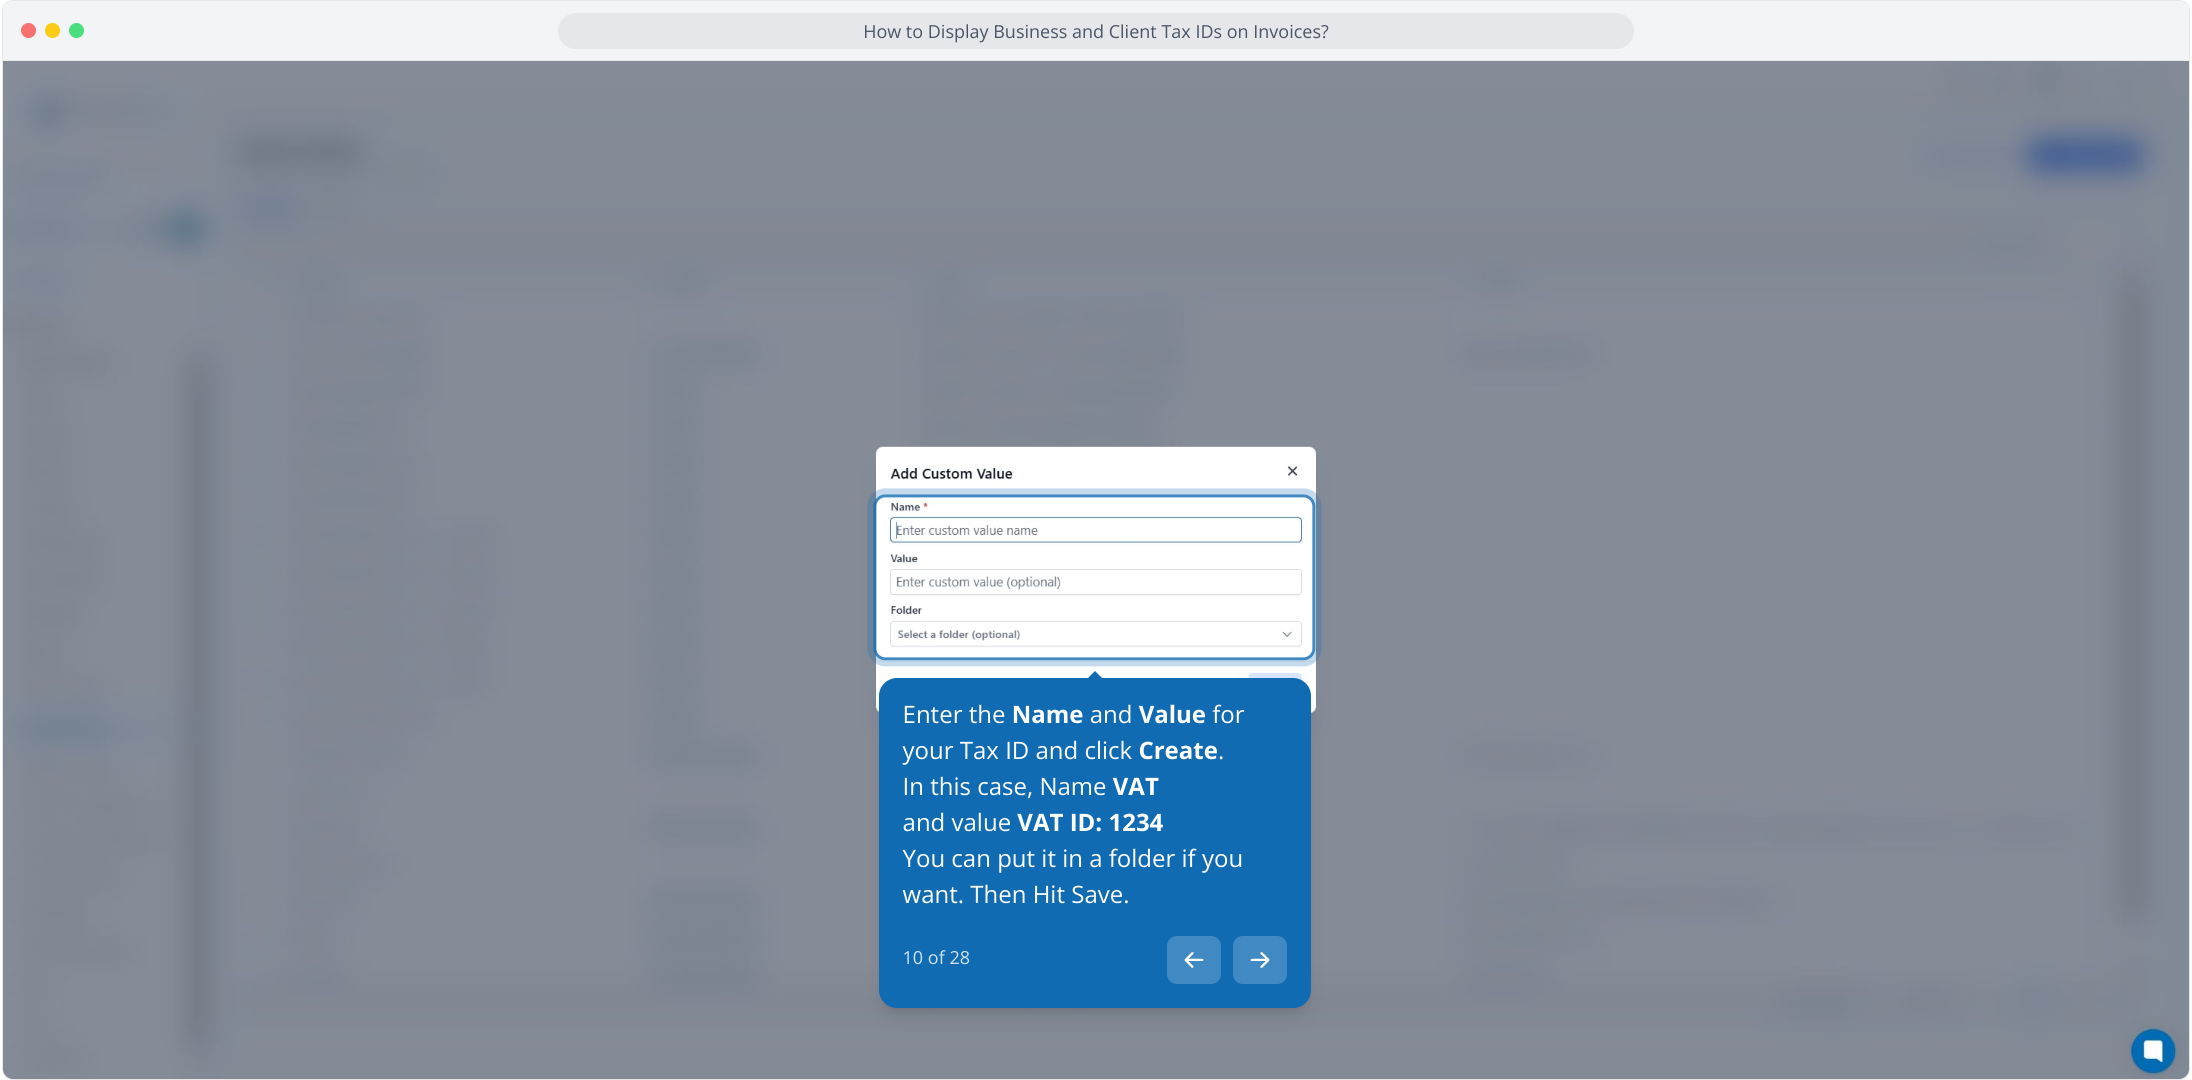
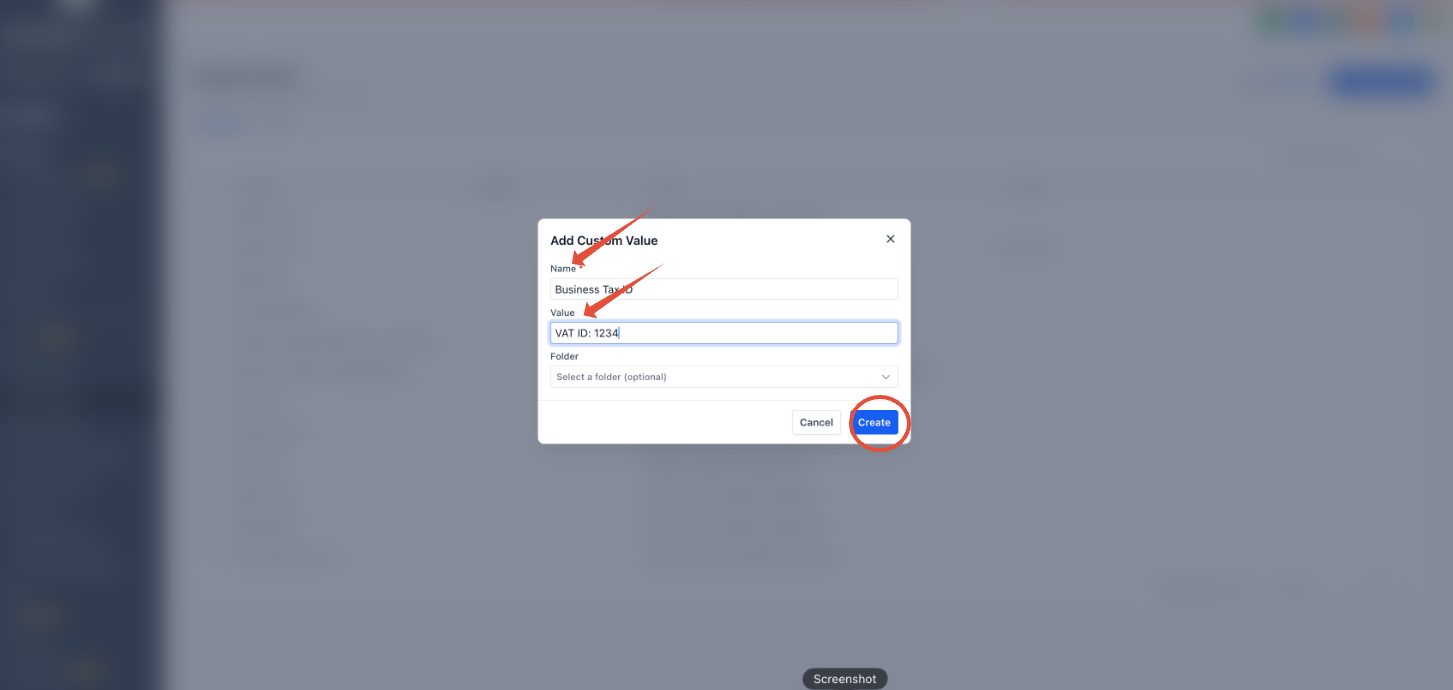
Enter the Name and Value for your tax ID (for example, Name "VAT" and Value "VAT ID: 1234") and click Create. You can place it in a folder if you want, then save.
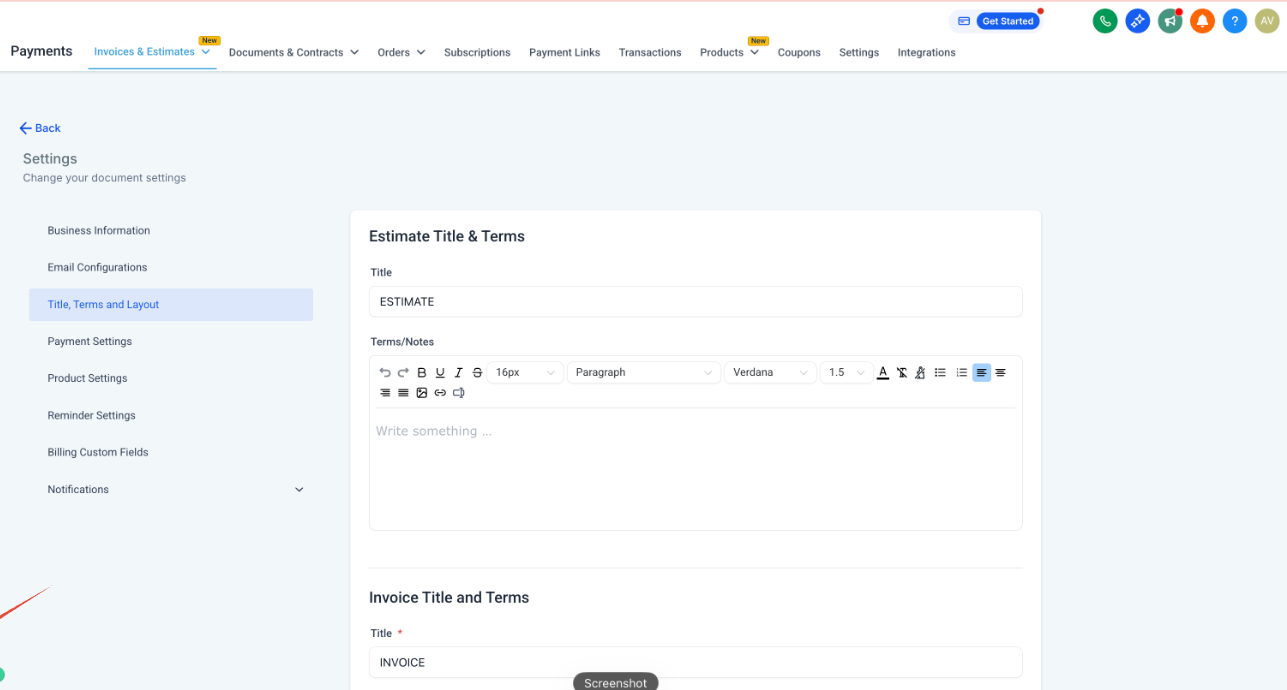
Go back to Payments and select Settings under Invoices & Estimates.
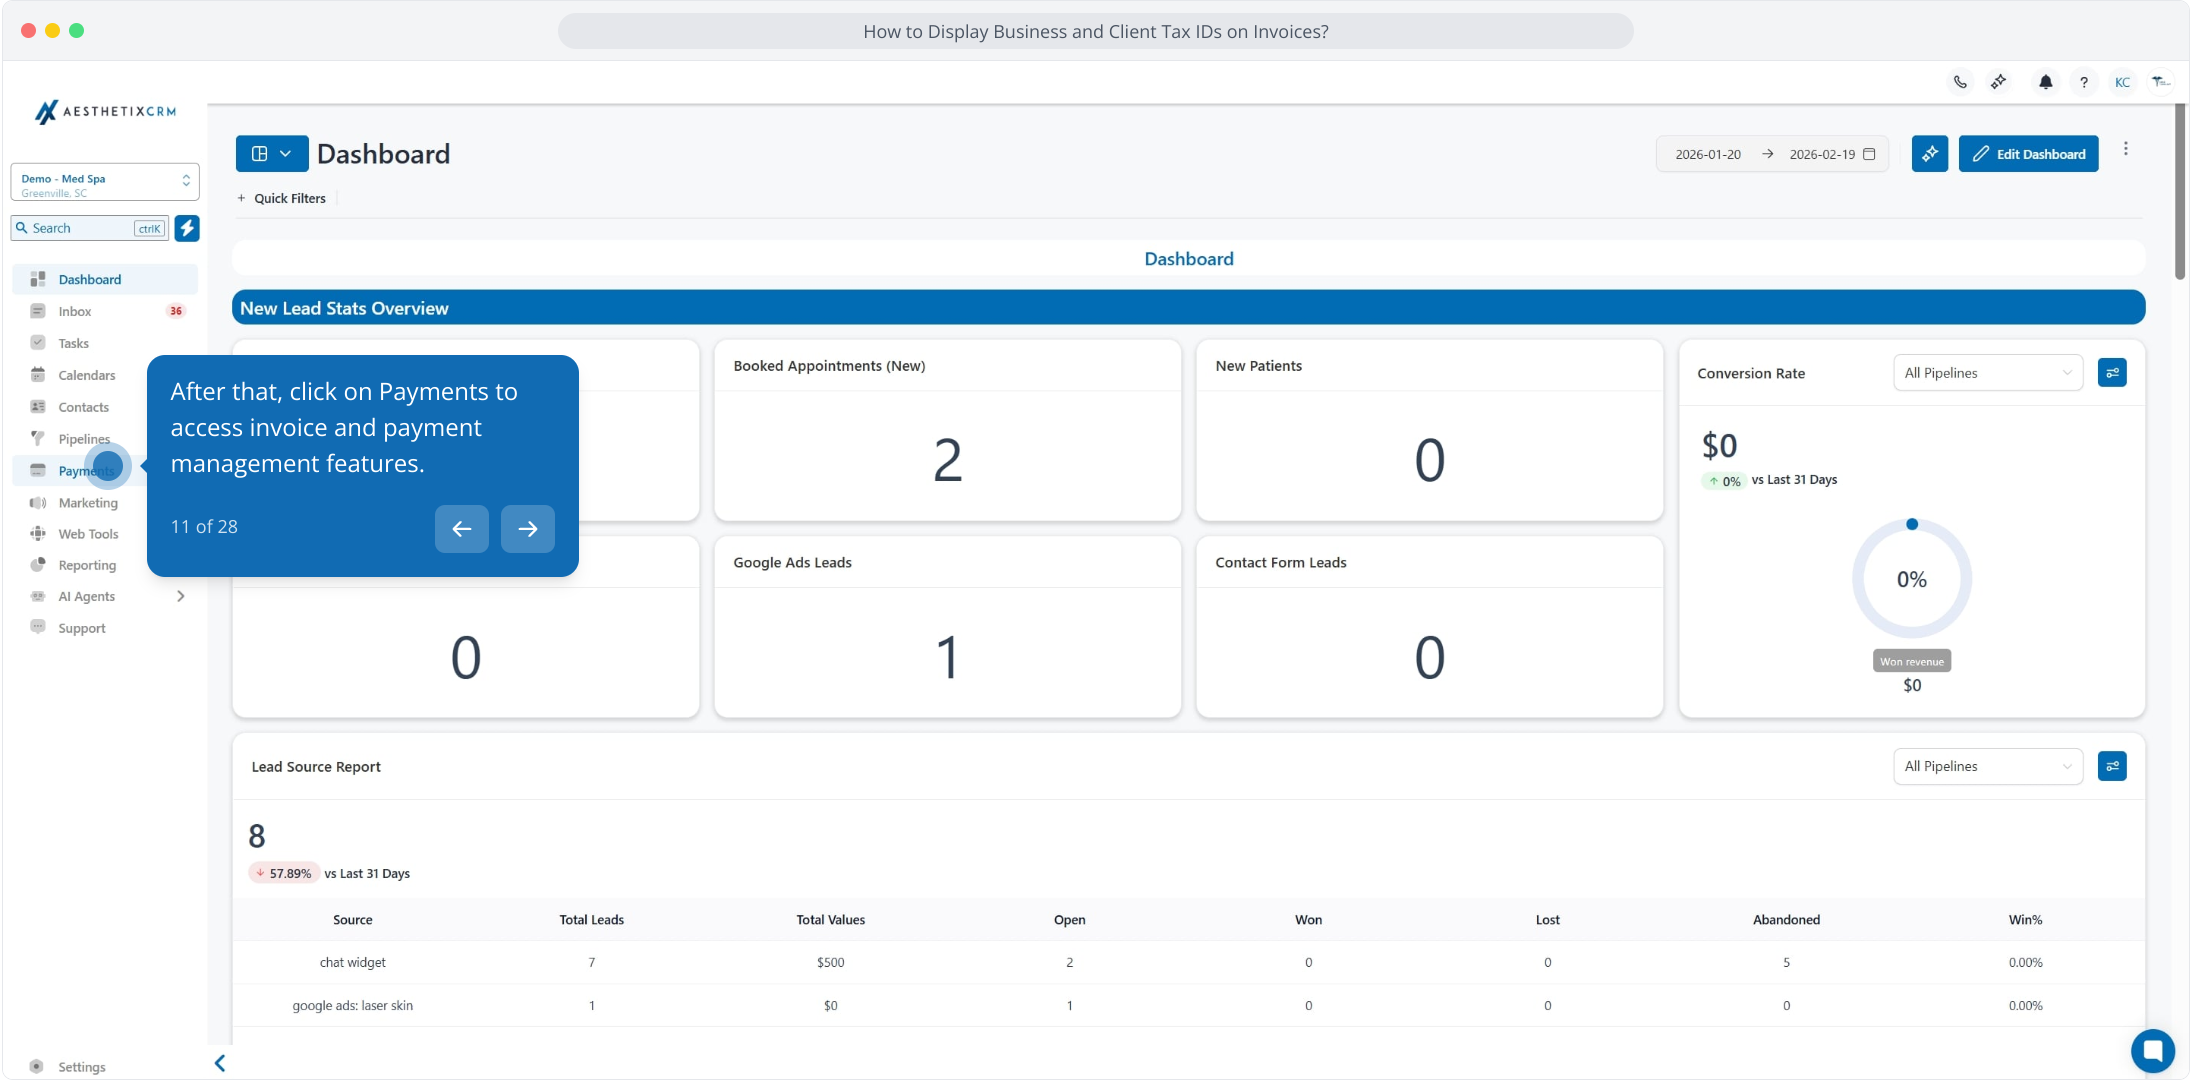
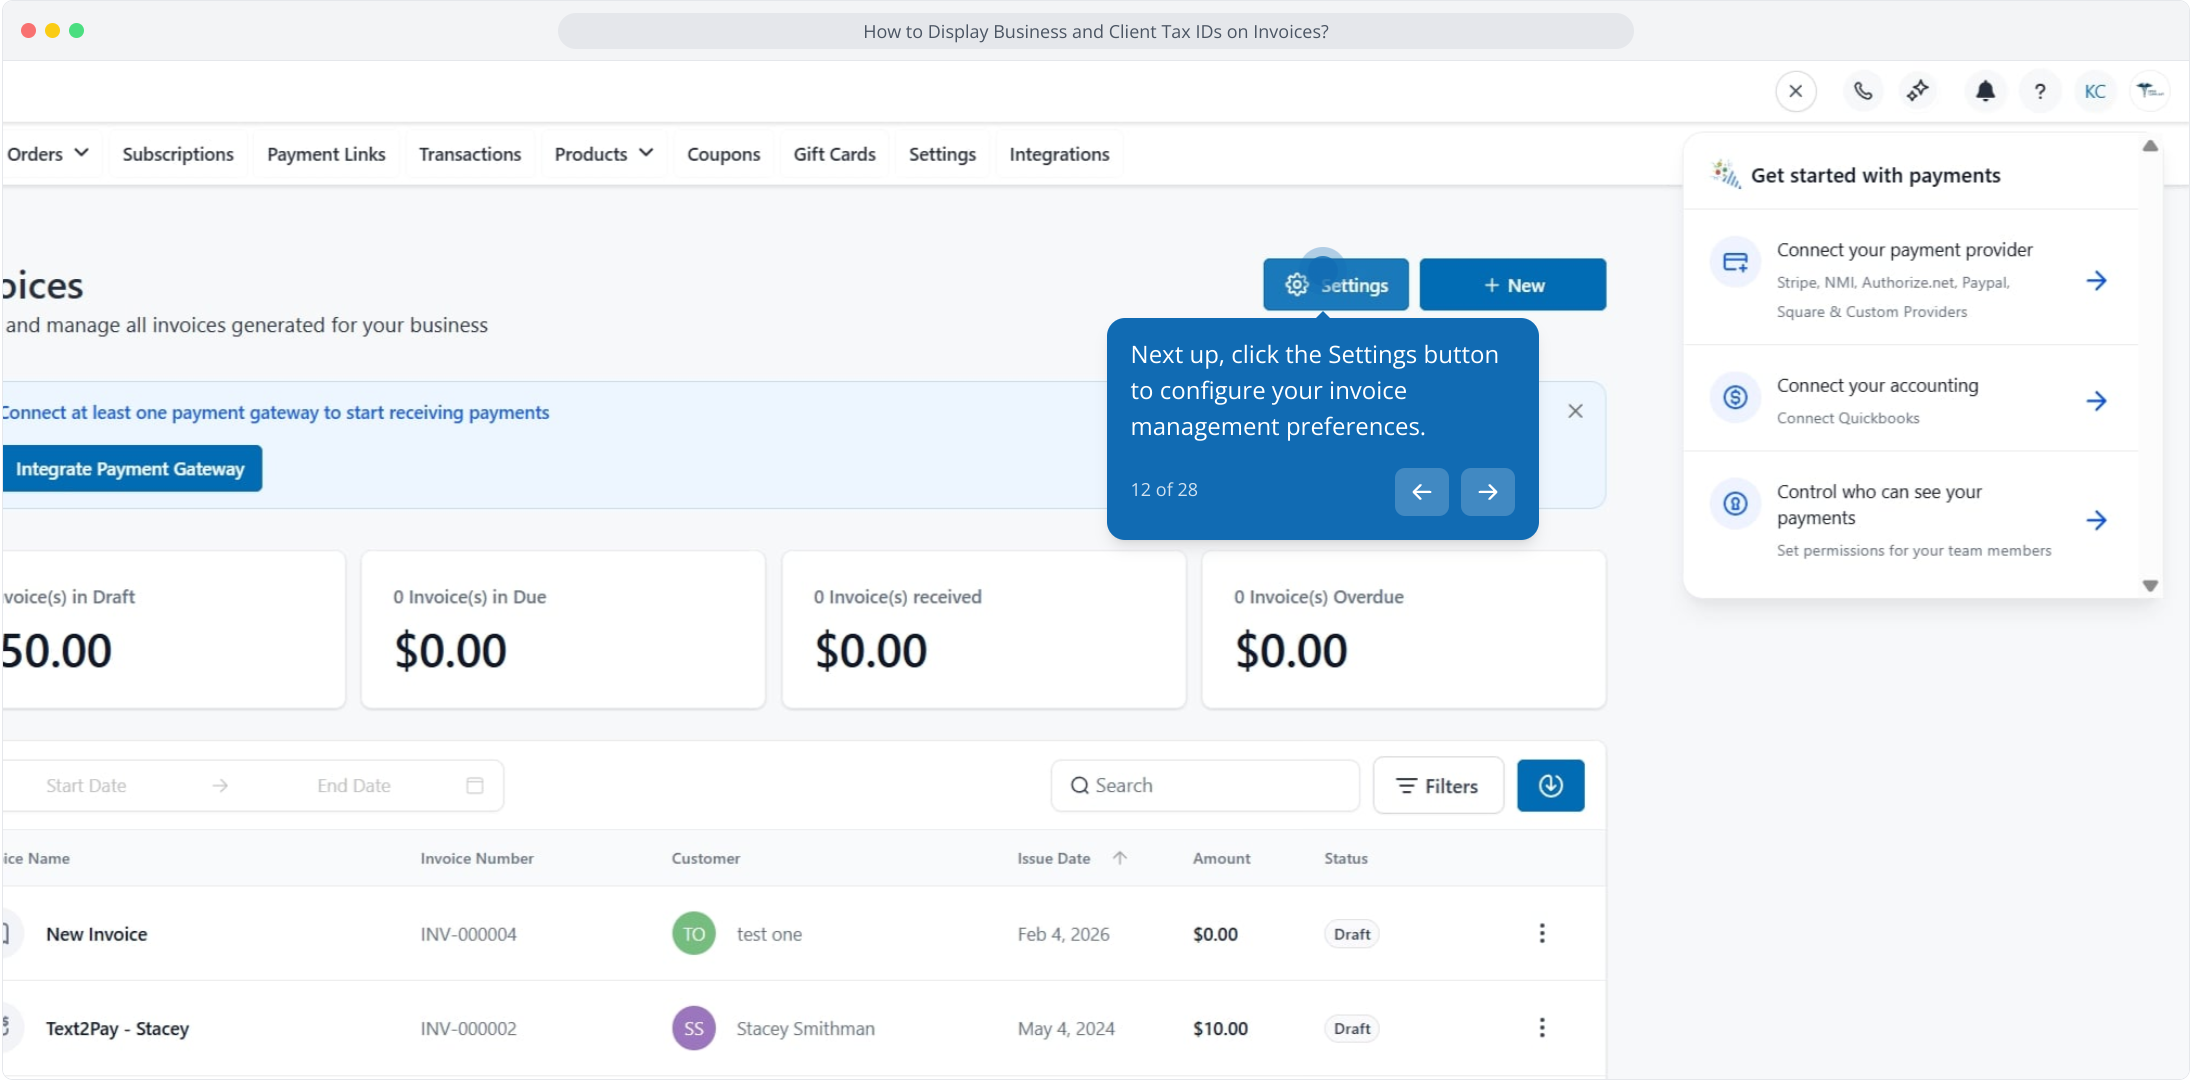
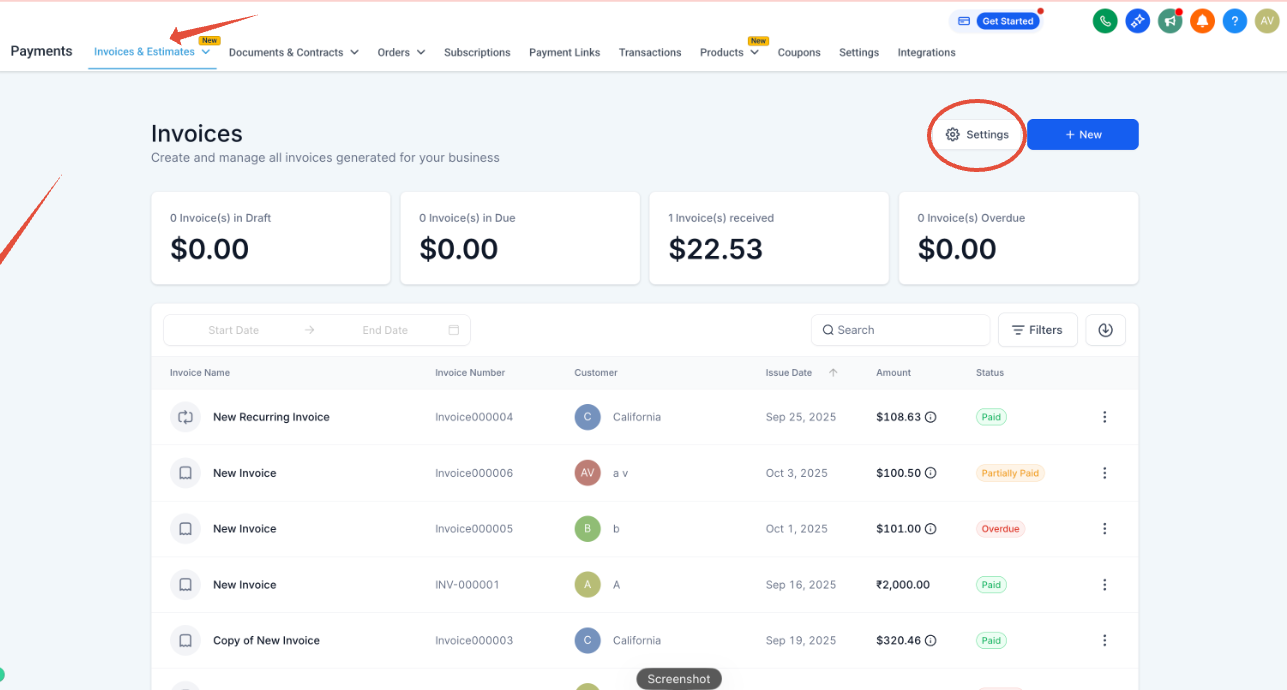
Click Title, Terms and Layout, then Customize Layout.
For the Business Tax ID, under Business Information click + Add Custom Value and select "Business Tax ID" (or your VAT value) from the dropdown.
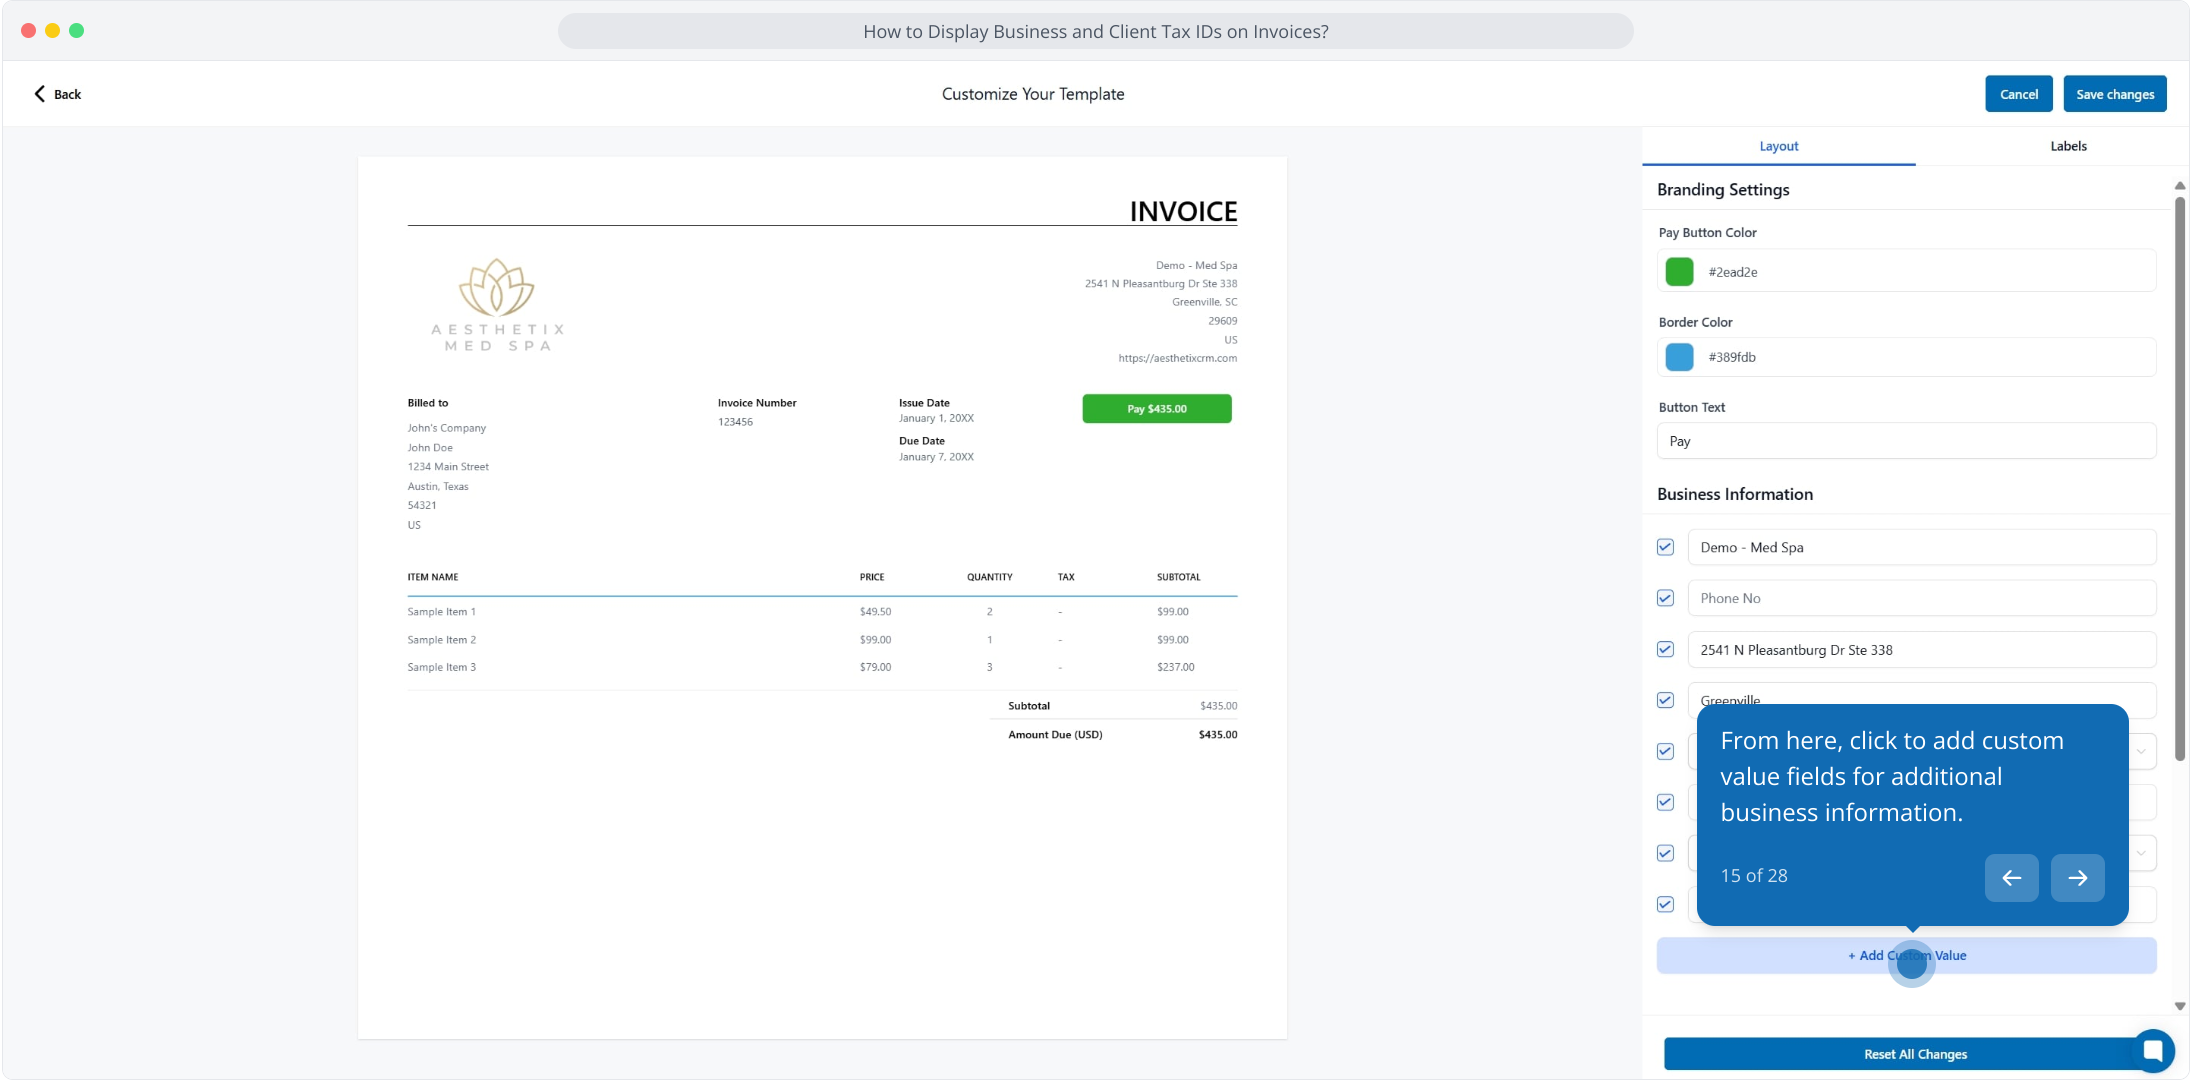
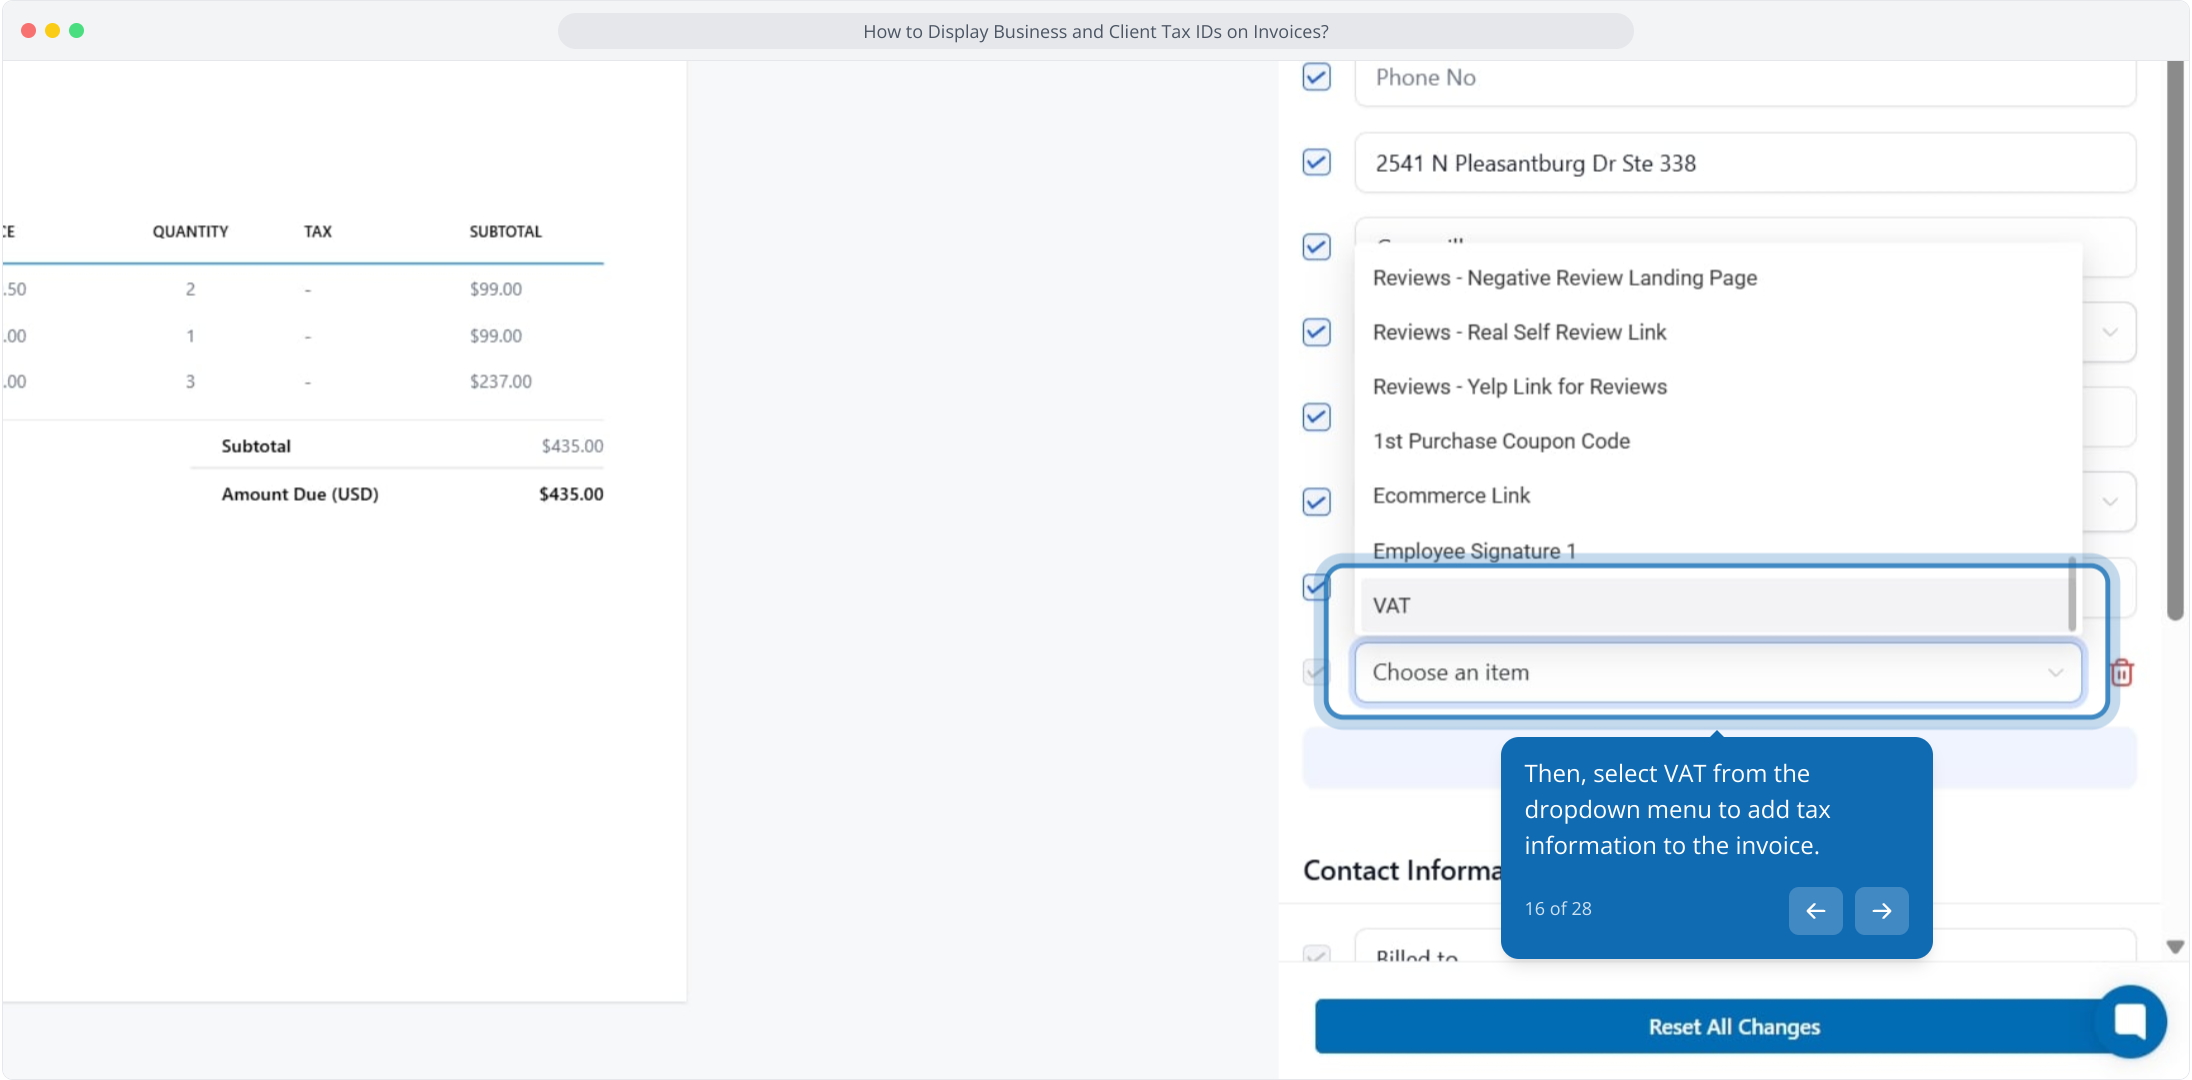
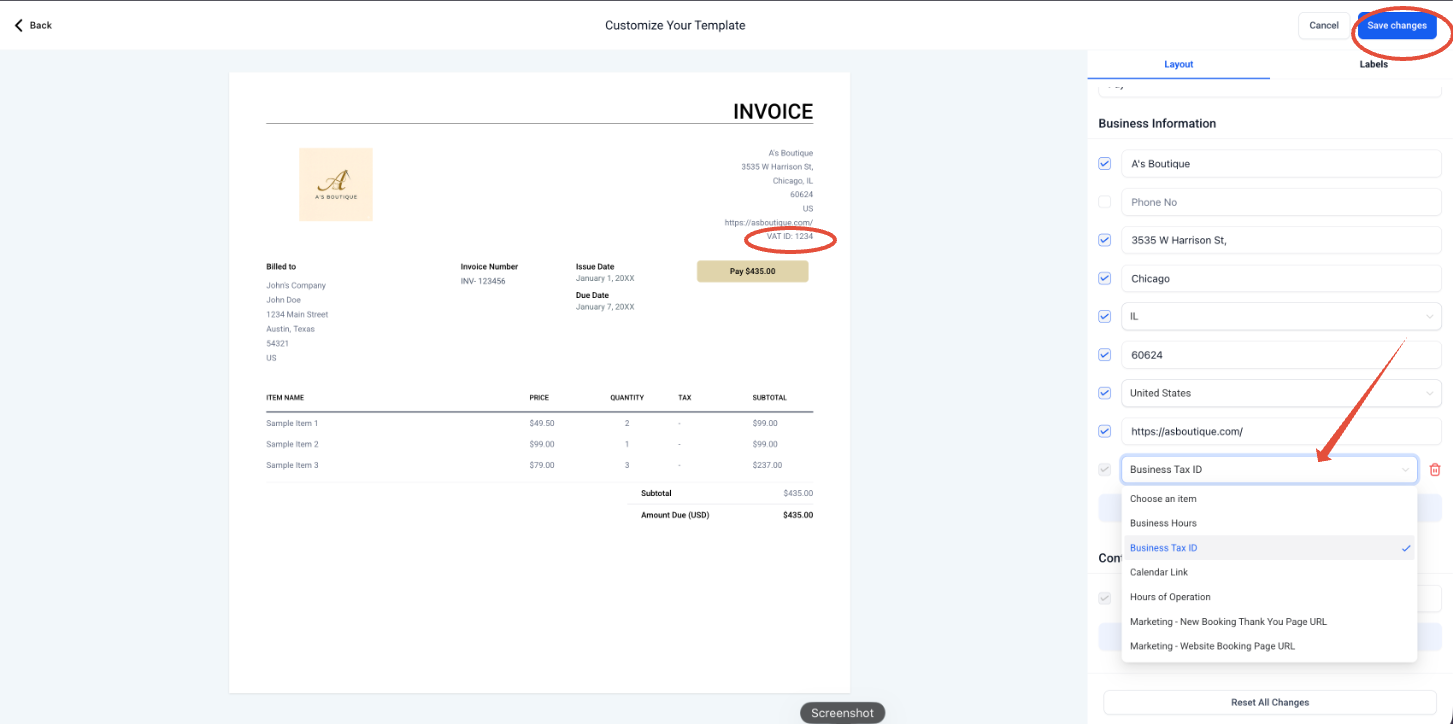
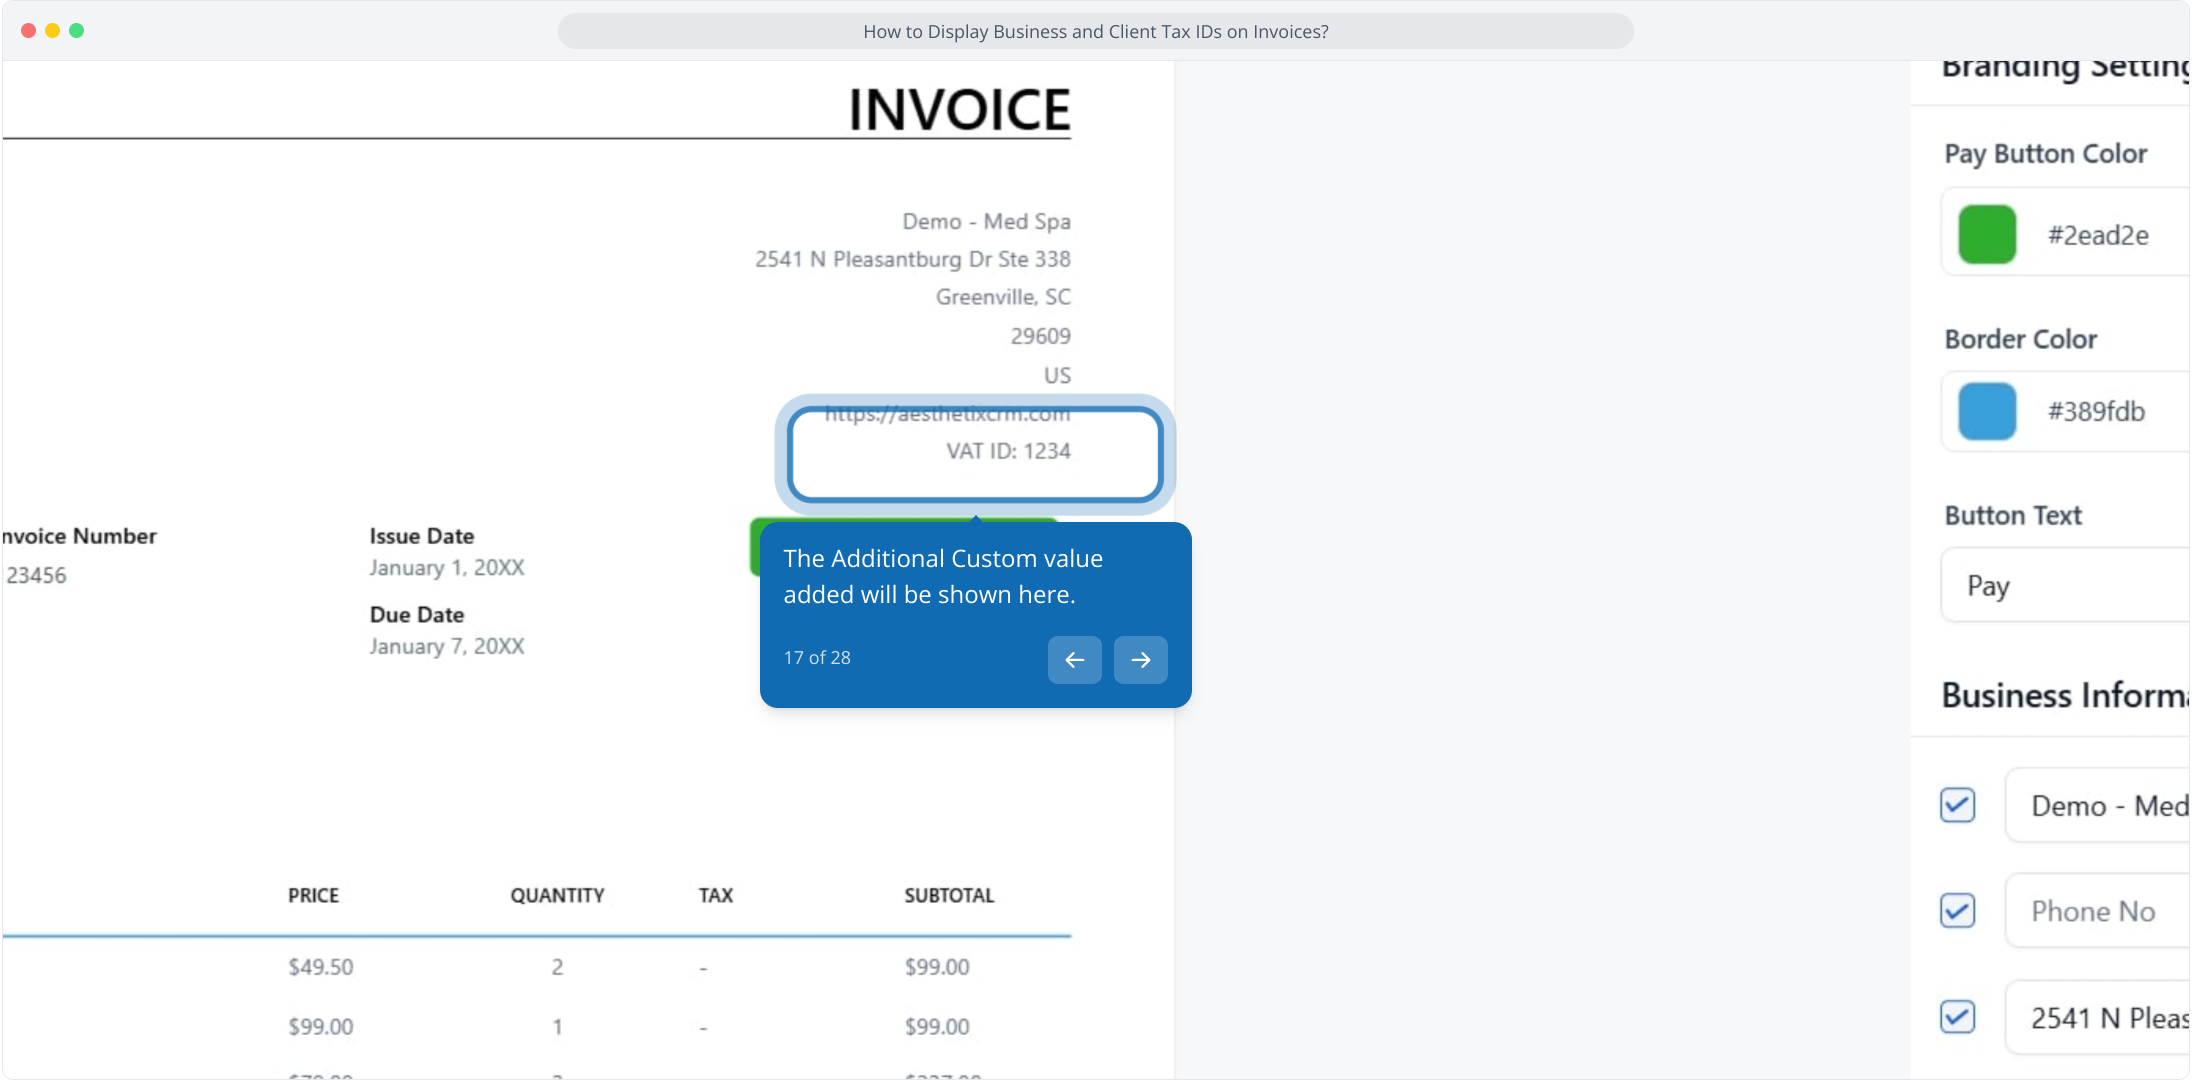
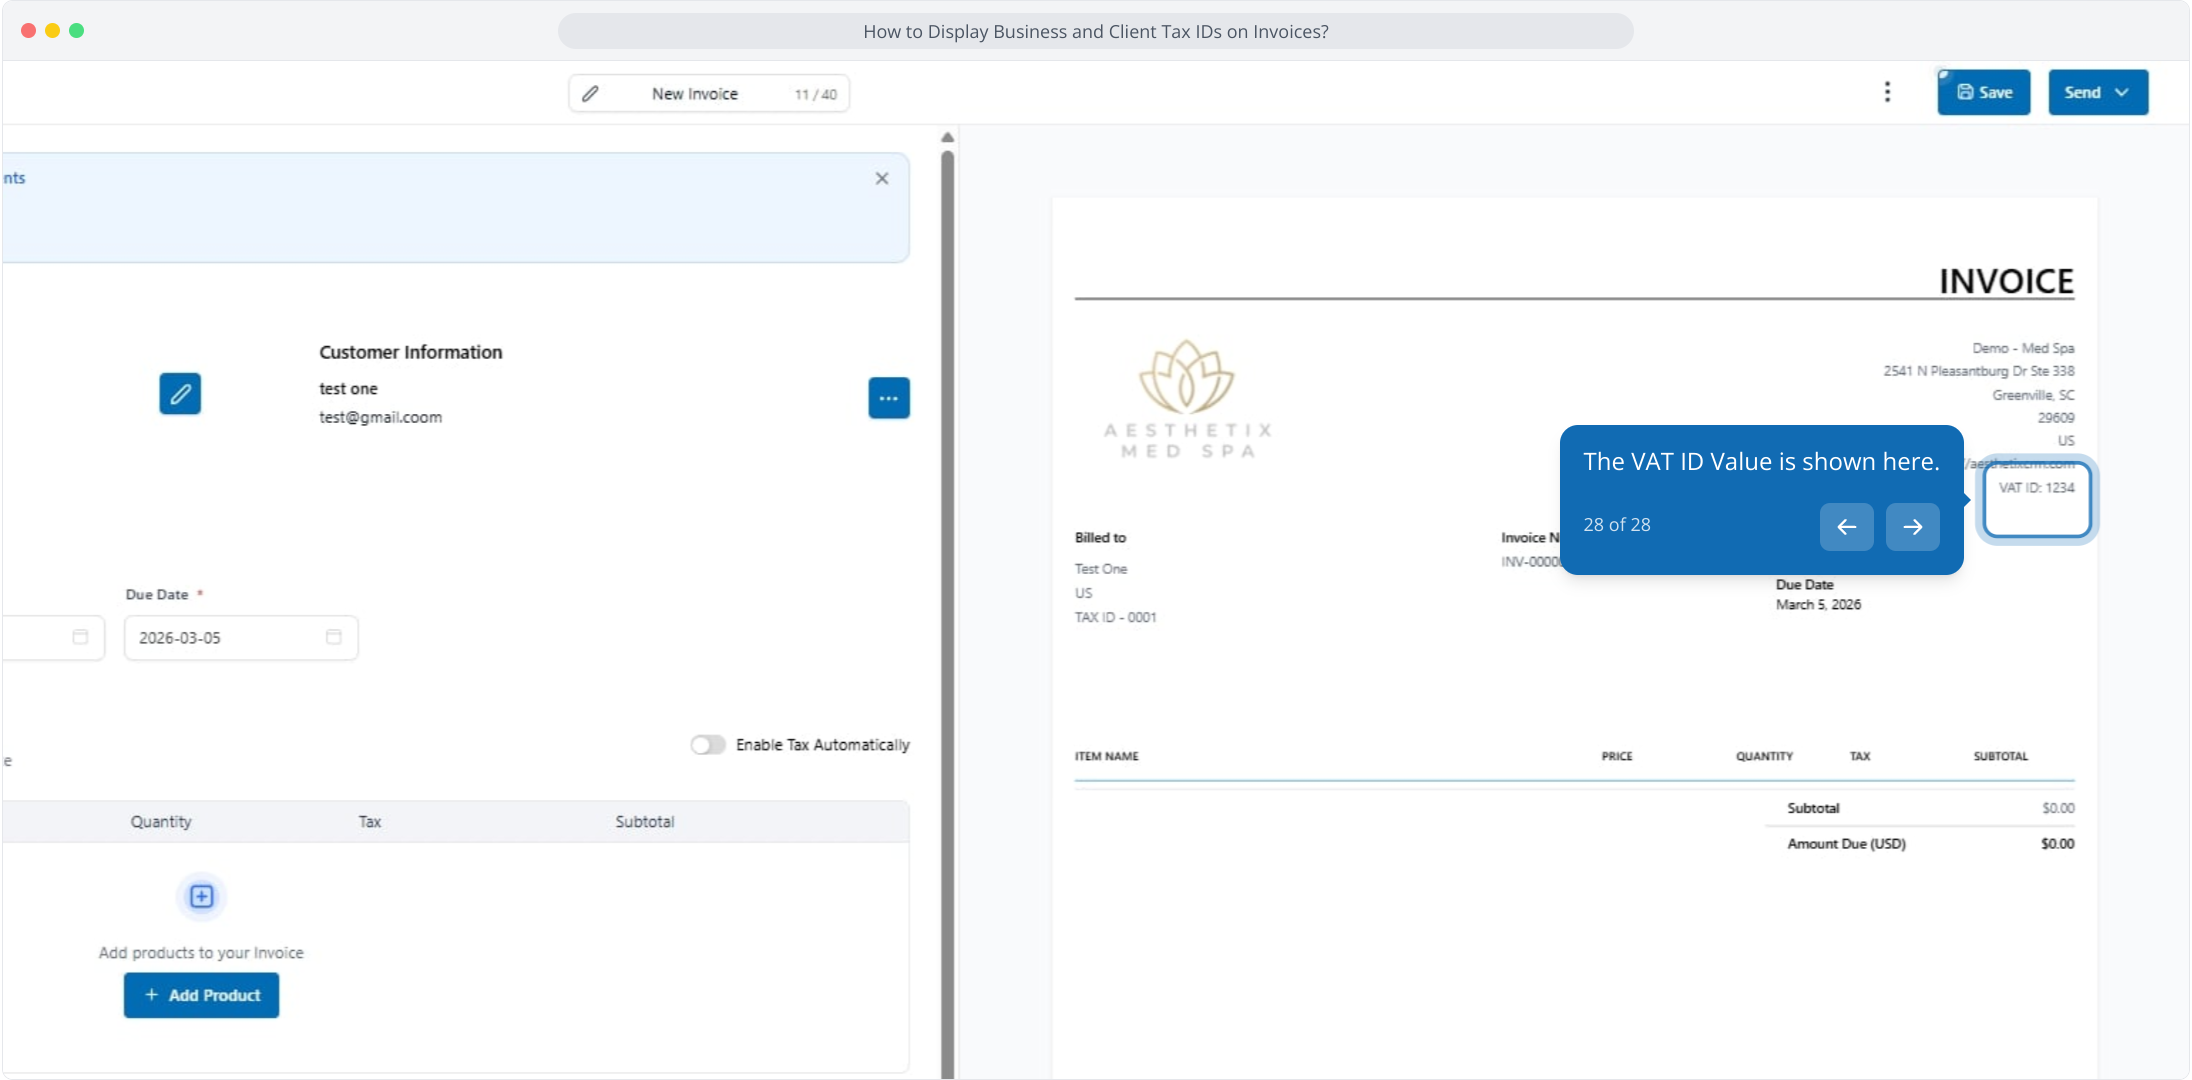
The additional custom value is shown here.
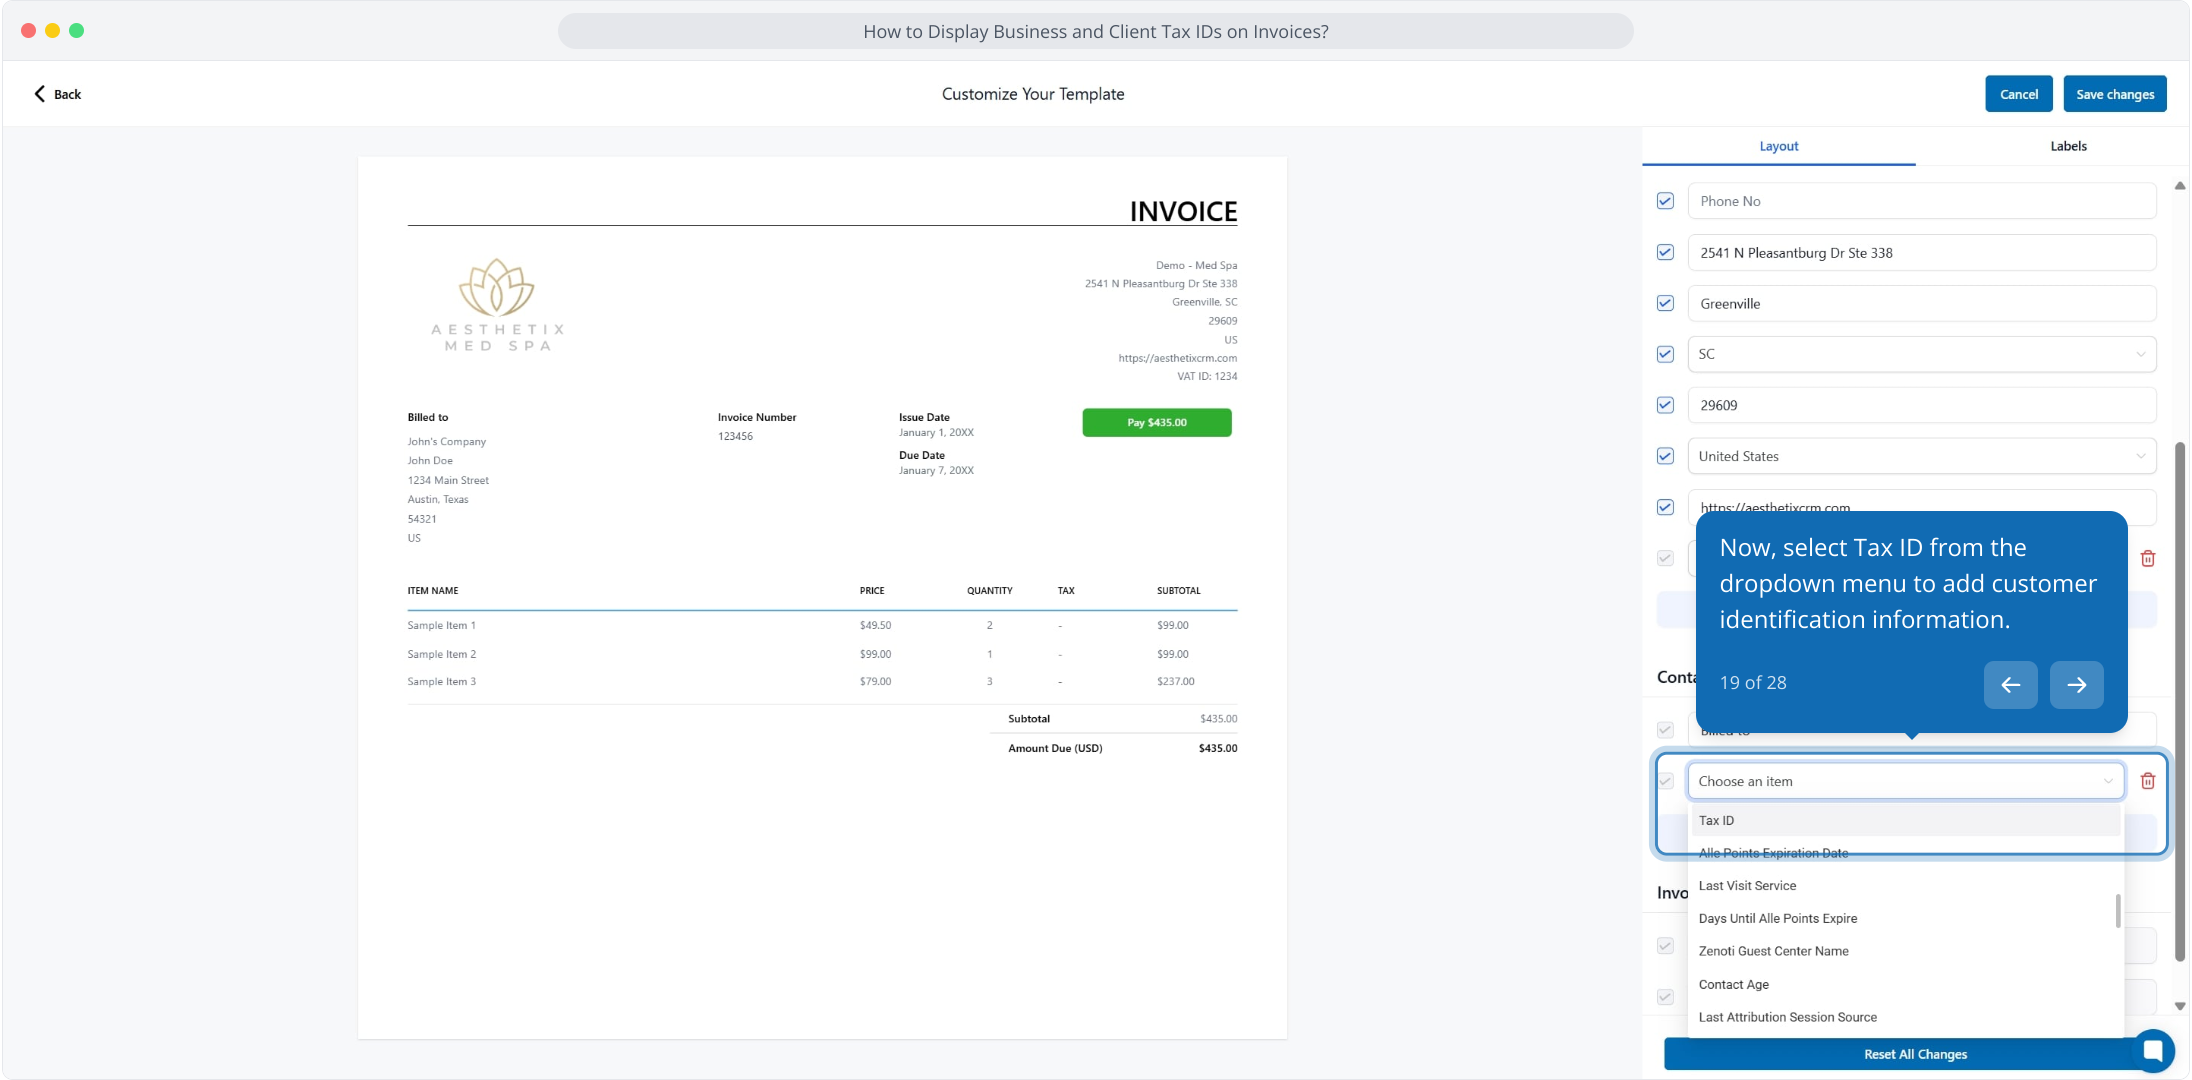
For the Contact (Patient) Tax ID, under Contact Information click + Add Custom Field and select "Tax ID" from the dropdown.
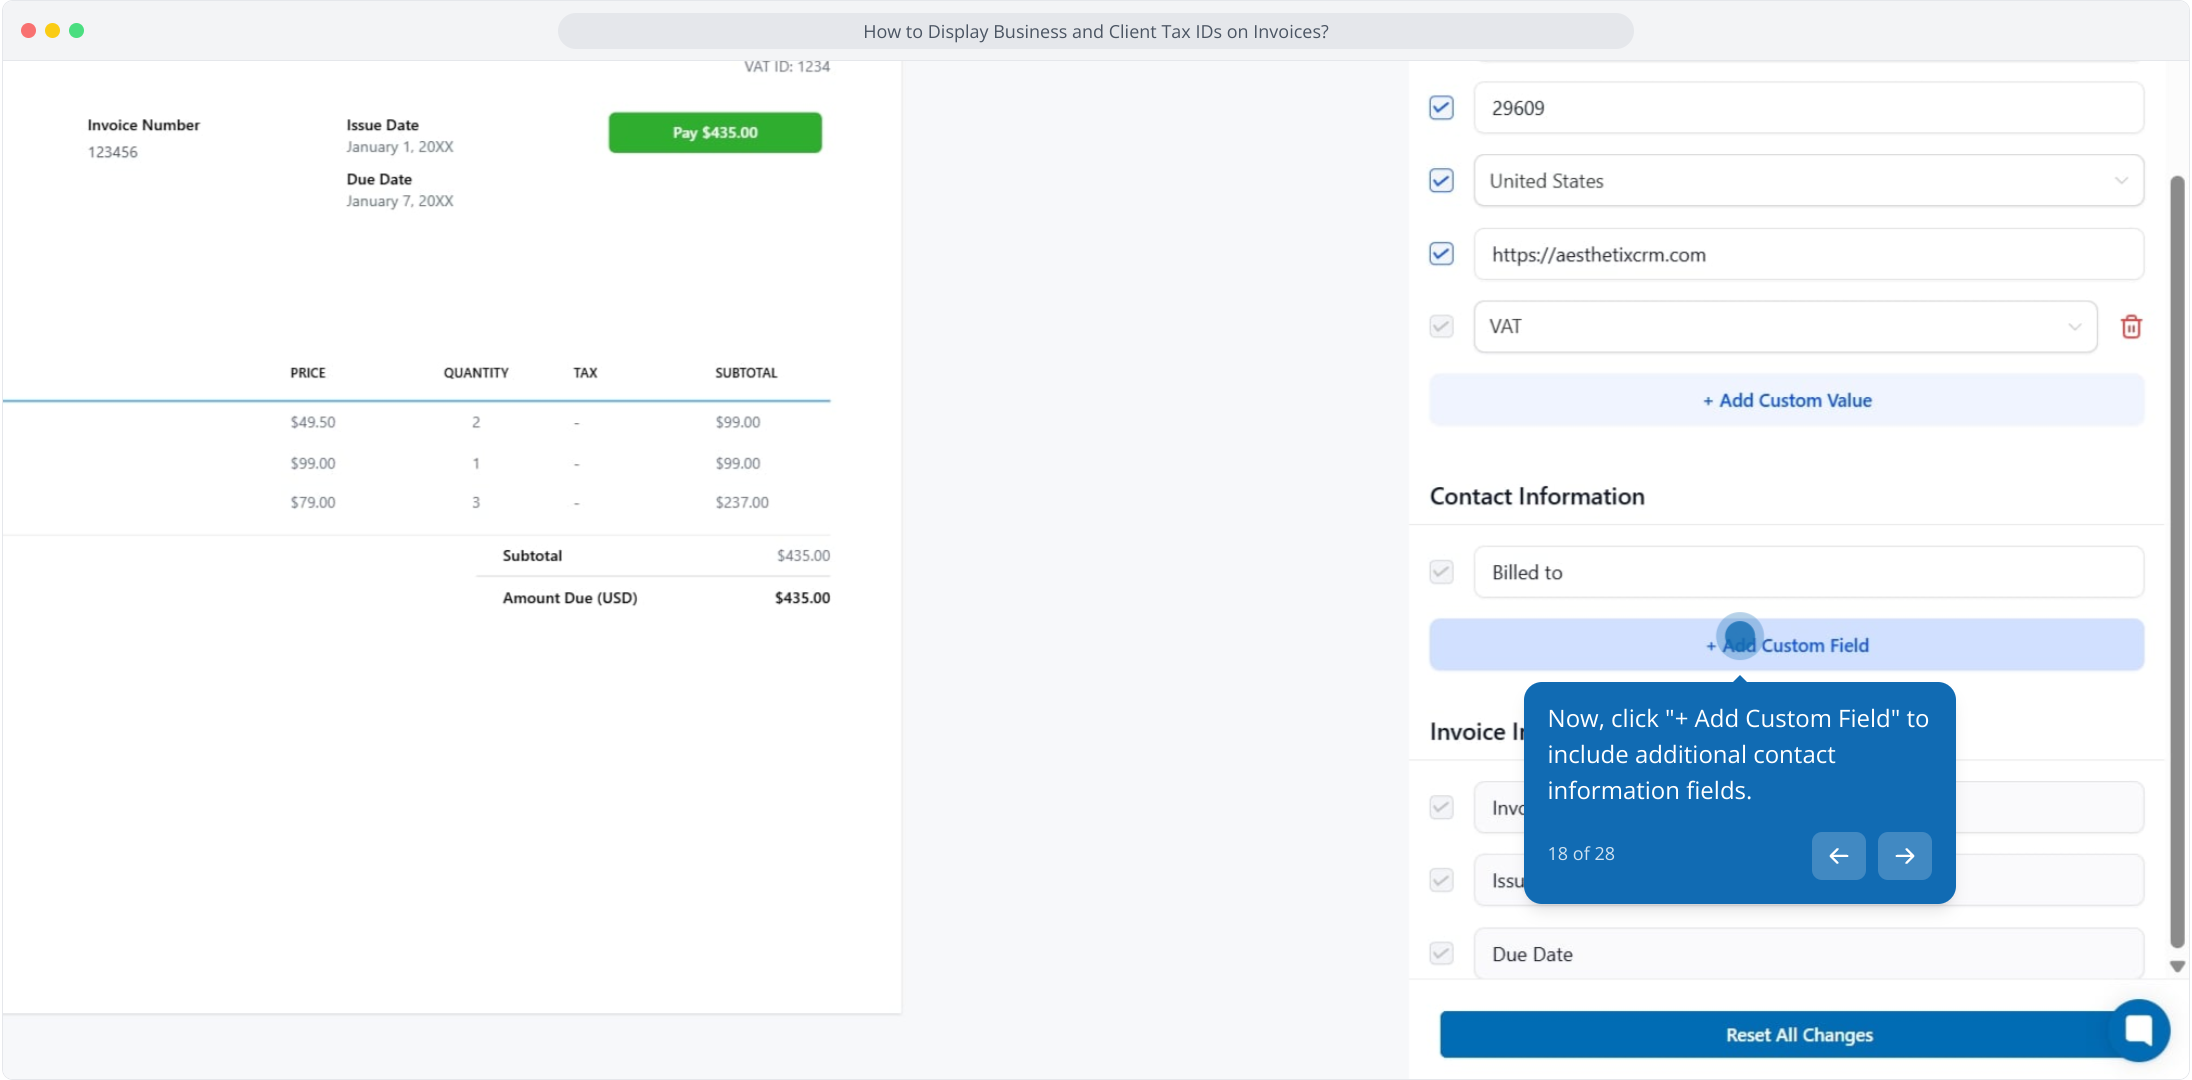
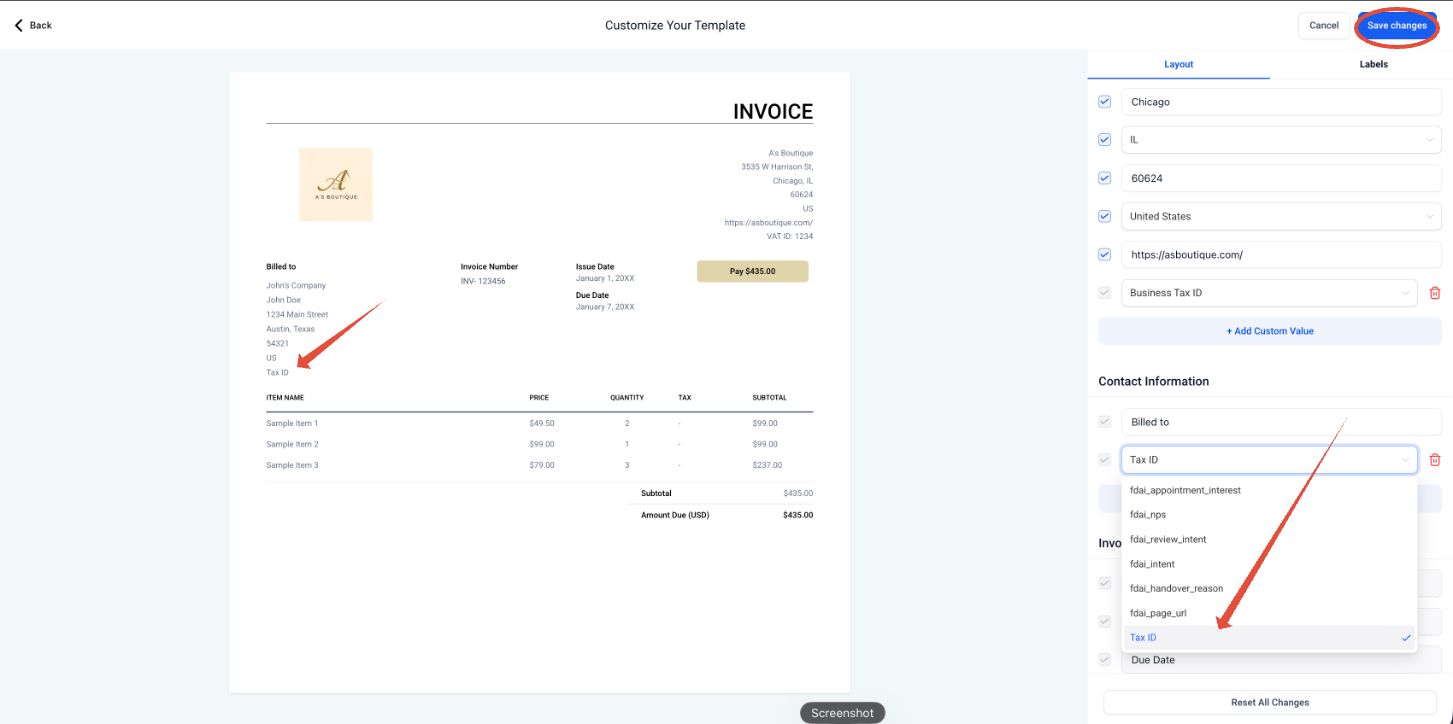
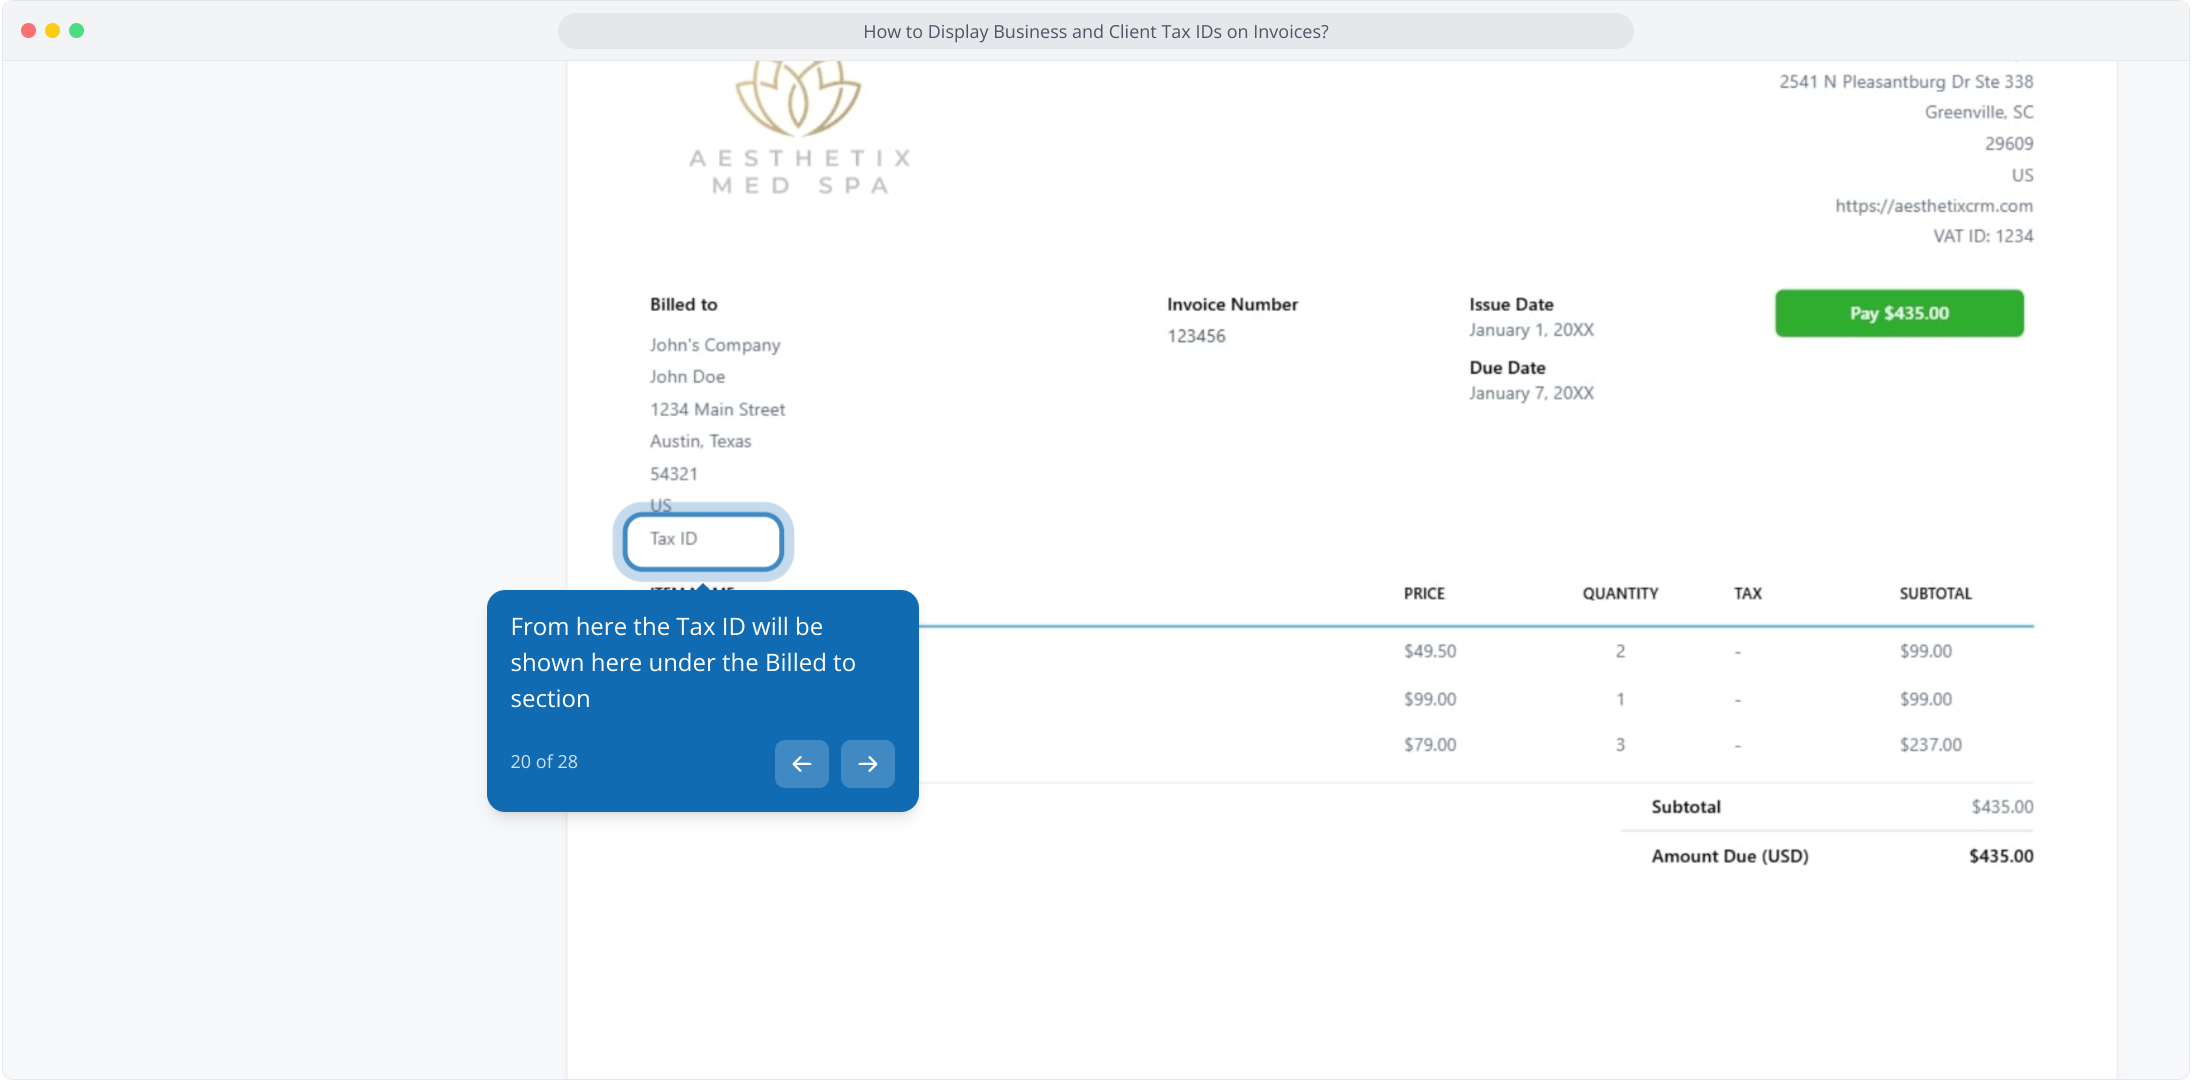
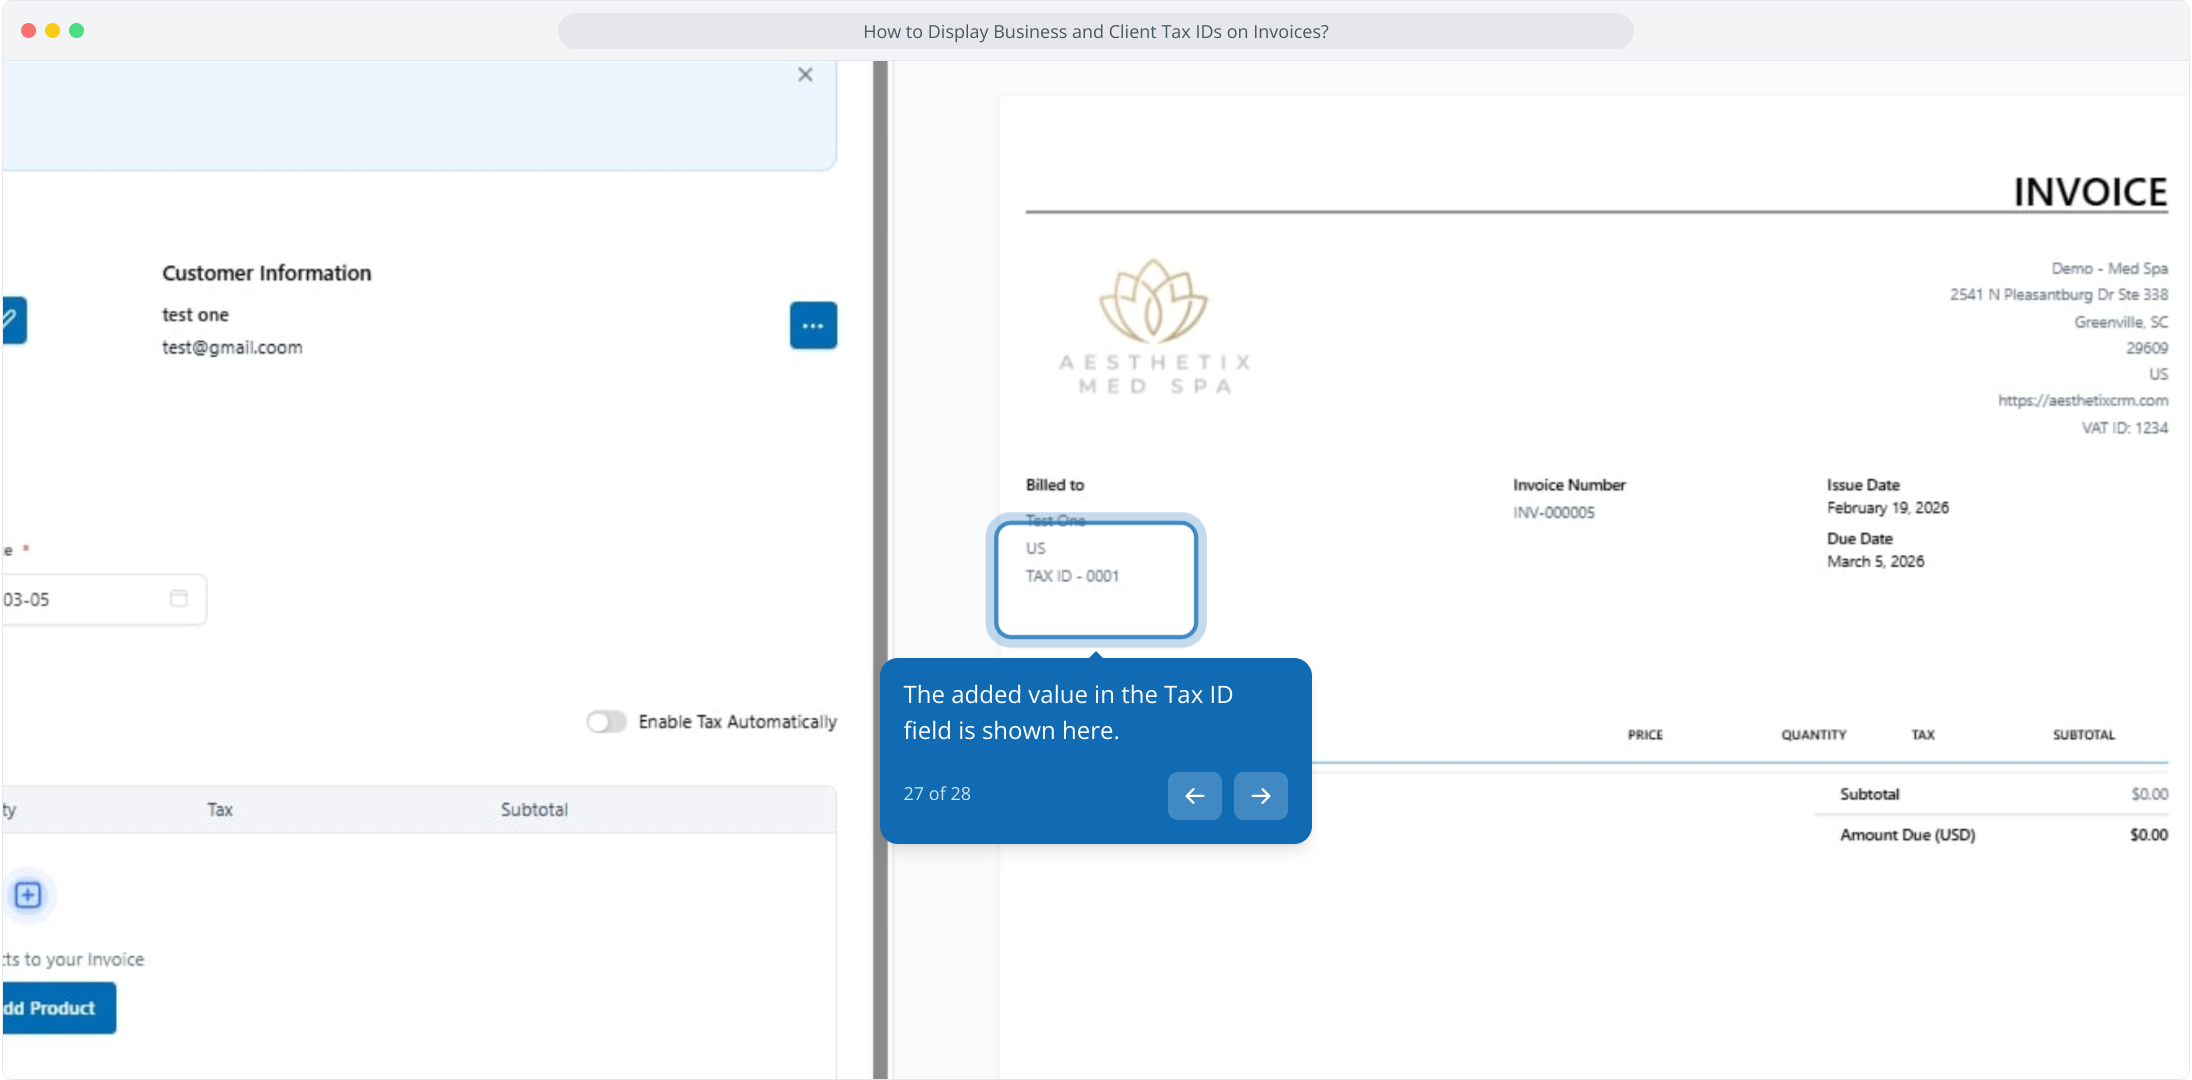
The Tax ID appears under the Billed to section.
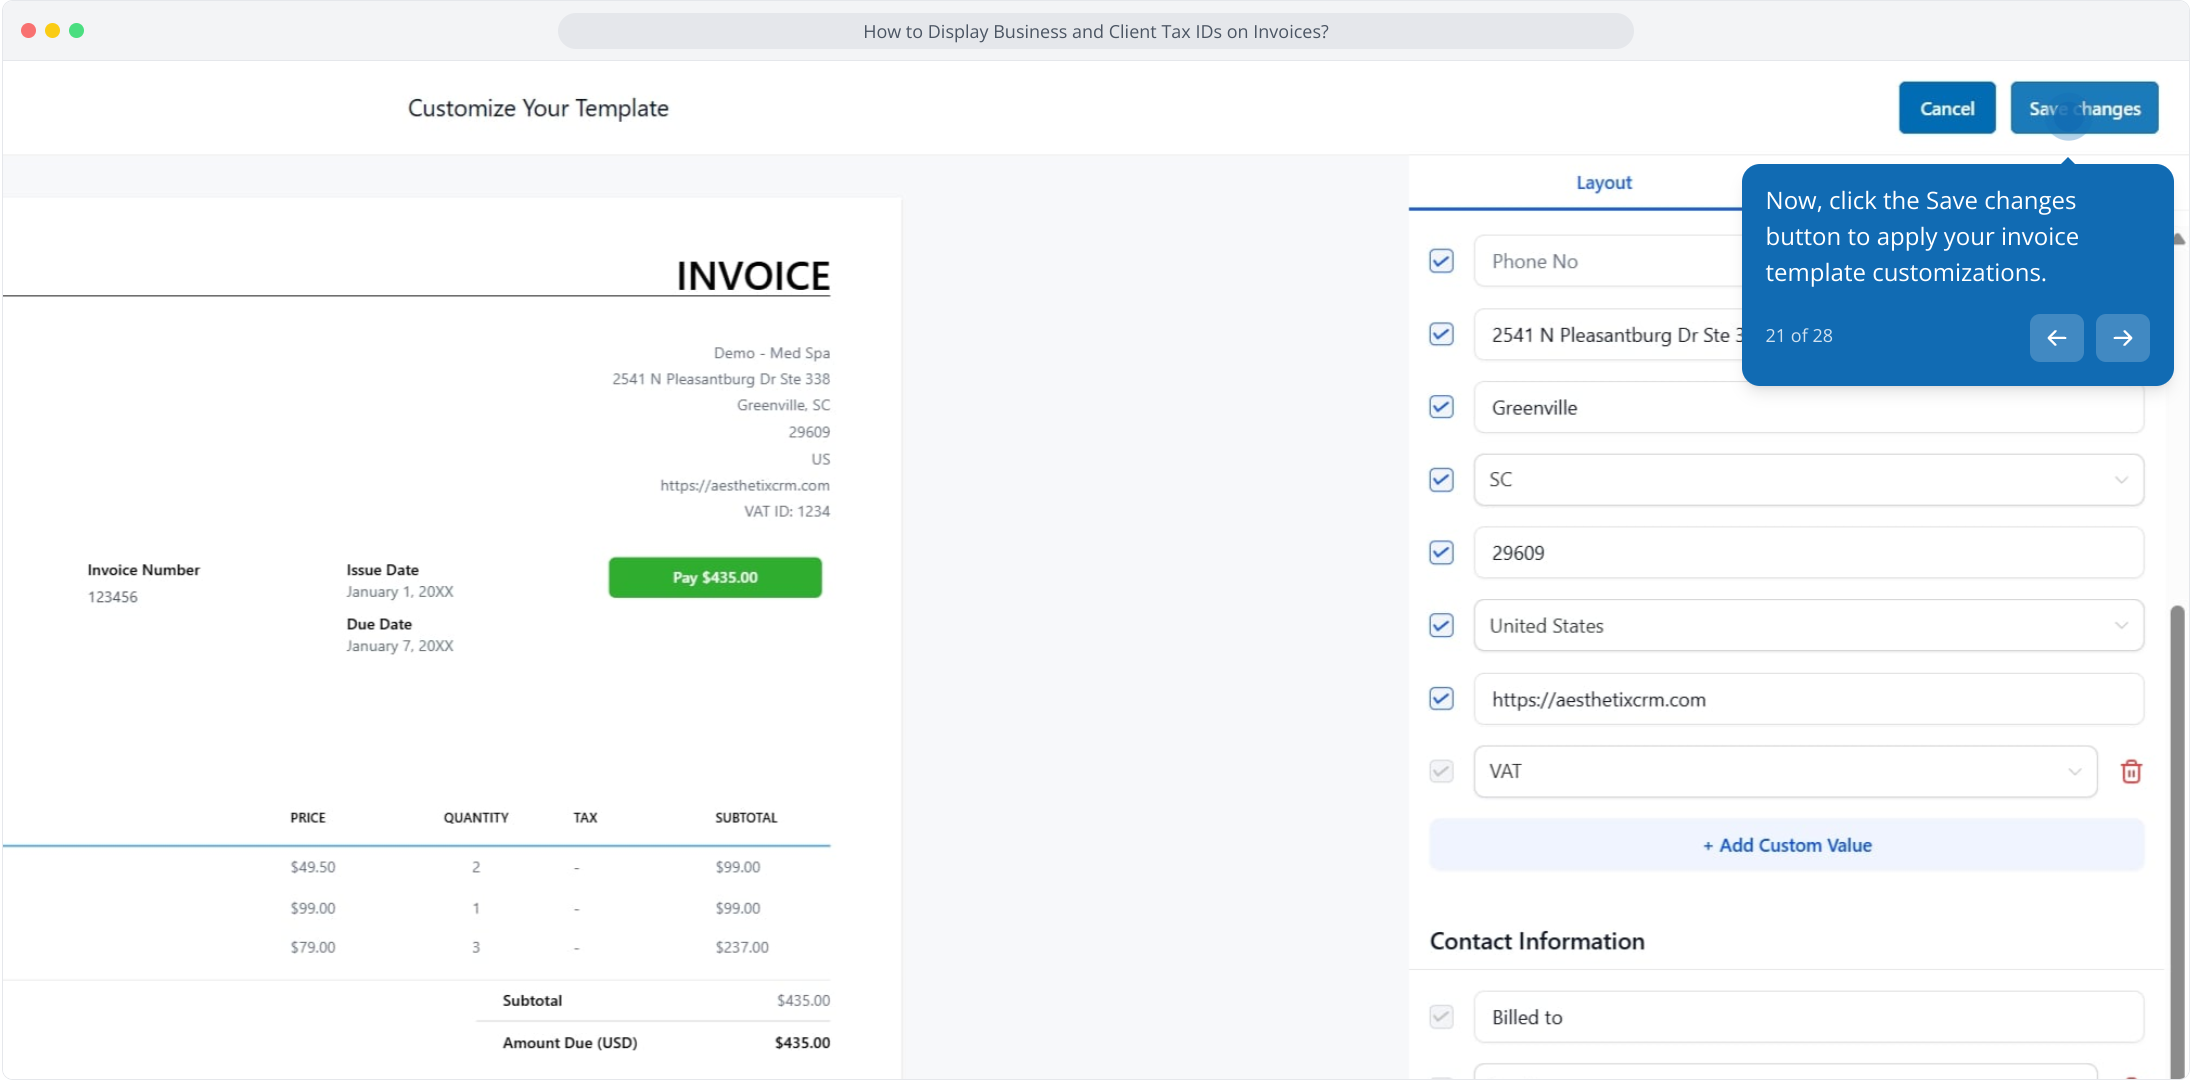
Check the preview to confirm the details are visible, then click Save changes.
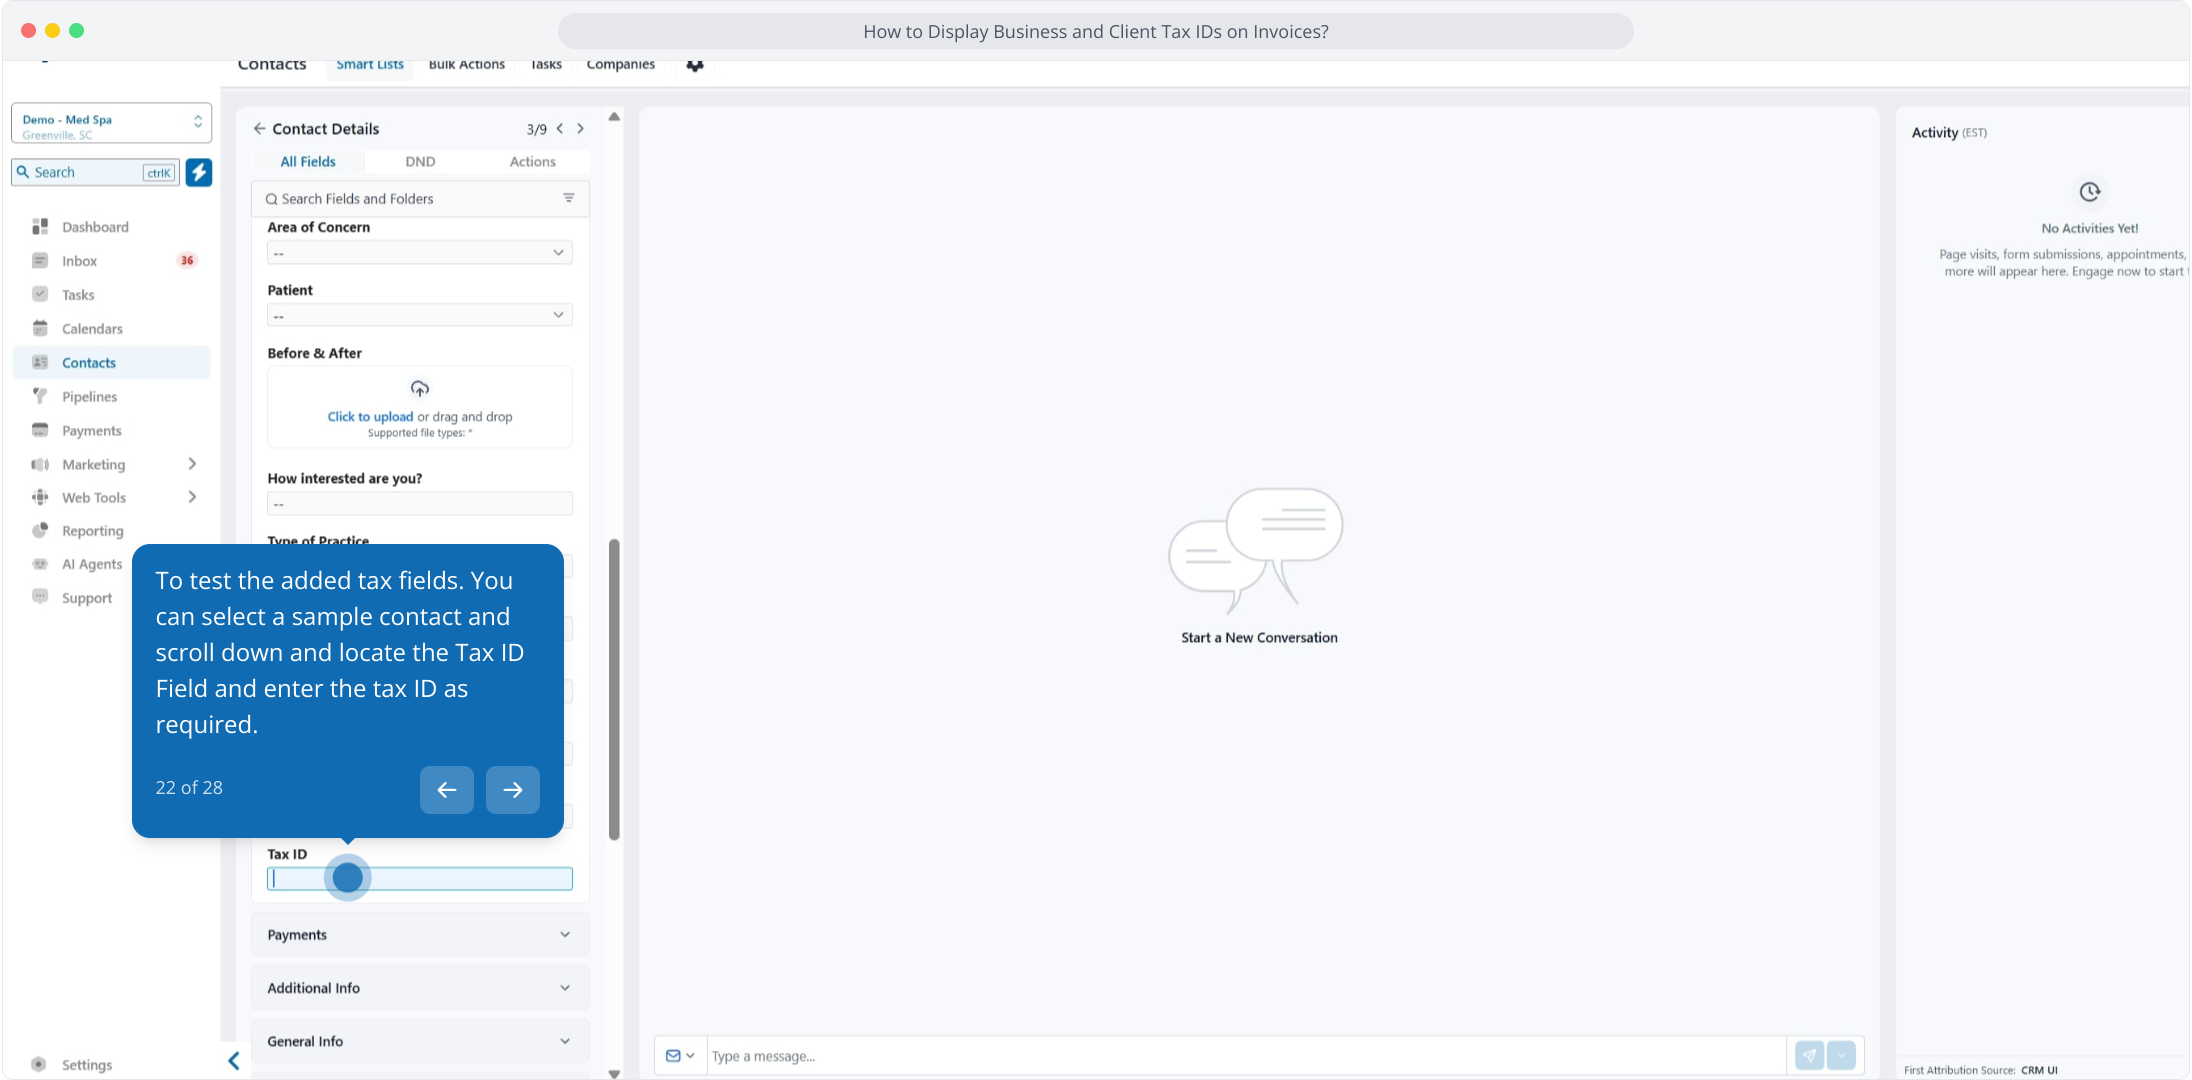
Go to Contacts and open the patient's Additional Info tab.
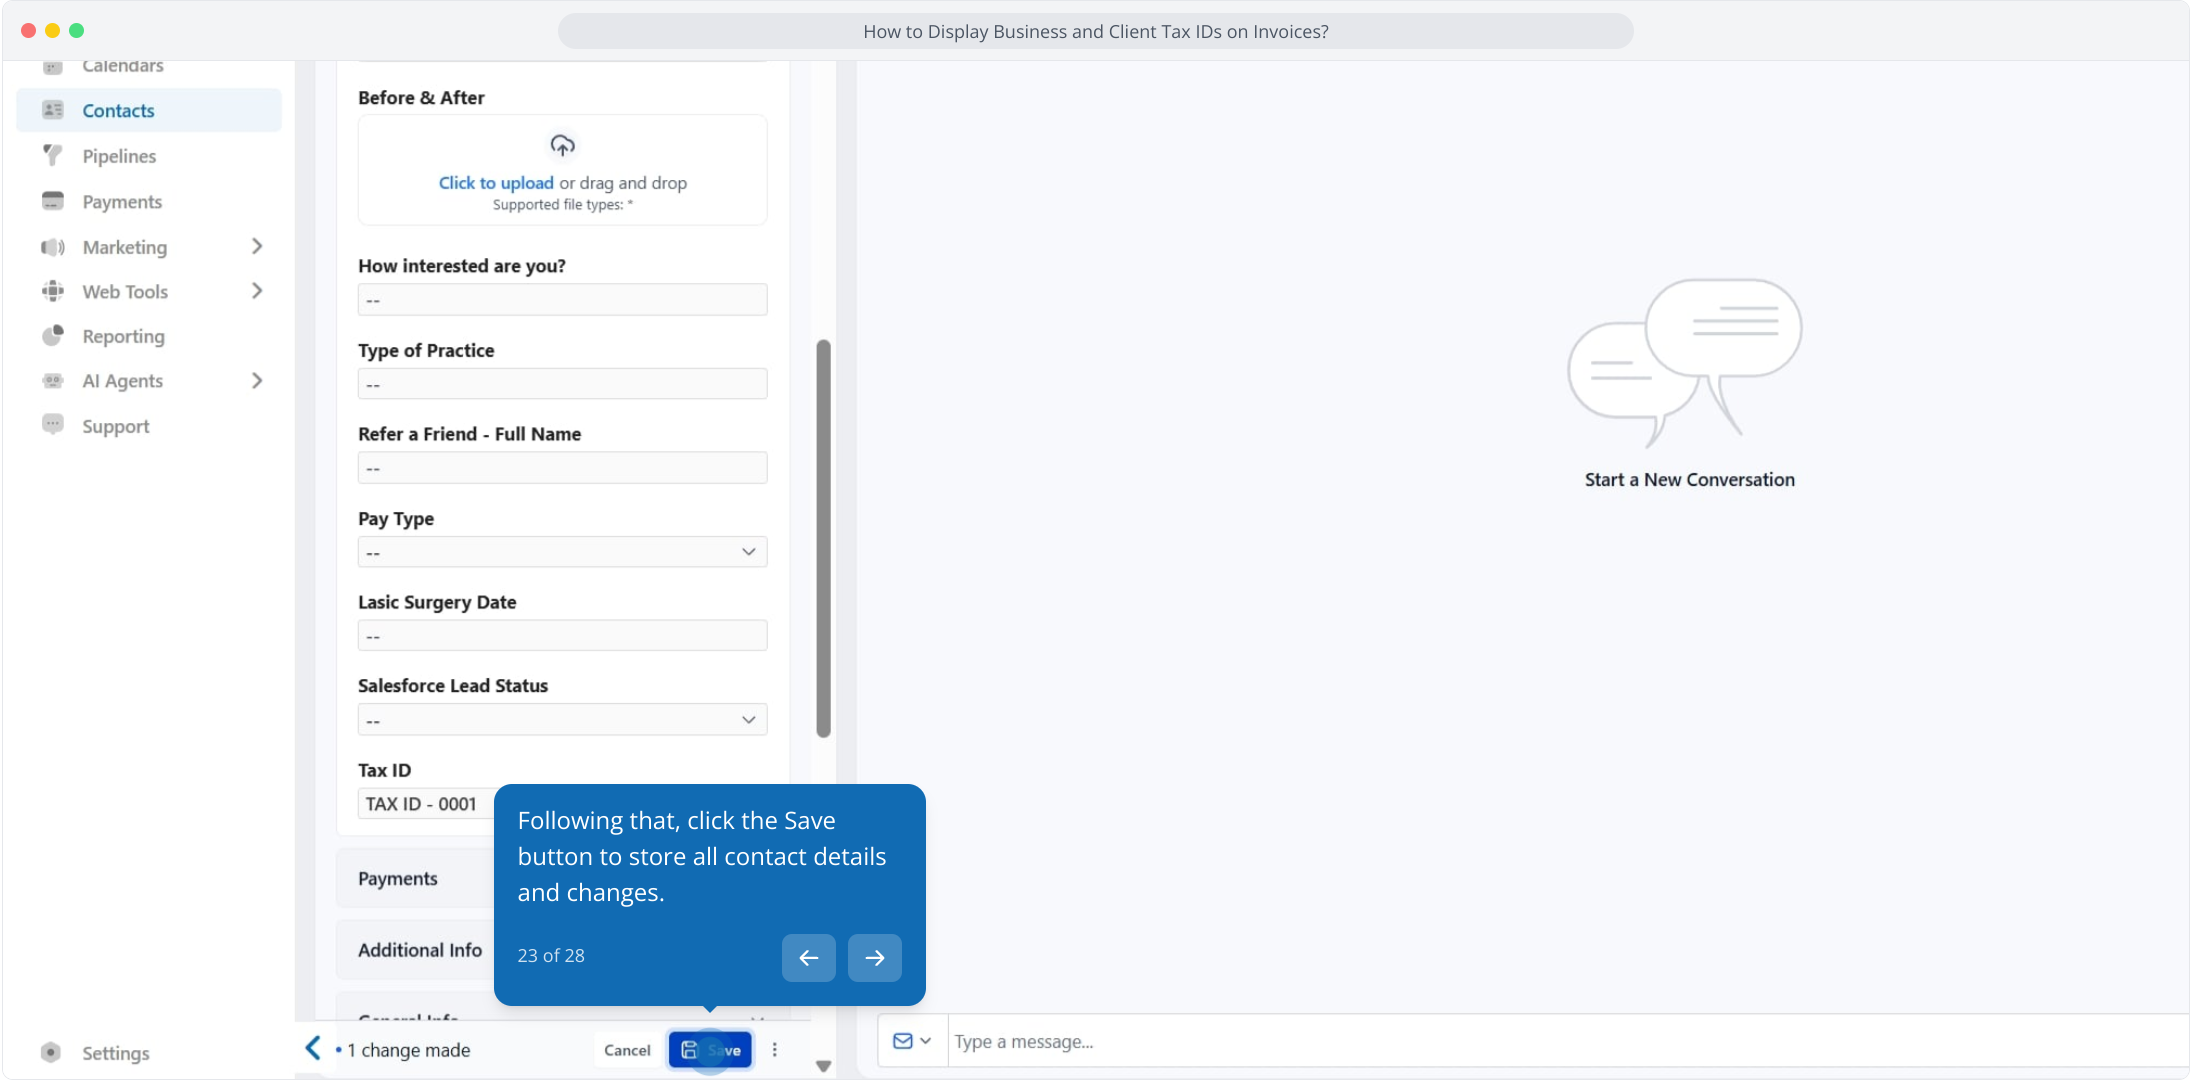
Locate the Tax ID field, enter the patient's tax ID, and save.
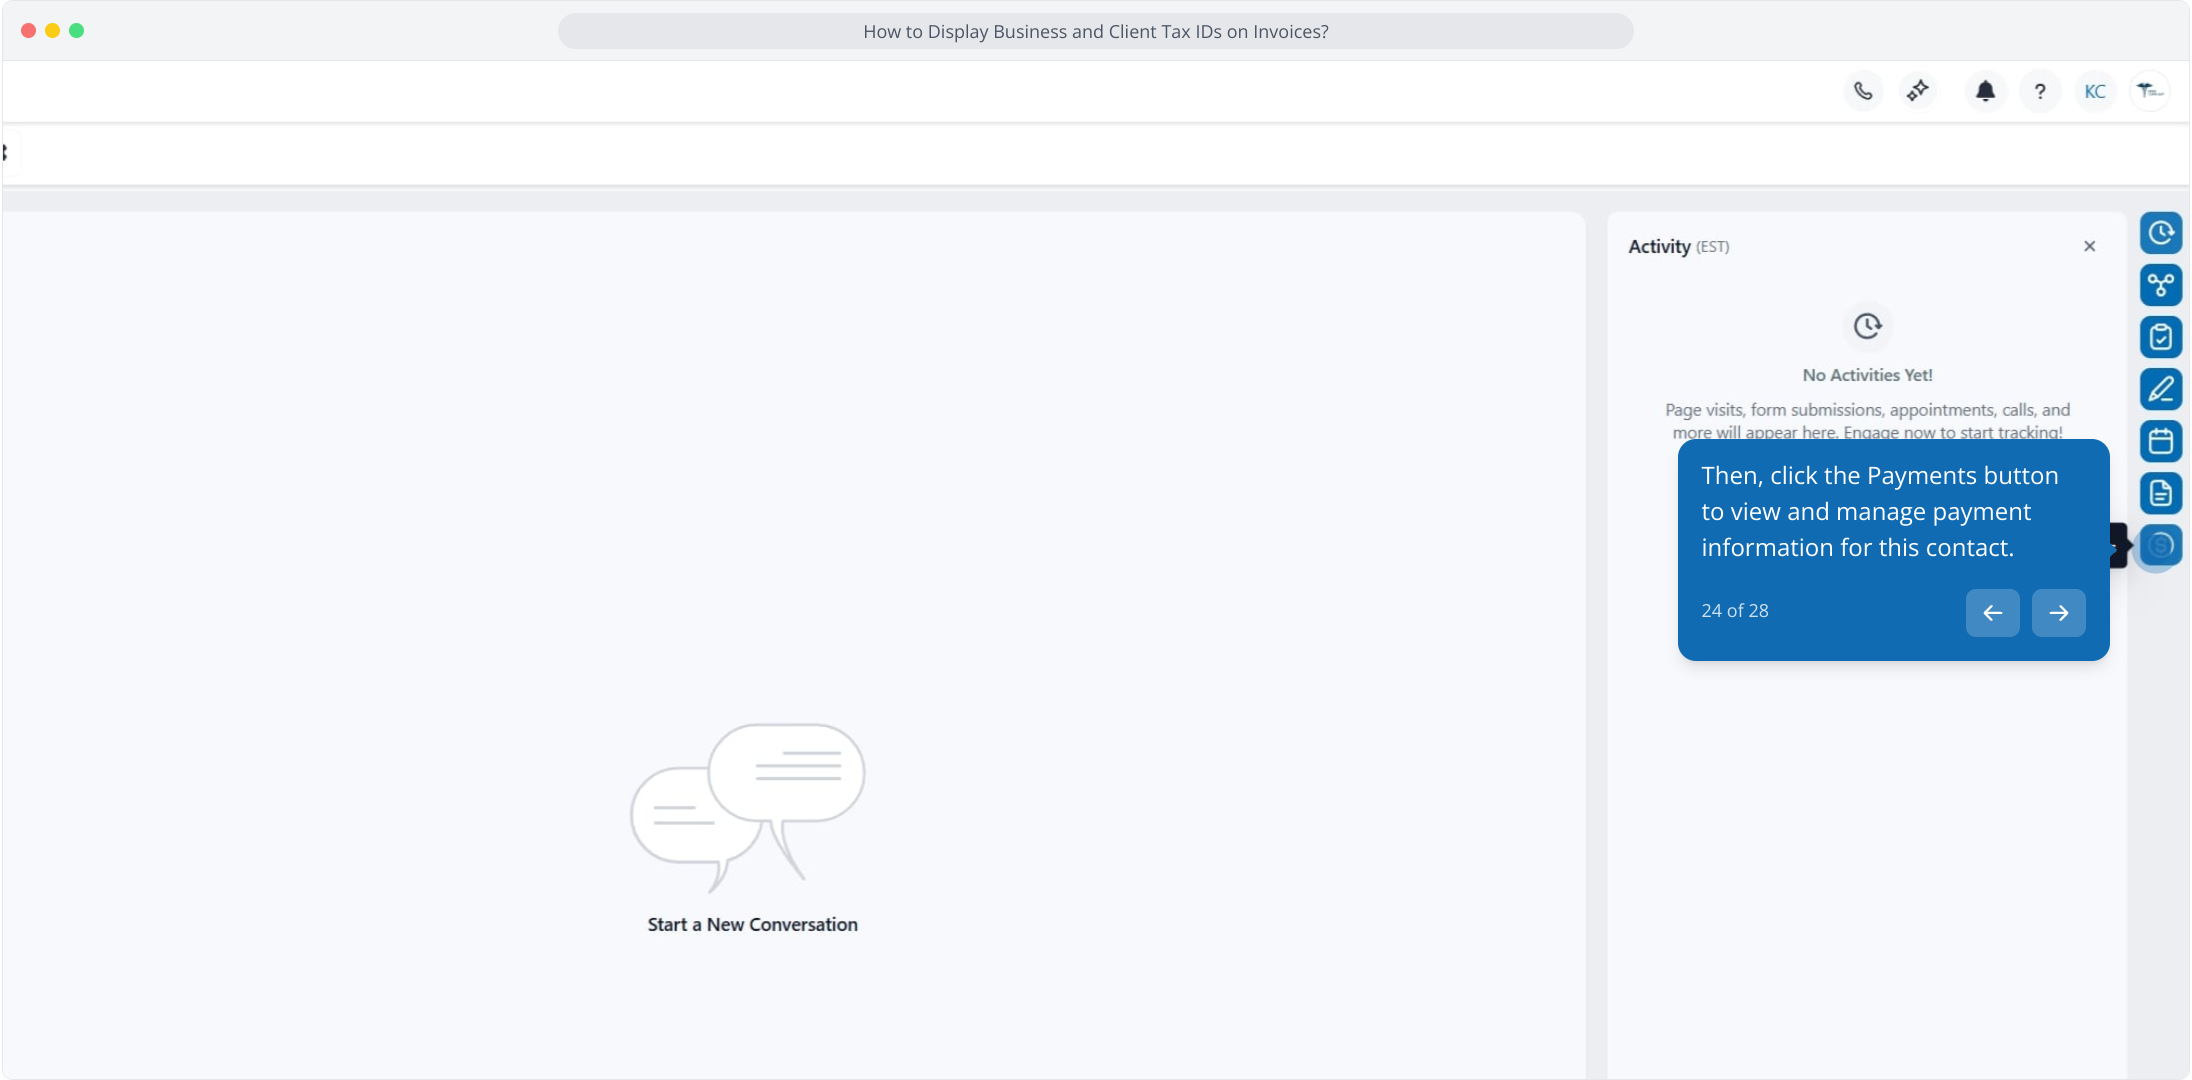
Open the patient's Payments tab.
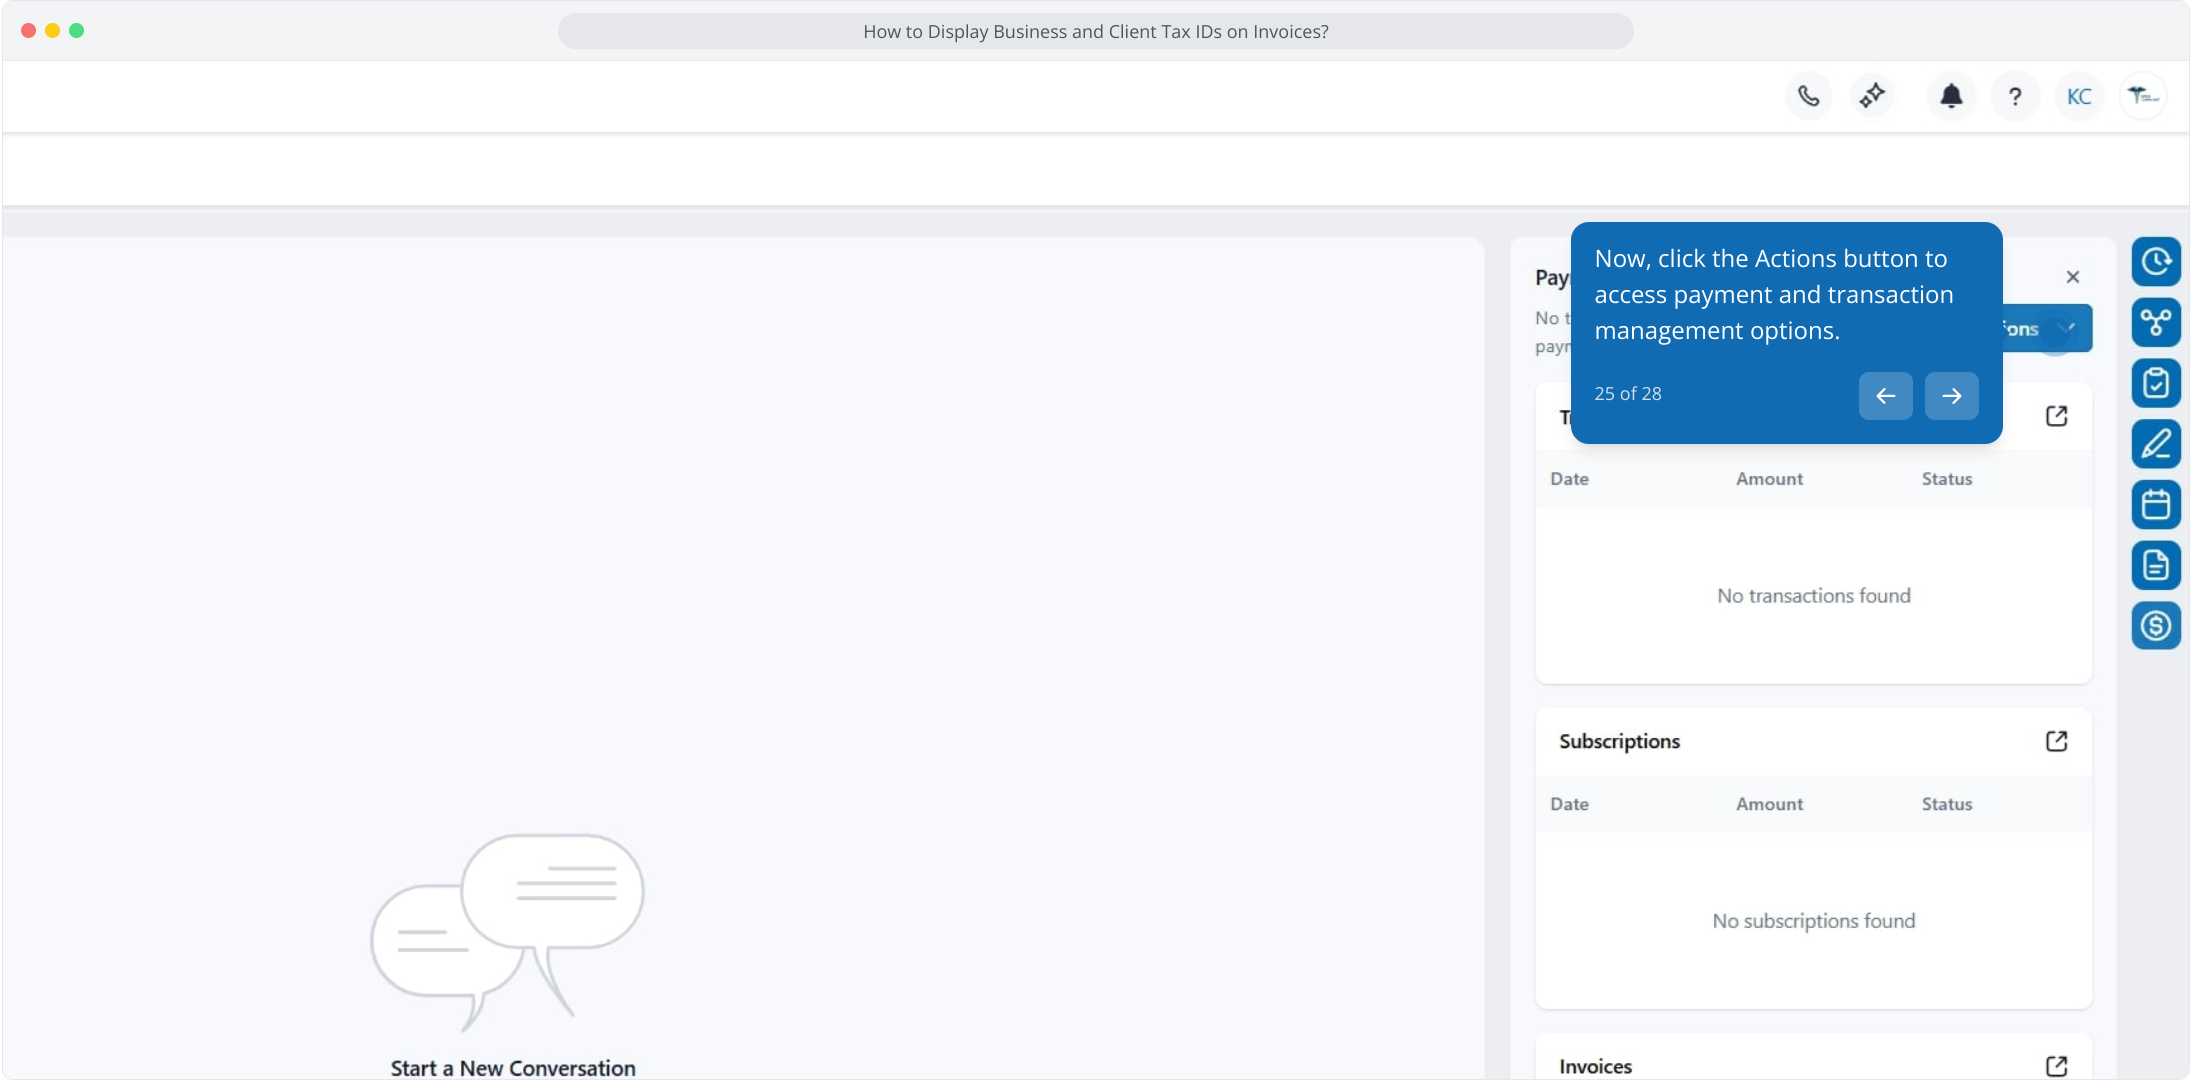
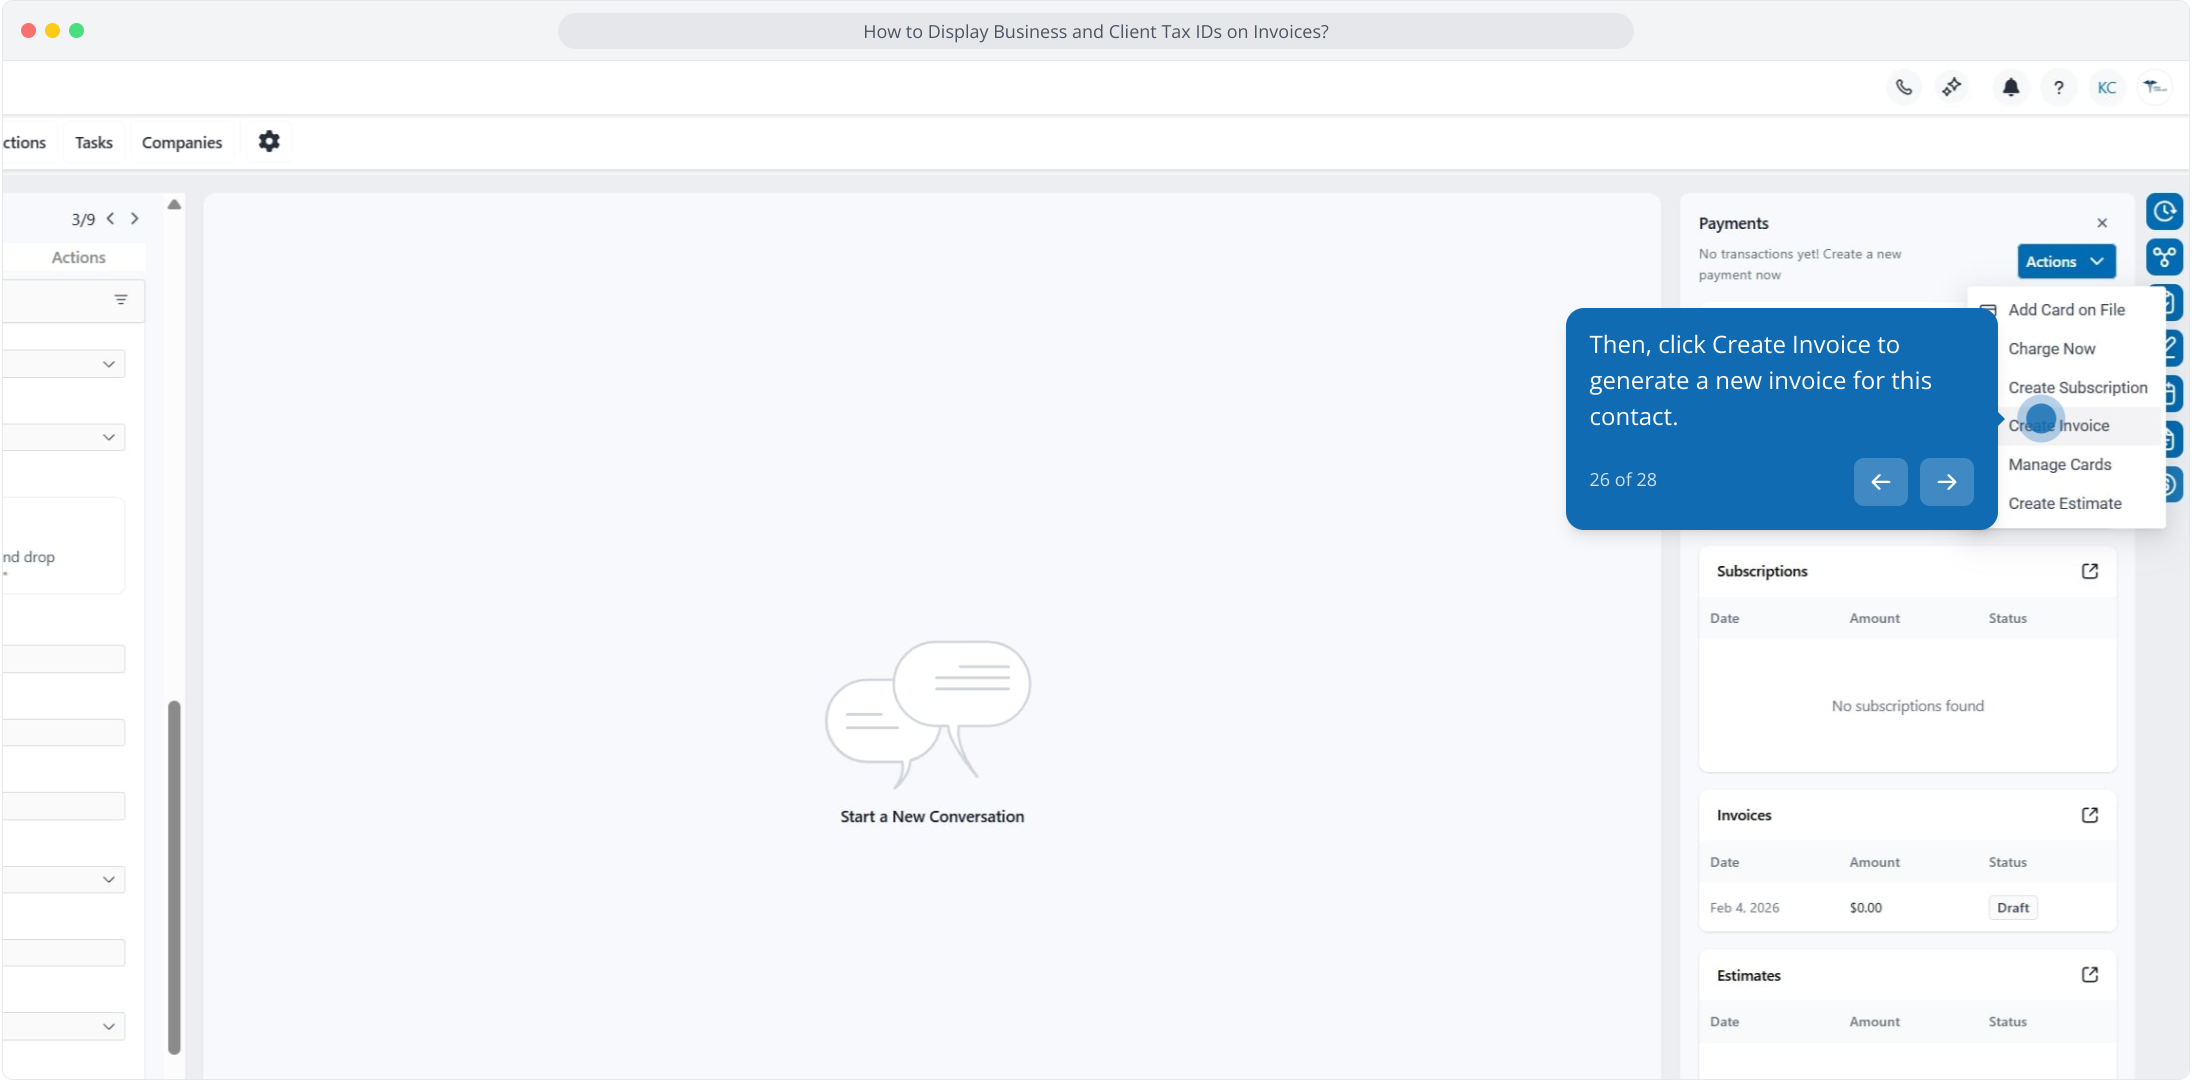
Click Actions, then Create Invoice (or go to Payments → Create Invoice directly).
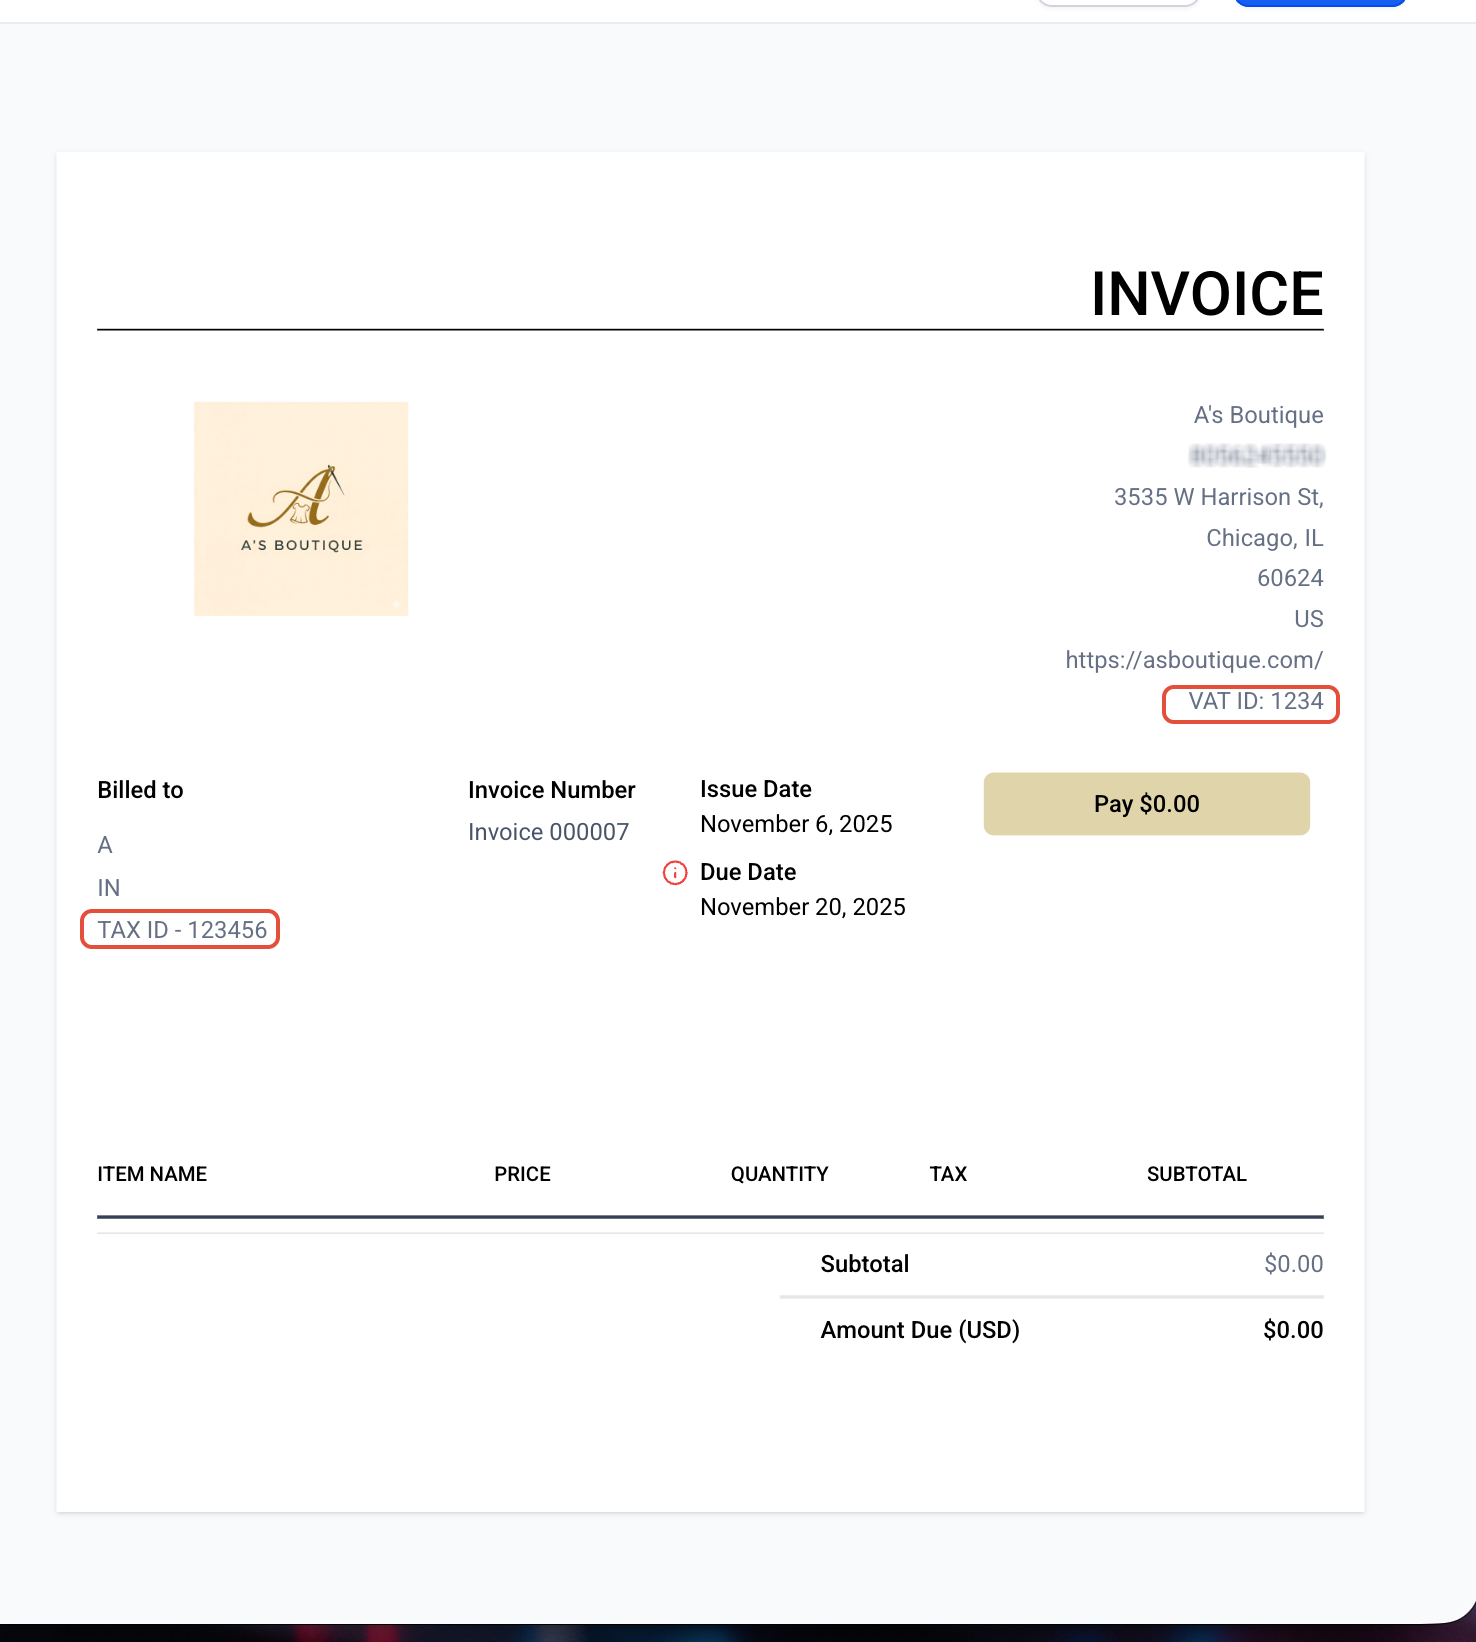
The patient's Tax ID and your Business Tax ID now appear on the invoice.
Do layout changes apply to all invoices in my account? Yes. Layout customizations are saved at the account level and used for every new invoice you create.
Will previously sent PDFs update after I change the layout? No. Previously delivered PDFs do not change automatically. Create a fresh PDF or resend the invoice so recipients see your latest layout.
Can I hide a column but still enter those values when creating an invoice? Yes. Hiding a label only hides it from the recipient view; your team can still edit the values during invoice creation.
How many custom values can I add to Business Information? Up to 3 custom values.
Do layout changes appear in downloaded or emailed PDFs? Yes. PDFs reflect the saved layout whenever you generate or resend them.
Does changing the "Invoice Due After" days affect existing invoices? No. Due-date settings apply only to invoices created after the change. Existing invoices, including already-generated recurring invoices, are not updated retroactively.
Where do I set up automated payment reminders? Under Reminder Settings in your invoice settings. Reminders apply to one-time and recurring invoices where auto payment is disabled and no payment schedule exists.
How do I see the default content of a notification template? Sending a manual test is required to preview a default template. You can also open each notification type under Customer or Team Notifications to edit the template directly.
Why doesn't my Business Tax ID appear on the invoice? Confirm you created the custom value, mapped it under Business Information in Customize Layout, and saved changes. The patient Tax ID also requires a value entered on that contact's record.
