Tasks keep your practice's follow-ups organized and make sure nothing falls through the cracks. This guide walks through creating a task from the Tasks list, filling in each field, and assigning the work to the right team member. You can also create internal tasks that have no patient attached, which is useful for team to-dos.
Open the Tasks list, then click + Add Task in the top-right corner. This starts a clean task form.
Complete the fields for your task. Only the title is required; the rest are optional but recommended for clarity.
Title: Give the task a clear, specific name that reflects what needs to happen, so it is easy to identify and find later (for example, "Confirm pre-op labs for new consult").
Description (optional): Add enough detail for whoever picks up the task to complete it without questions. You can format the description with rich text such as bold, colored text, and URLs.
Due Date and Time: Set a deadline. A due date signals urgency and helps your team finish work on time.
Recurring Task (optional): Toggle this on to create a task that repeats on a custom schedule.
Contact (optional): Link the task to a specific patient. Tying tasks to patients keeps the work in context and makes it easier to nurture that relationship.
Assignee (optional): Assign the task to a team member. Distributing tasks directly to individuals streamlines your workflow and makes sure everyone knows what they own.
Use the Assignee field to hand a task to a specific team member. Assigning work directly keeps responsibilities clear and helps you see how tasks are distributed across your practice. A task can be assigned to a team member with or without a linked patient, so you can route both patient follow-ups and internal to-dos to the right person.
When you are done, click Save to add the task and move into the edit flow, or click Save and Add Another to keep creating tasks back to back. Saving adds the task to your list and links it to any patient you selected. If you close the form without saving, the task is discarded and will not appear in your list.
You do not have to link a task to a patient. When you save a task without selecting a contact, it becomes a standalone task built specifically for your team, ideal for managing internal work and responsibilities.
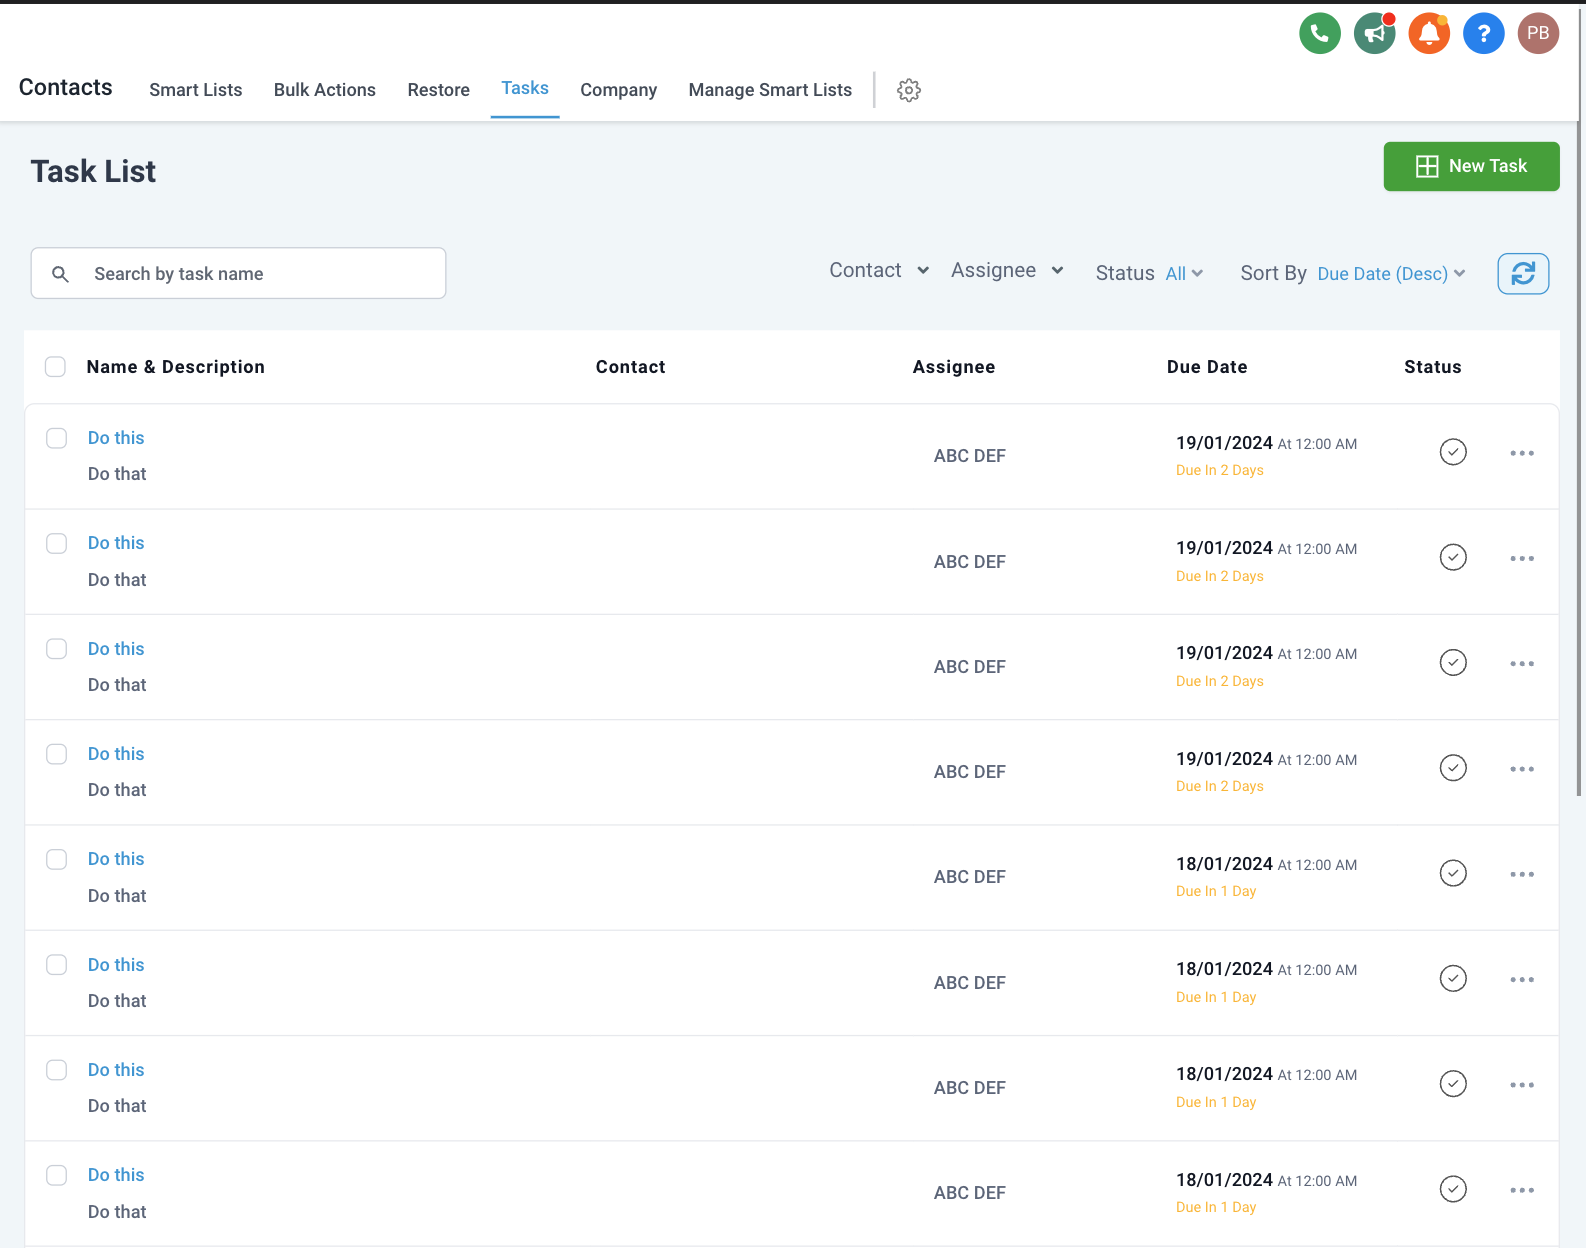
You can add, remove, or reassign the patient on a task at any time after it is created, giving you full control over how tasks are organized.
Standalone tasks also appear in the Tasks list on your Dashboard, so your team sees them alongside their other work.
Finding your internal tasks
To pull up standalone tasks, use the "Unassigned" option in the Contact filter on the Tasks list. This narrows the view to tasks that have no patient attached.
The Add Task action in Workflows can also generate contactless tasks. If the workflow that triggers the action has no contact attached to it, such as one started by an inbound system event, the resulting task is created without a linked patient. If the workflow does have a contact, the task attaches to that patient automatically.
Which fields are required to create a task?
Only the title is required. The description, due date, recurring toggle, patient, and assignee are all optional, though filling them in makes the task clearer and easier to manage.
How do I assign a task to a specific team member?
Use the Assignee field on the task form and select the team member who should own the work. You can assign a task whether or not it is linked to a patient.
Can I create a task without linking it to a patient?
Yes. Save the task without selecting a contact and it becomes a standalone task for your team. You can attach, remove, or reassign a patient later at any time.
Where do standalone tasks show up?
They appear in the main Tasks list and in the Tasks list on your Dashboard. Filter the Contact field by "Unassigned" to see only tasks with no patient attached.
Can I format the task description?
Yes. The description supports rich text, so you can add bold, colored text, and URLs to give your team clear instructions.
What does Save and Add Another do?
It saves the current task and immediately opens a fresh form, so you can create several tasks in a row without leaving the screen.
How do I make a task repeat?
Toggle on the Recurring Task option while creating the task and set the schedule you want.
Can I set dynamic due dates like "2 days from now at 5 PM"?
The Tasks list handles manual, fixed due dates. For dynamic due dates and automatic task creation based on triggers such as form submissions or appointment updates, set up the task through Workflows instead.
Does the Add Task workflow action create contactless tasks too?
Yes. When the workflow running the Add Task action has no contact attached, the task it creates is contactless, just like one you create manually without a patient. If the workflow does have a contact, that patient is linked to the task automatically.
