Social Planner can email your team when something needs attention: a connected social account is about to expire, a post has failed to publish, or a post is moving through the approval flow. Configuring these notifications means no promotion quietly fails and no approval request sits unnoticed. This article covers every notification type, how to turn each one on, who receives it, and how to apply a custom email template.
Social Planner sends email notifications for the following events:
Account Expired: A connected social account whose token has expired.
Account Pre-Expiry: Some accounts, such as Facebook pages, have a token that expires on a set schedule. This notification warns the user ahead of time so they can refresh the token before it lapses.
Request for Approval: A post has been scheduled for approval, asking the chosen approver to review it.
Post Approved (to Creator): Notifies the creator that their scheduled post was approved.
Post Rejected (to Creator): Notifies the creator that their scheduled post was rejected.
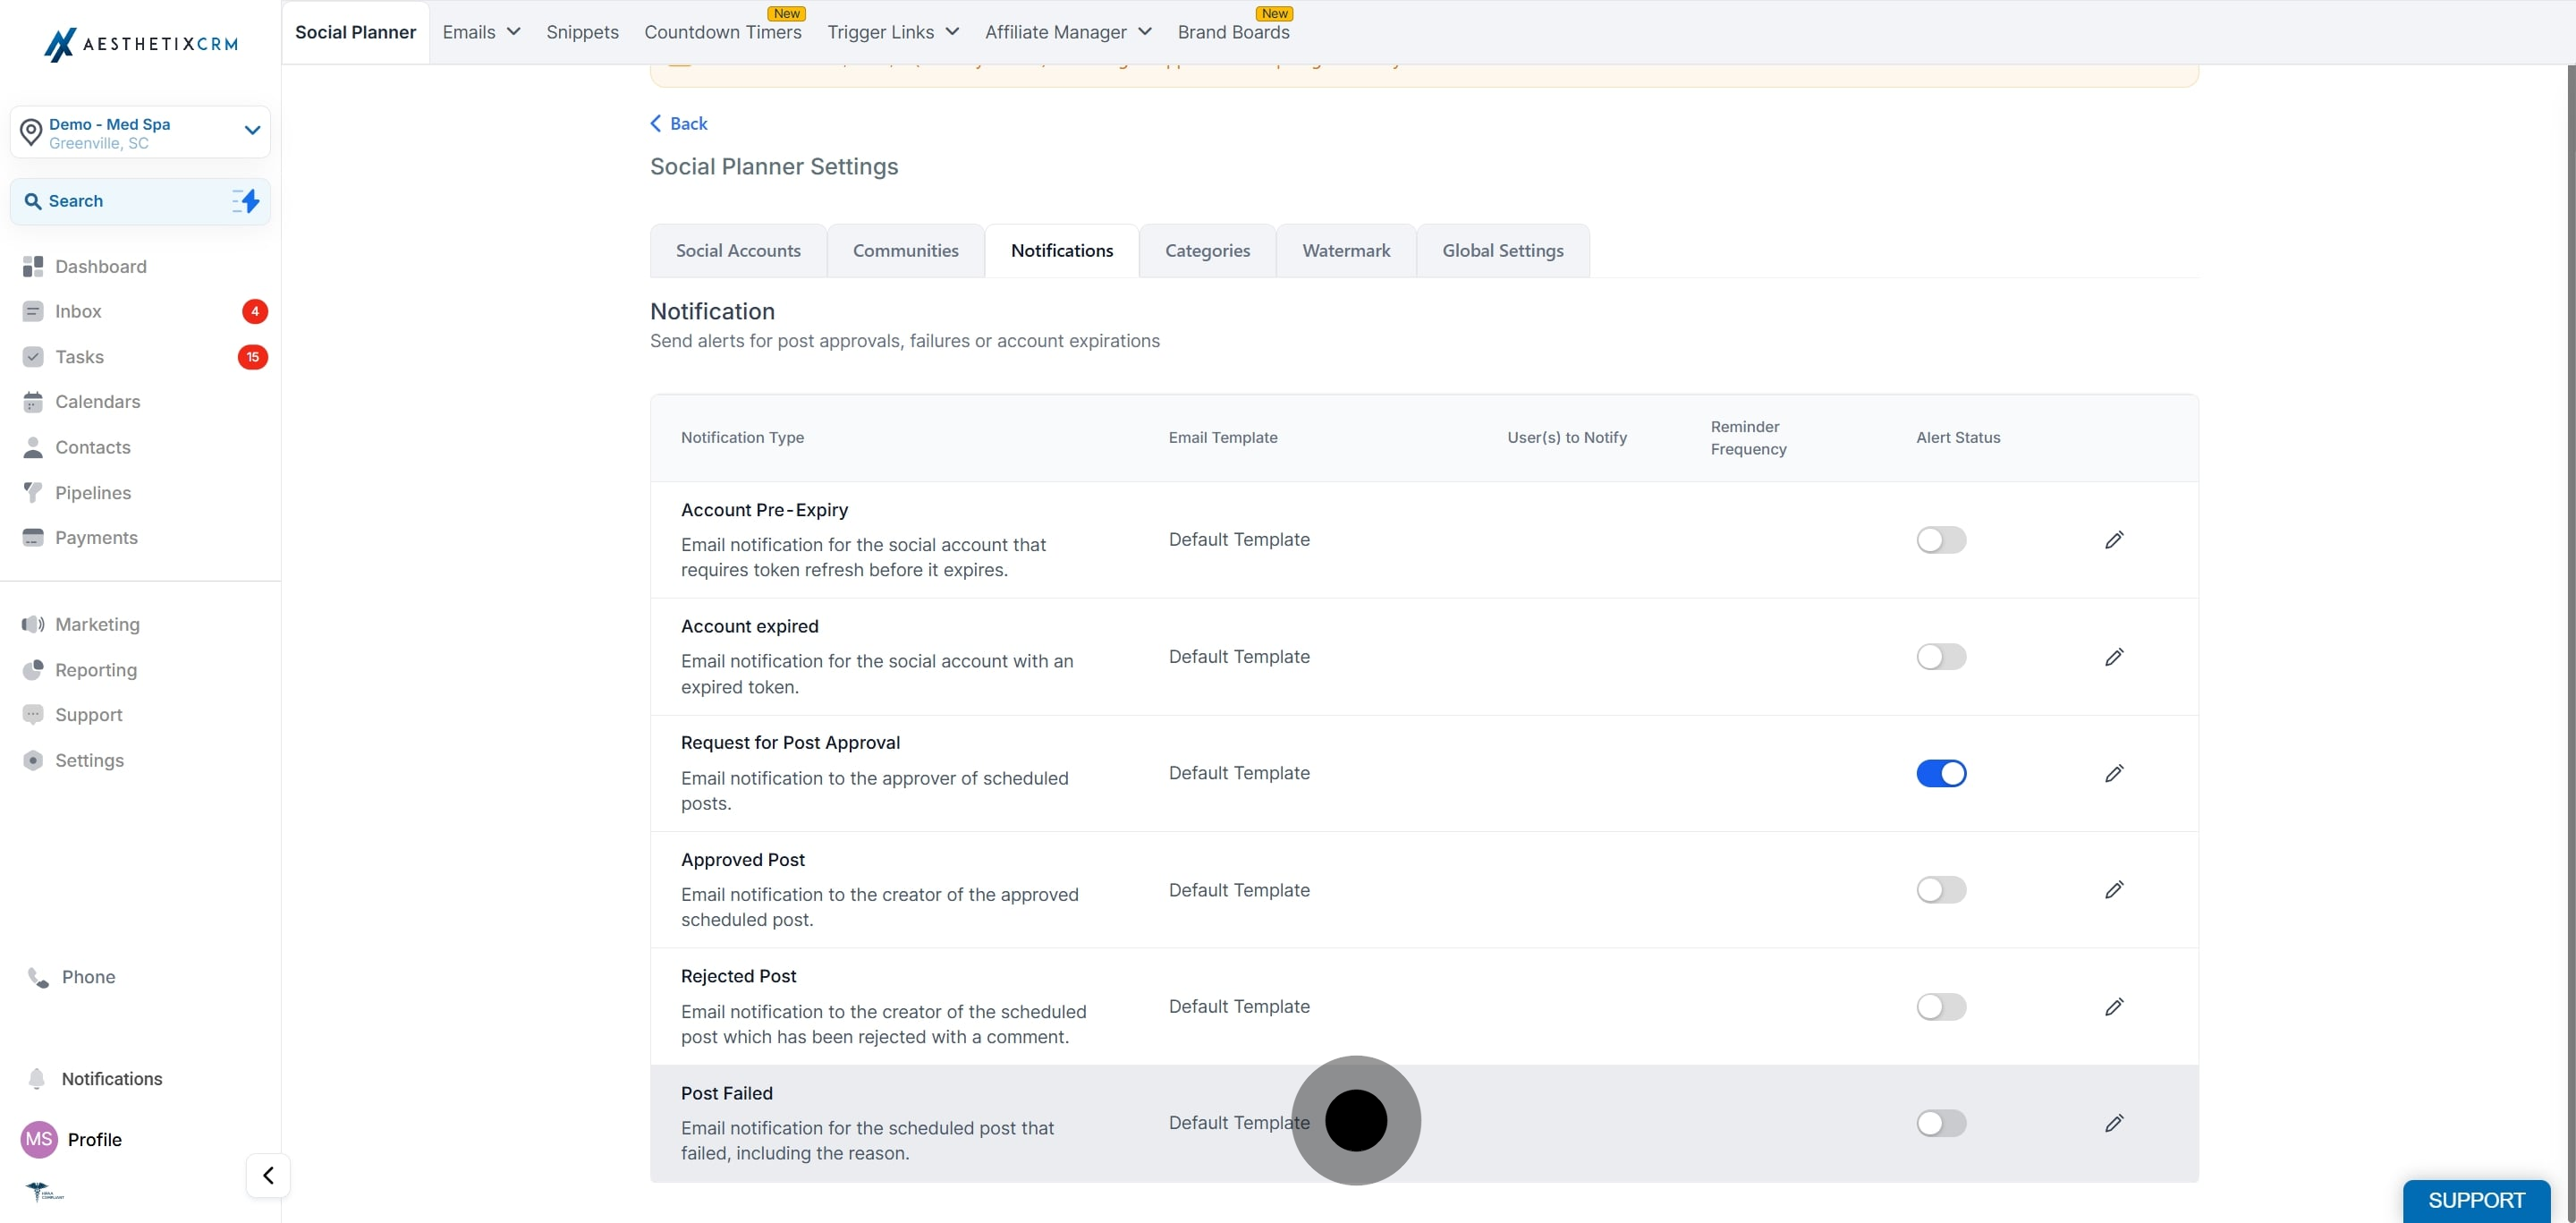
Post Failed: Notifies the selected users that a scheduled post has failed to publish.
Each notification type supports a different set of settings. Use this as a quick reference before configuring them:
Notification | Enable / Disable | Email Template | Users to Notify | Reminder Frequency |
|---|---|---|---|---|
Account Expired | Yes | Yes | Yes | Yes |
Account Pre-Expiry | Yes | Yes | Yes | Yes |
Request for Approval | Yes | Yes | No | No |
Post Approved (to Creator) | Yes | Yes | No | No |
Post Rejected (to Creator) | Yes | Yes | No | No |
Post Failed | Yes | Yes | Yes | No |
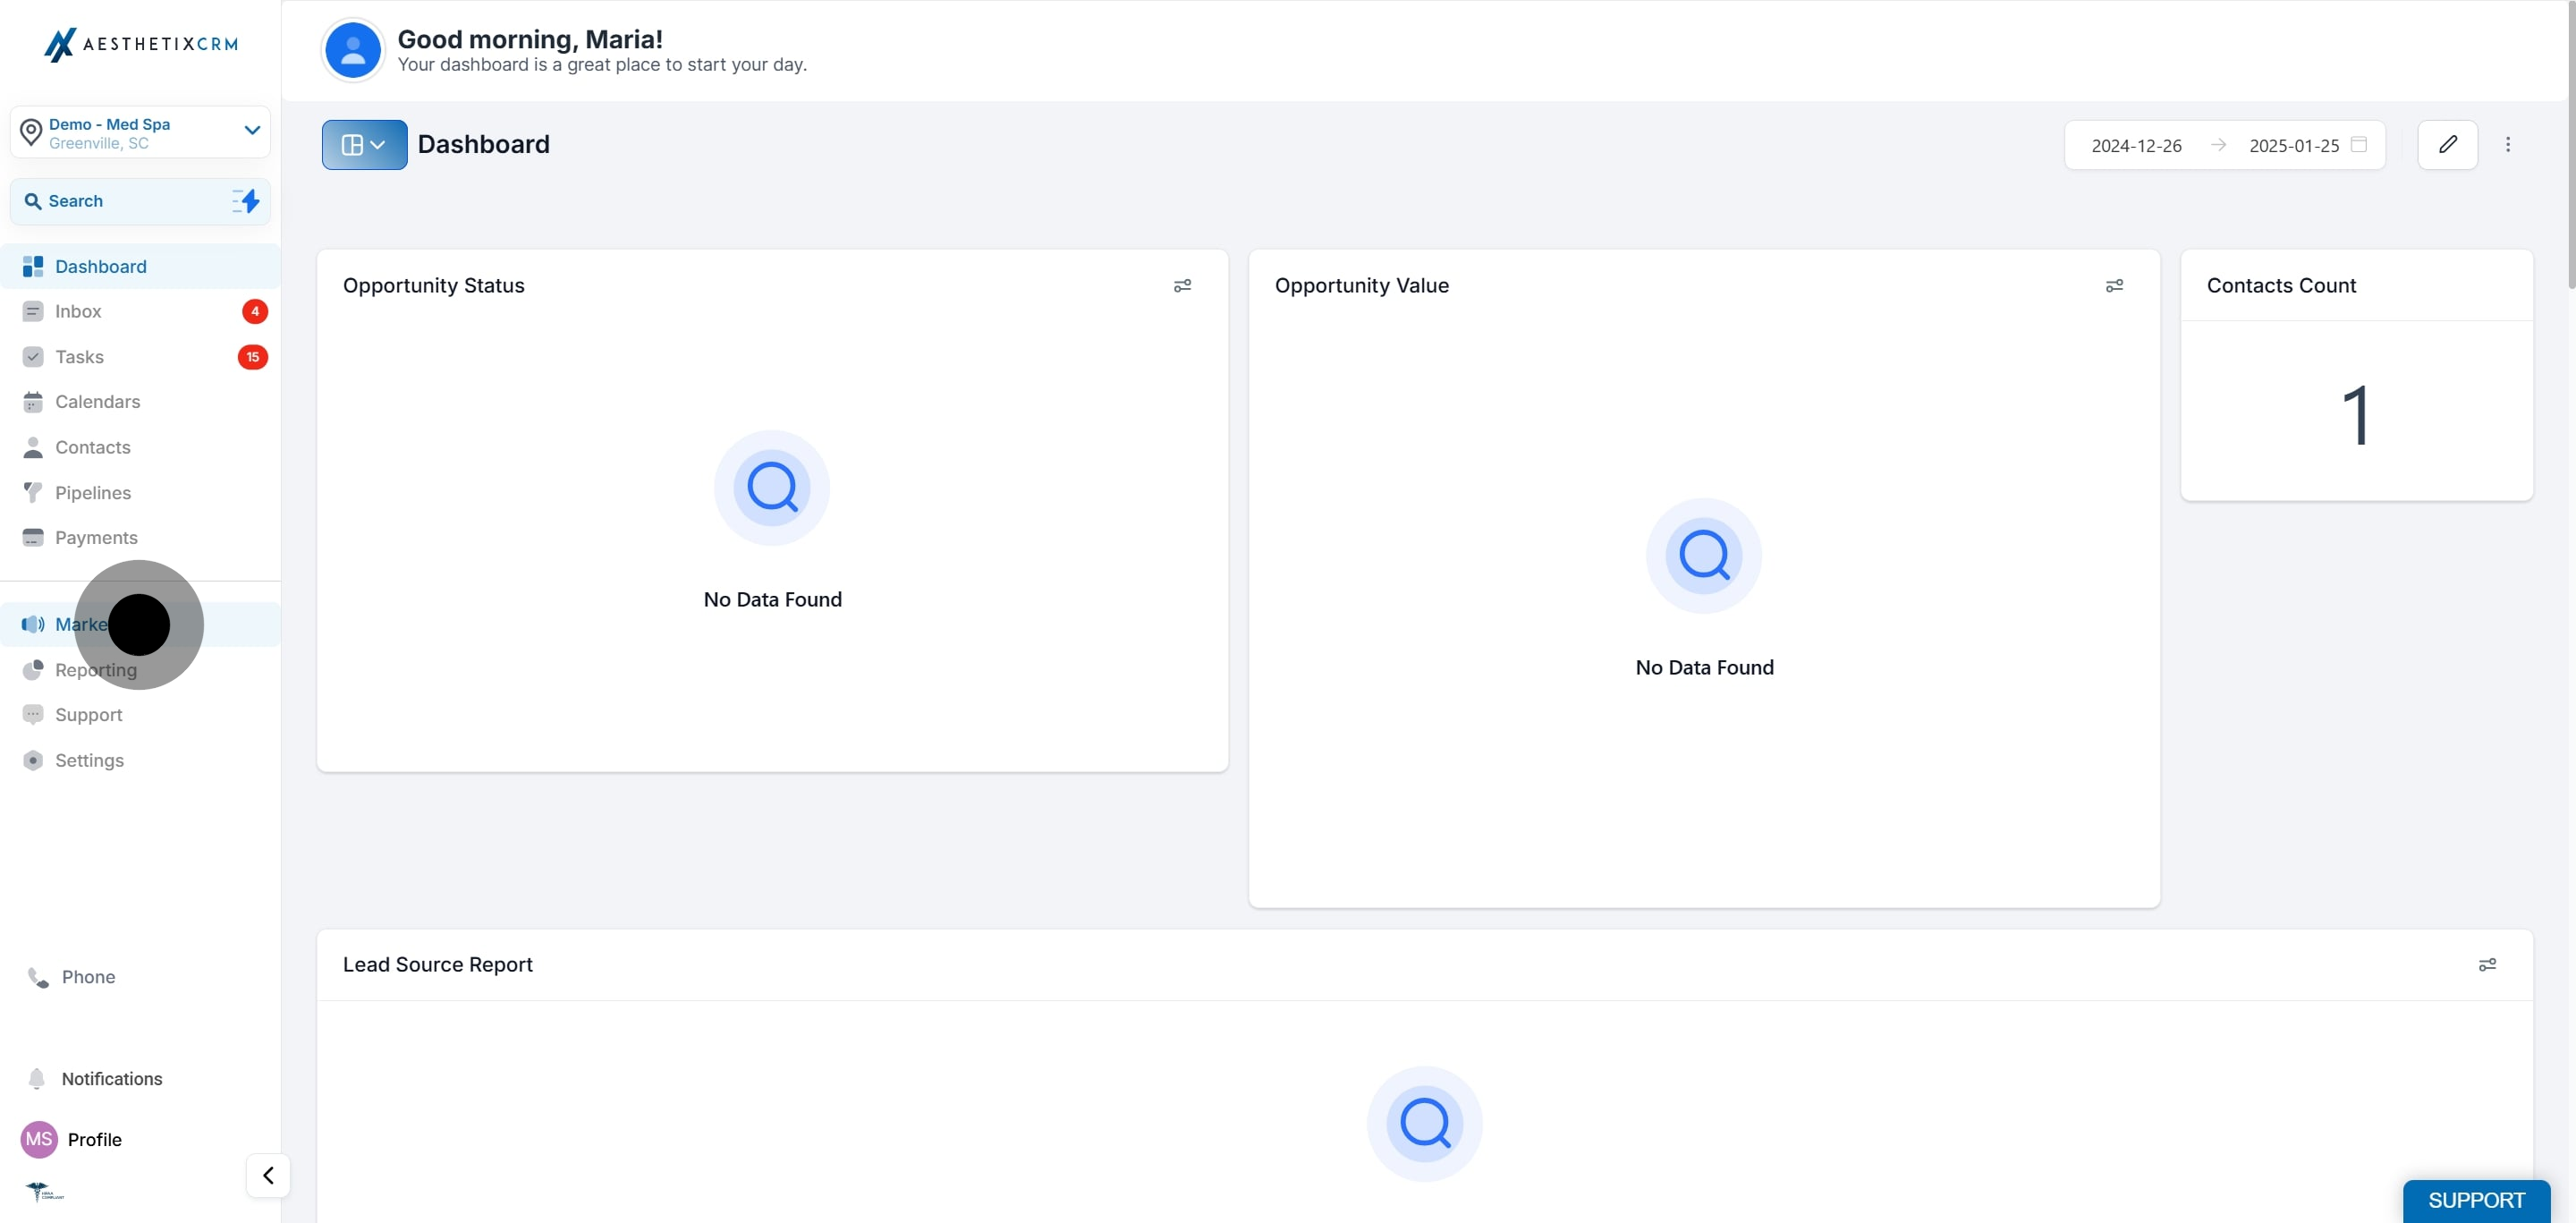
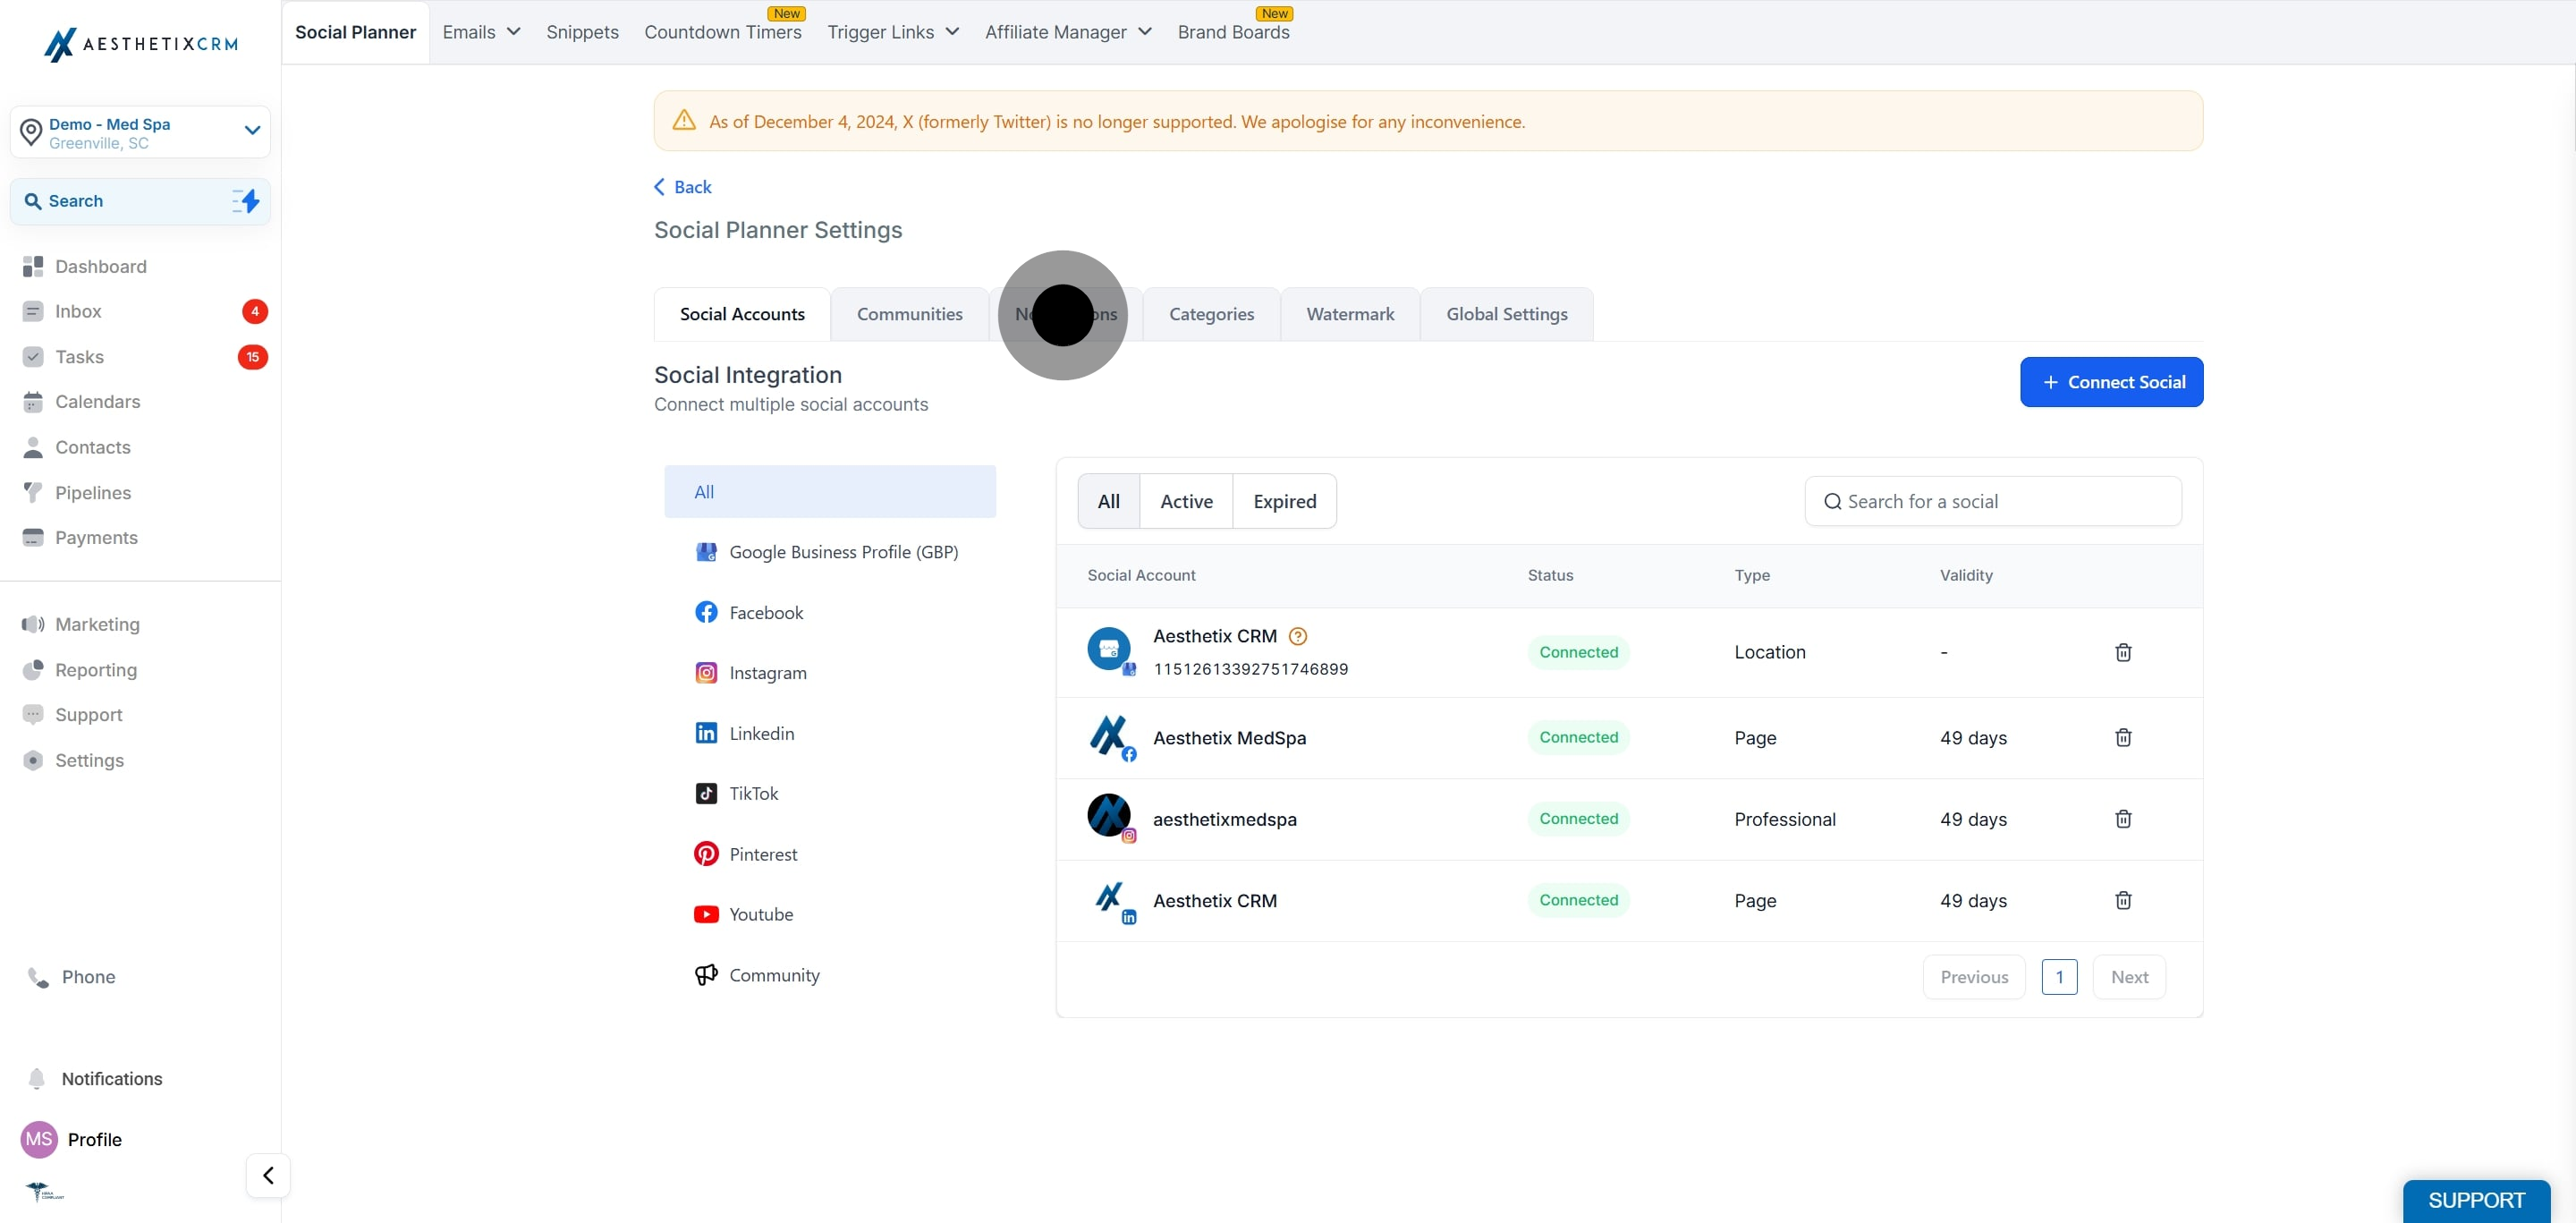
1. Click on Marketing.
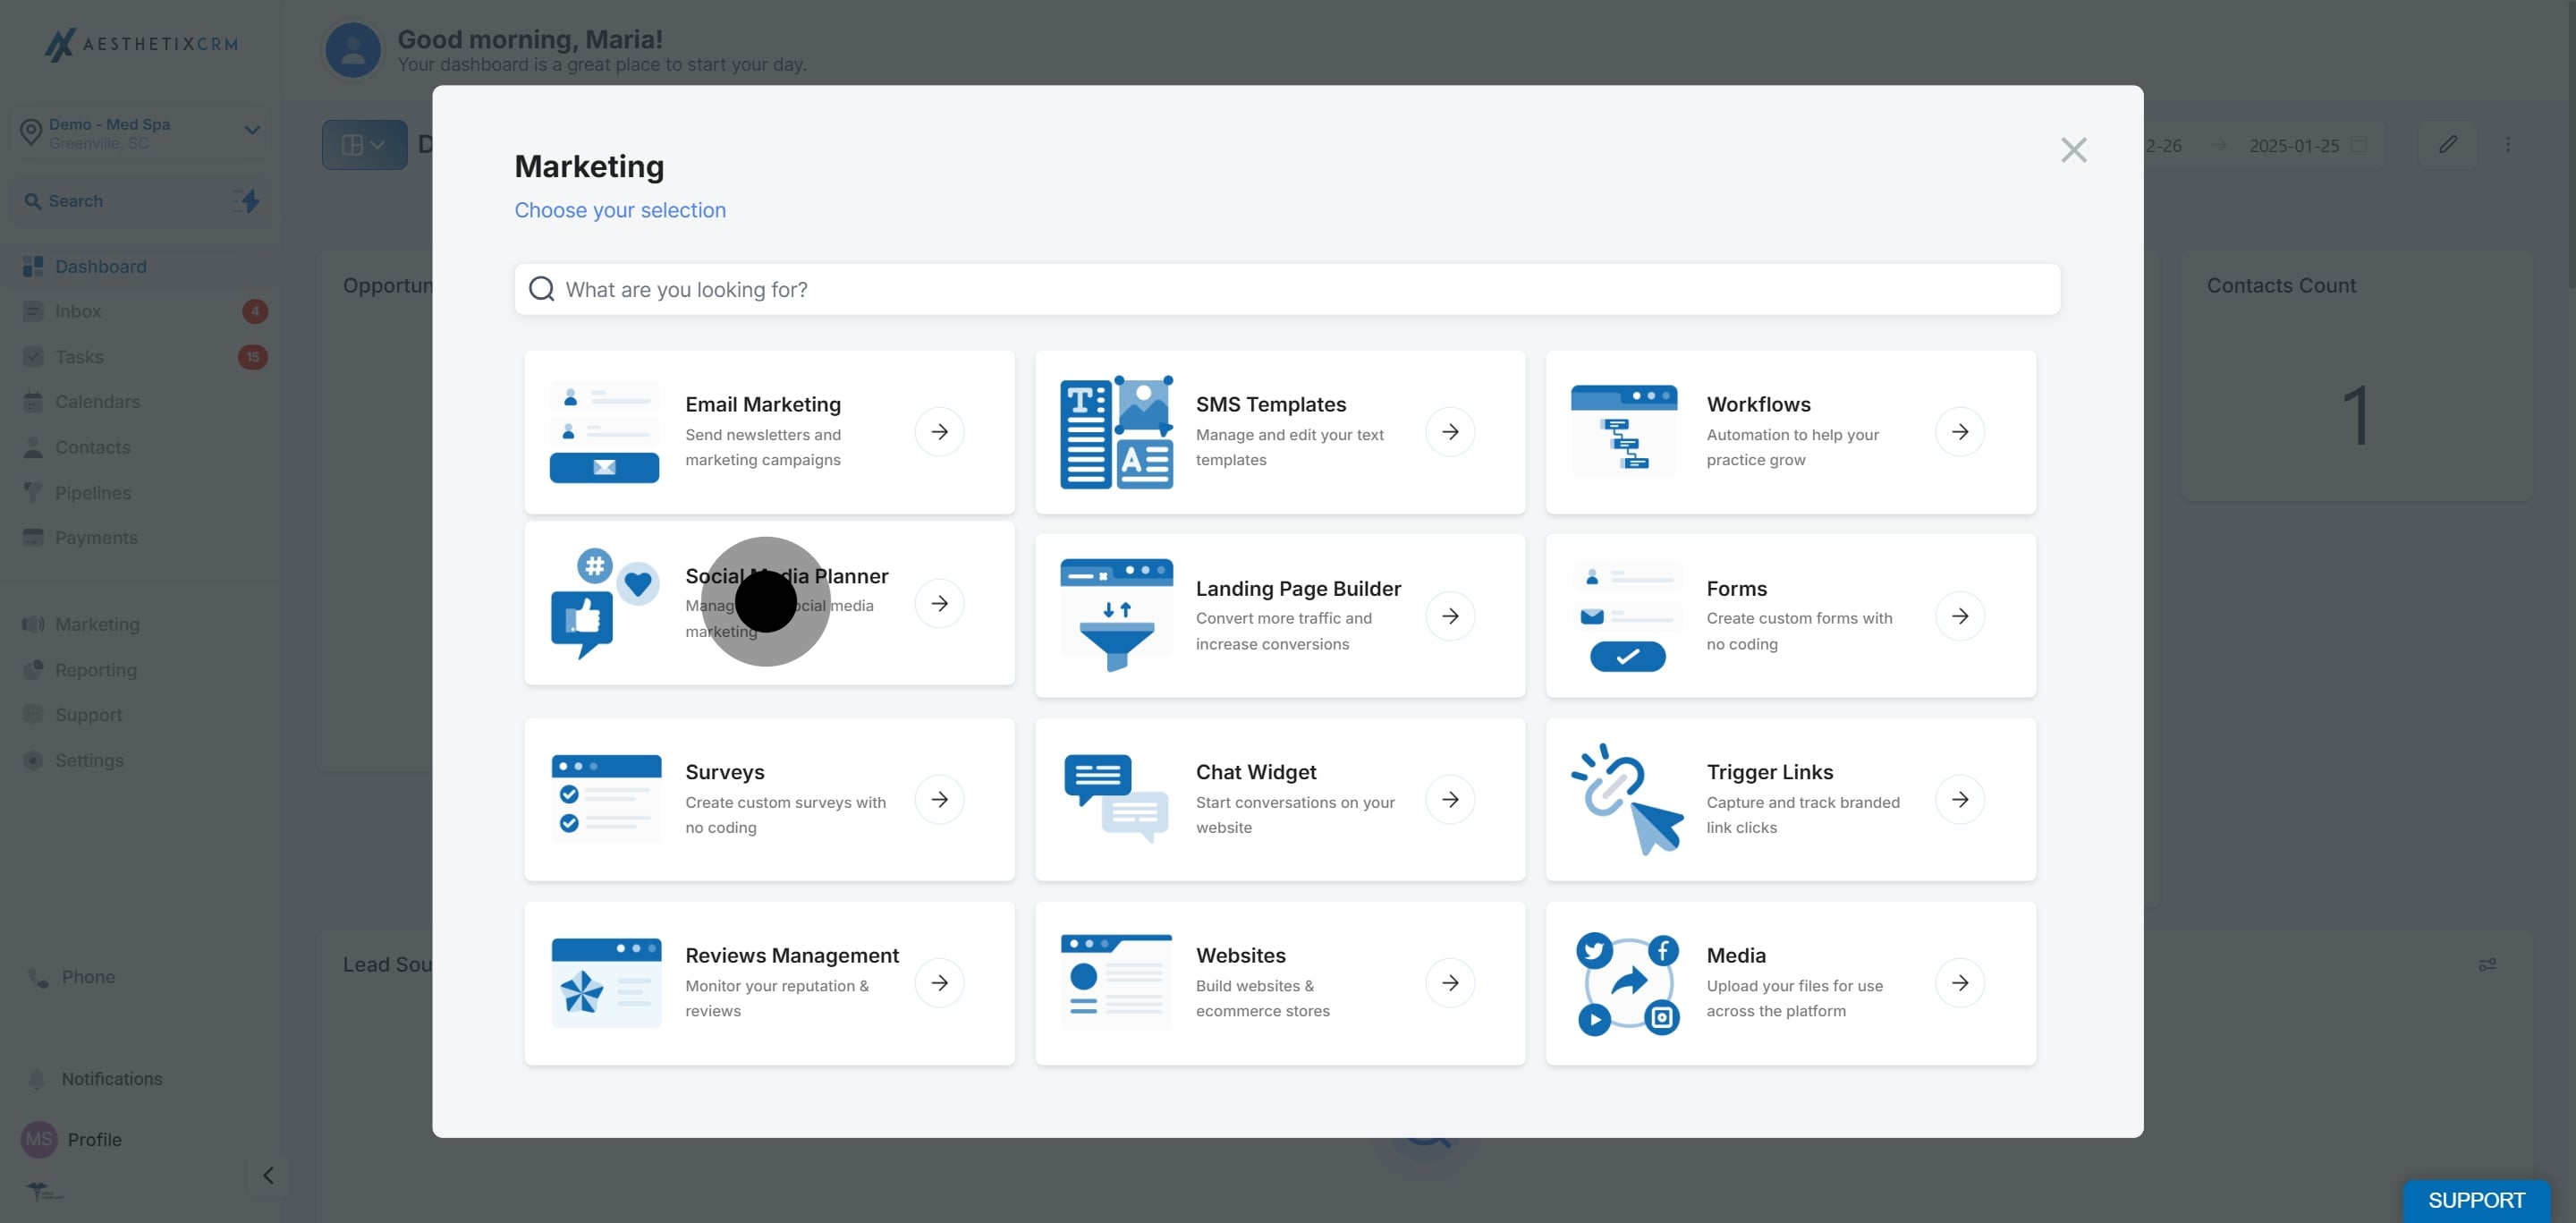
2. Click on Social Media Planner.
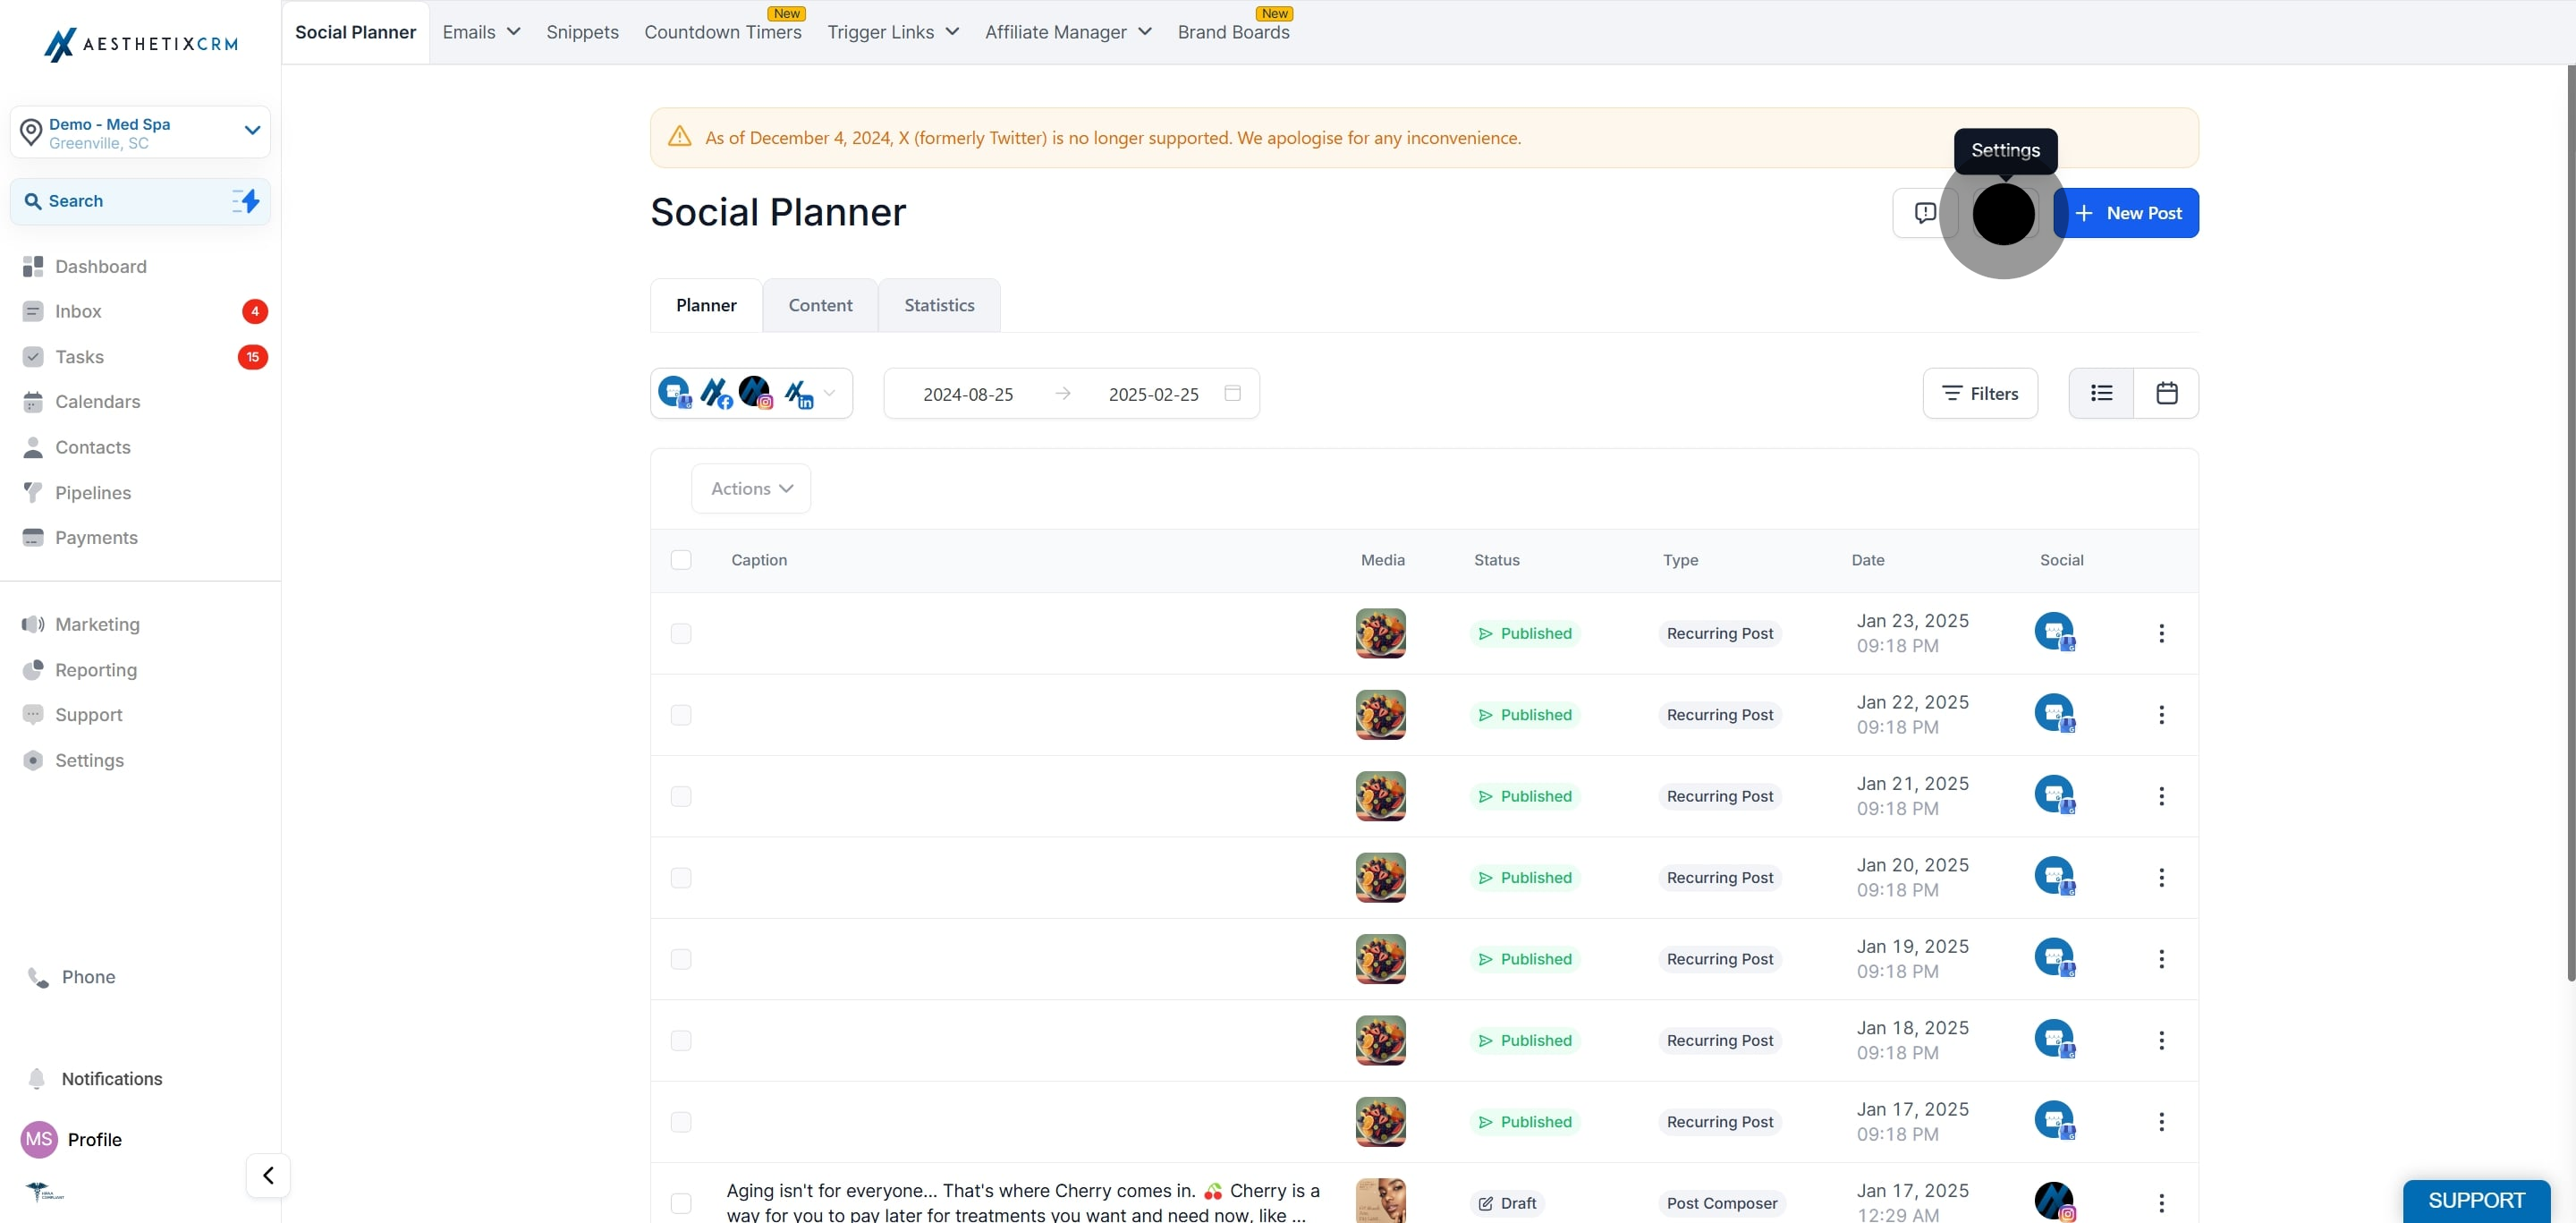
3. Click on Settings. The Social Planner settings (gear icon) sits beside the New Post button.
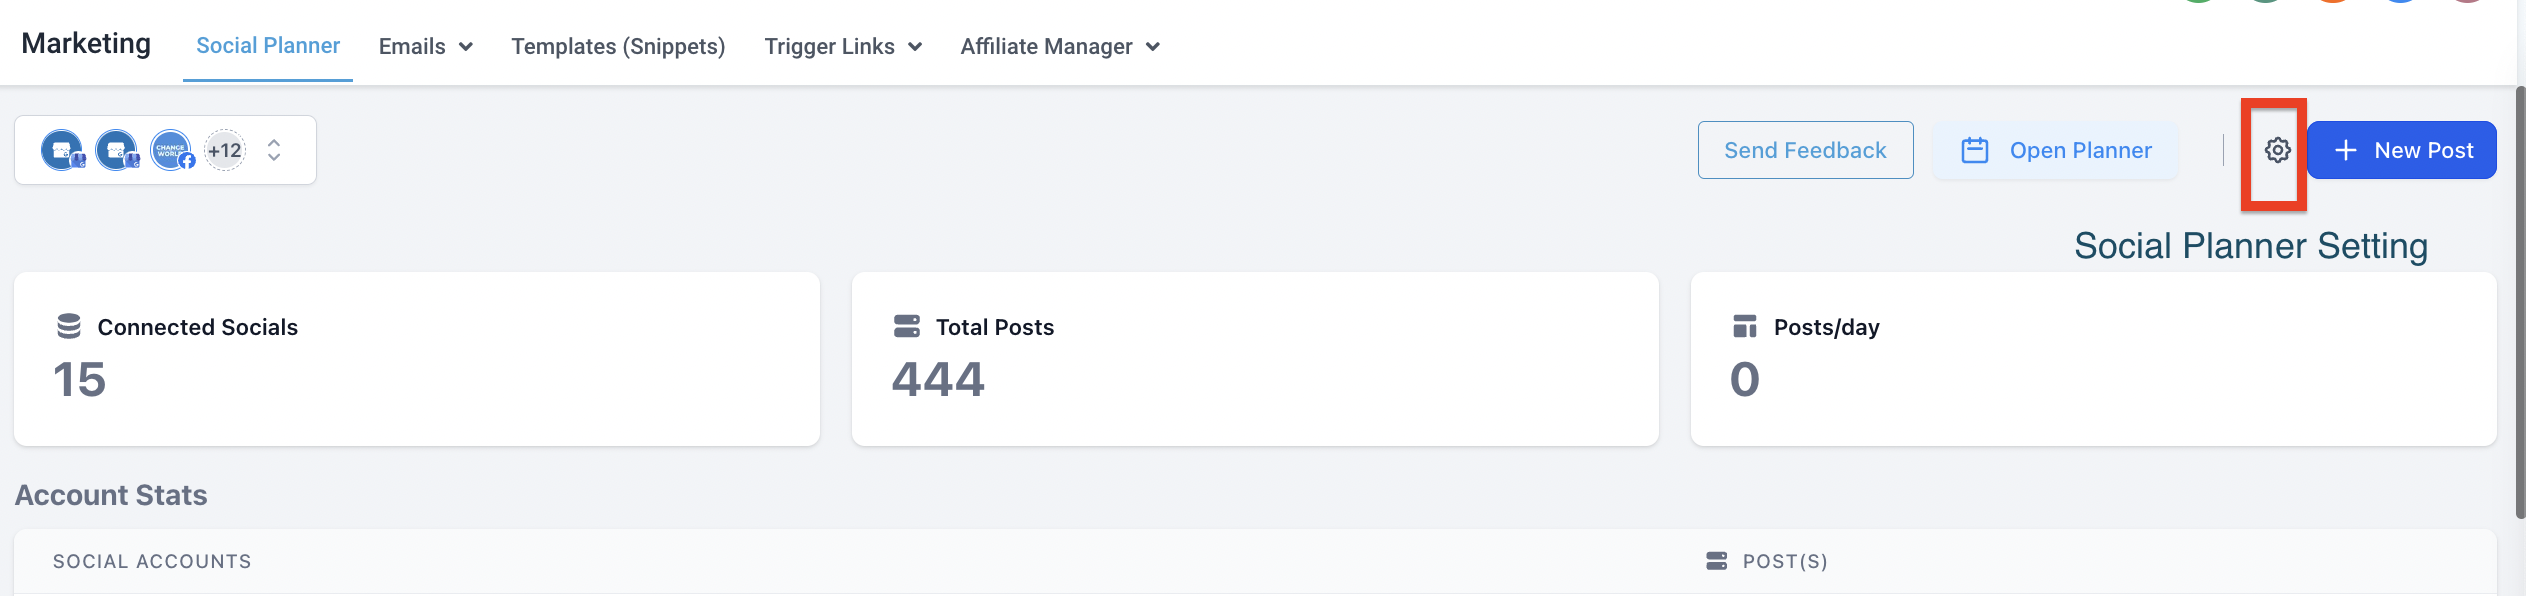
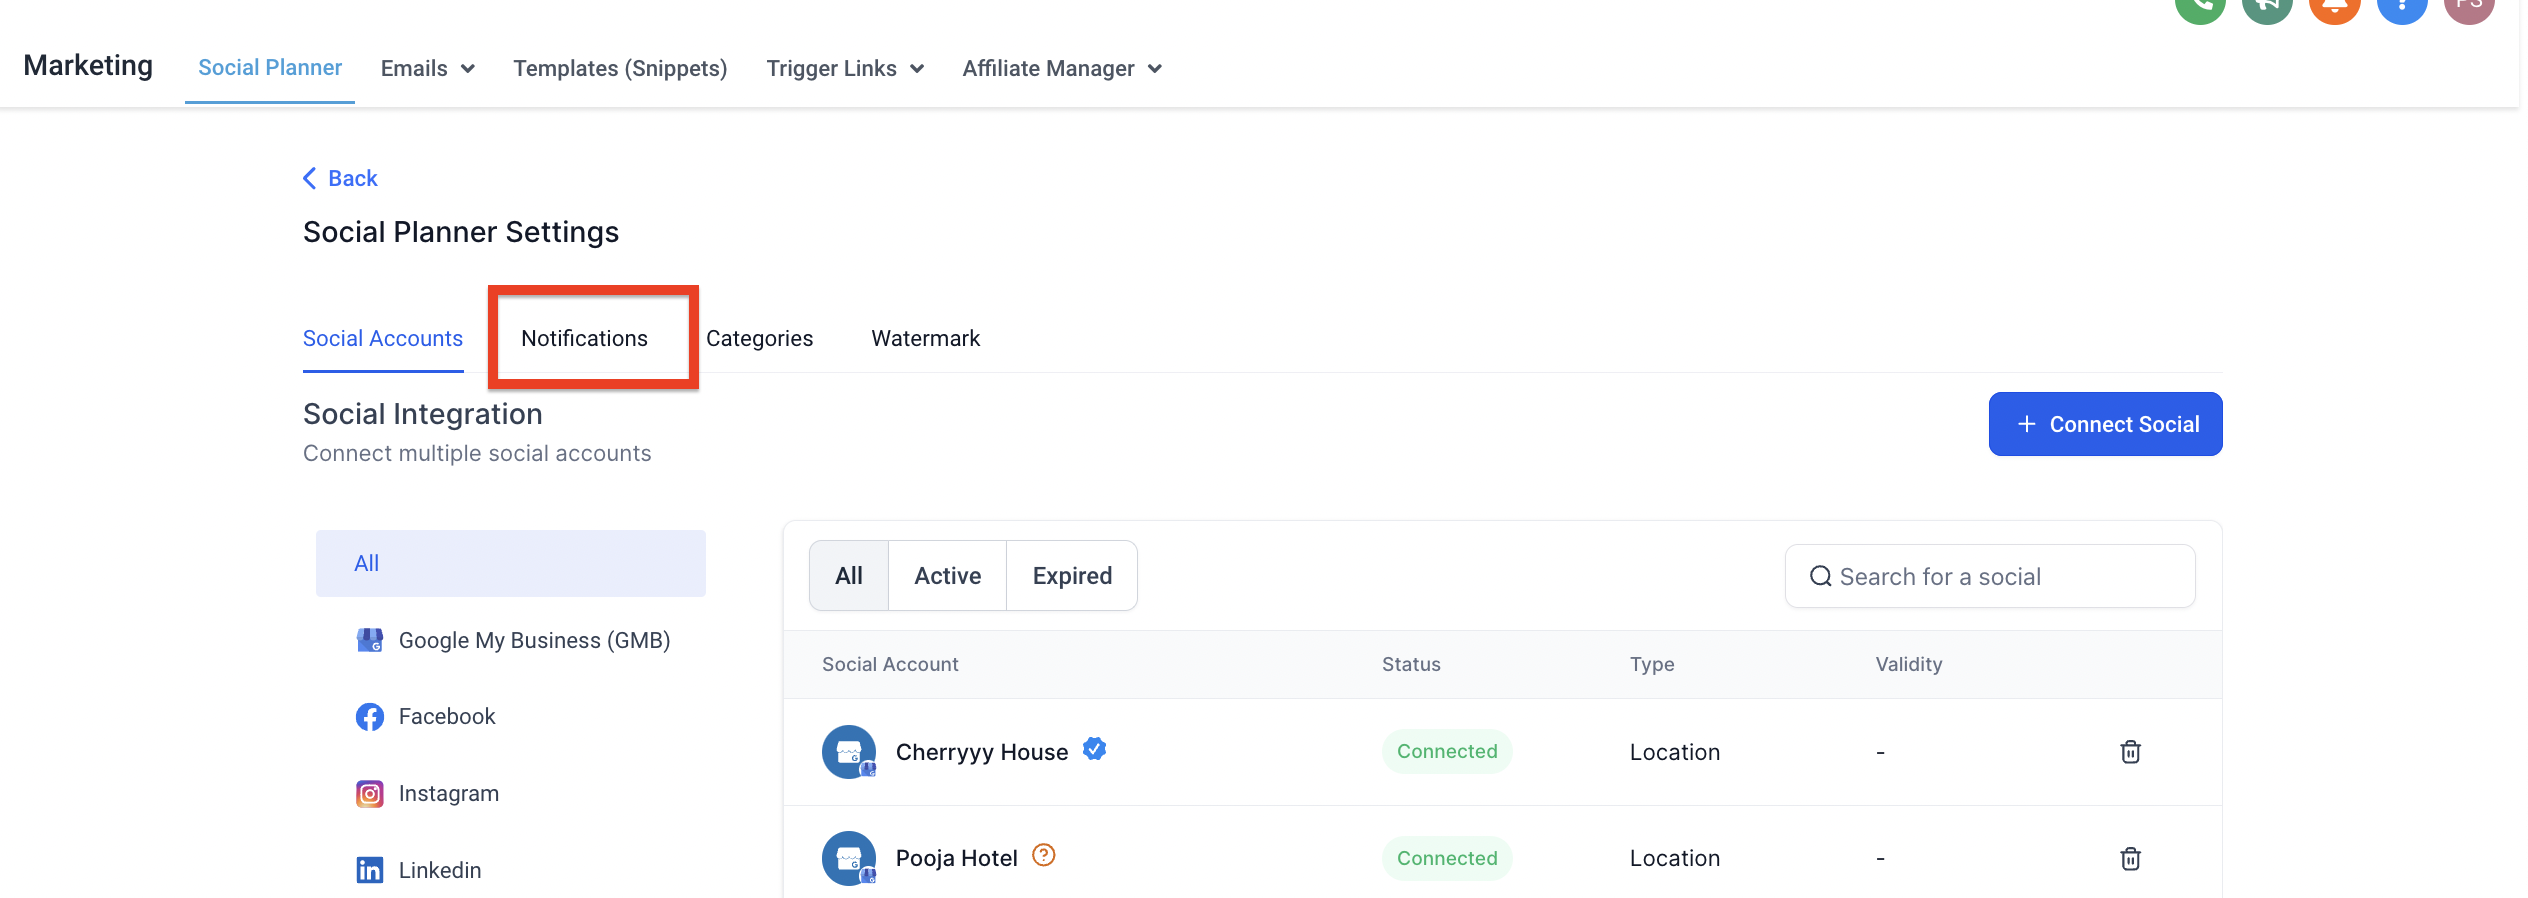
4. Click on Notifications.
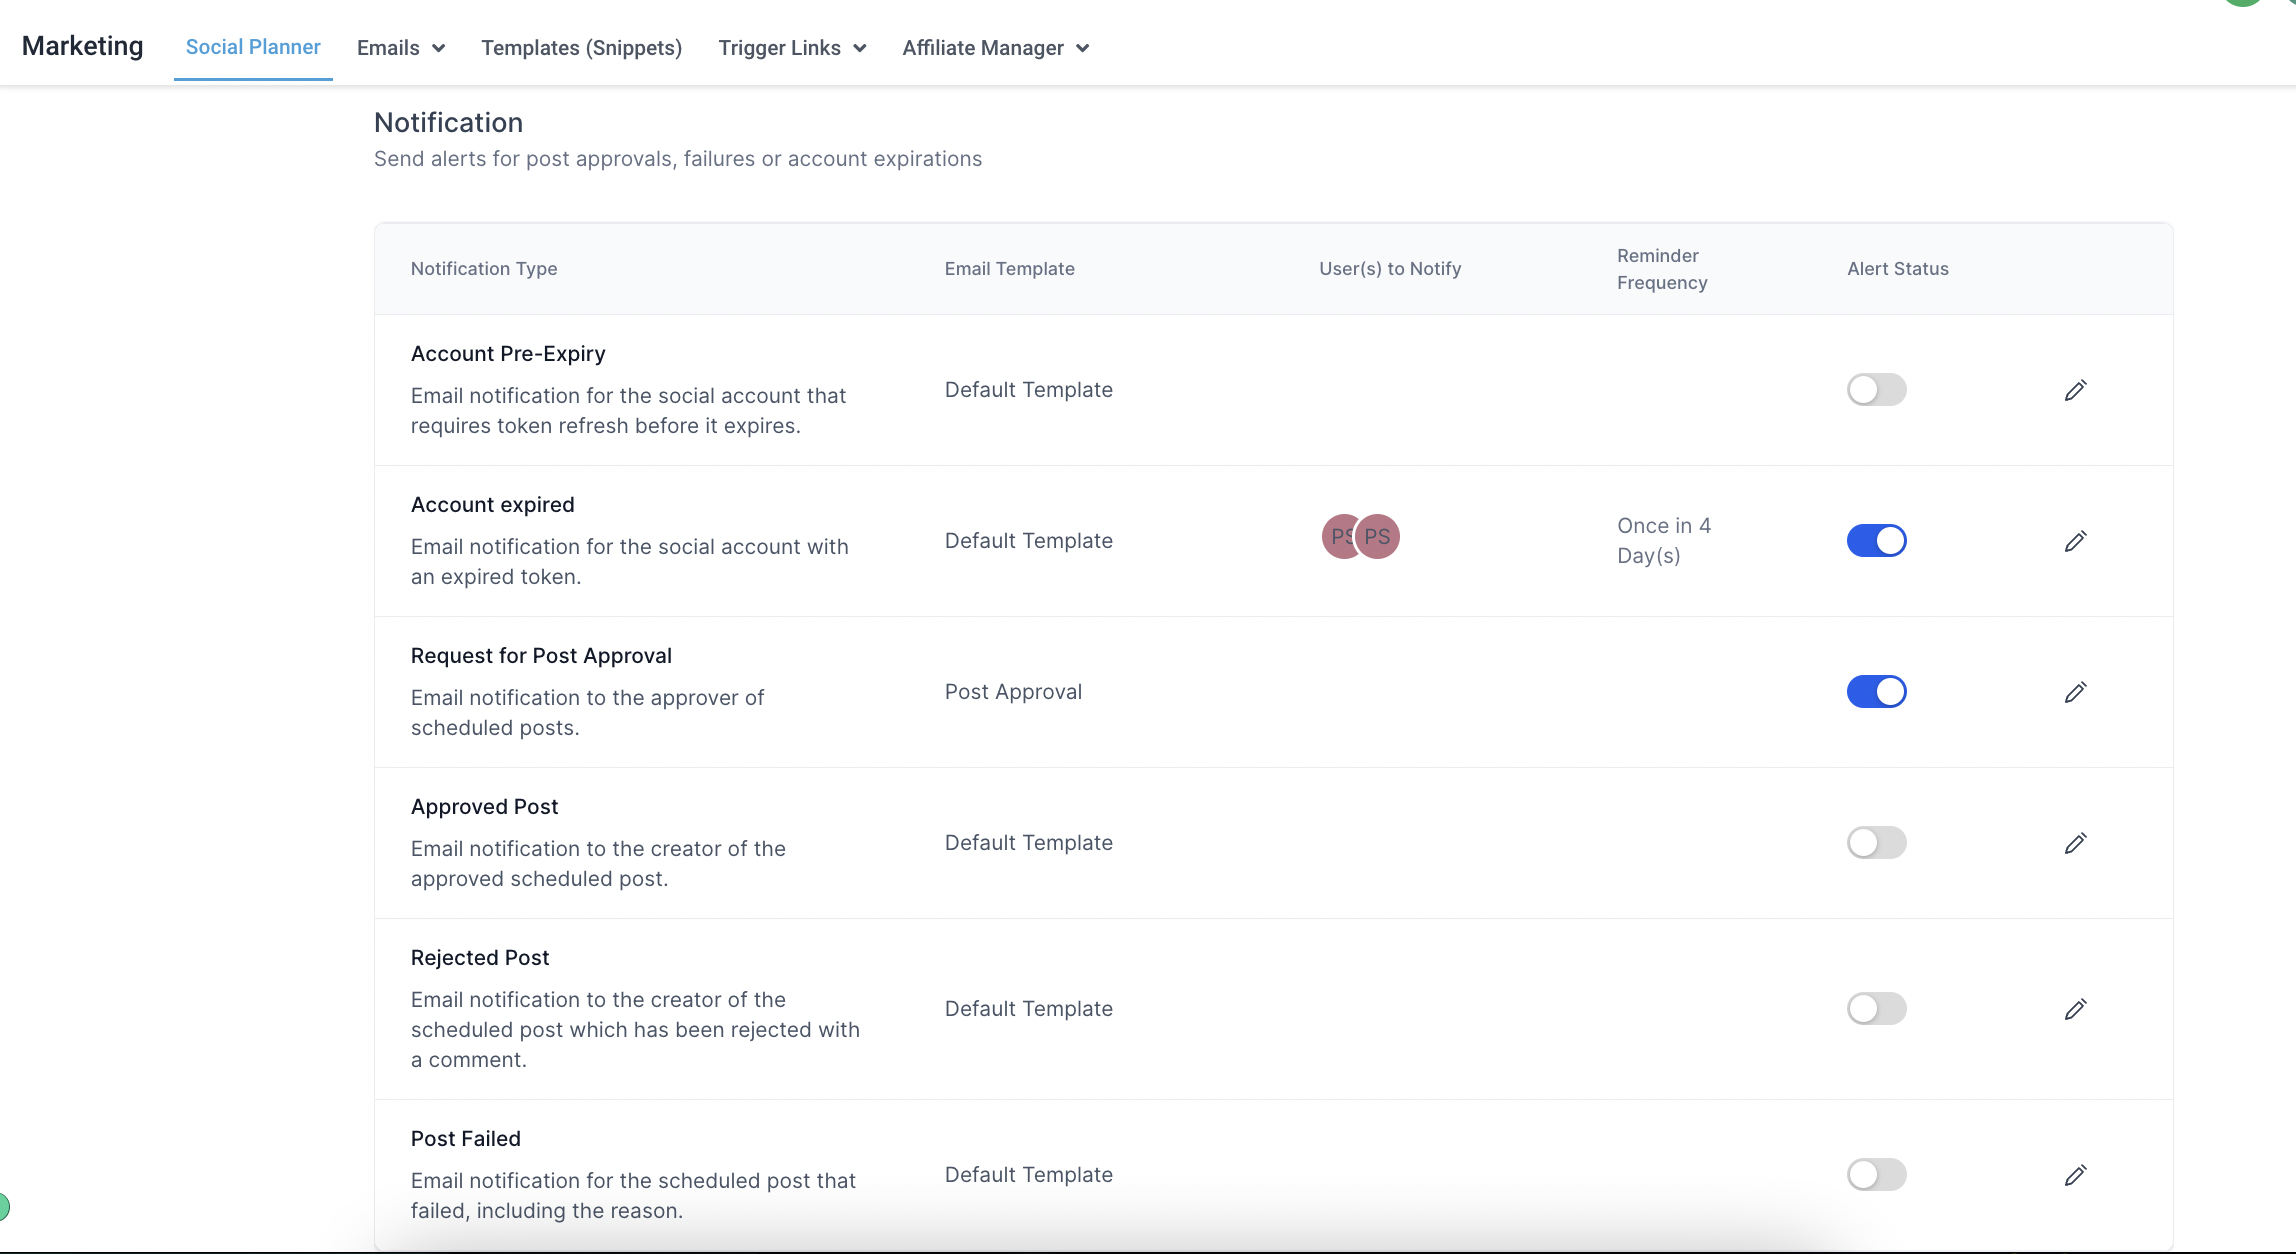
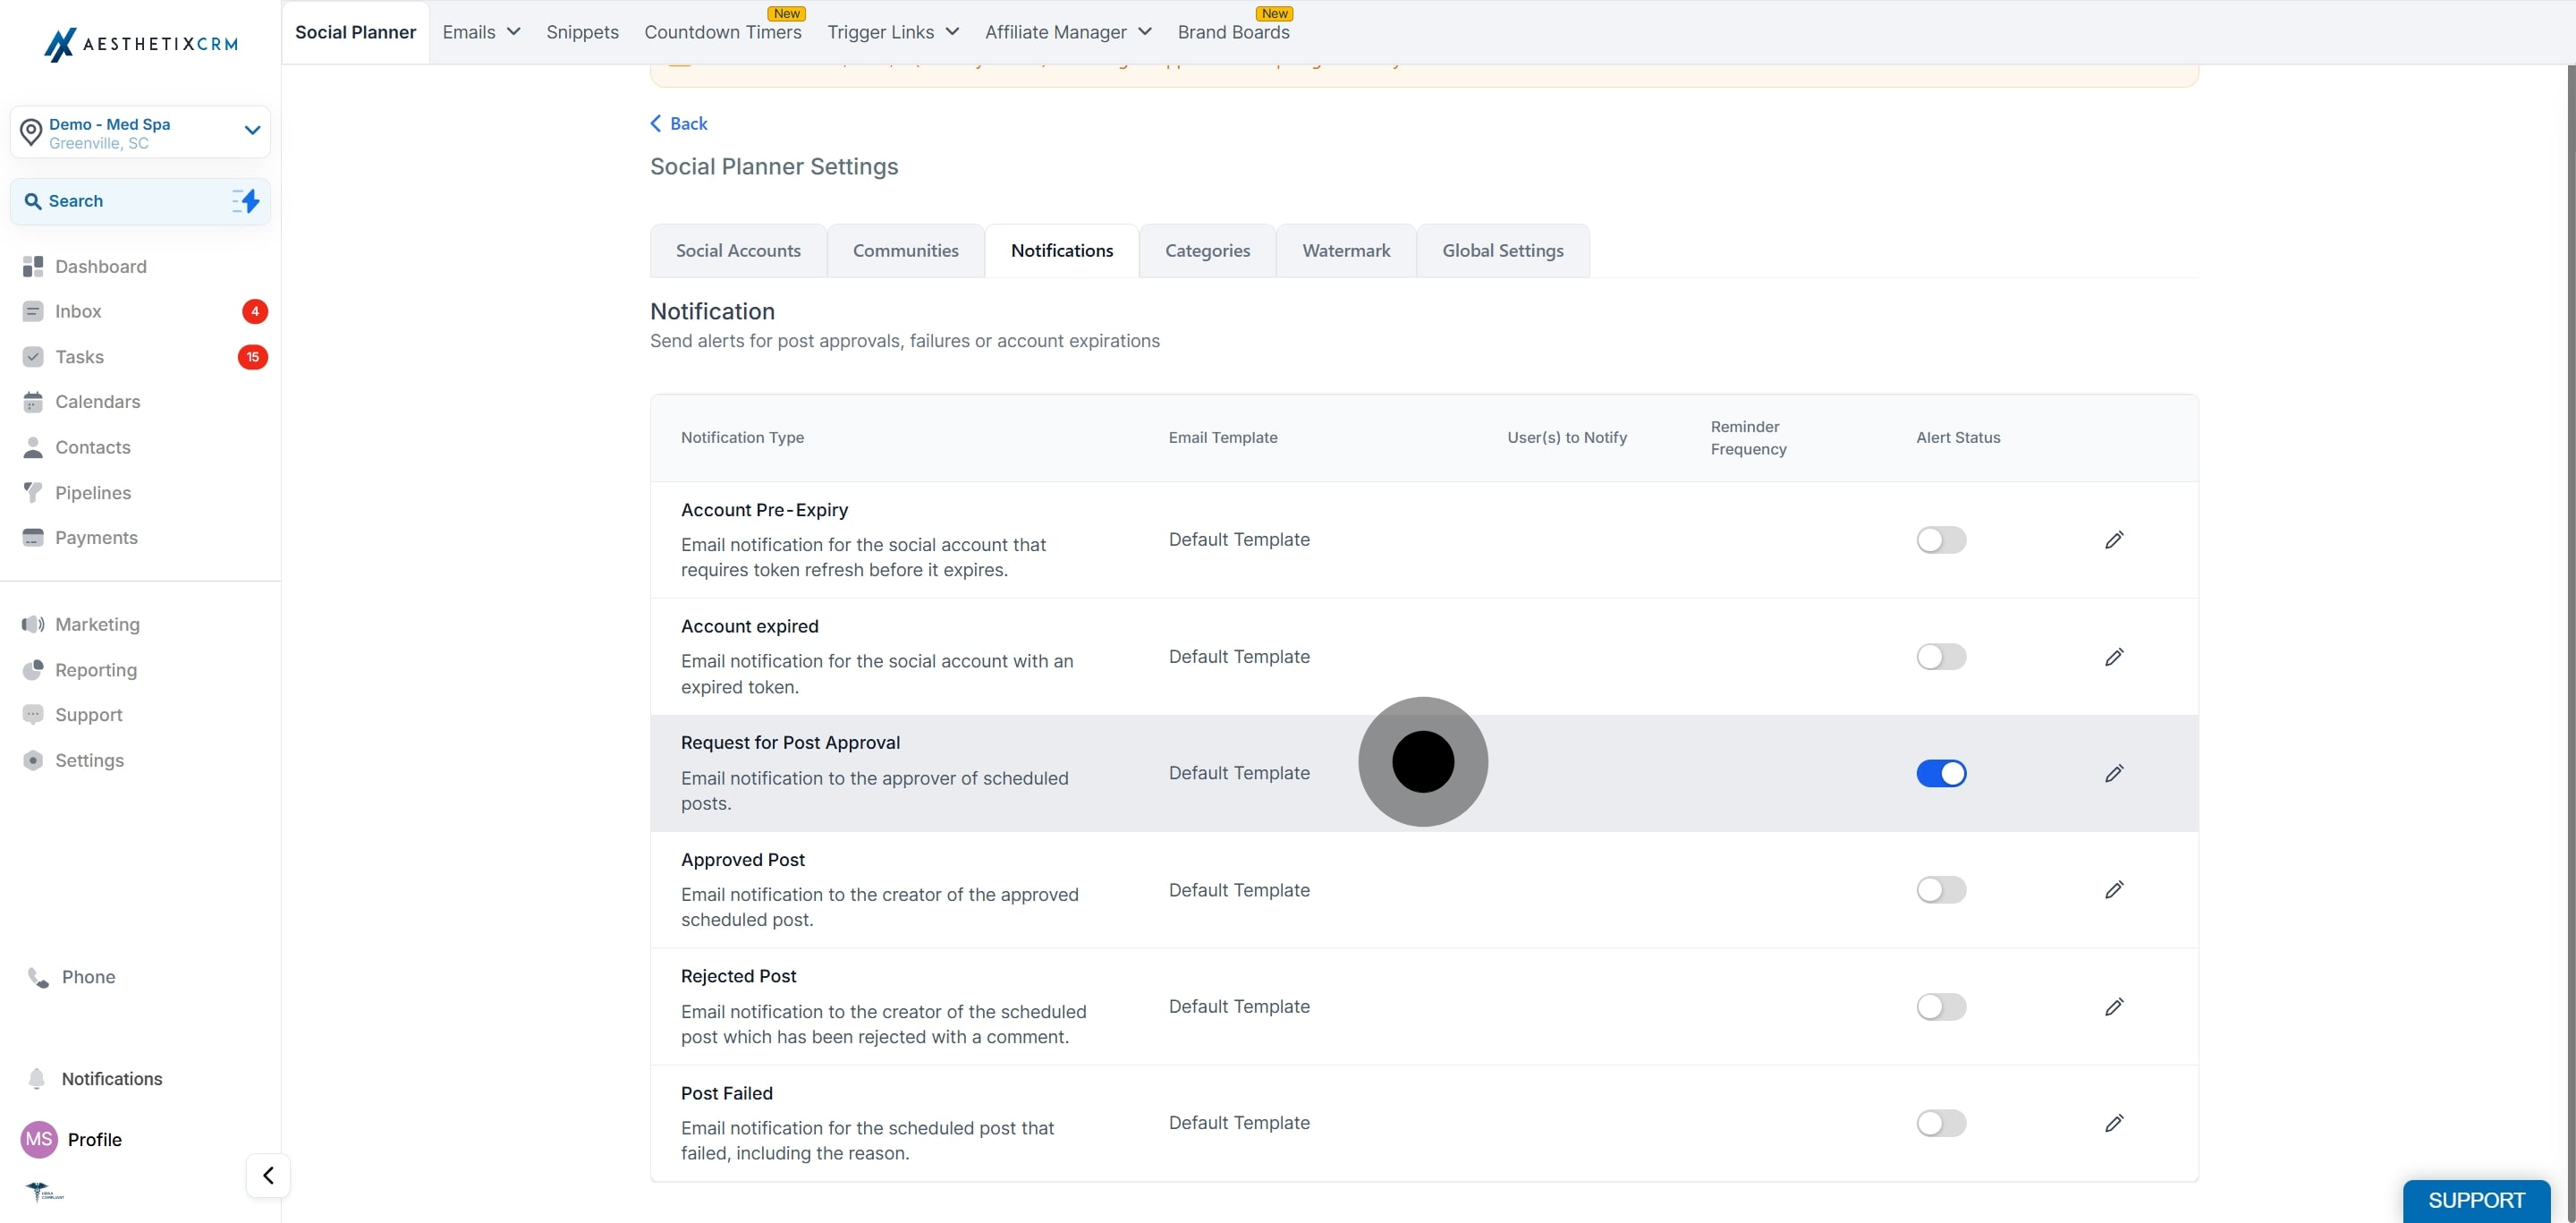
To edit any notification, click the pencil icon next to it.
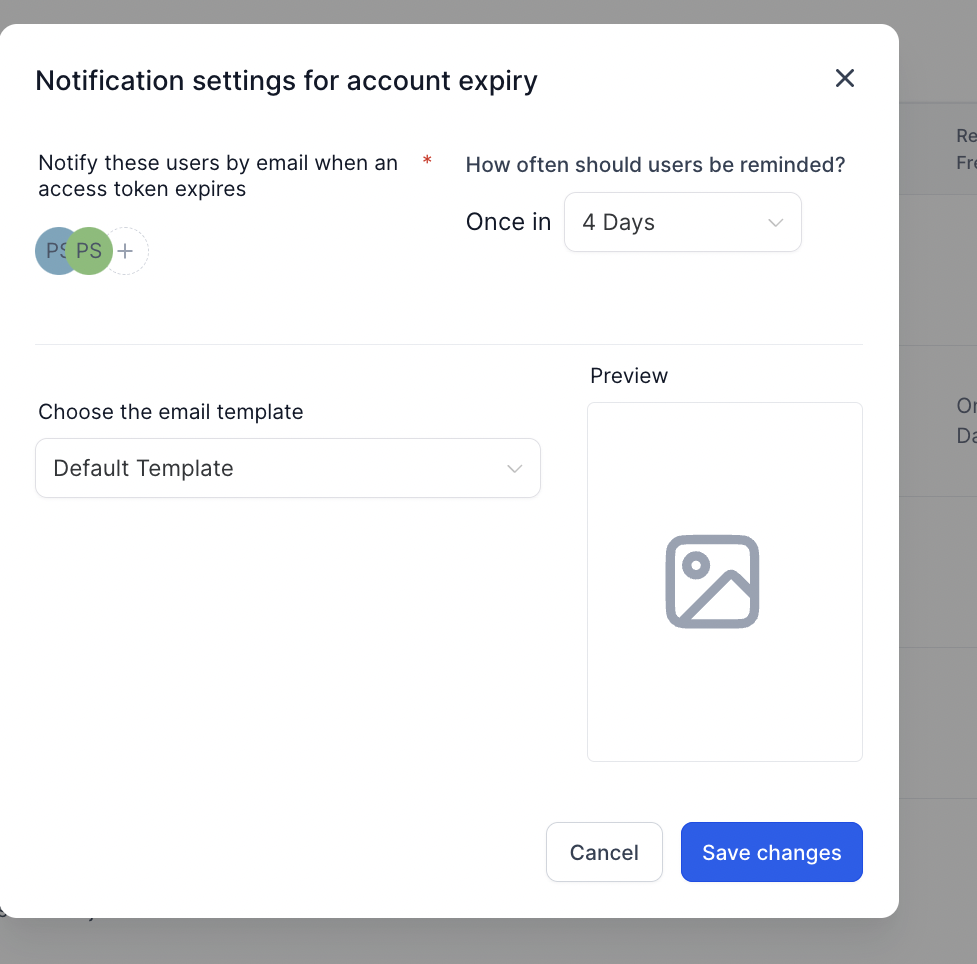
This notification lets you choose which users are alerted and how often they are reminded to refresh the account before its token expires. Users refresh the token by visiting the integration page. You can keep the default template or select a different one.
For an account like a Facebook page, the token runs on roughly a 90-day cycle. The pre-expiry notification fires around day 80 of that cycle, about 10 days before the token expires, and you can set the reminder to repeat anywhere from every 1 to 10 days until someone refreshes the token.
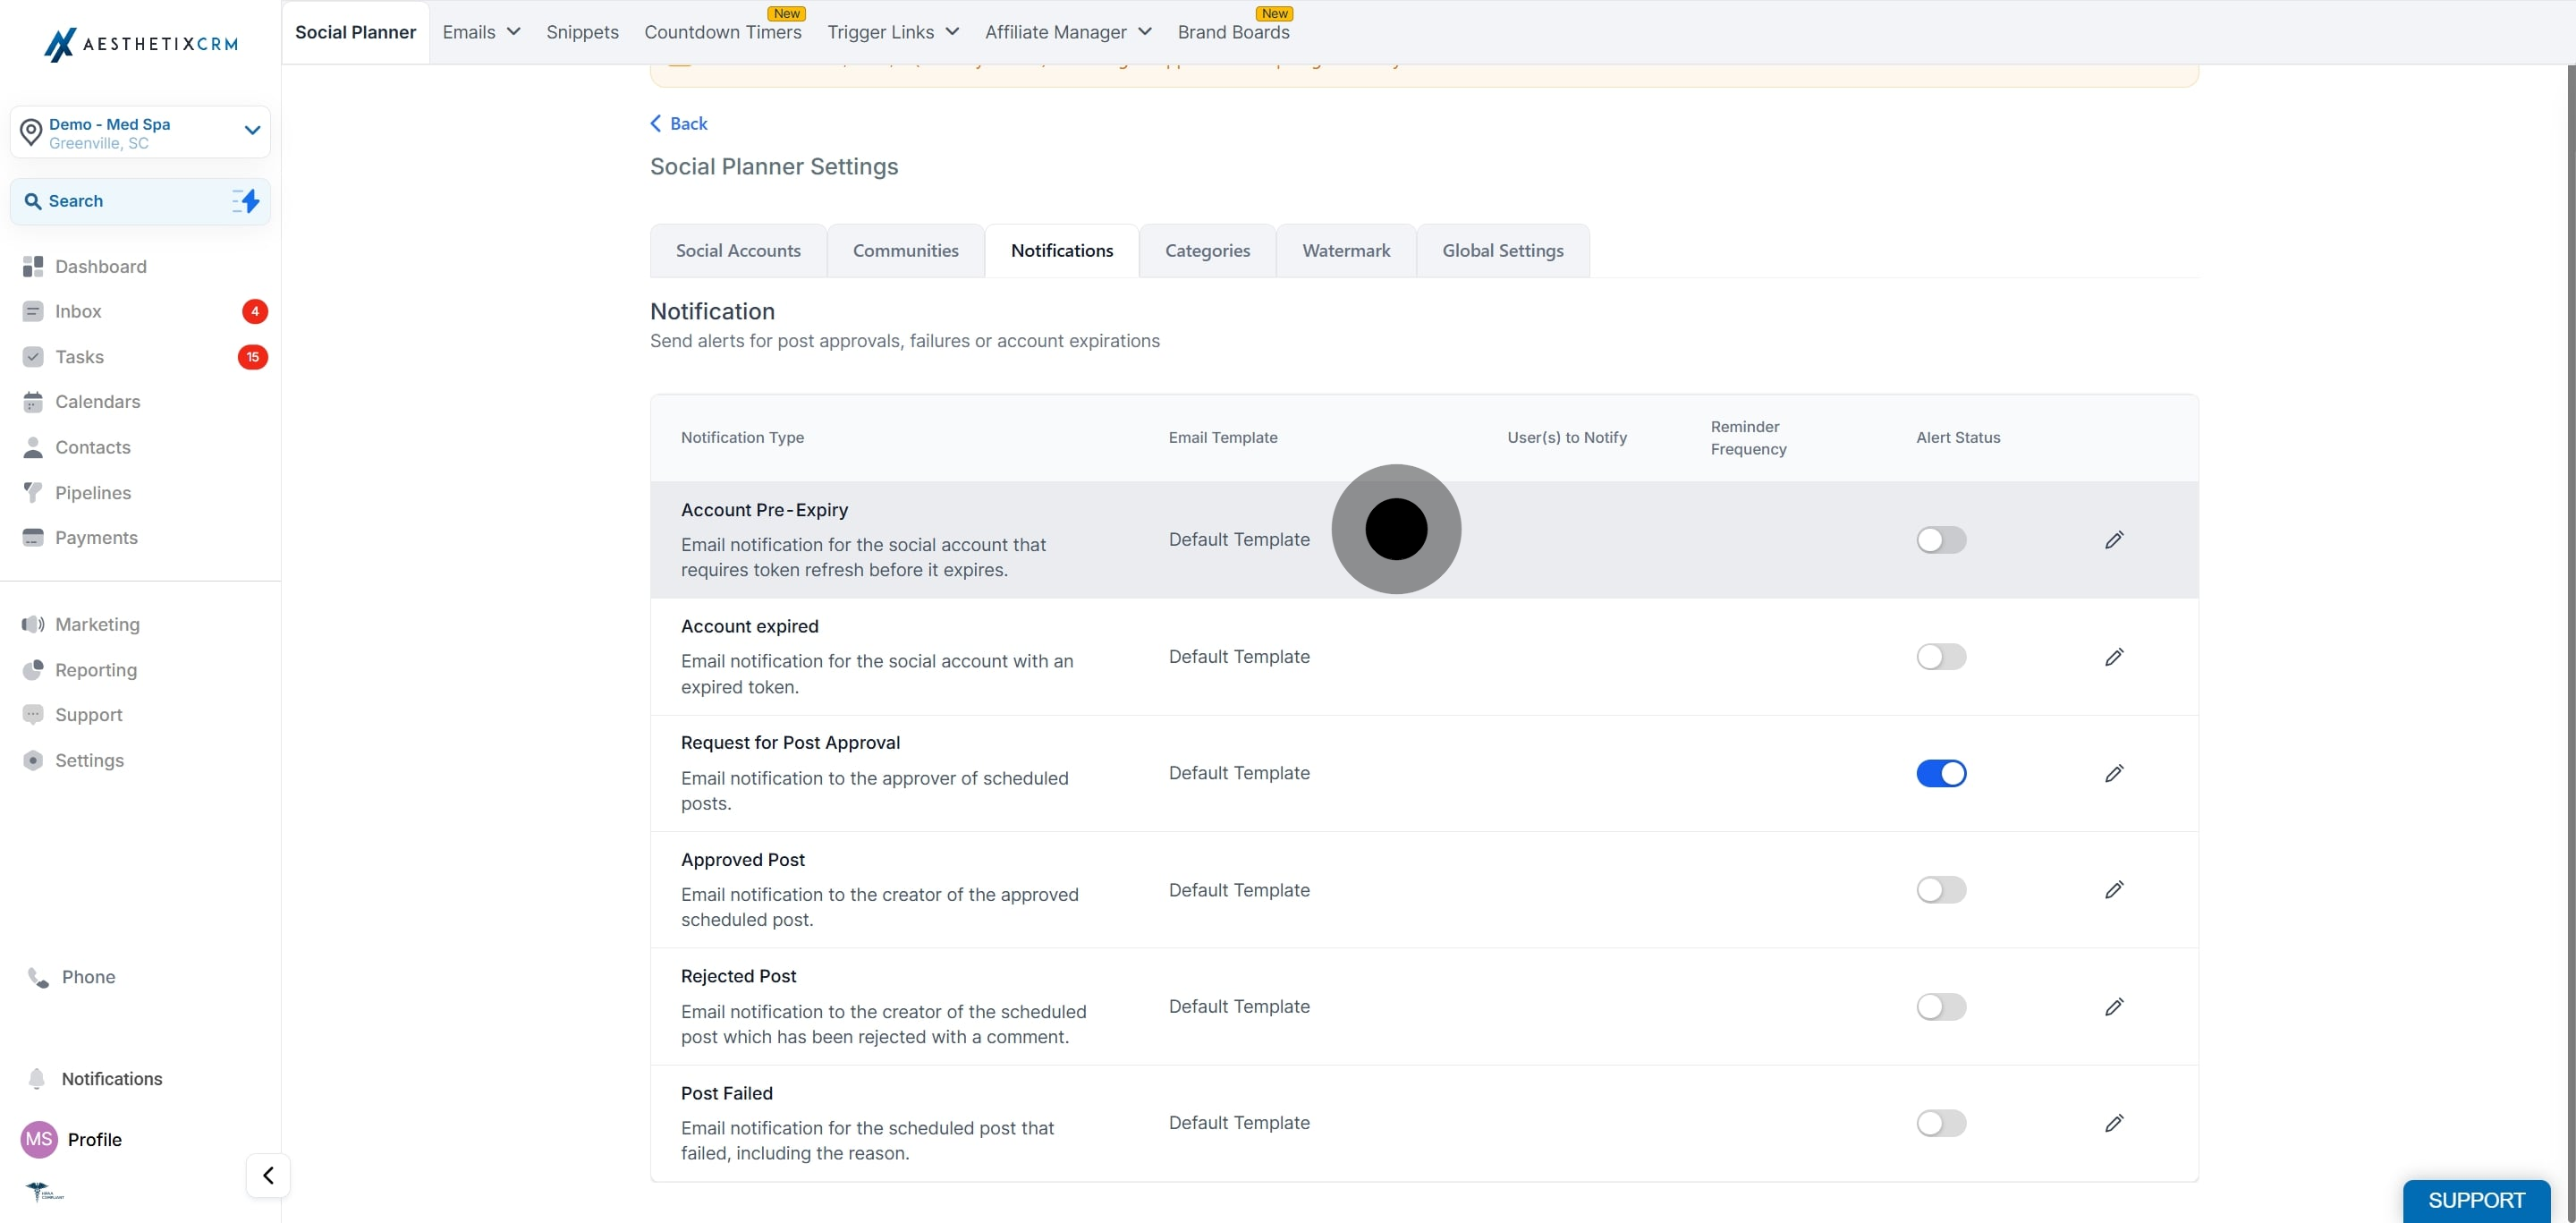
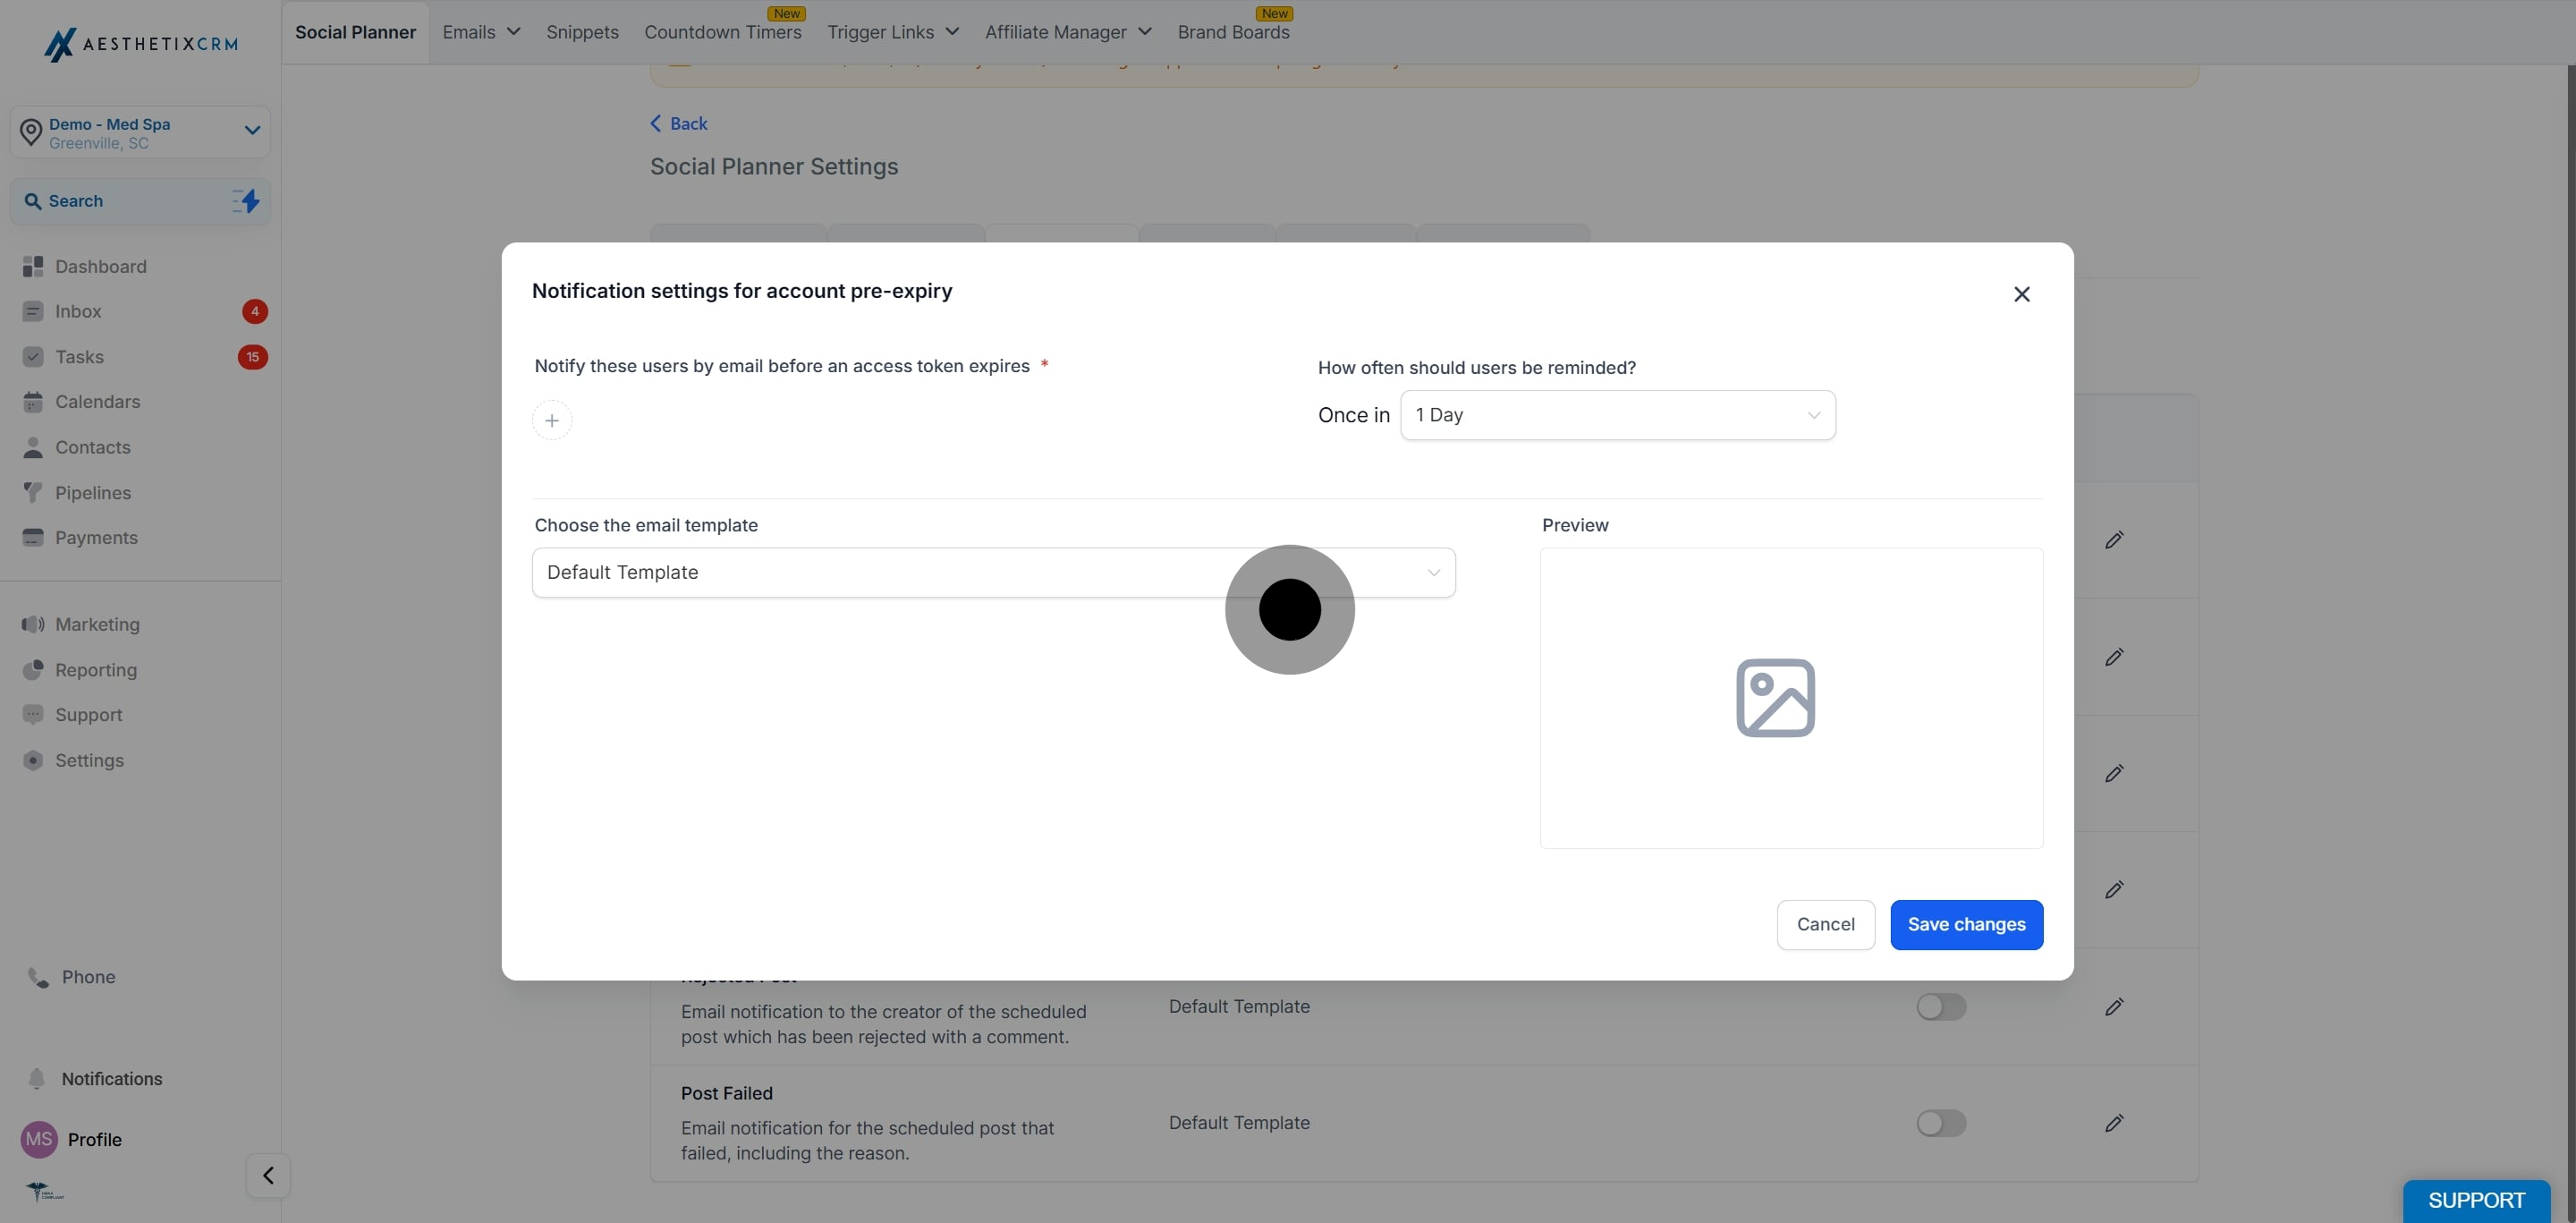
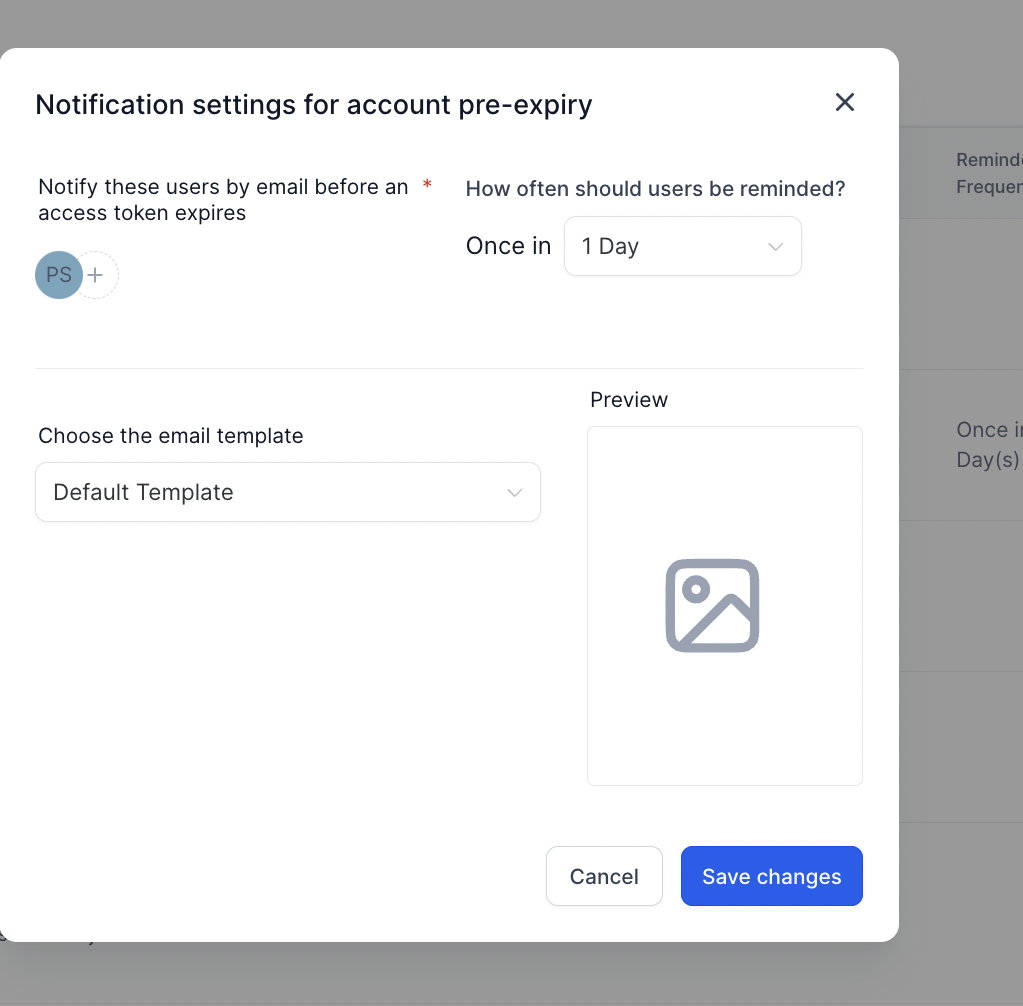
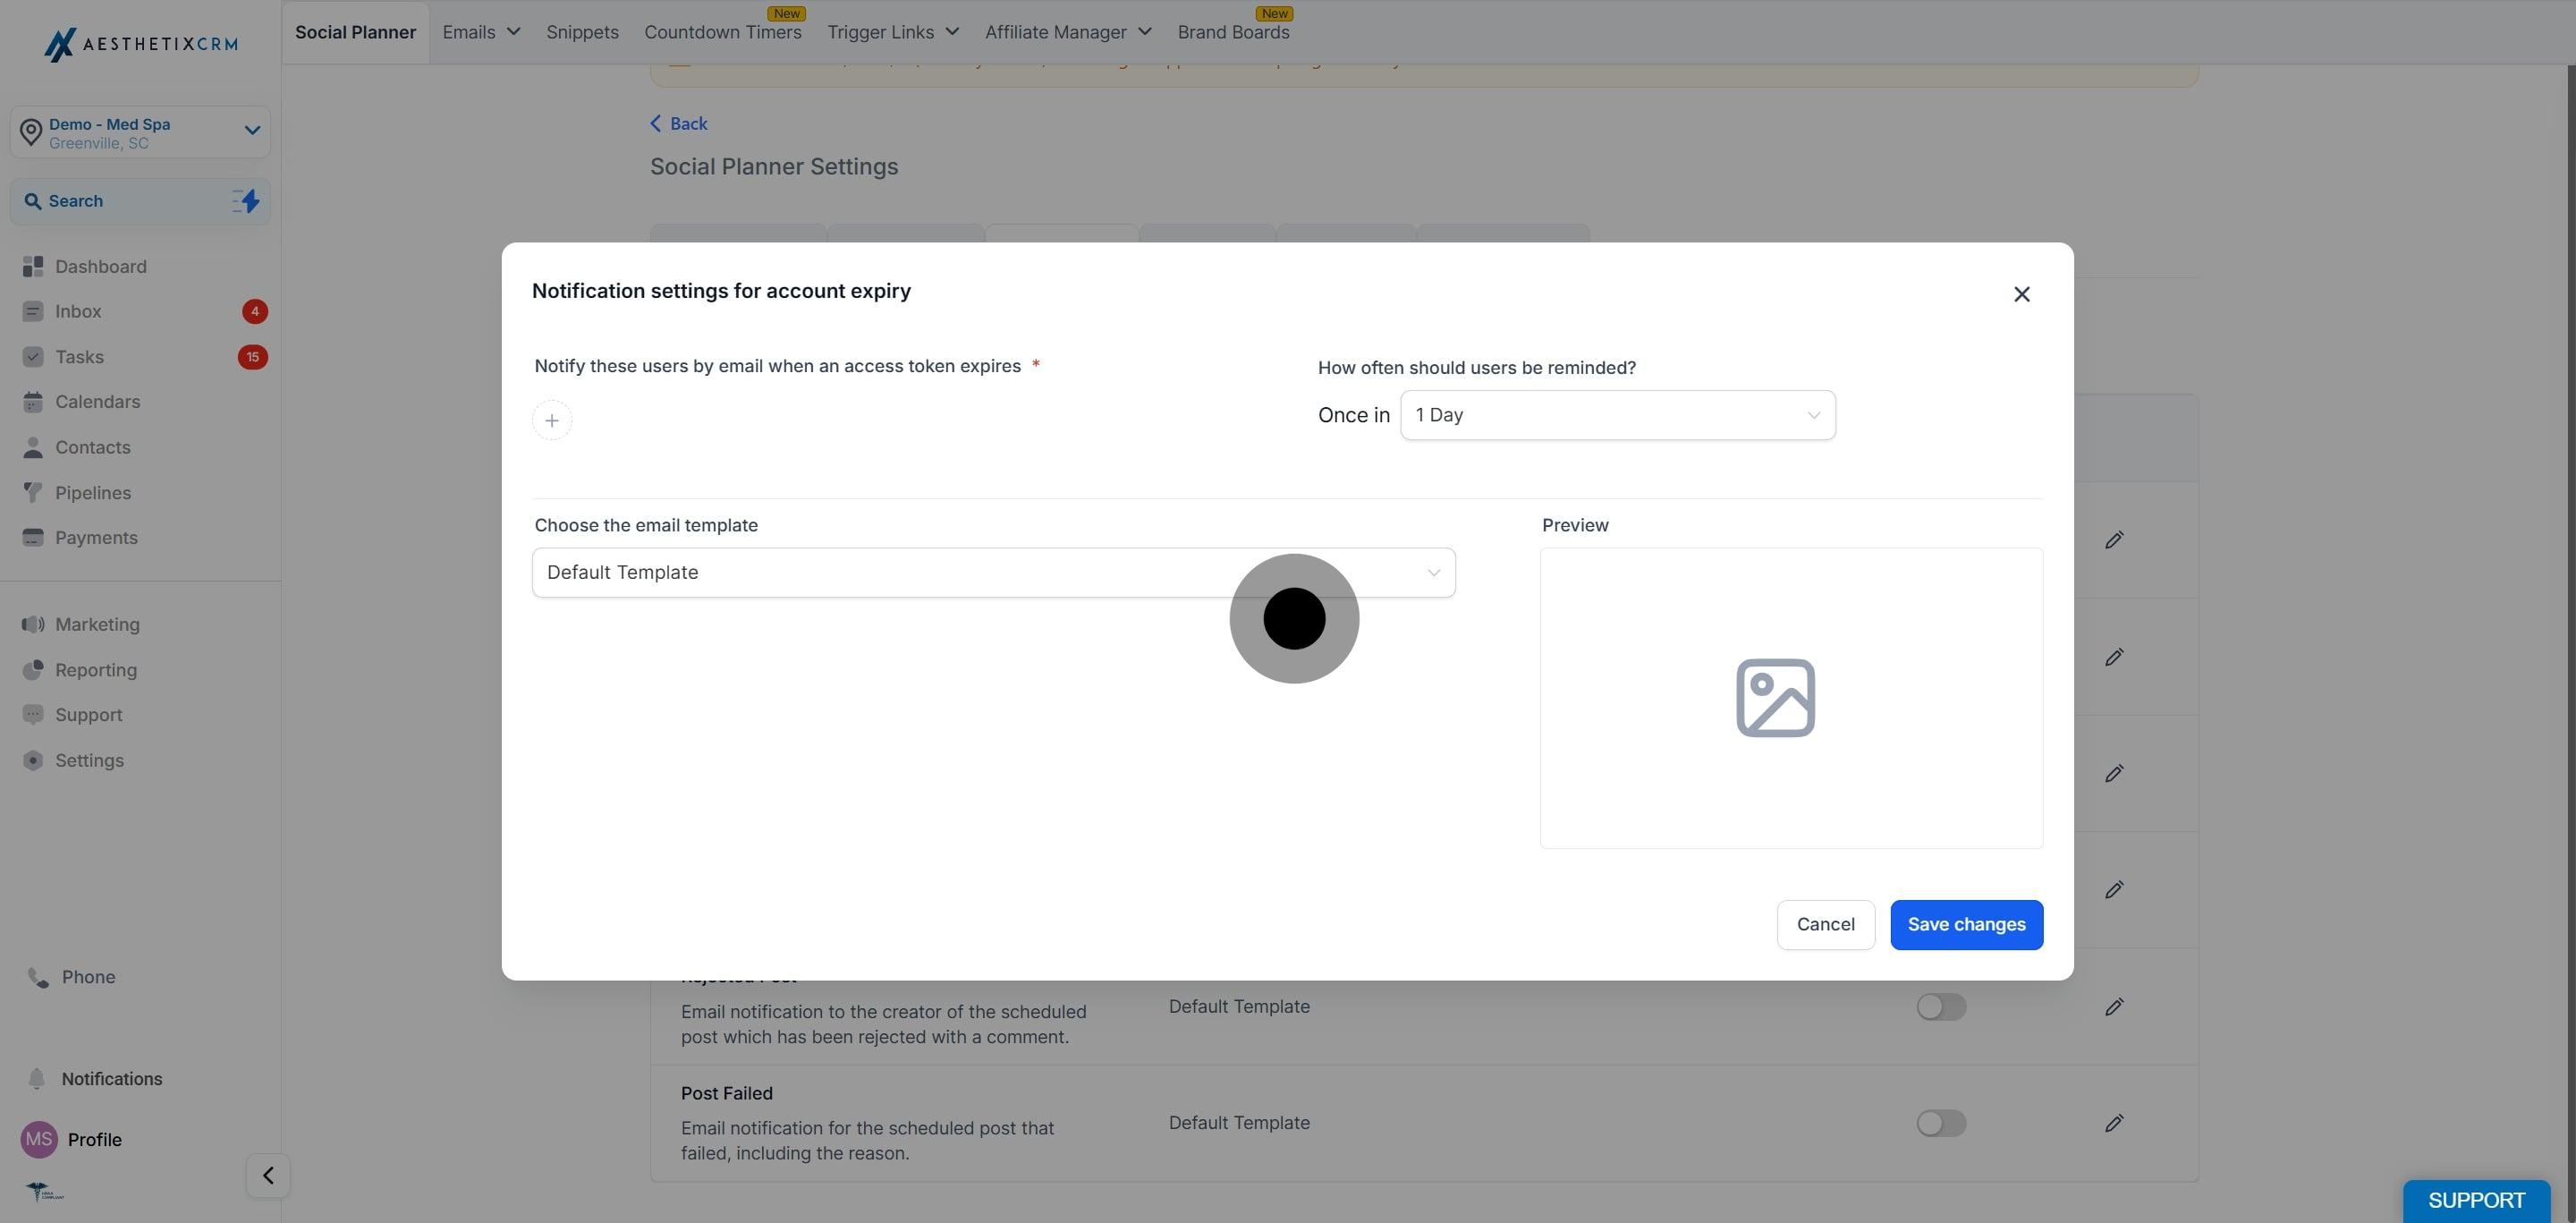
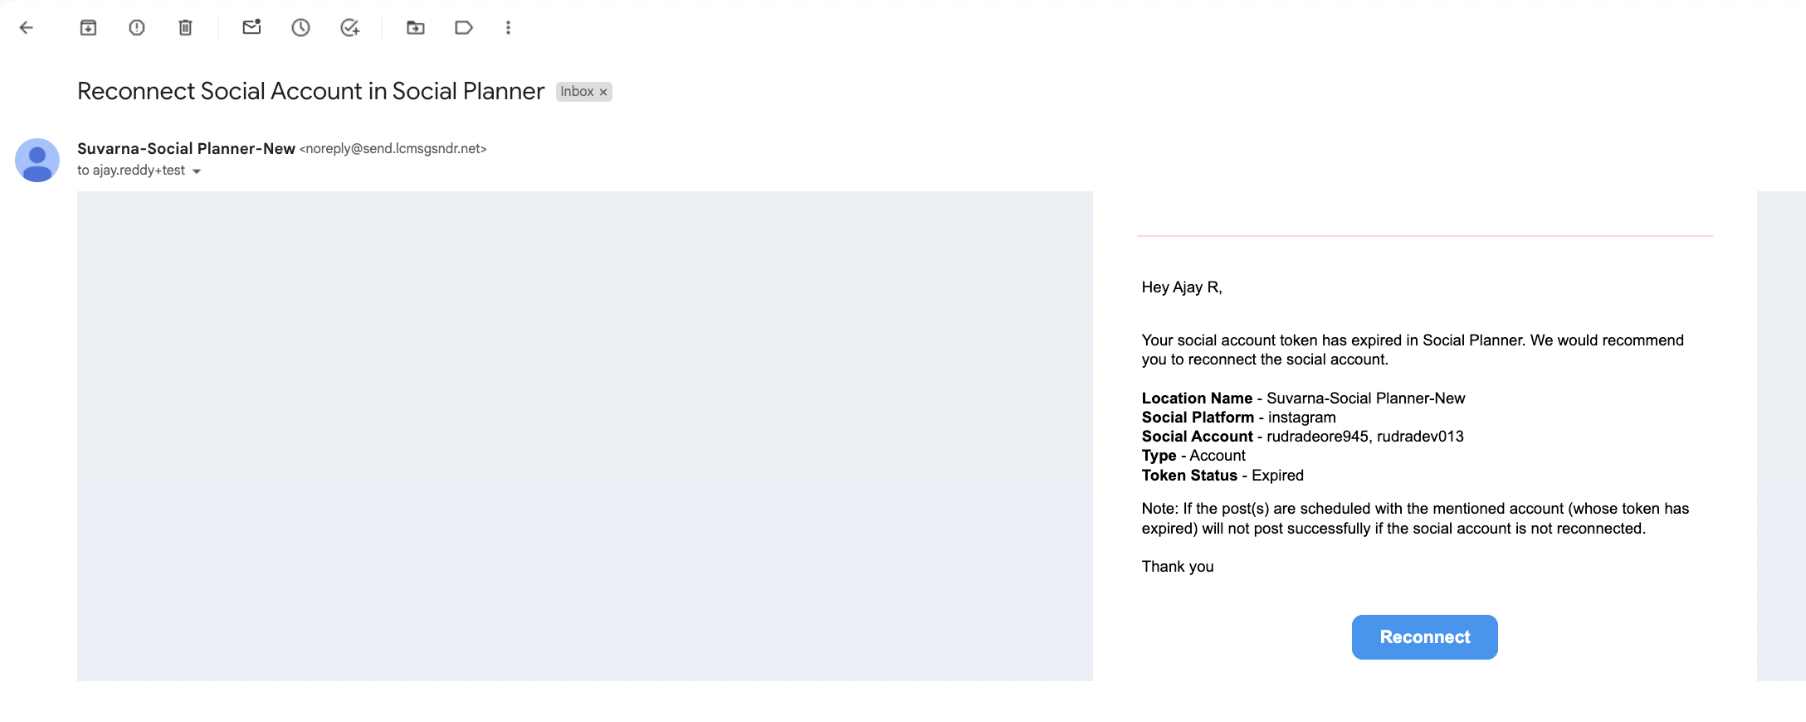
Choose which users are notified and how often they are reminded to reconnect the token. You can keep the default template or select a different one.
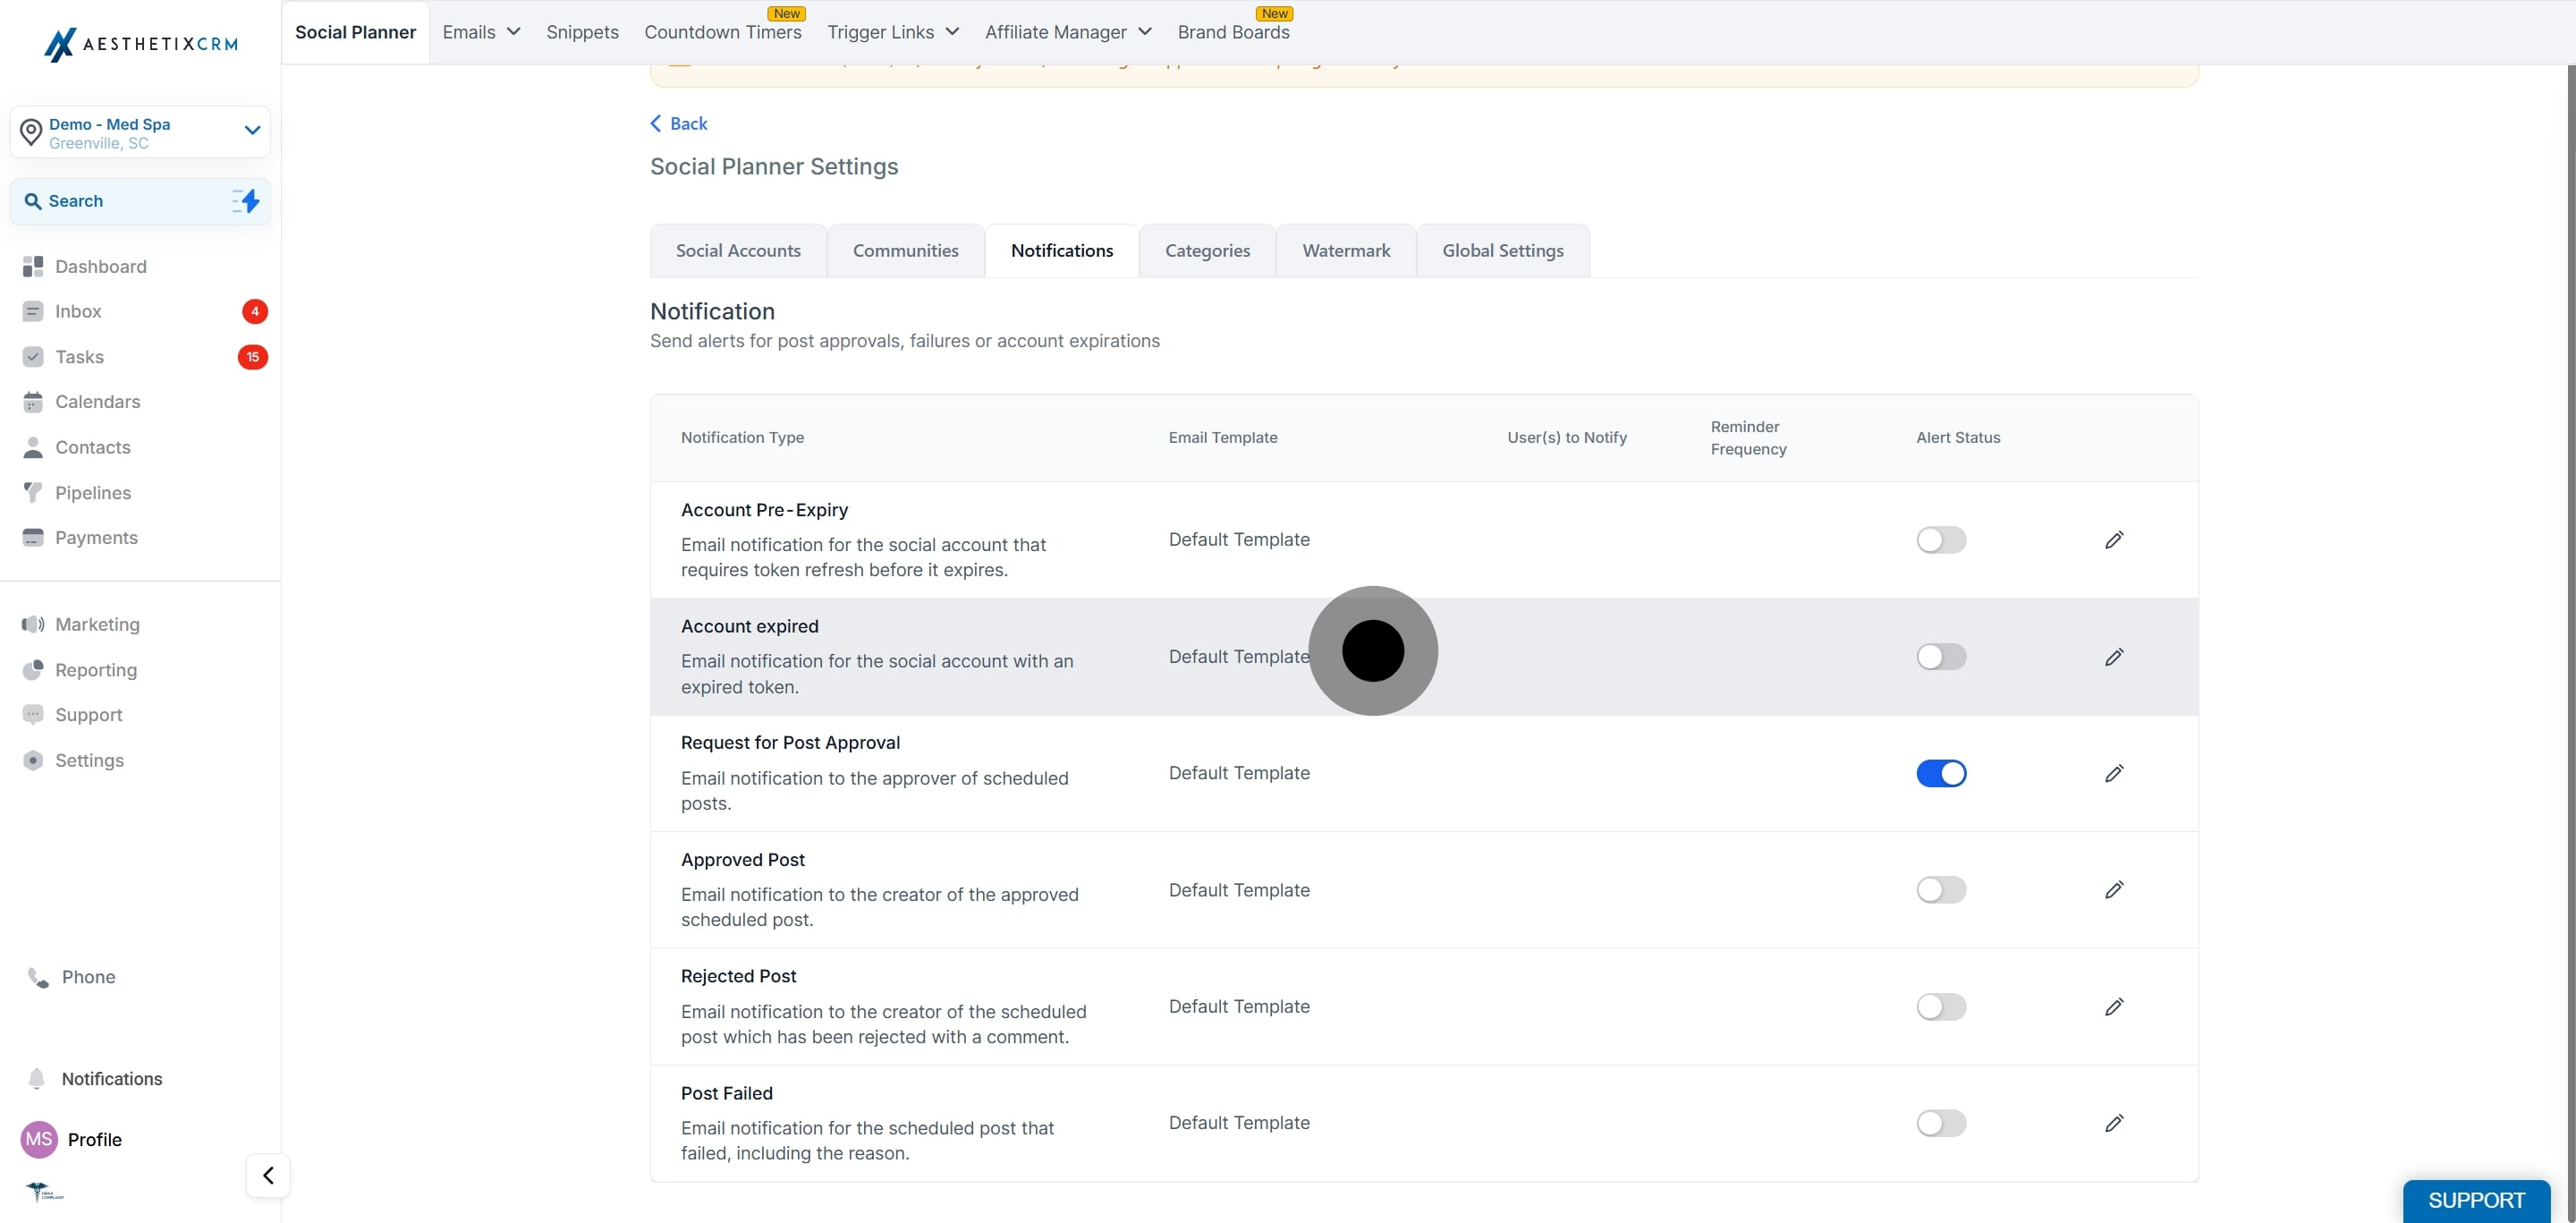
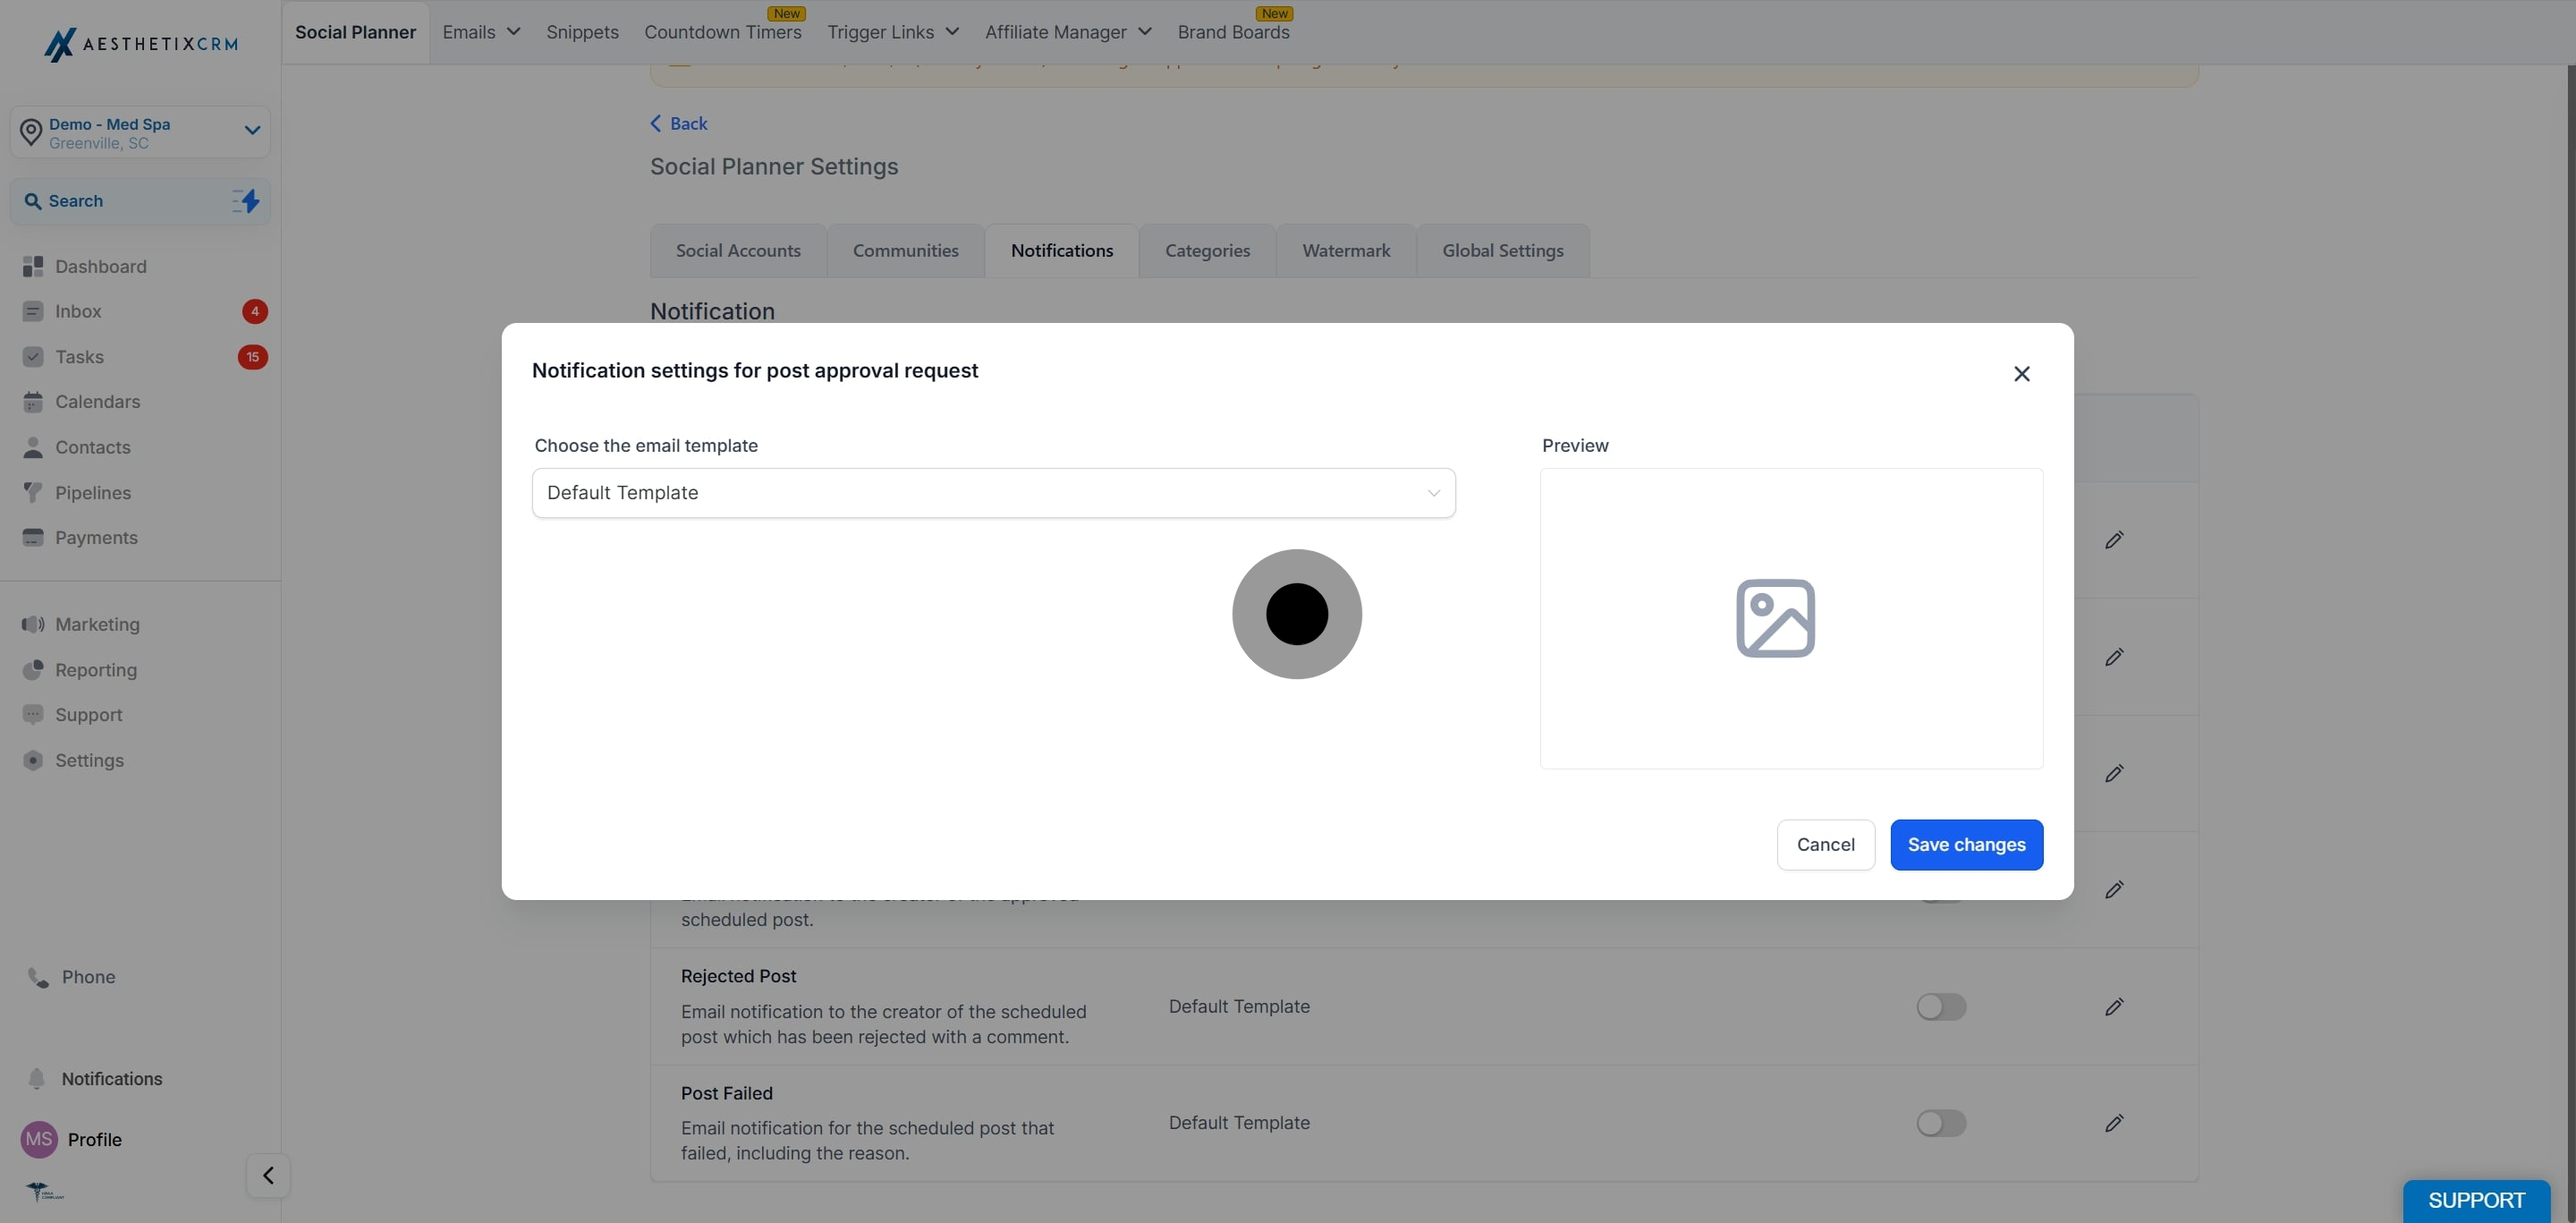
This is the email that goes to the approver when a post is scheduled for review. You can keep the default template or select a different one.
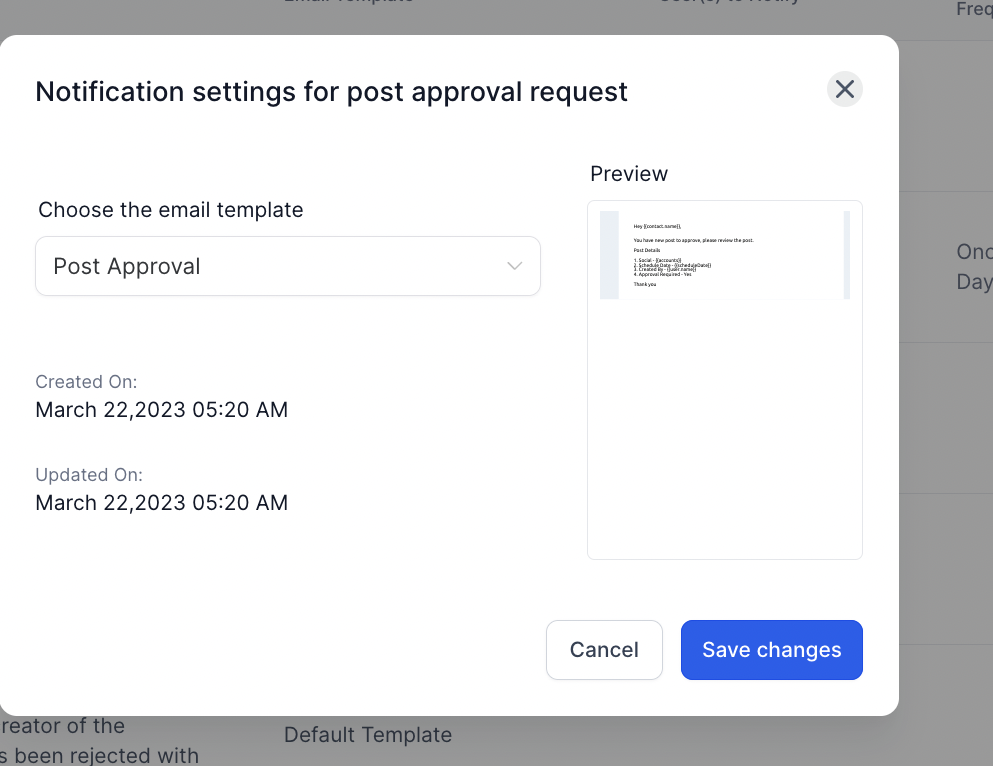
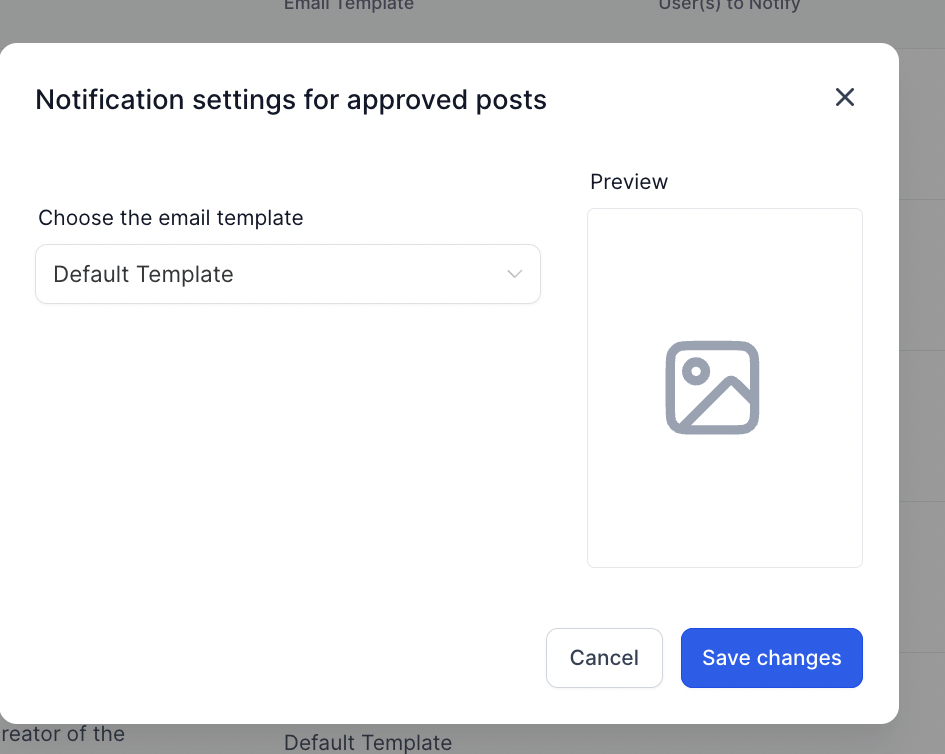
This is the email that goes to the creator when their scheduled post is approved. You can keep the default template or select a different one.
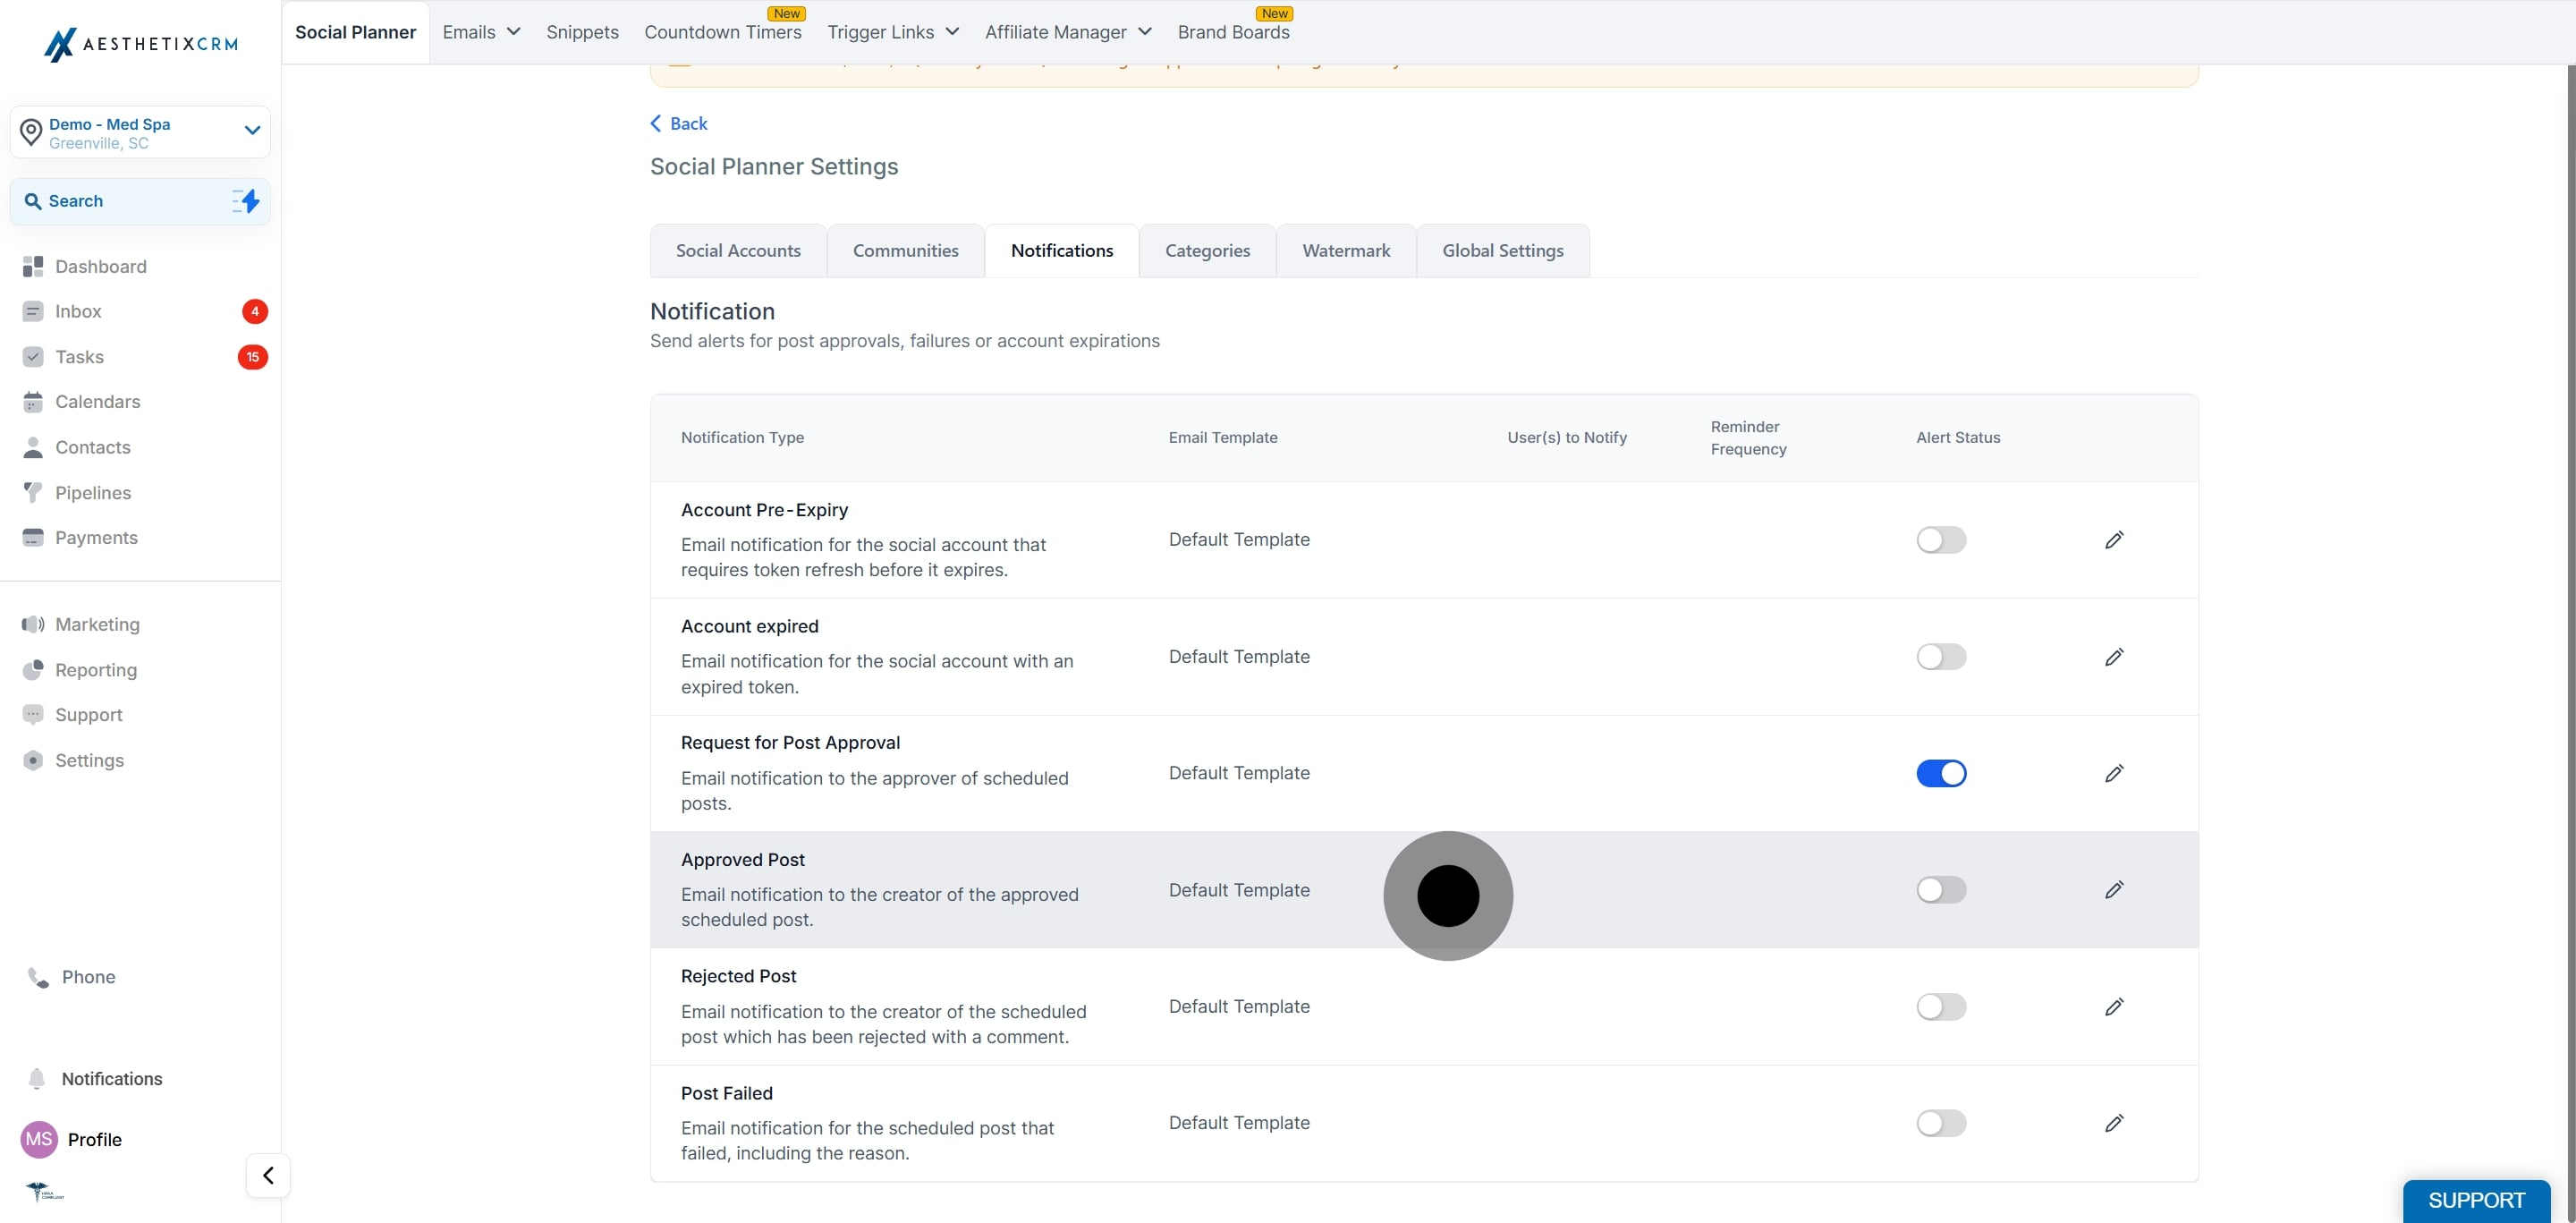
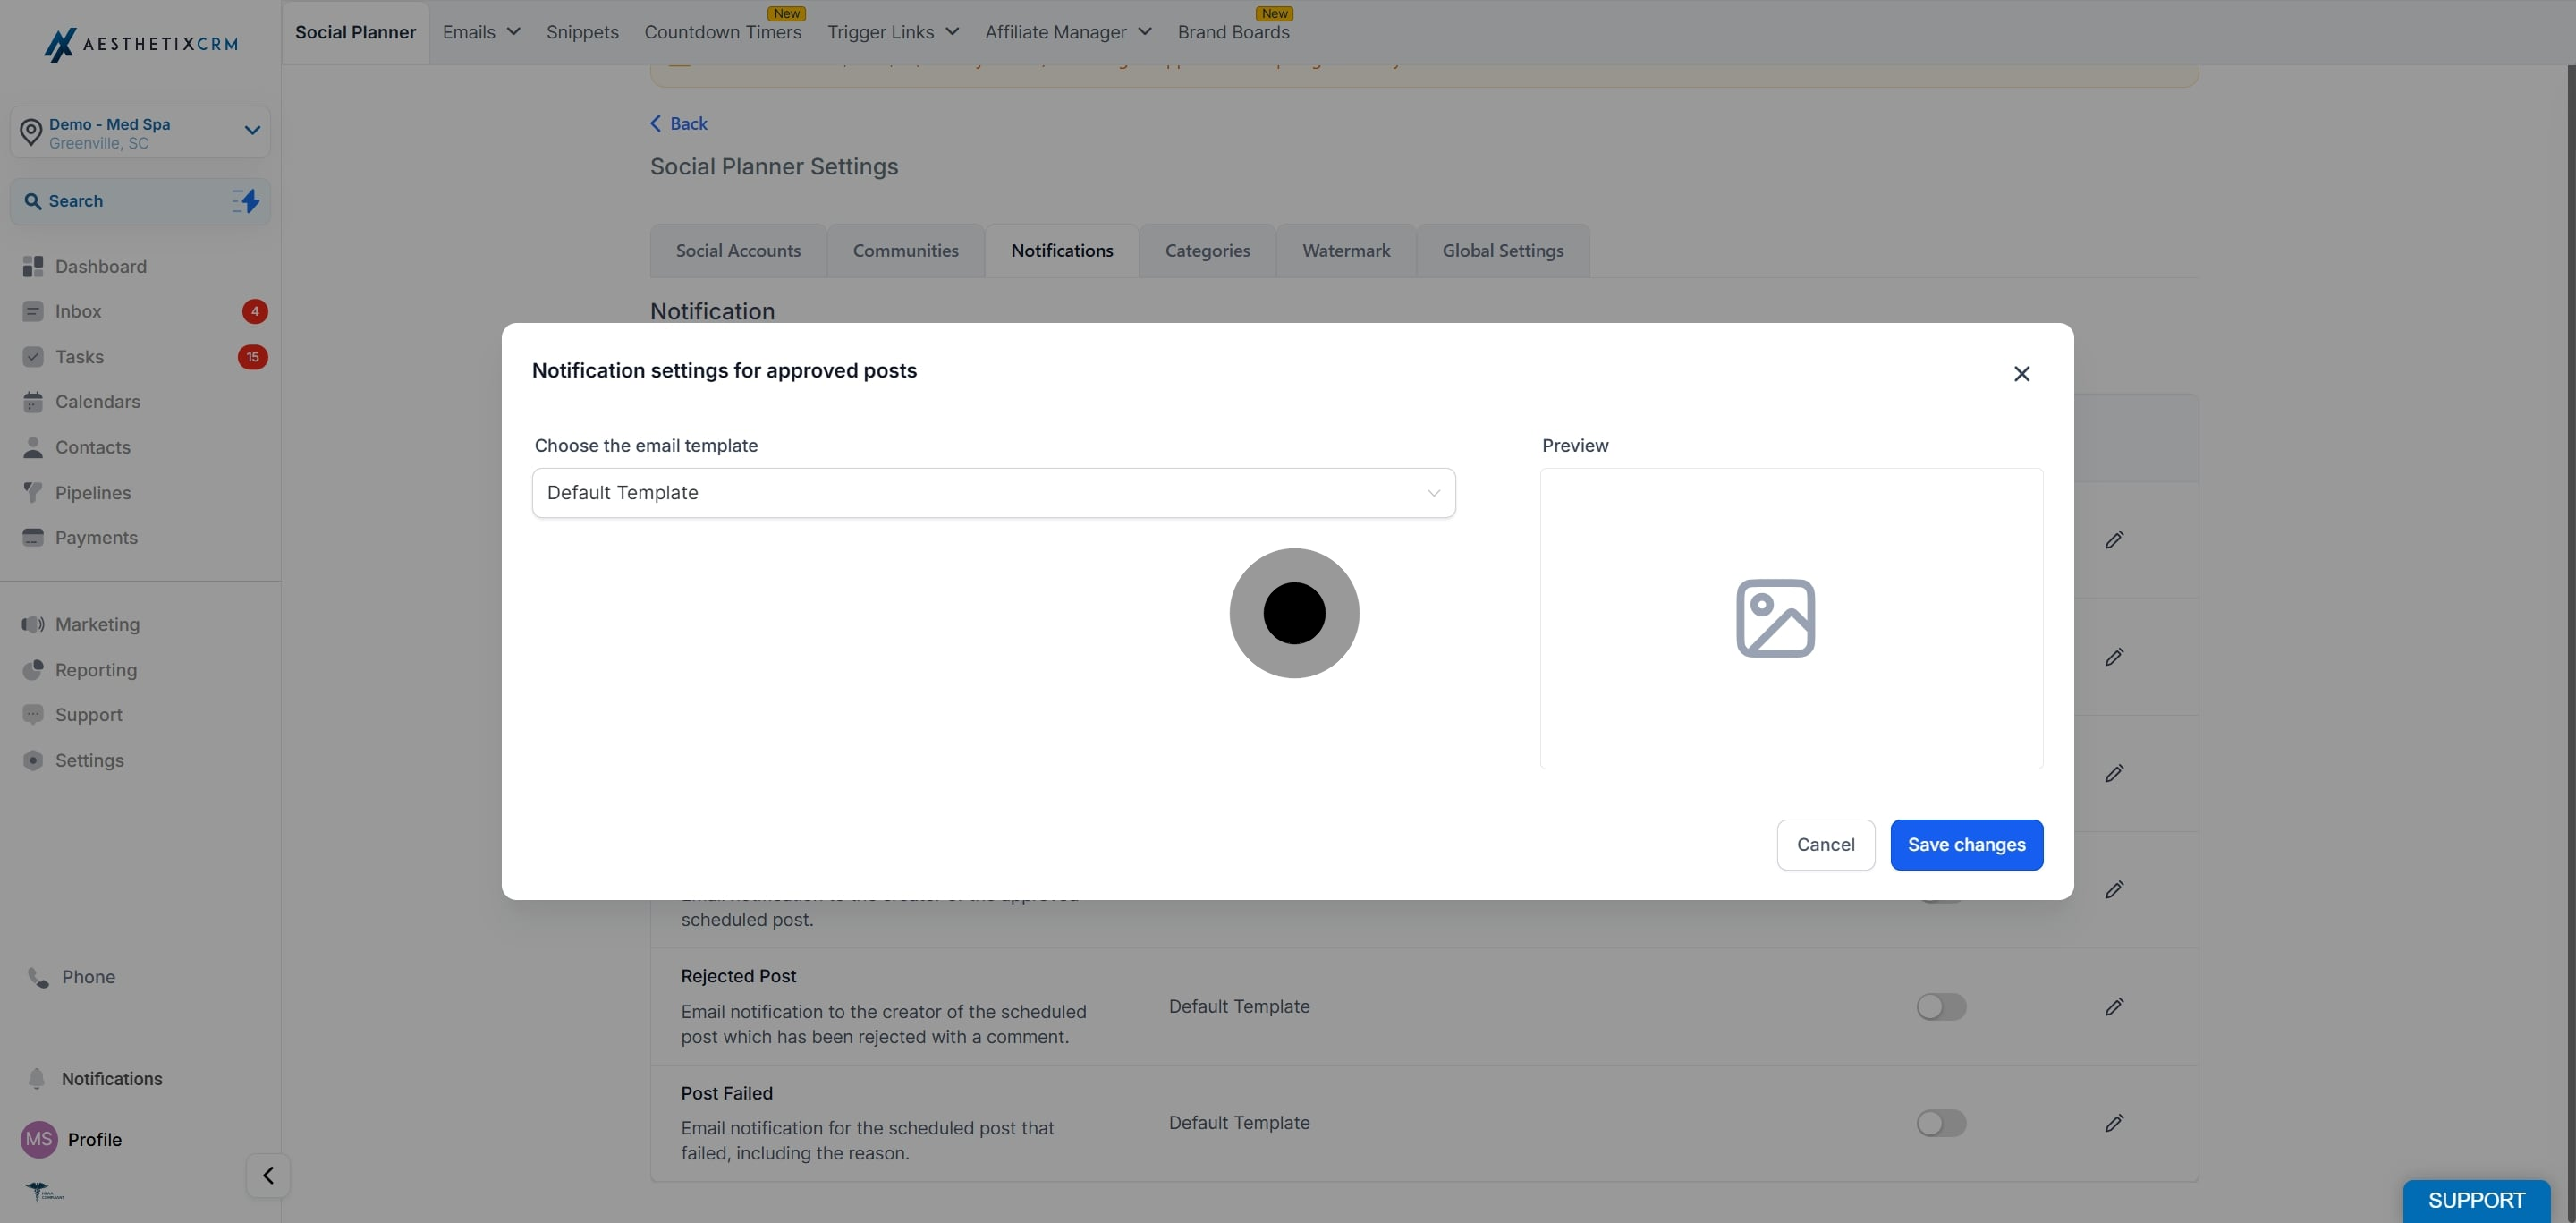
This is the email that goes to the creator when their scheduled post is rejected. You can keep the default template or select a different one.
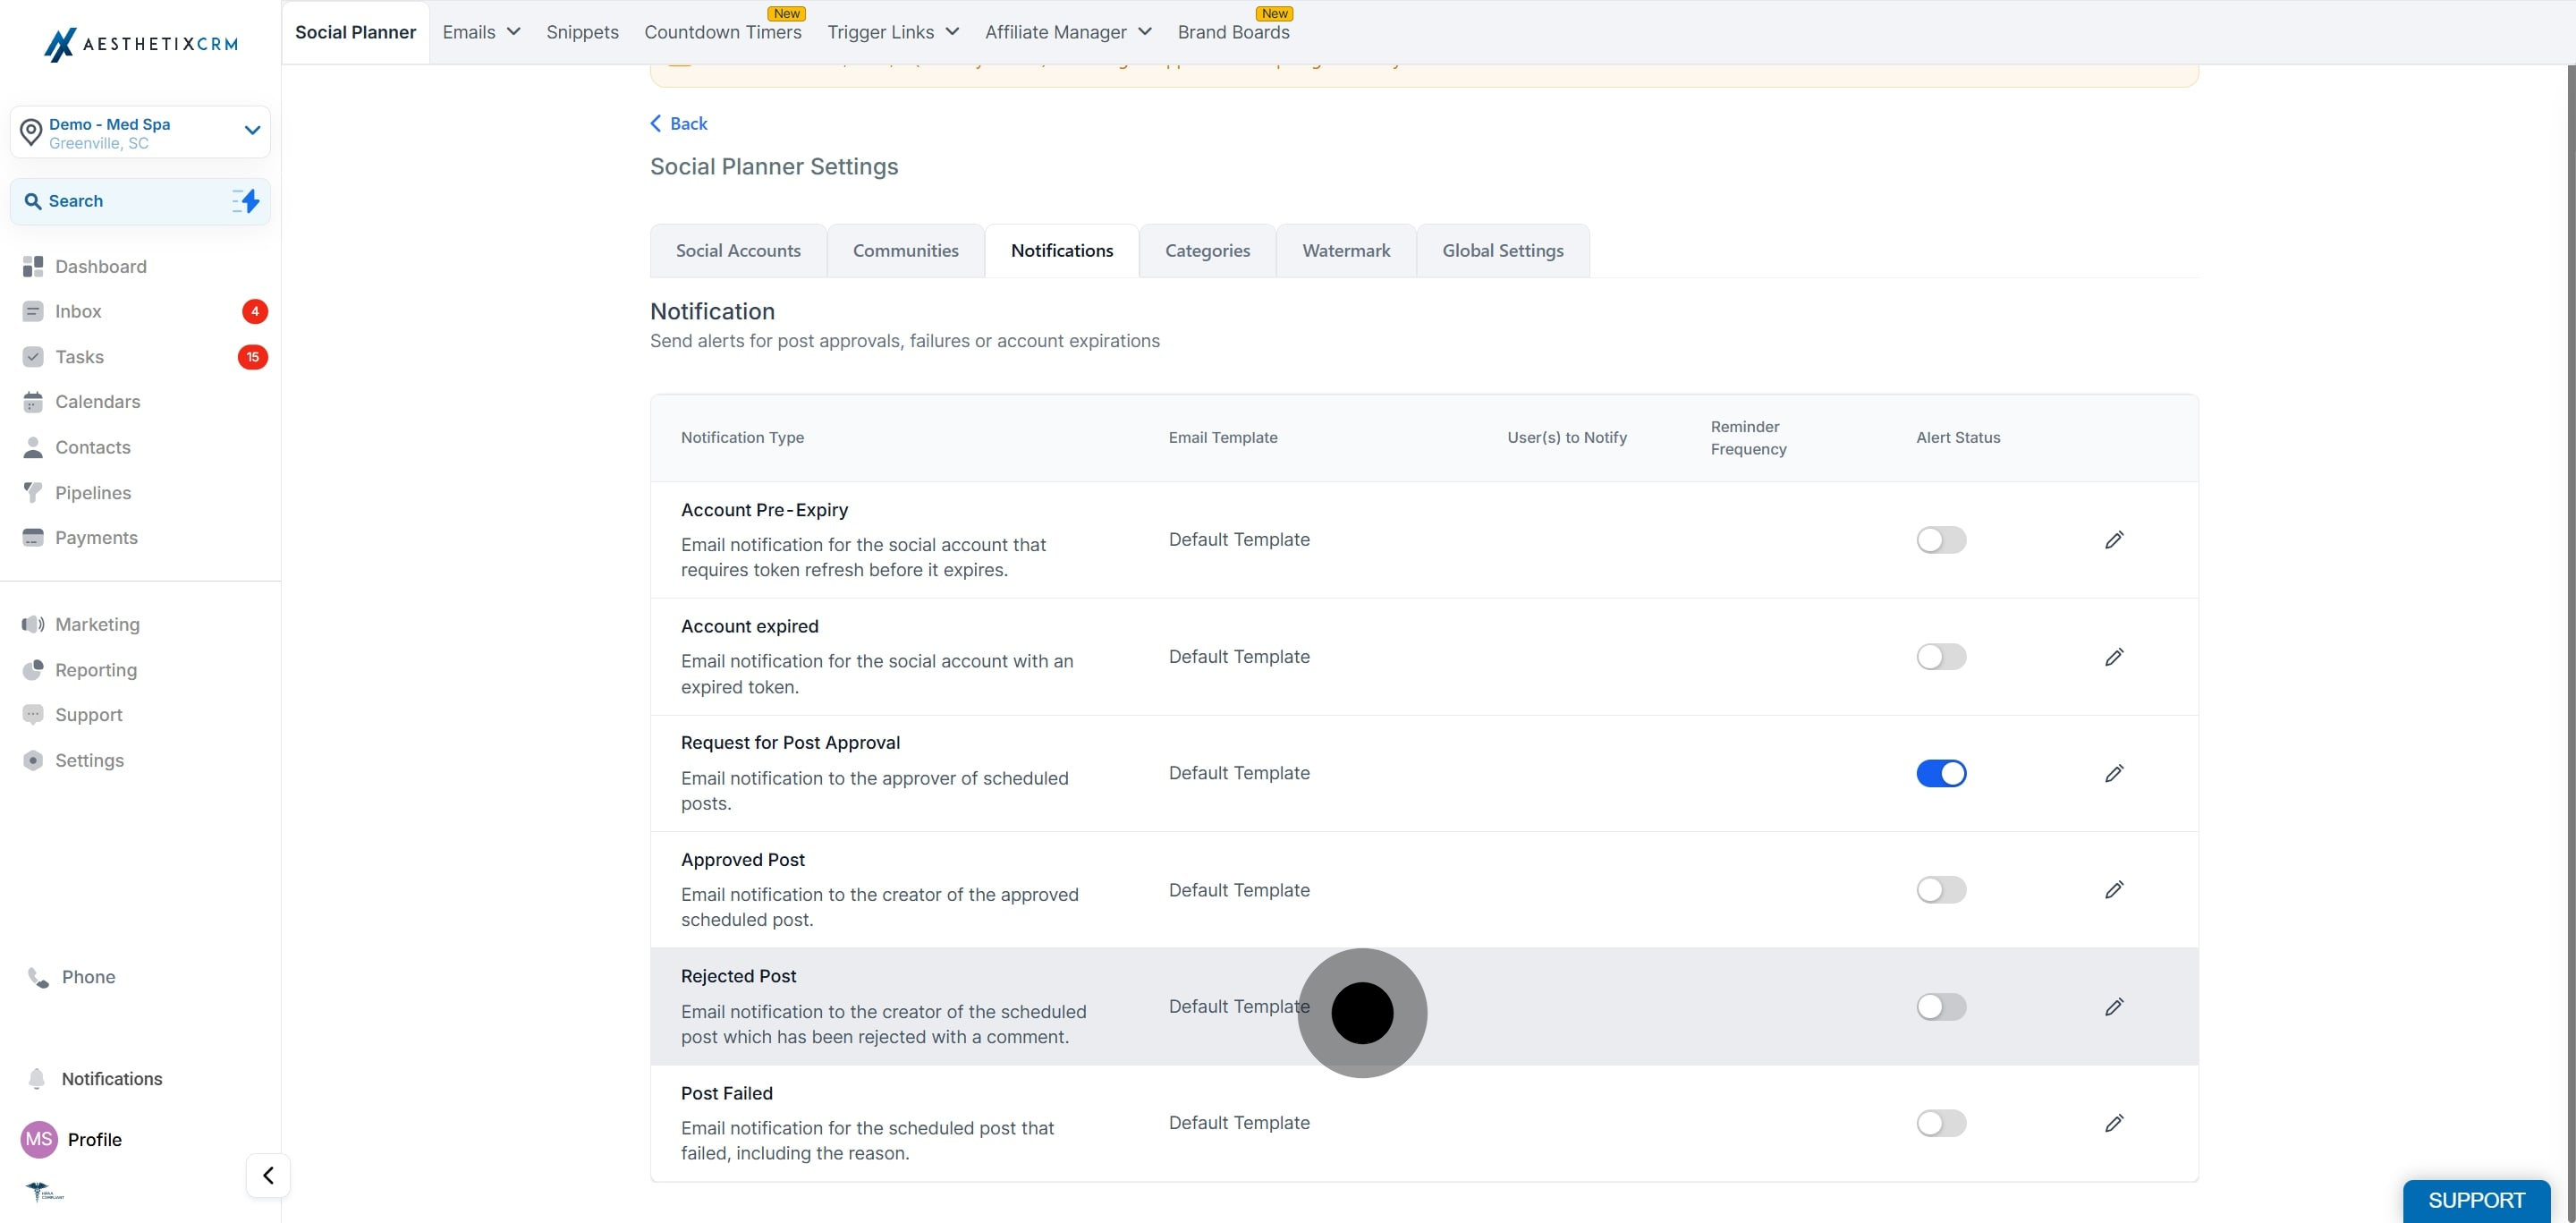
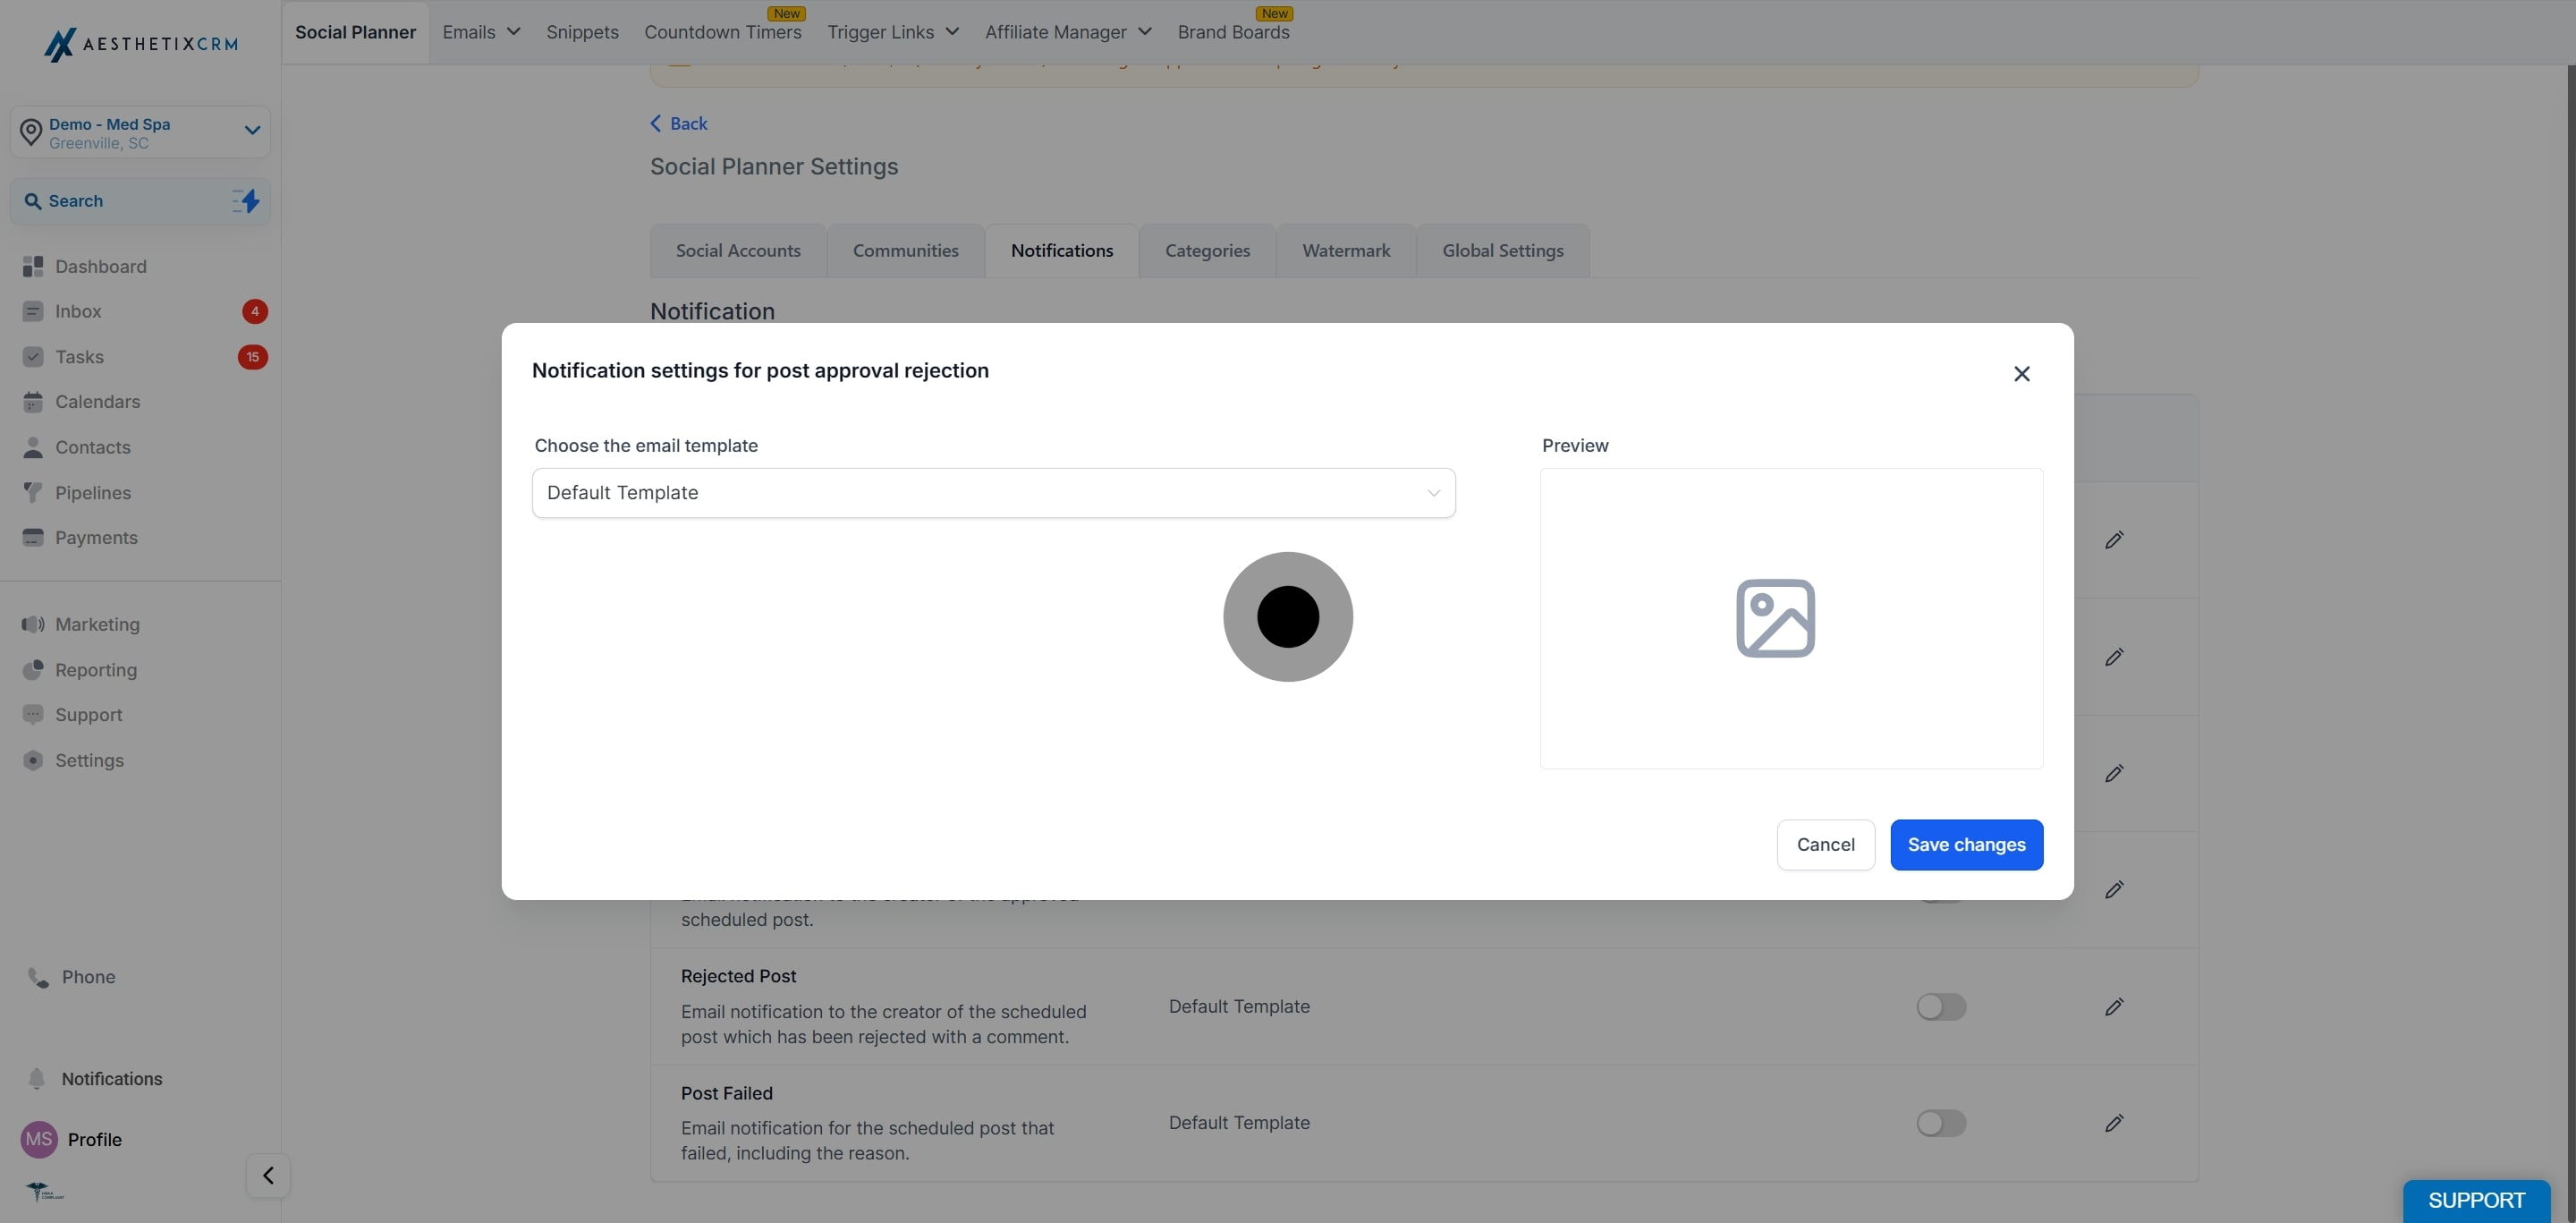
This is the email sent when a scheduled post fails to publish. You can keep the default template or select a different one.
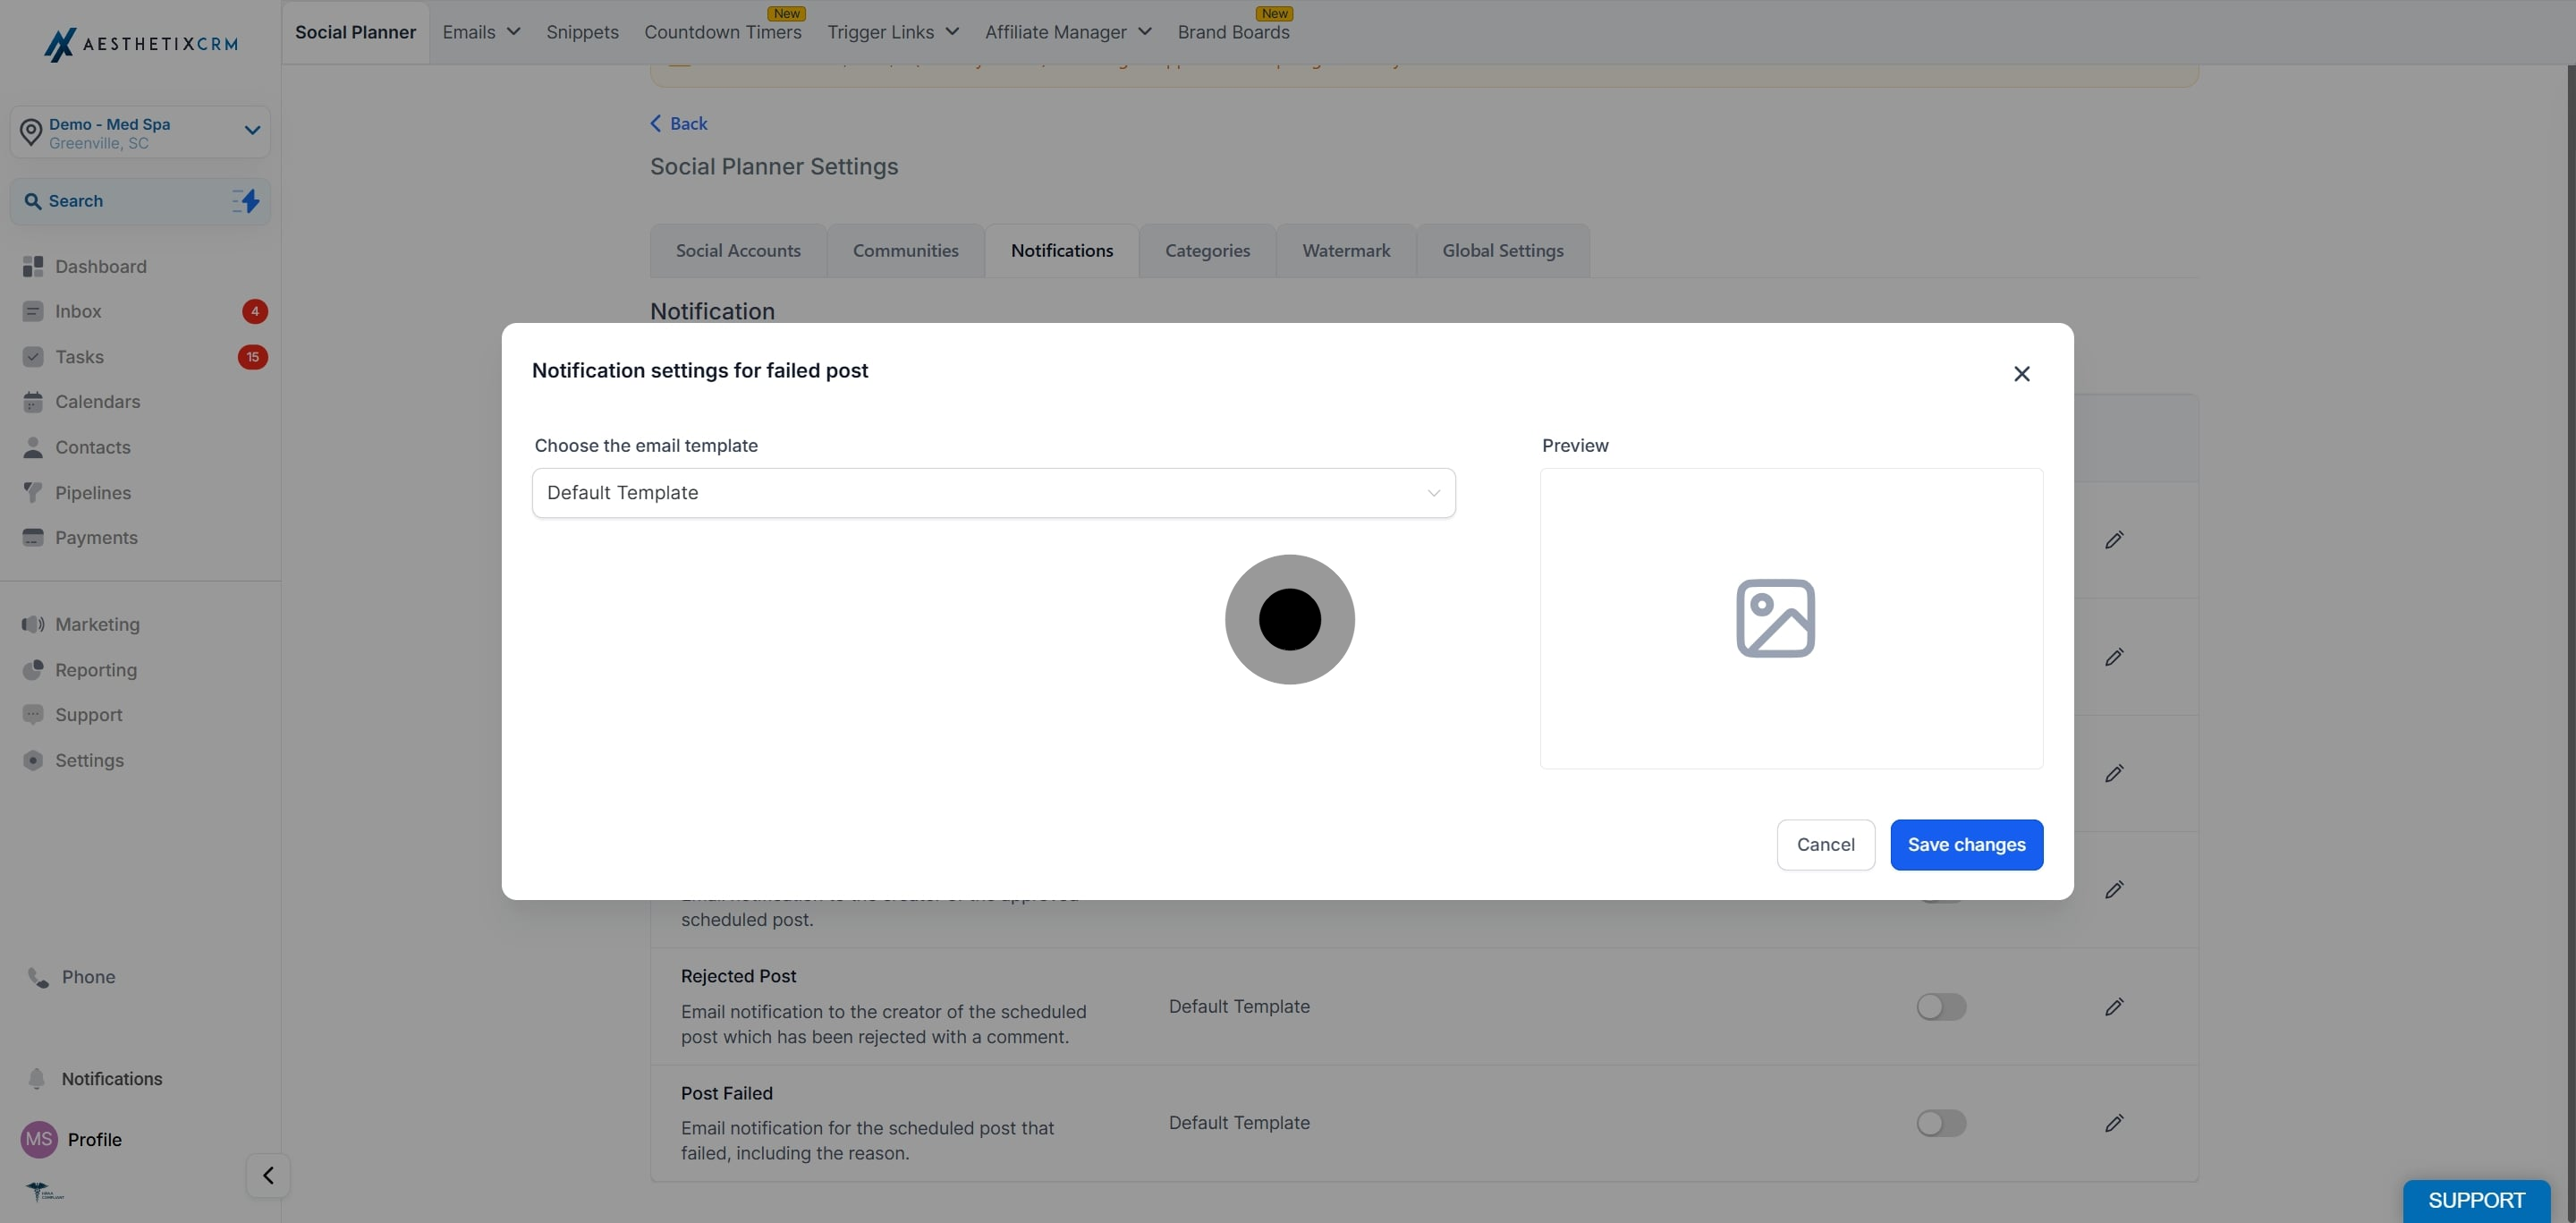
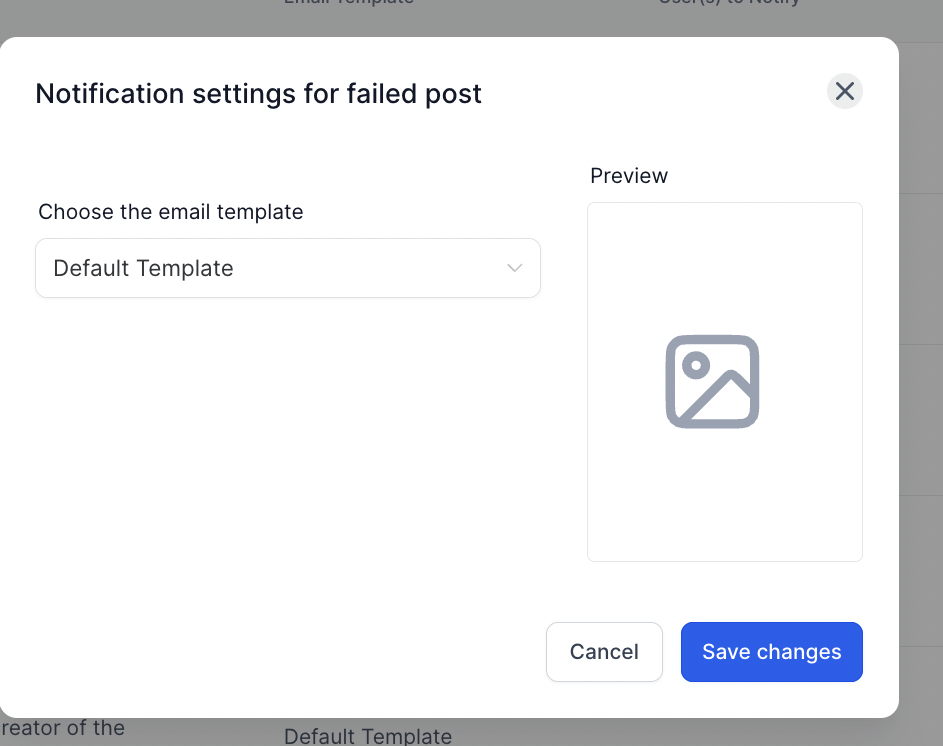
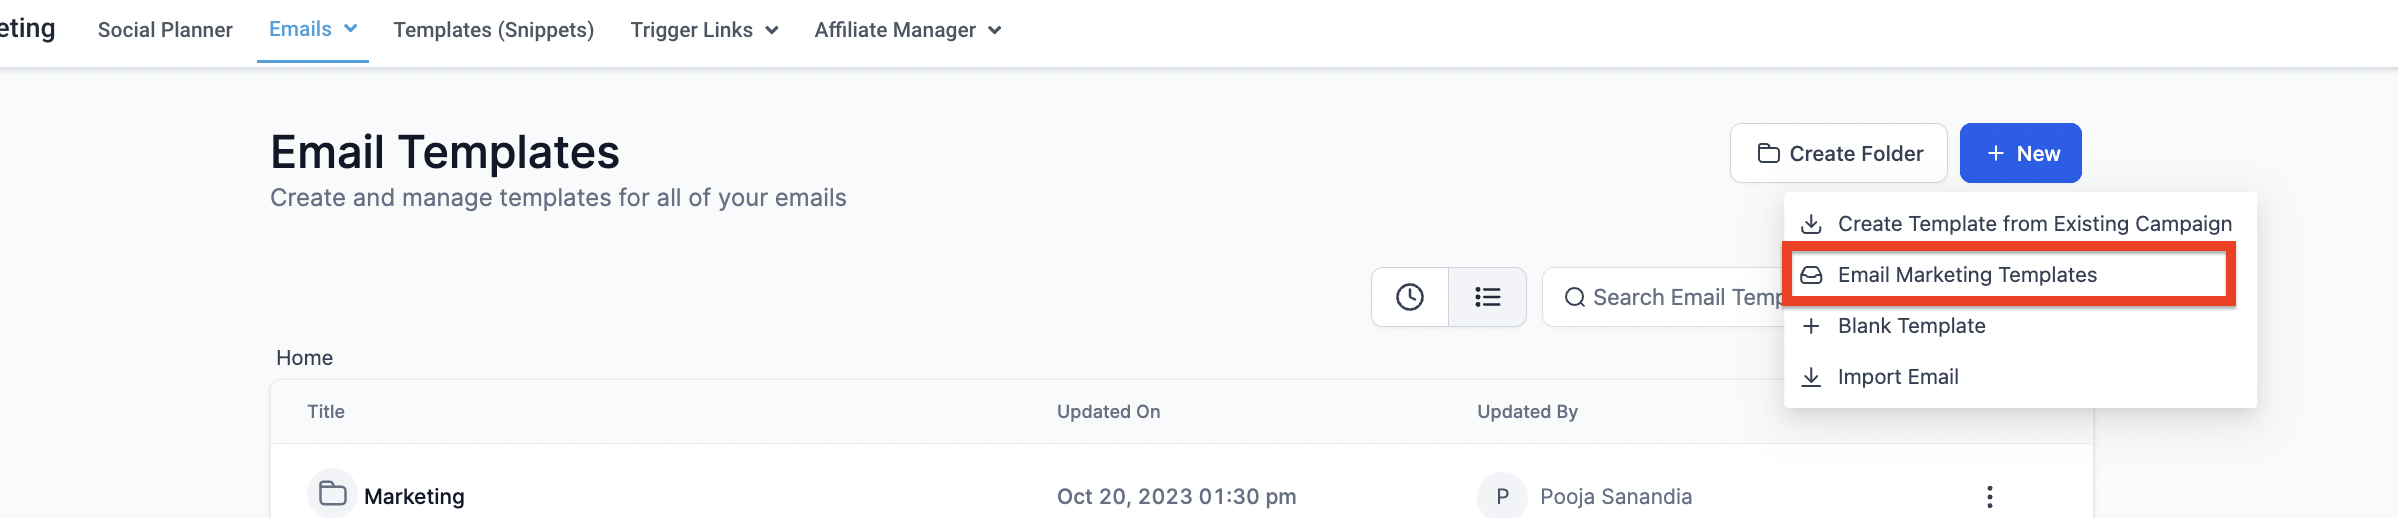
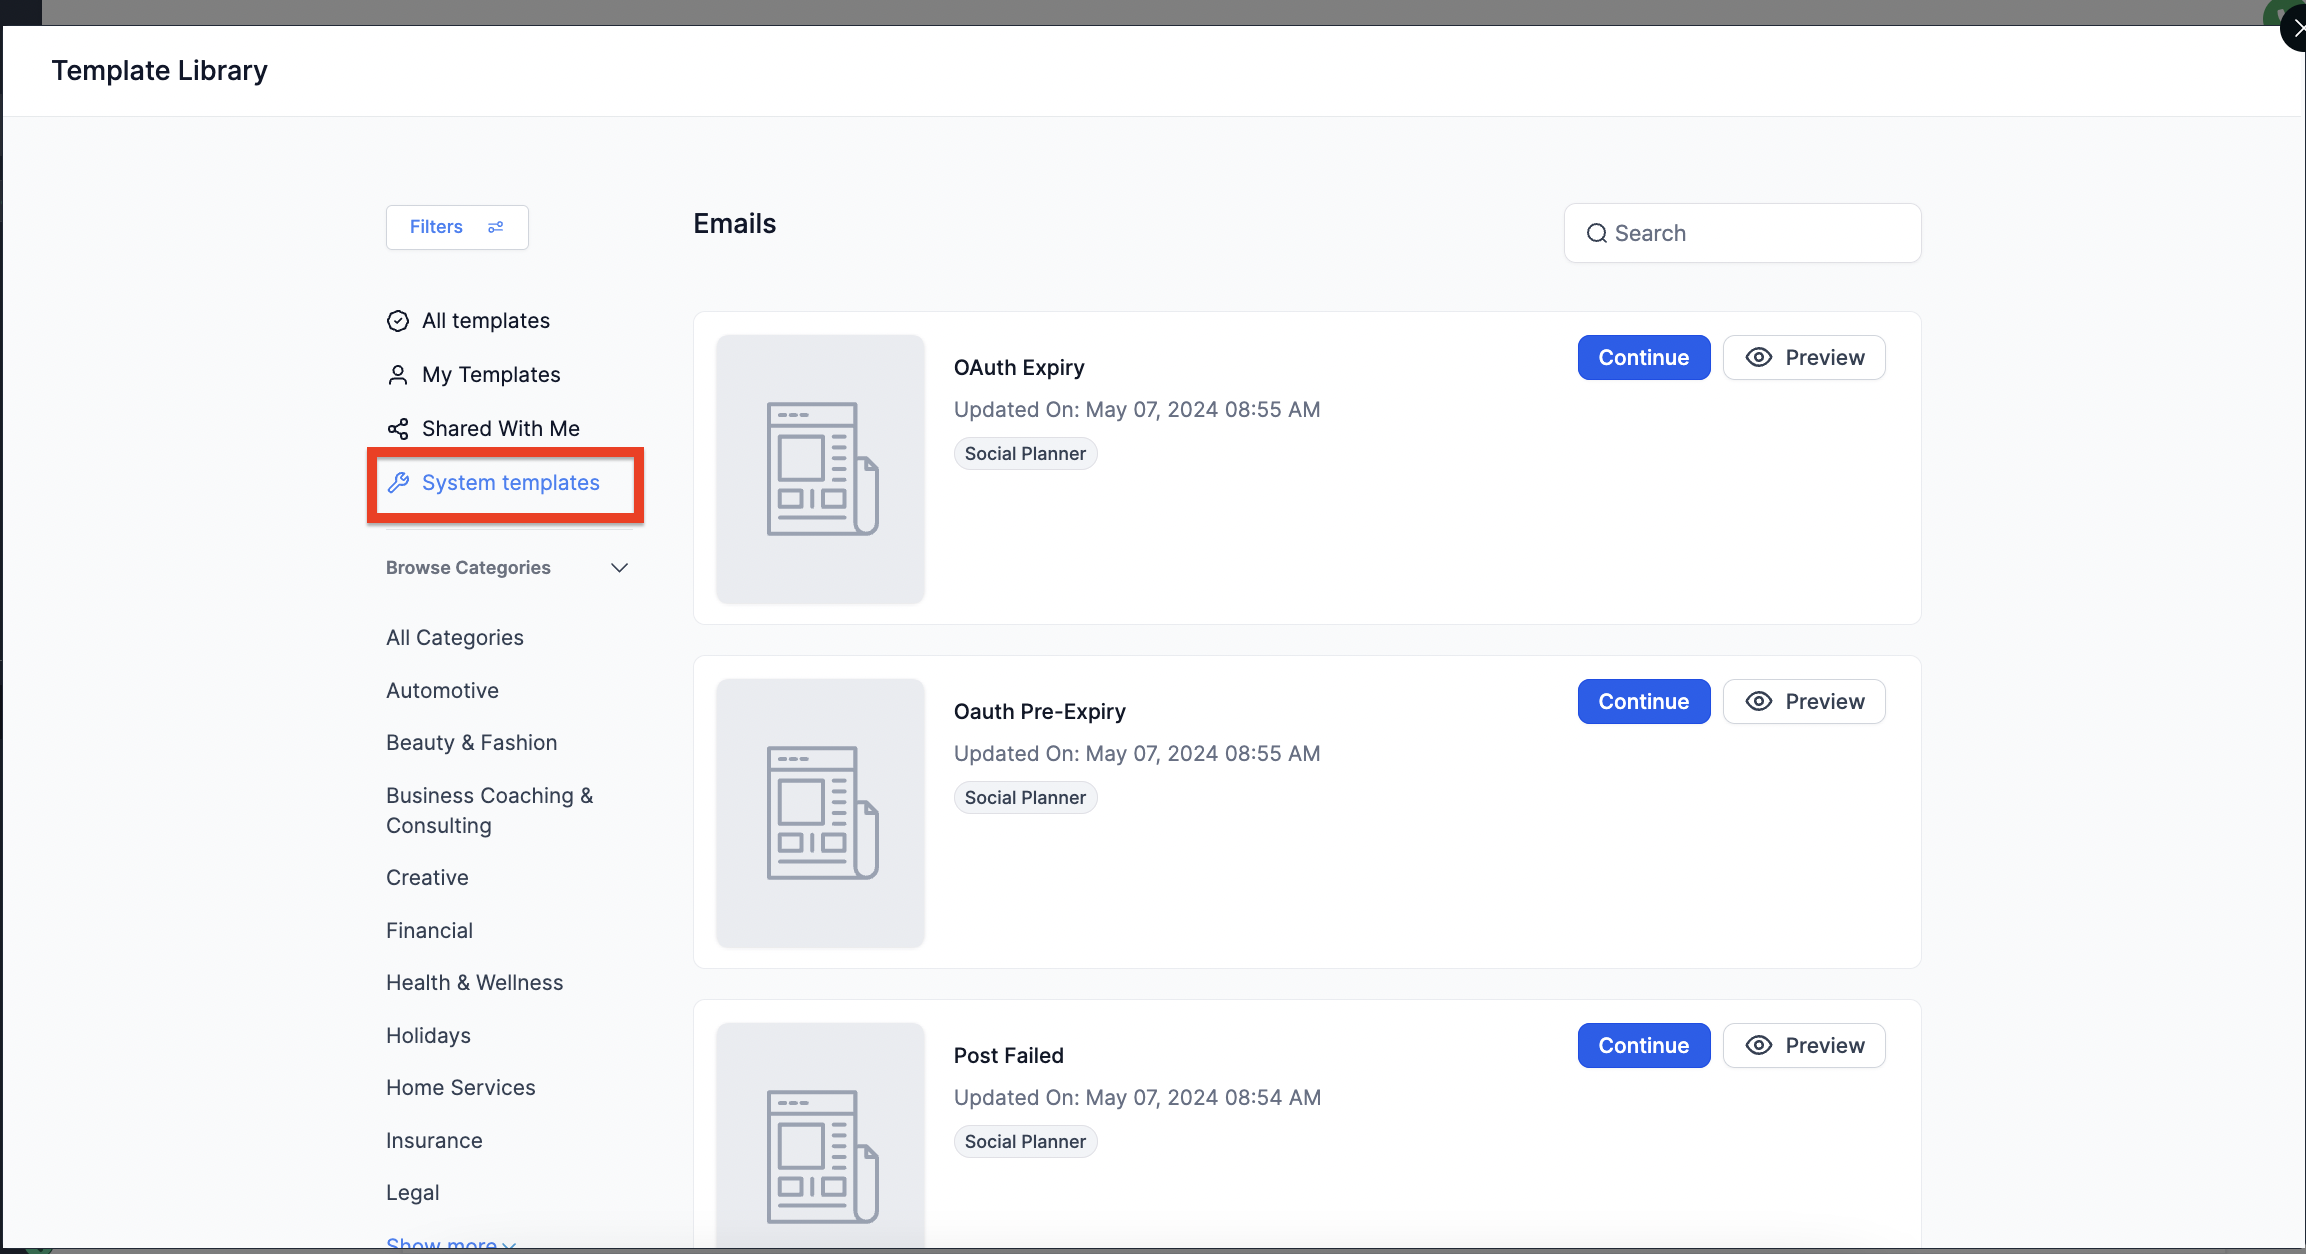
To use a branded template instead of the default, go to Marketing > Emails > Templates. Click New and select Email Marketing Template. When the Template Library opens, choose a System Template on the left side, load it, and edit the content. Then return to the Social Planner notification setting and select your template.
Which events can Social Planner email me about? Six events: account expired, account pre-expiry, request for approval, post approved, post rejected, and post failed.
How do I turn on a notification? Open Marketing > Social Planner > Settings > Notifications, click the pencil icon next to the notification you want, choose the users who should receive it, set the reminder frequency where applicable, and save.
Who receives these notifications? You select the users for each notification. Account expiry and pre-expiry notifications go to the users you choose to alert. Approval-related emails go to the approver or the post creator, depending on the event.
How does the pre-expiry notification work? When enabled, the pre-expiry email triggers ahead of a connected account's token expiration so a user can refresh the token before it lapses and posting stops.
Can I use my own branded email instead of the default? Yes. Build a template under Marketing > Emails > Templates using a System Template, edit it to match your practice branding, then select it in the notification settings.
What should I do when I get an account expired or pre-expiry notification? Visit the integration page and reconnect or refresh the token for the affected account. Refreshing before expiry keeps scheduled posts from failing.
What happens when a post is rejected? The creator gets a Rejected Post email that includes the approver's rejection comment, so they know what to change before resubmitting.
A post failed even though I have notifications set up. Where do I find the reason? The failed-post notification tells you a post failed. For the specific error code and how to fix it, see the troubleshooting guide for failed and unpublished posts.
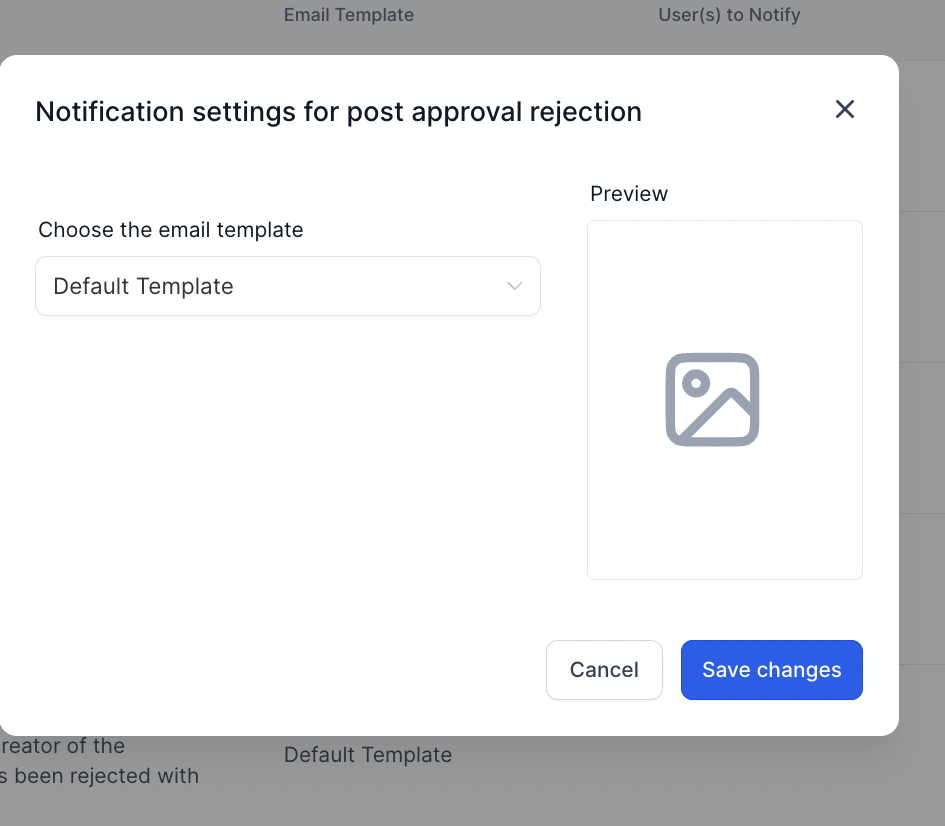
Why is the Default Template preview blank when I open a notification? Default templates are built-in system templates and are not stored in your account's Email Templates library, so there is nothing for the preview panel to load and it appears blank. This is expected behavior rather than a bug; the notification email still sends with the correct default content.
