Find, filter, and open form submissions in Aesthetix CRM, then download or delete entries and customize how submission data displays.
Every time a patient or lead fills out one of your forms, Aesthetix CRM captures the information and stores it on the Submissions page. This is where your practice collects and organizes all the data submitted through your forms, so you can review responses, analyze intake trends, download records, and manage entries in one place.
Note: Form submissions may contain protected health information (PHI) such as patient names, contact details, medical history, and intake answers. Restrict access to submission data to authorized staff only, and follow your practice's HIPAA policies when viewing, exporting, or sharing this information.
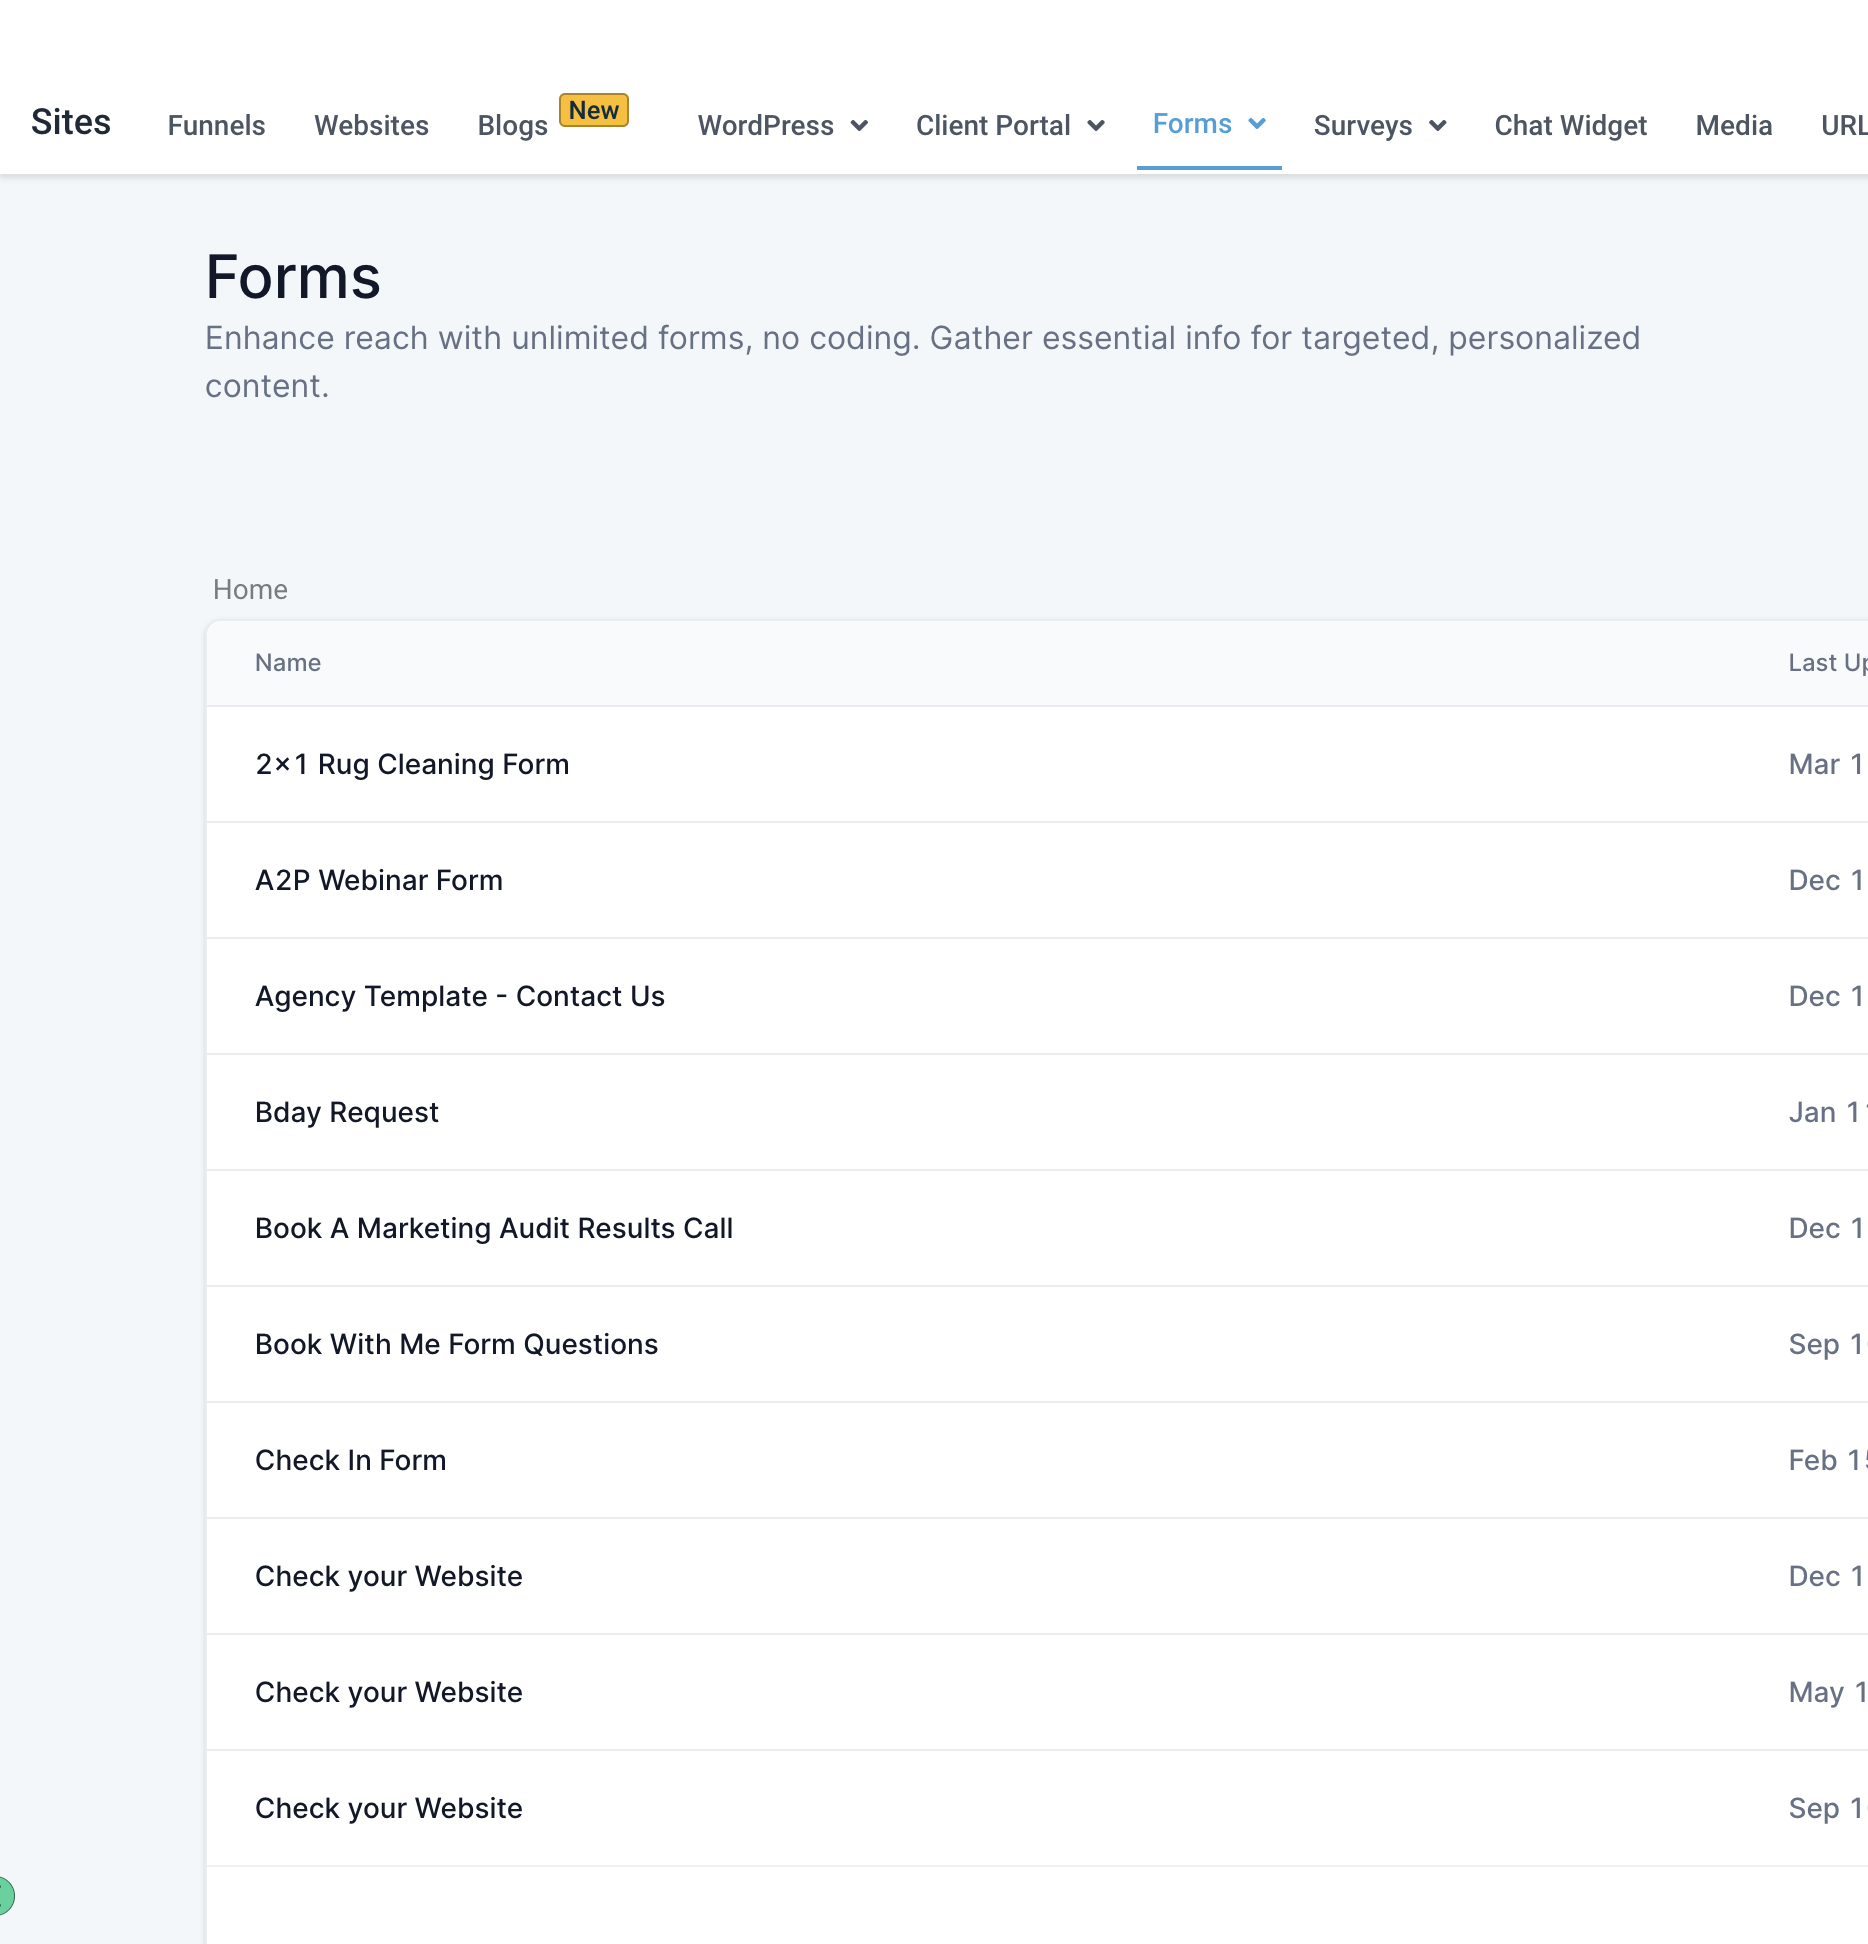
Forms help you capture information about the contacts who fill them out and submit them. Every response is stored on the Submissions page, where you can filter, search, and open individual submissions to view what was provided.
To reach the Submissions page, navigate to Web Tools > Forms (at the top of the screen) > Submissions.
If you are using custom fields on your forms, those responses also appear on the Contact Details page. You can access them by navigating to Contacts, then searching for or clicking on any contact.
You can also reach submissions through the Marketing area:
Click Marketing.
Click Forms.
Click the Forms tab.
Click Submissions.
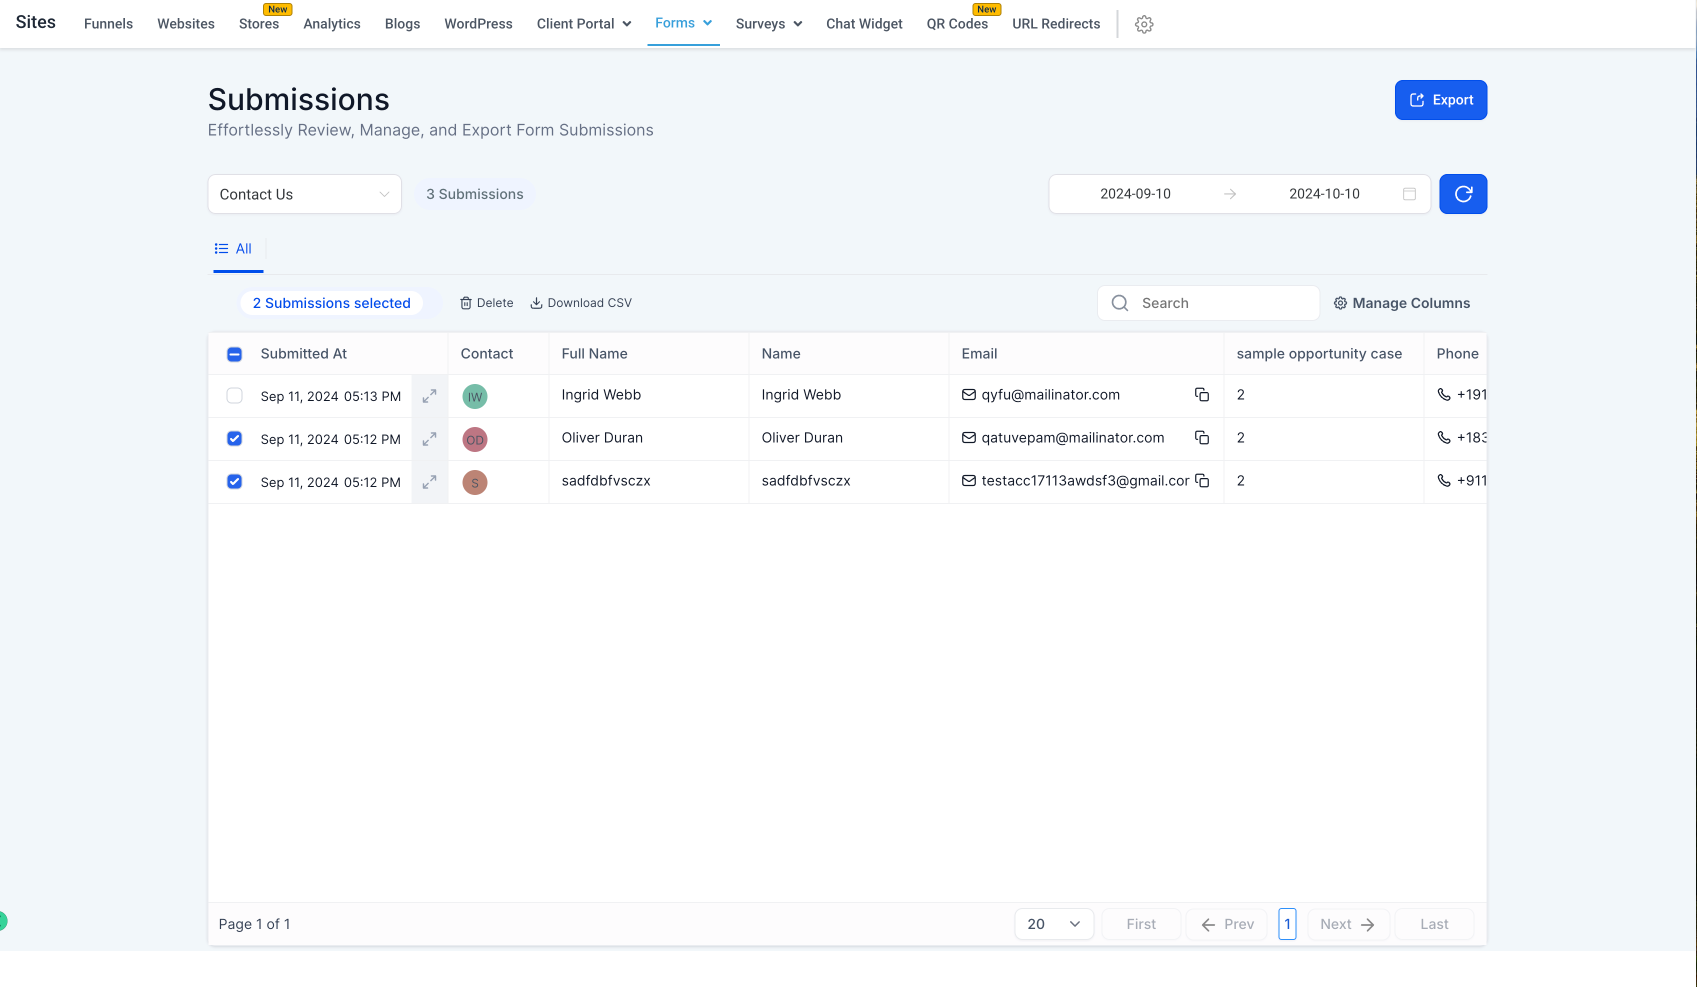
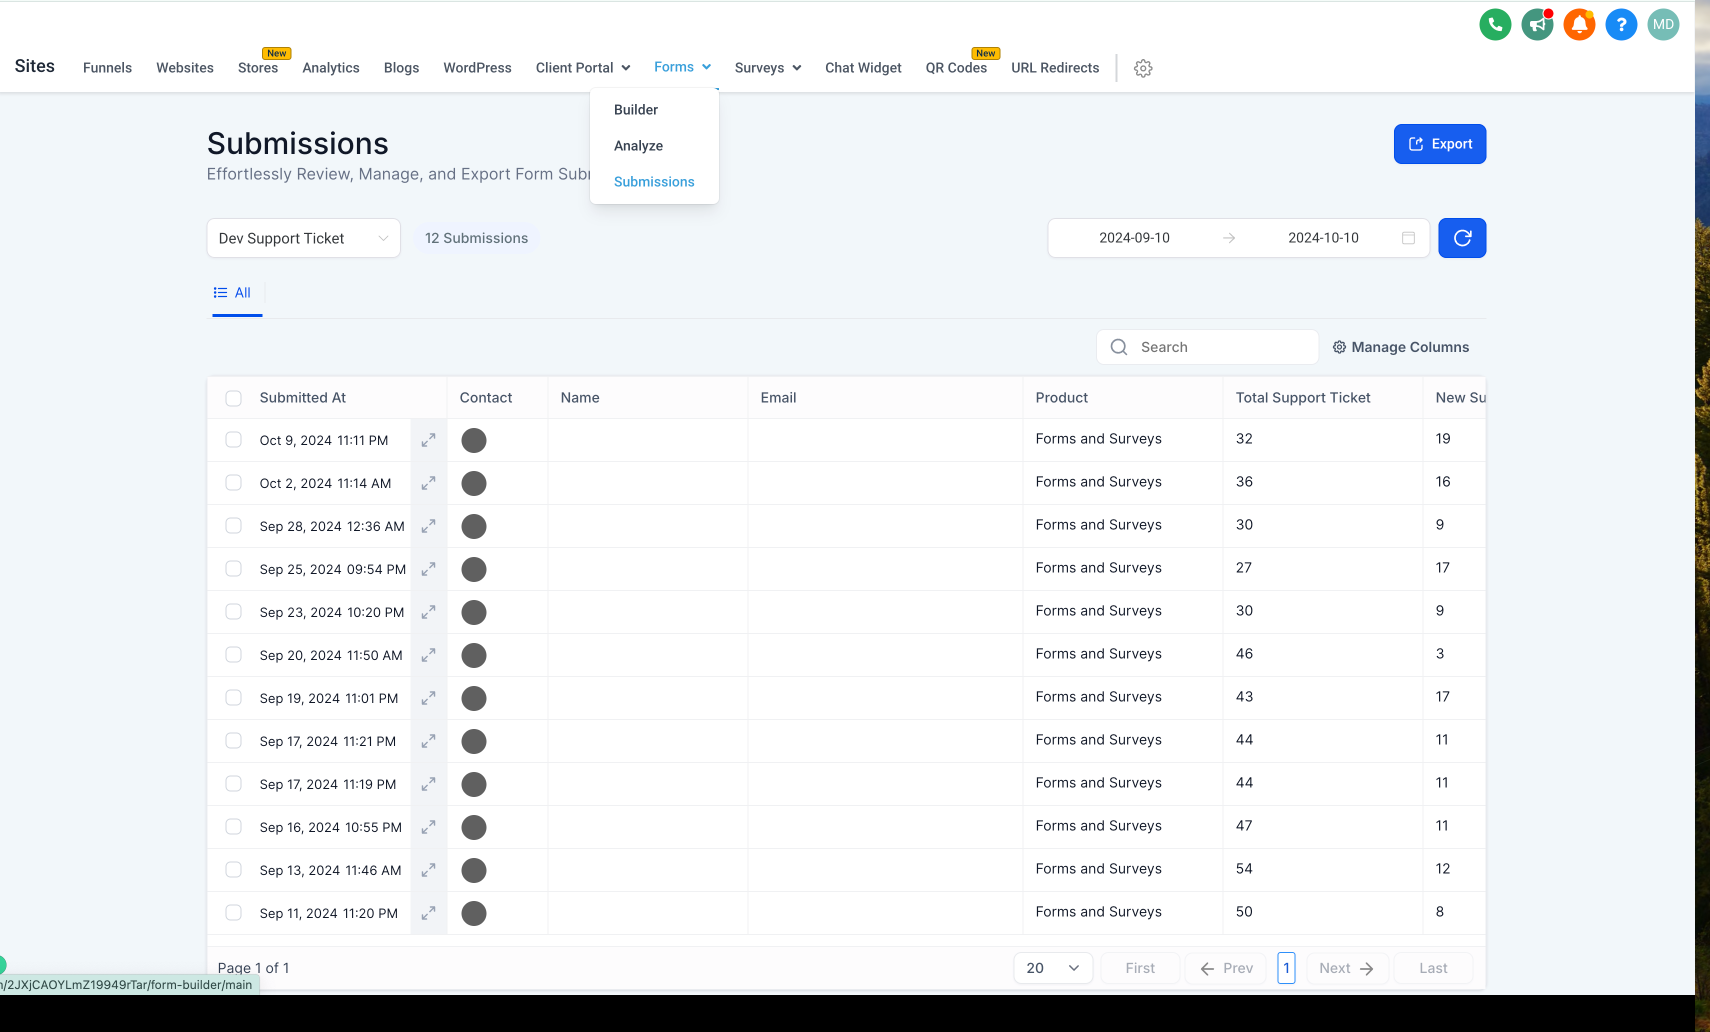
Once you are on the Submissions page, you will see the full list of responses along with the tools to filter, search, view, download, and delete them.
The Submissions page gives you several ways to narrow down the responses you want to review.
Date Range: Choose the specific date range you want to analyze when looking at your form submissions.
Refresh Submission Data: Update the submission data at any time by clicking the refresh button.
Select Form: Pick any of your forms to analyze the submissions made on that particular form.
Search Bar: Once you have selected a form, use the search bar to find specific submissions.
After you select a form, the page displays all responses along with helpful summary details.
Submission Data: View all the data submitted by the individuals who filled out the form.
Date Submitted: The top-right corner of each entry displays the date of the submission.
Form Submission List: See a comprehensive list of all submissions for the selected form.
Total Form Submissions: Get an overview of the total number of submissions received for a selected form.
List Results Per Page: Adjust the number of submissions displayed per page by selecting a different total.
To review the full details of a single response, click the expand icon next to the submission you want to view. This opens the complete submission on its own.
From the open submission, use the PDF download dropdown to choose a layout:
New PDF Layout: A cleaner format optimized for on-screen viewing and sharing.
Old PDF Layout: Matches the previous format.
Each form submission is listed with essential information such as name, email, and date submitted. You can select individual or multiple submissions using the checkboxes on the left side.
To download a single response, use the download control on that individual submission.
Select submissions to download them in CSV format, or download all form submission data as a PDF file so you can share it with patients or store it securely on your computer.
To download everything at once, use the Export button to export all form submissions in CSV format.

If needed, select the submissions you want to remove and delete them.
Note: Once a submission is deleted, the data cannot be recovered. Confirm you have exported or no longer need a record before deleting it.
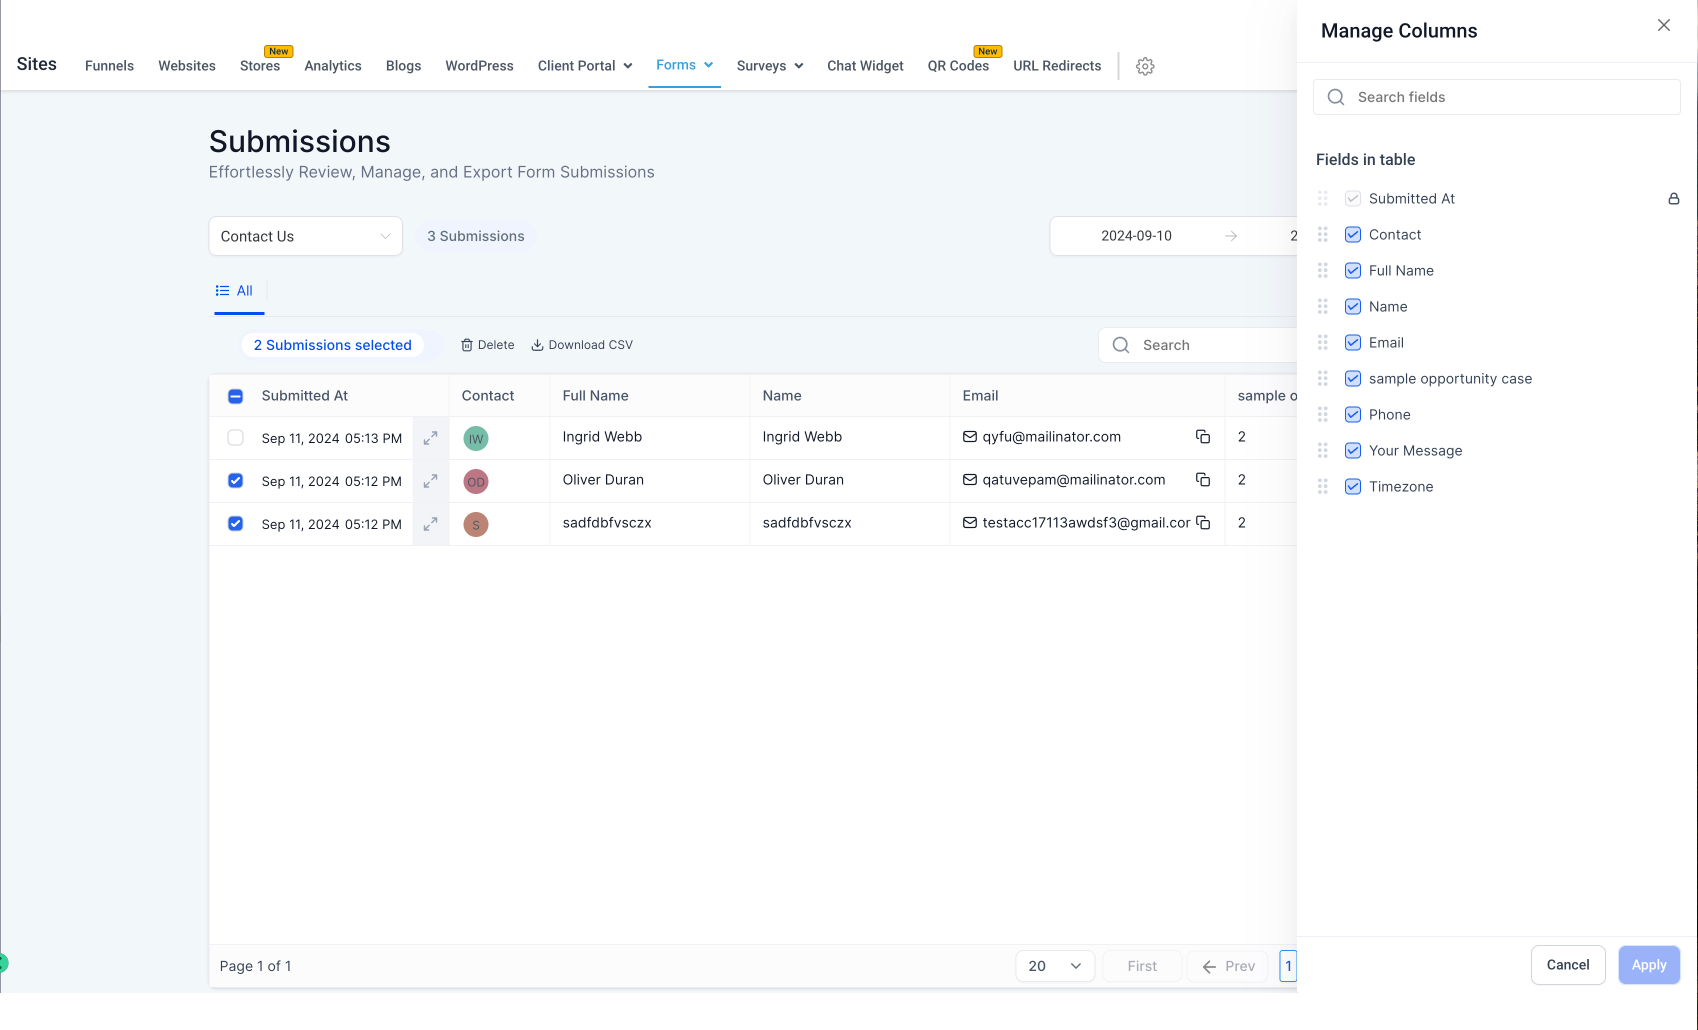
The Submissions page lets you control exactly which data appears and how it is arranged.
Expanded Column View: All columns from your form submissions are visible, not just the first few fields such as name and email.
Dynamic Columns: Select, deselect, and reorder columns to view the data in the order you prefer. Click Manage Columns to choose which fields display.
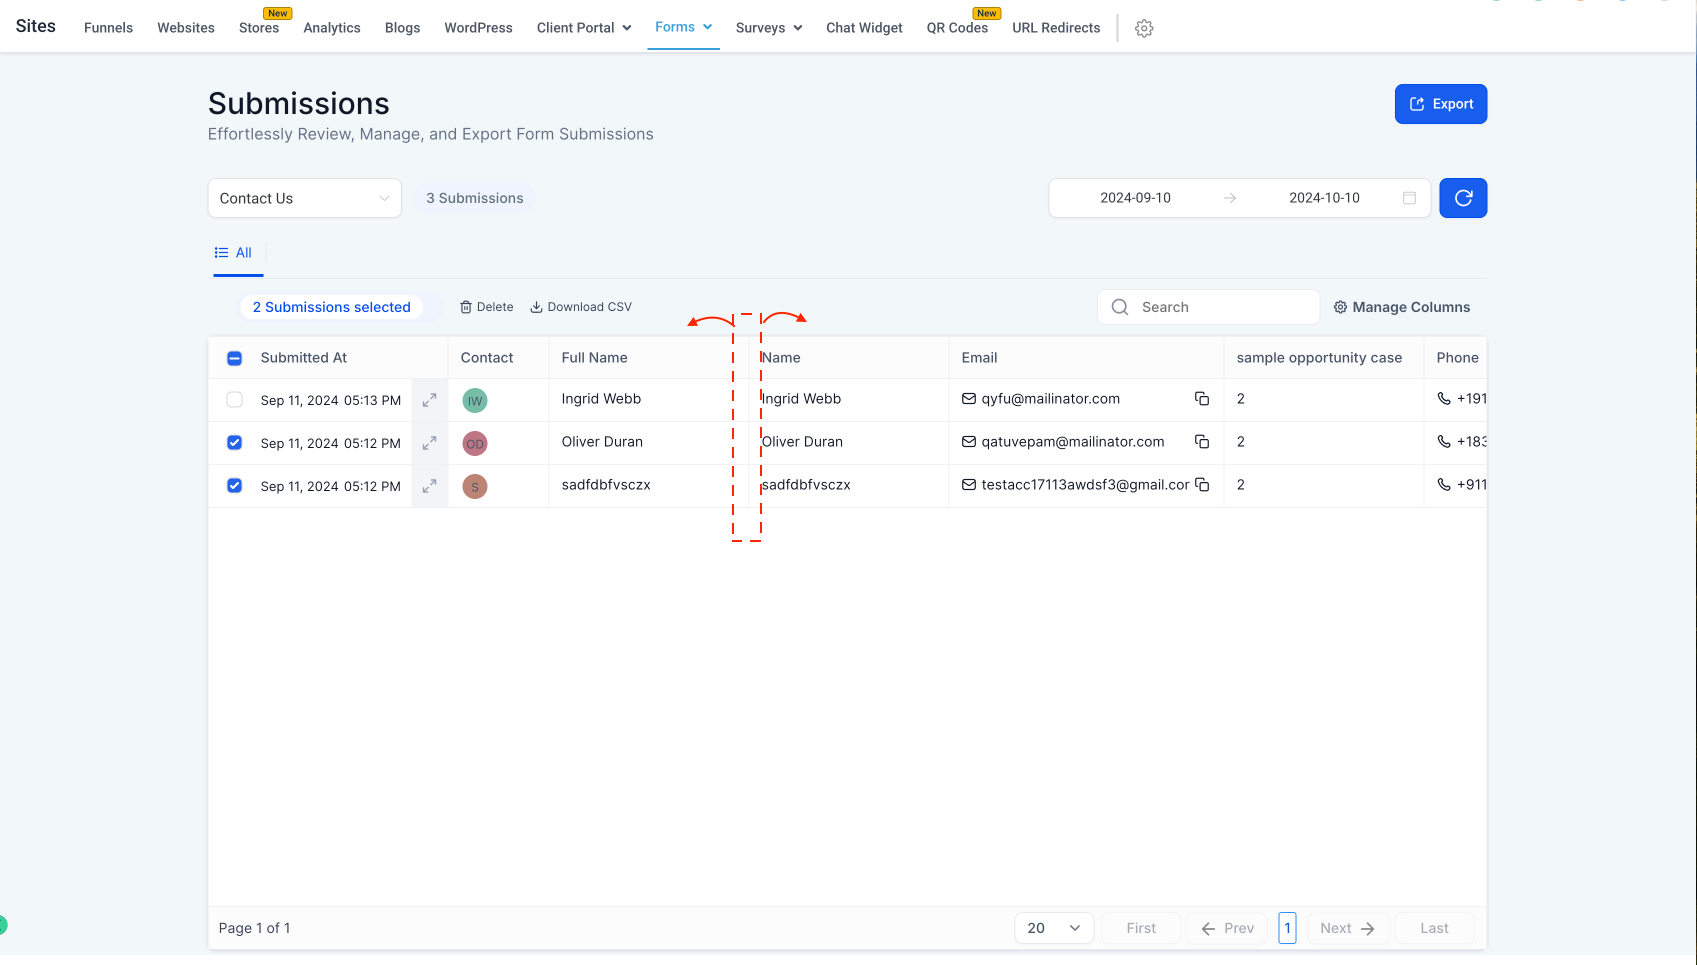
Copy Functionality: Copy phone numbers and emails directly from the table, and redirect to URLs straight from the table.
Adjustable Column Width: Adjust the column width in the table view by expanding the edges of each column.
Where do my form responses show up? Every response appears on the Submissions page under Web Tools > Forms > Submissions (or Web Tools > Forms > Submissions). If your form uses custom fields, those answers also appear on the contact's record under Contacts.
How do I view a single submission in full? Click the expand icon next to the submission you want to review. This opens the complete entry, where you can see all fields and download it as a PDF.
Can I choose which columns appear in the submissions table? Yes. Click Manage Columns to select, deselect, and reorder the fields you want to see. You can also adjust each column's width by dragging its edges.
How do I download form submissions? Select one or more submissions to download them in CSV format, or use the PDF download option on an individual submission. To download everything at once, use the Export button to export all submissions in CSV format.
What is the difference between the New and Old PDF layouts? The New PDF Layout is a cleaner format optimized for on-screen viewing and sharing. The Old PDF Layout matches the previous format if you prefer it for consistency.
Can I recover a submission after deleting it? No. Once a submission is deleted, the data cannot be recovered. Export or confirm you no longer need a record before deleting it.
How do I find a specific submission? First select the form using the Select Form filter, then use the search bar to locate the entry. You can also narrow results with the Date Range filter.
Why don't I see all my recent submissions? Click the refresh button to update the submission data, and confirm your Date Range filter includes the period you expect. Also verify you have selected the correct form.
