Embed your Aesthetix CRM forms on Squarespace, Wix, Shopify, WordPress, and Duda so patients can book and inquire without leaving your website.
Embedding a form from Aesthetix CRM into a website you host elsewhere is quick and easy. Instead of sending patients to a separate page, you copy an embed code from Aesthetix CRM and paste it into your website editor, so lead capture, patient inquiries, and appointment bookings happen right within your branded environment. No switching between platforms and no adjustments in different places, just one copy and paste.
This guide walks through embedding your forms on the most popular website platforms, including Squarespace, Wix, Shopify, WordPress, and Duda.
Embedding your forms directly on your website improves engagement and lead generation for your practice. Key benefits include:
Capture more leads: Collect visitor information directly on your site, making it easier to nurture prospective patients.
Cross-platform integration: Use the same form on Squarespace, Wix, Shopify, WordPress, Duda, and other website builders.
Seamless syncing: Automatically sync collected data back into Aesthetix CRM for streamlined follow-up and automation.
Improved engagement: Use customizable forms to display targeted messages, promotions, or surveys.
Performance tracking: Use built-in analytics to monitor and optimize how your forms perform.
Before you can embed a form on your website, you need to copy its embed code from your Aesthetix CRM account. This code is the script that makes the form appear on your chosen site.
From the dashboard, go to the Web Tools section in the main navigation menu, then click the Forms menu in the top right corner to open the form builder.
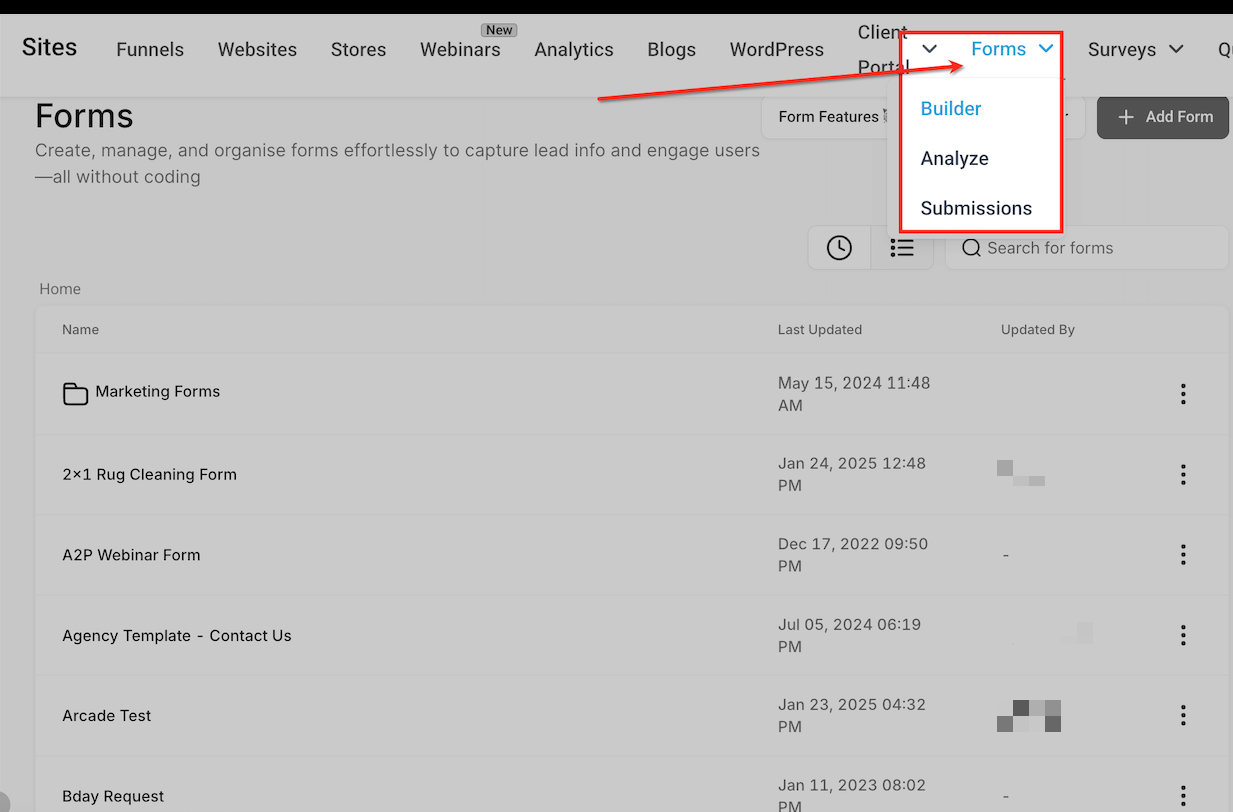
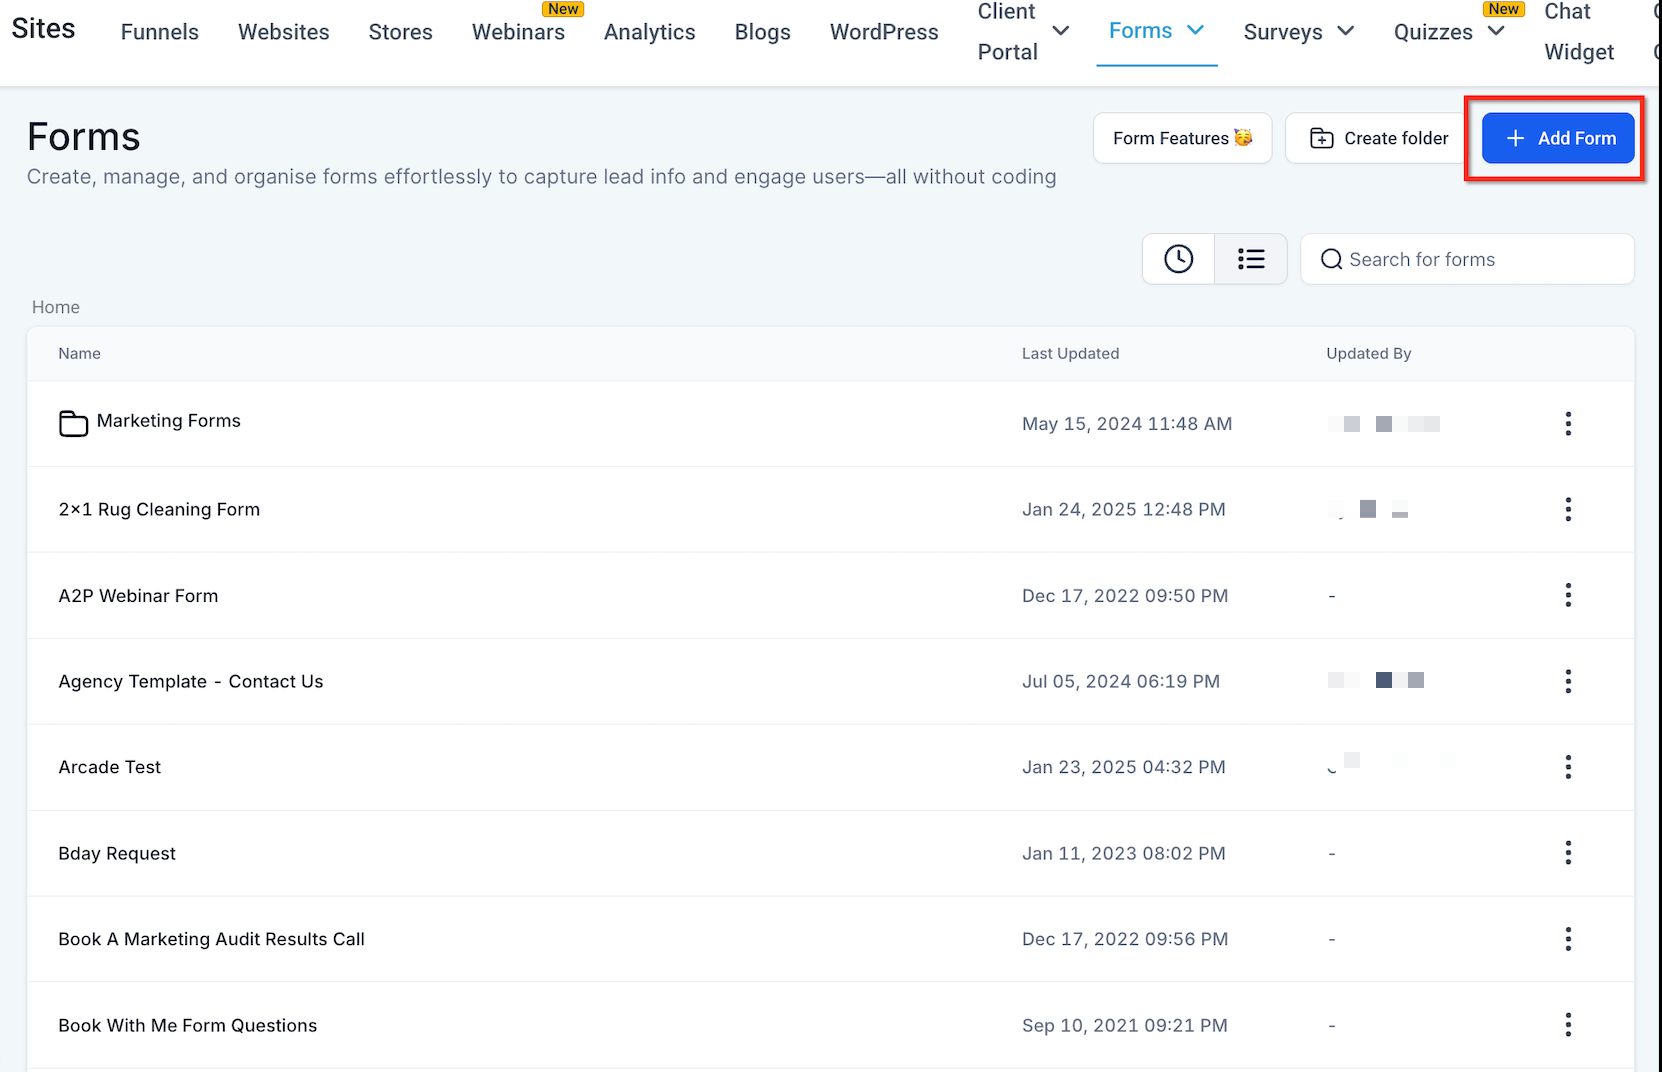
Select an existing form from the list, or click + Add Form to build a new one. If you already have a form ready, just select it from the available options.
Once your form is ready, open the Integrate tab in the top right corner. Choose the form type from the options, ensure the embed type is set to Inline (the default setting), then click Copy Embed Code.
Your embed code is now ready to paste into your website, following the platform-specific instructions below.
Squarespace lets you add custom code through its Code Injection tool, or place a form on a single page with a Code Snippet block. Both approaches are covered below.
Use Code Injection when you want a form to appear across your whole site or on a specific page via per-page code.
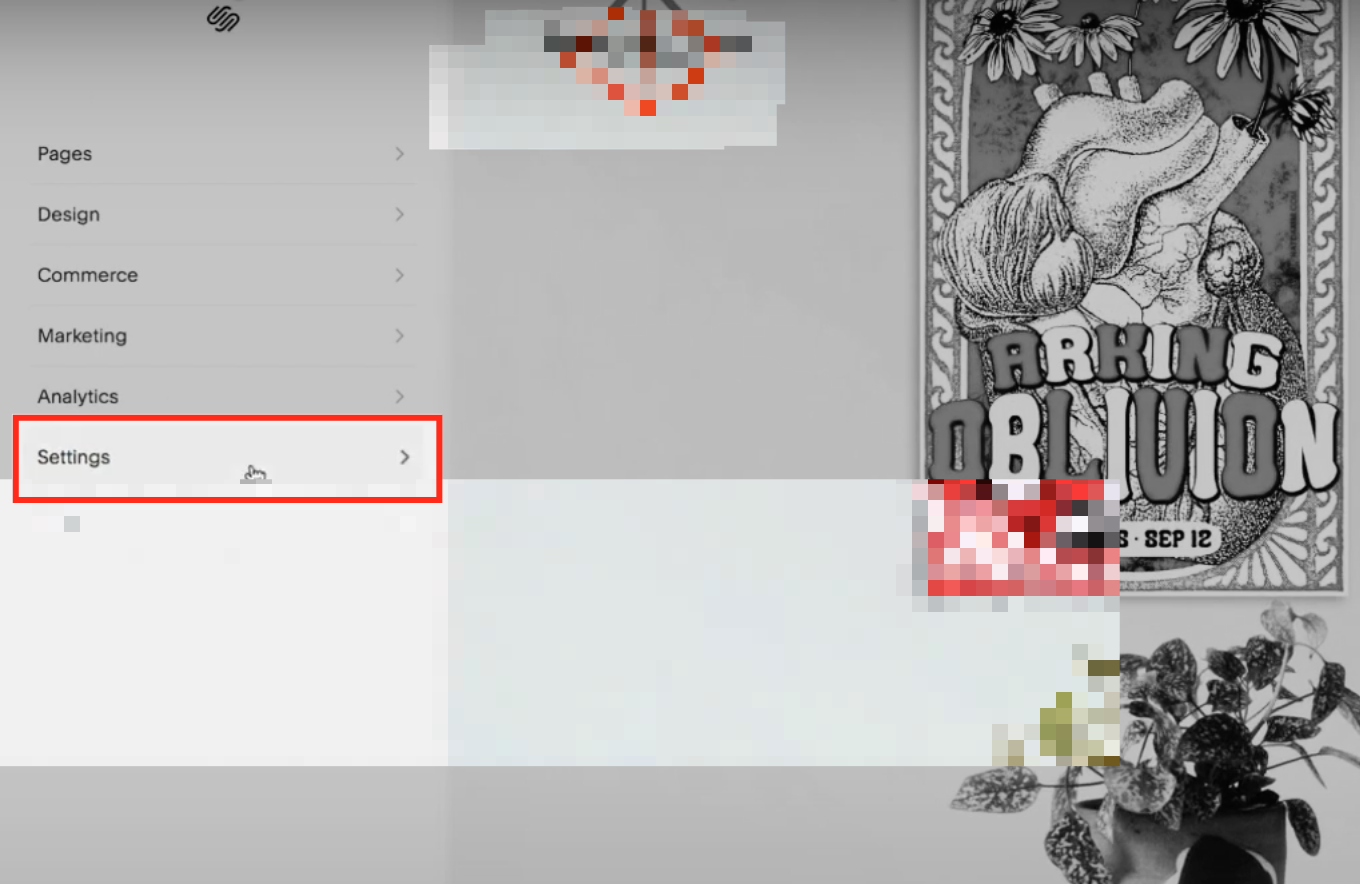
Access Settings
Log in to your Squarespace account and open the Settings menu in your dashboard.
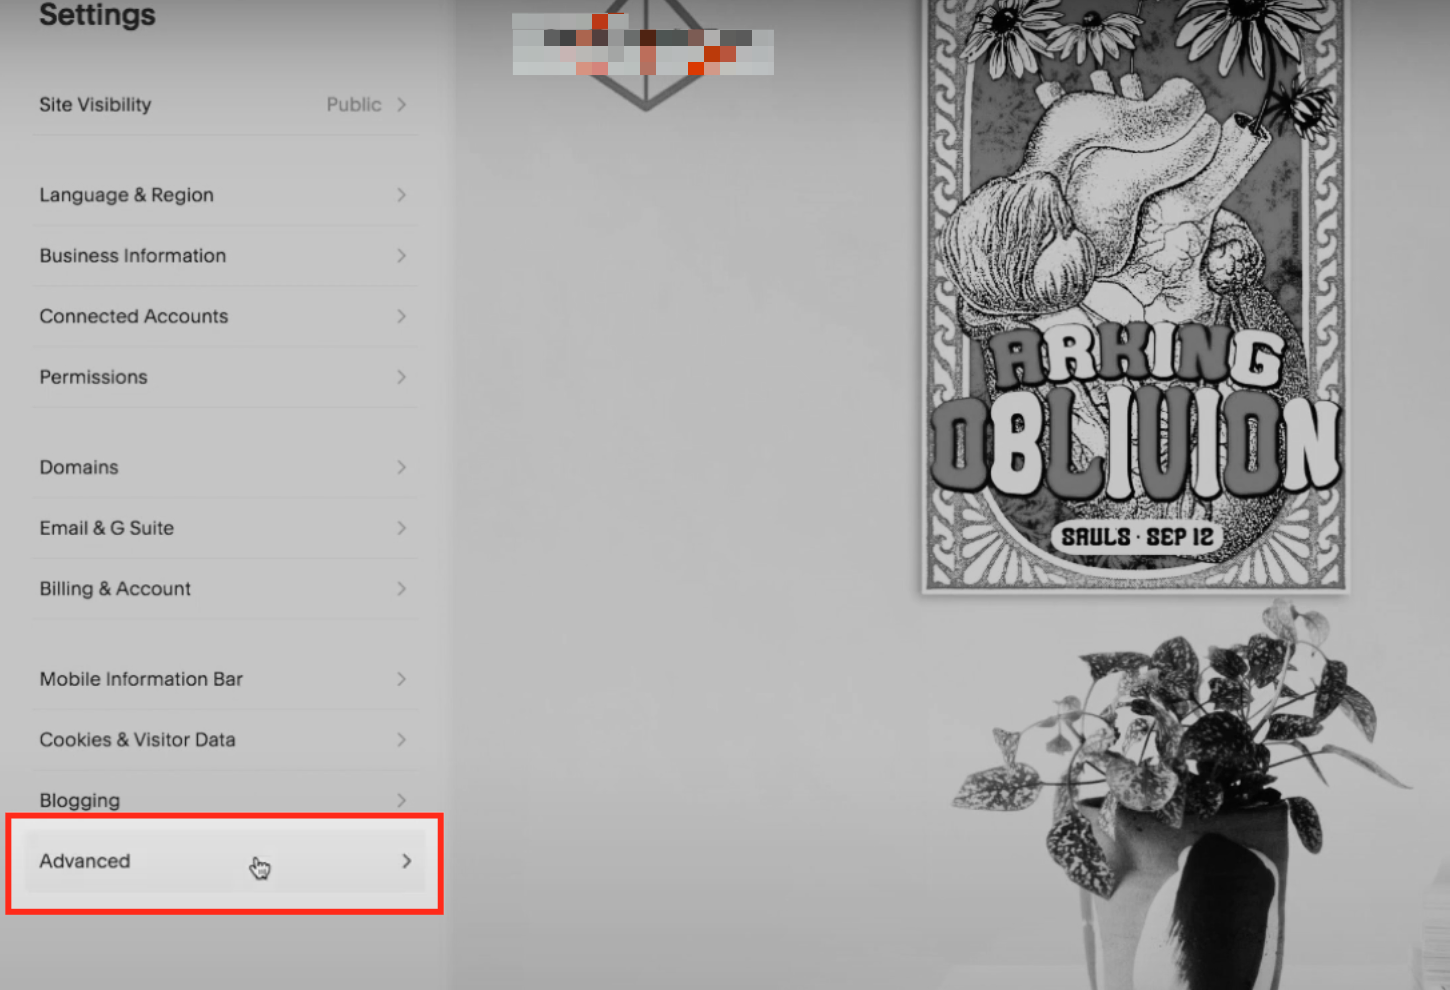
Click Advanced
Within the Settings menu, find the Advanced option and click it to access additional customization features.
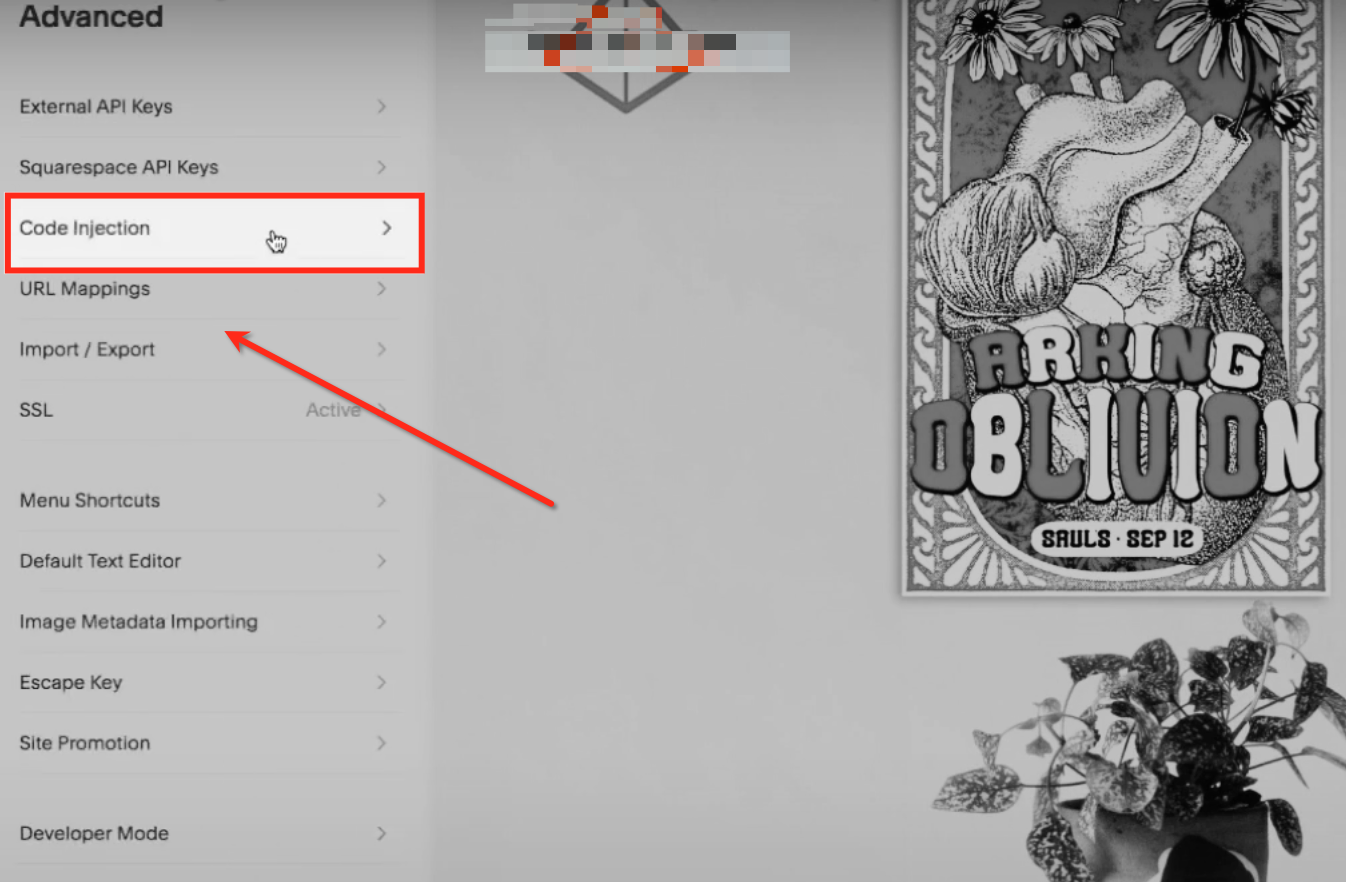
Select Code Injection
In the Advanced settings, locate the tab labeled Code Injection.
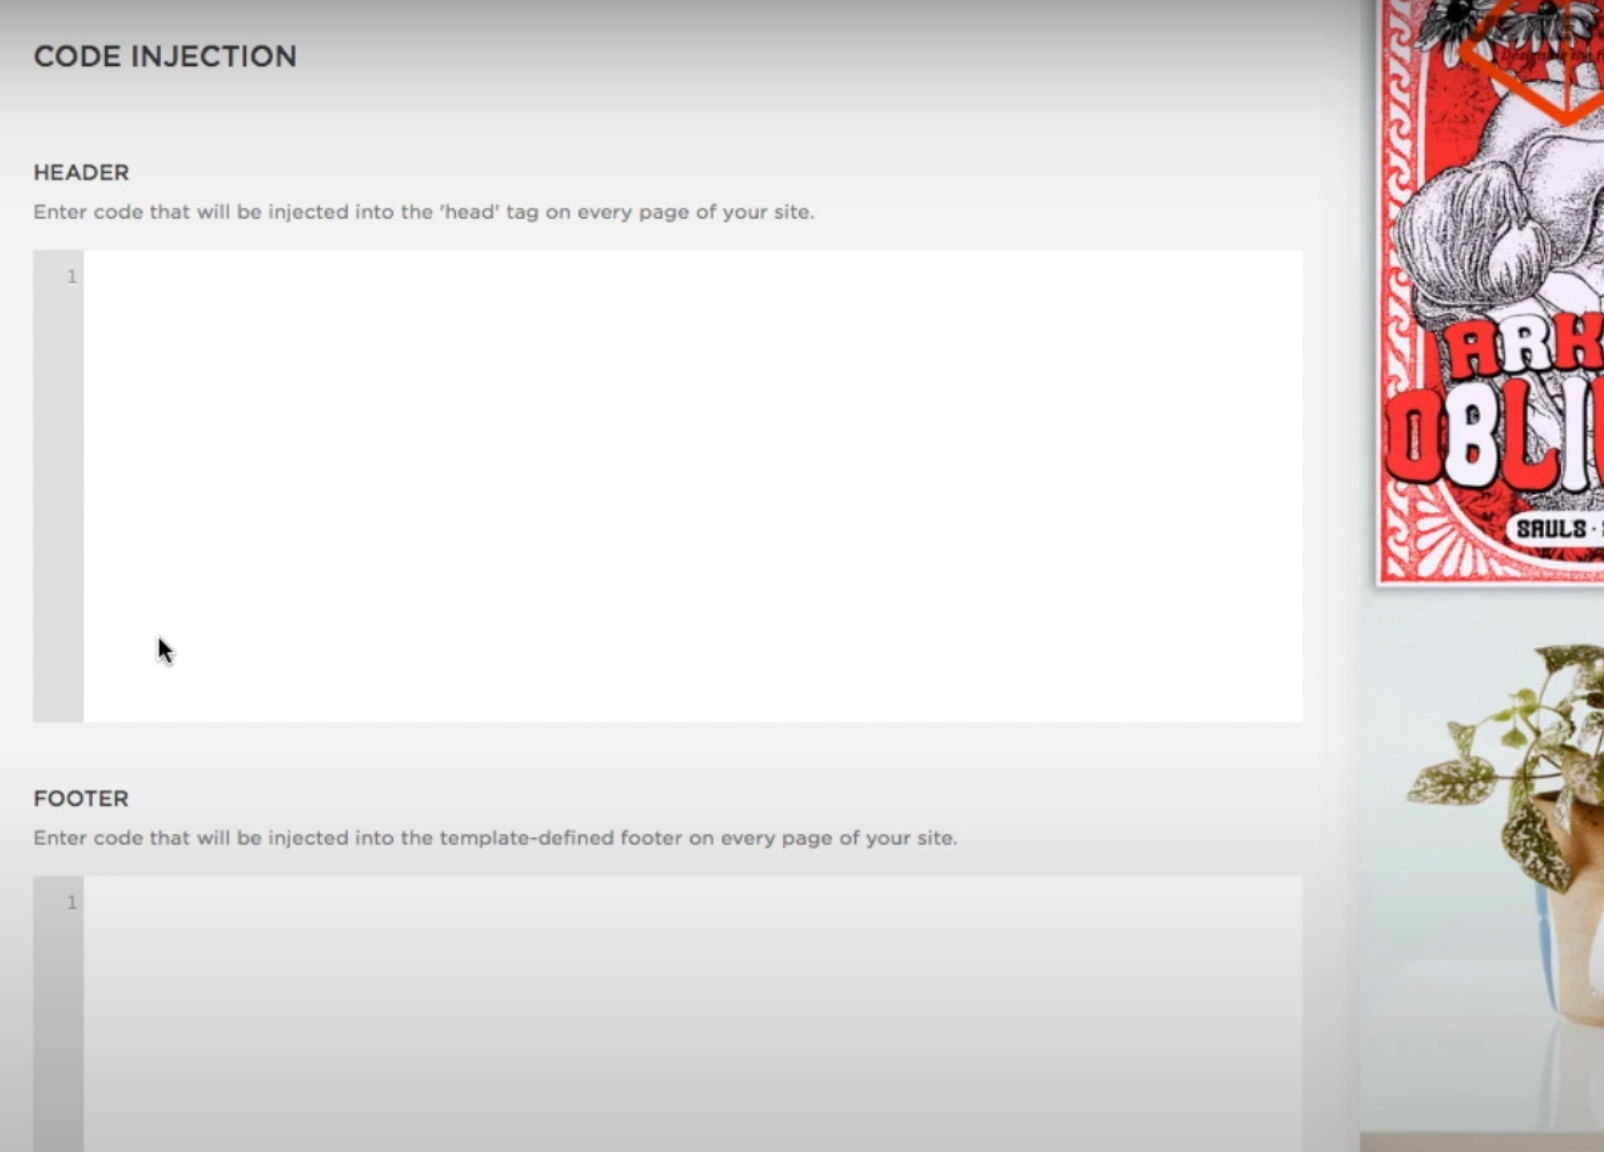
Add the Embed Code
Decide where to add the embed code. To display the form across all pages, paste the code into the Header or Footer section of the Code Injection panel.
Save and Publish
Once the code is added, click Save in the Code Injection panel or the Per-Page Code Injection field. Then publish your website to apply the changes.
Note: Squarespace does not support embedding forms on checkout pages. Make sure your forms target other areas of your website.
Use a Code Snippet block when you want to place a form inline on one specific page.
Log in to your Squarespace account and open the Pages section.
Select the page where you want to embed the form, then click Edit Page Content.
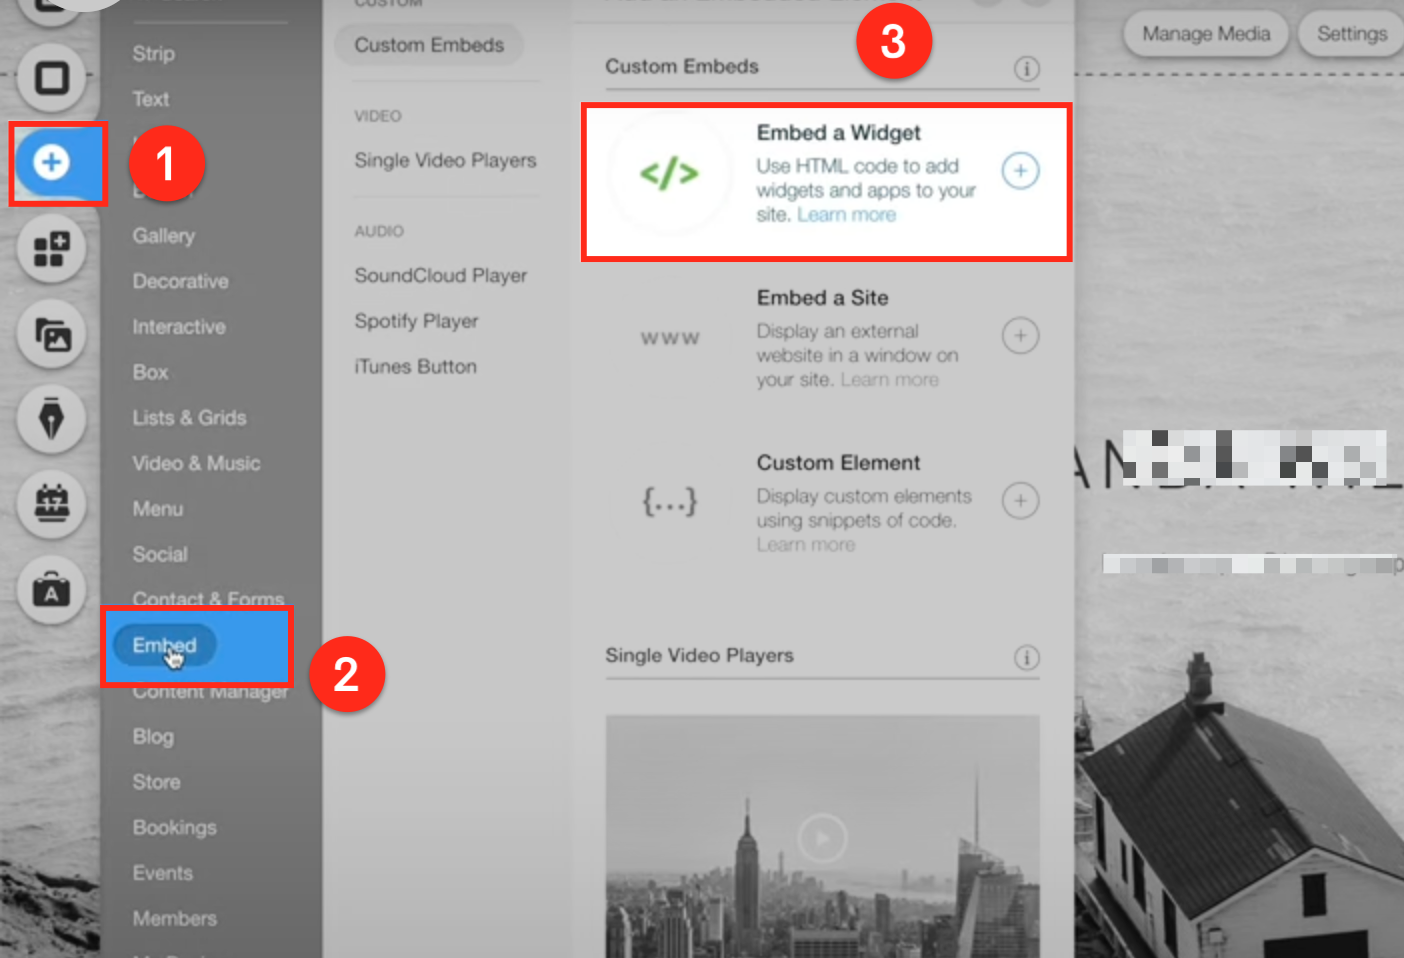
In the page builder, hover over the blue + button to add an element.
Search for Embed, then click Code Snippet.
Click inside the Embed Data field and paste your Aesthetix CRM embed code.
Click Apply, then Save.
Refresh the page. Your Aesthetix CRM form should now be visible.
Add an Embed Widget
Click the + button to find the embed option.
Click Embed.
Select Embed a Widget.
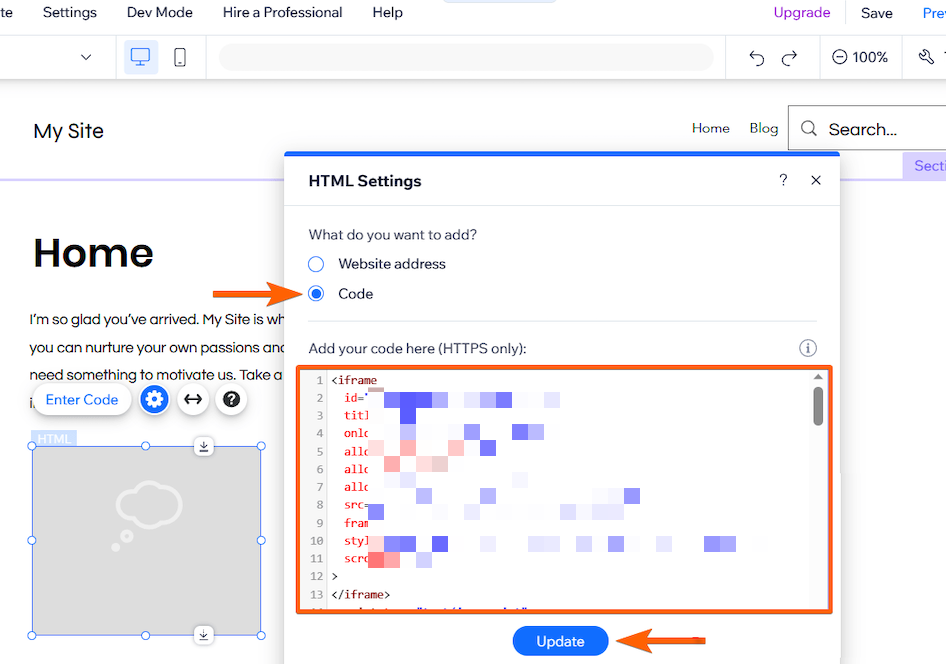
Paste the Code in the Wix Editor
Select the Code option, paste the embed script, then click Update to save your changes.
Publish Your Website
Preview the site to confirm the form appears correctly. Once confirmed, publish your Wix website.
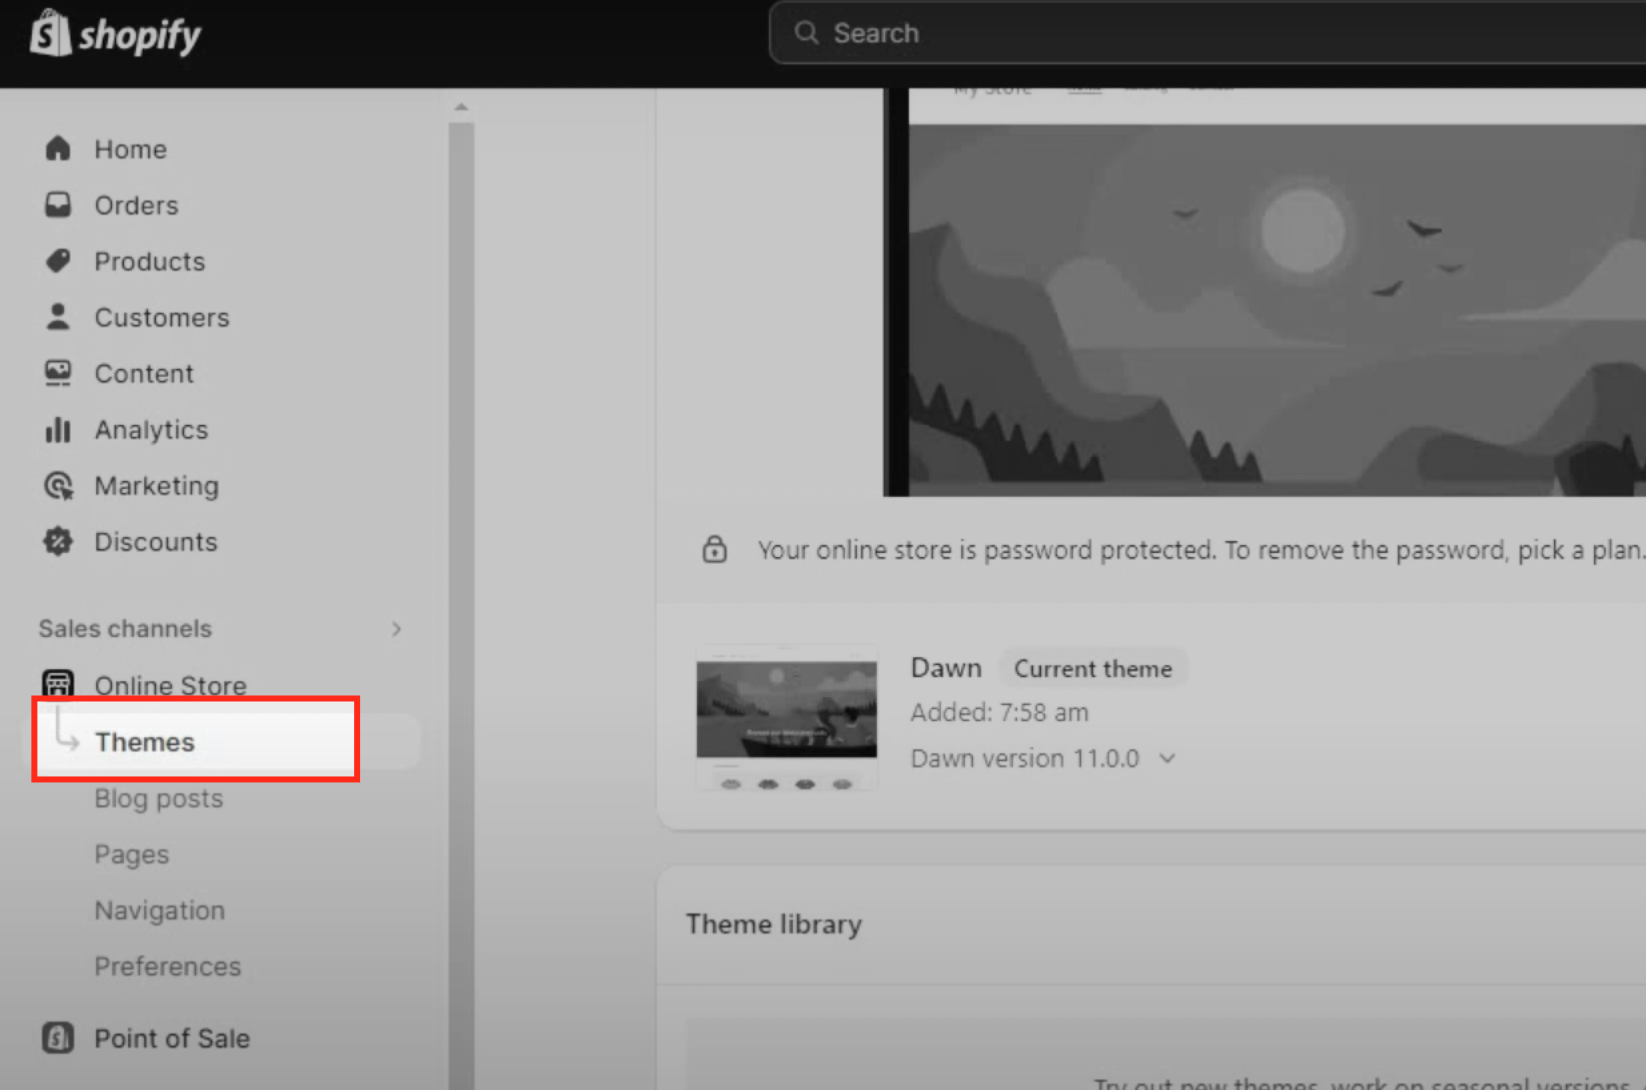
Navigate to the Themes Menu
Log in to your Shopify account and go to Online Store from the left-hand menu to manage your store's themes. Click Themes to view all available themes, with your active theme displayed at the top.
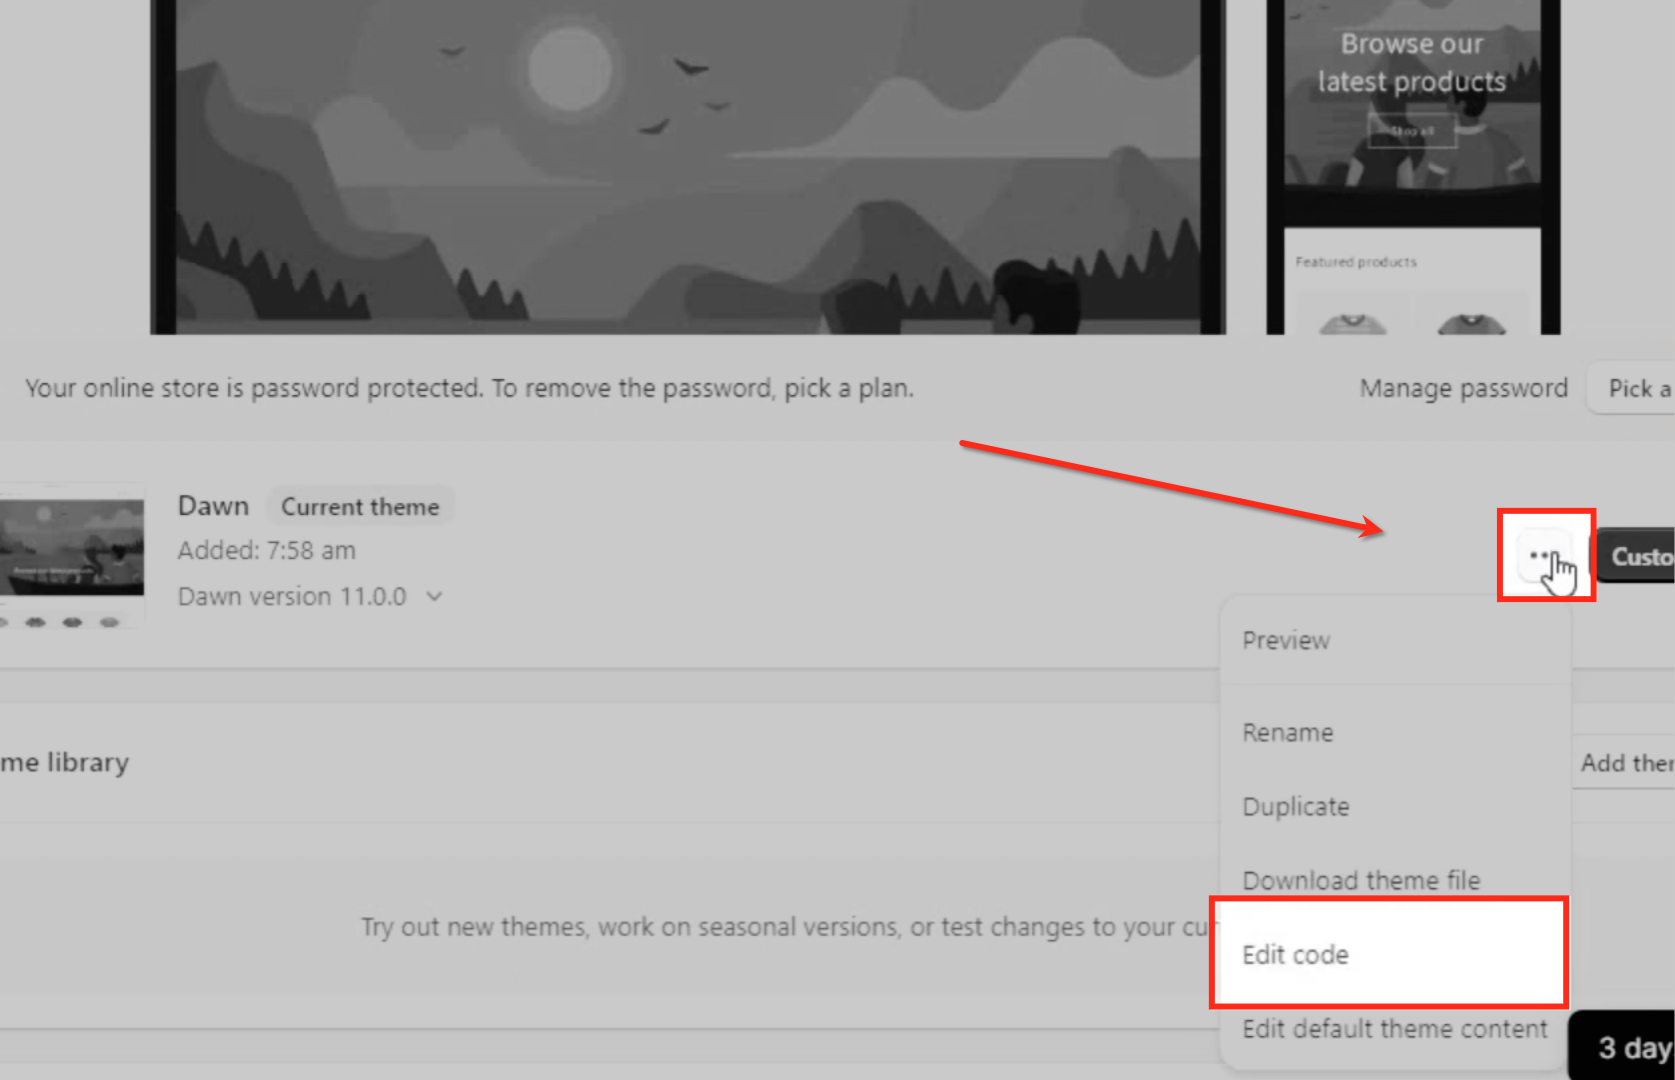
Access and Edit the Theme Code
Locate the theme you want to edit and click the three-dot Actions menu next to its name. From the dropdown, select Edit Code to open your theme's files.
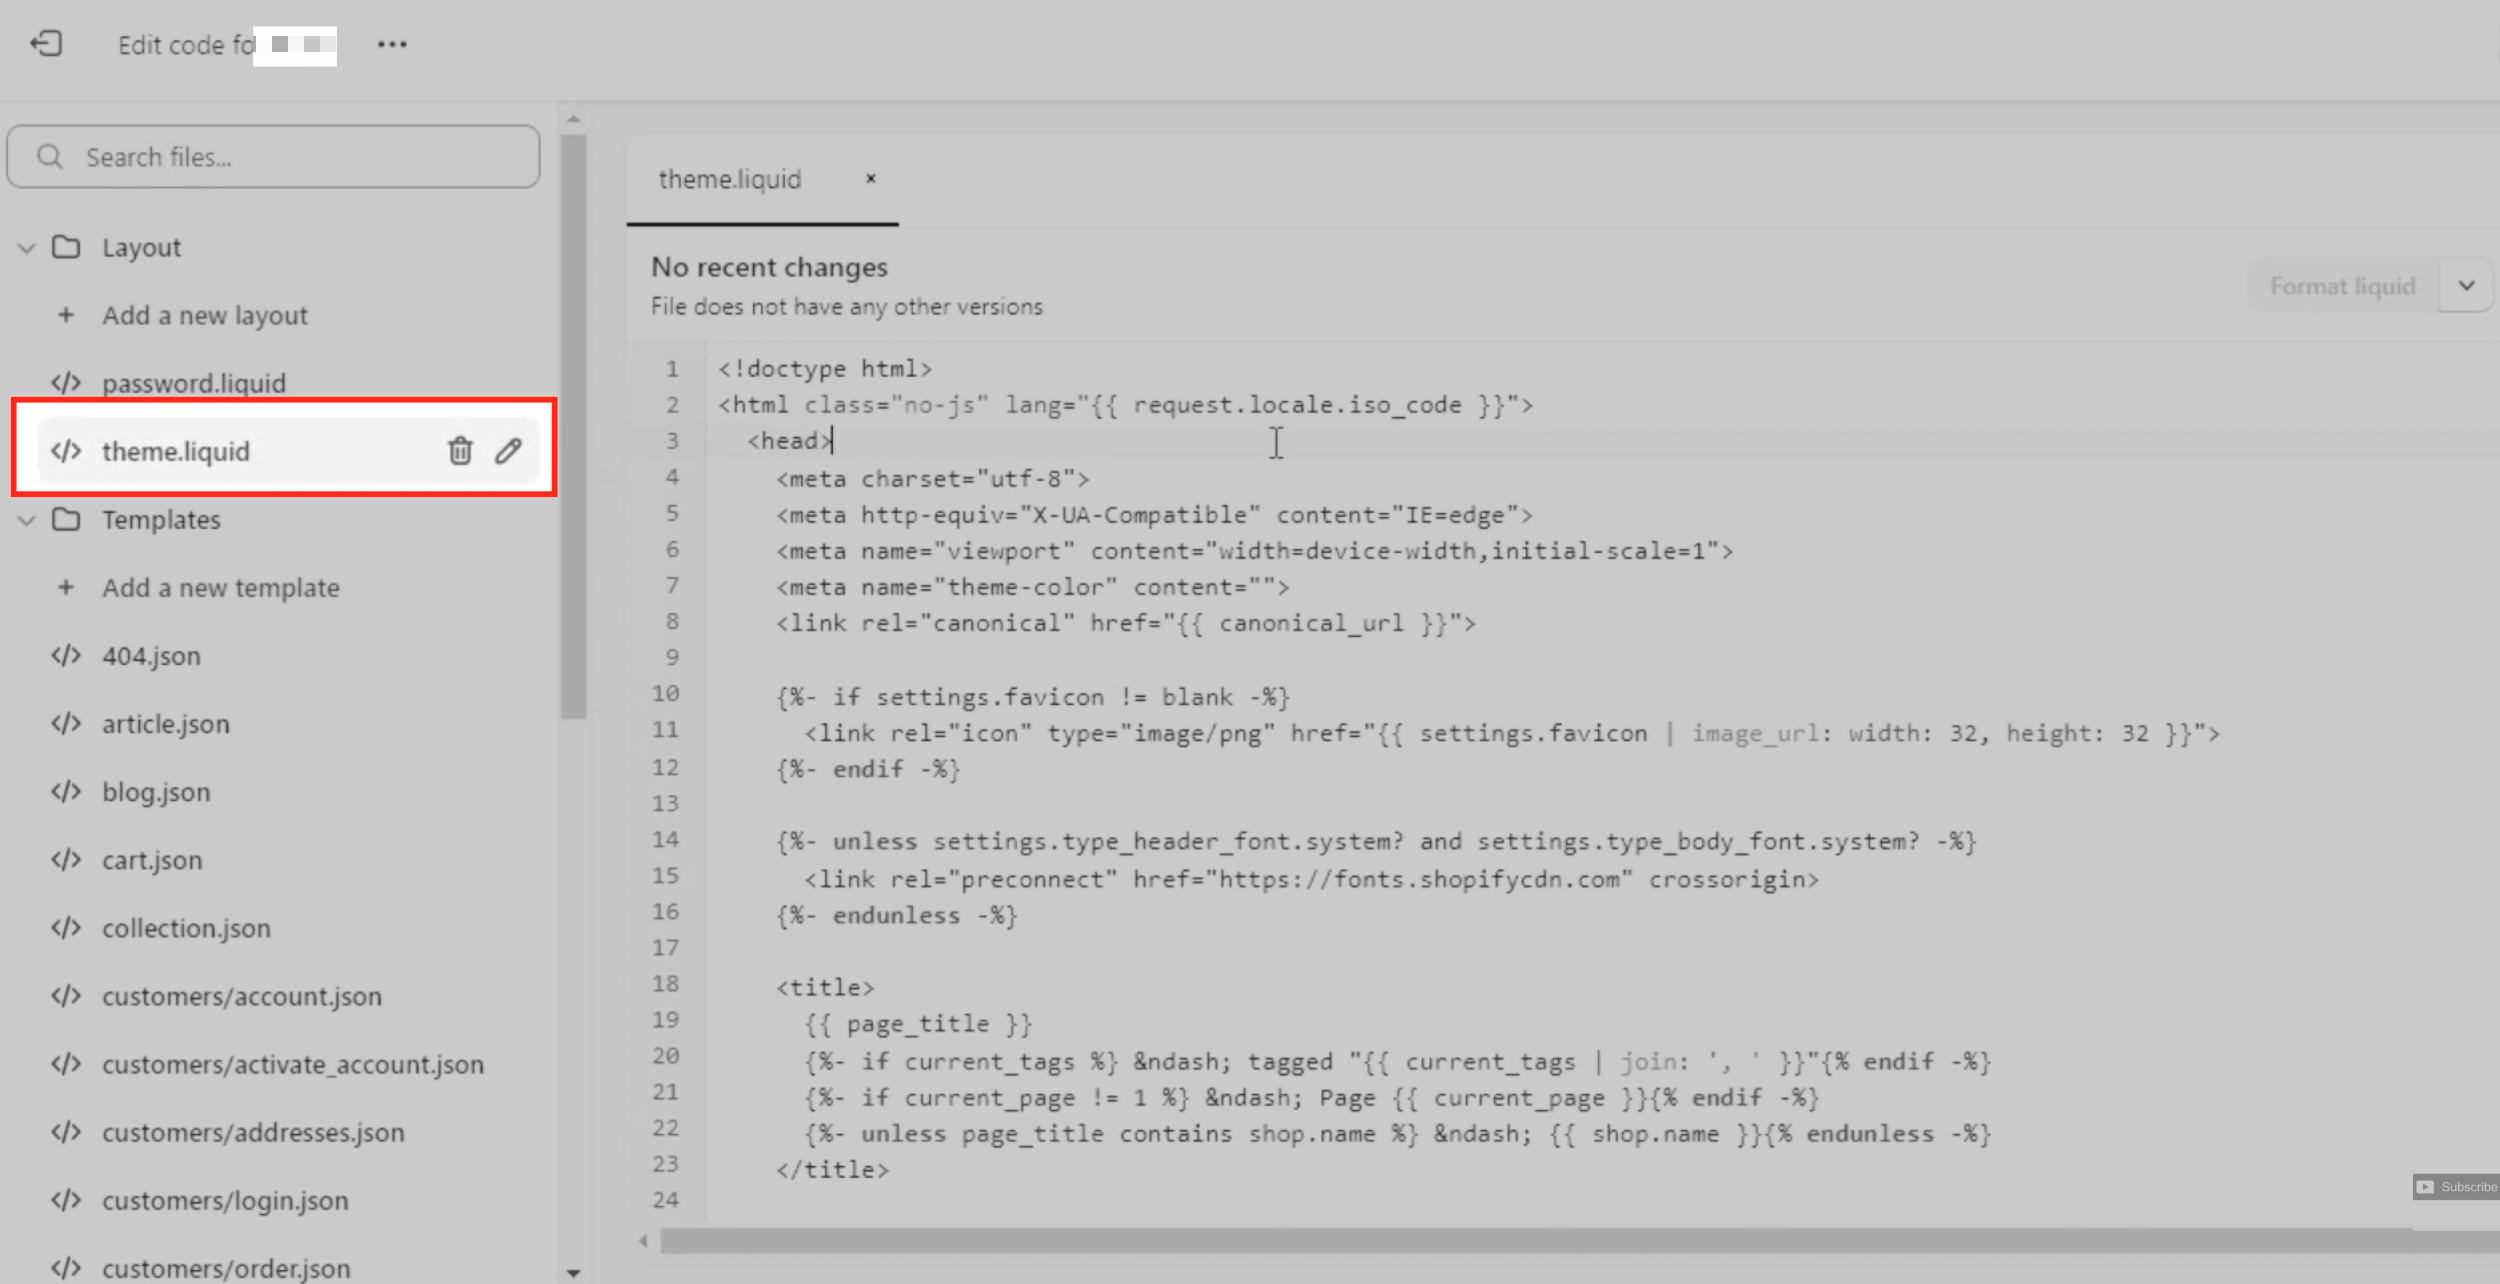
Add the Code to the Header or Footer
Locate the theme.liquid file in the Layout section. Paste the embed code inside the <head> or <footer> tag, depending on where you want the form to appear.
WordPress supports embedding scripts via plugins or theme settings, making it versatile for adding forms.
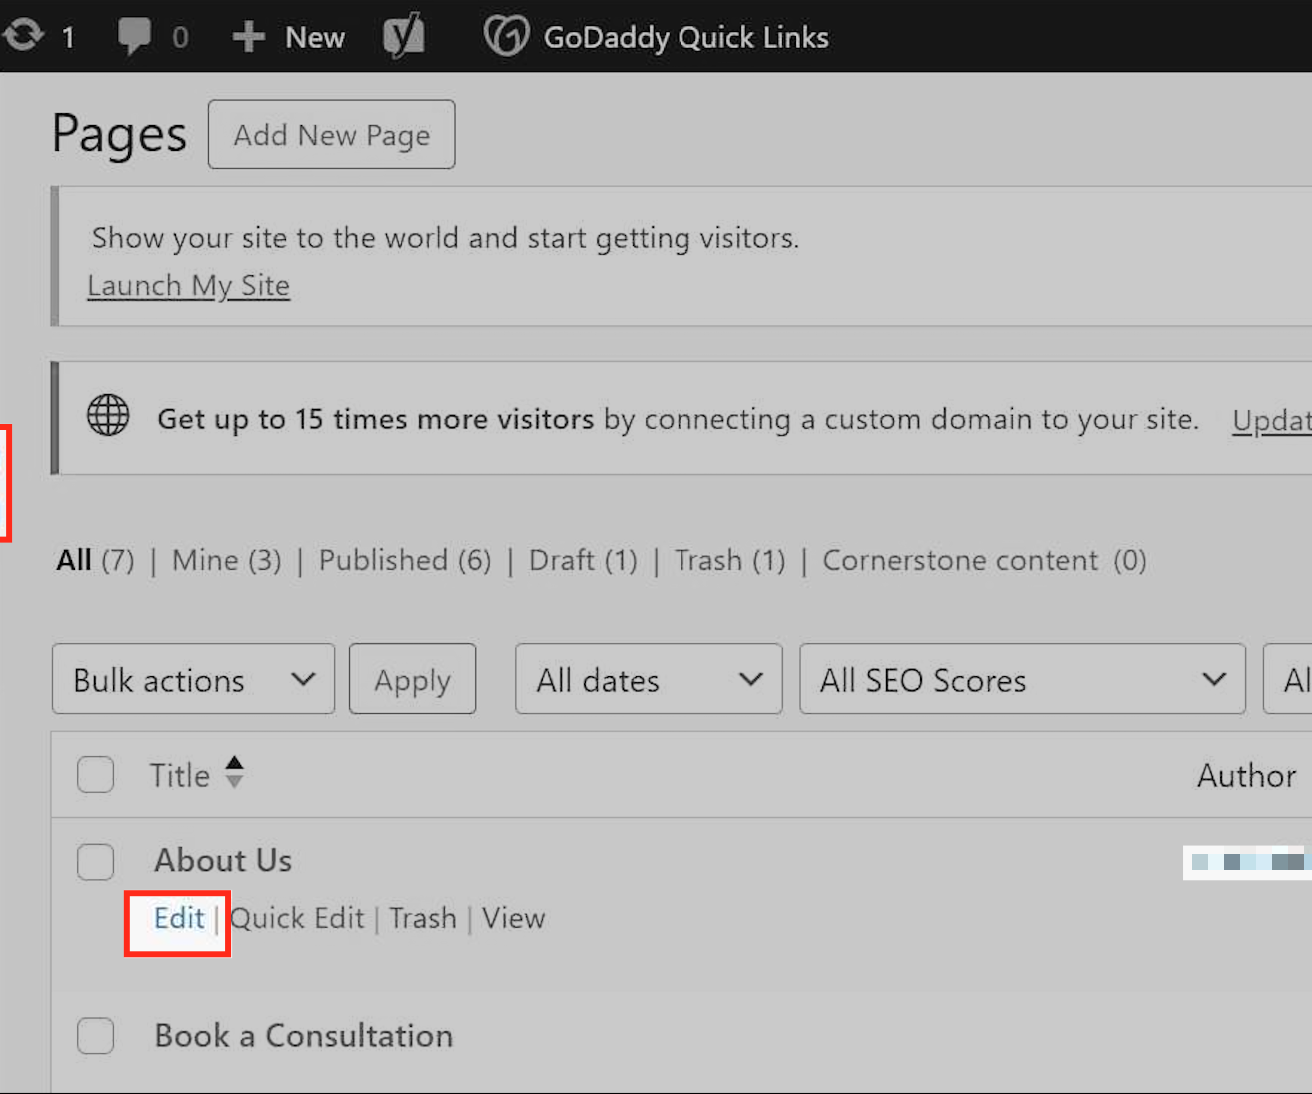
Access the Editor
Navigate to the Pages section in your website's admin dashboard, where you manage your site's visual settings and design elements. Hover over the page where you want to embed your Aesthetix CRM form and click Edit to enter editor mode.
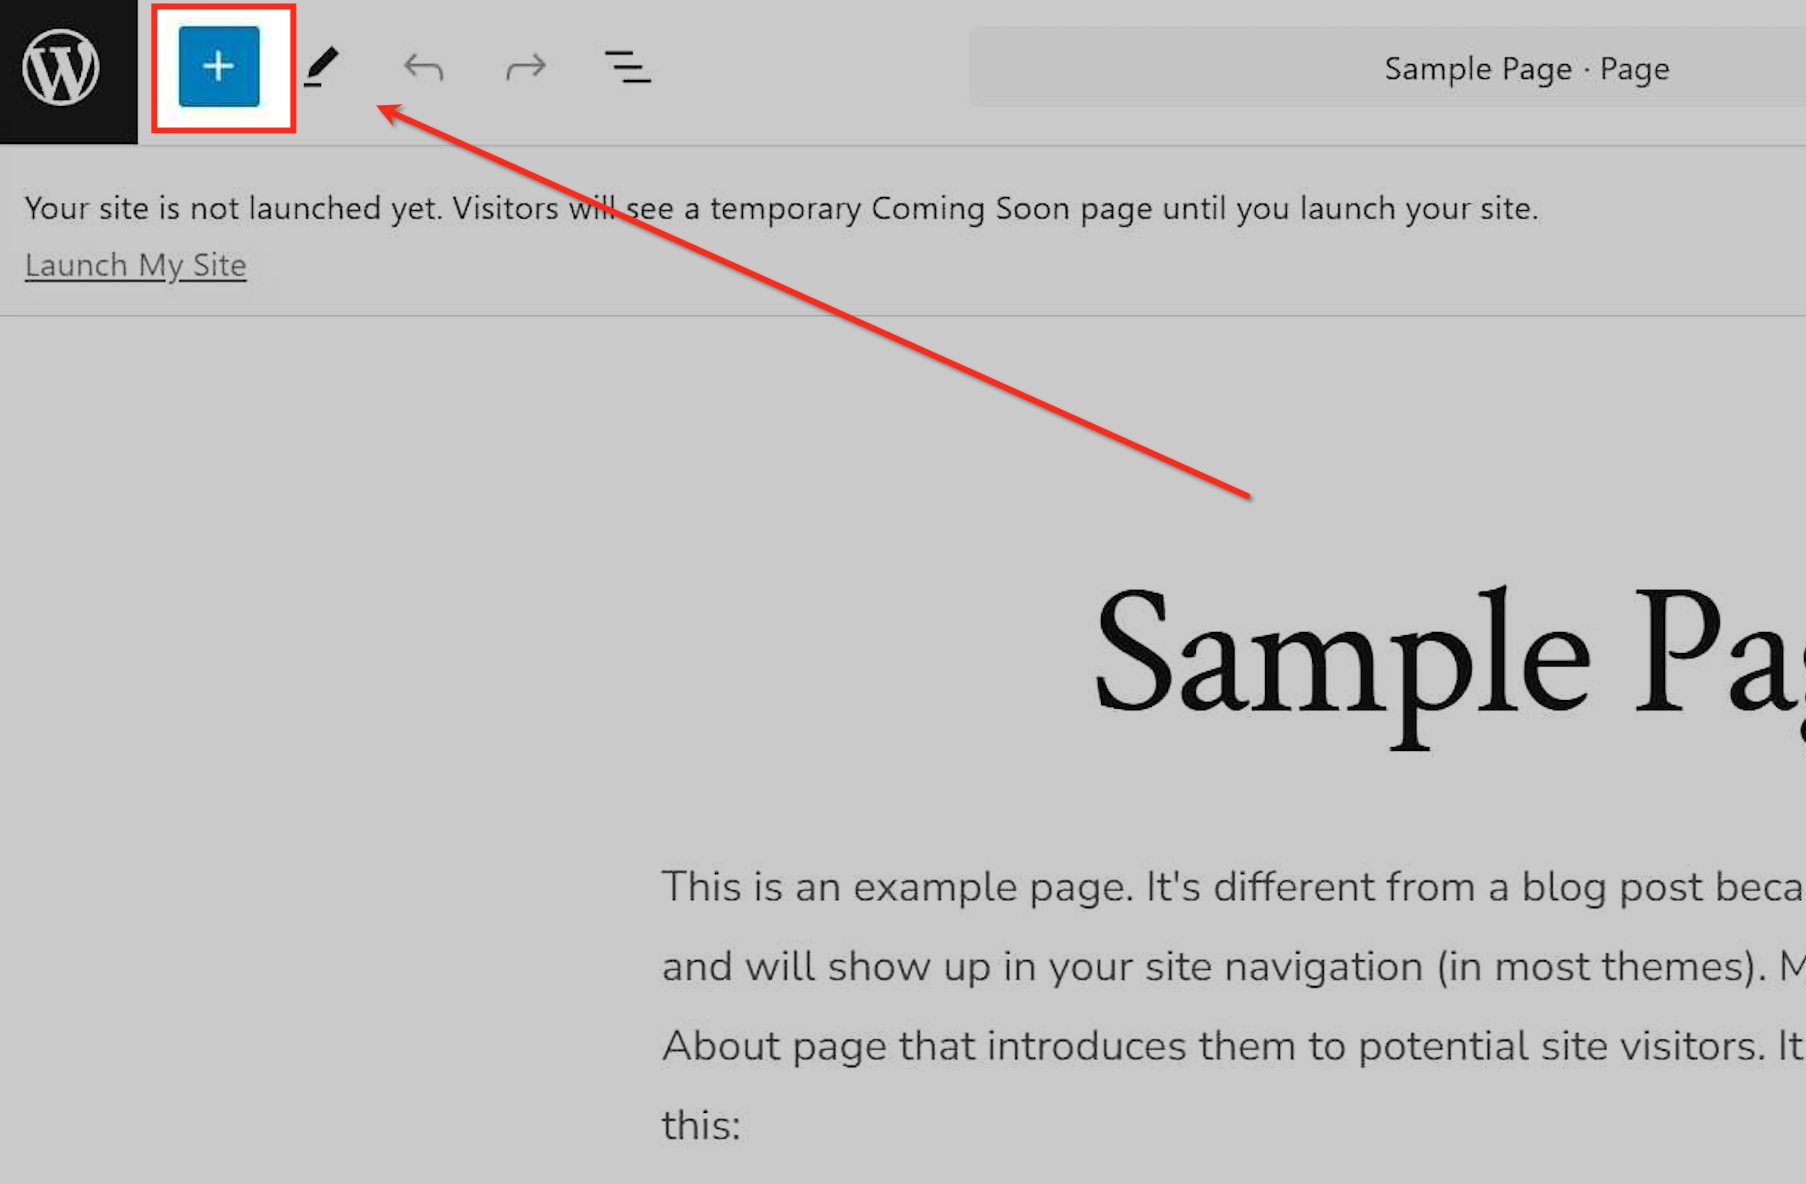
Open the Block Menu
Click the + icon in the editor to reveal the list of available blocks for customizing your page.
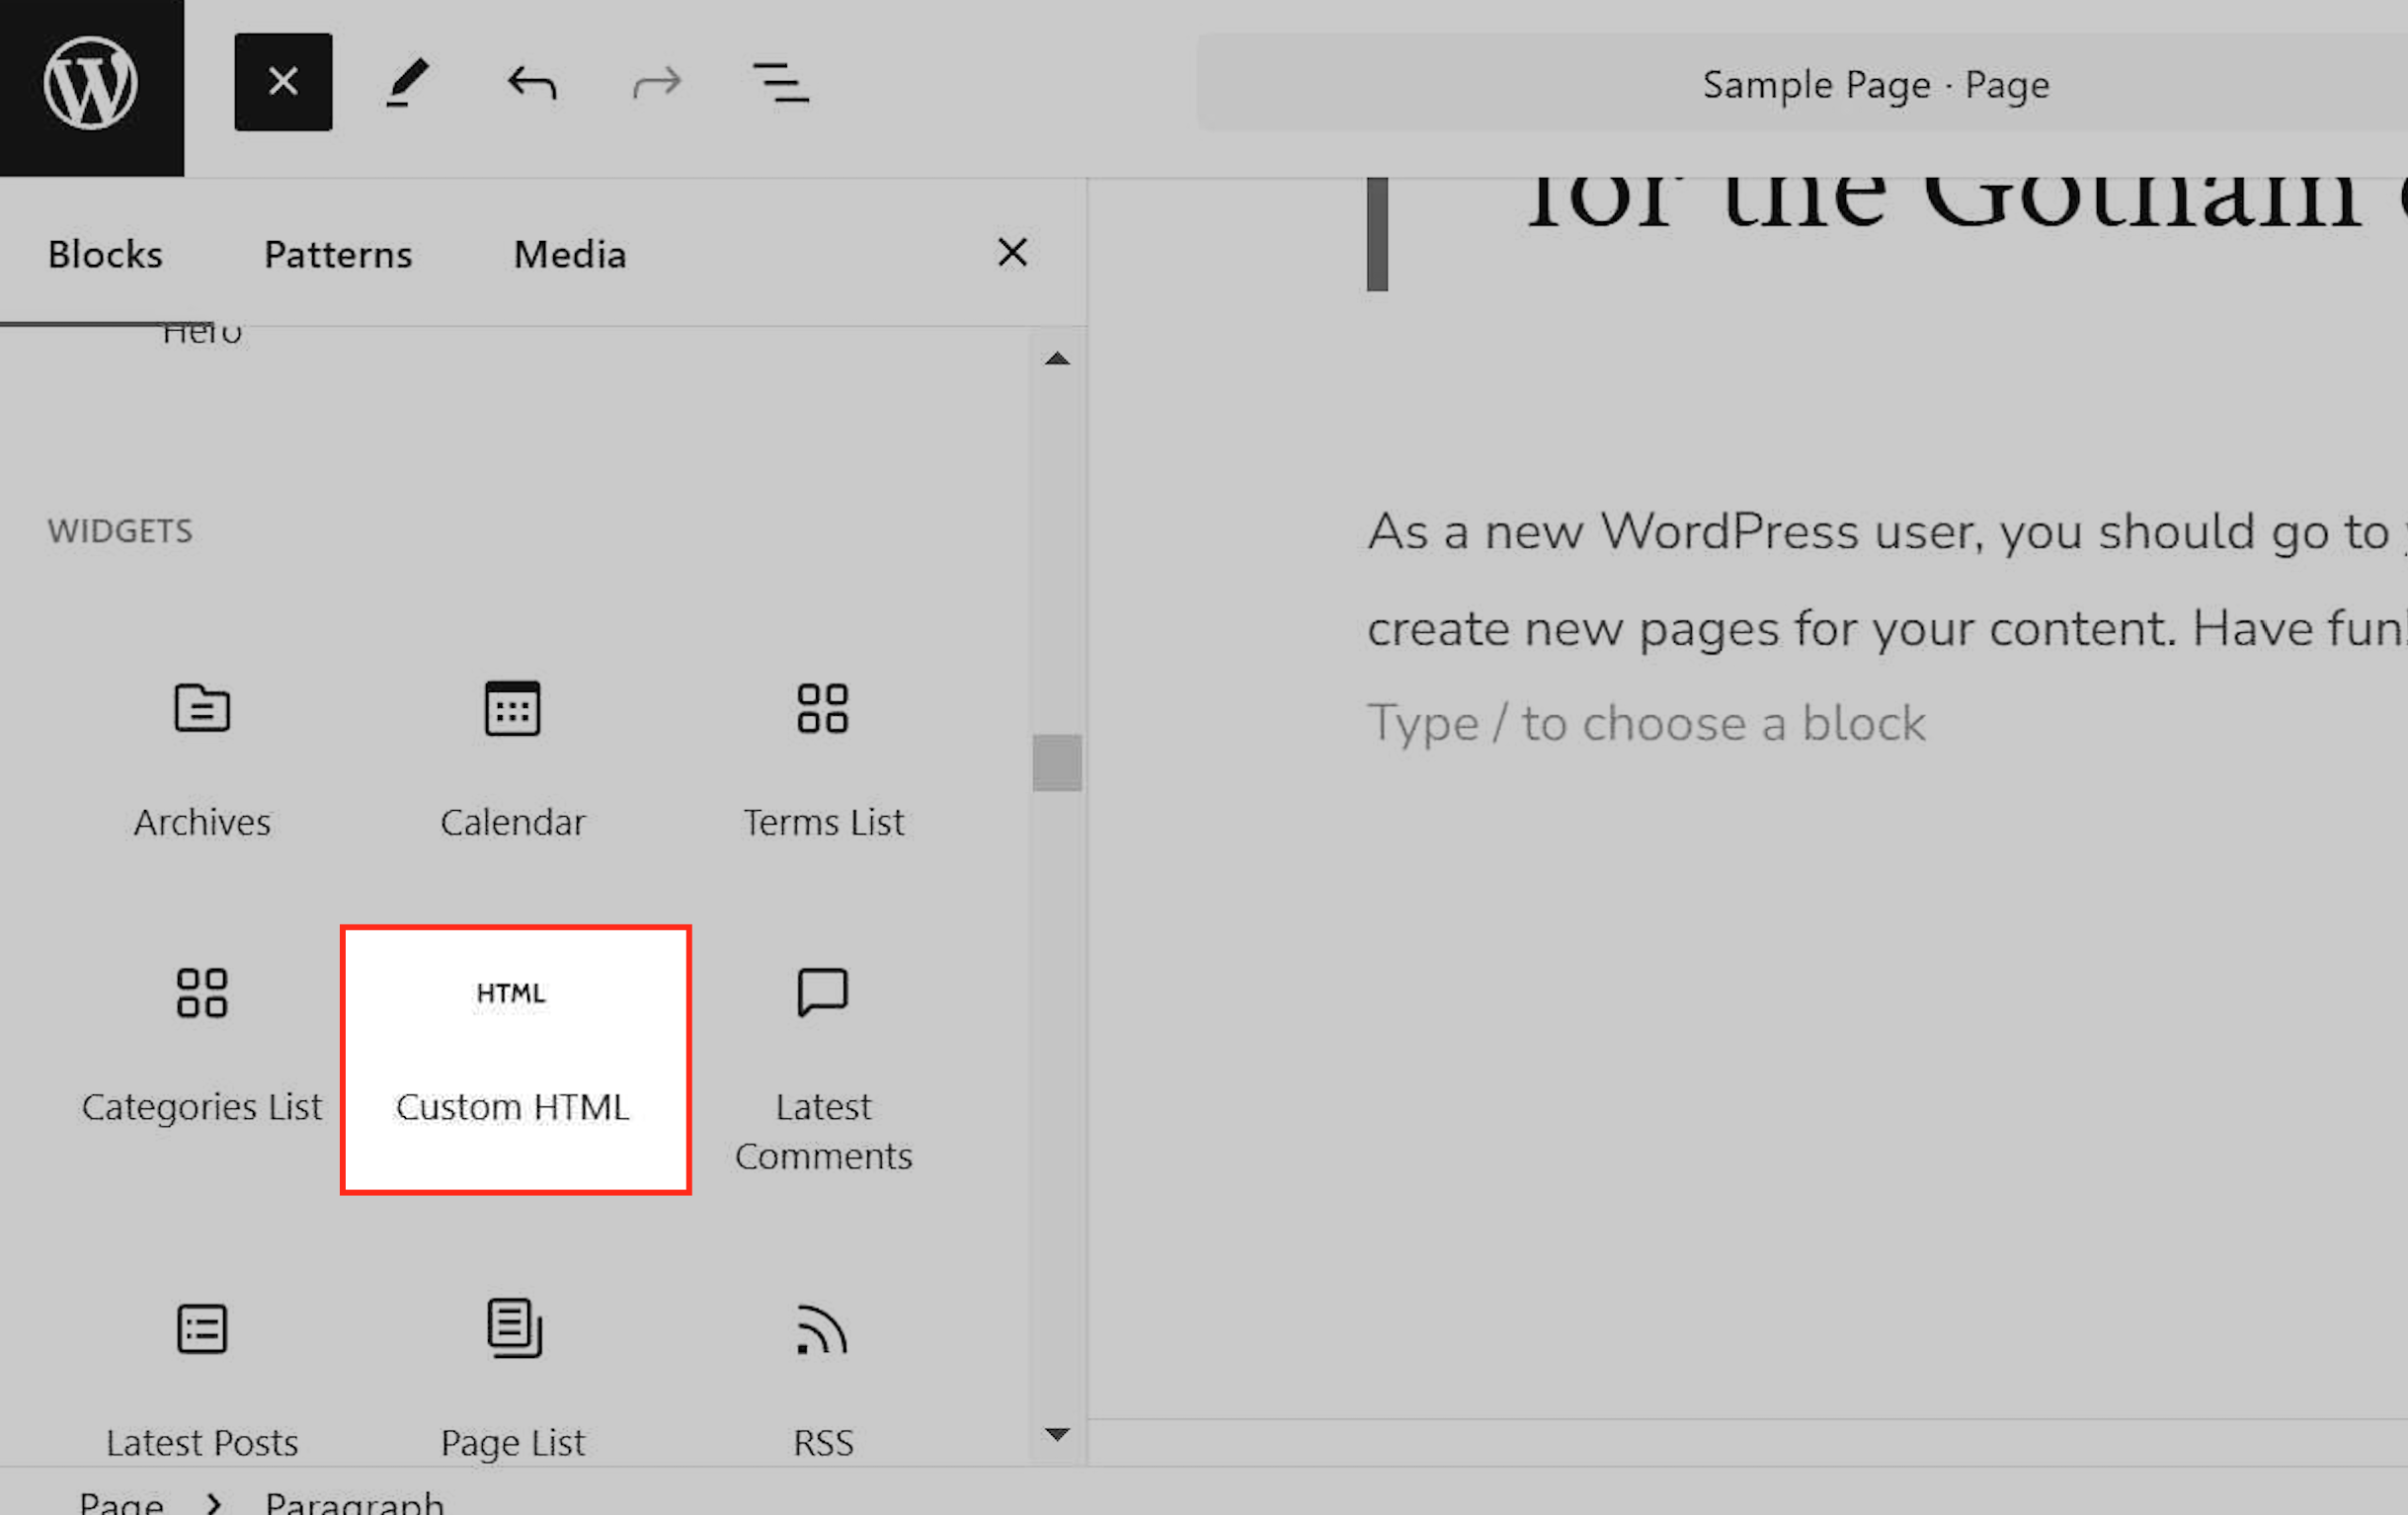
Select the Custom HTML Block
Scroll down and select the Custom HTML option to insert your own code into the page layout.
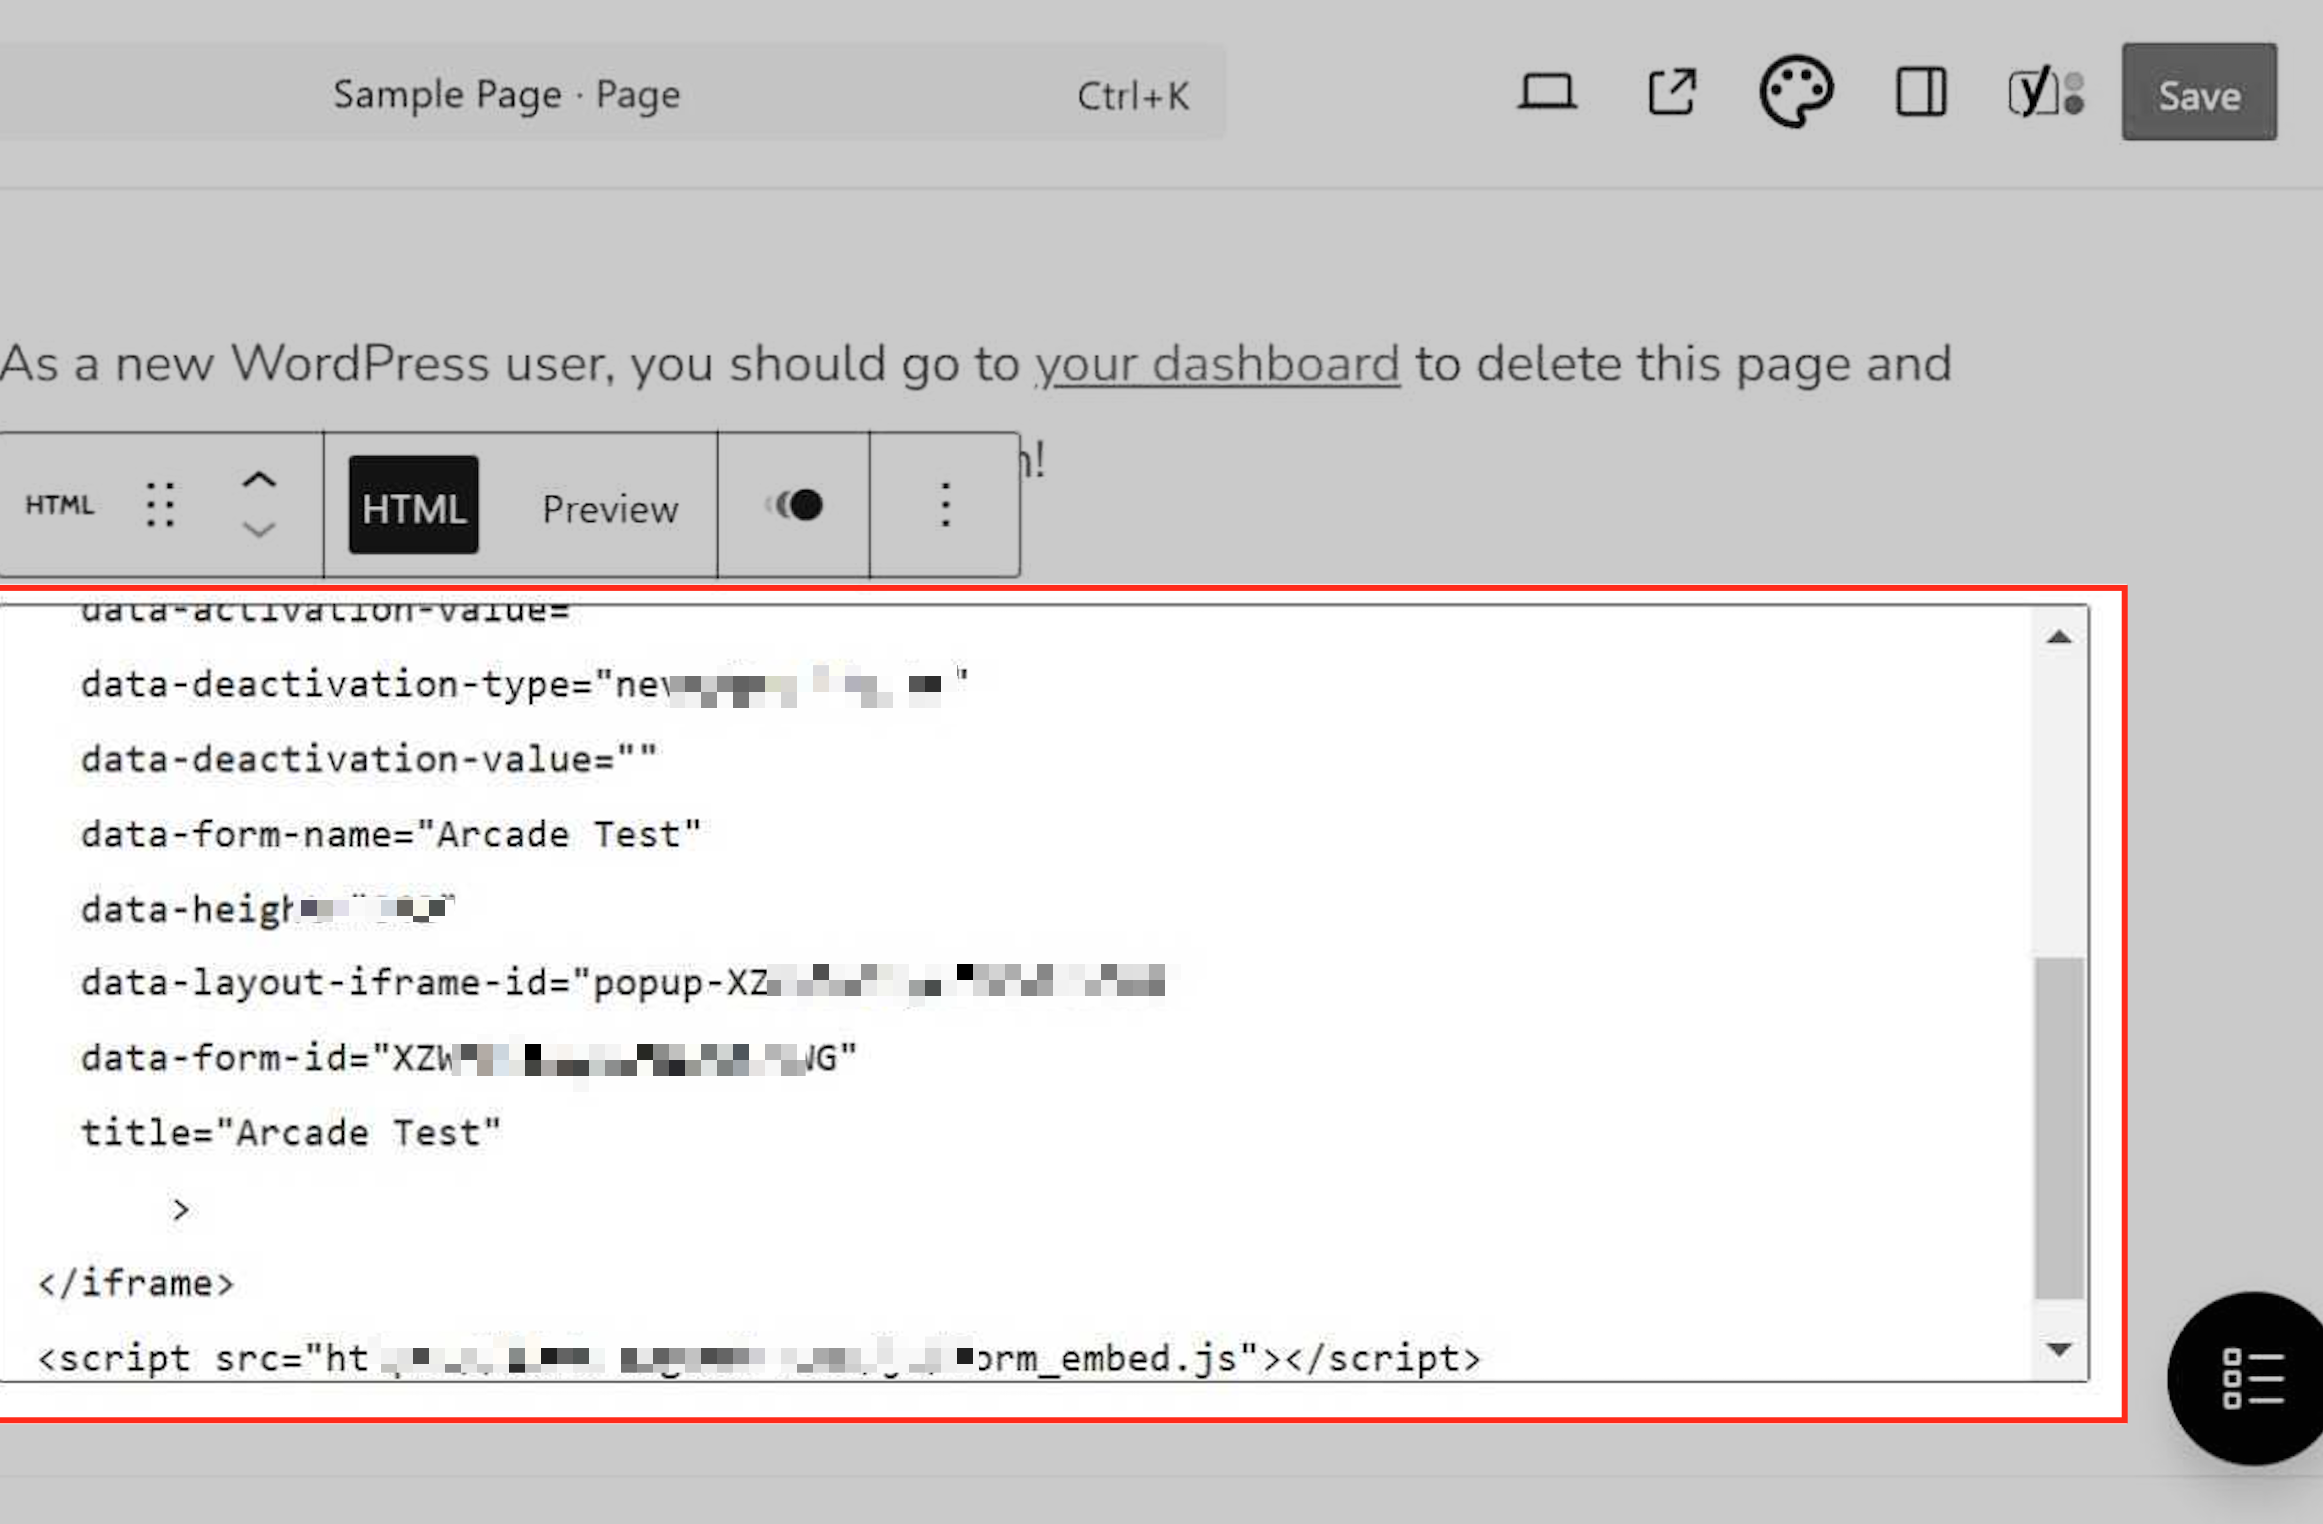
Insert the Embed Code
Paste the embed code into the appropriate section of the selected file. Ensure it is placed correctly between the <head> or <footer> tags for proper functionality, then save your changes.
Update and Test
Save your changes and refresh your website to verify the form appears correctly.
Duda offers a built-in widget for custom code, allowing you to easily add forms.
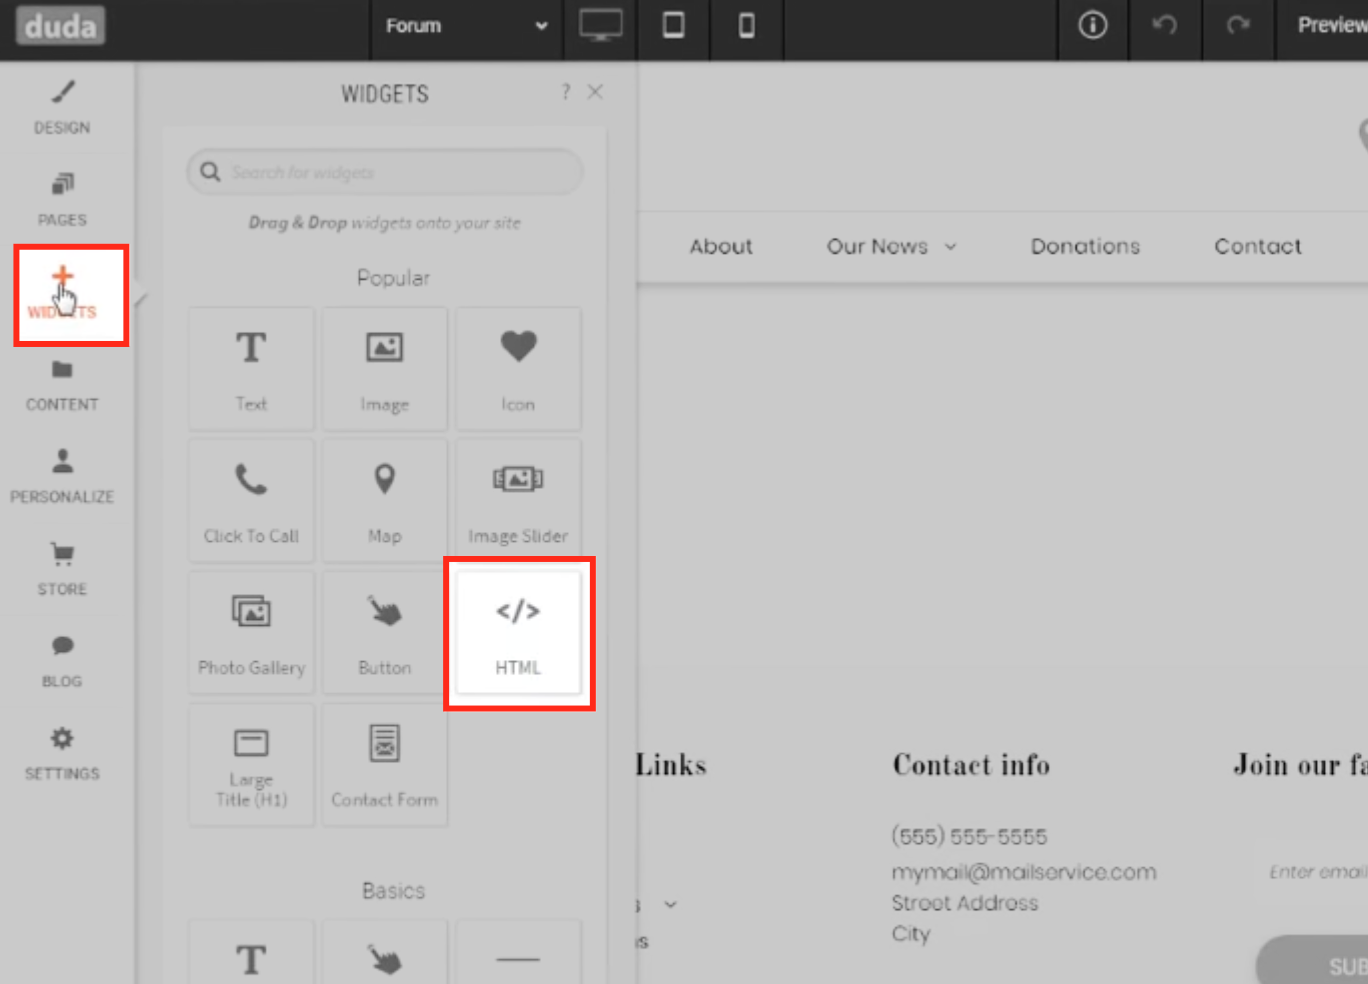
Add a Custom Widget
Open the Duda editor and navigate to the page where you want the form. Select Widgets > HTML Widget and drag it onto the page.
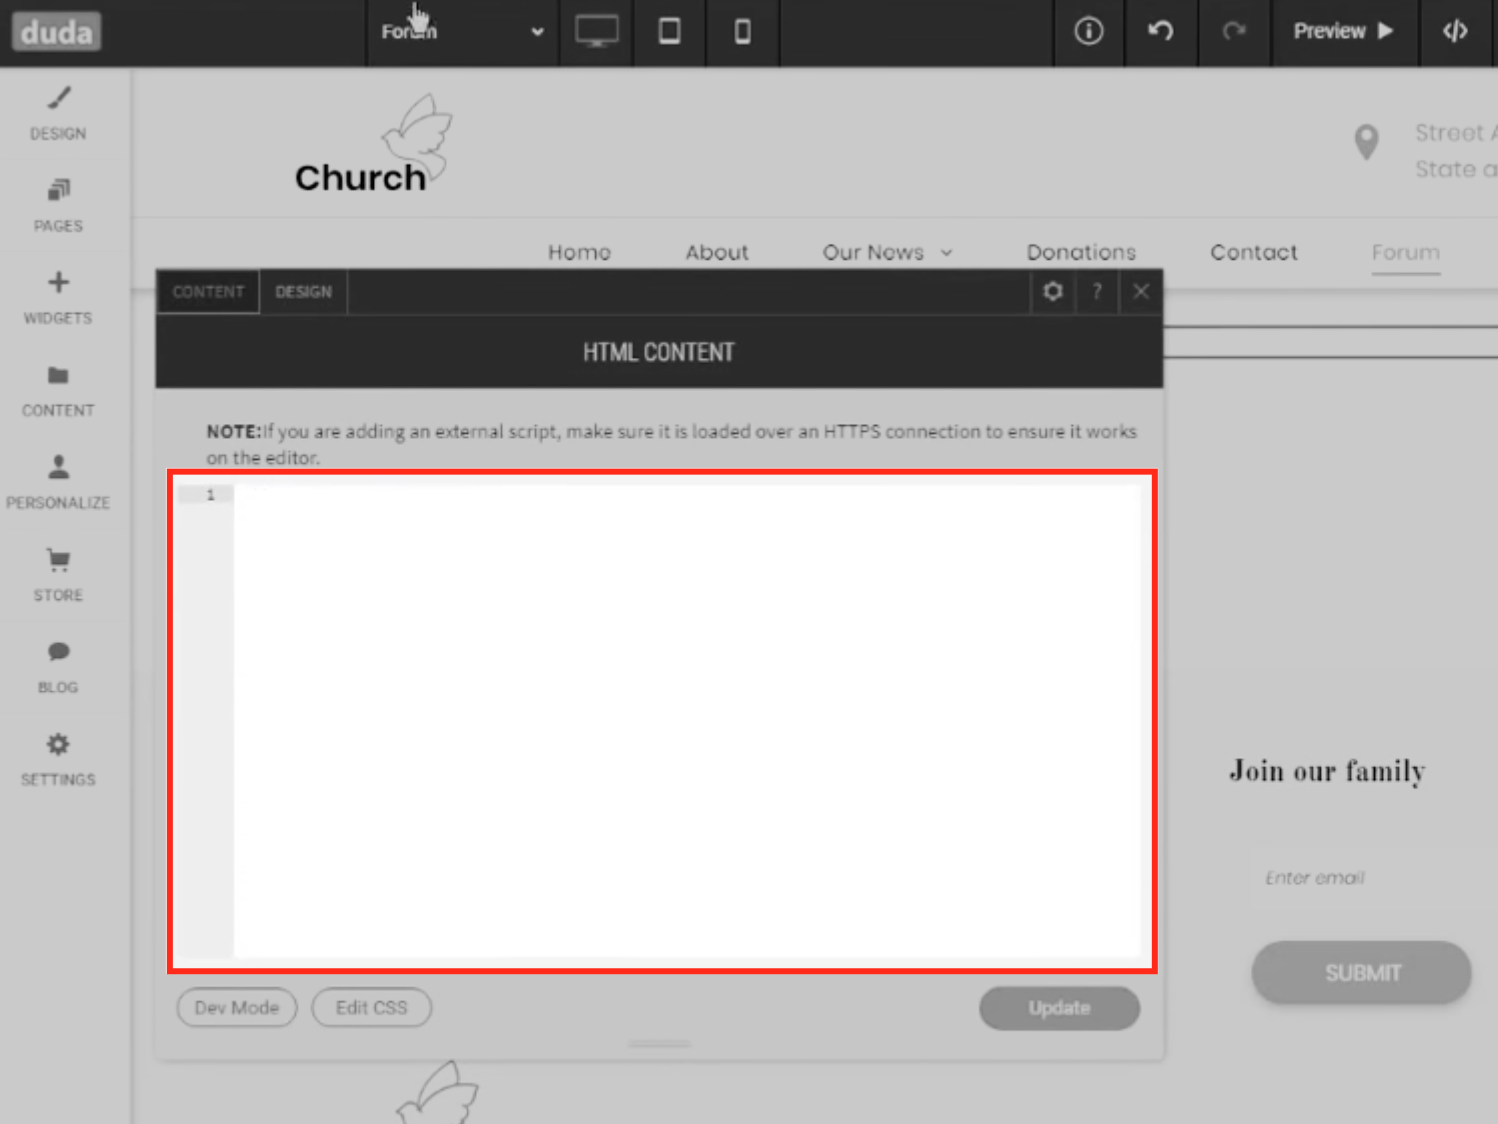
Paste the Embed Code
Paste the Aesthetix CRM script into the HTML widget and position it as needed.
Save and Publish
After adding the embed code, save your changes in the appropriate section of your website settings. Ensure the changes are published or made live to apply the updates.
Test Your Website
Open your website in a browser to verify that the embedded form displays and functions as intended. If the form doesn't appear:
Review the embed code for any errors or omissions during the copy-and-paste process.
Make sure the code is placed in the correct section so it can load properly.
Do I need coding experience to embed a form?
No. Each platform provides a user-friendly editor for pasting in custom scripts, and no coding knowledge is required.
Can I customize the appearance of the form?
Yes. You can customize the form's design and content within Aesthetix CRM before embedding it on your site.
Can I use multiple forms on different pages?
Absolutely. Generate a unique embed code for each form and paste it into the relevant page.
Which website platforms support Aesthetix CRM form embedding?
The forms work on Squarespace, Wix, Shopify, WordPress, Duda, and most other website builders that allow custom code or HTML embeds.
Will submissions sync back into Aesthetix CRM?
Yes. Any form submitted on your external website syncs directly into Aesthetix CRM, so you can follow up and trigger automations just as you would with a form hosted in your account.
Why isn't my embedded form showing up?
Double-check that you copied the full embed code without missing characters, and confirm the code is placed in the correct section (such as the header, footer, or an HTML block). On Squarespace, also remember that forms cannot be embedded on checkout pages.
Can I embed a form on my Squarespace checkout page?
No. Squarespace does not support embedding forms on checkout pages, so target other areas of your website instead.
