Learn how to add standard and custom fields to your Aesthetix CRM forms, edit labels and settings, and quick-add custom fields without leaving the builder.
Forms are how your practice collects information from patients, whether that's a consultation request, an intake questionnaire, or a follow-up survey. This guide walks you through adding both standard and custom fields to a form, editing their labels and settings, marking fields as required, and creating brand-new custom fields on the fly without leaving the builder.
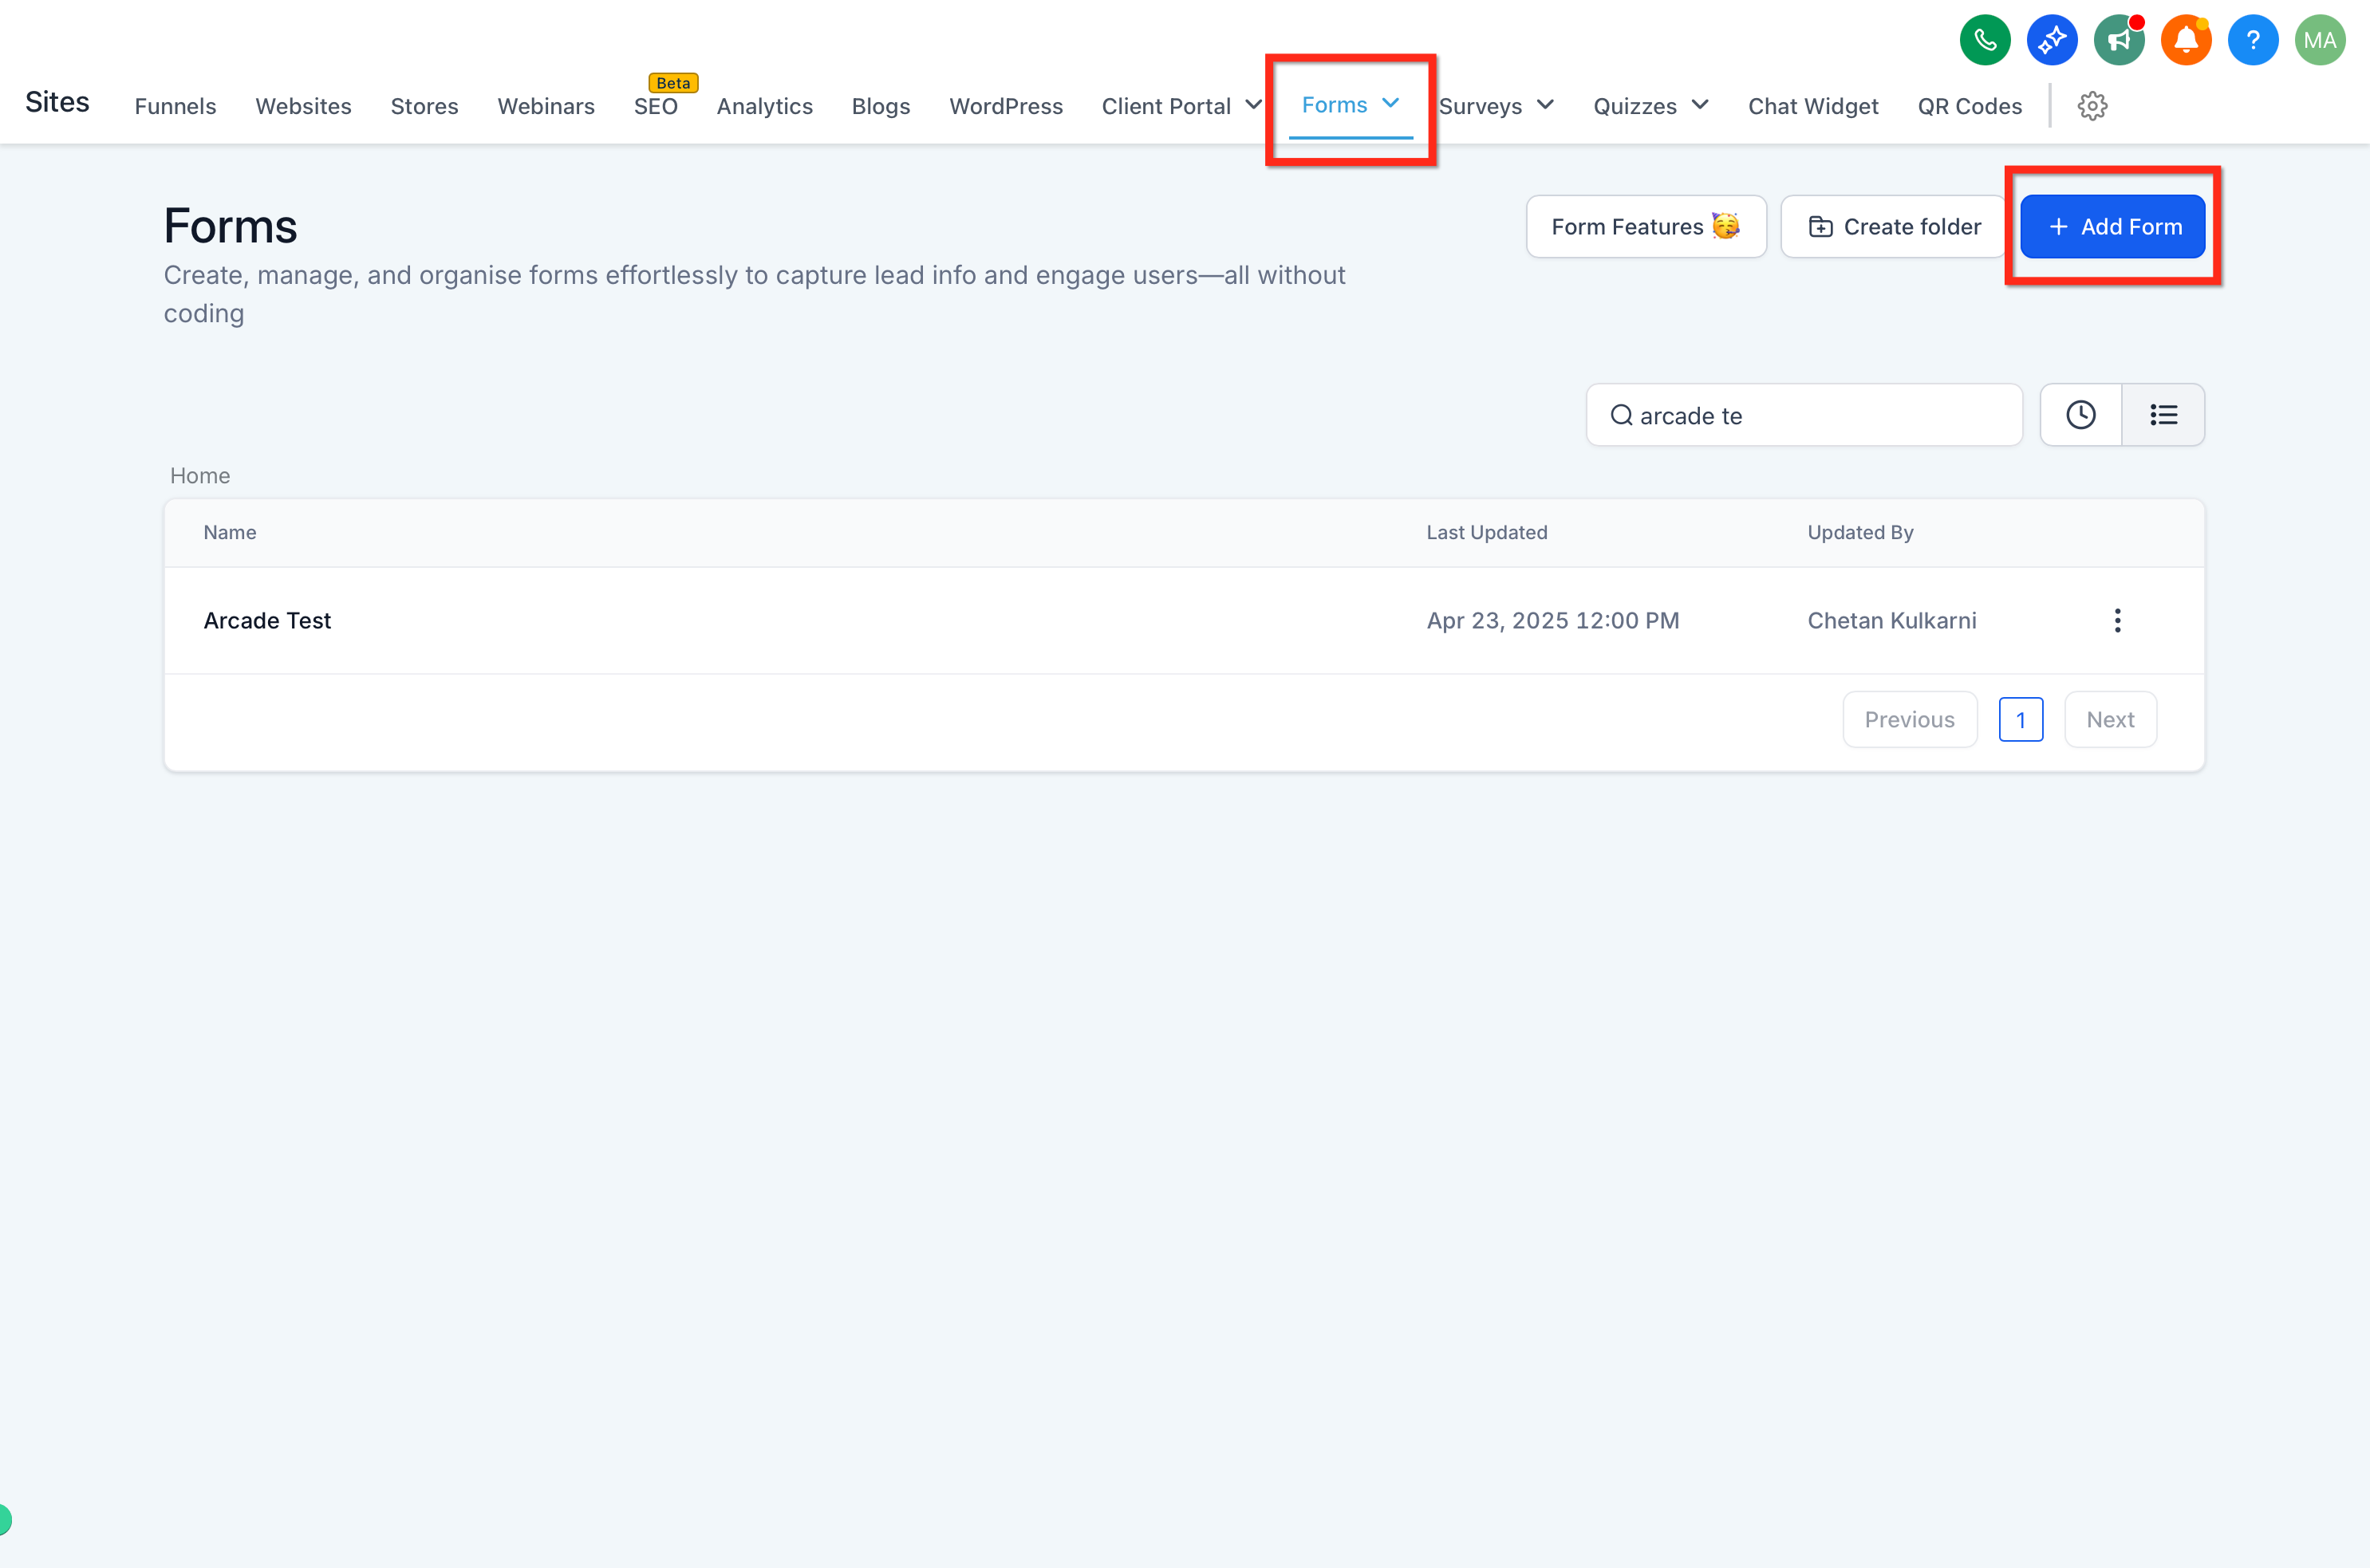
Navigate to Web Tools in your Aesthetix CRM account, then select Forms. Open an existing form or click Add Form to start a new one.
When adding fields to your form, you can choose from two groups: Standard Fields and Custom Fields. Both appear in the panel alongside the builder.
In the Standard Fields section, you can add common fields such as name, email, phone number, and more to your form. These are the everyday fields most patient forms need.
The Custom Fields section lets you or your admin build and use fields that are entirely personalized to your practice. These fields can range from checkboxes to long-form answers and can be created and named according to your requirements.
Note: When a custom field contains the word "score" in its name, the system automatically interprets it as a numeric scoring element. This applies across forms, surveys, and quizzes. This behavior is built in and tied to how scoring elements are identified.
To add a field to your form, simply drag and drop it from either the Standard Fields or Custom Fields tab onto the form slide displayed in the middle of your screen. It's a straightforward process that does not require writing any code.
Place the field where you want it to appear. As you move a field, the builder shows a subtle shadow around the dragged element, and long forms automatically scroll when you drag near the top or bottom. This makes it easier to reposition fields without stopping to scroll manually.
You no longer need to step through a separate modal to create a custom field. With Quick Add, you can create custom fields on the fly by dragging and dropping them straight into the form.
The following custom field types can be dragged in directly:
Radio Select
Single and Multi Dropdown
Checkbox
File upload
Single Line
Multi line
Textbox List
Date picker
Number
Monetary
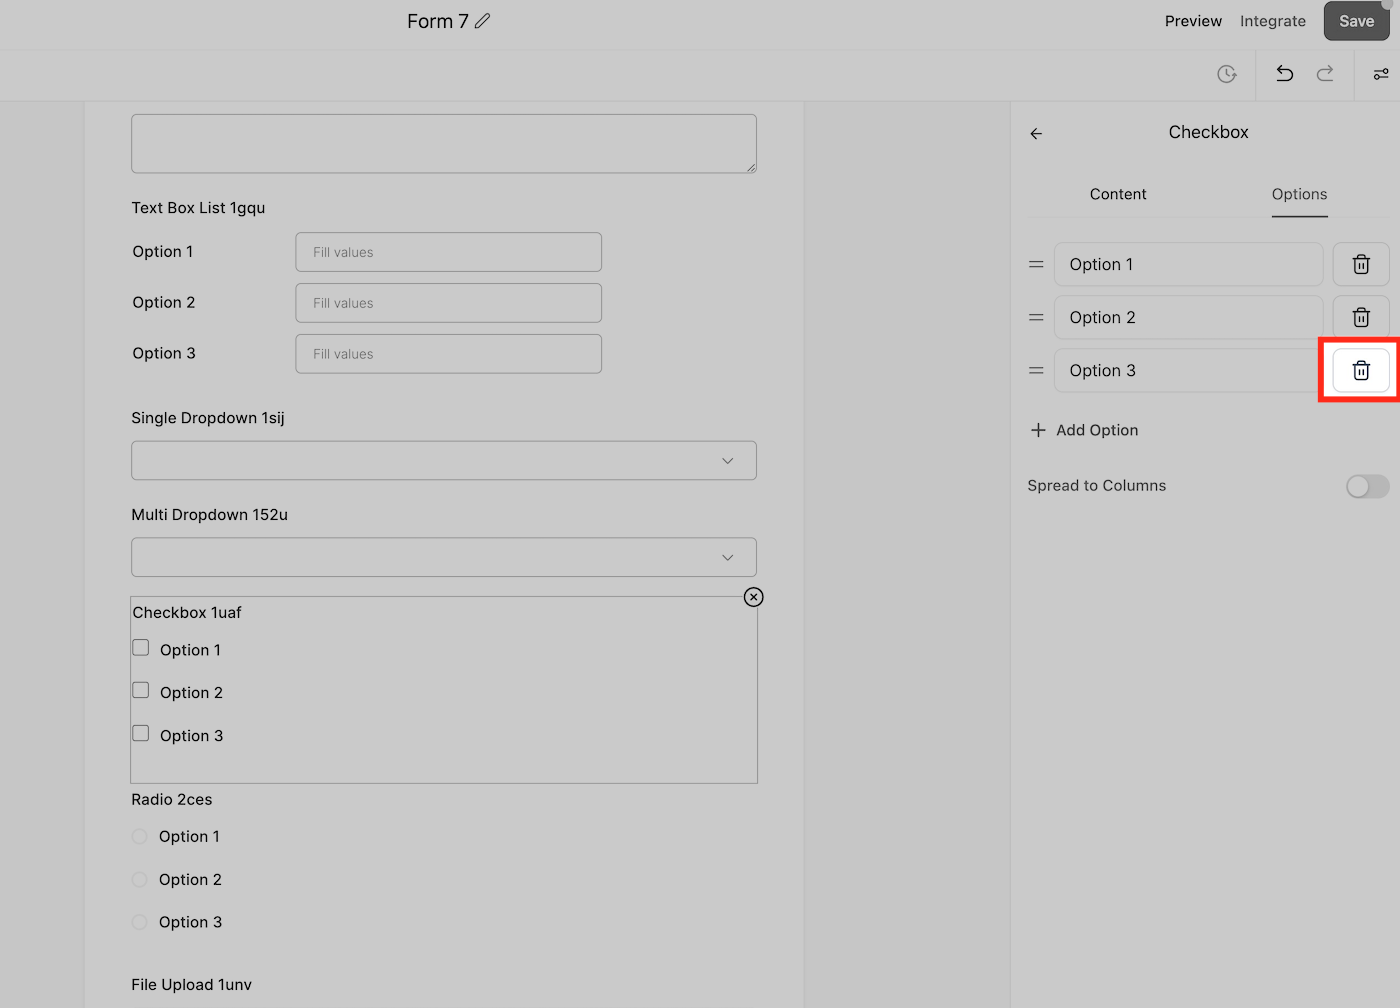
When you drop one of these in, you can customize options for dropdowns, radio buttons, and checkboxes, or file input options for file upload fields. You can also set the custom field name and unique key.
To edit any field already placed on the form:
Click the field within the form builder.
A settings panel appears on the right side.
Use the options in the General Settings and Advanced Settings dropdowns to make your changes.
From here you can adjust the label, placeholder text, and other properties. For custom fields you can also customize options (editing, reordering, and deleting them) and file input options.
Within a field's settings, you can mark it as required so patients cannot submit the form until it's filled in. This is useful for essential details like name, email, or consent fields.
Saving the form saves your custom fields as well, making them available across all places in your account.
Note: After you save the form, the custom field name and unique key are locked. If you need to change either one later, edit the field from the custom fields section in Settings.
If you're seeing outdated custom fields in your form builder, even after deleting them from the form, they may still exist in your account's custom fields list.
To fully remove them:
Navigate to Settings > Custom Fields.
Locate the outdated field in the list.
Click the Trash icon to permanently delete it.
Note: Deleting a custom field from this section removes it from all forms, surveys, and contacts where it was used.
What is the difference between standard fields and custom fields? Standard fields are common, pre-built fields like name, email, and phone number that most patient forms need. Custom fields are ones you or your admin create and name yourself, ranging from checkboxes to long-form answers, tailored to your practice.
How do I add a field to my form? Drag and drop the field from either the Standard Fields or Custom Fields tab onto the form slide in the middle of your screen. No coding is required.
Can I create a new custom field without leaving the form builder? Yes. With Quick Add, you can create custom fields on the fly by dragging supported field types directly into the form, then setting the name, unique key, and any options. Saving the form saves the new custom field for use across your account.
Which custom field types can I drag directly into a form? Radio Select, Single and Multi Dropdown, Checkbox, File upload, Single Line, Multi line, Textbox List, Date picker, Number, and Monetary fields can all be dragged in directly.
How do I edit a field's label or placeholder? Click the field in the builder to open its settings panel on the right, then use the General Settings and Advanced Settings dropdowns to change the label, placeholder, and other properties.
How do I make a field required? Click the field to open its settings panel and mark it as required. Patients will not be able to submit the form until that field is filled in.
Why can't I edit a custom field's name or key after saving? Once you save the form, the custom field name and unique key are locked to keep your data consistent. You can still edit them from the custom fields section in Settings.
Why is my number field being treated as a score? If a custom field's name contains the word "score," the system automatically treats it as a numeric scoring element across forms, surveys, and quizzes. Rename the field if you do not want this behavior.
I deleted a custom field but it still appears. How do I remove it completely? The field likely still exists in your account's custom fields list. Go to Settings > Custom Fields, find the field, and click the Trash icon to delete it permanently. Note that this removes it from all forms, surveys, and contacts where it was used.
