Aesthetix CRM gives you three ways to build out your blog faster: import existing posts from another website by URL, start new posts from ready-made templates, and add a subscribe form so readers can opt in to future updates. This guide walks through each one.
The URL importer migrates blog posts from an external website into Aesthetix CRM by scanning a homepage URL and detecting the available content. It reduces manual copy-and-paste work and gives you visibility into each post before it lands in your blog.
Guided import flow: Move through a clear process from Scan to Review to Map to Import.
Migration control: Review detected posts before importing them into your blog.
Manual metadata mapping: Add missing authors, categories, and tags during import.
Flexible outcomes: Import both mapped and unmapped posts without being blocked.
Faster publishing readiness: Fully mapped posts import as published, while unmapped posts save as drafts for follow-up.
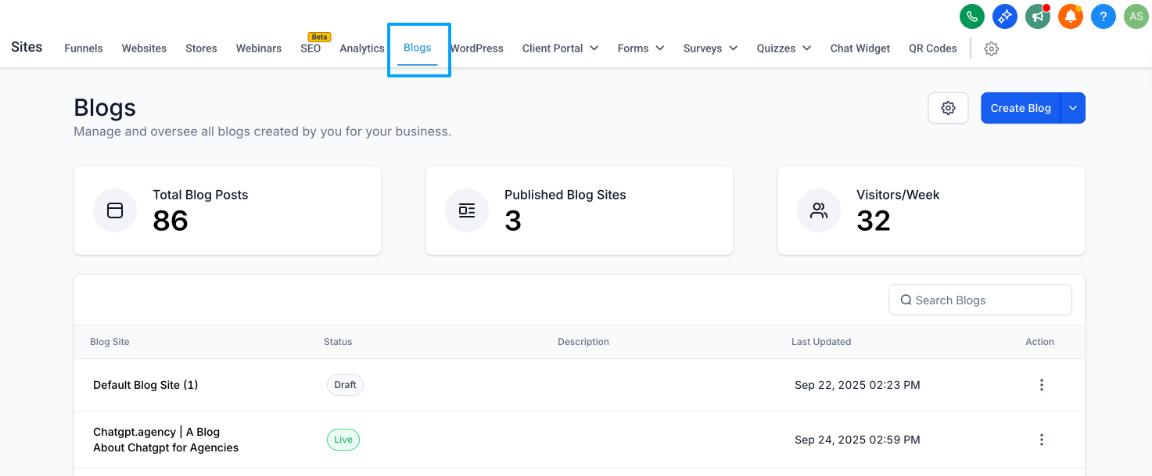
Navigate to Web Tools → Websites → Blogs to see the blog list.
Click an existing blog, or create a new one.
Open the blog post list for an existing or new blog.
Click New Post > Import Blog Posts from URL.
Enter your blog homepage URL.
Add a recent post URL.
Choose your platform.
Click Continue. The importer will begin scanning, and you'll wait for the mapping to complete.
Follow the on-screen instructions to identify which elements on the page correspond to which pieces of information in your blog posts.
Mapping is complete when all the check marks are green.
When the import finishes, you'll see how many posts were fetched and the date they were fetched on.
Note: Expect roughly 10–20 minutes to process 1,000 posts. If the blog's sitemap doesn't include a URL, its posts can't be imported. During the interim failure state you may see "Scan in progress," which shows a blank page when clicked.
Review the imported posts in your blog:
Fully mapped posts import as Published.
Unmapped posts import as Draft.
Select the blog post(s) you want to import.
Click Import Selected.
The Blog Template Library provides ready-made blog layouts so you don't have to start from scratch. Choose from a variety of pre-designed templates that align with common goals, such as educational guides, promotional content, or storytelling formats.
Save time by starting with a structured format.
Choose from professionally designed blog types.
Maintain visual and structural consistency across posts.
Customize each template easily in the editor.
Ensure mobile responsiveness and accessibility.
Minimize writer's block by starting with content inspiration.
In the left sidebar, click Web Tools → Websites → Blogs.
Click Create Blog in the top-right corner, then select Create Blog From Template.
Browse the available templates. Click a template to preview it.
Once you've chosen a template, click Continue.
The template opens in the blog editor, where you can customize the content, formatting, and media.
When you're satisfied, click Save or publish your post.
Each layout is professionally structured to guide the flow of content in an effective, visually appealing way, letting you match your posts to a specific objective.
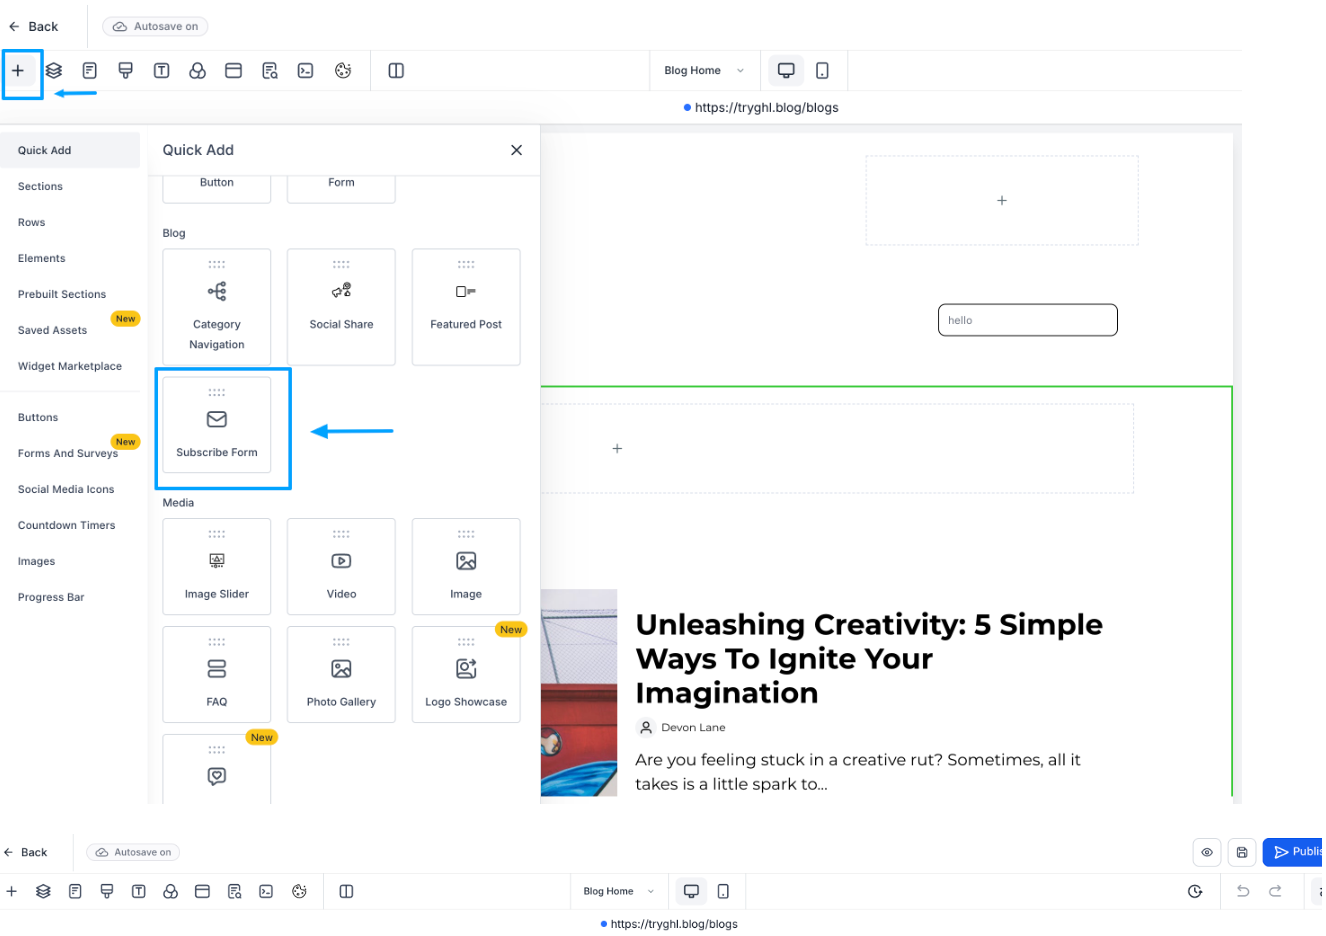
The Subscribe to Blog feature turns readers into subscribers directly from your blog. With a simple drag-and-drop form, you can collect email subscribers, grow your audience, and automate blog updates through email campaigns.
Drag & drop form: Add a subscription form anywhere on your blog page.
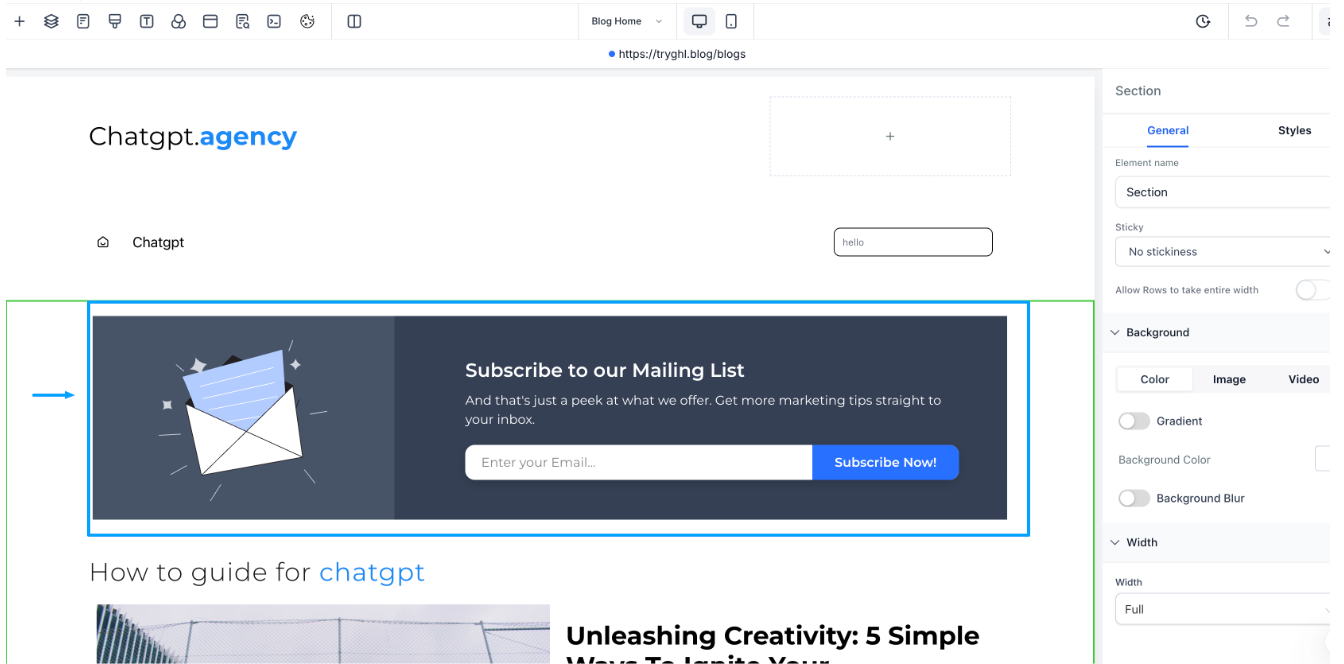
Custom styling: Change titles, descriptions, fonts, button text, and colors.
Layout options: Choose between a Plain or With Image layout.
Automatic contact creation: Each submission is automatically saved as a contact.
Smart tagging: Subscribers are tagged (for example, "Blog") so you can target them in email campaigns.
Go to Web Tools → Websites.
Select your blog site.
Click Blog Builder > Site Editor.
This opens the page editor, where you can add and customize blog elements.
In the editor, drag and drop the Subscribe form element onto your blog page.
Edit the Title (for example, "Subscribe to Our Blog").
Add a Description (for example, "Get the latest posts delivered straight to your inbox").
Customize the Button Text (for example, "Subscribe Now").
Choose your preferred layout (Plain or With Image).
Adjust fonts, colors, and spacing to match your site style.
Once the form looks the way you want, click Publish to make it live. Visitors can now enter their email and subscribe directly from your blog.
Every new subscriber is automatically created as a contact.
A Blog tag is applied so you can easily identify and target blog subscribers later.
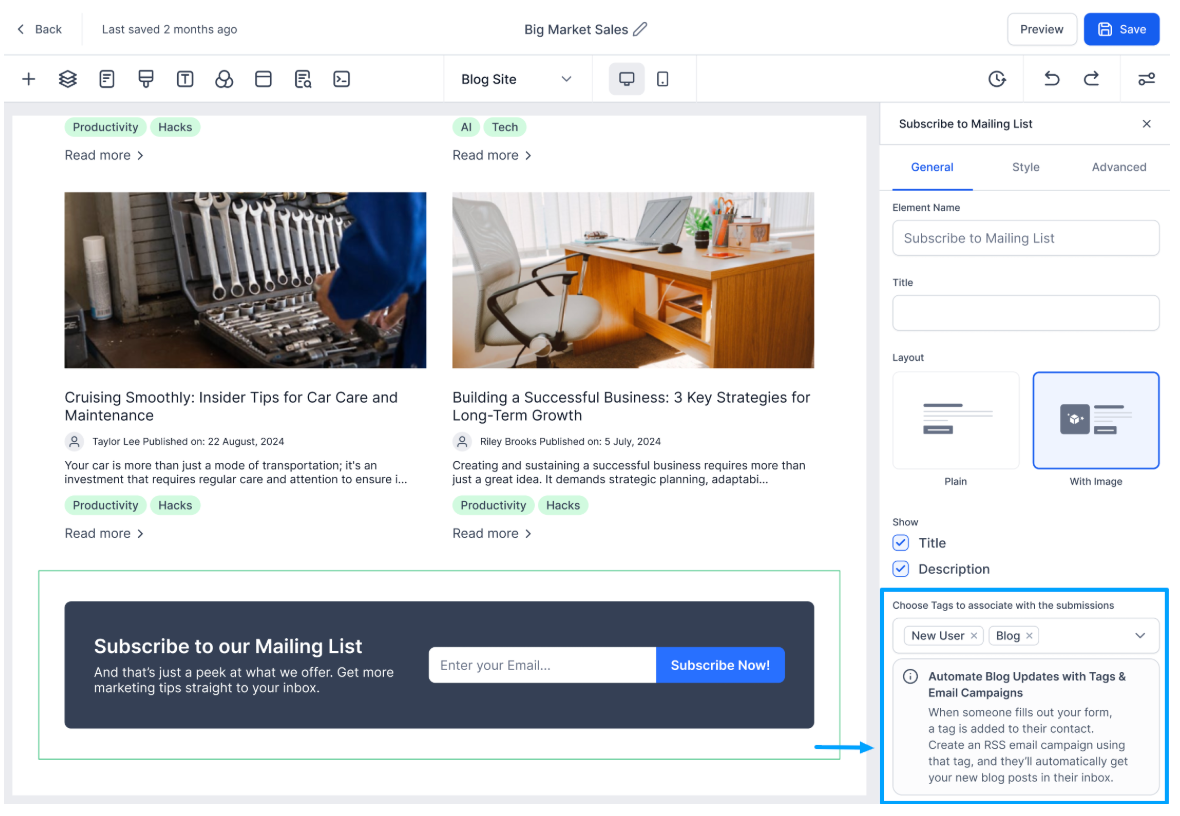
Make sure subscribers automatically receive your new posts by pairing a tag with an RSS email campaign.
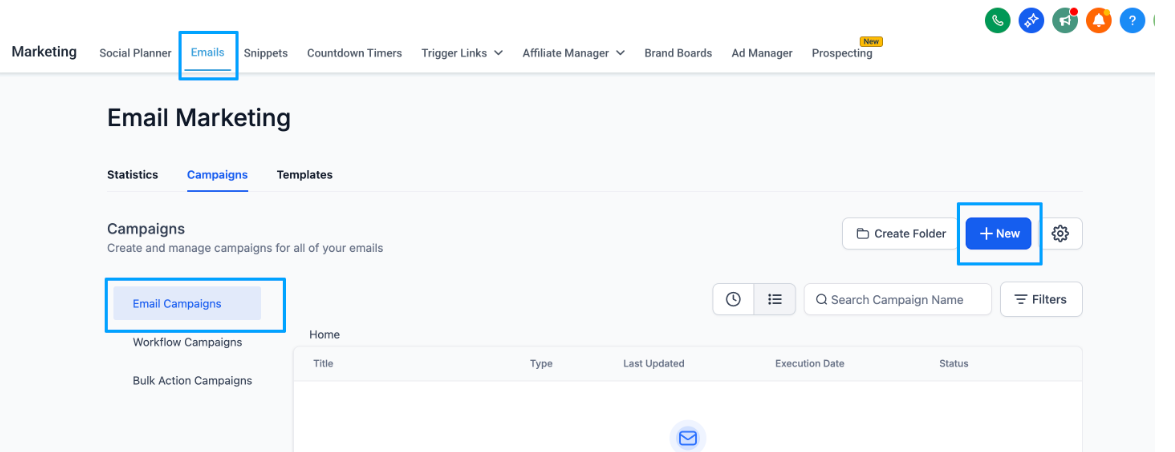
Create an email campaign with the blog RSS. Go to Email Campaigns.
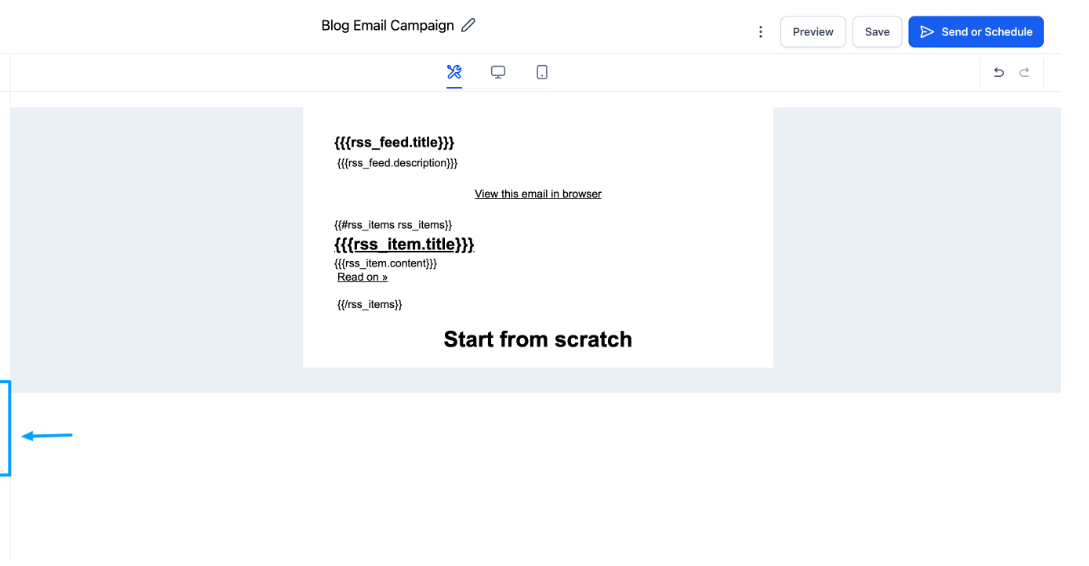
Add the RSS Header and RSS Items elements to the email body.
RSS Header shows the blog's title and summary.
RSS Items display the list of new blog posts.
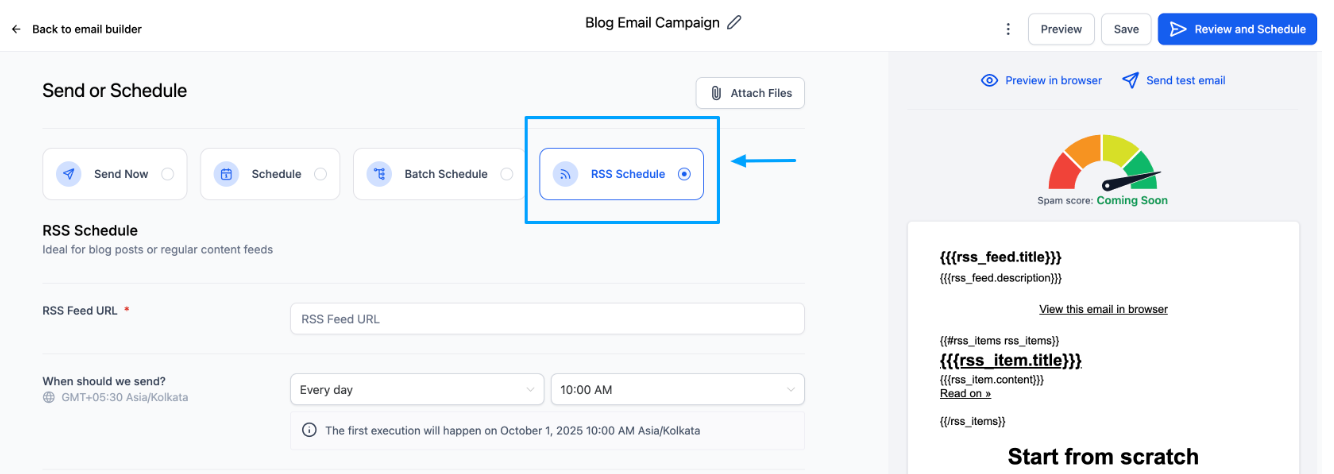
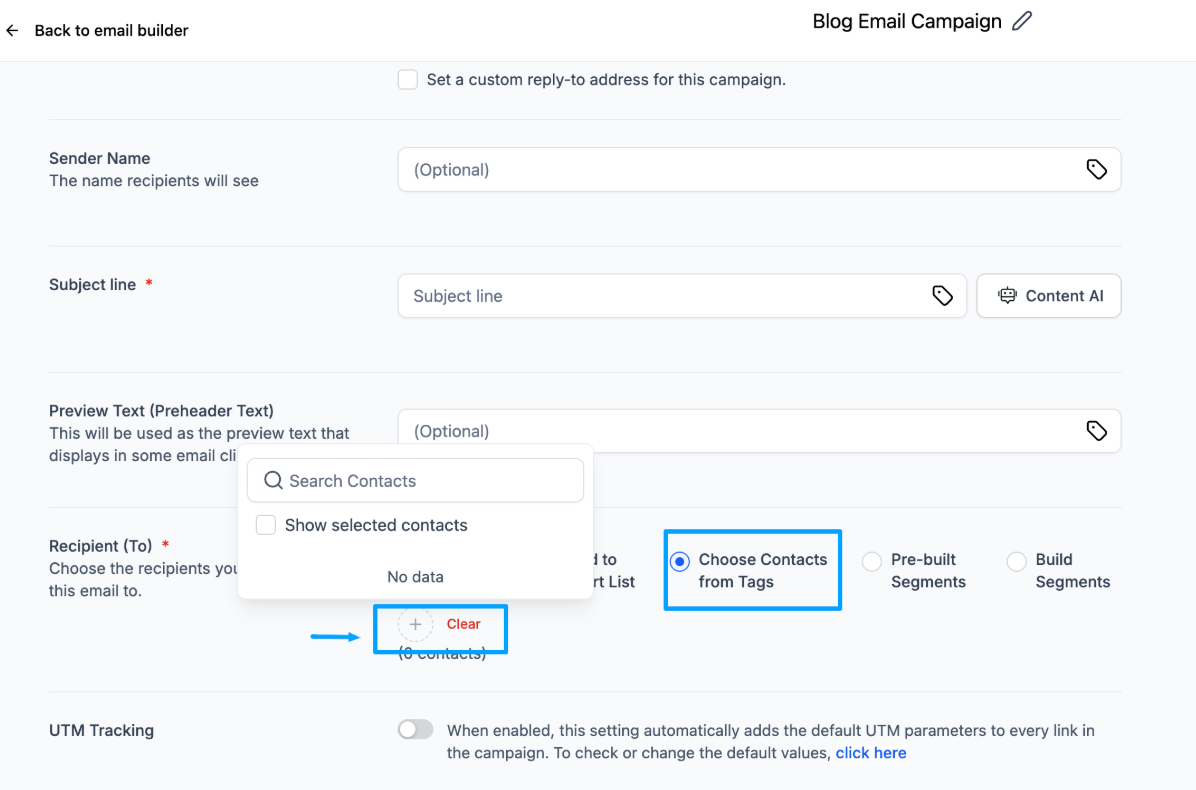
Configure the campaign and recipients.
When scheduling the campaign, select RSS Schedule so it automatically pulls in your latest posts.
Under Recipients, choose Contacts from Tag > Blog.
Save the campaign.
Now, every time someone subscribes, they'll automatically receive your new blog posts in their inbox.
Do all imported blog posts stay in Draft status?
No. Fully mapped posts import as Published, while unmapped posts import as Draft.
Can I import posts if some metadata is missing?
Yes. You can manually add or map missing authors, categories, and tags during the import process.
What happens if some posts are mapped and others are not?
You can still import both types. Posts with completed mapping import as published, and posts with incomplete mapping import as drafts.
How is SEO affected when I import a blog? Will rankings transfer automatically?
The importer migrates post content along with available SEO metadata, such as titles and descriptions. However, SEO authority does not transfer simply by importing content. To preserve rankings and link equity, configure proper 301 redirects and keep the same domain and URL structure whenever possible. Without redirects, search engines may treat the imported posts as new pages.
Can I edit the layout of a template after selecting it?
Yes. Once you choose a template, you can make full edits in the blog editor, including layout, text, and media.
Can I save custom templates for future use?
Not at this time. The library only includes system-provided templates.
What happens if I want to switch templates mid-edit?
Templates can't be changed once a post has started. To use a different template, create a new blog post.
Can I add more than one subscribe form on my blog?
Yes. You can drag and drop multiple forms (for example, one in the sidebar and one in the footer). All subscriptions still create contacts with the same tag.
Can subscribers unsubscribe later?
Currently, the subscribe form does not support unsubscribe functionality for readers.
Will the subscribe form affect my SEO?
No. The subscribe form is a front-end element and does not affect your blog's SEO.
