Your blog is a powerful way to educate patients, share treatment results, and attract new bookings through search. Aesthetix CRM gives your practice a built-in blog editor where you can draft, format, and publish SEO-ready articles right from your dashboard, complete with images, video, and AI writing assistance. This guide walks you through creating a post, working in the editor, using auto-save, publishing with SEO details, and recovering posts you delete by mistake.
Keeping your content inside Aesthetix CRM streamlines your marketing and keeps everything in one place:
Centralized content management for your whole practice
Built-in SEO fields and canonical URL control
Rich-text and multimedia editor
One-click scheduling or immediate publishing
AI-assisted outlining and copy generation
Follow these steps to start a new article, either from scratch or with AI assistance.
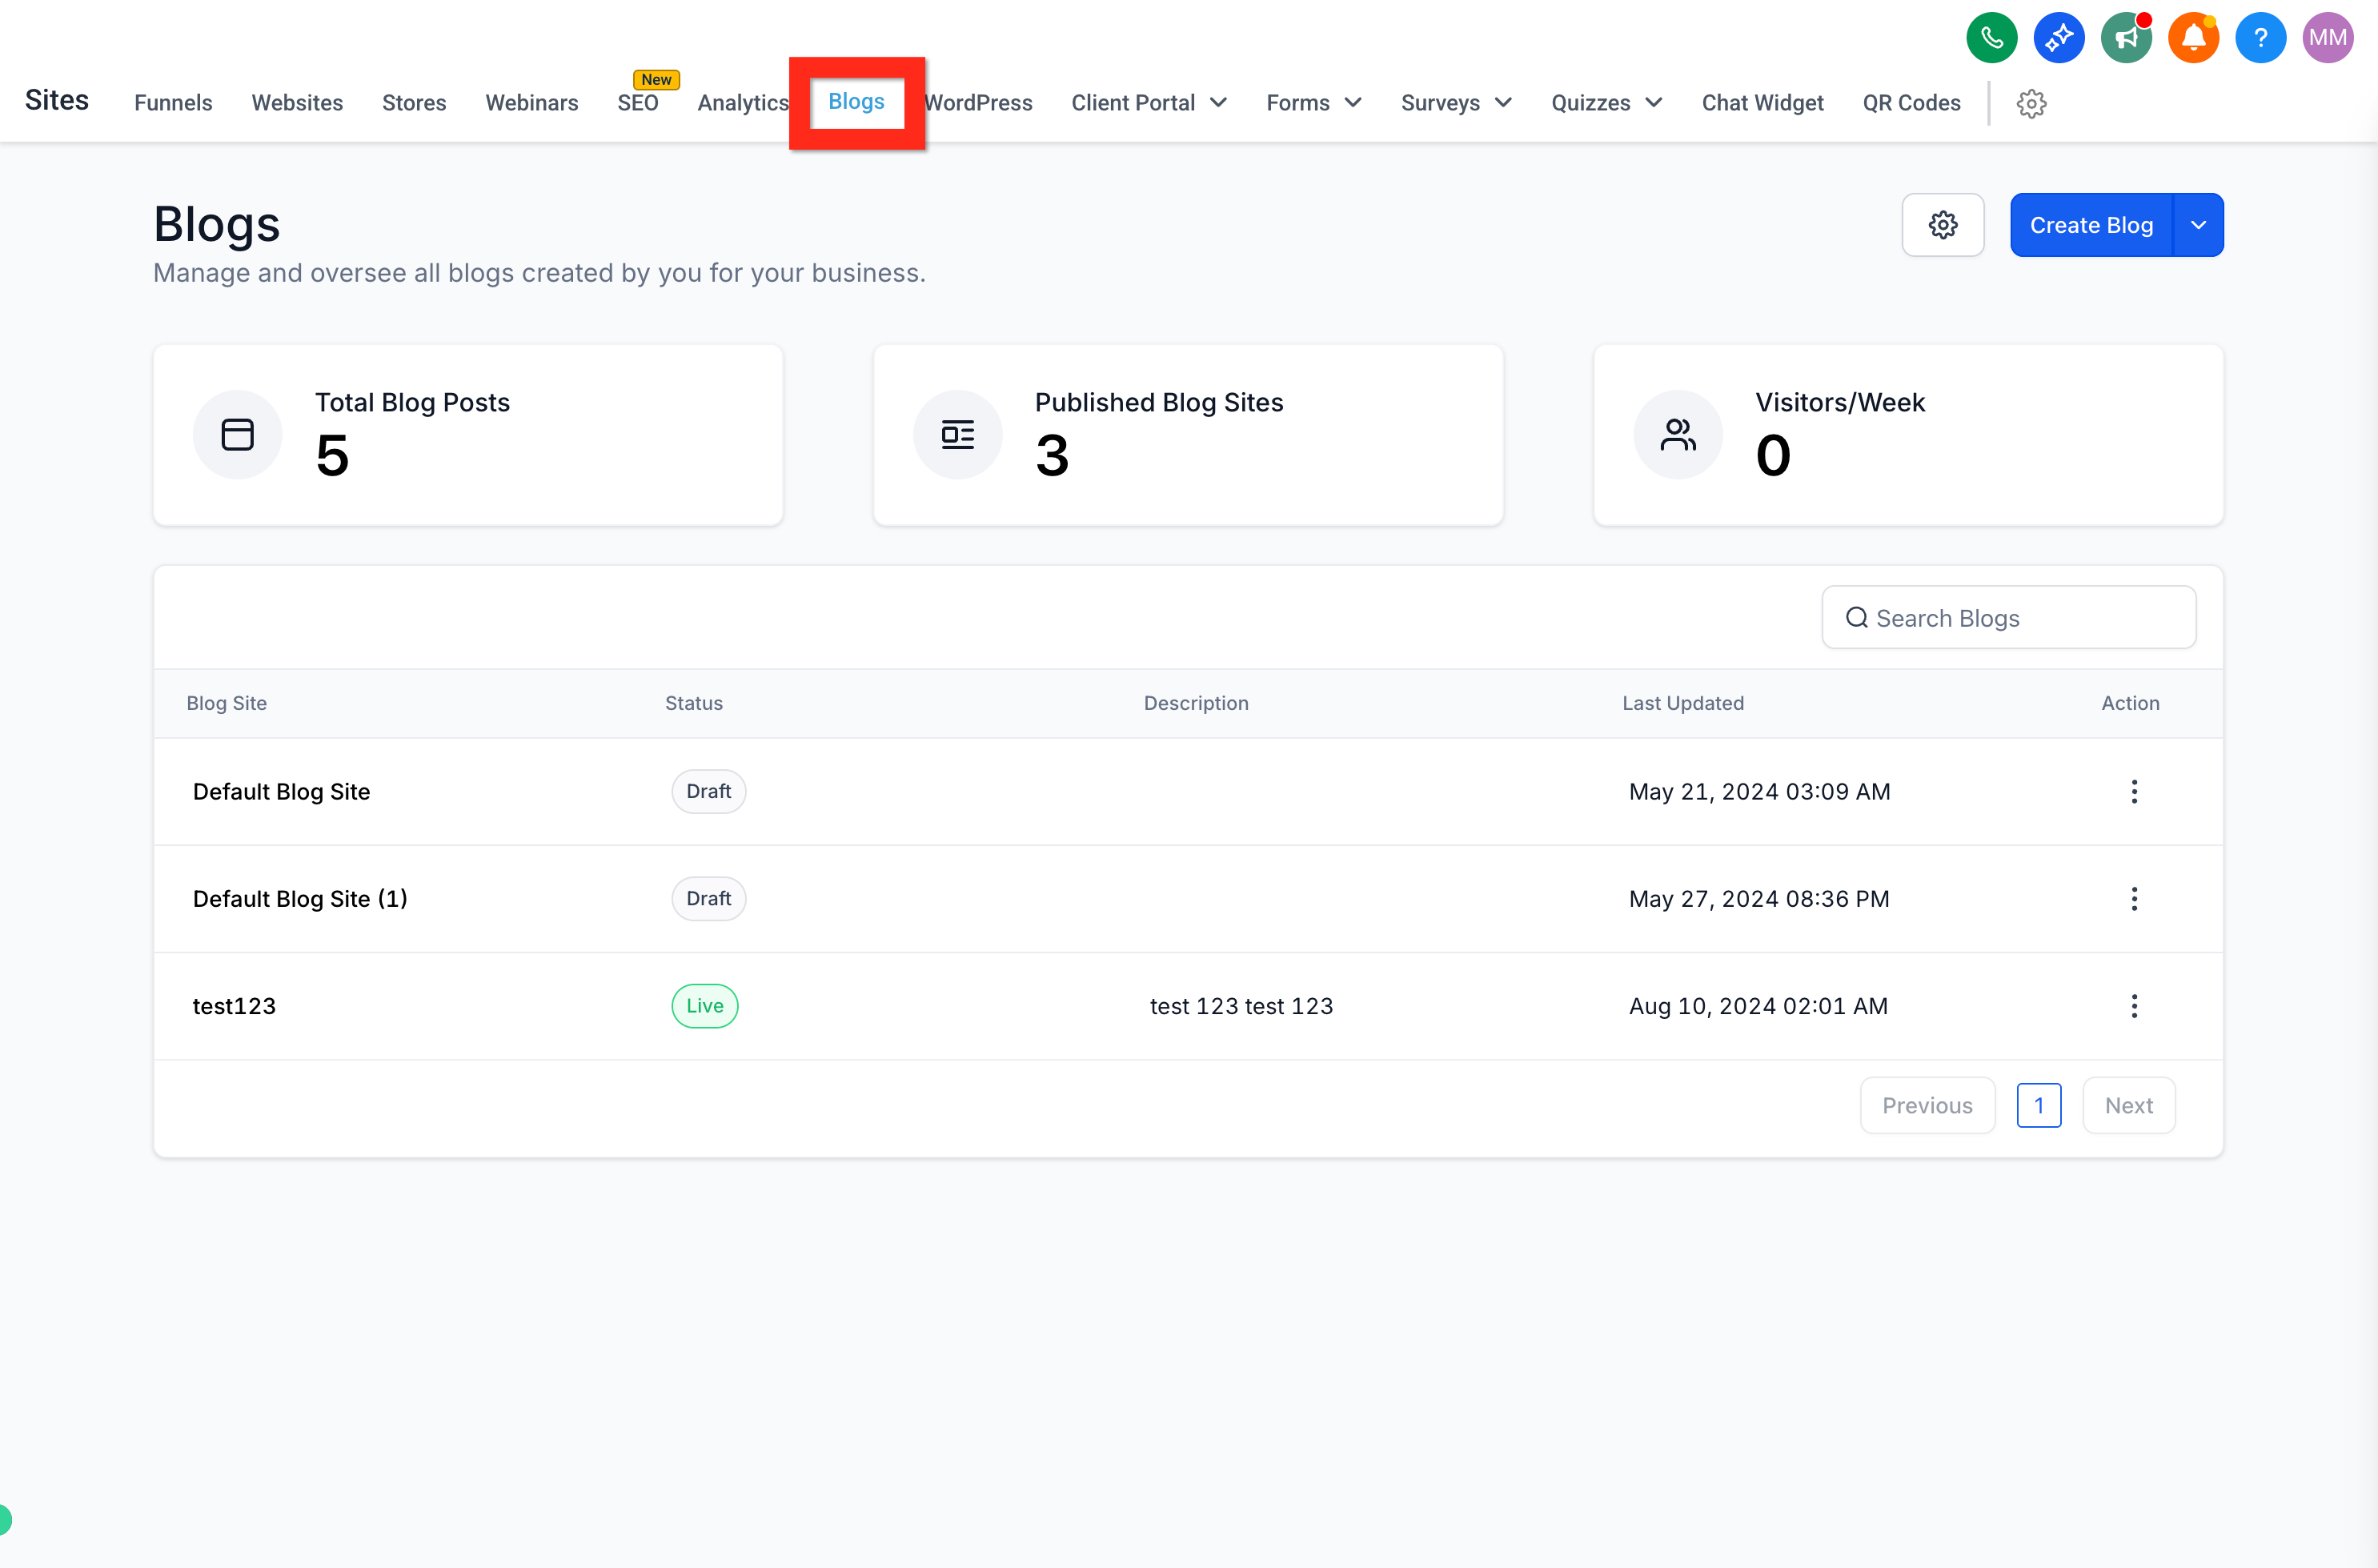
Navigate to Web Tools → Websites → Blogs to see your Blog List, then select an existing blog for the new post (or create a new blog first).
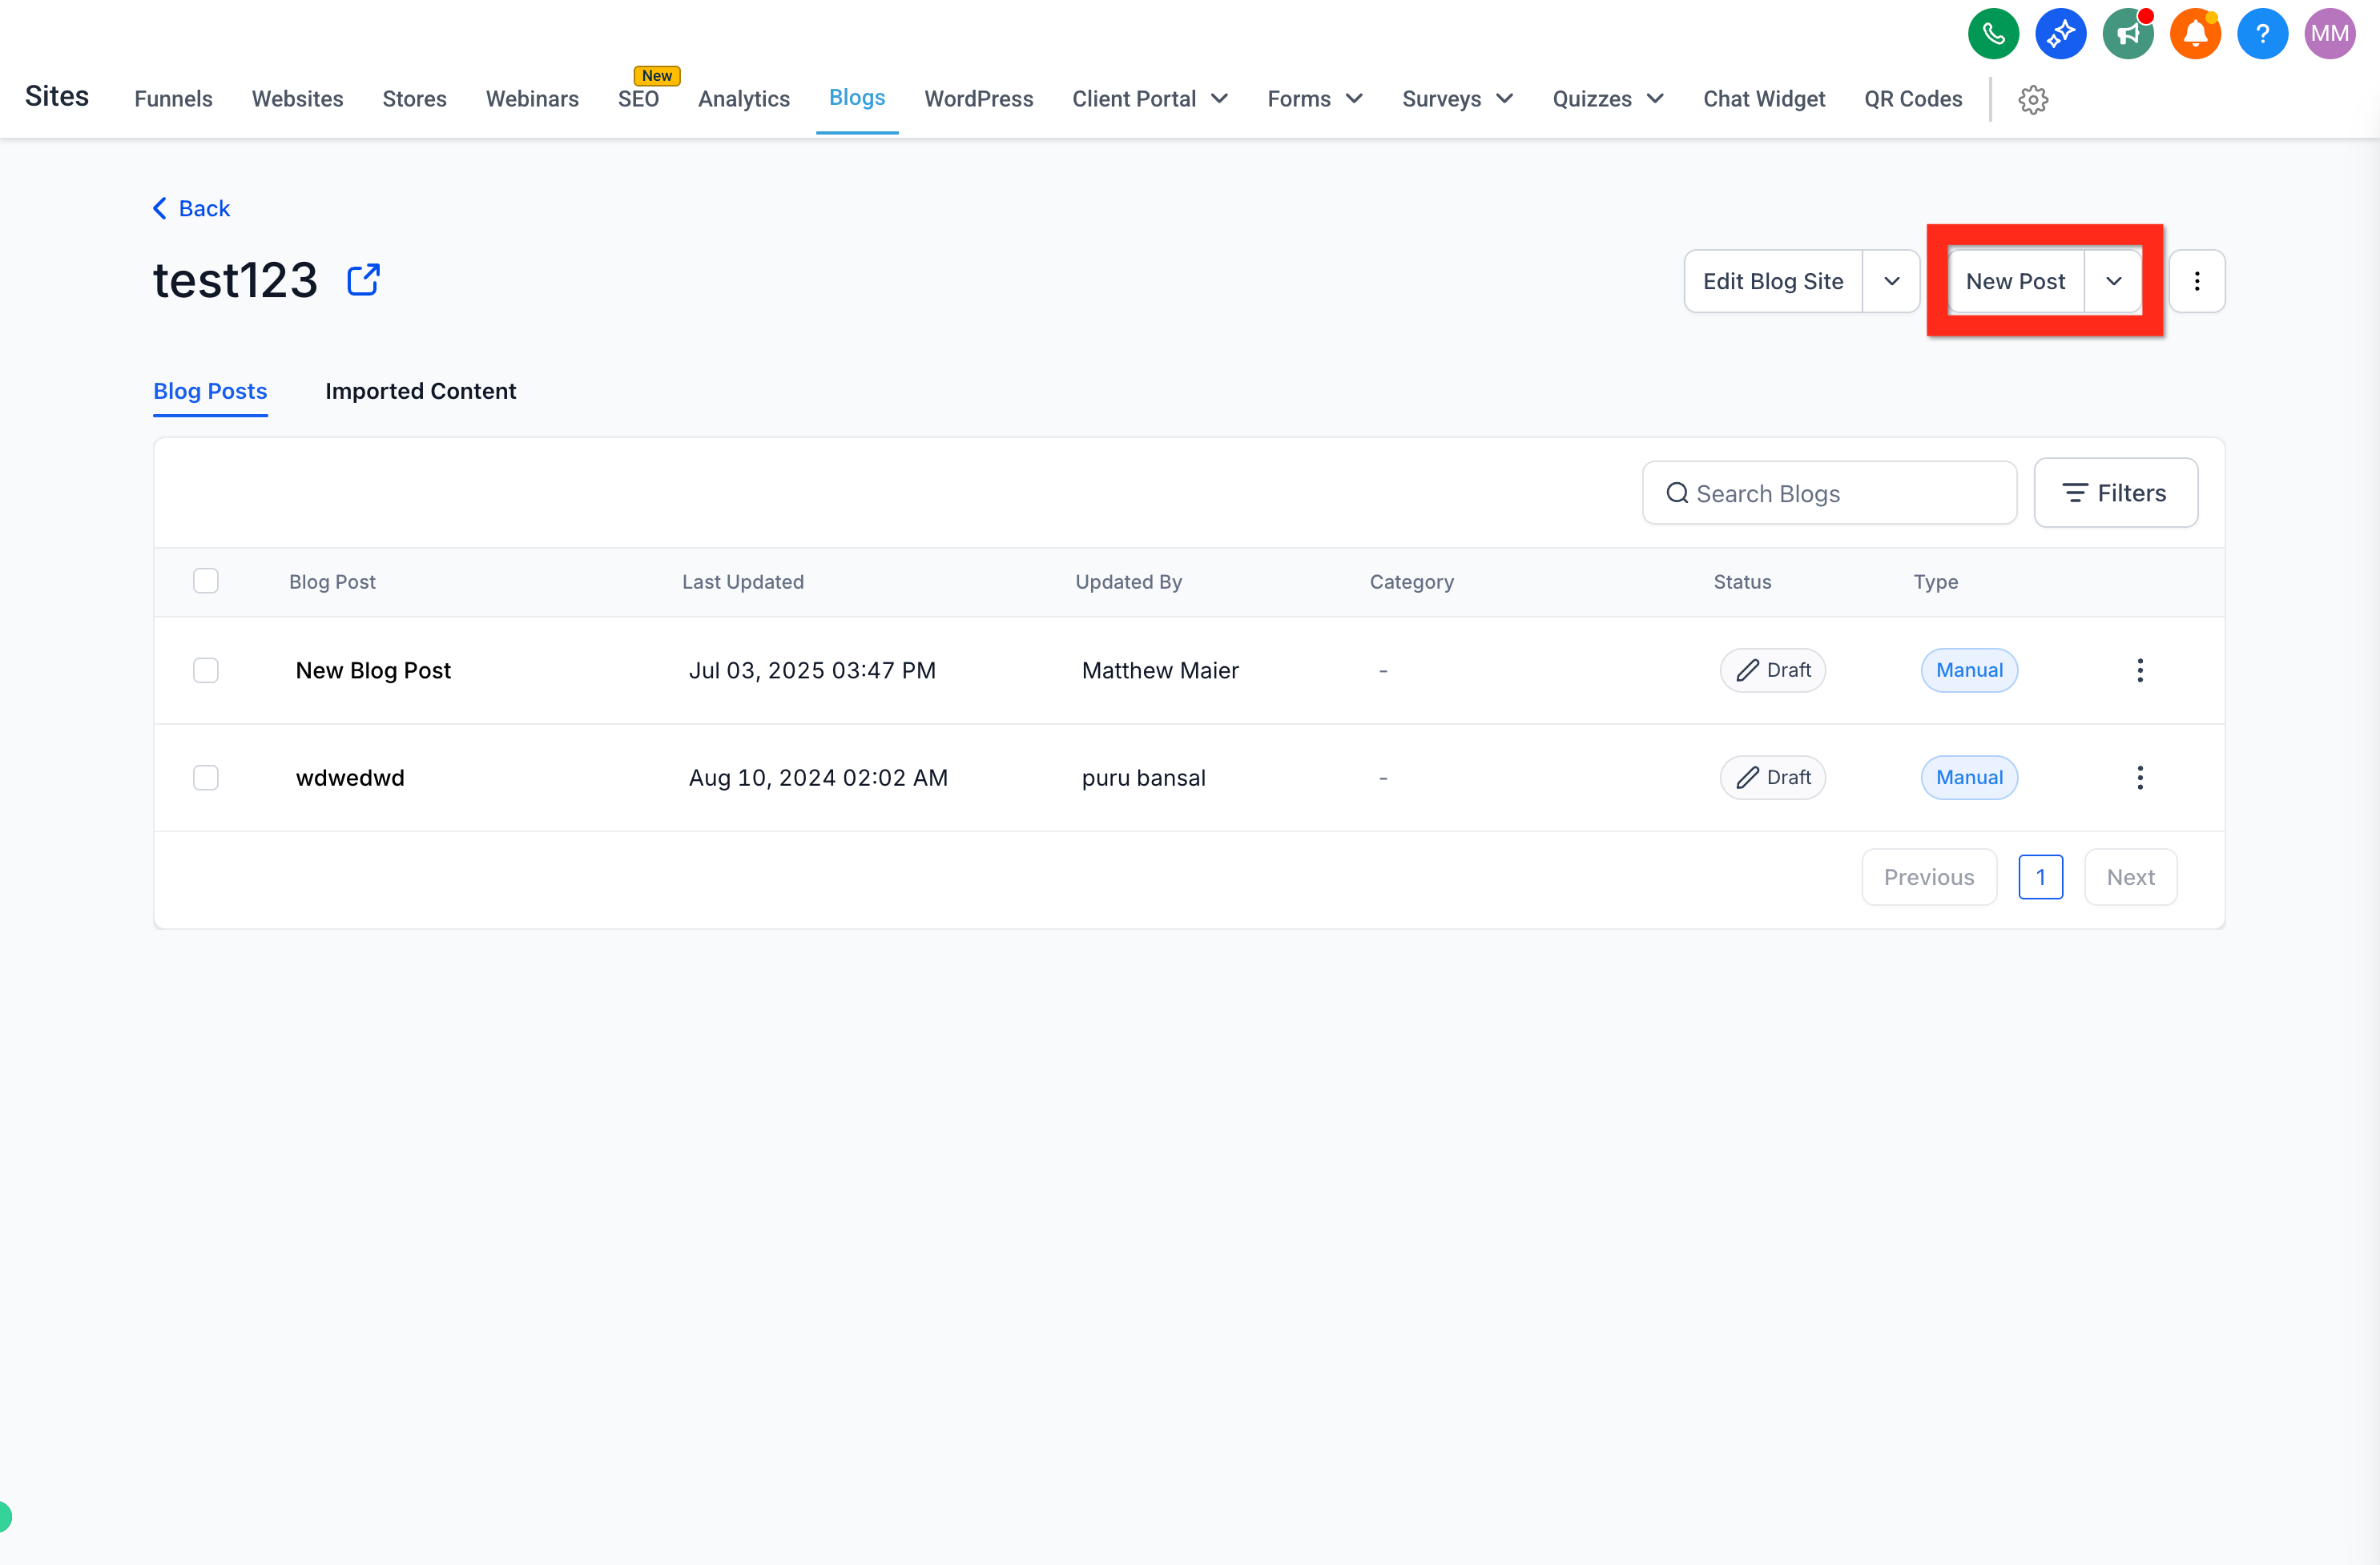
On the individual blog's post list, click New Post.
Review the blank Blog Post Editor.
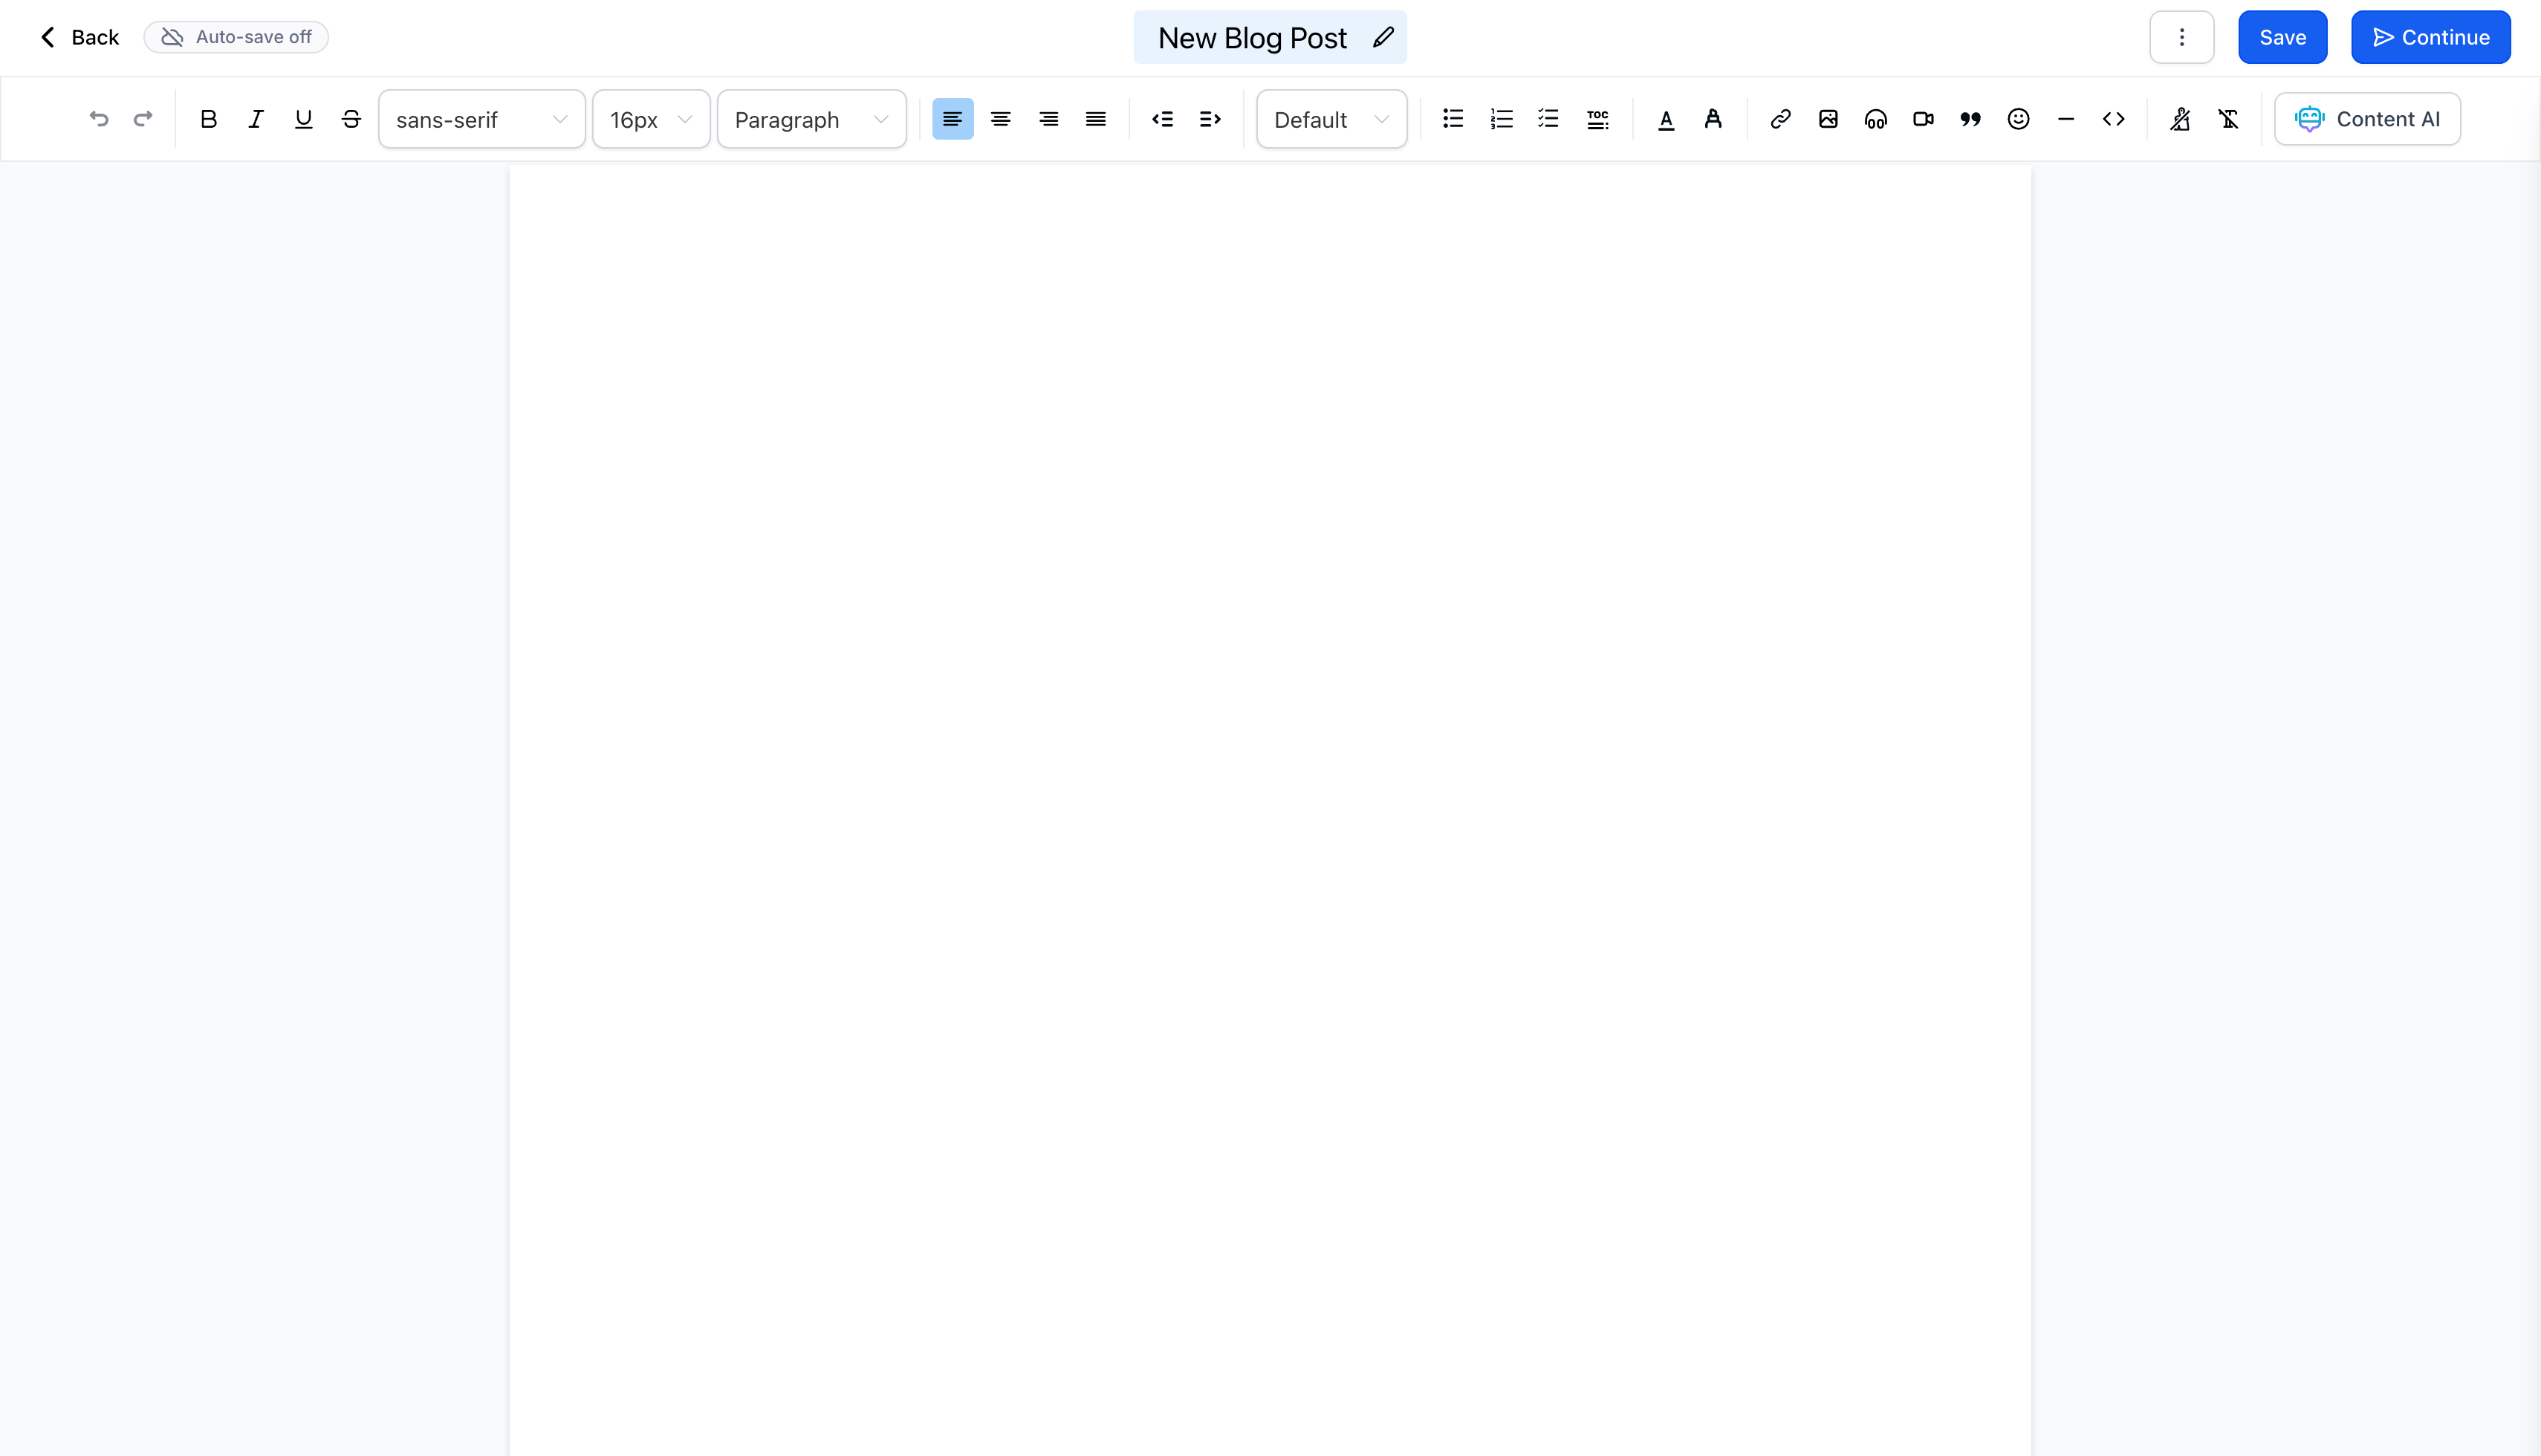
Note: The editor has many controls, but you don't need to learn all of them to publish your first post.
The editor is where you write and format your article. Focus on these core controls to get a post published:
Auto-Save: Make sure Auto-Save is toggled on (in the upper right, next to the Back button).
Text: Write and format your article.
Title: Give the article a meaningful title.
Save and Continue: Save manually anytime, and click Continue when you're finished.
Note: If your Blog Post Editor includes a Line Height control, you can adjust line height on new and existing posts. To update a published post, reopen it, adjust the line height, then Save and republish to apply your changes.
You can add links and multimedia to make your posts more engaging.
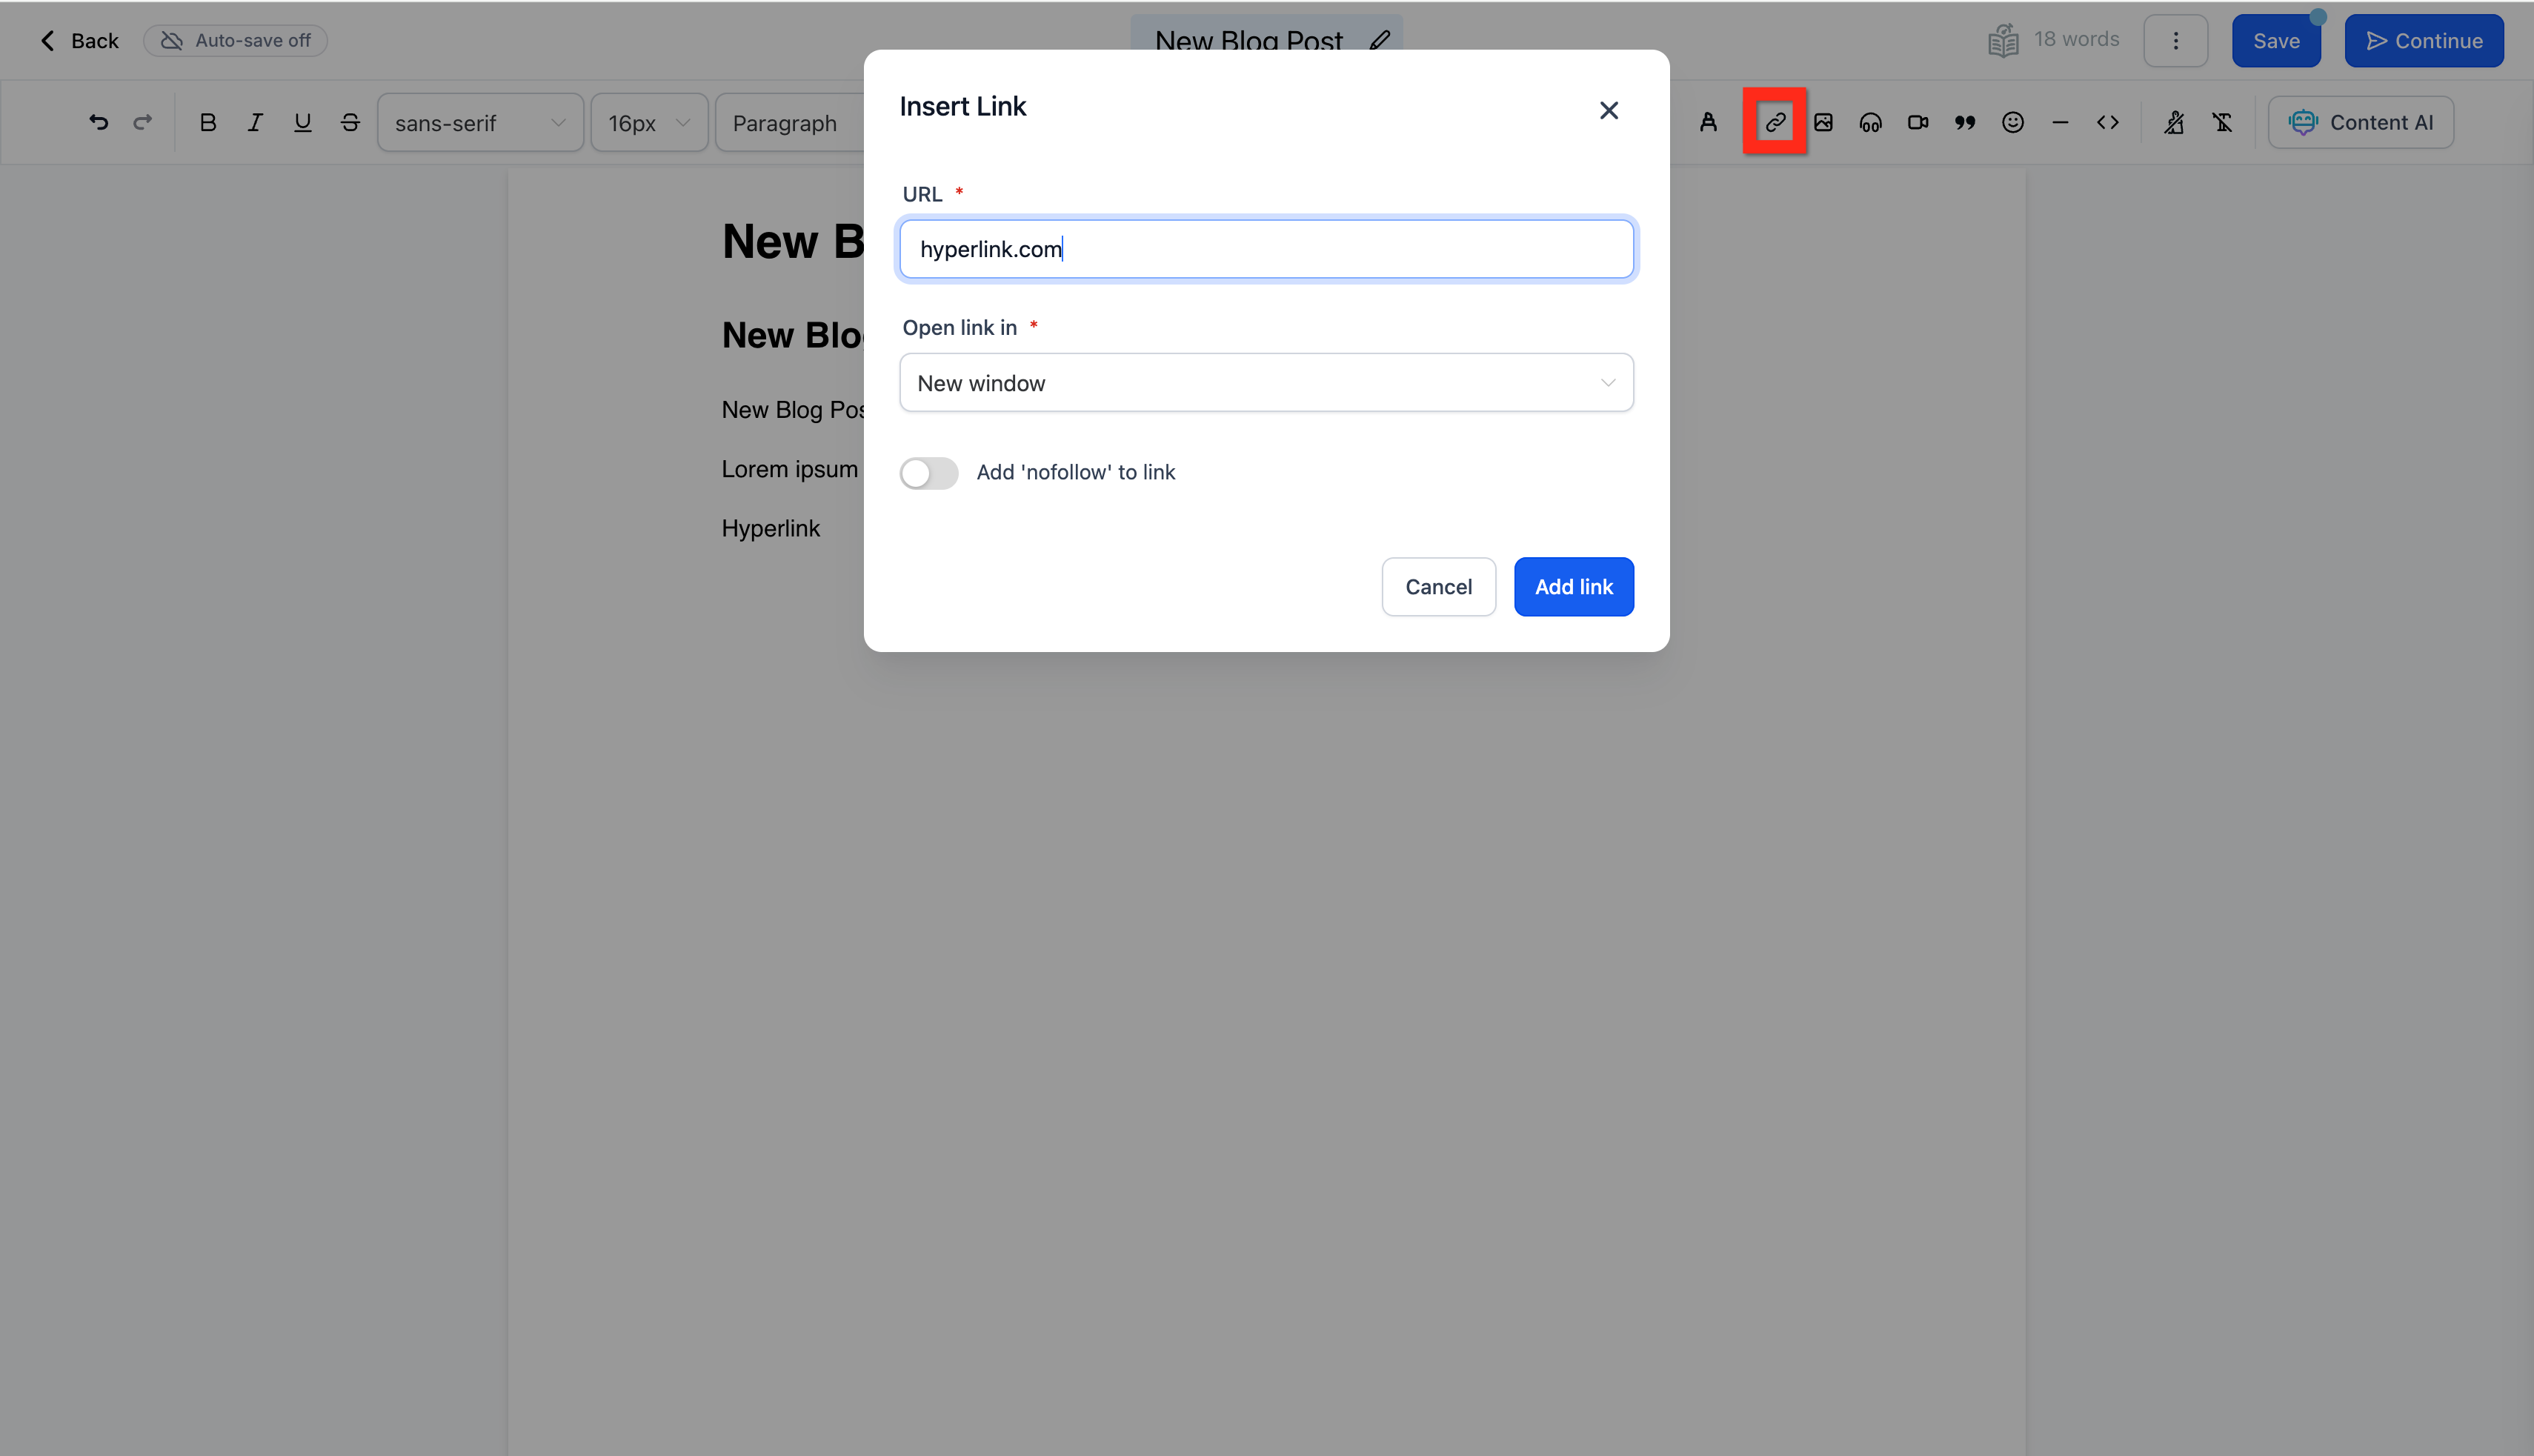
Add hyperlinks by highlighting text and clicking the chain icon in the toolbar. Enter the URL, adjust the configuration, and click Add Link.
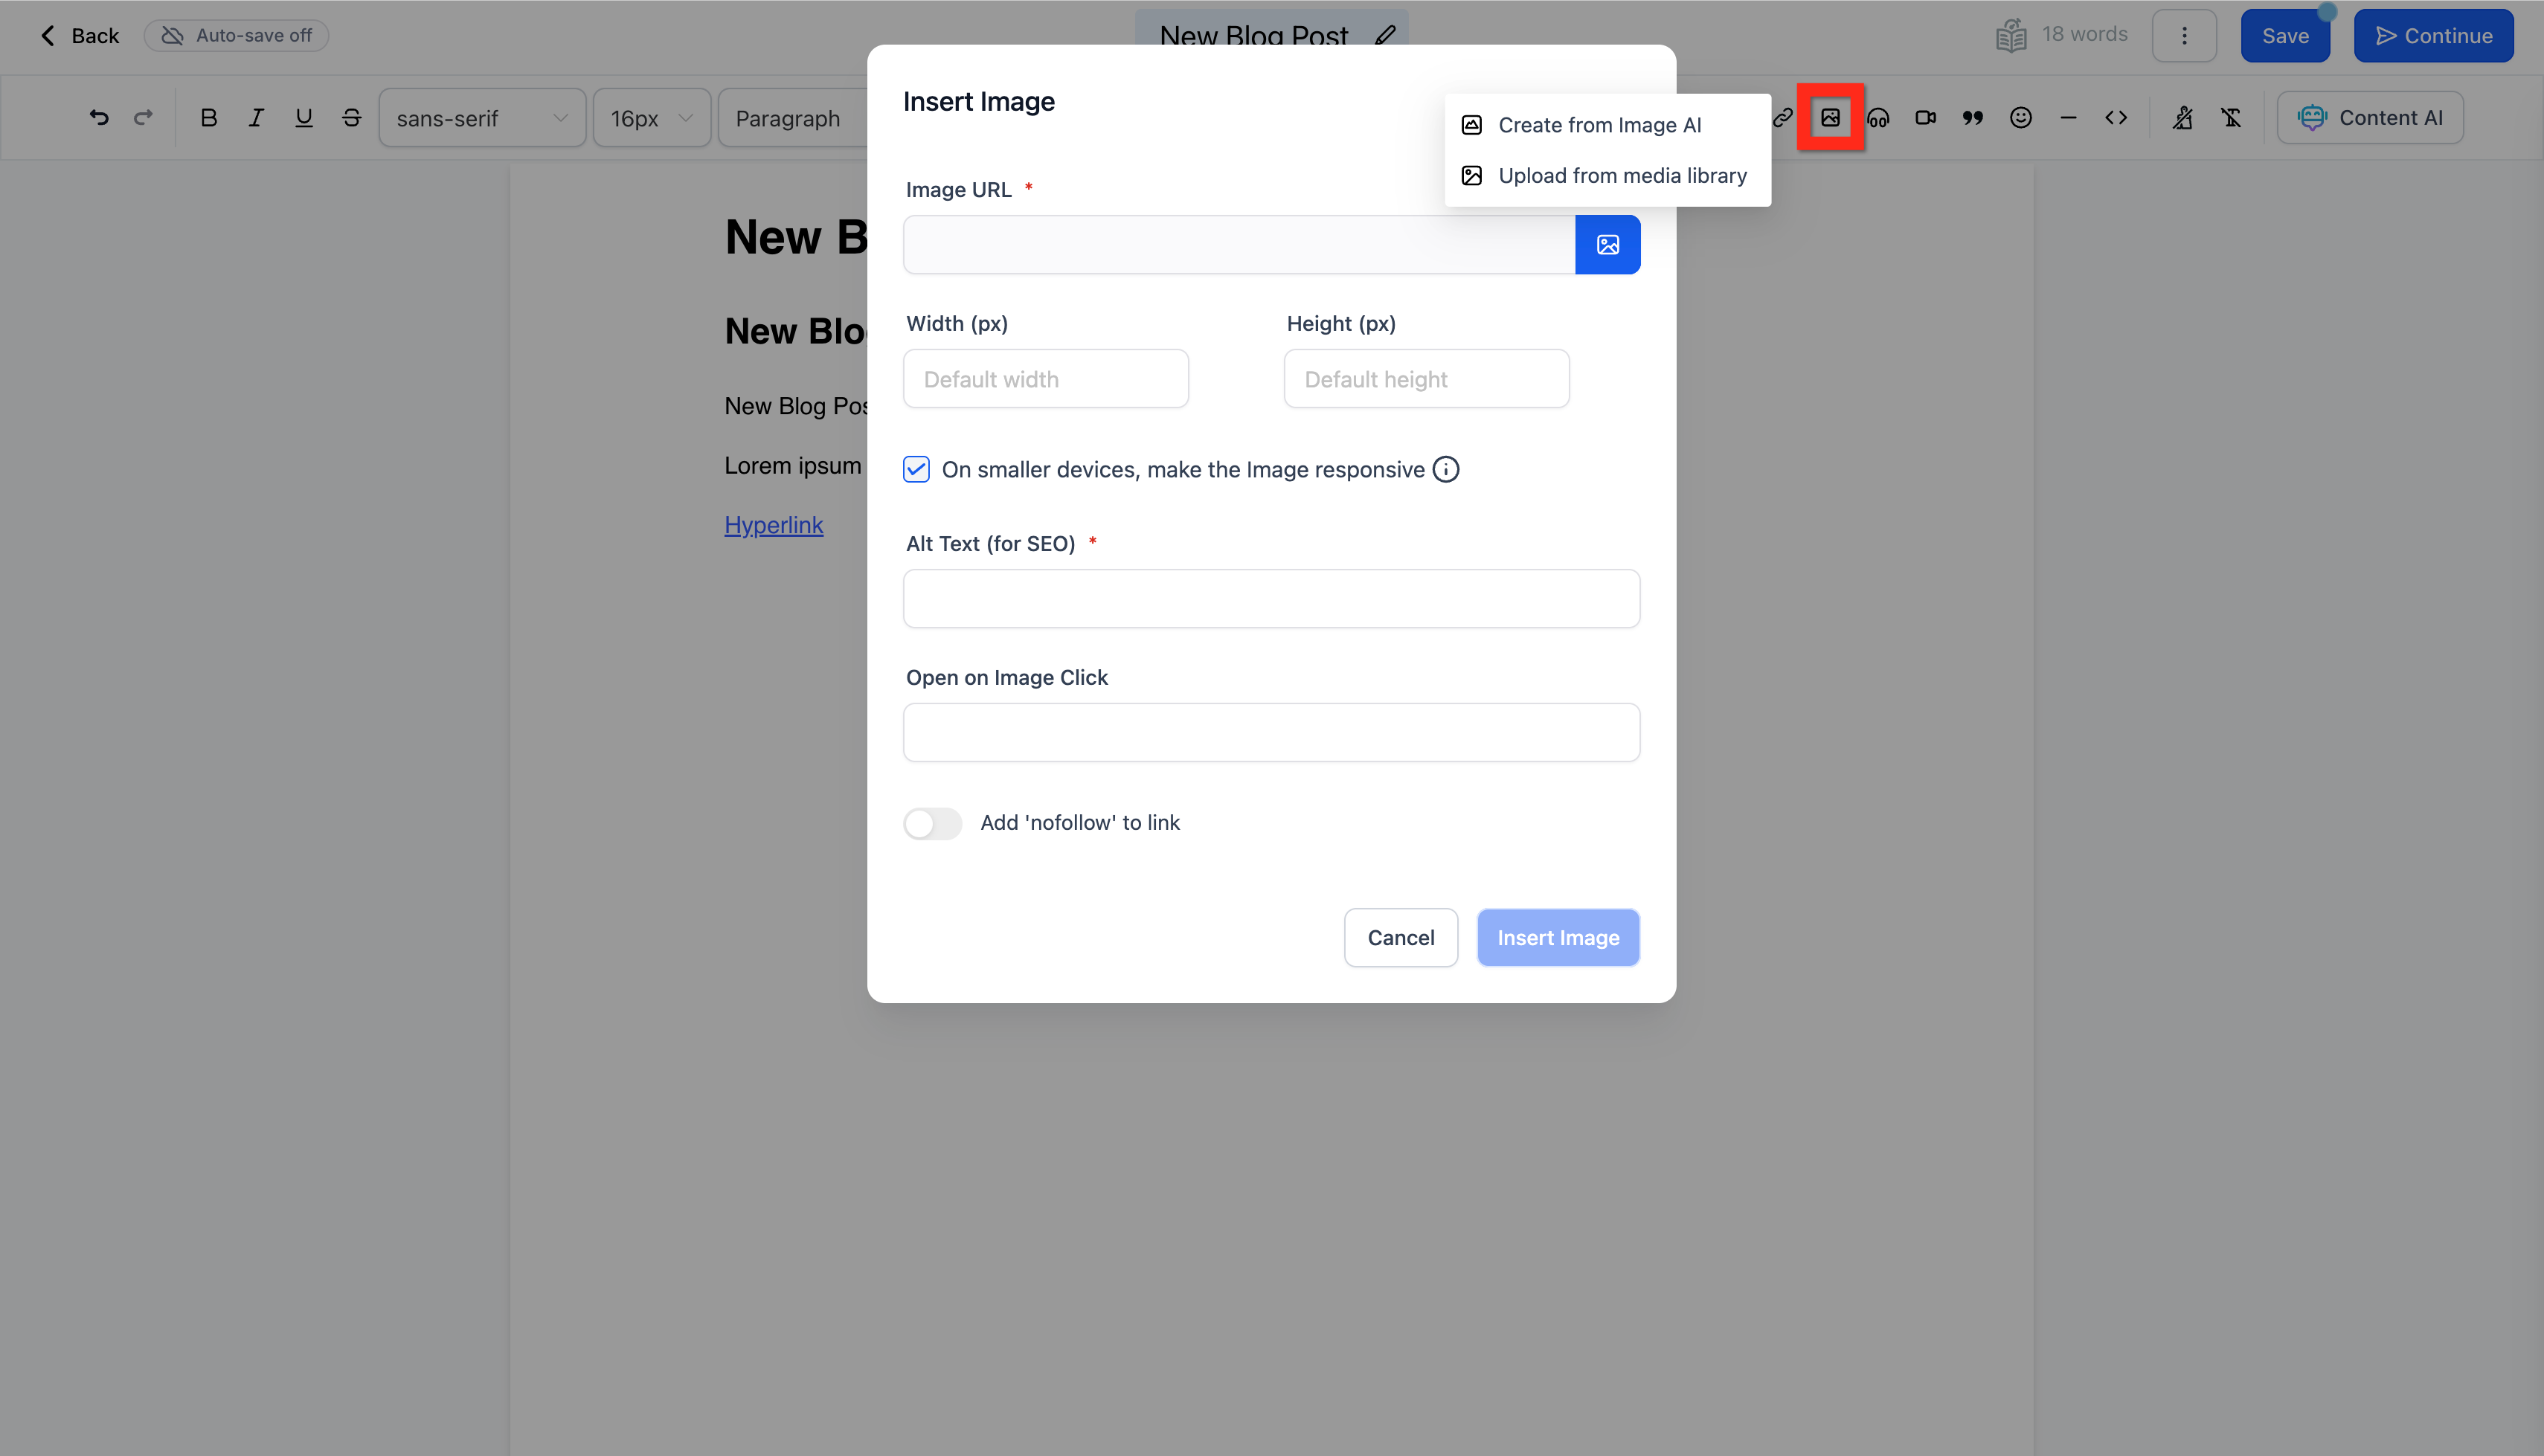
Add images by placing your cursor at the target spot, then clicking the image icon in the toolbar. You can insert an image from a URL, the Media Library, or create a new one with Image AI.
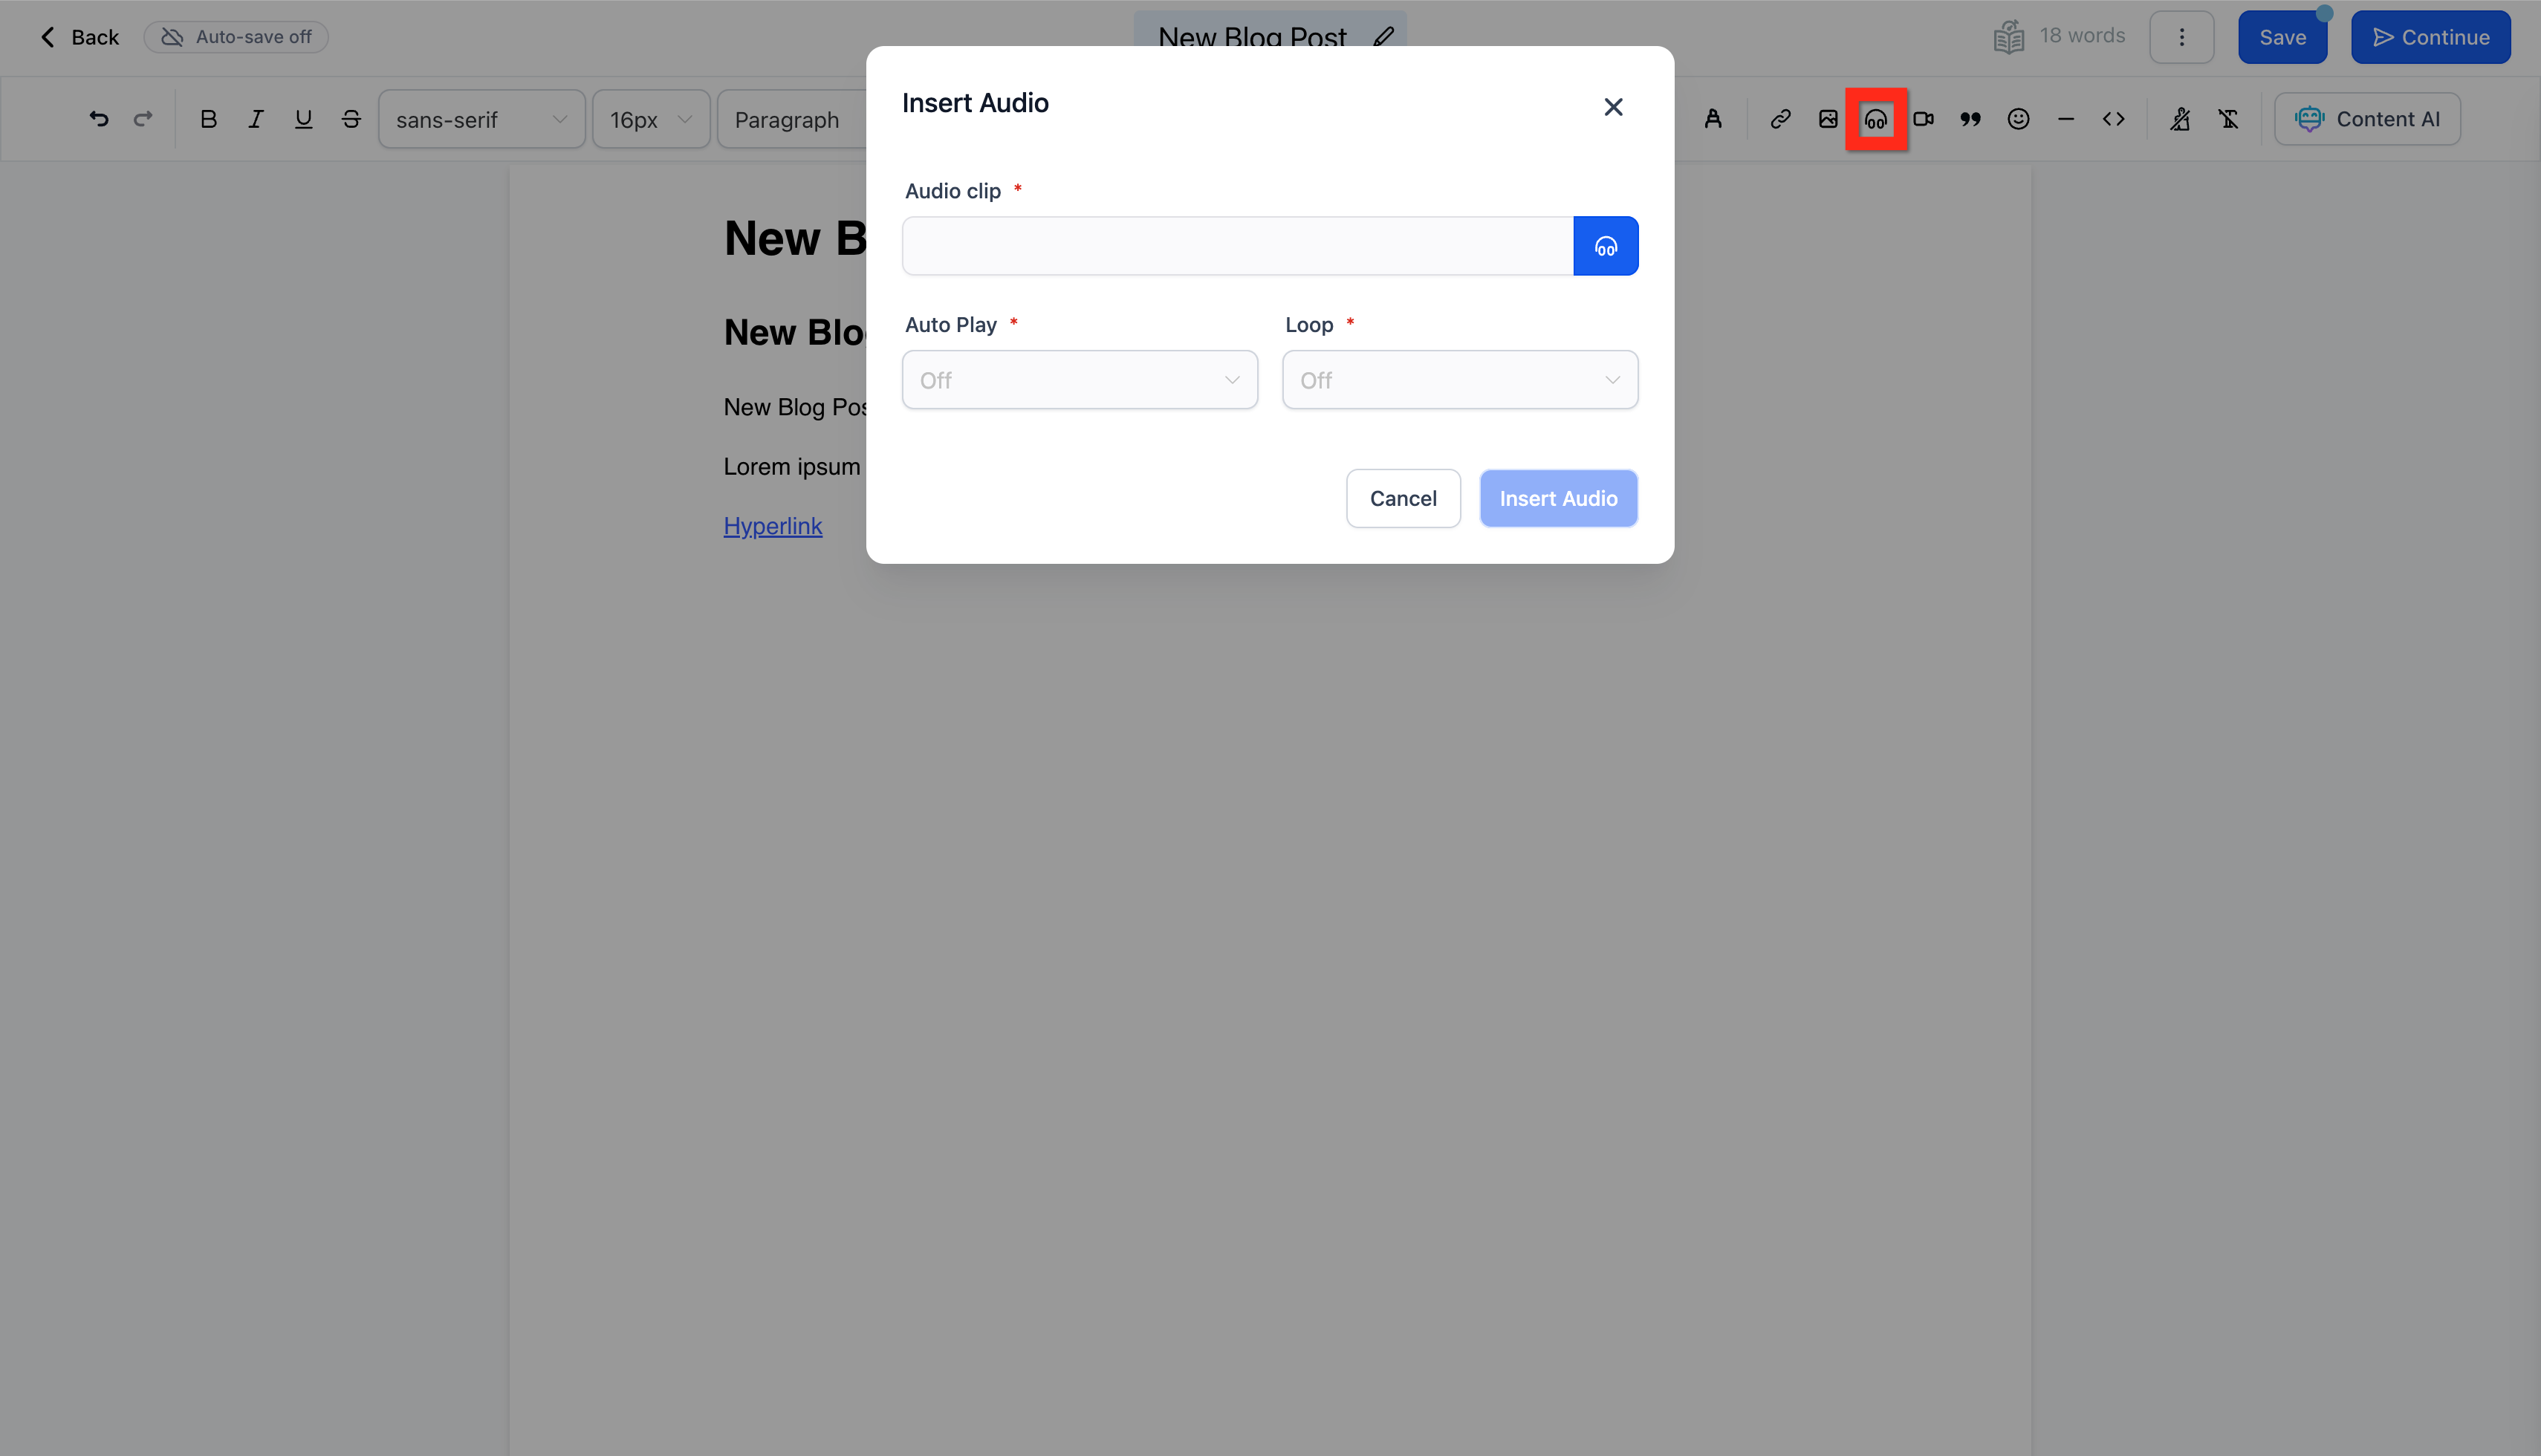
Add audio by clicking the headphones icon in the toolbar. Select the audio file from the Media Library, adjust the configuration, and click Insert Audio.
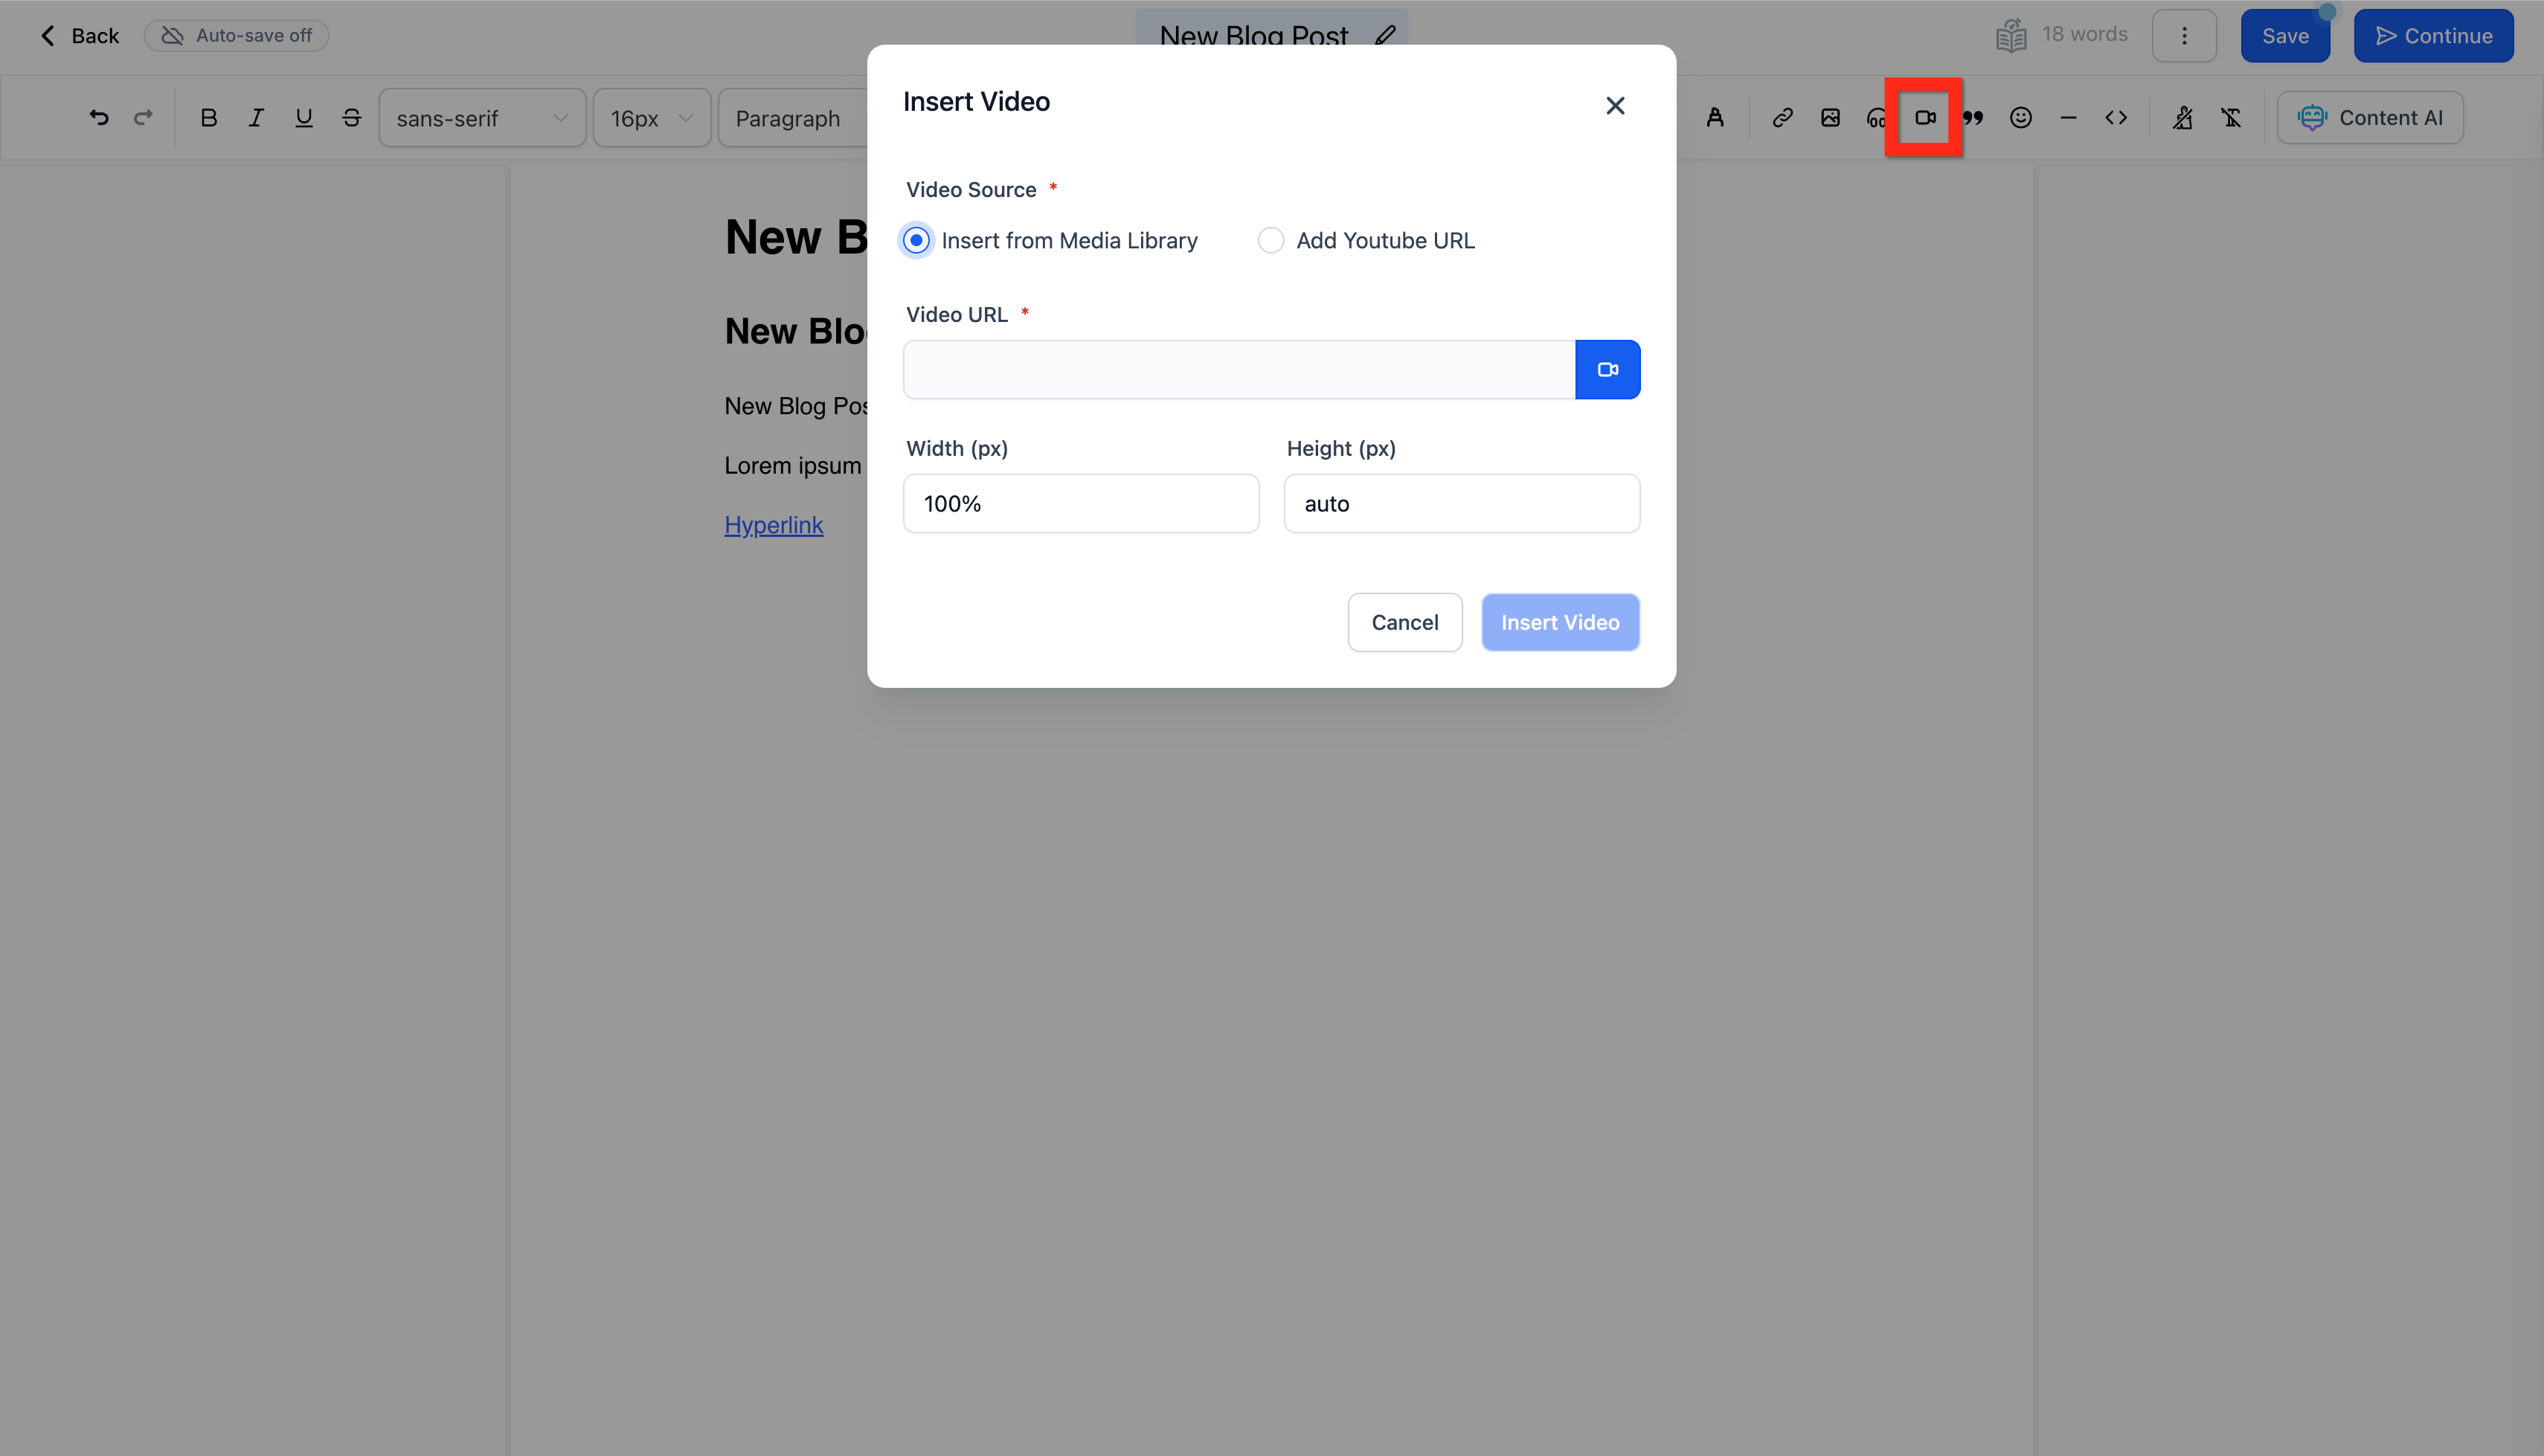
Add video by clicking the video camera icon in the toolbar. Add video from the Media Library or YouTube, adjust the configuration, then click Insert Video.
If you don't want to write a post from scratch, the built-in AI writing assistant can get you started with an outline, an introduction, or a specific section.
Click the AI writing button in the editor, then configure your request and start writing.
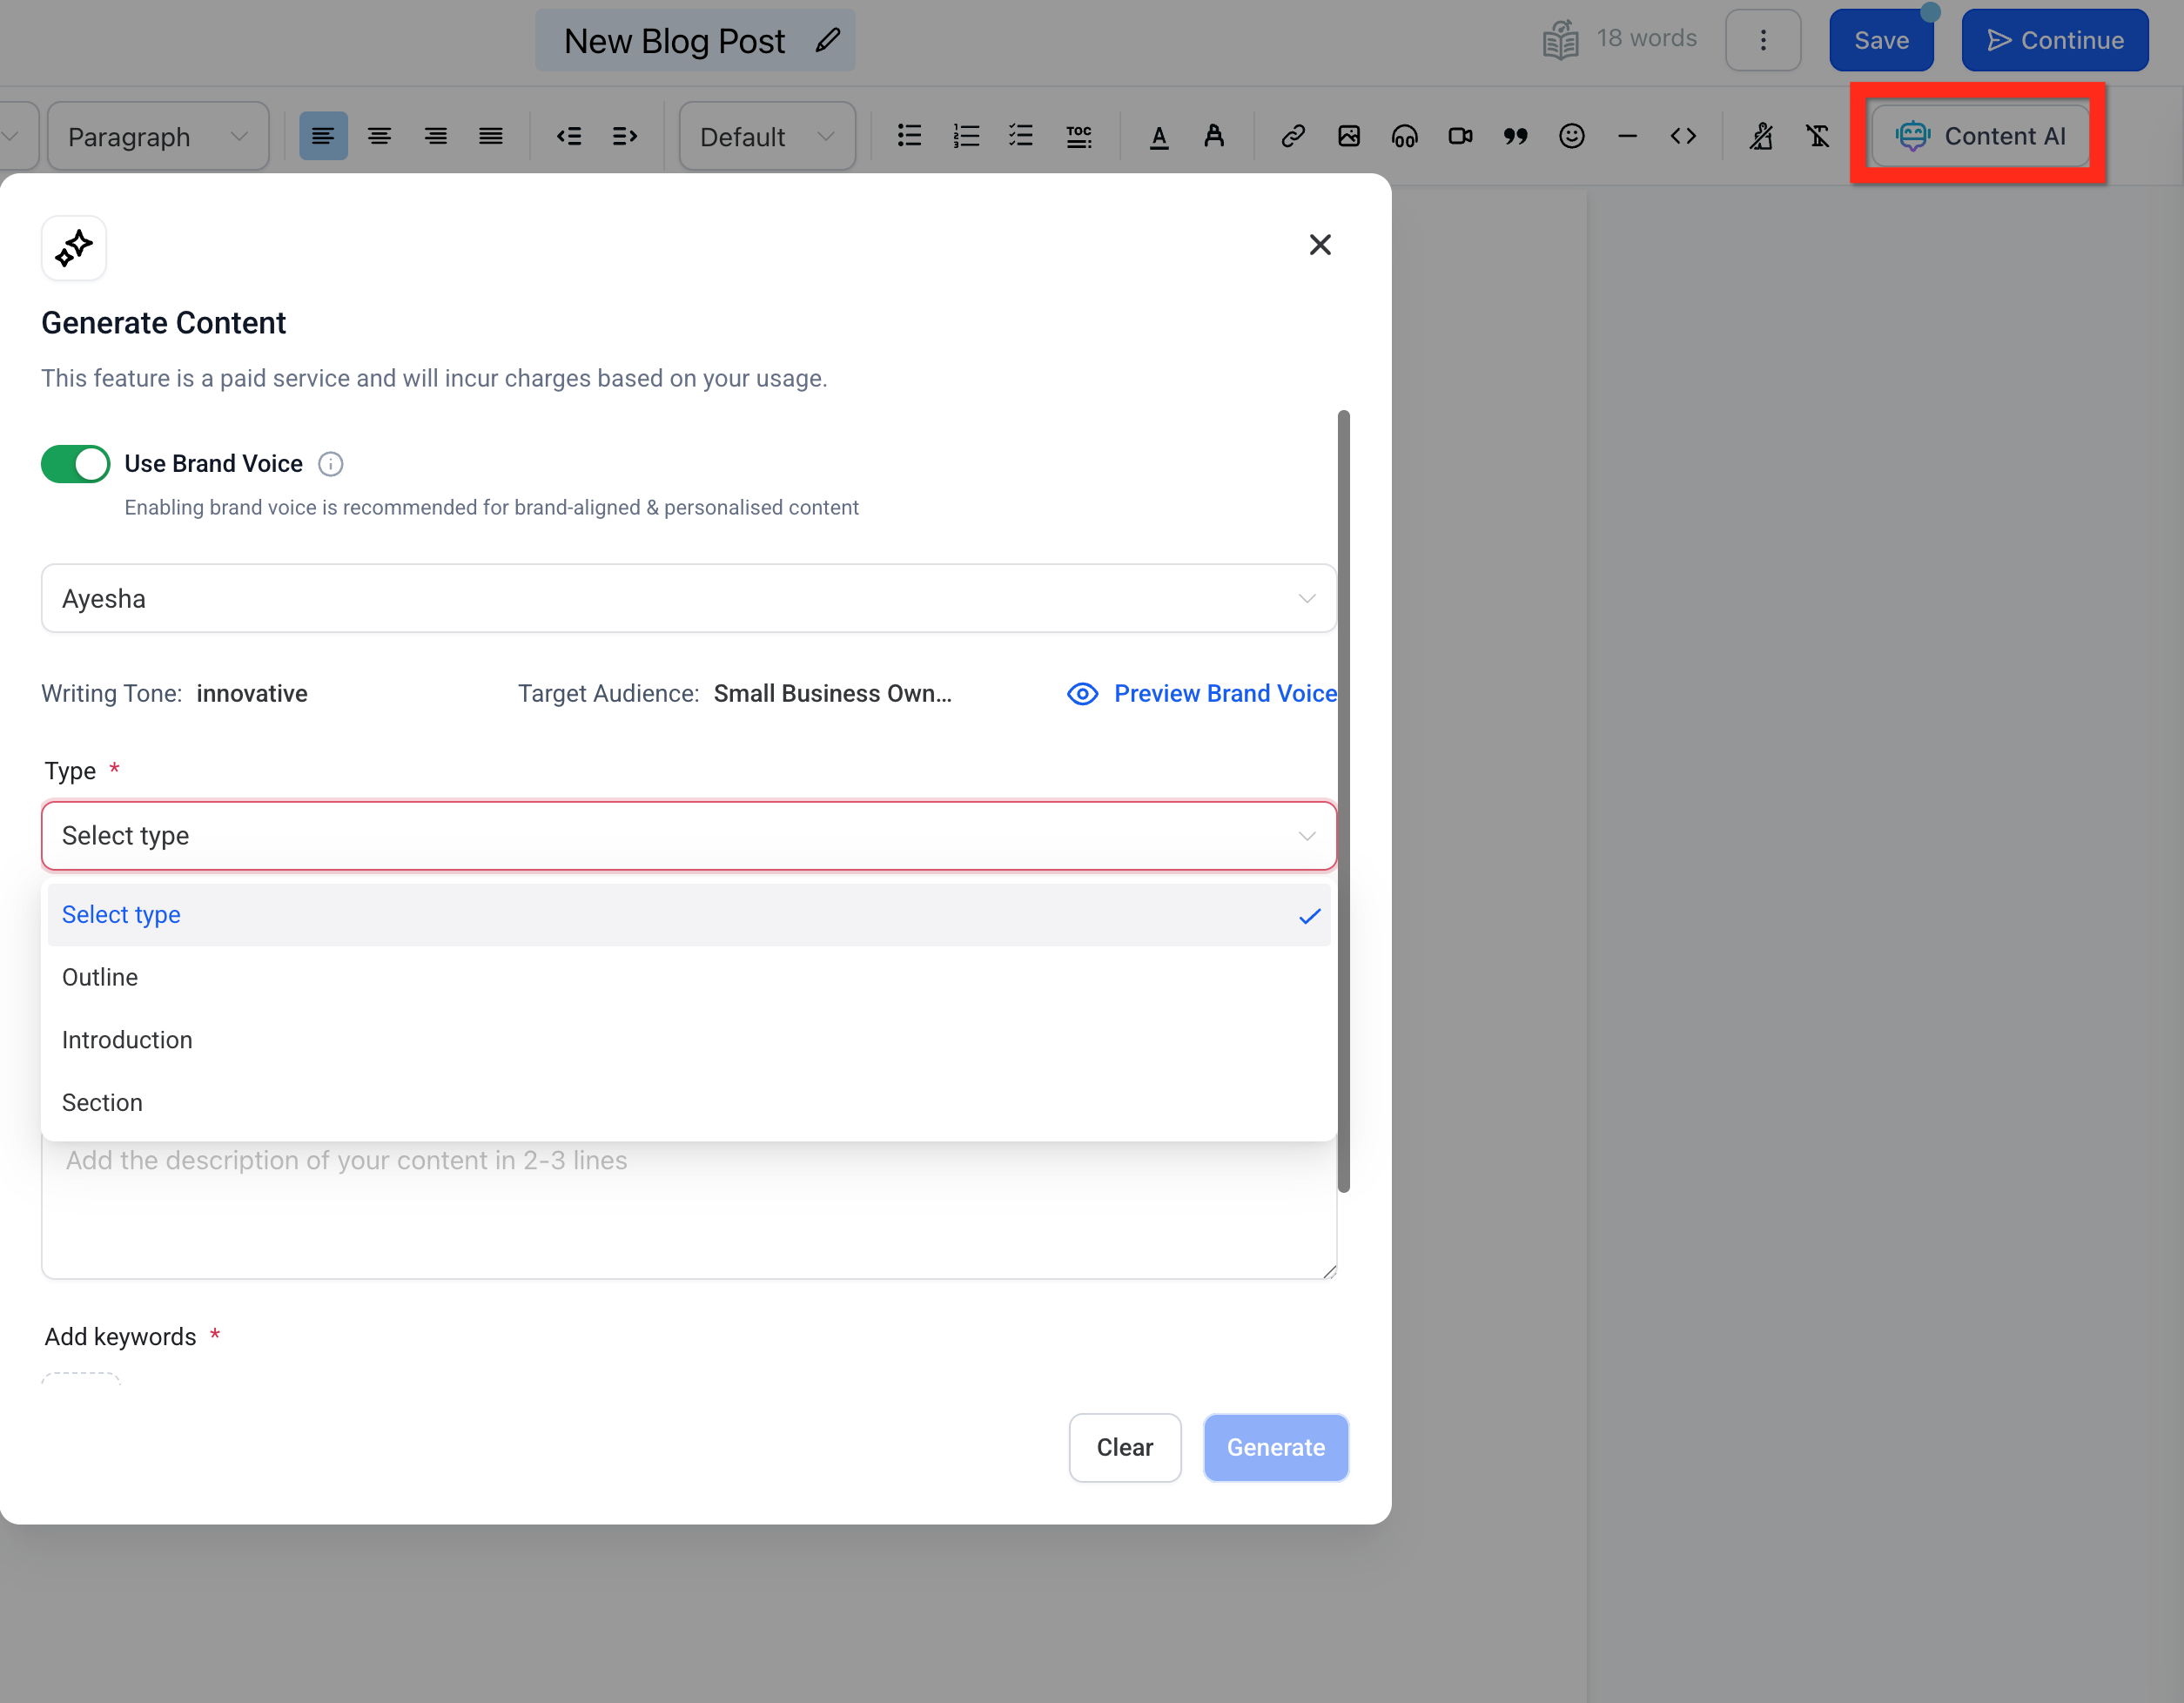
When you set up a generation, you'll be asked to choose what you want and provide a few details:
Content type: Choose Outline (bullet points that structure your post), Introduction (an opening paragraph sharing the post's main concept), or Specific Section (copy for a single section of your post).
Post Title: Enter the topic or category, for example "Laser Skin Resurfacing."
Post Description: Provide a brief description, such as "Top 5 benefits of laser skin resurfacing."
Keywords: Add keywords one at a time, pressing Enter after each, such as "laser, resurfacing, skin, recovery."
Writing tone: Choose a tone from the available options (professional, casual, bold, persuasive, and more).
Variations: Choose the number of variations to generate, from 1 to 5.
Once the form is filled in, the assistant generates suggested variations. When you copy a variation, its content appears in the editor. If the post looks good, click Continue and the content is added to your post.
Note: Make sure the users on your account have permission to use AI writing before they get started.
Auto-Save automatically saves your blog post edits in real time (with a slight delay), so your work is protected from browser crashes or accidental page closures. It's on by default, and you can turn it off whenever you prefer manual saving.
Here's why it helps:
Minimizes the risk of losing content while editing.
Reduces the need for manual saves so you can focus on writing.
Gives real-time feedback with visual save-status indicators.
Stays flexible, turn it on or off as needed.
To manage Auto-Save:
Open the Blog Post Editor in your dashboard.
In the top action bar, locate the Autosave toggle.
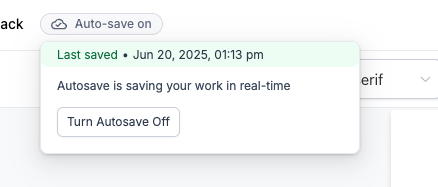
By default, Auto-Save is enabled, shown as the Autosave on tag.
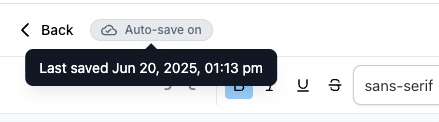
To disable it, hover over the Autosave on tag and click Disable Autosave in the popover.
When disabled, the tag changes to Last saved with a timestamp of your most recent save (for example, "Last saved May 22, 6:30 PM").
Hover over the Last saved tag and click Enable Autosave to turn it back on.
Your Auto-Save preference is stored in your browser and persists across future sessions on the same browser.
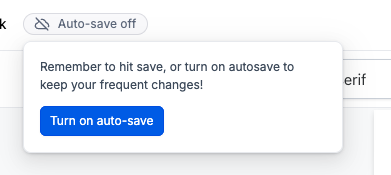
Note: Your Auto-Save preference is browser-specific and does not sync across devices or browsers. If Auto-Save is off and there's no last-saved data, you'll see "Autosave off" displayed.
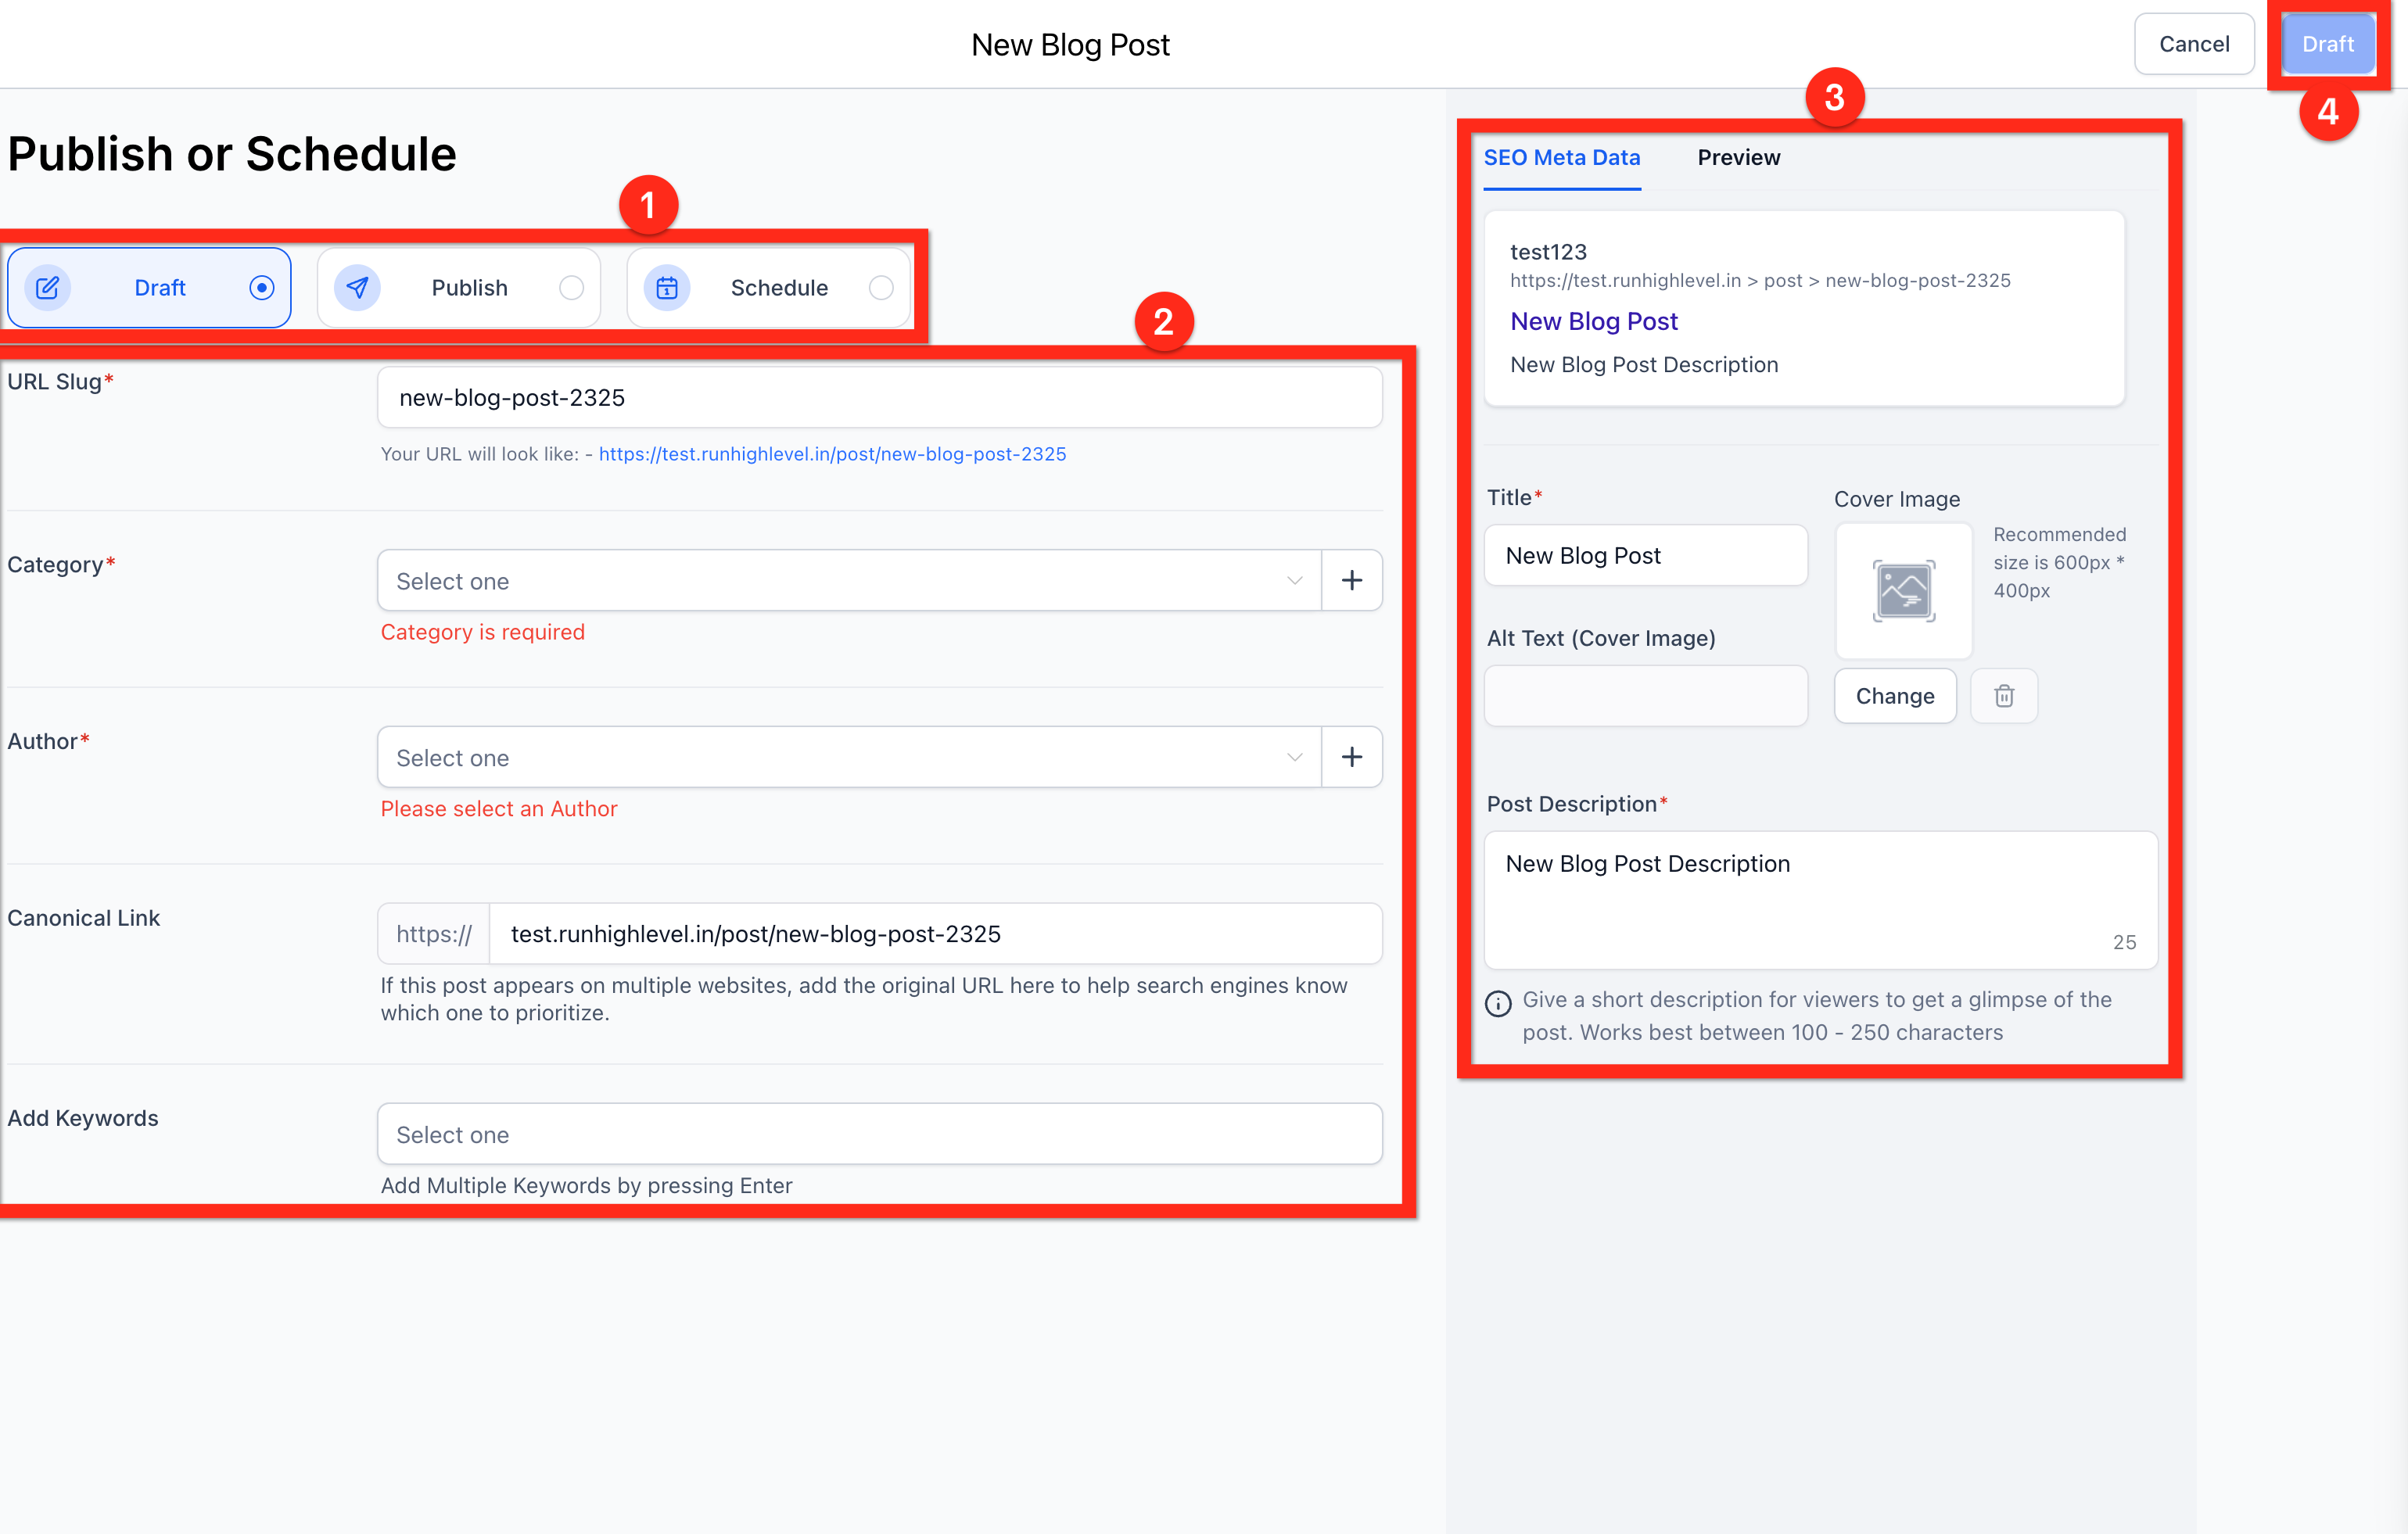
When you're done writing, click Continue to reach the post's Status and SEO metadata page. As in the editor, you don't need to complete every field to publish.
Status: Set the post to Draft, Publish (today or a past date), or Schedule (a future date).
Record Keeping: Give the post a URL slug, Category, Author, and Keywords so your blog stays organized.
SEO: Set the post's Title, Alt text, Cover Image, and Description, then preview your changes.
Done: When everything is set, click the button in the upper right. It will read Draft, Publish, or Schedule depending on the status you selected.
If you delete a blog post, it isn't gone right away. Deleted posts move into a recoverable Deleted state and stay recoverable for 30 days, so you can bring content back yourself without contacting support. Restored posts return to your main blog list with their previous draft or published status intact.
To restore a deleted post:
Navigate to Web Tools → Websites → Blogs.
Open the blog that contains the deleted post.
Click the Status filter and select Deleted.
Locate the post you want to restore.
Open the action menu for the deleted post.
Select Restore blog post.
Confirm the restore action.
After restoration, the post returns to the main blog list with its prior draft or published state.
To restore multiple posts at once:
Navigate to Web Tools → Websites → Blogs.
Open the blog that contains the deleted posts.
Click the Status filter and select Deleted.
Select the checkboxes next to the posts you want to restore.
Click Bulk Action.
Select Restore blog posts.
Confirm the restore action.
The selected posts return to the main blog list with their previous draft or published states.
To permanently delete posts:
Navigate to Web Tools → Websites → Blogs.
Open the blog that contains the deleted posts.
Click the Status filter and select Deleted.
Select the post or posts you want to permanently remove.
Click Bulk Action or open the post's action menu.
Select Delete permanently.
Confirm the permanent delete action.
Note: Permanently deleted posts cannot be restored. Only use this option when you're sure the content is no longer needed.
How long can I restore a deleted blog post?
Deleted posts can be restored for up to 30 days. After 30 days, they are permanently removed.
What happens when I restore a deleted post?
The post returns to your main blog list with its previous draft or published state intact.
Does restoring a post automatically publish it?
No. A draft returns as a draft, and a published post returns as published.
Can I restore multiple deleted posts at once?
Yes. Use the Deleted filter, select the posts you want to recover, then choose Restore blog posts from the Bulk Action menu.
Where do I find deleted posts?
Select Deleted from the Status filter on your Blog Dashboard.
What happens if my browser crashes while Auto-Save is on?
Your changes are saved automatically, helping you avoid losing recent edits.
Can I use Auto-Save on multiple devices?
No. Auto-Save preferences are specific to each browser and device.
Does Auto-Save slow down the editor?
No. Auto-Save uses a slight delay to keep performance smooth while capturing your updates.
