A blog is a powerful way to publish patient education, treatment spotlights, and practice updates that build trust and improve your SEO. In Aesthetix CRM, you can create a blog, attach it to a website or funnel, and fully customize its layout, list cards, and post styling. This guide walks you through creating a blog, setting up its URL structure, and designing its look and feel.
From your sub-account, navigate to Web Tools → Websites → Blogs.
Click to create a new blog and set up the following details:
Blog name: give your blog a clear, recognizable name.
Domain and slug: select the domain and add a slug. This is optional; you can create the blog without a domain and connect one later.
Description: add a description. This is recommended for SEO.
After adding these details, you will land on the list view, where you can create new blog posts and edit the blog site.
Your blog's URL structure depends on whether you use a main domain or a subdomain.
If your domain is a main domain (for example, yourpractice.com):
You can specify yourpractice.com/blog by using /blog as the slug. If the domain page already exists, unique parameters are added after scanning all URLs and domains in your funnels and websites.
The blog post URL is defined as yourpractice.com/post/post-name.
The category URL will be yourpractice.com/blog/category/category-name.
The tag URL will be yourpractice.com/blog/tag/tag-name.
The author URL will be yourpractice.com/blog/author/author-name.
If your domain is a subdomain (for example, blog.yourpractice.com):
You can specify blog.yourpractice.com; you will not be required to add a slug.
The blog post URL is defined as blog.yourpractice.com/post/post-name.
The category URL will be blog.yourpractice.com/category/category-name.
The tag URL will be blog.yourpractice.com/tag/tag-name.
The author URL will be blog.yourpractice.com/author/author-name.
Note: When using a subdomain, go to your domain settings, click Edit, and set the default page to Blog Home.
Once your blog is created, you can edit its layout, the details shown on list cards, and the styling of your blog posts.
Go to Web Tools → Websites → Blogs.
In the list view, click on the name of your blog.
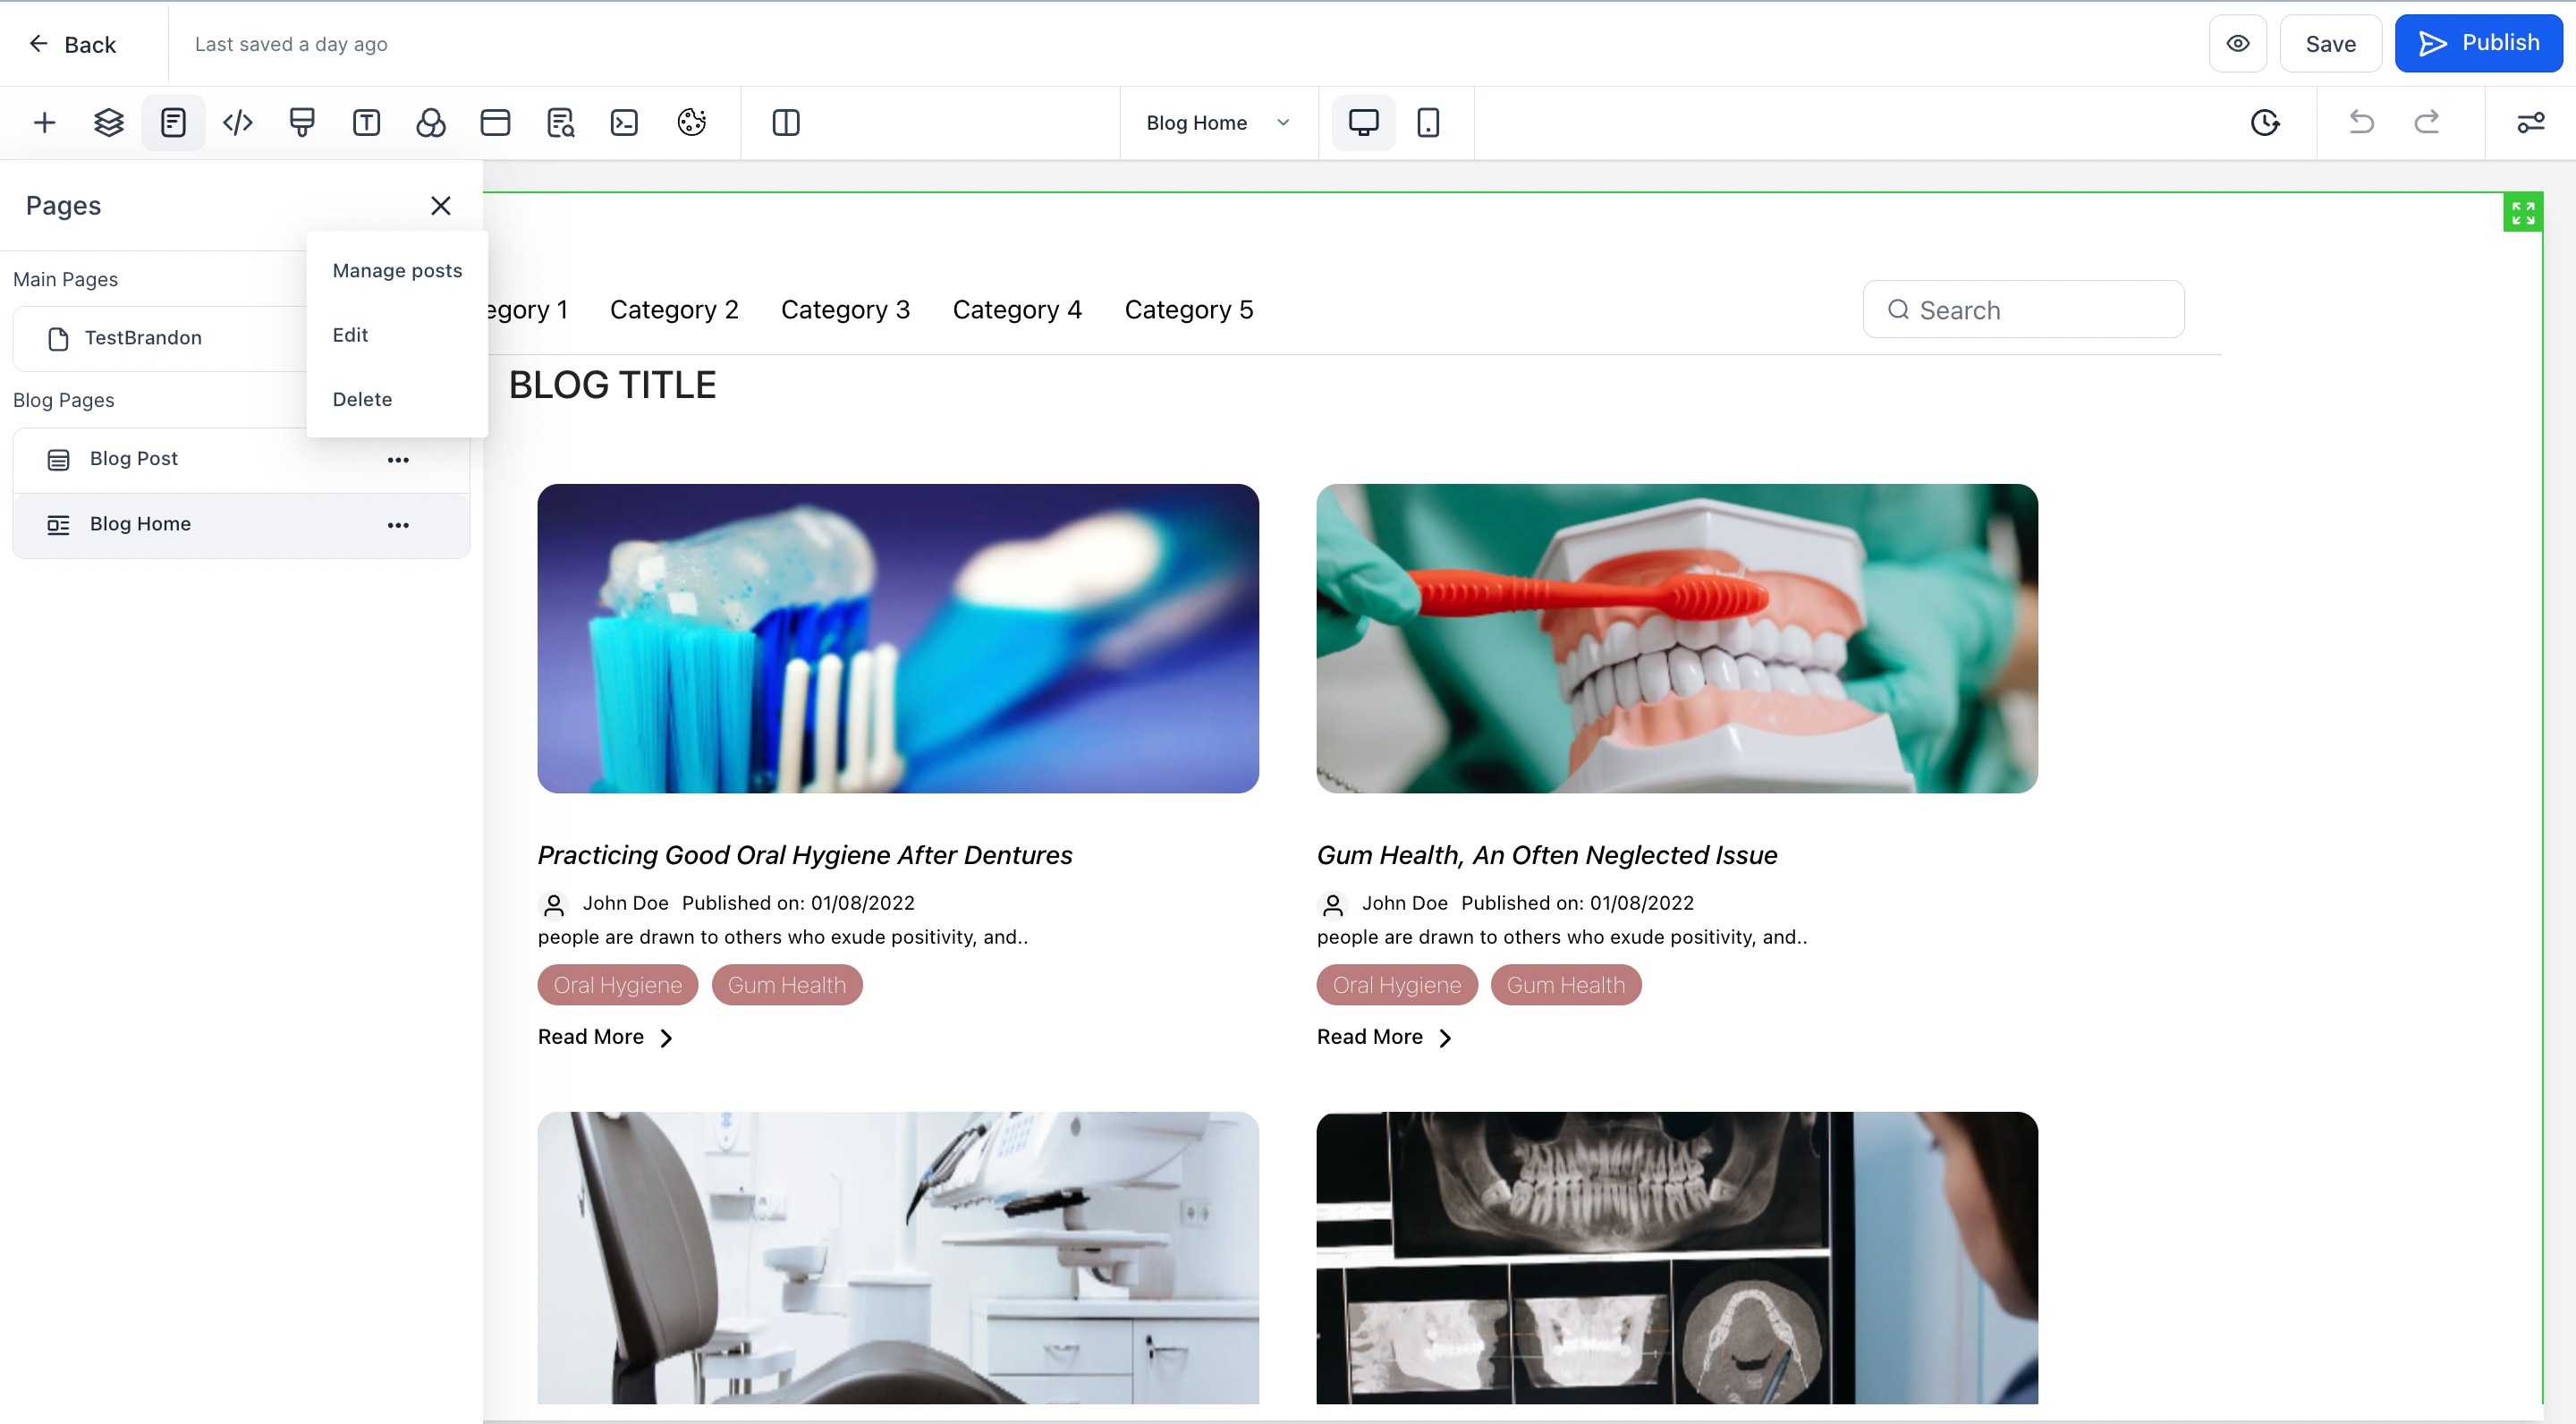
When the blog opens, you will see the Edit the Blog Site button beside the New Blog Post option, along with the list of your blog posts.
Click Edit the Blog Site to open the blog editor with all of its elements and global sections.
In the editor, you can customize the following:
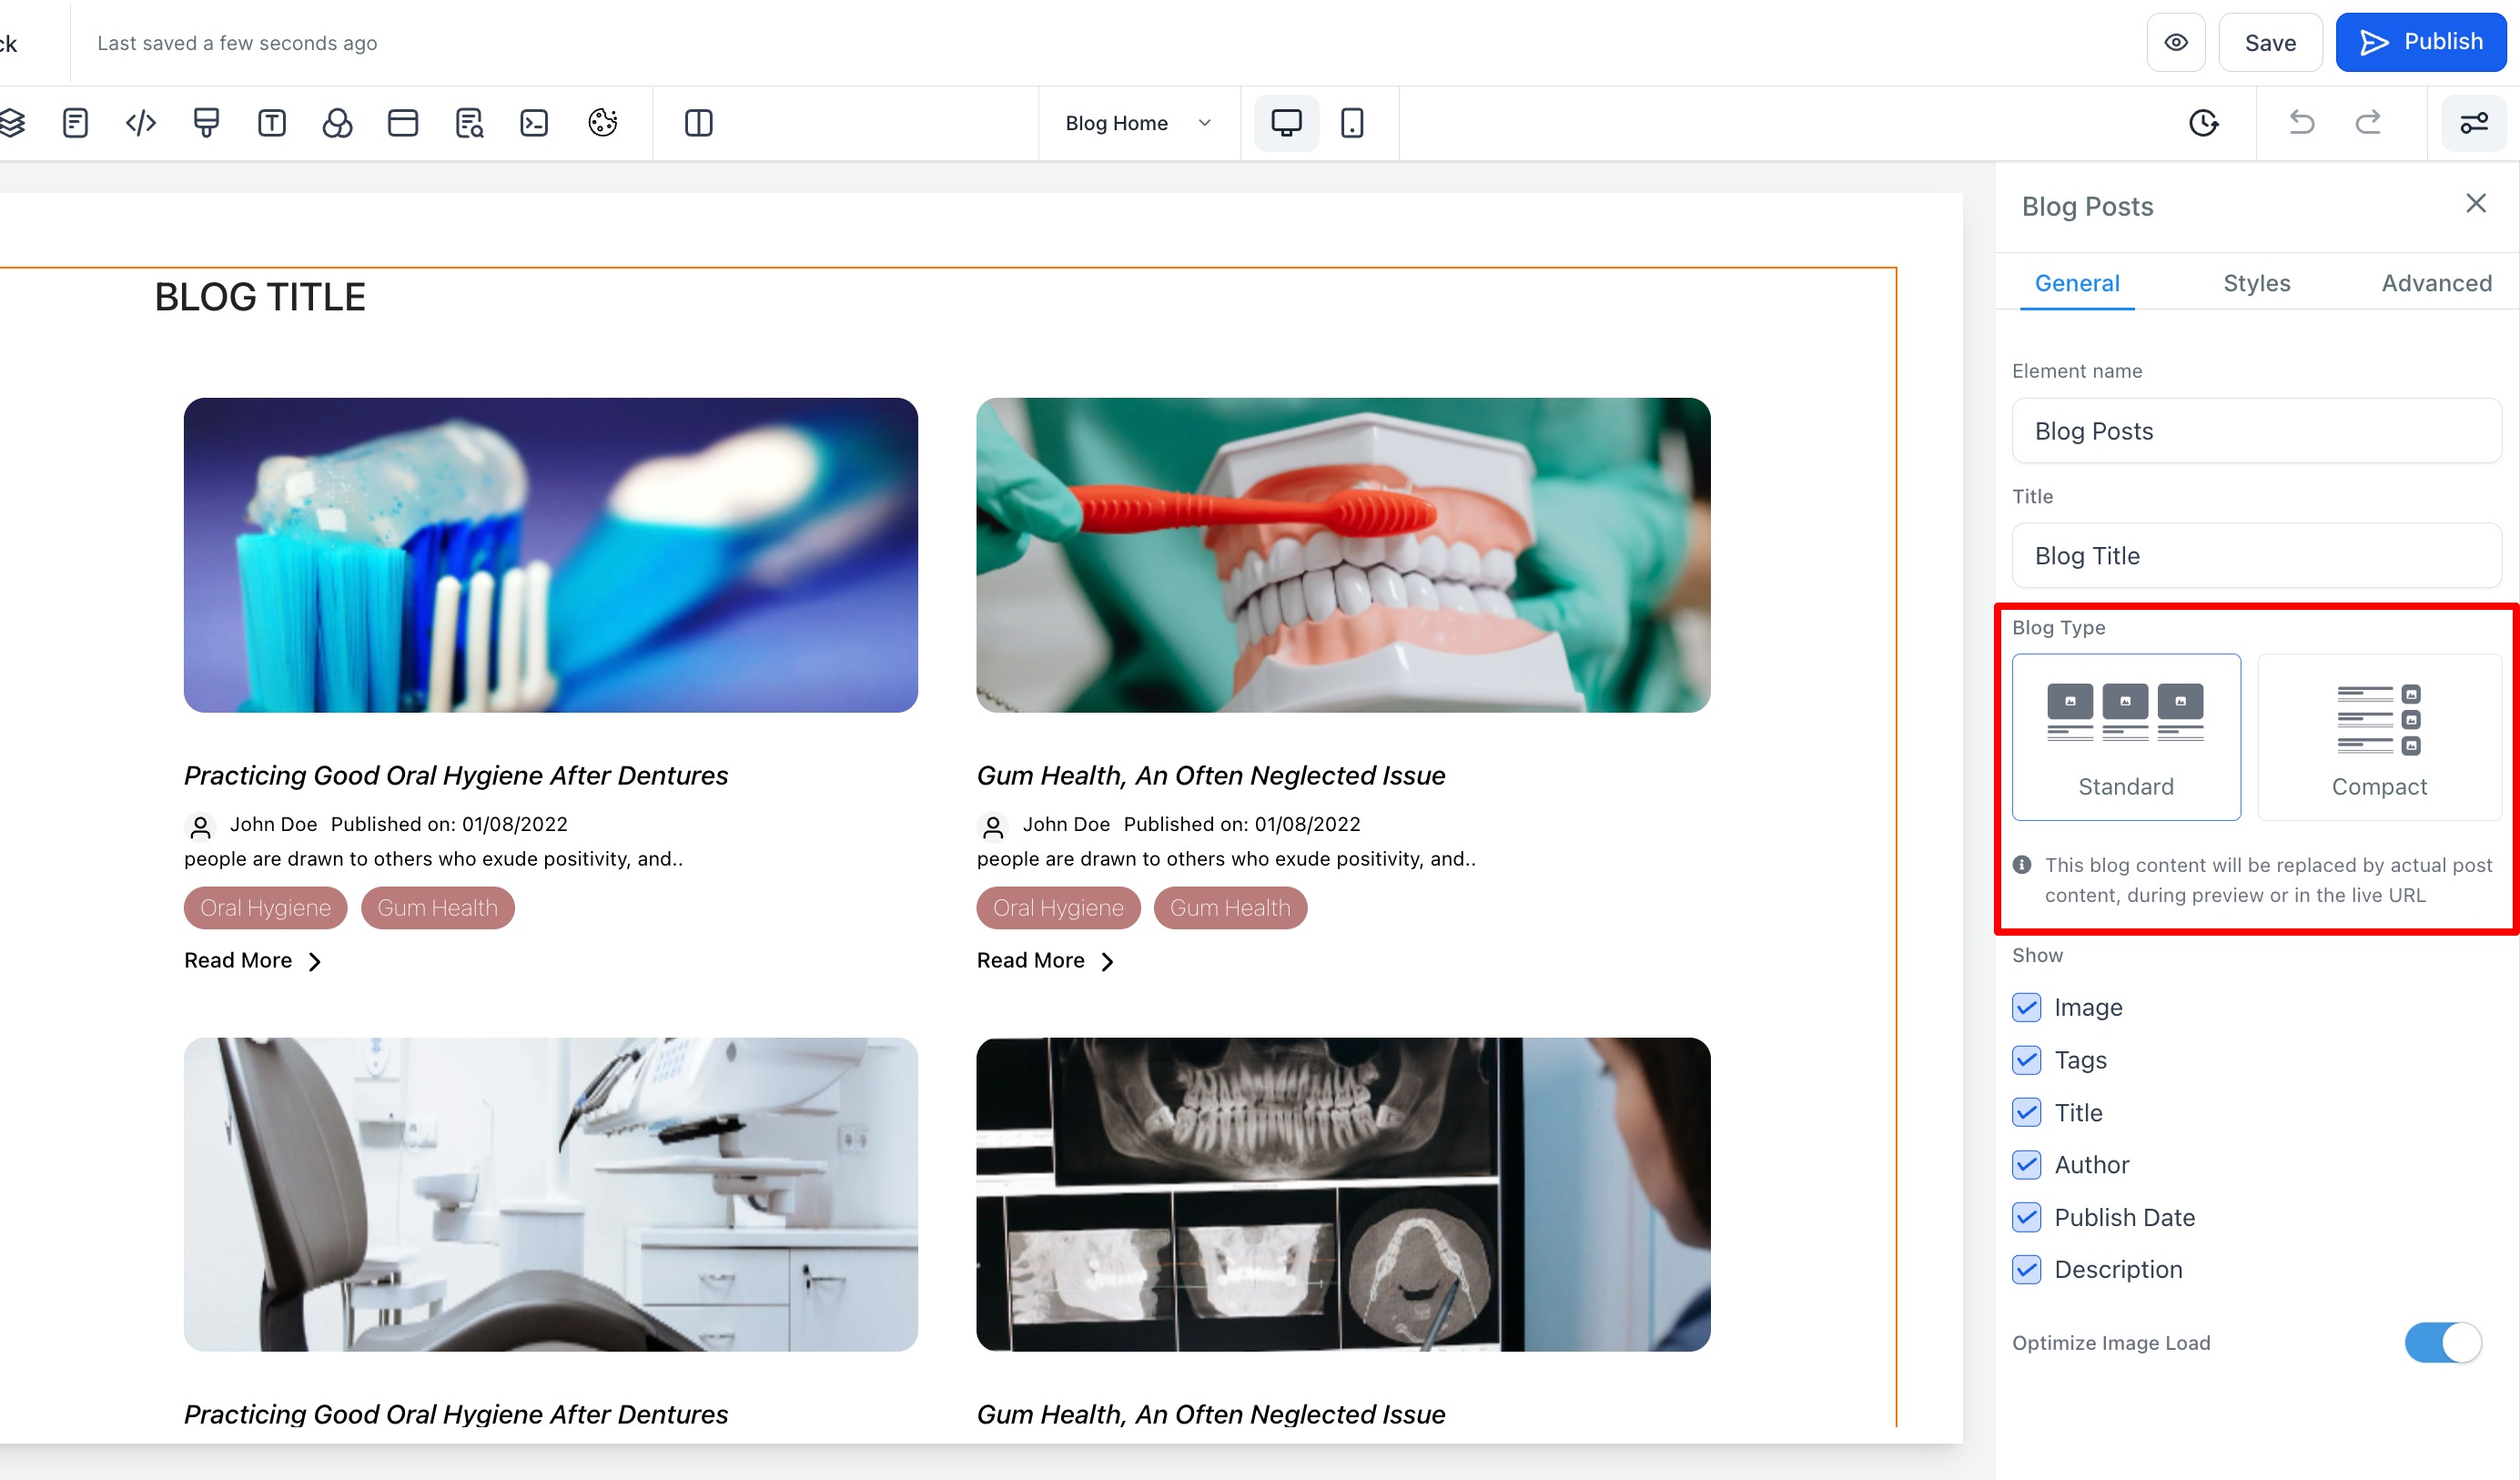
Select the layout design for your blog.

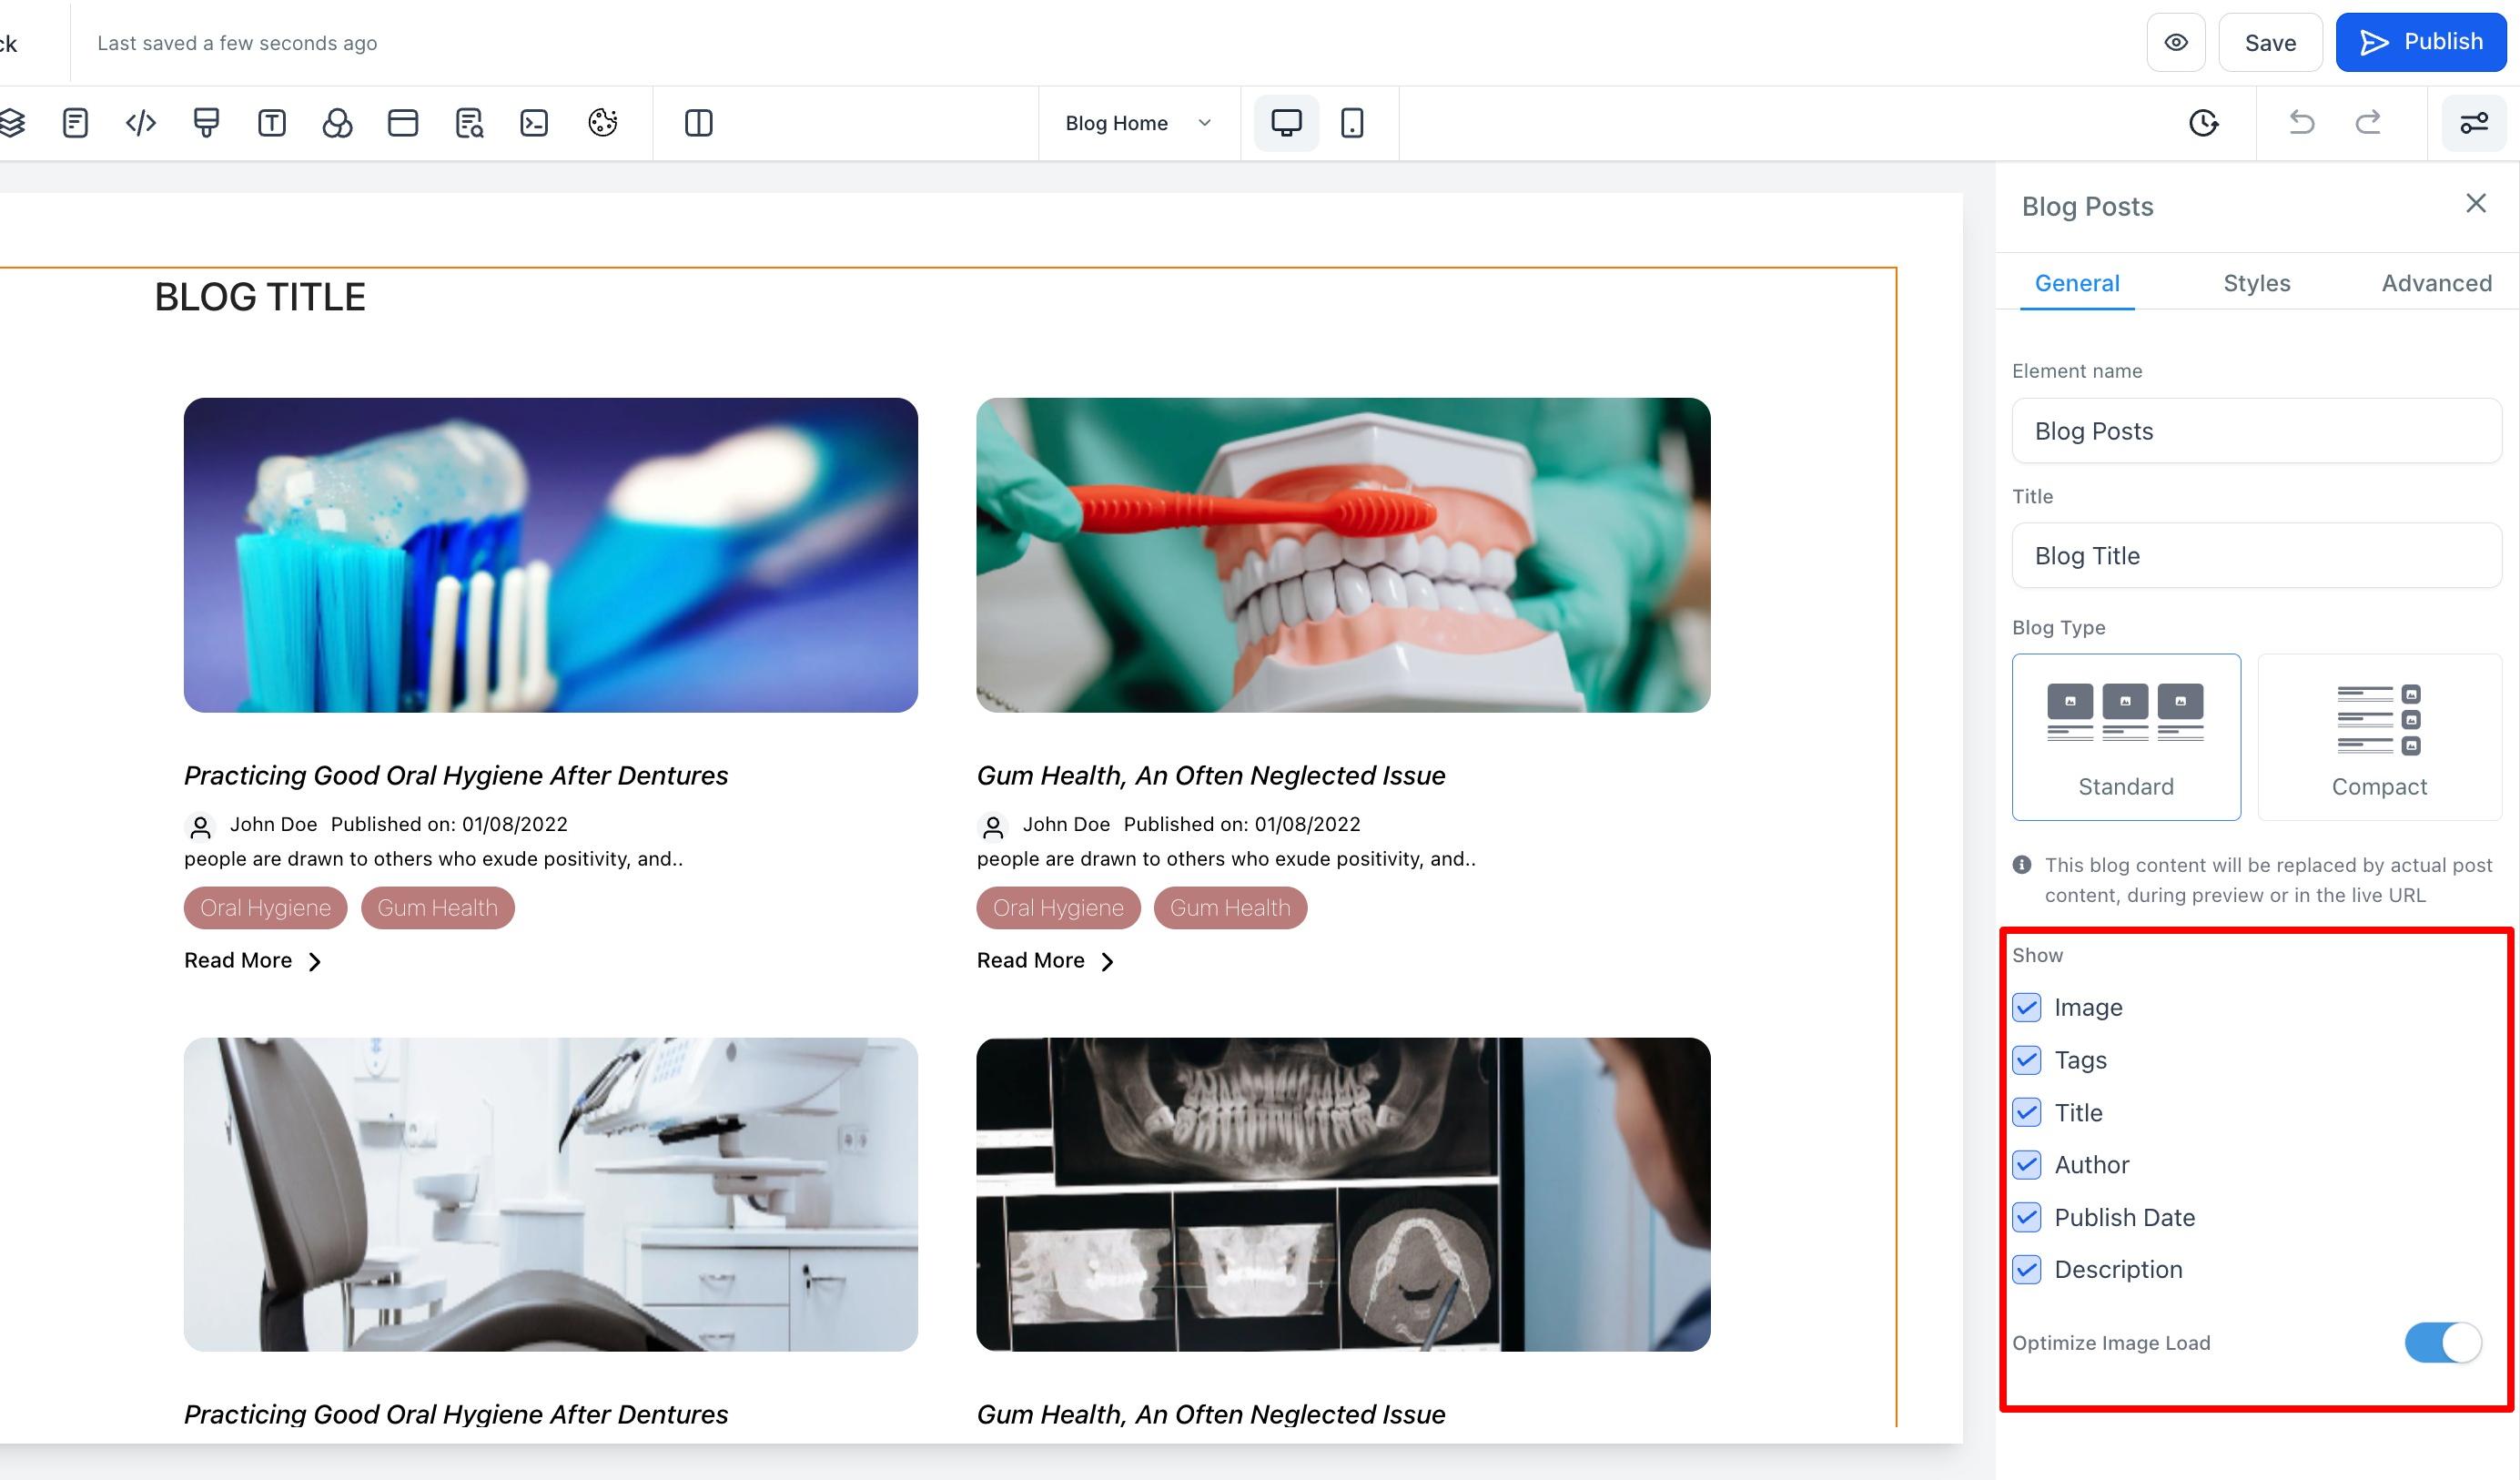
Manage how the card will look in the blog list view.

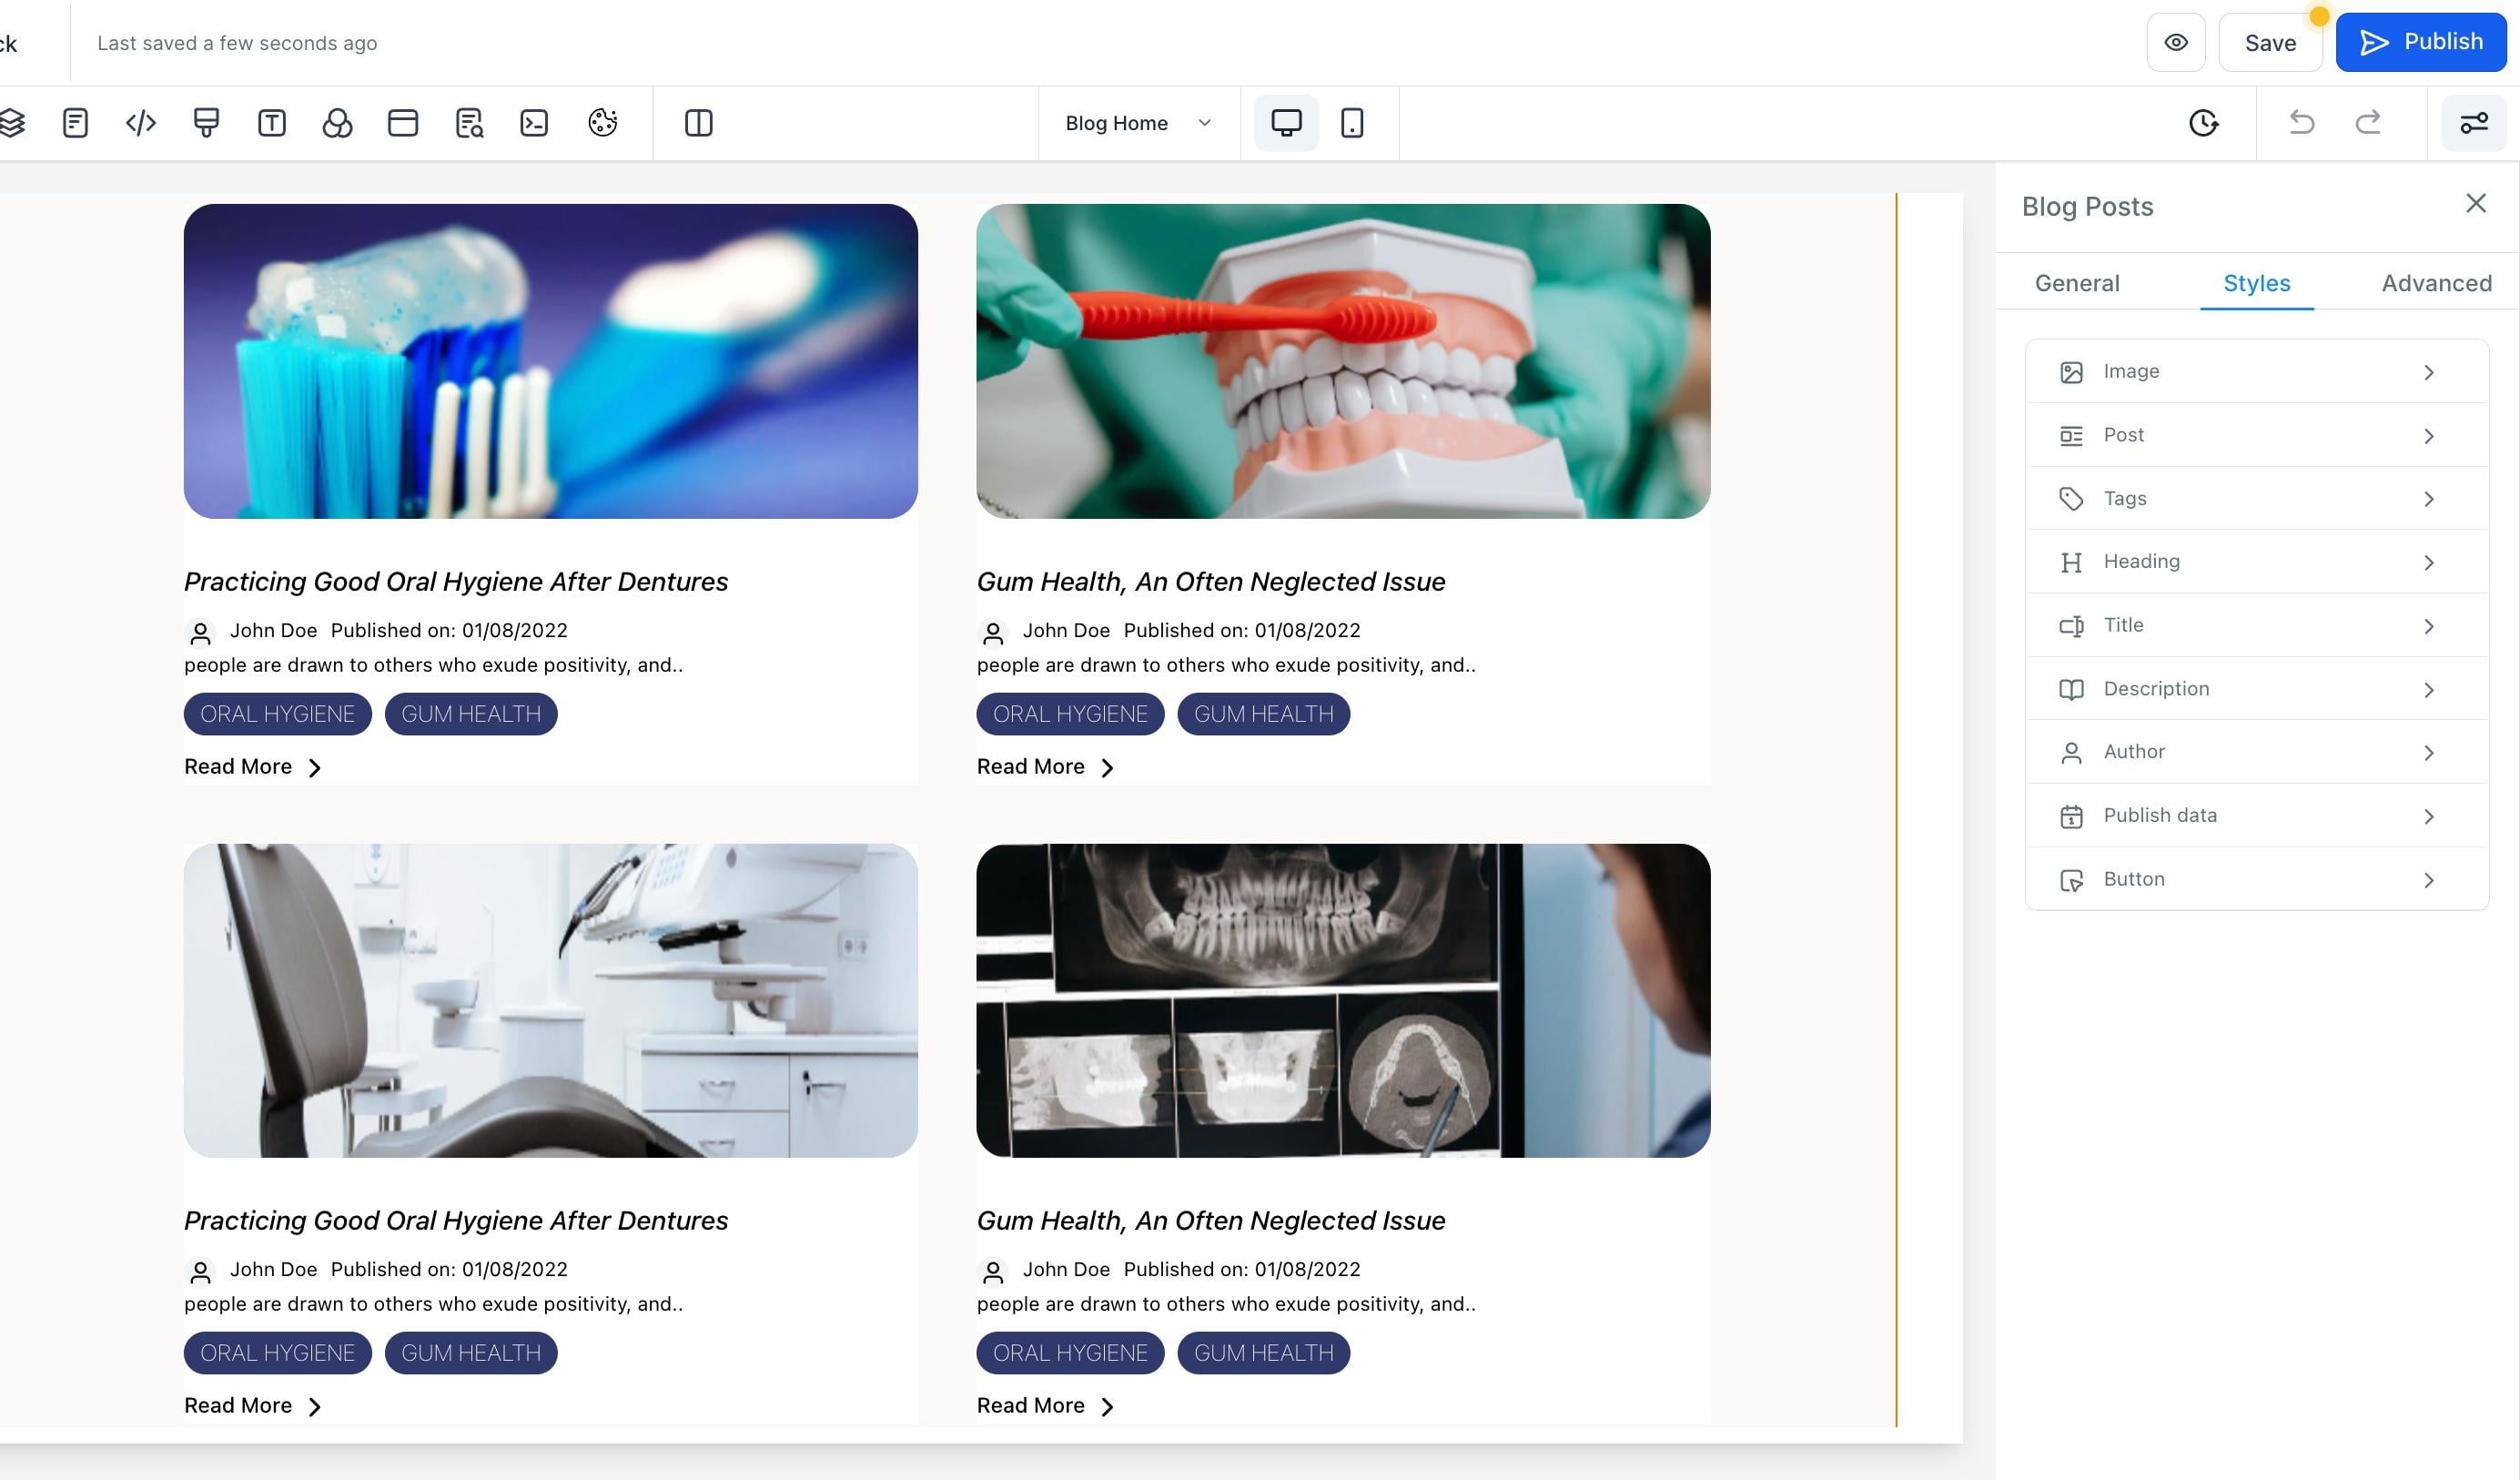
Manage the style of individual elements, Image, Post, Tags, Heading, Title, Description, Author, and Publish Date.

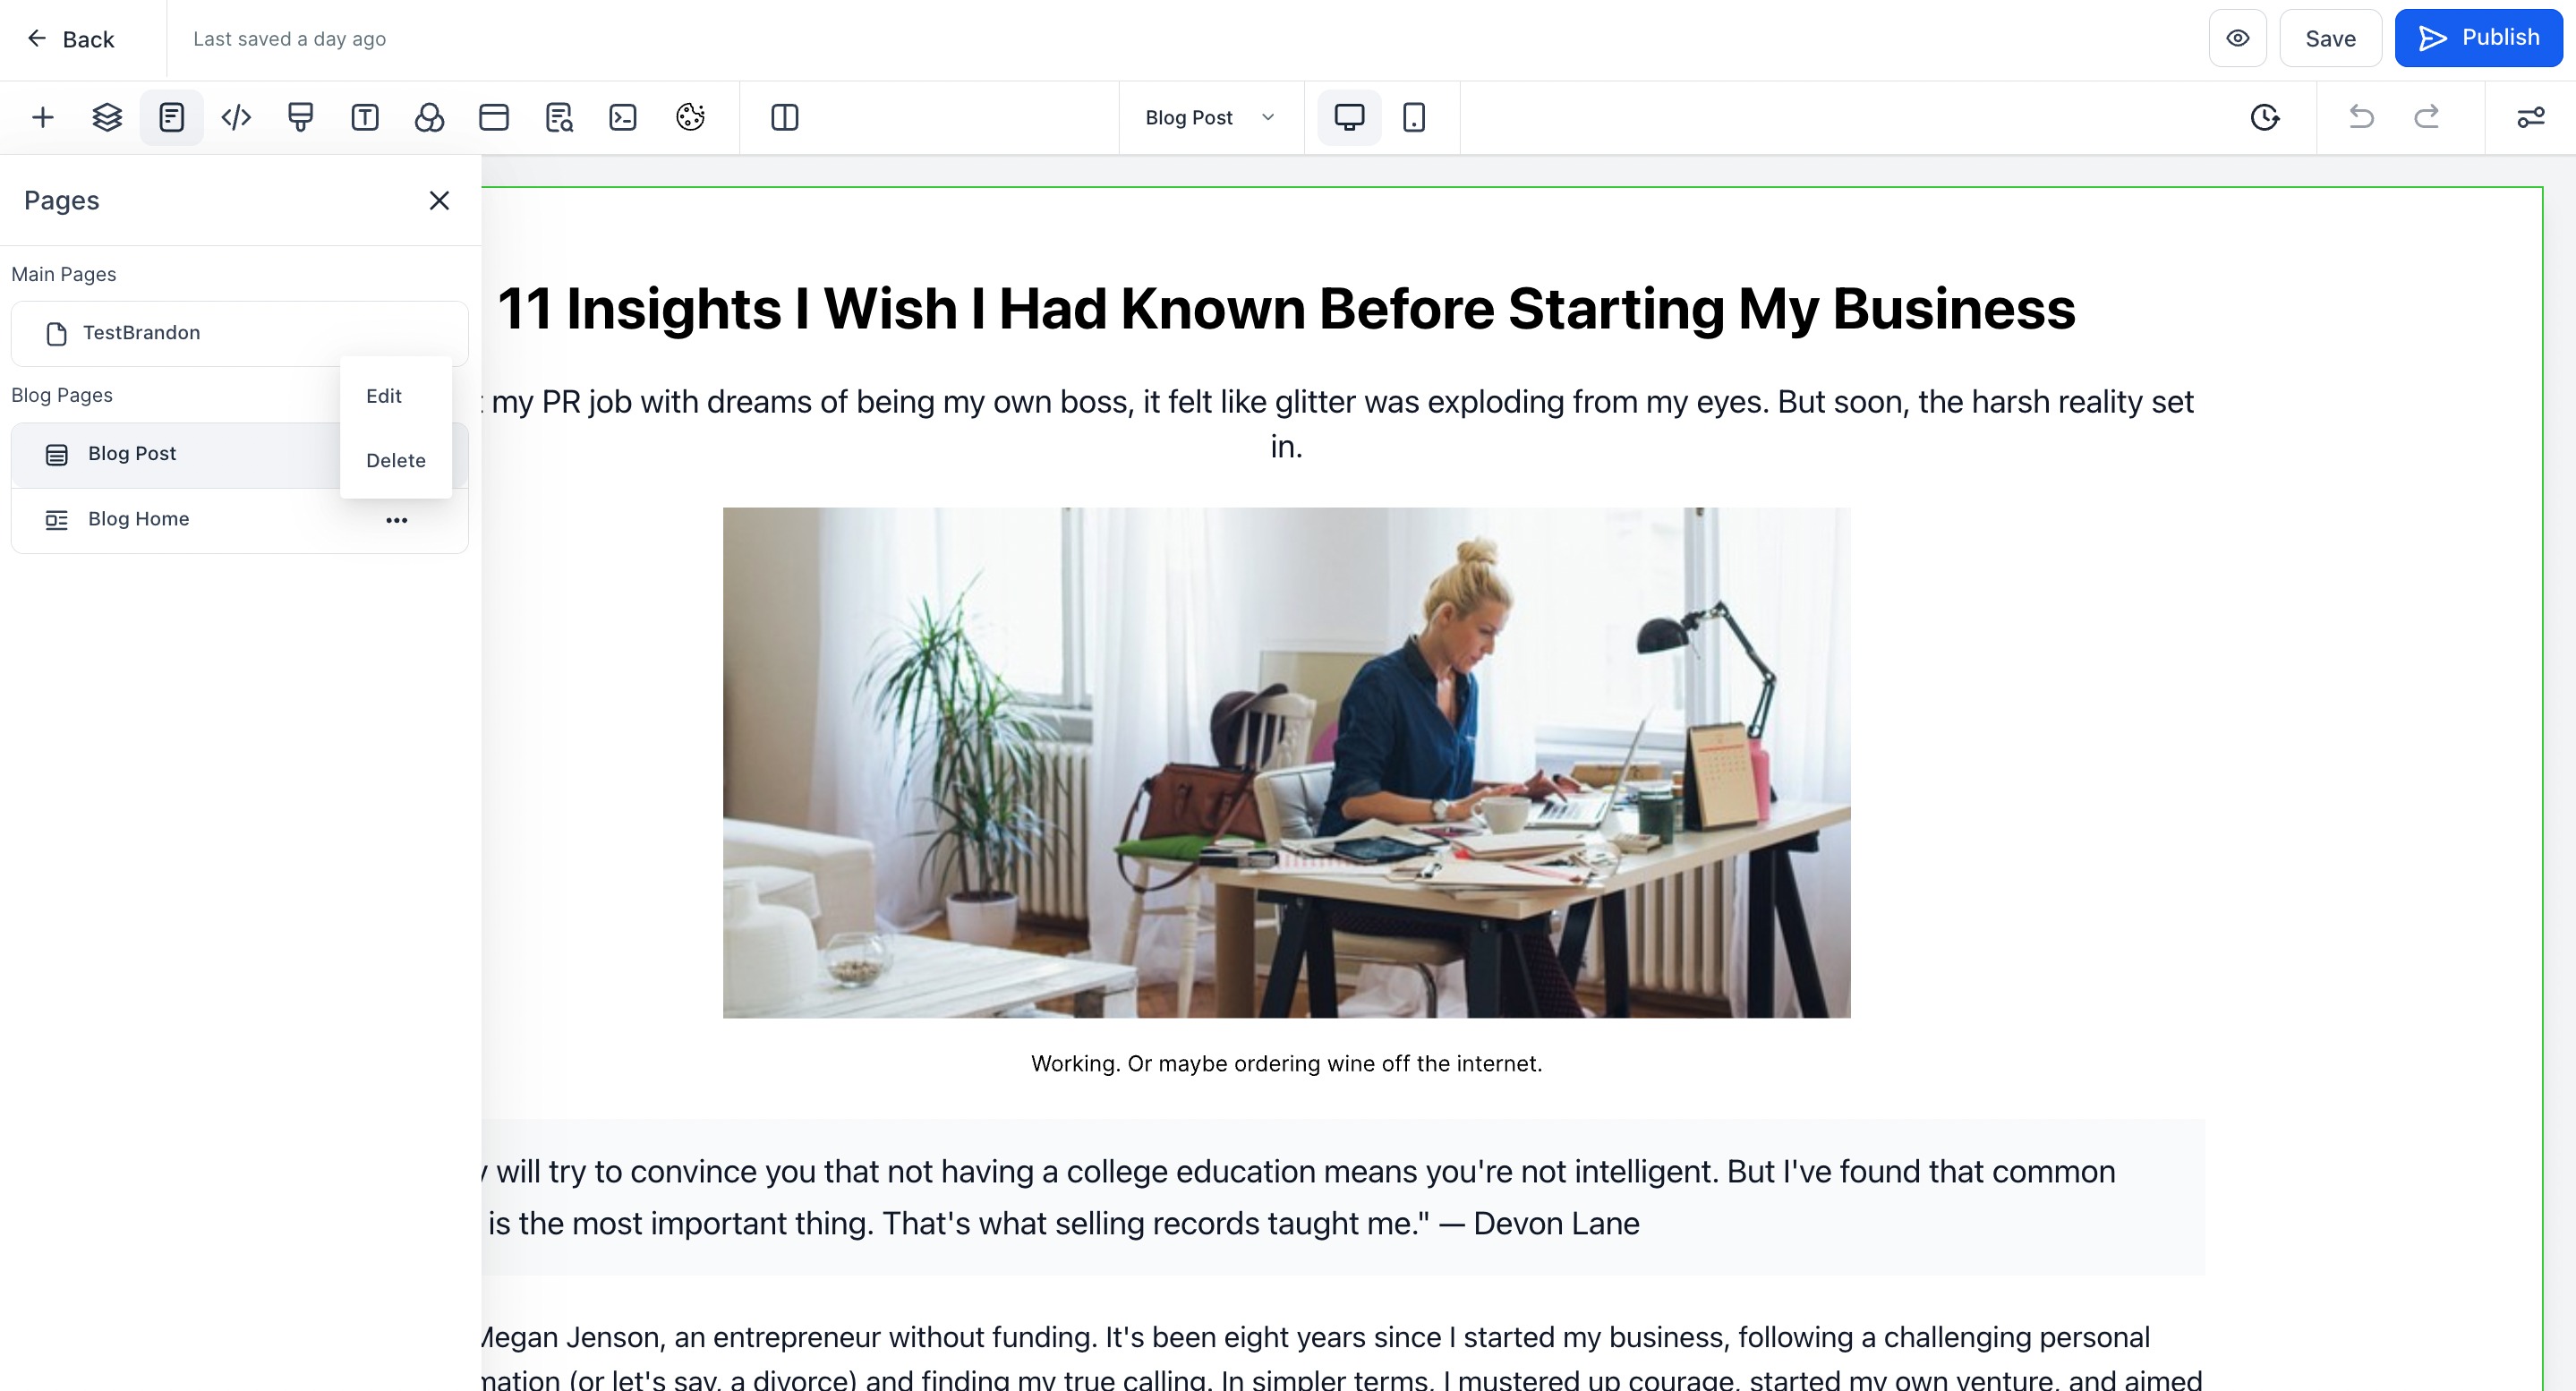
To manage the blog pages, such as Home and Post, the editor also lets you create blog posts and delete the blog.


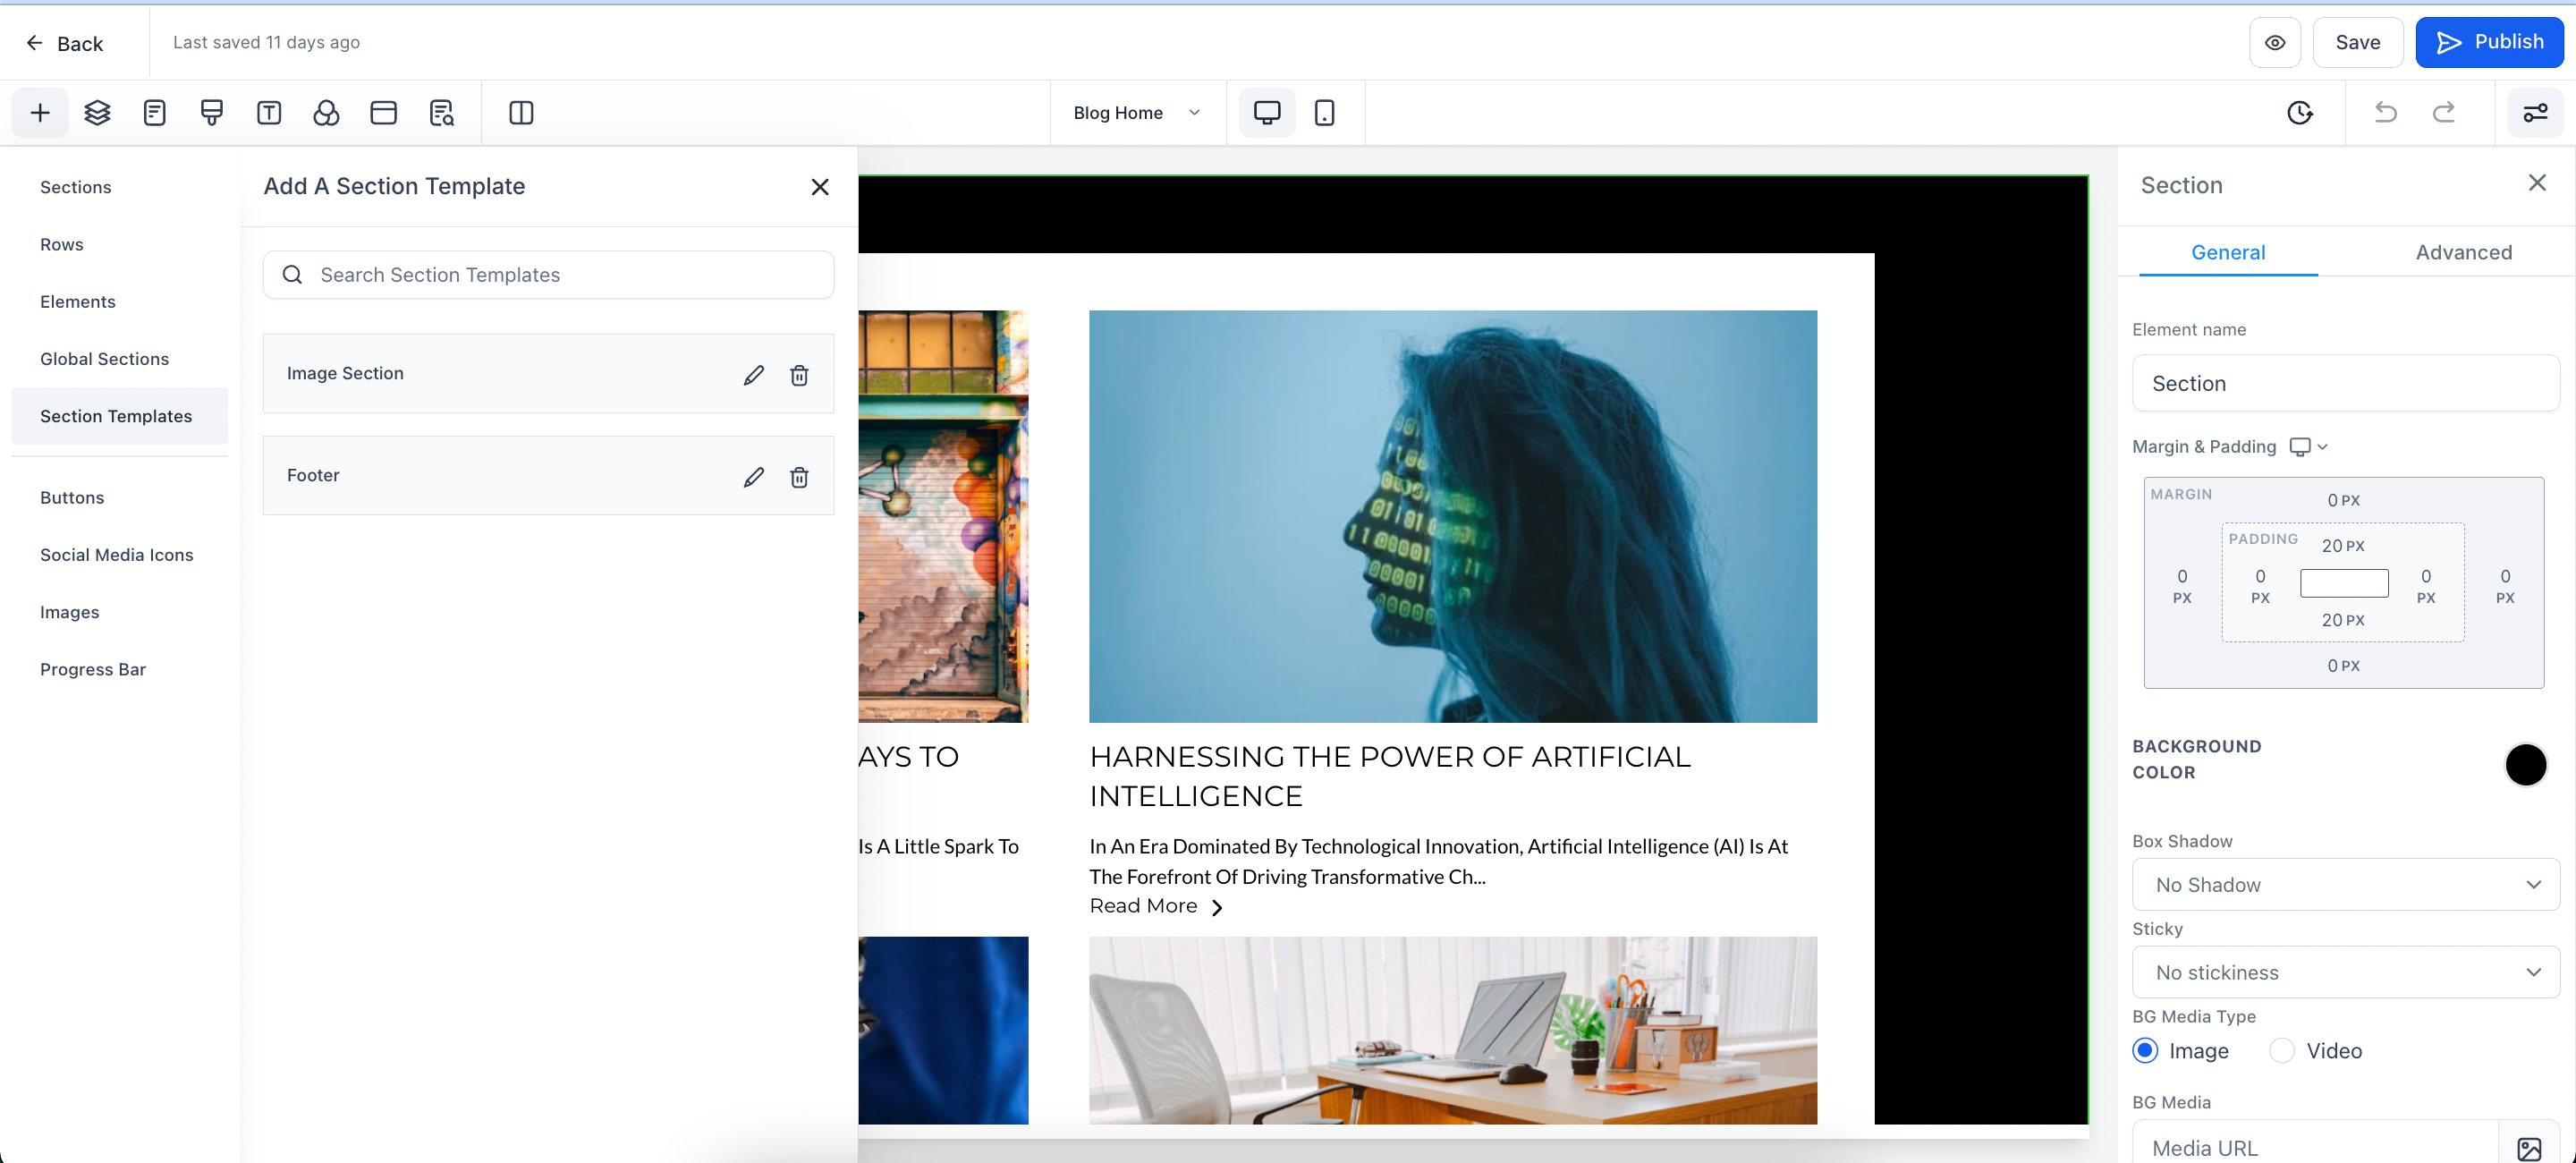
The blog editor provides Section Templates, Global Sections, and other elements such as Buttons, Social Media Icons, Images, and a Progress Bar. Section Templates are shared between Funnels, Websites, and Blogs, so you can reuse designs across your site.
When designing your blog, keep these built-in benefits in mind:
Simplified URLs: clean, readable URLs across posts, categories, tags, and authors.
Automated sitemap: whenever a blog post is published, the sitemap for your domain updates automatically. You do not need to update the sitemap or add a robots.txt each time you publish.
Each post opens on its own page: blog posts open on a new page rather than in the same view, and you can customize the look and feel with a subscribe form, a custom comment area, or other elements like text, subtext, or a calendar.
Strong SEO with canonical tags: canonical tags tell search engines which version of a page to index and consolidate ranking strength to, helping your posts rank.
Flexible layouts and designs: create your blog with a custom layout and choose exactly what appears in the card view.
Can I customize or edit the "Next" and "Previous" buttons shown on the Blog Home page?
The "Next" and "Previous" buttons are auto-generated for blog pagination and can't be edited directly in the blog editor. You can style or hide them using custom CSS under the Advanced tab, but the text and structure cannot be changed from inside the editor.
