Order bumps and upsells are two of the easiest ways to raise your average order value without any extra advertising spend. A bump offer lets you present an optional add-on right on the order form, so a client purchasing a treatment package can add a complementary service or product with a single checkbox. A post-purchase upsell presents an additional offer after checkout is complete, giving clients one more chance to add to their order before they reach the thank you page.
This guide covers both: adding a bump offer to your order form, and building post-purchase upsells in your online store checkout.
A bump offer appears directly on the order form as an optional add-on the client can check to include with their purchase. Because the bump sits right beside the order summary, it's a natural place to feature a low-cost extra, such as an add-on treatment, a take-home skincare product, or a membership upgrade.
When building your order form, enable the bump offer option, then select the product you want to feature and write a short, benefit-focused headline and description. Keep the offer relevant to what the client is already buying so it feels like a helpful suggestion rather than an interruption.
Note: Bump offers work best when the add-on is inexpensive relative to the main purchase and clearly complements it. A clean, understated design keeps the offer feeling like a thoughtful recommendation.
You can increase your average order value by upselling additional products after clients complete their checkout in your online store. In a few clicks, you can build upsell offers across the customer journey, from the checkout page to the thank you page, and maximize revenue on every sale.
The upsell element must be placed on a new page shown after checkout. If it is added before checkout it will cause an error, so create a dedicated upsell page for the smoothest experience.
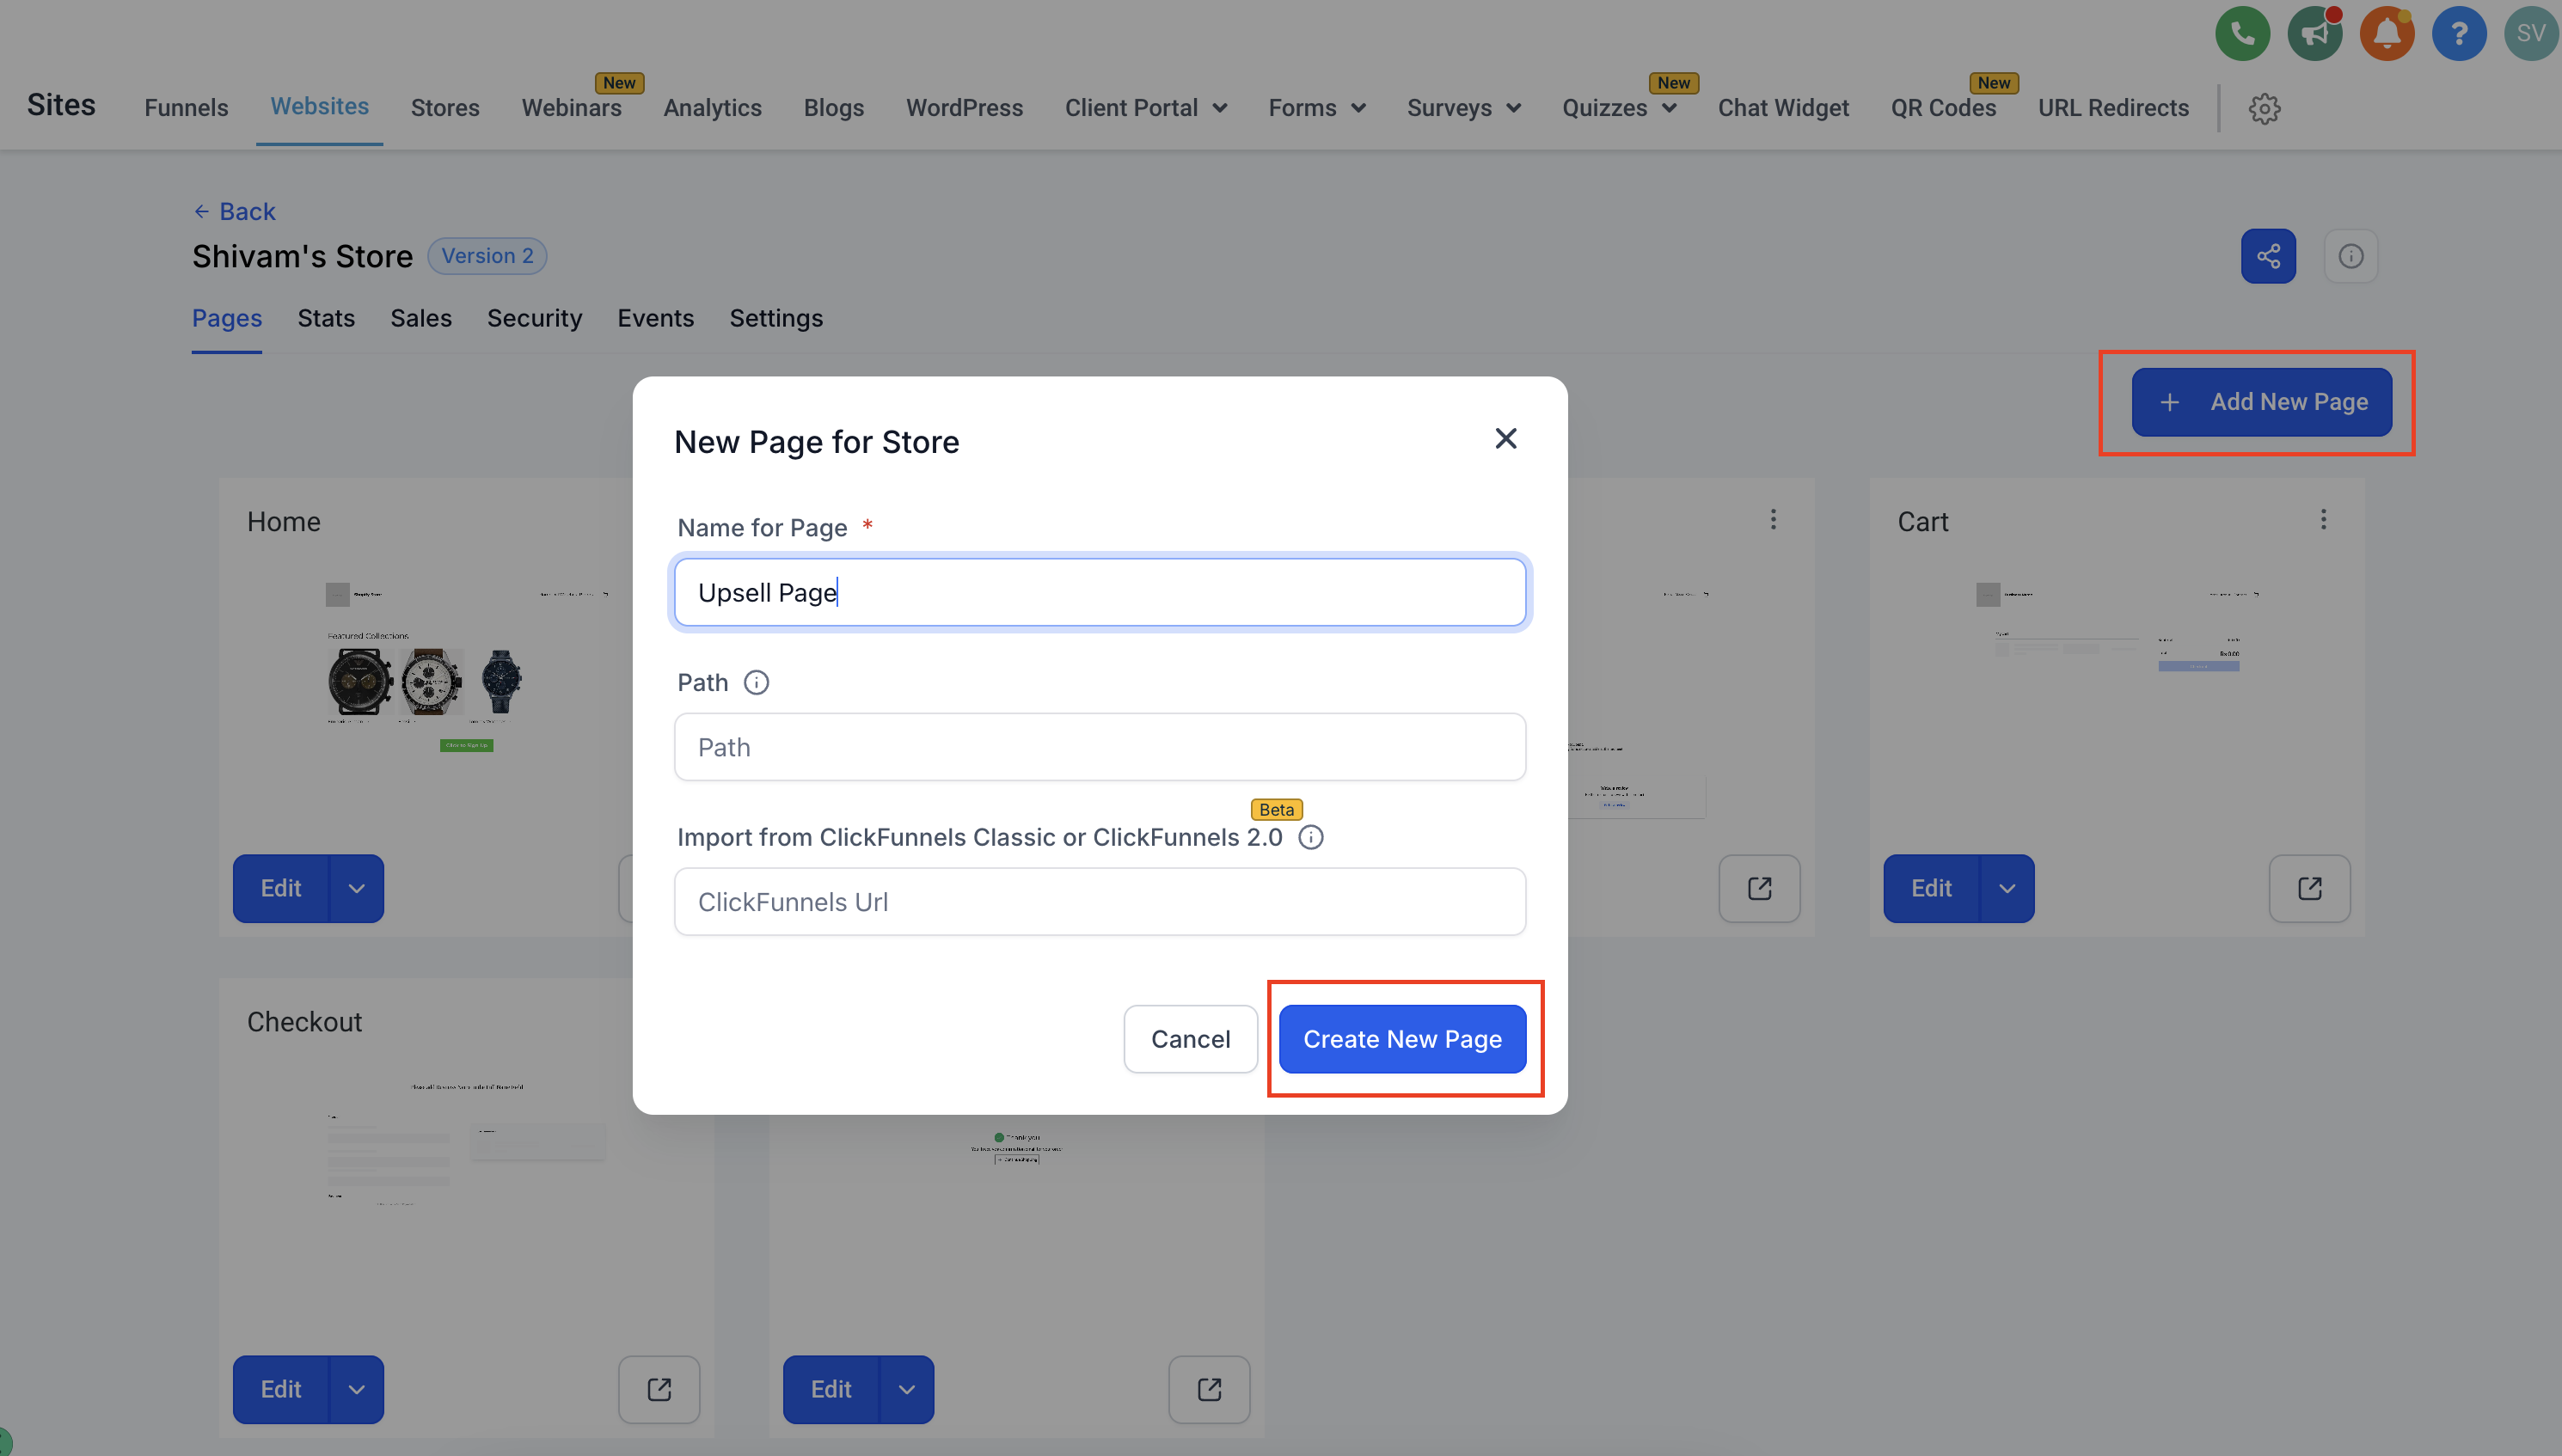
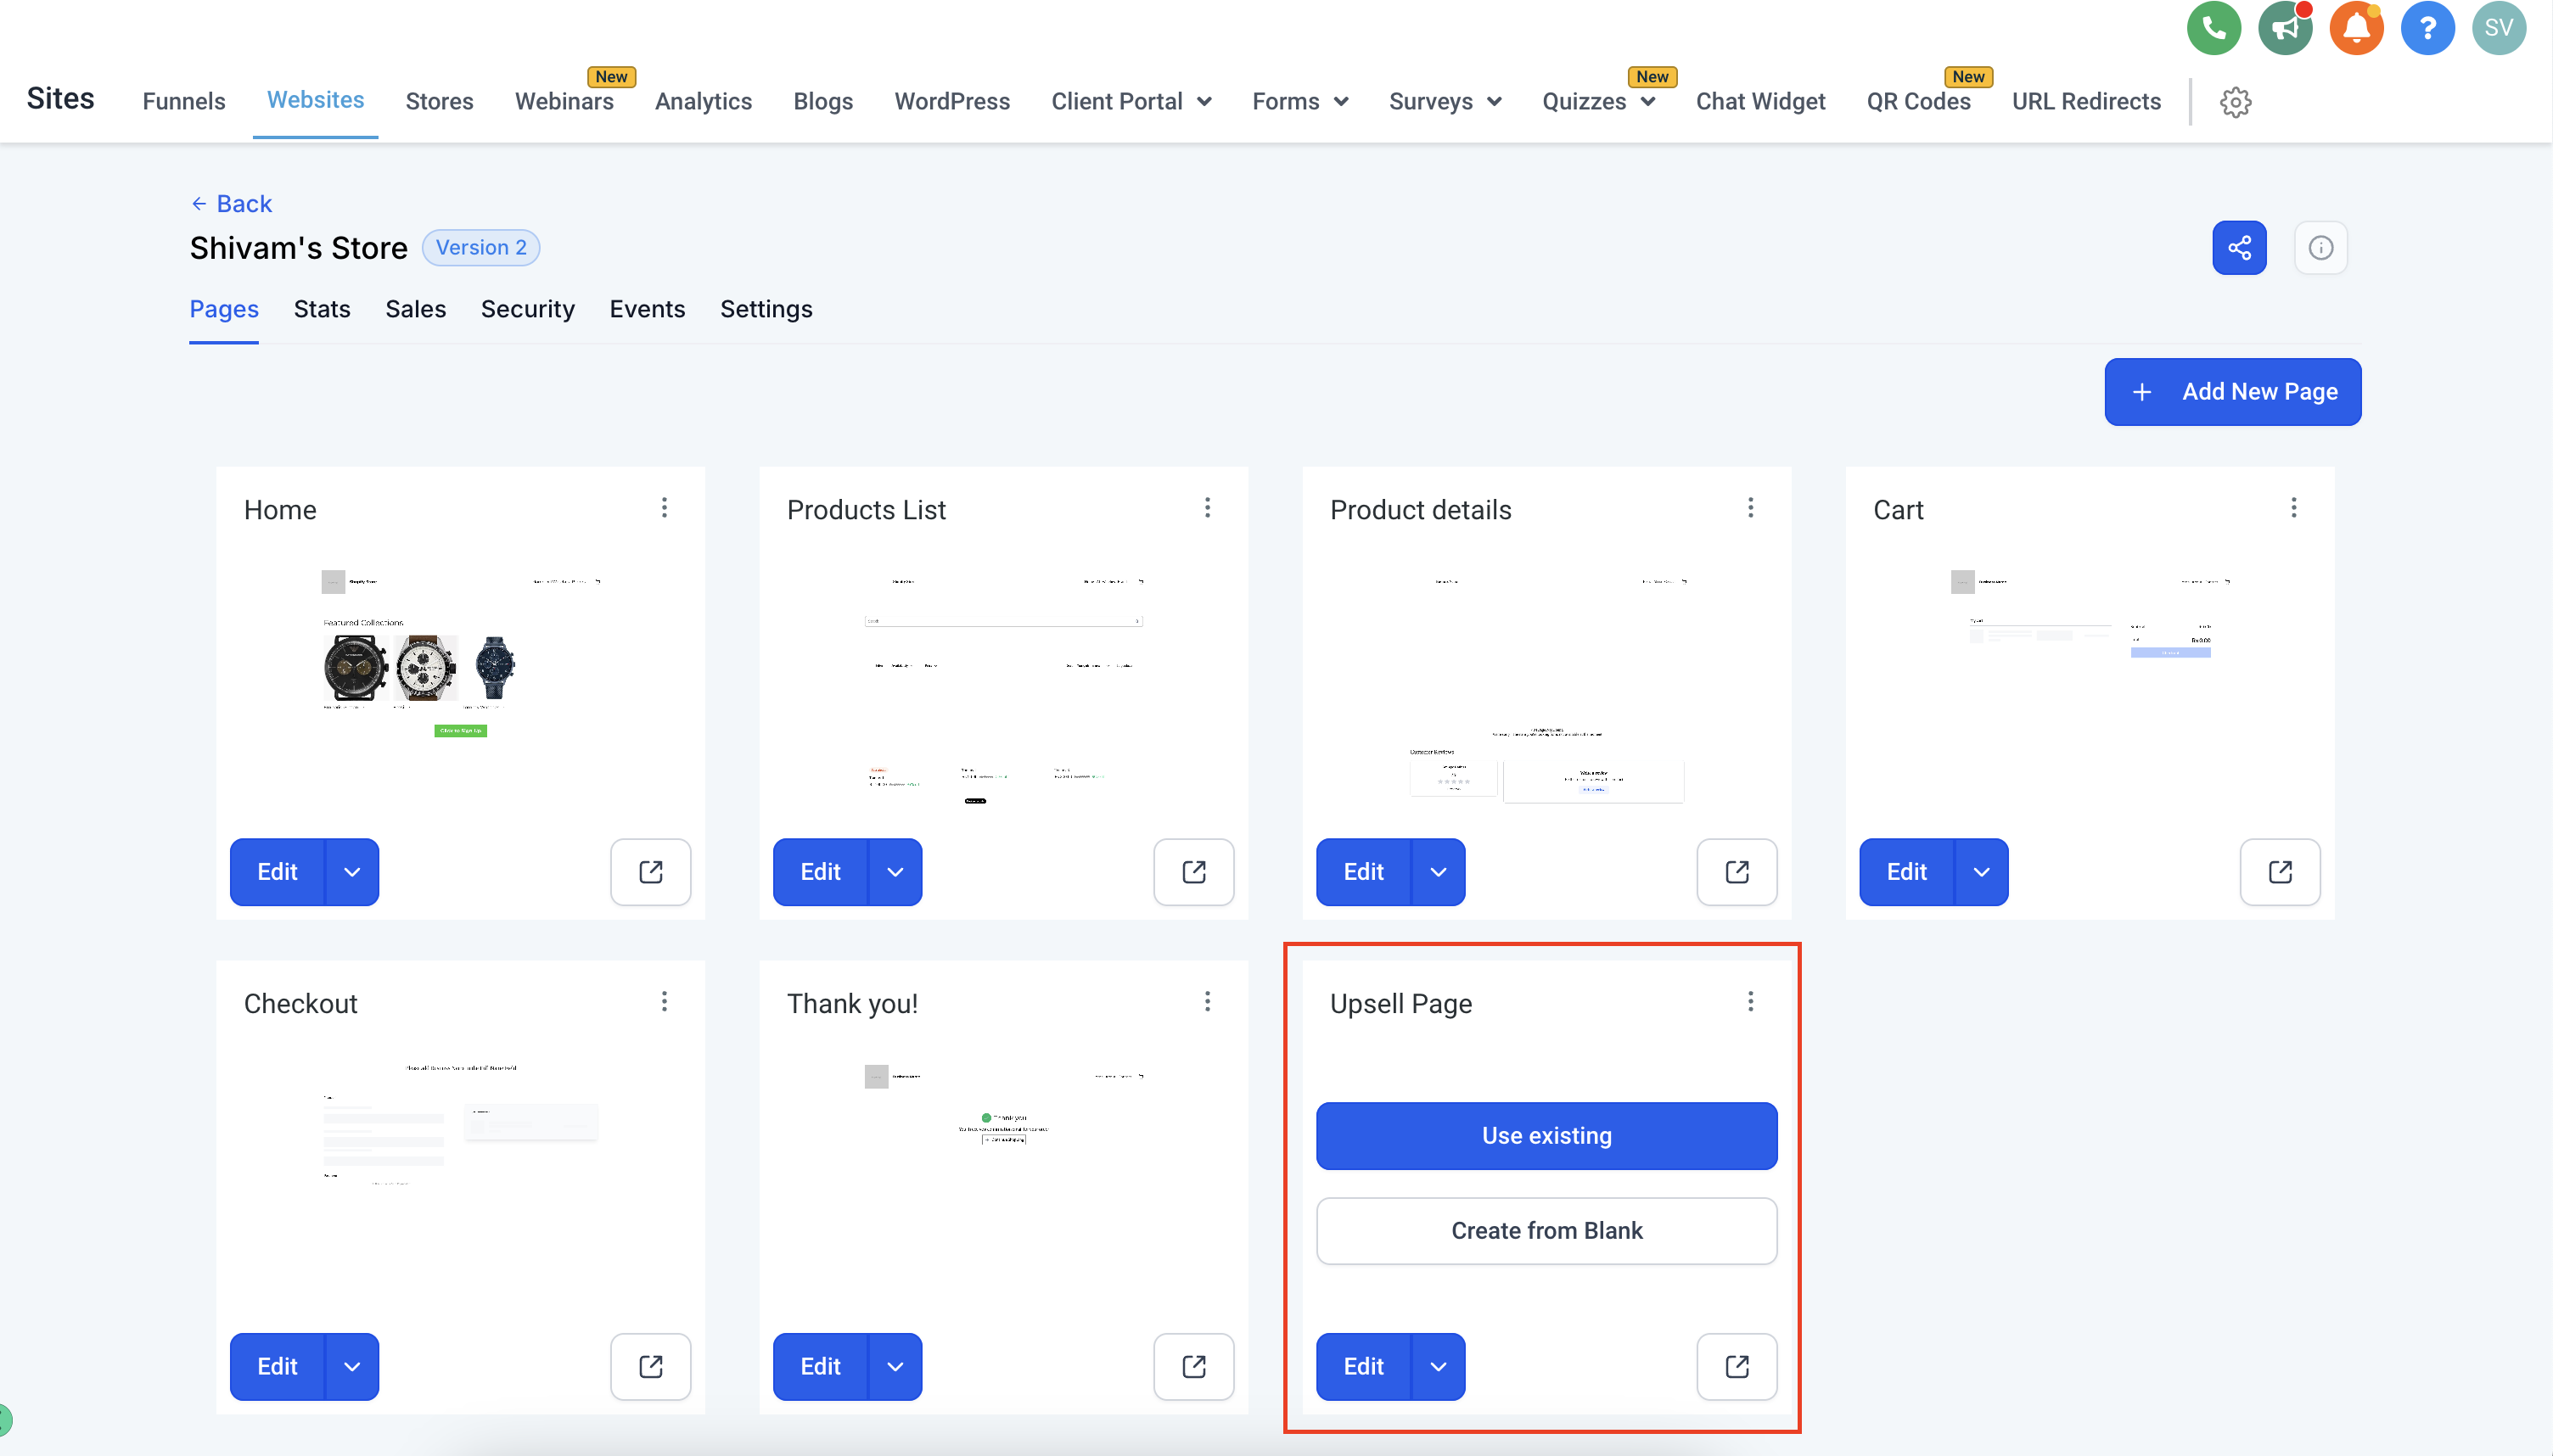
Create an upsell page. Add a new page for the upsell alongside your existing store pages. Add a full-width section with a row inside it.
Add the upsell element. Click Add Element, then drag and drop the Upsell element into the row. You can add multiple upsell components in different columns within a row.
Configure the upsell element. Select the element to open its settings. Search for and select the product you want to offer, then set the Sale Action, which controls where the client is taken after clicking Buy Now. You can redirect to another upsell page or to the thank you page. You can also enable or disable shipping charges for each upsell element using the toggle in the builder preview.
Add a skip action. Add a button whose action links to the thank you page so clients who don't want the upsell can continue. Without it, clients would be stuck on the upsell page and forced to purchase to move forward.
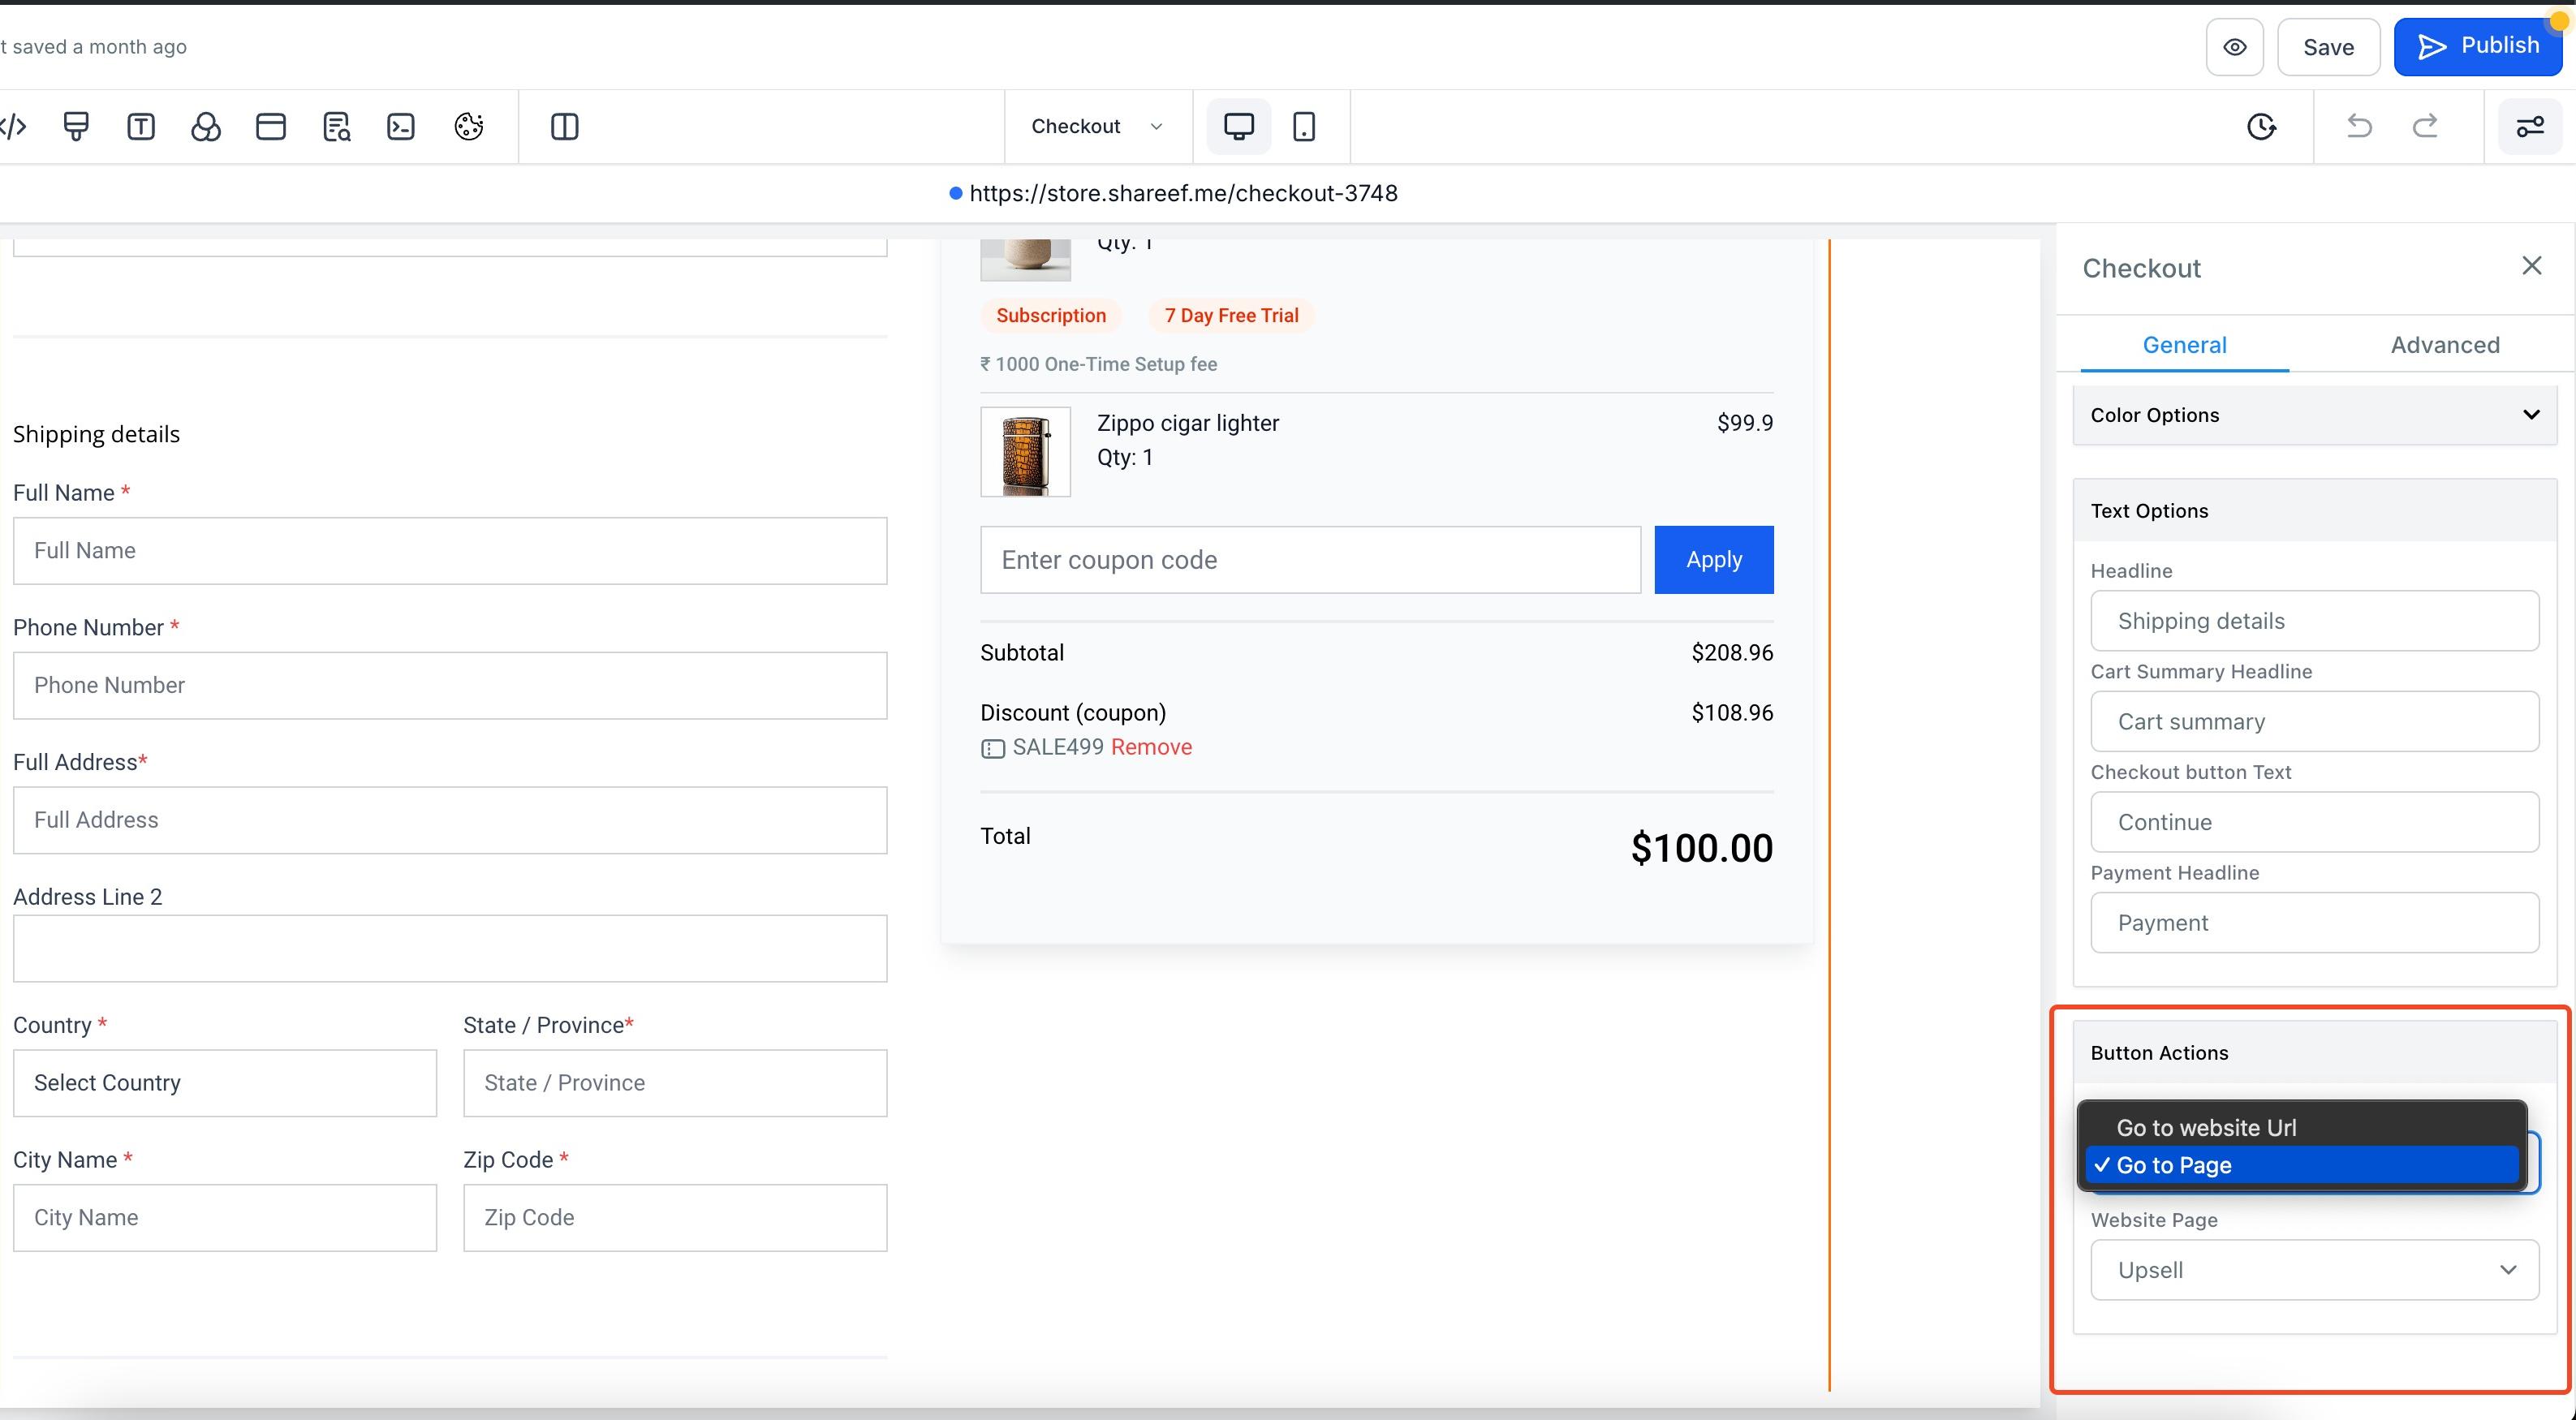
Point checkout to the upsell page. On the checkout page, set the Sale Action to Go to page and select your newly created upsell page as the destination, so clients land on the upsell after checking out.
Note: If the upsell product is purchased, it creates a separate order from the original checkout.
1. Add a new page for the upsell element:
Click Edit Page:
2. Add the upsell element:
3. Configure the Sale Action and website page for the upsell element. You can add a button to skip the upsell in case the client doesn't want to buy anything:
Enable or disable shipping for upsell elements in the builder:
Note: Be sure to add the skip button, otherwise the client will be stuck on the upsell page and must purchase an upsell item to move to the next step.
4. Change the redirection of the checkout page to the upsell page, so clients are taken to the upsell you created after checkout:
Final preview:

Keep bump offers inexpensive and clearly related to the main purchase so they feel like a natural add-on.
Add the upsell element only on a new page after checkout; placing it before checkout causes an error.
Always include a skip button that links to the thank you page so clients can continue without buying.
Enable shipping options on upsell products only when the item needs to be shipped; when enabled, clients can choose a shipping rate from a dropdown in the upsell component.
For the best experience, use a dedicated page featuring a single upsell element.
