A countdown timer visually counts down to a deadline, creating urgency that encourages clients to act before time runs out. It's a natural fit for limited-time promotions on a treatment, seasonal specials, event registrations, or membership renewals. Add a timer to your pages and emails to keep offers feeling exclusive and time-sensitive, and watch engagement and bookings climb.
Creates urgency: Encourages immediate action by showing time ticking down.
Increases conversions: A visible deadline nudges more visitors to book or buy.
Promotes exclusivity: Highlights limited-time offers, making a special feel worth grabbing now.
Enhances engagement: Keeps clients on your page longer and more interactive.
Countdown timers are versatile and work across many aesthetic marketing moments:
Treatment promotions: Count down the hours left on a seasonal Botox or filler special.
New service launches: Build anticipation for a new device, injectable, or membership tier.
Event registration: Count down to an open house, VIP event, or the close of early-bird pricing.
Membership renewals: Remind members of the time remaining before their plan renews.
Flash offers: Drive same-day bookings with a short, high-urgency deadline.
In each case, the timer helps drive action, create urgency, or build excitement depending on the context.
Fixed timer: Counts down to a single, set date and time. Ideal for one-time events like a product launch or a holiday sale. Example: "Summer Skincare Sale ends in 2 days!"
Recurring timer: Resets automatically after reaching zero, useful for ongoing promotions. Example: a weekly membership class countdown that restarts each week.
Dynamic timer: Personalized for each recipient based on their actions, such as when they open an email. Example: "Your special offer expires in 1 hour," starting from the moment they engage.
Design and style: Ensure the timer aligns with your practice's look and feel.
Placement: Position the timer prominently, such as at the top of an email or landing page.
Redirections: Set up working links for both the active and expired states.
Consistency: Keep timers consistent across emails and websites so they feel authentic.
Expiry image: Use an image or message to let clients know when the timer has ended.
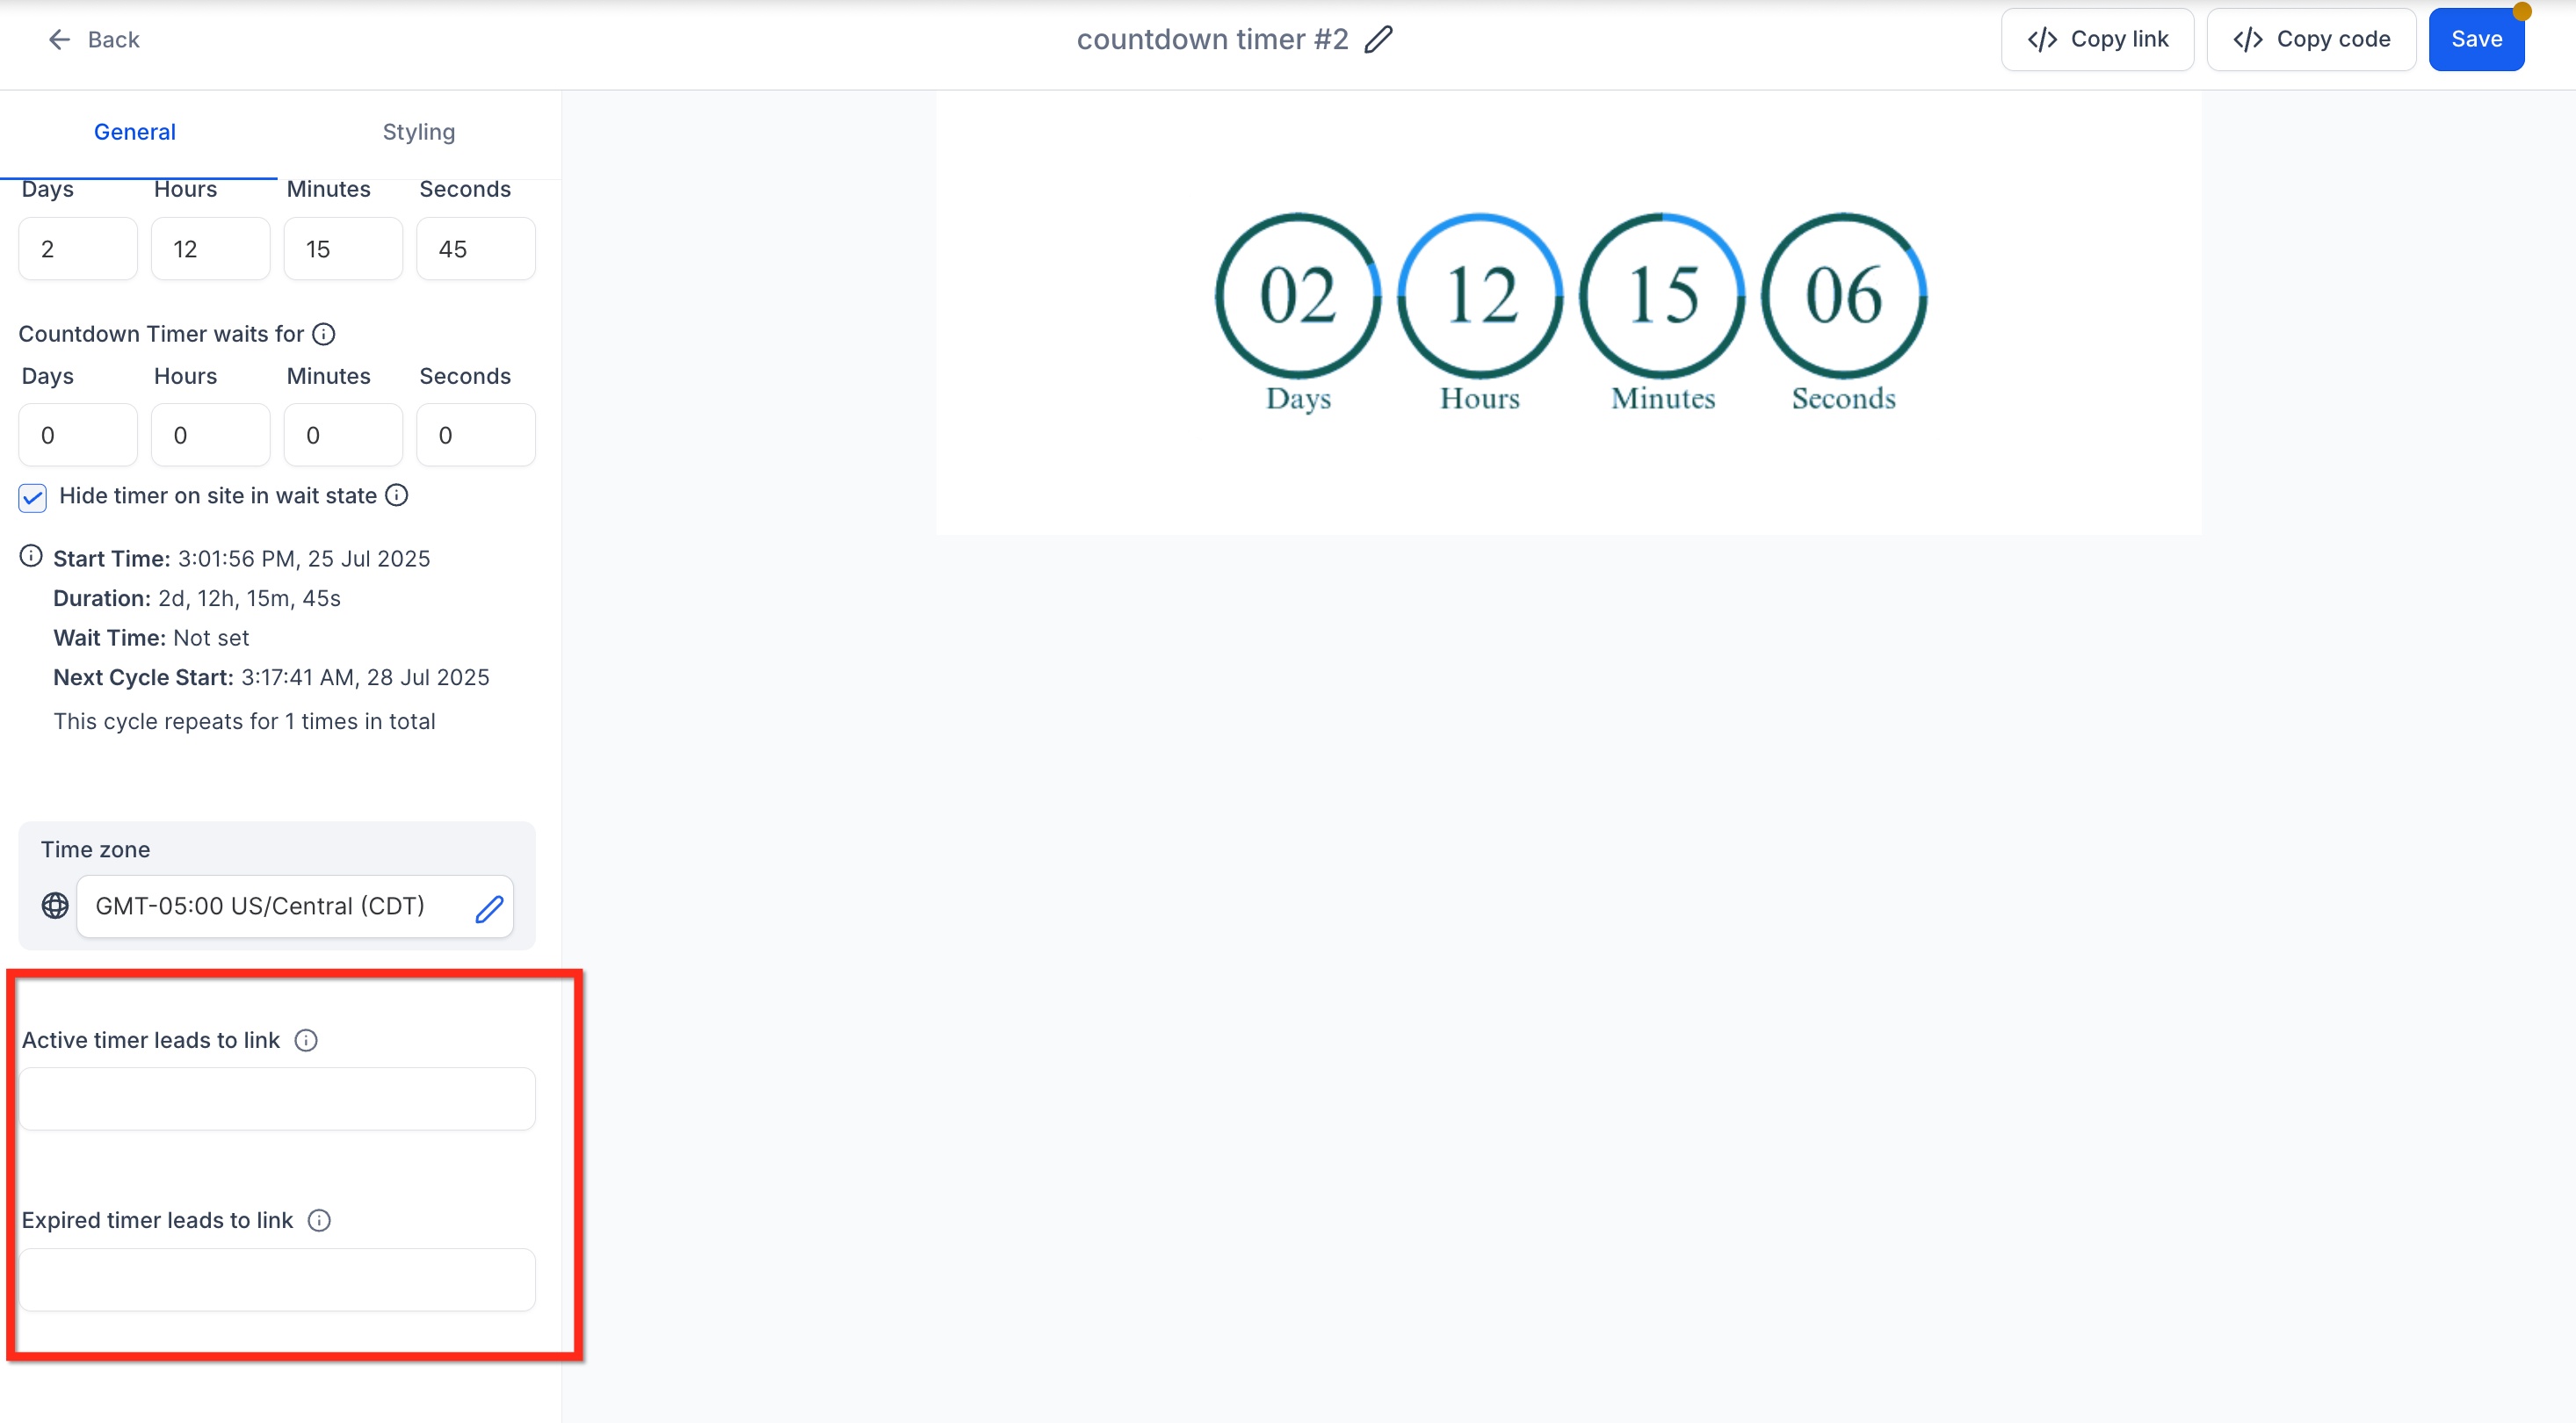
Before saving, add both of the links below so your timer redirects correctly:
Active timer link: Directs visitors to the page where they can act on the live offer, such as a booking or checkout page. Use the same timer on that page so visitors are automatically redirected to the expired page once time runs out.
Expired timer link: Takes visitors to a page showing the offer has ended. In emails, recipients see an expired image that links to this page. On websites and pages, the expired page displays automatically once the timer ends.
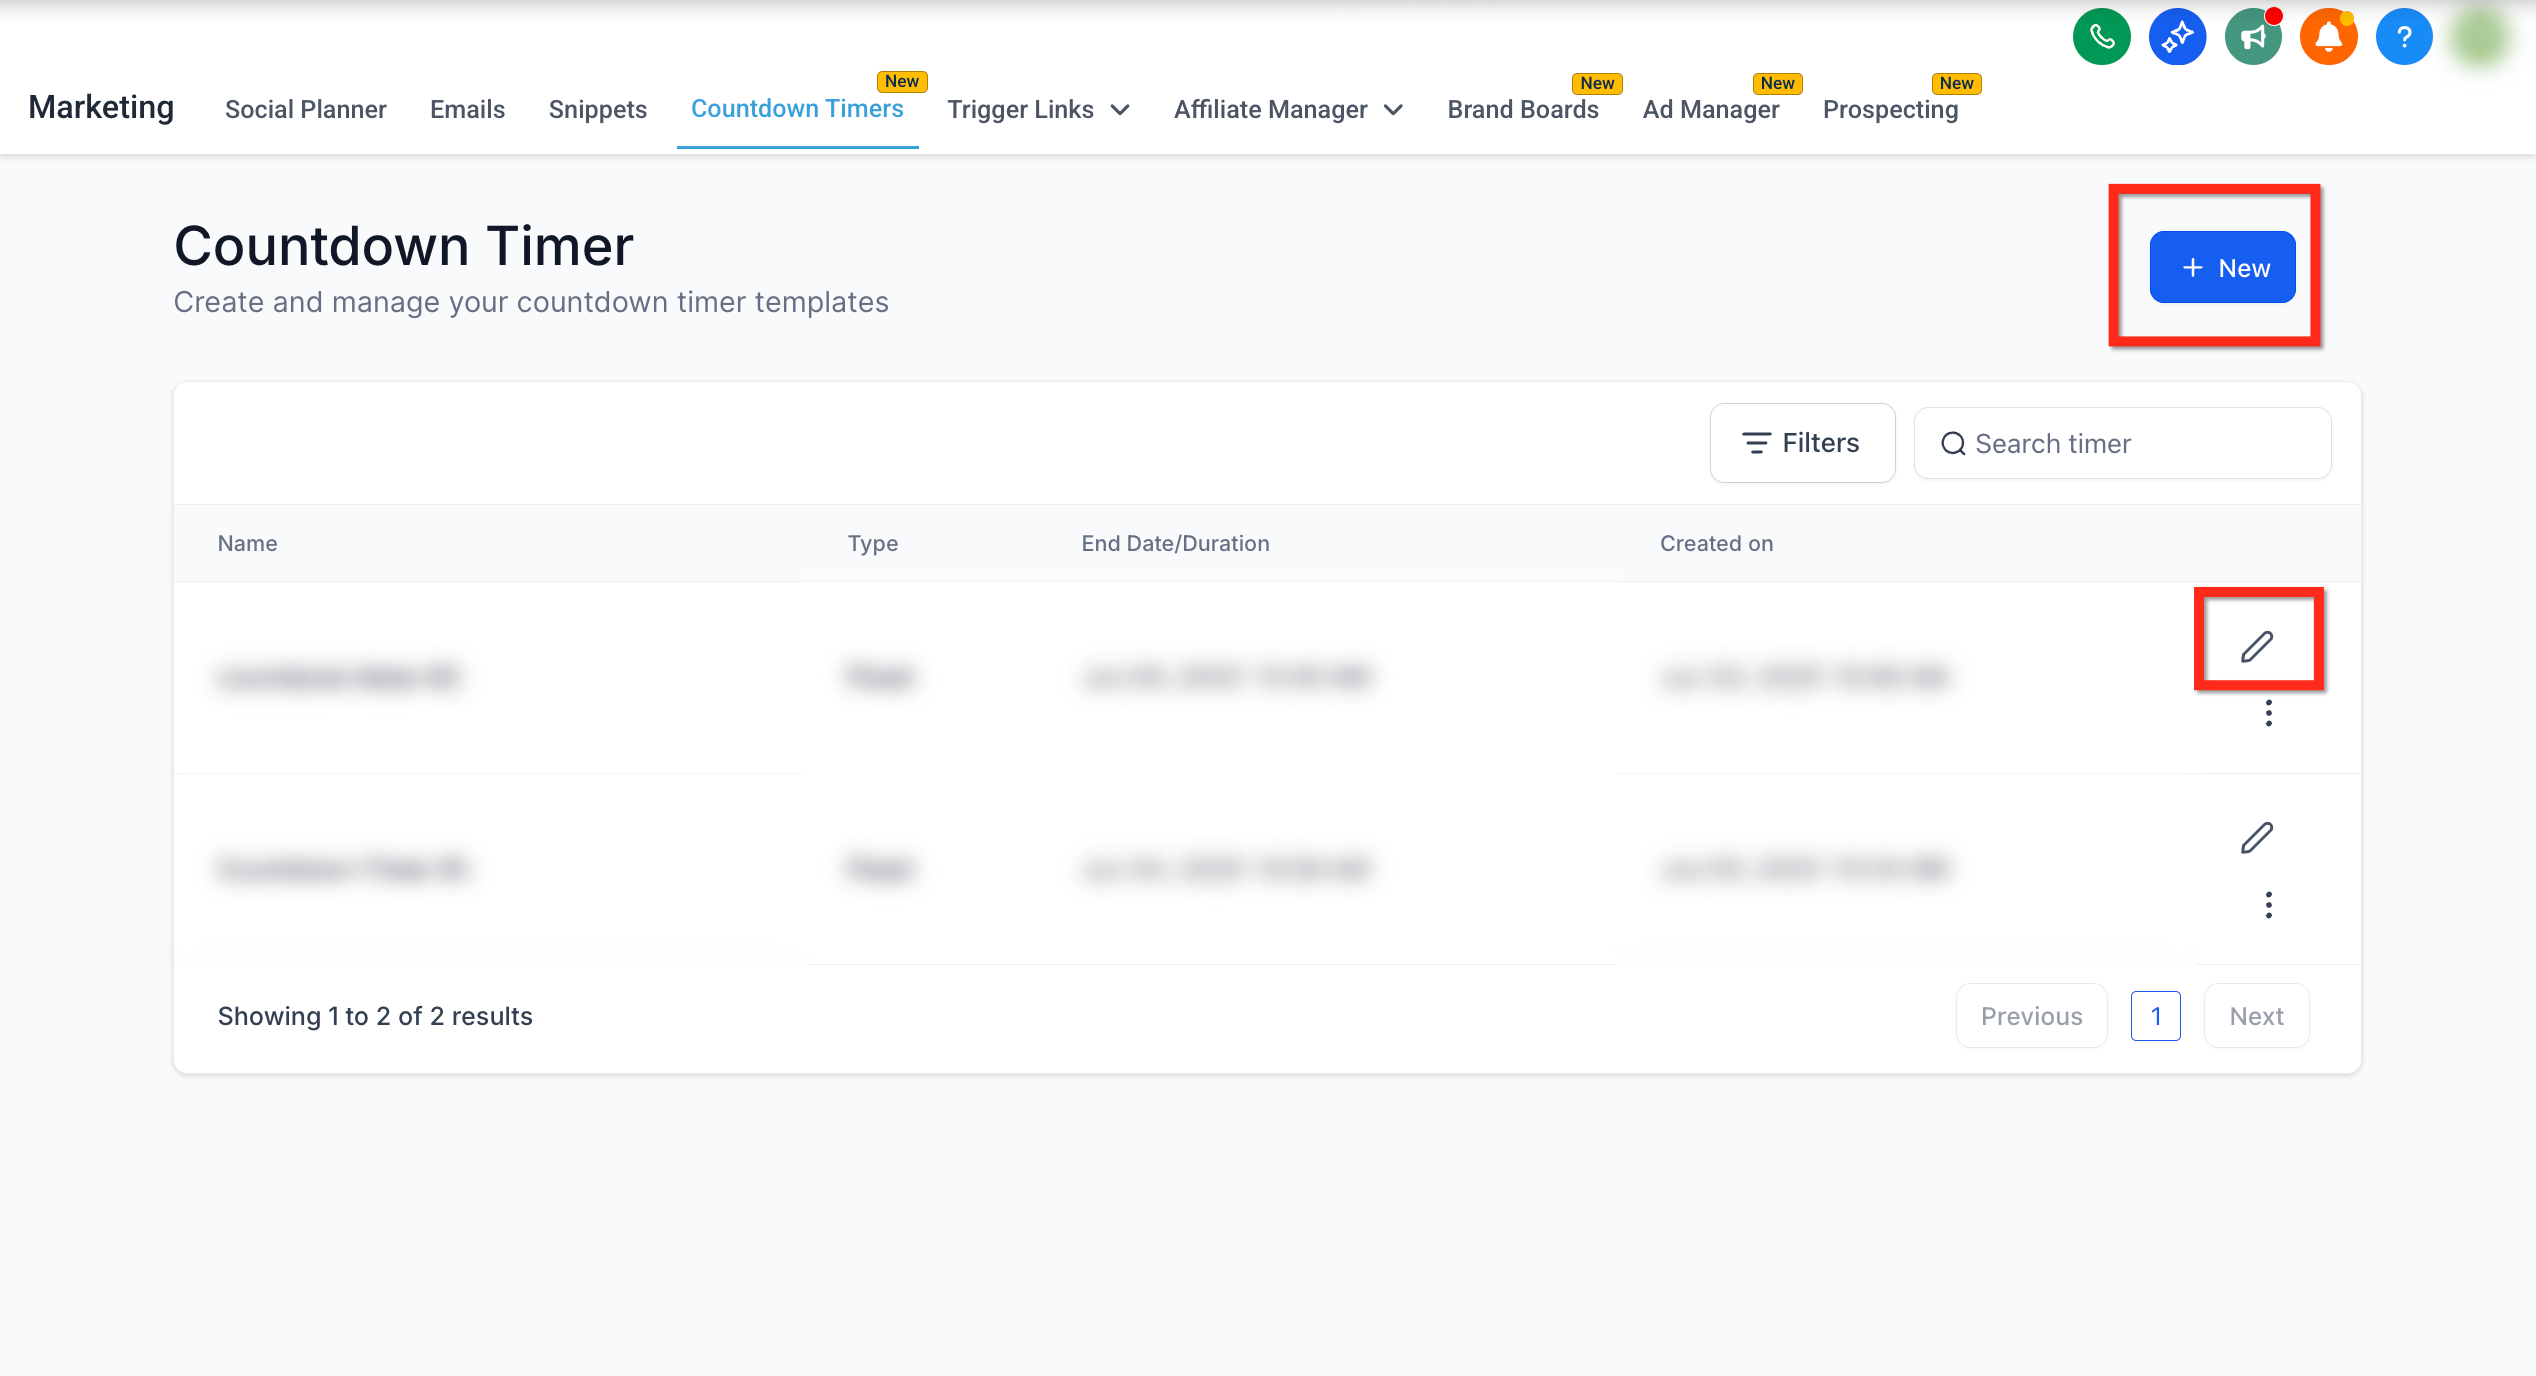
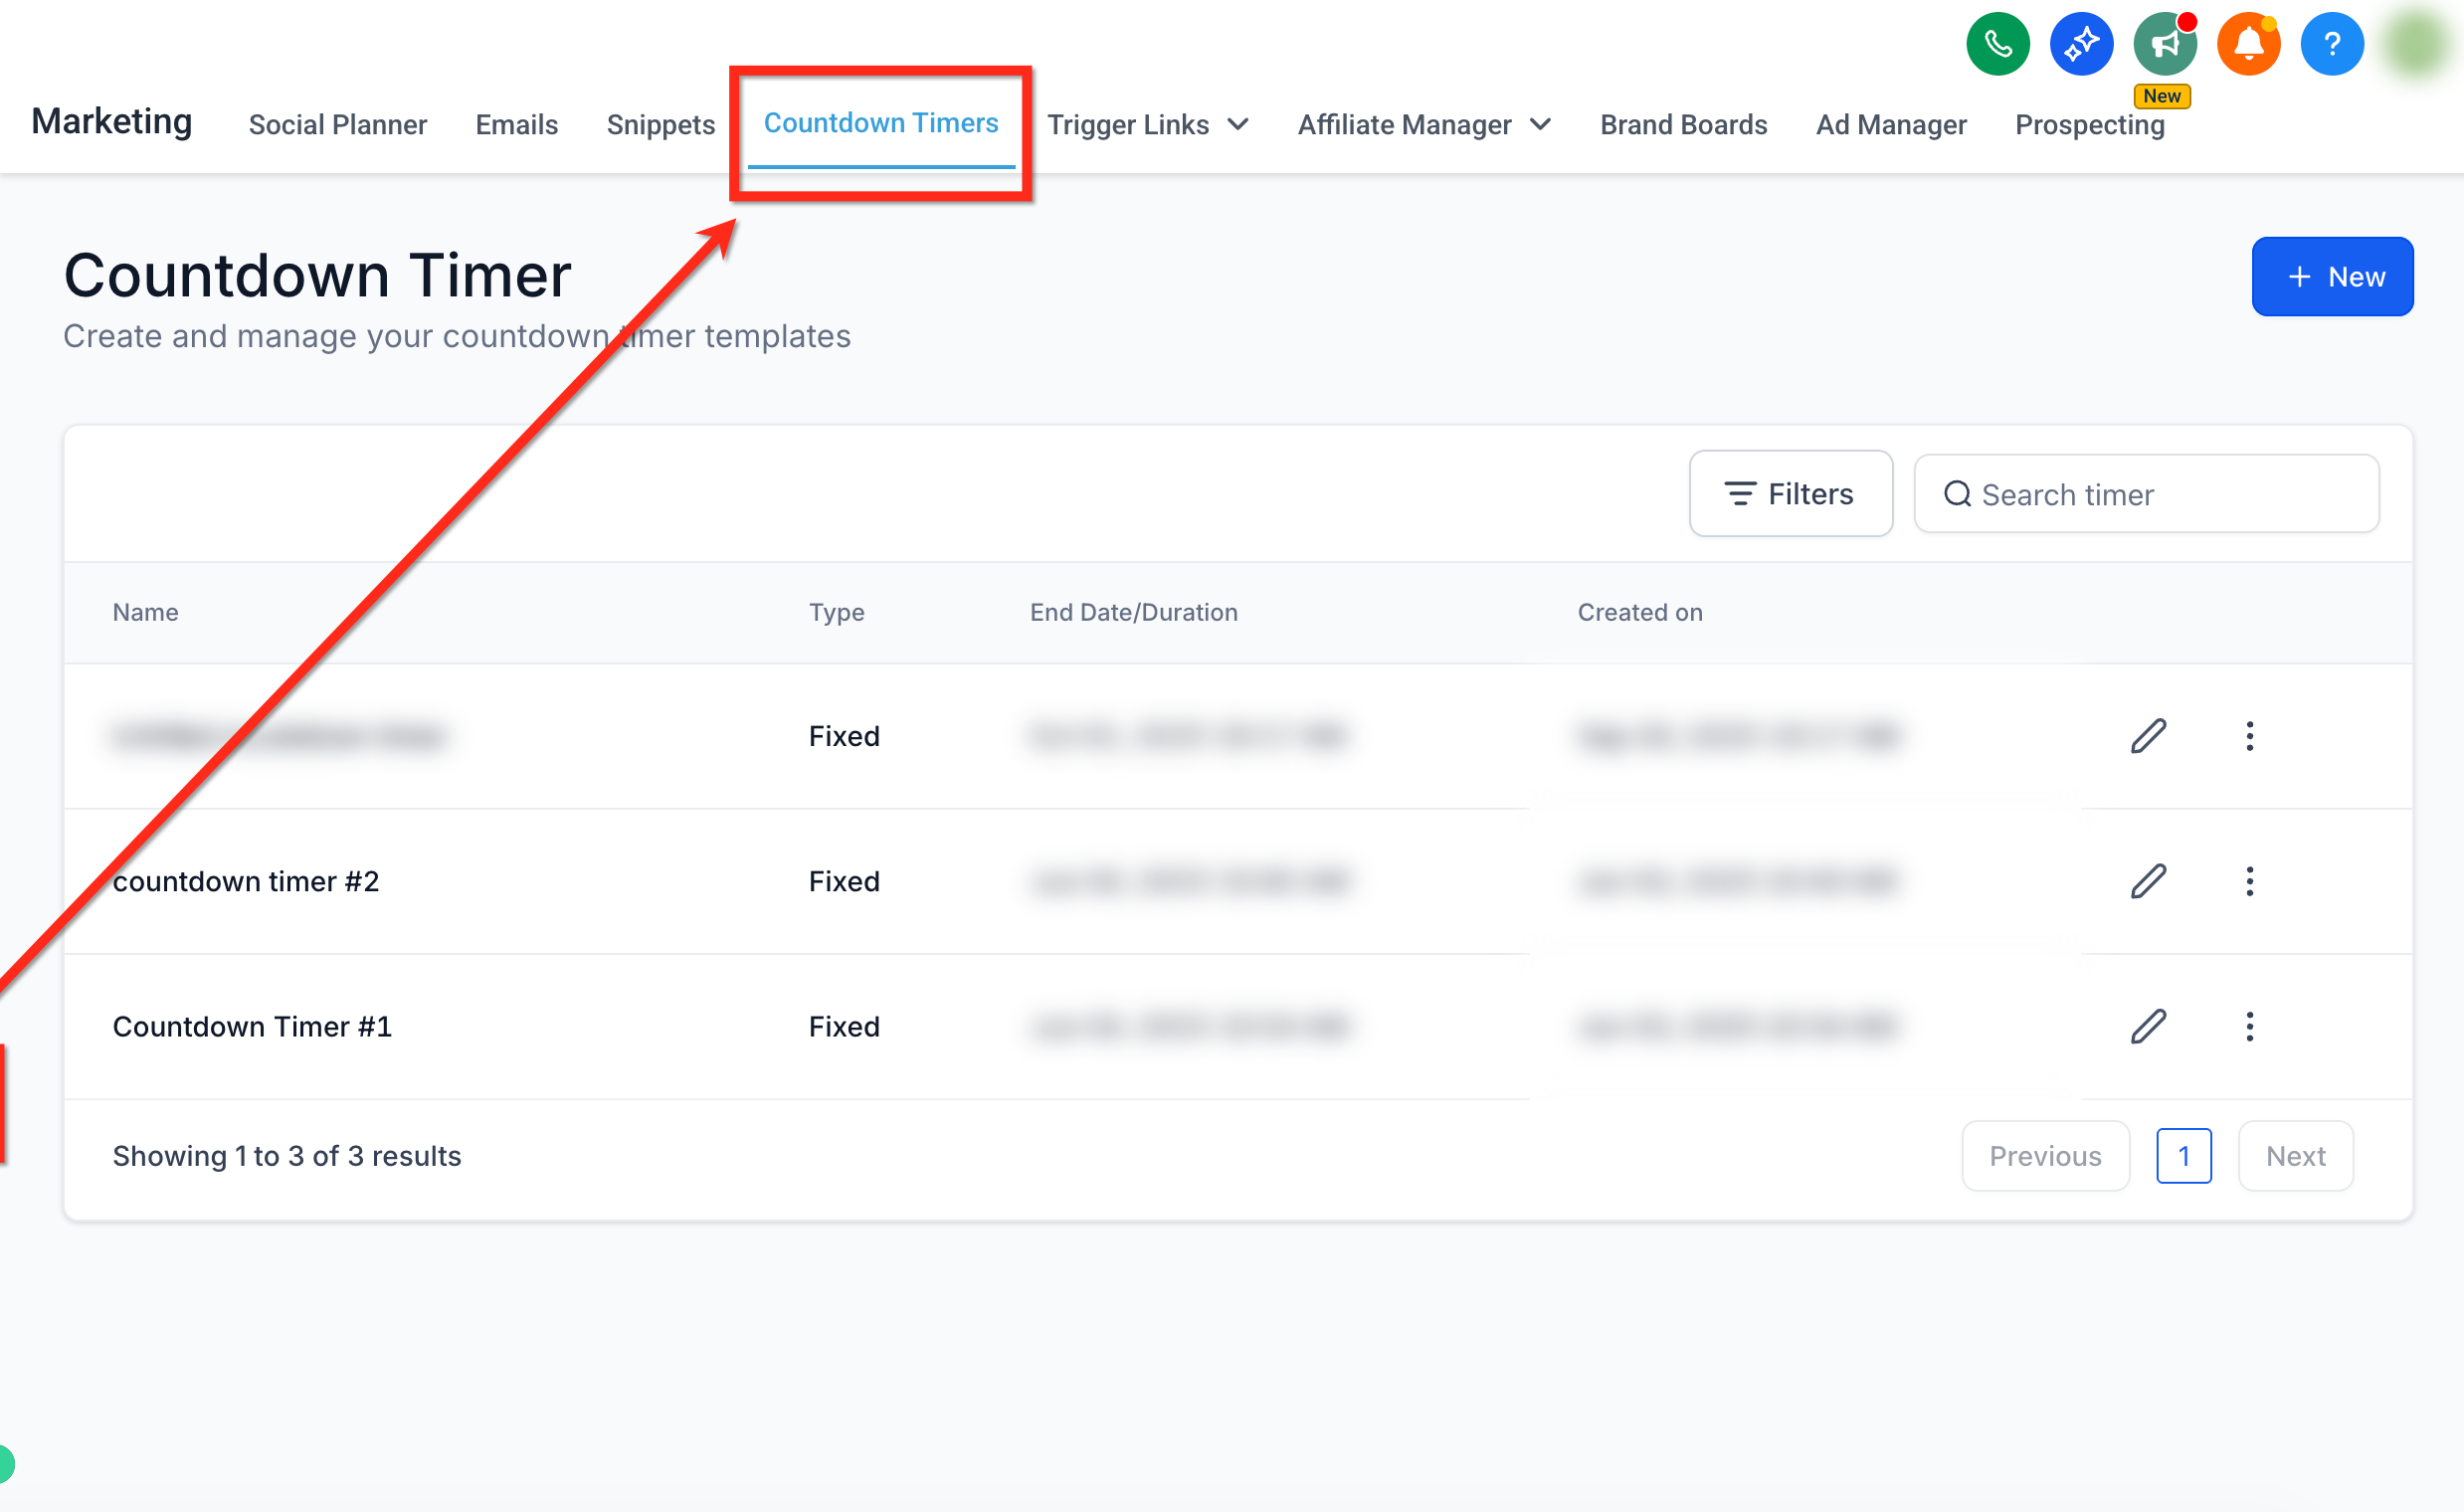
Navigate to Marketing: Select Marketing in the left navigation, then choose Countdown Timers from the top navigation ribbon.
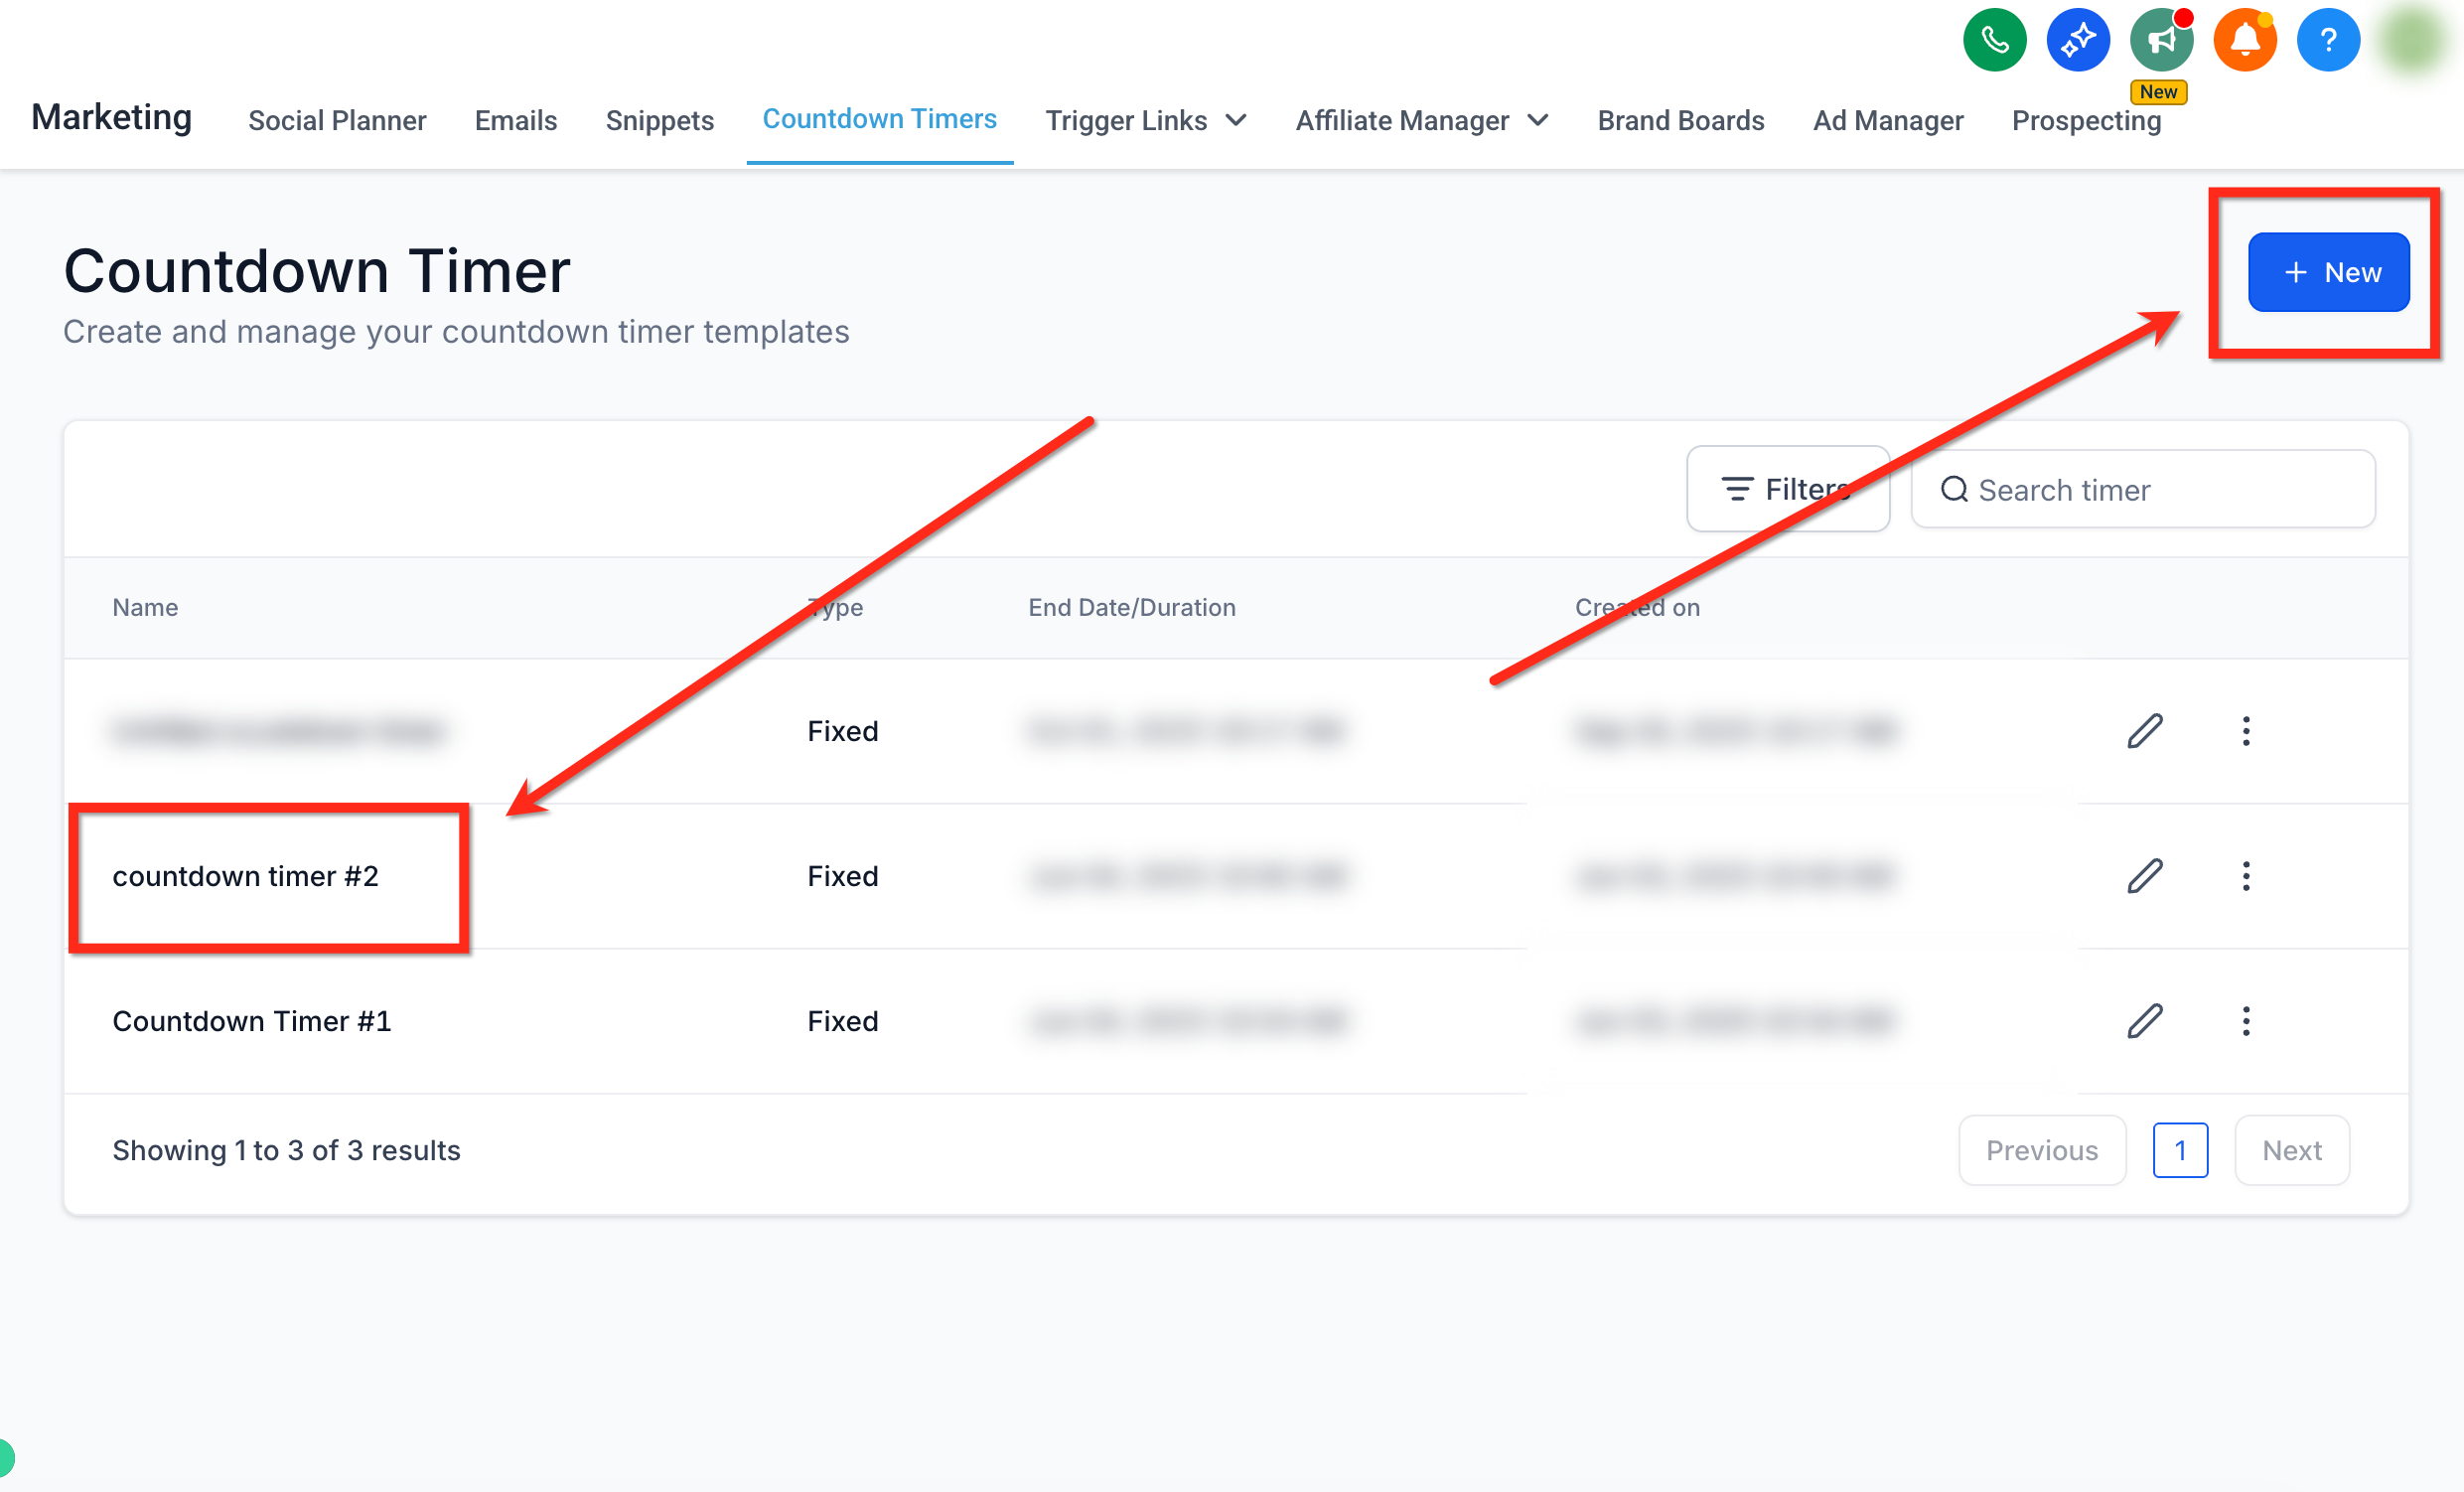
Start a new timer: Click the blue New button to create a timer, or click the Edit (pencil) icon next to an existing timer to update it. Starting from a template saves design time.
Choose a template: Select a design template and continue with it.

Choose the timer type: In the settings panel under the General tab, set the Timer Type to Fixed, Recurring, or Dynamic.
Configure timer details:
Fixed timer: Set the end date and time.
Recurring timer: Set the start date/time, countdown duration, and number of loops (see the recurring section below).

Add links:
Active link: The URL visitors are directed to while the timer is active.
Expired link: The URL visitors land on after the timer expires.
Customize styling: Adjust the timer's appearance, including colors, fonts, expiry image, and time display format.
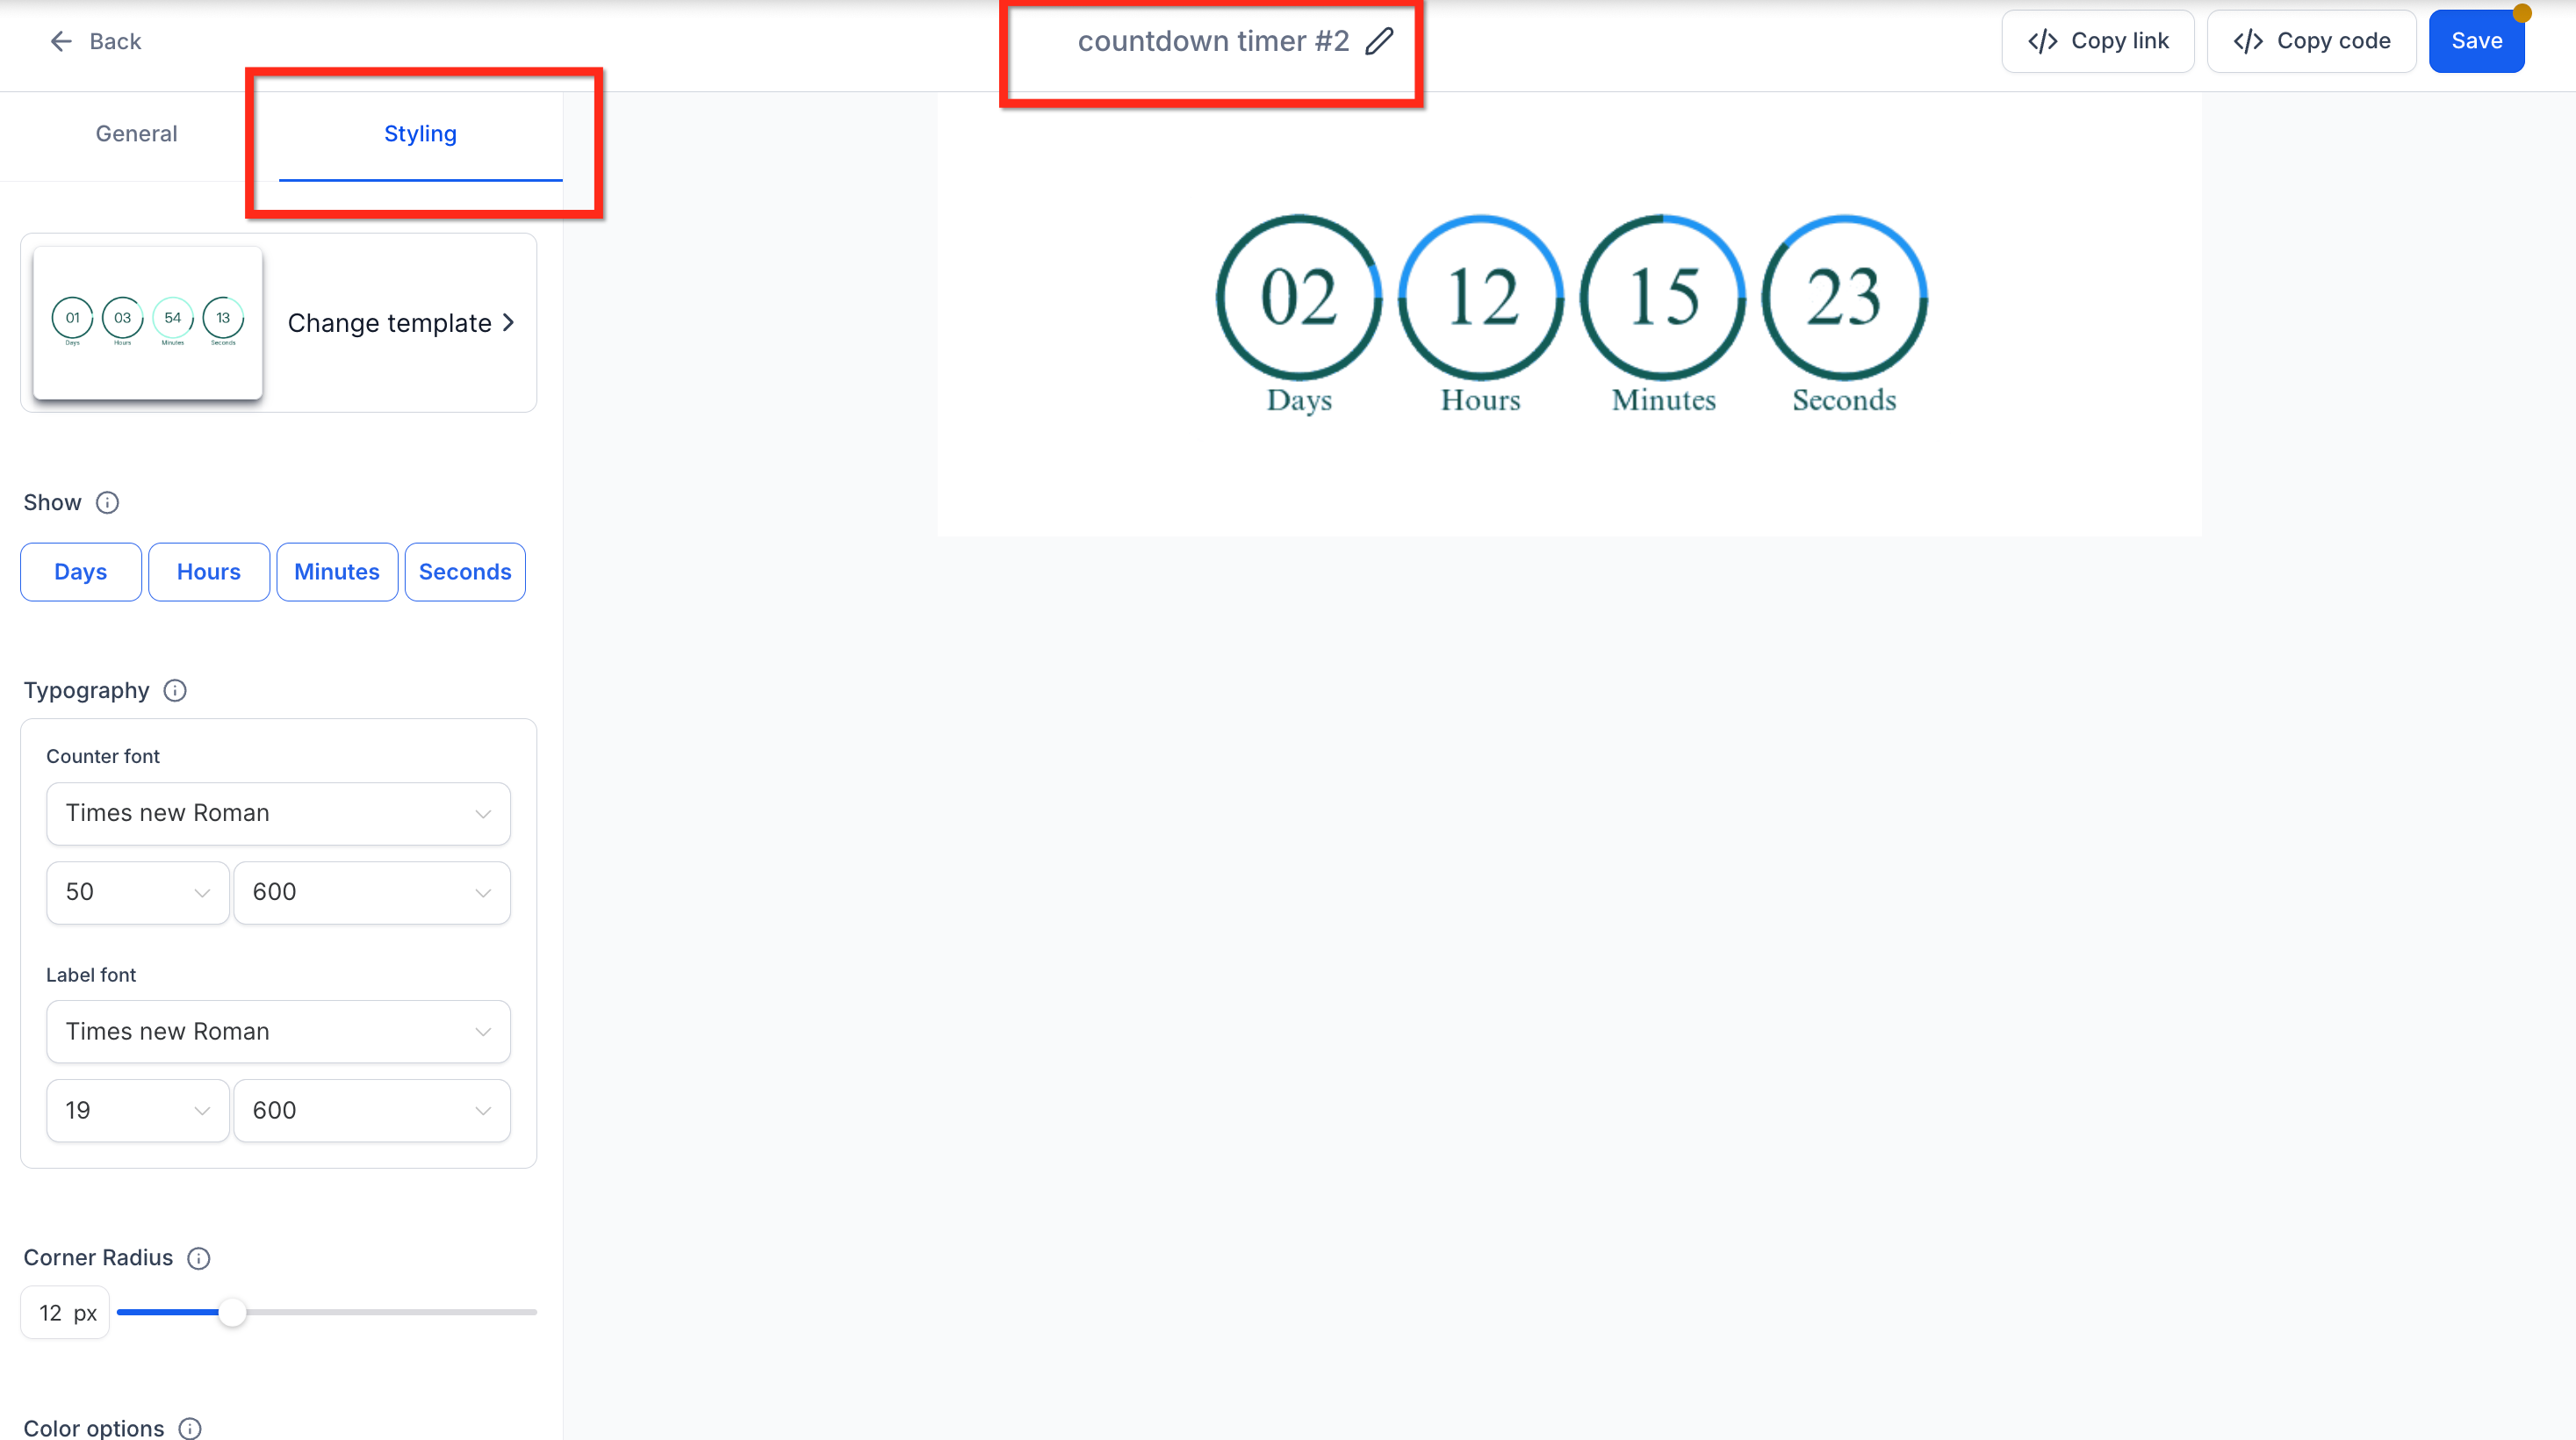
Rename your timer: Give it a descriptive name by clicking the name at the top.
Save: Click the blue Save button to finalize and activate your countdown timer.
A recurring timer counts down for a fixed duration (for example, seven days), reaches zero, then restarts automatically for a set number of cycles. Because the deadline is the same for everyone, every visitor sees the same urgency each cycle. Unlike one-time timers that expire permanently, recurring timers move through three states:
Wait: Before the active countdown starts.
Active: The countdown is visible and running.
Expired: The countdown ends and redirects or hides content.
Weekly promotions: Highlight a weekly special that repeats on a regular schedule across your website, emails, and social posts.
Monthly renewals: Remind members of an upcoming renewal date each month in management emails or on their dashboard.
Regular classes or events: Show the time remaining until your next recurring session, embedded on a registration page or in promotional emails.
Daily or flash deals: Create ongoing urgency for a deal that repeats every day or week.
Loop Events control how many times your recurring timer resets after it finishes a countdown. If you set Loop Events to 3, the timer counts down and resets three times total, the original countdown plus two more loops.
To restart a timer weekly, for example:
Set the Start Date to the next desired start (e.g., Monday at 8:00 AM).
Set the Countdown Duration to 7 days.
Set Loop Events to the number of weekly cycles you want (e.g., 4 for four weeks in a row).
Each loop refreshes automatically once the previous countdown ends, based on your time zone settings. The loop refreshes only after the full duration completes, it won't reset daily unless your countdown duration is set to 1 day.
When you set the Timer Type to Recurring in step 4 above, define these settings:
Start Date/Time: When the first cycle begins.
Loop Events: The number of resets or cycles.
Countdown Duration: The length of each cycle (e.g., 7 days).
Countdown Timer Waits For: Adds a defined pause between cycles. When a wait state follows an active state, sites won't auto-redirect to the expired page (see below).
Hide Timer on Site in Wait State: If disabled, the timer shows a zero state during the wait period on sites.
The Countdown Timer Waits For setting lets you set a defined pause between cycles that fits your campaign, for example, giving your team time to refresh an offer between weekly sales. Wait time behaves differently across emails and pages:
Emails
The timer shows a zero state.
Clicking the email link redirects to the expiry page.
Pages and funnels
The timer can be hidden during the wait period (if enabled).
If the timer transitions from Active to Wait in the same session, the visitor stays on the page (no auto-redirect).
On page refresh, a visitor in the wait state is redirected to the expiry page.
Q: What is wait time, and why would I use it?
Wait time is an optional gap between cycles (for example, 24 hours between weekly sales). It prevents a timer from restarting immediately, giving your team time to update offers or inventory.
Q: Can I edit wait time or loop events after the timer is live?
Yes. Edit the timer under Marketing → Countdown Timers; changes apply everywhere the timer is embedded.
Q: Does the timer adjust to the visitor's local time zone?
No. Recurring timers run in the time zone you choose during setup, so all visitors see that same reference clock.
Q: Is there a limit to how many recurring timers I can have active?
There's no cap, but each timer generates image assets on demand. Keep your list tidy and delete unused timers for the best performance.
Custom labels let you replace the default "Days / Hours / Minutes / Seconds" text beneath each timer segment with wording of your choice. The feature also detects your account's locale and pre-fills the labels in that language, saving setup time and keeping timers relevant.
Localize instantly: Default text aligns with your account's language settings.
Match your brand voice: Swap "Hours" for "Hrs" or any wording that fits your copy.
Increase clarity: Use campaign-specific phrasing like "Days Left to Book."
Reduce design work: No need to create separate graphics for each language.
Boost engagement: Readers respond more when timers feel familiar and clear.
The timer uses your account's locale to set starter labels automatically. Leave these as-is or tweak them to accommodate abbreviations, slang, or fully custom copy.
You can override the auto-generated text at any time:
Navigate to Marketing → Countdown Timers.
Open an existing timer by clicking its name, or create a new one by clicking + New.
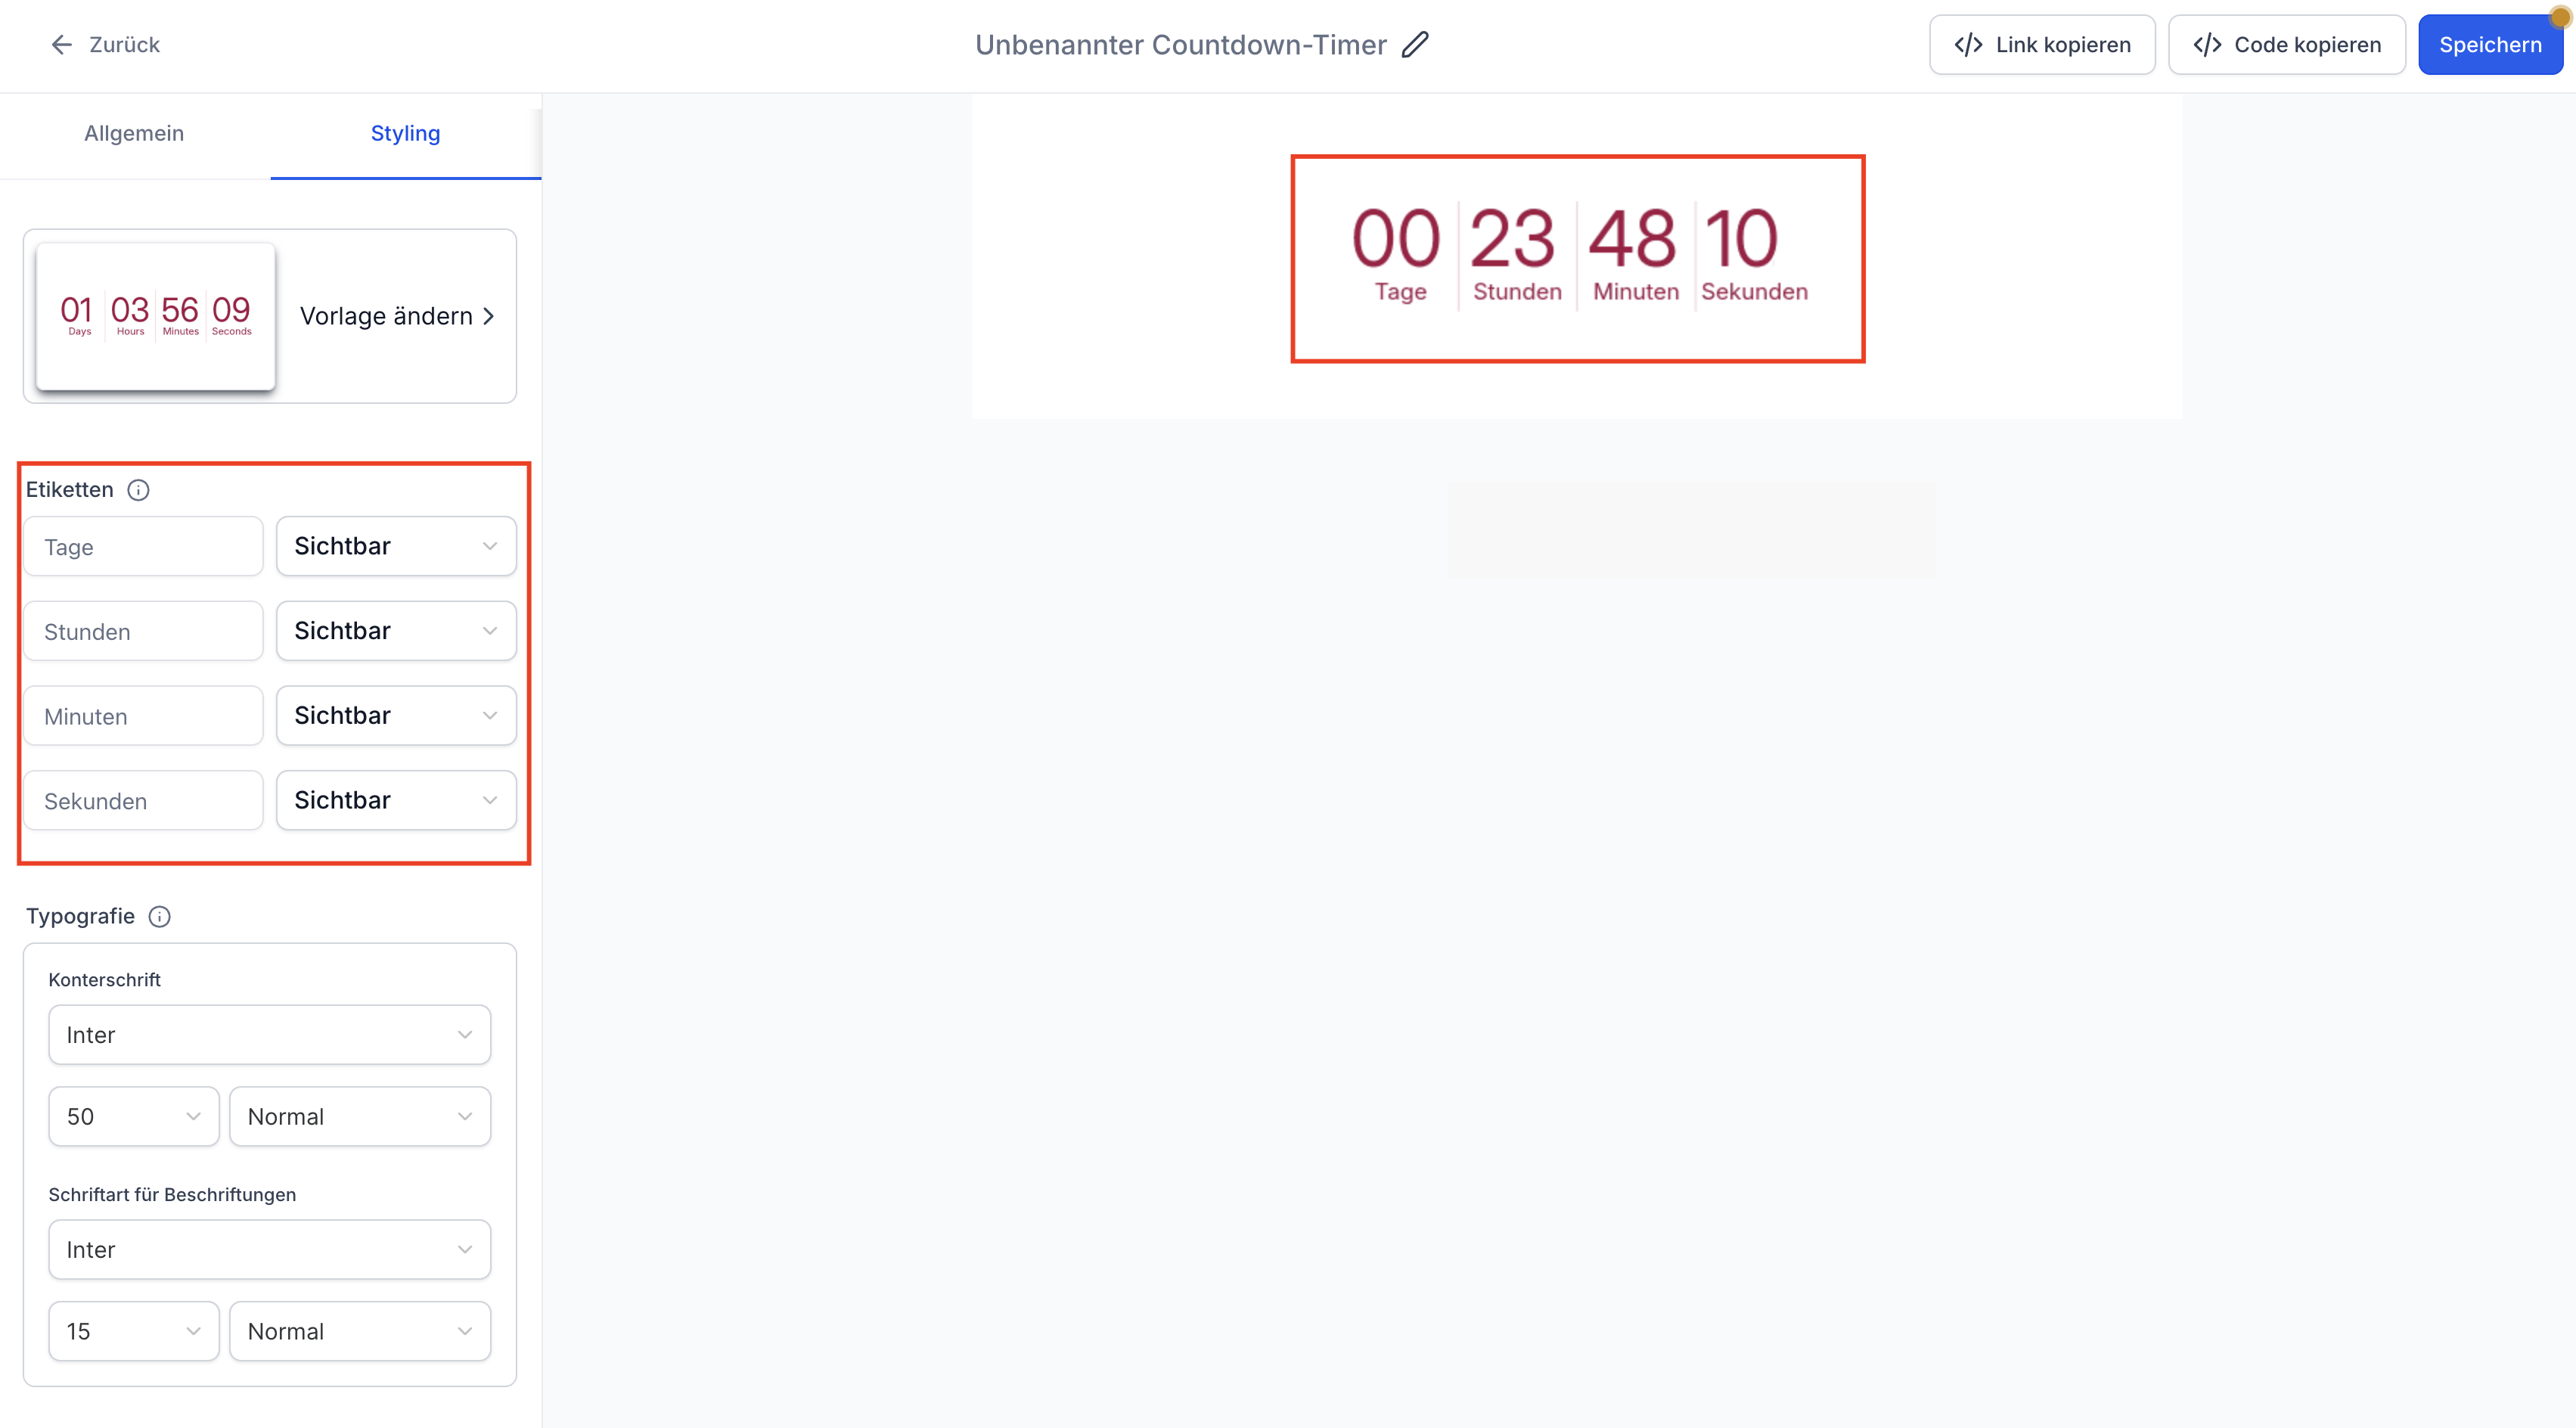
Using the sidebar on the left, go to the Styling tab.
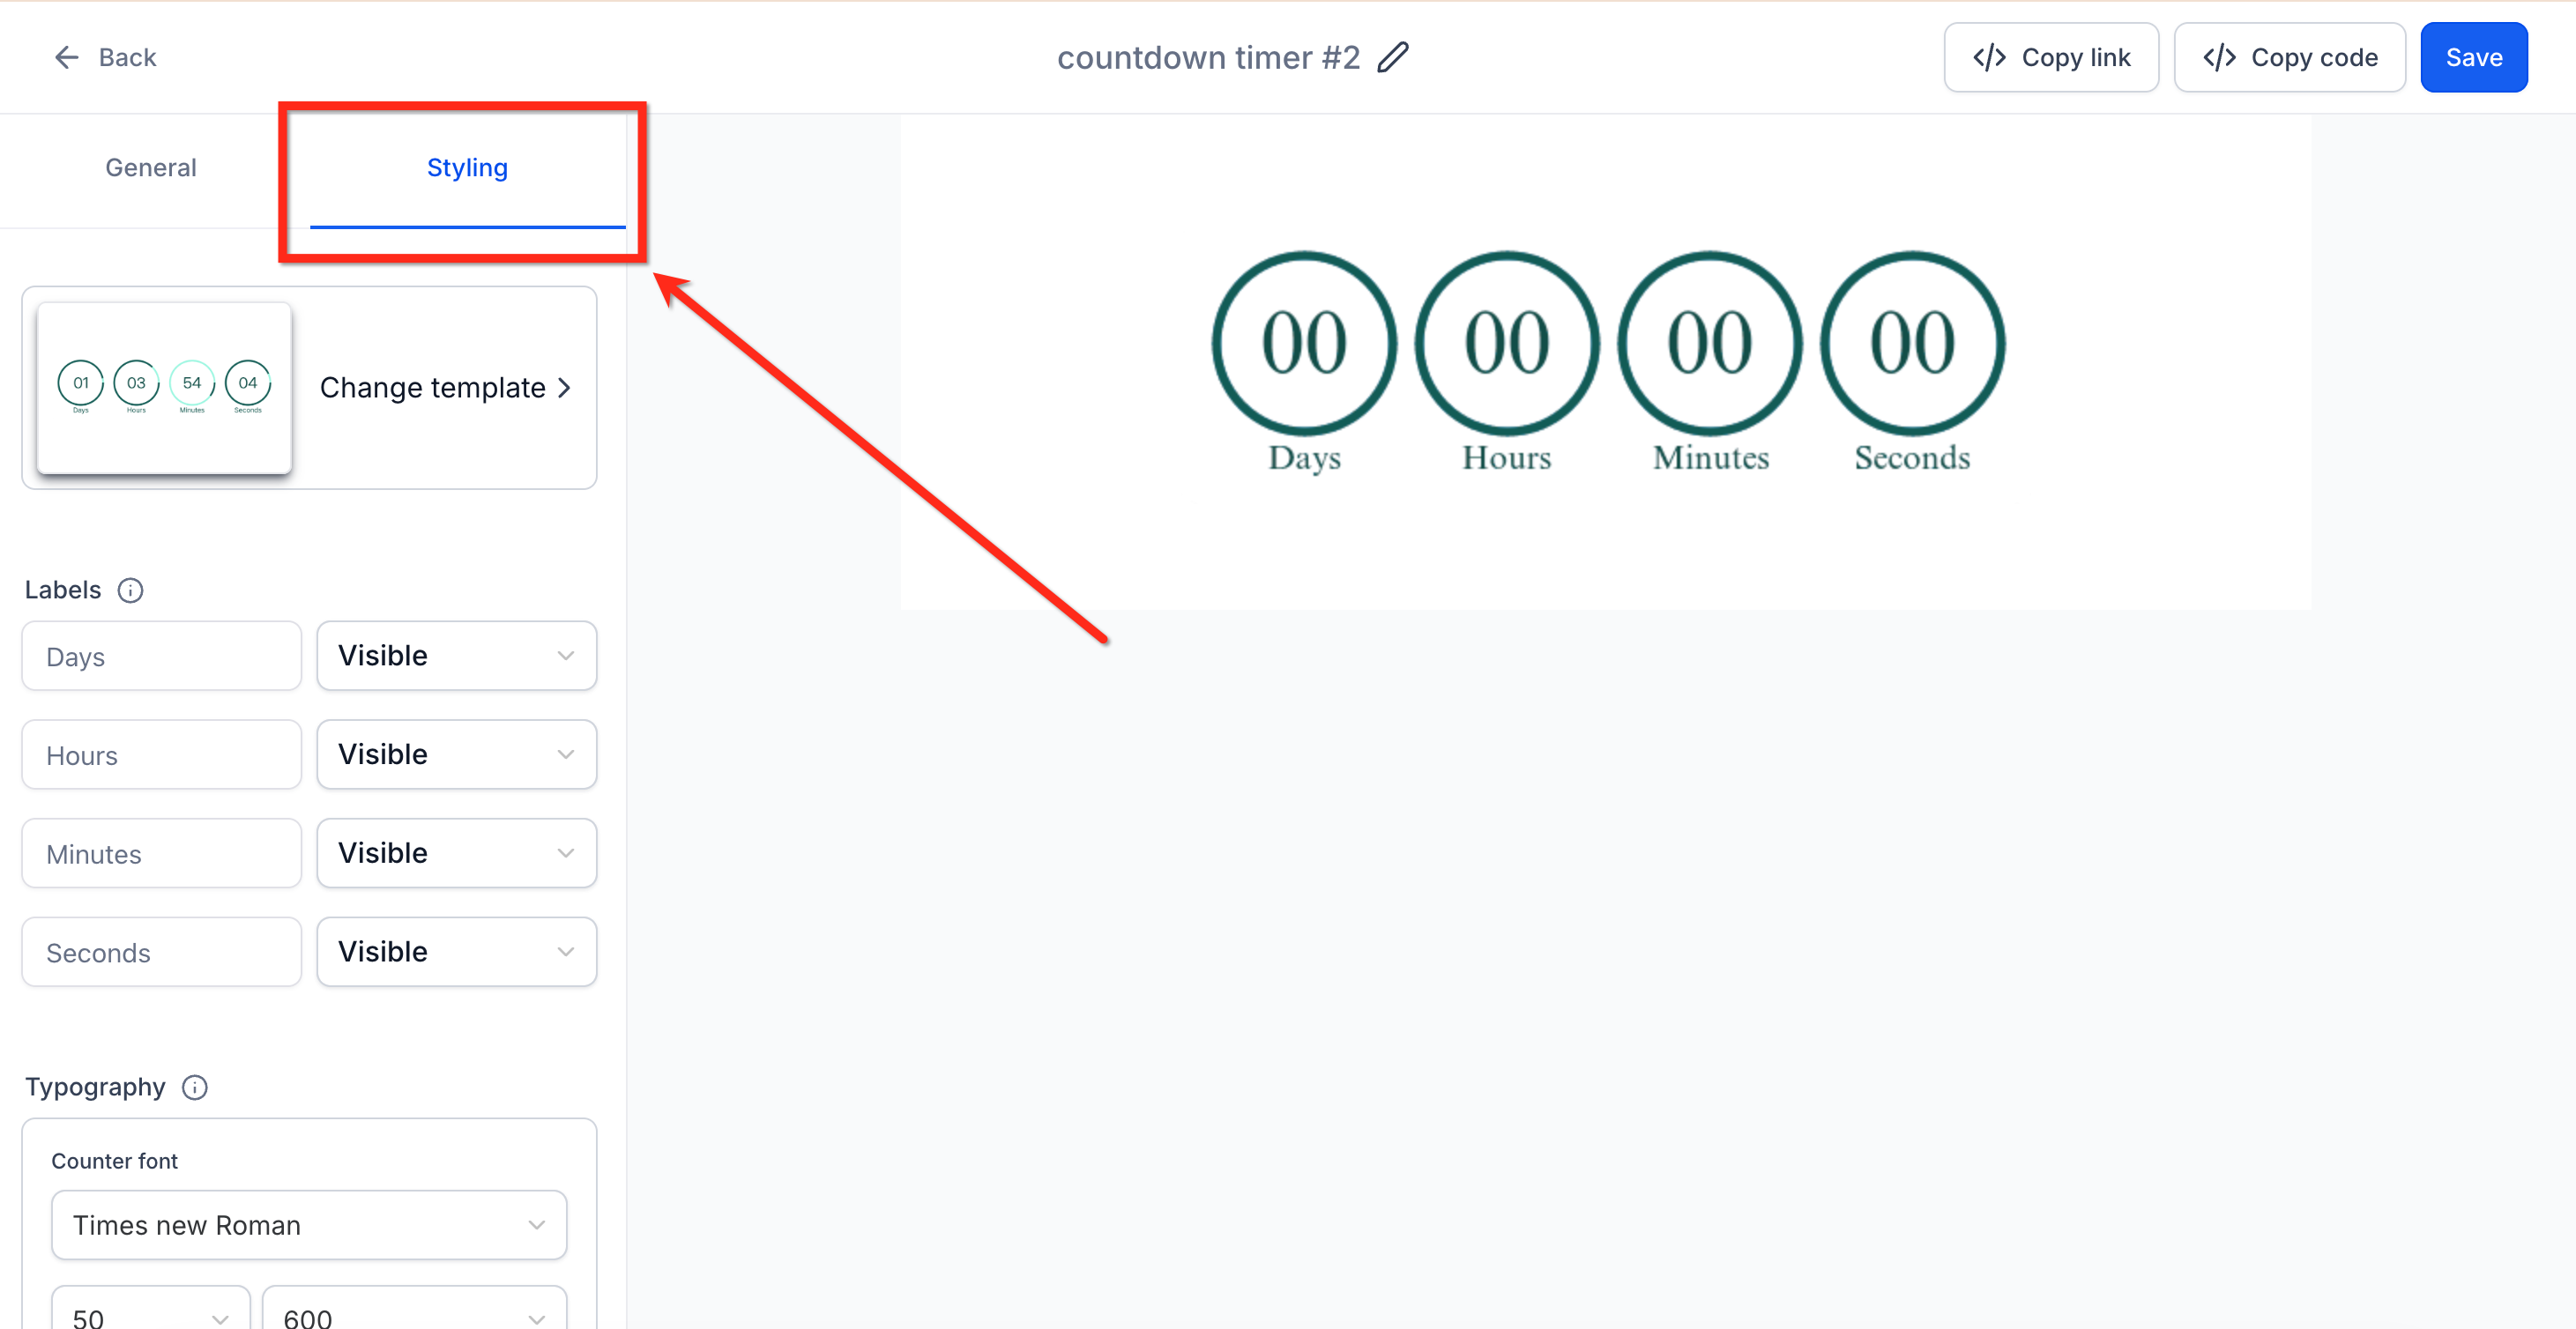
Under Labels, use the dropdowns to set each label as Visible or Hidden.
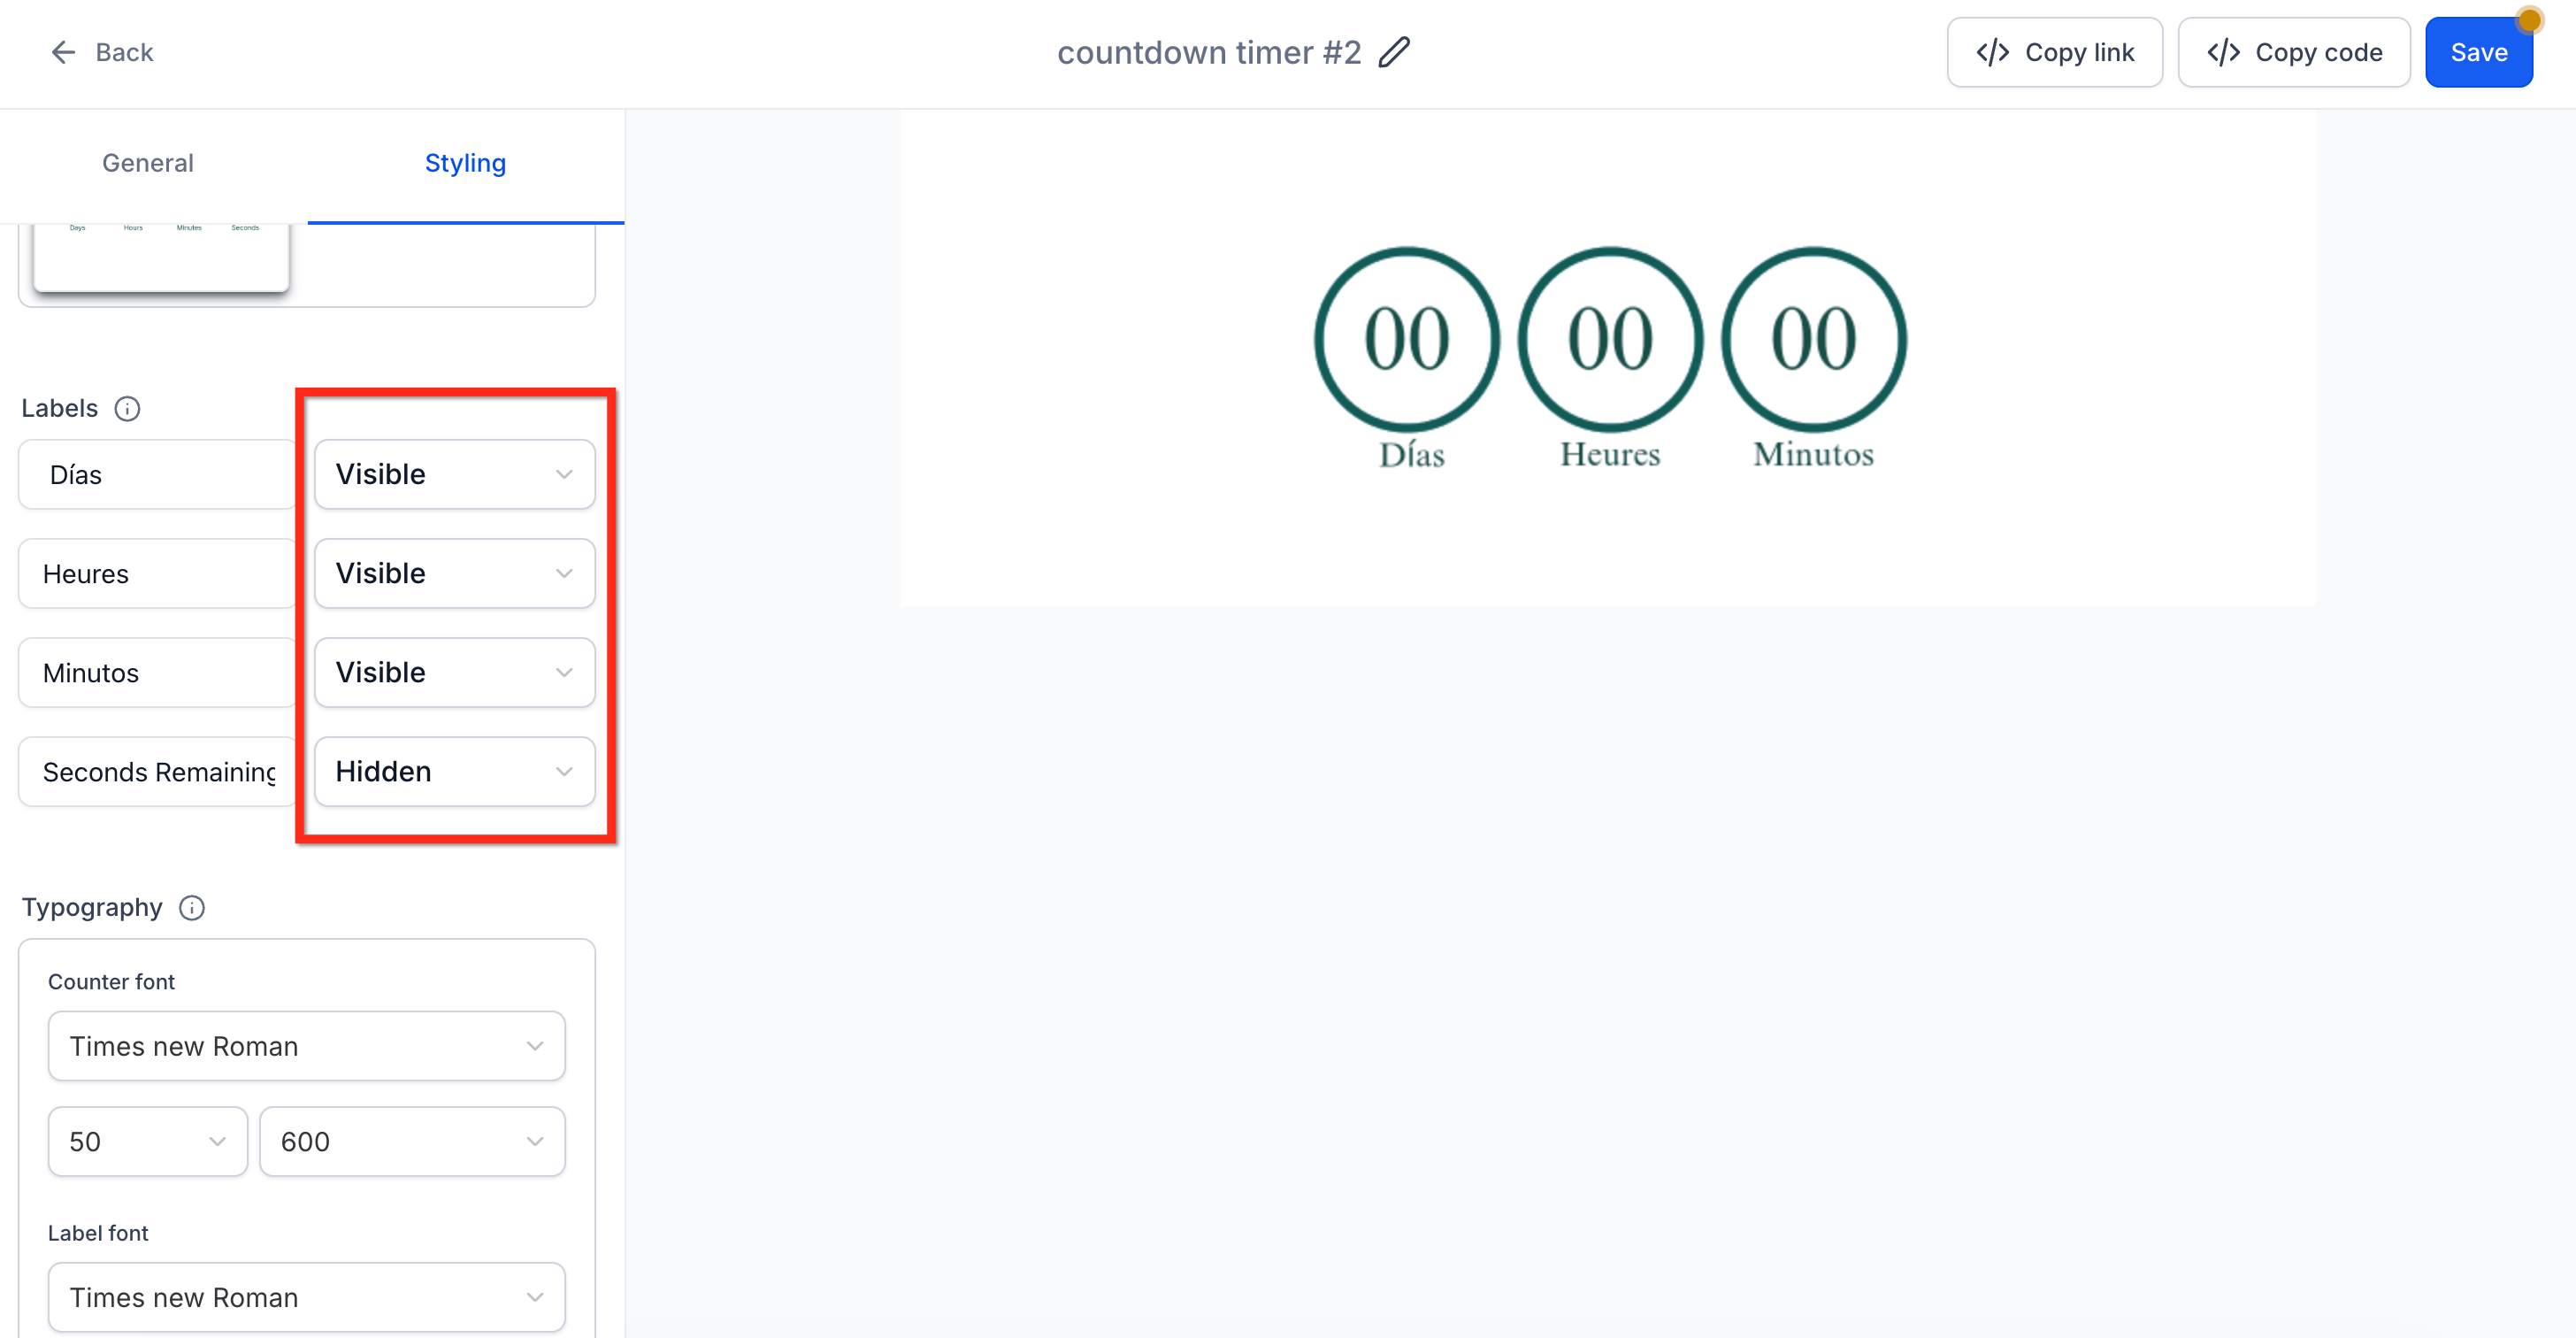
Type new text for each segment (Day, Hour, Minute, Second) to set a custom label.
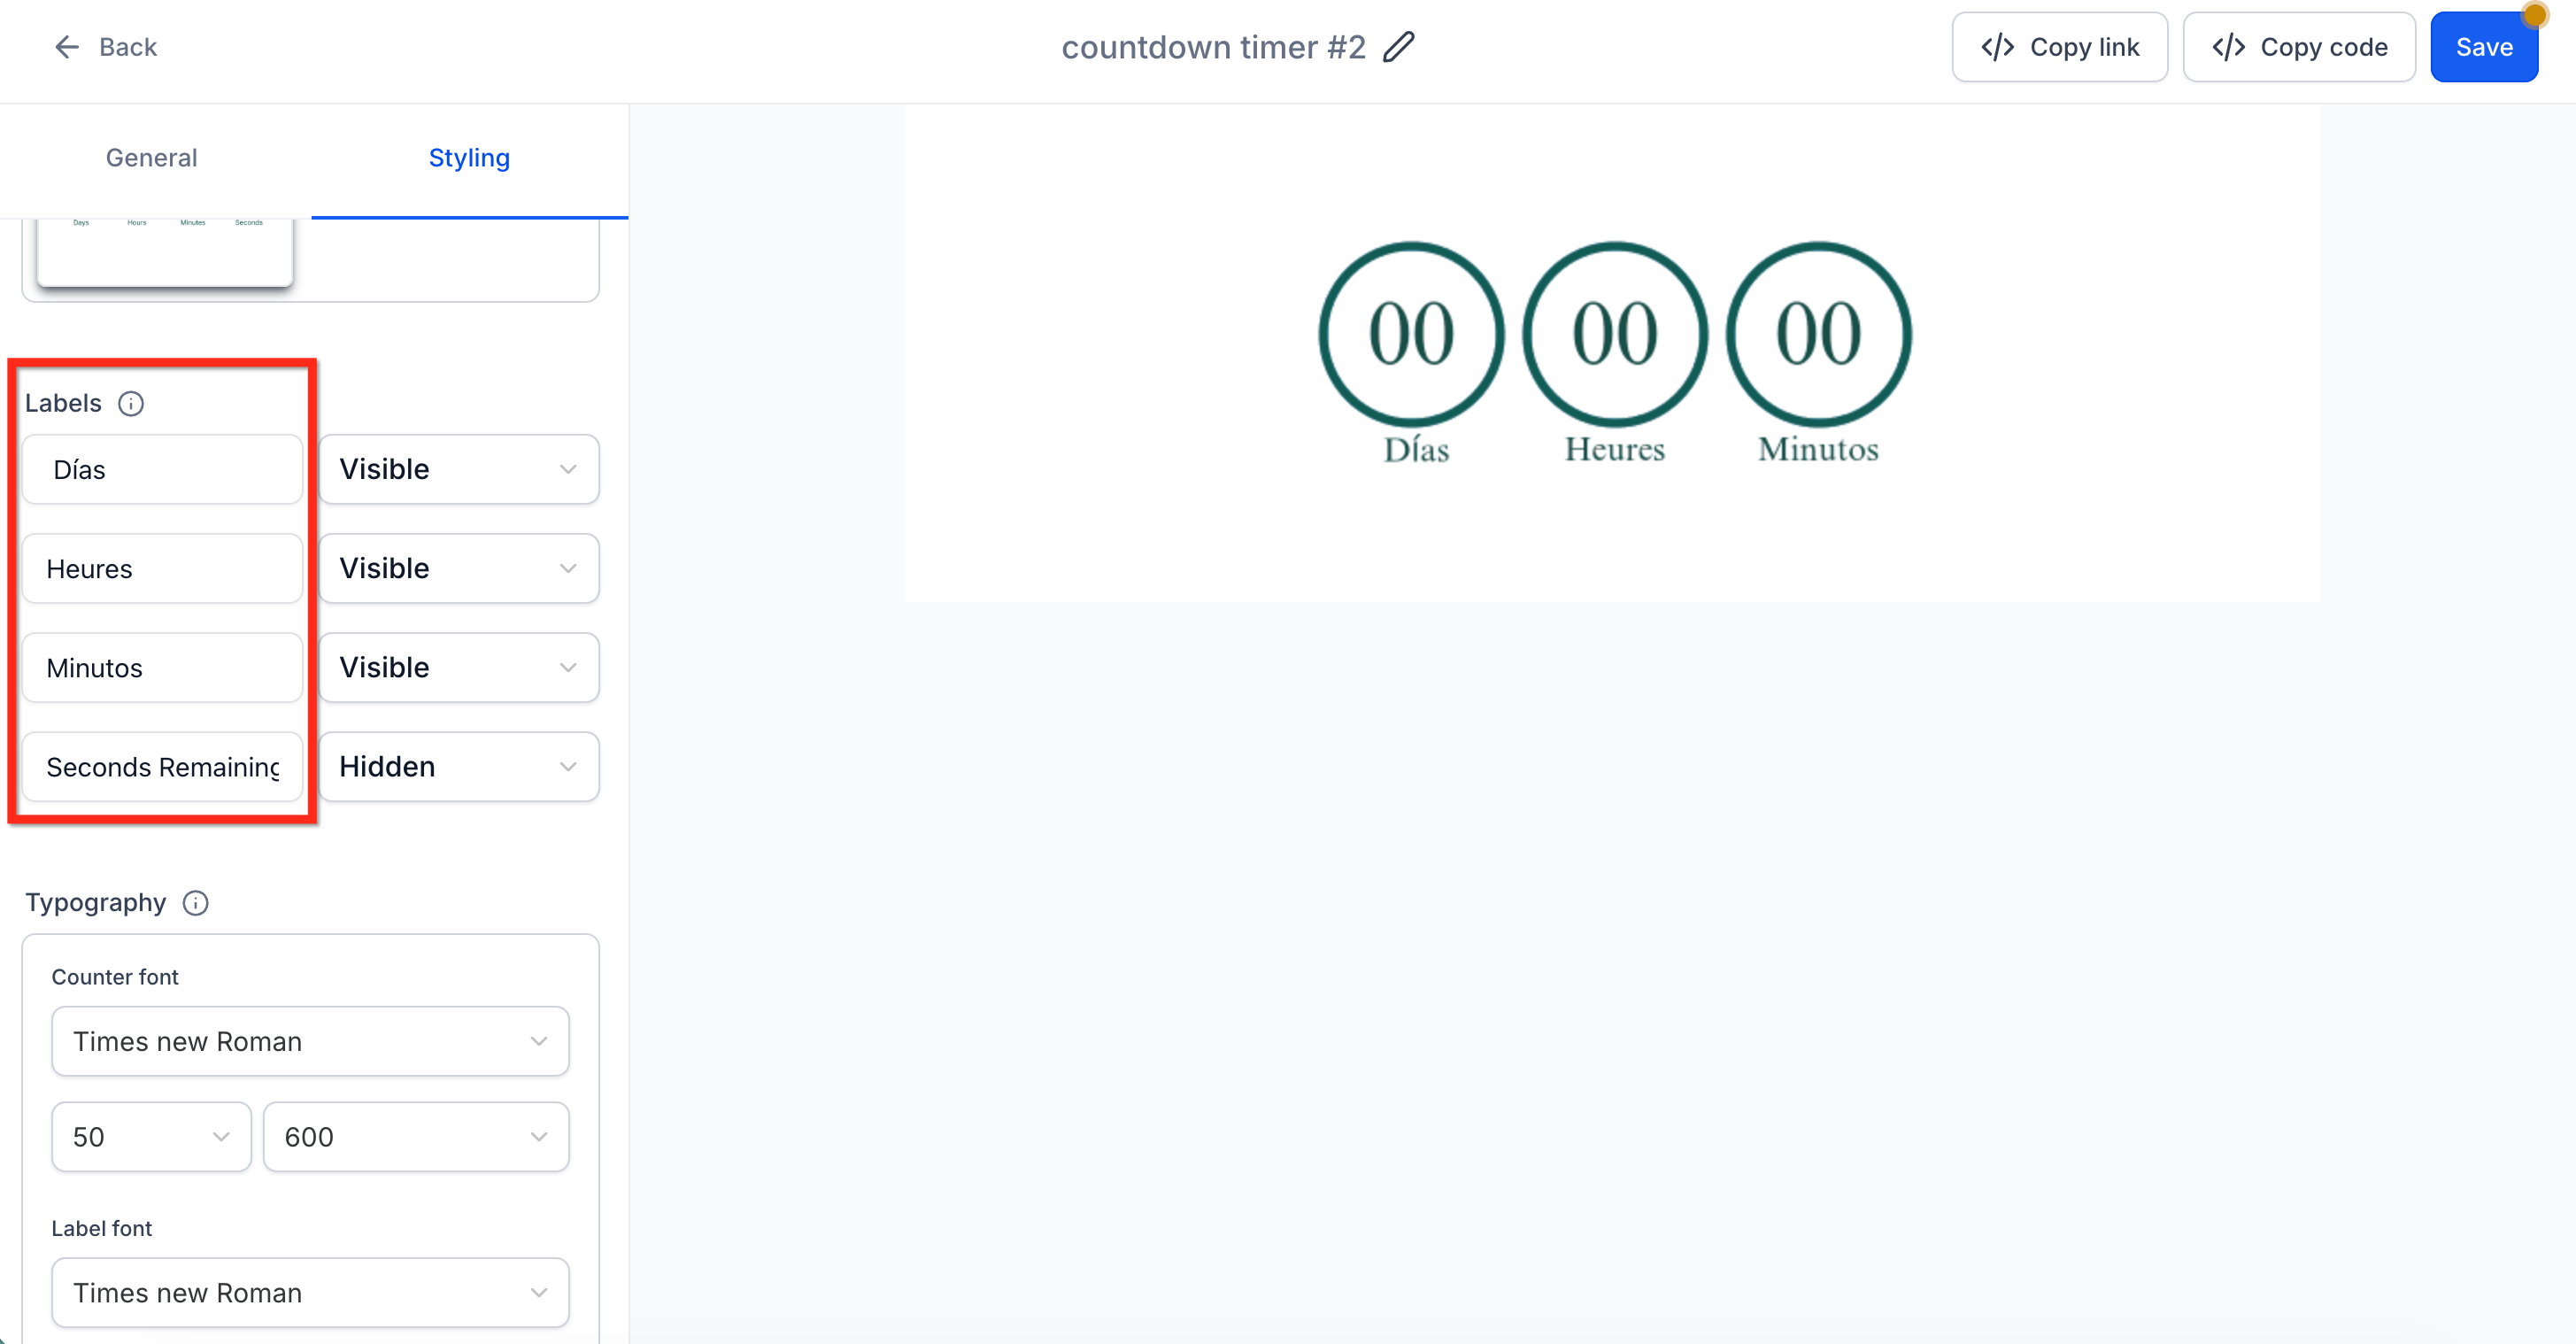
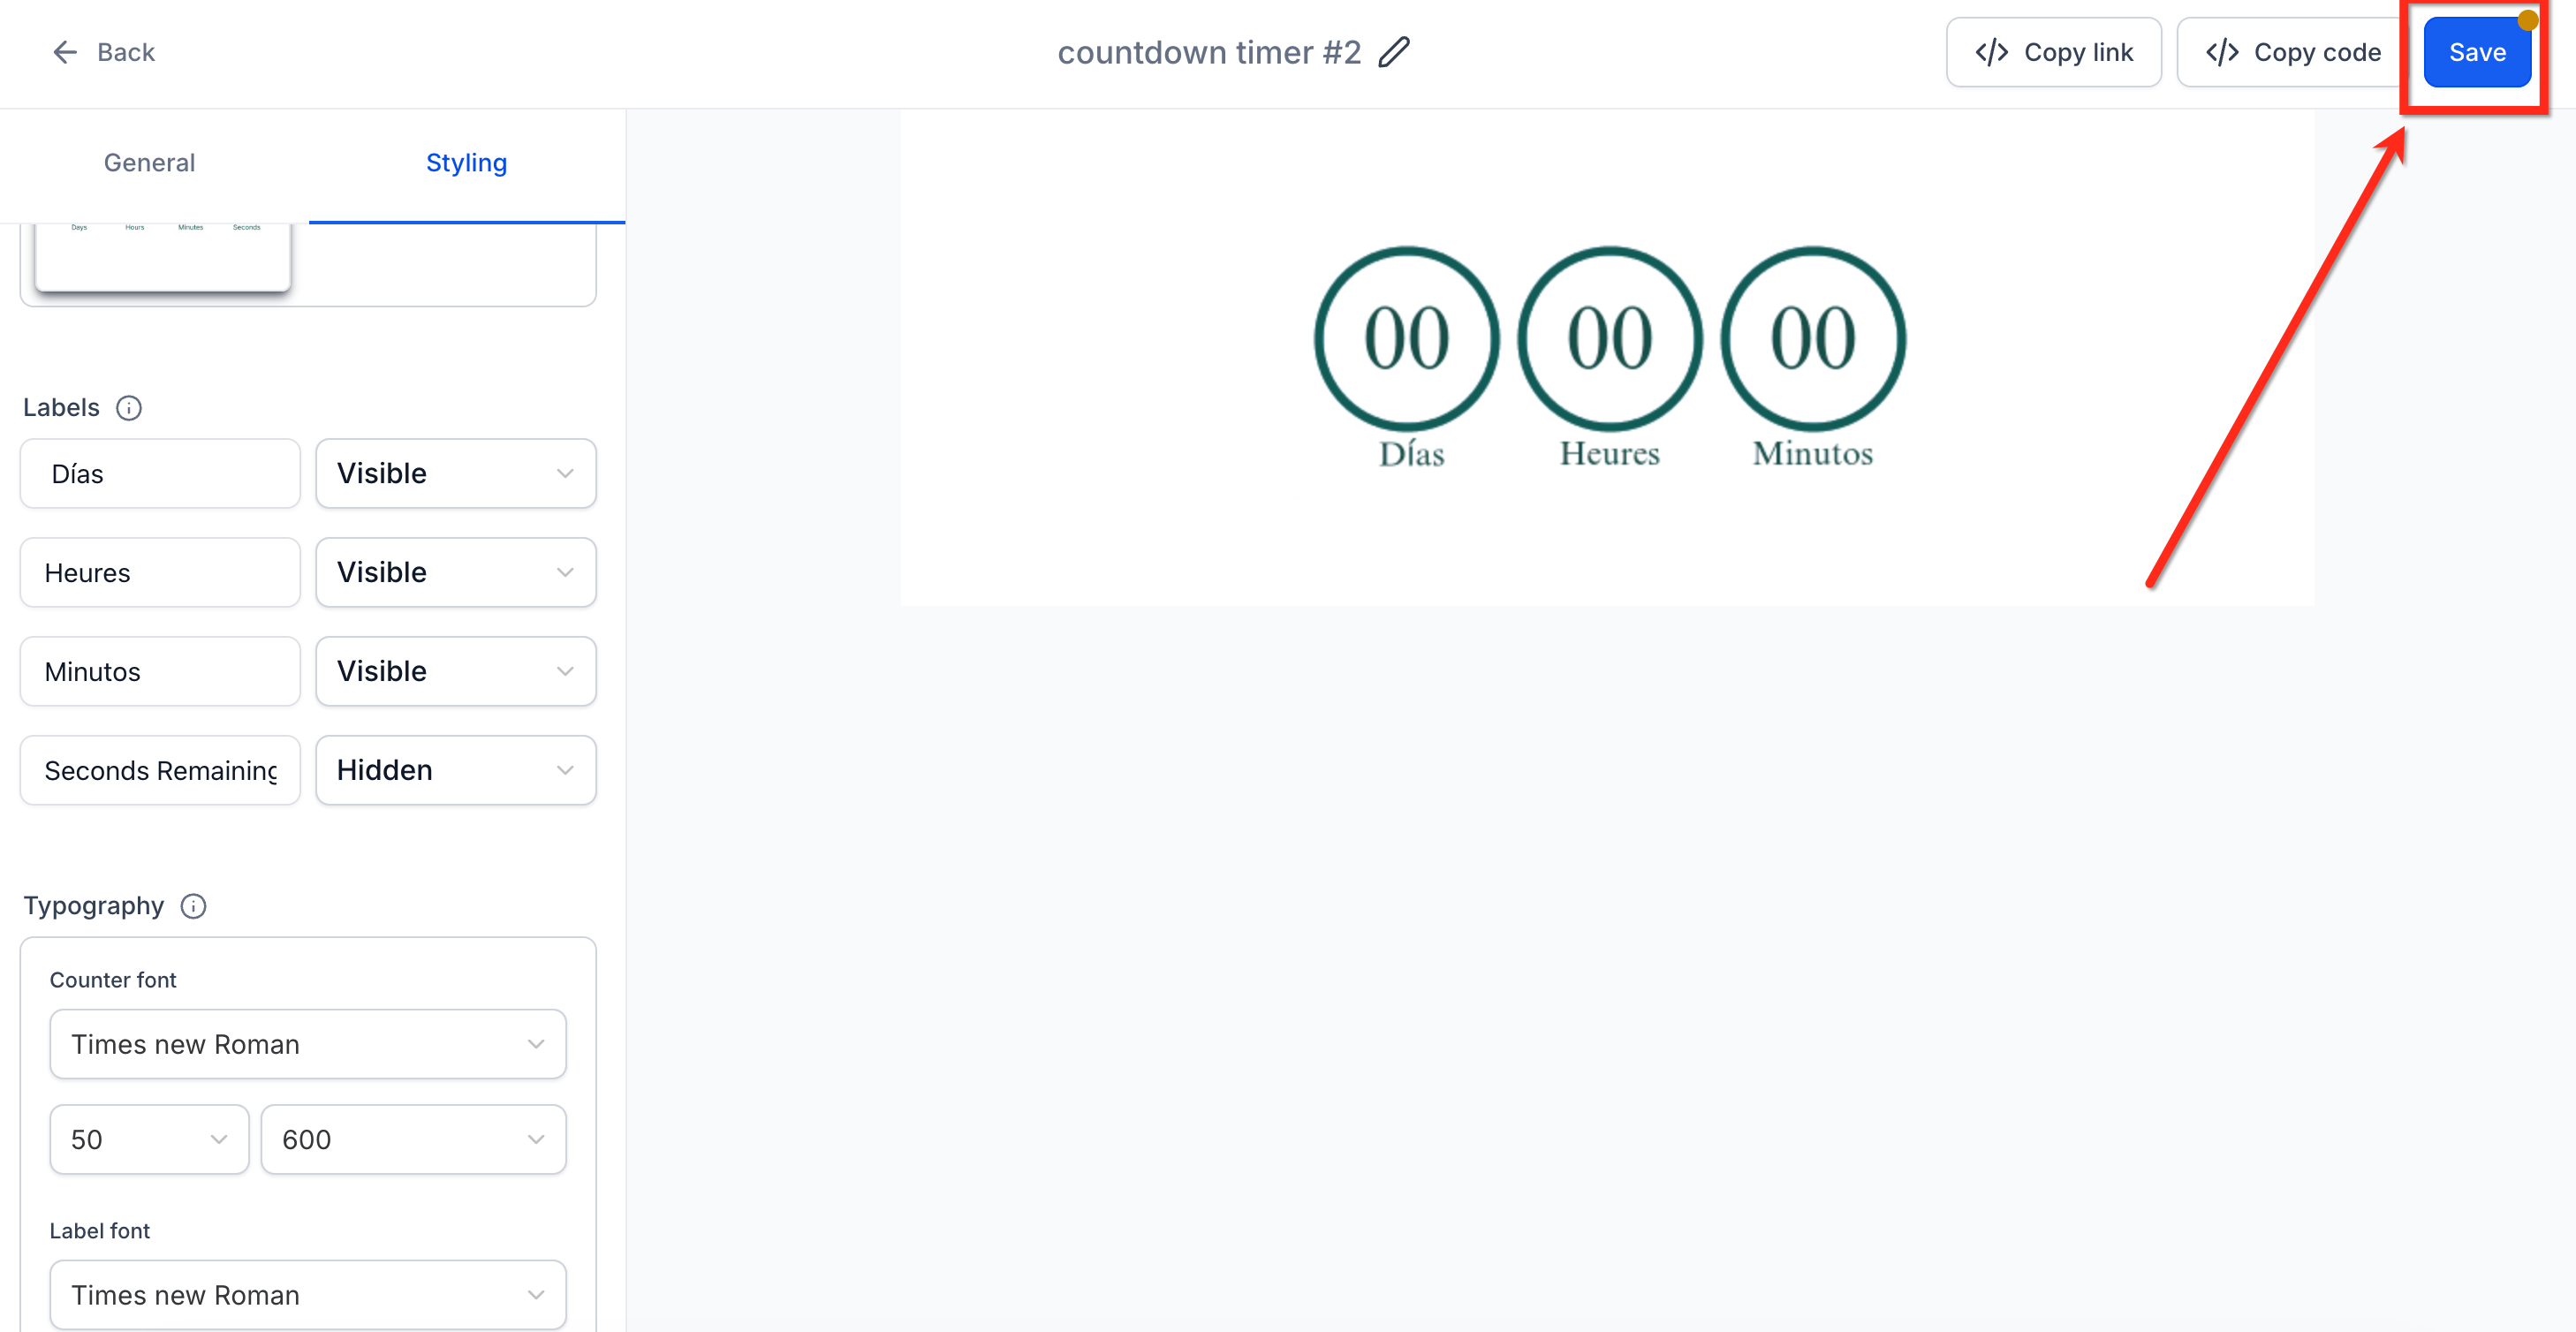
Click Save to save your changes.
Q: Are label changes retroactive?
Yes. Updating the label text refreshes every live instance of that timer.
Q: Can I use different labels for email versus pages?
Each timer holds one set of labels. Create a duplicate timer if you need distinct phrasing.
Q: Does auto-translation work for all languages?
The system sets defaults based on your account language, but manual edits may still be needed for dialect nuances.
Q: Will changing labels affect dynamic links or expiry actions?
No. Label edits only update on-screen text; all redirects and logic remain unchanged.
Note: Add both the active and expired links before saving so your timer's dynamic redirects work correctly.
