Blogs let you publish articles directly on your Aesthetix CRM websites and funnels, giving you an easy way to add fresh content, improve SEO, and keep your audience engaged. This guide walks you through creating a blog, configuring its structure and URLs, styling the layout, adding a blog to a page with the blog element, and deleting a blog or an individual post when it is no longer needed.
You can create a blog inside any of your Aesthetix CRM websites or ecommerce stores.
Step 1: Open the Marketing section. From the left-hand menu, select Marketing to see your marketing options.
Step 2: Open Websites. Choose Build websites & ecommerce stores (Websites) to proceed.
Step 3: Go to Blogs. Click Blogs from the available options.
Step 4: Start a new blog. Press New to create a new blog.
Step 5: Enter the blog title. Add a name for your blog in the provided field.
Step 6: Choose a domain and slug. Select the domain you want the blog to live on and add a slug. This step is optional at this stage — you can create the blog without a domain and connect one later.
Step 7: Add your domain details. Enter the domain details as needed for your setup.
Step 8: Write the meta description. Add your blog's meta description. A description is recommended for SEO.
Step 9: Confirm the meta description. Review and confirm your meta description to finish the initial setup.
After adding these details, you will land on the list view, where you can create new blog posts and edit the blog site.
The domain and slug you choose determine how every blog URL is structured. There are two common setups.
Using a domain with a /blog slug (example: abc.com): You can specify abc.com/blog by entering /blog as the slug. If a page already exists at that path, the system scans all URLs and domains across your funnels and websites and appends unique parameters to keep the slug unique. Your URLs will then follow this pattern:
Blog post: abc.com/post/post-name
Category page: abc.com/blog/category/category-name
Tag page: abc.com/blog/tag/tag-name
Author page: abc.com/blog/author/author-name
Using a subdomain (example: blog.abc.com): When you use a subdomain, you specify blog.abc.com and are not required to add a slug. Your URLs will then follow this pattern:
Blog post: blog.abc.com/post-name
Category page: blog.abc.com/category/category-name
Tag page: blog.abc.com/tag/tag-name
Author page: blog.abc.com/author/author-name
From the blog editor you can control the layout, the appearance of post cards in the list view, and the styling of individual elements on the post page.
Step 1: Select a layout design. Choose the layout design you want for your blog site, list view, card details, and blog post page.
Step 2: Manage the post card. Set how each post card will look in the list view.
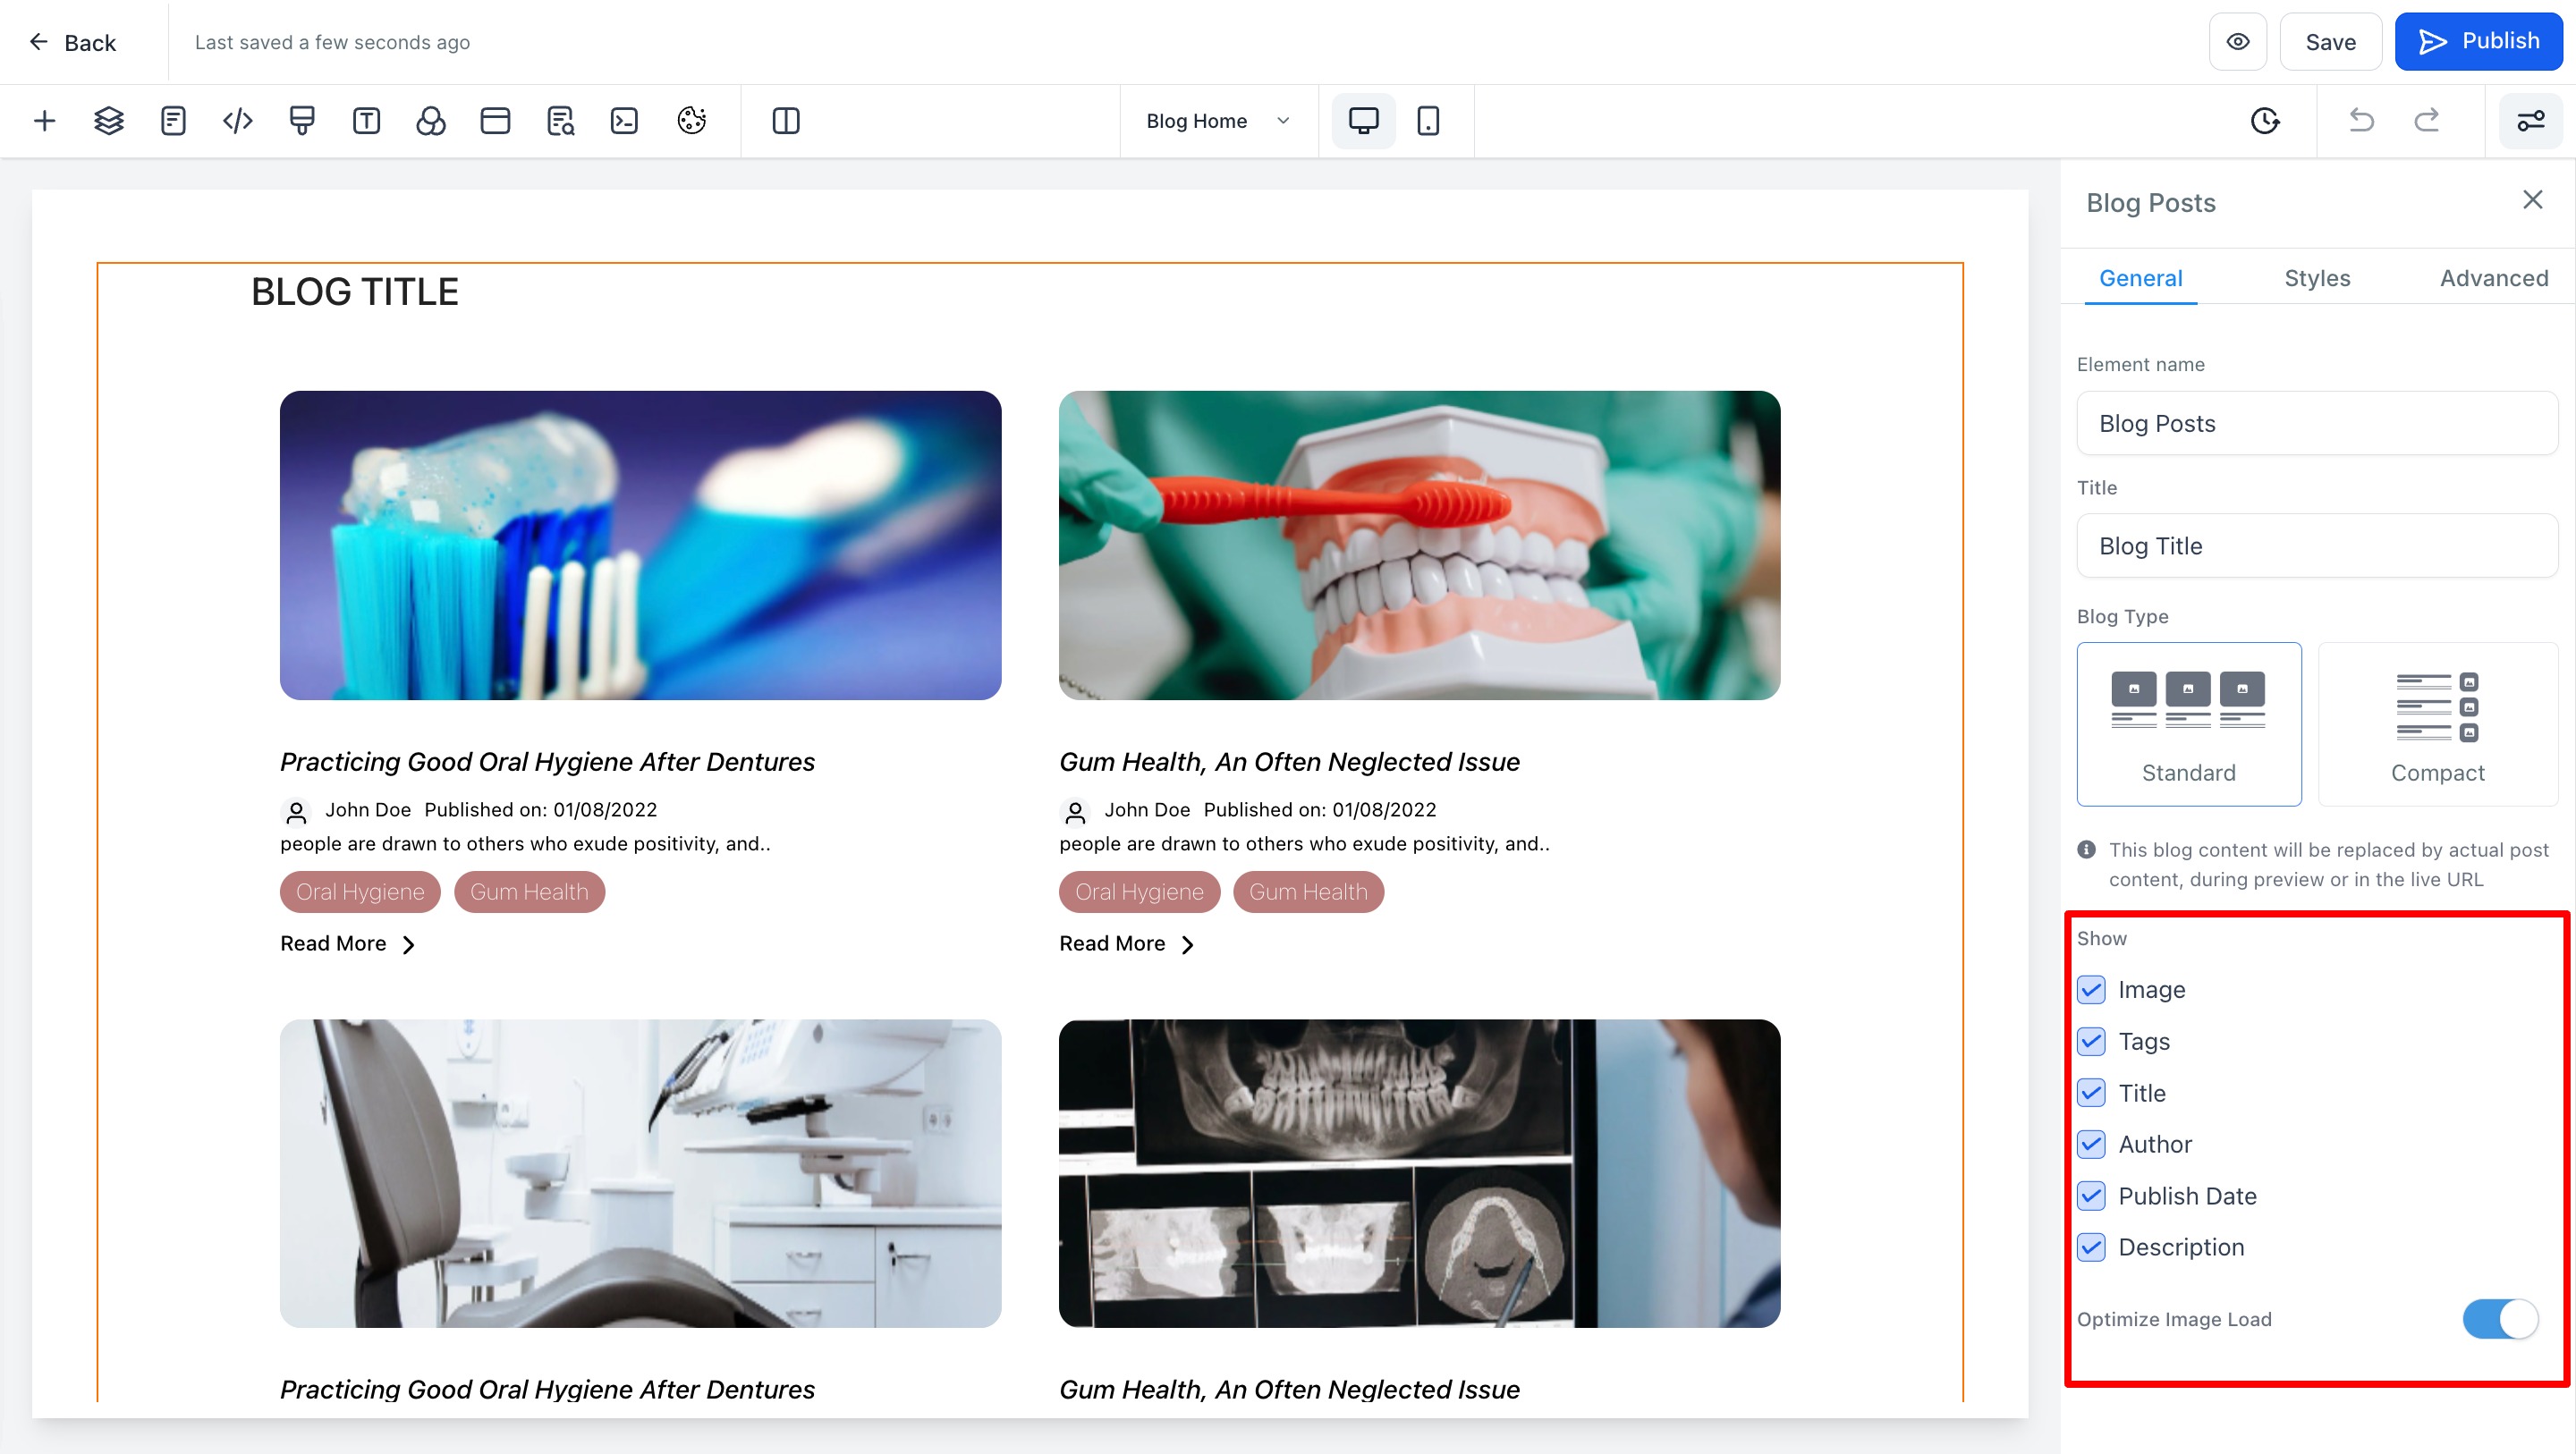
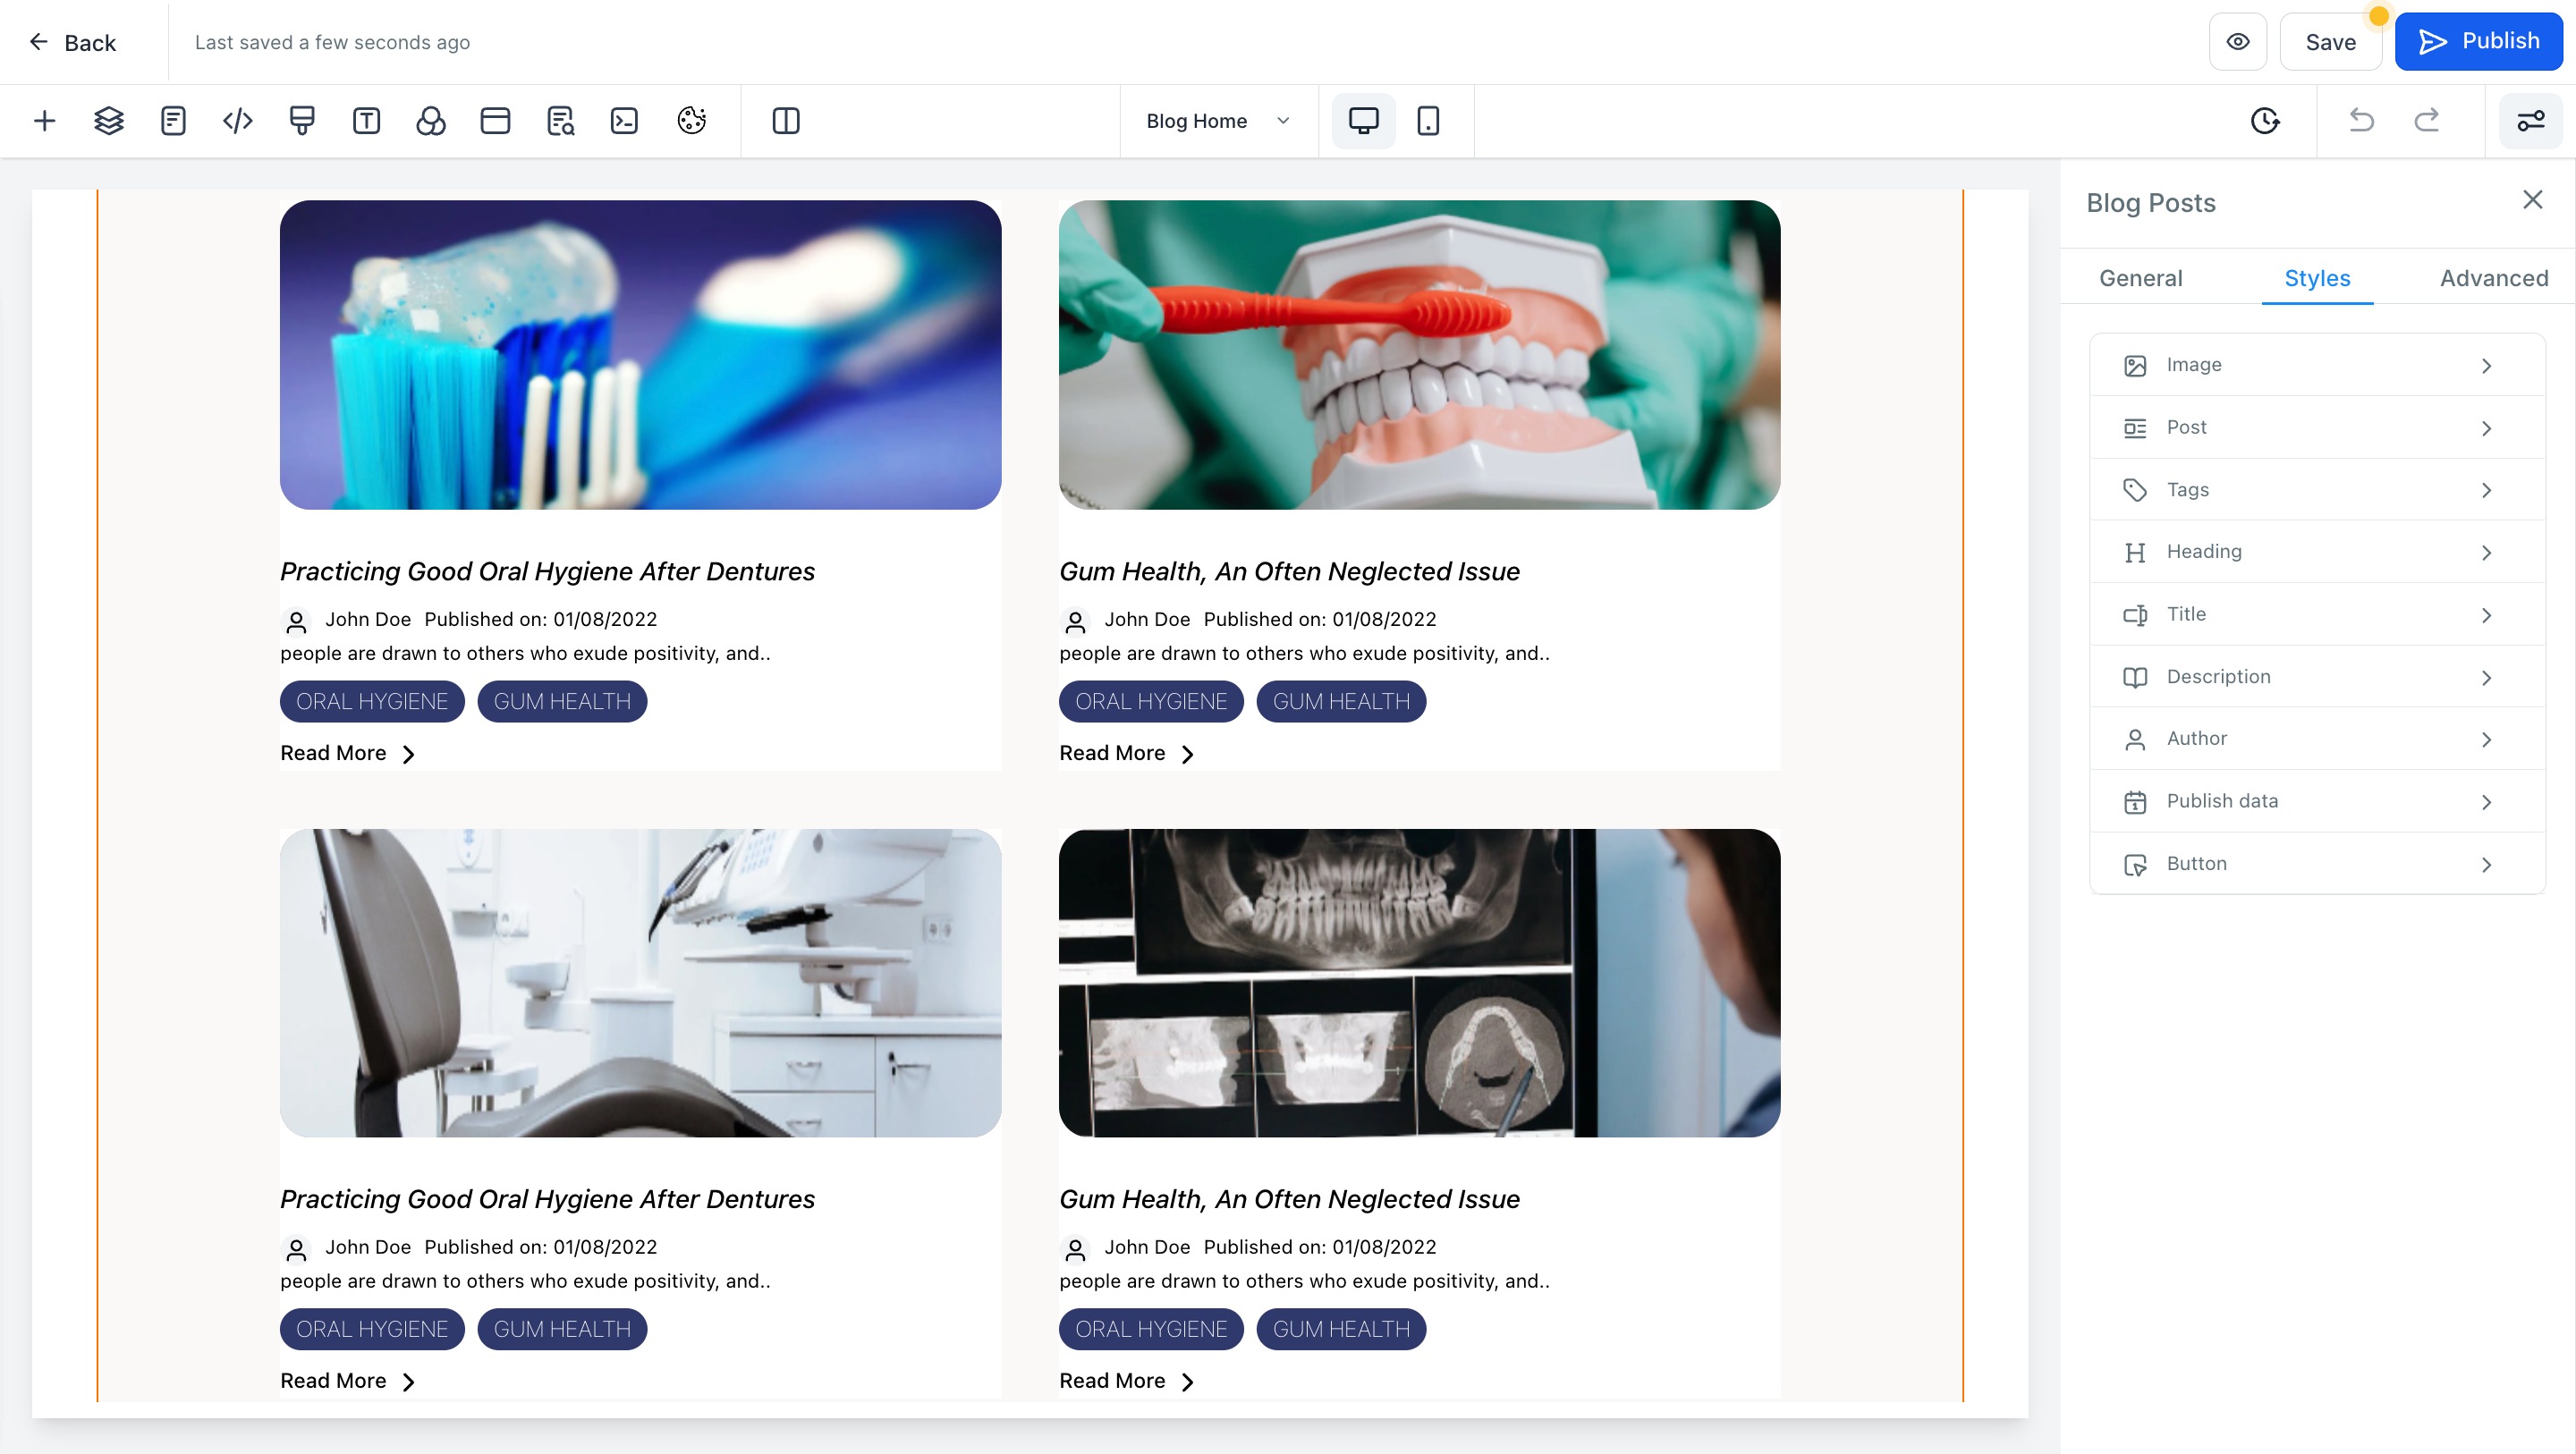
Step 3: Style the blog elements. Manage the styling of individual elements, including the image, post, tags, heading, title, description, author, and publish date.
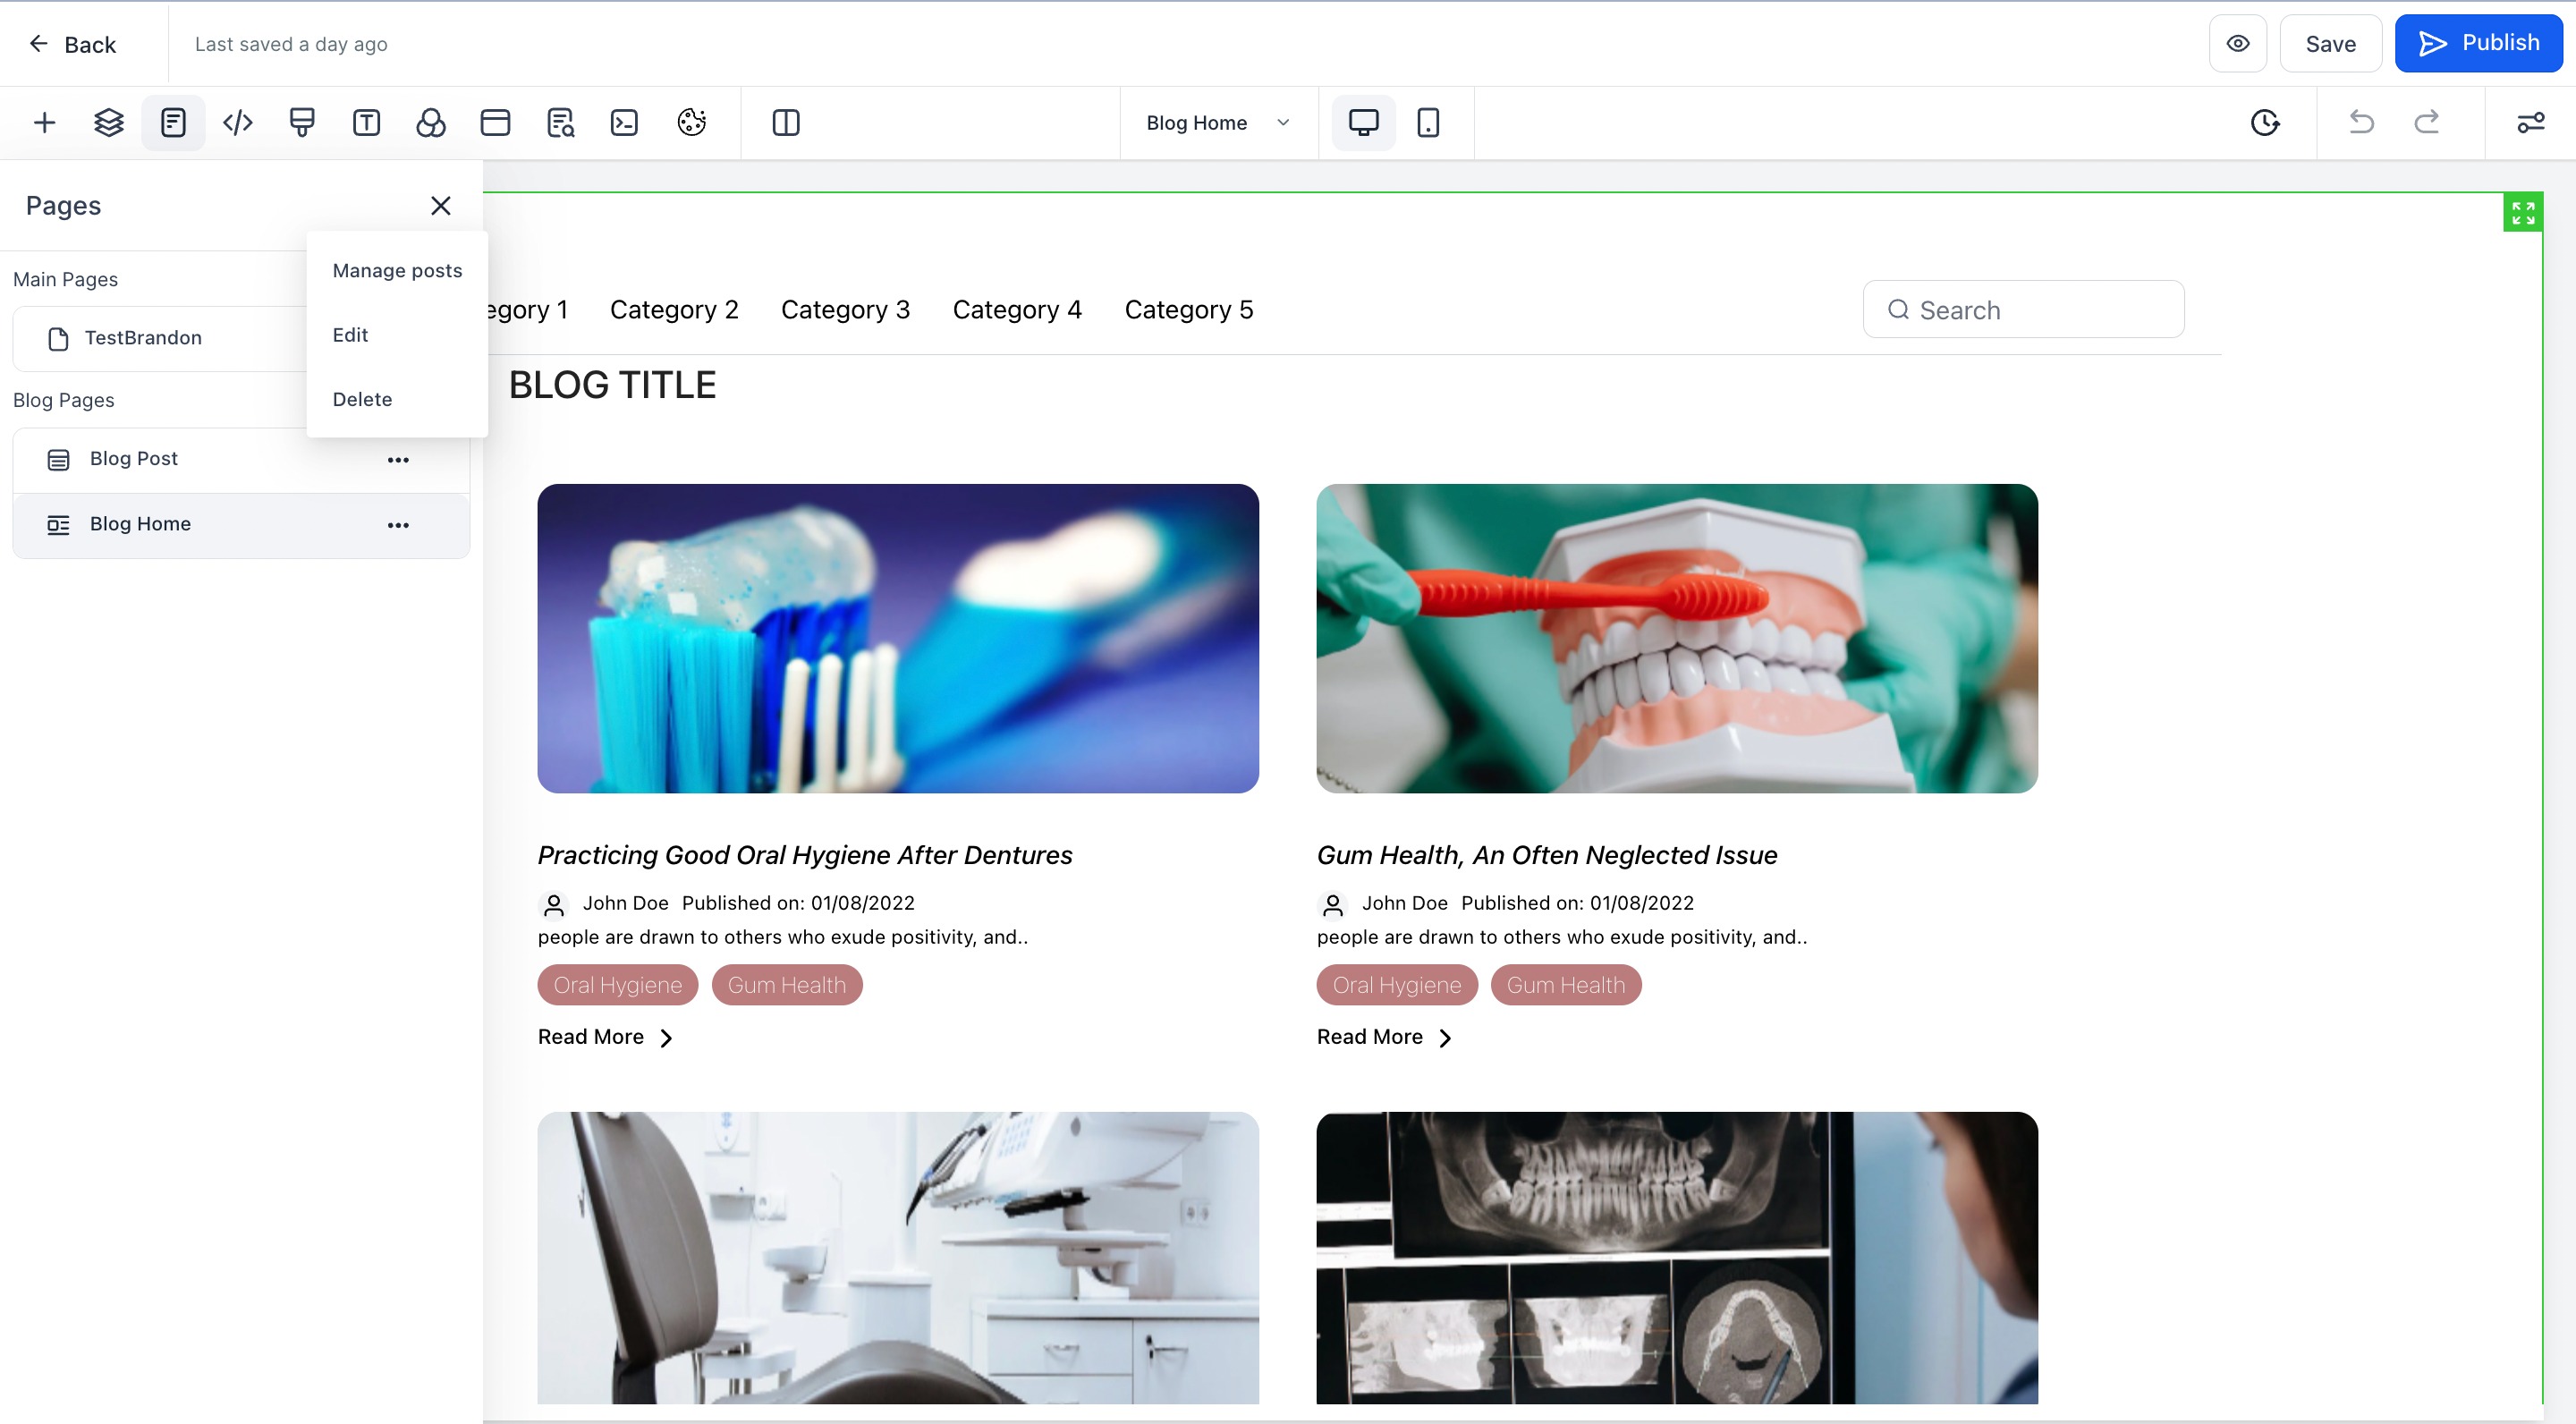
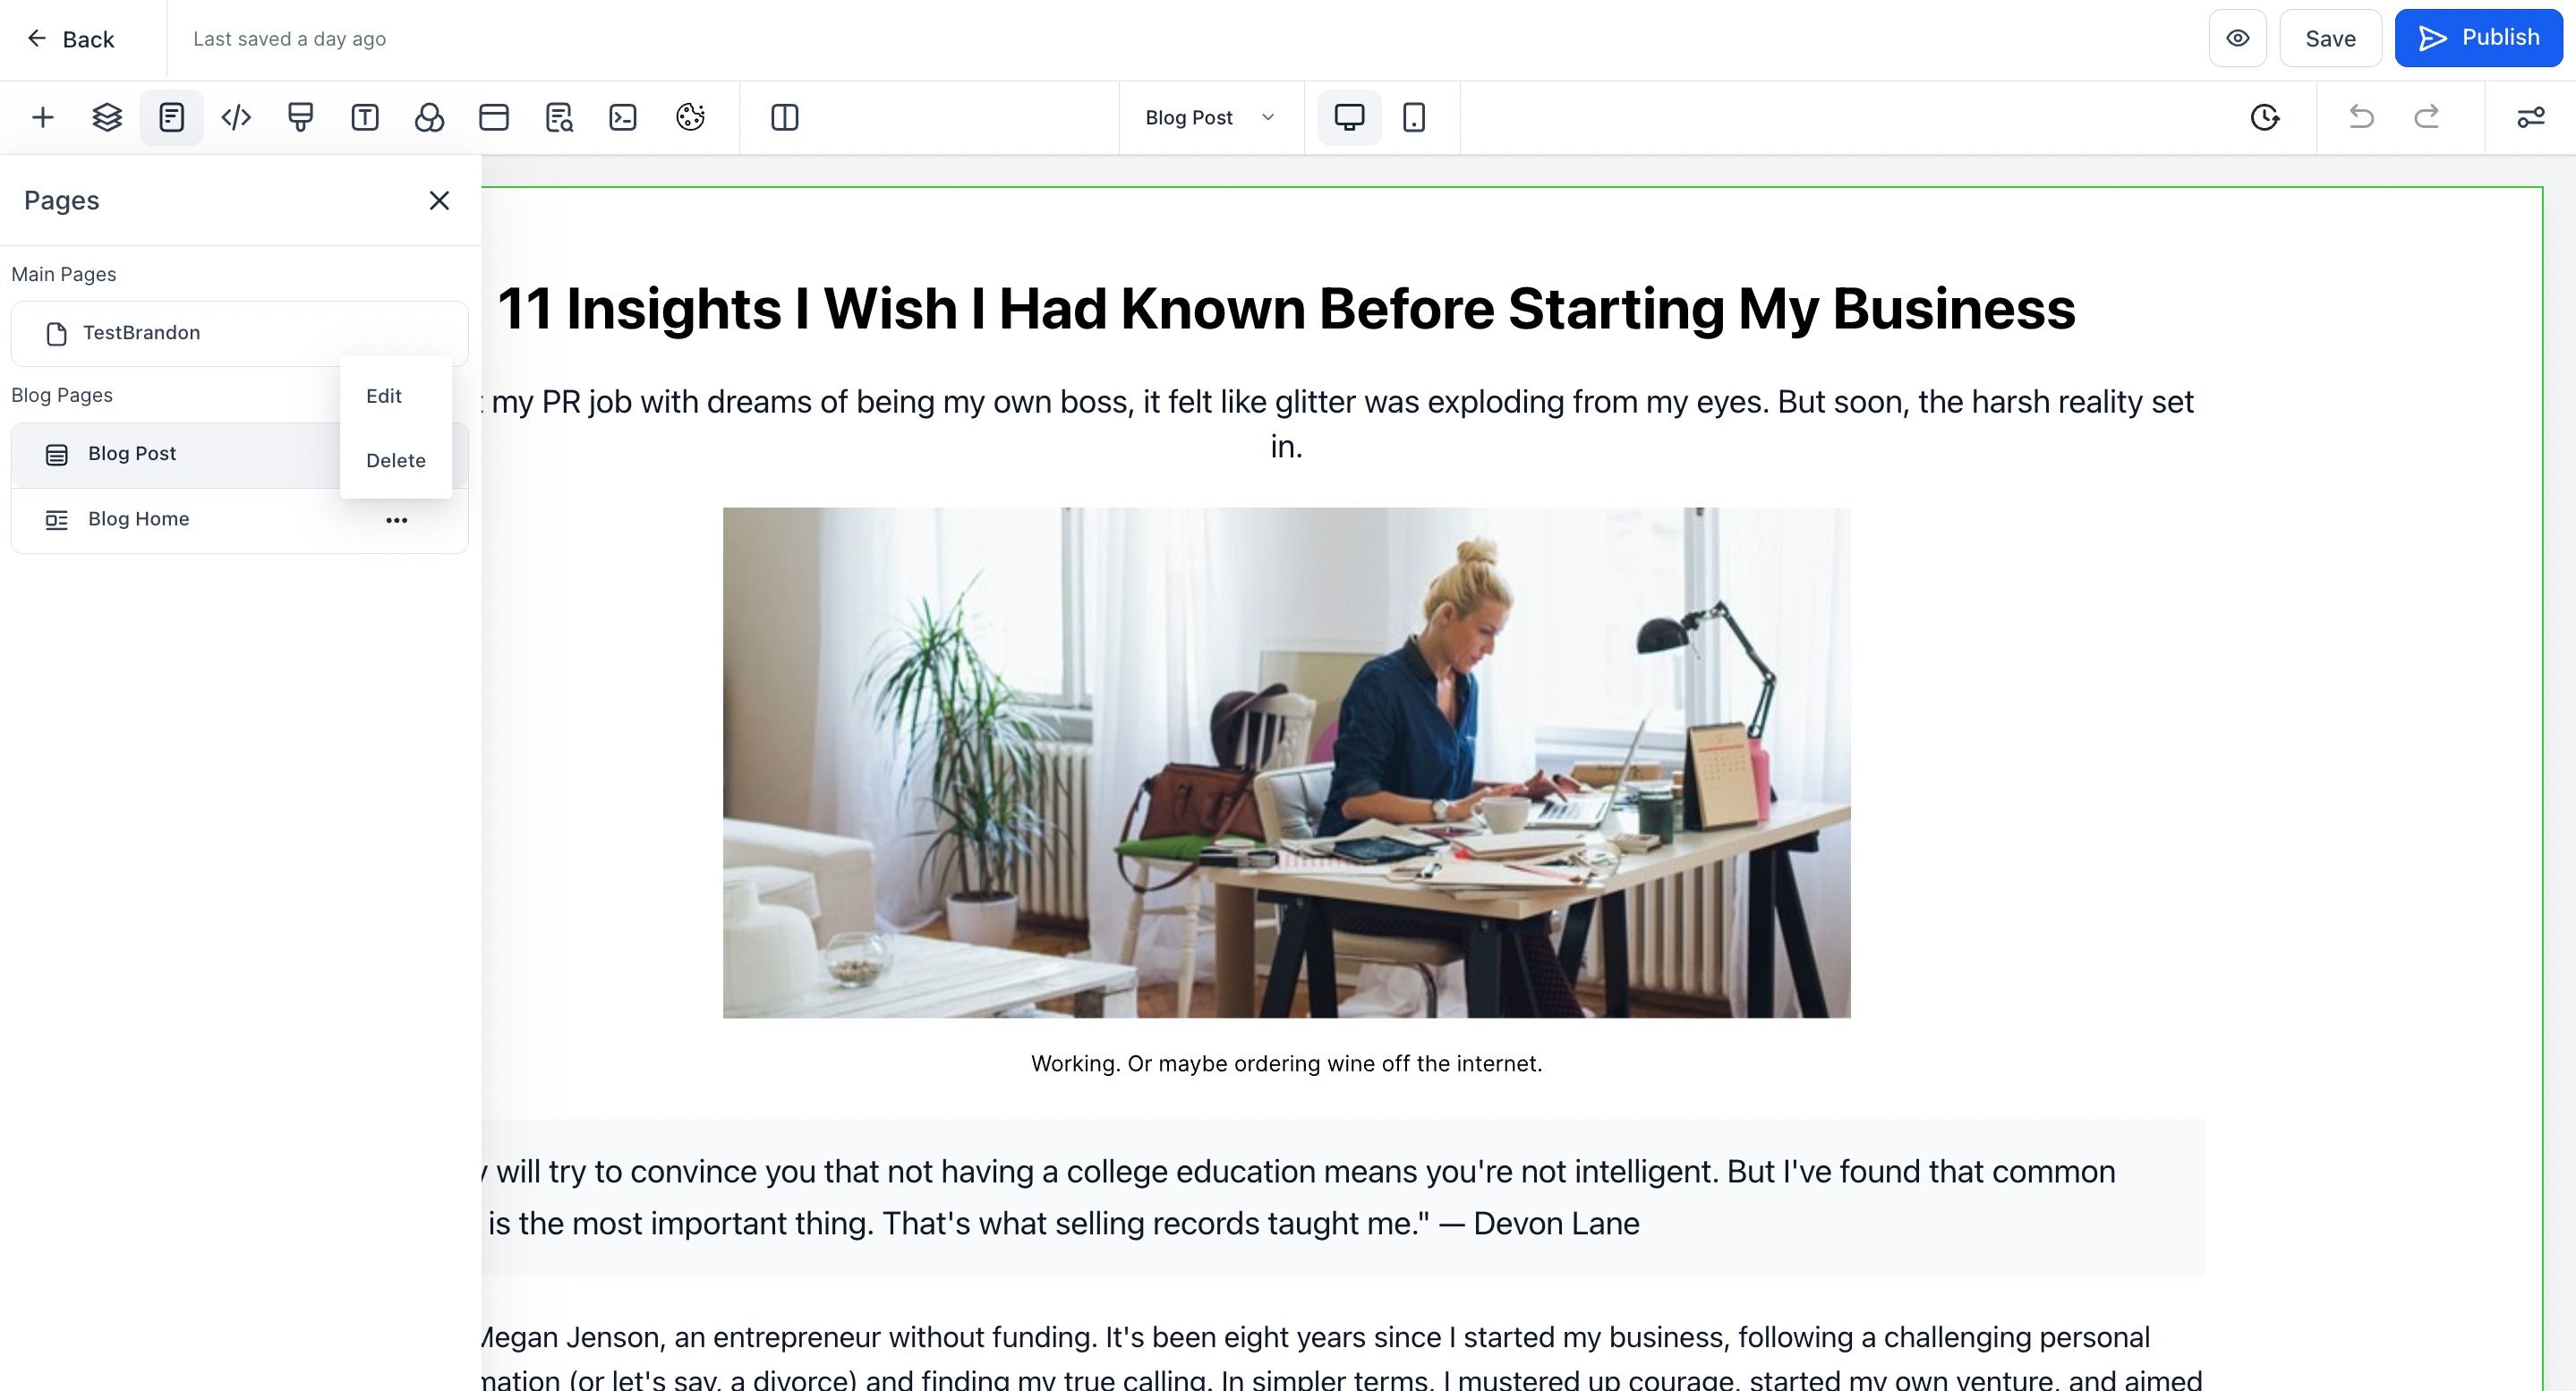
Step 4: Manage blog pages. From here you can manage the blog pages such as home and post, create blog posts, and delete the blog.
Once your blog exists, you can add and format posts using the blog editor.
Step 1: Open the blog. From Marketing > Websites > Blogs, open the blog you want to add a post to.
Step 2: Create a blog post. Click Create Blog Post to start a new post.
Step 3: Input the post details. Enter the details for your post.
Step 4: Use the blog editor. Compose and format your content in the blog editor.
Step 5: Add rich content. Use the editor toolbar to enrich your post by adding attachments, images, audio, quotes, and emojis.
Step 6: Save your content. When you are done writing, click Save.
Step 7: Continue to settings. Click Continue to move on to the post settings.
Step 8: Input the post settings. Enter the remaining details for your post, including the URL slug, category, keywords, and author.
Step 9: Select a blog status. Choose the blog status for the post, then click Save.
Step 10: Review your posts. Your published and draft posts appear in the list of created blogs.
After a blog exists, you can display it on a funnel or website page using the blog post element. For a full list of page-builder elements, see the Content Elements reference and its blog post element.
Step 1: Open the Marketing section. Go to Marketing.
Step 2: Open your funnels. Select Funnels.
Step 3: Select a funnel. Choose the funnel you want from the list.
Step 4: Open the page for editing. Click to create or edit the blog page within the funnel.
Step 5: Add an element. Click Add Element.
Step 6: Select the blog post element. Choose Blog Post from the available elements.
Step 7: Open the element settings. Click the orange border around the element to open its settings.
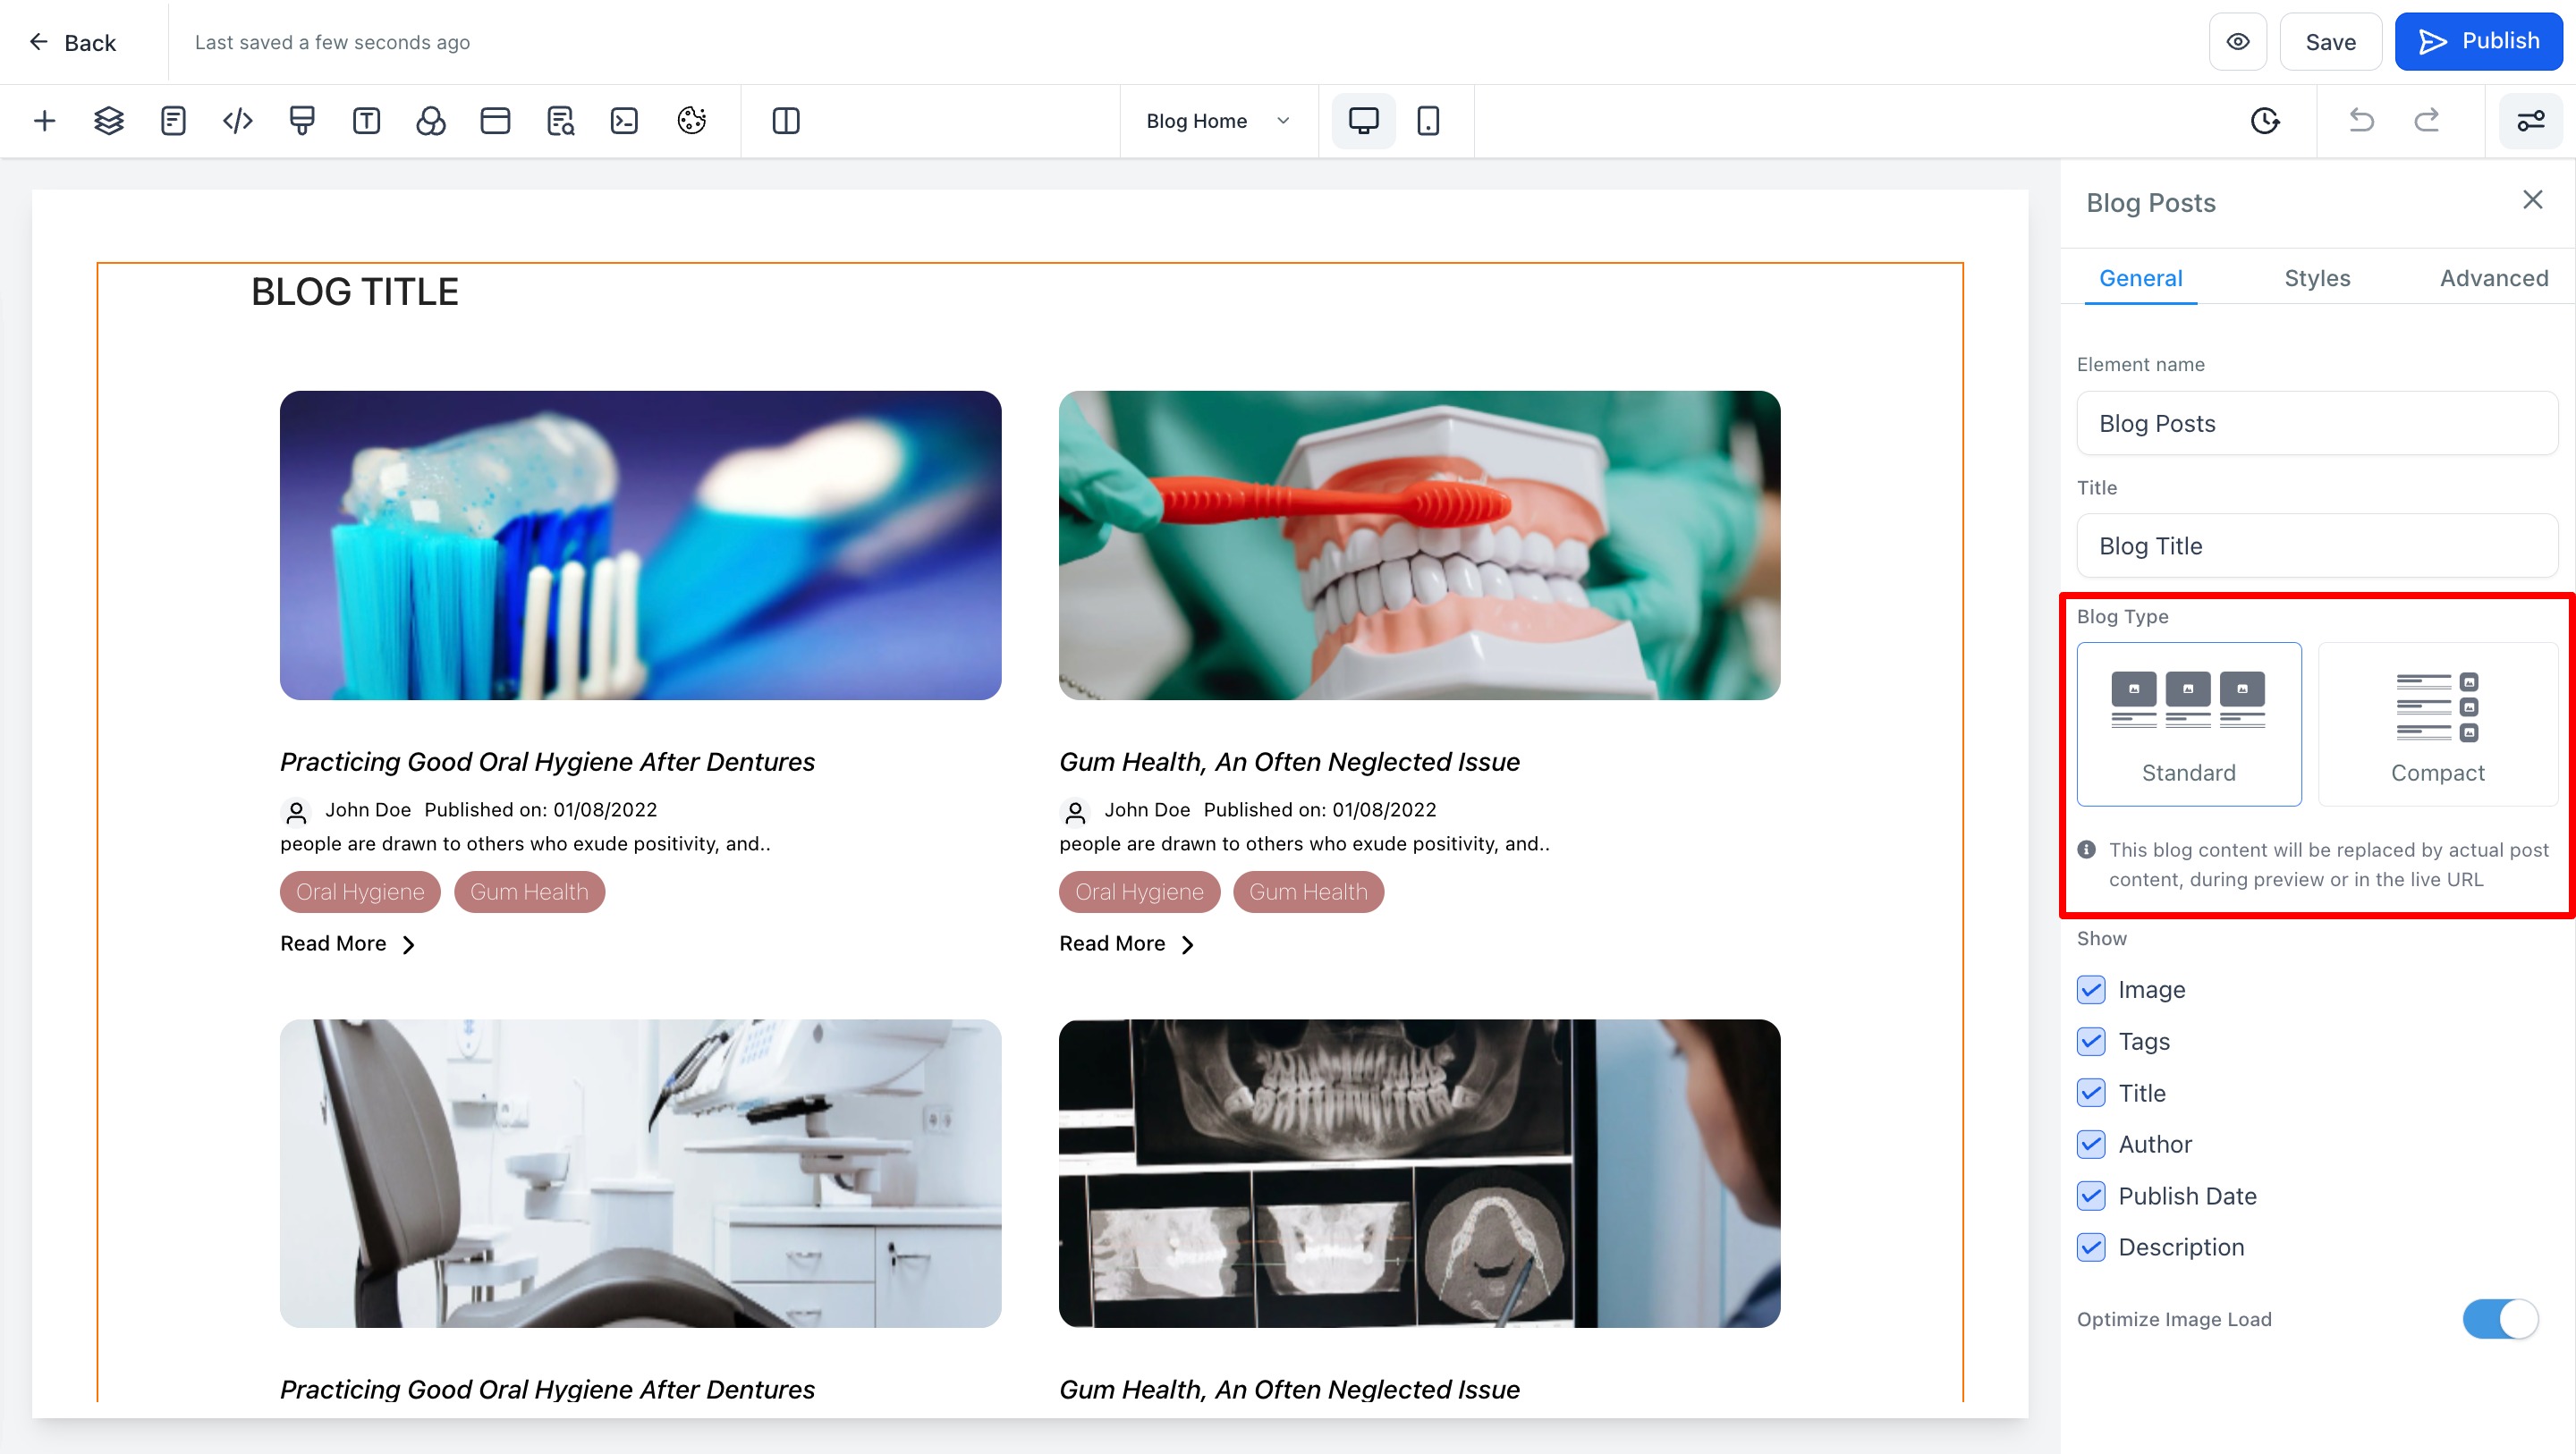
Step 8: Choose the blog type. Select the style of blog type — Standard or Compact.
Step 9: Select the category page. Choose the category page you want the element to display.
Step 10: Preview the page. Press the Preview button to see the blog you have made.
Step 11: Save your changes. Click Save to keep your changes. The blog now appears within the funnel.
If you no longer need a blog, you can remove it from your website.
Step 1: Open the Marketing section. Select Marketing.
Step 2: Open Websites. Choose the Websites section.
Step 3: Go to Blogs. Navigate to the Blogs area.
Step 4: Open additional actions. Click to reveal additional actions for the blog.
Step 5: Select Delete blog. Choose Delete blog from the dropdown.
Step 6: Confirm the deletion. Confirm to delete the blog.
You can also remove an individual post while keeping the rest of the blog intact.
Step 1: Open the Marketing section. Select the Marketing section.
Step 2: Open Websites. Enter the Websites area.
Step 3: Go to Blogs. Click Blogs.
Step 4: Choose a blog. Select the specific blog whose post you want to remove.
Step 5: Open additional options. Access the additional options for the post.
Step 6: Select Delete Blog Post. Choose Delete Blog Post from the menu.
Step 7: Confirm the deletion. Click Delete to finalize and permanently remove the post.
Do I need a domain to create a blog? No. You can create a blog without a domain and connect one later. The domain and slug are optional during initial setup.
Why should I add a meta description? A meta description is recommended for SEO. It helps search engines understand your blog and can improve how your content appears in search results.
What happens if my chosen slug already exists? If a page already exists at the path you choose, Aesthetix CRM scans all URLs and domains across your funnels and websites and appends unique parameters so your slug stays unique.
What is the difference between the Standard and Compact blog types? When you add the blog post element to a page, you can display it in a Standard or Compact style. Choose the layout that best fits the design of your funnel or website page.
Can I add my blog to both websites and funnels? Yes. You can create a blog within a website and display it on a funnel or website page using the blog post element.
Does deleting a blog remove its posts? Deleting a blog removes the entire blog. If you only want to remove a single article, delete the individual blog post instead of the whole blog.
