Images are one of the fastest ways to build trust with prospective patients. In the Aesthetix CRM page builder, you can add and edit images, create polished photo galleries to showcase your treatments and results, and attach interactive actions that make your pages feel more engaging. This guide walks through each option.
You can drop an image onto any page or funnel section, then adjust it to fit your design.
Drag an image element onto your desired page section.
Select an image from your Media Library, or drag and drop a file directly into the Media Library modal to upload it before adding it to the page.
Use the element settings to adjust sizing, alignment, and spacing so the image fits your layout.
Note: Uploading a file into the Media Library modal makes it available for reuse across your other pages and galleries.
The Photo Gallery element lets you create professional-looking, customizable galleries without any technical skills. It makes showcasing before-and-after photos, treatment results, and practice imagery simple, while improving engagement through features like lightbox viewing and lazy loading.
Image Integration: Easily add images to your gallery for a more dynamic presentation.
Lightbox: Showcase your media with lightbox support, so visitors can view images full-screen.
Heading Option: Add a custom heading to the gallery to provide context or branding.
Grid, Vertical & Horizontal Masonry Layouts: Choose the best way to display your gallery.
Column Control: Set the number of columns to fit your design.
Spacing Between Images: Adjust the spacing between gallery items.
Mobile Behavior: Ensure your gallery is fully responsive with custom settings for mobile devices.
Captions & Descriptions: Add custom captions or descriptions for each image.
Click Actions: Define what happens when an image is clicked (open in lightbox or redirect to a URL).
Open Link in New Tab: Option to open clicked links in a new browser tab.
Watermark: Add a watermark to images for branding or protection.
Navigate to the page or funnel builder and locate the Photo Gallery element in the left sidebar.
Drag and drop the element onto your desired page section.
Customize the gallery:
Add images by selecting files from your Media Library. You can also drag and drop files directly into the Media Library modal to upload them before adding them to the gallery.
Set the gallery layout by choosing between grid or masonry options, and adjust the column count and spacing as needed.
Configure mobile behavior so the gallery displays cleanly on phones and tablets.
Add captions or descriptions to your images, and choose the action for when visitors click an image (open in lightbox or redirect).
Apply a watermark to images for added branding or protection if needed.
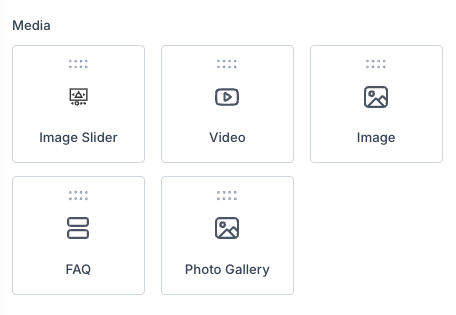
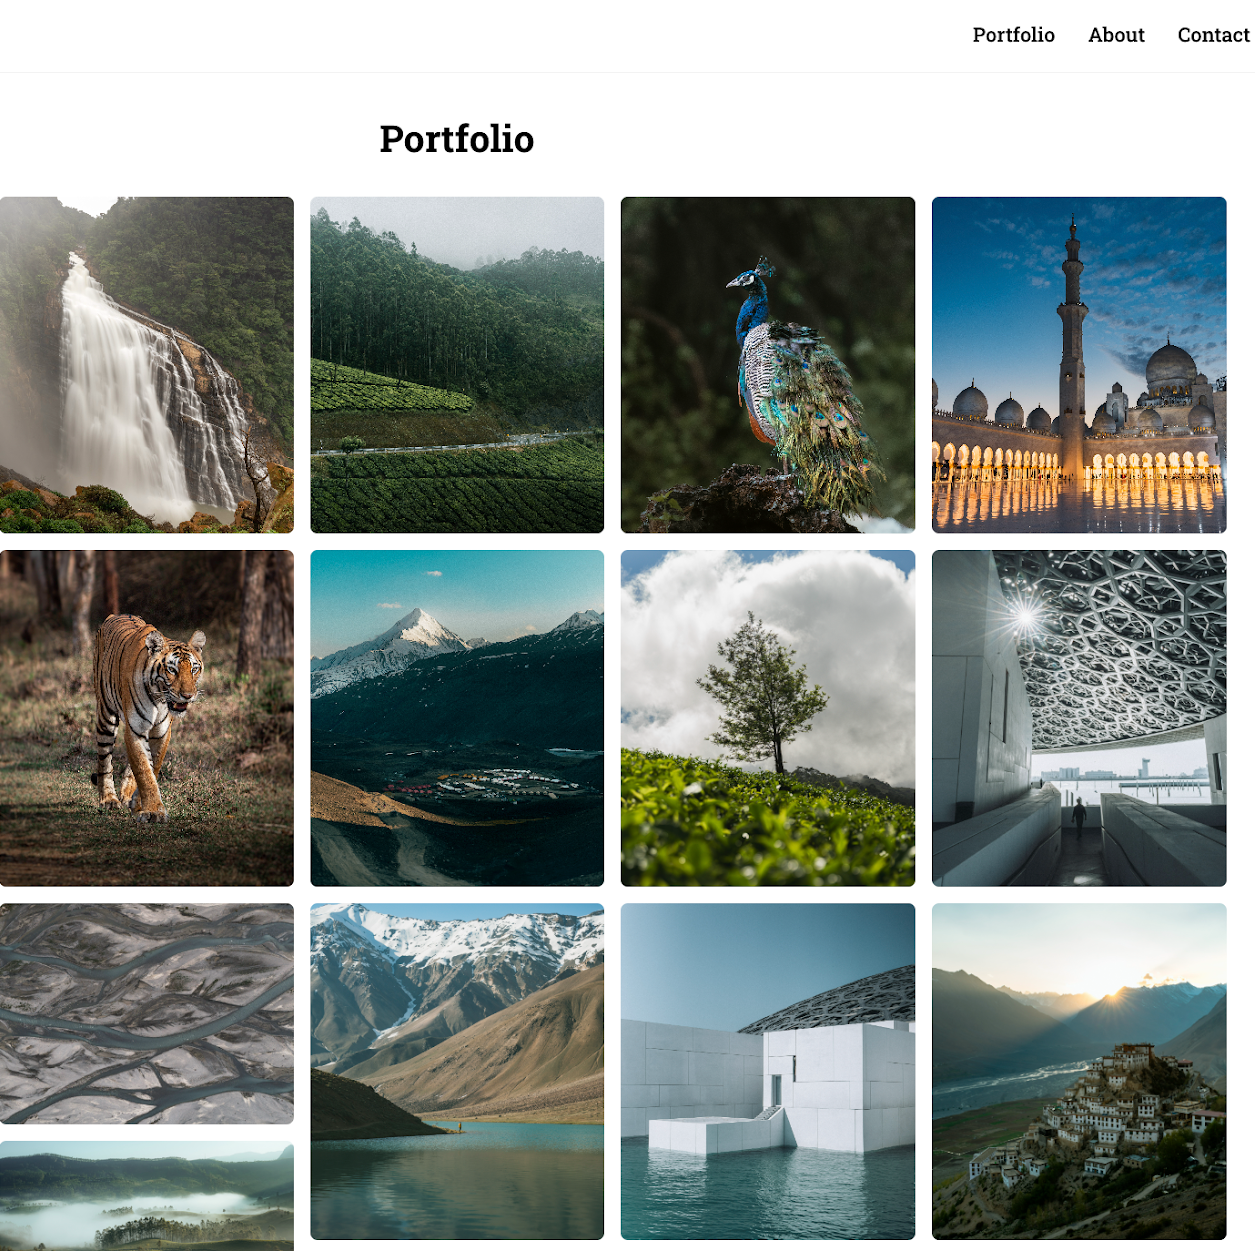
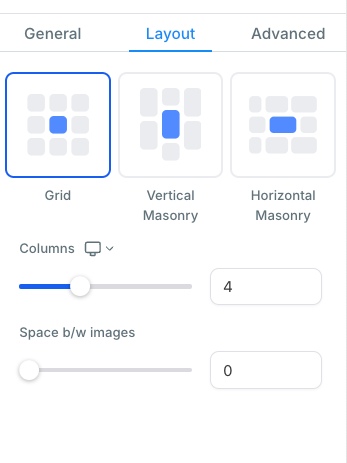
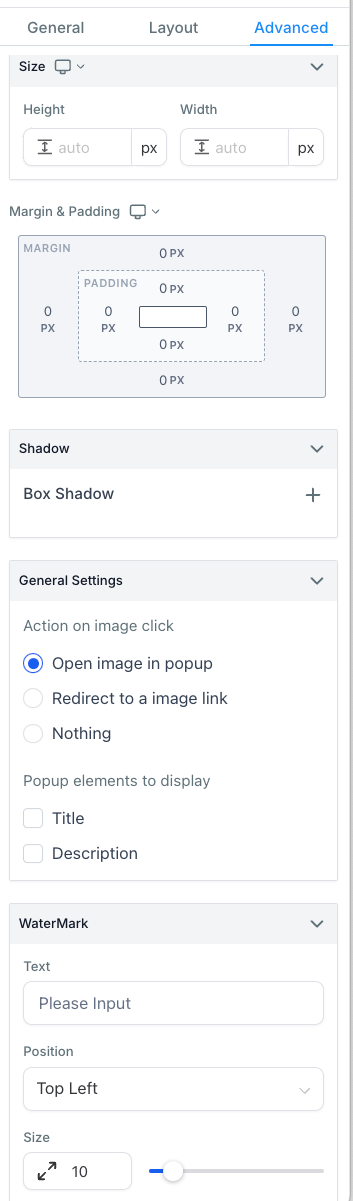
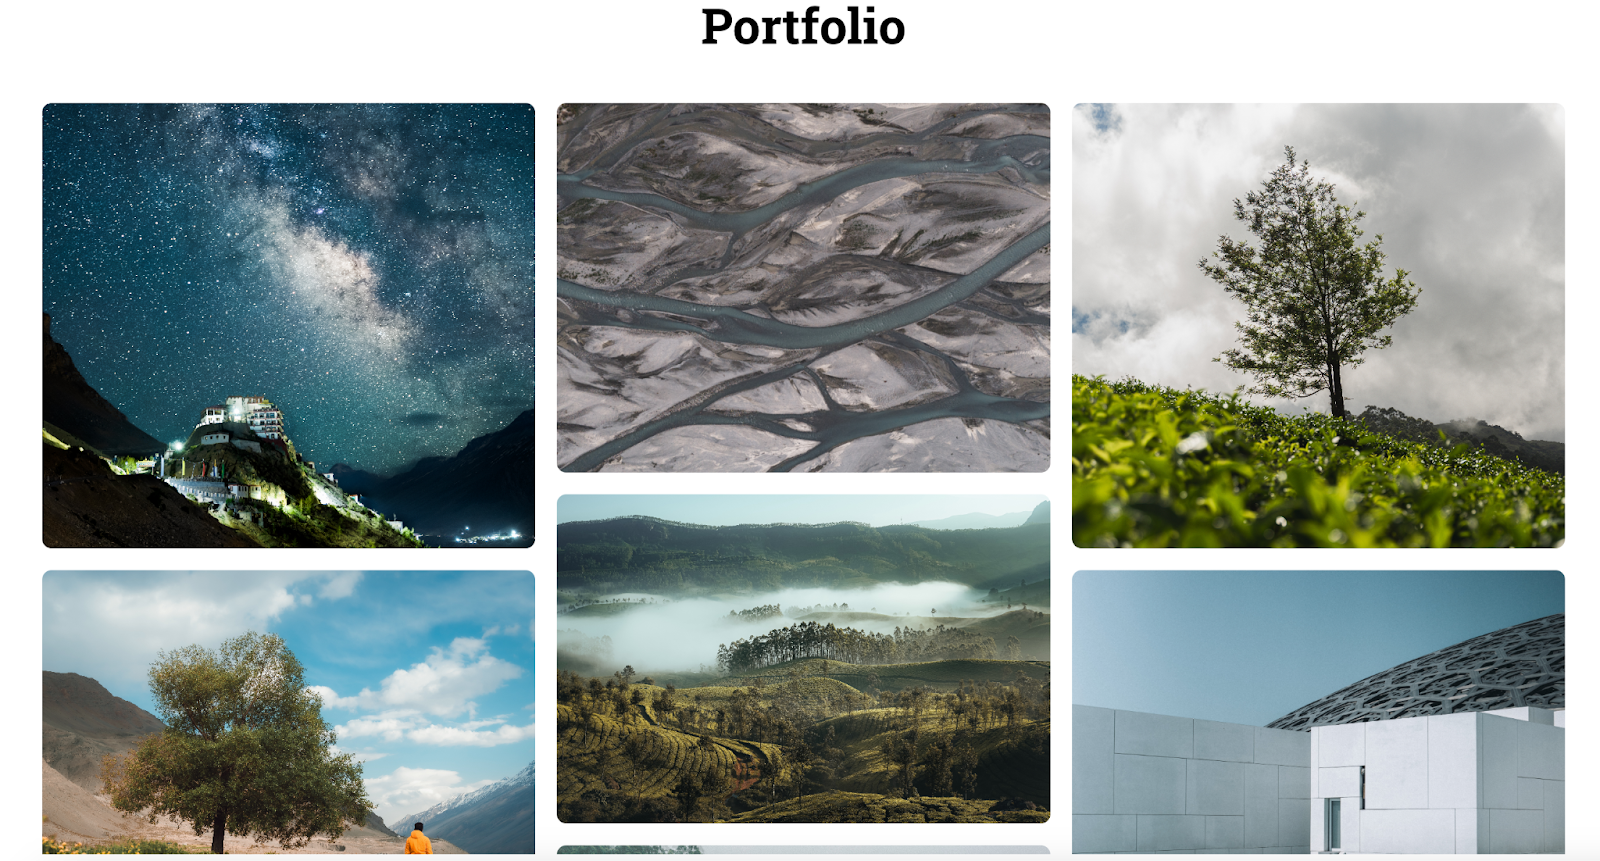
Image actions let you make images interactive by defining what happens when a visitor clicks them. Beyond opening a popup or going to a website URL, you can trigger the following:
Hide Elements
Show Elements
Scroll to Element
Step
Next step
Call
SMS
Email address
These image actions are available on the following elements:
Image
Image Feature
Navigation Menu
Note: Use image actions to guide visitors through a page, for example scrolling them to a booking form or launching a call or SMS to your practice with a single tap.
