Text is the foundation of every page you build in Aesthetix CRM. Whether you're writing service descriptions, promotional copy, or section headings, the Page Builder gives you full control over how that text is structured, styled, and animated. This article covers working with heading tags, uploading and applying custom brand fonts, and adding entrance animations to text elements.
Heading tags (H1, H2, H3, and so on) define the structure and importance of text on a page. H1 is typically the main page title, while H2s and H3s mark section and sub-section titles. These tags organize your content hierarchically, improve readability for visitors, and help search engines understand your page layout.
Using the correct heading tags isn't just about making text bigger, it improves page performance, readability, and ranking potential:
Improves SEO by signaling content hierarchy to search engines
Organizes content in a readable, scannable structure
Responsive across mobile and desktop layouts
Improves visual clarity, helping visitors quickly find key sections
You can change a heading tag by selecting the heading text, then choosing your desired tag from the formatting toolbar.
Step 1: Open the page in the Page Builder
Navigate to your funnel or website
Click into the site, then select the step or page you'd like to edit
Click Edit Page to open the builder
Step 2: Edit the heading
Highlight the heading text you'd like to change. A formatting toolbar will appear below the selected text
On the toolbar, click the heading dropdown and choose the desired heading tag (H1, H2, etc.)
Note: The heading dropdown only appears for heading elements. If you don't see it, confirm the text you're editing is a heading and not a plain paragraph.
Can I use multiple H1 tags?
It's possible, but not recommended. One H1 per page provides clarity and better SEO.
Does changing a heading tag change how it looks?
Not always. Heading styles can be customized independently, so two headings can look visually identical while using different tags. It's the tag itself (H1–H6) that affects SEO and structure by helping search engines and screen readers understand the hierarchy of your content.
Are heading tags mobile-responsive?
Yes. You can preview and style headings per device in the Page Builder.
The Page Builder supports custom fonts, so you can maintain your practice's brand typography directly in your funnels and websites, no CSS, external hosting, or @font-face code required. Upload your font files once and apply them from the dropdown in any text element.
Brand Consistency: Maintain identical typography across every funnel and webpage for a unified patient experience.
No CSS Required: Apply custom fonts entirely through the builder, saving time and avoiding code errors.
Faster Workflow: Upload once, then select your font from the dropdown in any text element.
Flexible File Support: Use industry-standard formats and treat each style (e.g., Bold, Italic) as its own dropdown option for precise styling.
The Custom Fonts Modal centralizes font management so you can add or update typefaces in seconds.
Access the modal by clicking Upload Fonts within any font dropdown.
Drag-and-drop or browse to select files from your device.
Review existing uploads and remove outdated versions with one click.
The following common font standards are supported, ensuring compatibility with professional type libraries:
.ttf – TrueType Font
.otf – OpenType Font
.woff – Web Open Font Format
.woff2 – Compressed Web Open Font Format
Uploaded fonts are stored securely so your team can reuse them across projects.
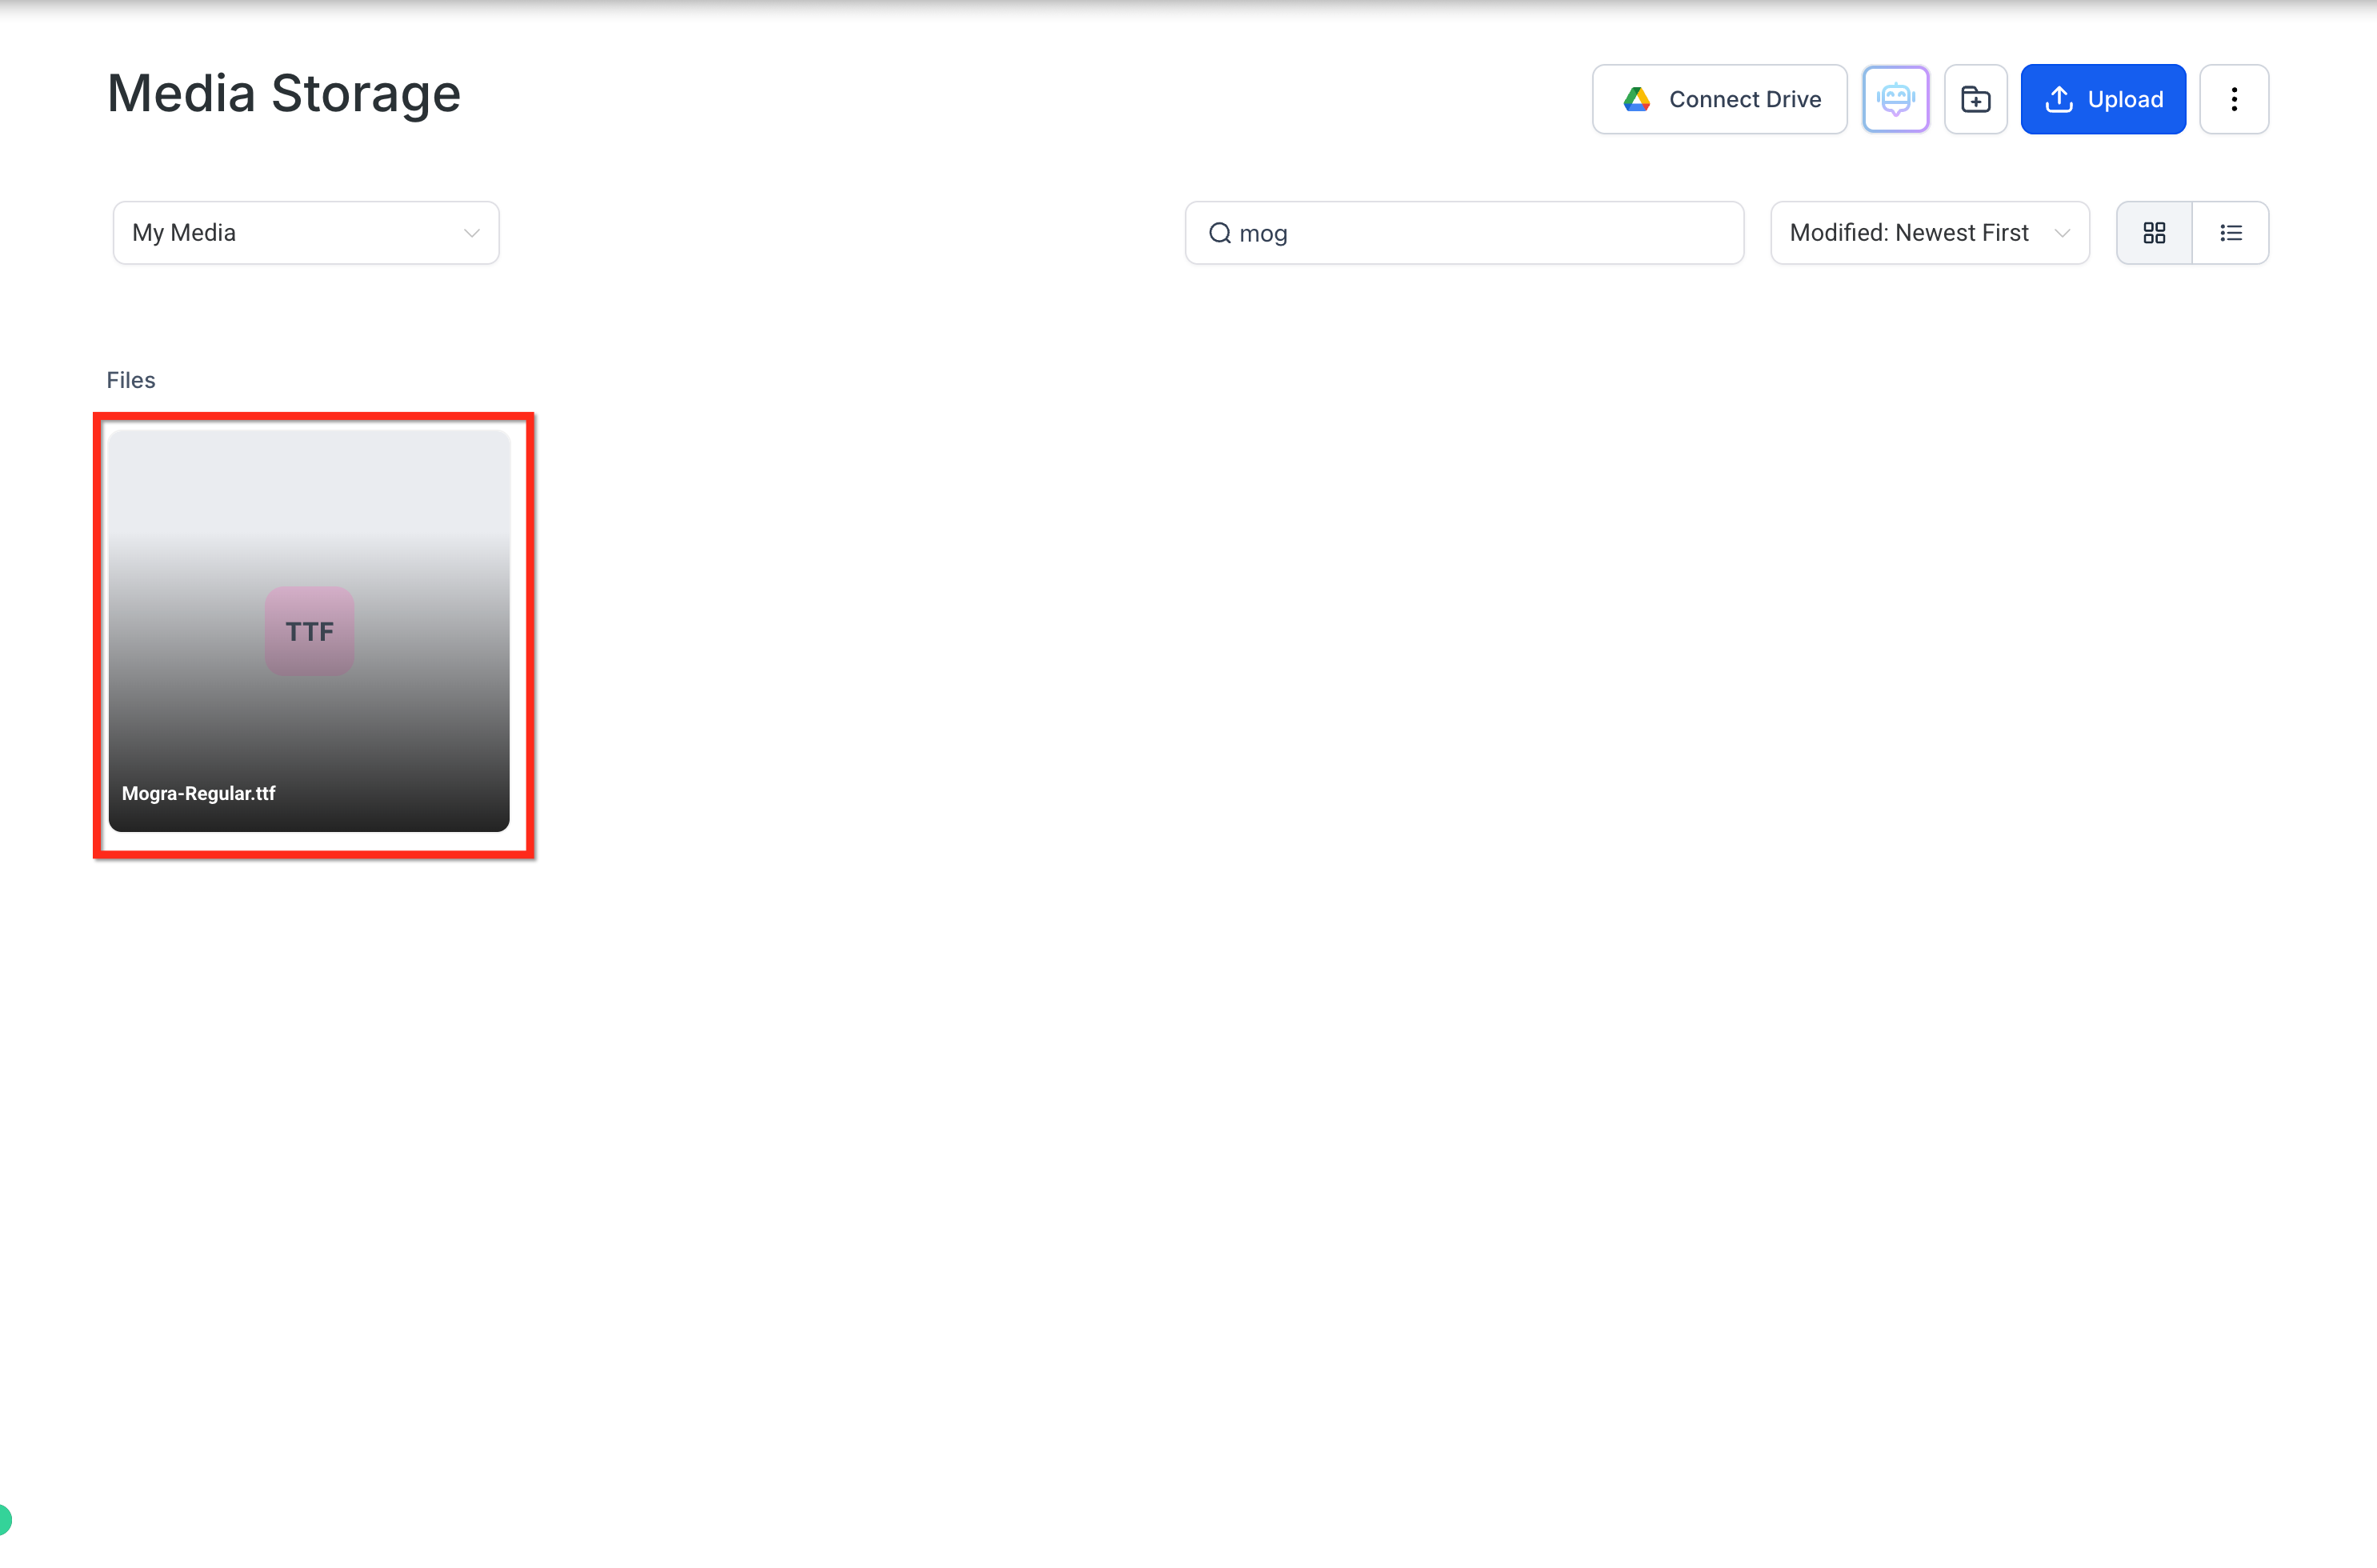
Uploaded fonts are automatically saved to Media Storage for easy access.
Delete or rename fonts from Media Storage without breaking live pages, as long as the file name remains unchanged.
Centralized storage keeps your workspace organized when managing multiple brand assets.
Enable the feature in Labs. Go to Settings → Labs, locate Custom Font Support, and click Manage to turn it on.
Open the builder of the funnel step or webpage you want to edit.
Select the text element (paragraph, heading, or rich text). In the right panel, go to Typography → Typography type → Custom Font → Upload Fonts → Upload from Device.
Upload your font file. Pick a .ttf, .otf, .woff, or .woff2 file from your device or Media Storage. The Custom Fonts Modal confirms once the upload is complete.
Apply the new font. Your font now appears in the dropdown. Select it, then adjust size, weight, or style as needed.
Which file types can I upload?
.ttf, .otf, .woff, and .woff2 formats are supported.
Can I use the same custom font in both funnels and websites?
Yes, any font you upload becomes available across funnels and websites within the same account.
Do I need CSS to apply my custom font?
No. Everything is handled inside the builder, no additional code required.
My font isn't displaying after upload, what should I check?
Confirm you've applied the correct font family in the Typography panel and cleared your browser cache. Also make sure the file name hasn't been changed in Media Storage.
Is there a limit to how many fonts I can store?
There's no hard limit, but keeping your Media Storage organized and removing unused fonts is recommended for faster load times.
Entrance animations let you bring text into view with movement, making your pages more engaging. You can animate heading, sub-heading, paragraph, and bullet list elements.
Engage your audience: Add captivating entrance animations to text elements.
Trigger on scroll: Animations start when the text comes into view.
Builder preview: See animations in action while editing your content.
Cross-platform: Animations work consistently across devices and screen sizes.
Choose from a range of animation effects to suit your content style:
Fade: Gradually bring text into view for a subtle, elegant effect.
Slide: Make text slide in from various directions for a dynamic entrance.
Bounce: Add a playful bounce to capture attention and add energy.
Rotate: Rotate text elements into view for a creative, eye-catching appearance.
Zoom: Zoom text in and out for a dramatic entrance that highlights key information.
Open the funnel or website editor in the builder.
Choose or add the text you want to animate.
Navigate to the animations tab in the style editor.
Choose an entrance animation (fade, slide, bounce, rotate, or zoom).
Preview the effect directly on the builder page.
Save your changes and publish the page.
