Email templates in Aesthetix CRM are reusable email layouts that make it easy to drive sales, build relationships, and grow brand awareness with your clients. Instead of designing every email from scratch, you build a template once with your branding, images, and recurring content, then reuse it across campaigns, workflows, and broadcasts. Templates live in the Email Marketing area of Marketing Tools, alongside your campaigns.
This article explains what email templates are and how they differ from campaigns, how to create and save a template, how to manage your existing templates, how to import templates (including HTML and Mailchimp templates), and how to use a saved template in a campaign or workflow. For the editing experience itself, see the Email Builder guide, and for sending to your contacts, see the Campaigns guide.
Your lead and patient nurture emails live here. Aesthetix CRM builds all of your nurture sequences (lead nurture, patient nurture, and the rest) as email templates. You can open and edit any of these templates here in Email Templates at any time, and the same templates are also accessible from within the workflows that send them. Editing a template updates the content used wherever that template is sent.
The Email Marketing section has two related areas: Email Templates and Email Campaigns. It helps to understand how they work together before you start building.
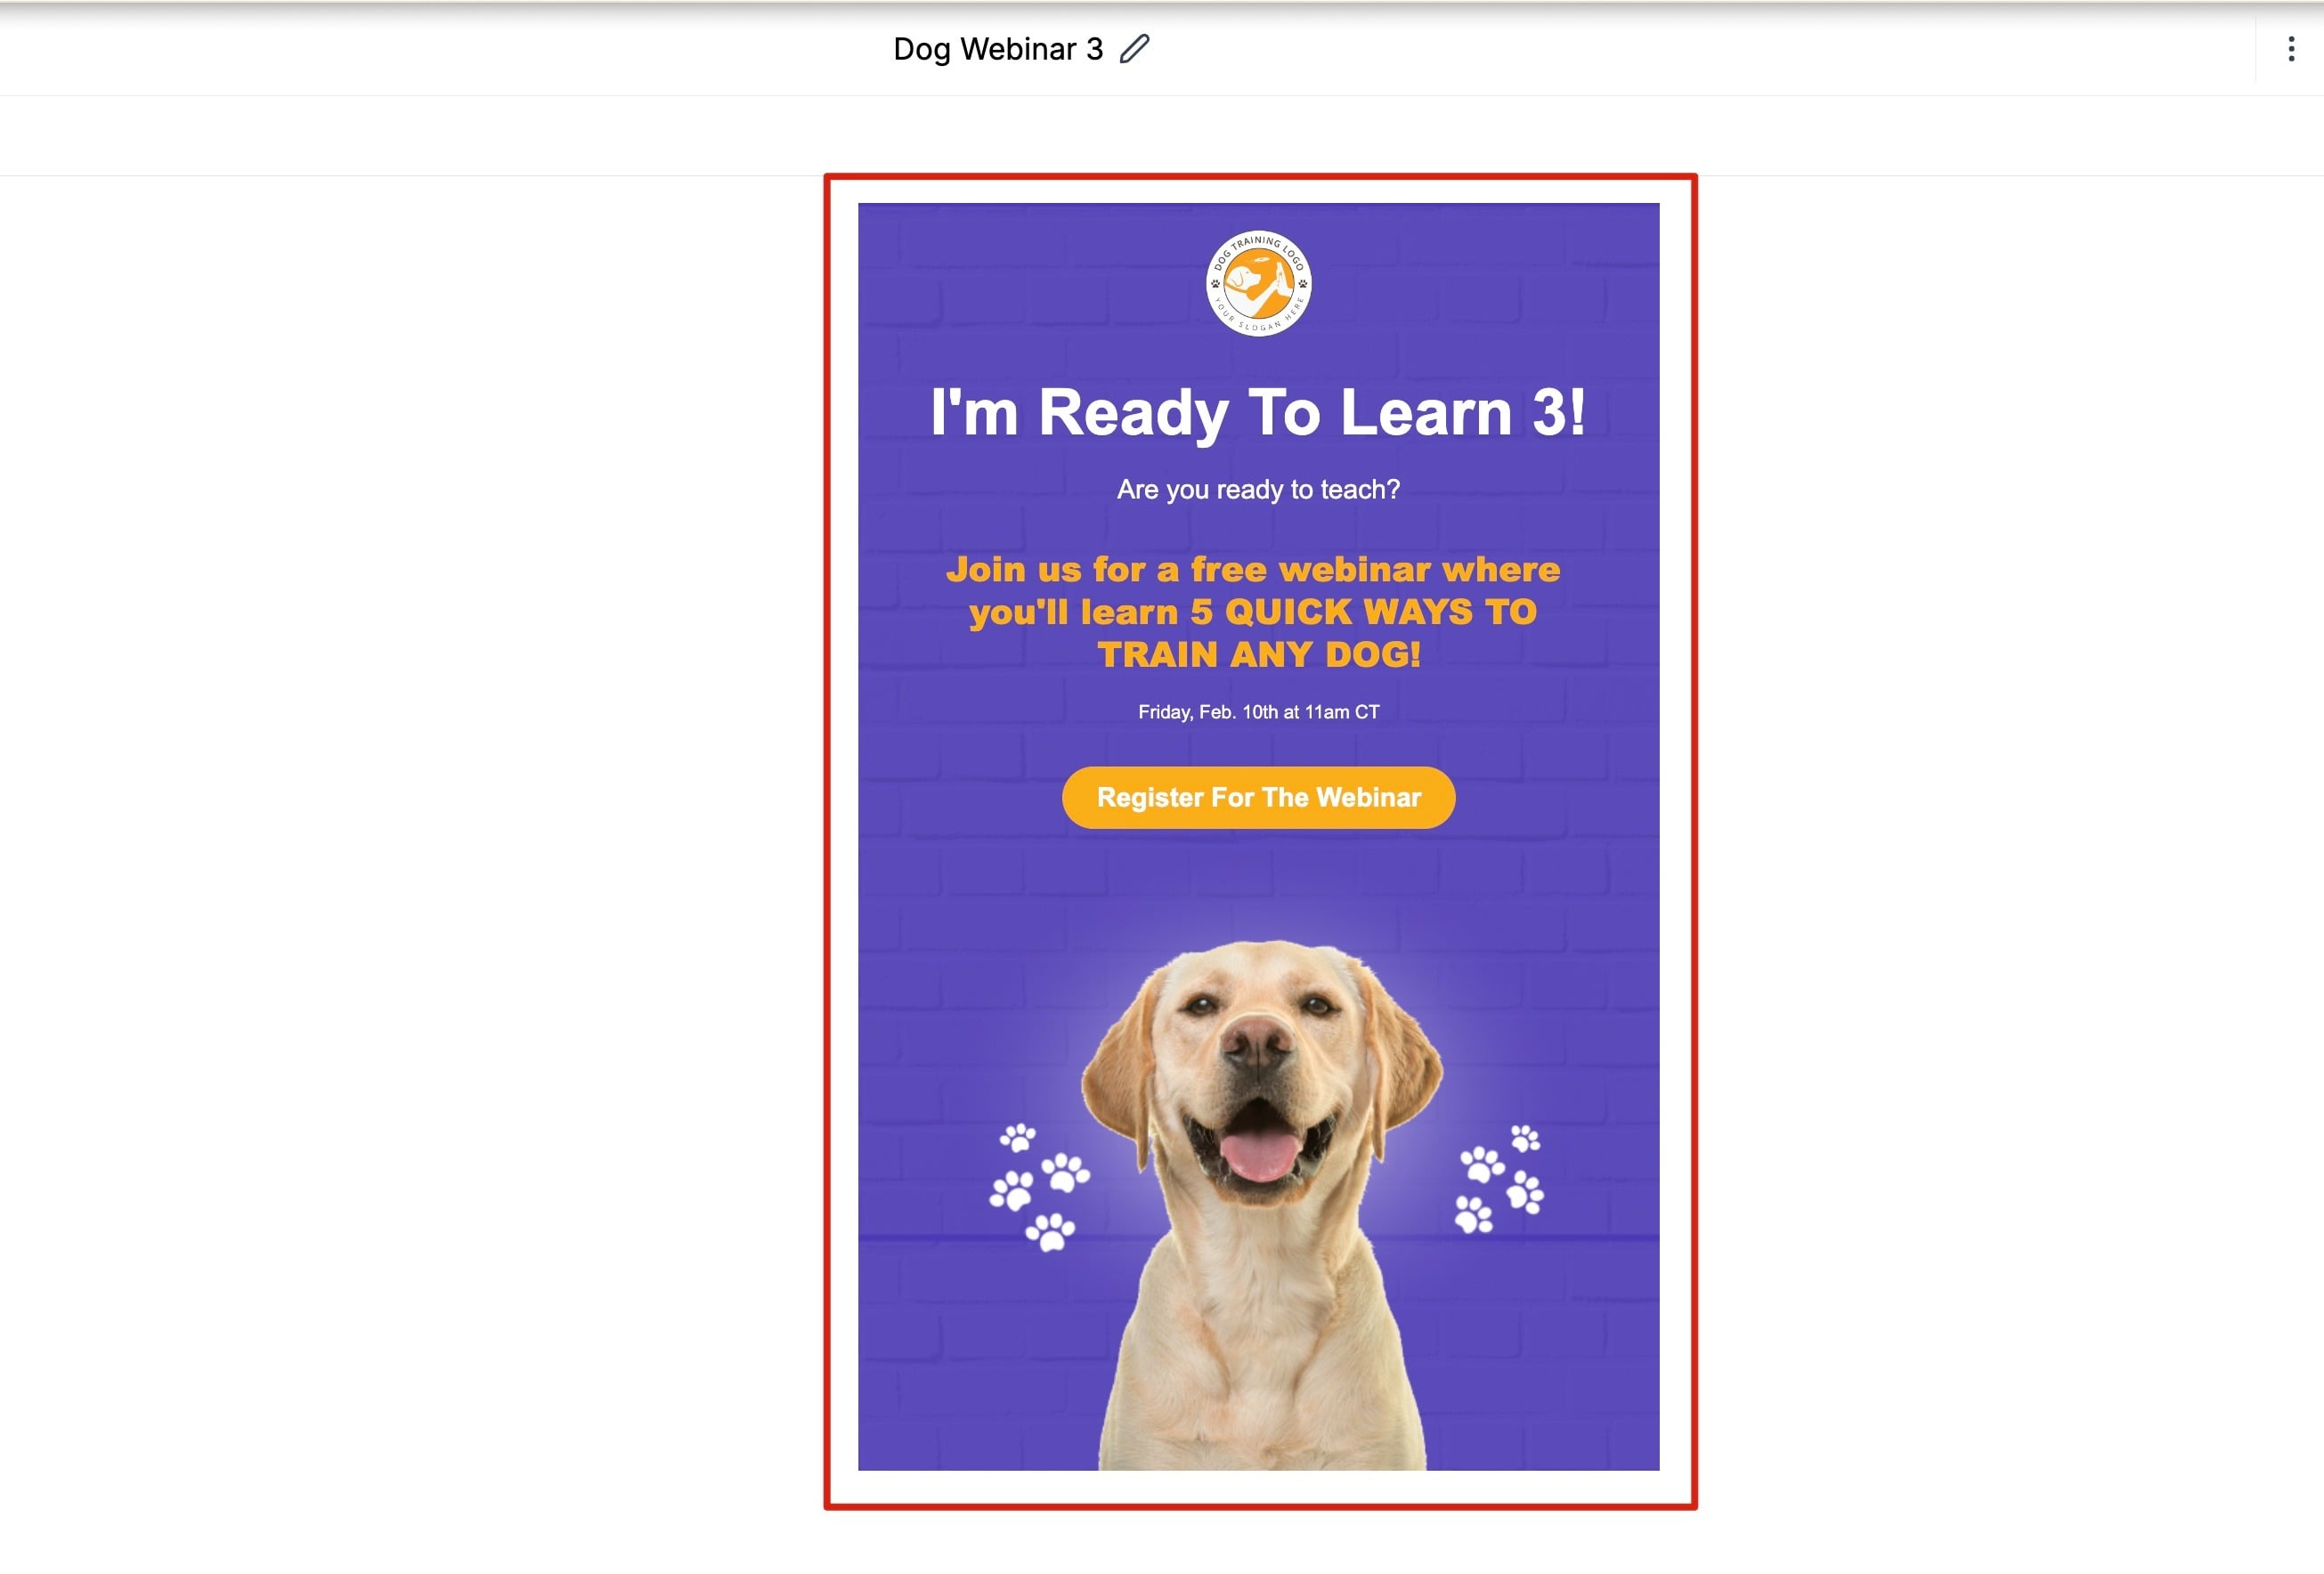
A template is a preset layout you build your campaign on. It is a reusable design, almost like a starting point, that you create for a specific purpose such as a newsletter, a promotion, or a welcome email. You can build your own template to match your brand and insert regularly used images, videos, logos, or recurring content so you can reuse it for future sends.
A campaign is the email message you design and send to specific contacts or a smart list. After you select a template, you design your campaign on top of that template layout in the Email Builder, where you can duplicate, delete, and rearrange element blocks quickly. You can also reuse campaigns by cloning them for a later send while still being able to customize the email before it goes out.
In short: a template is the reusable design, and a campaign is a specific send built from a template and delivered to your audience.
To build a new email template:
Go to Marketing > Emails > Templates. This section lists all your existing templates and gives you access to create new ones.
Click + New in the top right and choose to start a new email template.
Choose a prebuilt layout or start from scratch.
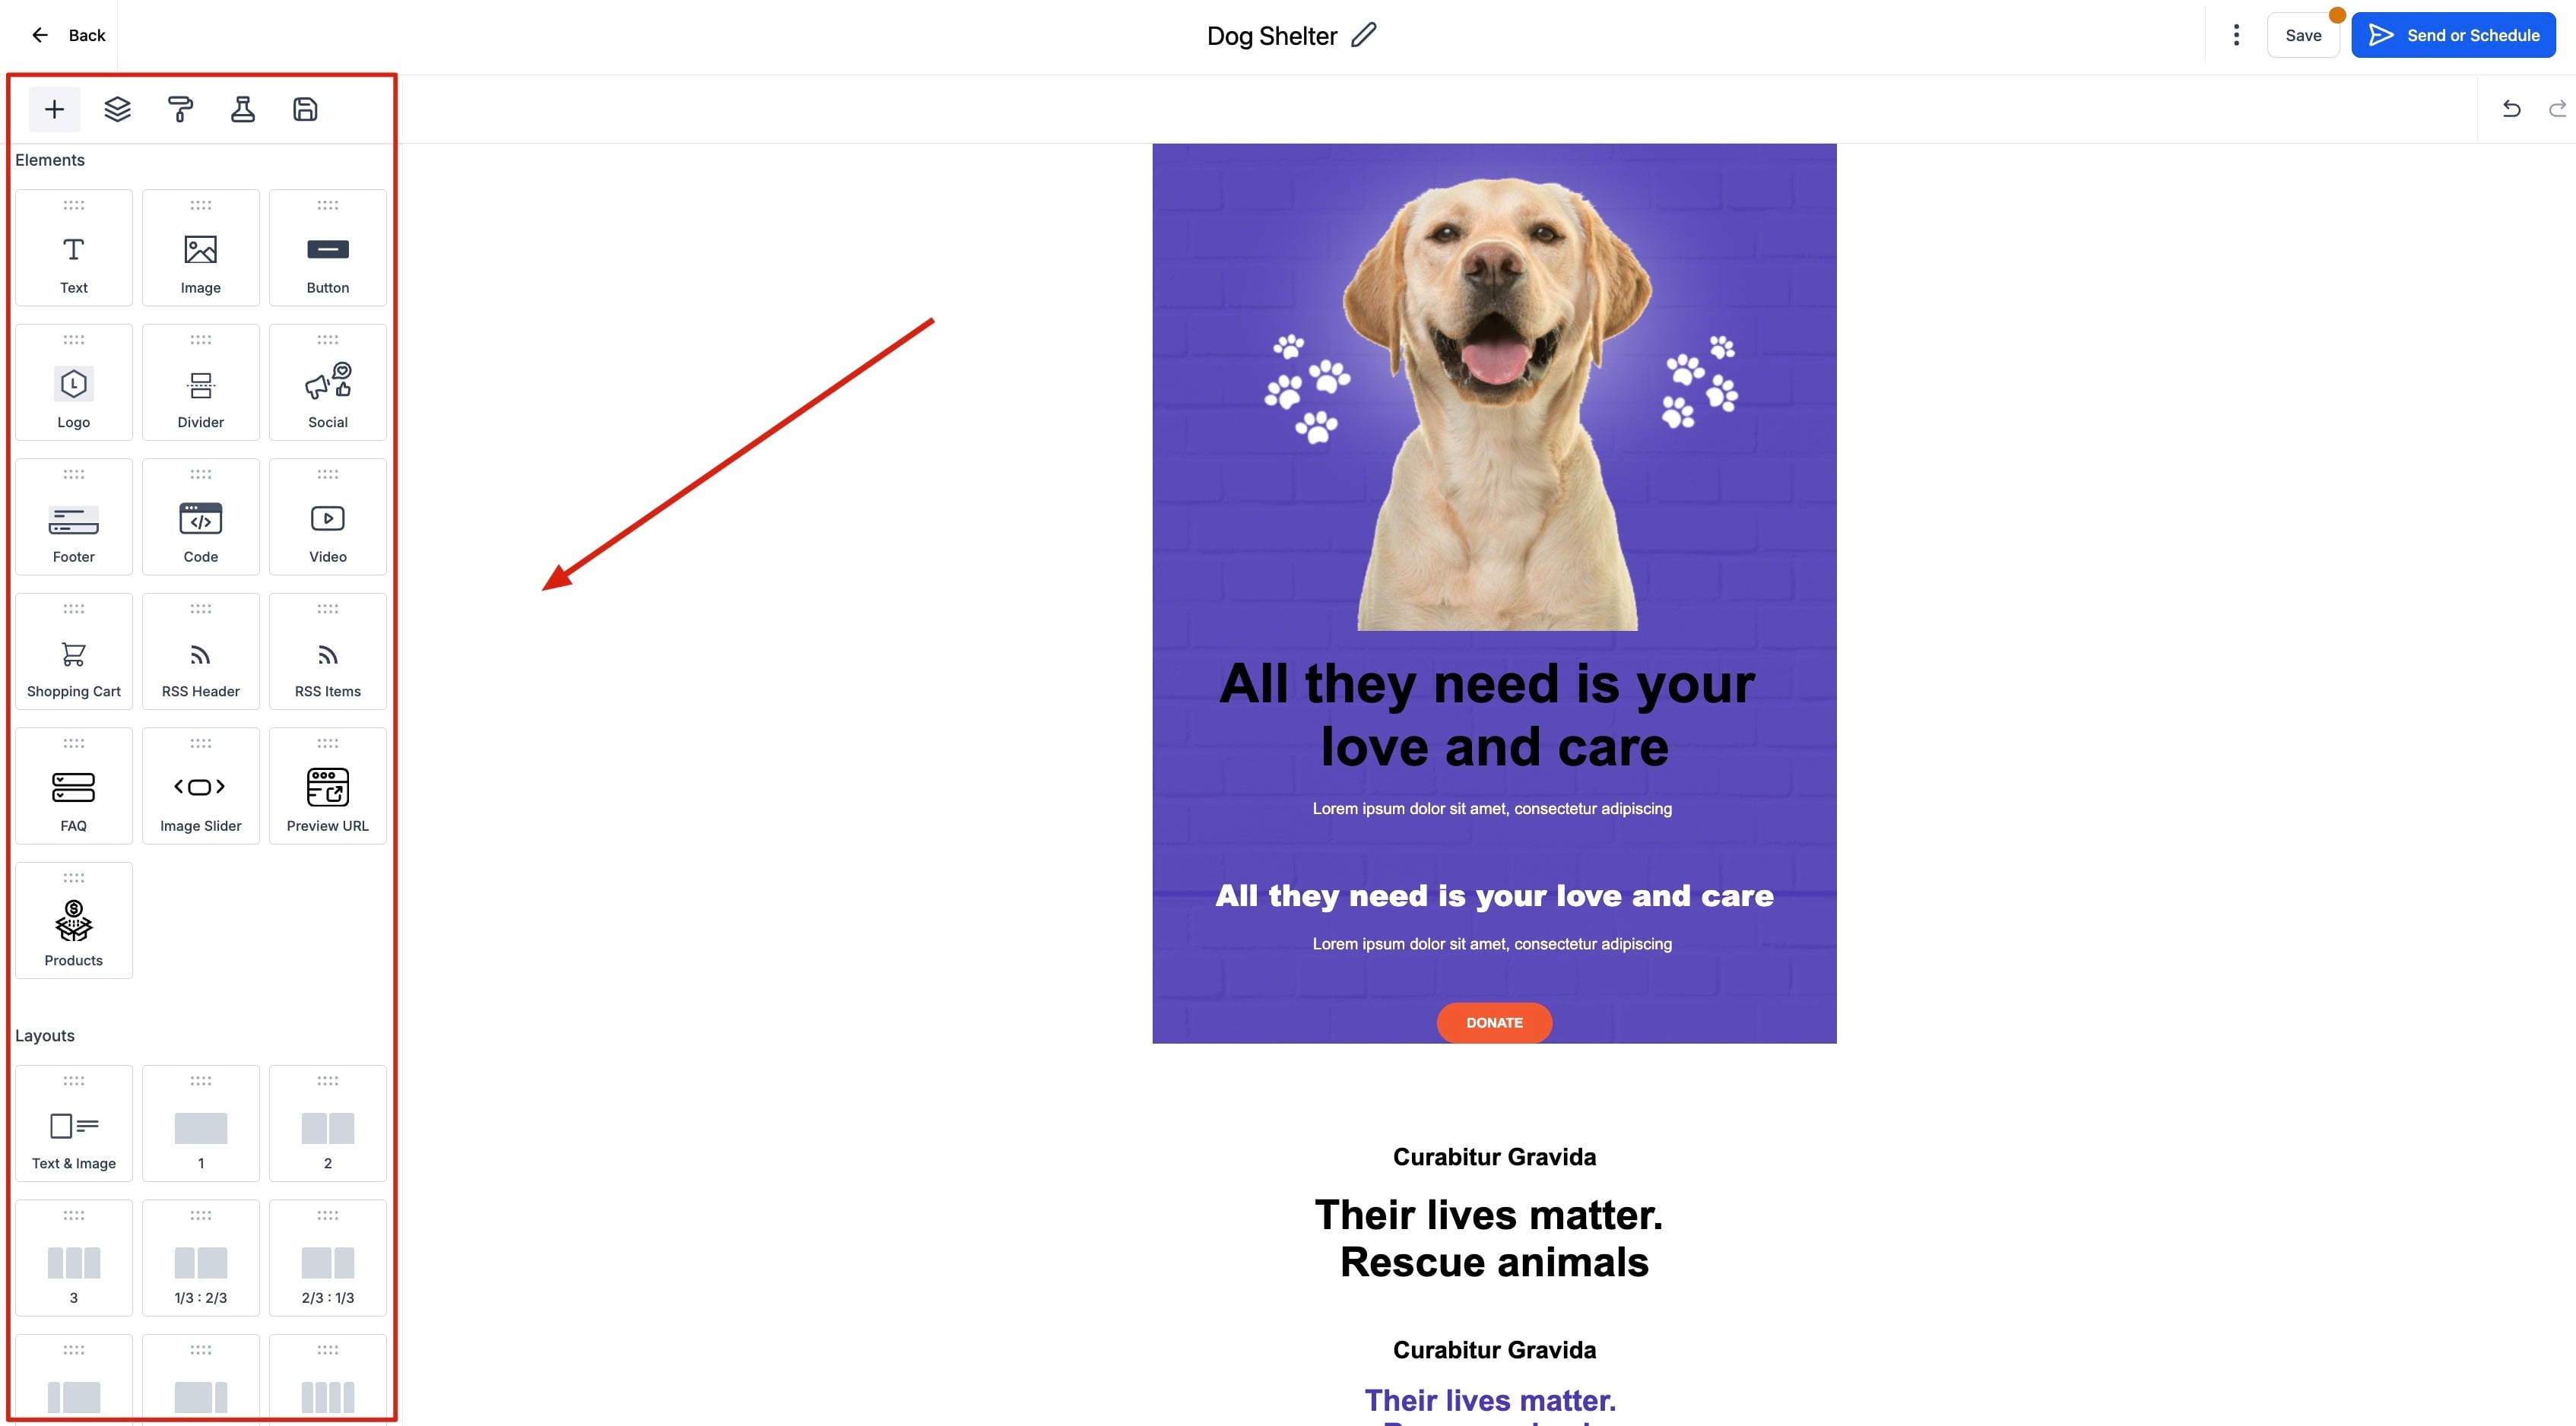
Design your email in the Email Builder. Drag and drop content blocks such as text, images, buttons, and dividers, then add your branding, logos, and any recurring content you want to reuse.
Give the template a clear, recognizable name so it is easy to find later.
Save your template. Once saved, it appears in your Templates list and can be used in campaigns, workflows, and broadcasts.
For a full walkthrough of the editor, content blocks, and styling options, see the Email Builder guide.
You can showcase a product, including its image, description, and a purchase link, directly inside an email template using the Product element. This makes it easier to build promotional and sales emails that you can reuse across campaigns and automations.
In the Email Builder, drag and drop the Product element into your email body.
Click the Product block to edit it. Select a product, then add the title, description, and image (these auto-pull from the product record).
Set a custom redirection link to send users to your checkout page or product URL.
Customize the button text and styling to match your branding.
Save your template and use it in workflows, campaigns, or broadcasts.
Make sure your product setup in Payments > Products includes all necessary data, such as name, price, and image. Note that direct checkout links only work in campaign mode; inside templates, use a custom redirection link instead. You can add multiple Product elements to display several products in one email.
Your saved templates all appear in the Templates list under Marketing > Emails > Templates. From this list you can keep your library organized and up to date:
Edit: Open a template to update its design, content, or branding in the Email Builder. Your changes are saved to the template for future use.
Duplicate: Make a copy of an existing template when you want a variation without rebuilding from scratch. This is useful for seasonal versions or A/B testing different layouts.
Rename: Update the template name so your library stays easy to search.
Delete: Remove templates you no longer need to keep your list clean.
Each template typically has a three-dot (more options) menu next to it that gives you access to these actions.
If you manage more than one location, you can share a template using a simple link so the same well-performing design is available across accounts. Sharing gives others direct access to an editable template in the Email Builder, with no need to download or pass around HTML files.
Go to Templates under Email Marketing.
Click the three dots next to a template and select Share.
Set access to anyone within your organization or to anyone with the link.
Share the link by email or another channel.
To save a shared template, paste the link in your browser and click Add Template.
Edit the template name, choose a destination location, and click Clone template. You can select up to three locations at once.
You are redirected to the Templates section of the first chosen location, where the shared template now appears in your list.
This sharing action is limited to admin-level users.
If you already have email designs built elsewhere, you can import them into Aesthetix CRM instead of rebuilding from scratch. The system recognizes the structure of your design, such as headers, images, and text blocks, and converts it into editable content blocks you can customize visually with no coding required.
To start an import:
Go to Marketing > Emails > Templates.
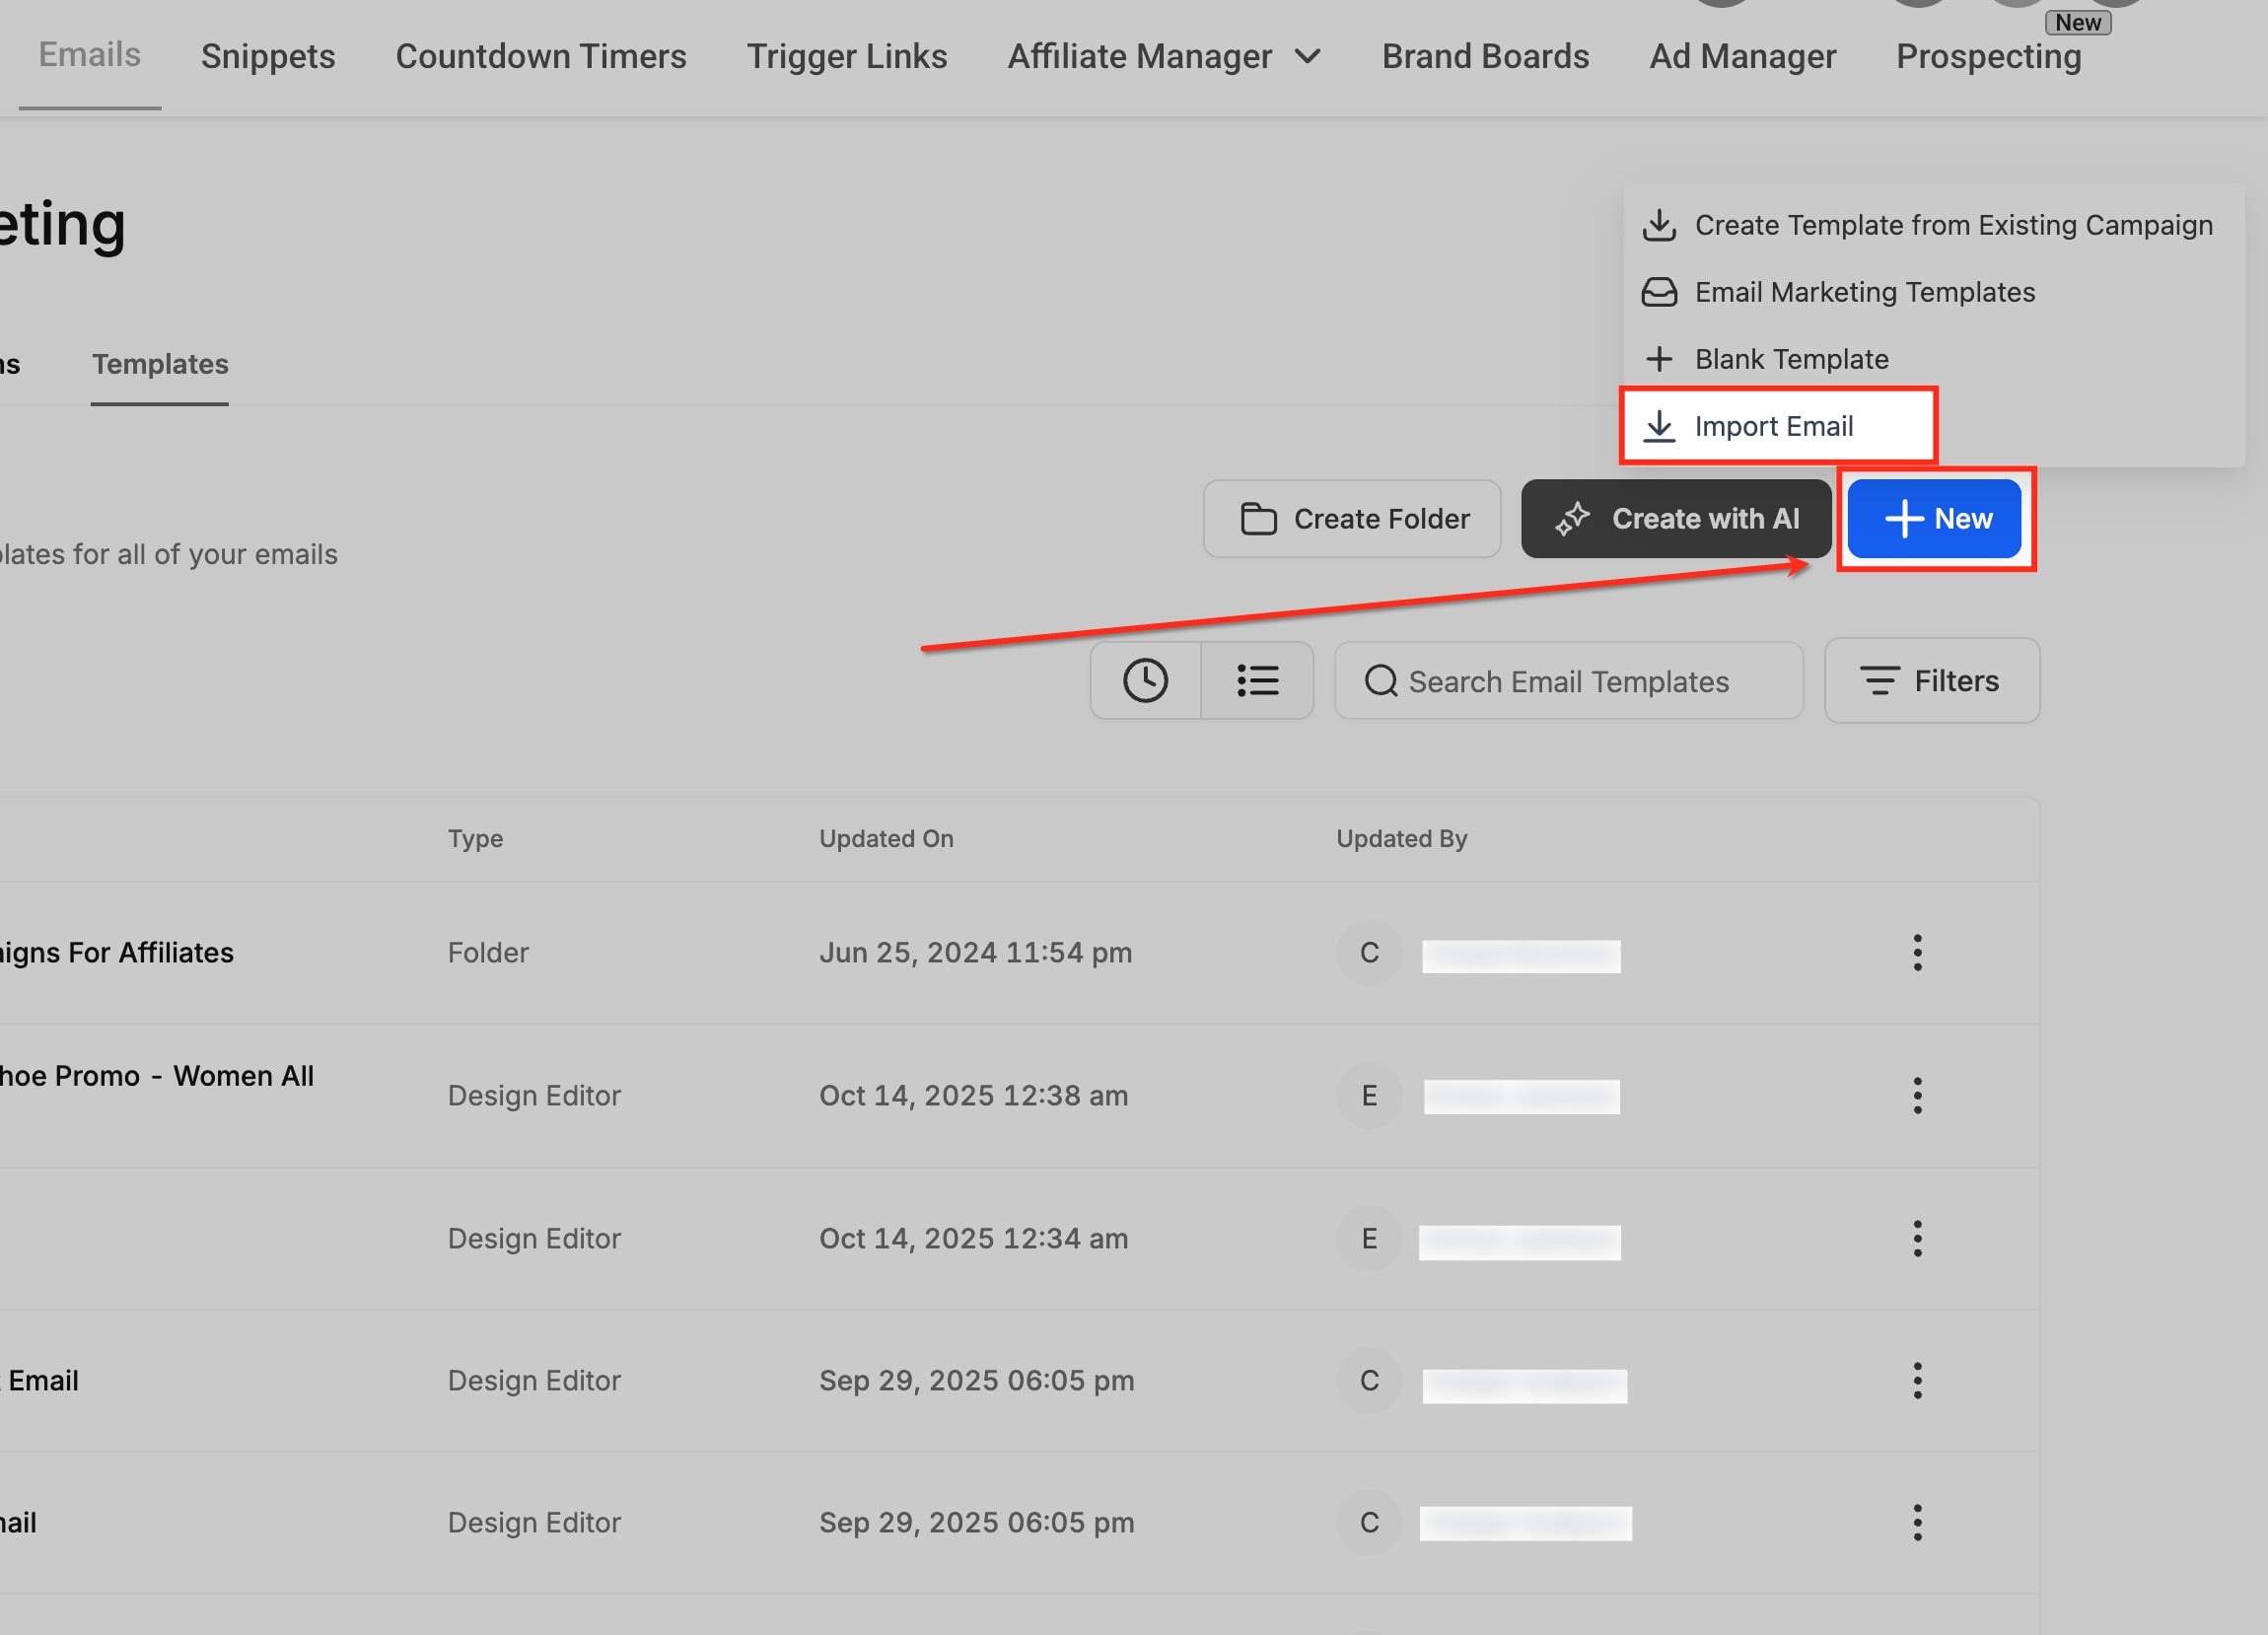
Click New in the top right and select Import Email from the dropdown.
You can bring in templates from external providers, including Mailchimp, by importing the email's HTML layout. The importer reads the HTML structure and recreates it as editable blocks in the Design Editor.
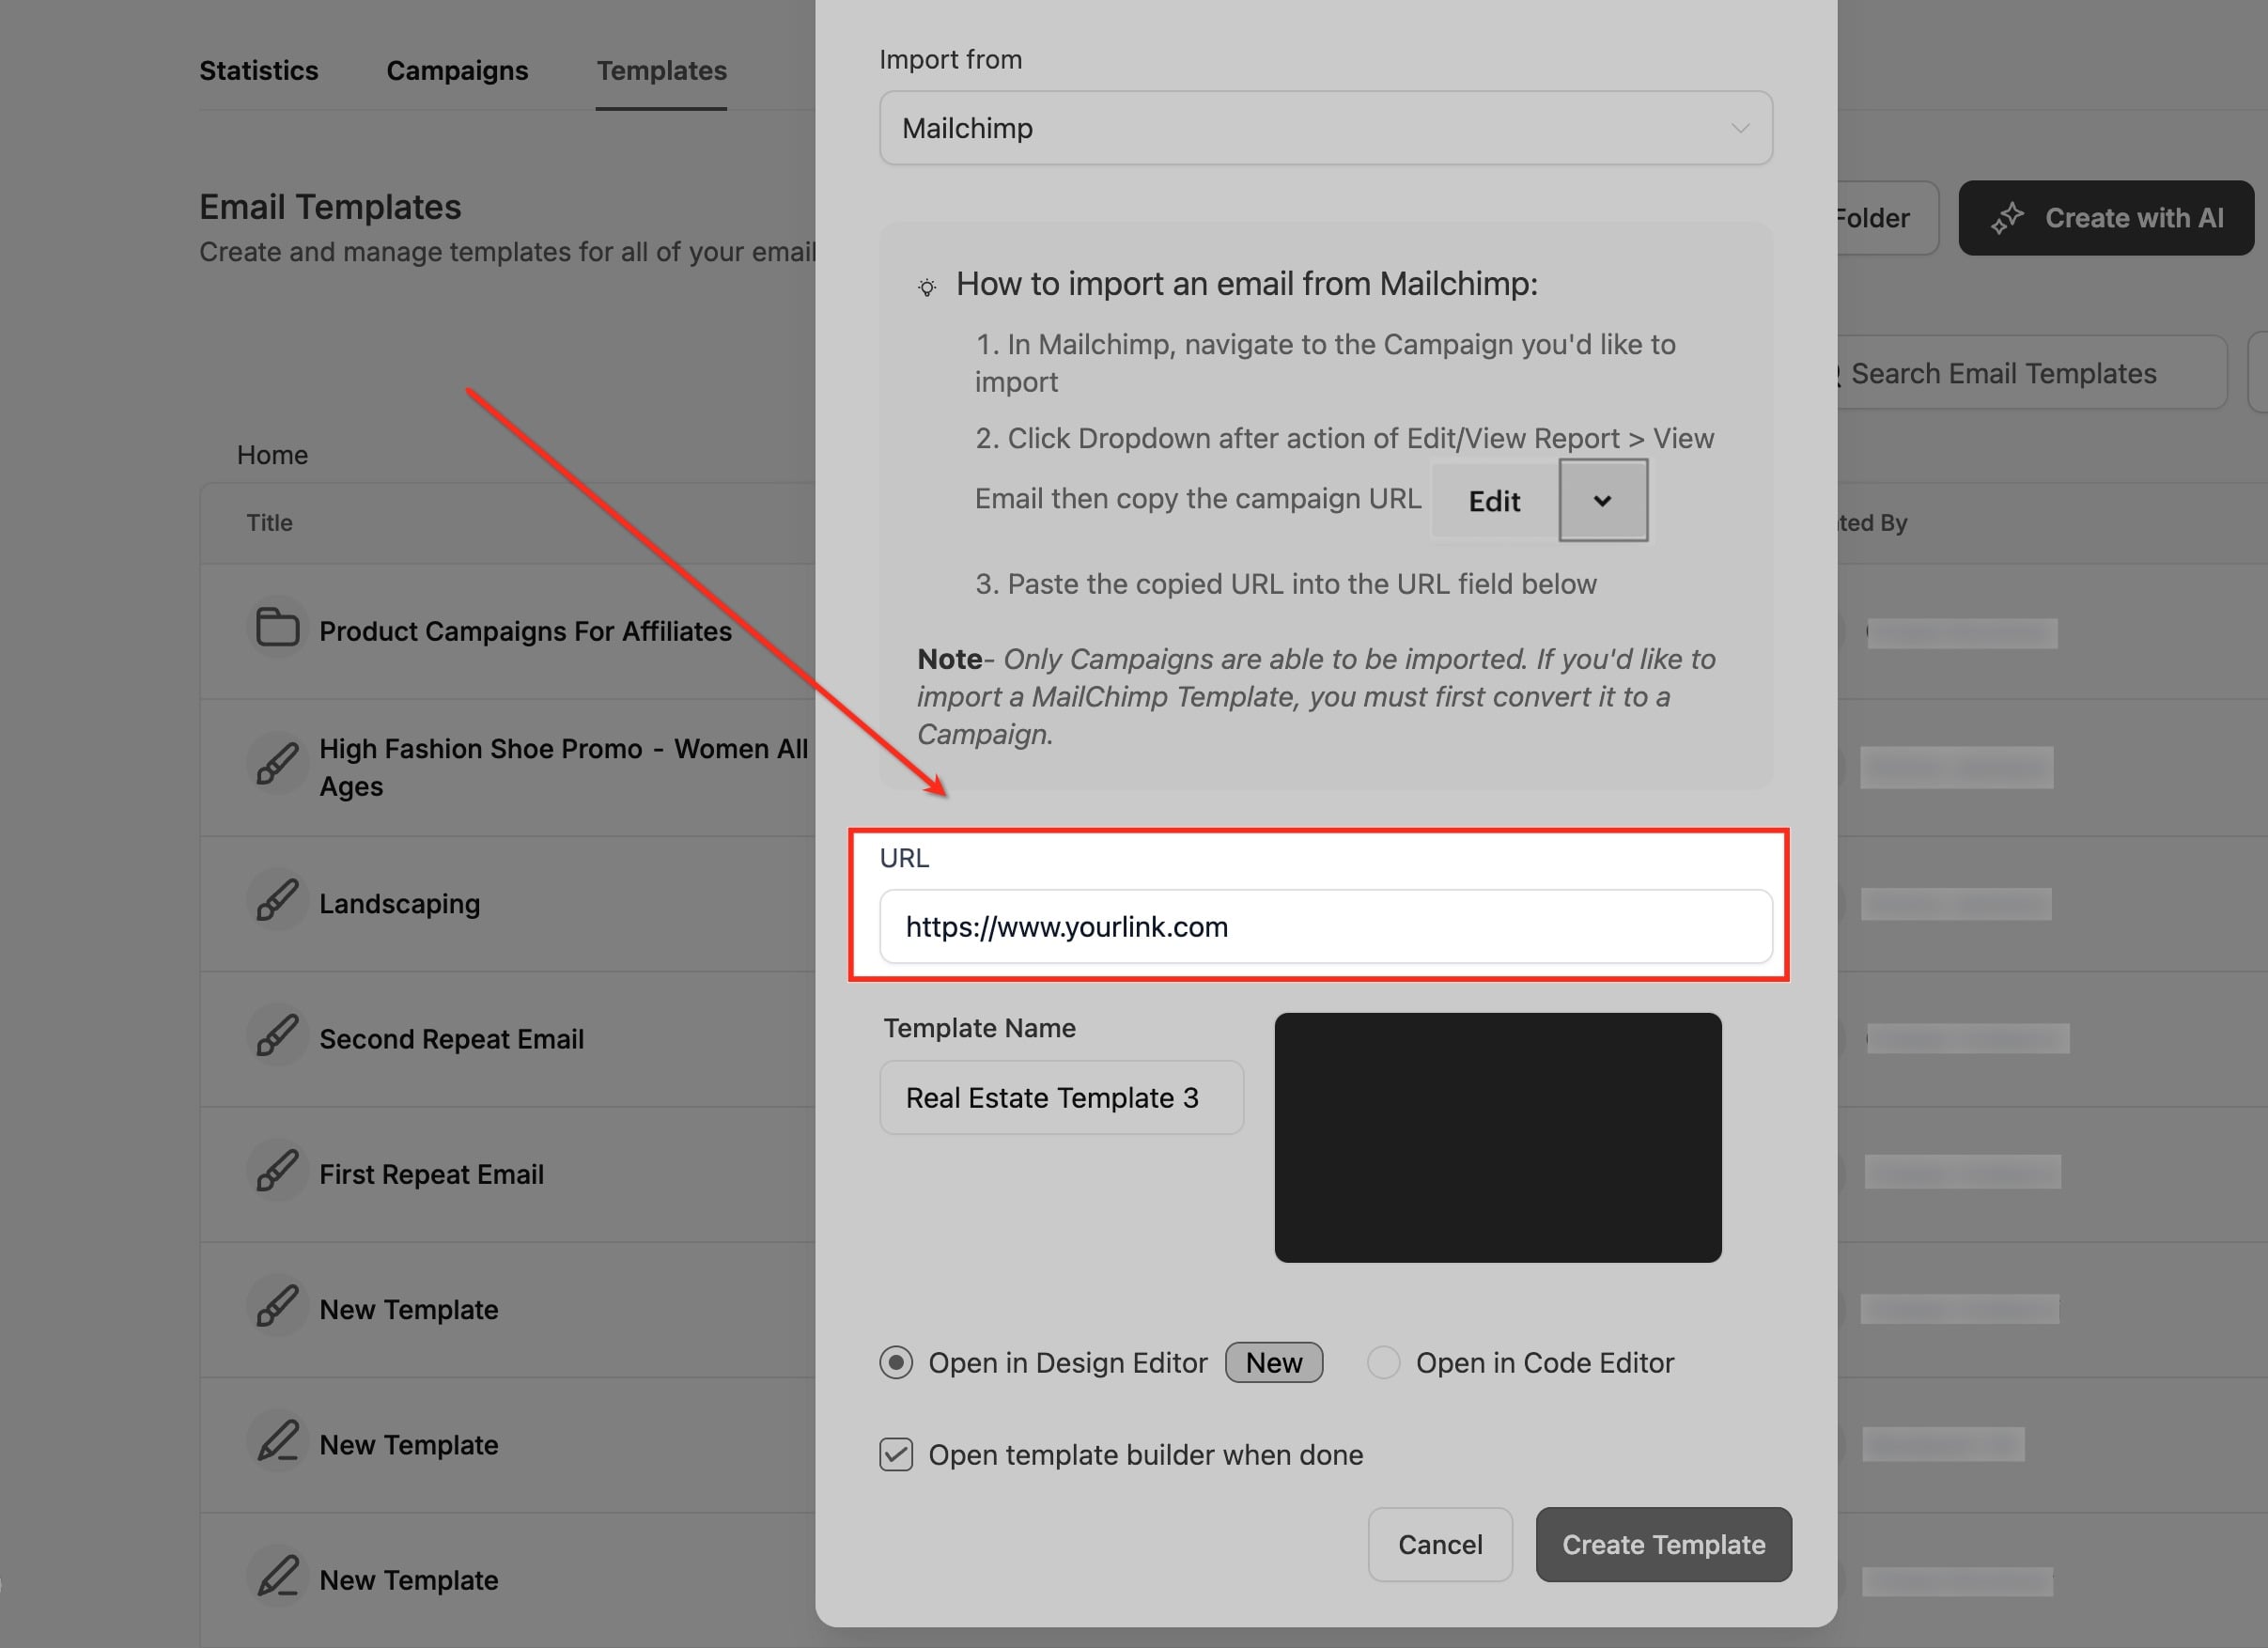
In the Import Email Templates popup, open the Import from dropdown and choose your source, such as Mailchimp.
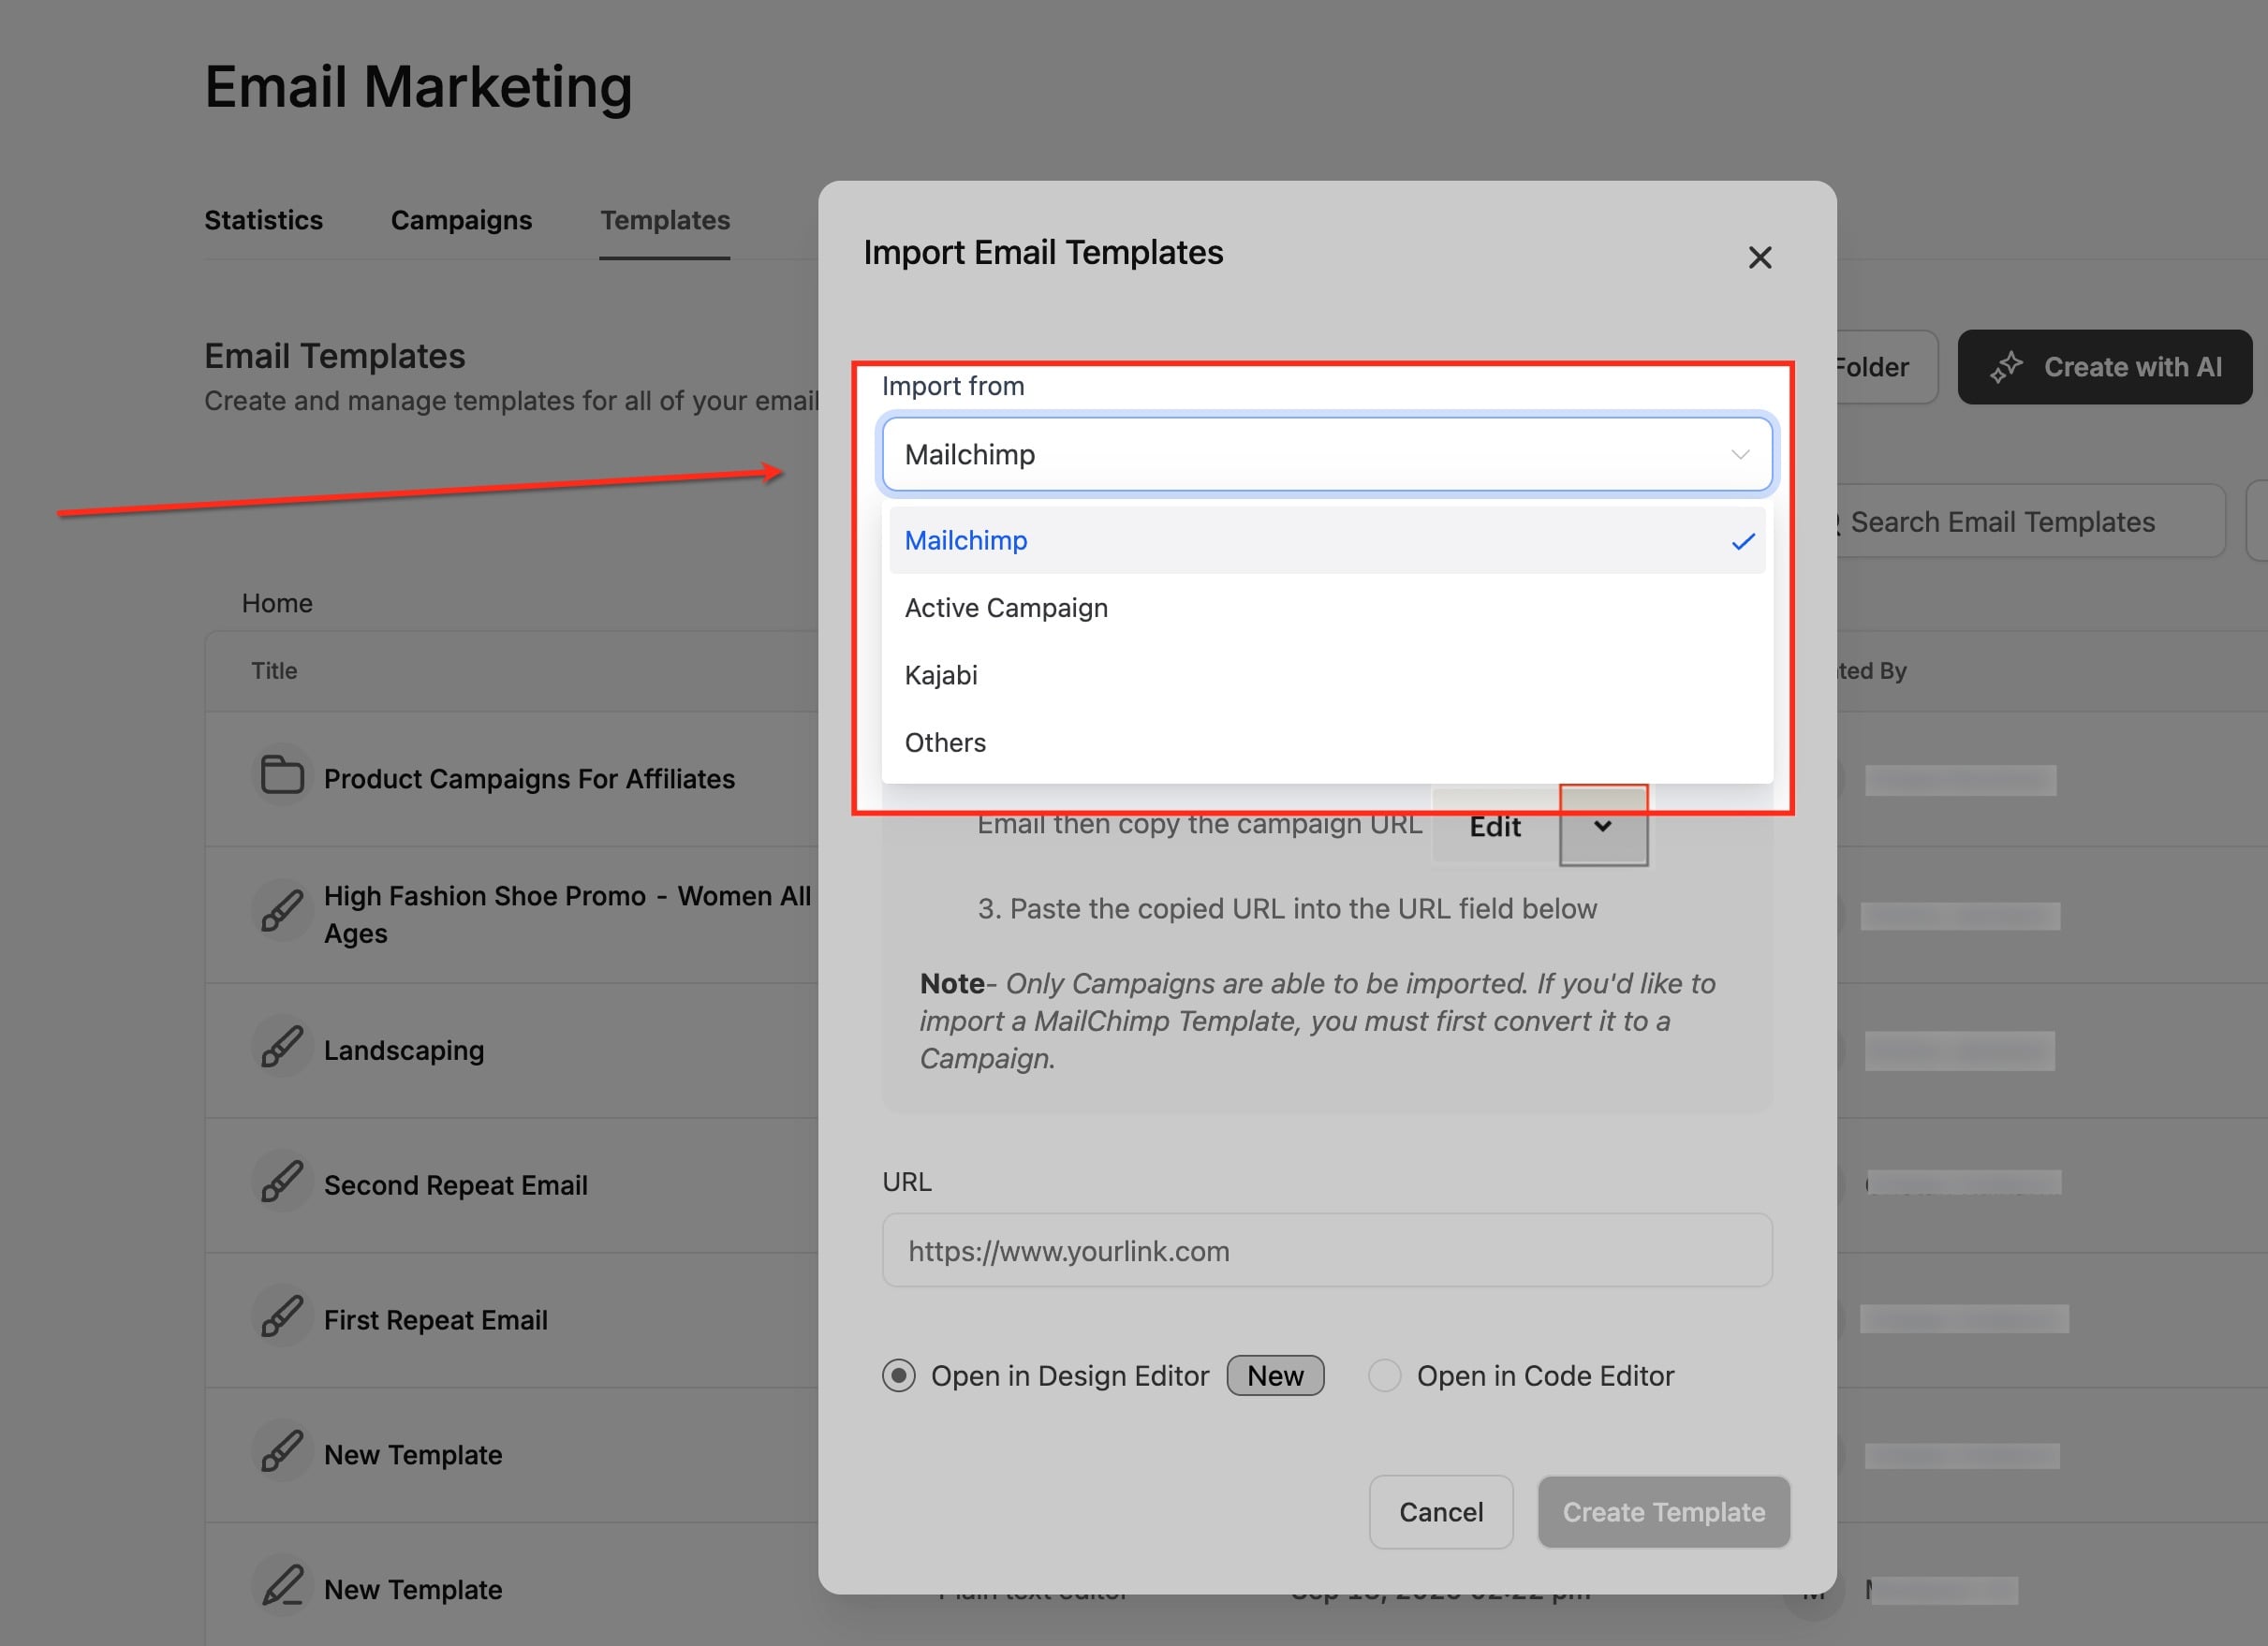
Copy the campaign URL from your source account and paste it into the URL field. The system uses this URL to fetch and recreate the structure of your email for editing.
In the Template Name field, give the imported template a clear, recognizable name.
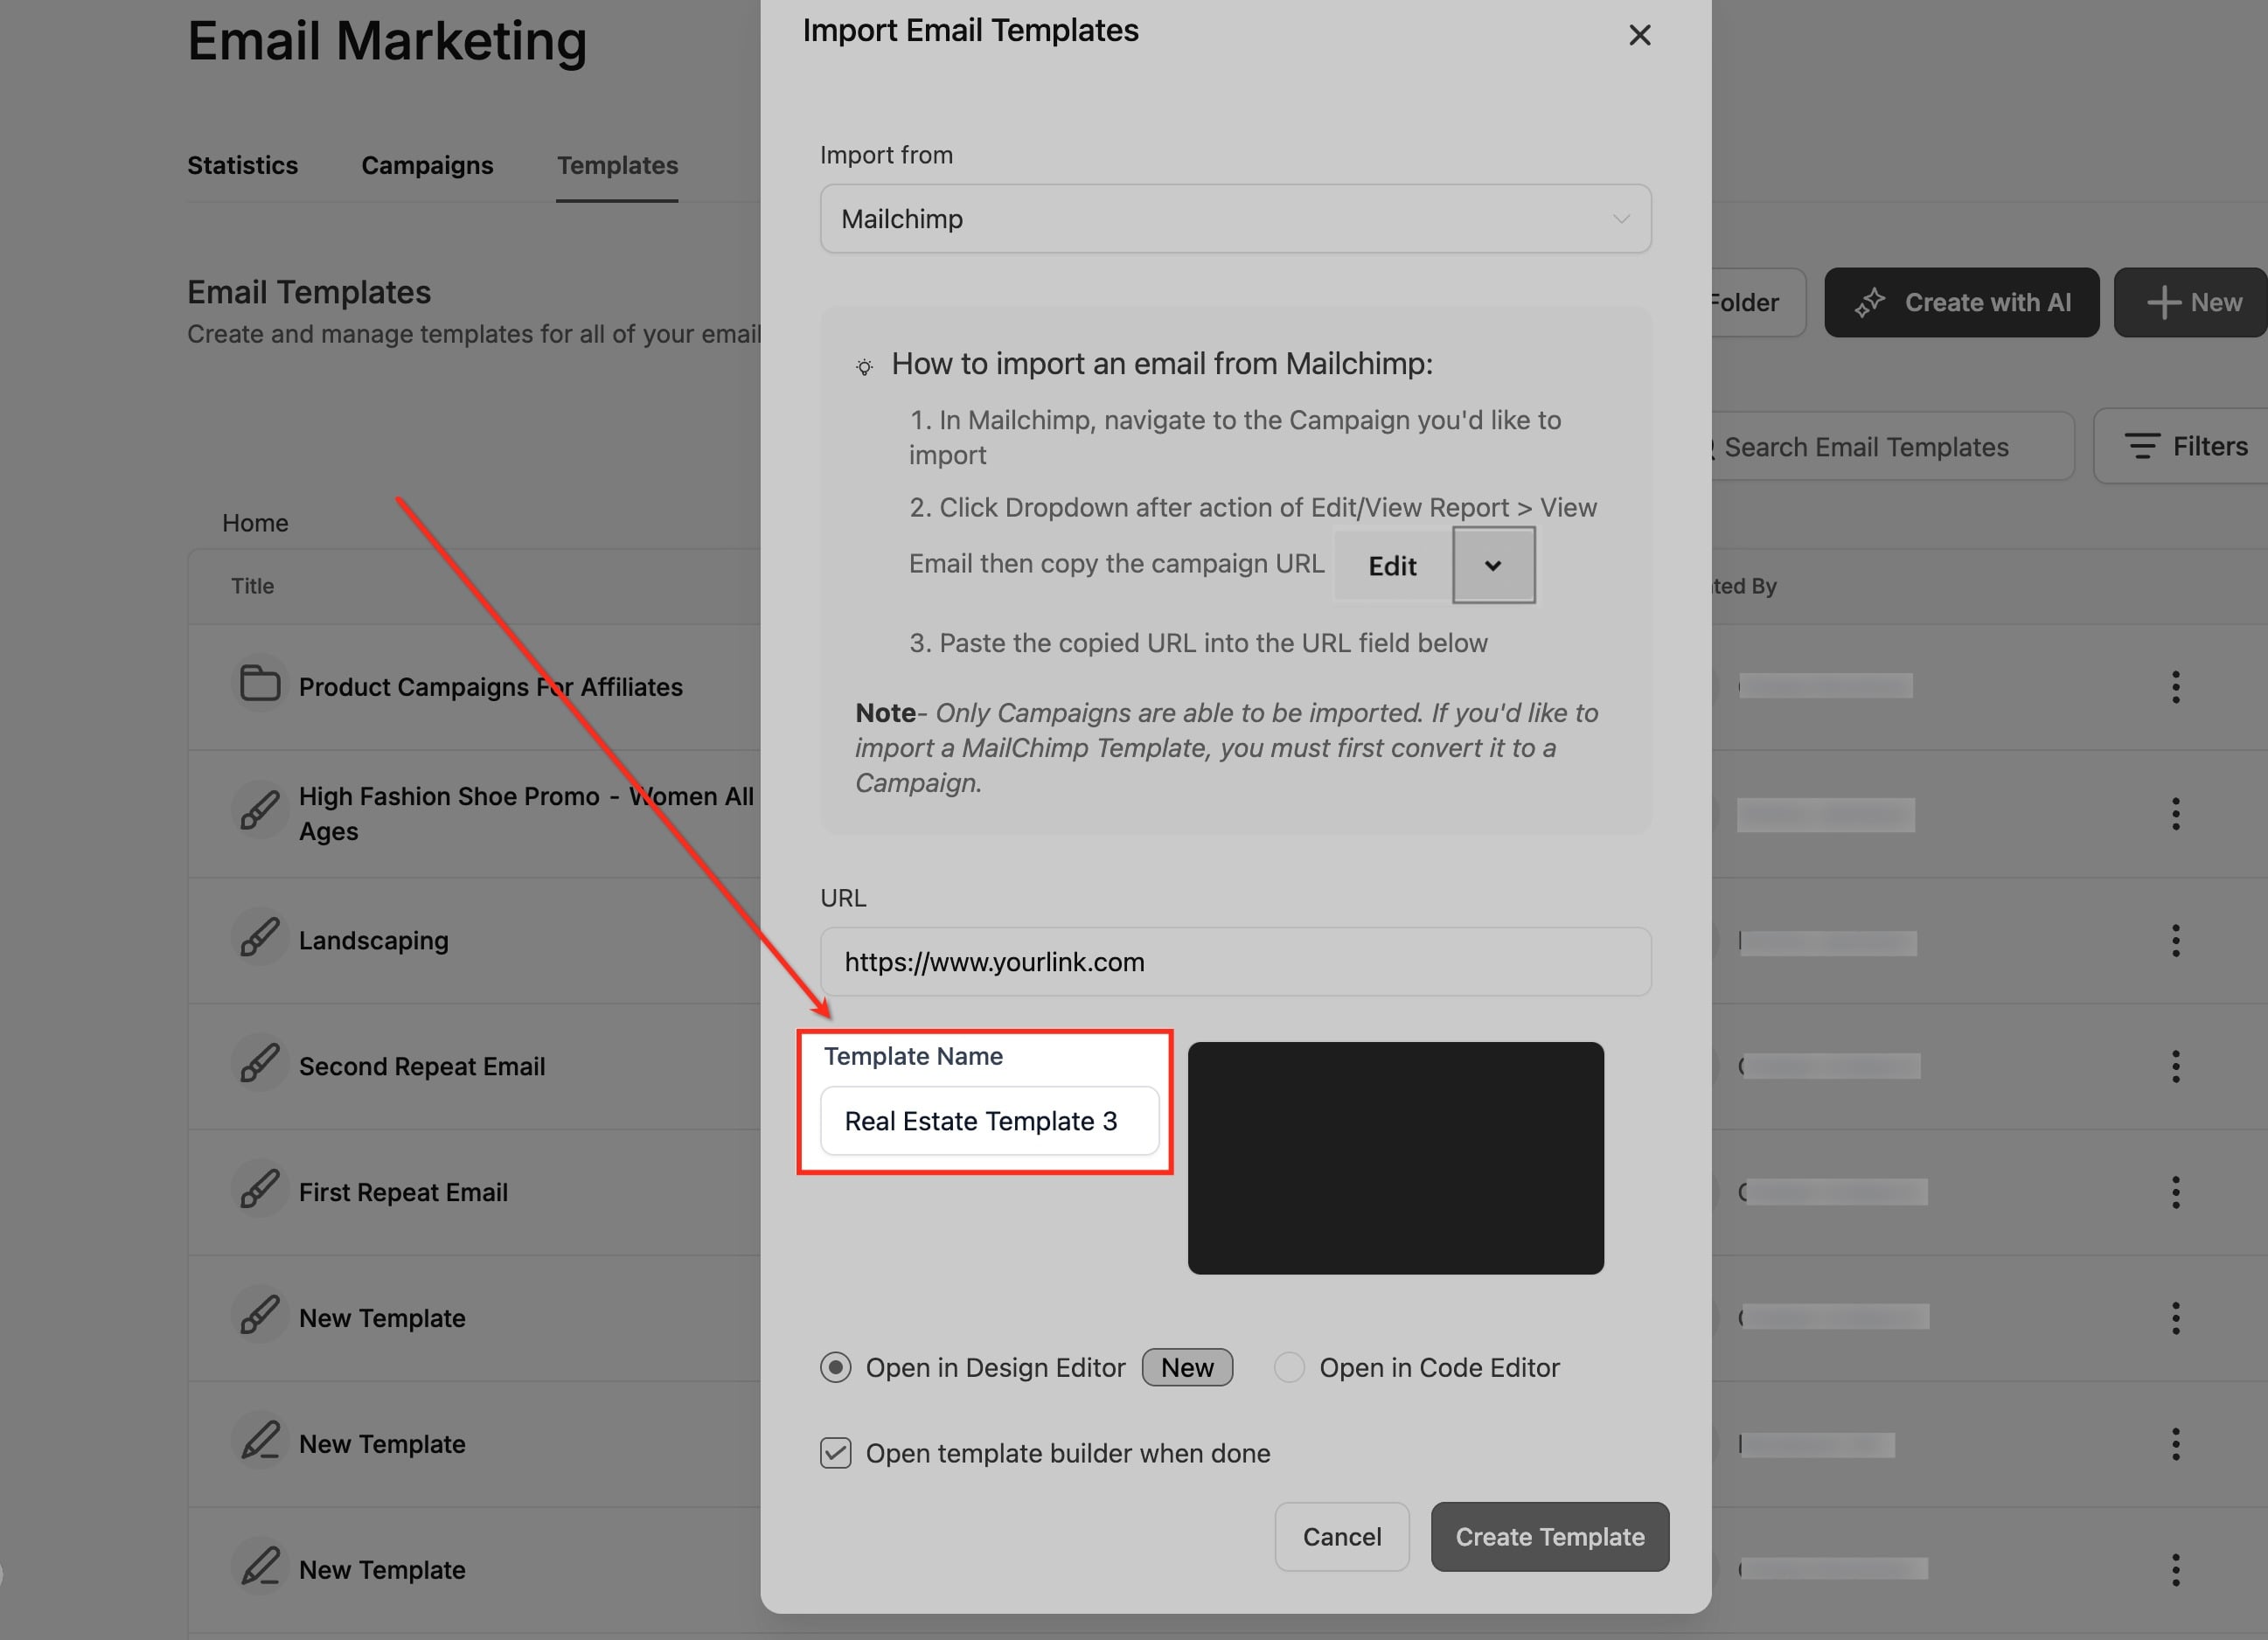
Select Open in Design Editor, then click Create Template. Your template opens in the visual Design Editor, ready for drag-and-drop customization.
If an imported template looks misaligned or is missing sections, it is usually because certain provider-specific HTML structures are not fully compatible with the block-based layout. In those cases, switch to the Code Editor to review the HTML and make manual adjustments. For best results, make sure the source email uses standard HTML and inline CSS before importing. Provider-specific merge tags, dynamic content, and conditional logic are not translated automatically; the structure imports, but you reconfigure dynamic logic using Custom Values or Dynamic Fields once the template is in the editor.
Once a template is saved, you can reuse it anywhere you send email.
In a campaign: When you create a new campaign, select your saved template as the starting layout, then customize it for that specific send before scheduling it to your contacts, a smart list, or contacts with a given tag. See the Campaigns guide for the full sending process.
In a workflow: The Email Builder is integrated into the Send Email workflow action, so you can view and edit your email template directly inside the workflow without switching tabs. When you add a Send Email action, choose a saved template, then preview or edit it in place. This keeps automation setup fast and avoids toggling between sections.
For recurring sends: Where Aesthetix CRM supports recurring email sequences, you can assign a different saved template to each message in the sequence. This lets every follow-up feel fresh and tailored rather than repeating the same email. Choose a template for each step, set the subject line, customize the content, then save and activate the sequence so it sends automatically.
What is the difference between a template and a campaign? A template is a reusable layout you design once and save. A campaign is a specific email built from a template and sent to your contacts or a smart list. You can reuse one template across many campaigns.
Can I use a template in a workflow? Yes. The Email Builder is built into the Send Email workflow action, so you can select, view, and edit a saved template directly inside the workflow.
Can I import templates I built in another email tool? Yes. You can import templates by their HTML or campaign URL, including from Mailchimp. The importer recreates the layout as editable blocks in the Design Editor.
Does importing require my other account's login or API key? No. The importer reads only the public campaign URL you paste in. It does not require or store credentials from your other provider.
Why doesn't my imported template look right? Some provider-specific HTML is not fully compatible with the block-based editor. Switch to the Code Editor to adjust the HTML, and make sure the source email uses standard HTML and inline CSS before importing.
Can I add products to an email template? Yes. Drag the Product element into your template to show a product's image, description, and a purchase link. Use a custom redirection link in templates, since direct checkout links only work in campaign mode.
Can I duplicate a template? Yes. Use the three-dot menu next to a template to duplicate it, then edit the copy. This is handy for variations and testing without rebuilding from scratch.
