How your team segments, routes, and stays informed about contacts comes down to four settings: the Contact Type that labels each relationship, the Do Not Disturb controls that silence specific channels, the owner who is responsible for a record, and the followers who keep visibility on it. This guide covers all four so you can match record assignment to how your med spa actually operates, where front-desk staff, providers, and coordinators each own different parts of the patient journey.
A Contact Type is a single-select dropdown field that defines the role or lifecycle stage of a contact. It is the highest-level way to segment your patient list and drives filtering, Smart Lists, targeting, and automation.
Aesthetix CRM provisions two Contact Types as part of your core setup: Lead and Patient. A new inquiry starts as a Lead and becomes a Patient once they are an established patient of your practice.
Important: do not change the Lead or Patient Contact Types. These two values are built into your account setup and are referenced throughout your workflows, Smart Lists, and integrations. Renaming, deleting, or changing them will break your setup, and restoring it is a billable fix. You are welcome to add additional Contact Types if your practice needs more classifications, but leave Lead and Patient exactly as they are.
When you create a new contact, Contact Type is a required field, so every record gets one value from the start. Each contact can hold only one Contact Type at a time, which is what makes it ideal for high-level segmentation by relationship status (for example, a new inquiry as a Lead versus an established patient as a Patient). For multi-labeling a contact with several attributes at once, use Tags instead.
Simplify segmentation and filtering of your contact list
Automate nurture and follow-up flows based on a contact's status
Power targeted Smart Lists for email, SMS, and workflows
Customize the values to fit how your practice classifies patients
Work alongside other organizational tools like tags and categories
You manage the available type values from the Custom Fields settings. Use this only to add new types, and never to rename or delete Lead or Patient.
Navigate to Settings > Custom Fields.
Locate the Contact Type custom field.
Check the box next to Contact Type, click the blue Bulk Actions button, then choose Edit from the dropdown.
Add any additional options your practice needs (for example, a referral or VIP classification). Leave Lead and Patient unchanged.
You can assign a Contact Type manually on a record or dynamically through a workflow.
Manual assignment:
Navigate to the Contacts tab.
Click the contact you want to update.
Click the Contact Type dropdown and choose the type.
Assign via workflow:
Add an Update Contact Field action to a workflow.
Add a field, select Contact Type, then select the type to apply.
Segmenting your list by Contact Type lets you send targeted messages and build Smart Lists for automation.
Go to Contacts > Smart Lists.
Click More Filters, then select Type.
Choose a Contact Type to filter by.
Do Not Disturb mutes outbound notifications and automated messages to a contact so your team does not interrupt someone who has asked not to be contacted, or so an automation pauses for a specific patient. You can mute every channel at once or silence only specific channels (for example, pause marketing texts while still allowing appointment emails).
You manage DND directly on the contact record:
Navigate to the Contacts section.
Select the Smart Lists option.
In the list, select the contact you want to view.
Click over to the Contacts tab to view the record's additional details.
Scroll down until you reach the Do Not Disturb (DND) section.
To mute notifications across every channel, select all channels.
Otherwise, check the box for each specific channel you want to mute.
To re-enable communication later, return to the same DND section and clear the channels you previously muted.
A contact's owner is the team member responsible for that record. By default, contacts and their related opportunities follow the same ownership, but you can separate them so the person who manages the relationship is different from the person who manages the deal. This is useful in a med spa when a coordinator nurtures the lead while a provider or sales lead drives the consultation-to-treatment conversion.
Enabling separate owners lets a contact stay assigned to one owner while the related opportunity is assigned to someone else, so ownership matches your real workflow instead of forcing one person to own both records.
To turn this on:
Open Settings.
Go to Opportunities & Pipelines.
Find the setting labeled Allow different owners for contacts and its opportunities.
Turn the toggle On.
Click Save Changes.
Different owners allowed: A contact can remain with one owner while its opportunity is assigned to another, reflecting who is actually responsible for each.
Default opportunity owner: When a new opportunity is created, its default owner is still the same as the contact owner. After creation, you can update the opportunity owner to a different team member as needed.
Workflow support: If ownership automation is available in your account, this feature supports more advanced assignment and routing logic.
Two optional sub-settings keep followers aligned automatically when ownership changes, so no one loses visibility during a handoff. Both appear beneath the main toggle in Opportunities & Pipelines.
Automatically make opportunity owner follower of contact: When enabled, changing the owner of an opportunity also adds that new owner as a follower of the related contact, so the person managing the deal stays updated on contact-level activity.
Automatically make contact owner follower of opportunity: When enabled, changing a contact's owner adds that new owner as a follower of the related opportunities, so the person managing the relationship stays informed about deal progress.
Separate ownership works on its own; these follower settings are optional and only affect record visibility and updates.
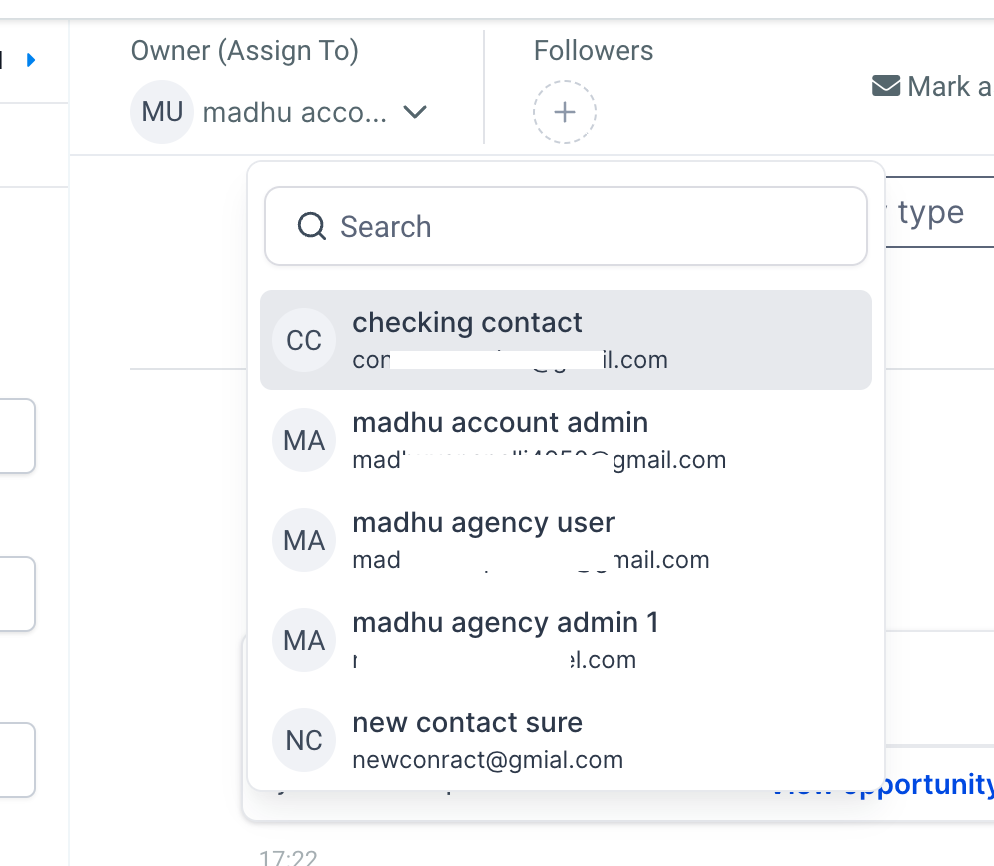
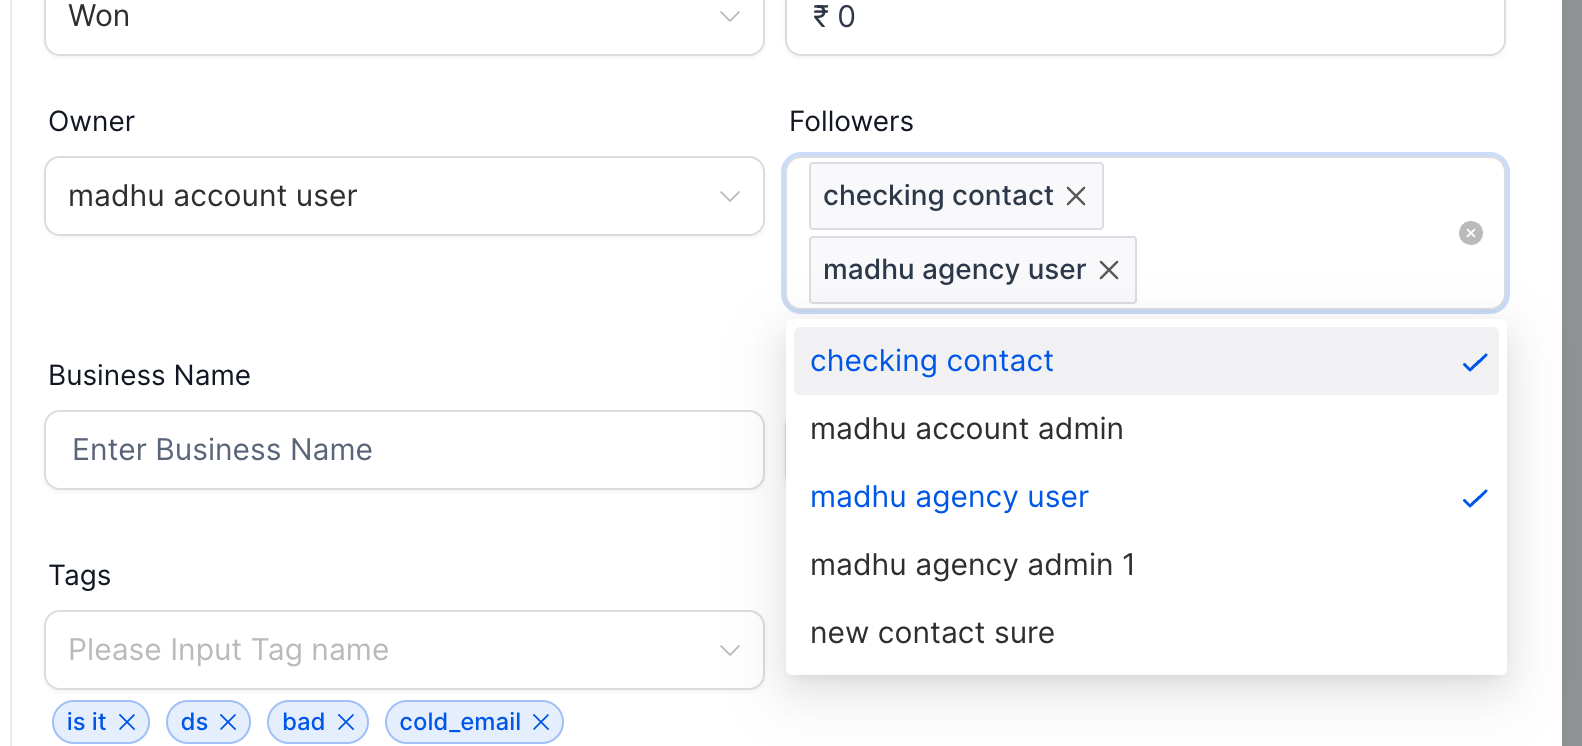
Followers are additional users added to a contact or opportunity who can view and manage that record, even if they normally have restricted data access under the "Only Assigned Data" permission. You can add up to 10 followers per record, which lets the right team members collaborate without changing who owns the record.
Followers inherit the same permissions as the record owner, allowing them to view and edit the contact or opportunity.
Followers cannot change the owner of the record; ownership stays with the assigned owner.
Followers can view appointments for the contacts they follow when calendar permissions allow it, even with Only Assigned Data enabled.
To view appointments, a follower needs the View appointments, calendars & groups permission.
Without Manage appointments, a follower can view appointments but cannot edit or delete them.
With Manage appointments, a follower can edit and manage appointments based on their calendar access.
Add followers to a contact from the detailed page of the contact record.
Add followers to an opportunity from the "Opportunity Details" on the Edit/Add opportunity modal.
Followers improve collaboration across front-desk, provider, and coordinator teams by sharing visibility without sharing ownership.
Combined with workflows, followers can be assigned automatically as records move through your process.
Use followers strategically to maintain access and visibility while keeping a clear ownership hierarchy.
If separate ownership is not behaving as expected:
Confirm the main Allow different owners for contacts and its opportunities toggle is enabled.
Make sure you clicked Save Changes after updating the setting.
Review whether the two follower sync settings are turned on or off.
Open the contact and opportunity records directly to confirm the ownership changes saved.
Can a contact have more than one Contact Type?
No. Contact Type is a single-select dropdown. Use Tags when you need to apply multiple labels to one contact.
Can I use Contact Type as a workflow trigger?
Yes. Use the Contact Changed trigger to fire automations when a contact's type is updated.
Can I rename or delete a Contact Type after it is in use?
Yes. Renaming or deleting a value updates it across all contacts that currently use it.
Can I bulk update Contact Types for many contacts at once?
Yes. In Smart Lists, select the contacts and apply the Update Contact Field bulk action to set a new Contact Type for all of them at once.
Can a contact and its opportunity have different owners?
Yes, once you enable the "Allow different owners for contacts and its opportunities" setting. Until then, they share the same owner.
What is the default owner when a new opportunity is created?
A new opportunity starts with the same owner as its contact by default. You can change the opportunity owner afterward if needed.
Do I have to enable the follower sync settings for separate ownership to work?
No. Separate ownership works on its own. The follower sync settings are optional and only keep followers aligned when ownership changes.
What happens if the contact owner changes after an opportunity is already assigned?
If "Automatically make contact owner follower of opportunity" is enabled, the new contact owner is automatically added as a follower of the opportunity, keeping the right team members informed about that deal.
Can a follower change who owns a record?
No. Followers can view and edit the record, but they cannot change its owner.
