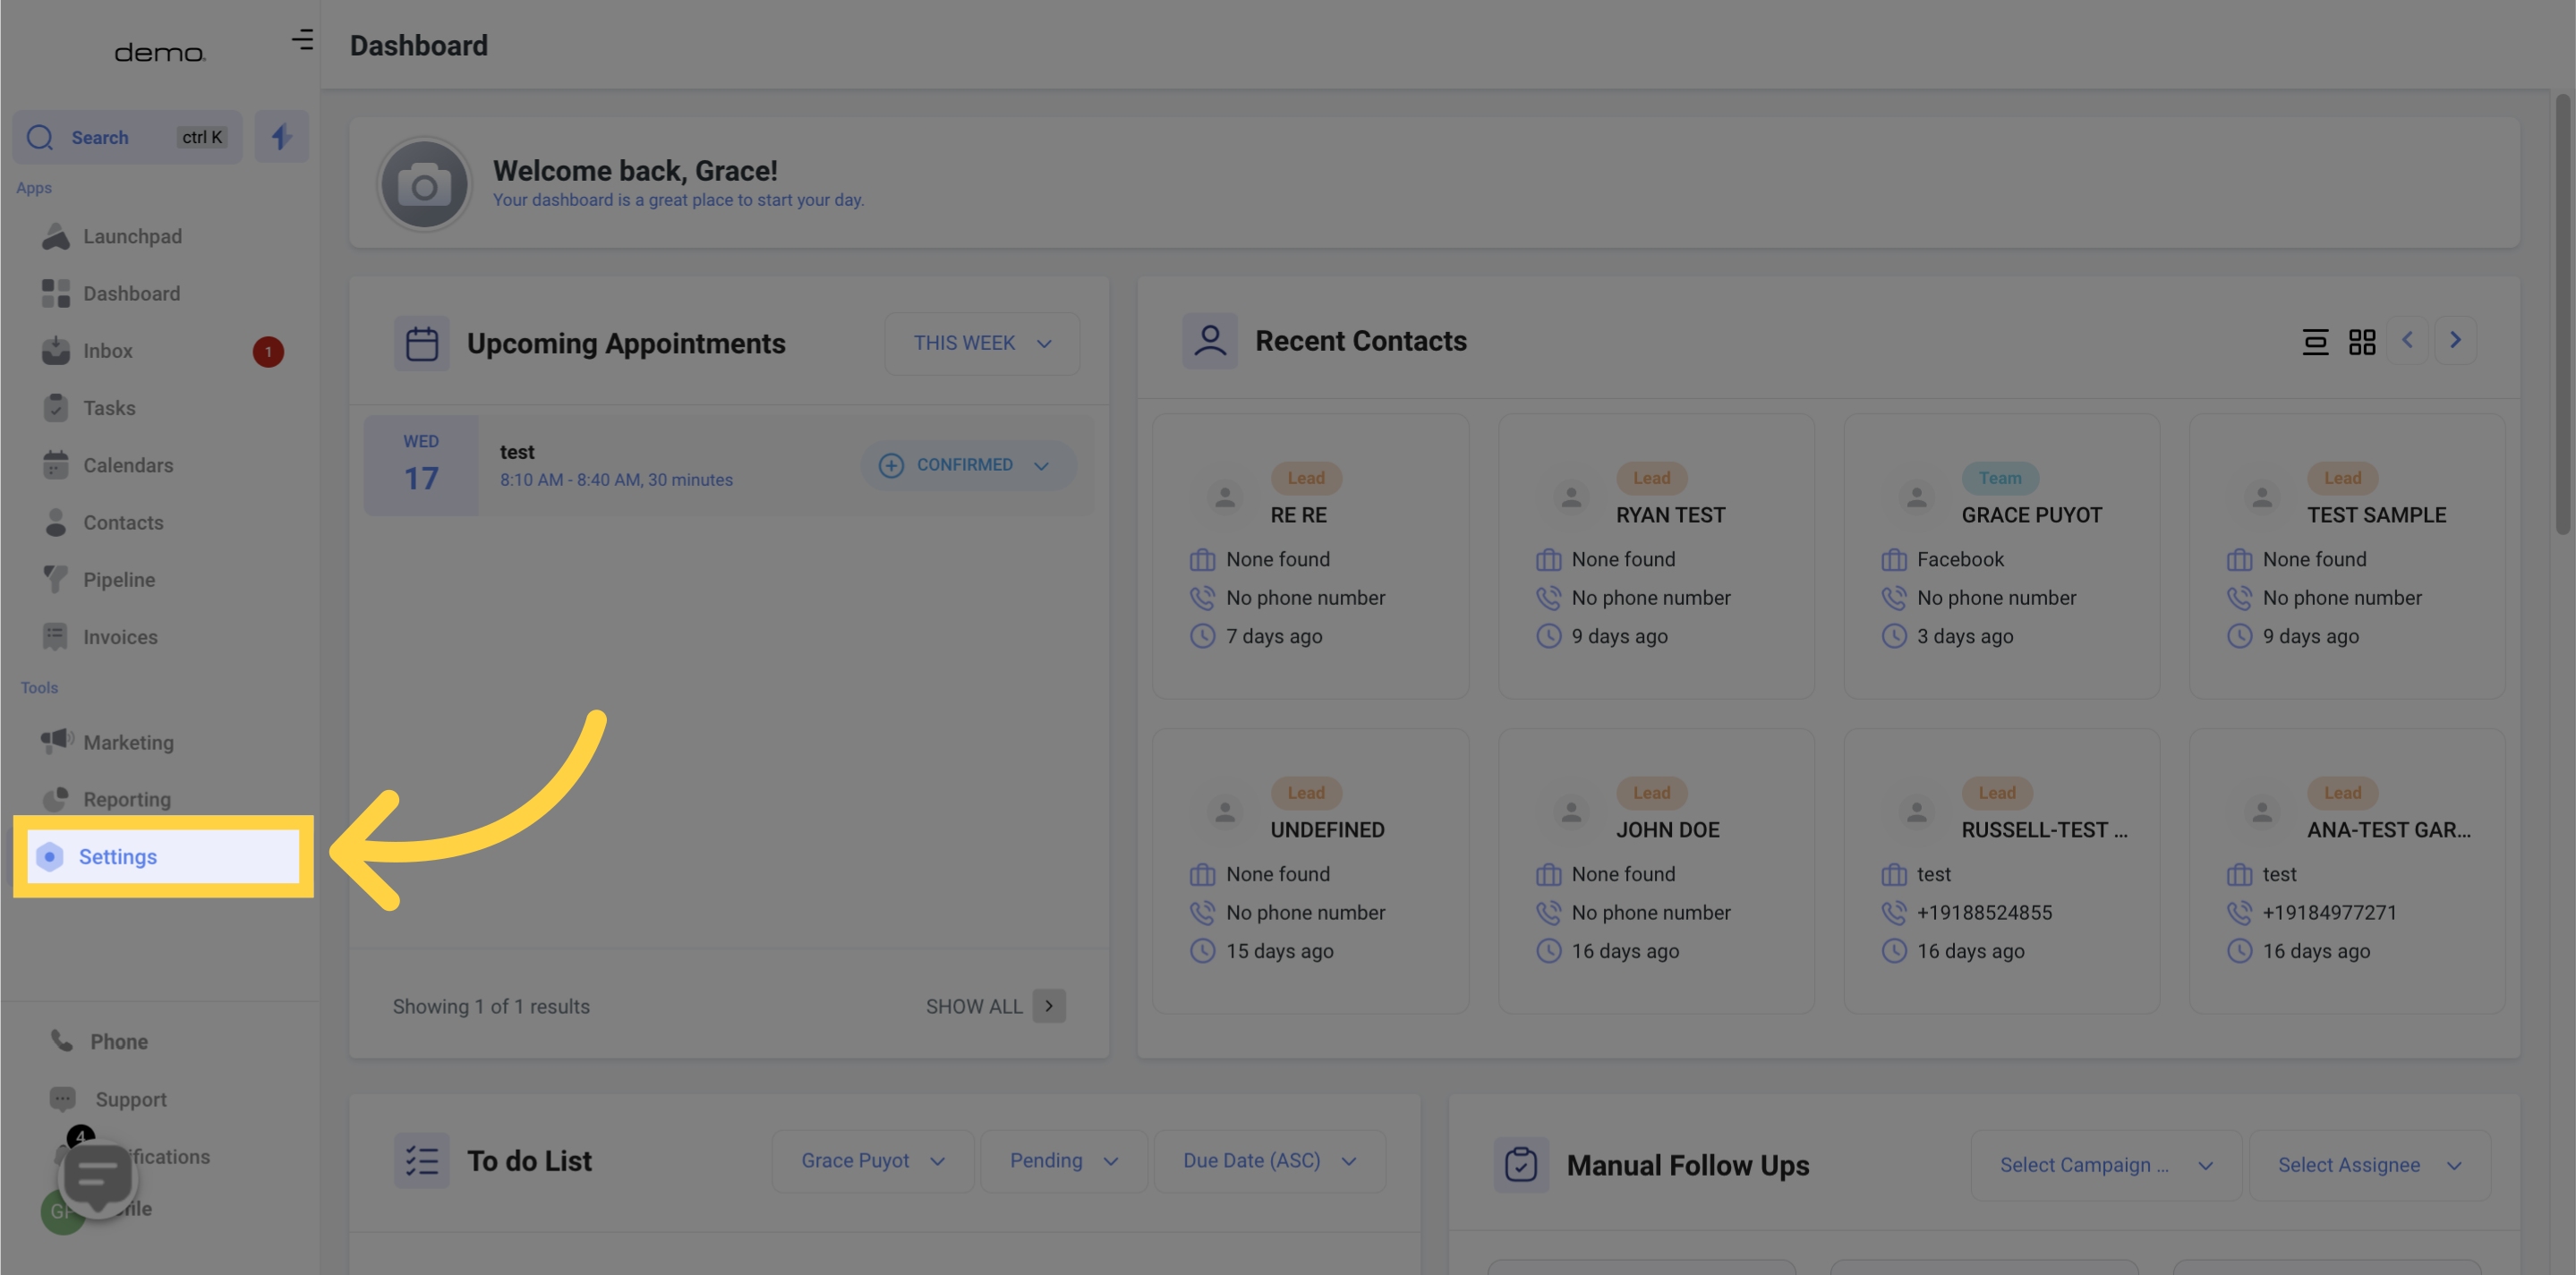
Access the Settings menu
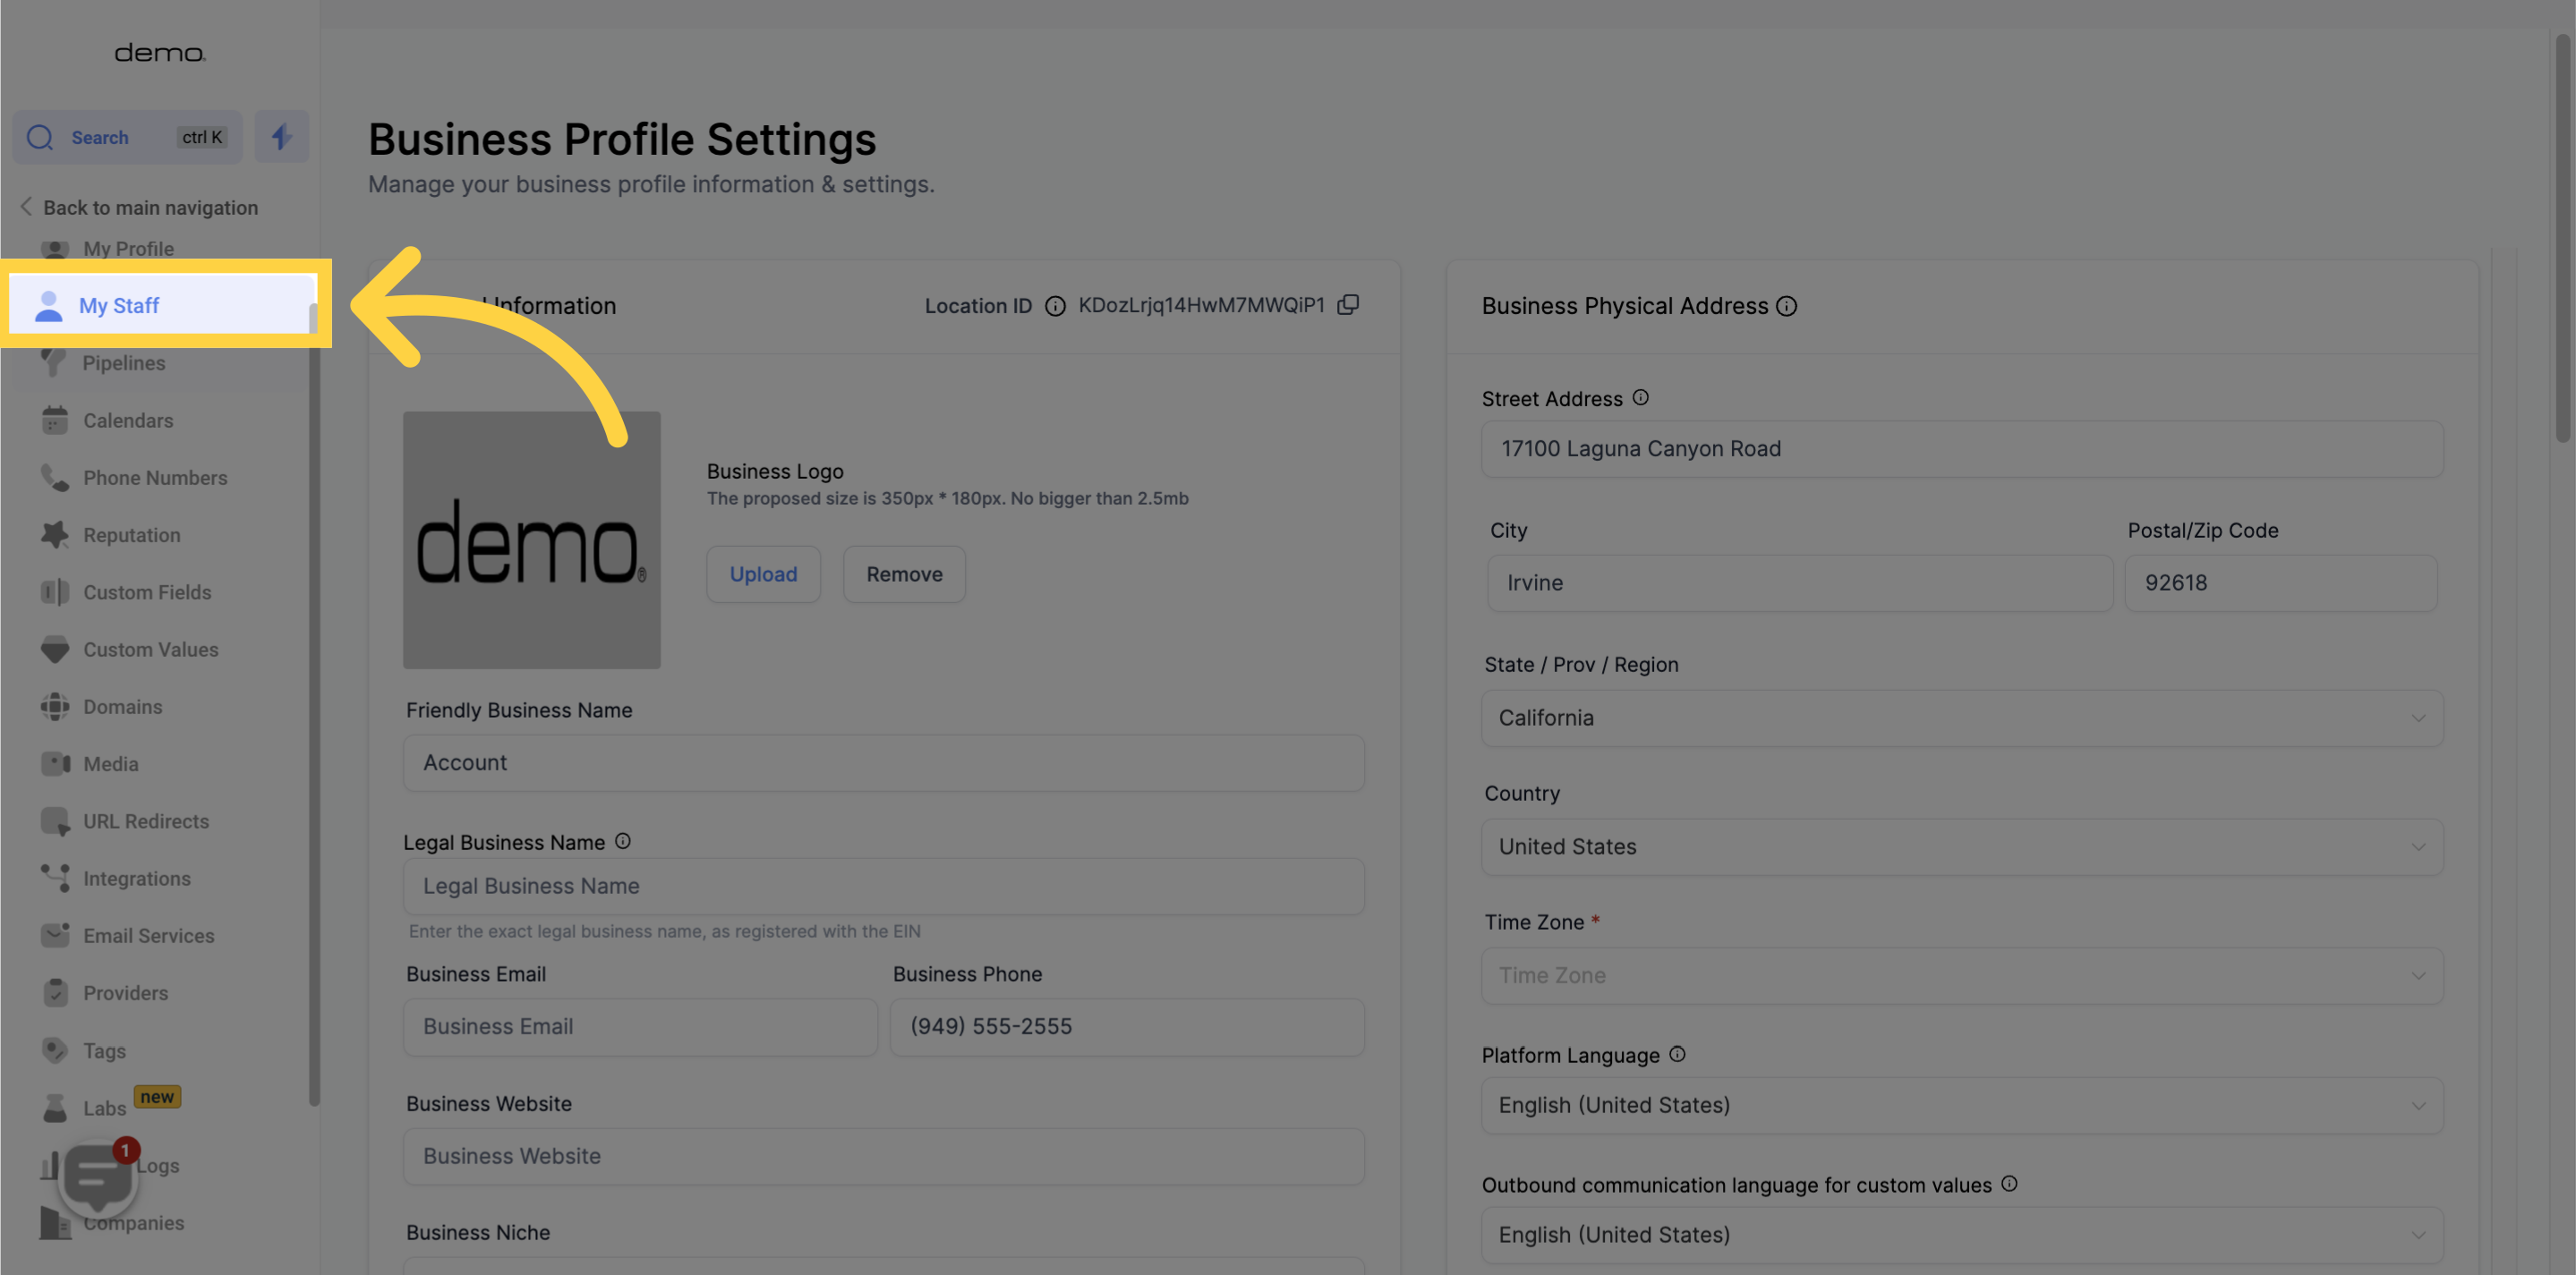
Open the My Staff section

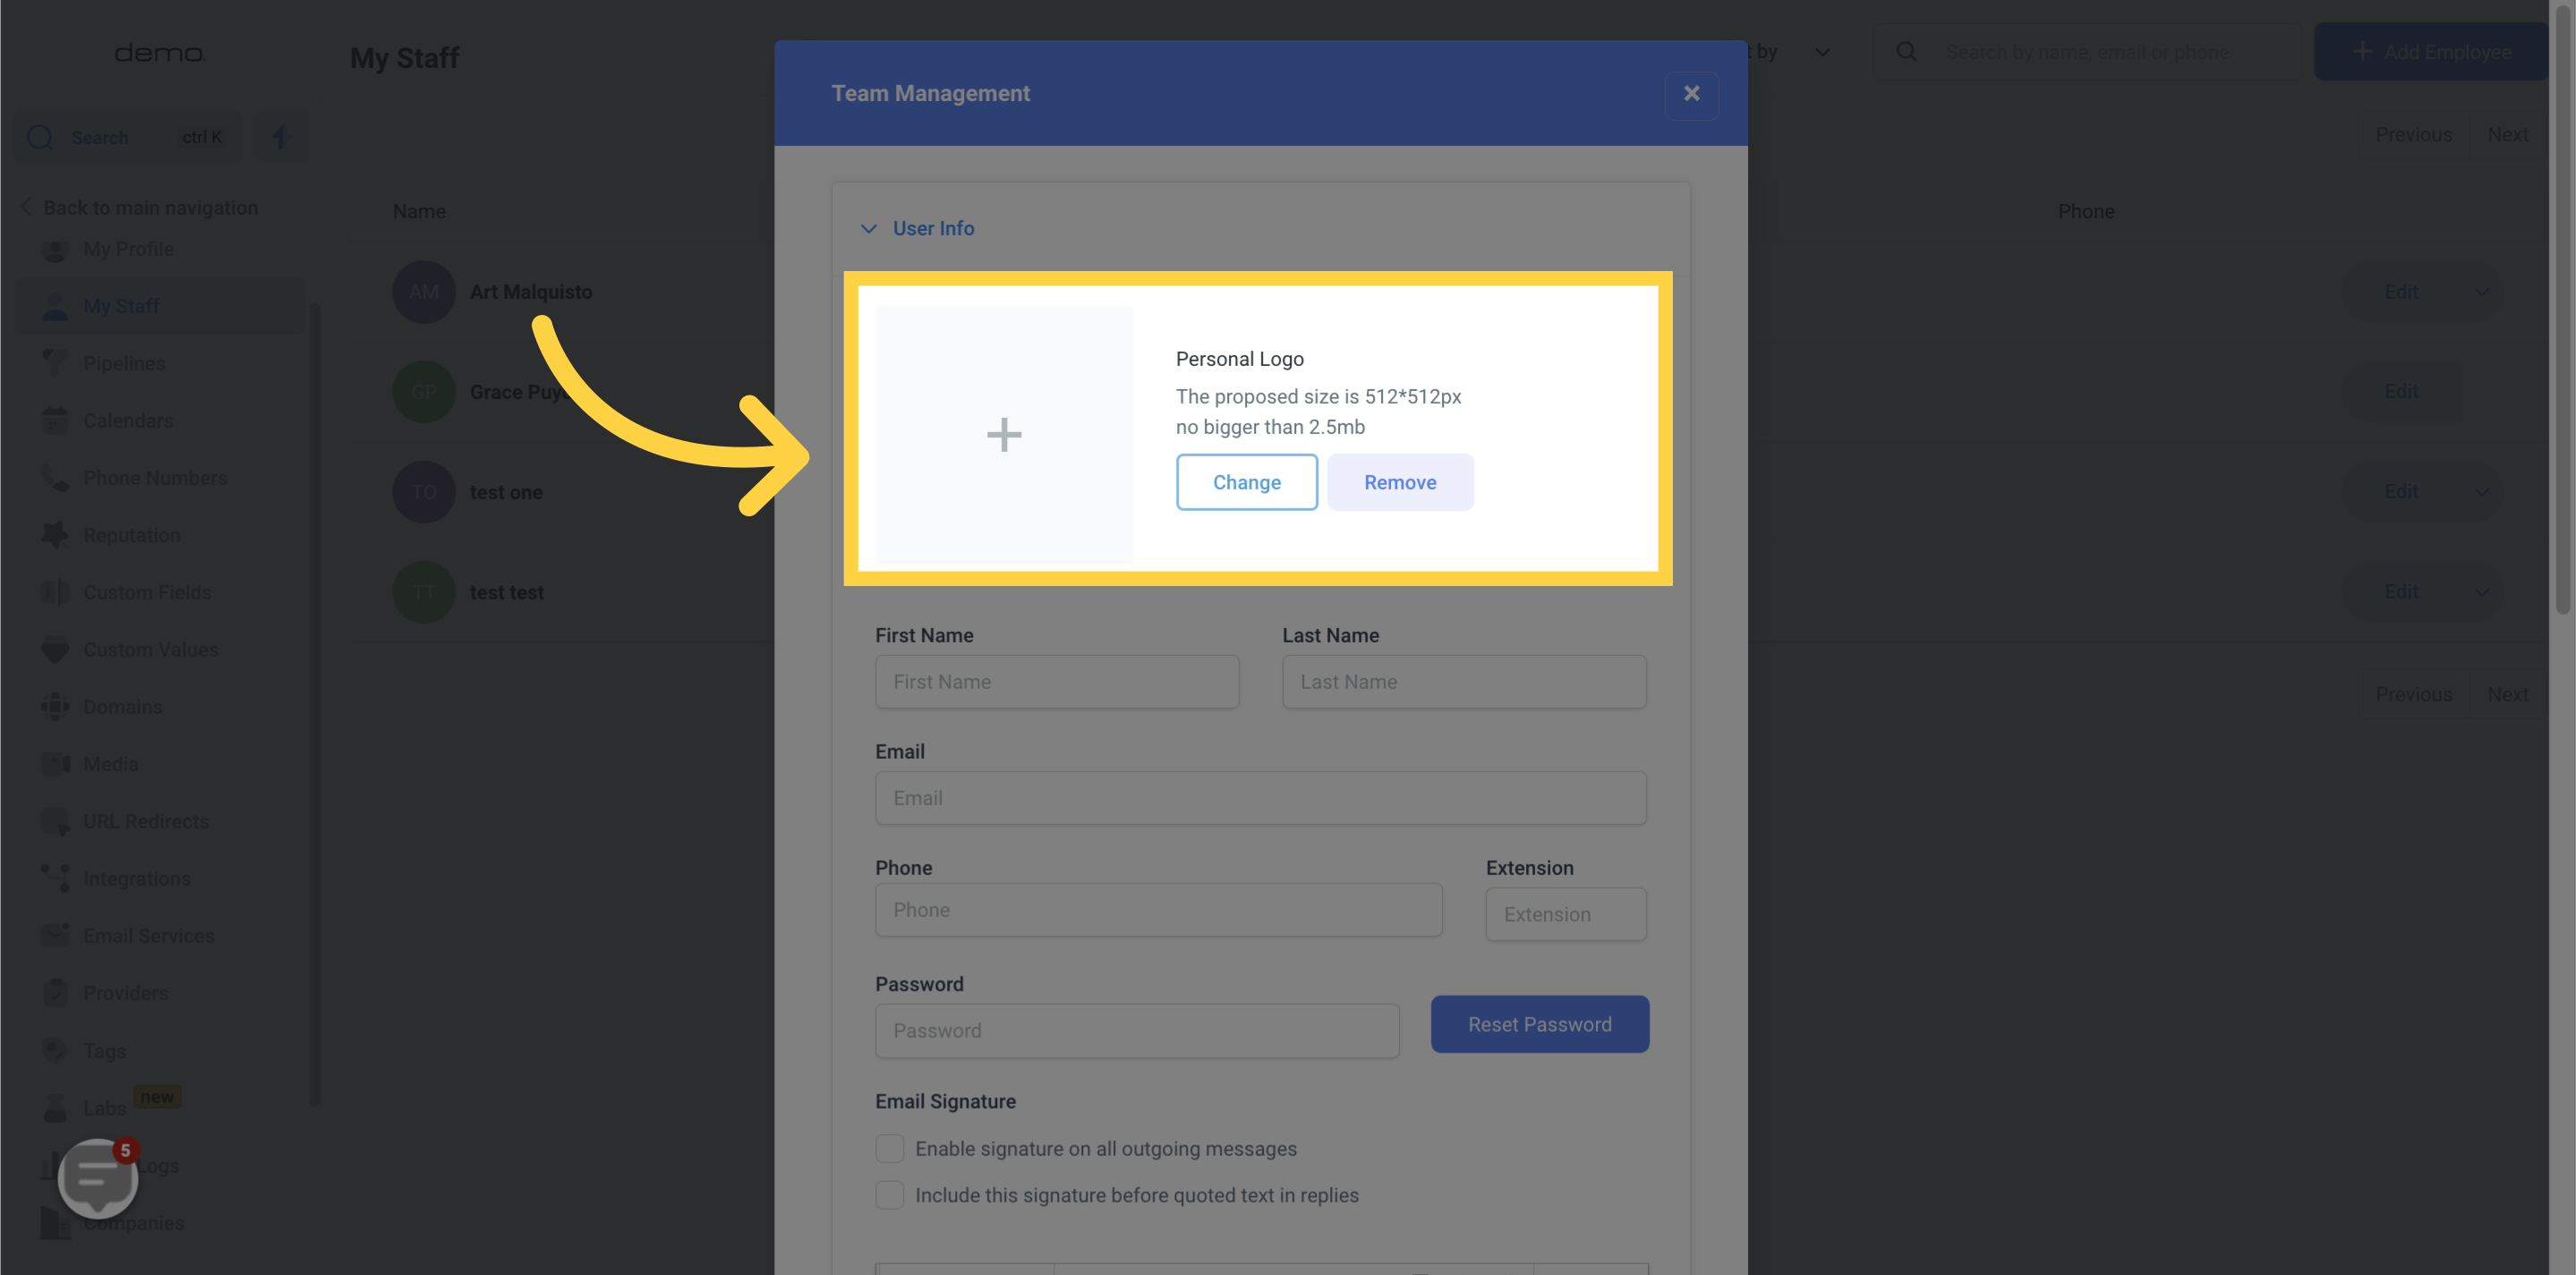
Upload a personal logo for the team member
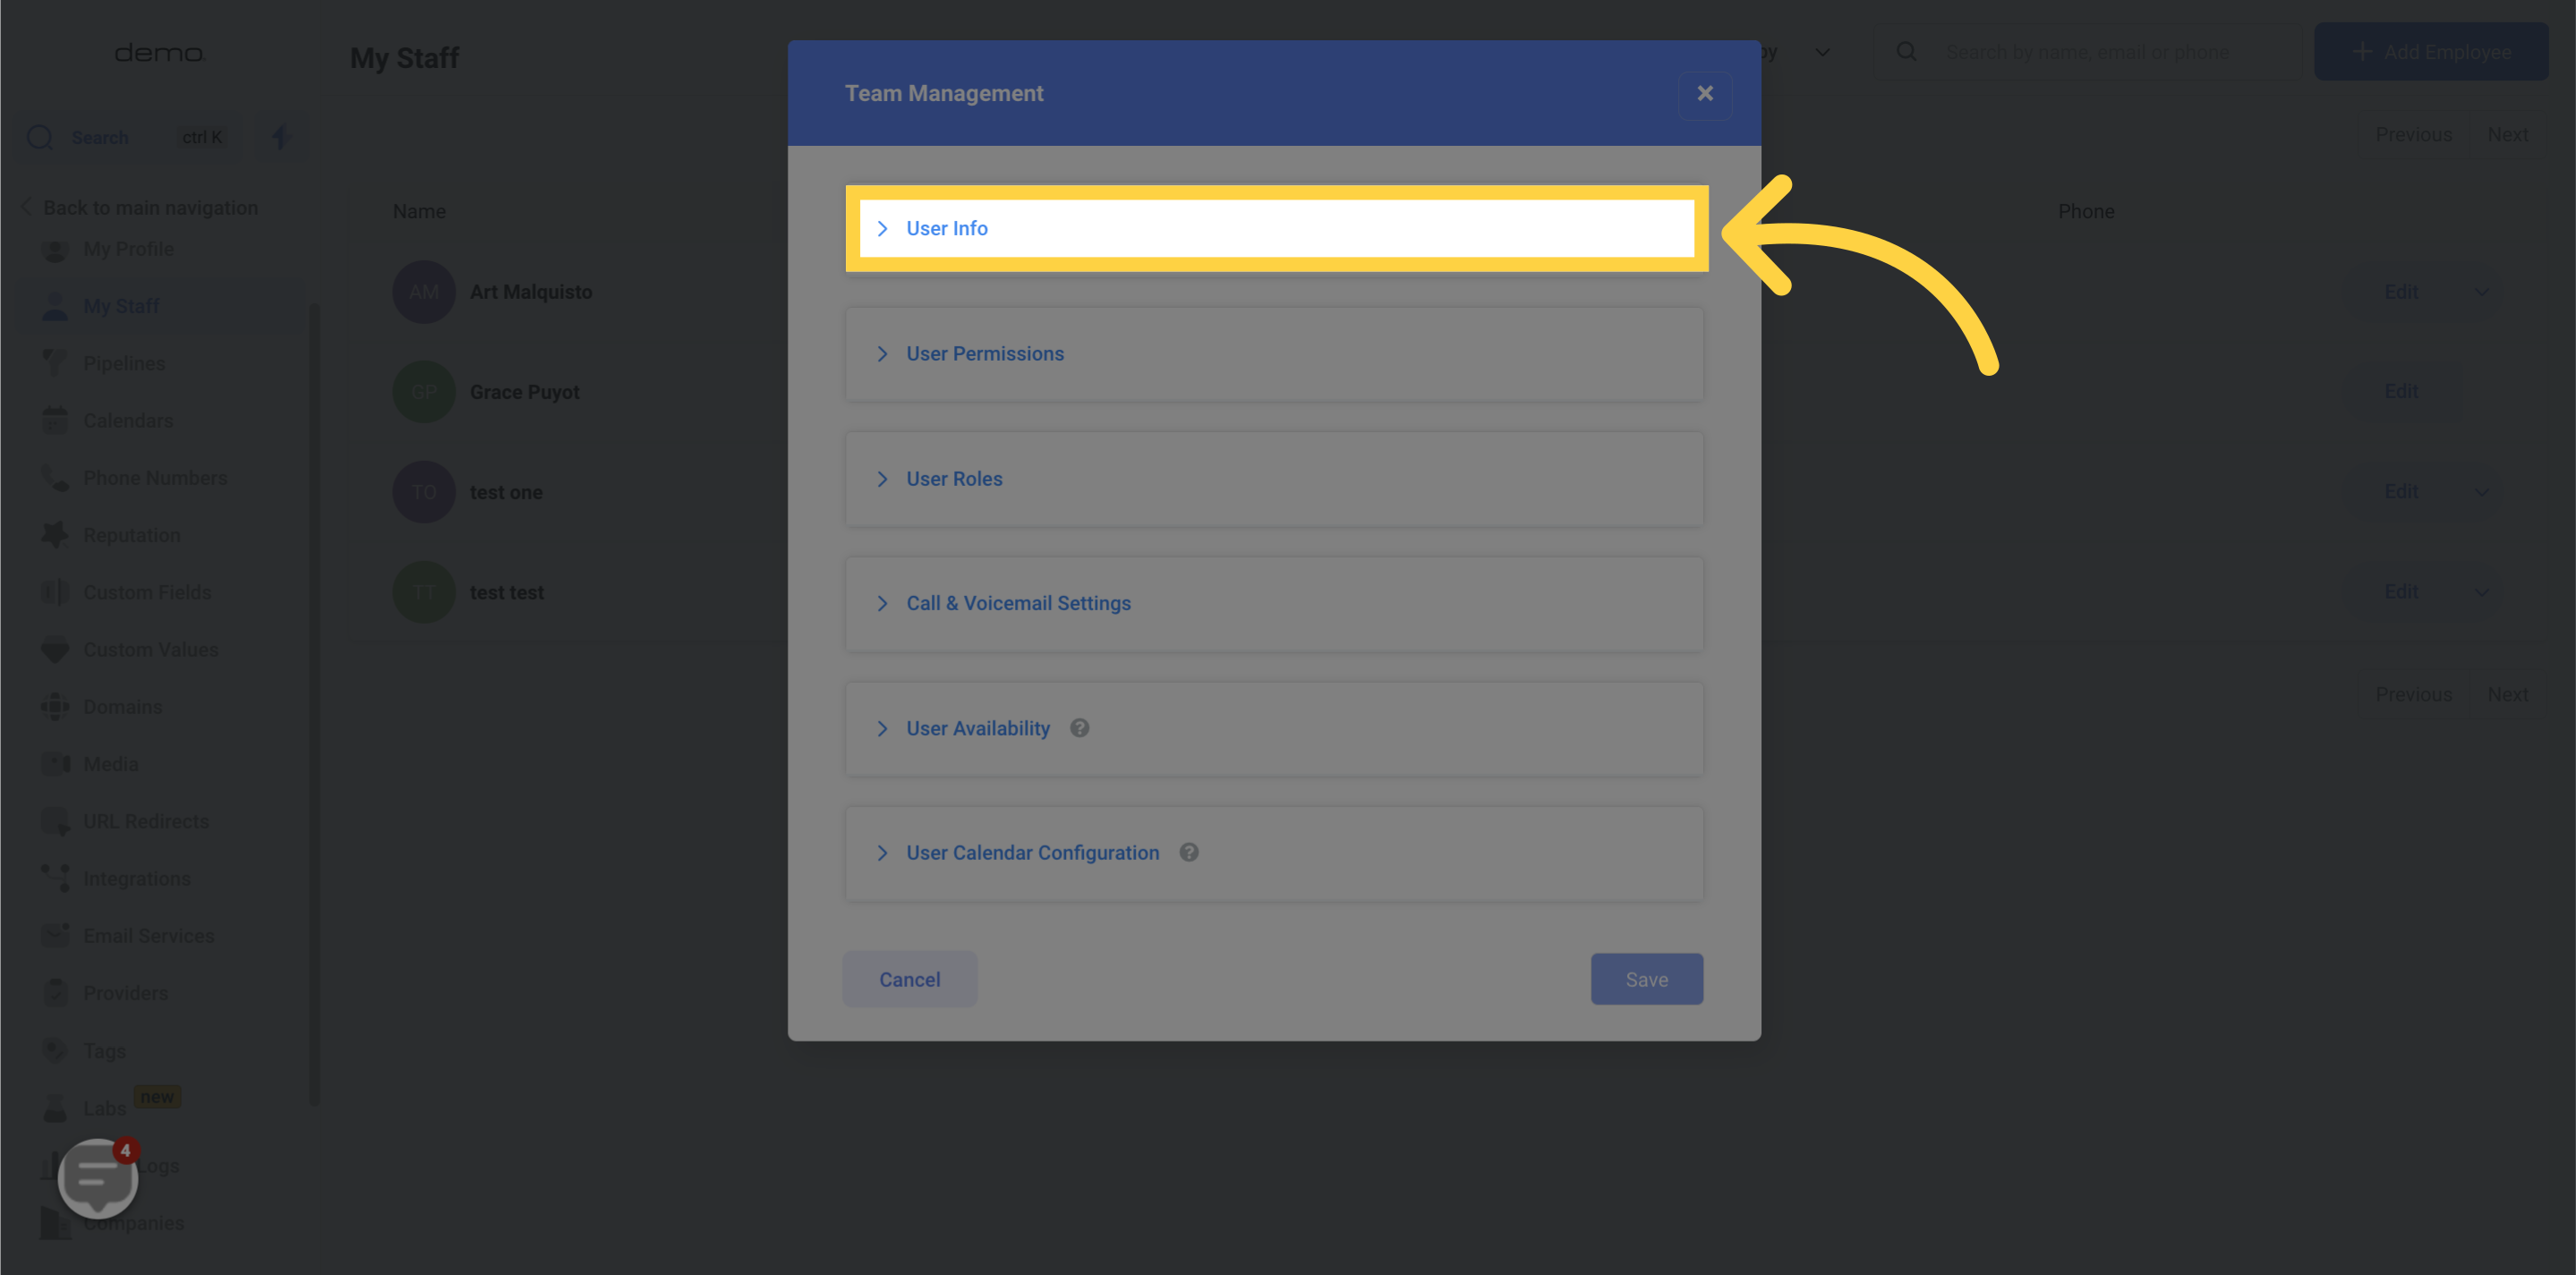
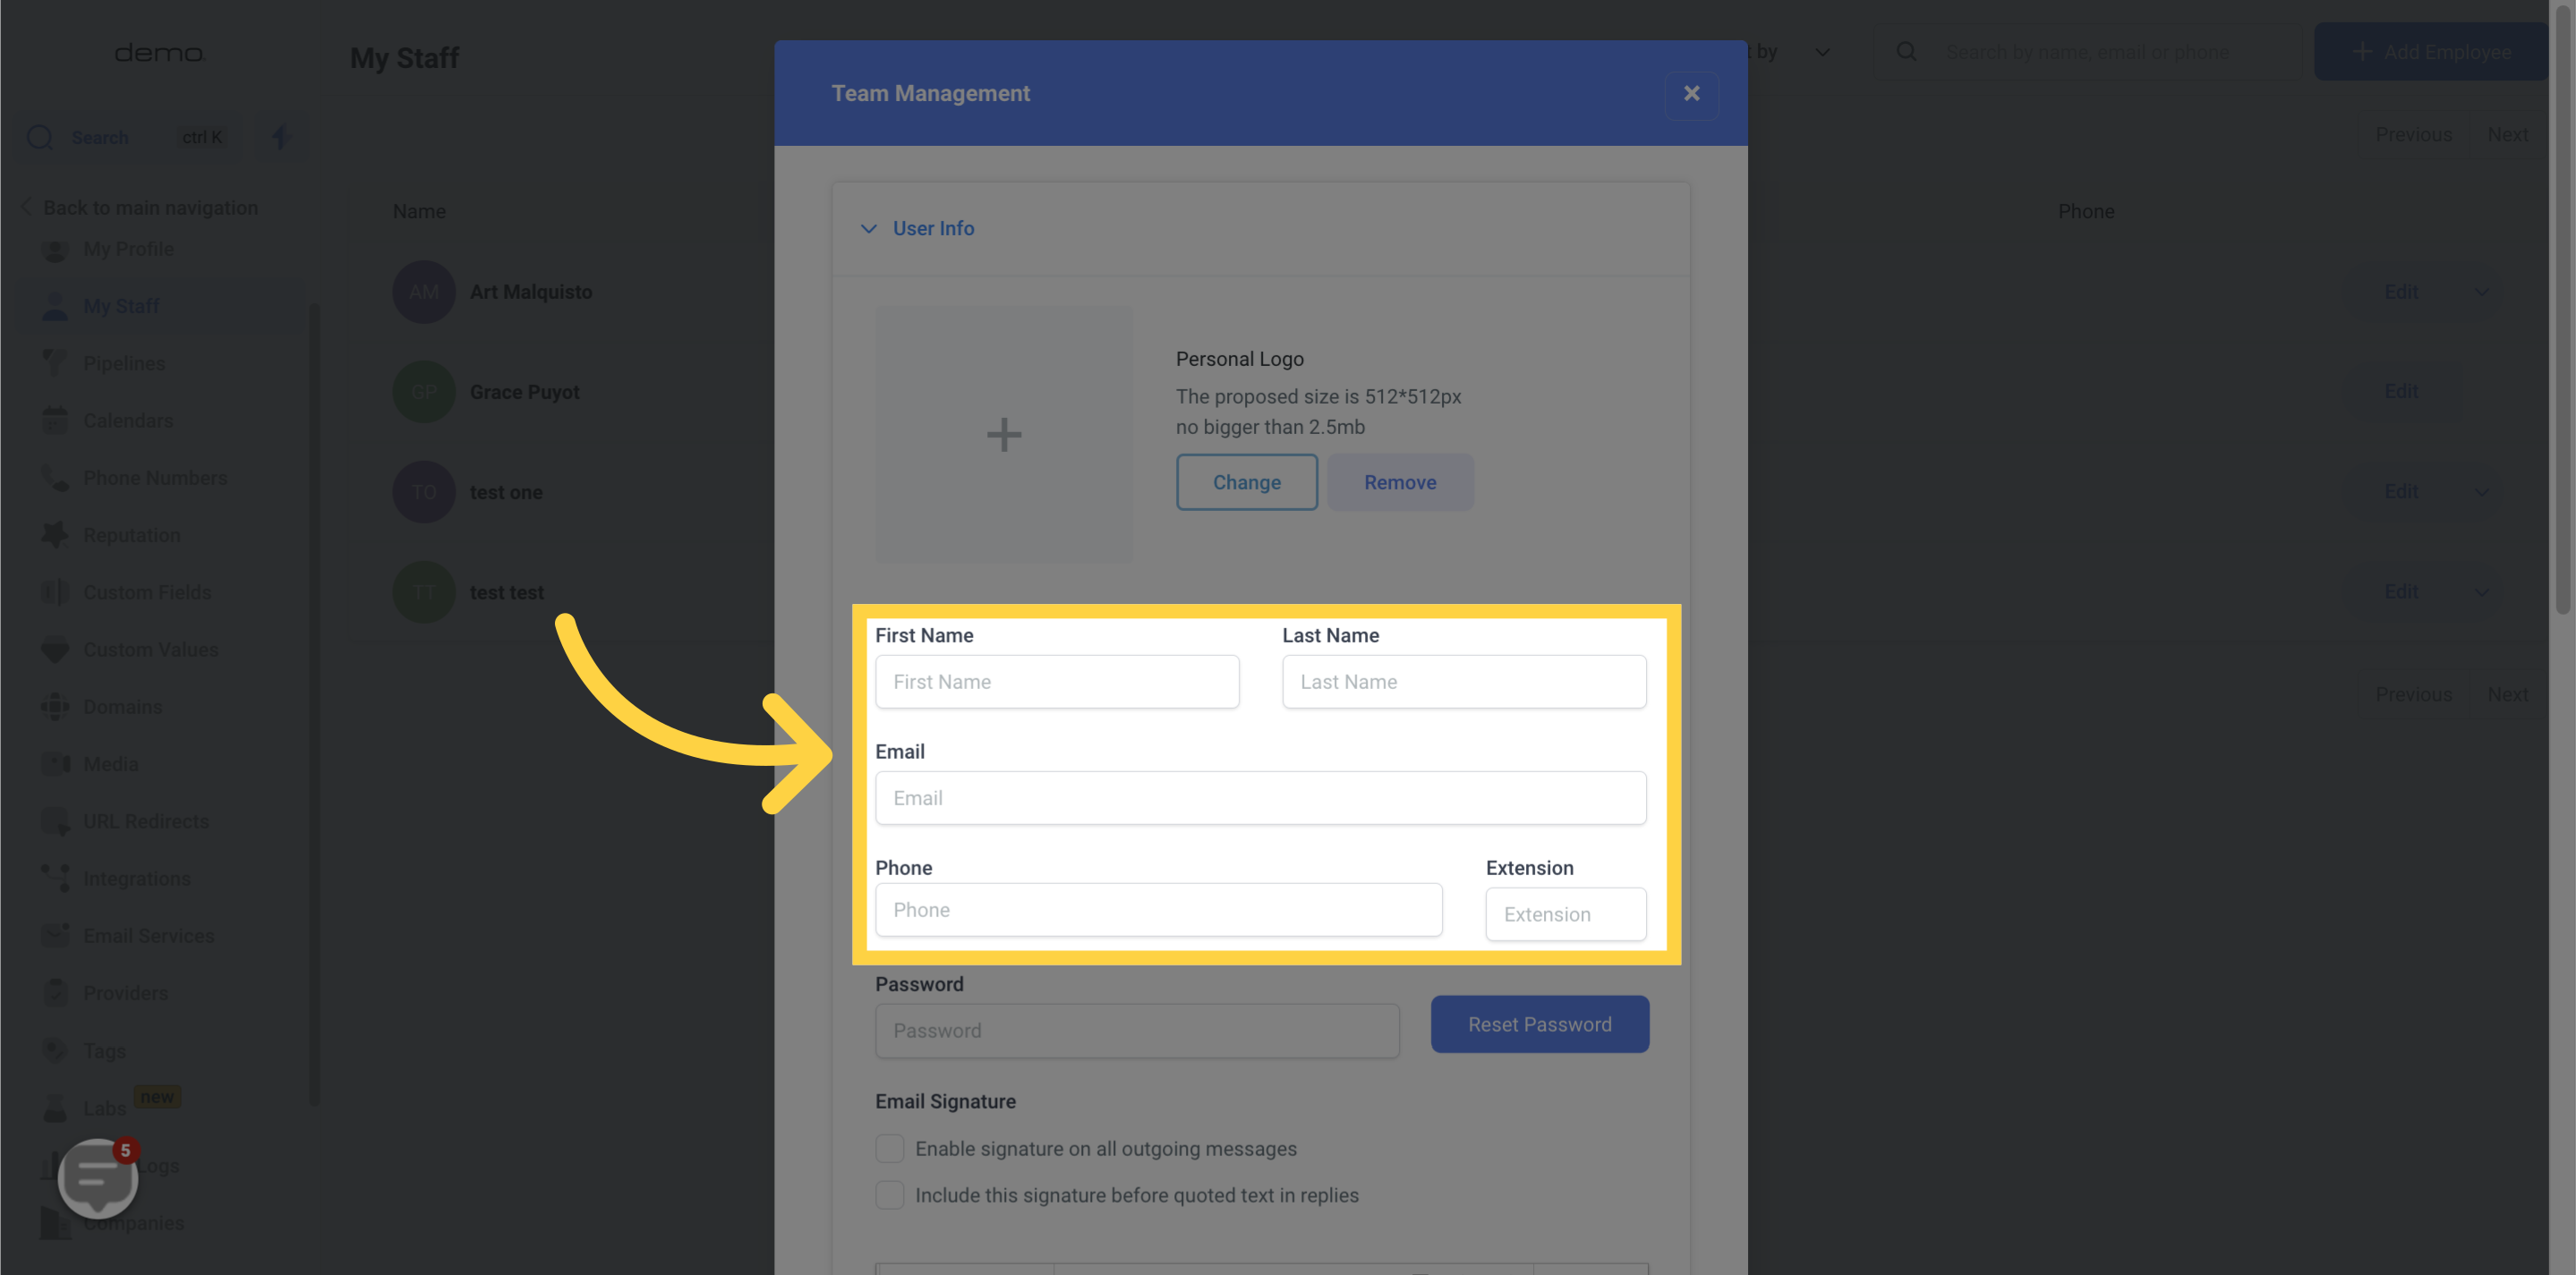
Fill out basic information for each employee, including their Name, email, and phone number. You can also add phone extensions.
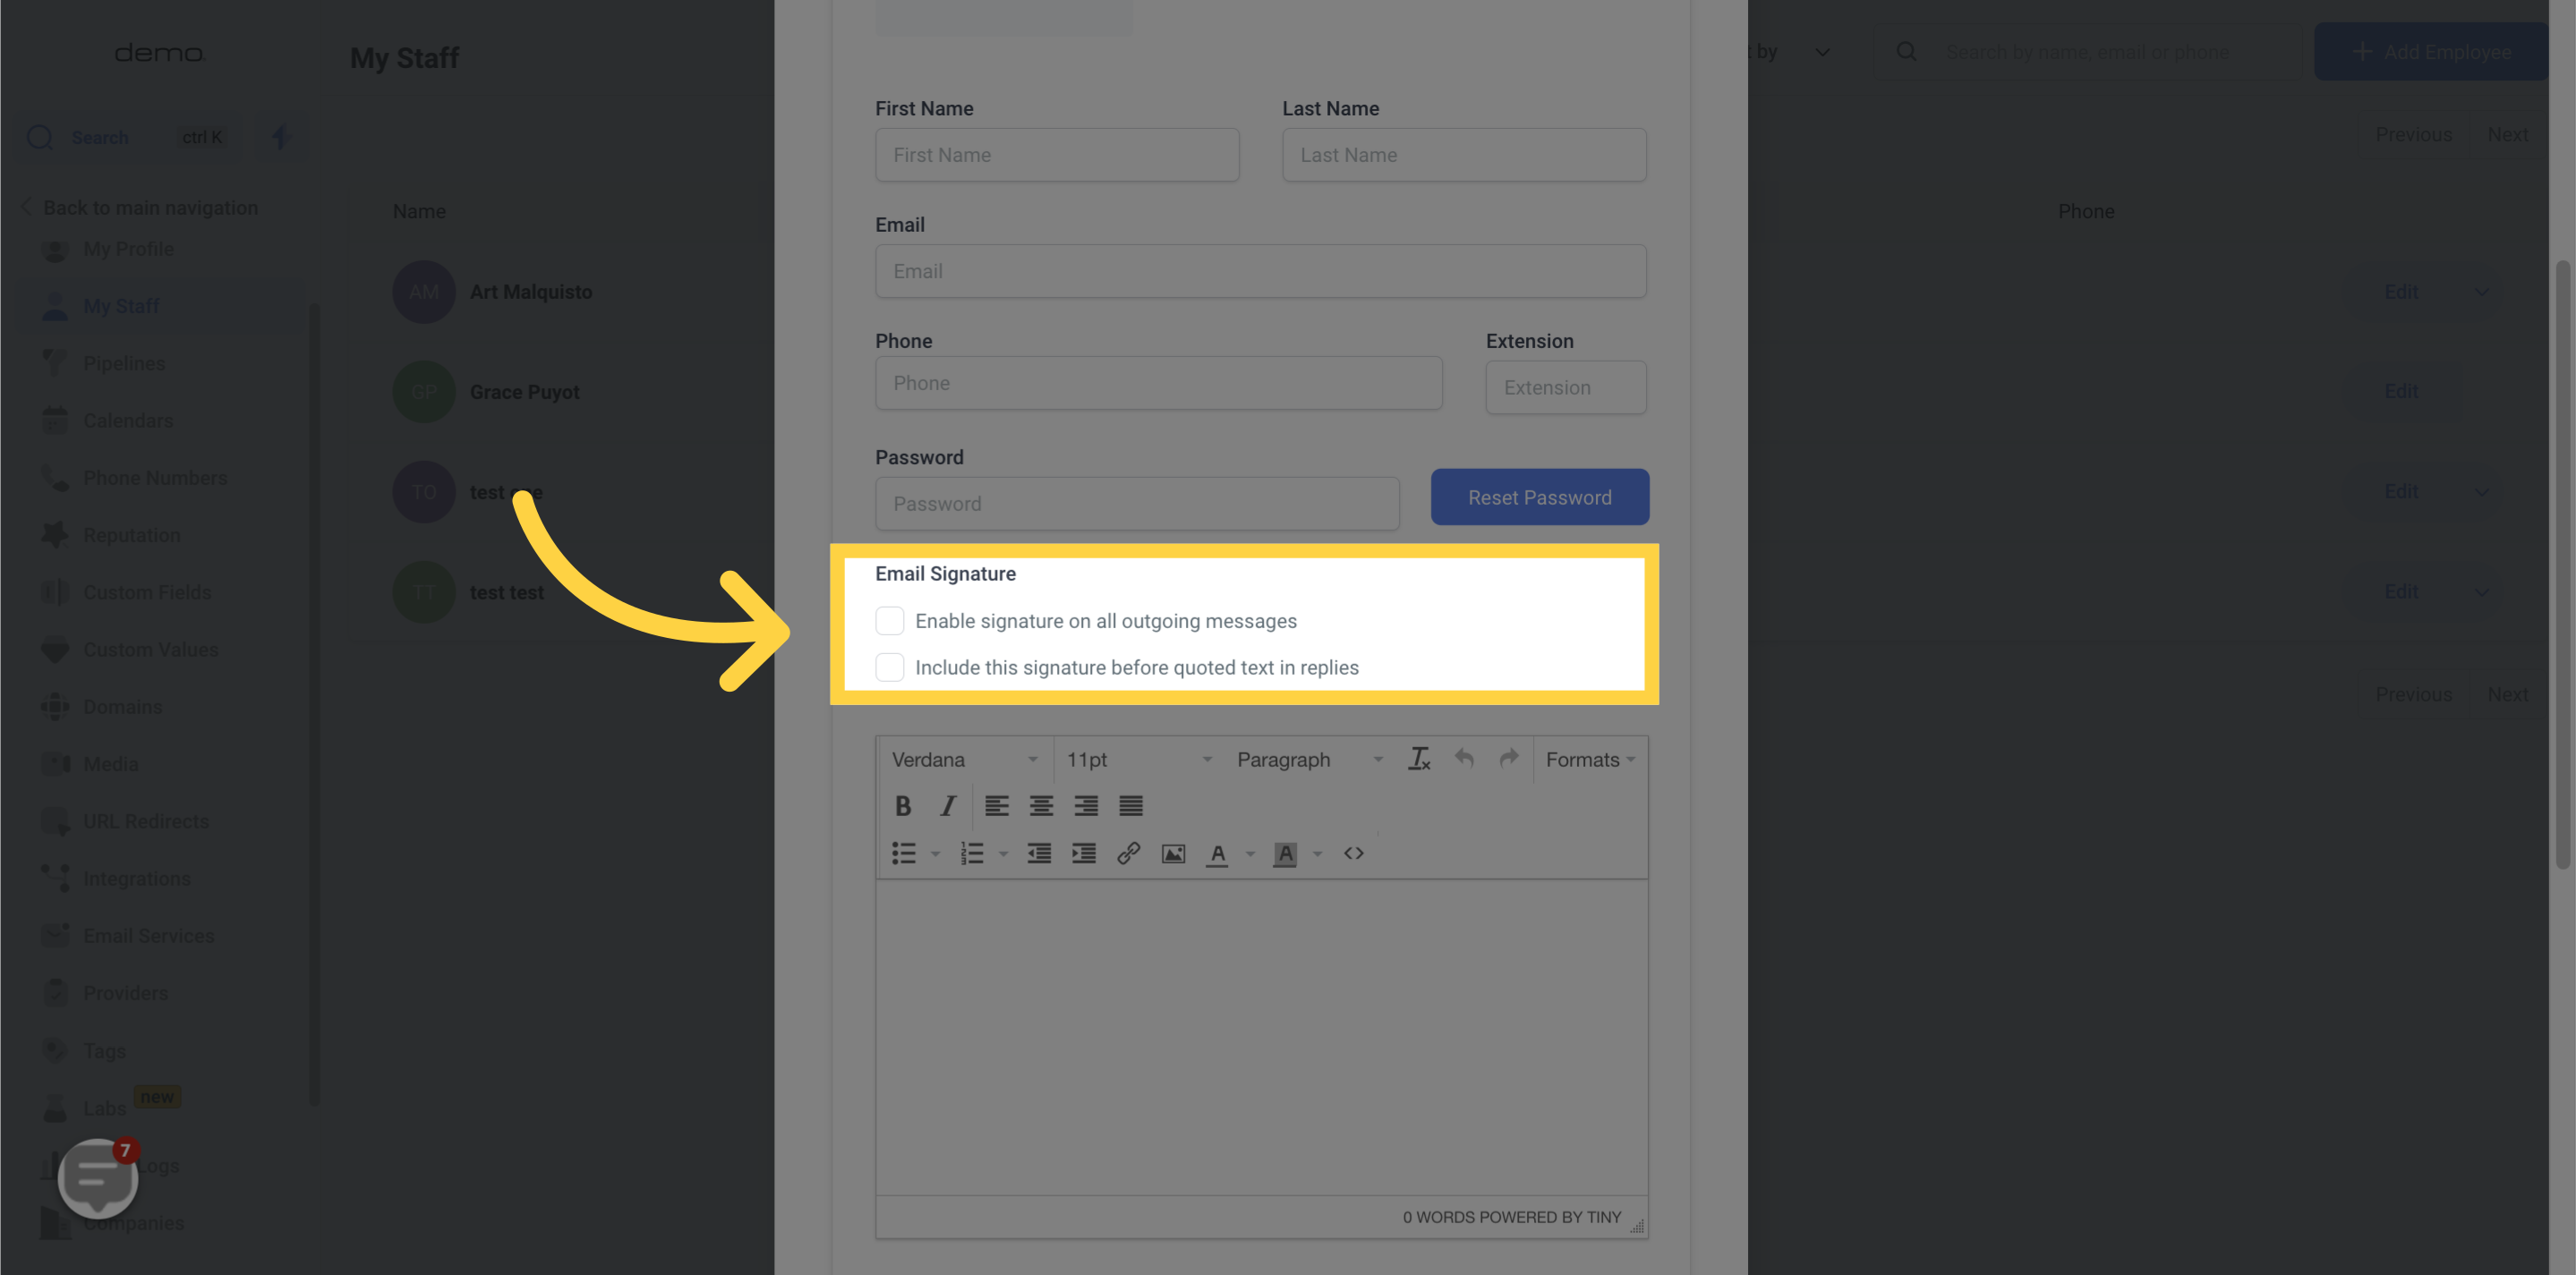
Establish an email signature for each user to enhance the campaigns they are assigned to.
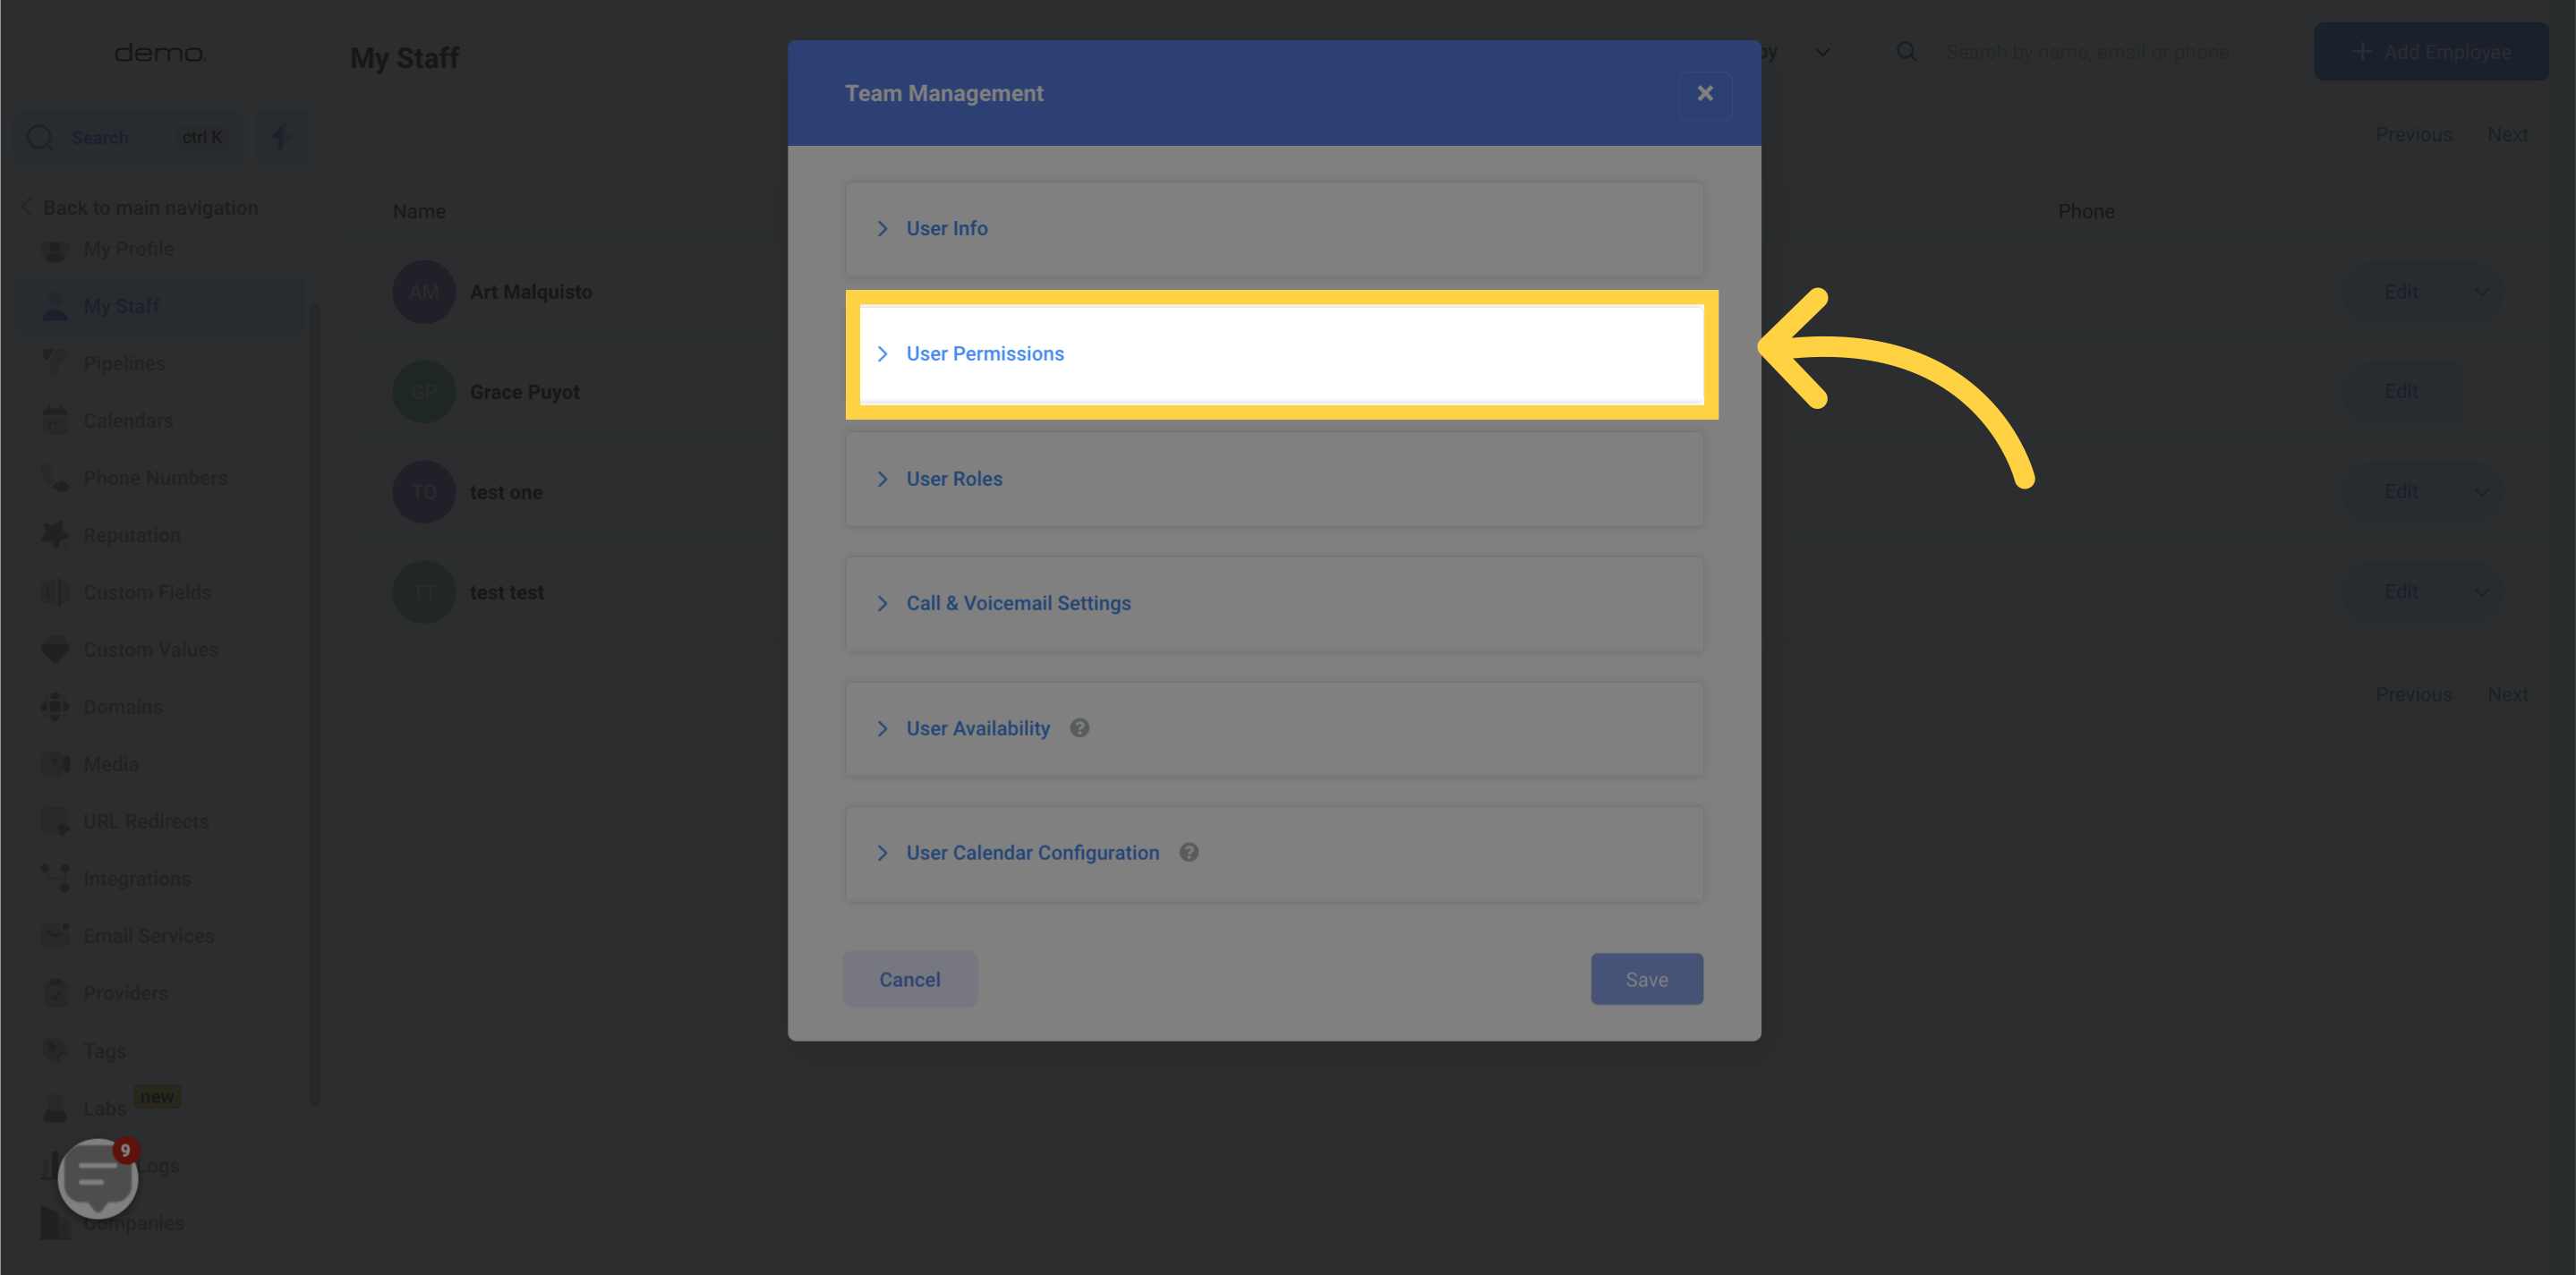
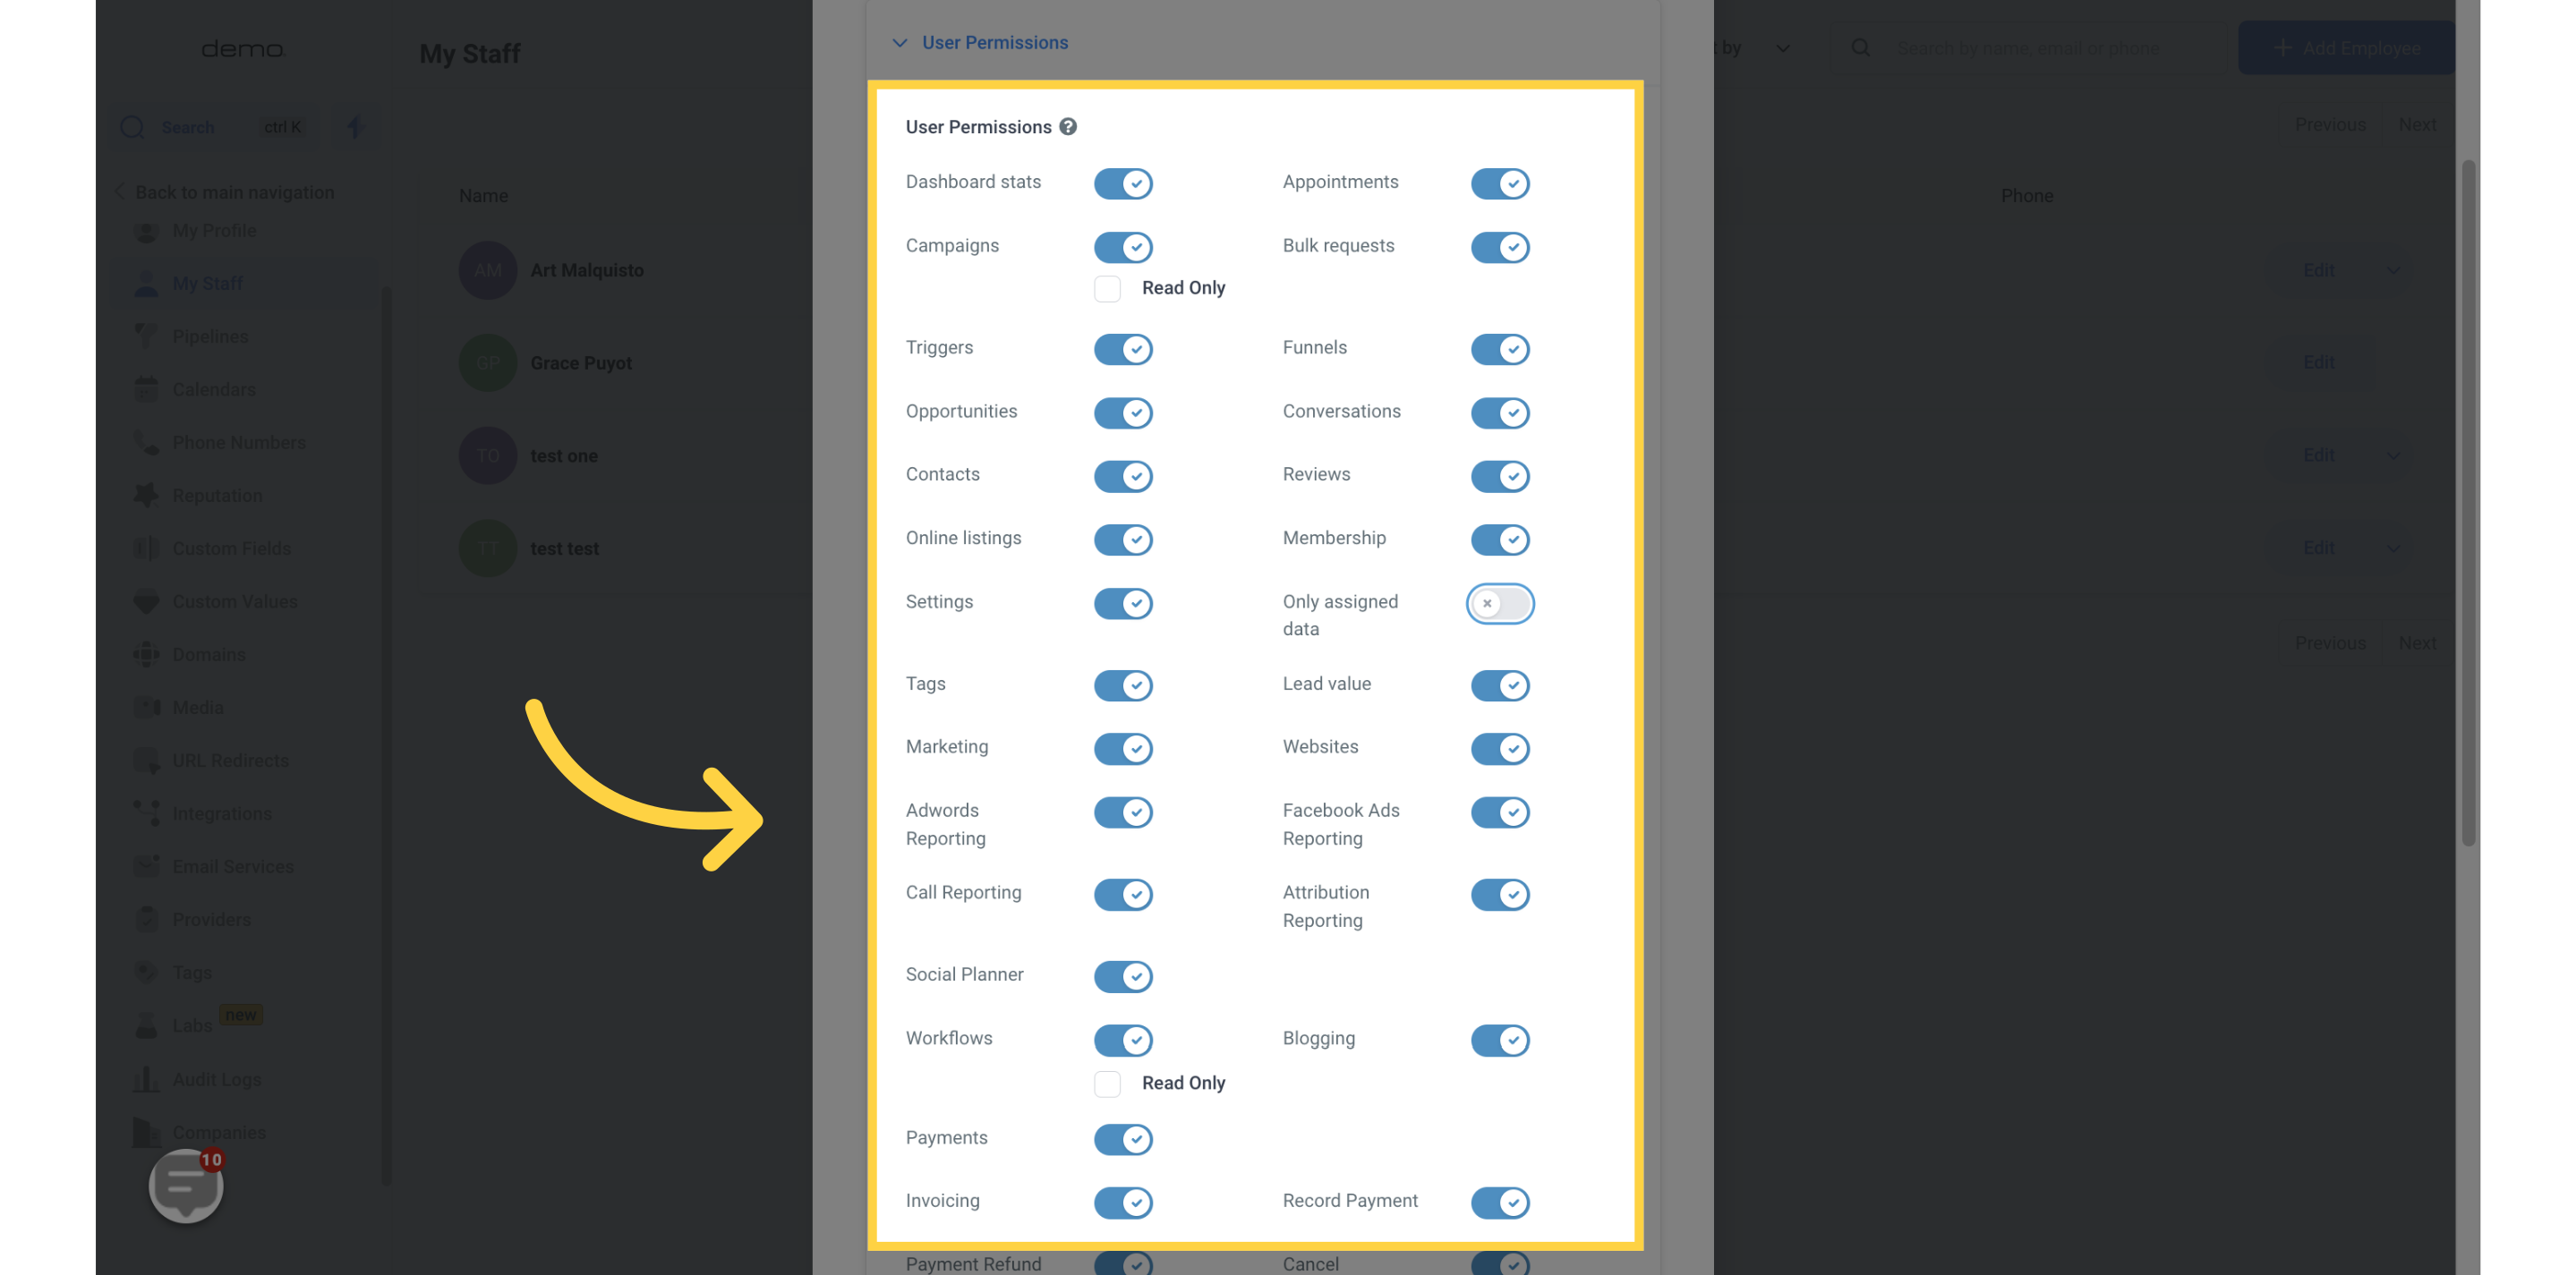
As an administrator, you have the ability to toggle user permissions on and off within your team.
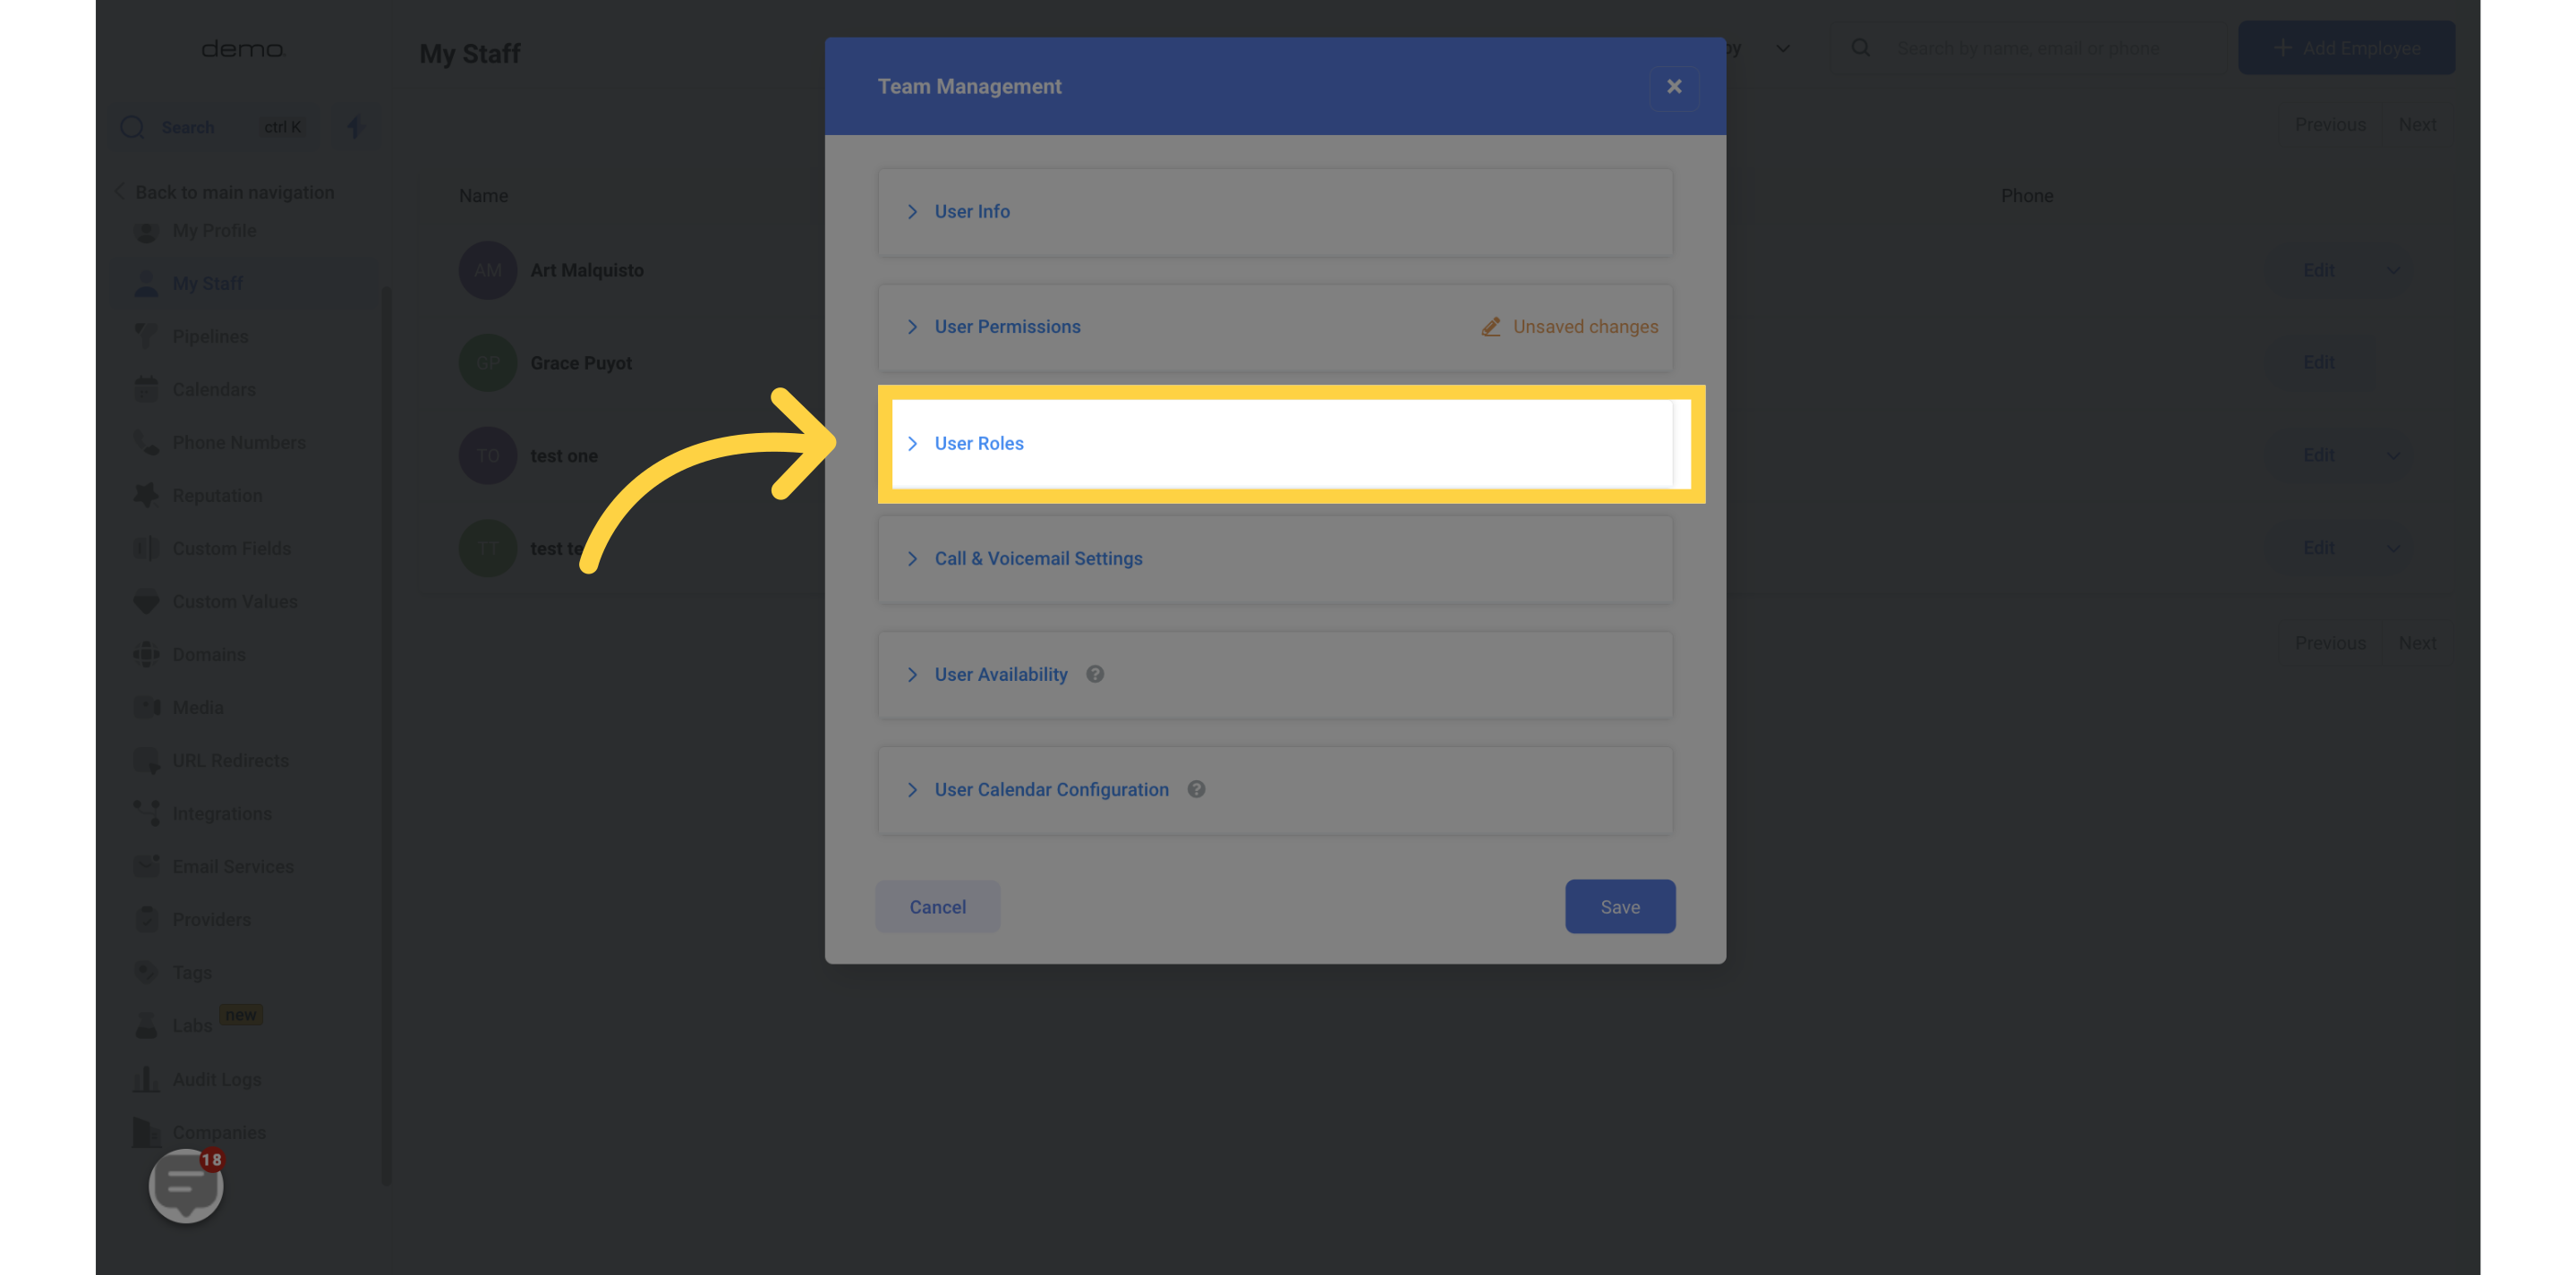
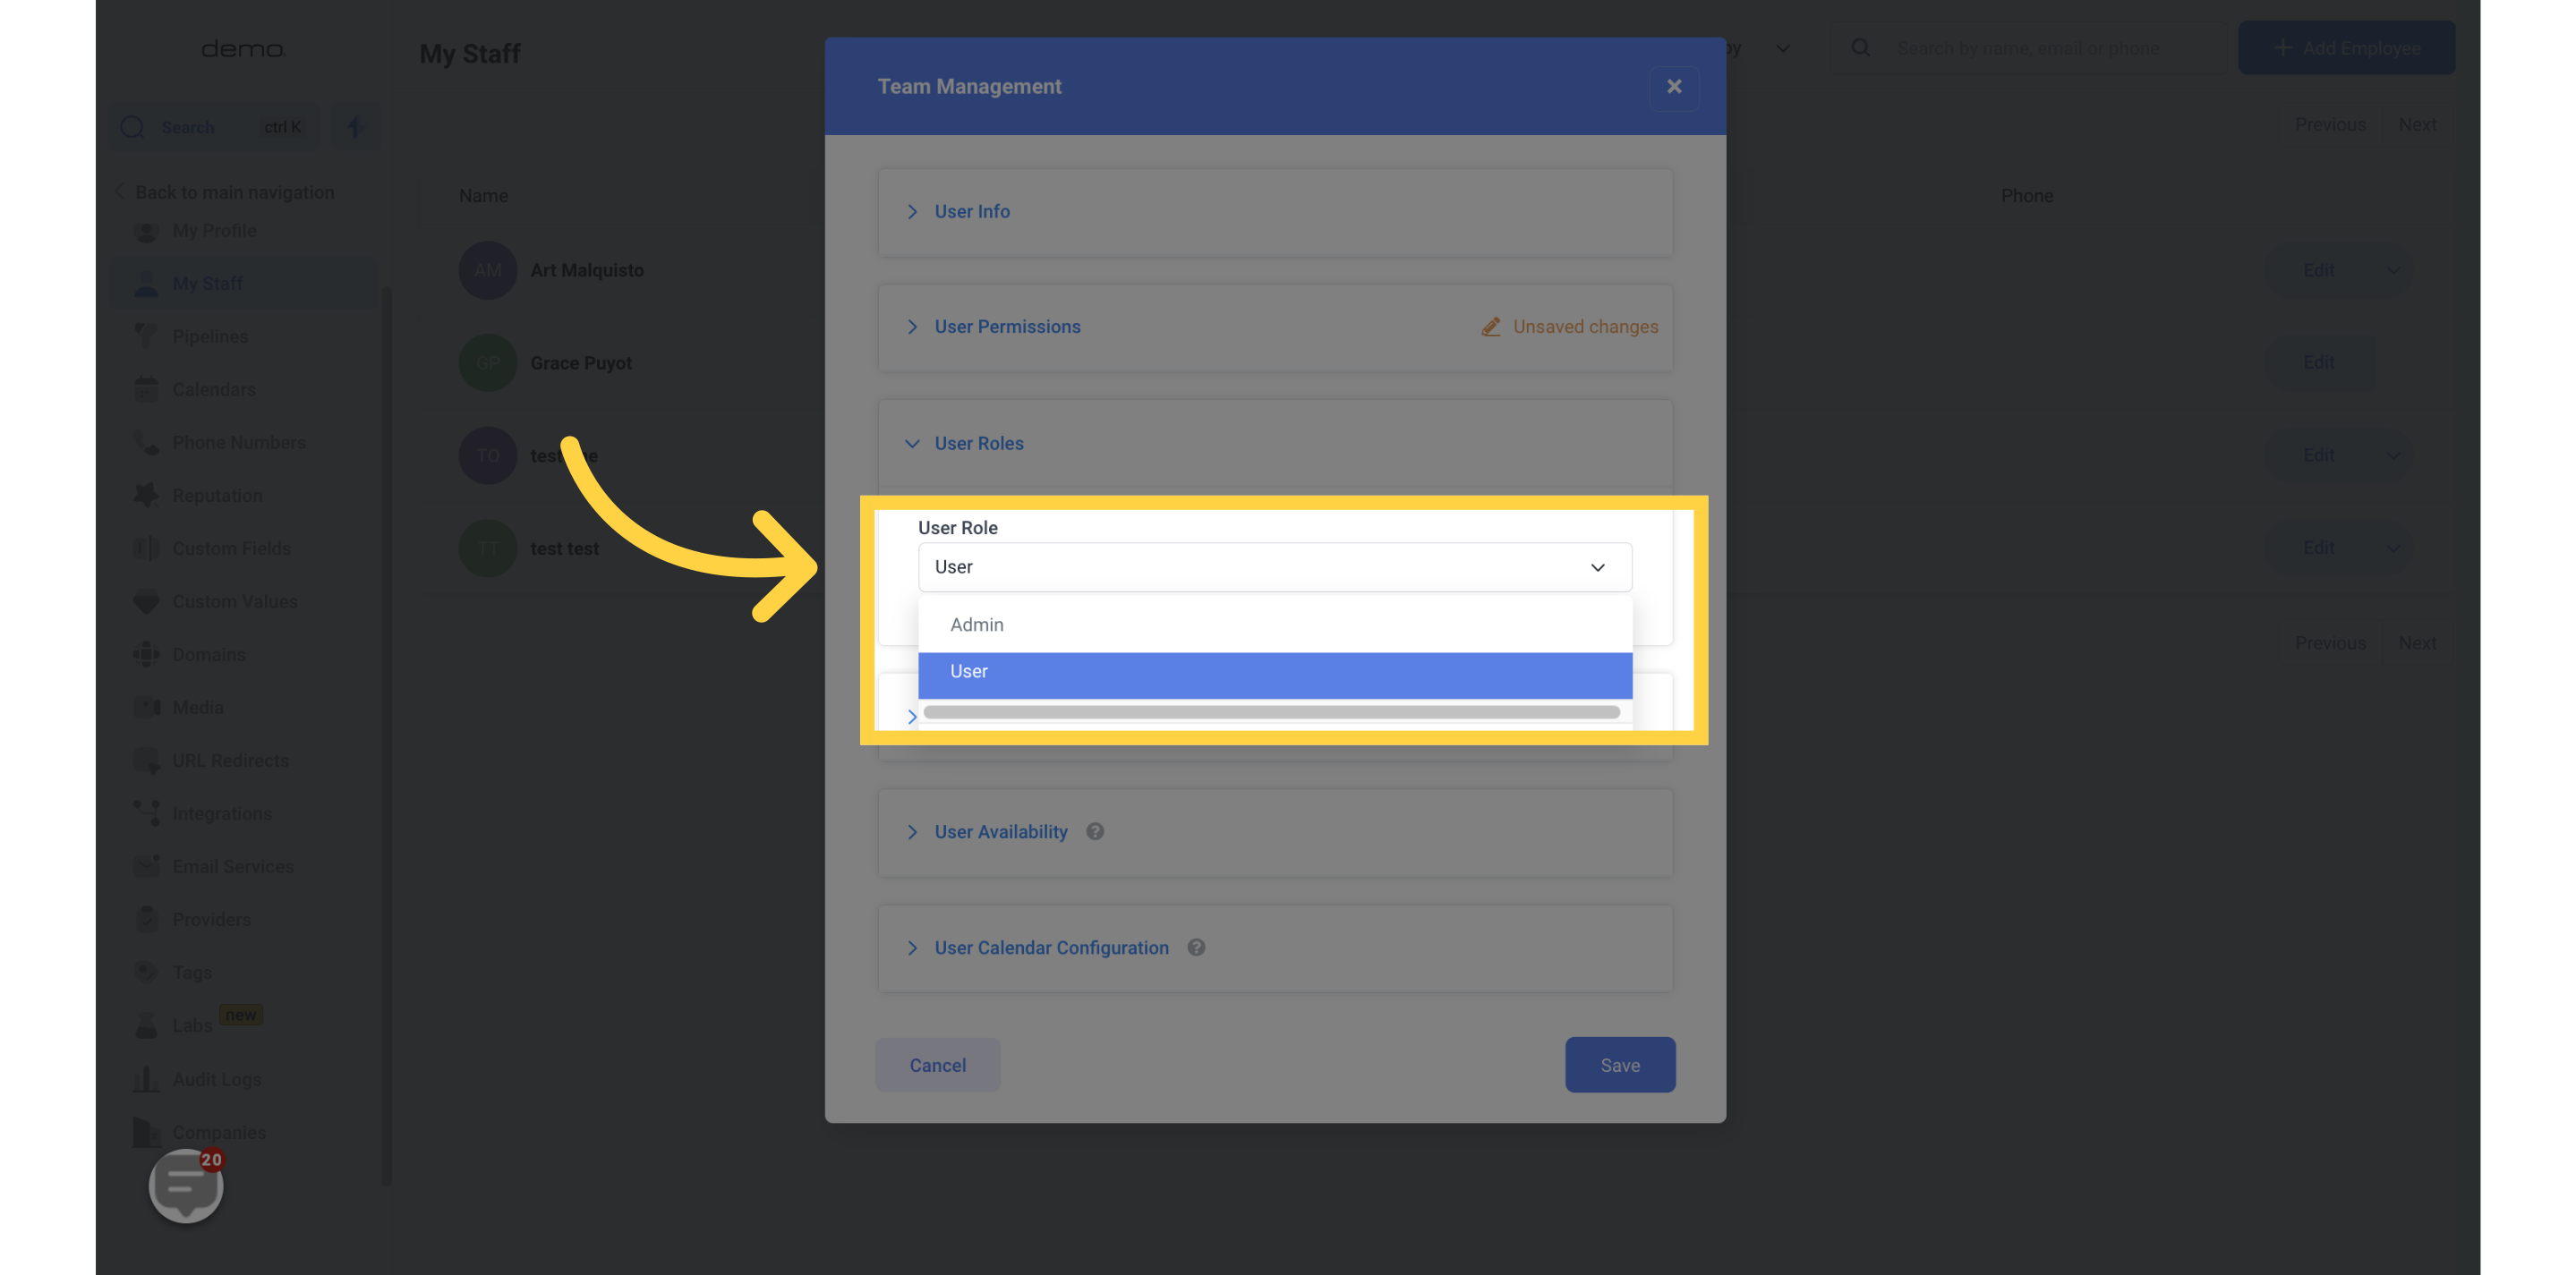
You have the option to assign users as either a general user or an admin.
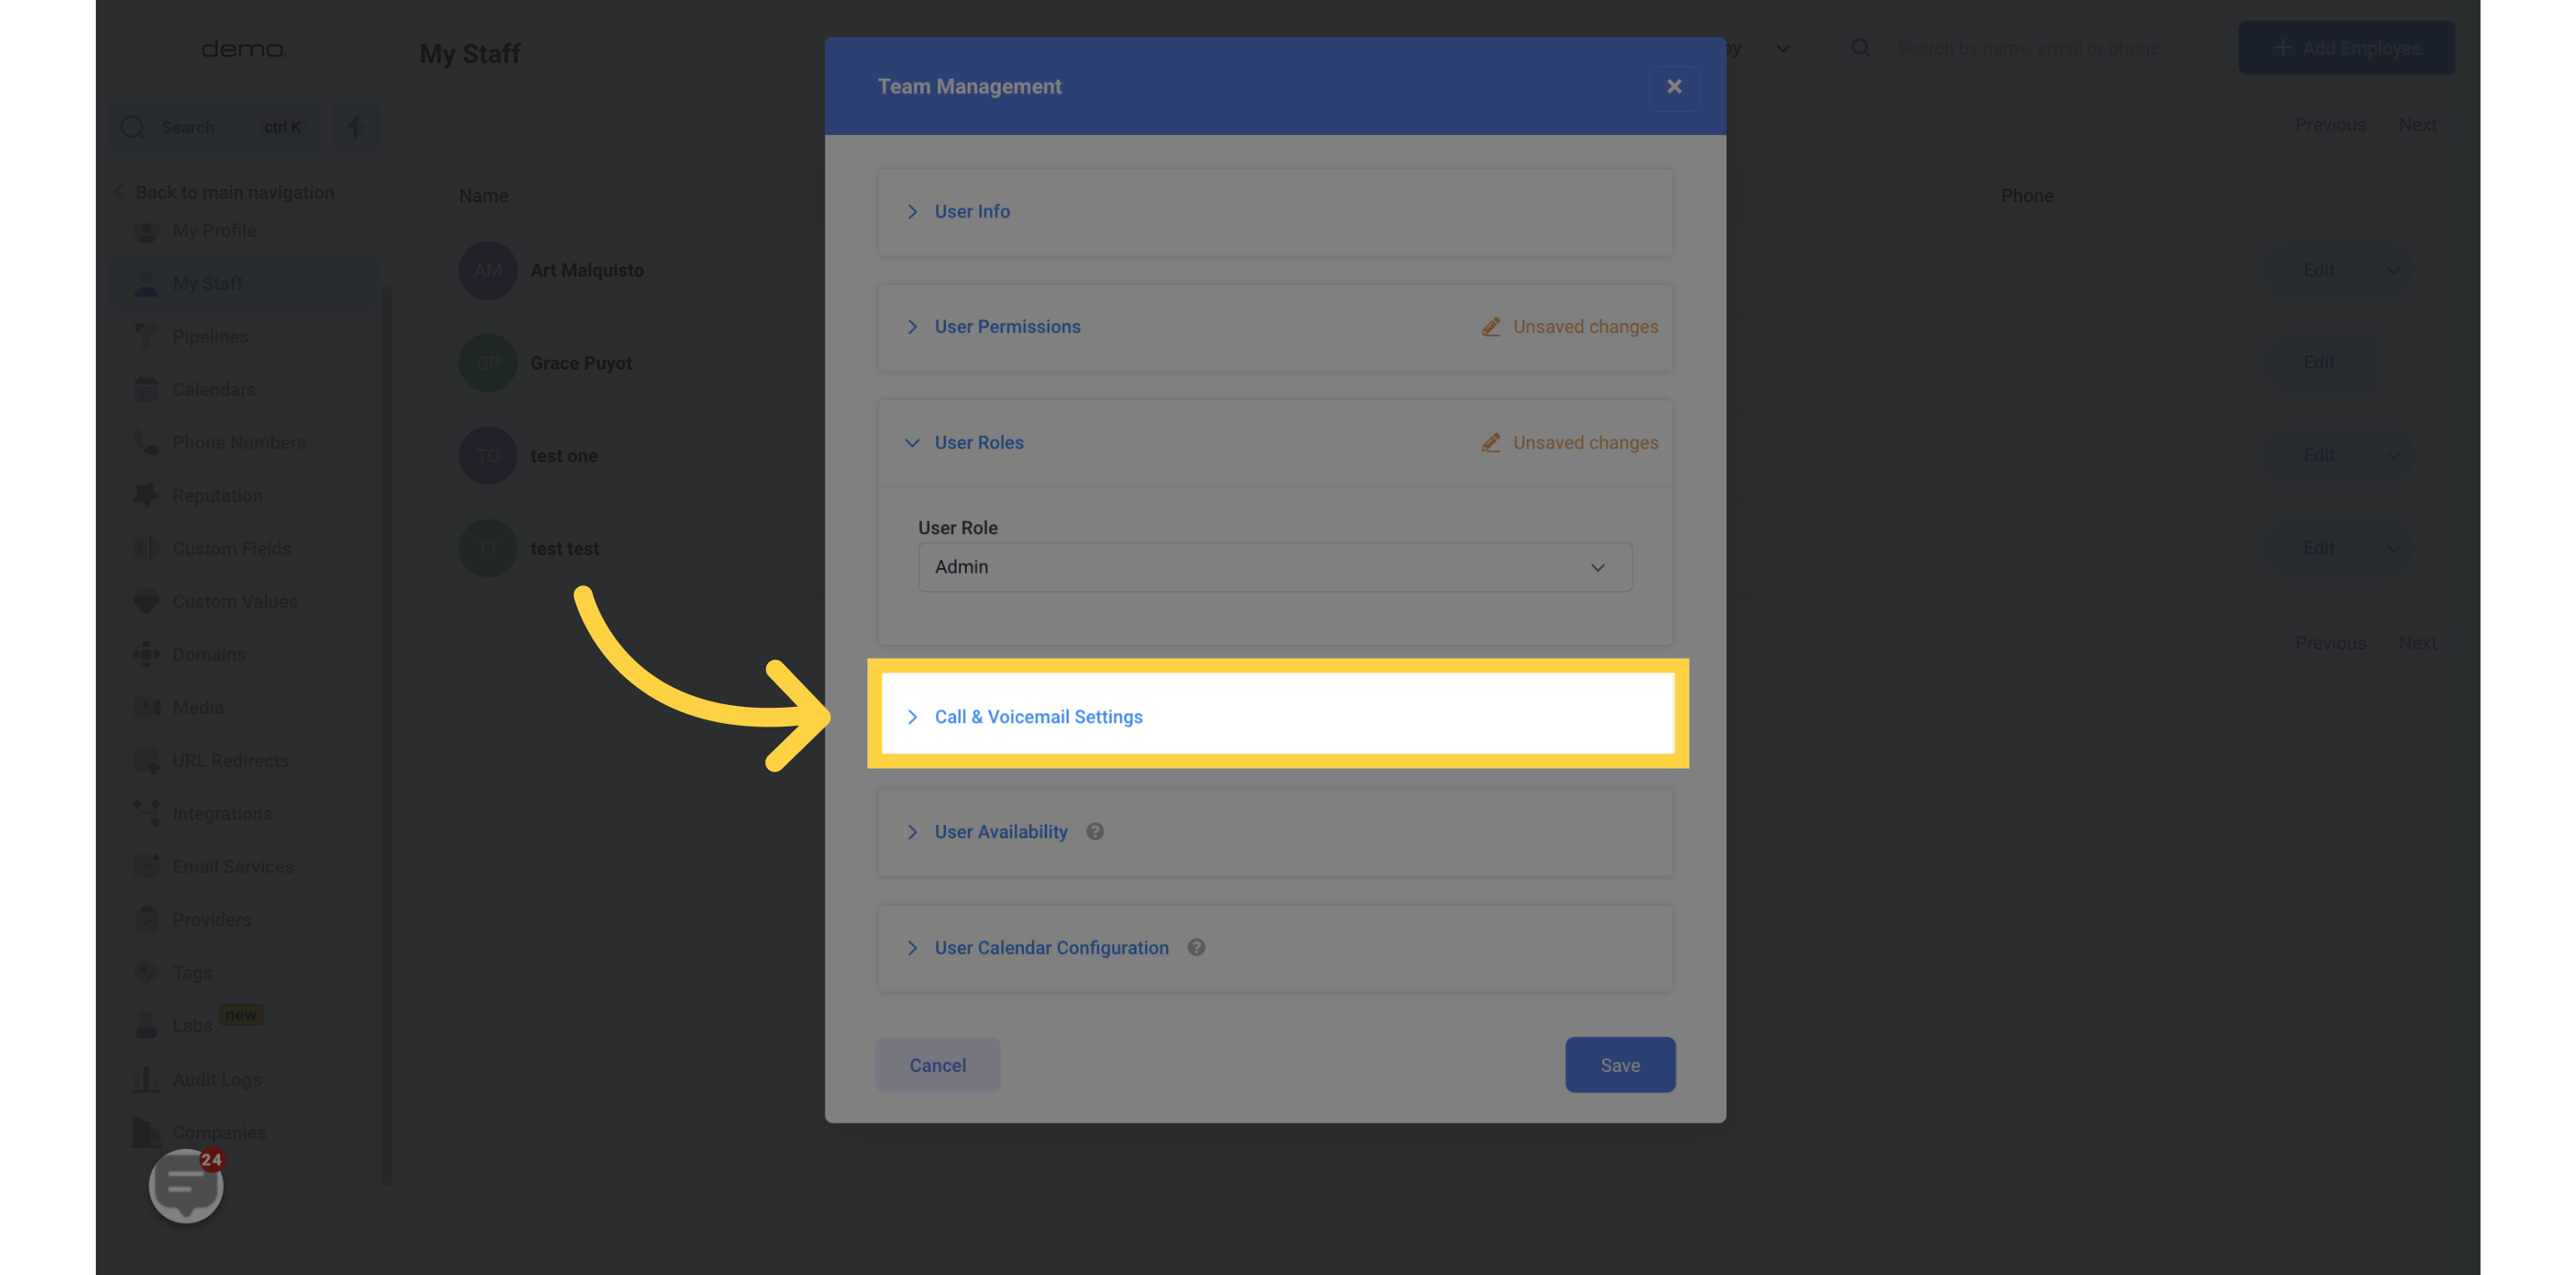
If a user requires a dedicated number, you can include an inbound Twilio number here.
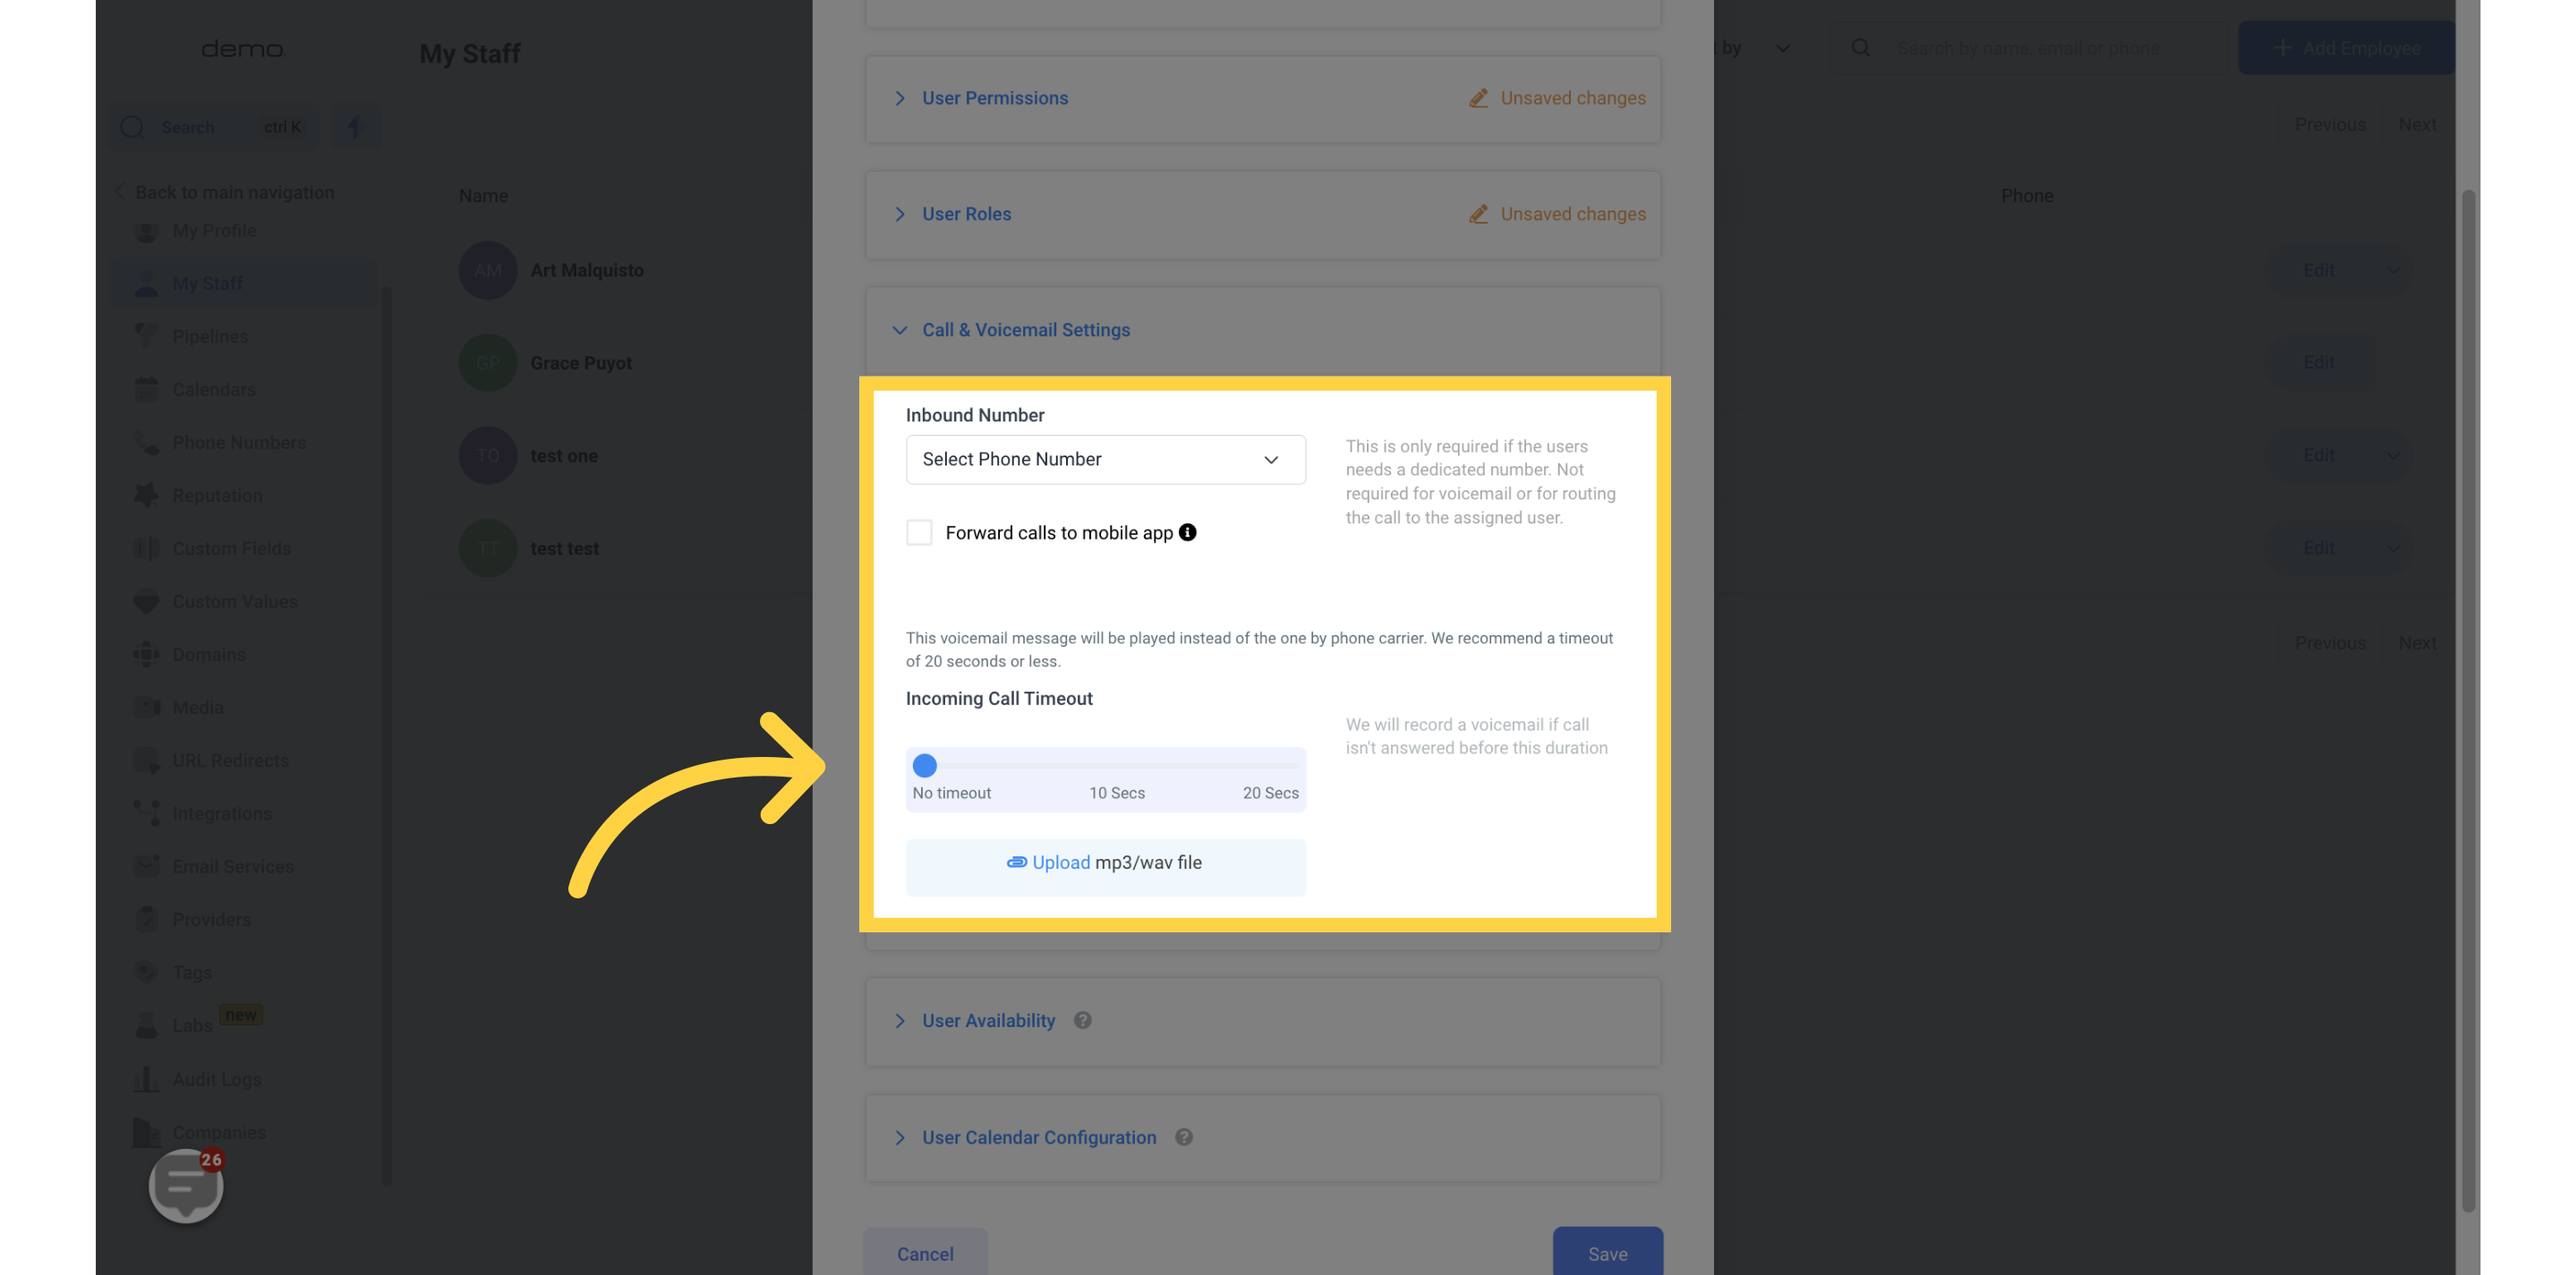
You can set the call time-out limit.
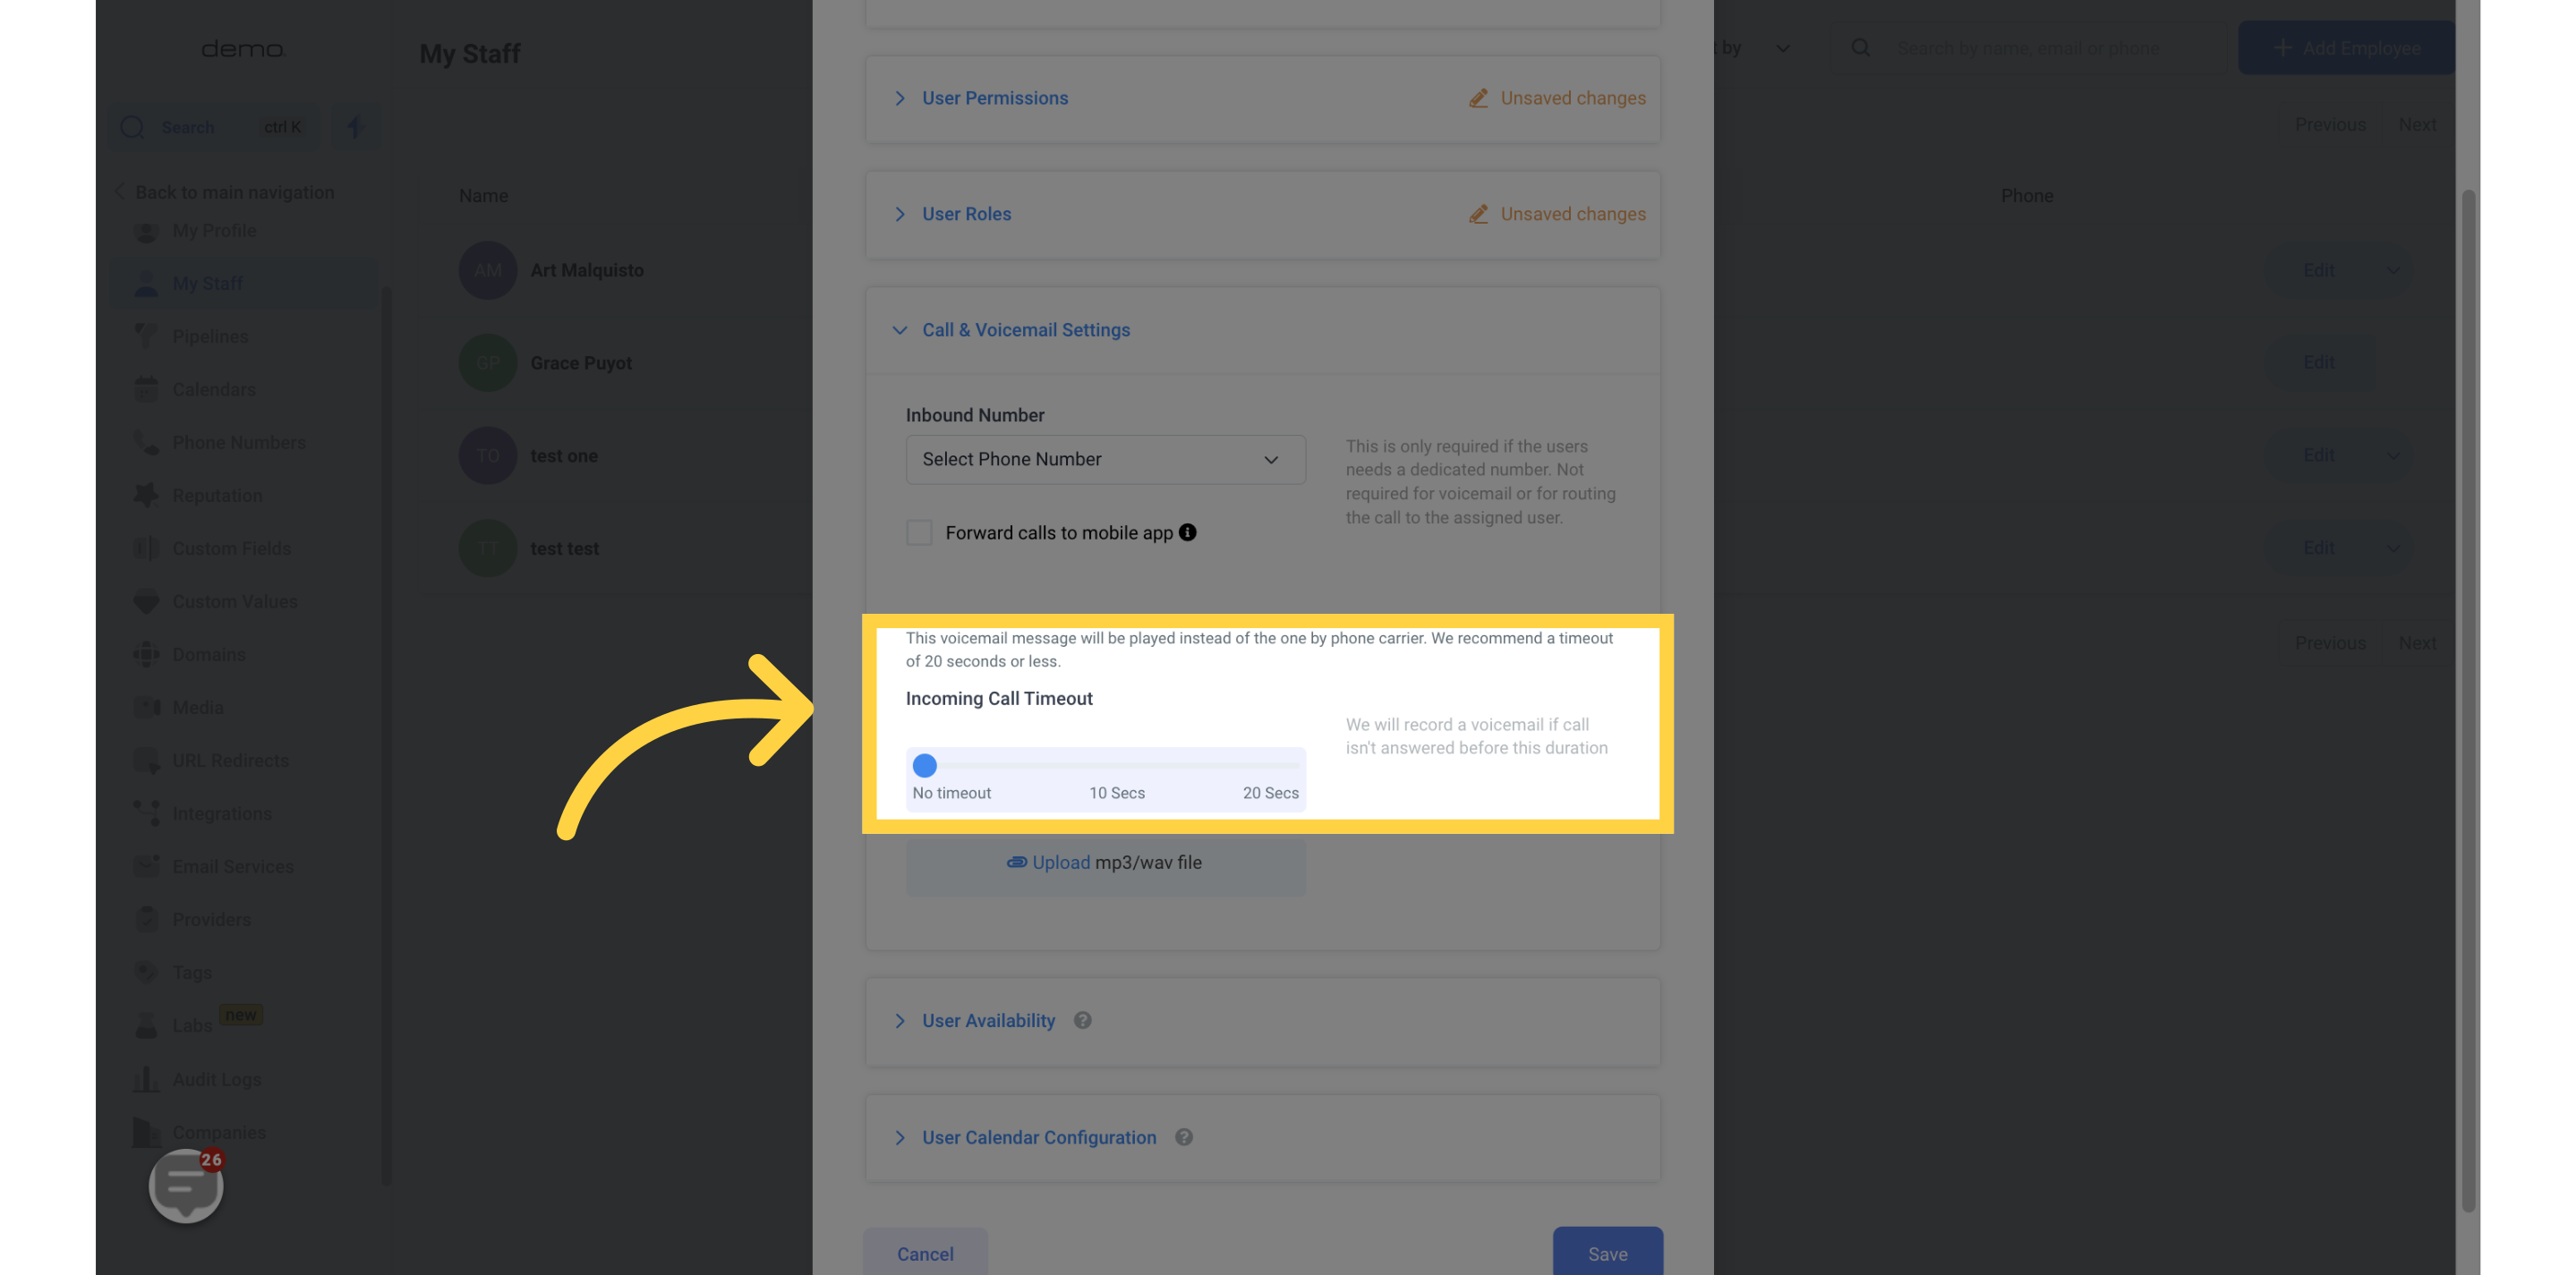
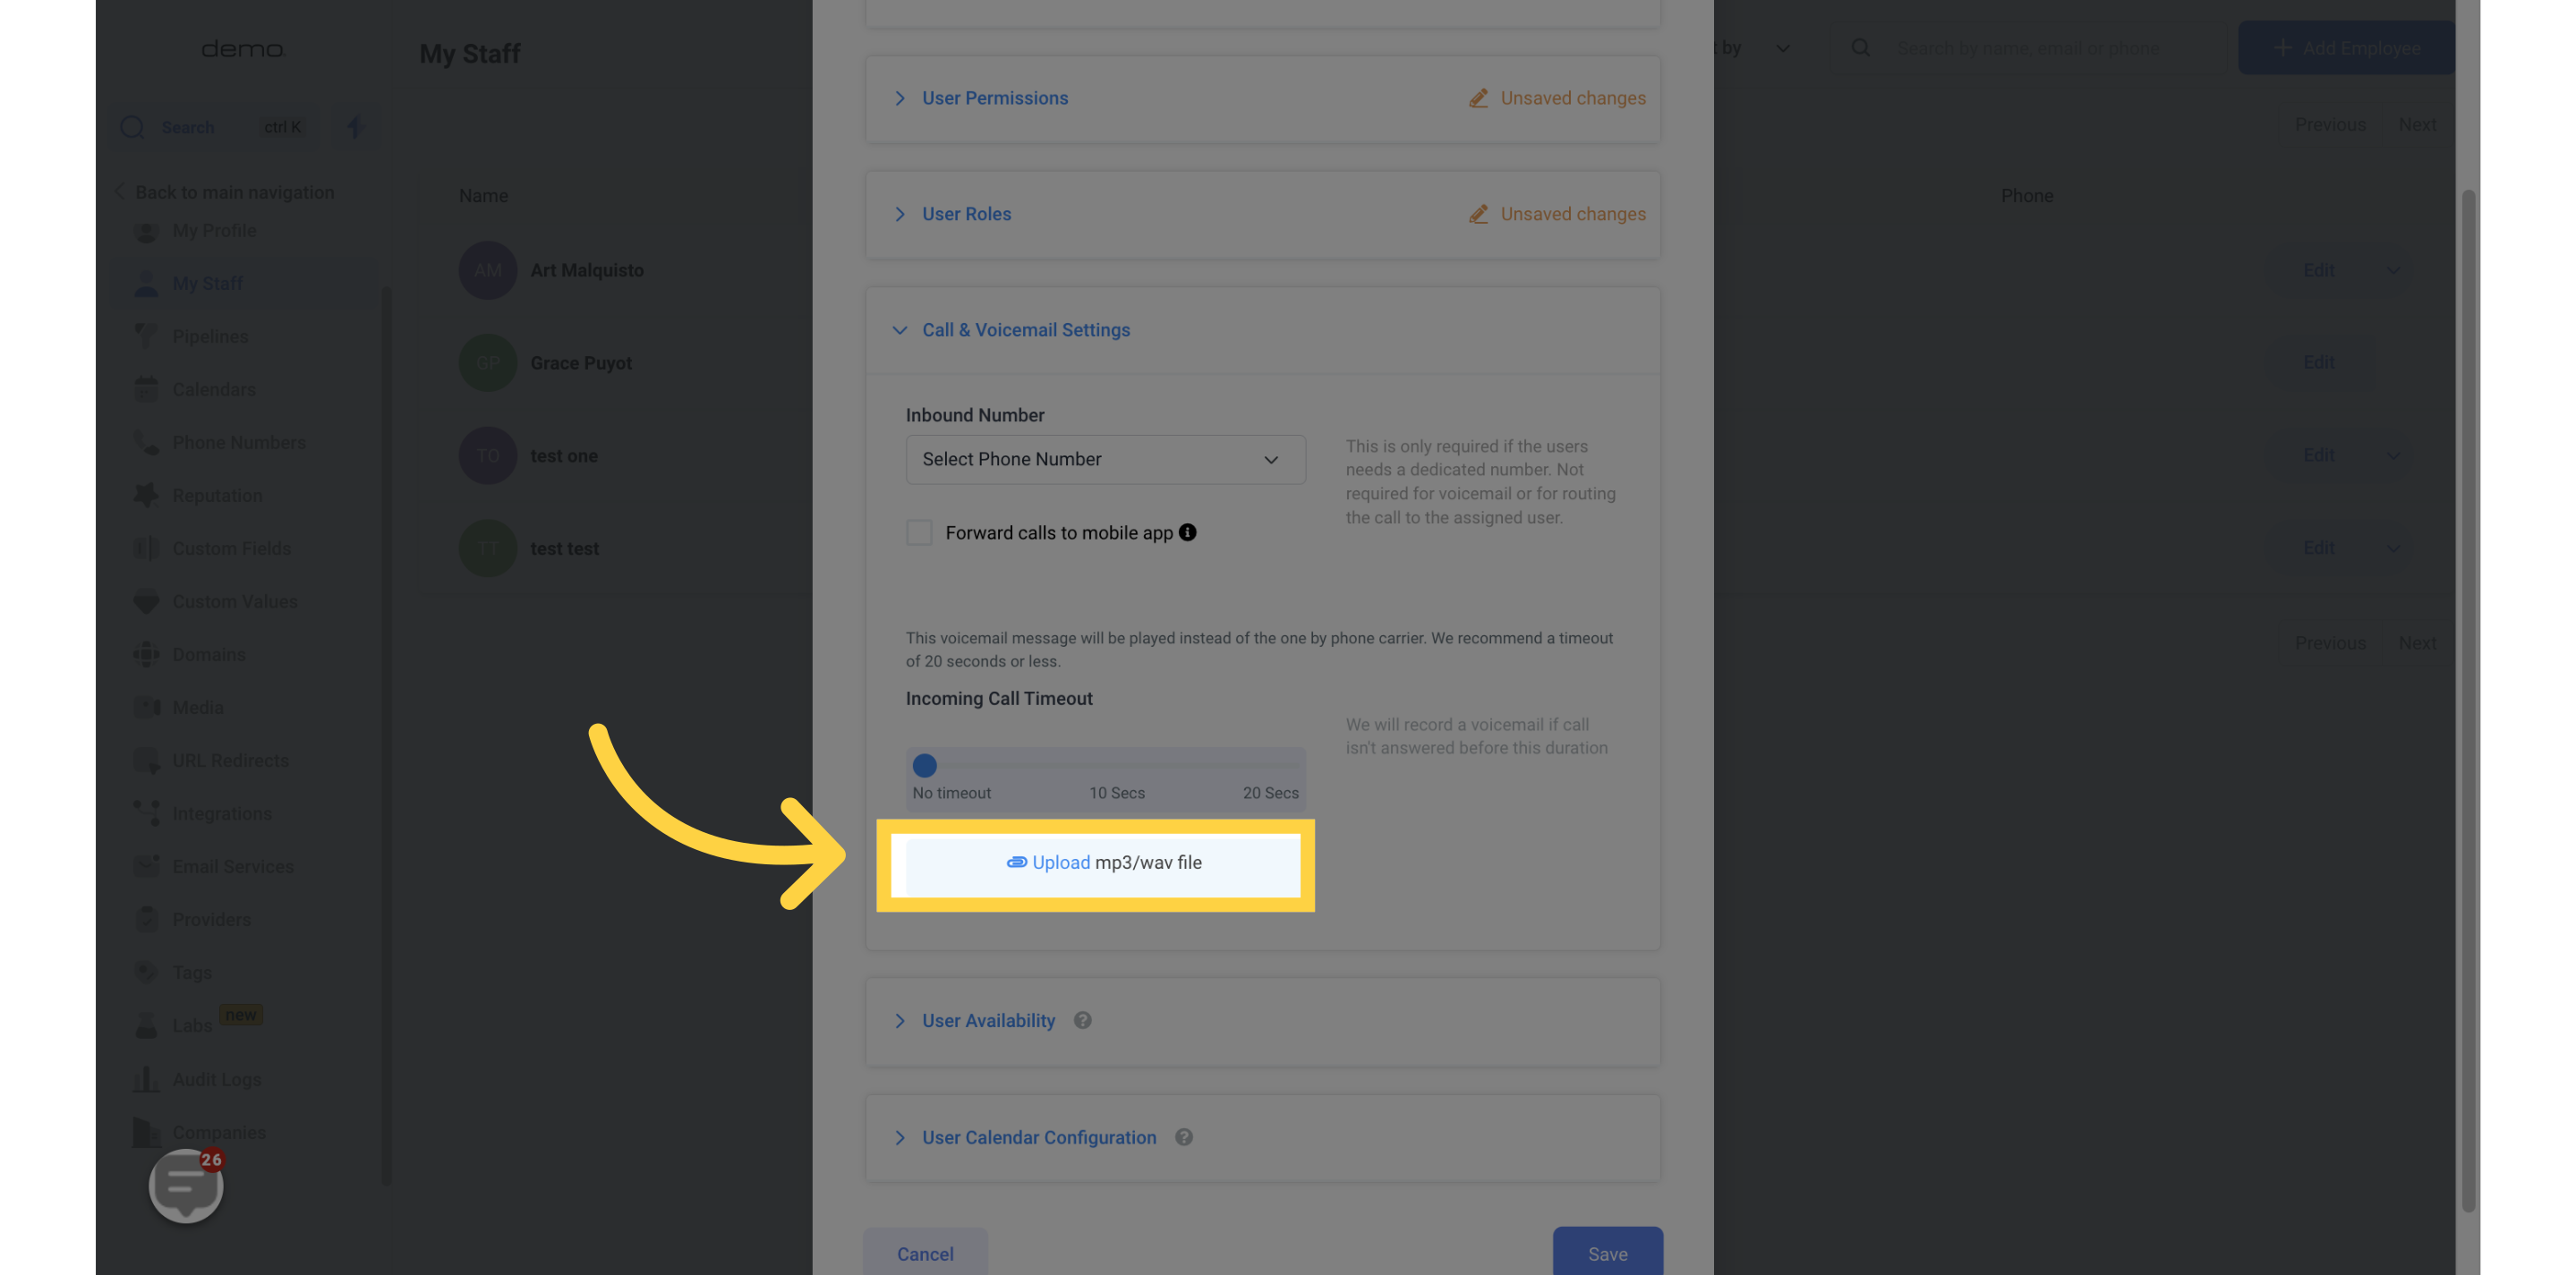
You have the option to upload a voicemail recording file
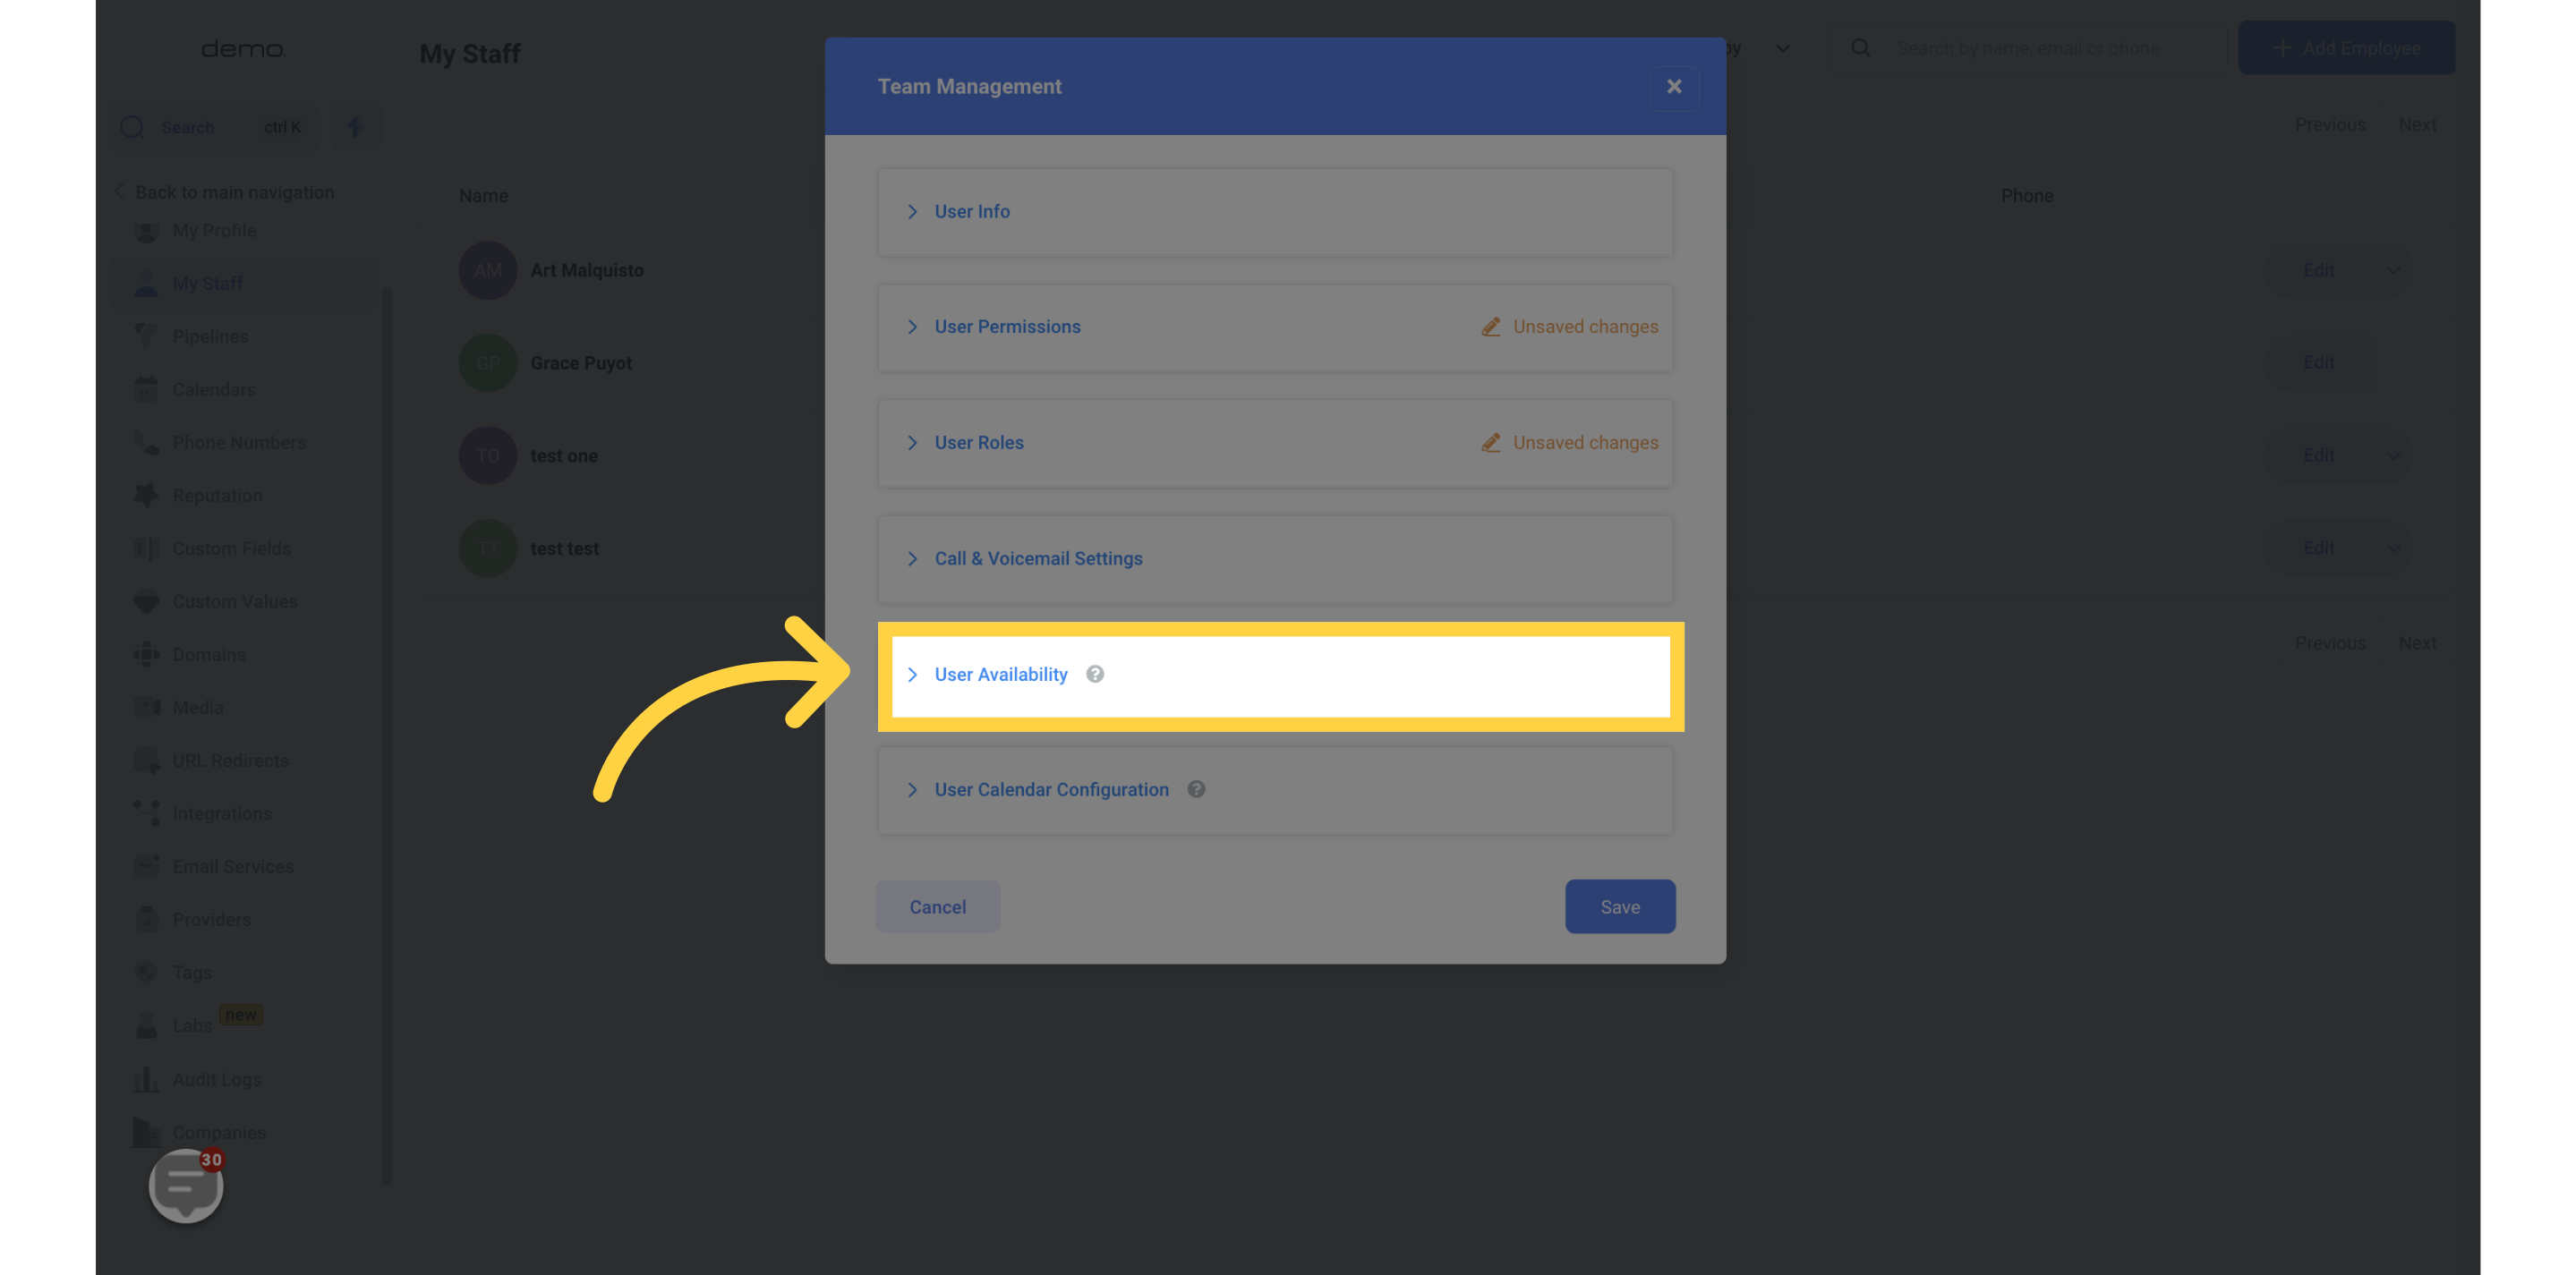
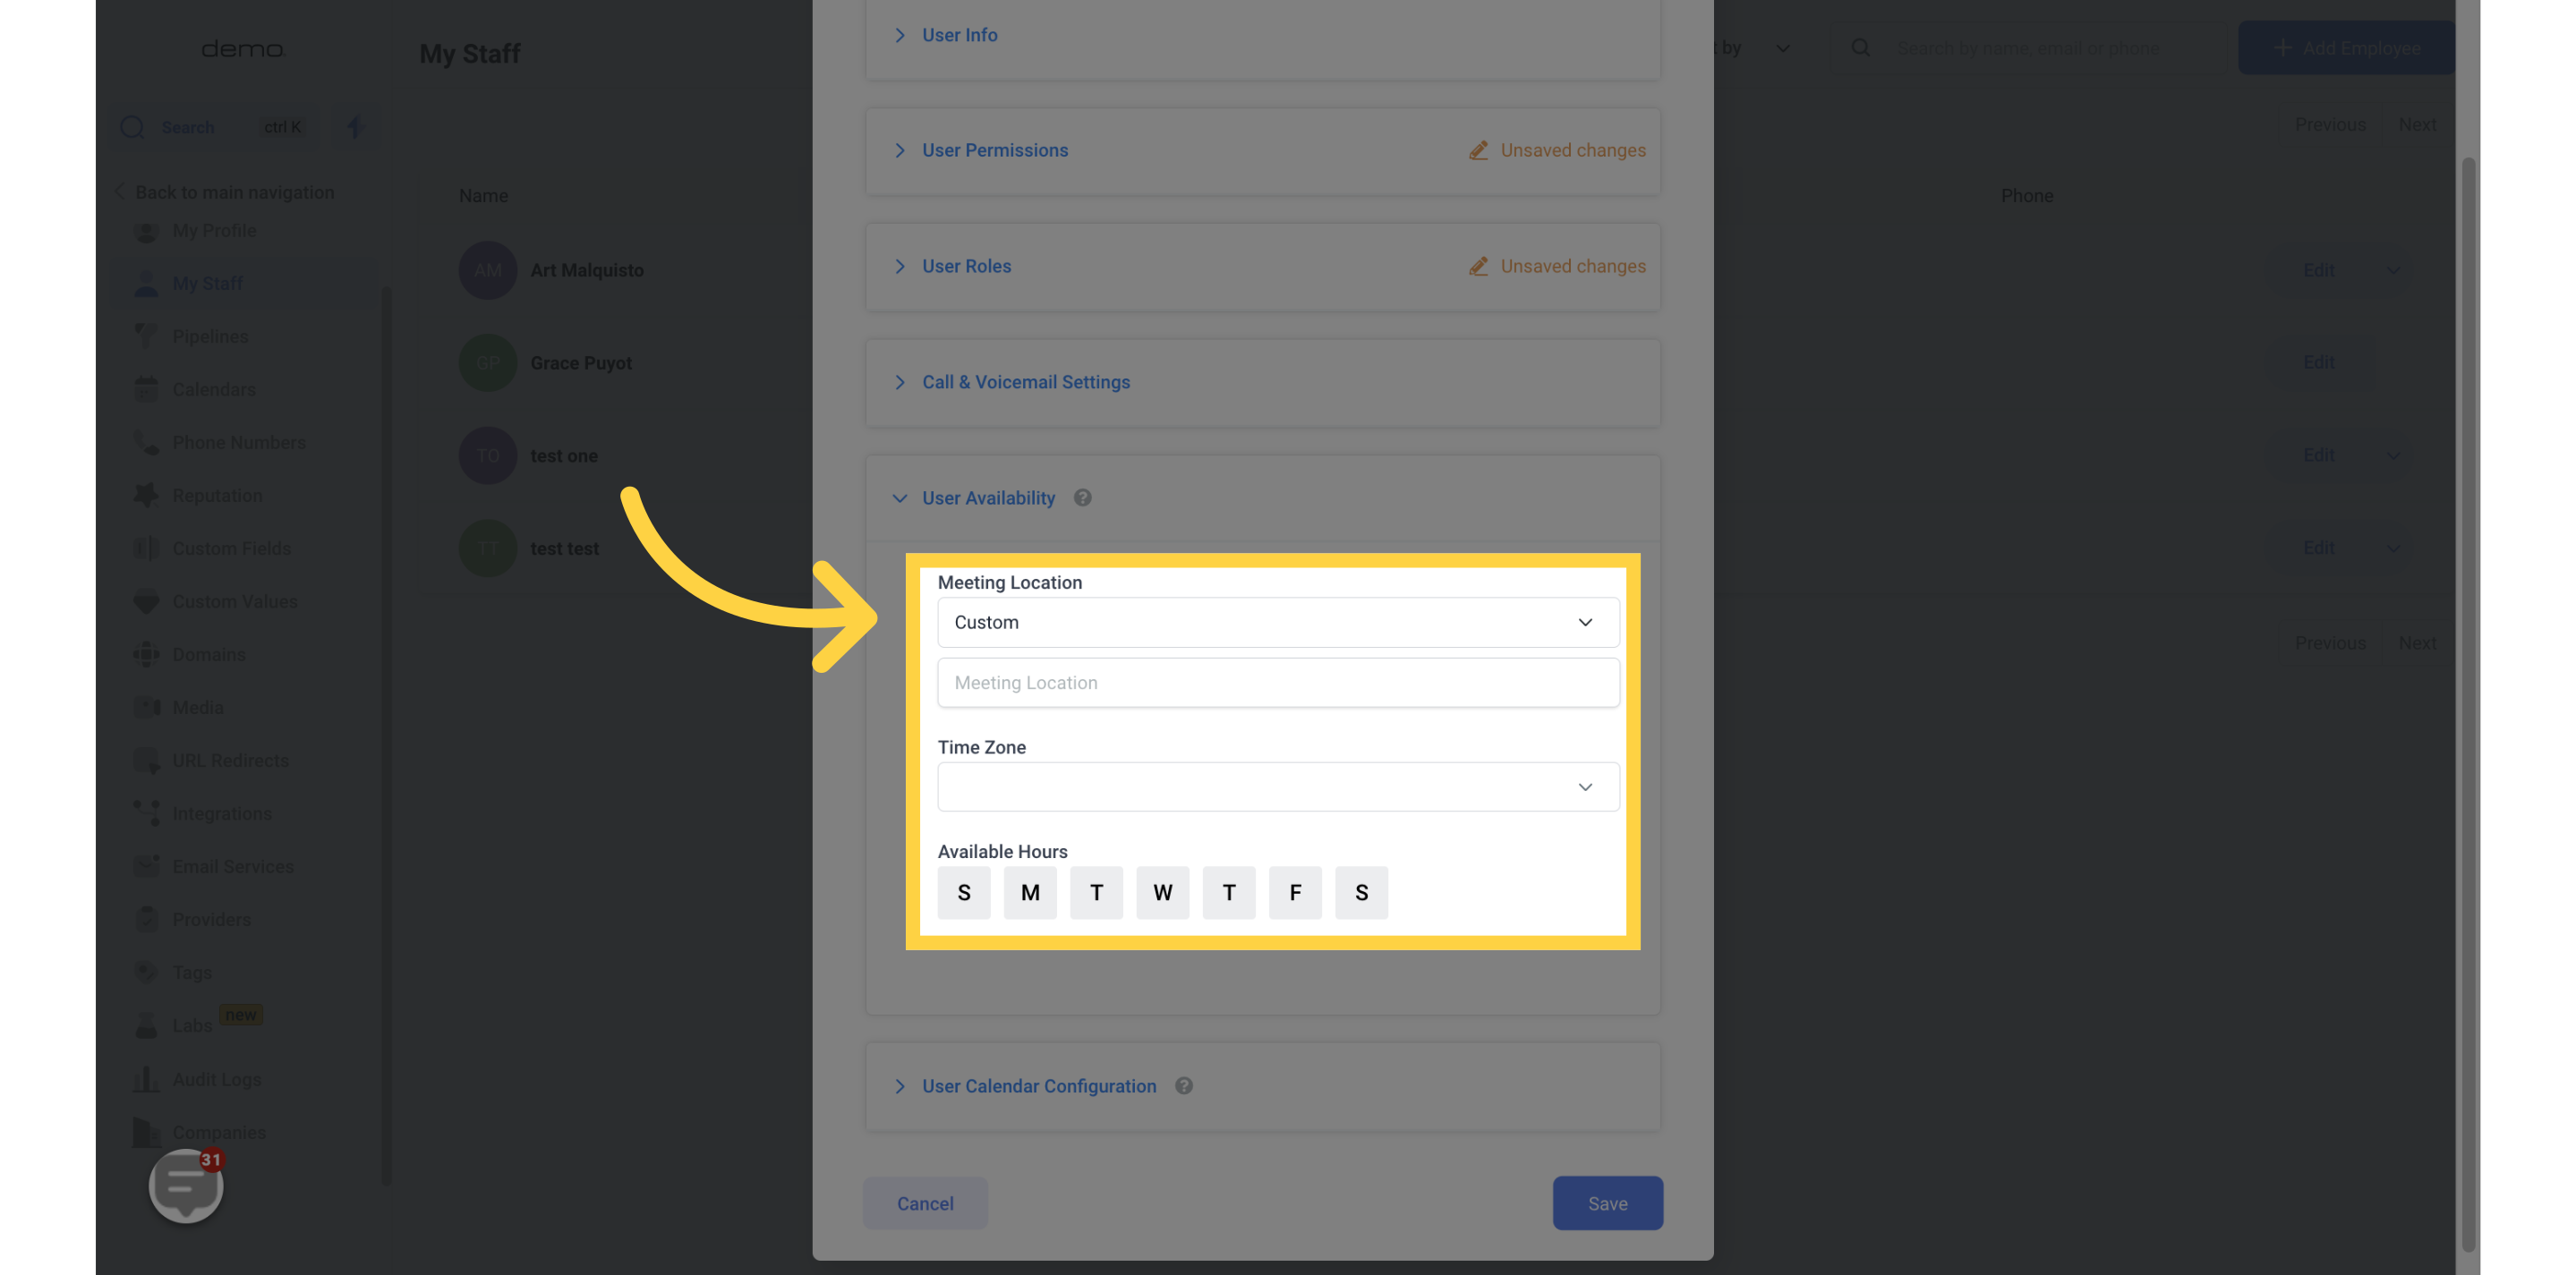
User availability allows you to customize the default availability for each user.
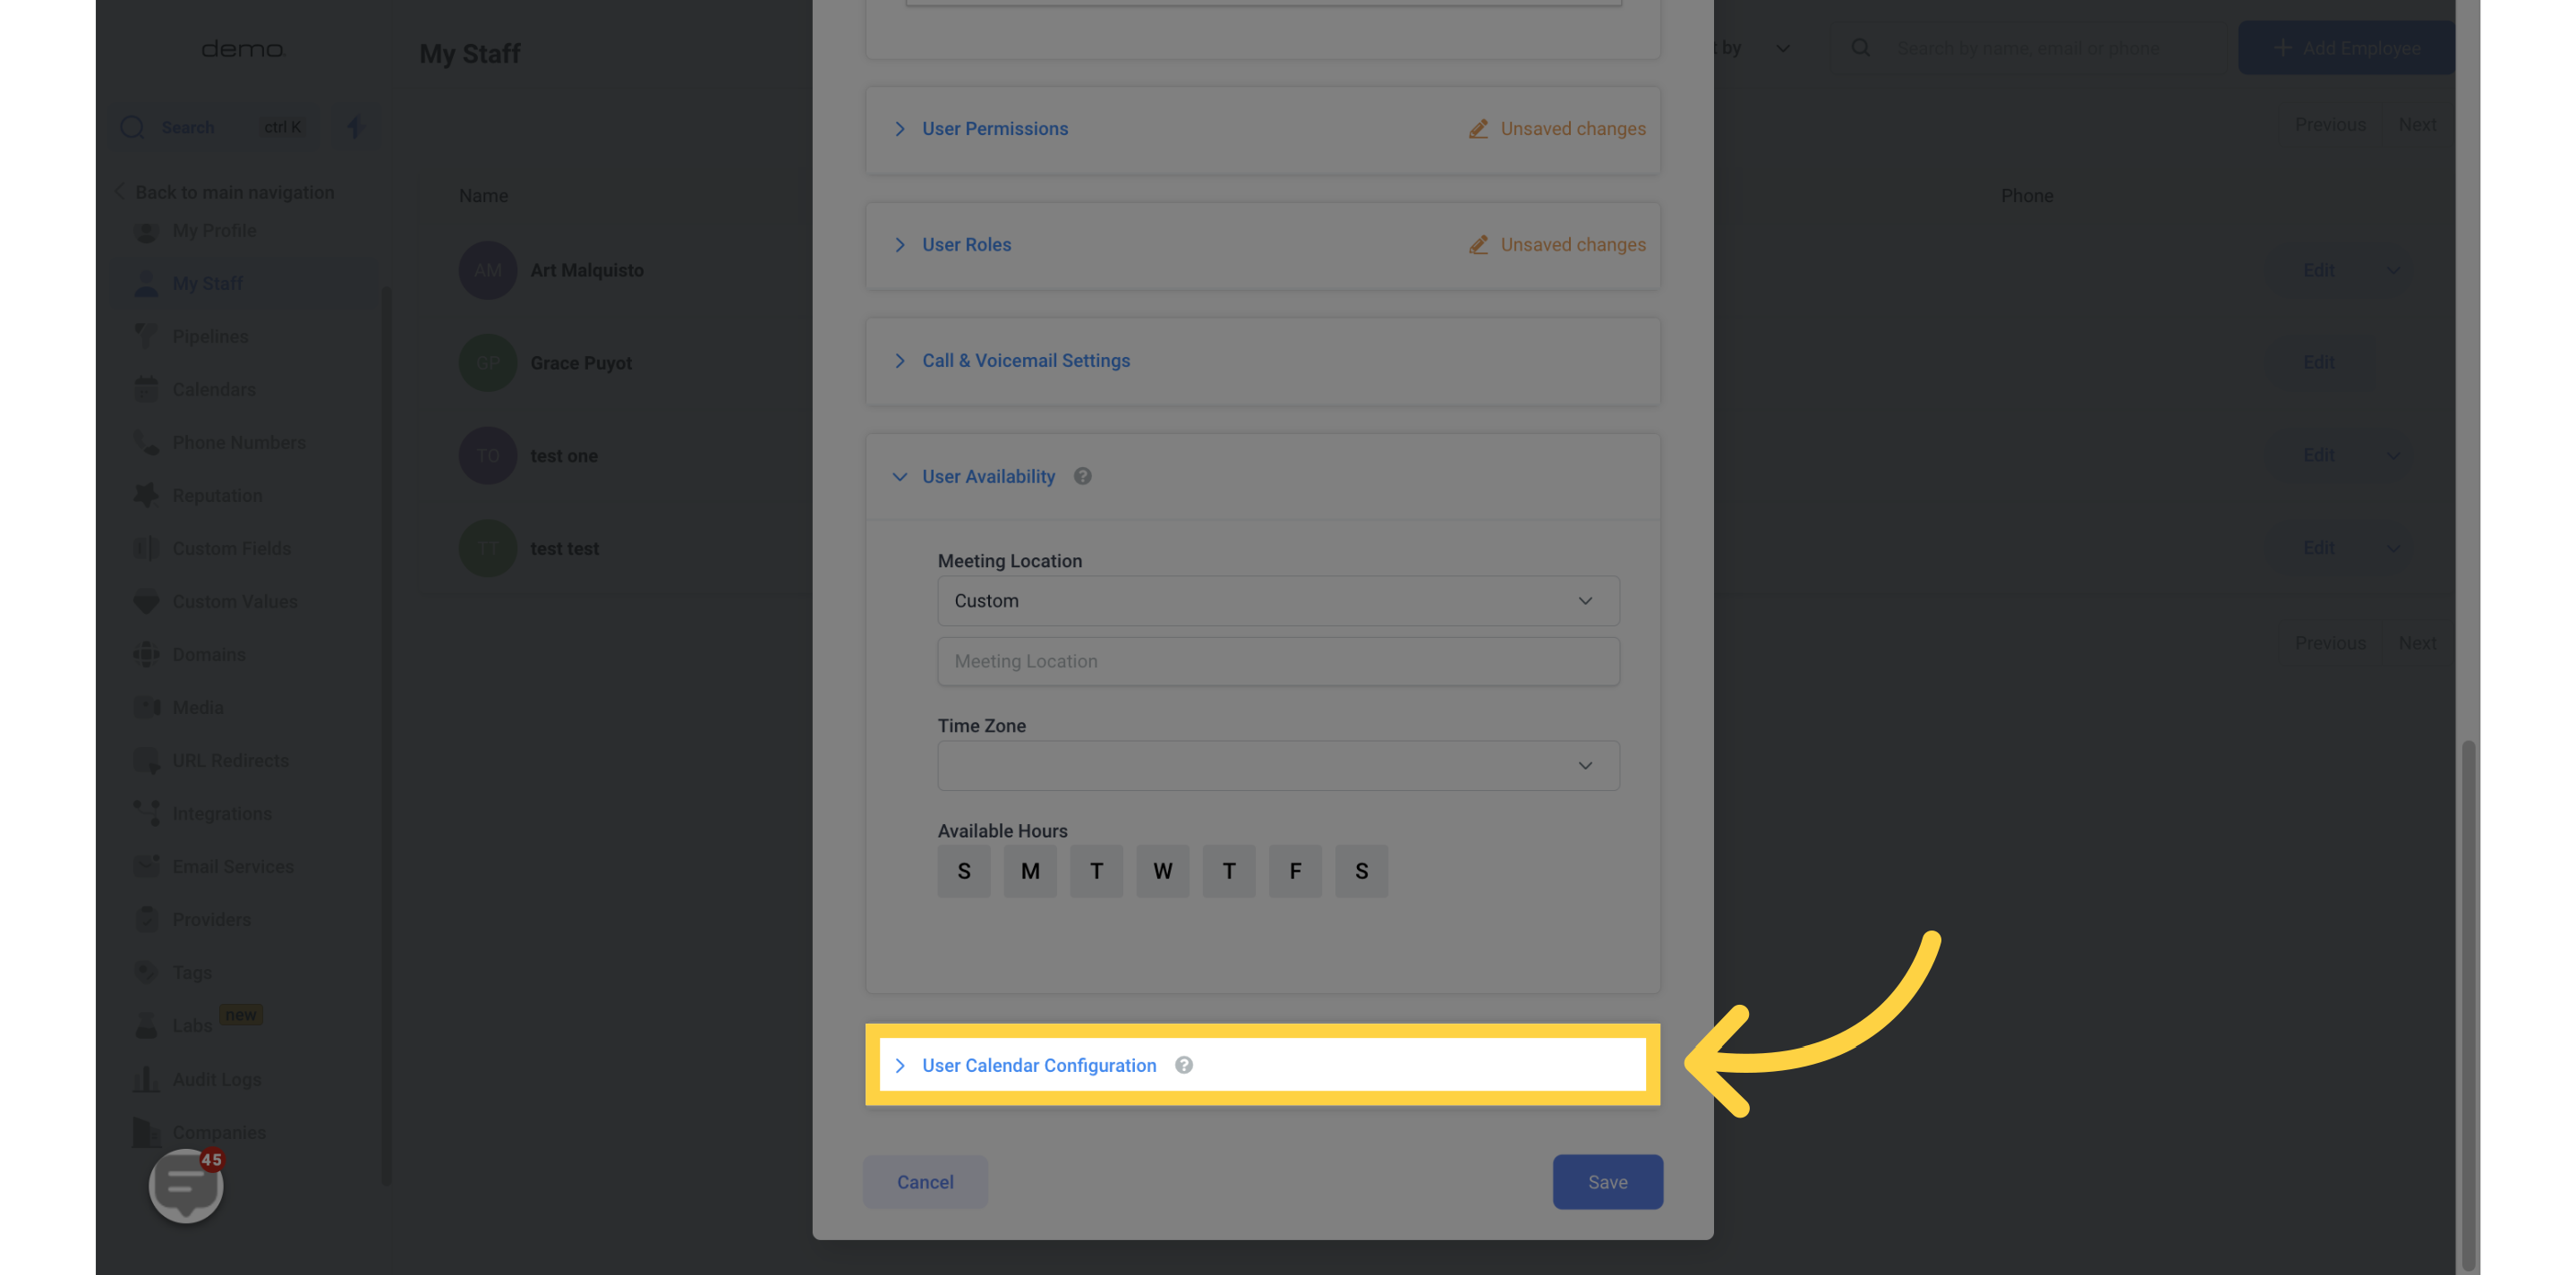
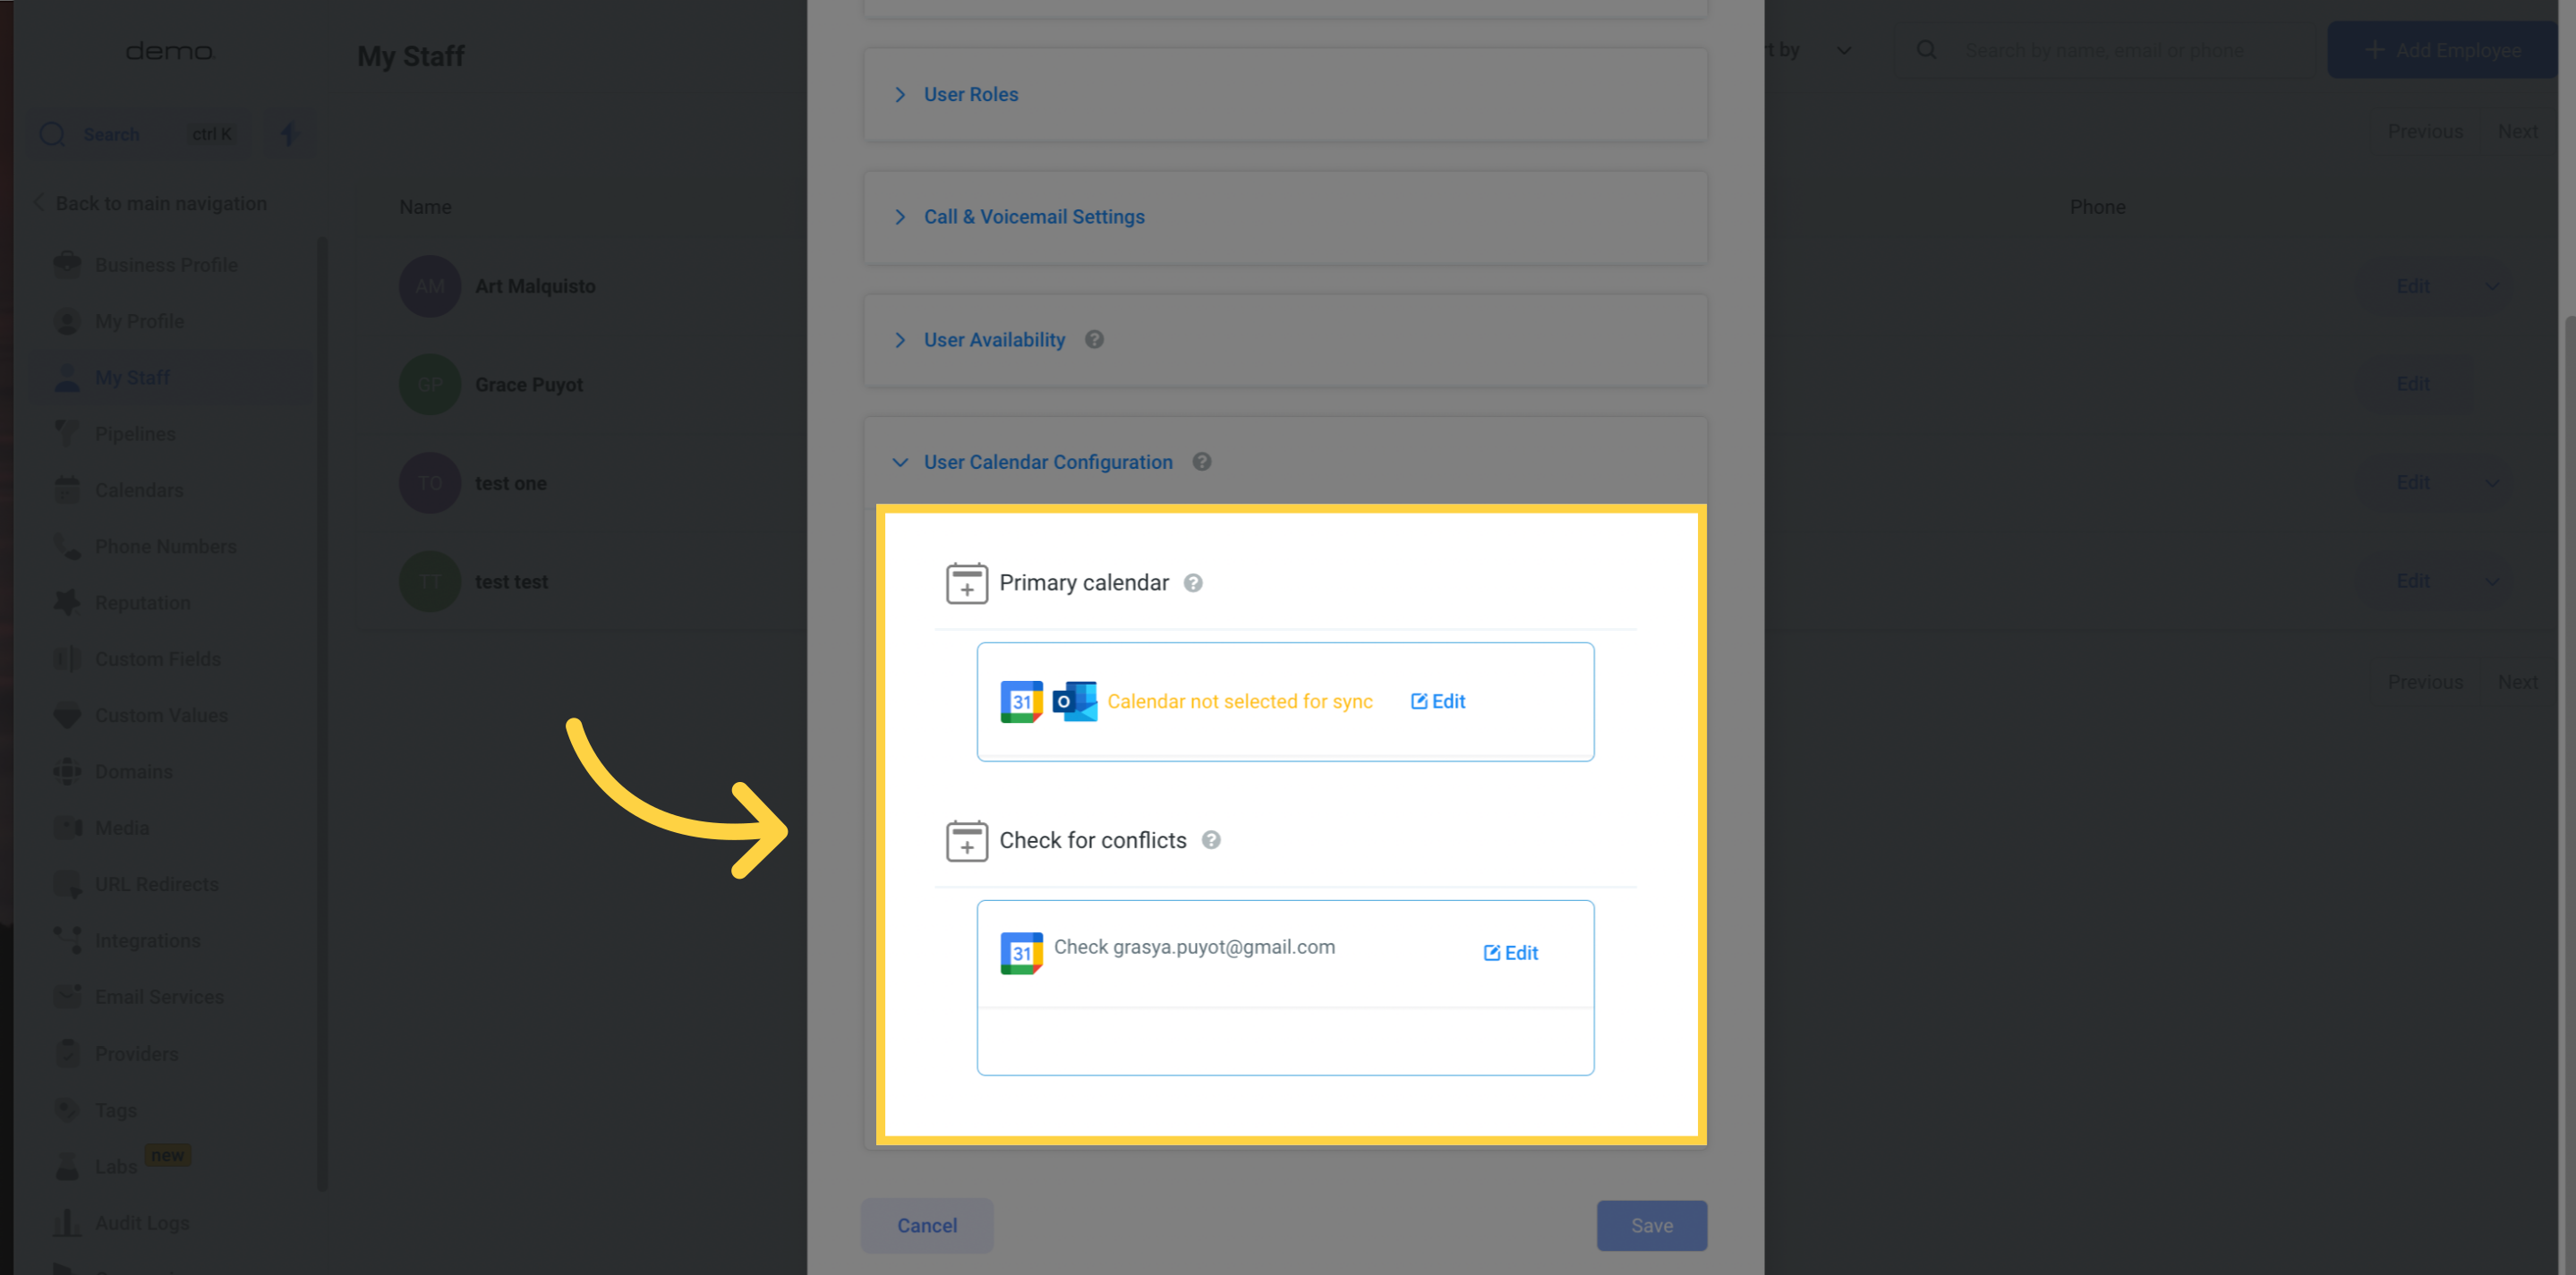
To simplify scheduling, you can connect a Google calendar for each user with User Calendar Configuration. This allows users to sync their personal calendar within the system.