The Appointments category in the Aesthetix CRM workflow builder holds the actions that read from and write to your calendar appointments. Use them to keep appointment statuses accurate, log internal notes against a booking, hand a patient a self-expiring rebooking link, or auto-create an appointment on a calendar when a trigger fires. These actions are most powerful when paired with an appointment-based trigger (such as Appointment Status or Customer Booked Appointment), because the workflow then already knows which appointment to act on.
This article documents each Appointment action in order: Update Appointment Status, Create Appointment/Booking Note, Generate One-Time Booking Link, and Book Appointment.
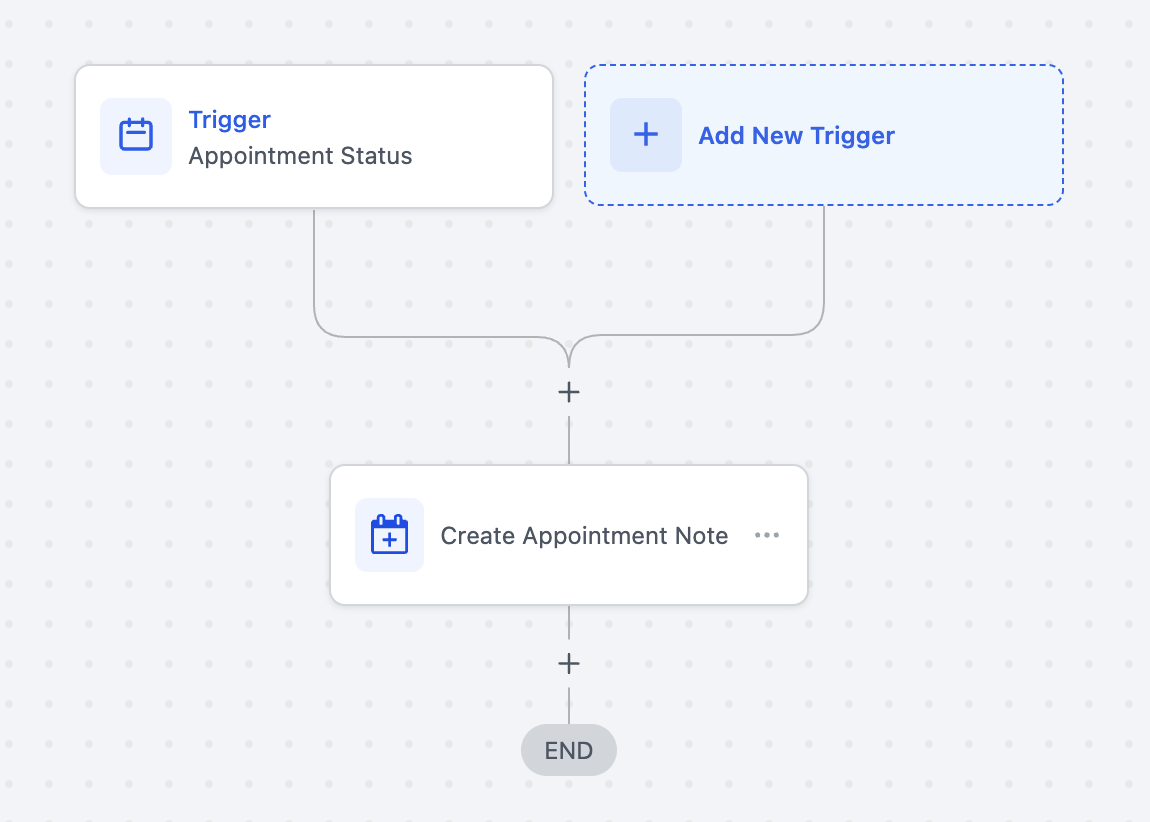
The steps to add any action below are the same. Once you have a workflow open, you add the action from the Appointments category and then configure its fields.
Go to Automations and either open an existing workflow or click Create Workflow, then Start from Scratch (or pick a recipe).
Add a trigger. For most Appointment actions, choose an appointment-based trigger such as Appointment Status or Customer Booked Appointment so the workflow knows which appointment to operate on. Other triggers (for example, Form Submitted or Inbound Webhook) also work, with the caveats noted per action below.
Click the + to add a step, then click Add Action.
Search for or scroll to the Appointments category and select the action you want.
Give the action a clear internal name (for example, "Confirm consult appointment"), configure its fields, and click Save Action.
When the workflow is built and tested, toggle it to Publish so it runs on live contacts.
The Update Appointment Status action changes the status of a patient's appointment from inside the workflow. This lets you keep your calendar and reporting accurate automatically, instead of a front-desk team member manually editing each appointment.
Which appointment gets updated depends on how the contact entered the workflow:
If the contact entered through an appointment-based trigger (Appointment Status or Customer Booked Appointment), the action updates the exact appointment that fired the trigger.
If the contact entered through any other trigger, the action updates the most recent appointment associated with that contact.
Status (required): Select the status the appointment should be set to. The available values are:
New: the default state for a freshly created appointment that has not yet been worked.
Confirmed: the patient has confirmed they will attend.
Cancelled: the appointment will not take place.
Present: the patient showed up and attended (a "showed" outcome).
Absent: the patient did not show up (a "no-show" outcome).
Invalid: the appointment was booked in error or is otherwise not a real appointment.
There is no separate calendar selector on this action: the appointment is resolved from the trigger or the contact's most recent appointment, as described above.
Input: the appointment resolved from the trigger (or the contact's most recent appointment).
Output: the appointment's status field is updated to the value you selected. That new status is then reflected on the calendar, on the appointment record, and anywhere appointment status drives reporting or downstream workflow conditions.
Use this action any time an appointment's real-world state changes as a result of something the workflow can detect, so a person does not have to update it by hand.
Med-spa example: a patient replies "YES" to your confirmation text. A trigger detects the keyword reply, and an Update Appointment Status action sets the appointment to Confirmed, so the front desk instantly sees a confirmed consult on the calendar without touching it. Conversely, if a patient does not check in by the end of their scheduled window, a workflow can set the appointment to Absent to flag the no-show and branch into a rebooking sequence.
If the contact entered through a non-appointment trigger and has no associated appointment, there is nothing for the action to update.
For multi-appointment patients entered through a non-appointment trigger, the action targets the most recent appointment only. When you need to be certain which appointment is affected, drive the workflow from an appointment-based trigger.
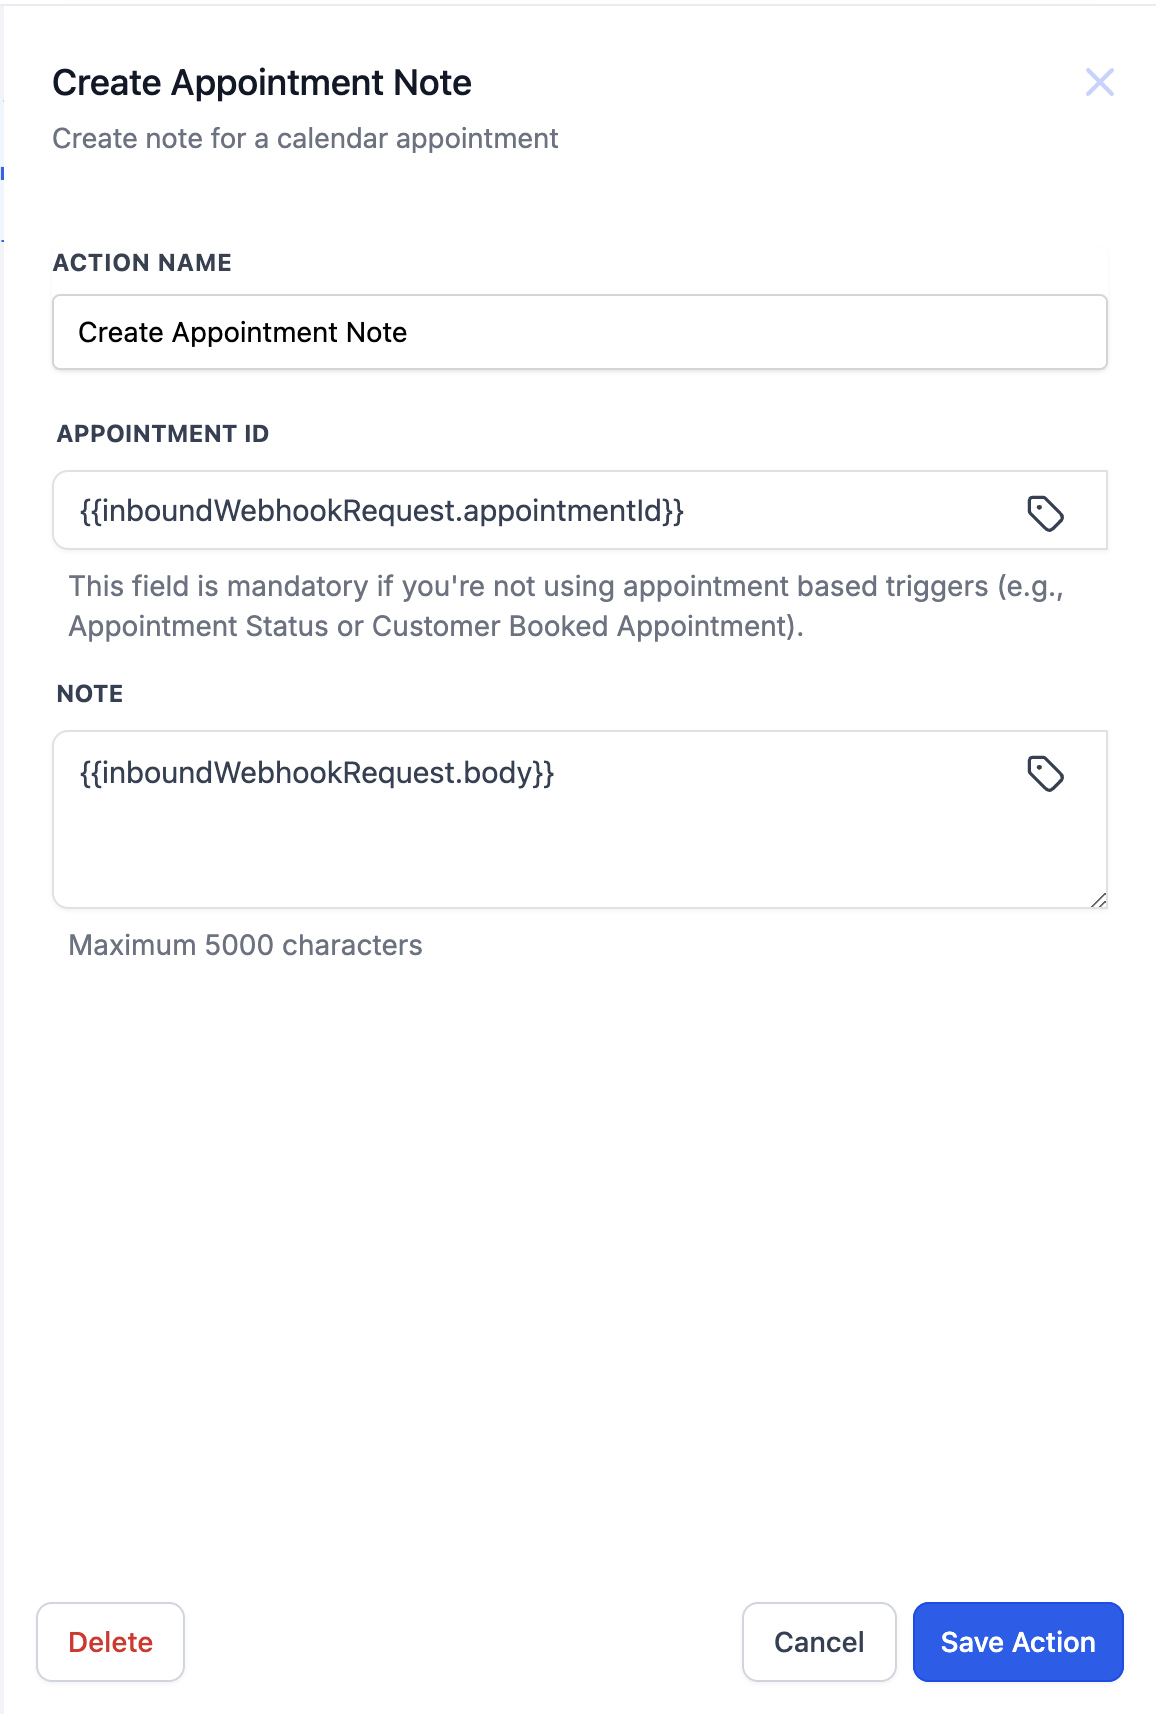
The Create Appointment Note action adds an internal note to an appointment directly from a workflow, so context is logged automatically instead of being typed in by hand. These are internal appointment notes: they appear on the associated Contact, Opportunity, and Conversation records, so your whole team sees the same context across modules. If the note is later edited or deleted, the change is reflected everywhere that same appointment note appears.
Appointment ID (string): Identifies which appointment receives the note.
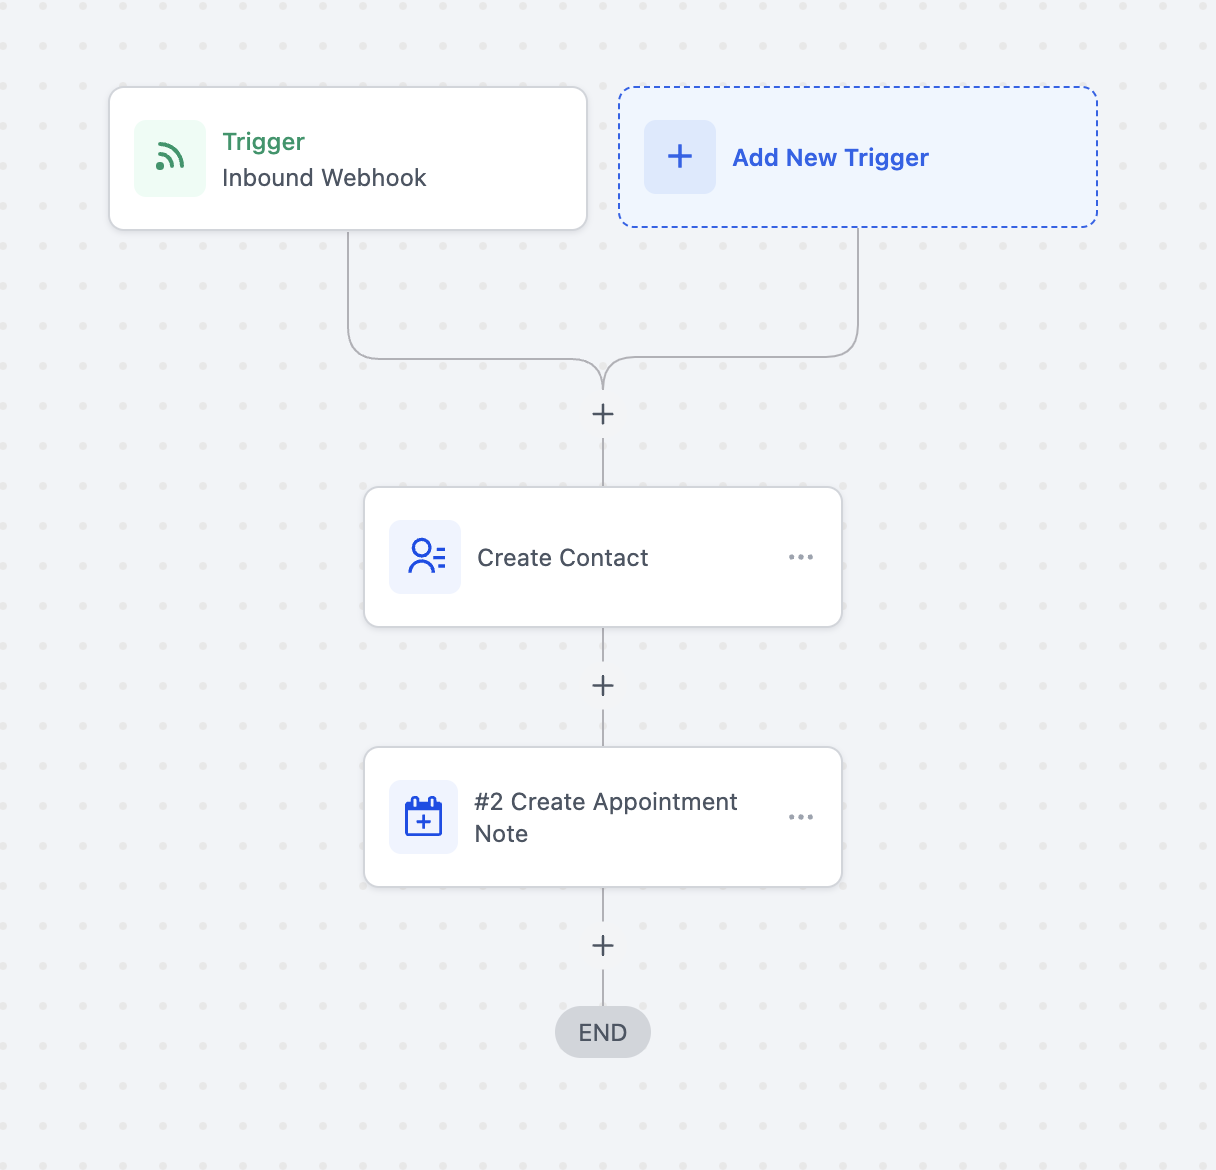
If the workflow uses an appointment-based trigger (such as Appointment Status or Customer Booked Appointment), the appointment ID is not required: the note is added to the appointment already enrolled in the workflow.
If the workflow uses an Inbound Webhook trigger, you must pass the appointment ID so the note lands on the correct appointment. Add it using the custom value {{inboundWebhookRequest.appointmentId}}.
Note Body (string, maximum 5000 characters): The content of the note.
With an appointment-based trigger, you can type a custom note of your choice, including merge fields and custom values.
With an Inbound Webhook trigger, you can map the note content from the payload using the custom value {{inboundWebhookRequest.body}}.
Inputs: the appointment ID (explicit for inbound webhooks, automatic for appointment-based triggers) and the note body text.
Output: a new internal appointment note attached to that appointment, visible on the Contact, Opportunity, and Conversation records tied to it.
Use this action to capture appointment context automatically so the next person who opens the record has the full picture.
Med-spa example: when a patient books a consultation through an intake form, a workflow writes an appointment note such as "Booked from Botox landing page, indicated interest in lip filler, first-time patient" so the provider walks into the room already briefed. For inbound integrations, an external booking system can fire an Inbound Webhook that passes both the appointment ID and a note body, logging the source booking details against the appointment.
The note body is capped at 5000 characters.
For Inbound Webhook workflows, make sure the webhook payload includes both appointmentId and body so the action has everything it needs.
These are internal notes for your team and are not shown to the patient.
The Generate One-Time Booking Link action creates a unique scheduling link that automatically expires once it is used to book. Each time the workflow runs for a contact, a fresh single-use link is generated for the calendar you choose, which you can then drop into an email or text so the patient can schedule on their own.
Calendar (required): Choose the calendar the one-time link should book against. The link is tied to that calendar's availability and settings.
The link expires automatically upon booking, so each patient gets a clean, single-use scheduling link rather than a shared, reusable URL.
Input: the selected calendar.
Output: a generated one-time booking link, exposed as a custom value. To use it, add a communication action (such as Send Email or Send SMS) after this one, then in the message body open the custom value picker, select Generate One Time Booking Link, and choose One Time Link. The unique link is inserted and is regenerated each time the workflow runs.
Use this action whenever you want a patient to self-schedule through a link that cannot be forwarded or reused after they book.
Med-spa example: a prospective patient submits your "Request a Consultation" form. A Form Submitted trigger starts the workflow, the Generate One-Time Booking Link action creates a single-use link to your consultations calendar, and a Send Email action delivers it using the One Time Link custom value. The patient books their consult, and the link expires so it cannot be shared or double-booked. The same pattern works as a no-show recovery sequence: when an appointment is set to Absent, send a one-time rebooking link so the no-show patient can pick a new time on their own.
You must add a separate communication action to actually deliver the link; this action only generates it.
The link is single-use and expires on booking, so it is not suitable when you want one durable link shared with many people.
The Book Appointment action automatically creates a new appointment on a selected calendar when a trigger fires, with no manual scheduling. It is built for teams that want to auto-schedule follow-ups from events such as form submissions, inbound webhooks, or CRM updates.
Calendar (required): Select the target calendar that will receive the booking.
Team Member:
Calendar Default: follows the calendar's own assignment rules (for example, round robin across providers).
Specific member: explicitly routes the appointment to one person.
Set Appointment Date & Time:
Standard: a fixed date and time for every appointment this workflow creates.
Dynamic: maps the date and time from trigger data such as a webhook payload, form field, or custom value. Supported input formats include:
MM-DD-YYYY HH:MM (for example, 12-21-2021 08:30 AM)
DD-MMM-YYYY HH:MM (for example, 21-OCT-2021 08:30 AM)
If your incoming date and time does not match a supported format, add a Date Time Formatter action before this one to convert it.
Override availability:
Off (default): the system checks the calendar's availability before booking. If no one is available, the appointment is not created.
On: books without checking availability. Use sparingly, since it can create appointments outside normal availability.
Inputs: the chosen calendar, team member assignment, appointment date and time (standard or dynamic), and the override availability setting.
Output: a newly created appointment on the selected calendar. The action also sets the Appointment booked successfully value (True/False), which you can read in an If/Else condition to branch the workflow. On success, the appointment's merge fields (such as appointment date, time, and assigned user) become available to later steps for confirmations and reminders.
Use this action to lock in a time automatically while patient intent is fresh, rather than waiting for the patient or staff to schedule manually.
Med-spa example: a patient submits a "Book my follow-up" form after a treatment. A Form Submitted trigger starts the workflow, the Book Appointment action creates the appointment on the provider's calendar using a dynamic date and time from the form, and assignment follows the calendar default. An If/Else step then checks Appointment booked successfully: on True, the workflow sends a confirmation; on False, it notifies the front desk or offers an alternate time.
Calendars that have Recurring enabled cannot be selected for the Book Appointment action.
When Override availability is off and no team member is available, the appointment is not created, so always handle the False branch of Appointment booked successfully.
Dynamic date and time inputs must match a supported format, or be reformatted first with a Date Time Formatter action.
Which trigger should I pair with these actions? For Update Appointment Status and Create Appointment Note, an appointment-based trigger (Appointment Status or Customer Booked Appointment) is best, because the workflow then knows exactly which appointment to act on. Generate One-Time Booking Link and Book Appointment work well with triggers like Form Submitted or Inbound Webhook.
Do I need the appointment ID for Create Appointment Note? Only when using an Inbound Webhook trigger. With an appointment-based trigger, the note attaches to the enrolled appointment automatically.
Which appointment gets updated if the contact did not enter through an appointment trigger? The most recent appointment associated with that contact.
Are appointment notes visible to patients? No. They are internal notes shown to your team on the Contact, Opportunity, and Conversation records.
Does the one-time booking link expire? Yes. It is single-use and expires automatically once the patient books with it.
How do I put the one-time link into an email or text? Add a communication action after Generate One-Time Booking Link, then use the custom value picker to select Generate One Time Booking Link and choose One Time Link.
Will Book Appointment respect calendar availability? Yes, unless you turn on Override availability. With override off, the appointment is not created if no one is available.
Can I branch the workflow based on whether the booking succeeded? Yes. Add an If/Else step and read the Appointment booked successfully value (True/False) to route confirmations, reminders, or fallback actions.
Can I assign auto-booked appointments by round robin? Yes. Choose Calendar Default for the team member, and the booking follows the calendar's assignment rules.
Why can't I select my calendar in Book Appointment? Calendars with Recurring enabled cannot be used with the Book Appointment action. Use a non-recurring calendar instead.
If you need help building an Appointment-action workflow or want a custom automation scoped to your practice, reach out to Aesthetix CRM support. For automations that go beyond standard configuration, submit a Custom Build Request.
