Aesthetix CRM runs on native Twilio and gives your front desk tools for handling phone calls: log every outcome with custom dispositions and automate follow-up during and after a call. This guide covers each feature.
For recording calls and managing voicemail, see Call Recording and Voicemail.
Custom dispositions let your team log what happened on each call in a single click: outcomes like Follow Up, Requested Appointment, Booked, or Not Interested. That selection is saved on the call record, can trigger automations, and appears in call reporting so you can spot patterns across your practice.
Faster wrap-up: staff pick an outcome in one click and move to the next call.
Cleaner automation: a workflow can fire the moment a specific disposition is chosen, sending a text, creating a task, or moving the contact along your pipeline.
Better visibility: standardized outcomes become a filterable column in call reporting, so you can track results per user or per team.
Only sub-account admins can create, edit, delete, or reorder dispositions. Each account starts with a set of default dispositions for convenience, and you can have up to 10 dispositions total.
To set them up, go to Settings → Phone System → Voice → Call Dispositions, then edit the existing options or add your own. Build concise, action-oriented outcomes that match your pipeline stages.
Renaming a disposition is safe: existing workflows keep working because the system tracks each disposition by its internal ID, not its label.
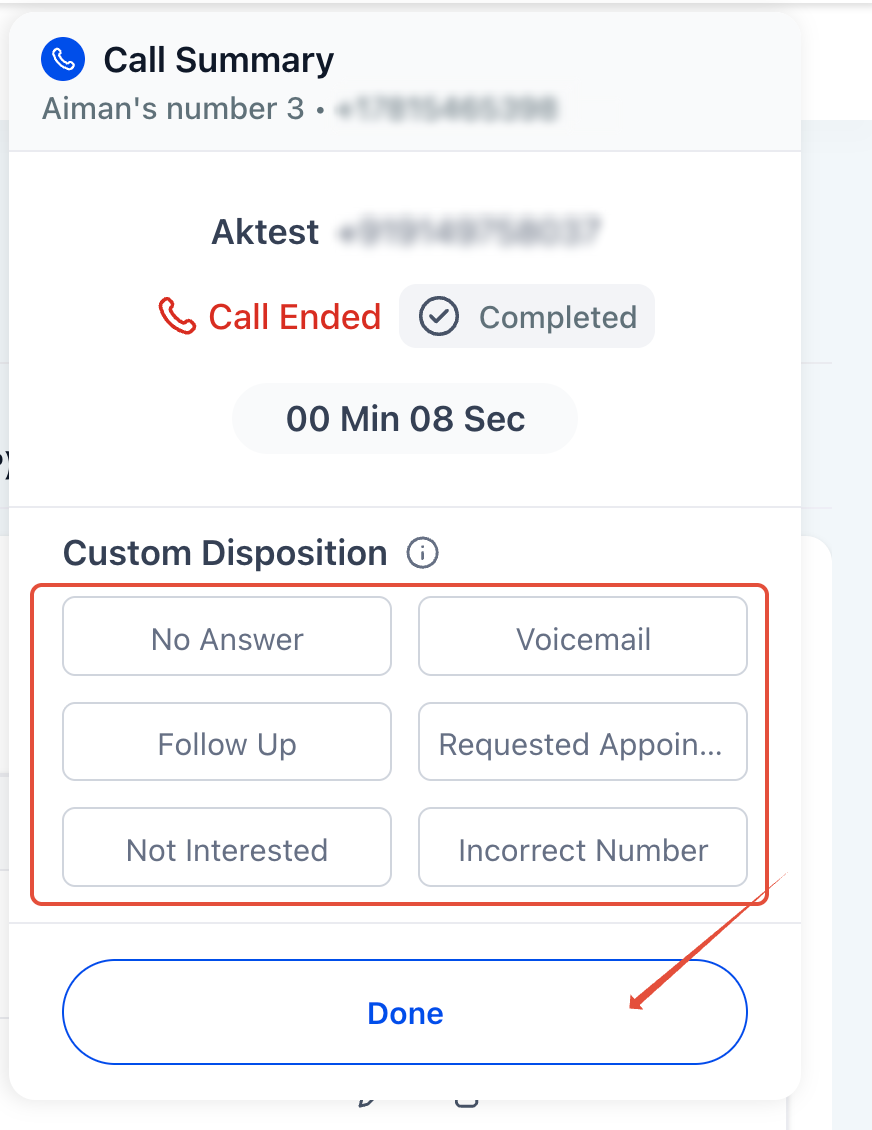
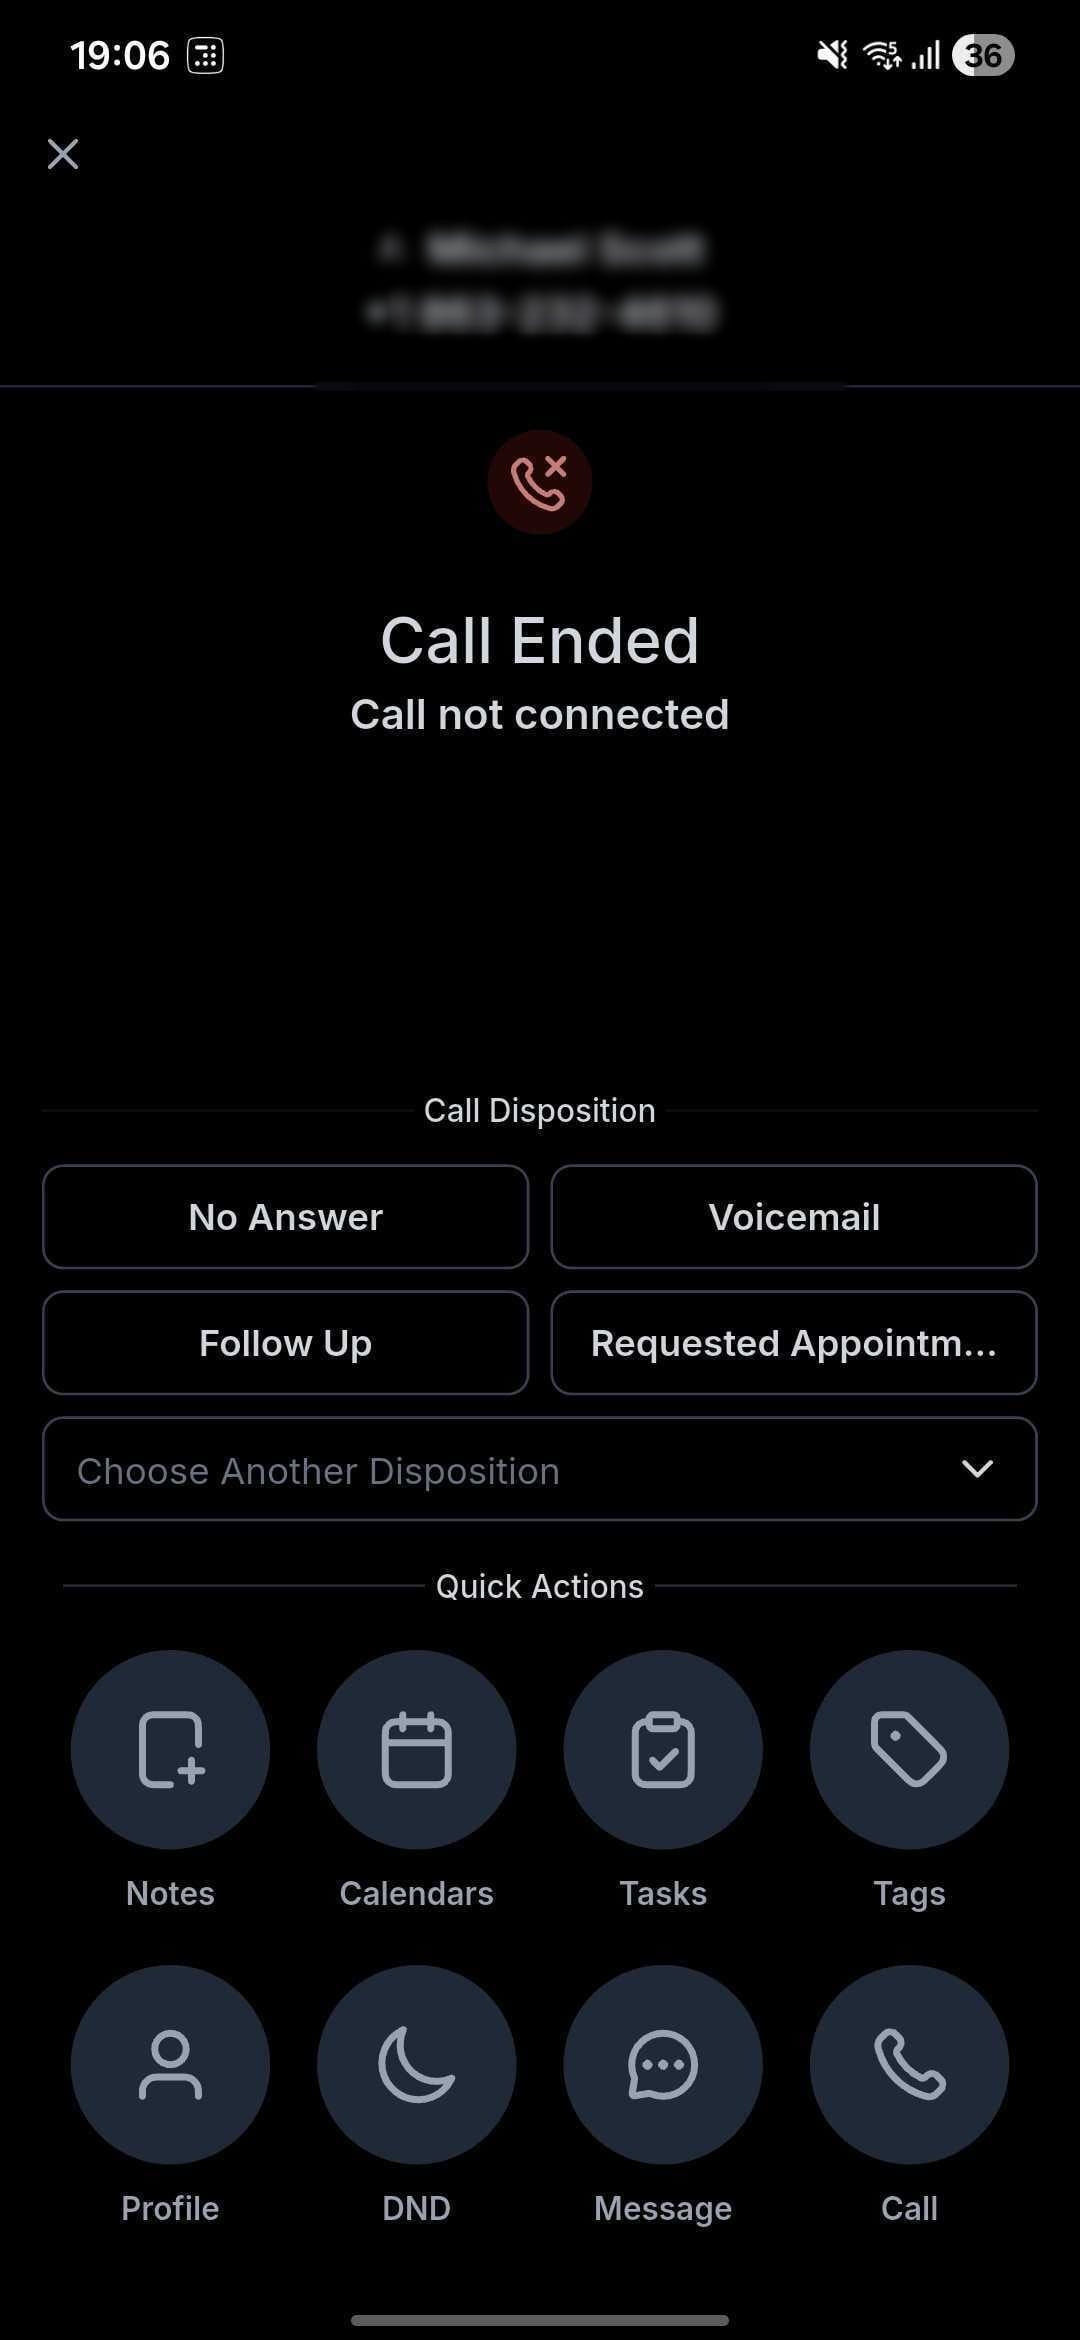
When a call ends in the web dialer, you'll see your list of dispositions (up to 10). Select the one that matches the outcome to log it. You can also log dispositions from the mobile app, right on the call-end screen or from the post-call view (no desktop required).

On mobile, dispositions only appear when the selected sub-account matches the call's location. If you handle calls across more than one location, use the Switch option to match the right one.
Dispositions feed directly into the Call Details workflow trigger through the Custom Disposition filter. Combine a disposition with other filters (direction, duration, tags) to automate follow-up:
Under Automations, add a trigger: Call Details.
Add the filter Custom Disposition and choose one or more dispositions.
Add the actions you want the disposition to trigger, such as sending a follow-up text or email.
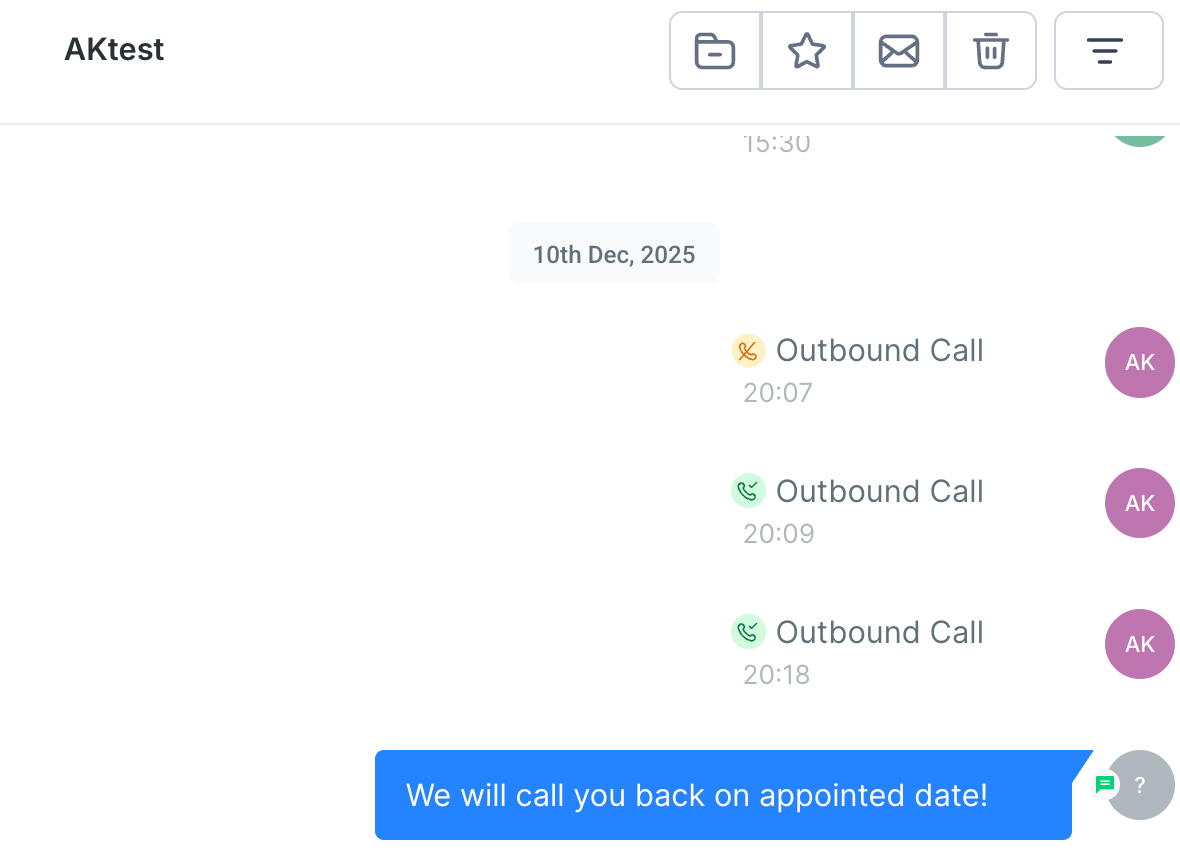
Common automations include sending a personalized SMS or email sequence, scheduling an appointment, applying or removing tags, and creating tasks or opportunities.
Custom dispositions are handy for handling repeat nuisance callers consistently. The idea: a team member marks a call as spam, and a workflow automatically turns on inbound Do Not Disturb (DND) for that contact so future calls from that number don't ring your front desk.
Create a custom disposition named Spam call under Settings → Phone System → Voice → Call Dispositions.
Under Automations, create a workflow with the Call Details trigger and a filter where call disposition is Spam call.
Add an Enable/Disable DND action. Set the DND direction to Inbound and enable DND for all channels.
Going forward, any call your team tags as spam will silence future inbound calls from that number automatically.
Every disposition you log is stored and can be reviewed under Reporting → Call Reporting, where Call Disposition appears as both a column and a filter. Use it to analyze performance: for example, how many calls resulted in "Requested Callback" or "Booked."
Dispositions work for all calls made or received through the web or mobile app. They are not available for calls answered on a personal number or a desk phone. Other limits:
One disposition per call (no multiple selections).
Up to 10 dispositions per account.
Nested sub-dispositions are not supported.
For automated and AI-assisted calls, you can configure actions that run during a call and after it ends, managed in a clean, card-based action builder. Each action appears as its own card, organized under two tabs (During the Call and After the Call), so they're easy to scan, edit, and delete.
Open the agent you want to edit and go to its goals.
Click New Action.
Choose the action type, for example a call transfer.
Fill in the details in the focused window that appears.
Save. The action appears as a card under the matching tab.
Visual counters and inline tooltips help prevent misconfiguration:
Up to 15 total actions during a call.
Only 1 appointment-booking action allowed.
Up to 25 contact-field update actions after a call.
During the call: Call Transfer, Trigger Workflow, Send SMS, Book Appointment, and Custom Actions (Beta).
After the call: Update Contact Fields.
