1. Customize Payment Link Branding in Aesthetix CRM
2. First off, click the Payments option in the sidebar to access payment management features.

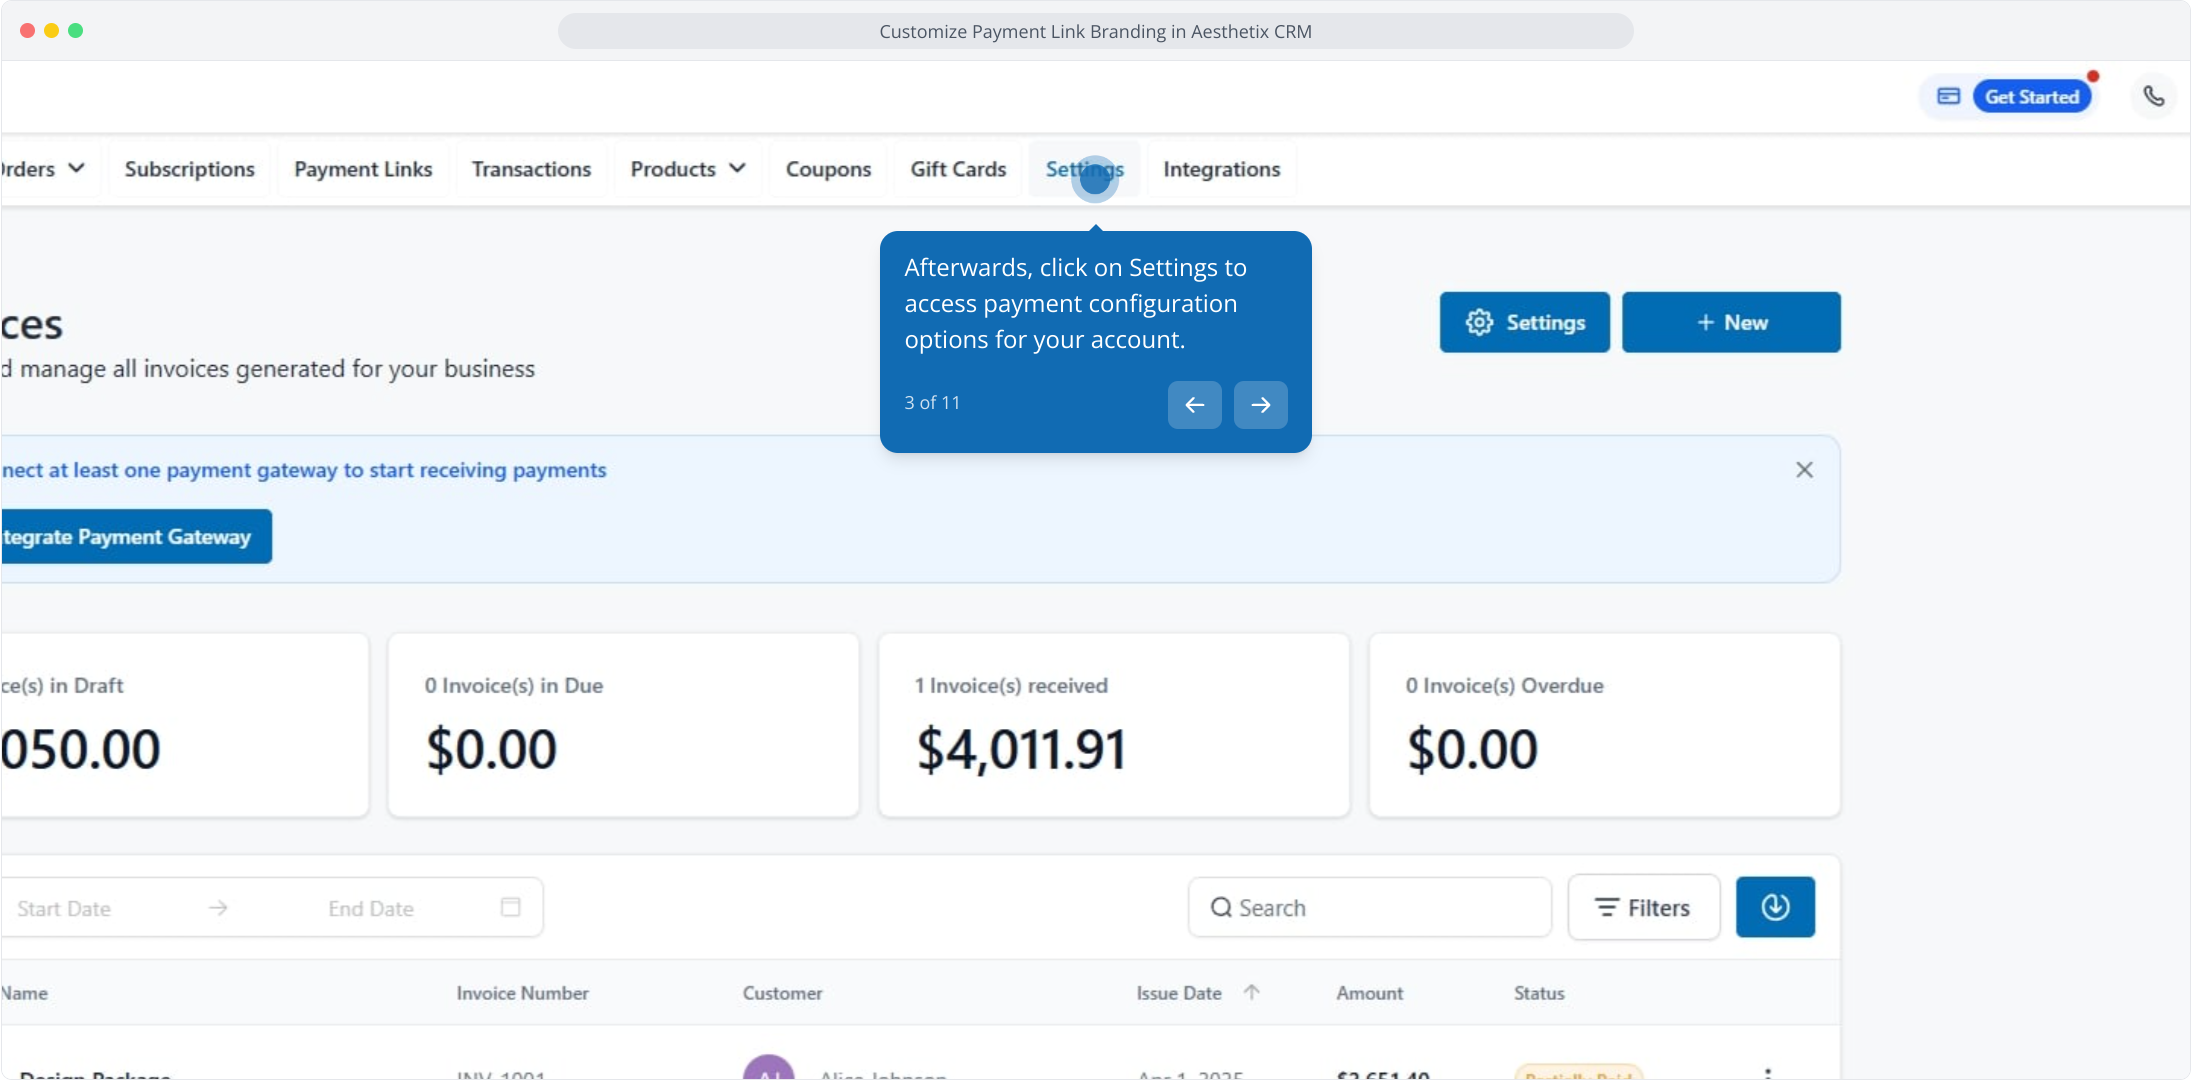
3. Afterwards, click on Settings to access payment configuration options for your account.

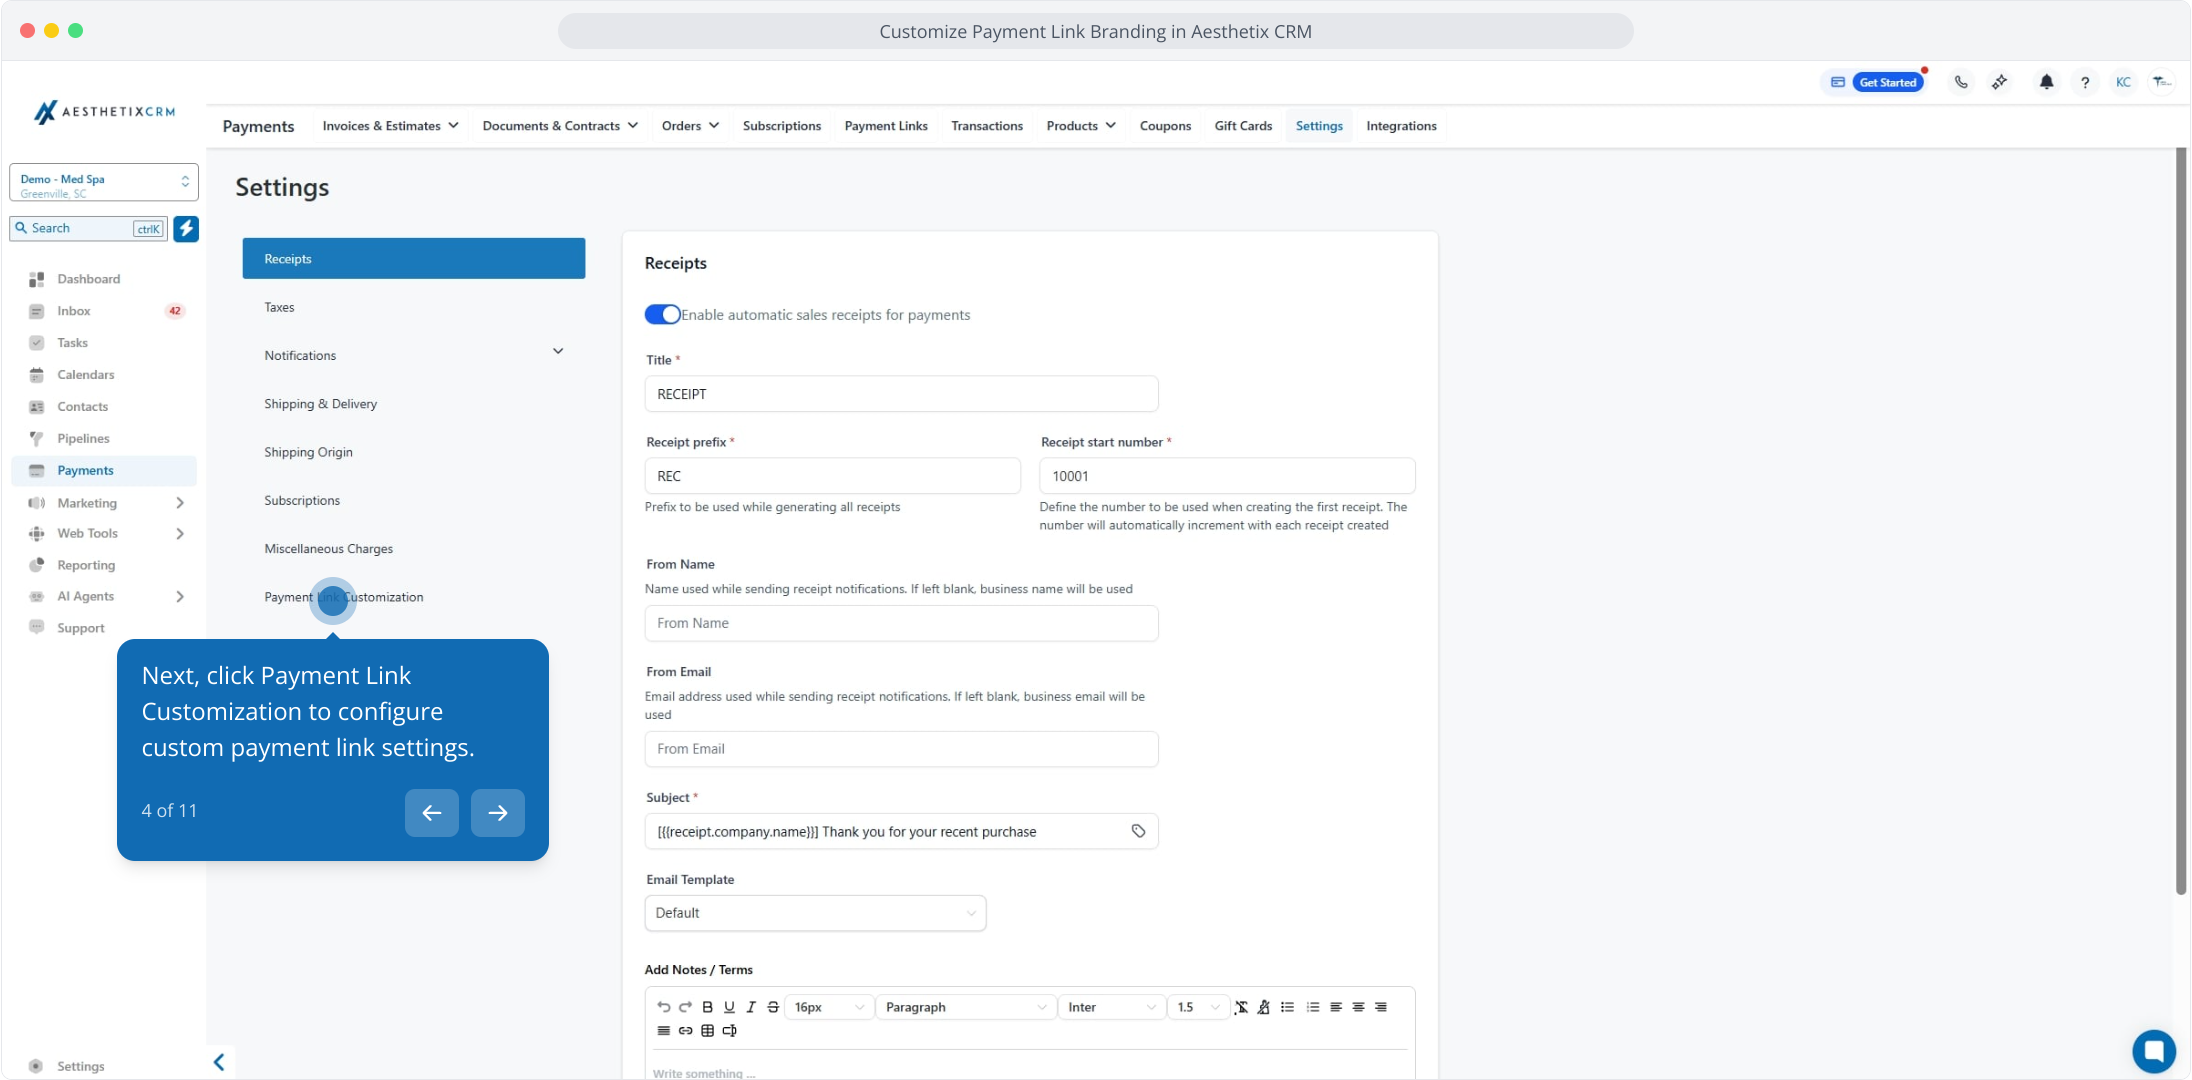
4. Next, click Payment Link Customization to configure custom payment link settings.

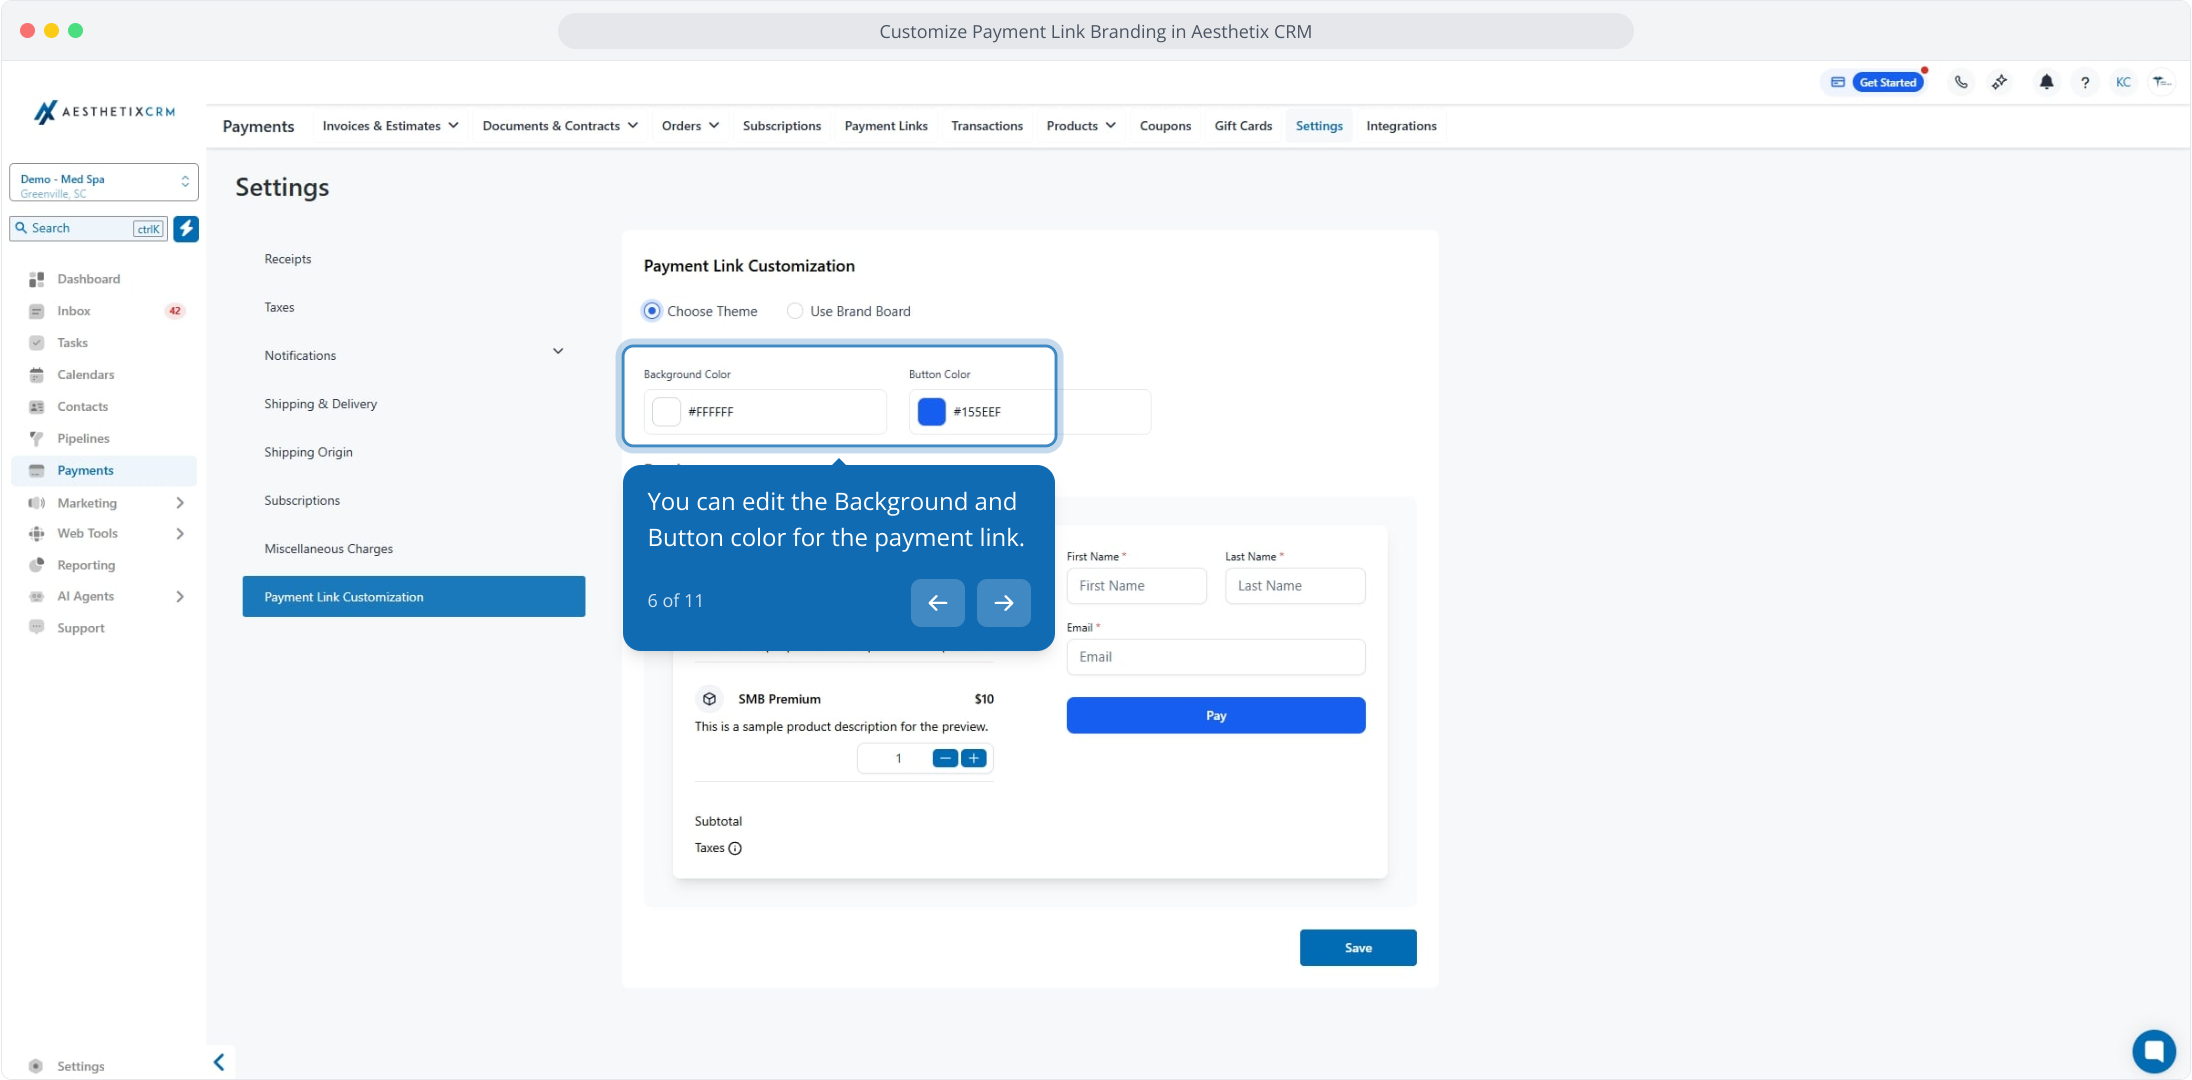
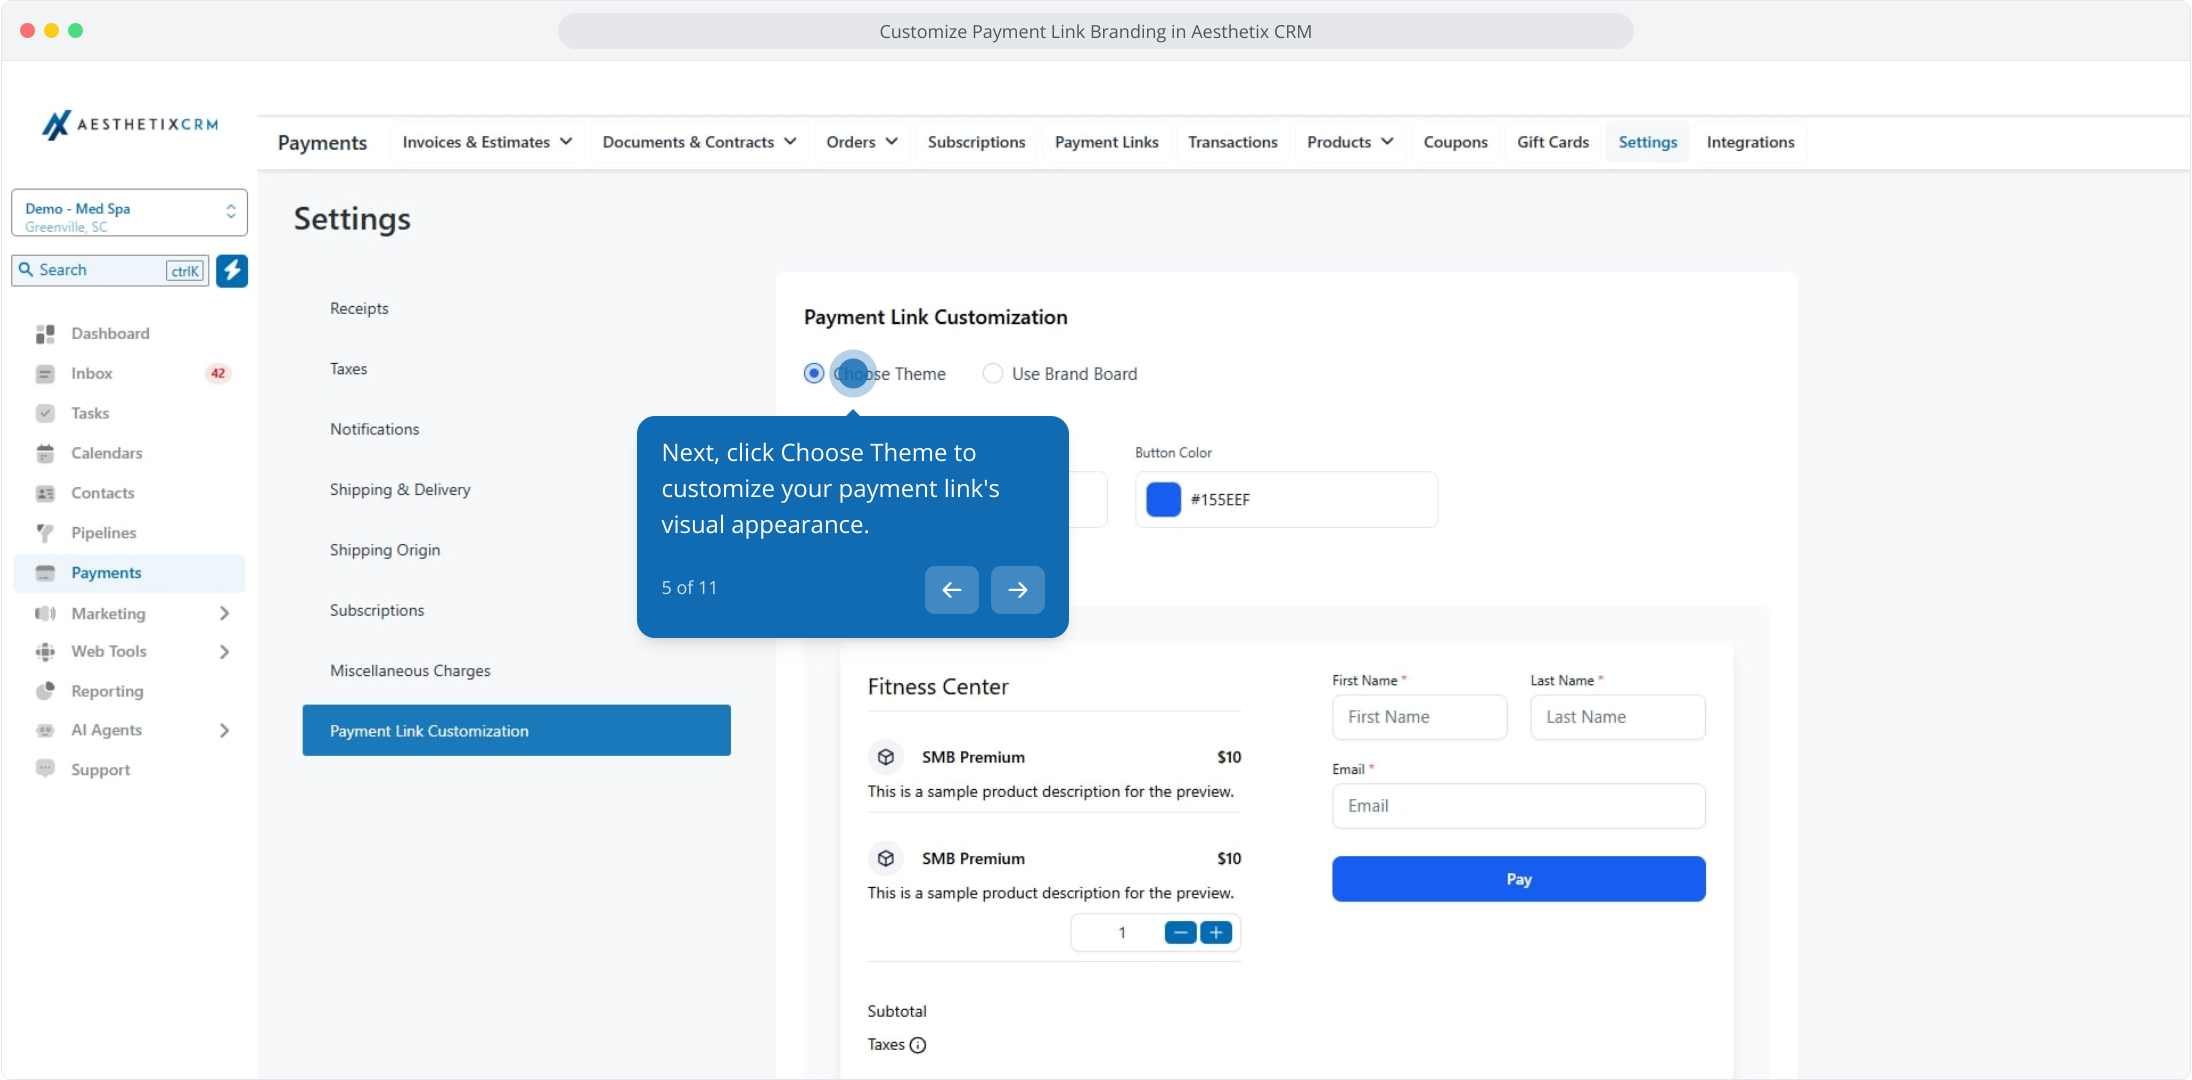
5. Next, click Choose Theme to customize your payment link's visual appearance.

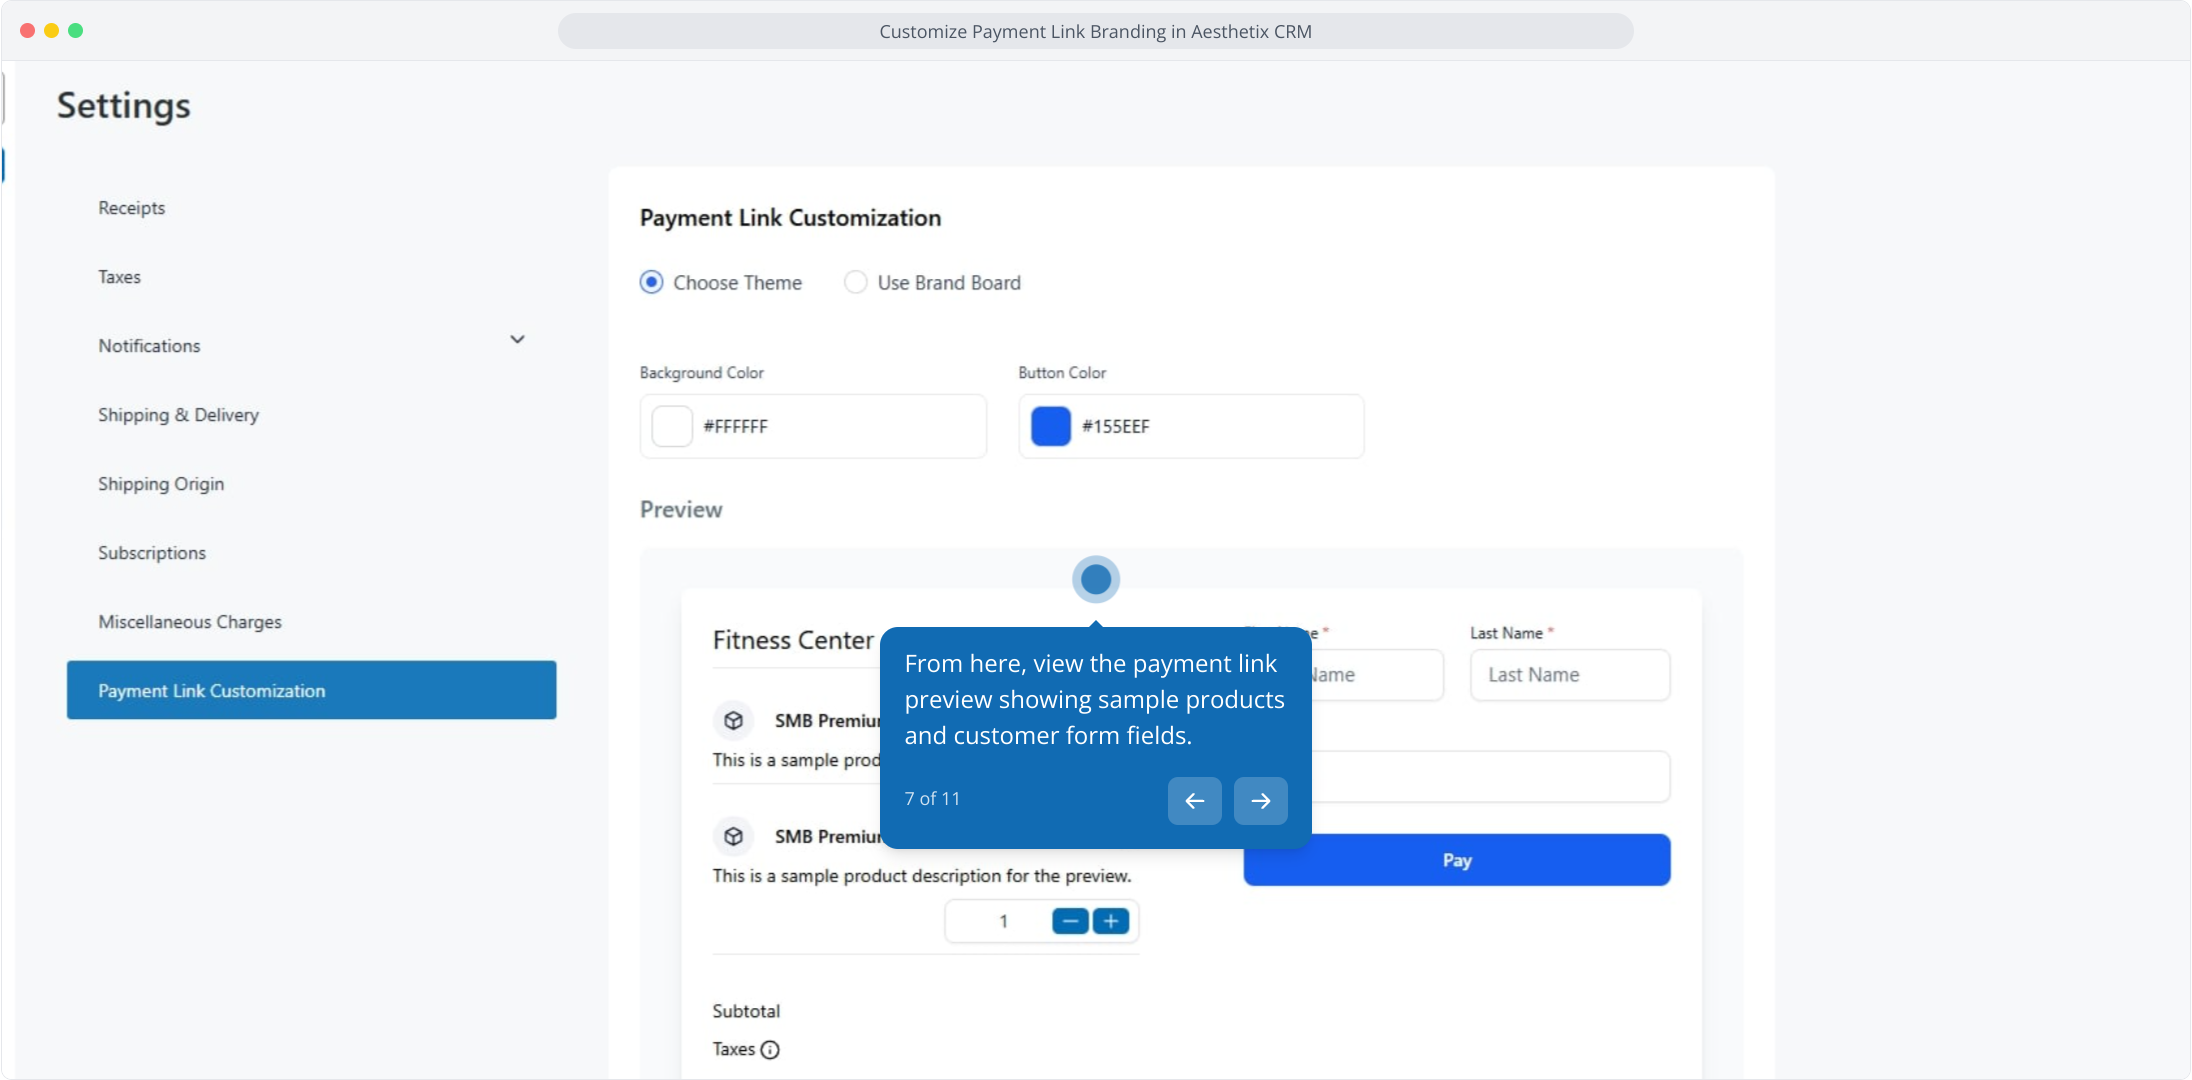
6. You can edit the Background and Button color for the payment link.

7. From here, view the payment link preview showing sample products and customer form fields.
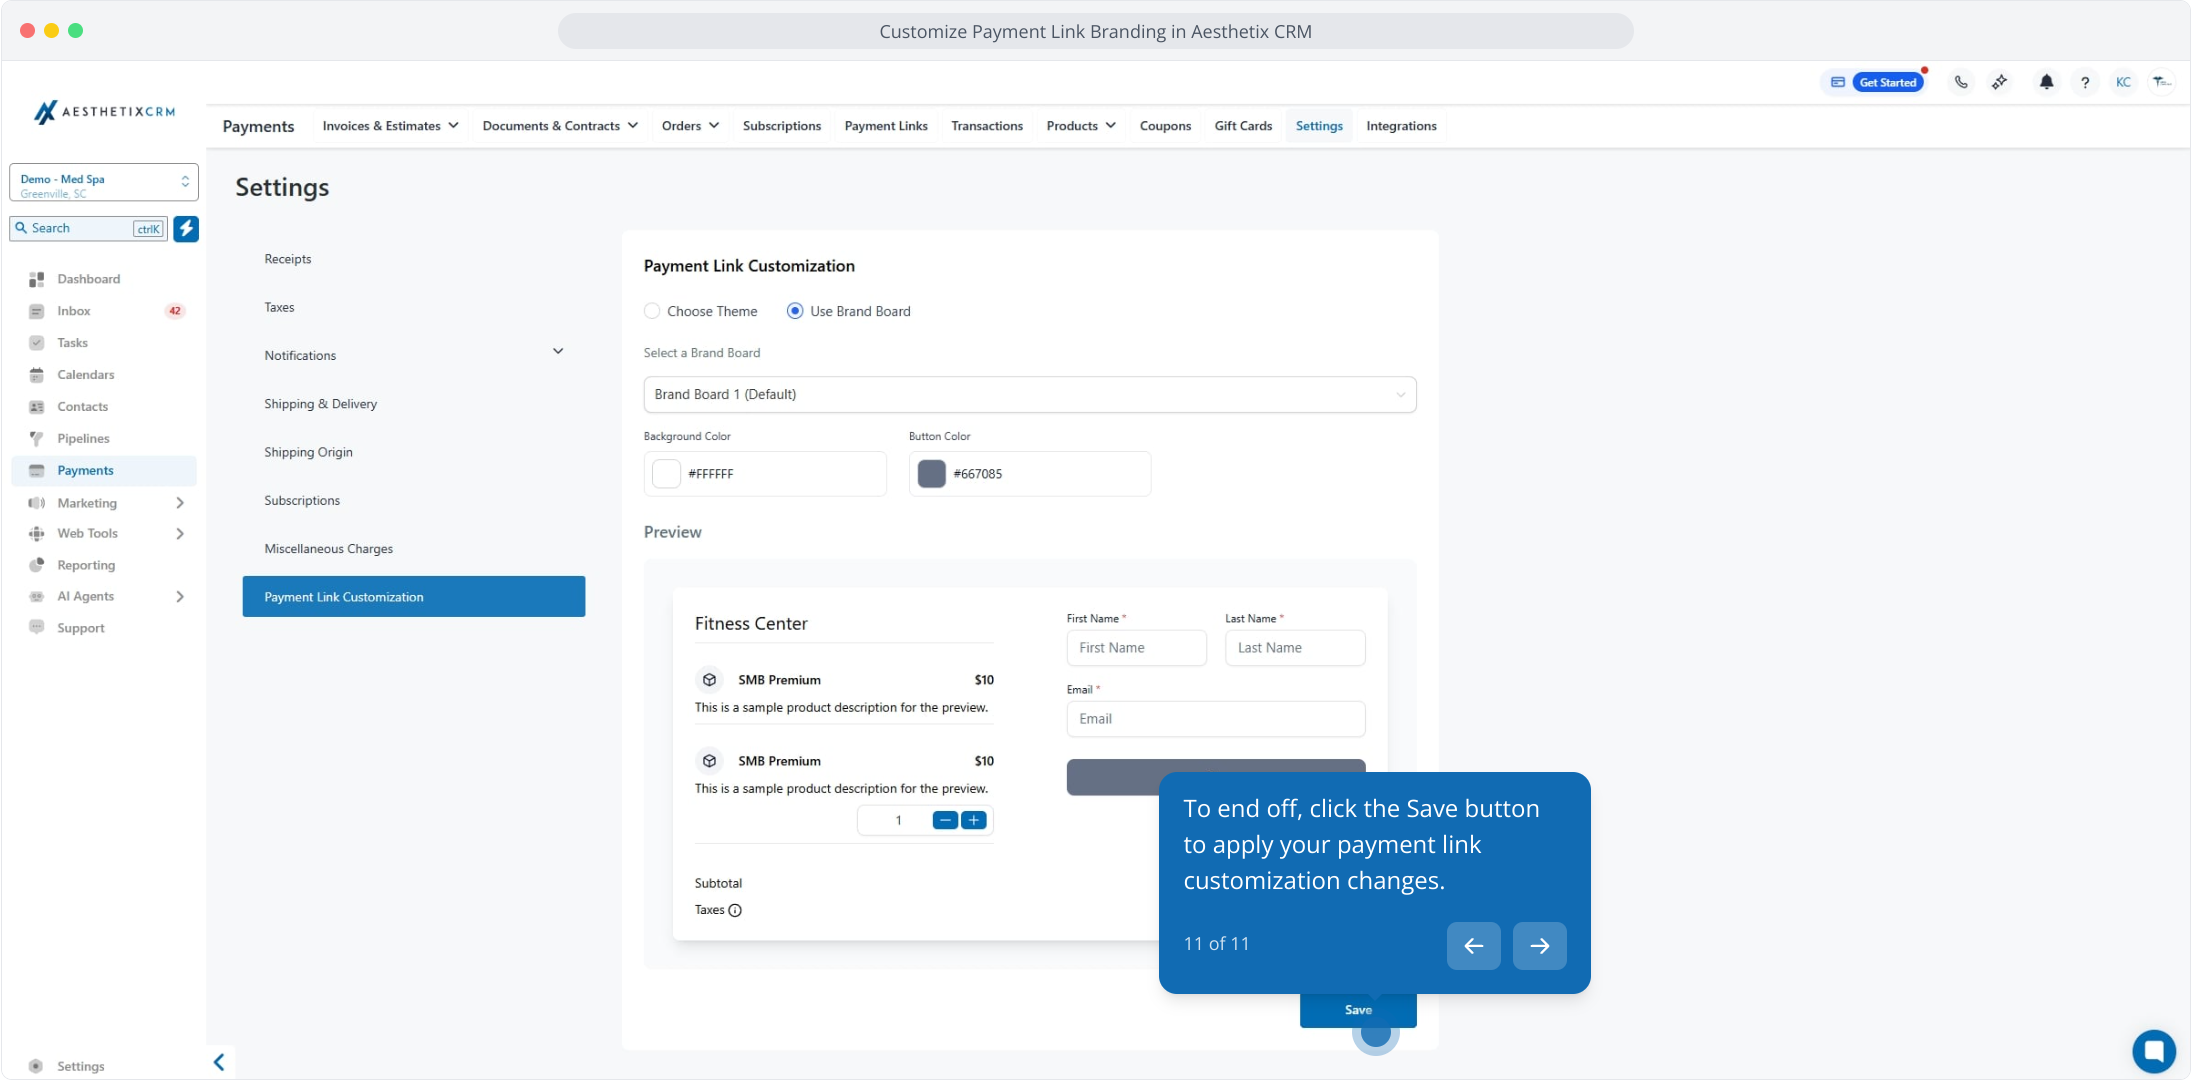
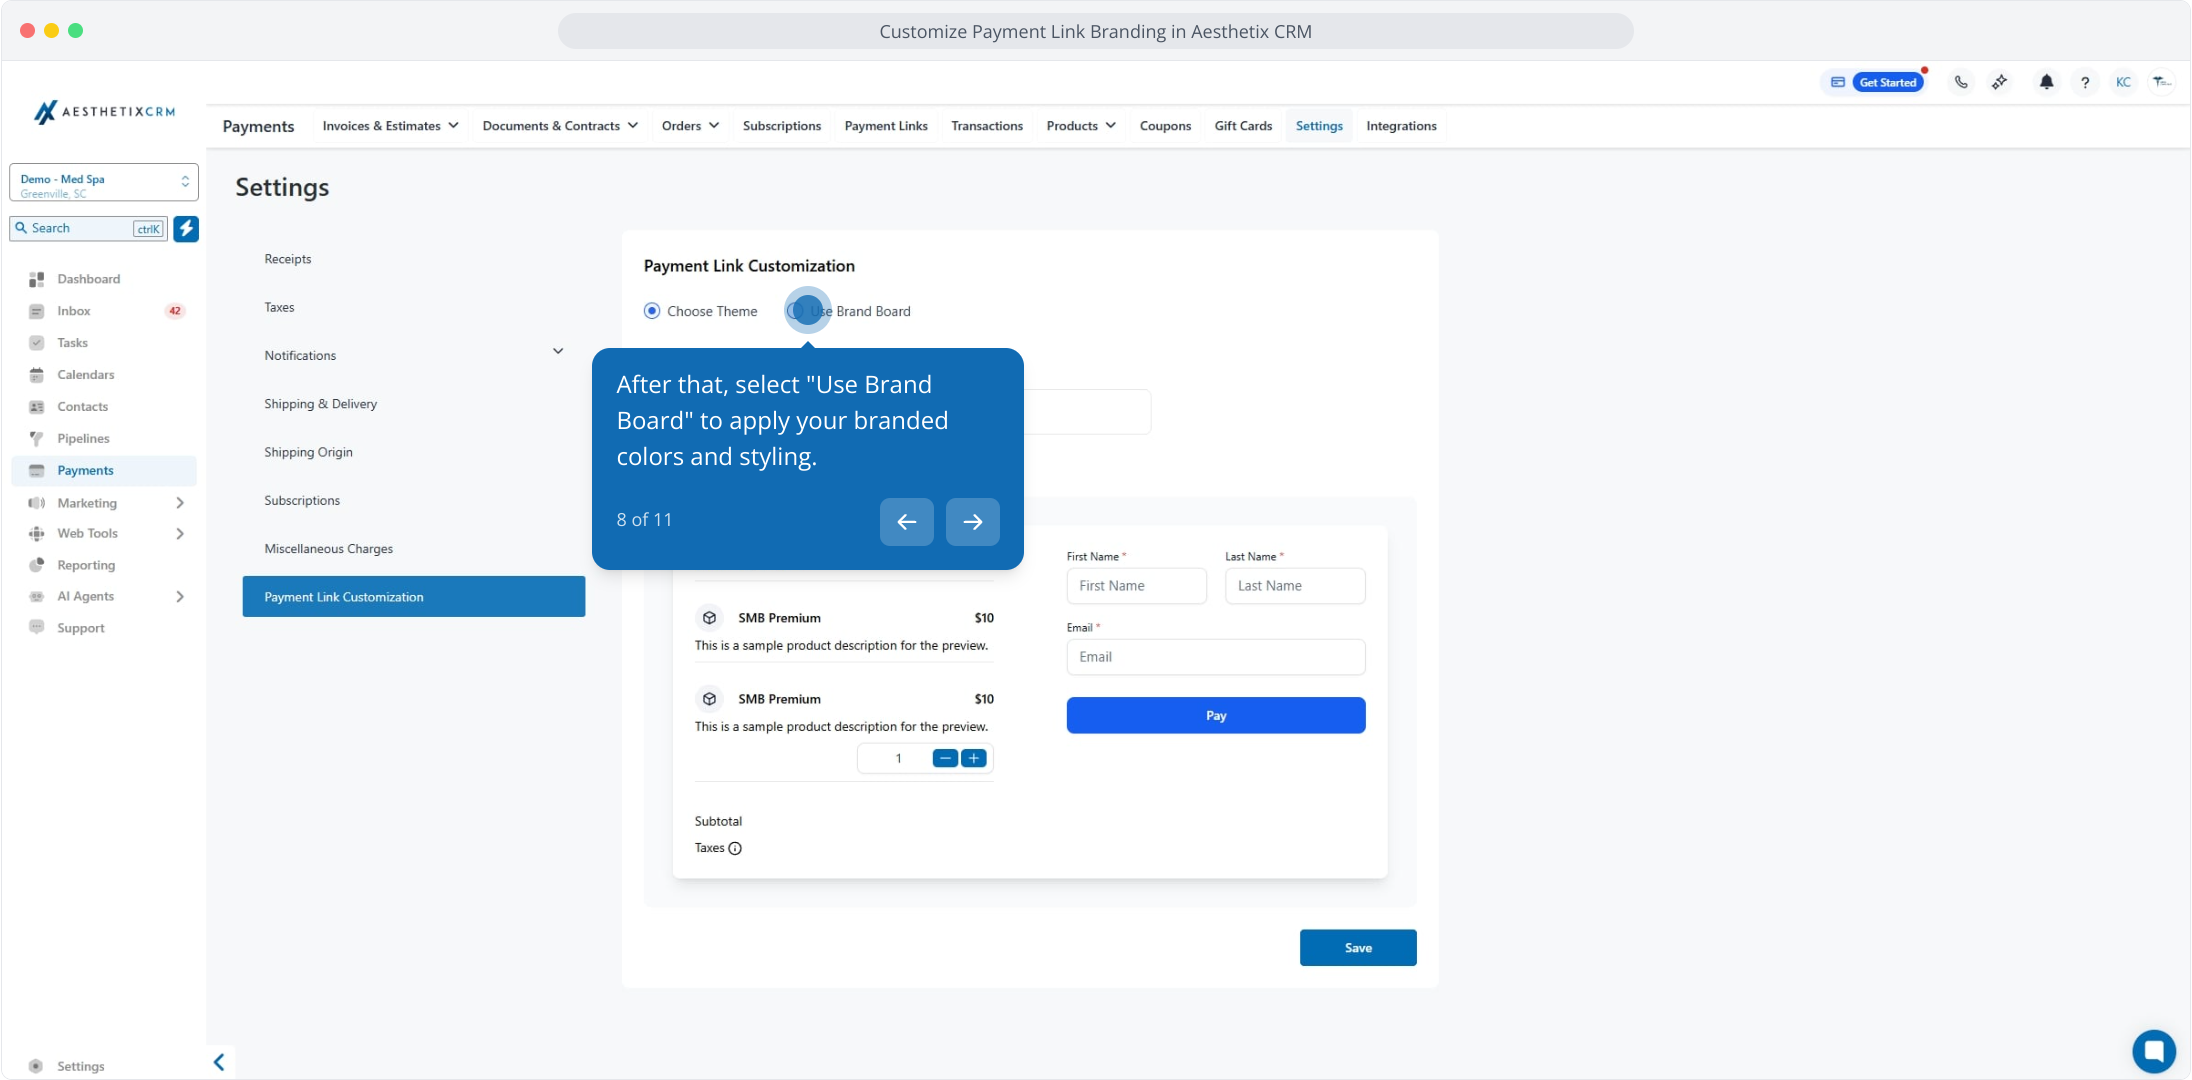
8. After that, select "Use Brand Board" to apply your branded colors and styling.

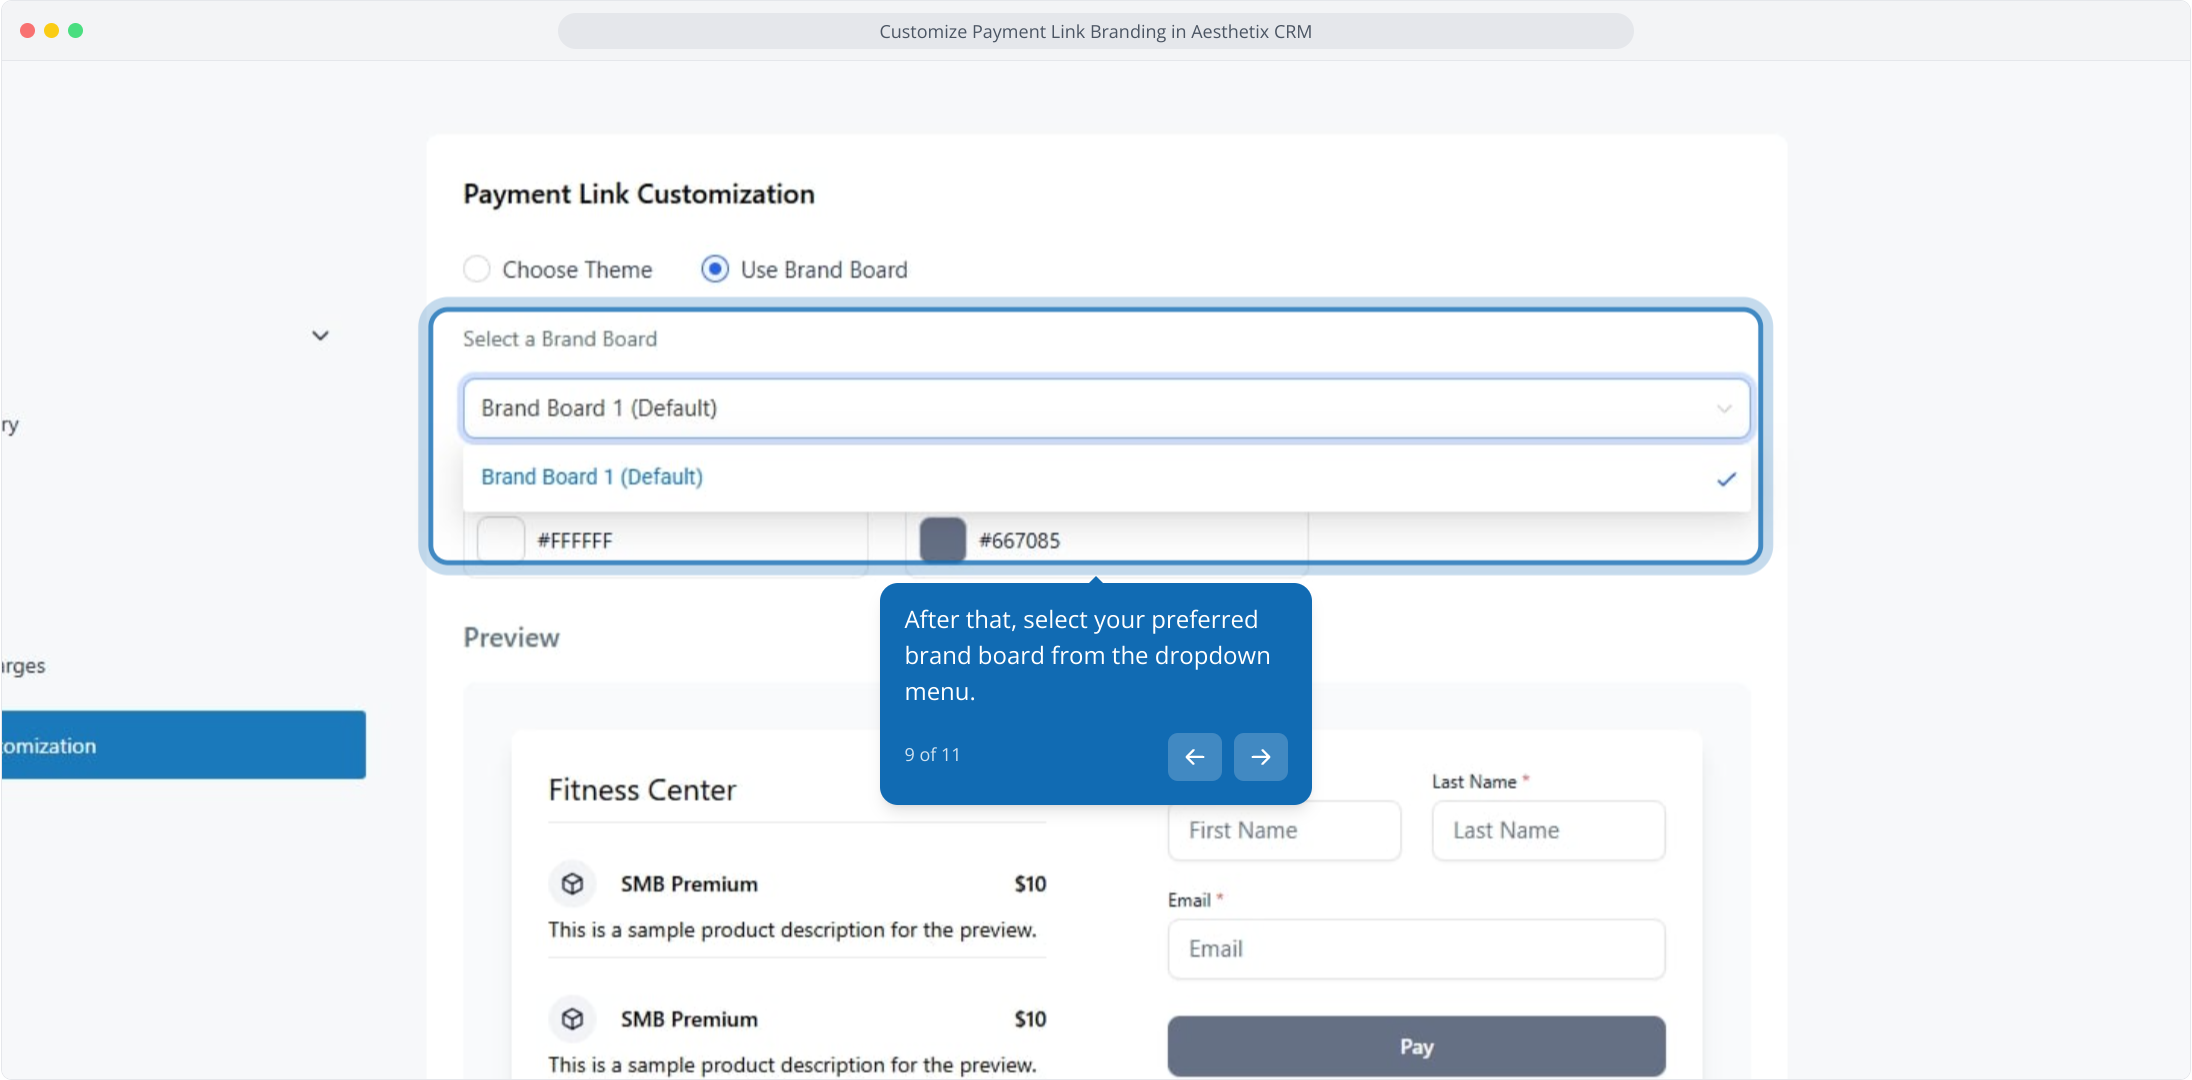
9. After that, select your preferred brand board from the dropdown menu.

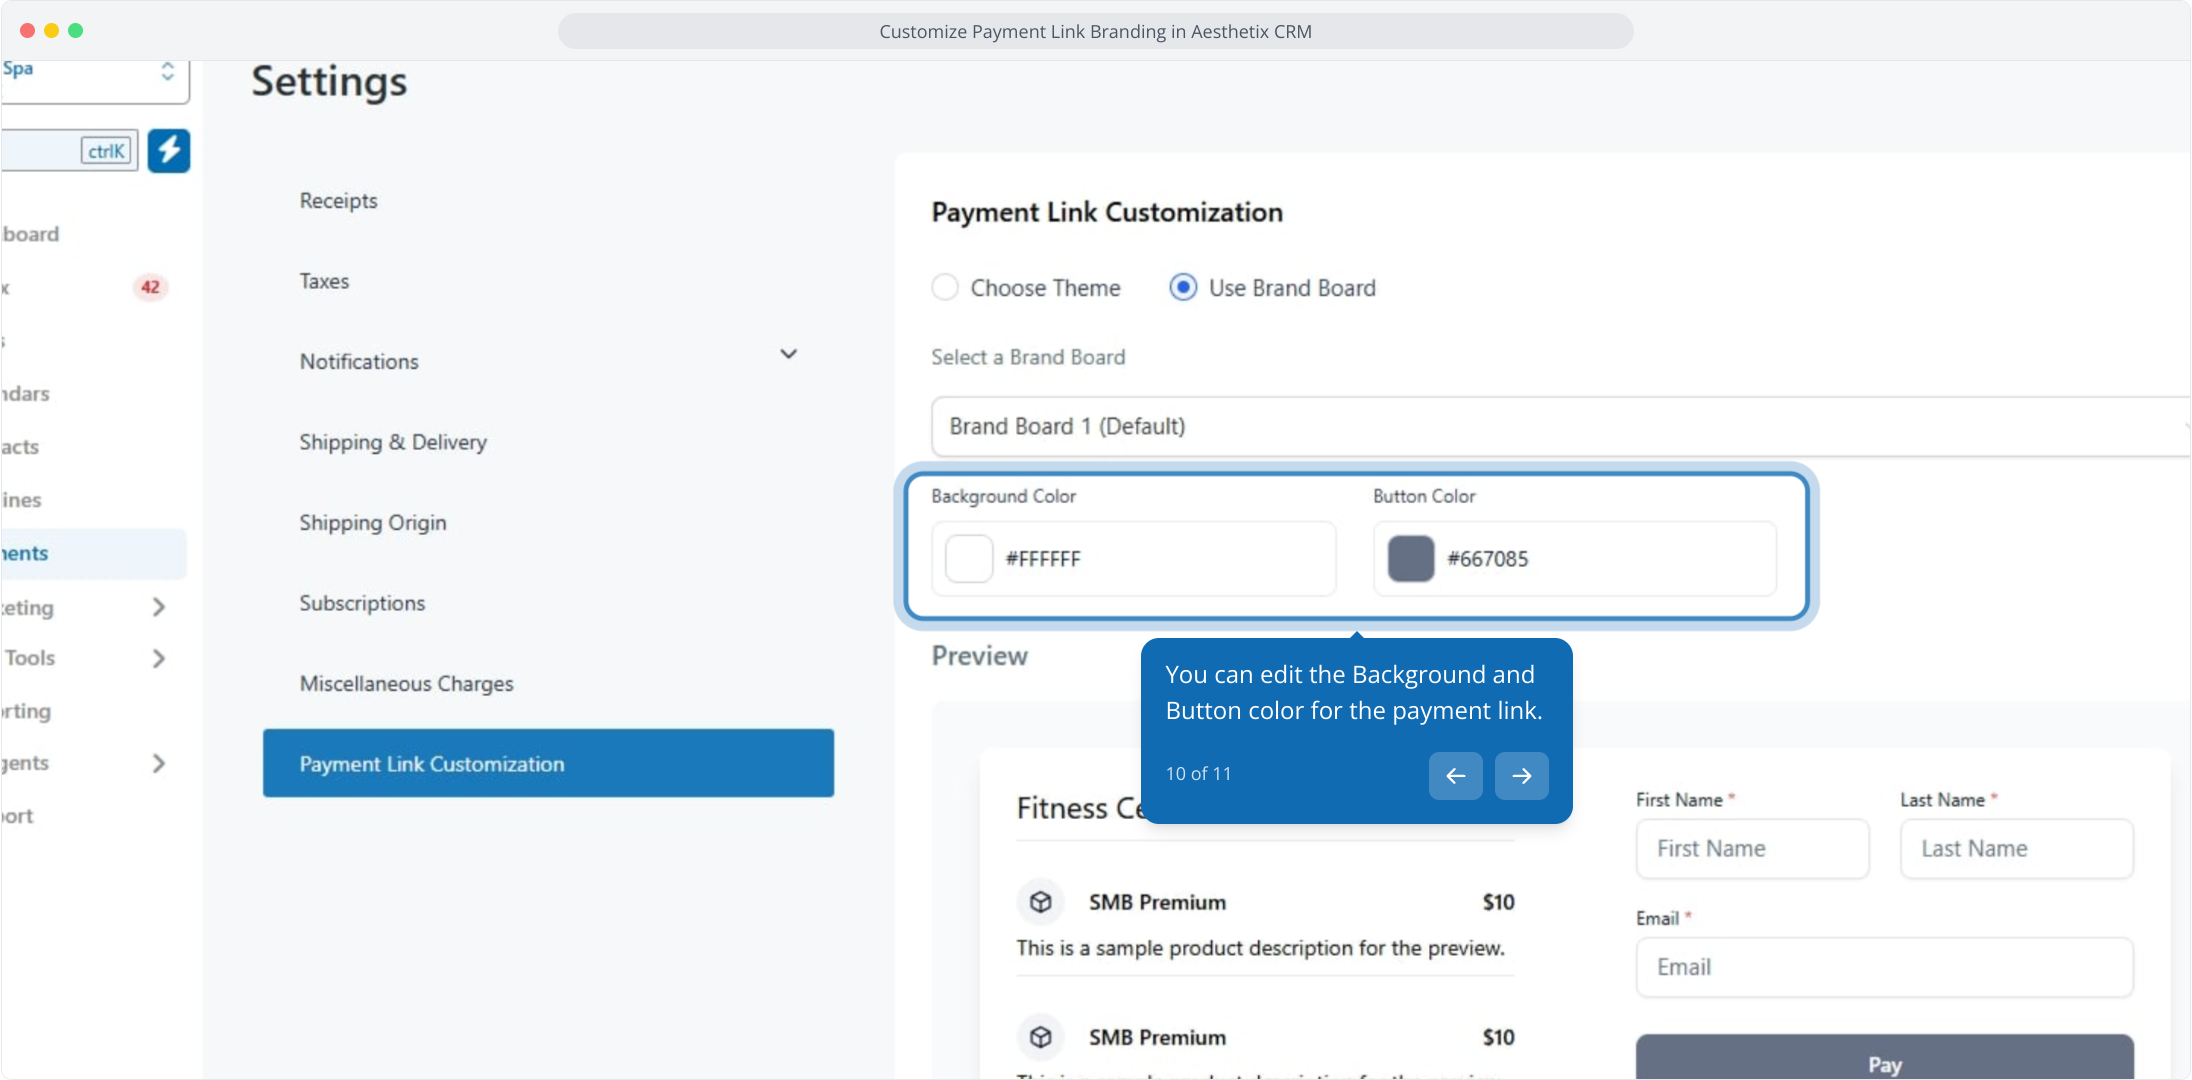
10. You can edit the Background and Button color for the payment link.

11. To end off, click the Save button to apply your payment link customization changes.

This workflow was created with Supademo.
1. Customize Payment Link Branding in Aesthetix CRM

2. First off, click the Payments option in the sidebar to access payment management features.

3. Afterwards, click on Settings to access payment configuration options for your account.
4. Next, click Payment Link Customization to configure custom payment link settings.
5. Next, click Choose Theme to customize your payment link's visual appearance.
6. You can edit the Background and Button color for the payment link.

7. From here, view the payment link preview showing sample products and customer form fields.
8. After that, select "Use Brand Board" to apply your branded colors and styling.
9. After that, select your preferred brand board from the dropdown menu.
10. You can edit the Background and Button color for the payment link.
11. To end off, click the Save button to apply your payment link customization changes.