This integration follows a one-way sync model:
Contacts: Imported from Xero → Aesthetix CRM for mapping
Invoices: Created in Aesthetix CRM → Automatically created in Xero
If a matching contact does not exist in Xero at the time of invoice sync, the system automatically creates a new contact in Xero.
Contacts are initially imported from Xero into Aesthetix CRM.
This ensures invoices in Aesthetix CRM map correctly to Xero contacts.
If no matching contact is found during invoice sync, a new contact is created in Xero automatically.
Any invoice created in Aesthetix CRM is automatically created in Xero.
Included in the sync:
Line items
Discounts
Invoice totals
Status updates
Note: Products/Items are not created as standalone products in Xero. Line items exist only within the synced invoice.
If the mapped tax rate already exists in Xero → it is applied.
If the tax rate does not exist → a new tax rate is automatically created in Xero during sync.
This ensures accurate tax mapping—even with multi-component tax structures.
The invoice currency is passed to Xero.
If the currency does not exist in the Xero organization, it is added automatically.
Important: Your Xero plan must support multi-currency for this to work.
When an invoice status changes in Aesthetix CRM, the update syncs to Xero.
Examples:
Sent
Partially Paid
Void
This keeps accounting records aligned with your CRM billing activity.
❌ Receipts do not sync at this time.
(Receipt syncing will be available in a future update.)
Contacts are imported from Xero into Aesthetix CRM.
Invoice is created in Aesthetix CRM.
System checks for matching contact in Xero.
If no match → New contact created in Xero.
Invoice is created in Xero with:
Line items
Discounts
Taxes
Currency
Invoice status updates continue syncing automatically.
Ensures invoices link to the correct accounting contact.
No manual export/import required.
Payment and invoice status changes stay aligned.
Precise tax mapping, including multi-component tax rates.
Only accounts enabled for payments appear for selection, keeping data organized.
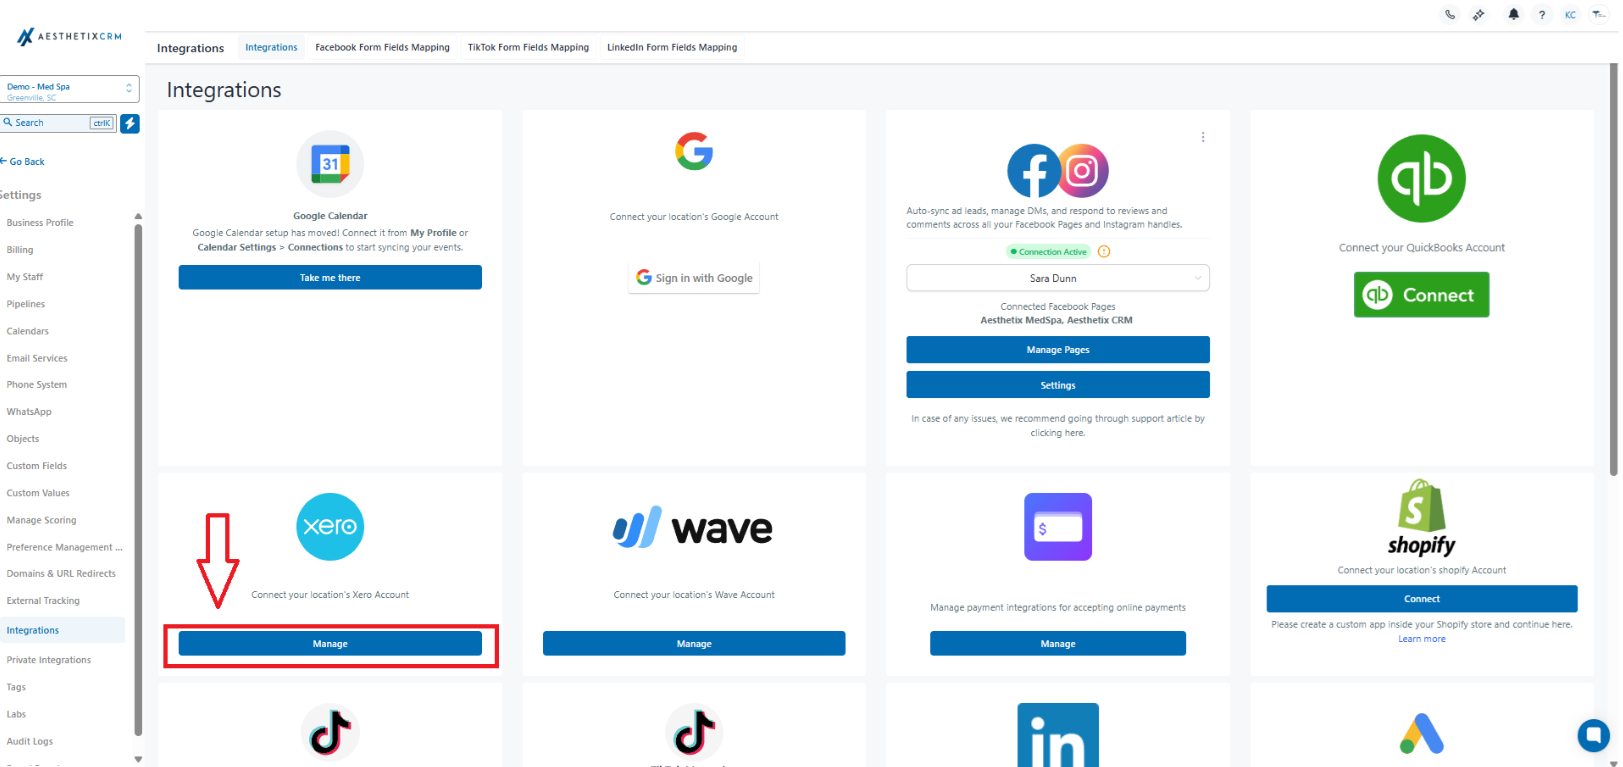
Step 1: Navigate to Xero under Integrations
In the left navigation, click Settings → Integrations → Xero.
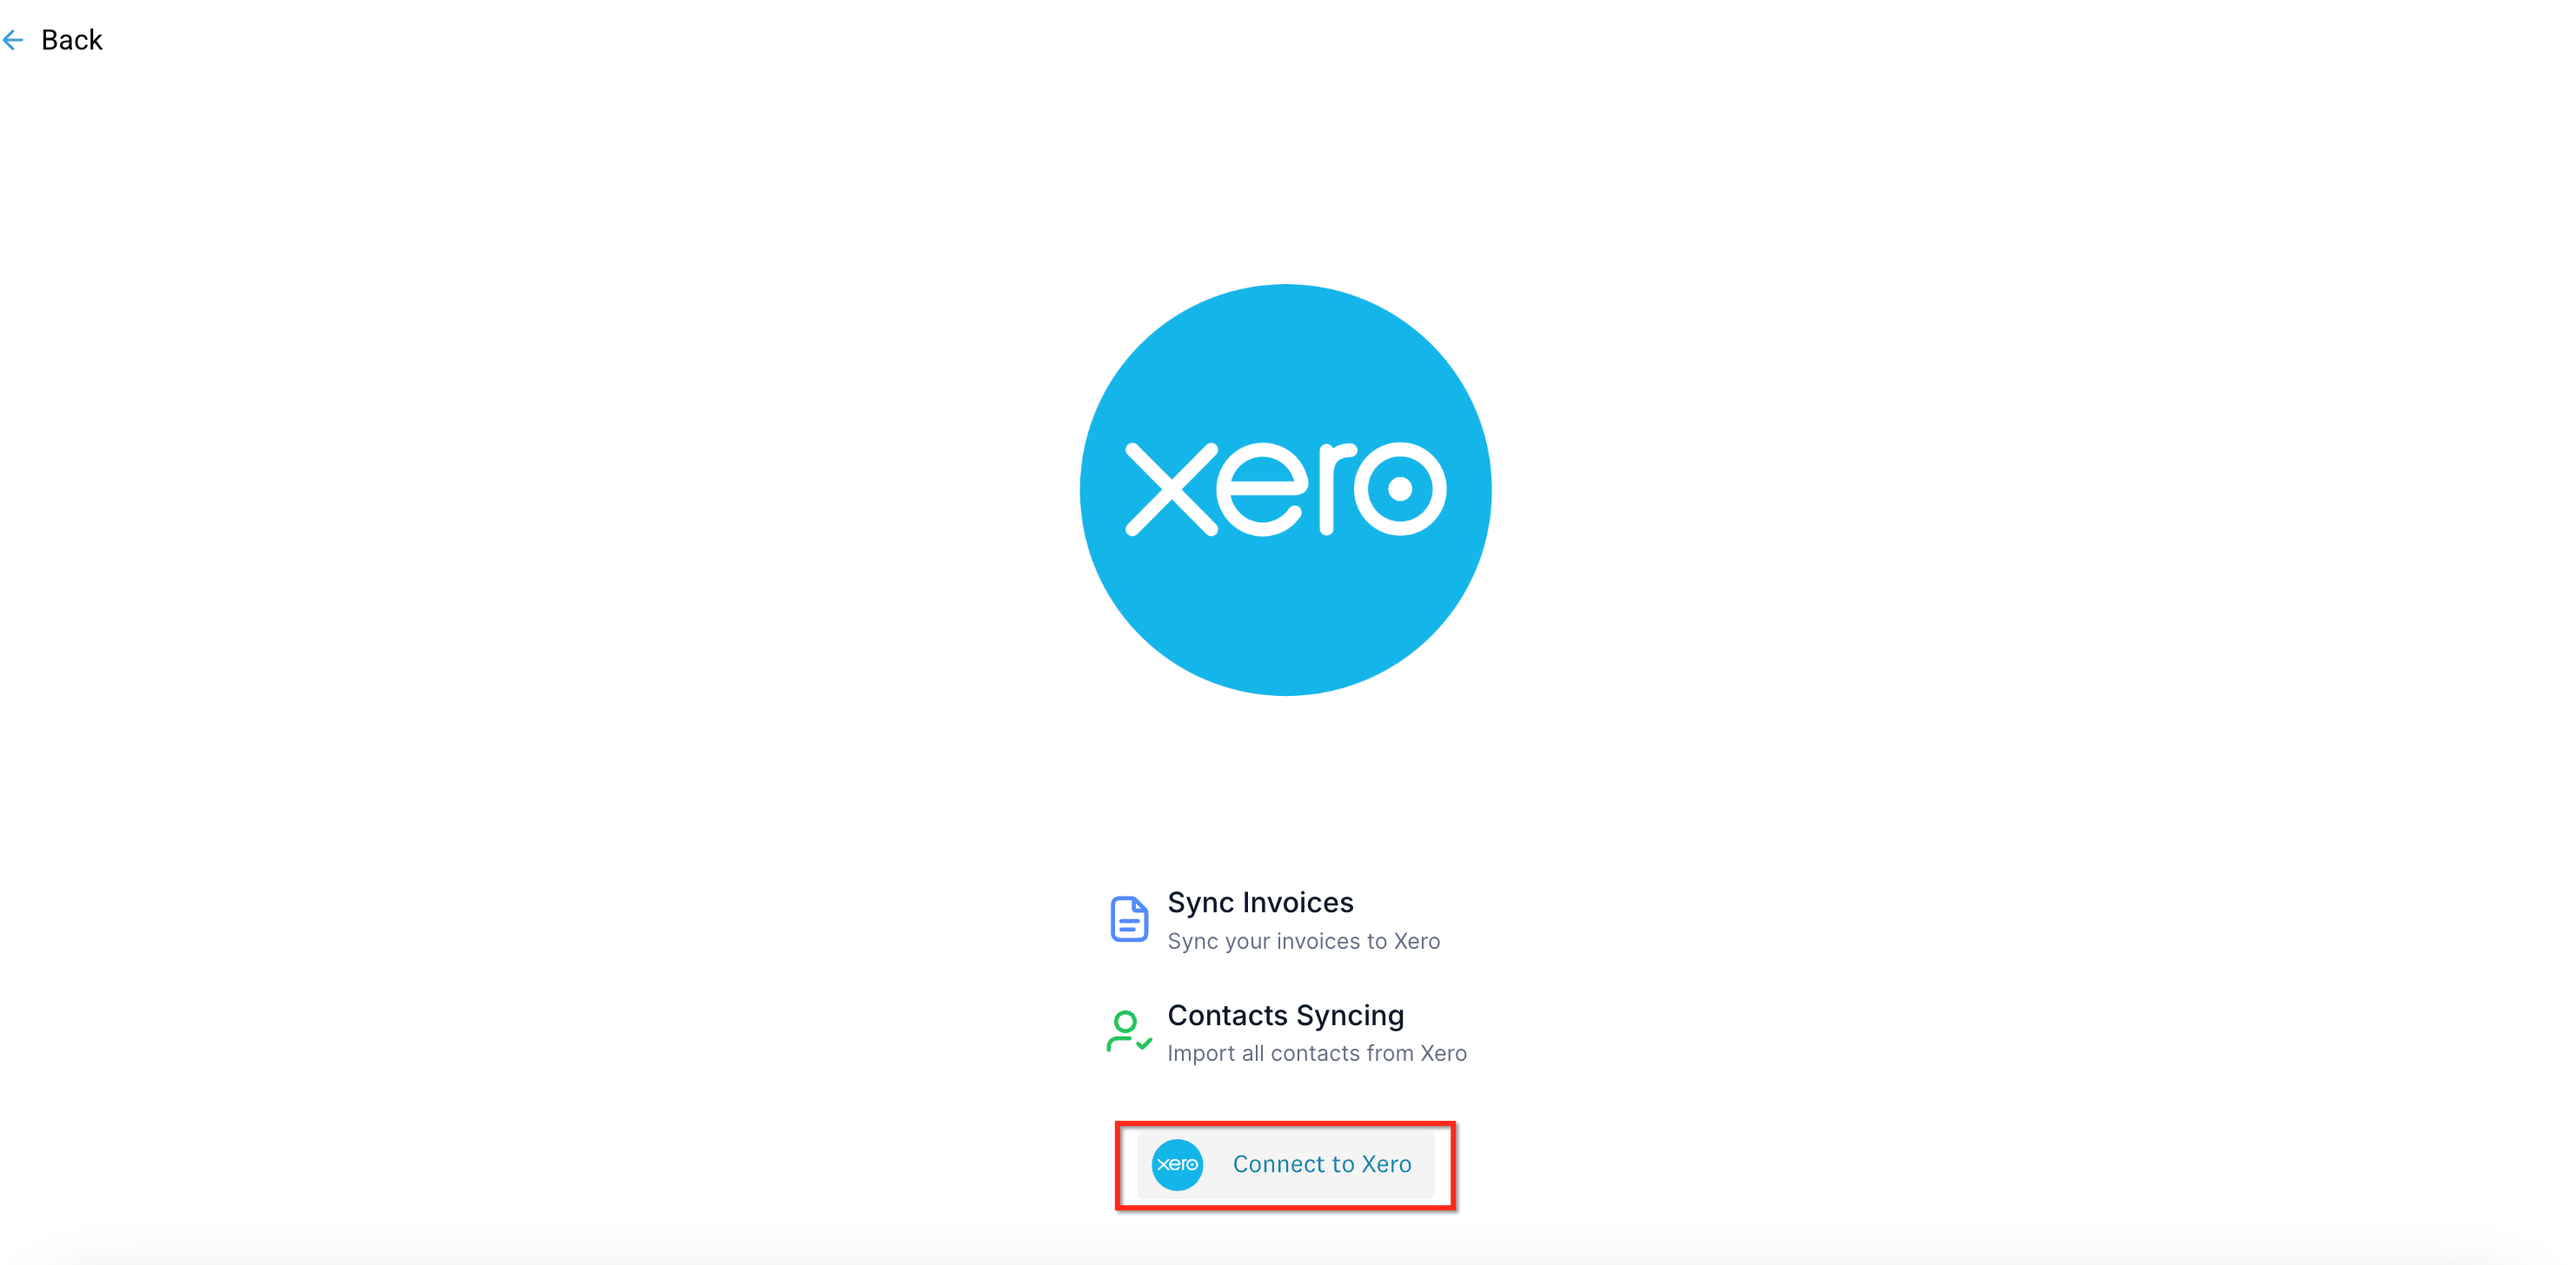
In the Integrations list, click the Xero tile, then select Connect. This opens a secure Xero window for authorization.
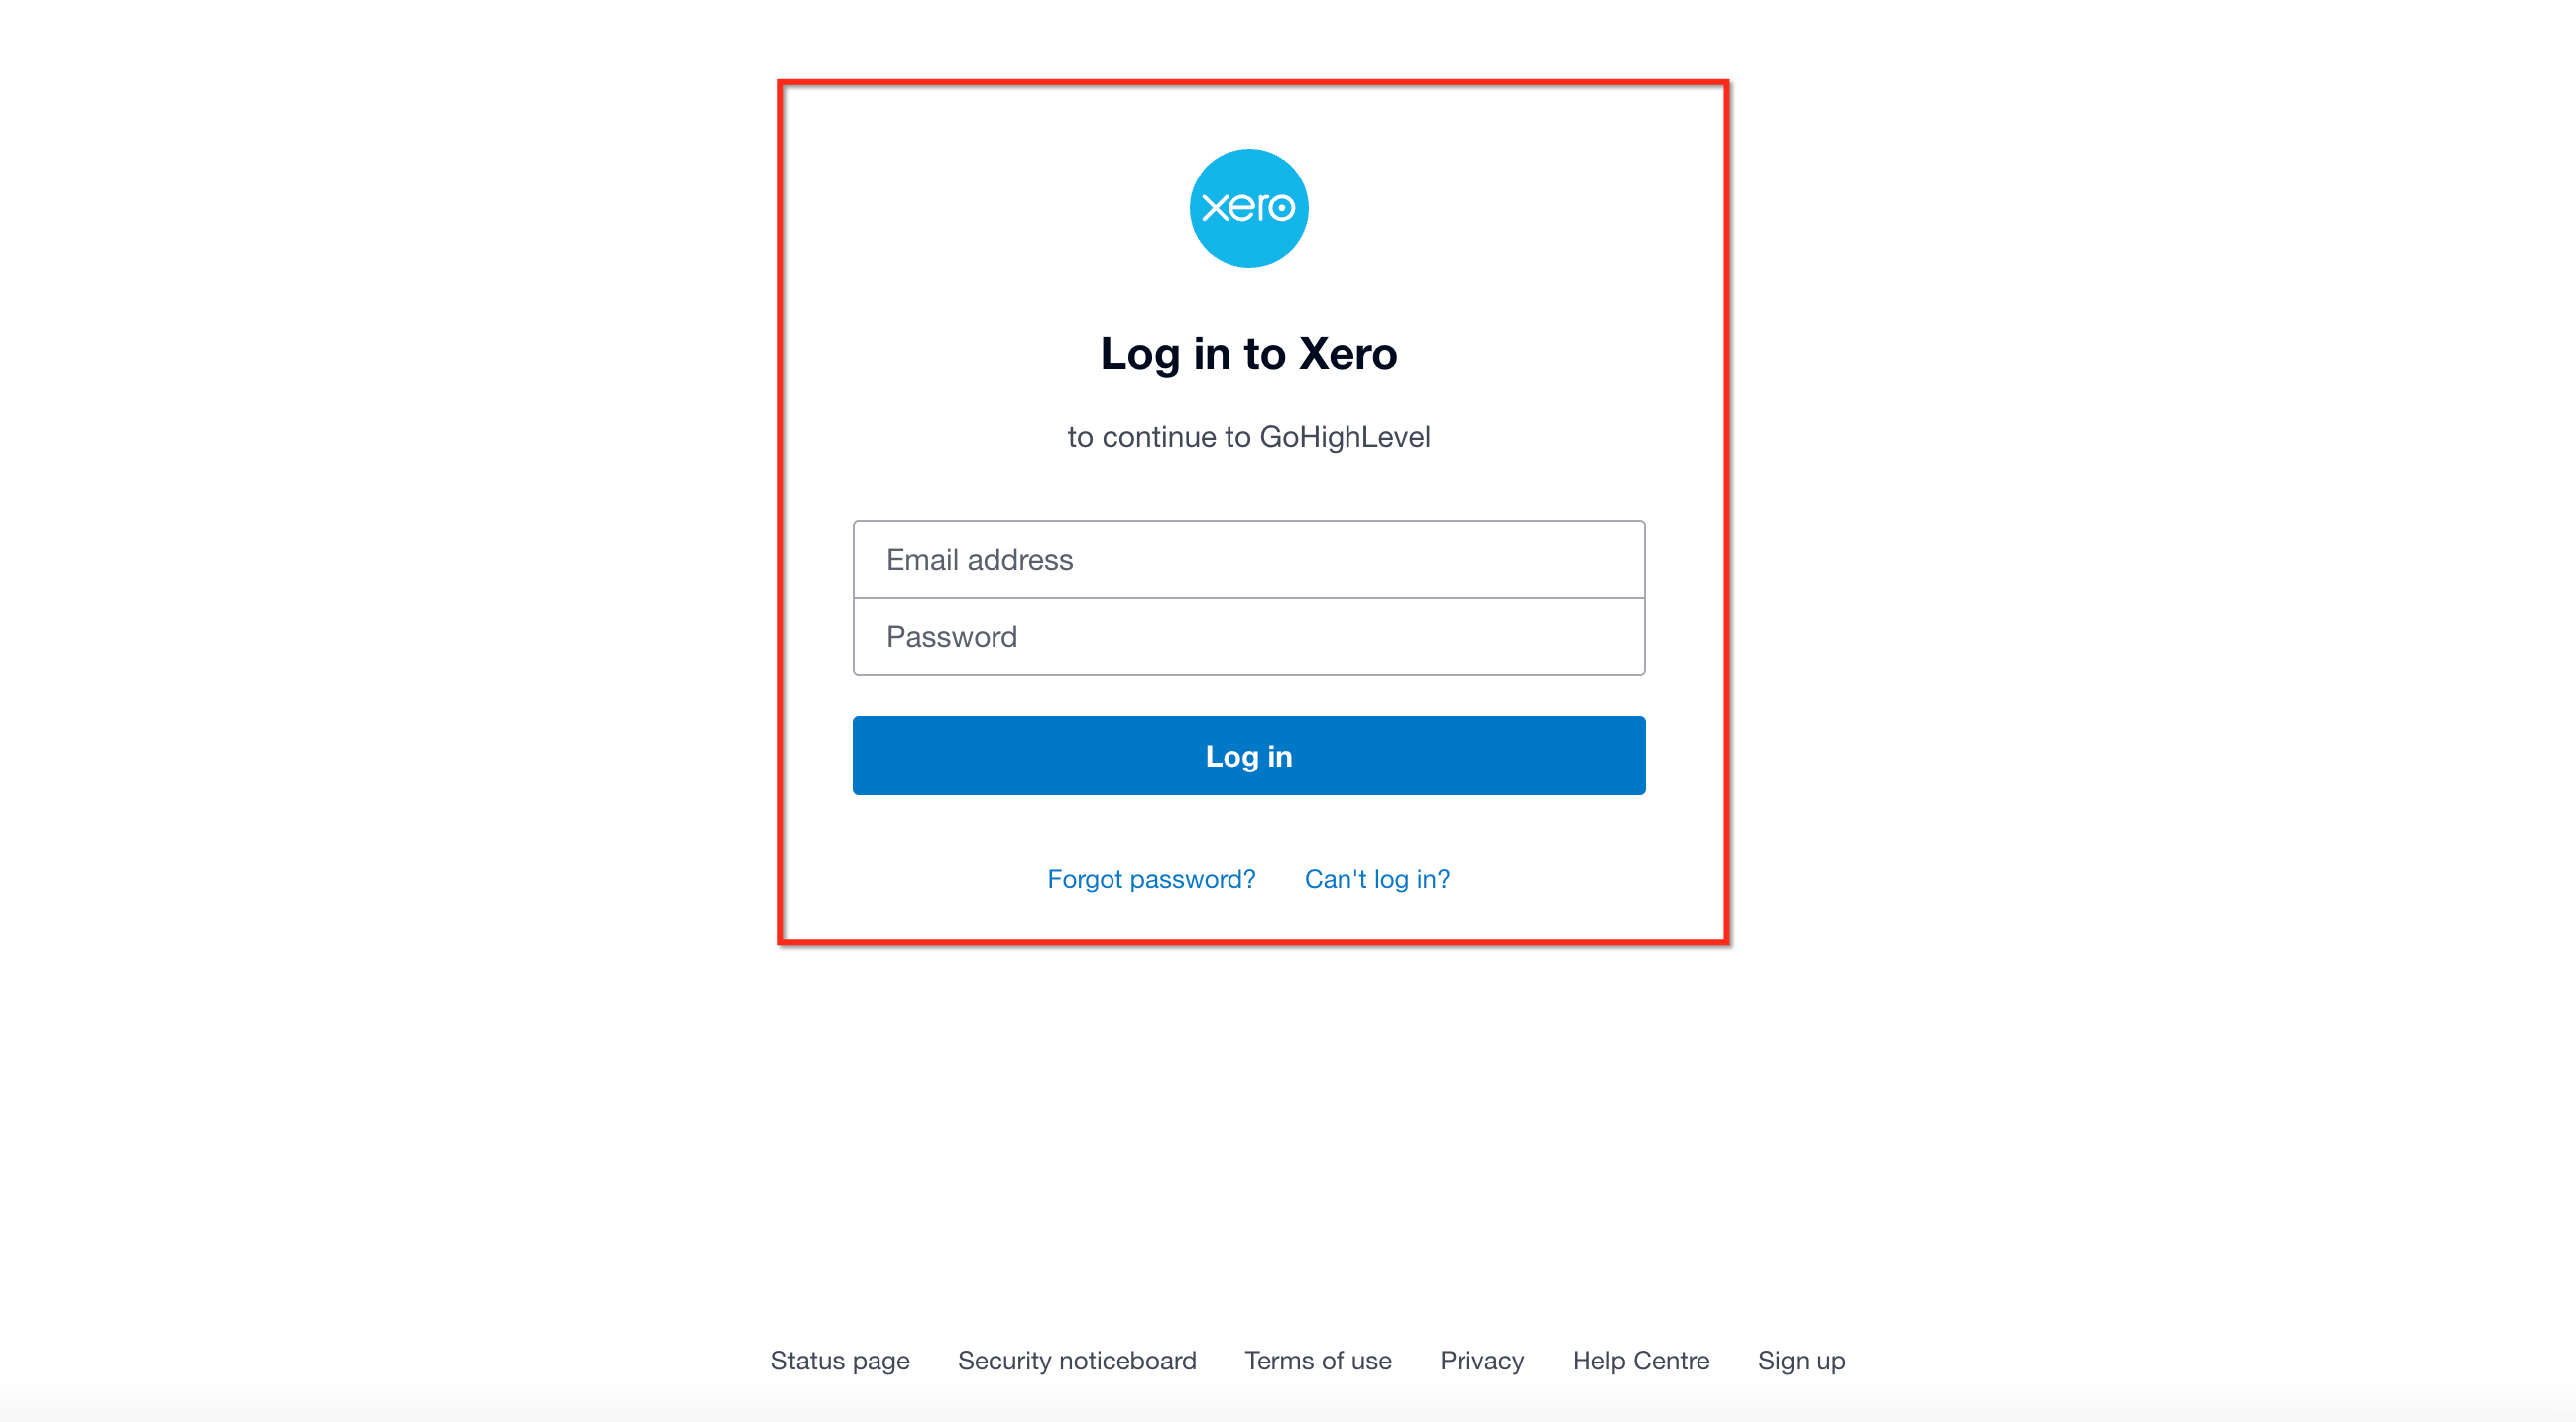
Sign in to Xero (if prompted), select the Xero organization you want to connect, and click Allow access. (Aesthetix requests standard scopes to read contacts/settings and create invoicing transactions.)
Tip: Once connected, confirm the connection in Aesthetix
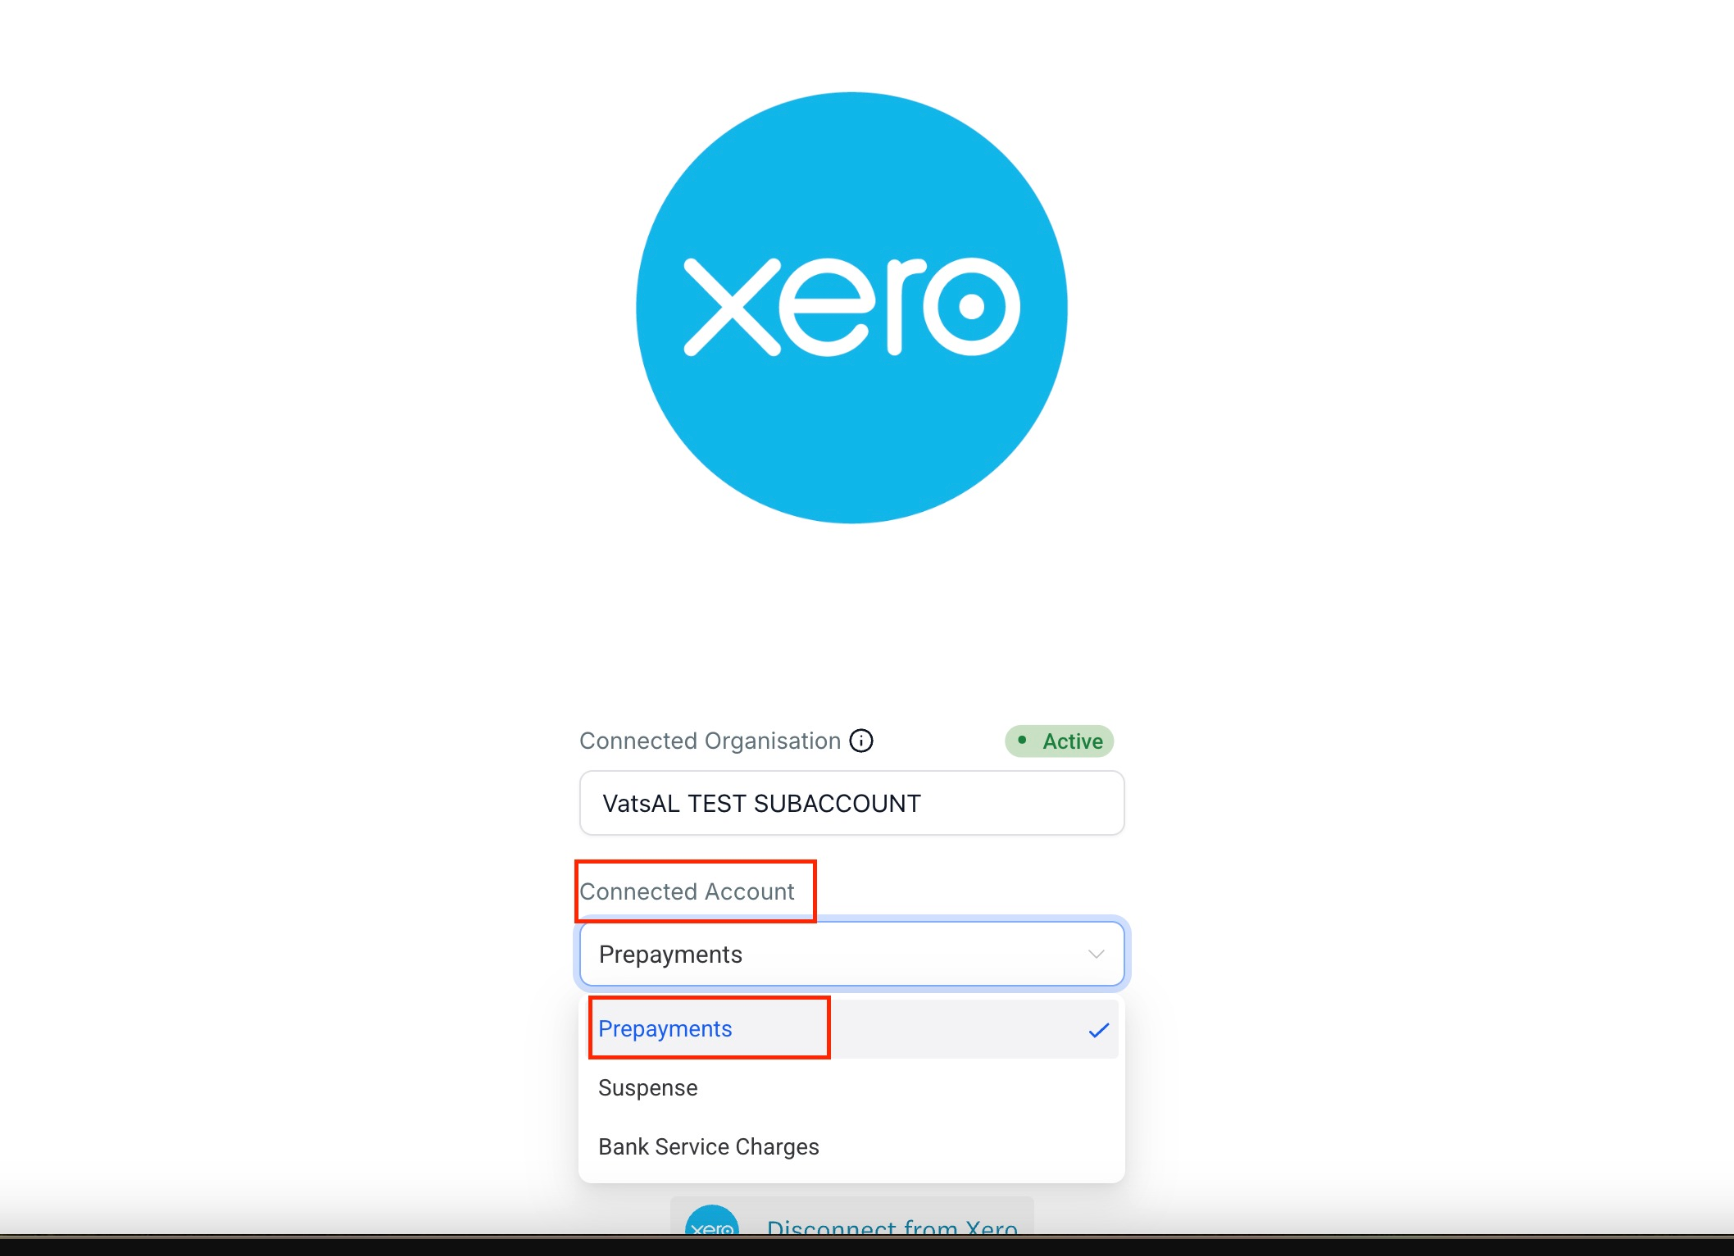
Back in Aesthetix, you’ll see the connected organization name and connection status in Integrations → Xero.
In the Xero settings pane inside Aesthetix, select the account and organization you want to use when posting invoices to.
If you are unable to view your Chart of Accounts in your CRM after connecting with Xero, follow the steps below to enable it.
From your Xero dashboard, select your organization. Click Settings from the dropdown menu.
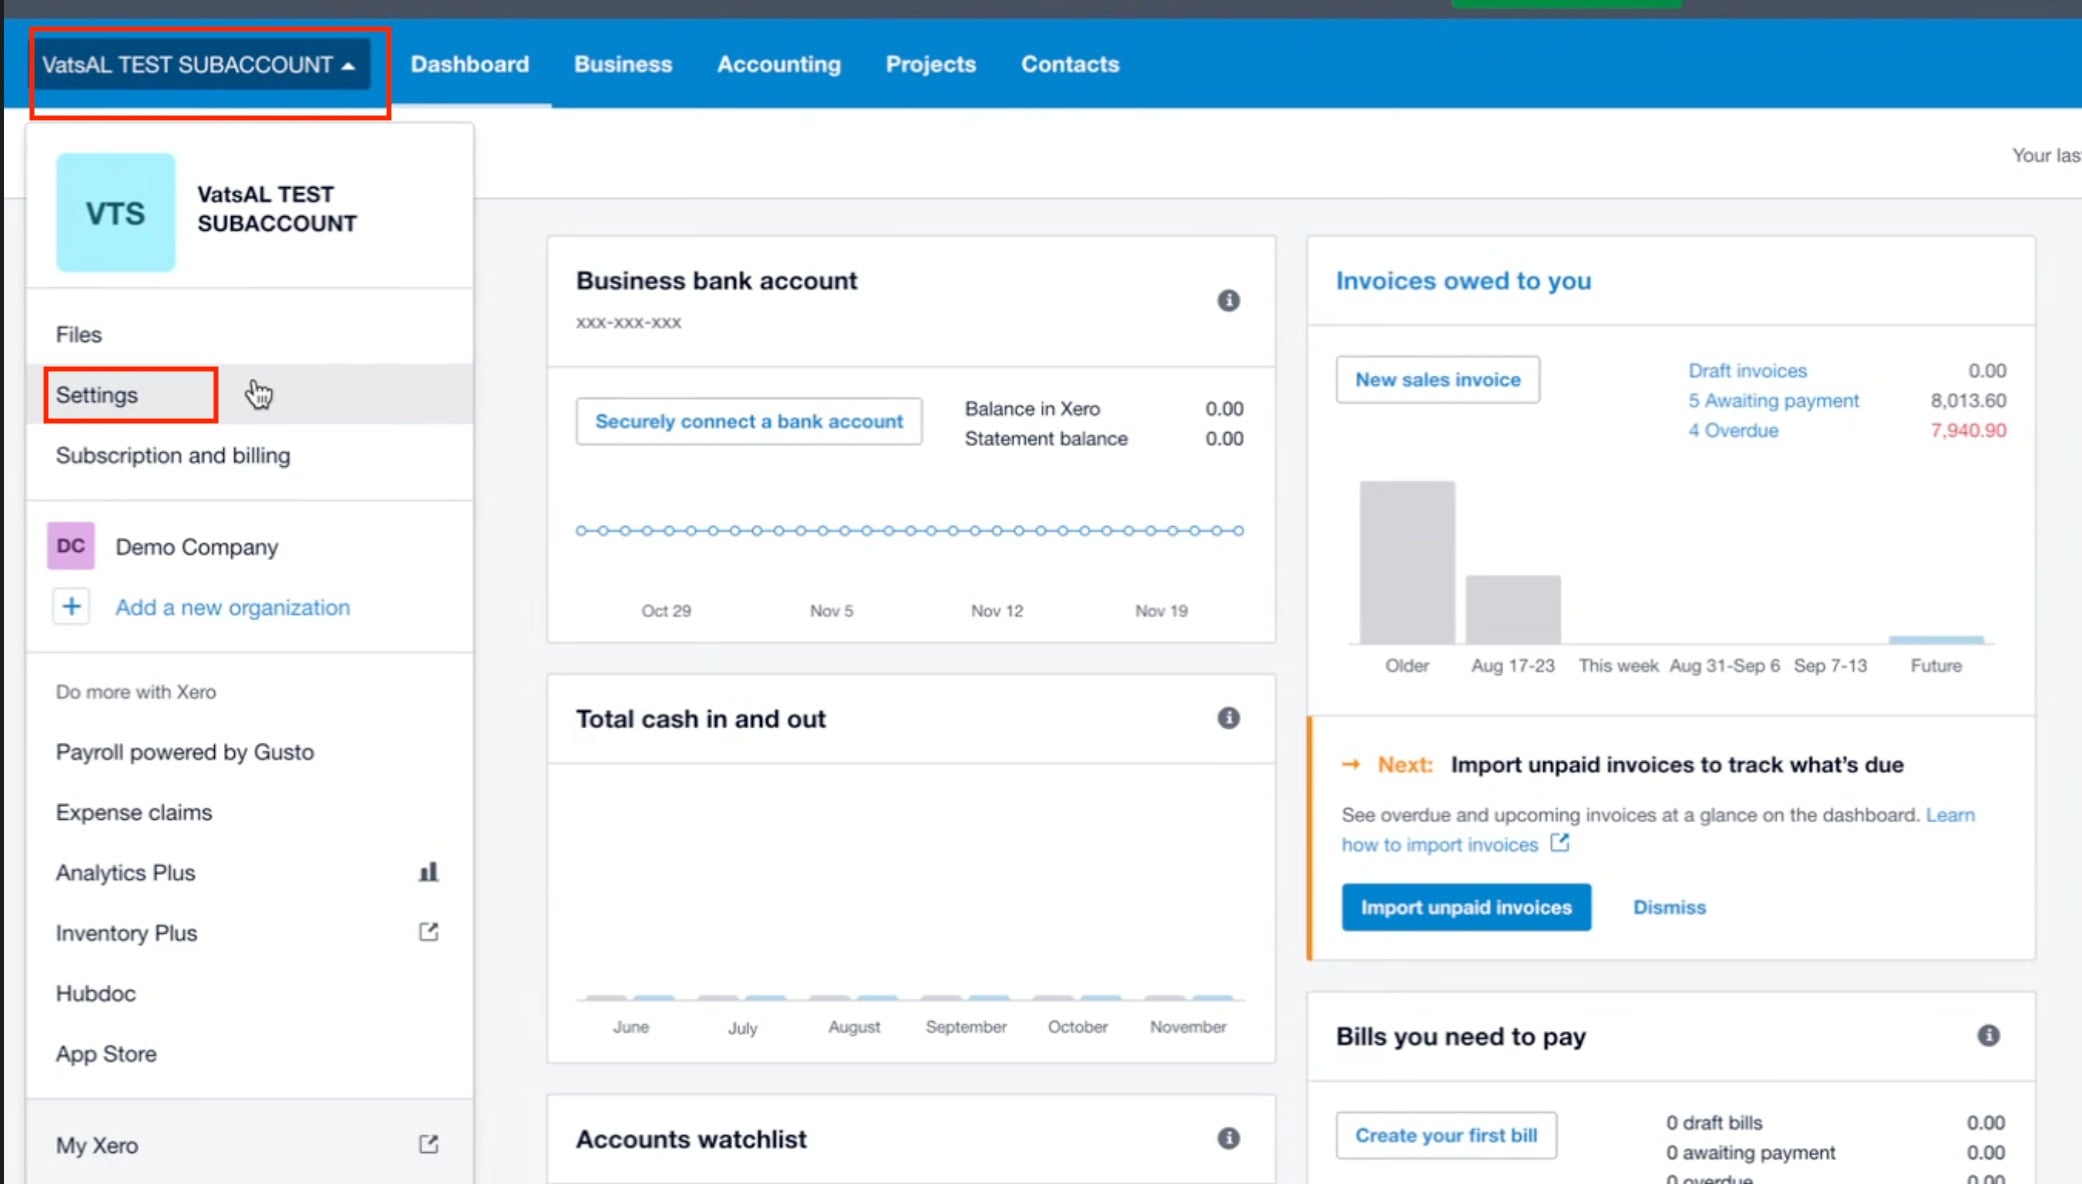
In Organization settings, scroll down and click Looking for advanced settings?
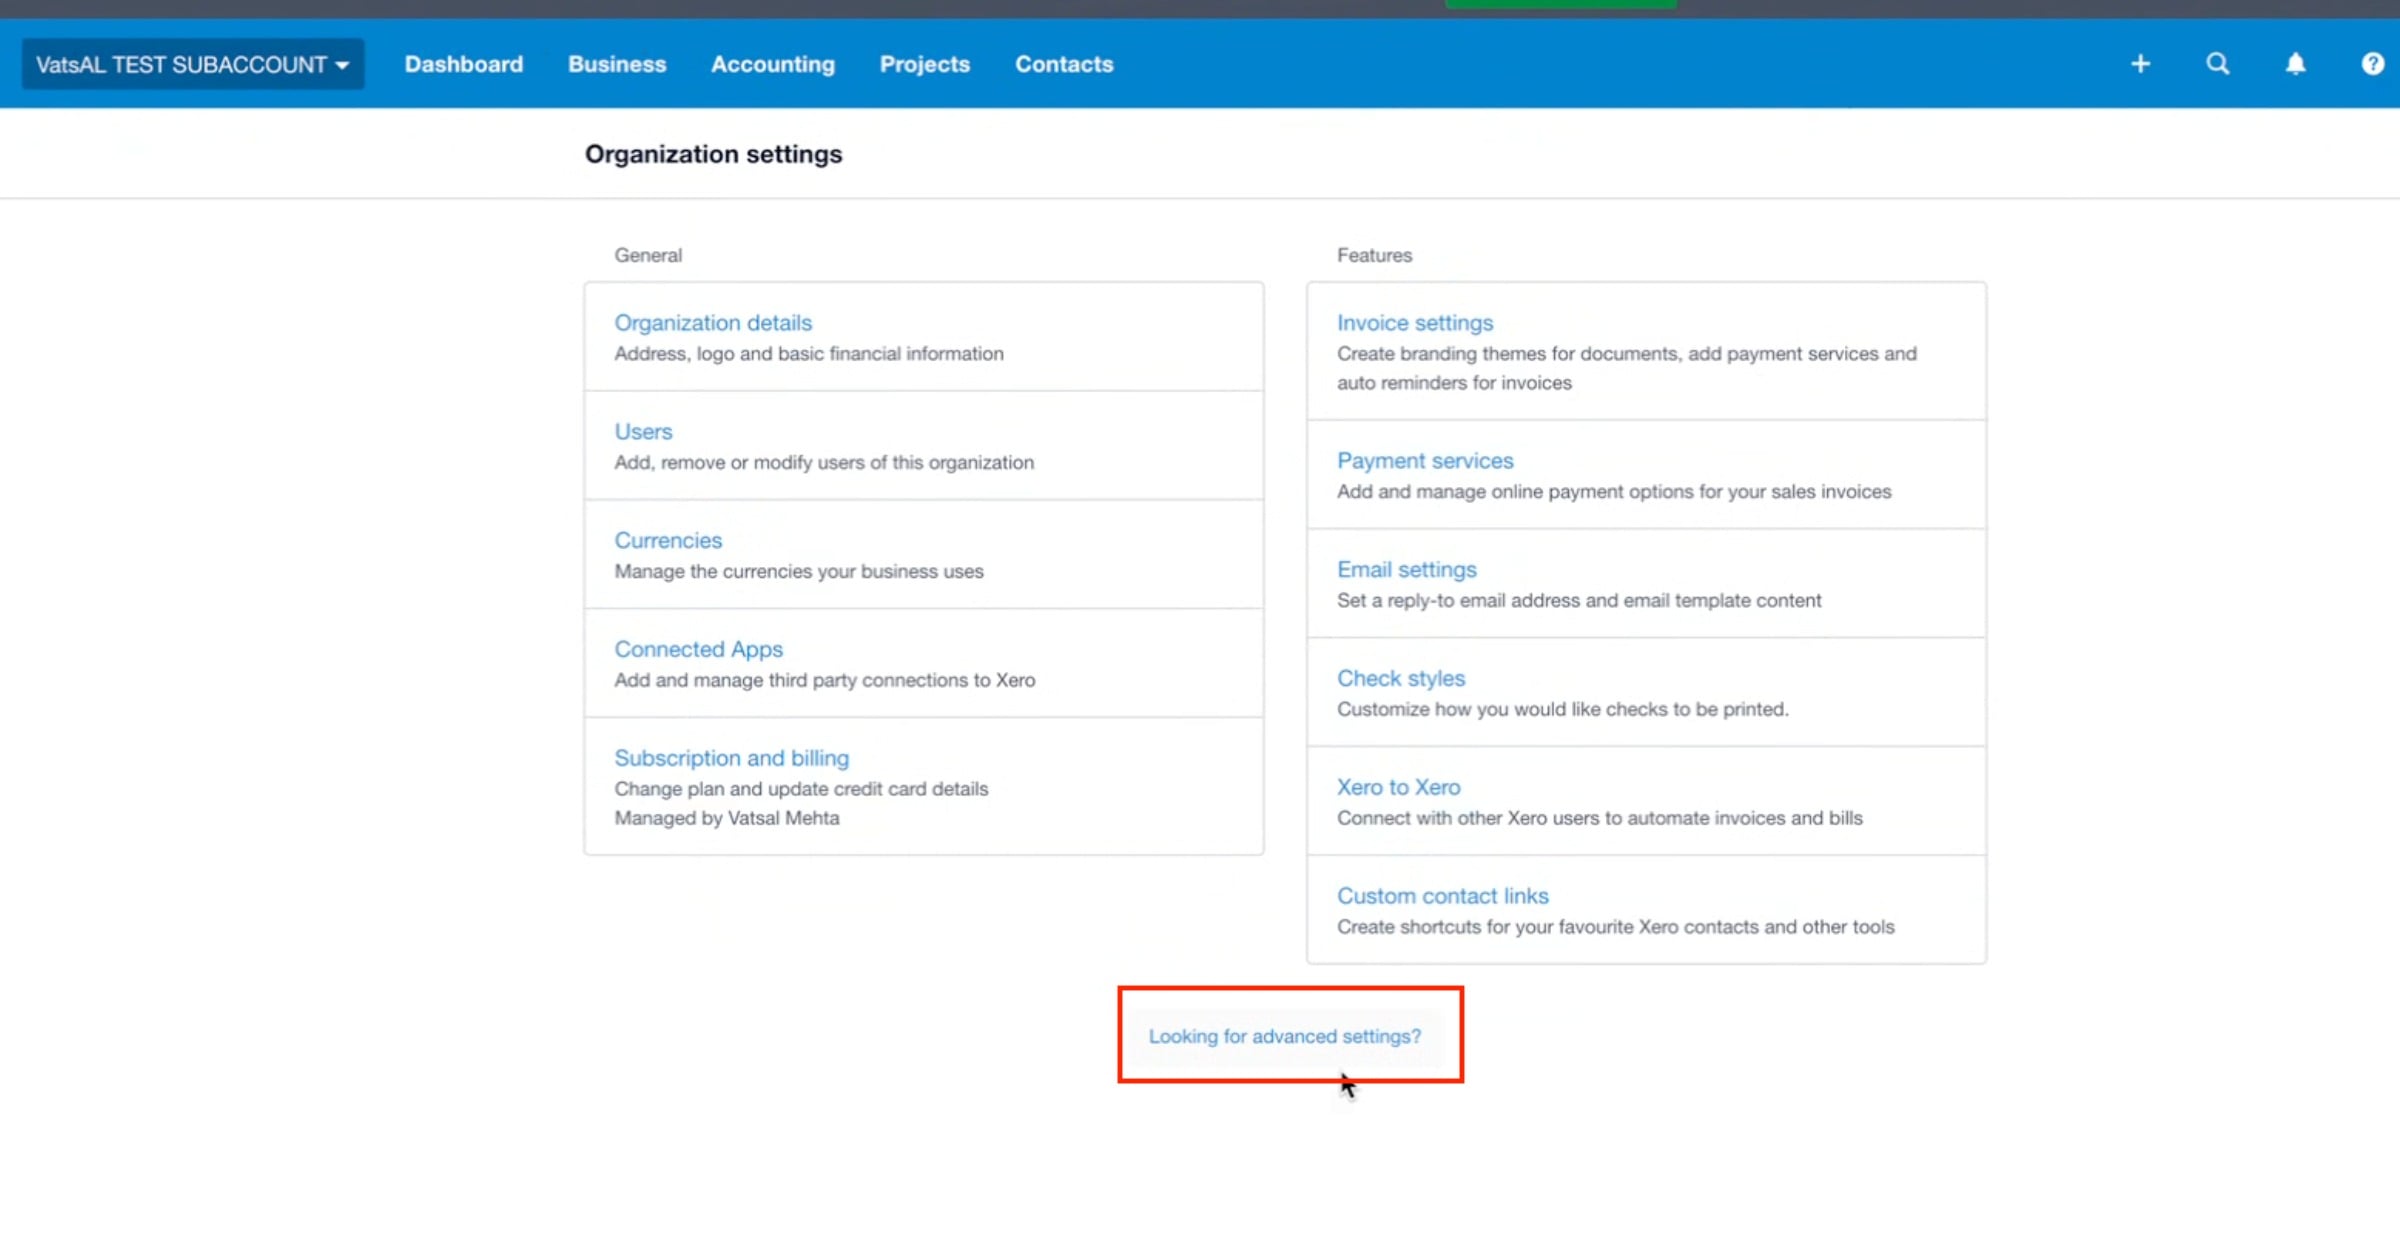
Under Advanced Accounting, click Chart of accounts.
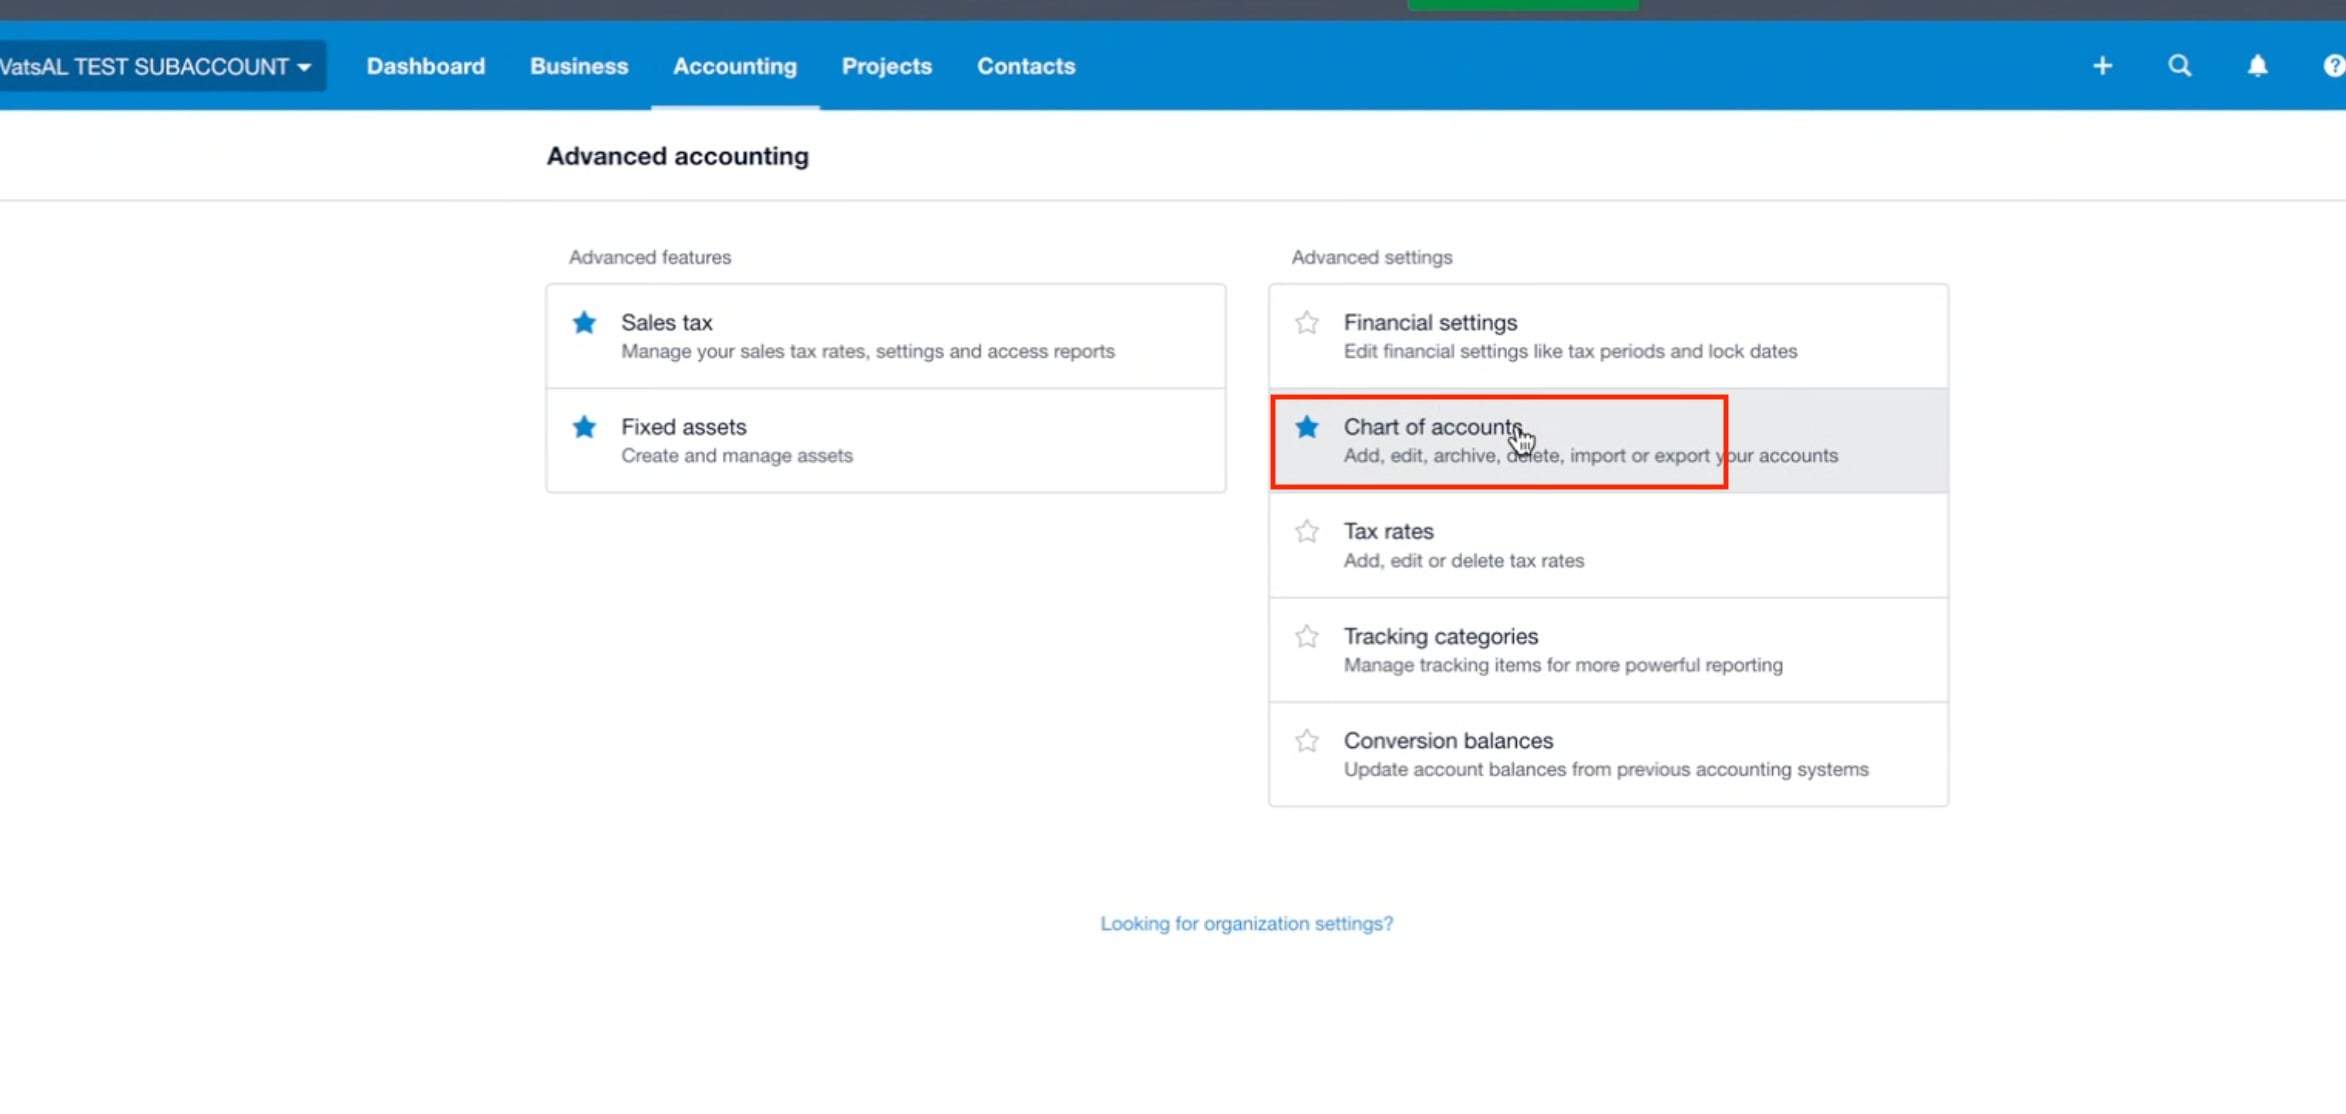
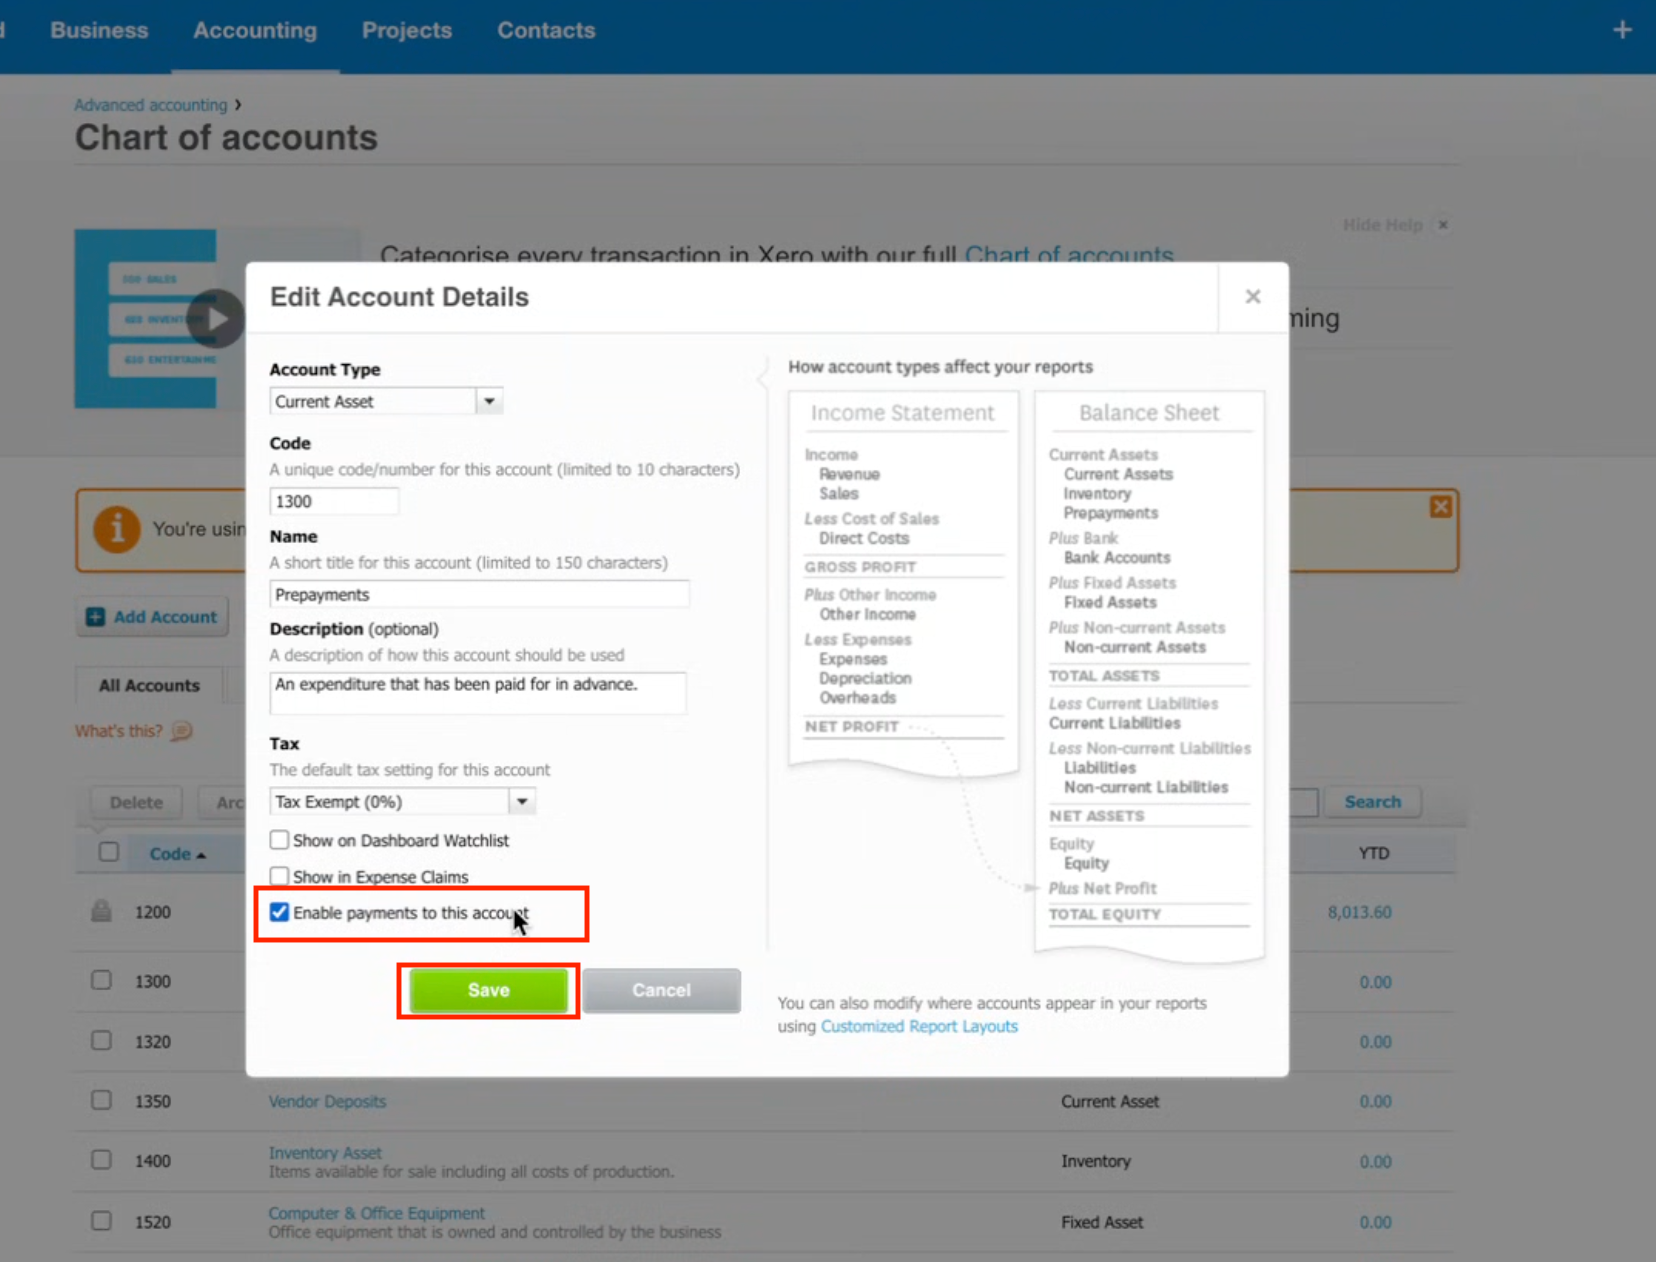
From the list of accounts, choose the account you want to connect (e.g., Prepayments). Click to edit the details of this account.
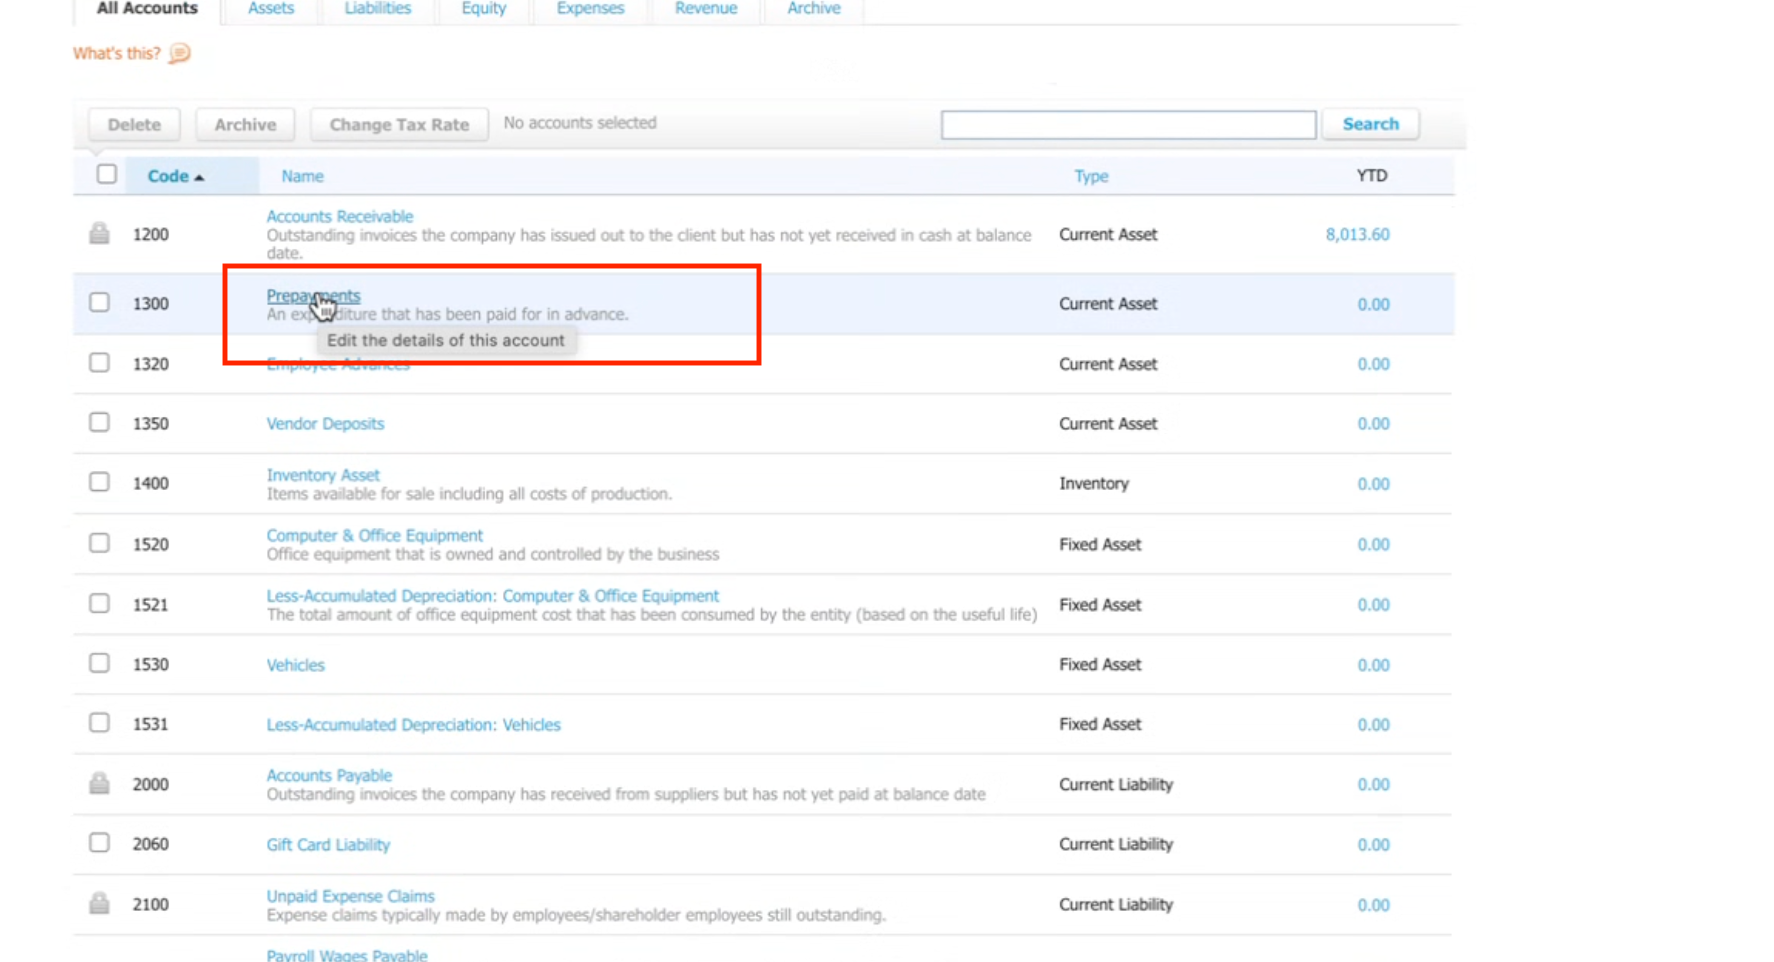
In the edit popup:
Tick ✅ Enable payments to this account.
Click Save.
Go back to your CRM Xero integration. Under Connected Account, select the account you just enabled (e.g., Prepayments).
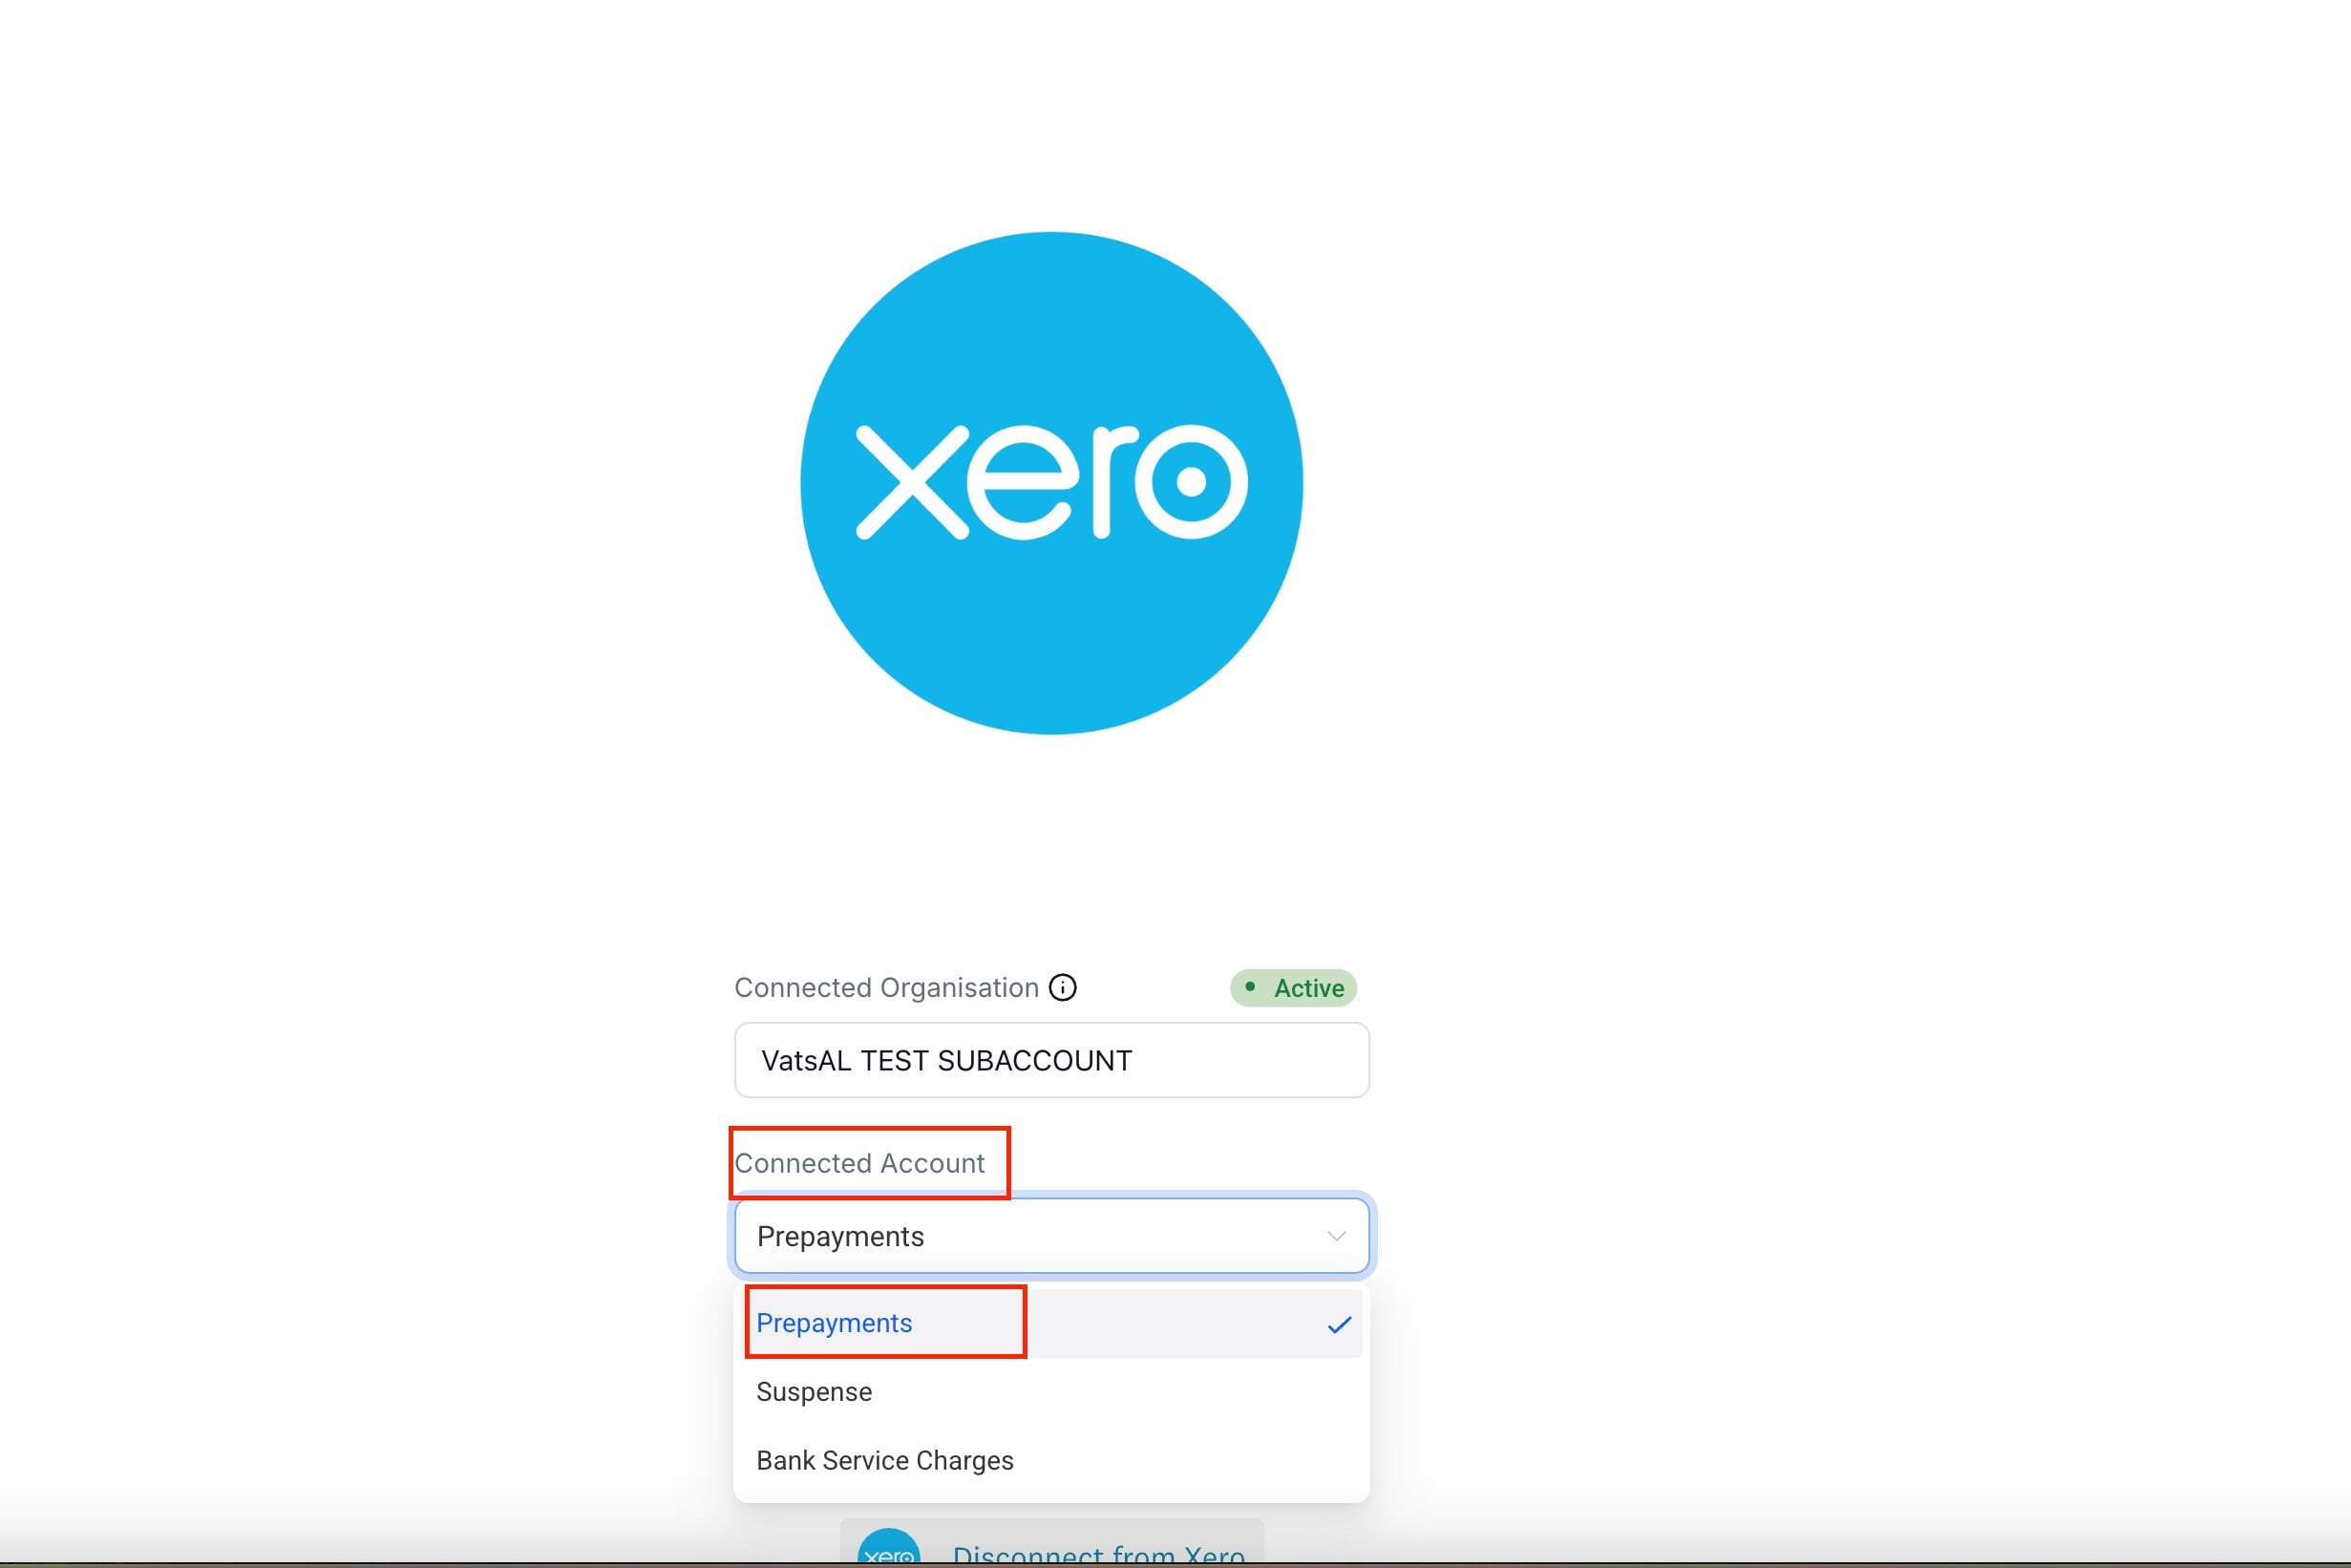
Once done, your Chart of Accounts will now be visible and ready to use in your CRM.
