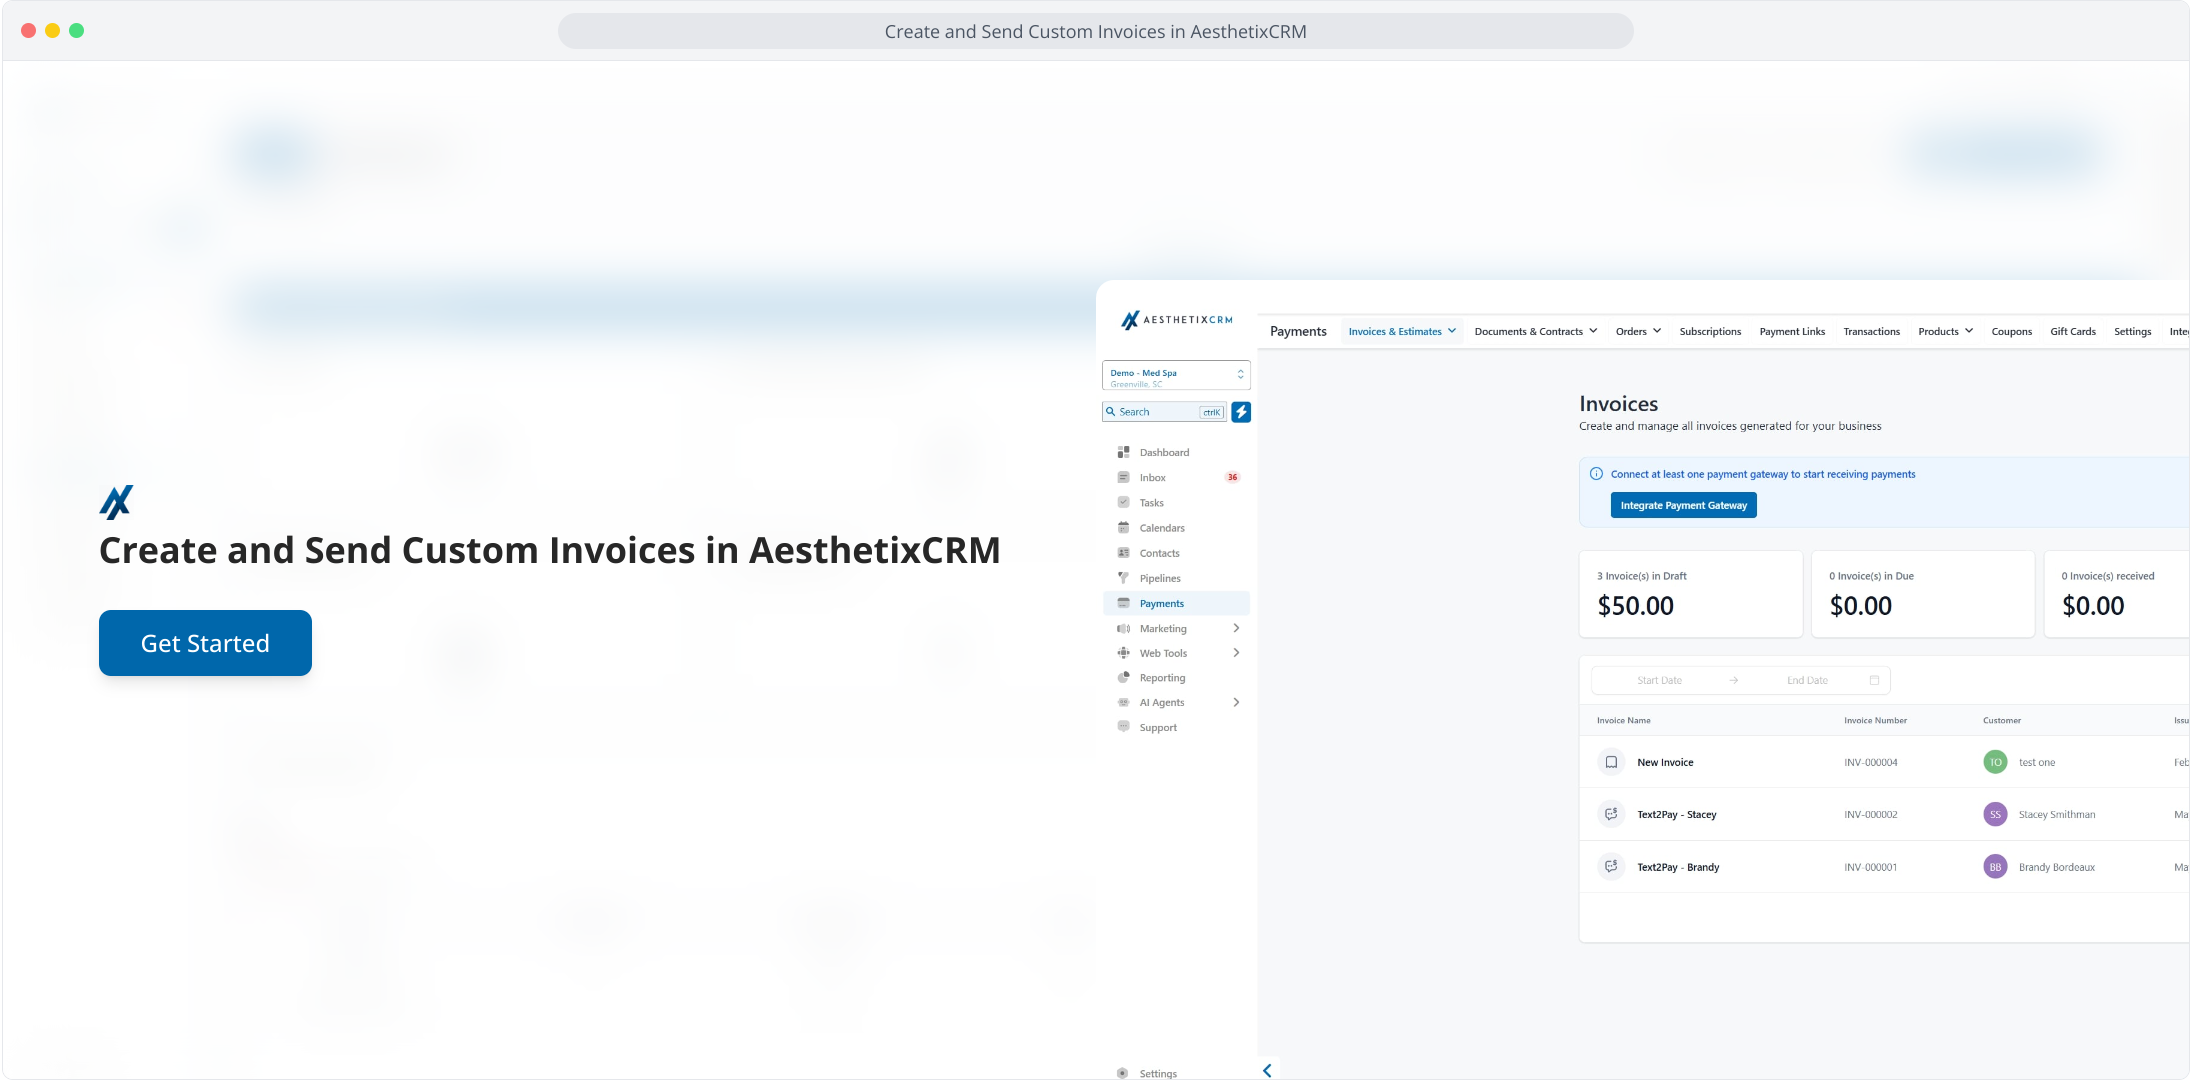
1. Create and Send Custom Invoices in AesthetixCRM
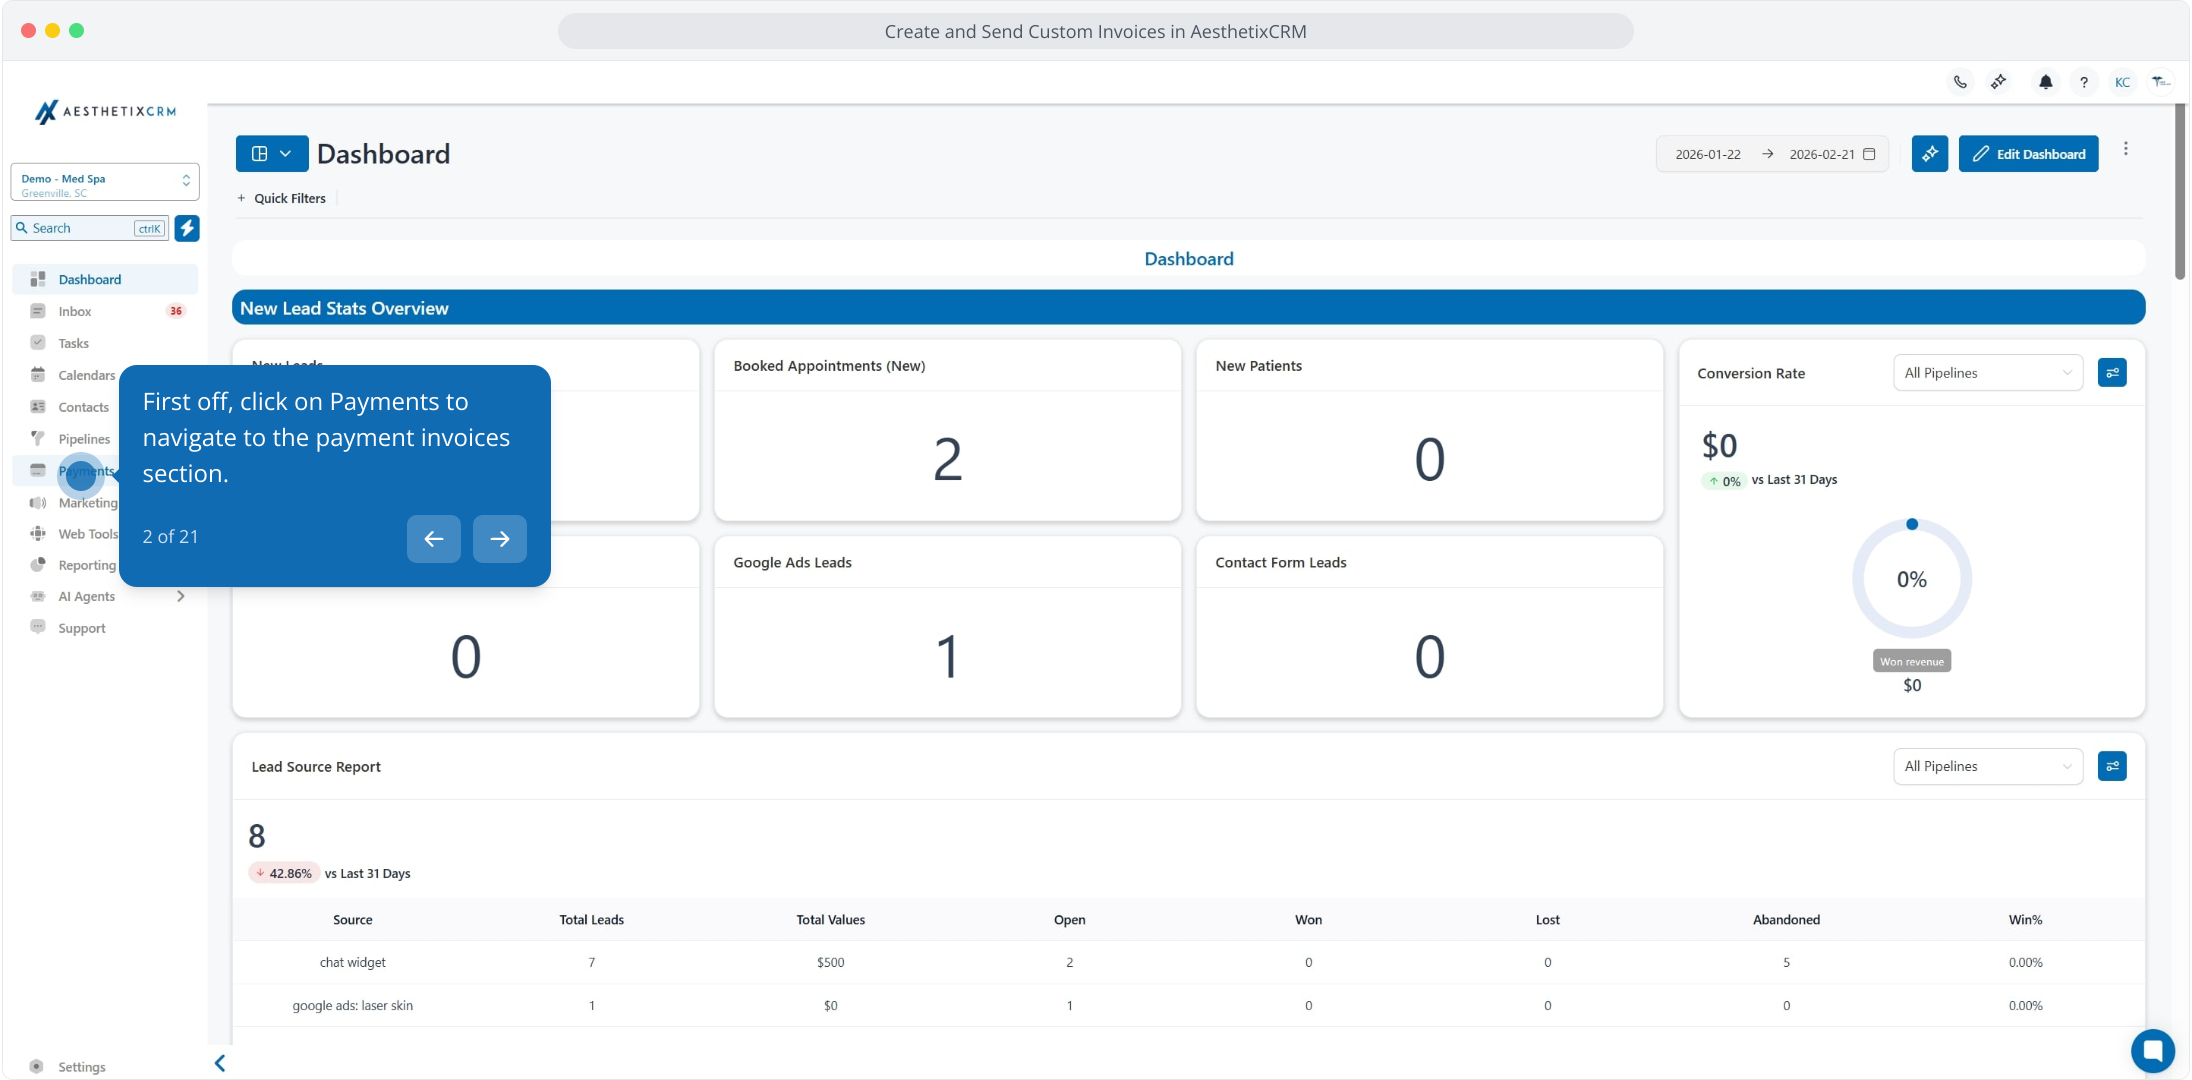
2. First off, click on Payments to navigate to the payment invoices section.
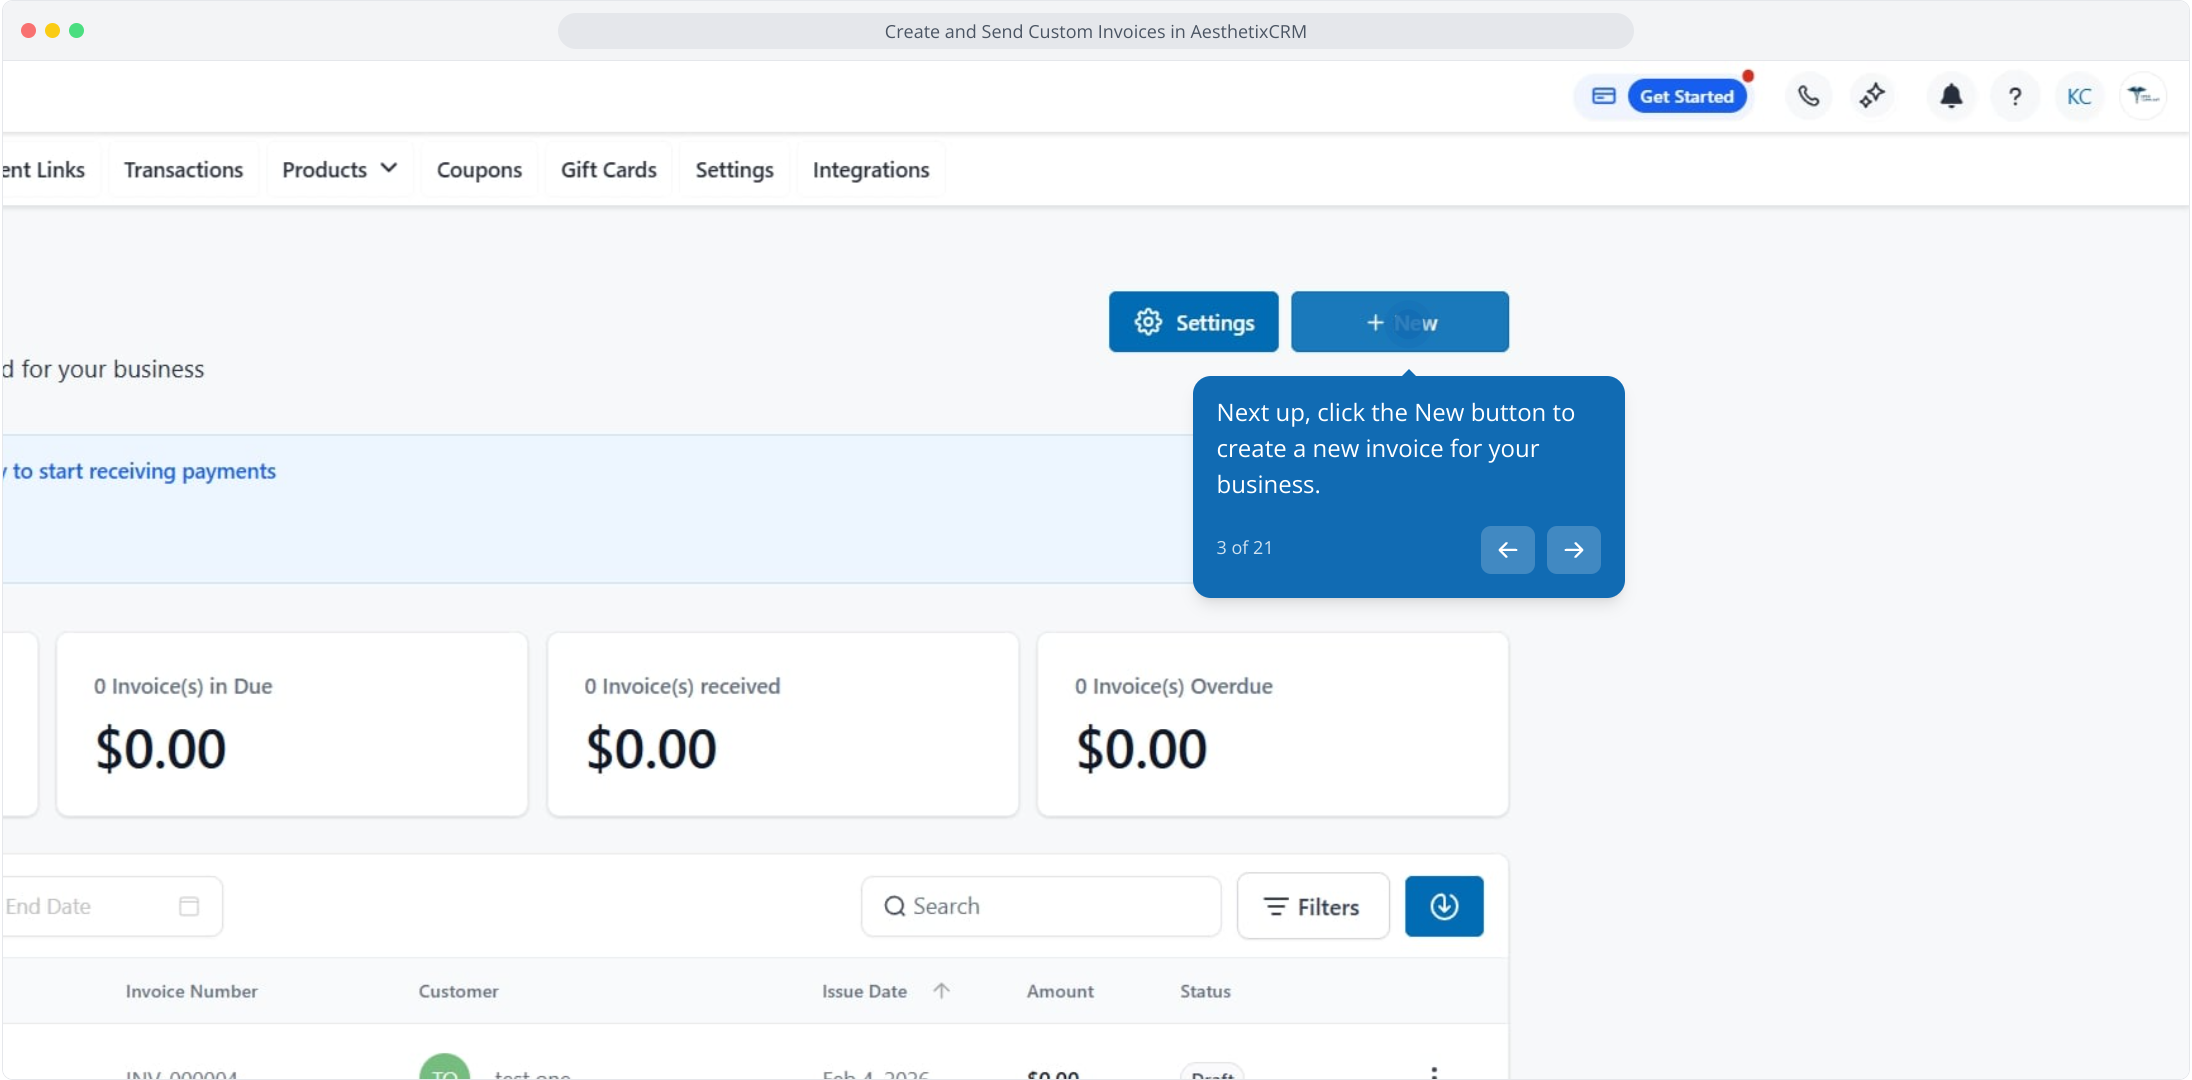
3. Next up, click the New button to create a new invoice for your business.
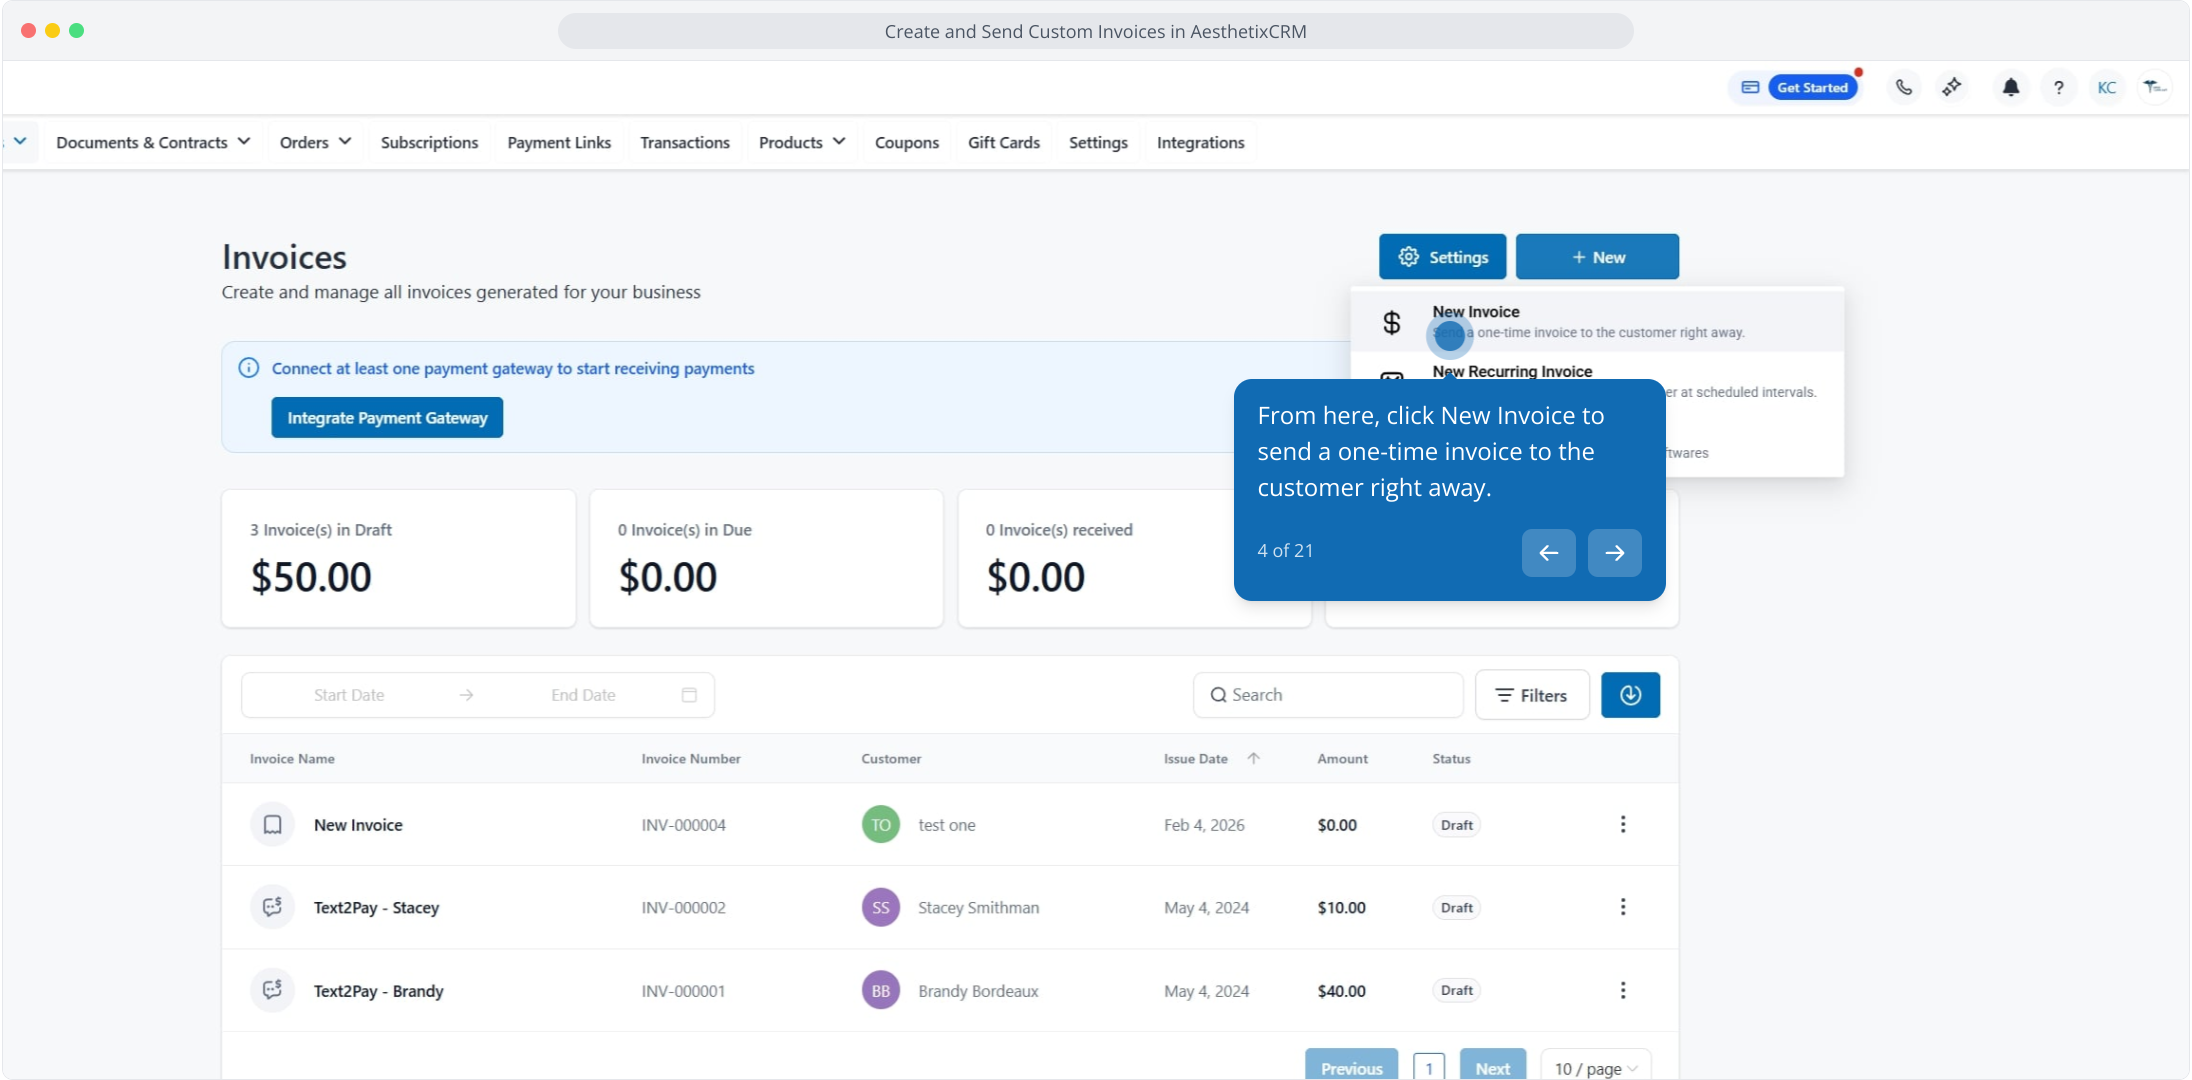
4. From here, click New Invoice to send a one-time invoice to the customer right away.
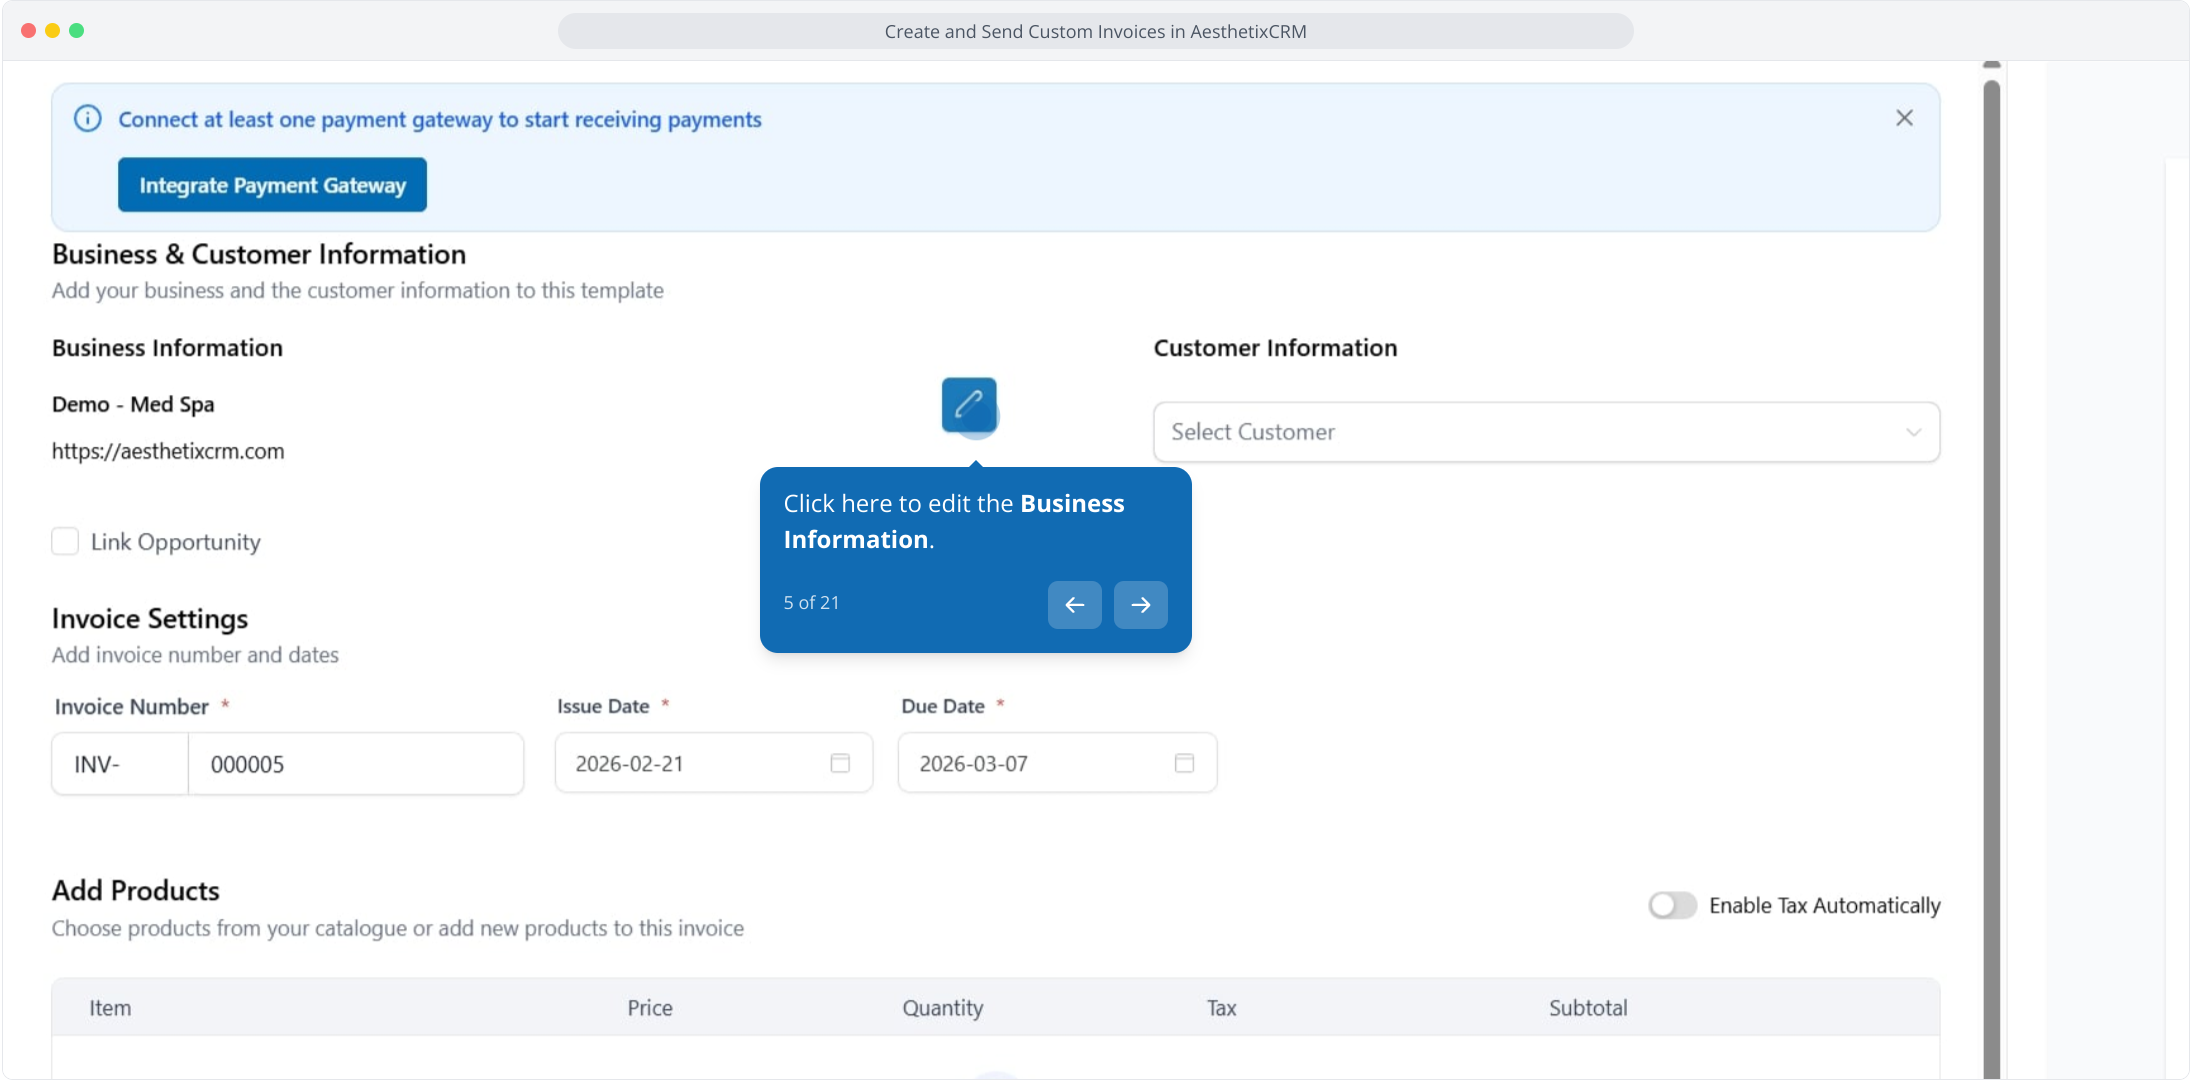
5. Click here to edit the Business Information.
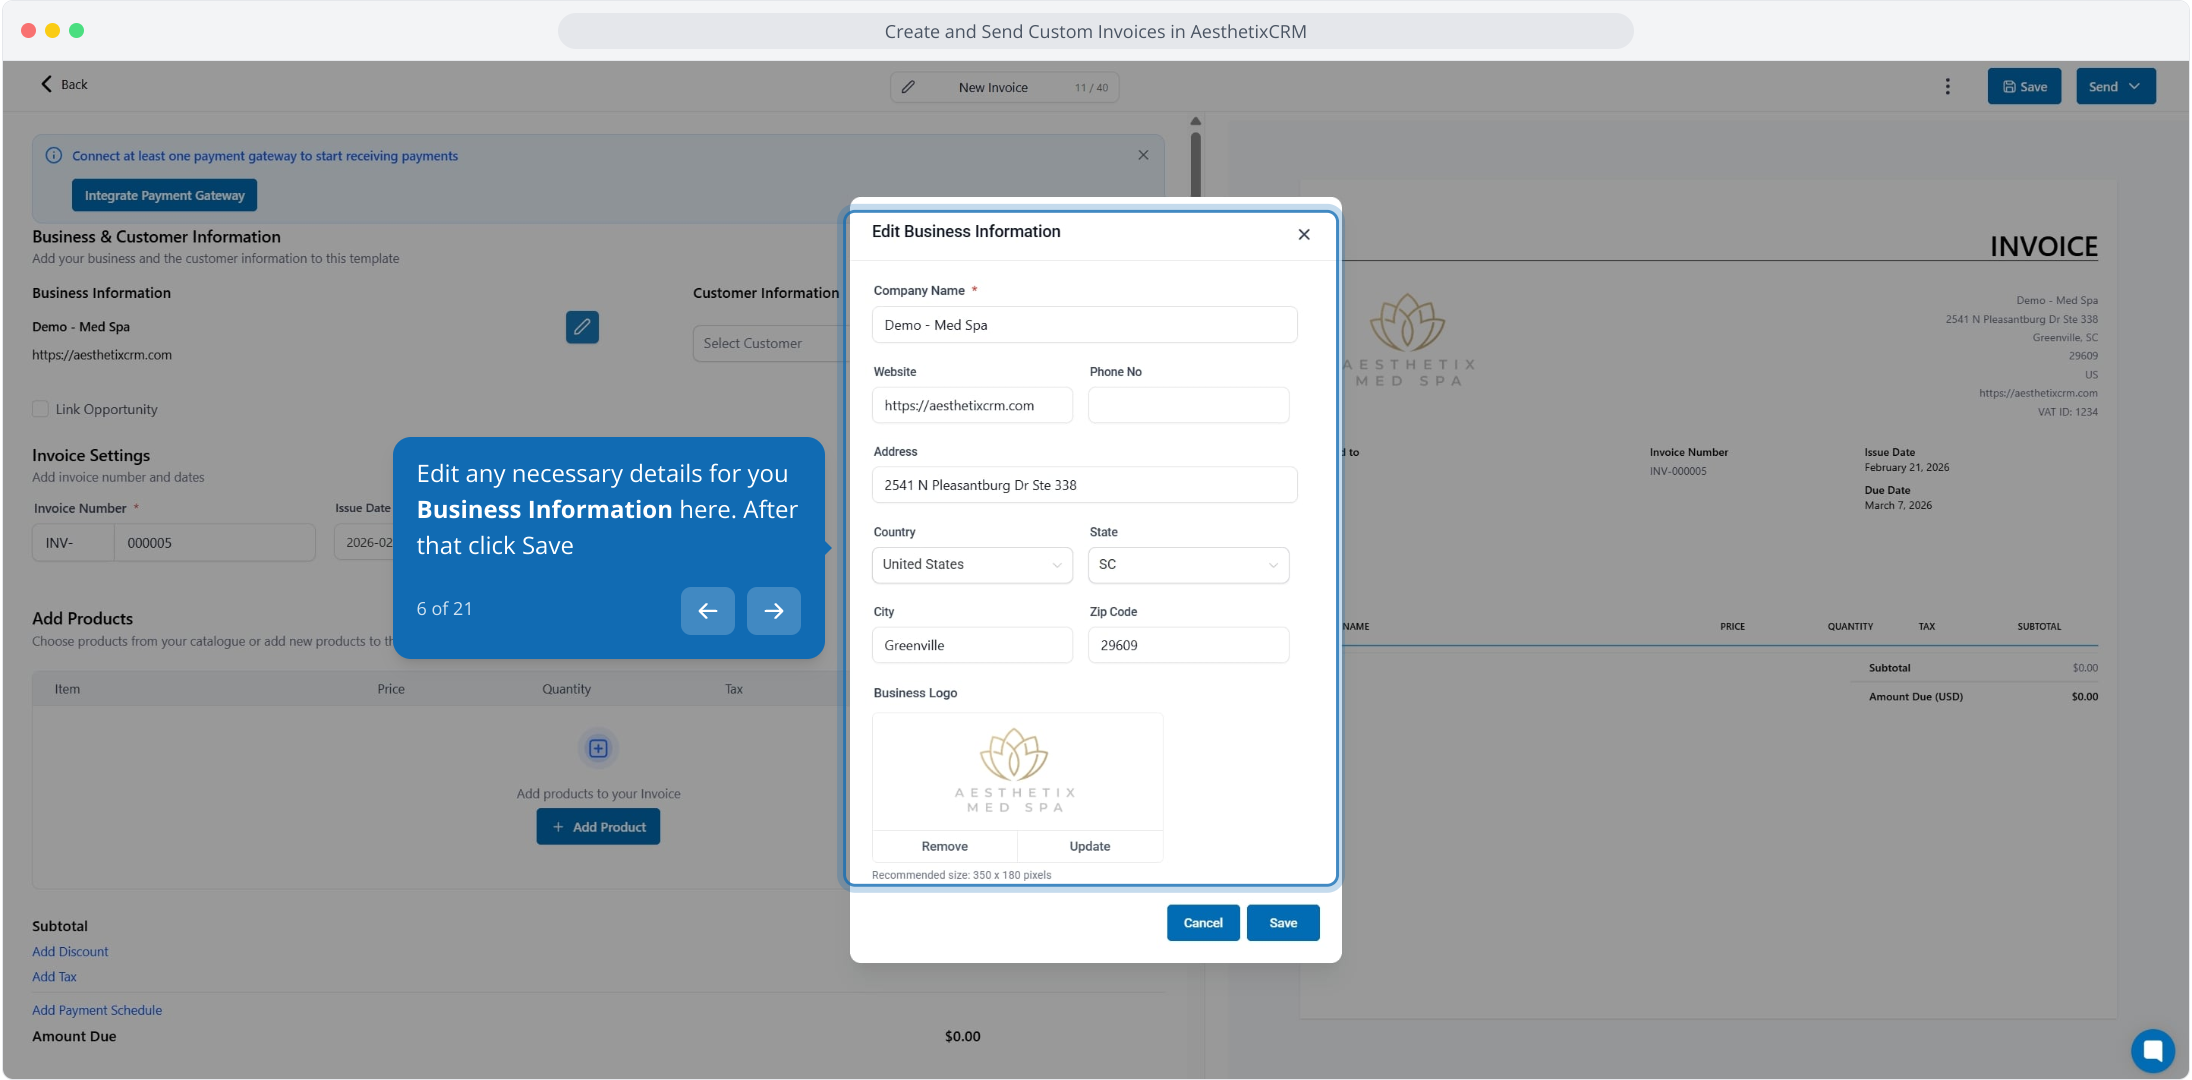
6. Edit any necessary details for you Business Information here. After that click Save
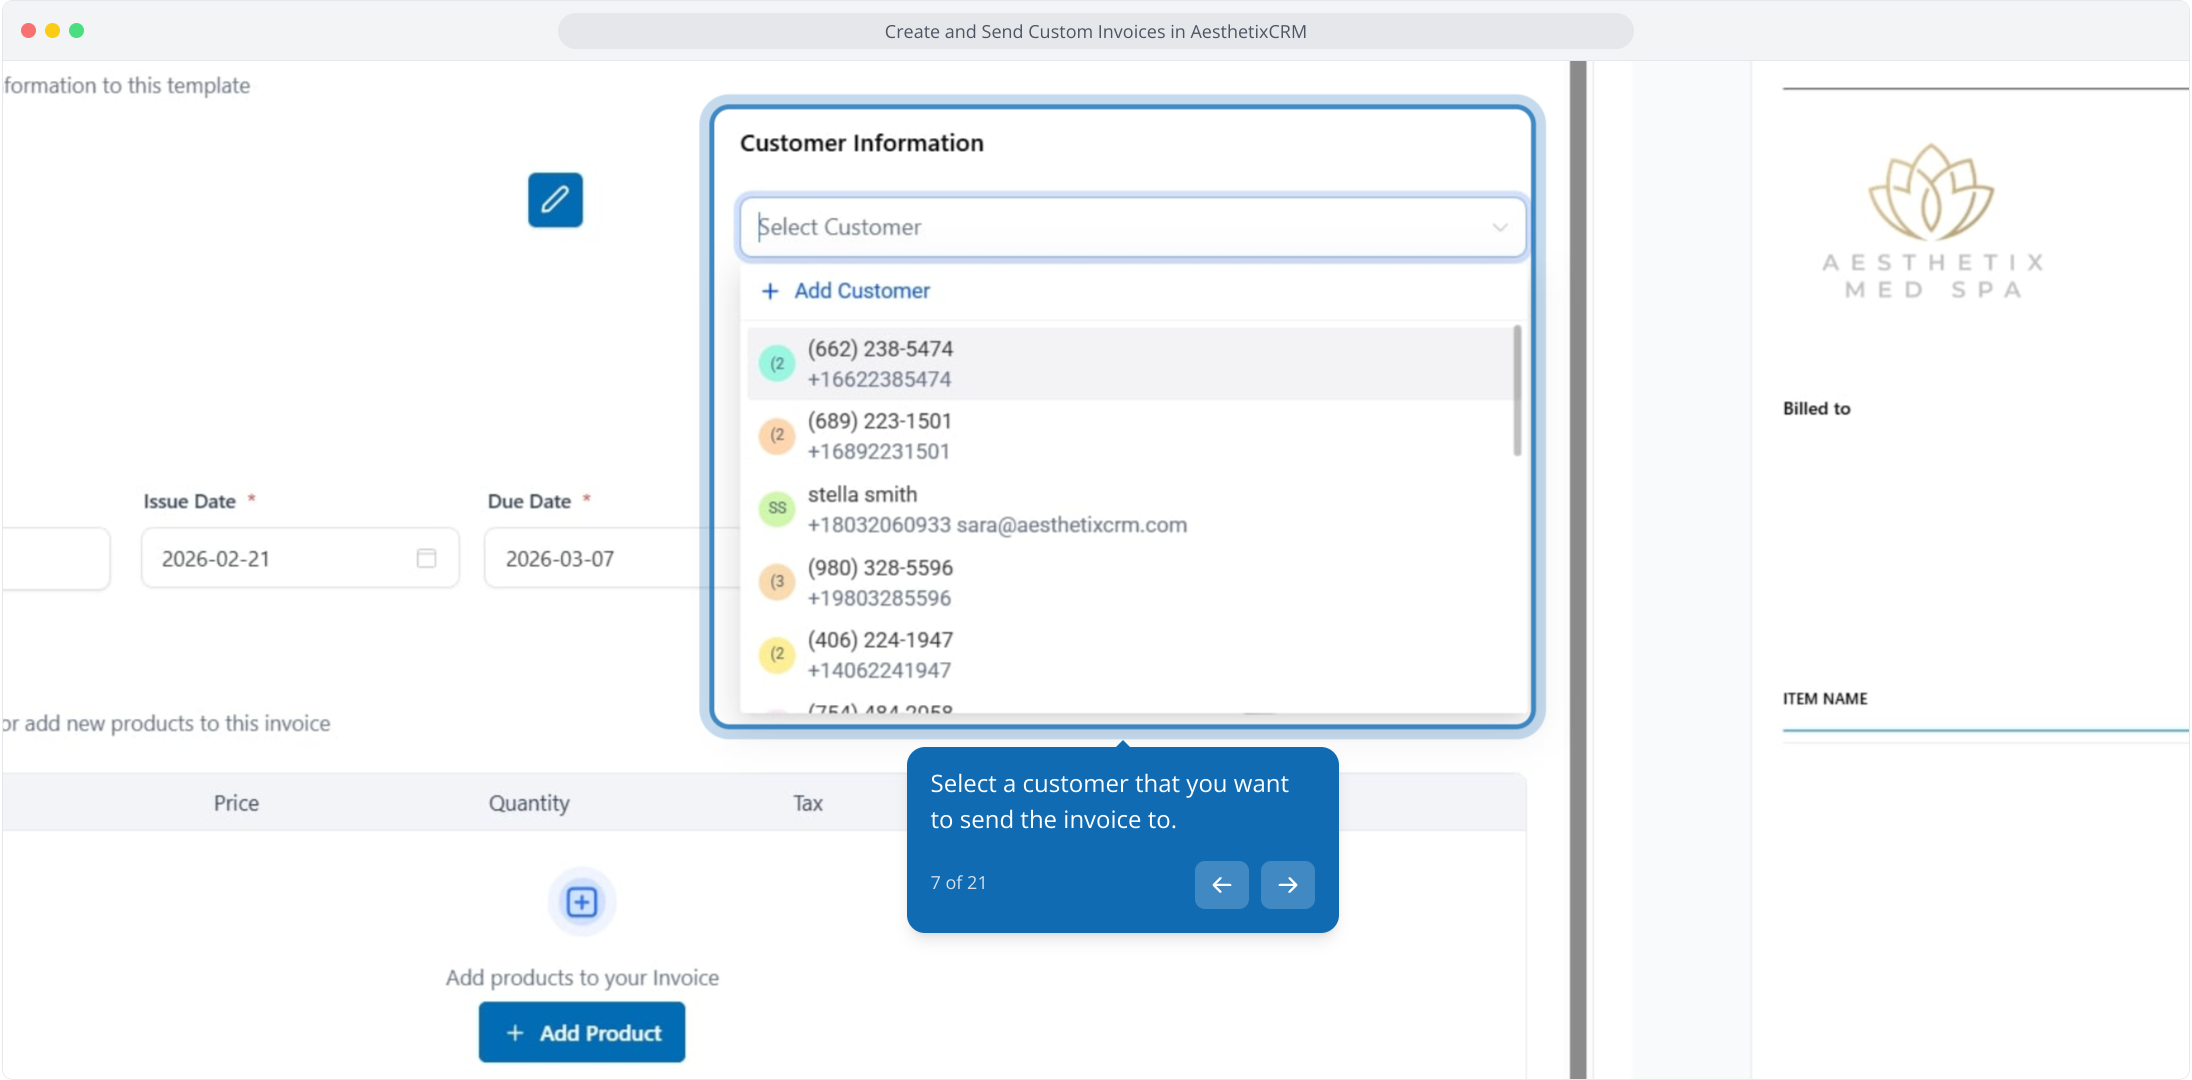
7. Select a customer that you want to send the invoice to.
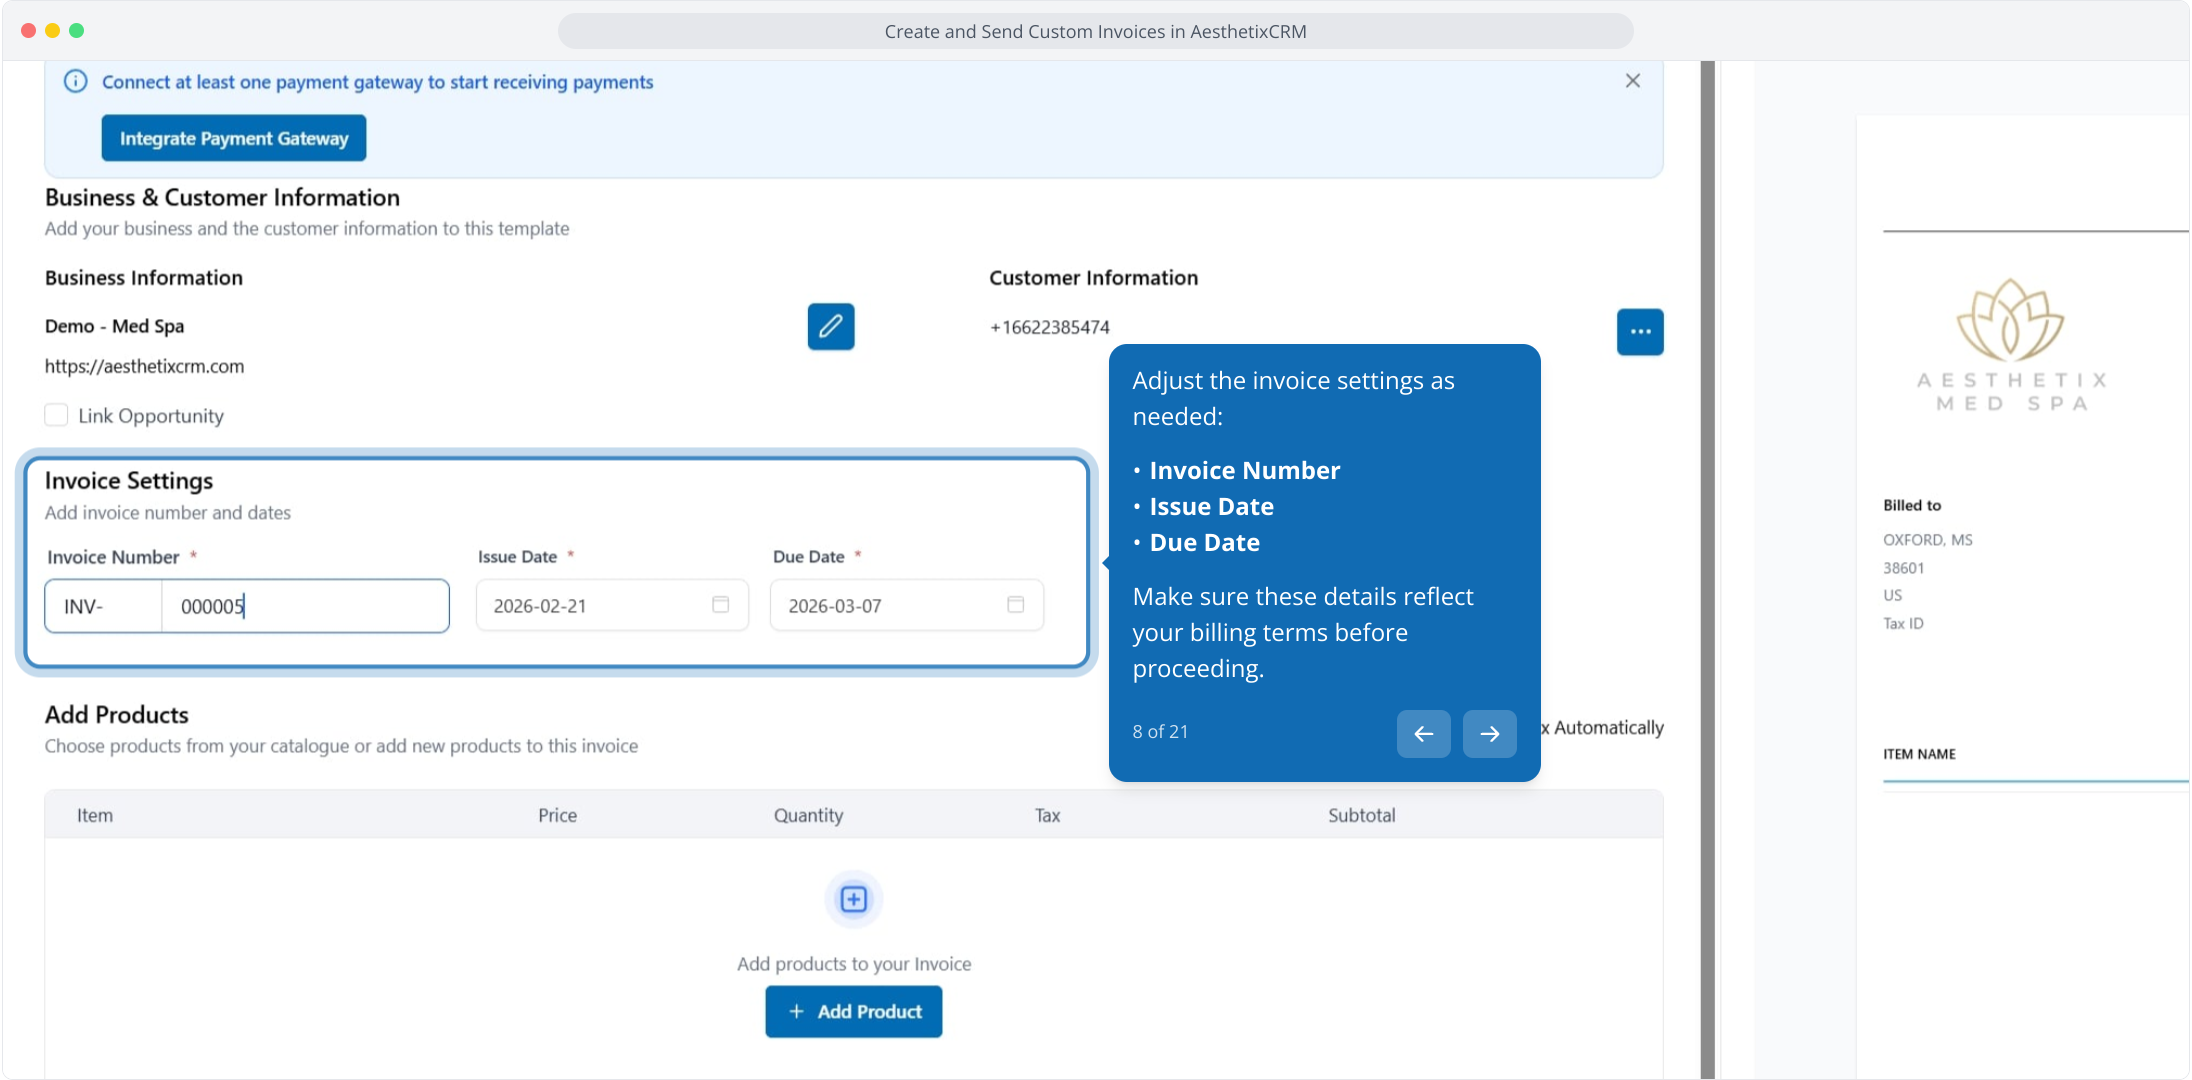
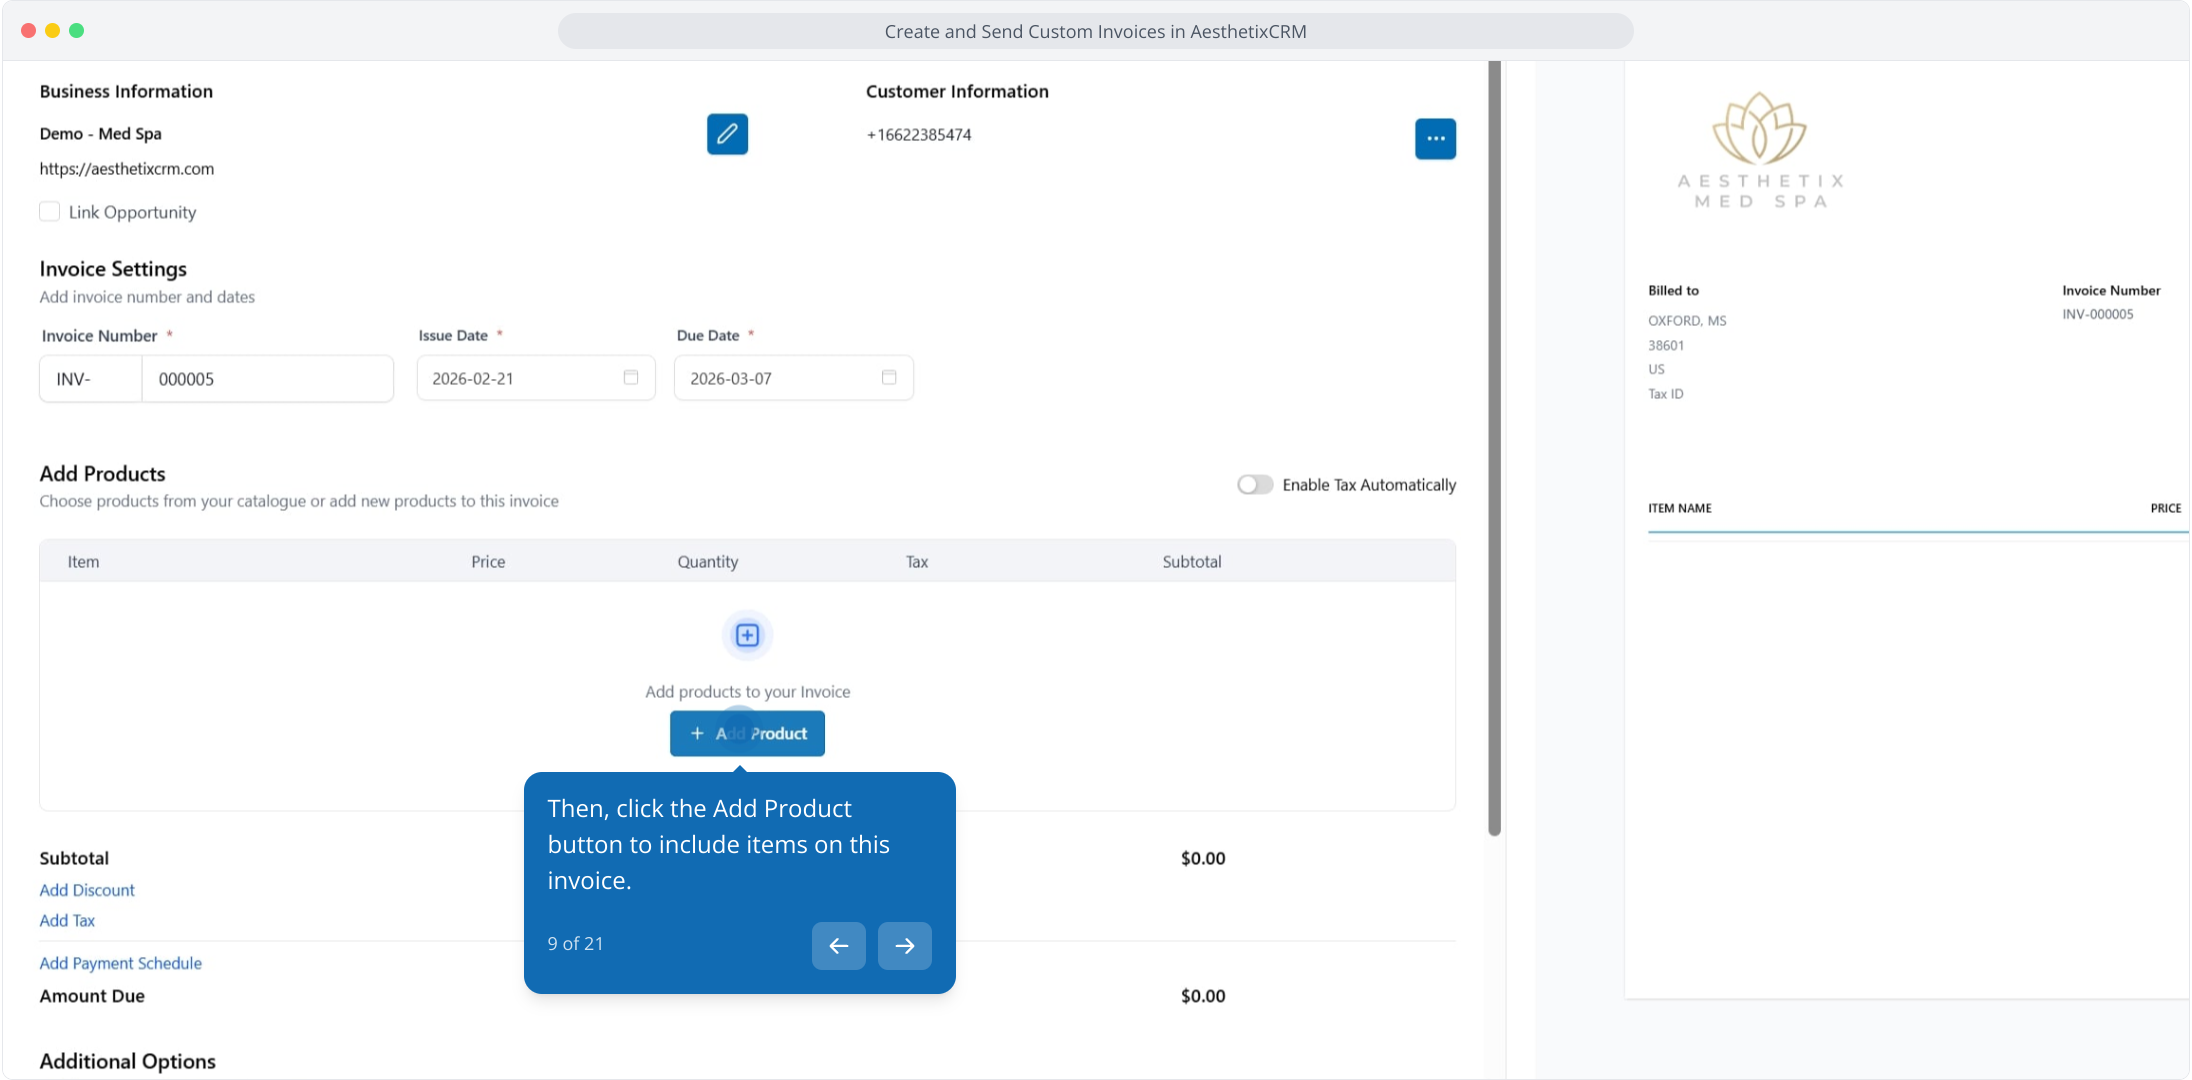
8. Adjust the invoice settings as needed:
Invoice Number
Issue Date
Due Date
Make sure these details reflect your billing terms before proceeding.
9. Then, click the Add Product button to include items on this invoice.
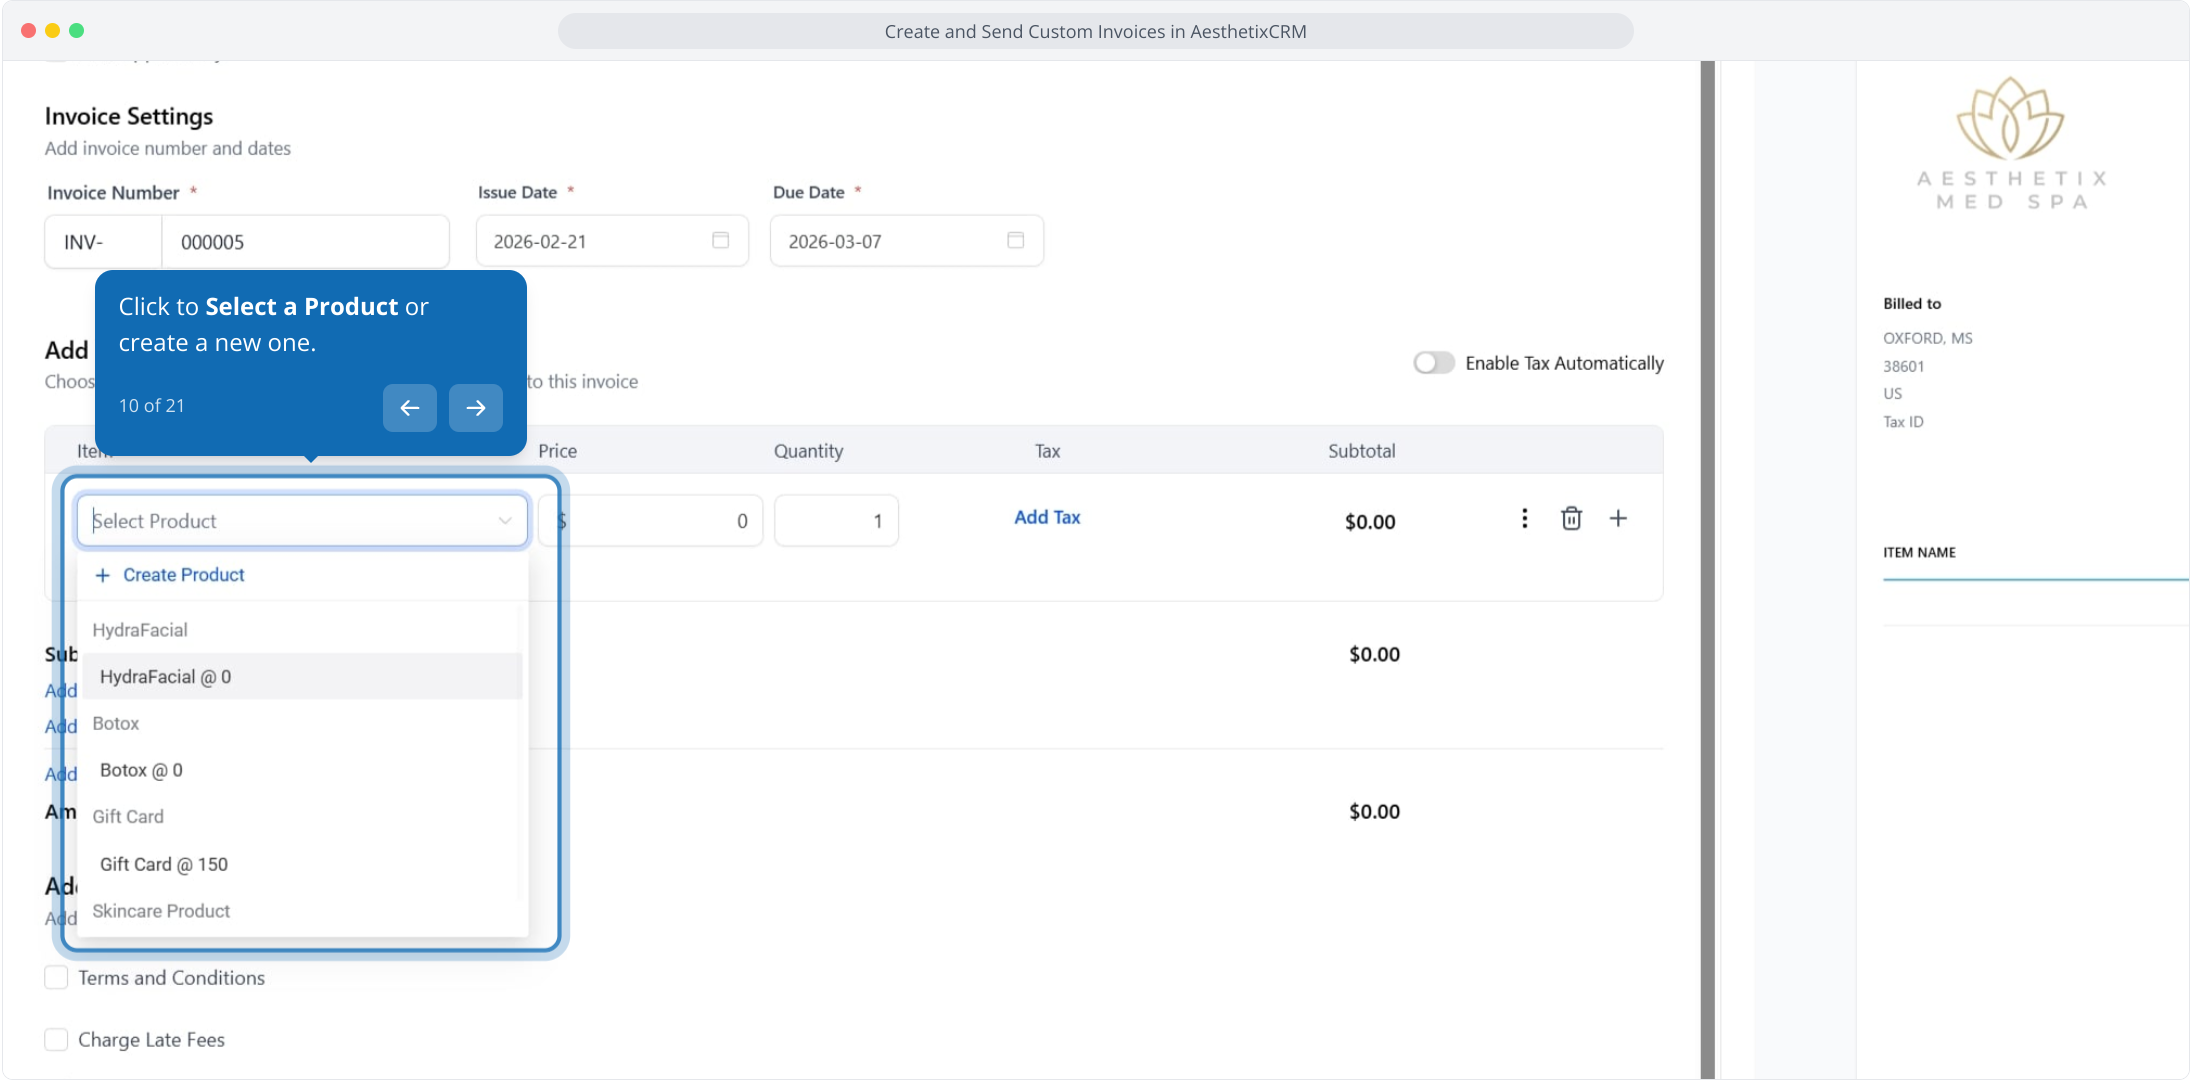
10. Click to Select a Product or create a new one.
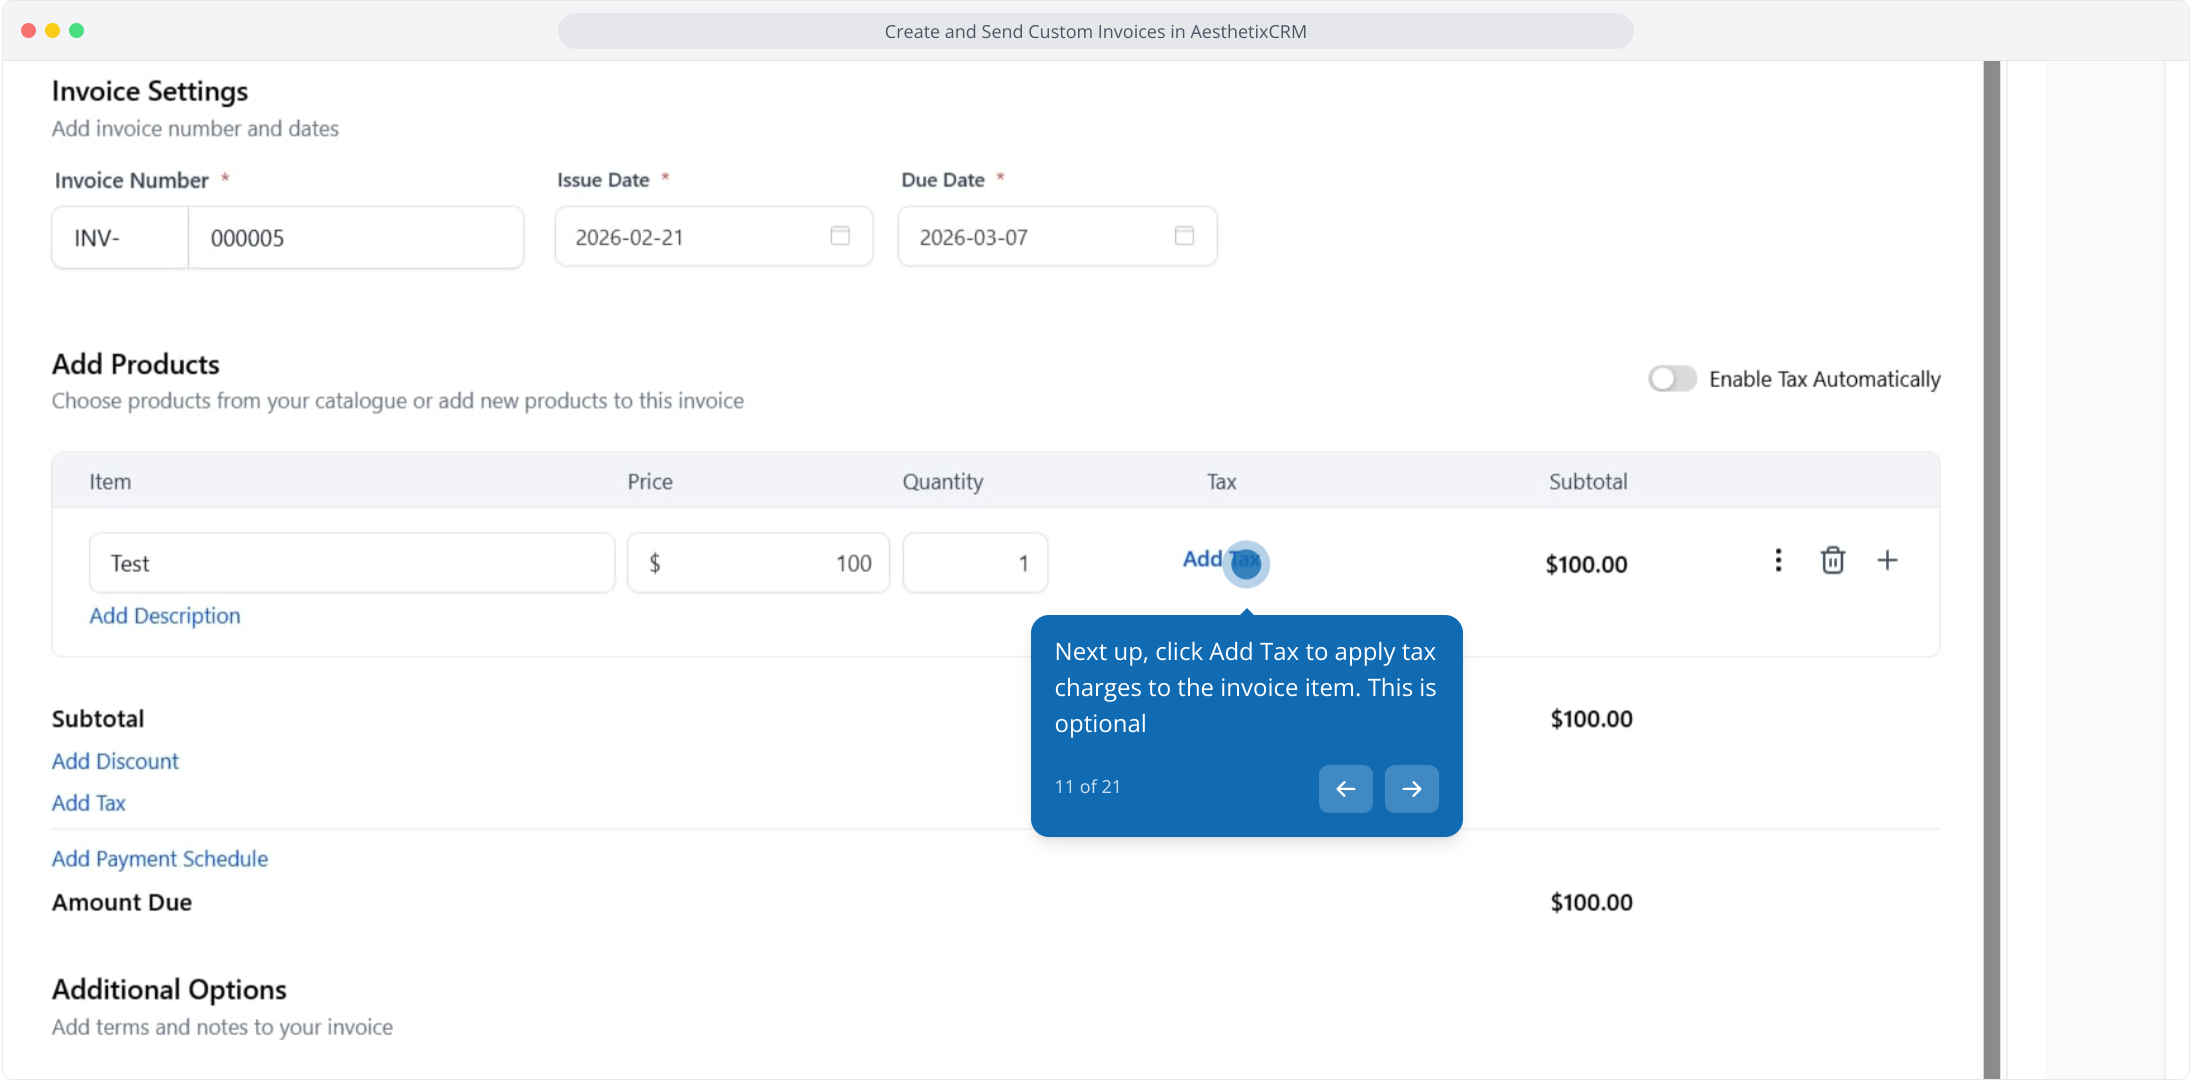
11. Next up, click Add Tax to apply tax charges to the invoice item. This is optional
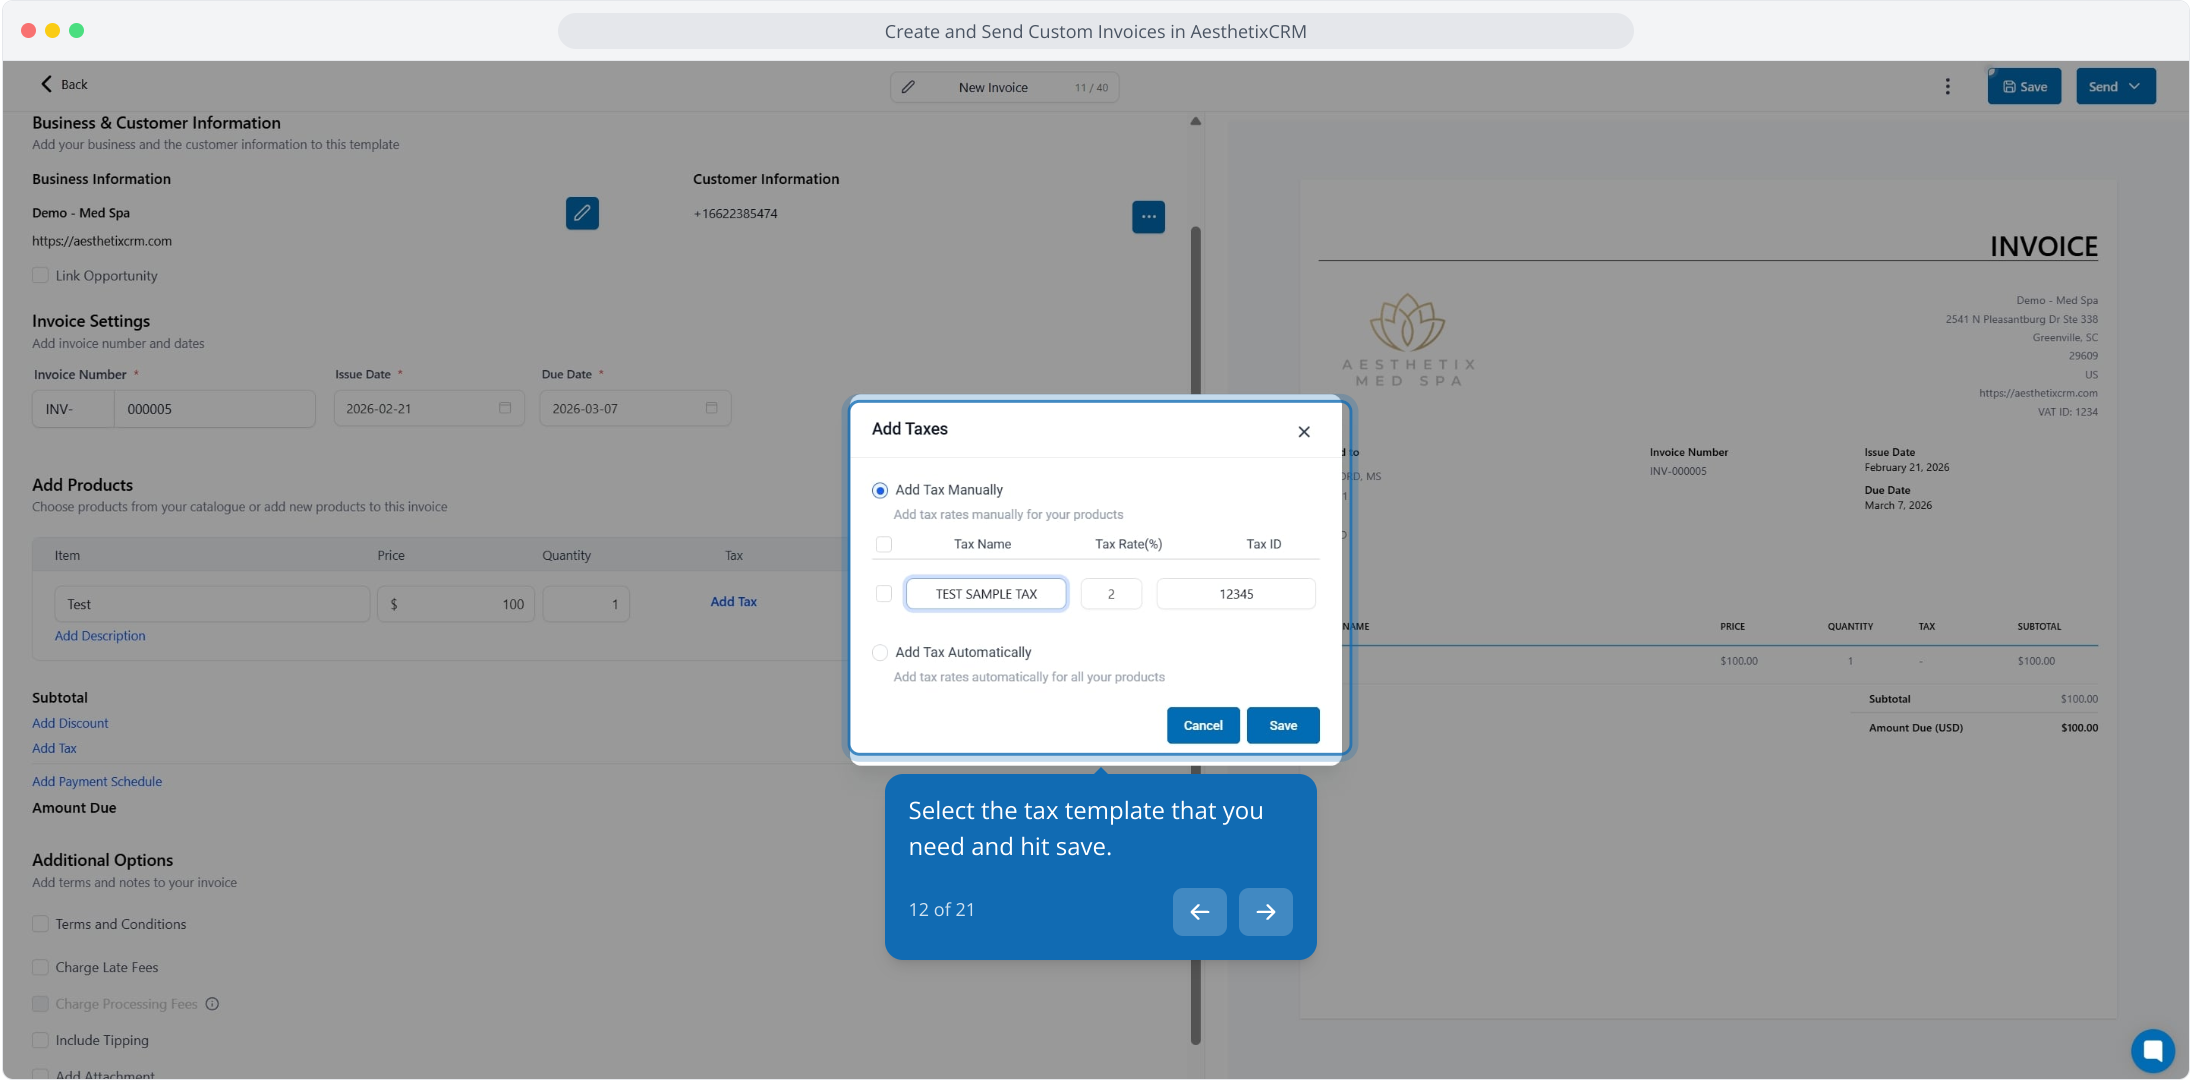
12. Select the tax template that you need and hit save.
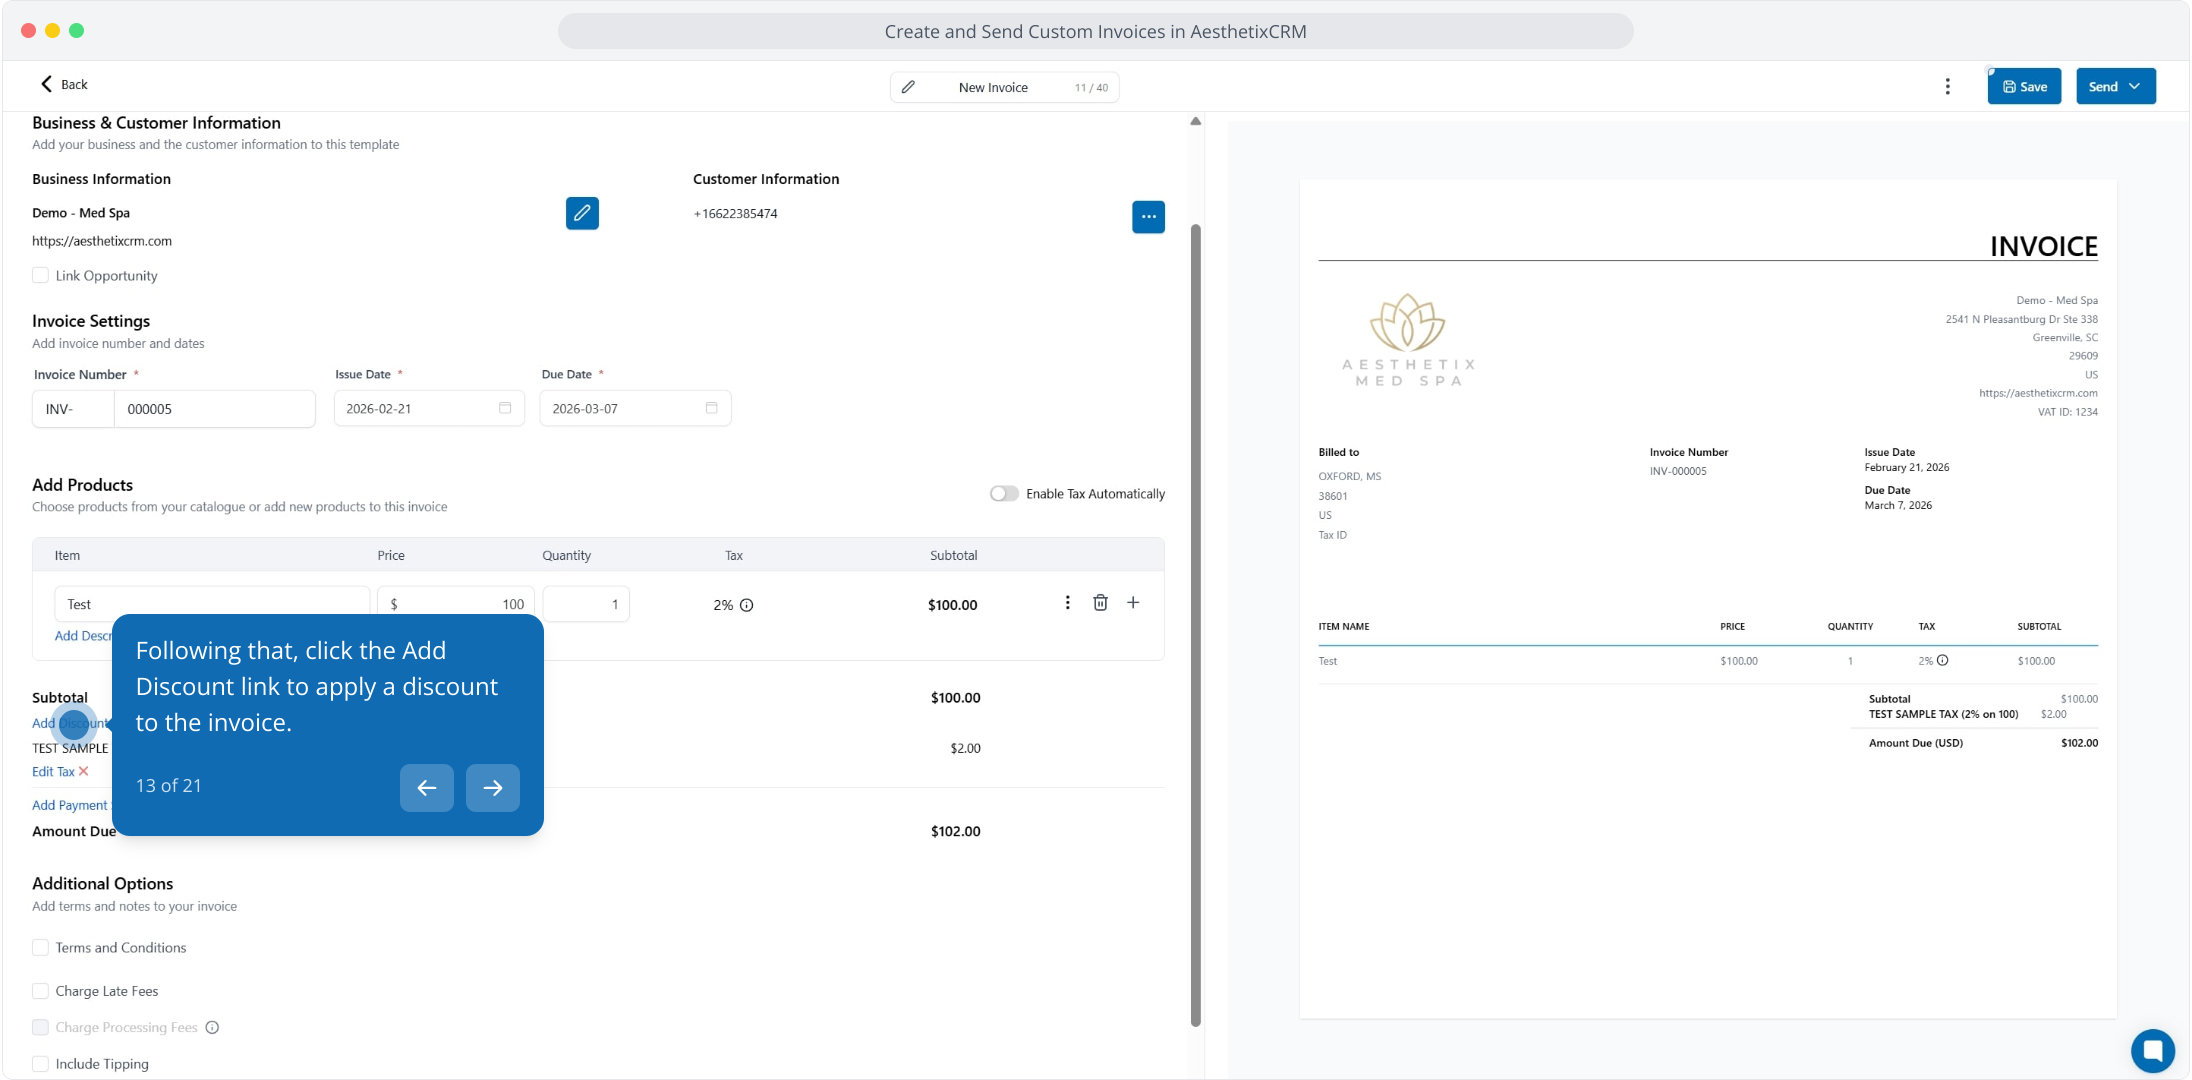
13. Following that, click the Add Discount link to apply a discount to the invoice.
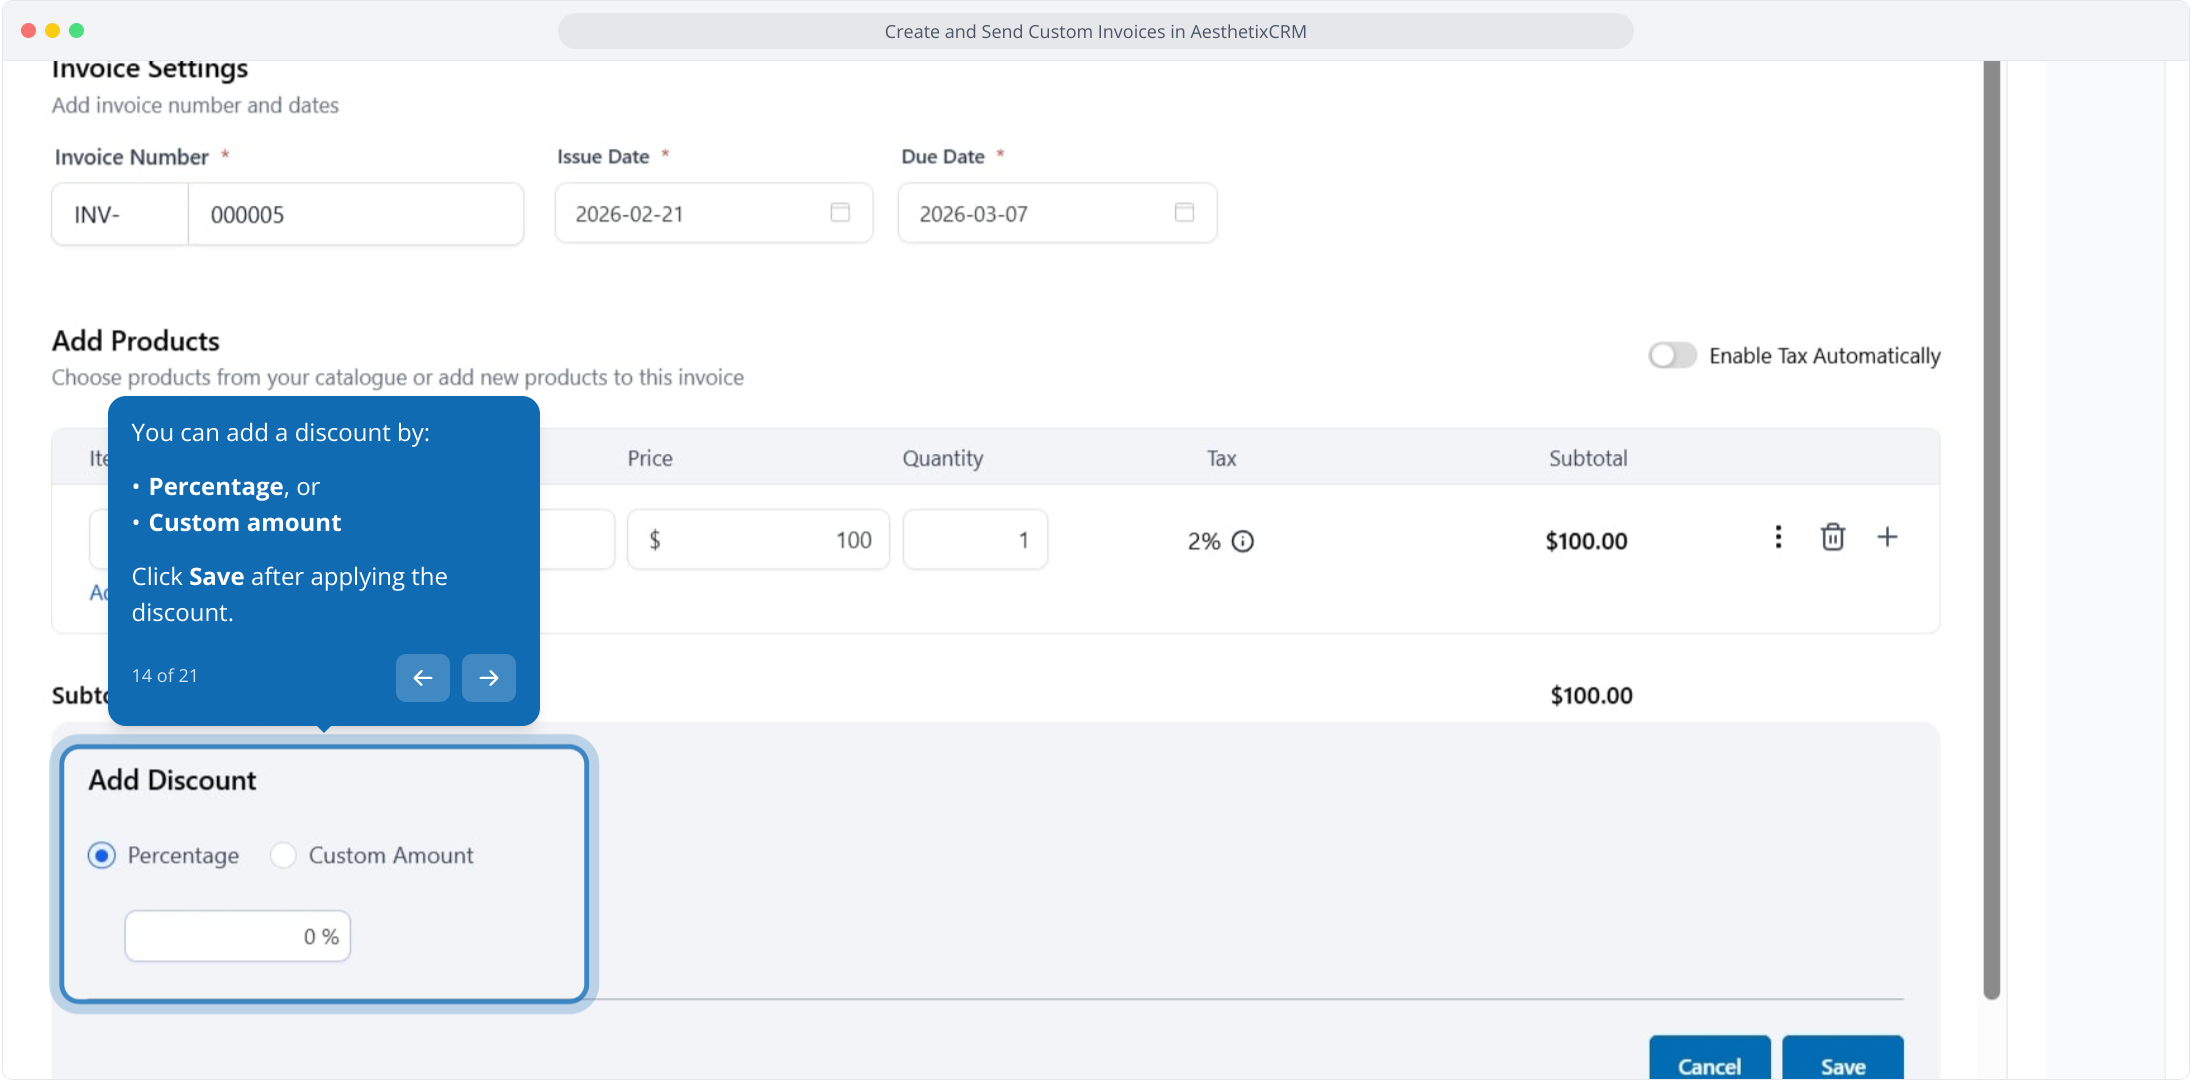
14. You can add a discount by:
Percentage, or
Custom amount
Click Save after applying the discount.
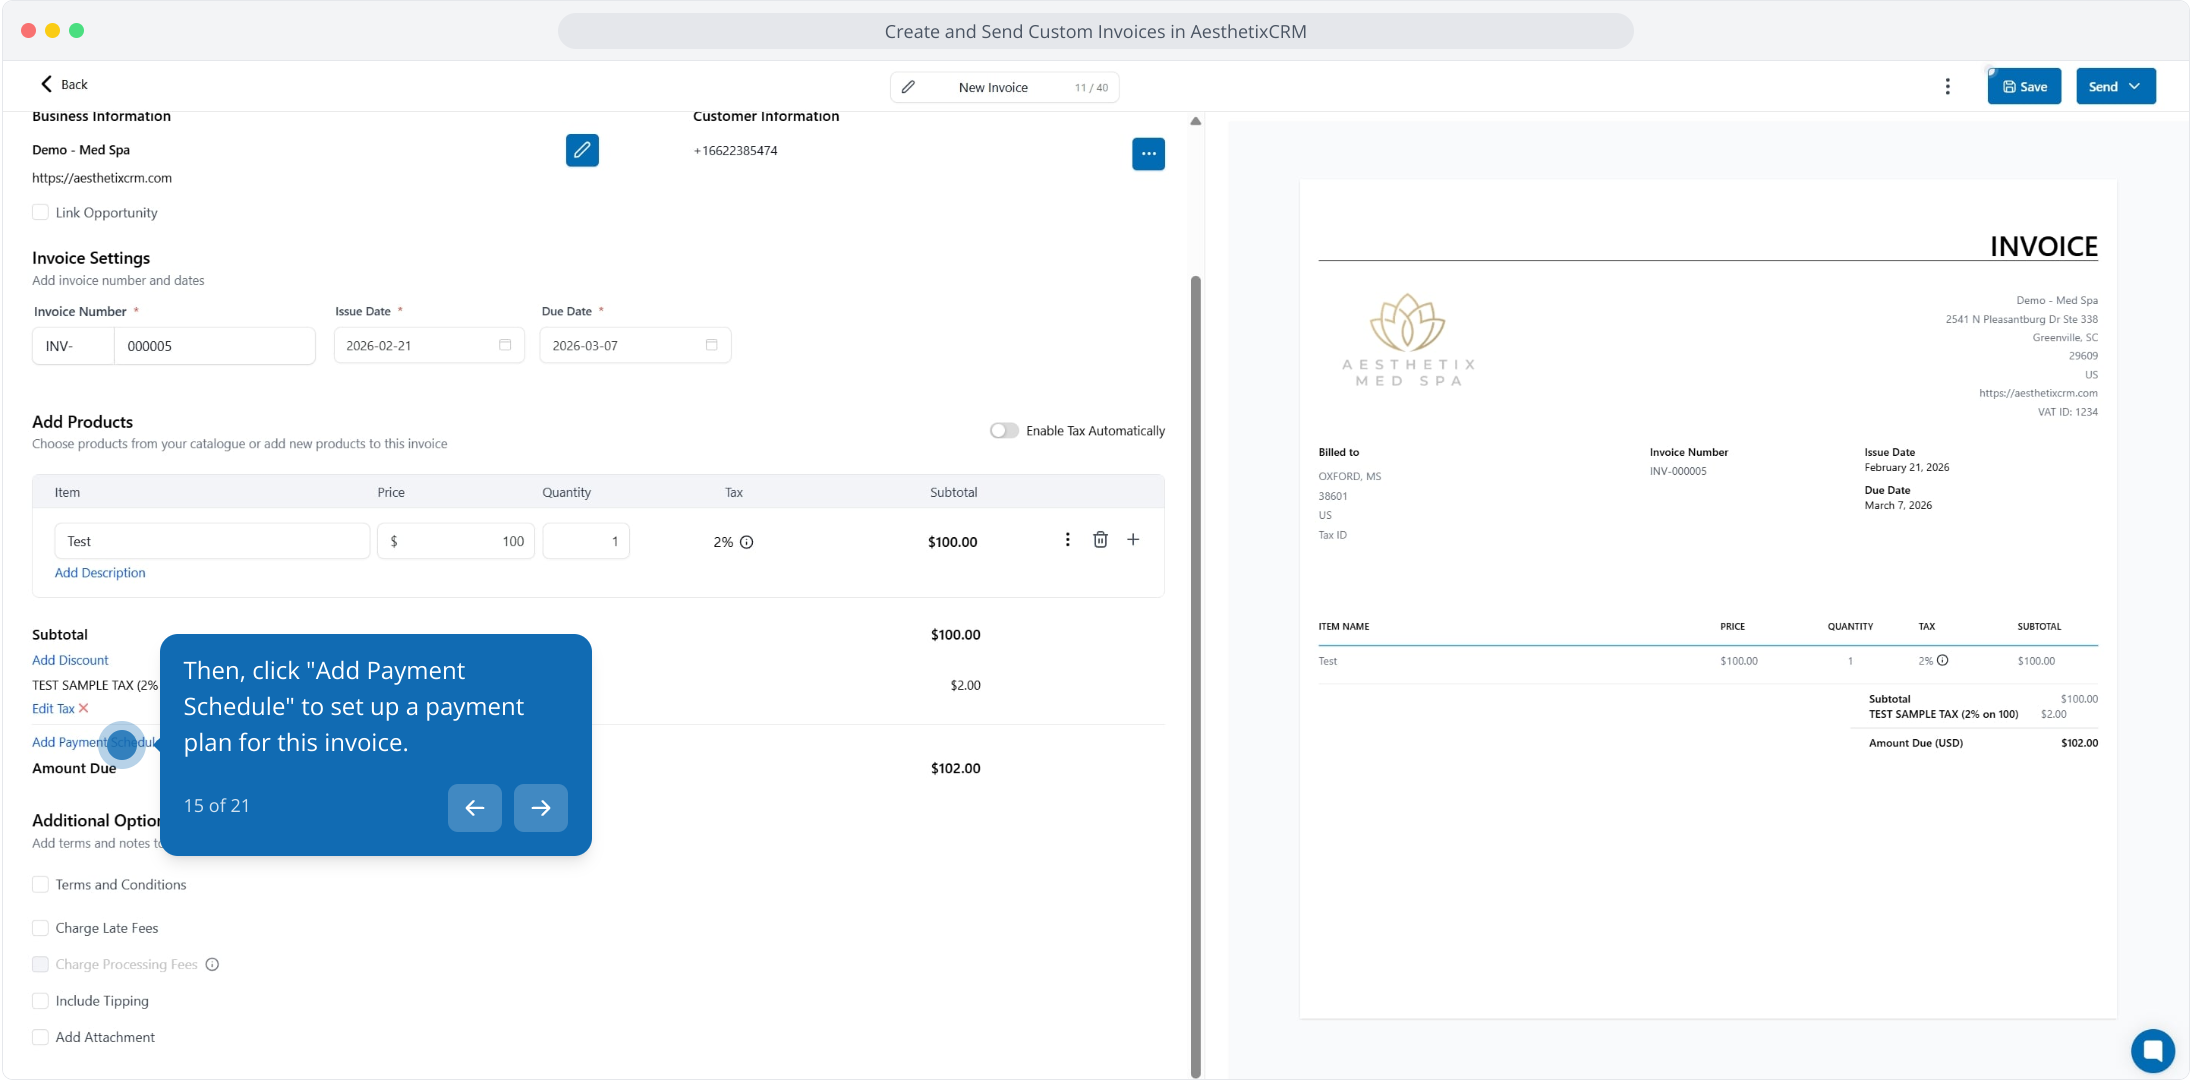
15. Then, click "Add Payment Schedule" to set up a payment plan for this invoice.
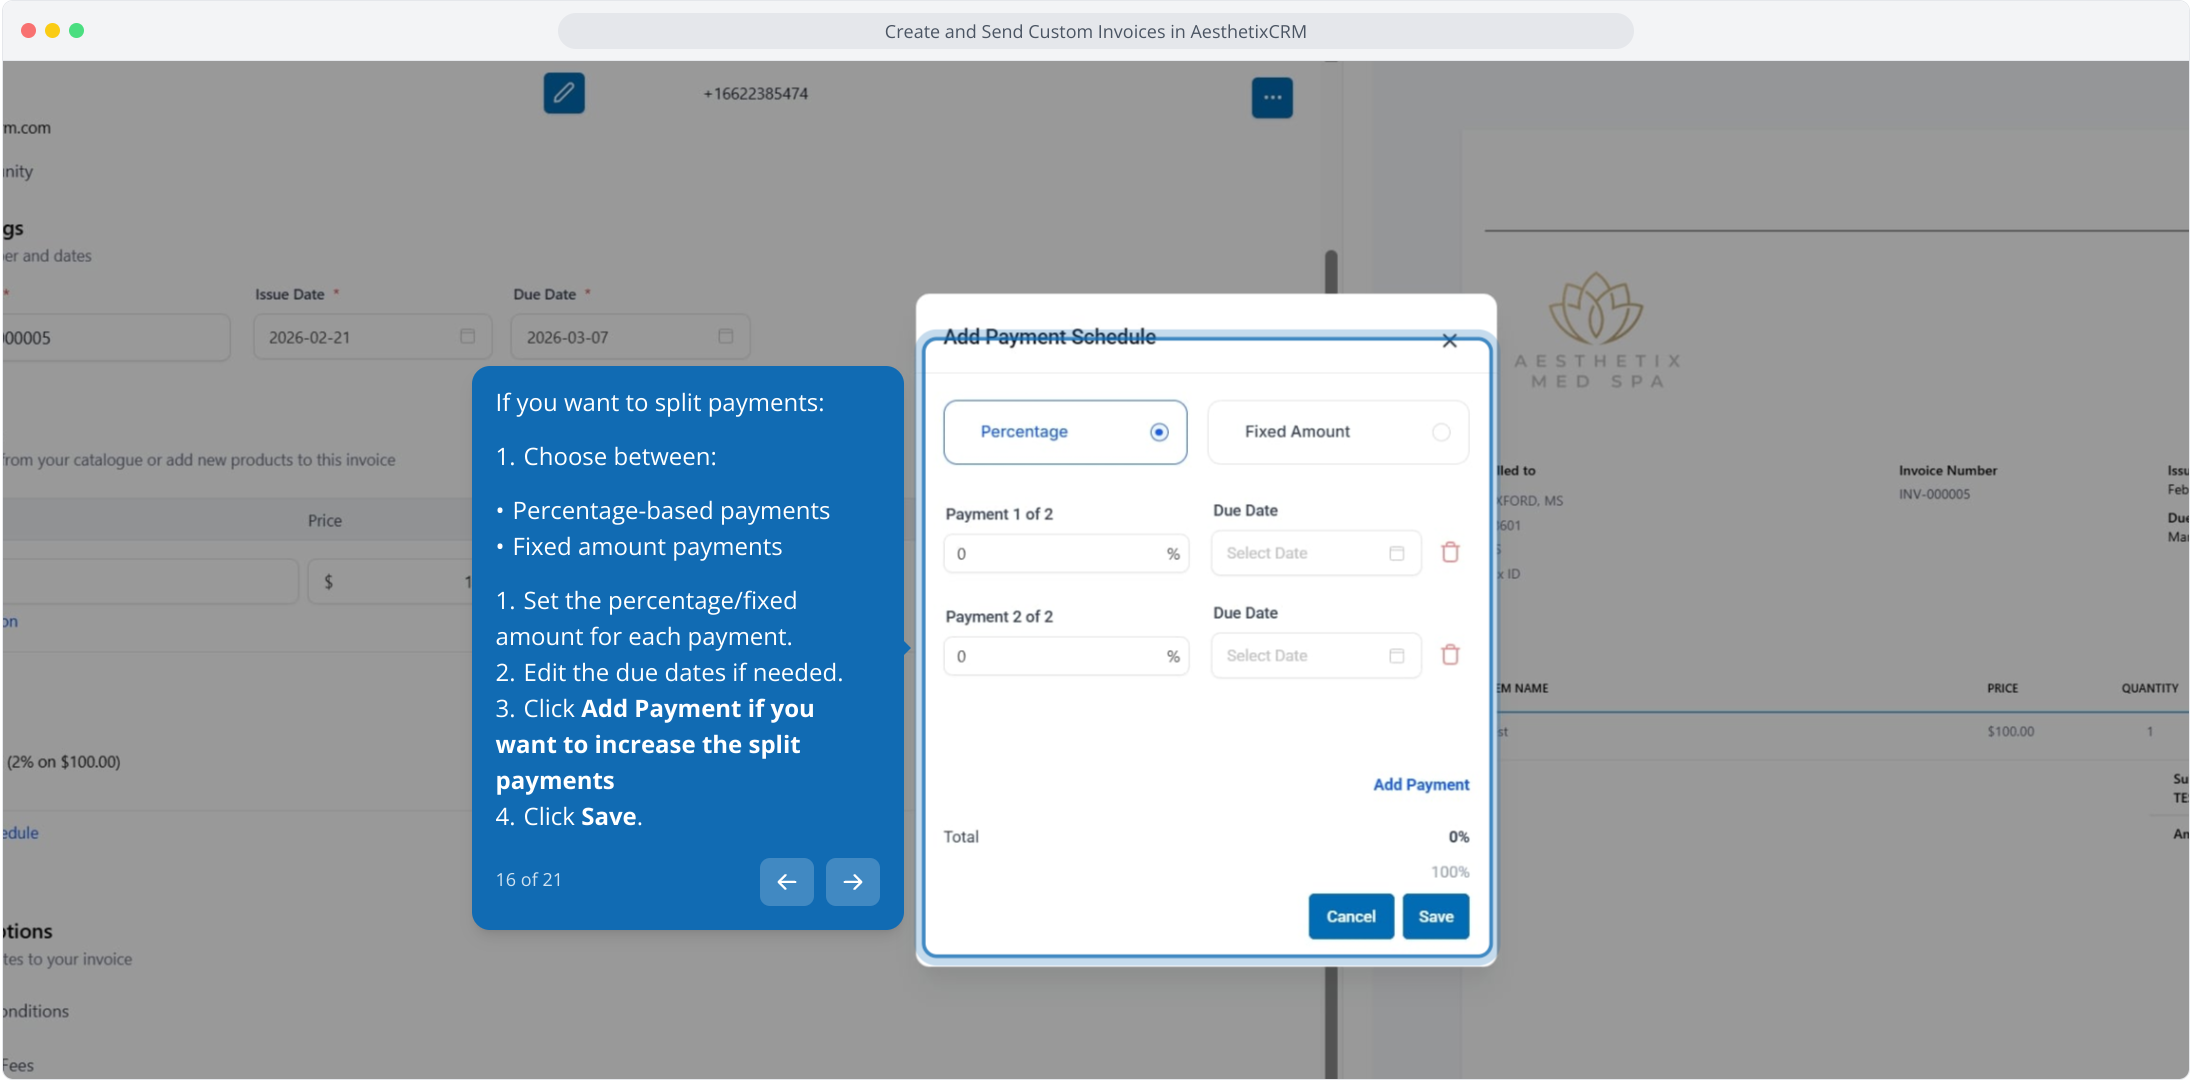
16. If you want to split payments:
Choose between:
Percentage-based payments
Fixed amount payments
Set the percentage/fixed amount for each payment.
Edit the due dates if needed.
Click Add Payment if you want to increase the split payments
Click Save.
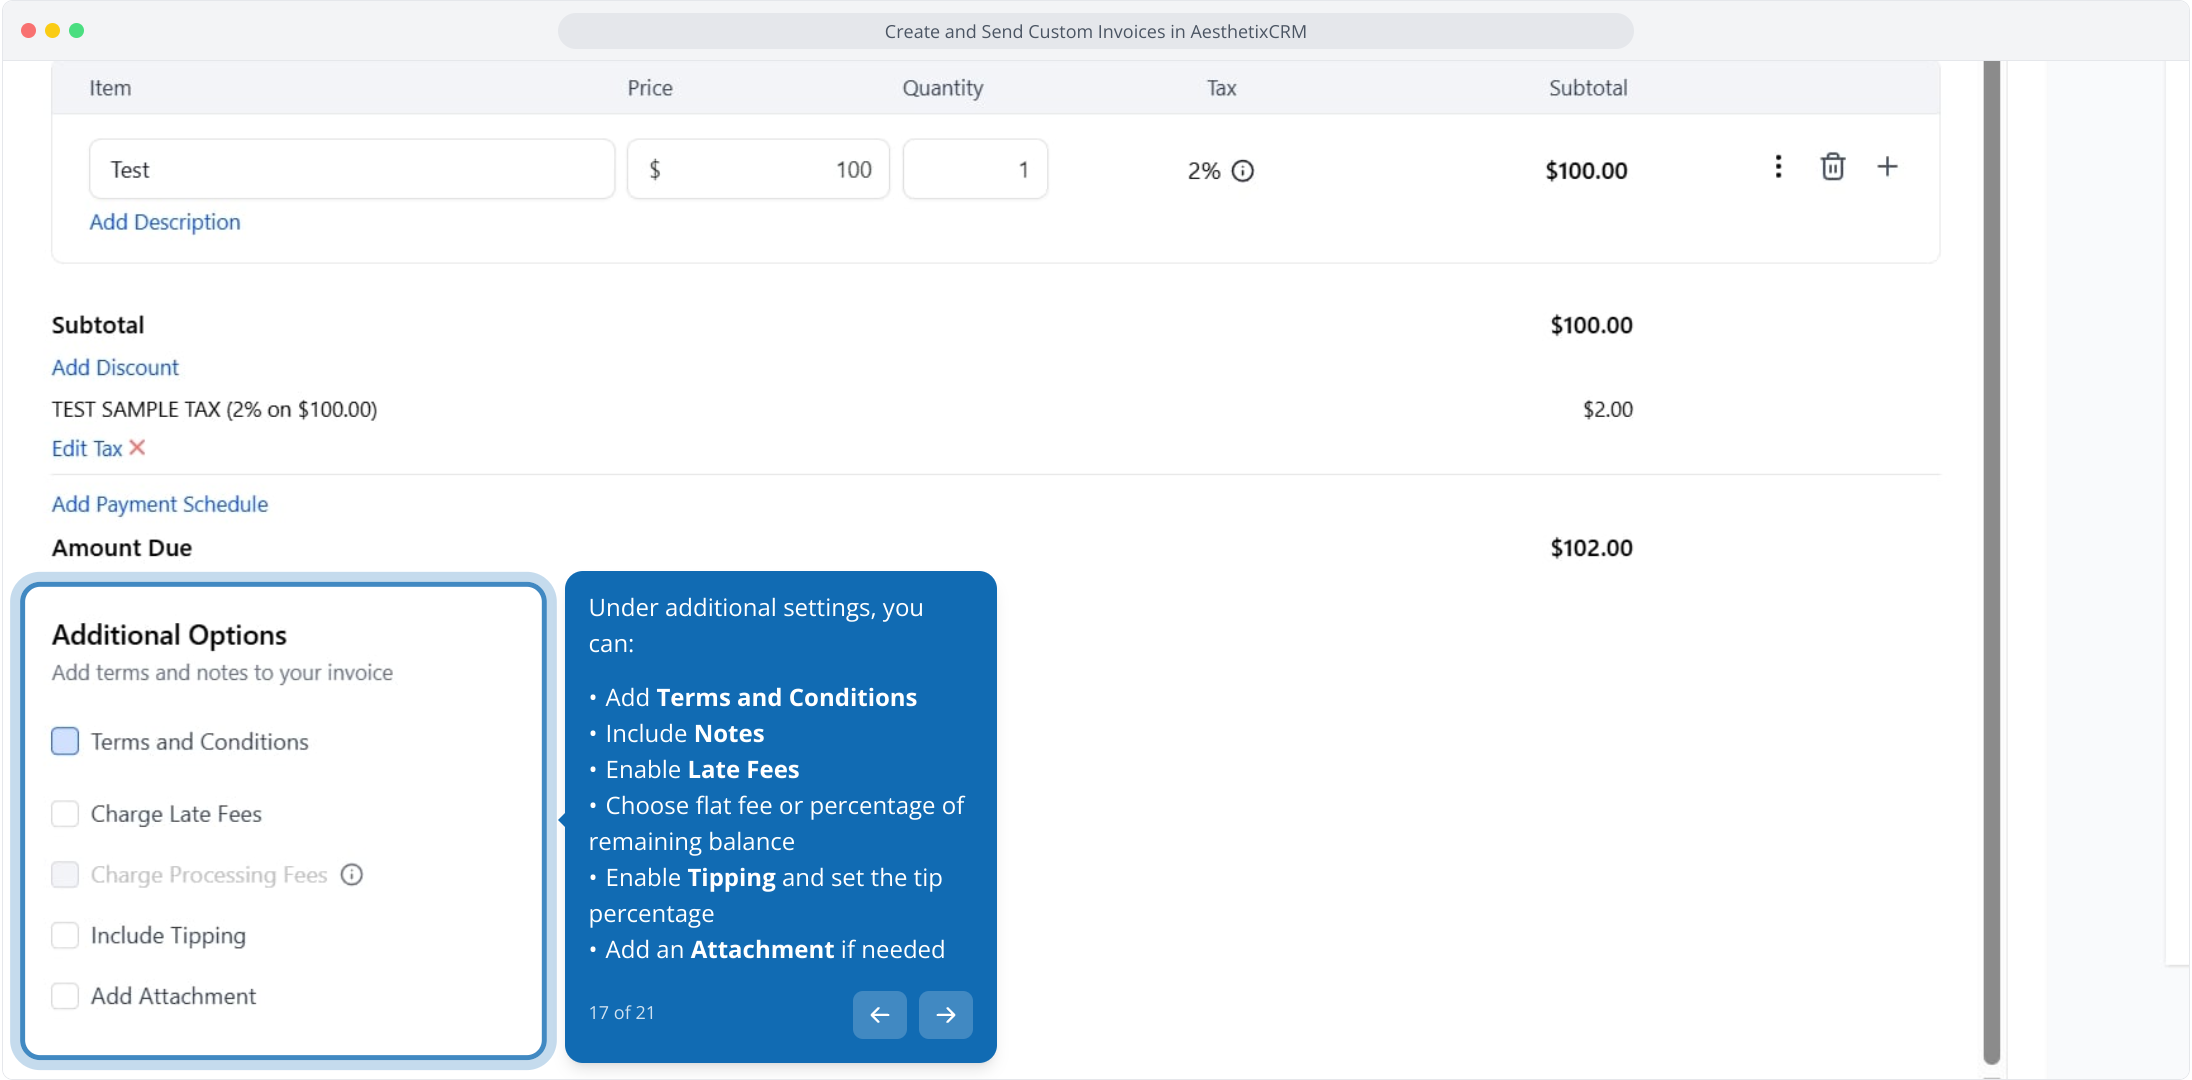
17. Under additional settings, you can:
Add Terms and Conditions
Include Notes
Enable Late Fees
Choose flat fee or percentage of remaining balance
Enable Tipping and set the tip percentage
Add an Attachment if needed
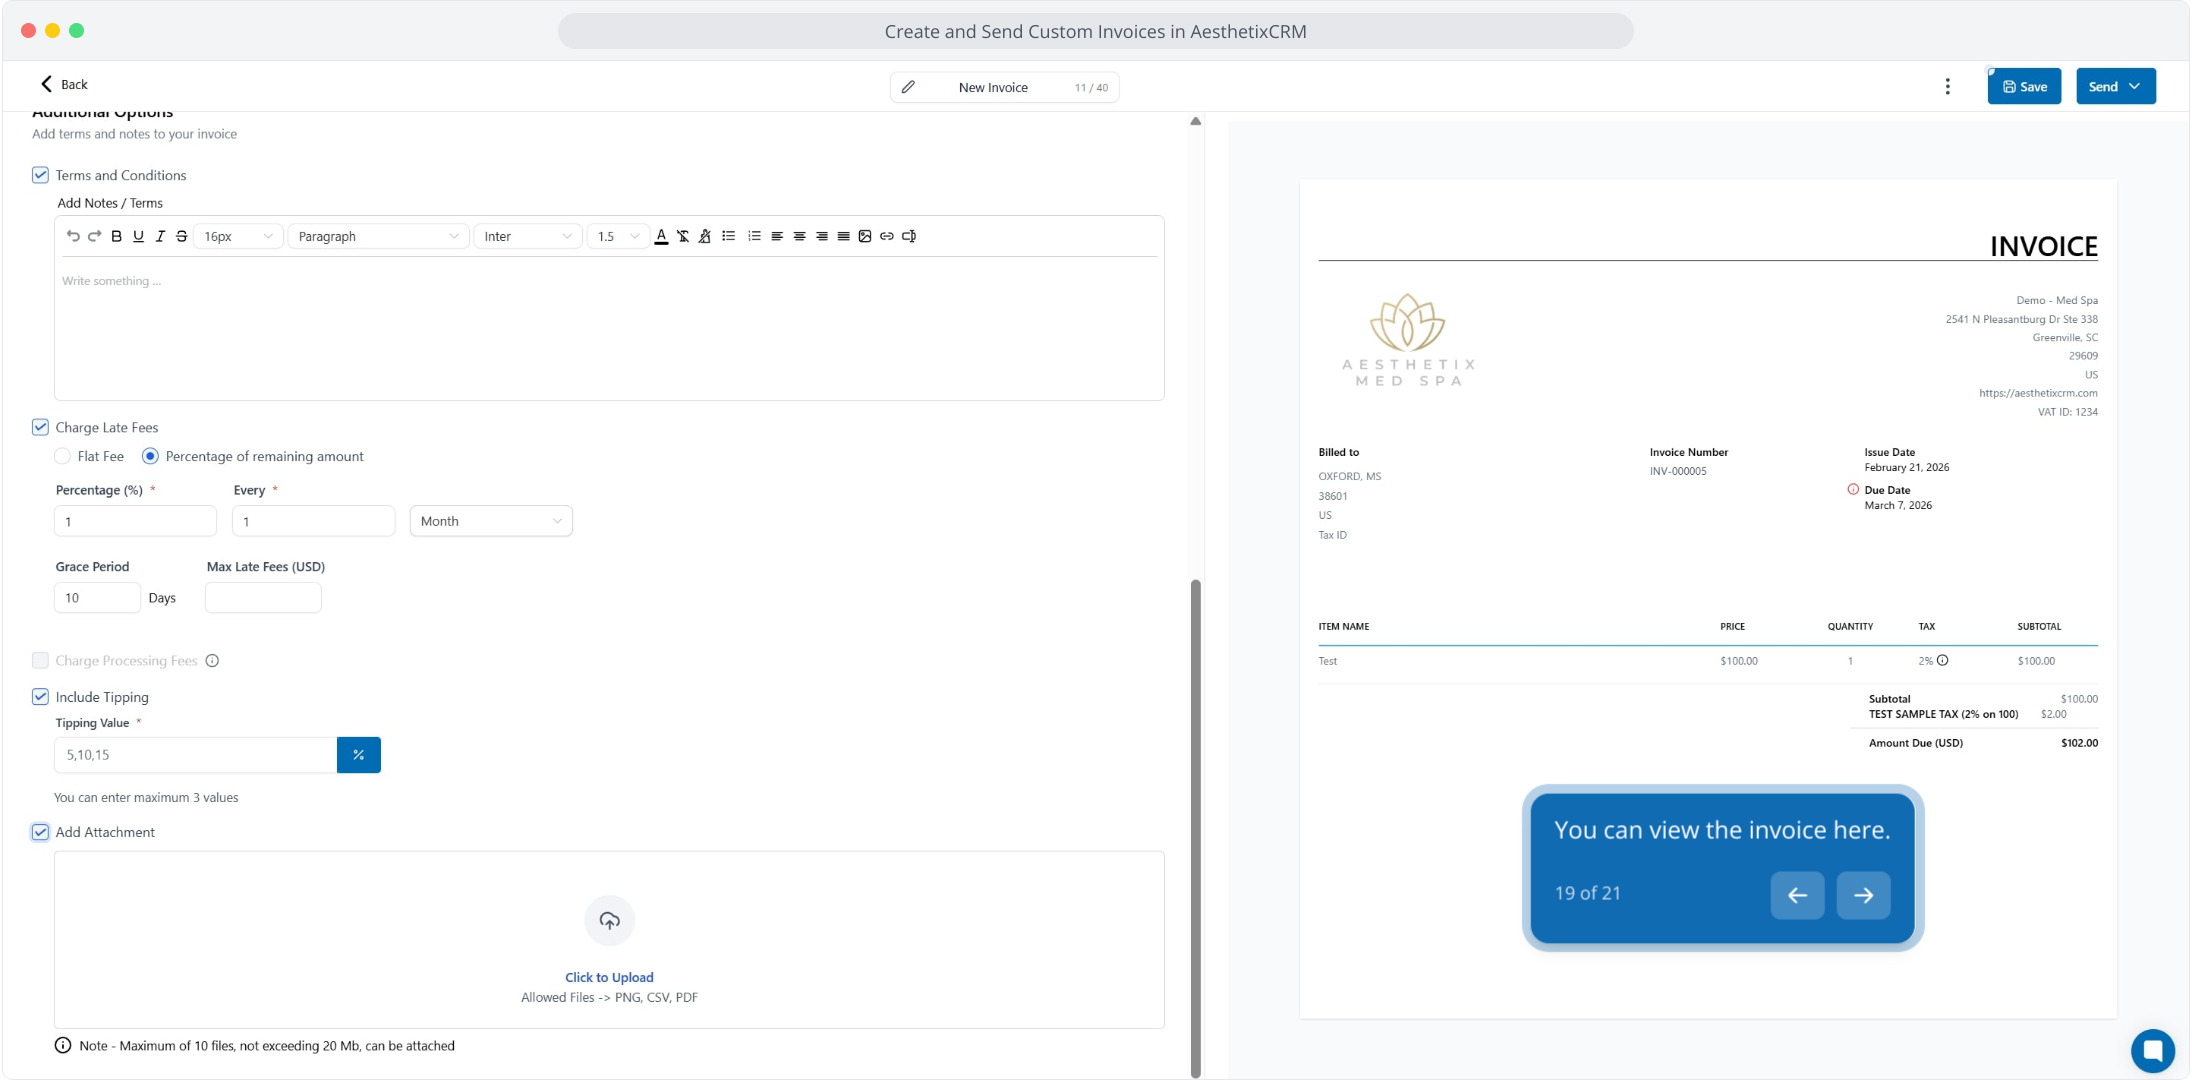
18. Afterwards, enable the Charge Late Fees option to apply additional fees for overdue payments.

19. You can view the invoice here.
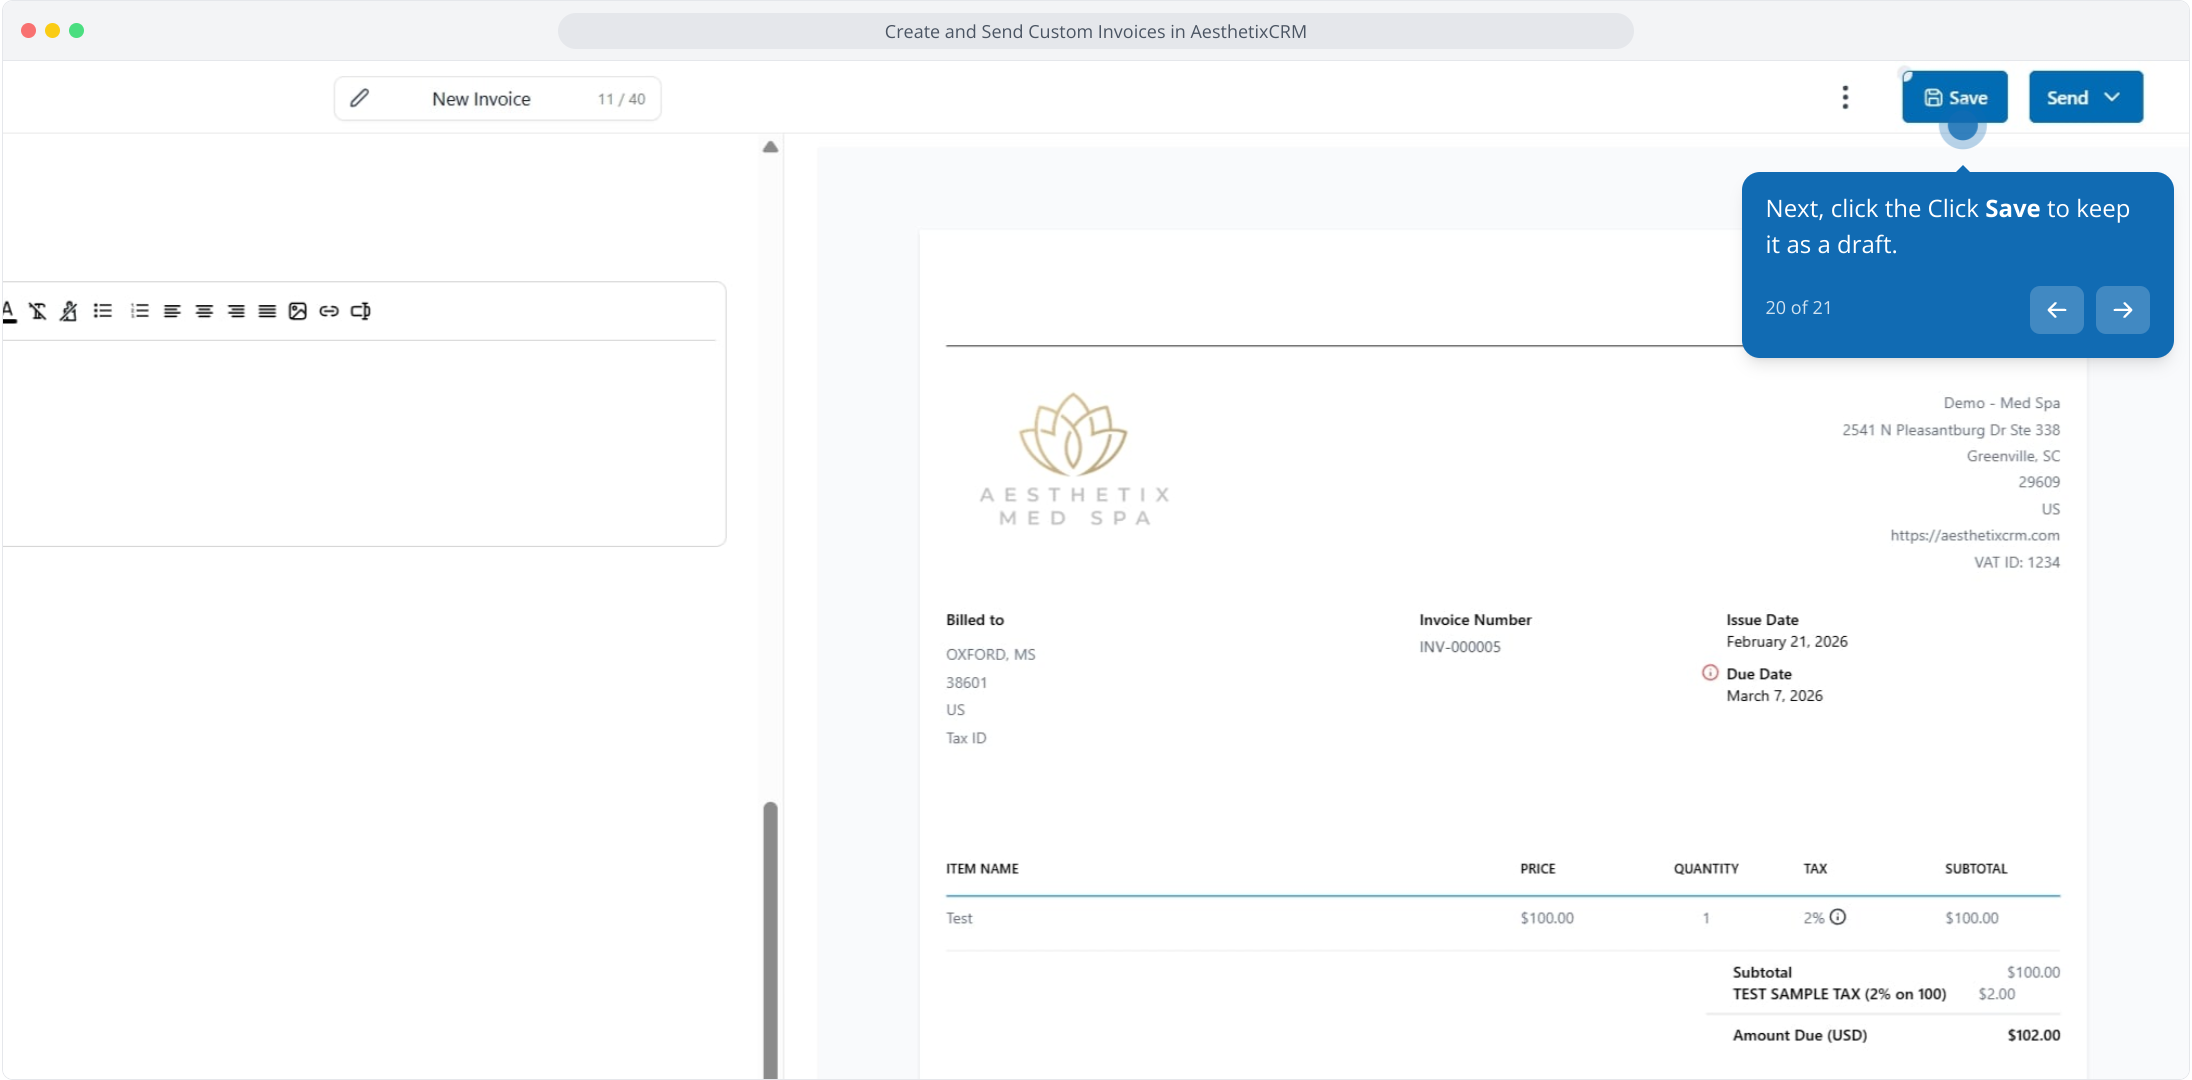
20. Next, click the Click Save to keep it as a draft.
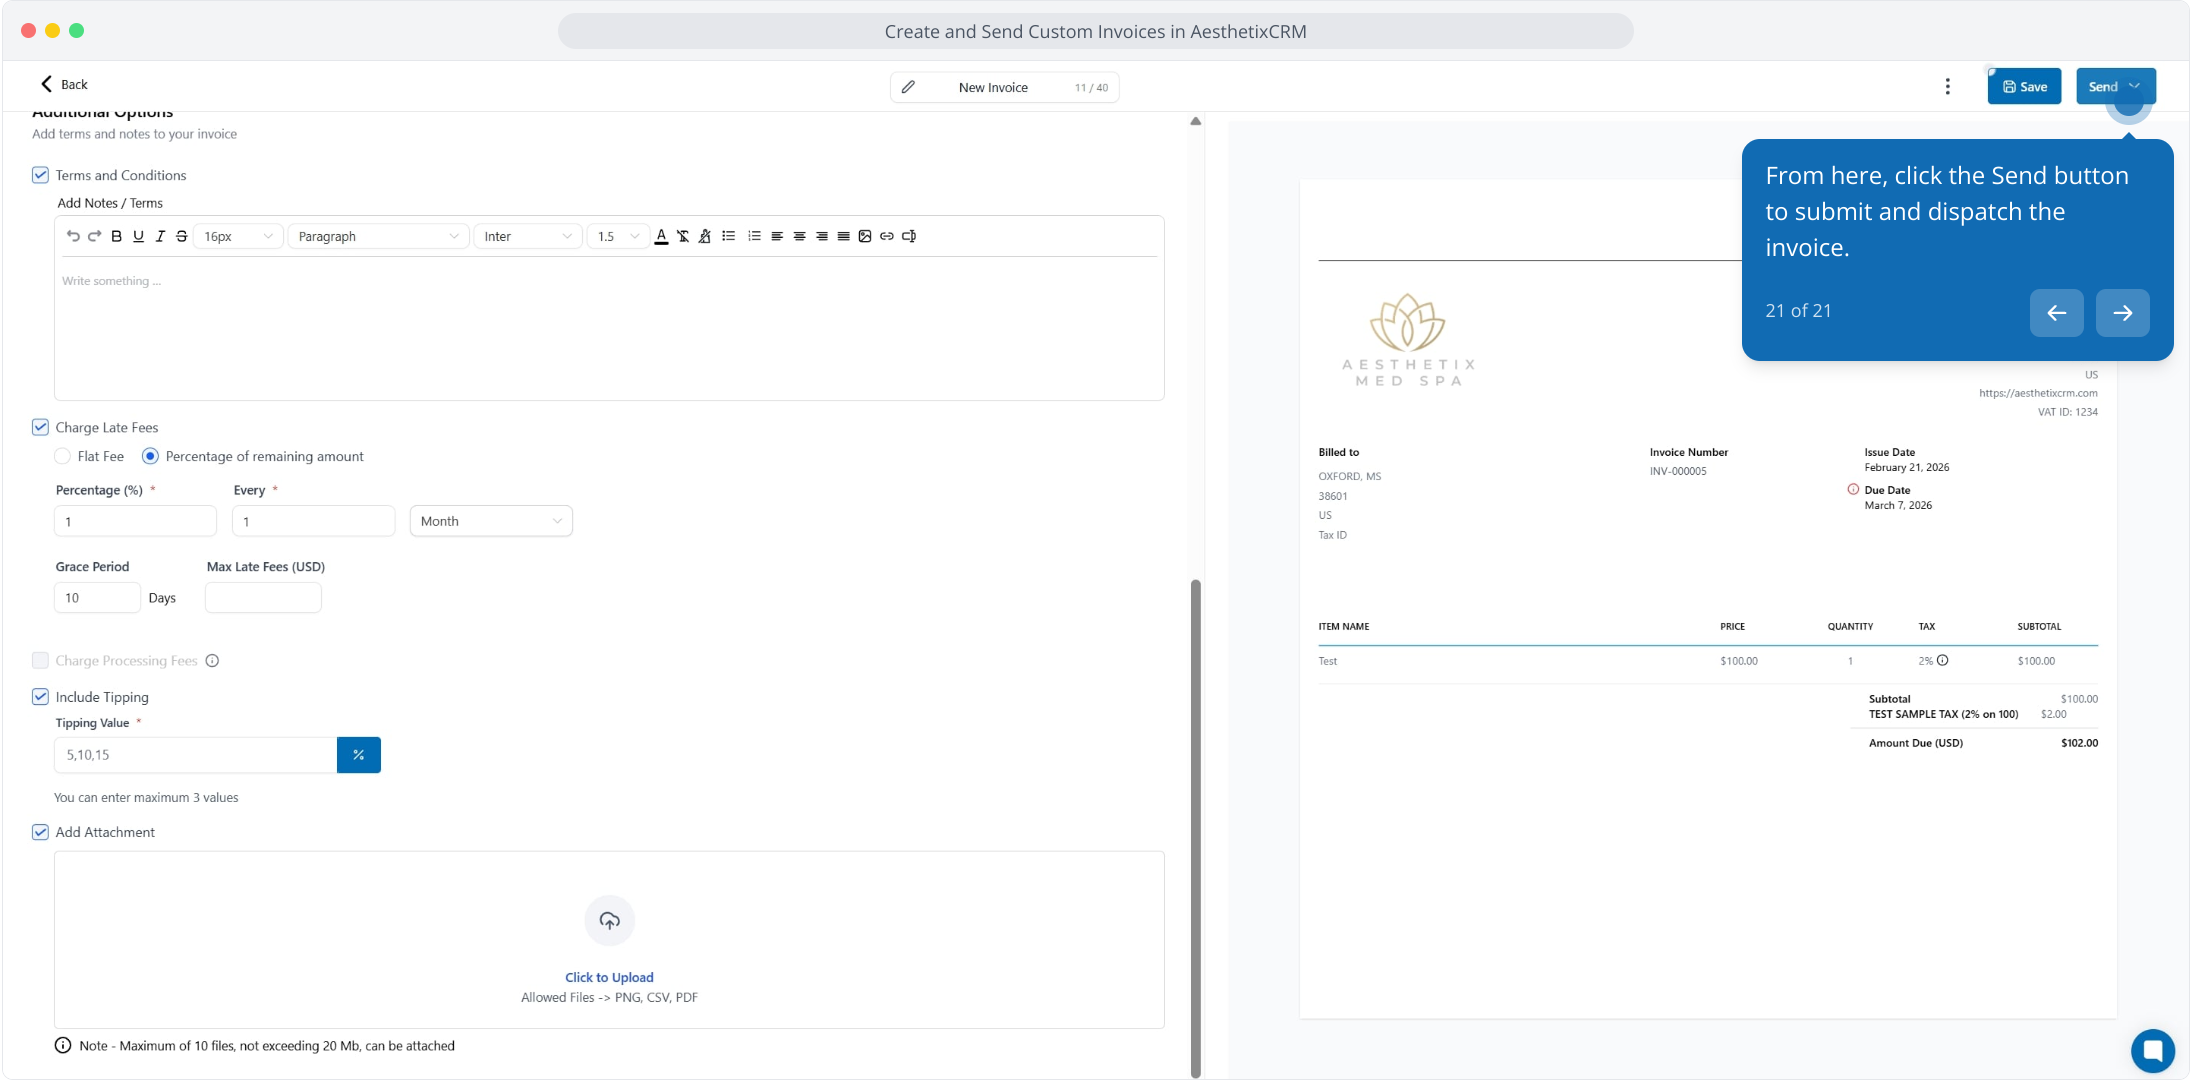
21. From here, click the Send button to submit and dispatch the invoice.
This workflow was created with Supademo.
