1. Configure Invoice Settings and Payment Options
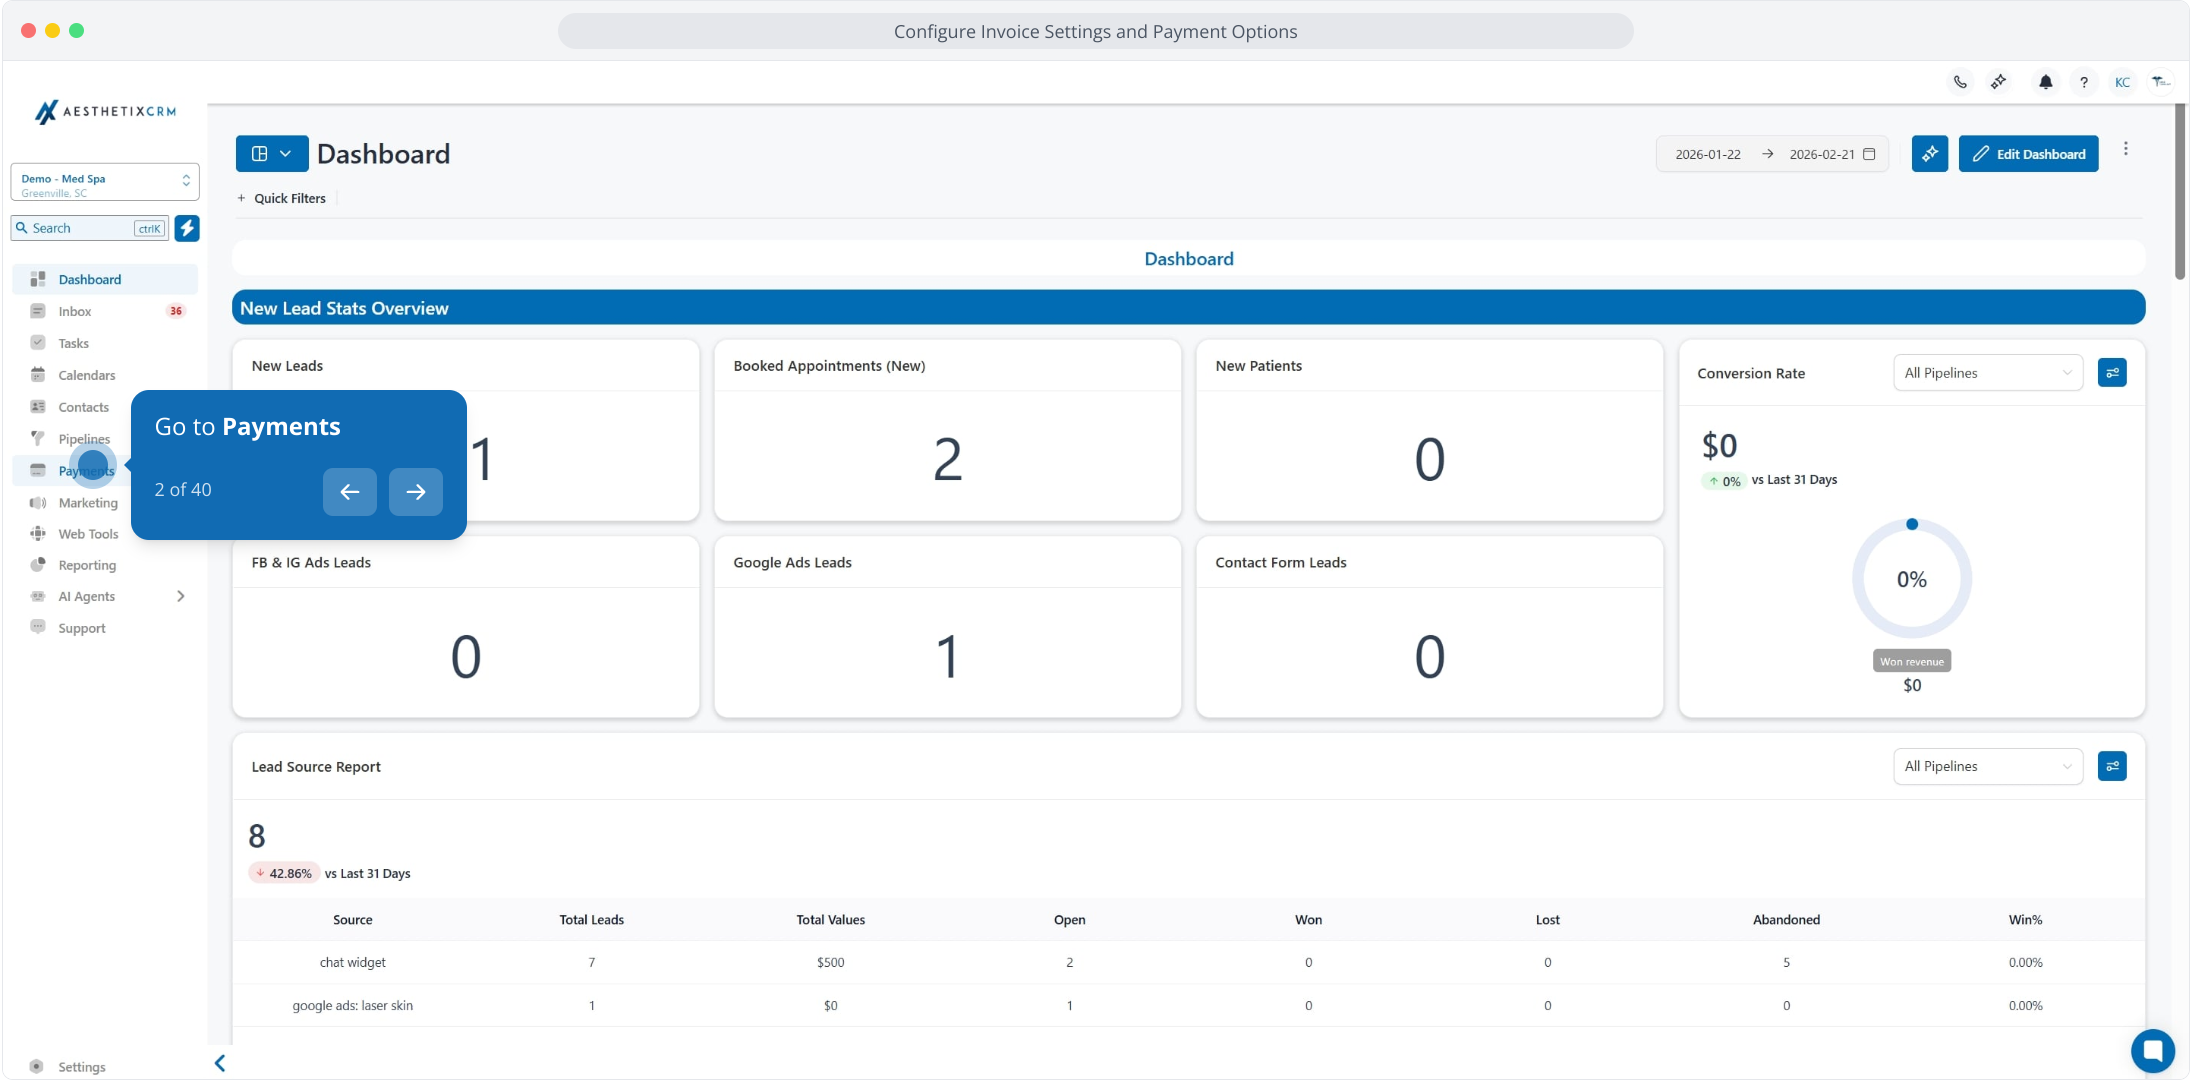
2. Go to Payments
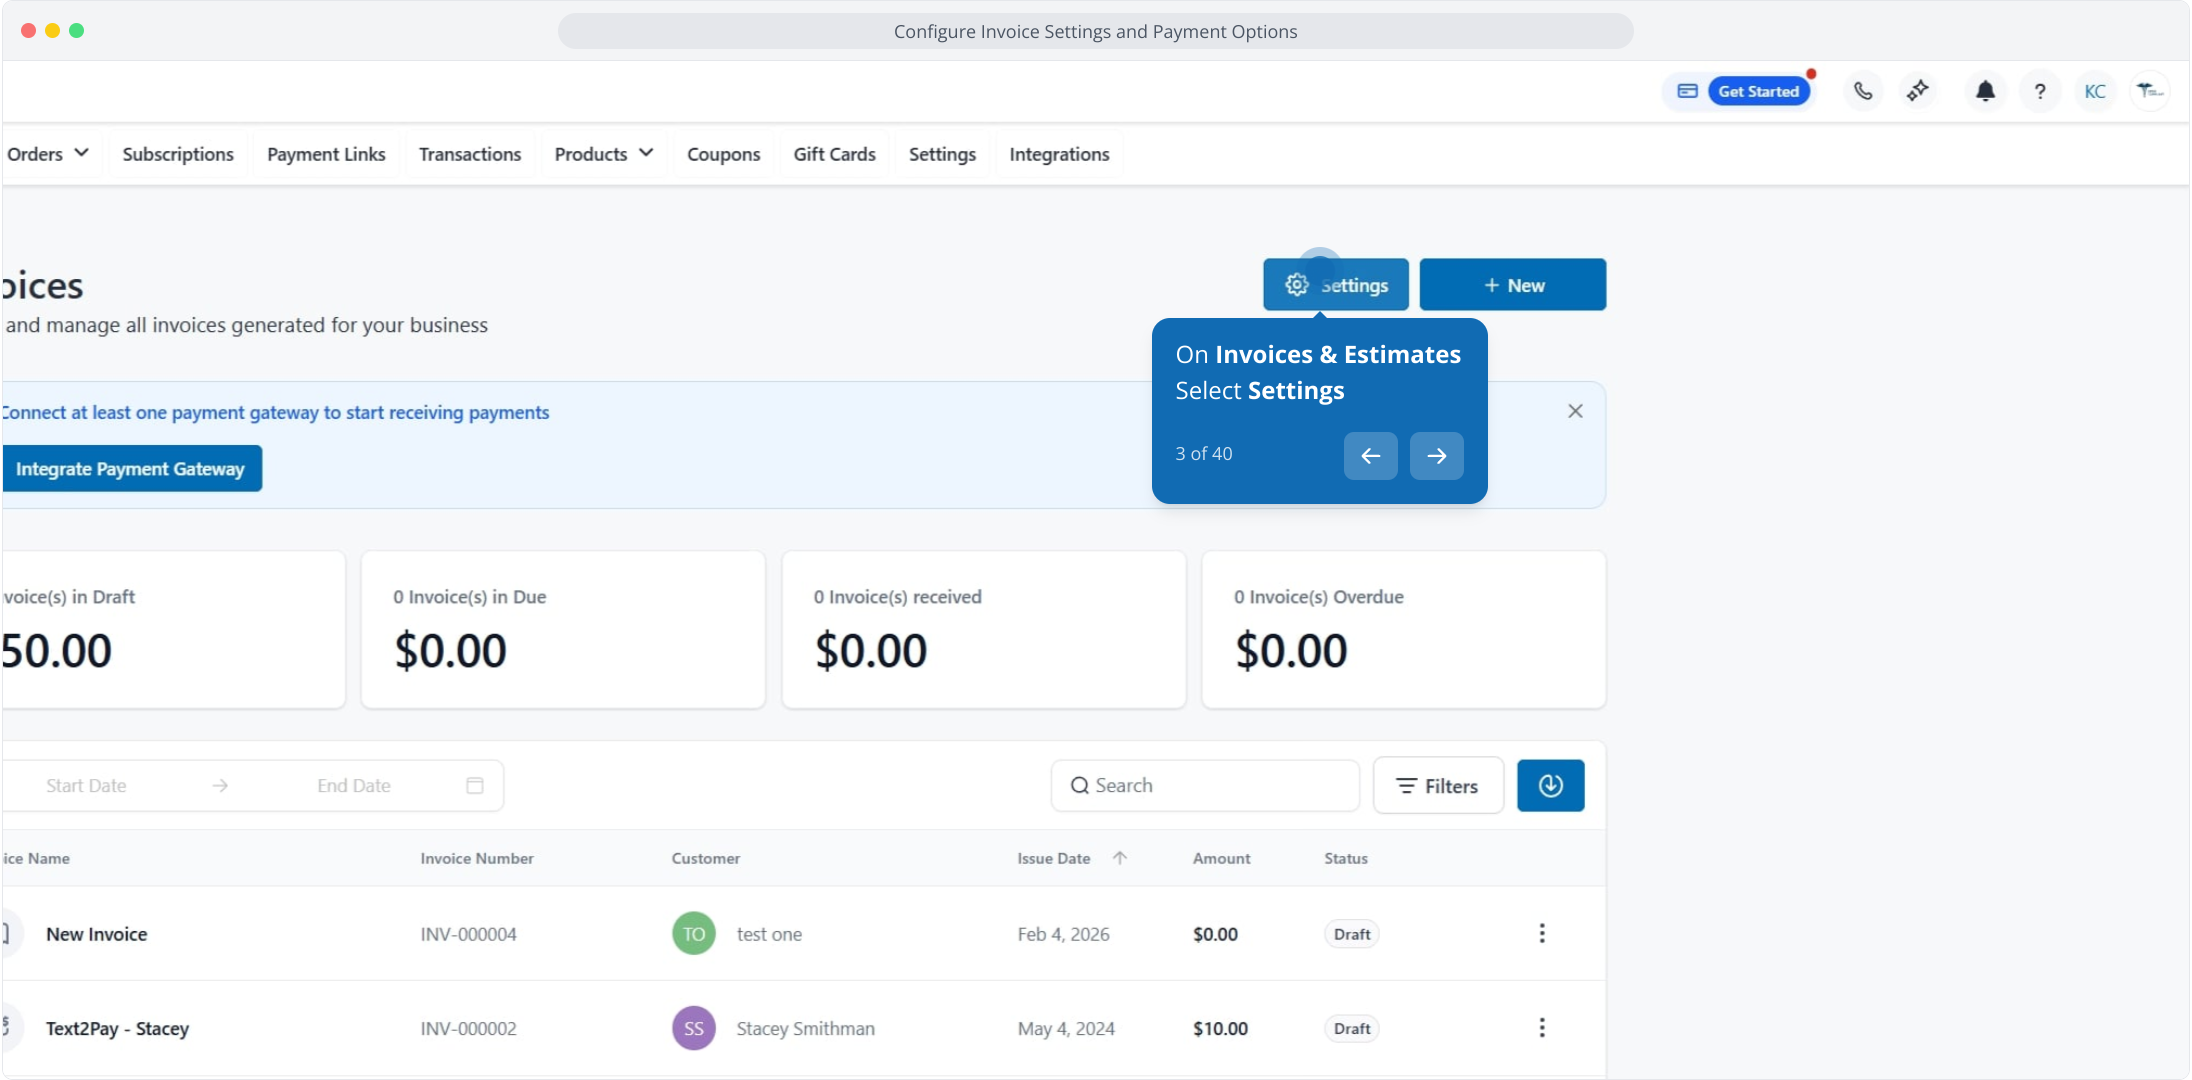
3. On Invoices & Estimates
Select Settings
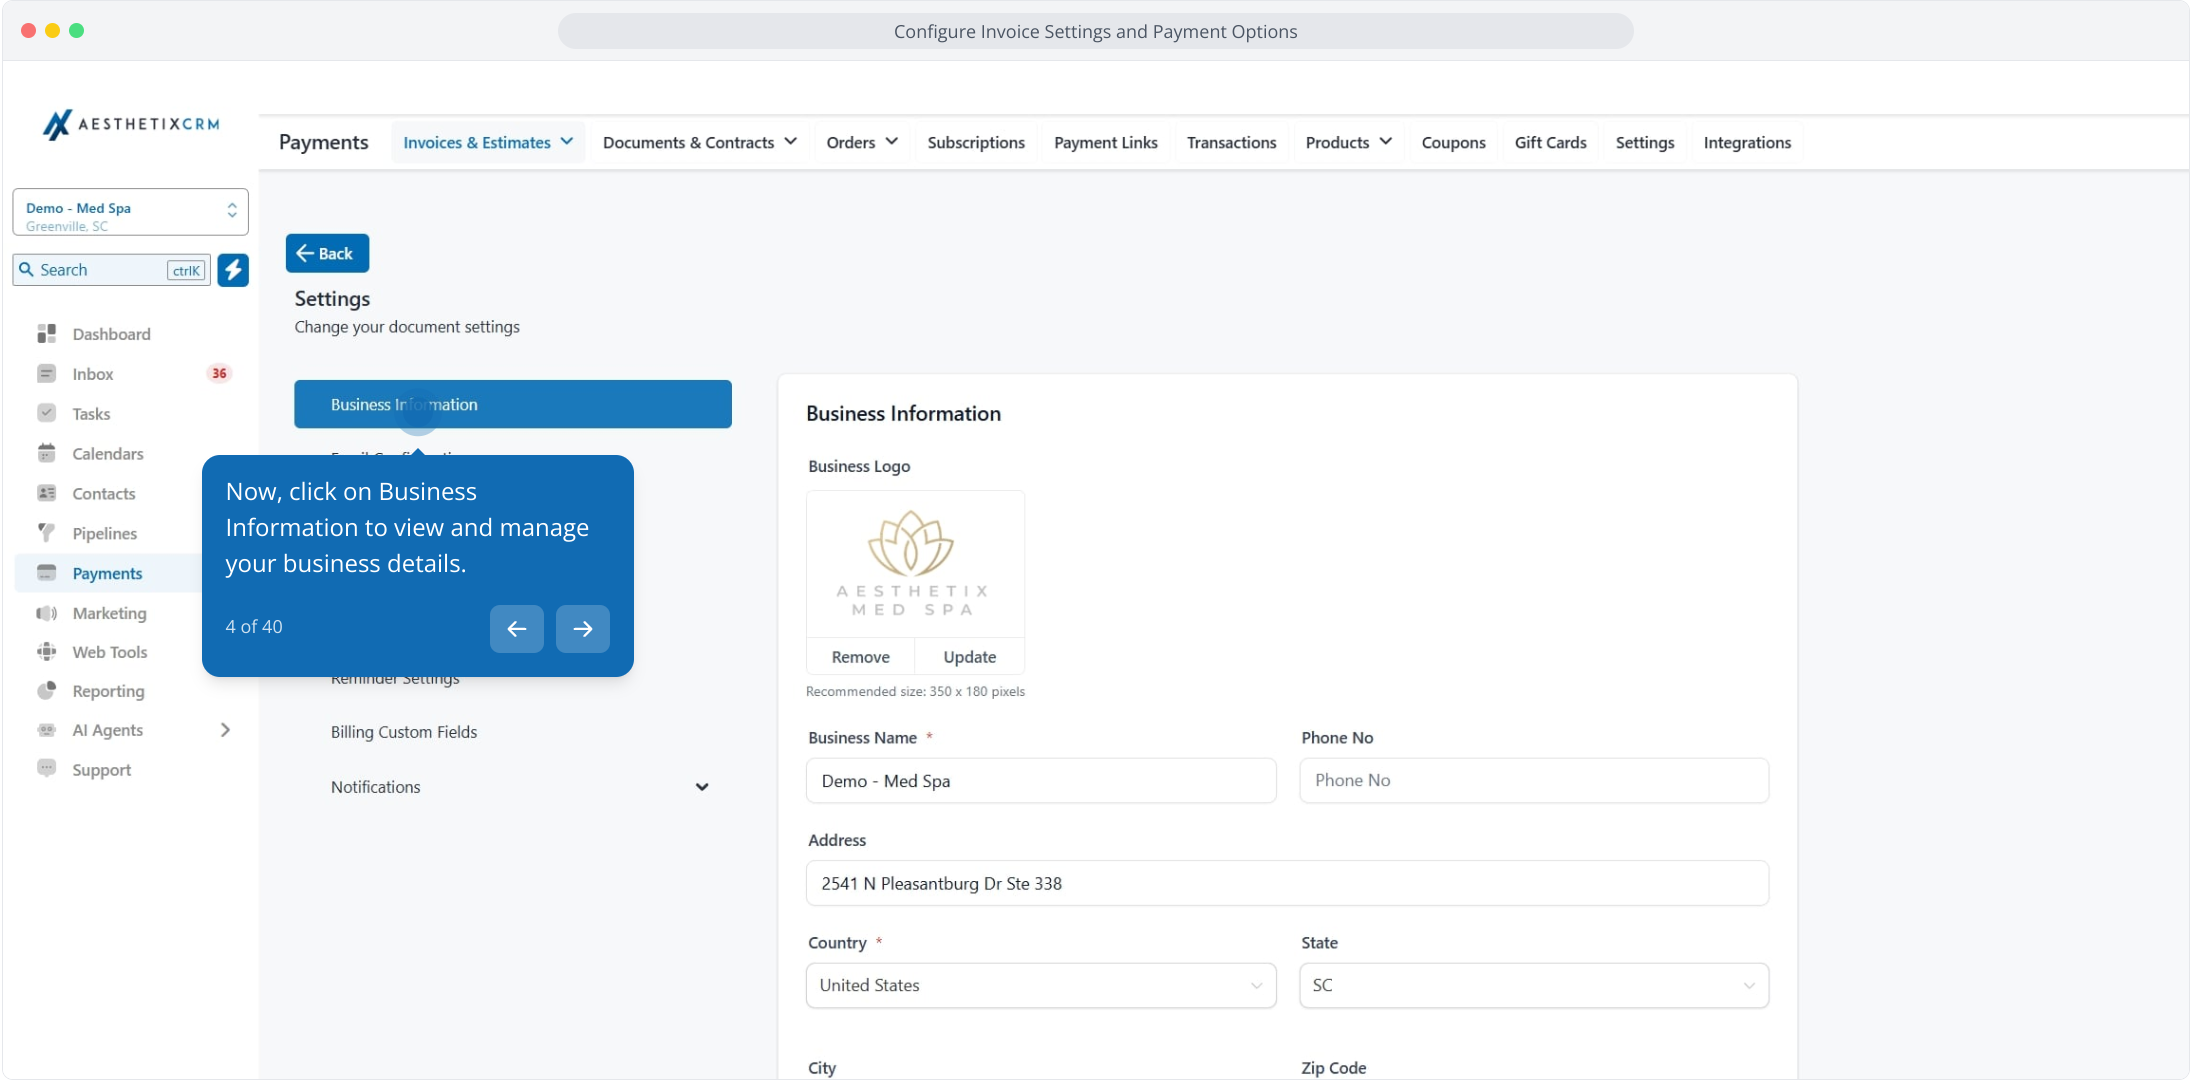
4. Now, click on Business Information to view and manage your business details.
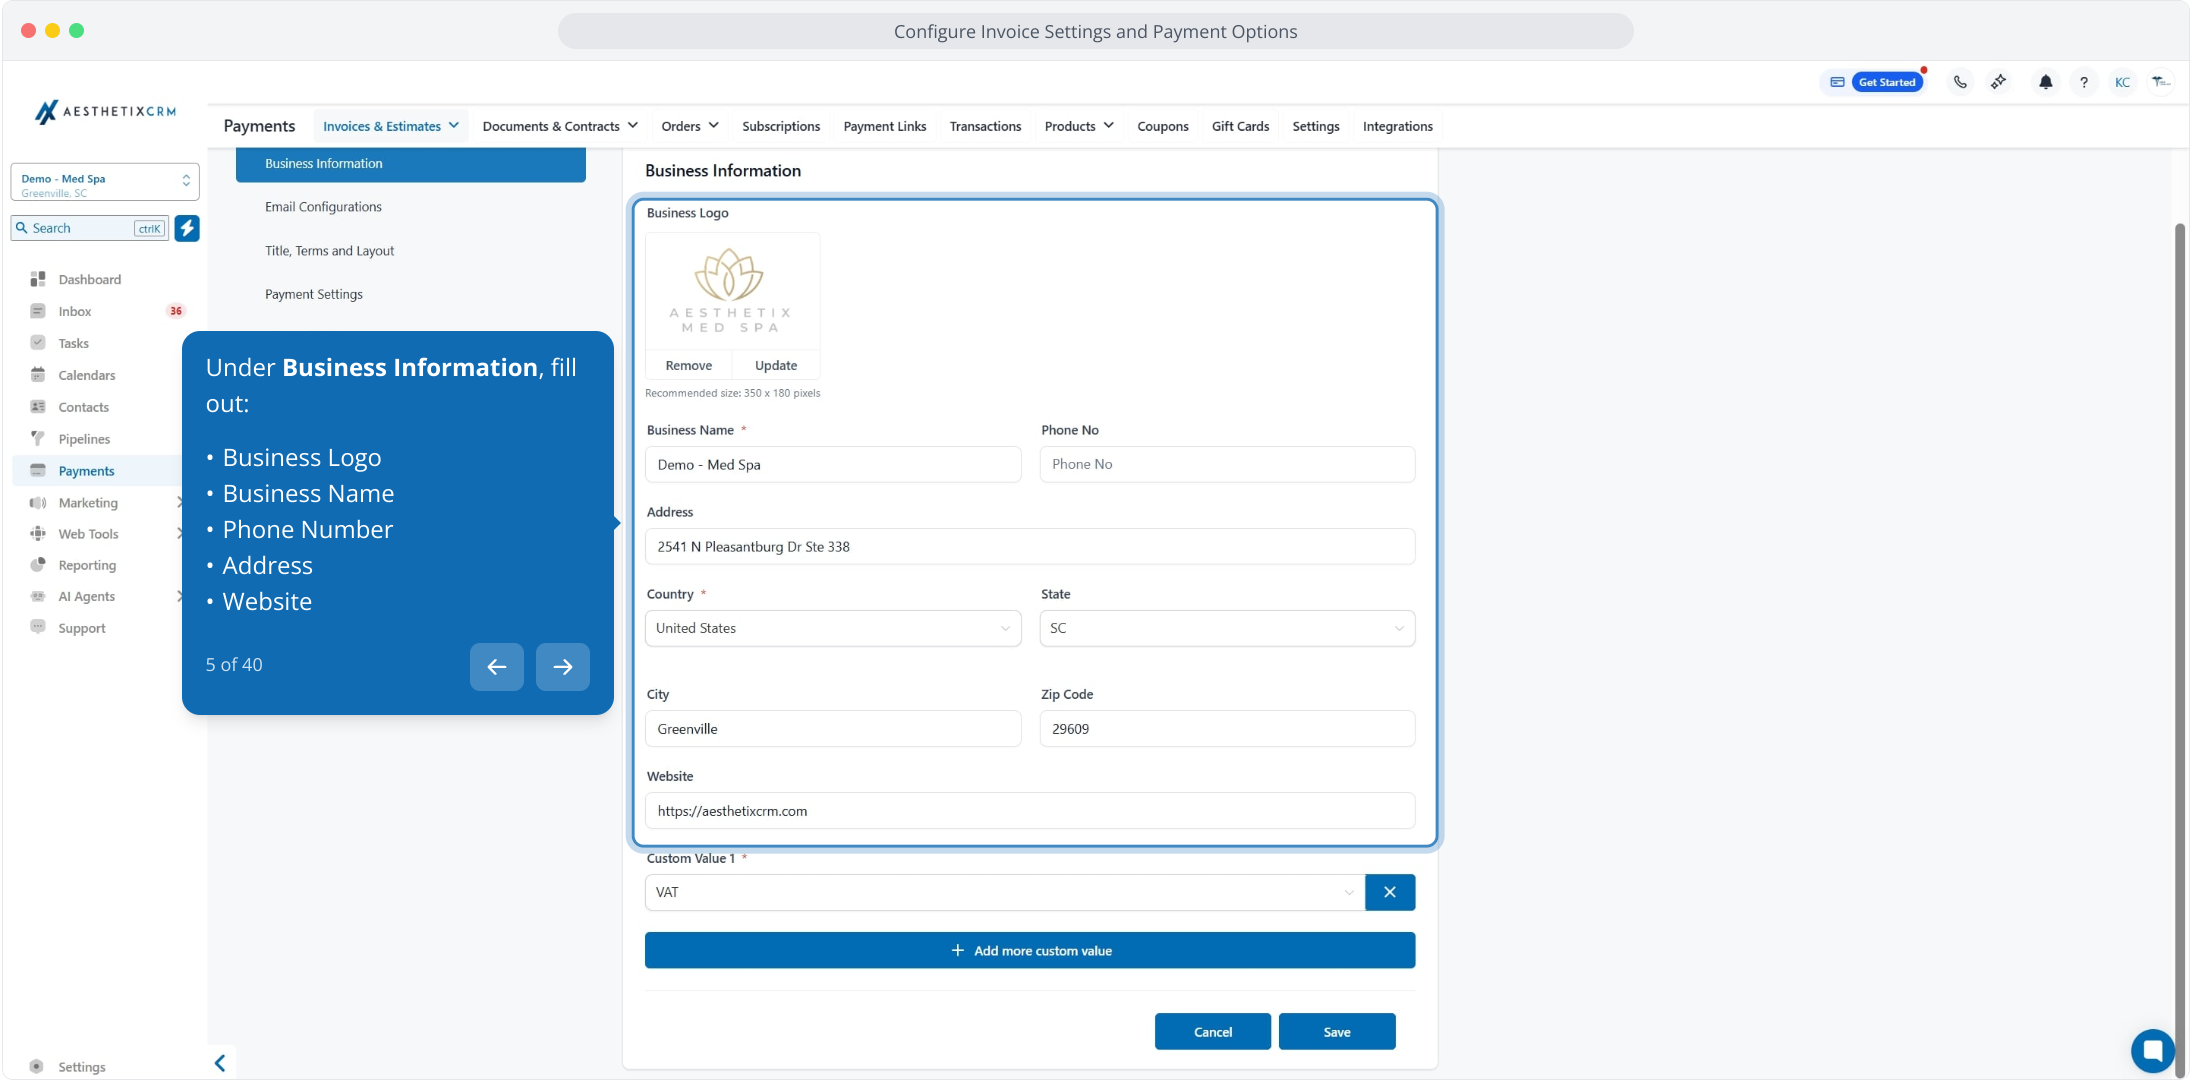
5. Under Business Information, fill out:
Business Logo
Business Name
Phone Number
Address
Website
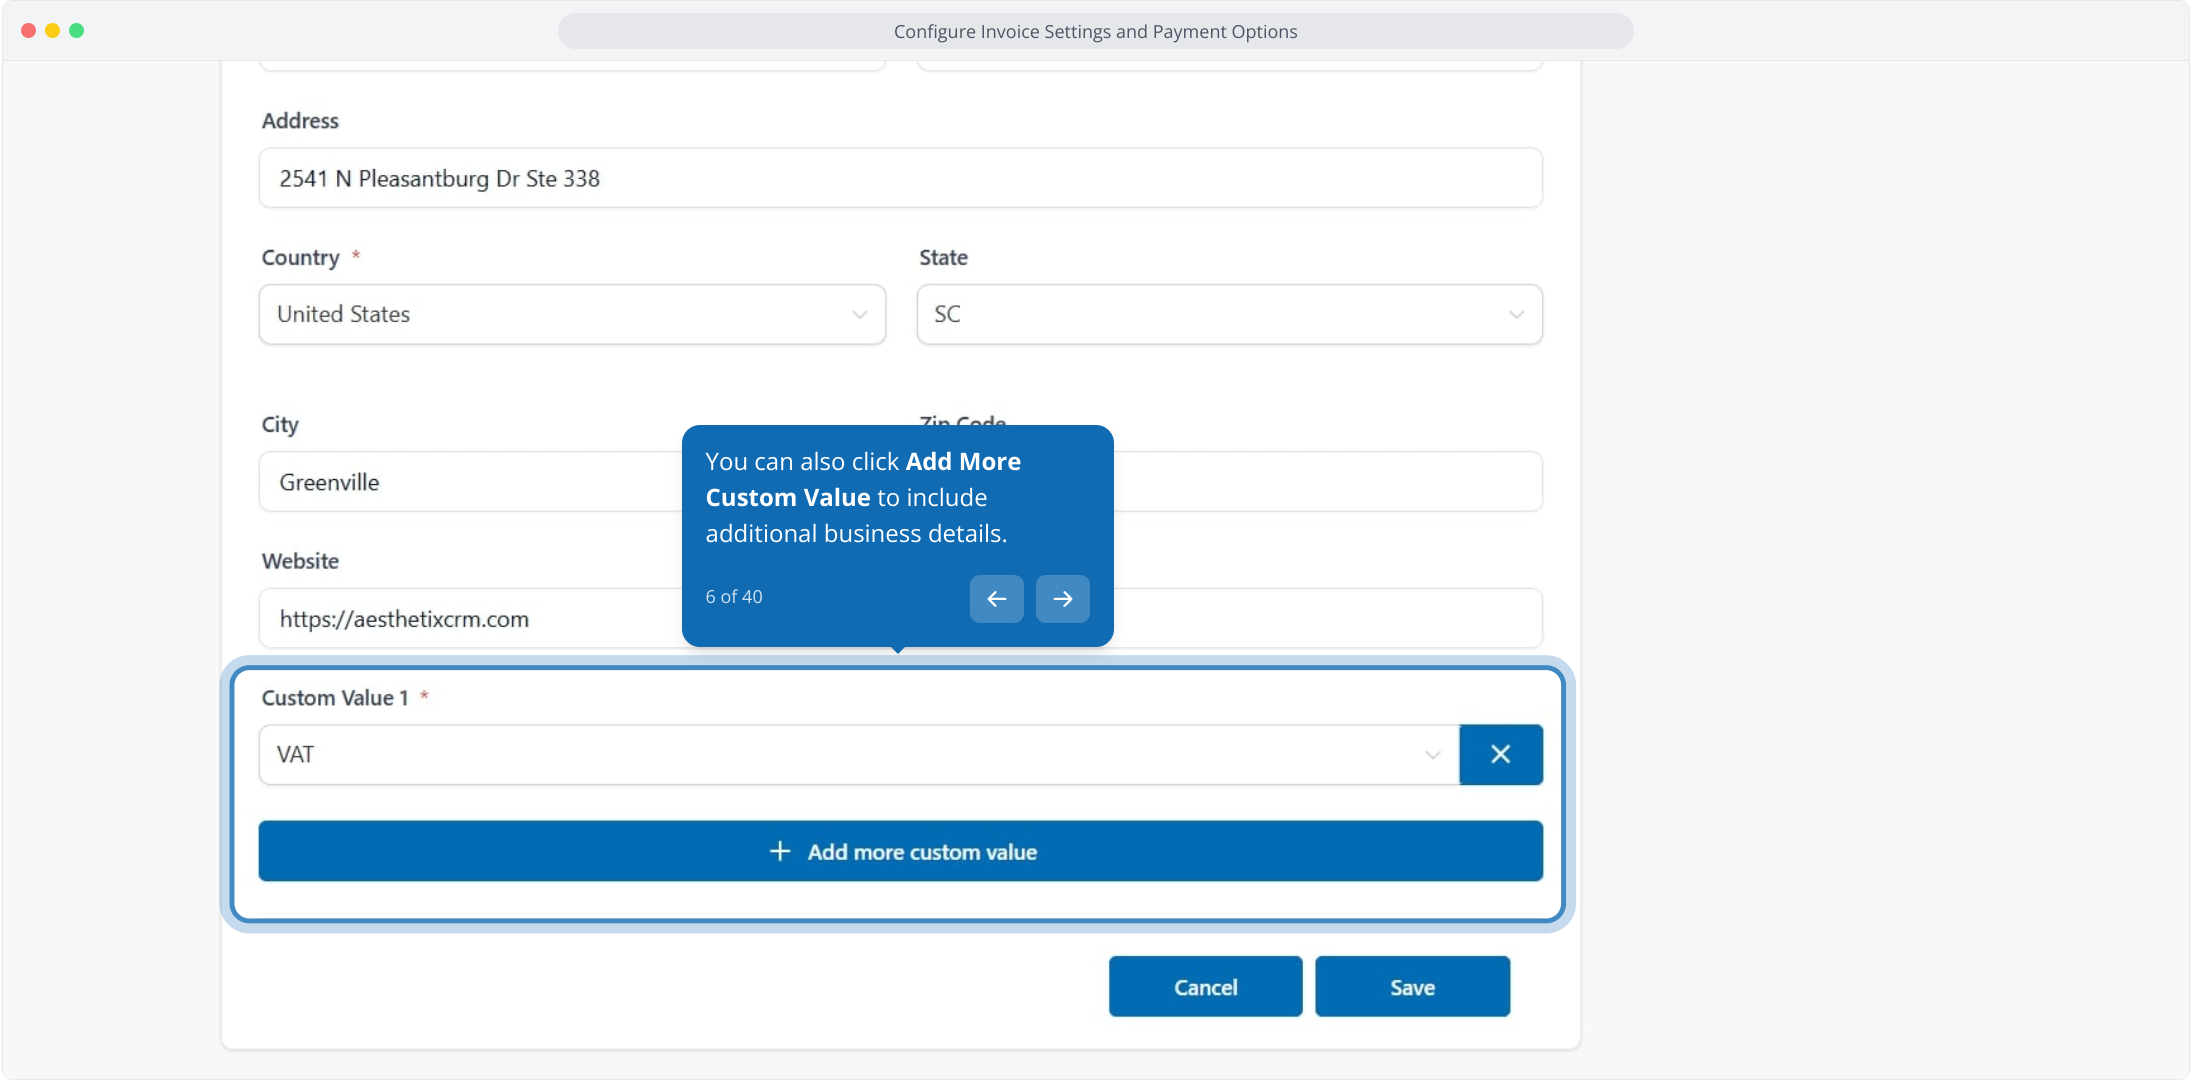
6. You can also click Add More Custom Value to include additional business details.
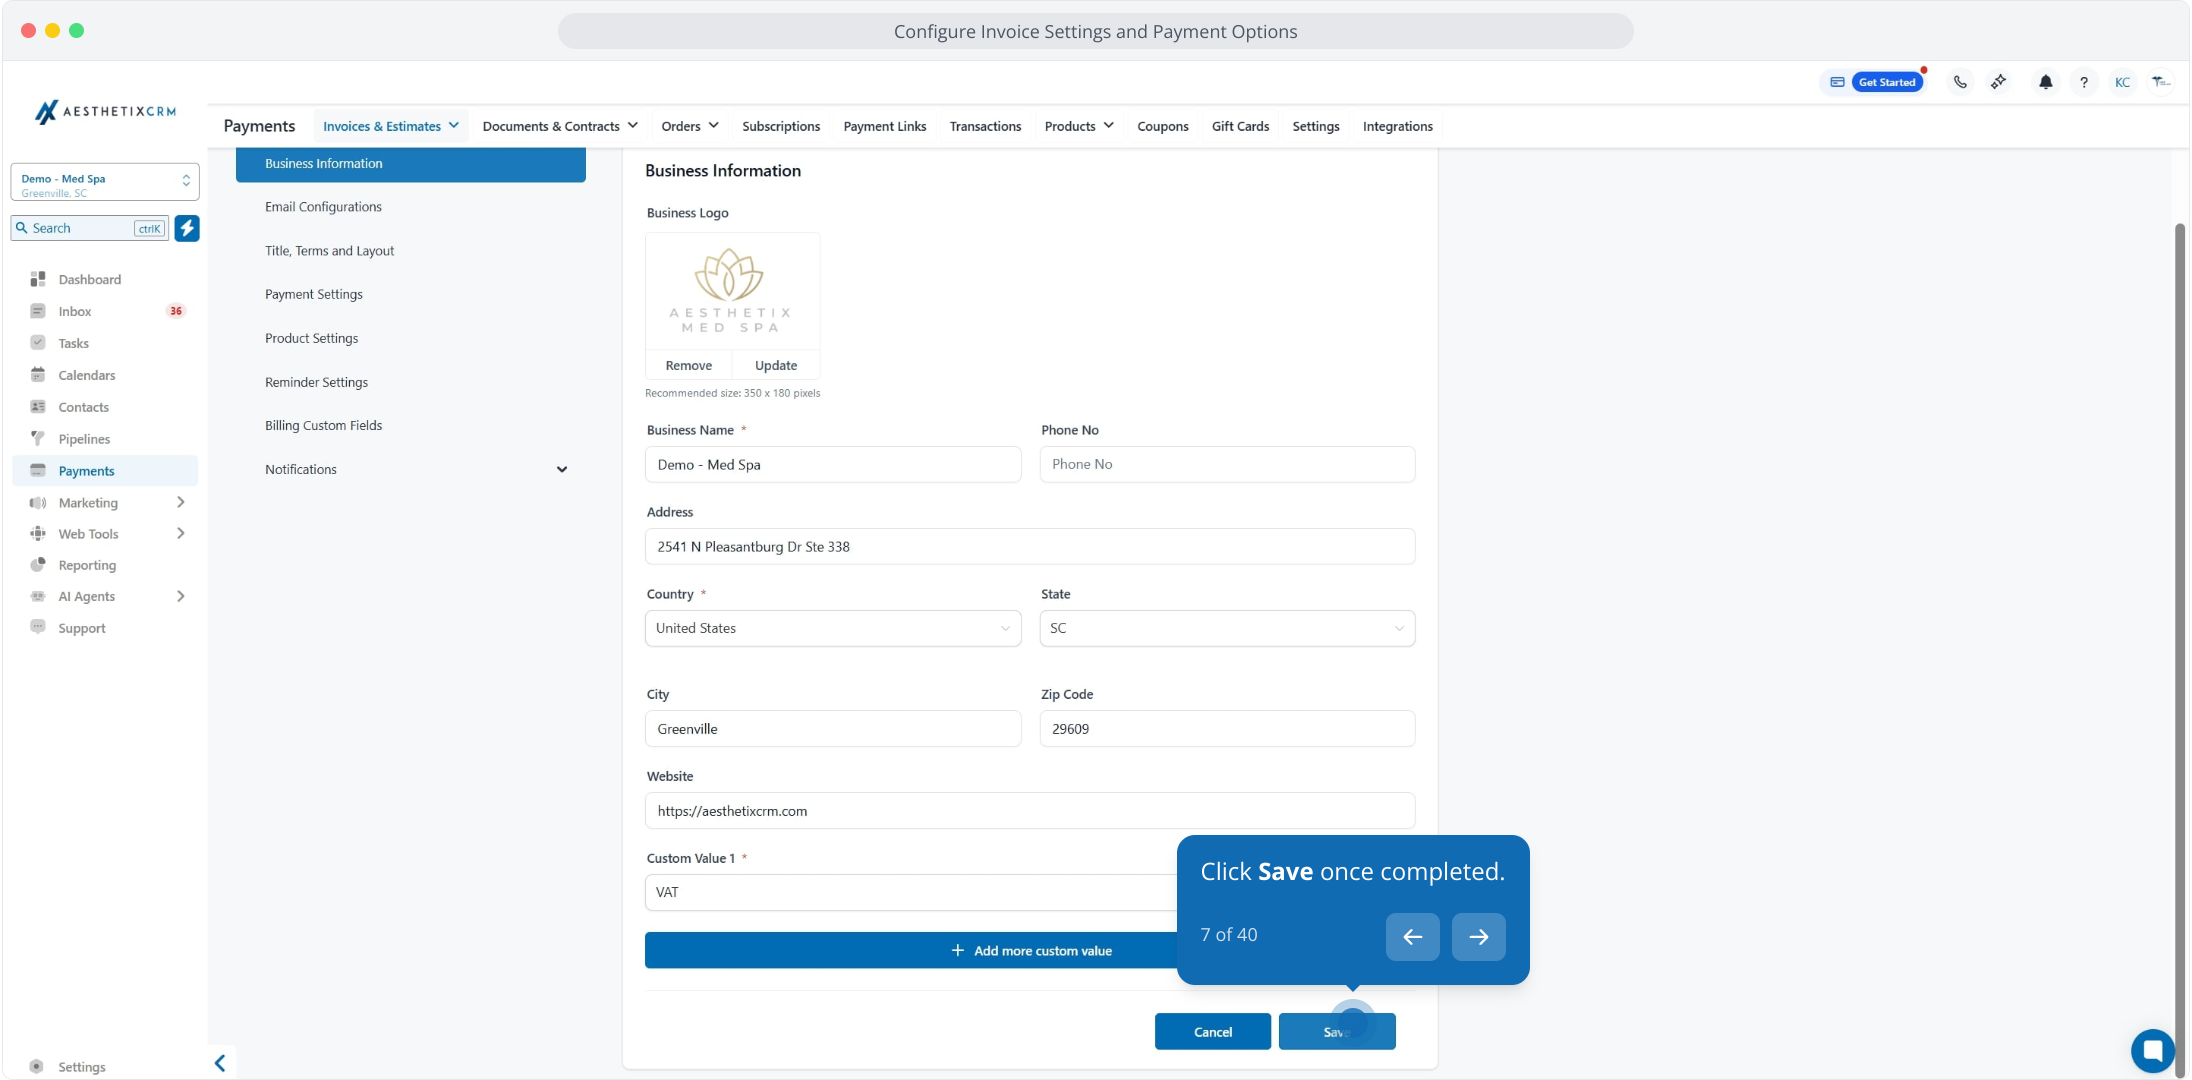
7. Click Save once completed.
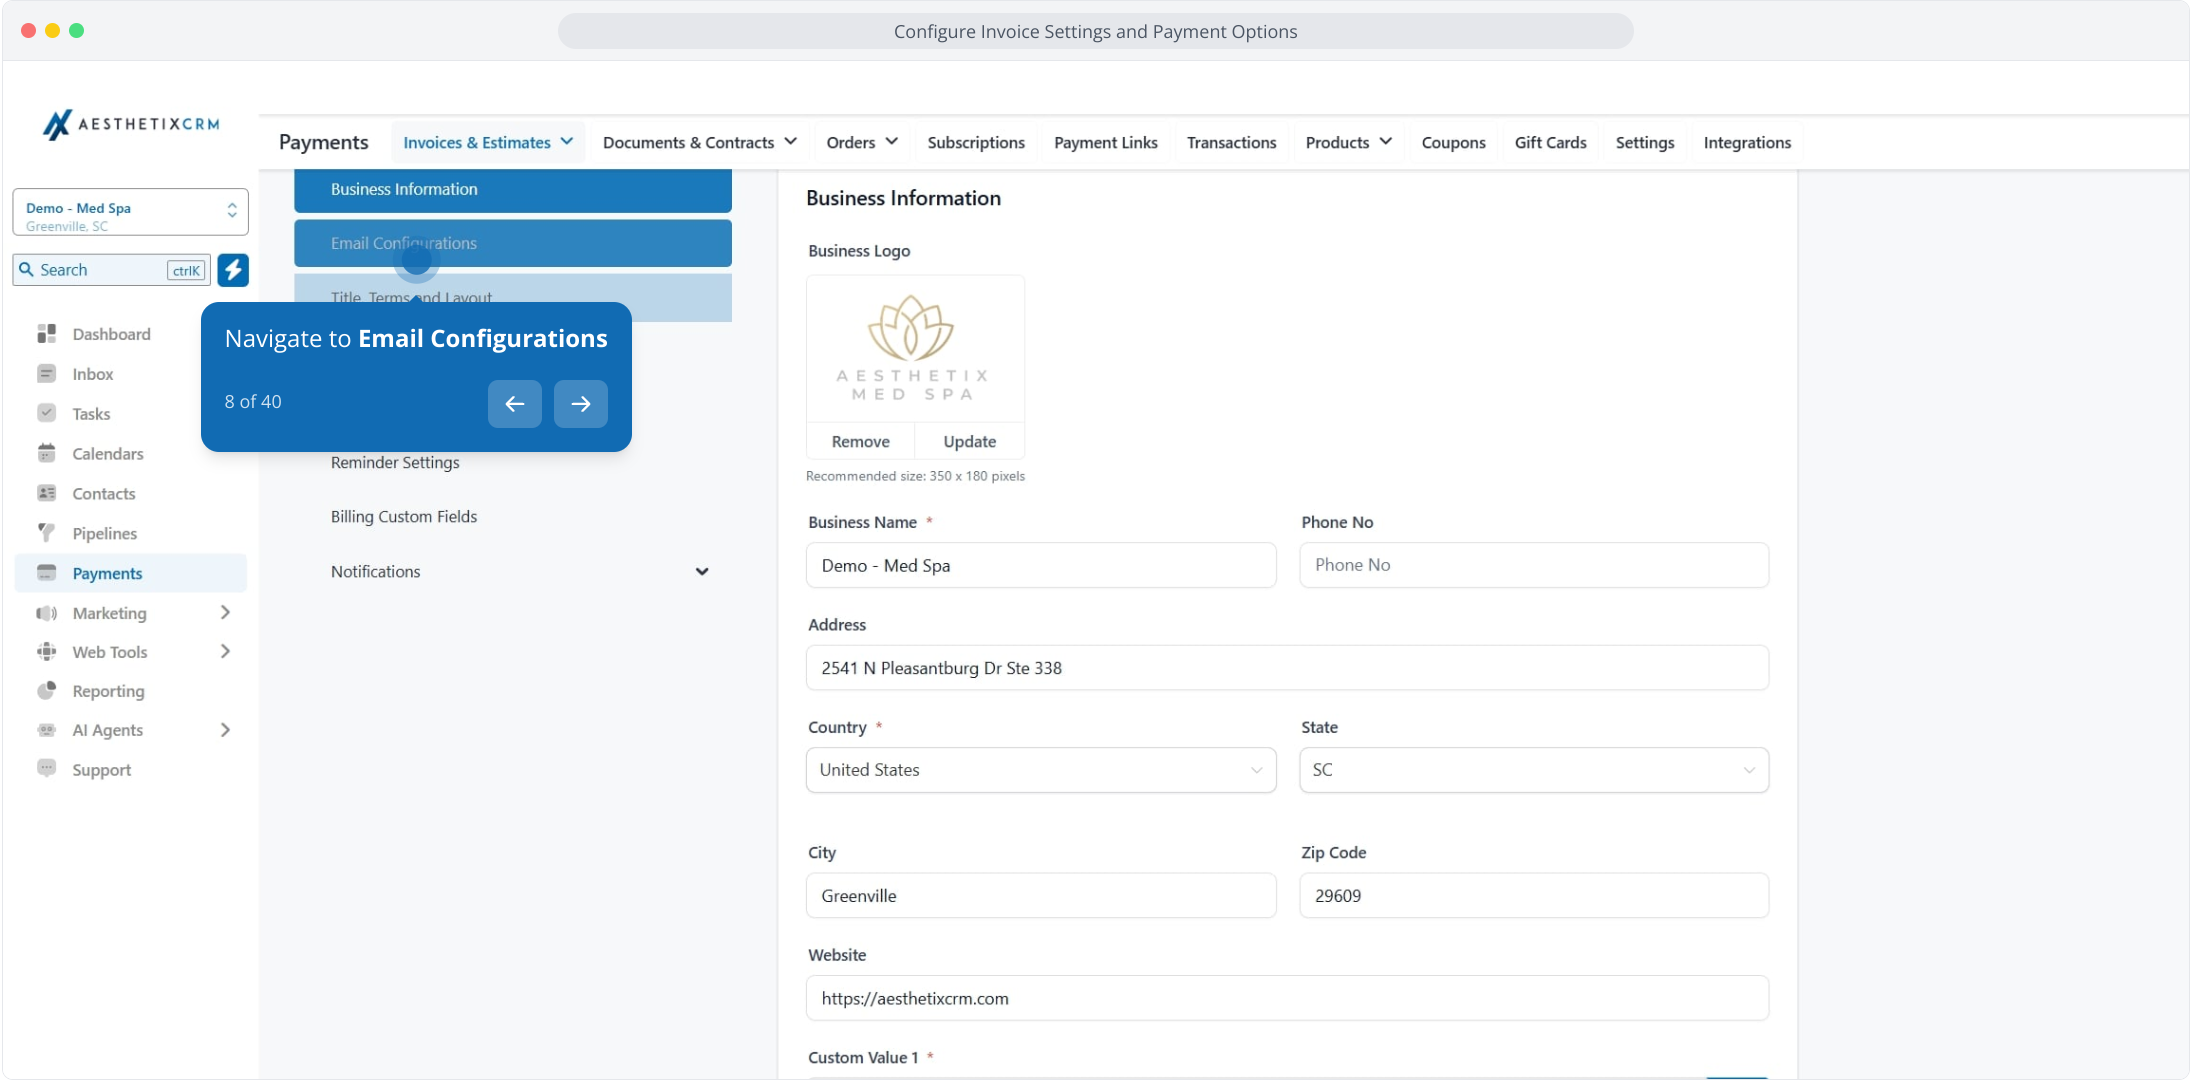
8. Navigate to Email Configurations
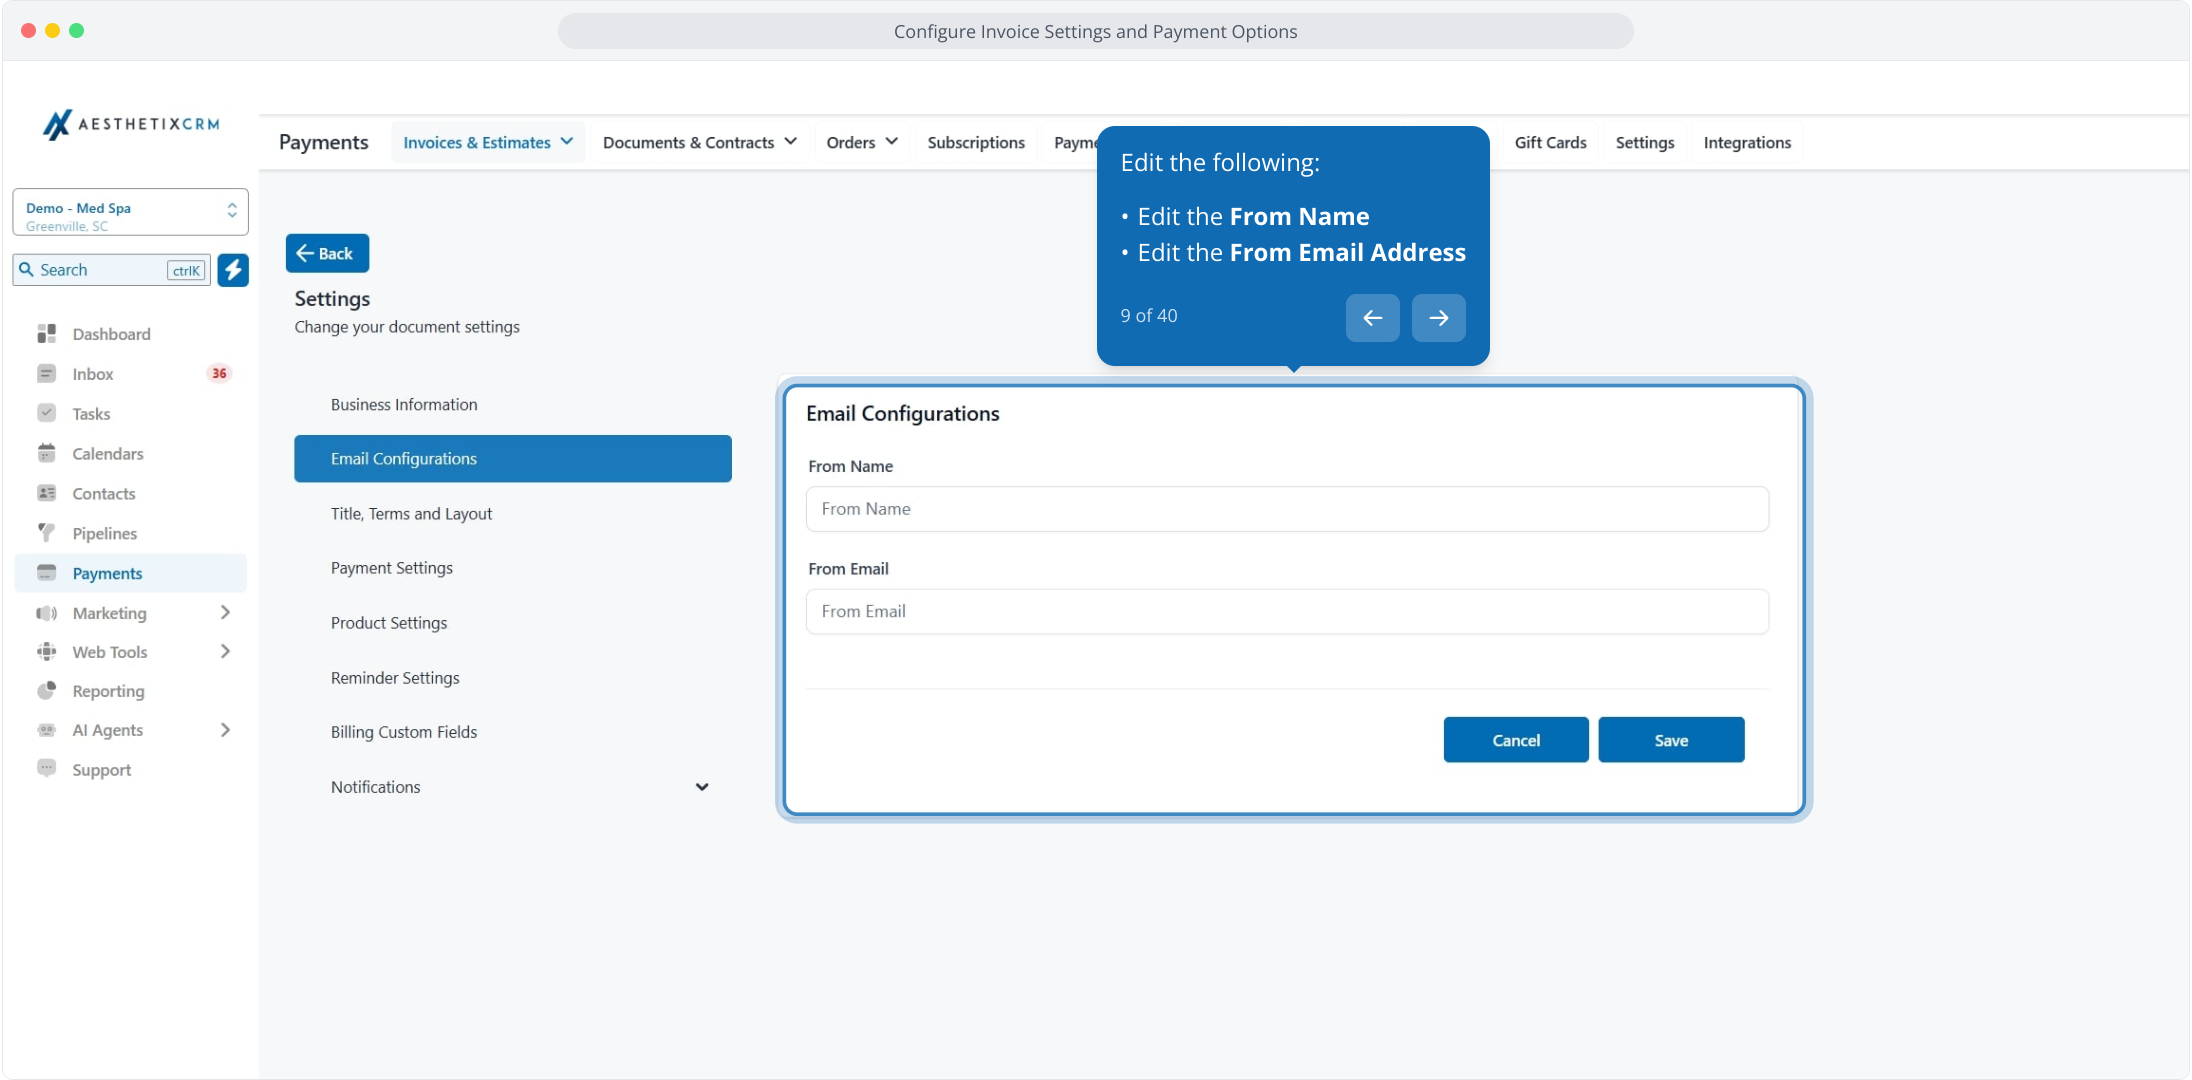
9. Edit the following:
Edit the From Name
Edit the From Email Address
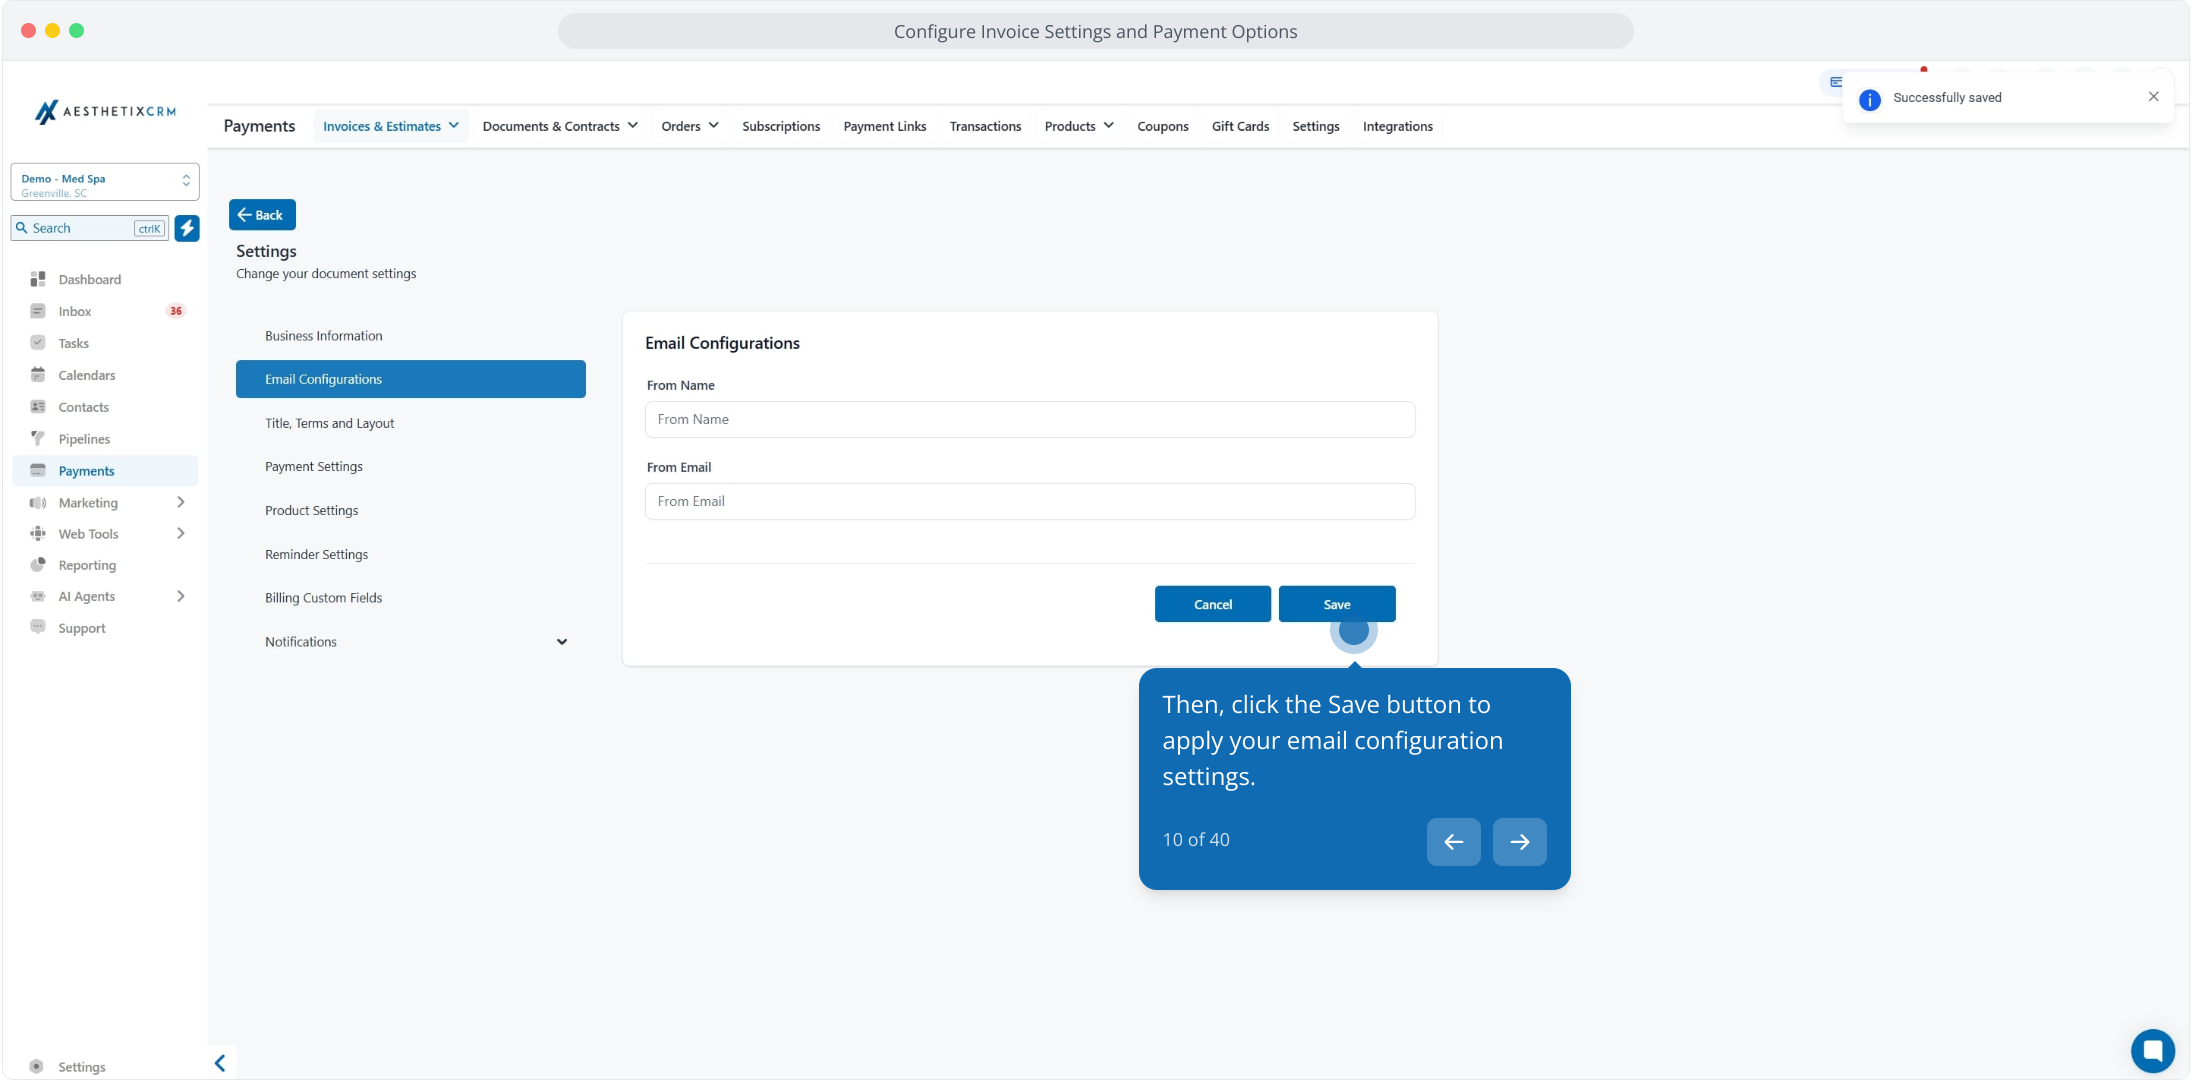
10. Then, click the Save button to apply your email configuration settings.
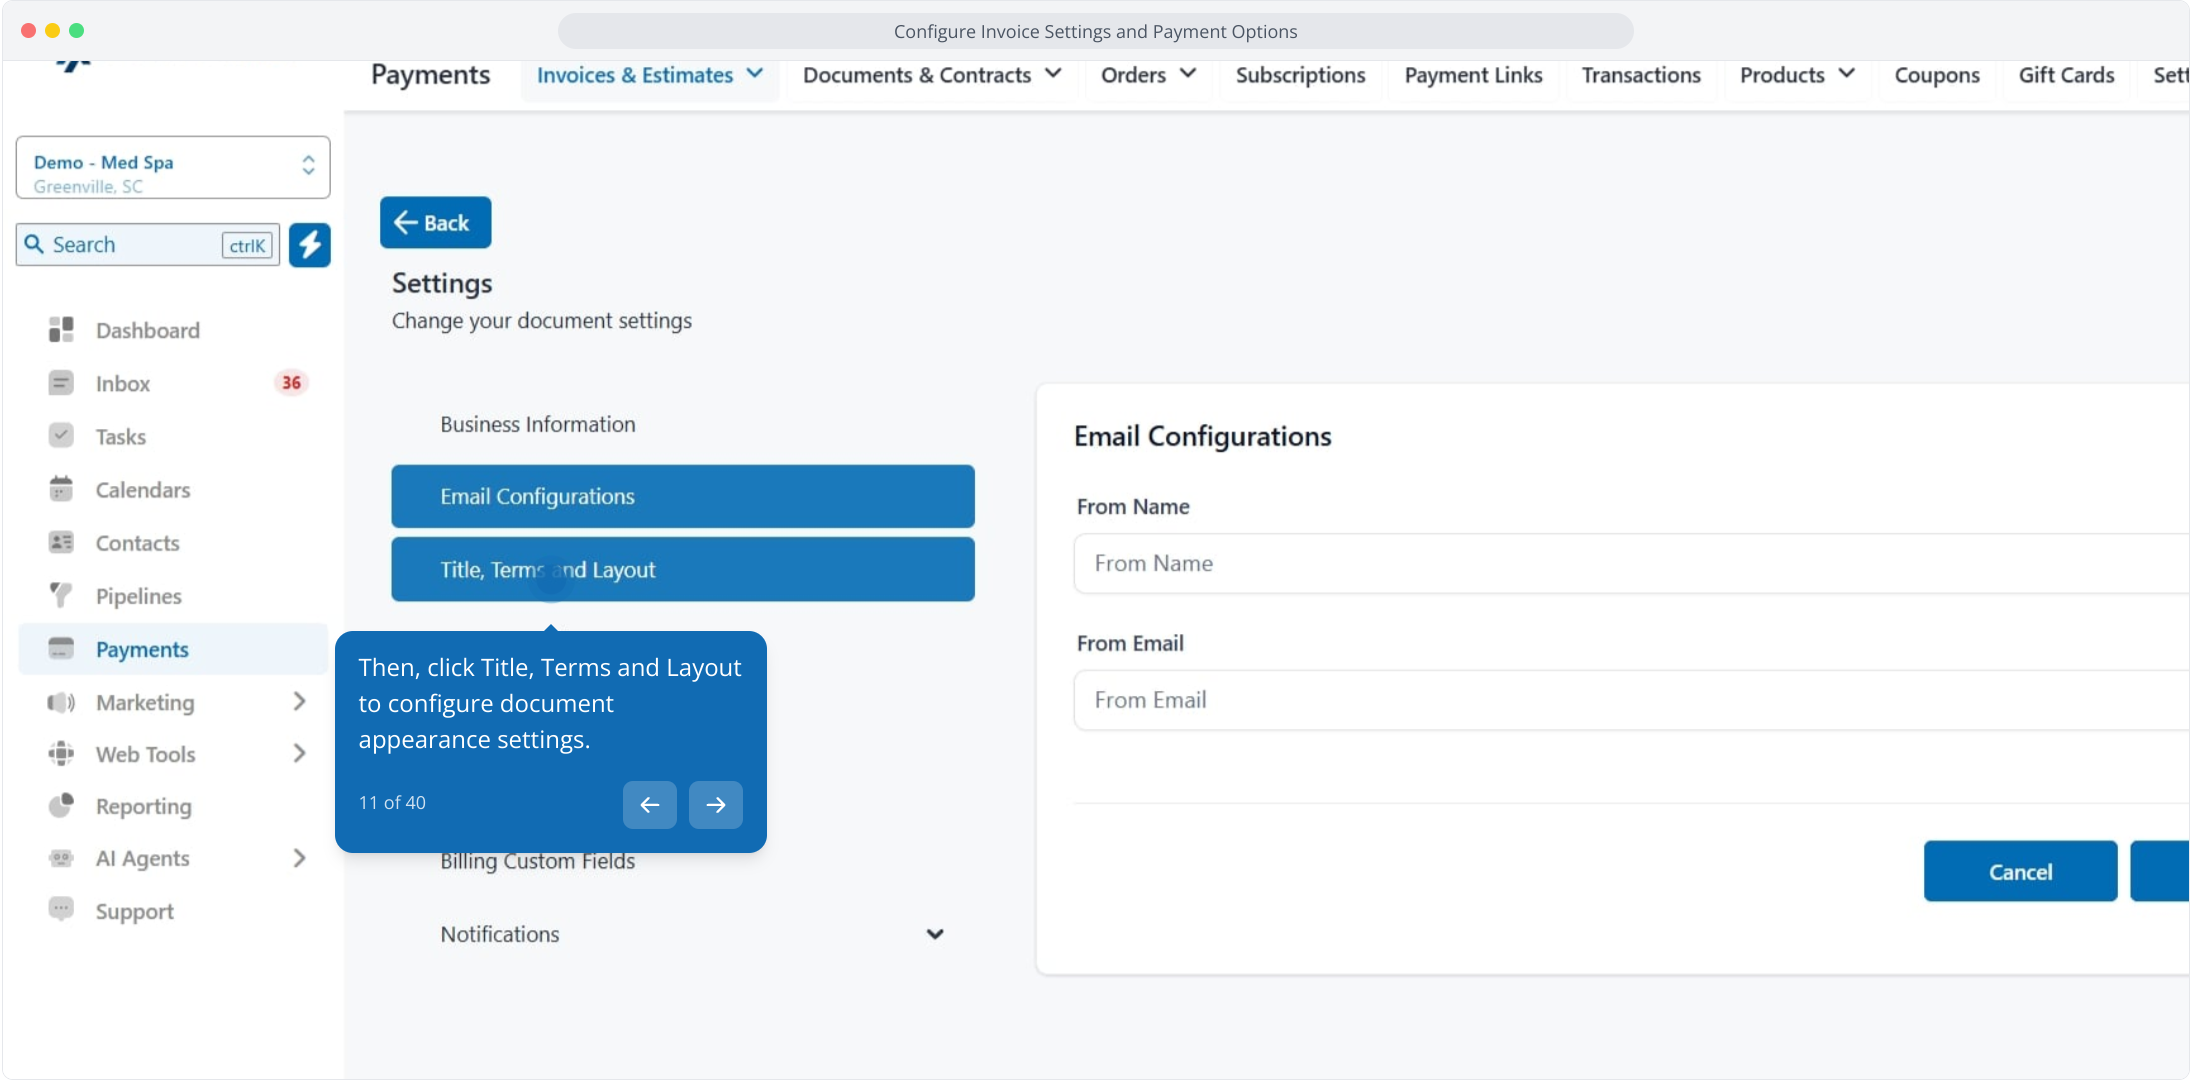
11. Then, click Title, Terms and Layout to configure document appearance settings.
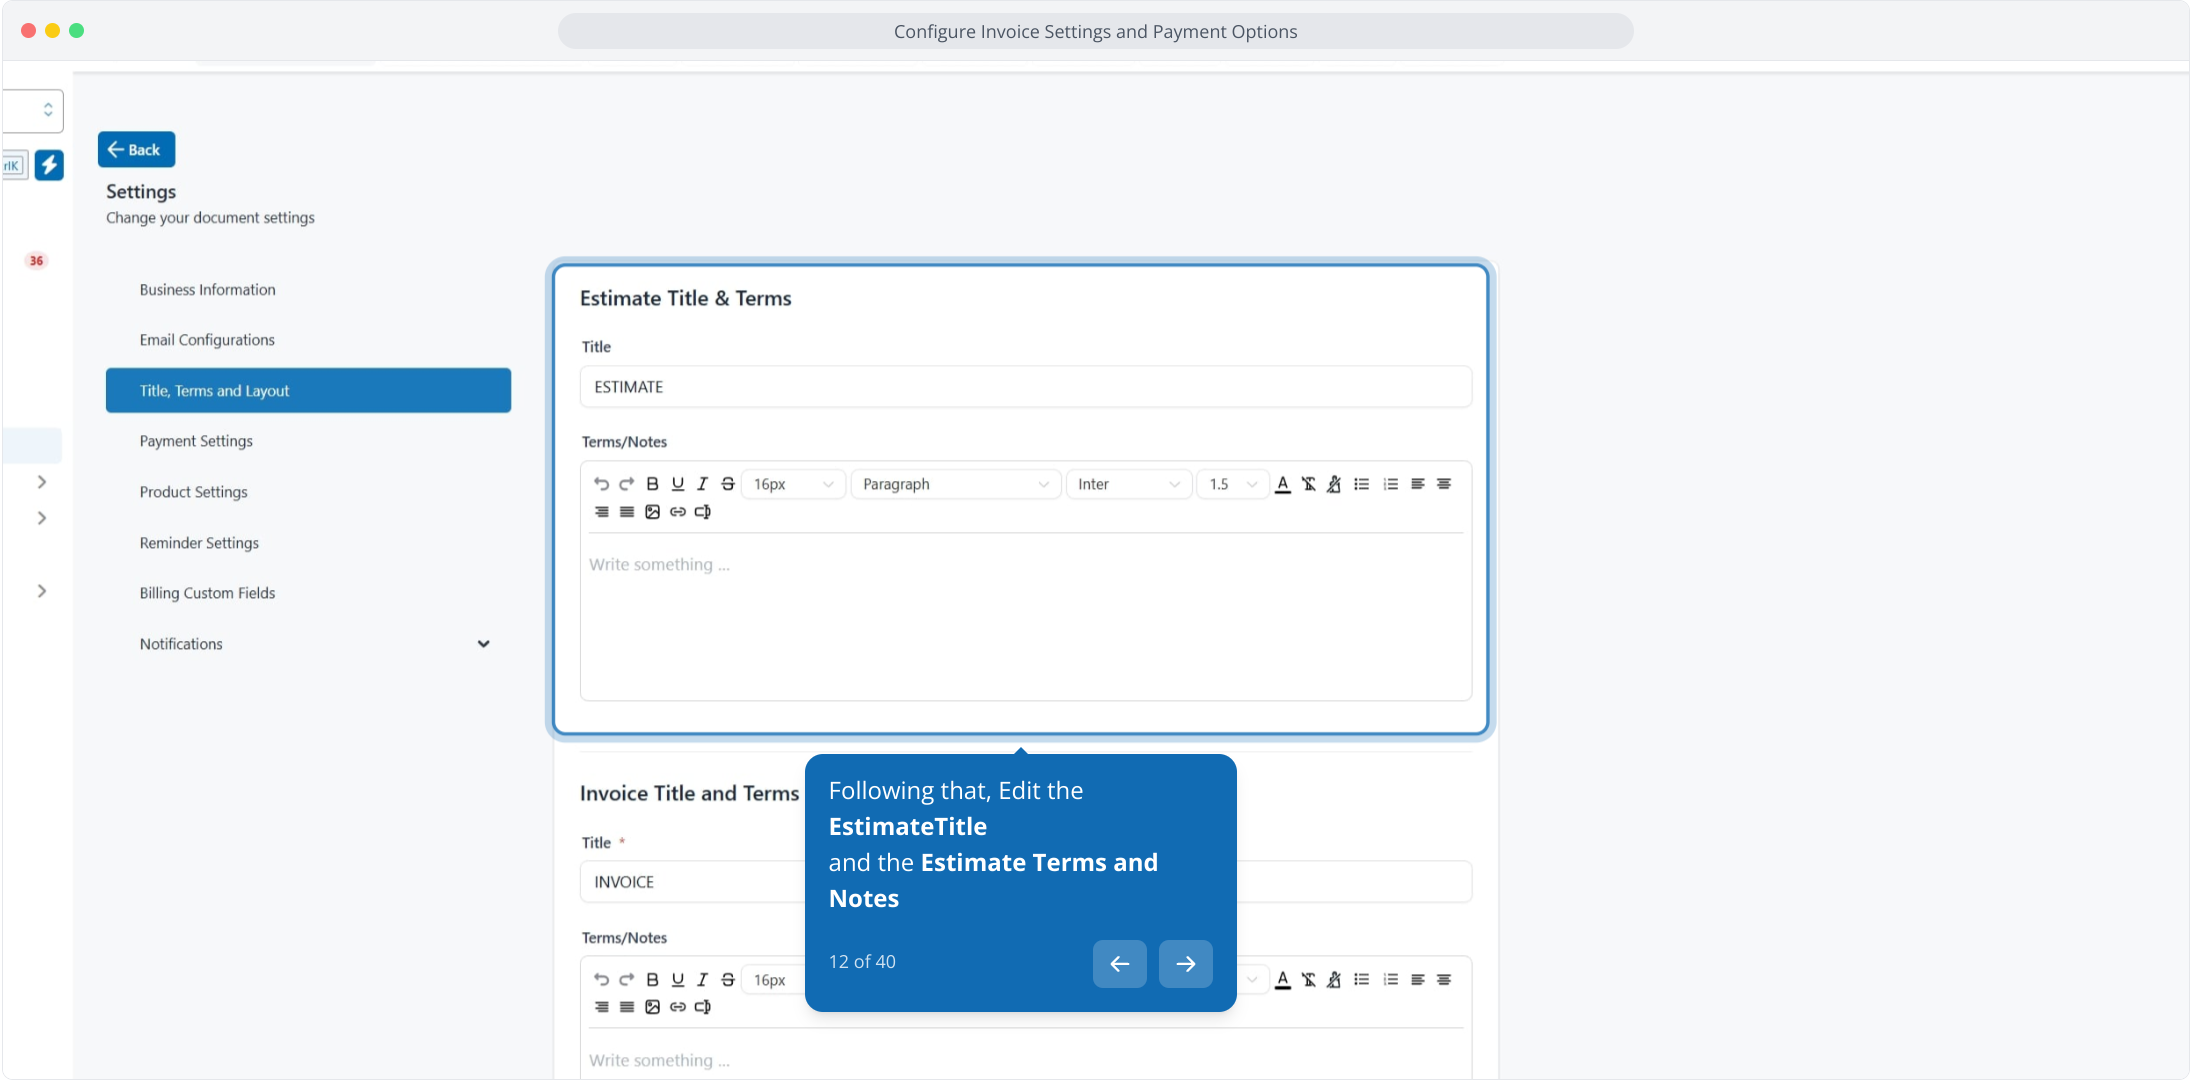
12. Following that, Edit the EstimateTitle
and the Estimate Terms and Notes
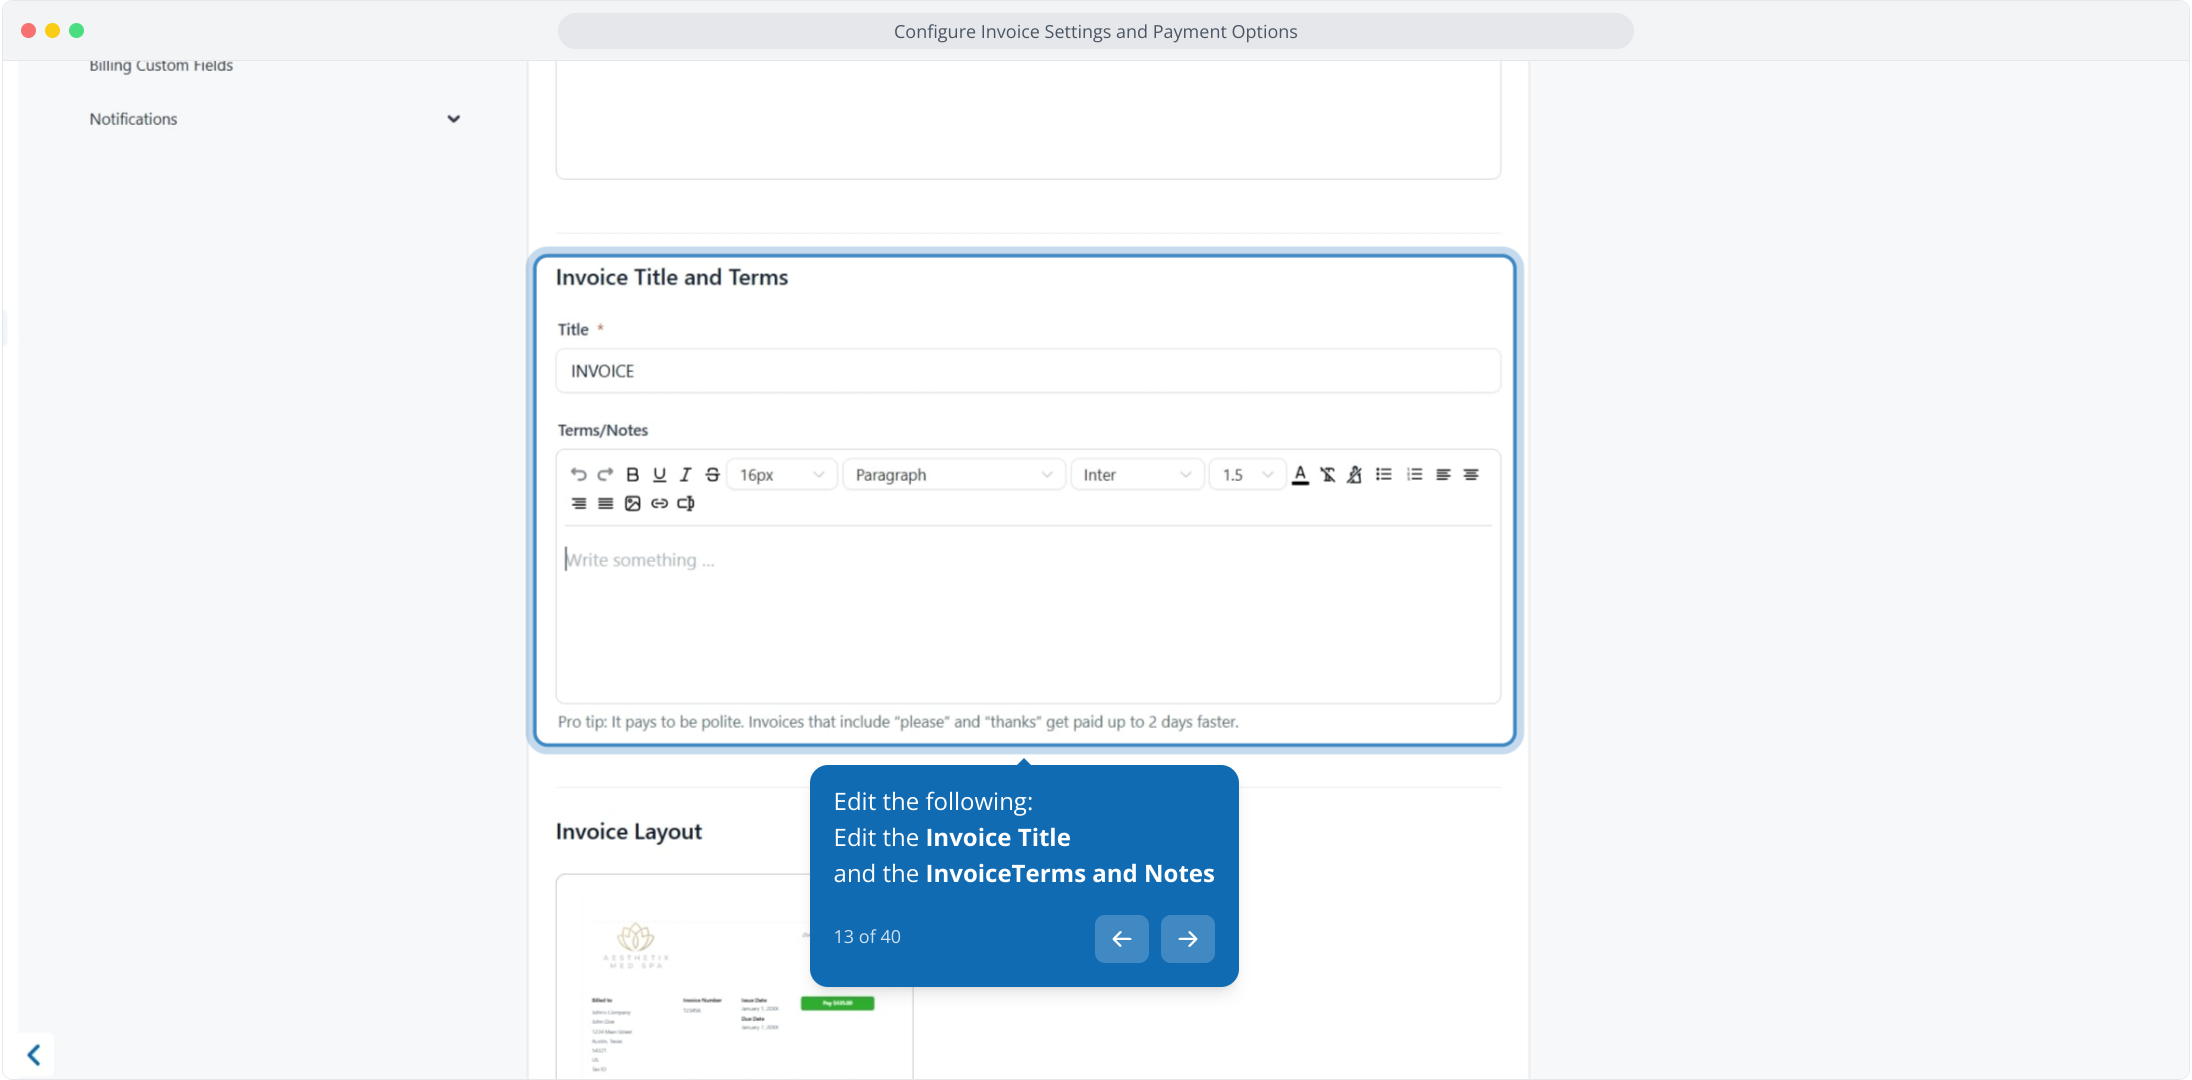
13. Edit the following:
Edit the Invoice Title
and the InvoiceTerms and Notes
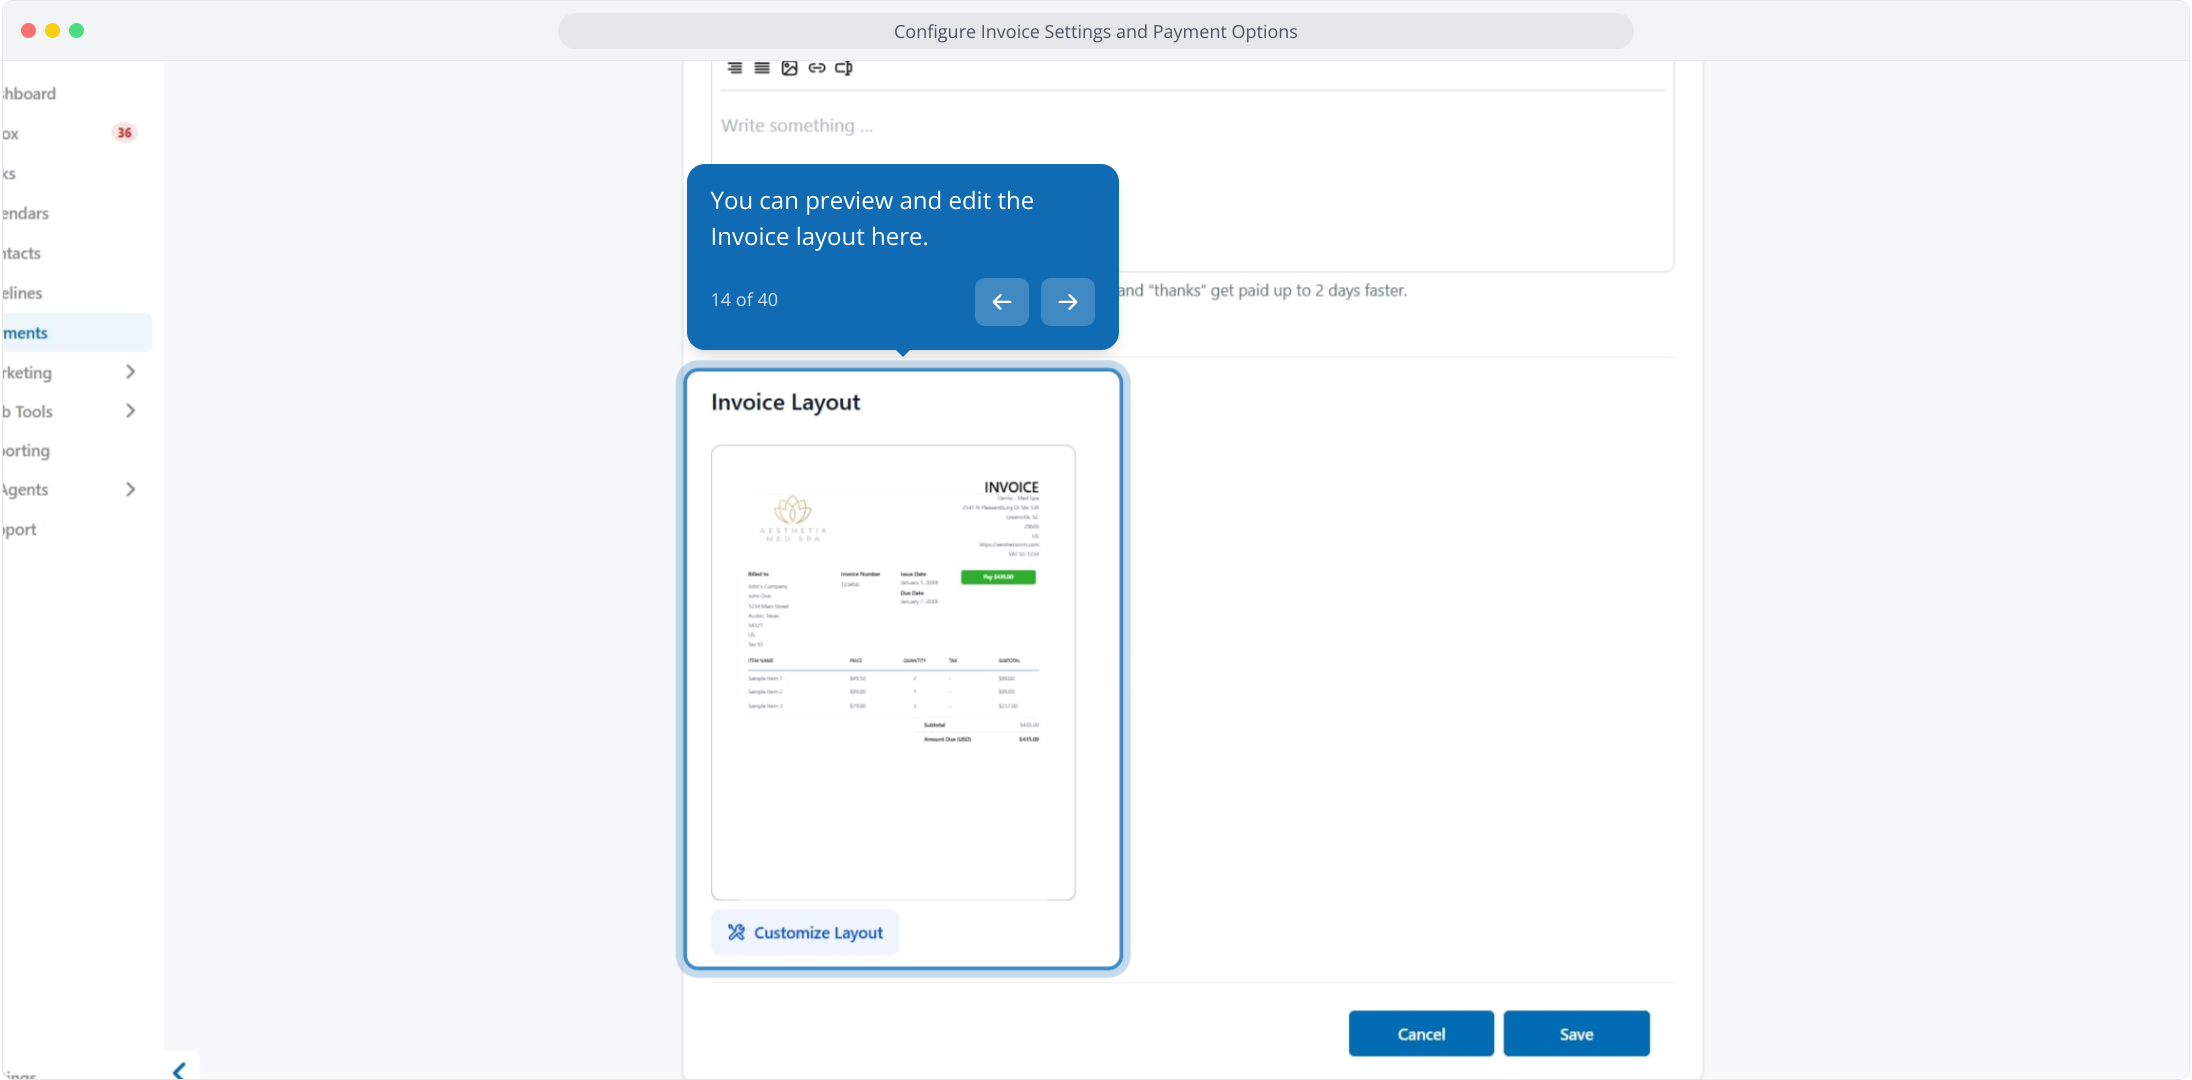
14. You can preview and edit the Invoice layout here.
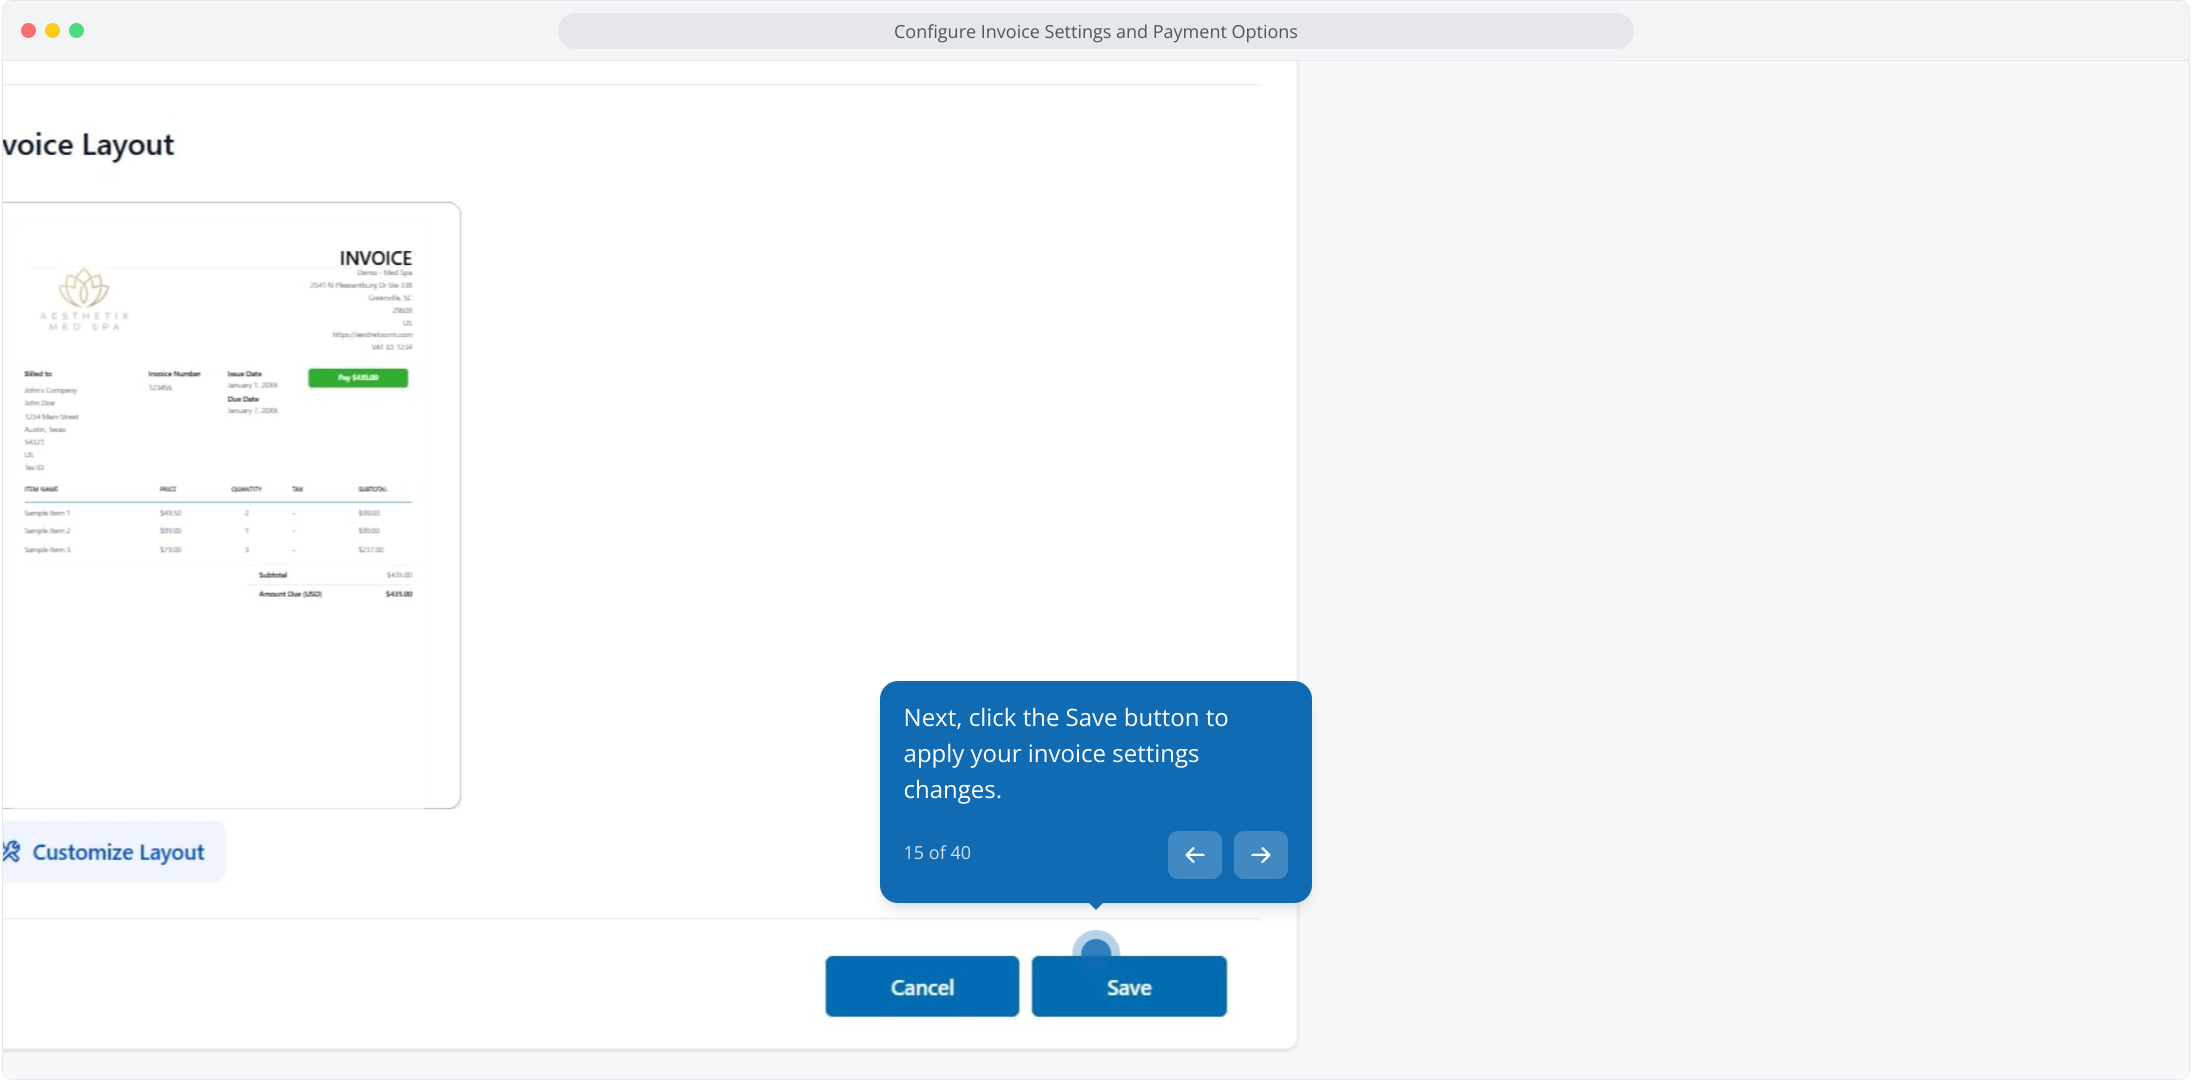
15. Next, click the Save button to apply your invoice settings changes.
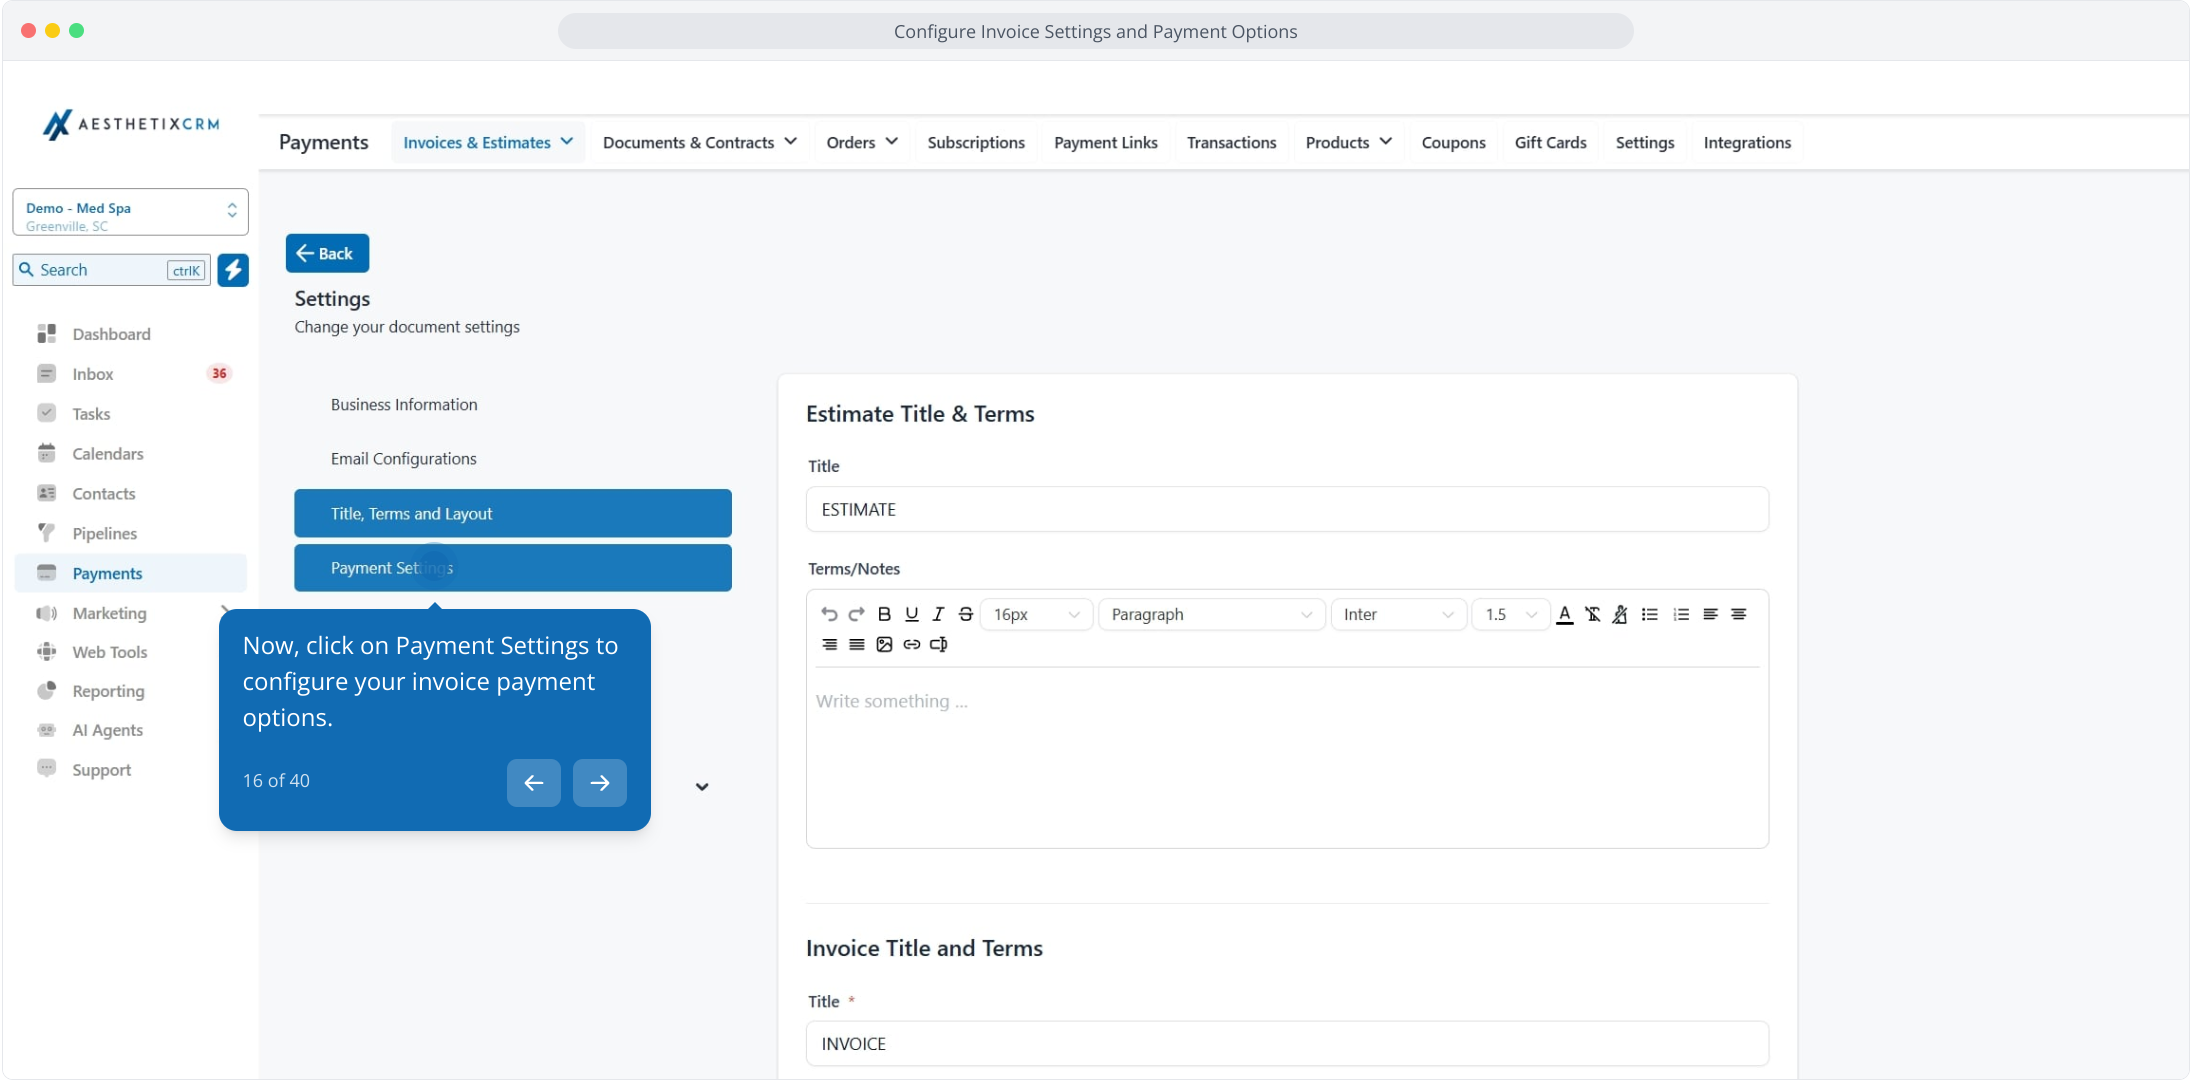
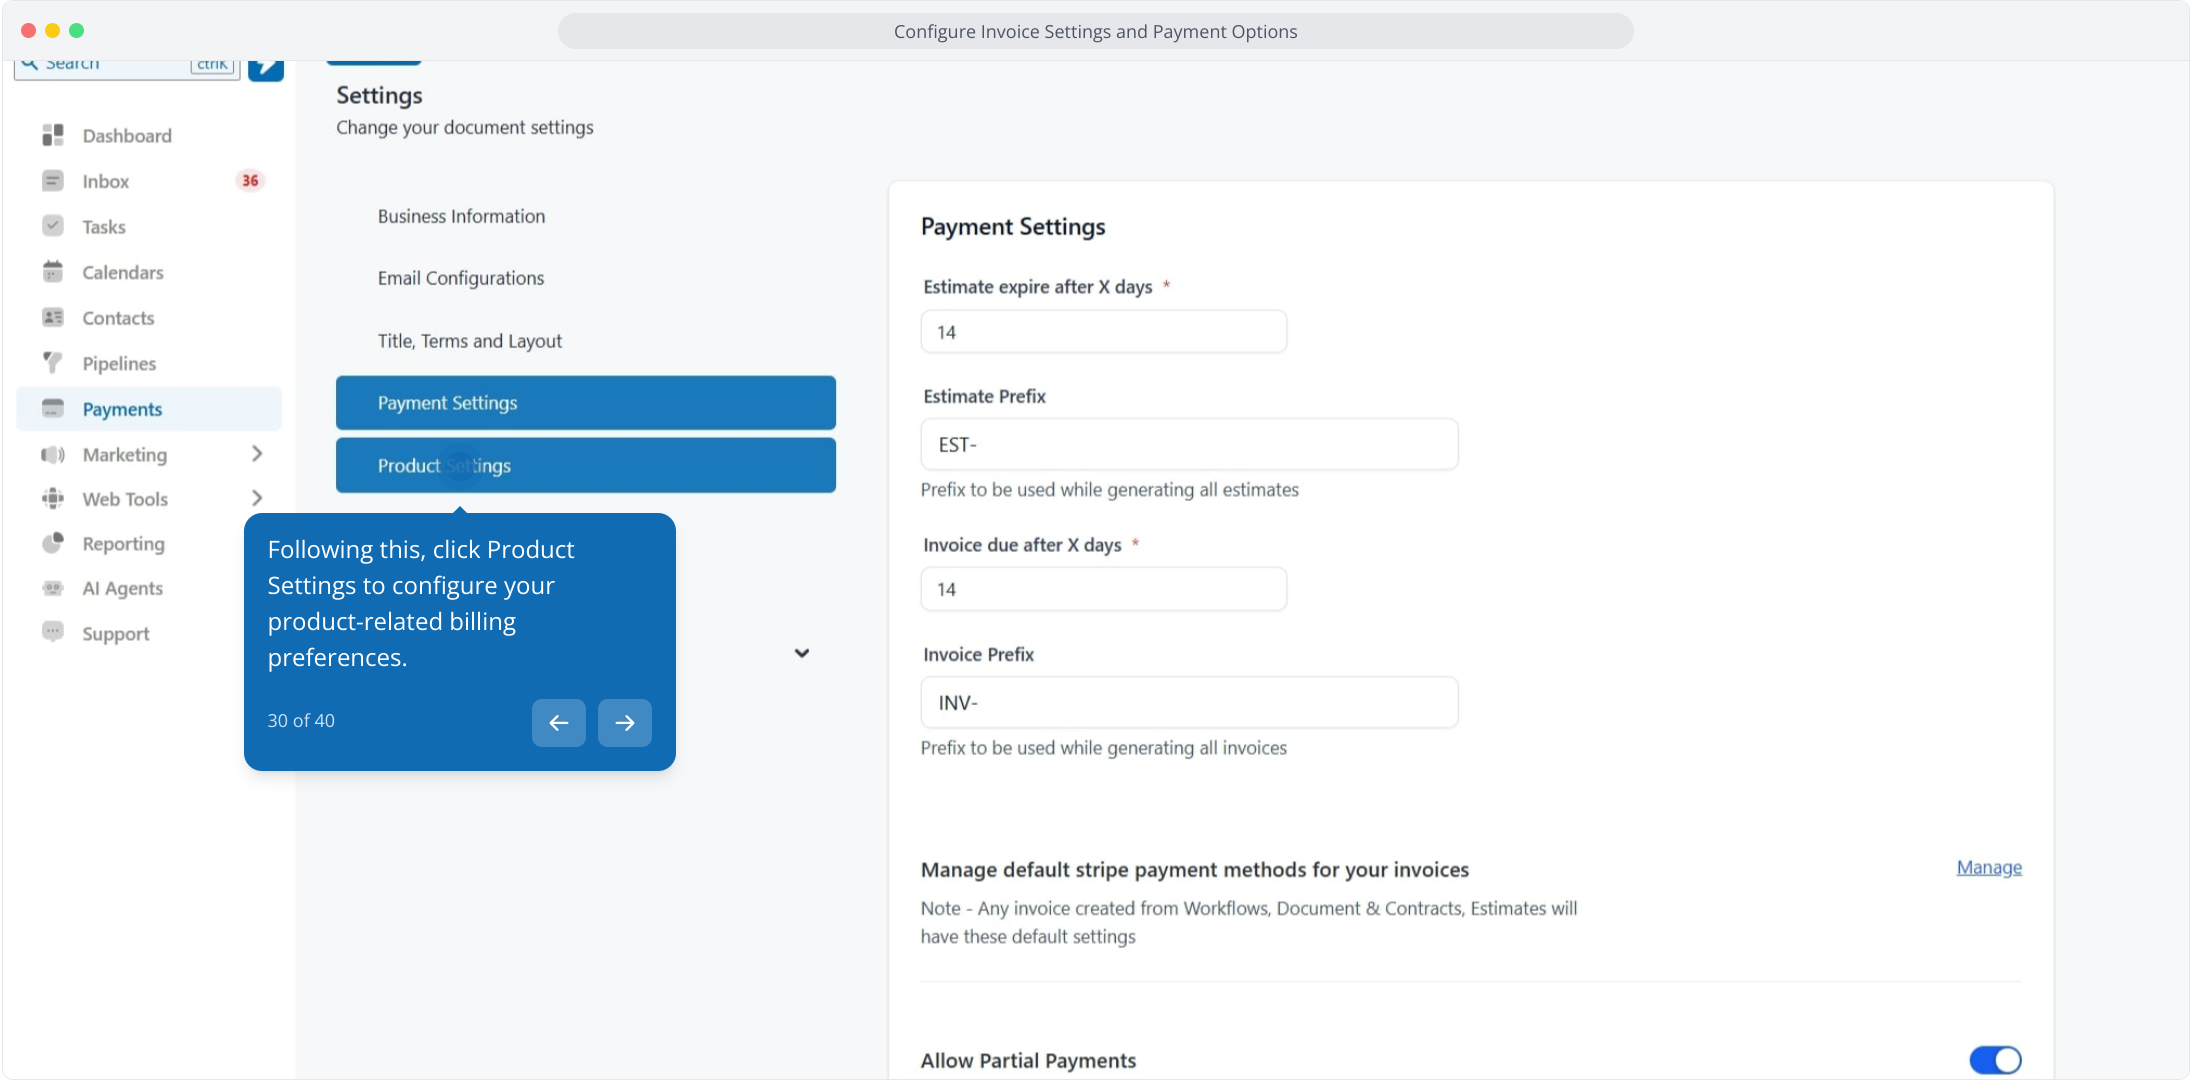
16. Now, click on Payment Settings to configure your invoice payment options.
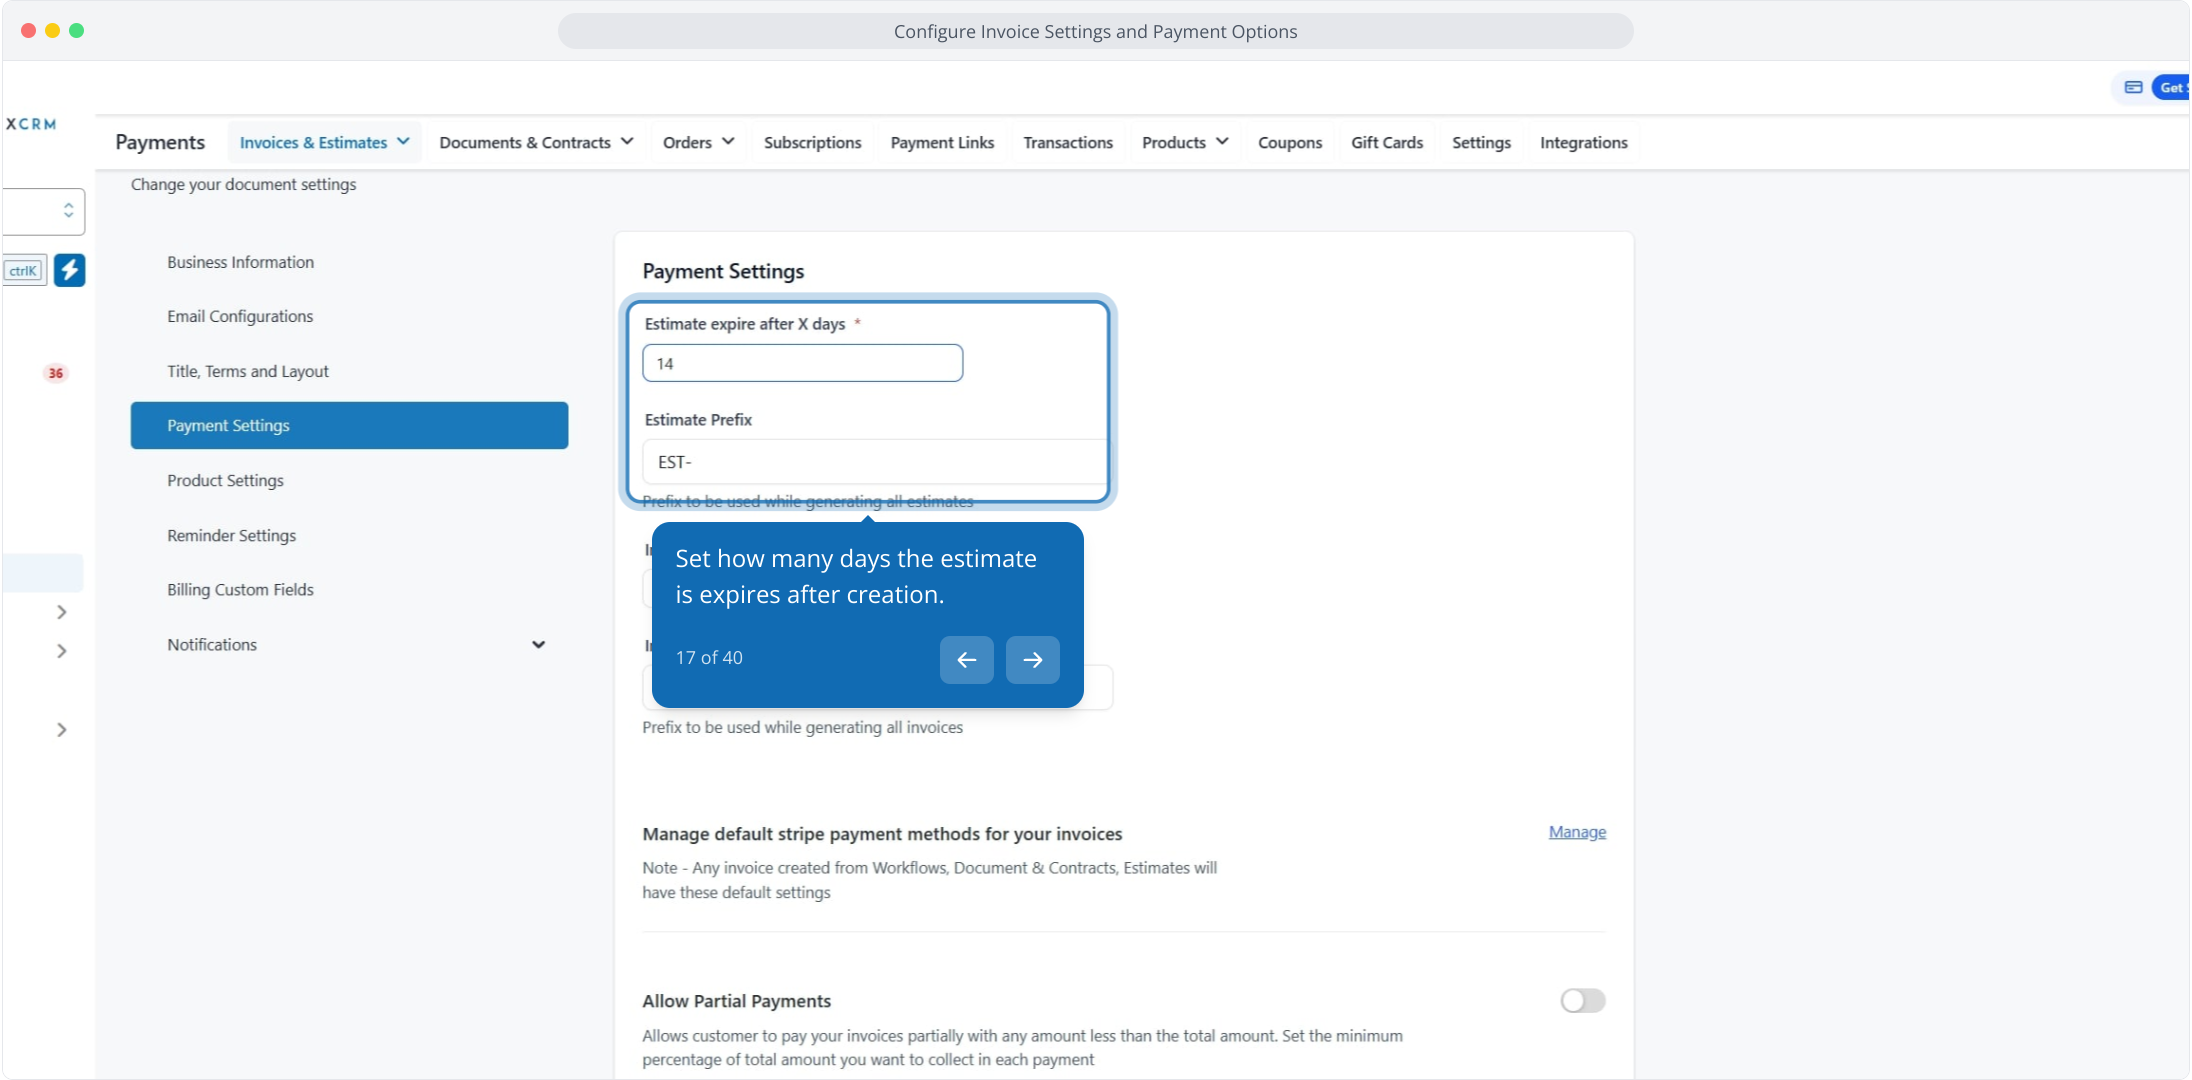
17. Set how many days the estimate is expires after creation.
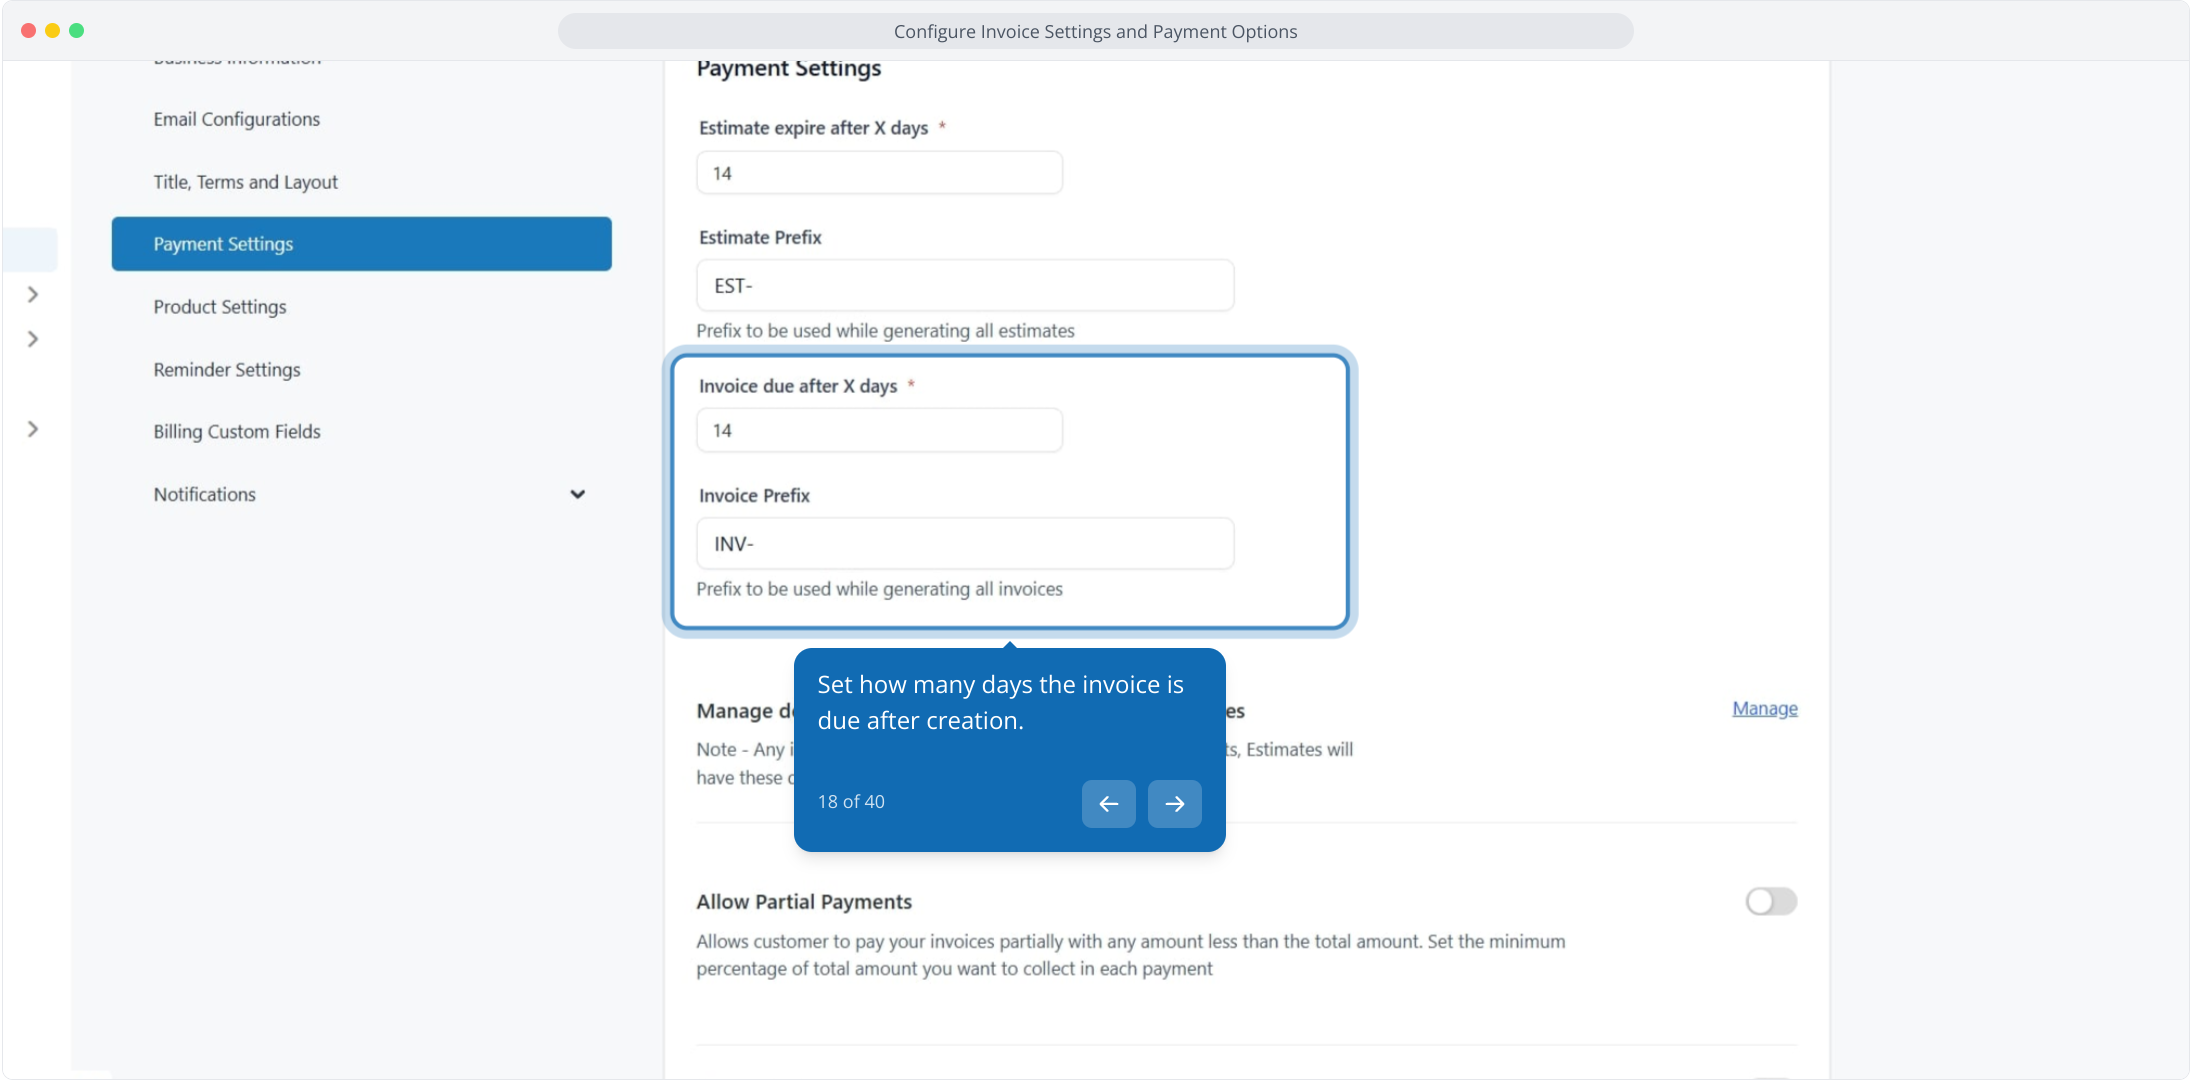
18. Set how many days the invoice is due after creation.
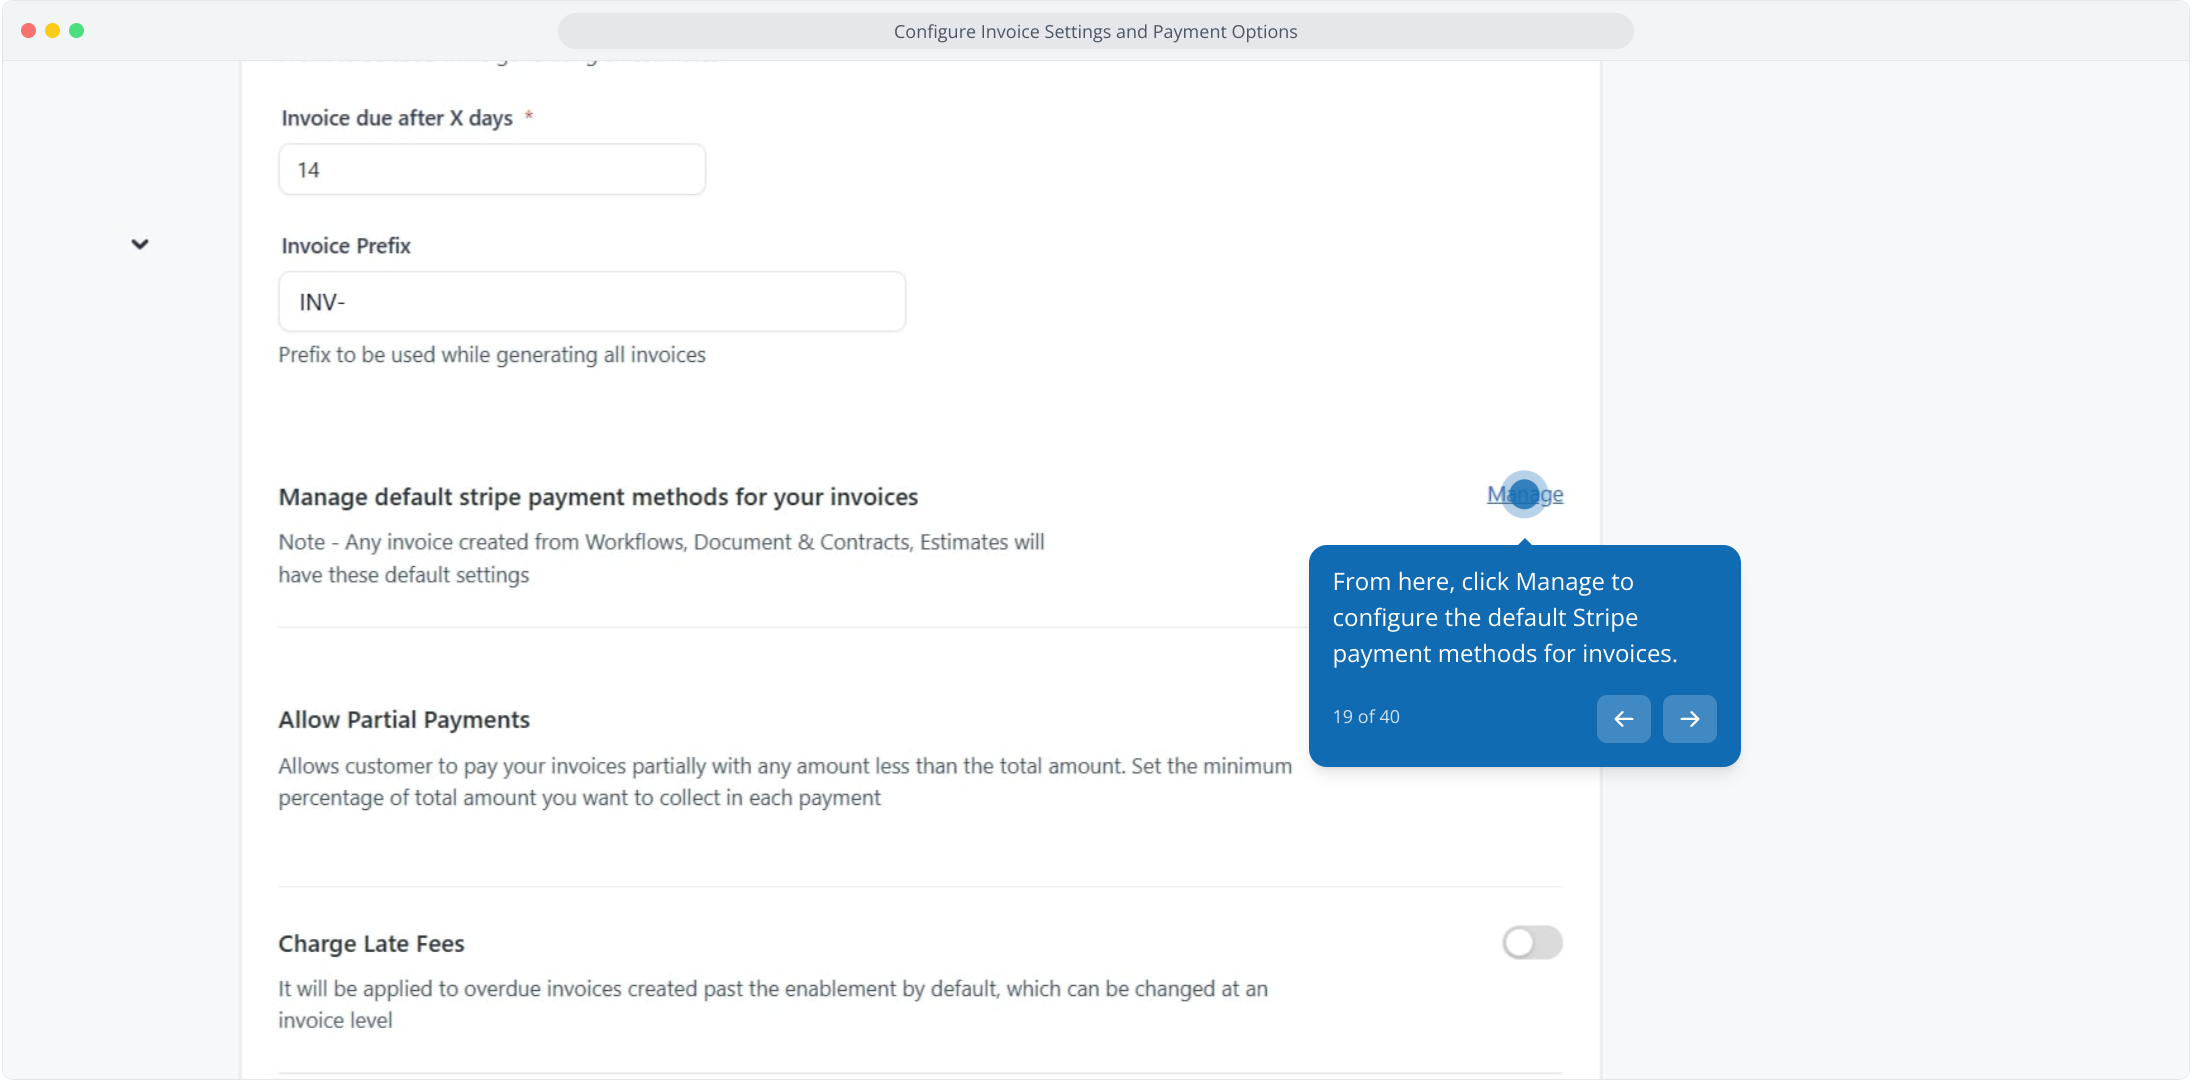
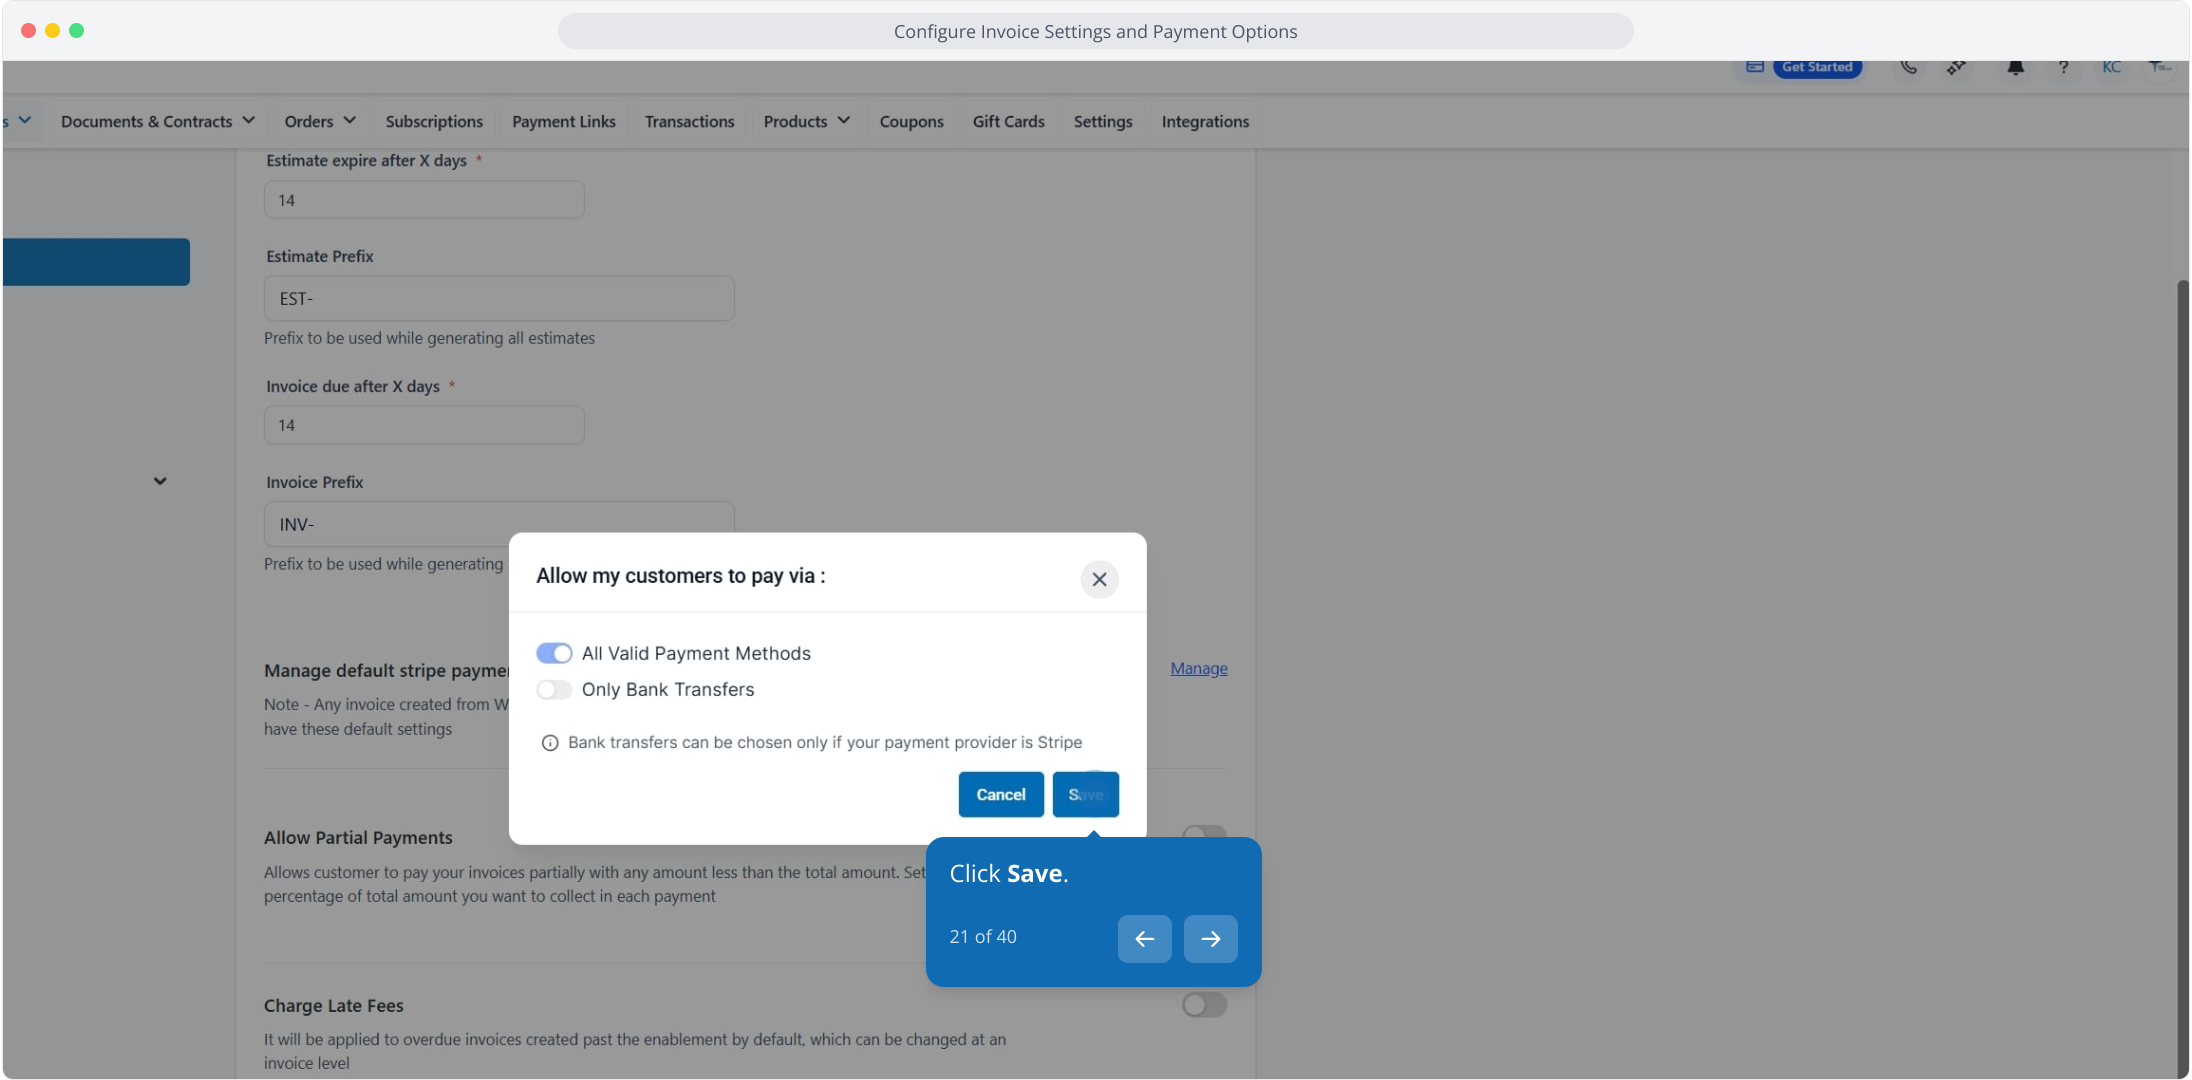
19. From here, click Manage to configure the default Stripe payment methods for invoices.
20. Enable all valid payment methods
or
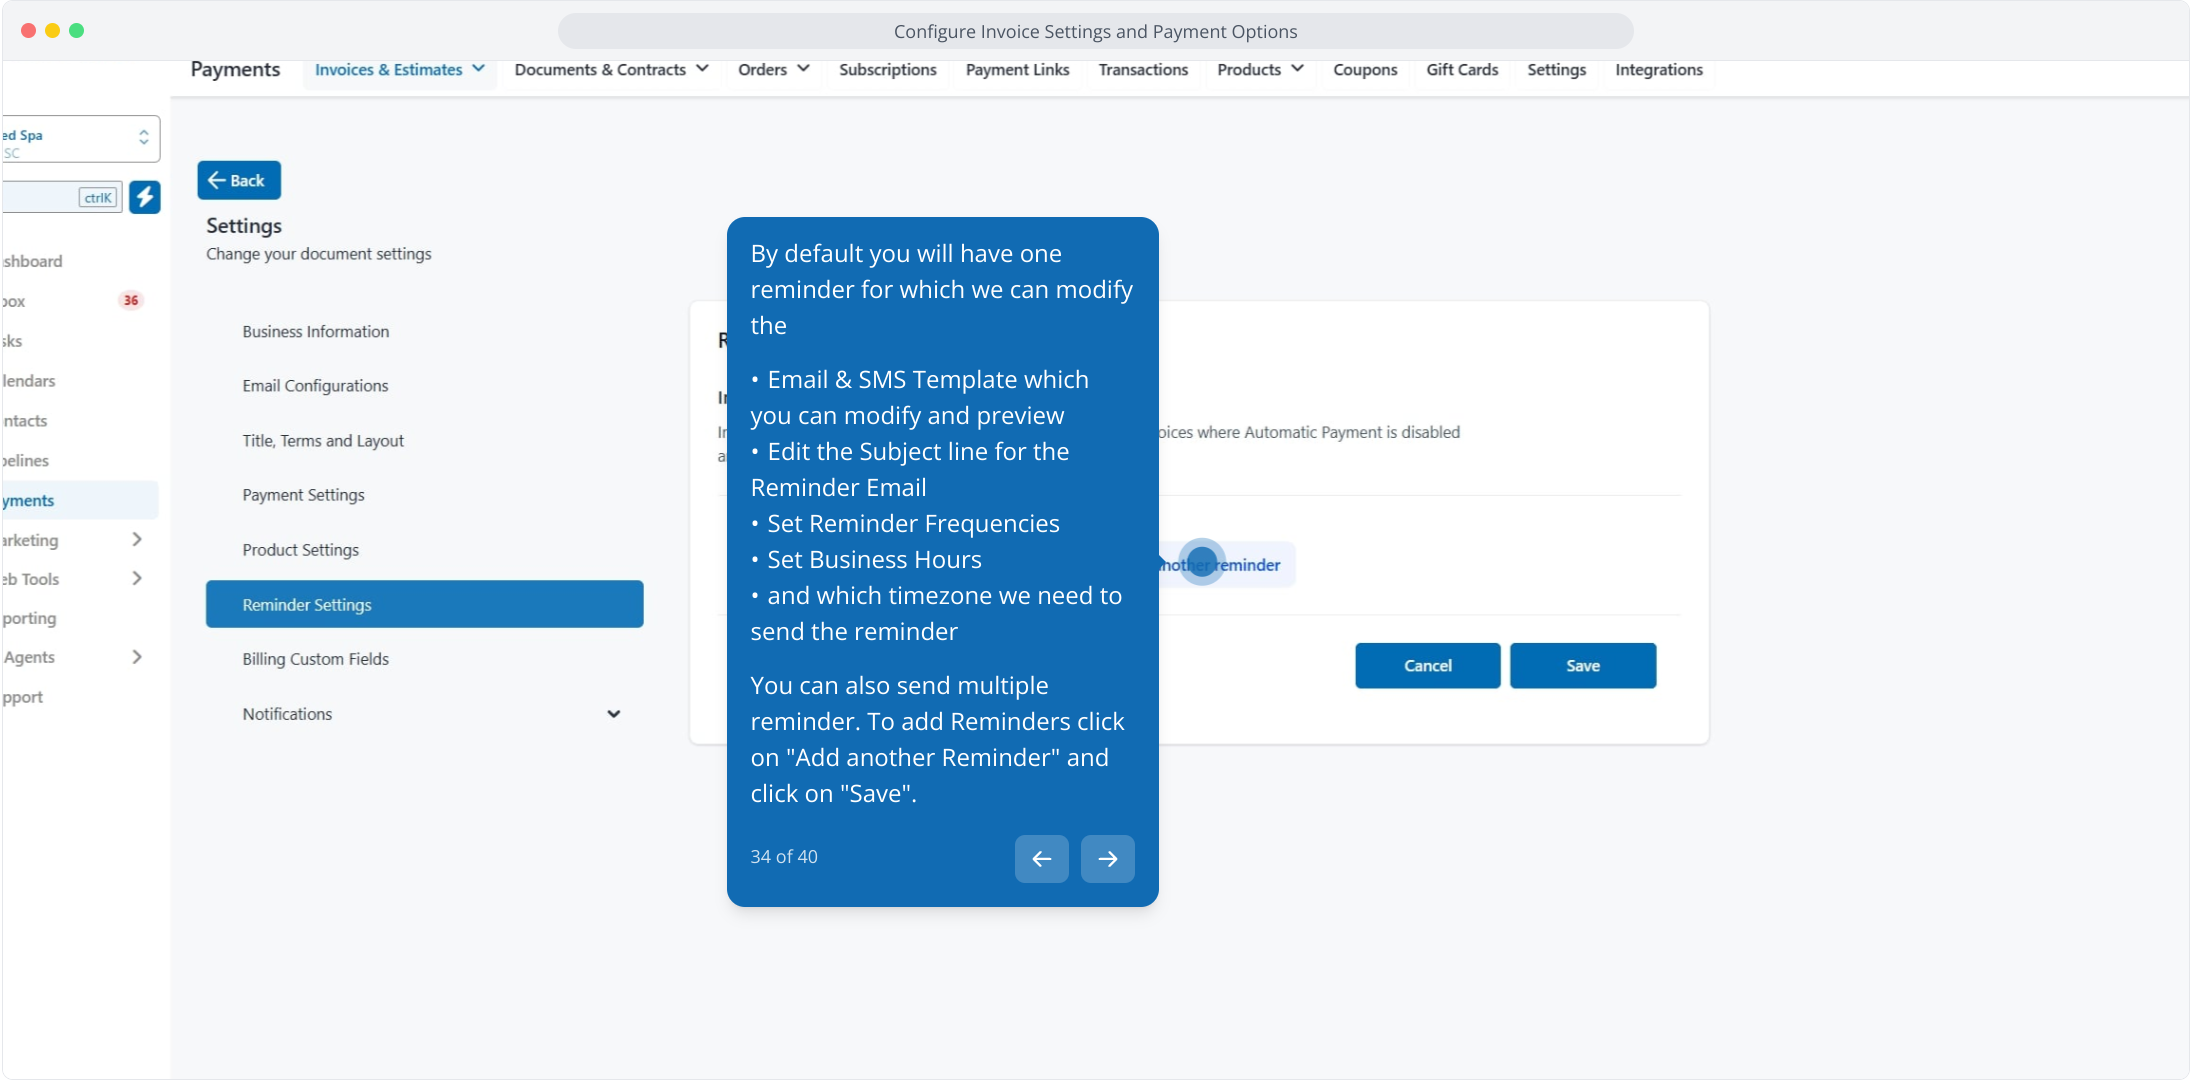
Enable only specific methods (bank transfers)
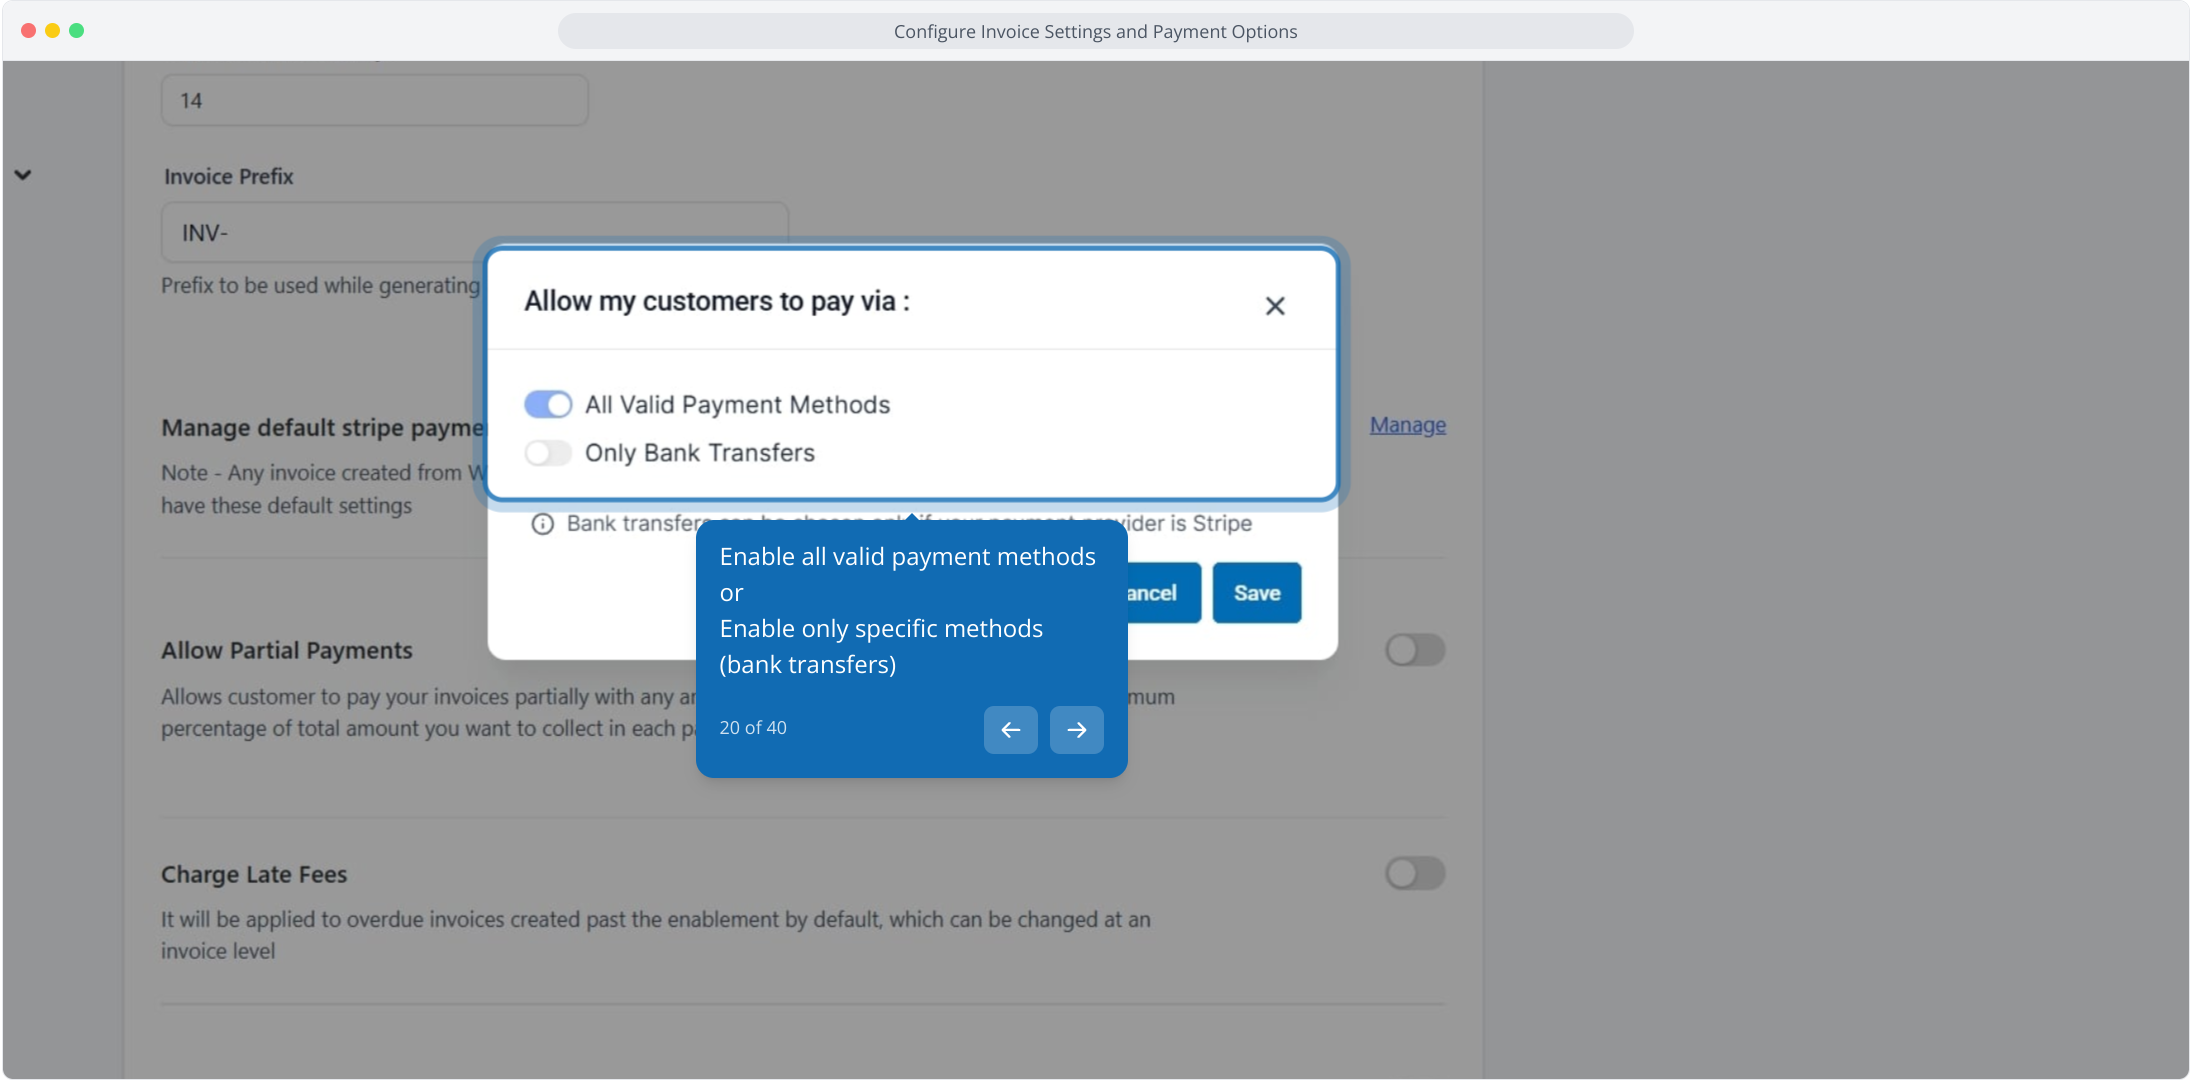
21. Click Save.
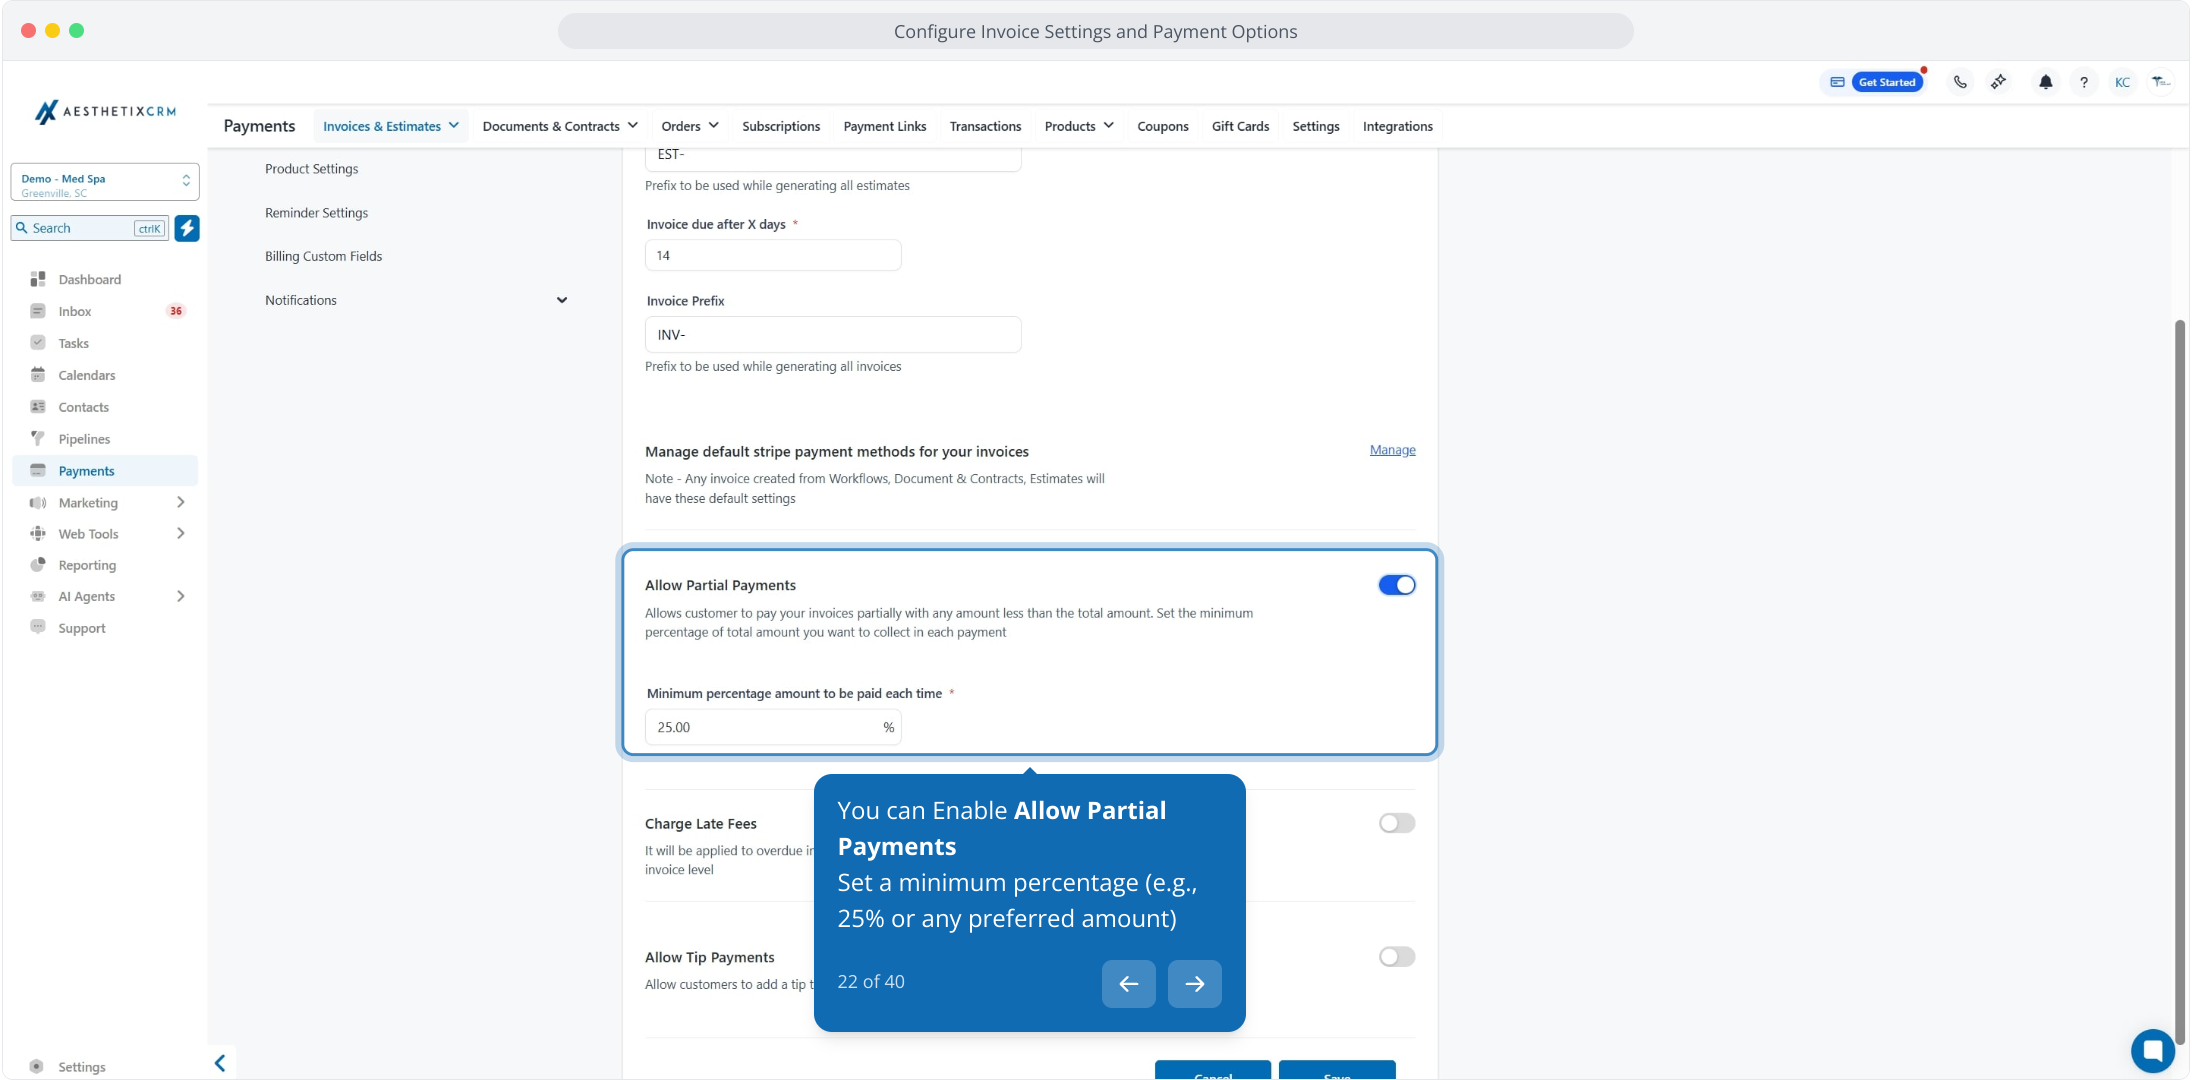
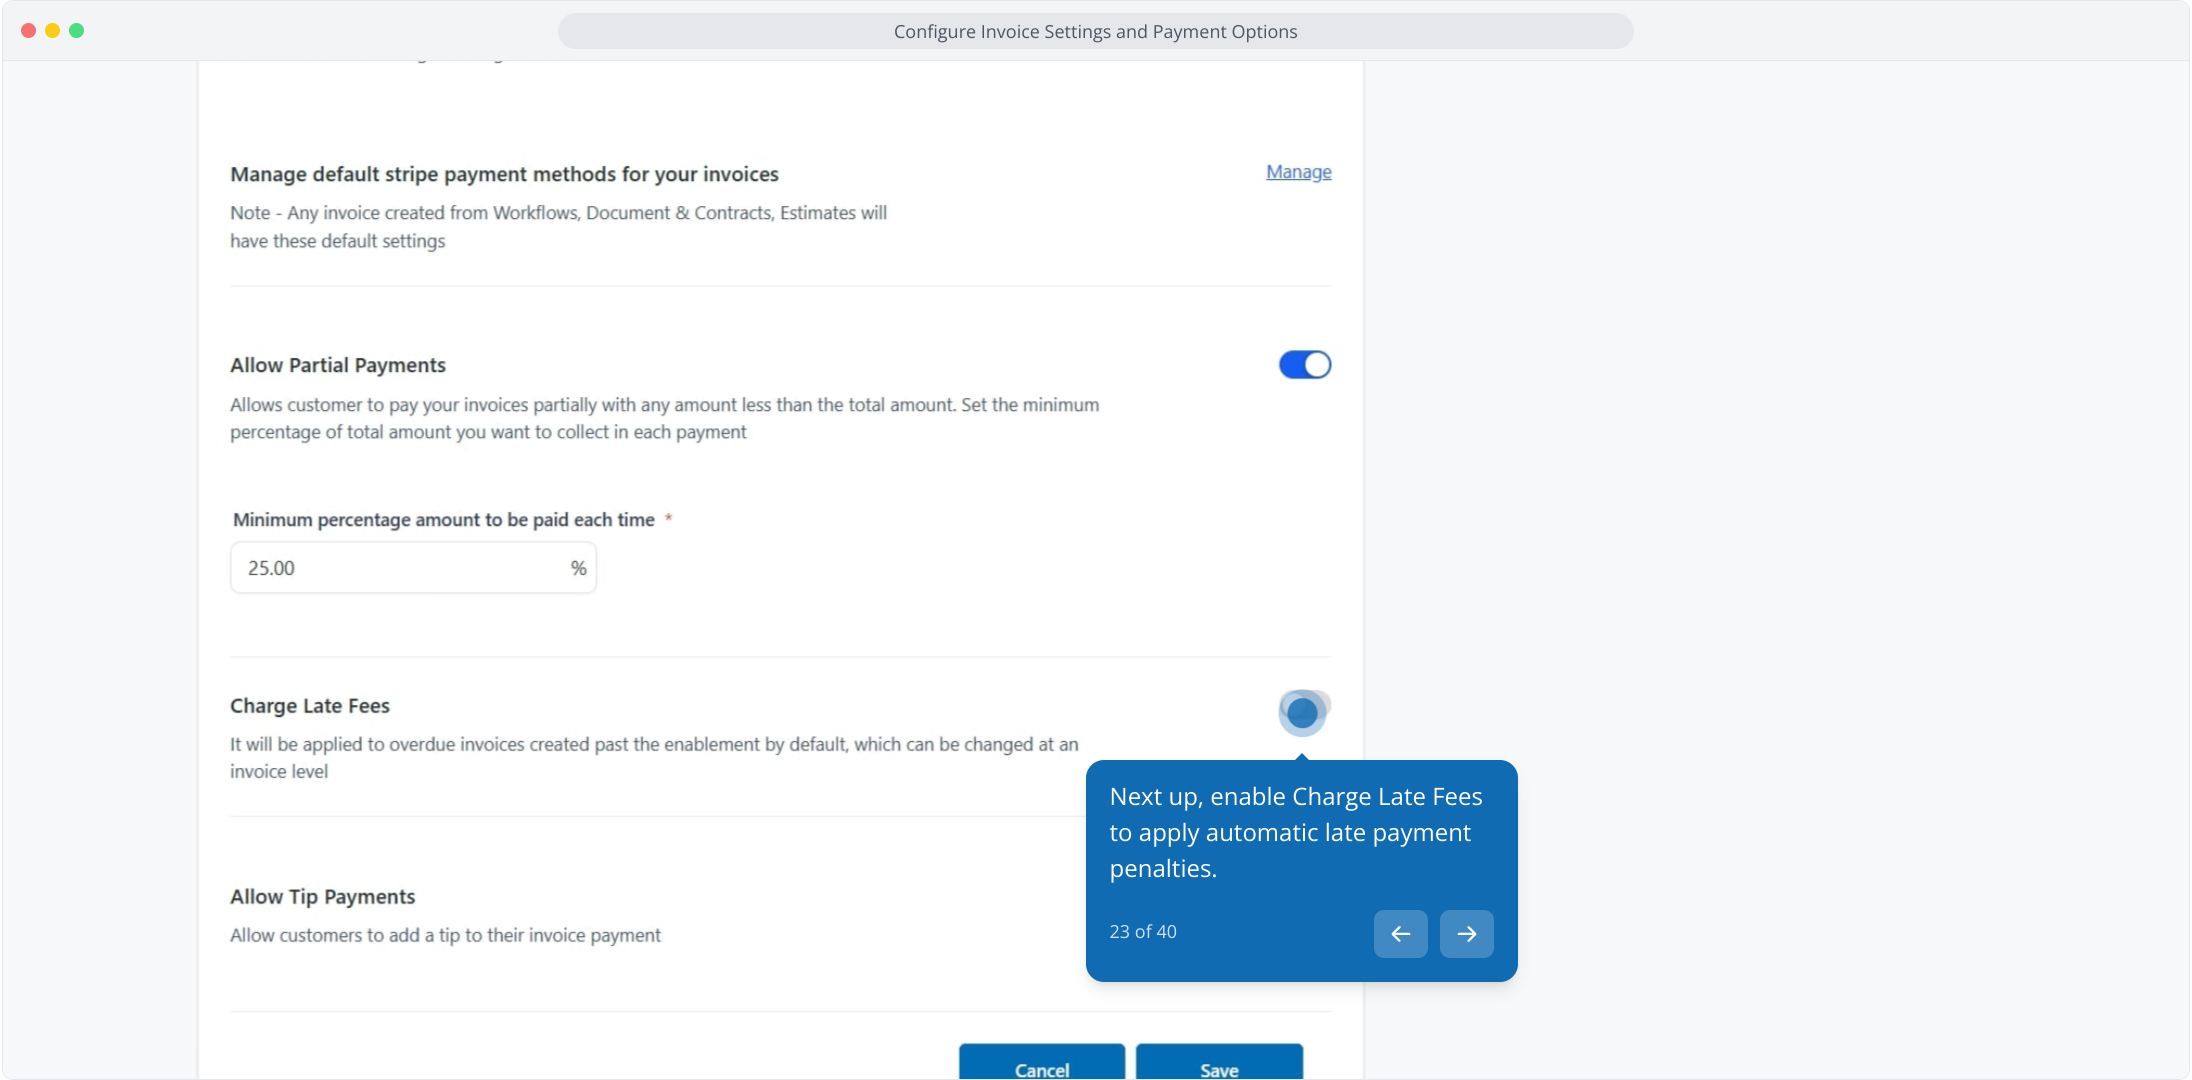
22. You can Enable Allow Partial Payments
Set a minimum percentage (e.g., 25% or any preferred amount)
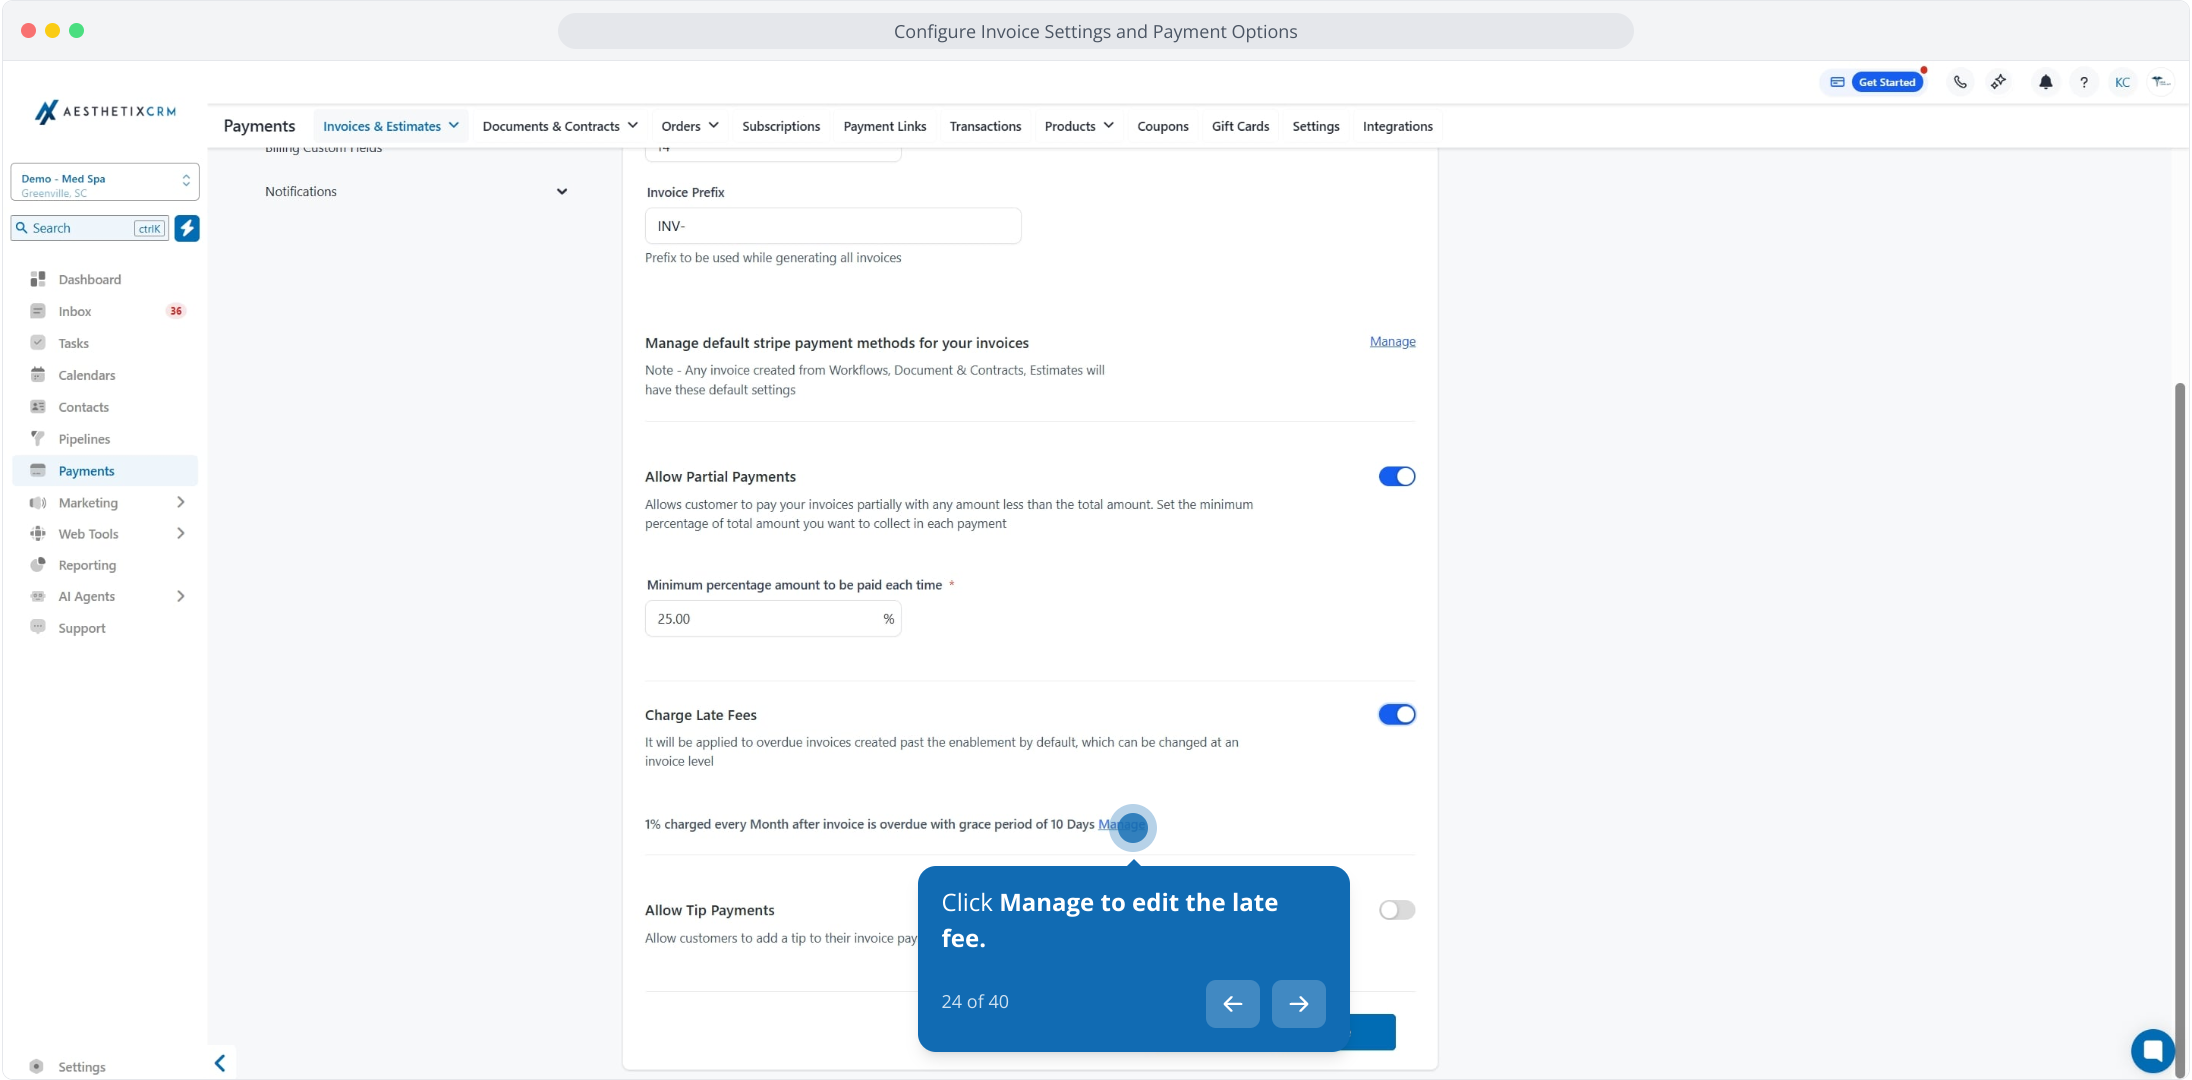
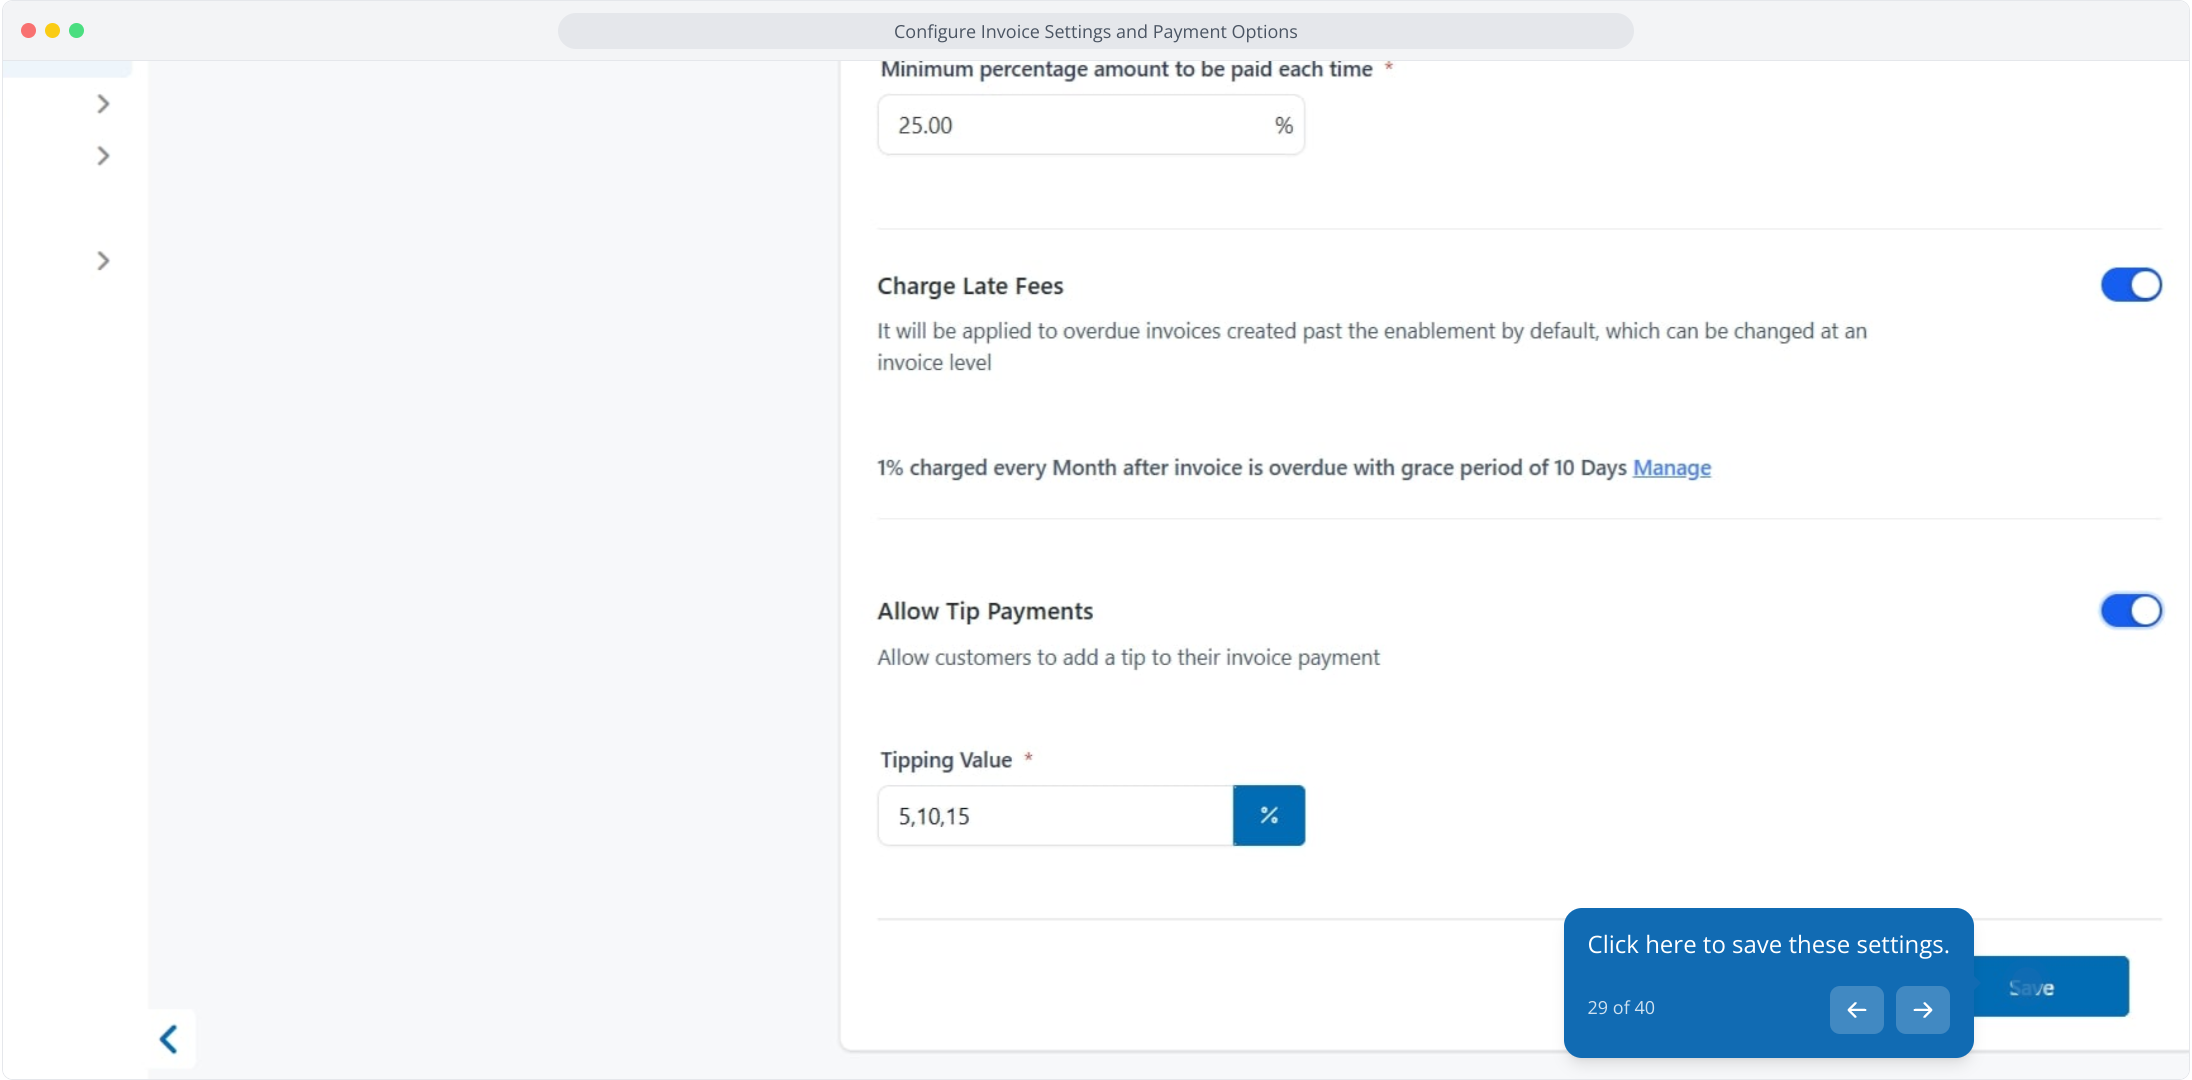
23. Next up, enable Charge Late Fees to apply automatic late payment penalties.
24. Click Manage to edit the late fee.
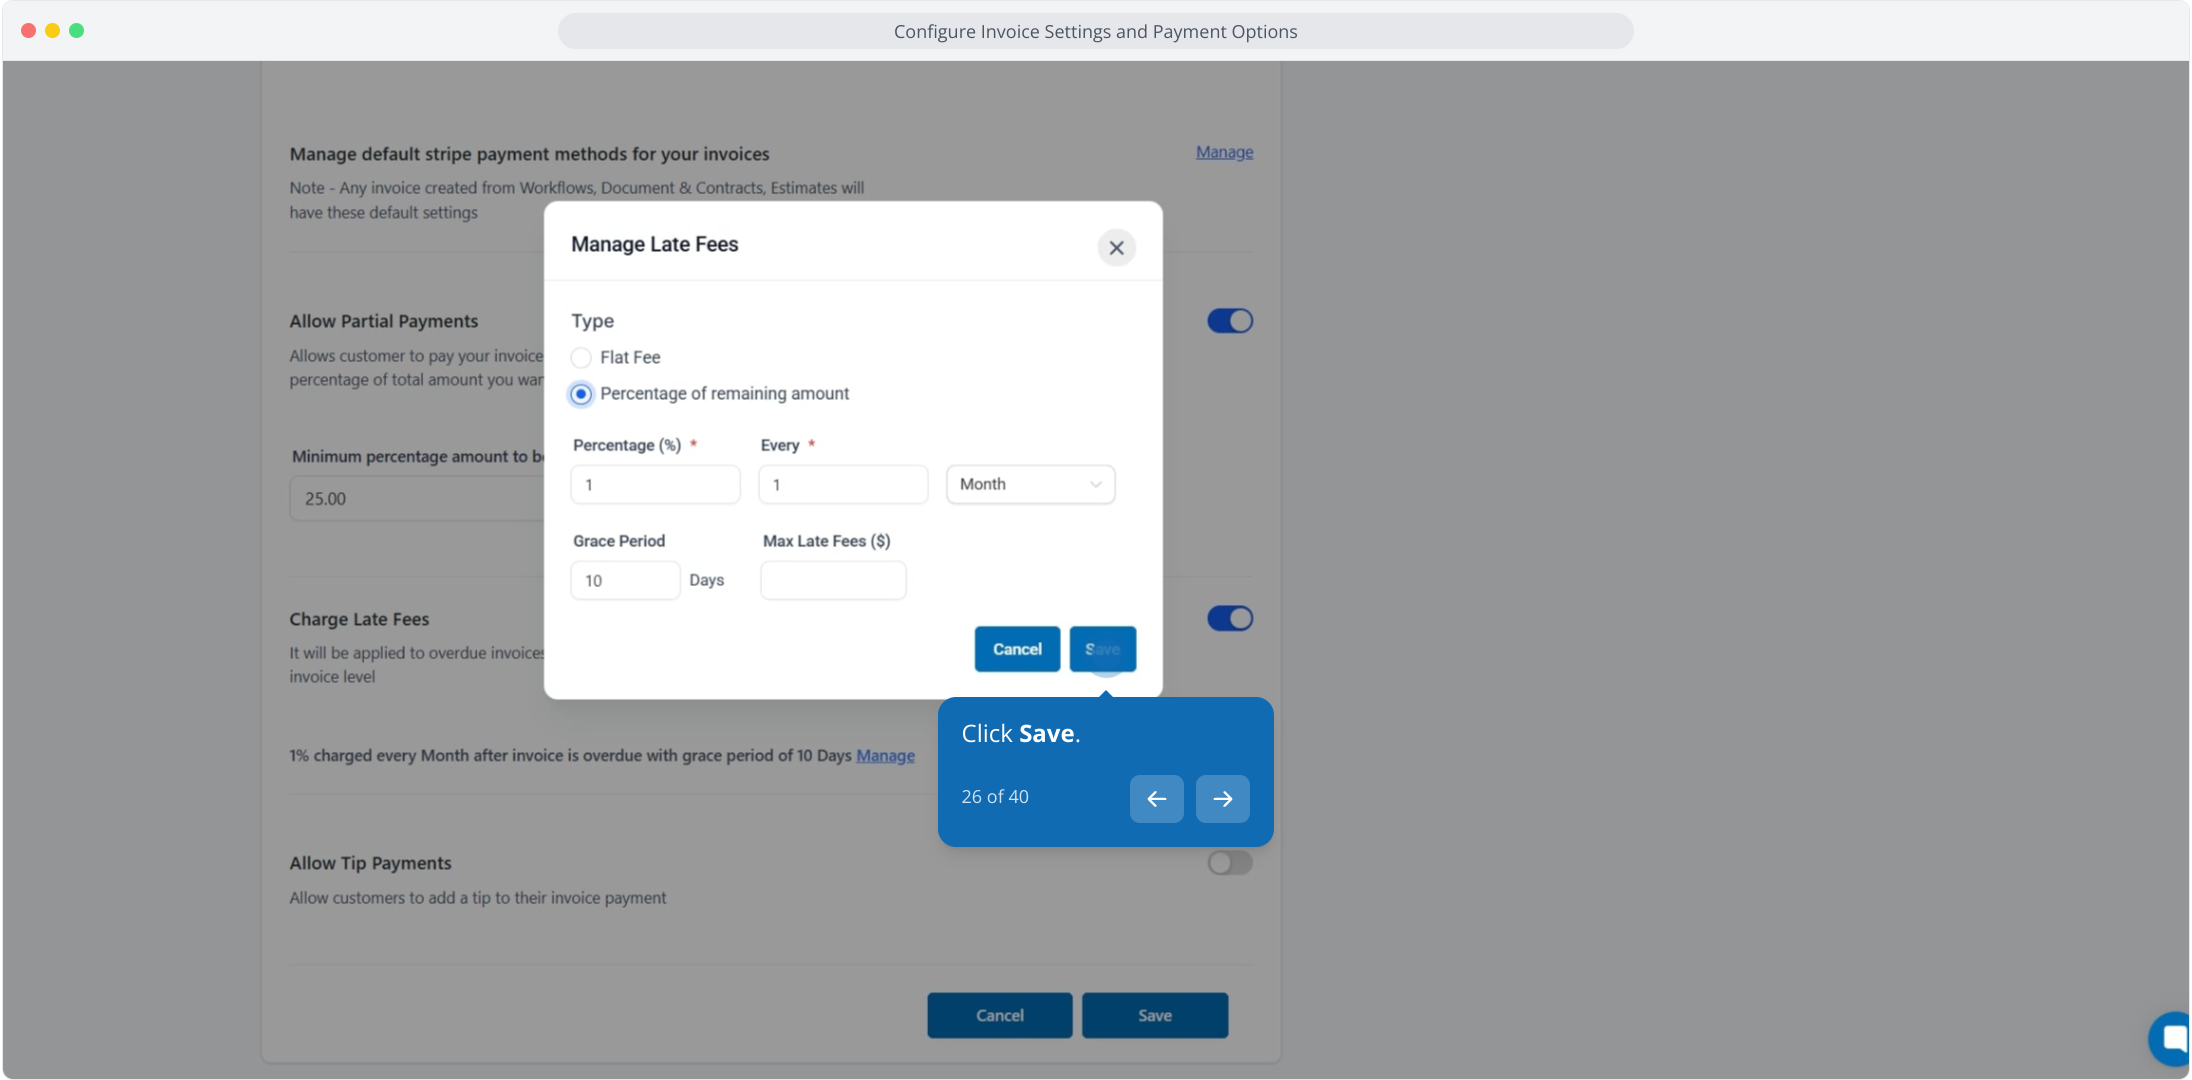
25. You can choose between:
Flat fee
Percentage of remaining balance
And edit the value of the flat rate or the percentage and the frequency, grace period and max late fees.

26. Click Save.
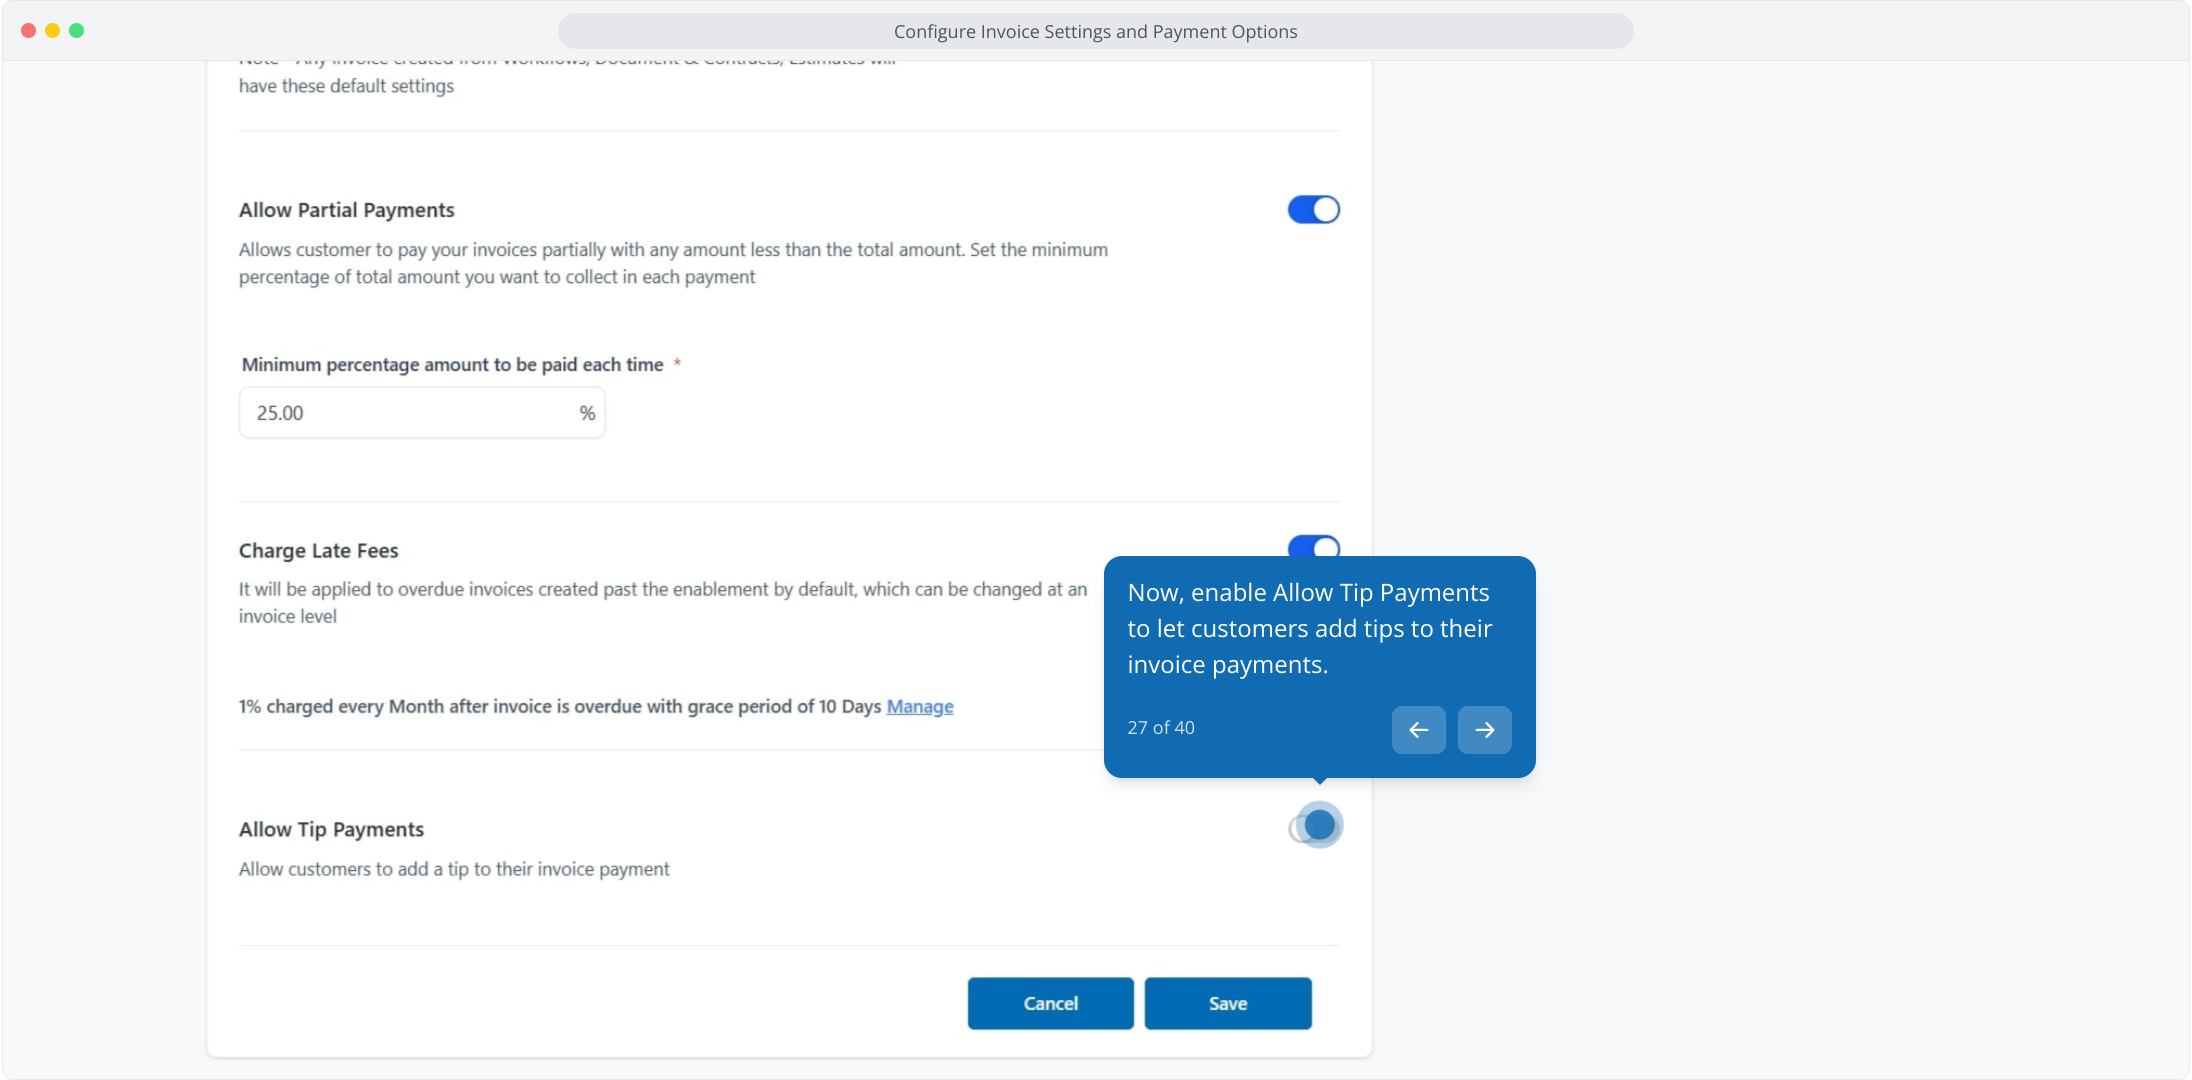
27. Now, enable Allow Tip Payments to let customers add tips to their invoice payments.
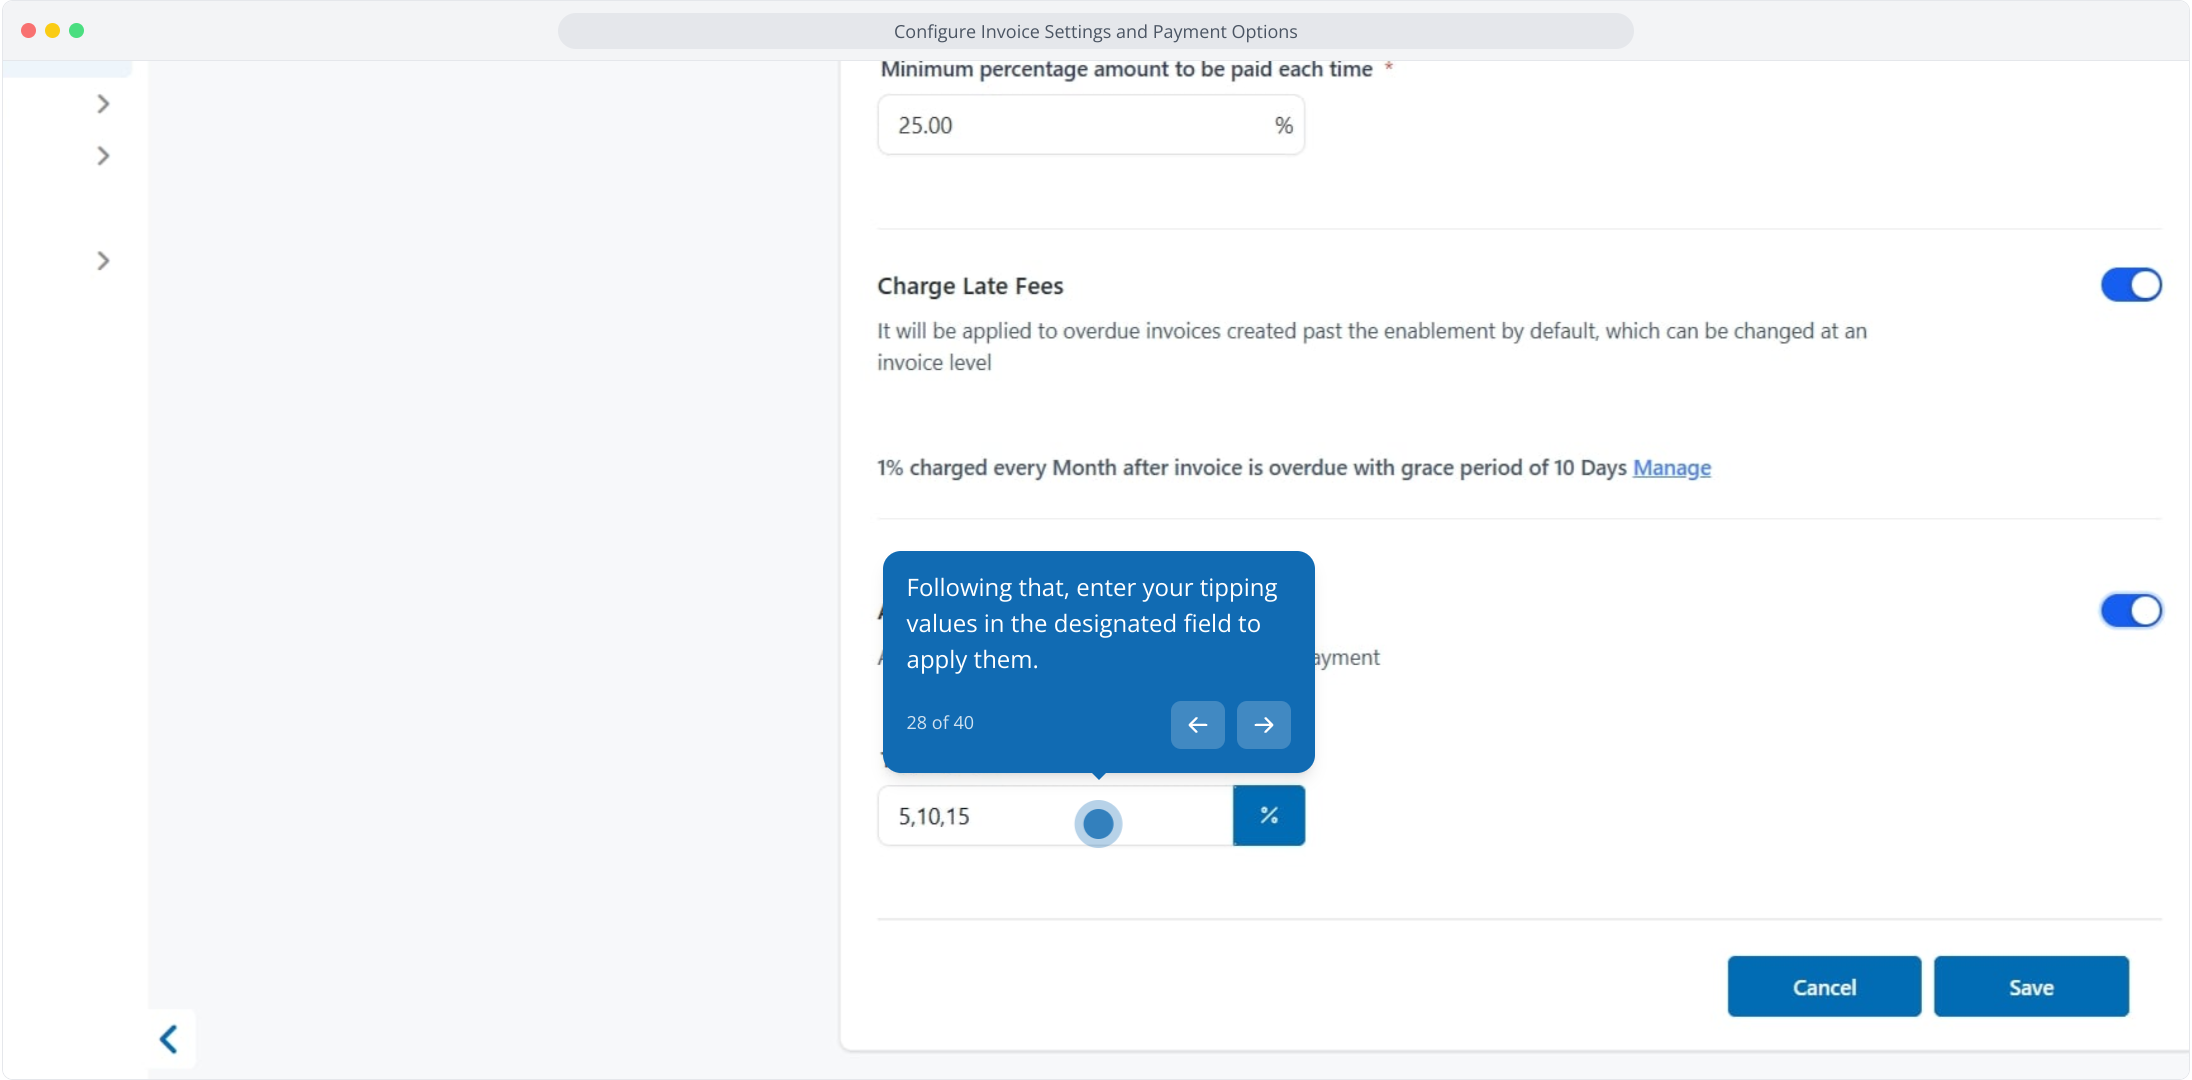
28. Following that, enter your tipping values in the designated field to apply them.
29. Click here to save these settings.
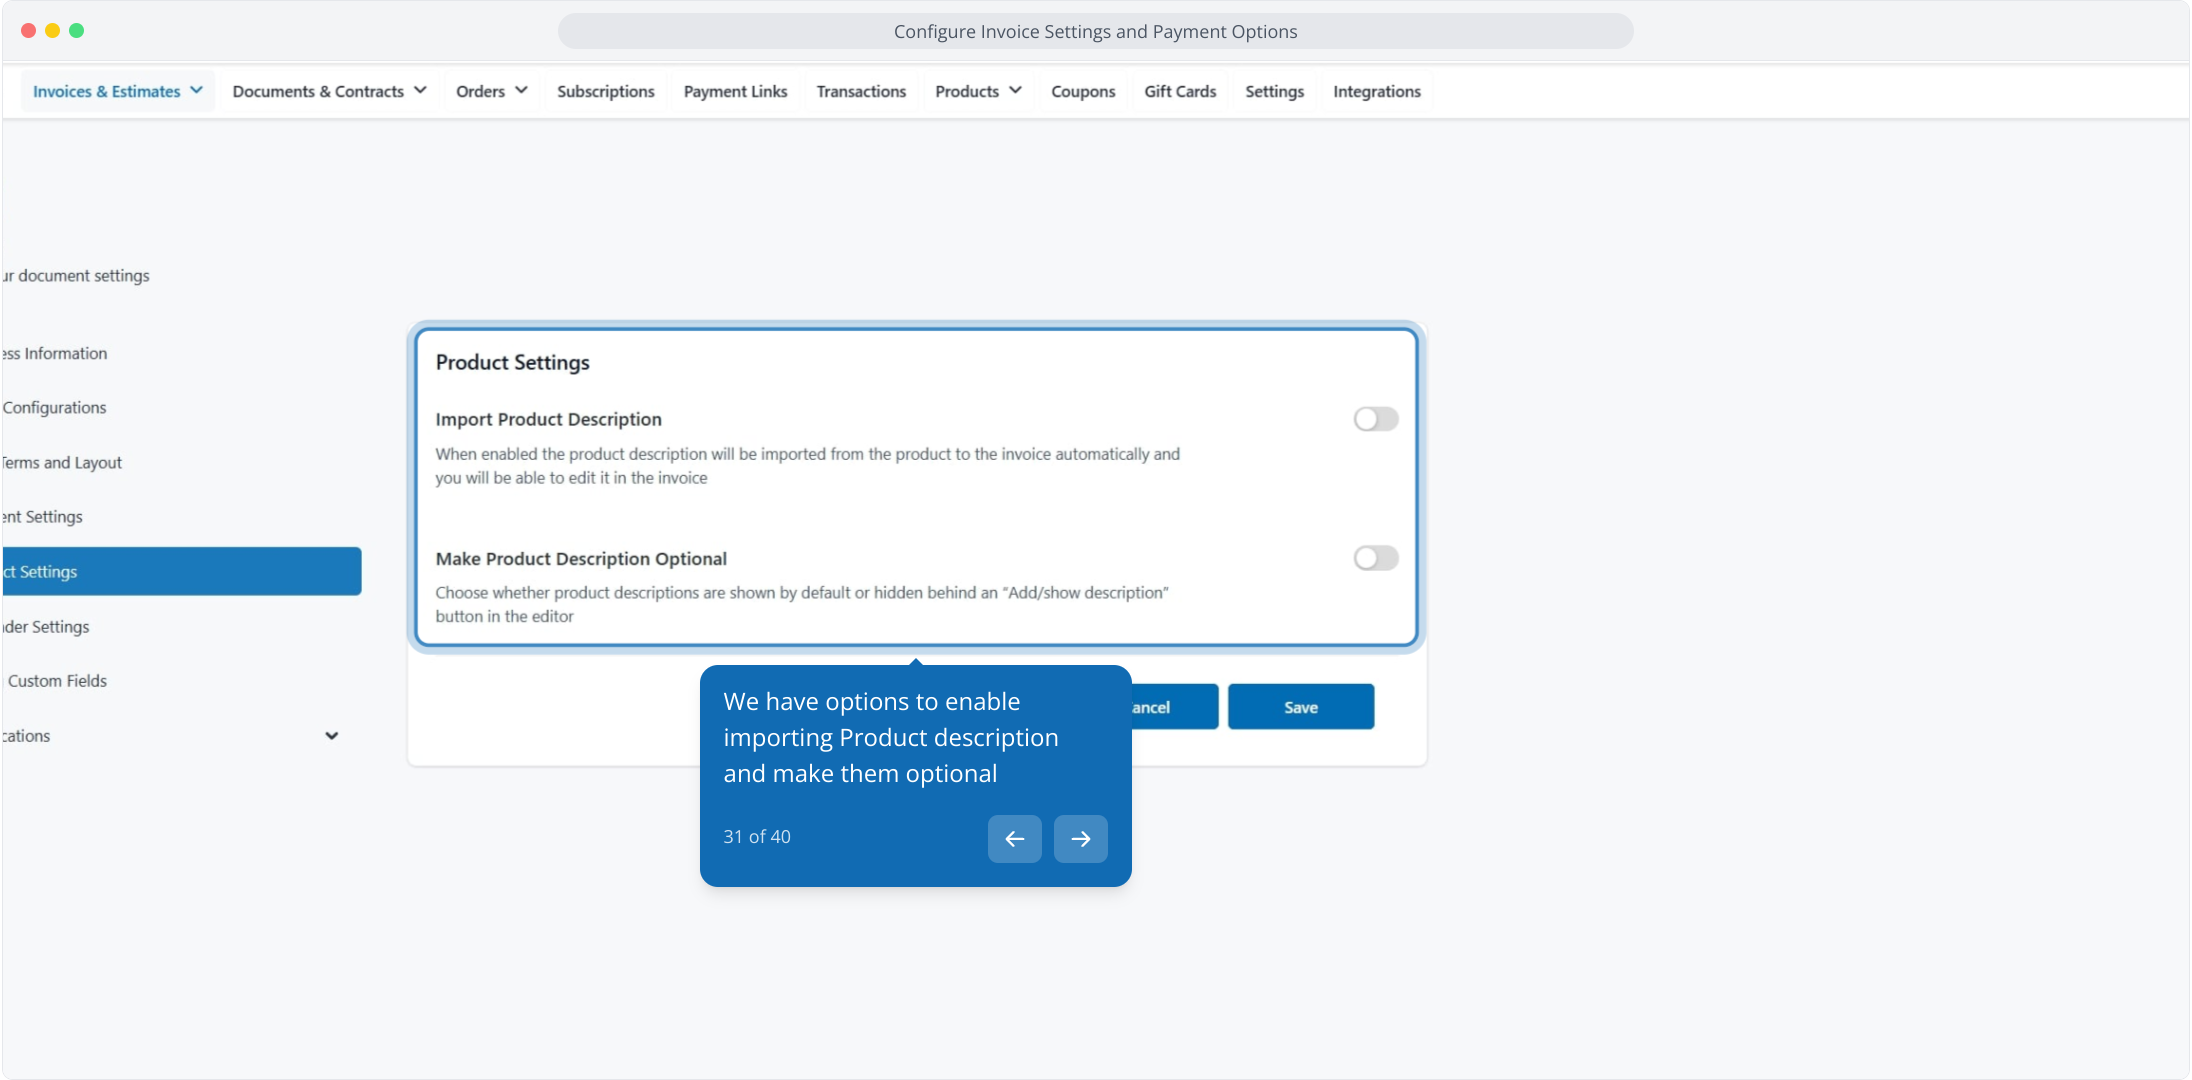
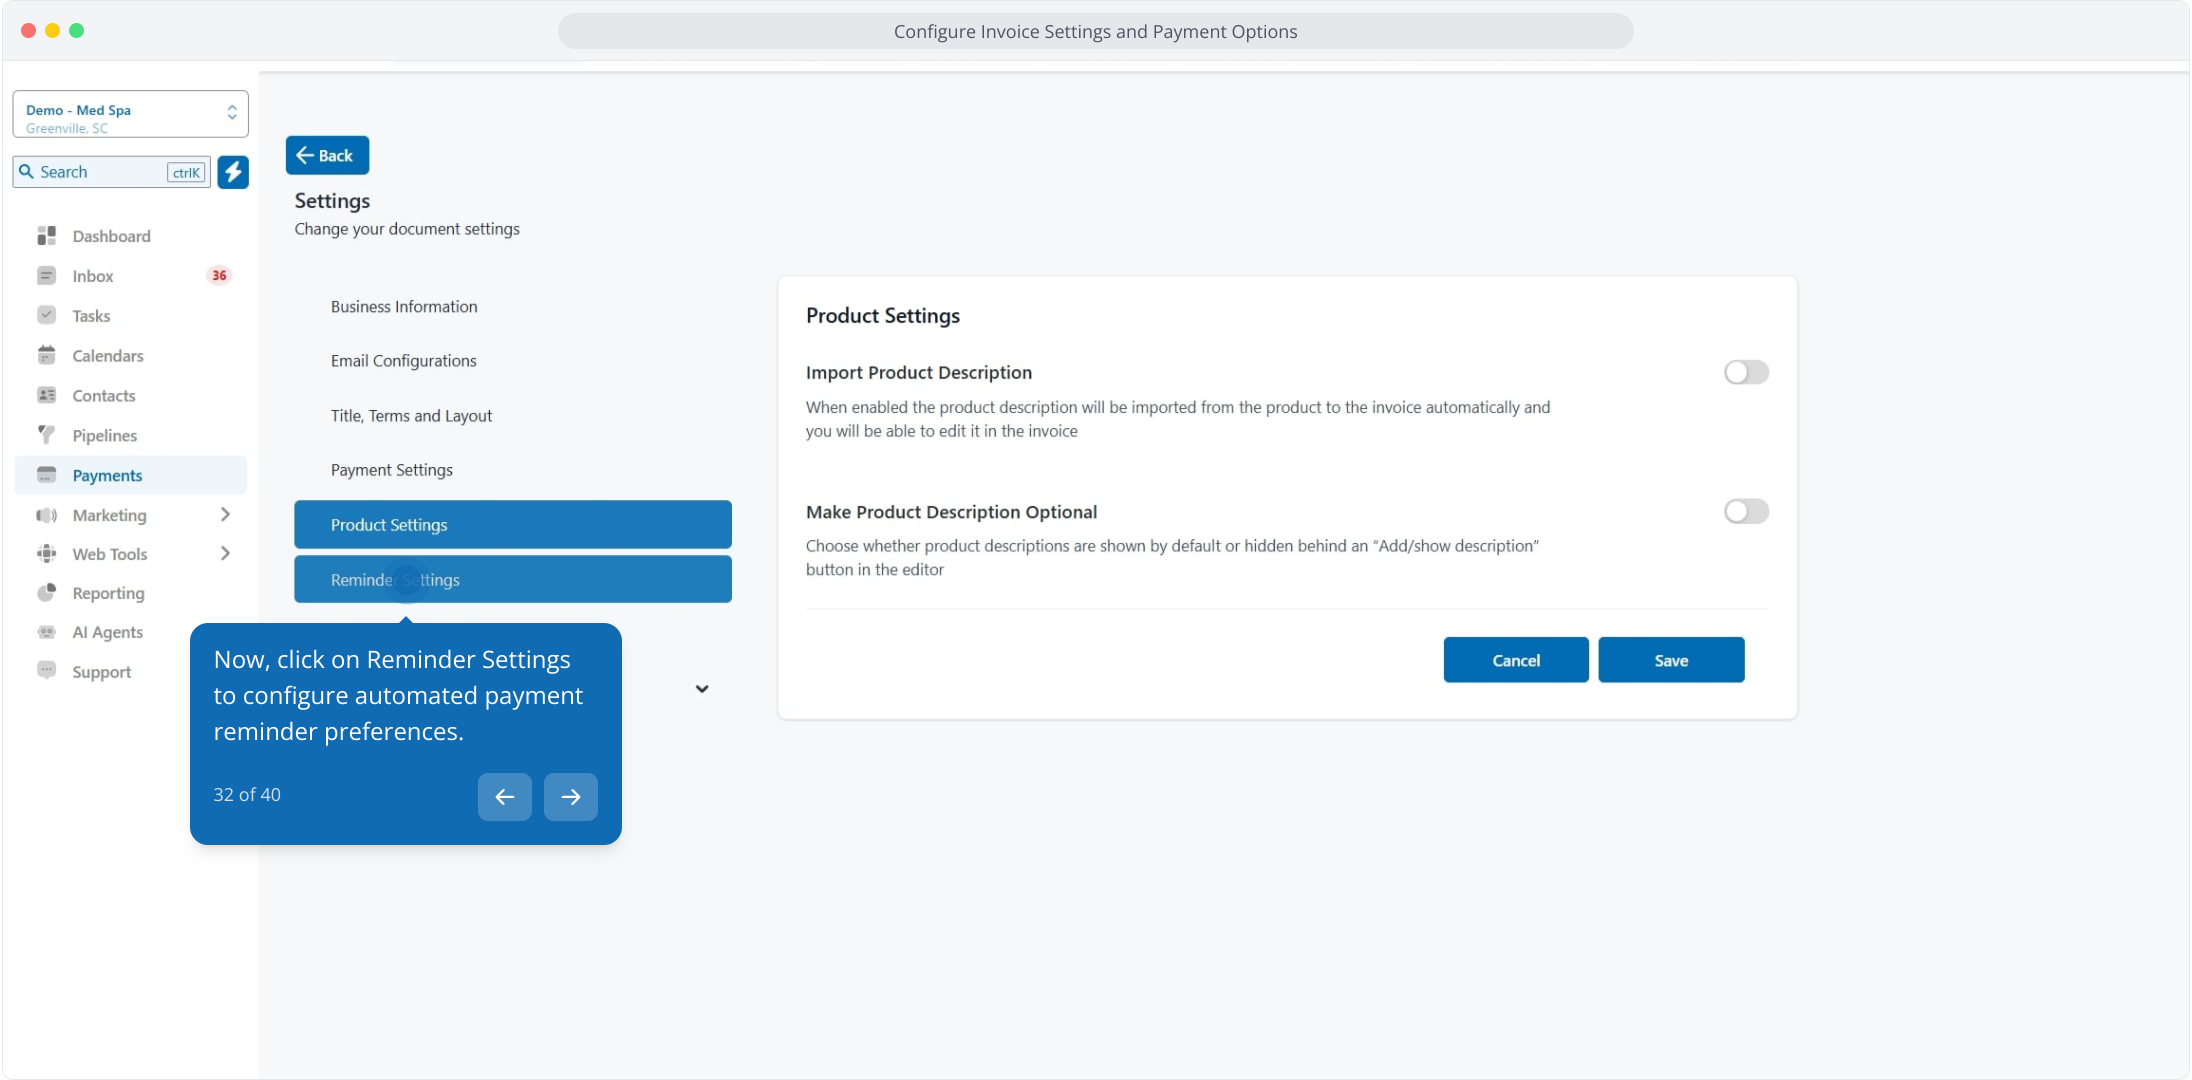
30. Following this, click Product Settings to configure your product-related billing preferences.
31. We have options to enable importing Product description and make them optional
32. Now, click on Reminder Settings to configure automated payment reminder preferences.
33. Invoice reminders are applied to all one-time and recurring invoices where Automatic Payment is disabled and a payment schedule doesn't exist.

34. By default you will have one reminder for which we can modify the
Email & SMS Template which you can modify and preview
Edit the Subject line for the Reminder Email
Set Reminder Frequencies
Set Business Hours
and which timezone we need to send the reminder
You can also send multiple reminder. To add Reminders click on "Add another Reminder" and click on "Save".
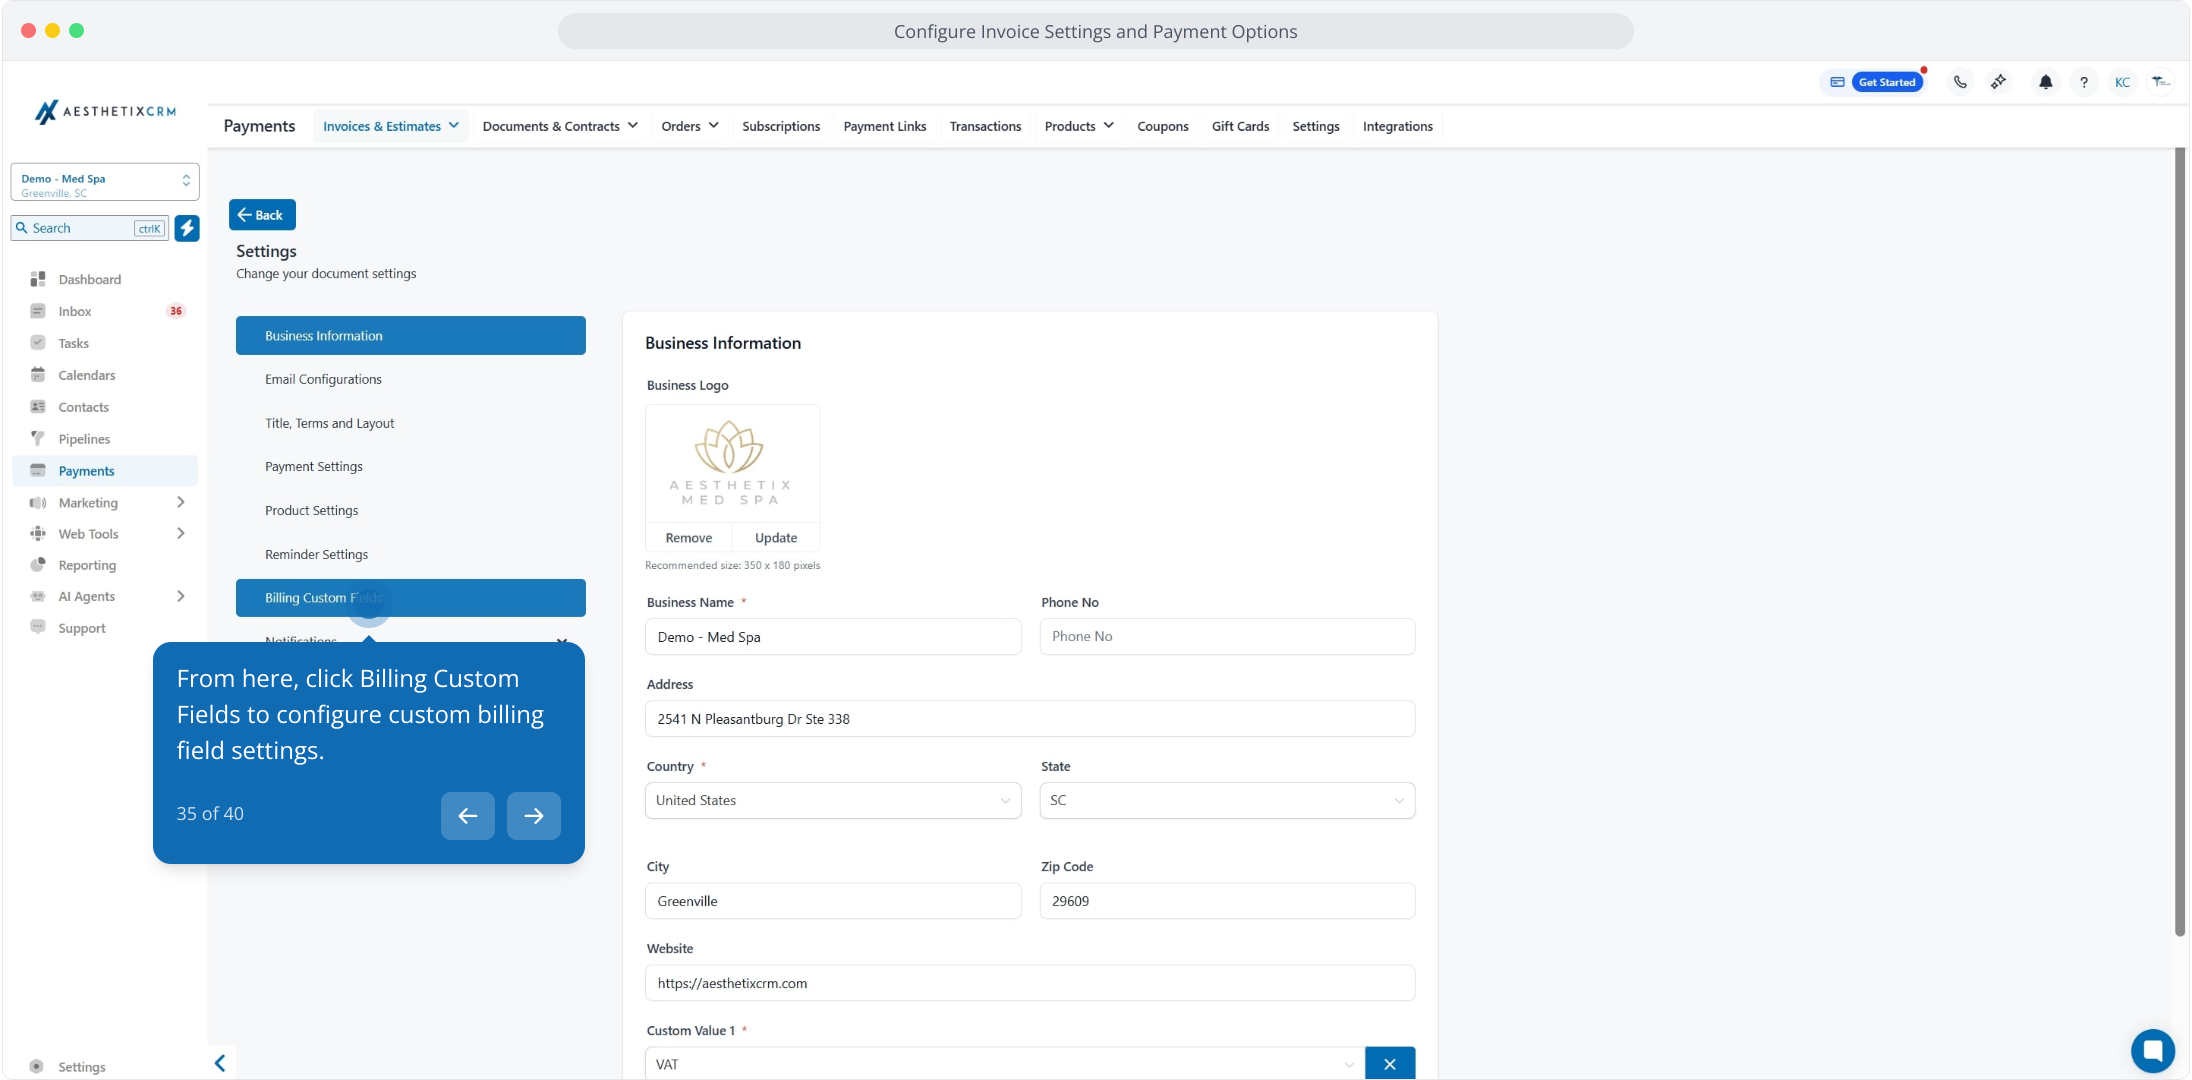
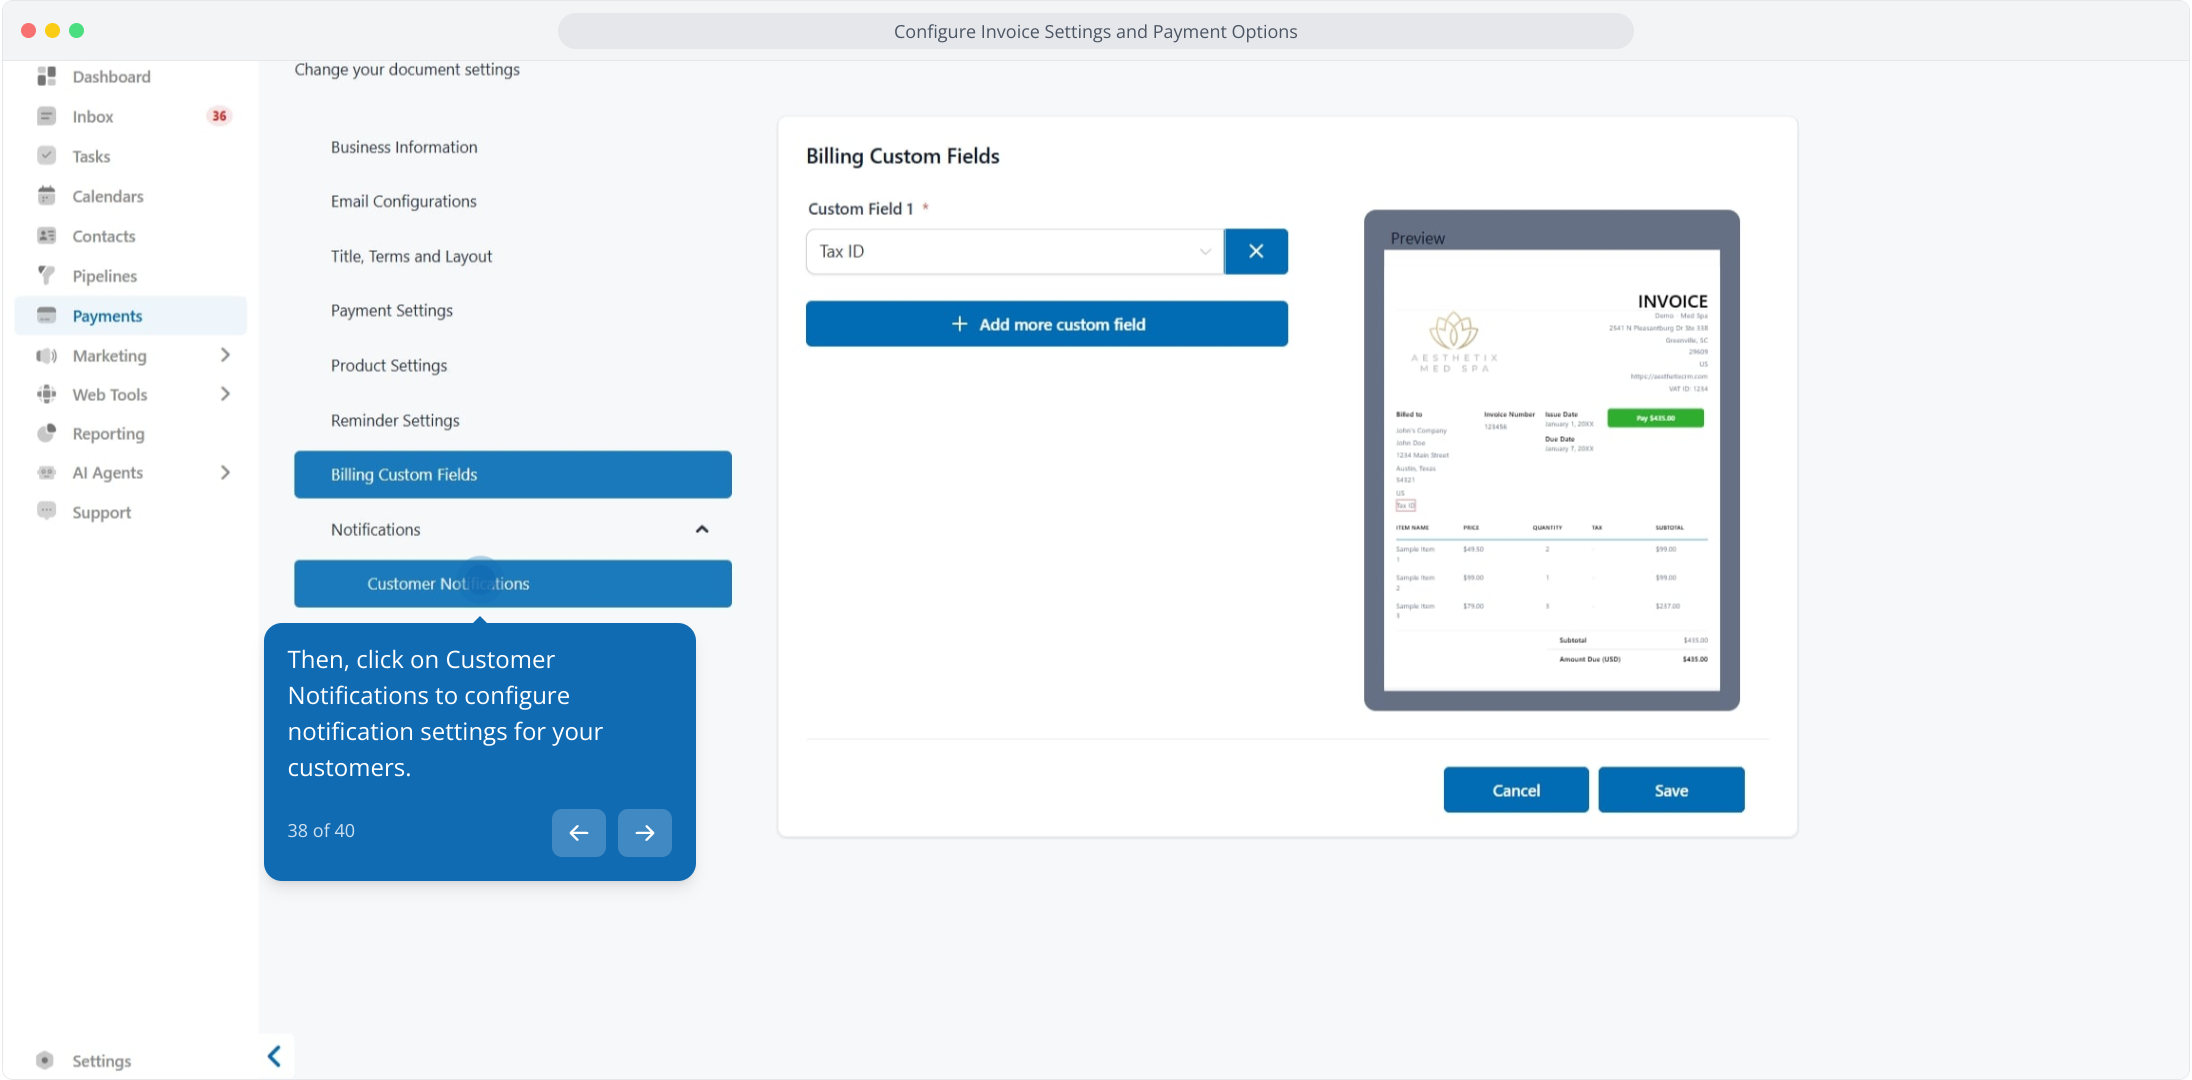
35. From here, click Billing Custom Fields to configure custom billing field settings.
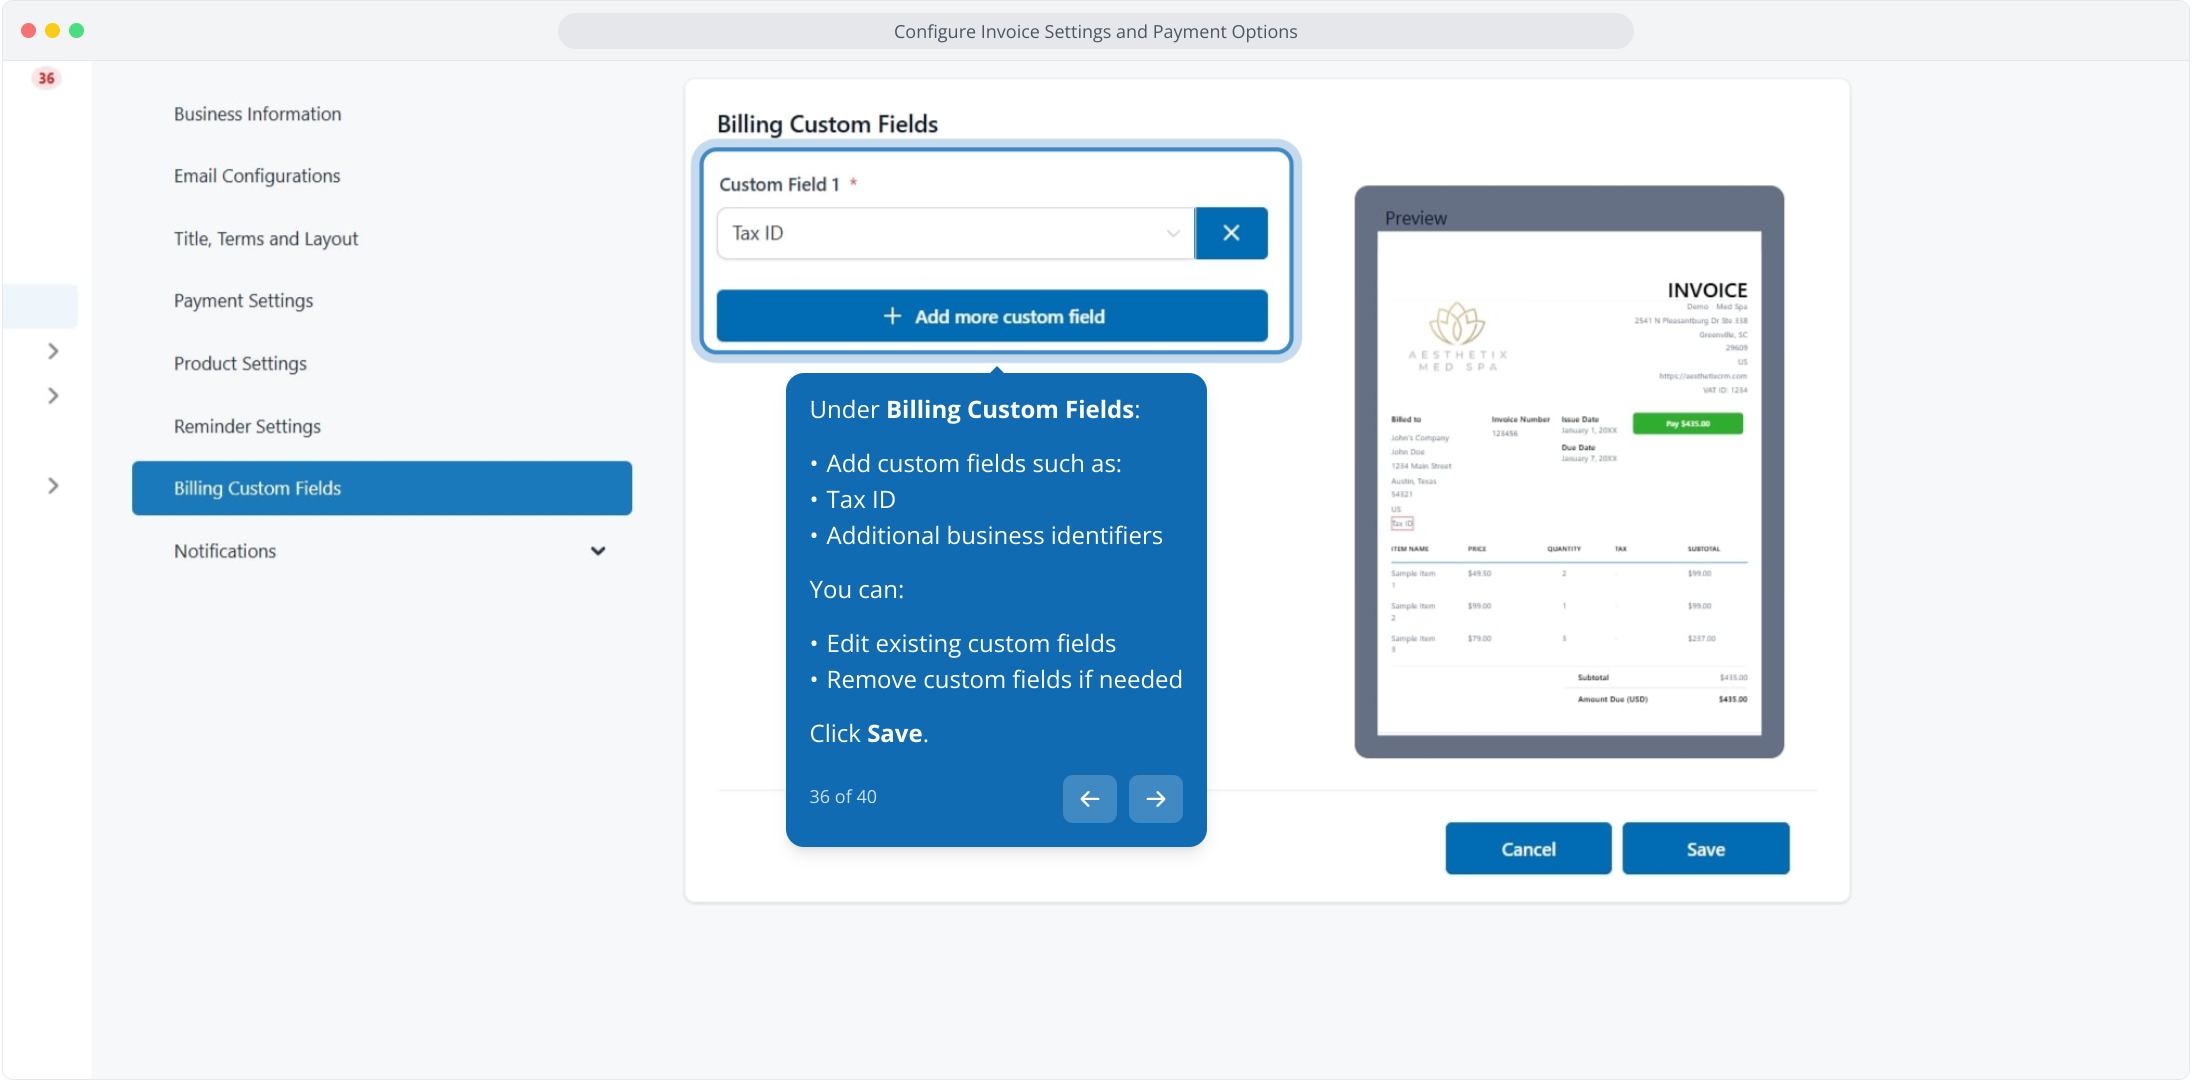
36. Under Billing Custom Fields:
Add custom fields such as:
Tax ID
Additional business identifiers
You can:
Edit existing custom fields
Remove custom fields if needed
Click Save.
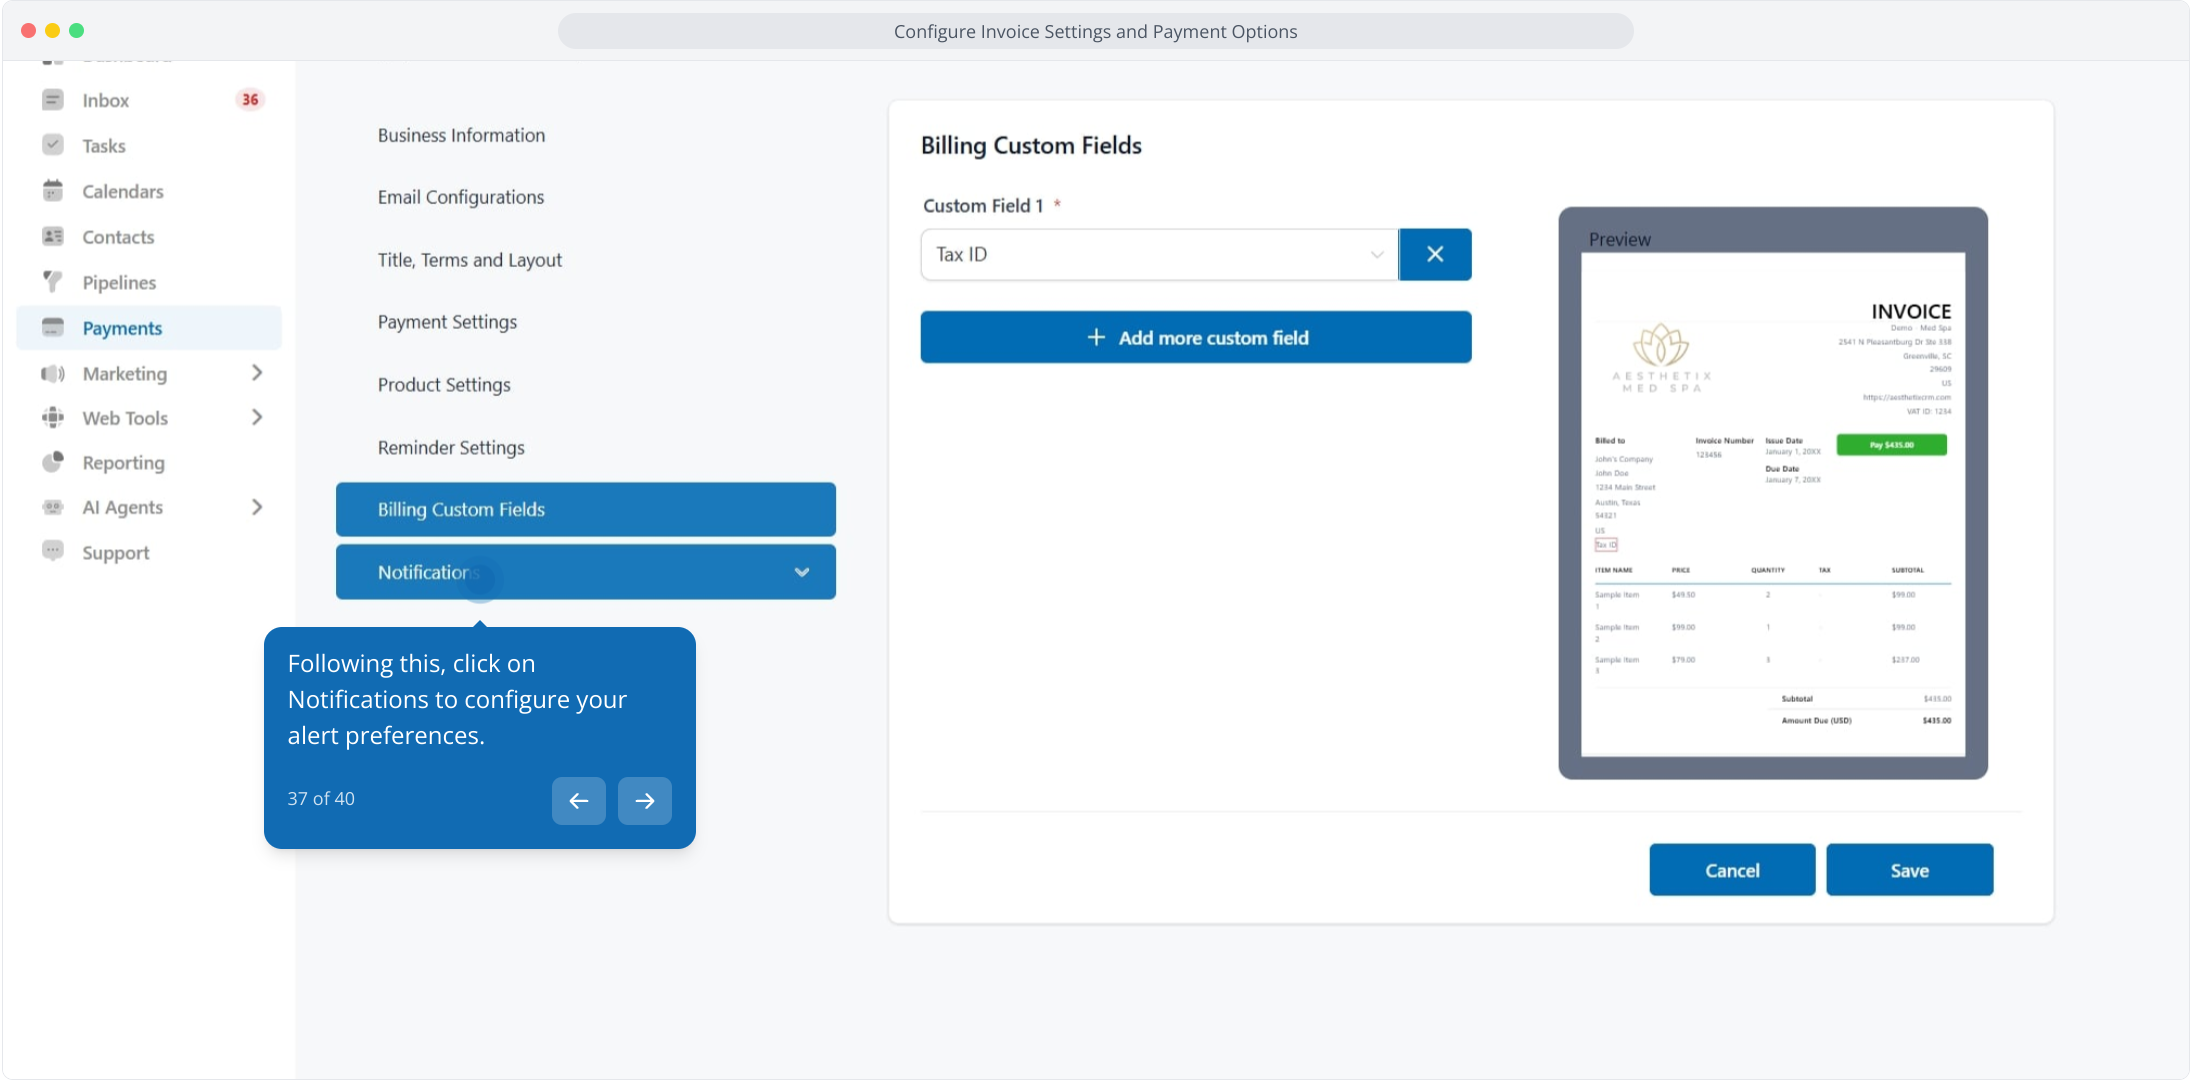
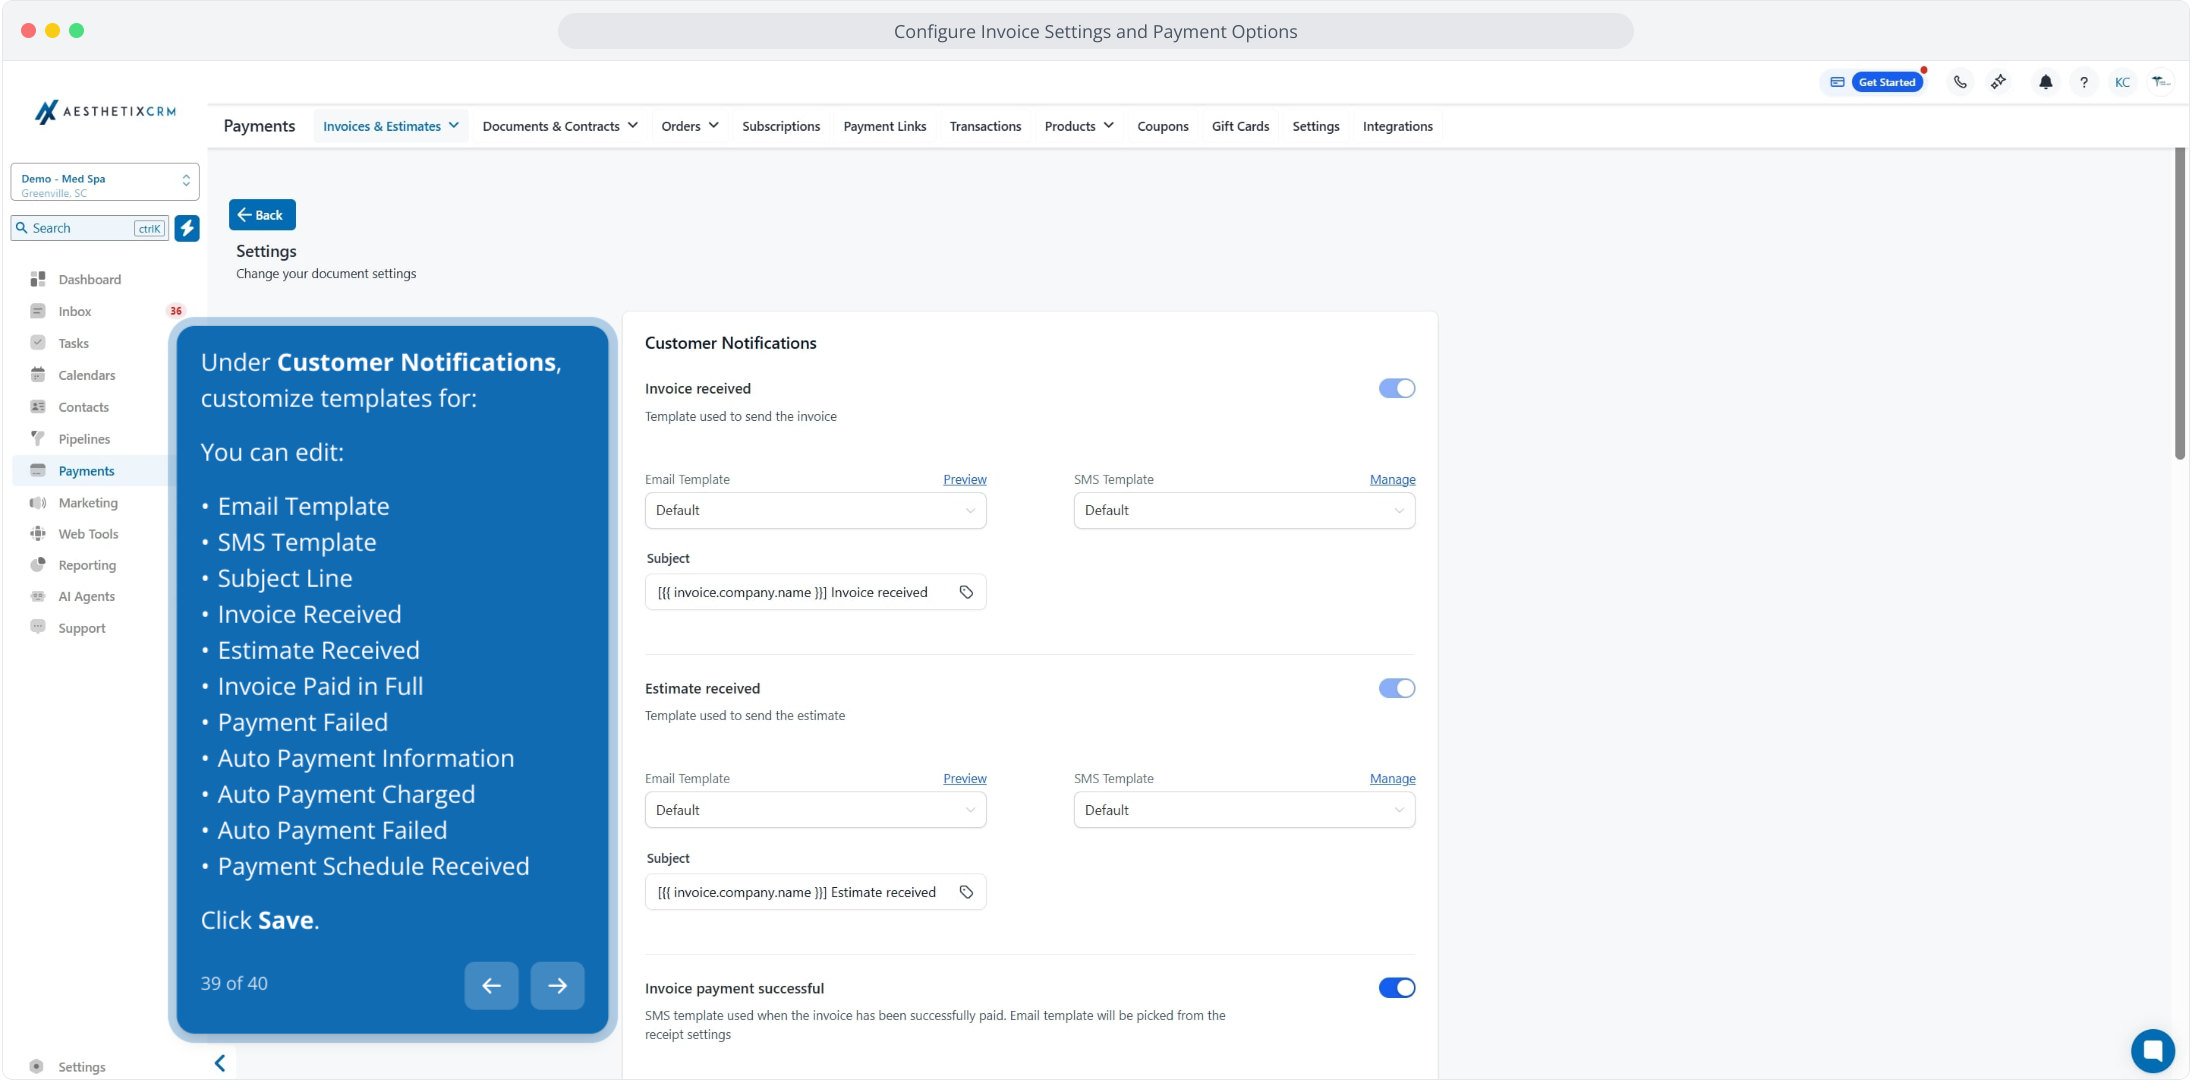
37. Following this, click on Notifications to configure your alert preferences.
38. Then, click on Customer Notifications to configure notification settings for your customers.
39. Under Customer Notifications, customize templates for:
You can edit:
Email Template
SMS Template
Subject Line
Invoice Received
Estimate Received
Invoice Paid in Full
Payment Failed
Auto Payment Information
Auto Payment Charged
Auto Payment Failed
Payment Schedule Received
Click Save.
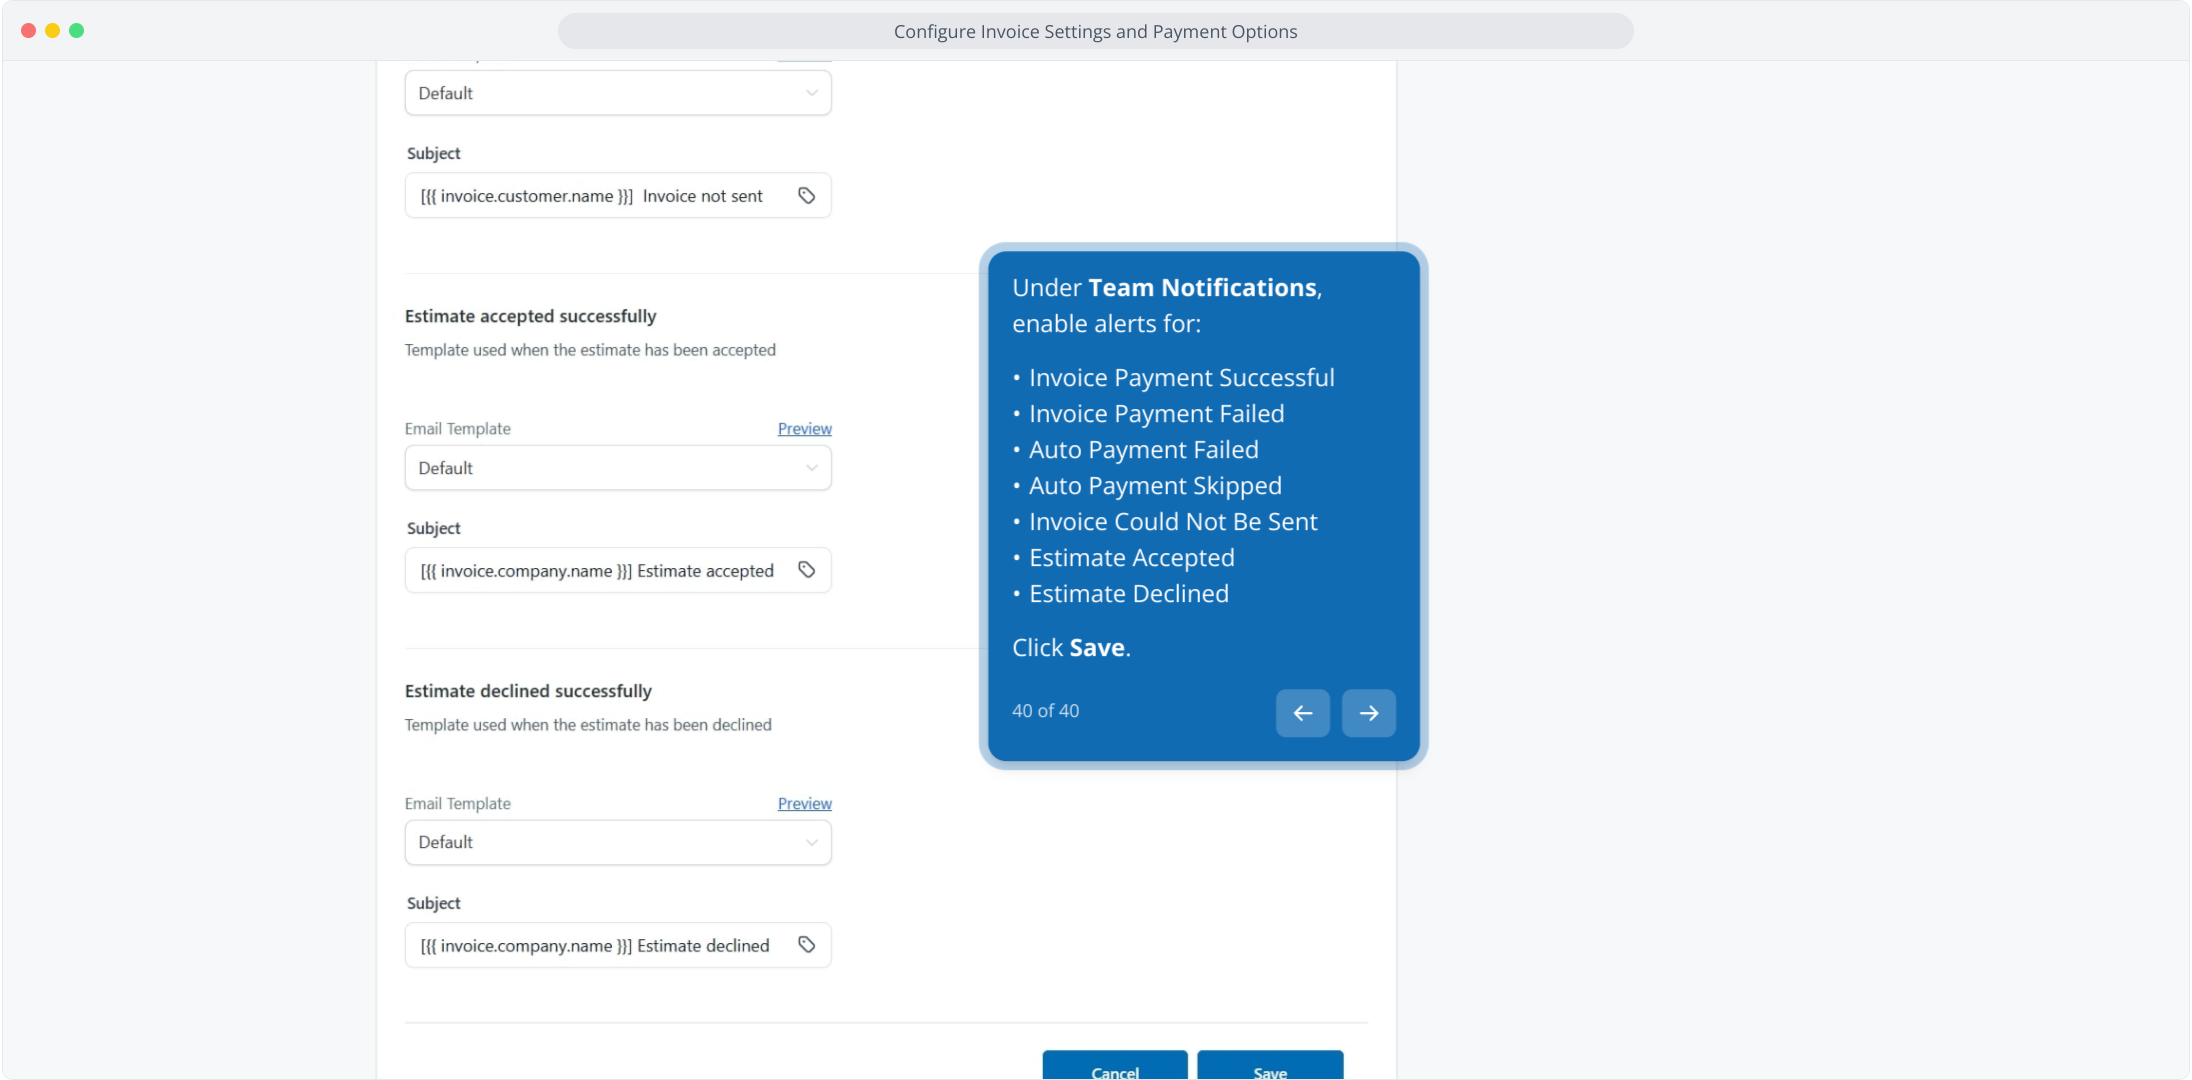
40. Under Team Notifications, enable alerts for:
Invoice Payment Successful
Invoice Payment Failed
Auto Payment Failed
Auto Payment Skipped
Invoice Could Not Be Sent
Estimate Accepted
Estimate Declined
Click Save.