1. How to Display Business and Client Tax IDs on Invoices?
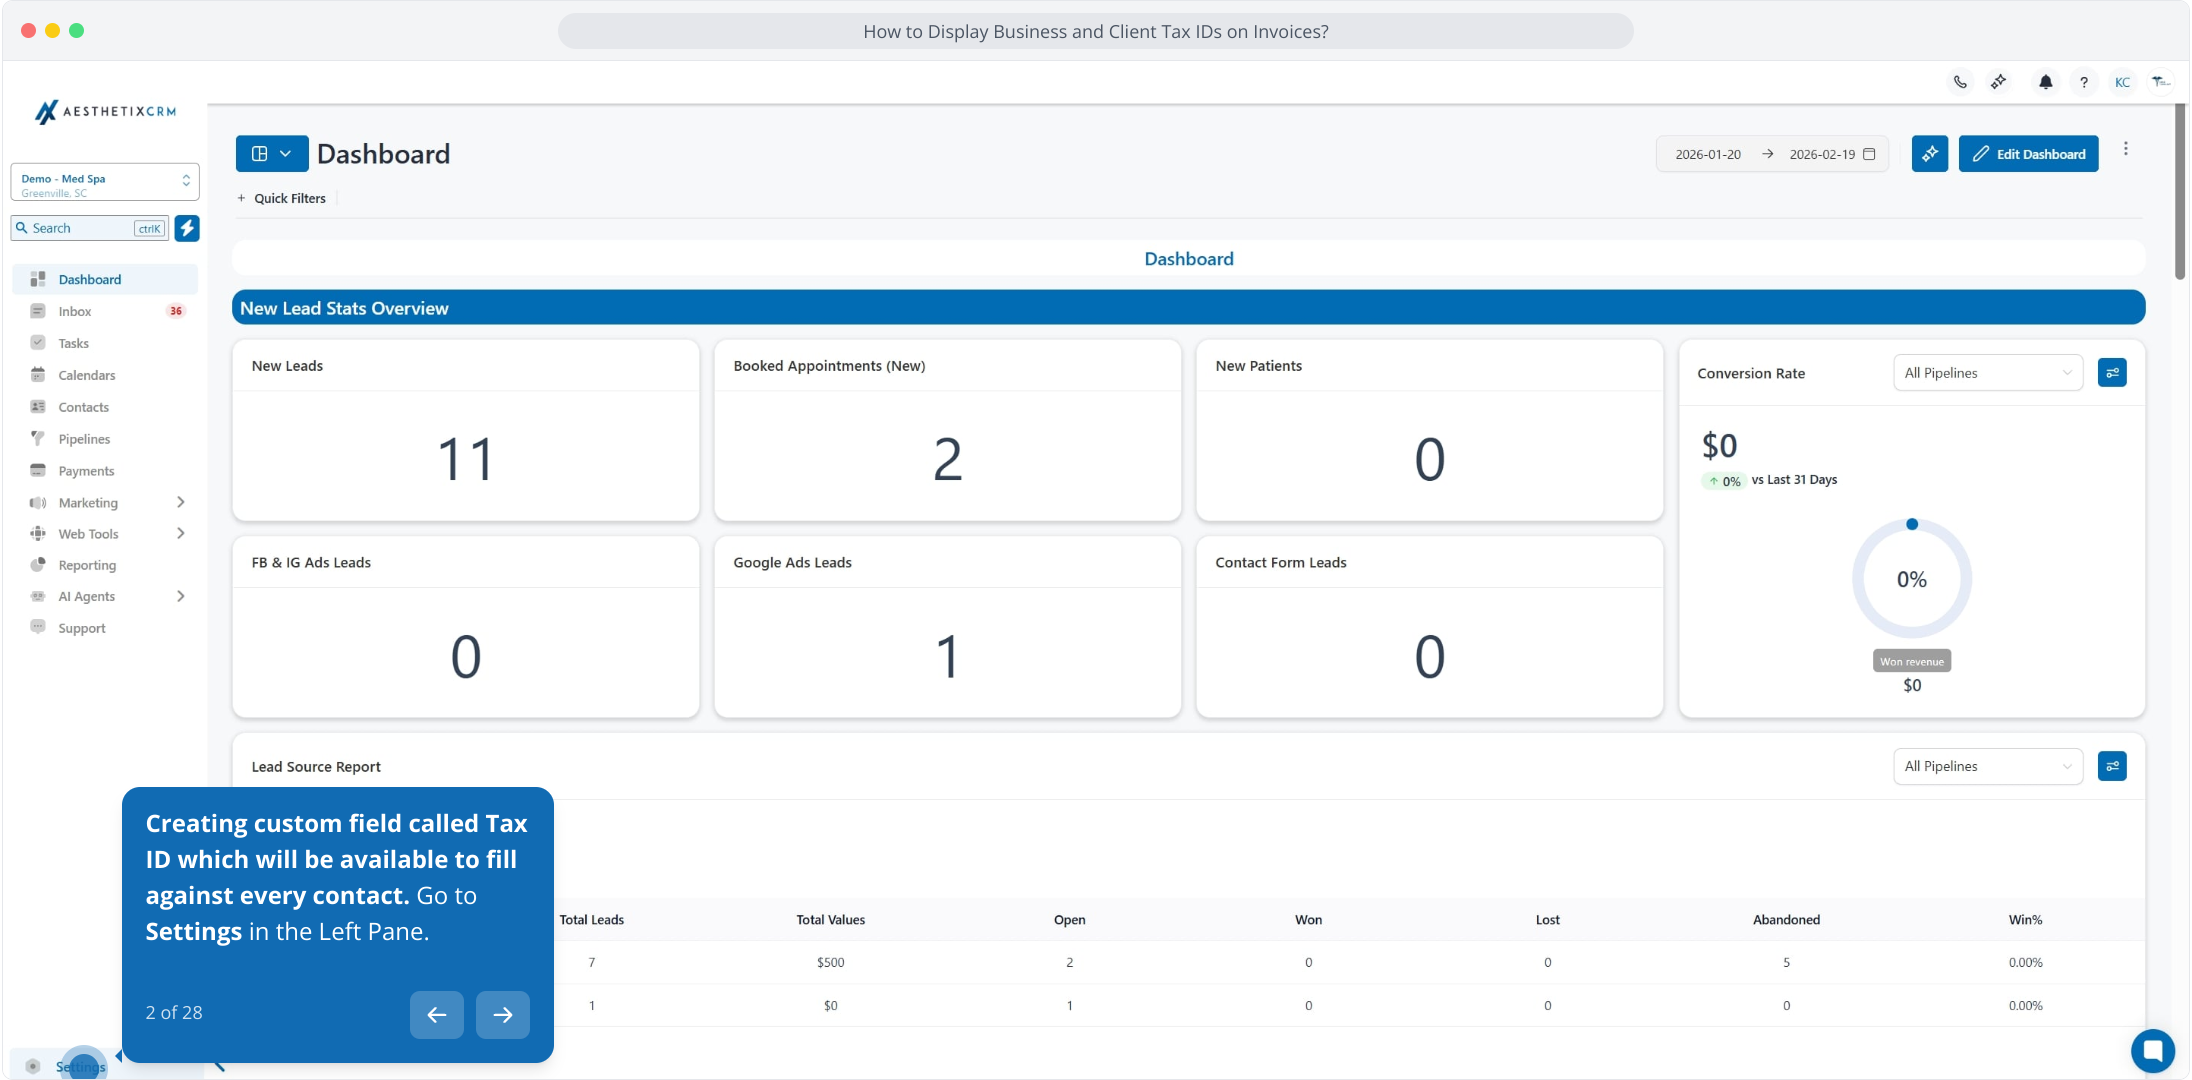
2. Creating custom field called Tax ID which will be available to fill against every contact. Go to Settings in the Left Pane.
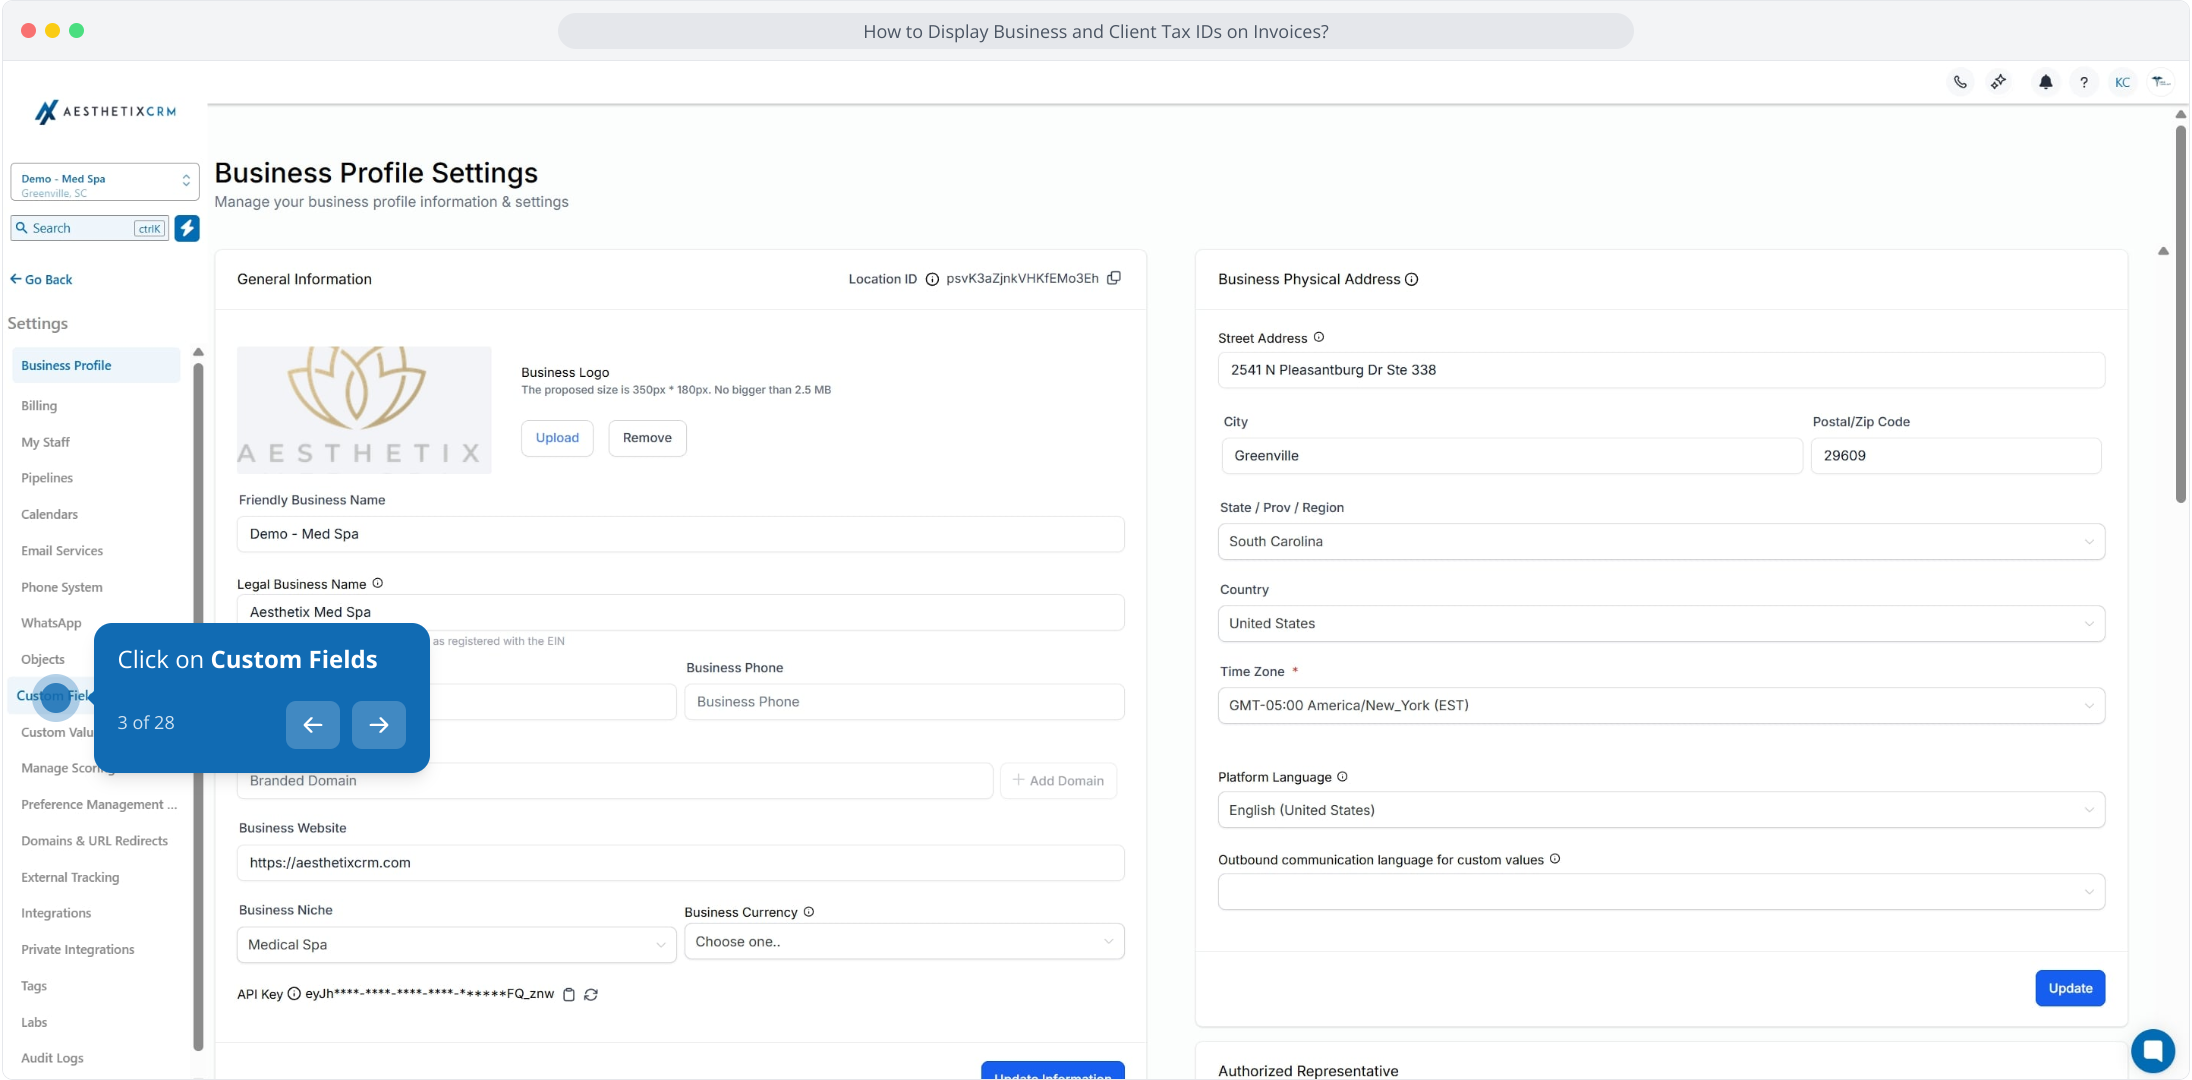
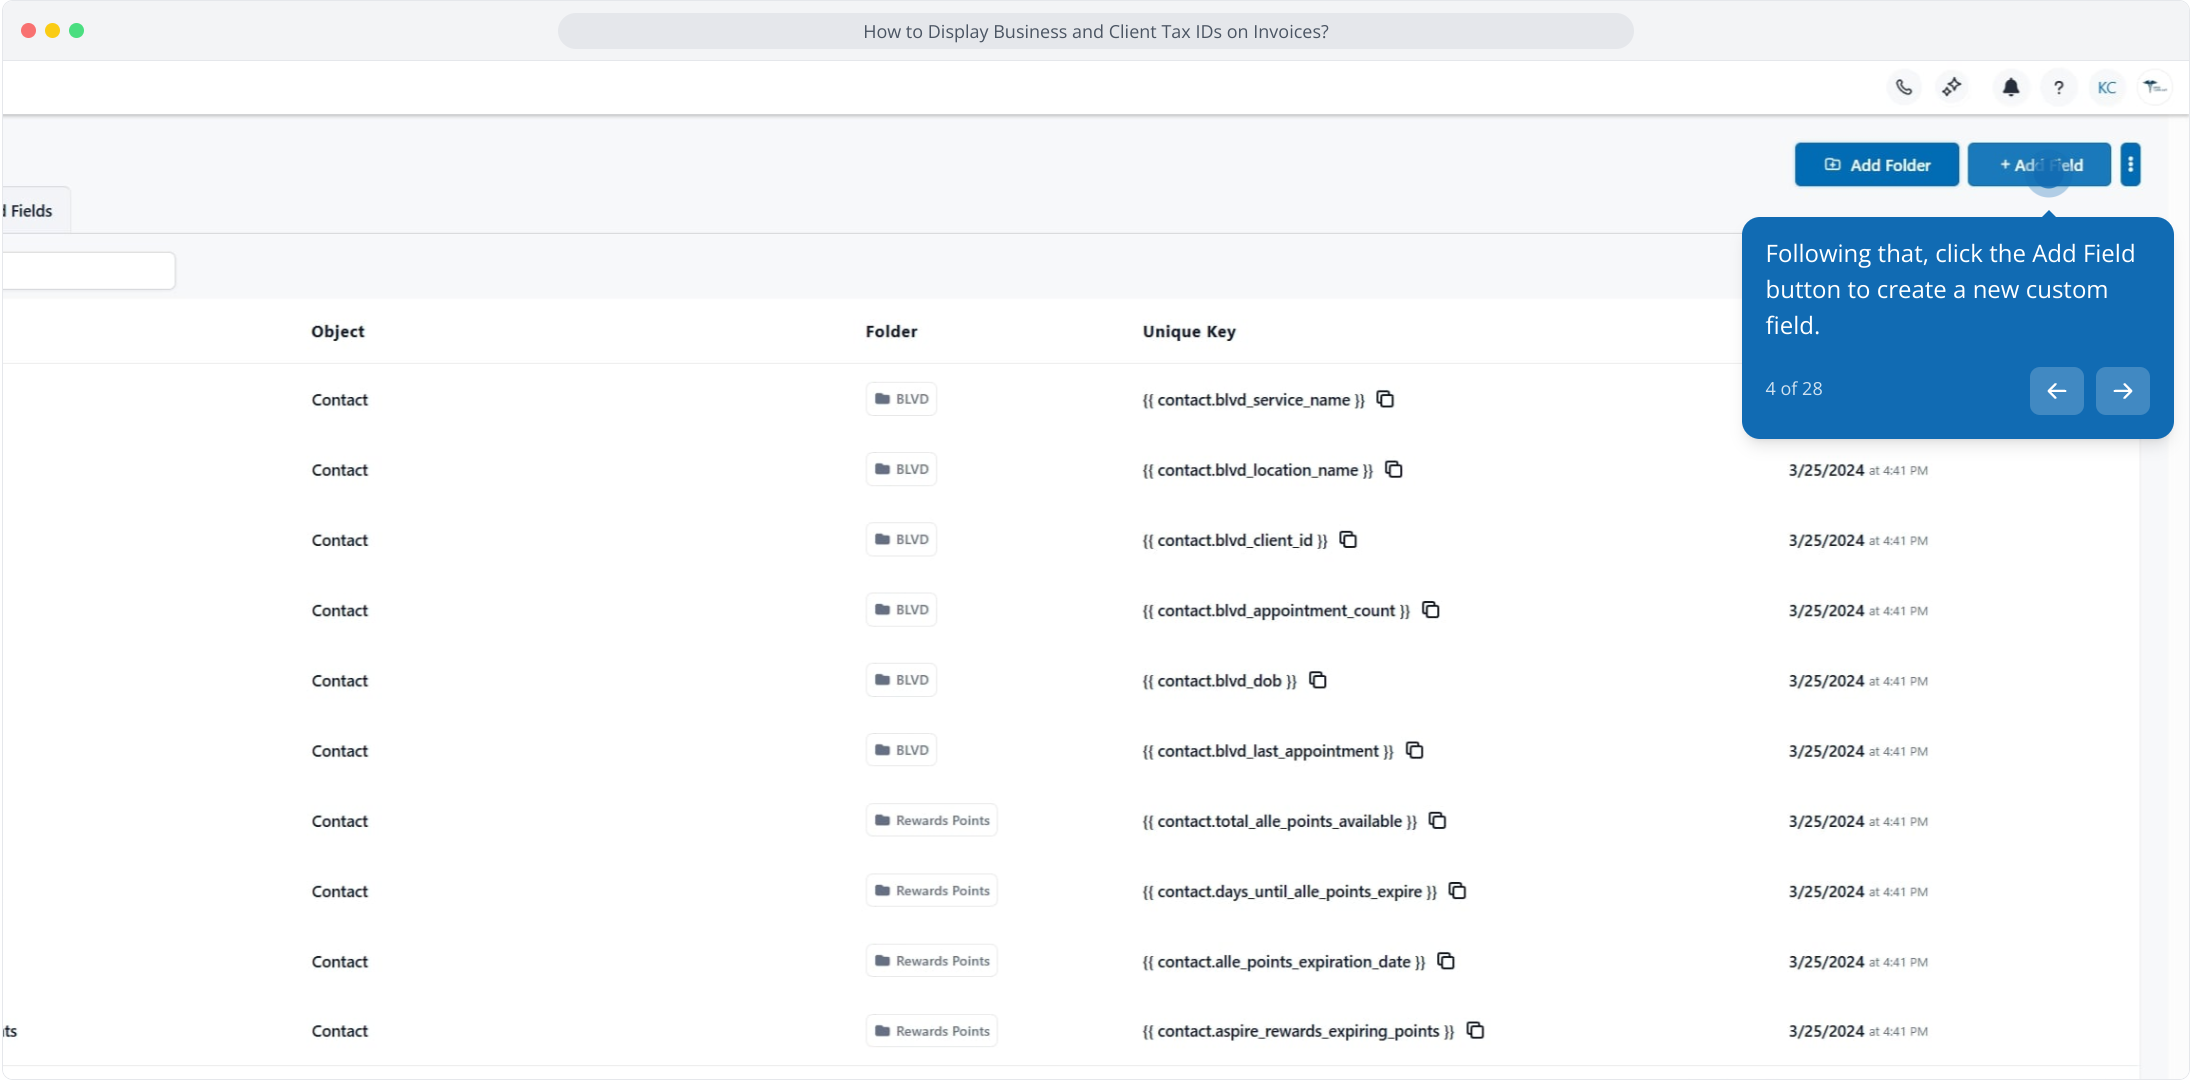
3. Click on Custom Fields
4. Following that, click the Add Field button to create a new custom field.
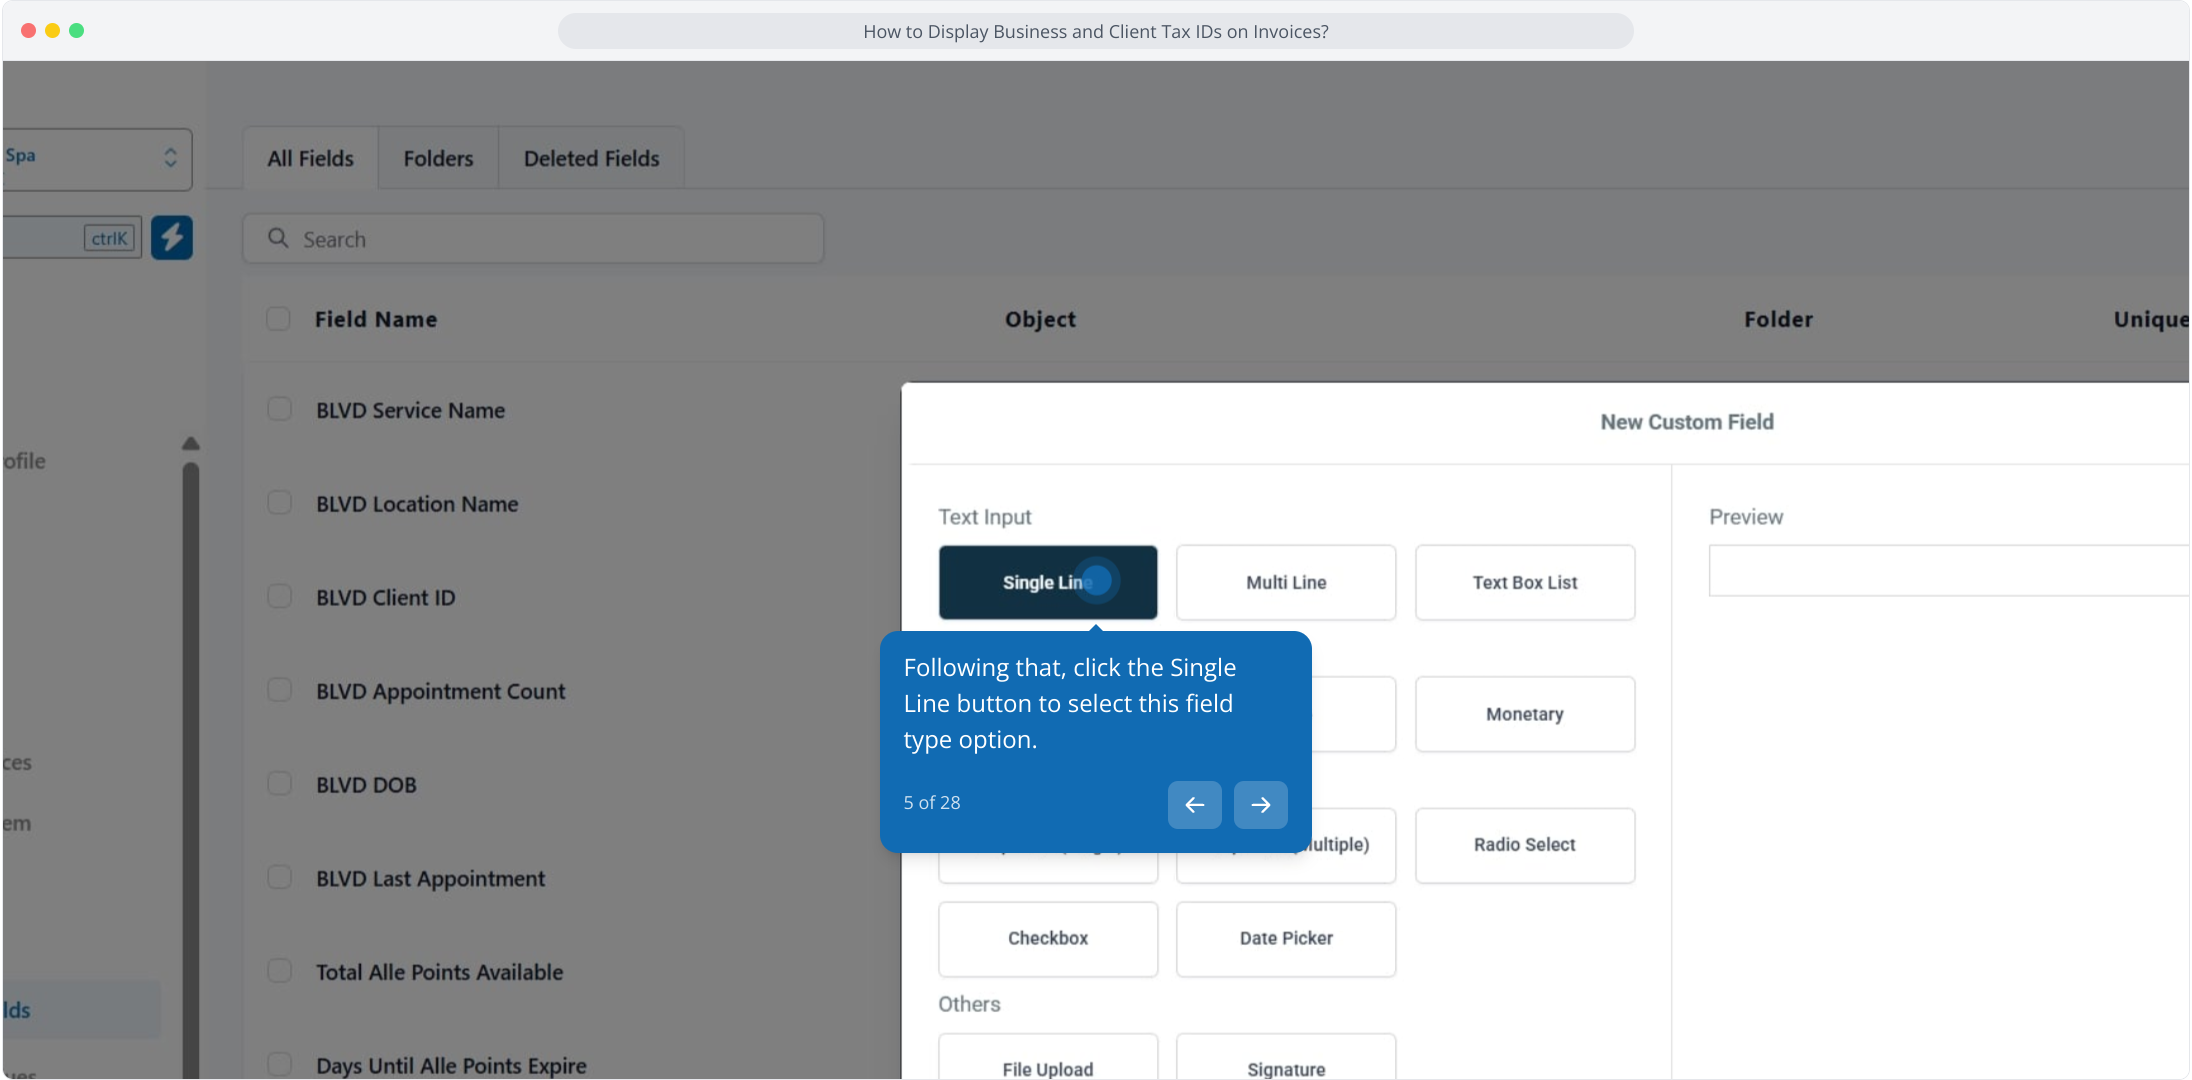
5. Following that, click the Single Line button to select this field type option.
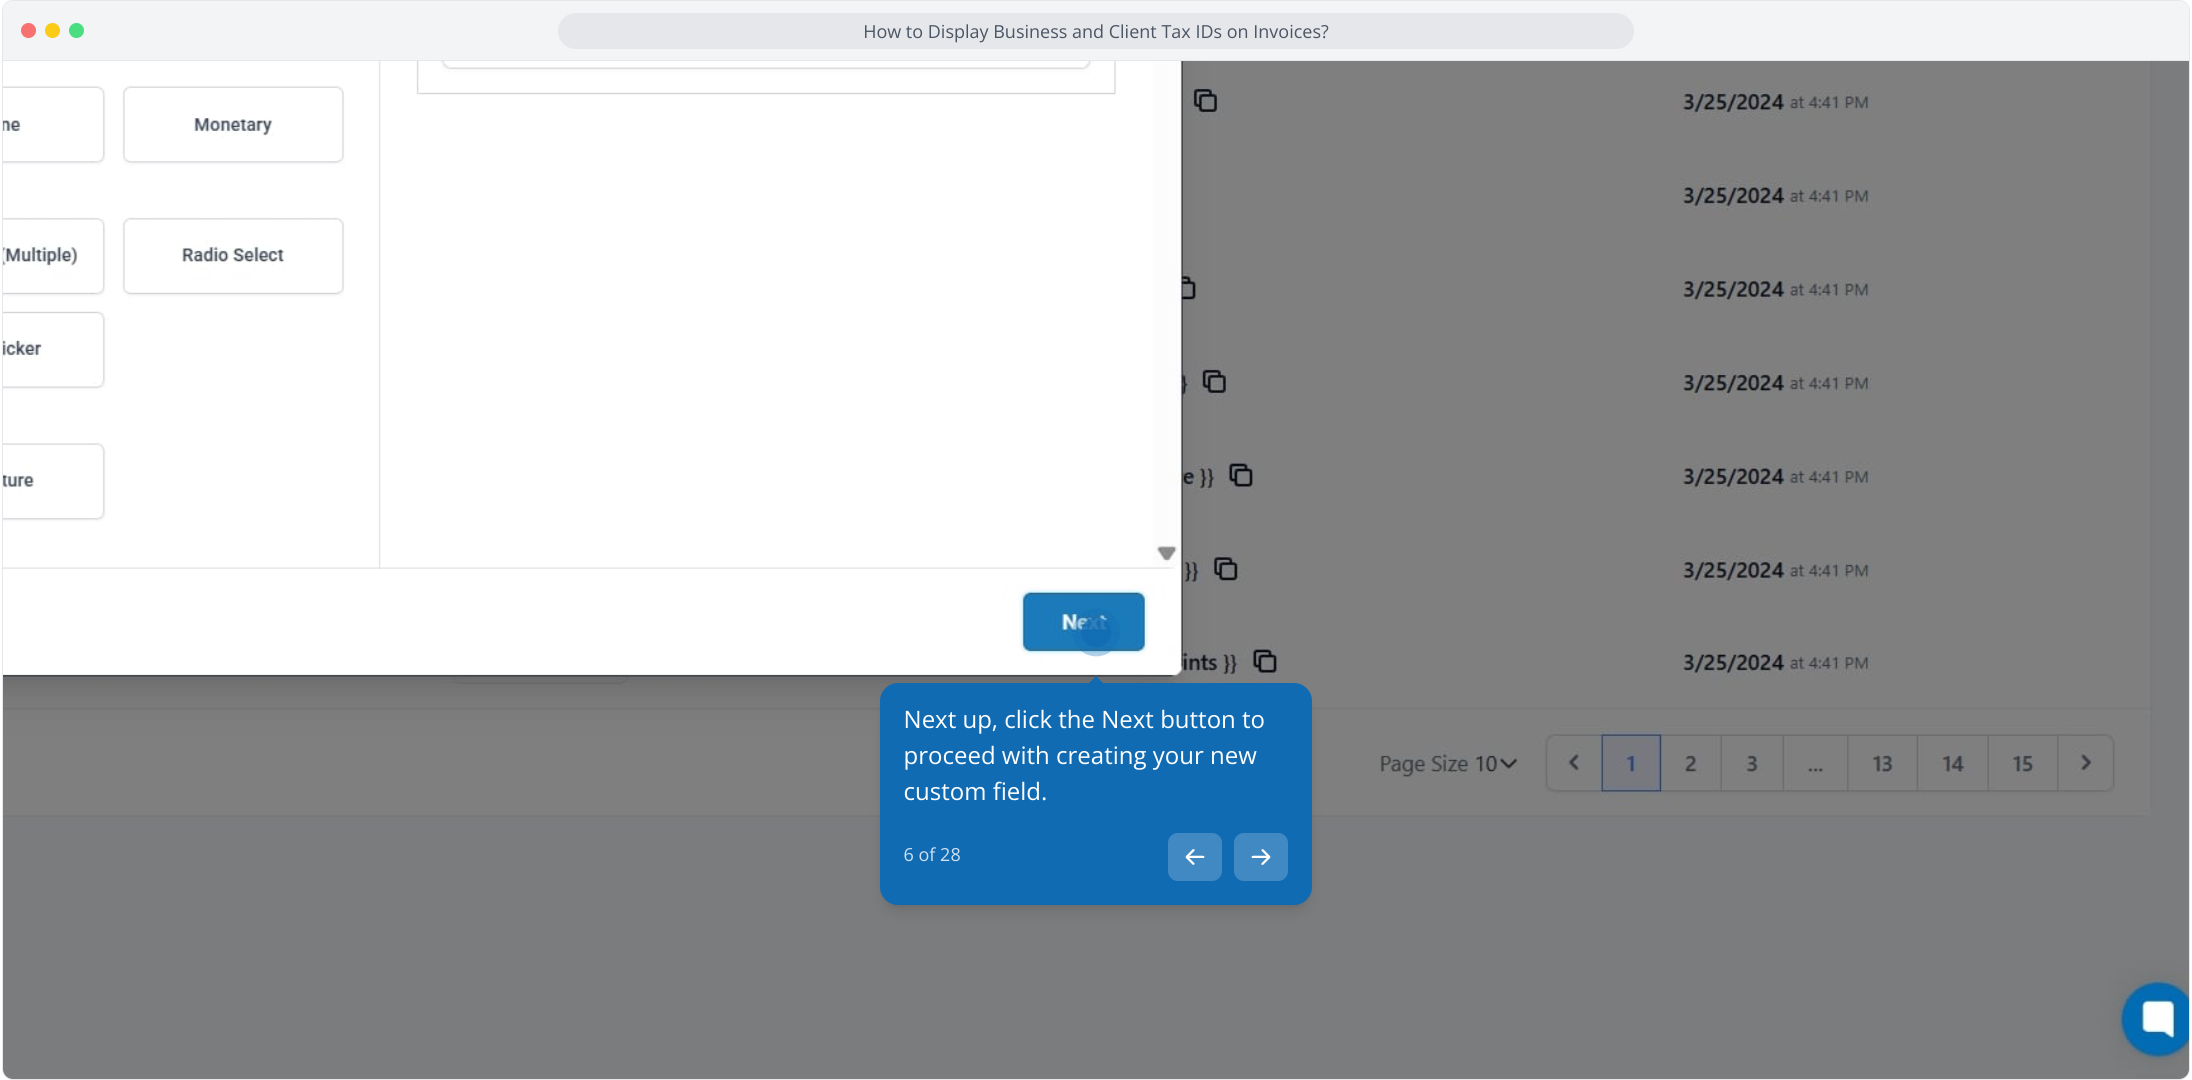
6. Next up, click the Next button to proceed with creating your new custom field.
7. Input the Name as "Tax ID" or anything that you want to refer it as, and select "Contact" from both the Object and Group dropdowns. Click Save.

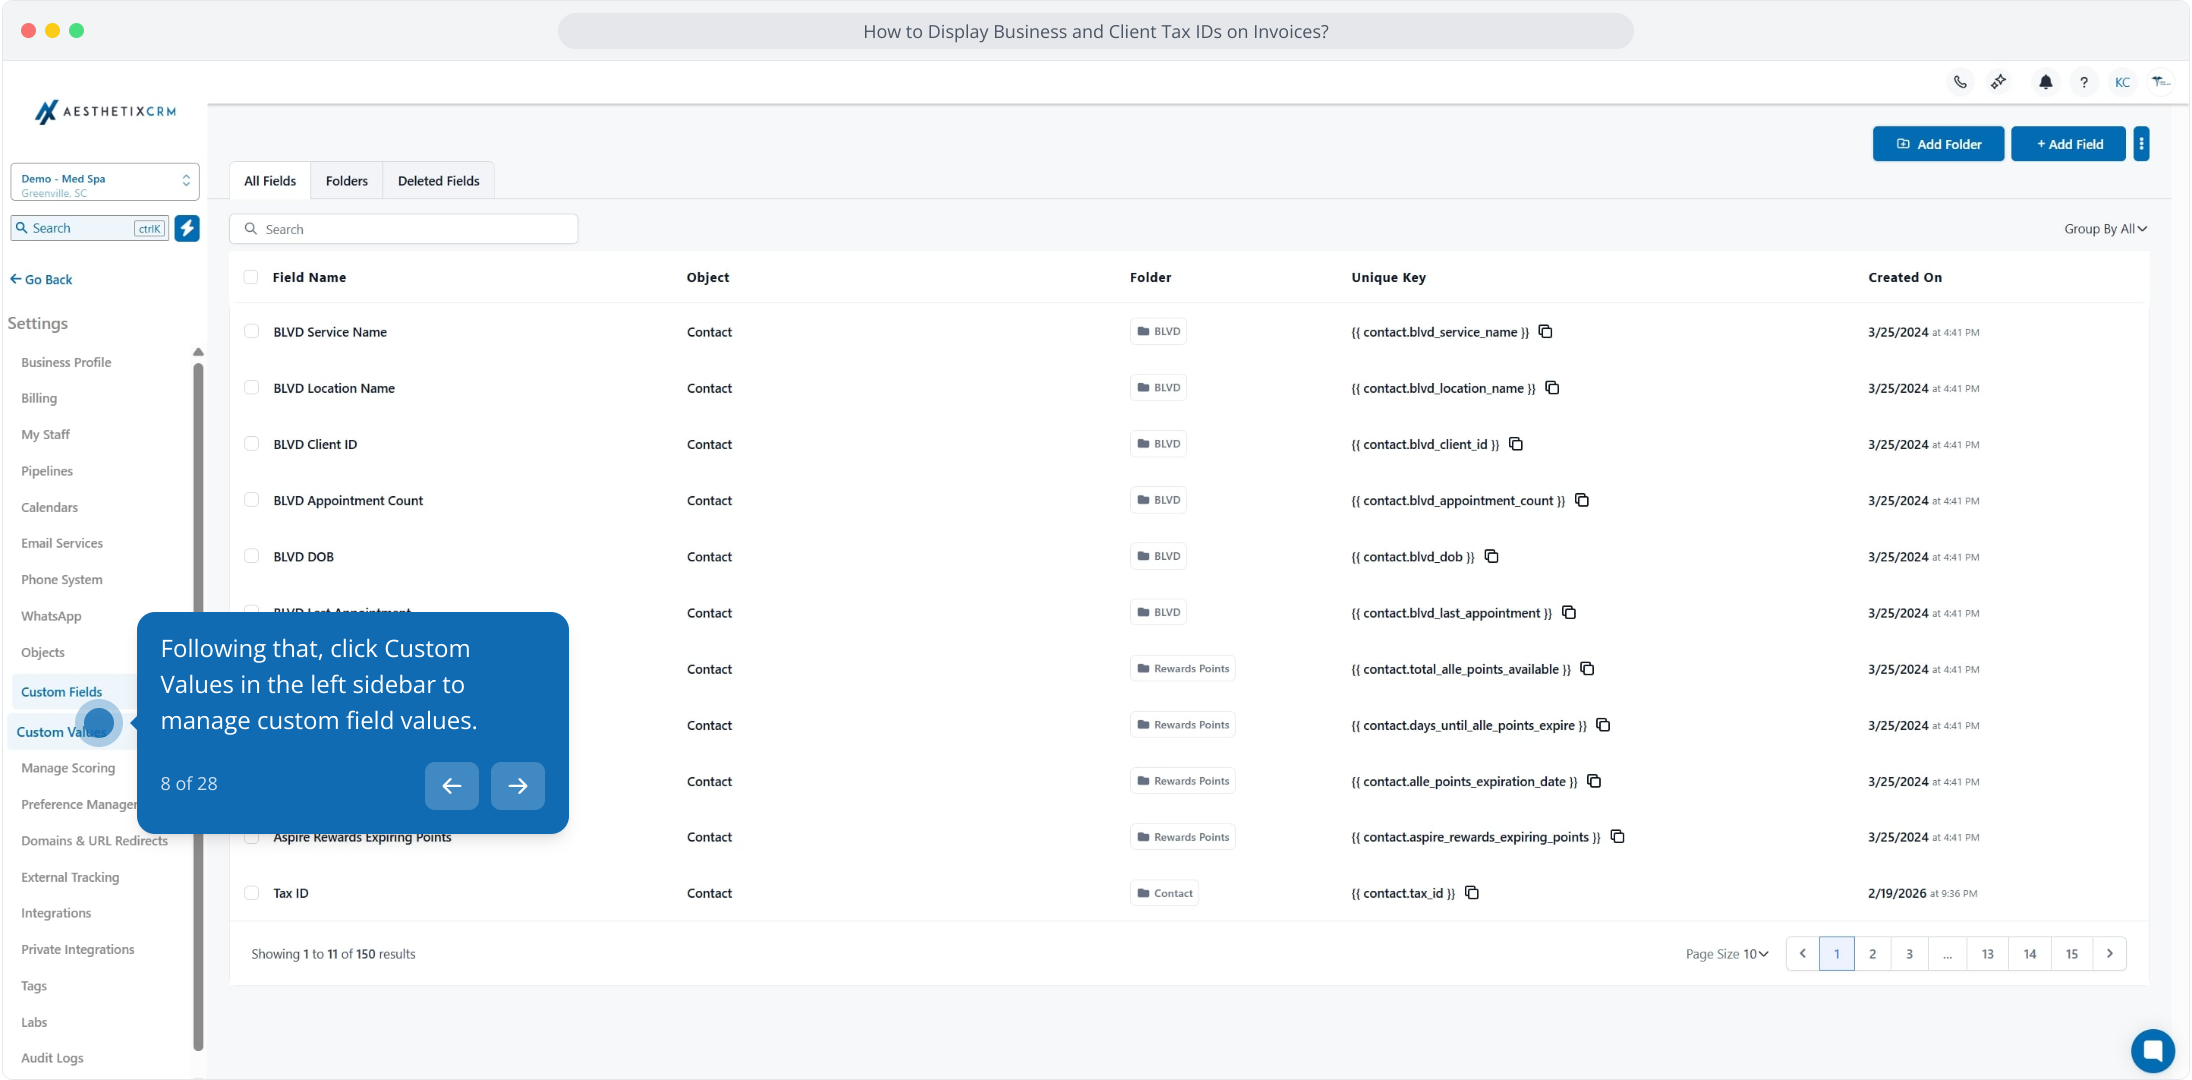
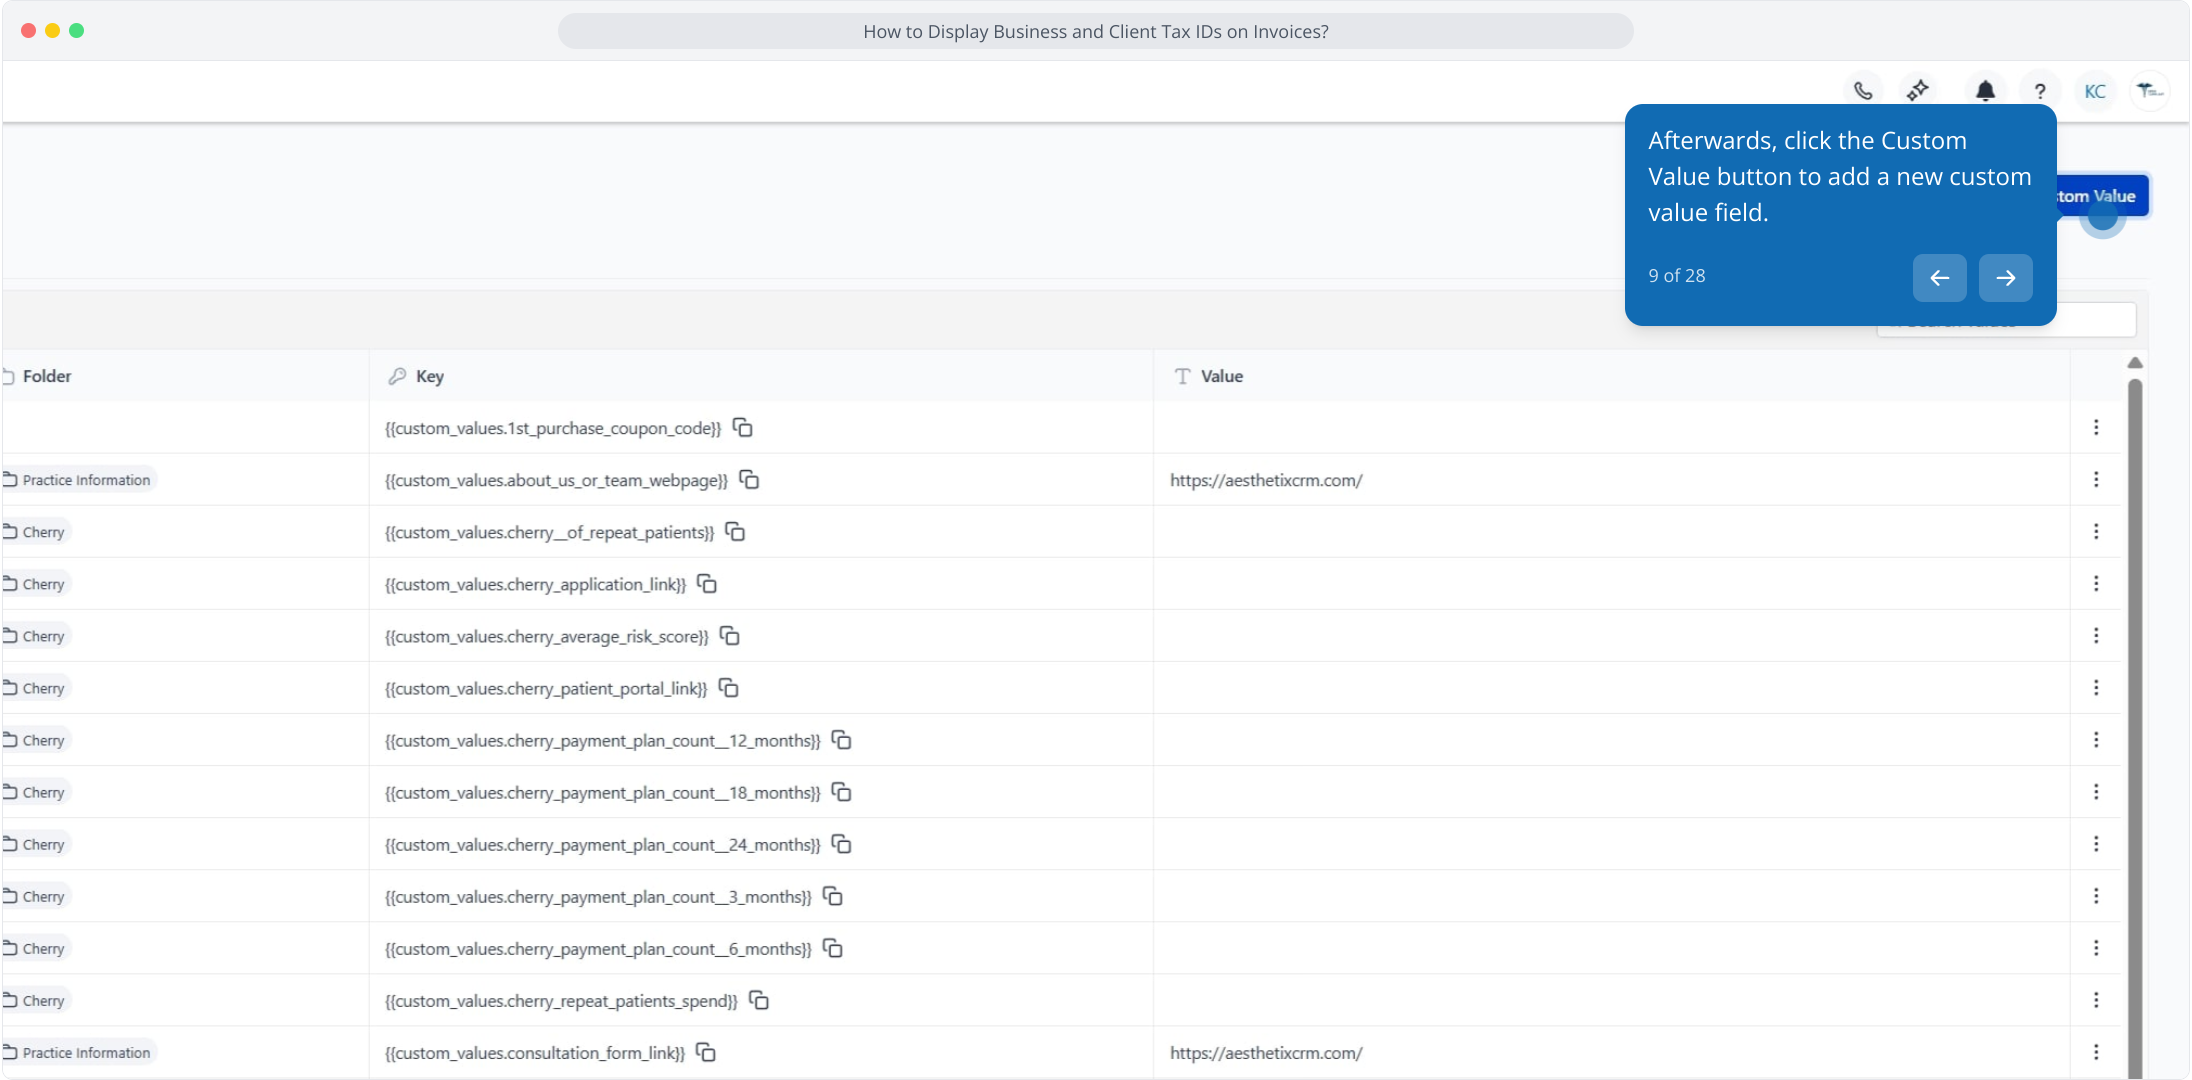
8. Following that, click Custom Values in the left sidebar to manage custom field values.
9. Afterwards, click the Custom Value button to add a new custom value field.
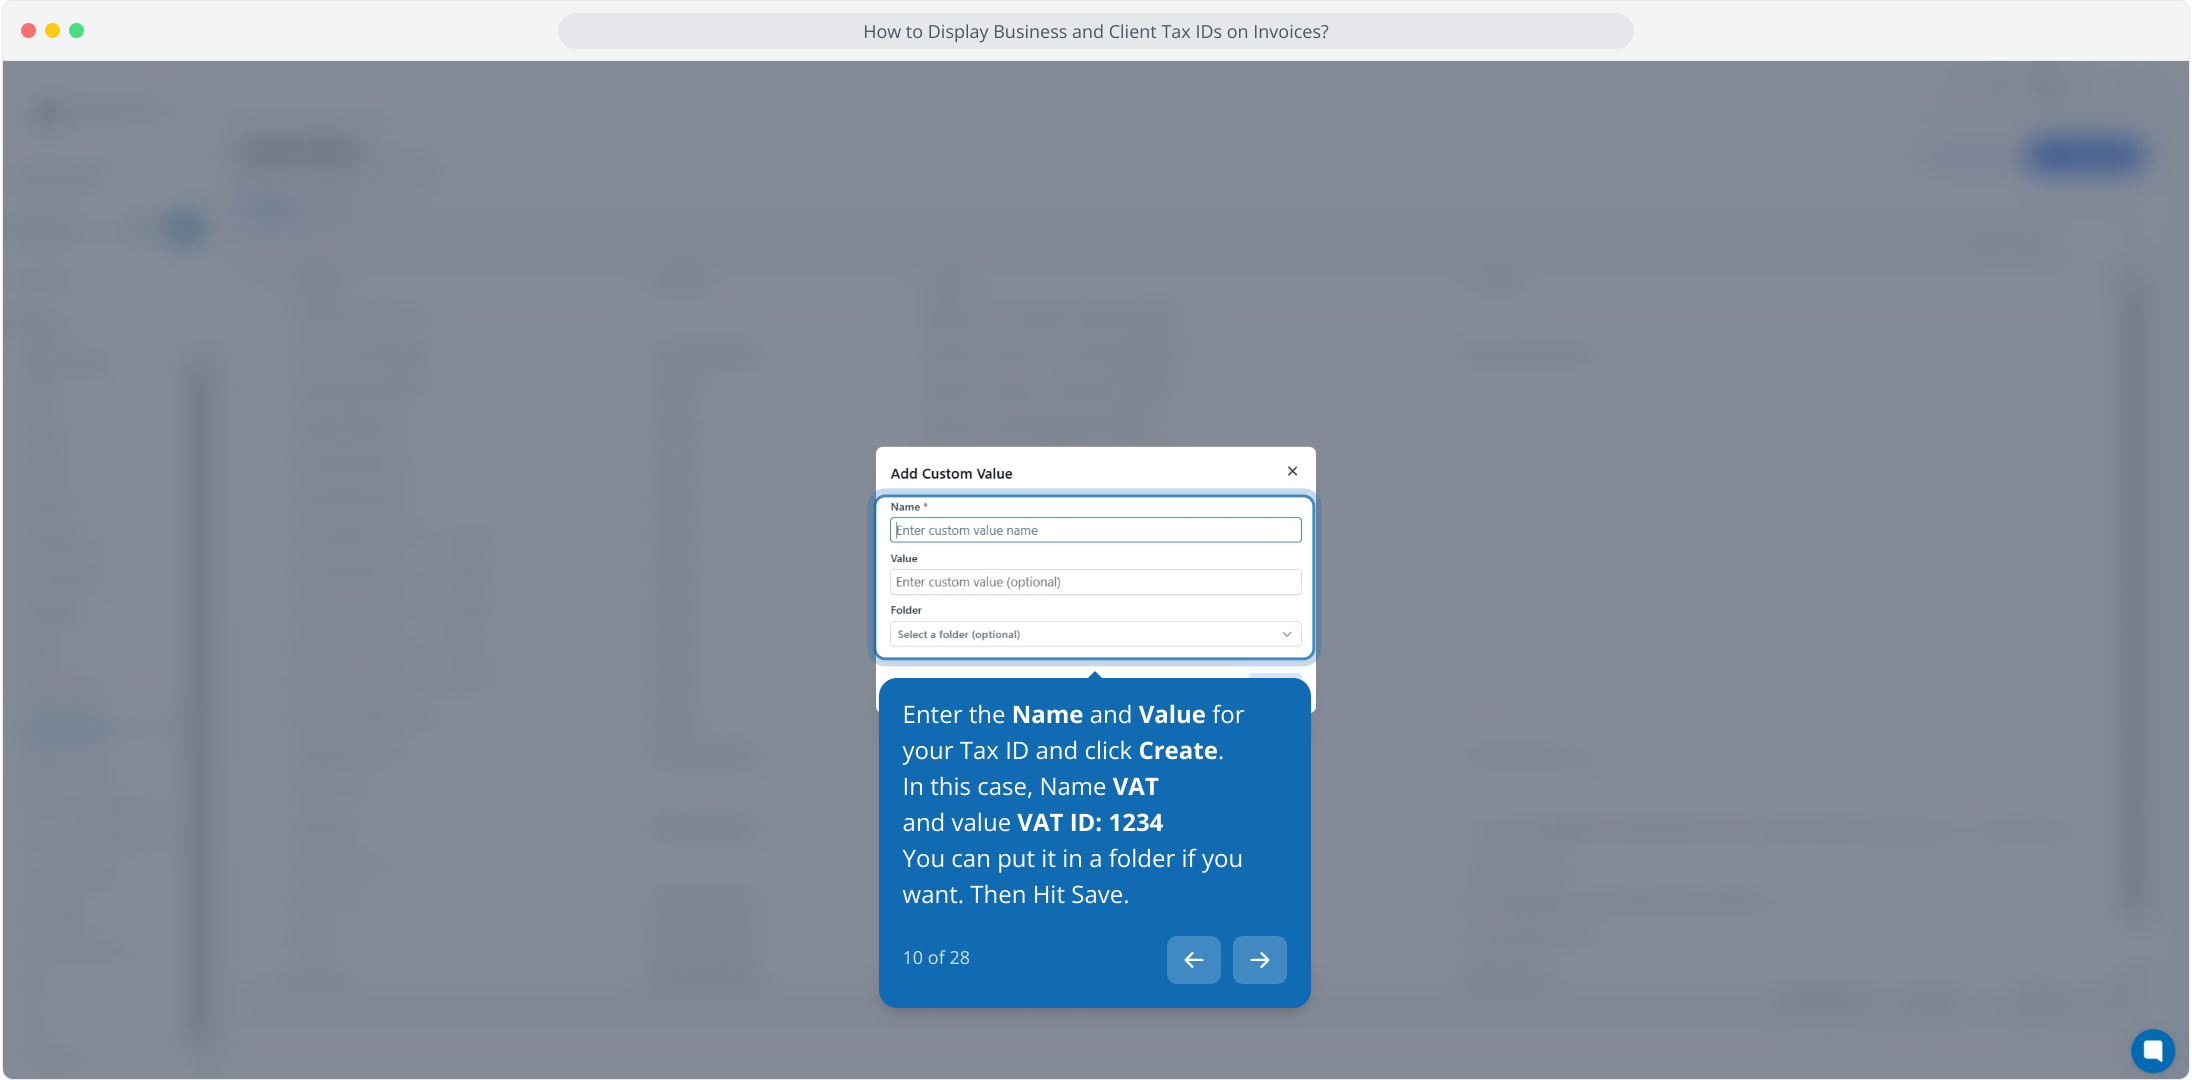
10. Enter the Name and Value for your Tax ID and click Create.
In this case, Name VAT
and value VAT ID: 1234
You can put it in a folder if you want. Then Hit Save.
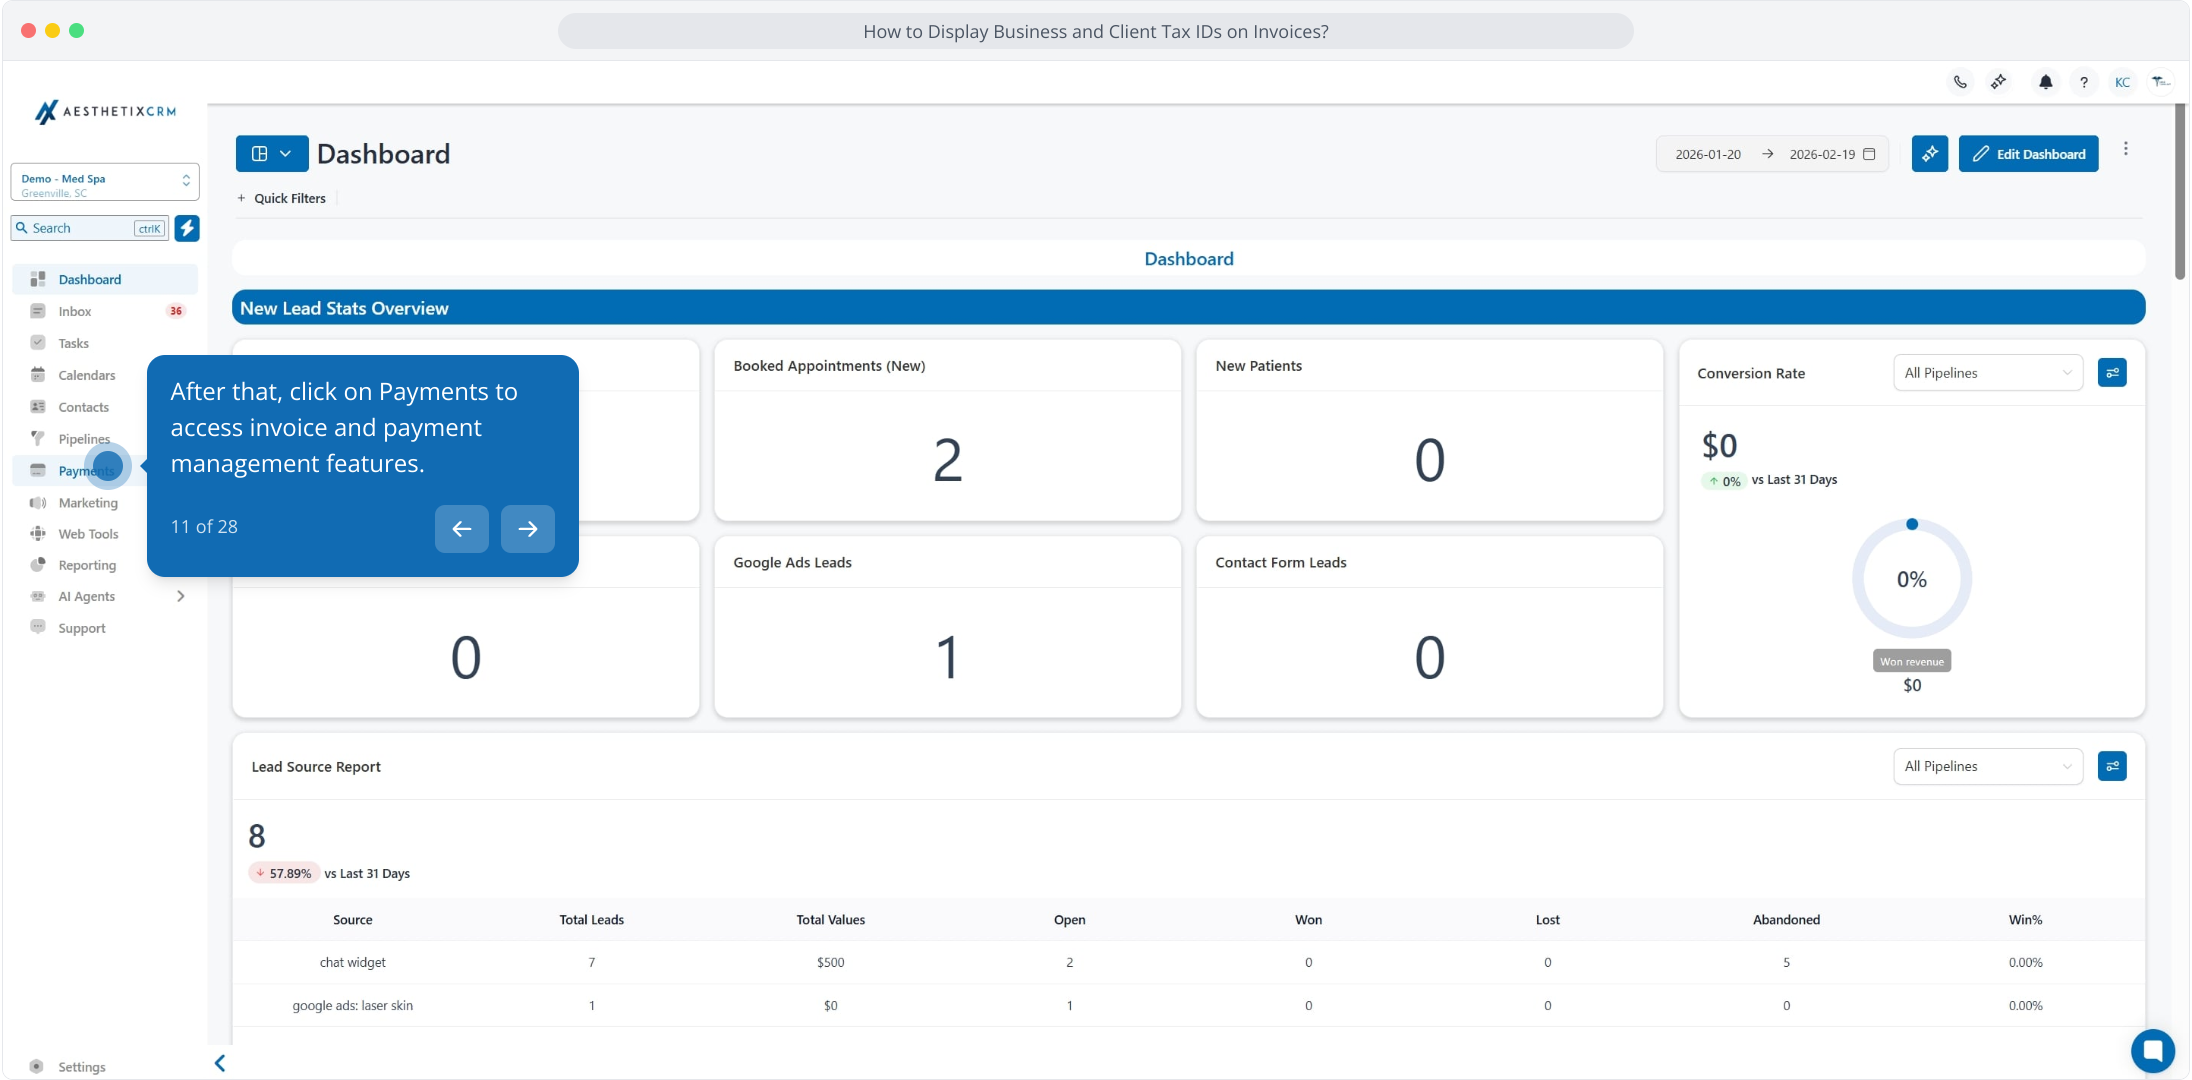
11. After that, click on Payments to access invoice and payment management features.
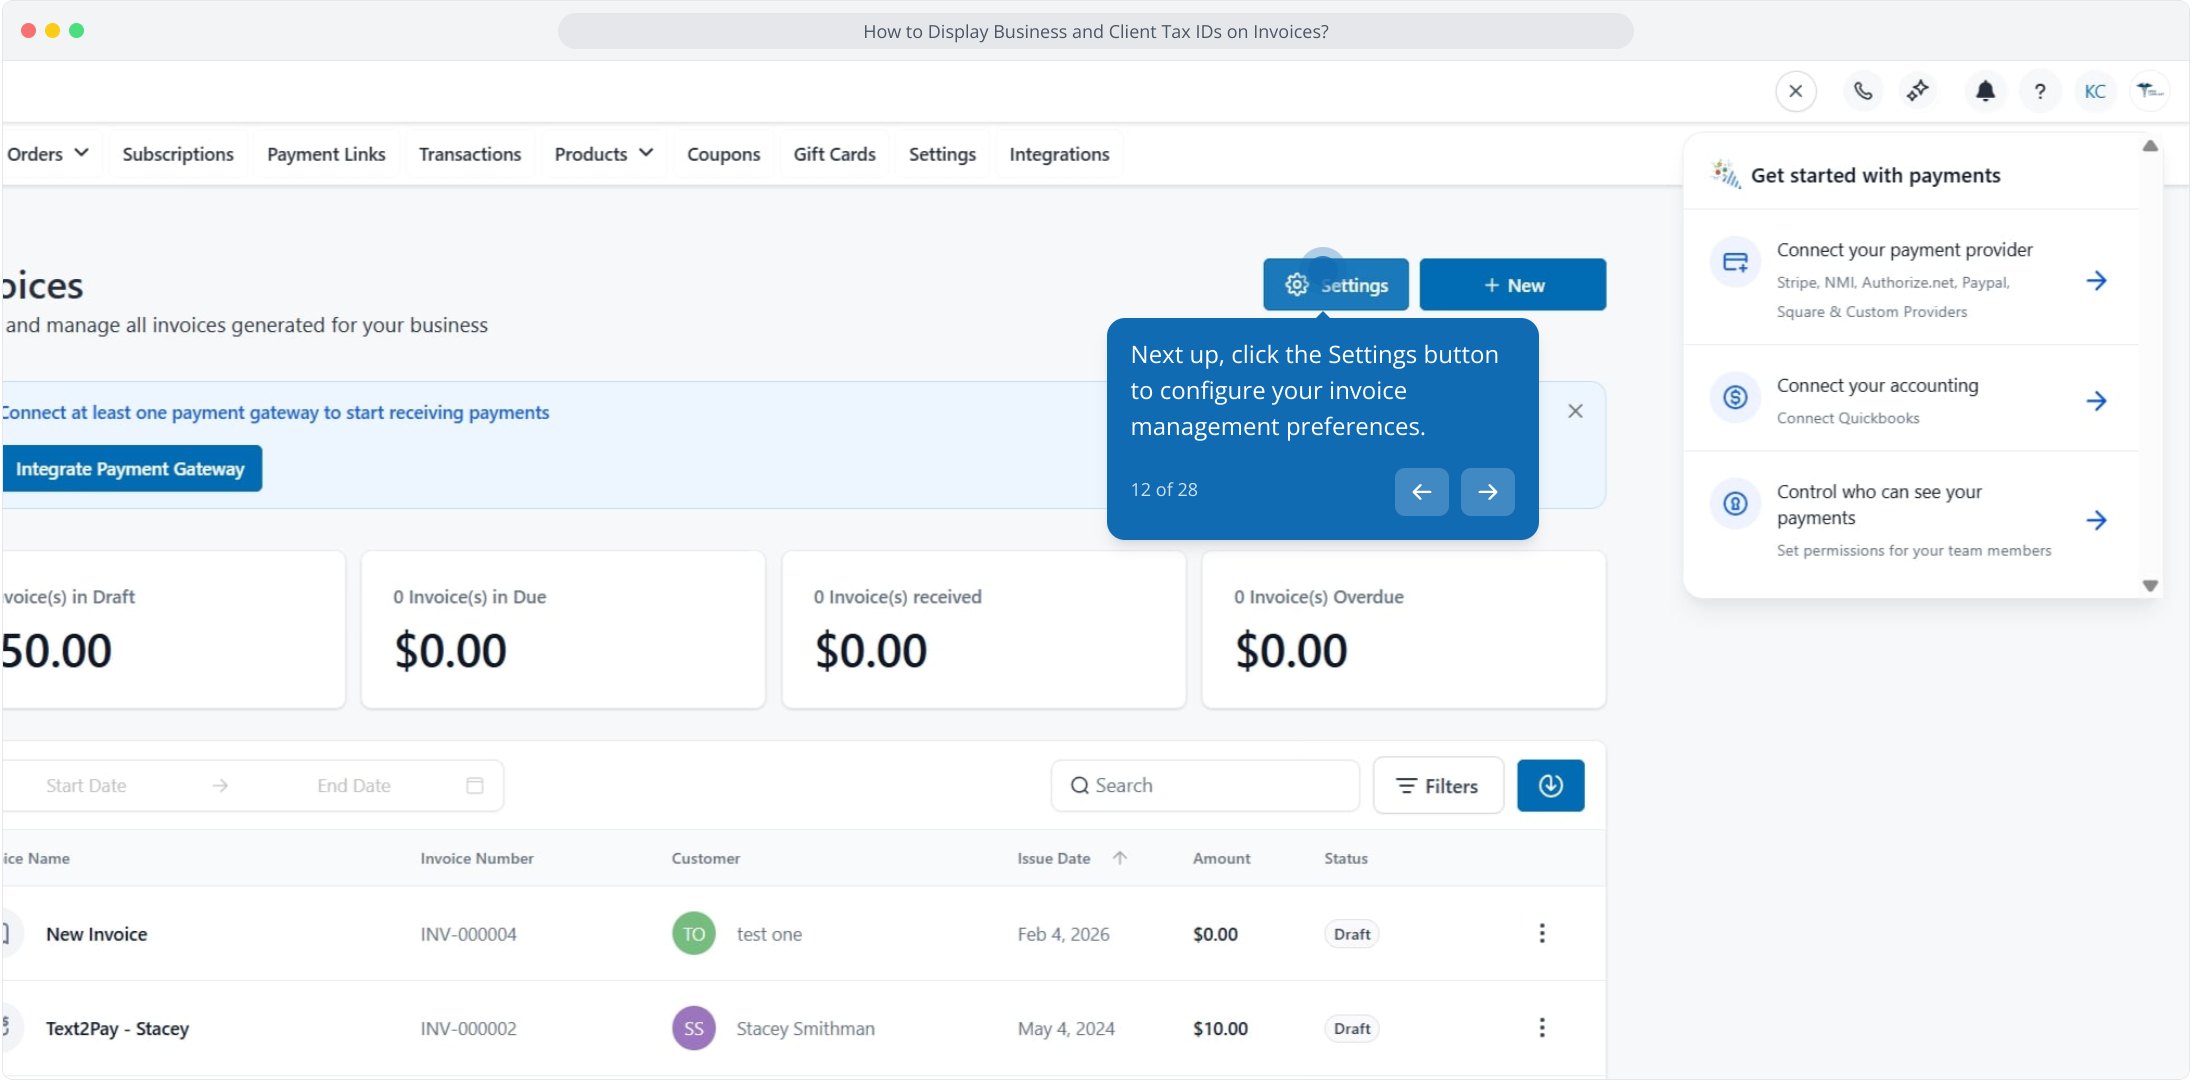
12. Next up, click the Settings button to configure your invoice management preferences.
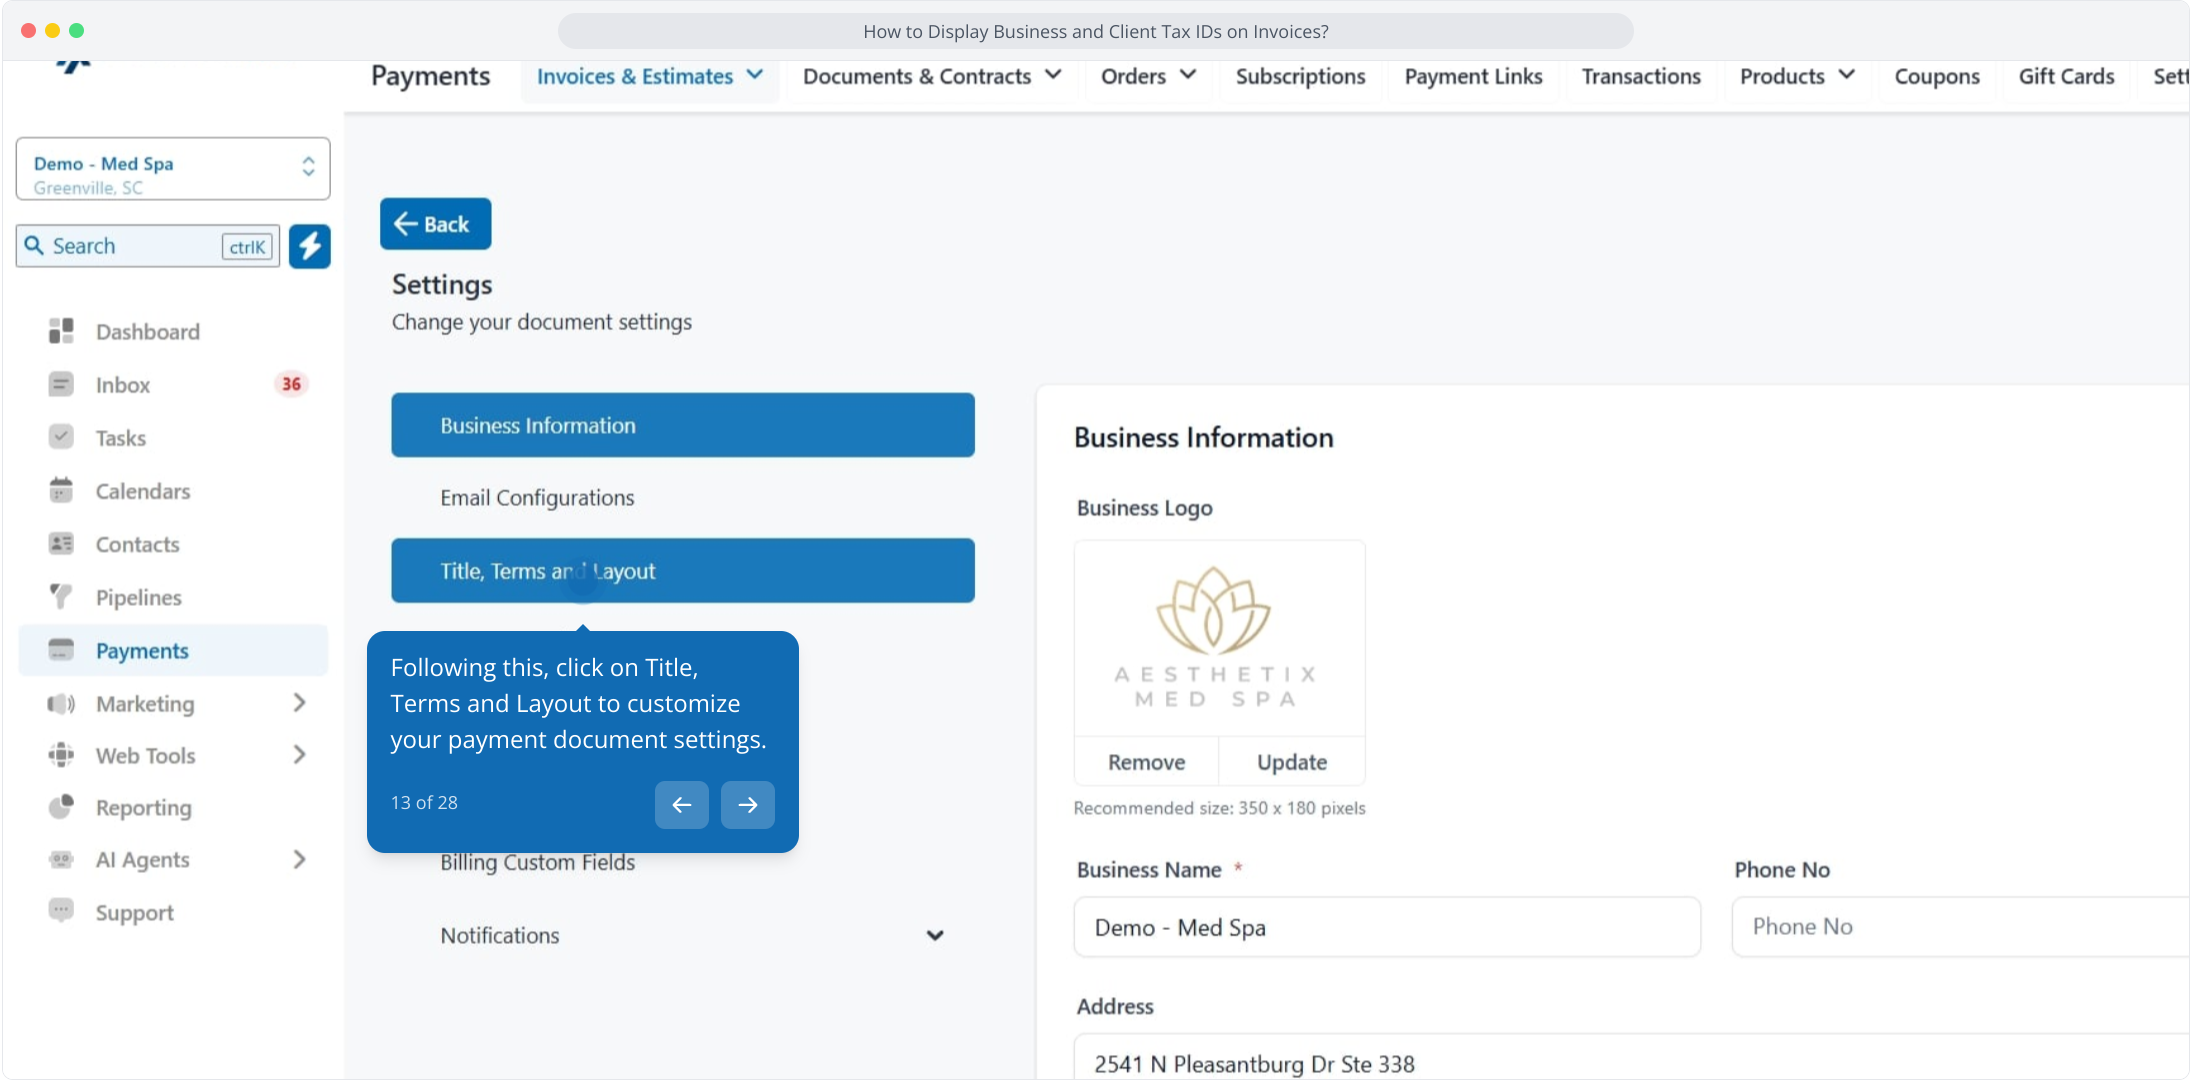
13. Following this, click on Title, Terms and Layout to customize your payment document settings.
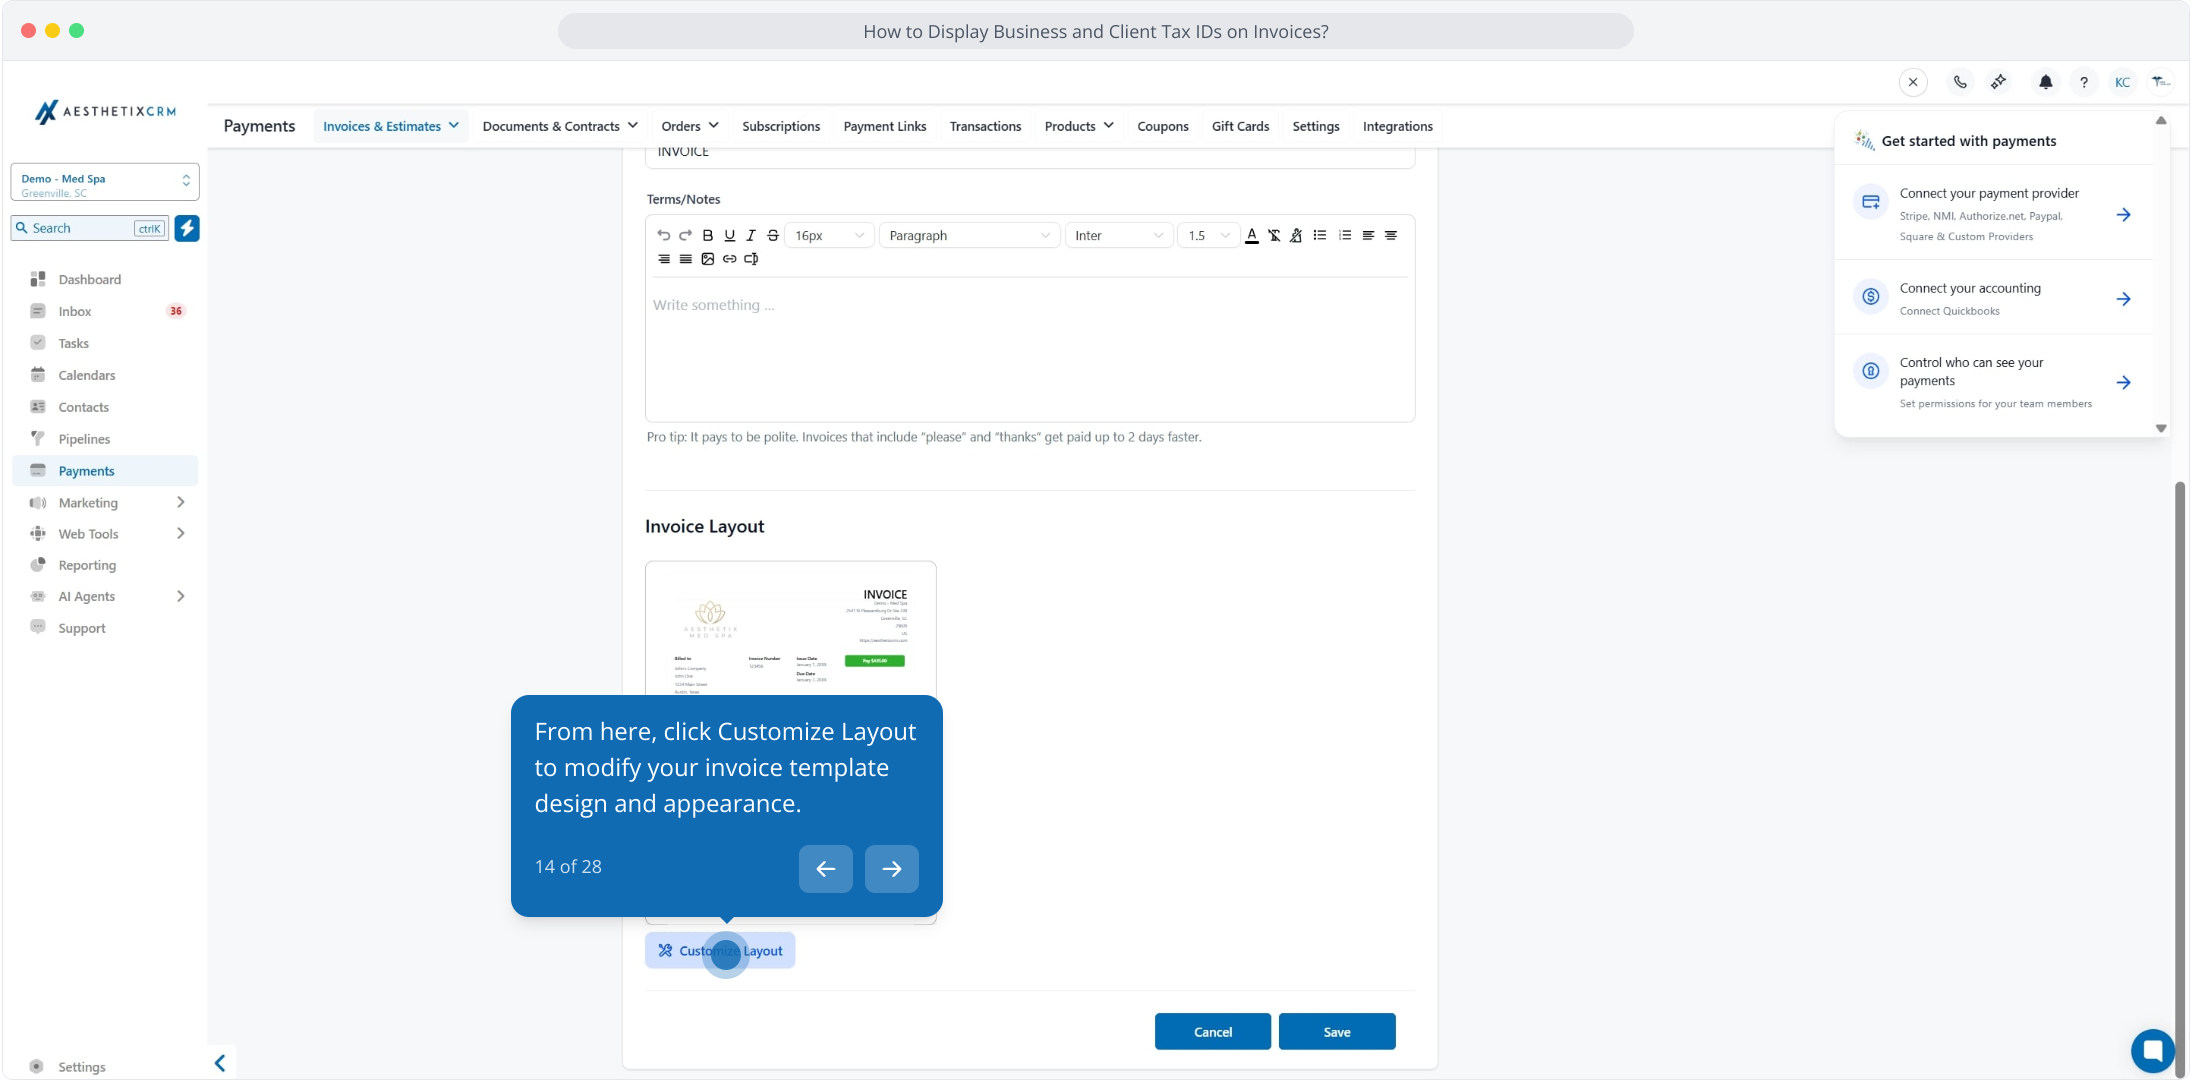
14. From here, click Customize Layout to modify your invoice template design and appearance.
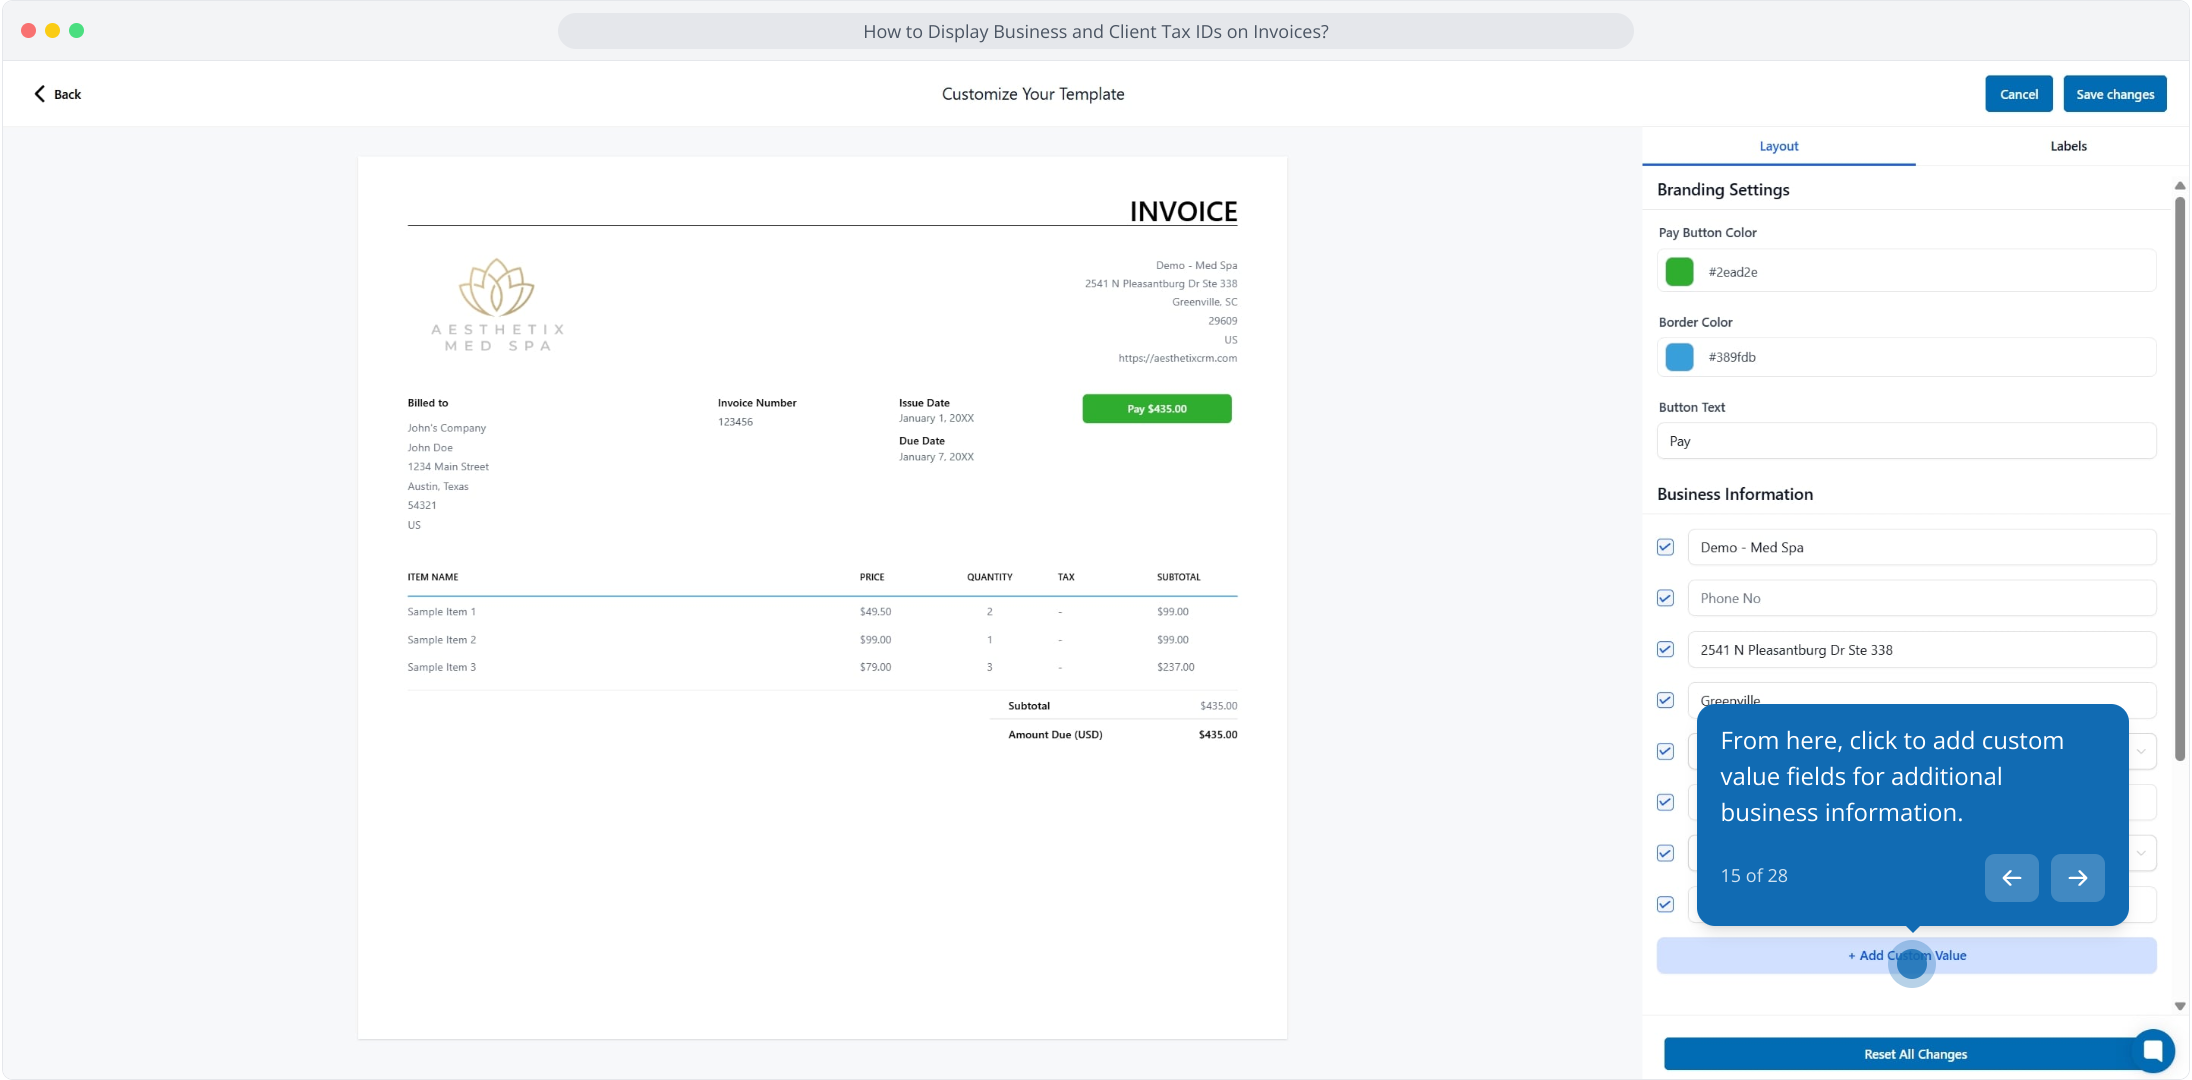
15. From here, click to add custom value fields for additional business information.
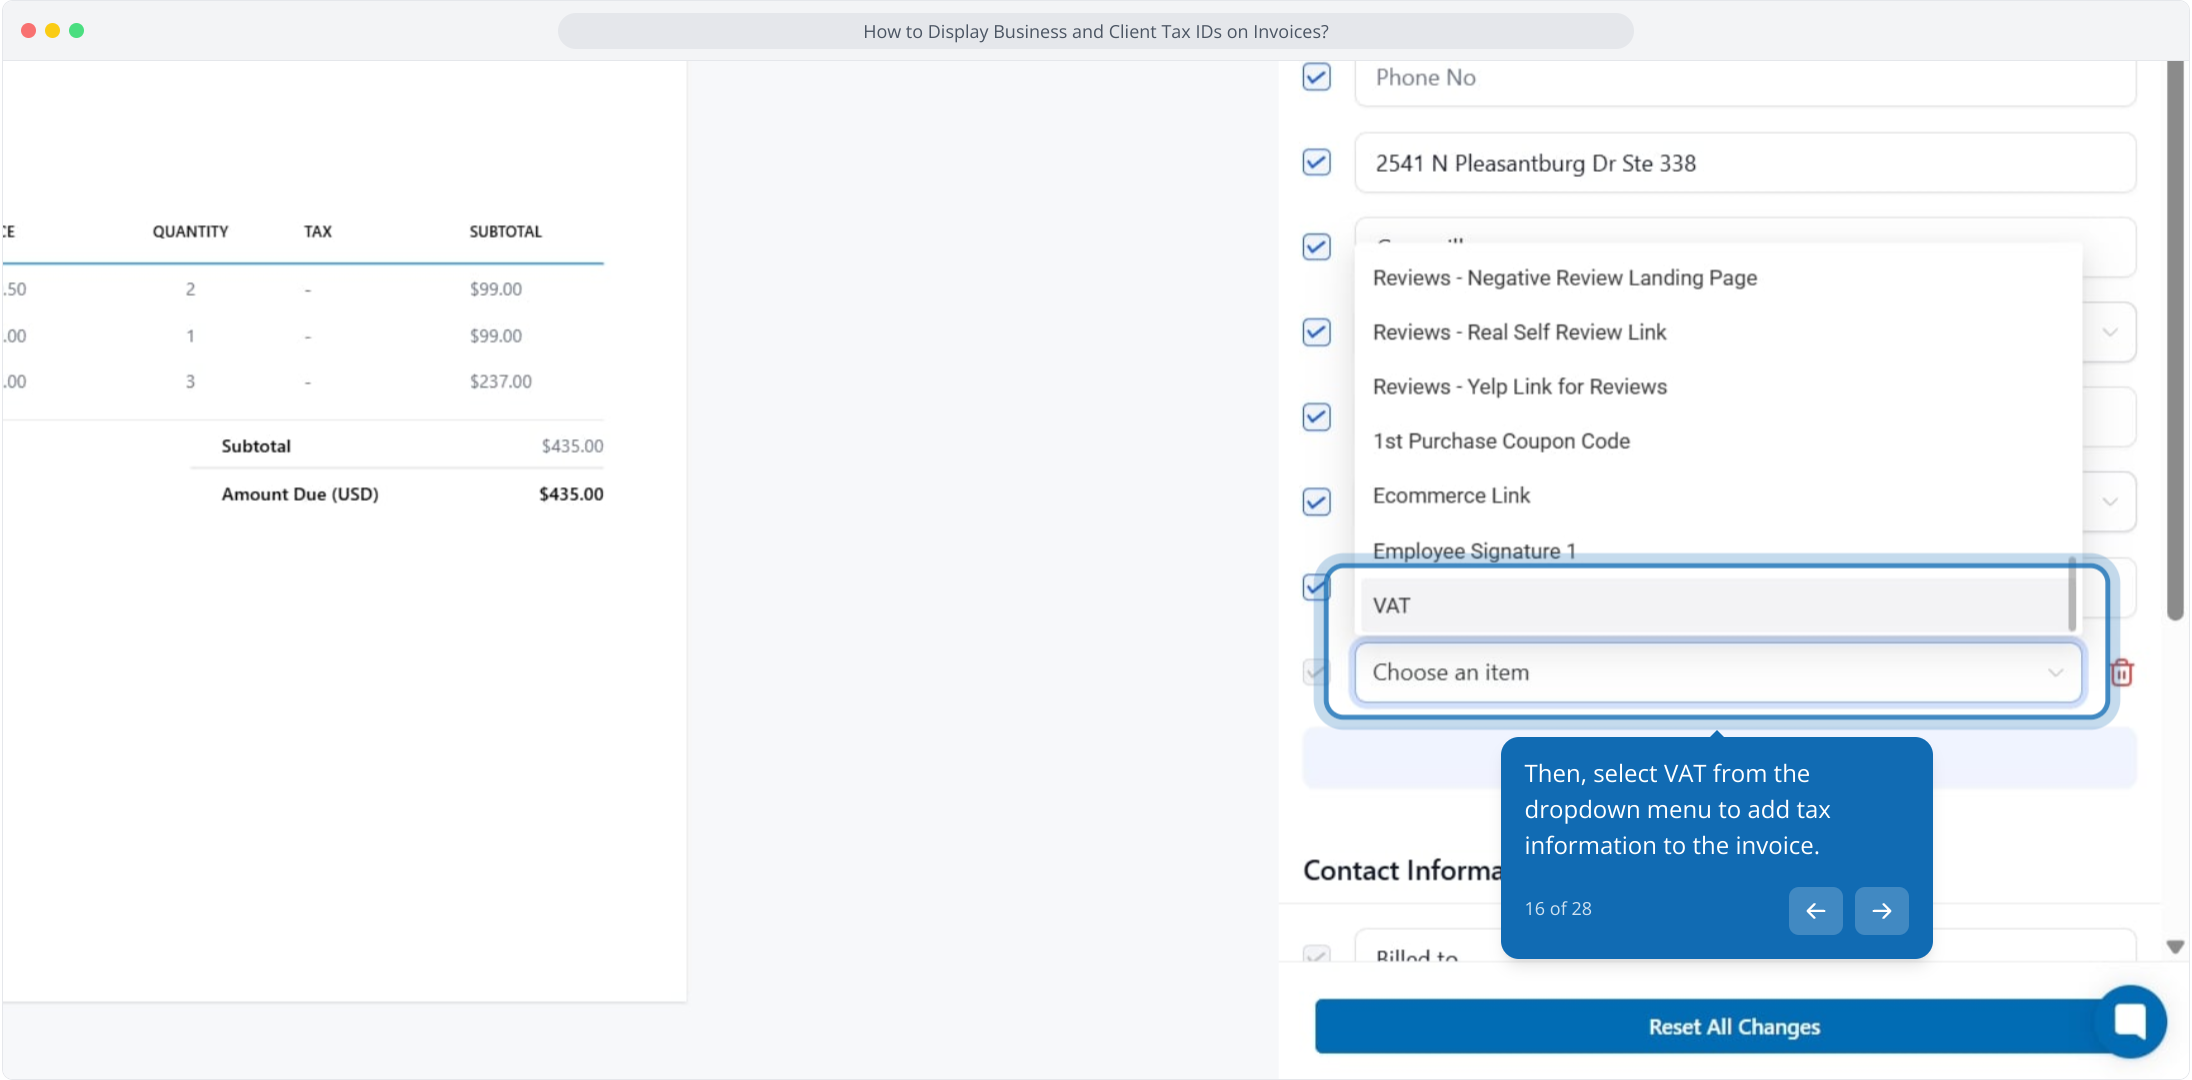
16. Then, select VAT from the dropdown menu to add tax information to the invoice.
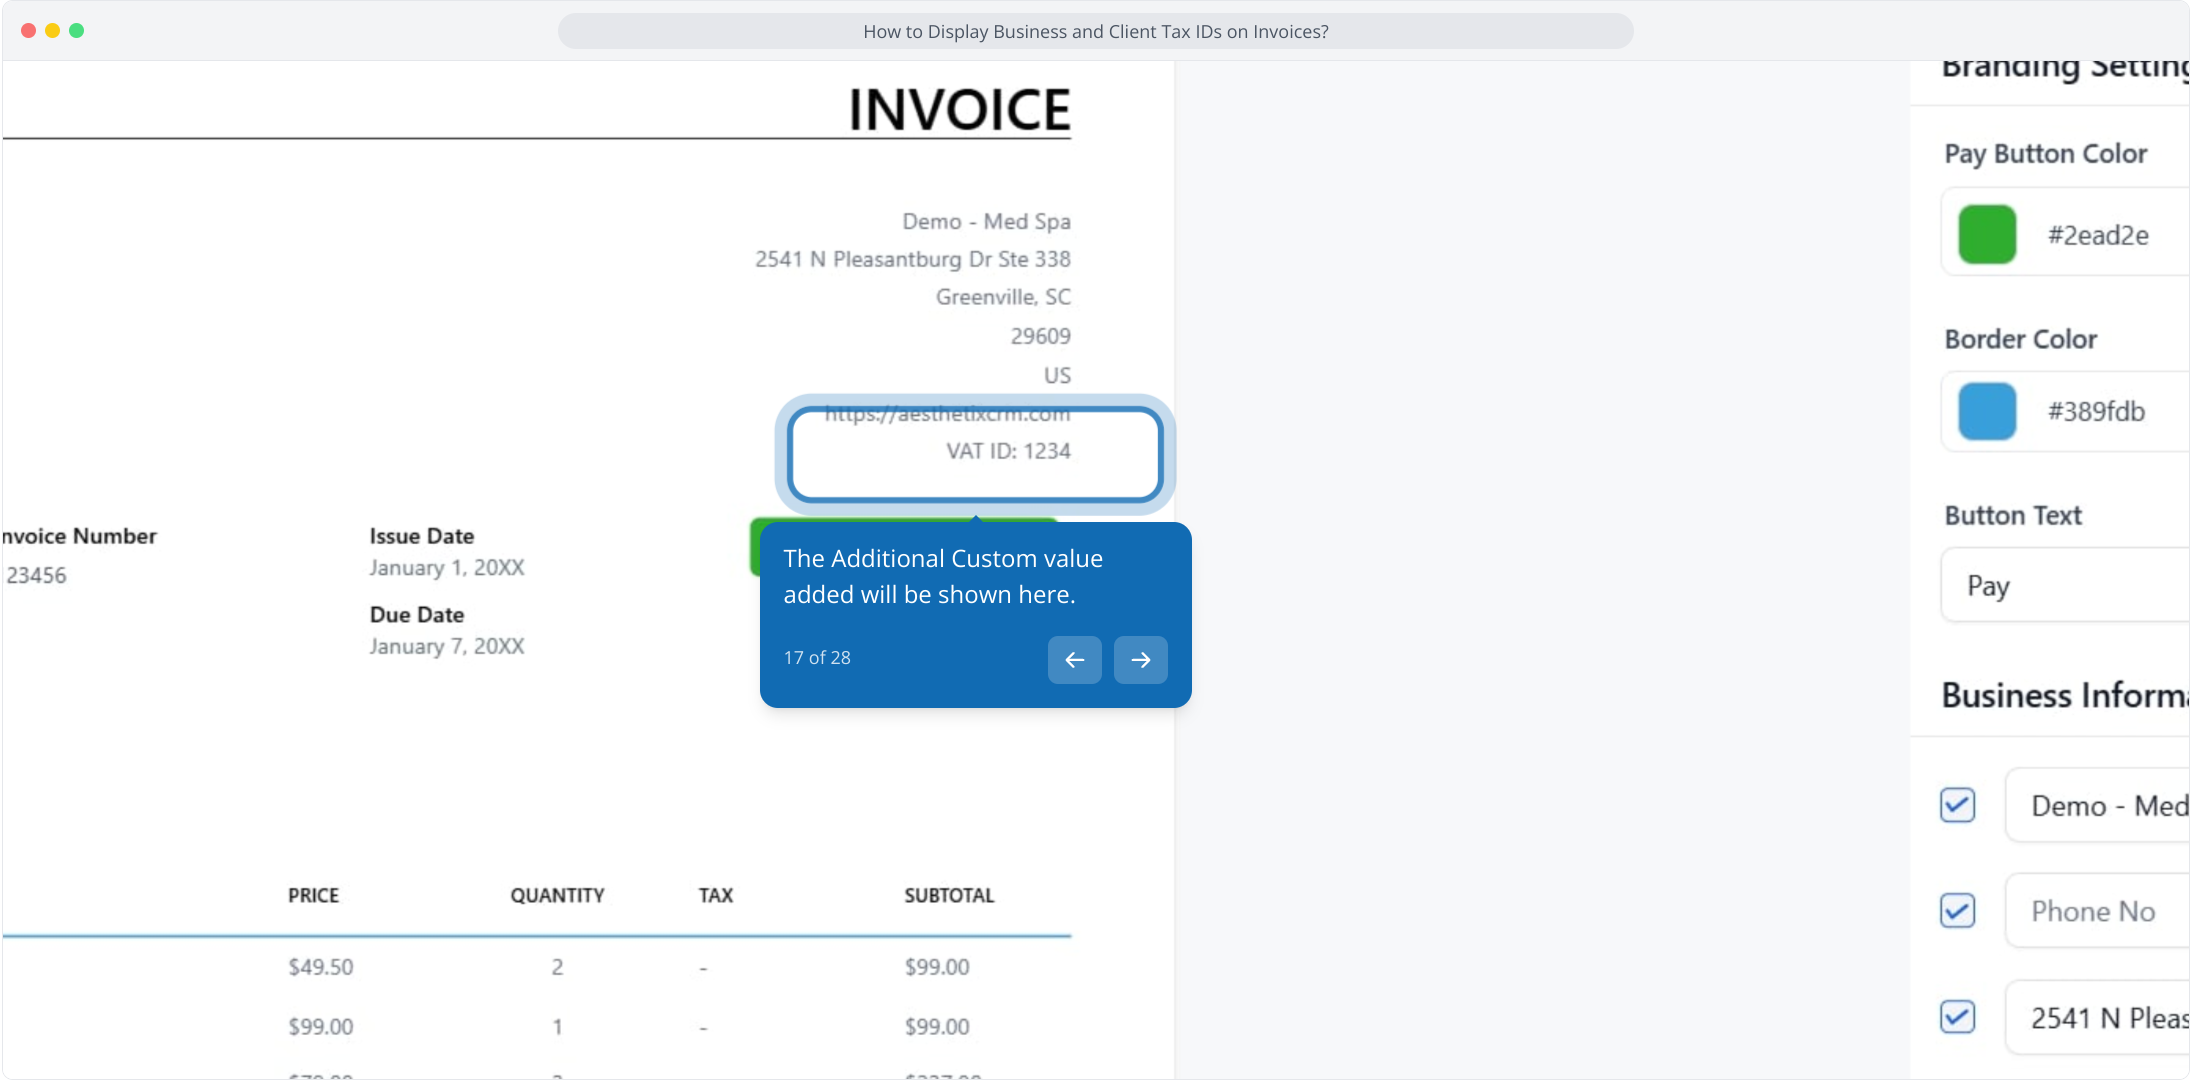
17. The Additional Custom value added will be shown here.
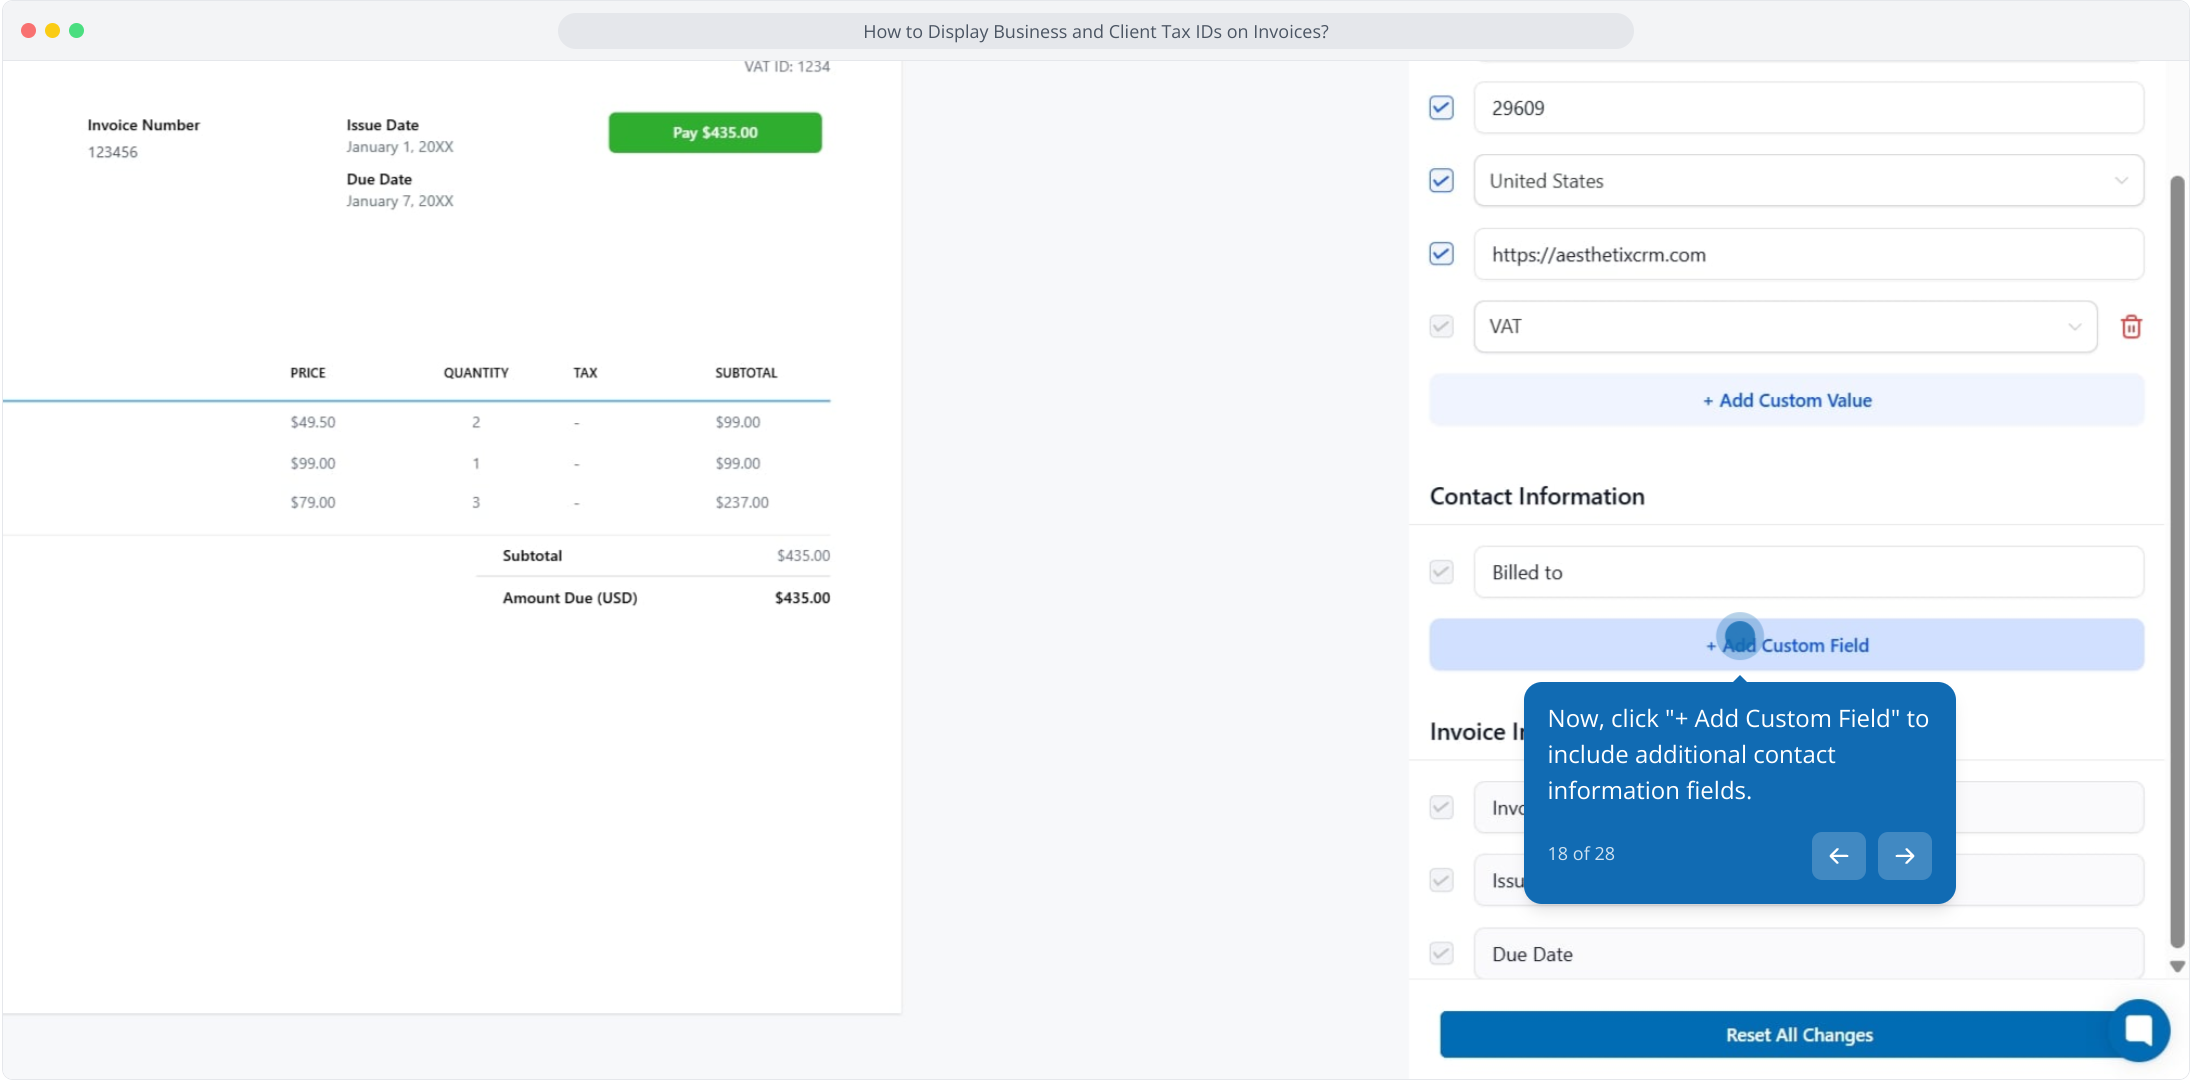
18. Now, click "+ Add Custom Field" to include additional contact information fields.
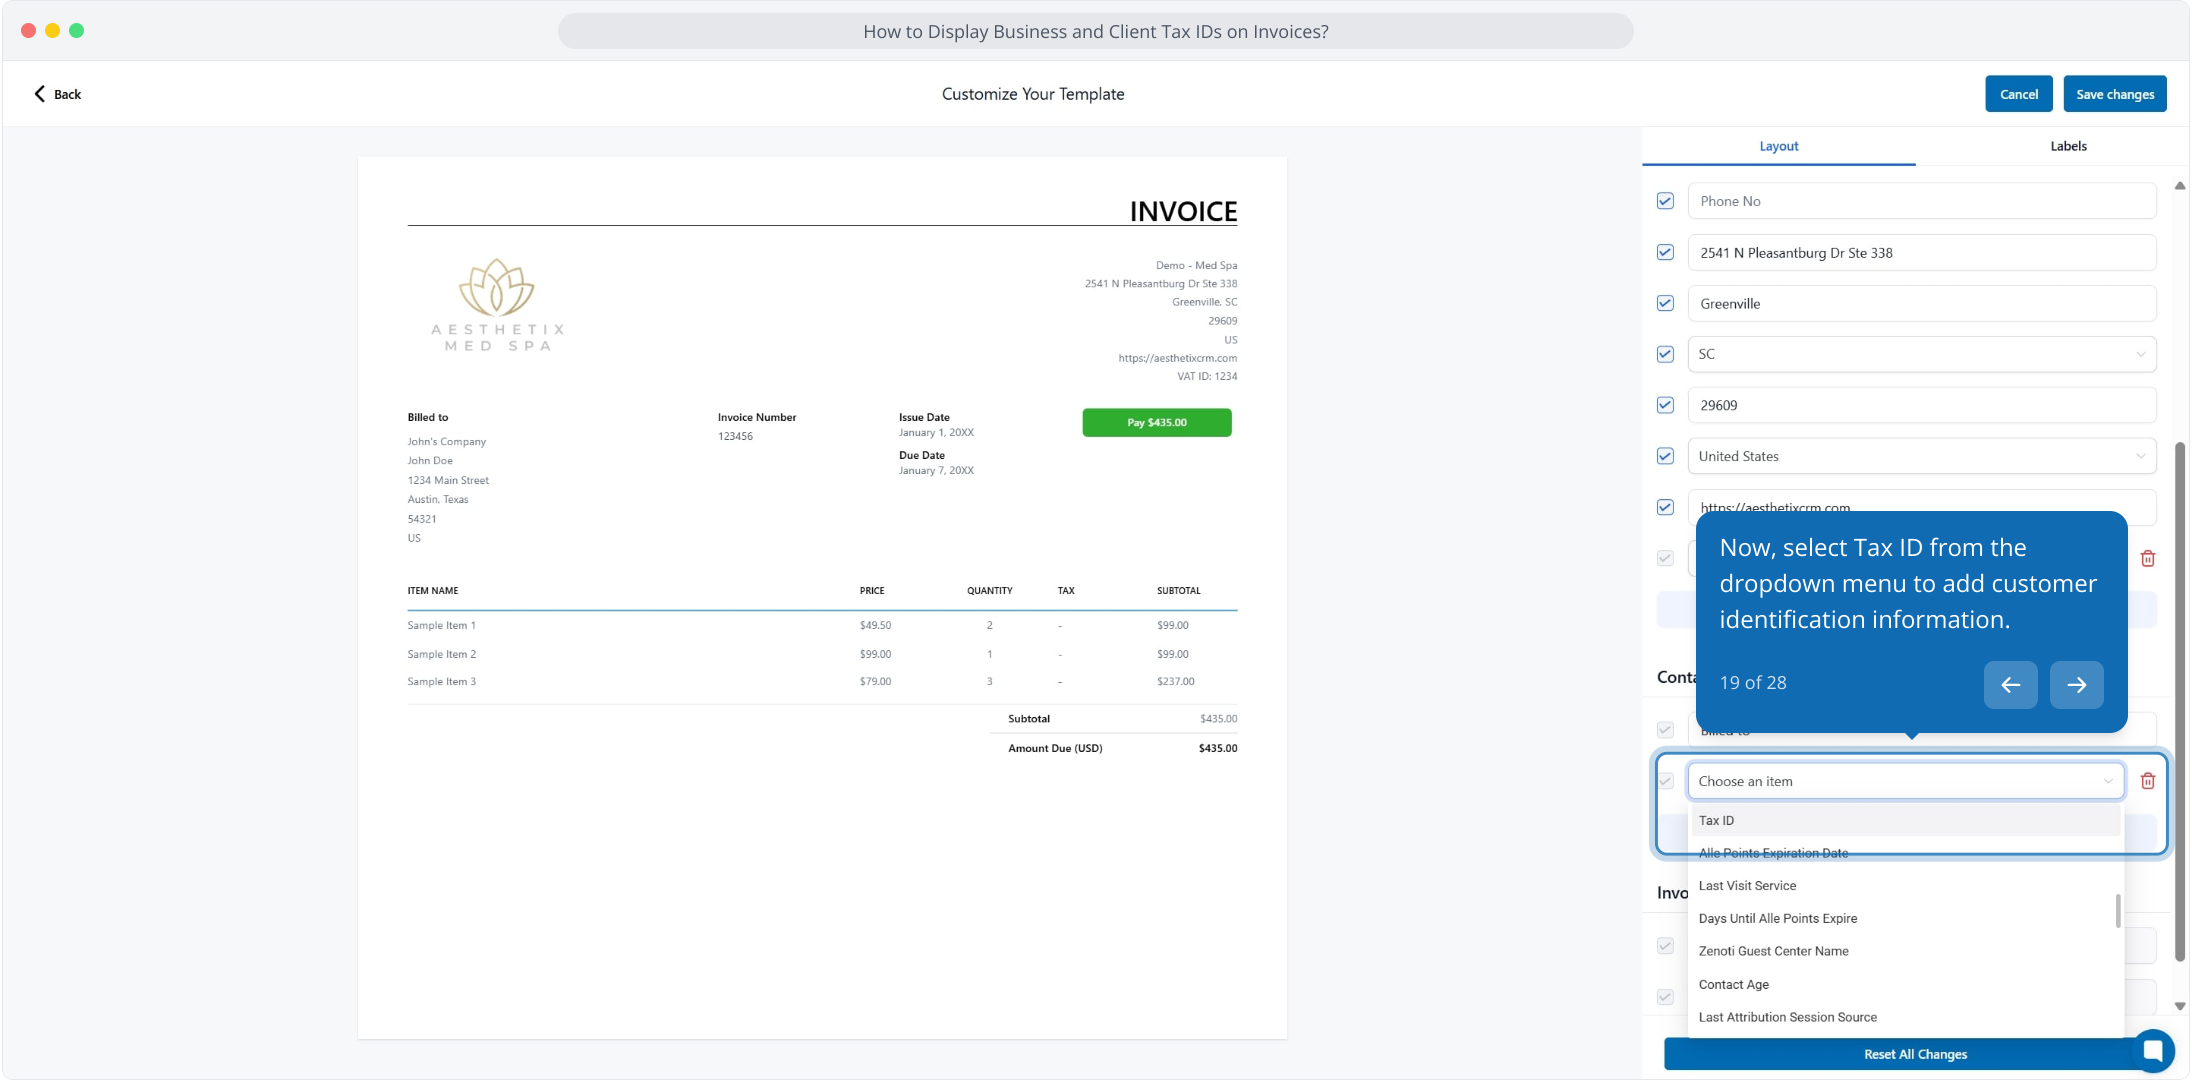
19. Now, select Tax ID from the dropdown menu to add customer identification information.
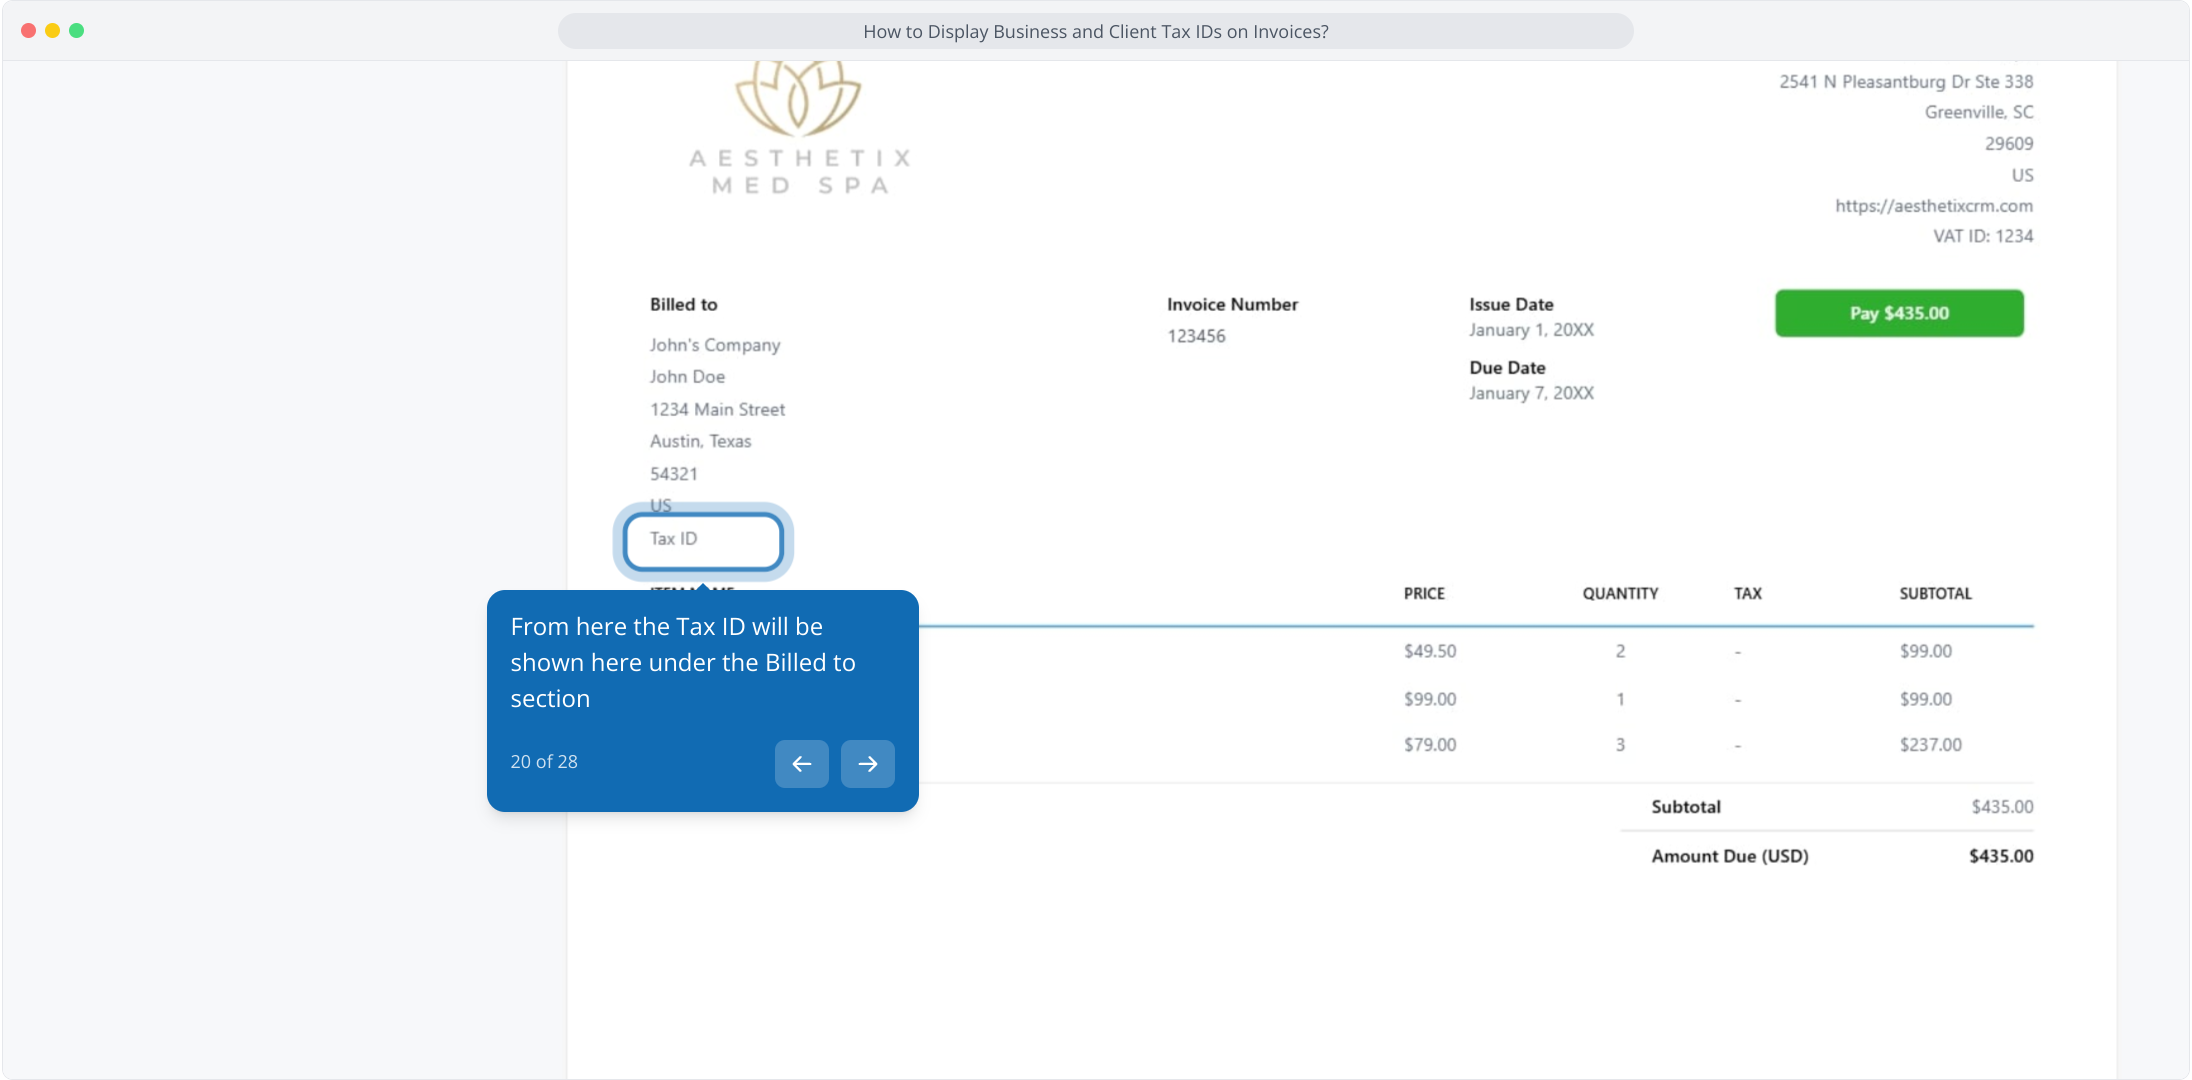
20. From here the Tax ID will be shown here under the Billed to section
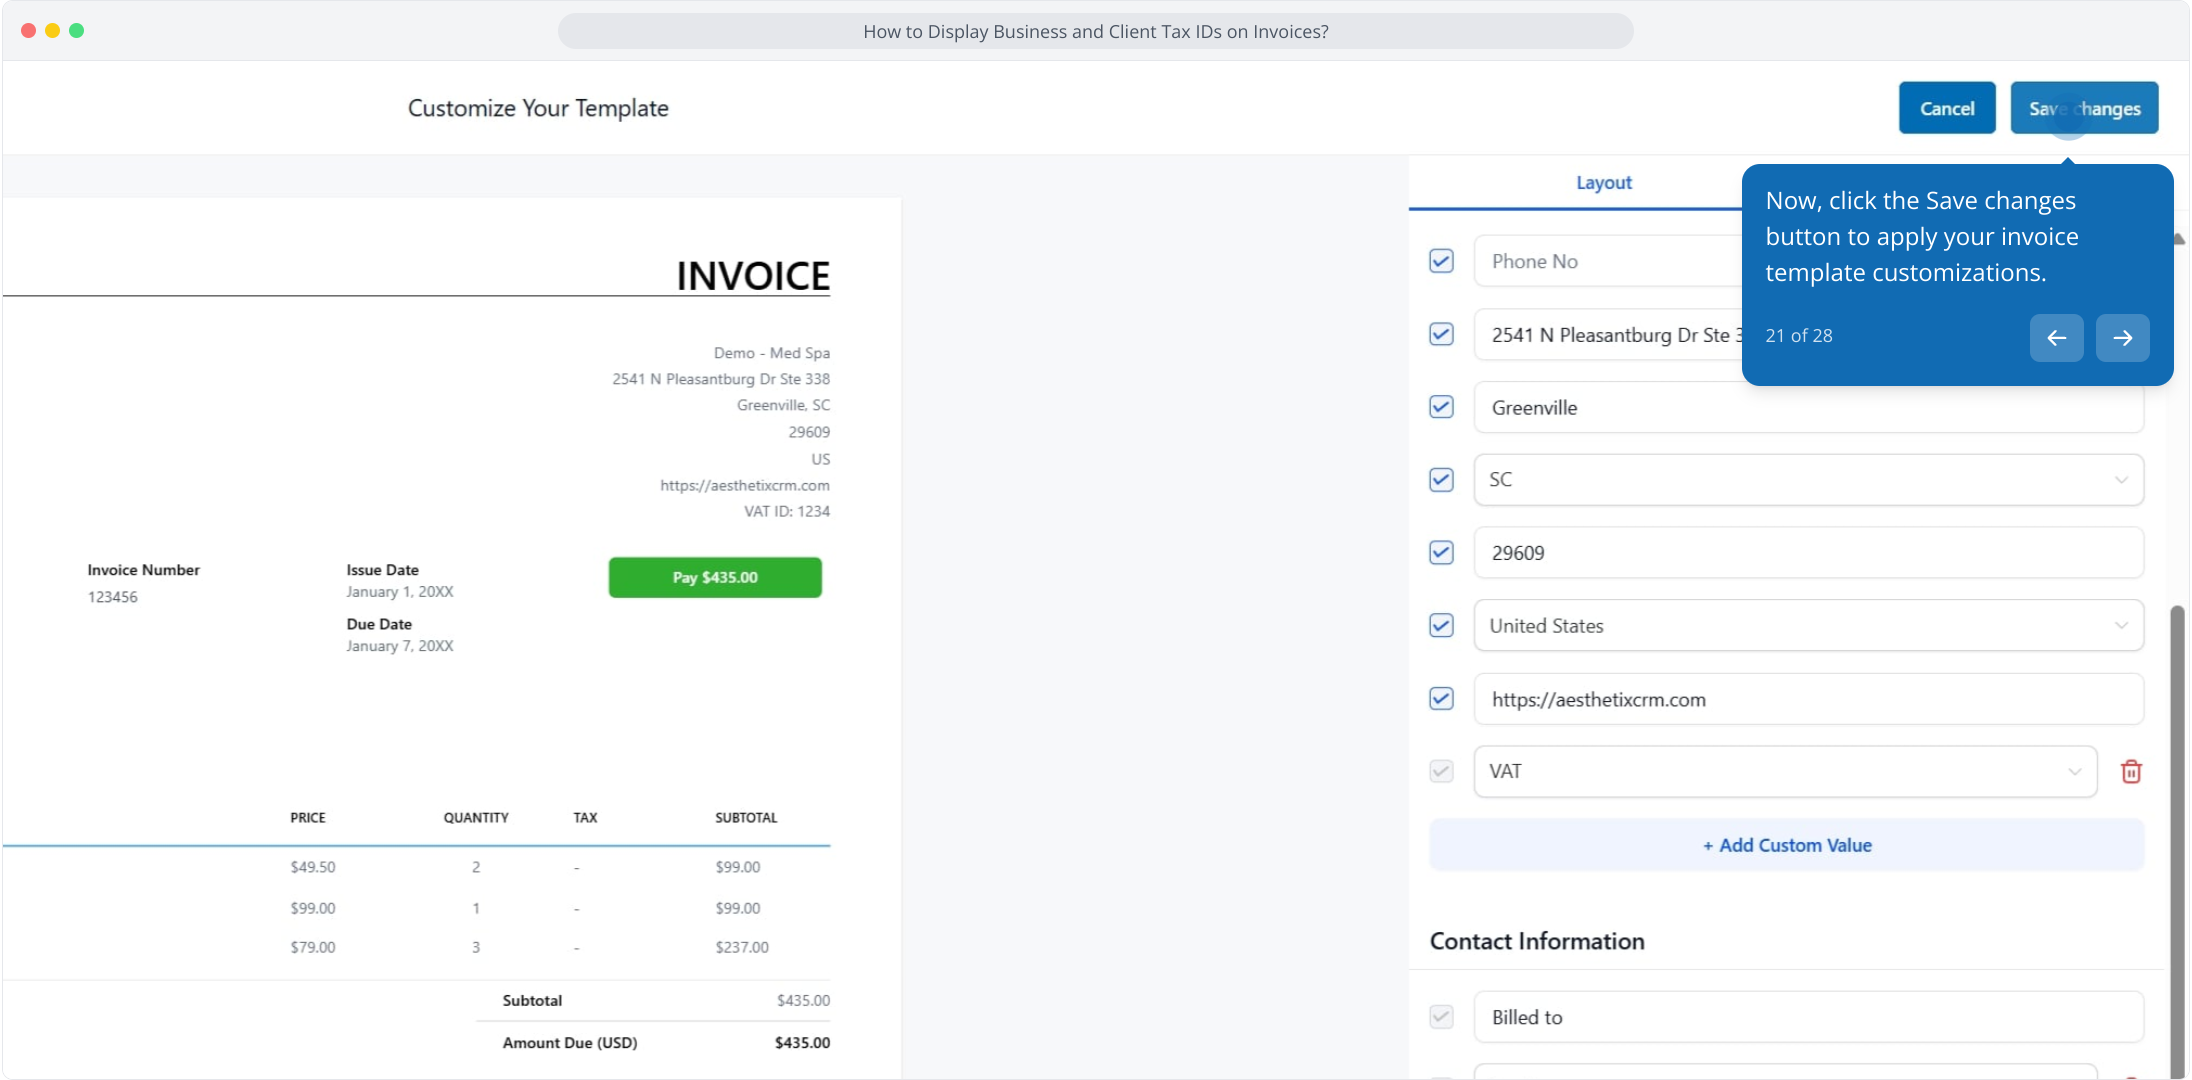
21. Now, click the Save changes button to apply your invoice template customizations.
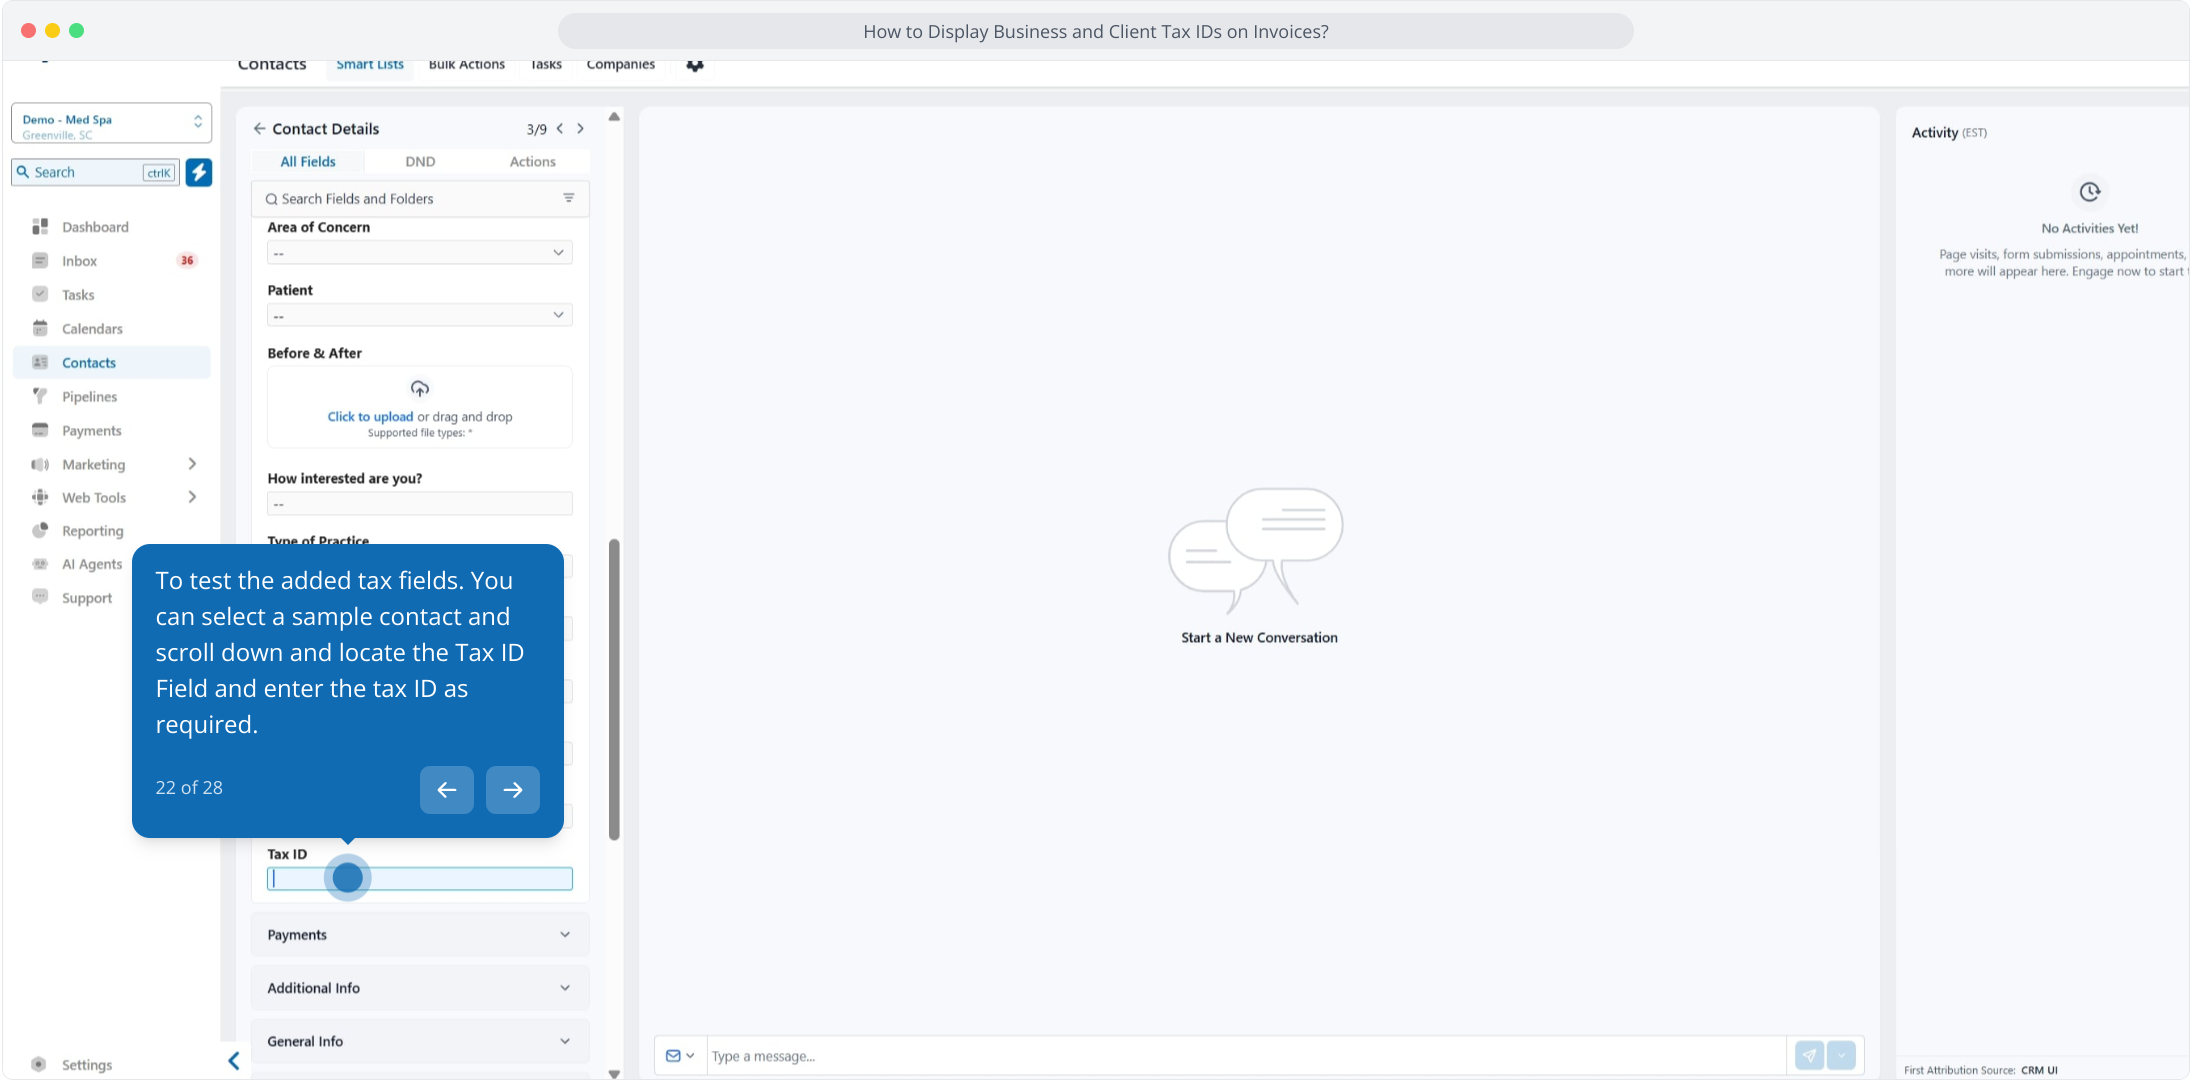
22. To test the added tax fields. You can select a sample contact and scroll down and locate the Tax ID Field and enter the tax ID as required.
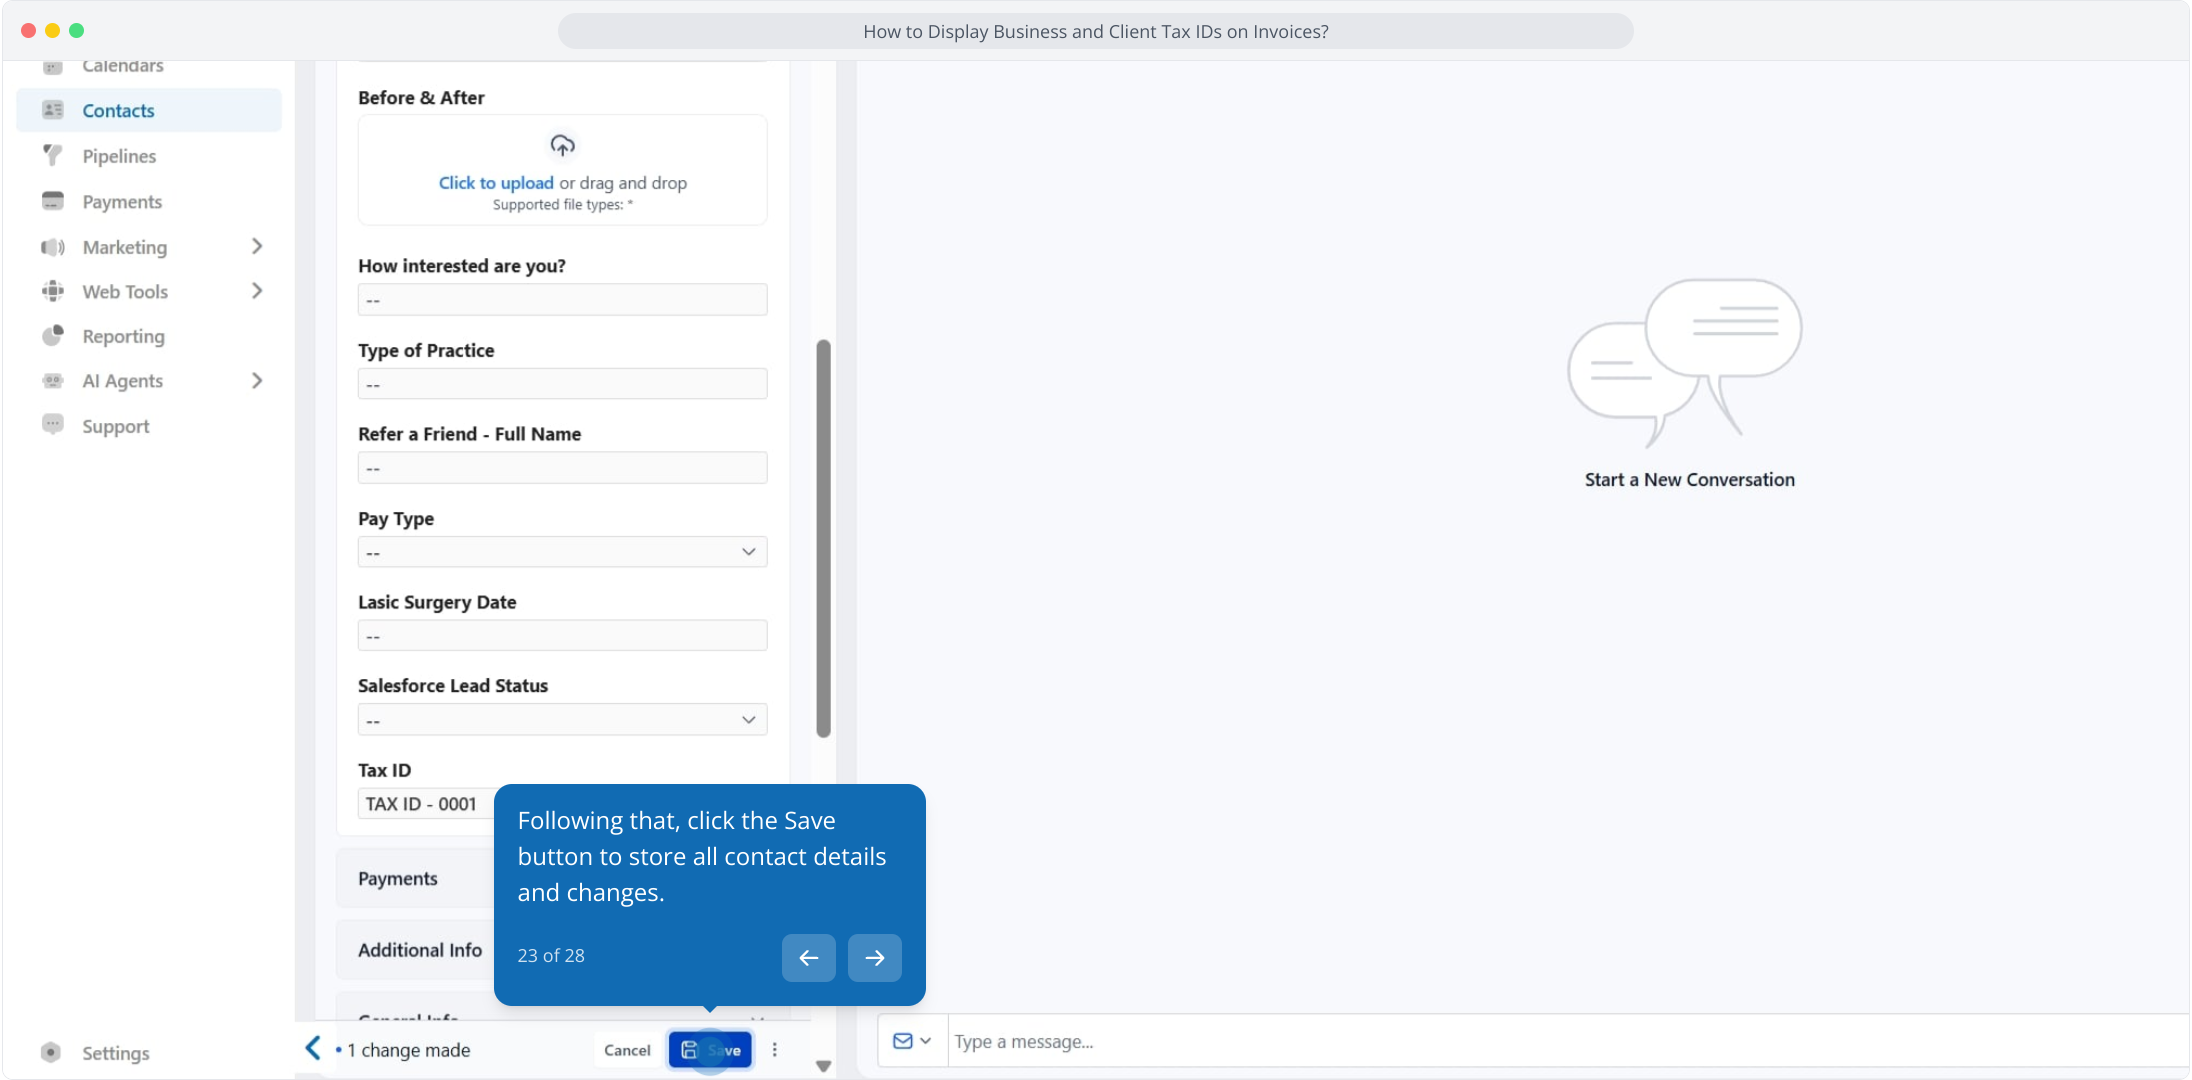
23. Following that, click the Save button to store all contact details and changes.
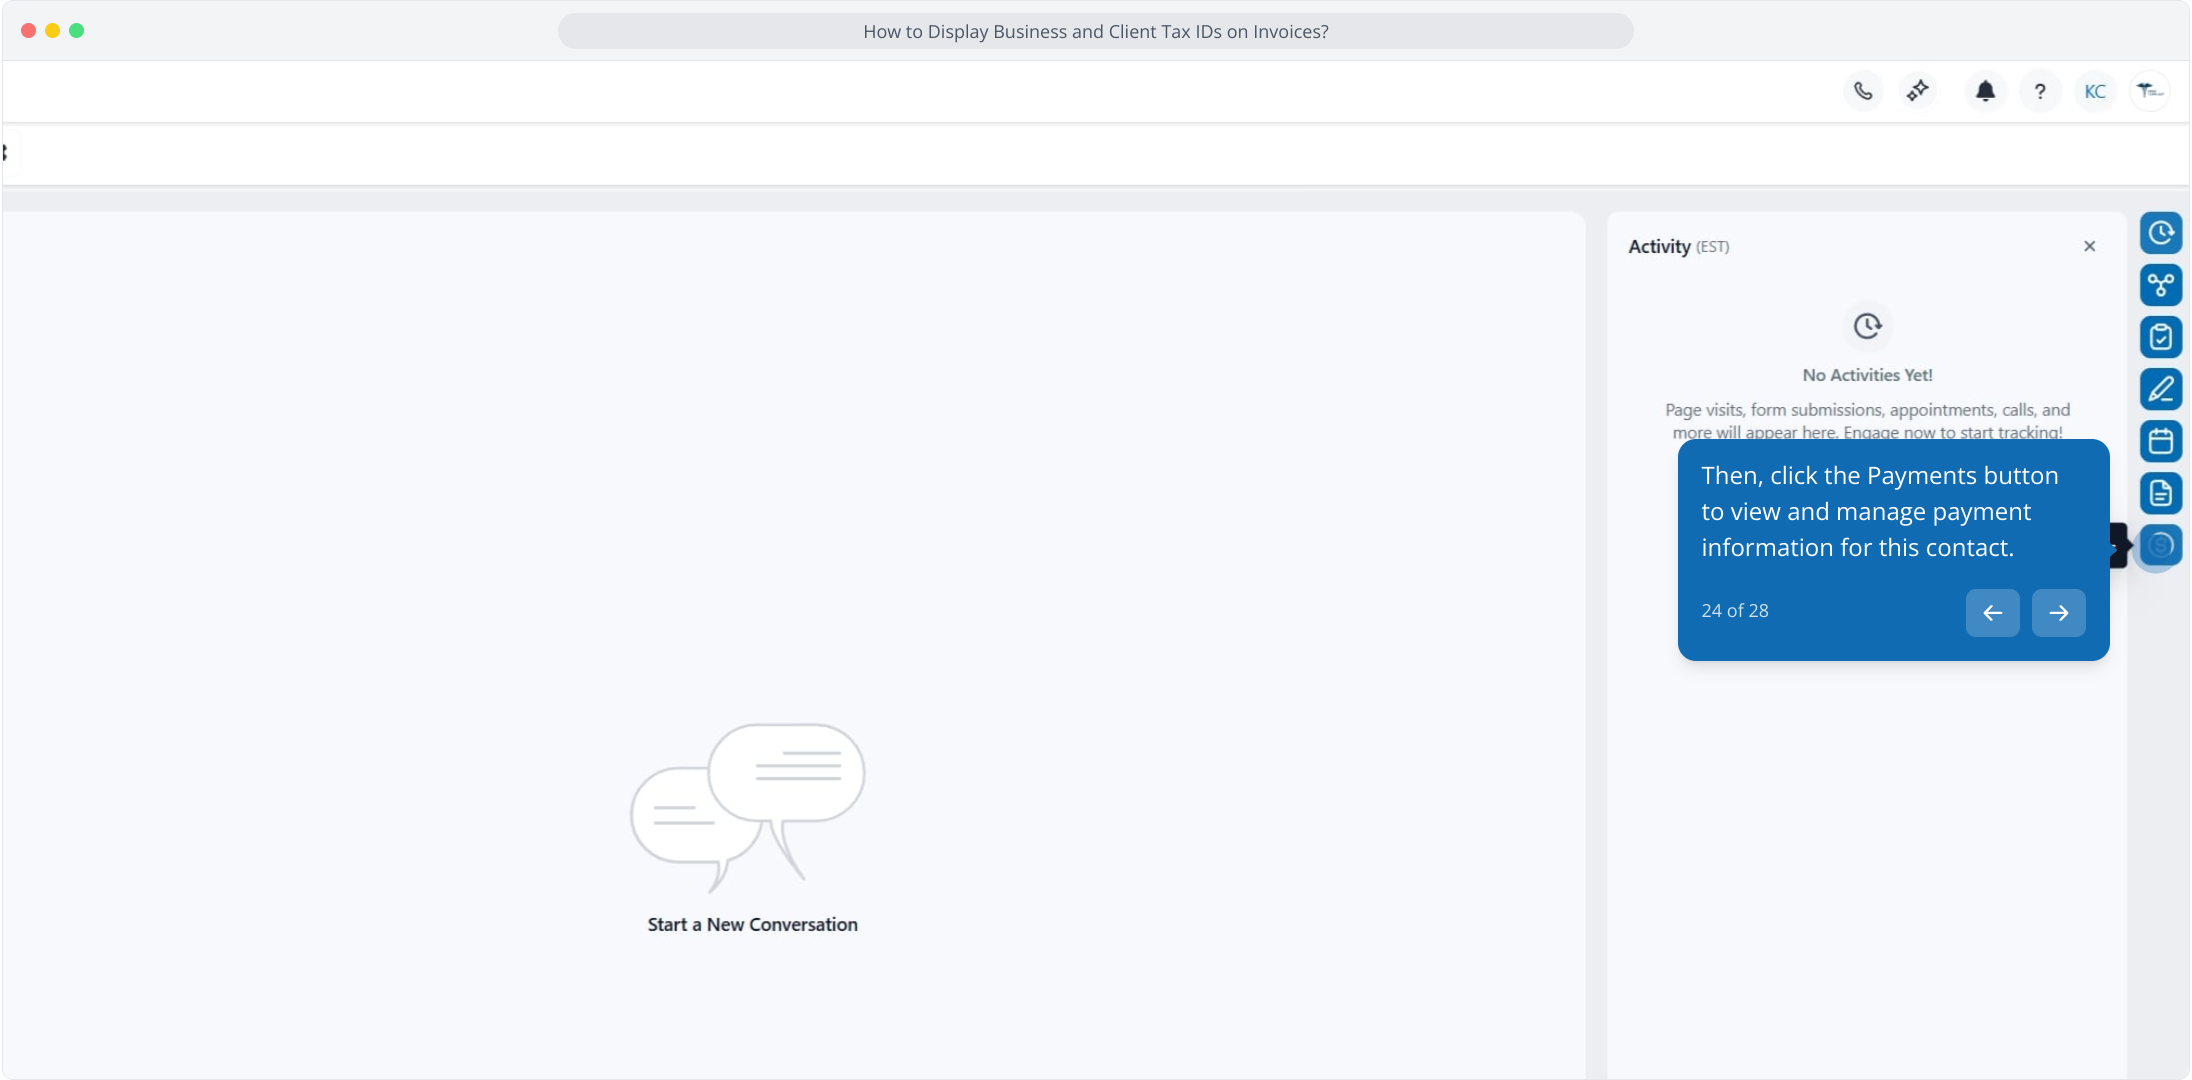
24. Then, click the Payments button to view and manage payment information for this contact.
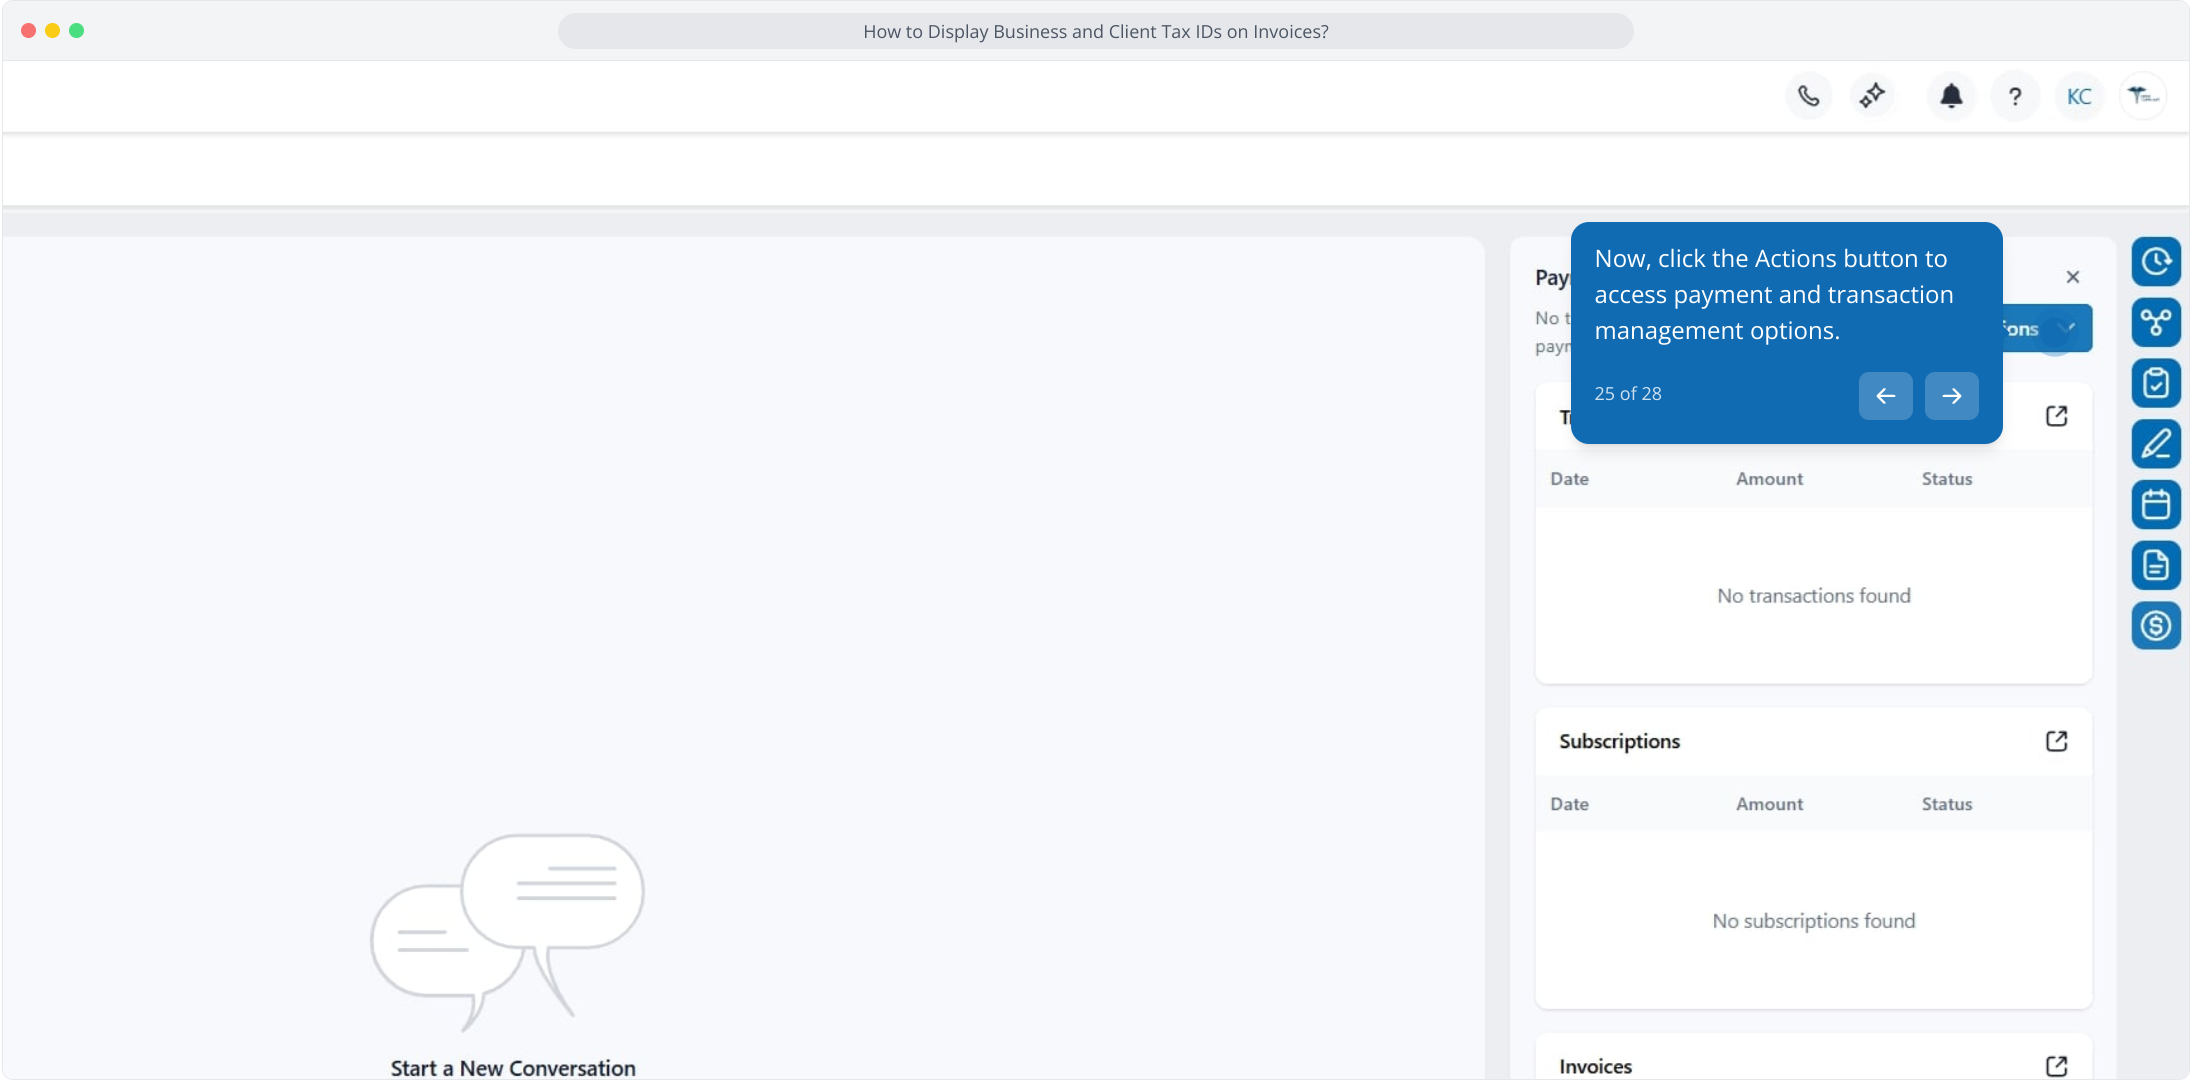
25. Now, click the Actions button to access payment and transaction management options.
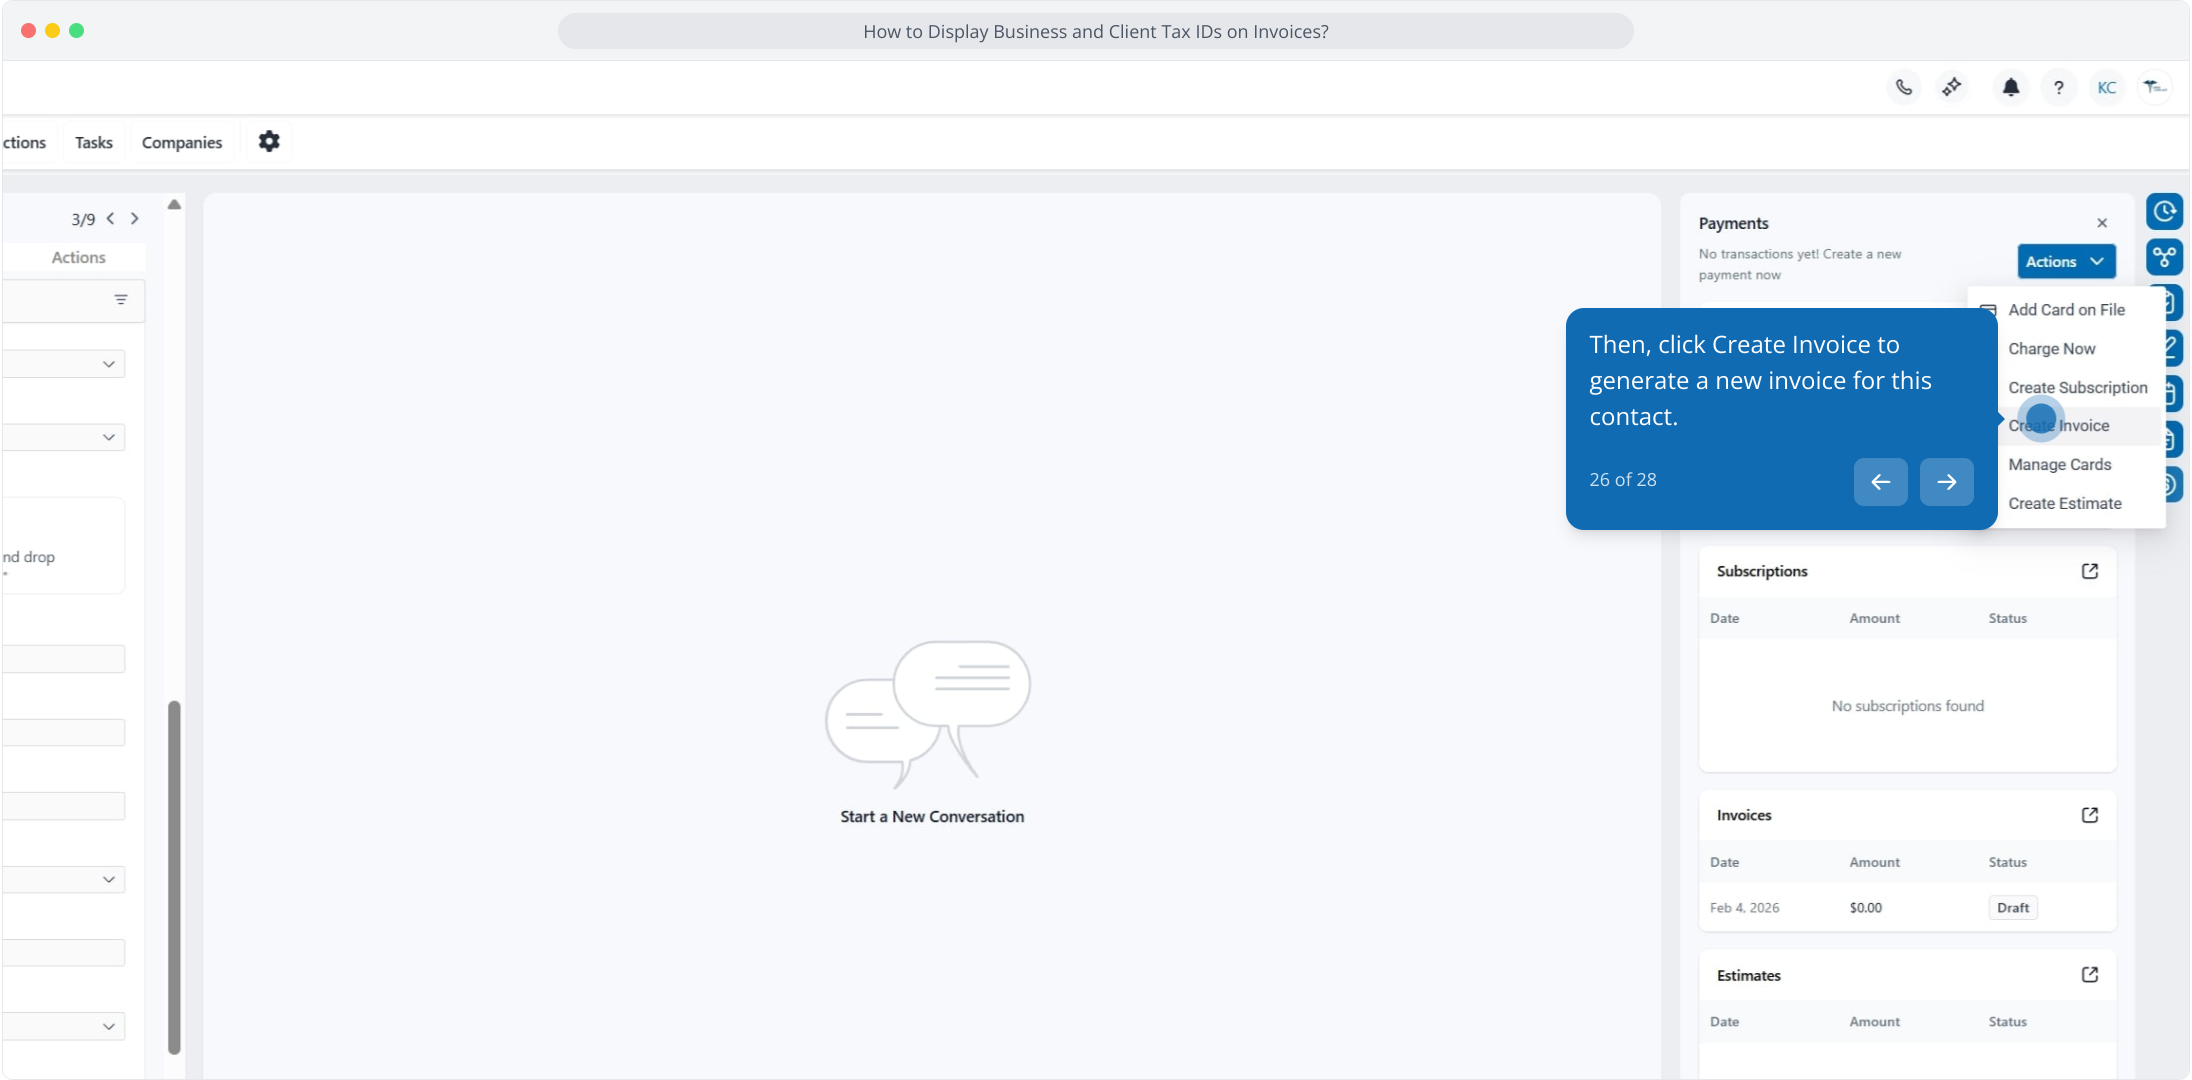
26. Then, click Create Invoice to generate a new invoice for this contact.
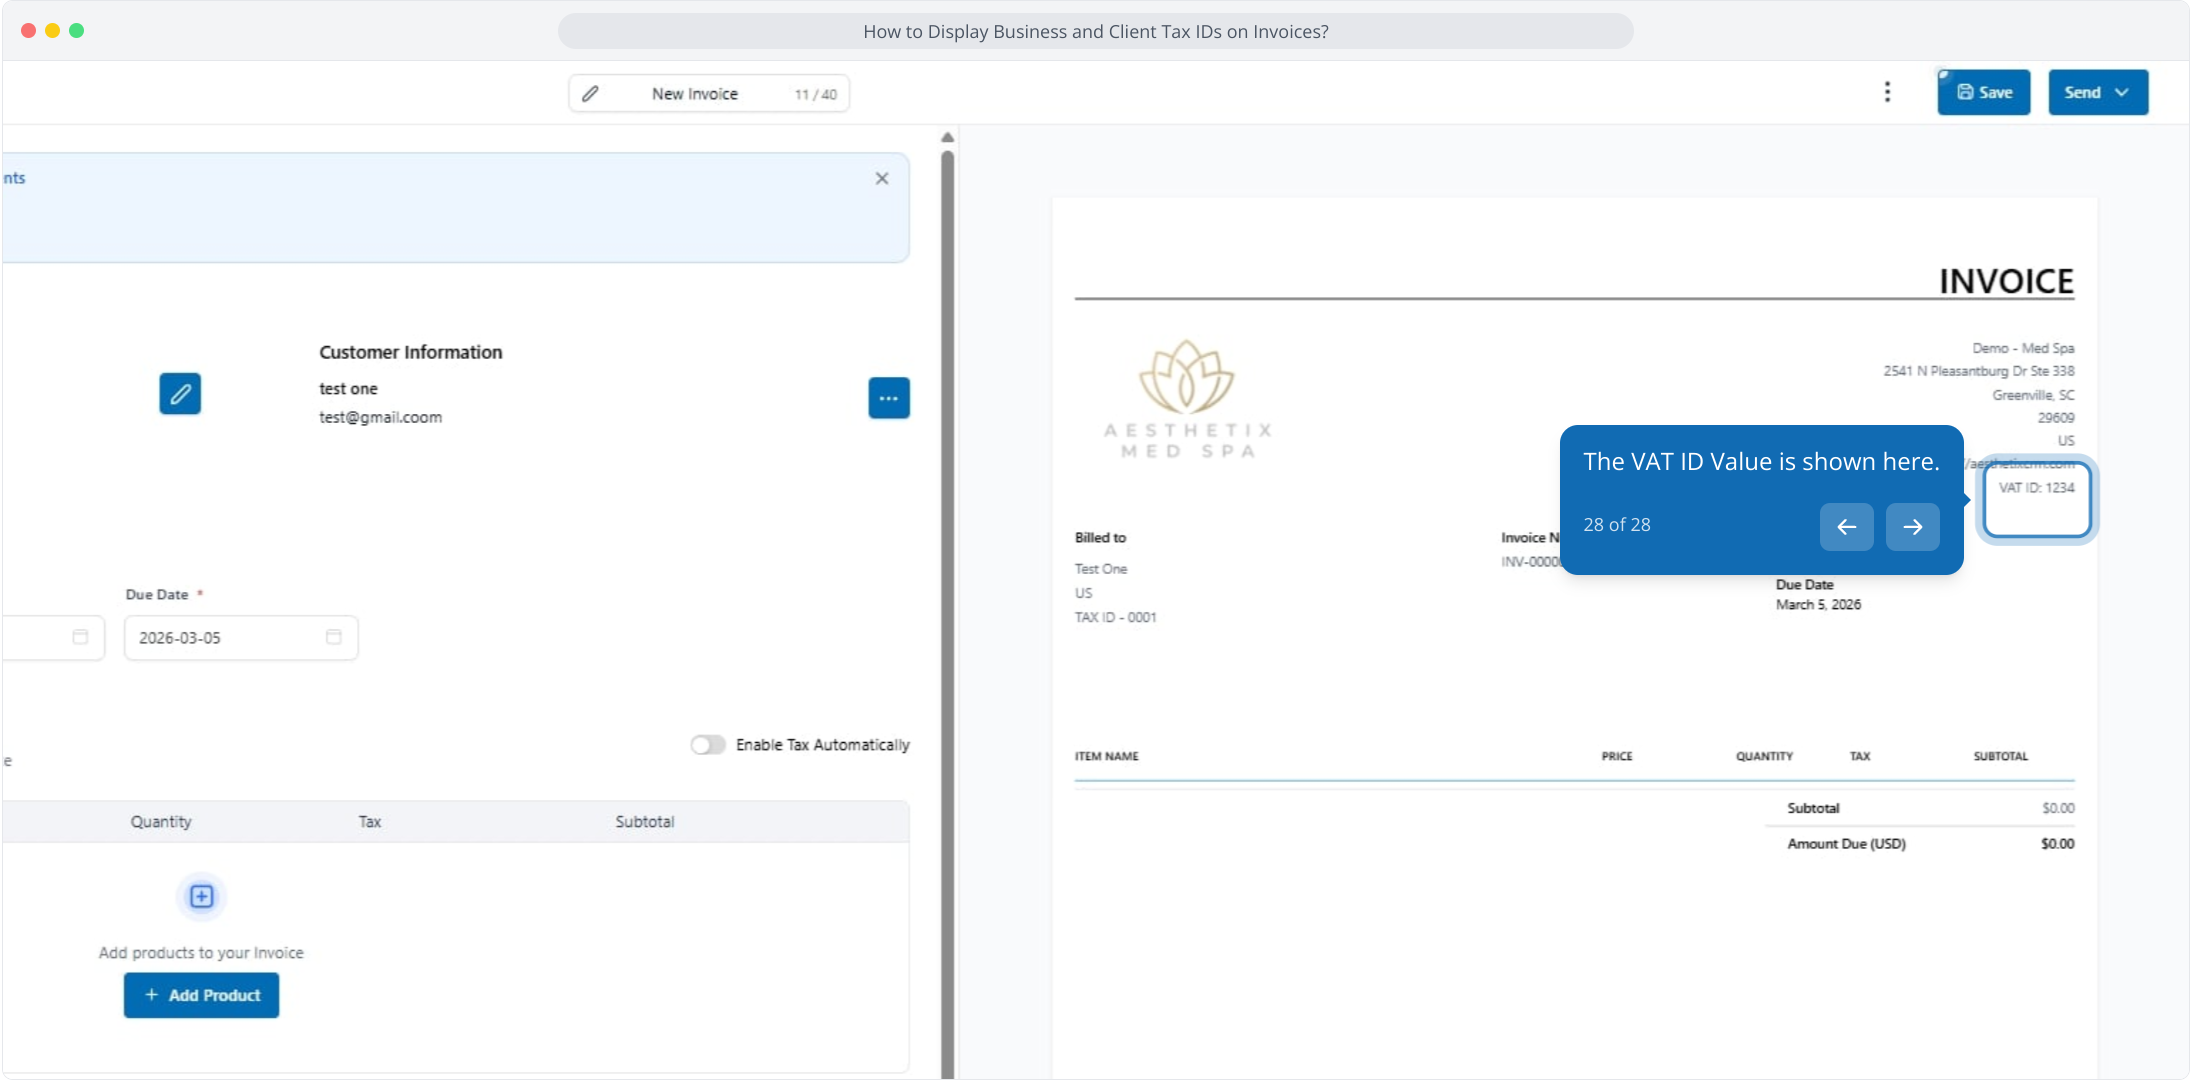
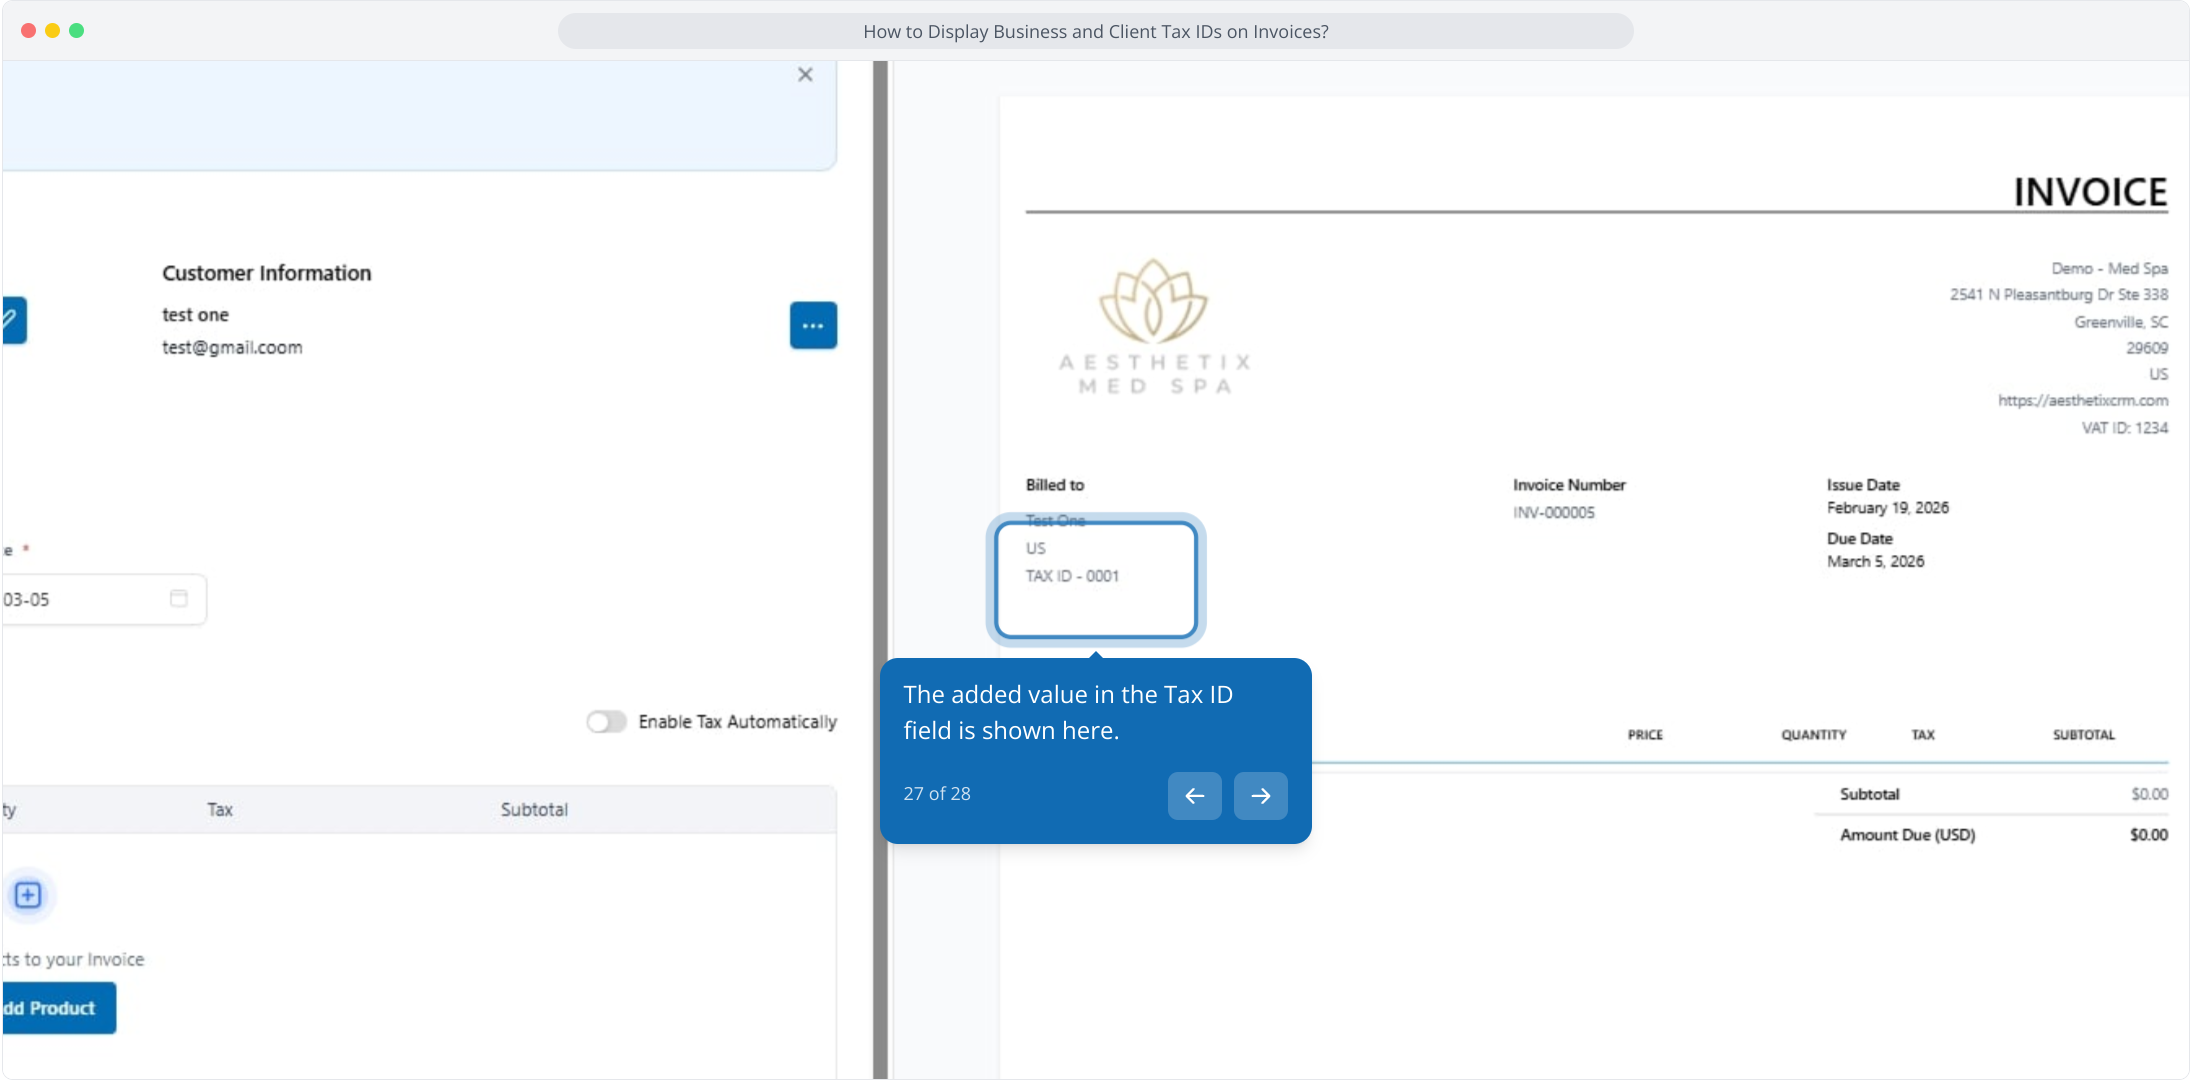
27. The added value in the Tax ID field is shown here.
28. The VAT ID Value is shown here.