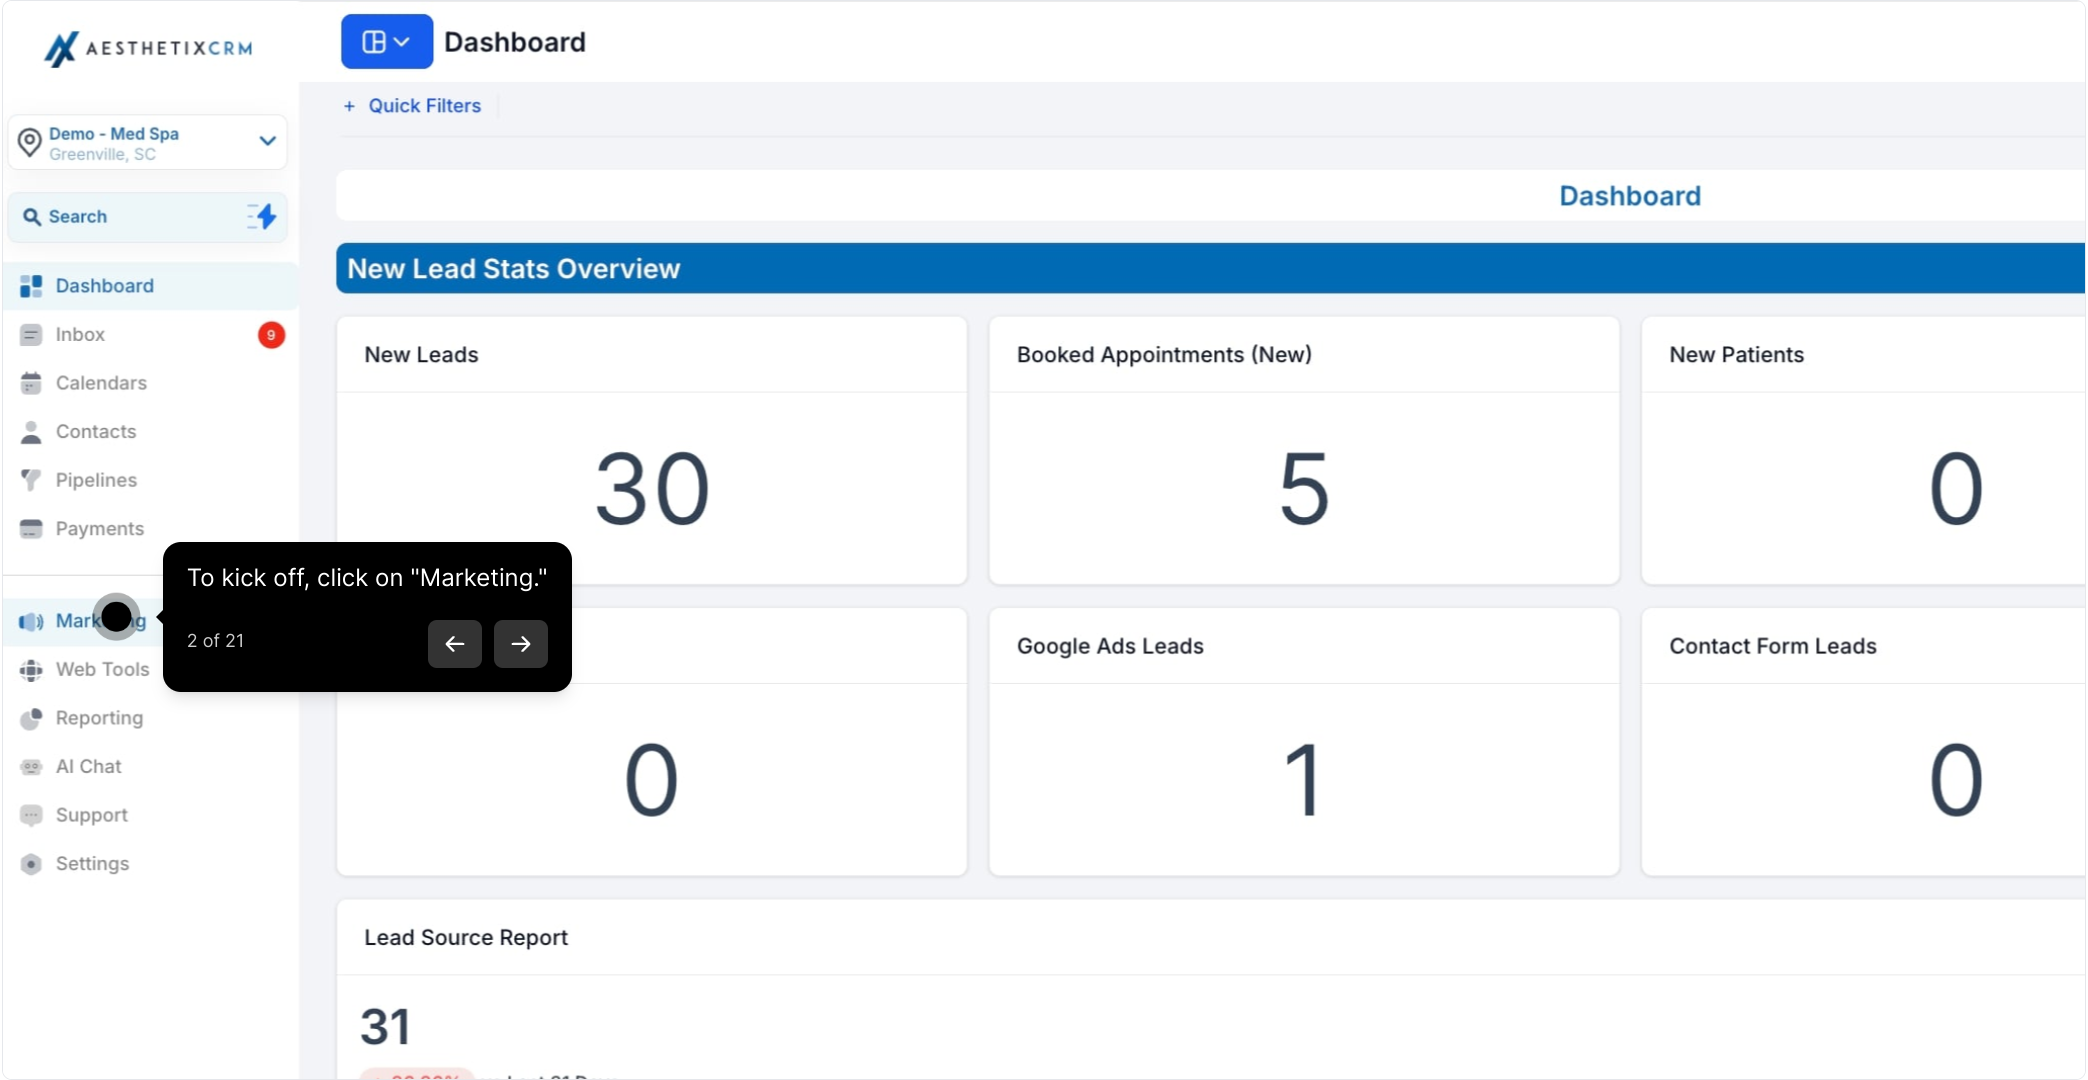
2. To kick off, click on "Marketing."
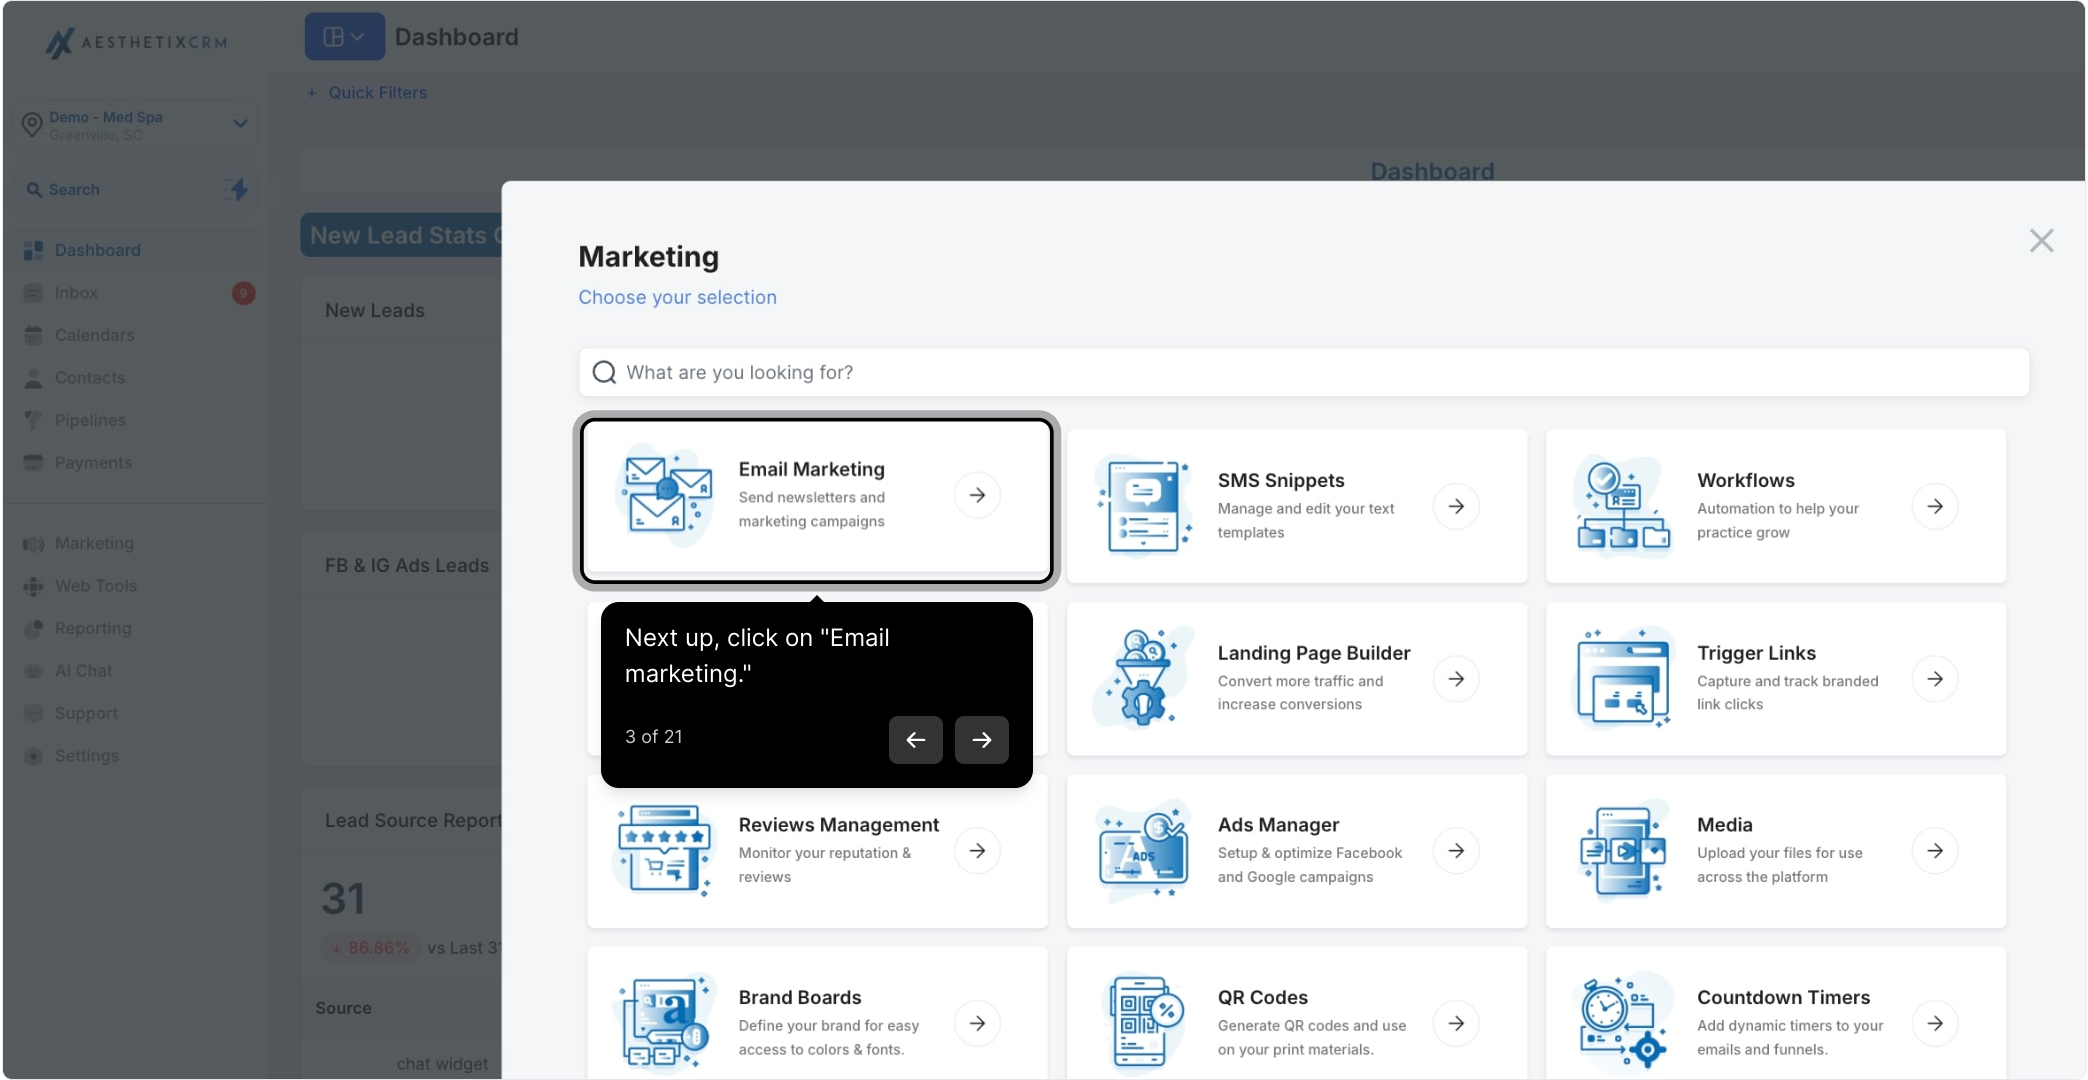
3. Next up, click on "Email marketing."
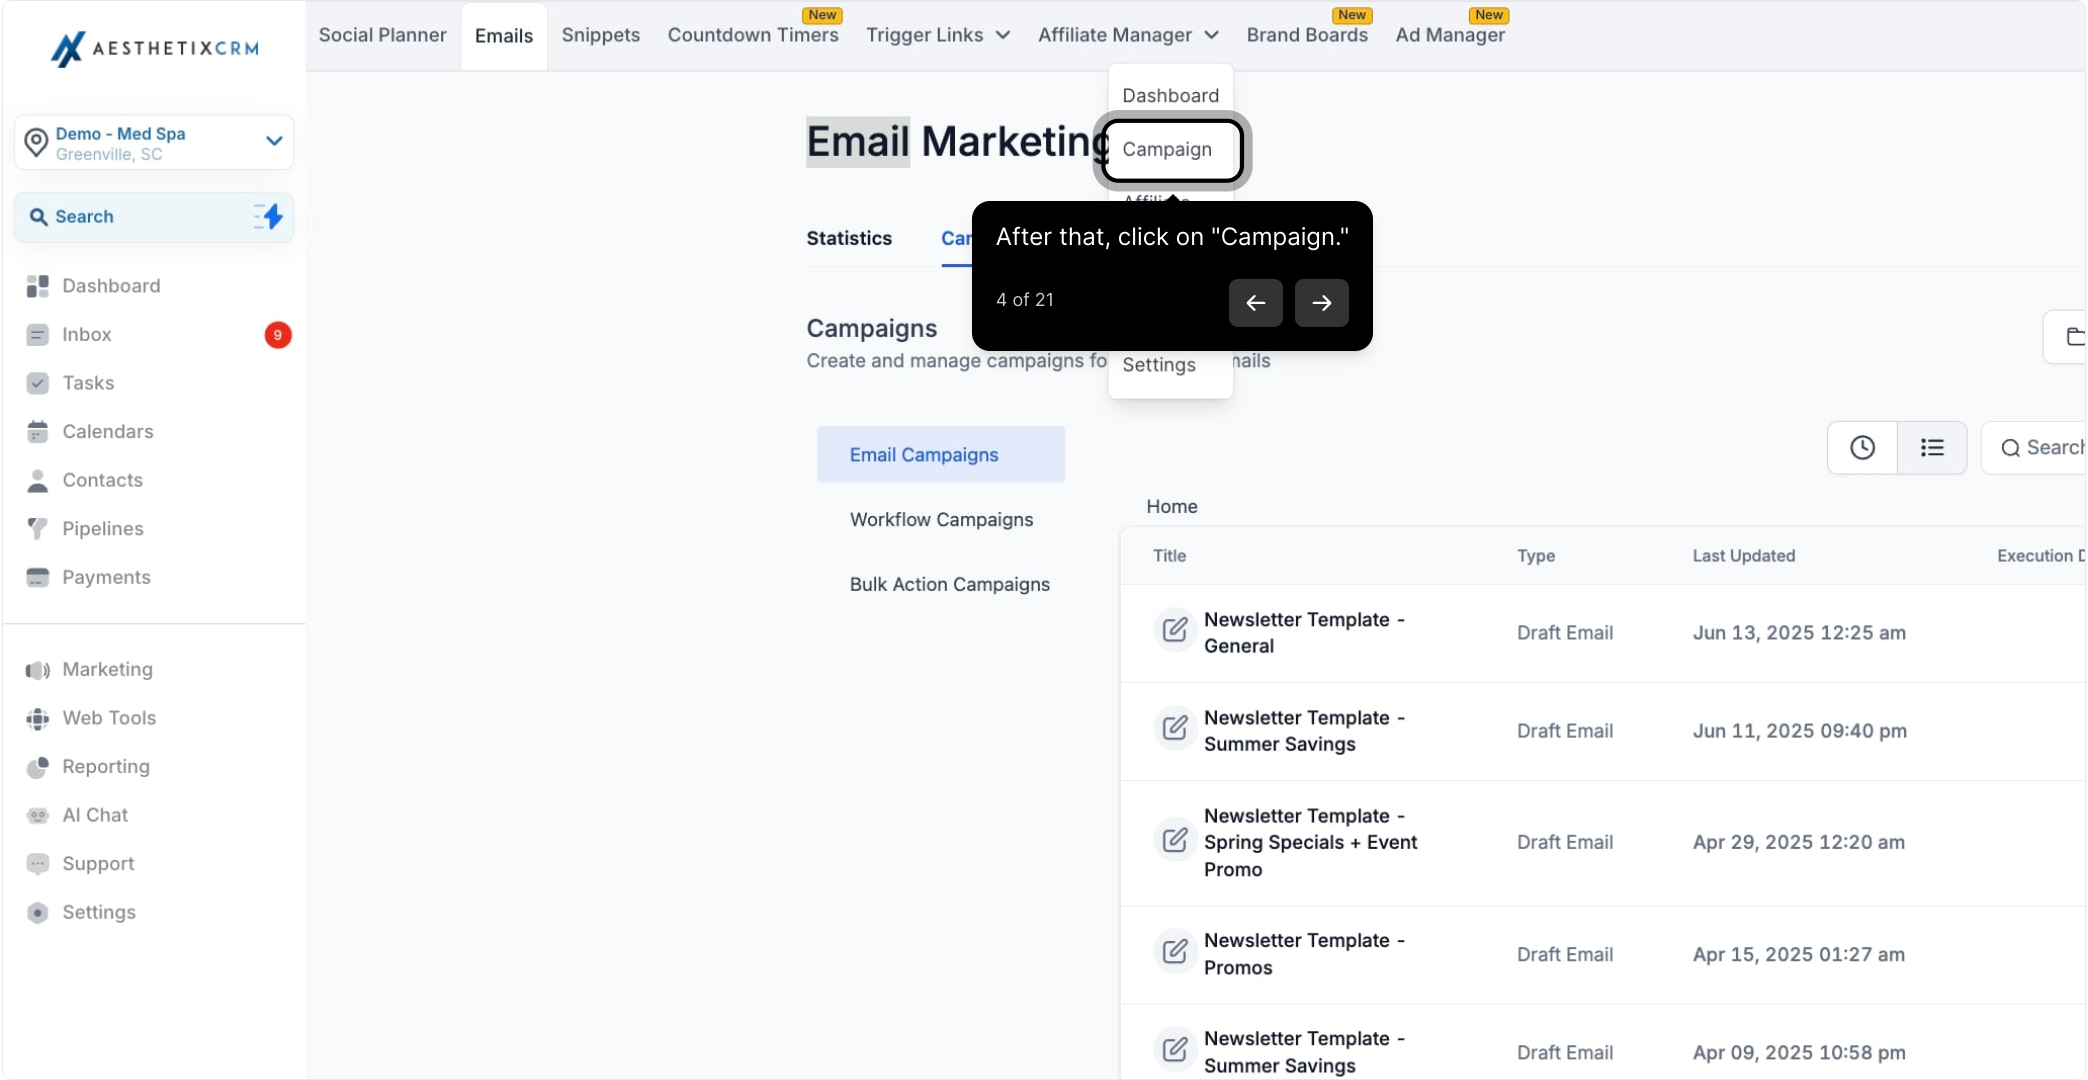
4. After that, click on "Campaign."
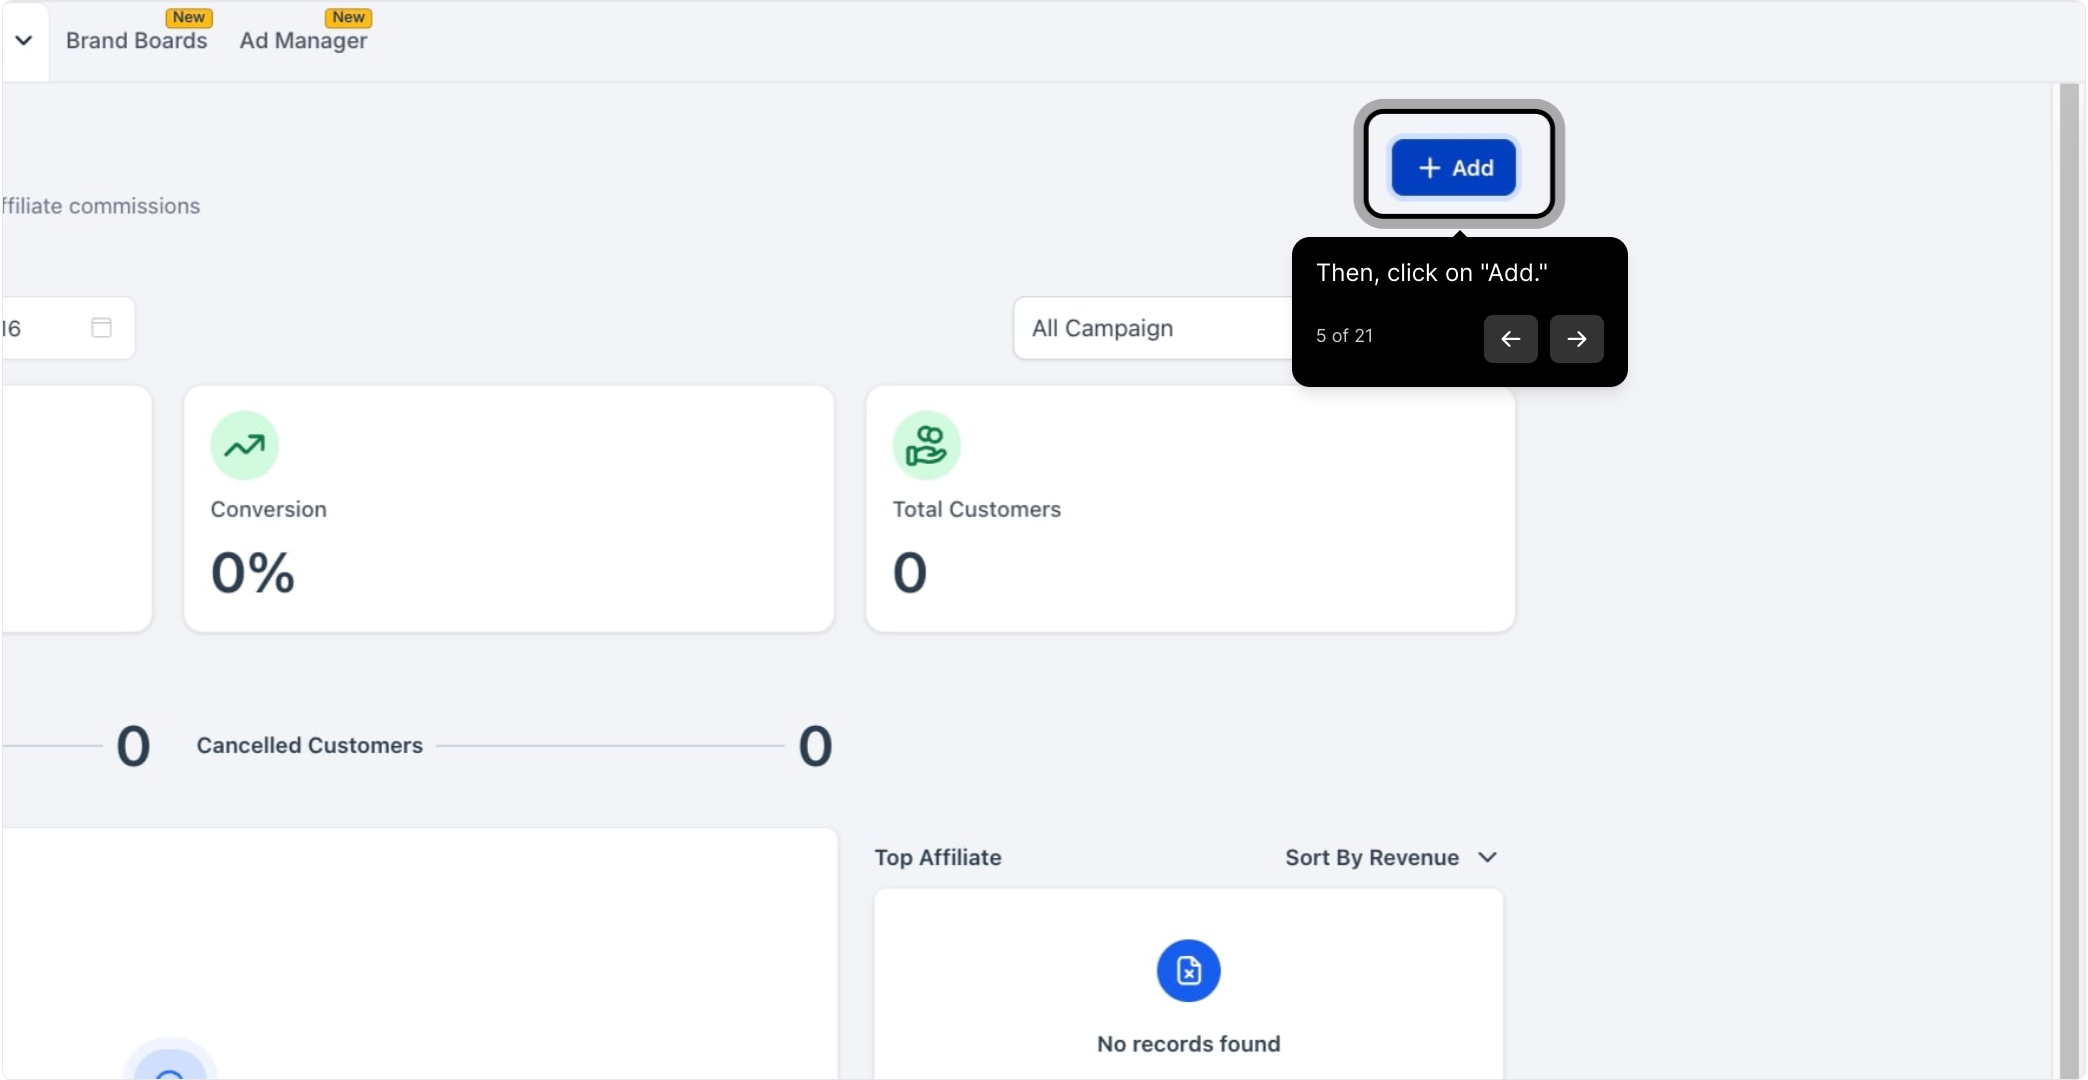
5. Then, click on "Add."
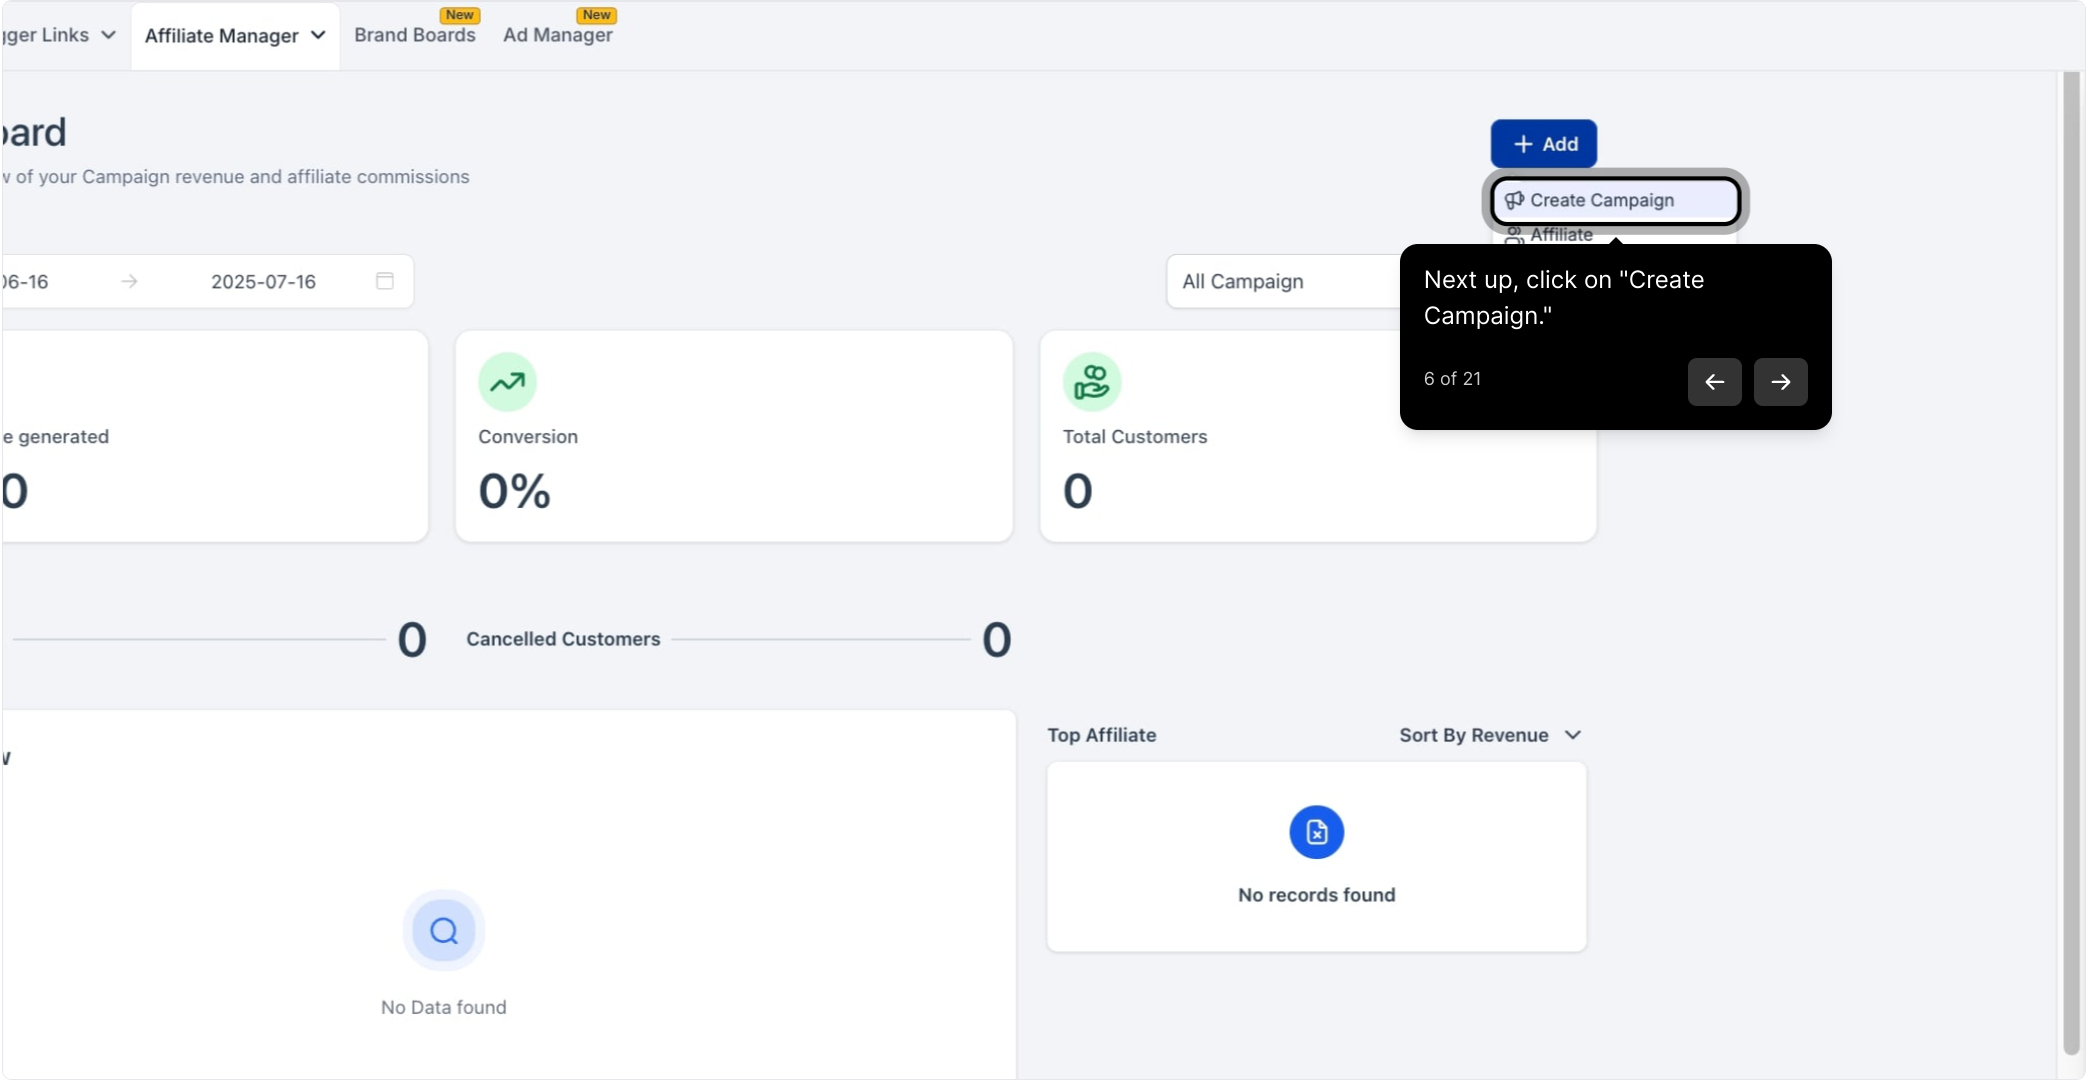
6. Next up, click on "Create Campaign."
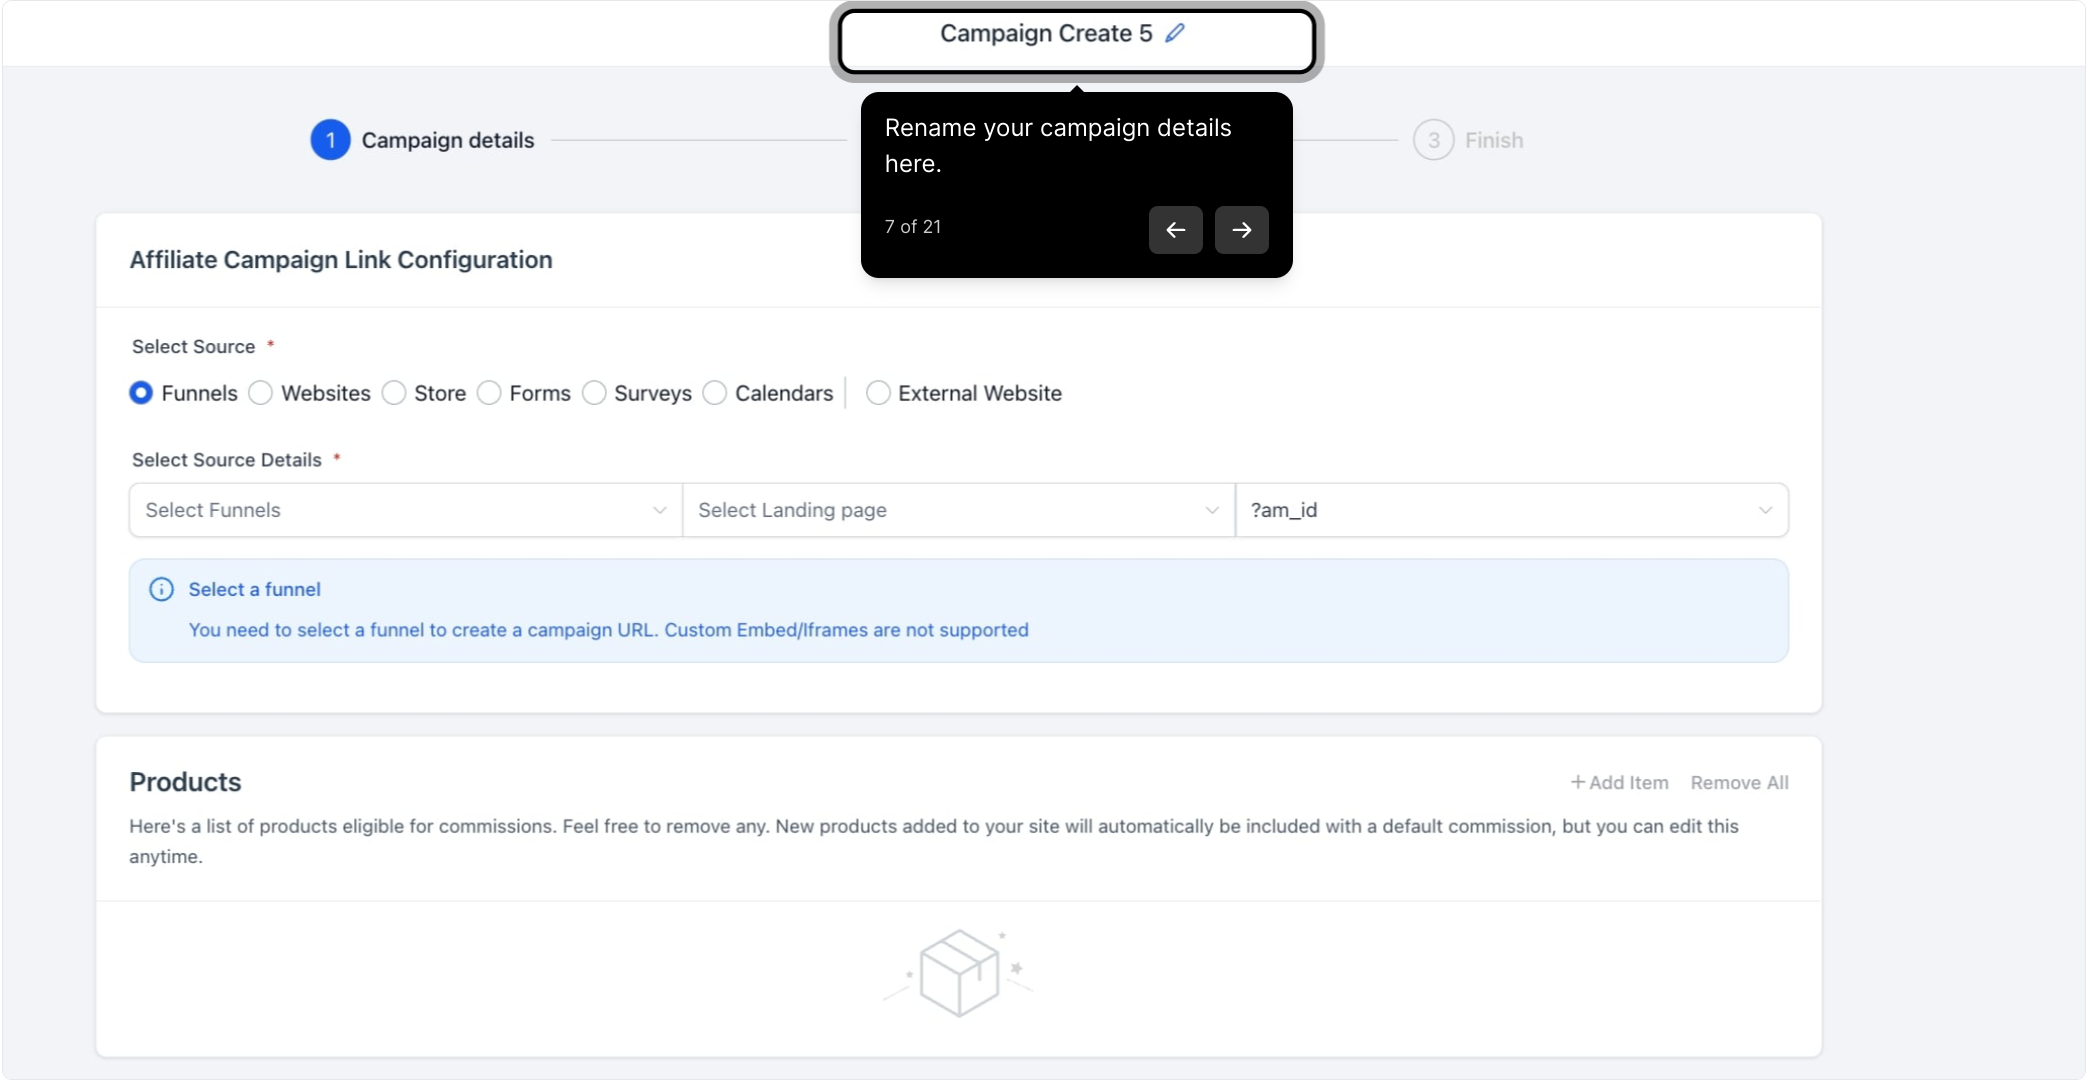
7. Rename your campaign details here.
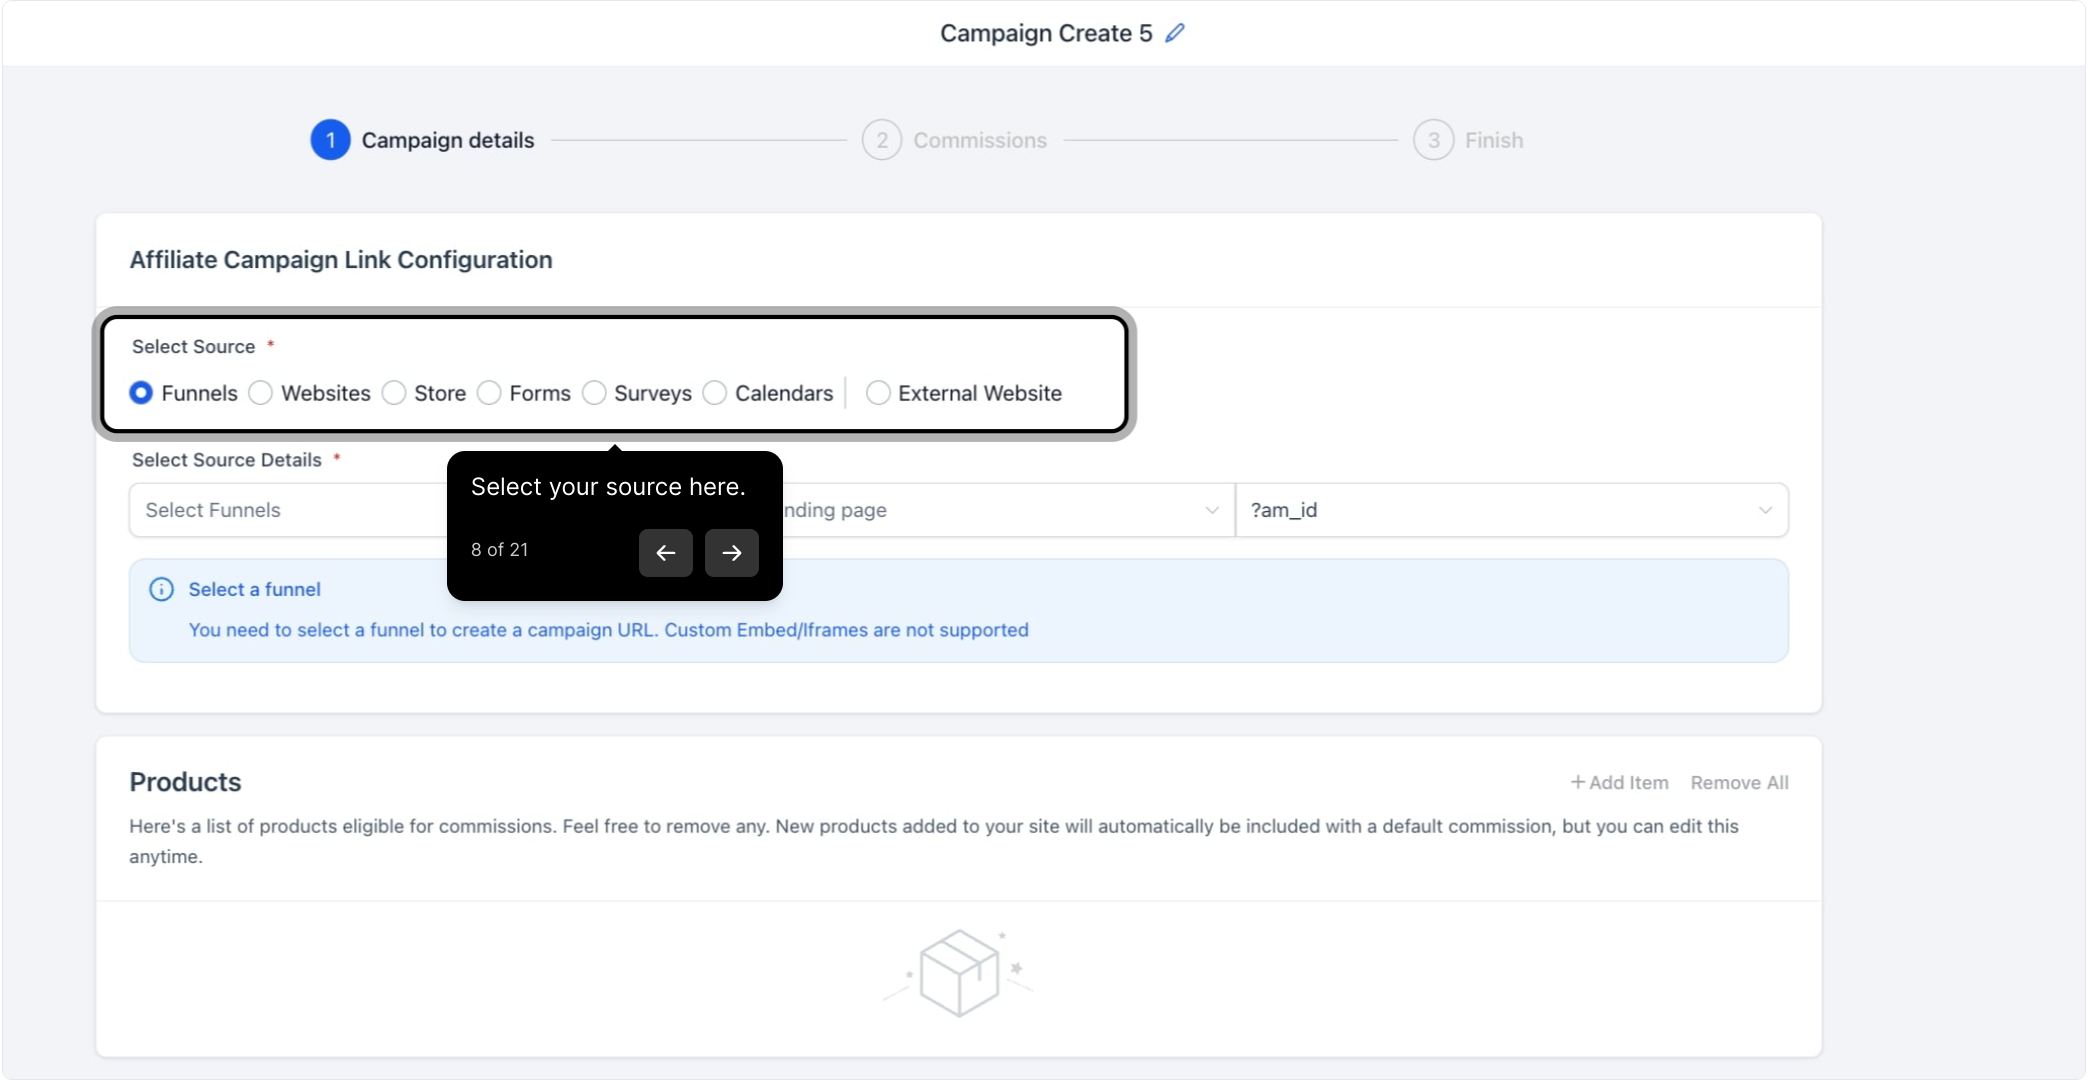
8. Select your source here.
9. Then configure your source details here.
Please Note:
Currently, only funnels, websites, and stores support product sales via affiliate campaigns. However, you can also track leads and pay affiliates for generating leads through forms, surveys, and calendars.

Landing page selection is just used to set where the potentials customers will land. Please note that tracking will be done source wide not just on the landing page

10. Review your product list here.
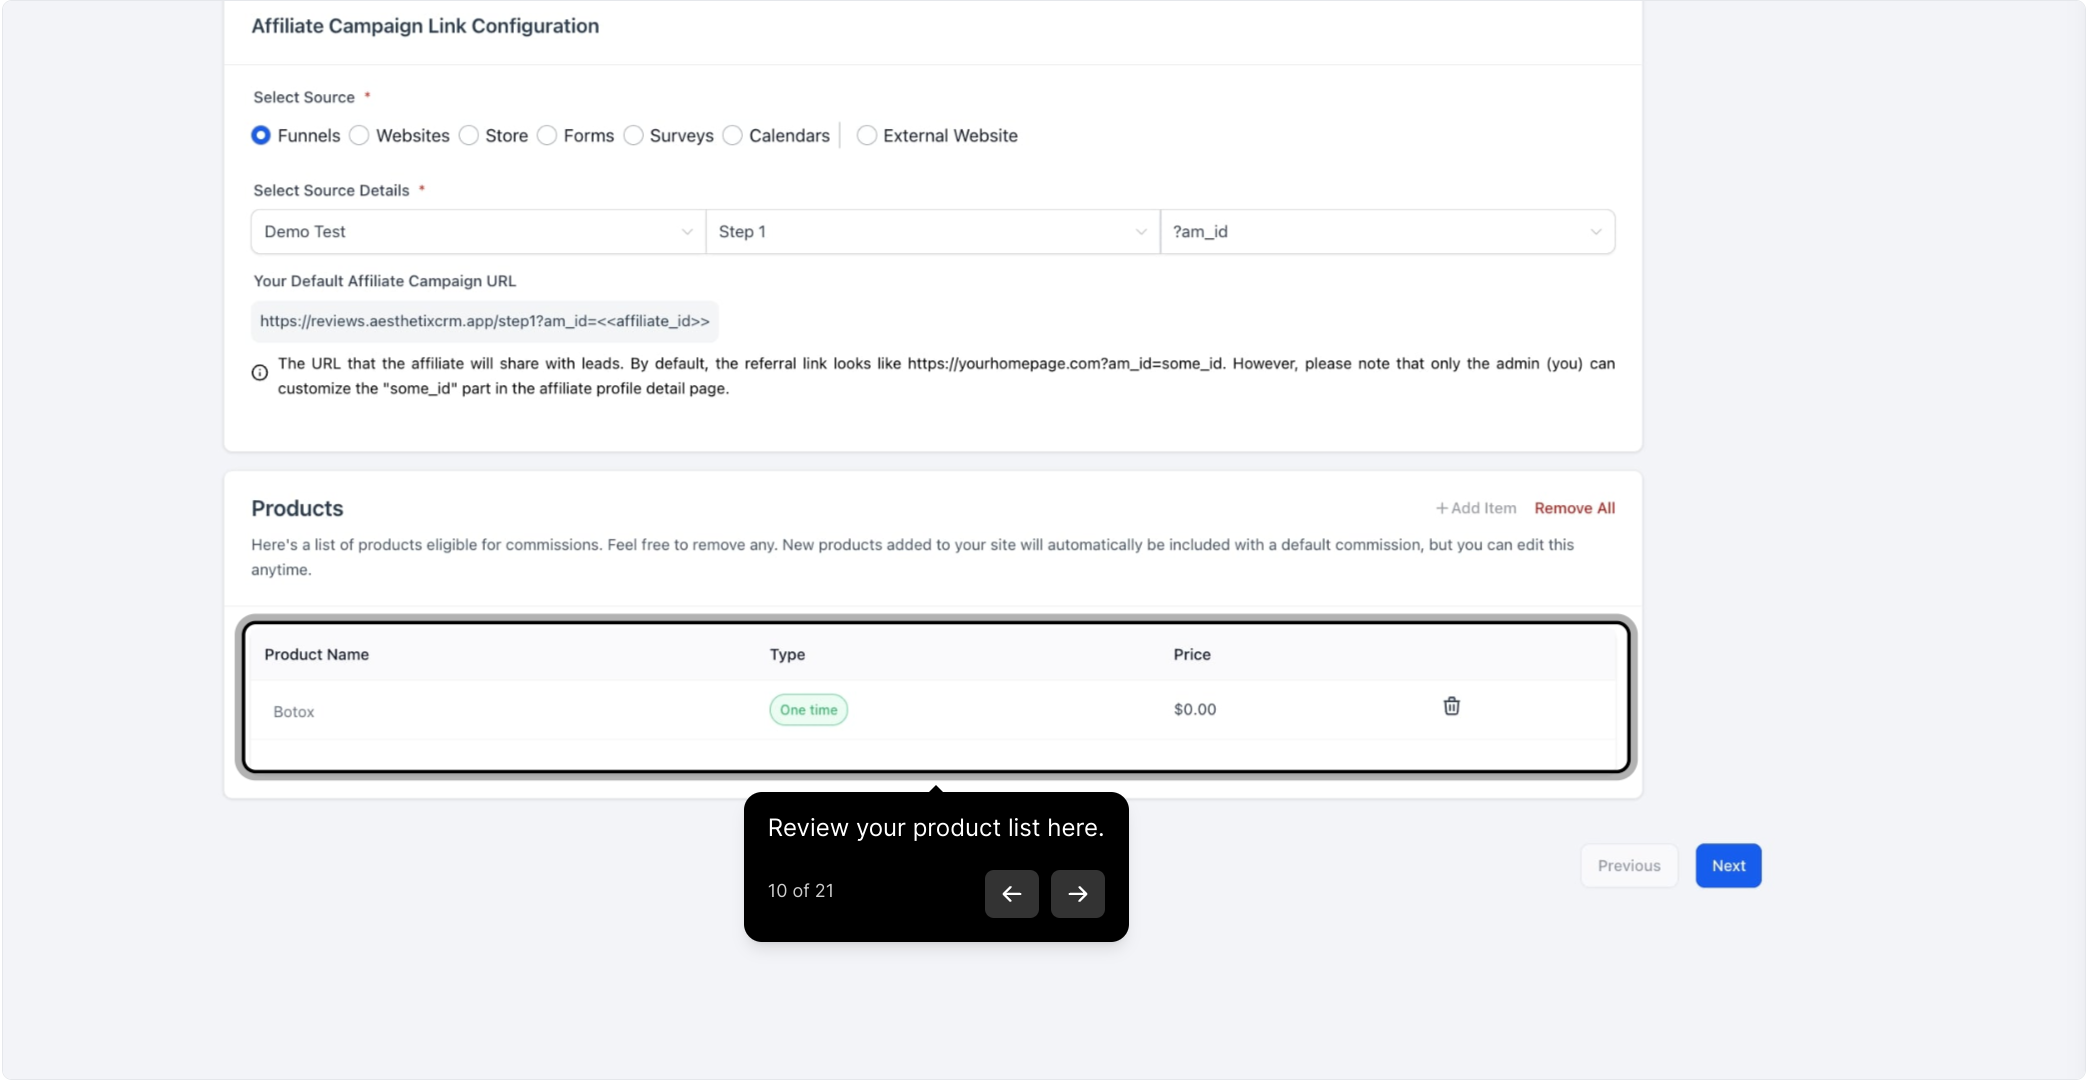
11. Then click on "Next."

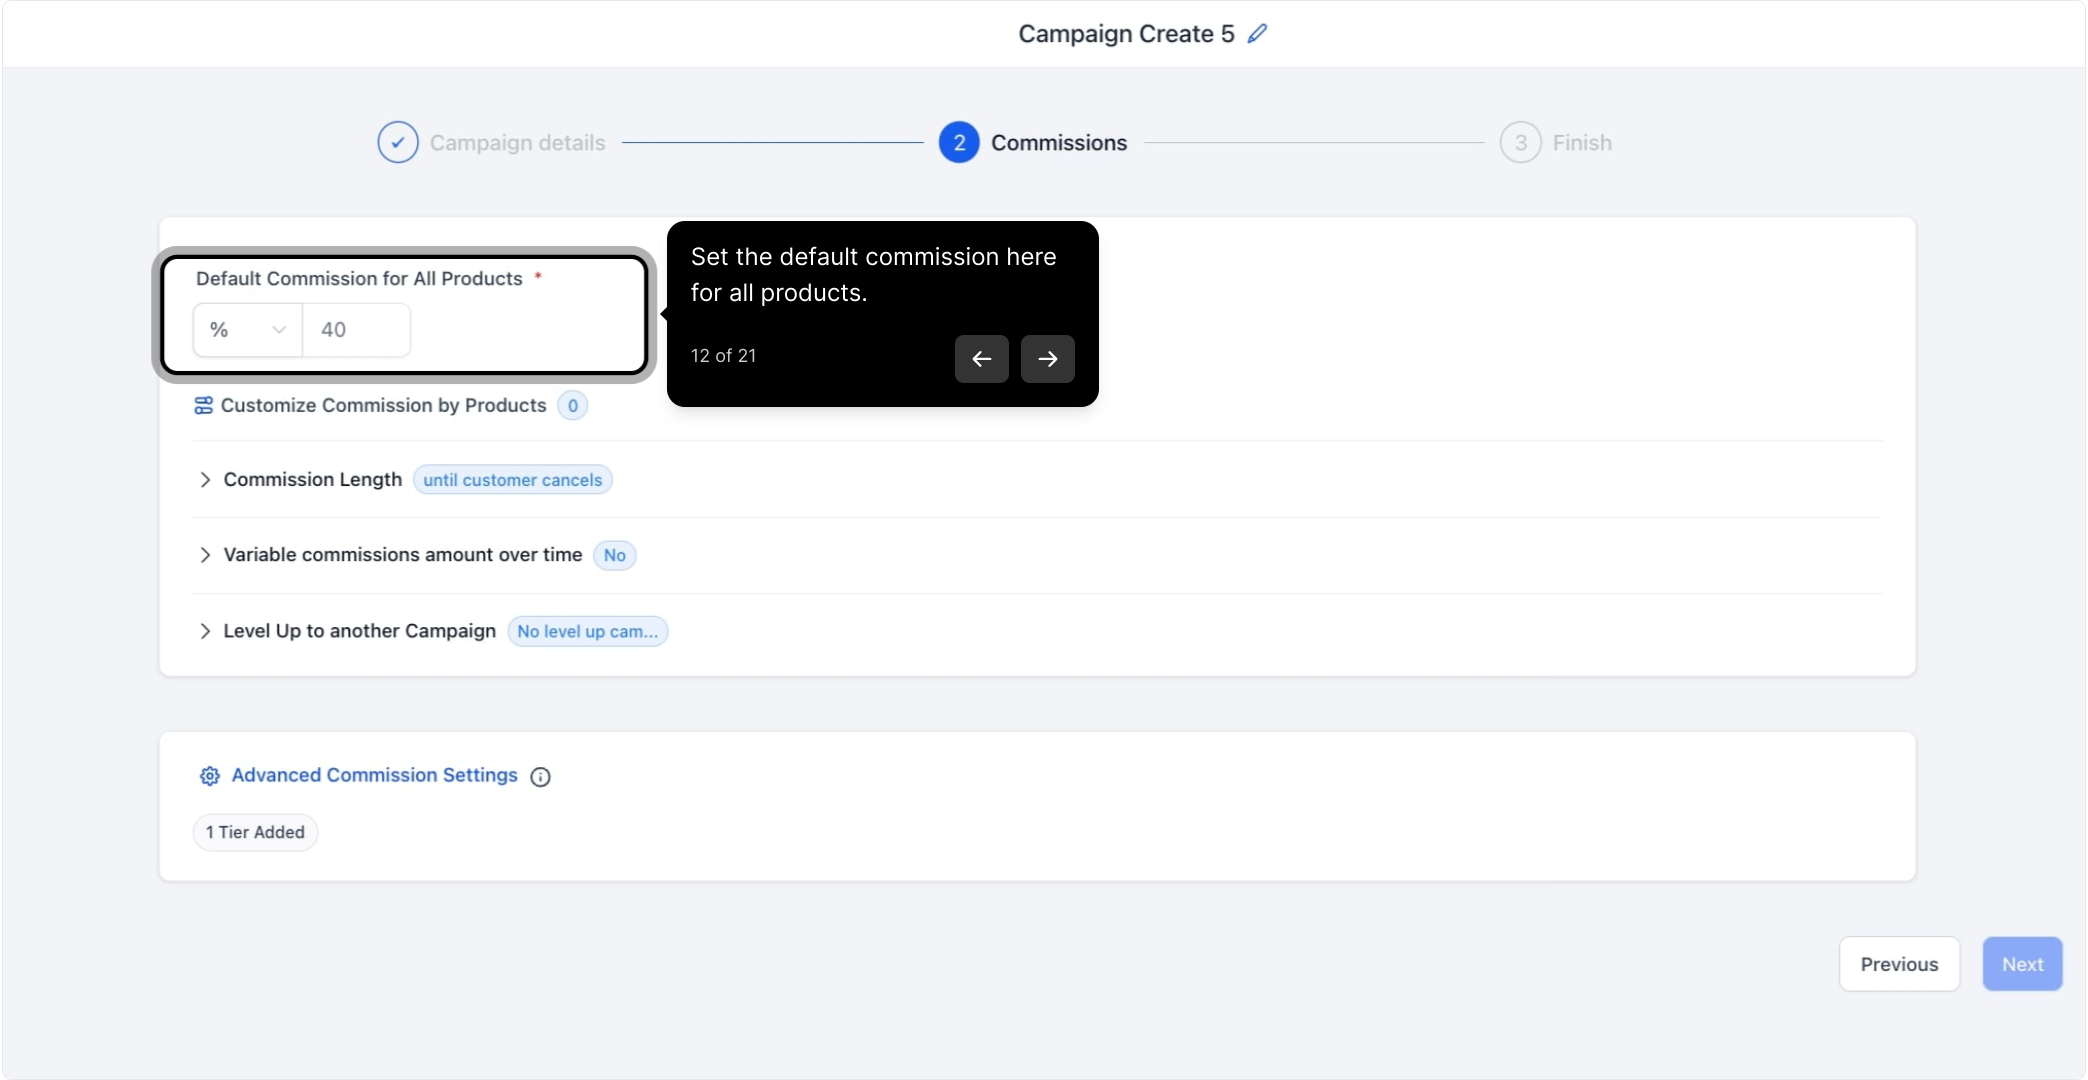
12. Set the default commission here for all products.
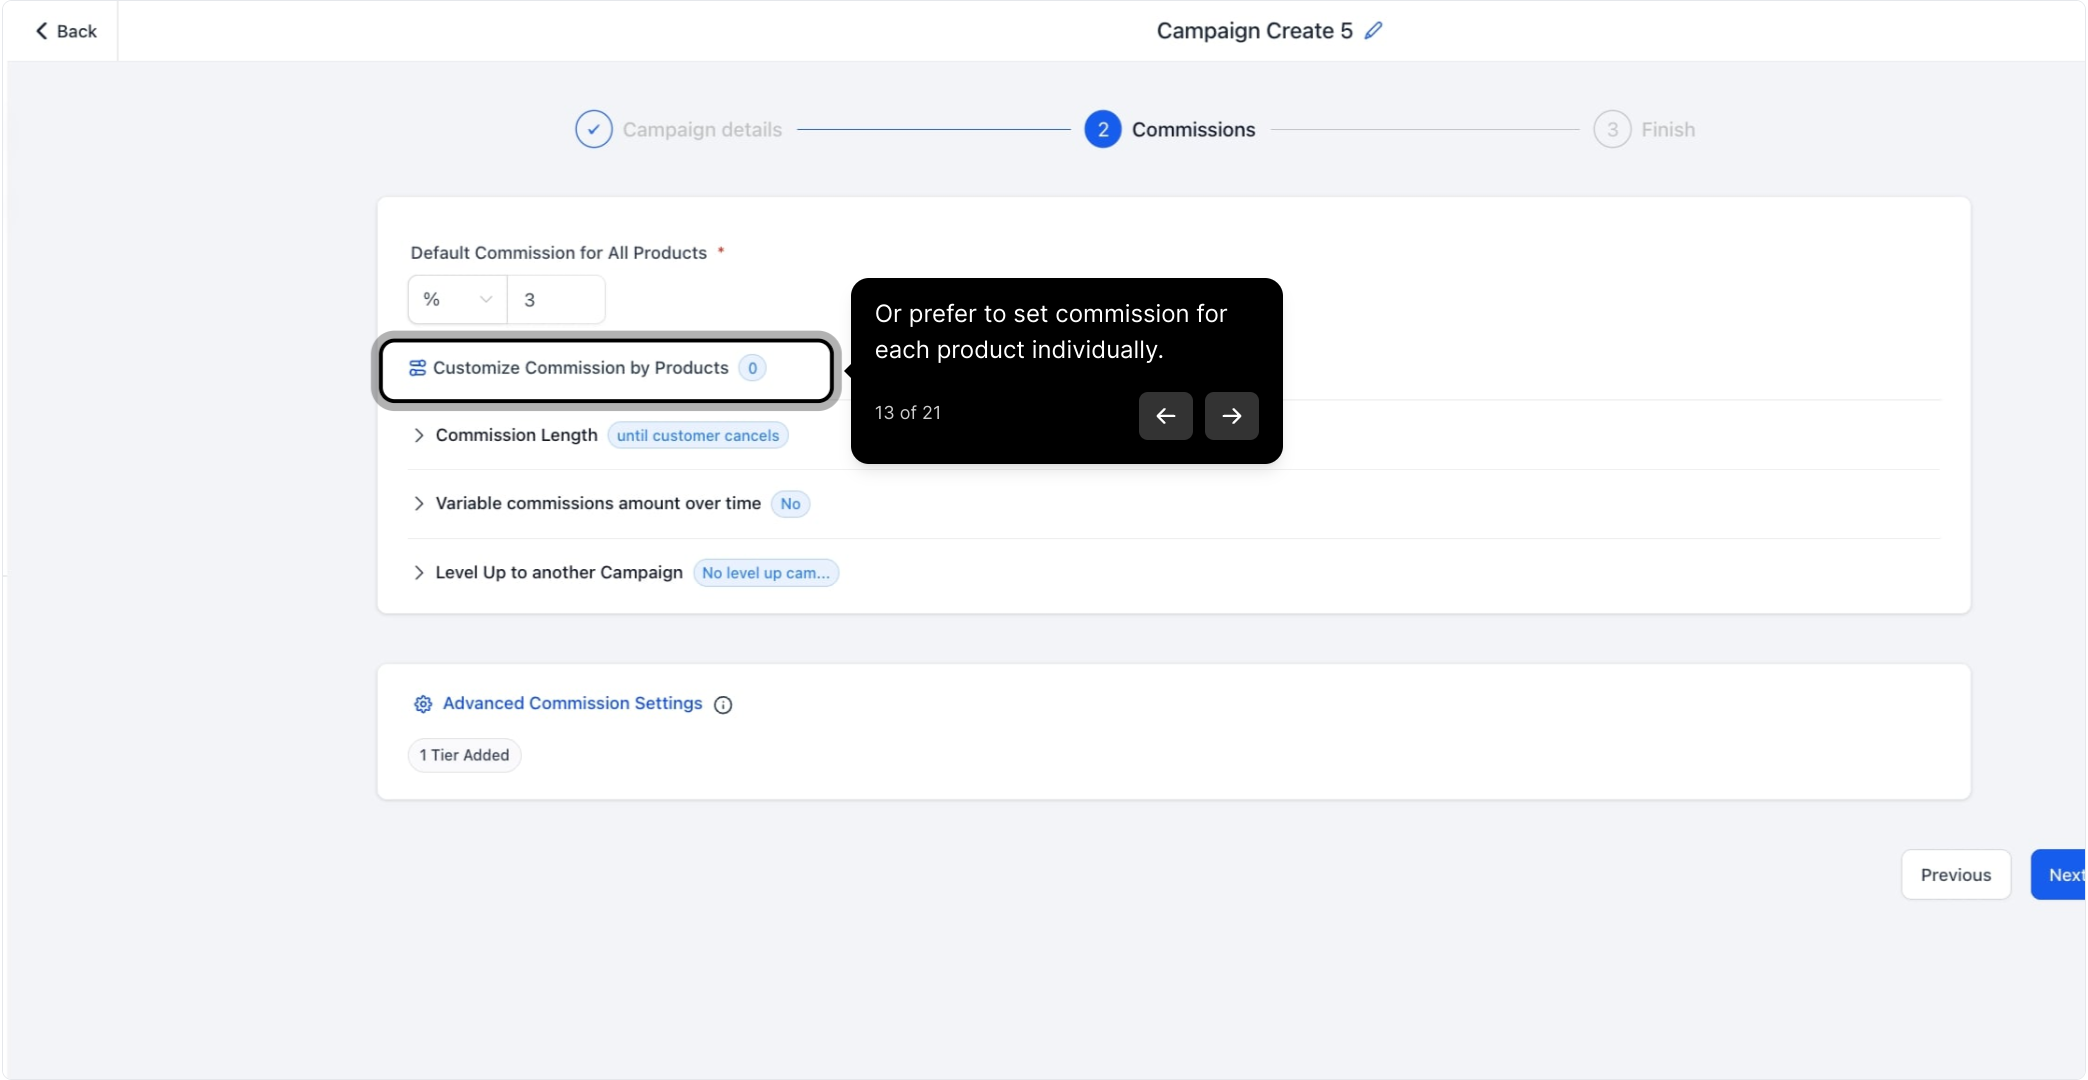
13. Or prefer to set commission for each product individually.
14. Afterwards, click on "Advanced Commission Settings."
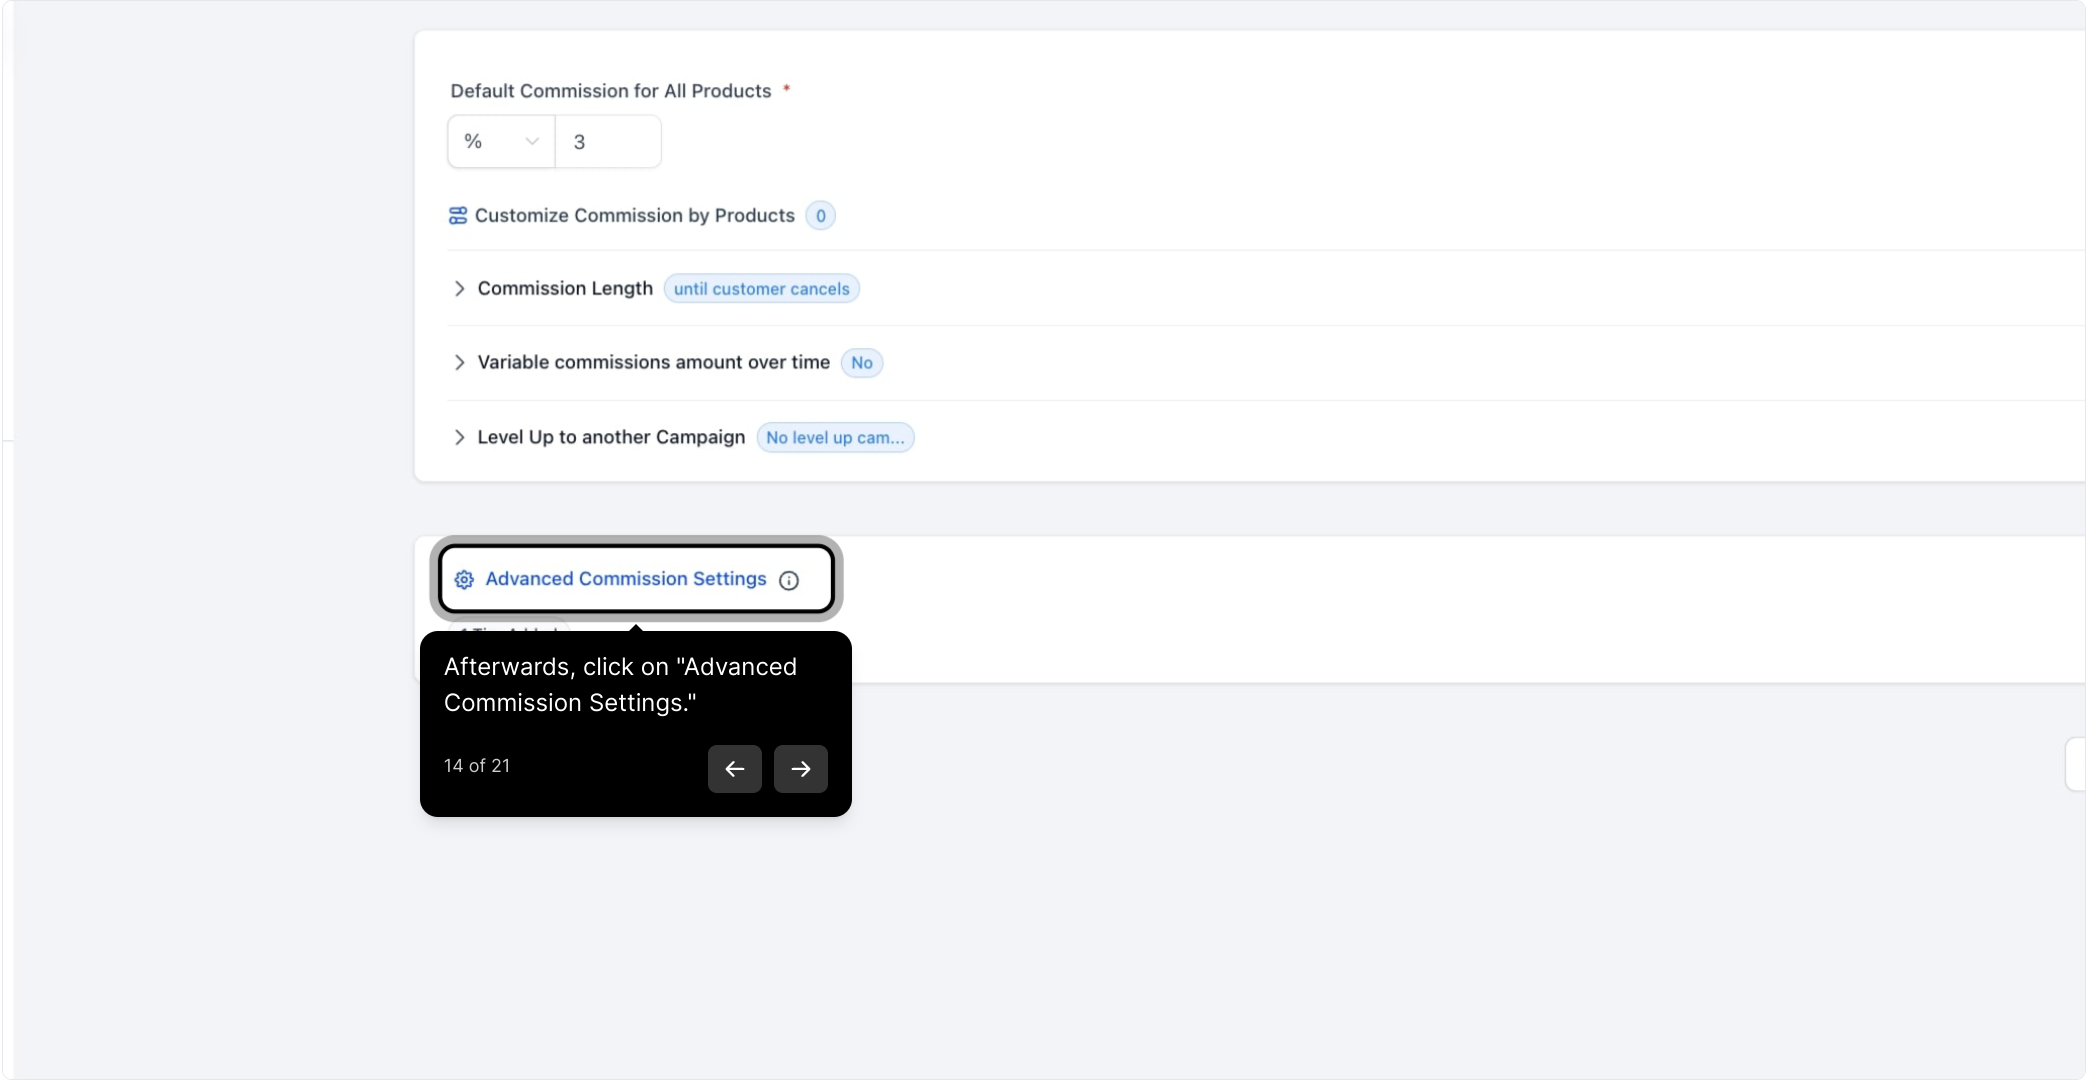
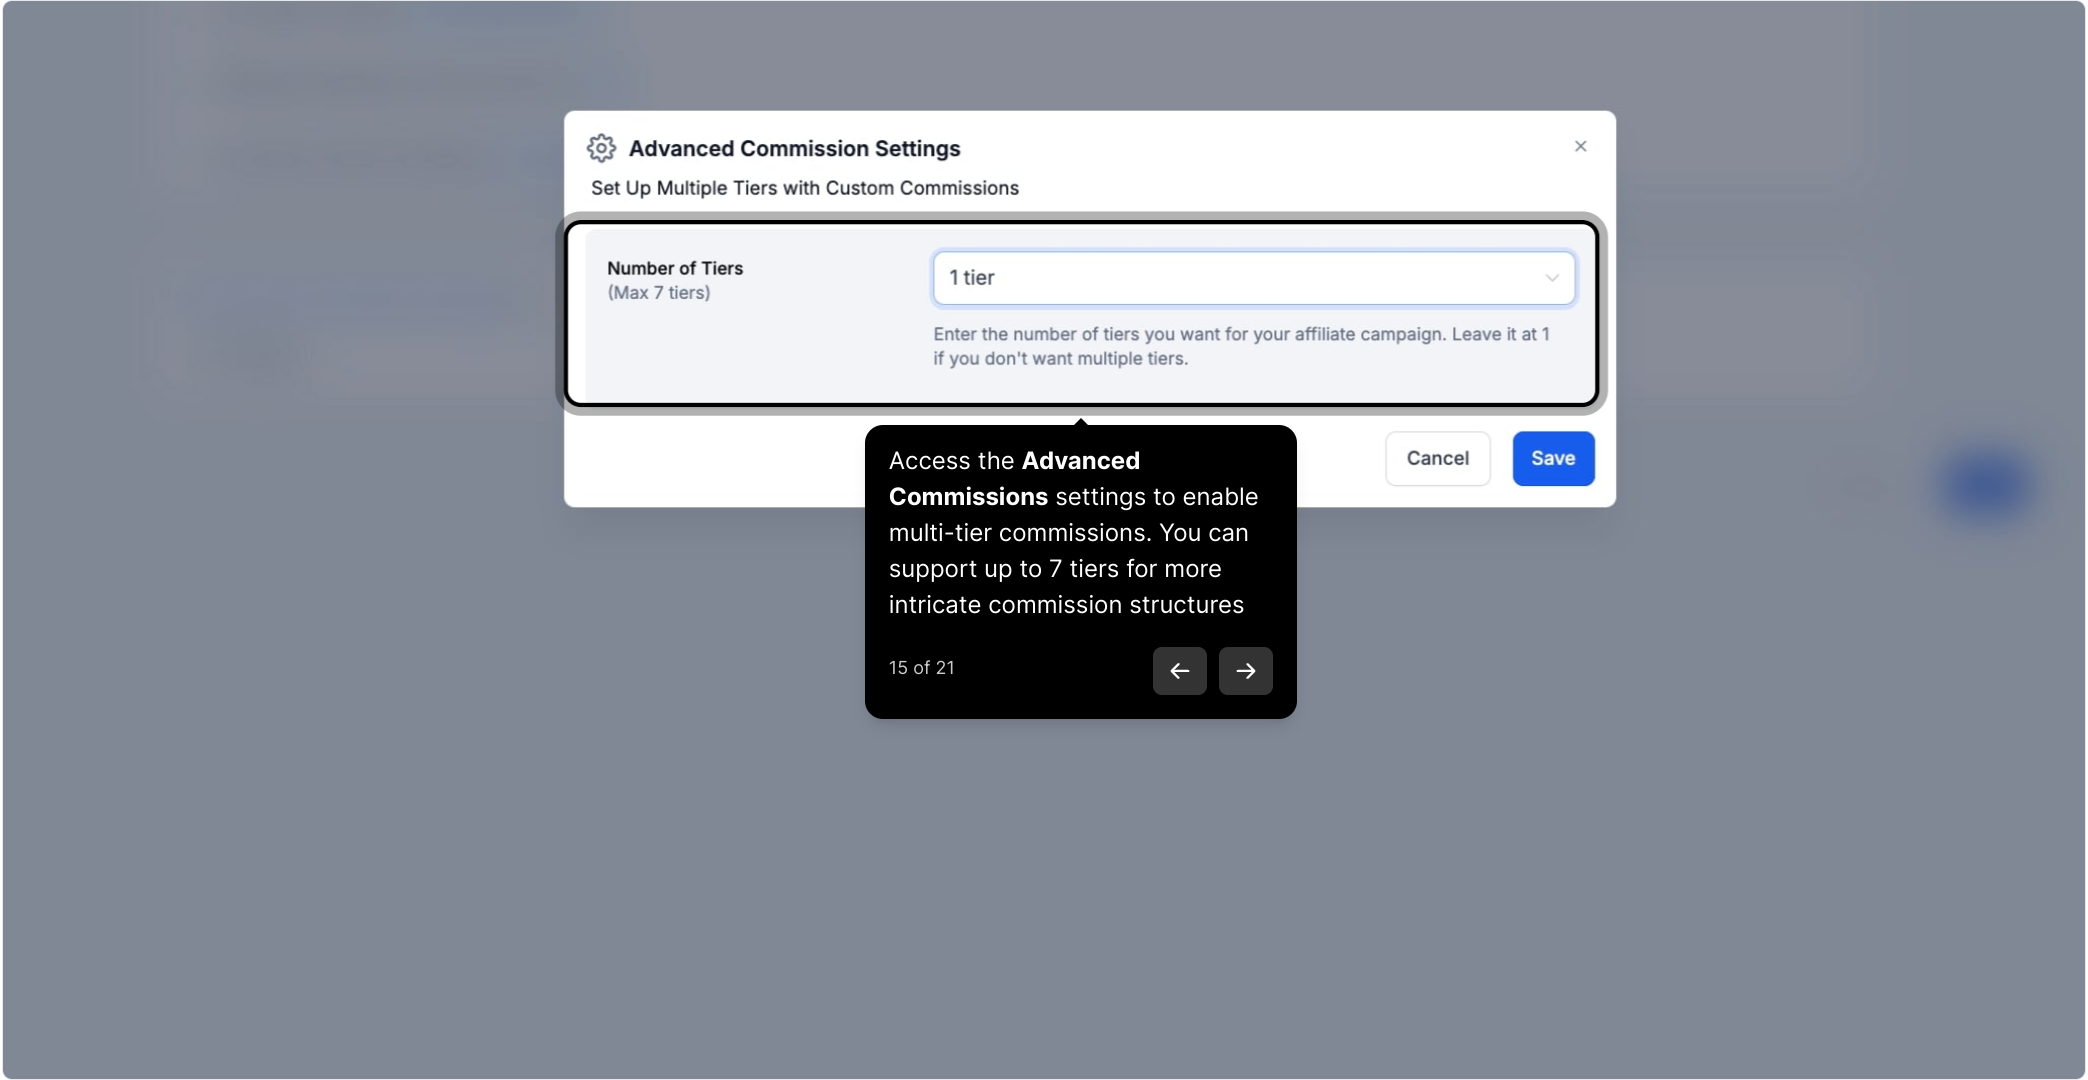
15. Access the Advanced Commissions settings to enable multi-tier commissions. You can support up to 7 tiers for more intricate commission structures
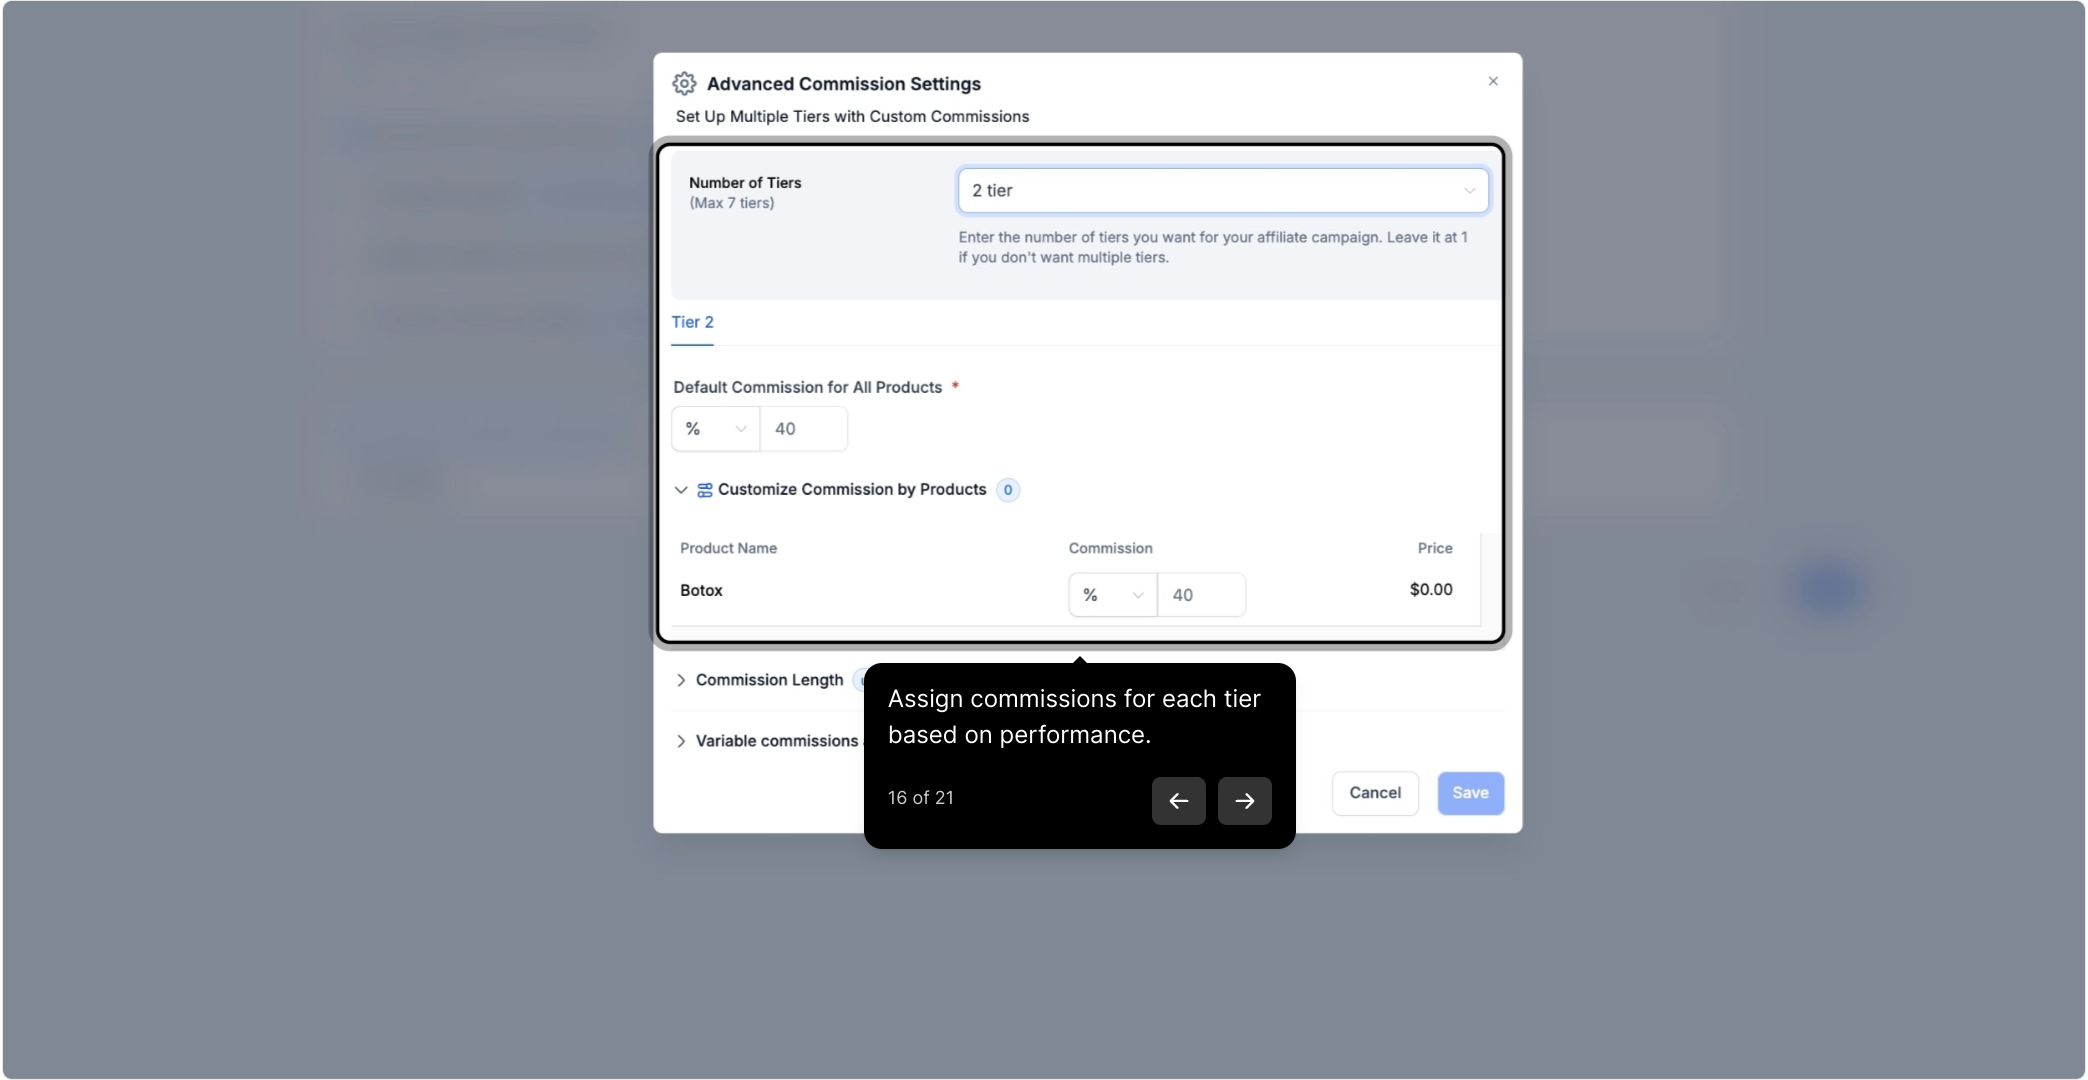
16. Assign commissions for each tier based on performance.
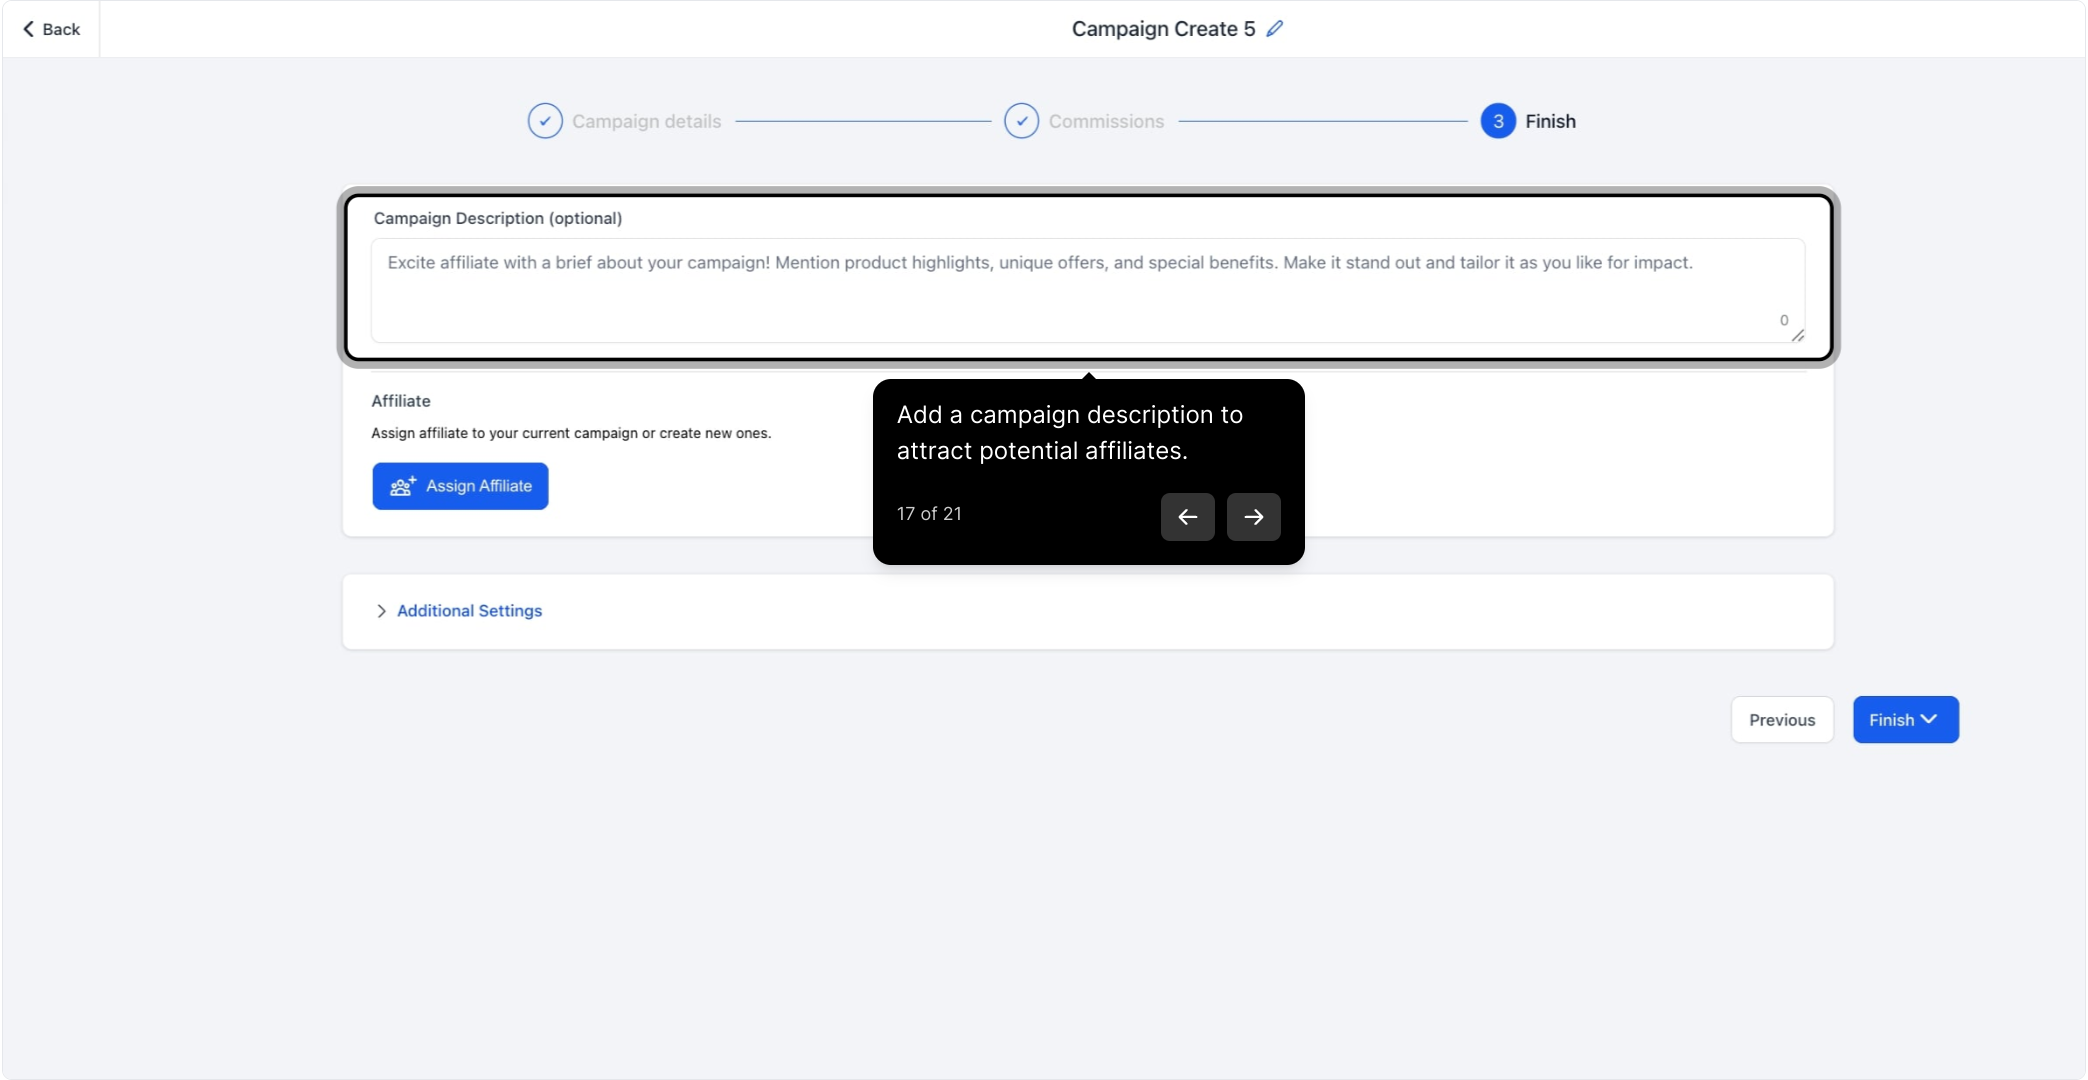
17. Add a campaign description to attract potential affiliates.
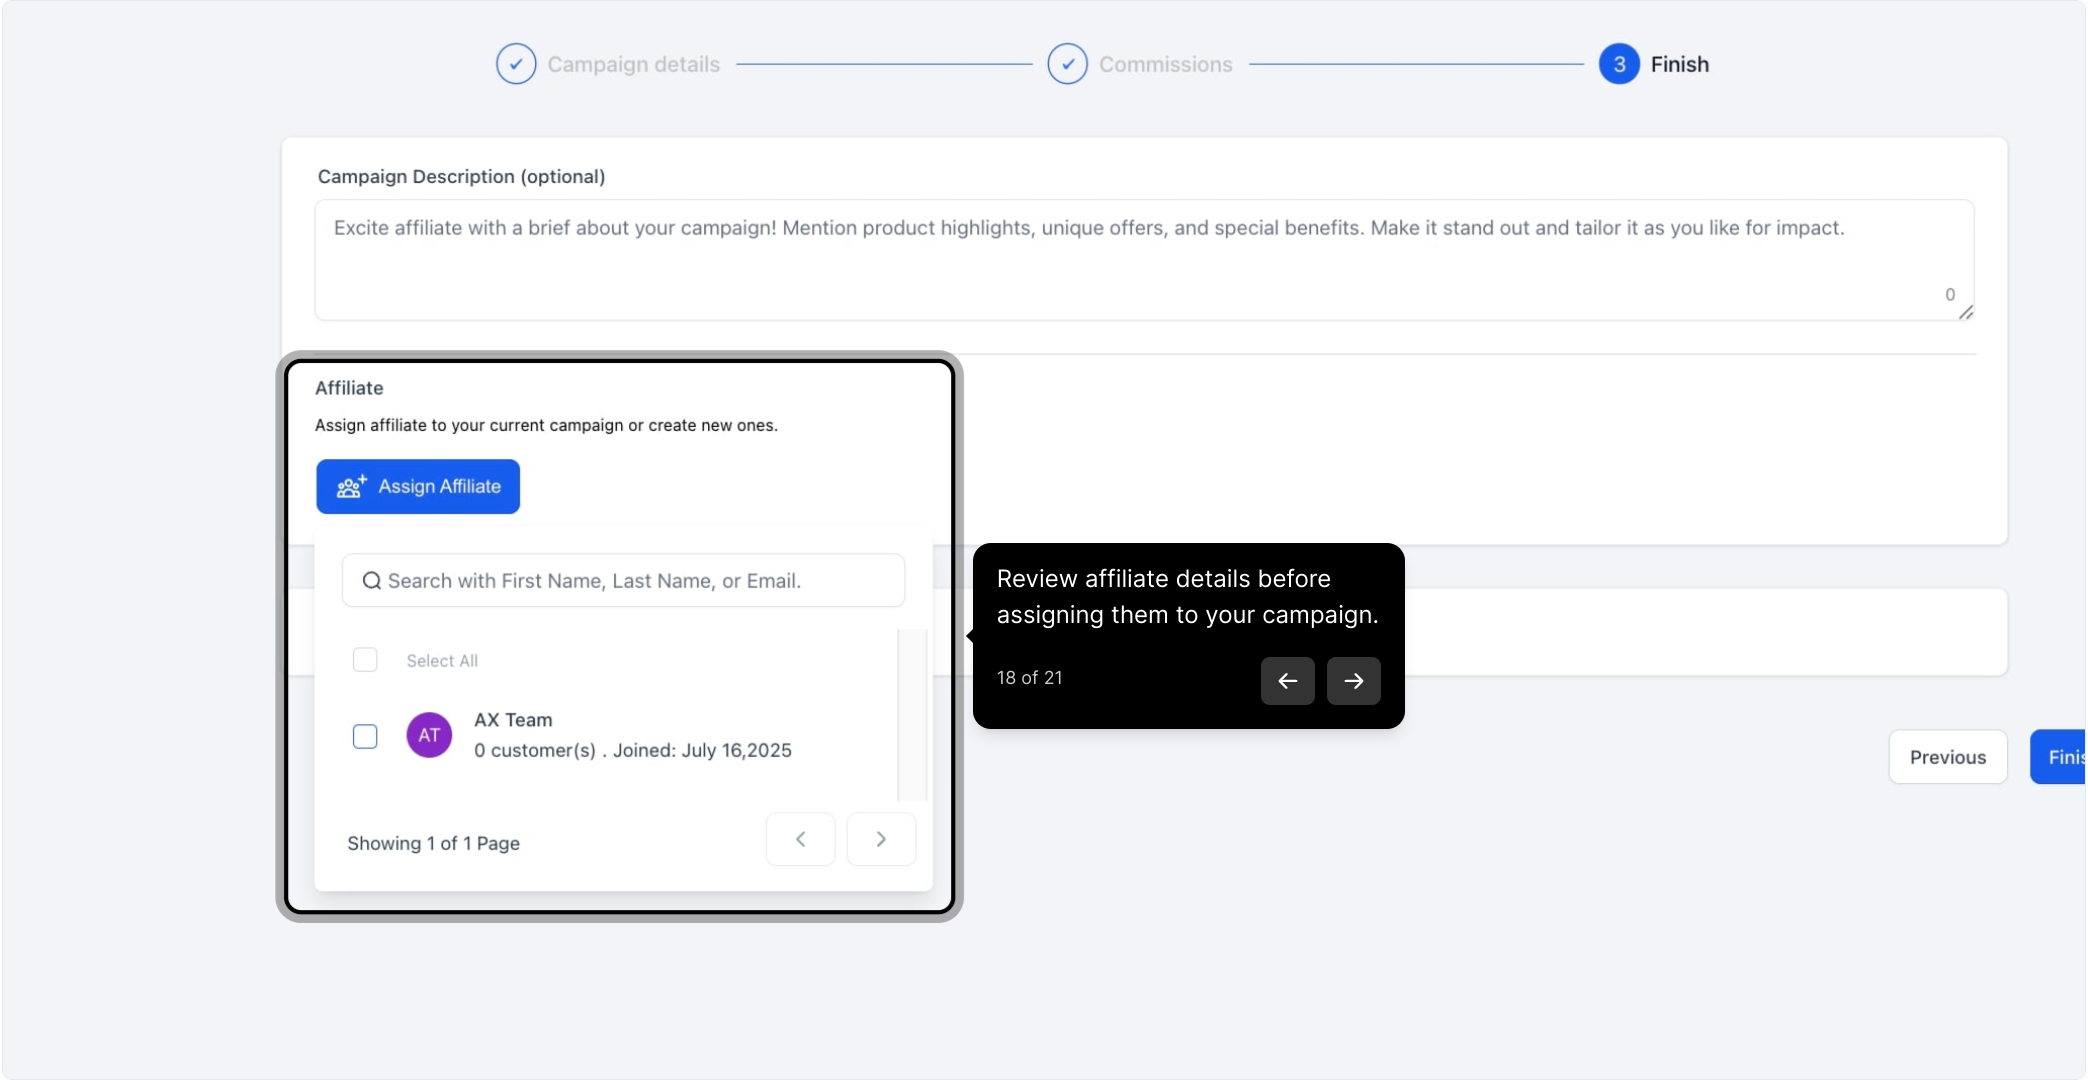
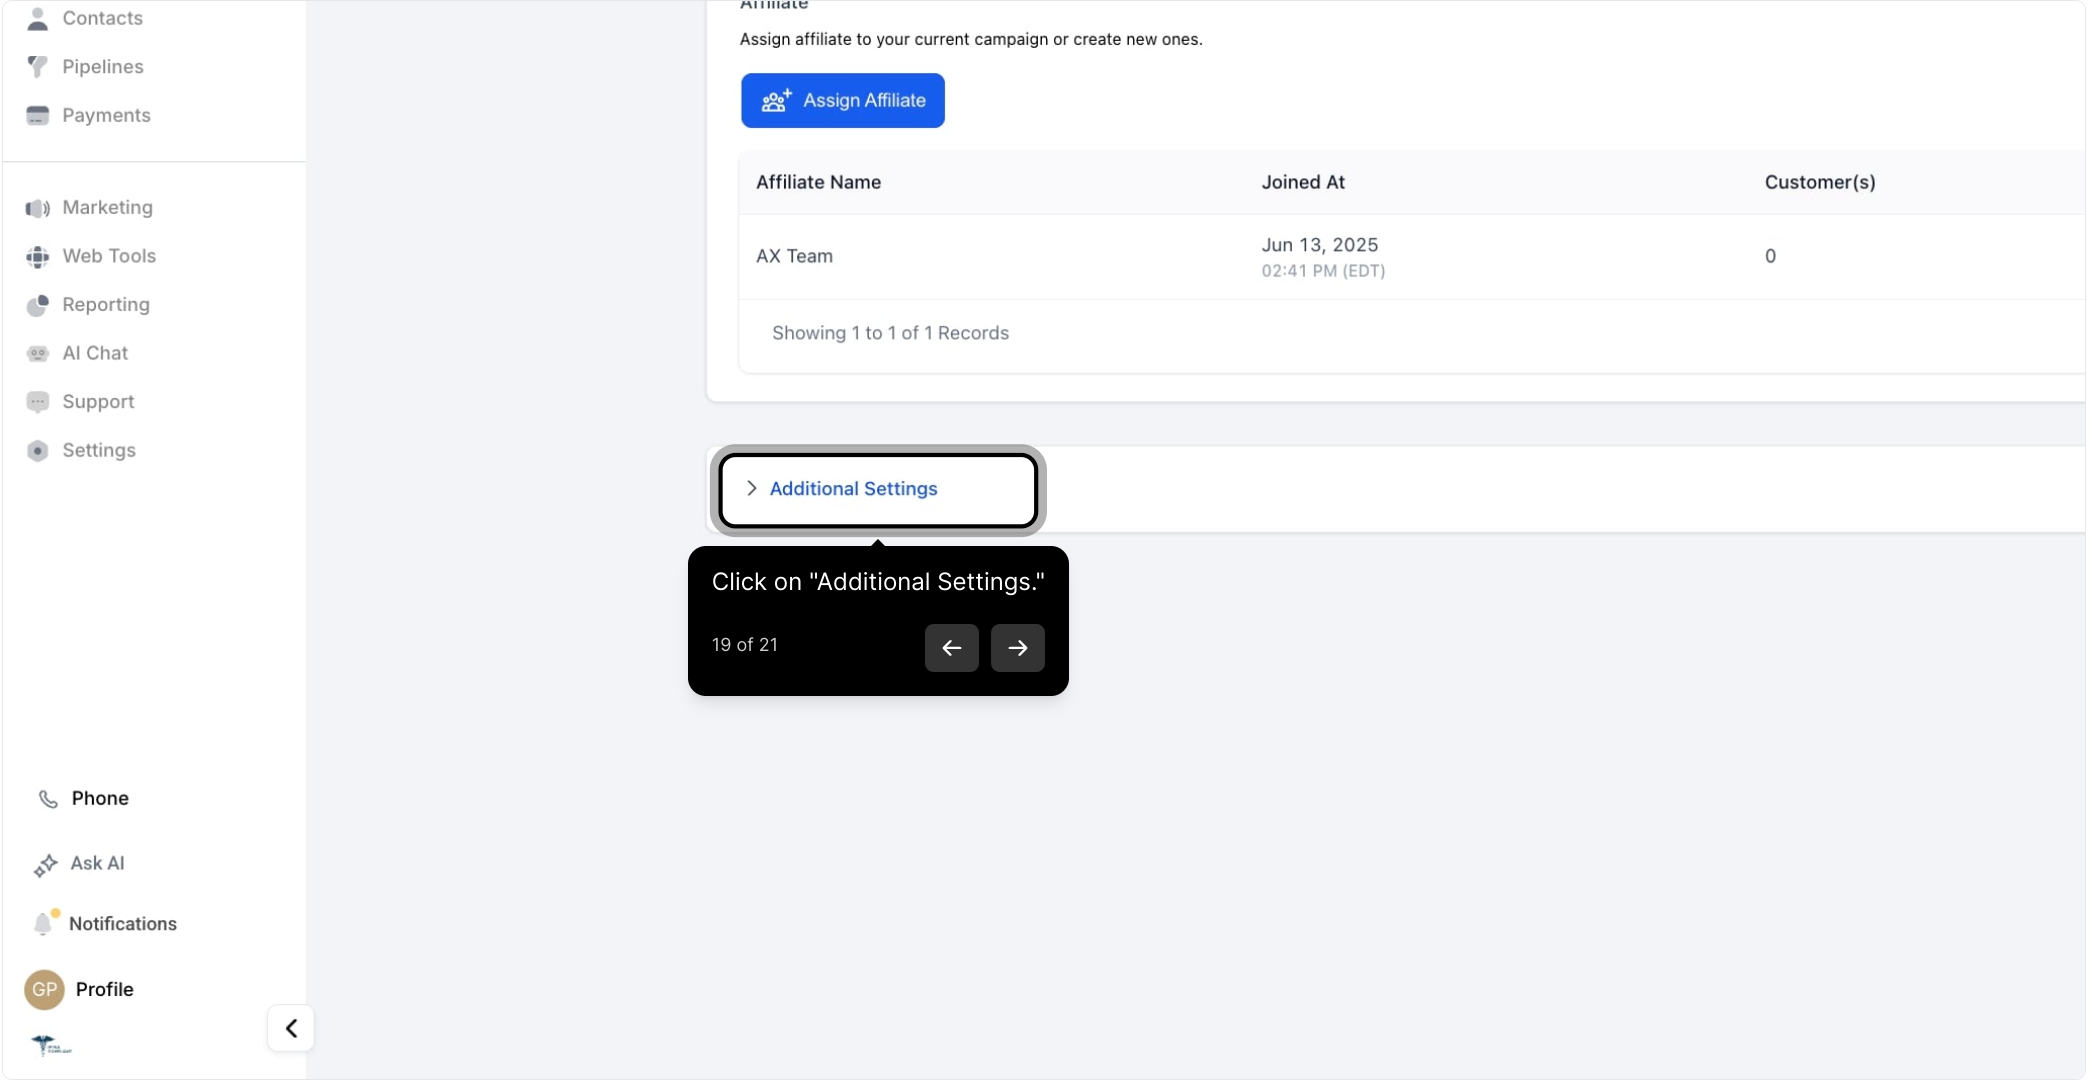
18. Review affiliate details before assigning them to your campaign.
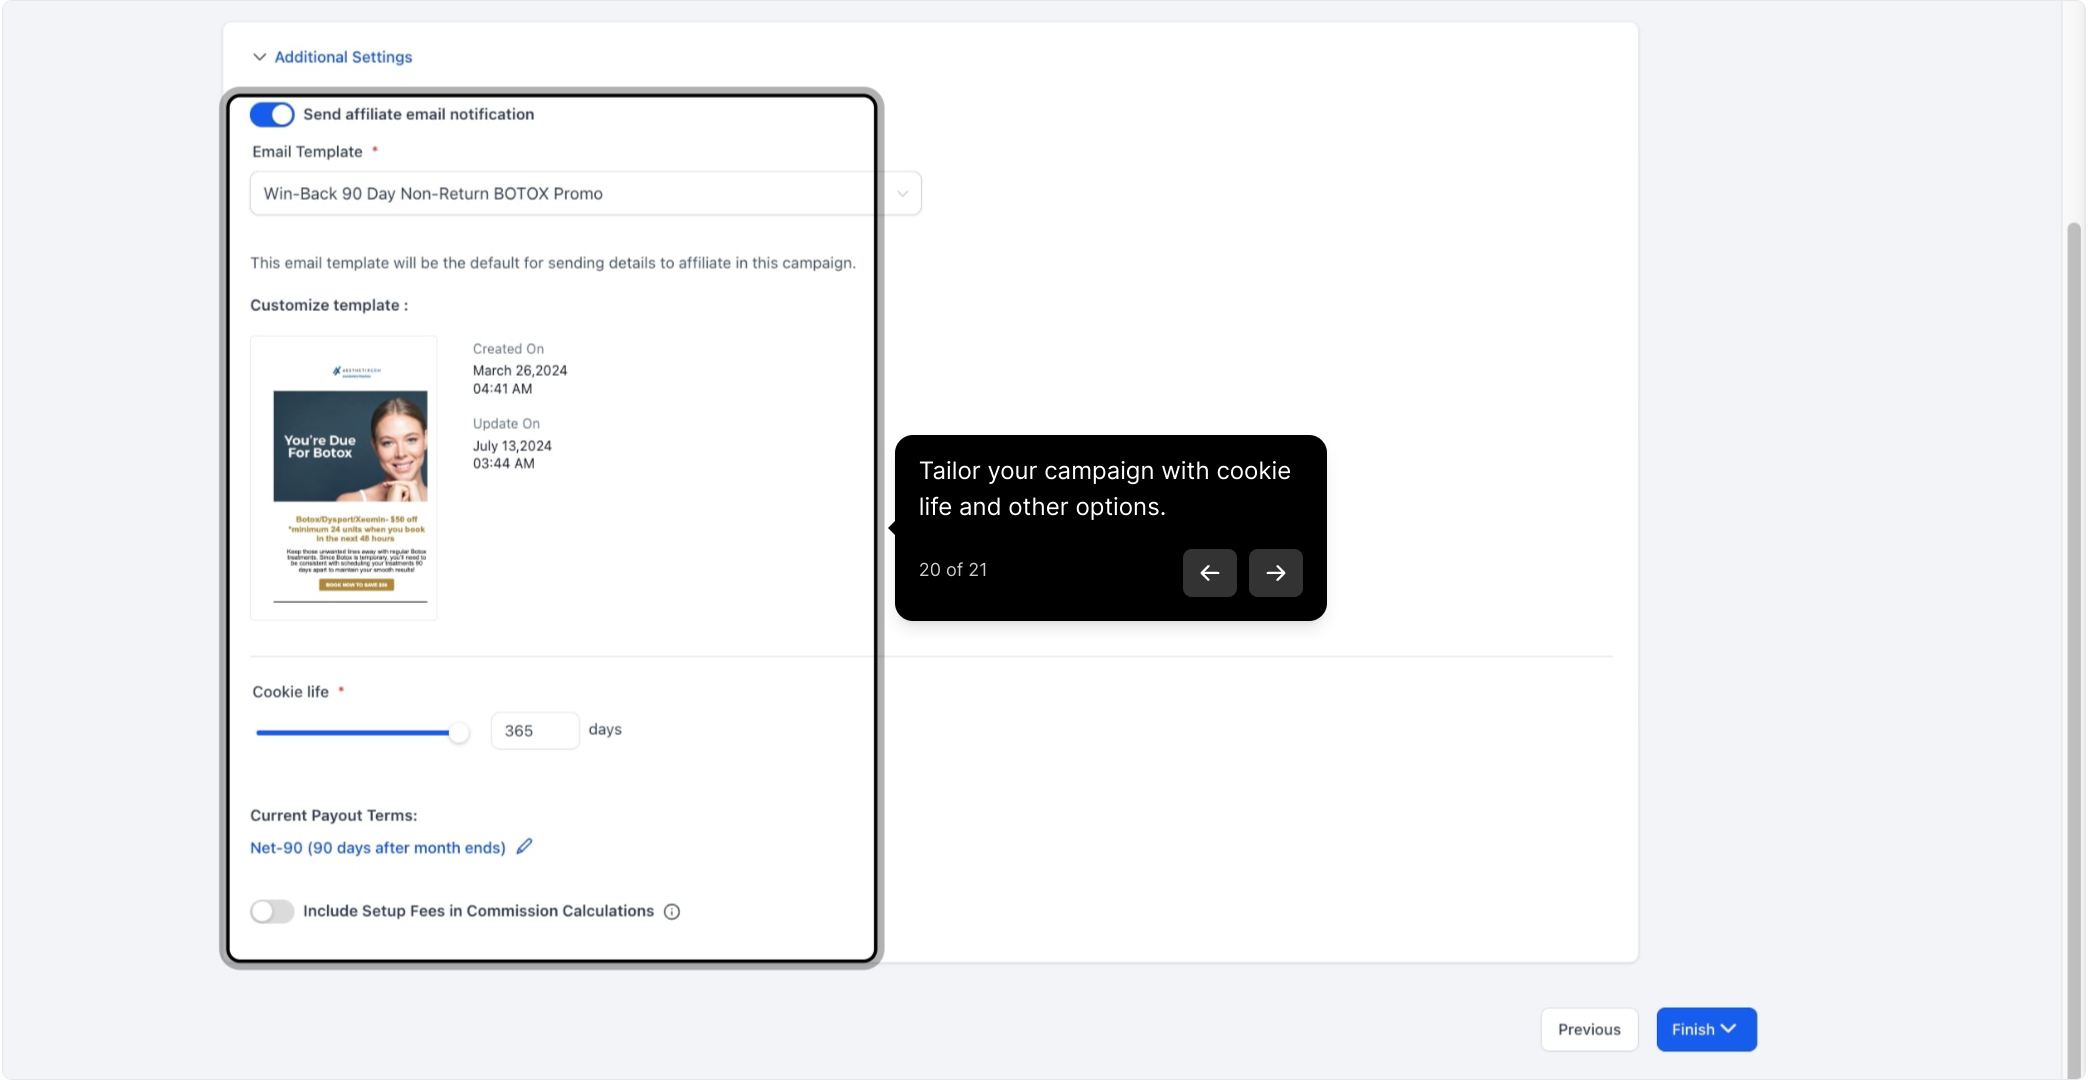
19. Click on "Additional Settings."
20. Tailor your campaign with cookie life and other options.
Tailor your campaign further with options such as:
Email templates for affiliate onboarding
Cookie duration for tracking affiliate activity
Payout terms
Including setup fees in commission calculations
Enabling sub-affiliate signups
Auto-enrolling new customers as sub-affiliates
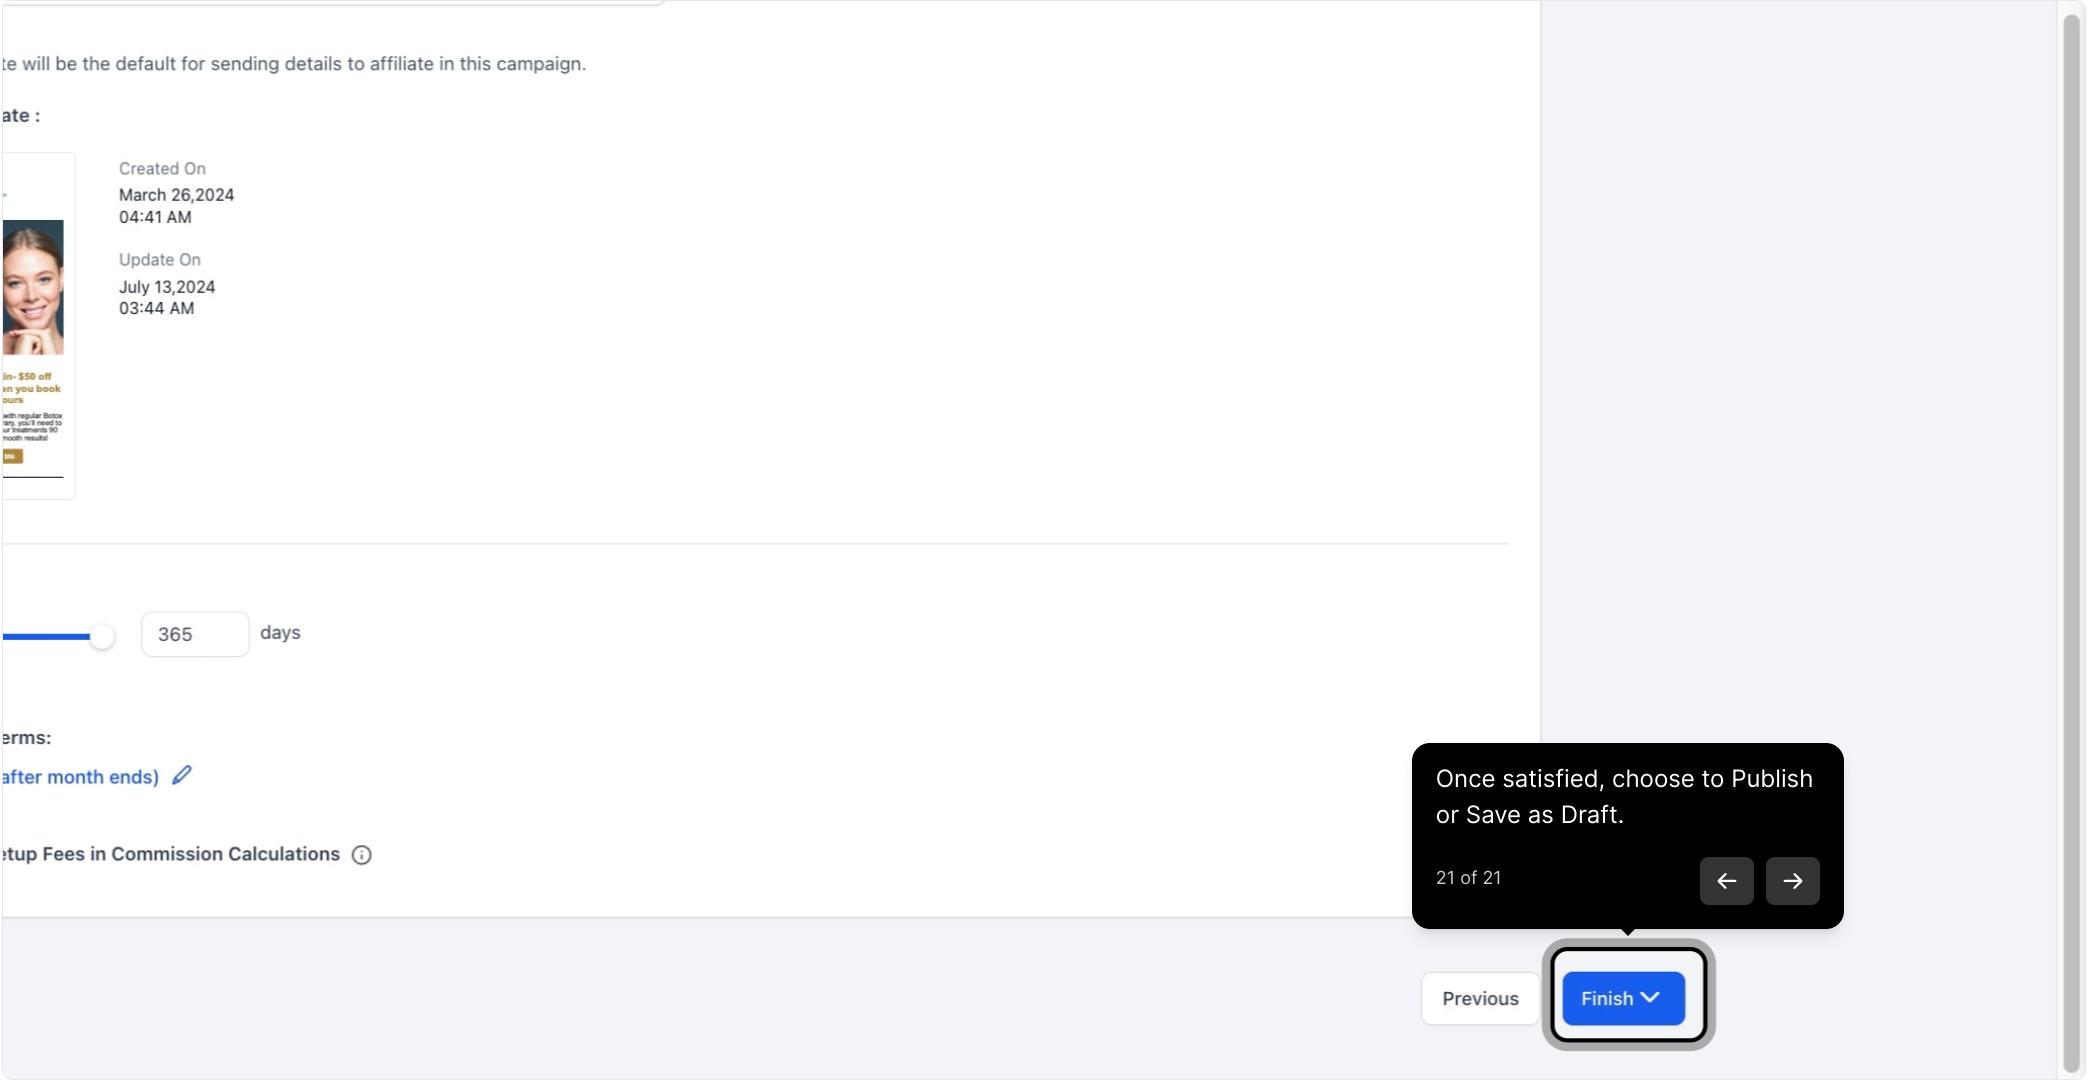
21. Once satisfied, choose to Publish or Save as Draft.