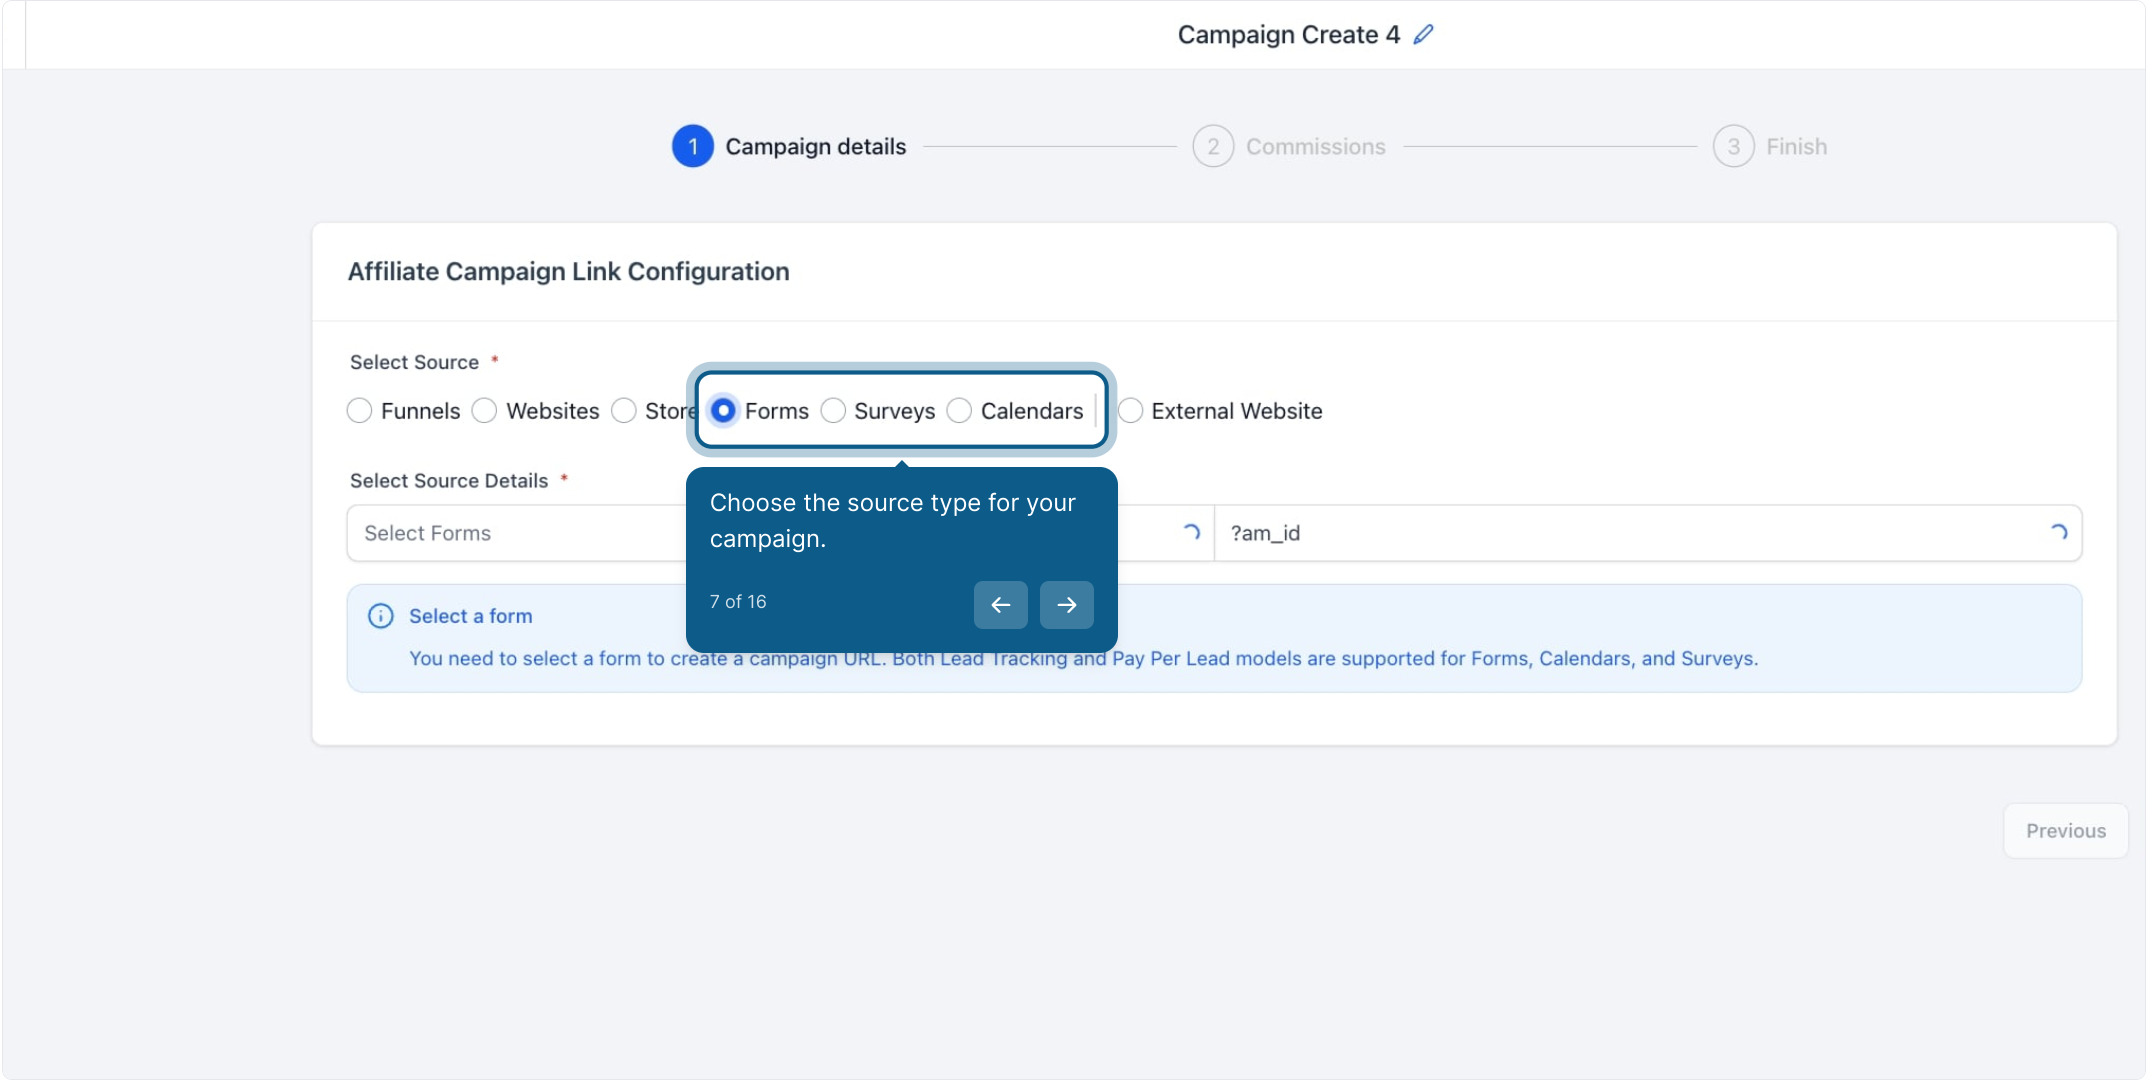
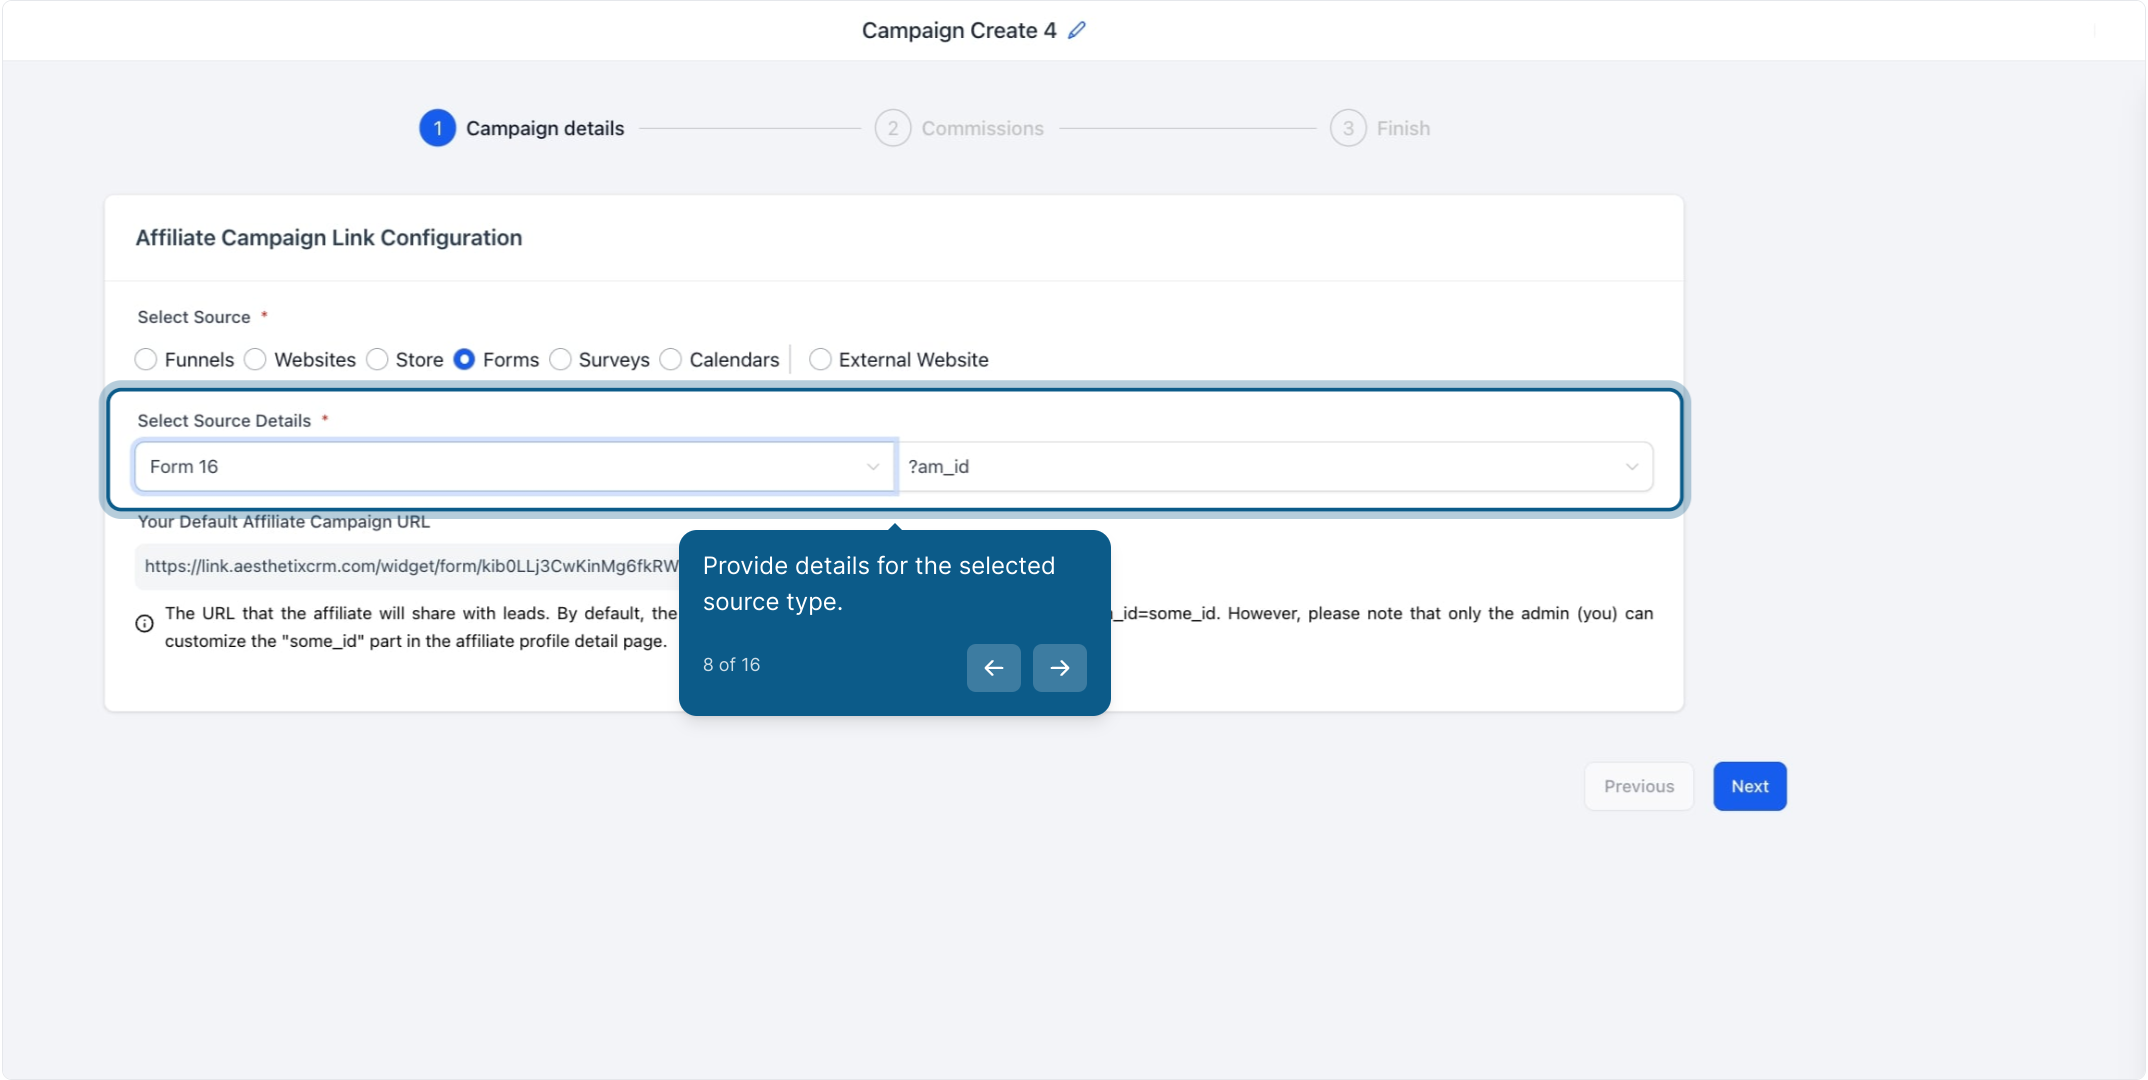
Choose "Forms," "Surveys," or "Calendars" as the source for your campaign.
The Pay-Per-Lead model can be enabled for these sources.

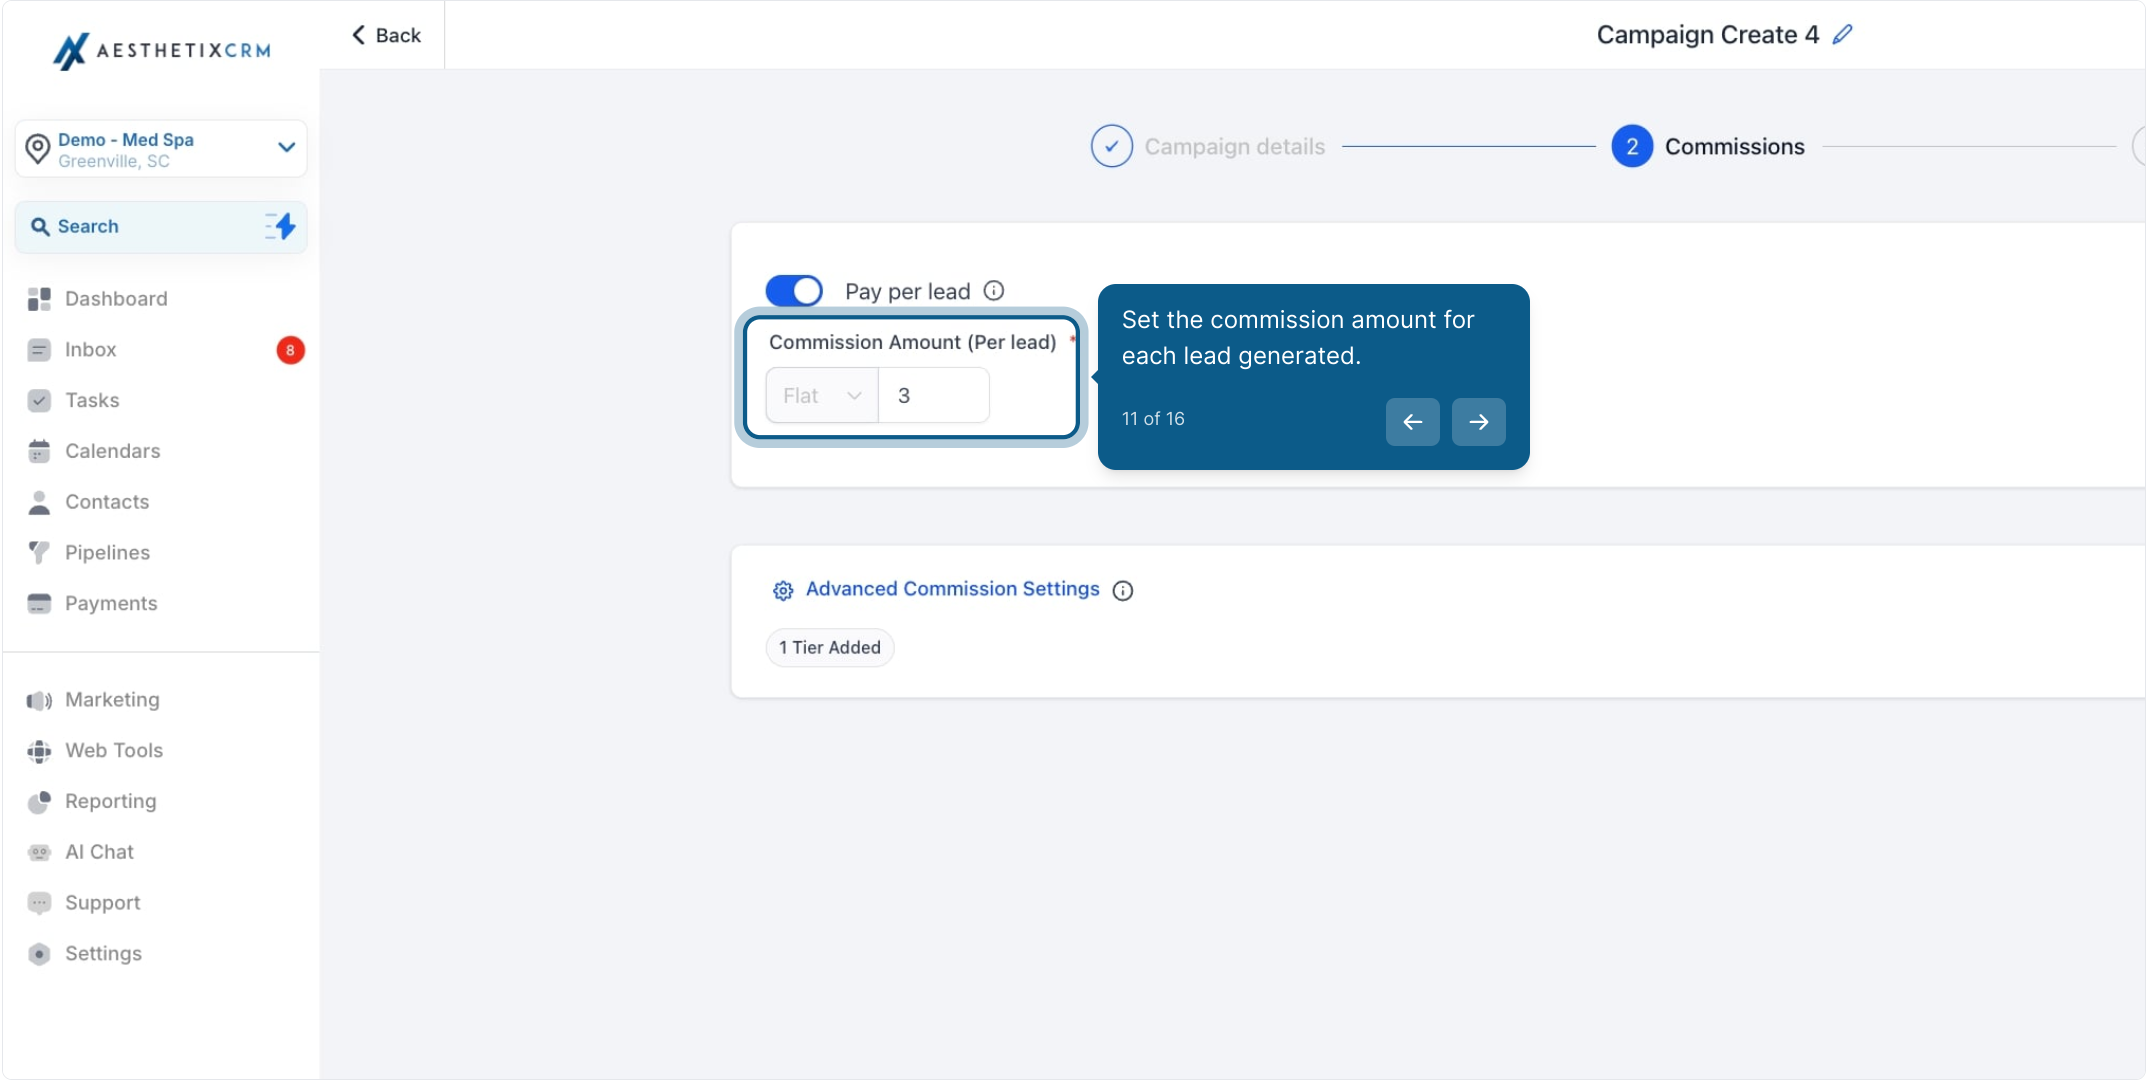
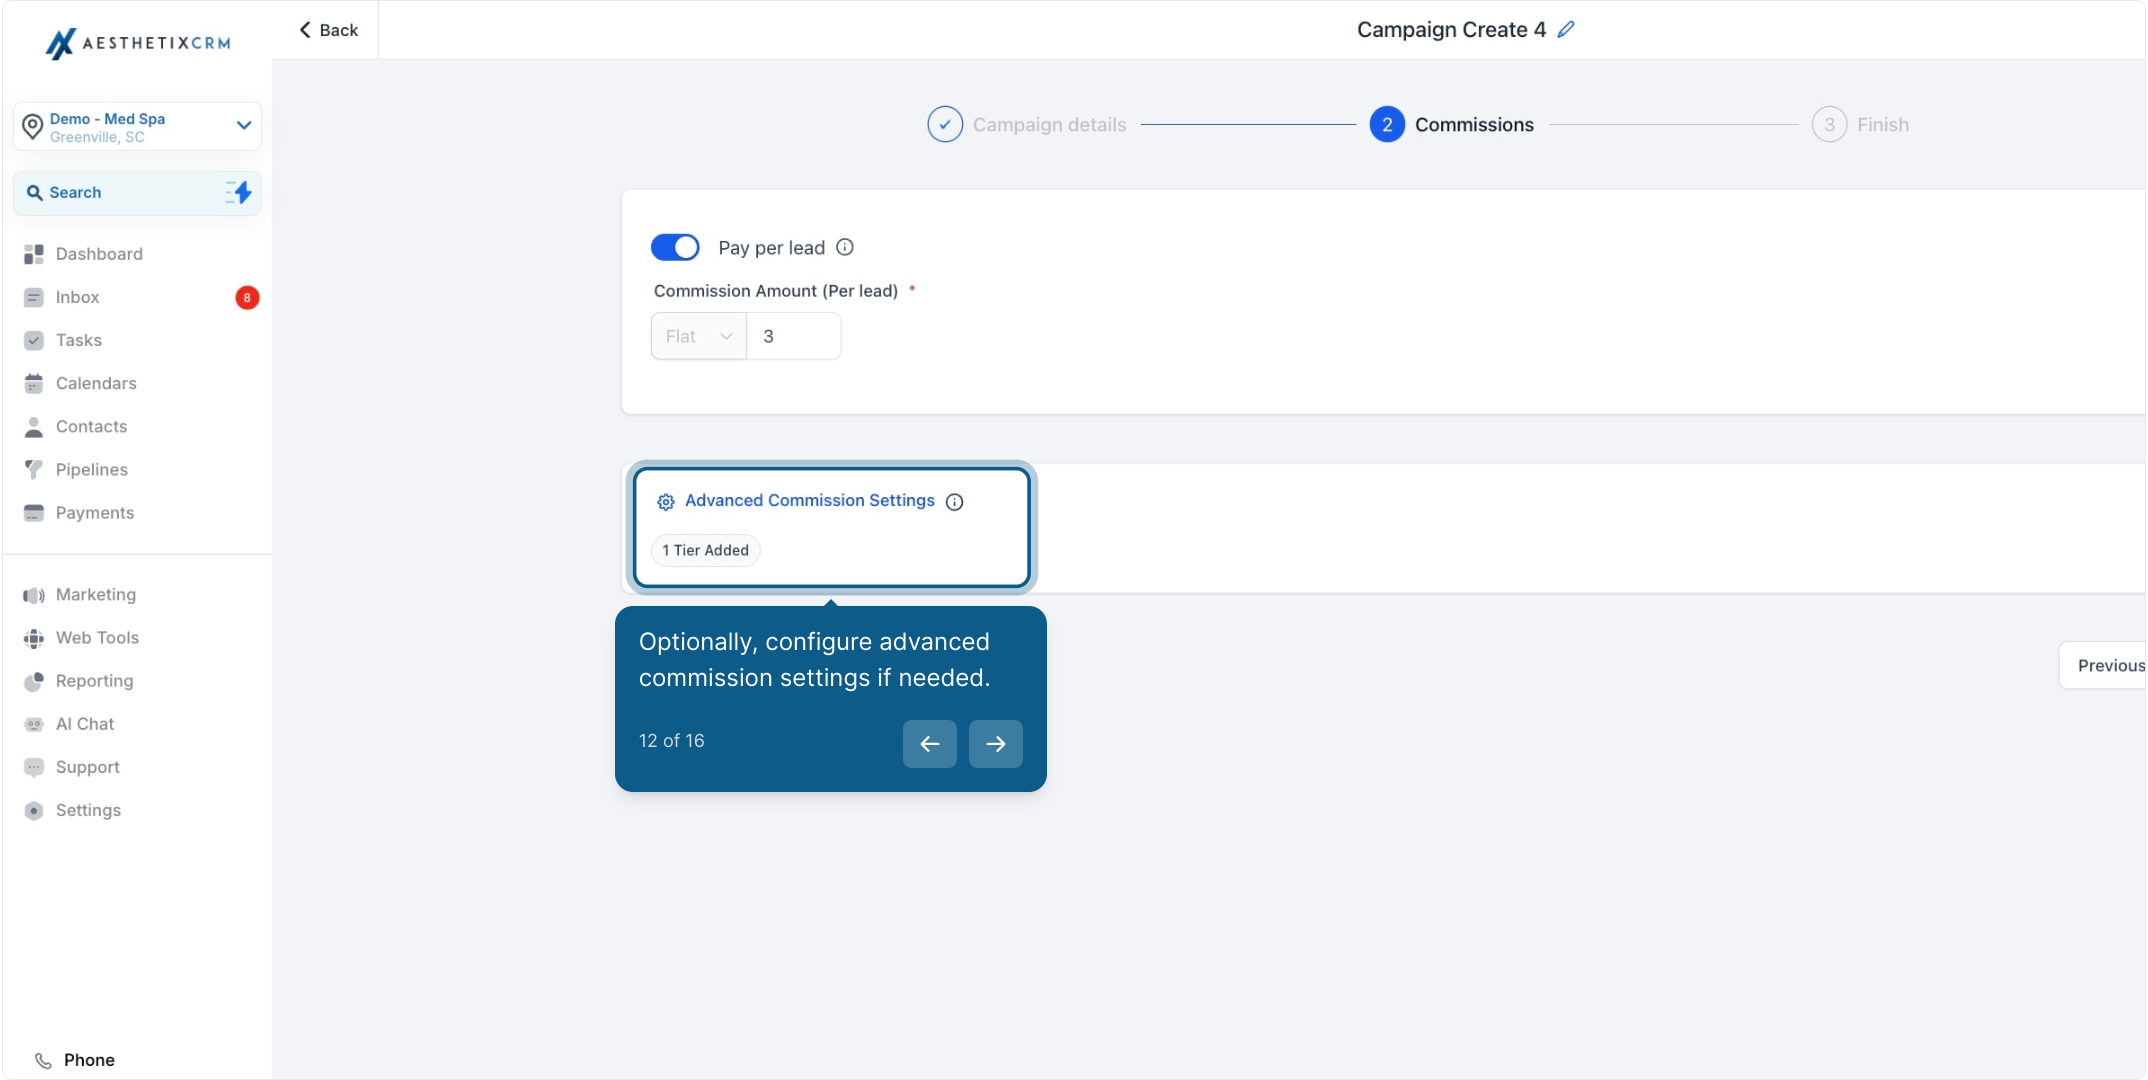
Set up multiple tiers under the advanced commission settings if needed.
This allows you to reward affiliates and their sub-affiliates at different levels.
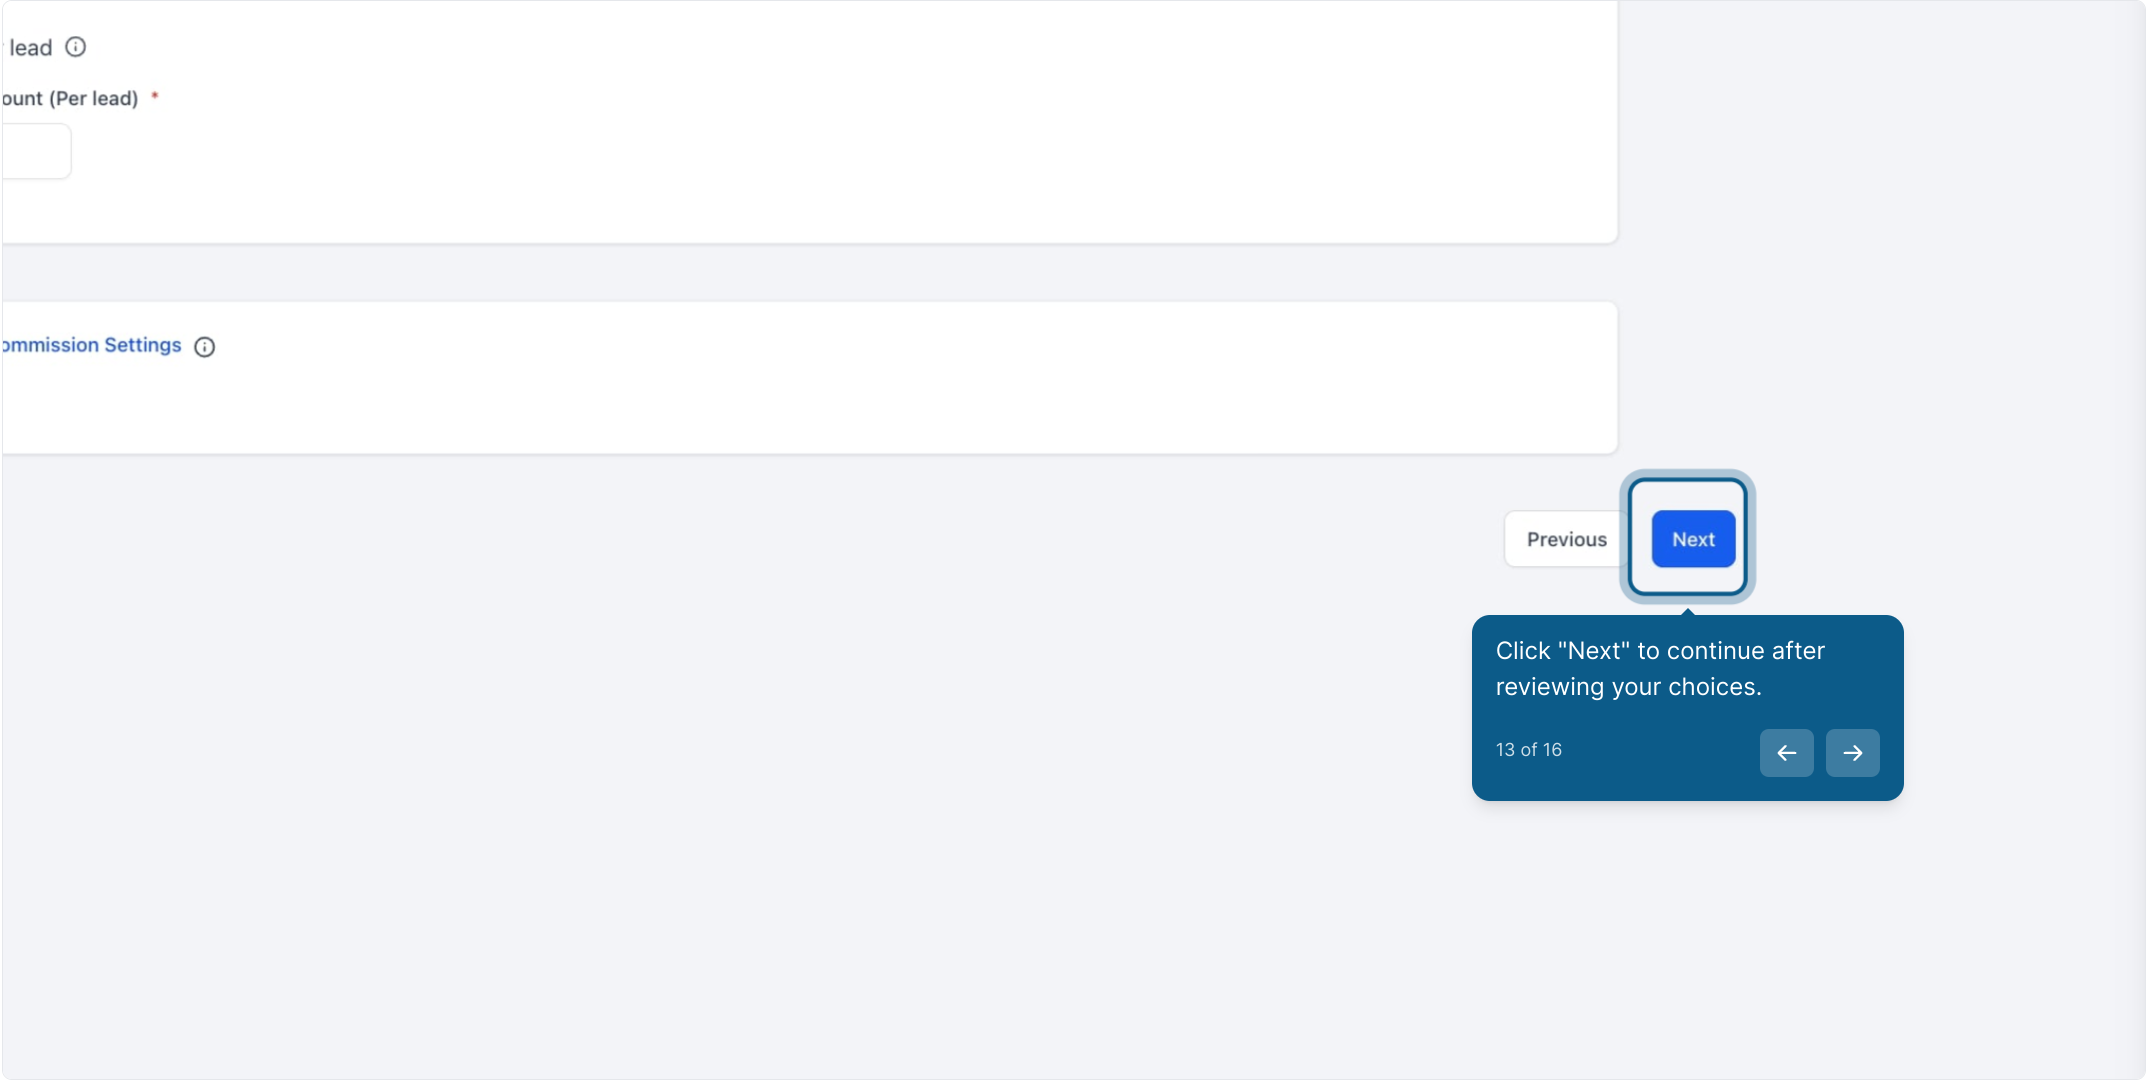
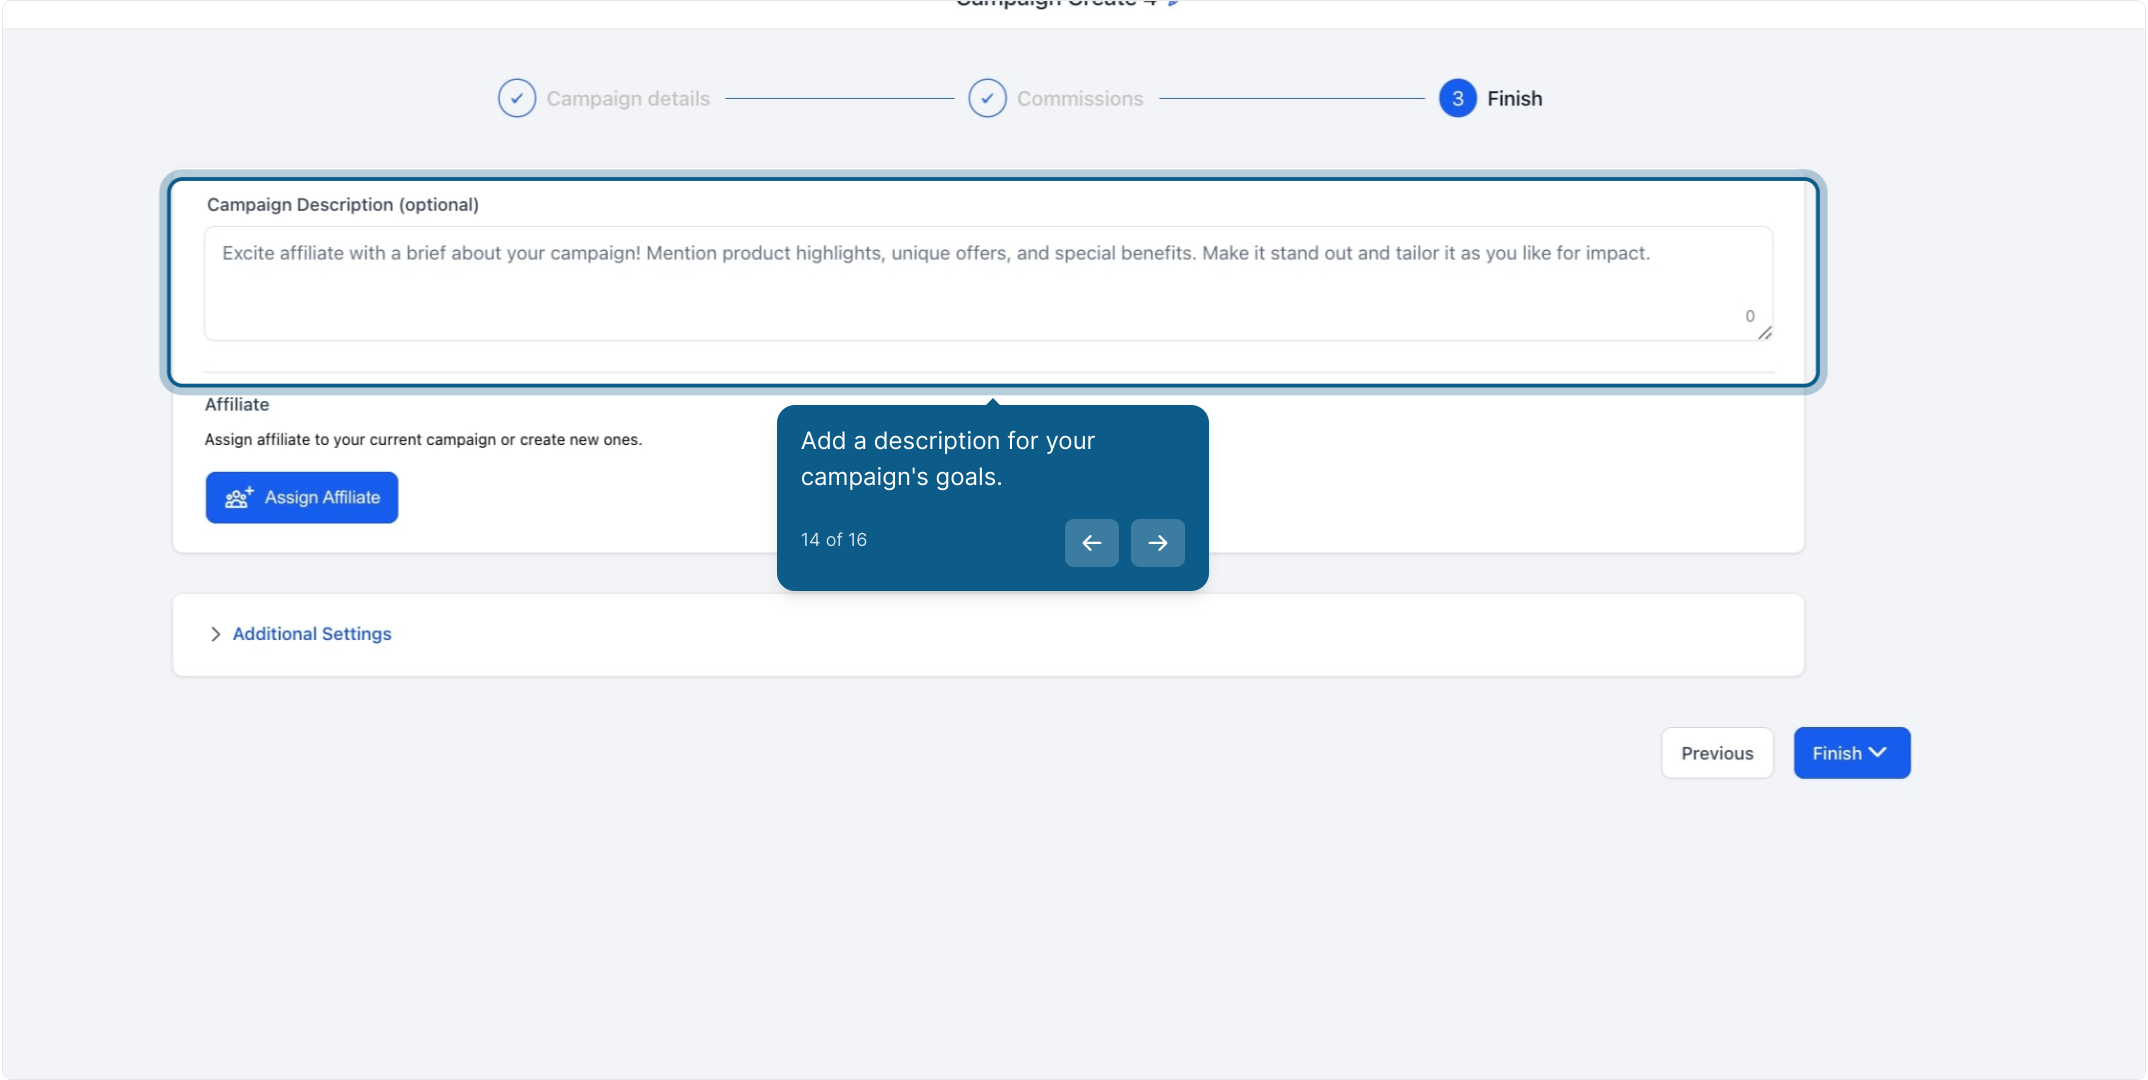
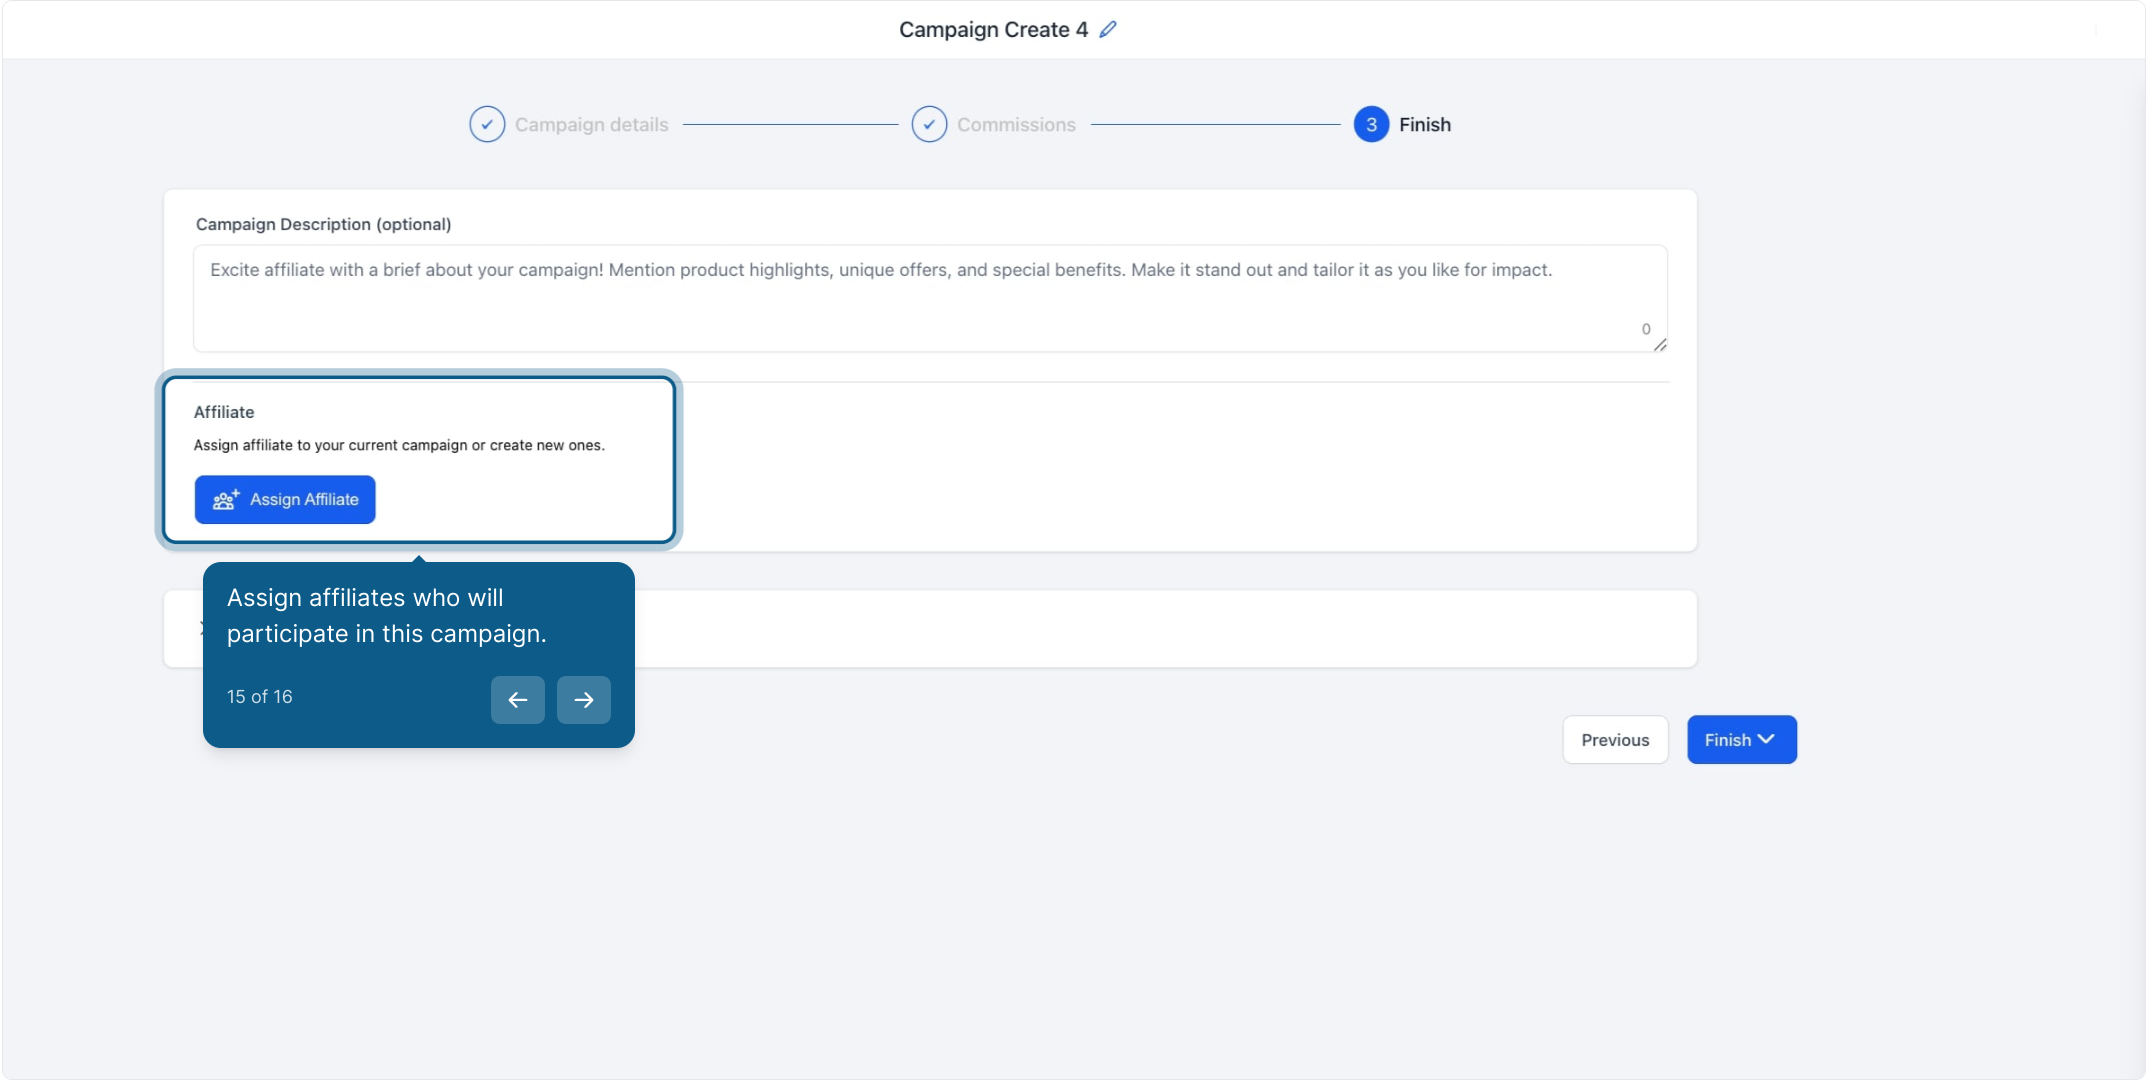
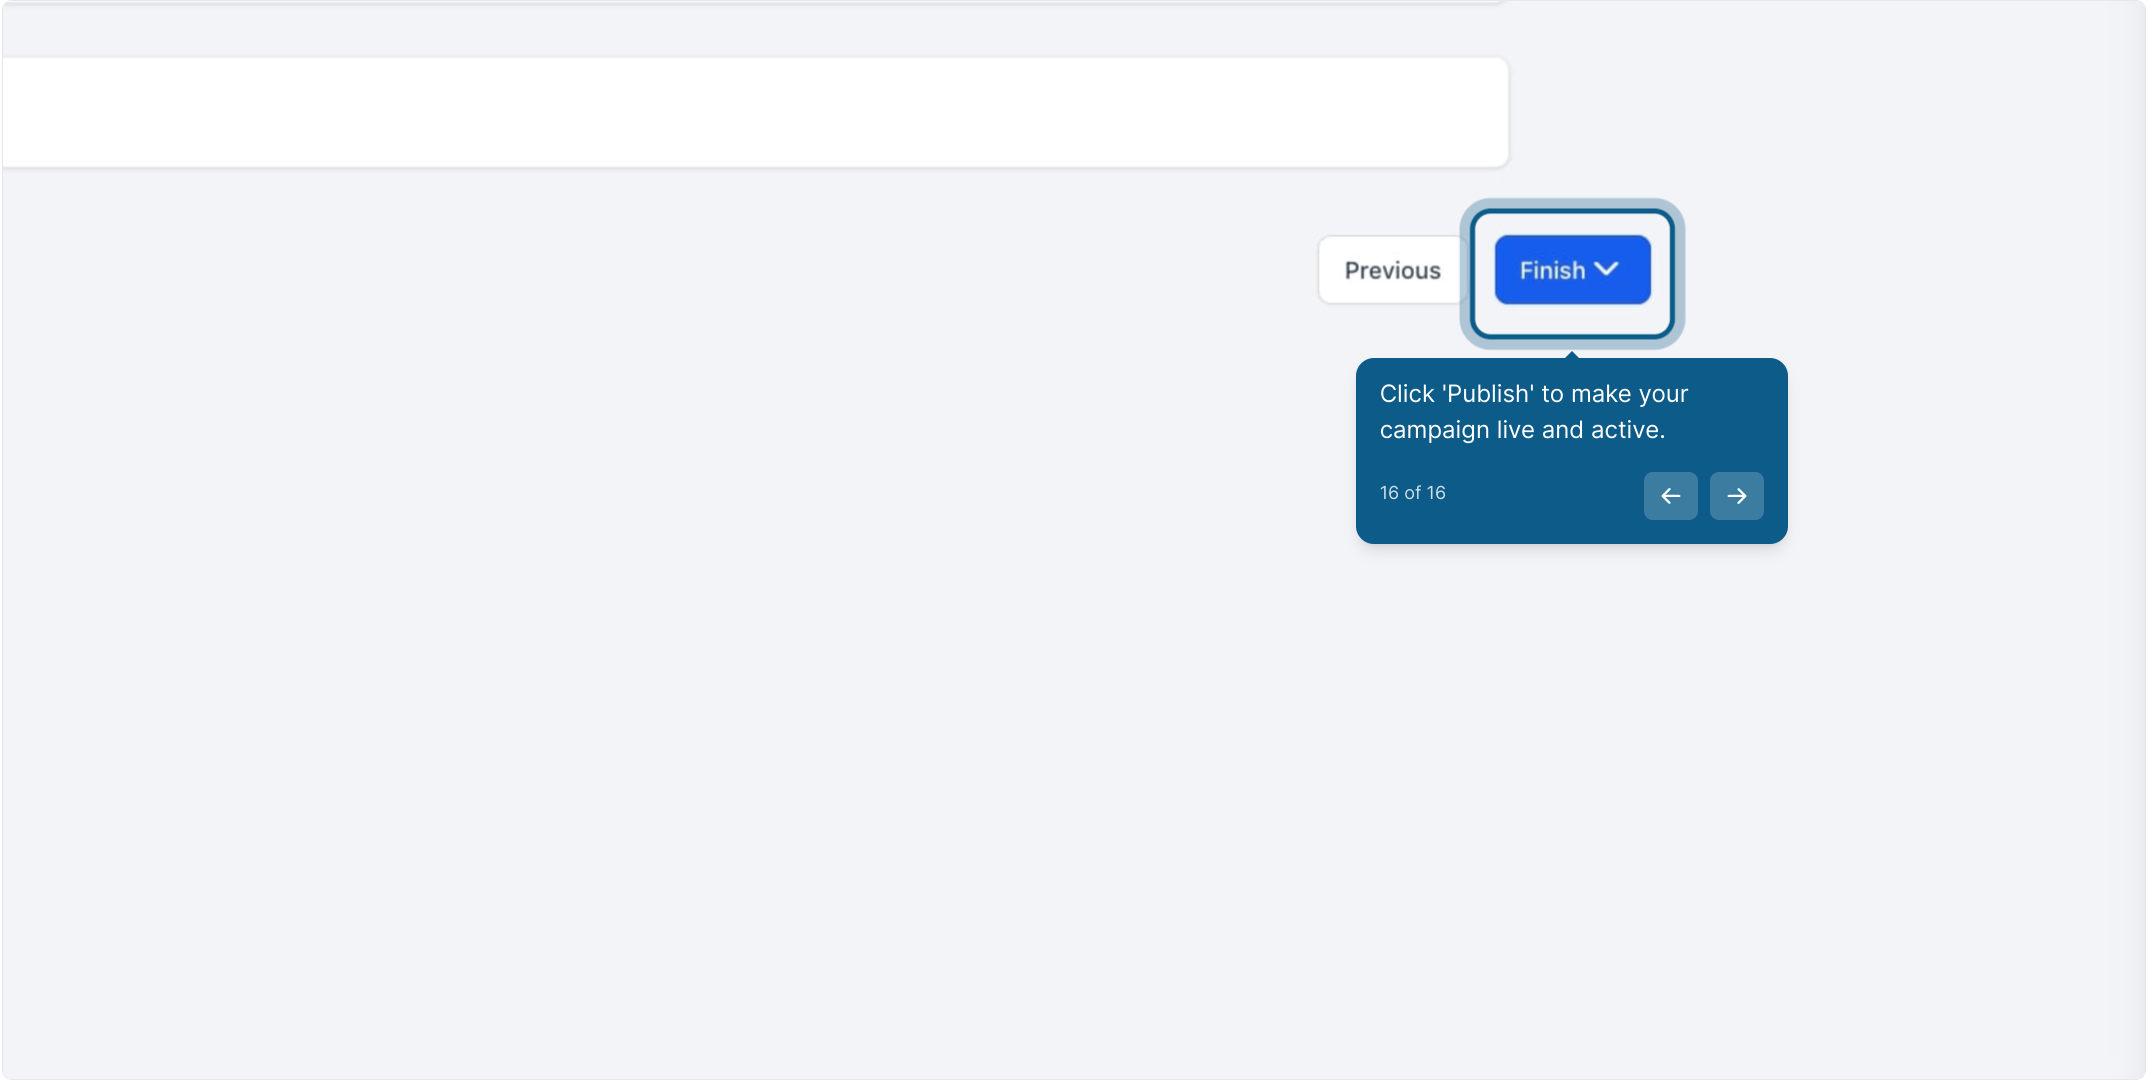
Double-check all settings and make any final adjustments.
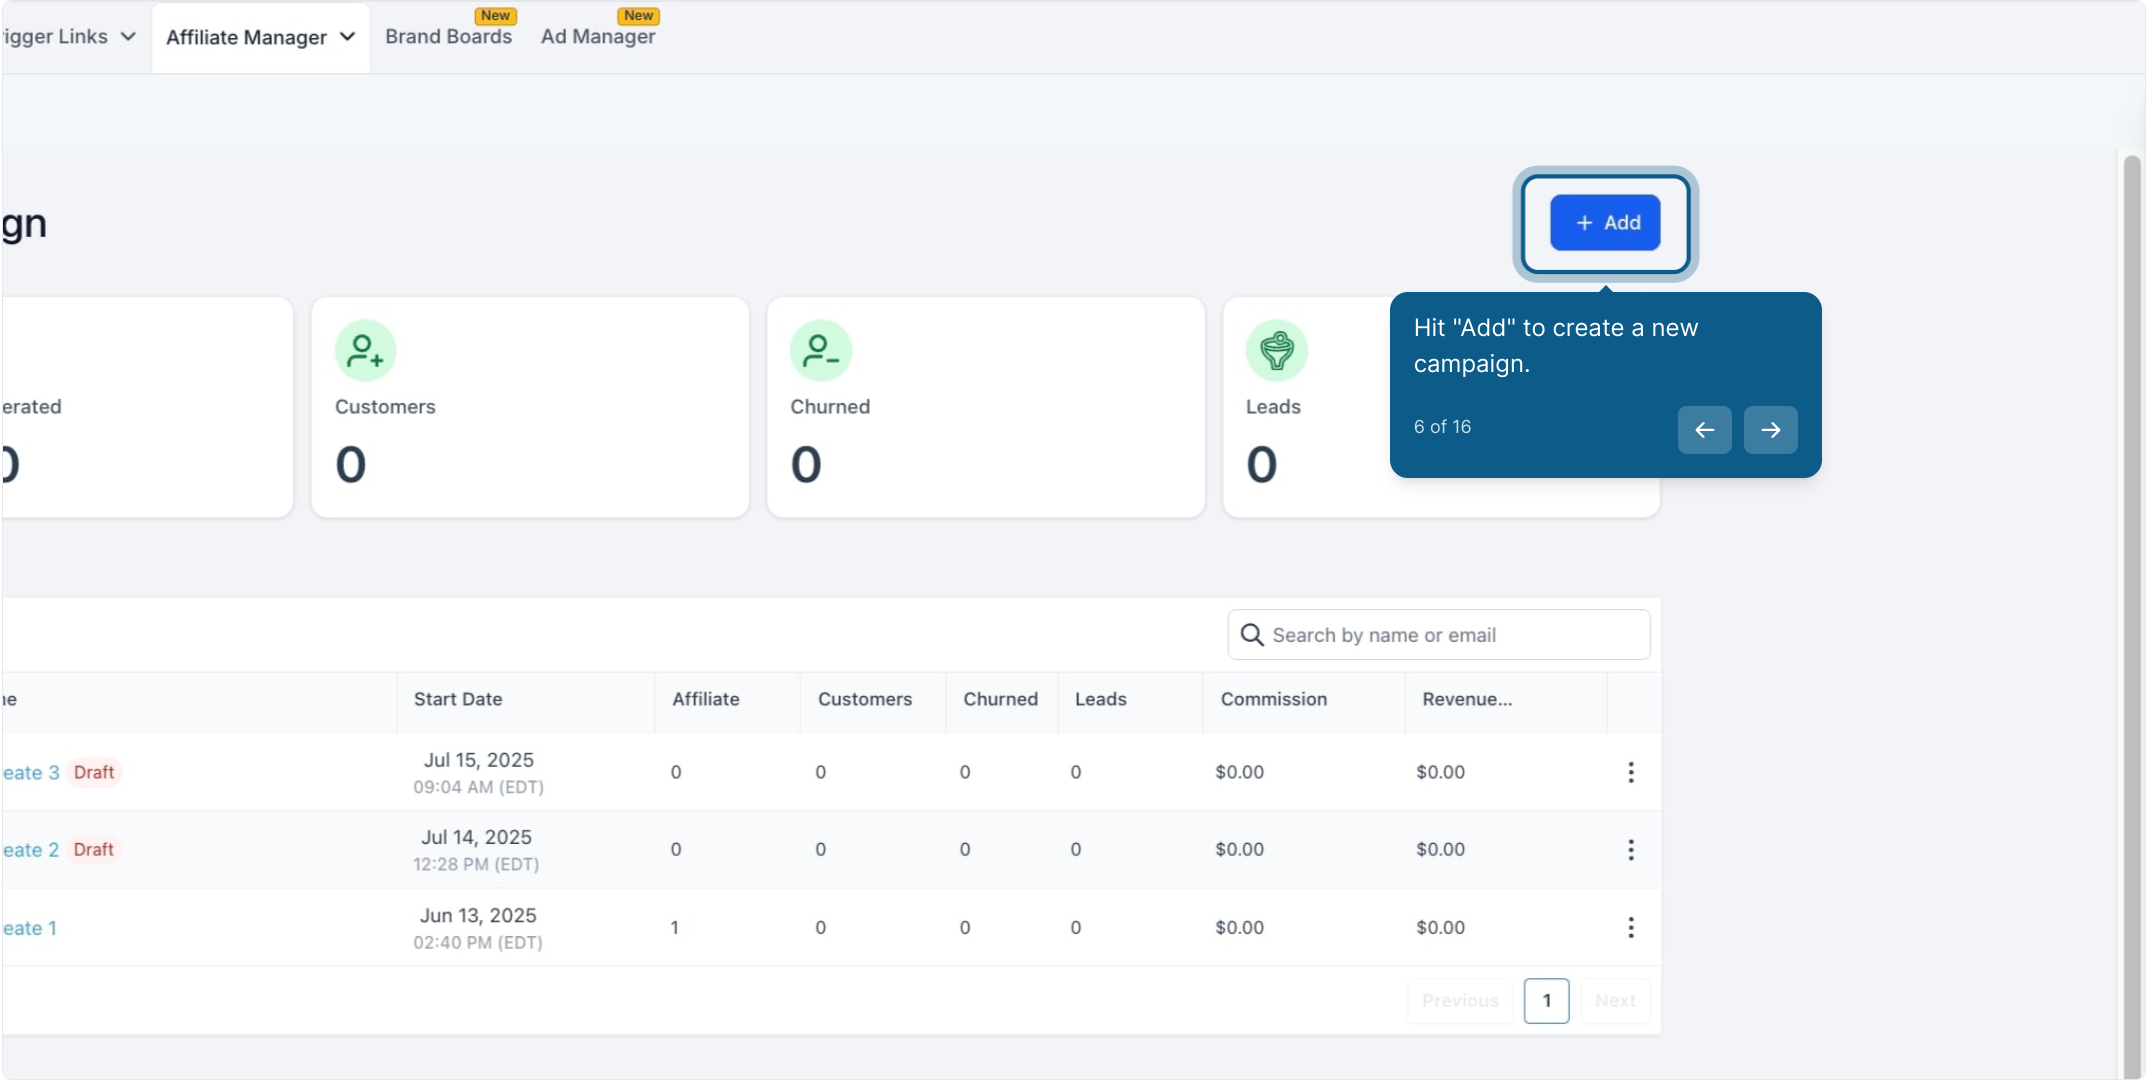
Click 'Publish' to make your campaign live.
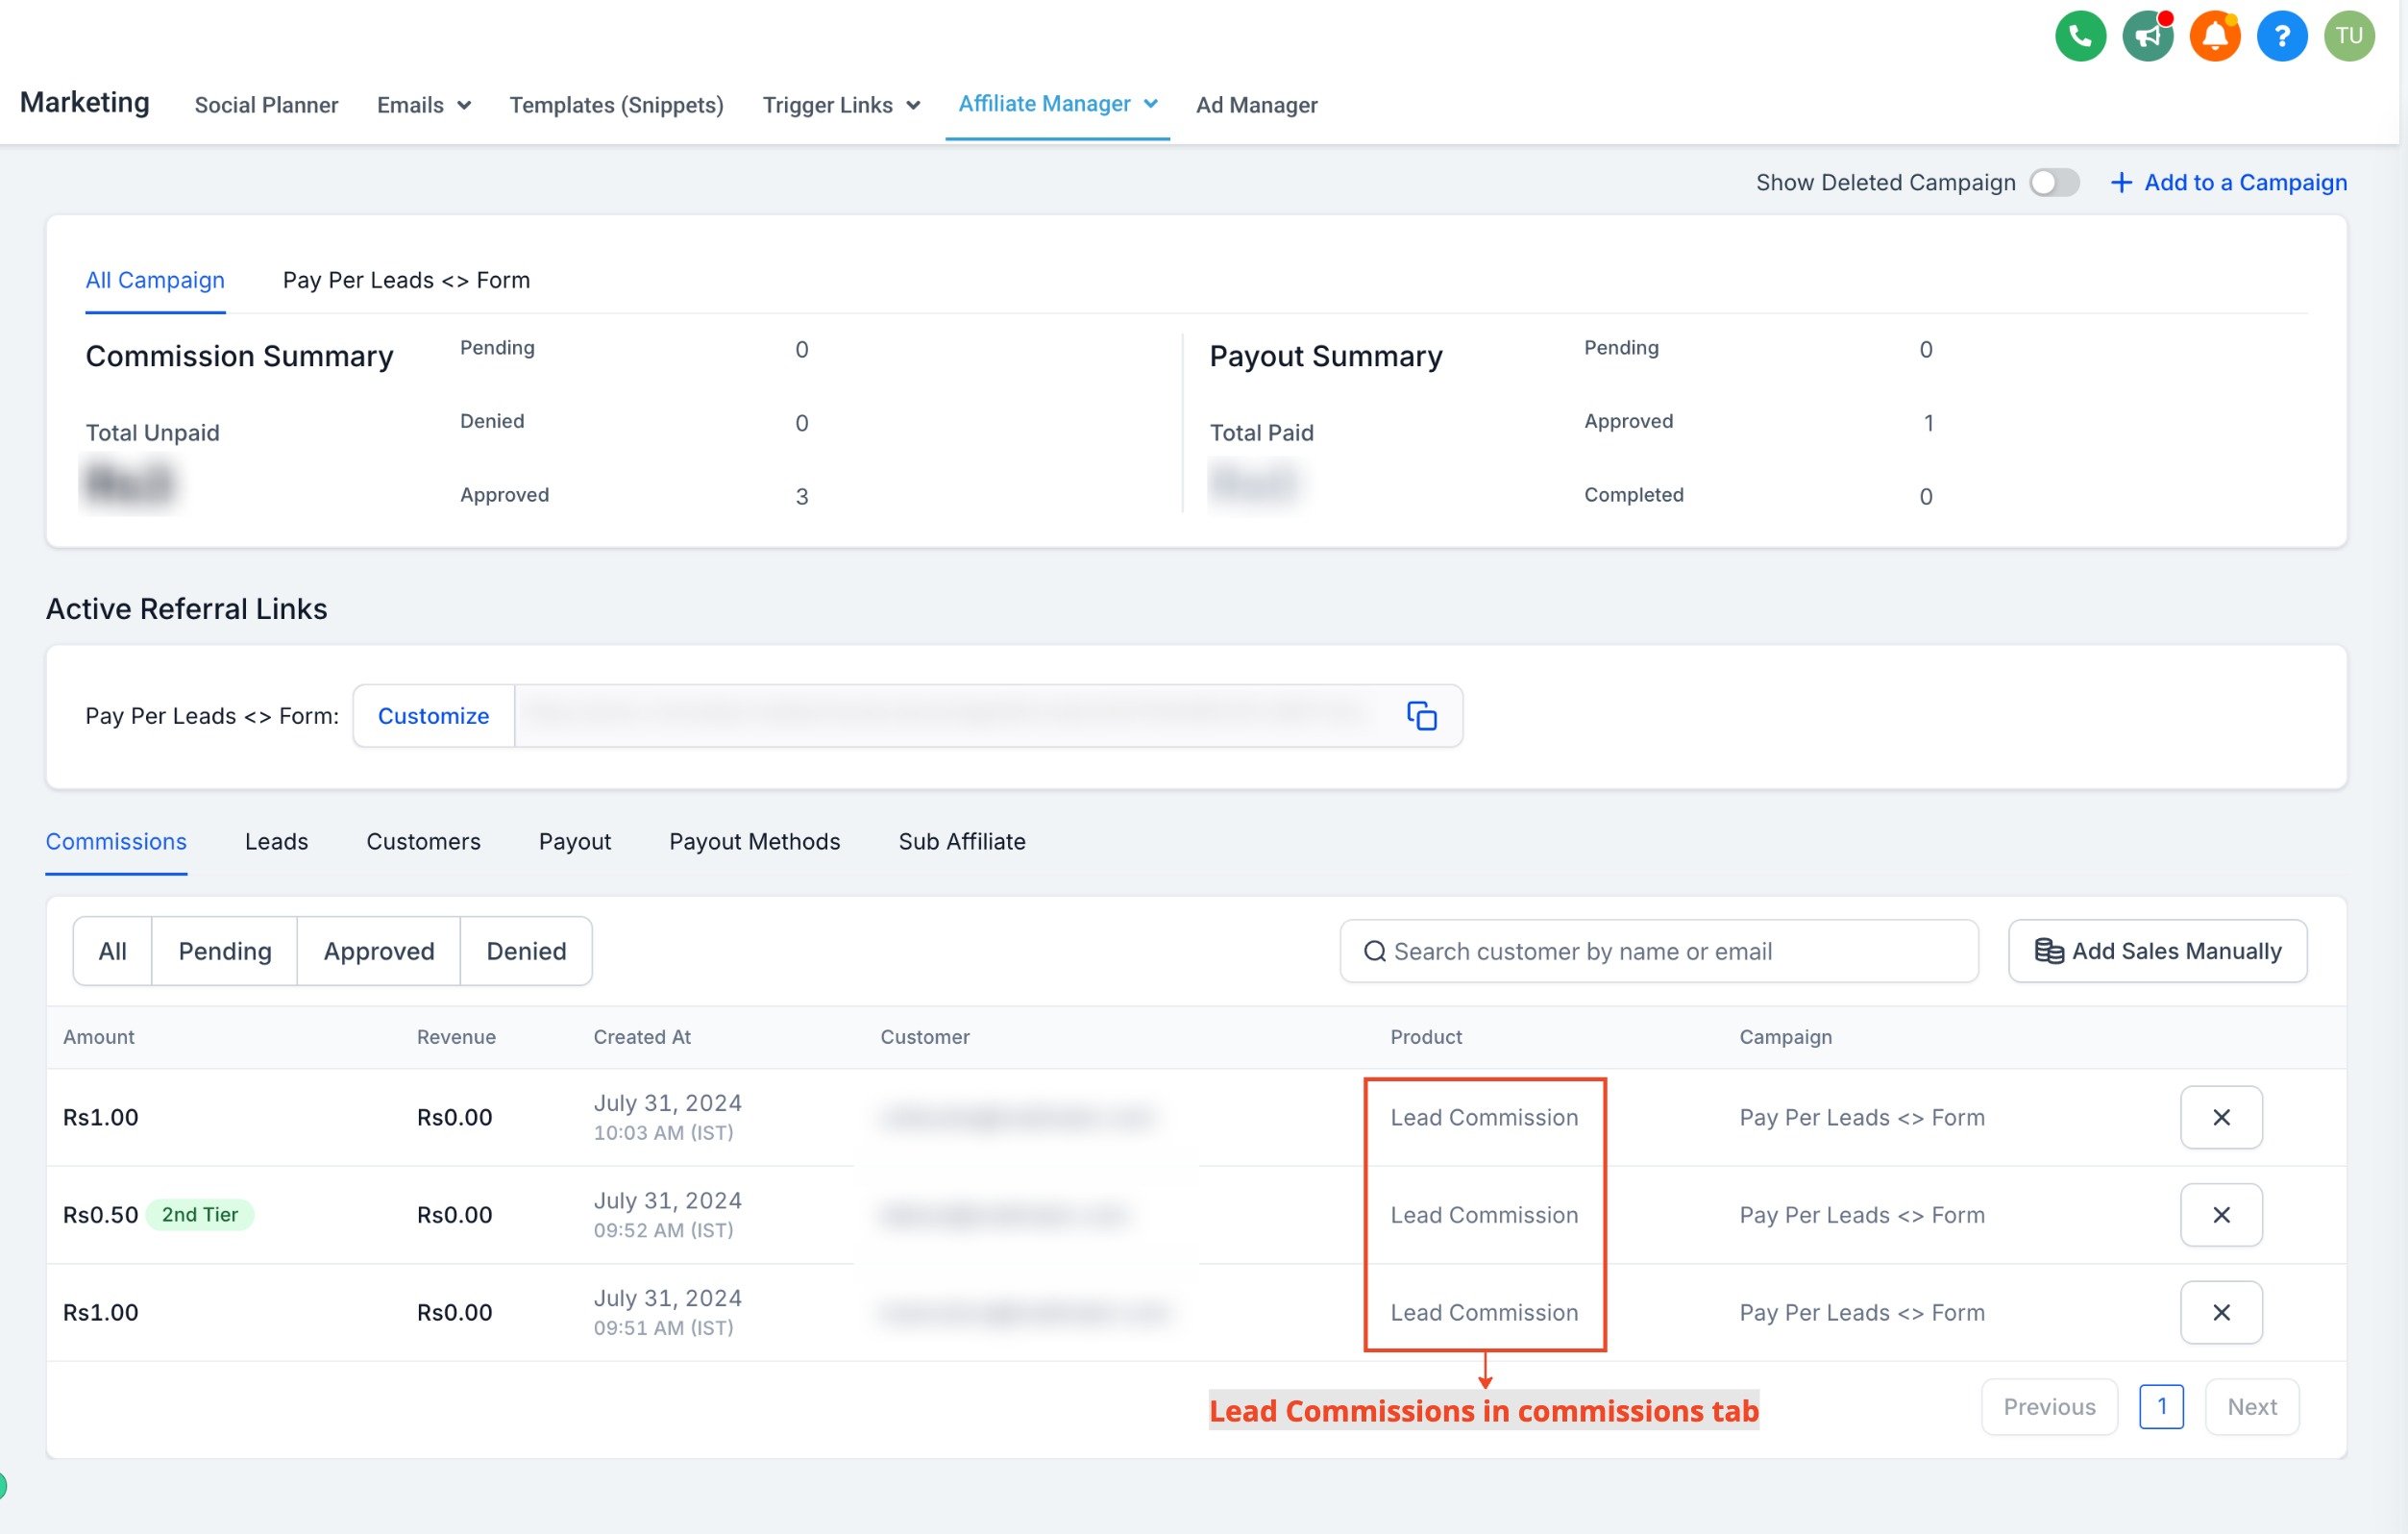
Monitor Leads: Once your campaign is live, you can track leads and their associated commissions directly from the affiliate’s profile page.
View Commissions: The Commissions tab will show the "Lead Commission" in the Product column, indicating the source of the commission for each lead.
Please Note:
Custom Embeds/Iframes: For accurate tracking, forms, surveys, or calendars must be added as components within a funnel or webpage. Custom code embeds and iframes are not supported for lead tracking.
