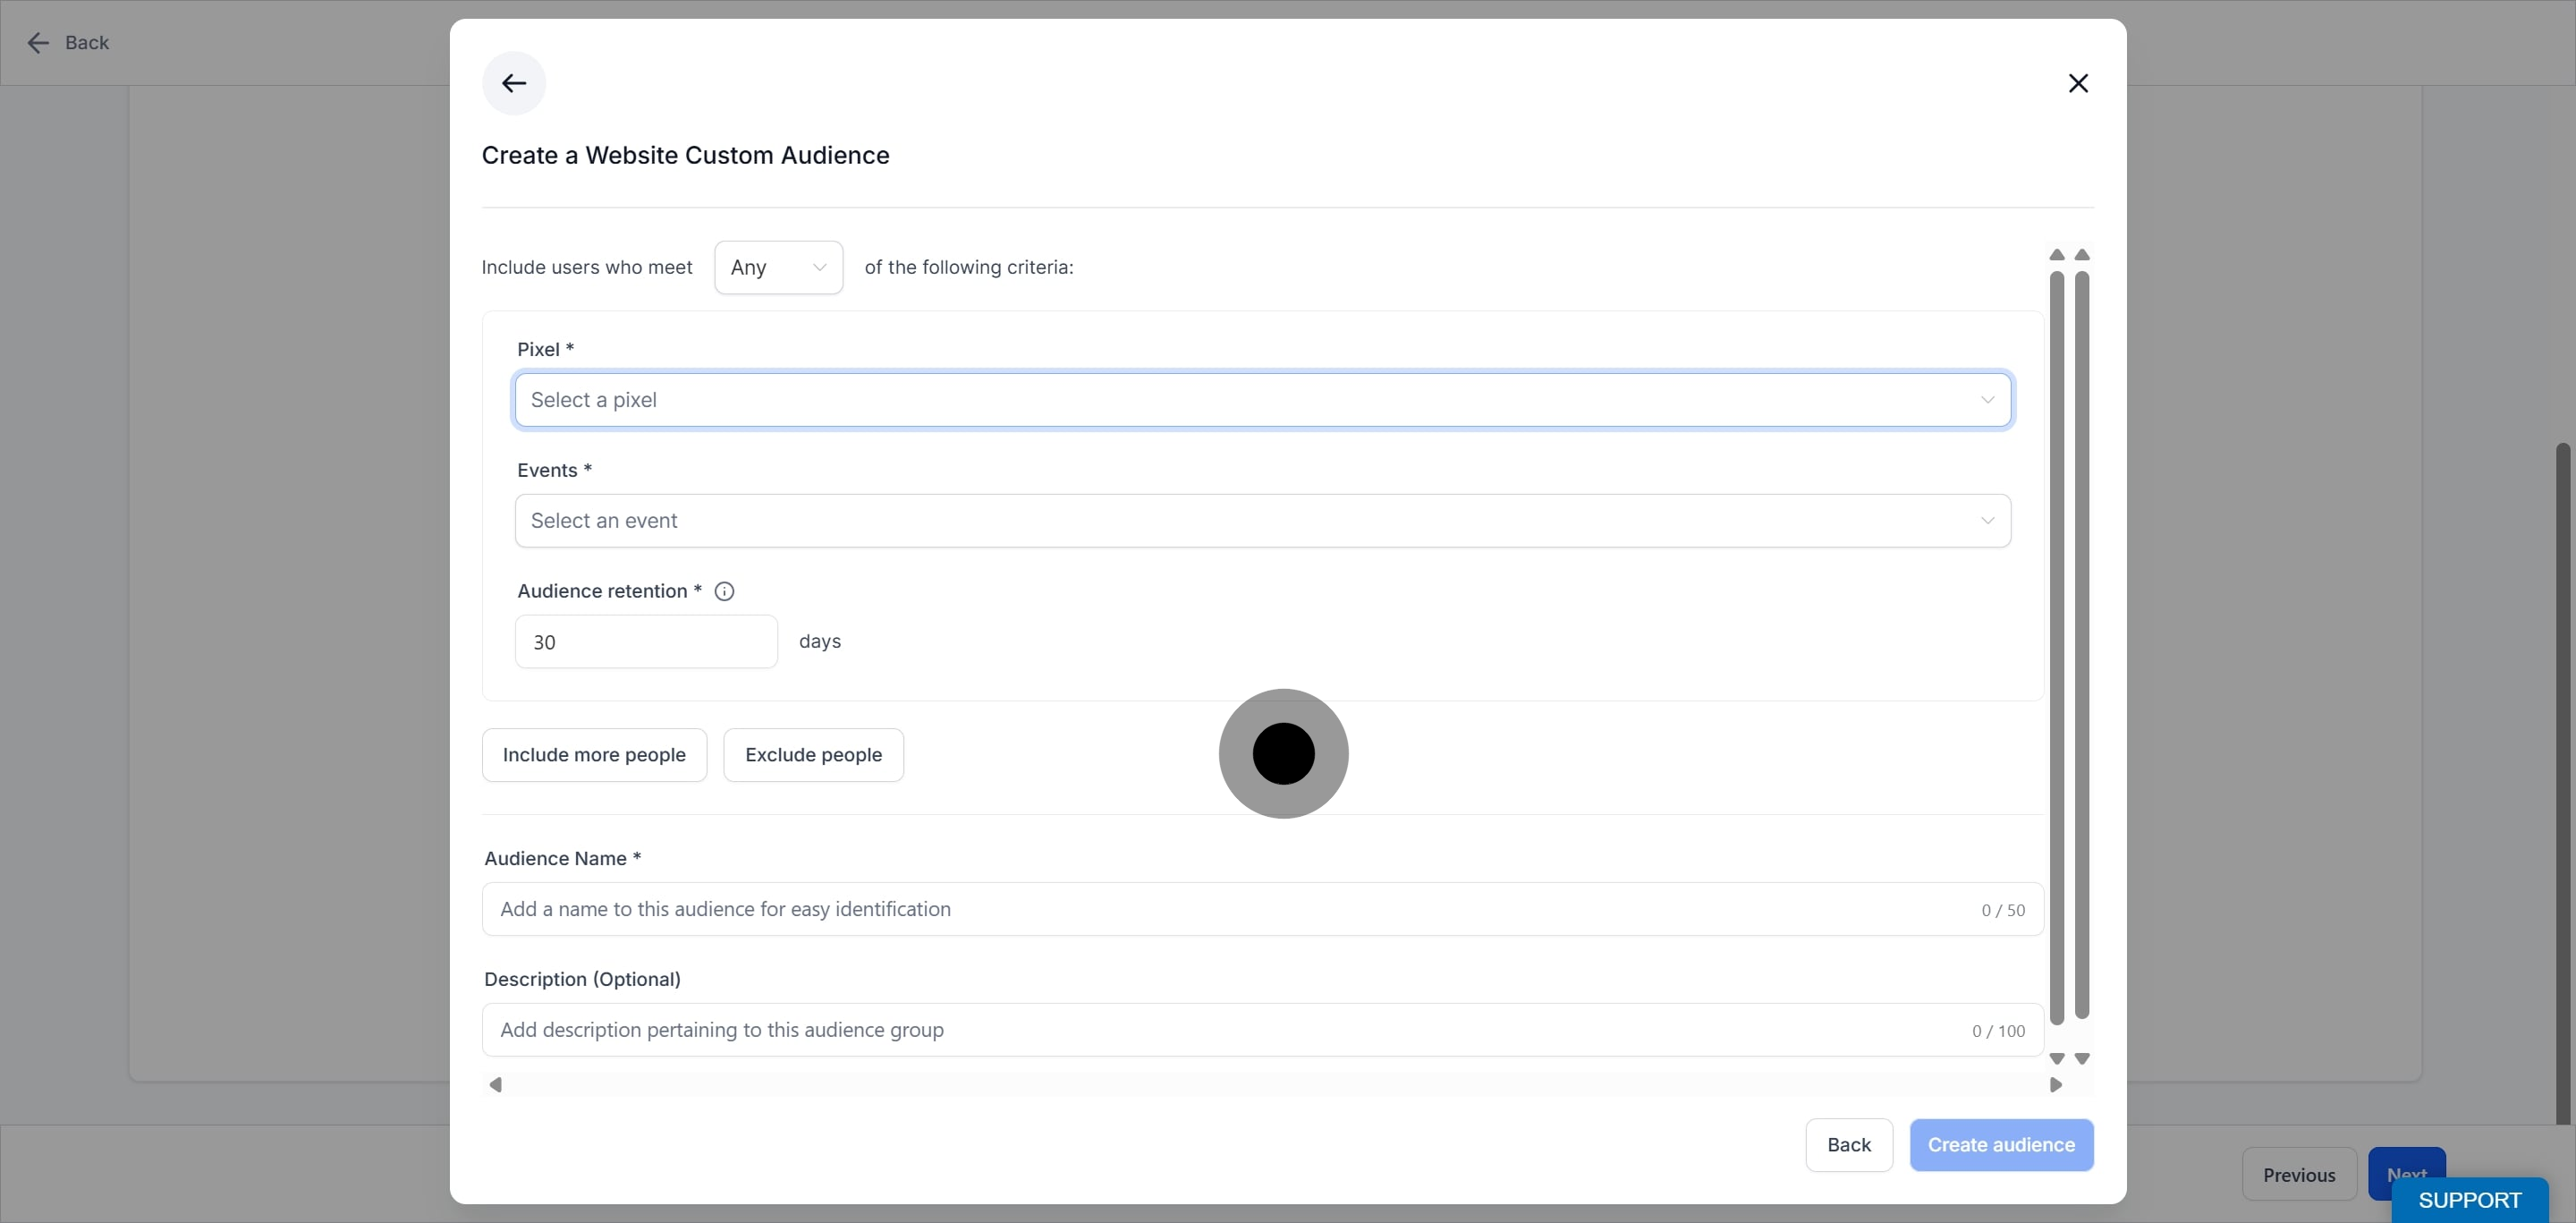
Pixel: The list of all the pixels that exists within HL Ad Manager will be shown in the dropdown and one of them can be selected.
Events: Choose the event you want to be considered as the pivot for your audience creation. There are two options:
1. All website visitors - It refers to all the people who have visited or interacted with your website.
2. Visitors by time spent - It refers to the people who have spent the most time on your website and can be further narrowed down by selecting a percentile.
Example on how to use percentile: If I select 10% then that means the audience which will be used for consideration will include the the visitors who were in the 10% of time spent on your website.
Audience retention: It refers to the number of days users will remain in your audience after they have interacted with your content. In case of Website audience, 30 days is the maximum allowed limit.
Note: Additionally, four more clauses can be added similar to the one described above with the condition for them to be included along with the default clause or excluded by clicking on the 'Include more people' and 'Exclude people' respectively.
Add an audience name and description for easy distinction.
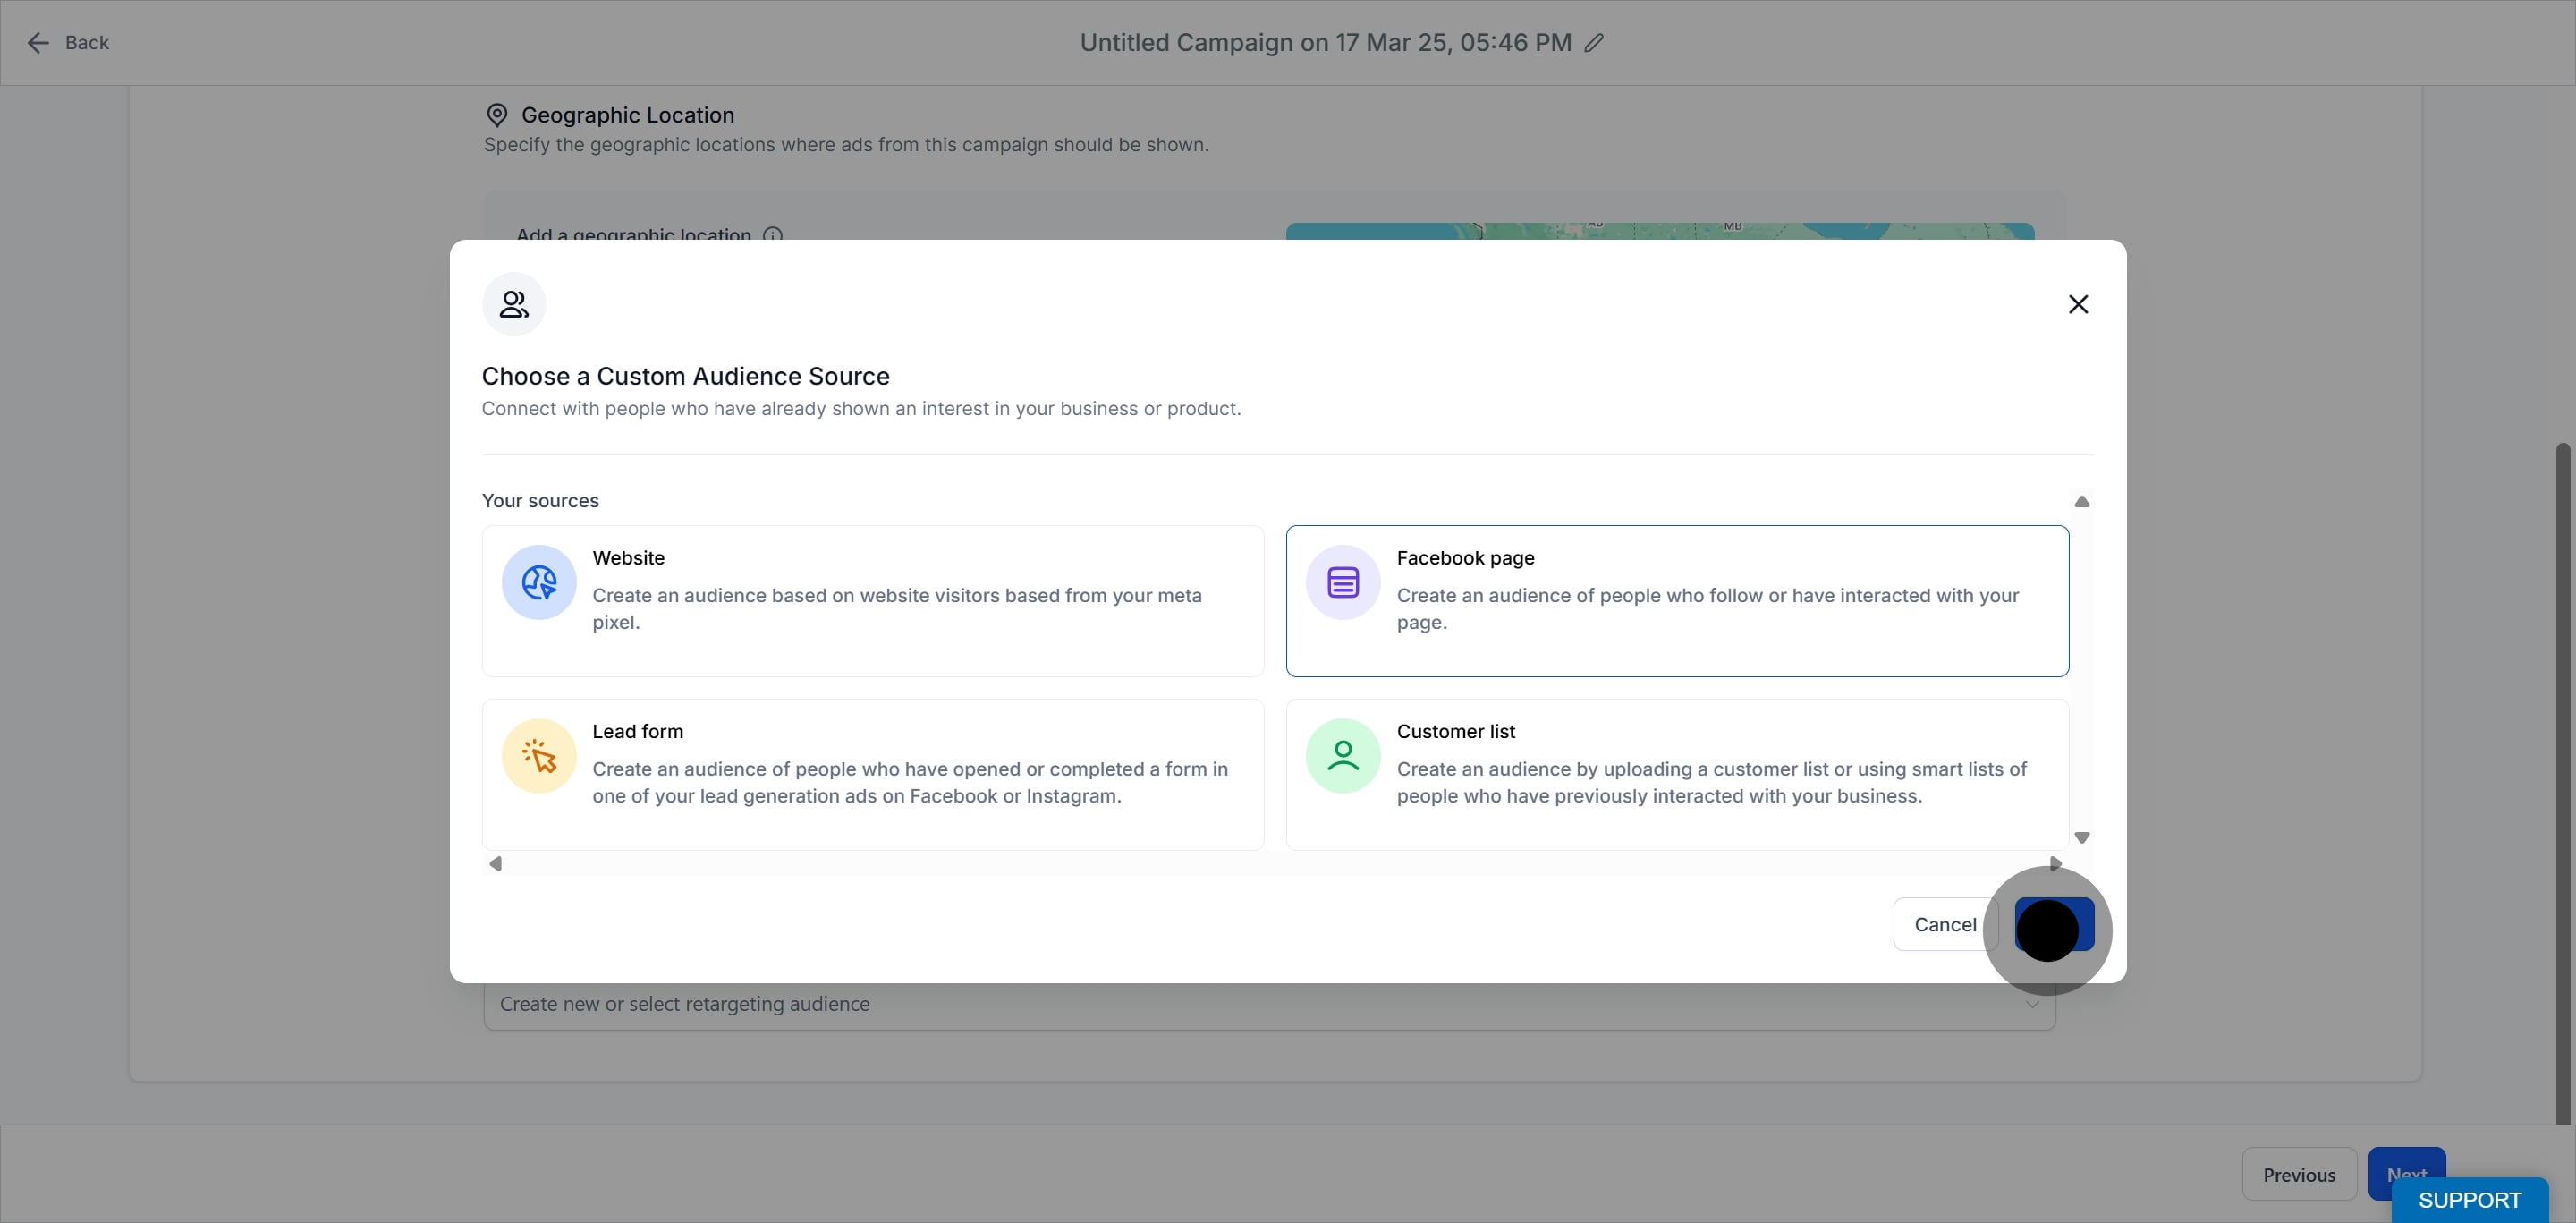
Page: The list of all the pages that are integrated with Ad Manager will be shown in the dropdown and one of them can be selected.
Events: Choose the event you want to be considered as the pivot for your audience creation. There are 7 options in the dropdown list of events out of which one can be selected.
Audience retention: It refers to the number of days users will remain in your audience after they have interacted with your content. In case of Facebook Page audience, 365 days is the maximum allowed limit.
Note: Additionally, four more clauses can be added similar to the one described above with the condition for them to be included along with the default clause or excluded by clicking on the 'Include more people' and 'Exclude people' respectively.
Add an audience name and description for easy distinction.
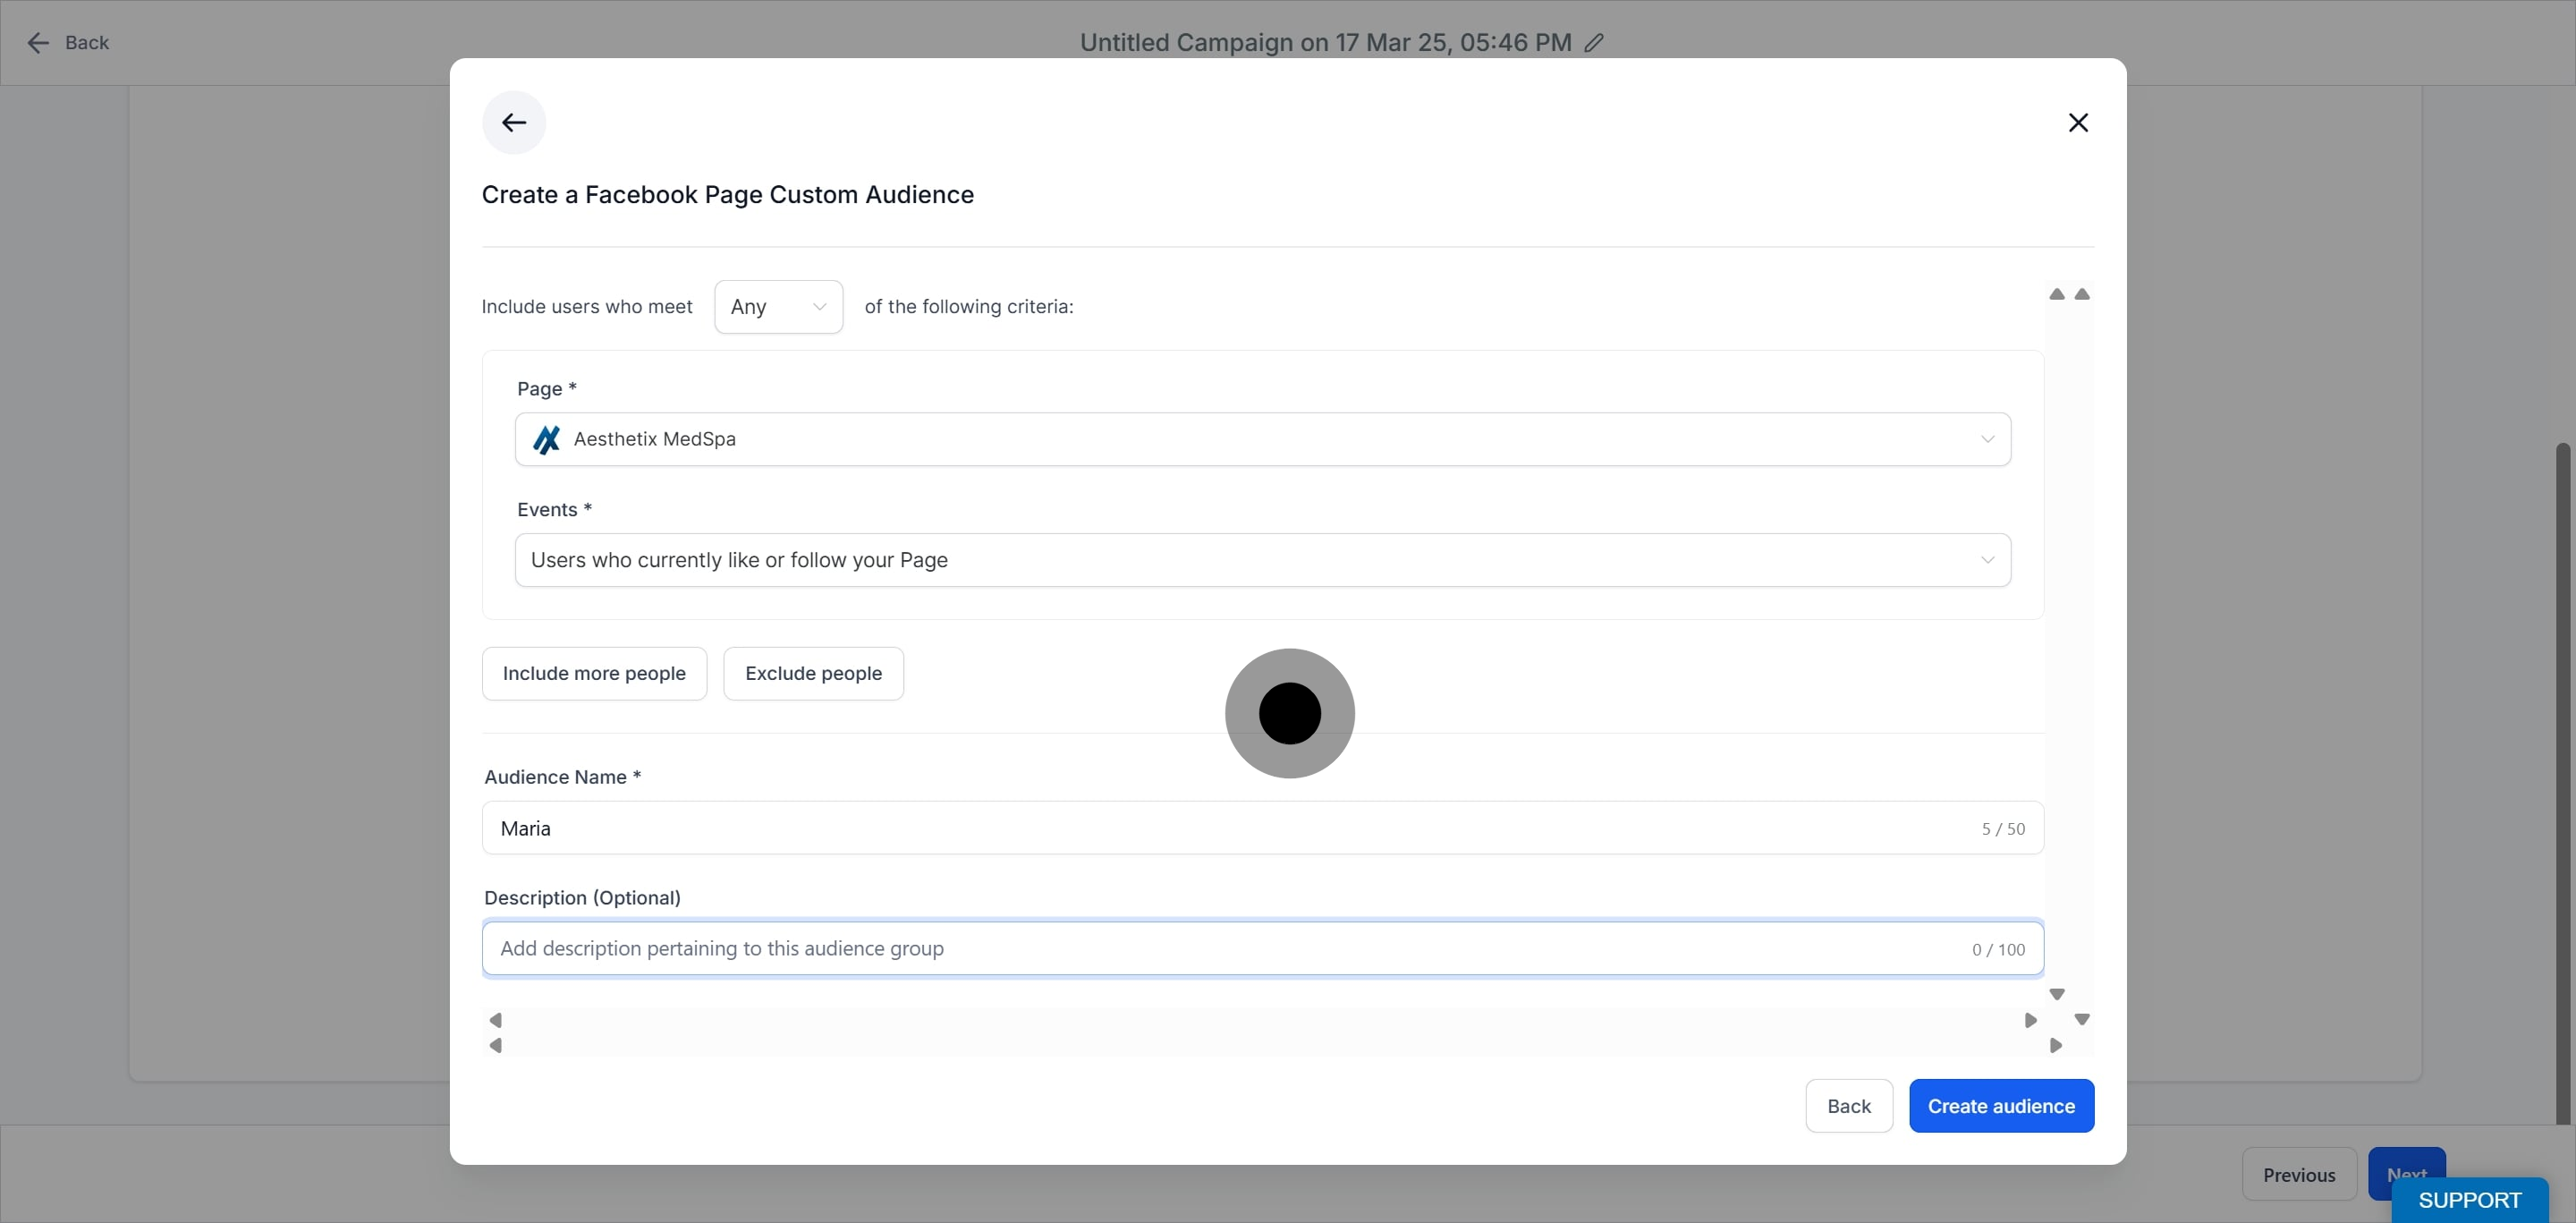
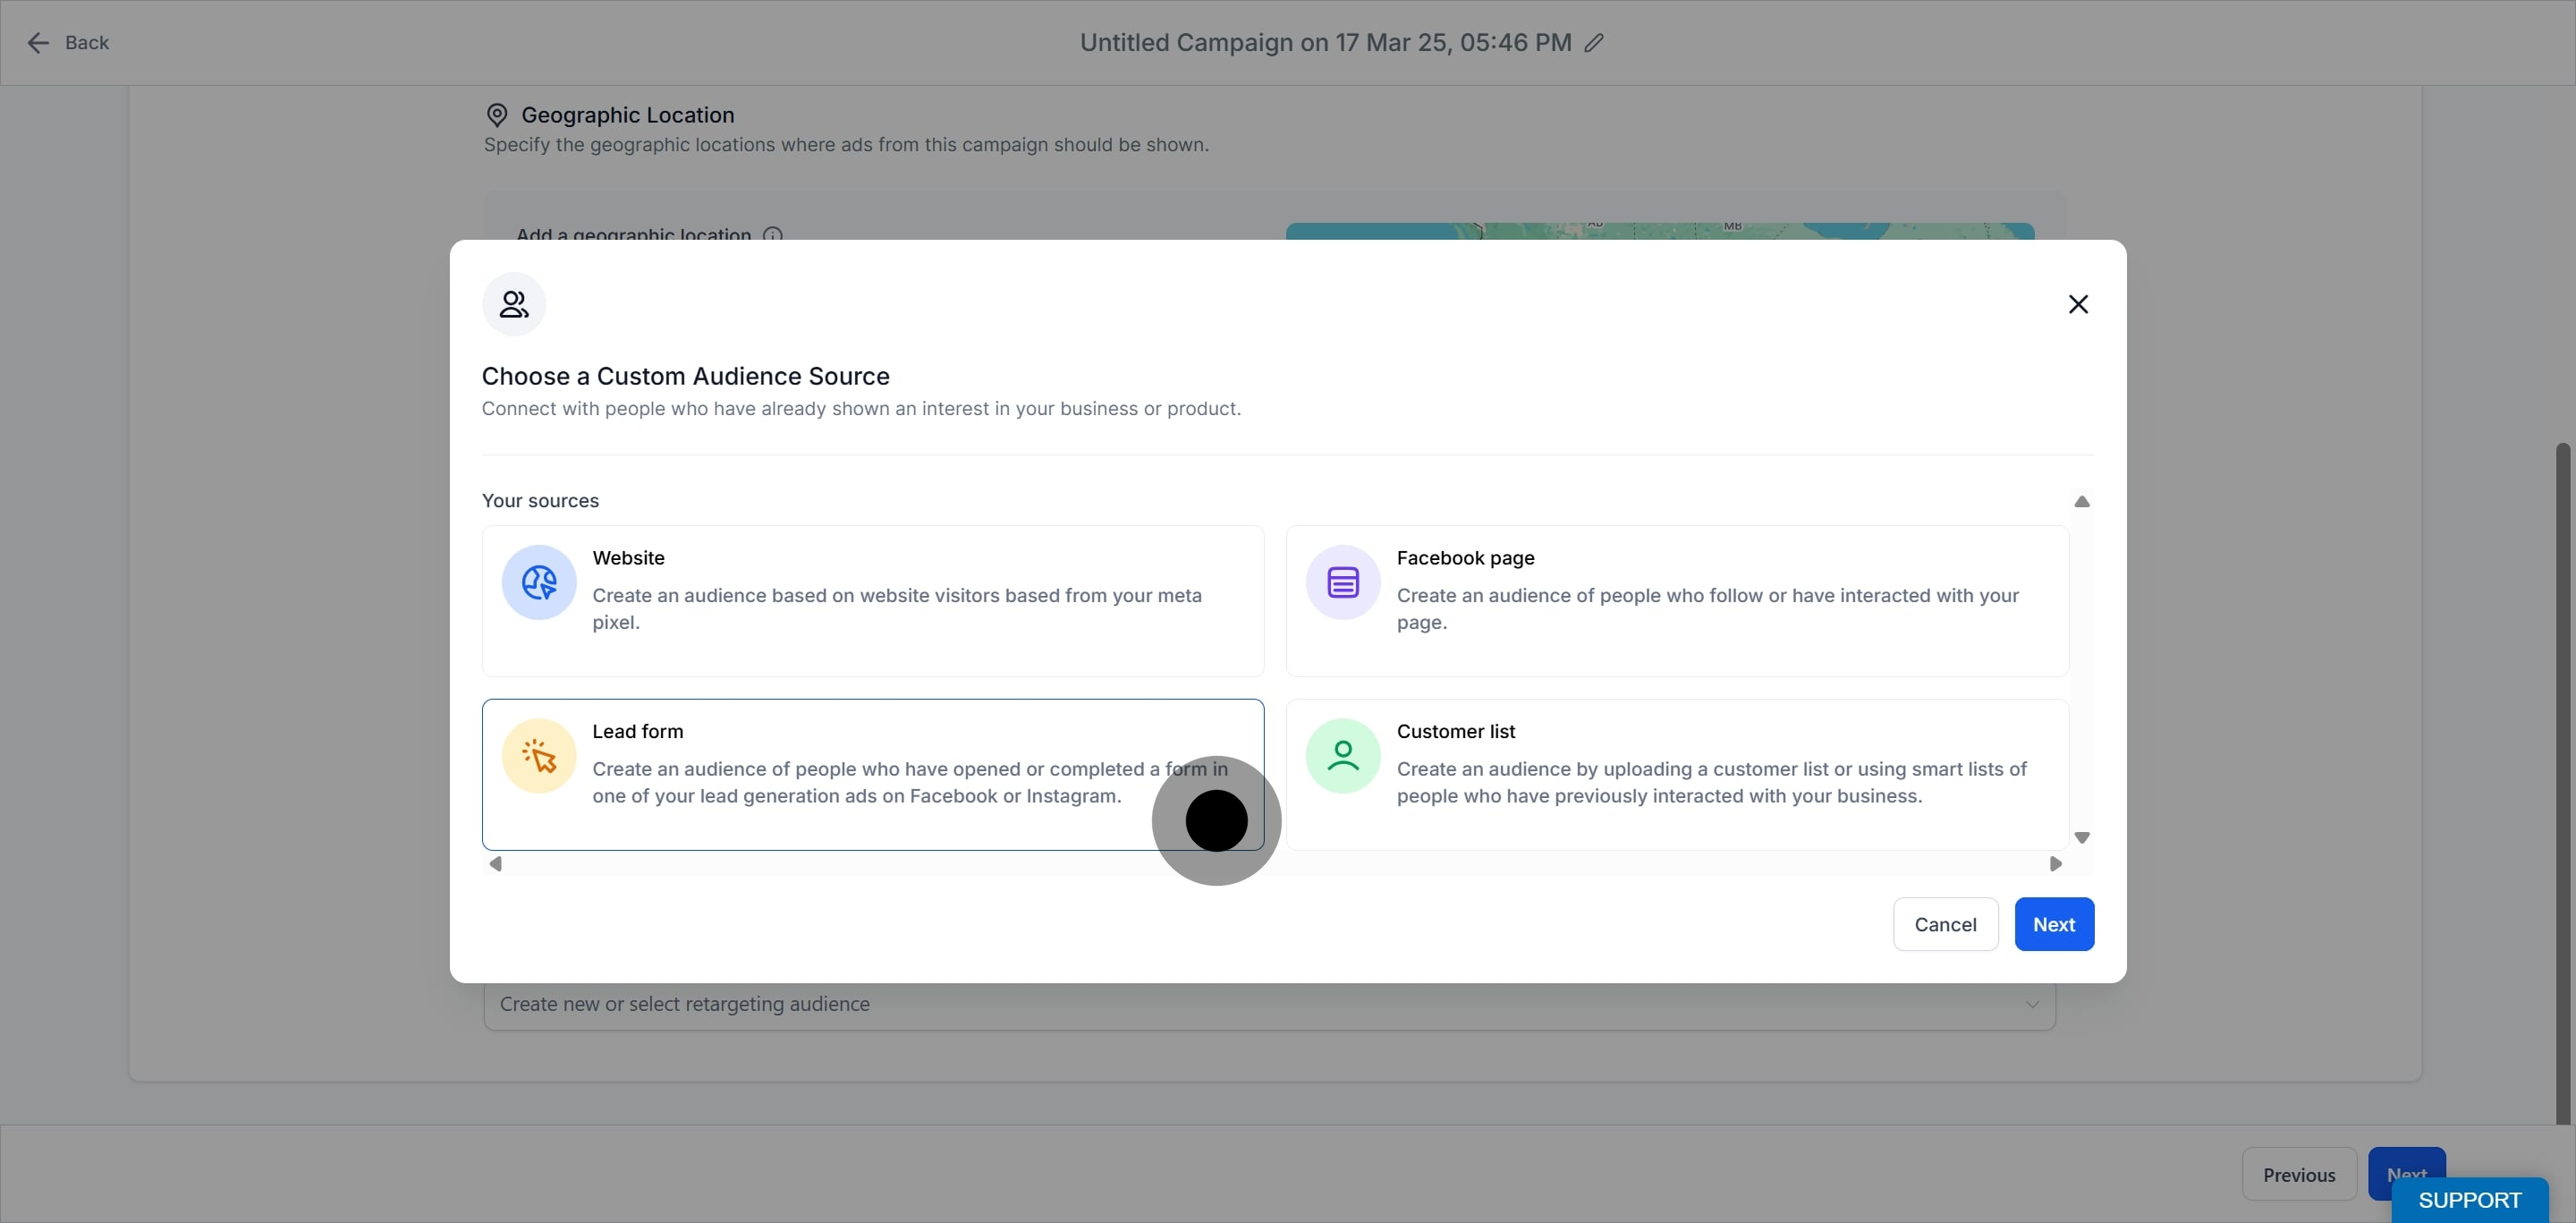
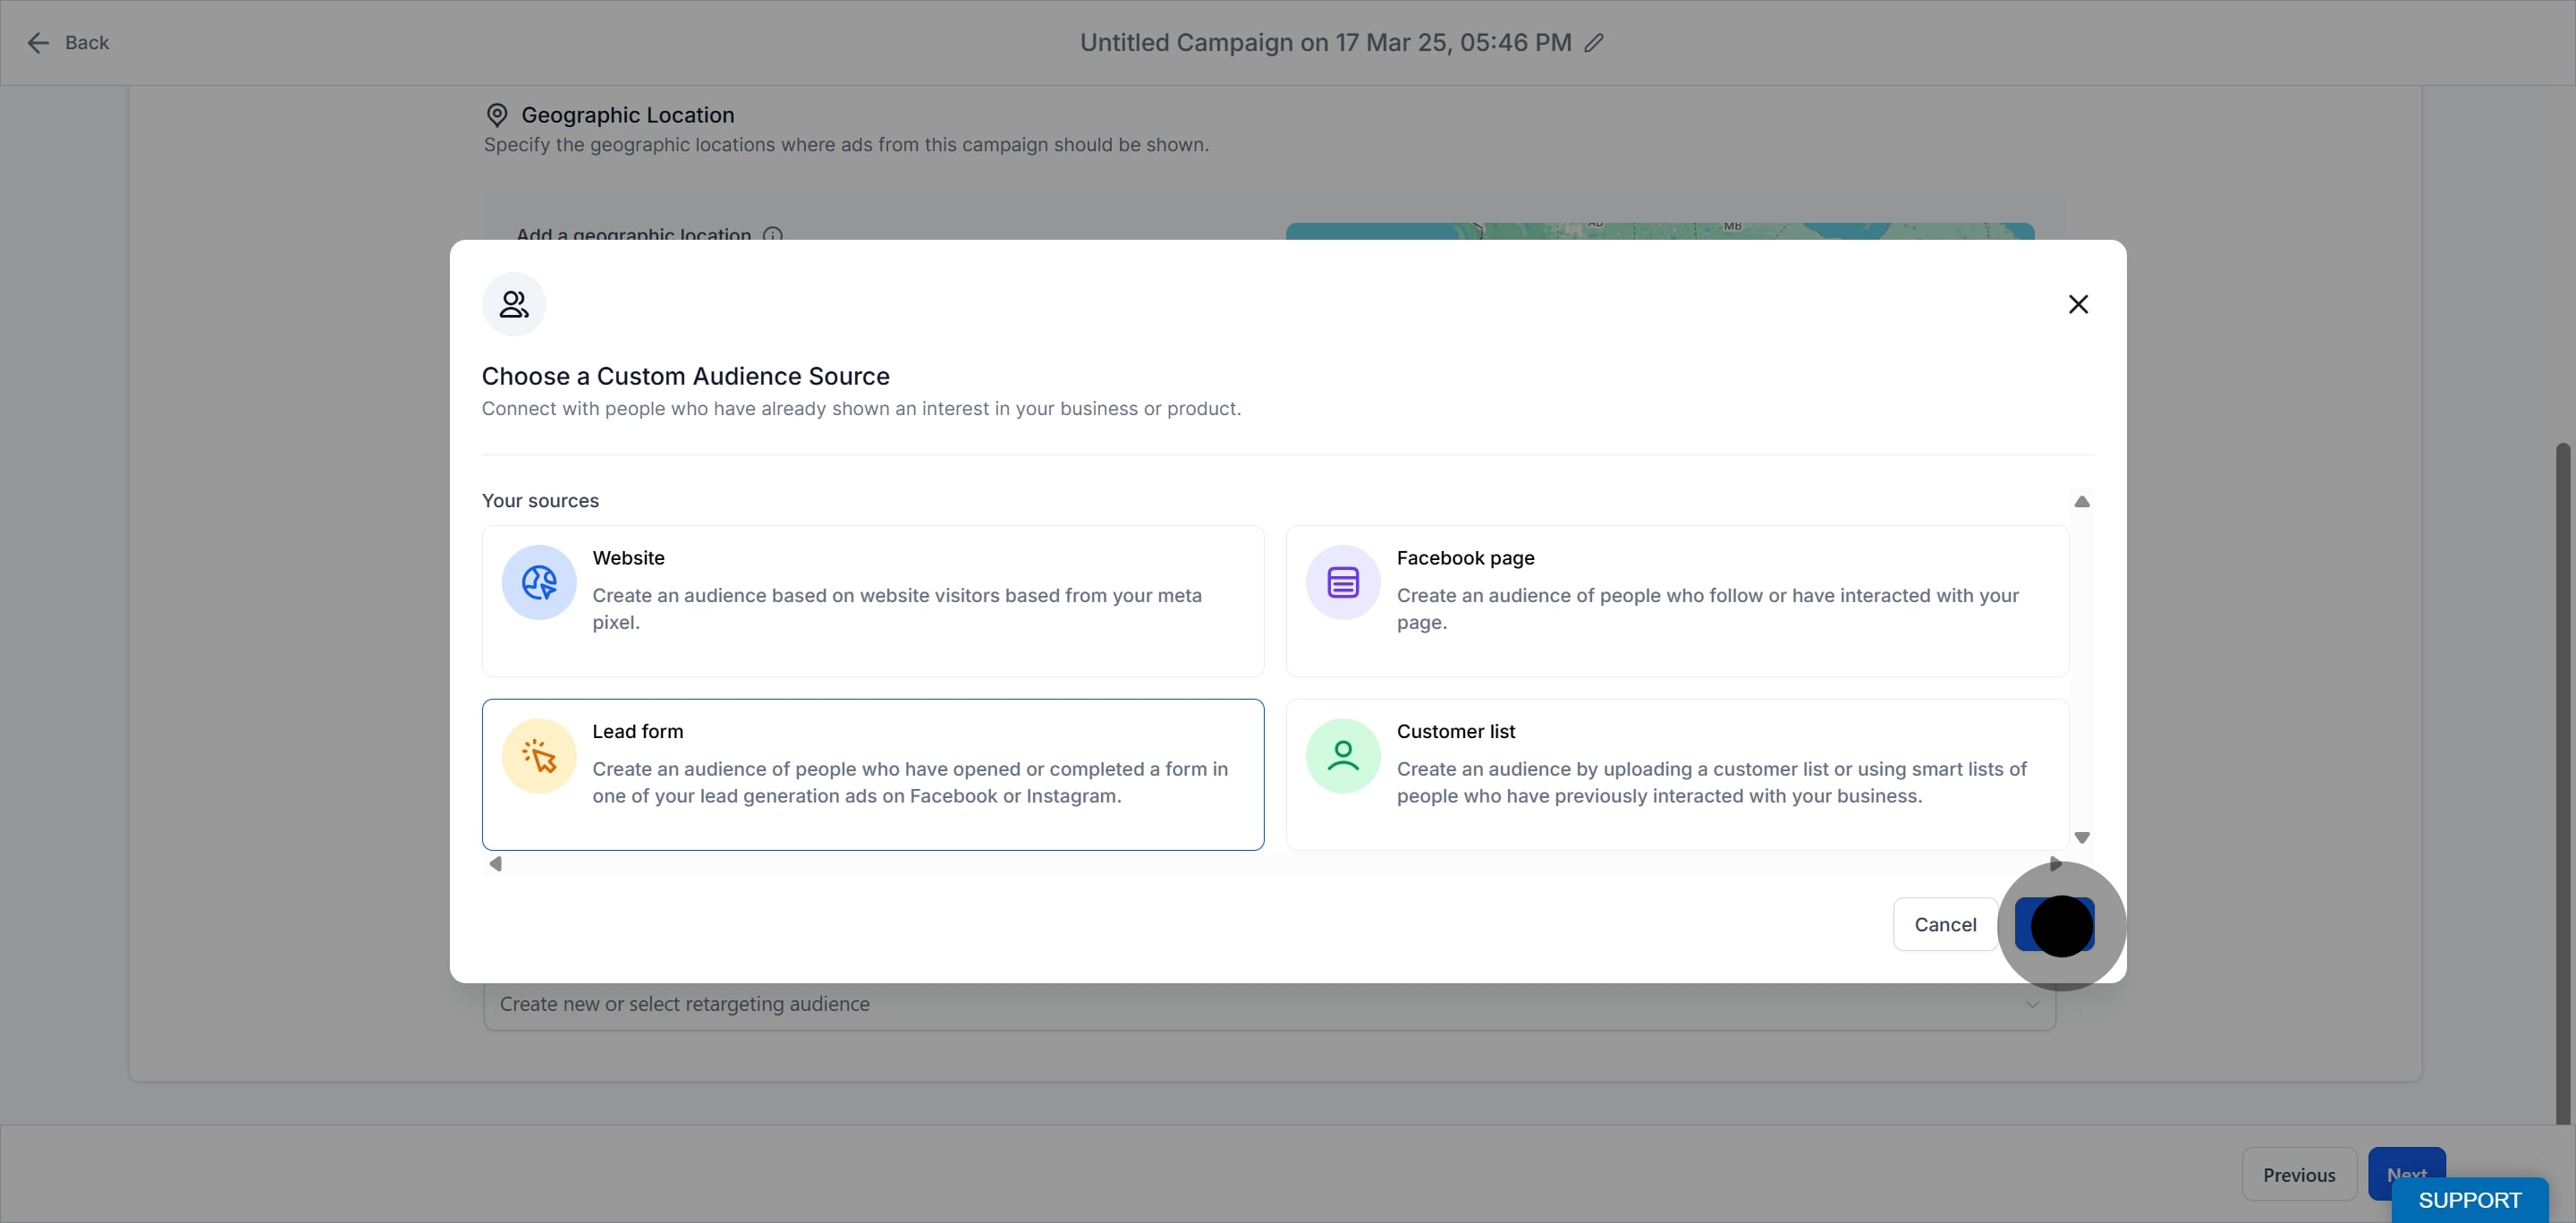
Events: Choose the event you want to be considered as the pivot for your audience creation. There are 3 options in the dropdown list of events out of which one can be selected:
1. Users who opened and submitted form
2. Users who opened but didn't submit form
3. Anyone who opened the form
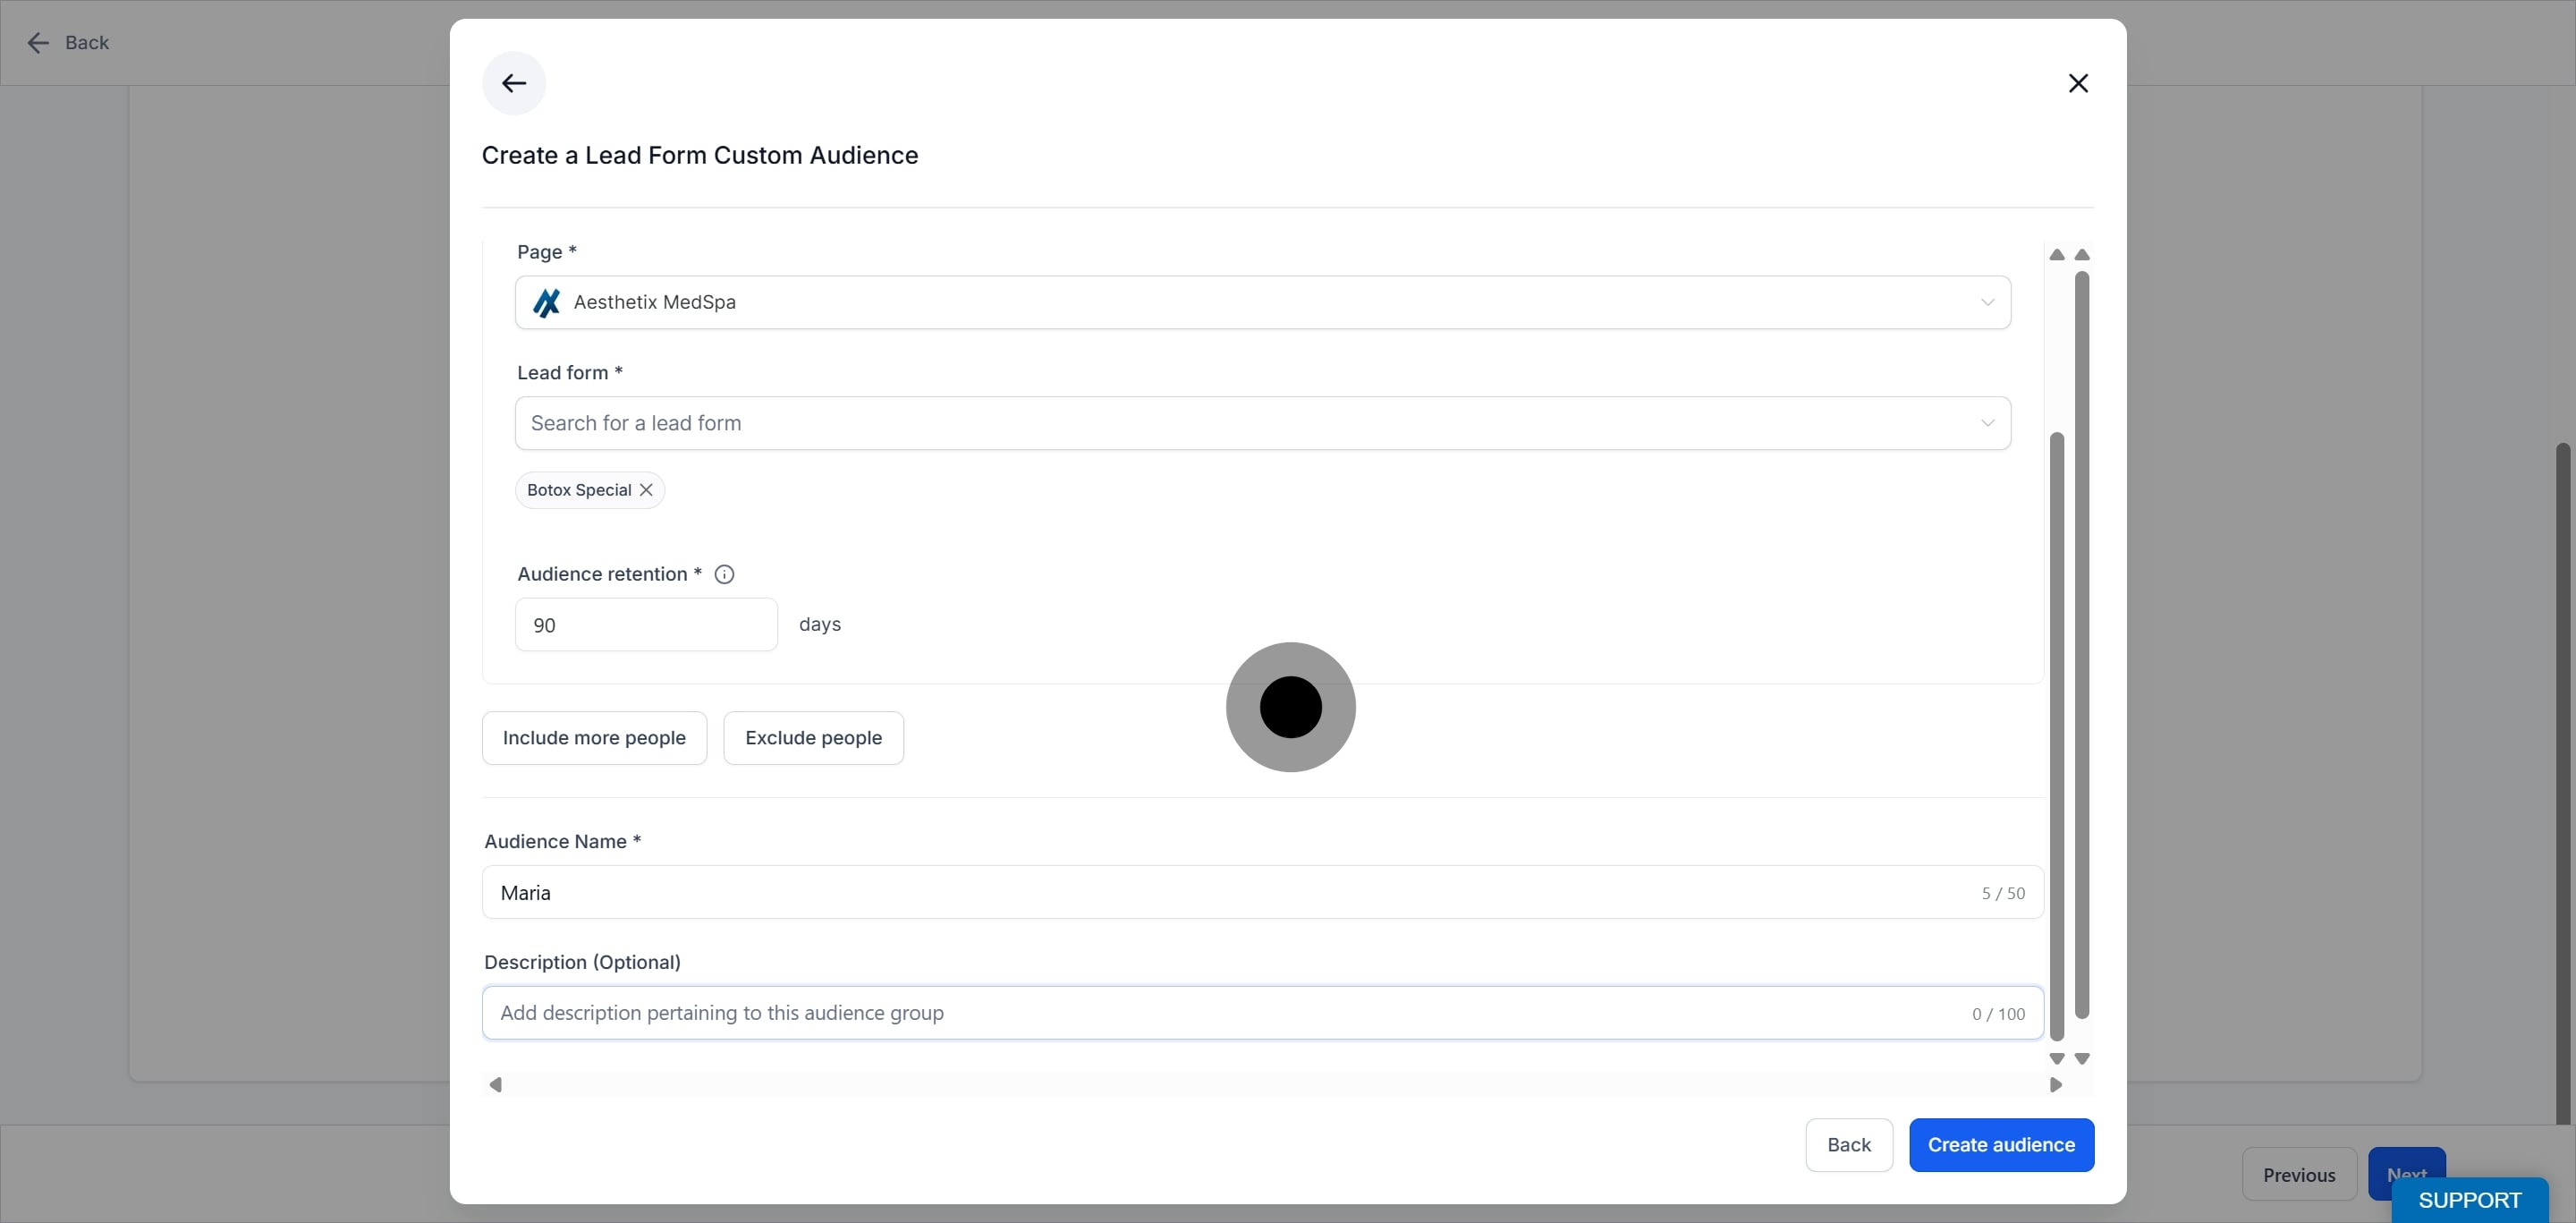
Page: The list of all the pages that are integrated with Ad Manager will be shown in the dropdown and one of them can be selected.
Lead form: Based on the page selected, all the lead forms associated with the selected page will be present as part of the lead form dropdown list and one can be selected. This is the form which will be considered to curate audience who've interacted with this form.
Audience retention: It refers to the number of days users will remain in your audience after they have interacted with your content. In case of Lead Form audience, 90 days is the maximum allowed limit.
Note: Additionally, four more clauses can be added similar to the one described above with the condition for them to be included along with the default clause or excluded by clicking on the 'Include more people' and 'Exclude people' respectively.
Add an audience name and description for easy distinction.
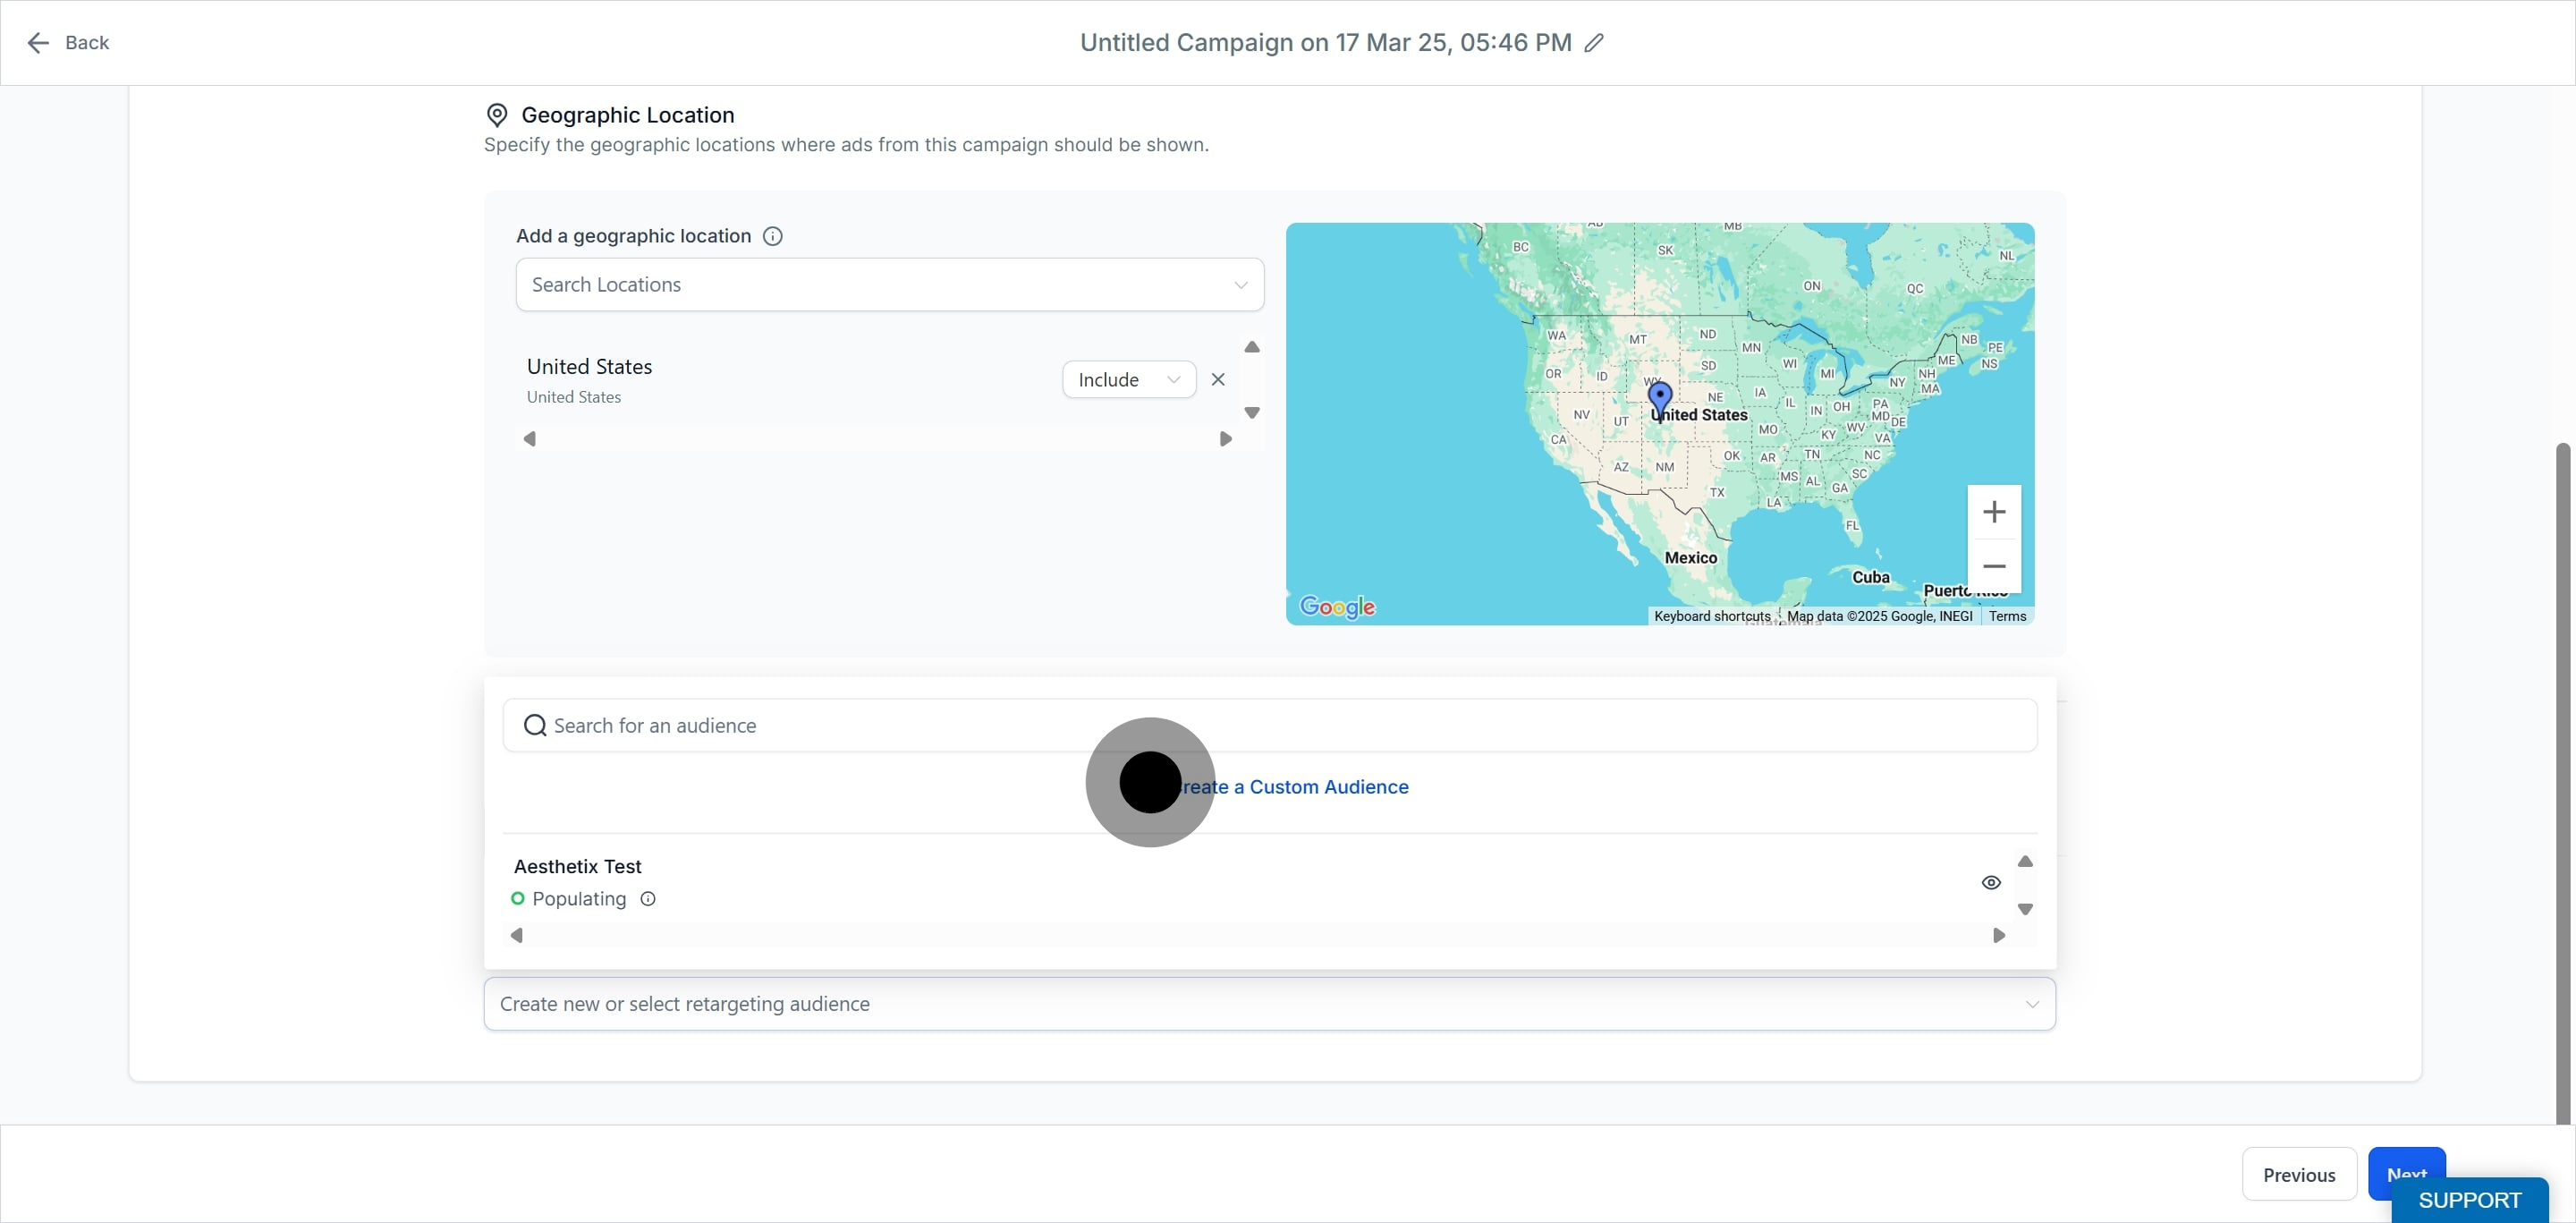
Note: Once a custom audience is successfully created, it will be shown as part of the Retargeting Audience dropdown list and can be used for creating a campaign once the status of the newly created audience is ready.
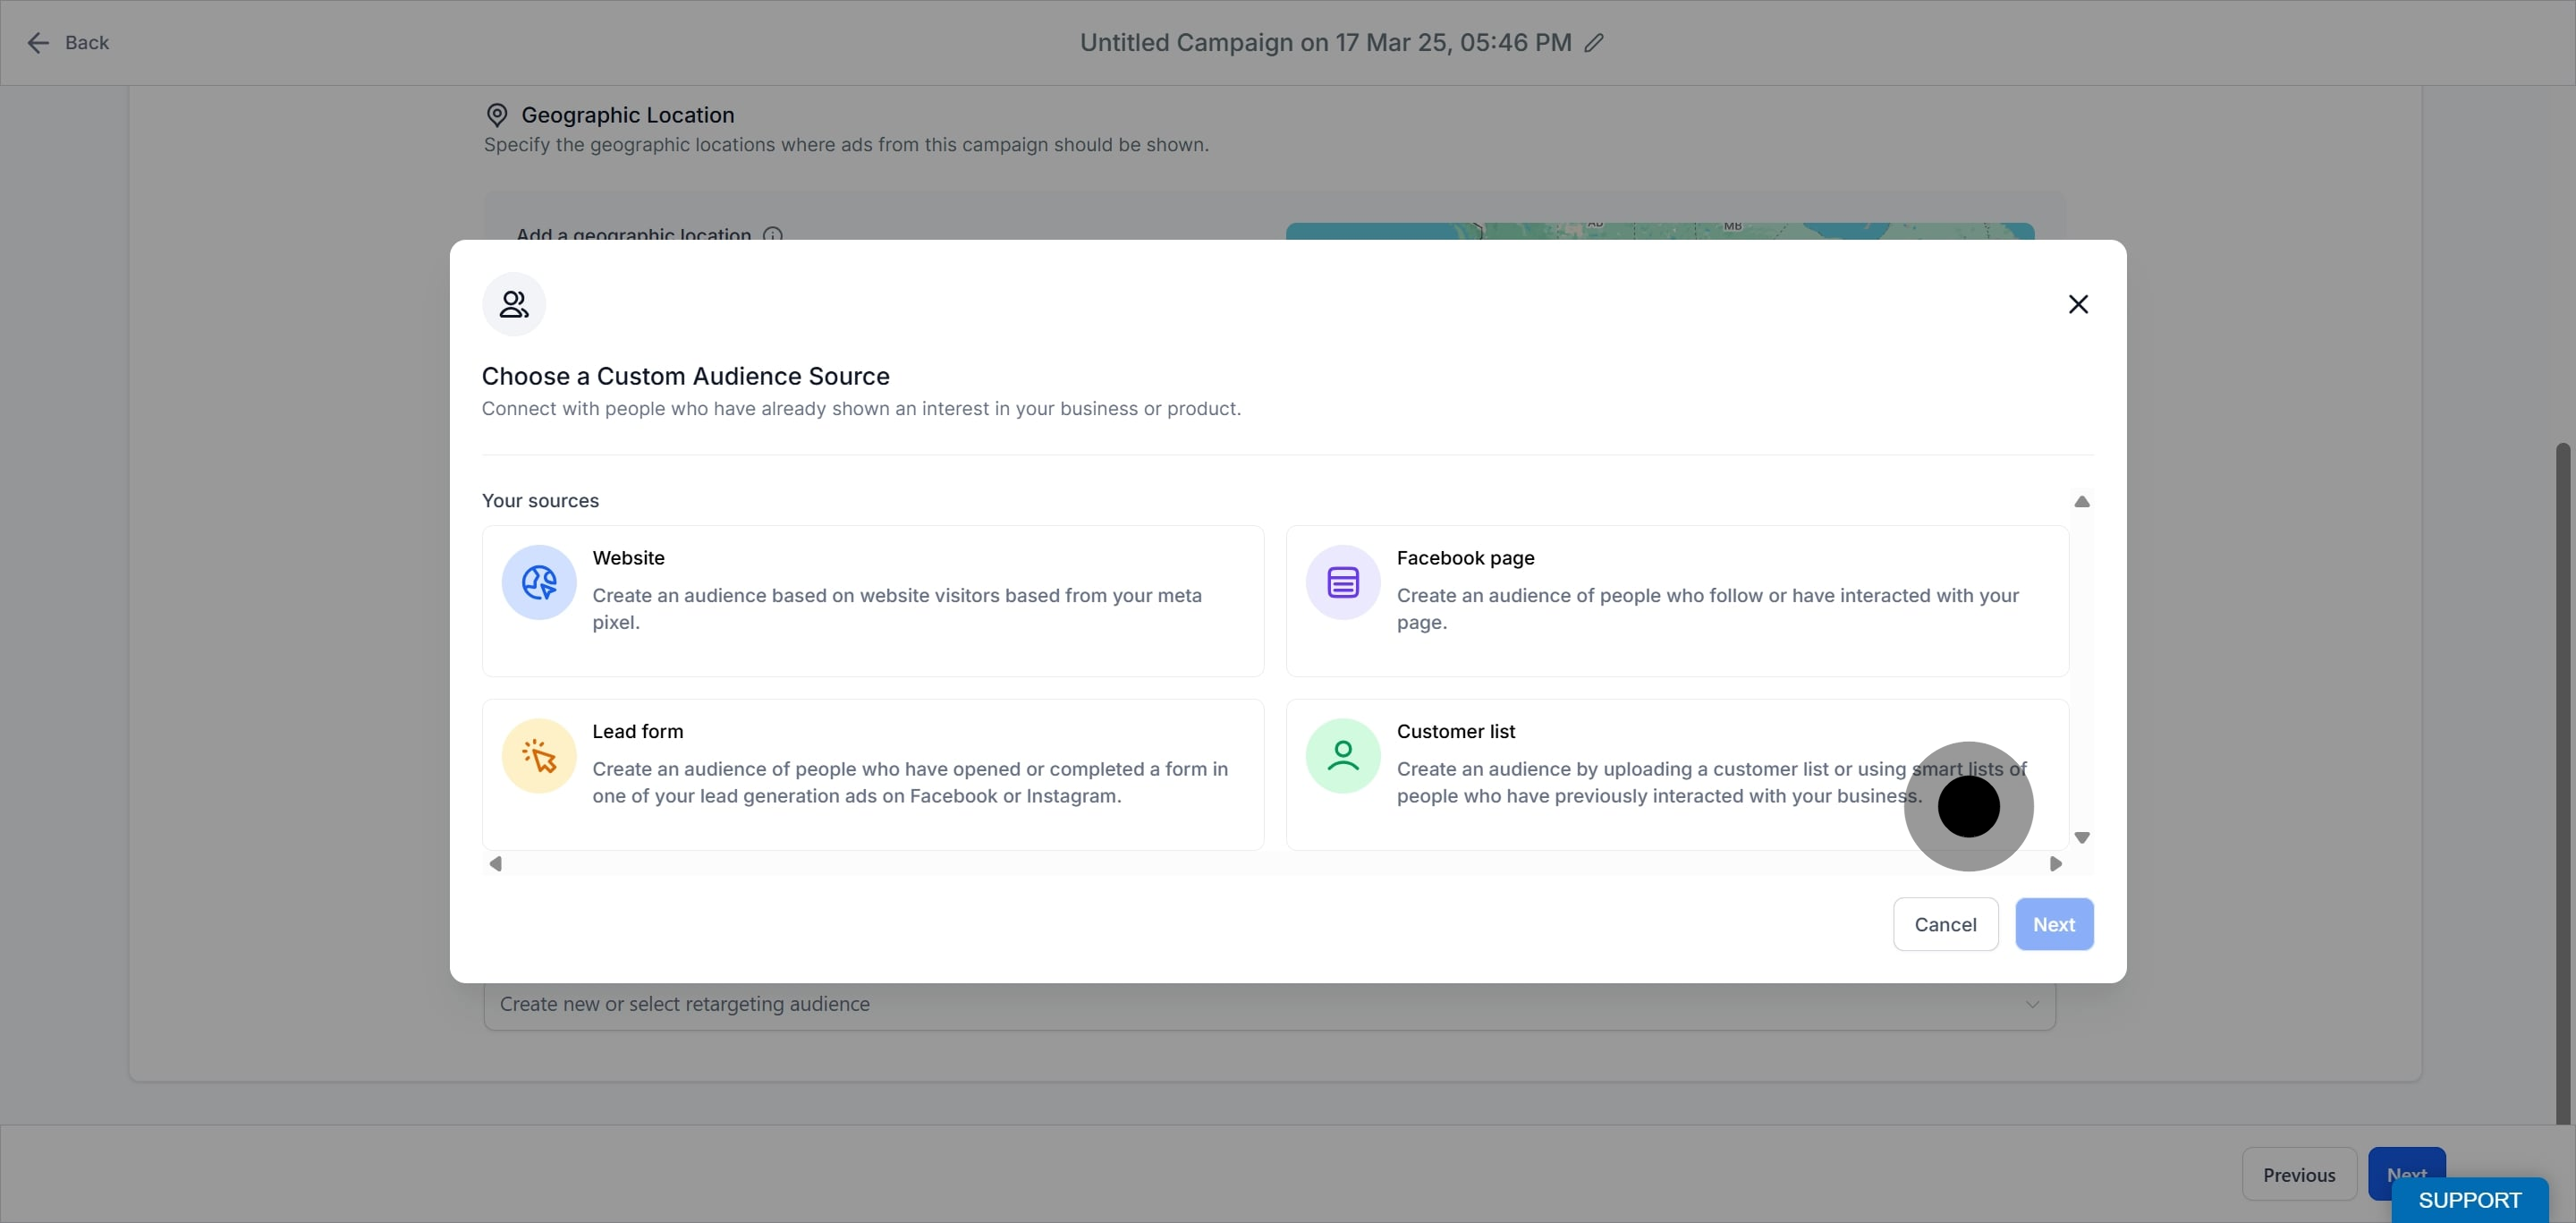
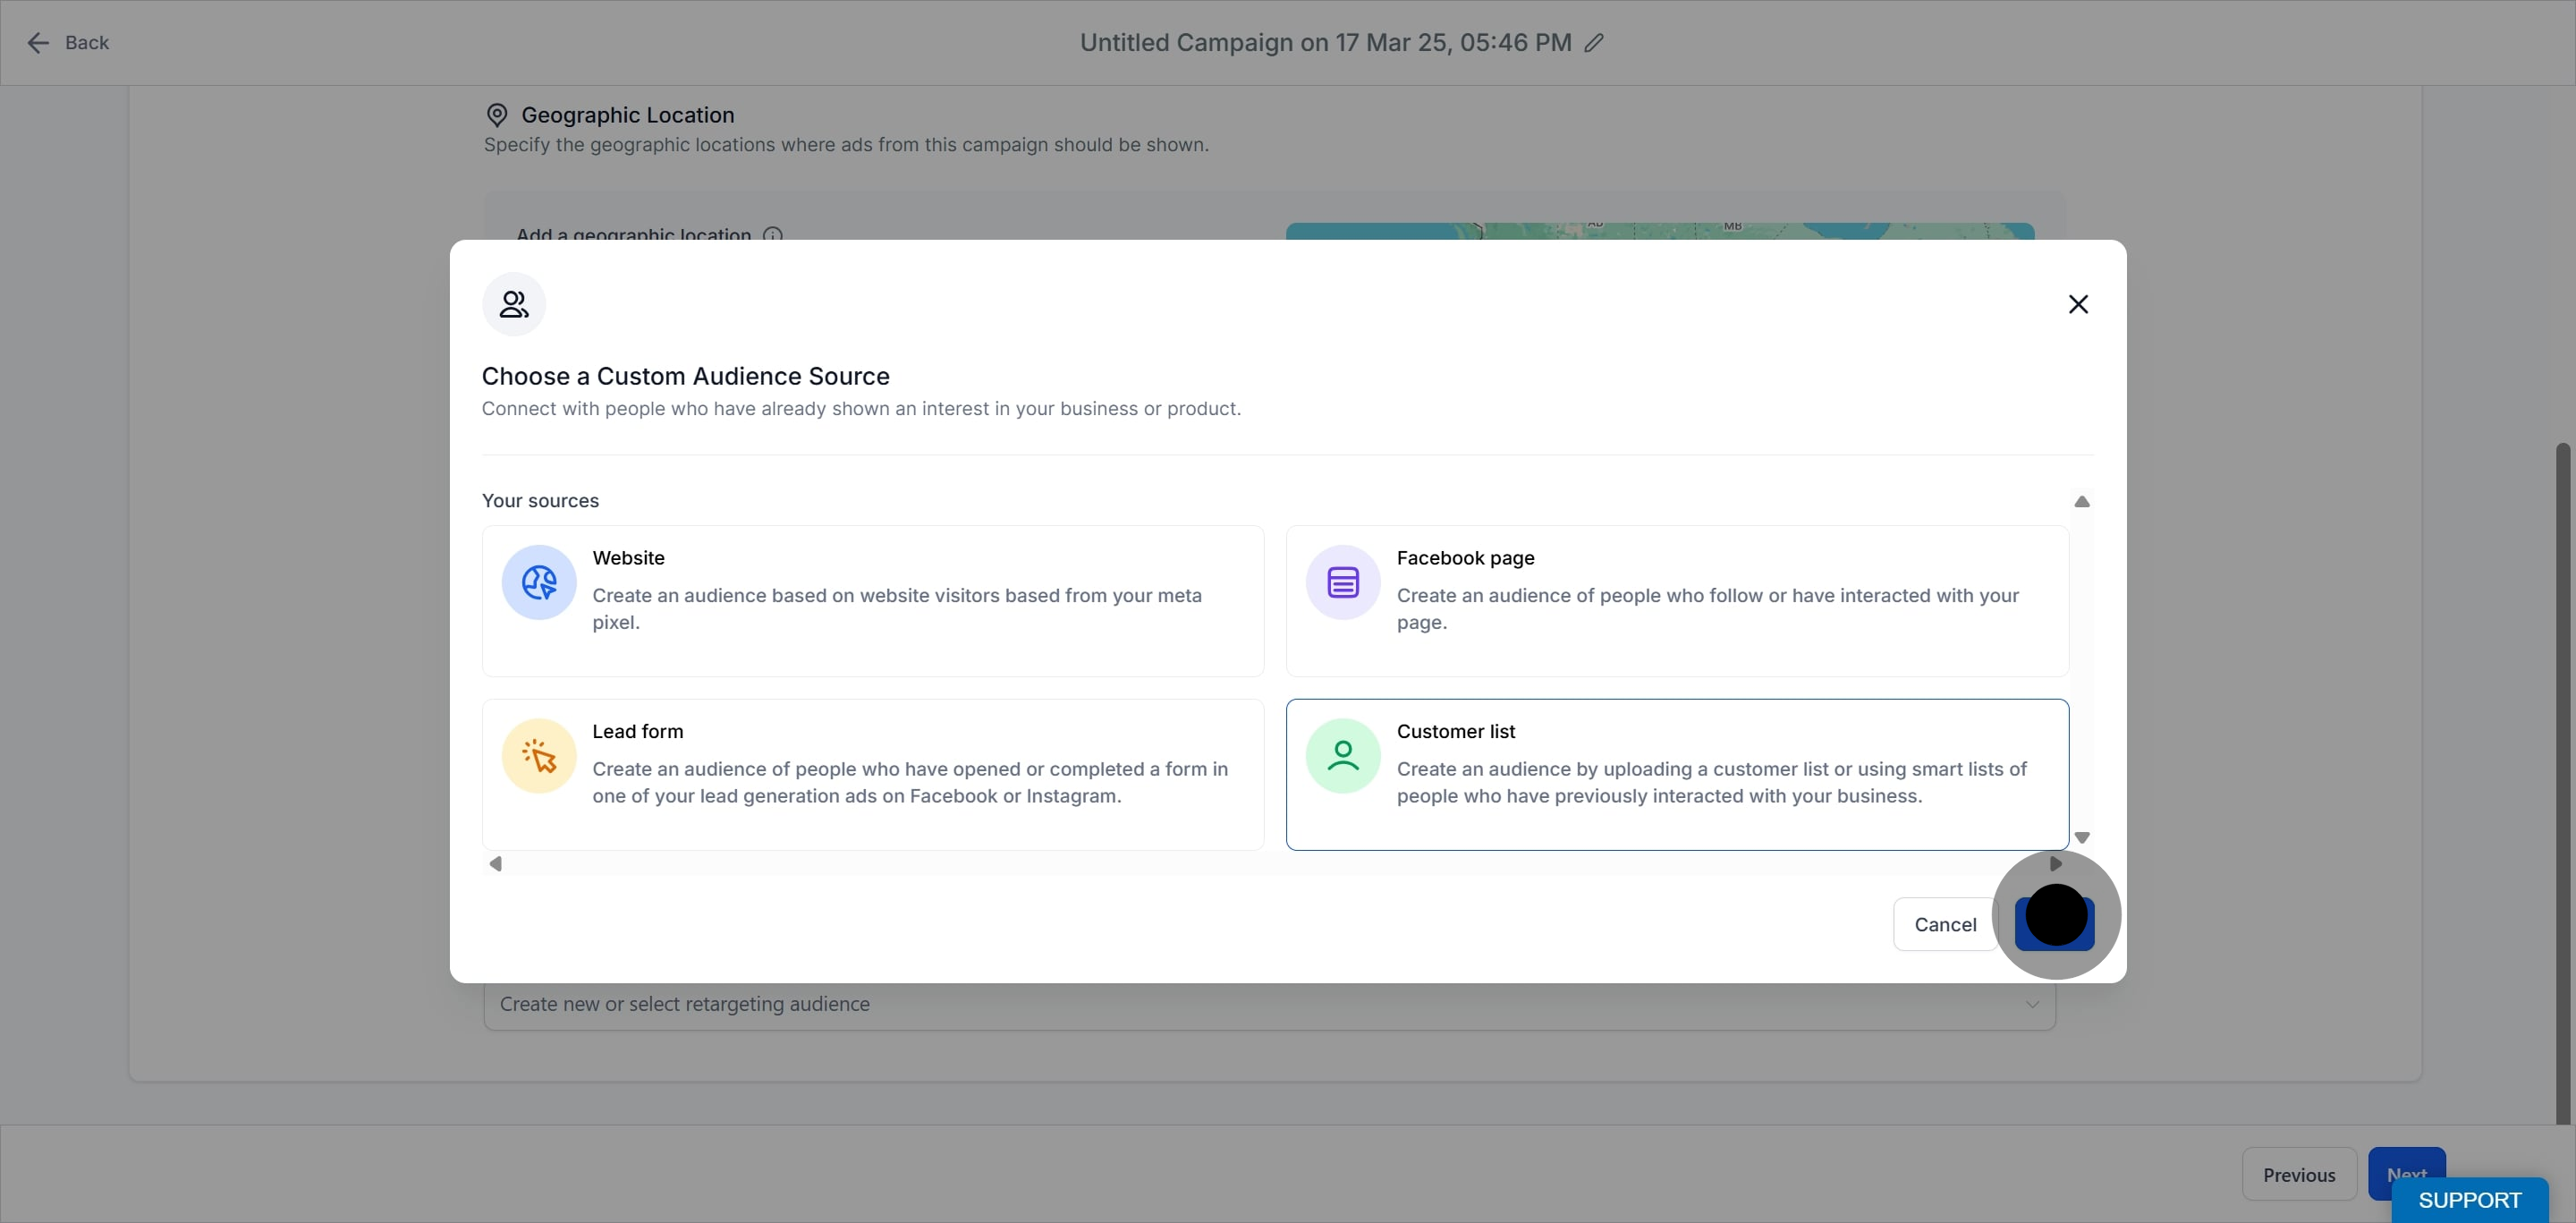
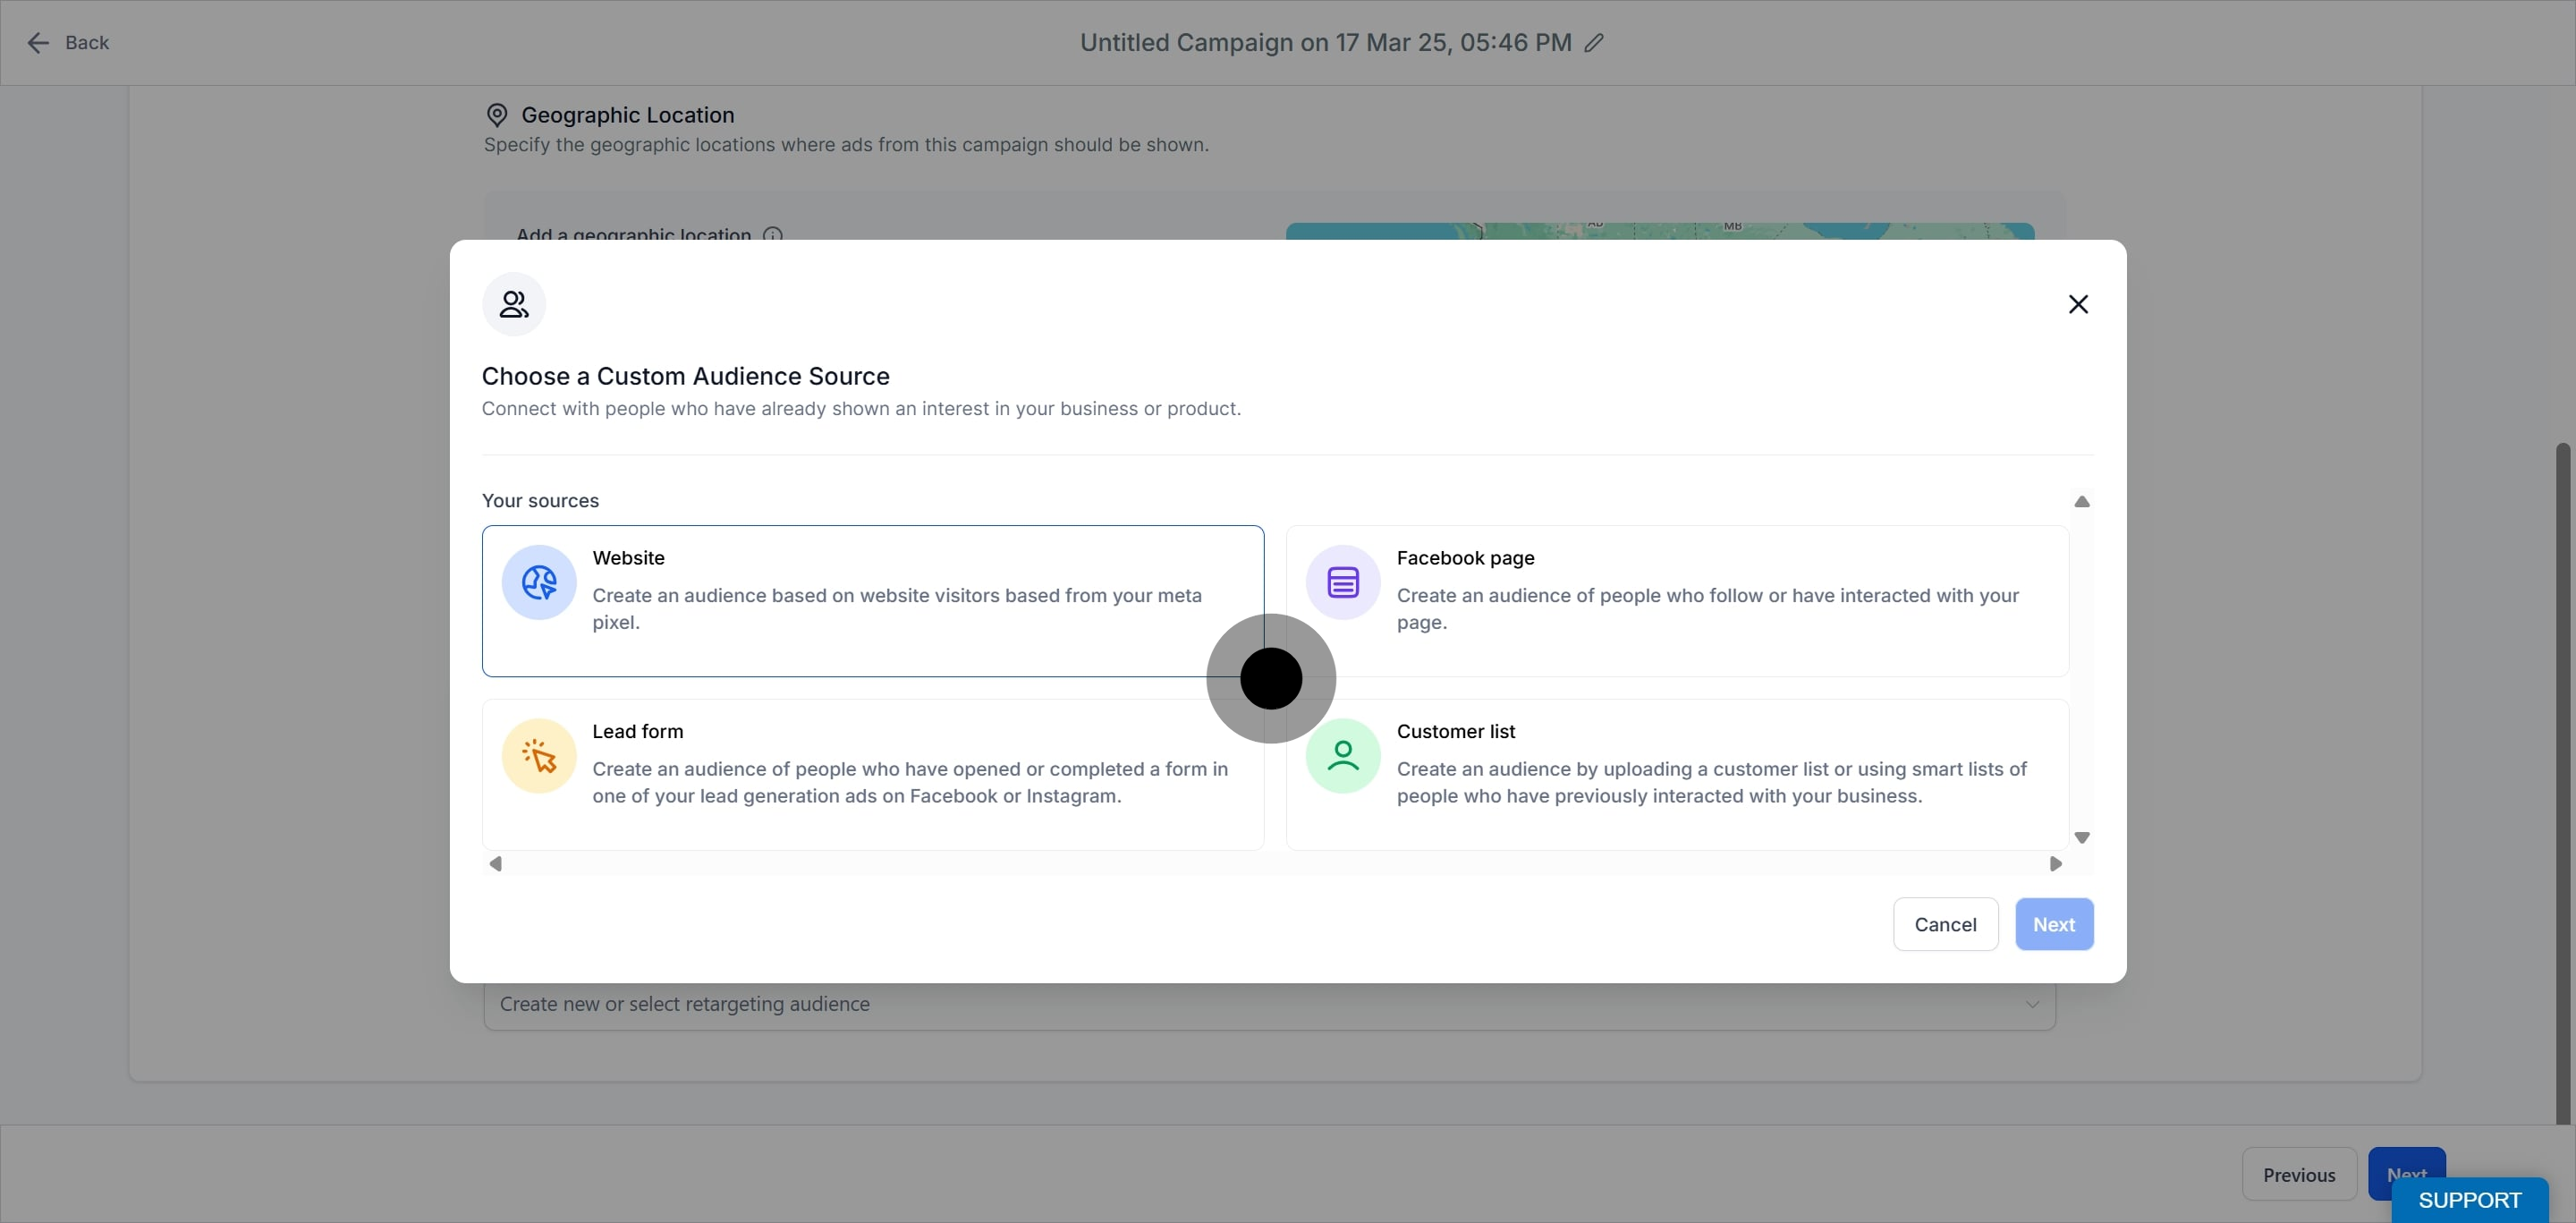
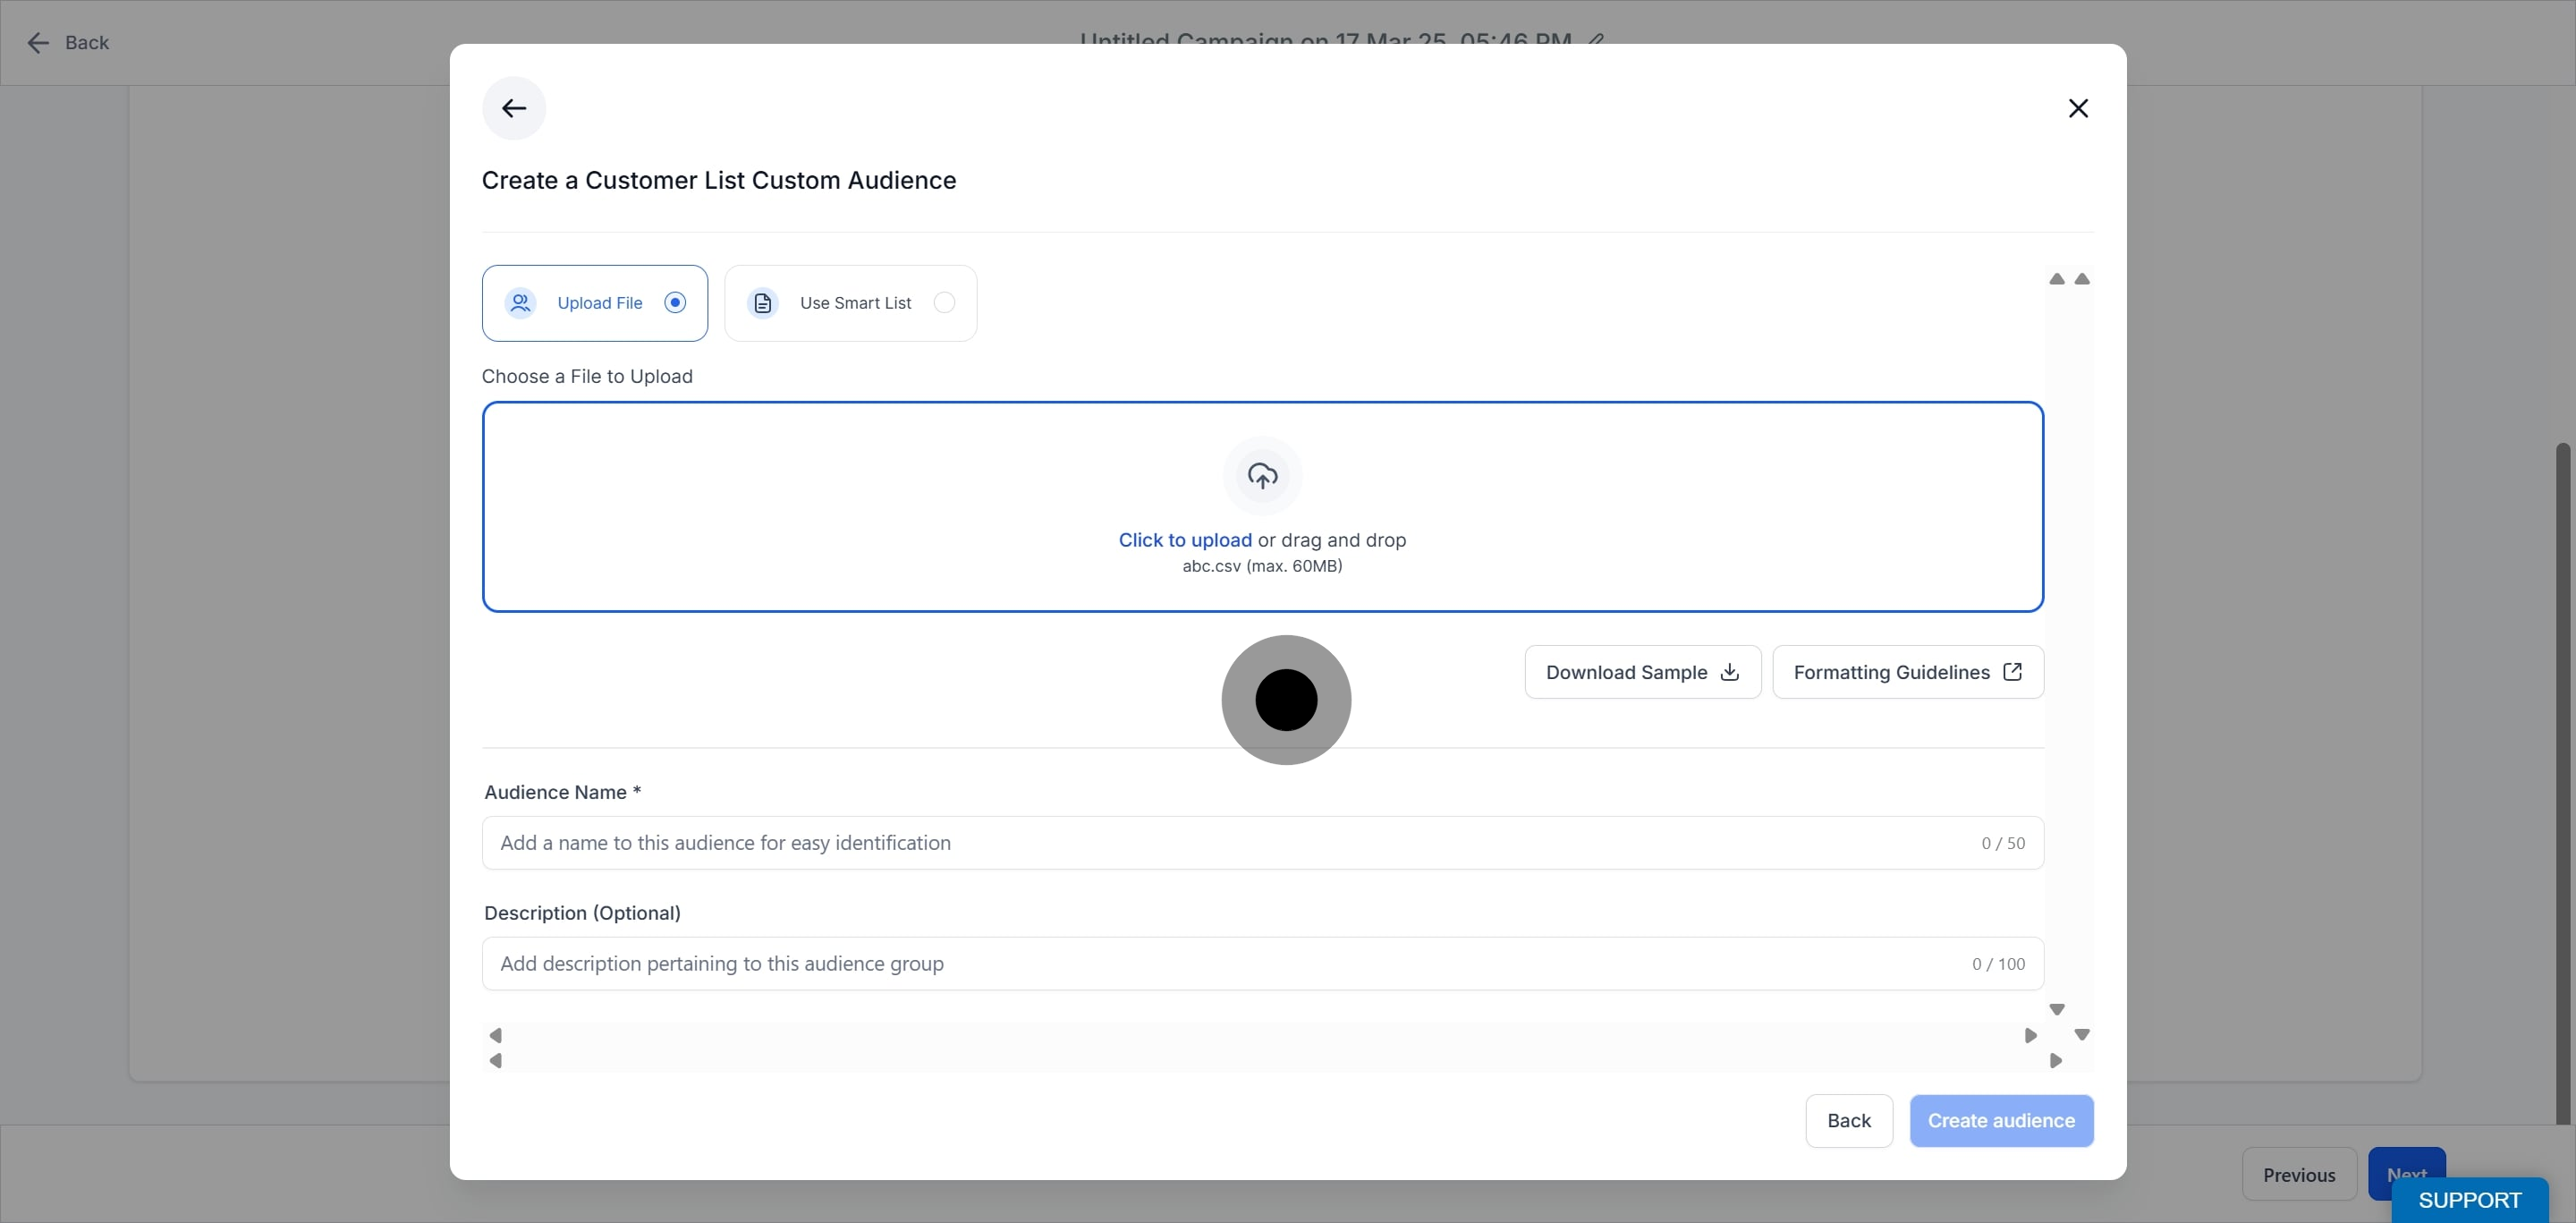
There are 2 options under customer list custom audience to choose and select the customers:
1. CSV upload
2. Use smart lists
Important Notes:
If the format of the uploaded file isn't correct or not in accordance to the guidelines, the file upload will fail with an error message.
Only the contacts included in the selected smart lists at the time of audience creation will be considered part of the audience.
Before an audience gets created, user needs to accept the customer list custom audience TOS from Meta. A toast message specifying the same will be shown to those users who haven't accepted the terms on click of 'Create Audience'.