1. Start by selecting the 'Marketing' option.
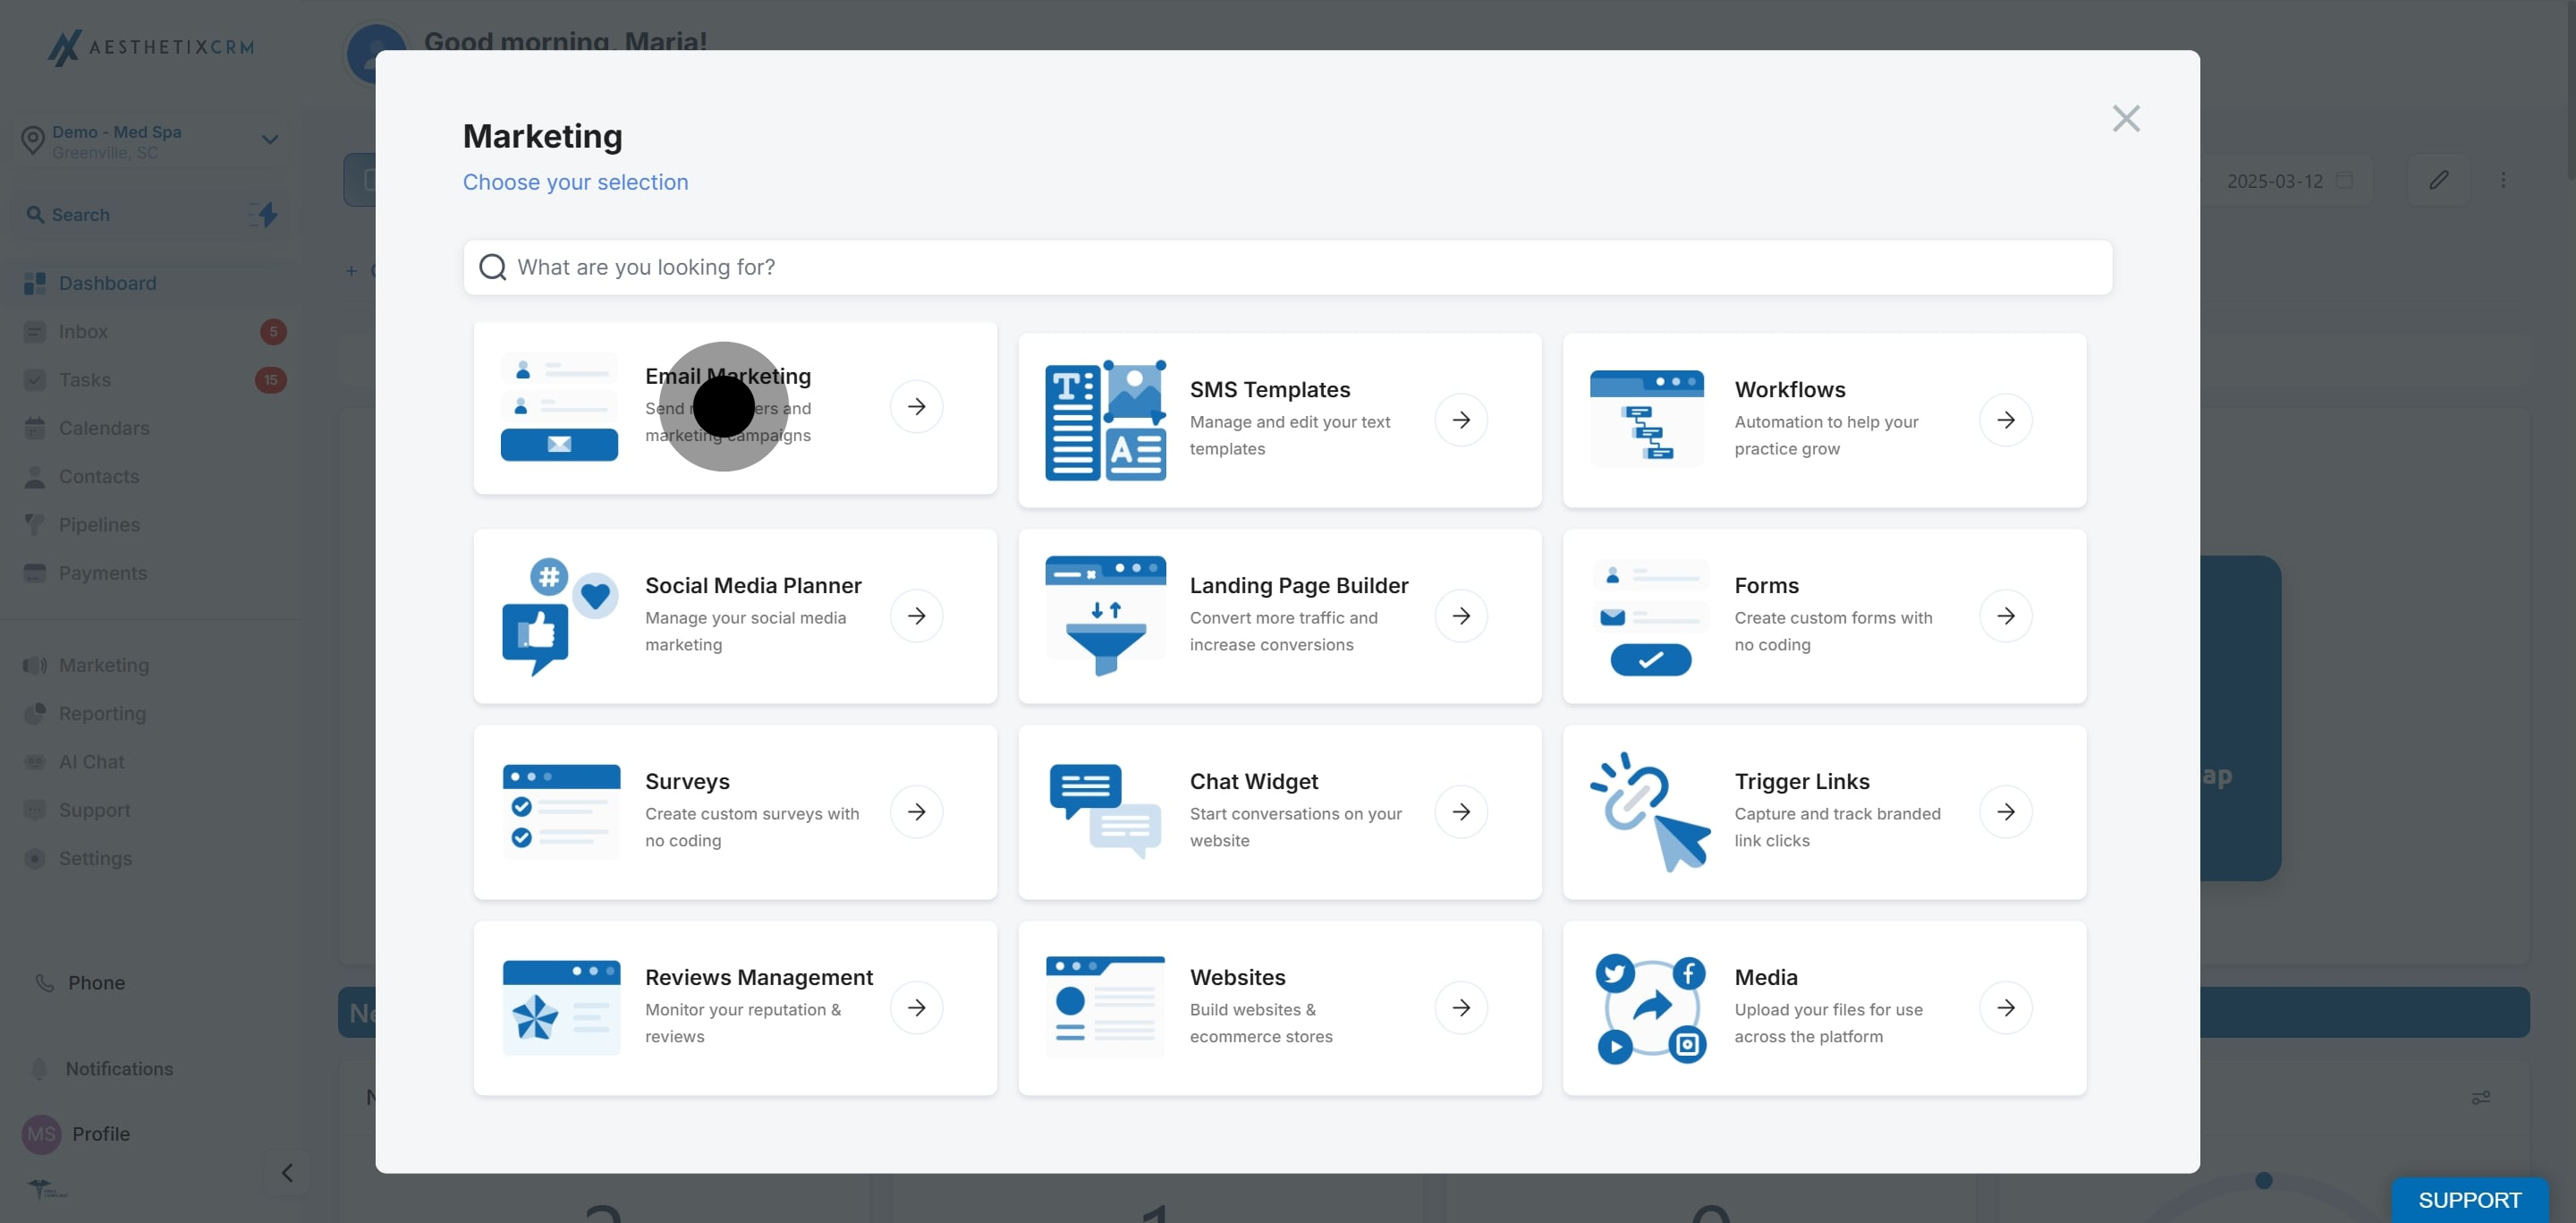
2. Next, choose 'Email Marketing' from the menu.
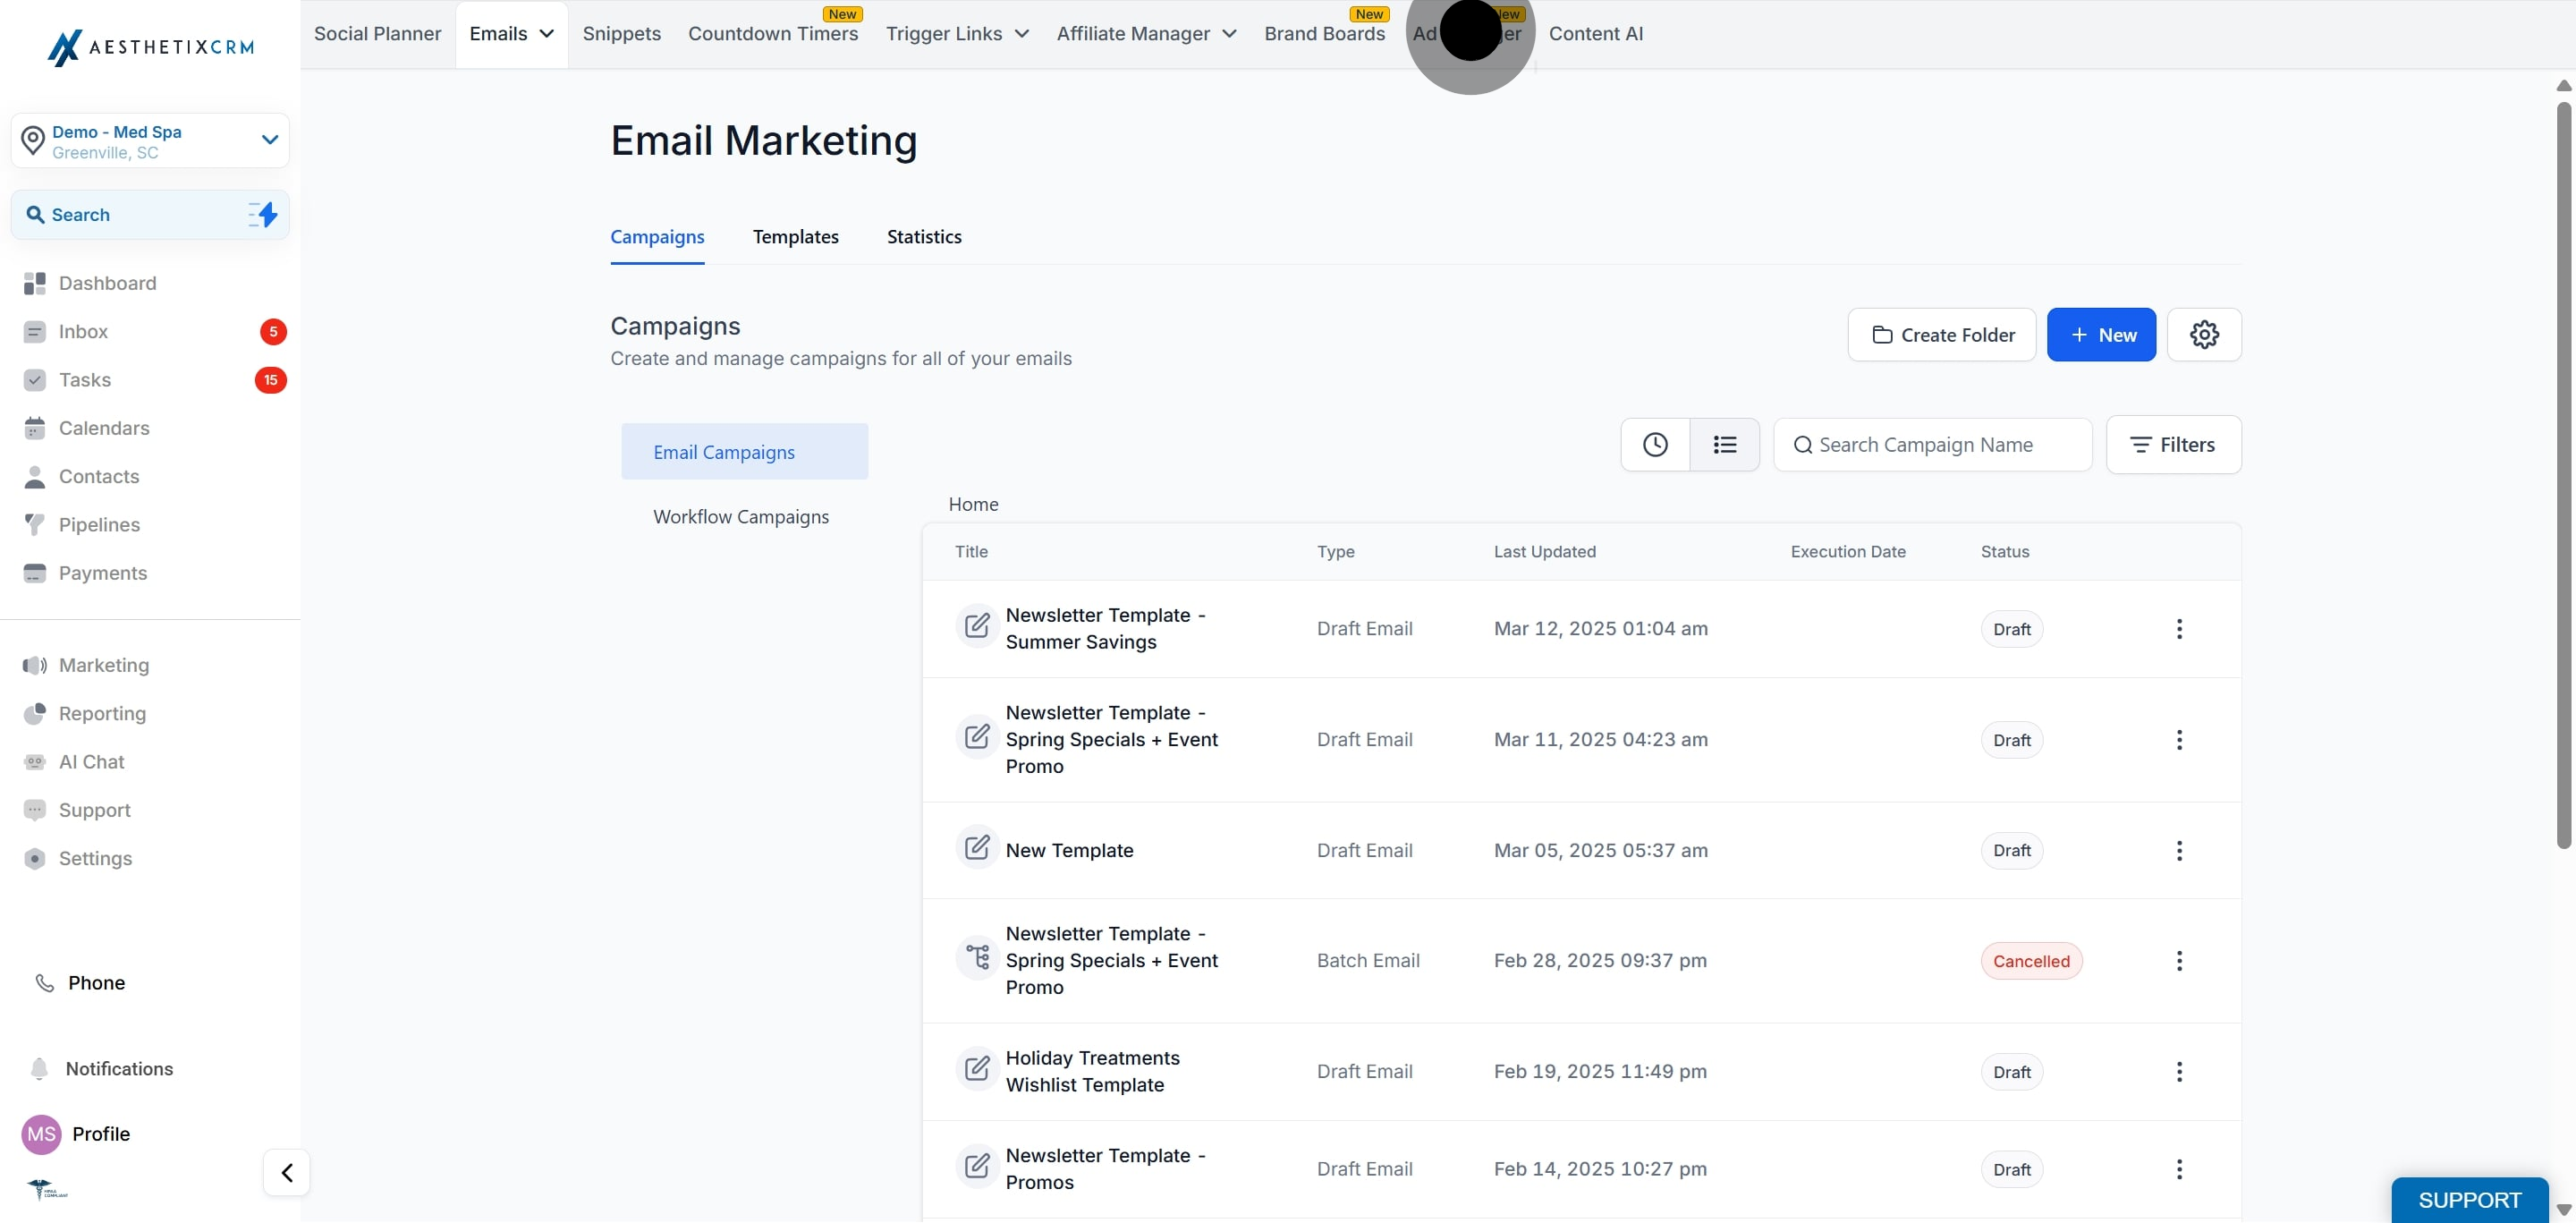
3. Then, explore offerings by clicking on 'Ad Manager'.
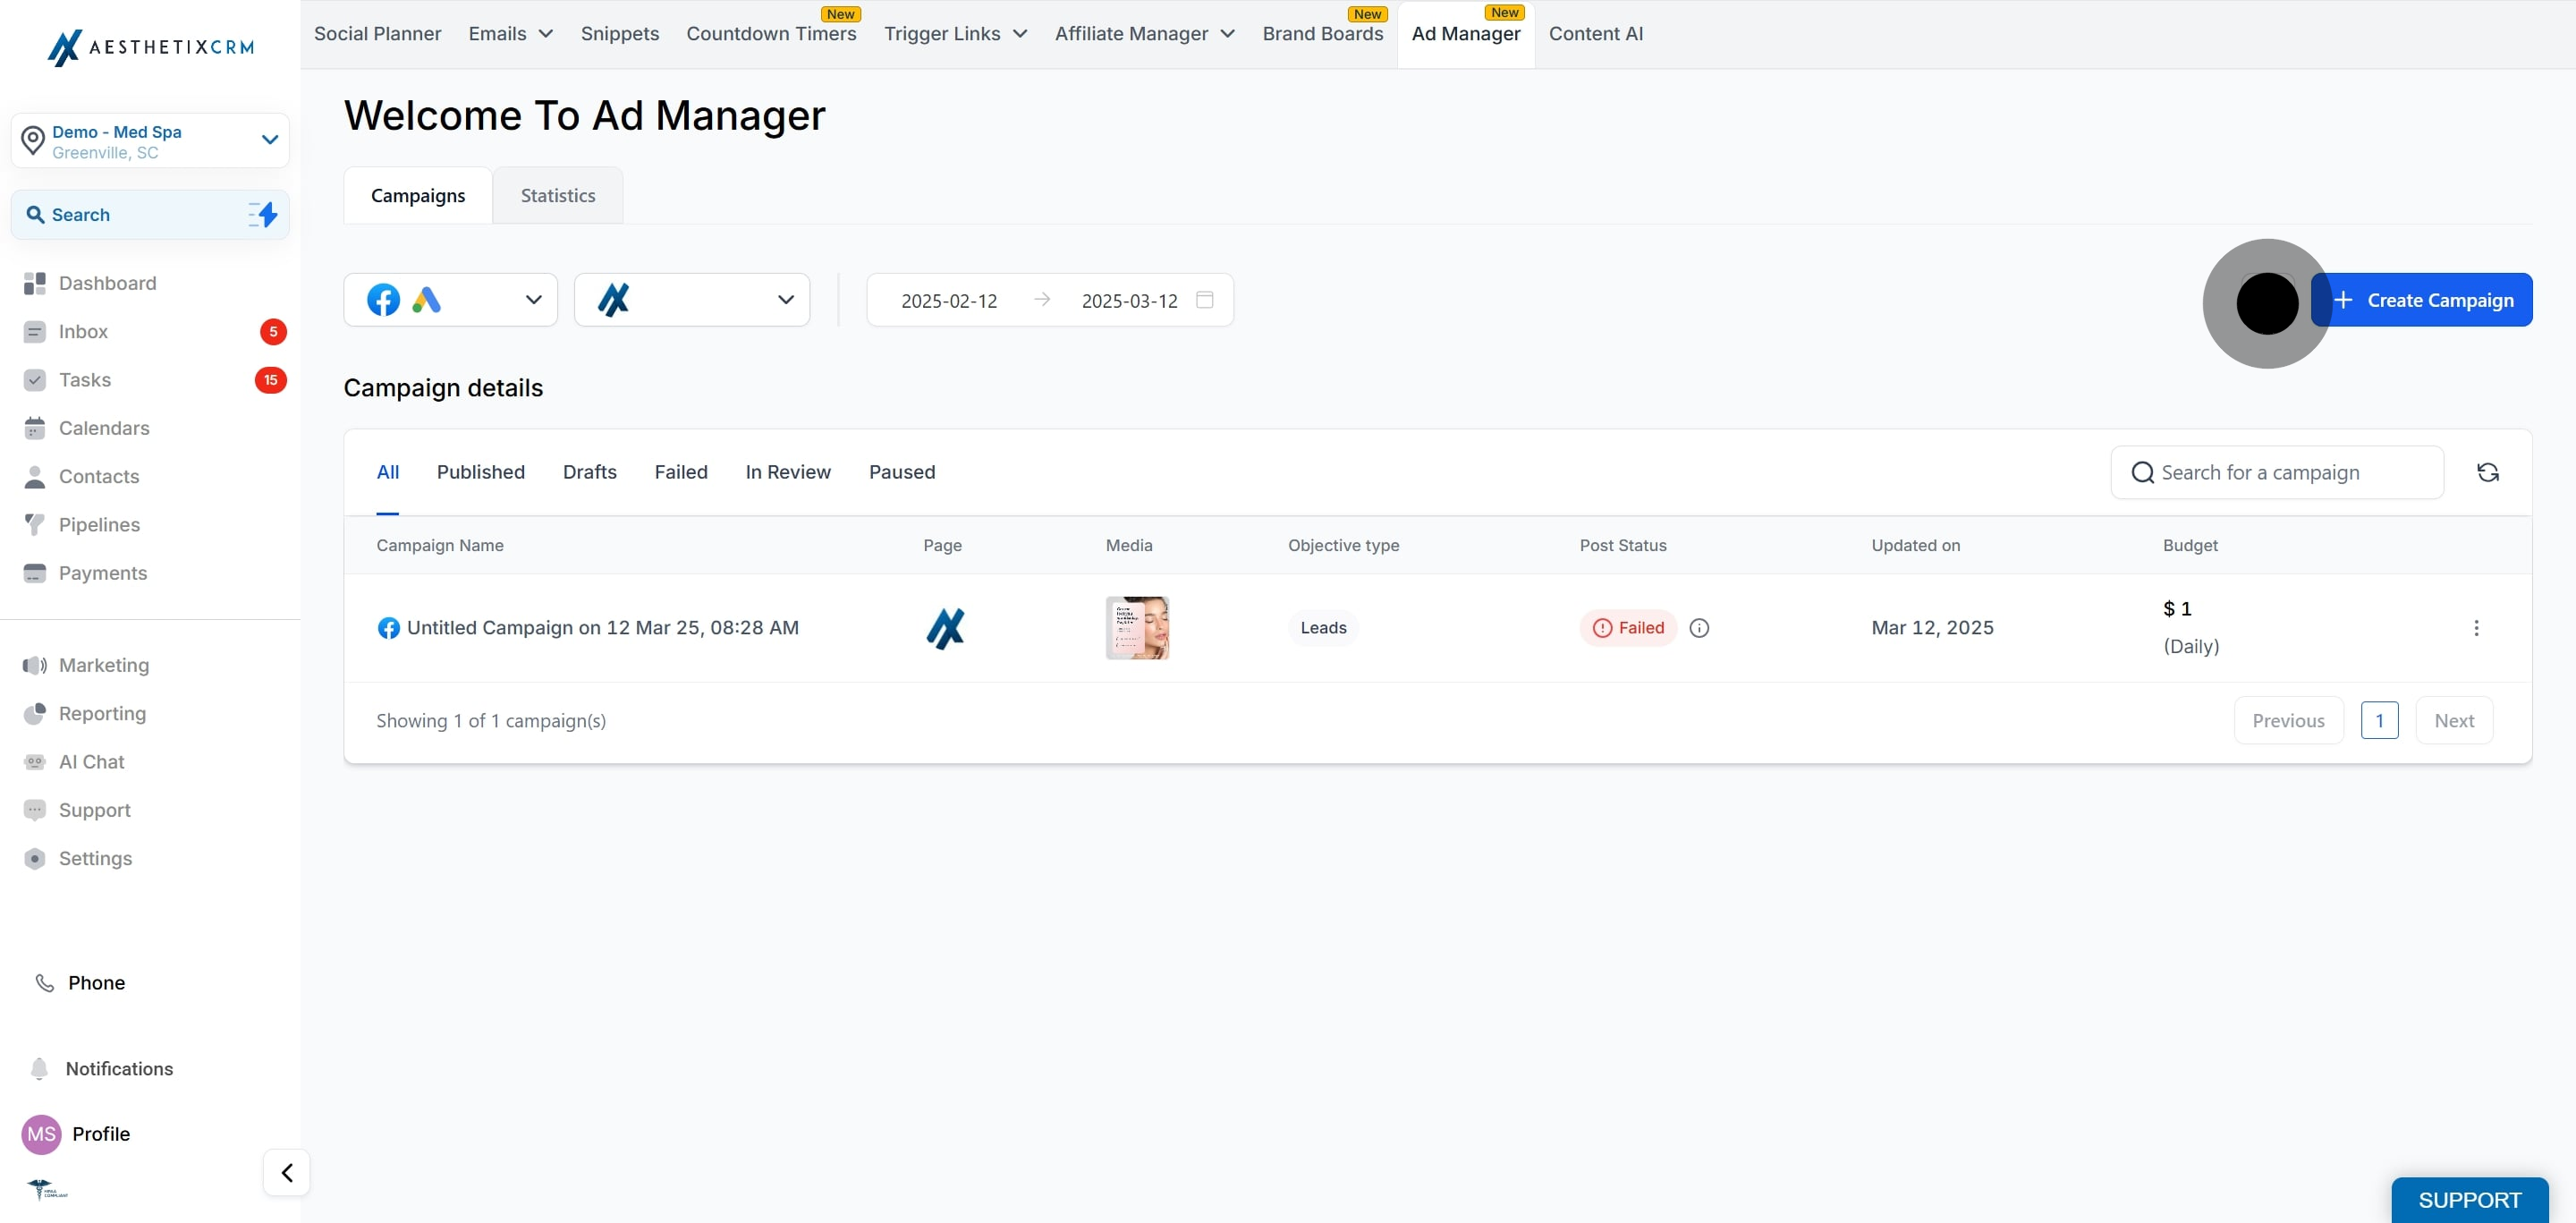
4. Continue by accessing the settings in 'Ad Manager'.
5. After, navigate and click on the 'Integrations' tab.
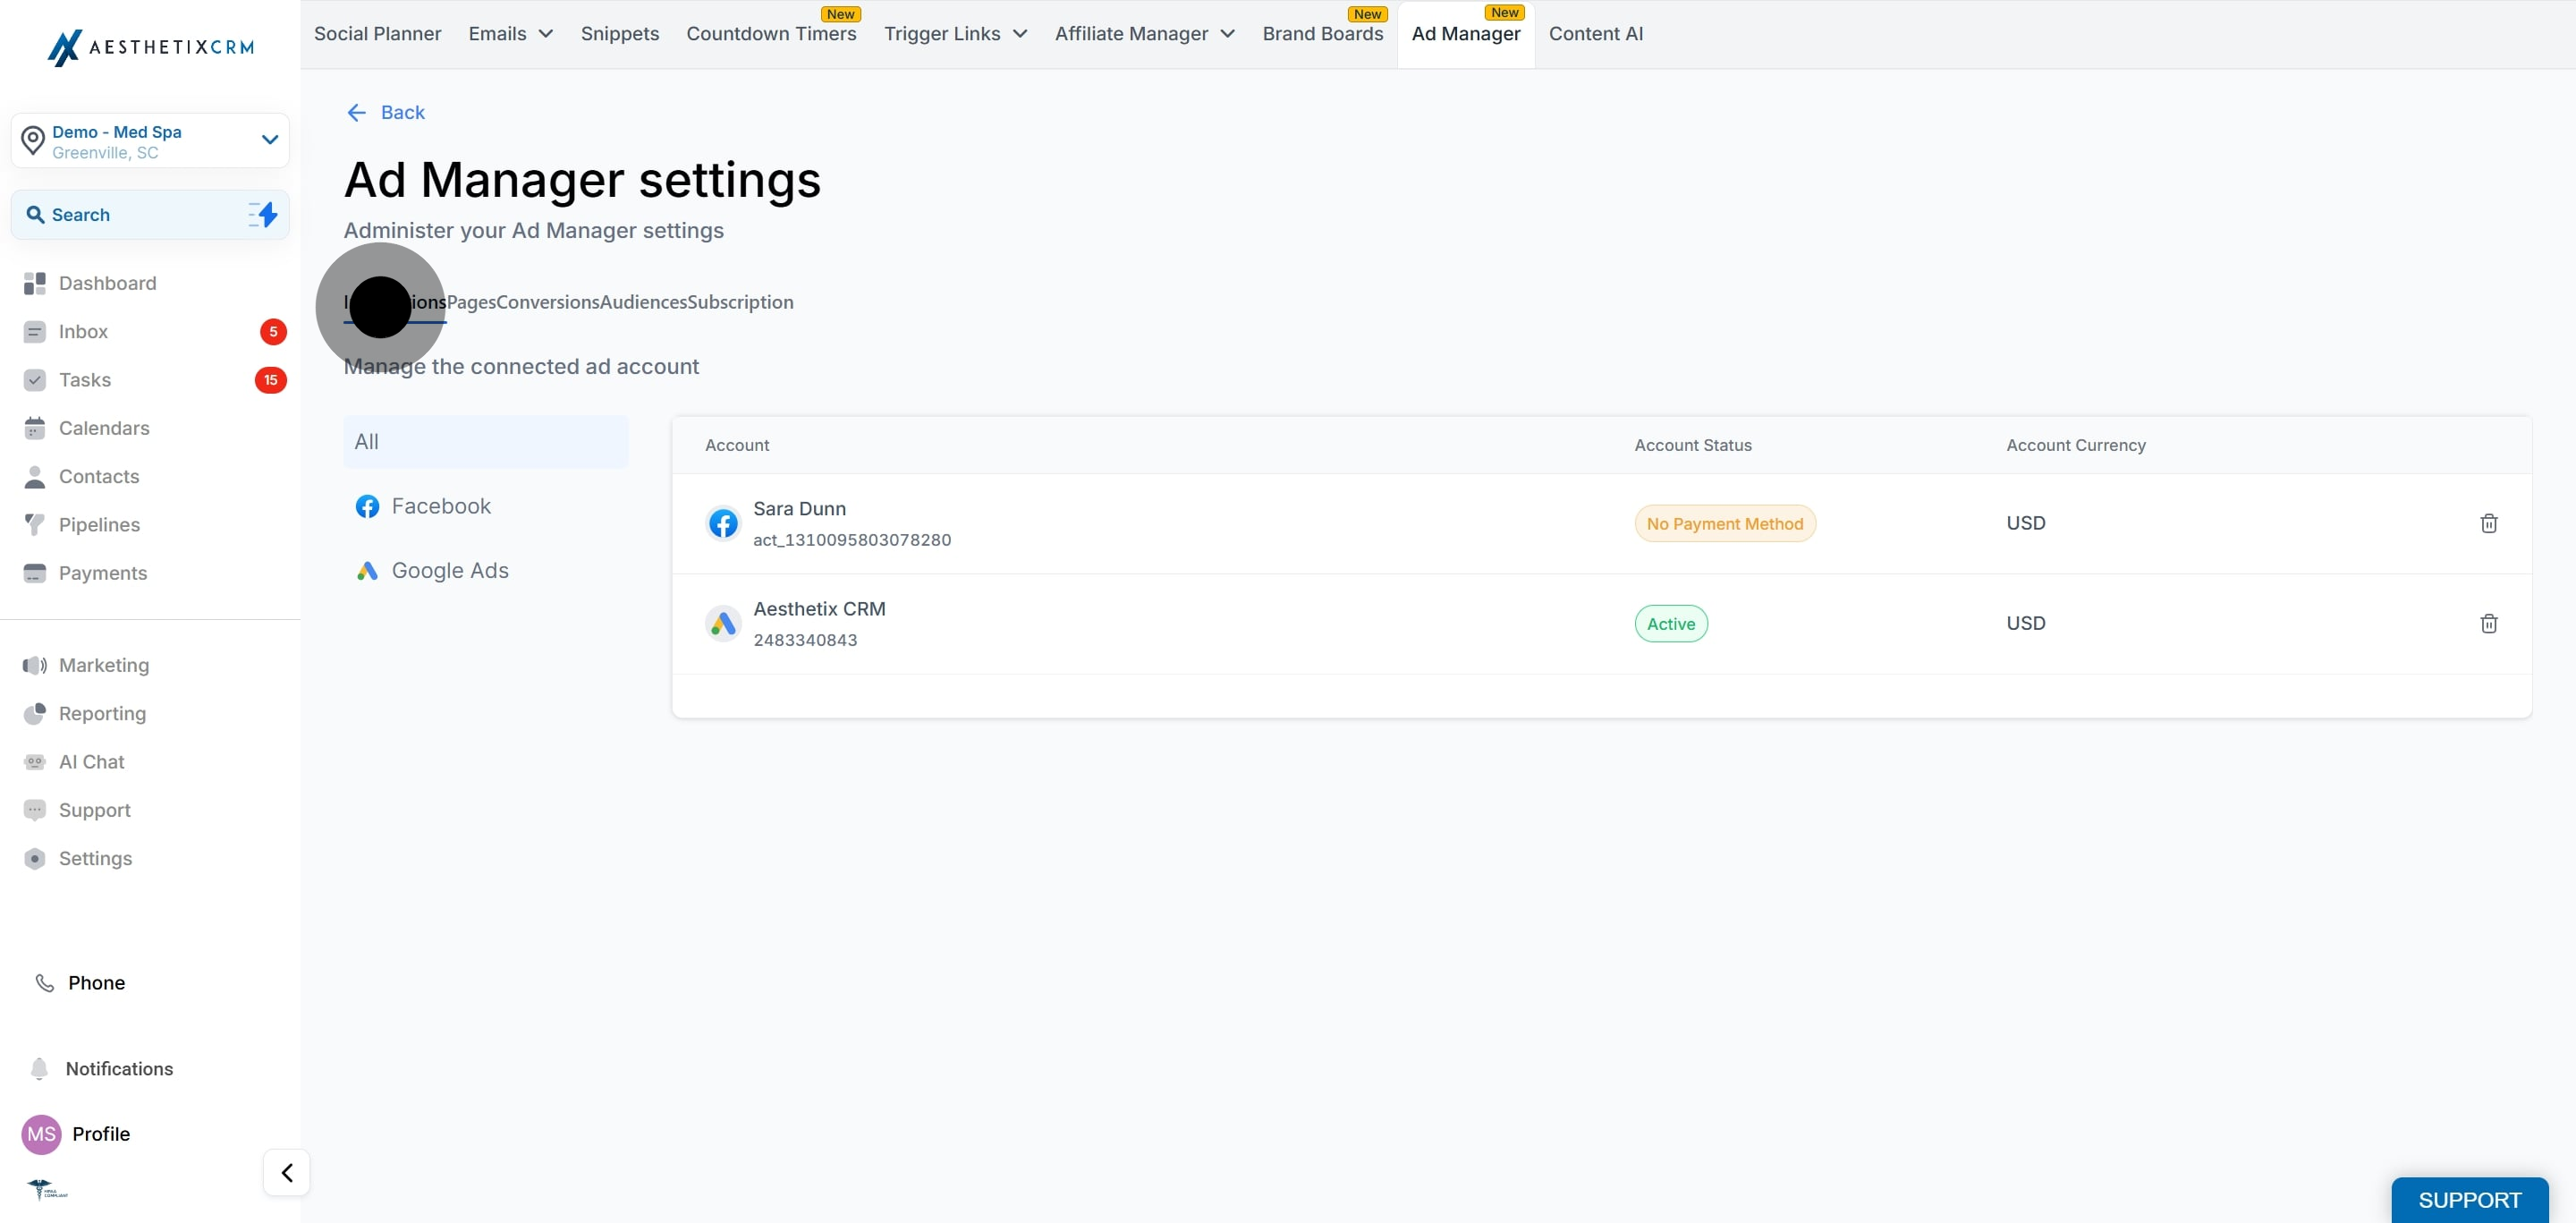
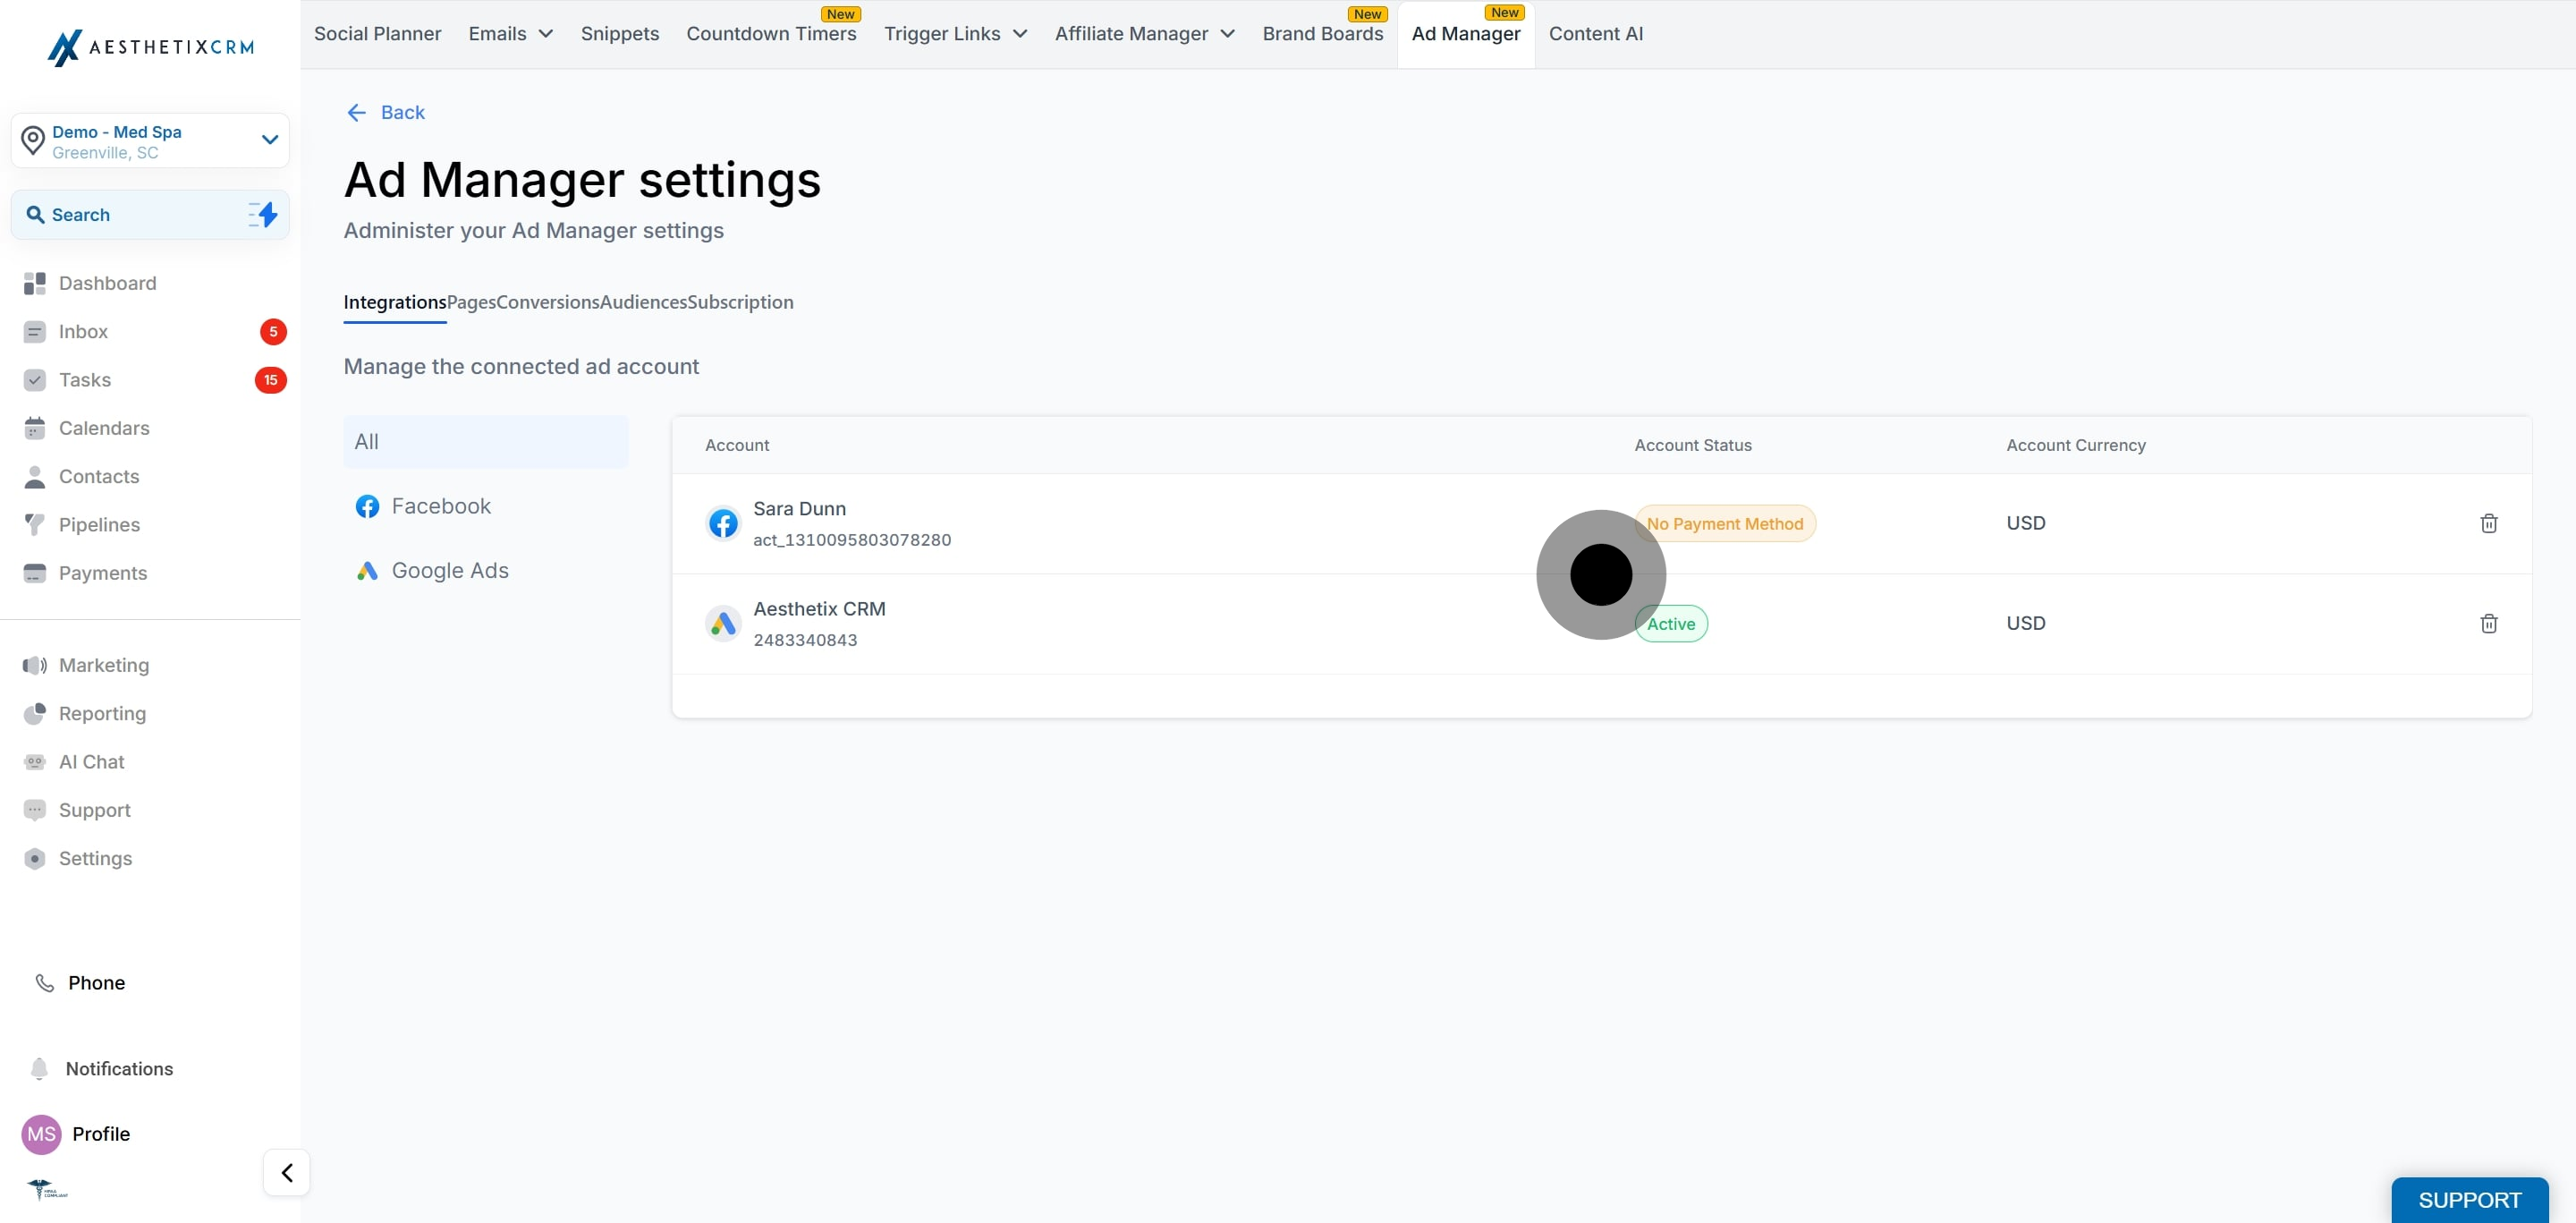
6. Under 'Integrations', manage your ad account connections.
Note: Currently we support integration of a single Meta Ad account with Ad Manager but going forward with future releases there maybe an option to add more than one Ad account to Ad Manager.
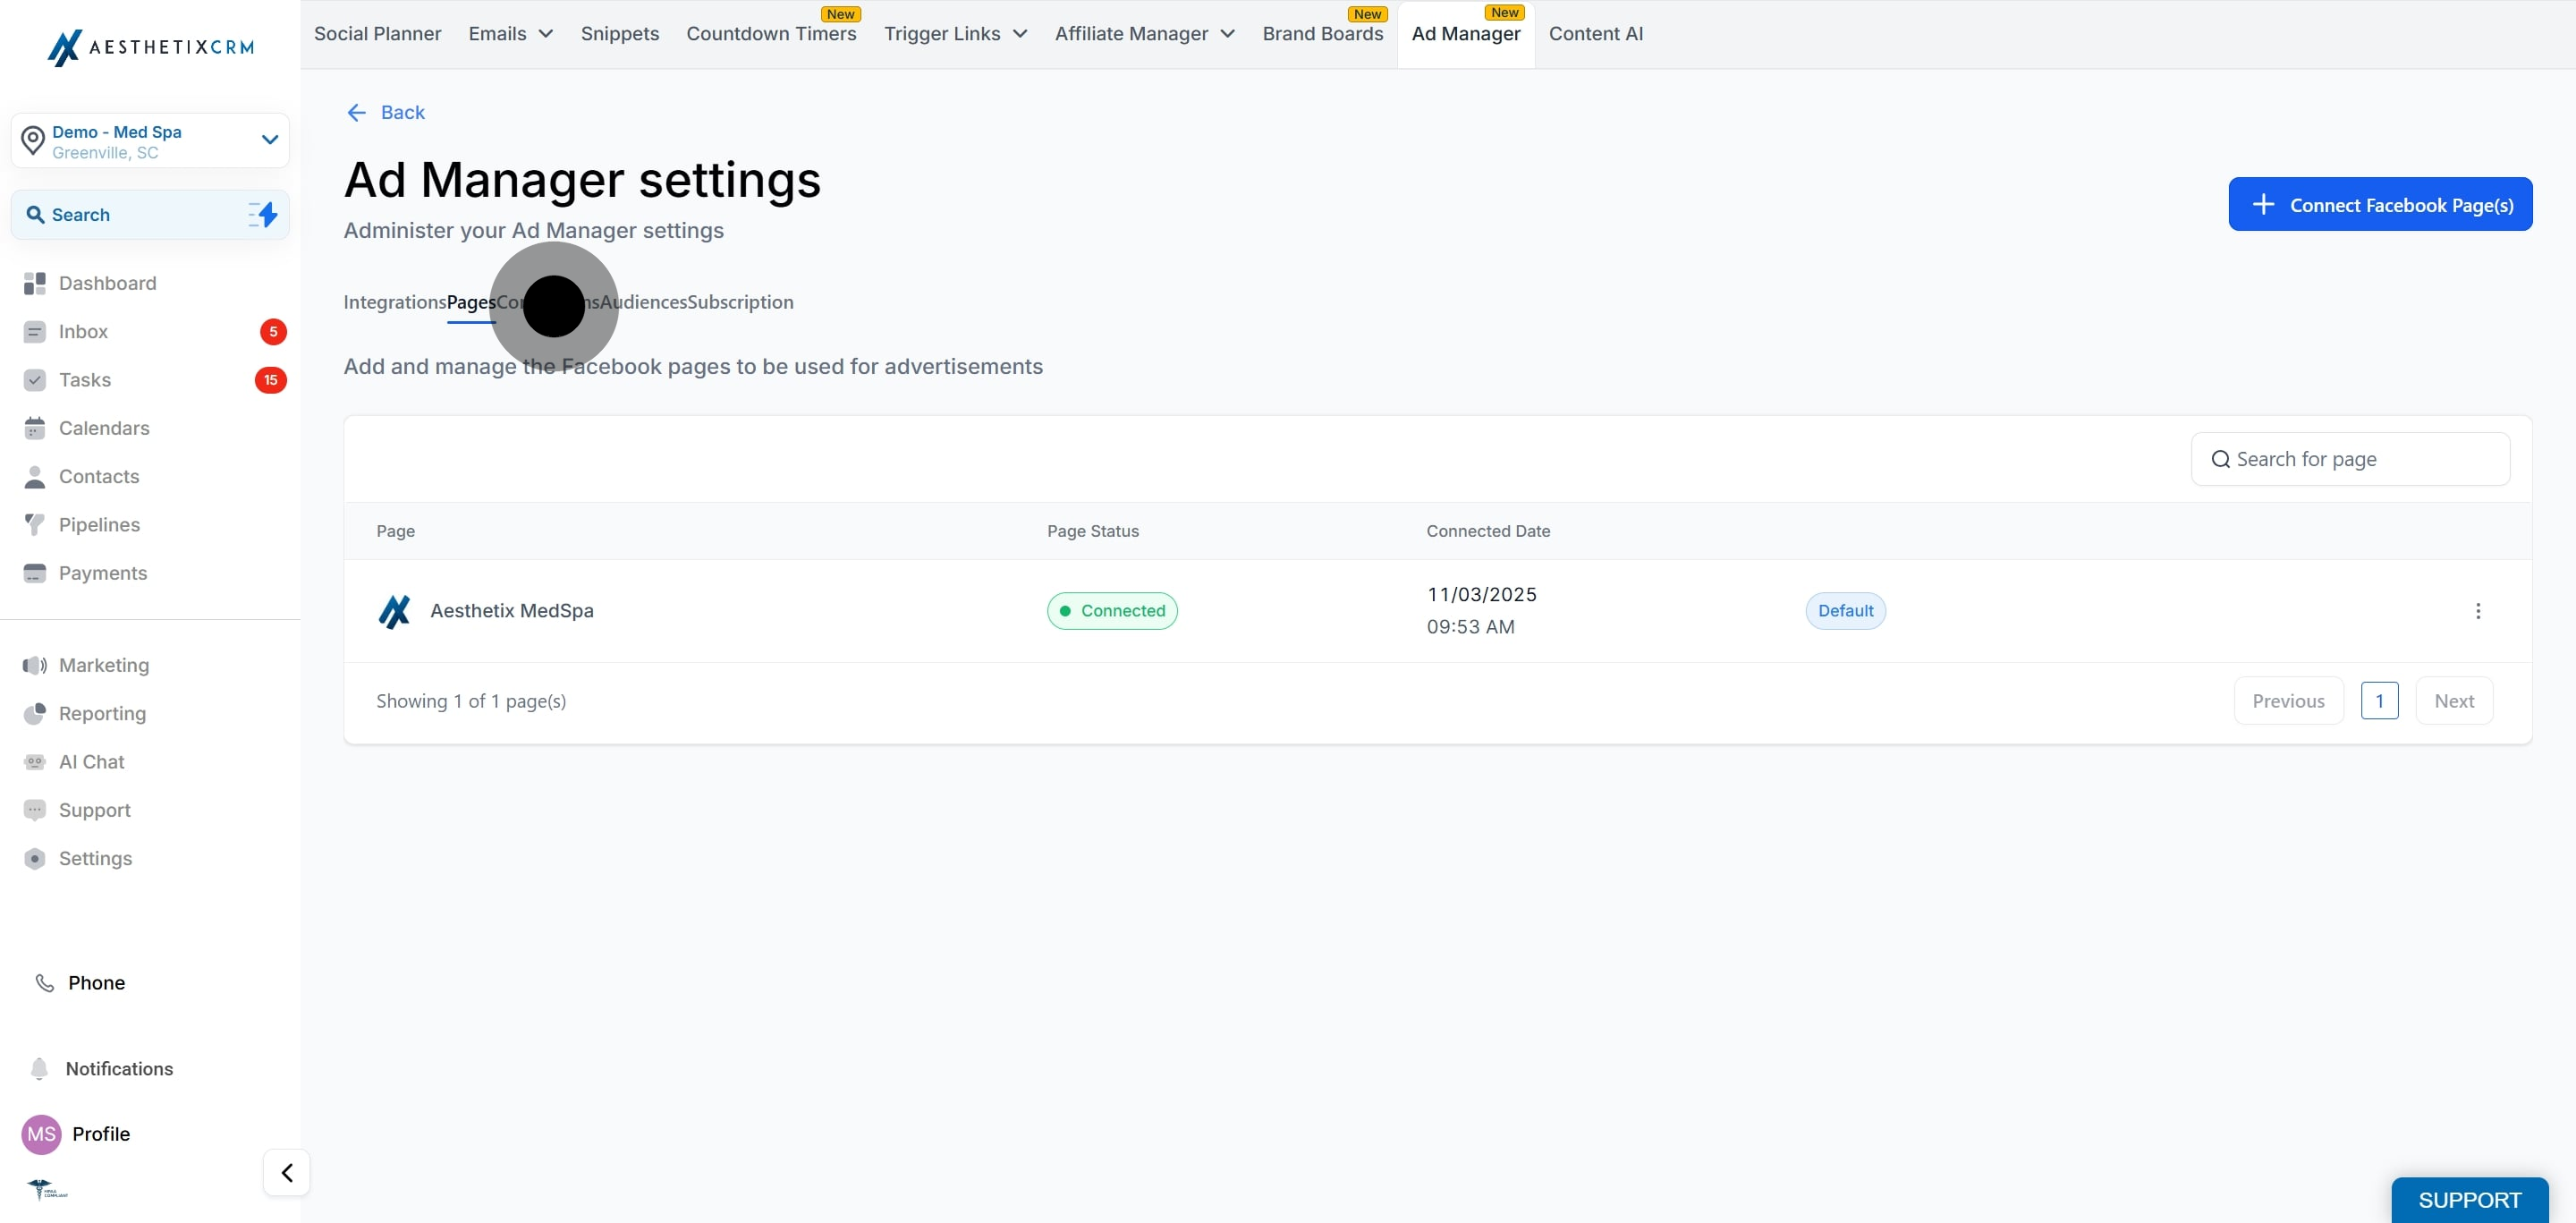
7. Next, proceed to click on 'Pages'.

8. Click here to connect facebook pages
Once you click on the "Delete" icon in line with the connected Facebook page, you will be prompted that this action cannot be undone and once confirmed, the chosen page will be delinked from Ad Manager and no future ads can be published on that page from Ad Manager. Although the ads already published on that page will not be affected and will remain to be present in Facebook but they cannot be manipulated from Ad Manager.
Note: The delinked FB page, if again connected to Ad Manager, all the campaigns which were created on that page us using Ad Manager will again start reflecting in the campaign details section.
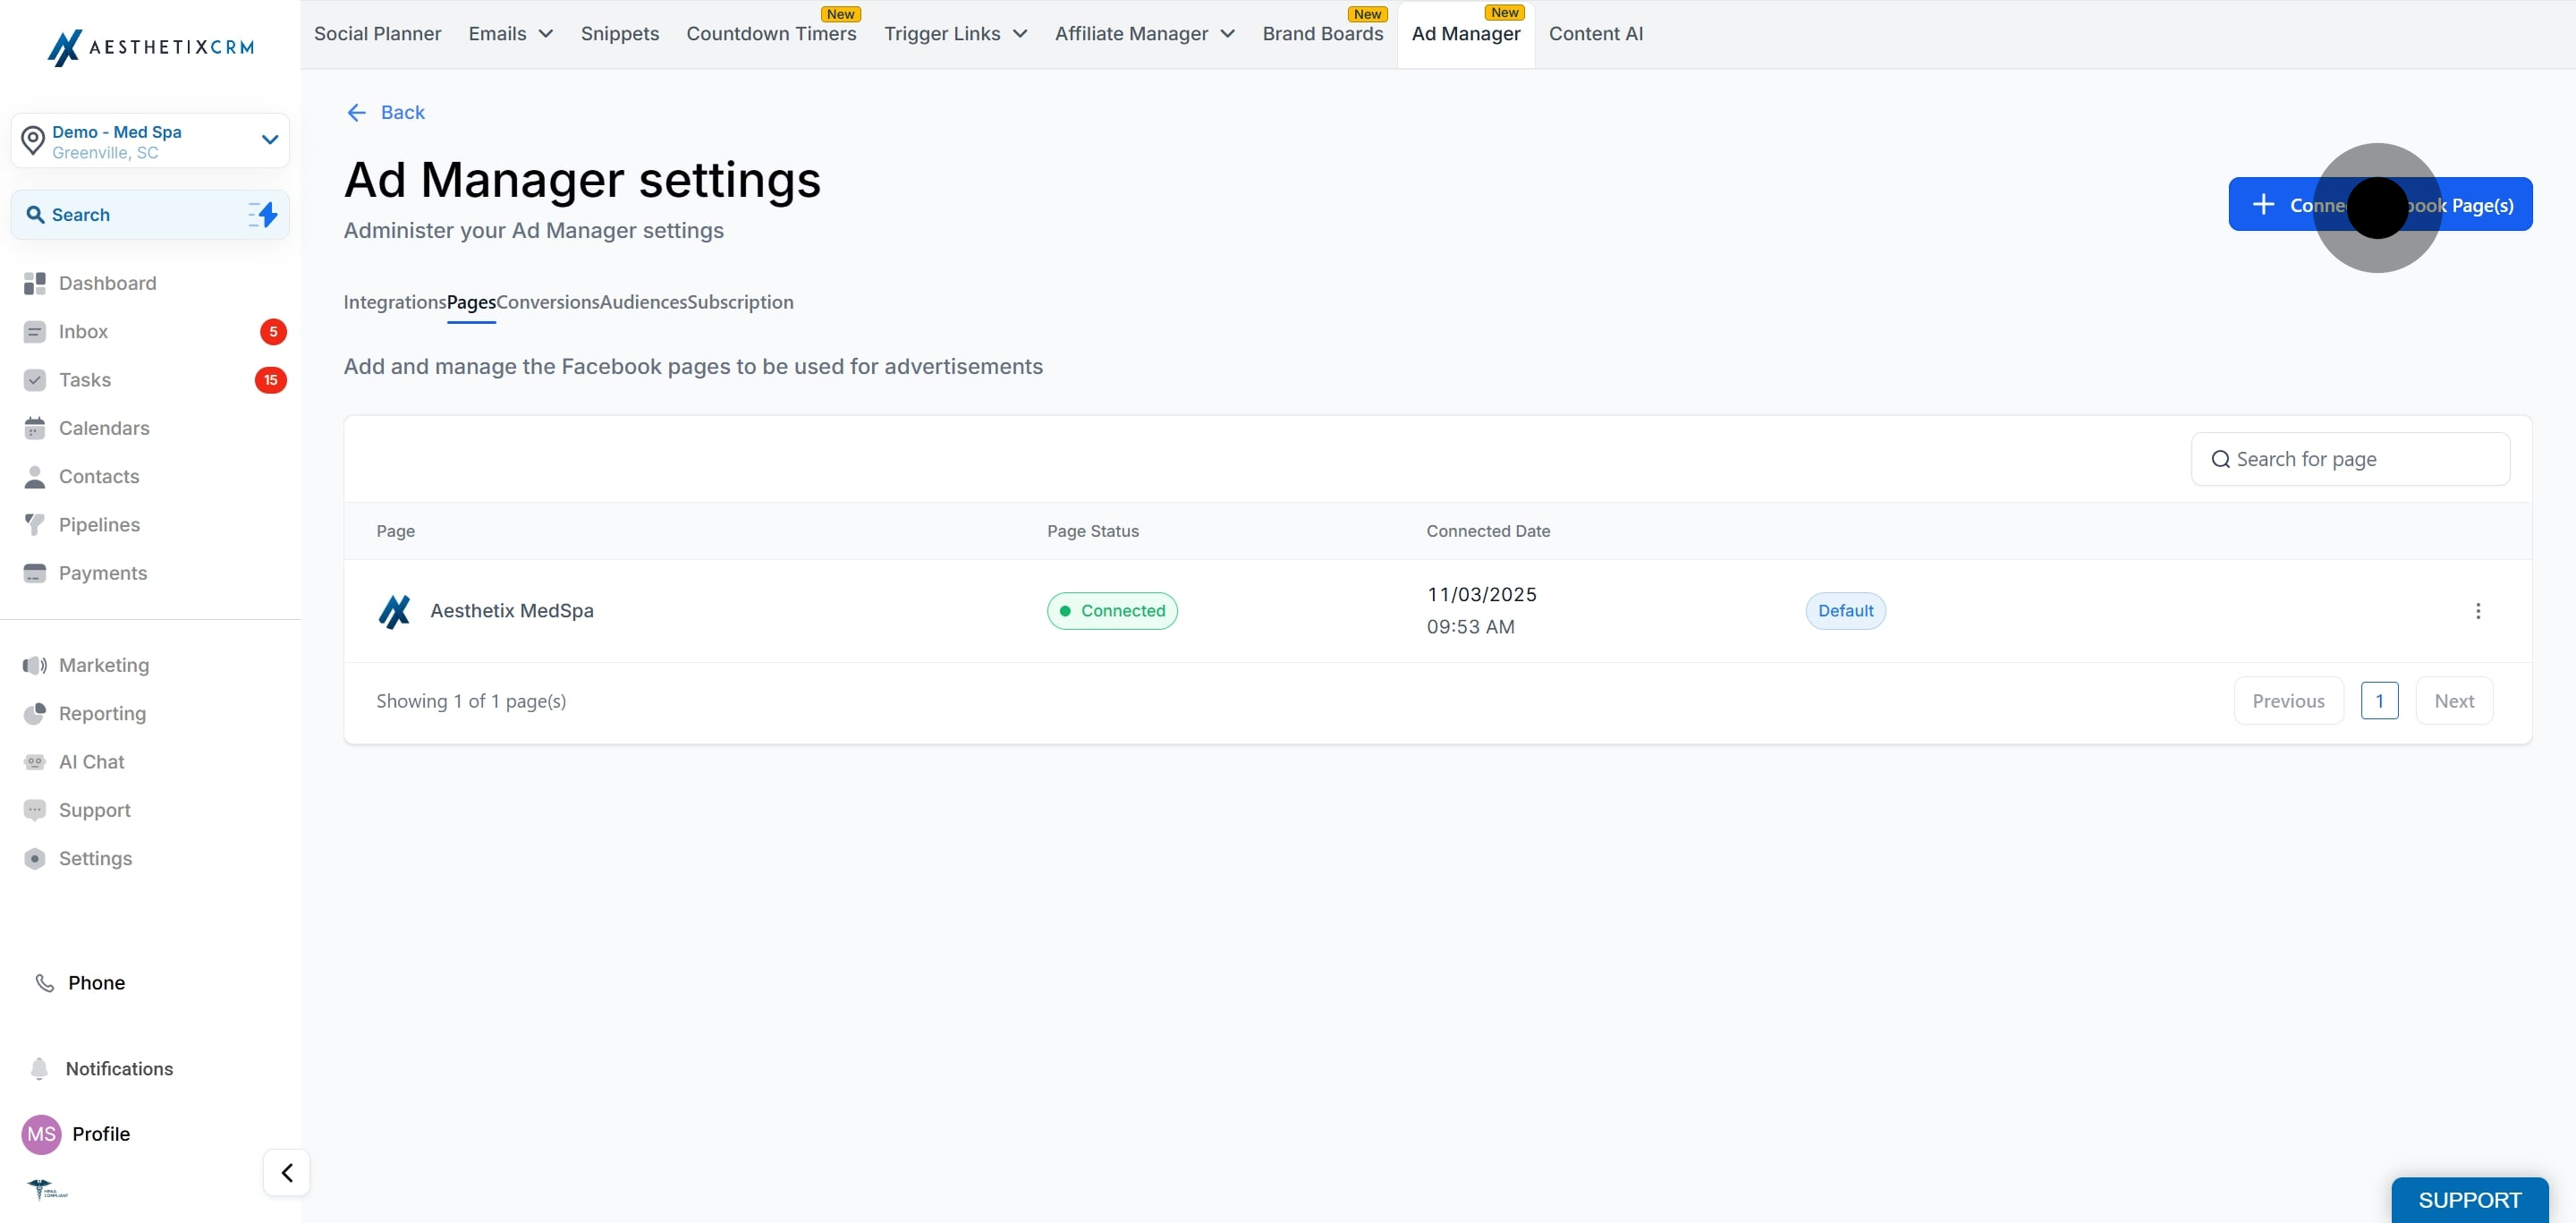
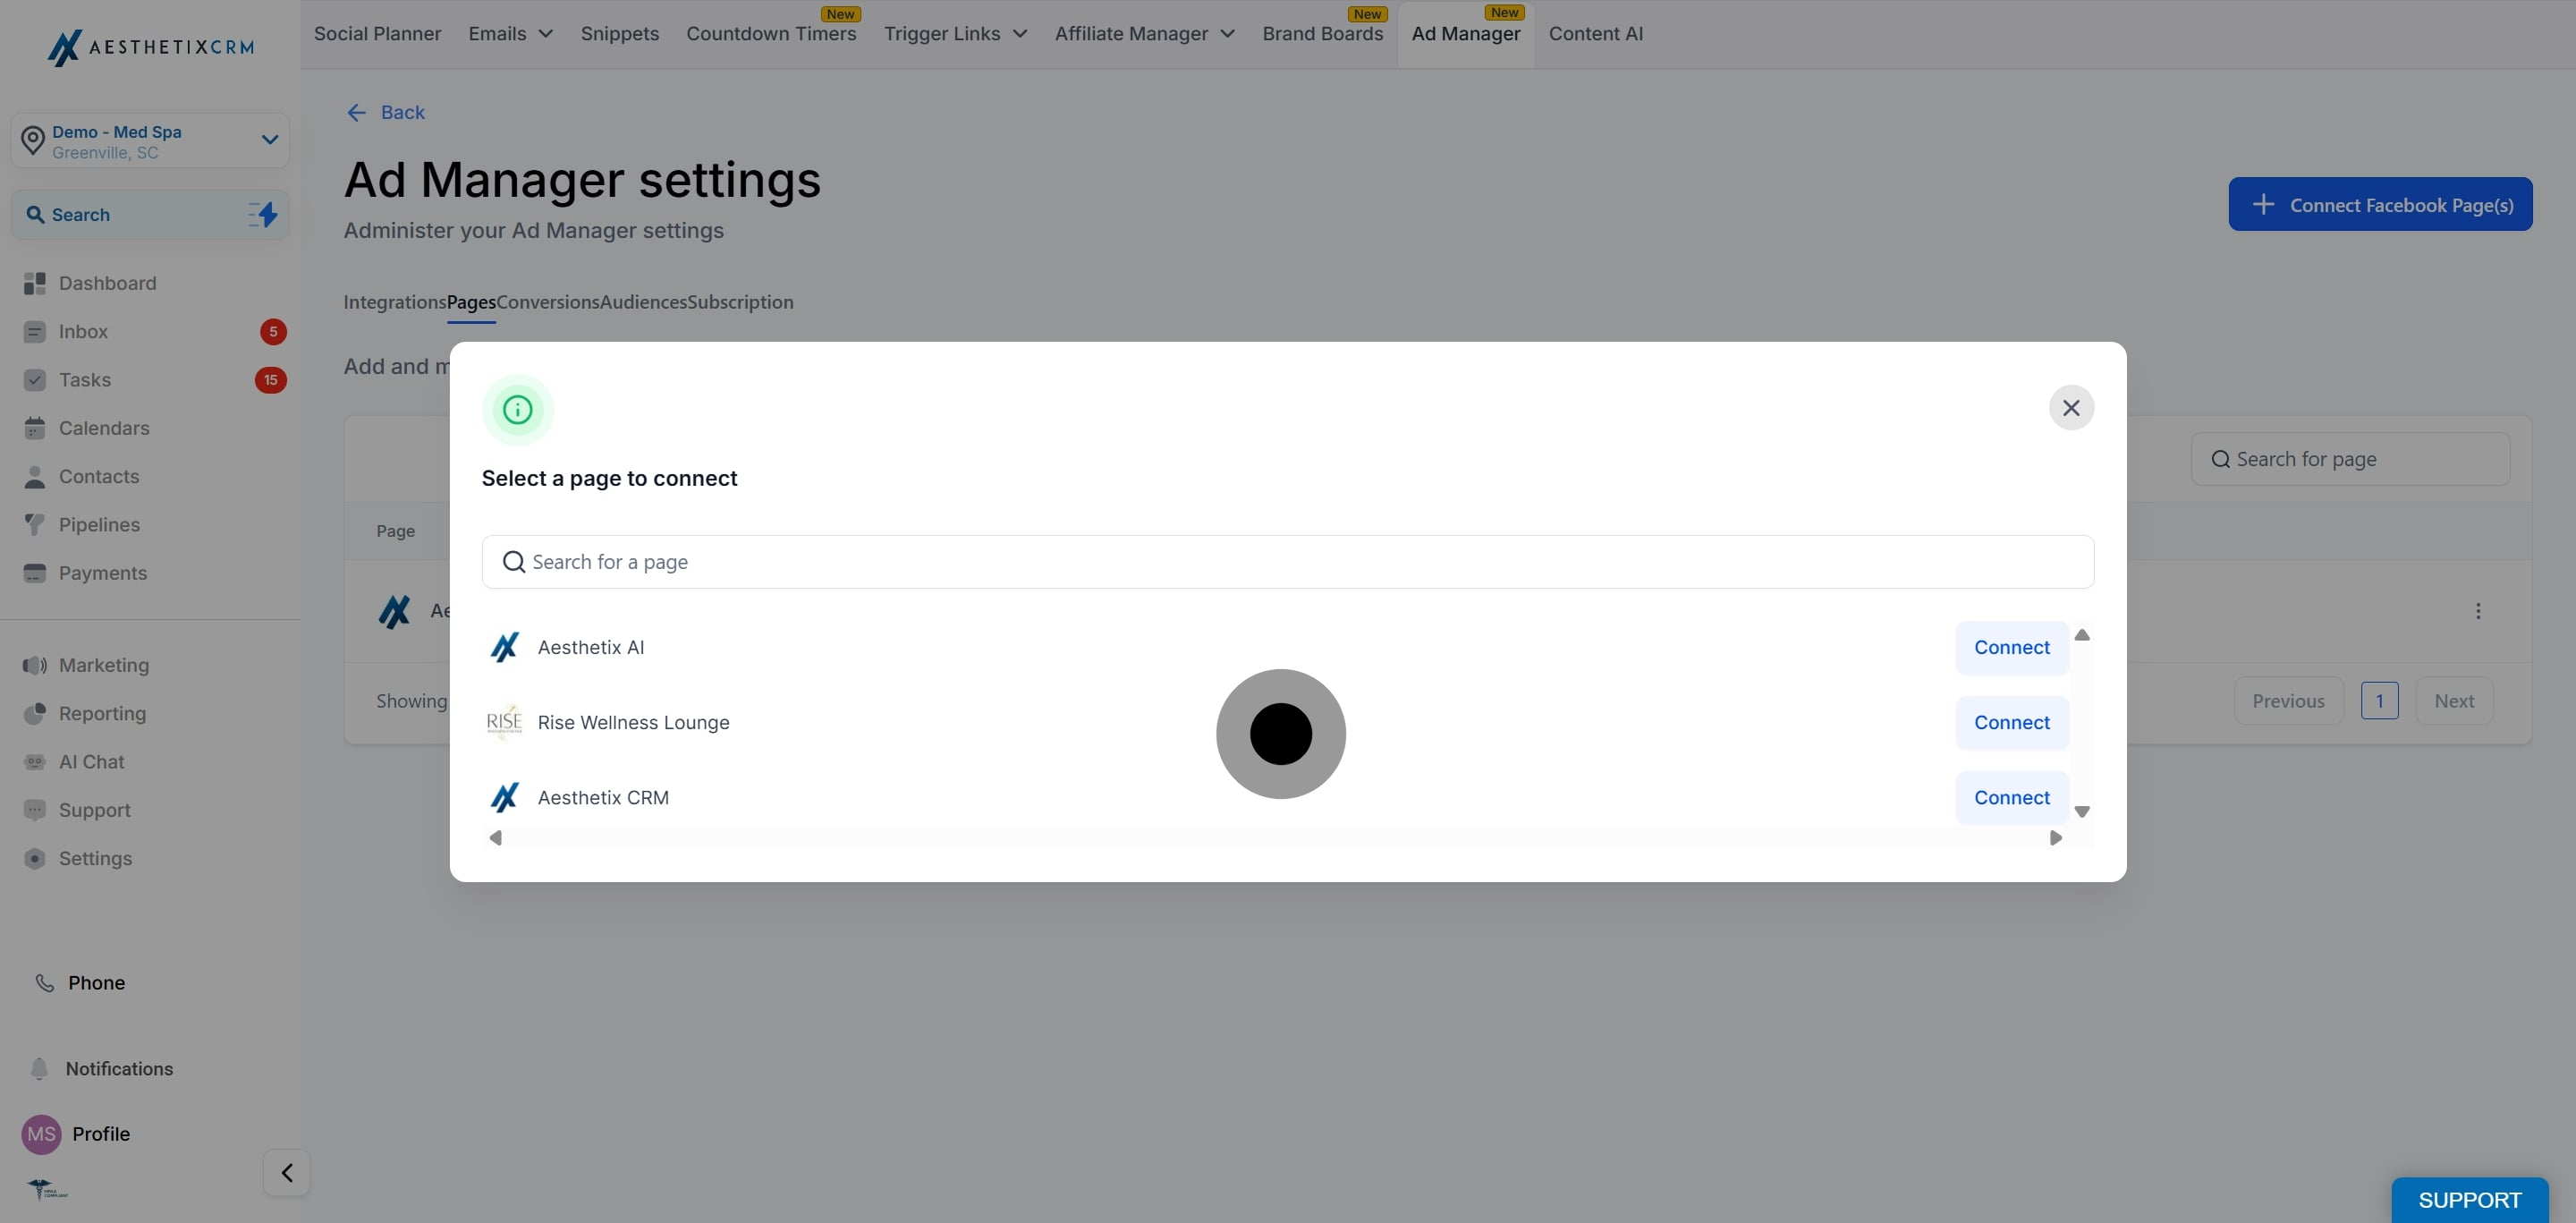
9. If adding a page, click 'Connect Facebook page(s)'.
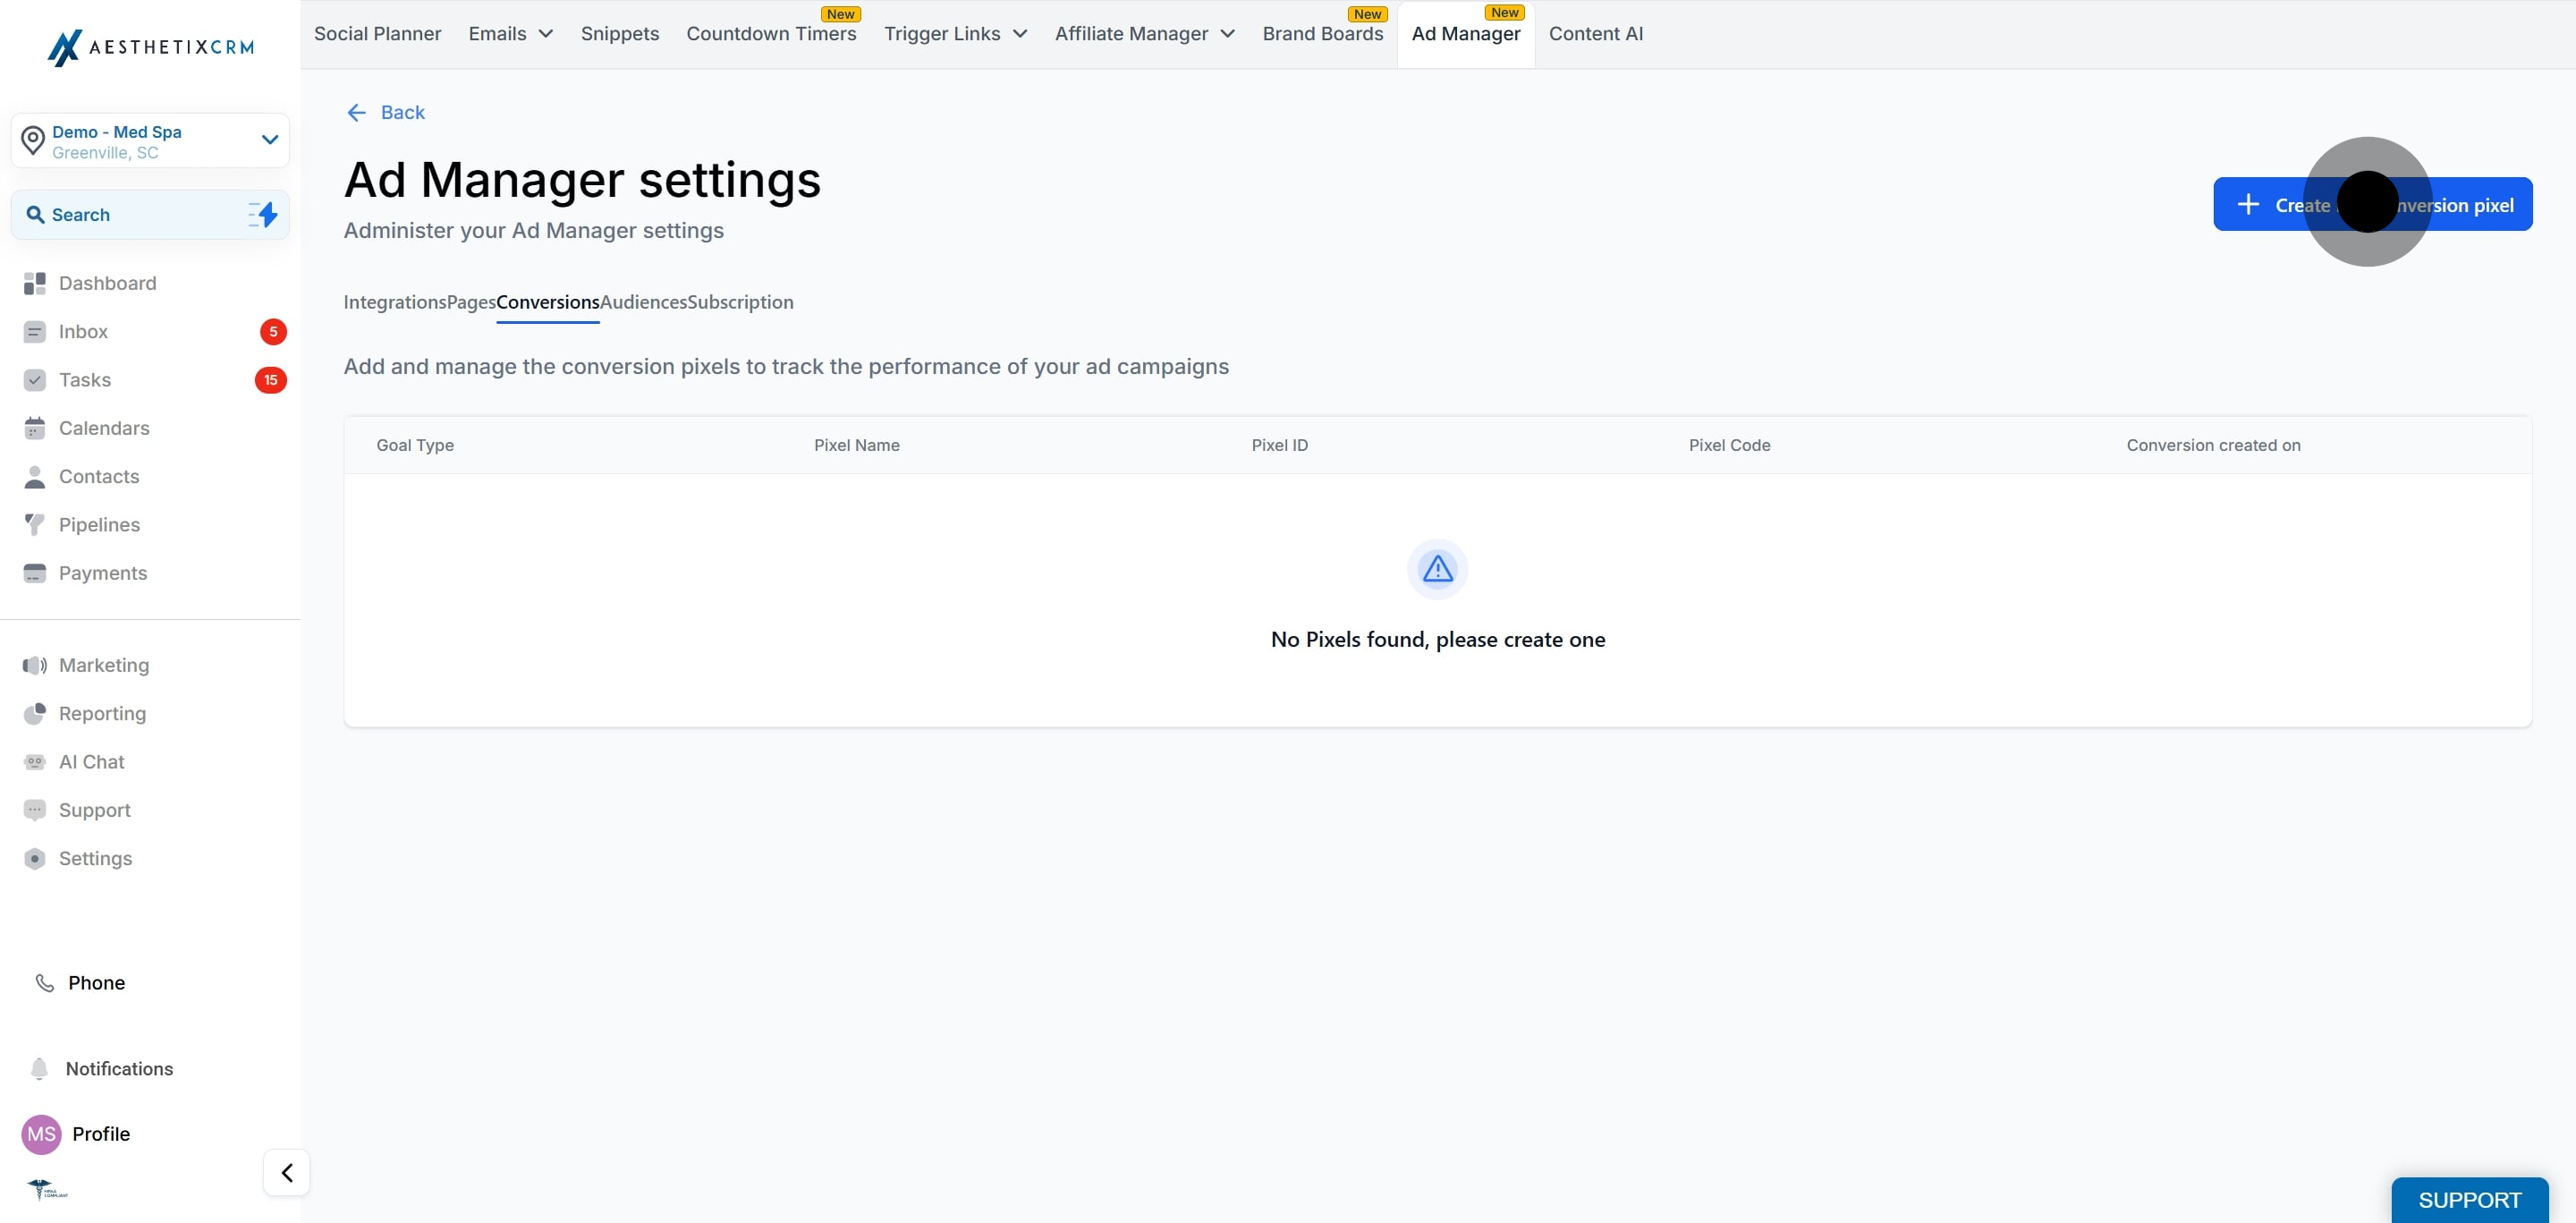
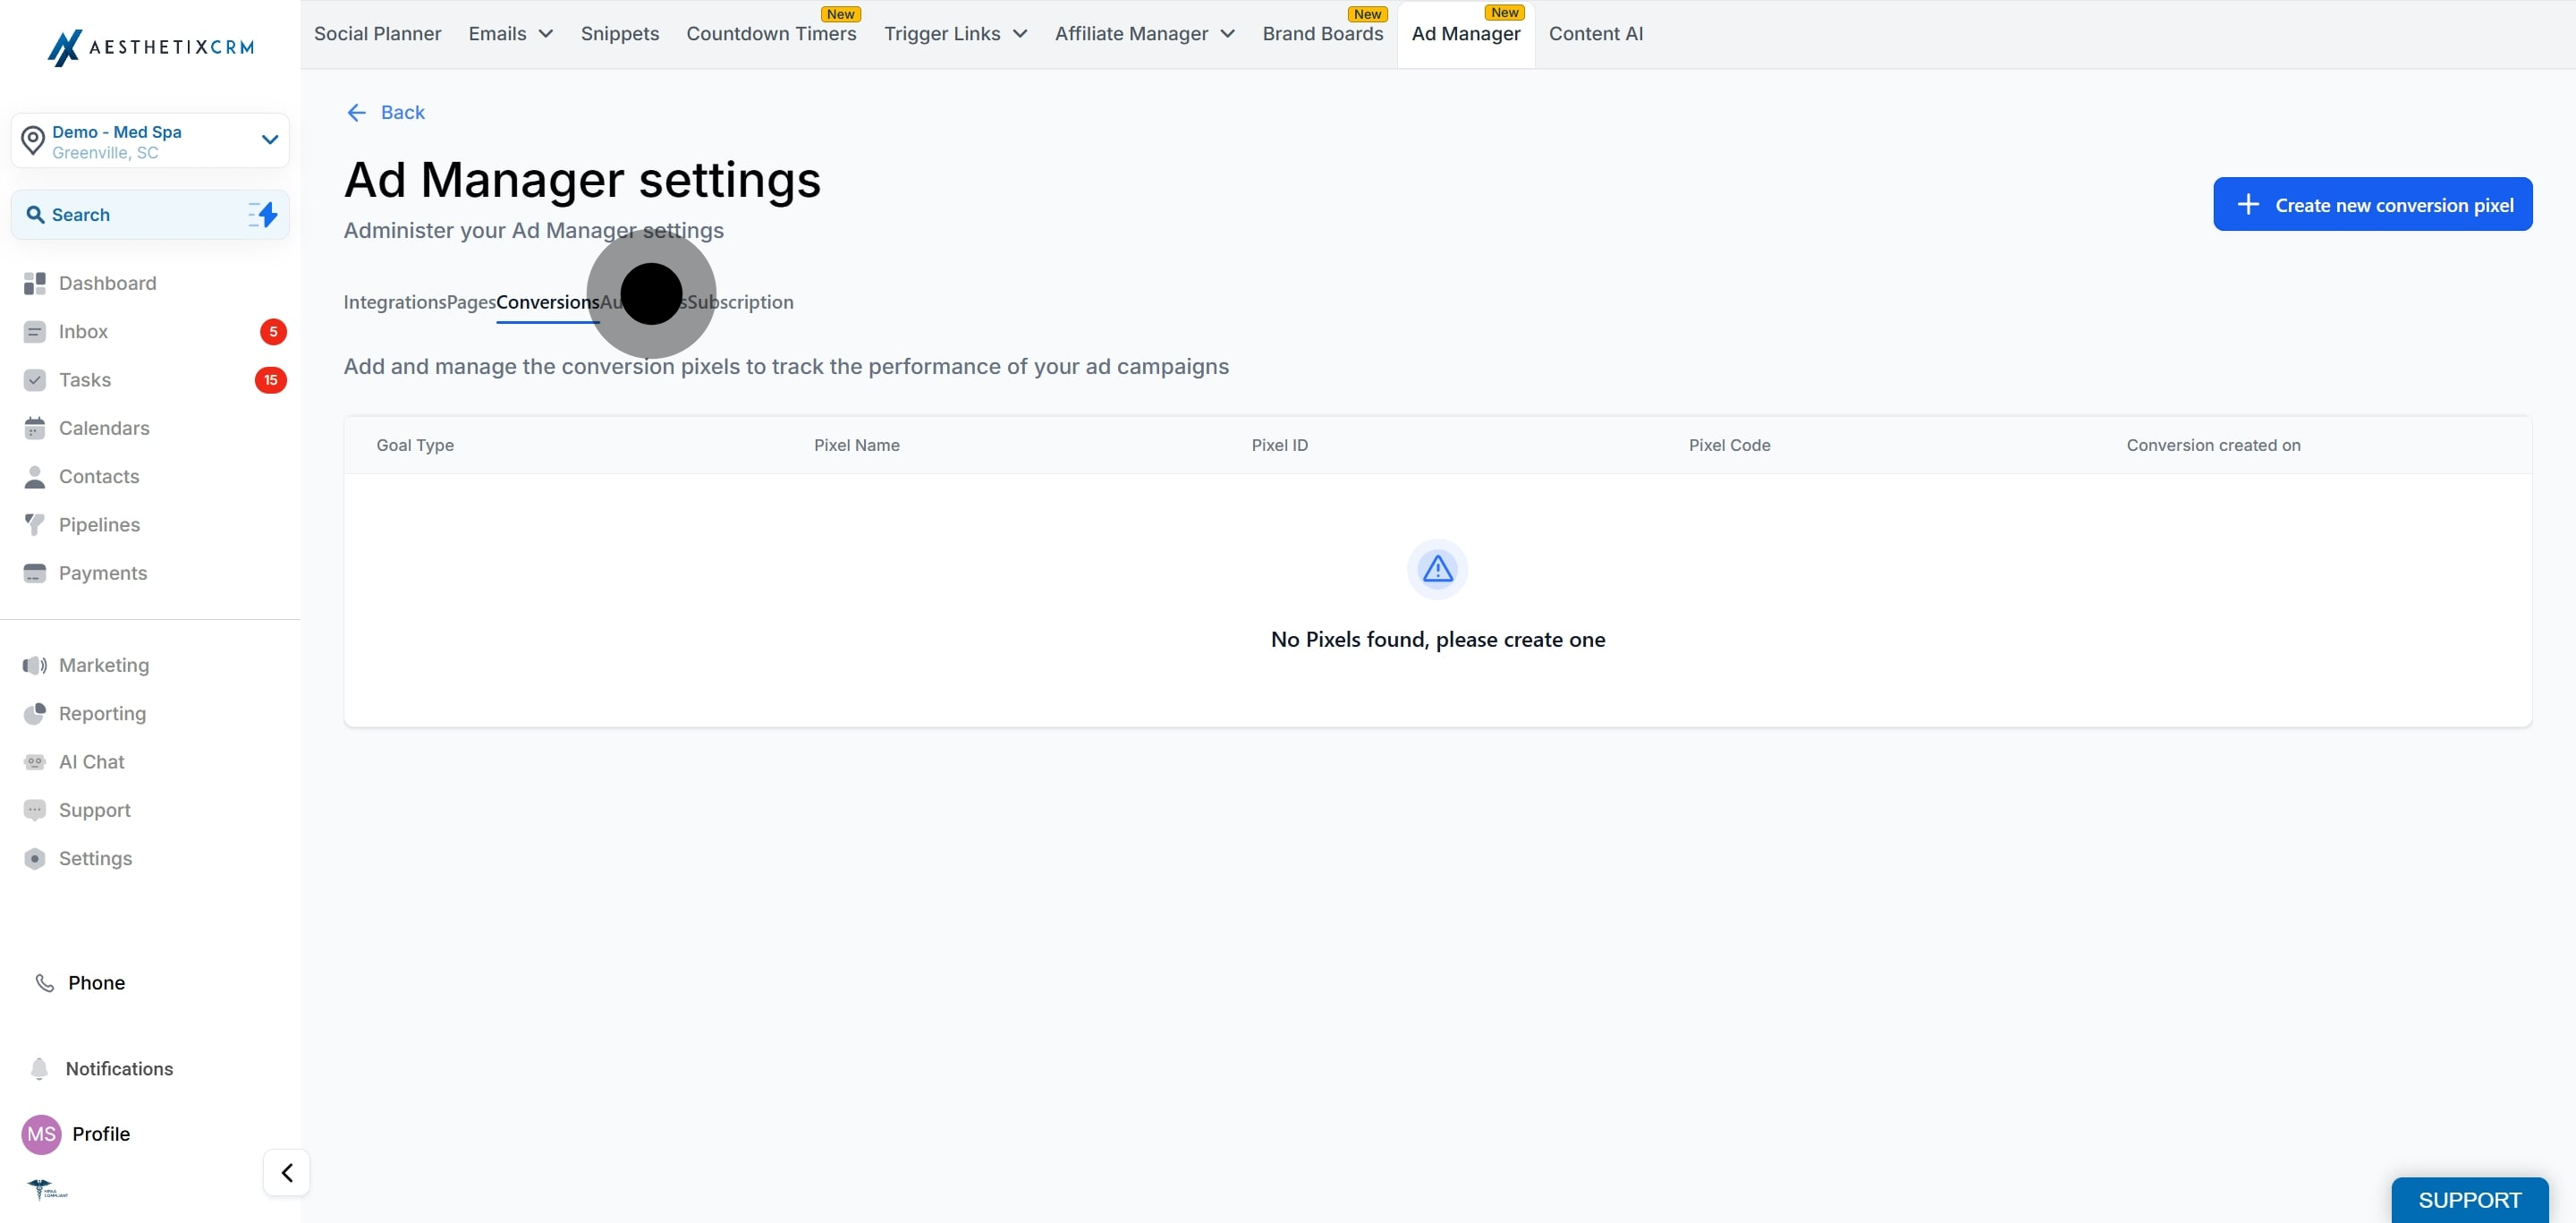
10. Moving forward, select 'Conversions'.
11. Now, click to 'Create new conversion pixel'.
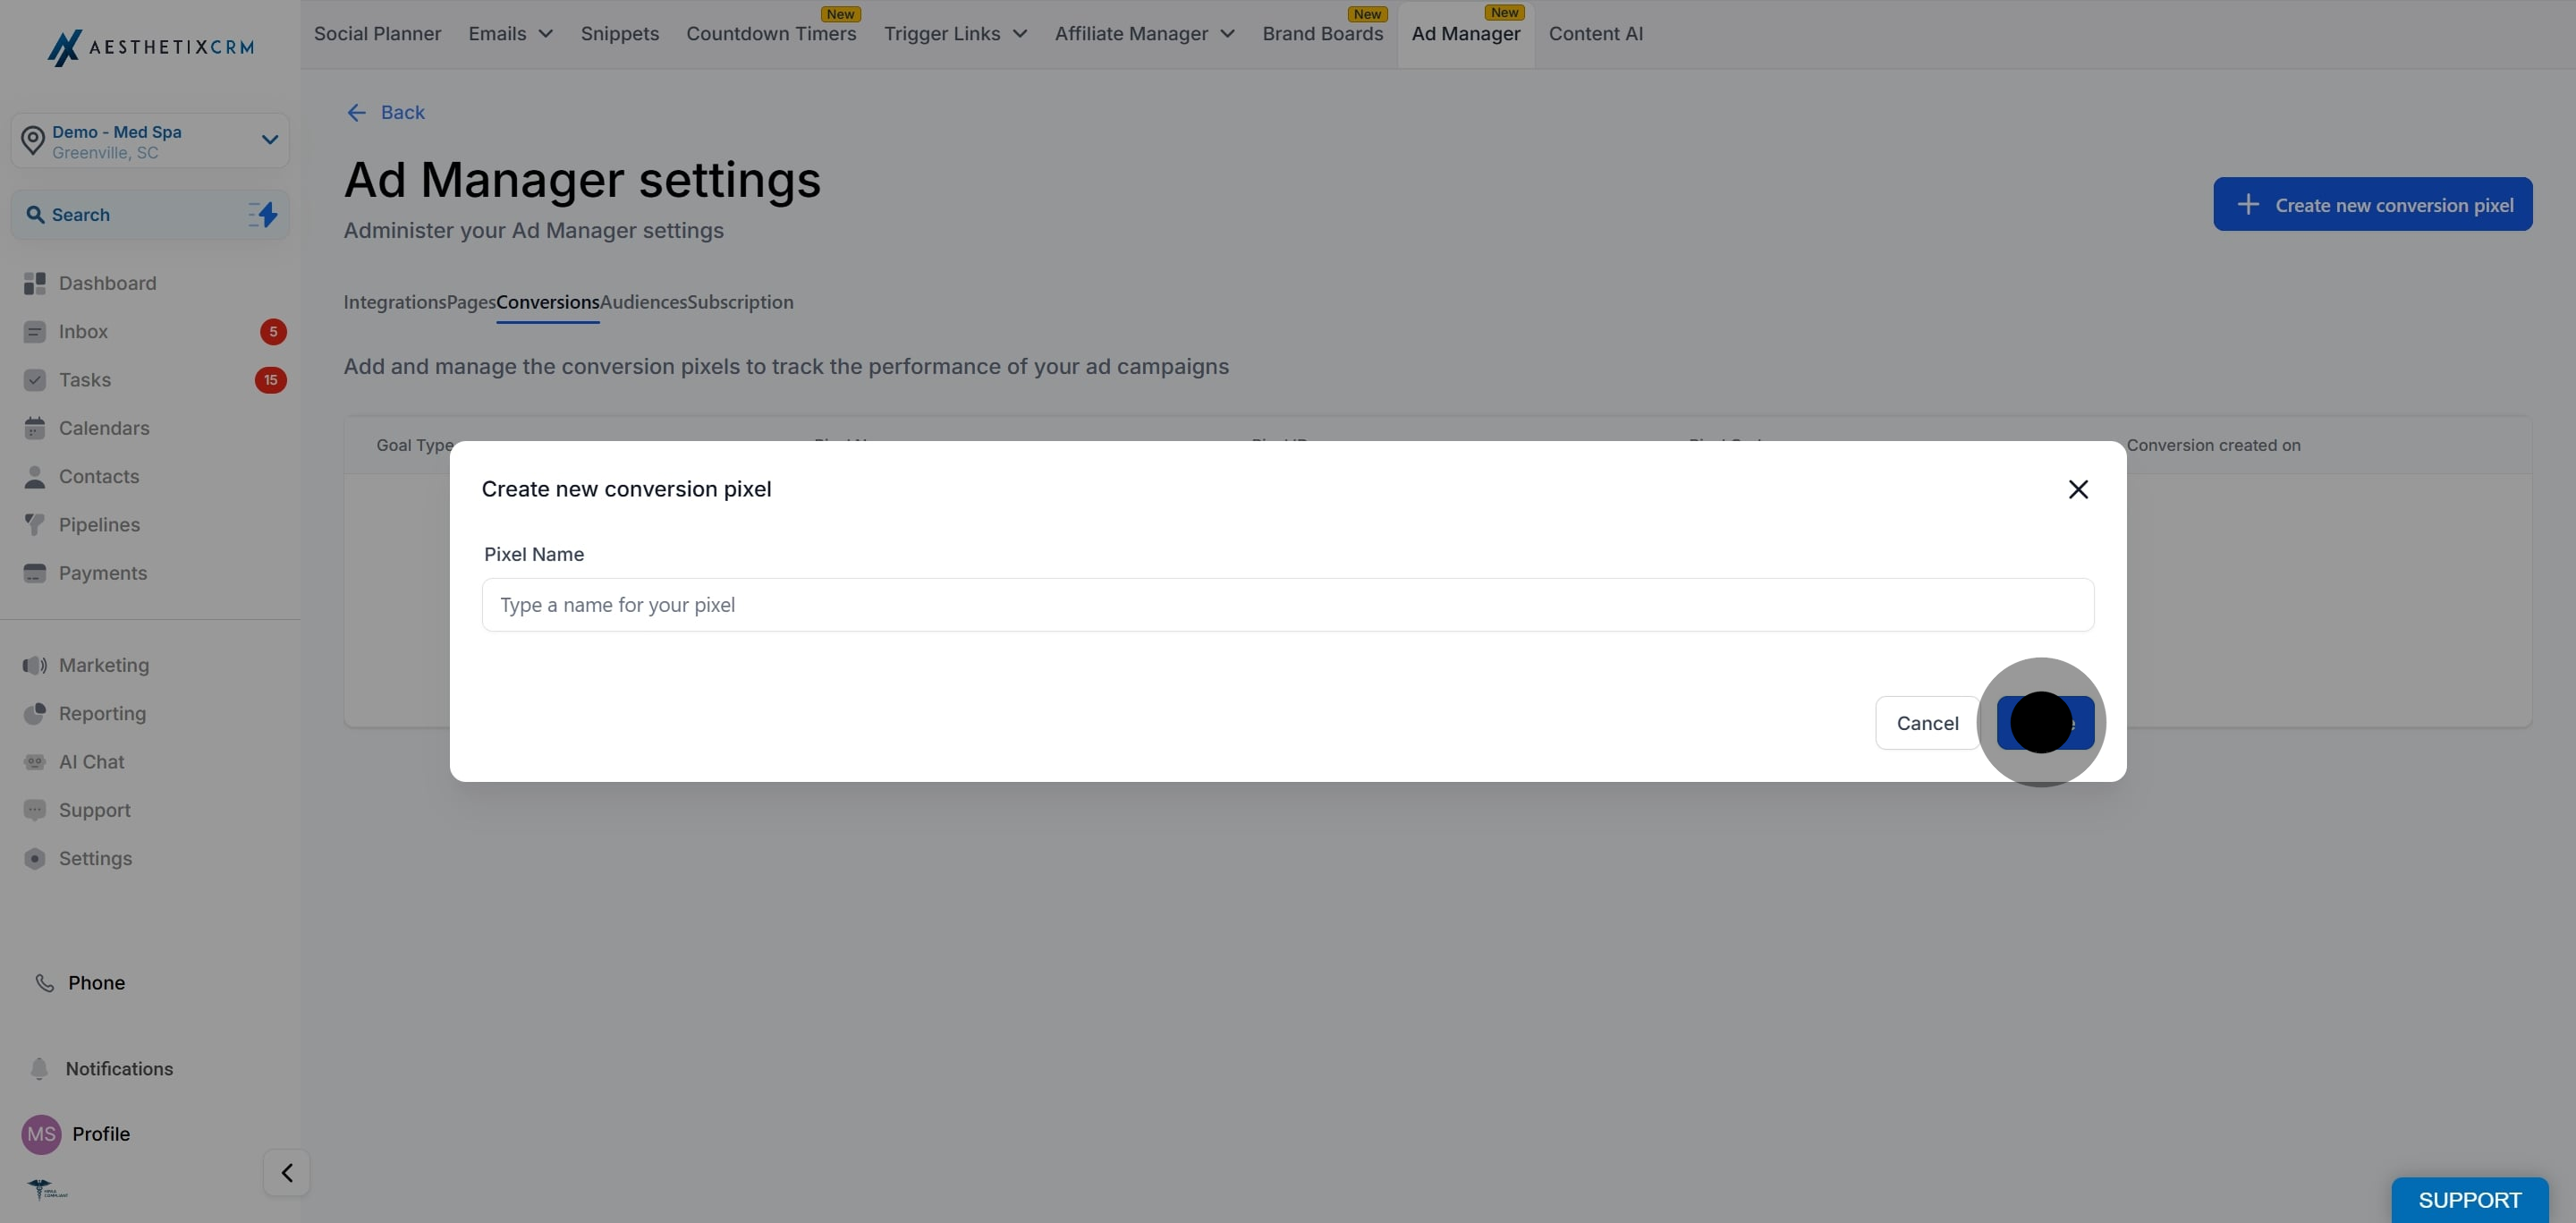
12. Follow the prompt to enter a name for your new pixel then click create.
Note: As of now, only one pixel can be created using Ad Manager and it can be used for both Lead and Funnel events without any restrictions from Facebook.
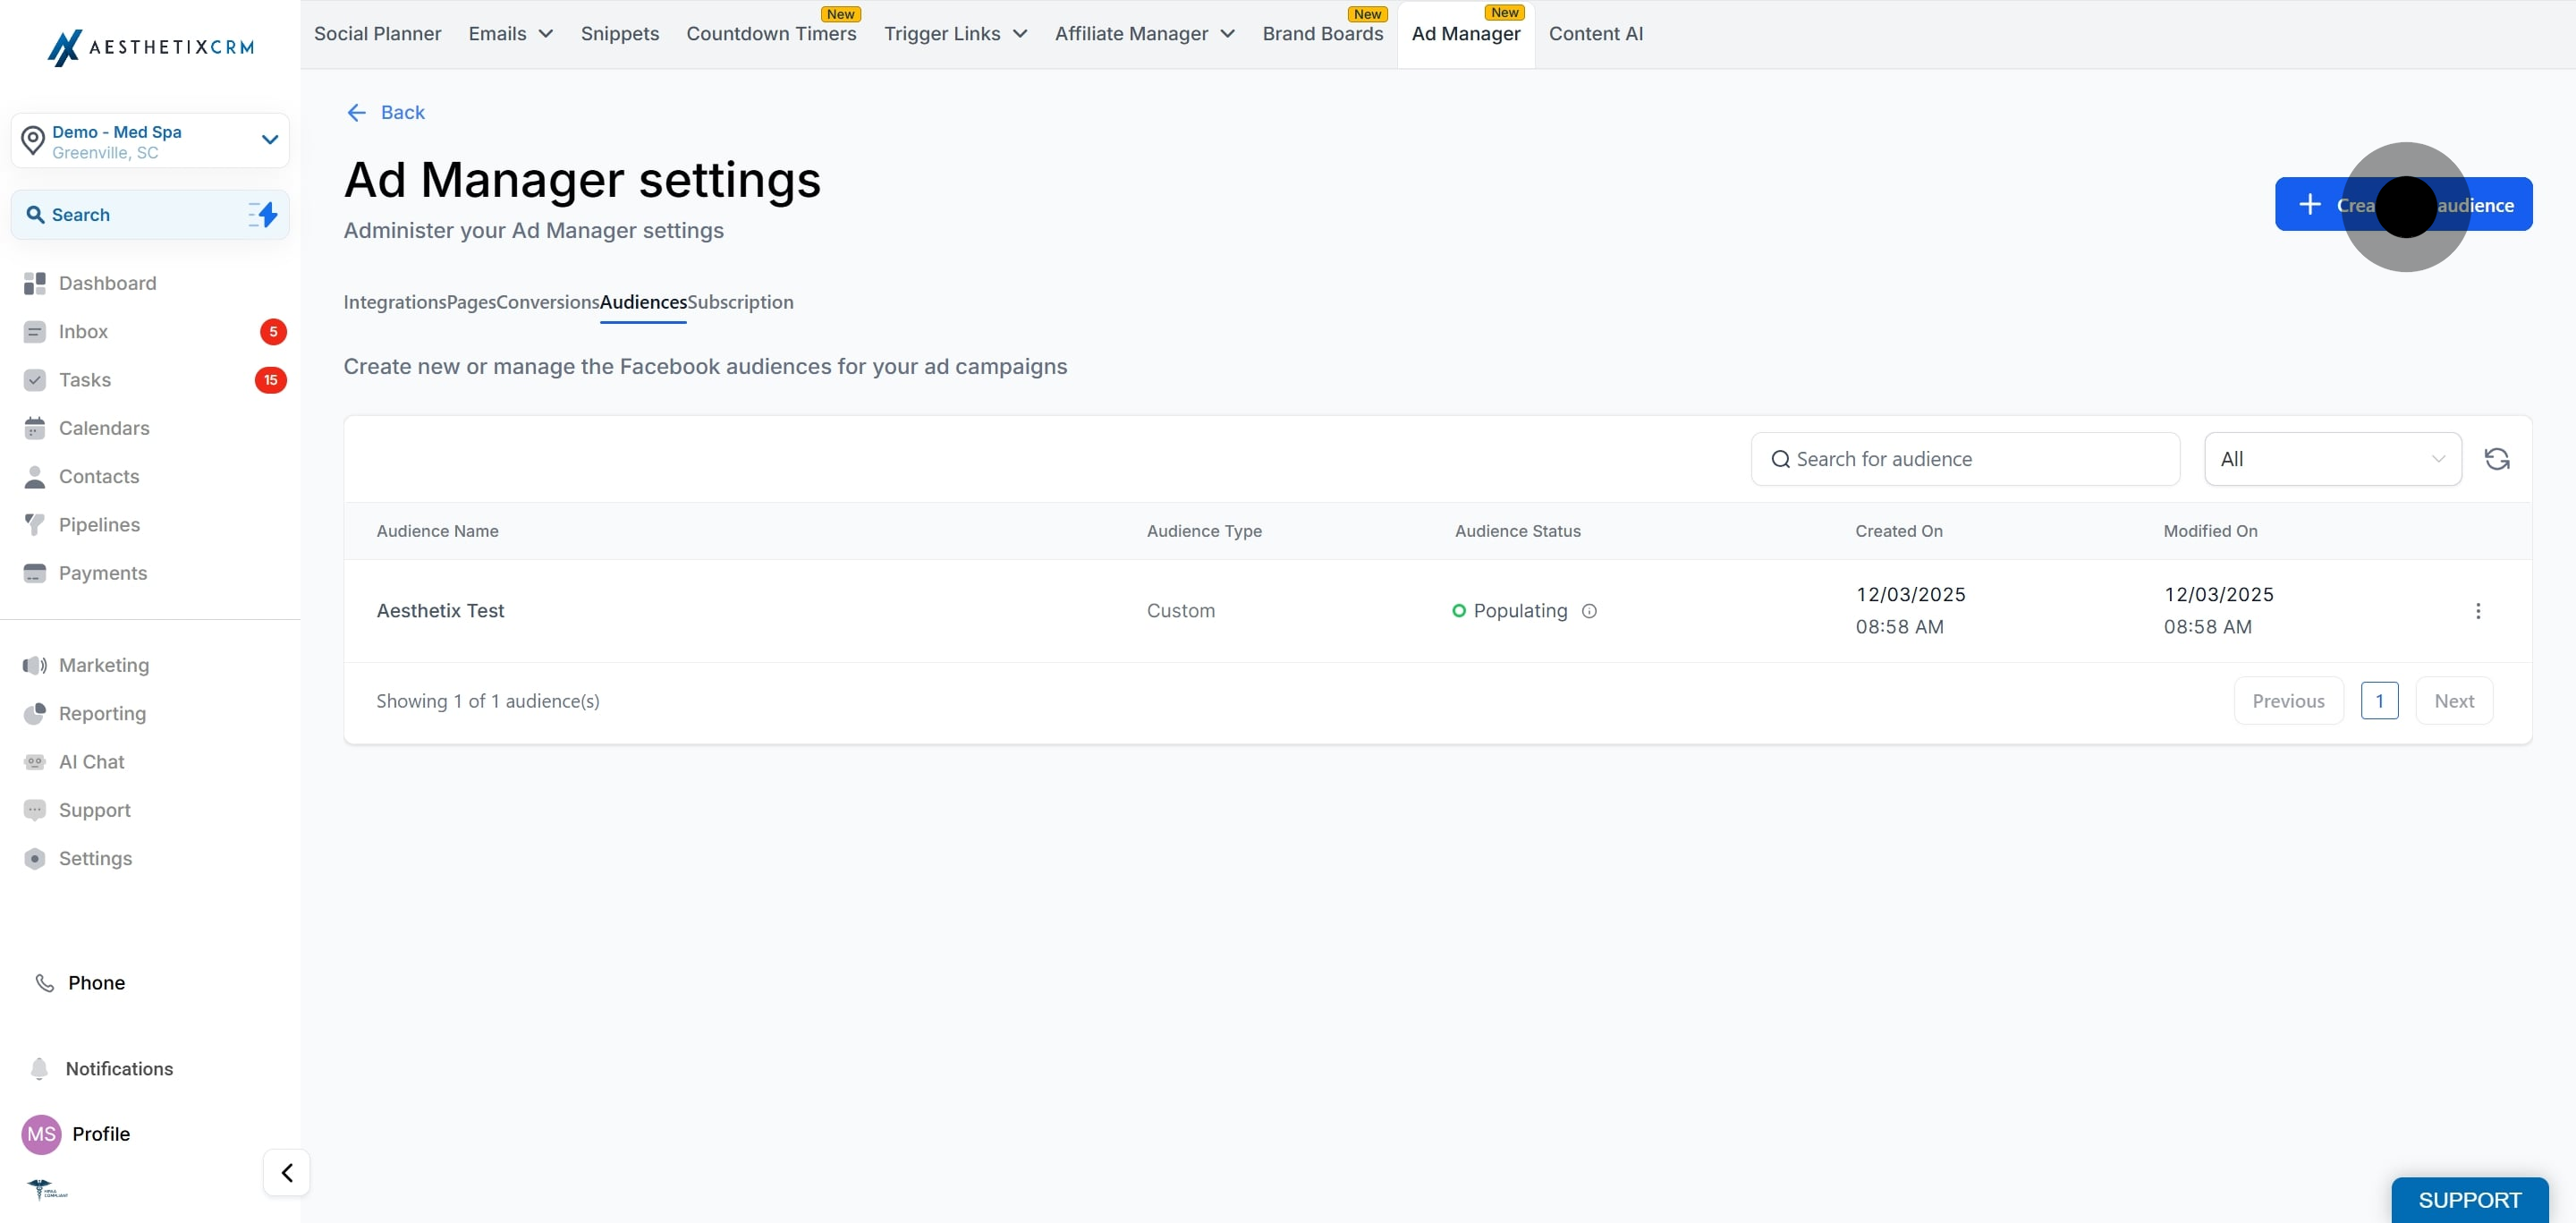
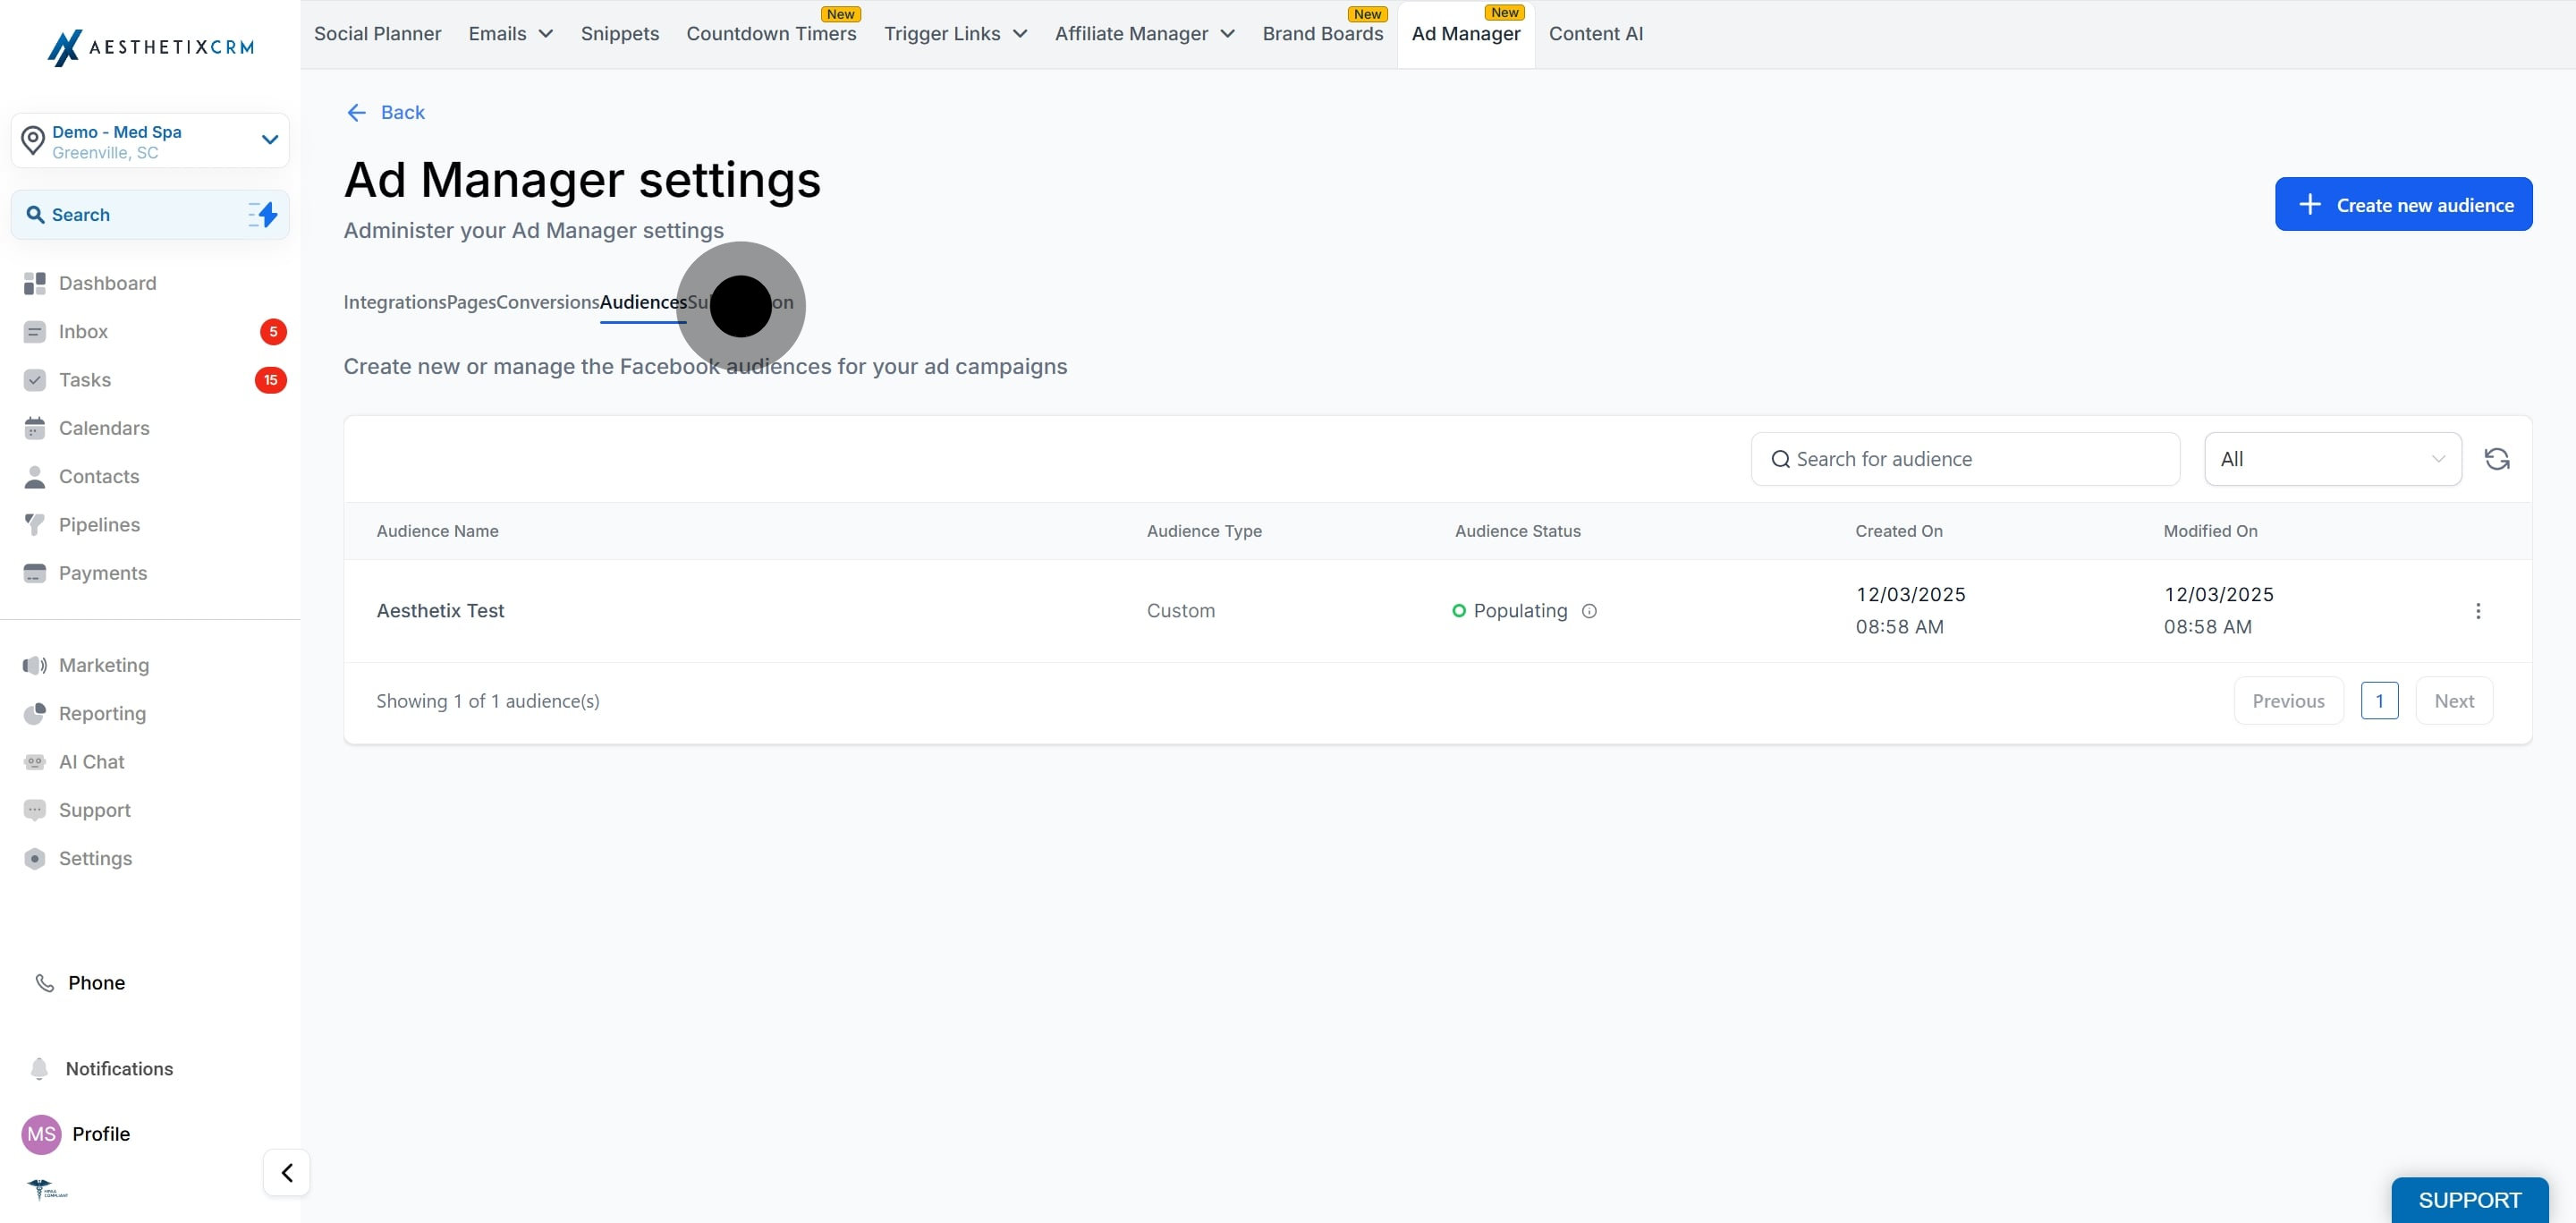
13. Click 'Audience' to manage or view your target audience.
14. Next, Click 'create new audience' to define your audience set.
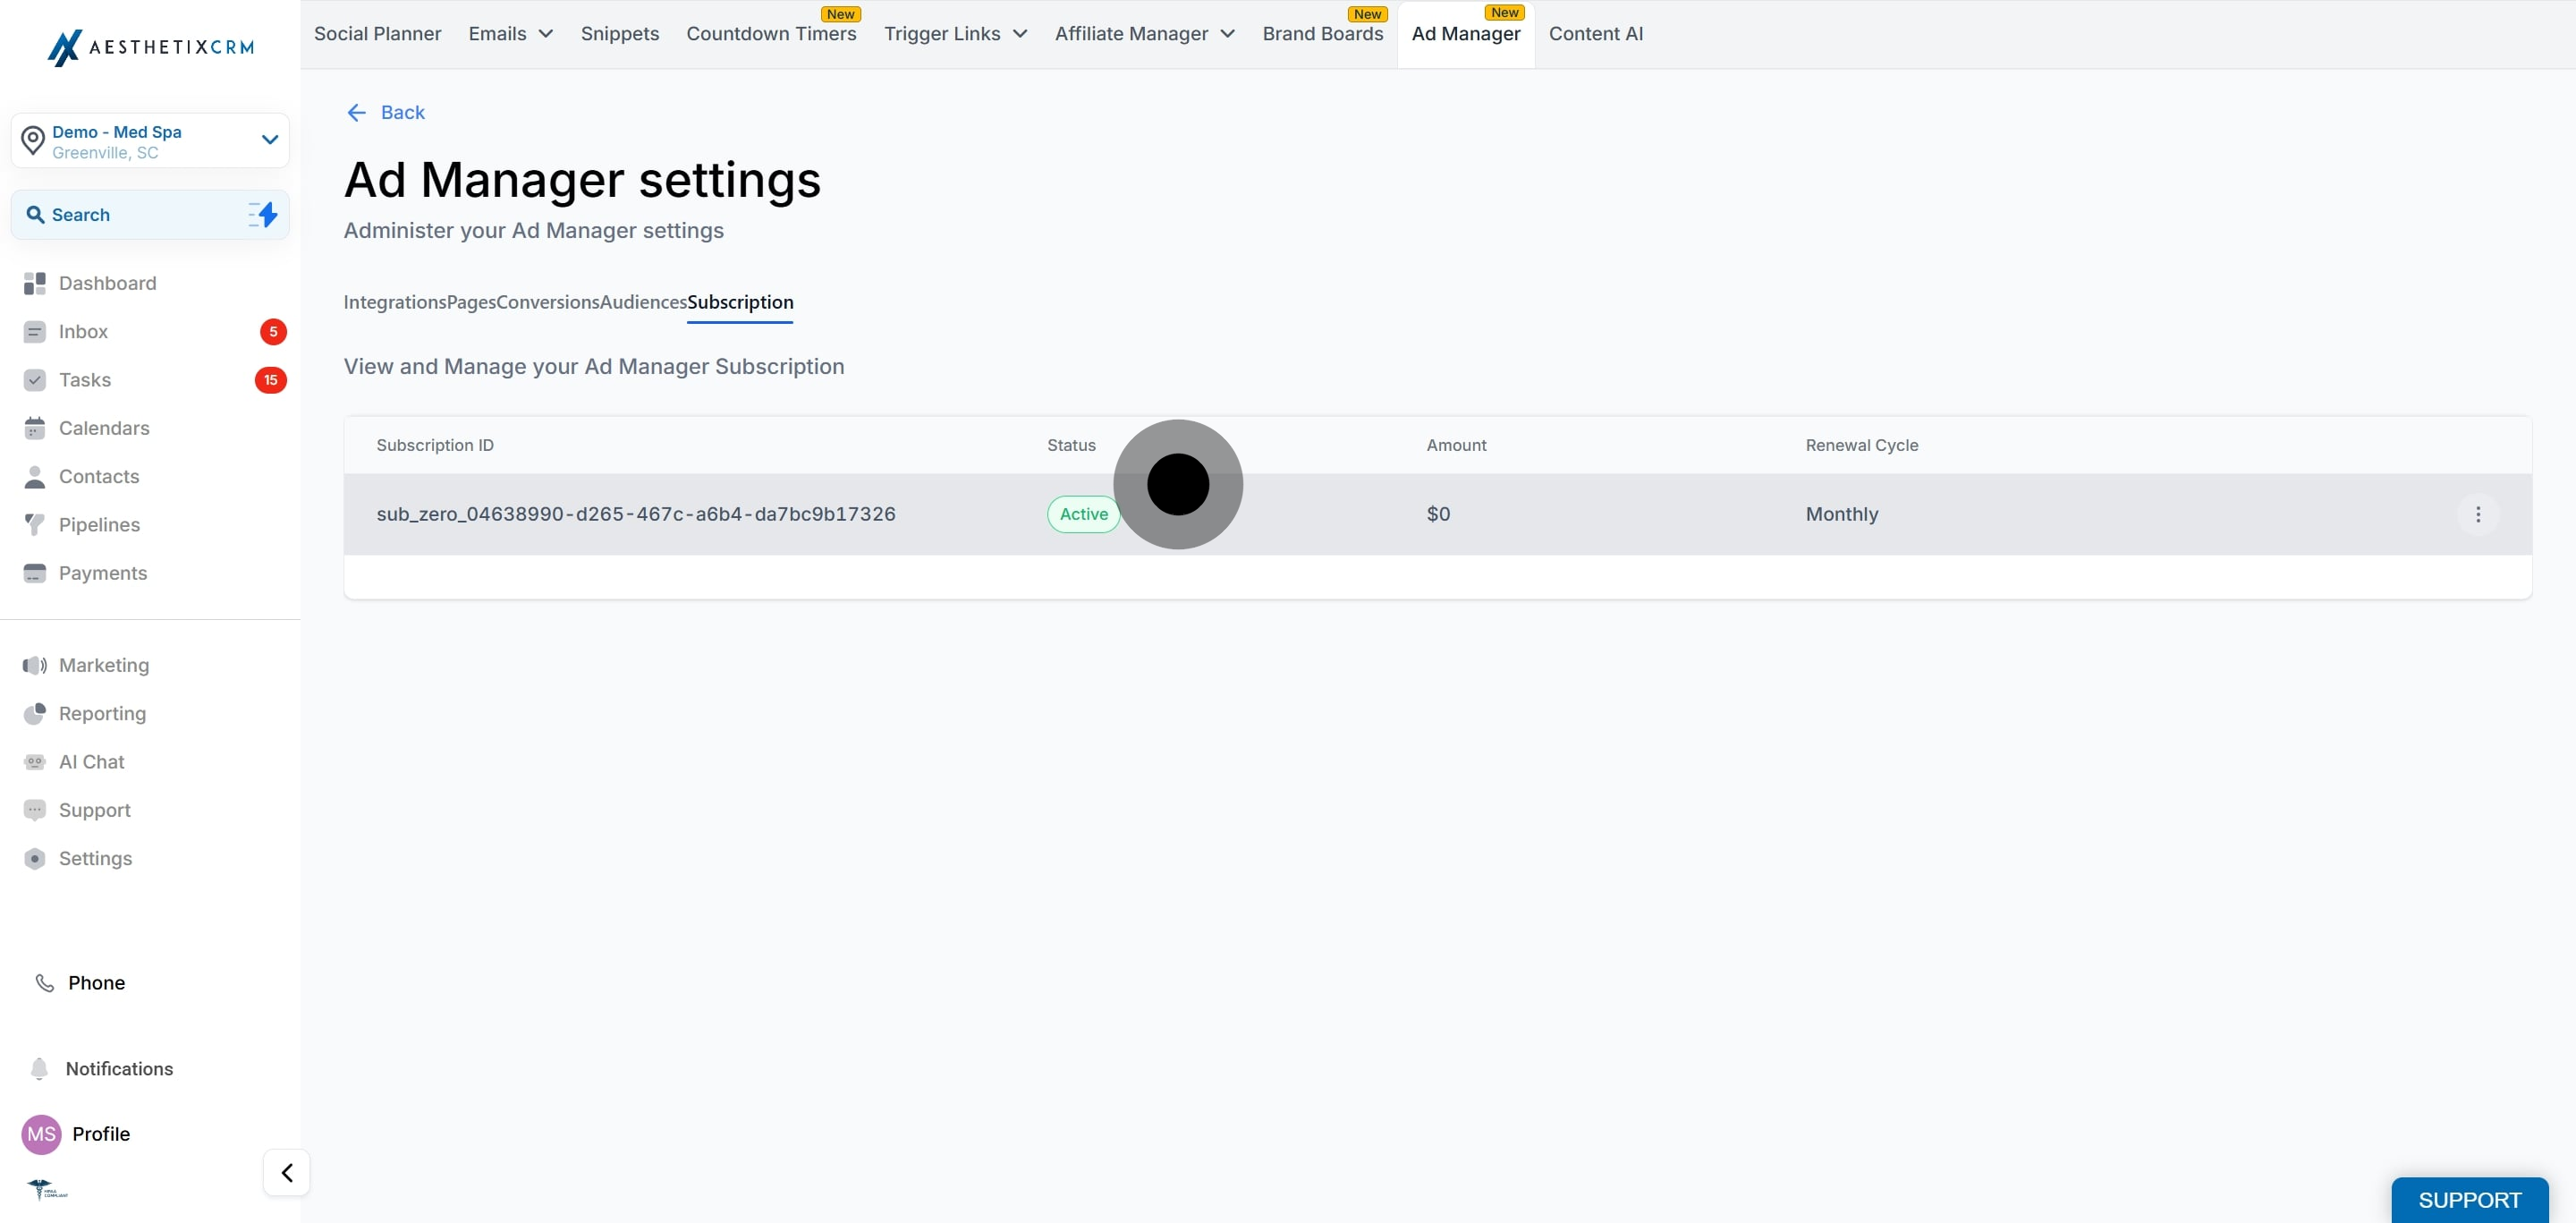
15. Click 'Add Subscription' to manage your plan settings.
16. Finally, manage your subscription settings or continue to additional actions.
17. Click here for more actions and details.
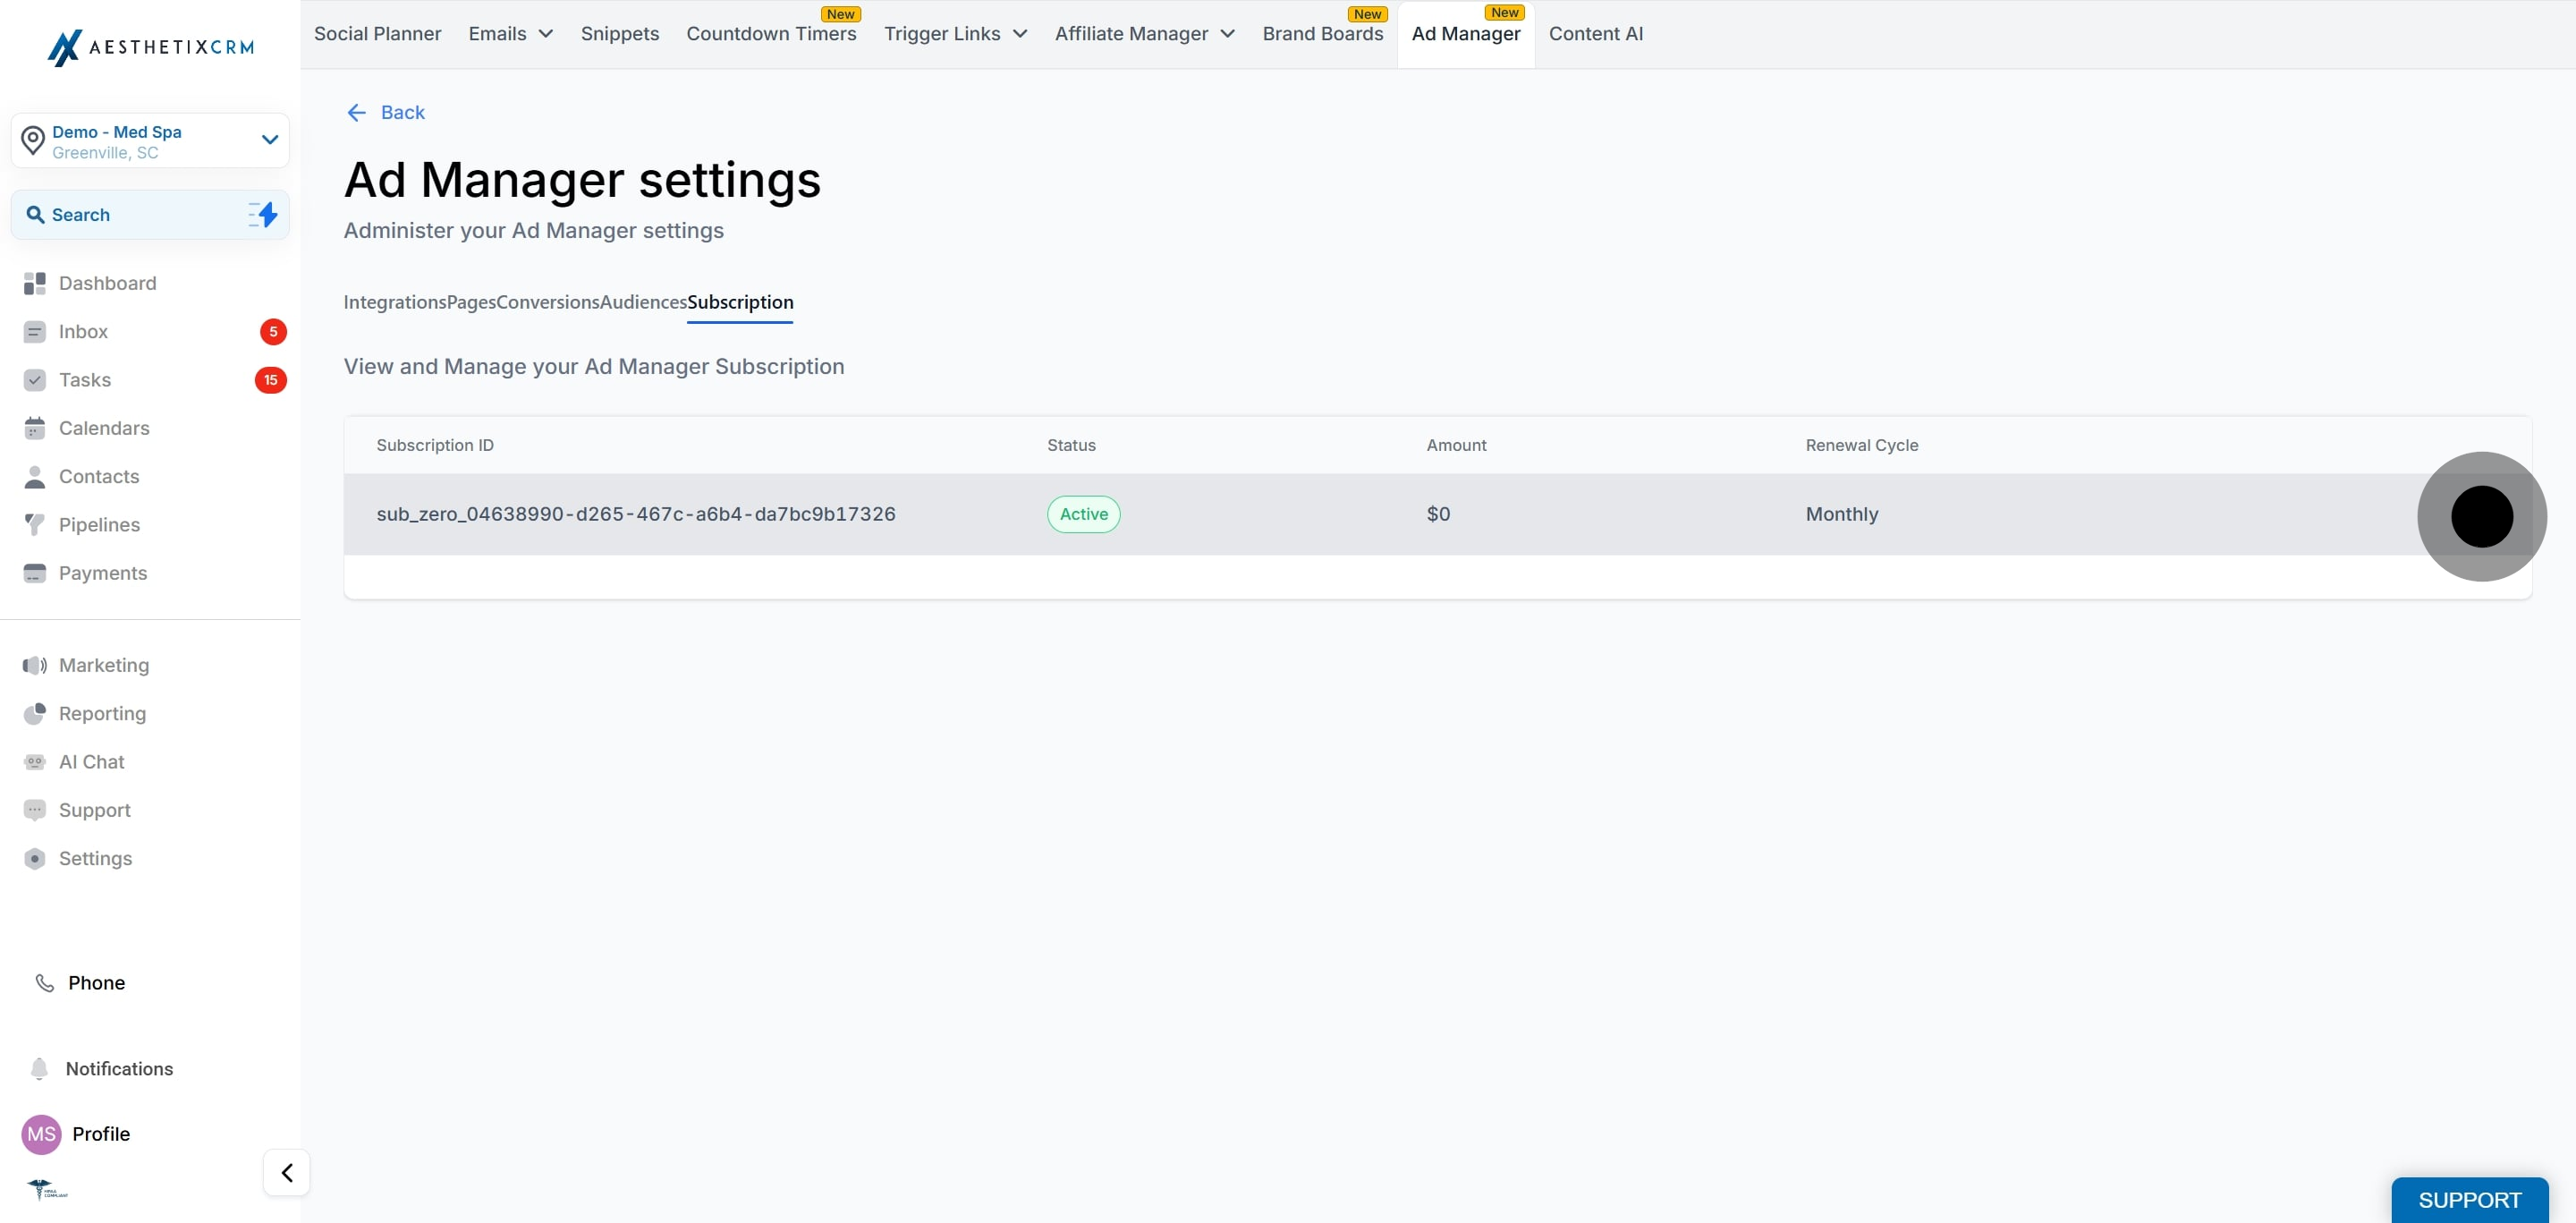
18. Explore options or cancel subscriptions as needed.

