Unlock the potential of hashtag marketing with our detailed guide on creating group hashtags within Social Planner! This article walks you through the process of developing and implementing effective group hashtags to enhance your content's discoverability and foster community engagement. Learn how to categorize your posts, connect with niche audiences, and boost your campaigns' reach through strategic hashtag usage. Ideal for marketers, brands, and social media enthusiasts, this guide will equip you with the tools to elevate your social media presence and drive more engagement through organized hashtag strategies!
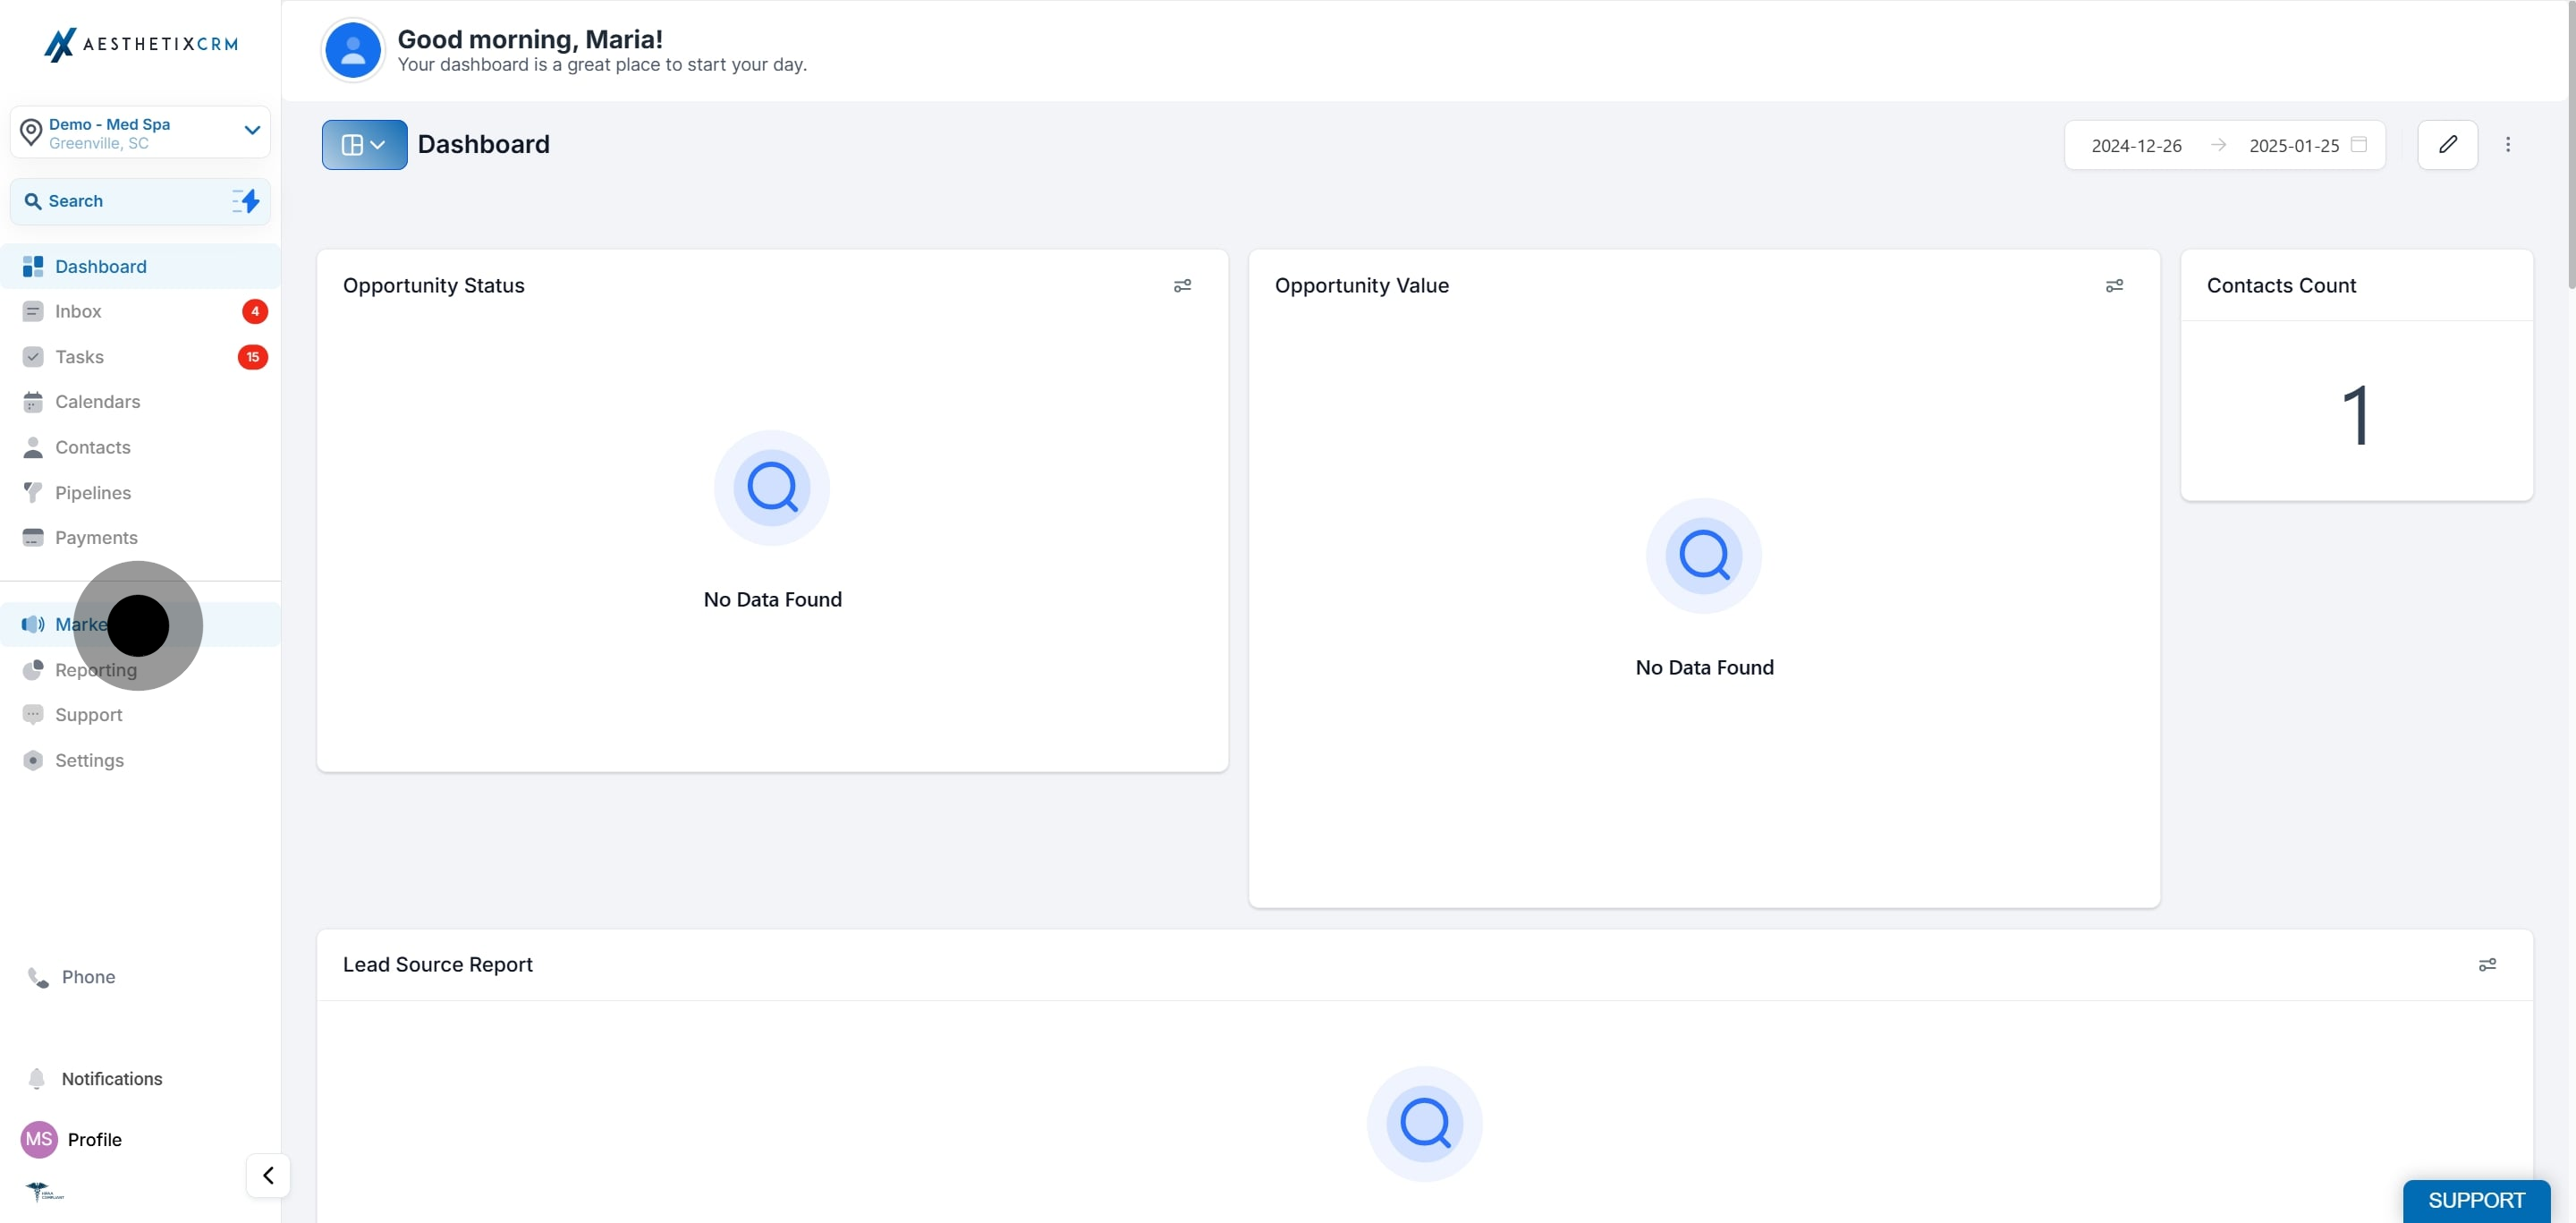
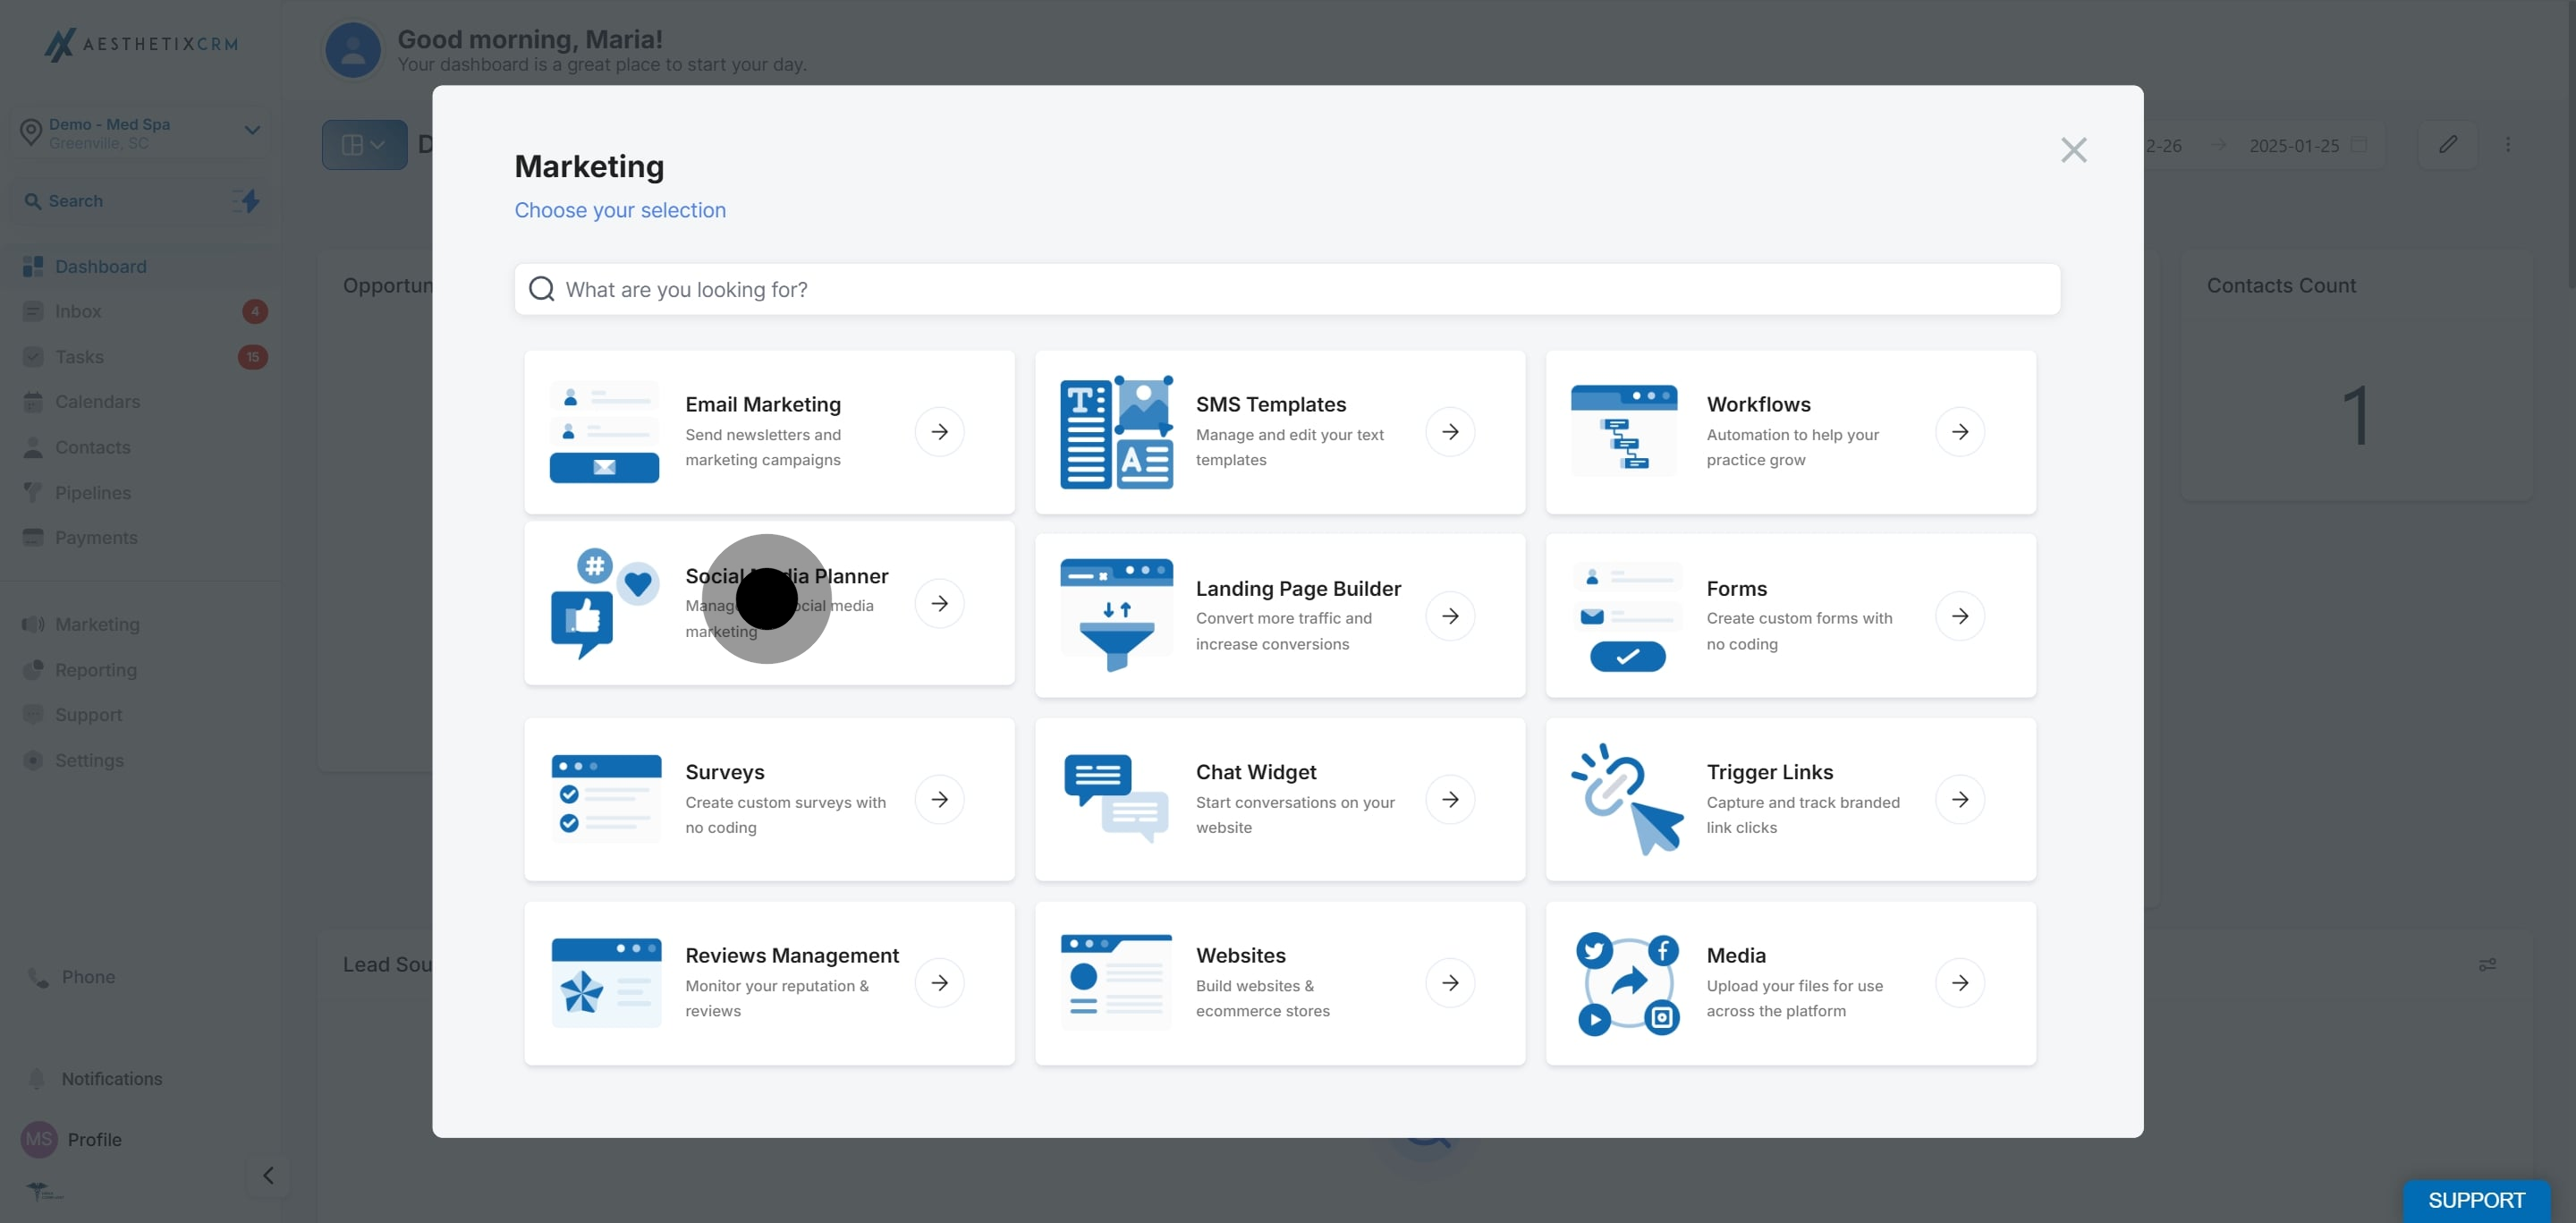
1. Click "Marketing"
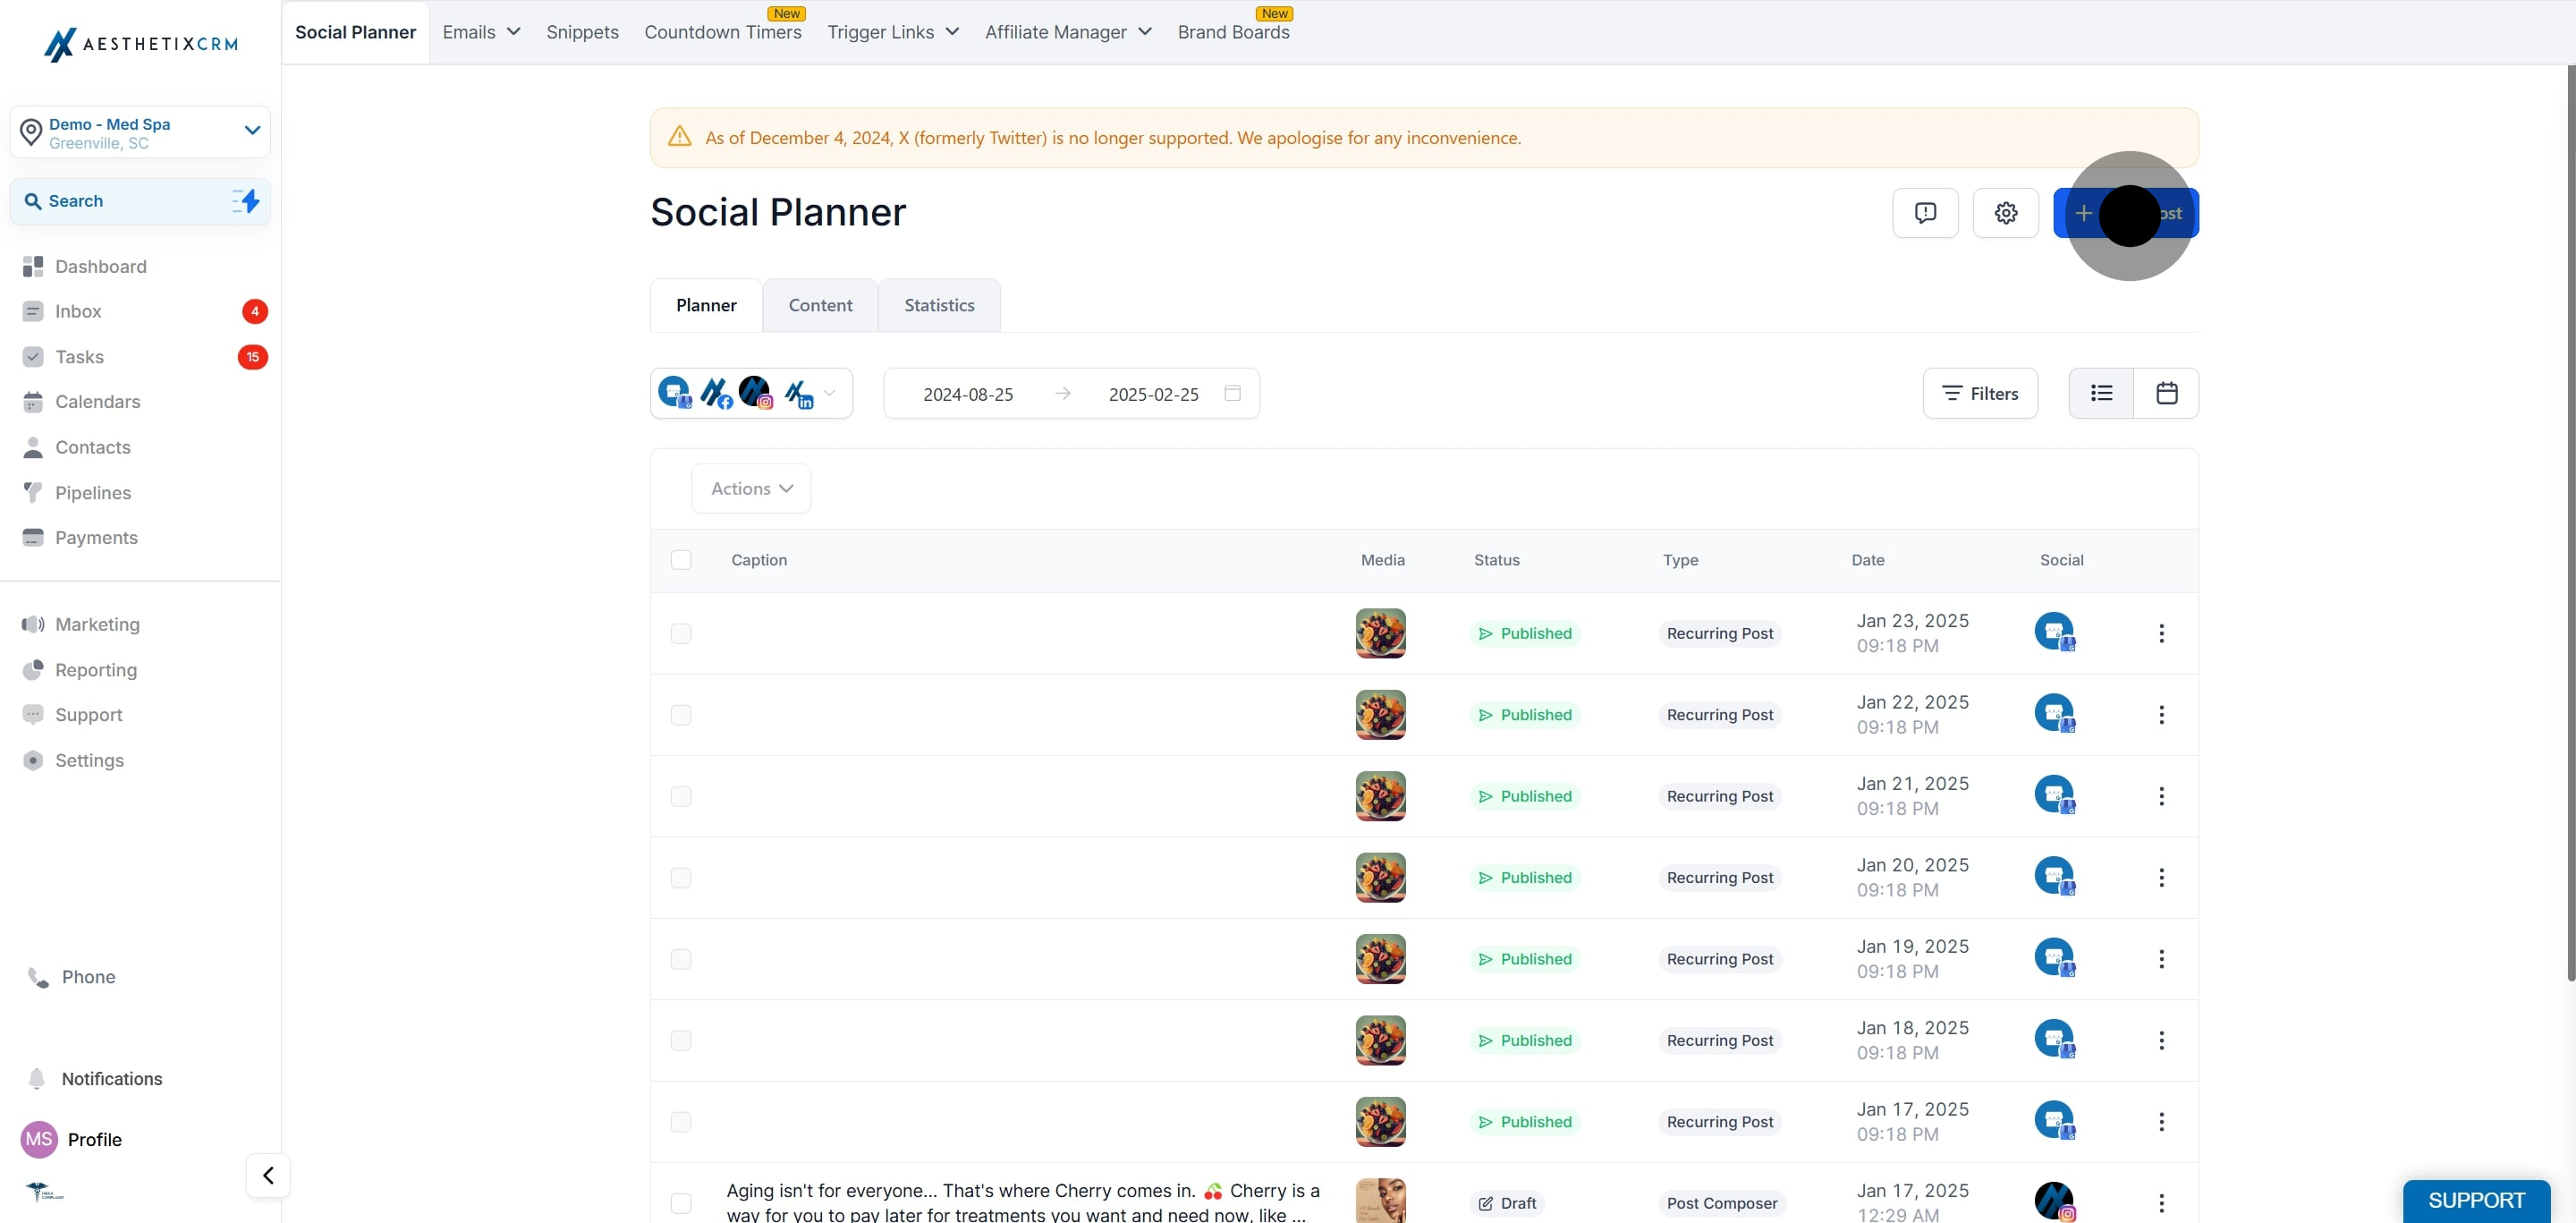
2. Click on "Social Media Planner".
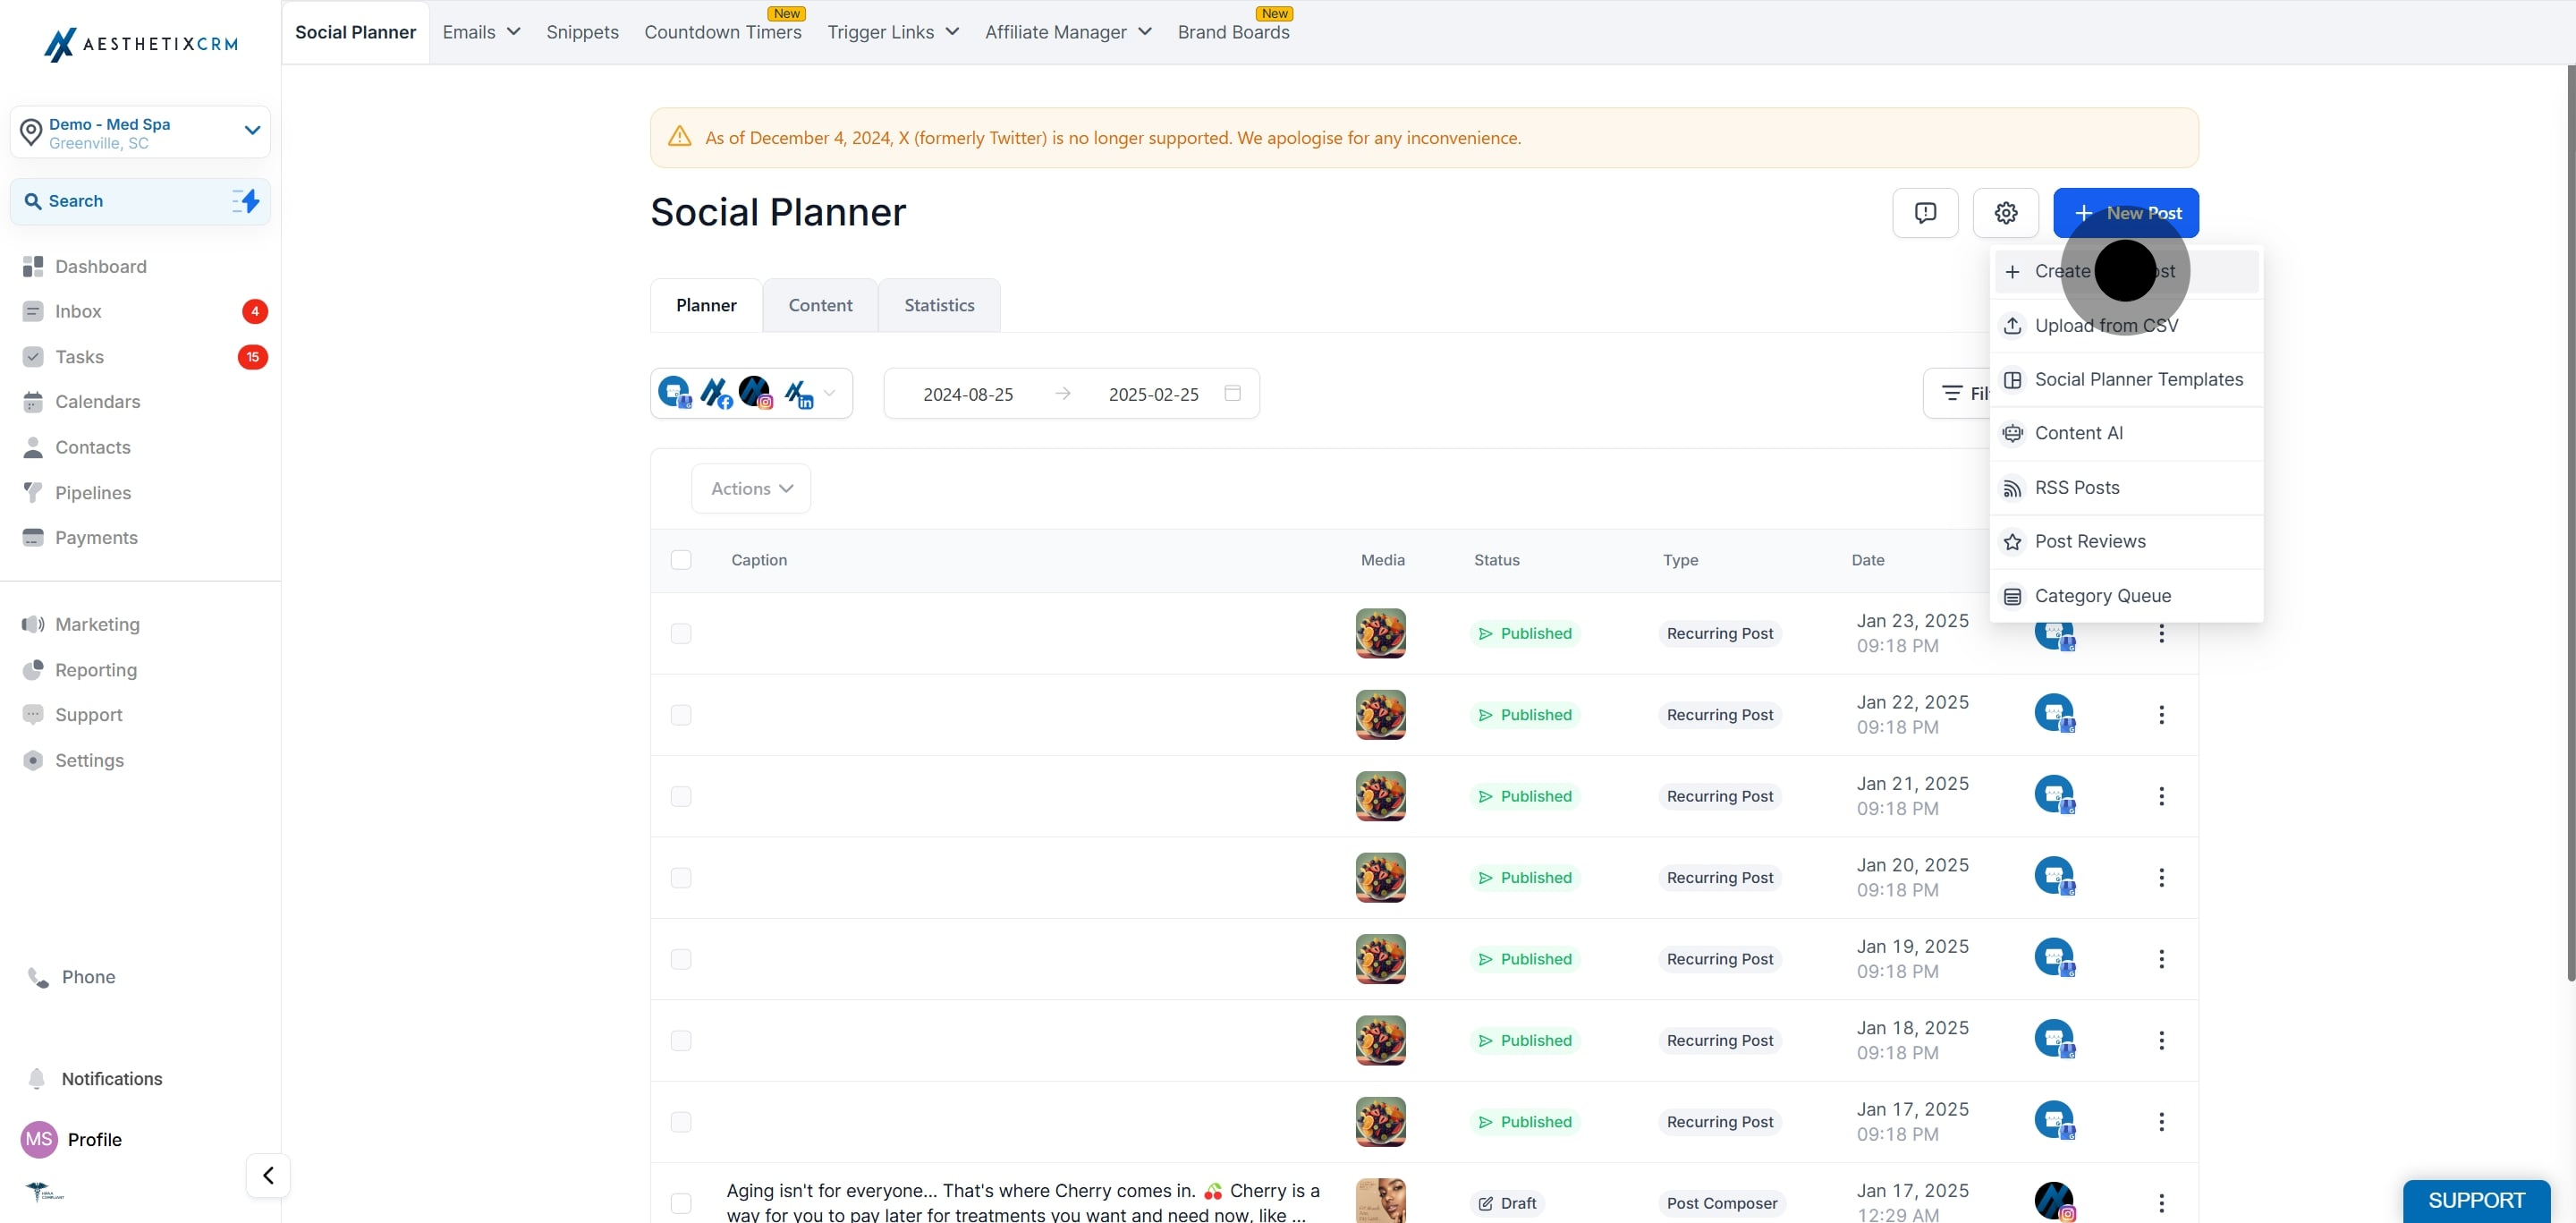
3. Afterwards, click on "New Post".
4. Next up, click on "Create New Post".
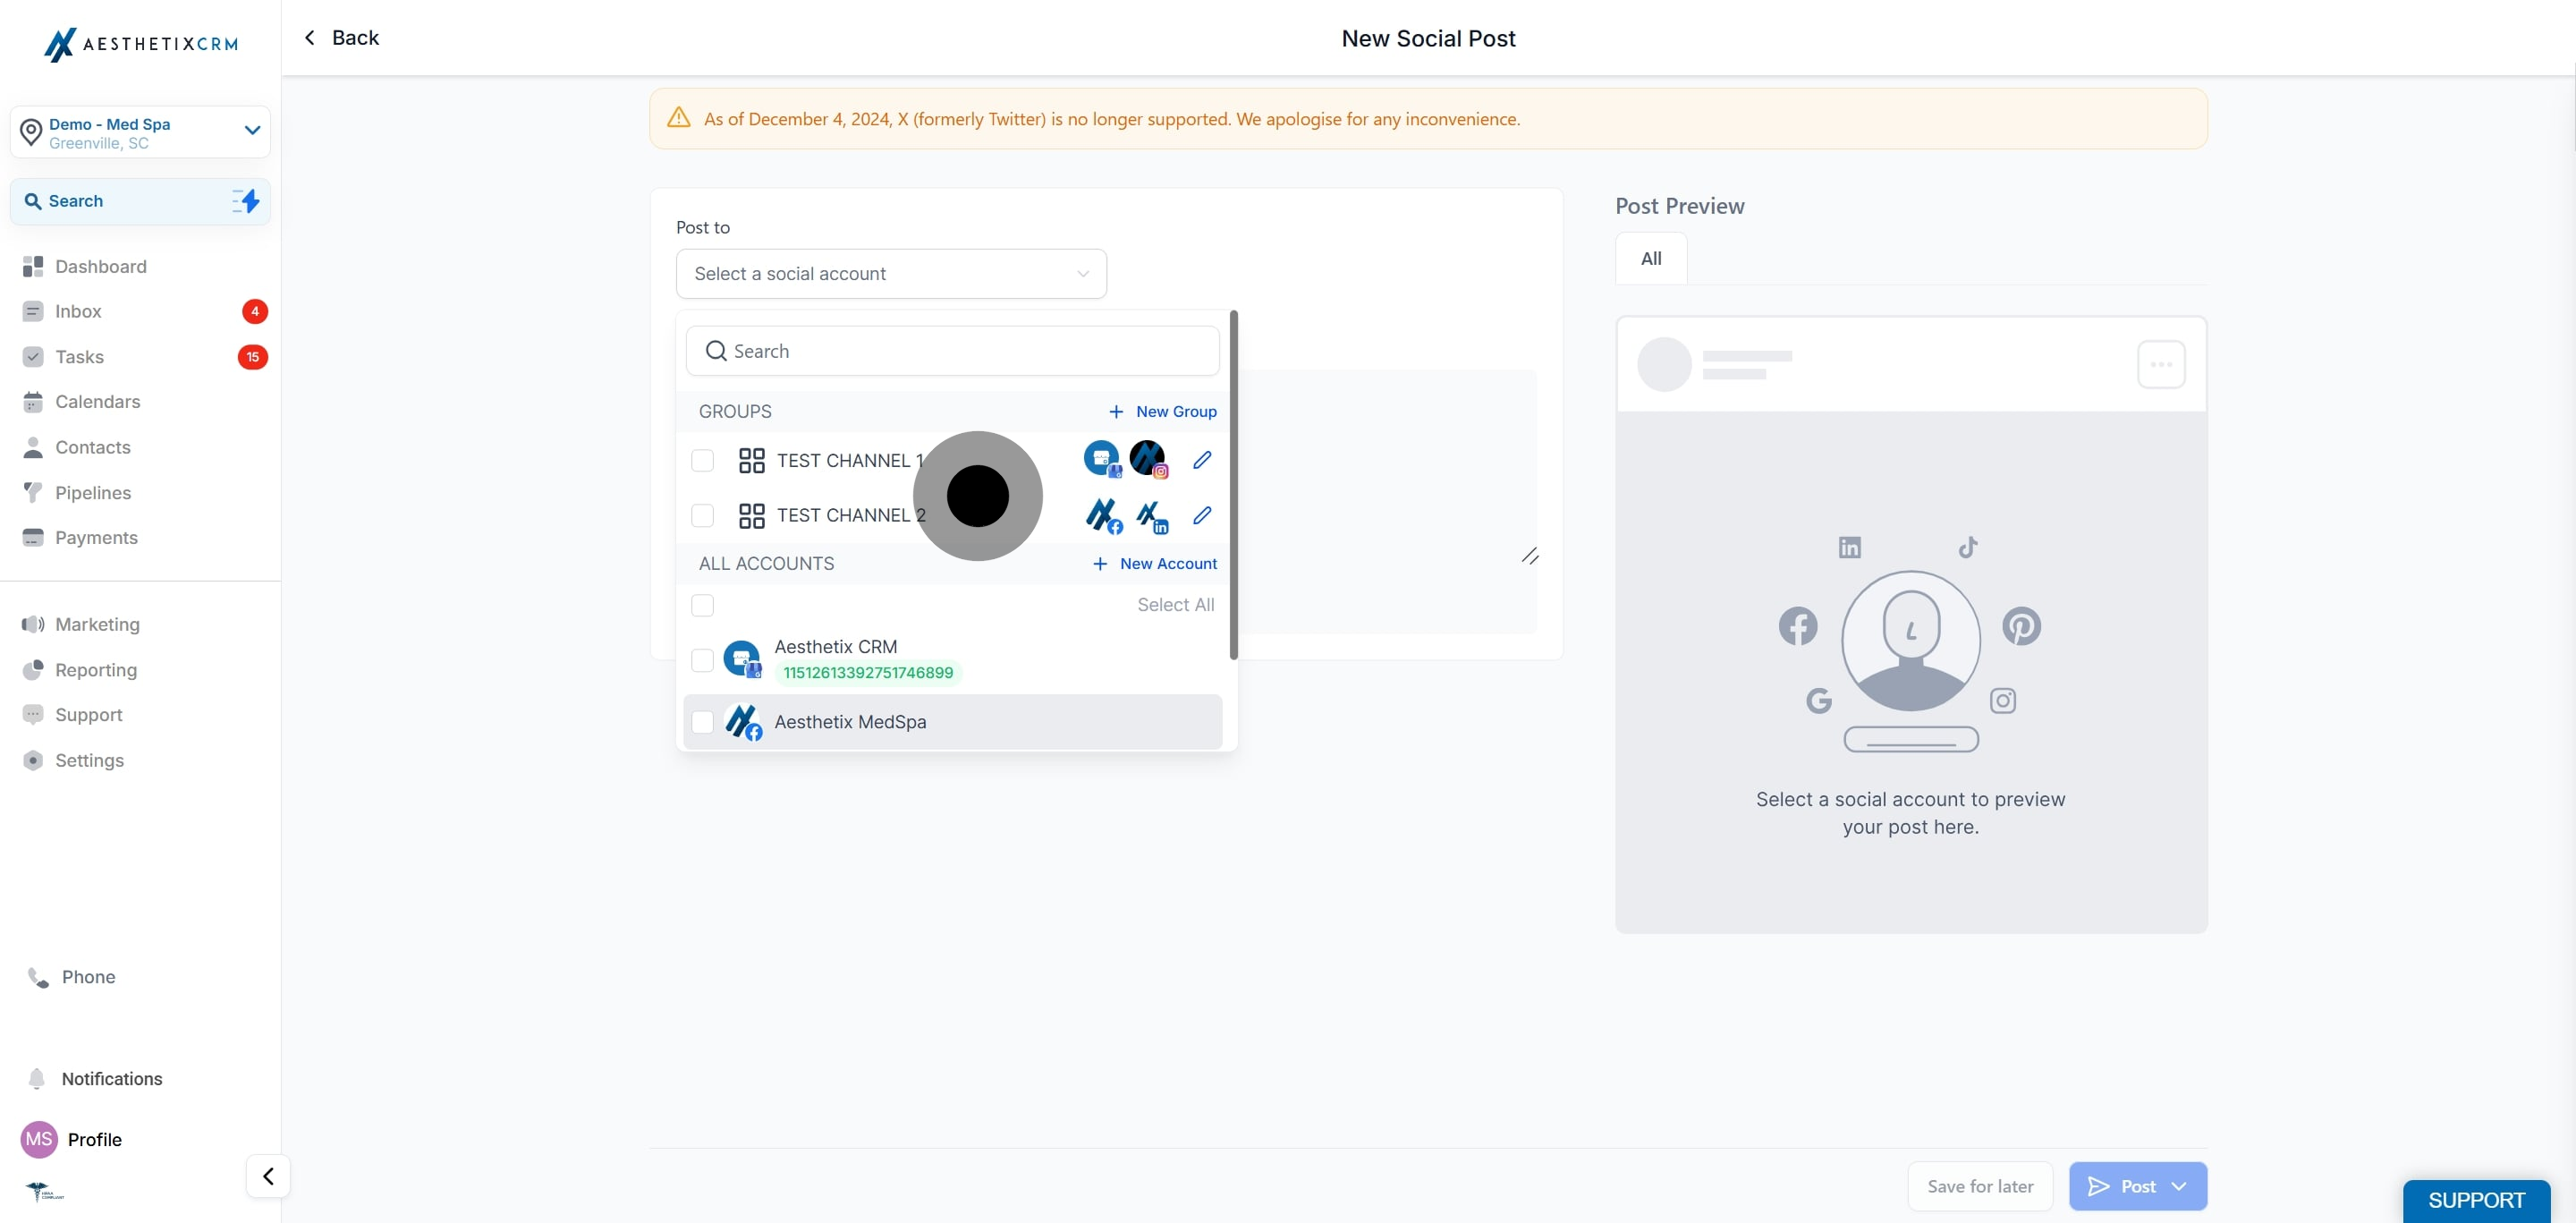
5. After that, select socials.
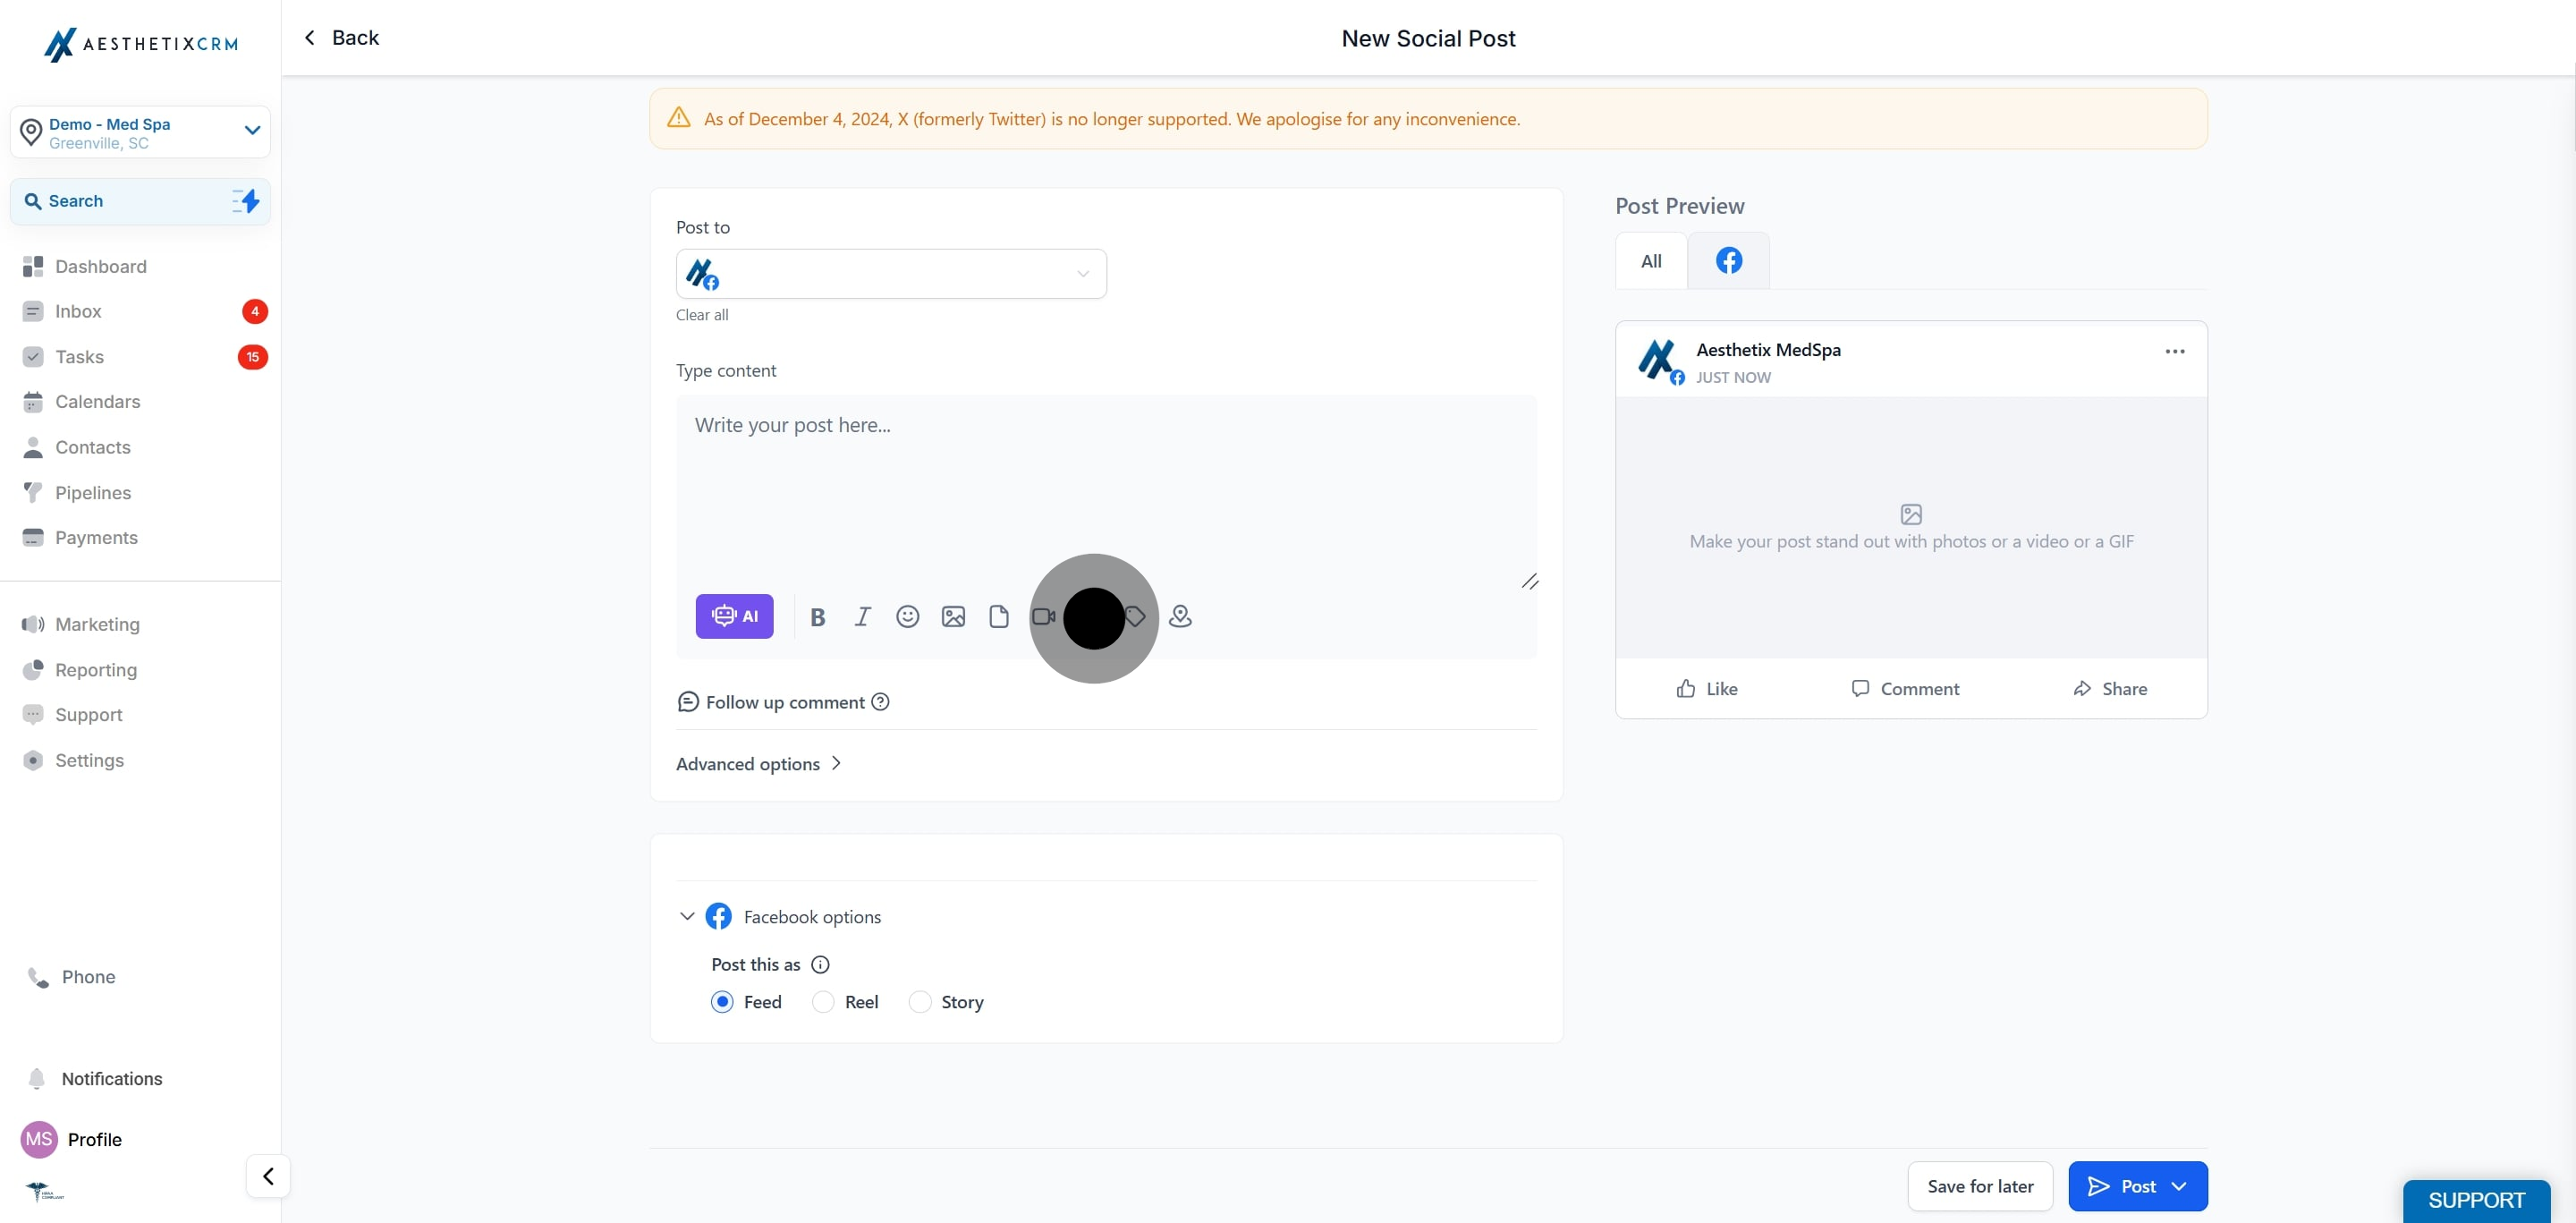
6. There is an option to add hashtags '#'.
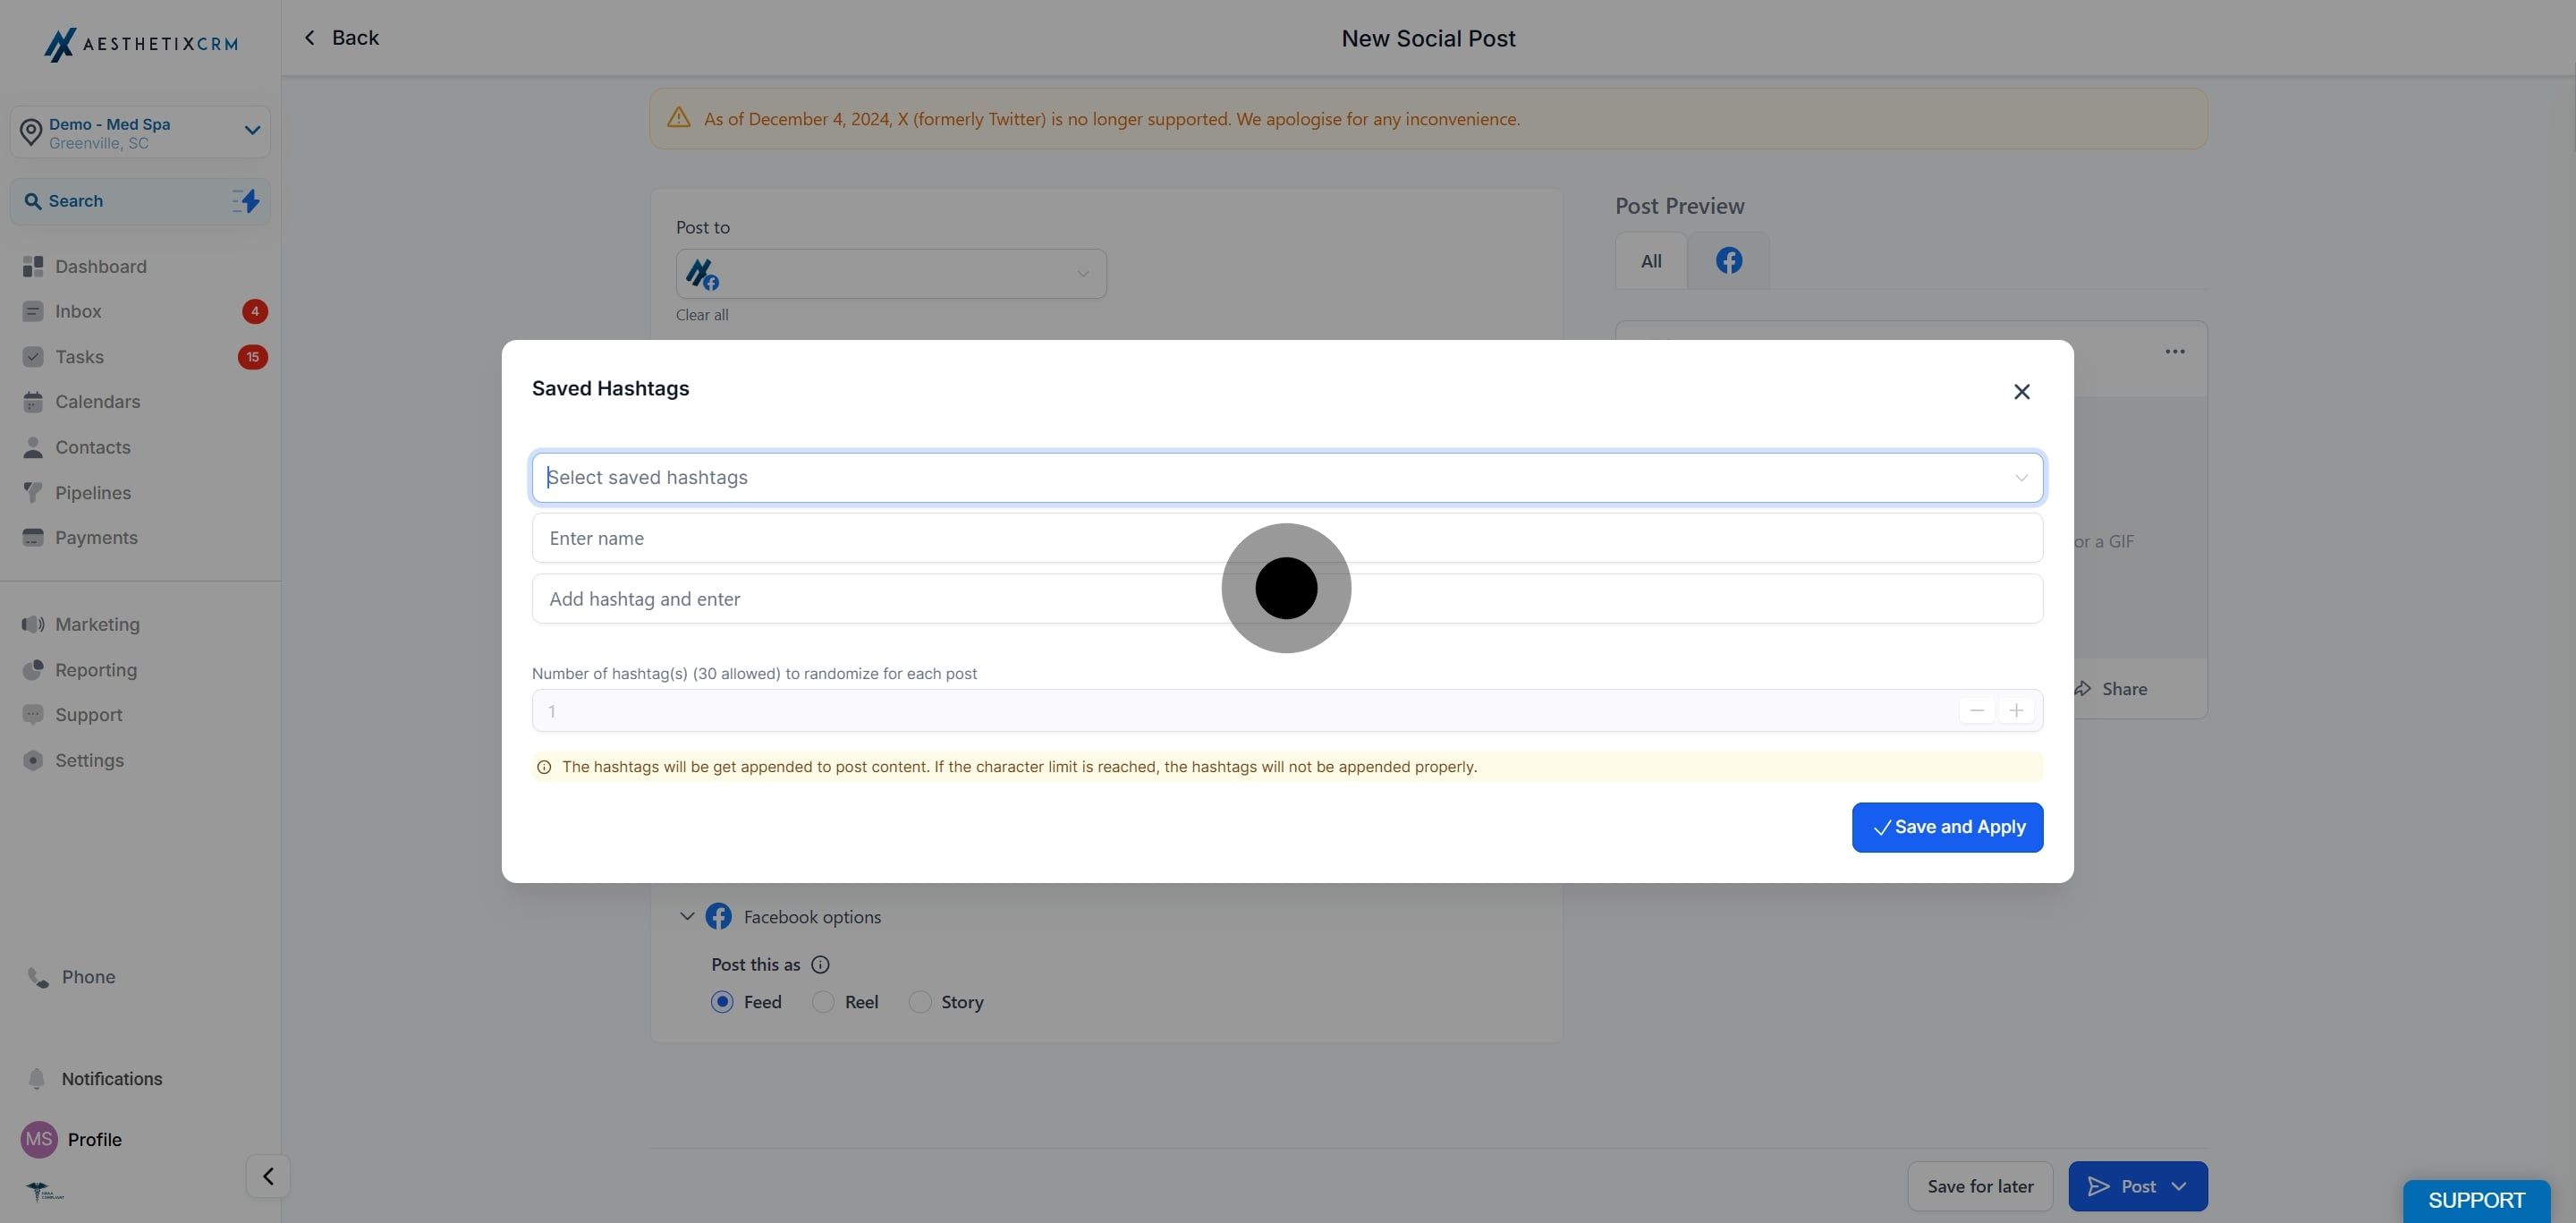
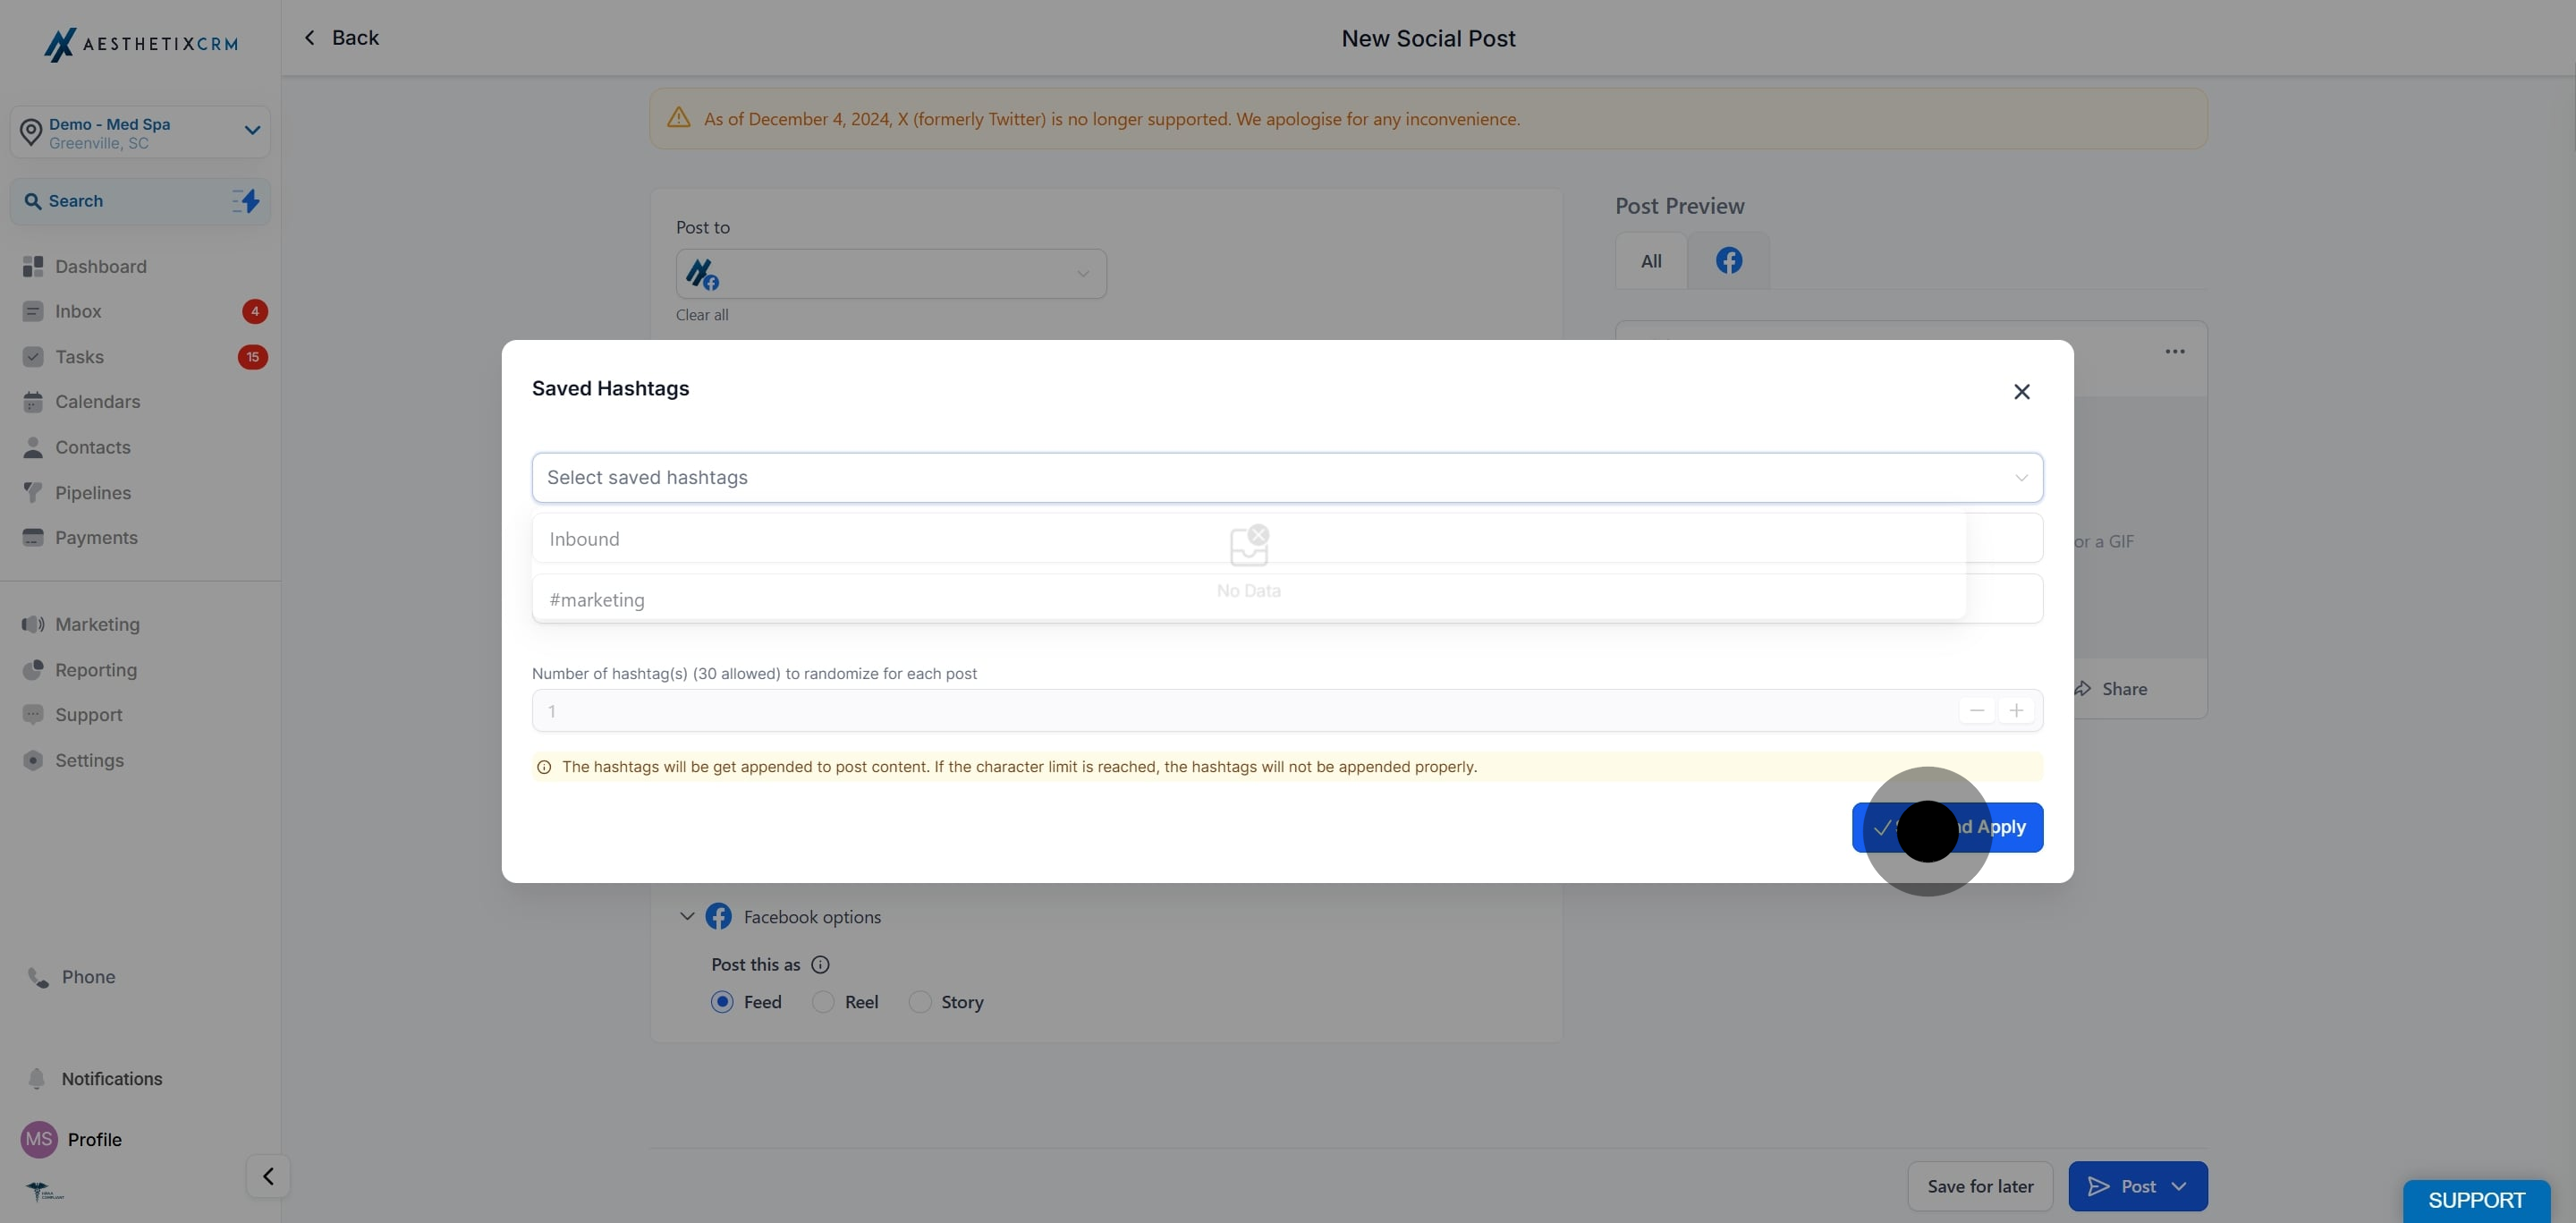
7. After clicking on the '#', a pop-up will appear, which requires information regarding the new addition. You need to add a Name for the set and the hashtags you want to use when selecting this particular set of hashtags. There is an option to add several hashtags when the post is created.