Managing Notifications for Failed Posts, Account Expiration, and Post Approval
Keep your social media strategy on track with our insightful article on managing notifications for failed posts, account expirations, and post approval processes! This guide delves into the importance of staying informed about these critical notifications, providing you with a step-by-step approach to set up alerts and understand their meanings. Learn how to troubleshoot failed posts, prepare for account renewals, and navigate the post approval workflow effectively. Ideal for content creators and digital marketers, this article will empower you to maintain control over your social media accounts and ensure smooth content management!
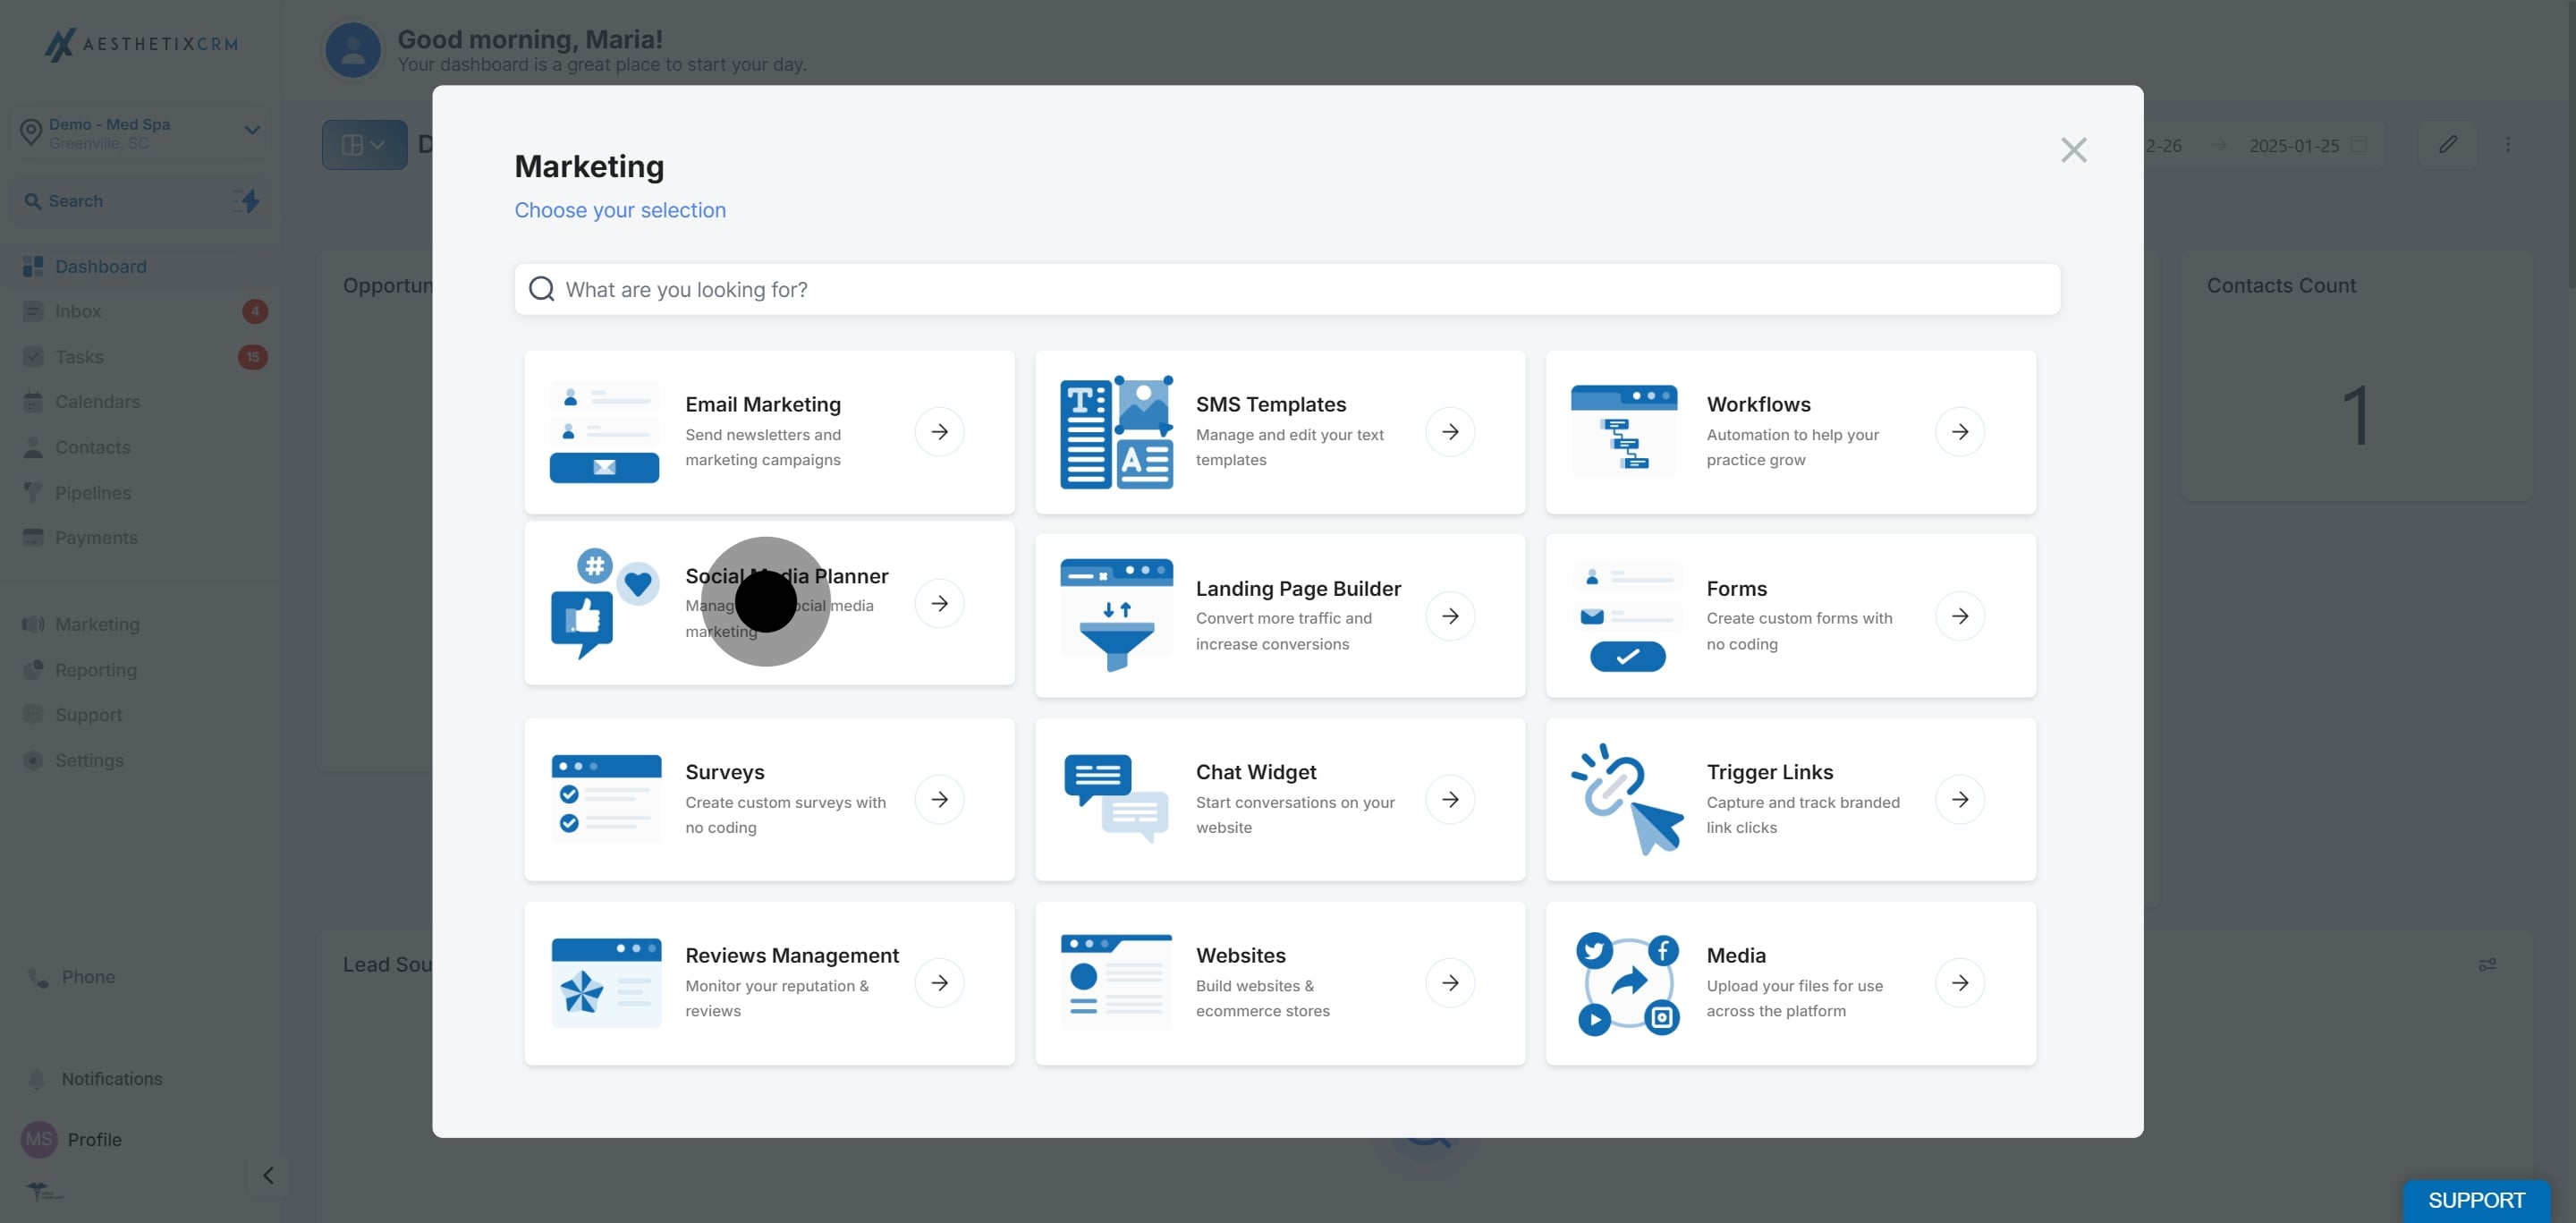
1. To begin, click on "Marketing"
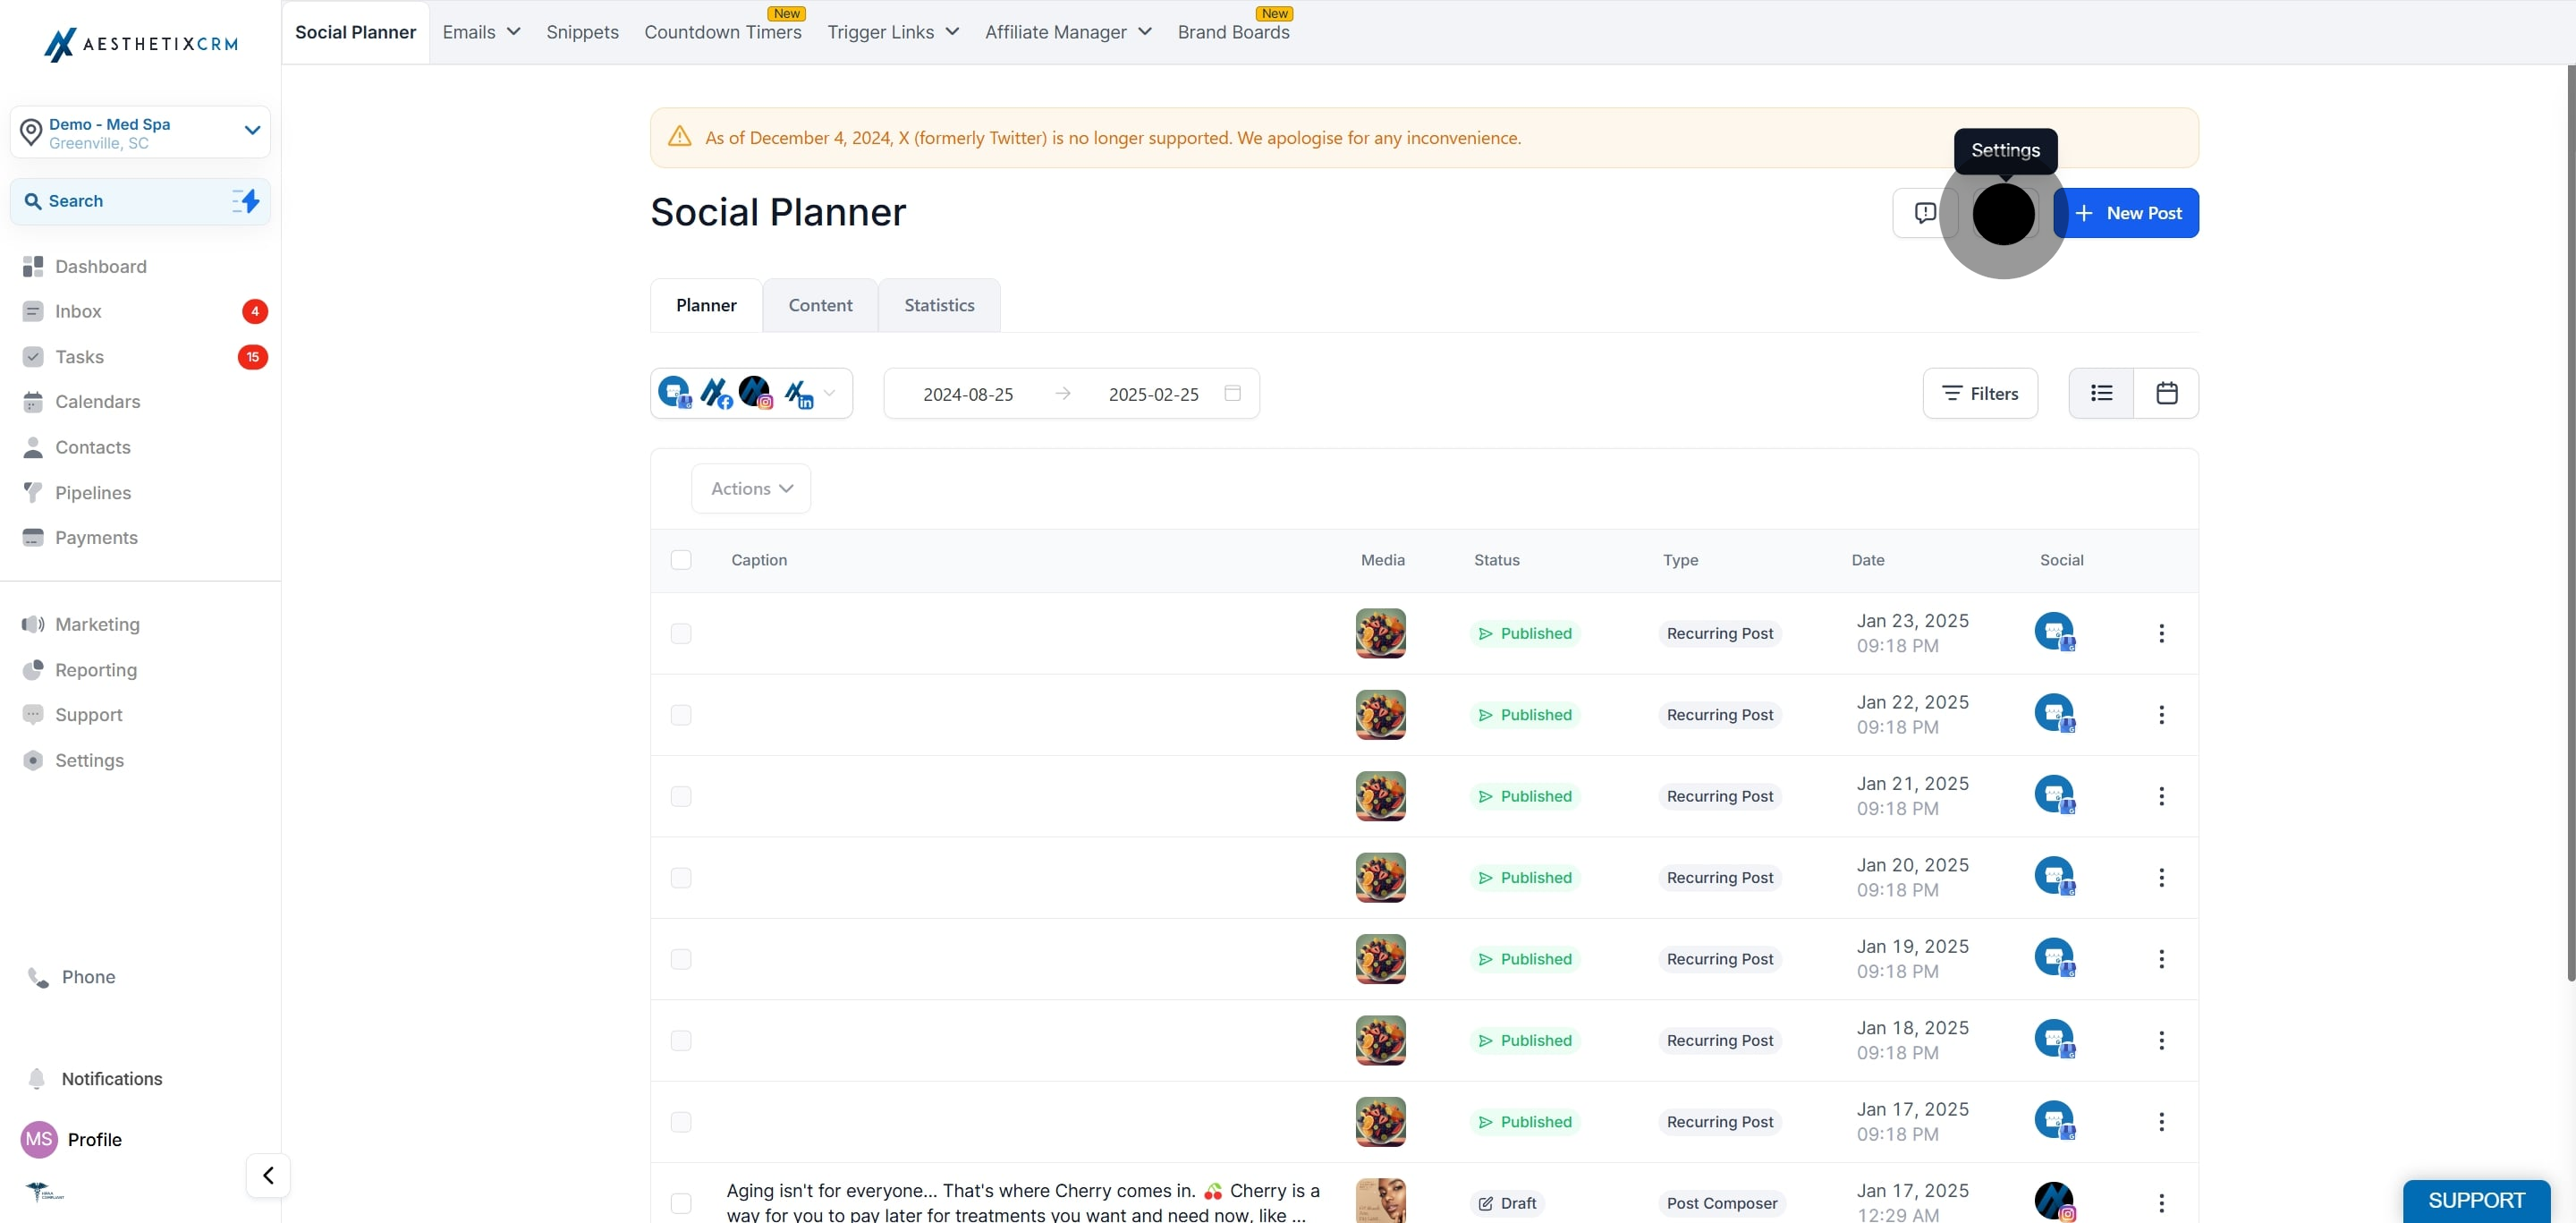
2. Click on "Social Media Planner".
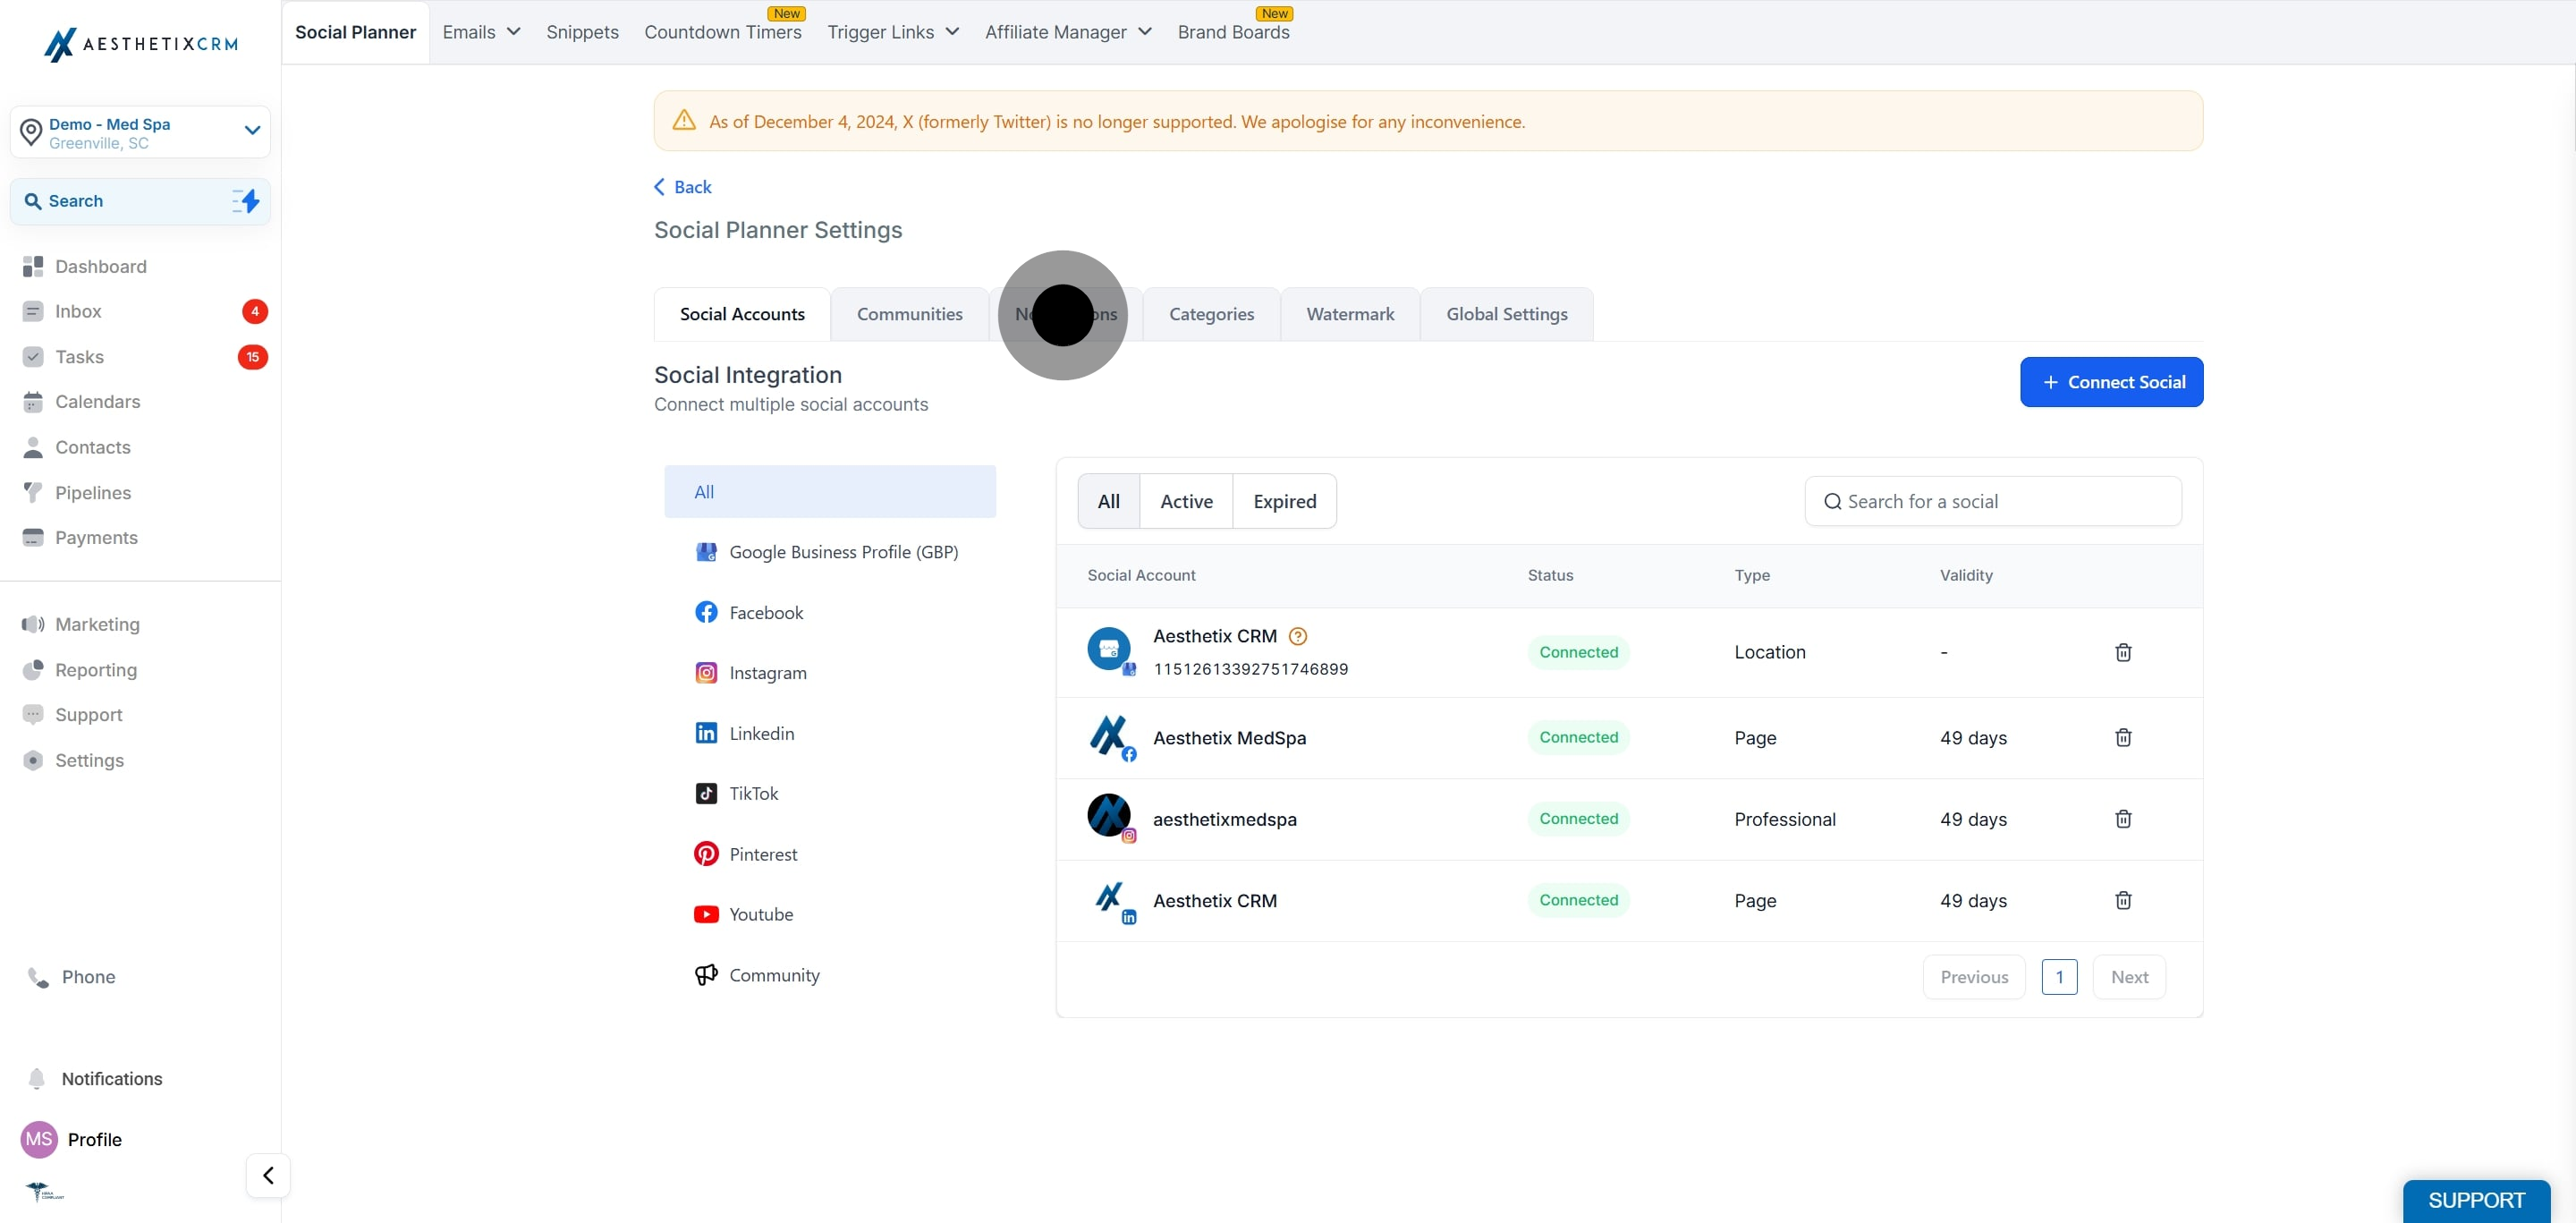
3. Click on "Settings".
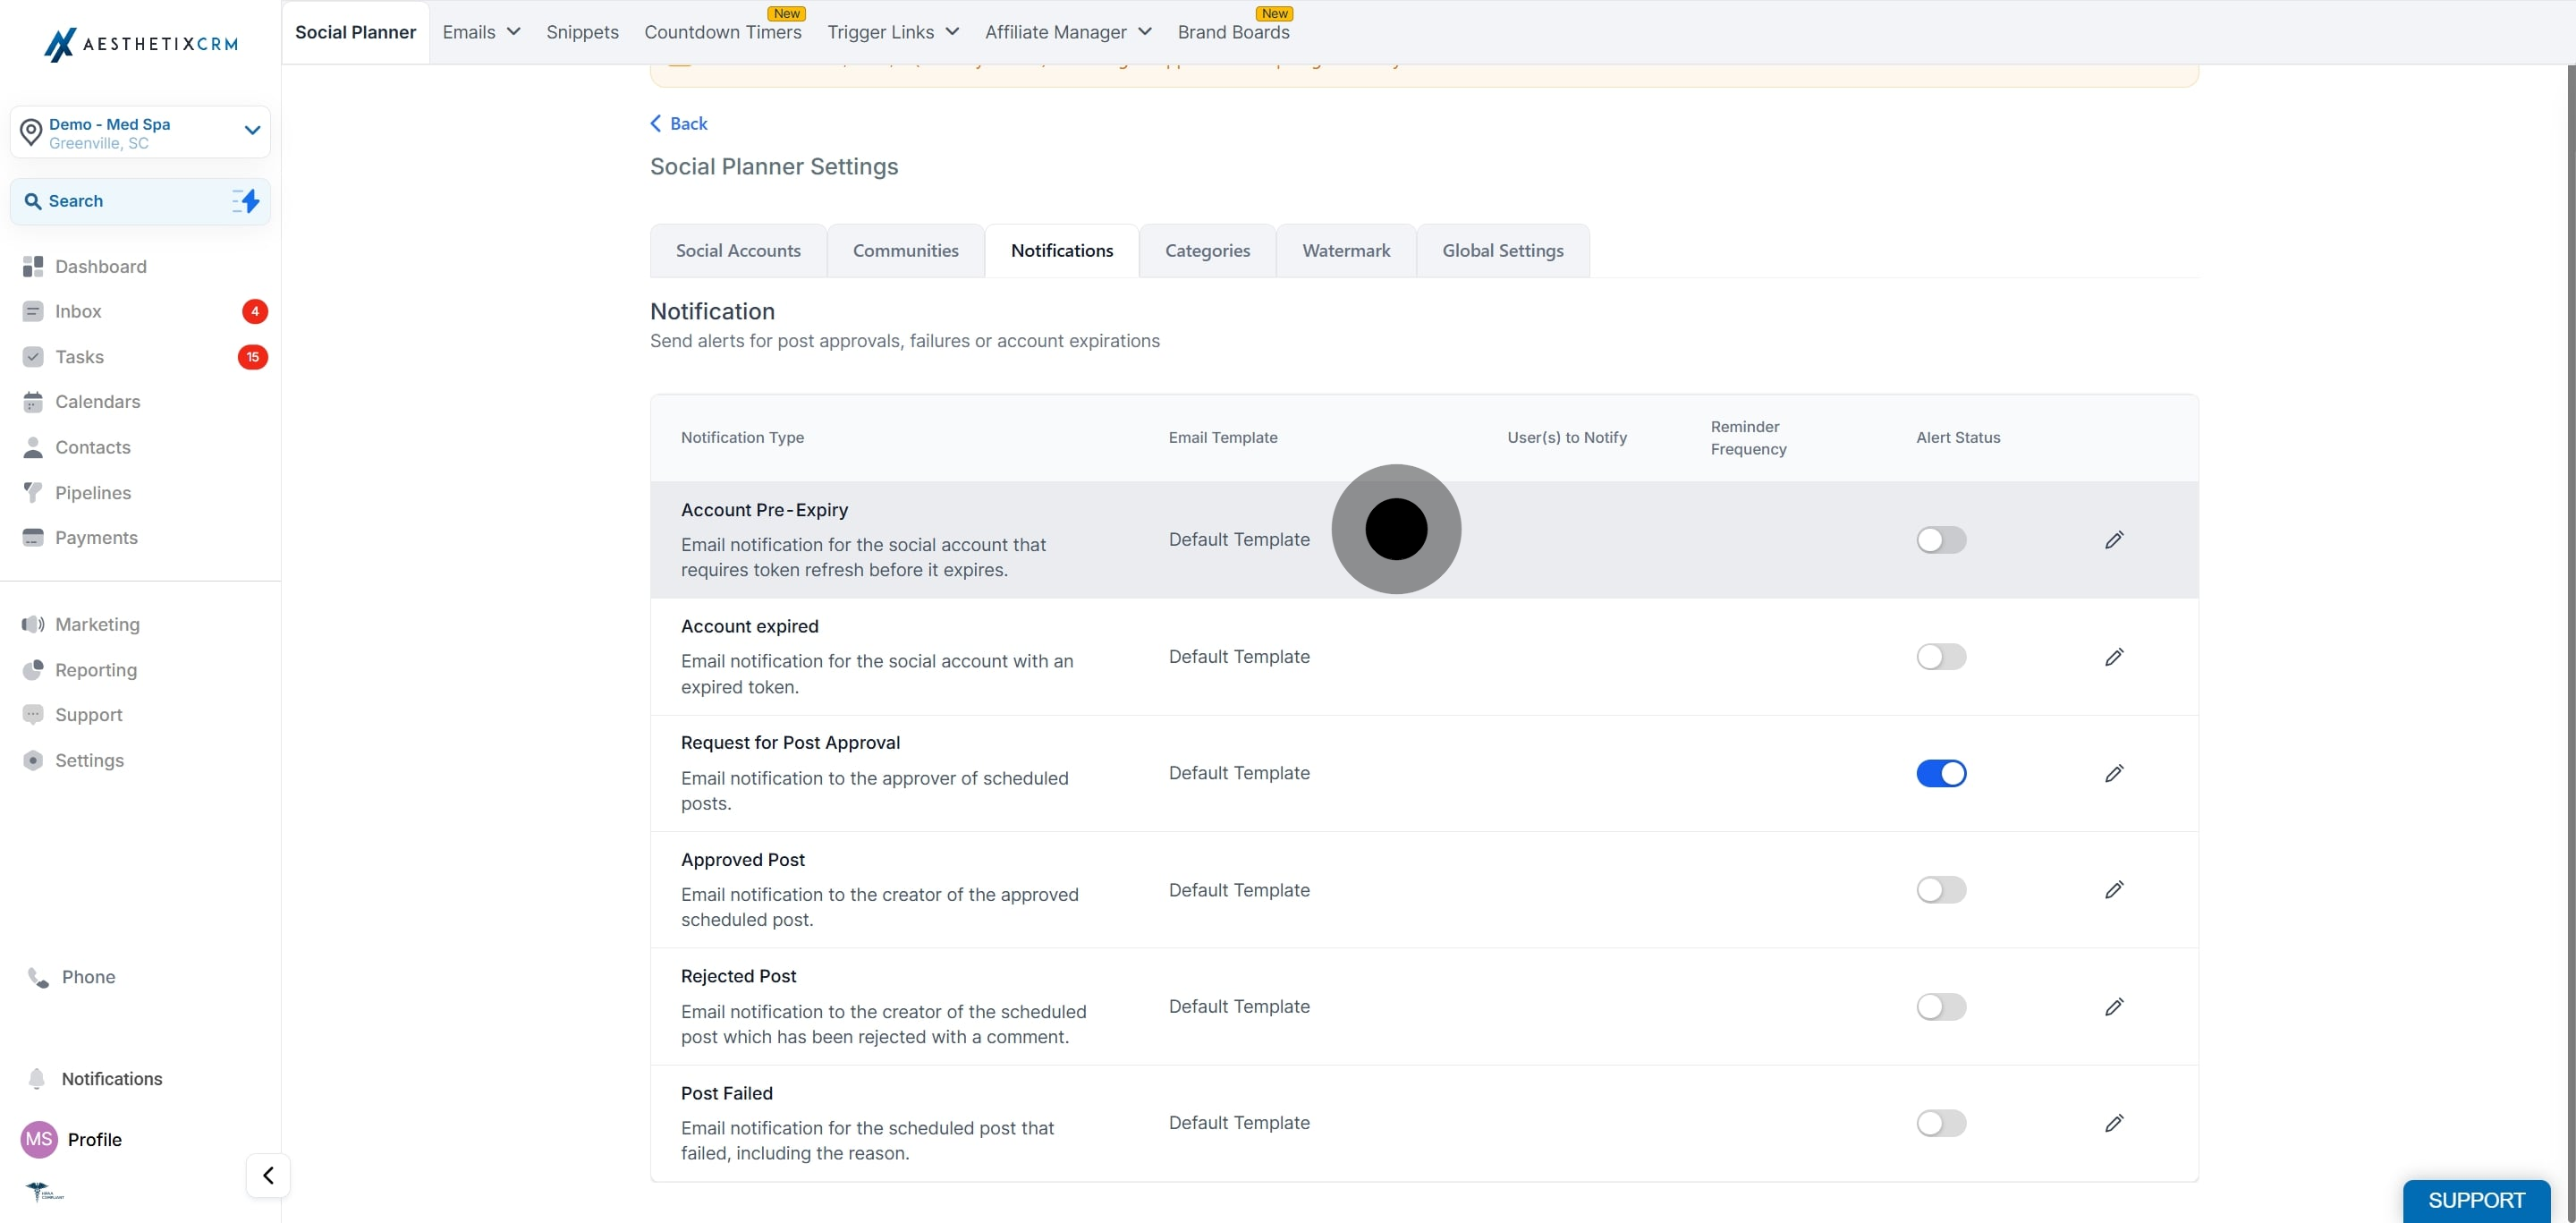
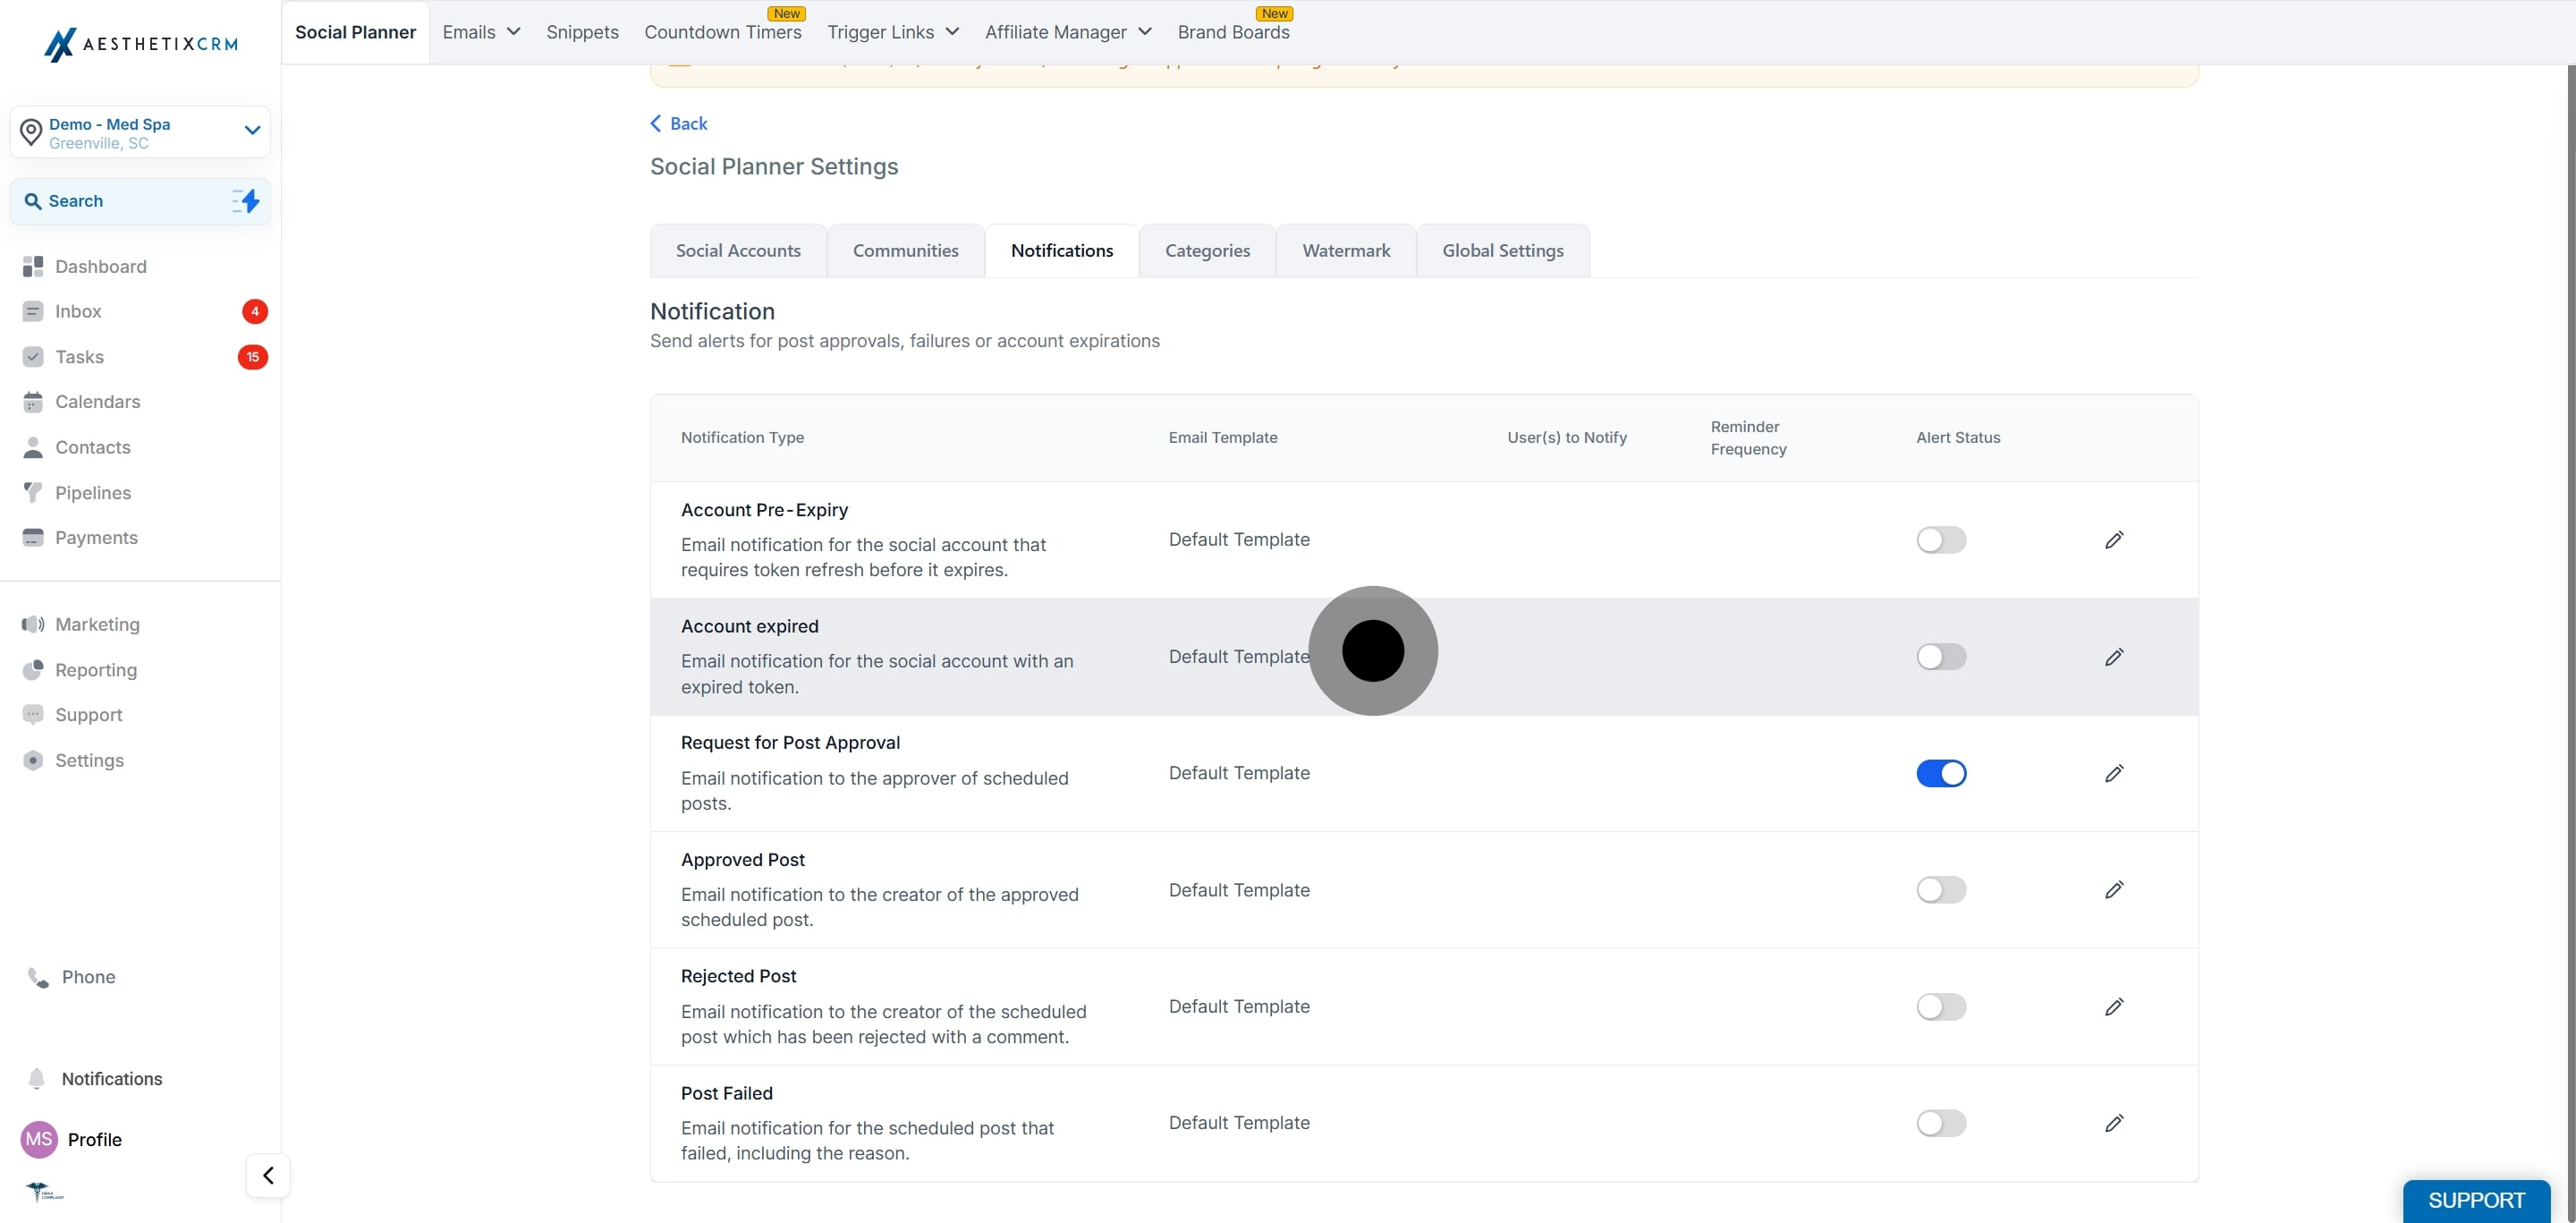
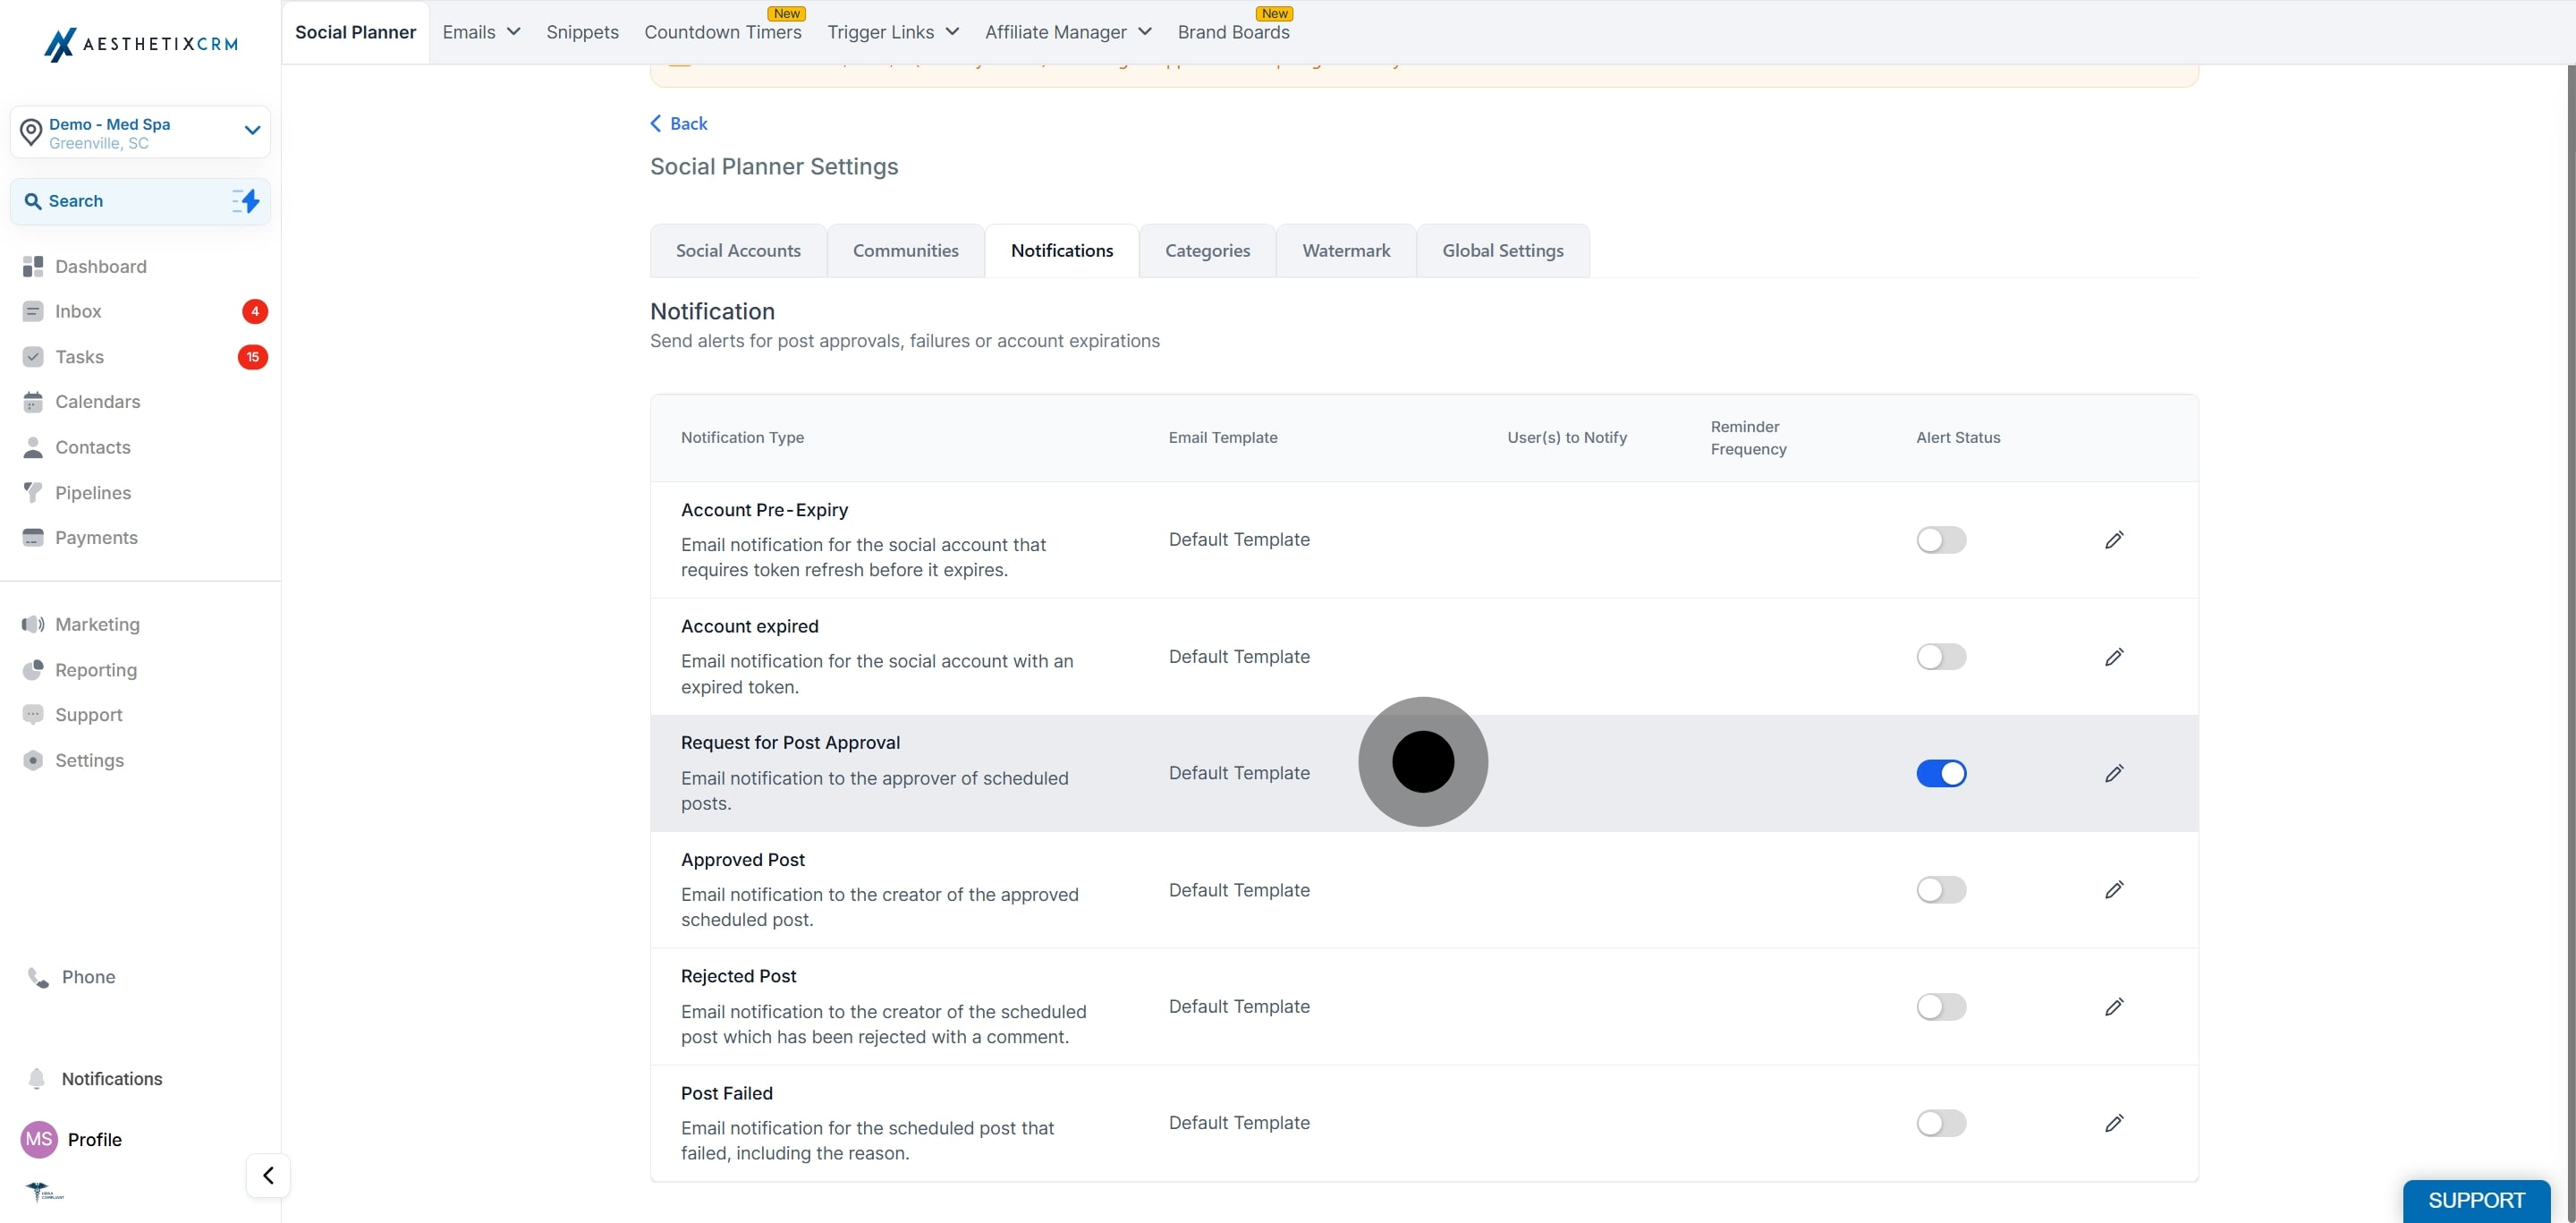
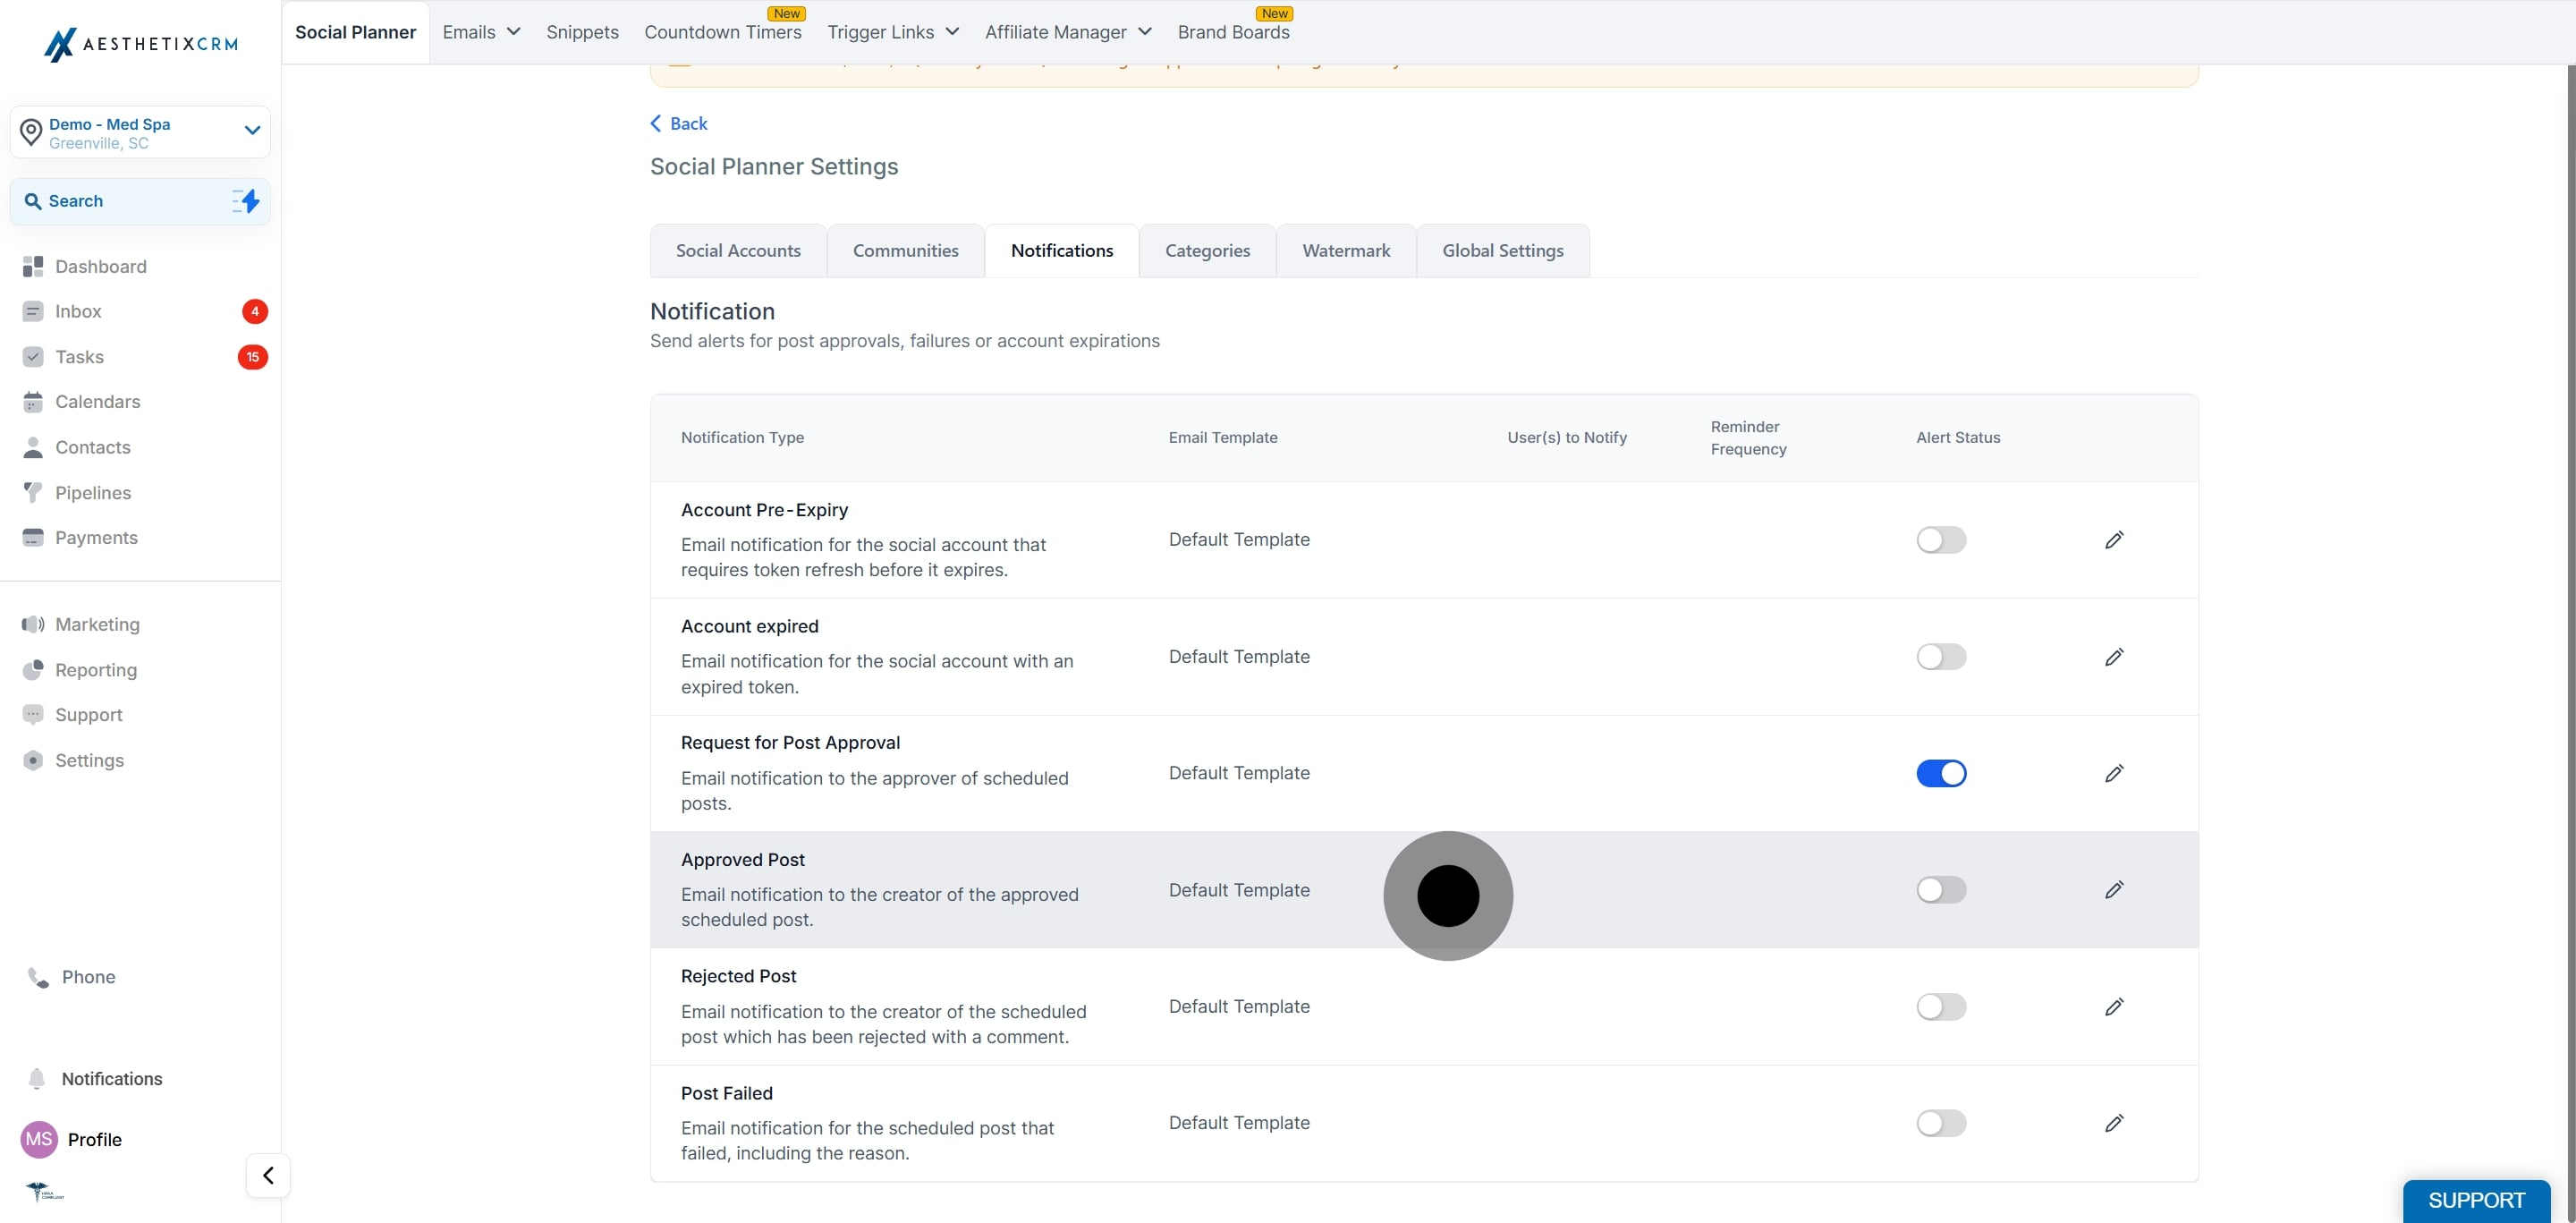
4. Then, click on "Notifications".
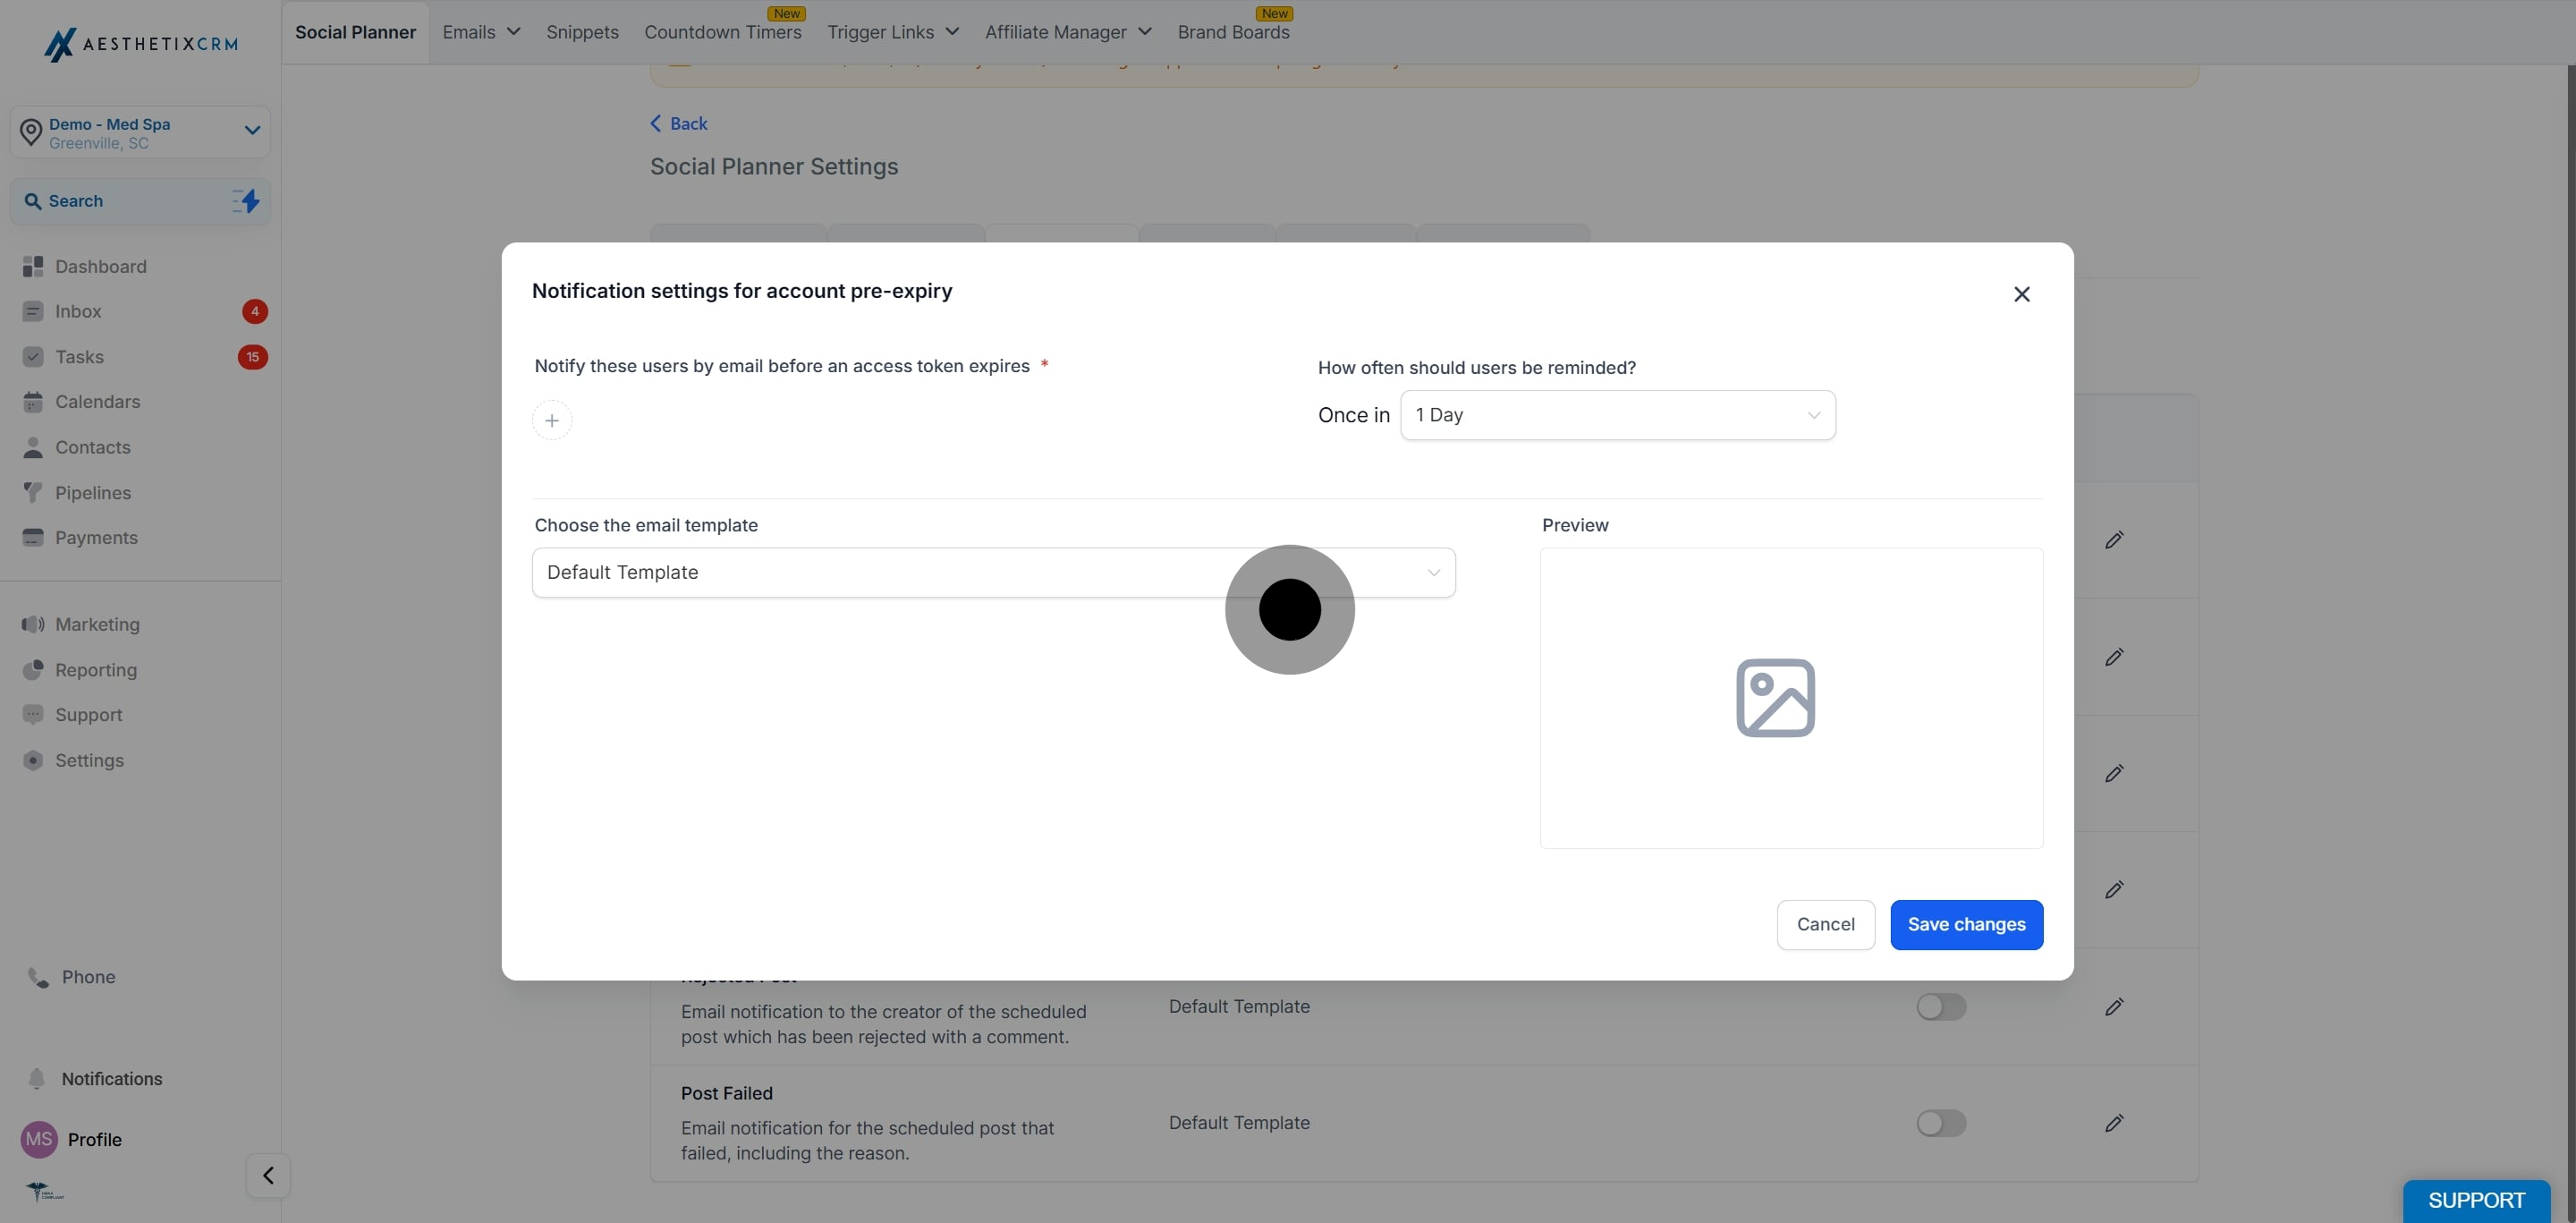
5. Notification settings for account pre-expiry
6. The notification requires to select the subaccount users, how often should the user be reminded to refresh the account \[they can refresh the token by visiting the integration page\], user can select the different template other than default templates.
7. Notification Settings for Account Expired
8. The notification requires to select the subaccount users, how often should the user be reminded to reconnect the token, user can select the different template other than default templates.
9. Notification for Request for Approval -
10. The notification requires user can select the different template other than default templates.
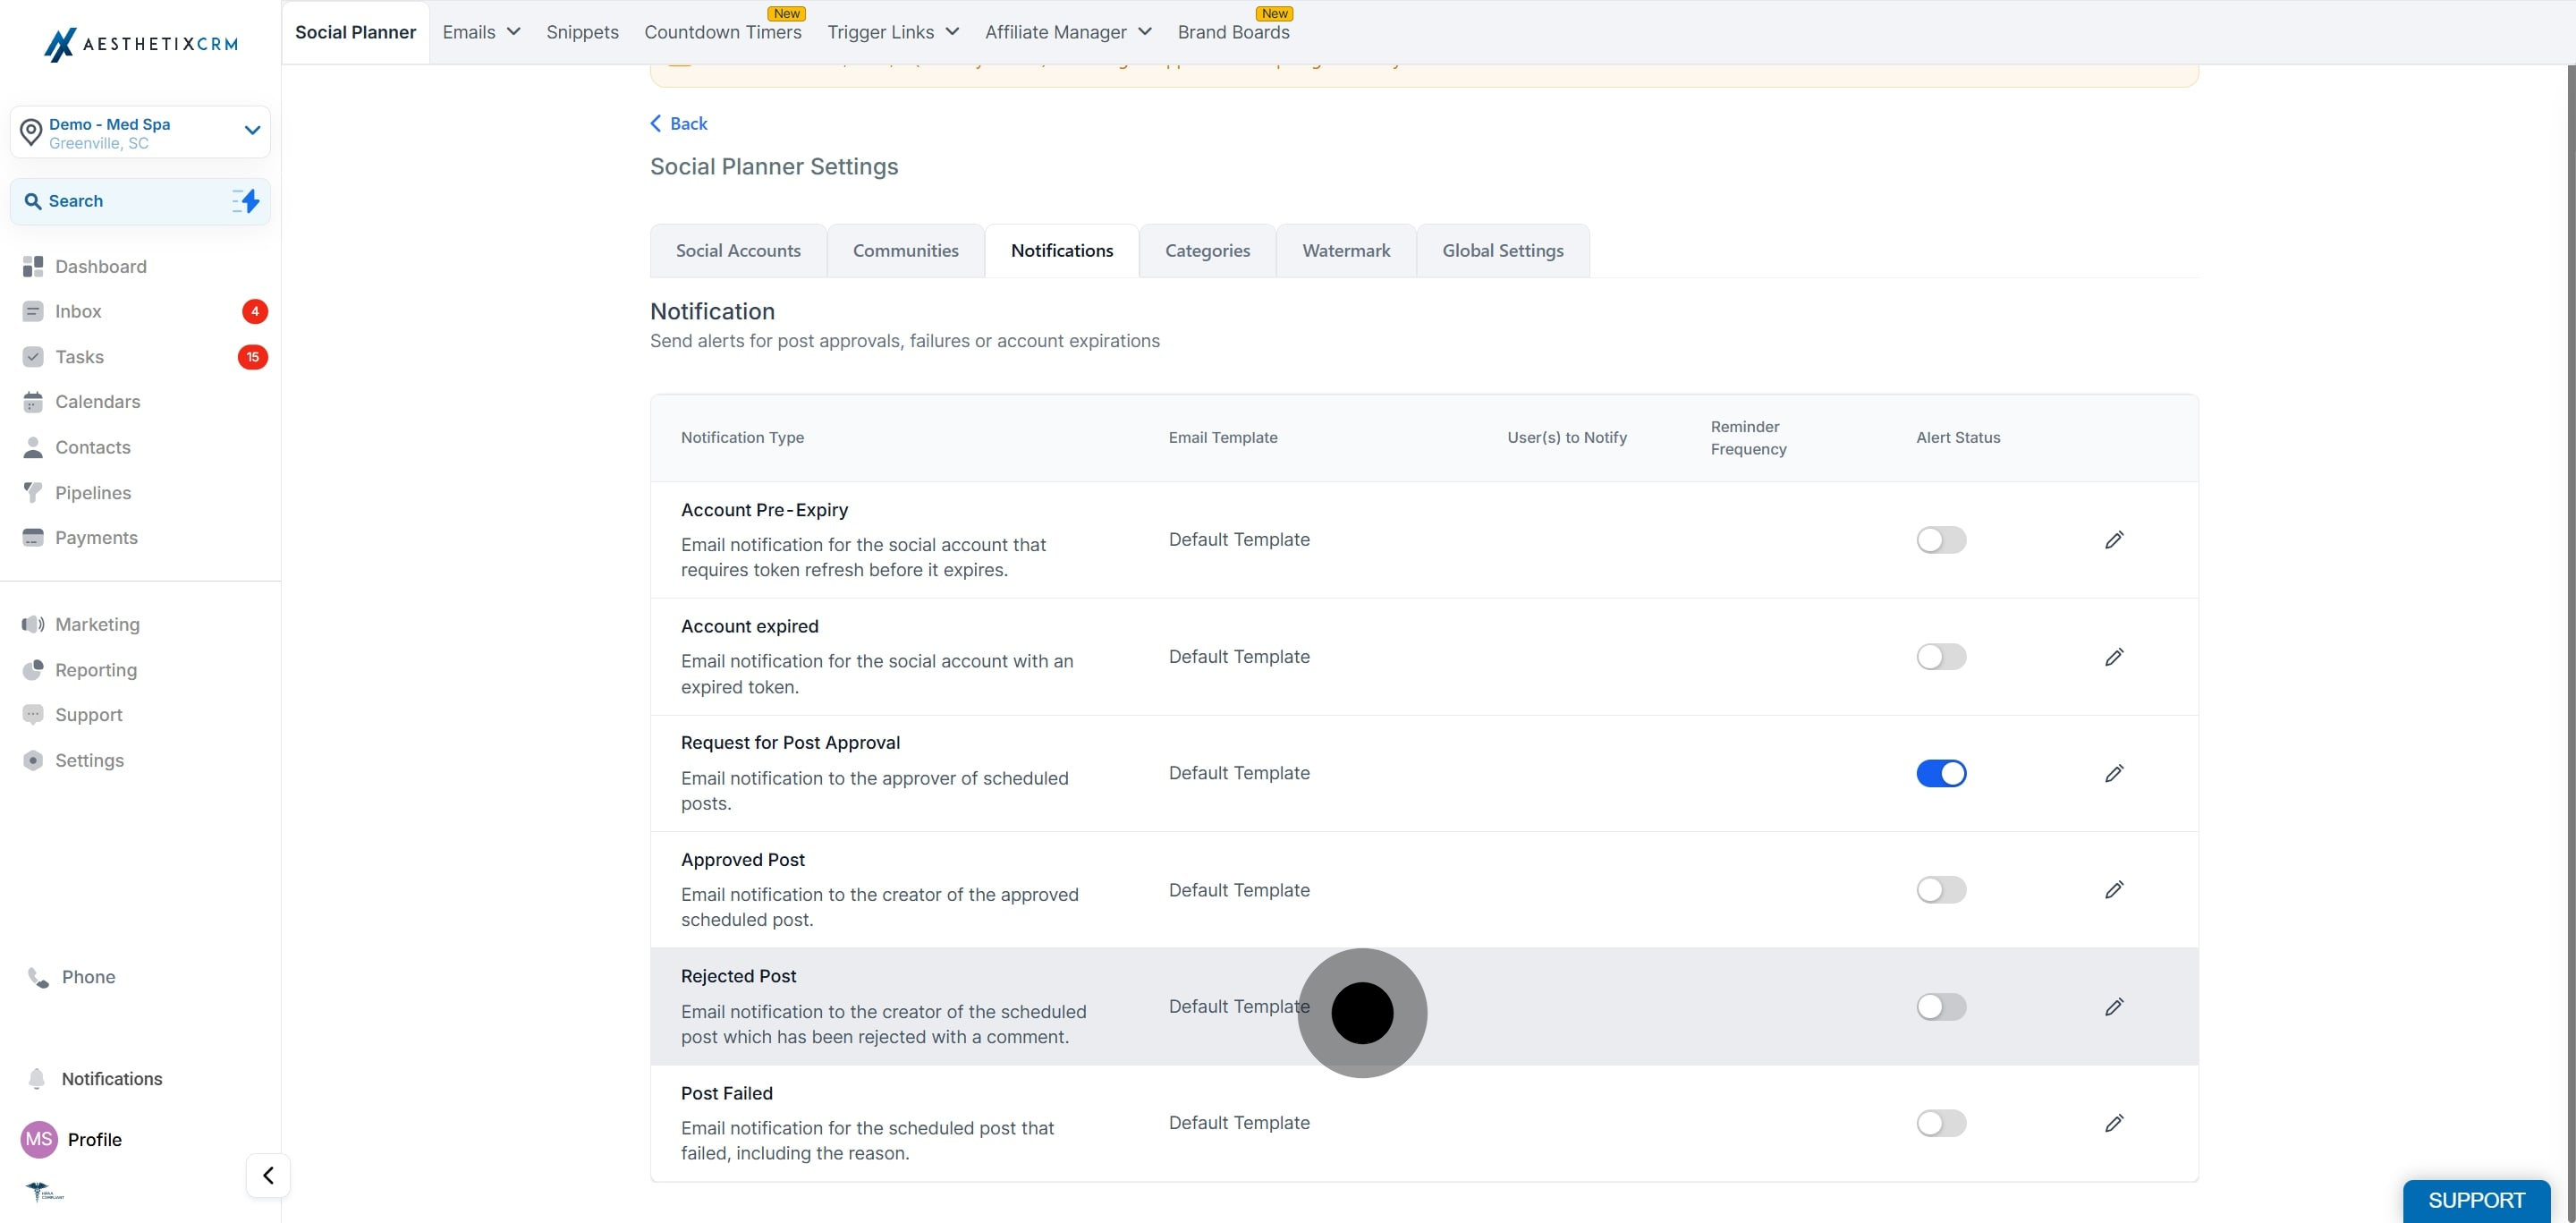
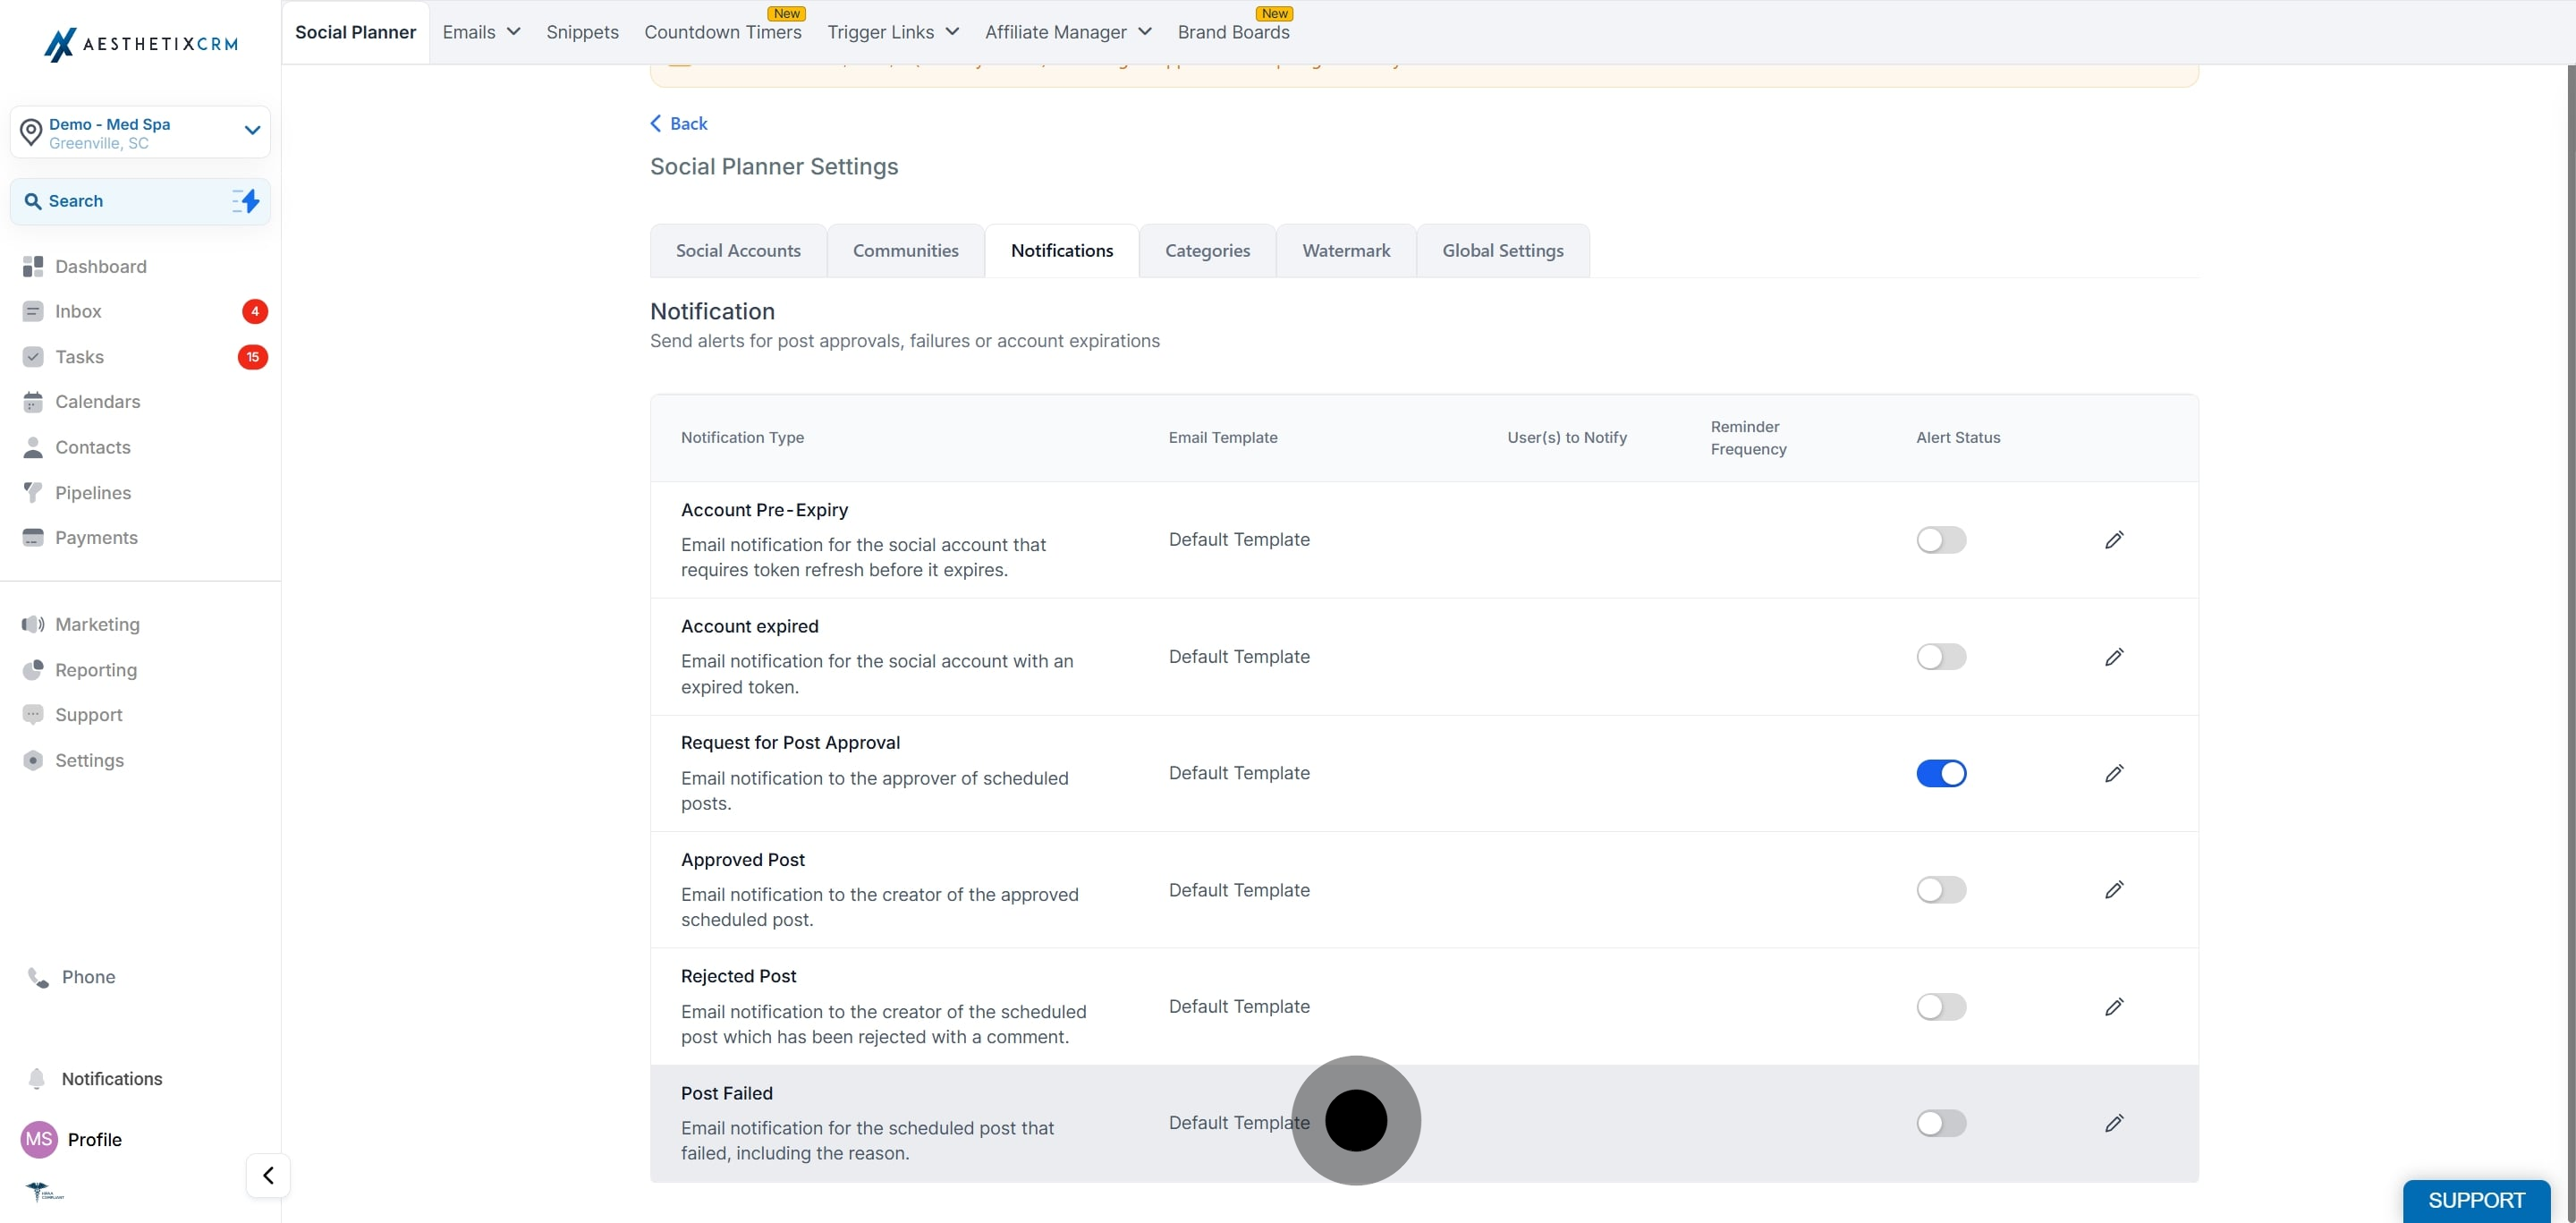
11. Notification for Approved Post
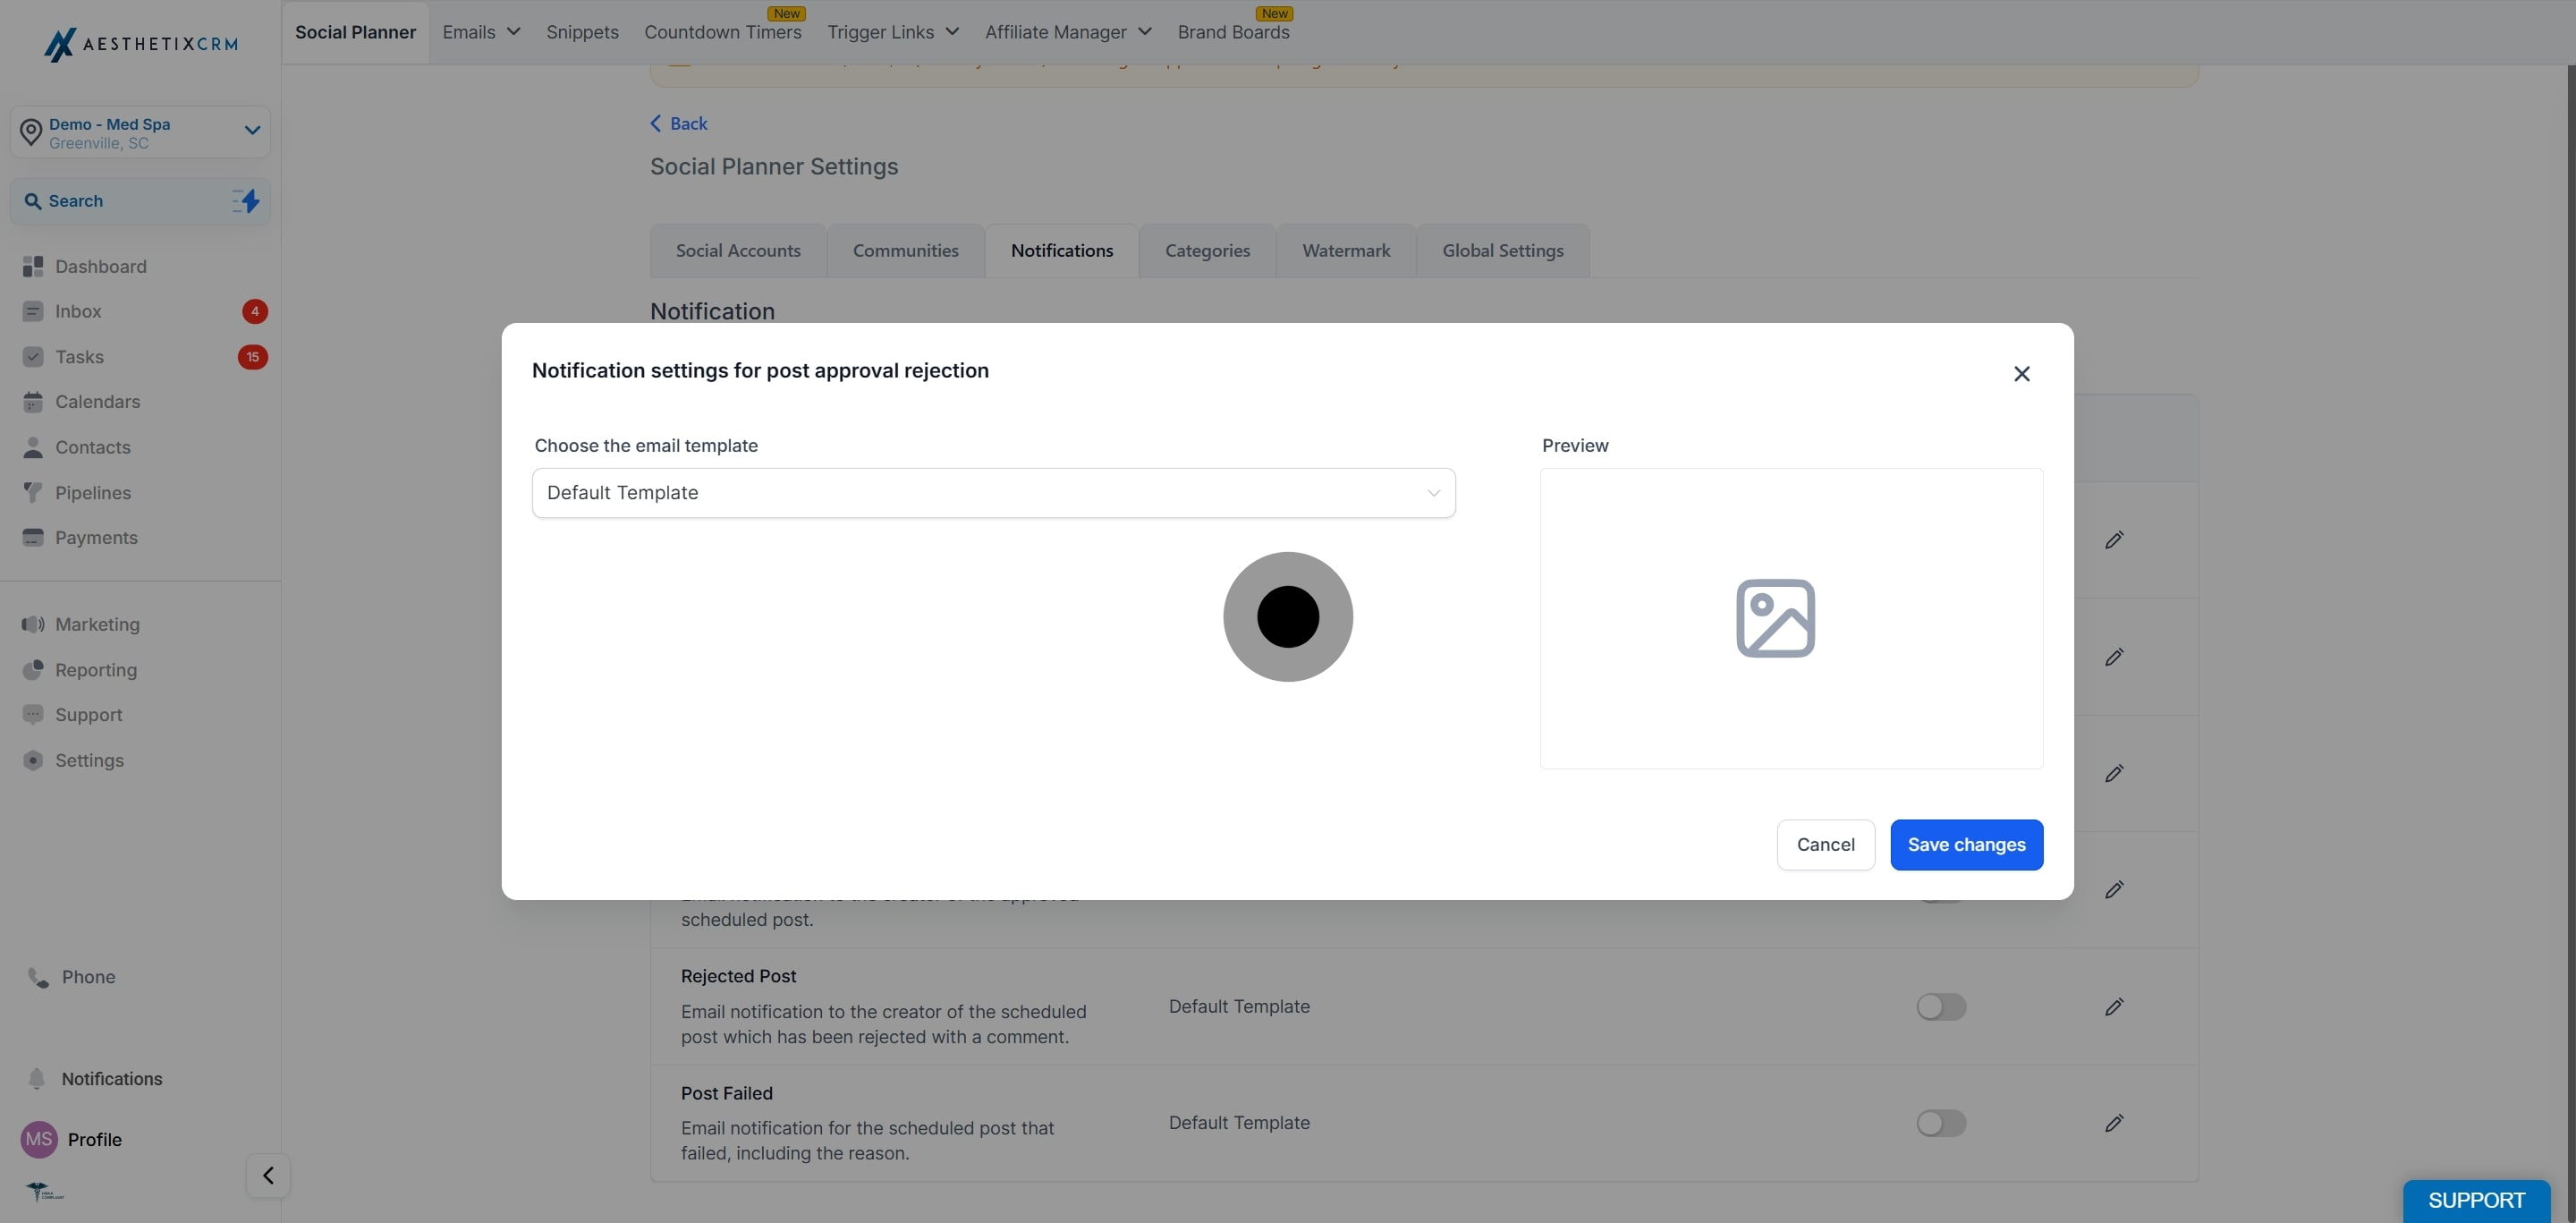
12. \- To edit the email notification request for scheduled rejected post to creator \- The notification requires user can select the different template other than default templates.
13. Notification for Rejected Post
14. \- To edit the email notification request for scheduled approved post to creator \- The notification requires user can select the different template other than default templates.
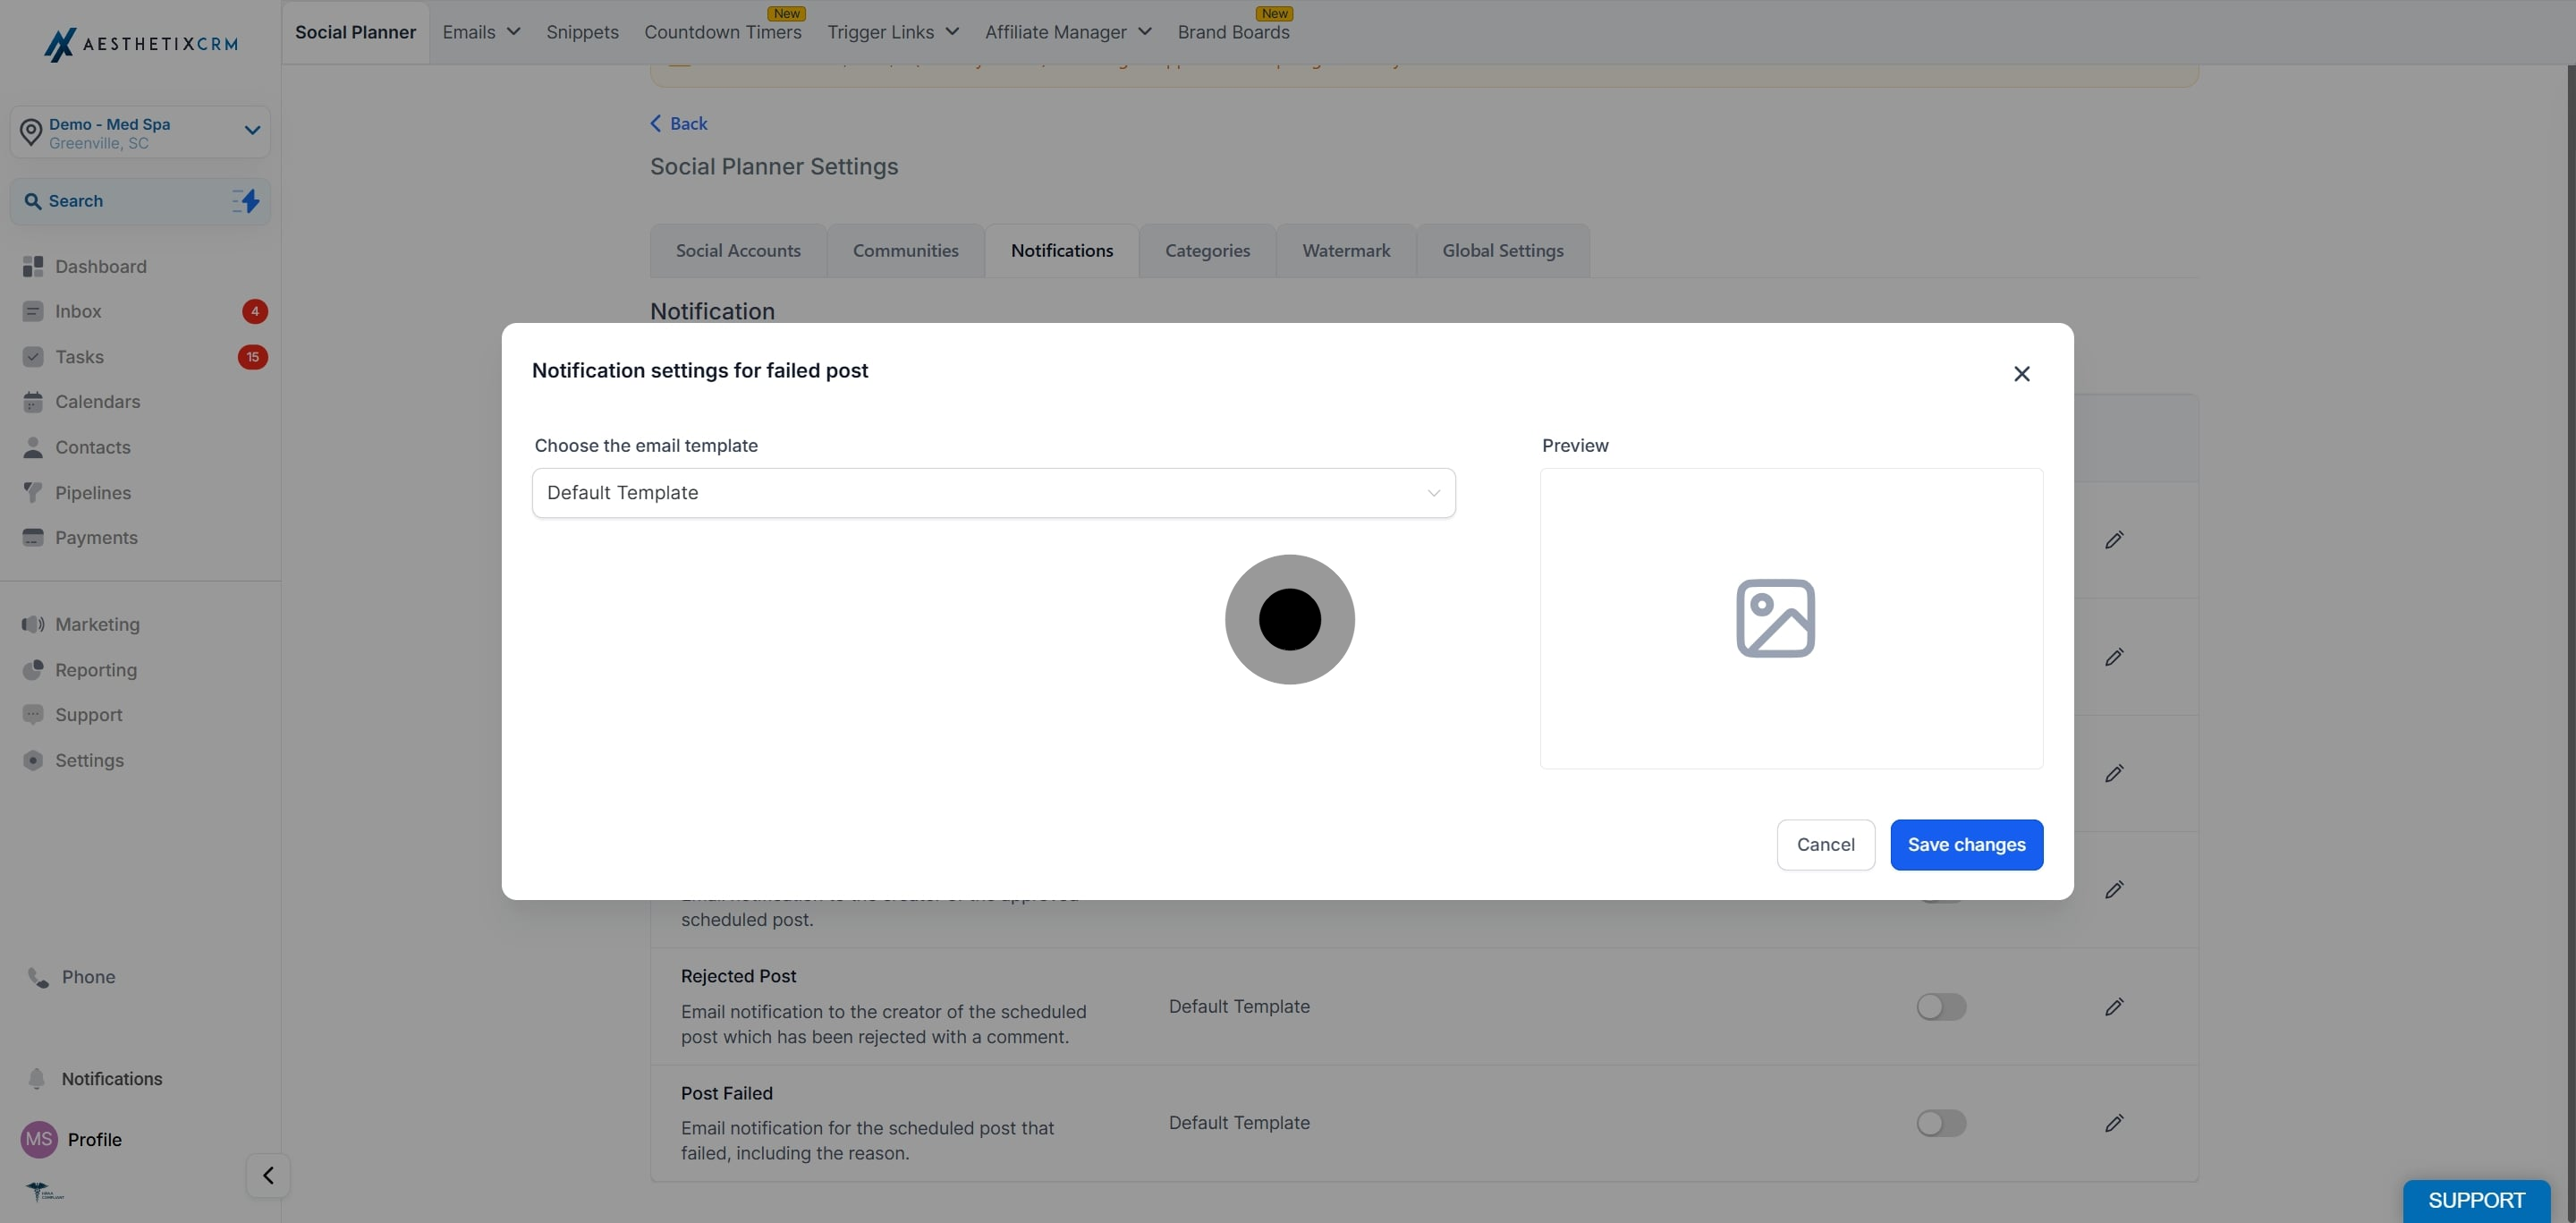
15. Notification for Failed Post
16. \- To edit the email notification request for scheduled failed post \- The notification requires user can select the different template other than default templates.
Did this answer your question?
😞
😐
😁
Managing Notifications for Failed Posts, Account Expiration, and Post Approval | Aesthetix CRM