Enhance your social media strategy with our insightful guide on adding location tagging to your social posts! This article walks you through the simple steps to include location tags on various platforms, helping you connect with local audiences and increase your post visibility. Discover the benefits of location tagging, including improved discoverability and engagement, as well as tips for choosing the right locations that align with your content. Perfect for marketers, businesses, and influencers, this guide will enable you to effectively leverage location tags to attract and engage your target audience, driving more interaction with your posts!
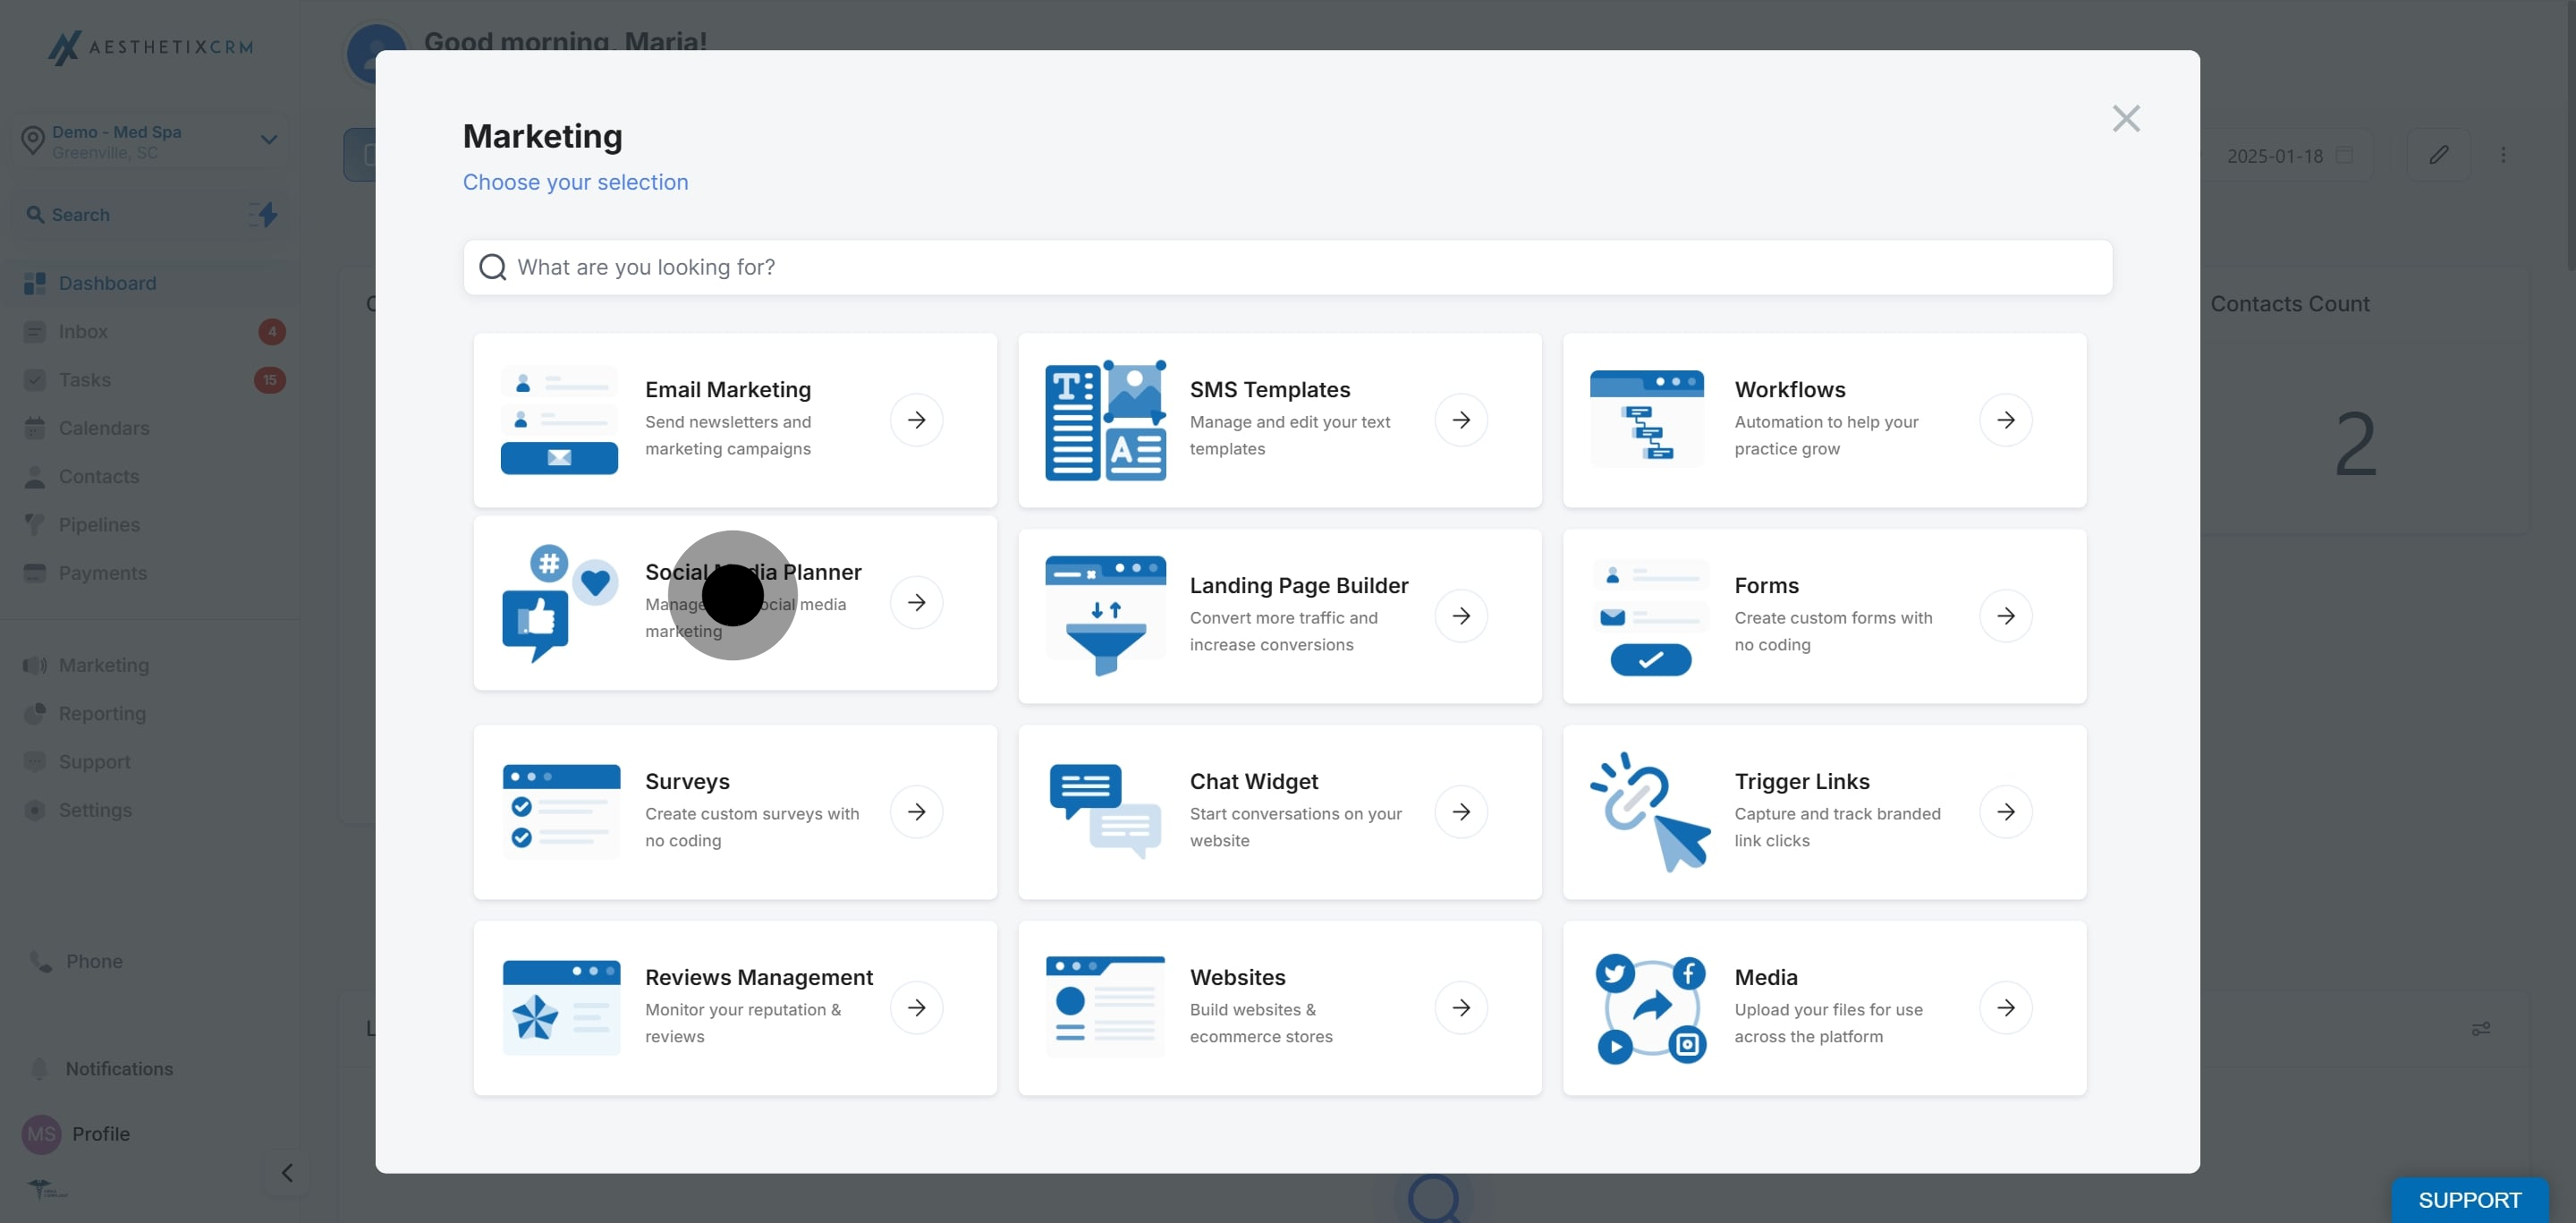
1. Go to Marketing.
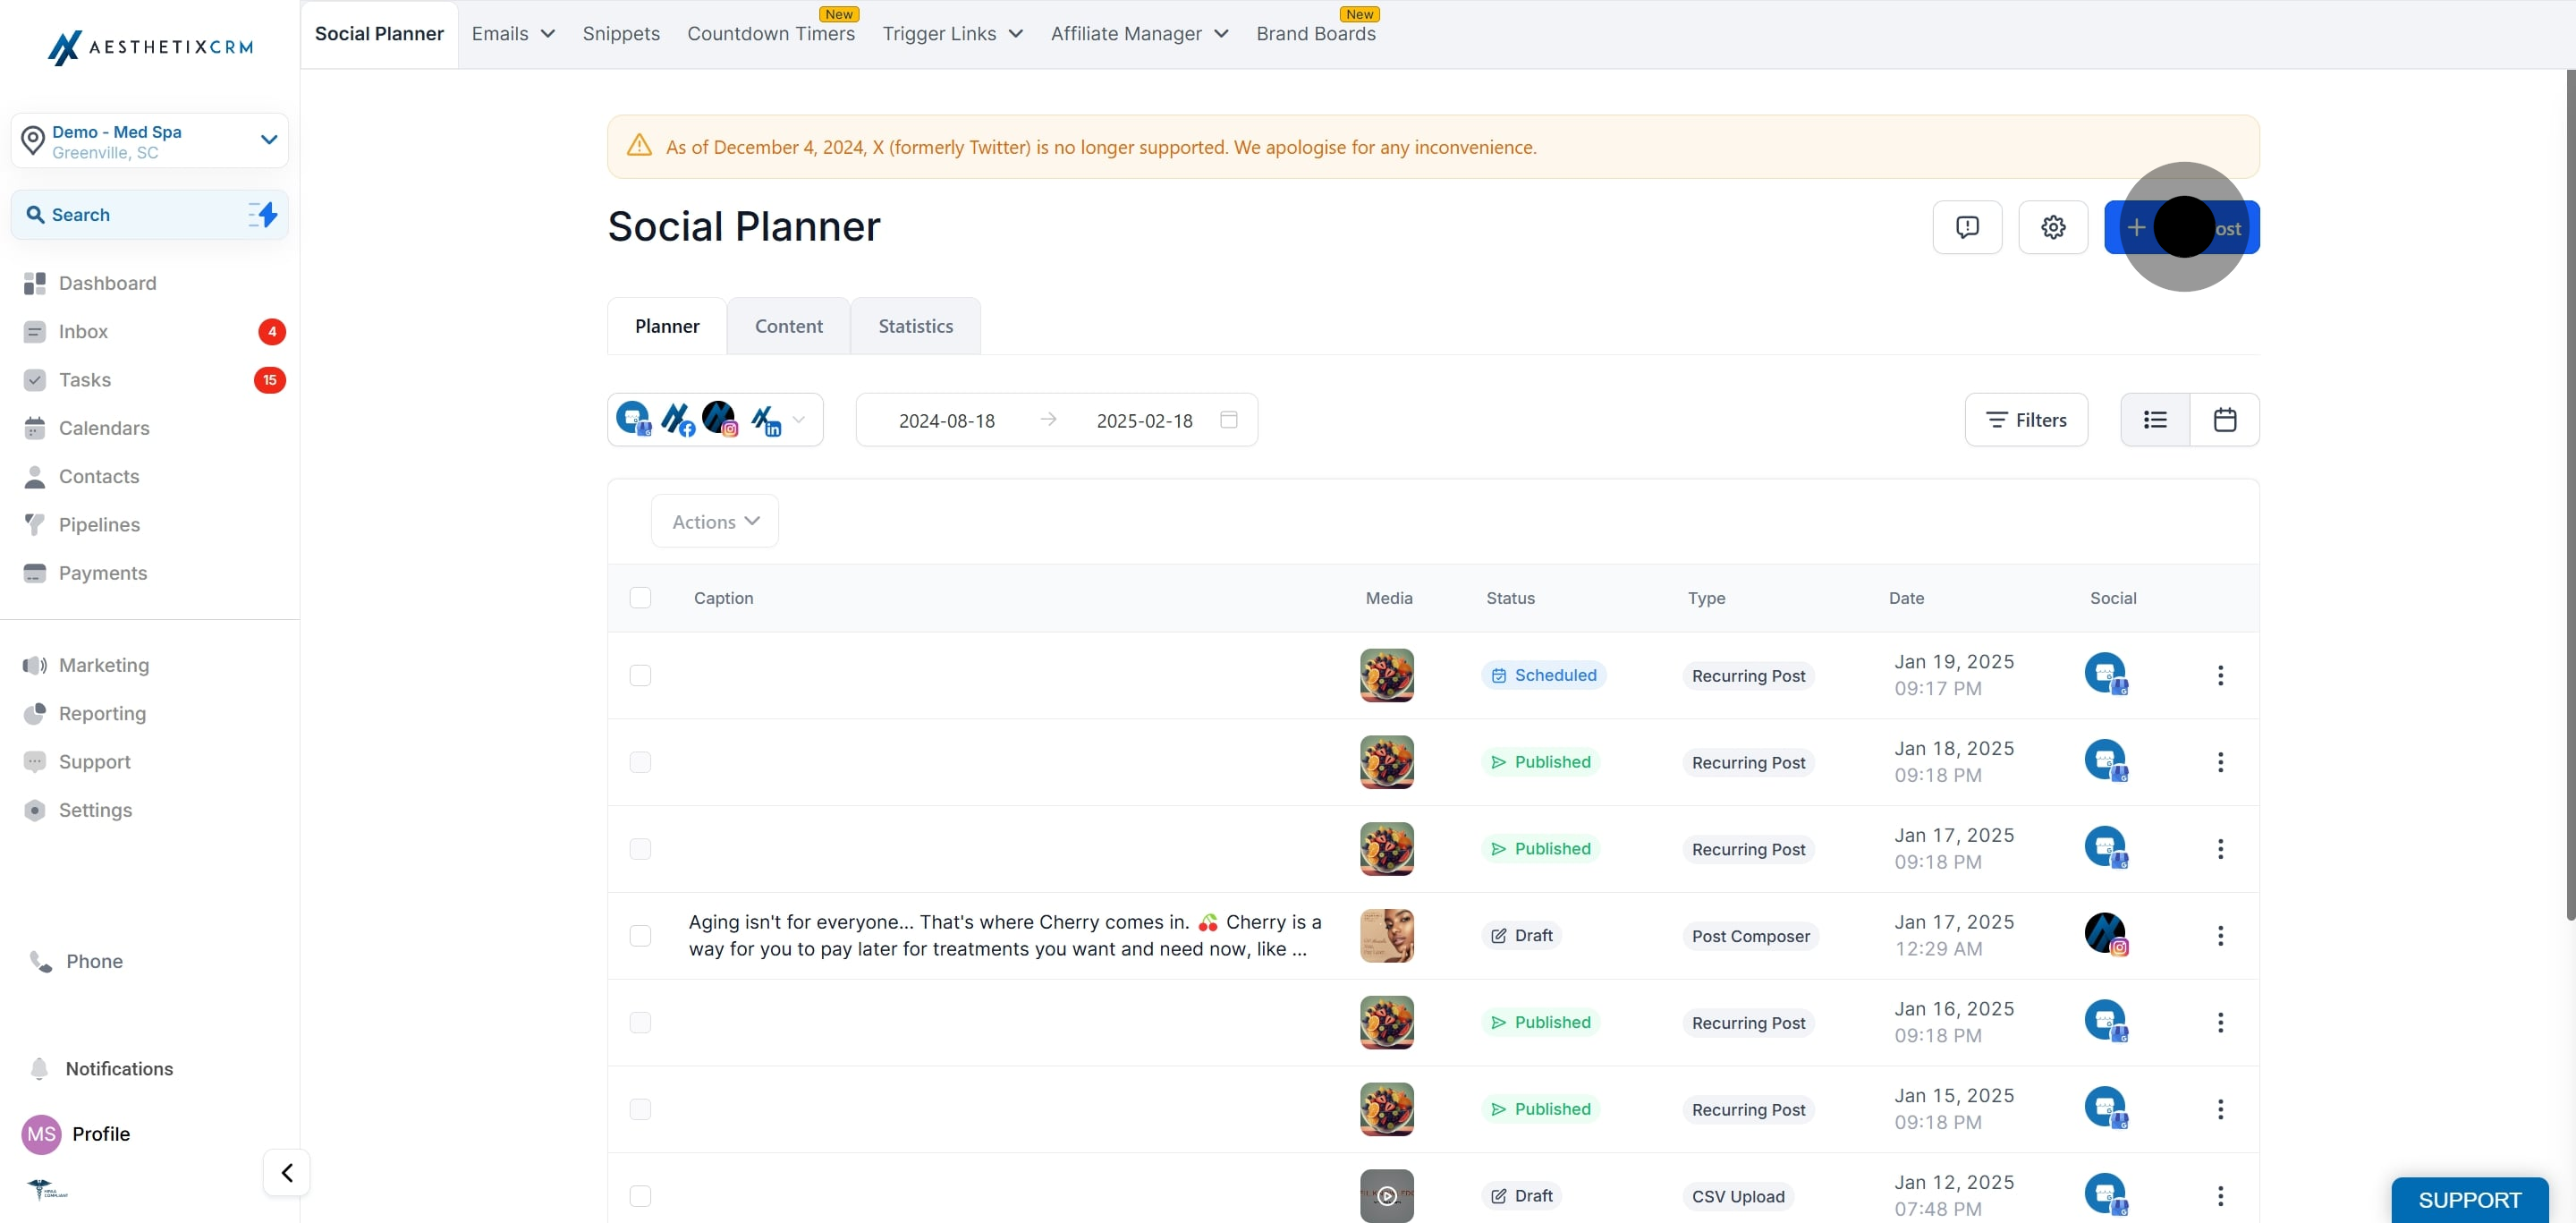
2. Click "Social Media Planner"
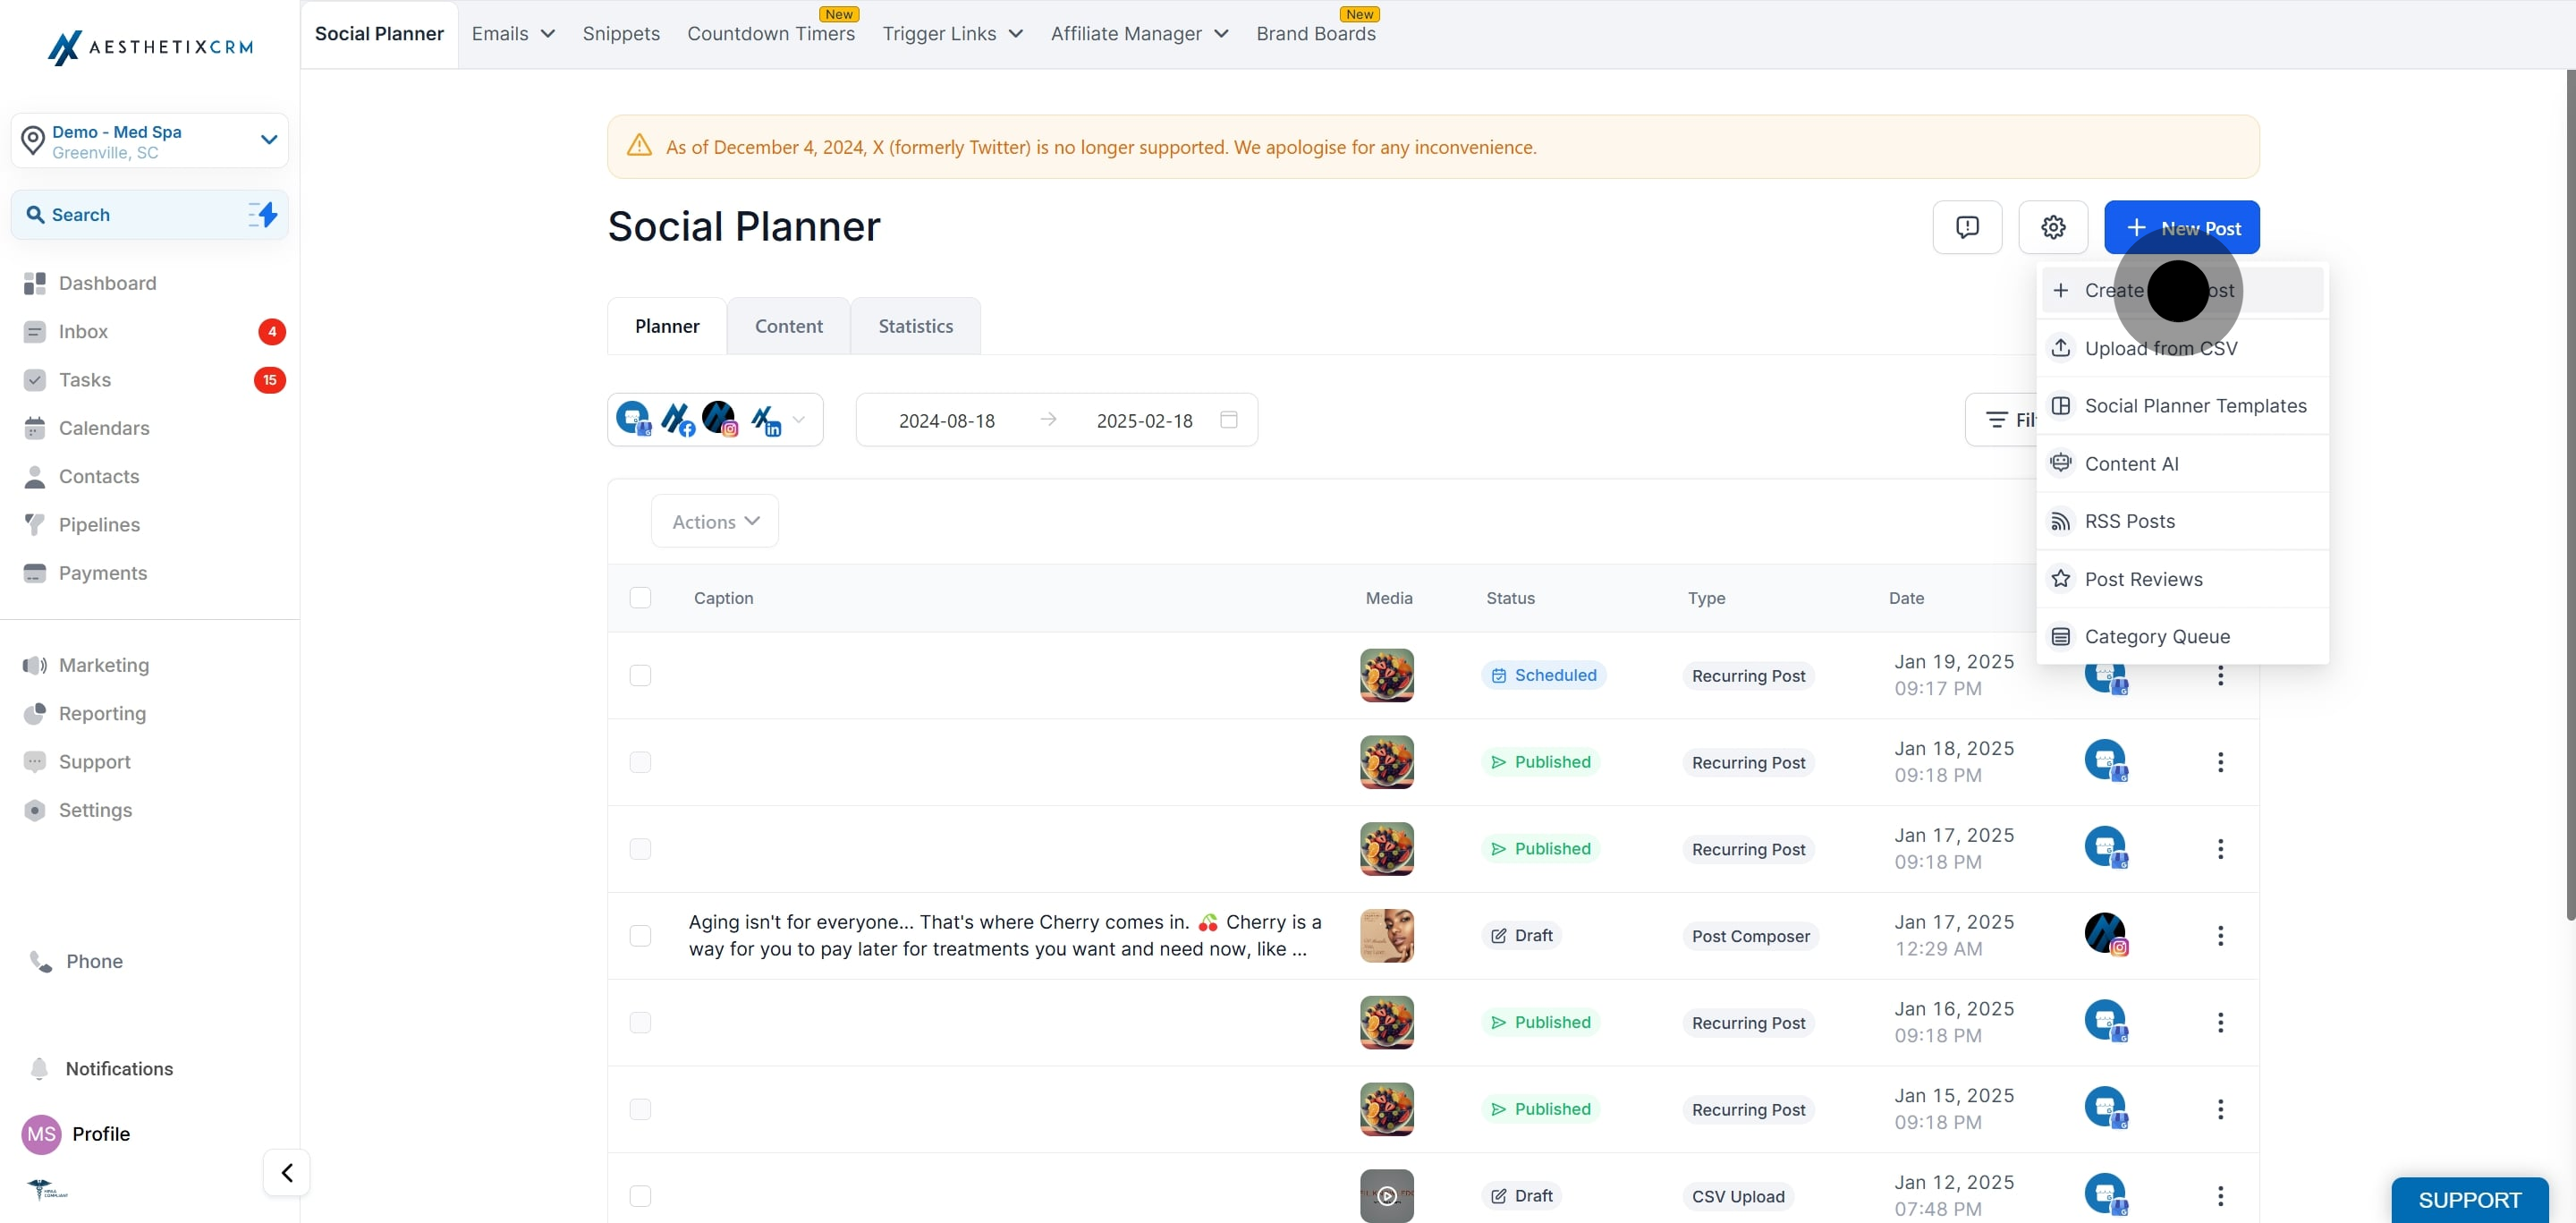
3. After, click on "New Post".
4. After that, click on "Create New Post".
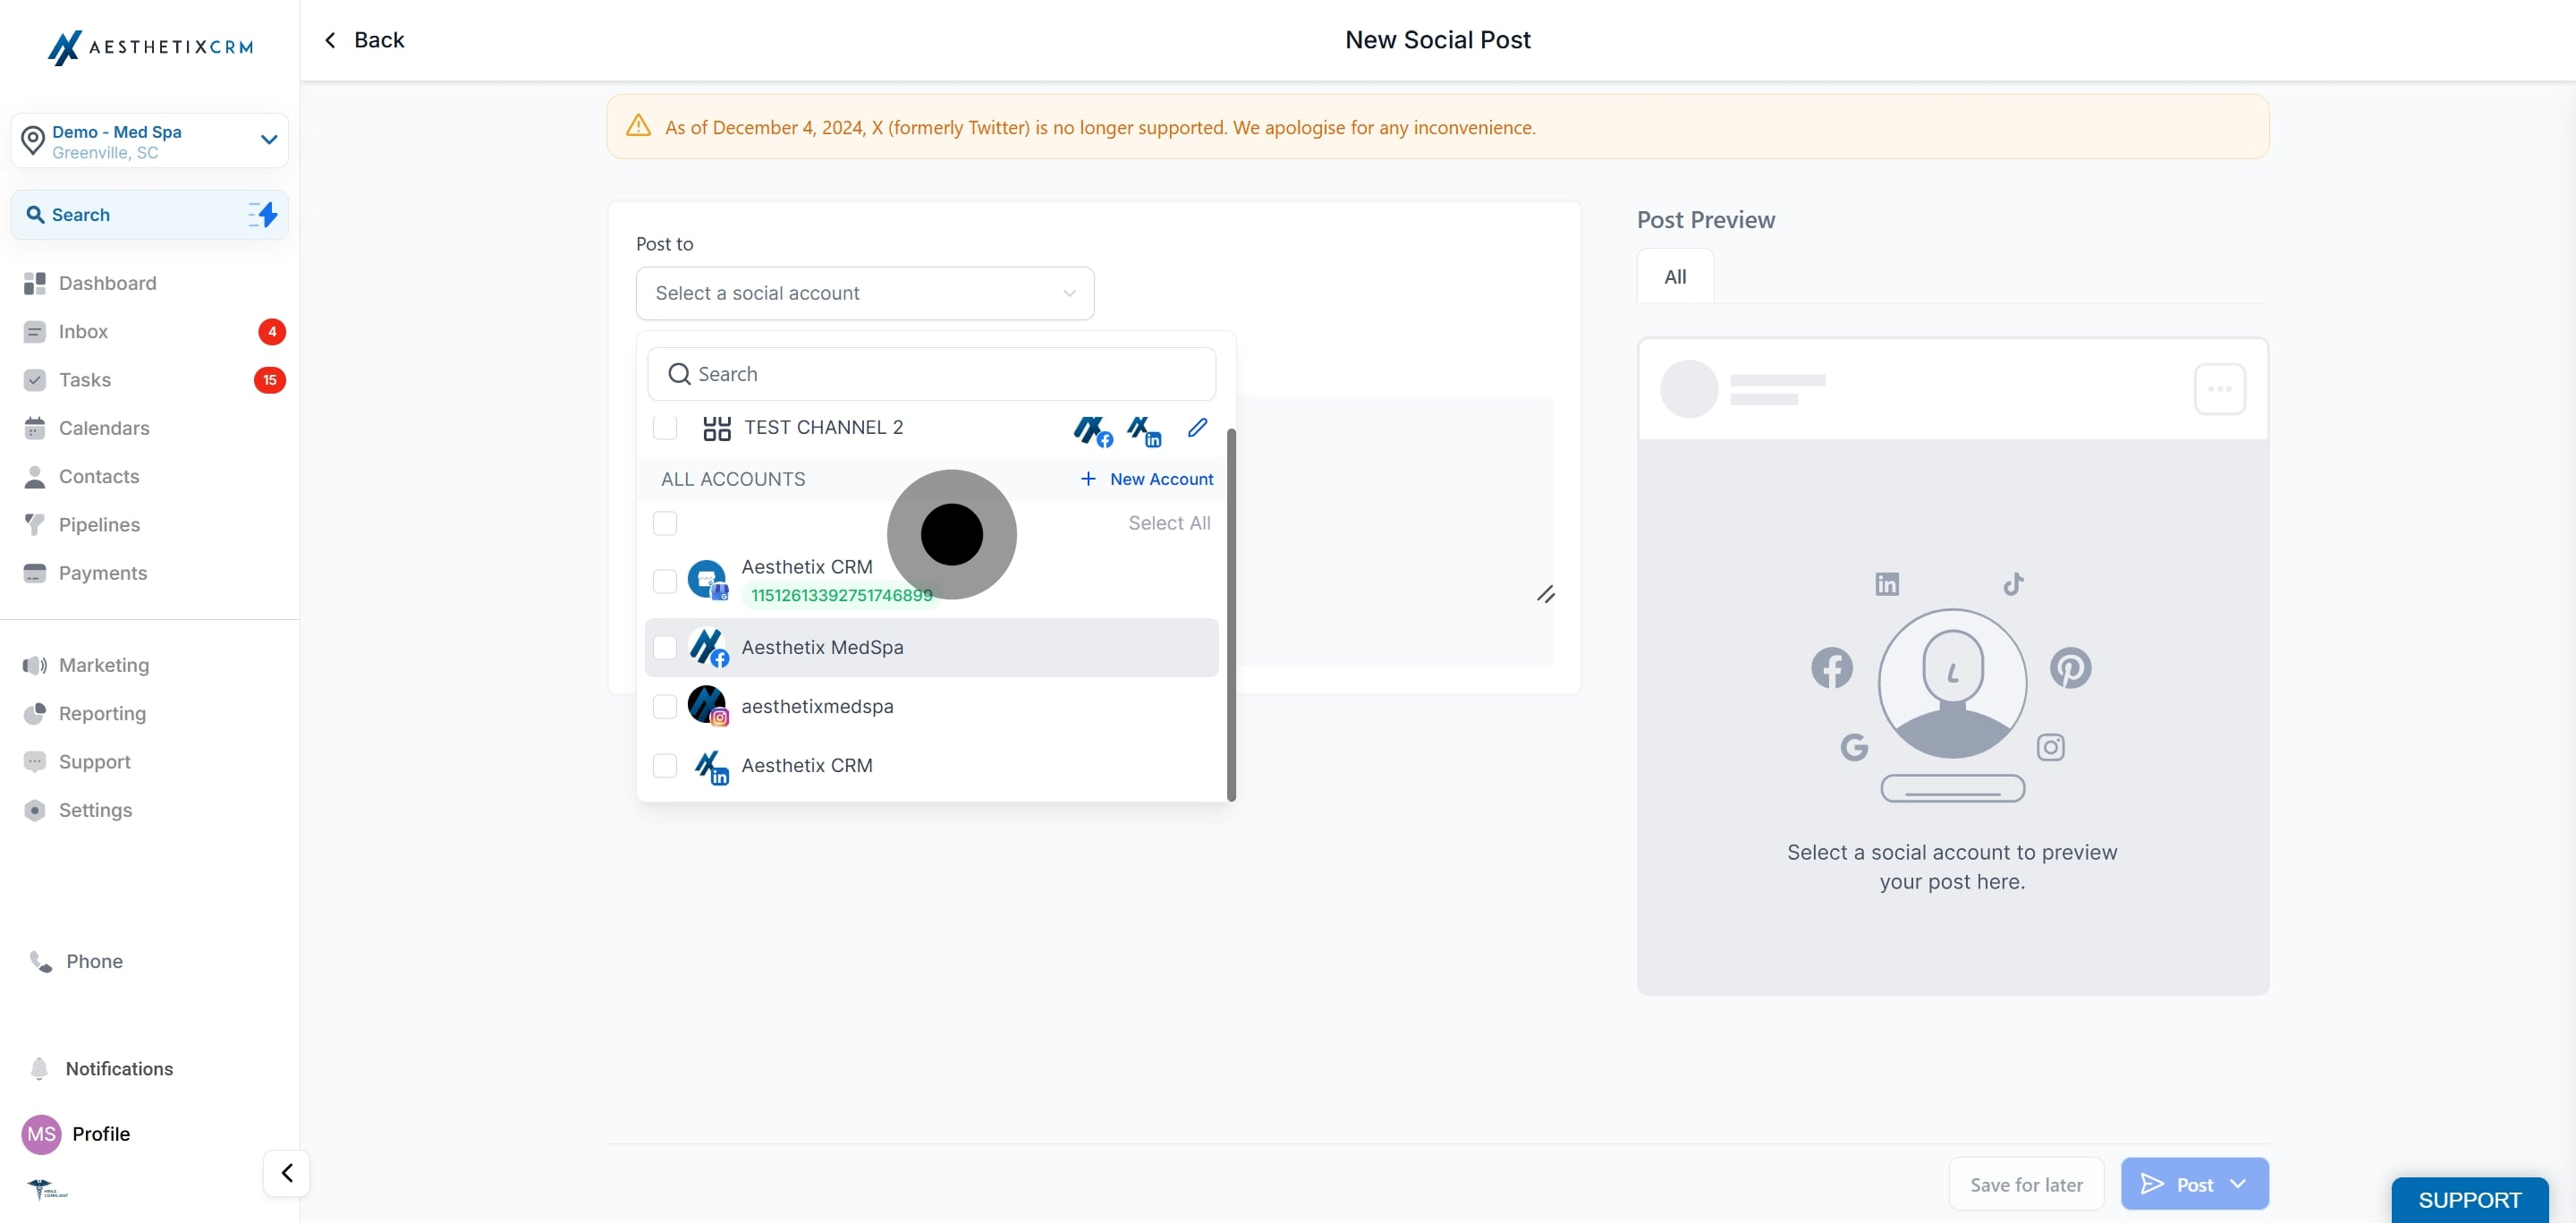
5. Select the socials where you would like to post the content.
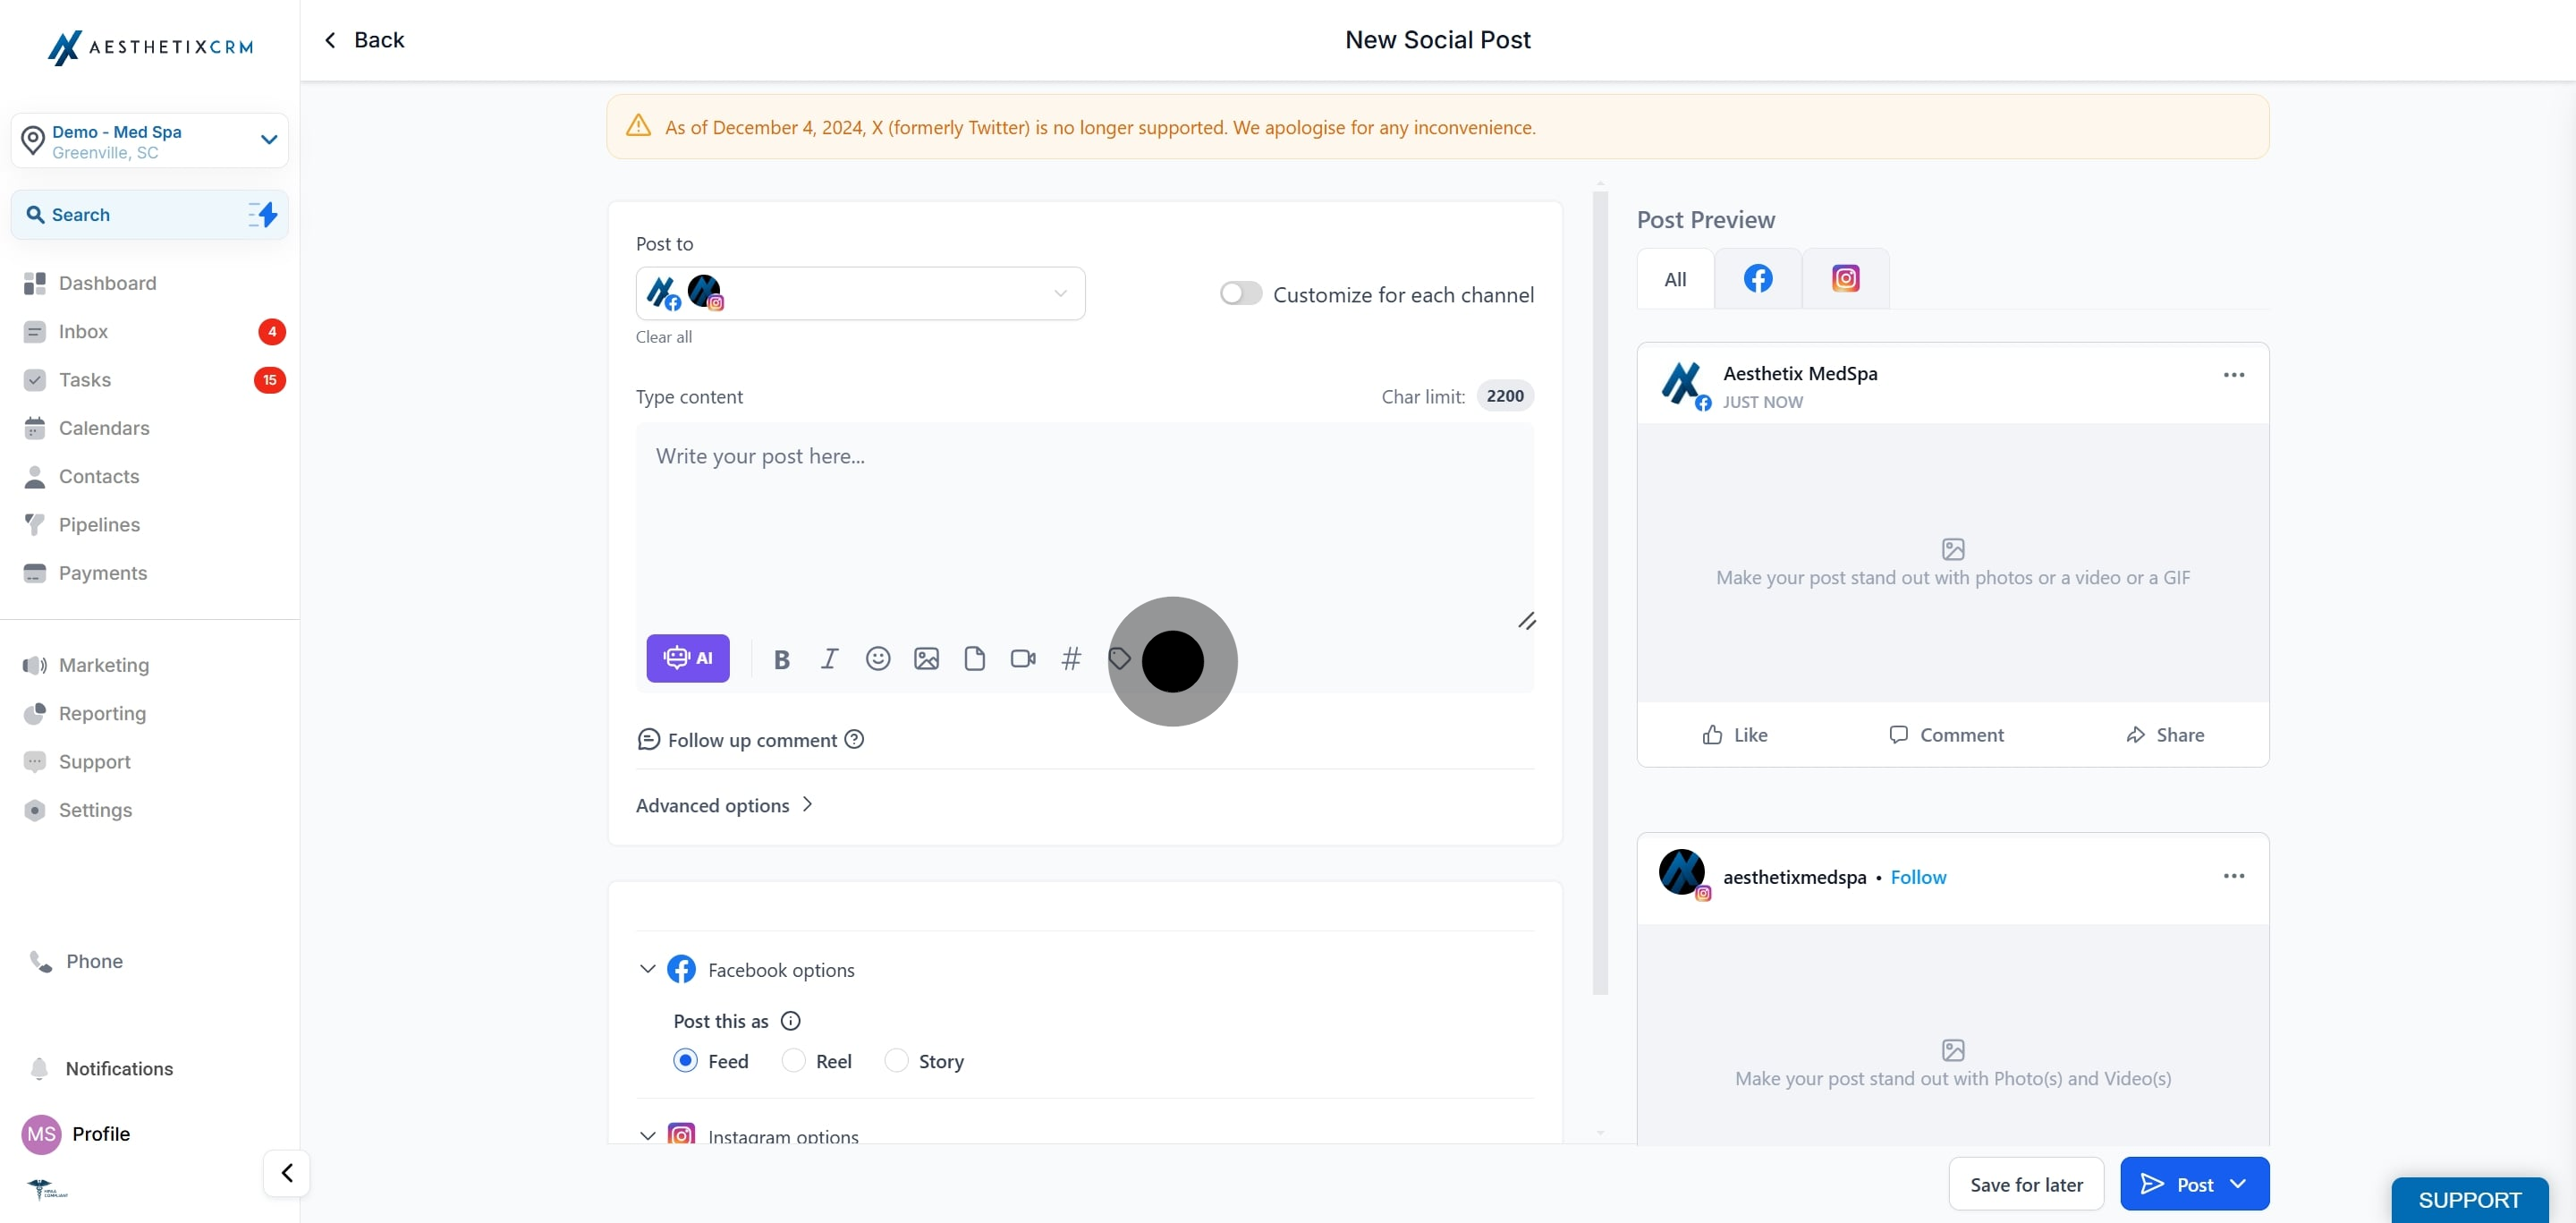
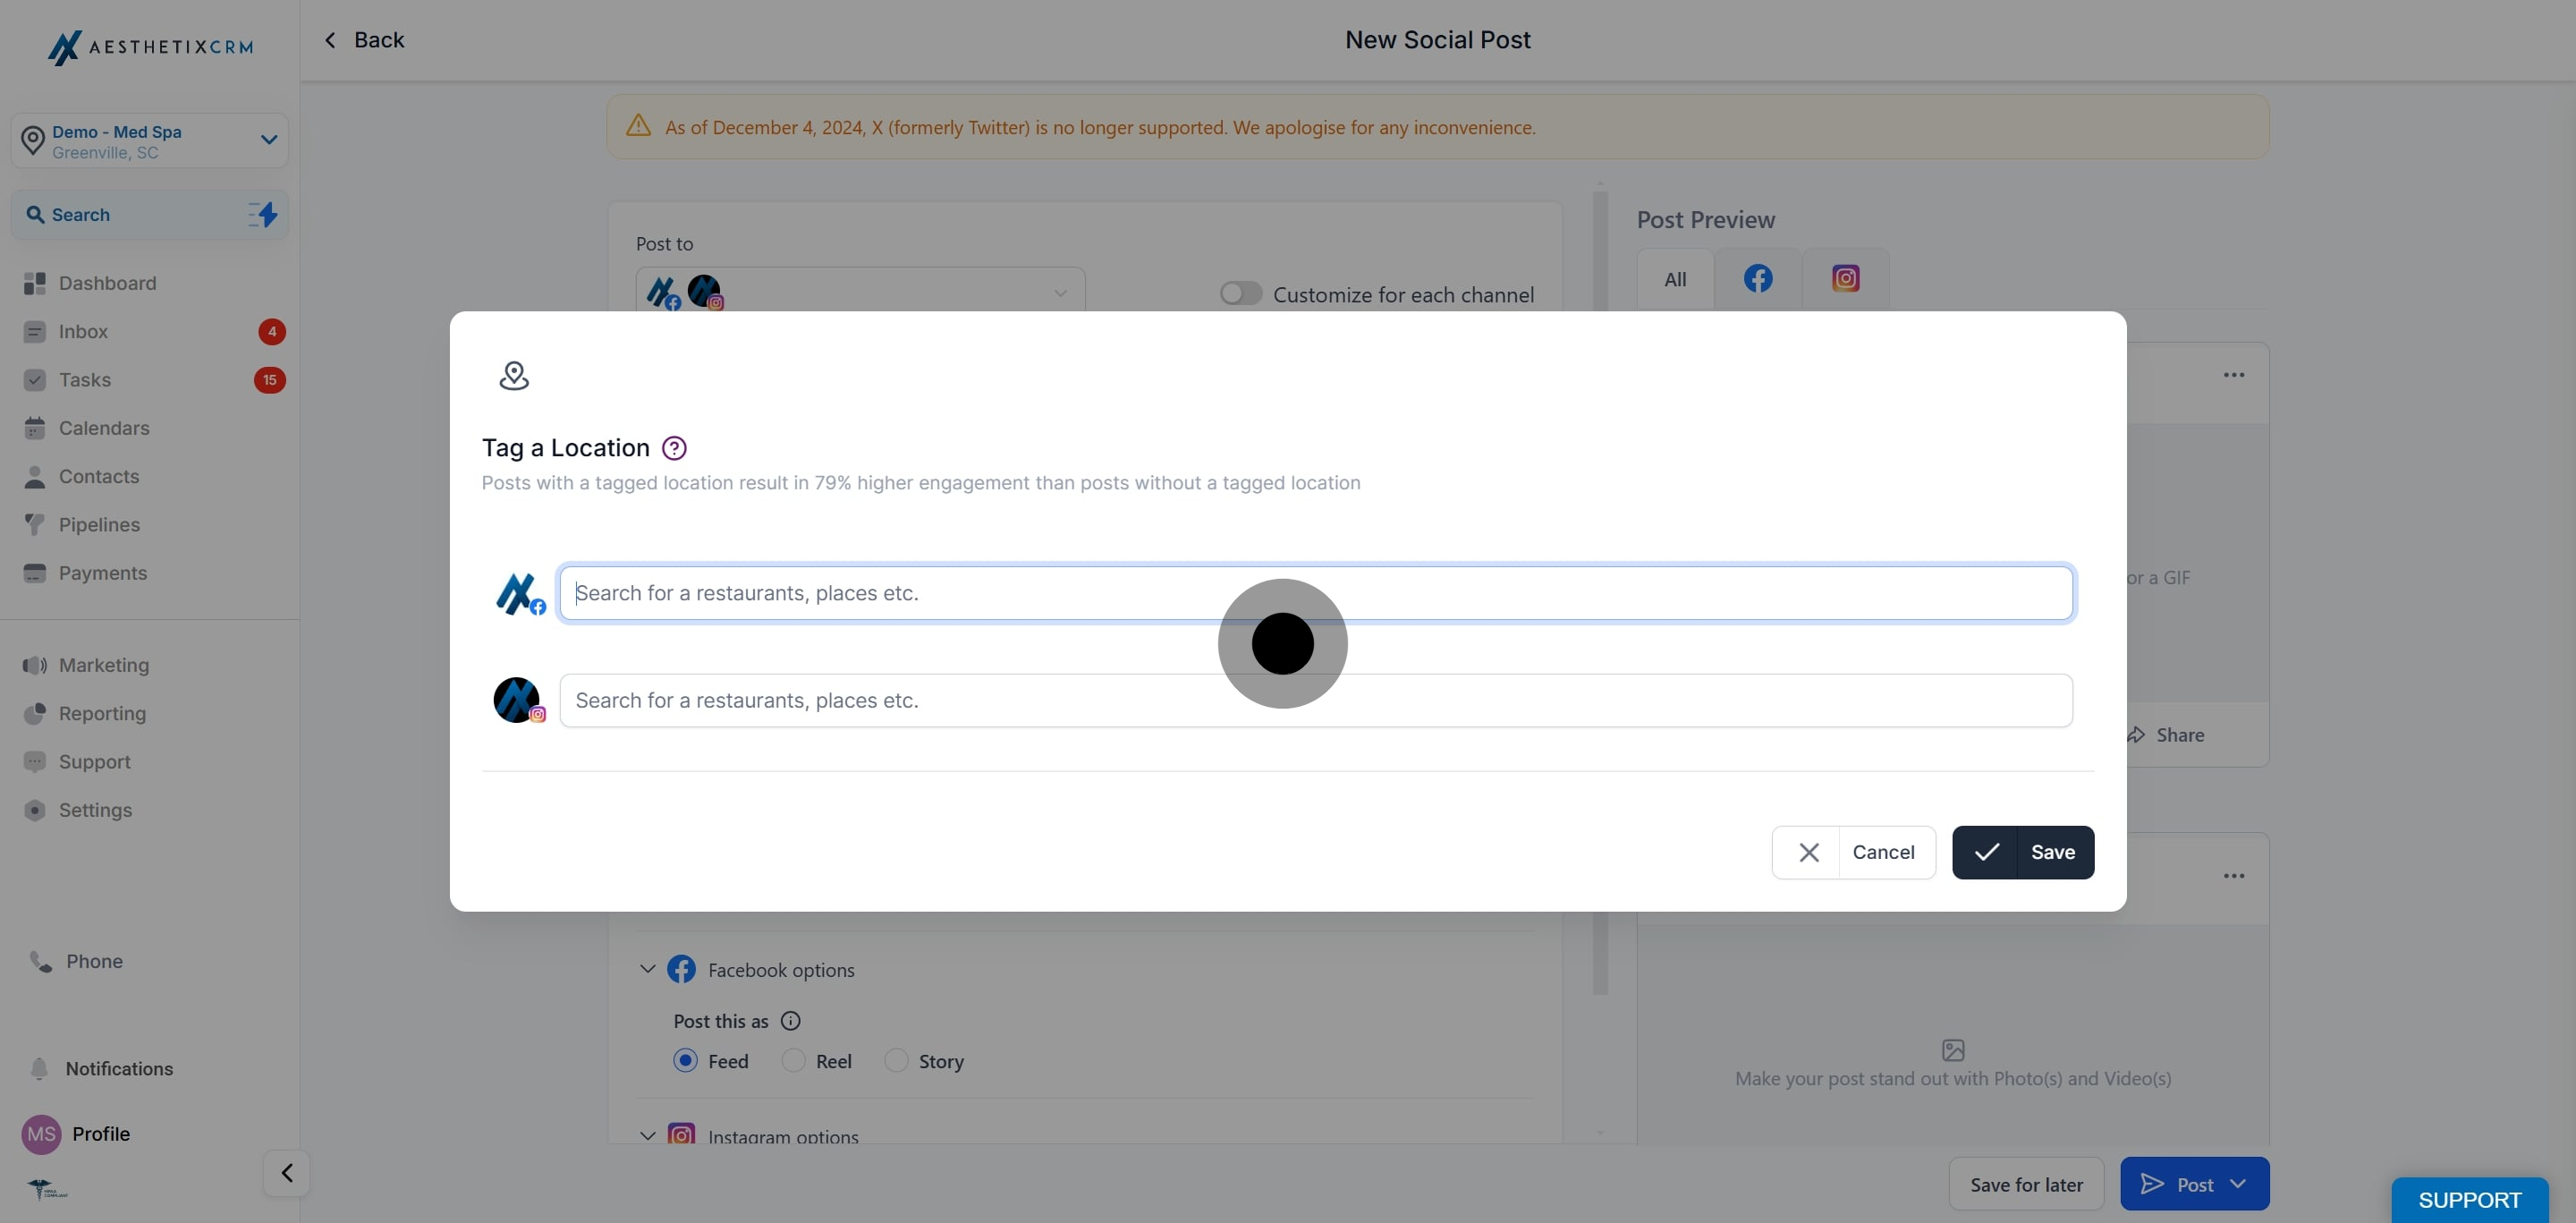
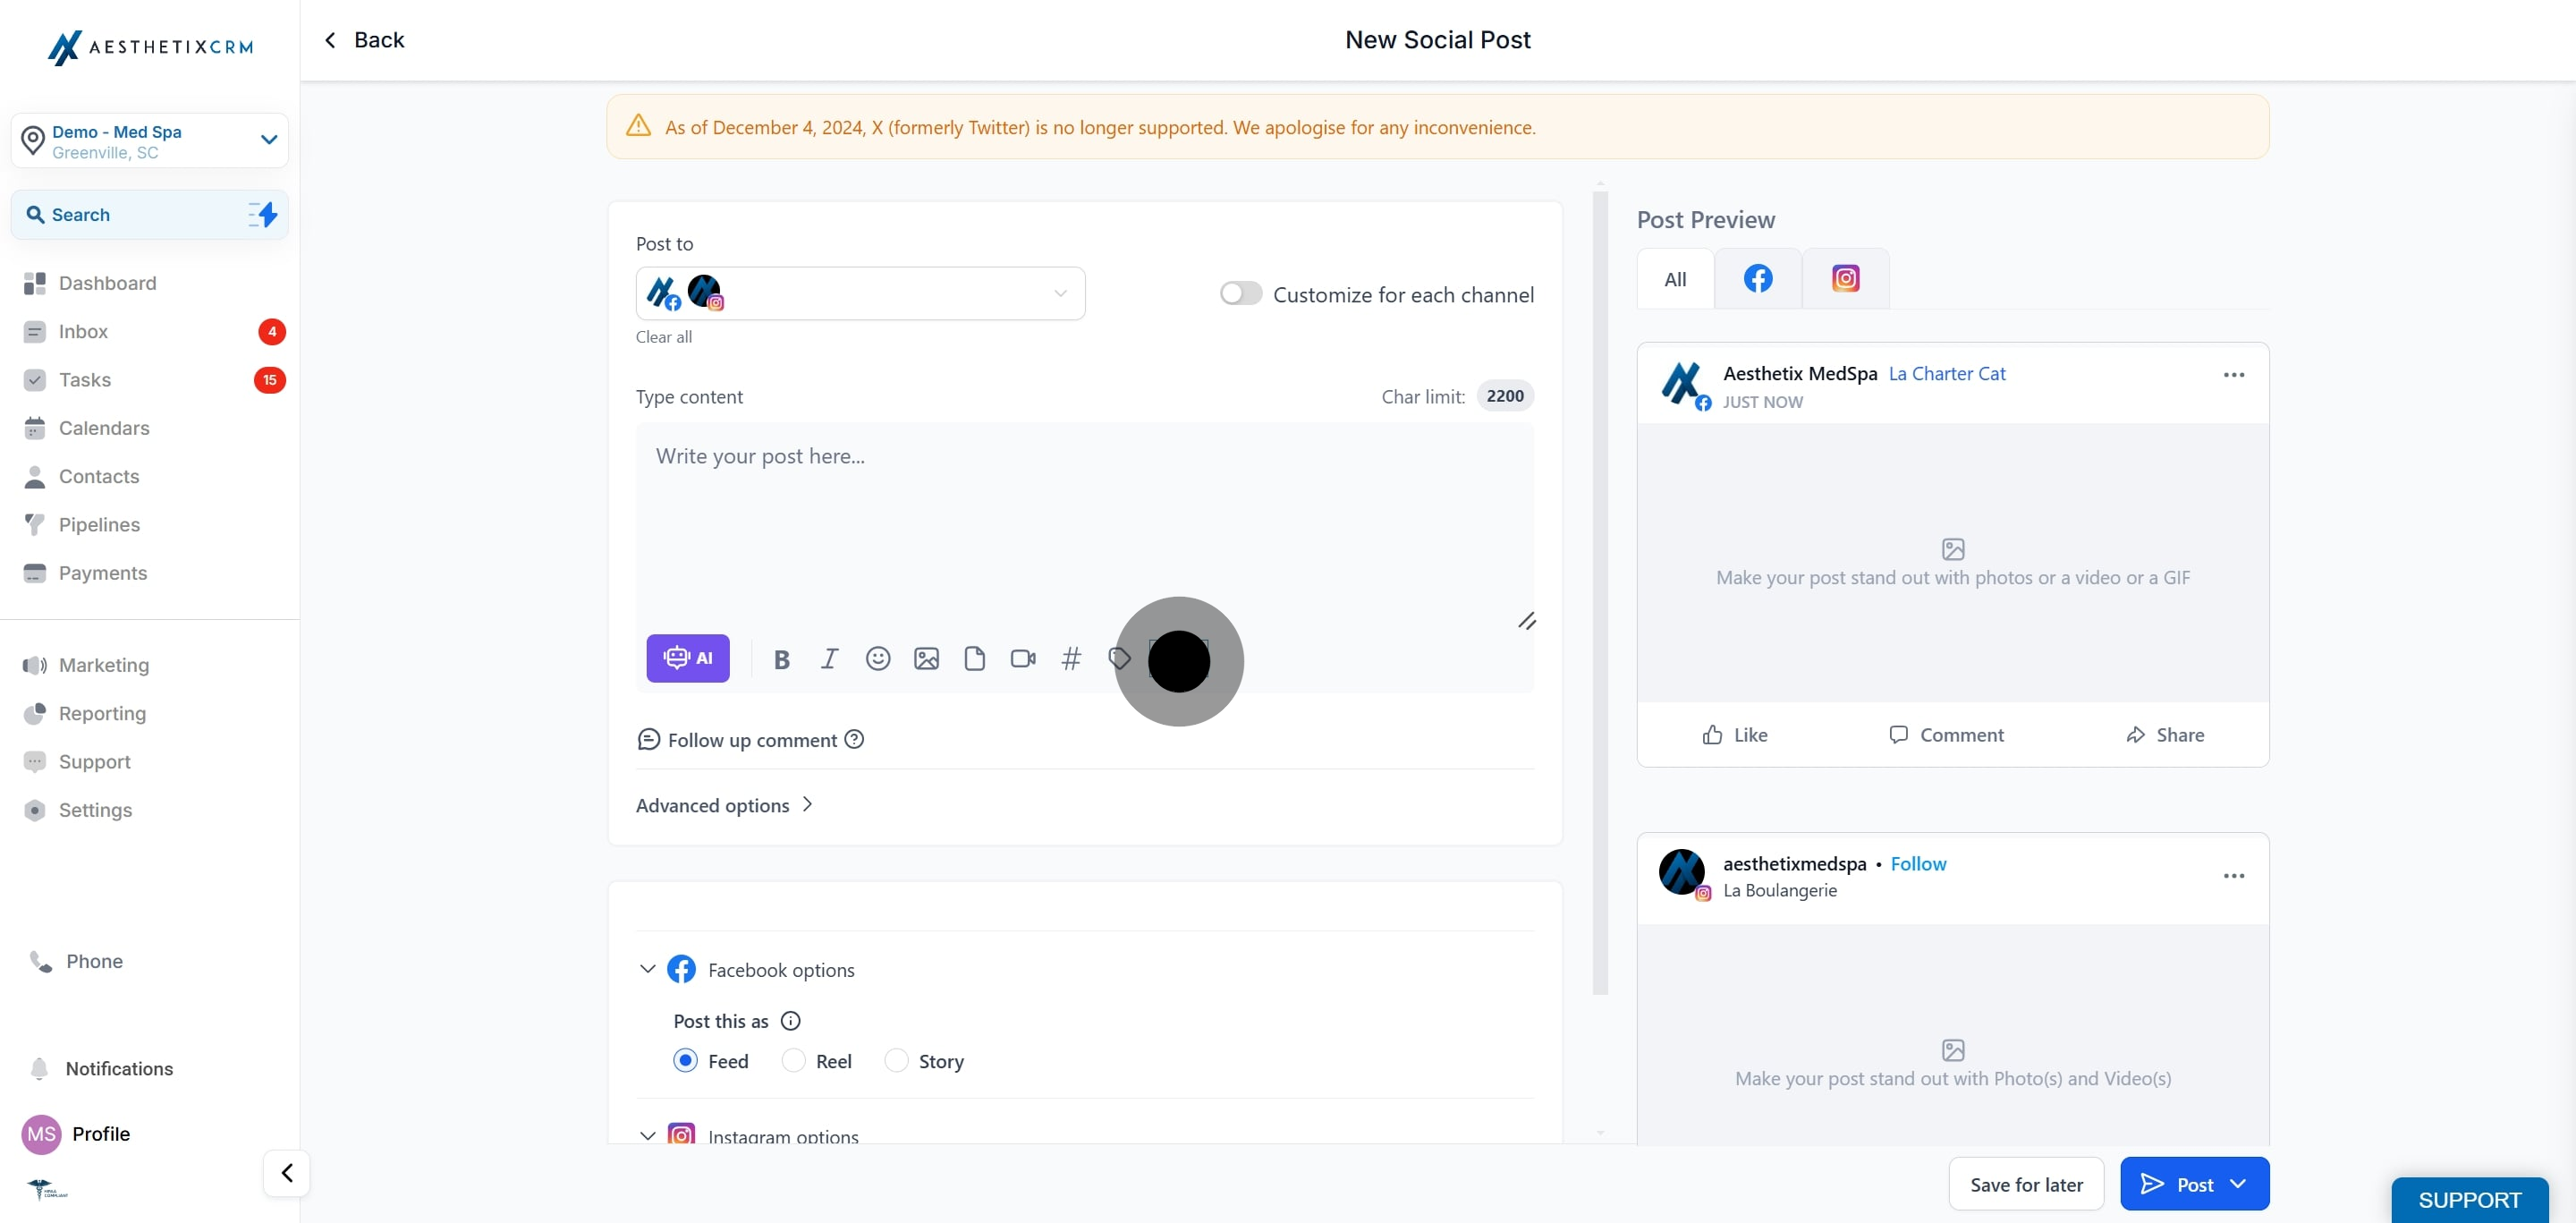
6. There is option of location tagging, it will allow you to add places or locations. It will allow to add on Facebook and Instagram Post.
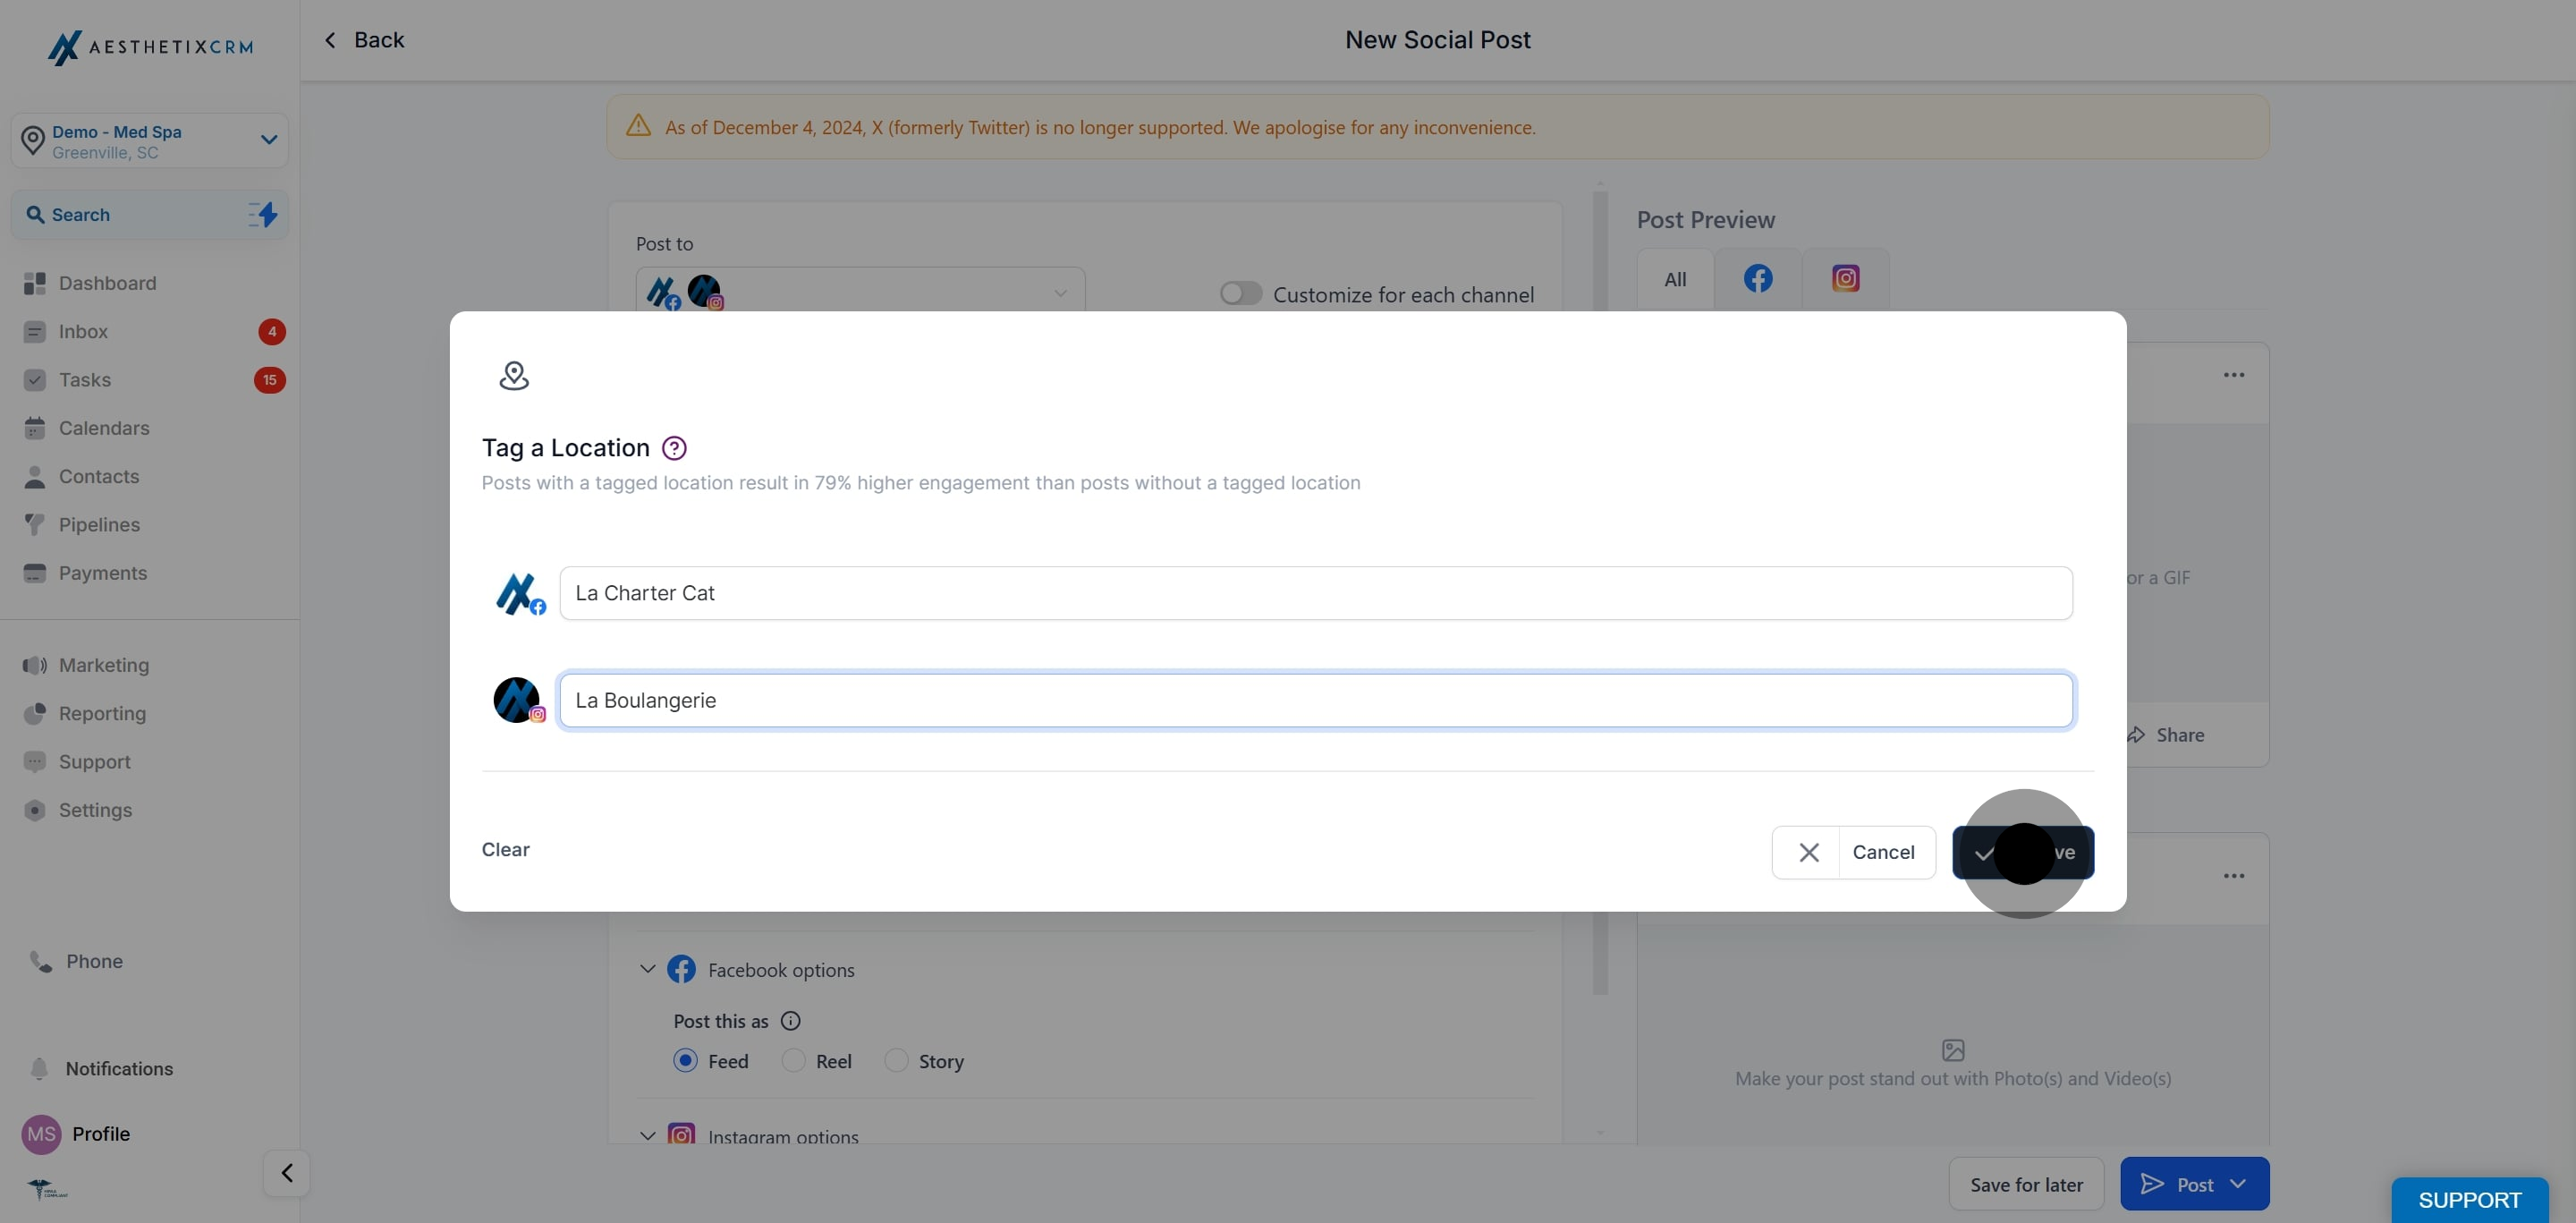
7. Tag a location.
8. Then, click on "Save".
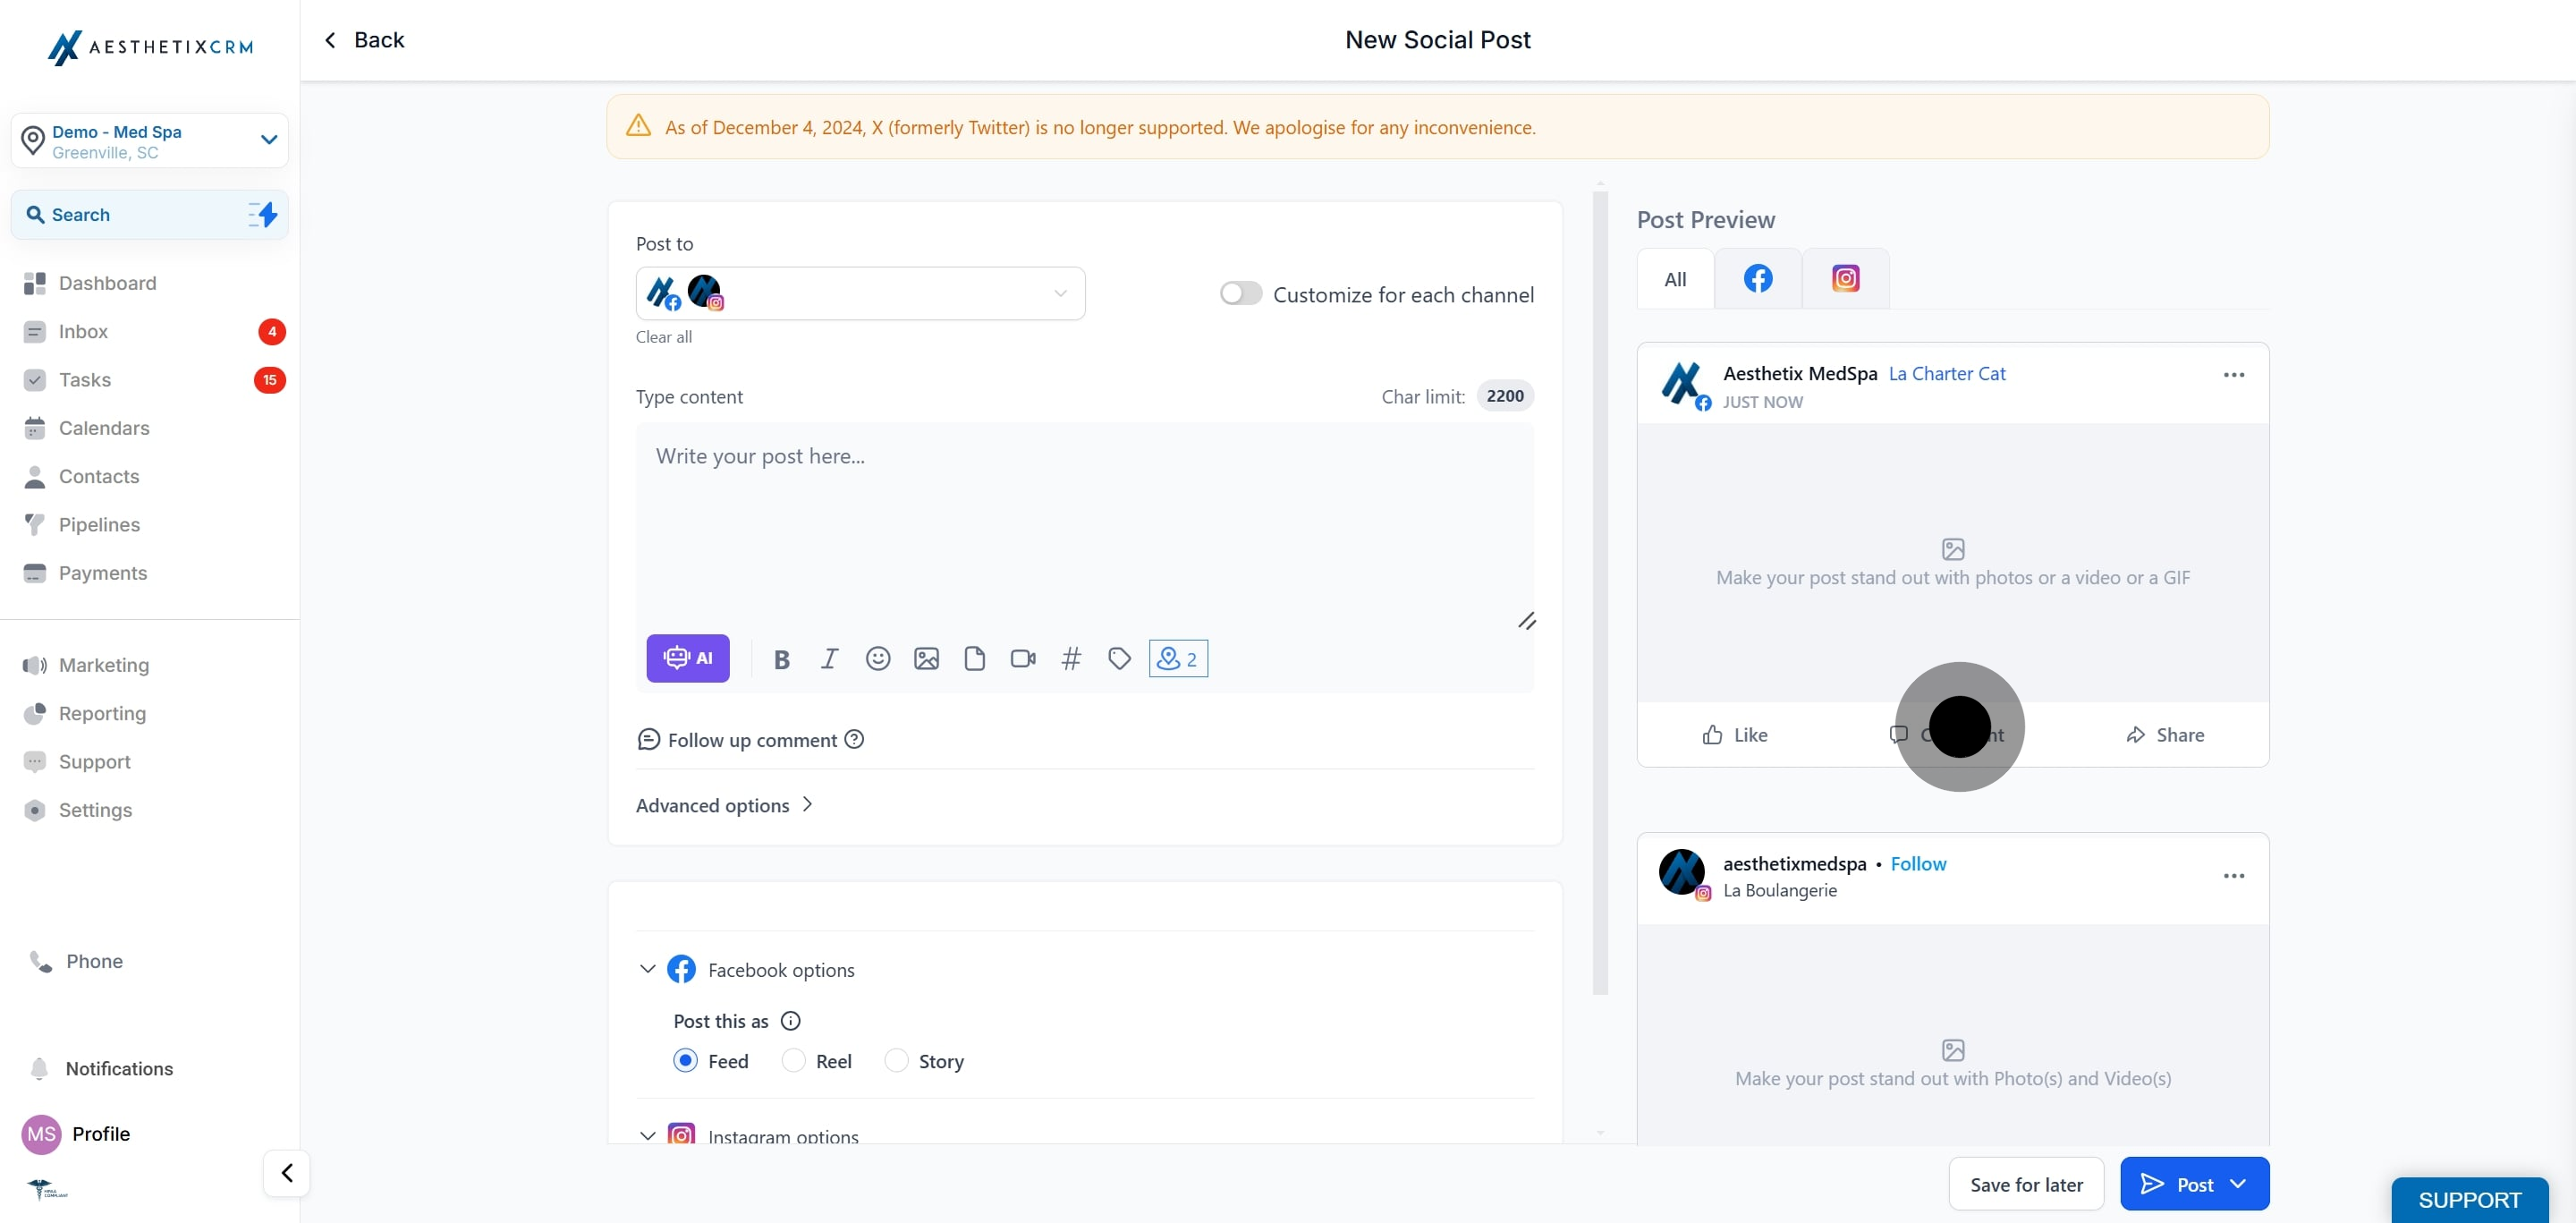
9. You can see here the 2 tag location.
10. Post Preview of your post, as you can see it indicated the tag location.
Did this answer your question?
😞
😐
😁
How to Add Location Tagging to Your Social Posts | Aesthetix CRM